



Birthday hairstyles have a narrow job: they need to look polished at the table, stay neat through hugs and photos, and still move when you laugh. That sounds simple until you’ve dealt with a slippery crown, a collar that rubs the nape flat, and a phone flash that makes every flyaway look louder than it felt in the mirror.
The sweet spot is a style that looks intentional from three feet away and still feels like your own hair when you lean in for cake. Not stiff. Not helmet-like. Just clean shape, controlled shine, and enough structure that you don’t spend the whole party touching your head.
That’s why the best birthday hairstyles are rarely the fussiest ones. A sleek low bun with a sharp part can look as dressed up as a curled half-up style. A high ponytail can read more formal than a loose updo if the base is tight and the wrap is neat. Little details matter here — where the part sits, how the ends are finished, whether the surface has a soft sheen or a greasy shine — and those details are what separate “I threw my hair up” from “someone did my hair on purpose.”
Why These Birthday Hairstyles Feel Polished Instead of Overdone
- They frame the face on purpose: A clean part, a tucked side piece, or a few face-framing strands keeps the style from feeling random in photos.
- They hold up under movement: Birthday hair has to survive eating, hugging, dancing, and the occasional wind gust near an open doorway.
- They work with accessories, not against them: A pearl pin, satin ribbon, or small clip can look deliberate when the base style is already controlled.
- They suit different textures: Straight hair, waves, curls, and coils can all be styled into something crisp without flattening the natural pattern.
- They photograph well from every angle: The back matters too; a polished finish should look finished from behind, not only from the front.
- They scale up or down easily: The same base style can feel low-key with minimal pins or dressier with a stronger curl, tighter twist, or more shine.
1. Sleek Low Chignon
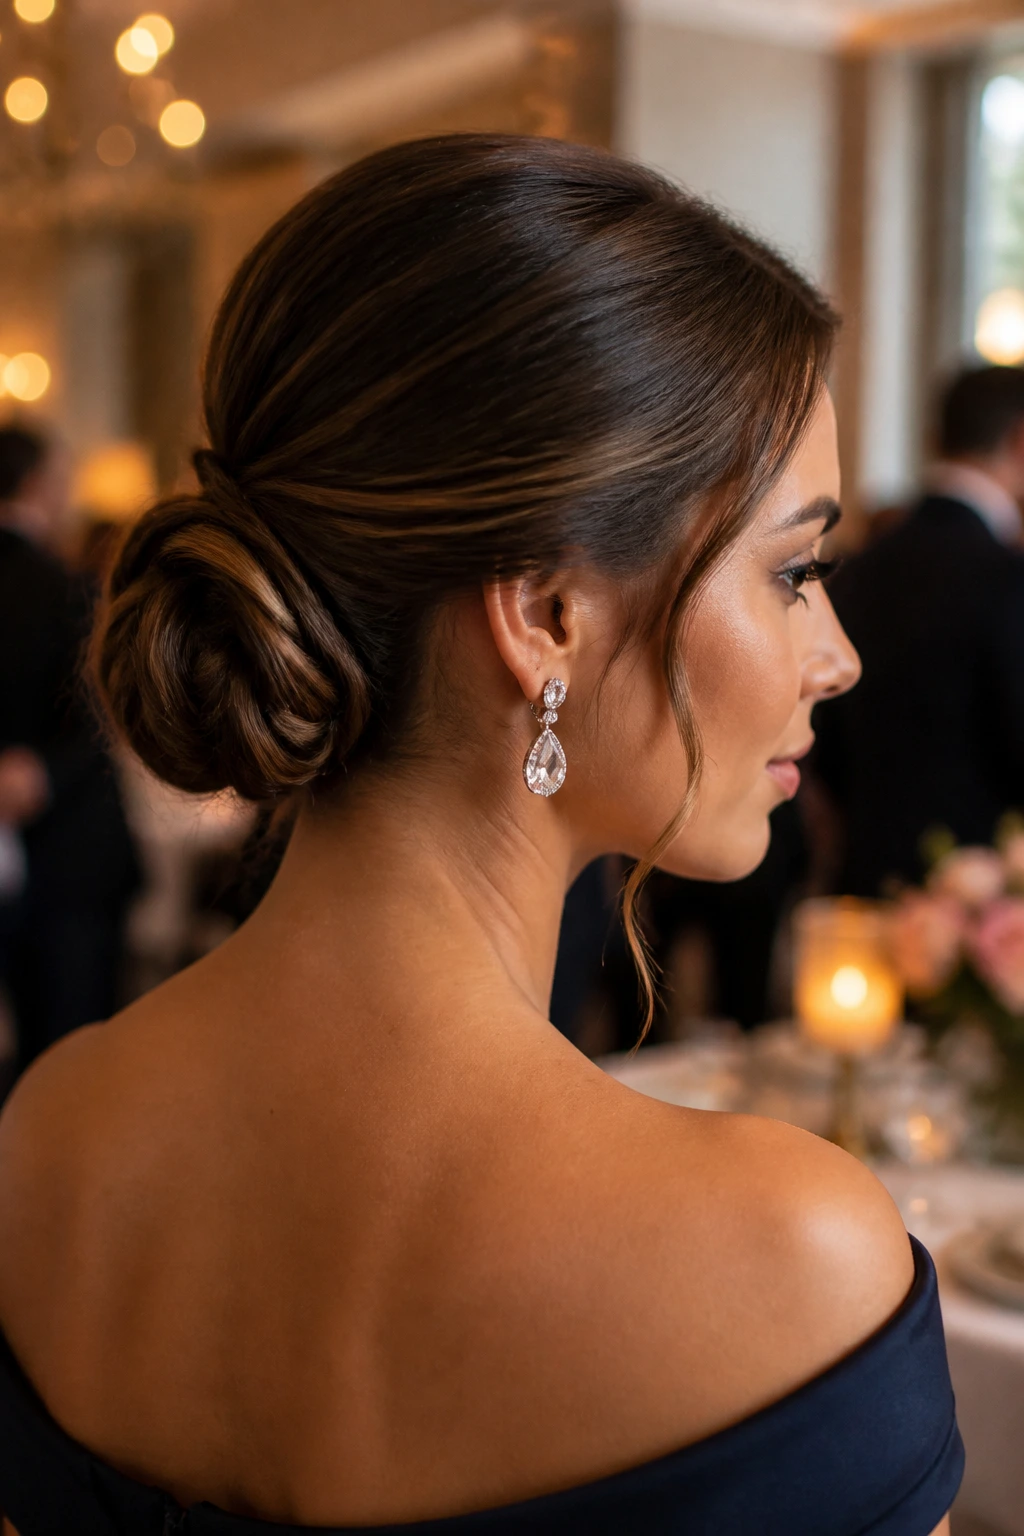
A sleek low chignon has the kind of calm, finished look that makes a birthday outfit feel complete without competing with it. The shape sits low at the nape, which keeps the neckline clean and makes earrings or a bold dress feel more visible. I like it because it never looks accidental; even when it’s simple, it still looks edited.
Why It Works
The trick is tension. Brush the hair smooth first, then gather it low and slightly off-center if you want a softer line. Twist the length into a compact coil no bigger than your palm, then pin it flat against the head so the bun doesn’t wobble or sit too far out.
A chignon like this is especially useful if your hair is medium to long and you want to keep it off your face for hours. It also handles second-day hair better than freshly washed hair, which can be too slippery. A little grip is your friend here.
- Best for: Medium to long hair that can be smoothed into one clean shape.
- Best texture: Straight, wavy, or lightly blown-out hair with a bit of control.
- Finishing touch: A drop of shine cream on the surface only — not the roots.
- Accessory pairing: Small pearl pins, a thin barrette, or a pair of drop earrings.
Pro tip: Mist a boar-bristle brush with light hairspray before smoothing the top. It tames flyaways without leaving the bun sticky.
2. Soft Hollywood Waves
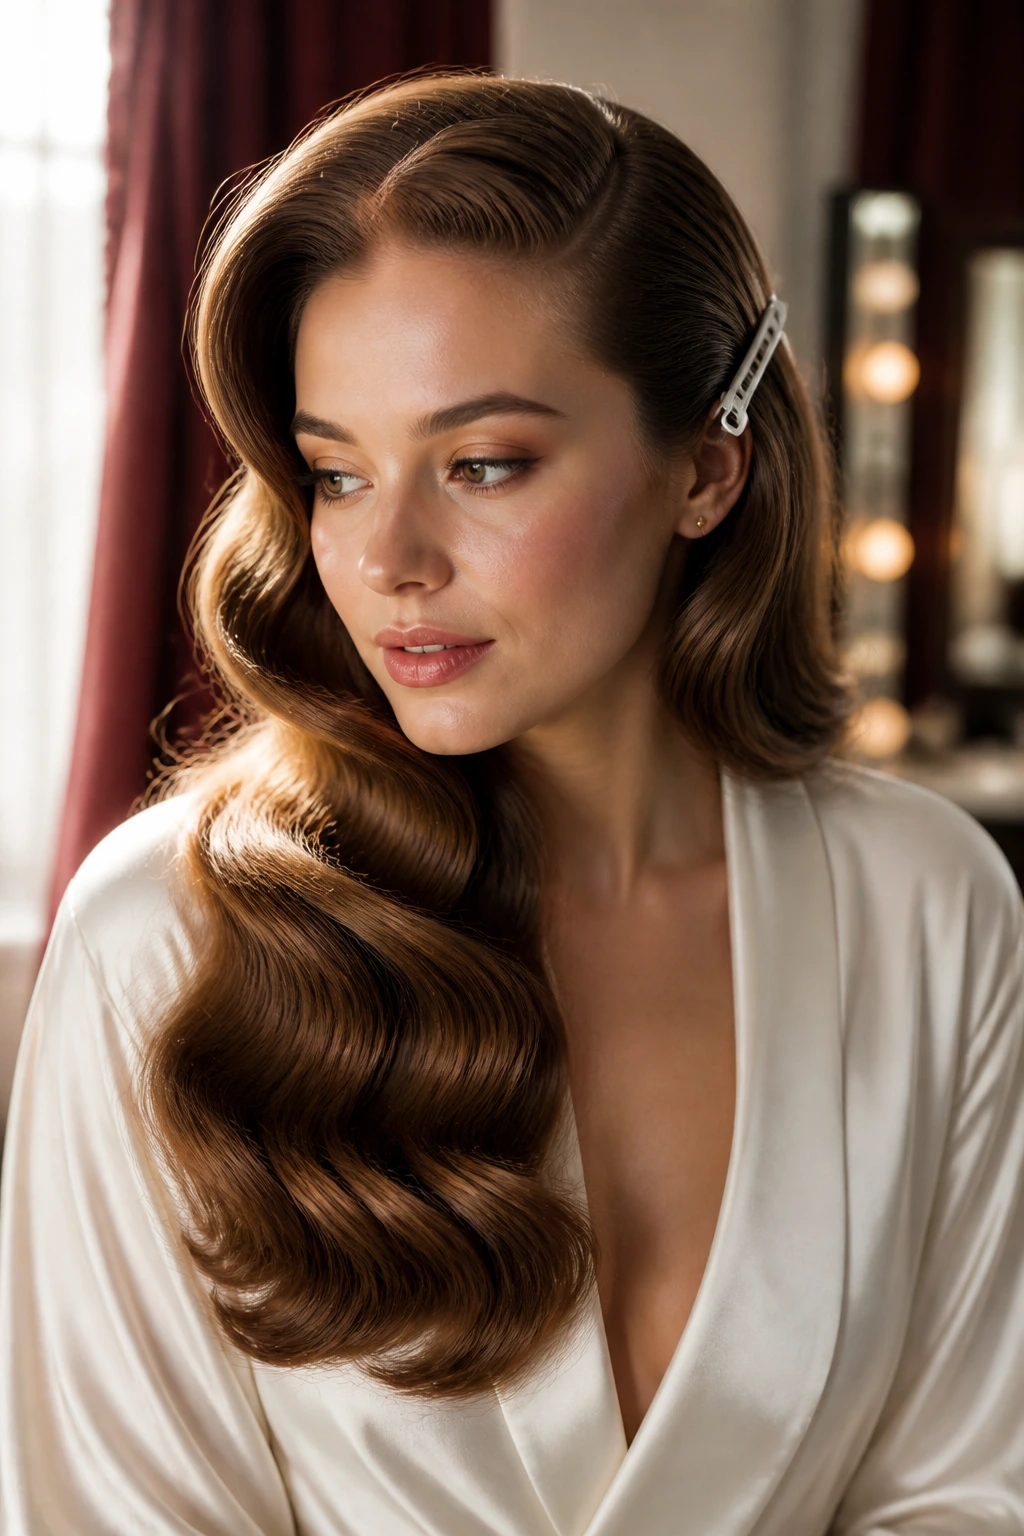
Soft Hollywood waves are polished in a way that still feels warm and touchable. They fall in a clean S-shape rather than a shaggy curl pattern, so the whole style reads more expensive and more deliberate. If you want birthday hair that leans glamorous without shouting about it, this is the one I’d put near the top of the list.
The shape starts with a side or center part and a 1.25-inch curling iron, wrapped away from the face. Clip each curl while it cools — that cooling step matters more than most people think. It locks the curve in place and keeps the wave from collapsing into fuzz.
Brush them out only after they’ve cooled completely. Then use a soft brush or wide comb to merge the curls into waves that move together instead of looking separately wound. A little gloss spray on the mid-lengths gives the finish that smooth, mirror-like look without turning the roots greasy.
This style shines when you want your hair down but still dressed up. It works best with satin, velvet, or one-shoulder dresses, because the waves soften sharp necklines and add a bit of motion around the shoulders. If your hair is layered, pin the shortest front pieces back for a minute while the curls cool so they don’t spring too high at the cheekbone.
3. Bubble Ponytail with Satin Ties
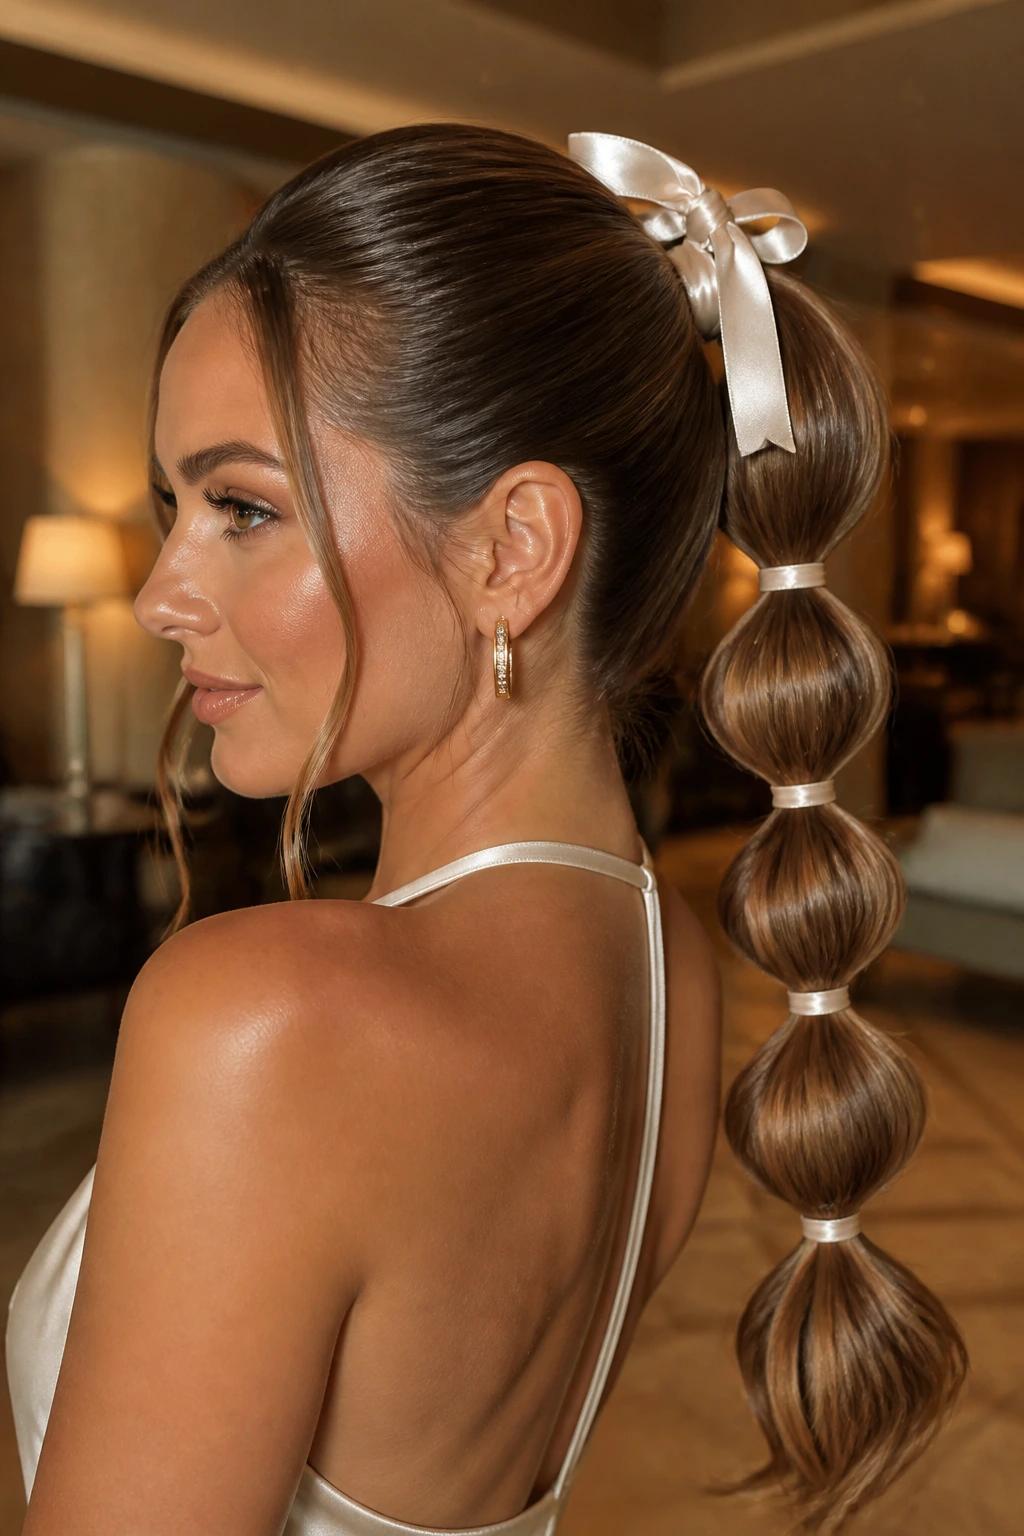
Why does a bubble ponytail look so polished instead of playful and messy? Because the shape is controlled at every interval. The ponytail itself is smooth at the crown, then divided into equal sections with clear elastics every 2 to 3 inches, which creates those rounded, puffed “bubbles” without needing a lot of length or volume.
The satin tie is what changes the mood. Replace one of the elastics with a narrow ribbon, or knot a short strip of satin around the base of the ponytail, and the whole style stops looking like a gym pony. It reads birthday-ready fast.
How to Wear It
Keep the crown sleek with gel or smoothing cream before you tie it back. Then gently tug the sections after each elastic is secured so the bubbles round out instead of forming dents. If your hair is medium length, four bubbles are usually enough; if it’s longer, five or six can look very elegant.
This style suits dresses with open backs, high necks, or strong shoulders, because the ponytail adds shape without crowding the outfit. It also stays tidy through a long evening, which is more useful than people admit.
4. Side-Swept Old Hollywood Curls
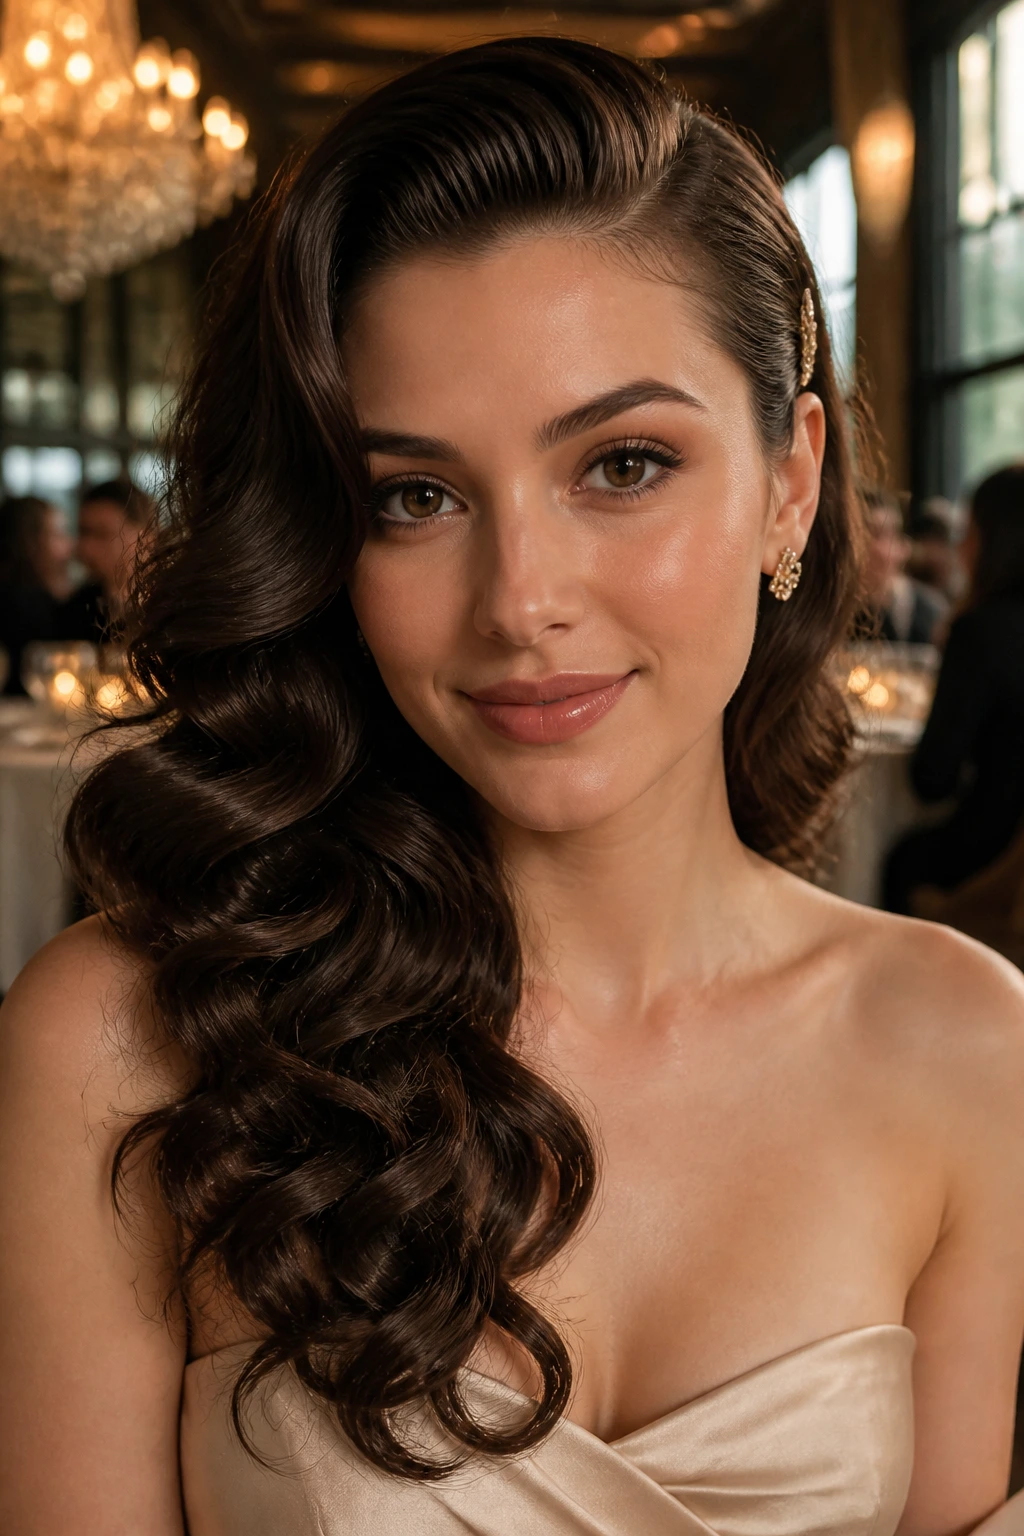
Picture one side tucked behind the ear, the other side falling in glossy, structured bends over the shoulder. That’s the appeal here. Side-swept curls have old-school drama, but they still feel soft around the face, which keeps them from looking too formal for a birthday dinner or a night out.
I like this look when the dress has asymmetry — one shoulder, a deep side neckline, or even a neckline that needs a little balance. The curls do the balancing for you. They lead the eye diagonally across the face instead of building height at the crown, which makes the style feel flattering on a lot of face shapes.
Use a large barrel iron and curl away from the face on the heavier side, then pin the side with less hair behind the ear for 10 minutes while the curl cools. A single decorative pin can hold that side in place and keep the line clean. If the ends start to fray, a quick pass with a curling iron on the bottom 2 inches fixes the shape fast.
The part should be clear and deliberate. No fuzzy zigzag. No vague middle. This is one of those birthday hairstyles that gets ruined by hesitation, so decide on the part first and stick to it.
5. Braided Crown Half-Up
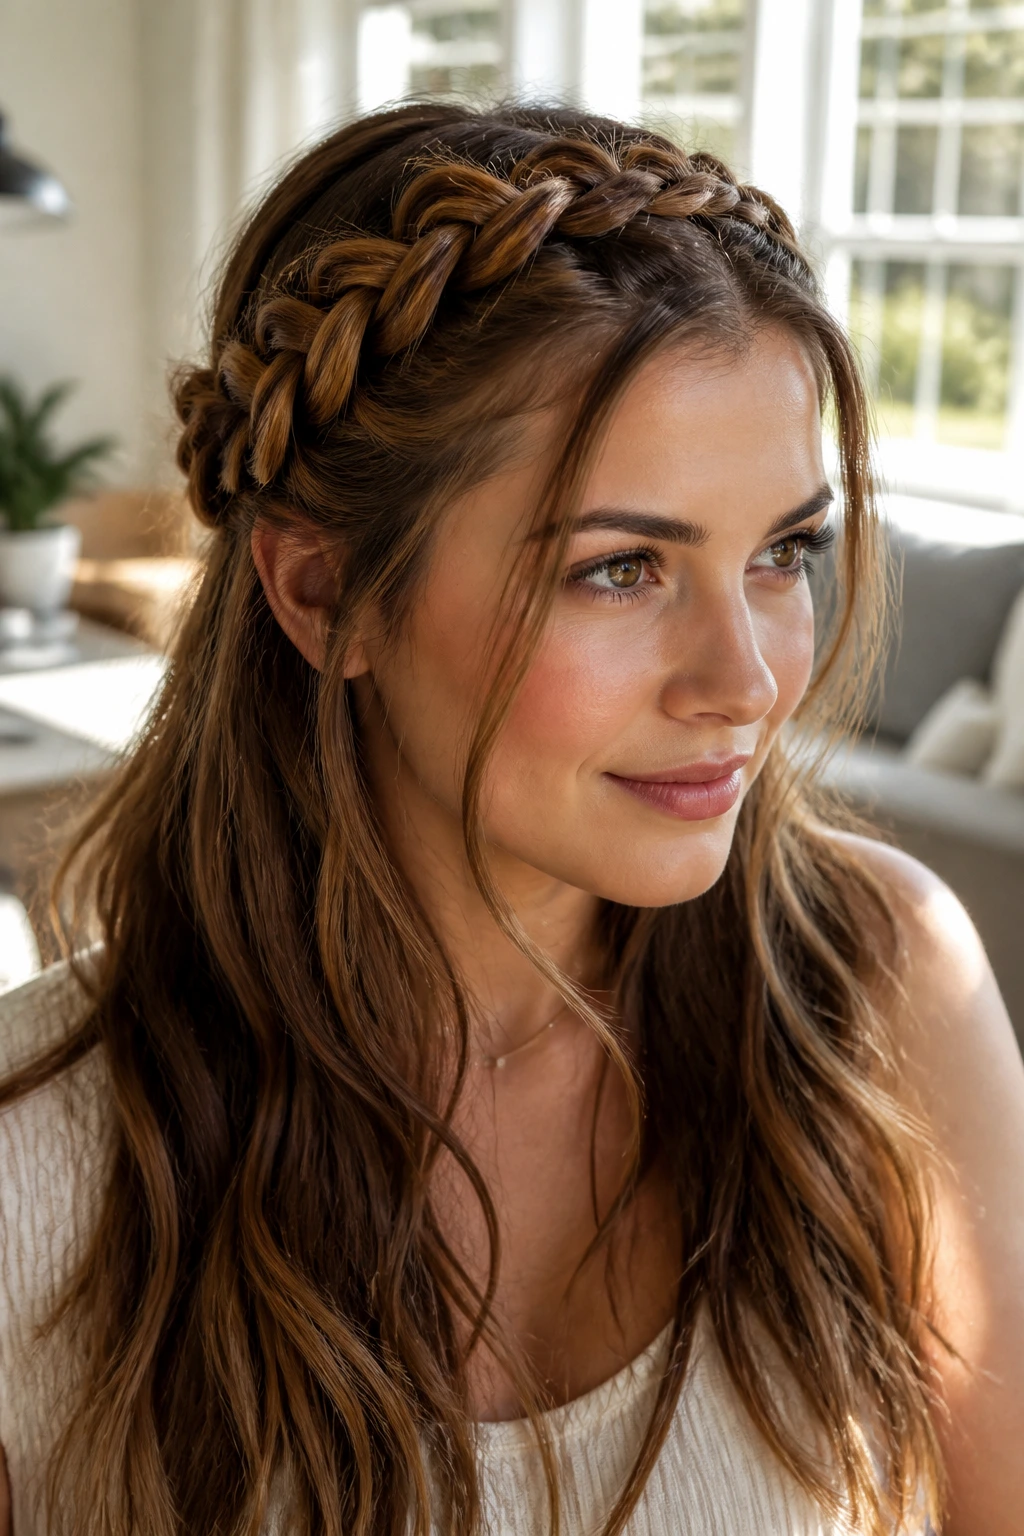
A braided crown half-up style gives you structure at the top and movement underneath, which is one of the nicest combinations for a birthday look. It frames the face without dragging everything back, and it has that hand-worked feel that makes people assume you spent more time on it than you did.
Start by taking two sections from above the temples and braiding them back toward the crown. You can make them simple three-strand braids or a slightly looser Dutch braid if you want more texture. Bring both braids together at the back of the head and pin them flat, then let the rest of the hair fall loose in waves, curls, or even a smooth blowout.
This style is especially good when you want to show off length but keep the front from falling into your eyes. It also handles layers better than a plain half-up ponytail because the braid anchors shorter pieces instead of letting them puff out. If your hair is fine, pancake the braids gently by pulling at the outer edges so they look fuller.
A little shine cream on the crown and a touch of texture spray through the loose ends keep the style from looking too soft or too stiff. That balance matters. Too much polish and the braids look hard; too little and the whole thing loses shape by dessert.
6. Polished High Ponytail
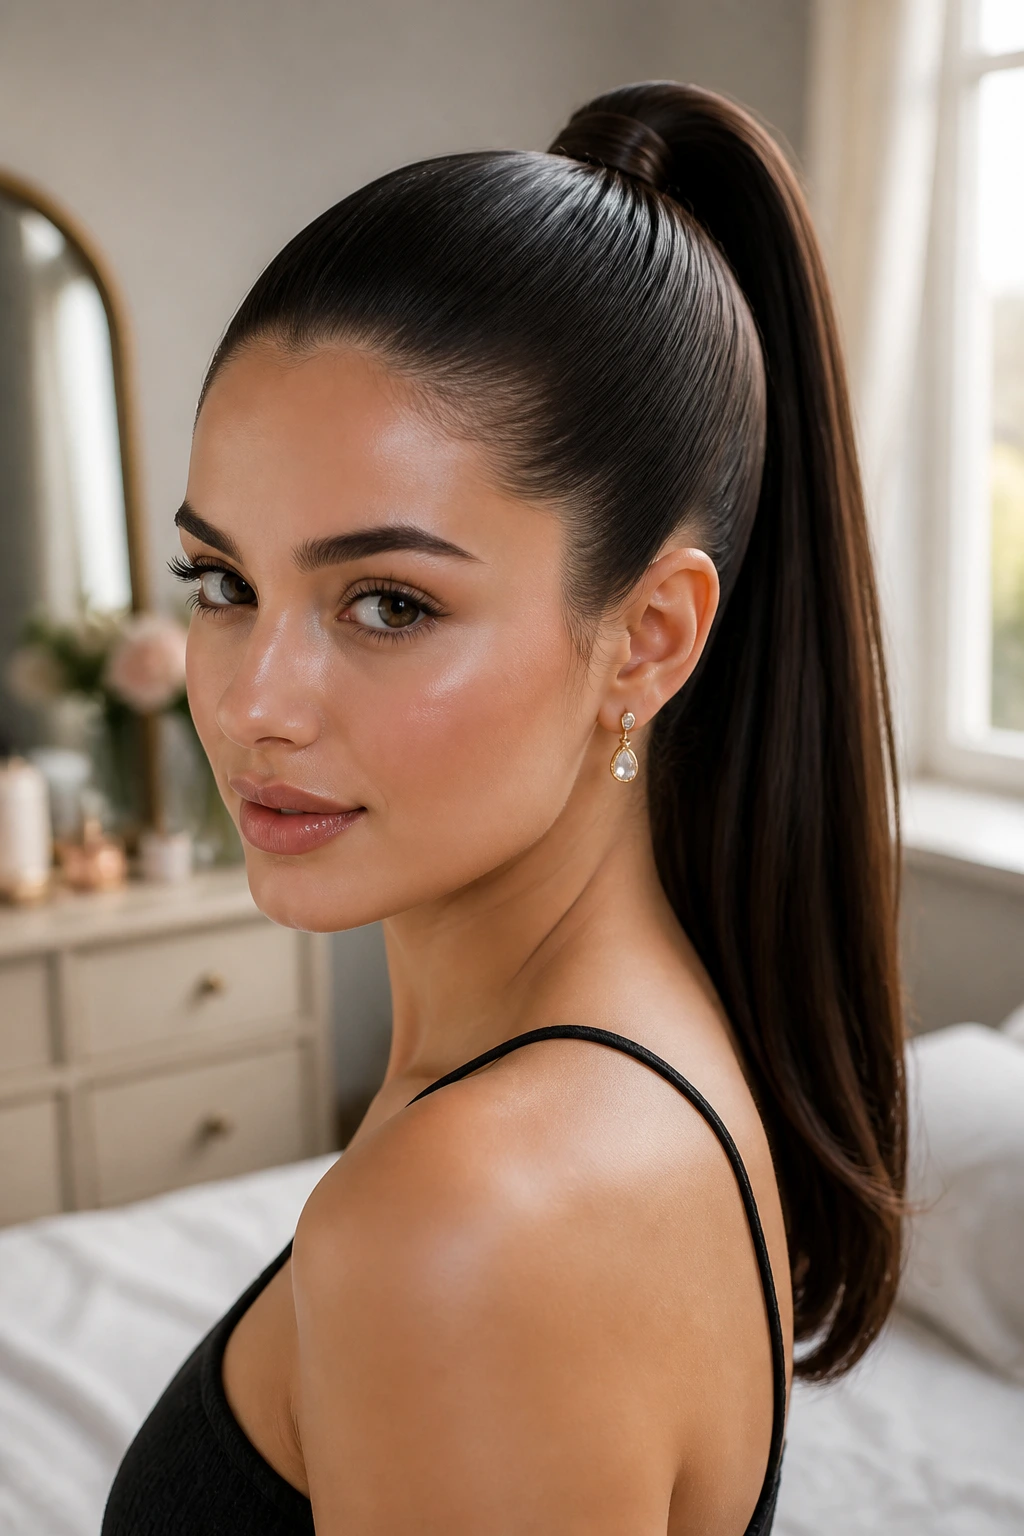
A polished high ponytail is not the same thing as a rushed ponytail with better shoes. The difference is in the base. The crown has to be smooth, the lift has to sit high enough to open the face, and the length has to fall in one clean line rather than a fuzzy cloud.
Unlike a casual pony, this one is built with tension. Brush the hair up from the temples and back of the head, secure it with a strong elastic, then wrap a small strand around the base to hide the tie. If the ends are layered, run a flat iron over just the last 2 inches so they curve slightly inward instead of sticking out like flags.
This style is one of my favorites for birthday looks because it makes earrings, makeup, and a structured neckline stand out. It also gives the face a lifted look without needing pins all over the place. If your hair is thick, split the ponytail into two sections and tie them one above the other before smoothing them together — a tiny trick, but it keeps the weight from pulling the crown flat.
Best of all, it stays out of the way while still looking dressed up. That sounds practical because it is. Practical can look good.
7. Twisted Low Bun with Face-Framing Pieces
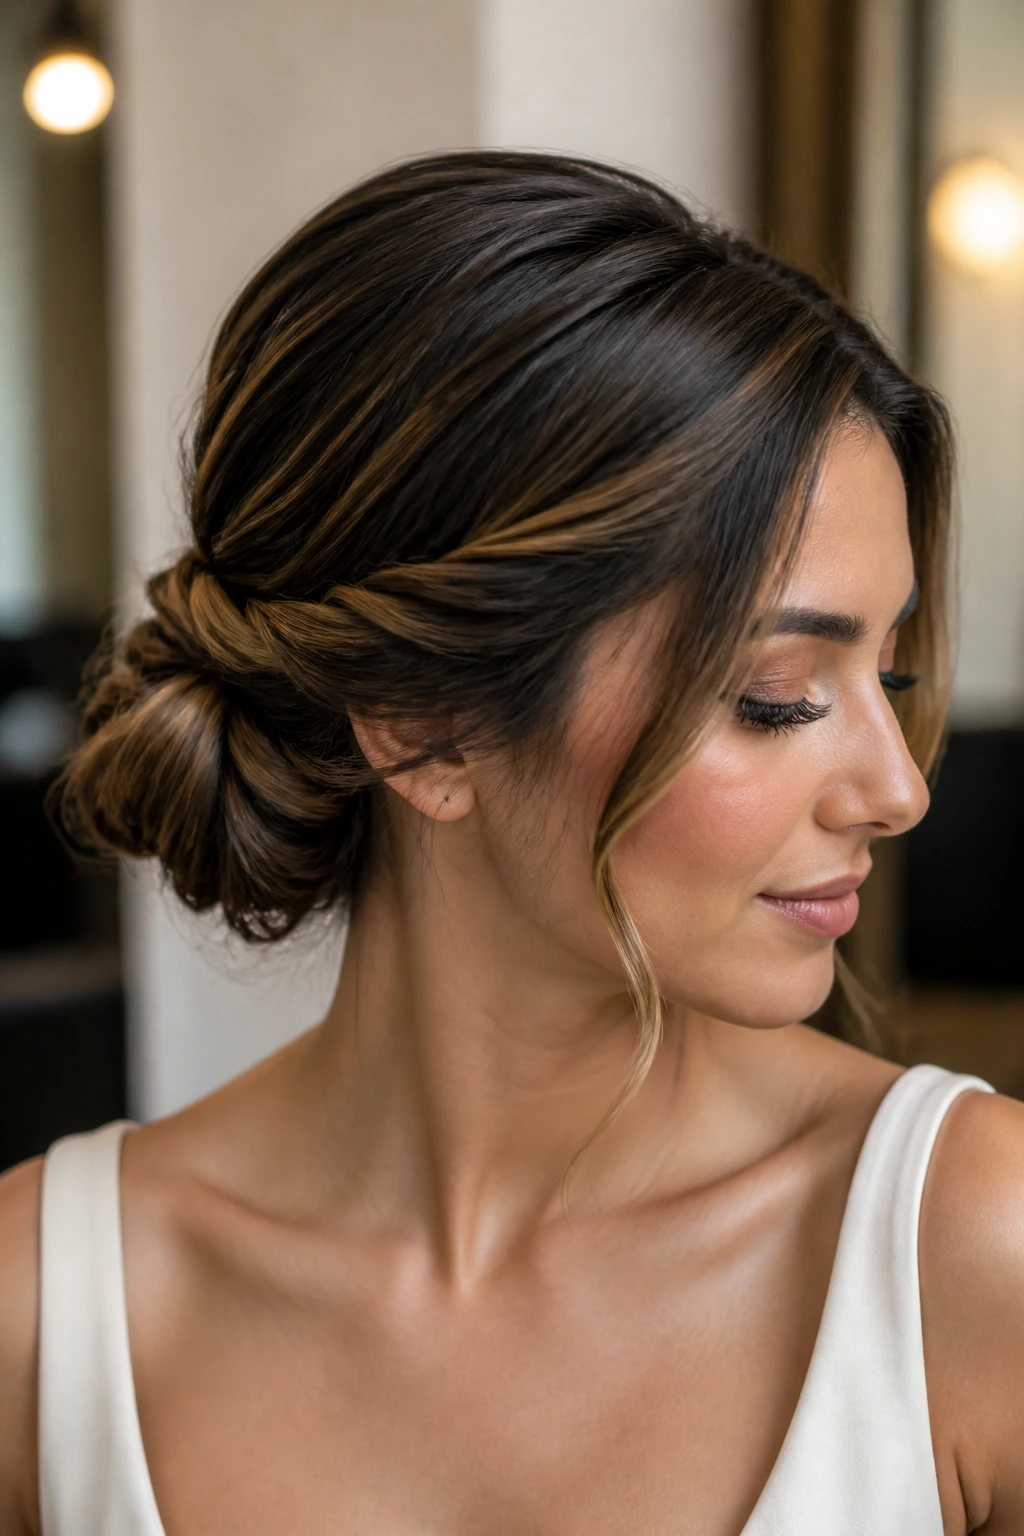
This one is softer than a chignon and less exacting than a knot. The low bun sits near the neck, but the front pieces stay loose enough to create movement around the cheekbones and jaw. The result feels polished without becoming severe, which is useful if the dress or makeup already has a strong line.
The twist starts at the sides rather than the top. Pull two small sections from in front of the ears, twist them back, and secure them into the bun so they merge into the shape instead of sitting on top of it. Leave the front pieces around 1 inch wide; any wider and they start to look like curtain bangs, which changes the whole mood.
If the bun itself has texture, even better. A slightly imperfect twist looks more expensive than a bun that’s been pressed into total flatness. Use pins in a crisscross pattern so the bun sits tight against the head instead of drooping toward the shoulders.
I prefer this style for hair that’s a little layered or naturally wavy, because it gives those shorter pieces a job. They stop escaping and start framing. That’s the whole trick.
8. Glossy Straight Center Part
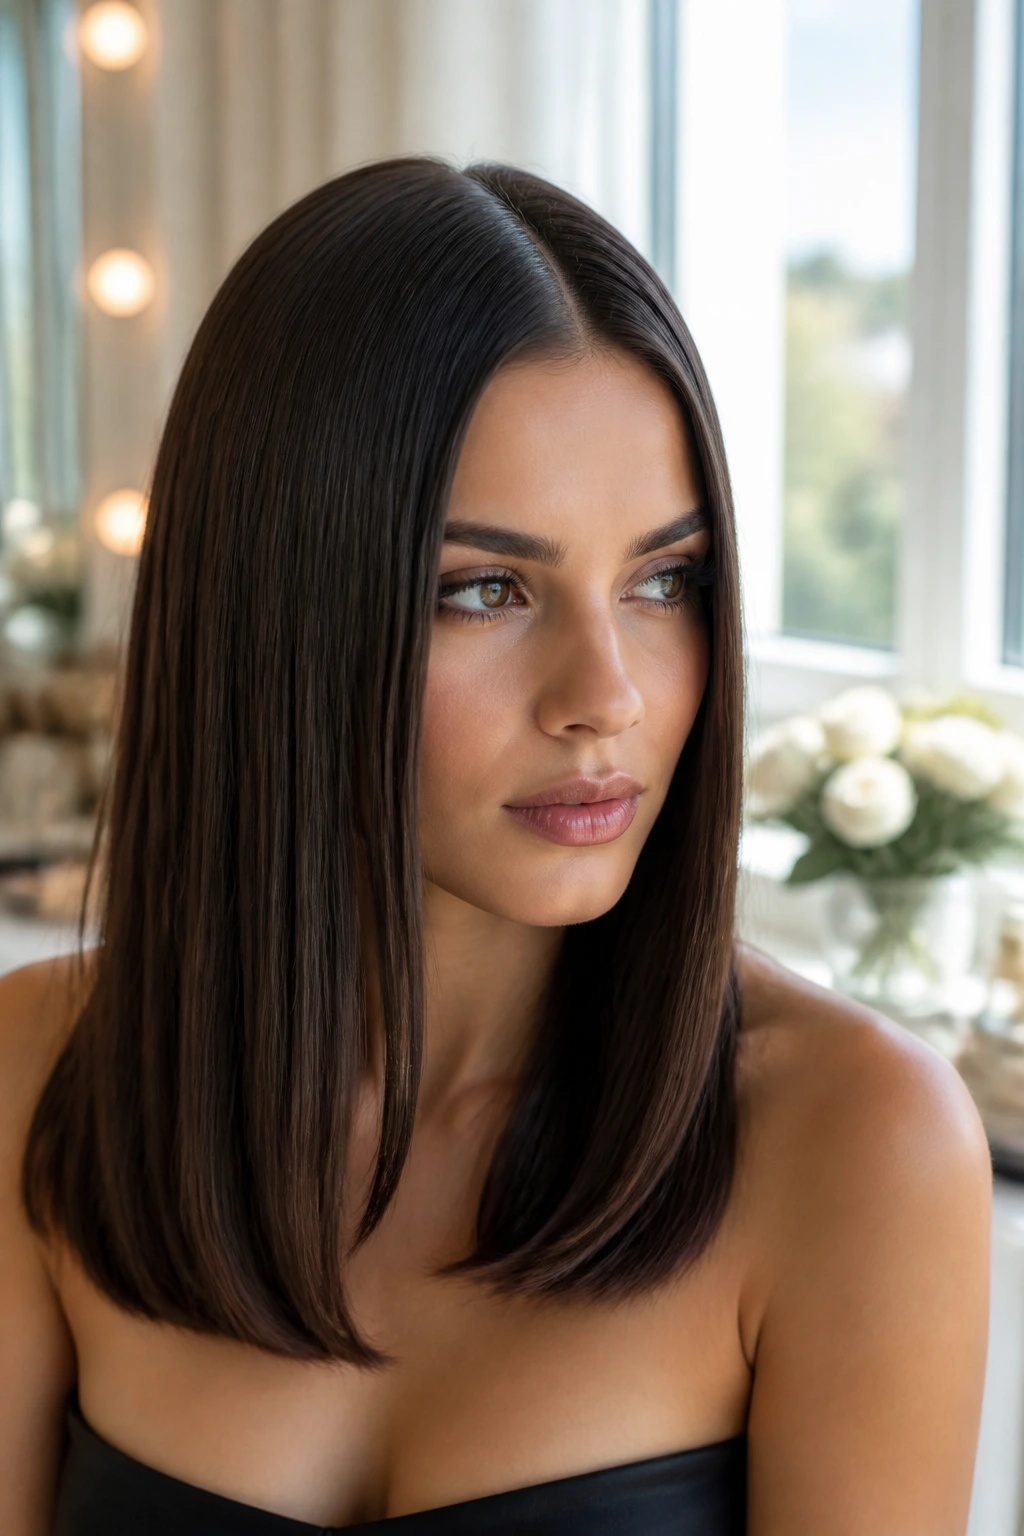
Straight hair can look formal all on its own when the part is exact and the finish is smooth. No curls needed. No extra volume required. A glossy center part has that sharp, modern birthday energy that feels especially good with clean lines, satin fabrics, or a dress with a square neckline.
The part should begin at the middle of the nose, not guessed from the hairline, because a true center part keeps the whole look balanced. Blow-dry with a nozzle attachment and a paddle brush, then finish with a flat iron in one slow pass if needed. The goal is not stick-straight stiffness; it’s a clean sheet of hair with soft ends that still move.
A pea-sized amount of serum on the mid-lengths and ends is enough. More than that and the roots start to look heavy, which ruins the polished effect fast. If your hair tends to puff at the crown, clip the top layer flat for 5 minutes after straightening while it cools. That little step keeps the line cleaner for longer.
This is the style I reach for when the outfit is the main event and the hair needs to step back a little. It’s restrained in the best way.
9. French Twist with a Modern Edge
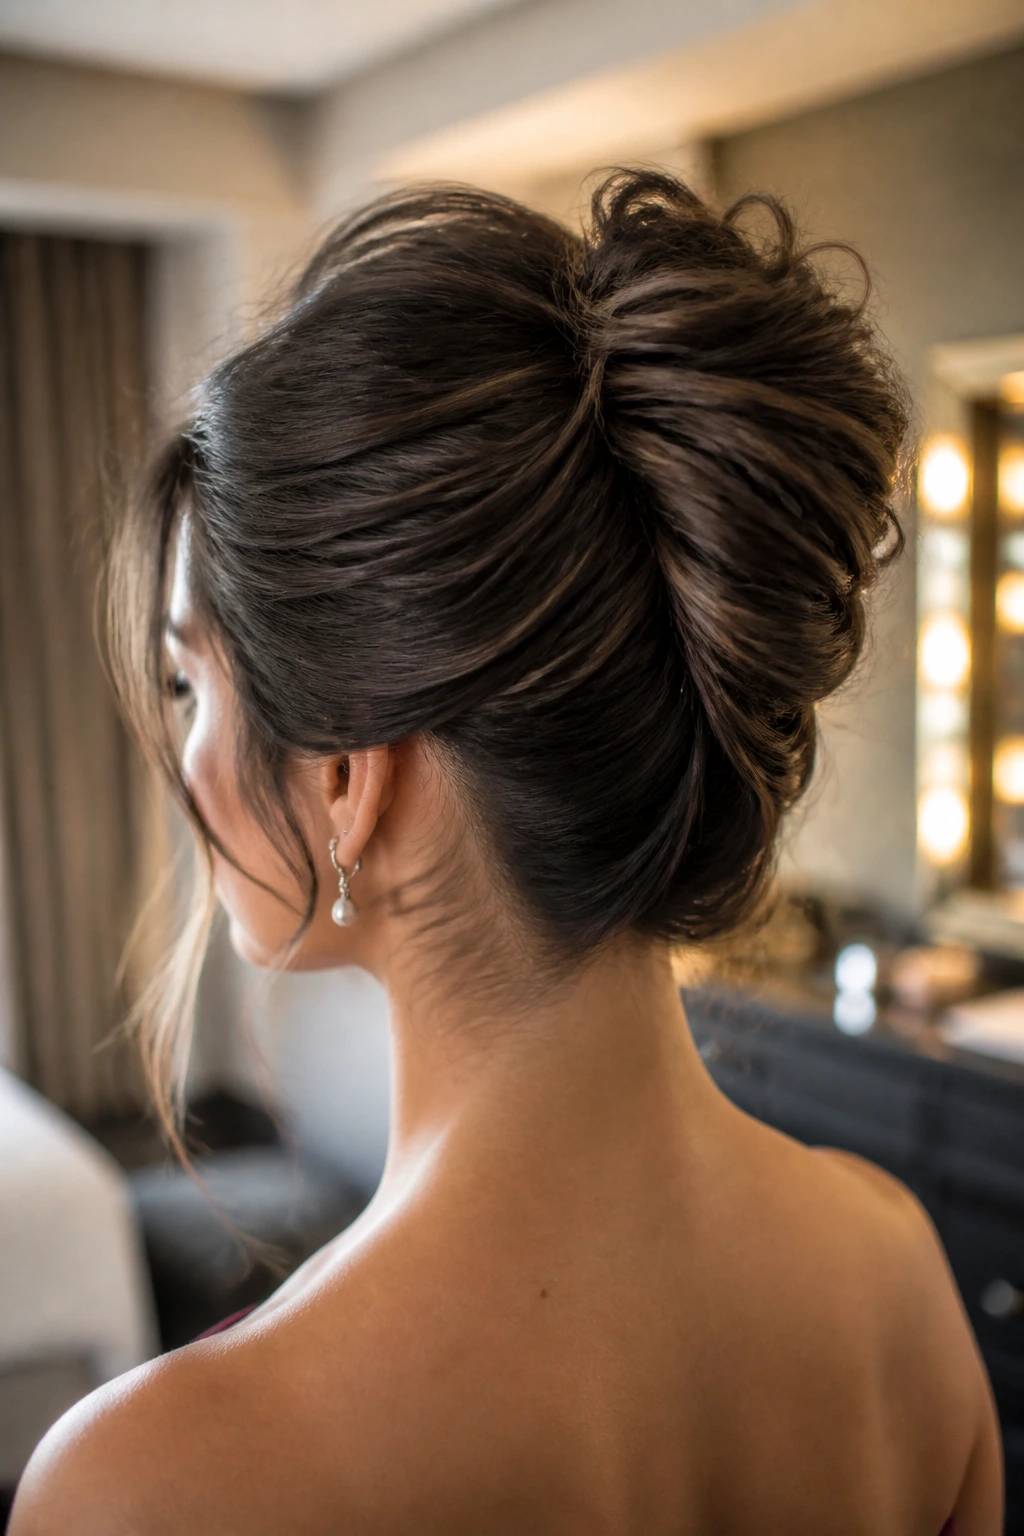
Why does the French twist still work for birthdays? Because it has shape. It lifts the hair vertically, closes off the nape neatly, and leaves just enough surface tension to look dressed up without piling on extra pieces. The modern version is less shellacked and a little looser at the edges, which makes it feel current without losing the classic outline.
The key is to keep the twist centered and secure it with pins that go in vertically, not randomly. Start by brushing the hair back, then fold one side over the other and tuck the length upward into the seam. If the hair is shoulder-length or layered, backcomb the inside lightly before folding; that gives the twist something to grip.
A modern French twist can tolerate a soft side sweep at the front or one tucked ear piece, but don’t over-loosen it. If it starts sagging, it loses the architecture that makes it work. I like a narrow decorative comb at the top edge or a single metallic pin set near the seam. Too many accessories turn it fussy.
This style is best when you want a grown-up look that still has some edge. It feels sharp, and sharp is useful on a birthday.
10. Half-Up Knot with Loose Ends
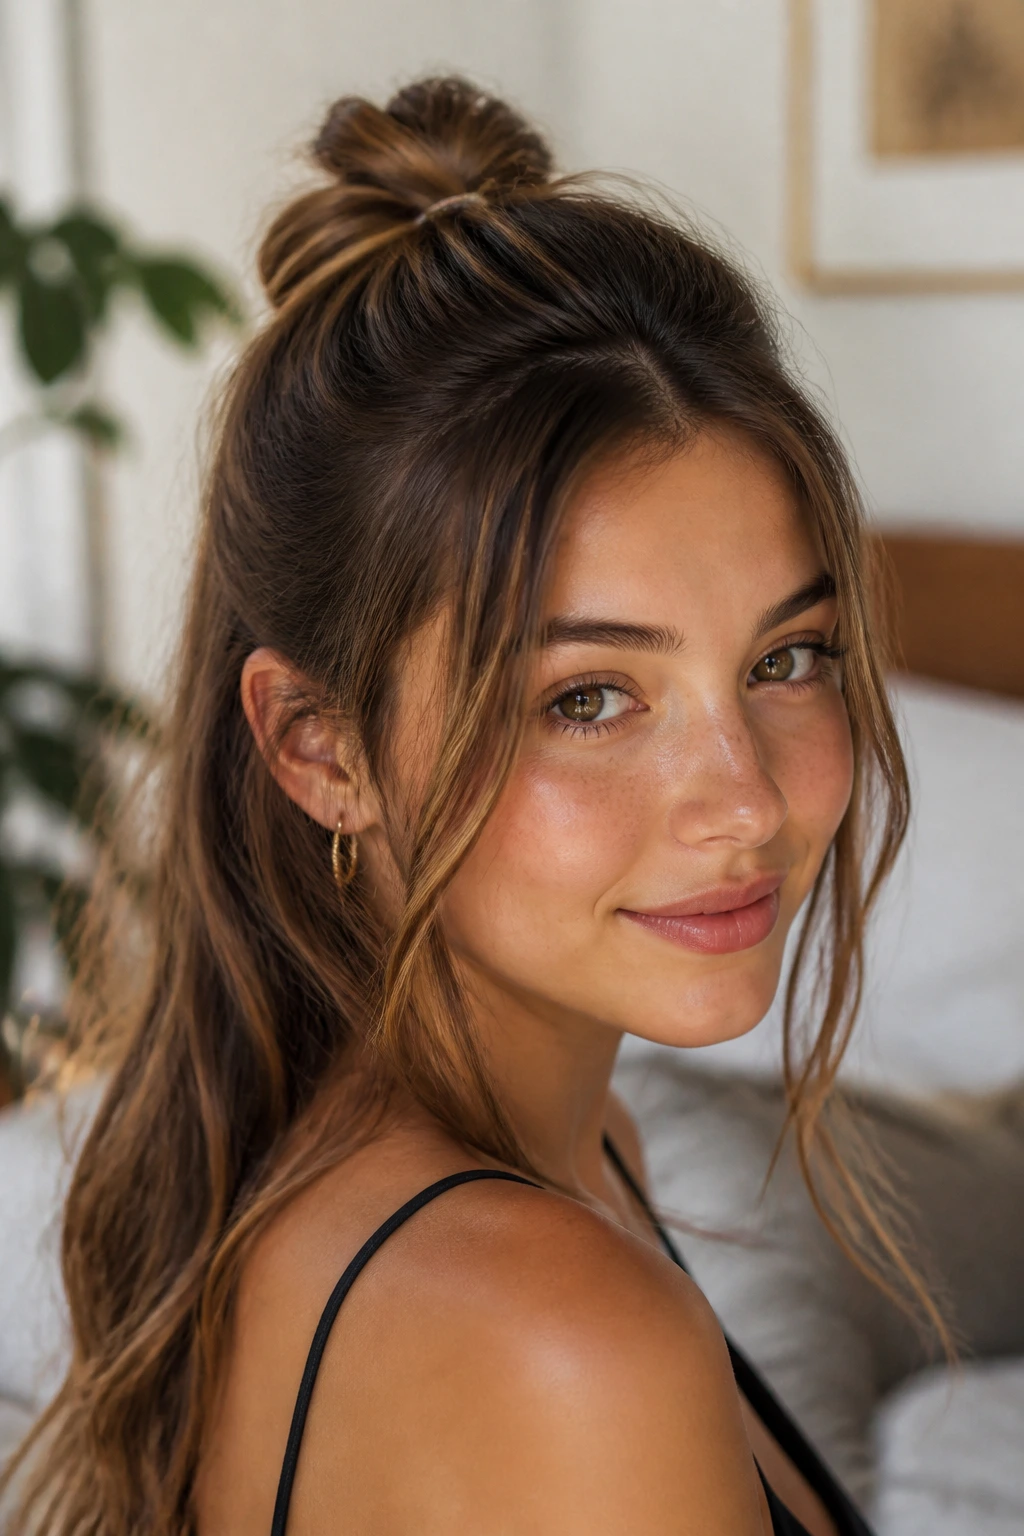
A half-up knot has an easy confidence that full updos sometimes lack. It lifts the front just enough to show the face, then lets the rest fall in waves, curls, or a smooth bend. The knot itself can be tiny and neat or slightly wider and looser; either way, the shape says “done” without saying “done for an hour.”
The best version starts by sectioning the crown from temple to temple and gathering it at the back of the head. Twist it once or twice, then fold it into a knot and pin it flat. Leave the loose hair polished, not messy — a few face-framing curls are fine, but the ends should still look intentional.
This style is useful when you can’t decide between wearing hair up or down. It solves the argument. The top stays out of your face during dinner, the bottom keeps the movement, and the overall effect looks balanced on camera. If your hair is thick, secure the knot with two small elastics before pinning so it doesn’t spread open by dessert.
I like this one for softer dresses and birthdays that move from casual to slightly dressed up. It keeps the mood flexible.
11. Fishtail Braid into a Low Bun
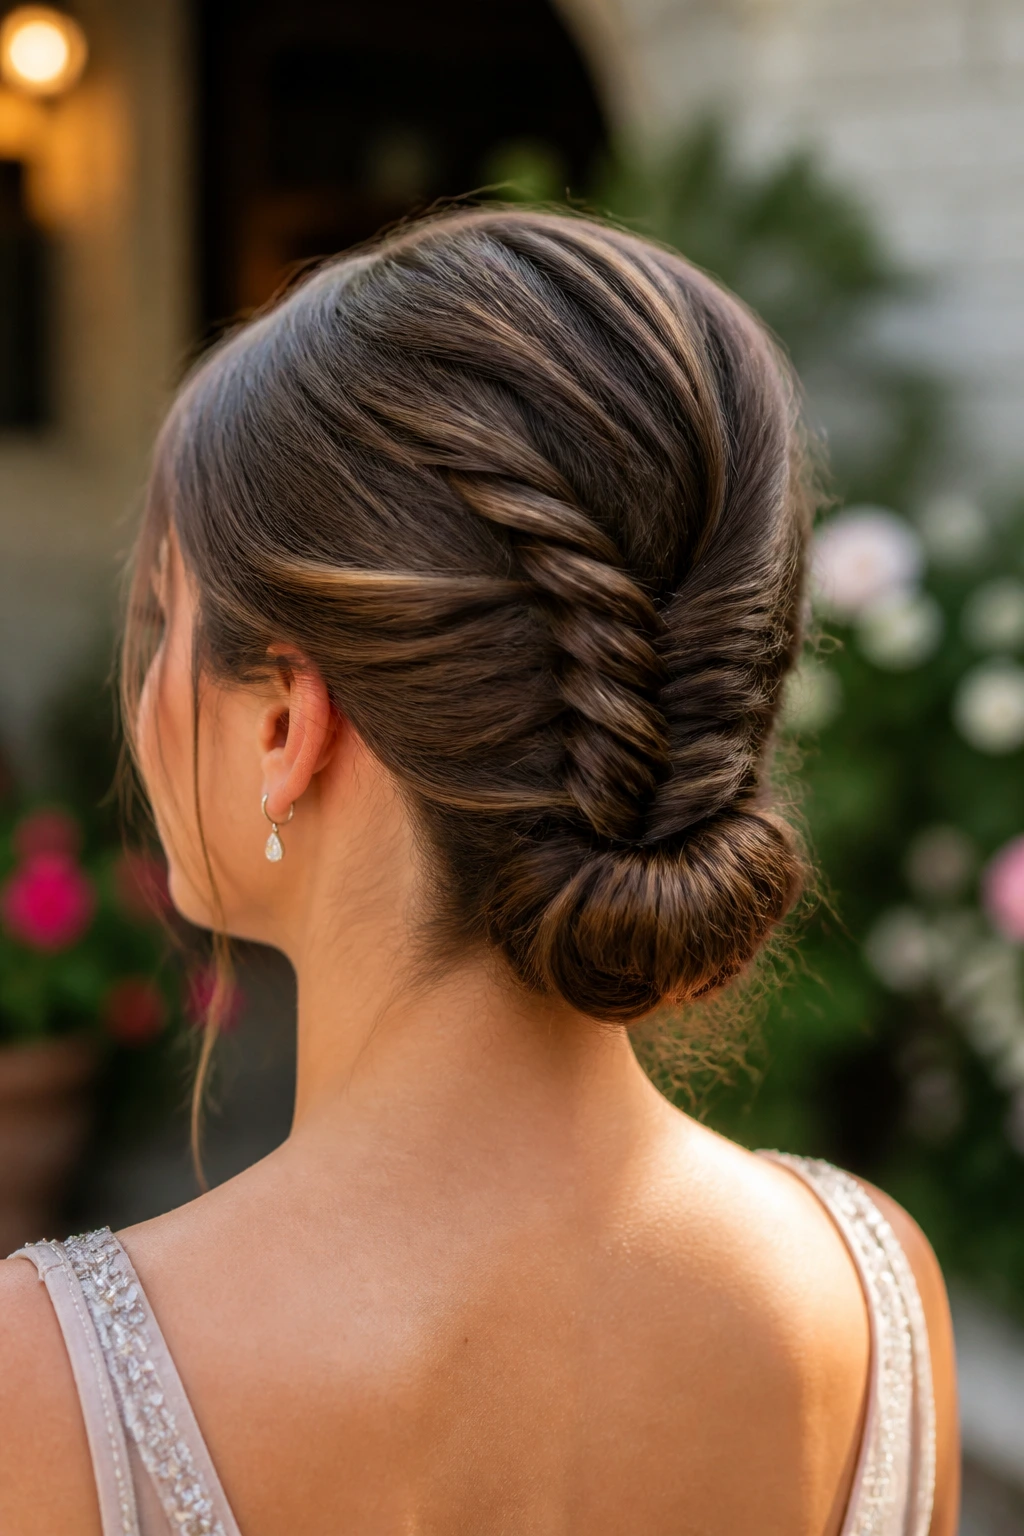
A fishtail braid into a low bun gives you detail at the back where people usually forget to look. The braid pattern is tighter and more intricate than a standard plait, so even a simple bun gets an elevated finish. It’s one of those birthday hairstyles that looks like you paid attention to the back of your head, which is a rare and useful thing.
The braid starts at the nape or just below the crown, depending on how much volume you want at the top. Once you reach the end, coil the braid into a low bun and pin the ends underneath so nothing sticks out. If the braid feels too tight, tug the outer edges just a little — not enough to loosen the shape, just enough to soften the texture.
This style works especially well for long hair because the braid has room to show off. It also helps keep layers contained, which is helpful if your hair slips apart when it’s down. A tiny spritz of flexible hairspray before braiding gives the sections a little hold without making them crunchy.
Use it when you want the back of the hairstyle to carry some of the interest. It does that job well.
12. Voluminous Blowout with Bent Ends
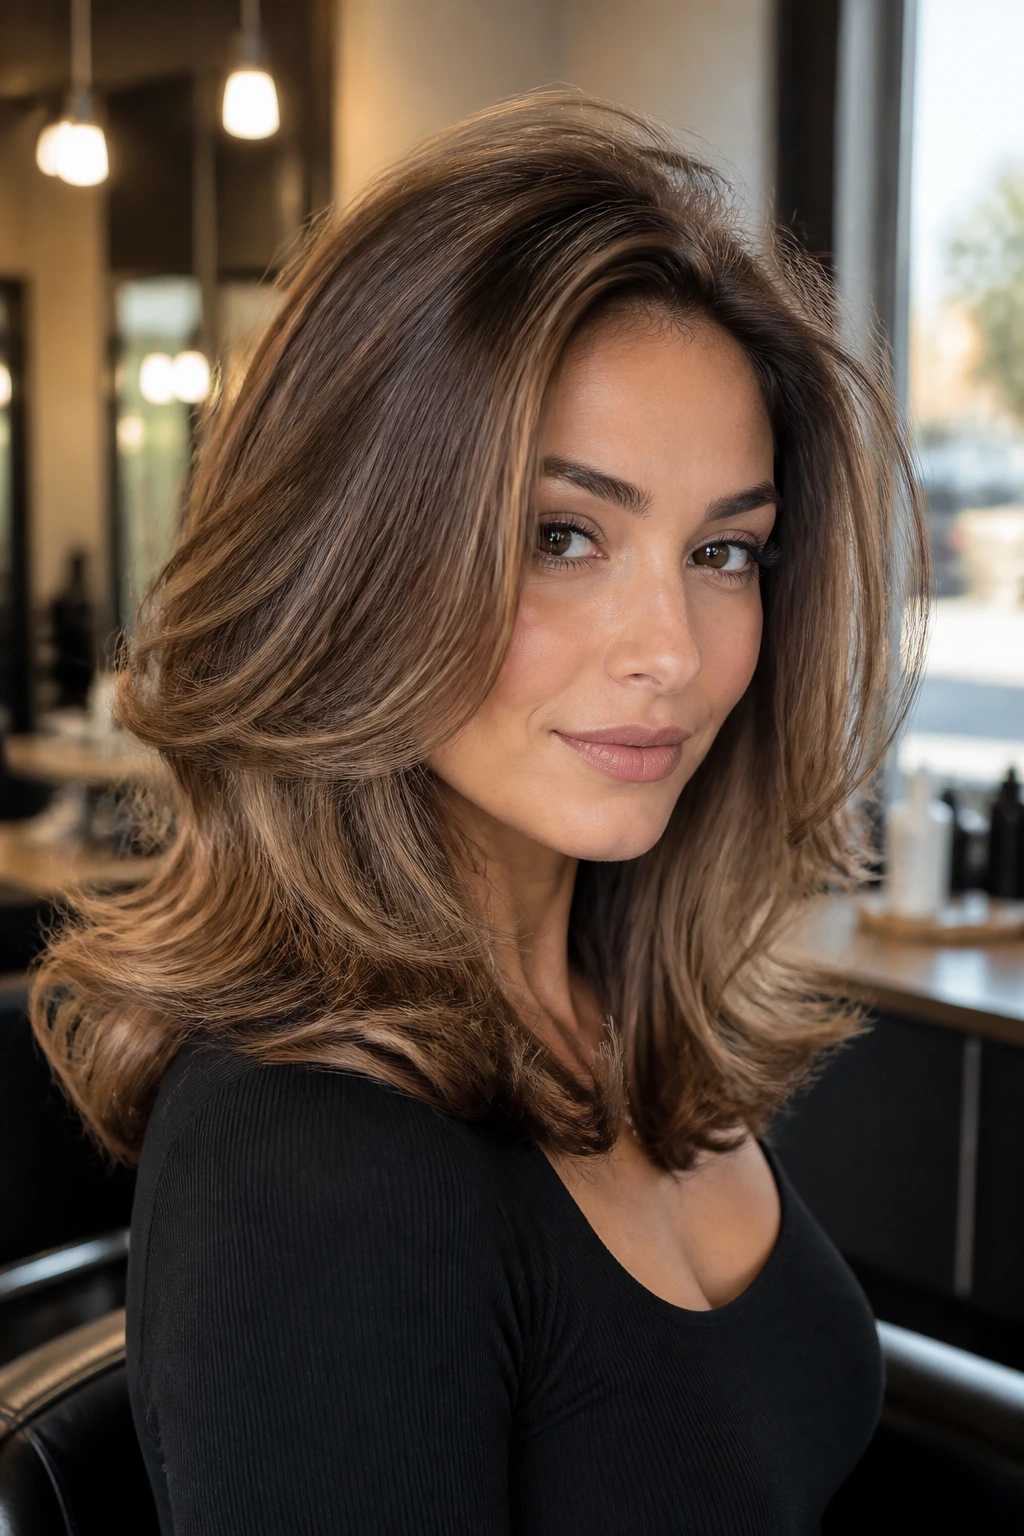
A birthday blowout has a different energy than an everyday blow-dry. The crown needs lift, the ends need a soft bend, and the surface should have movement without looking frizzy. I always think of it as hair that has been given room to breathe but still had a firm conversation with a round brush.
Start with a heat protectant and rough-dry until the hair is about 80 percent dry. Then section it and use a round brush to pull each piece taut while directing the airflow from root to tip. The ends should curve under slightly, not flip out unless that’s the look you want. Large rollers at the crown for 10 to 15 minutes can add height that lasts longer than a single pass with the dryer.
What makes this style feel polished is the finish. Brush through once everything is cool, then use a light smoothing spray on the top layer only. If you use too much oil, the roots collapse. If you use none, the blowout can look dry under flash. The middle ground is the sweet spot.
This is one of the best birthday hairstyles when you want movement and shine in the same package. It works with almost any dress because it doesn’t fight the outfit; it just fills the frame around it.
13. Rope-Braided Halo
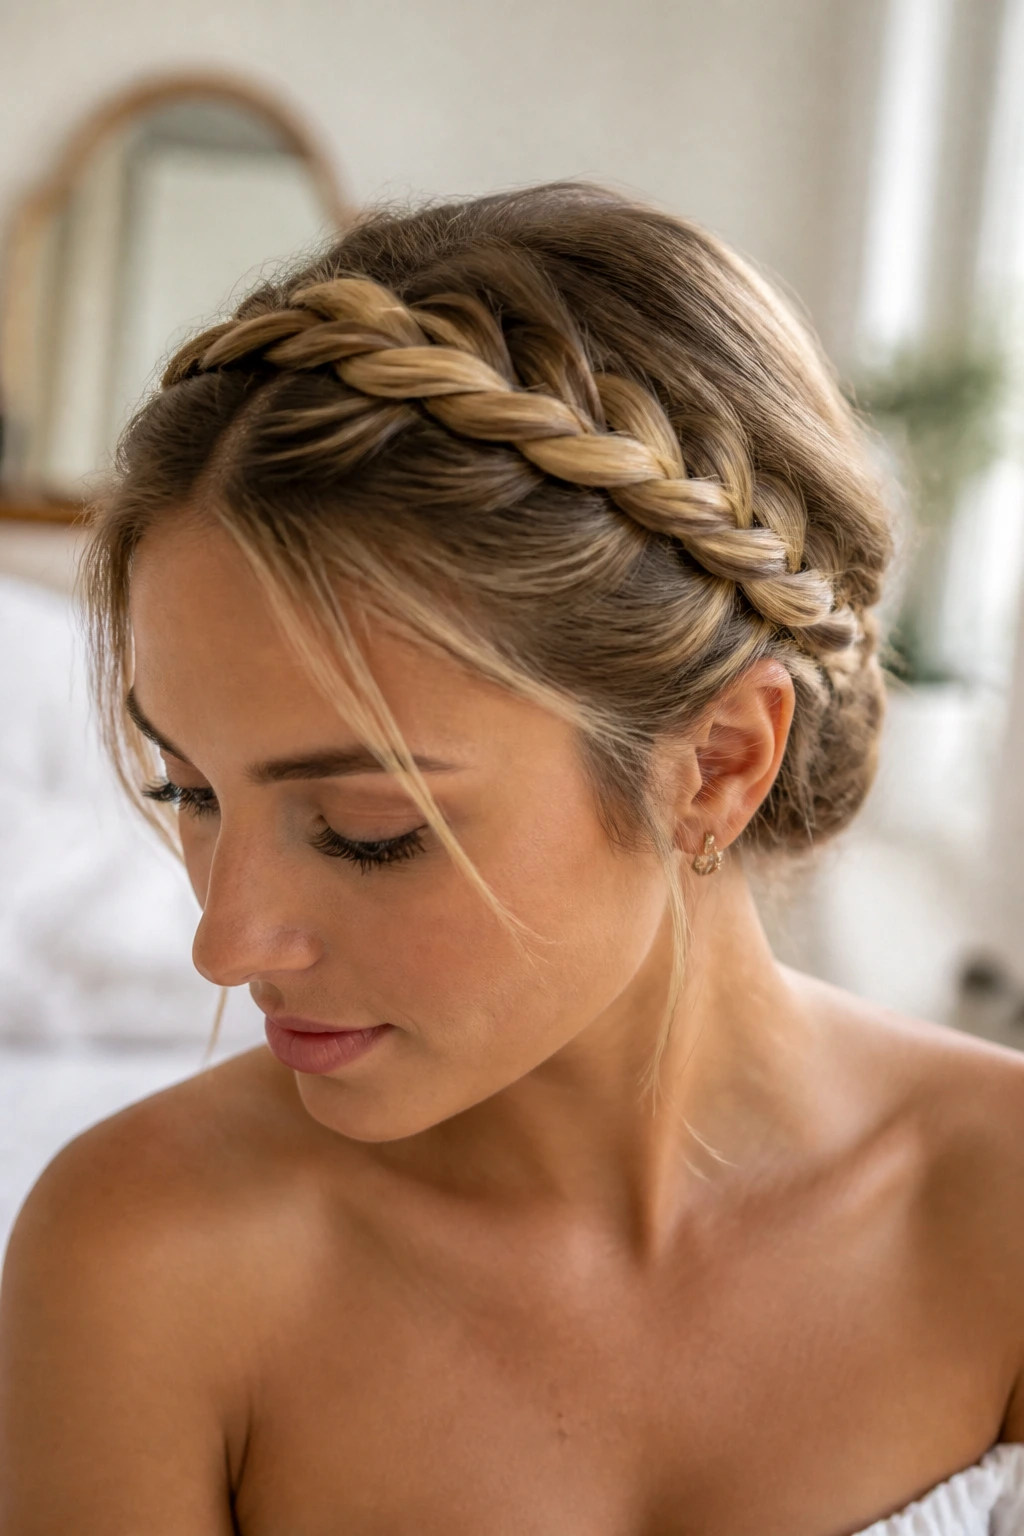
A rope-braided halo is cleaner than a full crown braid and a little easier to adjust if your hair has layers. Two sections are twisted around each other and wrapped around the head like a soft band, which makes the shape feel neat without becoming heavy. If you want a polished look that still feels airy, this one’s a smart pick.
The trick is to keep the twists even. Take two front sections, twist each one away from the face, then twist them around each other in the opposite direction. That counter-twist gives the braid its rope texture. Pin the halo into place behind the ear and at the nape, keeping the pins flat so they disappear into the hair.
This style can be dressed up with a small pin near one temple or left plain if the rest of the outfit already has texture. It’s also a good choice for second-day hair, because a little grit helps the twists stay put. Straight hair may need a touch of texturizing spray; curly hair often needs less product and more gentle smoothing at the part.
The result is calm and tidy, but not severe. That’s the lane it lives in.
14. Claw-Clip Chignon
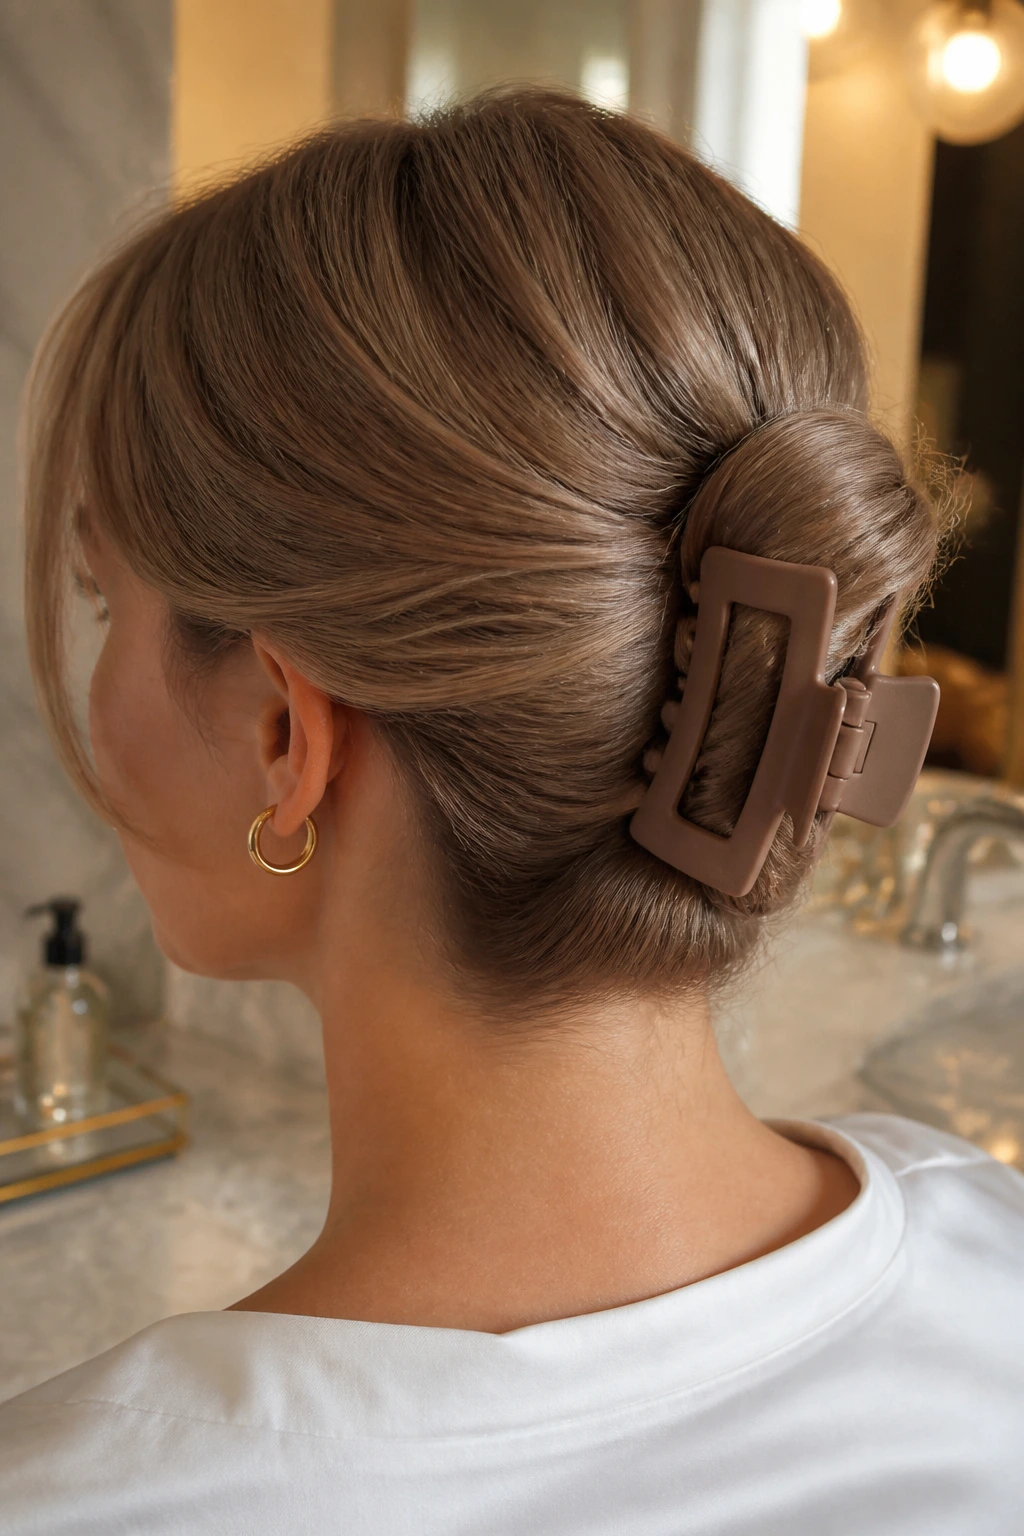
Can a claw-clip style look polished enough for a birthday? Yes, if the clip is chosen carefully and the shape underneath is neat. The cheap oversized clip that slips out in an hour is not the move here. A medium-size matte or acetate clip in a color close to your hair reads much cleaner and holds the twist without shouting for attention.
Start with a low twist at the nape, tuck the ends upward, and secure them with the clip so the teeth catch the hair evenly. Leave the front smooth and the crown controlled. If a few ends poke out, use one or two bobby pins beneath the clip rather than stuffing the whole twist inside. The cleaner the base, the better this looks.
This is a good birthday option when you want a polished hairstyle with a slightly relaxed edge. It’s the style you can still touch up in a restroom mirror without reconstructing the whole head. If your hair is medium length, keep the twist tighter; if it’s longer, fold the ends under once before clipping so the shape doesn’t sag.
It’s casual, but not careless. That distinction is the whole game.
15. Wrapped Ponytail with a Hair Strand Cover
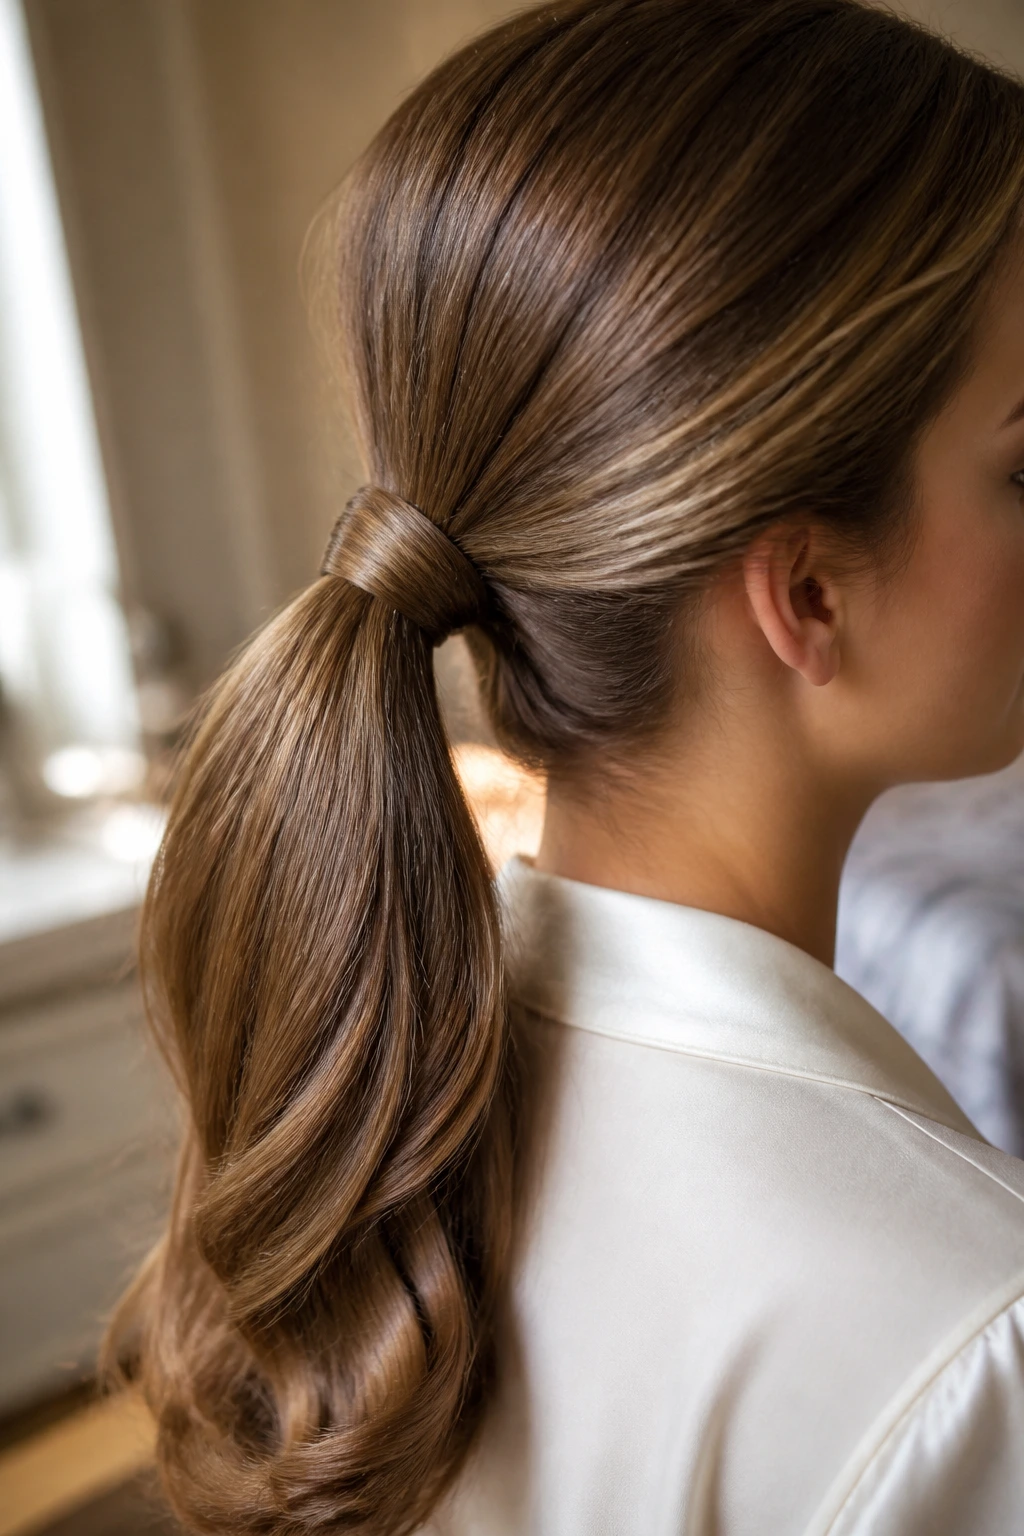
A wrapped ponytail is one of the easiest ways to make a standard style look finished. The base stays smooth, then a thin 1-inch strand of hair hides the elastic so the whole ponytail looks cleaner and more deliberate. It’s a tiny detail, but birthday hair lives or dies by tiny details.
The ponytail can sit low, mid, or high, depending on the dress. What matters is the wrap and the finish on the ends. If the hair is long, add a soft bend with a curling iron to keep the tail from hanging dead straight. If it’s layered, smooth the top first and let the tail have a little texture so it doesn’t look too severe.
I like this style for anyone who wants a quick polish job without a lot of pins. The wrap at the base changes the whole mood, especially if you secure the strand underneath with a discreet bobby pin that points down into the elastic. Use a small mirror to check the back before you leave; the wrap should look like part of the style, not an afterthought.
It’s simple. Not plain. There’s a difference.
16. Tucked-In Faux Bob
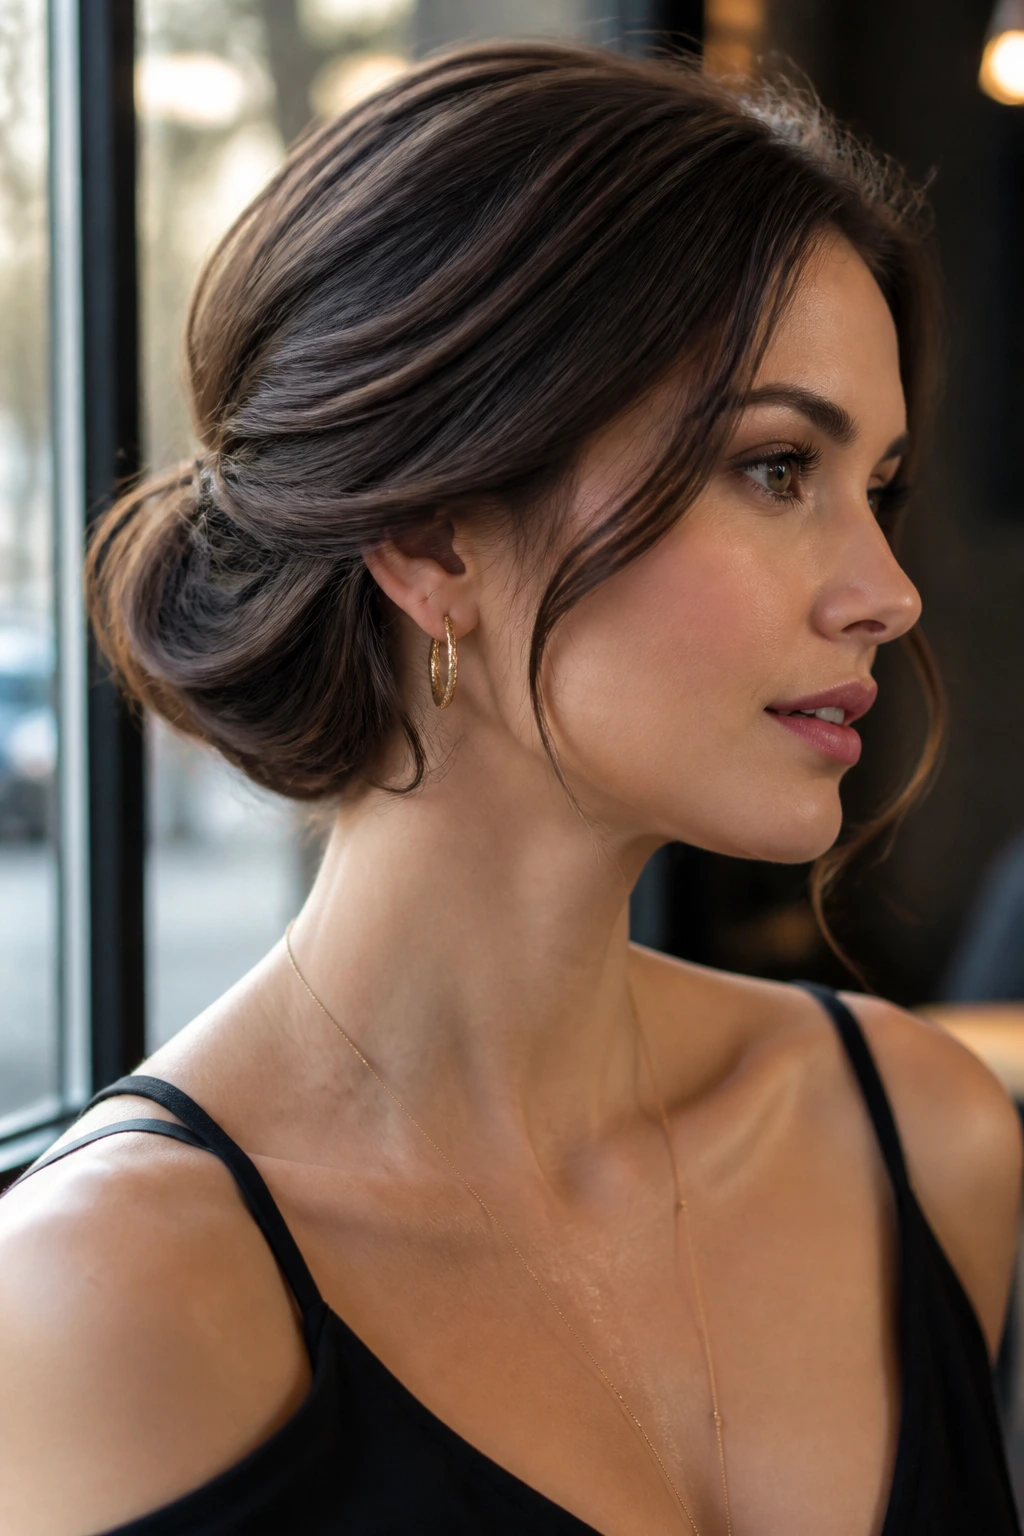
The faux bob has more personality than most birthday styles because it changes the silhouette of the hair completely. Long lengths get tucked under and pinned so the ends disappear, which gives you a shorter shape without cutting anything. The result feels playful and polished at the same time — a good mix for a night that starts with dinner and ends somewhere louder.
The best version starts with soft waves or a bend through the mid-lengths. That texture helps the hair tuck under more naturally than pin-straight strands. Fold the bottom section inward, pin it just above the nape, and then tuck the top layer over the pins so the seam disappears. If the front pieces are too long, sweep them back loosely and let them curve toward the cheeks.
This style is particularly strong with statement earrings or a high neckline, because it opens the shoulders and changes the frame around the face. Use enough pins to secure the tuck, but not so many that the back feels bulky. A faux bob should look compact, not padded.
It’s a little more work than a ponytail. Worth it.
17. Waterfall Braid with Soft Curls
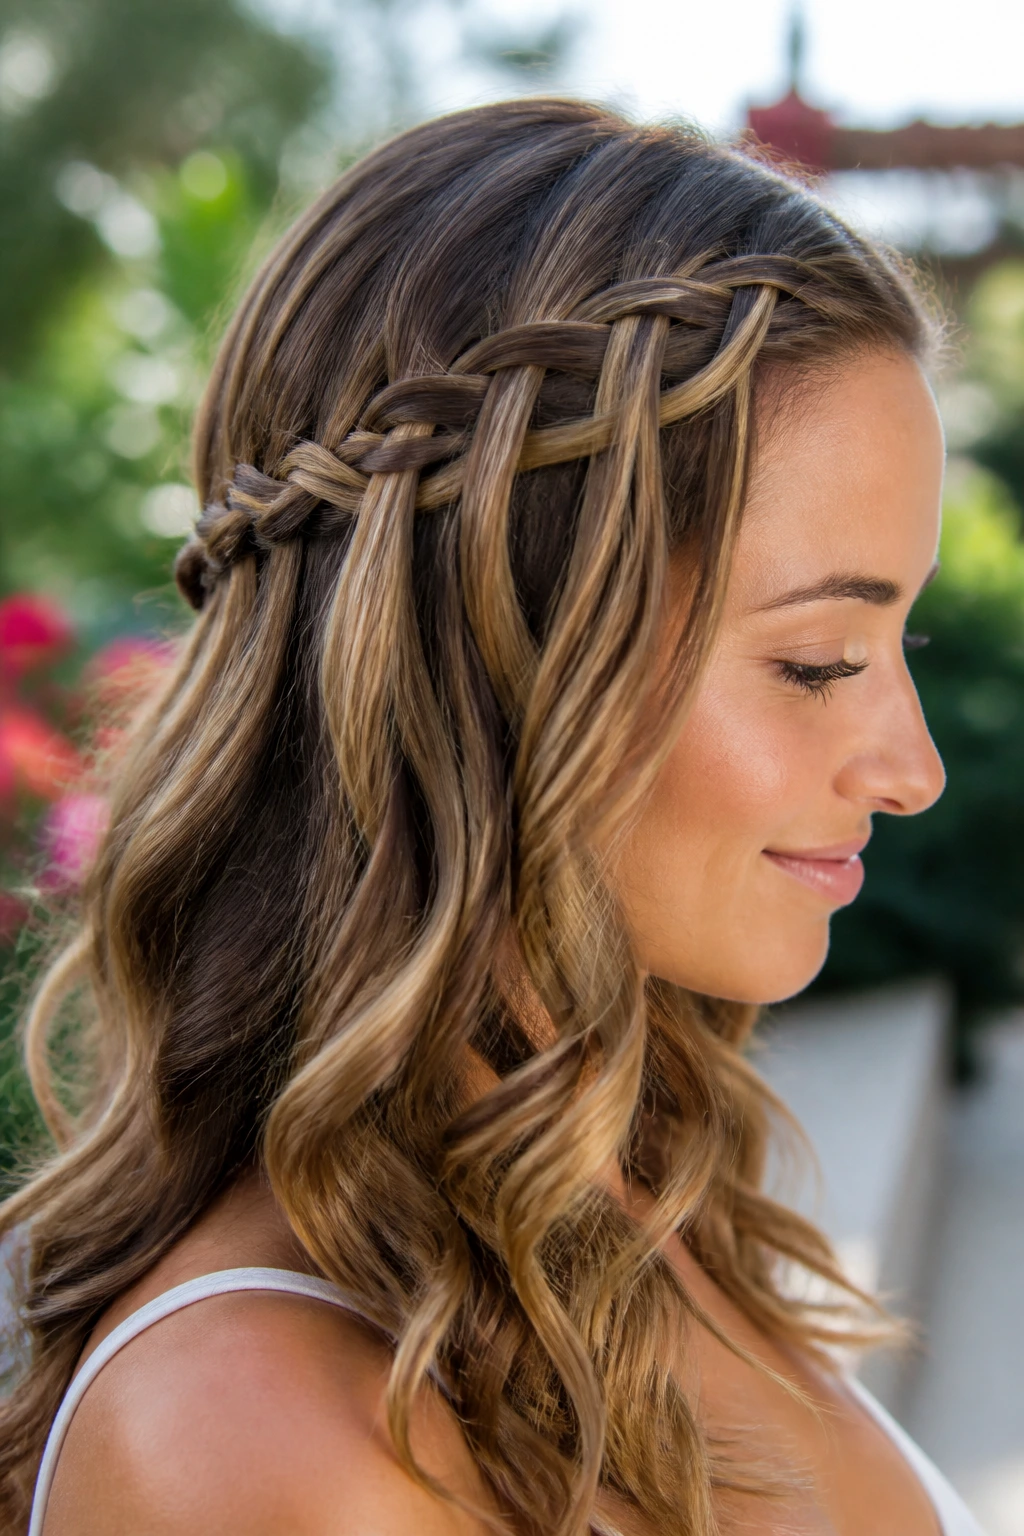
A waterfall braid keeps the front detailed while letting the rest of the hair move. That’s the appeal. Unlike a full braid, it leaves sections falling through the pattern, so the style looks airy instead of packed tight against the head. For birthday hair, that movement matters because it keeps the look from feeling too rigid.
The braid works best when the loose hair underneath is curled or at least softly bent. Straight hair can make the waterfall pieces look flat. Start the braid high near the temple and drop a section every 1 to 2 inches, then pick up new hair as you move along the head. Secure the braid behind the ear with a clear elastic or a pin hidden under a curl.
This is a lovely choice for medium to long hair, especially if you want something pretty that doesn’t remove all the length. It also handles layers more kindly than a single loose braid because the fallen strands are part of the design. A light mist of flexible spray helps the braid hold shape without freezing the curls around it.
The style gives you a little structure at the top and softness everywhere else. That combination is hard to beat.
18. Pinned-Back Curls with Sparkle
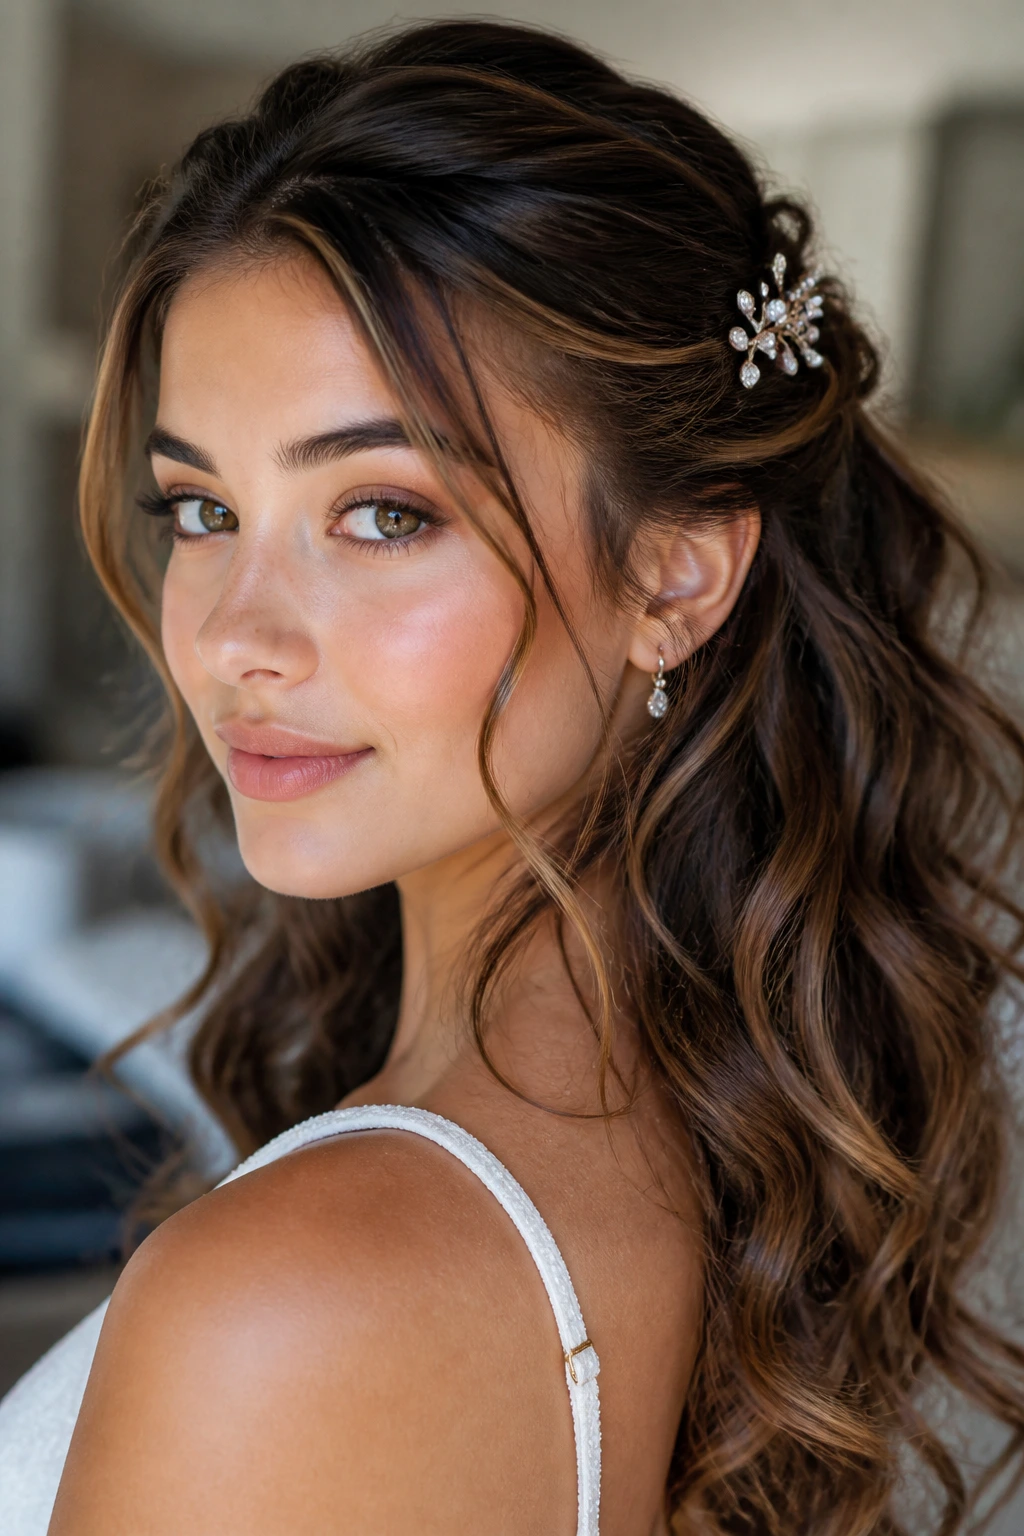
Pinned-back curls are the fastest route to a polished birthday look when you want your hair down but not loose in the usual sense. Curl the hair in medium sections, then pull back one or both sides and secure them with jeweled pins, pearl clips, or a slim metallic comb. The curls stay visible, but the face gets a clean frame.
The placement matters. Put the pins just above the ear or slightly behind the temple, not too high on the head. High placement can make the style feel juvenile; lower placement gives it that refined, side-swept shape that reads more grown-up. If your hair is thick, cross two pins in an X so the section stays flat. If it’s fine, one decorative comb may hold better than several small clips.
This is one of my favorite birthday fixes because it adapts fast. If the curls are falling, pin more of them back. If the outfit needs more sparkle, choose one bright clip and keep the rest of the hair simple. The whole style can shift from quiet to dressy just by changing the hardware.
When you want polish without full commitment, this is the easiest route.
What Gives Birthday Hair Its Polished Finish
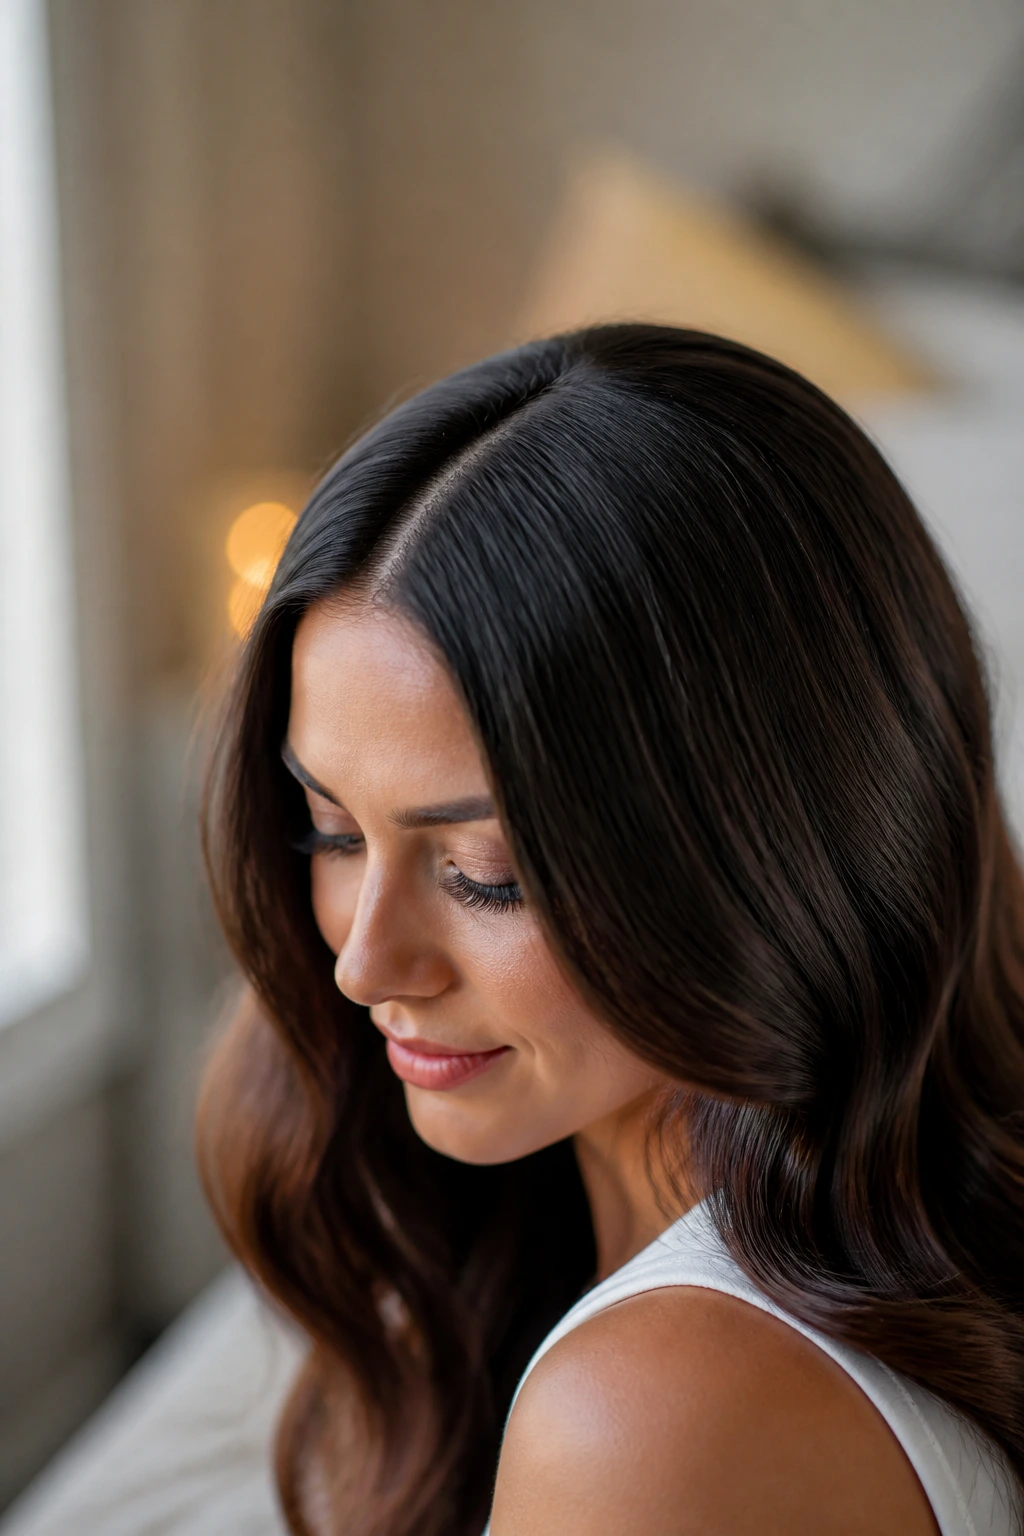
The polished part of birthday hairstyles usually comes from the prep, not the final pin. Hair that starts with the right amount of grip, the right amount of shine, and the right amount of structure will hold its shape far longer than hair that was rushed into place with a can of hairspray and a hopeful attitude.
Freshly washed hair can be gorgeous, but it can also be slippery. If your hair is very fine or soft, styling it on day-two hair often gives better control because the strands have a little natural grip. Dry shampoo at the roots, a small amount of smoothing cream through the mid-lengths, and a clean part can do more for polish than piling on extra curls.
Flash photography changes the game too. A style that looks soft in the bathroom mirror can turn fuzzy under a bright phone light if the surface is too frayed. That’s why smooth crowns, neat wraps, and defined ends matter. They keep the outline intact when the light gets sharp.
I also think the best birthday hair leaves room for your face. If the hairline is smashed tight or the style is too puffed up at the sides, the whole look can feel dated or strained. A little air around the temples, a controlled part, or one tucked-back section is often enough. That’s the part people notice, even if they can’t name it.
Essential Tools for These Birthday Hairstyles
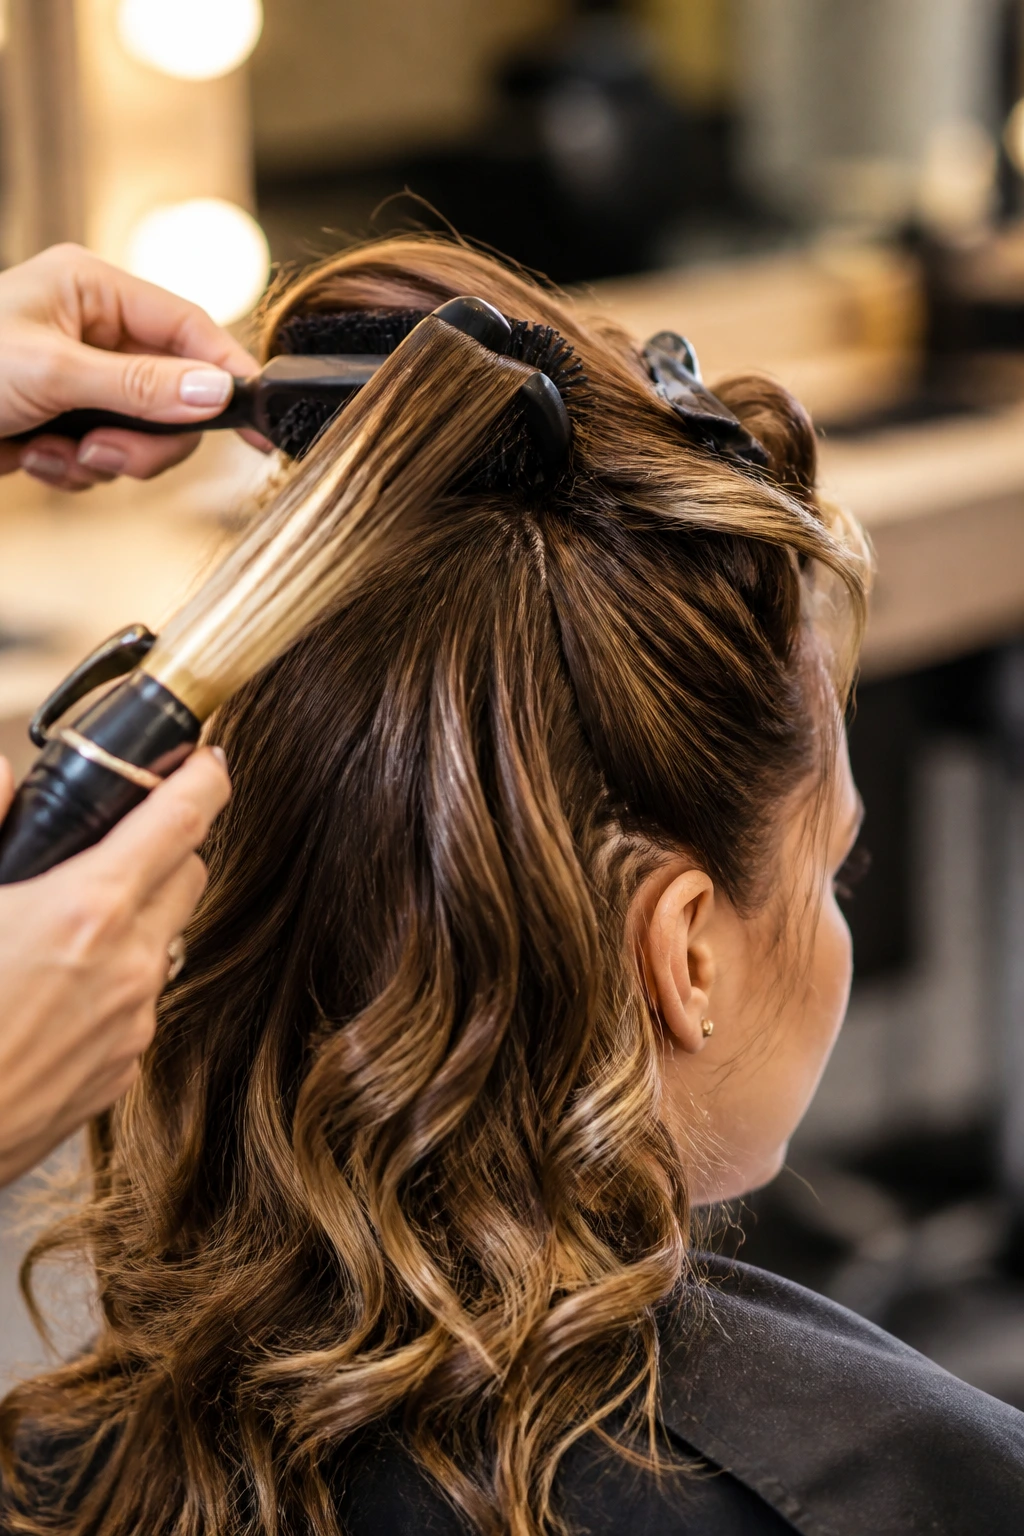
- Rat-tail comb: Best for crisp parts, neat sectioning, and clean braid lines.
- Boar-bristle brush: Smooths the crown and ponytail base without making the hair look pasted down.
- Curling iron or wand, 1 to 1.25 inches: Useful for waves, bends, and soft ends on most of these styles.
- Flat iron: Handy for straight styles, bent ends, and taming front pieces that won’t cooperate.
- Sectioning clips: Keep hair out of the way while you work one area at a time.
- Clear elastics: Ideal for bubble ponytails, braid ends, and wraps that need to disappear.
- Bobby pins in two shades: Brown or black pins blend better than one-size-fits-all metal pins.
- Texturizing spray: Adds grip for braids, twists, and buns that need hold.
- Flexible-hold hairspray: Sets the shape without turning the hair crunchy.
- Heat protectant: Non-negotiable if you’re using hot tools.
- Shine spray or light serum: Use sparingly on the surface for a clean finish.
- Small decorative clips, pins, or combs: One good accessory beats three cheap ones every time.
- Silk or satin scarf: Helpful for preserving waves or a blowout if you style ahead of time.
Choosing Products and Accessories Without Overloading the Hair
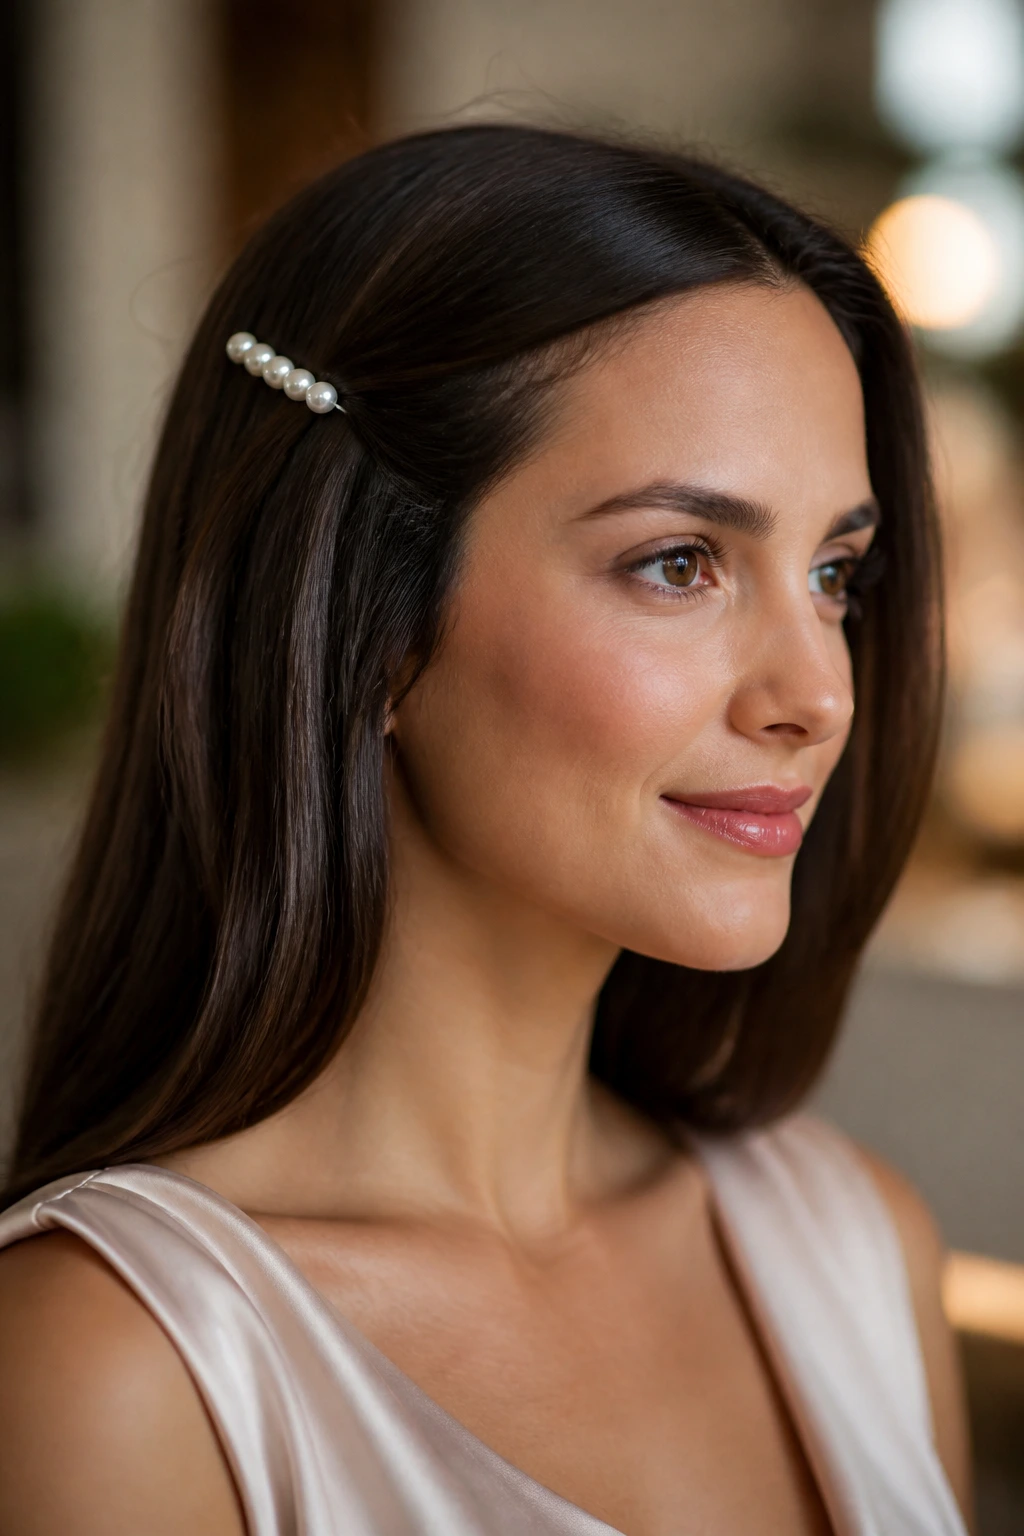
The fastest way to ruin a polished birthday hairstyle is to confuse hold with heaviness. A strong style does not need a greasy one. Start with products that solve one job each: heat protectant for hot tools, a little mousse for lift at the roots, a smoothing cream for the crown, and a finishing spray only after the shape is set.
For sleek looks, choose a product that dries down clean rather than one that stays sticky. If the front pieces feel tacky when you brush them, the style will attract lint, frizz, and any stray confetti that happens to be floating around. For curls and waves, a flexible spray is better than a hard shell. You want the bend to stay, not the hair to snap in place like wire.
Accessories should match the weight of the style. A single pearl clip can make a low bun feel special. A heavy rhinestone barrette on fine hair can drag the section open by the end of dinner. If your hair is fine, look for lighter clips with decent teeth. If it’s thick, choose something with a stronger grip and a wider clasp.
I’m also picky about elastics. Clear elastics are useful, but they’re not all equal. The thinner ones can snap under tension. The slightly wider ones hold better for bubble ponytails and braid ends. Buy more than you think you need; they vanish from bathroom counters like they’re on a schedule.
How to Match the Style to Your Dress, Makeup, and Venue
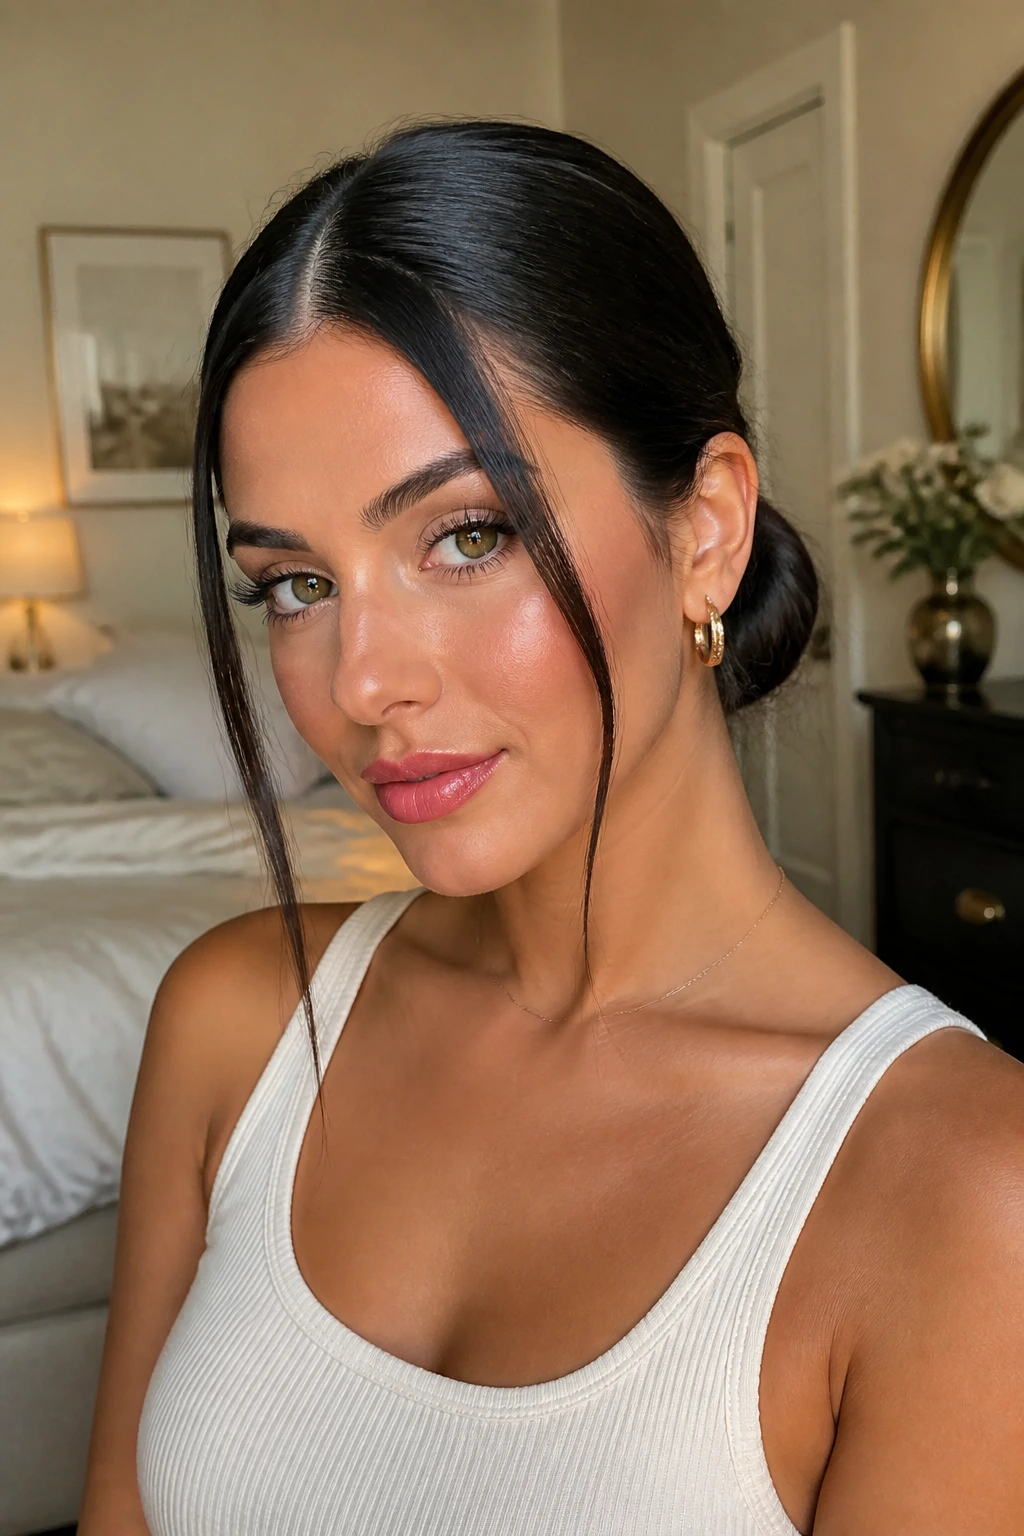
Presentation: If the dress has a strong neckline, keep the hairline cleaner and the shape tighter so the outfit can breathe. A soft wave or a low bun usually frames a detailed bodice better than a huge crown of curls.
Accessories: Pick one finish point and stop there. A jeweled pin, a satin ribbon, or statement earrings can each do the job, but all three together start to fight for attention.
Outfit Pairing: Sleek styles suit structured fabric, square necks, and open backs. Softer braids and curls sit better with satin, chiffon, or dresses that already have movement.
Makeup Balance: A sharp cat-eye or bolder lip can handle a smoother hairstyle. If the makeup is soft and glowy, a wave or braided detail adds enough contrast that the whole look feels finished.
Venue: For a dinner or a place with good air conditioning, curls and blowouts hold shape longer. For dancing, hugging, or outdoor pictures, low buns, ponytails, and pinned-back styles survive the evening with fewer repairs.
Extra Shine, Volume, and Personal Touches
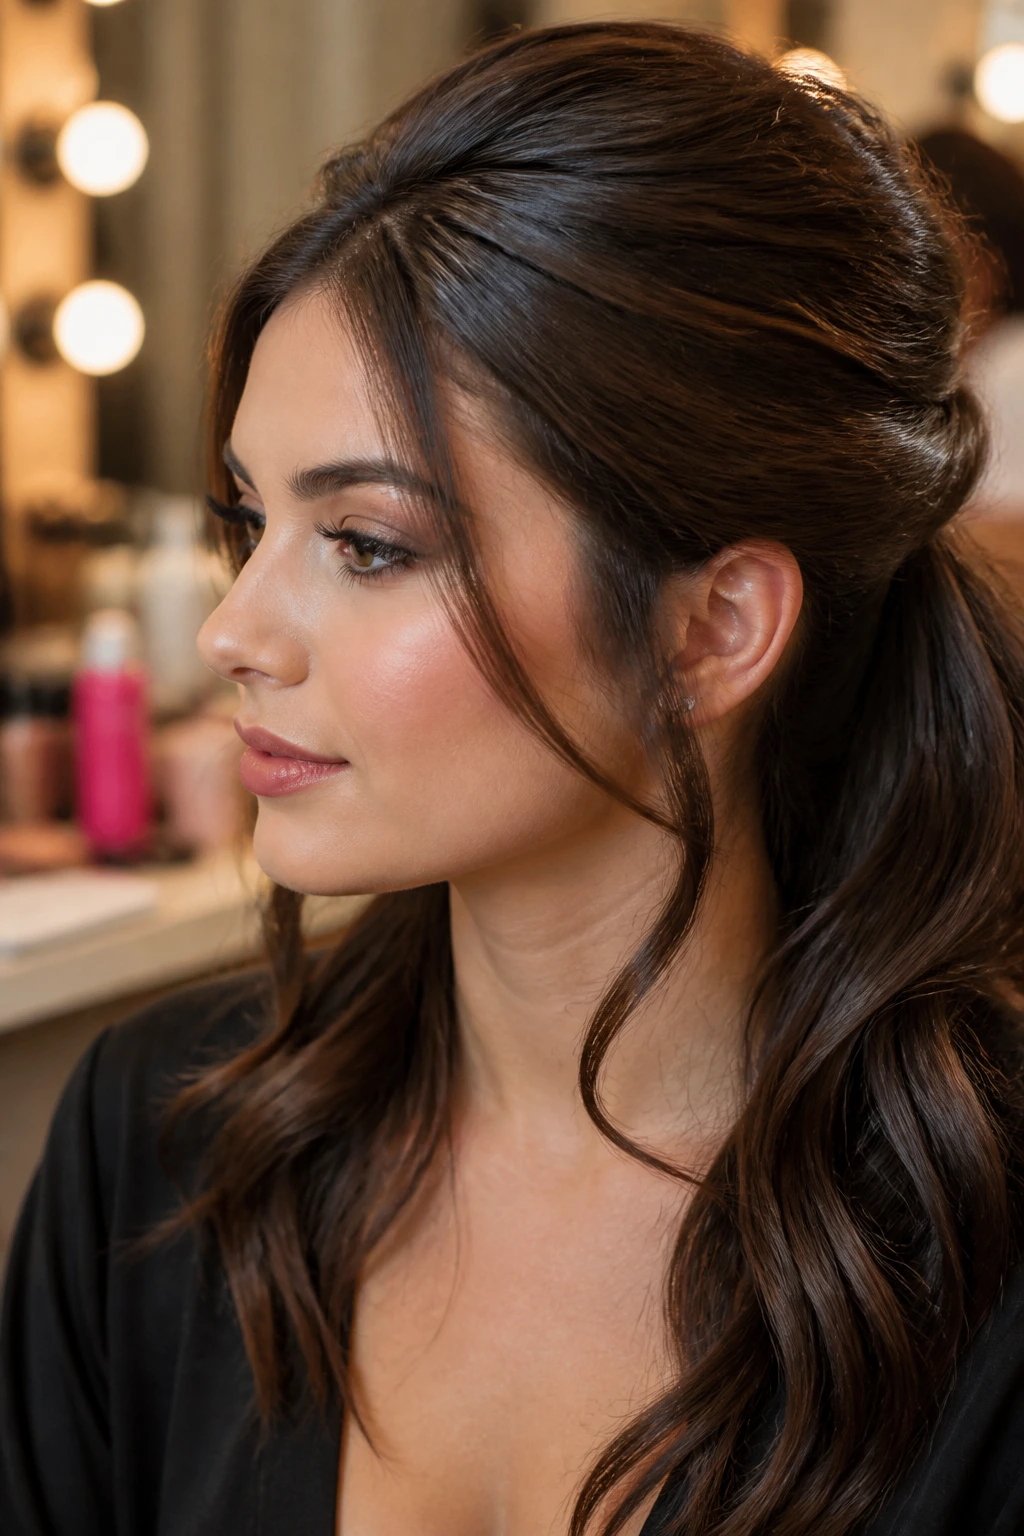
Shine Boost: A few drops of lightweight serum on the outer layer give straight styles and low buns a cleaner line. Work it through the palms first; putting it straight onto the hair usually overloads one spot.
Customization: Swap the accessory to change the mood. A black velvet ribbon makes a ponytail look richer. A pearl pin softens a chignon. A gold clip pushes the whole style a little more modern.
Texture Control: If your hair is too soft to hold a shape, prep it with dry shampoo or texture spray at the roots before styling. If it’s too coarse, use a smoothing cream on the mid-lengths and a boar-bristle brush to finish the surface.
Framing Pieces: One curved piece near the cheekbone can change the balance of an updo fast. Keep it thin, and let it bend naturally instead of forcing a tight curl that fights the rest of the hairstyle.
Make-It-Yours: For curly hair, keep some of the natural pattern visible instead of forcing everything sleek. For fine hair, choose one strong point — a sharp part, a braid, or a clip — rather than trying to create volume everywhere at once.
Common Mistakes That Make Party Hair Fall Flat
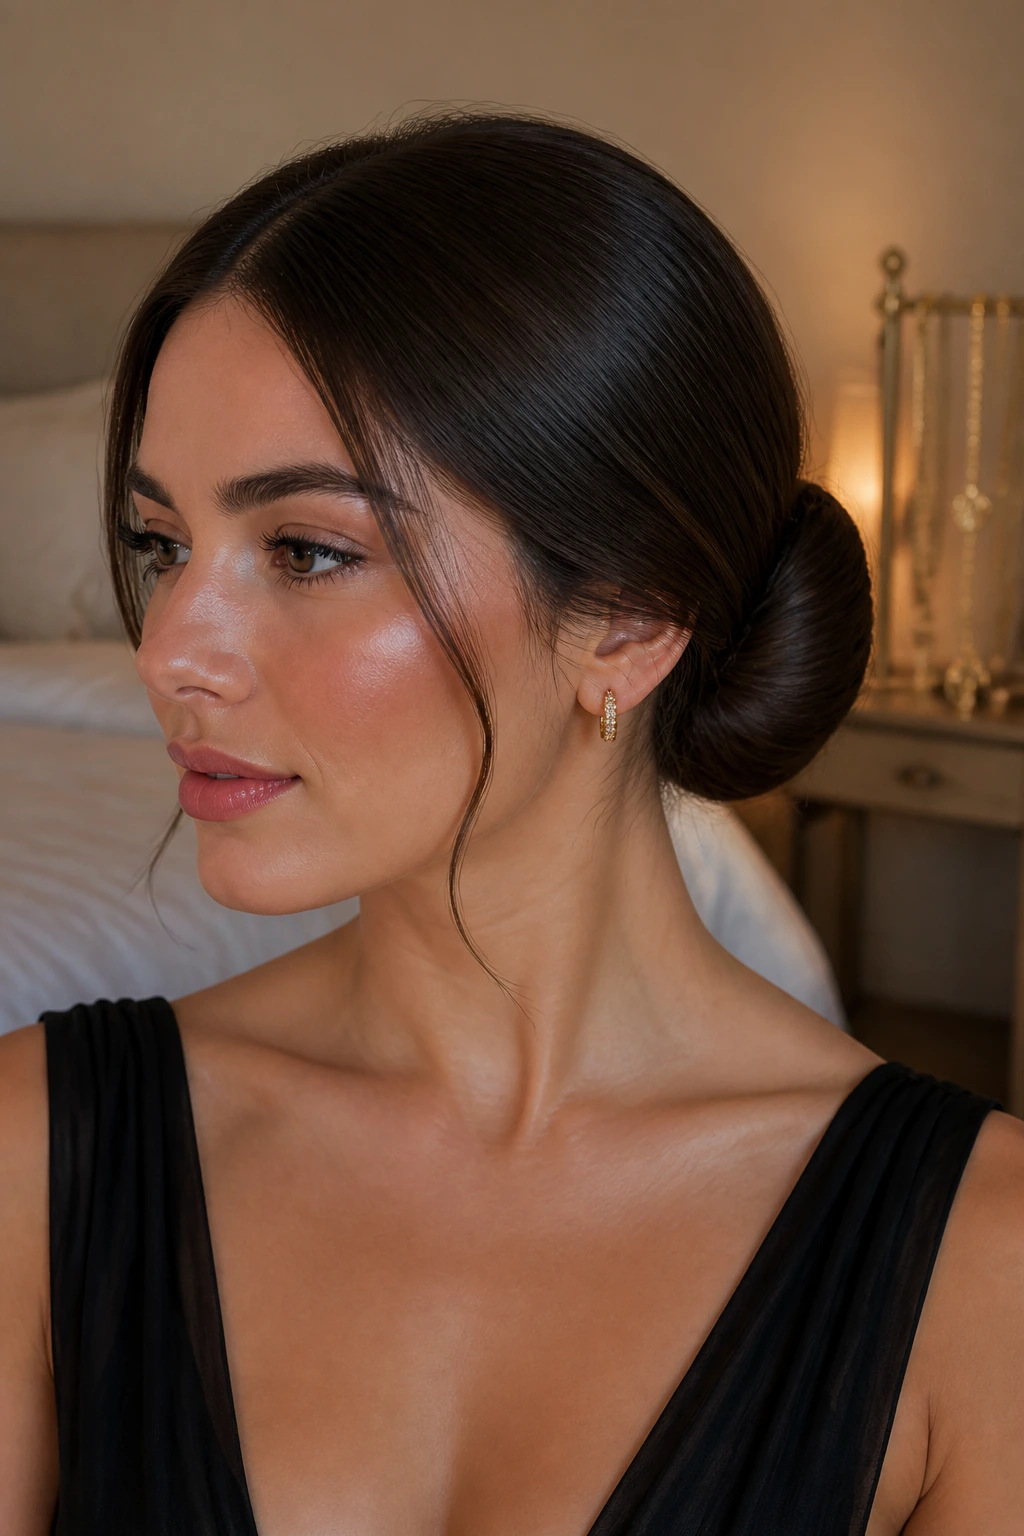
The first mistake is loading on too much product. Hair that looks stiff in the mirror tends to look dirtier by the second hour, especially near the roots. Fix it by using less product than you think you need and building in layers. Start small. Add only if the style is slipping.
Another one is finishing curls before they cool. Hot hair forgets the shape the second you touch it too soon, which is why the wave falls flat before the candles are even lit. Clip or pin the curl while it cools, even if you’re in a hurry. That tiny pause buys you much better hold.
A third problem is making the part an afterthought. A crooked or fuzzy part can throw off an otherwise polished style, especially with sleek ponytails, straight hair, and low buns. Use the tail of a comb and decide early. If the part is clean, the whole head looks calmer.
People also over-tighten the front. It seems neat at first, but by the end of the night the hairline can look pulled and tense. Leave a little soft pressure around the temples and let the crown be smooth rather than strained.
And then there’s the heavy accessory issue. Big clips and pins are lovely when they’re balanced, but if they’re too heavy for the section, they slip. Choose hardware that matches the thickness of your hair. Fine hair needs lighter grip. Thick hair needs stronger teeth.
Variations and Alternatives to Try
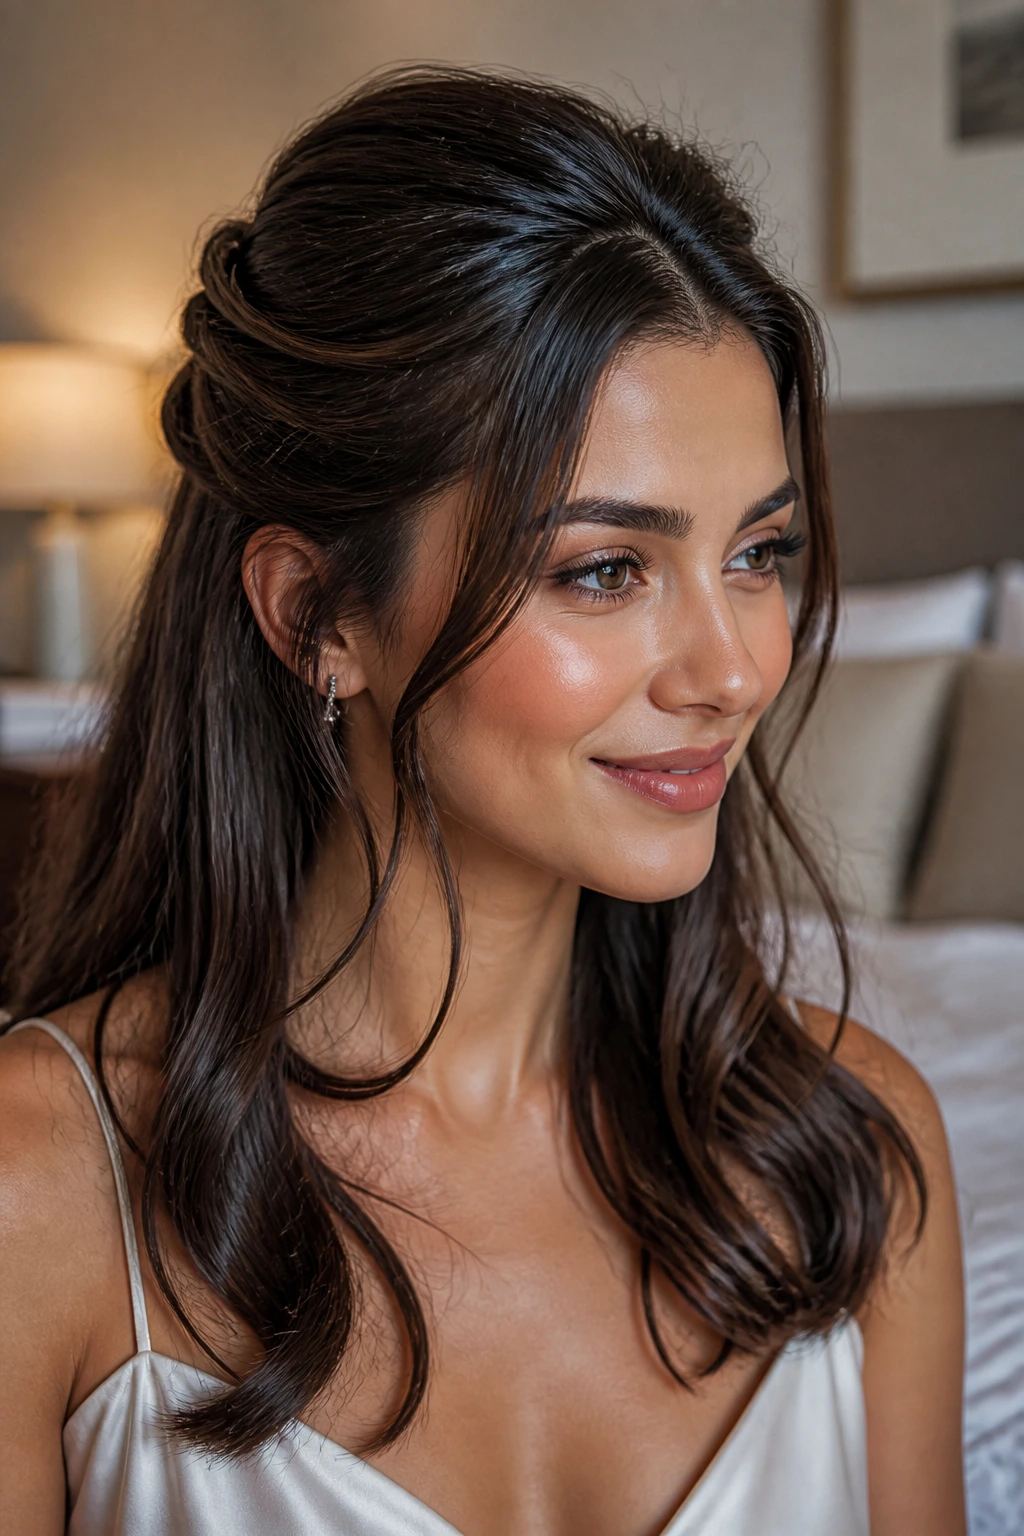
The Short-Length Rescue: If your hair barely brushes the shoulders, borrow the shape, not the full style. A tucked side clip, a mini faux bob, or a polished half-up twist gives you the same birthday feel without fighting your length.
The Curly-Hair Crown: For curls and coils, let the natural pattern stay visible and build the polish around it. A shaped side part, a low puff, or pinned-back sides with defined edges reads clean without flattening the texture.
The Heatless Night-Before Set: Rope twists, braids, and soft buns can be set overnight and brushed out the next day. Use satin scrunchies, a scarf, and a light mist of setting spray so the pattern stays soft instead of dented.
The Ribbon Finish: Swap metal accessories for satin, velvet, or organza if you want the hairstyle to feel softer. A ribbon tied at the base of a ponytail or woven through a braid changes the whole tone without adding bulk.
The Rain-Ready Edit: If humidity is a problem, go tighter at the crown and choose a lower shape. A bun, braid, or twisted ponytail survives damp air better than loose curls that depend on perfect frizz control.
How to Keep the Style Fresh Through the Celebration
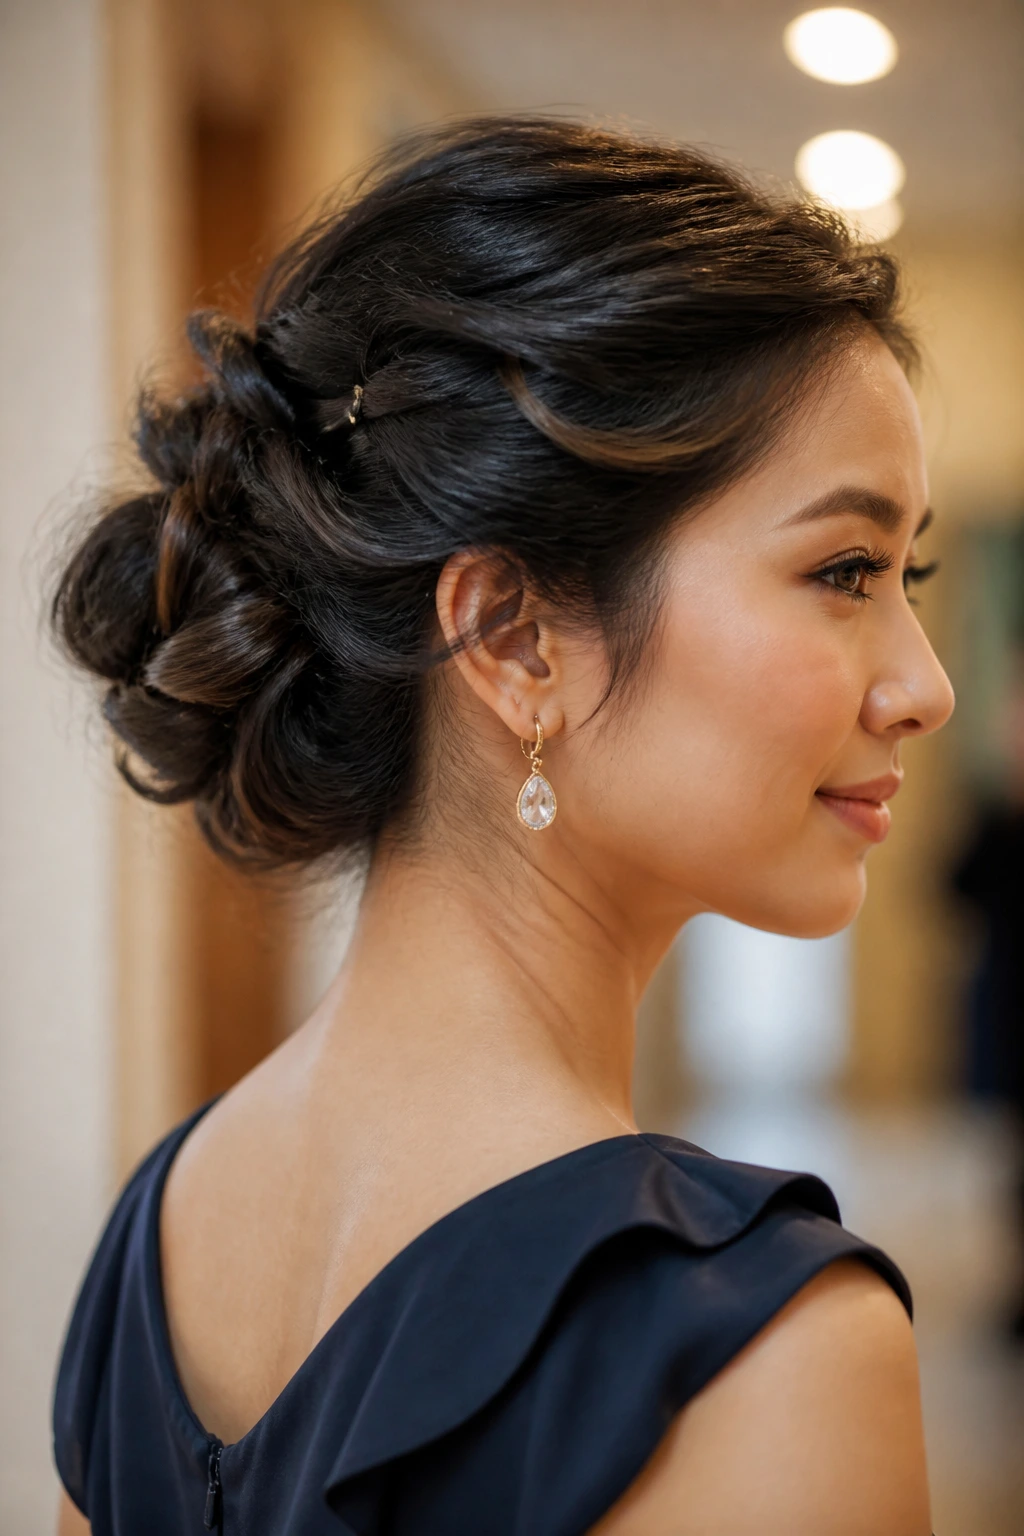
The best birthday styles are the ones you can mostly leave alone. That starts before you leave the mirror. Once the hair is in place, let the style set for 10 to 15 minutes before touching it again. That cooling window matters for curls, but it helps buns and ponytails too, because the shape settles and the pins stop shifting.
If you know you’ll be out for a long evening, tuck a few supplies into a small pouch: two bobby pins, a clear elastic, a travel hairspray, and one mini comb. That’s enough to fix a loosened twist or a ponytail wrap without recreating the whole style in a restroom with bad lighting. A tiny touch-up kit saves a lot of frustration later.
For styles with curls or waves, don’t keep brushing them once they start to move. Touching them too often is how soft styles turn fuzzy. A quick finger reset at the ends is usually enough. If a front piece drops, pin it back for 10 minutes while you do makeup or get dressed; the shape often resets better than if you keep forcing it into place.
If you’re styling the night before, cover the hair with a silk scarf or sleep on a silk pillowcase. Low buns, faux bobs, and braid-based styles usually survive overnight best when the pins aren’t yanked out and the fabric doesn’t rough up the surface. Waves can be revived with a light mist of water on the ends and a quick bend from a curling iron.
Birthday Hairstyle FAQs
Which birthday hairstyle looks polished with the least effort?
A wrapped ponytail or a polished low bun usually gives the fastest payoff. Both styles rely on clean lines and one or two small finishing details, so they look deliberate even if you did them in 15 minutes.
What if my hair is fine and slips out of everything?
Use texture spray or dry shampoo at the roots before you start, then choose styles that build in grip, like a braid, a low bun, or a half-up knot. Fine hair usually holds better when it has a little grit rather than a fresh, silky finish.
Can I do these styles on second-day hair?
Yes, and in many cases second-day hair is better. It has more hold, less slip, and usually takes pins or elastics more willingly than hair washed that morning.
How do I keep curls from falling before the party ends?
Set each curl while it cools, then brush them only after they’ve fully set. Finish with a flexible spray, not a hard shell, so the curl stays soft but doesn’t collapse at the first sign of movement.
What’s the best choice if I have short hair?
Try a faux bob, a braided crown half-up, or pinned-back curls with one strong accessory. Shorter lengths look cleaner when the style uses structure and finish rather than trying to create big volume that won’t hold.
Can I wear a birthday hairstyle without using heat?
Absolutely. Rope braids, twisted buns, bubble ponytails, and half-up knots can all look polished without a curling iron. If you want softness, set the style with overnight twists or braids instead of hot tools.
How do I choose between wearing my hair up or down?
Think about the neckline first. A high collar or detailed bodice usually looks better with hair up or partly up, while a simple strapless dress can handle waves or a blowout without the look getting crowded.
What should I do if my style starts to fall apart during the party?
Don’t keep redoing it from scratch. Smooth the crown, add one pin where the tension is weak, and reset the front pieces with your fingers. Small fixes keep the style from getting overworked and frizzy.
A Birthday Look That Stays Put
The best birthday hairstyles do two things at once: they make the outfit look finished, and they let you forget about your hair for a few hours. That second part matters more than people think. A style that needs constant checking is not polished; it’s needy.
Pick the version that suits your length, texture, and neckline, then commit to the details that give it shape — the clean part, the hidden pin, the wrapped elastic, the cooled curl. Those are the tiny moves that separate a hairstyle that lasts from one that only looks good in the first mirror. And on a birthday, that extra bit of staying power is worth more than a complicated finish that falls apart before dessert.
