



Formal hairstyles for medium length hair have a sneaky advantage: they can look polished, expensive, and deliberate without the sheer weight that long hair brings to a bun, twist, or wave set. Shoulder-skimming hair is long enough to pin, braid, tuck, and shape, but not so long that it drags itself down by dessert. I reach for this length more often than people expect because it gives you options without demanding an hour of wrestling at the mirror.
The catch is that medium length hair can be a little argumentative. Freshly washed strands slide out of pins. Fine hair puff up too fast. Layers poke through the wrong places and make a sleek look feel unfinished. Give the hair one day of texture, the right pins, and a clean part, though, and it behaves better than a lot of longer hair ever does.
That’s why special occasion hair at this length can be such a pleasure. You can go glossy and minimal, romantic and soft, or old-Hollywood and sculpted. The shape matters more than the length, and the shape is where the fun lives.
Why You’ll Love This Collection
-
Built for shoulder-skimming lengths: Medium hair has enough length to twist, braid, and tuck, but not so much bulk that a formal style turns heavy halfway through the night.
-
Not every look needs a full updo: Some of the best options here keep the hair down or half-up, which is useful when you want polish without hiding your neck and shoulders.
-
Accessories actually show up: Pearl pins, crystal combs, satin clips, and slim headbands sit nicely on medium hair instead of getting swallowed by it.
-
Works with second-day texture: A little grip helps pins hold and waves stay shaped, which is one reason these styles often behave better on hair that isn’t freshly washed.
-
Easy to match to the dress: Deep necklines, high necks, one-shoulder gowns, and strapless dresses all pair cleanly with different silhouettes here.
Why Formal Hairstyles for Medium Length Hair Hold Their Shape So Well
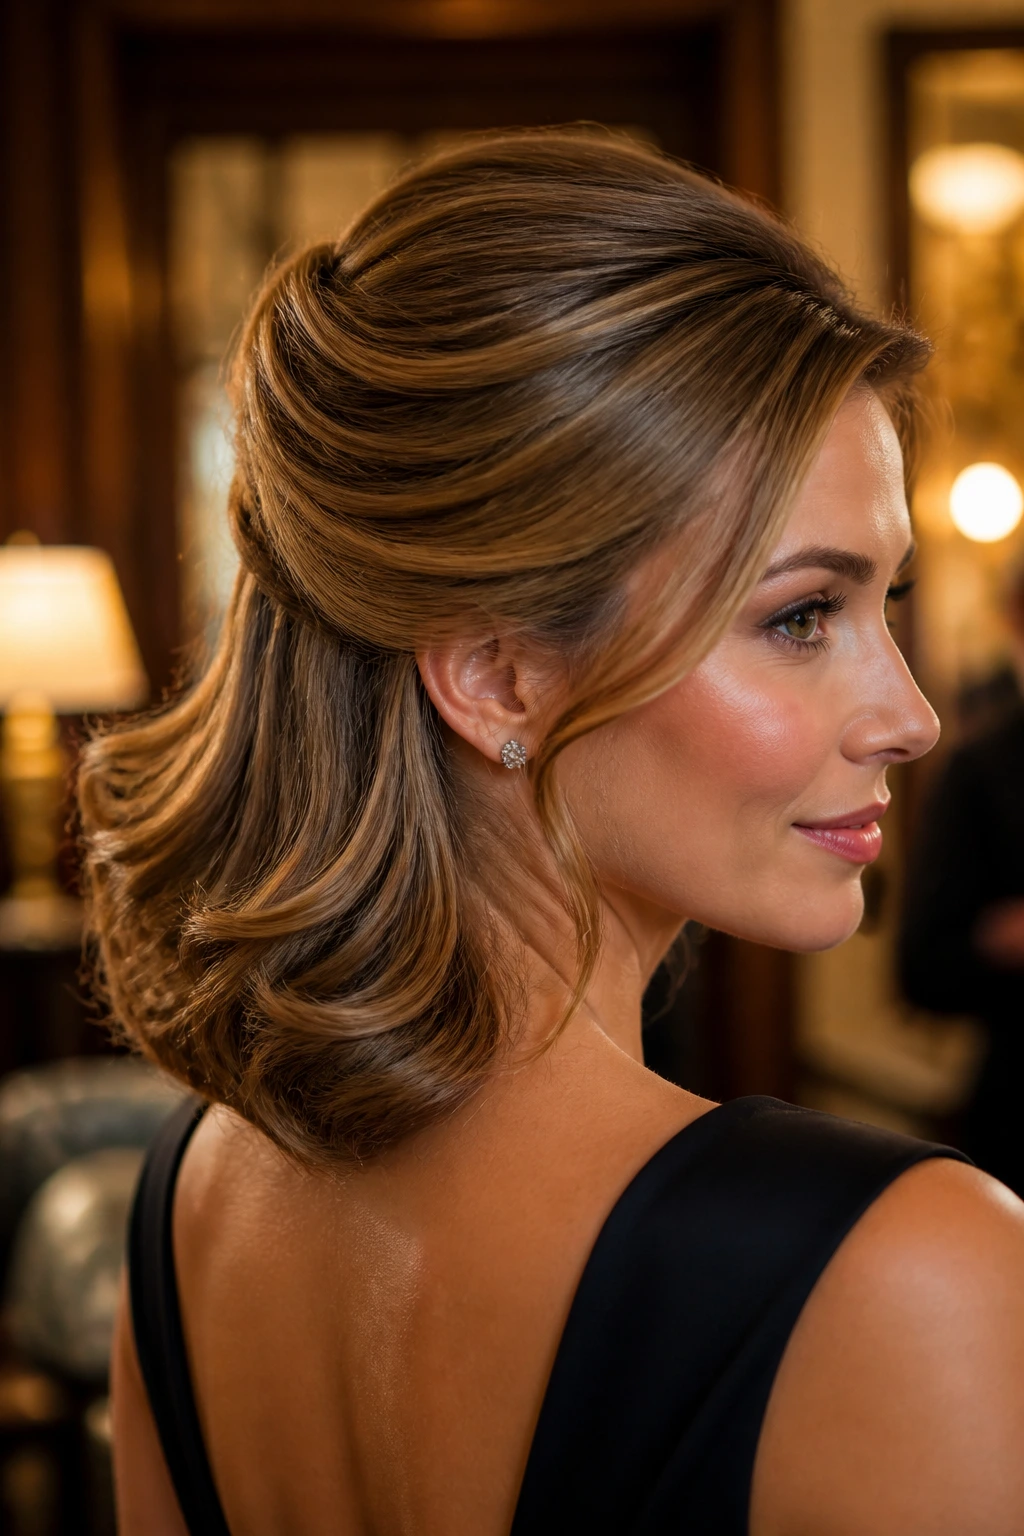
Medium length hair sits in a sweet spot that long hair and short hair both miss. There’s enough length to cross-pin, coil, braid, and wrap the ends out of sight, but not enough weight to drag everything downward the second you start dancing. That’s a huge deal. Gravity is rude.
Enough Hair to Build a Real Shape
A collarbone-length cut can make a low chignon, French twist, or tucked roll look intentional instead of improvised. The ends are short enough to disappear, which means you spend less time hiding the tail and more time shaping the front and crown. When the style is balanced, it reads as polished from across the room.
Less Bulk Than Long Hair, More Control Than a Bob
Very long hair needs more pins, more prep, and usually more forgiveness. A blunt bob can be gorgeous, but it won’t do the same kind of wrapped bun or tucked twist without extra help. Medium length hair lands between those two extremes, which is why so many formal looks feel easier here than people expect.
Texture Changes Everything
Freshly washed hair is slippery. That’s the plain truth. A little dry shampoo, a bit of mousse at the roots, or even a day-old blowout gives the hair a touch of grit so pins don’t skate out of place. That tiny change can be the difference between a style that lasts through photos and one that starts sagging before the first toast.
1. Sleek Low Chignon
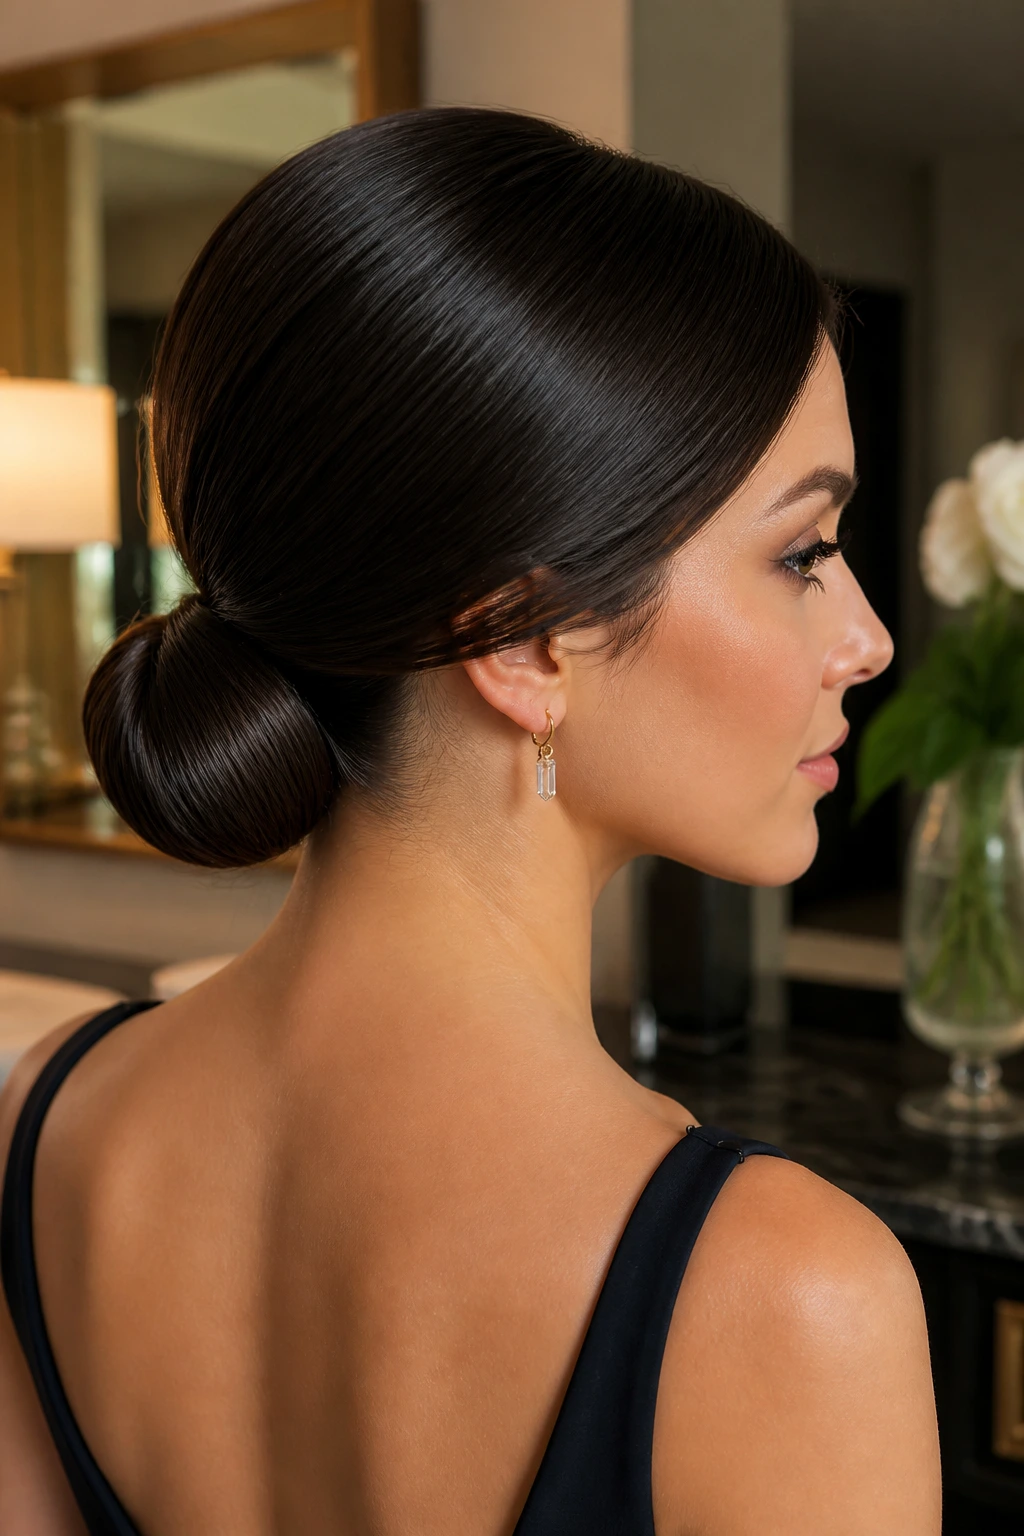
A sleek low chignon is the quiet overachiever of formal hairstyles for medium length hair. It sits close to the nape, keeps the neckline clean, and looks expensive even when the actual construction is fairly simple. What I like most is that it doesn’t pretend to be bigger than it is. It’s neat. That’s the point.
Why It Works on Medium Hair
Medium length hair can wrap once and tuck without leaving a thick tail hanging out of the bun. That keeps the knot small and controlled instead of lumpy. If your hair has a few layers around the face, smooth them down with a light cream and let them disappear into the shape.
- Use a low side part or a center part, depending on the dress neckline.
- Twist the gathered hair once at the nape, then fold the tail under.
- Pin from underneath in an X pattern with 4 to 6 bobby pins.
- Finish with a fine mist of hairspray and press flyaways down with a toothbrush.
Best tip: pin the bun a little tighter than you think you need. Medium hair softens during the evening, and a snug start keeps the shape from loosening too early.
2. French Twist with a Soft Finish
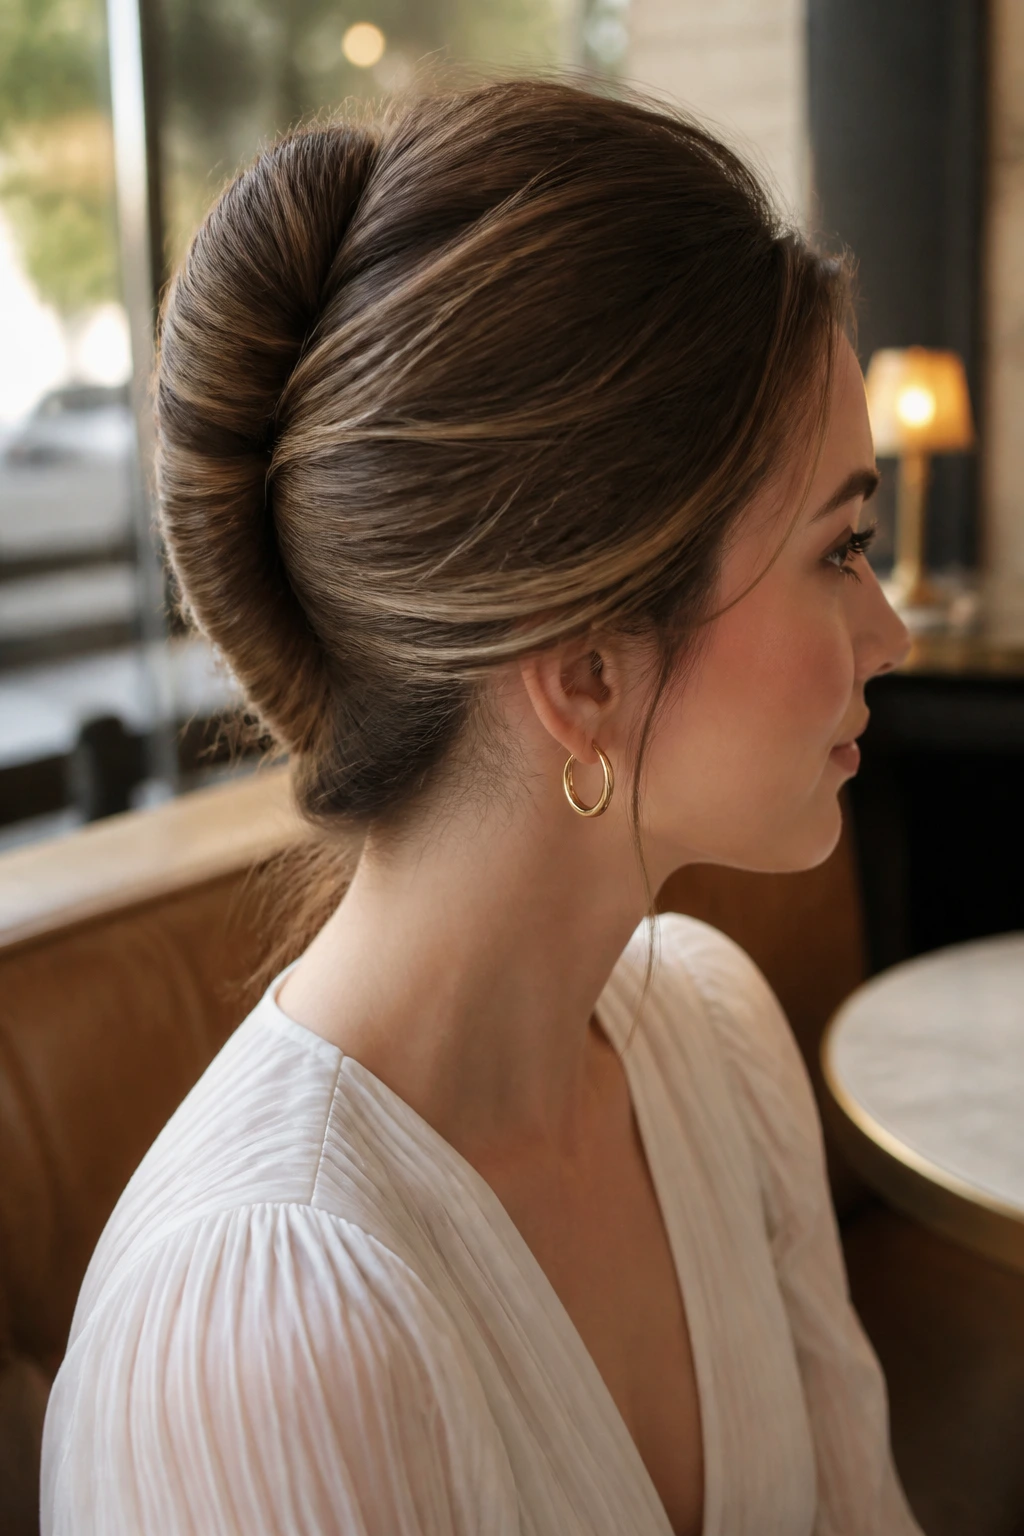
A French twist on medium hair looks sharper than people expect, and that’s because there isn’t too much length to fight through. The roll stays slimmer, the tuck is cleaner, and the whole thing can feel almost architectural when it’s done well. I prefer this look when the event calls for something formal but not stiff.
The trick is to build a little cushion at the crown before you roll the hair upward. Just a gentle backcomb at the roots does the job. Too much teasing turns the whole style fuzzy, which is a fast way to make a polished twist look tired.
For medium length hair, let a few ends sit flush inside the seam instead of forcing every strand to disappear. That soft finish keeps the style from looking helmet-like. It’s a better move than trying to make it look like you have twice as much hair as you do.
3. Half-Up Crown Twist
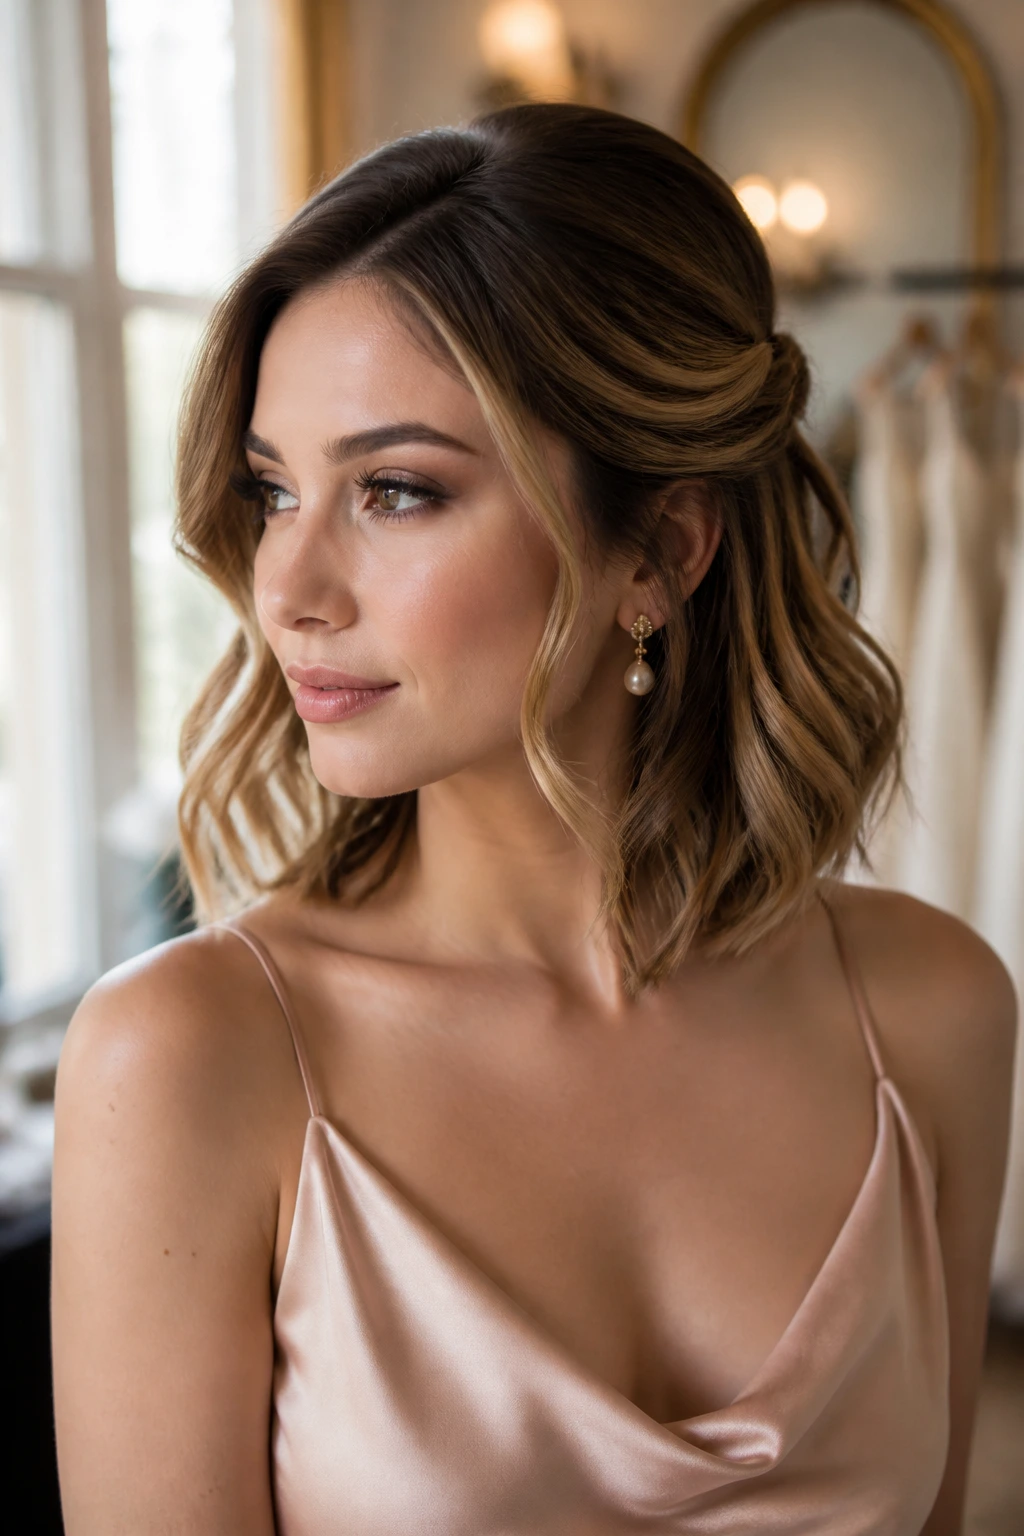
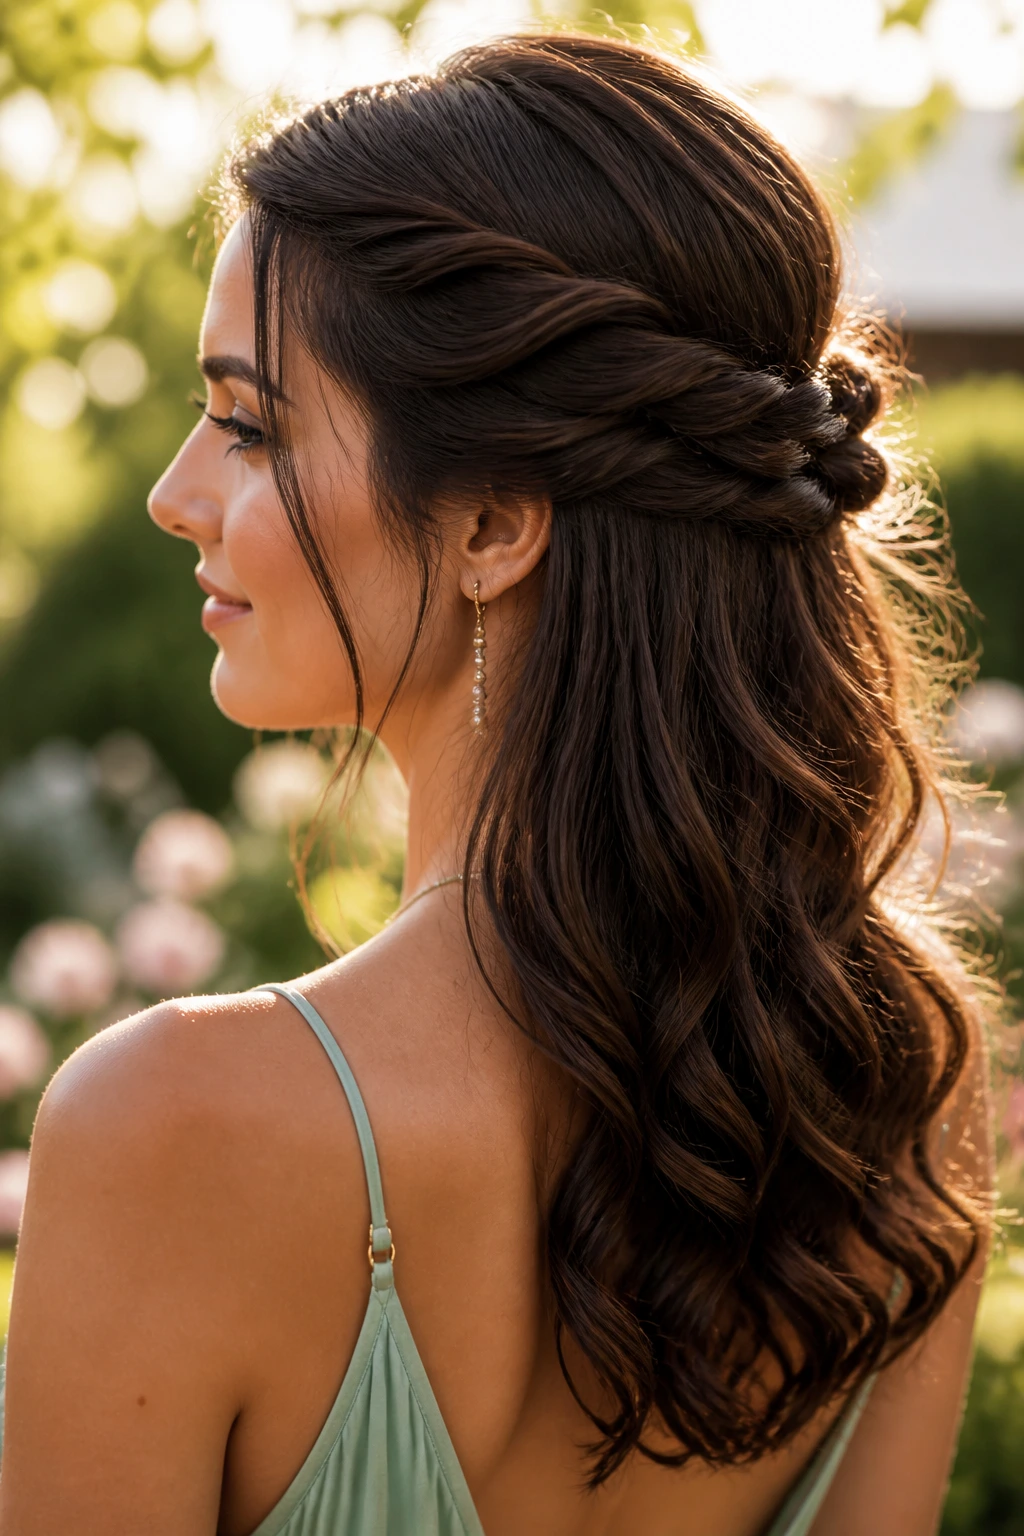
What if you want something formal but don’t want all your hair off your neck? This is the answer I usually hand people first. A half-up crown twist gives you lift at the sides, shape at the crown, and length left down below so the style still moves when you turn your head.
The two temple sections are twisted back and pinned where they meet, usually just above the ears or at the crown. That tiny lift opens the face without needing a full updo. If the rest of the hair is worn in loose waves, the contrast feels intentional rather than fussy.
How to Use It
This works especially well for weddings, garden parties, and dressy dinners where a full bun feels too severe. If your dress has a bateau neckline or a soft V, the half-up shape keeps the hair from competing with the outfit. Add a slim barrette or two pearl pins if the look needs a little more ceremony.
4. Side-Swept Hollywood Waves
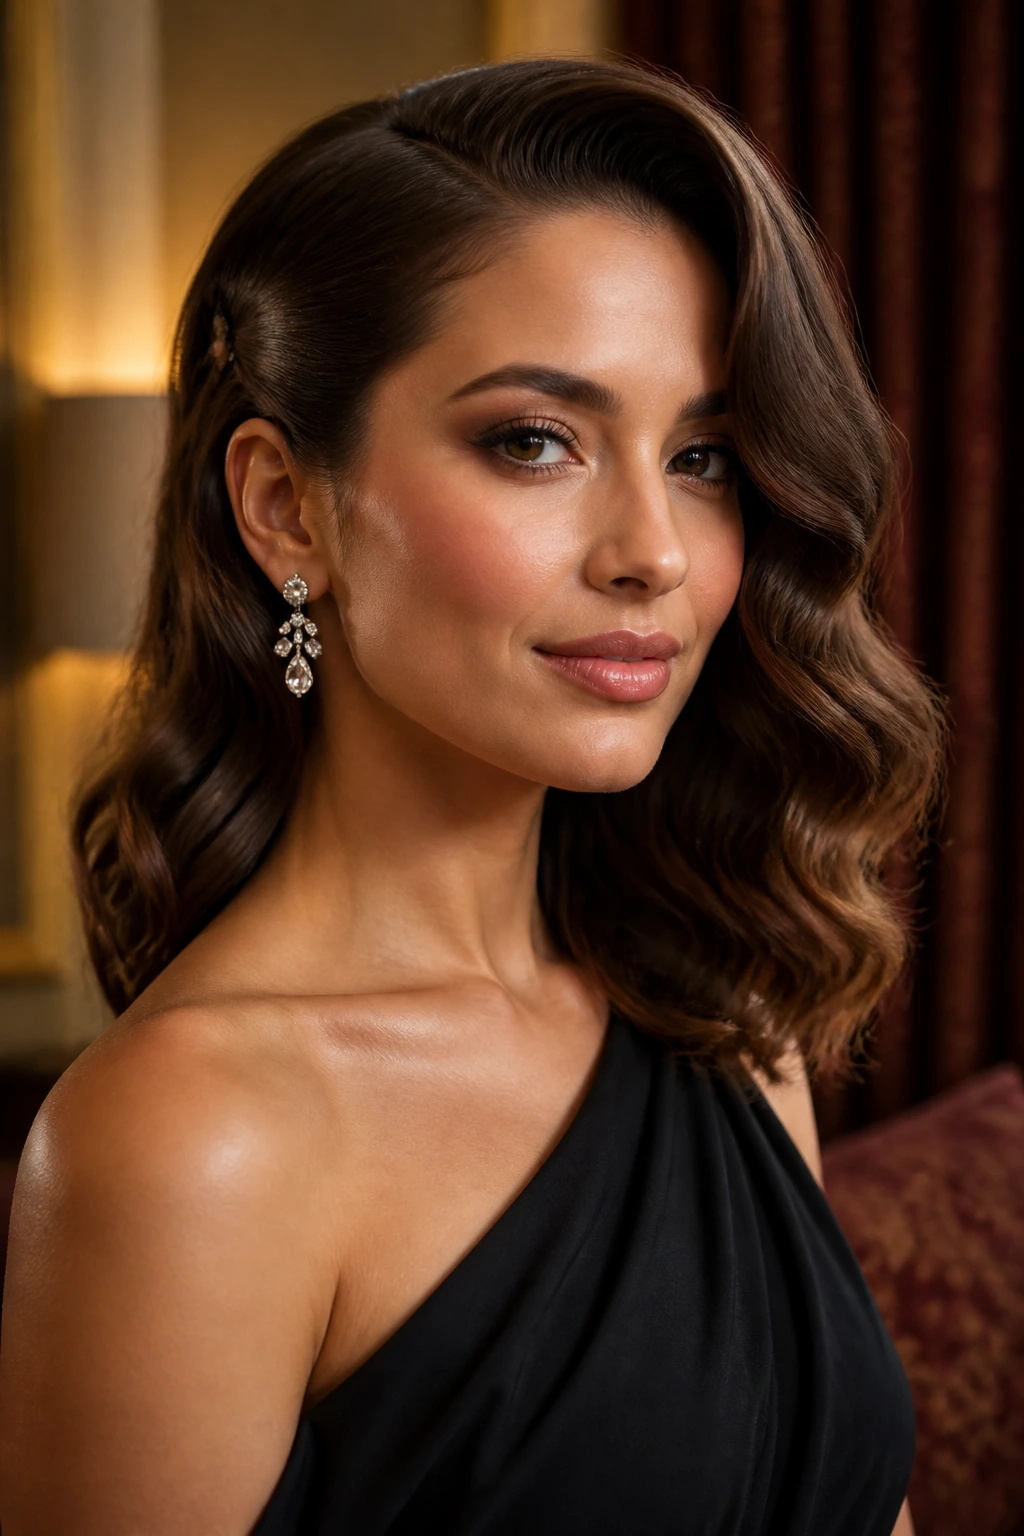
A one-shoulder dress and side-swept waves are basically old friends. The style gives you that classic red-carpet shape: one side lifted and pinned back, the other side falling in smooth curves across the shoulder. On medium length hair, the result looks lush without getting too heavy.
The wave pattern matters. You want large, even bends, not tight curls that collapse into fluff after twenty minutes. A 1 to 1¼-inch curling iron works well, and every curl should be cooled before brushing. That cooling step is the part people skip. Then they wonder why the waves go flat.
- Curl all sections away from the face for a cleaner sweep.
- Clip each warm curl while it cools, then brush gently into one soft wave pattern.
- Pin the heavier side behind the ear with two hidden pins.
- Add one decorative clip if the neckline is simple.
Best tip: spray the roots lightly before curling, not after. Hair with a little prep at the base holds the side part far better.
5. Braided Halo Updo
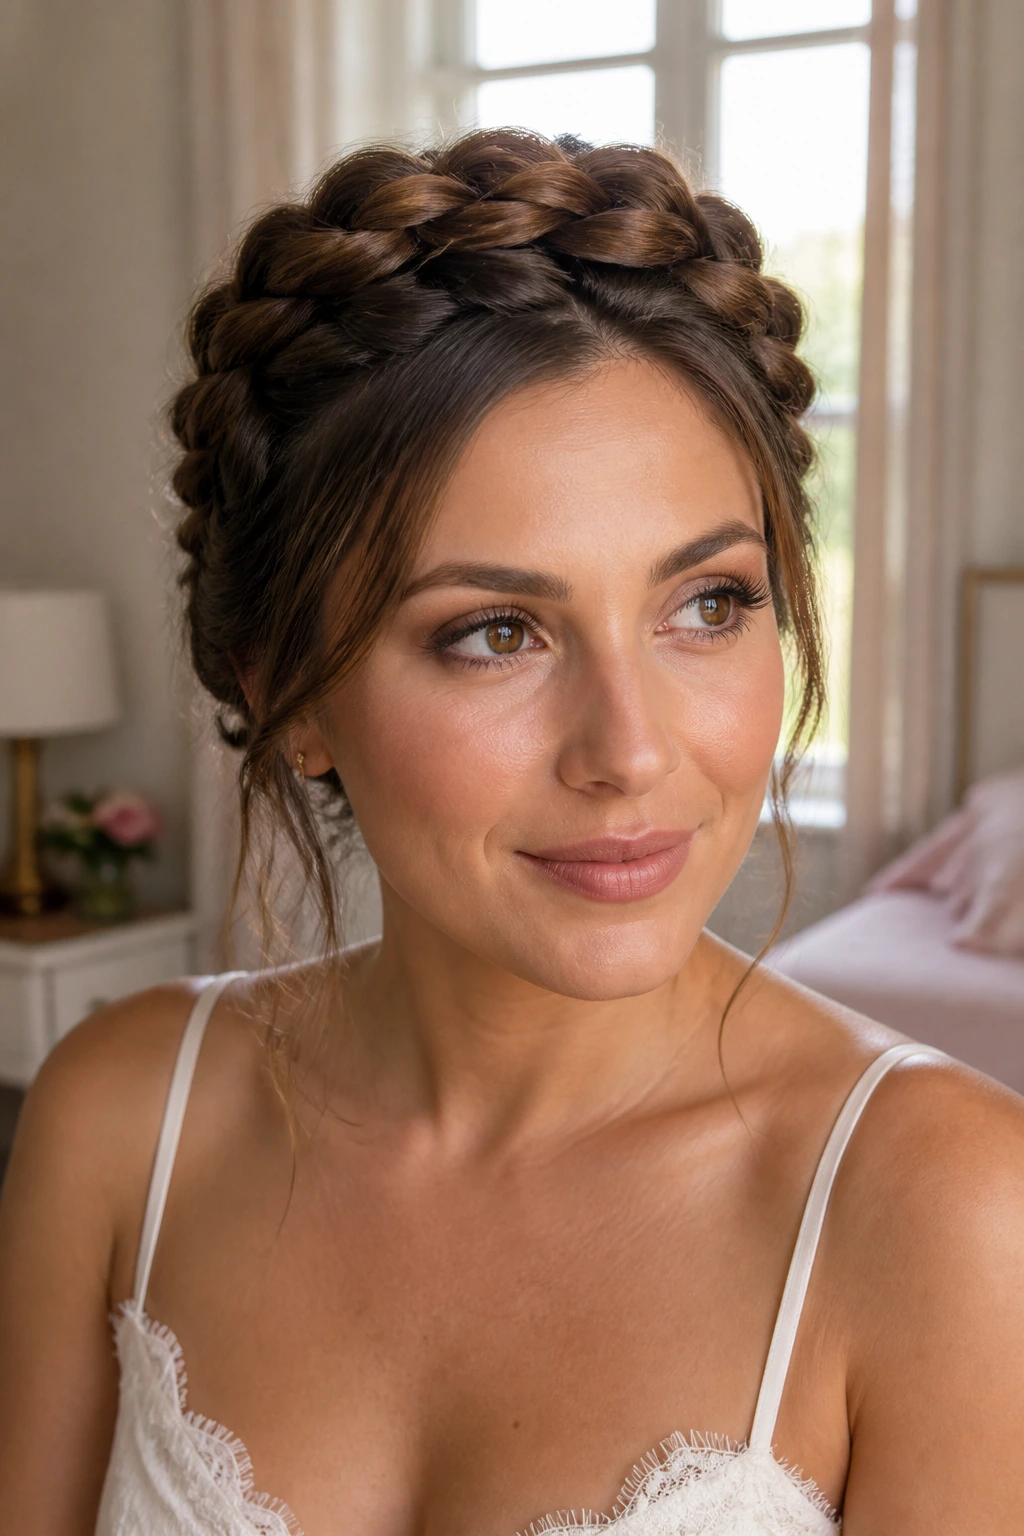
The braided halo updo has a nice advantage on medium hair: the braid stays thick enough to read from across the room. On very long hair, that braid can turn too heavy and start pulling. Here, it wraps around the head with a little more control, which makes the whole style feel neater.
I like this one when the dress has a plain front and the back needs something interesting. A halo braid gives texture all the way around the crown, then hides the ends in a tucked section at the nape. If a few layers escape near the ears, leave them. They soften the shape and keep it from looking too rigid.
The key is to braid close enough to the hairline that the halo reads like a real frame, not a loose braid floating somewhere near the head. Use small, even sections. Big sections make the braid sag. Small ones make it stay lifted.
6. Wrapped Low Bun with Face-Framing Strands
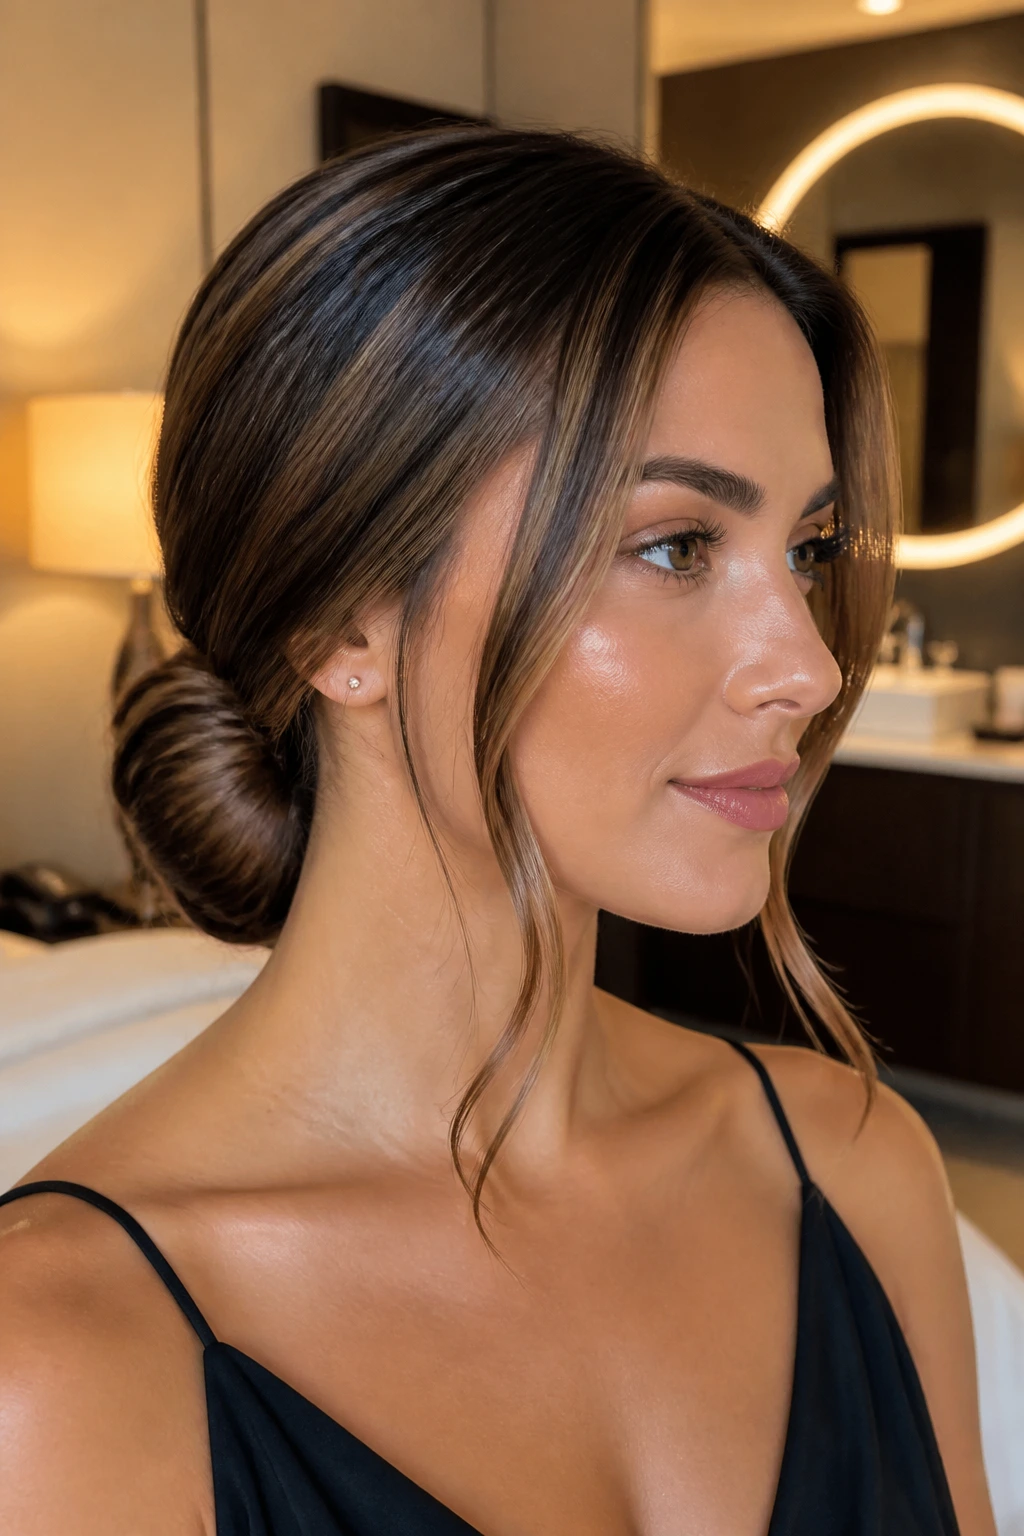
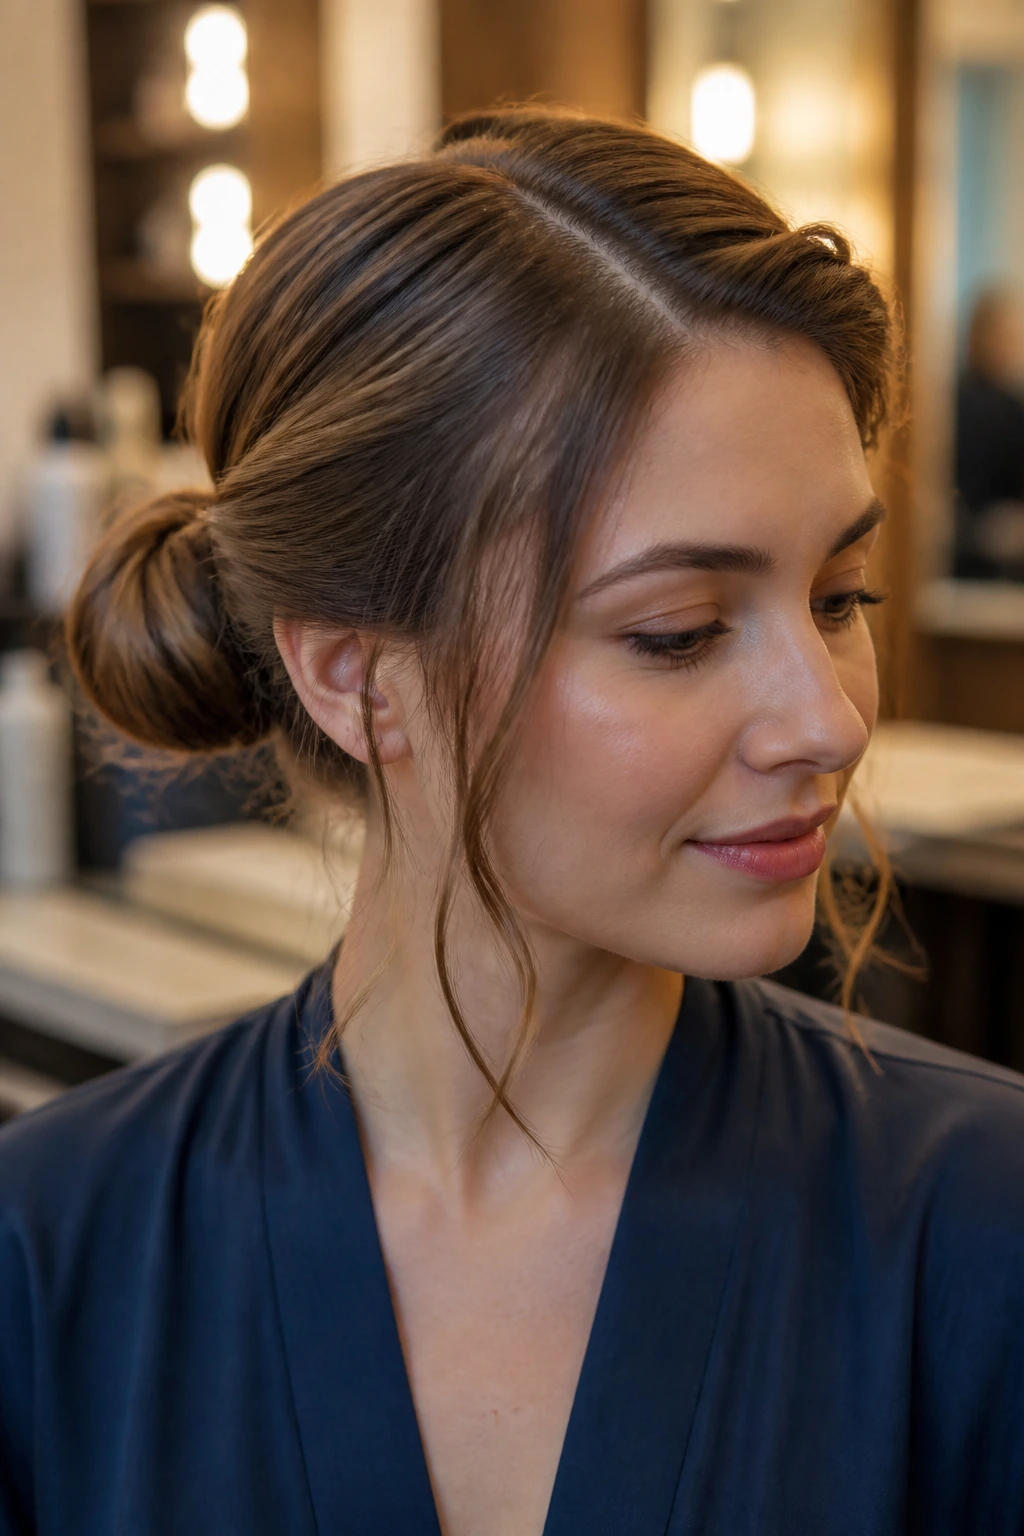
Compared with a sleek chignon, a wrapped low bun feels softer. Compared with a messy bun, it still looks like you meant it. That’s why I keep coming back to it for cocktail dresses and softer formalwear. It gives you shape at the nape and a little movement around the face without drifting into casual territory.
The bun itself can be built from a twisted ponytail or several folded sections, then wrapped into a low knot and pinned. Leave two slim pieces in front if you want to soften the jawline. Not thick curtains. Just enough hair to break up the edge of the style.
This is one of the better choices for layered medium hair, because the front pieces can hide shorter layers that would otherwise stick out at the temples. If your hair is very fine, a small padding insert tucked under the bun helps the shape stay round instead of flat.
7. Faux Bob with Hidden Pins
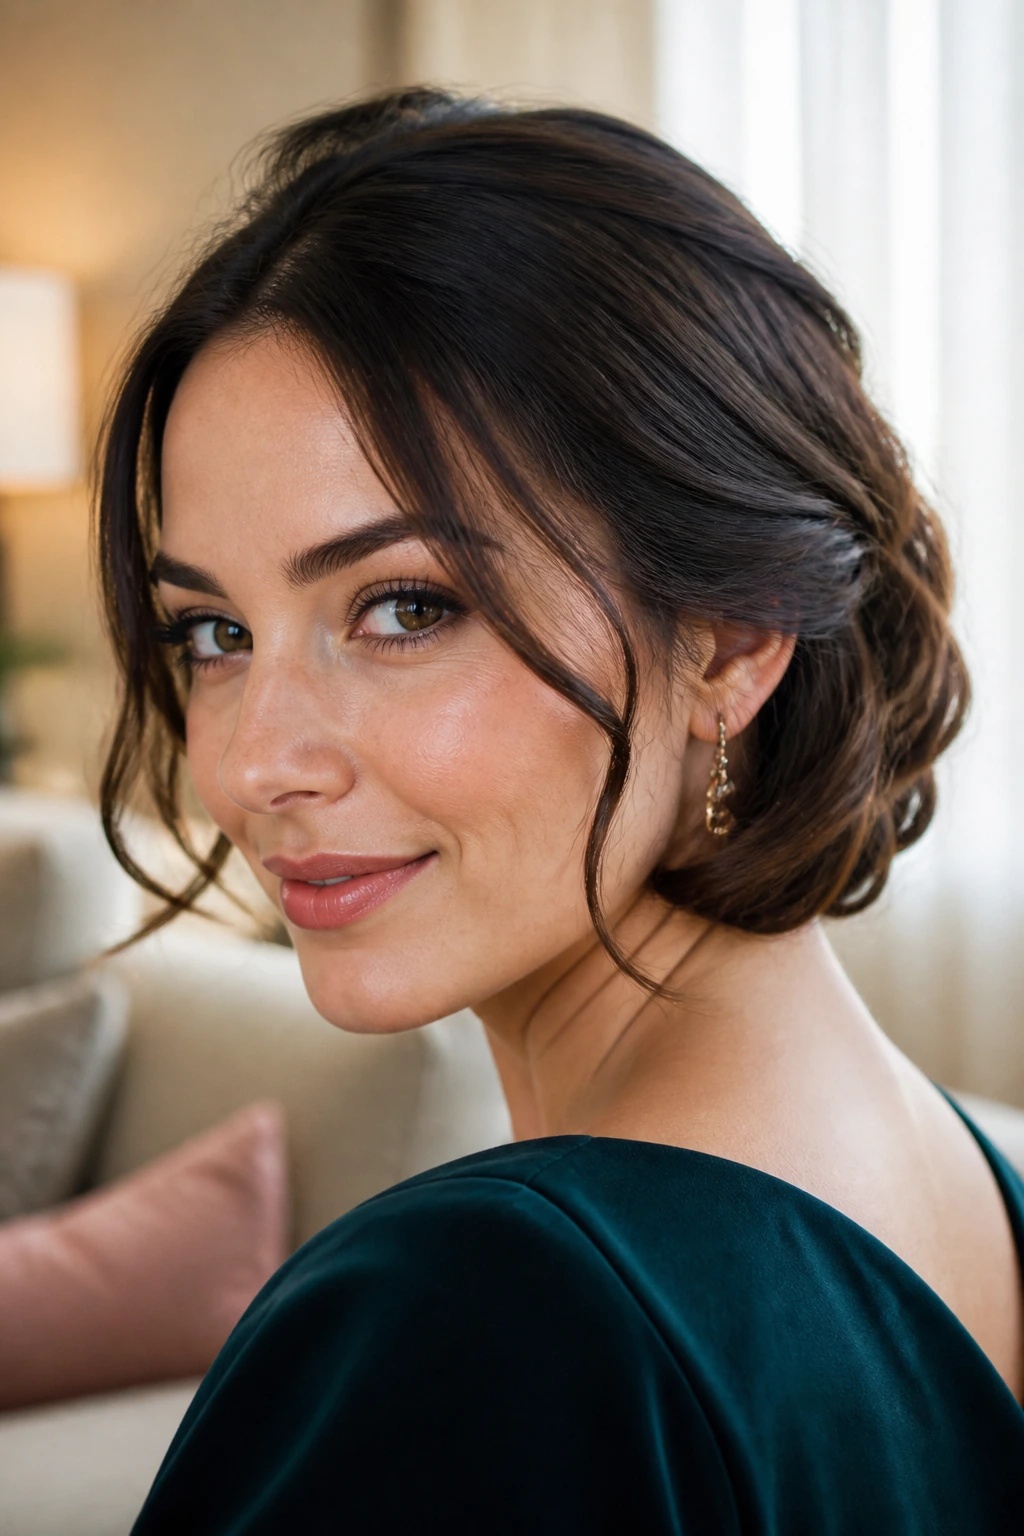
A faux bob is one of those styles that makes people stare twice. It gives medium length hair the illusion of a shorter cut, but the trick is all in the tucking and pinning underneath. It looks far more complicated than it is.
Why It Works
The ends are curled under, rolled upward against the neck, and pinned in staggered layers so the hidden structure disappears. Medium length hair is ideal here because it’s long enough to fold under once or twice, but not so long that the tucking turns bulky. You get the shape of a bob without scissors anywhere near the hair.
- Curl the ends under with a 1-inch iron or a flat iron turn.
- Backcomb the lower section lightly so the rolled hair has something to grip.
- Use 8 to 12 bobby pins, crossed over each other underneath the roll.
- Hide the pin line with a decorative comb or a side wave.
Best tip: if the bob looks too perfect, pull one tiny section forward at the temple. A single soft piece makes the illusion look more believable.
8. Rope-Braid Ponytail
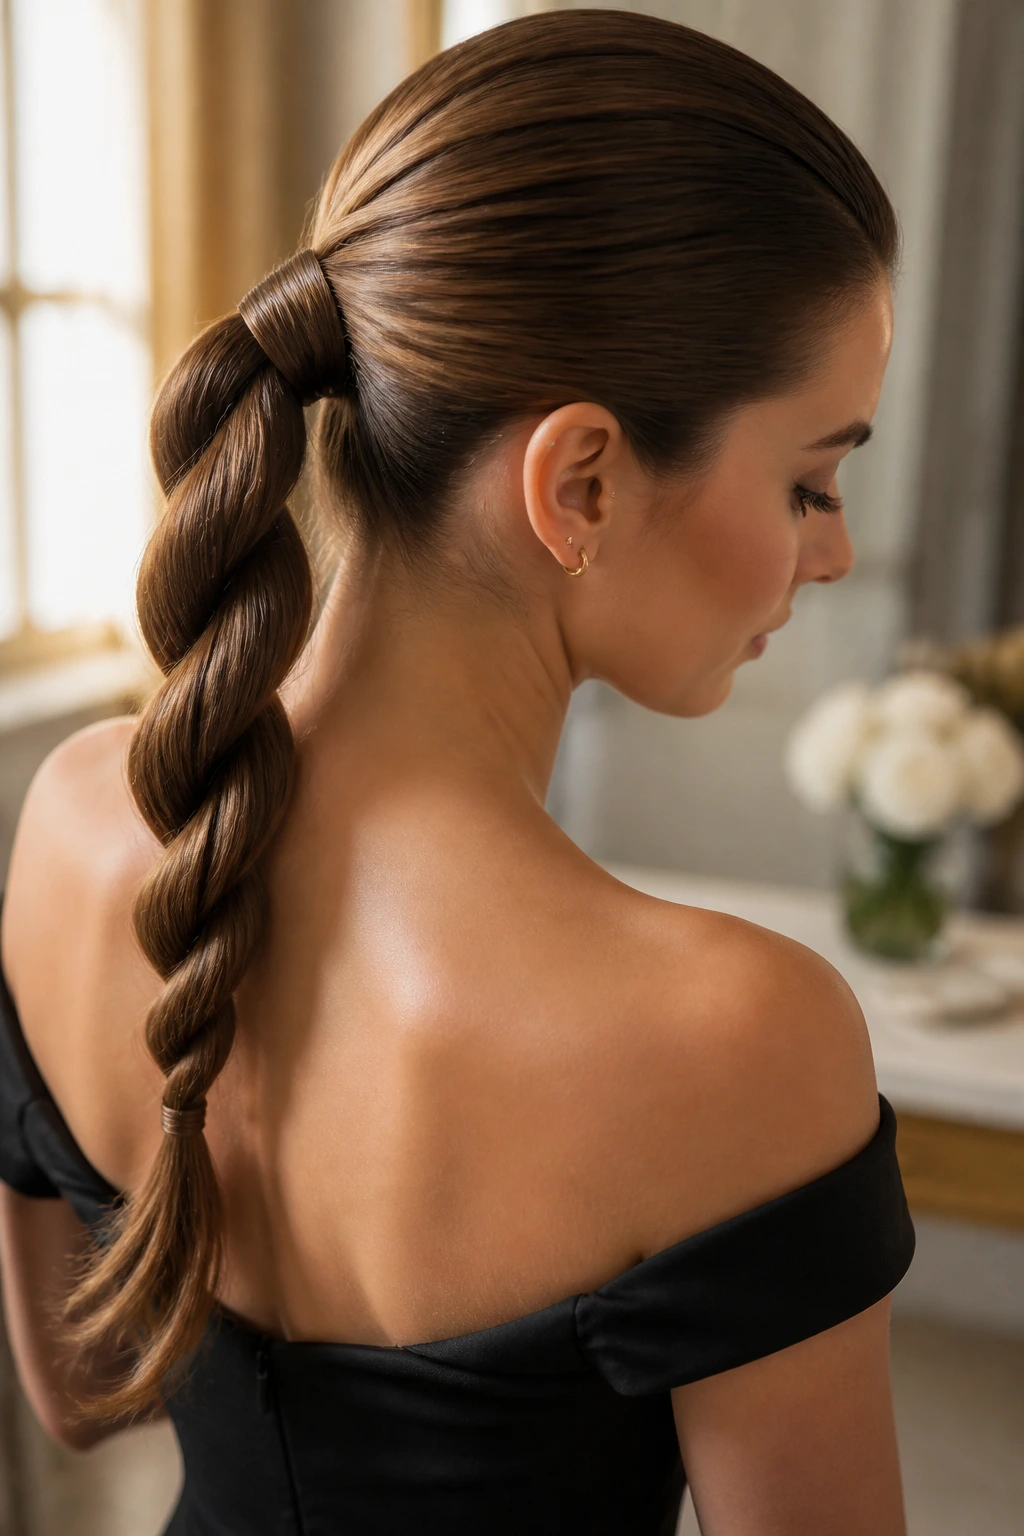
A rope-braid ponytail can look surprisingly formal when the hair is smooth at the root and tight through the braid. It’s one of my favorites for medium length hair that tends to slip out of regular three-strand braids. The rope structure stays compact and clean.
The crown should be polished first. Then the ponytail is split into two sections, twisted in the same direction, and wrapped around each other in the opposite direction. That detail matters. Twist the wrong way and the braid loosens instead of locking.
This style works at the nape or a little higher, depending on the neckline. A low placement reads more formal. A mid placement feels a little more playful. Wrap a thin strand around the elastic if you want the base to disappear, and stop there. It does not need extra decoration unless the dress is very plain.
9. Knotted Half-Up Style
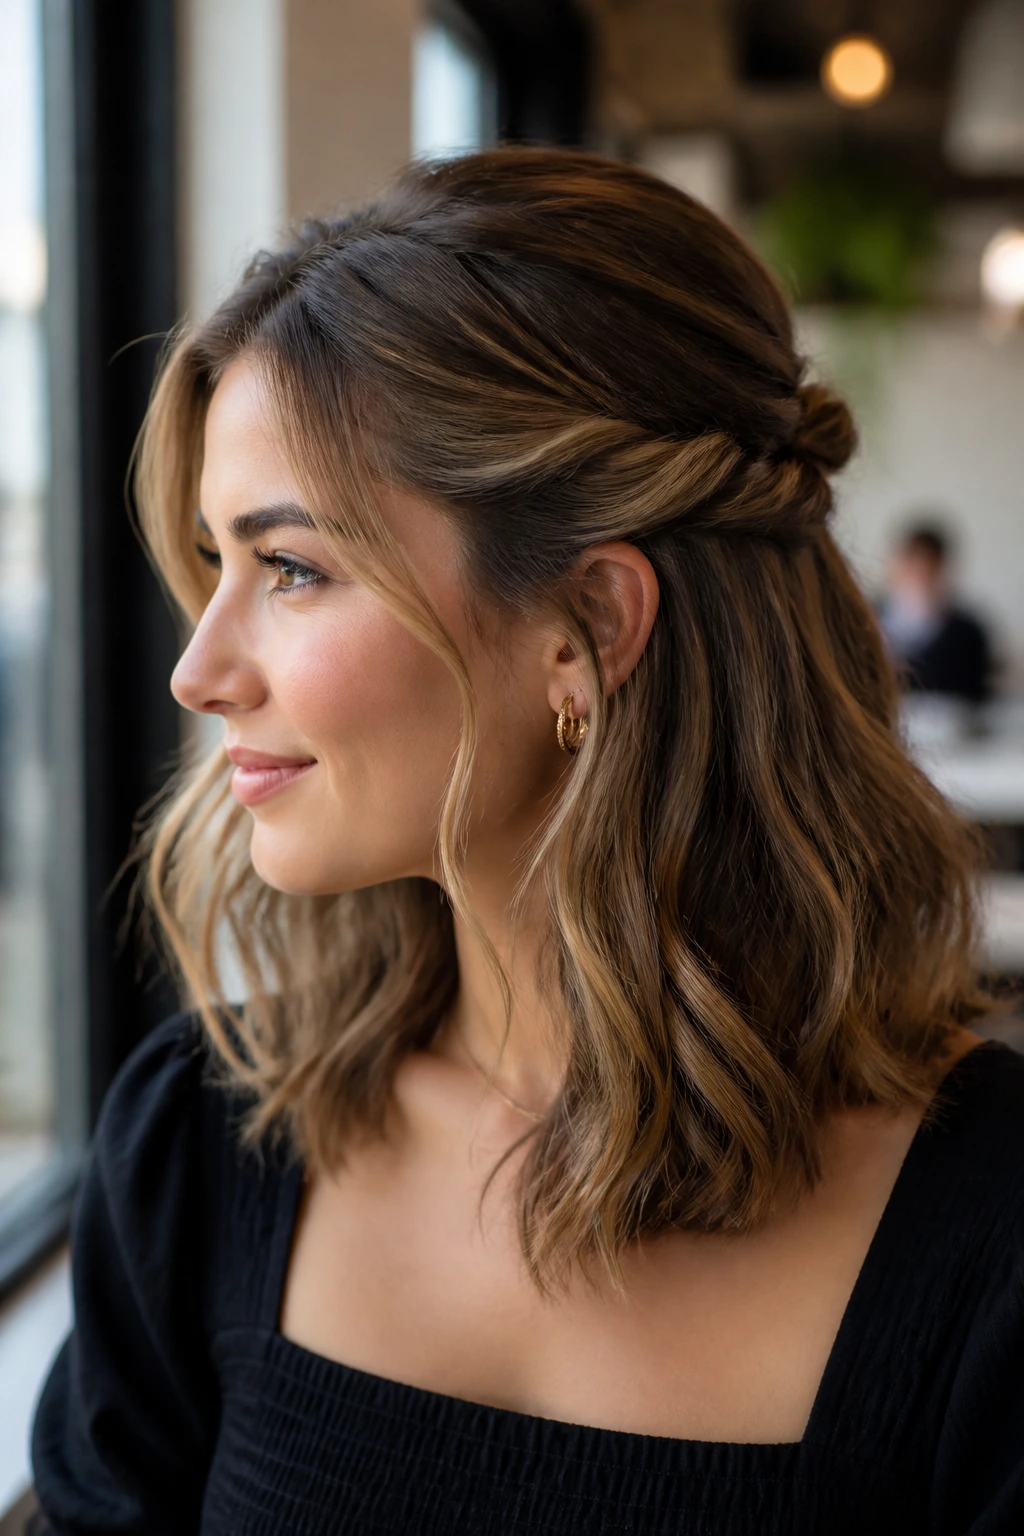
What if you want a style that looks intricate but takes less than ten minutes? The knotted half-up style is the one I’d reach for. It uses two side sections that are twisted or looped into a knot at the back of the head, then pinned so they hold their shape.
It works especially well on medium length hair because the top sections are long enough to knot, but the lower length still falls freely. That keeps the look airy. You get some lift at the crown and a nice framed effect around the face without giving up all your length.
A soft wave through the lower half helps this one feel formal instead of school-dance casual. If your hair is straight and fine, add a bit of texture spray before you knot it. The style needs grip. Otherwise the knot loosens and starts looking like it wants to fall apart.
10. Low Ponytail with a Wrapped Base
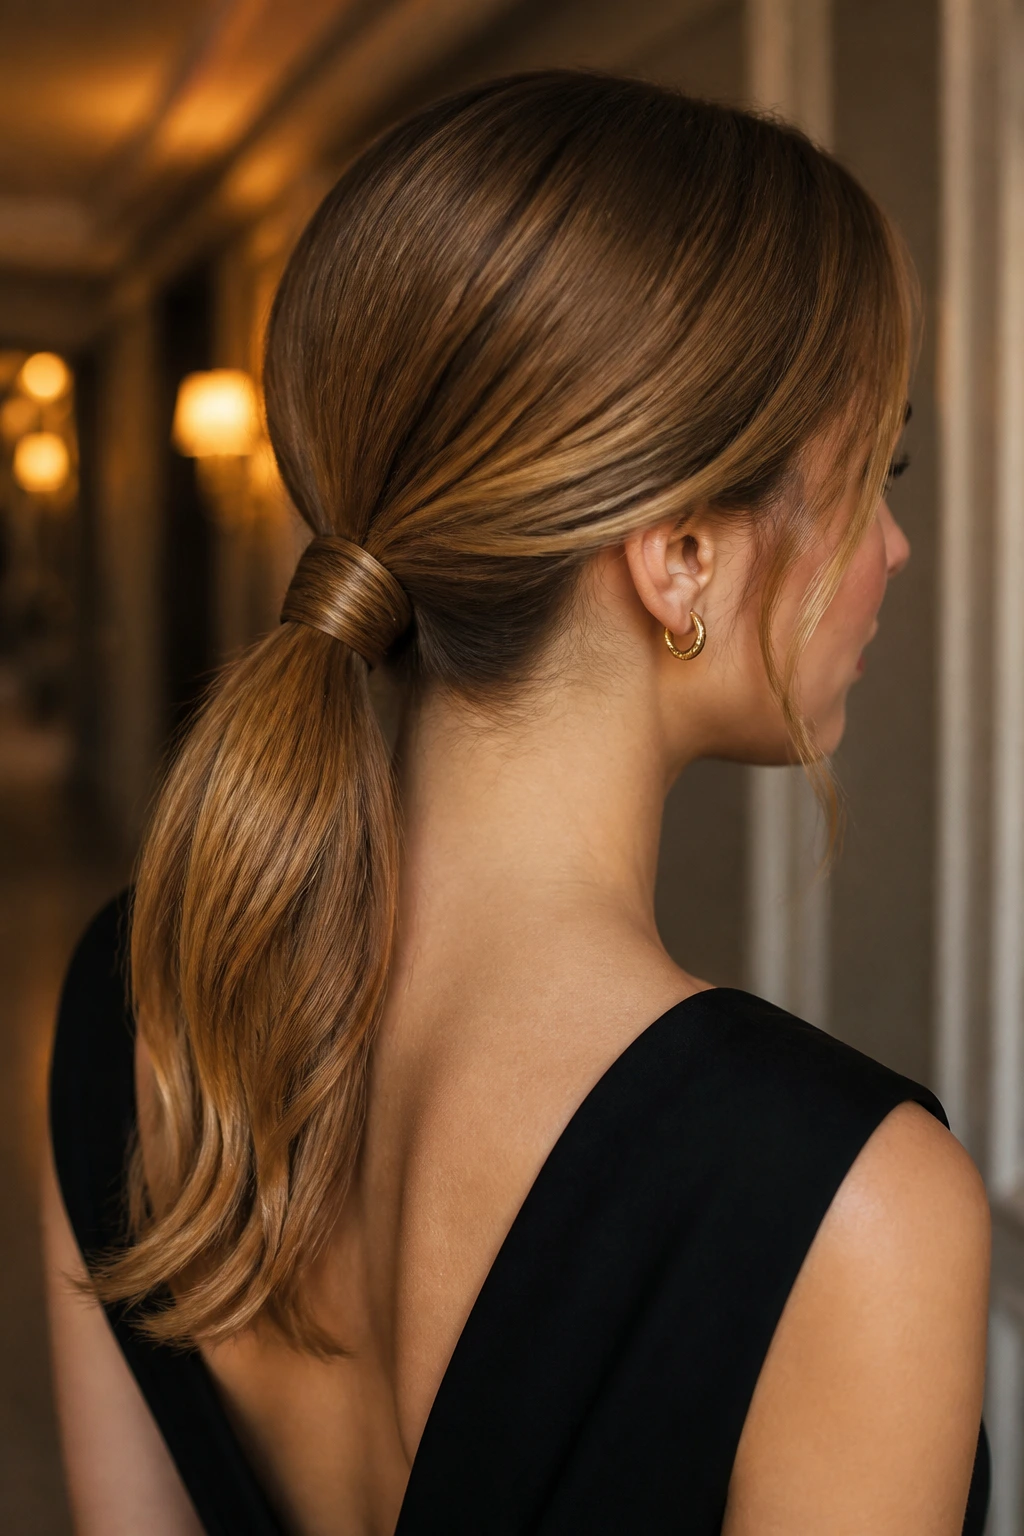
A low ponytail sounds plain until you do it properly. On medium length hair, it becomes formal the moment the crown is smooth, the part is clean, and the elastic disappears under a wrapped strand. That little finishing move changes everything.
This style is a smart choice when time is tight or when the dress already has a strong shape. A full updo can fight with a dramatic neckline. A low ponytail gives the outfit space to breathe. Keep the ponytail brushed and slightly curved at the ends, not stick-straight like you ran out the door.
- Use a fine-tooth comb to smooth the part and sides.
- Secure the ponytail with a clear elastic.
- Wrap a 1-inch strand around the base and pin it underneath.
- Mist the top lightly and smooth flyaways with a fingertip or toothbrush.
Best tip: place the ponytail just below the occipital bone, not too low on the neck. That small lift makes the whole silhouette look more refined.
11. Vintage Pin-Curl Roll
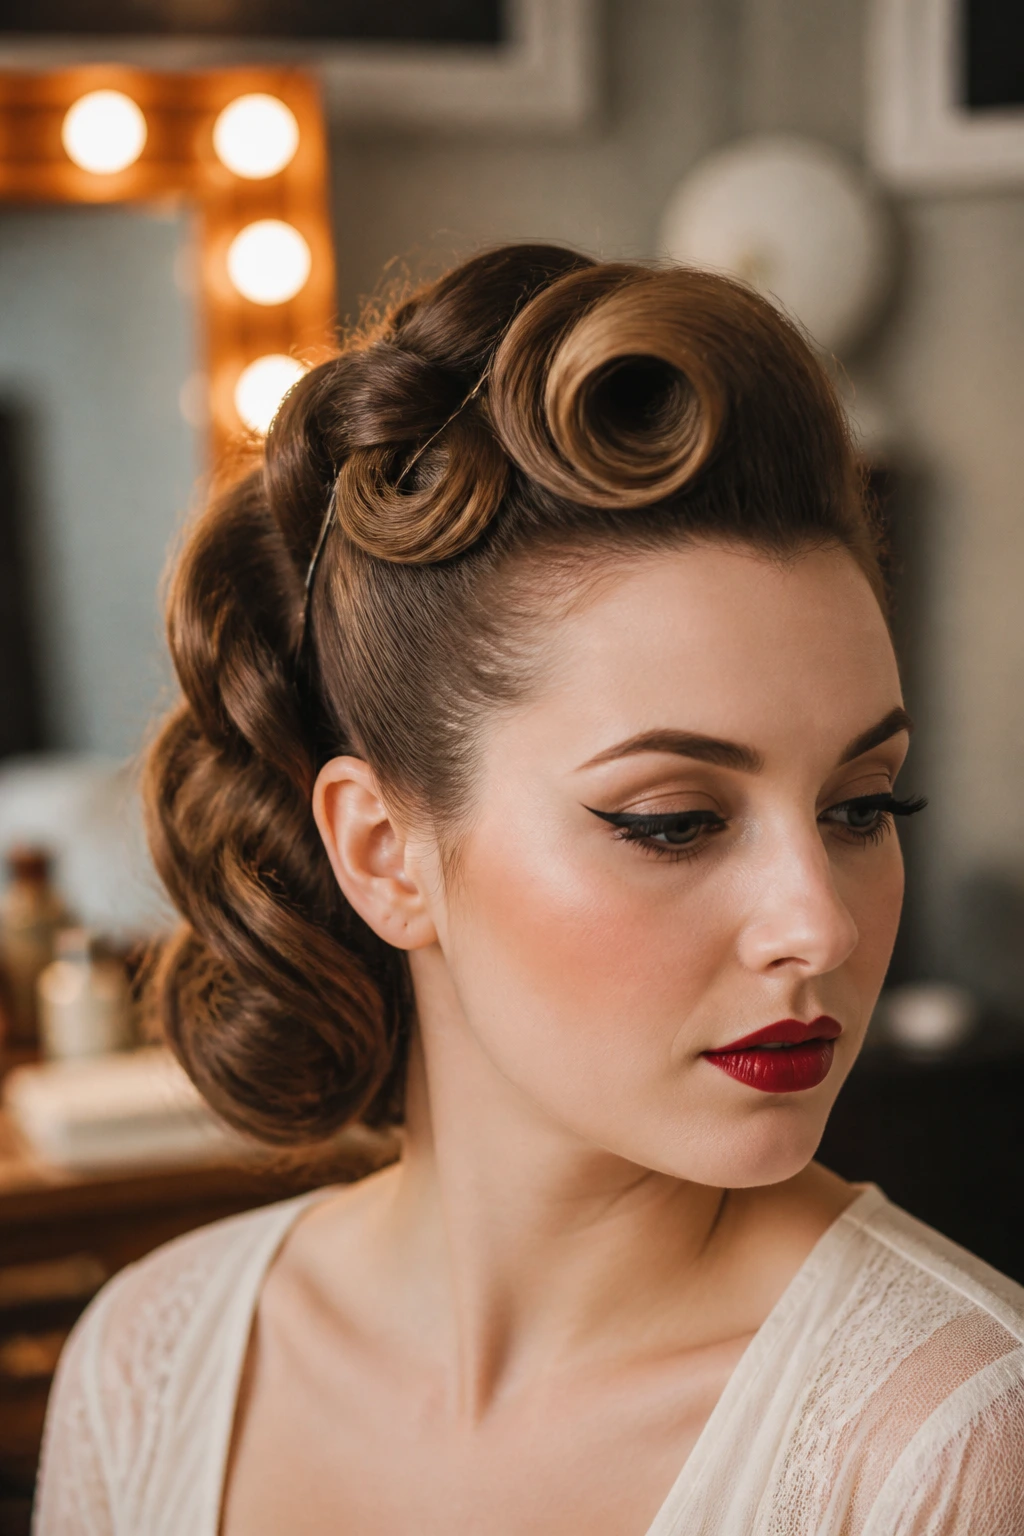
Vintage pin-curl rolls bring a very specific kind of polish. They have a soft, sculpted quality that feels made for satin dresses, red lipstick, and a room with low lighting. Medium length hair is good territory for this because the curls are long enough to form an actual roll but short enough to stay compact.
The important part is cooling time. Set the curls in small sections, pin them flat while they cool, and do not brush them out too soon. Warm curls forget their shape. Cold curls remember it. When you finally shape the front roll, it should feel moldable, not damp.
This style works beautifully when the front is rolled back and the rest of the hair is pinned into a tucked section or smooth bun. It does take patience. Not a lot of hair skill, just patience. If you’ve ever rushed through vintage waves and then wondered why they collapsed, the answer was probably heat that hadn’t set yet.
12. Gibson Tuck with a Smooth Crown
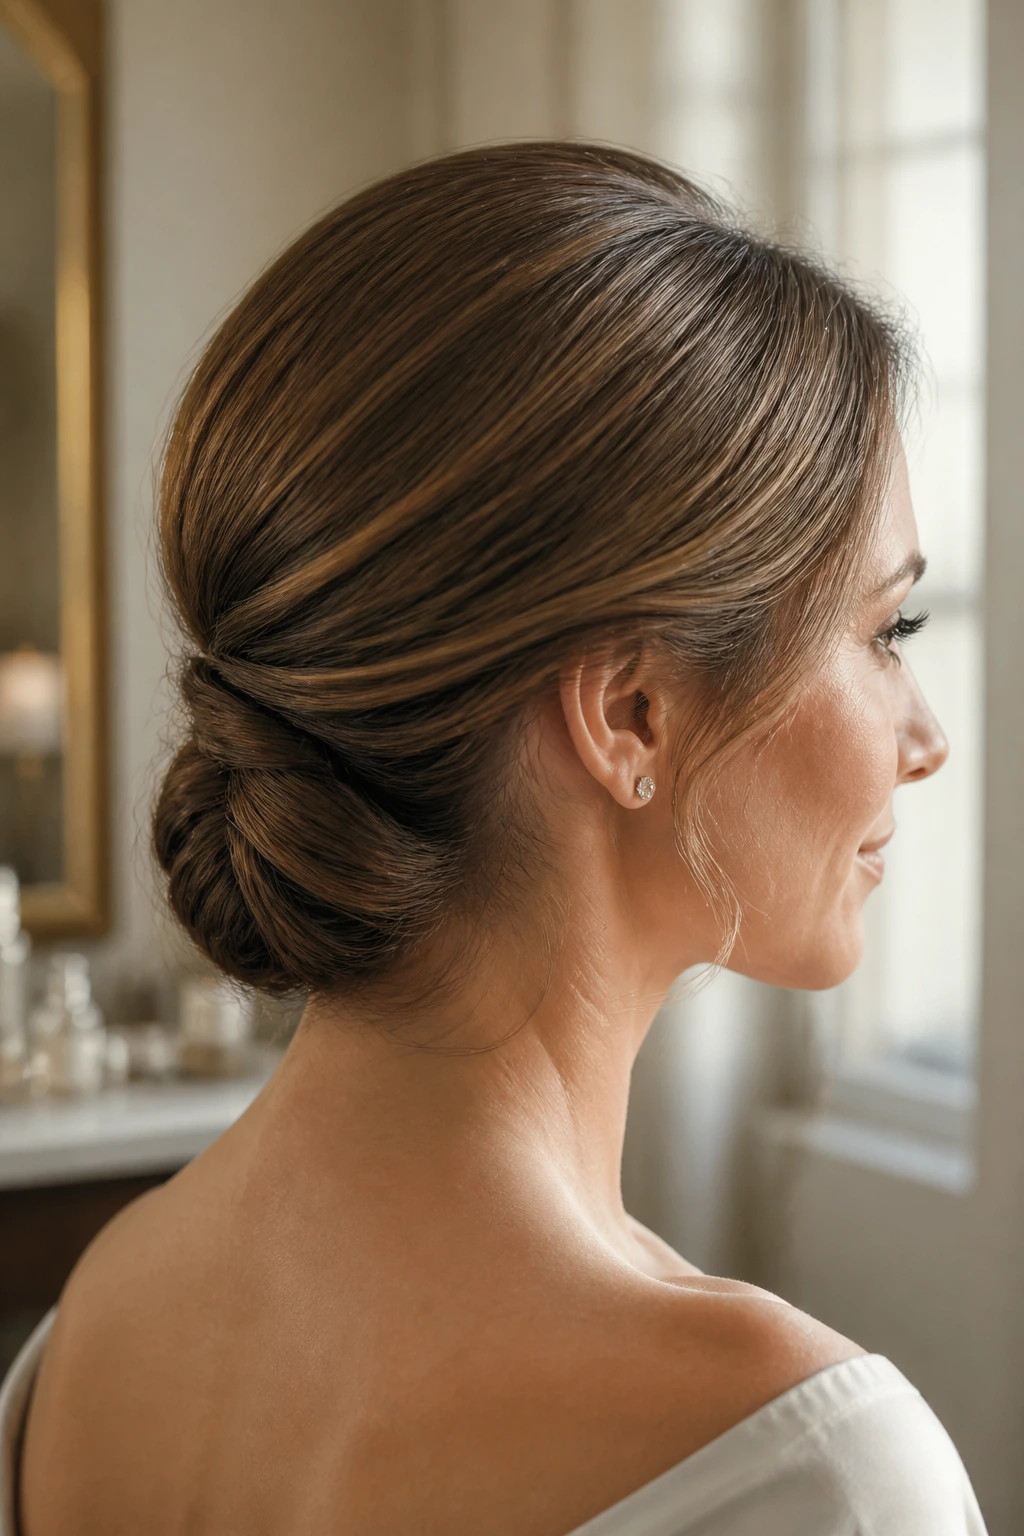
The Gibson tuck has a softer edge than a French twist, and that’s what makes it useful on medium length hair. It sits lower, feels less severe, and doesn’t pull as much at the crown. If a French twist is a tailored jacket, the Gibson tuck is the silk blouse underneath it.
Hair is gathered low, tucked inward at the nape, and pinned so the ends disappear into a roll. A smooth crown helps keep the shape elegant. If your hair is very slippery, a small hair net hidden under the tuck can save you from constant readjustment. Ugly in the drawer. Barely there on the head.
This one is especially nice for layered hair because the tuck can hide the shorter pieces better than a rigid twist sometimes does. It also works with modest necklines, high necks, and dresses that need a calm, balanced hairstyle rather than something highly sculpted.
13. Braided Low Bun
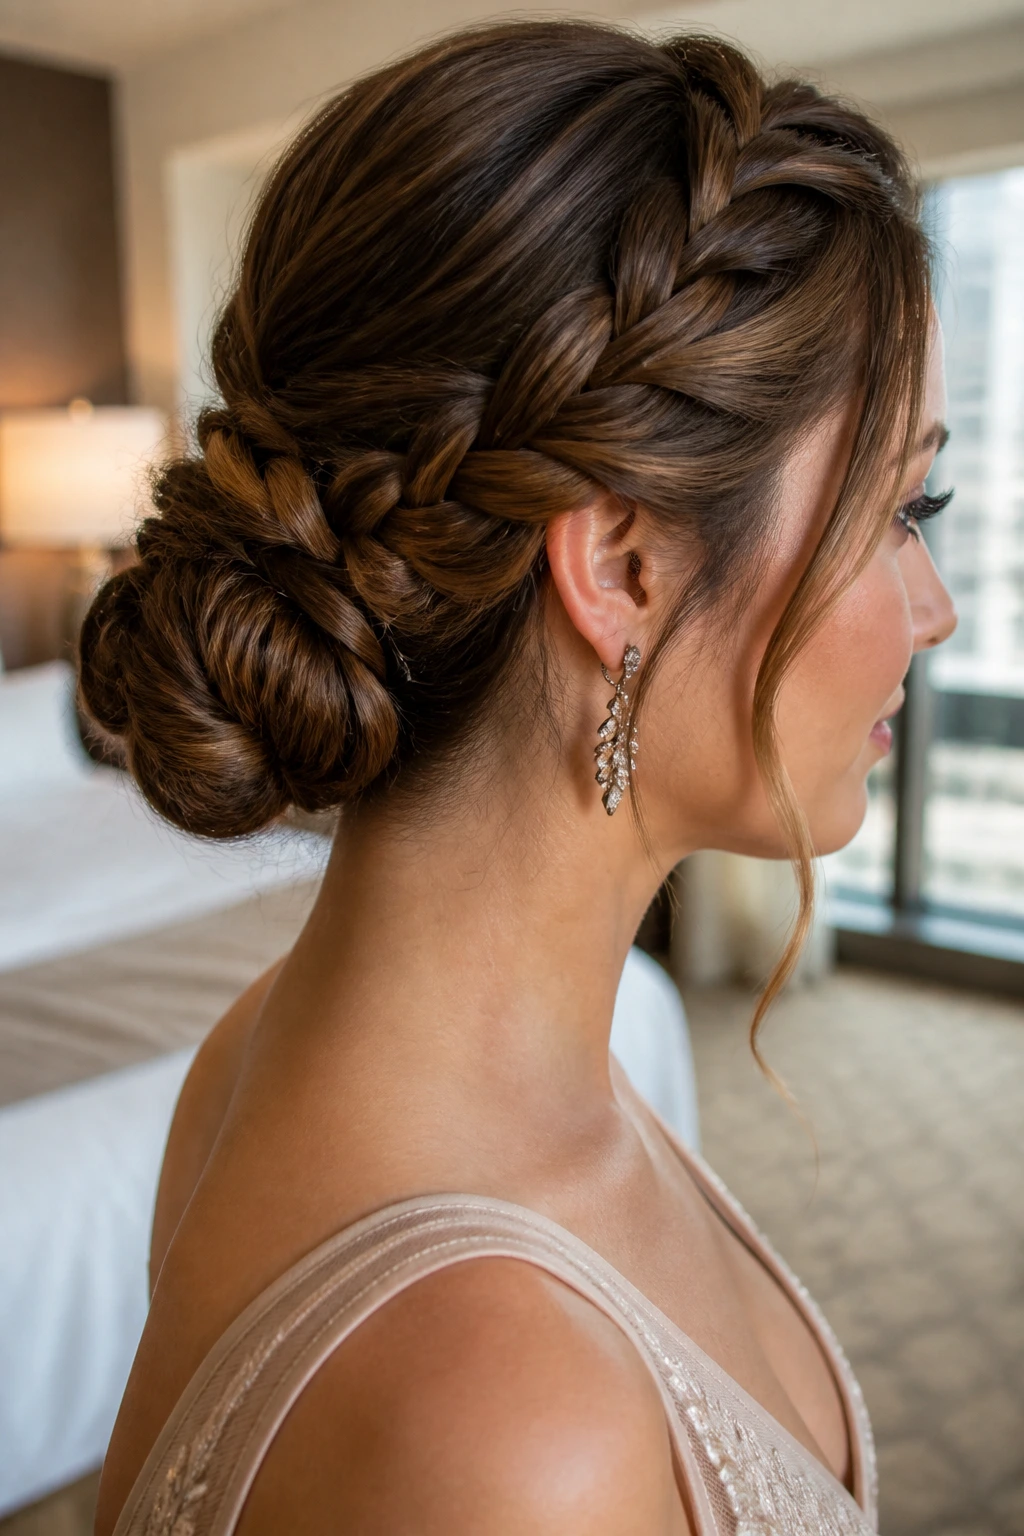
A braided low bun gives you texture where a plain bun can look flat. The braid travels into the bun itself, so even a simple knot picks up a little pattern and depth. On medium length hair, that braid reads clearly instead of disappearing into the bun.
Why the Braid Matters
The braid creates a visible line that catches light and breaks up the surface of the bun. That’s useful when the dress is smooth or the fabric is plain. It keeps the hairstyle from feeling like an afterthought. If your hair is layered, braid a little tighter than usual so the short ends stay inside the structure.
A braided bun is also a nice compromise for people who want something more detailed than a chignon but less styled than a halo braid. It sits well for weddings, formal dinners, and any event where you know you’ll be photographed from the back at least once.
14. Polished Top Knot
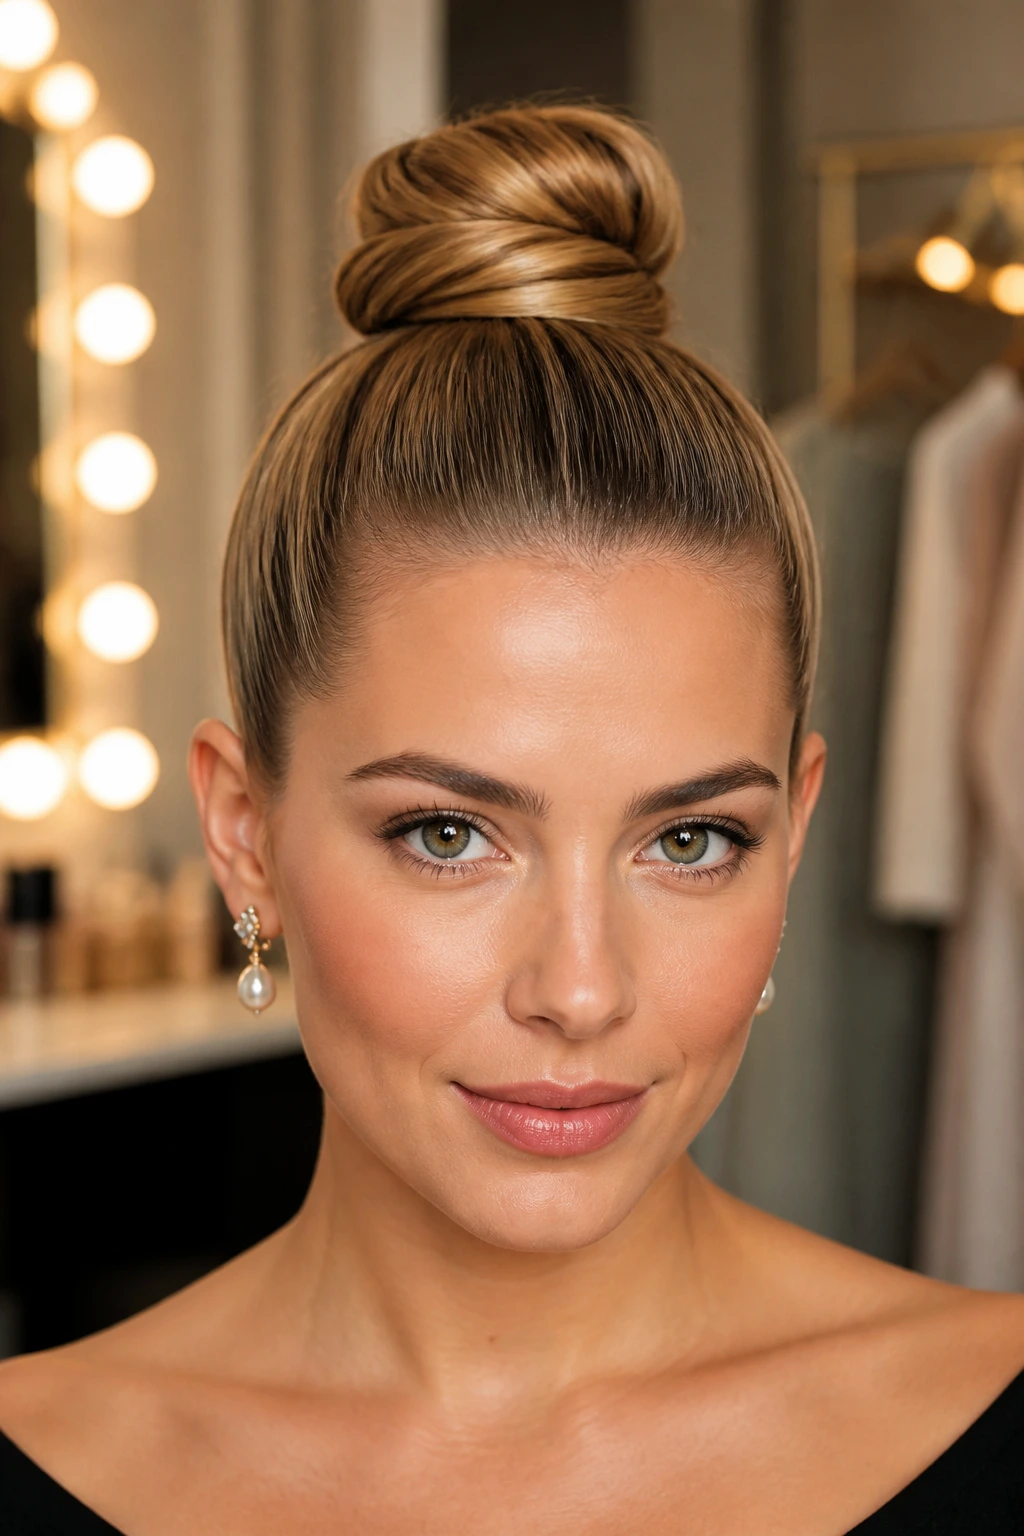
A polished top knot can be formal. Not the casual grocery-store version. The polished one is centered, smooth at the scalp, and wrapped tight enough to feel deliberate. Medium length hair needs a little more help here, but the payoff is a clean, lifted shape that works with high necklines and statement earrings.
I like a small donut insert for this if the hair is fine or just past shoulder length. It gives the bun a better outline without making it look oversized. Keep the crown flat, wrap the ends neatly, and make sure the bun sits at the right height—too low feels lazy, too high feels theatrical.
This style is especially good when the dress already brings drama. Think strong shoulders, sparkly bodice, or a neckline that sits close to the throat. The hair should step back and let the clothes speak.
15. Center-Part Tucked Ends
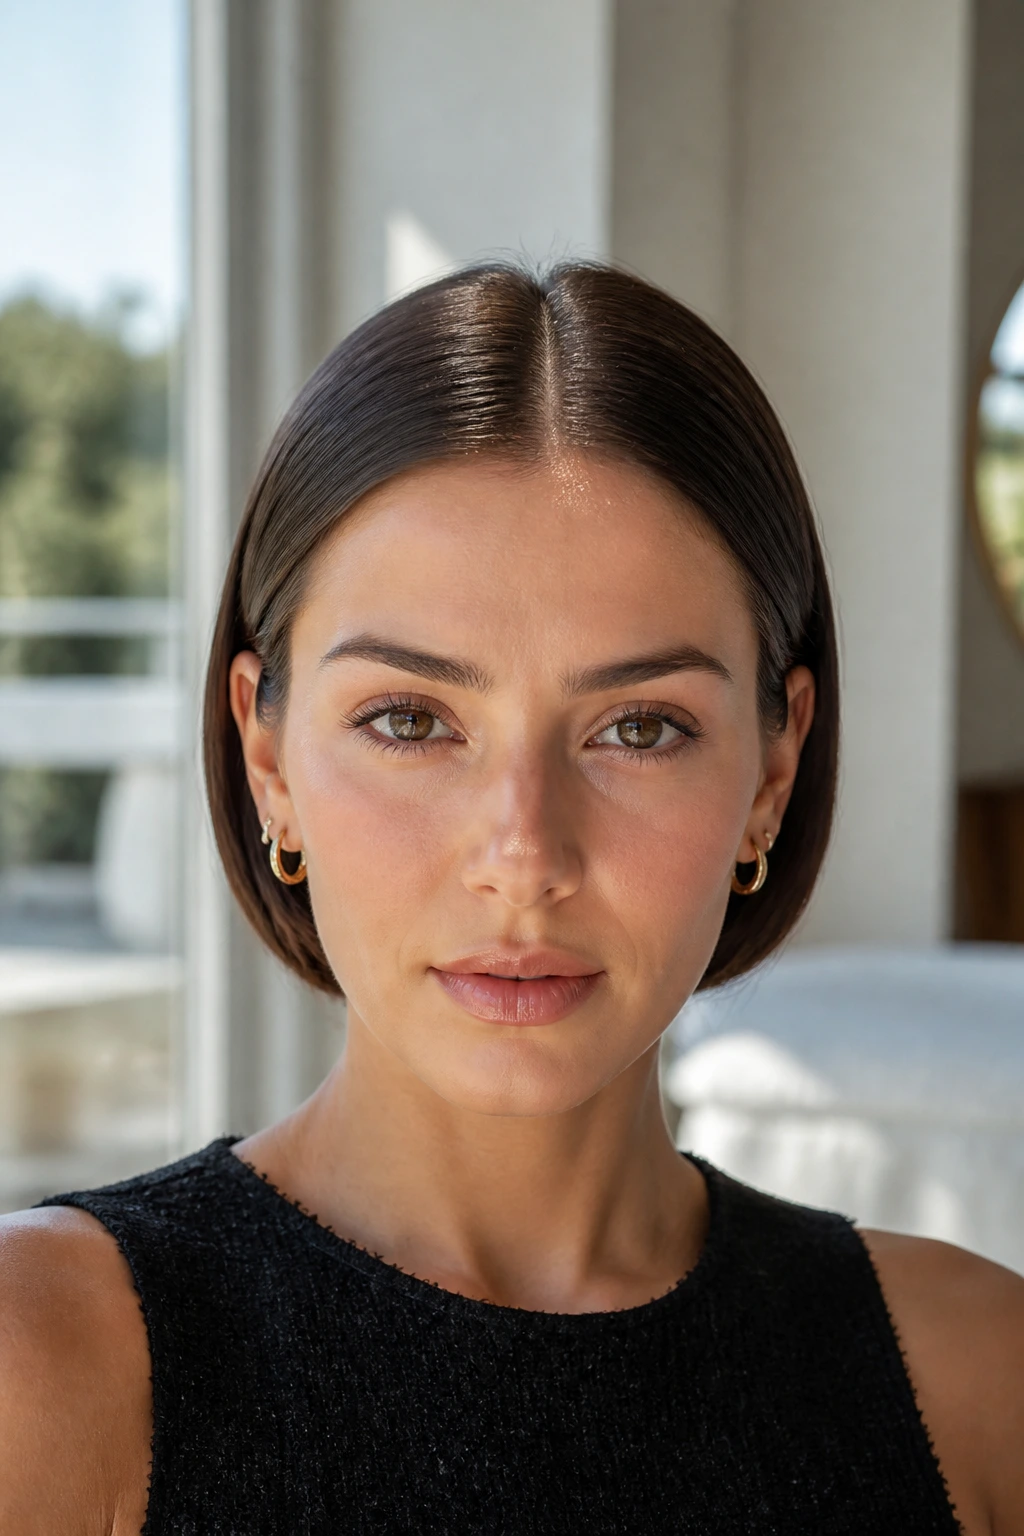
Can straight hair be formal without curls or waves? Absolutely, if the finish is immaculate. A center-part tucked-ends style gives you that sleek, minimalist look where the hair looks controlled from the part line all the way to the pin points.
The style usually starts with a very straight blow-dry or a quick pass of a flat iron. Then the ends are tucked under and pinned just below the ears or at the nape, creating a faux bob effect with a sharper front. It feels modern and calm, which is useful when the dress is busy or the jewelry is doing a lot of work.
This works best on medium length hair that has enough swing to tuck but not so many layers that the ends fight the shape. If your hair tends to puff at the temples, press it down with a tiny amount of smoothing cream on your palms, not a glob of serum. Too much product can make the roots look greasy before the event even starts.
16. Glam Waves with a Statement Clip
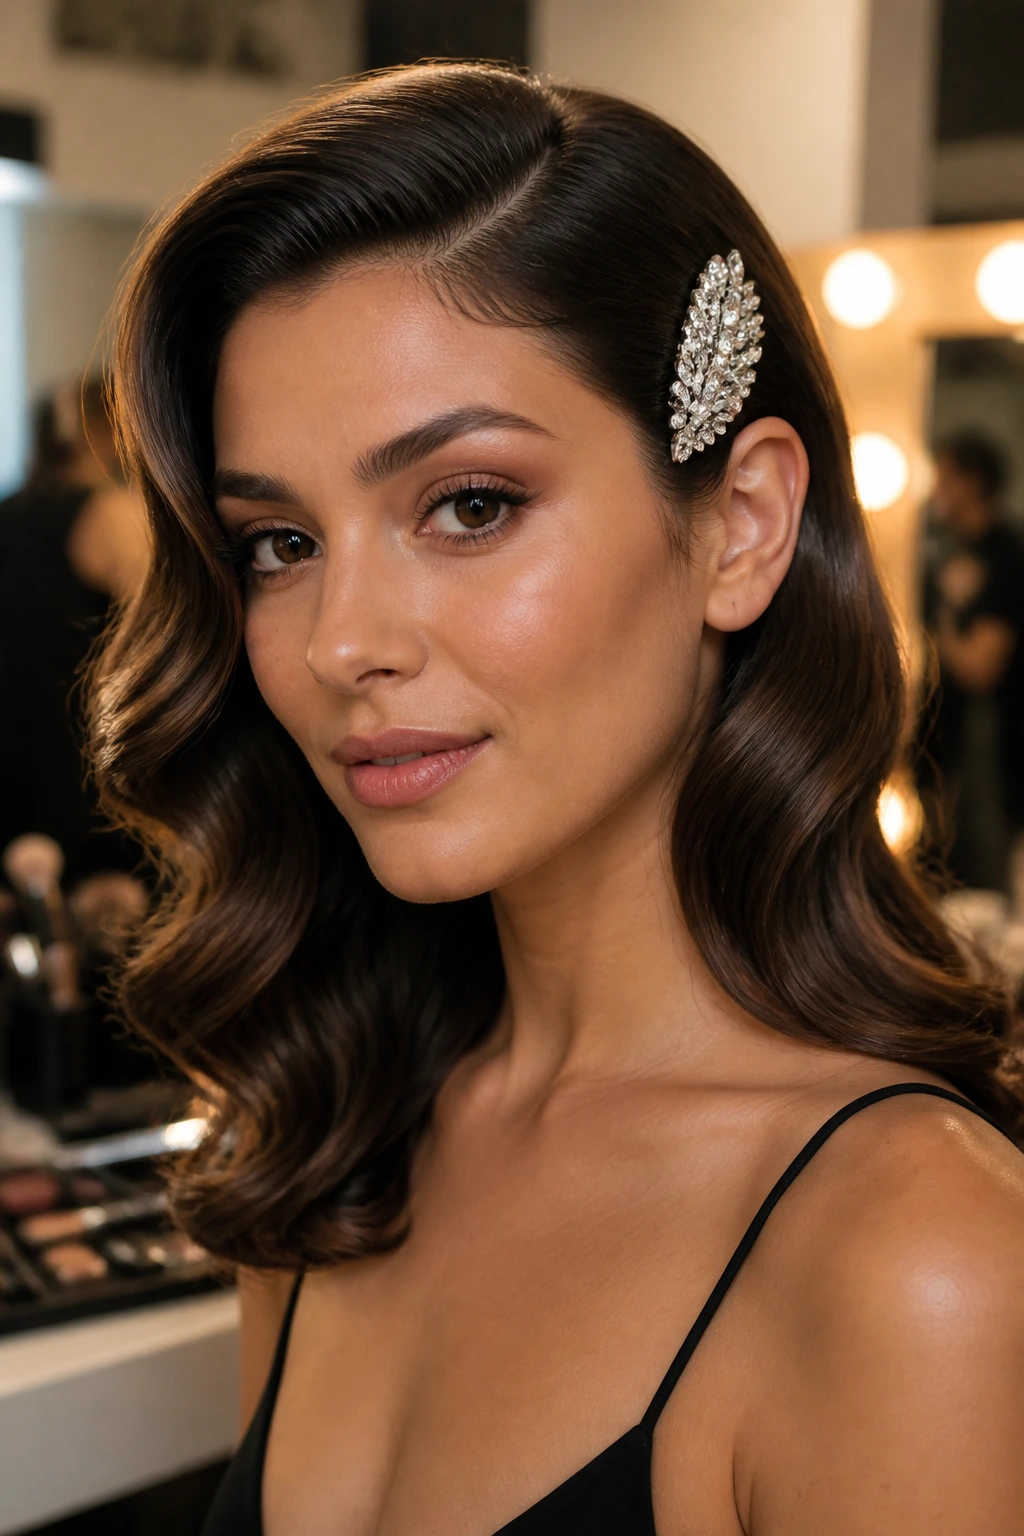
A statement clip can carry more of the look than people think. Pair it with soft glam waves and the whole style suddenly feels dressed for a formal room instead of a casual dinner. The trick is to let one side stay open and let the clip do its job near the temple or just above the ear.
What to Watch For
The clip should have weight, but not so much that it slips. Medium length hair can support a decorative barrette or comb if the section underneath has been smoothed and pinned first. Curl the waves away from the face, brush them into loose bends, then set the accessory where the hair naturally wants to sweep back.
- Choose one focal accessory, not three.
- Place the clip slightly behind the high point of the cheekbone.
- Let the wave on the clipped side stay flatter so the accessory is visible.
- Keep the opposite side softer and fuller for balance.
Best tip: if the dress already sparkles, choose a matte or pearl accessory. If the dress is plain, a crystal clip earns its keep.
17. Bubble Ponytail with Satin Ties
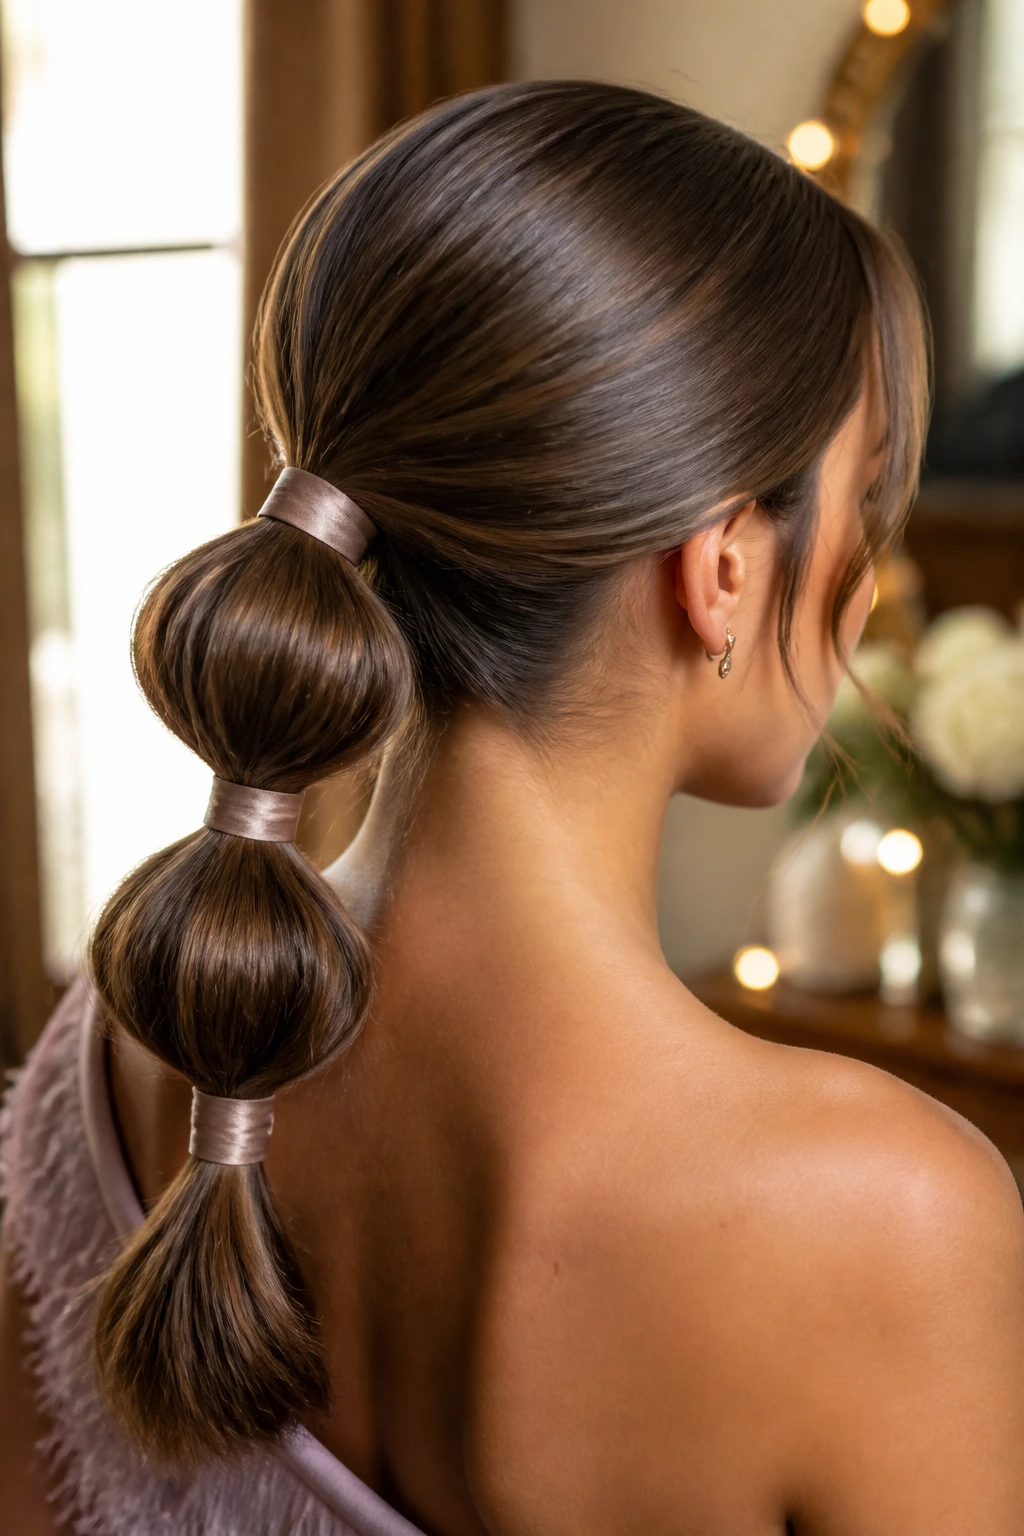
A bubble ponytail is a little playful, but it can absolutely work for a formal event when the bubbles are neat and the ties are discreet. On medium length hair, it creates a clean line down the back without asking the hair to do anything impossible. I like it best when there are only two or three bubbles, not six tiny ones crowding the ponytail.
The base should be smooth, then each bubble section is gently pulled outward so it rounds into shape. Satin ties or wrapped elastics keep the look polished. If you use clear elastics, hide them under thin wrapped strands or decorative ribbons. That tiny decision keeps the ponytail from drifting into gym-class territory.
This is a strong option for dresses with simple backs, especially if you want something a little different without sacrificing structure. It also plays nicely with hair that has a bit of natural wave, since the bubbles don’t need every strand to behave perfectly.
18. Side Bun with a Deep Part
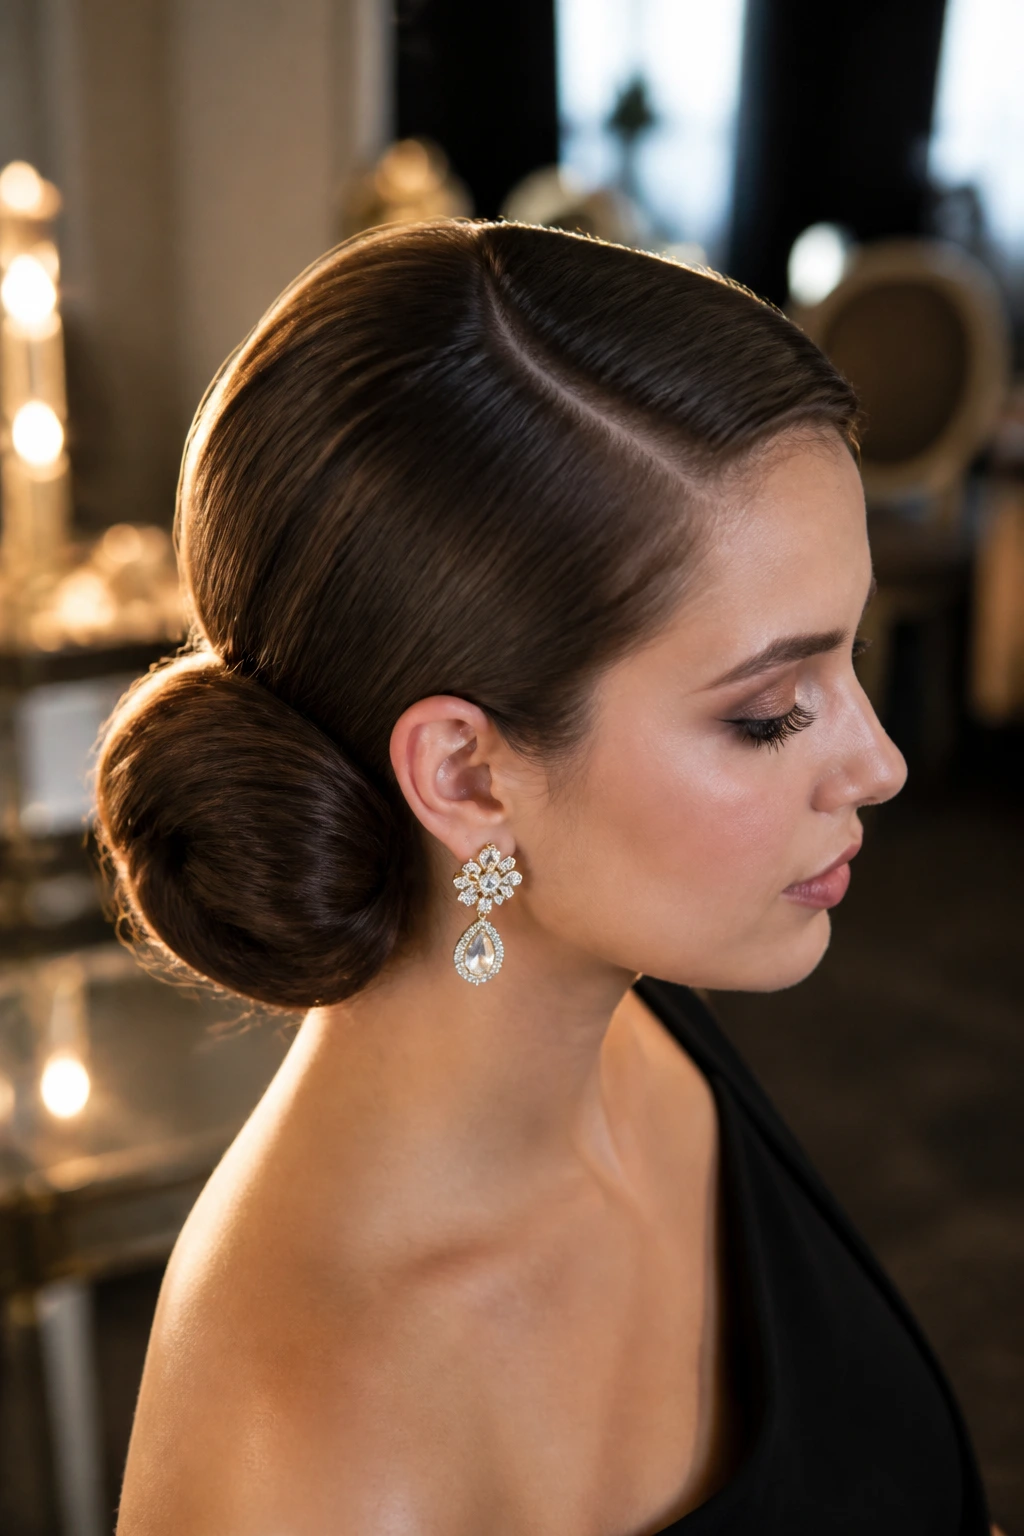
A side bun gives medium length hair a softer formal shape than a centered low bun. The deep part shifts the weight to one side, which can be lovely with one-shoulder dresses, asymmetrical necklines, or gowns that already have a strong line across the body. It feels elegant without looking severe.
The bun sits just behind or below one ear, not so low that it disappears, and the front can be smoothed into a sweeping curve before it tucks back. That curve matters. It draws the eye across the face and gives the style motion. A side bun that is too tight in front can look stuck on. A side bun with a clean sweep feels finished.
This is one of the better choices when you want your earrings to show and your neckline to stay open. It also works well if you need a style that photographs from multiple angles. The side placement gives the whole head a little shape from the profile, which is something flat styles never quite manage.
Choosing the Right Look for the Dress, the Face, and the Room
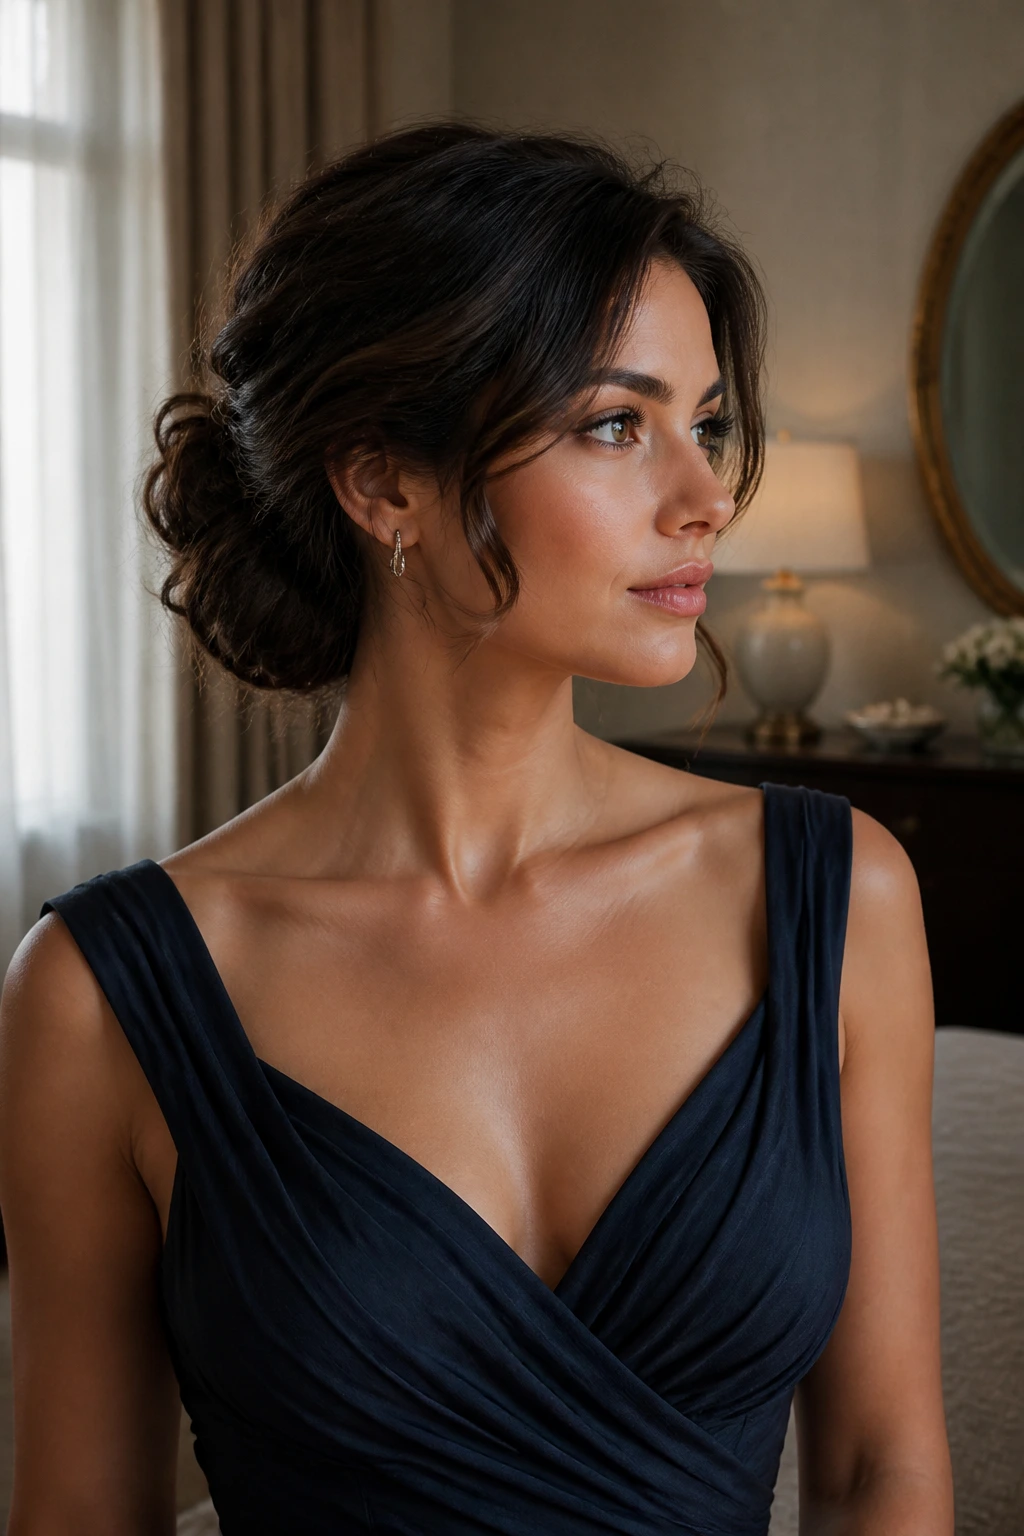
The best hairstyle is rarely the one that looks the most complicated on its own. It’s the one that makes the dress make sense. A high neckline usually wants something low, tucked, or smooth at the crown so the fabric and hair don’t fight for attention. One-shoulder dresses usually look better with a side sweep or a side bun, because the asymmetry feels deliberate instead of accidental.
Presentation: keep the silhouette readable from a few feet away. A sleek chignon should look smooth and compact, while a braid should still show its pattern from the back. If the front is busy with bangs, waves, or accessories, keep the back calmer.
Neckline Match: a high neck or halter usually pairs best with low buns, twists, or tucked styles. Strapless dresses can handle more volume at the sides or crown. If the dress has a dramatic shoulder, let the hair move in the opposite direction so the shape feels balanced.
Face-Shape Notes: side parts soften sharp angles, crown height lengthens rounder faces, and a low smooth style keeps a long face from looking even longer. None of this needs to be treated like a rigid rulebook. It’s more like adjusting the frame around a picture.
Accessory Pairing: pearl pins suit soft waves and half-up styles. Crystal combs work best when the hair is smooth enough to let the accessory shine. Satin ribbons belong with ponytails and bubble styles, while a single ornate clip often does more than a cluster of small ones.
Essential Tools for These Formal Looks
-
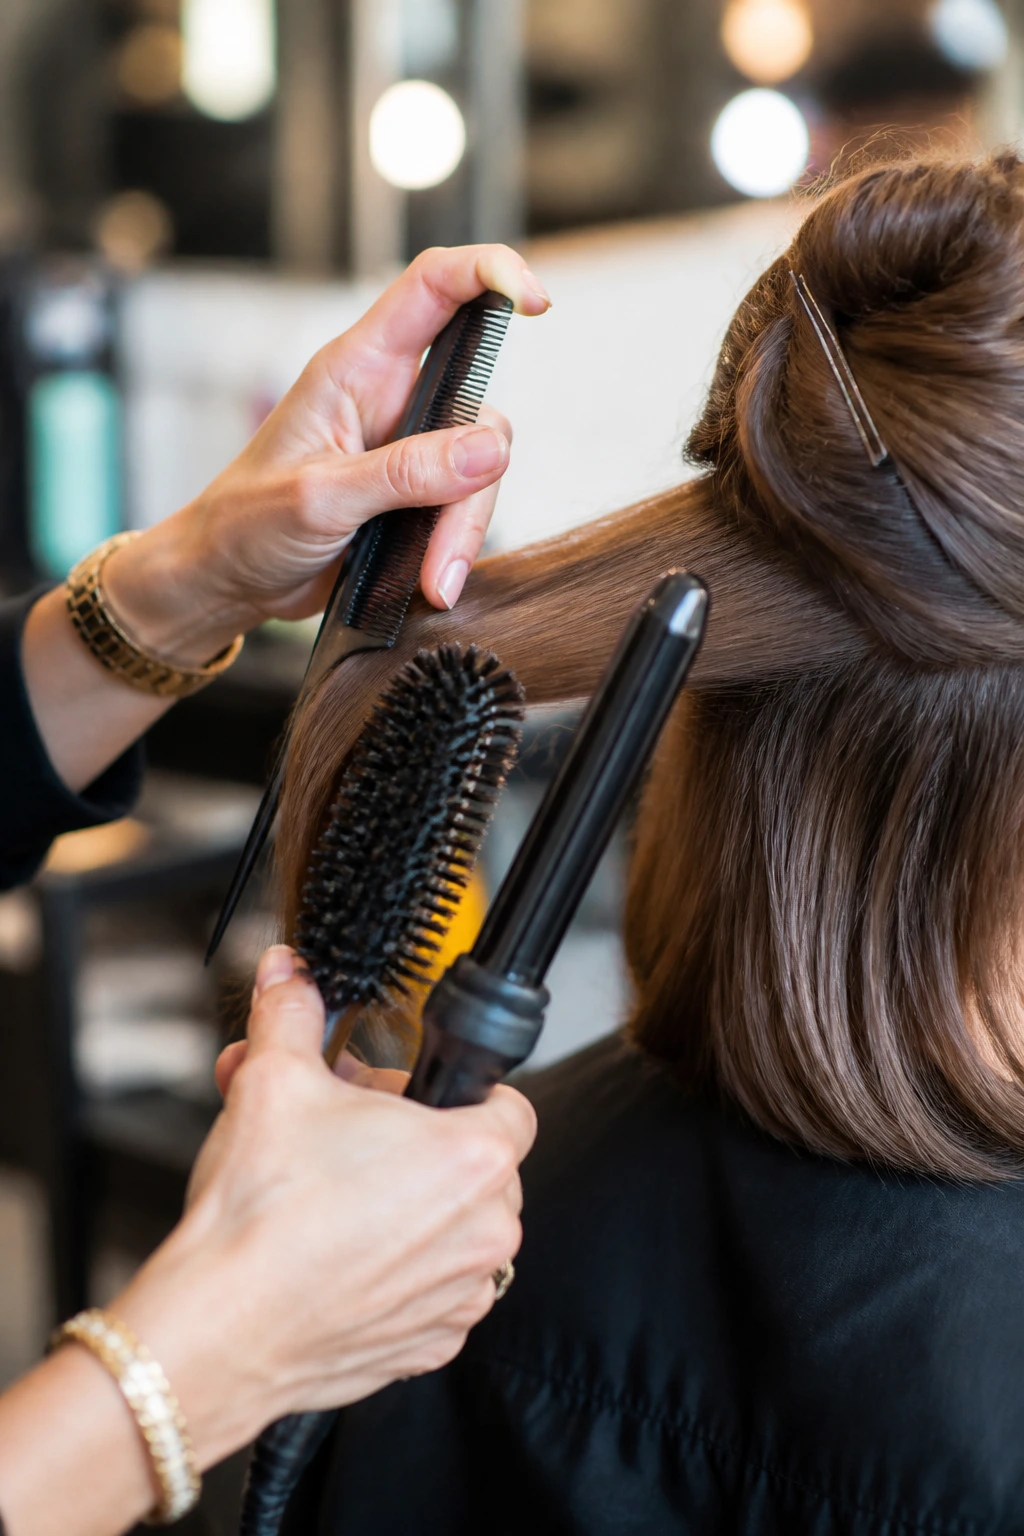
Tail comb: The pointed end makes clean parts and sectioning much easier, especially for smooth styles and crown lifts.
-
Boar-bristle brush: This helps smooth the top layer without making the hair puff up the way some plastic brushes do.
-
1-inch curling iron or wand: A medium barrel gives you the bend needed for waves, pin curls, and soft formal texture.
-
Flat iron: Useful for sleek ponytails, tucked ends, and polished side parts when you need the hair glassy.
-
Blow dryer with a nozzle attachment: The nozzle directs air so the roots lie flat instead of scattering in every direction.
-
Heat protectant spray: Use it before any hot-tool styling. It’s boring, yes. Also non-negotiable.
-
Mousse or root-lifting foam: Best for adding hold before a blowout, especially when you want volume at the crown.
-
Dry shampoo or texture spray: These give medium length hair enough grip to hold pins, twists, and braids.
-
Strong-hold hairspray: Pick one that dries without turning the hair into brittle wire.
-
Matte bobby pins: They grip better than the shiny, slippery ones and disappear more easily against the hair.
-
U-pins: Handy for buns, twists, and Gibson tucks when you want support without visible bulk.
-
Clear elastics: These are useful for ponytails, half-up styles, and bubble ponytails when you want the base to vanish.
-
Hair net: Not glamorous in the drawer, very useful under a French twist or tucked roll.
-
Small padding insert or donut: Optional, but excellent for fine hair that needs a little body in a bun or top knot.
Smart Product Picks for Formal Hairstyles That Need Grip and Shine
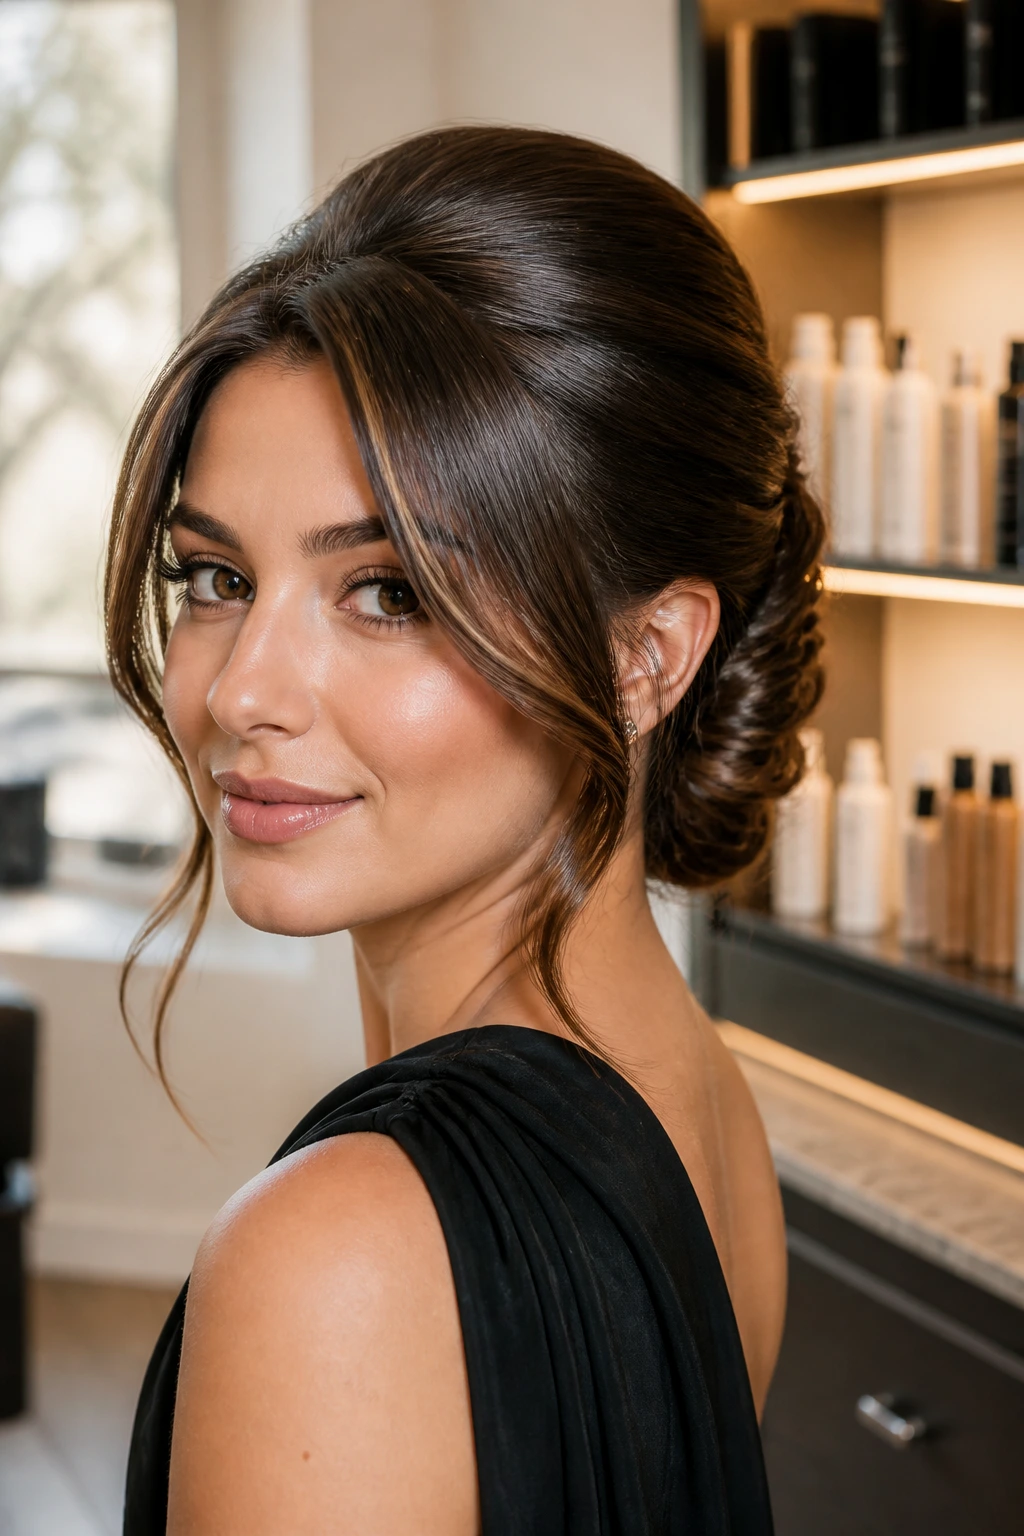
The product aisle can make this more complicated than it needs to be, so I keep the choices narrow. For sleek styles, look for a smoothing cream or lightweight gel that dries without white flakes. Heavy oils near the roots are a bad trade; they make the hair look shiny for fifteen minutes and then greasy under indoor light.
For waves and curls, a heat protectant plus a flexible-hold spray is the safer pair. Mousse works well before blow-drying if you want the style to last longer than one round of photographs. If your hair tends to slip, texture spray at the roots or along the mid-lengths gives pins something to catch.
Accessories matter more than people think. If your hair is fine, choose lighter clips and slimmer combs. Heavy metal pieces pull. If your hair is thick, the opposite problem appears: lightweight clips vanish. In that case, a sturdier comb or a pin with actual teeth is worth the money.
I also like having two kinds of bobby pins on hand: ones that match the hair color and a few matte black pins for hidden anchor points. The matched pins disappear in the front. The black ones do the dirty work underneath.
Extra Tips That Save the Whole Look
Grip First: If the hair is too clean, rough it up. Dry shampoo at the roots, a little mousse in the mid-lengths, or one day of natural oils can make a formal style behave much better than a squeaky-clean wash.
Pin in Layers: Don’t try to hold a bun or twist with one pin line. Cross the pins and build them in layers, starting from the center of the shape and working outward. That’s how you keep the style from sliding sideways.
Cool Before You Touch: Waves, pin curls, and brushed-out bends need time to set. If you start brushing while the hair is still warm, the shape loosens before it has a chance to lock.
Tame Flyaways the Cheap Way: A clean toothbrush misted with hairspray does more precise work around the hairline than spraying the whole head again. It’s one of those small tricks that feels silly until you use it once and then keep doing it forever.
Common Mistakes That Make Formal Hair Fall Flat
-
Starting with hair that’s too slippery: Freshly washed hair can slide out of pins, especially in smooth buns and twists. Use a little texture spray or dry shampoo first, or style the hair on the second day.
-
Using too much serum or cream: The hair may look shiny for a minute, then the roots collapse and the style loses structure. Keep oils and creams to the mid-lengths and ends, and use only a small amount.
-
Choosing the wrong pin placement: Pins shoved straight in often pop out. Cross them over the shape so they lock into the hair instead of sitting on top of it.
-
Ignoring the crown: A flat crown can make even a beautiful bun look tired. Add a little lift or smoothing at the top before the rest of the style goes up.
-
Forgetting the neckline: A side bun with a high-neck dress can feel crowded. A severe French twist with a busy neckline can feel stiff. Let the clothes and hair take turns, not both at once.
-
Waiting until the last minute to test the style: Formal hair always needs a rehearsal. Not a full salon session, just one practice run. You’ll learn whether your pins slip, whether your layers escape, and whether you need one more can of hairspray.
Variations and Adaptations to Try
Fine-Hair Insurance: If your hair is thin, start with mousse at the roots and a light teasing pass at the crown. A tiny padding insert under a bun or twist can make the shape read fuller without looking fake.
Thick-Hair Control: Divide the hair into four sections before building a bun, twist, or tuck. That keeps the shape from turning bulky in one spot and makes the pinning far less miserable.
Curly-Hair Remix: Stretch the roots smooth but leave the ends with their natural curl in a low bun, side bun, or half-up style. The texture adds depth, and you avoid the helmet effect that happens when curls are forced too flat.
Short-Layer Rescue: If the front layers are too short to stay tucked, let them fall as deliberate face-framing pieces. A tidy wave around the face looks far better than a dozen pins fighting tiny strands all night.
Humidity-Proof Finish: Use a stronger hold spray, keep serum off the roots, and skip overly fluffy curls. Sleeker shapes and tucked styles handle moisture better than soft, brushed-out waves.
Make-Ahead, Touch-Up, and Overnight Care
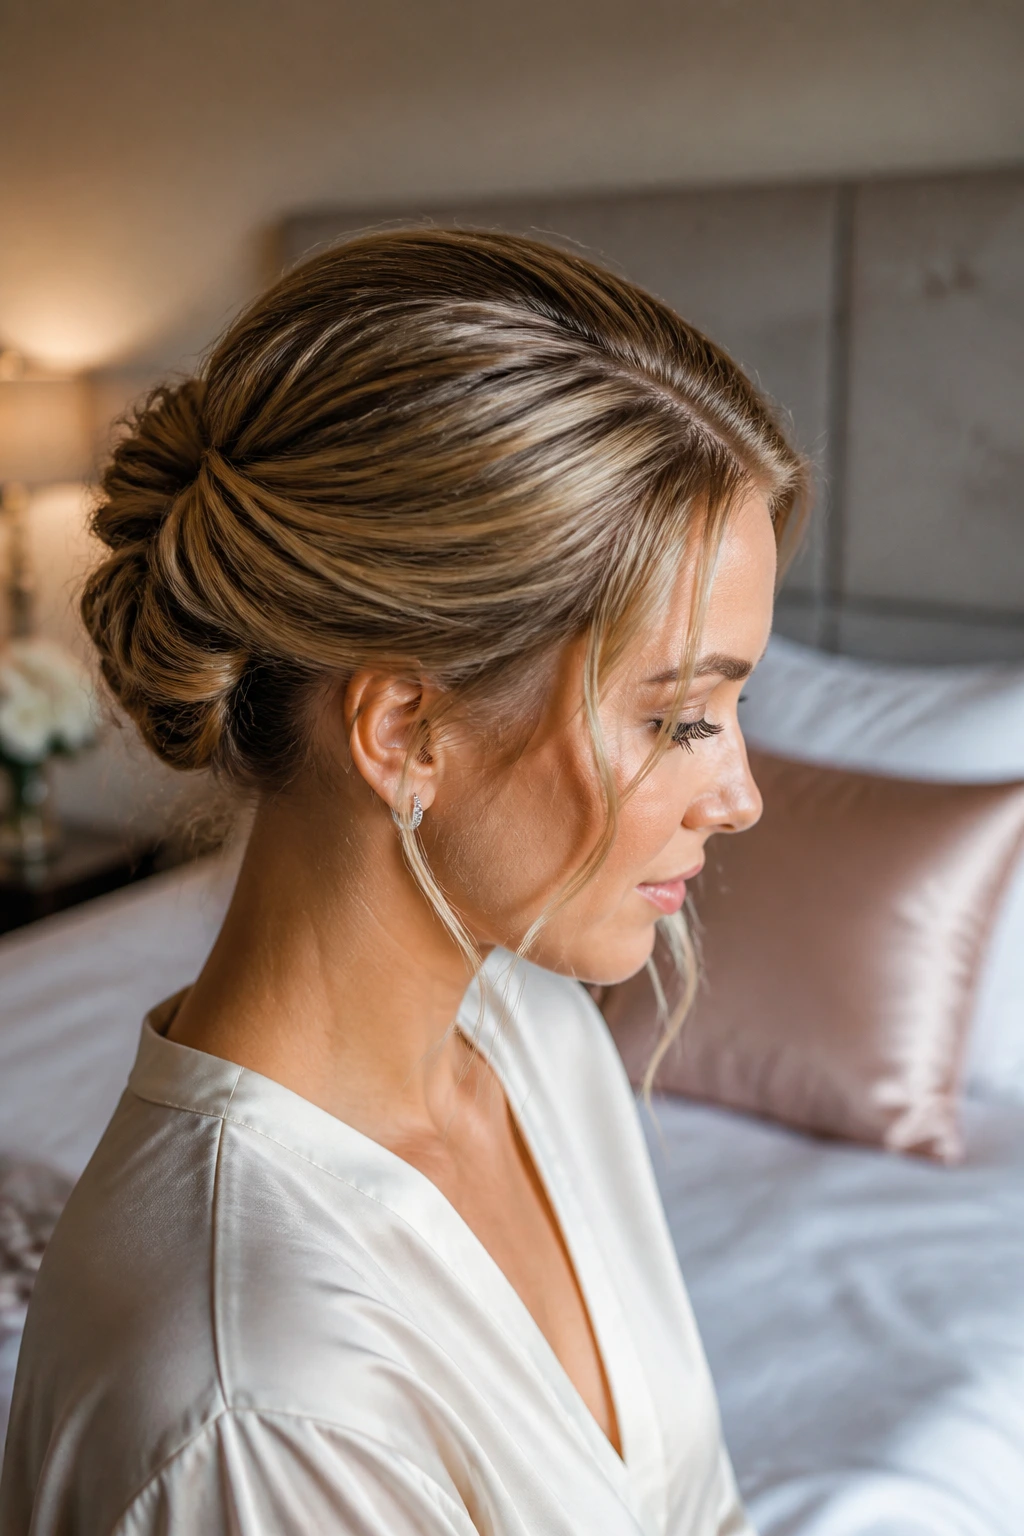
The smartest move is usually to prep the hair before the event rather than styling from zero in a rush. A blowout the day before often gives medium length hair the right amount of bend and grip. If you’re curling, pin the curls while they cool and leave them that way until the last possible minute. That cooling window does more work than another blast of hairspray ever will.
For styles that need to last through a long evening, carry a tiny touch-up kit: 4 to 6 bobby pins, a travel-size spray, one small comb, and a couple of clear elastics. You probably won’t use all of it. You will be happier knowing it’s there. If a wave drops near the temple, pin it back with a hidden pin and keep going instead of rebuilding the whole hairstyle.
If the event runs late and you need the style to survive until the next day, don’t sleep on a hard accessory or a high knot that digs into your head. A low bun, twist, or tucked style can usually be wrapped loosely in a silk scarf or protected on a silk pillowcase. In the morning, smooth the front with damp hands and a touch of cream rather than starting over from scratch.
Frequently Asked Questions
What counts as medium length hair for formal styling?
Usually, it means hair that sits around the chin, collarbone, or shoulders and maybe a little past them. That range is long enough for twists, low buns, and half-up looks, but short enough that the style stays lighter and easier to control.
Is second-day hair better than freshly washed hair?
Most of the time, yes. Second-day hair has more grip, which helps pins, braids, and twists hold their shape. If your hair gets oily quickly, a little dry shampoo at the roots gives you the same advantage without the flat look.
How many bobby pins do I need for one formal style?
More than you think. I’d start with 8 to 12 on hand for a low bun, twist, or tuck, and 12 to 16 if the hair is layered or slippery. You won’t always use them all, but running out of pins halfway through is a silly problem to have.
Can fine hair handle these looks?
Yes, but it usually needs help with texture and support. A light mousse, a small amount of teasing at the crown, and a padding insert under buns or twists make a big difference. Fine hair often looks best in sleeker styles rather than big, airy shapes.
What if my hair is thick and keeps puffing up?
Work in smaller sections and smooth the top with a brush and a little cream before adding pins. Thick hair needs more control at the crown and more pins underneath, not more product all over the head. Too much product can make thick hair feel heavy without fixing the shape.
Which styles work best with bangs?
Half-up twists, low buns, side buns, and Hollywood waves all play nicely with bangs. If the bangs are blunt, a sleek center part or low chignon can feel cleaner. If they’re soft or curtain-style, almost anything on this list can work with them.
Do I need hot tools for every style?
No. Sleek looks, tucked ends, and some ponytails can be done with a blow-dryer and the right products. Waves, pin curls, and polished bends usually need a curling iron or flat iron, but you do not need to heat-style every strand to make the result feel formal.
How do I keep the style from falling apart in humidity?
Start with a style that sits close to the head, use less oil, and finish with a firm but brushable hairspray. Humidity is hard on soft, brushed-out shapes, so if the weather is damp, choose a chignon, tucked roll, or side bun instead of loose waves.
The Styles Worth Practicing First
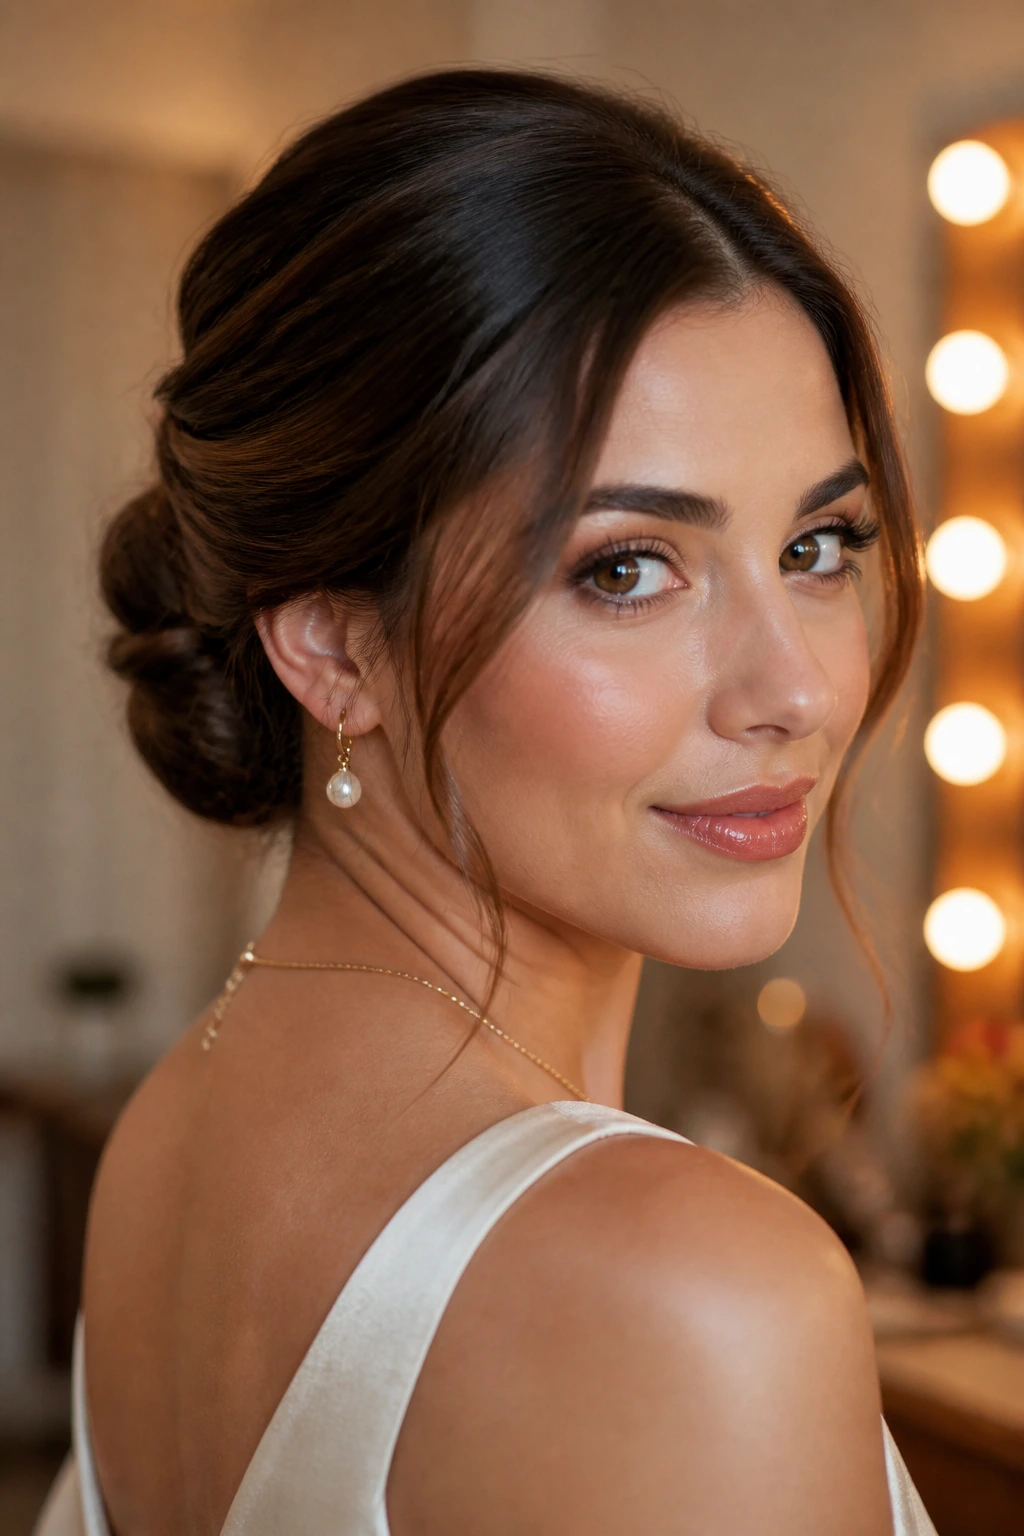
If you only have time to test three looks, make them the low chignon, the half-up crown twist, and the side-swept waves. Those three cover the major moods: sleek, romantic, and classic-glam. They also tell you a lot about how your hair behaves when it’s pinned, brushed, or curled, which is useful knowledge before an actual event.
The whole point of formal hairstyles for medium length hair is that they should look chosen, not improvised. A good style keeps the face open, survives movement, and still looks like itself after the third photo and the second glass of sparkling water. That’s not a small thing.
Pick one polished shape and one softer shape, practice each once, and you’ll walk into the event with fewer surprises and better hair.
