



Soft, defined bounce is what curly hair looks like when the shape is doing the heavy lifting and the product is only there to support it. Not stiff. Not fluffy in that puffy, vague way people keep trying to call “volume.” I mean curls that move when you turn your head, separate cleanly, and hold their shape without turning into little helmets.
The hard part is that curly hairstyles can go wrong in two opposite directions. Pull the hair too tight and you kill the movement. Leave it too loose and the whole style swells outward, especially around the crown and the sides. The sweet spot lives in the middle: a clean silhouette, enough moisture, and enough hold to keep each curl from blurring into the next one.
That balance is what makes these styles worth saving. Some are short and sculpted. Some are long and airy. A few lean polished enough for a meeting or dinner, and a few look best when they’re a little bit undone around the face. All of them aim for the same thing: curl definition with swing. The good kind. The kind that still looks alive in the afternoon.
Why These Curly Hairstyles Hold Their Shape Without Going Stiff
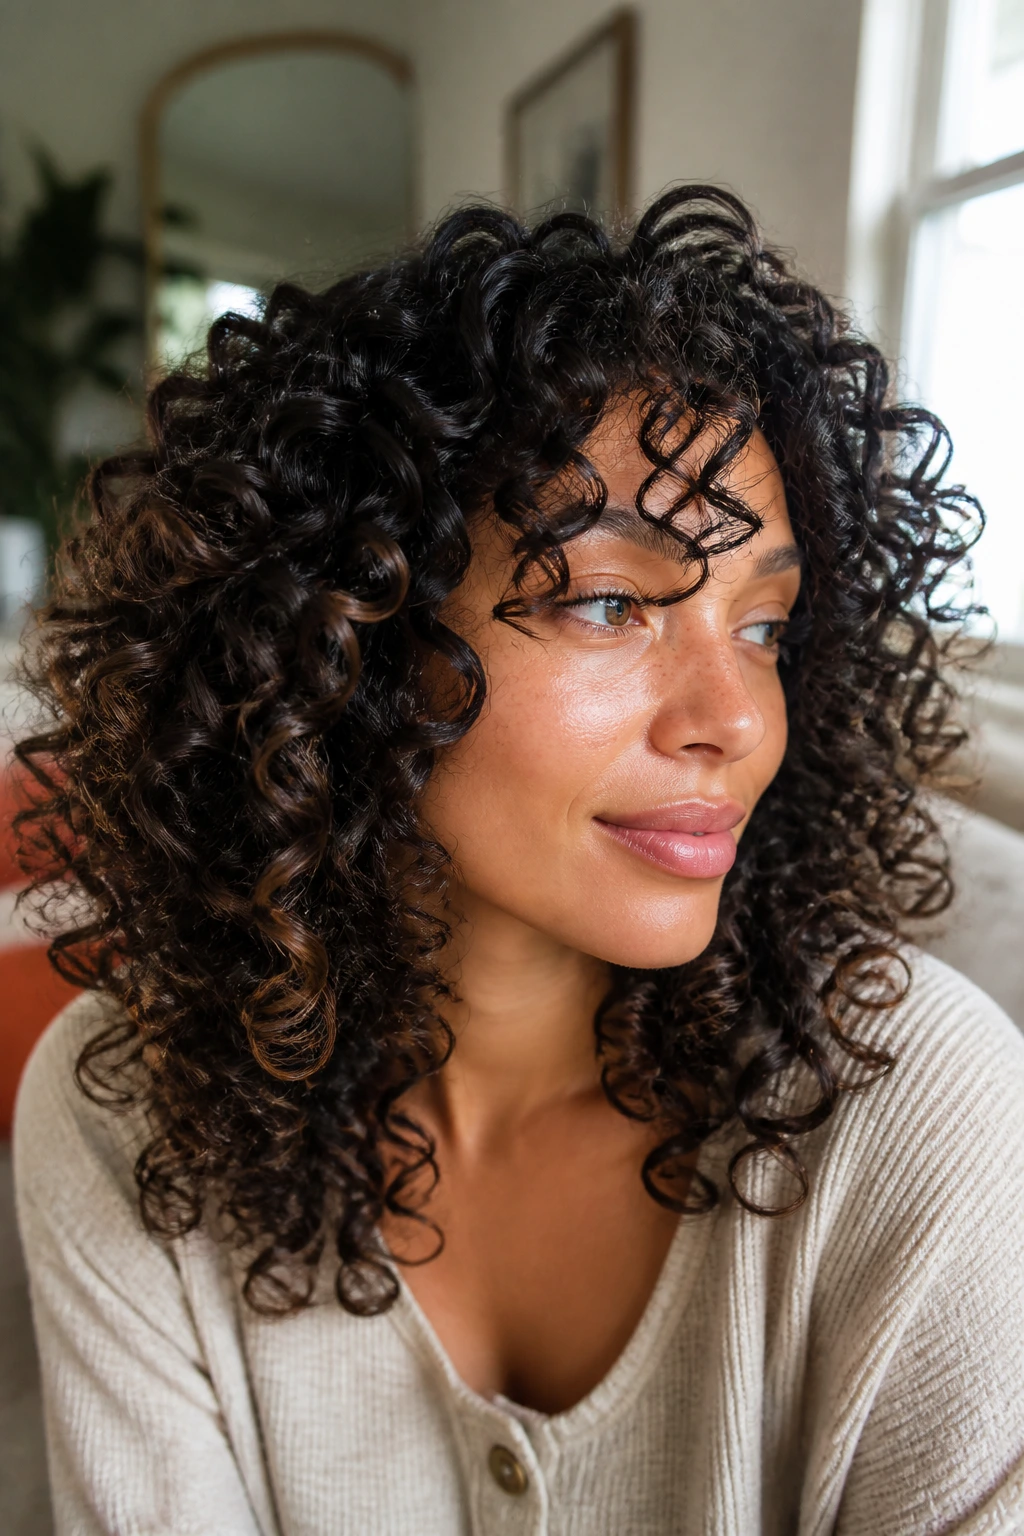
Shape first, product second: The best curly styles in this collection start with placement, parting, and weight distribution. If the shape is wrong, even the nicest gel will only freeze the wrong silhouette.
Bounce needs room to move: A curl that’s packed too tightly into a bun, clip, or elastic loses its spring. Leave a little slack near the crown or around the face, and the style keeps that soft bend instead of flattening out.
Definition comes from separation: You want curl clumps that are clean enough to read as individual shapes, but not so coated that they feel crunchy. That’s why a light mousse, a soft gel cast, or a curl cream-gel combo works better here than heavy butter or oil.
These styles survive day two better: Once the curls are set in a shape that respects the natural pattern, refresh time gets easier. A mist bottle, a dab of leave-in, and a quick scrunch usually bring the bounce back without starting over.
They flatter more than one curl pattern: Loose 2C waves, springy 3A spirals, and tighter 3C coils can all use the same general ideas. The exact product strength changes, but the shape logic stays the same.
1. Shoulder-Length Curly Lob with Invisible Layers
A shoulder-length curly lob is one of those cuts that looks calm on paper and moves beautifully in real life. The length sits right where curls can swing, and the invisible layers remove enough weight to keep the ends from hanging like wet rope. You get a rounded outline, not a triangle.
Why It Works
The lob keeps the curl mass low enough to bounce, but not so short that the hair puffs outward at the sides. That middle length is the sweet spot for people who want shape without a constant fight with shrinkage. If your curls tend to look dense near the shoulders, this cut takes the pressure off the bottom half.
What to Ask For
- Collarbone to shoulder length, depending on shrinkage.
- Soft internal layers, not choppy exterior layers.
- A shape that follows the natural fall of your curls around the jaw and neck.
A diffuse-dry finish helps here. Scrunch in a light mousse, flip your head to dry the roots, and stop diffusing when the curls still feel a little damp. They’ll keep setting as they cool, and that cooling phase matters more than people think.
Best note: If your ends look wide or frayed, this is usually a sign the cut is too blunt. Ask for weight removal inside the shape, not a thinner perimeter.
2. Side-Part Curly Shag
A side-part curly shag brings the lift up front where a center part can sometimes sit flat and sleepy. The layers land at different heights, so the hair doesn’t read as one big wall of curls. That unevenness is the point. It gives the style its swing.
The side part also changes the way curls fall around the face. One side usually gets more height at the root, which gives you a little drama without having to tease the hair or pile on product. I prefer this cut on curls that want to expand—especially if the crown loses shape by noon.
Style it with a small amount of leave-in, a medium-hold gel, and a diffuser. Keep the nozzle moving. If you hold it too close to one spot, the root section dries in a weird flattened patch and the whole style loses that soft, airy lift.
The part makes the difference
A deep side part can make the curl pattern look longer and more sculpted. A shallow side part feels softer and more casual. Both work, but the deep version gives the shape more edge and keeps the bounce concentrated on one side instead of spreading it evenly across the head.
3. Half-Up Crown Twist
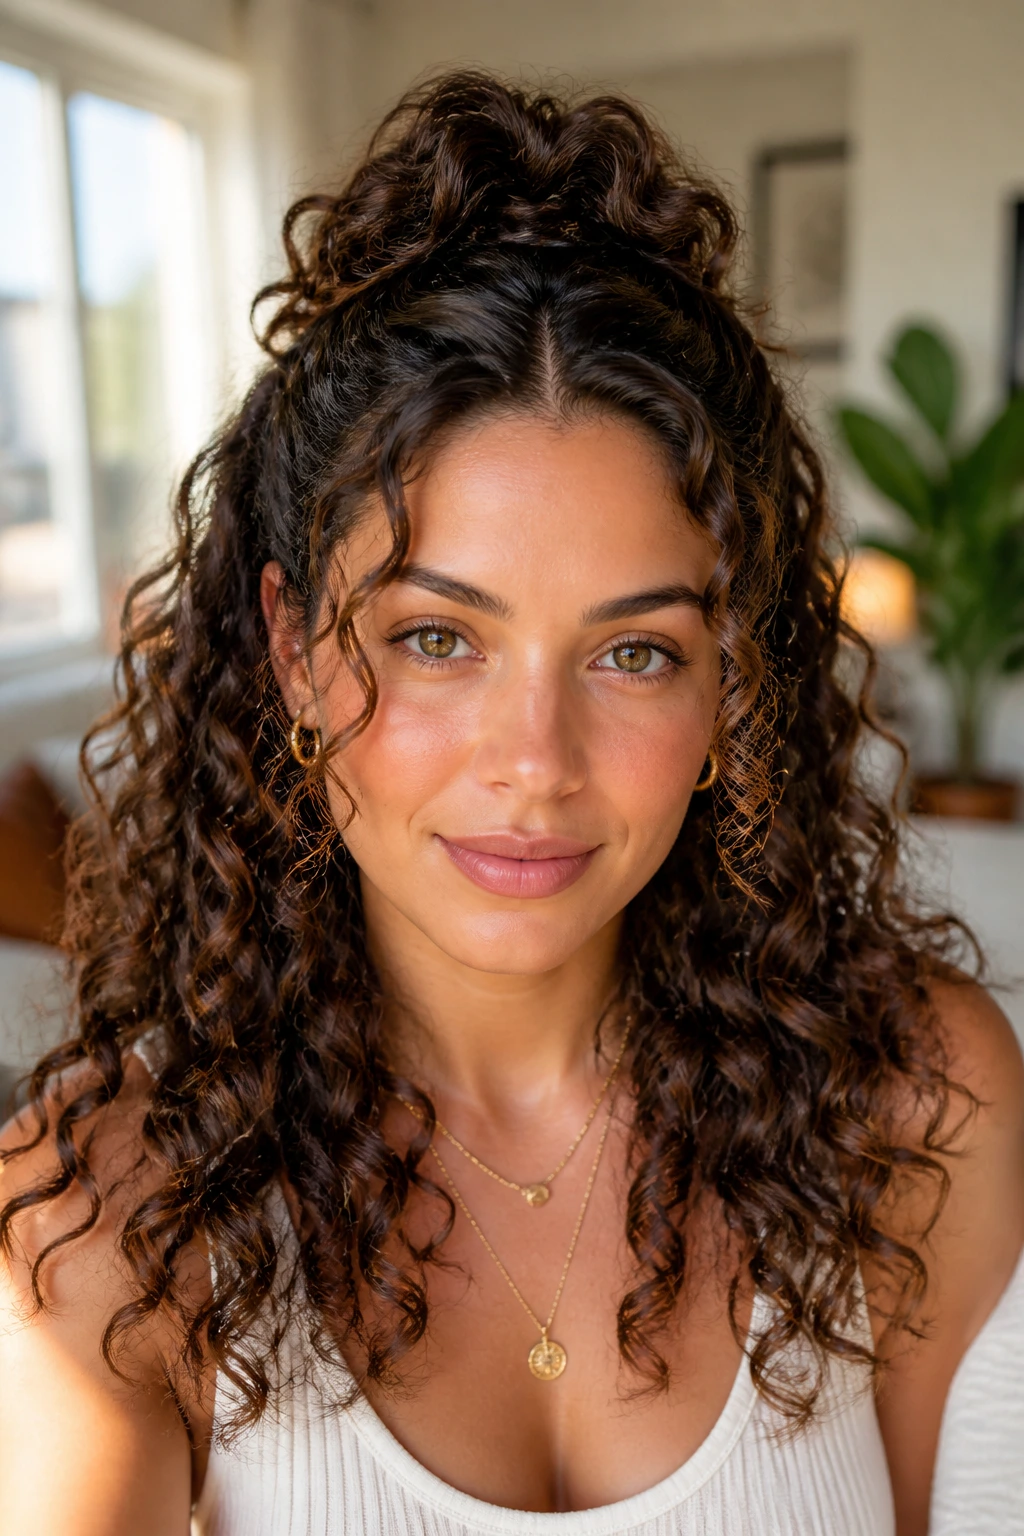
Want curls off your face without turning them into a tight knot? The half-up crown twist does that job with a little more grace than a plain clip. It pulls the front back just enough to show your curl pattern, while the lower half keeps its fullness and movement.
The twist itself should sit loosely along the top of the head, not pinned flat to the scalp. That loose placement keeps the crown from looking stiff. Let the front curls spill out around the temples and cheekbones. That’s where the style gets its softness.
How to shape it
- Part out the front top section from temple to temple.
- Twist each side back once or twice.
- Secure with two bobby pins crossed in an X, or a small clip.
- Leave the lower curls untouched unless they need a light refresh.
This style works especially well on second-day curls because the roots are already a little less slippery. A little dry shampoo at the crown can help if the roots feel too shiny or flat. Don’t overdo it. One short spray is enough.
A tiny detail, but it matters: keep the twist a bit high. If it sits too low, it starts to look like an ordinary half-up style. High placement gives it lift.
4. Pineapple Ponytail with Face-Framing Pieces
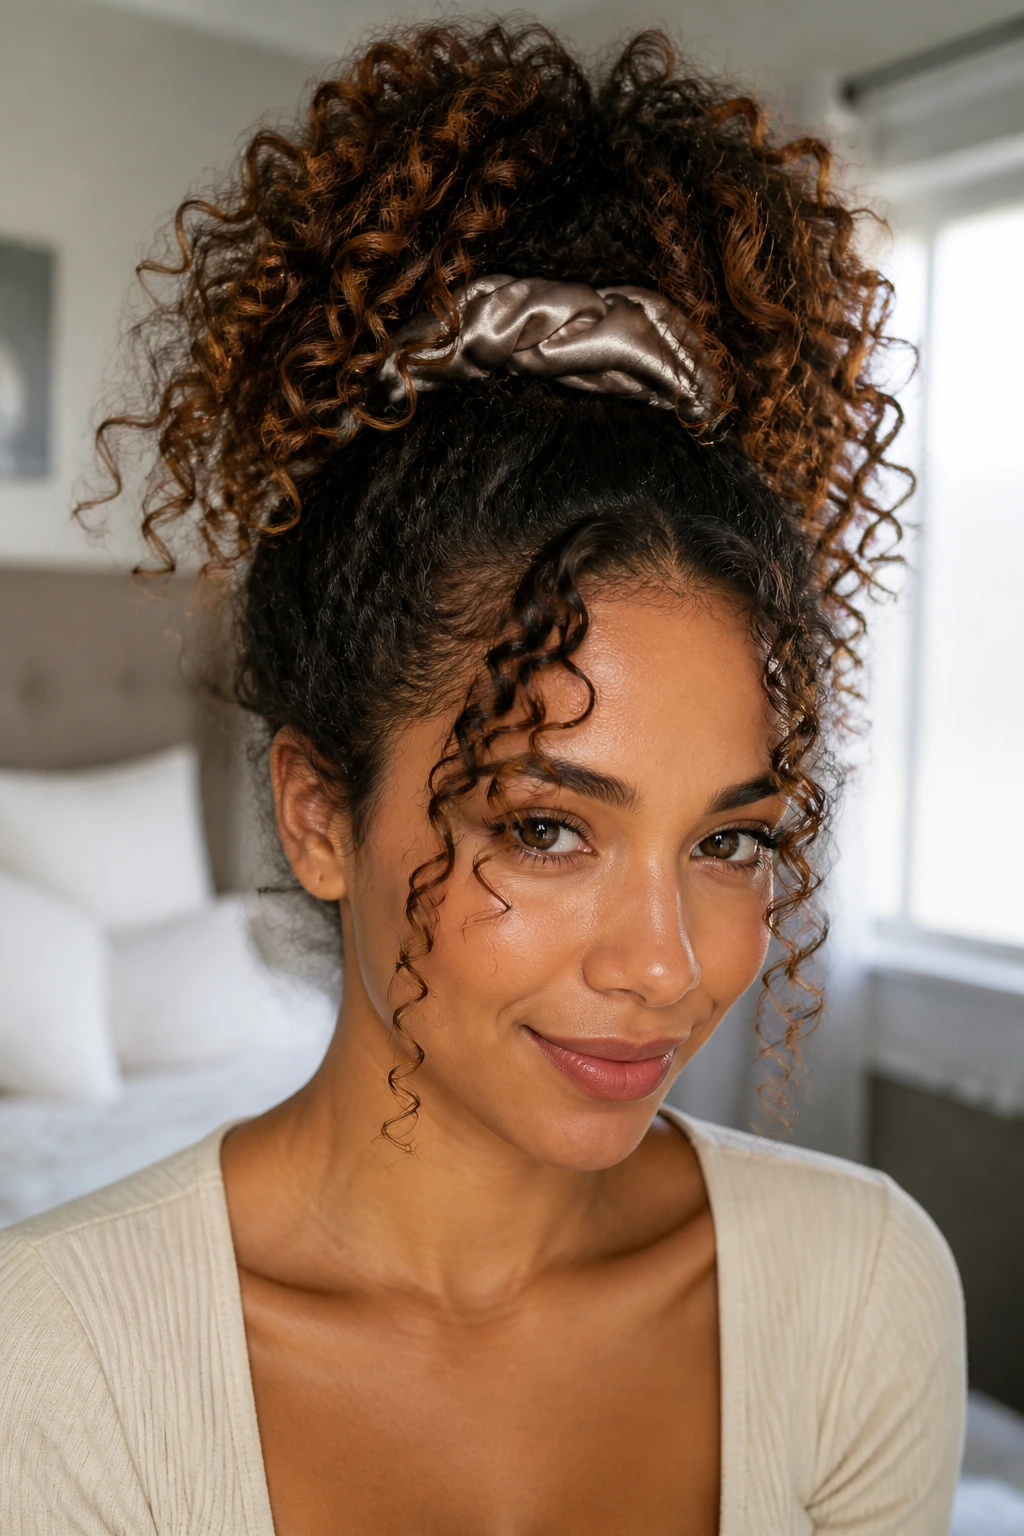
The pineapple ponytail is what I reach for when curls need to be controlled fast and still look like curls. The hair goes high on the crown, secured loosely with a satin scrunchie, and the ends fall forward in a soft fountain instead of a tight tail. It’s practical. It also keeps the top of the head from getting crushed.
The face-framing pieces are what keep this from turning into a gym-only style. Leave two or three narrow curls out at the front, mist them lightly, and shape them with your fingers. They should look soft, not curled into perfect little loops. That tiny bit of looseness makes the style feel intentional.
- High placement preserves root lift.
- A satin scrunchie prevents the ponytail dent.
- A little edge control at the hairline keeps the front clean without slicking everything down.
Use this one when you need the back off your neck but don’t want the whole style to collapse into a bun. It’s especially useful on dense curls that need a break from being worn down. The crown keeps its height, and the front pieces stop it from feeling severe.
5. Curly Curtain Bangs with Long Layers
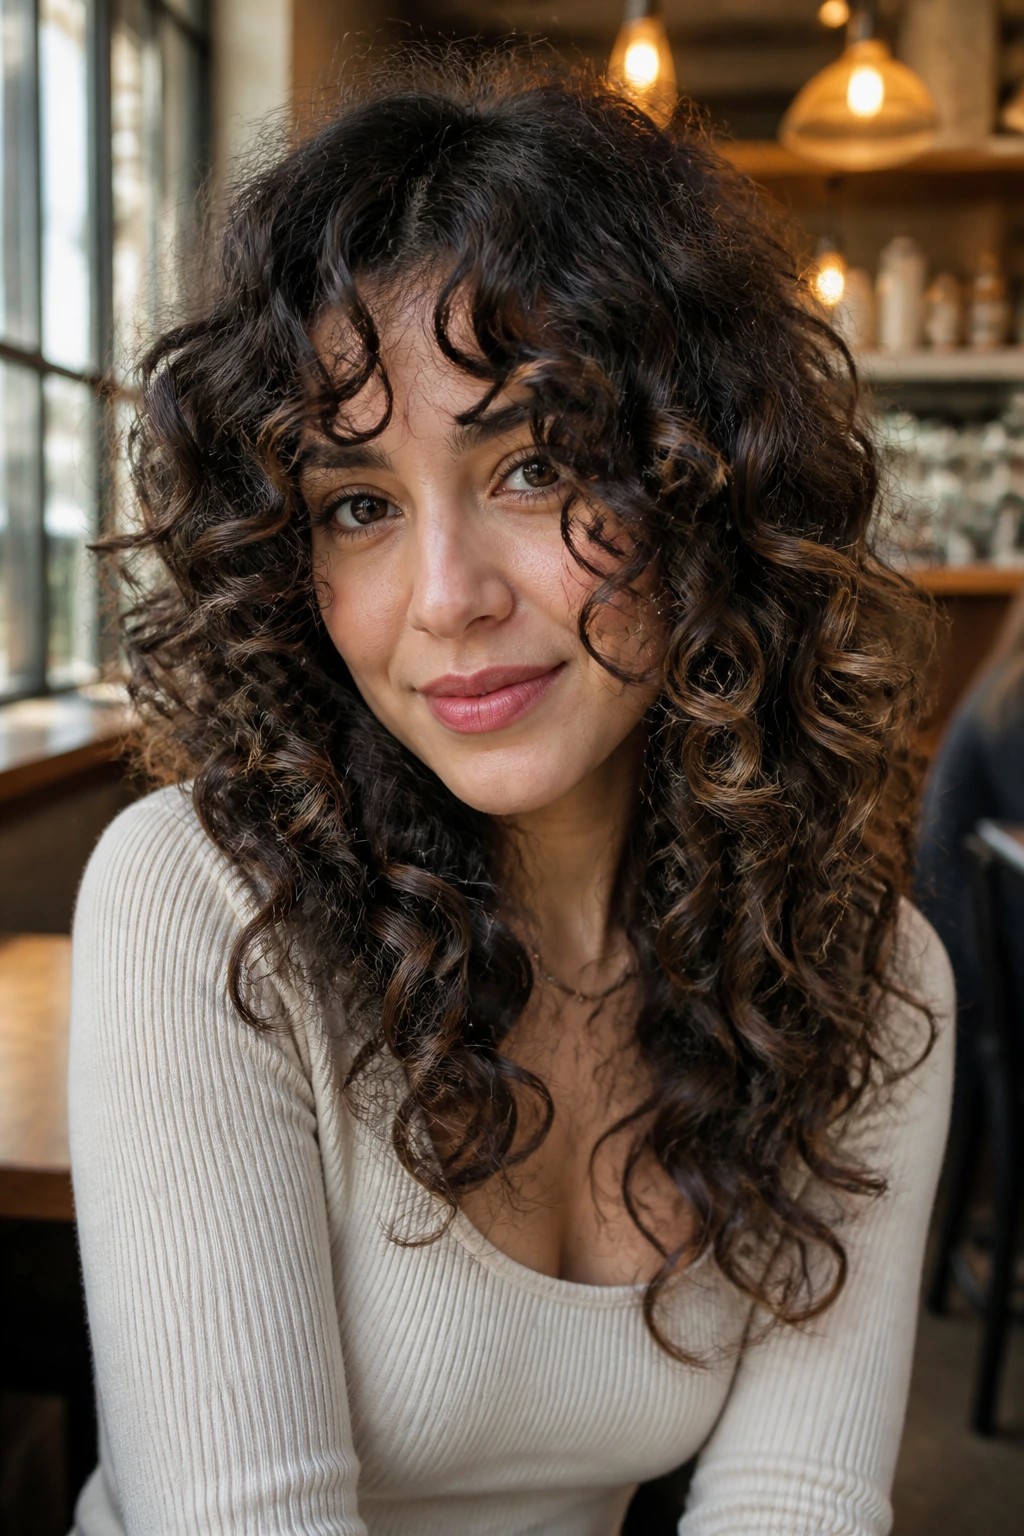
Curtain bangs on curly hair are a little fussy at first, and then they become the part of the style that makes everything else look richer. They split softly at the center or just off-center, and the longer layers around them keep the face from getting swallowed by the rest of the curl mass. Done well, the bangs move. They don’t sit there like a curtain rod.
The trick is to cut them with the curl pattern in mind, not straight across while the hair is stretched to its limit. Curly bangs need space to spring back. If they’re cut too short, they can jump up like little spring coils and sit higher than you expected. That’s not a disaster, but it is a commitment.
I like this style best on shoulder-length and longer curls because the bangs get room to breathe while the layers around the cheeks soften the shape. The result is a frame that feels lived-in instead of sharp. Very few curly styles do that without looking overworked.
Keep the bangs moist while styling. They dry faster than the rest of the head, and once they set wrong, they announce it immediately. A tiny bit of curl cream and a few finger coils around the front pieces usually fix the issue before it starts.
6. Defined Wash-and-Go Bob
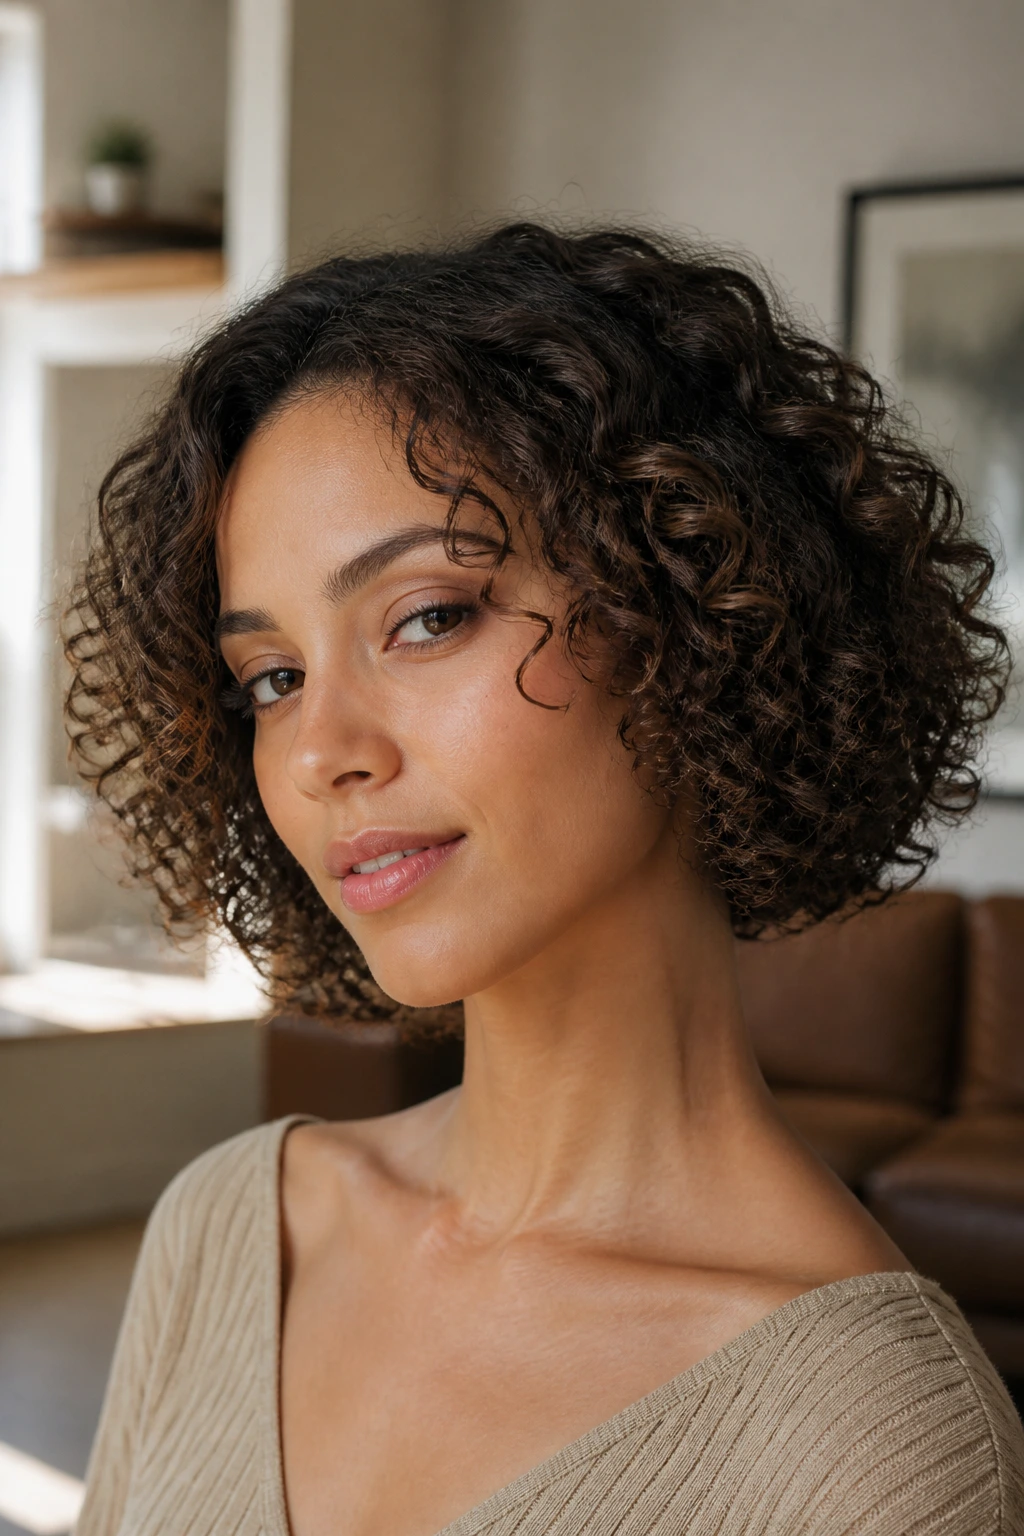
A defined curly bob is sharp in shape, but it should never feel hard. The best versions stop somewhere between the jaw and the top of the shoulders, with enough layering to stop the ends from forming a cube. That’s the part people miss. A bob on curly hair needs bend and air.
Unlike a blunt cut that can make the bottom edge look bulky, a defined bob lets the curl pattern round outward in a controlled way. The perimeter still reads clean, but the inside of the shape has movement. That contrast is what gives it bounce.
It also makes styling faster. When the hair is shorter, product distribution gets easier. The diffuser reaches the root layer faster, and the dry time usually drops. Still, don’t rush the finish. A bob that’s 90 percent dry can lose shape fast if you start touching it too early.
For the cleanest result, use a medium-hold gel at the top and a lighter cream through the ends. That keeps the crown from puffing while the lower curls stay springy. If your hair is dense, clip the roots while they dry. It’s a small move, but it changes the shape.
7. Clipped-Back Side Sweep
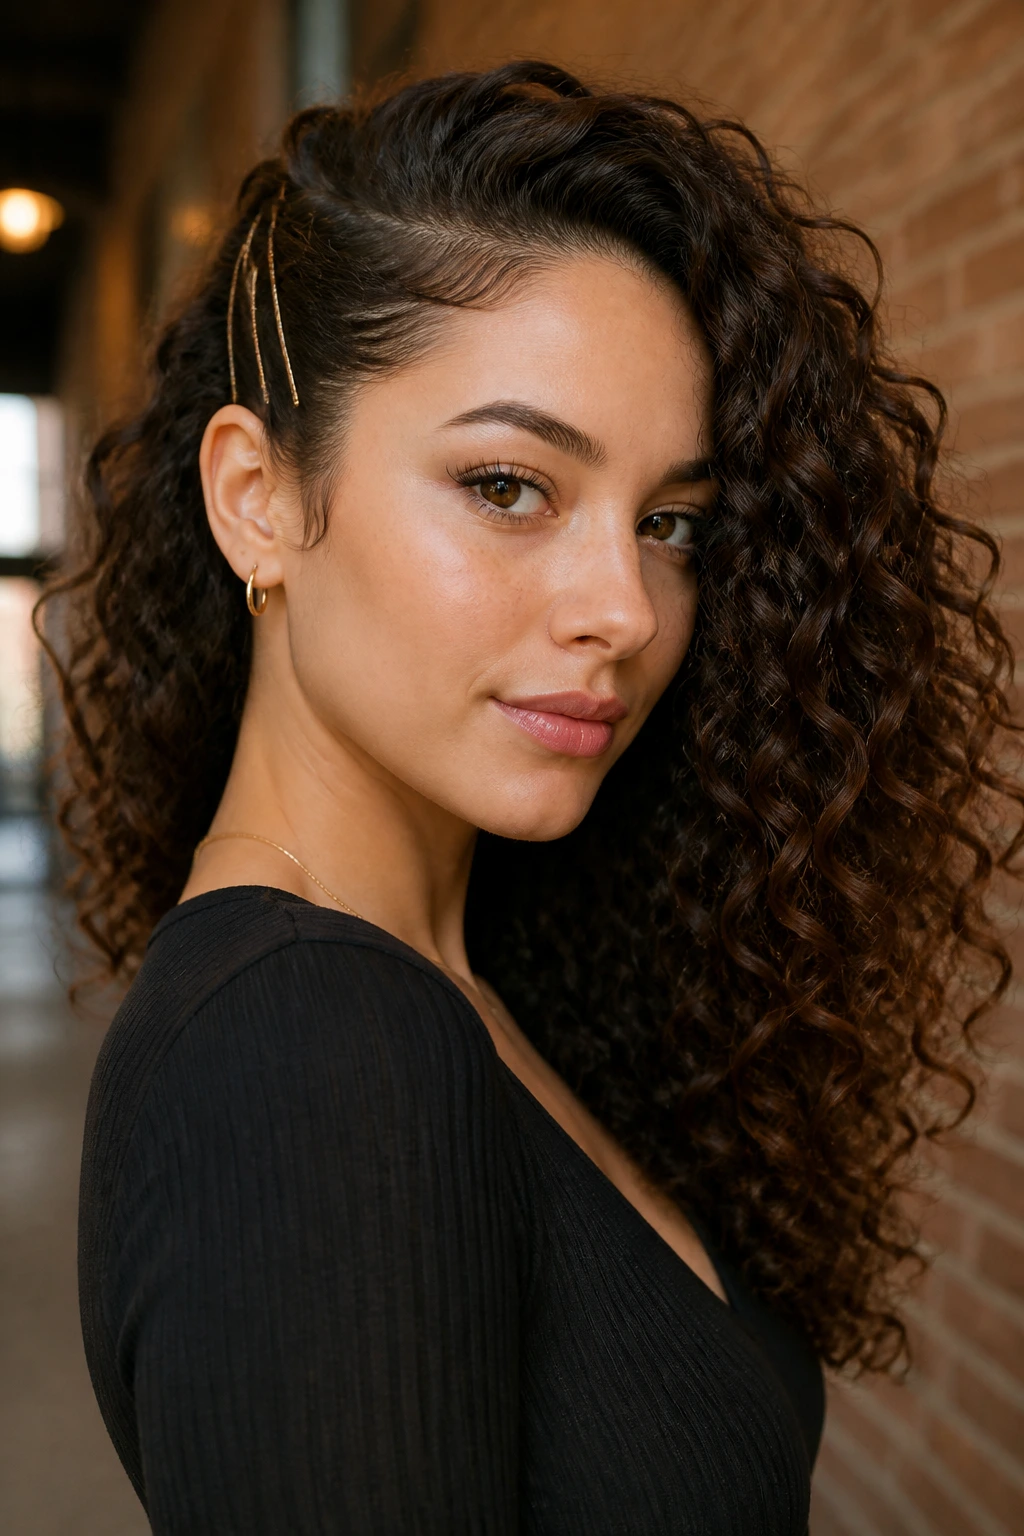
This is one of the easiest ways to make curls look polished without forcing them into a full updo. Sweep one side back, pin it with two or three small bobby pins, and let the other side stay loose and full. The contrast does the work. One side feels tidy. The other side keeps the movement.
A clipped-back side sweep works especially well when one side of the curls is behaving and the other side is doing its own thing. We’ve all had that day. One side falls well. The other side goes puffy near the temple. This style doesn’t fight that split; it uses it.
A few practical details help:
- Pin underneath the top layer, not on top of it.
- Match the pin color to the hair when possible.
- Leave a narrow front curl out near the cheekbone so the style doesn’t look too severe.
This look holds best on curls that have a little product memory from the day before. If you’re starting fresh, mist the side you want to pin and smooth it with your fingertips before securing it. The rest can stay soft and loose.
8. Diffused High Puff with Soft Edges
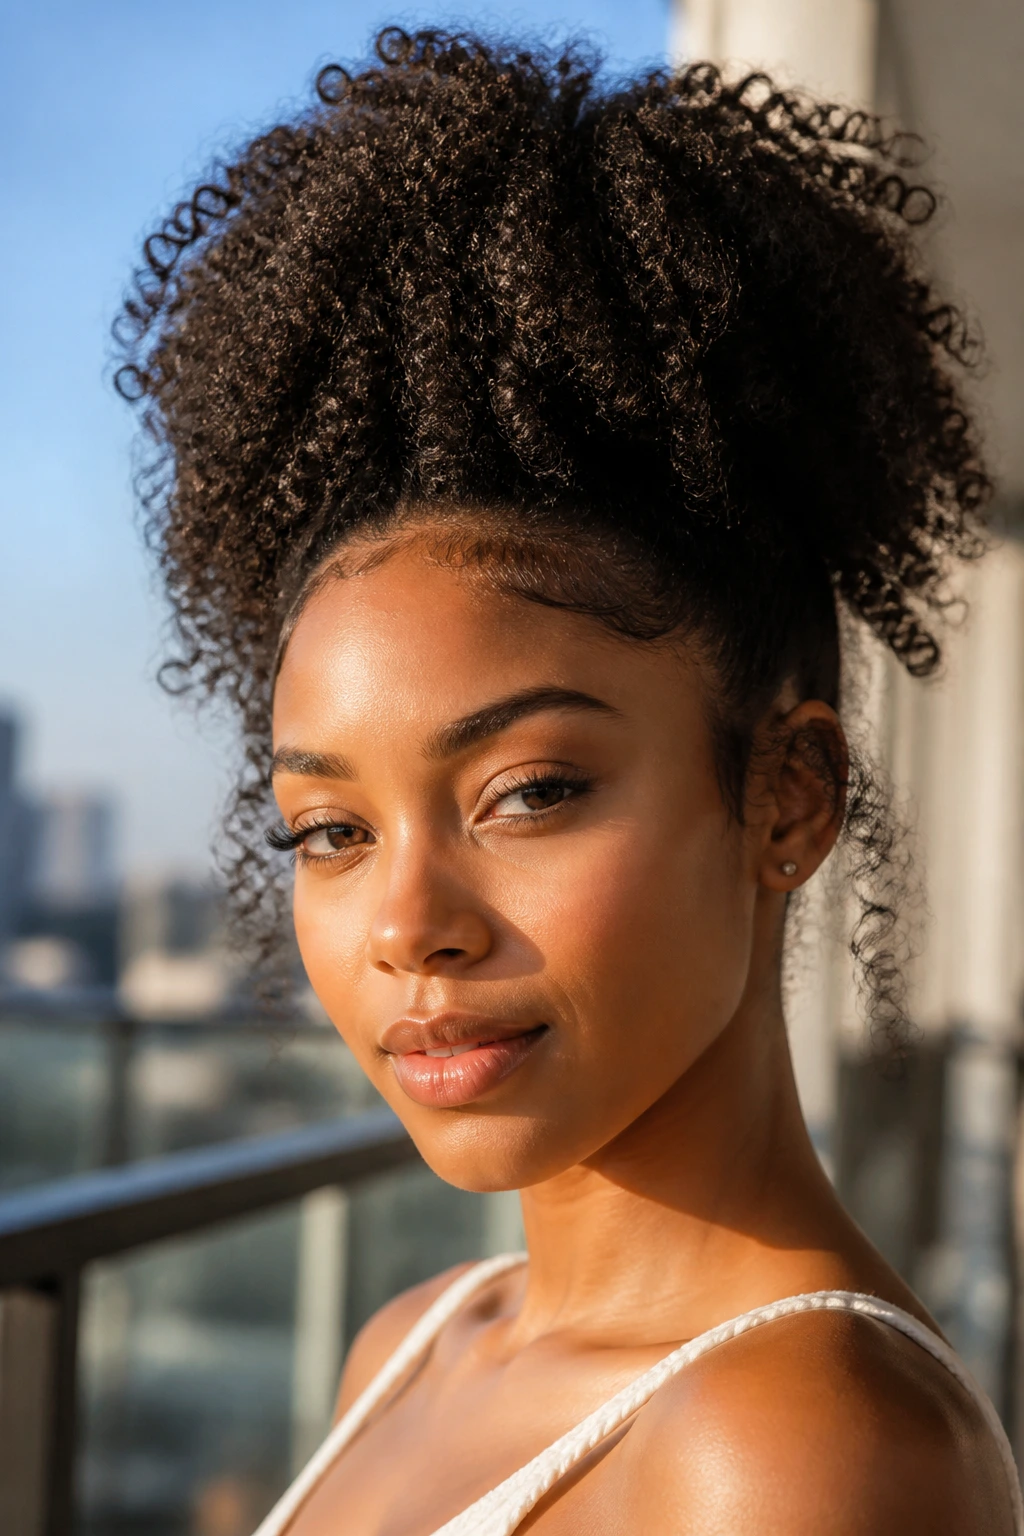
A high puff can look crisp and elegant when the edges are not over-slicked and the crown has actual lift. That’s the part that changes it from a basic tie-up to a shaped style. You want height, yes, but the silhouette should still show curl texture around the sides and back.
For tighter curls and coils, this style is a gift. It gets the hair up and away, but it leaves enough texture visible that the shape doesn’t disappear. The puff should sit high enough to lengthen the face a little, but not so high that it reads like a topknot.
Use a soft brush at the front, then stop. Don’t chase every tiny baby hair into place. A little softness around the hairline makes the puff feel lighter and keeps it from looking drawn on. If the edges are too polished, the contrast with the curly puff can feel strange.
A small but useful detail
Wrap the base with a puff cuff, a satin scrunchie, or a wide elastic. Thin ties dig into the hair and make the puff collapse where it’s secured. A wider base holds the shape better and leaves the crown fuller.
9. Twist-Out with Stretched Ends
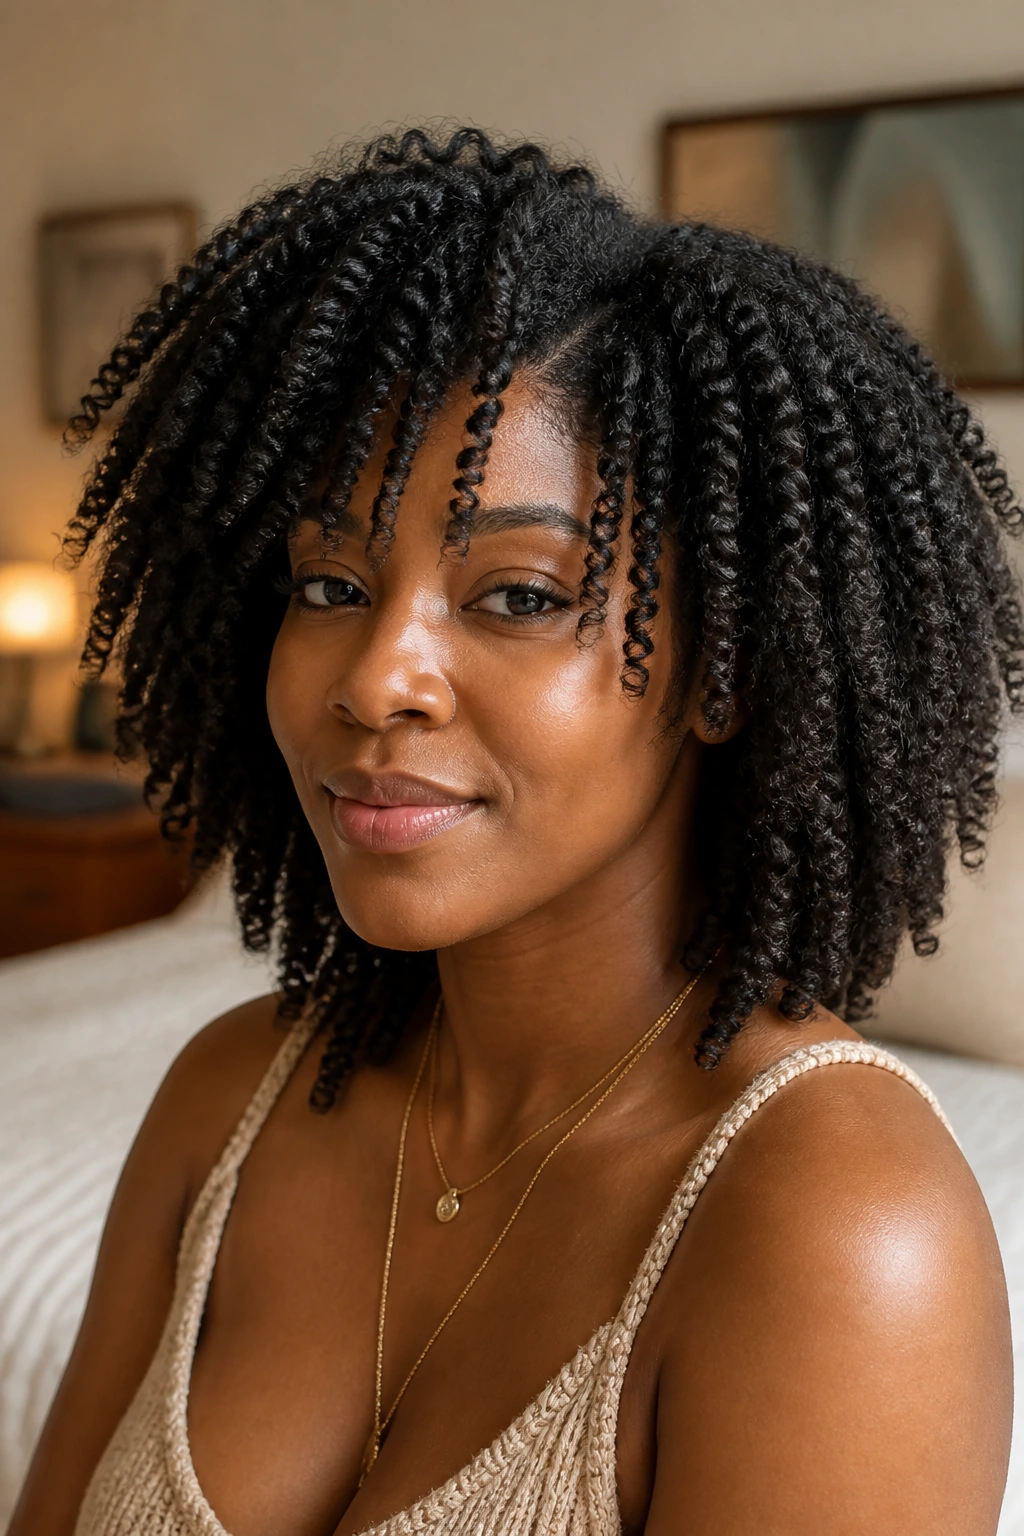
A good twist-out has a relaxed spring to it. The definition is there, but the curls don’t look over-separated or stringy. The stretched ends help a lot with that. They keep the style from shrinking too much at the tips, which is where twist-outs can start to look uneven.
The process is simple enough, though timing matters. Start on damp hair, section it neatly, and apply a light cream or gel-cream blend from roots to ends. Two-strand twists give a rounder curl shape; flat twists create more root lift and a little more texture at the scalp. Either one works here.
- Smaller sections = tighter definition.
- Larger sections = softer, looser movement.
- More stretching at the ends = less shrinkage and a longer-looking silhouette.
Let the twists dry fully before unraveling. That part isn’t optional. If they’re even slightly damp, the separation goes frizzy and the shape loses its clean edges. I usually prefer overnight drying under a bonnet or an old T-shirt wrap over trying to rush it with heat.
Once you take the twists down, separate only what naturally wants to split. Pulling them apart too much kills the bounce and leaves the ends ragged.
10. Low Curly Ponytail with Crown Volume
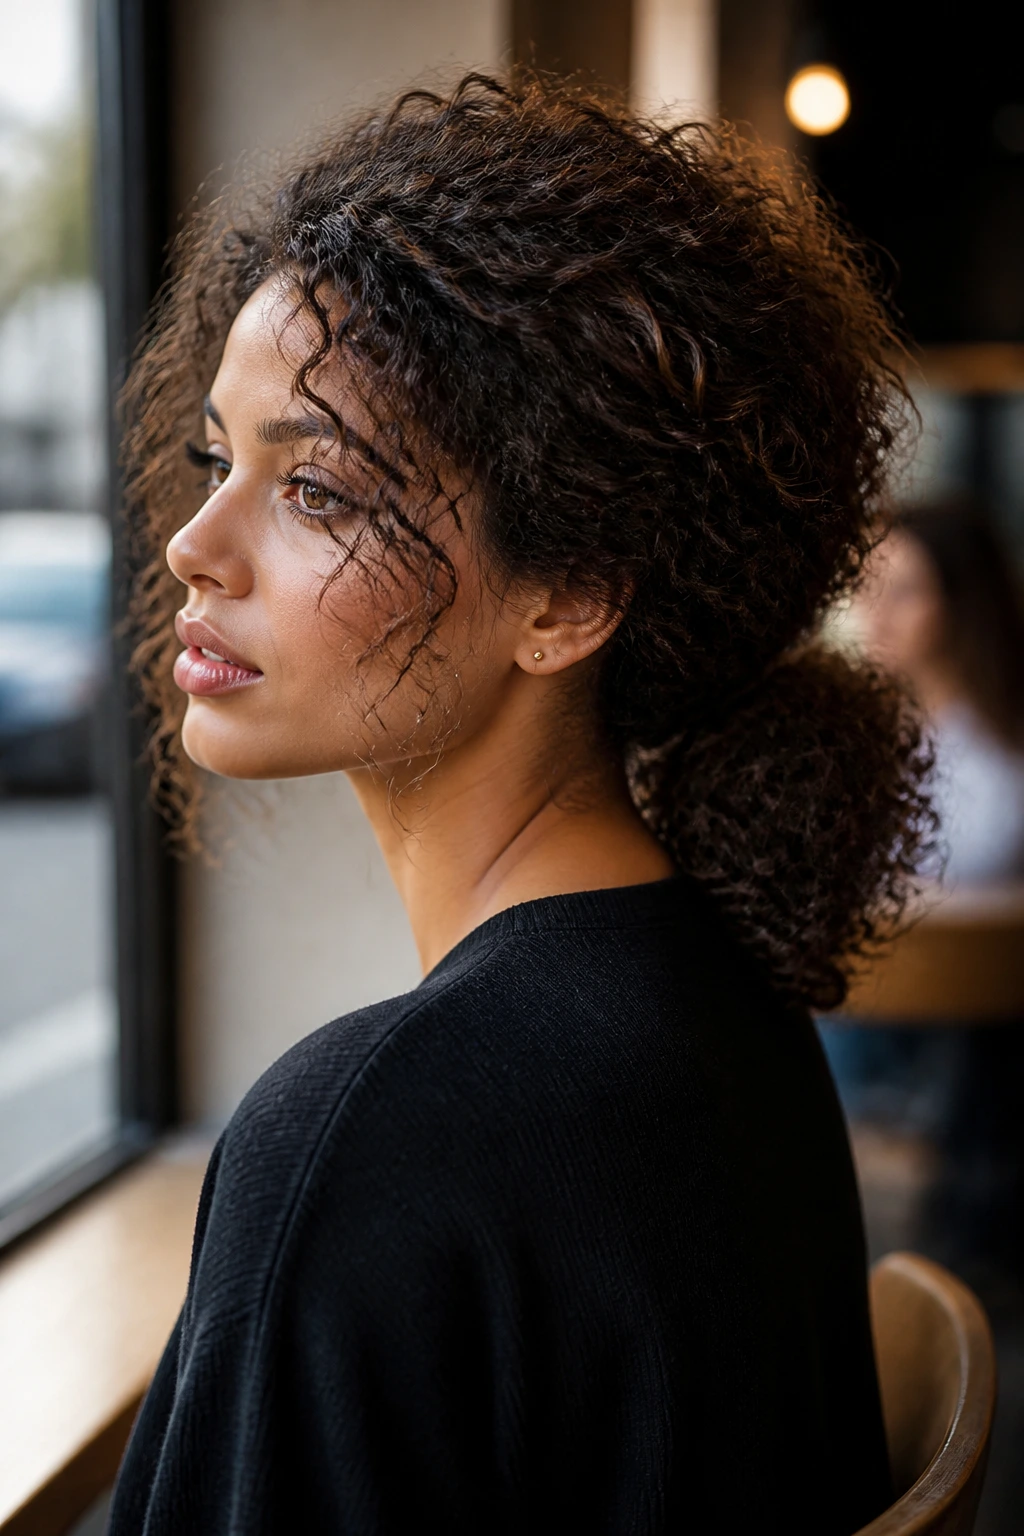
A low curly ponytail can look very plain if it’s pulled straight back and flattened at the crown. Give it a little lift first, and the whole style changes. The hair should sit low at the nape, but the top needs to keep a soft ridge of volume so the head shape doesn’t disappear.
This is a strong choice for curls that are long enough to swing but too heavy to wear loose all day. It gets the ends under control while letting the texture stay visible. The ponytail should not be tight. If the curls are pulled hard, they lose their shape and start looking like a rope.
Use a satin or coil-safe elastic and wrap a small curl around the base if you want it to look cleaner. Leave a few face-framing pieces loose if the style feels too polished. A low ponytail with no face pieces can read severe fast.
The crown volume is the whole point. Clip the roots at the top with two duckbill clips while the hair dries, or gently lift them with your fingers before you tie it back. That little bit of height keeps the ponytail from flattening the profile.
11. Curly Space Buns with Loose Tendrils
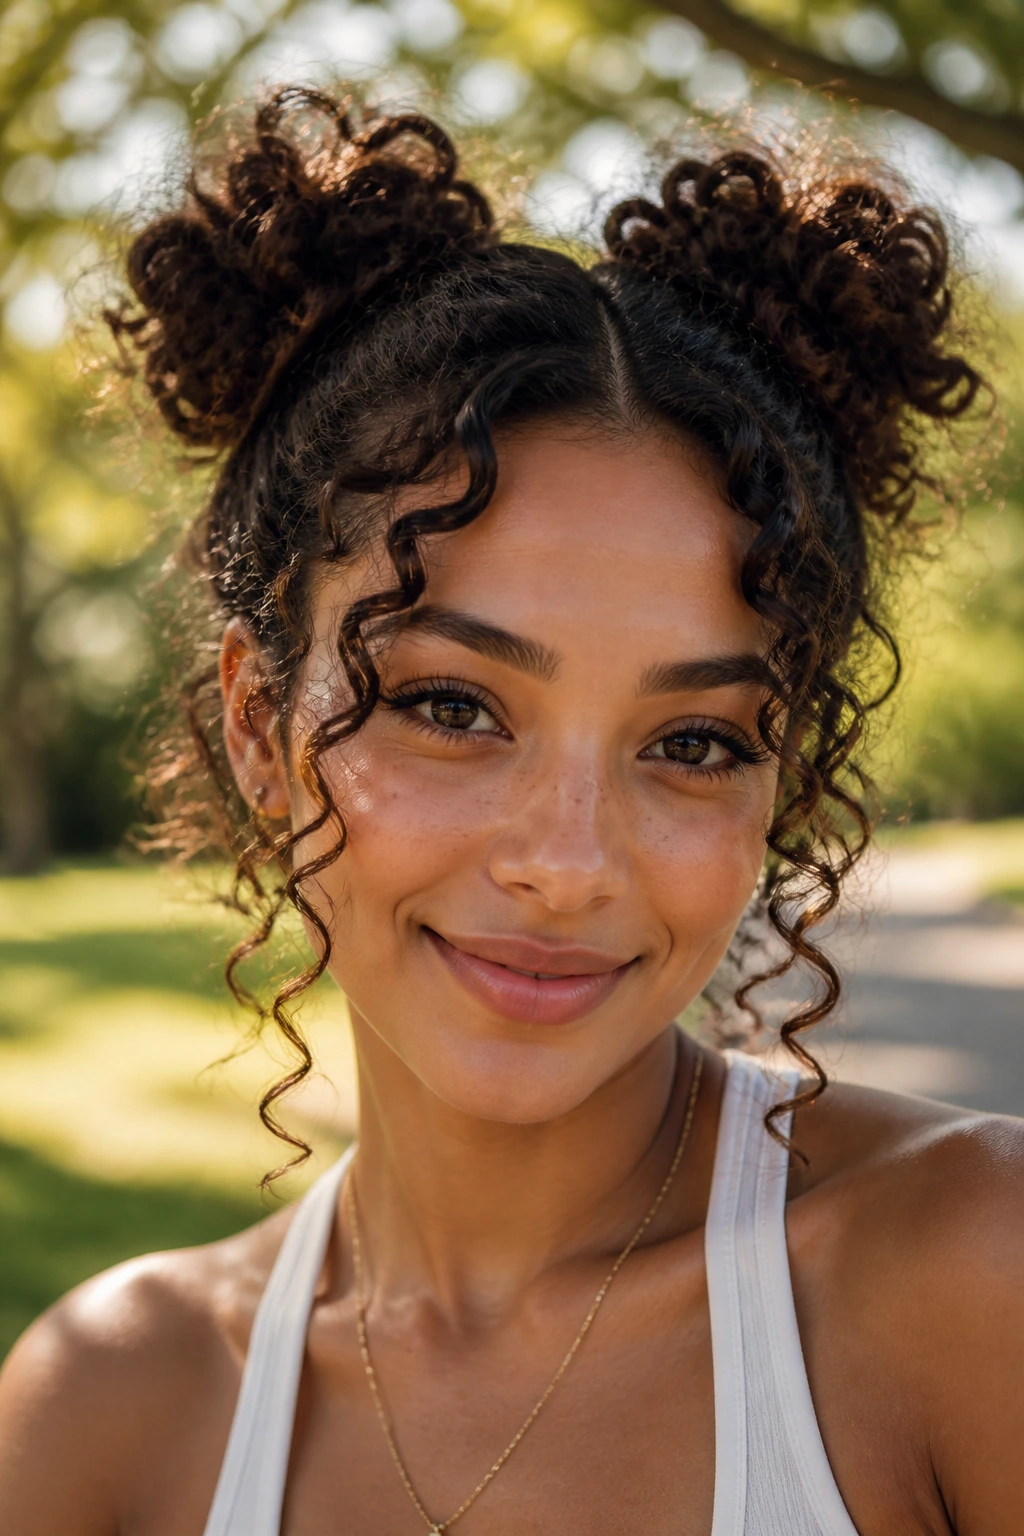
Space buns on curly hair can go childish in a hurry if they’re too perfect. The version I like keeps the buns slightly imperfect and lets a few curls fall loose around the temples and neck. That bit of softness saves the style.
Split the hair into two even sections, or cheat a little with a high side part if you want the buns to feel less symmetrical. Twist each side into a bun and secure with pins or small coils of elastic. Don’t drag every curl into the bun. Leave the ends peeking out a little so the texture stays visible.
A few loose tendrils make all the difference. If you pull out one curl on each side of the face, the style goes from rigid to playful in about five seconds. That’s not decorative fluff. It changes how the eyes read the whole shape.
This is a better style for medium-density hair than for extremely dense curls, unless you’re willing to make the buns large and the sections clean. Dense hair can get bulky fast. Small buns tend to strain and puff at the base.
12. Finger-Coiled Tapered Cut
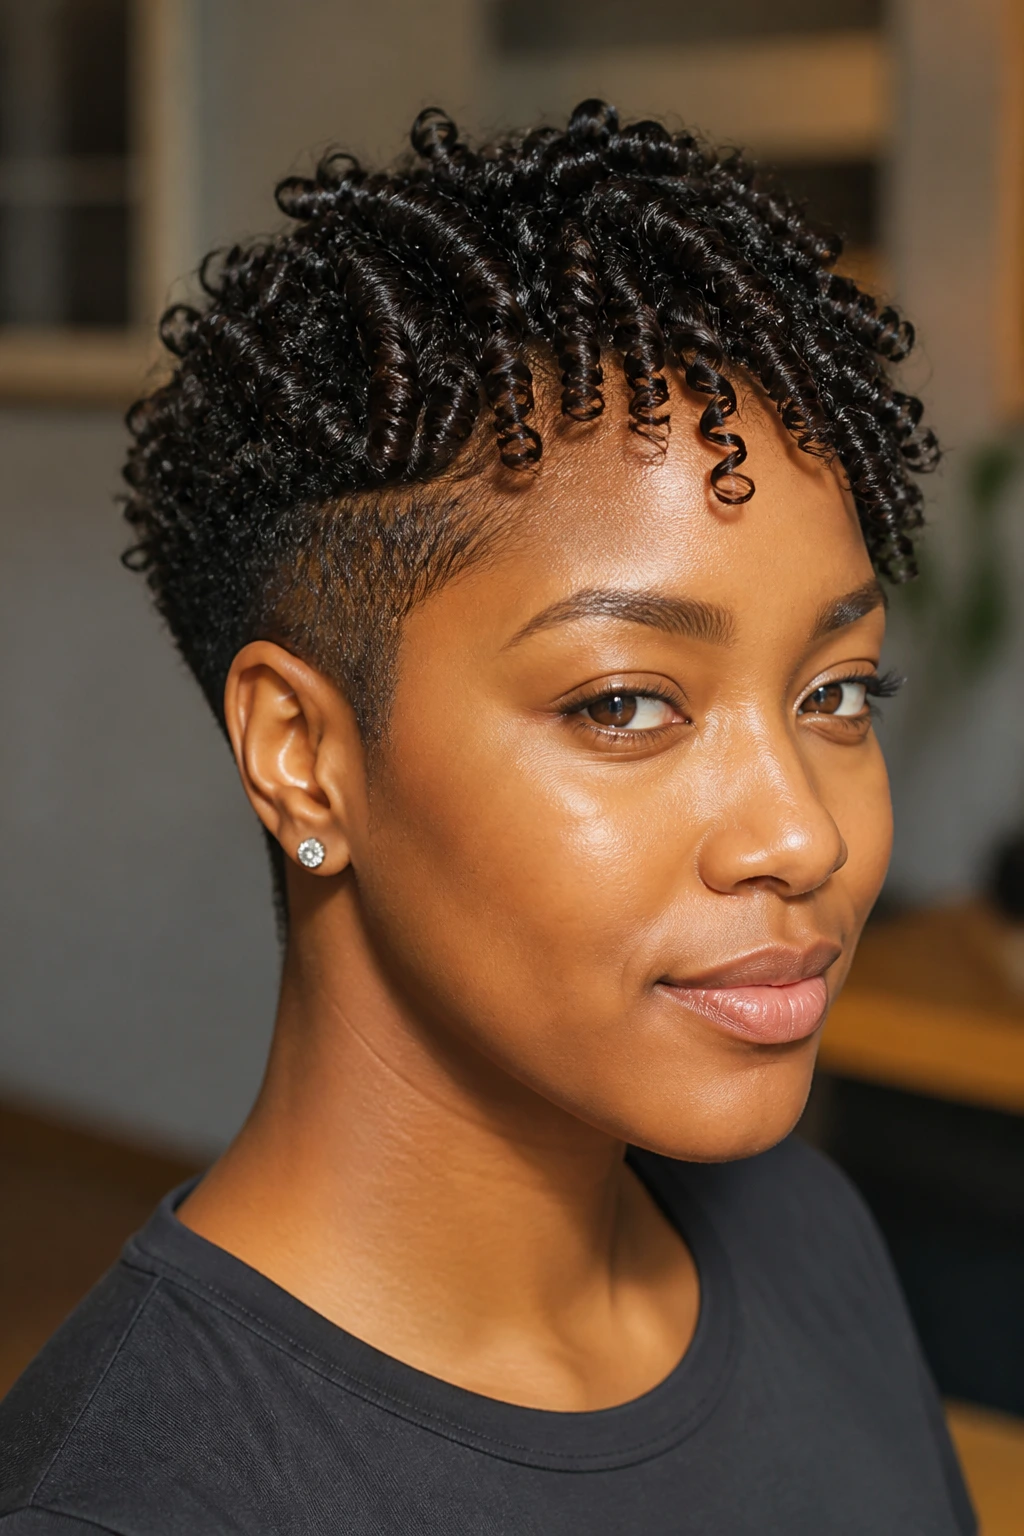
Can short curls still have bounce? Absolutely. A tapered cut with finger coils on the top and crown gives you definition where the eye looks first and a clean outline at the sides and back. It’s one of the neatest ways to keep short curly hair from looking bulky.
Finger coils sound fussy until you do them once or twice. You take small sections, coat them with a light gel, and twirl each curl around your finger until it wraps into a neat spiral. The result is a curl that reads very clearly. On a tapered cut, that clarity is half the style.
Why it works
The shorter sides reduce bulk. The longer top keeps the shape soft and rounded. That contrast gives the style lift without needing teasing or heavy product.
If your hair is very dense, keep the coils small on top and larger toward the crown. That helps the silhouette stay balanced as the hair grows out. A tapered cut grows out better than a blunt one too, which matters more than people like to admit.
Use a leave-in under the gel if your hair gets dry fast. Finger coils need enough slip to form smoothly, and dry coils look rough no matter how carefully you work them.
13. Curly Pixie with Soft Fringe
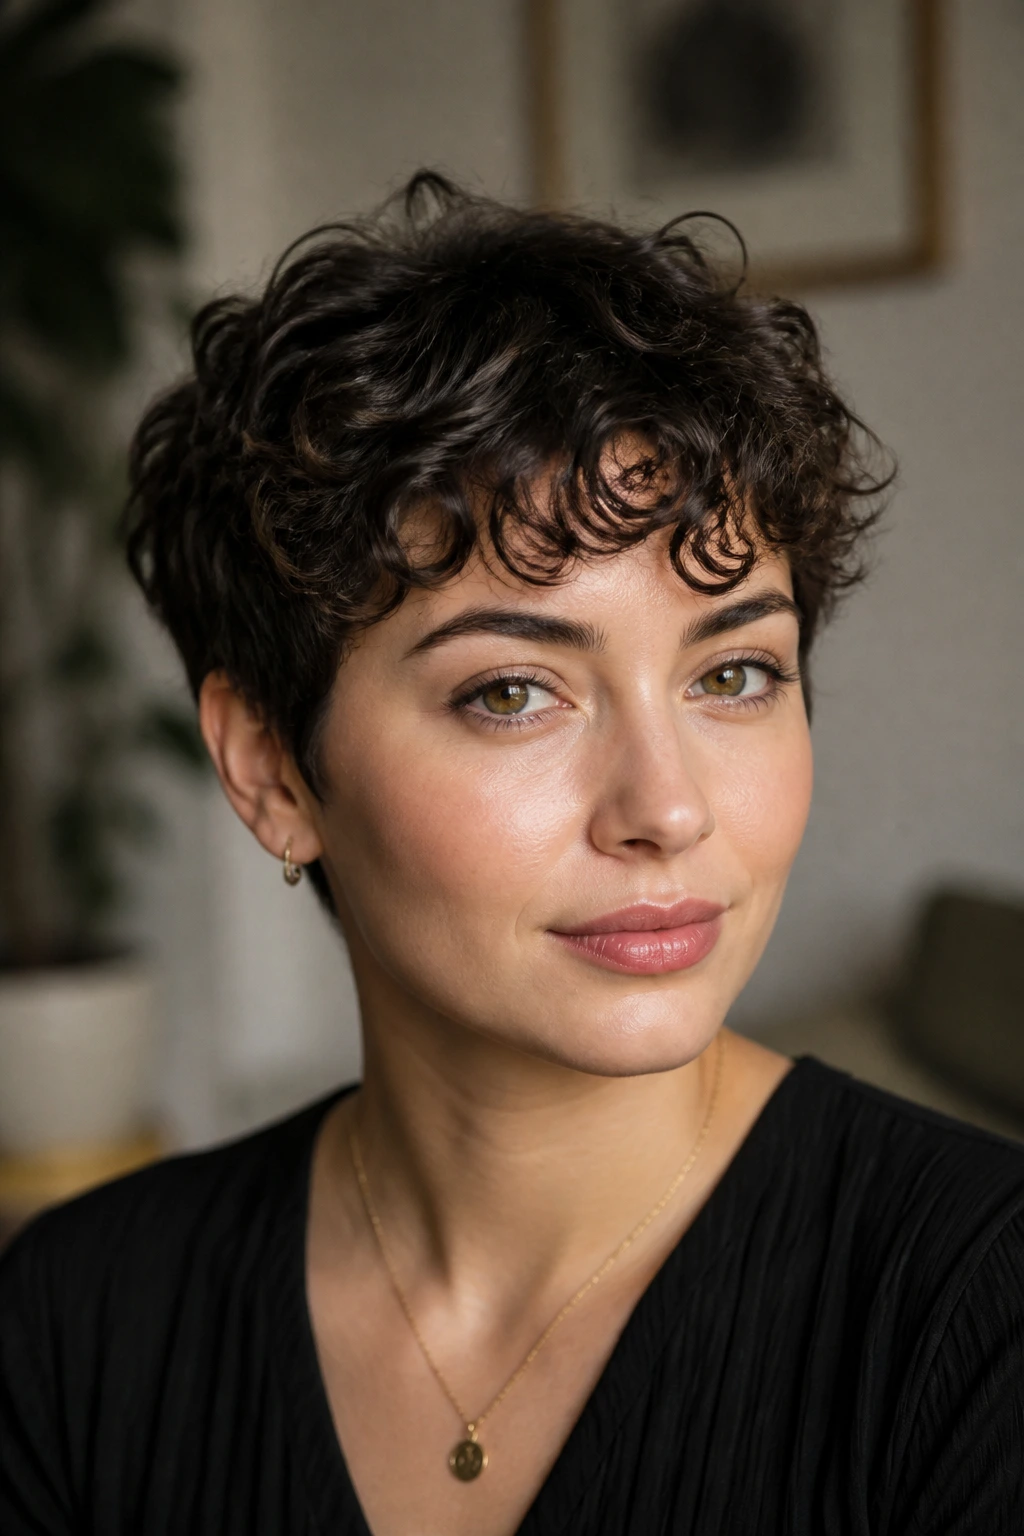
A curly pixie is tiny, but it shouldn’t look tight. The soft fringe gives it movement around the forehead, and the slightly longer top keeps it from feeling shaved down or severe. It’s a short cut with more air in it than most people expect.
The fringe is the whole mood here. If it’s too short, the face opens up in a harsh way. If it’s too long and heavy, it can drag the whole style down. The best version skims the brow or lands just above it, with enough curl to break the line.
This cut is excellent for people who want shape without spending half the morning on their hair. You can work a pea-size amount of curl cream through damp hair, define the front with your fingers, and let the rest air dry or diffuse gently. That’s it.
One thing I like about this look: it grows out in a useful way. The fringe turns into a softer crop, and the top keeps enough length to be reshaped with a little water and product. Short curls don’t need much to look intentional. They just need a little direction.
14. Halo Braid with Free Curls
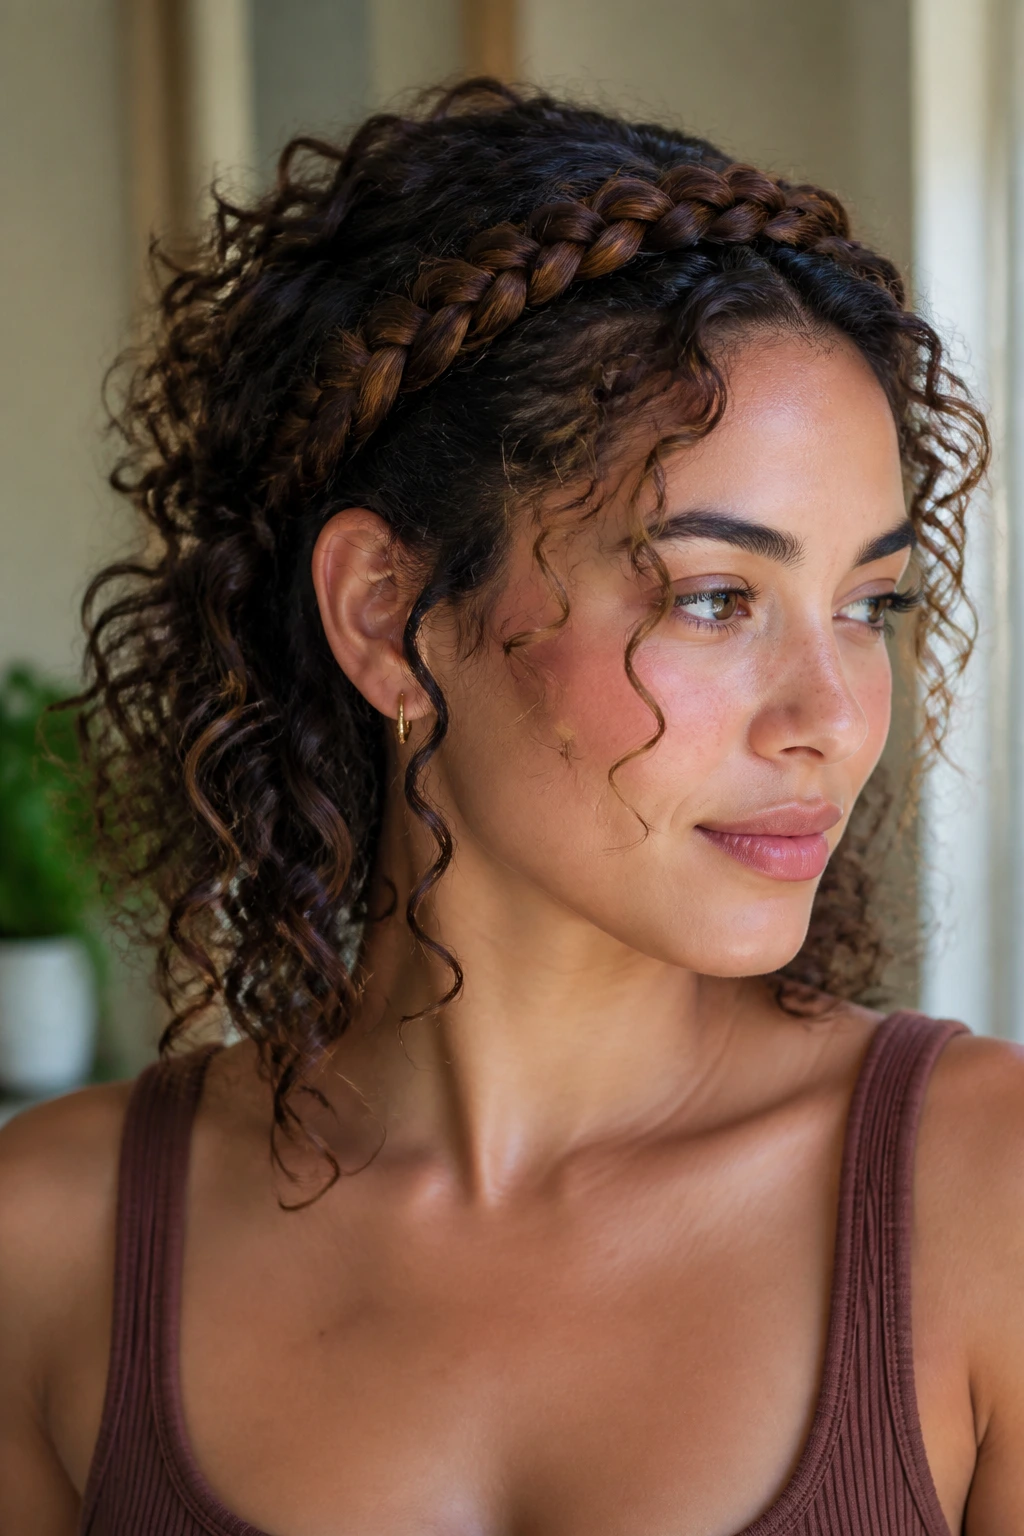
A halo braid can look formal, but the version with free curls around the back and temples feels softer and more modern. The braid frames the head like a band, while the loose curls keep the style from becoming too sealed off. It gives you structure without losing the curl pattern.
The braid should sit along the hairline or just behind it, depending on how much face framing you want. If the braid is too tight, it can flatten the root area and make the top look pinched. Keep the tension even and let a few small pieces escape naturally.
This works best when the braid is used as a frame, not as a cage. The curls that remain free should have enough product in them to hold their pattern. If they’re dry and fuzzy, the contrast between braid and curls gets messy fast.
A halo braid is especially handy for events where you want the front of the hair off the face but still want movement through the back. It’s one of the few styles that can look neat and soft at the same time without much fuss.
15. Side-Stacked Curl Tuck
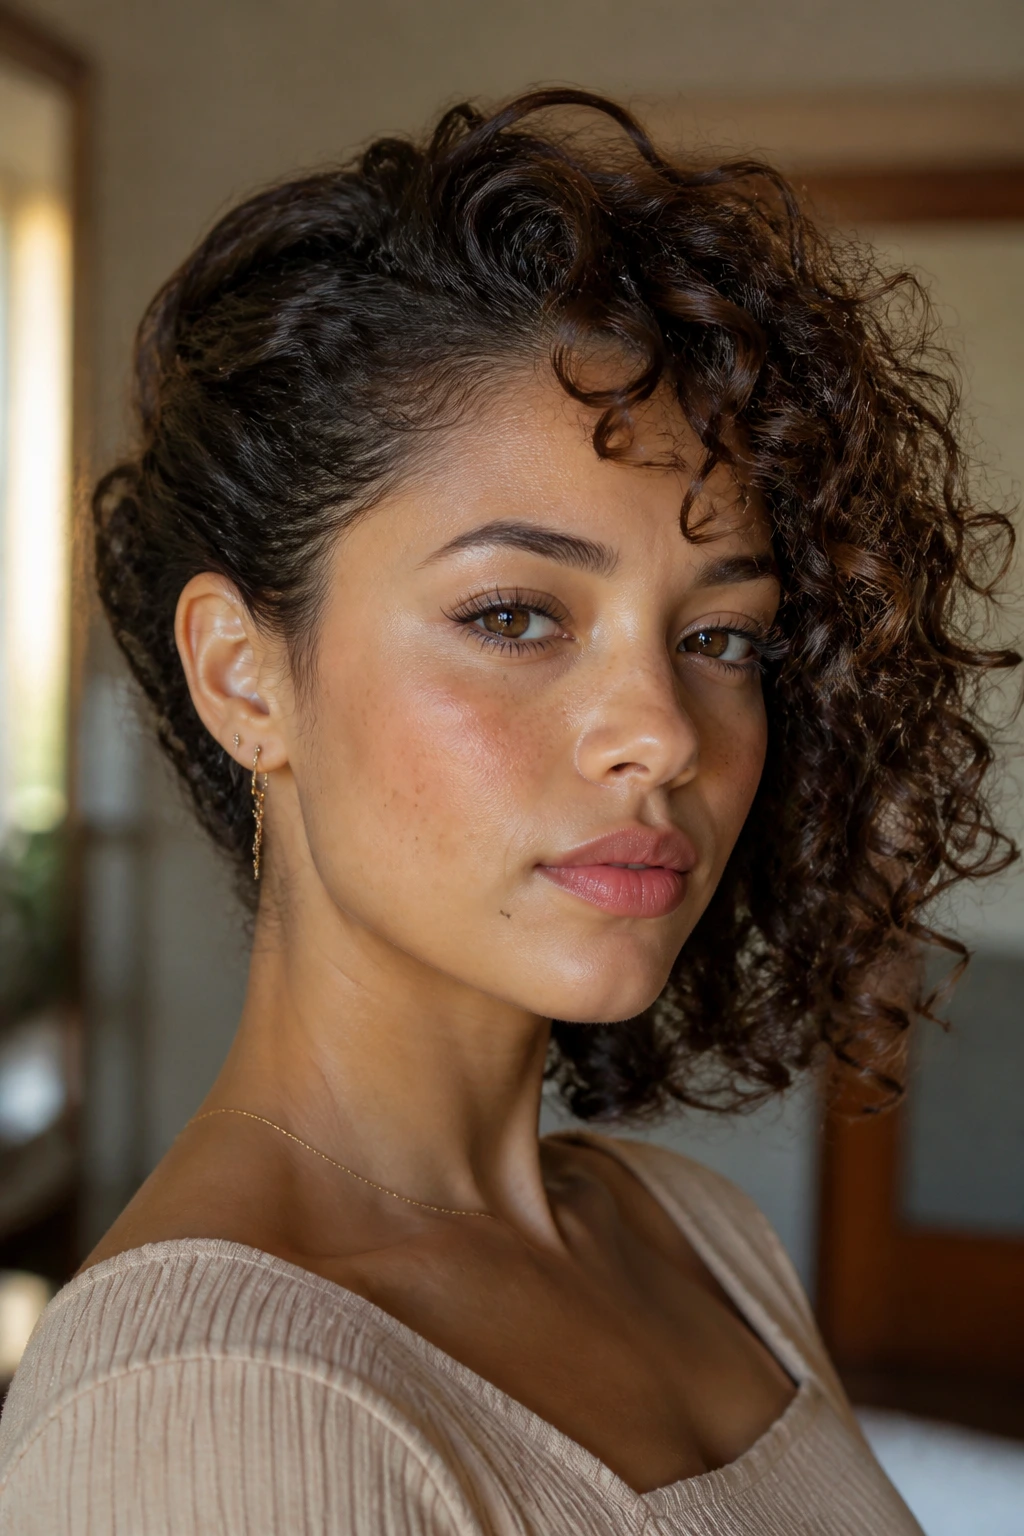
This style is a little more editorial than the others, but it’s not difficult. You tuck one side of the curls behind the ear or pin them low at the back, then let the rest stack over the opposite side with a full, rounded shape. The asymmetry gives the curls a stronger silhouette.
I like this on medium to long hair because the length helps the stacked side look rich instead of flat. A short curl tuck can lose its shape fast if there isn’t enough hair to create that curve. With longer curls, the tucked side acts like a base and the open side does the drama.
Keep the tucked side loose near the temple. If it’s slicked flat, the style starts to feel severe. A few soft pieces at the cheekbone or jawline make the whole shape easier on the face.
This is one of those styles that looks like you meant it. That matters. The curl pattern stays visible, but the placement makes the style feel finished rather than accidental.
16. Claw-Clip French Twist for Curls
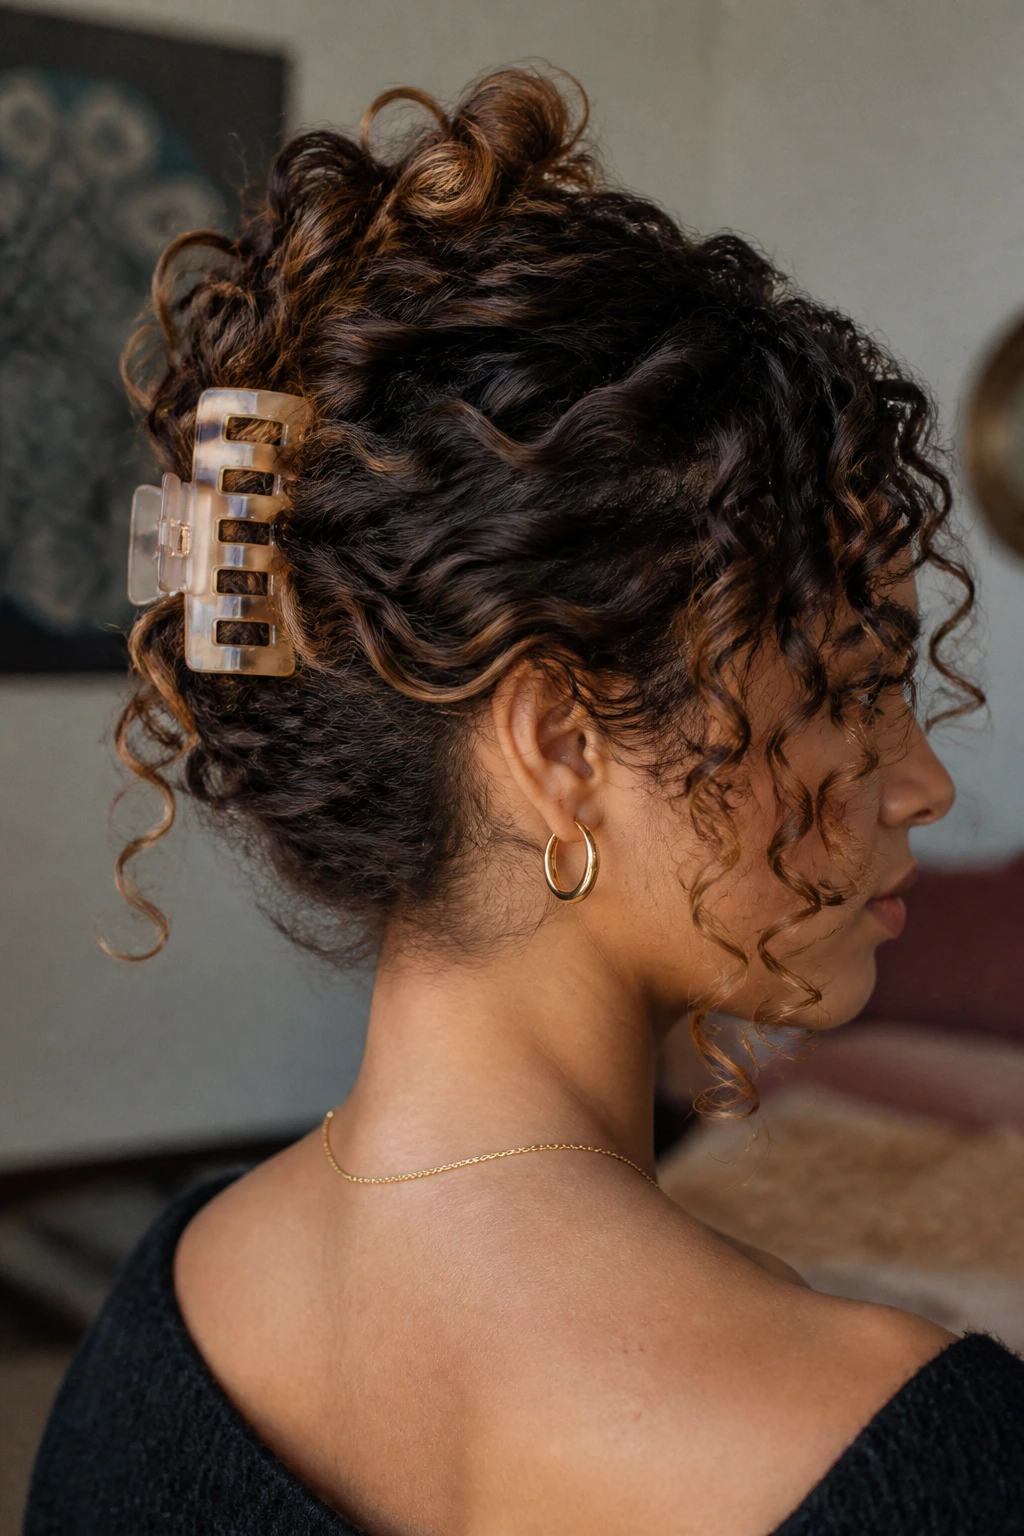
A claw clip can be a lazy-day tool or a polished one, depending on how you place it. For curls, the French twist version works best when you let some of the ends spill out on purpose. That spill is what keeps the bounce in the style.
Gather the hair low, twist it upward, and secure it with a medium or large claw clip. Don’t flatten the twist against the head. Leave a bit of height at the crown and let a few curls escape at the back. If every strand is trapped, the style loses its life.
Small adjustments that matter
- Use a clip with a strong spring, not a flimsy decorative one.
- Keep the twist centered if you want symmetry, or slide it slightly off-center for a softer line.
- Pull out one curl at the temples if the front looks too tight.
This works better on layered curls than on one-length hair because the layers naturally spill in a nicer way. If your hair is very long, the clip may hold only part of the length, and that’s fine. The goal is shape, not full containment.
17. Deep Side Part with Tucked Side
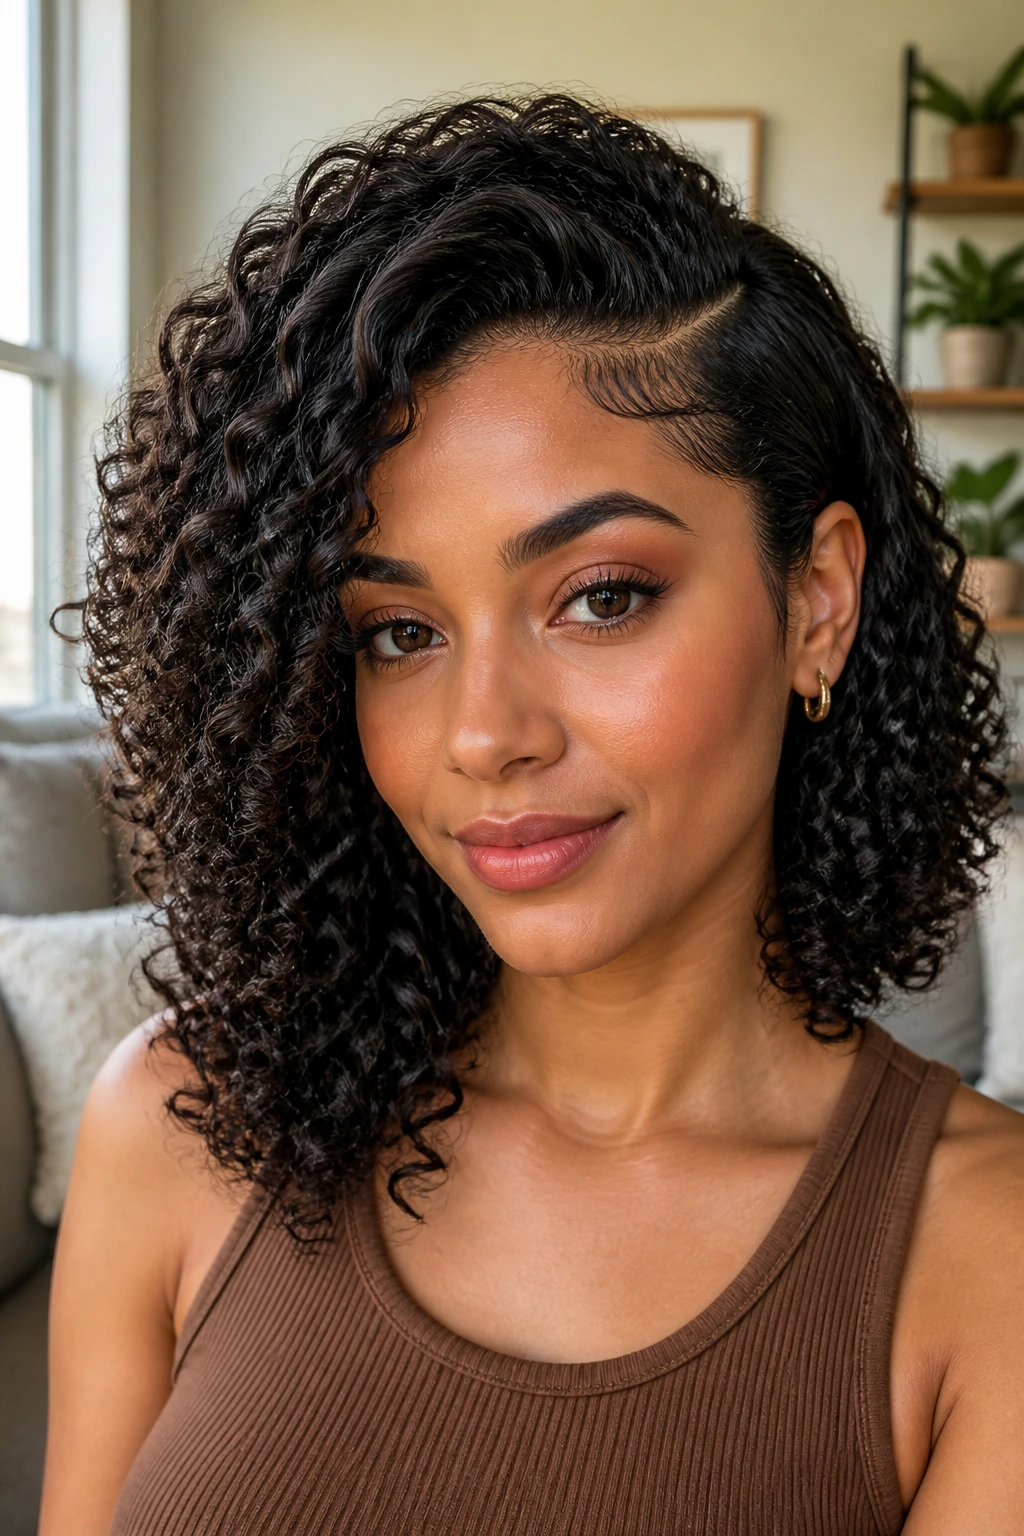
Why does a deep side part change the whole mood of curly hair? Because it shifts the weight. One side carries more lift at the root, while the other side hugs the face and creates a longer line. That simple imbalance gives the curls more character.
Tucking one side behind the ear makes the contrast sharper. The visible side stays full and sculpted, and the tucked side clears the face so the part reads even cleaner. You can leave the tucked side loose near the nape, or pin it low for a neater finish.
This style is particularly good when you want your curls to look polished without losing the natural shape. It works on loose waves, ringlets, and tighter curls too. The part does most of the visual work. The tuck just sharpens the line.
If your roots resist a side part, dampen the crown lightly and set the part with a clip while the hair dries. That one step usually keeps the line where you put it instead of letting it drift back to center.
18. Curly Wolf Cut with Rounded Ends
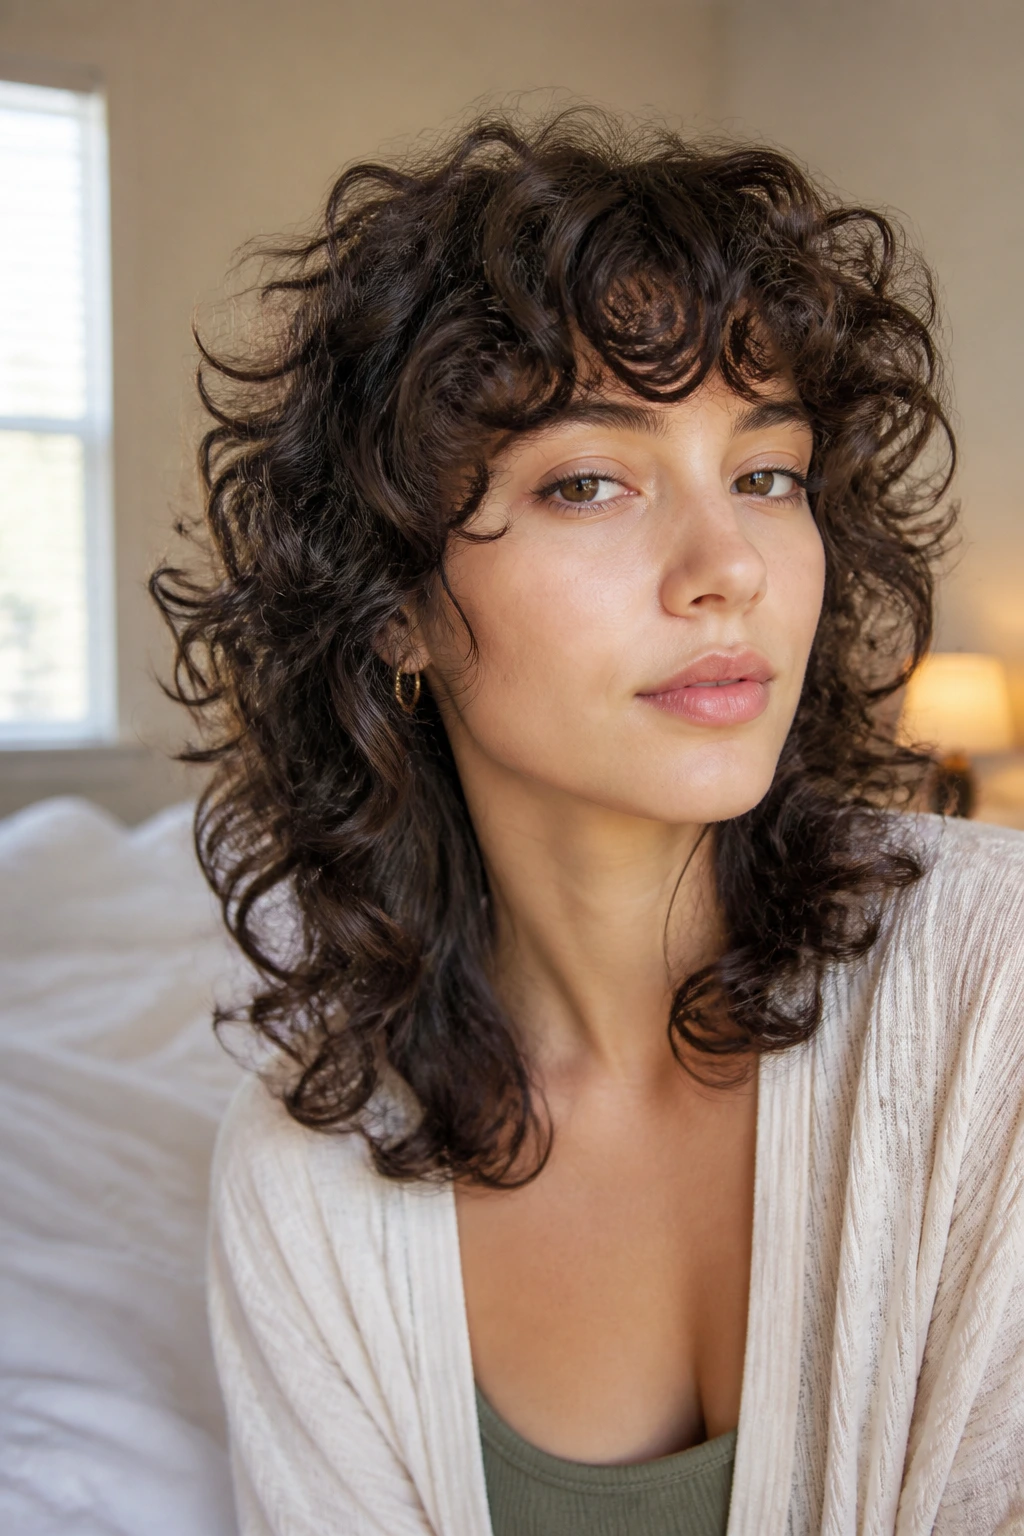
The curly wolf cut has attitude, but the version that keeps soft, defined bounce is the rounded one. That means the crown has enough lift to show shape, the layers are loose enough to keep the hair moving, and the ends don’t look wispy or chopped into pieces. It’s shag energy with more curve.
The reason it works so well on curls is simple: it removes bulk where the hair tends to balloon and keeps enough length at the bottom for movement. That stops the silhouette from turning boxy. The shape feels a little wild, but not sloppy.
I like this cut on thick curls that need room. The layers keep the top from sitting heavy, and the longer pieces around the face stop the style from going too punk. You can wear it air-dried for a rougher finish or diffuse it for more separation. Both are valid. The second one is cleaner.
A wolf cut done right should look like the curls are climbing and falling at the same time. That little bit of contradiction is what gives it bounce.
Why Soft Bounce Depends on Shape, Not Just Products
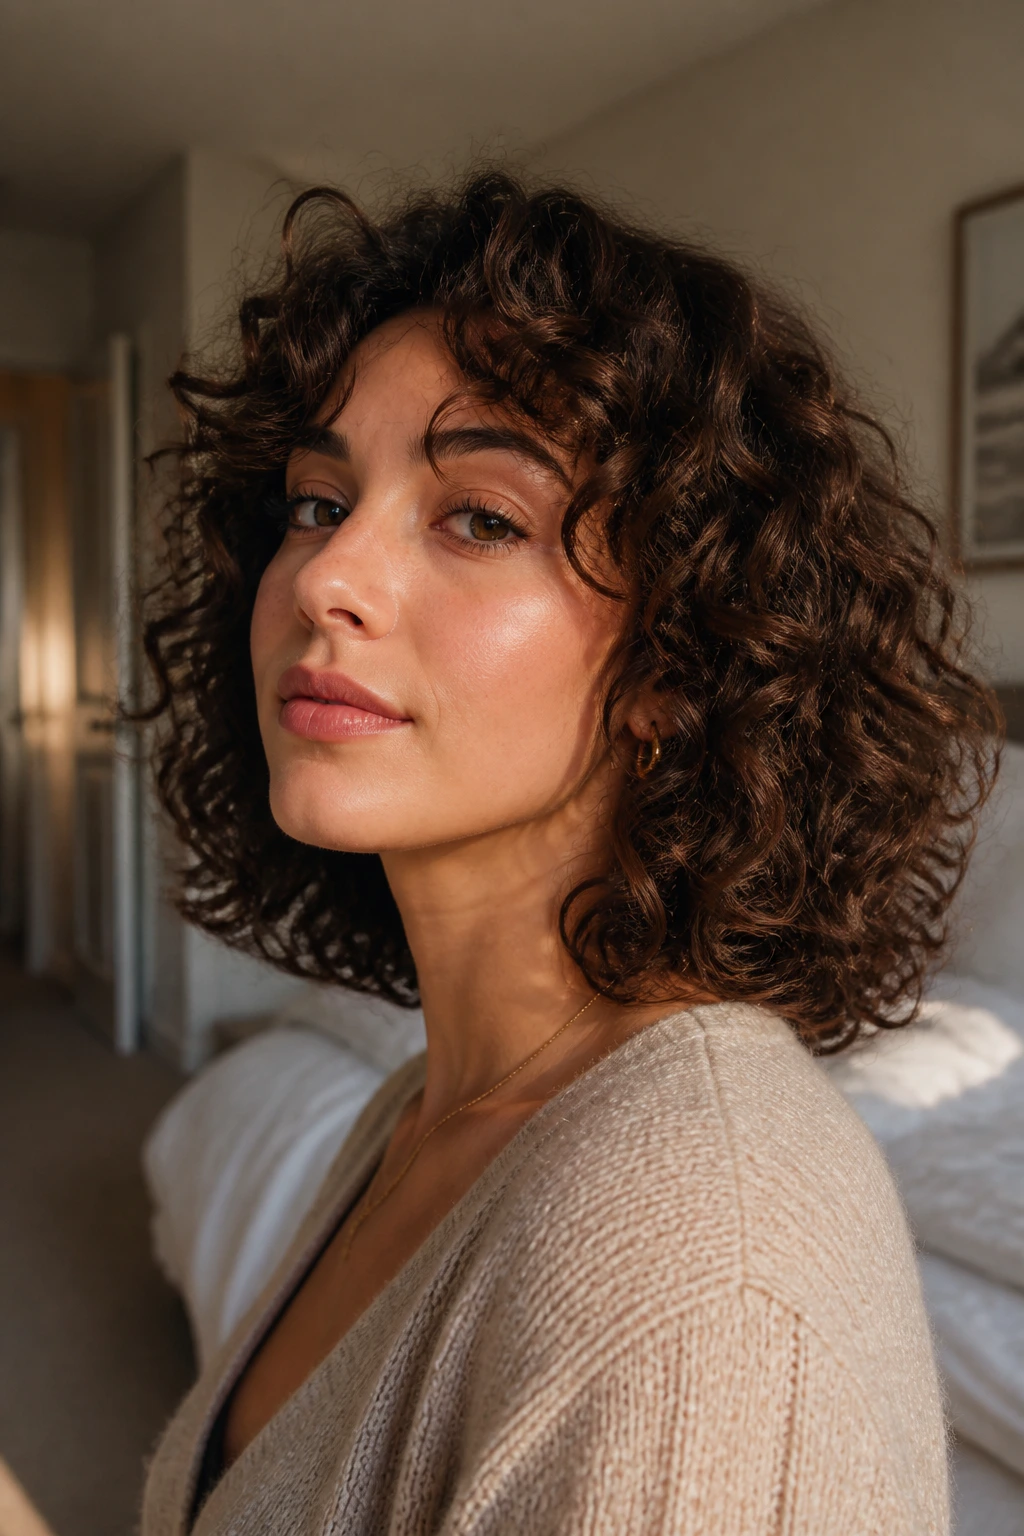
A lot of curly routines get trapped in the product aisle. More gel. More cream. More oil. Sometimes that helps, but only if the shape underneath makes sense. If the haircut is too blunt or the style is pulled too tight, product can’t save it. It can only make the mistake shinier.
Soft defined bounce starts with curl placement. A style needs enough room for the curl clumps to spring back after they dry. That means sections, part lines, clips, and pins all matter. They’re not decorative. They’re structural.
Moisture plays a quiet role too. Curls with the right water balance dry into softer shapes, and softer shapes move more naturally. If the hair is starved for moisture, it can look crisp for a minute and then go dull, frizzy, or puffed at the first hint of friction.
There’s also the hold factor. You want enough hold to preserve separation, but not so much that the curls feel glued together. A soft gel cast, scrunched out after full drying, often gives the best finish. It’s one of the rare times where waiting is the smarter move.
Essential Tools for Curly Hairstyles with Soft Definition
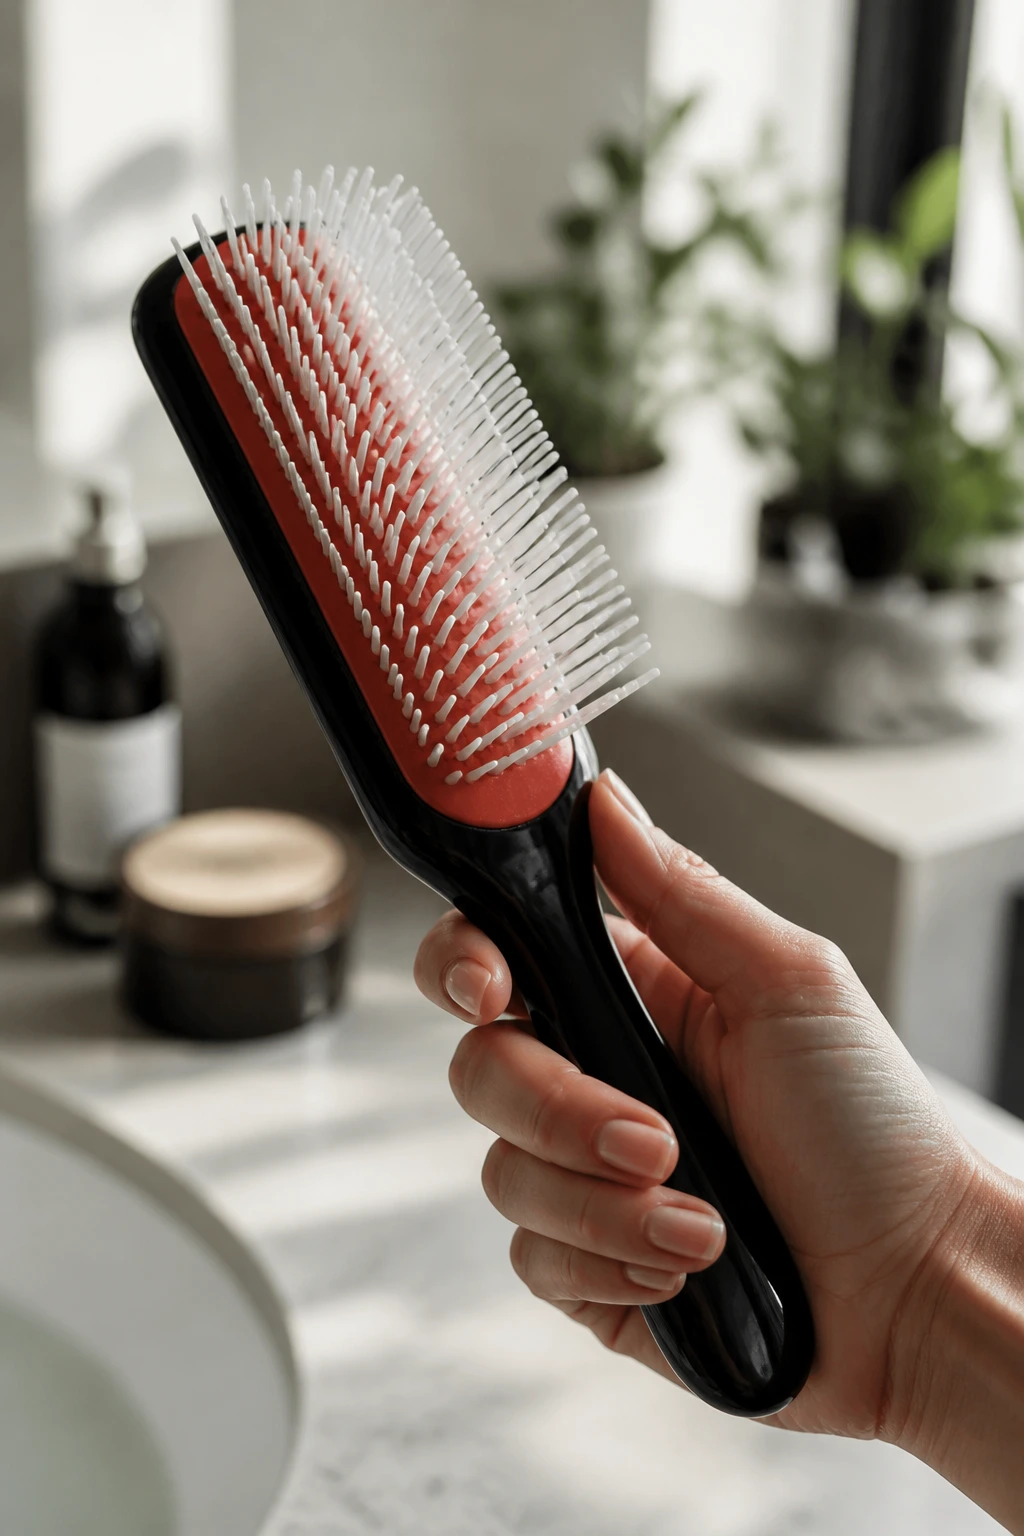
- Wide-tooth comb: Good for detangling wet curls without ripping apart the pattern.
- Detangling brush or Denman-style brush: Helps form clumps and smooth product through mid-lengths.
- Spray bottle: Useful for refreshing sections without soaking the whole head again.
- Microfiber towel or cotton T-shirt: Cuts down on rough frizz after washing and scrunching.
- Leave-in conditioner: Adds slip so styling products spread evenly.
- Curl cream: Best for softer, touchable definition on dry-prone curls.
- Mousse or foam: Good for lift and airy hold, especially at the roots.
- Light- to medium-hold gel: Keeps the shape intact without turning the hair hard.
- Diffuser attachment: Lets you dry curls while preserving volume and reducing direct airflow damage.
- Satin scrunchies and claw clips: Hold styles without carving deep dents into the hair.
- Bobby pins: Handy for half-up styles, side sweeps, and tucks.
- Satin bonnet or pillowcase: Protects the style overnight so the curl shape survives.
Choosing Products That Keep Curls Soft, Not Heavy
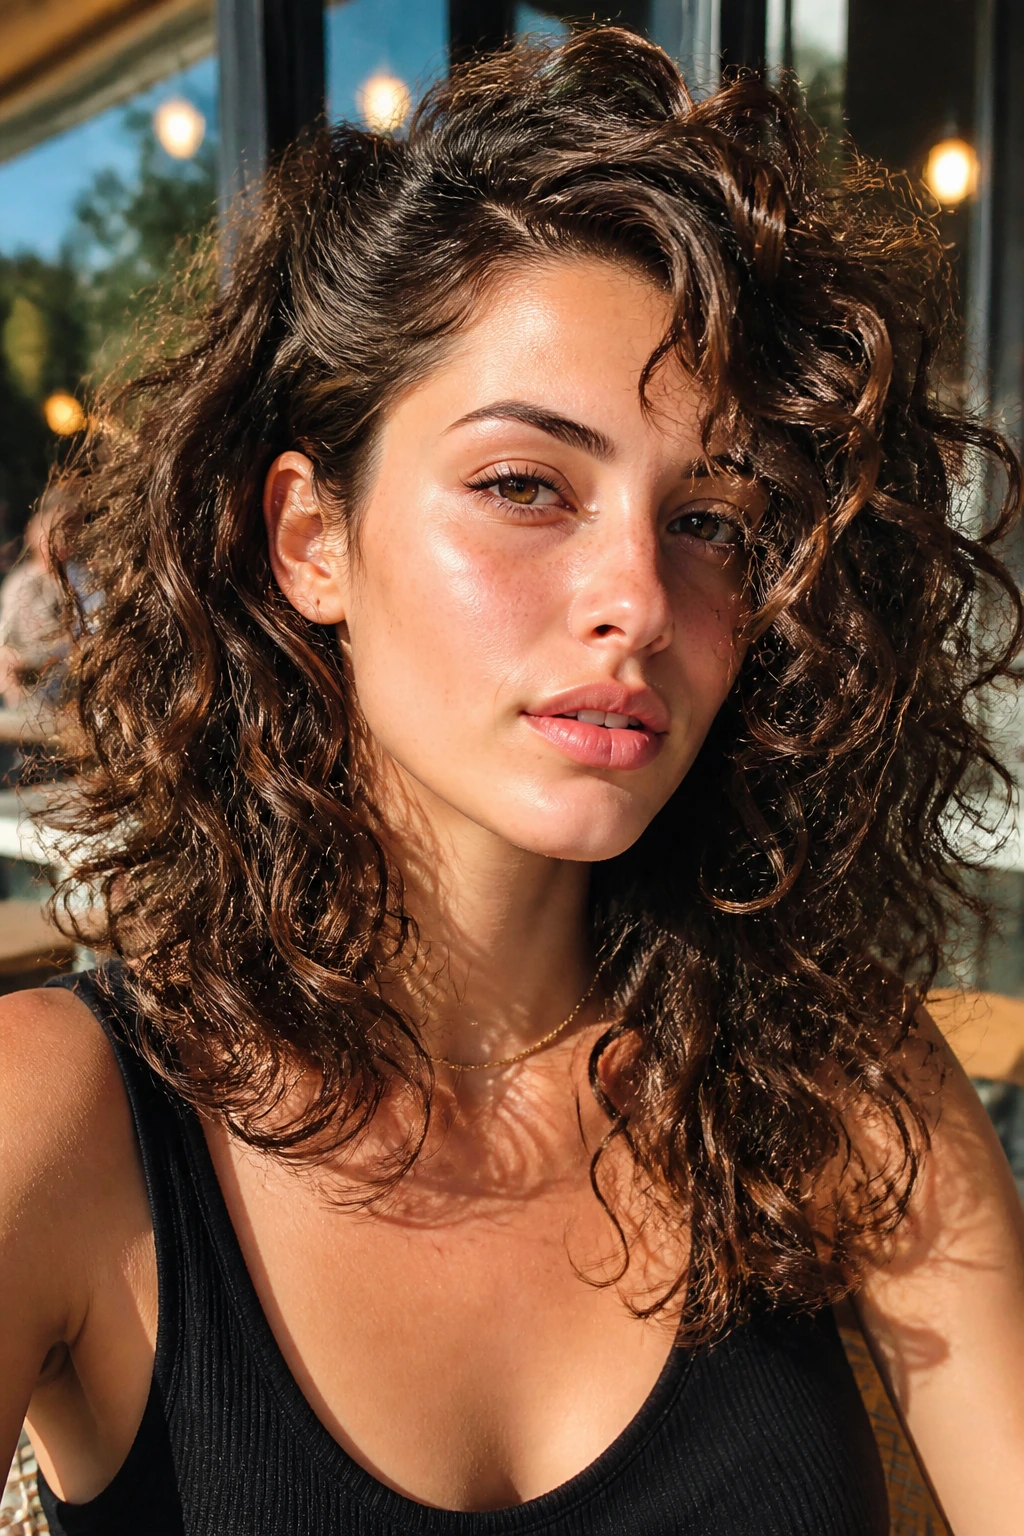
The best shopping rule is simple: match product weight to hair density, not to curl size alone. Fine curls can collapse under rich creams and oils even when they’re thirsty. Dense curls usually need more slip and more hold, or the style puffs out before lunch.
Look for mousses and foams if your roots go flat fast. They add lift without layering on too much residue. For tighter curls or drier hair, a leave-in plus gel combo usually works better than a single heavy cream because the gel holds the definition while the leave-in keeps the curl flexible.
If your hair is high porosity and drinks up product fast, don’t panic and keep adding more. Start with damp hair, use a small amount, then add only enough to coat the outside of the curl clumps. Heavy layering often looks good for ten minutes and then turns greasy at the ends.
A clarifying shampoo matters more than many people want to admit. If your curls stop bouncing and start hanging in sticky clumps, buildup may be the culprit. A reset wash every couple of weeks can make the same styling products work better without changing the rest of your routine.
How to Wear These Curly Hairstyles
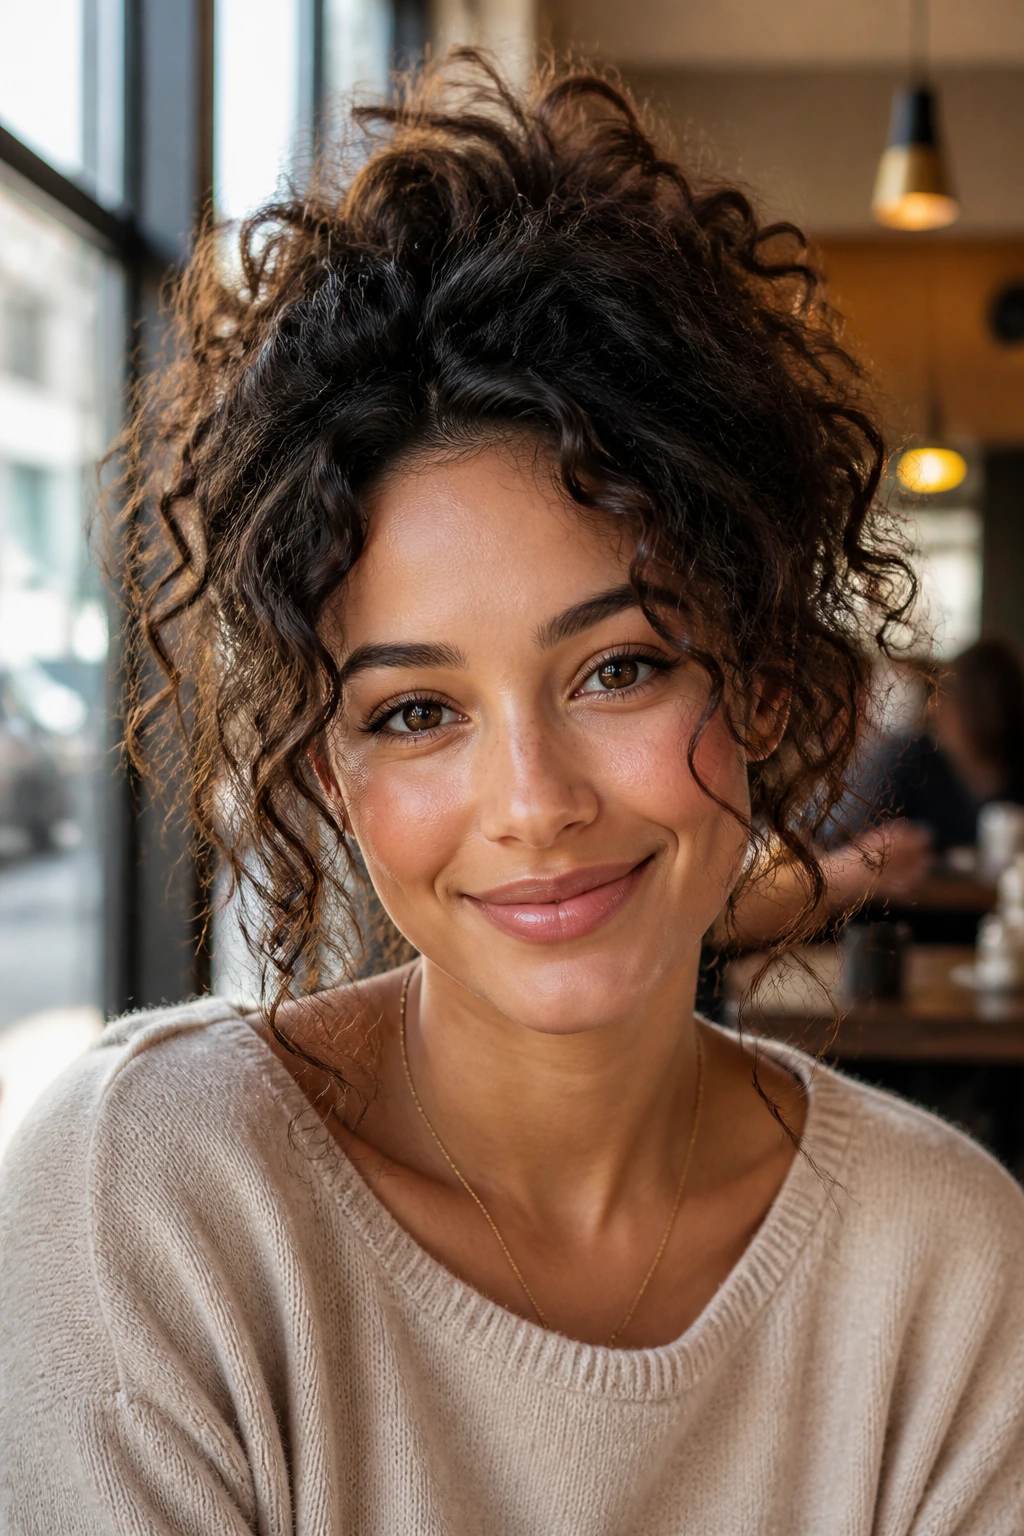
Presentation: Let the silhouette breathe. A soft part, a loose crown, and a few face-framing curls usually look better than pulling every strand into the same direction. The shape should feel deliberate, not pressed into place.
Accessories: Small hoops, a satin scarf, a clean clip, or one good bobby pin can sharpen a style without weighing it down. I’d skip heavy headbands for the styles that rely on crown lift; they flatten the exact area you’re trying to keep alive.
Section Size: For fine or loose curls, smaller sections give better definition and prevent the style from falling apart early. For dense curls, larger sections help the hair keep a rounded shape instead of turning puffy from too many tiny splits.
Where It Fits: A low ponytail or deep side part works in an office. A halo braid, side-stack tuck, or claw-clip twist reads better for a dinner or event. The high puff, shag, and wolf cut live nicely in between, which is part of why they’re so easy to wear day after day.
Small Styling Moves That Add More Bounce
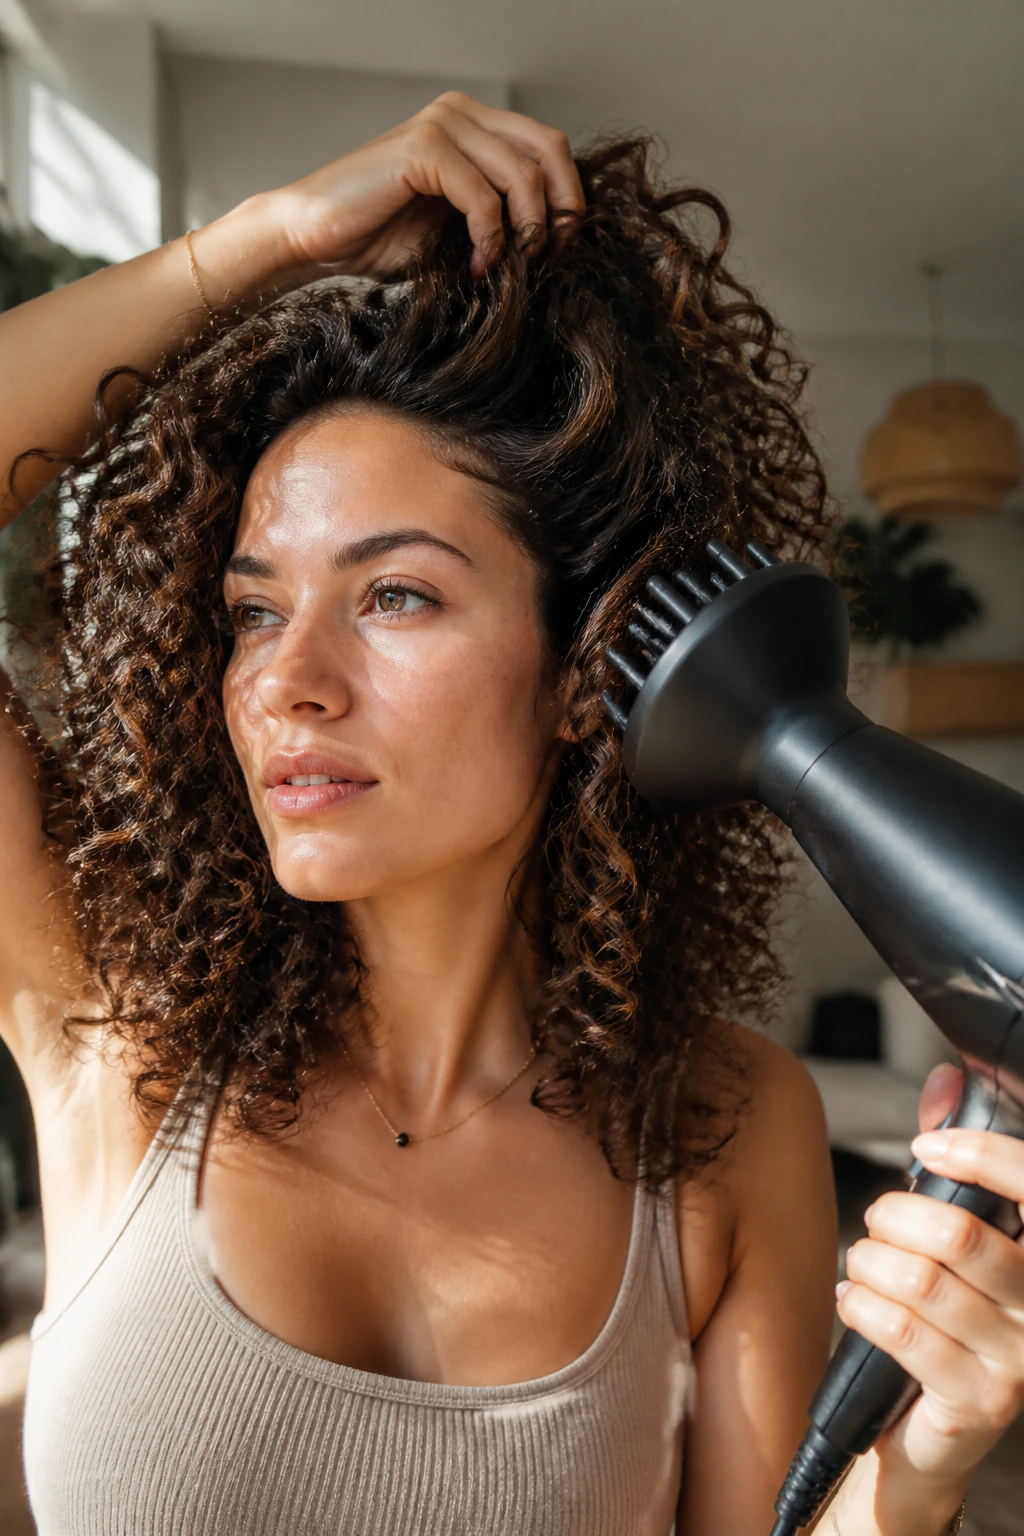
Root Lift: Clip the roots at the crown while the hair dries, then remove the clips only when the top feels fully set. That one habit changes the shape more than piling on extra product.
Soft Hold: If your curls lose definition by the afternoon, layer mousse under a light gel instead of using a thick cream alone. The mousse gives lift; the gel locks in the clumps.
Refresh Trick: Mist only the outer layer of curls, then scrunch in a pea-size amount of leave-in diluted with water in your palm. You do not need to rewet the whole head unless the style has gone flat from root to tip.
Make-It-Yours: For fine hair, stay light with creams and lean on mousse. For thick curls, use cream at the mid-lengths and a stronger gel at the crown. For dry hair, a tiny oil on the ends is enough; for humidity, keep oils low and let the hold product do the work.
Common Mistakes That Flatten Curly Hairstyles
Using too much heavy product: The curls may feel soft at first, then collapse into greasy ribbons. Fix it by starting with less and building only where the hair actually needs help, usually the mid-lengths and ends.
Pulling the roots too tight: A sleek crown can look neat for a moment, but it steals the bounce from the whole style. Use looser ties, wider clips, and gentler tension at the base.
Brushing dry curls after they’ve set: That creates frizz and breaks up the curl clumps you worked to make. Refresh with water and your hands instead of going straight in with a brush.
Not drying the roots fully: Damp roots look fine until the style starts to cave in. If the top section still feels cool or soft, keep diffusing or clip it longer before touching it.
Choosing accessories that fight the curl pattern: Thin elastics, tiny clips, and rough metal pins can dent the hair or split the curl clumps. Satin, smooth plastic, or coated pins are easier on the shape.
Trying to make every curl behave the same: Mixed curl patterns need mixed treatment. The top may need more product and hold than the ends, and the front may need a different part or placement than the back.
Variations and Adaptations to Try
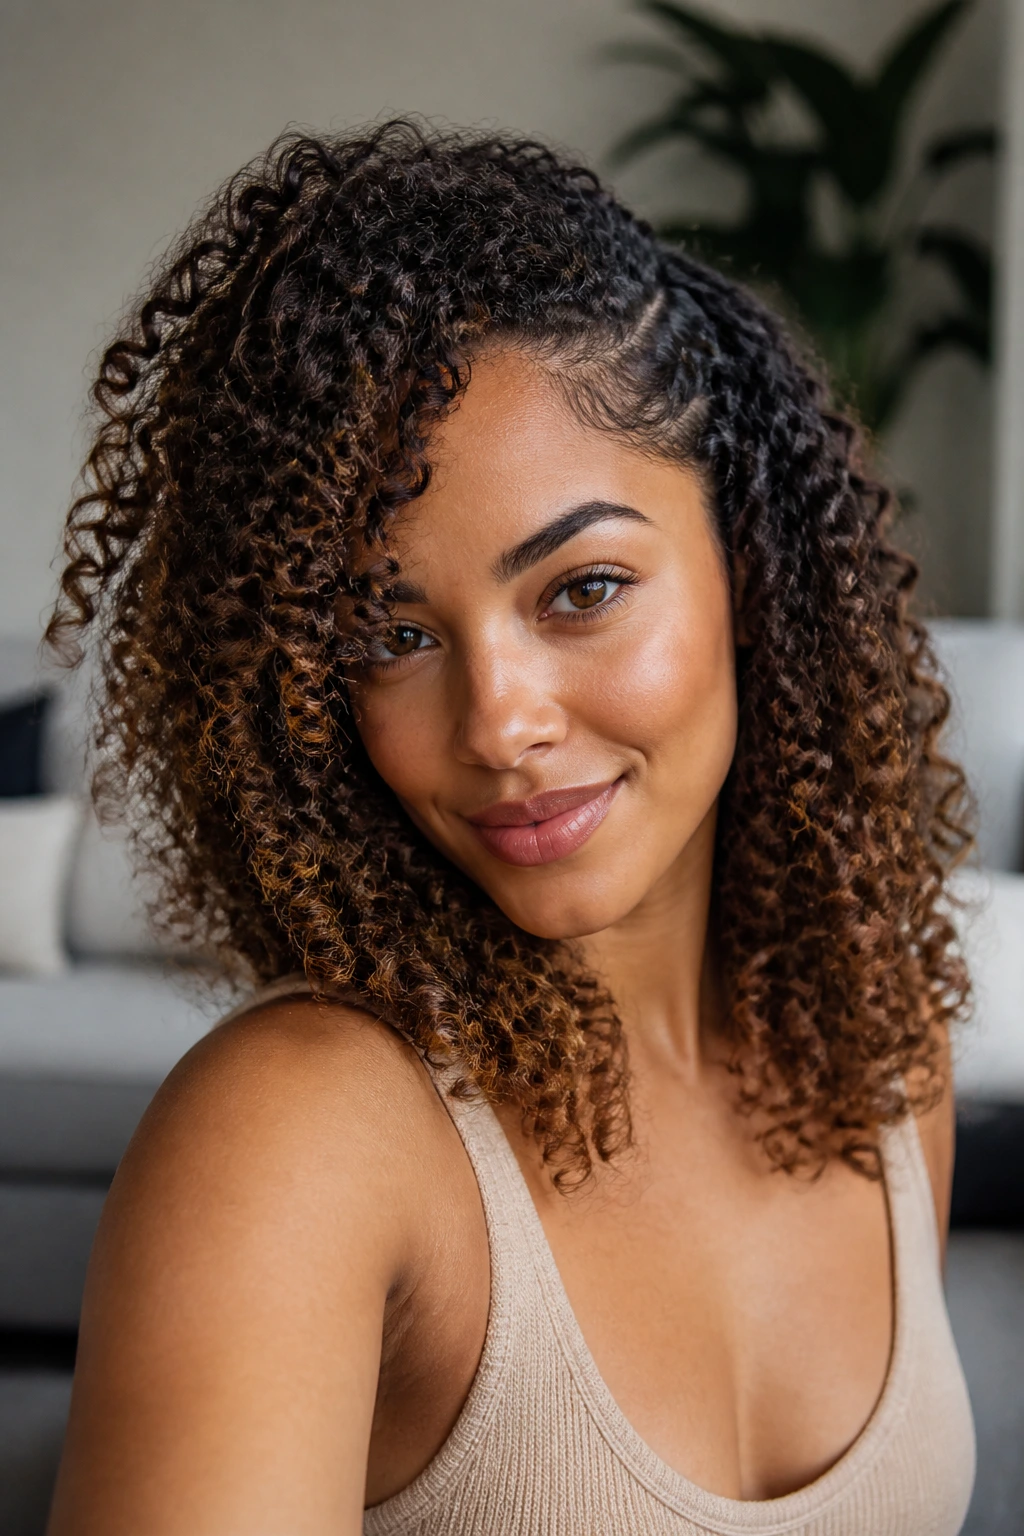
Fine-Hair Float: Use mousse as the main styler, keep creams light, and favor side parts, half-up shapes, and clipped-back styles. The goal is lift without residue, because fine curls lose bounce fast when they’re overloaded.
Thick-Curl Control: Work in larger sections and use a cream-gel combo at the crown and mid-lengths. This keeps dense hair from expanding too much while still leaving the ends springy and soft.
Humidity Shield: Choose styles with structure—lob, bob, twist-out, claw-clip twist—and finish with a stronger hold gel or anti-humidity mist. The look should be allowed to move, but not so freely that it frizzes apart halfway through the day.
Short-Curl Sculpt: Tapered cuts, pixies, and finger-coiled tops give short hair shape without making it look cramped. A little more precision at the front keeps the silhouette clean and keeps the bounce concentrated where it shows.
Heatless Stretch: If shrinkage is stealing your length, stretch the hair with twists, banding, or a loose pineapple overnight. You get more visible length the next day, and the curls still keep their shape instead of getting blown out by heat.
How to Keep the Shape Overnight and Into Day Two
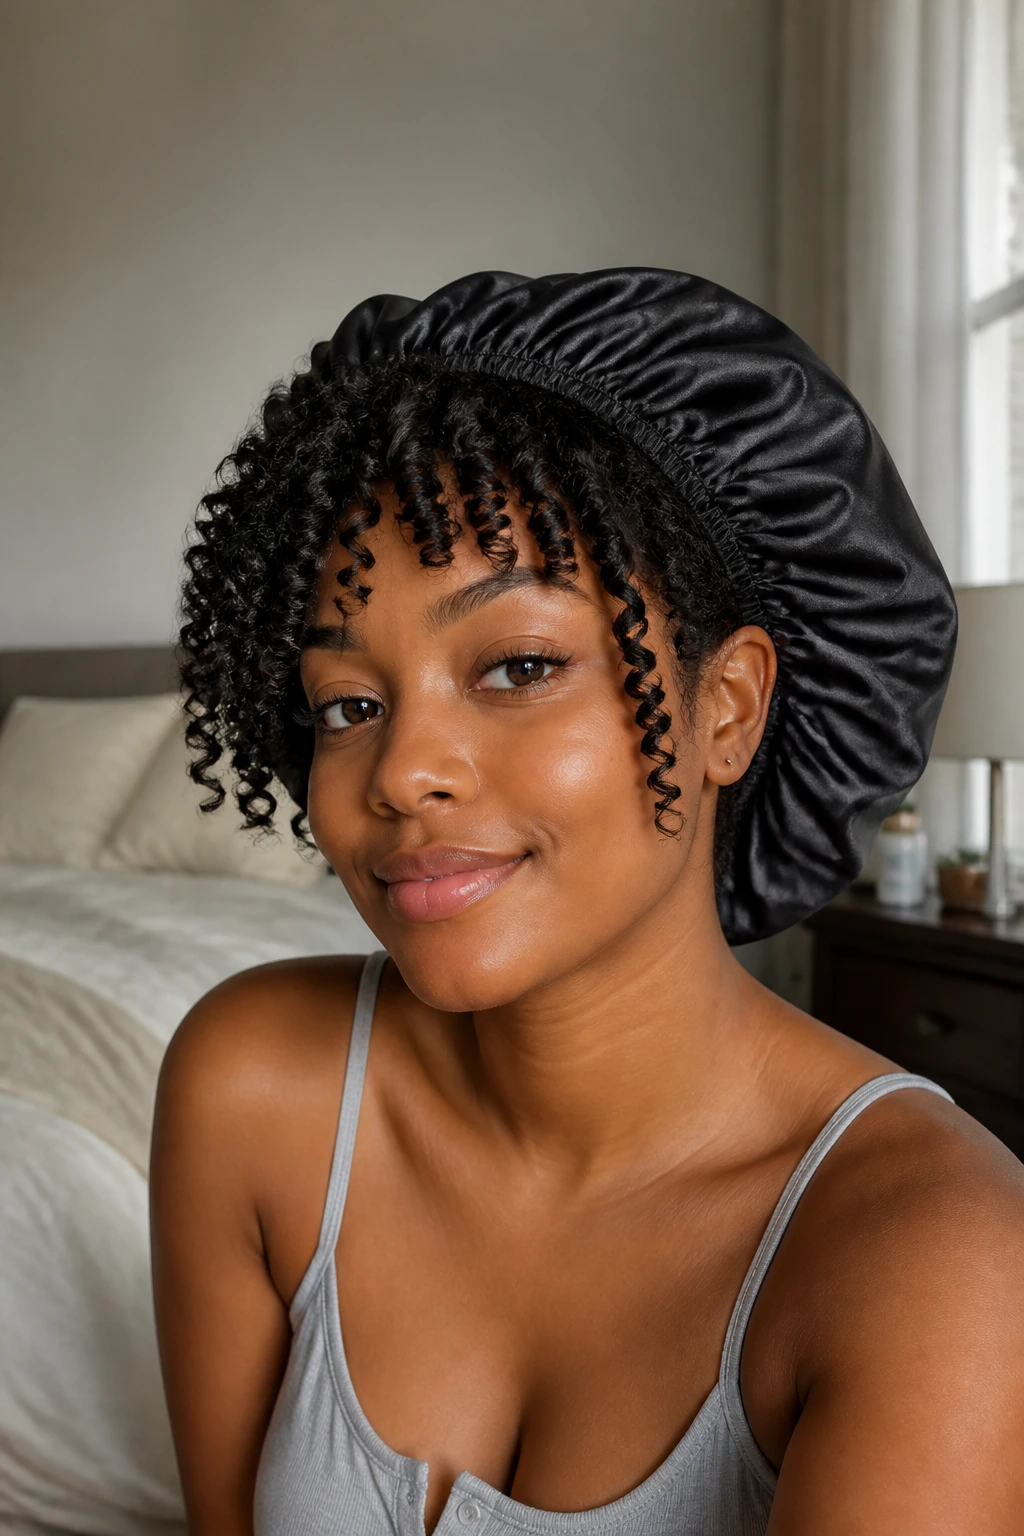
Curly styles hold better when they’re protected before bed. A satin bonnet, satin pillowcase, or a loose pineapple can keep the curl clumps from getting crushed. If the style uses pins or clips, remove anything sharp before you sleep so the hair doesn’t snag at the crown.
Day two is usually where the shape either stays smart or turns fuzzy. If the roots are flat, lift them with your fingers and a touch of water rather than brushing. If the ends are dry, smooth a tiny bit of leave-in between your palms and press it onto the outer layer of curls.
Most of these styles last about 2 to 4 days before they need a real refresh, though shorter curls and high puffs can need attention sooner. A bob or twist-out usually stays cleaner longer than a full loose style because the silhouette is more contained. If a style starts to lose its structure at the crown, don’t keep piling on product. Rework the part, reset a few sections, and call it good.
Wash-day styles like the lob, shag, and wolf cut often improve a little as they settle. Very tight updos do not. Those need more gentle handling, or they start to show dents and frizz at the first friction point.
Frequently Asked Questions
Which curly hairstyles keep the most bounce without looking big?
Shoulder-length lobs, side-part shags, and defined bobs usually give the best balance of lift and control. They keep enough length for movement but avoid the heavy lower bulk that can make curls spread outward.
How do I keep the crown from going flat?
Dry the roots with a diffuser, clip the crown while it’s drying, or use a light mousse at the base before styling. Flat crowns usually come from too much weight, too little drying at the root, or both.
Can I do these styles on day-two curls?
Yes, and some of them work better that way. Half-up twists, clipped side sweeps, low ponytails, and claw-clip styles often hold more easily on day-two hair because the curls have already settled into shape.
What product gives soft definition instead of crunch?
A mousse topped with a light gel, or a curl cream used sparingly with a soft hold styler, usually gives the best finish. Heavy creams alone can blur the curl pattern, while strong gels alone can leave the hair stiff if you use too much.
Do these styles work on short curly hair?
They do, but the shorter cuts need more shape control and less bulk. The tapered cut, pixie with fringe, and high puff are especially useful because they keep the profile clean while still showing texture.
What if my curls frizz up after I style them?
That usually means the hair was touched too early, dried unevenly, or brushed after setting. Try letting the cast dry fully, then scrunching it out with dry hands and a tiny drop of leave-in only on the outer layer.
How can I make a style look softer around the face?
Leave out two or three narrow curls near the cheeks or temples, and avoid pulling the front hairline too tight. A soft face frame almost always makes a curly style look more balanced.
Is a diffuser necessary?
Not every time, but it helps if you want root lift and a cleaner curl clump. Air-drying can work well for loose styles and day-two refreshes, though it usually gives you less crown volume.
The Styles That Let Curls Move
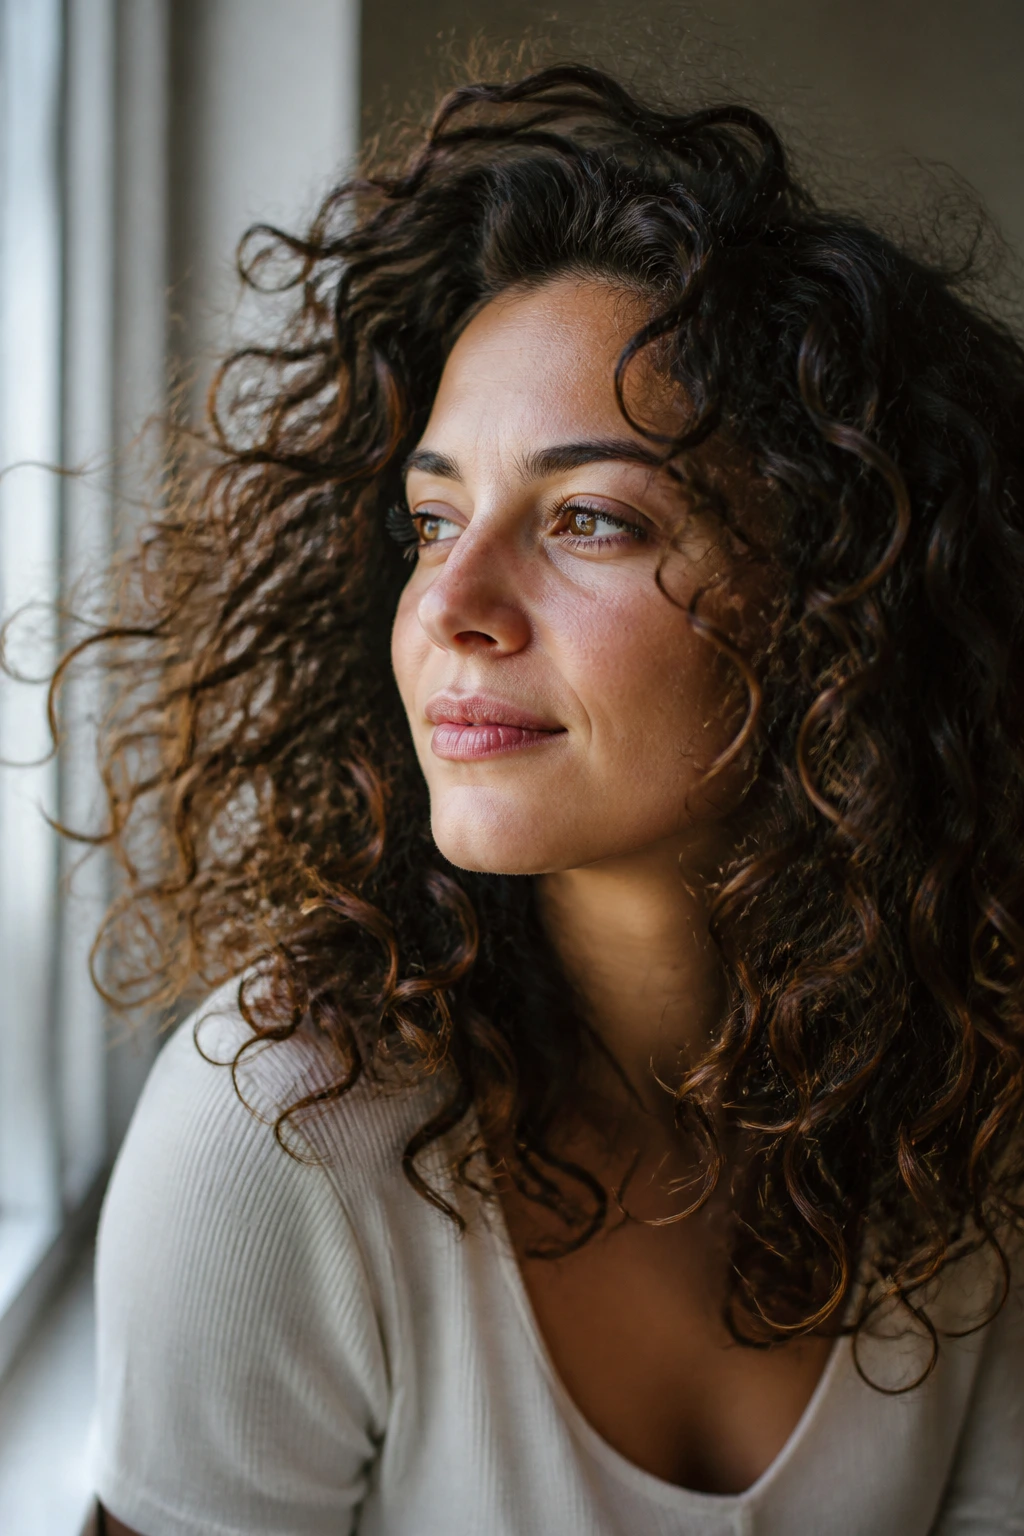
The best curly hairstyles for soft defined bounce don’t try to overpower the hair. They work with it. A smart part, a little layering, the right hold, and just enough room for the curls to spring back—those are the pieces that keep the shape alive.
What I like most here is how practical the looks are. Some can be worn loose. Some need a pin, a clip, or a twist. None of them ask you to choose between polished and natural. They let the curl pattern show up with enough structure to look finished, and enough softness to still feel like hair.
Pick the shape that matches your length, your density, and how much time you actually want to spend on your morning. Then give it one or two small habits—root clipping, a satin scrunchie, a proper refresh—and the bounce starts to look less like luck and more like a system.
