



Shoulder length curly hairstyles sit in a sweet spot that straight hair never has to think about. The curls have enough room to spring, but not so much length that they drag the shape flat by lunchtime. Get the cut right and the whole head seems to move when you turn; get it wrong and the ends pile up at the shoulders in a stubborn little shelf. That’s the part most people miss. The shoulder line is not neutral. It can either help the curl pattern or choke it.
There’s a reason this length keeps showing up on curly heads that look alive instead of overworked. Shoulder-length curls can hold definition, show off layers, and still leave enough weight to keep frizz from puffing into a halo. The trick is knowing which shape does what. A blunt edge on loose waves behaves one way. A curly shag on dense coils behaves another. Same length. Different personality.
Some of the looks below are cuts, some are styling moves, and a few are the kind of hybrid style that saves you when wash day lands on a packed morning. What they all share is movement. Real movement. Not helmet hair, not pouf, not that limp, stringy middle ground that makes curly hair feel like a negotiation.
Why These Shoulder-Length Curly Hairstyles Earn Their Keep
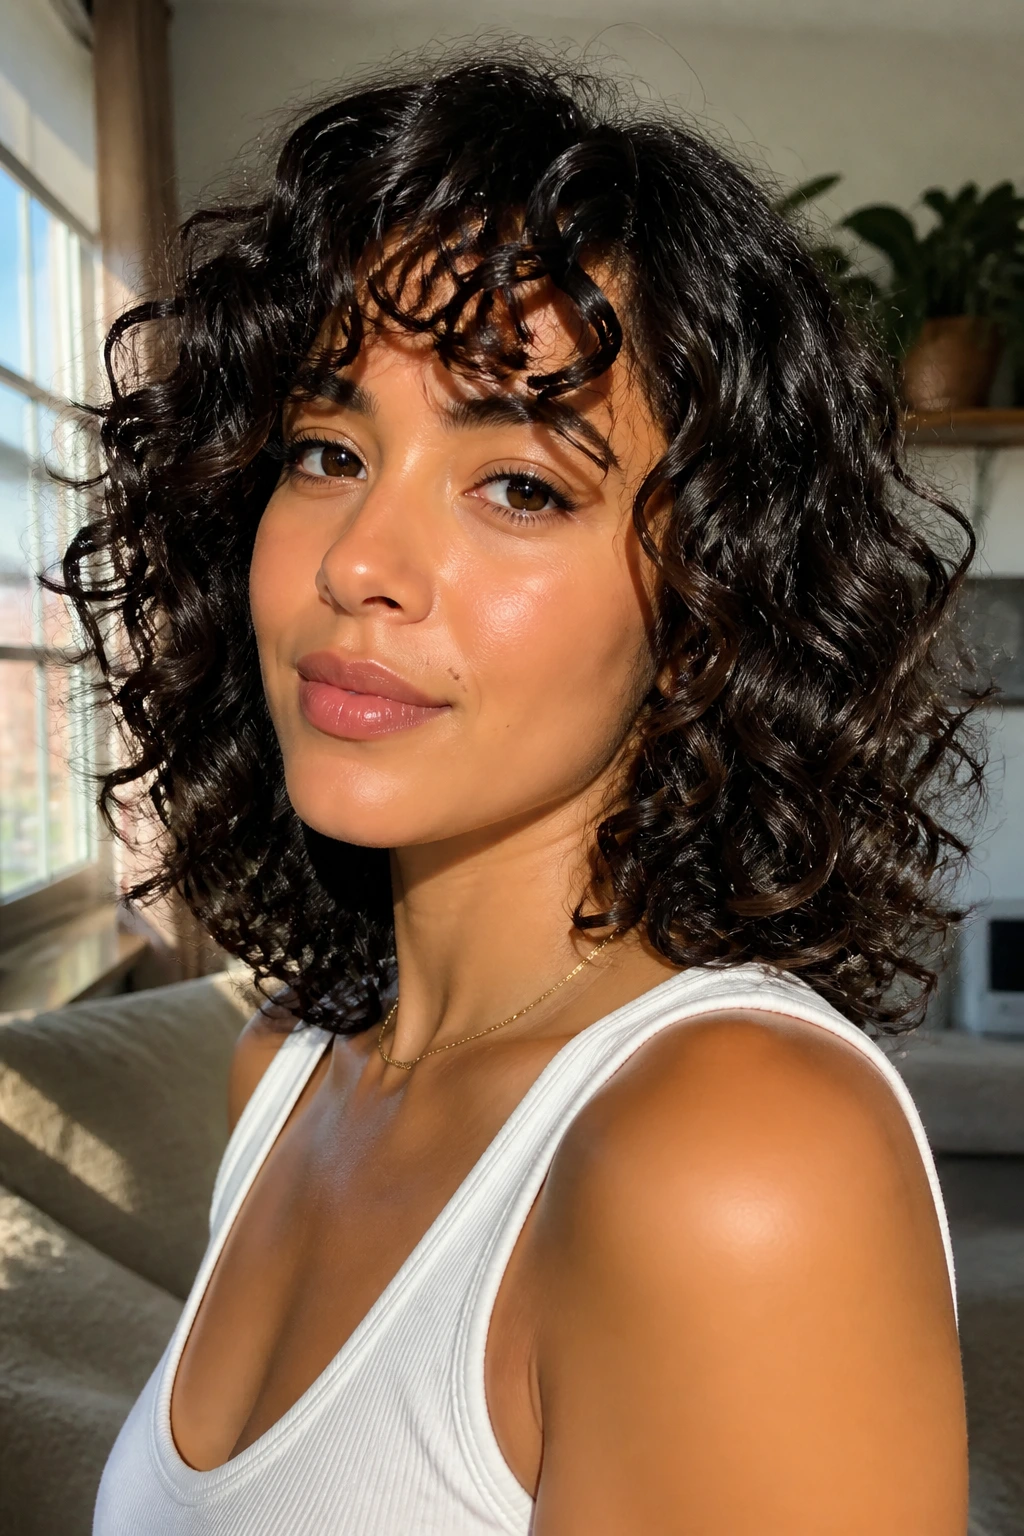
-
The length lands where curls can still spring: Shoulder-grazing ends keep enough weight to stop the top from ballooning, while leaving room for the pattern to move instead of hanging straight down.
-
Layer placement matters more here than almost anywhere else: A curl that sits at chin level behaves differently from one that starts at the collarbone, and the wrong line can build a triangle fast.
-
These styles work across curl types: Loose 2C waves, springy 3A spirals, dense 3C ringlets, and tighter coils can all wear shoulder length if the shape respects shrinkage.
-
They give you styling options without a dramatic grow-out phase: You can wear curls down, half-up, clipped back, diffused, or air-dried without losing the outline of the haircut.
-
They’re easier to refresh than longer curly cuts: Shoulder length usually needs less product and less time to re-shape in the morning, which matters when the top layer has gone flat overnight.
-
They show off face framing better than longer lengths do: Bangs, cheekbone pieces, and side parts don’t disappear into the mass of hair the way they often do on longer curly cuts.
1. Rounded Layers That Sit Right on the Shoulders
A rounded shoulder-length cut is the quiet workhorse of curly hair. The shape starts soft at the crown, follows the head’s curve, and lets the ends land in a clean arc instead of a blunt shelf. On curls that like to puff out at the sides, this is the move that makes the whole head look balanced instead of wide.
The best version of this cut keeps the shortest face-framing pieces around the cheekbone and lets the longest layers graze the top of the shoulders. That one detail changes everything. If the layers start too low, the shape gets heavy. Too high, and you lose the bounce that makes shoulder length so good in the first place.
Why the round shape bounces so well
Rounded layers give the curls room to stack without bulking up. Each curl rests a little above the one below it, so the outline stays soft. It’s one of the few curly cuts that looks finished even when the styling is a little imperfect.
If your curls are medium density and you want movement without an edgy, chopped look, this is a safe bet. Diffuse it with the head tipped slightly to each side, and keep the airflow low enough that the curl clumps don’t break apart. The result should feel airy, not thin.
A side part works here. So does a center part. The shape holds either way, which is part of why stylists keep returning to it.
2. The Curly Shag With Soft Face Framing
The curly shag is for people who want their hair to look like it has its own opinions. It’s shorter through the crown, longer around the perimeter, and full of movement at eye level instead of only at the ends. On shoulder-length curls, that matters because the top gets a lift without the bottom getting too bulky.
This is not a wild, hacked-up shag from a bad photo. The better version keeps the top layers soft and the face framing deliberate. Think of it as controlled mess, not chaos. The crown should lift a little when you shake the hair out, and the ends should still touch the shoulders with enough weight to stay defined.
If your curls go flat at the roots but explode at the bottom, this cut solves the shape problem without asking you to fight your texture. A light mousse at the roots and a stronger gel through the mids and ends gives the shag that slightly airy, separated finish. Let it dry all the way before touching it.
3. Side-Part Lob With Long Internal Layers
Want bounce without giving up a clean outline? A side-part lob is one of the few shoulder-length curly hairstyles that can look polished and full at the same time. The side part shifts the weight off-center, which gives the roots a lift on the heavier side and lets the curls swing instead of sitting in a single block.
The real trick is internal layering. These layers sit inside the cut, so the surface still looks smooth, but the bulk gets removed from underneath. That keeps the curl pattern from collapsing into a triangle, especially if your hair is thick or you have a strong wave pattern that likes to settle flat near the scalp.
Ask for the part to start about 2 to 3 inches off center, not way out near the ear. That slight shift is enough to change the whole face line. It works especially well if one side of your hair naturally wants to sit flatter than the other. The part gives that side a little more lift and turns the imbalance into shape.
4. Collarbone Curls With Curtain Bangs
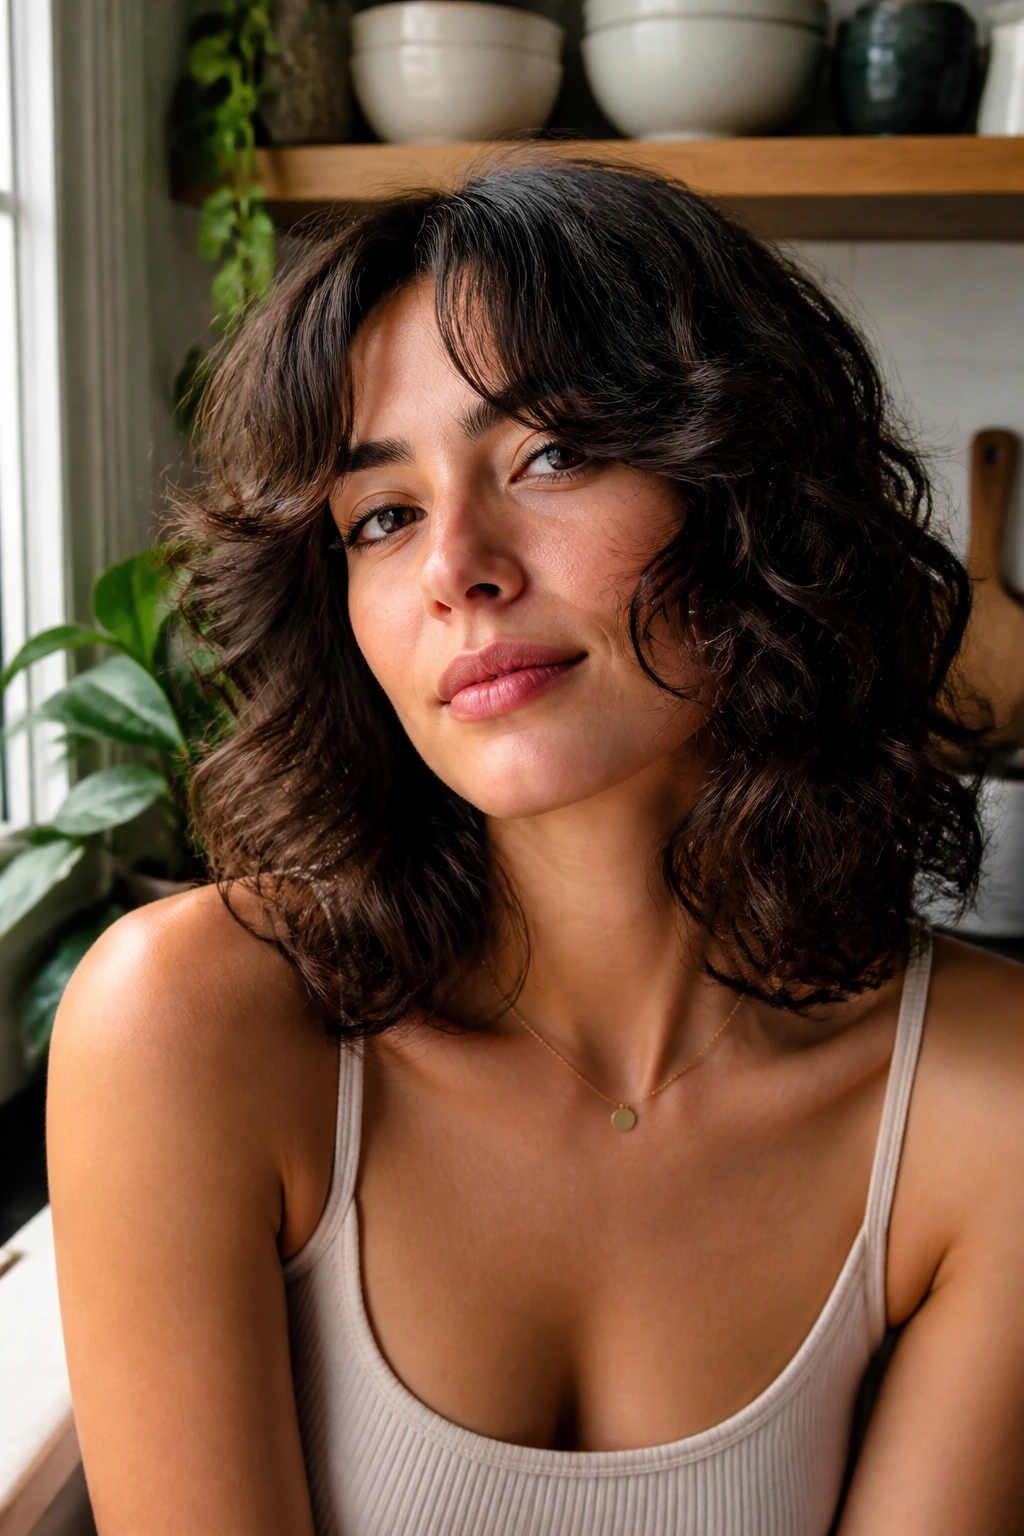
When curls hit the collarbone and the front splits into curtain bangs, the whole cut starts moving. That little gap in the middle opens up the face, and the longer front pieces fall around the jaw and cheeks instead of building a heavy curtain all the way around.
Curtain bangs on curly hair need a lighter hand than people expect. The shortest pieces should usually start around the nose or cheekbone, depending on shrinkage, and then taper down toward the jaw. If they’re cut too short, they pop up like springs. Cute for about ten minutes. Annoying after that.
The best thing about this style is that it changes with how you wear it. Middle part. Soft off-center part. Pushed back with clips. The bangs shift, but the cut still works. If you want more shape without a full shag or a dramatic fringe, this is one of the smartest shoulder-length curly hairstyles to ask for.
5. The Deva Cut That Lets Each Curl Set Its Own Line
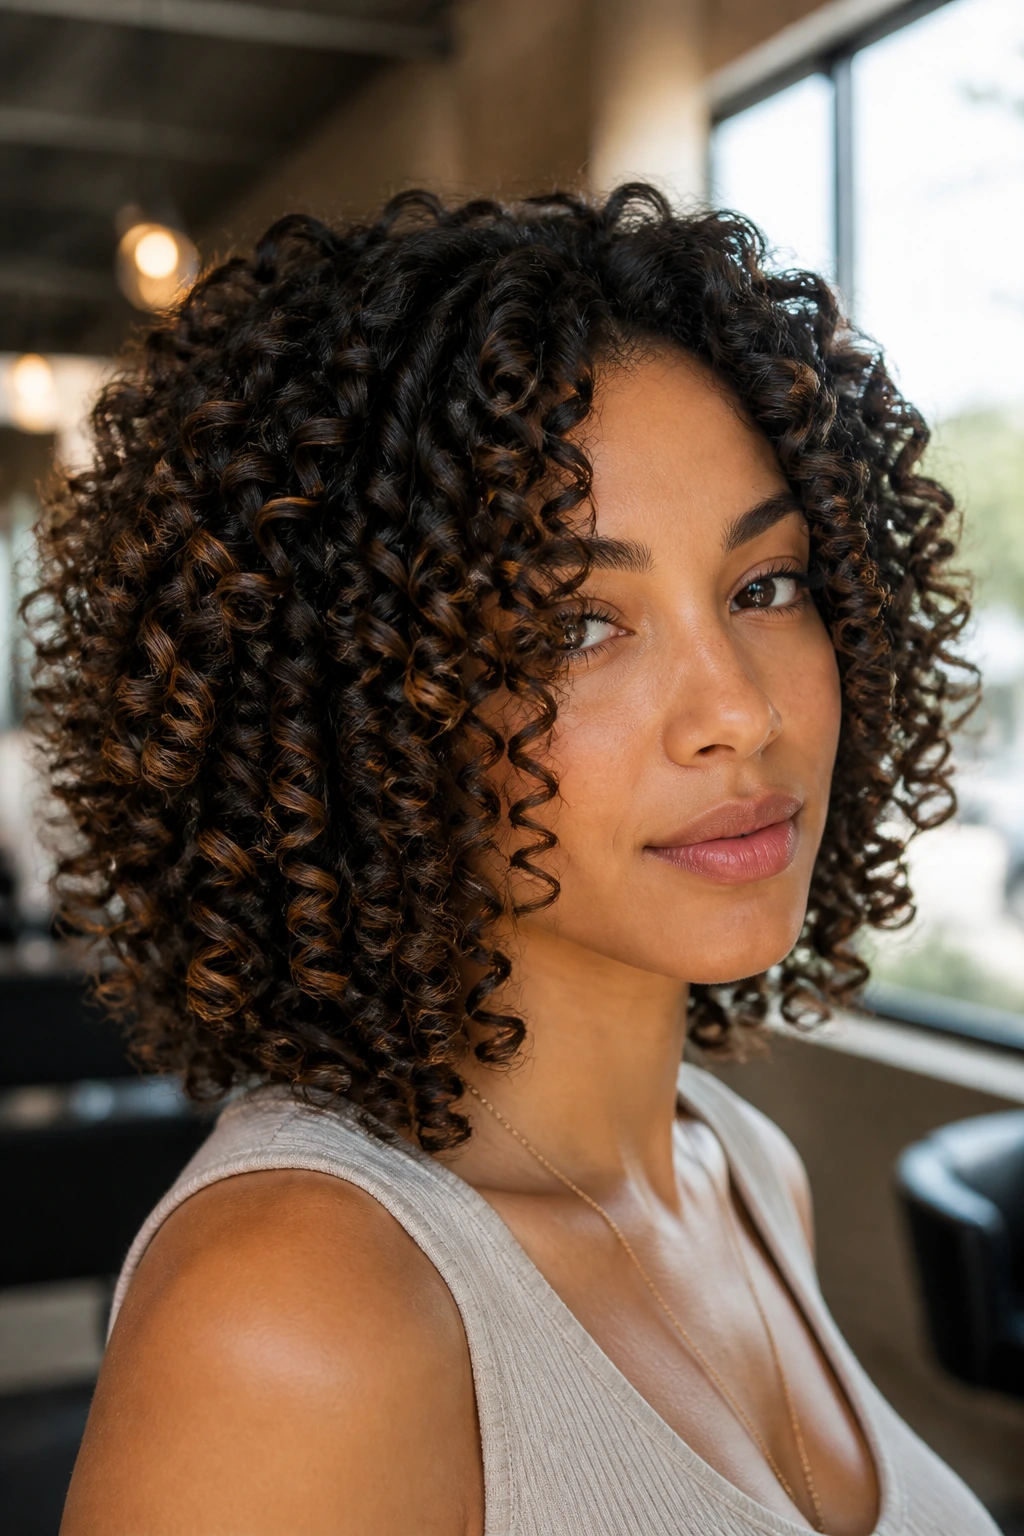
A Deva cut is less about a shape drawn on paper and more about letting each curl show where it wants to live. The cut is usually done curl by curl in its dry state, which means the stylist sees shrinkage, clumping, and pattern changes before taking off any length. That matters a lot at shoulder length, where one wrong snip can throw off the whole outline.
This approach works especially well for 3B to 4C textures, where the curls can shrink several inches and still need a balanced perimeter. The result is usually fuller around the head, with a shape that feels tailored instead of generic. No helmet. No triangle. Just a form that follows the actual curl pattern.
The catch is maintenance. You can’t keep that shape if you flatten the roots every night and rip through the curls with a brush in the morning. Use your fingers or a wide-tooth comb, set the curls with a bit of leave-in and gel, and let the shape dry fully before deciding whether it works. Wet curly hair lies.
6. An Angled Curly Lob That Leans Forward
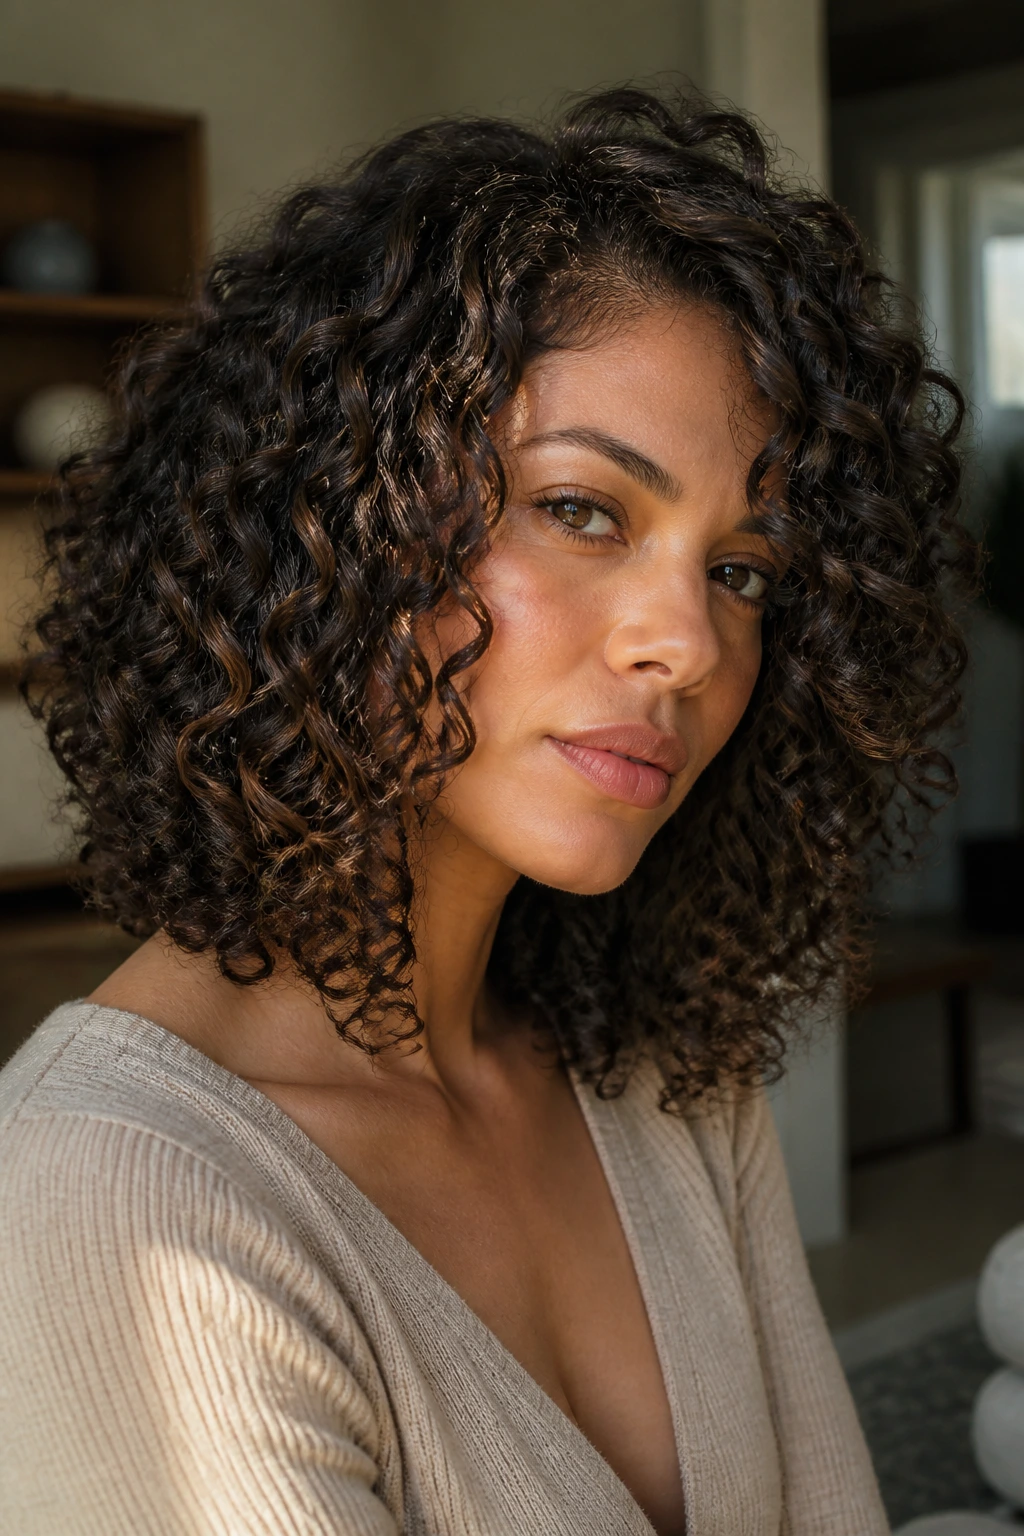
An angled lob is the hairstyle equivalent of a forward stance. The back sits a touch shorter, the front falls longer, and the whole shape makes the curls look like they’re moving toward the face instead of sitting still around the neck. On shoulder-length hair, that angle can make the cut feel lighter without actually removing much length.
The angle does one very specific thing well: it keeps the curls from bunching at the back of the shoulders. If your hair tends to flip out at the ends or get caught against jackets and collars, this shape helps it sit cleaner. A difference of even 1 to 2 inches from back to front changes the silhouette more than people expect.
This is one of my favorites for round or square face shapes because the front pieces lengthen the line of the jaw. It also gives you a little drama without requiring a deep side part or bangs. Clean, sharp, and a little swingy. That’s the appeal.
7. A Crown-Heavy Shape for Flat Roots and Puffy Ends
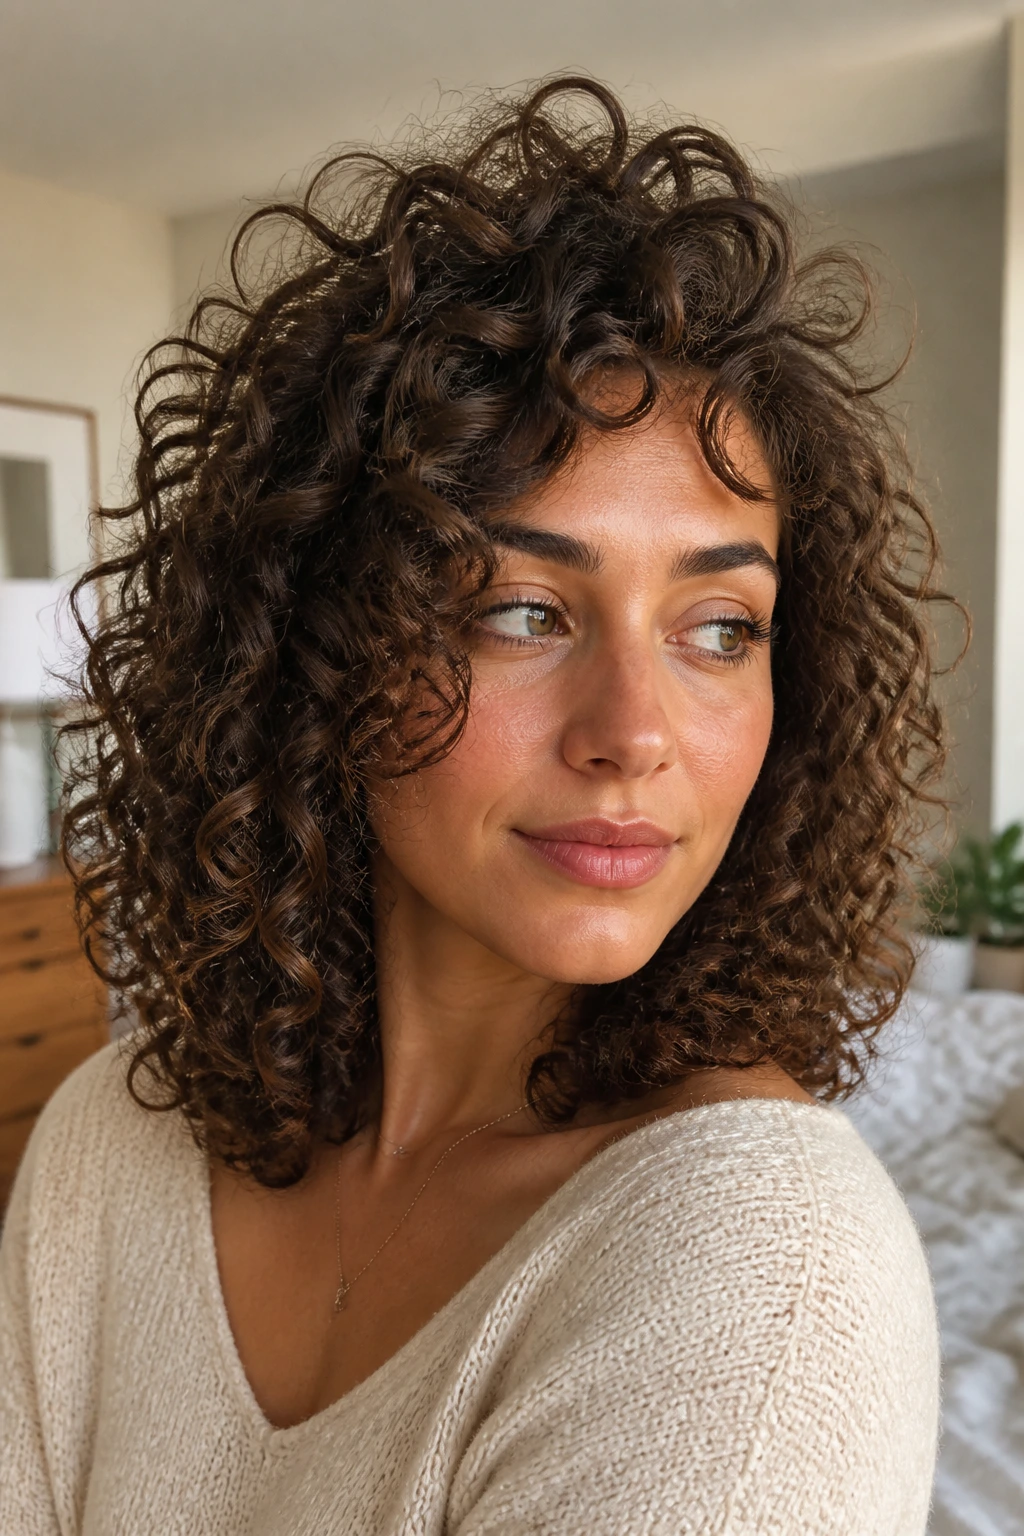
If the roots collapse and the ends take over, stop fighting the pattern and redistribute the weight. A crown-heavy cut keeps more lift on top and tapers the lower layers so the silhouette doesn’t widen at the hem. It’s a smart fix for shoulder-length curls that need volume where people actually see it.
This style works because the top layers are cut to support lift at the root, not just to remove bulk. The crown gets a little more air. The lower lengths stay long enough to hang at the shoulder instead of ballooning outward. That balance is what turns a round head of curls into a shaped one.
Diffusing helps here, but the method matters. Use root clips while the hair is about 70 percent dry, then aim the diffuser upward in 10- to 15-second bursts. Don’t shake the curls around too much. Let them set. If you’re constantly touching them, you’ll lose the very lift you wanted.
8. A Soft Blunt Perimeter With Hidden Layers
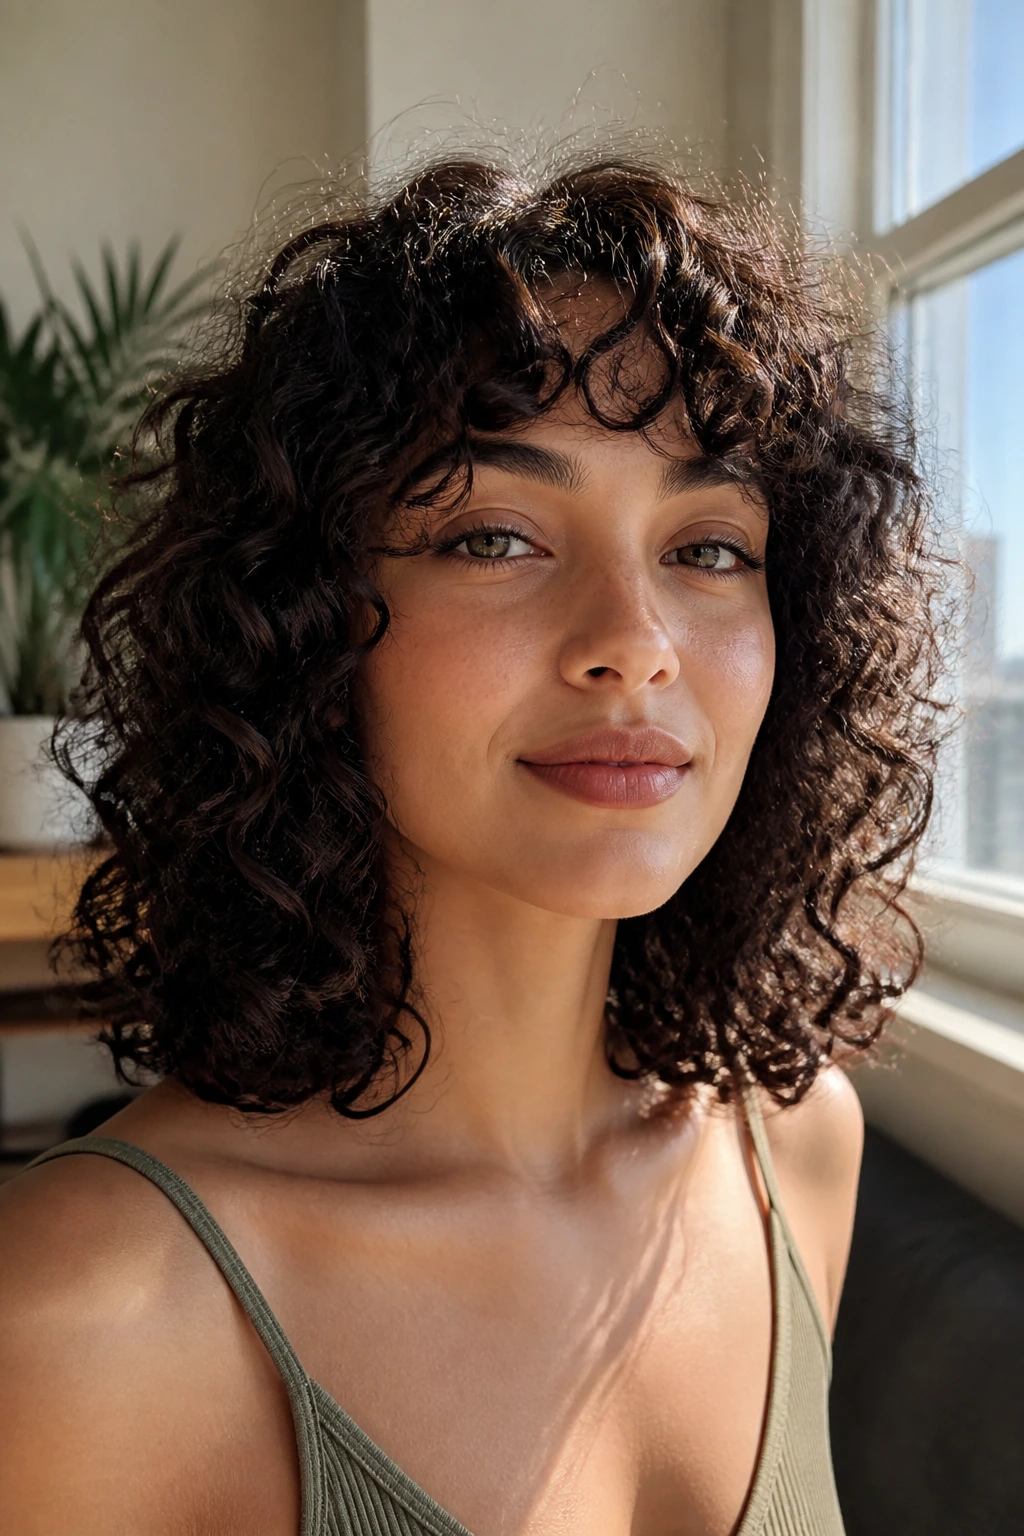
Blunt does not mean heavy. That’s the mistake people make. On curly hair, a blunt perimeter can look crisp and full, but only if the inside of the cut has enough hidden layering to keep the shape from turning boxy. Shoulder length is the perfect place for that trick because the outline can stay clean while the curls underneath keep moving.
This is a strong choice for finer curls or looser waves that need the illusion of density. The blunt edge gives the ends a thicker look, and the hidden layers stop the shape from falling flat. Ask for a perimeter that lands right at the shoulders, then make sure the stylist removes bulk inside the cut rather than shredding the ends.
Skip thinning shears here. Seriously. They tend to create frizzy flyaways in curl patterns that already like to split. A clean interior layer does the same job with less damage to the outline.
9. The Deep Side-Sweep That Gives Curls a Little Drama
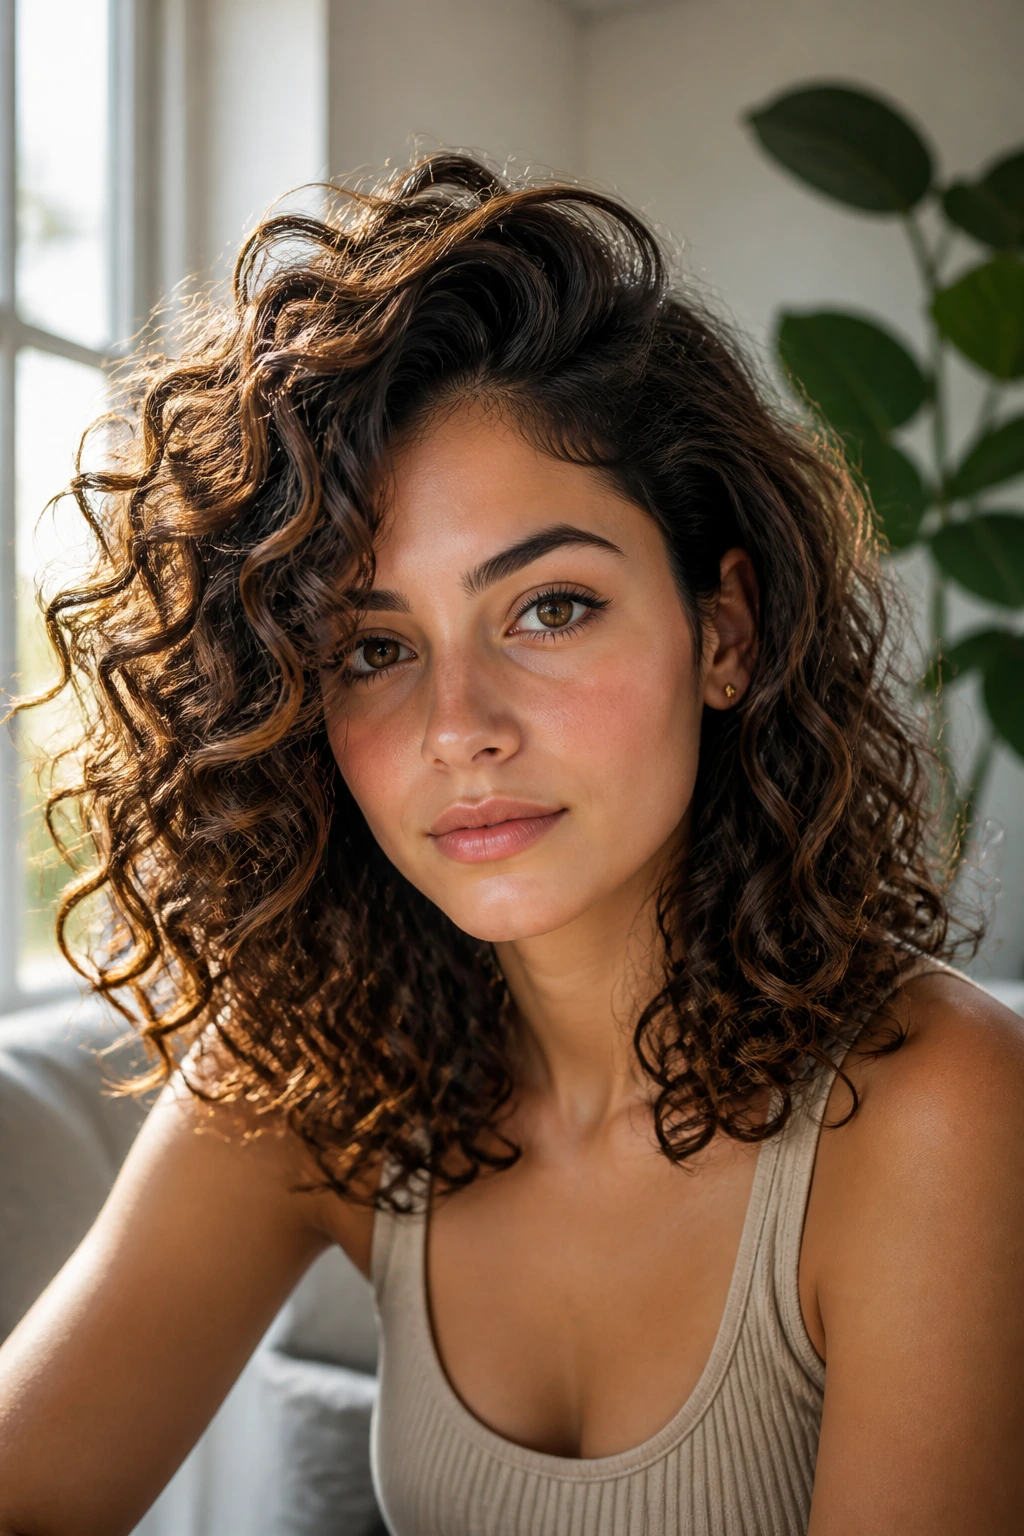
A deep side part changes shoulder-length curls faster than almost any other styling move. Push the hair over by 3 or 4 inches, let the front sections sweep across the forehead, and the whole shape suddenly looks fuller at the roots and longer through the line. It’s a small change. It reads as a big one.
This style shines on days when you want the curls to look deliberate without doing much else. The side with more hair gets lifted slightly at the root, while the other side sits closer to the head and shows off the curve of the face. If one side of your cut is a little flatter, the part balances it out.
For extra hold, twist the front section away from the face while it’s still damp, then let it dry before taking the twist apart. That gives you a sweep instead of a flop. A couple of bobby pins behind the heavier side can keep the shape from sliding all afternoon.
10. Half-Up With a Claw Clip and a Loose Cascade
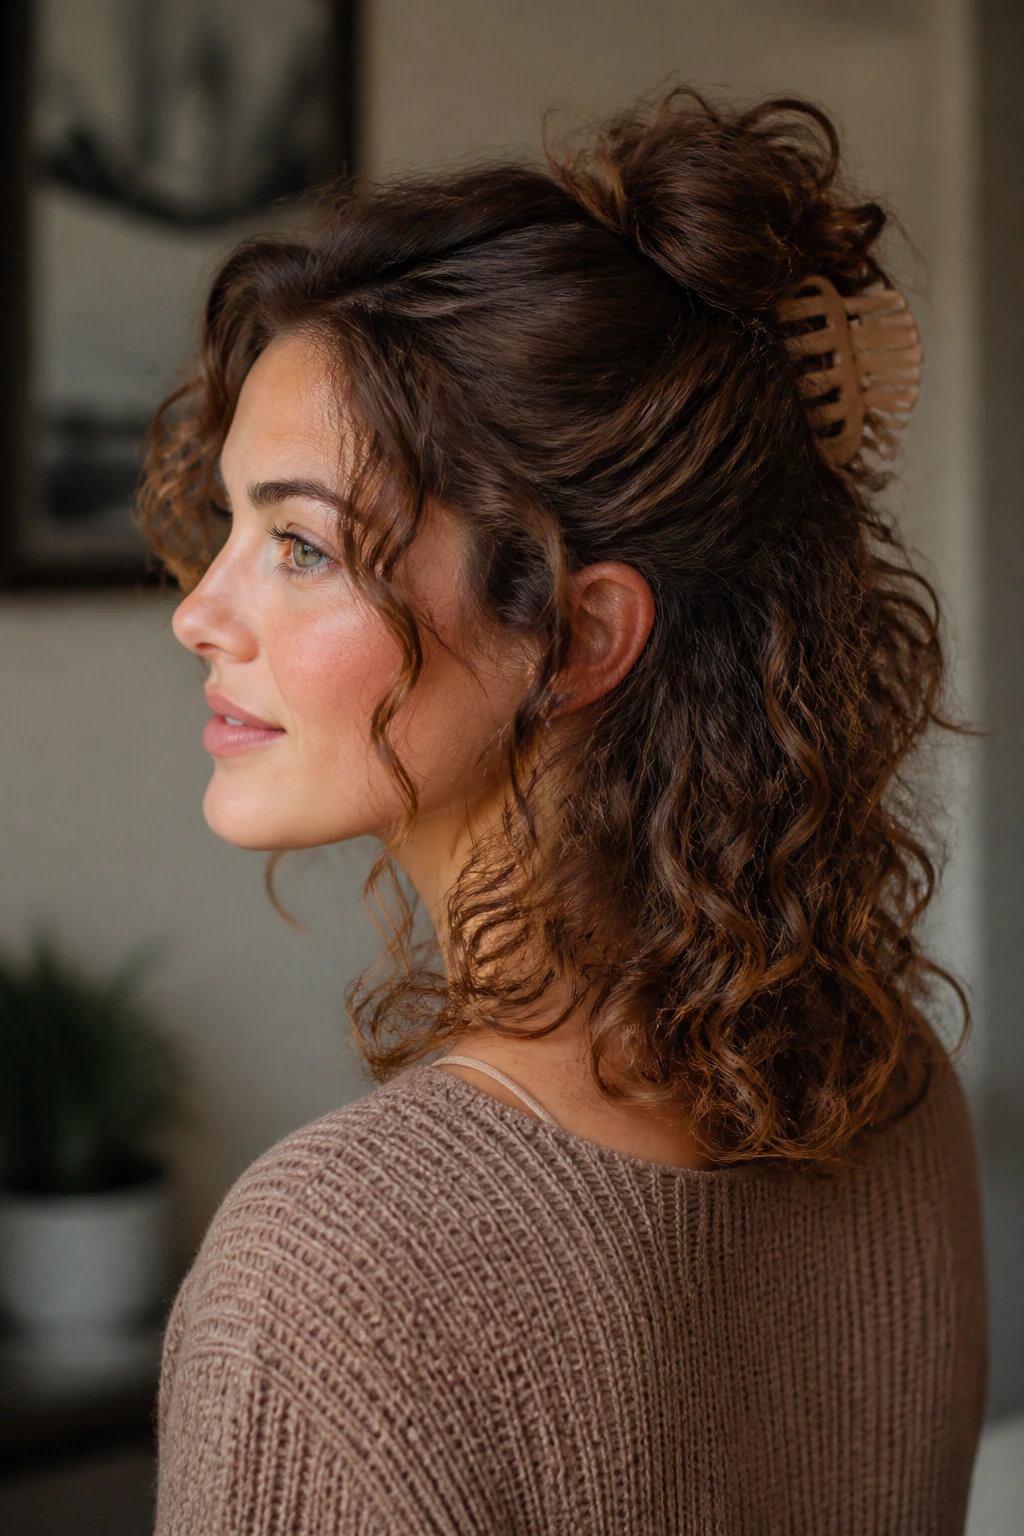
The half-up claw clip is practical, sure, but that’s not why it works. It lifts the crown, frees the face, and leaves enough of the length down to show the shoulder line. On curly hair, that combination makes the head look lighter without actually flattening the pattern.
The best placement is at the occipital bone, where the head starts curving down toward the neck. Gather just the top third of the hair, twist it once or twice, and secure it with a clip that opens wide enough not to crush the curls. Leave a few front pieces out if you want movement around the cheeks.
This is a day-two style for a reason. Curls usually have a little more hold after they’ve settled overnight, so the clip gives them shape without asking for a full refresh. If the roots are limp, mist the top lightly with water and a touch of leave-in before clipping. Don’t soak it. You want memory, not drips.
11. Braided Crown Pieces With Curly Ends Left Free
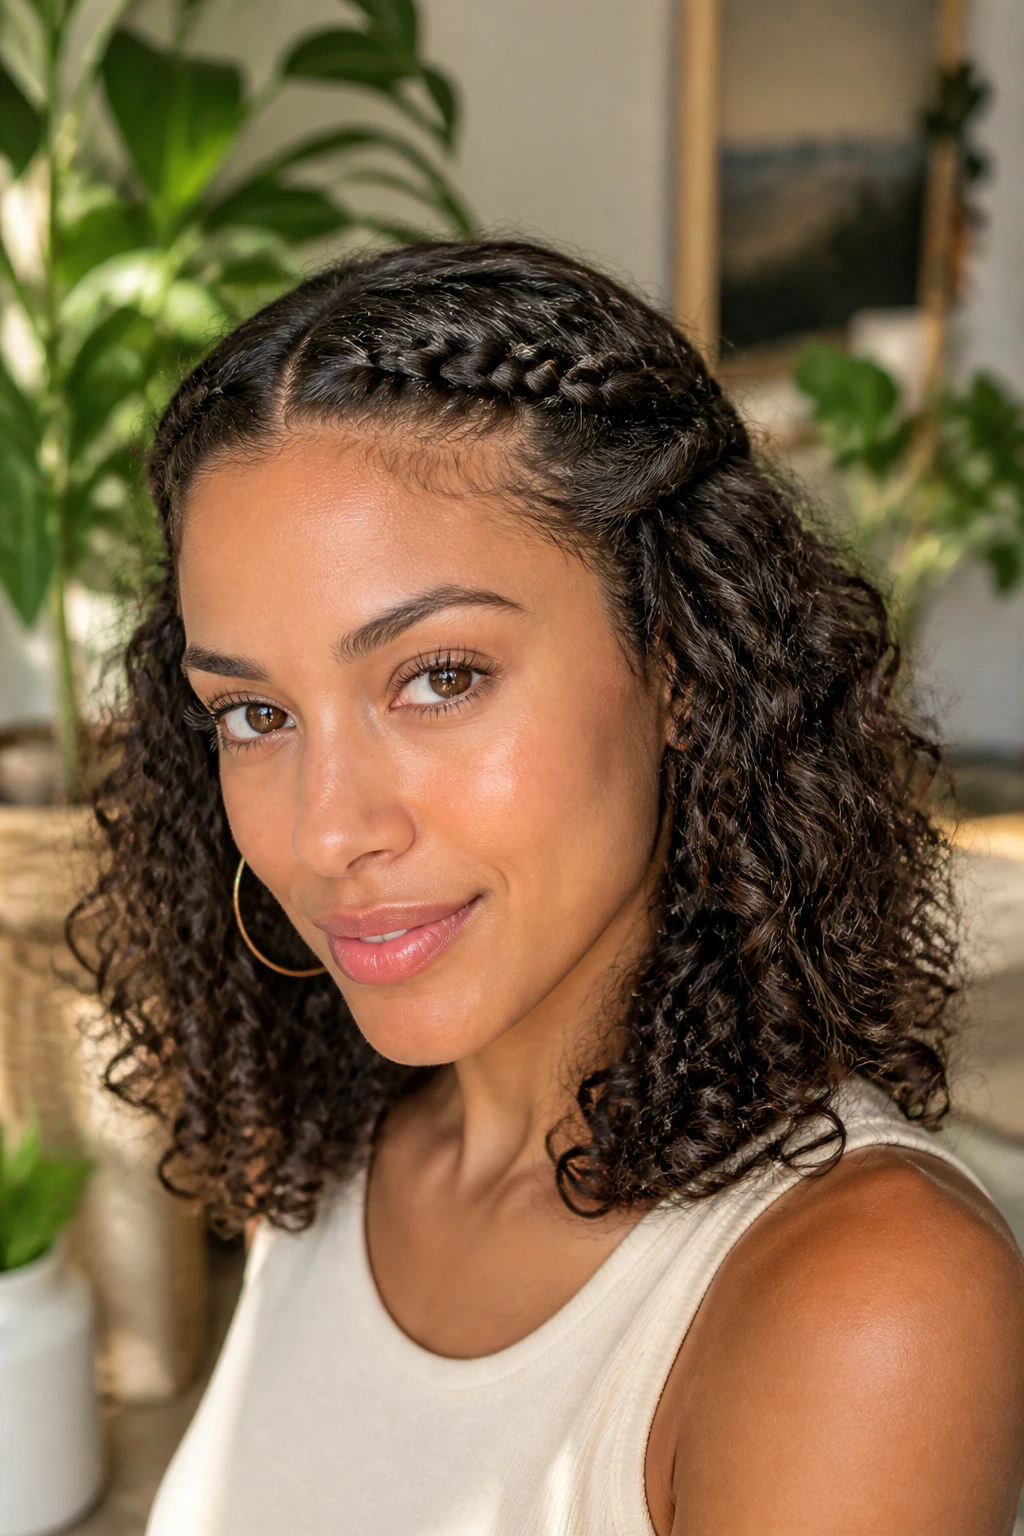
A braided crown on shoulder-length curly hair is one of those styles that looks more complicated than it is. Take a small section from each temple, braid or rope-twist it back toward the crown, and leave the rest of the curls loose. The braids clean up the hairline while the curls keep all the bounce at the shoulders.
This is a very good move when the front pieces are in that awkward stage between bang and layer. It also works when humidity has roughened the top layer but the ends still look decent. The braid hides the frizz without trapping the whole head under a tight style.
Keep the braids small. One inch to 1.5 inches wide is enough. Bigger braids can start to flatten the front and steal the lift from the rest of the style. Pin them flat with two crossed bobby pins, and the look stays secure without feeling stiff.
12. Twist-Out Texture That Lands at the Collarbone
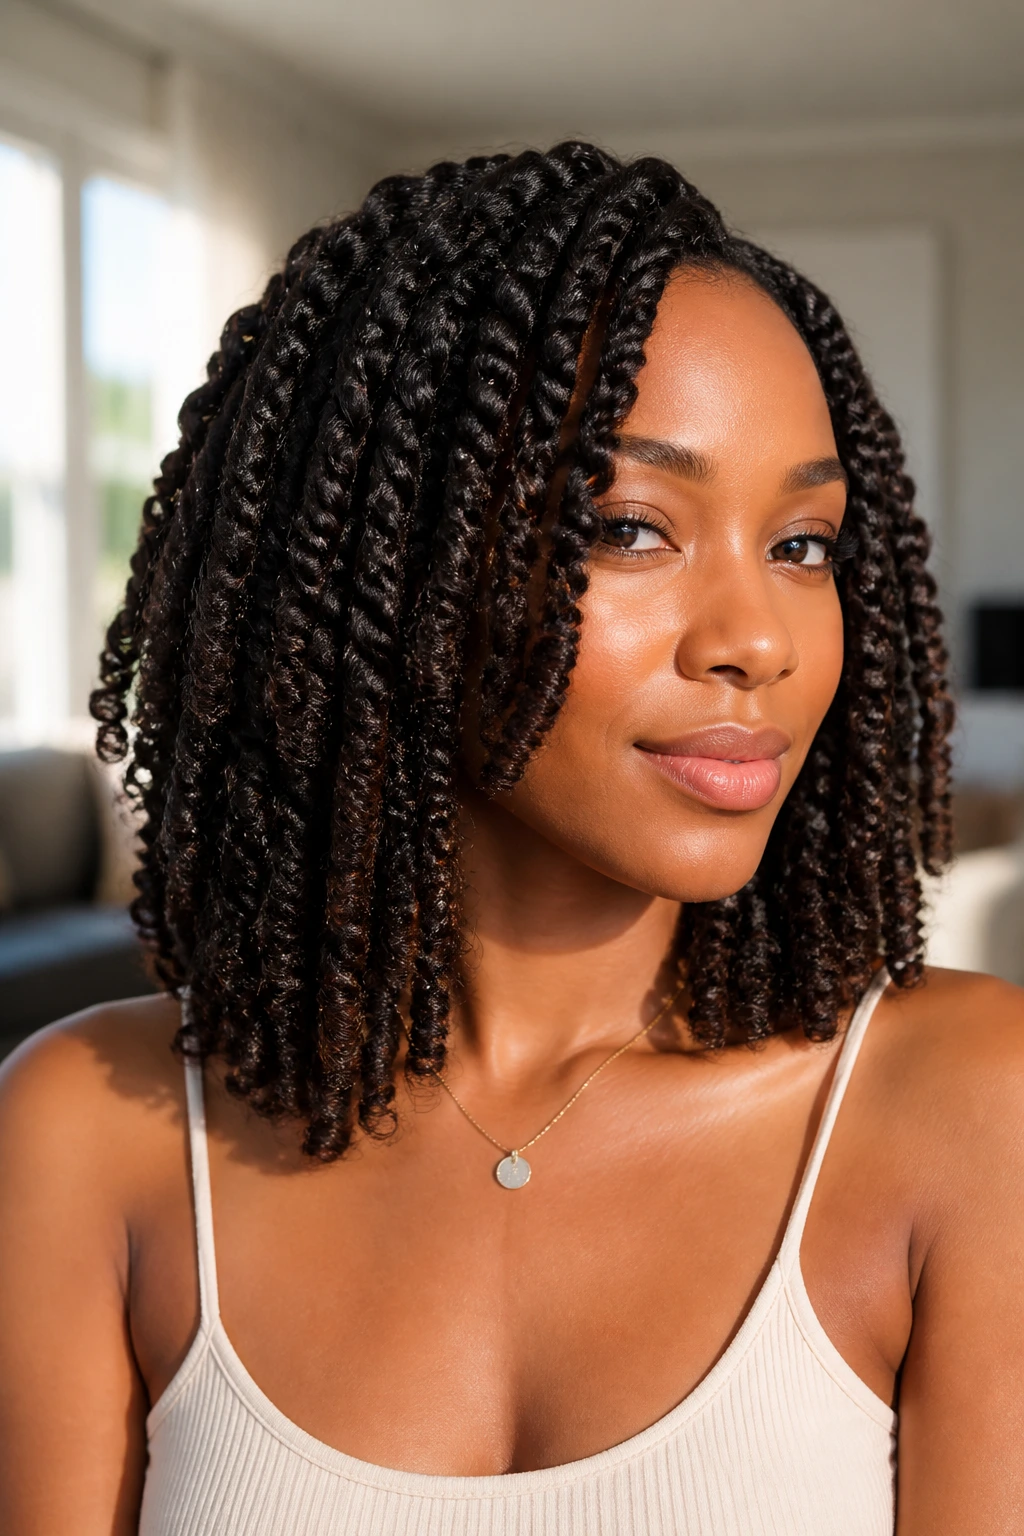
A shoulder-length twist-out gives curly hair a different kind of bounce — more stretched, more defined, and often shinier at the surface. The twist pattern adds a soft wave inside the curl, so the shape lands somewhere between a defined coil set and a loose curly bob. It’s especially good when you want the length to show instead of shrink away.
Use two-strand twists in sections about ¾ inch to 1¼ inch wide, depending on density. Smaller sections give more definition. Larger ones give more body. Let them dry completely before unraveling, or the shape goes fuzzy in a hurry. That’s the part people rush, and it shows.
The finished look sits well on hair that gets shapeless when worn loose. A little oil on the hands during separation helps prevent frizz, but don’t overdo it. Too much and the twists lose that clean, separated finish that makes the style work.
13. A Diffused Wash-and-Go With Root Lift
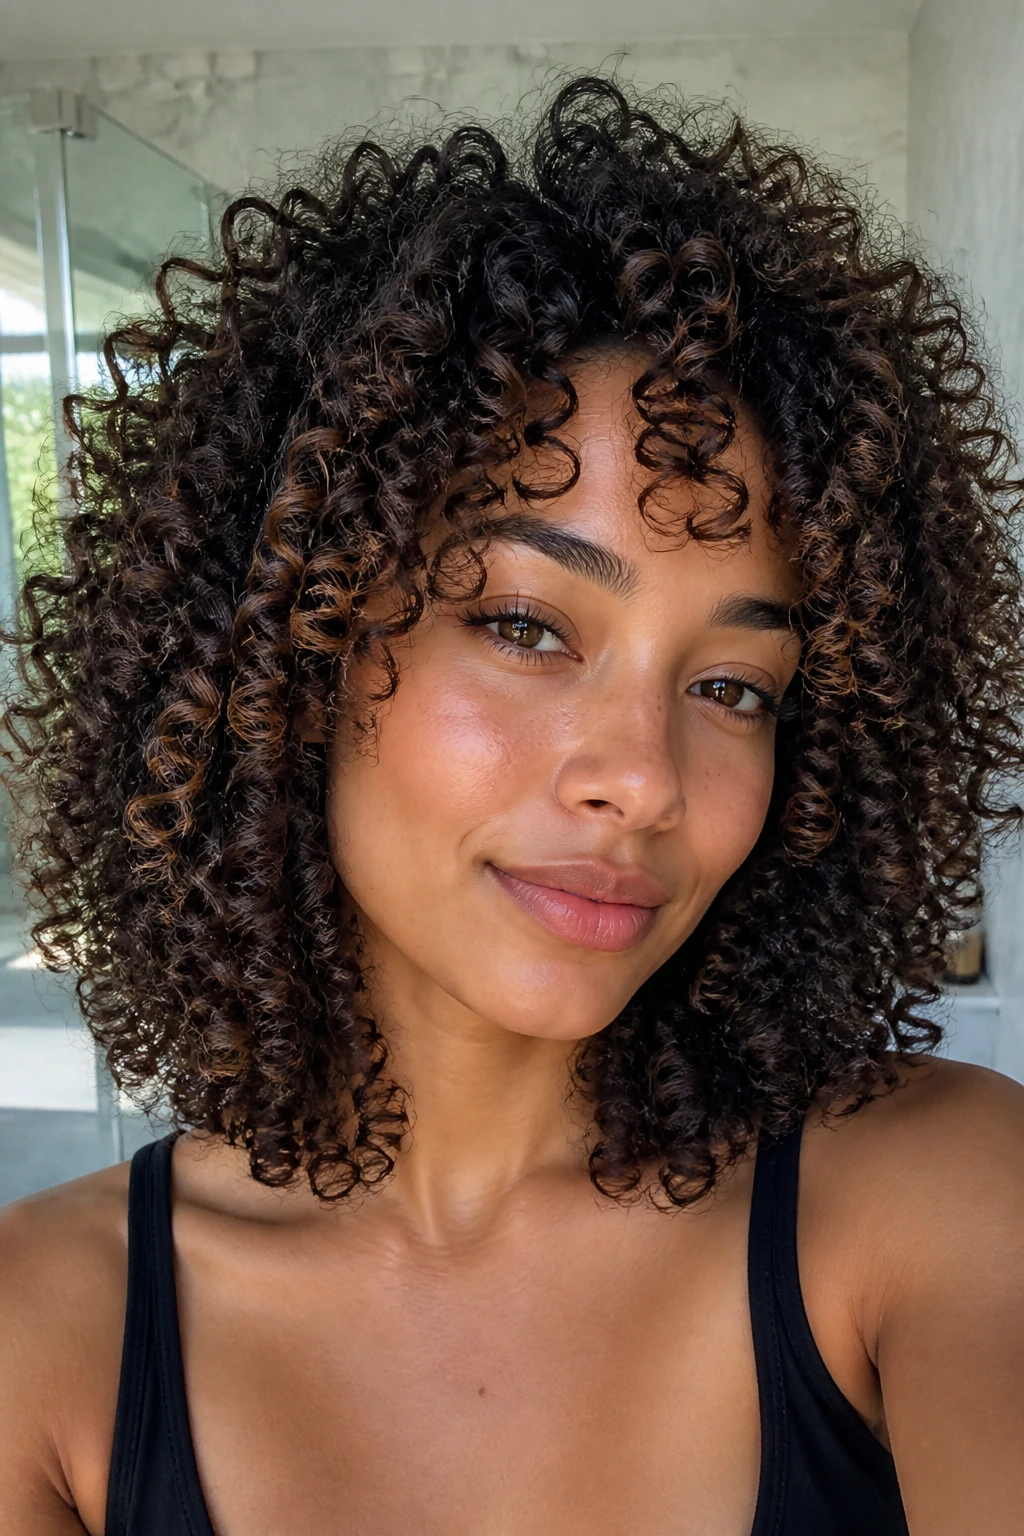
A good wash-and-go is not lazy styling. It’s precision with less fuss. On shoulder-length curls, it can be the cleanest way to show off the pattern because the length gives the curls a chance to stack while the diffuser puts lift where the roots need it most.
Start with soaking-wet hair, or nearly wet, and smooth in your leave-in and styler section by section. Then diffuse in small passes, hovering near the roots first and cupping the mid-lengths later. The goal is to set the top before the weight of the hair can pull it down. If you flip your head too early, you can lose the shape you built.
What makes this version hold its bounce
The root lift is the whole point. Use clips at the crown while the hair is about half dry, and don’t remove them until the roots feel set. That keeps the top from lying flat against the scalp.
A wash-and-go at this length usually benefits from a cast. A gel or strong mousse leaves the curls a little firm at first, then you scrunch out the crunch once they’re dry. That cast is what protects the shape.
14. The Curly Wolf Cut That Loves Volume
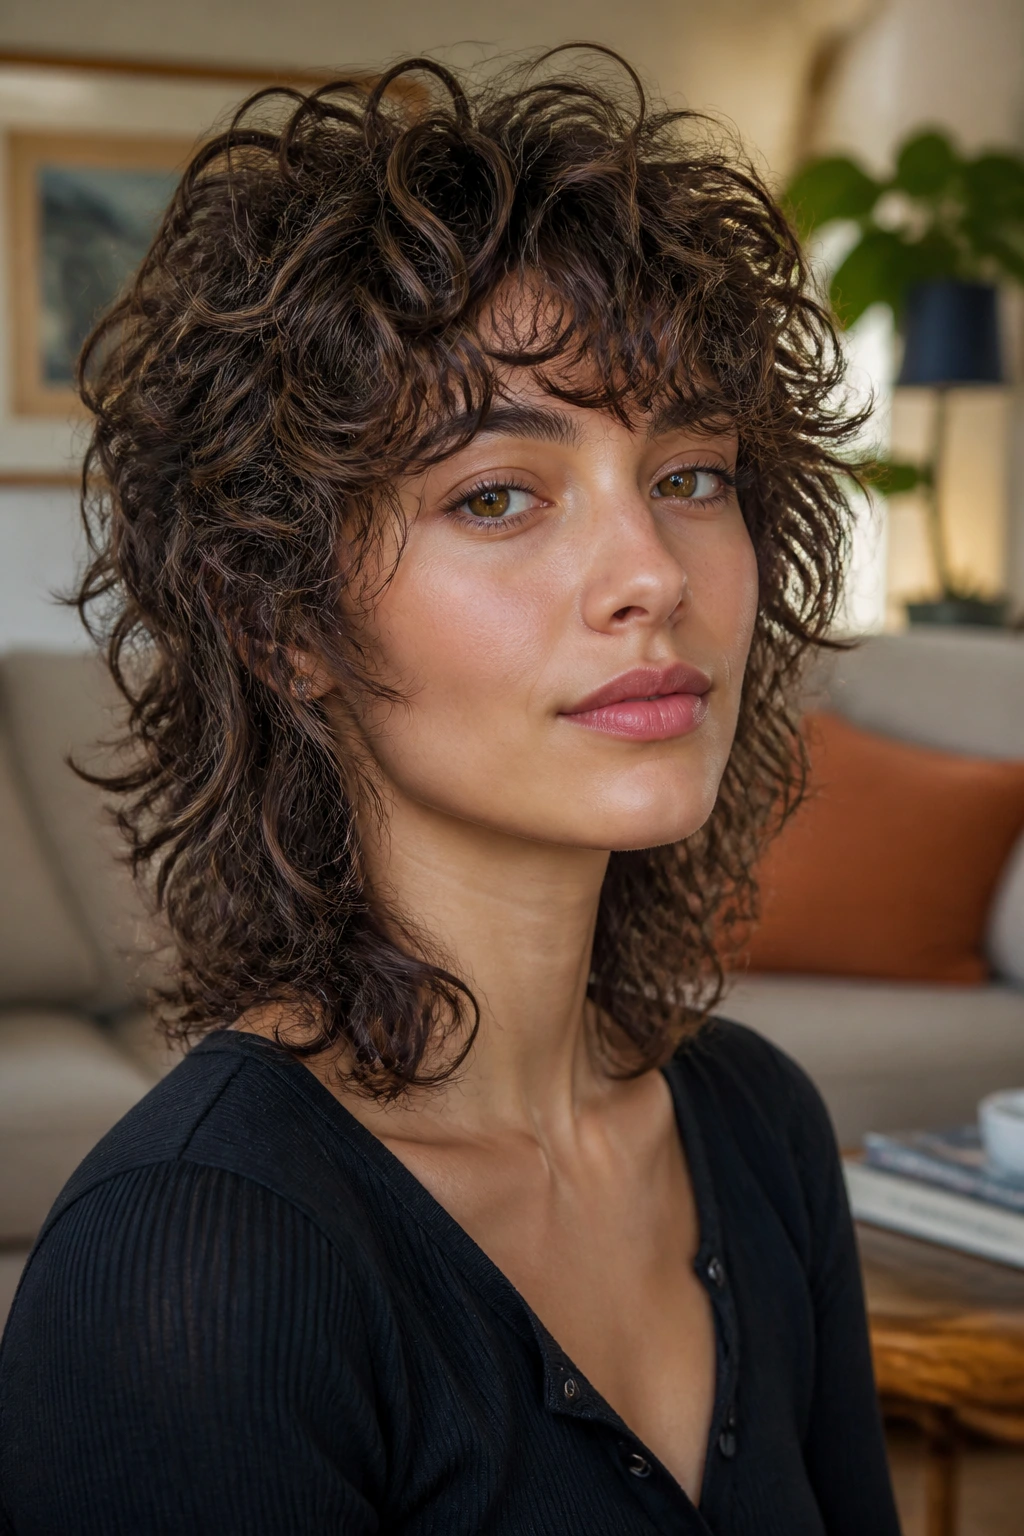
The curly wolf cut is for anyone who wants shoulder-length curls with a bit more bite. Shorter at the crown, longer through the back, and full of lifted texture around the face, it has the kind of messy energy that can look incredibly sharp when it’s cut well. When it’s cut badly, it looks like someone took scissors to it in the dark. So yes, the shape matters.
The better wolf cut keeps the top layers short enough to create height, but not so short that they stand up on their own. The lower pieces still need to graze the shoulders. That way the haircut reads as shaggy and airy instead of unfinished. It’s a great shape for dense curls that get too wide at the bottom.
If you like volume near the cheeks and temples, this style gives it to you without asking for teasing or a whole jar of product. A diffuser and a small amount of curl cream usually do the job. The cut itself carries most of the attitude.
15. The Soft Curly Mullet That’s Actually Wearable

A curly mullet can sound like a dare, but shoulder length gives it enough restraint to work. The front stays shorter and face-framing, the back drops a little longer, and the overall shape keeps the curls from getting stuck in one flat line. It’s bold, yes. It’s also practical if you like movement and hate cuts that sit still.
The trick is proportion. Keep the back only 1 to 2 inches longer than the front layers, not dramatically longer. That gives you the mullet idea without the cartoon version. The curl pattern softens the transition anyway, which is why this style often looks better on curly hair than it does on straight hair.
Best for people who want personality in the cut itself. If you like your hair to do something interesting even on a low-effort day, this one delivers. If you prefer quiet, polished hair, skip it. No shame there.
16. Middle-Part Ringlet Layers That Open the Face
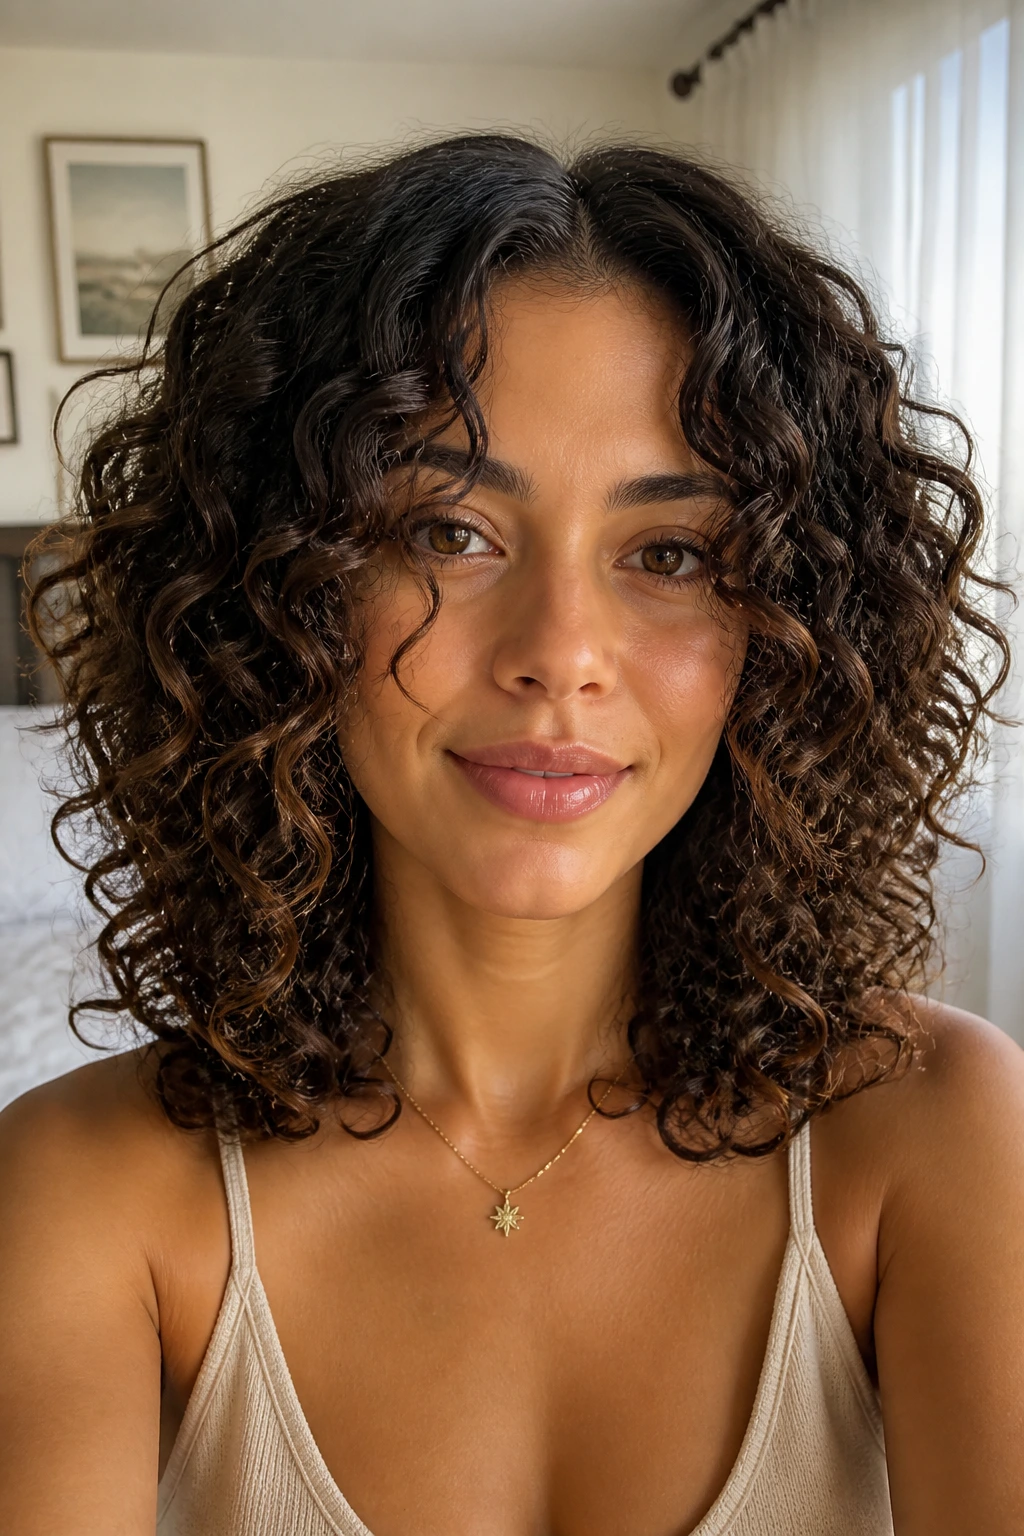
Middle parts and shoulder-length ringlets have a neat relationship. The part gives the style symmetry, and the curl pattern does the rest. With the right layers, the hair falls in two soft curtains that frame the cheekbones and jaw without collapsing into the center.
This works especially well for tighter ringlets that naturally clump into visible sections. Ask for layers that remove weight around the mid-lengths, not just the ends. That keeps the curls from stacking too heavily at shoulder level. If the cut is too blunt, the ringlets bunch and the line gets boxy fast.
A middle part also lets you clip each side separately while drying. Two small root clips at the front, one on each side, can create better lift than a whole head full of clip clutter. The style ends up looking calm, but not flat. That balance is the entire appeal.
17. A Hidden Undercut for Dense Curly Hair
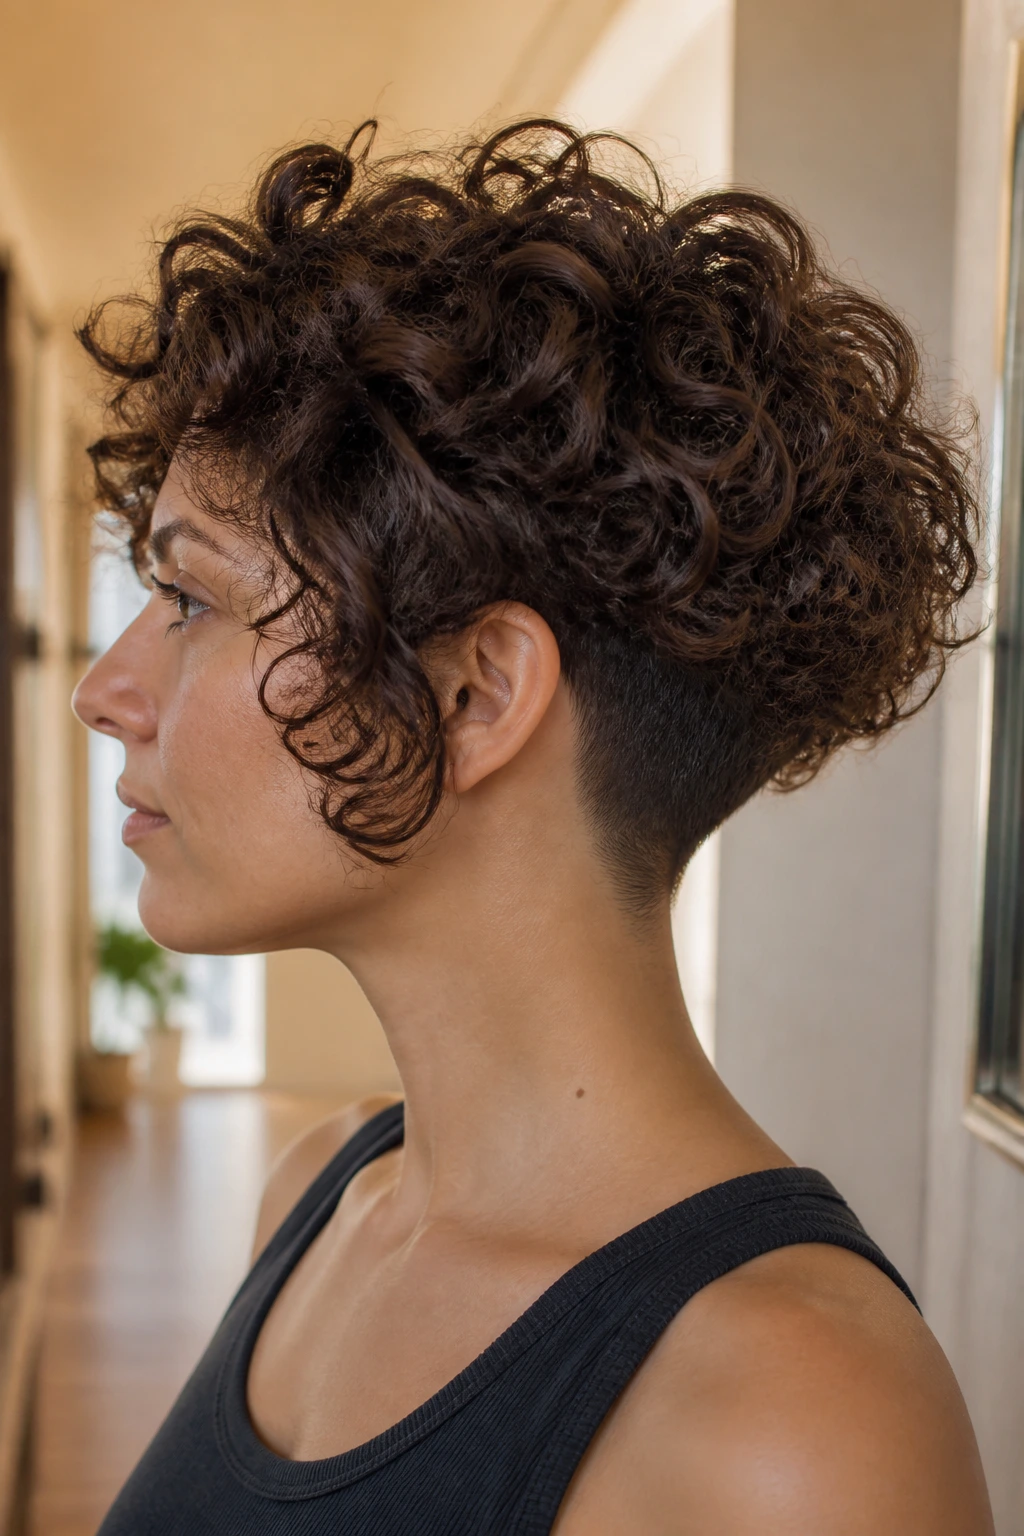
If the bottom of your shoulder-length curls puff out like a bell, sometimes the answer is not more layer. It’s less bulk where nobody sees it. A hidden undercut under the nape or lower crown can take out enough weight to let the rest of the curls sit closer to the head.
This is not a style for everyone. It works best on very dense, thick, or heavy curl patterns that get hot, wide, and hard to refresh. The visible shape stays full, but the underneath stops pushing the ends outward. That can make shoulder length far easier to live with, especially in humid weather.
Maintenance matters here. The undercut grows out faster than the visible cut, so it may need a clean-up every 6 to 8 weeks if you want the shape to stay tidy. If you’d rather not deal with that, ask for internal debulking instead. It’s a softer version of the same idea.
18. The Pineapple Half-Up That Saves Day-After Shape
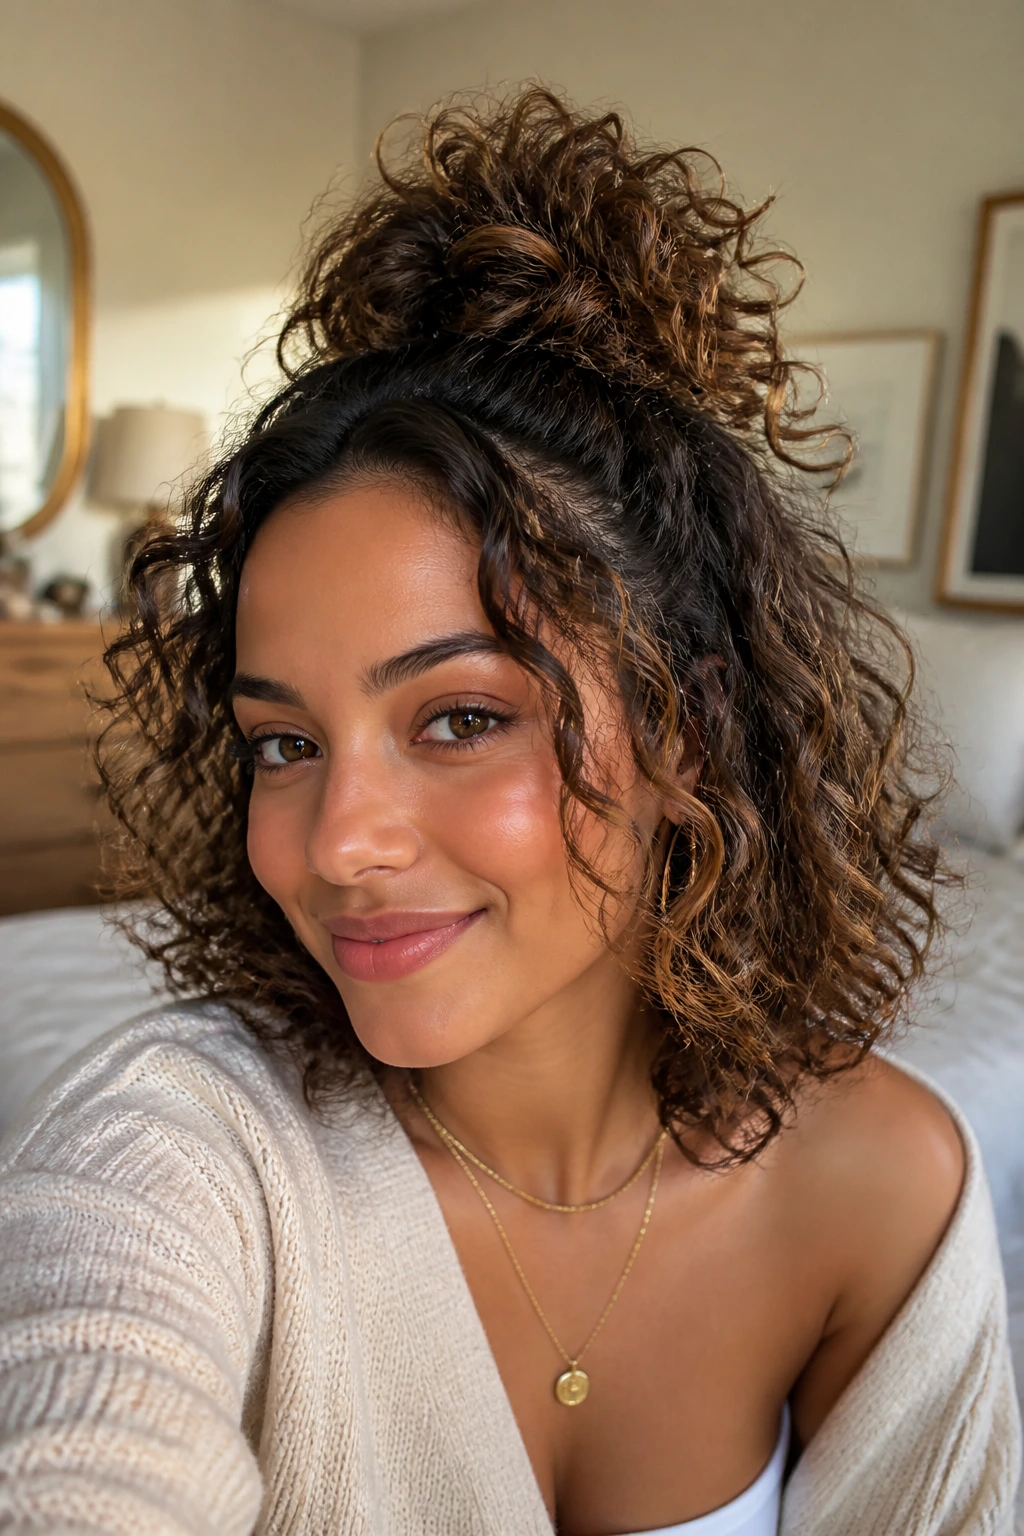
A high, loose pineapple isn’t just a sleep trick. On shoulder-length curls, it can be a real style if you place it right. Gather the top section loosely at the crown with a satin scrunchie or soft elastic, let the ends spill, and the curls keep their bounce while the face opens up.
The key is looseness. If the tie is tight, you’ll get a dent where the curls fold. If it sits too low, it turns into a half ponytail that pulls the shape down. Right at the crown is the sweet spot. That lifts the hairline and lets the length hang in a way that still reads as curly, not forced.
This is one of the best choices for second- or third-day hair, especially when the roots need a break from product buildup. A quick mist of water on the front pieces and a little scrunch can bring it back fast. No full restyle required.
19. Headband and Scarf Styling for Shoulder-Length Curls
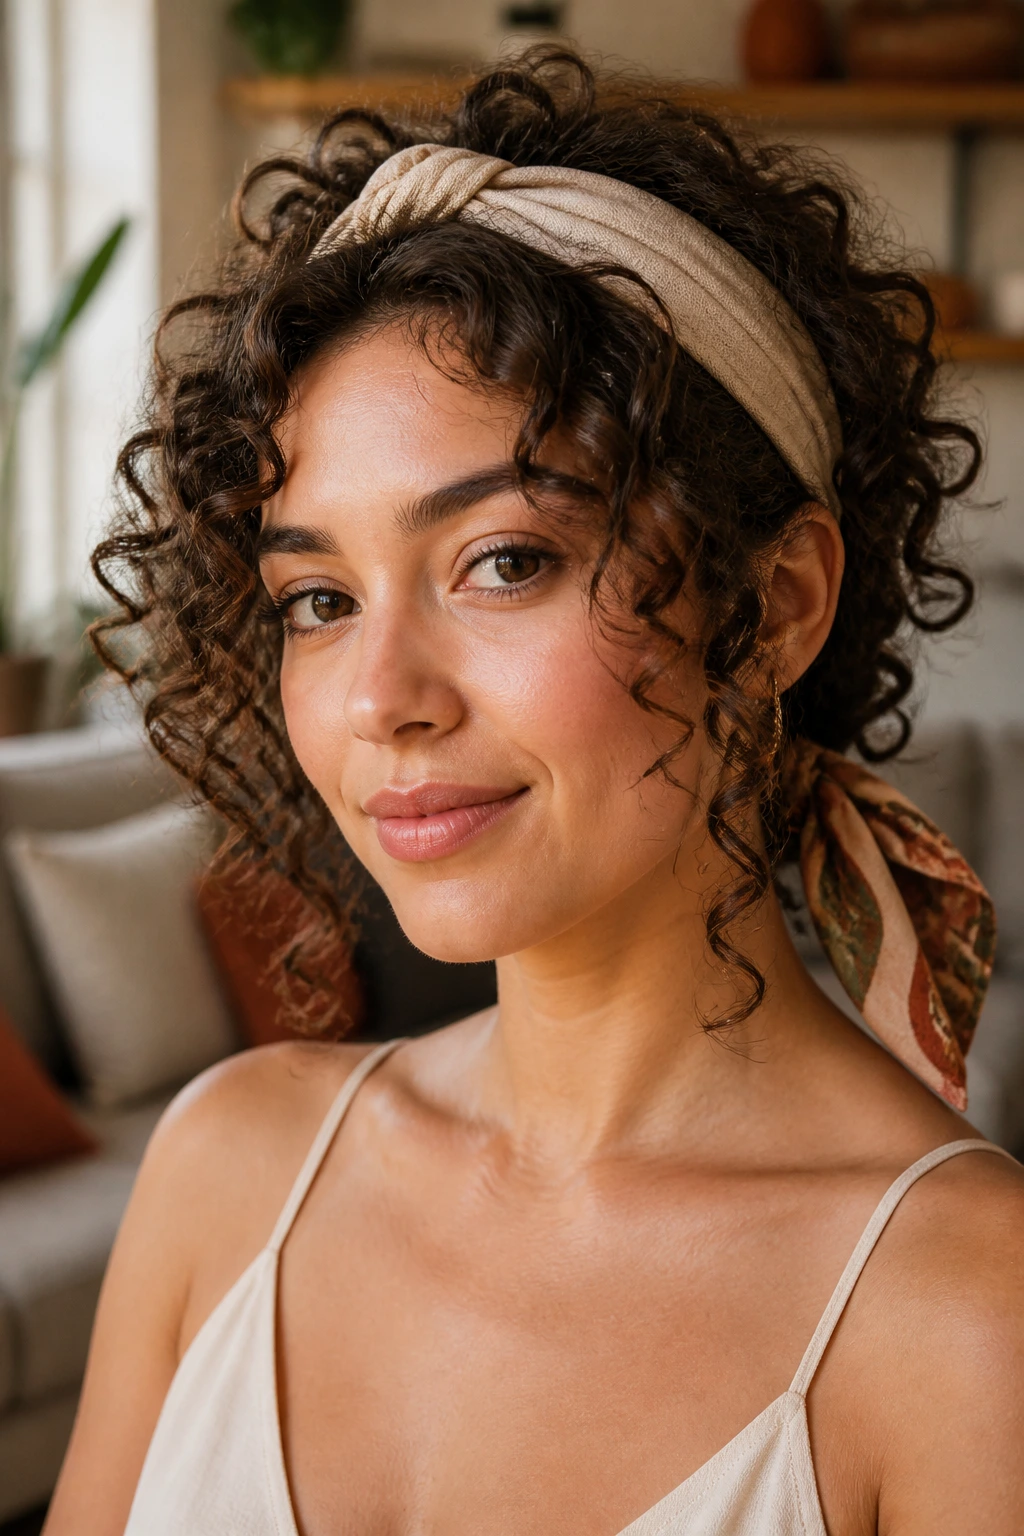
Accessories change shoulder-length curls faster than a new product sometimes does. A wide headband can lift the front, tame the roots, and make the curl pattern look fuller at the crown. A scarf tied at the nape or across the forehead adds shape without crushing the whole length.
The headband should sit about an inch behind the hairline, not jammed right on top of it. That tiny gap keeps the curls from flattening too much and lets a few front pieces puff up naturally. For scarves, use a soft fabric that doesn’t snag. Stiff material makes the curls frizz where it folds.
This style is especially good when you want the hair away from the face but still visible at the shoulders. It’s practical, but it doesn’t read as plain. The accessory gives the curls a frame. The curls give the accessory a reason to be there.
20. Glossy Defined Coils With Tapered Ends
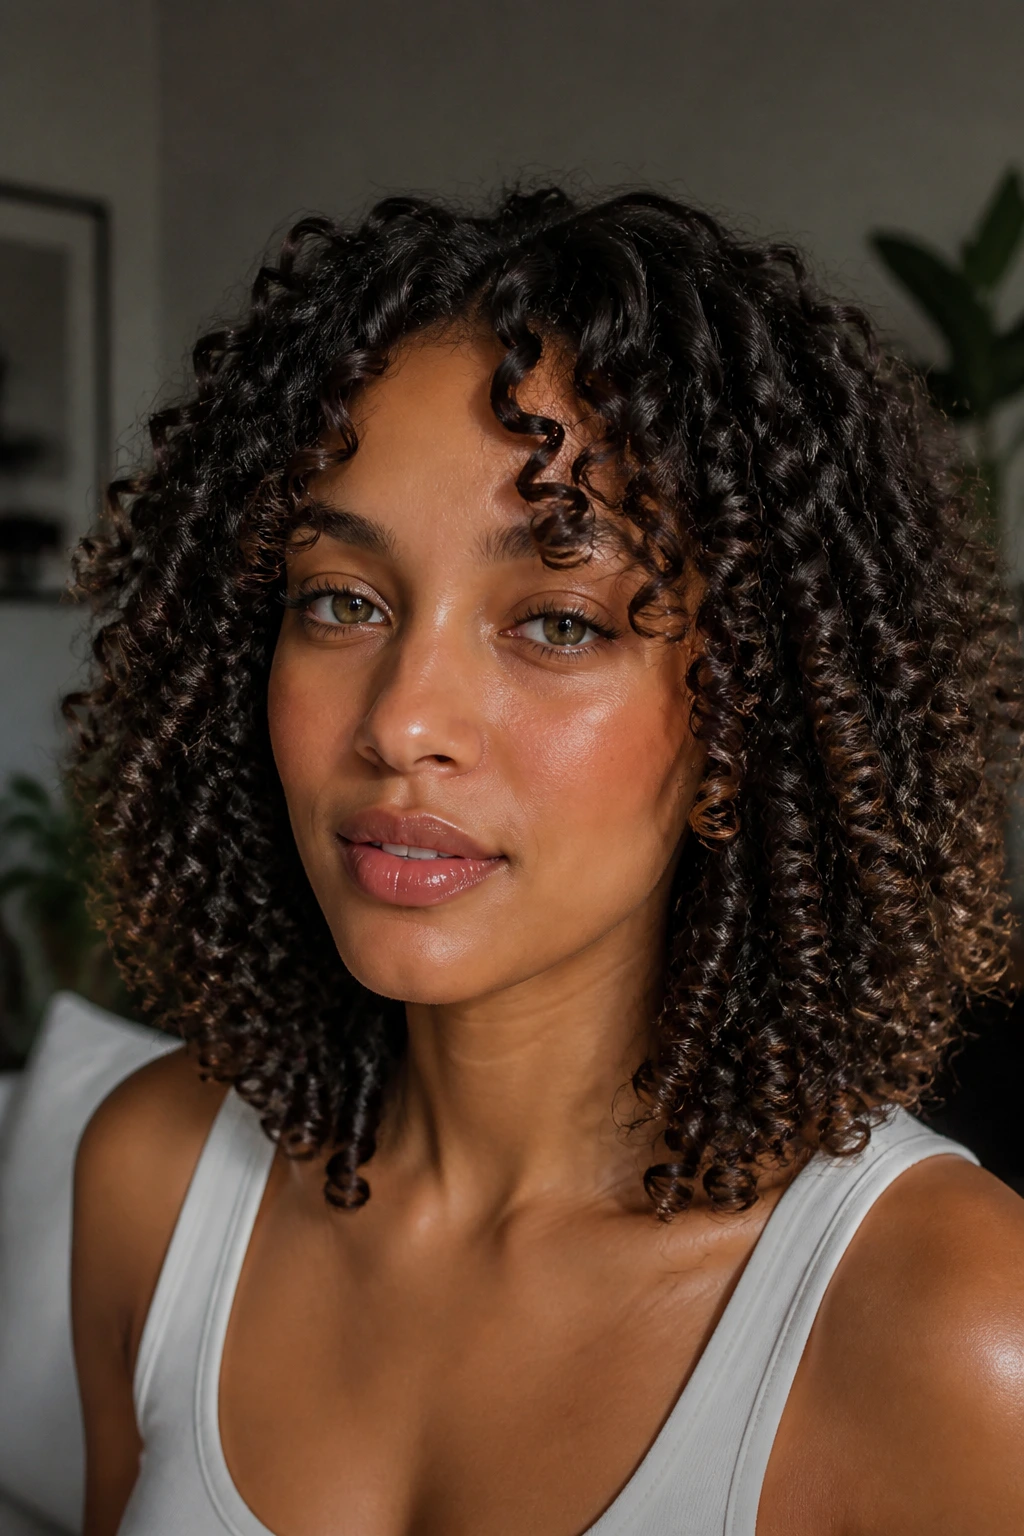
If you want shoulder-length curls that look clean and controlled without going stiff, this is the polished version. The shape keeps the ends slightly tapered, while the front pieces are defined more carefully than the rest. A few finger-coiled curls around the face can sharpen the whole look without making it fussy.
This style works best when the curls are hydrated and set with enough hold to last through a full dry. A leave-in, a cream, and a gel can do the job if you keep the product light at the roots and more deliberate through the mids and ends. Once dry, scrunch out the cast with a drop of oil or a cream between the palms.
The shine matters here. Healthy-looking coils at shoulder length bounce because the shape is readable from root to tip. When the ends taper softly and the face framing is defined, the whole style looks intentional. Not overly styled. Just finished.
Why Shoulder Length Curls Bounce So Well

Shoulder length works because it sits in the middle of two bad extremes. Too short, and curly hair can mushroom before the curl pattern has room to settle. Too long, and the weight starts tugging the curl down so hard that the bounce disappears at the ends. Shoulder length catches that middle ground and, when the cut is smart, turns it into movement.
The shoulder line also gives you a built-in reference point. Curls that hit the shoulders can swing, rest, and separate without getting lost against the body. That sounds minor until you wear a longer curly cut in a sweater or a high-neck top and watch the whole shape flatten into fabric. Shoulder length avoids some of that. Not all of it, but enough to matter.
Shrinkage is the hidden variable. A cut that looks shoulder-grazing when wet may land much shorter once dry, sometimes by 1 to 3 inches depending on texture and moisture level. That’s why good curly styling starts with a realistic length map, not wishful thinking. The best shoulder-length curly hairstyles respect the dry shape, the wet shape, and the in-between mess.
There’s another reason this length keeps working: it’s forgiving. A curl that’s a little flat at the crown can still look good if the ends have shape. A few frizzy pieces around the face do not ruin the whole style. The silhouette carries the look.
What to Tell Your Stylist Before the First Snip
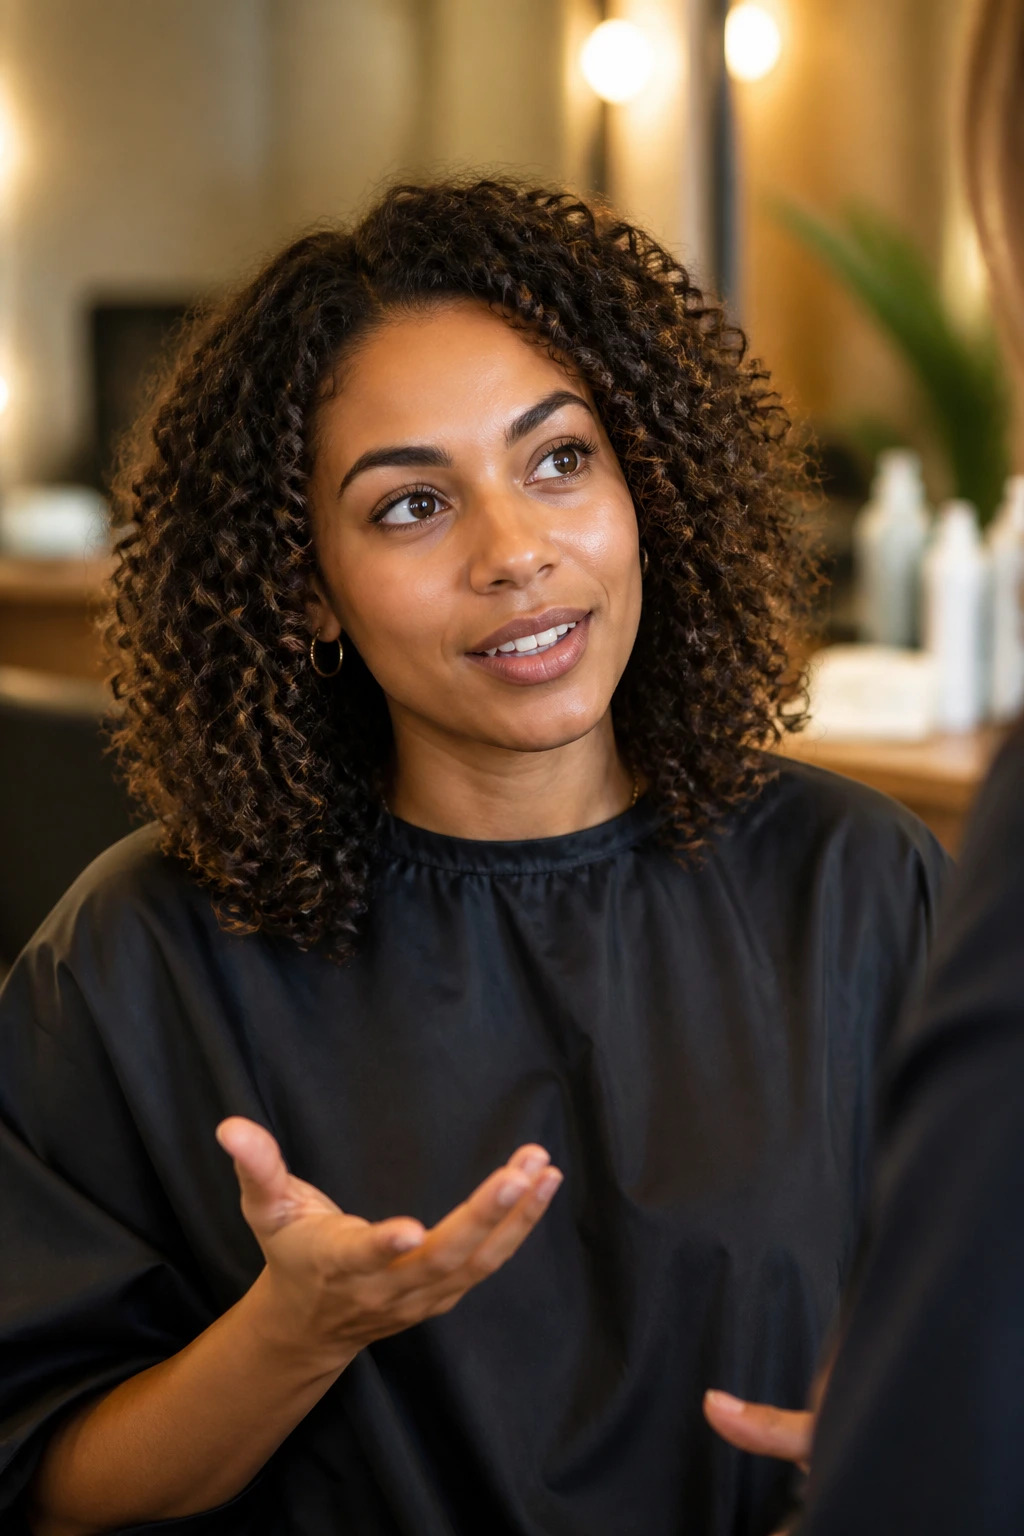
The fastest way to get a shoulder-length curly cut wrong is to ask for a length without talking about shape. Tell your stylist where your curls land dry, not where they sit wet. If your hair shrinks up 2 inches, say so. If one side grows faster than the other, say that too. Those details change the cut more than any vague “lots of layers” request.
Shrinkage check: ask to see how much length the curl loses when dry, especially at the crown and front. A cut that looks even on wet hair can turn lopsided once it dries.
Layer placement: be specific about whether you want lift at the crown, around the cheeks, or only near the ends. Each one creates a different silhouette.
Density control: thick, heavy curls need internal removal. Fine curls need shape, not over-thinning.
Styling habit: if you diffuse, say so. If you air-dry and scrunch, say that instead. A cut should suit the way you actually wear it.
If you’ve been burned by a triangle before, mention it. Stylists hear that complaint all the time, and for good reason. The fix is usually not “more layers” across the board. It’s better placement.
Essential Tools for These Styles
-
Wide-tooth comb: Best for detangling when the hair is wet and coated with conditioner; it keeps curl clumps from splitting.
-
Microfiber towel or cotton T-shirt: Dries the surface without roughing up the cuticle the way terry cloth can.
-
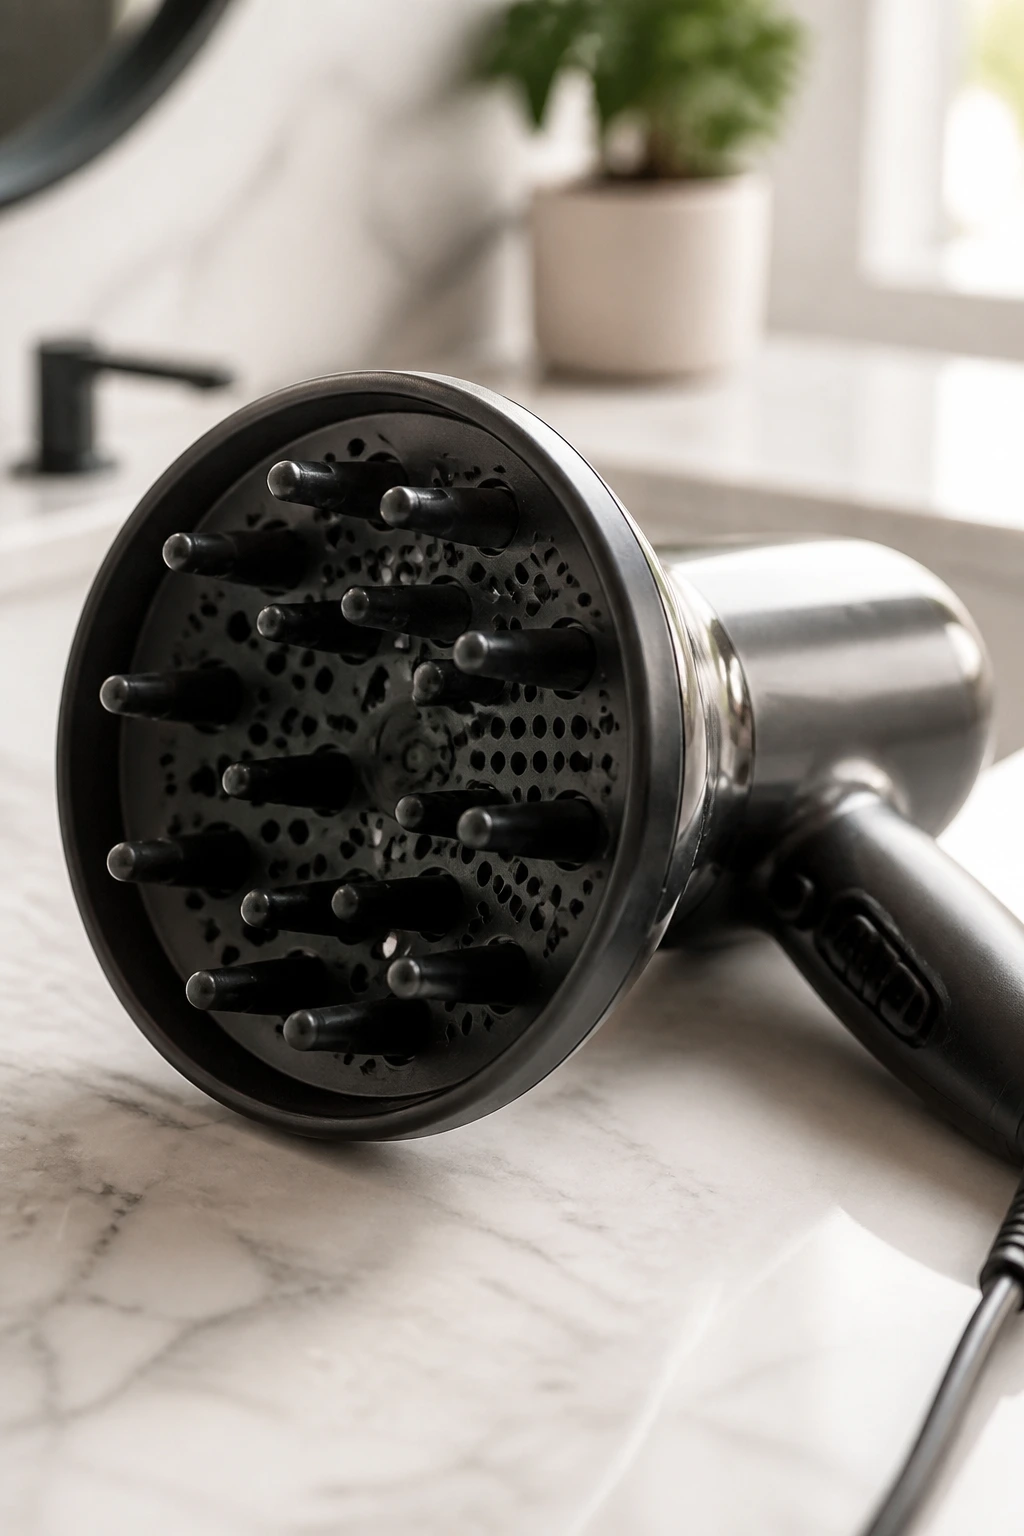
Diffuser attachment: Gives curl lift at the roots and helps shoulder-length curls dry in a shape instead of collapsing.
-
Duckbill or root clips: Hold the crown up while drying, which is one of the simplest ways to fake better layering.
-
Curl cream, mousse, or gel: The exact product depends on curl type, but you need something to hold the shape once it’s set.
-
Satin bonnet or pillowcase: Keeps the cut from getting crushed overnight and cuts down on the frizz that builds from friction.
-
Spray bottle with water: Handy for reactivating product on day two without soaking the whole head.
-
Small claw clip or satin scrunchie: Useful for half-up styles, pineapples, and quick lifts at the crown.
How to Get the Most Bounce From Shoulder-Length Curls
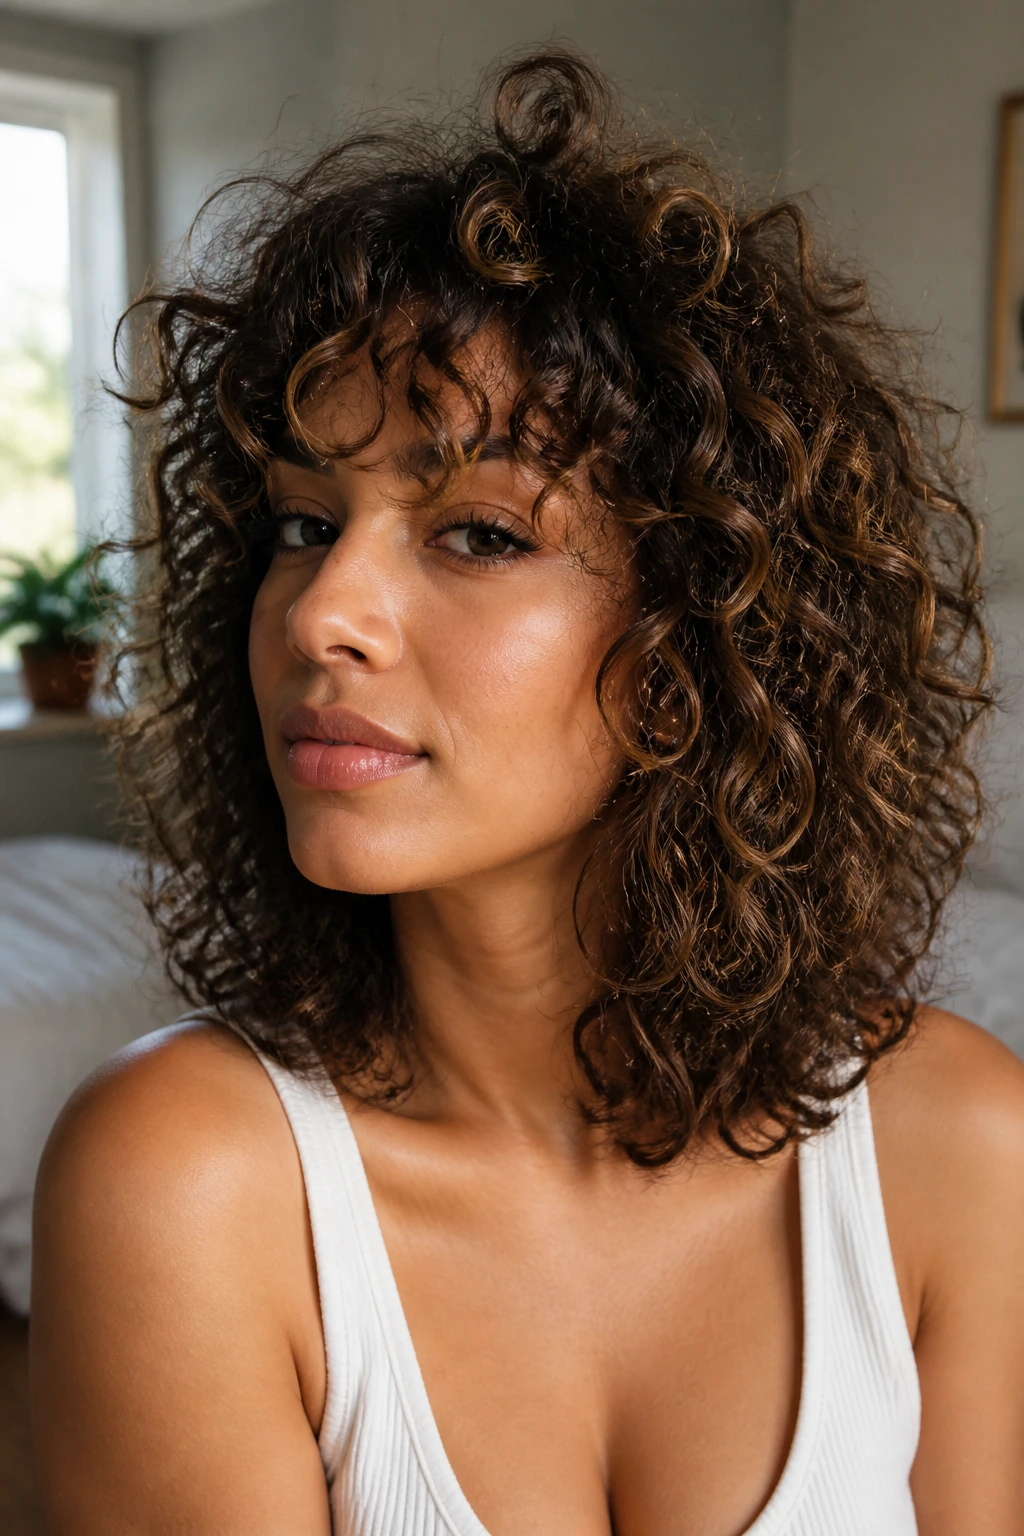
The best shoulder-length curly hairstyles usually fail for one of two reasons: the shape is wrong, or the styling routine fights the shape. If the cut is good, you do not need to pile on product. You need the right amount in the right places. More at the crown if the roots lie flat. More hold through the mids if the curls separate too fast. Less weight on the ends if they already hang heavy.
Styling habit: set the curls while they’re still wet enough to clump, then stop touching them. Every extra rake through the hair breaks the pattern a little more.
Root lift: use clips or diffuse upside down for only part of the drying time. Too much flipping can make the top frizzy and the underside flat.
Finish: once the hair is dry, scrunch out any cast with dry hands. If the style still feels stiff, a tiny drop of oil on the palms can soften it.
Refresh: on day two, mist the top lightly and pinch the curls back into shape instead of soaking the whole head.
The other thing I’d tell anyone with shoulder-length curls: don’t chase perfect symmetry. Curls move. One side will often sit a little higher, or a piece near the temple will separate in a way you didn’t plan. That’s normal. The good cuts handle that. The bad ones fall apart the second a single curl misbehaves.
Mistakes That Flatten Shoulder-Length Curls
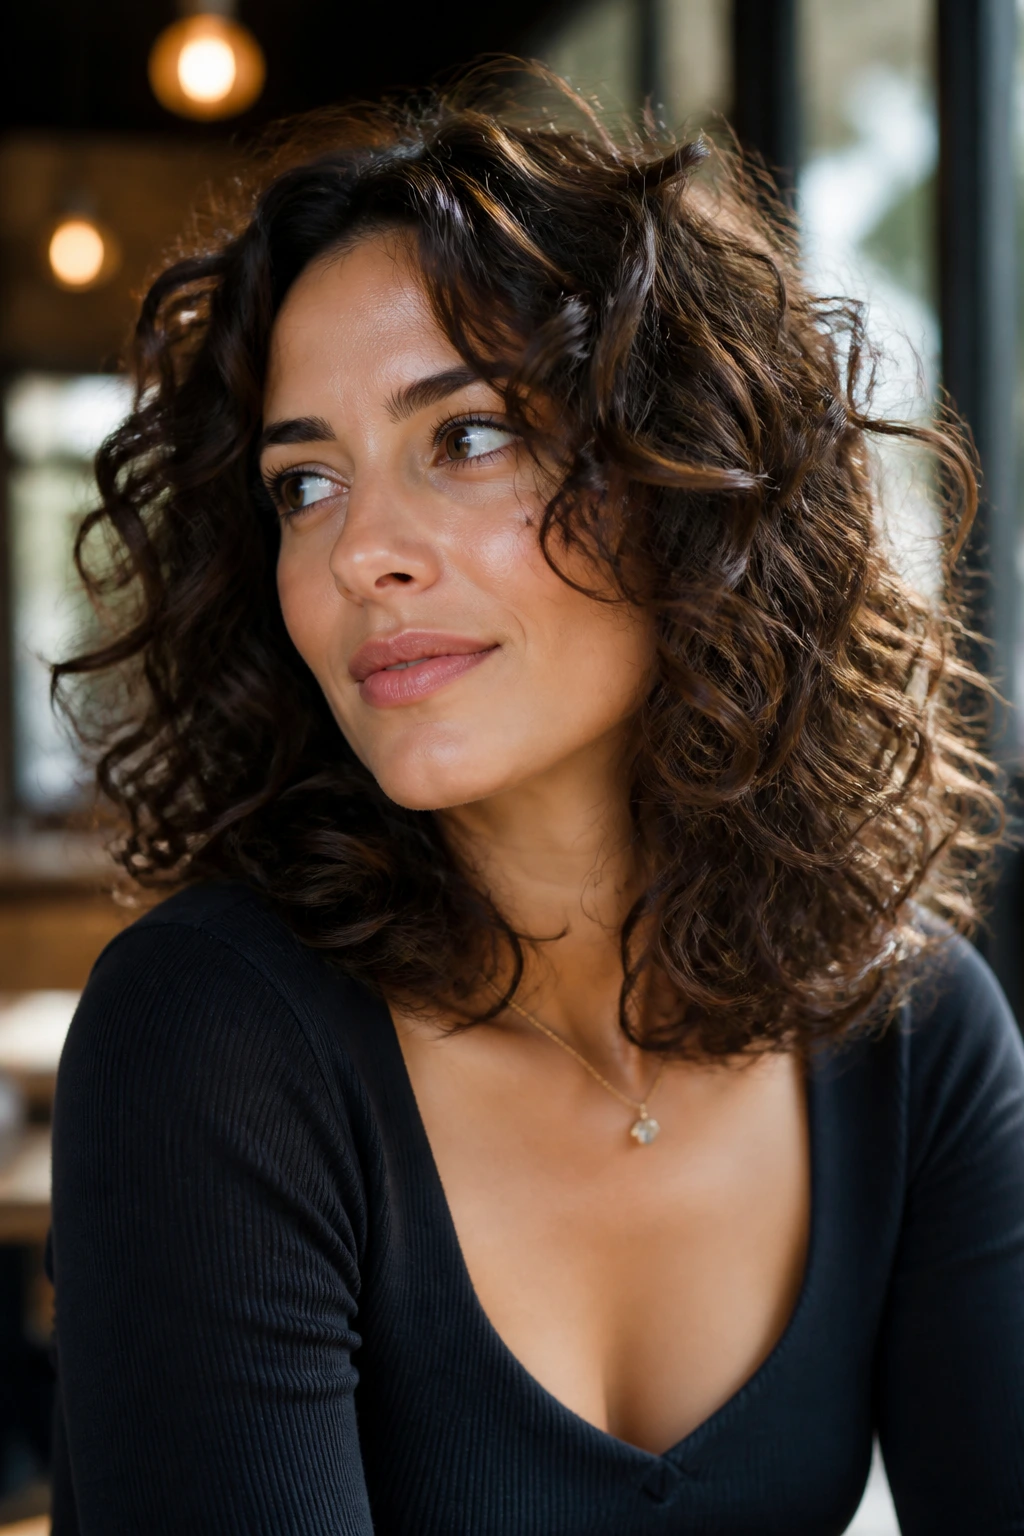
Cutting for wet length only: Wet curls lie about where they’ll land. If the stylist ignores shrinkage, the finished cut can end up too short or too heavy at the shoulder line. Ask for a dry check before the last snips.
Thinning the ends with the wrong tool: Razor-thinned or overly shredded ends can turn frizzy fast, especially on loose curls and waves. A better fix is interior layering or controlled debulking.
Putting all the layers in one place: If every layer sits around the same band of the head, you get a shelf. The cut needs staggered placement so the curls can fall in steps instead of clumps.
Skipping root lift on the top layer: A shoulder-length cut can still look flat if the roots sit glued to the scalp. A few clips while drying make a bigger difference than most people expect.
Sleeping on the curls without protection: Cotton pillowcases steal shape and rough up the surface. A satin bonnet, satin pillowcase, or a loose pineapple keeps more of the style intact.
Using too much heavy cream at the roots: Heavy products can drag the crown down and make the top look greasy before the day is done. Keep richer products through the mids and ends where the curl needs moisture most.
Variations and Alternatives to Try
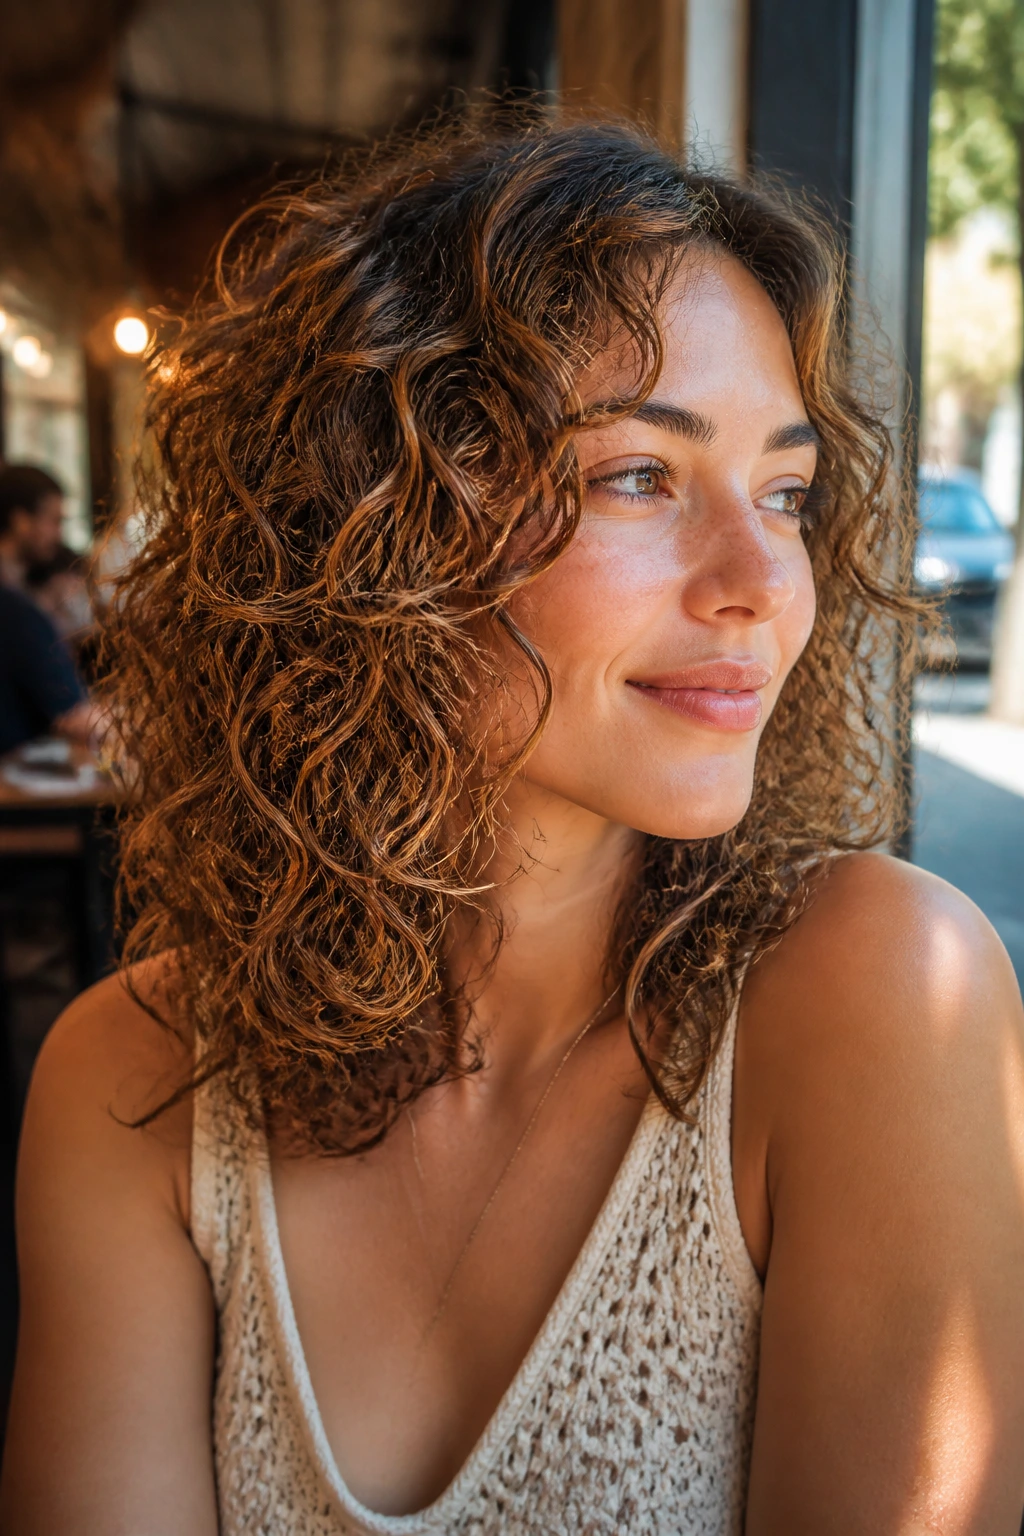
The Airy Wave Version: If your texture sits between waves and curls, keep the layers longer and lighter, then use mousse instead of heavy cream. The shape stays softer and less ringlet-specific.
The Coily Volume Version: For tighter curls that shrink hard, ask for more room in the crown and a slightly longer perimeter. The goal is lift without making the silhouette puff out at the sides.
The Humidity-Ready Version: Keep the layers a touch longer and use a stronger gel cast. That extra structure helps the style survive damp air without going fuzzy at the hem.
The Fine-Hair Version: A blunt-ish shoulder line with hidden internal layers gives the illusion of thickness. Avoid over-layering the top, or the hair will lose the body that makes shoulder length look good.
The Big-Texture Version: If you love bold shape, go for a curly shag or wolf-inspired cut with more crown lift and a looser perimeter. This version is not subtle, and that’s the point.
Keeping Shoulder-Length Curls Bouncy Between Washes
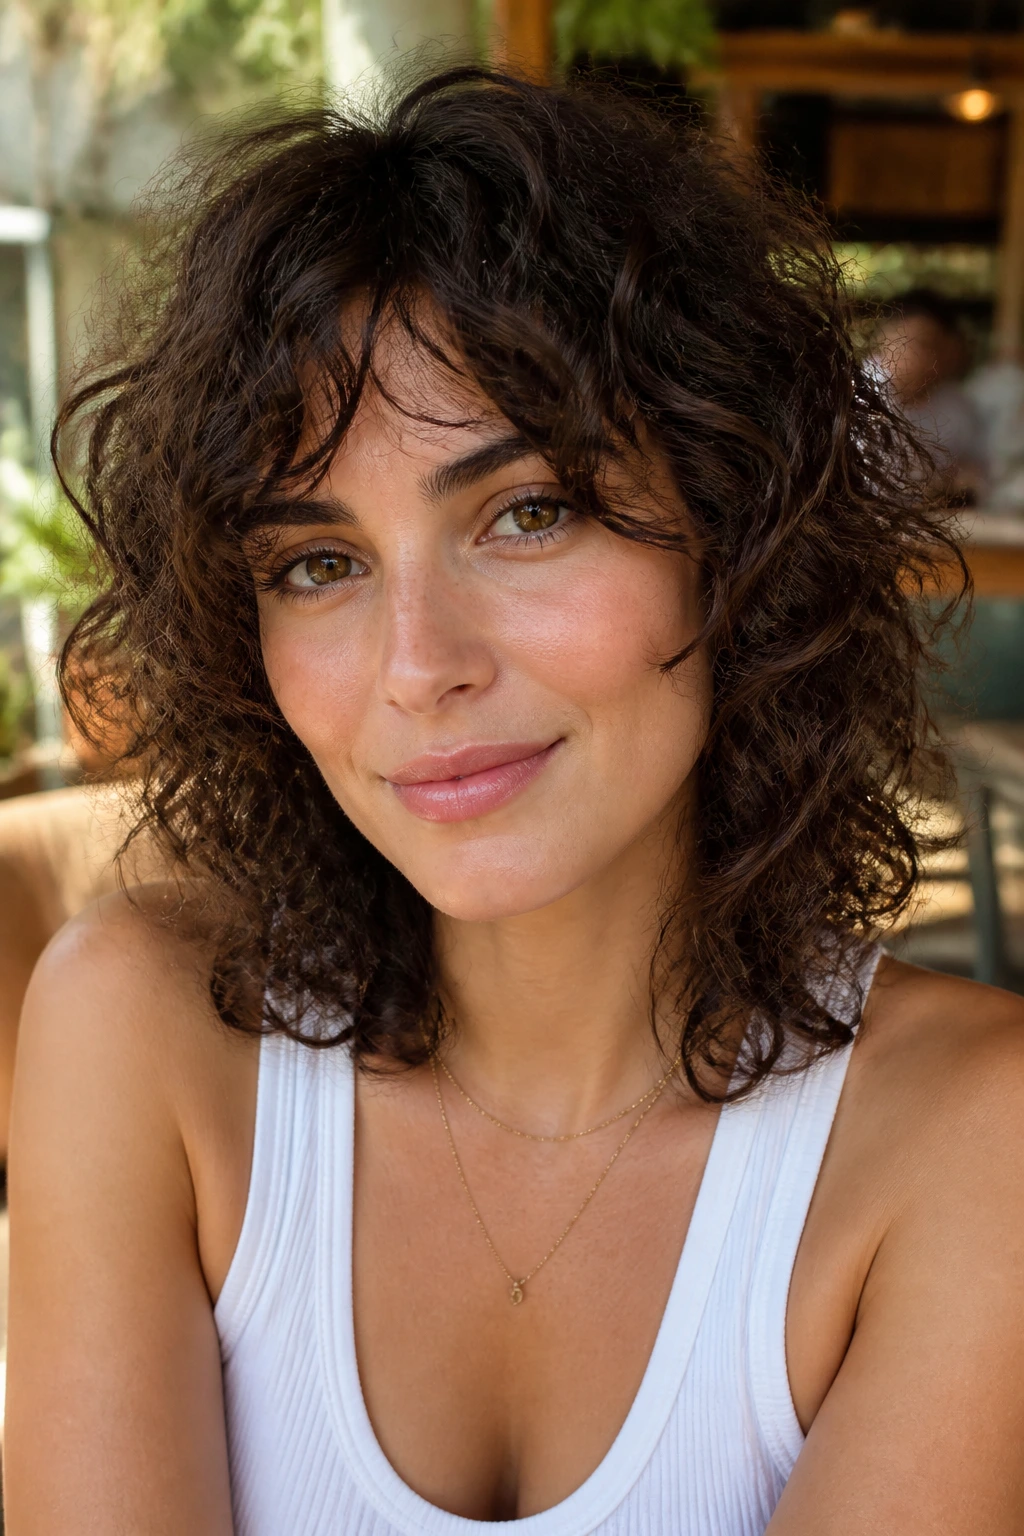
Shoulder-length curls hold up best when you treat night time like part of the styling routine. Pineapple the hair loosely at the crown with a satin scrunchie, or use a bonnet if your curls are short enough to stay inside it without being crushed. The point is to keep the shoulder line from getting flattened against the pillow.
The next morning, check the crown first. That’s usually where the style loses height fastest. A little water in a spray bottle, a squeeze of leave-in on damp hands, and a few scrunches are usually enough to wake up the shape. If the curls are still clumped but the top is flat, clip the root for 15 to 20 minutes while it dries back into place.
How often should you trim? For most shoulder-length curly cuts, every 8 to 12 weeks keeps the outline clean and stops split ends from sneaking up the length. If your hair is very dense or heavily layered, the shape may need a touch-up a little sooner. If it’s looser and more uniform, you can often stretch the time between cuts.
Build-up is the sneaky enemy here. Leave-in, gel, and mousse all help the style, but they can stack up on the scalp and make curls look dull. A clarifying wash every 3 to 4 weeks can reset the hair without wrecking it. After that, the bounce comes back faster than people expect.
Common Questions About Shoulder-Length Curly Hairstyles
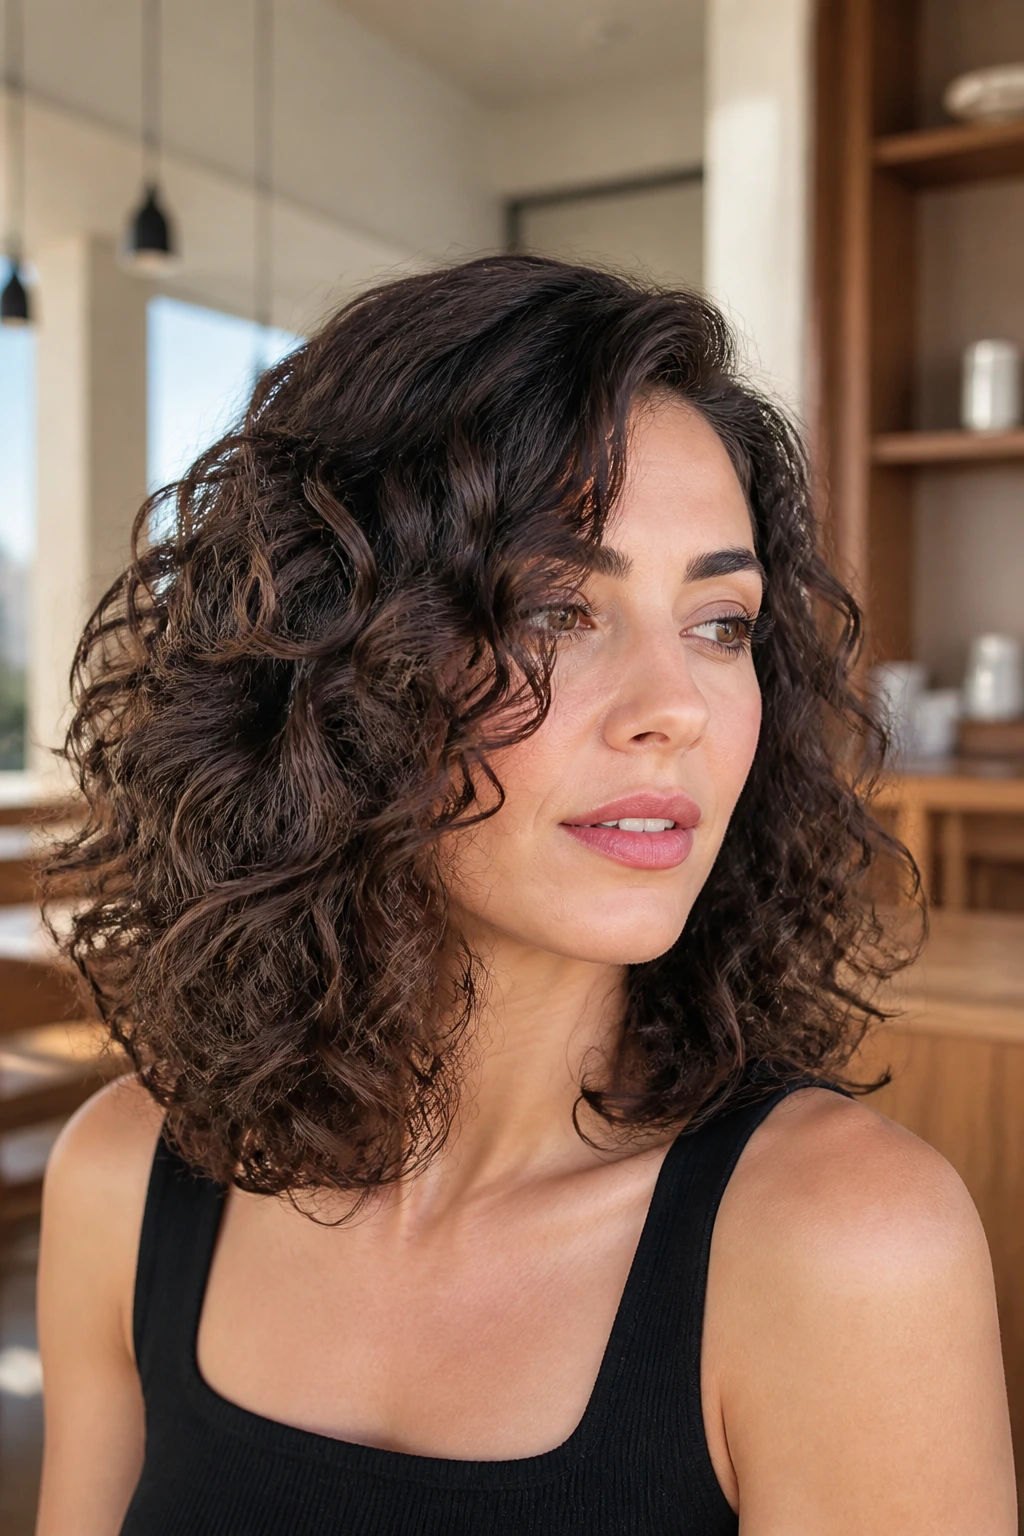
How do I know if shoulder length will work with my curl type?
If your curls shrink a lot, shoulder length can still work — you just need to plan for the dry length, not the wet one. Tighter coils often look shorter than they are, while looser waves tend to keep more visible length. The real question is whether you want more shape or more swing.
Do layers make curly hair frizzy?
Poorly placed layers do. Good layers remove weight where the curl bunches up and leave enough length for the pattern to hold together. If your hair gets frizzy after a layered cut, the problem is often the tool or placement, not the idea of layers itself.
Should curly hair be cut wet or dry?
Both methods have their place. Dry cutting helps a stylist see the real curl pattern and shrinkage, while wet cutting can work for shaping and refining after the structure is set. If your texture changes a lot when it dries, a dry check matters.
What if my curls flip out at the ends?
That usually means the perimeter is too blunt for the pattern or the shoulders are interrupting the curl fall. A slightly rounded or angled cut helps the ends sit better. Sometimes the fix is as small as moving the longest point by half an inch.
Can fine curly hair still look full at shoulder length?
Yes, but it needs restraint. Too many short layers can make fine curls look sparse, while a clean perimeter with a little internal shape keeps the outline thick. Product choice matters too — light mousse usually beats a heavy cream here.
How do I keep shoulder-length curls from turning triangular?
You need lift at the crown and release through the sides. Interior layers, root clips, and a good diffuser help, but the cut has to support that shape from the start. A triangle usually means the bottom has too much weight and the top has too little structure.
What’s the best way to sleep on these styles?
A loose pineapple or a satin bonnet usually does the job. If your curls are too short for a pineapple, sleep on a satin pillowcase and clip the front pieces away from your face. The goal is to protect the shoulder line so it doesn’t collapse overnight.
How often should I refresh the style?
Most shoulder-length curls need a light refresh on day two and a stronger reset after that, especially if you use strong hold products. If the curls still clump and bounce by day three, you’re in good shape. If they start to separate into stringy sections, a quick water mist and a little product on the ends can pull them back together.
The Shape That Keeps Curls Moving
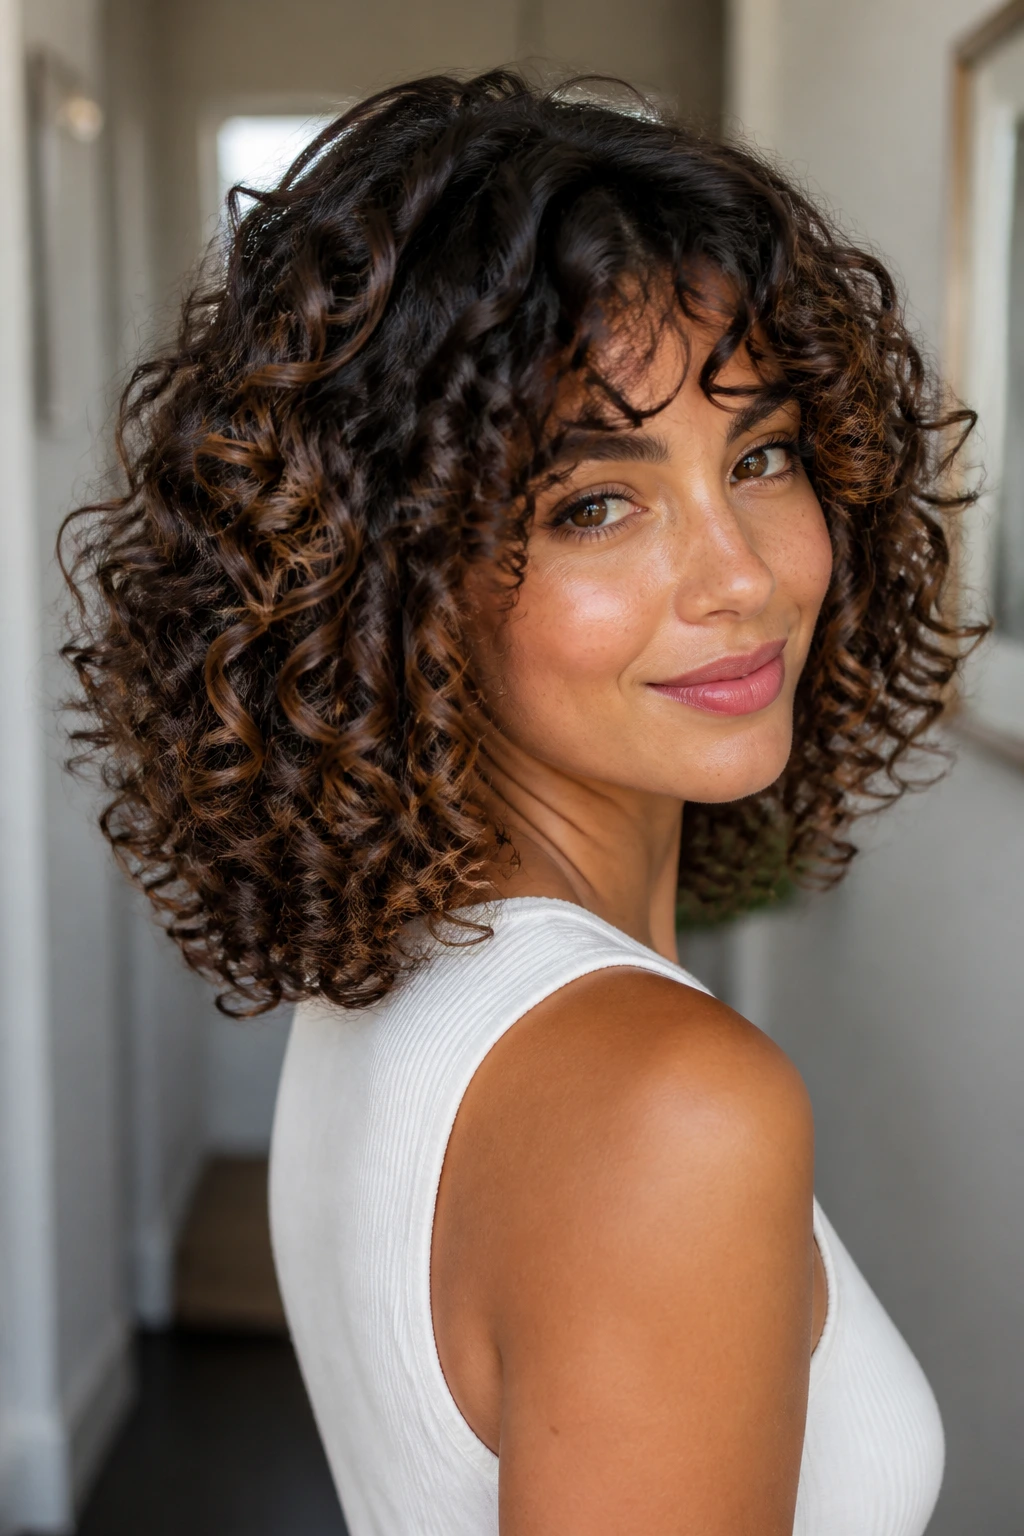
Shoulder length earns its reputation because it sits right where curls still have life in them. There’s enough length to show definition, enough weight to keep the shape grounded, and enough room for layers, bangs, and parts to actually matter. That’s a rare combination. Most curly lengths lean too far one way or the other.
The best cuts and styles here don’t fight the pattern. They point it somewhere useful. If the crown needs lift, give it lift. If the ends are too bulky, remove weight inside the shape. If the hair wants to flip, lean into the flip. Curly hair looks strongest when it stops pretending to be straight or perfectly obedient.
Pick one shape that fits your texture, then make the routine match it. The bounce shows up faster than you’d think when the cut and the styling are finally on the same team.
