



Hair that stops around the shoulders has a useful kind of discipline. It can still swing when you turn your head, but it doesn’t hang so long that it drags the face down or makes the ends look wispy. That balance is a big reason shoulder length hairstyles for women over 50 stay such a strong choice: they keep movement without demanding a huge amount of styling time.
The real trick is shape. A blunt line can make fine hair look denser. Soft layers can lighten thick hair without turning it into a puffball. Add gray strands, glasses, a strong wave pattern, or a cowlick at the crown, and those details start to matter more than the haircut name on its own.
Shoulder length is also forgiving in a very practical way. It can live in a ponytail, tuck behind one ear, bend under a sweater collar, or fall into a clean frame around the jaw. That kind of flexibility is worth something. Especially when you want hair that still feels like your hair, not a project.
Why Shoulder-Length Hair Keeps Its Shape So Well

Shoulder-length hair sits in the sweet spot where gravity has not fully taken over. Long hair often gets pulled flat by its own weight, while very short hair can lose the movement that makes it feel soft. At shoulder length, you can keep the bulk under control and still have enough length for waves, curls, pins, clips, or a quick blowout.
There’s one detail people miss all the time: the shoulder itself changes the haircut. If the ends land exactly where the shirt seam or shoulder bone catches them, the hair can flip outward or crease in odd places. A half-inch difference can make the style look sleek instead of annoyed. That tiny adjustment is not cosmetic fluff. It changes how the hair behaves all day.
After 50, texture often shifts. Some hair gets finer and drier. Some gets coarser and more wiry. Silver strands can feel stiffer than the rest of the head. Shoulder length gives a stylist room to work with those changes instead of fighting them. It keeps enough length for softness, but not so much that dry ends hide under everything else.
It also suits real life better than people admit. You can wear it straight on Monday, add bend on Tuesday, clip it half up on Wednesday, and leave it air-dried on Thursday without looking like you own a different head of hair each day. That kind of range is the reason this length keeps showing up in salons, and for good reason.
Why This Collection Feels Different
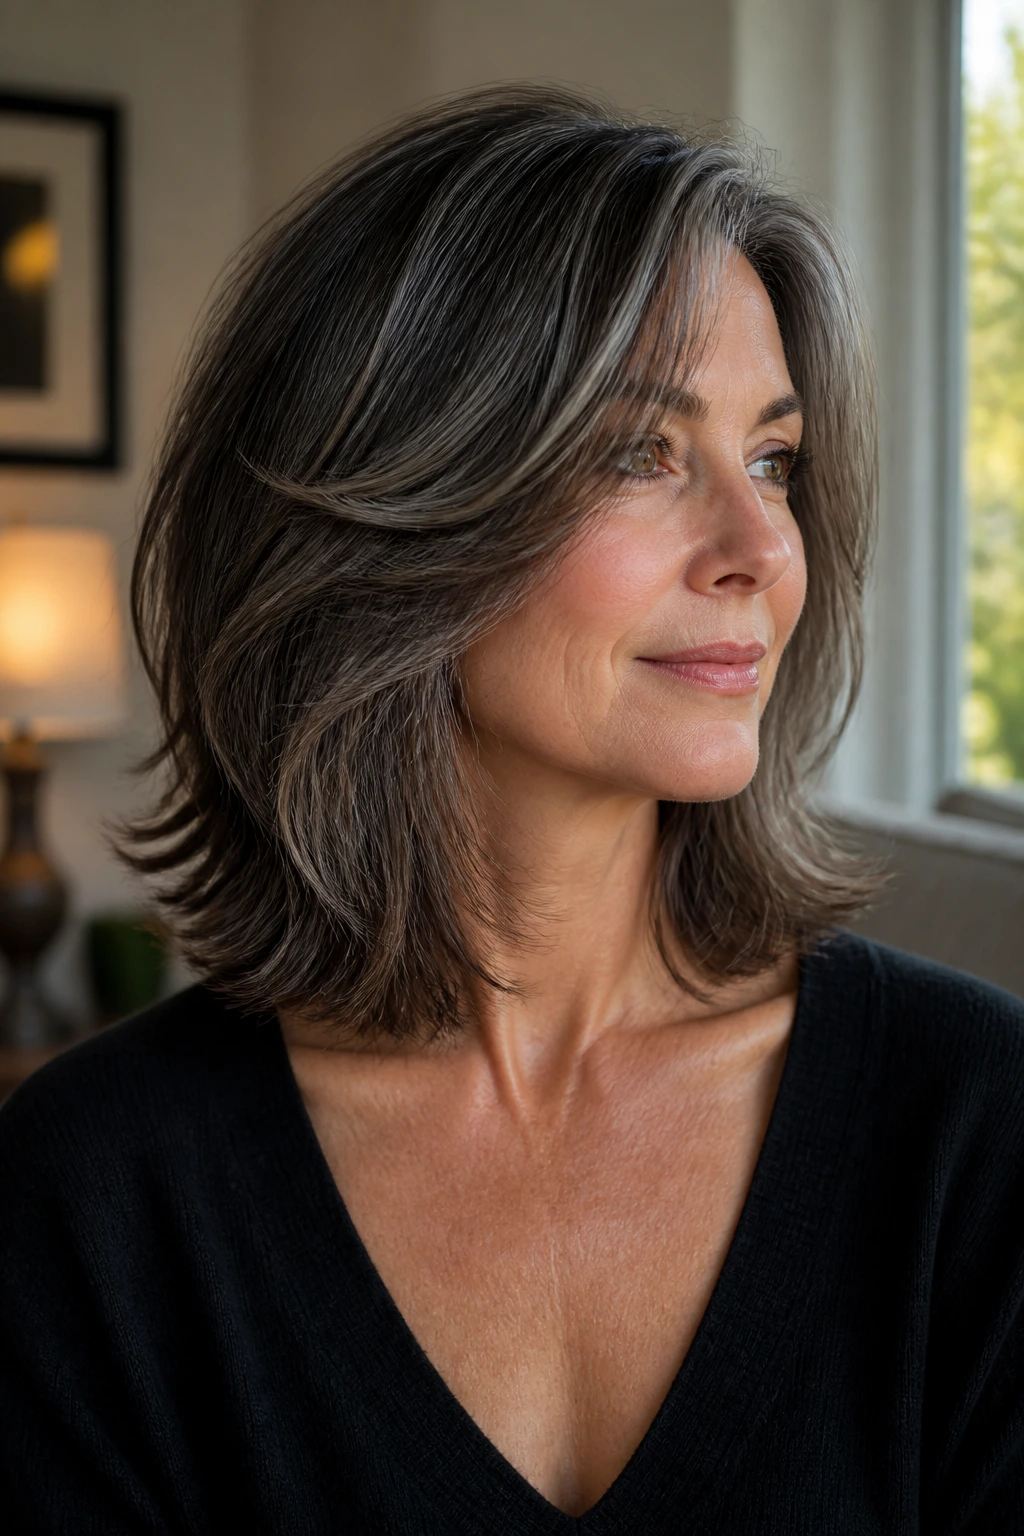
Face-framing matters here: A shoulder-length cut can be built to skim the cheekbones, soften the jaw, or open around the eyes, which changes the whole balance of the face.
The grow-out is kinder: These styles usually hold their shape for several weeks before they look sloppy, so you are not trapped in a constant trim cycle.
Texture gets room to move: Straight, wavy, curly, or silver hair can all work at this length because there is enough hair to show off movement, but not so much that the shape gets buried.
Volume goes where it counts: A good shoulder-length haircut can keep lift at the crown and weight in the right places, which matters more than chasing giant hair.
Styling can stay realistic: A round brush, a quick bend at the ends, or an air-dry cream is often enough. No one needs a 40-minute blowout for grocery-store hair.
1. The Blunt Collarbone Lob
A blunt collarbone lob is the cleanest place to start. The line lands just at or a touch above the collarbone, which gives the ends enough space to look thick instead of stringy. On fine hair, that matters a lot. One straight edge can make the whole cut feel denser, even if the actual amount of hair hasn’t changed.
Why It Works
The blunt perimeter does most of the work. It draws the eye across the bottom edge instead of down through the length, and that keeps the silhouette compact. I like this cut best when someone wants movement without layers that break up the shape.
Ask for the front to graze the collarbone, not sit right on the shoulder seam. That half-inch decision keeps the ends from flipping into weird angles every time you wear a cardigan or lean back in a chair. If your hair is thick, a stylist can remove a little weight underneath without punching holes through the surface.
Best For
- Fine to medium hair that needs a thicker-looking outline
- Straight or slightly wavy textures
- People who want a cut that air-dries with minimal fuss
One small rule: keep the ends clean, not heavily thinned. Once a blunt lob gets over-texturized, it starts to look tired fast.
2. Soft Layers That Brush the Cheekbones
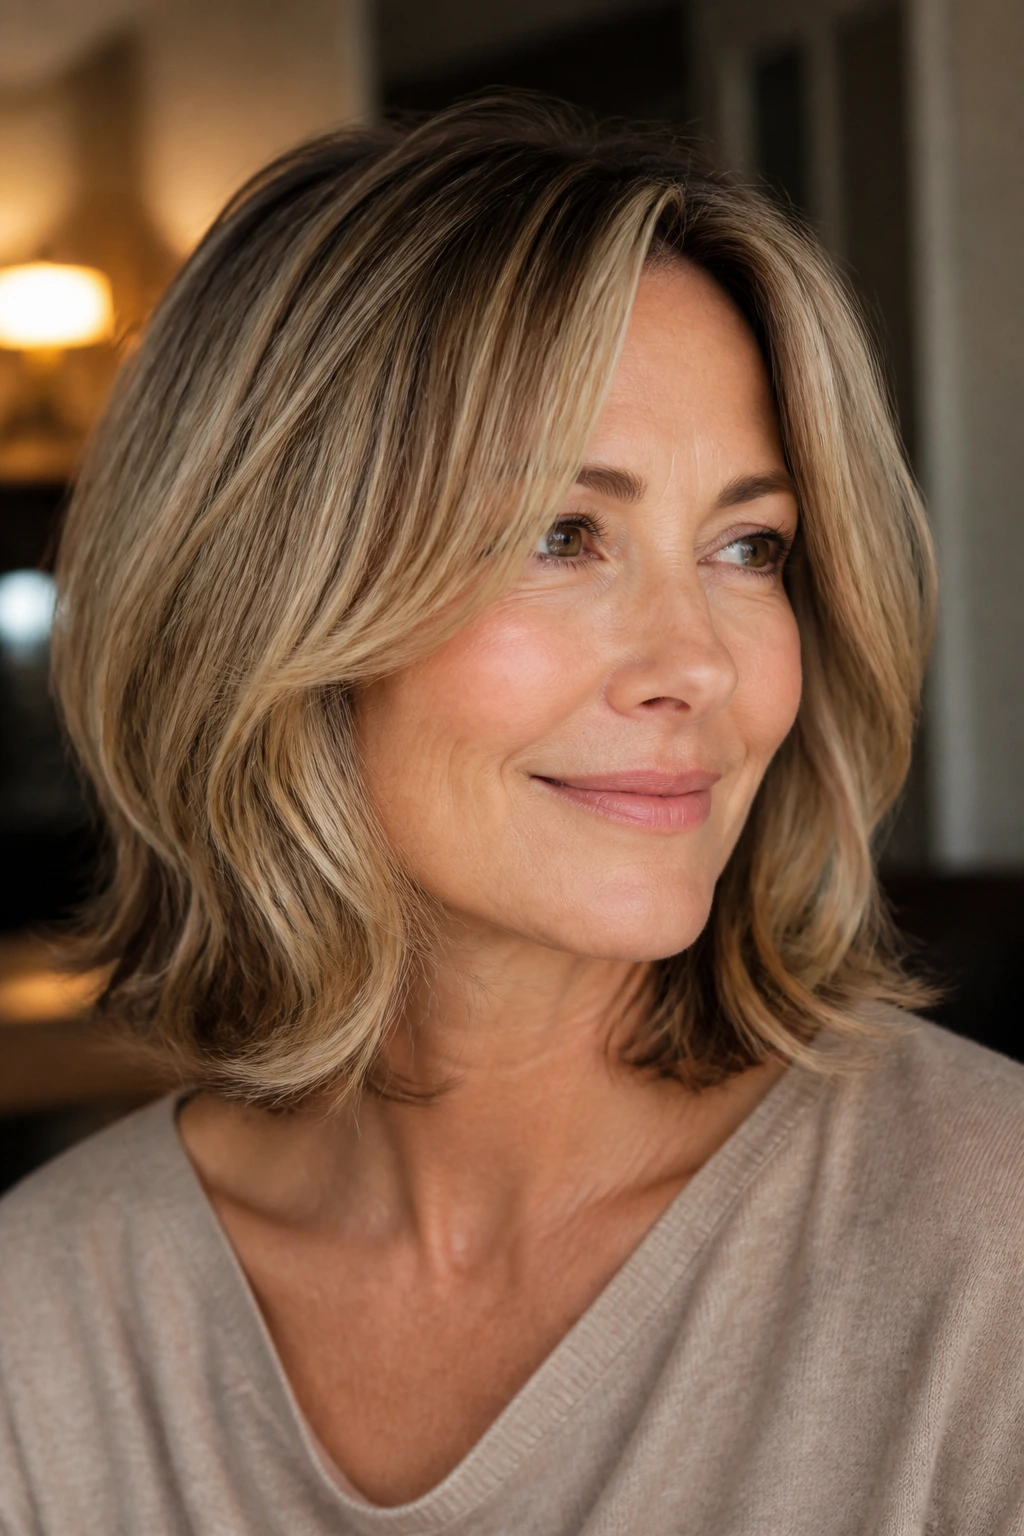
Soft layers are the answer when you want movement but do not want the haircut to feel chopped up. The best versions start around the cheekbones and drift down toward the shoulders, which keeps the face open without creating a lot of short pieces that stick out on their own.
What Makes It Work
These layers are doing two jobs at once. They lighten the weight around the sides of the face, and they guide the eye upward, which gives the whole cut a softer feel. That can be especially useful if your hair is naturally straight and tends to hang in one heavy curtain.
I prefer this style when the goal is a little lift around the cheekbones rather than a big, layered transformation. You can blow-dry it with a round brush, or let it air-dry and twist the front pieces back with your fingers. Either way, the cut still looks intentional.
A good stylist will leave the shortest face-framing pieces long enough to tuck behind the ear. Too short, and you spend your day pushing them out of your eyes. Too short is the enemy here.
3. Shoulder-Length Shag With Curtain Bangs

A shoulder-length shag has a little attitude, but not the kind that asks you to own a flat iron and a can of mousse the size of a coffee mug. Curtain bangs soften the forehead and split cleanly through the center or just off-center, while the layers add airy movement through the body of the hair.
Why It Works
The shag shape keeps the weight from piling up at the bottom. That matters if your hair gets puffy through the sides or flat at the roots. The curtain fringe opens the face without the blunt line that traditional bangs bring, and that makes it easier to grow out if you change your mind later.
This cut likes a bit of grit. A little volumizing mousse at the roots, a rough blow-dry, and a touch of texturizing spray at the ends are usually enough. If you try to make it glassy and perfect, you lose the point. The charm is in the swing.
Style Note
- Ask for layers that blend, not chopped shelves
- Keep the bangs long enough to part in the middle
- Use a diffuser if your wave pattern needs help holding shape
4. Side-Part Feathered Layers

A deep side part with feathered layers can do more for the crown than people expect. Hair that has started to lose top fullness often needs lift near the part line more than anywhere else, and a side part gives that without forcing the style into a stiff, helmet-like shape.
Why I Like It
The softness around the face keeps the cut from feeling severe. Feathering at the ends gives movement, but the real value is at the top. A side part changes where the weight falls, and that small shift can make the hair look fuller within a minute or two of styling.
This is one of those cuts that benefits from a little imperfection. Don’t chase a ruler-straight part unless your hair is naturally cooperative. Move the part a half inch off where it “wants” to sit, and you often get more lift with less fight.
A touch of root spray at the crown, then a quick blast with the dryer while lifting the roots with your fingers, is usually enough. No need to overwork it.
5. The Polished Blowout Lob

A polished blowout lob is for anyone who likes the look of smooth volume without a lot of hard edges. The length usually sits around the shoulders, with the ends turned just under or just out, depending on how much movement you want. It looks neat, but not stiff. That distinction matters.
What Makes It Different
A blowout shape is built around bend, not pin-straight hair. The ends should have a soft curve, and the top should have enough lift that the style doesn’t collapse by noon. It’s a good choice if you wear glasses, earrings, or a clean neckline, because the shape frames those details without competing with them.
The key is heat control. Rough-dry the roots first, then finish with a round brush in smaller sections. If your hair is fine, keep the brush size medium so you do not stretch the bend out of it. If it’s thick, a larger brush can smooth the surface faster.
I would not call this low-maintenance. I would call it worth the effort when you want hair that looks finished.
6. Piecey Waves With Choppy Ends
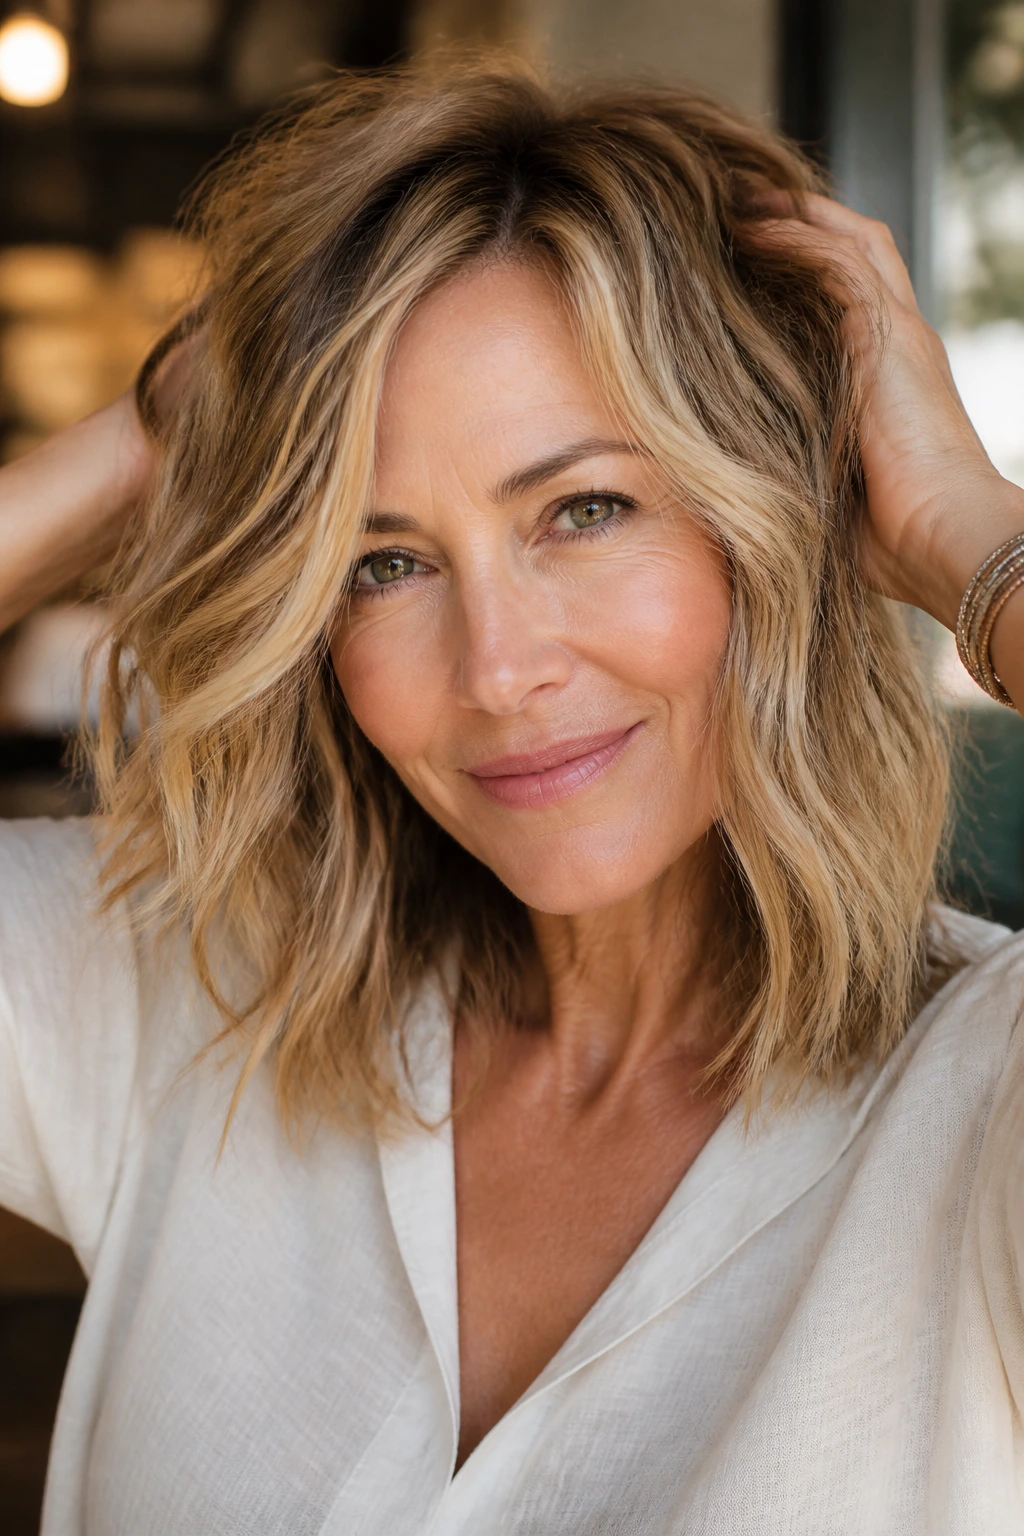
Piecey waves are for women who want the haircut to have a little edge without looking edgy in a costume sense. The waves are separated, not puffy. The ends are lightly choppy, not ragged. The result is casual, but not lazy.
How to Wear It
Use a 1-inch or 1.25-inch curling iron and leave the last inch out on a few pieces so the waves don’t become too perfect. Then break the pattern up with fingers and a small amount of texture spray. If every wave bends the same way, the style starts to feel too done.
This cut works especially well when hair has a natural bend that wants to show up but not fully curl. It gives that texture a place to live. On straight hair, a little bend at the front and sides is enough; you do not need a full head of spirals.
Watch For
- Too much product can turn the ends stringy
- Over-curling the front pieces can make the face look over-framed
- A small amount of separation looks better than a lot of spray
7. Sleek Shoulder-Length Hair With Invisible Layers
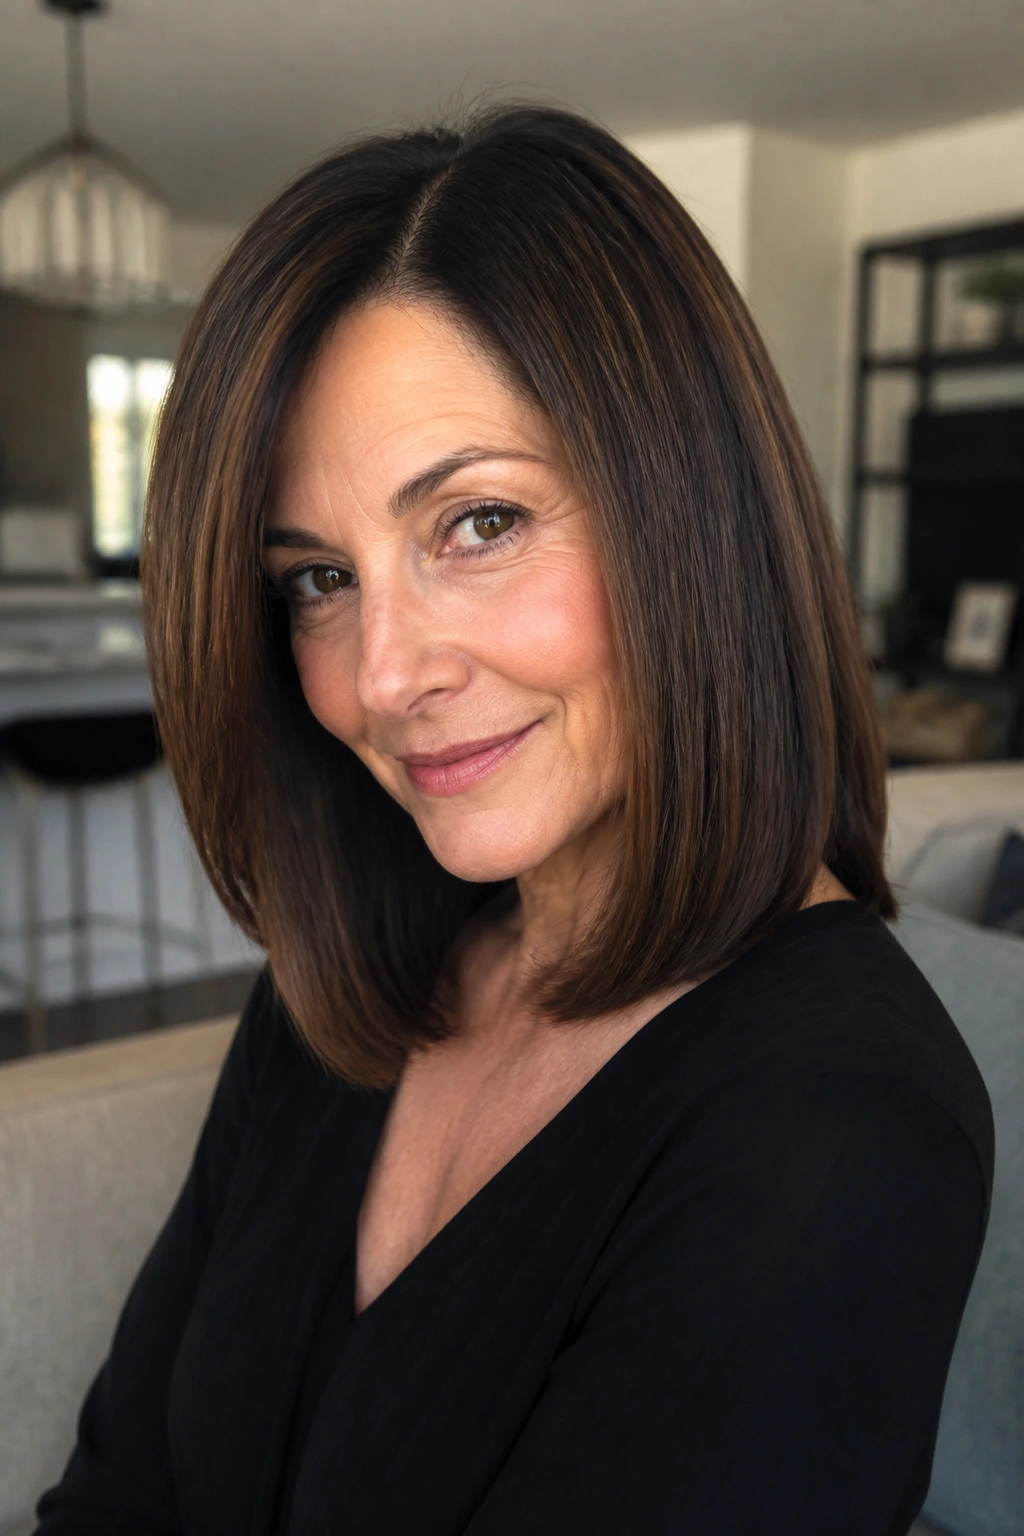
Sleek shoulder-length hair sounds simple, which is exactly why it’s easy to mess up. The trick is to keep the surface smooth while hiding the weight removal inside the shape. That way, the hair falls neatly, but it doesn’t hang like a heavy sheet.
Why It Works
This style is a good match for thick or coarse hair that needs control. A stylist can build in internal layers so the shape moves, while the outer line stays clean. That keeps the haircut from bloating out around the shoulders.
I’m partial to this version when someone wants a clean neckline, easy pinning, and a cut that looks good even on second-day hair. A little serum on the last two inches is enough. If you use too much, the whole point gets lost and the ends separate in a greasy way.
It also pairs well with a side part or a tucked-behind-the-ear finish. The silhouette does not need much decoration. The line itself is the statement.
8. Rounded Curls at the Collarbone
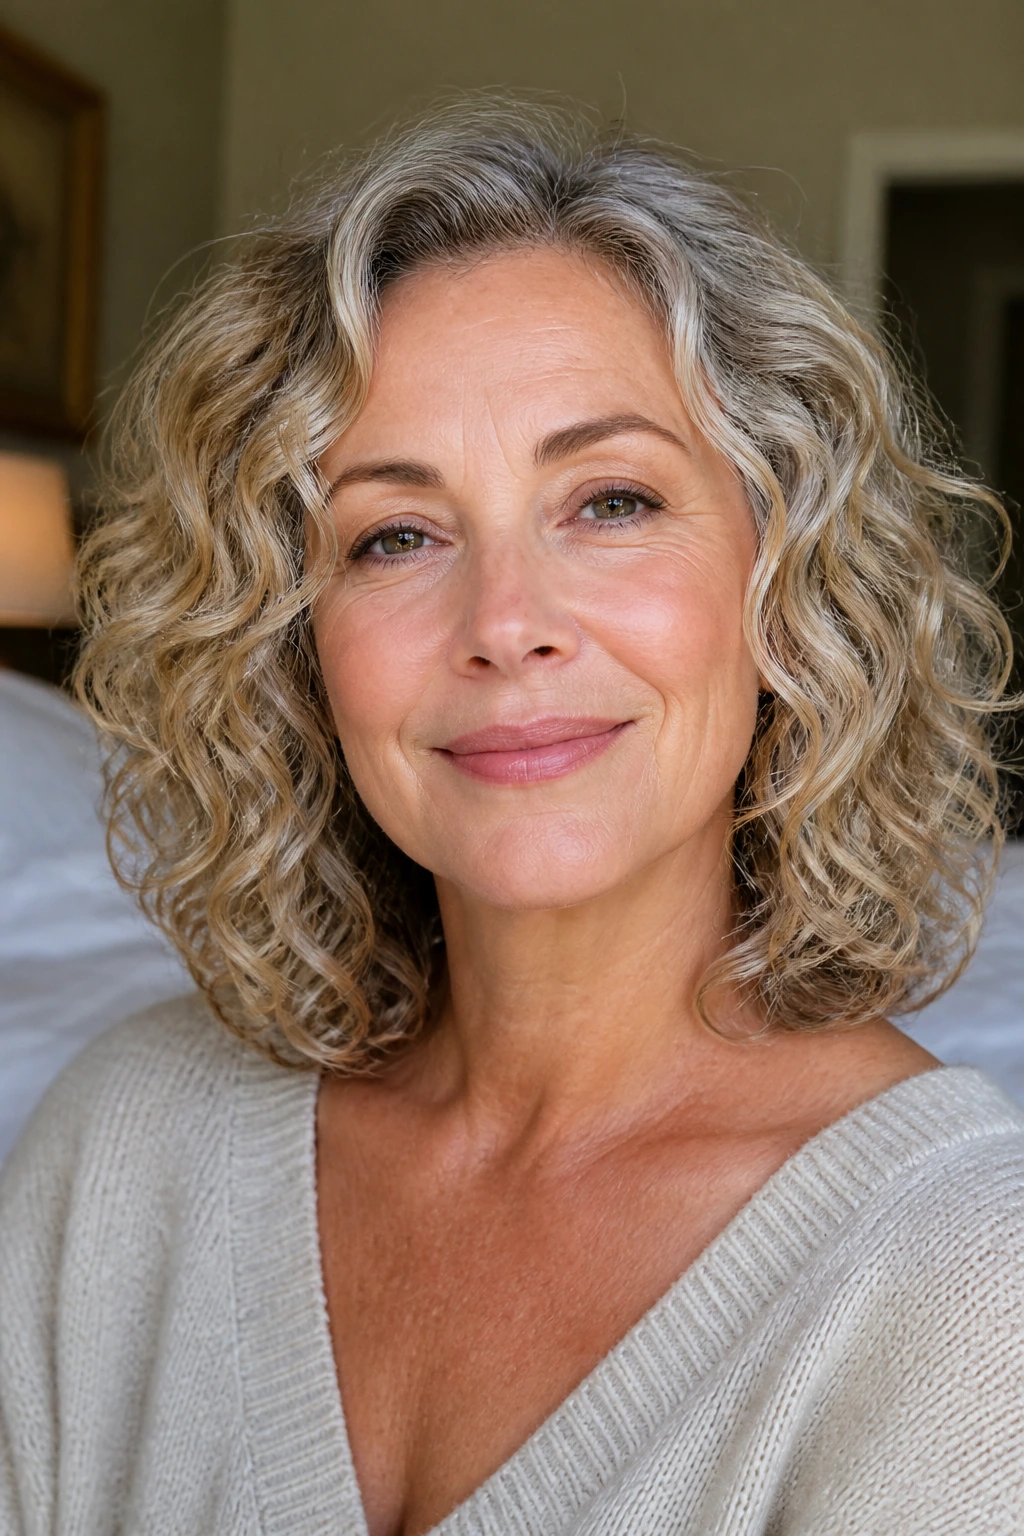
Curly hair at shoulder length needs shape, not just length. When the cut is rounded at the collarbone, the curls stack with a bit of lift instead of ballooning out at the sides or hanging straight down in a heavy triangle.
The Important Part
Curly cuts should respect the curl pattern. I prefer a dry or mostly dry cut for this shape, because curls lie. They shrink. They spring. If you cut them wet and trust the wet shape too much, the finished result can sit inches higher than planned.
The goal is a rounded outline that lets the curls tuck in toward the face and collarbone. A little longer in the front and slightly shorter in the back can help the shape follow the head better. Diffusing on low heat keeps the curl pattern intact without roughing up the surface.
This is one of the more honest styles in the group. If your curls have personality, the cut should work with that, not flatten it.
9. A Modern Shag That Stops at the Shoulders

A modern shag keeps the texture of a shag haircut but pulls back from the wild, mullet-adjacent version that can overwhelm a face. At shoulder length, it gives you movement through the sides and crown without making the back feel too long or too sparse.
What It Does Best
This cut thrives on layered separation. The top layers are kept airy, the face frame is soft, and the perimeter still has enough shape to keep the style from falling apart. That balance is what makes it feel current without being fussy.
It works beautifully on wavy hair, but fine hair can wear it too if the layers are kept long. Too many short layers and the ends start to look see-through. Too few, and you lose the whole shag effect.
A dab of mousse or a lightweight cream is usually enough. Scrunch, diffuse, or rough-dry and leave it alone for a minute. Constant touching ruins the shape faster than humidity does.
10. Blended Layers for Thick Hair
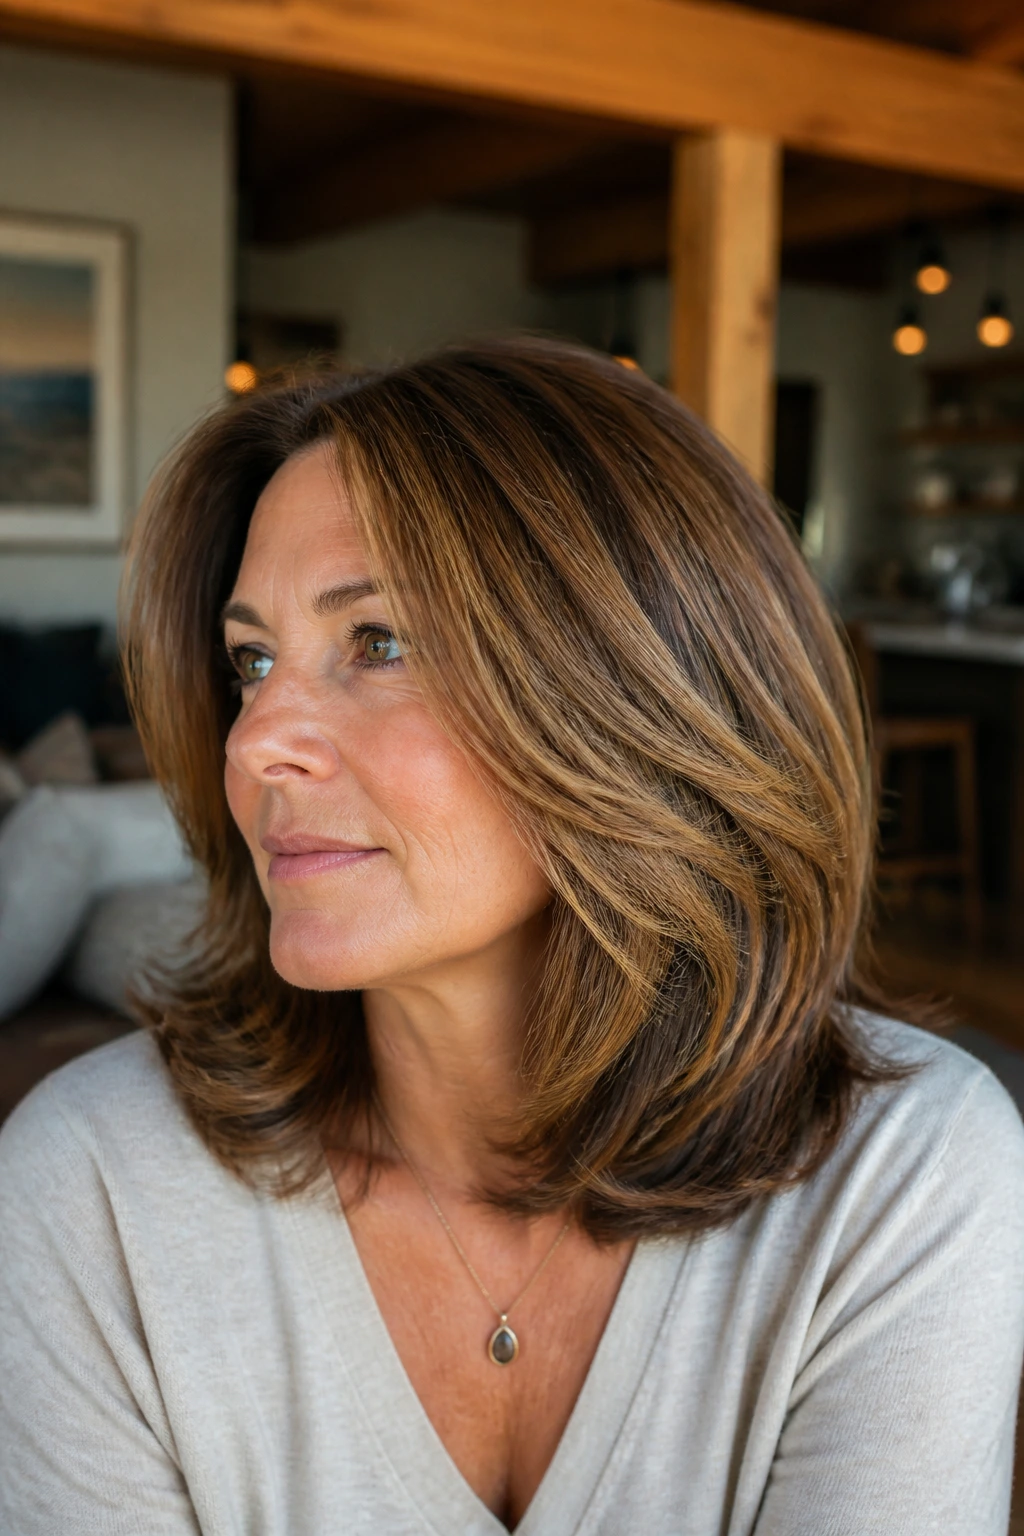
Thick hair at shoulder length needs breathing room. Blended layers give it that space without making the haircut look choppy or hollow. The outline still reads as full, but the inside of the shape is less dense, so the hair sits better around the neck and shoulders.
Why It’s Smart
Heavy hair often puffs out at the bottom when it’s all cut at one length. Blended layers break up that mass. They also shorten the drying time, which is a practical gift nobody talks about enough.
The key is restraint. You want weight removal, not a dozen obvious short pieces floating around the head. If a stylist slices away too much bulk near the crown, the silhouette can start to spread instead of fall. That’s not the goal.
Use a smoothing cream or leave-in on damp hair, then blow-dry in sections with the nozzle pointed downward. Thick hair behaves better when the cut and the styling routine are working toward the same shape.
11. A Tapered Cut That Gives Fine Hair Lift
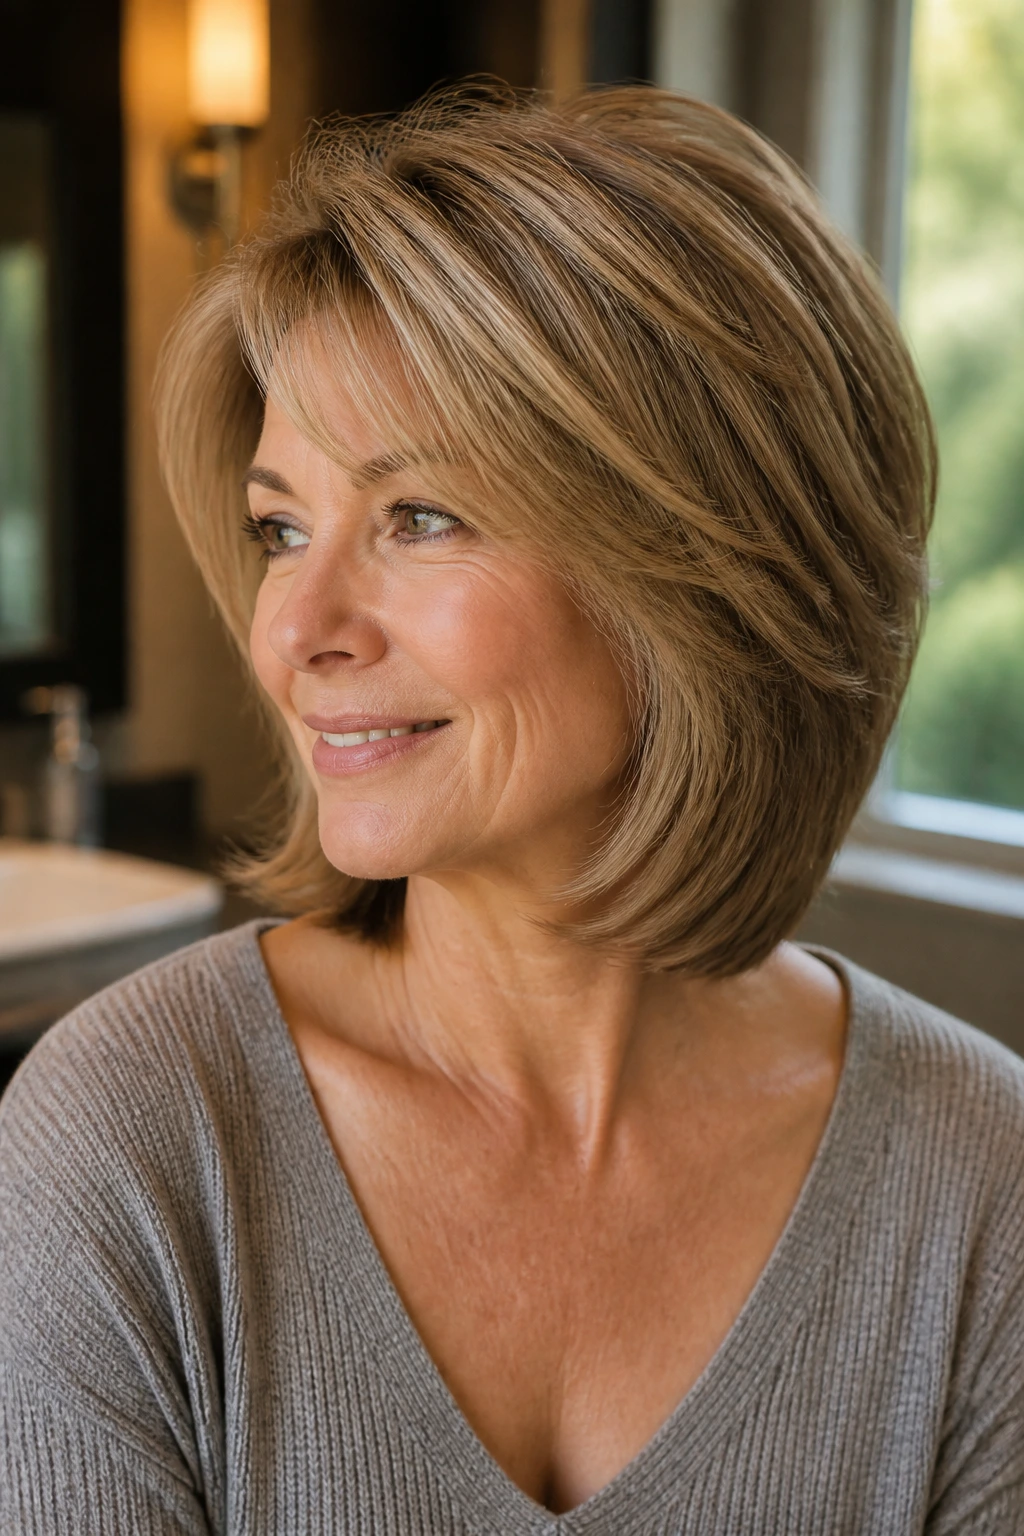
Fine hair often looks best when the back and sides are shaped with a subtle taper. That gives the illusion of fullness near the crown and keeps the ends from becoming a thin, wispy tail. At shoulder length, a tapered cut can feel light without looking sparse.
What To Ask For
Tell the stylist you want lift, not chunkiness. That matters. The right taper should make the hair curve gently around the head, with enough weight left in the ends to keep the outline visible. If the layers go too high, the bottom edge disappears and the hair starts to look thin.
A root-lifting mousse on damp hair can help here, but use it sparingly. Fine hair gets greasy fast when people overdo product at the scalp. A small amount is enough. Then dry the roots upward with a brush or your fingers before smoothing the lengths.
This cut is a good reminder that fine hair does not need to be overloaded. It needs shape, clean lines, and a little air.
12. The Bottleneck Bang Lob

Bottleneck bangs have a smarter shape than blunt bangs. They stay short and narrow in the center, then open wider toward the cheekbones, which makes them feel soft instead of boxed in. On a shoulder-length lob, they add a nice bit of focus around the eyes without swallowing the forehead.
Why It Works
This fringe is a good middle ground for anyone who wants bangs but does not want to feel trapped by them. The middle stays light, the sides blend into the haircut, and the rest of the length can still be worn in a low ponytail or tucked behind the ear.
The style is especially helpful if your hairline is uneven or if you wear glasses. The fringe can sit above the frames or sweep just beside them, depending on how your stylist shapes the sides. That little bit of flexibility keeps the bangs from fighting the rest of your face.
I’d ask for the fringe to be left longer on the first cut. It’s much easier to trim a bottleneck bang shorter later than it is to wait for a too-short fringe to behave.
13. Tucked-Behind-the-Ears Layers
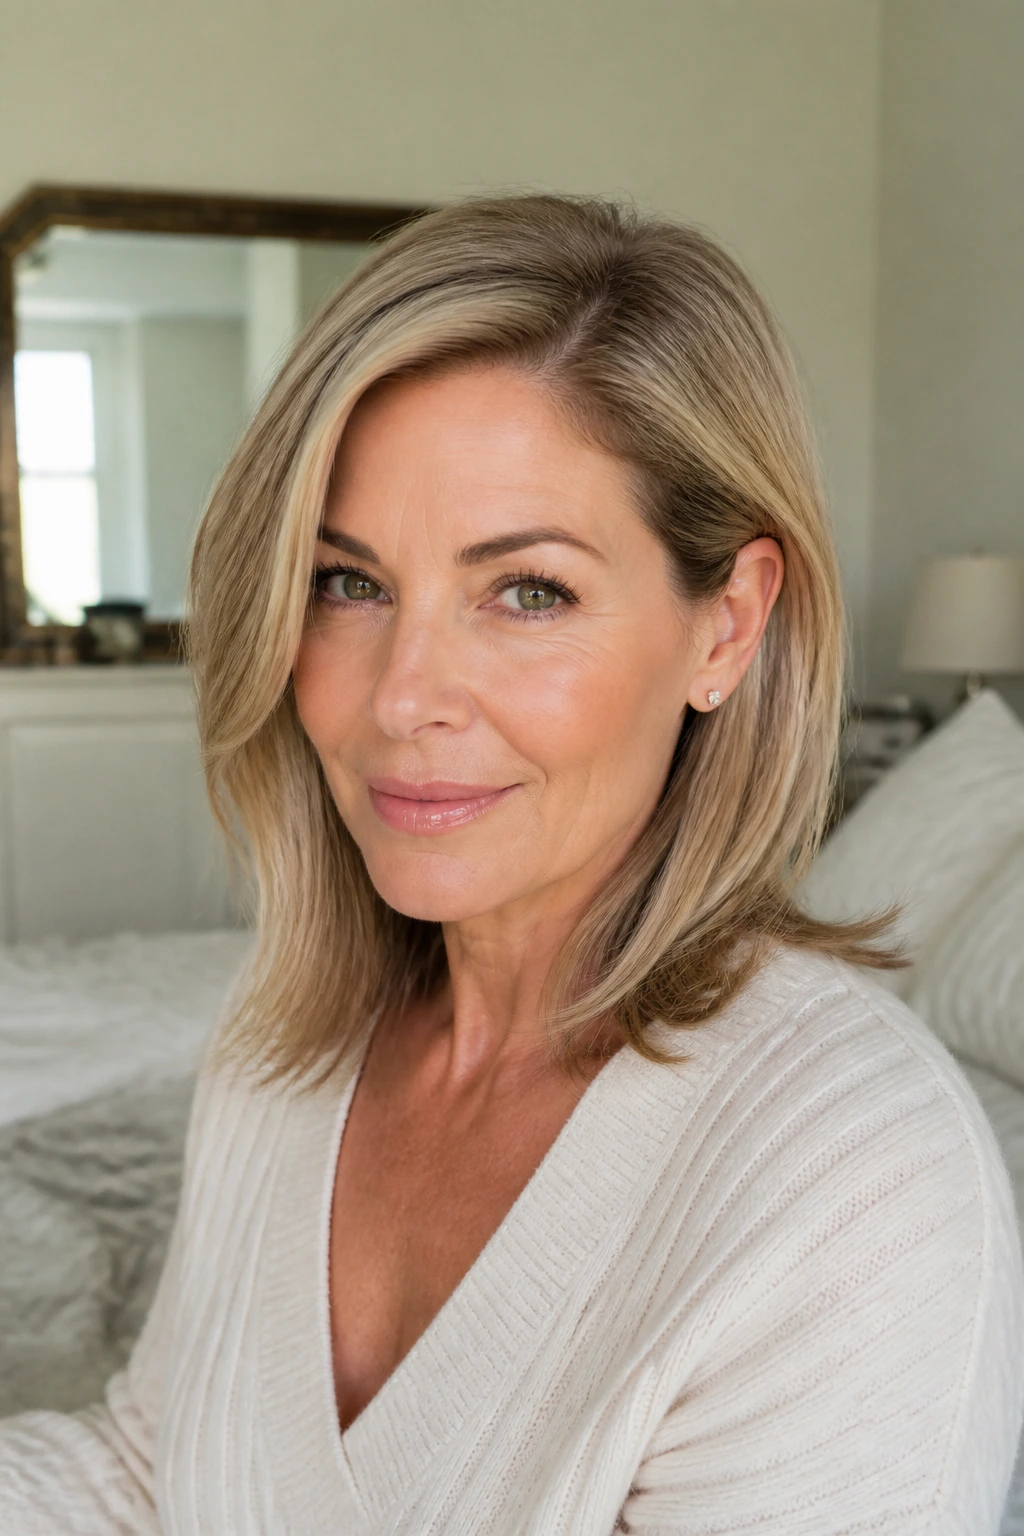
Some cuts are built to live behind the ears, and this is one of them. The front pieces are long enough to tuck cleanly, but short and shaped enough that the style still looks finished when you use a clip or leave one side loose.
Why This One Stays Useful
Women who wear glasses, small hoops, or bold earrings often like this shape because it keeps the hair from crowding the face. The ear tuck feels neat without being severe. It also gives you the option to switch from polished to relaxed in about five seconds.
The haircut itself should have just enough layering around the front to avoid that heavy curtain effect. Too much length at the temples and the tuck becomes sloppy. Too little and the hair won’t stay put. There’s a sweet spot, and it’s worth finding.
A flat brush or a few minutes with a blow dryer usually sets the shape. Then tuck one side back, let the other fall forward, and you get an easy asymmetry that looks intentional.
14. Shoulder-Length Hair That Works for Half-Up Styles

Half-up styles sound minor until you actually need one. Then they’re the difference between hair in your face and hair that behaves. A shoulder-length cut can be shaped so the top section gathers neatly while the lower layers still move.
Why It’s Practical
This is one of my favorite options for people who like clips, small pins, or a low twist at the back. The cut should leave enough fullness through the crown and enough length through the sides so the half-up section doesn’t look stringy. If the layers are too short, the style falls apart the second you twist it.
Ask for face-framing pieces that are long enough to fall around the temples when the top is pinned. That keeps the style from looking pulled back too tight. A little softness around the front matters more than people think.
It’s a useful shape for days when you want your hair off your neck but don’t want a full updo. Simple. Clean. Works.
15. Salt-and-Pepper Waves With Soft Movement
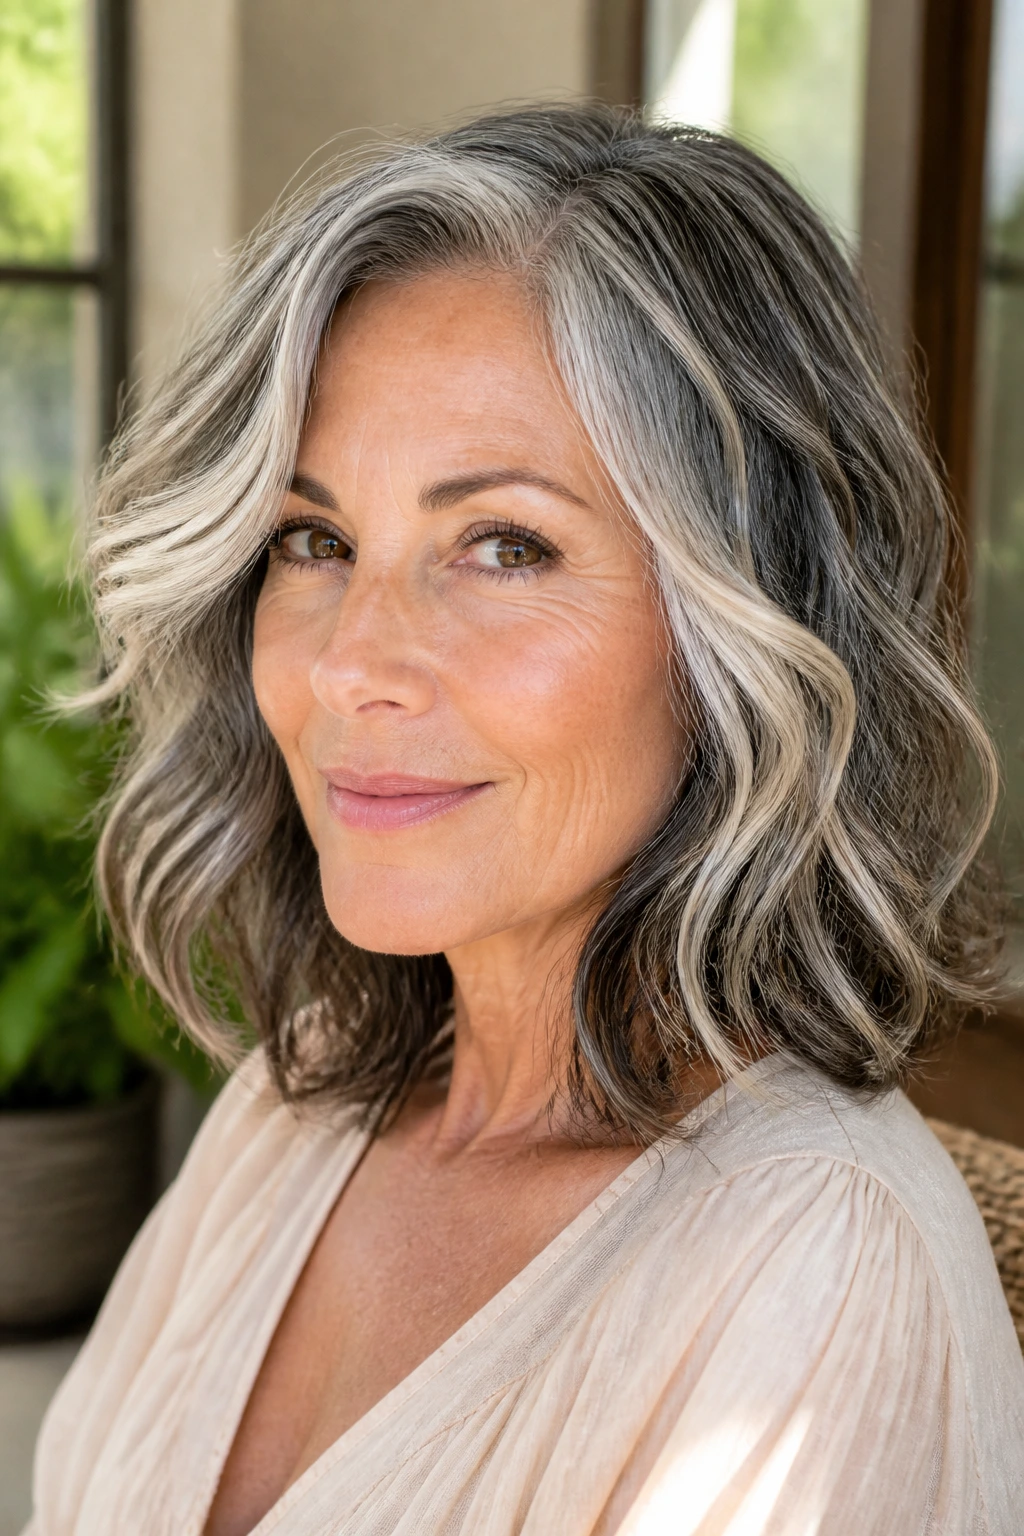
Salt-and-pepper hair has texture built in, and shoulder length shows it off in a good way. The mix of silver, white, and darker strands looks more dimensional when the cut allows some bend and movement instead of hanging in one straight sheet.
What Makes It Shine
A soft wave keeps the color variation visible as the hair shifts. That’s the key. A flat iron can be too harsh here unless you want a sleek finish. A bend from a curling iron or a quick pass with a round brush is enough to keep the hair from looking static.
I like this style with a glossing treatment or a light shine serum on the ends. Gray hair can be bright, but it also gets thirsty. A little moisture keeps it from feeling coarse. Purple shampoo has its place too, though it should not be used so often that the hair turns dull or dry.
The cut should not fight the natural color. It should let the silver do the work.
16. An Air-Dry Cut That Stays Neat
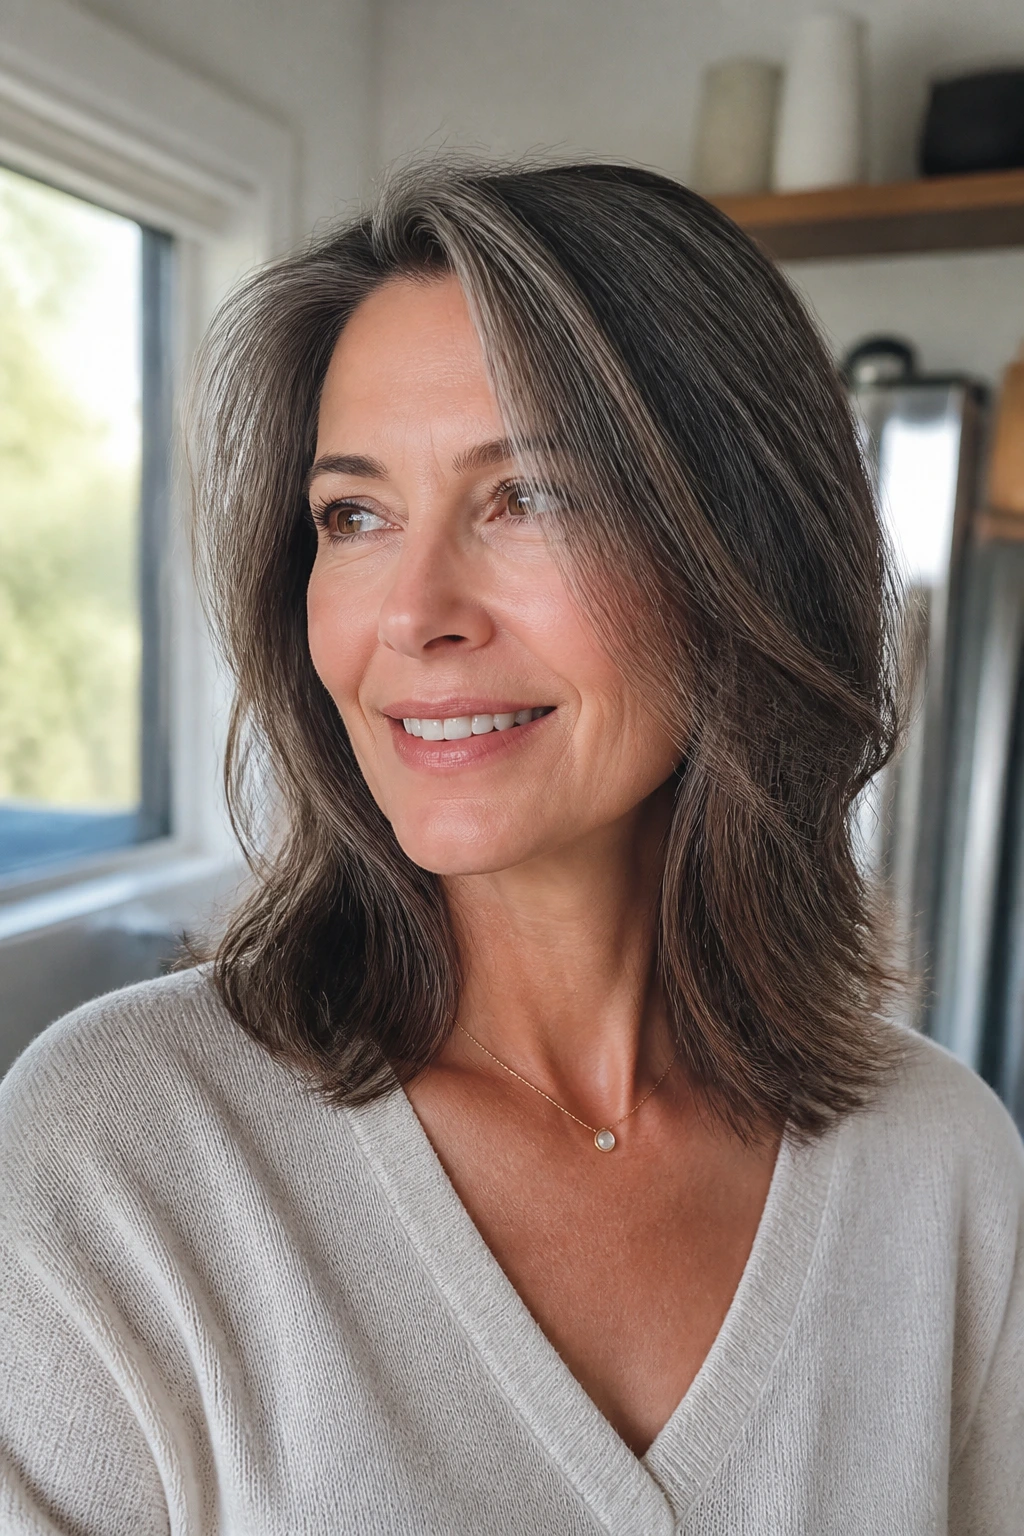
Not every shoulder-length hairstyle needs a blowout. A good air-dry cut is shaped so the hair falls into place with minimal help, which is useful if your mornings are packed or your arms get tired halfway through styling.
How It Works
The best air-dry cuts usually have soft layers, a stable perimeter, and enough face framing to keep the front from hanging too heavy. They’re not chopped to pieces. They’re shaped with the understanding that you may only put in leave-in conditioner and go.
This style is especially useful for wavy or gently curly hair. Scrunching in a curl cream or lightweight gel can help the shape set without turning crunchy. If your roots tend to dry flat, clipping the crown for 10 or 15 minutes while the hair sets can give a bit of lift.
Air-dry hair should look relaxed, not neglected. That’s the line.
17. A Soft Asymmetrical Lob
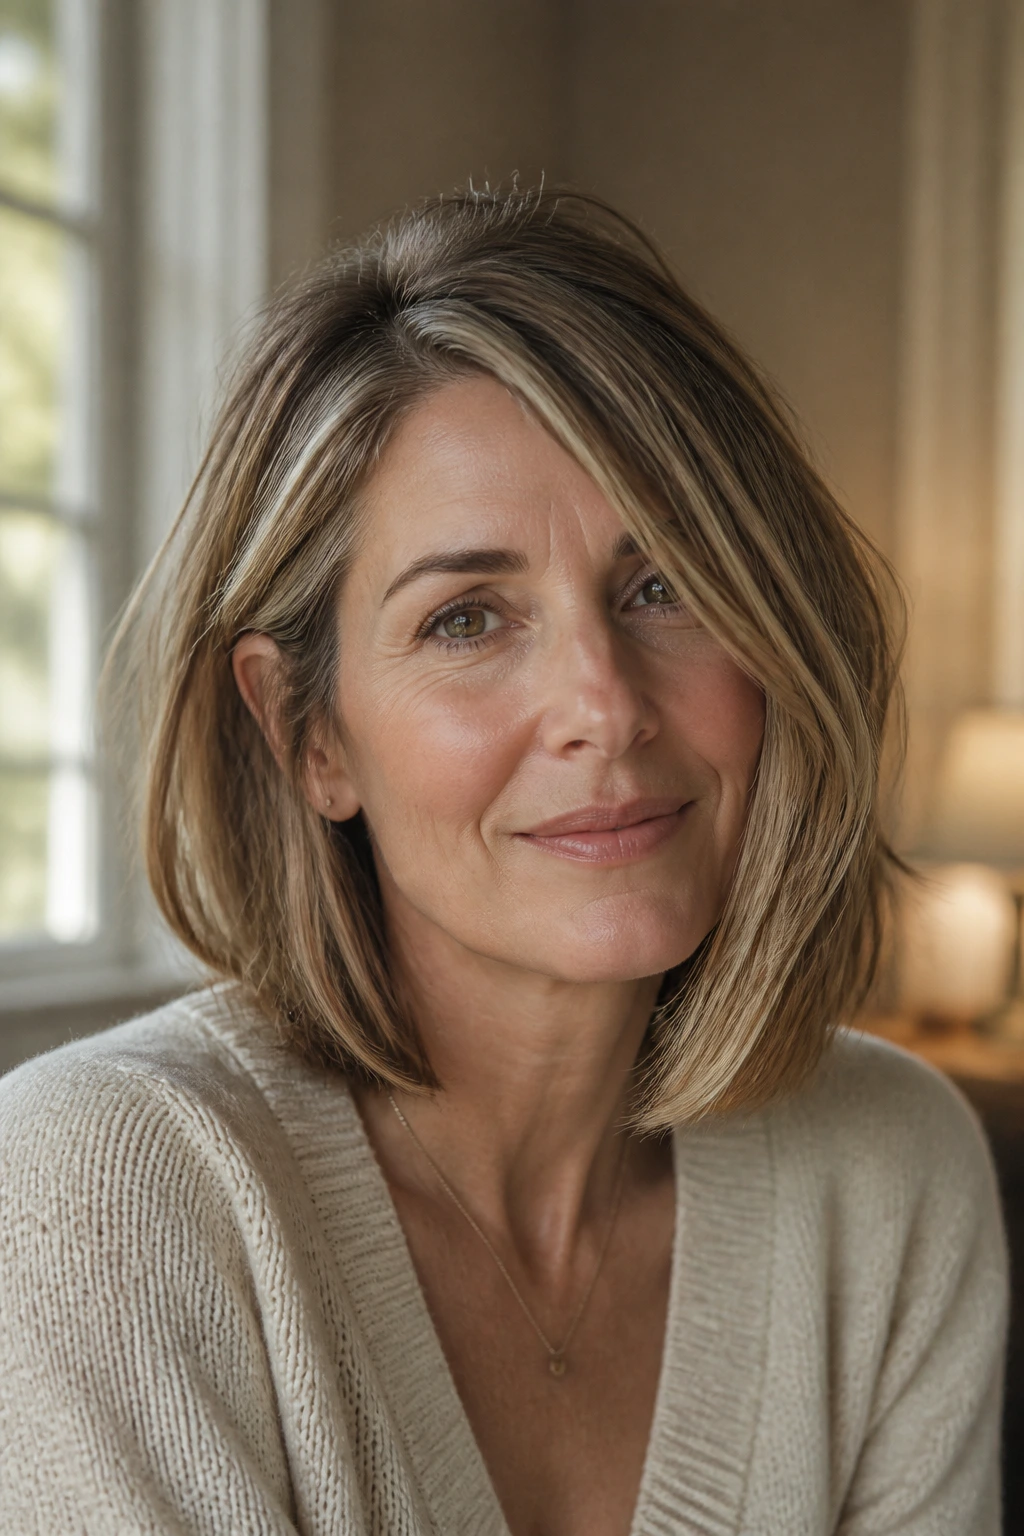
A subtle asymmetrical lob changes the silhouette just enough to wake it up. One side is a touch longer than the other, or the front angles forward a bit more on one side. It’s not a dramatic fashion haircut. It’s a quiet shift that gives the eye somewhere to go.
Why It’s Worth Trying
This shape can help if one side of your hair falls flatter than the other, or if you like the idea of a little movement without obvious layers. It also works well with side parts, because the off-balance shape adds interest where the part already creates lift.
The difference between elegant and awkward here is small. Keep the asymmetry subtle. One inch is plenty. More than that, and it starts to look like a statement cut instead of an easy shoulder-length style.
I’d pair it with a smooth blow-dry or soft bend at the ends. The angle should be visible, but not loud.
18. Braided Crown Layers for Special Days
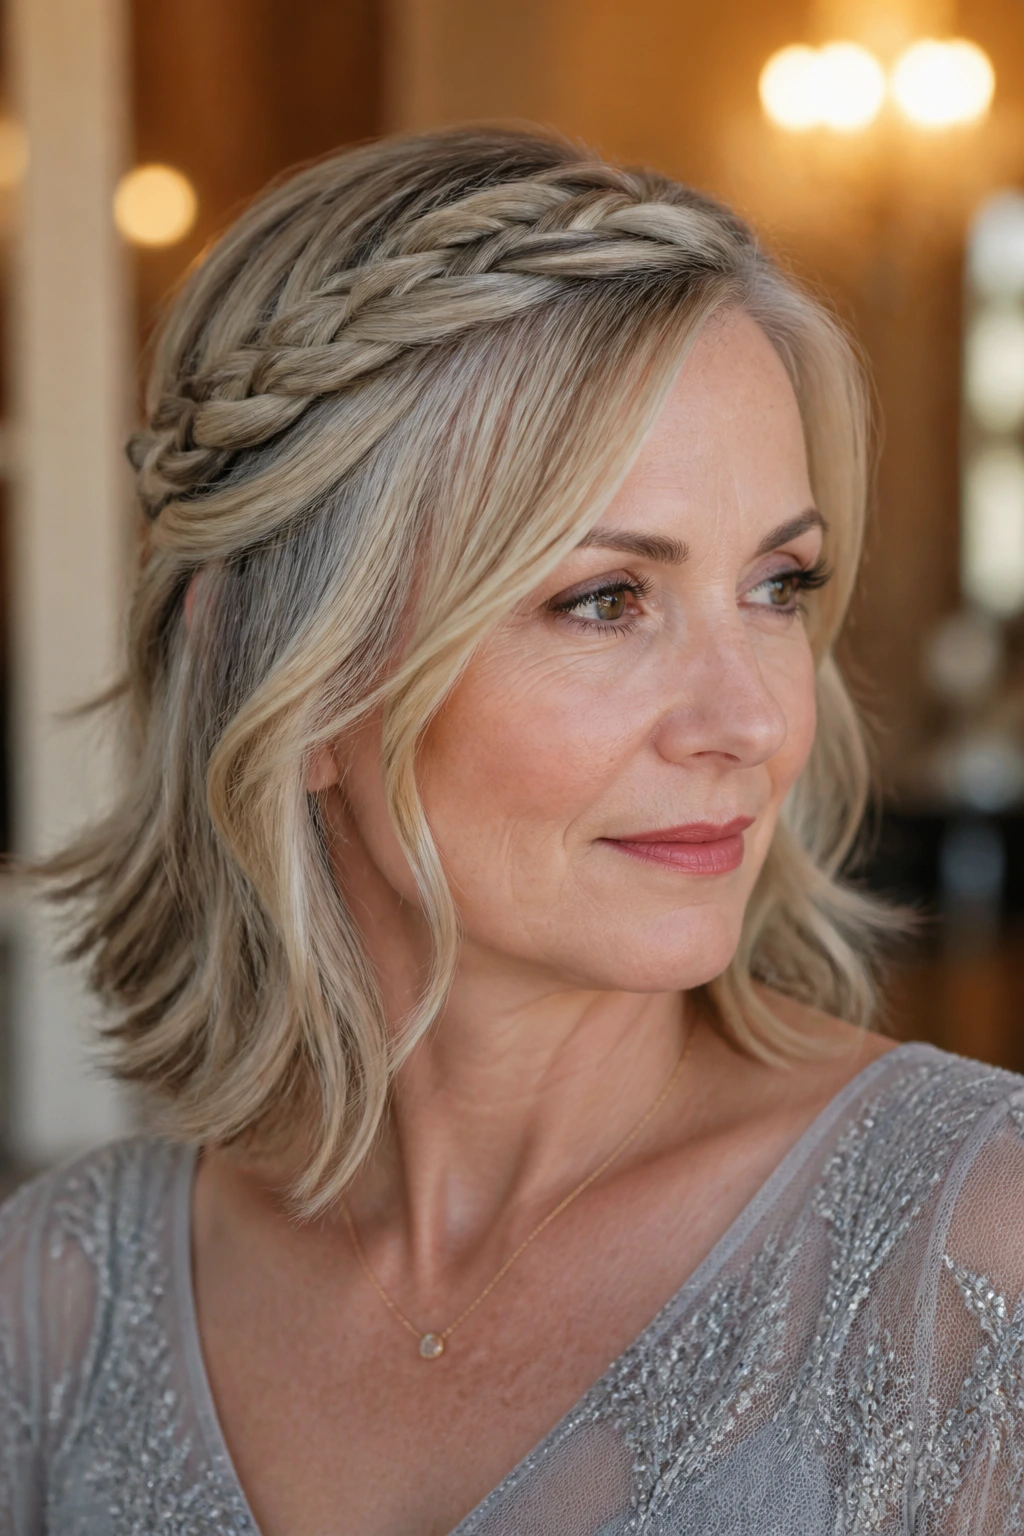
Shoulder-length hair does not need to stay plain just because it’s a practical cut. A braided crown, a twist across the front, or a half-braid pinned back can turn the same haircut into something dressier without pinning every strand into submission.
Why It Earns Its Place
This style works because the length is long enough to grab, but not so long that the braid gets heavy and slips. Layers should start low enough that the braid zone stays intact. If the face frame is too short, the braid unravels. If it’s too long, the front pieces fight the rest of the style.
A little texture spray before braiding helps the hair hold. So does second-day hair, which has more grip than freshly washed strands. The braid does not need to be tight. In fact, a slightly loose braid looks better and feels less severe.
It’s a nice reminder that shoulder length is not a compromise. It can still dress up.
Why This Length Works Even Better With the Right Everyday Routine
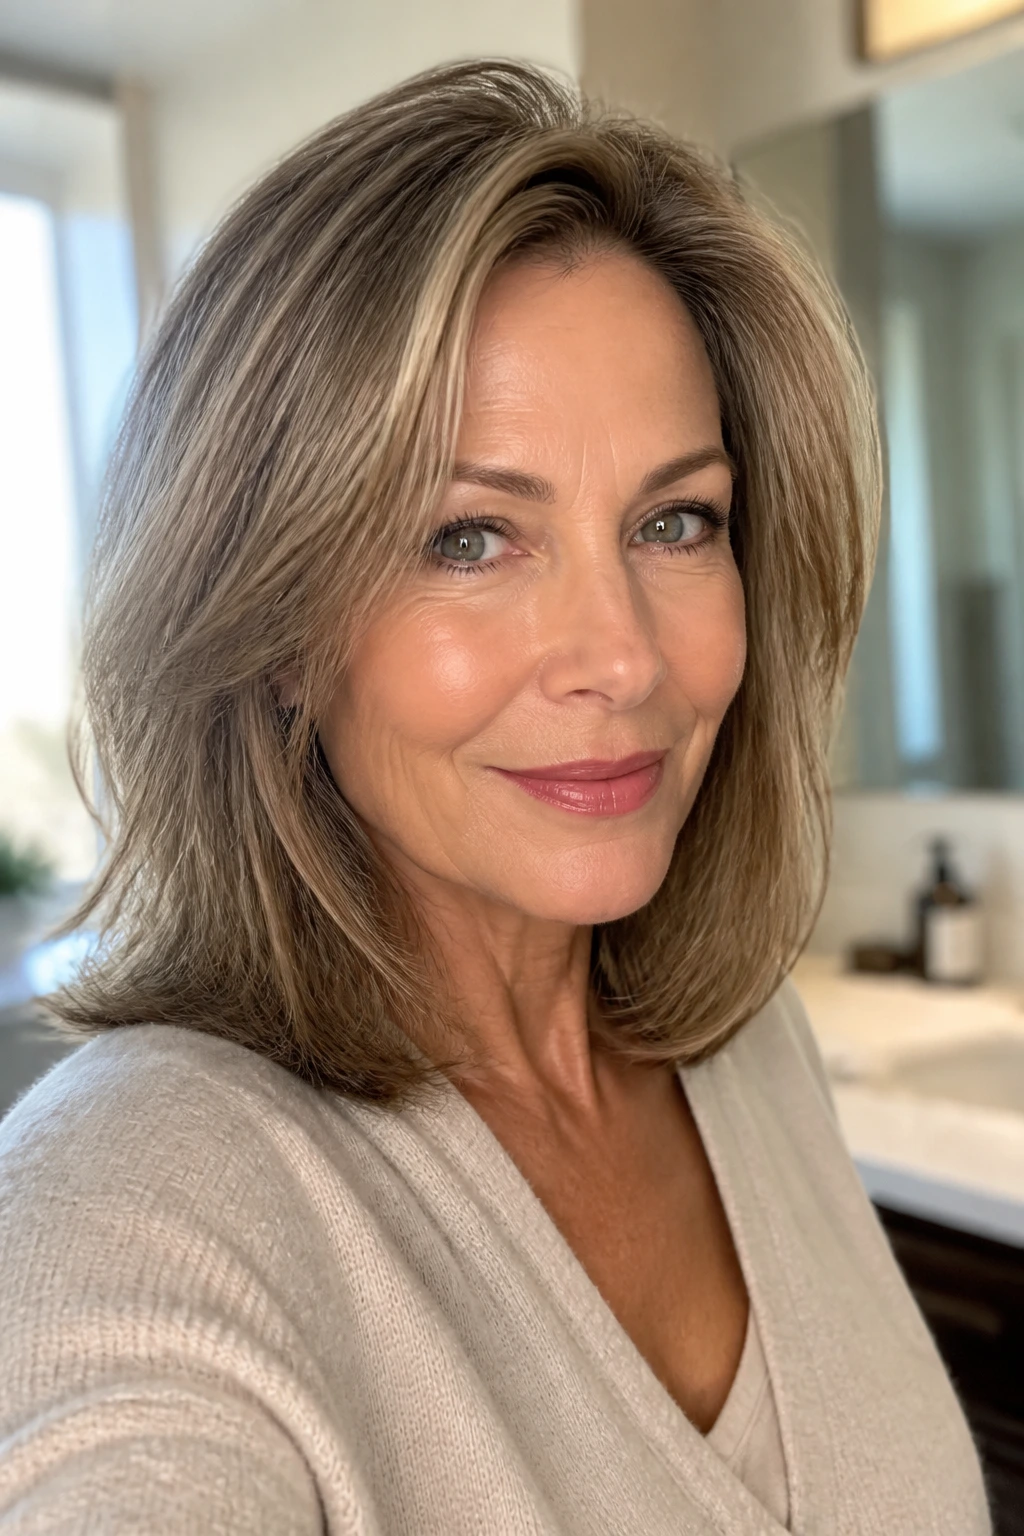
Shoulder-length hair is only easy when the cut and the routine agree with each other. If you have a blunt lob, you should not be drowning the roots in thick oil. If you have layers, you should not be flattening them with a heavy cream that leaves the ends limp by lunchtime. The haircut sets the stage, but the styling products decide whether the shape shows up.
The real advantage of this length is that it responds quickly. A half-inch change in part placement can lift the crown. A round brush can tuck the ends. A little dry shampoo can give day-two hair enough grip to pin back nicely. You don’t need twenty steps. You need the right three.
That is why I trust shoulder-length cuts more than lengths that are either too short to pin or too long to hold shape. This is the zone where hair still has options.
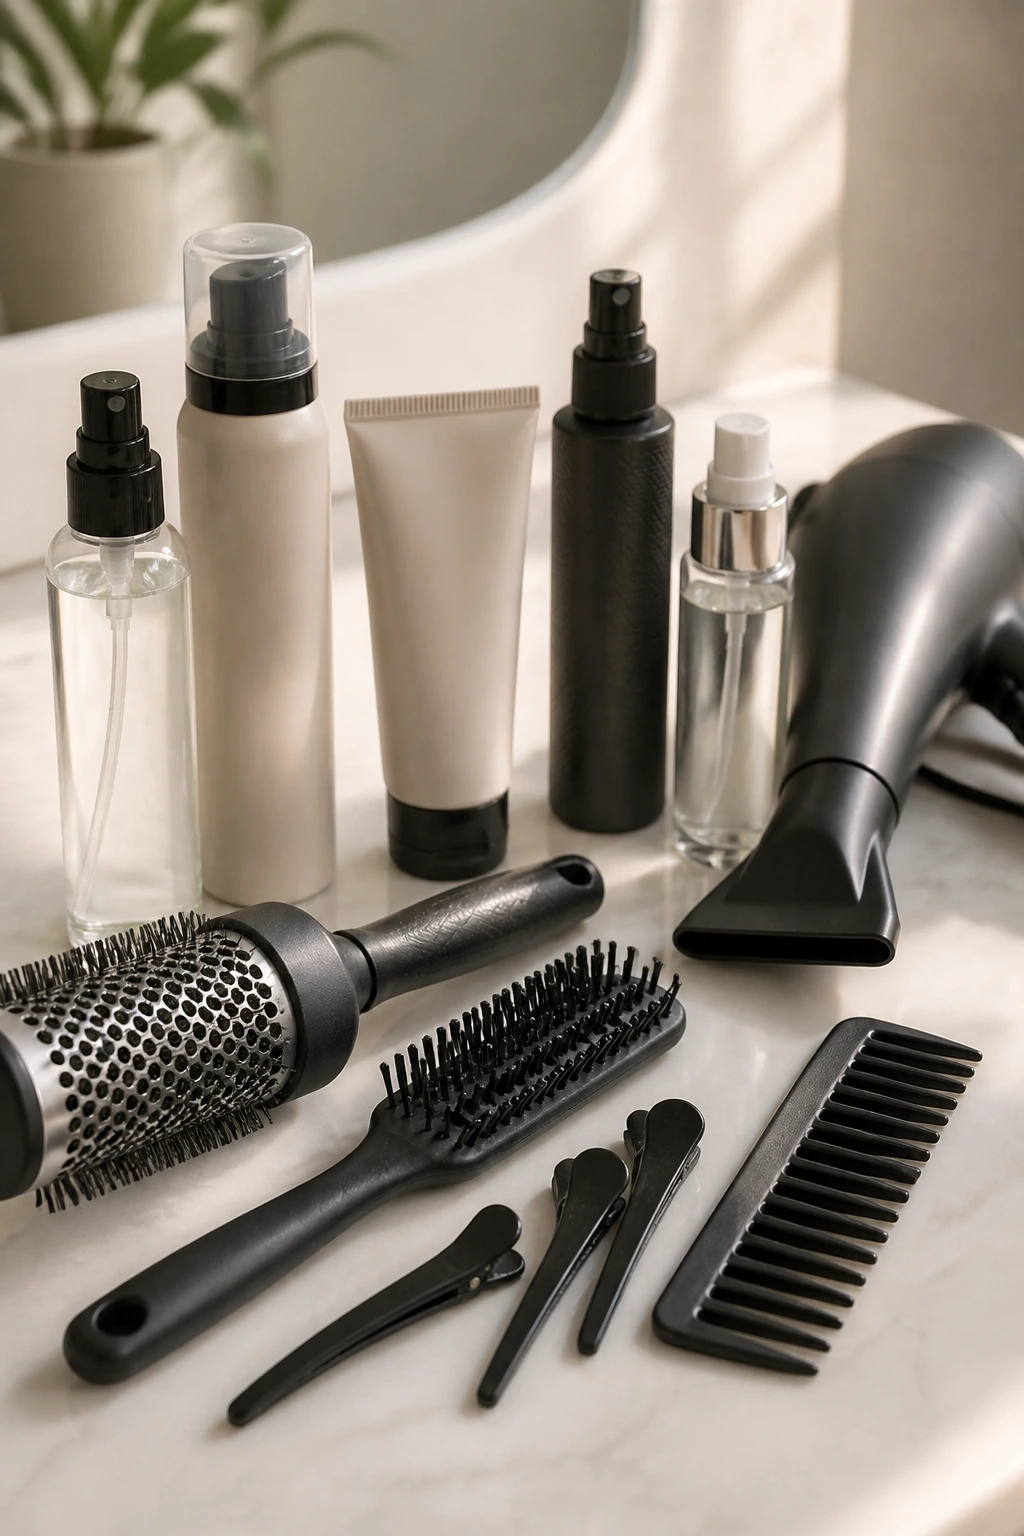
The Brushes, Clips, and Products Worth Owning
-
1.25-inch round brush — Good for turning the ends under, adding bend at the front, and building soft volume through the crown.
-
Vent brush — Useful for quick blow-drying when you want shape without a long styling session.
-
Blow dryer with a nozzle attachment — The nozzle matters more than people think; it helps direct the air and smooth the cuticle.
-
Heat protectant spray — Keeps the ends from looking scorched, especially if you use a curling iron or flat iron more than once a week.
-
Root-lift mousse — Best for fine or flat hair when you want the crown to stand up a bit instead of collapsing.
-
Lightweight styling cream — Good for air-dried waves and curls that need control without stiffness.
-
Texturizing spray or dry shampoo — Helps piece out waves, revive the crown, and keep second-day hair from lying flat.
-
Smoothing serum — A small amount on the last two inches keeps frizz down on blunt or sleek styles.
-
Duckbill clips — Handy for setting the crown while the hair cools or for pinning back one side of a tucked style.
-
Wide-tooth comb — Better than a fine comb for curls and wavy hair that needs to stay separated, not ripped apart.
What to Ask for at the Salon
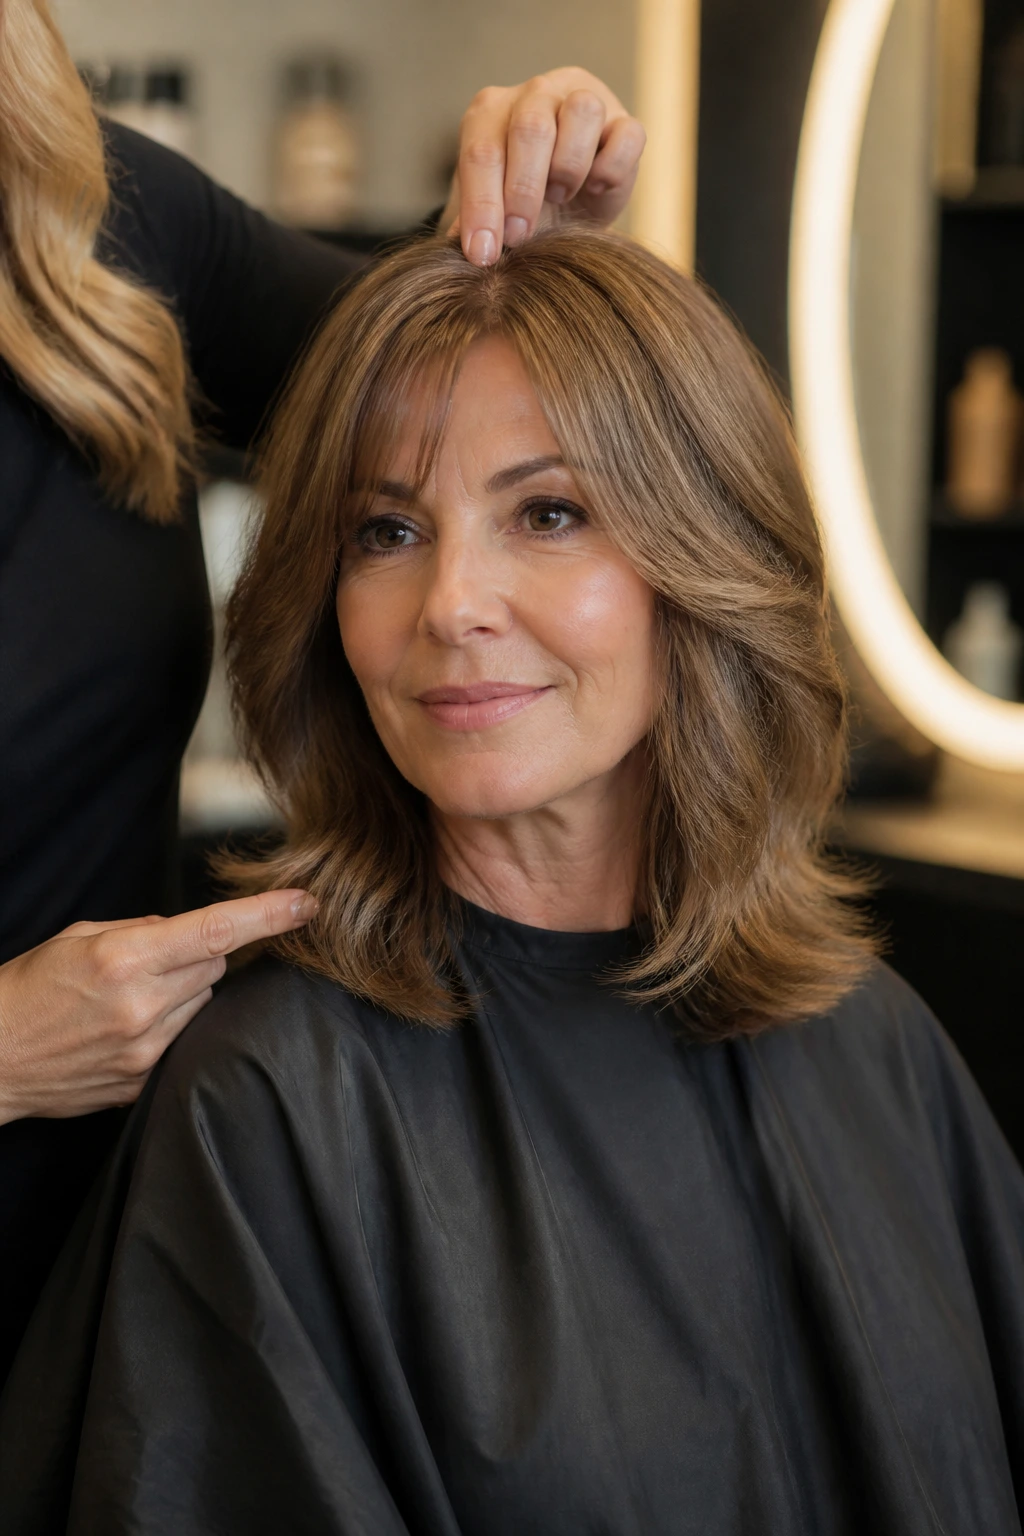
Bring pictures, yes, but bring the right kind. Show the stylist shoulder-length cuts on hair that looks like yours, not a model with twice your density and no visible cowlicks. That matters more than people want to admit. A photo only helps if it matches the real hair on your head.
Talk about where your hair lands when it dries. If it flips at the shoulders, say so. If the crown falls flat by midday, say that too. If you wear glasses every day, mention the frame shape so the front pieces can be cut to sit with them instead of colliding with them.
The question I’d ask first is simple: Where will the shortest layer start? If your hair is fine, you usually want that answer lower than you think. If your hair is thick, a stylist can go a little higher, but only with a plan for weight removal underneath. Too much texturizing at the wrong place can leave the ends looking chopped up instead of airy.
And one more thing: if you air-dry most days, say it out loud. A cut that only looks right after a salon blowout is not a good everyday cut. It just isn’t.
How to Wear These Cuts on Real Mornings
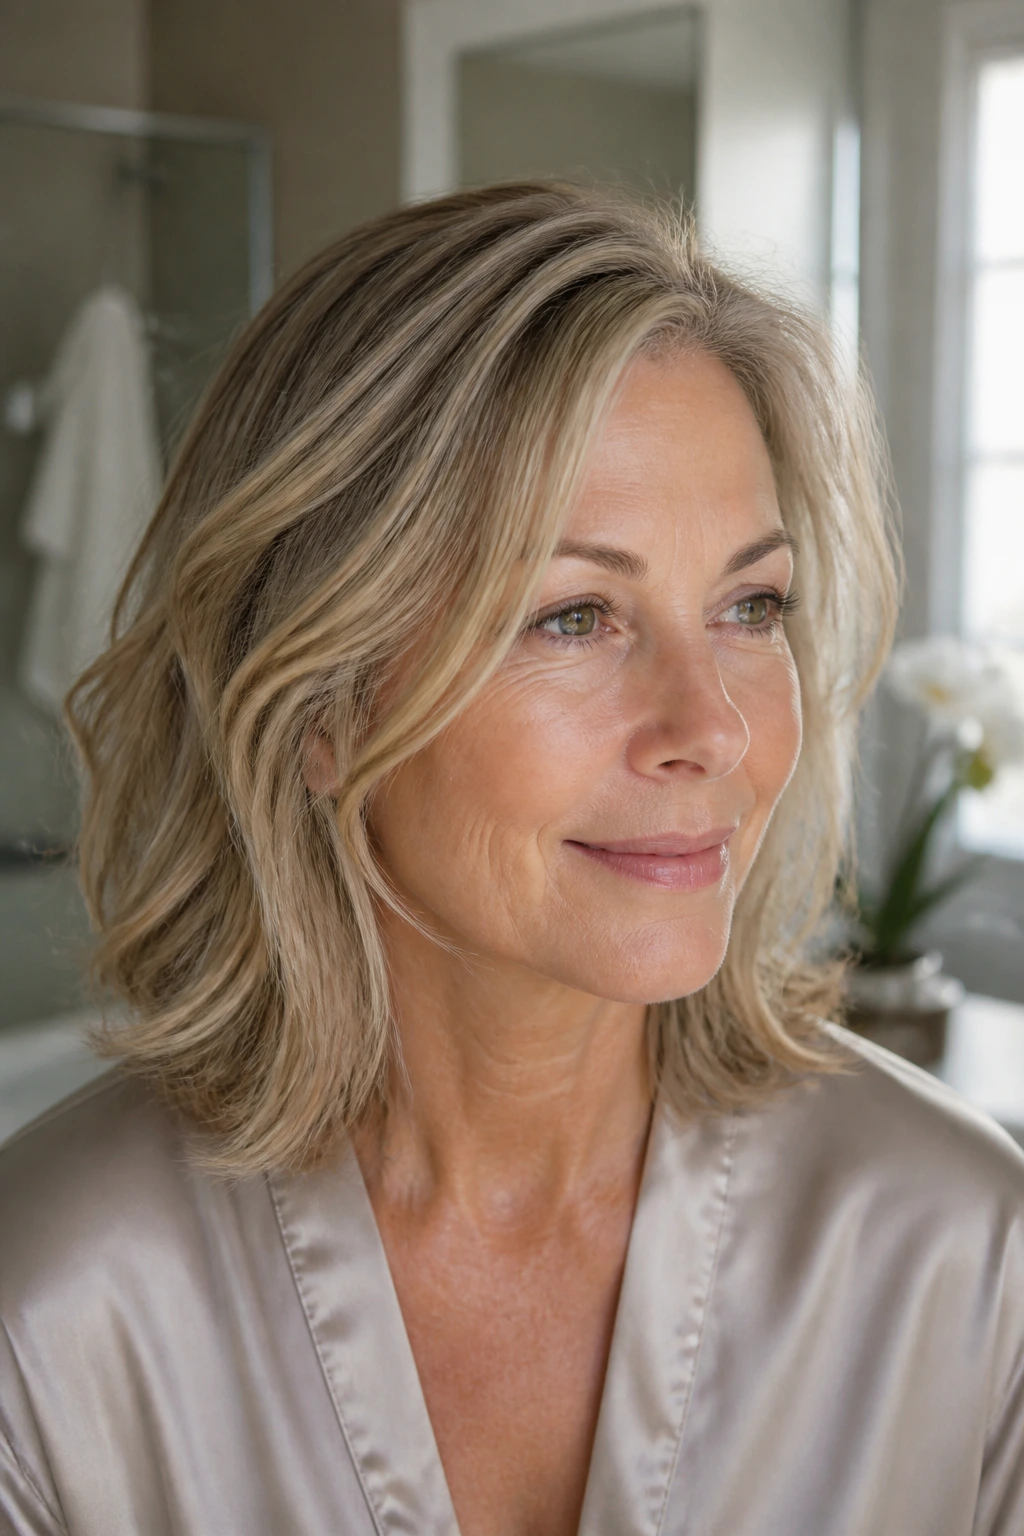
Air-Dry Days: Work a small amount of leave-in conditioner or curl cream through damp hair, then scrunch or twist the front pieces into place. Clip the crown for ten minutes if you want a little lift at the roots. Let the shape set before you touch it again.
Blowout Days: Rough-dry the roots first, then use a round brush on the top and front sections. Focus on the part line, the crown, and the last two inches of the hair. That’s where the shape shows first.
Quick Fix Days: Shift the part a half inch off center, tuck one side behind the ear, and mist the ends with a little texturizing spray. It looks deliberate and takes almost no time.
Dressier Moments: Add soft bend with a curling iron, then brush it out slightly so the wave looks lived-in rather than curled into place. Finish with a small amount of shine spray on the surface only. Not the roots.
Small Moves That Change the Whole Look

Root Lift: A dime-sized amount of mousse at the crown can change a flat shoulder-length cut more than a whole bottle of shine spray ever will. Work it in on damp hair and lift the roots while drying.
Texture Balance: If the style looks puffy, smooth the surface with a touch of cream or serum and stop touching it. If it looks limp, wake it up with dry shampoo at the roots and a few finger-separated bends through the ends.
Part Shift: Moving the part even a little can change where the volume falls. A side part gives height. A center part reads softer and more symmetrical. Both work. They just do different jobs.
Finishing Touch: Tuck one side behind the ear, leave the other loose, and you get instant shape with almost no effort. It sounds minor. It isn’t.
Common Mistakes That Make Shoulder-Length Hair Misbehave

The first mistake is cutting the ends so they hit exactly on the shoulder. That’s the collision point. Hair catches there, flips there, and creases there. If that happens, the fix is simple: either move the line slightly above the shoulder or let it fall clearly below the rub point so it clears the seam.
Another common problem is over-layering fine hair. The ends start to look see-through, and the whole shape turns wispy at the bottom. If that’s your hair type, keep the perimeter blunt and ask for long internal layers only if the stylist truly needs them.
Product overload is a sneaky one. A heavy serum on the roots makes the crown flat. Too much mousse makes the hair stiff. Too much texture spray turns the ends tacky. Use the smallest amount that does the job, and keep rich products off the scalp unless your hair is coarse and thirsty.
Skipping trims is the last easy way to wreck a good shoulder-length cut. Once the ends start brushing the shoulder all day, they fray faster and the shape loses its clean line. A light trim at the right interval is cheaper than trying to rescue a worn-out outline.
Variations and Adaptations to Try

The Silver-Gloss Edit: Keep the cut soft and simple, then add a gloss or shine treatment that makes gray, white, and silver strands look crisp instead of dry. This works well with a side part or gentle wave.
The Fine-Hair Lift Version: Use a blunt base, a little root lift, and only the lightest face-framing layers. The cut should feel compact and clean, not feathered into nothing.
The Thick-Hair Breeze Version: Ask for internal weight removal and blended layers that let the hair fall instead of spreading out. This version dries faster and sits closer to the head.
The Curl-First Version: Let the stylist shape the hair around your curl pattern rather than forcing it into a straight-line plan. A dry cut or curl-by-curl shape is usually the smarter call.
The Glasses-Friendly Fringe Swap: Choose curtain bangs or bottleneck bangs that open away from the frames. They soften the face without crowding the eyes.
Keeping Shoulder-Length Hair in Shape Between Salon Visits
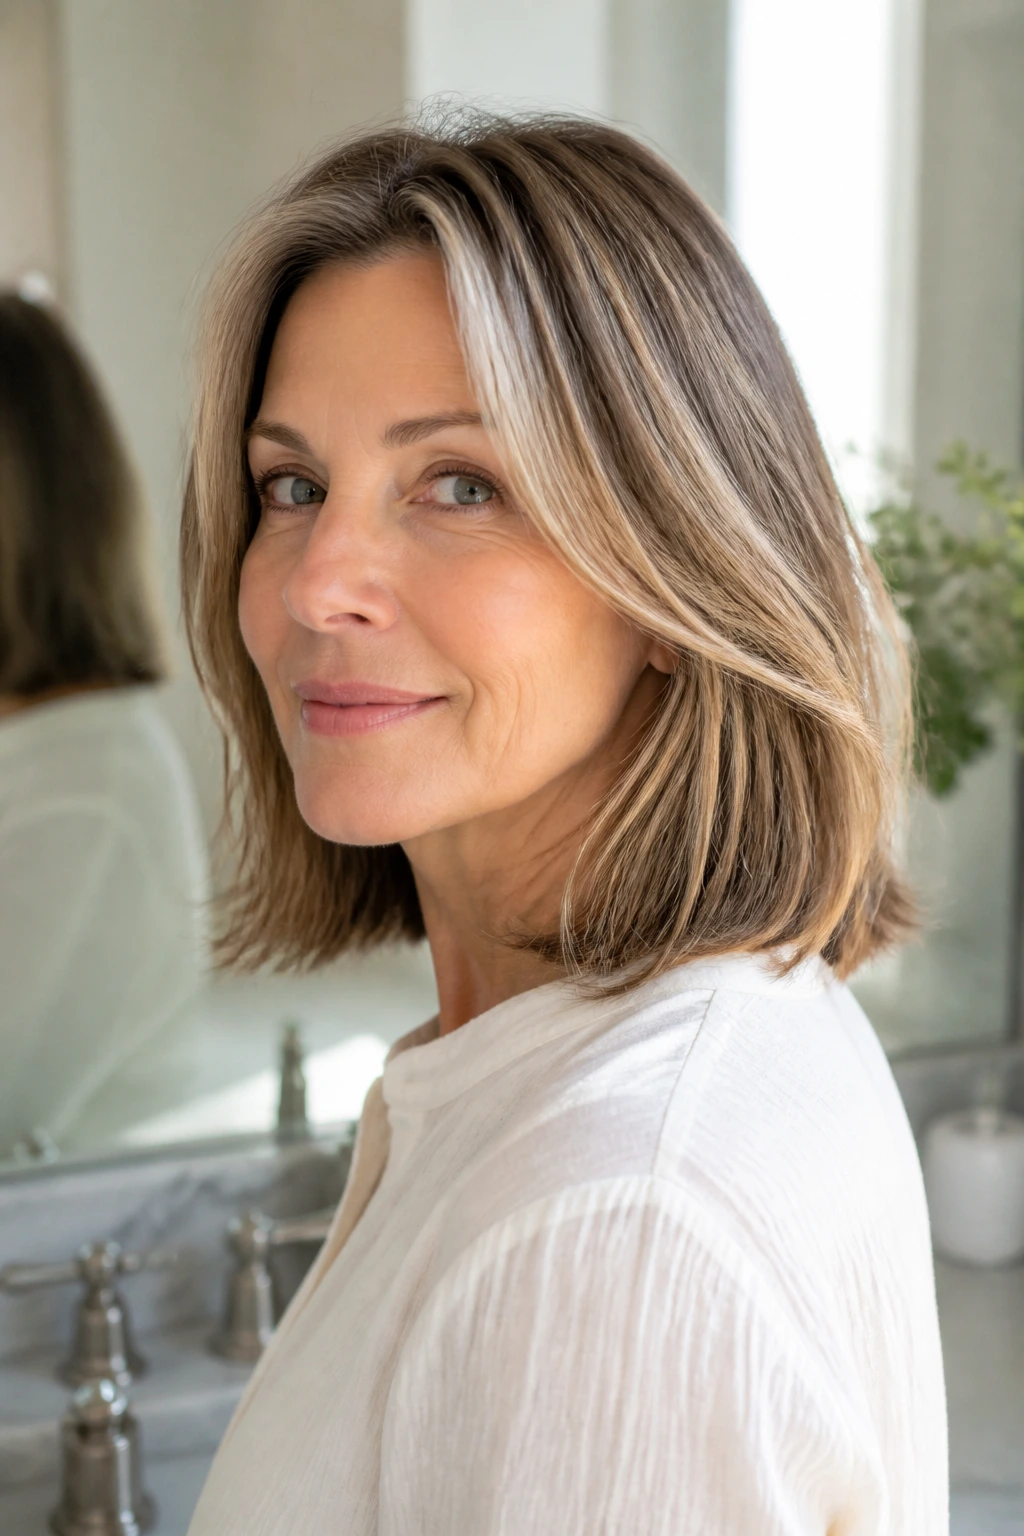
Trim timing matters more at this length than many people think. A blunt lob usually wants a tidy-up every 6 to 8 weeks if you want the line to stay crisp. Layered cuts and waves can stretch to 8 to 10 weeks, as long as the shape still sits cleanly around the shoulders.
Gray or color-treated hair often benefits from a weekly moisture mask. Not because it’s glamorous. Because dry ends at shoulder length show up fast in the mirror. A mask once a week keeps the ends from feeling rough, especially if you use heat tools. If your hair turns brassy, a purple shampoo every 1 to 2 weeks can help, but don’t leave it on so long that the hair takes on a dull cast.
Clarifying shampoo belongs in the rotation too. Once every 2 to 4 weeks is usually enough if you use dry shampoo, mousse, and spray. If the roots start feeling coated or the style loses lift faster than usual, a clarifying wash can reset the hair. Follow it with conditioner on the lengths, not the scalp.
For day-to-day upkeep, brush gently from the ends upward, and stop yanking at tangles when the hair is damp. That’s when shoulder-length hair breaks most easily. A wide-tooth comb or a detangling brush does the job with less drama.
Frequently Asked Questions
Is shoulder-length hair flattering if my hair is fine?
Yes, if the cut is built correctly. A blunt or softly tapered perimeter usually gives fine hair more presence than long layers do, because the bottom edge stays visible and dense. Keep the layers long and the products light.
What is the lowest-maintenance shoulder-length hairstyle?
A blunt collarbone lob or an air-dry cut is usually the easiest. Both hold shape with minimal styling, especially if your hair has a little natural bend. The blunt lob needs cleaner trims; the air-dry shape needs a product routine that does not weigh it down.
Can I wear shoulder-length hair with gray or silver strands?
Absolutely, and shoulder length often shows silver in a better way than very long hair does. The color variation reads more clearly when the cut has movement. A little gloss or moisturizing care keeps the texture from feeling coarse.
What if my hair flips out at the shoulders?
That usually means the length is landing on the exact point where your shoulders catch it. Ask your stylist to shift the line a bit higher or lower so the ends clear the contact point. A round brush or a quick iron bend can also calm the flip temporarily.
Do bangs work after 50?
They can, but the shape matters. Curtain bangs and bottleneck bangs are often easier to live with than blunt fringe because they blend better as they grow. If you want bangs, keep them long enough to move with the rest of the haircut.
How often should shoulder-length hair be trimmed?
Most cuts do best with a trim every 6 to 10 weeks, depending on how blunt the shape is and how fast your hair grows. If the ends start sitting on the shoulder every day, the cut is already losing its line. That’s the time to book, not three weeks later.
Can shoulder-length hair still be put up?
Yes. Half-up styles, low clips, small buns, and braids all work at this length. You just need enough hair through the crown and sides so the updo does not look thin or over-tight.
Should I ask for layers if my hair is thick?
Usually, yes, but not short choppy ones unless you want a lot of texture. Thick hair often needs internal weight removal and blended layers so it sits closer to the head and dries faster. The wrong layers can make it puff out instead of soften.
The Length That Still Has Options

Shoulder-length hair keeps winning because it does a rare thing: it gives you shape without locking you into one kind of styling life. You can wear it straight, wavy, tucked, curled, clipped, or air-dried, and it still feels like a real haircut instead of an accident that happened around your shoulders.
The best part is how much the details matter. A collarbone blunt line, a face frame that starts at the cheekbone, or a small shift in the part can change the whole mood of the cut. That’s why this length stays useful after 50. It has room for texture, room for movement, and enough structure to hold up in the real world.
If you want a haircut that can take a sweater, a blowout, a silver streak, or a messy Tuesday and still look like it belongs there, this is a strong place to start.
