



Summer hairstyles for medium length hair live in that sweet lane between freedom and control. Long hair can get heavy fast, and short hair often runs out of options the second you want a braid, a twist, or something that stays off your neck. Medium length gives you enough room to work, but not so much length that every style turns into a wrestling match with bobby pins.
That middle zone matters when the air gets sticky and your hair starts clinging to sunscreen, sweat, and the back of your shirt. Collarbone-length cuts, shoulder-length shags, and lobbed layers all behave a little differently, but they share one useful trait: they can be tucked, twisted, braided, and clipped without looking overbuilt. A lot of people fight medium hair because it seems too short for updos. I’d argue the opposite. It’s the easiest length to make look intentional without spending twenty minutes in front of a mirror.
The best styles here do two things at once. They keep heat off your face and neck, and they still leave enough movement to look soft, not stiff. That balance is the whole trick. Once you stop chasing oversized buns that sag or braids that unravel by lunch, medium hair gets a lot more interesting.
Why These Summer Hairstyles Work So Well on Medium Hair
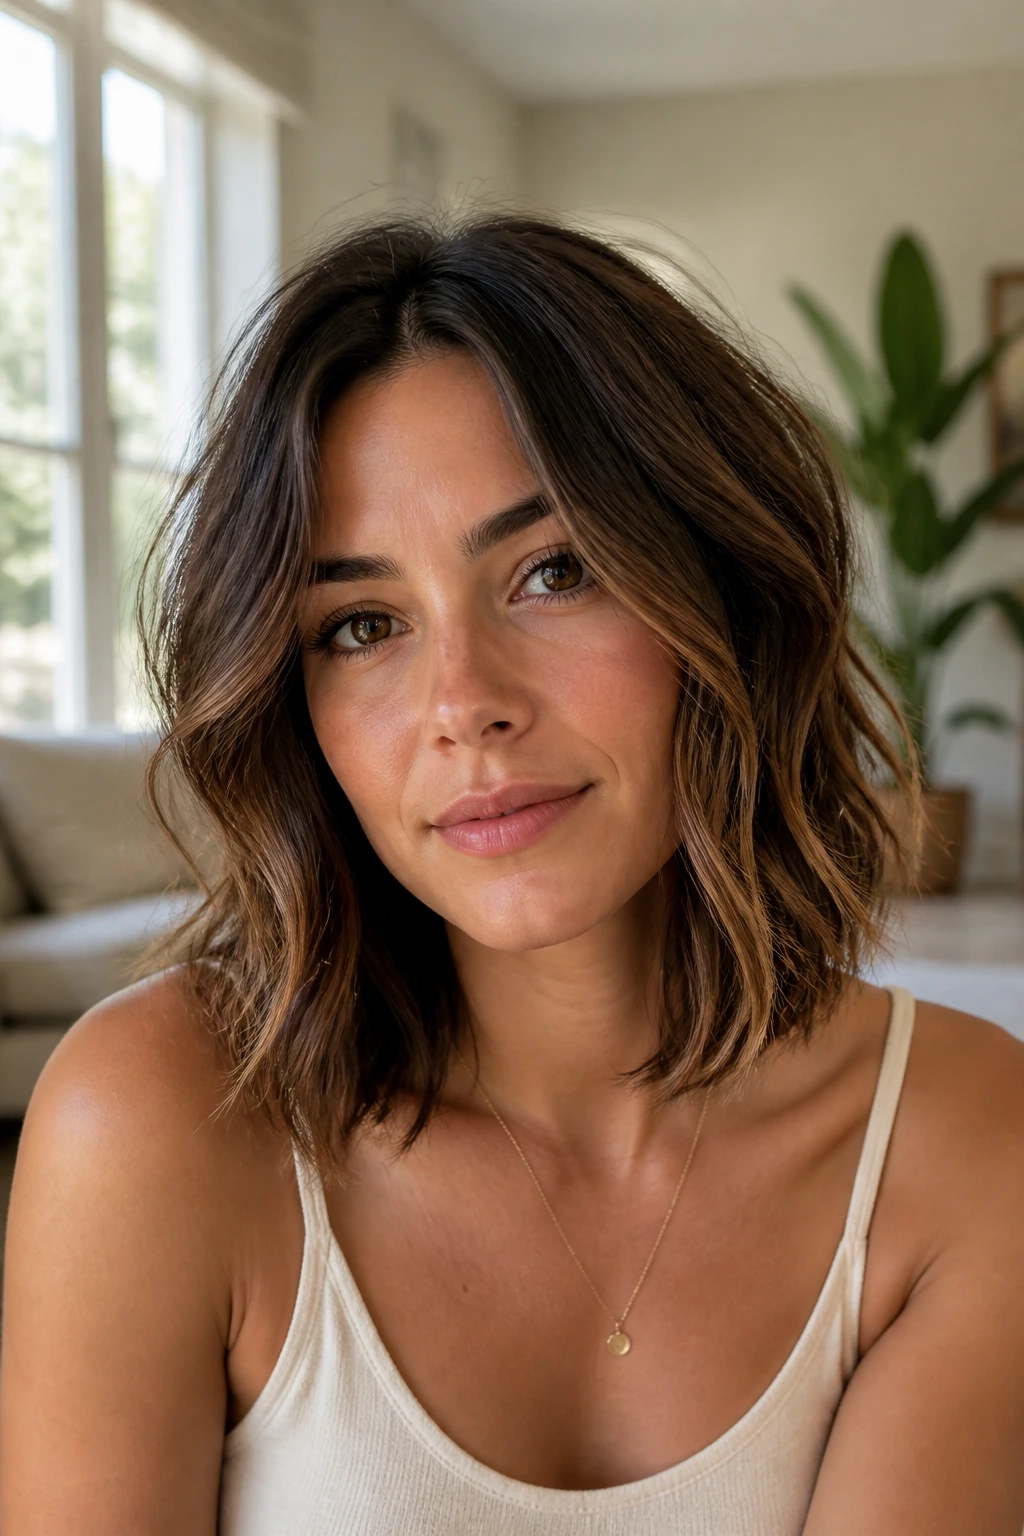
Heat relief without the heavy-duty fuss: Medium hair is light enough to twist up fast, so you can clear your neck in under five minutes and skip the giant bun that slides down by noon.
They use your length instead of fighting it: These looks lean into shoulder-grazing ends, face-framing pieces, and half-up shapes that sit where medium hair naturally wants to fall.
They hold up better than you’d think: A collarbone cut gives claws, pins, and elastics something to grip, which means you get more staying power than very silky long hair often allows.
They work with day-two texture: A little bend, a little grit, maybe a dry shampoo cloud at the roots — that’s not a problem here. It’s useful.
They fit real summer plans: Pool days, outdoor dinners, office commutes, weddings, grocery runs. The same hair can move between all of them with a tiny change in finish.
They spare your hands: That sounds small, but it matters. The less time you spend restyling hair that keeps falling apart, the more likely you are to actually wear it up.
1. Air-Dried Claw-Clip Twist
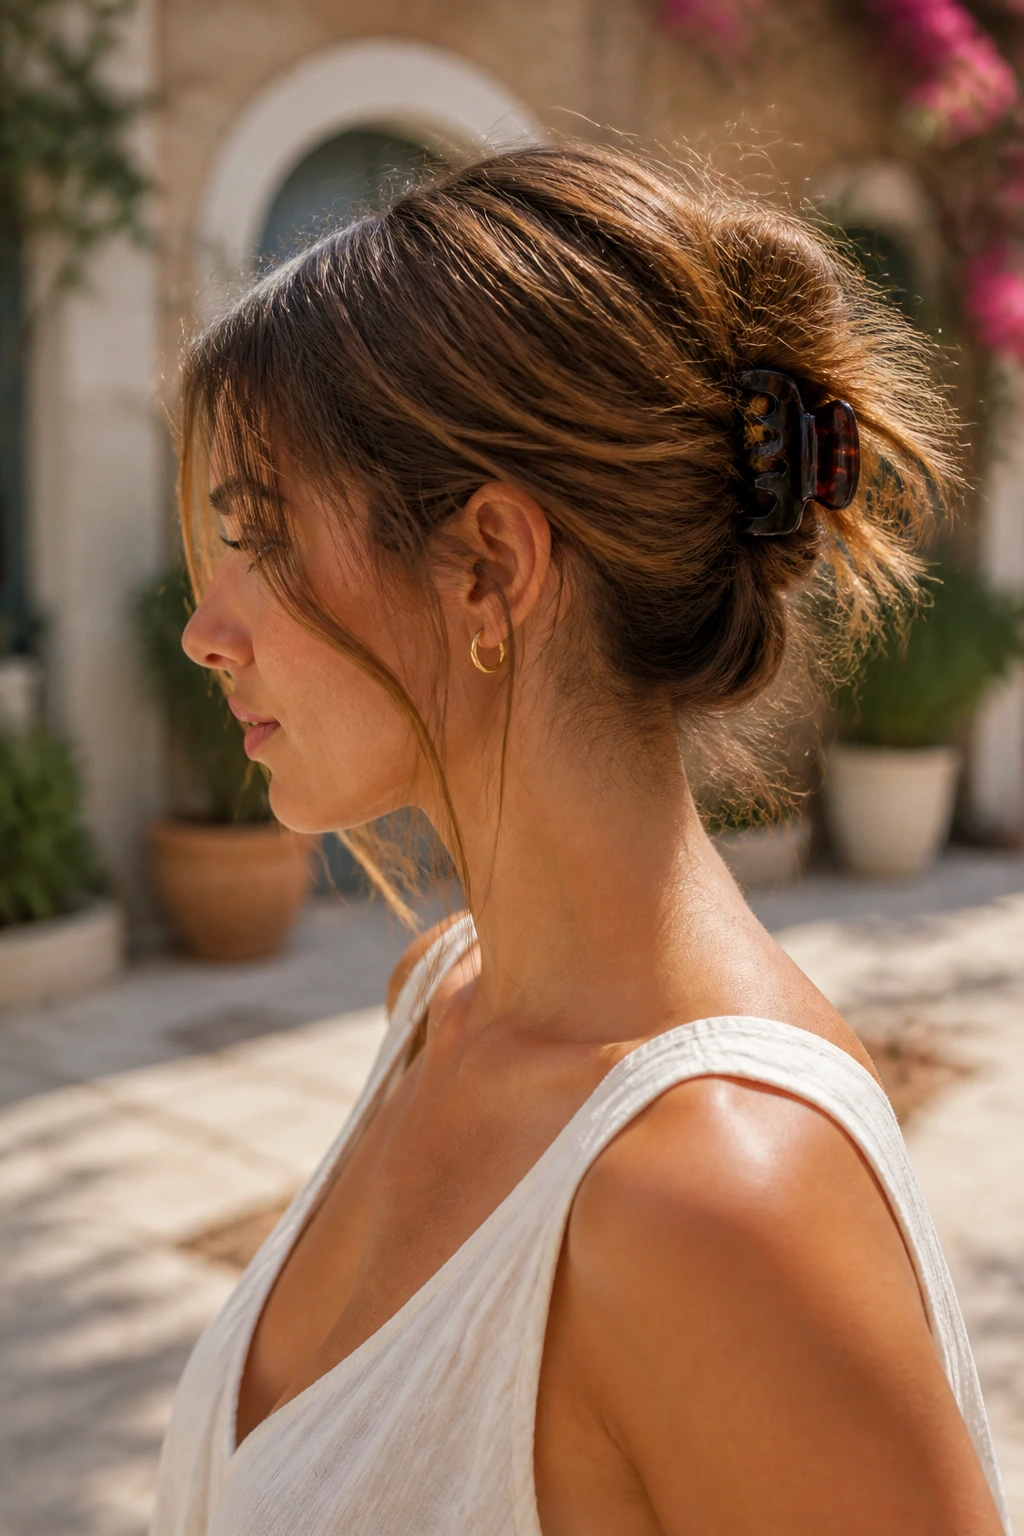
This is the style I reach for when the weather feels thick enough to chew. Pull the hair back loosely, twist it upward from the nape, and let the ends fan out in a medium claw clip. It should look a little undone. If the twist is too neat, it starts to feel formal fast.
What makes this work on medium length hair is the clip-to-length ratio. A 3-inch or 4-inch clip usually holds collarbone-length hair better than a huge decorative one, because the clip can actually bite into the twist instead of skimming over it. If your ends slip, mist the lengths with dry shampoo first. That gives the clip something dry and slightly rough to hold onto.
Best for: second-day hair, humid afternoons, and those days when you want your hair up but not slicked tight.
Watch the tension: Too much pulling at the front makes the style look severe. Leave a little lift at the crown.
A quick finger-comb at the end is enough. No need to overthink it. The best version of this style always looks like you got dressed fast and made the smart choice.
2. Sleek Low Bun with Face-Framing Pieces
Why does this look keep showing up everywhere? Because it solves the summer problem without pretending hair has to be perfect. Brush the hair into a low ponytail at the nape, twist it into a bun, and leave two thin pieces out near the temples or jawline. That soft fringe changes the whole mood.
The key is control at the crown and softness at the edges. Use a pea-sized amount of smoothing cream or light gel before brushing back the top layer. You do not need to drown the hair. Too much product turns medium-length hair into a greasy sheet, and that’s a fast way to ruin the shape. Keep the bun low and slightly flat rather than puffed out like a doughnut.
I like this style for hot dinners, office days, and any event where you want your hair off your neck but still neat enough to read as deliberate.
Best for: straight, wavy, or lightly layered hair that tends to frizz around the hairline.
Tiny upgrade: Wrap a small strand around the elastic. It takes ten seconds and makes the whole bun look more finished.
3. Center-Part Beach Waves
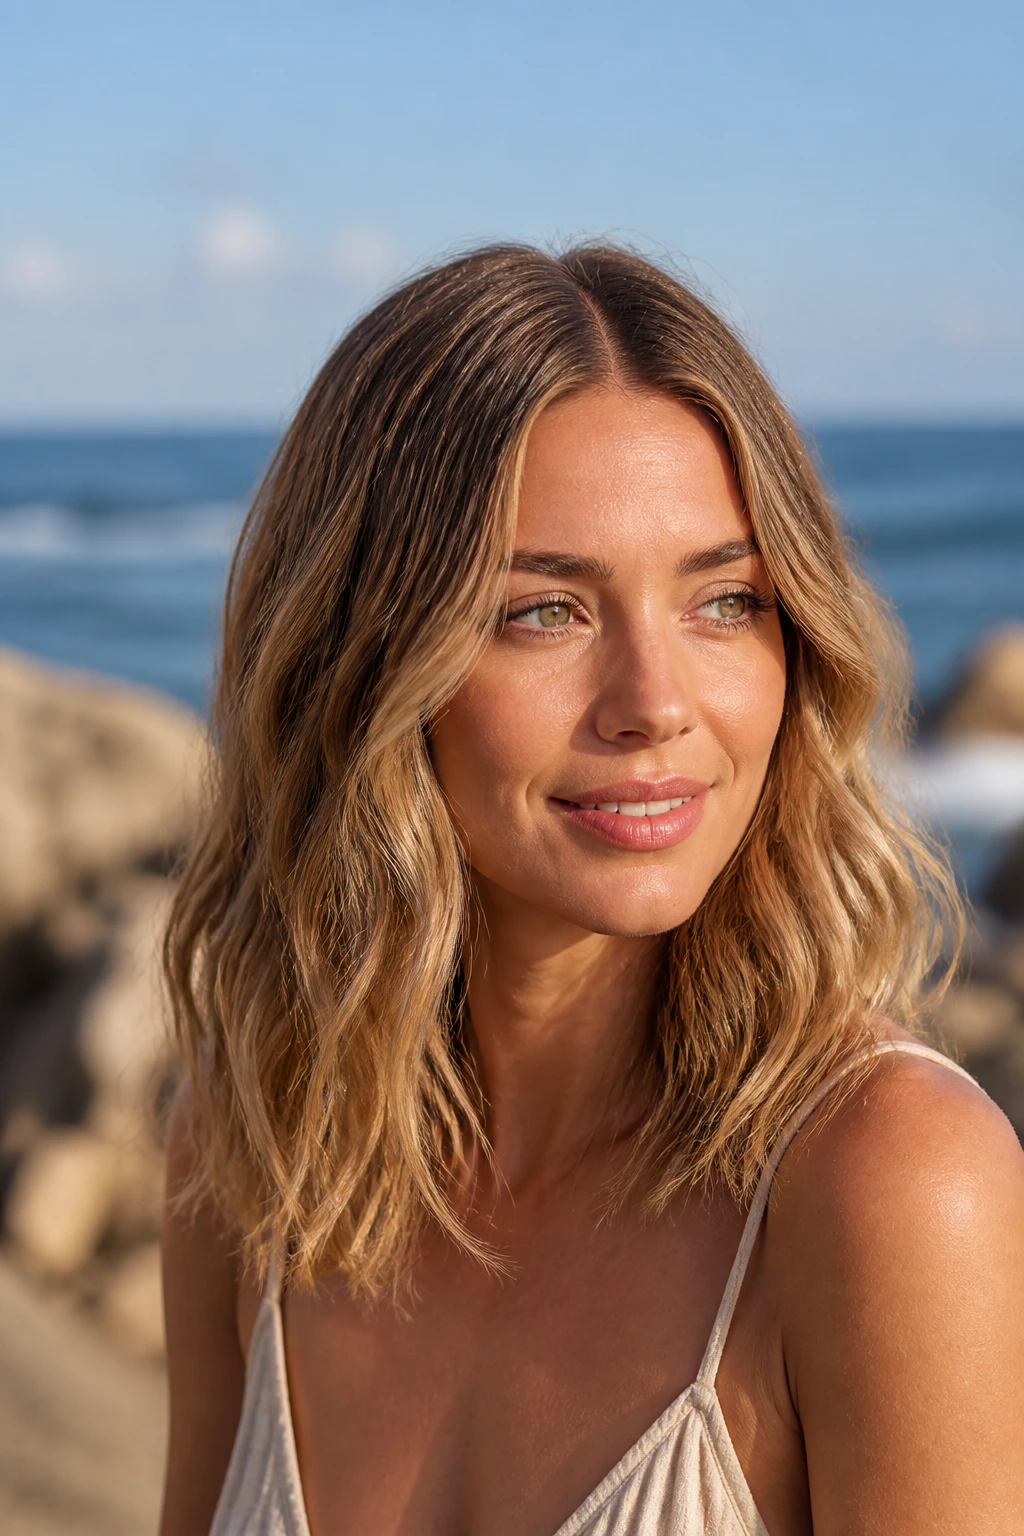
Beach waves can go wrong fast on medium hair if you overcurl them. The sweet version is loose, bent, and touchable, with the ends left a little straighter than the middle lengths. A 1-inch curling wand or flat iron bend works well. So does overnight braiding if you’d rather skip heat.
The part matters. A clean center part keeps the look modern and stops the waves from turning into a side-heavy blob. Work a light salt spray or texturizing spray through damp hair, then scrunch the mid-lengths and ends. If your roots puff up too much, smooth a small amount of cream near the scalp before drying. That keeps the top from frizzing while the rest stays lived-in.
How to keep the wave loose
Don’t curl every strand from root to tip. Start the wrap around ear level or just below the cheekbone. Leave the last inch or two out of the iron so the ends stay soft and not springy.
This style looks best when it moves. If every wave is the same size, the hair starts to look molded instead of relaxed. Uneven bends are the point.
4. Half-Up Knot at the Crown
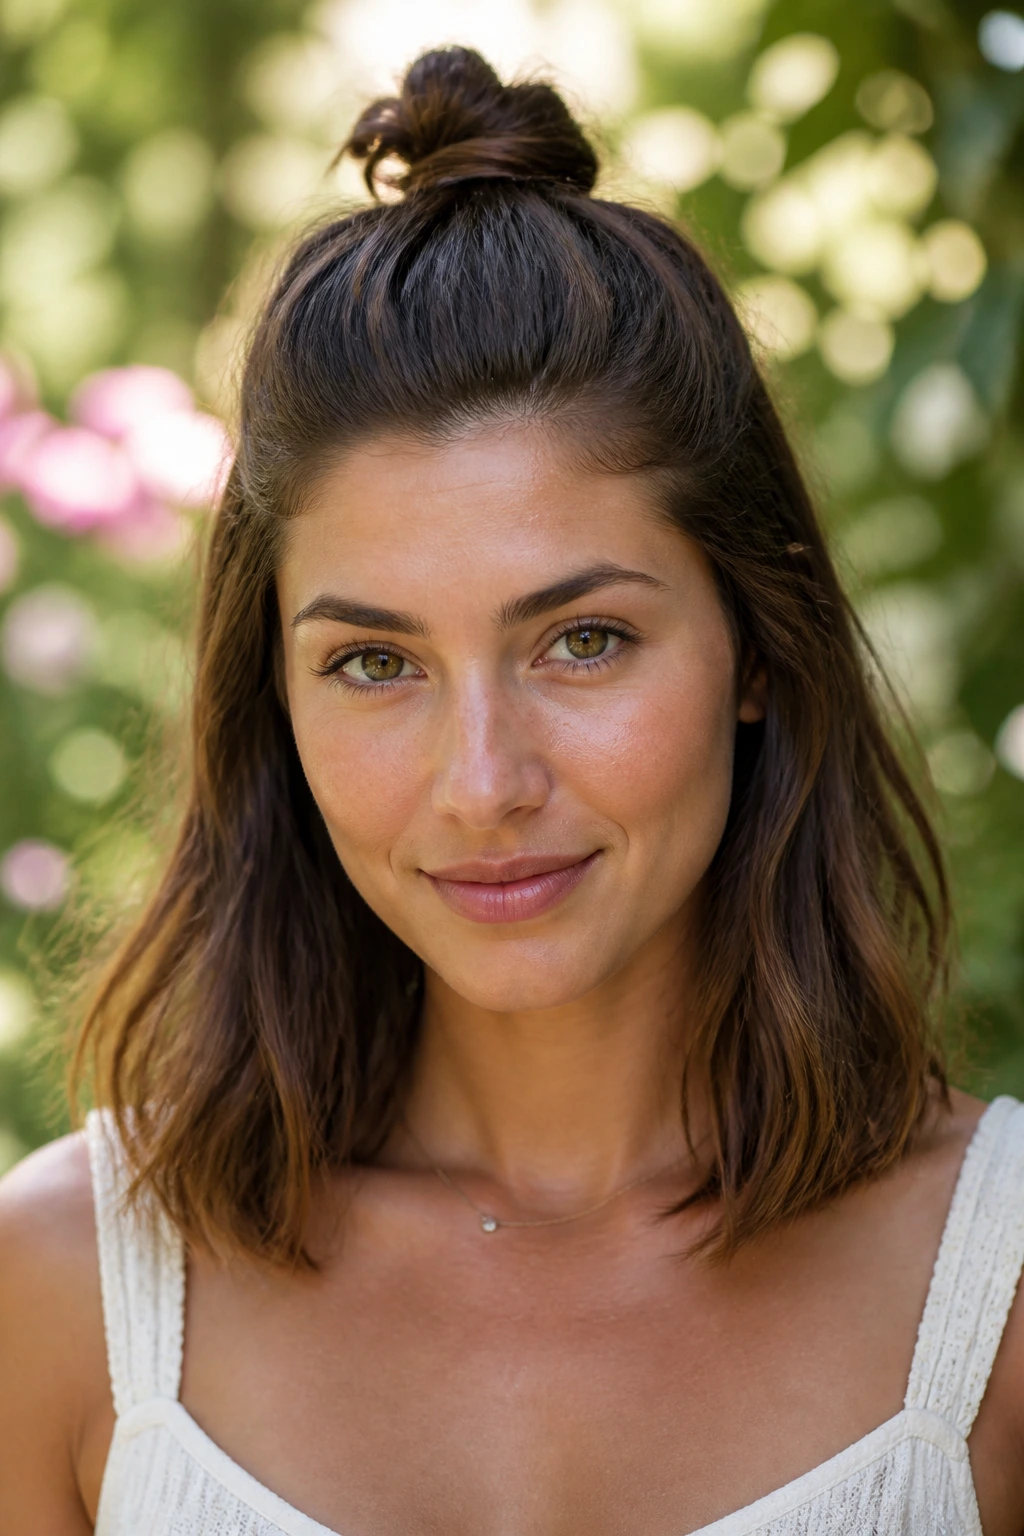
A half-up knot is one of those styles that looks more deliberate than the effort it takes. Gather the top section from temple to temple, twist it once or twice, and tie it into a small knot or mini bun at the crown. The lower half stays down, so you still get length and movement.
Medium length hair does this nicely because the knot doesn’t have to carry much weight. That matters. On long hair, these knots can get bulky. On medium hair, they sit in the right place and don’t topple backward after an hour. If your layers slip out, mist the top section with a bit of texture spray before gathering it.
The half-up shape is also a good answer for hair that feels too flat to leave down but too short for a full bun. It gives the crown some lift without making you look like you’re trying to be too polished.
A small tip: place the knot slightly higher than you think you should. Too low, and it disappears into the hair. Too high, and it starts to read like a tiny topknot. The middle ground is the good one.
5. Braided Crown Half-Up
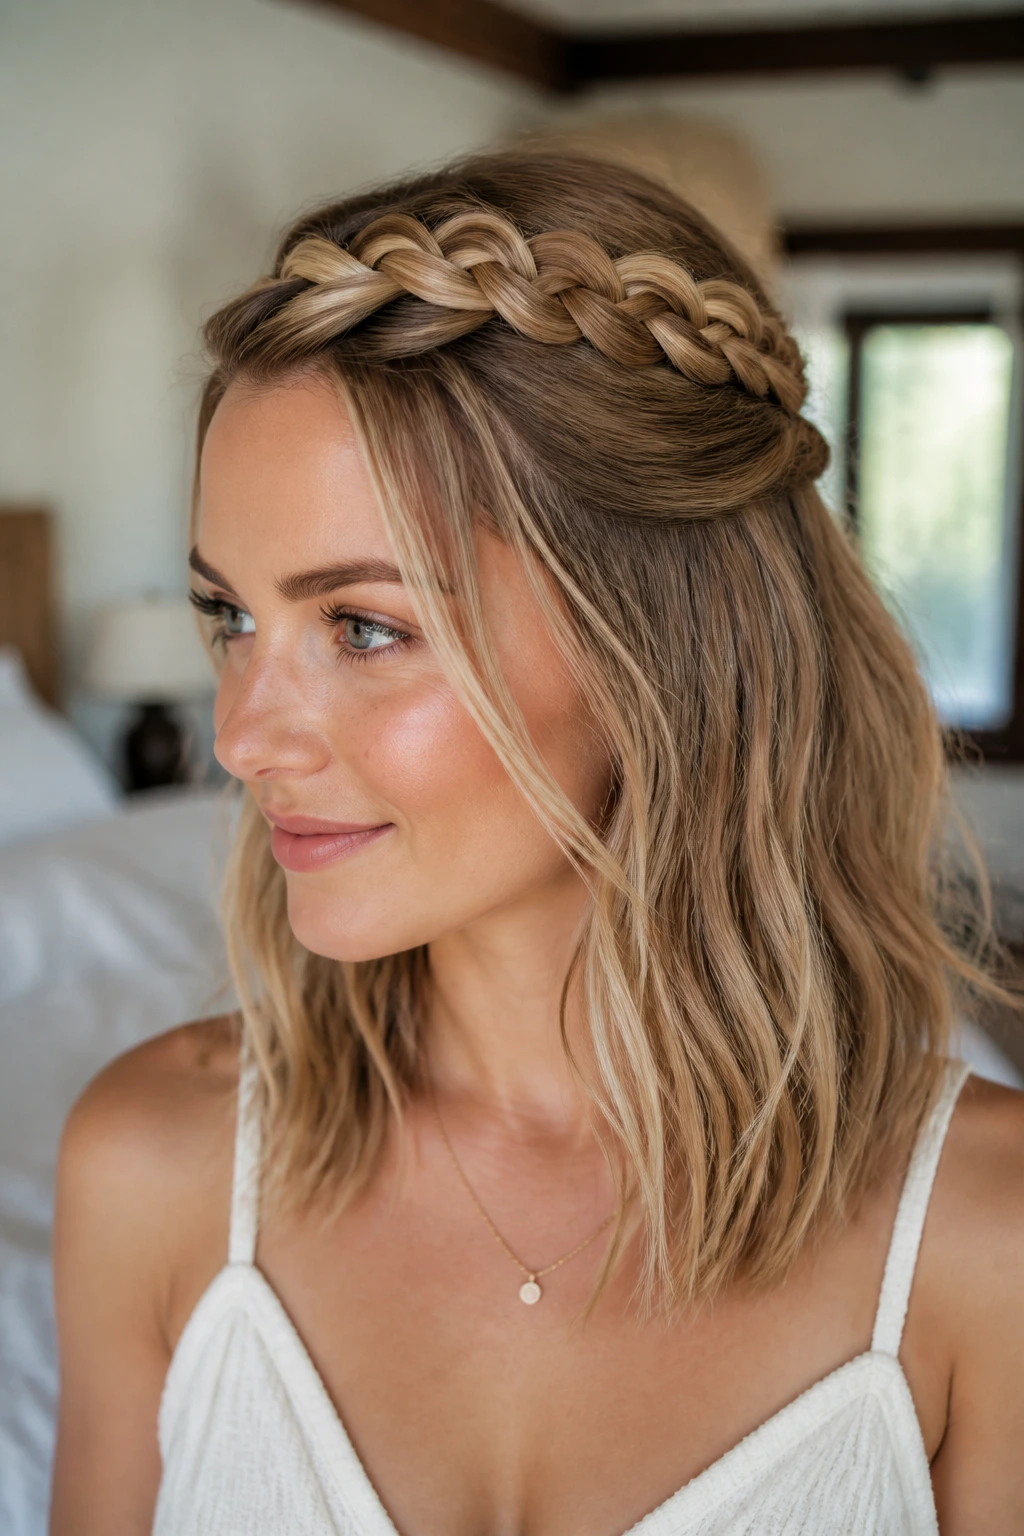
This one looks more involved than it is, which I always appreciate. Take a section from each temple, braid or twist them back along the sides of the head, and pin them together at the back. The rest of the hair stays loose. You get the cooling effect of hair off your face without sacrificing the fullness of medium length.
The trick is to keep the braid shallow. You’re not trying to make a tight festival crown unless that’s your goal. You want the braid to skim the hairline and sit flat enough that it doesn’t fight with the rest of the style. Once it’s pinned, gently widen the braid loops with your fingers. That “pancaking” step softens the line and gives the braid more surface area, which reads better on medium hair than a skinny, stringy plait.
I like this one for layered cuts because the sides can be controlled while the back stays loose. If you have short face-framing pieces, secure them with one discreet pin under the braid instead of forcing them into the plait.
It’s polished, but not stiff. That’s why it works.
6. French Braid into a Low Tail
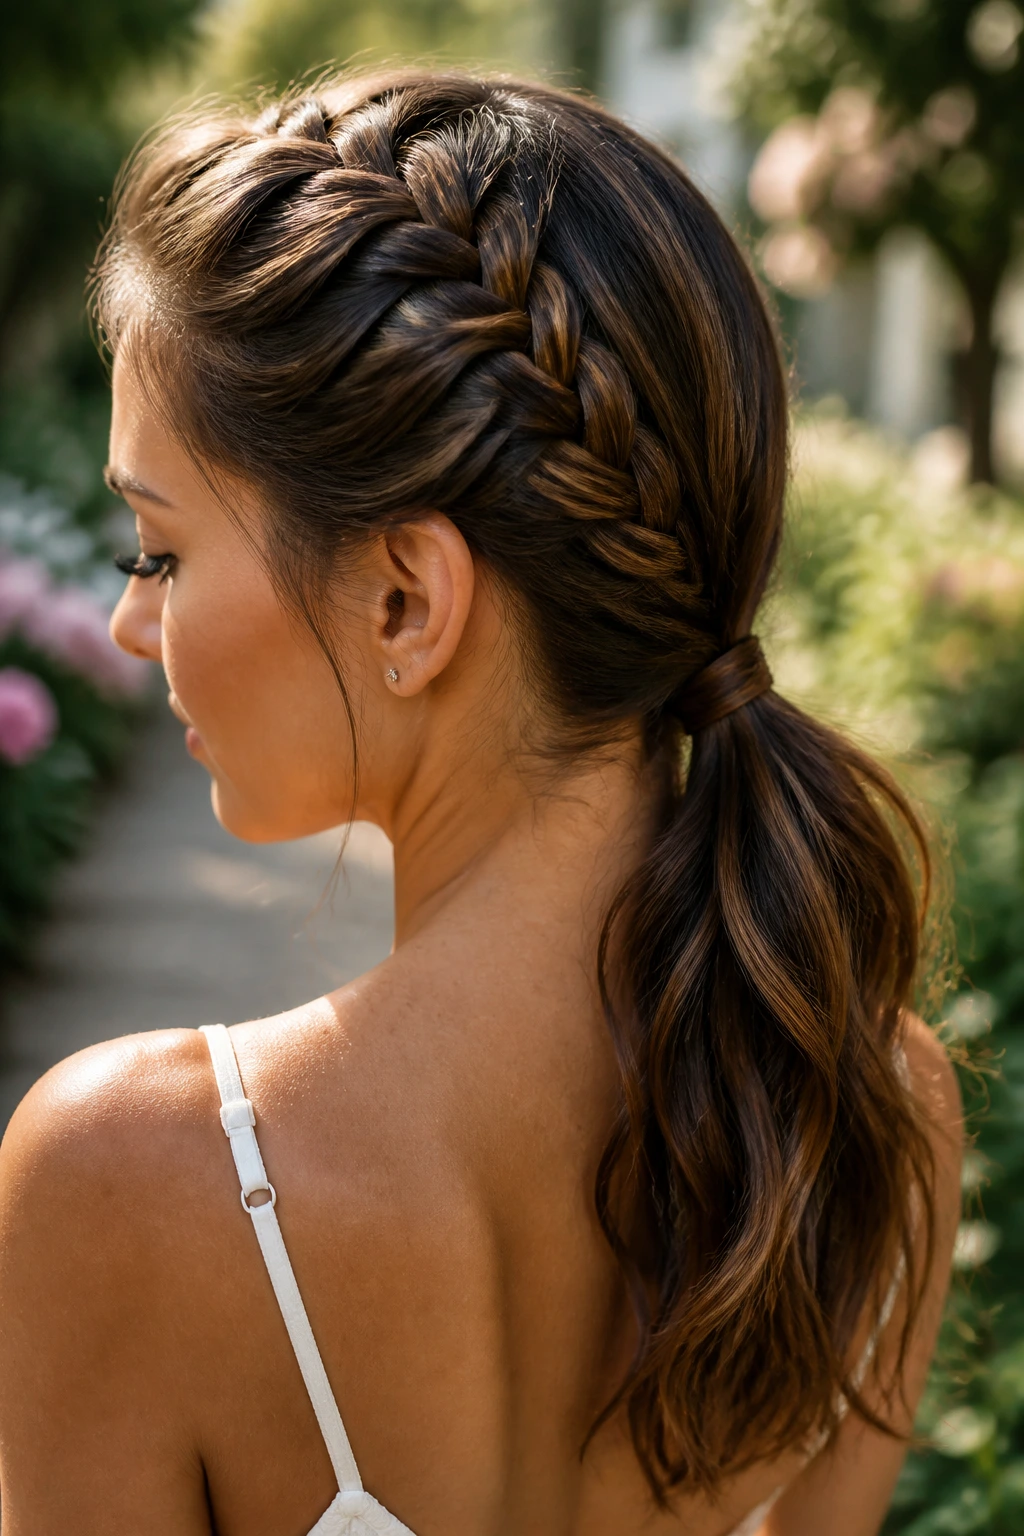
A French braid into a low tail is what I choose when I want hair locked down, not just pinned back. Start braiding at the hairline or just behind it, then continue until you reach the nape. Stop there, secure the braid, and let the remaining hair fall as a low ponytail.
The braid holds the top half in place, which is a big deal in wind and humidity. Medium hair often has enough length to grip through the braid but not enough weight to drag the whole style loose. That’s the sweet spot. If you want the style to feel less sporty, curl the tail lightly with a 1-inch iron and separate it with your fingers. It changes the whole mood in about three minutes.
This works especially well if your hair gets greasy at the roots faster than the ends. The braid covers the root area and makes the style look intentional even when the top section is on day two or three.
Practical note: Don’t start the braid too tight. It can pull the front of the hairline flat and leave the tail looking oddly skinny.
7. Bubble Ponytail
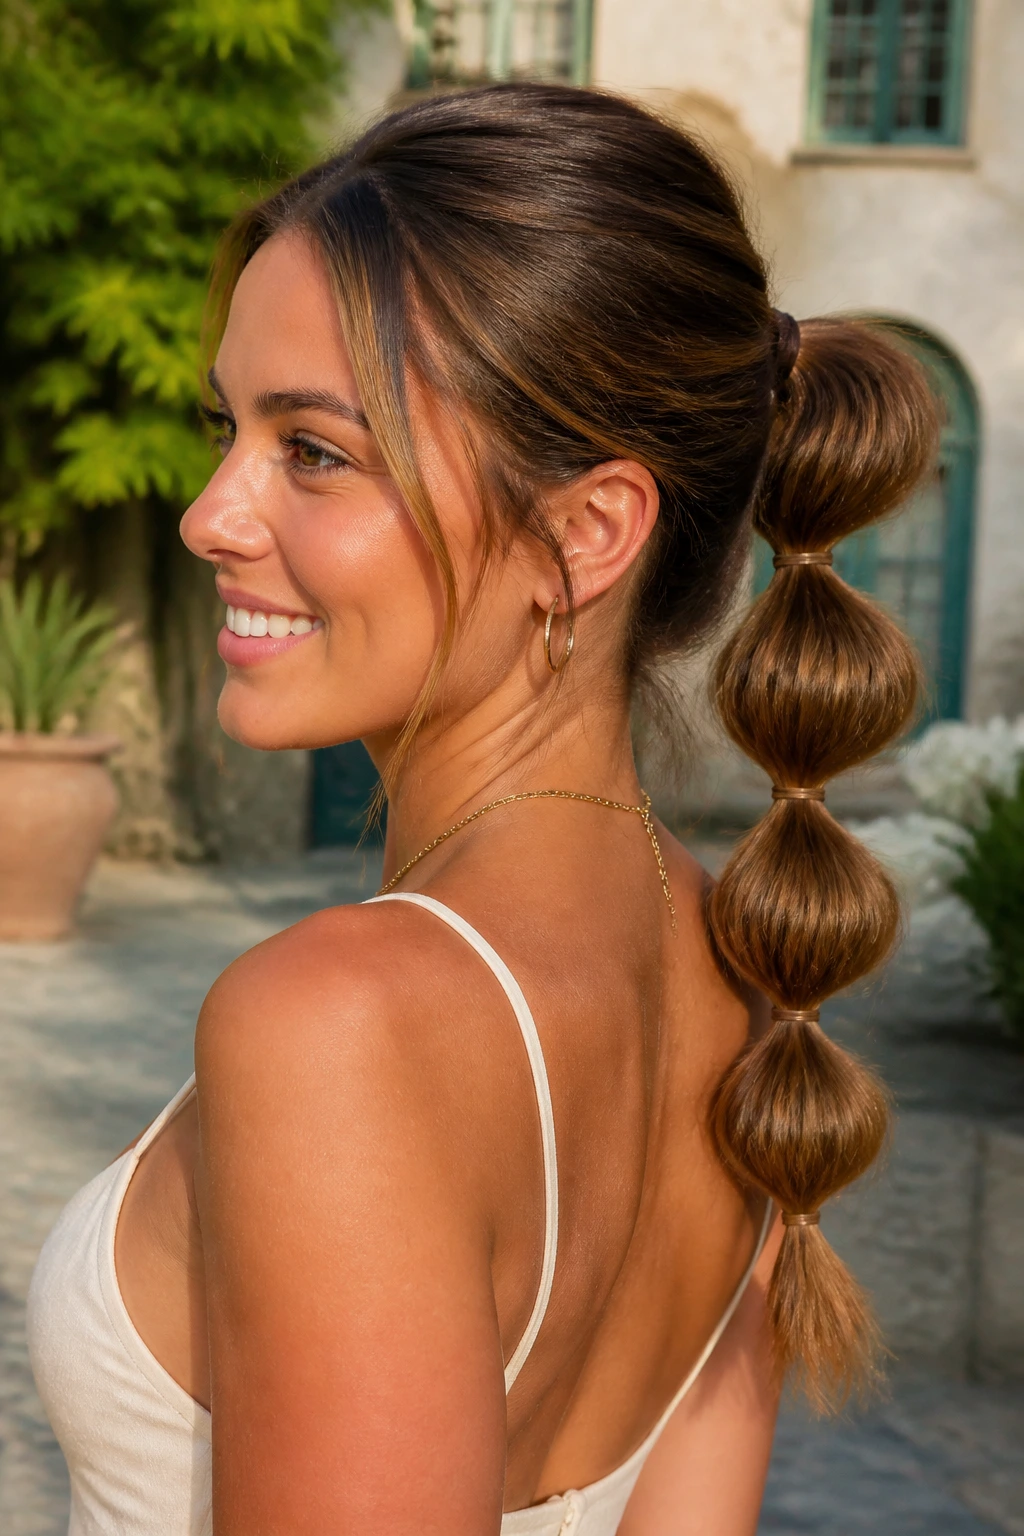
The bubble ponytail is one of the few styles that looks playful without becoming fussy. Pull the hair into a mid or low ponytail, then add small elastics every 1½ to 2 inches down the tail. Gently tug each section outward so it puffs into rounded bubbles.
Medium length hair usually gives you three to four visible bubbles before the ends run out. That’s enough. You do not need six bubbles just because you can squeeze them in. A shorter tail with clean spacing looks better than a crowded one with tiny, lumpy sections.
Here’s the trick I like most: create the ponytail a little looser than you normally would, then pinch and widen the bubbles after the elastics are set. If the sections feel limp, wrap a bit of hair around each elastic or use clear minis and cover the visible bands with thin strands.
This style is especially good when the hair has some texture already. Straight, slippery hair can still do it, but you’ll want a little dry shampoo or texture spray at the ponytail base.
A bubble ponytail has a cheerful shape. It doesn’t need much else.
8. Rope-Braid Pigtails
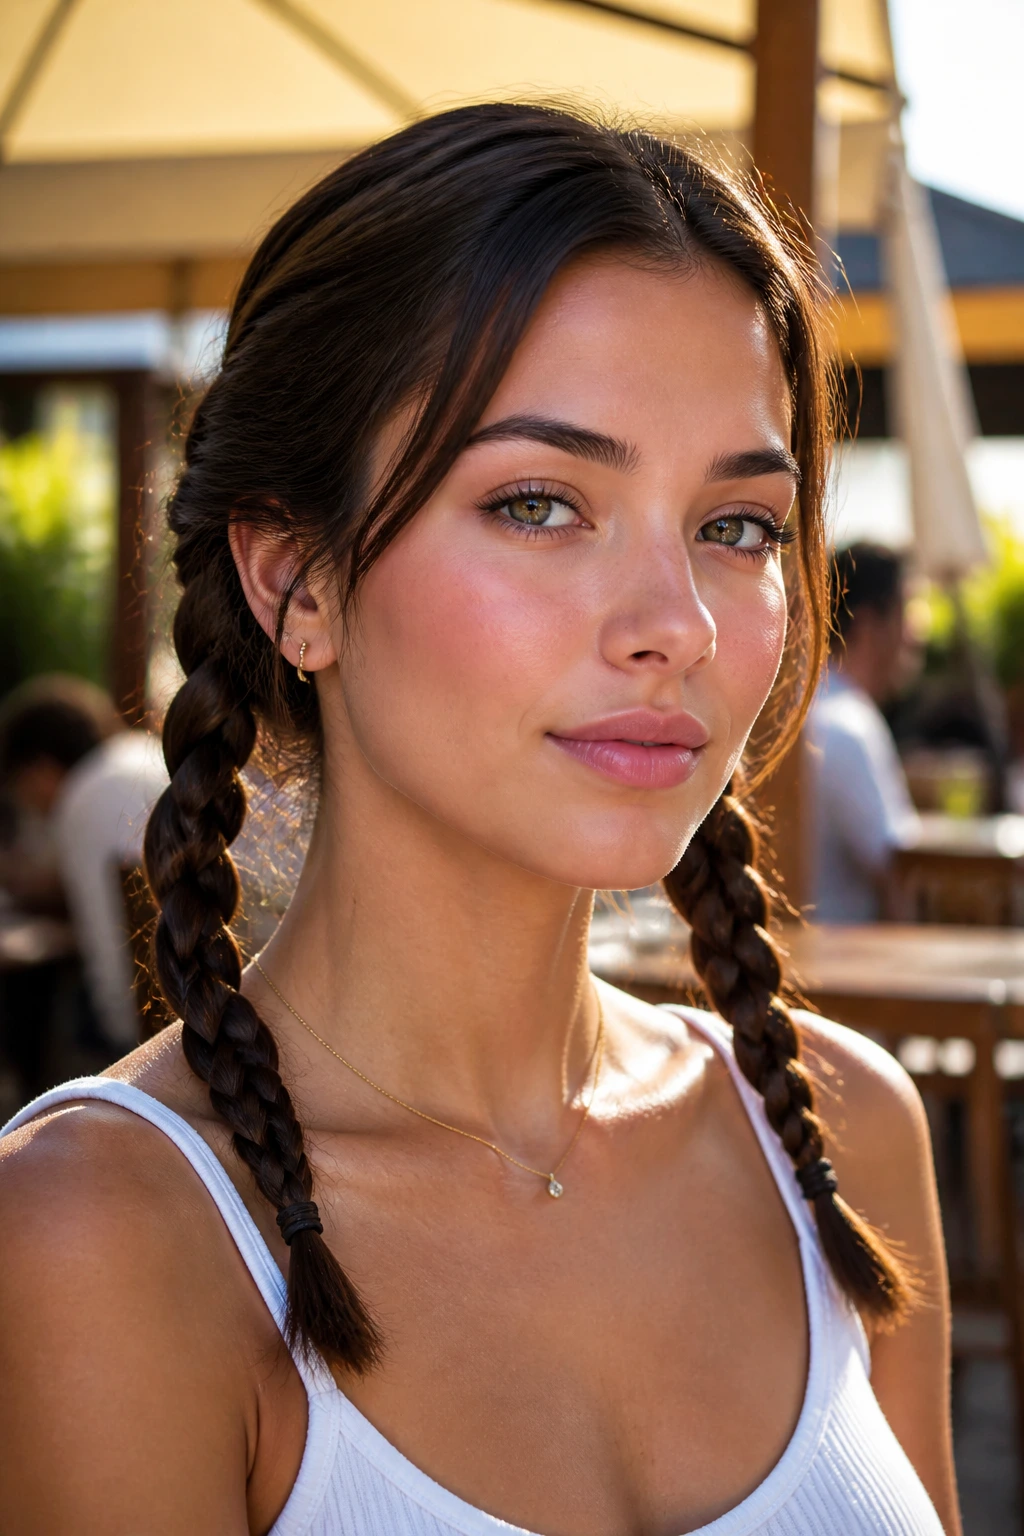
Need something cooler than a normal braid? Rope-braid pigtails are a nice answer. Split the hair into two sections, twist each one in the same direction, then wrap them around each other in the opposite direction. That gives you a rope-like braid that looks a little cleaner and sleeker than a standard three-strand plait.
Medium length hair suits this style because the braid doesn’t have to be long to read well. Even when the ends stop at the shoulders, the twist pattern stays visible. I especially like this for thick or wavy hair, since rope braids keep bulk under control without flattening everything to the scalp.
If you want the pigtails to sit lower and feel less youthful, start them just behind the ears and keep the part centered. If you want more softness, tug the twists apart a little after you secure them. That keeps the braid from looking too tight or exact.
A small warning: the two sections need equal tension. If one side is twisted looser, the braid starts to spin awkwardly and looks uneven by the third turn.
This is a tidy style. It just happens to look better when it isn’t too tidy.
9. Messy Top Knot with Soft Tendrils
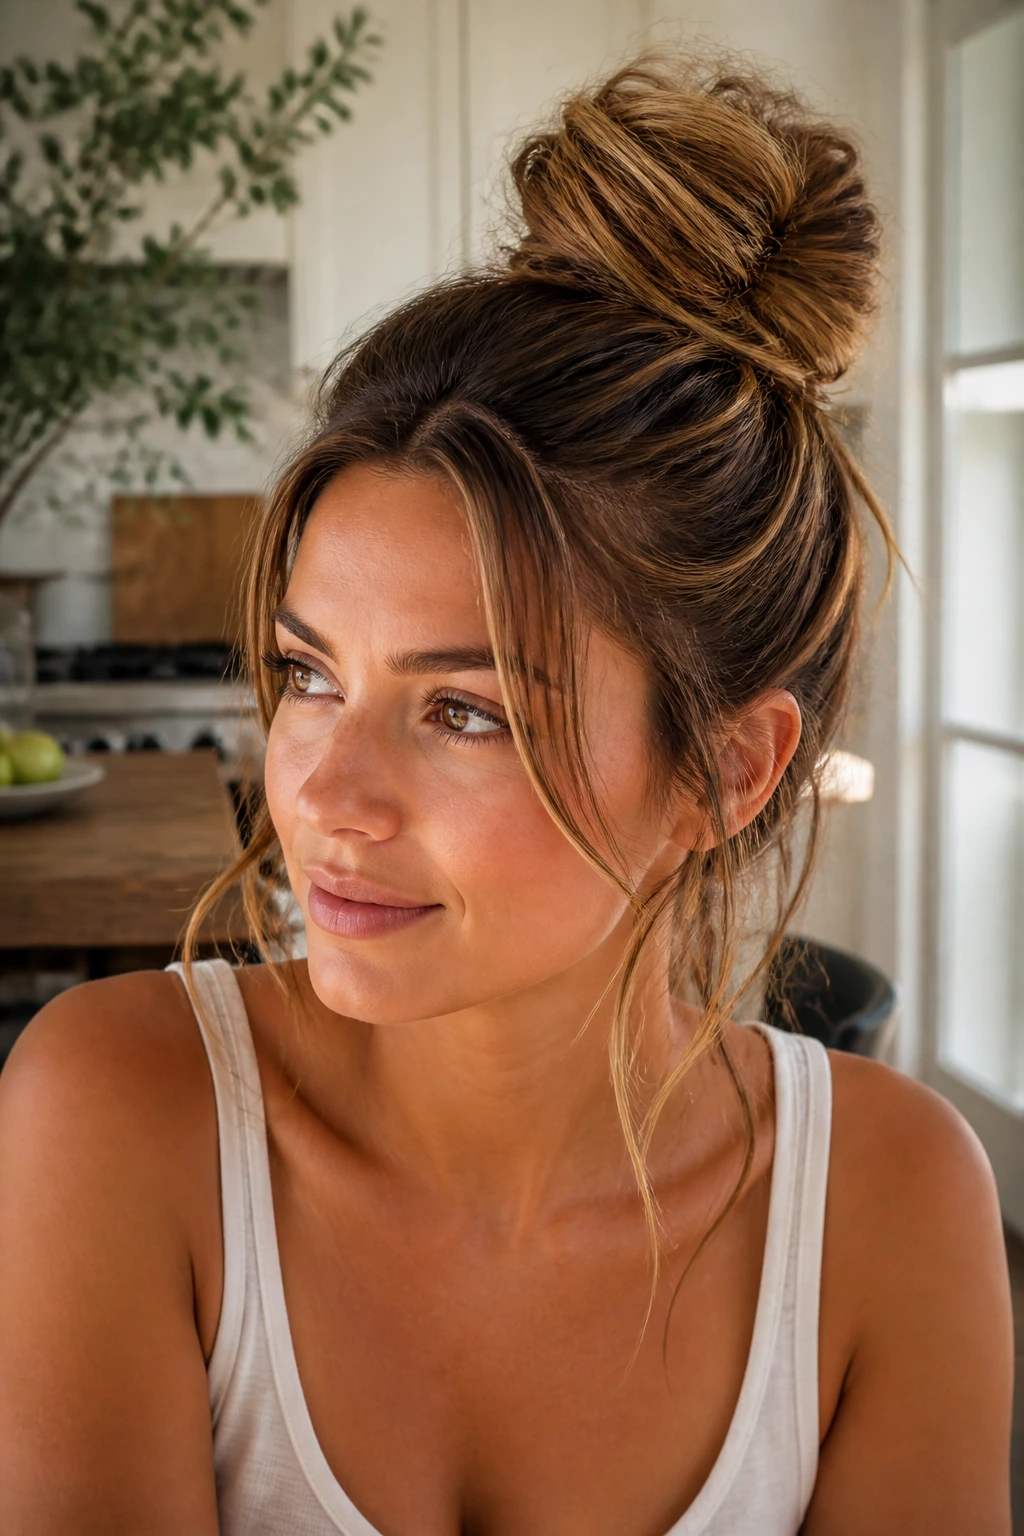
Some styles are meant to be perfect. This one is not.
Gather the hair high, but not at the absolute top of the head. Slightly behind the crown works better on medium-length hair because it keeps the bun from looking perched. Twist the ponytail, coil it into a knot, and leave a few ends poking out. Then pull out two to four soft tendrils around the face, ears, and nape.
The tendrils are what keep the style from feeling severe. Without them, medium hair can get a little stubby in a high knot, especially if the ends are layered. With them, the whole look feels lighter and more flattering around the jawline. A touch of dry shampoo at the roots helps the knot hold and gives the bun a little grit.
I’d wear this for errands, travel days, or any stretch of hot weather when I need my hair off my neck and my patience is limited. The beauty of a messy top knot is that the worst thing you can do is fuss with it too much.
If the bun starts to split, pin the opening from underneath instead of adding more elastic. That keeps the shape loose and avoids the helmet effect.
10. Silk-Scarf Ponytail
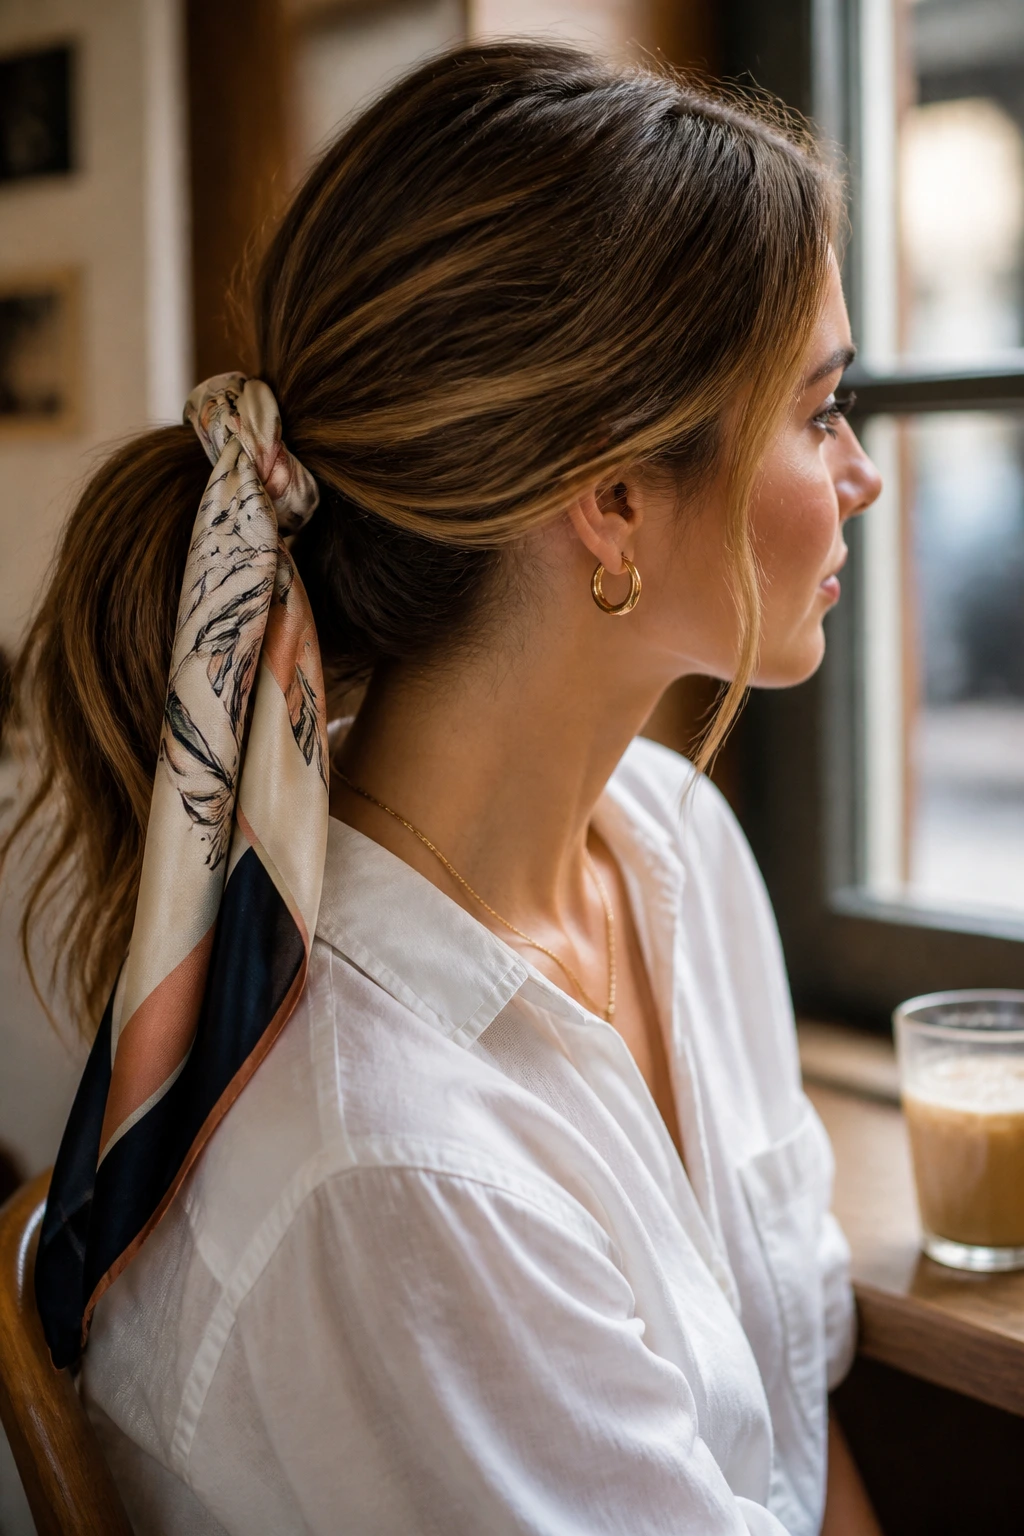
A simple ponytail gets a lot more personality when a silk scarf is tied around it. Make the ponytail low or mid-height, secure it with a small elastic, and knot a scarf over the top so the tails drape down the back. On medium length hair, the scarf often becomes the star, which is a good thing. It fills the visual gap that shorter tails sometimes leave.
Use a square scarf around 21 to 24 inches if you want the knot to sit neatly. Bigger scarves can overwhelm medium hair and drag the ponytail down. A lightweight scarf also keeps the shape from slumping in heat. If your hair is fine, add a little texture spray before tying the ponytail so the elastic won’t slide.
This style is a favorite of mine for second-day hair because it hides the dullness at the roots and makes a plain ponytail look considered. It’s also one of the easiest ways to add color near the face without bringing in clips or headbands.
The best version isn’t overstyled. Let the scarf wrinkle a bit. That’s part of the charm.
11. Faux Bob Tuck
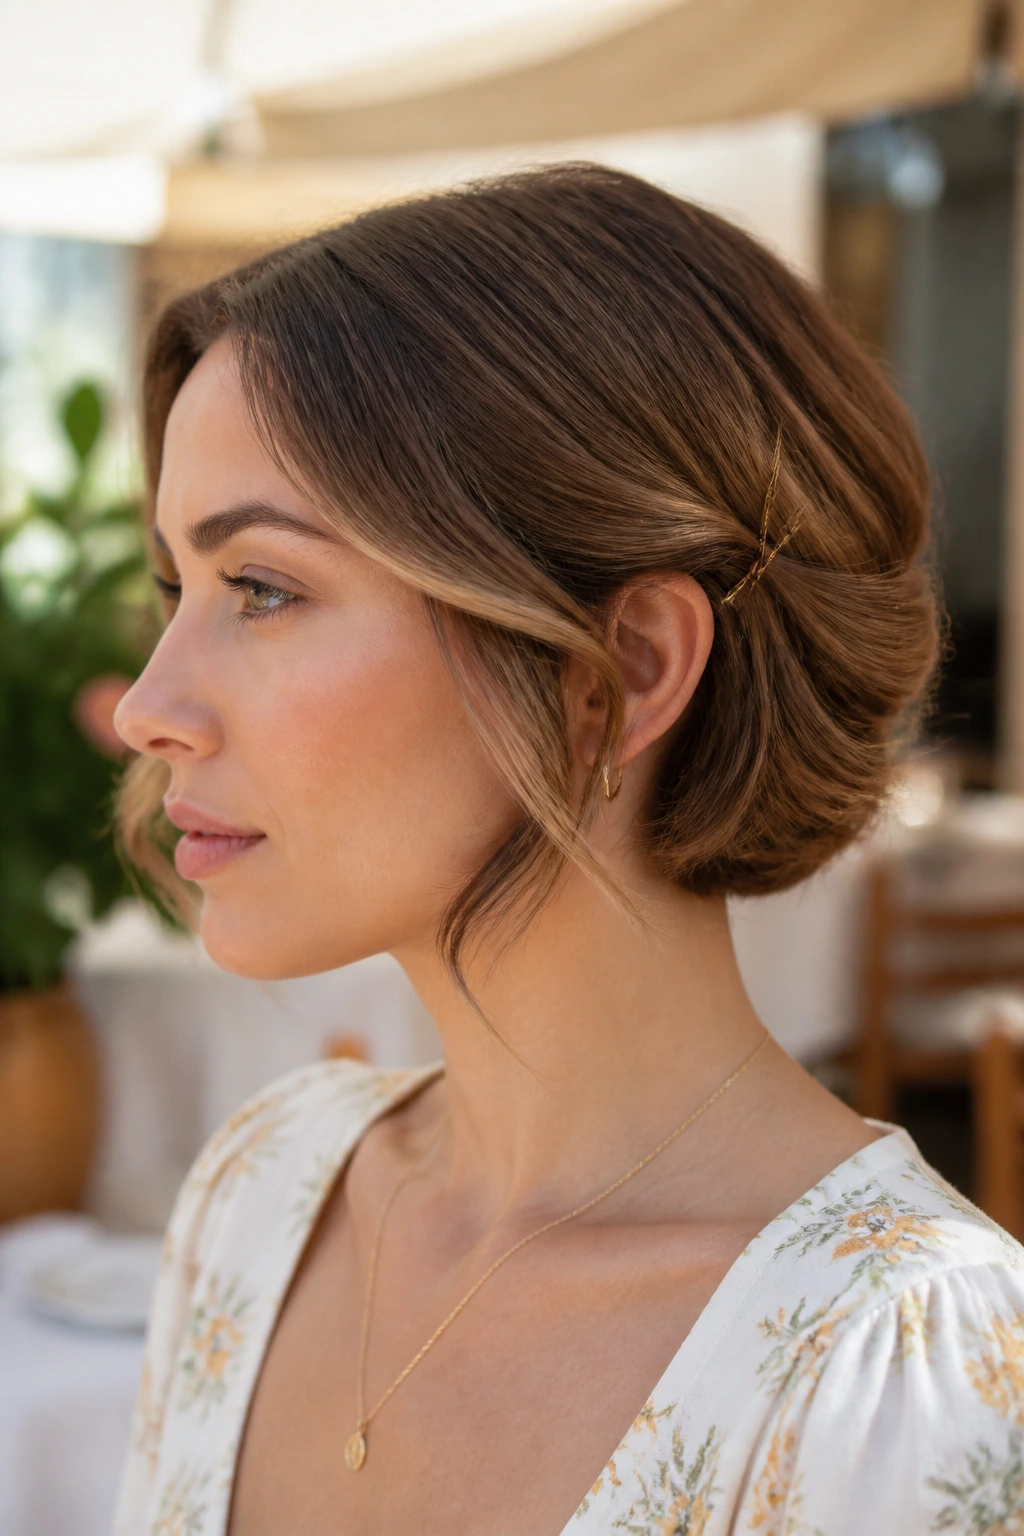
A faux bob sounds fancier than it is. The idea is simple: tuck the ends of medium-length hair under and pin them so the hair reads shorter and fuller. It’s the best trick here when you want the neck bare, but you don’t want the bluntness of a tight bun.
Start by curling or waving the ends lightly if the hair is very straight. Then fold the lengths inward, pinning them against the underside of the hair so the tucked ends disappear. The shape should curve softly at the jaw and nape. A few bobby pins placed in a crisscross pattern hold better than one large pin at the center.
This style works especially well for summer events, weddings, or dinners where you want something a little more dressed up than a clip twist. Medium length hair gives the bob enough body that it doesn’t look like you’re pretending to have shorter hair. It looks like a style choice, which is the point.
If your hair is layered, tuck the shortest pieces first and smooth the surface over them. That keeps the top from ballooning.
One good mirror check from the side is worth ten guesses from the front.
12. Side-Swept Loose Braid
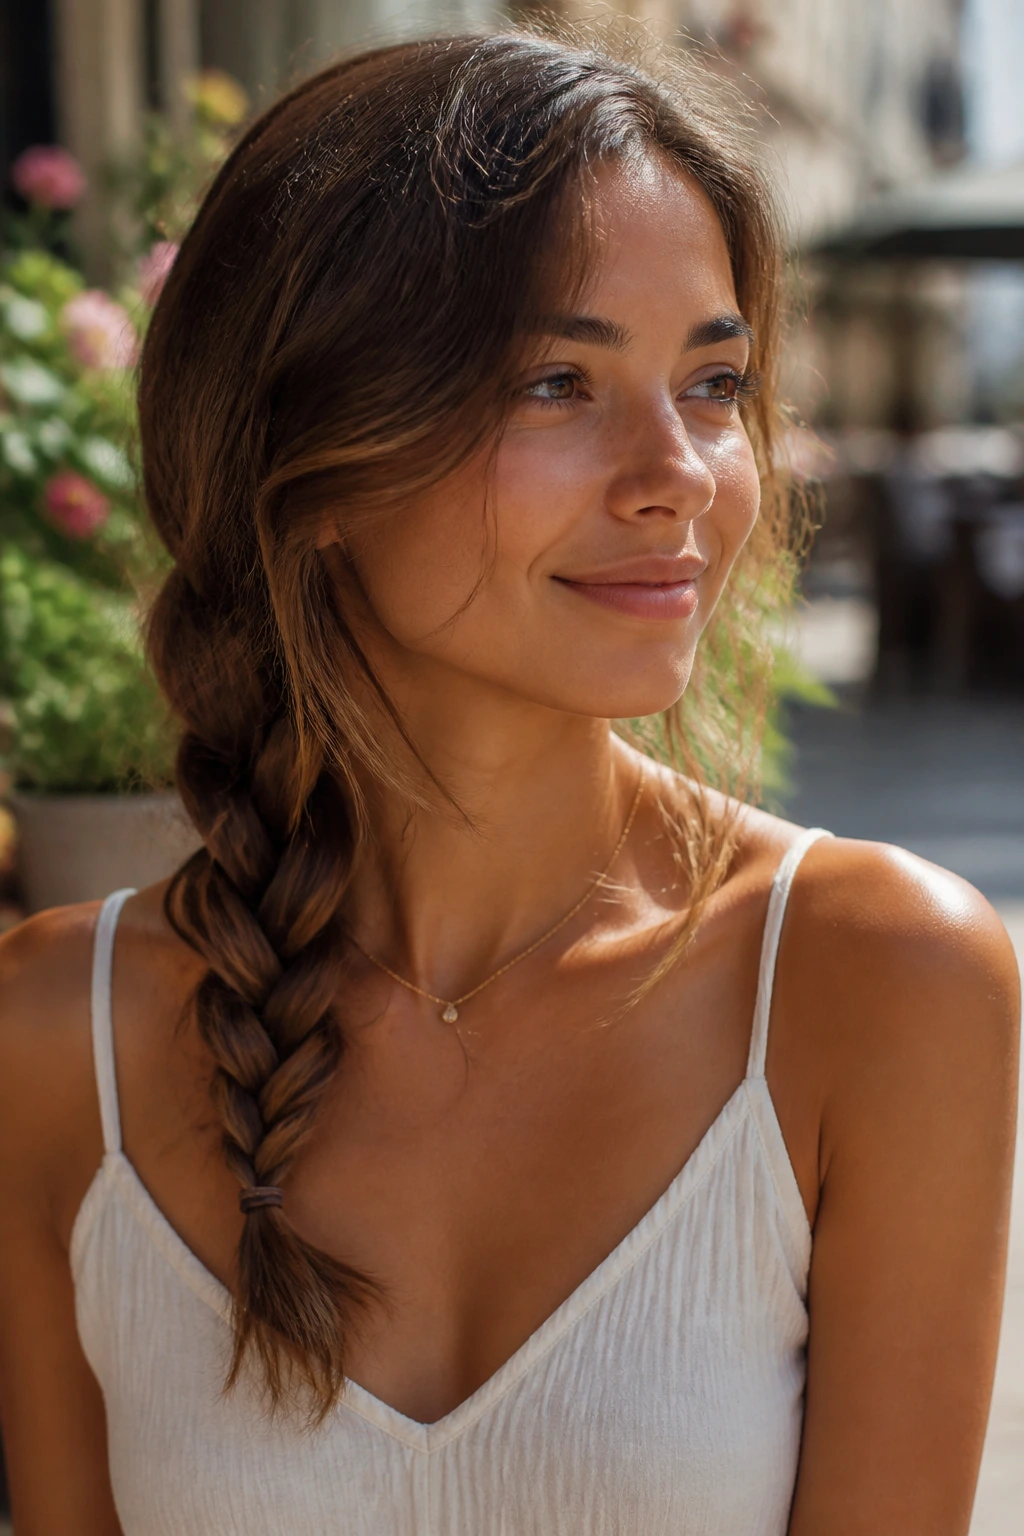
A side braid is usually called casual, but on medium hair it can look surprisingly refined if you keep the tension loose and the braid low. Sweep all the hair over one shoulder, braid it from just below the ear, and let the plait rest against the collarbone. That placement matters. It flatters medium length because the braid has enough body to show up without needing endless length.
The side position also helps in heat. Hair away from the neck, braid visible at the front, no extra pins. Done. If you want it softer, pull a few face pieces loose before braiding and tug the outer edges of the plait after it’s secured. That gives the braid a wider shape and keeps it from looking like a rope.
This works well with off-shoulder tops, tank dresses, and anything that leaves the collarbone open. The braid becomes part of the outfit instead of just a hair fix.
It does one more useful thing. It hides uneven ends. Medium hair can fray a little at the bottom in summer, and a side braid is forgiving about that.
13. Wet-Look Slick Back
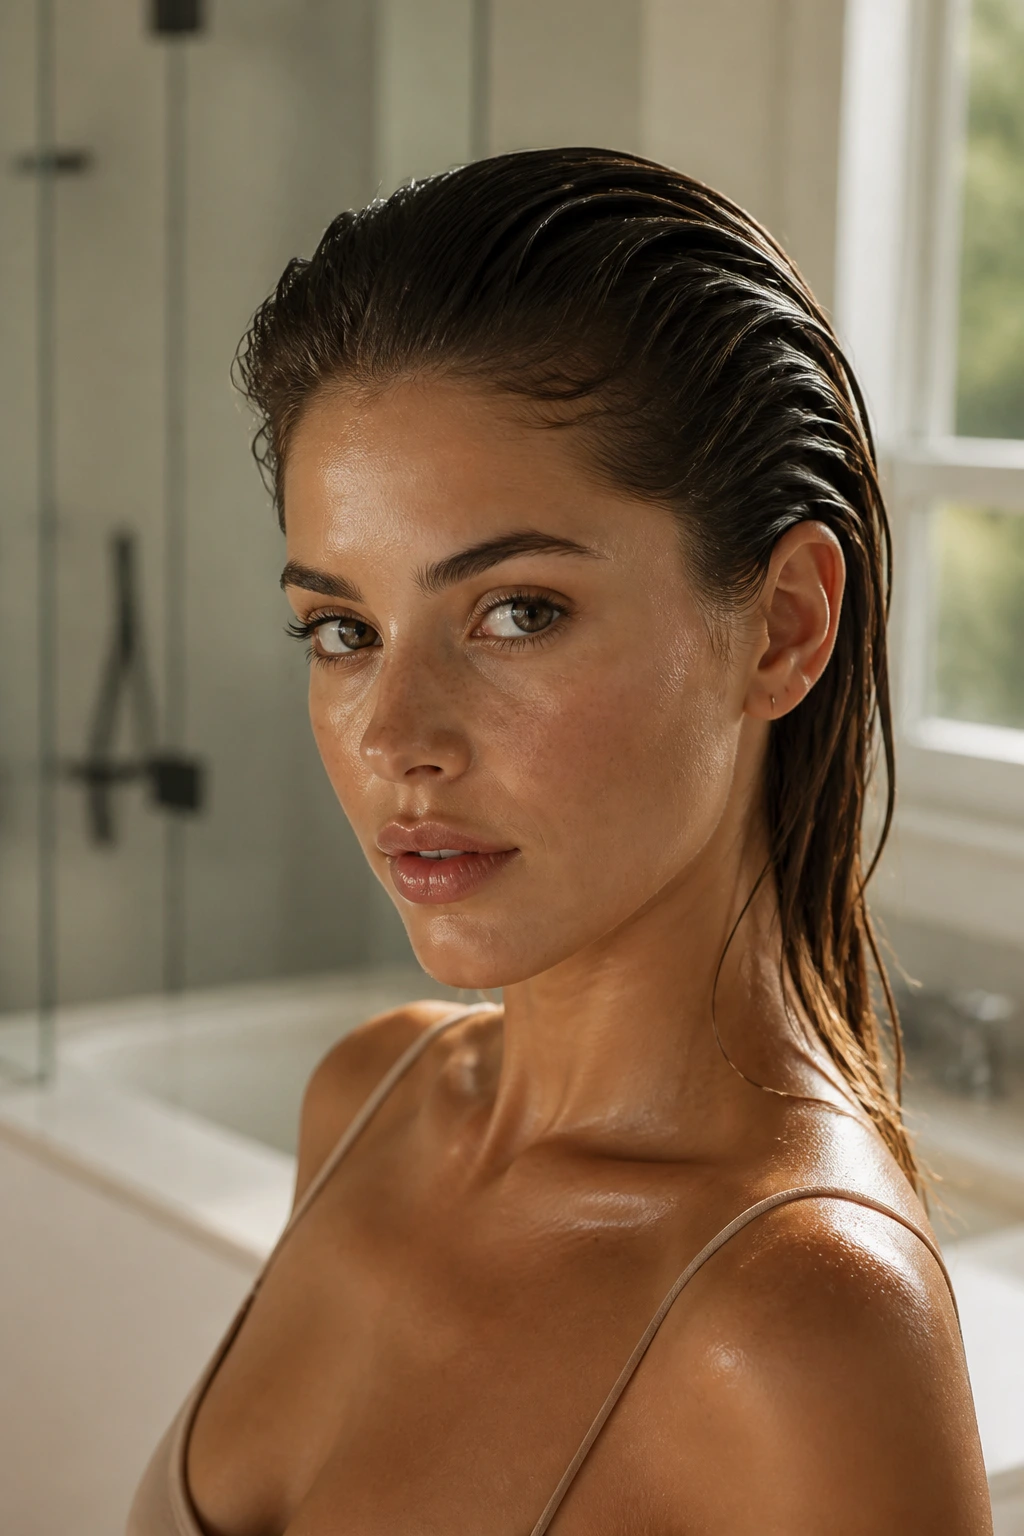
Some people avoid the wet look because they assume it has to be stagey or overdone. It doesn’t. On medium-length hair, a slicked-back style can look sharp and clean if the product stays near the roots and the lengths are left with a little shape.
Work gel or styling cream through damp hair from the hairline to mid-lengths, then comb it back or part it cleanly down the middle. After that, let the ends fall naturally or bend them slightly with your fingers. The goal is shine at the top, not a helmet. Use more product on the surface where flyaways live and less on the ends, which can go stringy fast.
This is one of the best choices for truly humid weather or for days when you want hair out of the way while still looking deliberate. It also makes earrings and necklines stand out. That sounds minor until you see it in a mirror. The whole face changes.
Important: Start with less product than you think. You can always add a touch more around the temples, but once medium hair looks weighed down, it’s hard to recover the shape.
14. Double Mini Space Buns
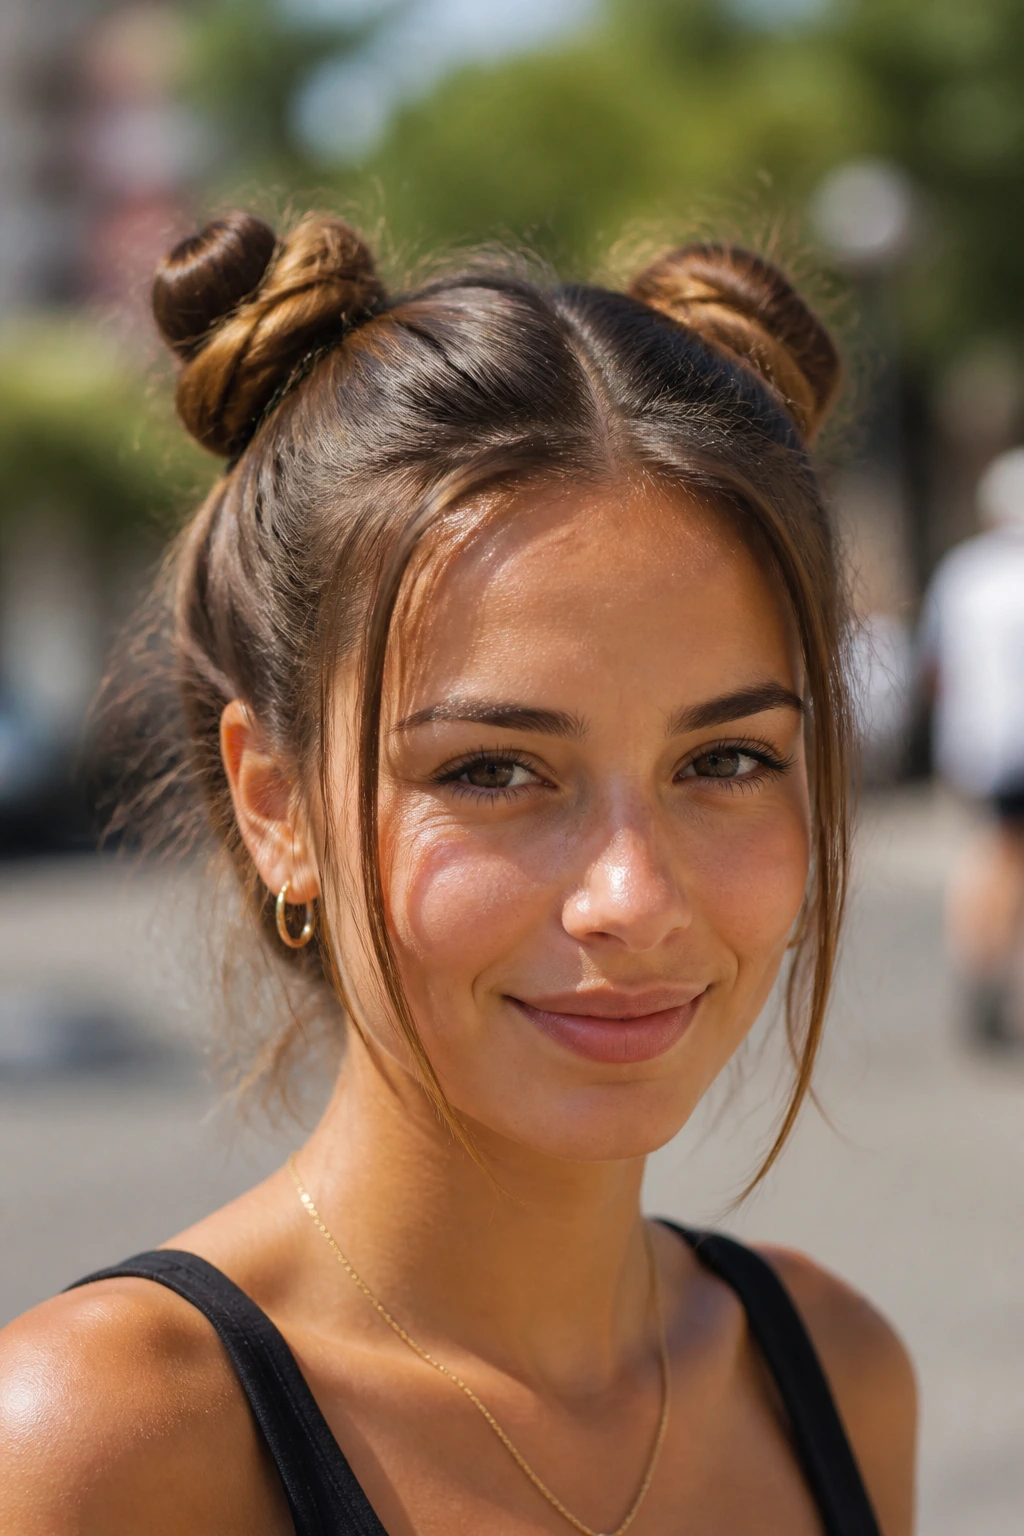
Double space buns are fun, but they work best when they’re scaled down for medium hair. Split the hair into a center part, gather two small or medium sections high or mid-height, and twist each into a bun. Leave the rest down if you want a half-up version, or pull everything into the buns if you want the full look.
The smaller size matters. Big, overloaded buns on medium hair tend to look lopsided because the hair simply isn’t long enough to support the bulk. Smaller buns sit closer to the head and hold their shape better. If your hair is thick, use a zigzag part to soften the line. If it’s fine, backcomb the bun base a little before wrapping.
This style has a casual edge, but it doesn’t have to feel childish. Keep the buns low and neat if you want a cleaner result. Pull them upward and a little uneven if you want something more playful.
A few face-framing strands help. Without them, the style can feel a little too sealed off, especially in heavy heat.
15. Twisted Half-Up Knot
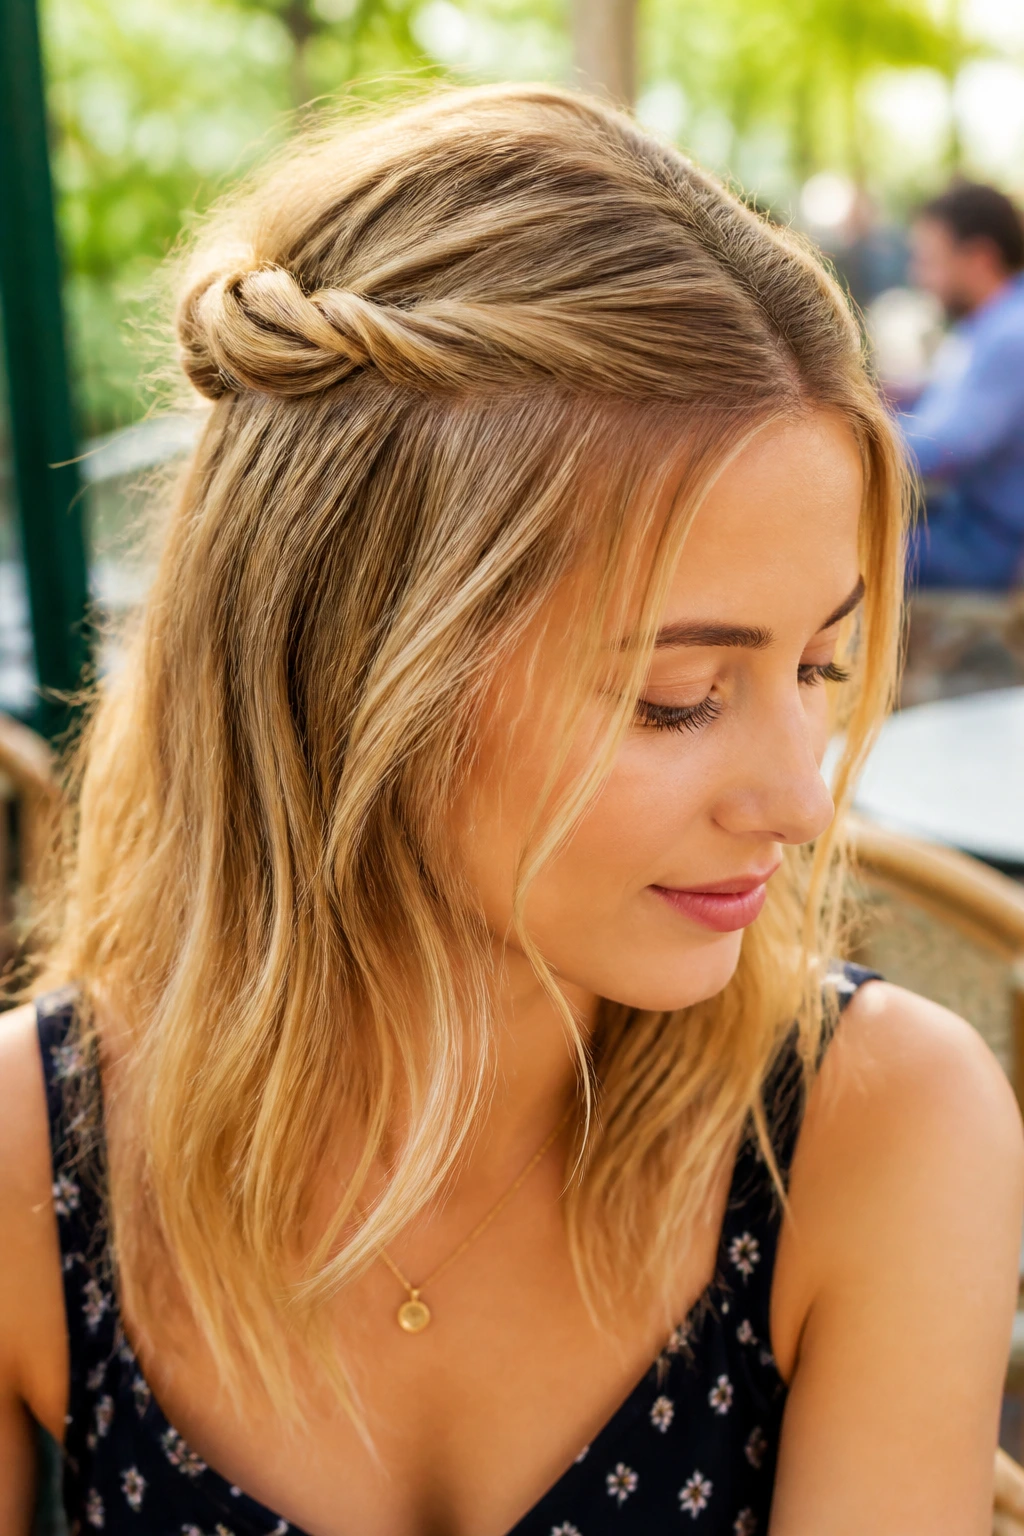
A twisted half-up knot is the quieter cousin of the half-up bun. Take one section from each side of the head, twist them back, and tie or pin them together at the center back. That’s it. No braid. No giant clip. Just enough structure to get the front off your face.
This style is a gift for medium hair because it doesn’t need a lot of length to work. It looks especially nice on layered cuts, where the twists can fall softly into the rest of the hair instead of competing with it. A little texture spray at the roots helps the twists stay put, but keep the lower half touchable.
I like this on straight hair that needs movement or on wavy hair that feels too loose to leave fully down. The knot acts like a small anchor, and the rest of the hair gets to do its own thing.
If you want more polish, cross the two twists once before pinning them. If you want more softness, let the ends of the twists peek out just a little. Tiny difference. Big effect.
16. Dutch Braid Rolled into a Bun
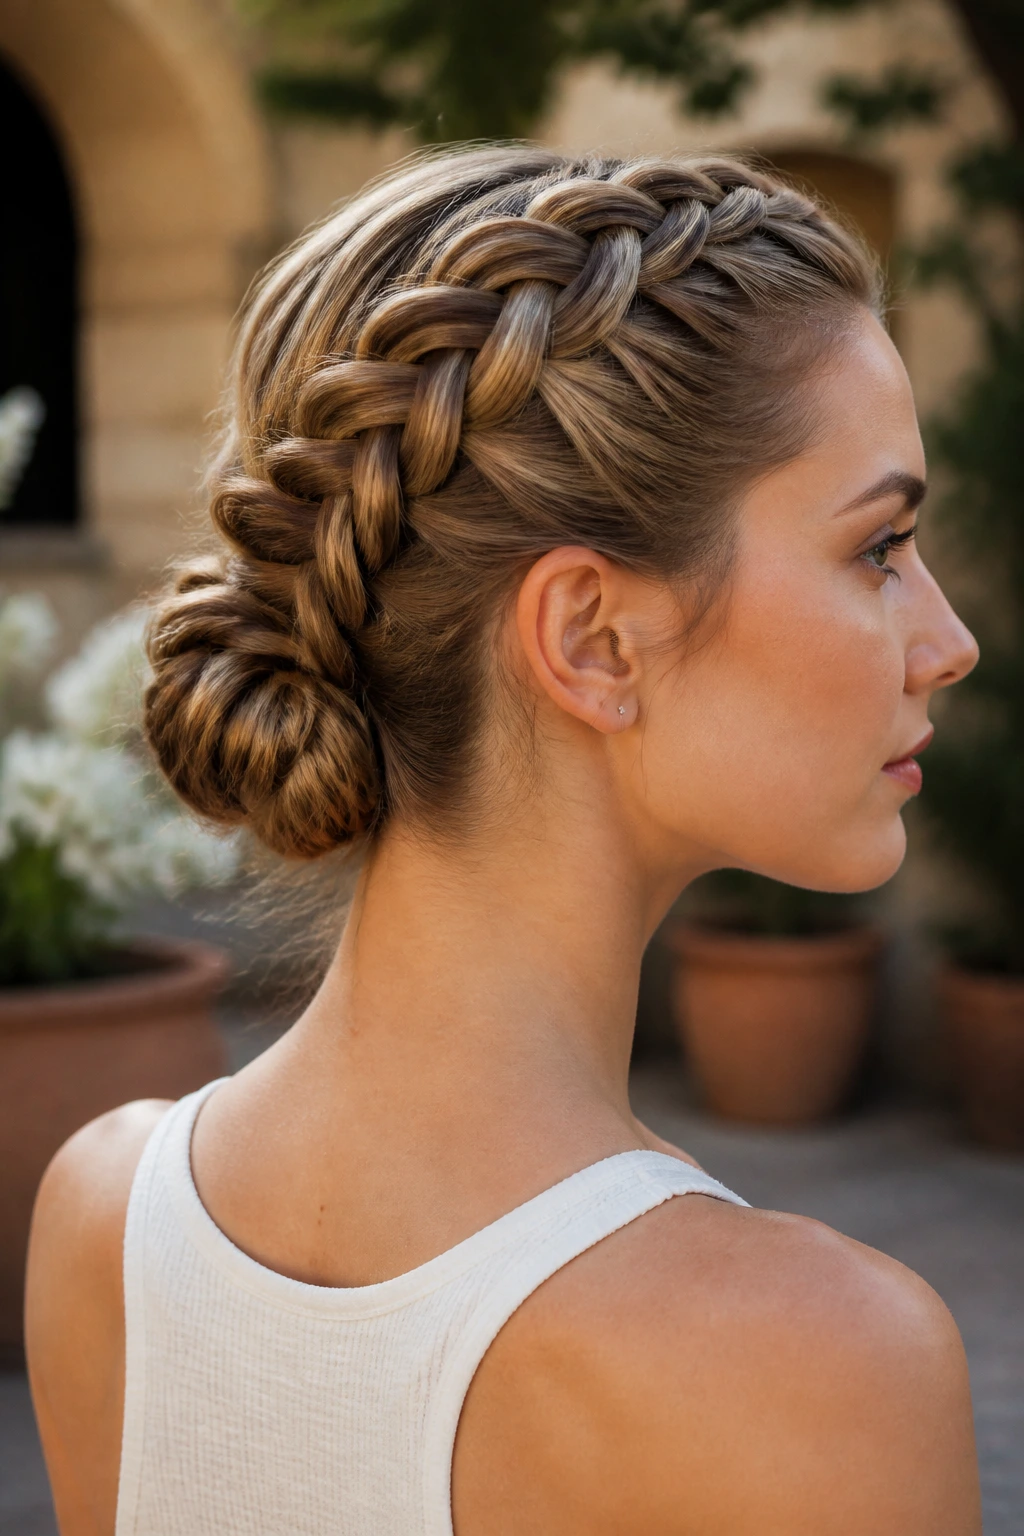
This style has real staying power. Start a Dutch braid at the crown or just behind the hairline, braid down to the nape, and coil the remaining length into a low bun. Pin the bun close to the head so the whole shape stays compact and secure.
A Dutch braid stands up from the scalp, which gives medium-length hair more texture at the top than a French braid usually does. That makes the style look fuller, even if the hair itself isn’t thick. It also keeps the front very controlled, which is useful in wind or when you know you’ll be outside for hours.
The bun part should stay small and tucked. Medium hair doesn’t need a giant finish here. A neat coil at the base of the neck looks better than a large, loose roll. If you want it softer, gently widen the braid before coiling it.
This is one of the few styles that feels formal without being stiff. It can handle a busy day and still survive dinner.
17. Low Twisted Chignon
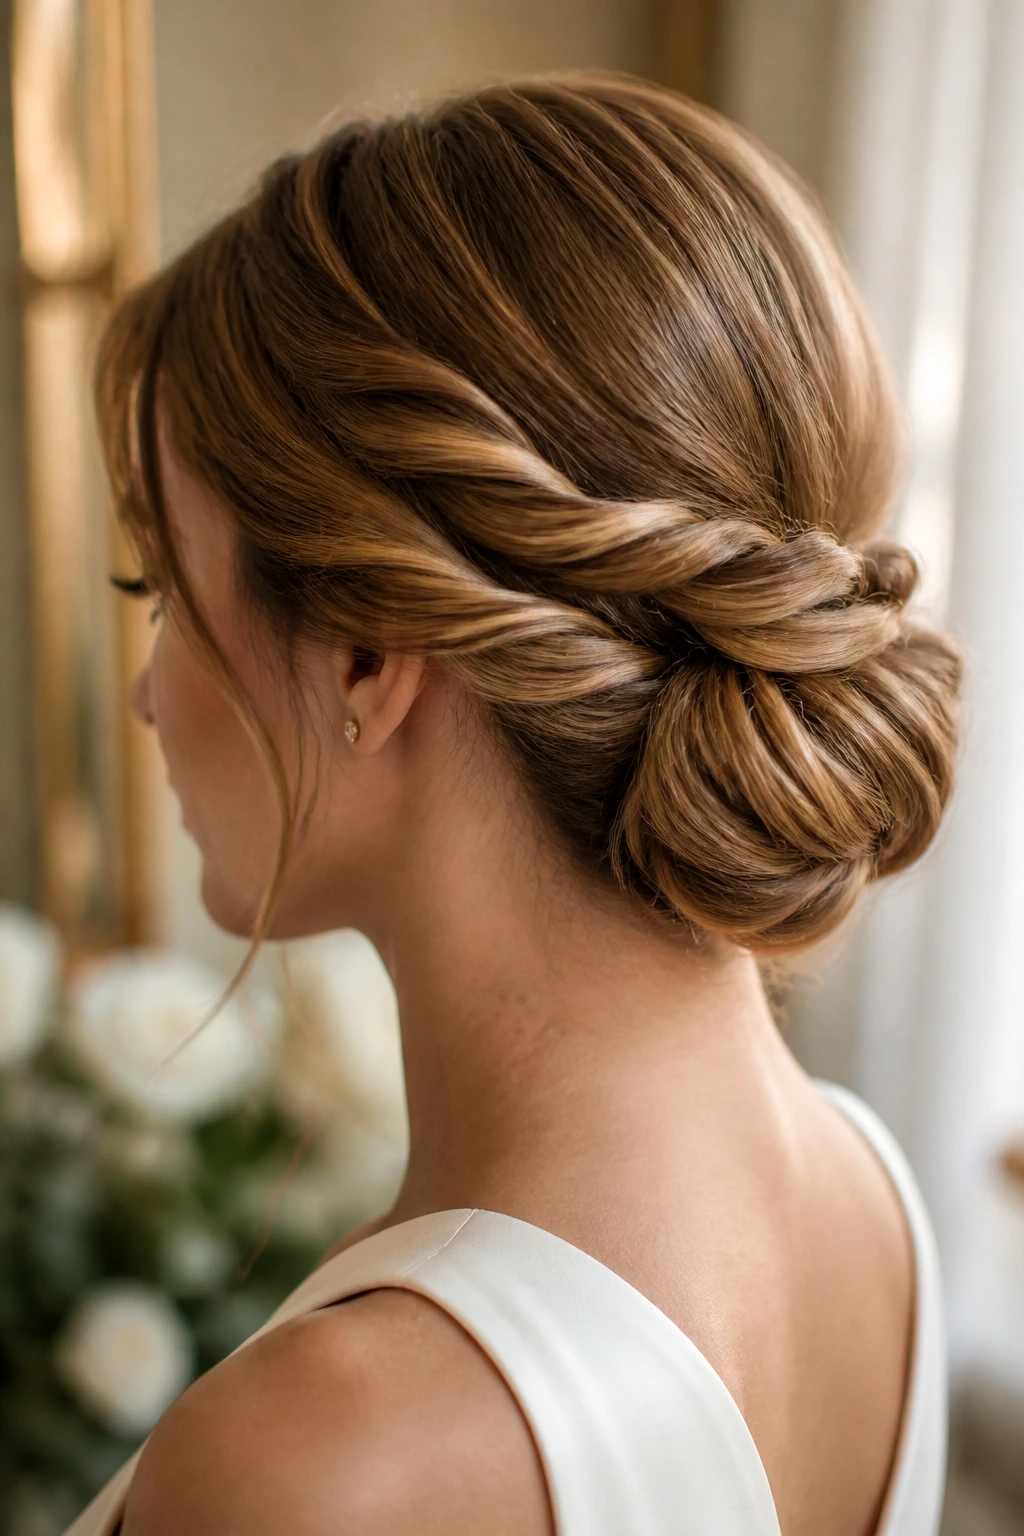
A low twisted chignon is the grown-up style in this mix, and I mean that in the best way. Split the hair into two sections at the nape, twist both sections, wrap them around each other, and pin the result into a low knot. The shape should sit just above the collar line, not halfway up the back of the head.
It works because medium-length hair gives you enough length to twist cleanly without building a heavy knot. If the hair is slippery, a touch of mousse or light styling cream before drying gives the twists more grip. Pins matter here. Slide them in along the twist rather than across the top, or the chignon will loosen faster than you want.
This is the style I’d pick for a summer wedding, a dinner out, or any day when you want polish but not a stiff updo. It keeps the neck open and still feels soft at the edges.
A drop of shine serum on the ends can help, but keep it light. The chignon should look smooth, not slicked.
18. Headband Tuck with Loose Ends
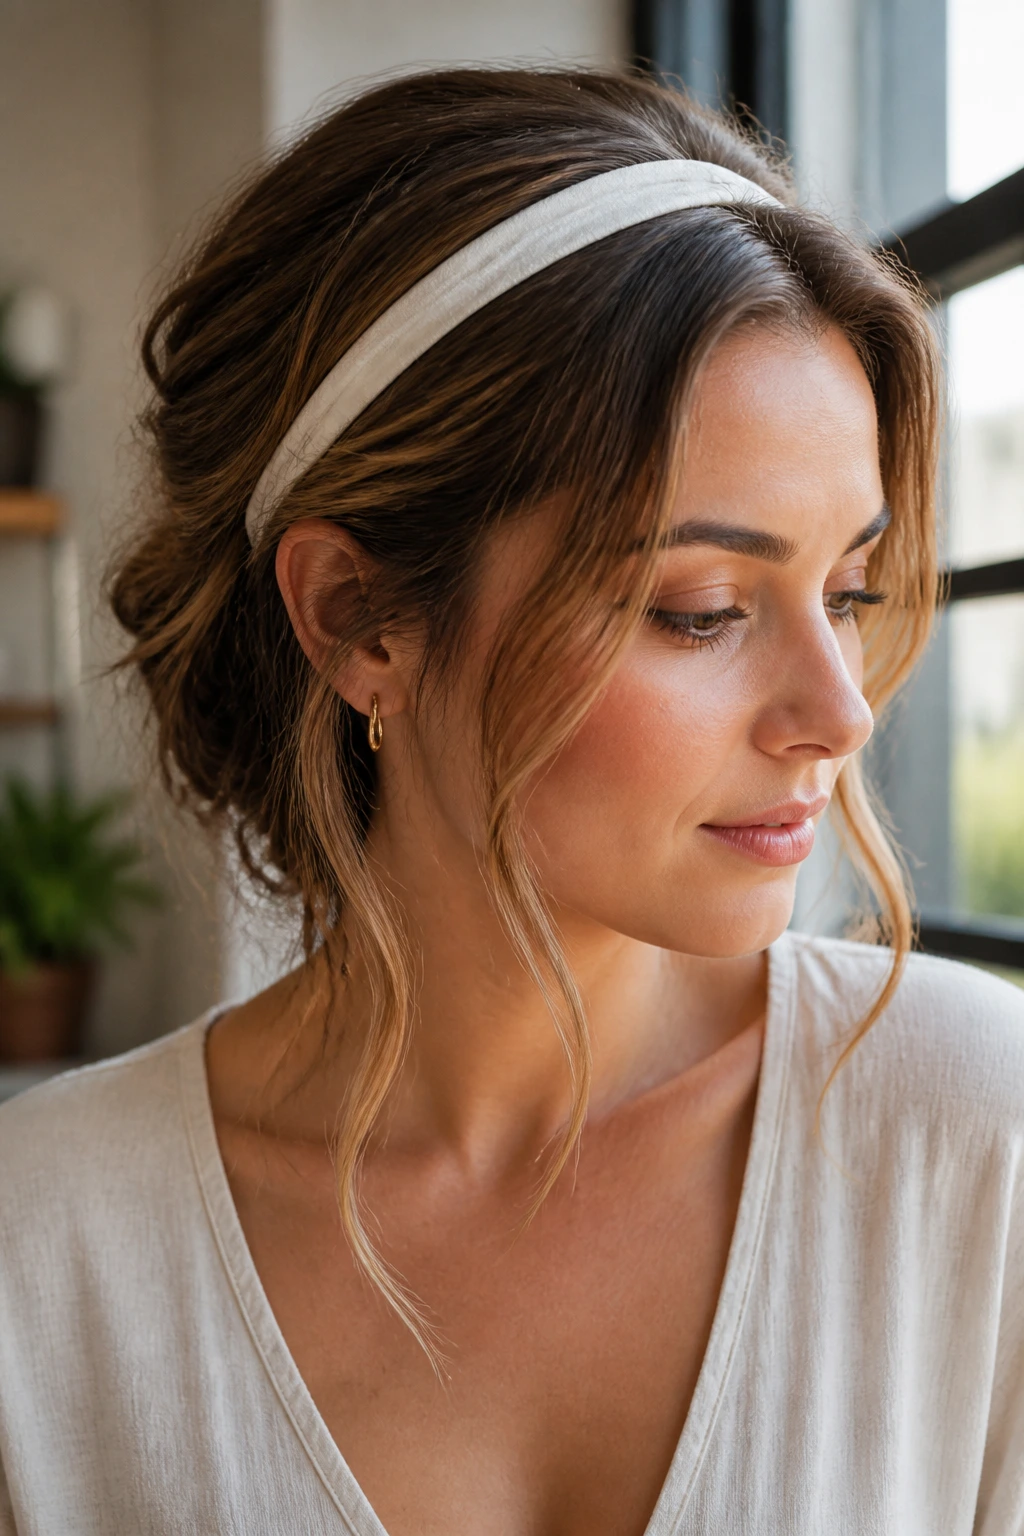
If you want one style that looks a little dreamy and takes almost no time, this is it. Place a stretchy headband over the hair, then tuck the lengths up and over the band, rolling the ends inward until they disappear. The back becomes a soft tucked roll, while the front stays smooth and open.
Medium-length hair is especially good for this because the ends are short enough to tuck without fighting you, yet long enough to create a full shape at the back. It’s a quiet, easy style that works on straight, wavy, or lightly curly hair. A slim fabric headband is easiest to anchor; stiff plastic bands tend to shift as the day goes on.
The look can be polished or loose depending on how much volume you leave at the crown. Pulling the top slightly forward gives the tuck a softer shape. Leaving a few tiny wisps around the ears keeps it from looking too neat.
It’s one of those styles that feels almost old-fashioned in a good way. Calm. Soft. Practical.
Why Medium-Length Hair Is the Sweet Spot for Warm Weather Styling
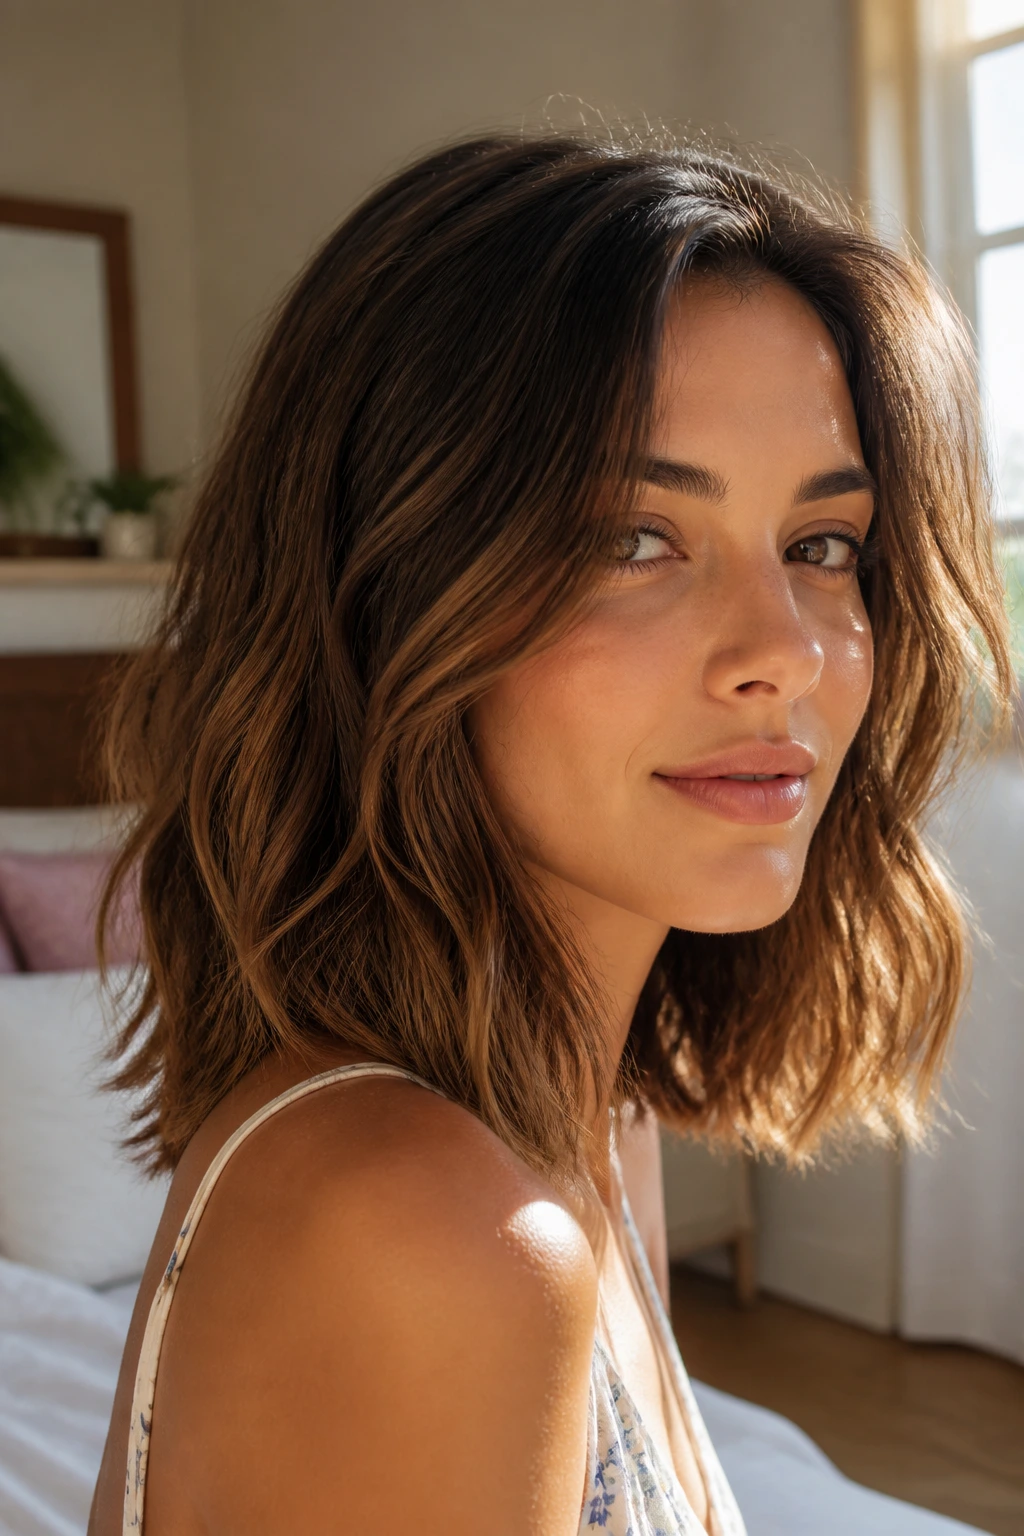
Medium-length hair gets the best parts of both extremes. There’s enough length to braid, twist, pin, and tuck, but not so much that every style needs a scaffolding of extra elastics and half a can of hairspray. That matters when the weather is sticky and your patience is not.
The other advantage is movement. Medium hair still swings a little. It doesn’t drag itself flat the way very long hair can, and it doesn’t lose all shape the way short crops sometimes do when you try to gather them up. That means the same hair can look clean in a bun, soft in a wave, or airy in a half-up style without a dramatic change in routine.
Layers add one more useful wrinkle. They can make styles a little trickier, yes. But they also give shape to tucked ends, loose braids, and face-framing pieces. A blunt medium cut behaves differently from a shag or lob, and that’s fine. The styles here work because they leave some room for the haircut to show up.
A lot of summer hair advice treats medium length like a compromise. I think that’s wrong. It’s a working length. Very useful. Sometimes a little annoying, sure. But far more adaptable than people give it credit for.
Tools and Products That Make These Looks Easier
A small set of tools does more for medium-length summer hair than a giant drawer full of styling products ever will. I’d rather have six good things than twelve mediocre ones. The right basics change how fast a style holds, how soft it looks, and whether you spend the afternoon fixing flyaways.
- Small claw clip, 3 to 4 inches: Best for twists, half-ups, and low buns that need a firm grip without swallowing the whole section.
- Bobby pins in two lengths: Short pins are good for face-framing and light holds; longer pins anchor buns and faux bobs better.
- Clear mini elastics: These disappear in braids, bubble ponytails, and rope styles, and they hold better than bulky bands.
- Tail comb or fine-tooth comb: Useful for clean parts, slicked-back roots, and neat braid sectioning.
- Soft brush or boar-bristle brush: Better for smoothing the crown than a rough paddle brush, especially when you want polished roots.
- Texturizing spray or dry shampoo: Adds grit at the roots and makes clips, braids, and twists behave.
- Light styling cream or smoothing serum: Keeps frizz under control on the top layer, but use it sparingly or medium hair gets heavy fast.
- Flexible-hold hairspray: Holds the shape without turning the ends brittle.
- Silk scarf or square bandana: Handy for ponytails, buns, and second-day styles that need color or coverage.
- Soft headband: Great for tucks, pushed-back waves, and keeping fringe off the face.
If you tend to misplace pins, buy them in bulk and keep a few in the car, the bag, and the bathroom drawer. That sounds small. It saves time constantly.
Shopping for Hold, Grip, and Finish Without Overbuying
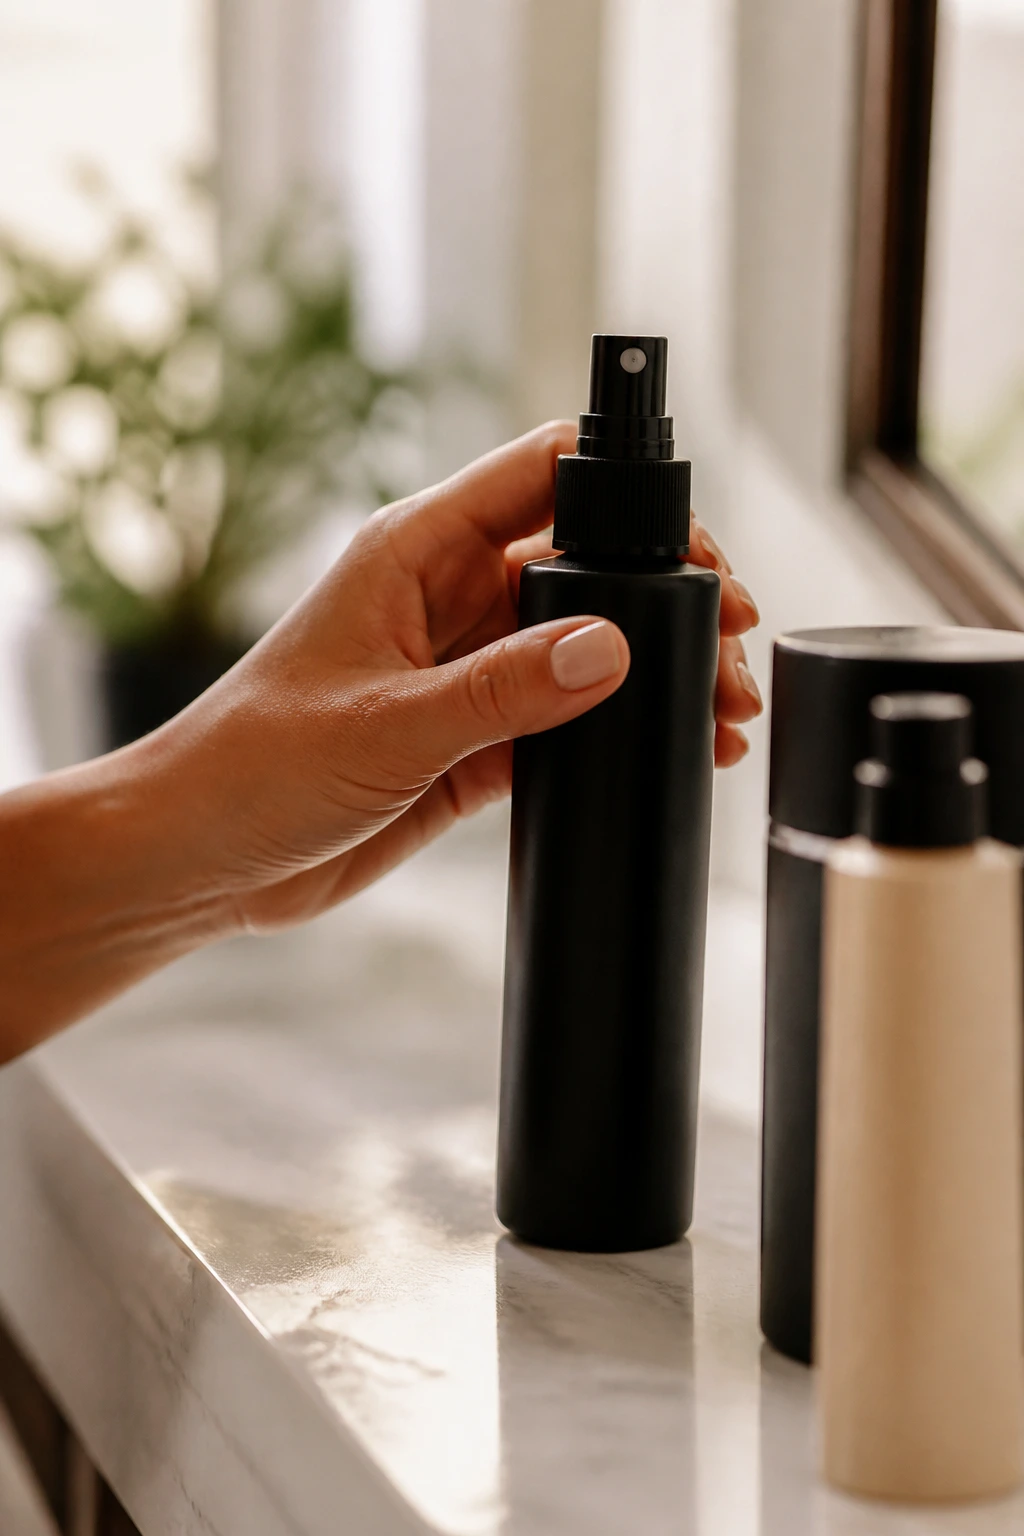
Hair products for summer get oversold all the time. You do not need a shelf full of jars. You need a small mix of products that match how your hair actually behaves in heat.
Fine hair usually needs root lift and grip more than rich cream. Think dry shampoo, light mousse, and texture spray. Heavy oils can make fine medium-length hair collapse by lunchtime. Thick or coarse hair often needs the opposite: a little smoothing cream, a stronger gel for sleek looks, and pins that don’t bend when you slide them in. Curly medium hair often likes a leave-in cream or curl gel for defined braids and buns, but it still benefits from a touch of dry shampoo at the roots on day two.
Pay attention to the finish you want. If the style depends on softness, choose products that leave movement. If it depends on control, especially for a slick bun or tucked bob, go for stronger hold and use less of it than you think. A style can look polished or stiff depending on how much product you layer on the surface.
Accessories matter too. Cheap elastics that snap under tension waste more time than they’re worth. Pins that bend after one use are a nuisance. A solid claw clip with real teeth is worth more than a pretty one that slides out every twenty minutes.
The honest rule: buy for grip first, prettiness second. The pretty part is easy once the style stays in place.
How to Wear These Styles for Work, Brunch, and Beach Days
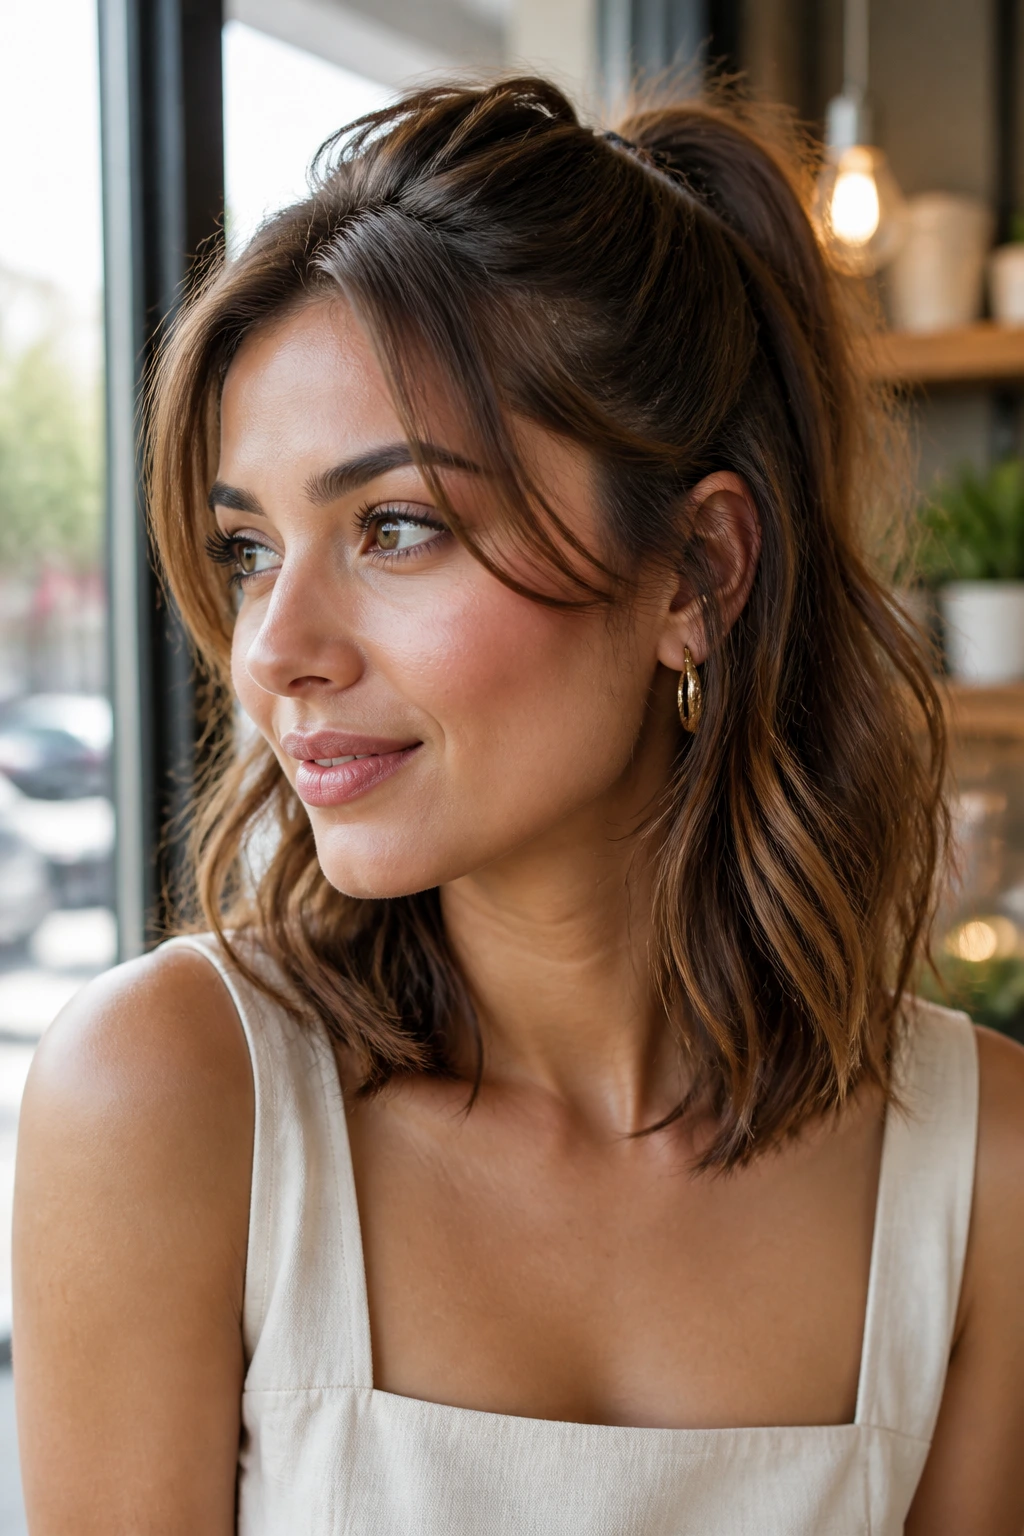
Presentation: For work, keep the part neat, the crown smooth, and the flyaways under control. For brunch or a dinner out, loosen the front and let a few face pieces fall forward. At the beach, don’t fight the texture — the rougher the finish, the better the hair behaves once the air gets salty.
Best pairing: Low buns, French braid tails, and twisted chignons suit collared shirts, sleeveless knits, and simple earrings. Claw-clip twists and scarf ponies work with T-shirts, linen dresses, and open necklines. Bubble ponytails and mini buns read more casual, so they fit days when you want movement and a little attitude.
Wear time: A tight braid or slicked-back style usually lasts longest, especially if your hair is straight or fine. Soft waves and loose half-ups need more refreshing by late afternoon, but they also look more relaxed, which can be the point. If your hair is thick, use more pins and fewer heavy creams. If it’s fine, keep the products light and build hold at the roots.
Weather note: Wind favors braids and tucked styles. Humidity favors controlled buns, twists, and anything that doesn’t rely on perfect smoothness. Heat and sunscreen around the hairline call for styles that leave the temples and neck open.
You can dress most of these looks up or down with one thing: the finish around the face. Smooth the top, and the style reads polished. Loosen it, and the same shape becomes casual.
Additional Tips and Style Boosters
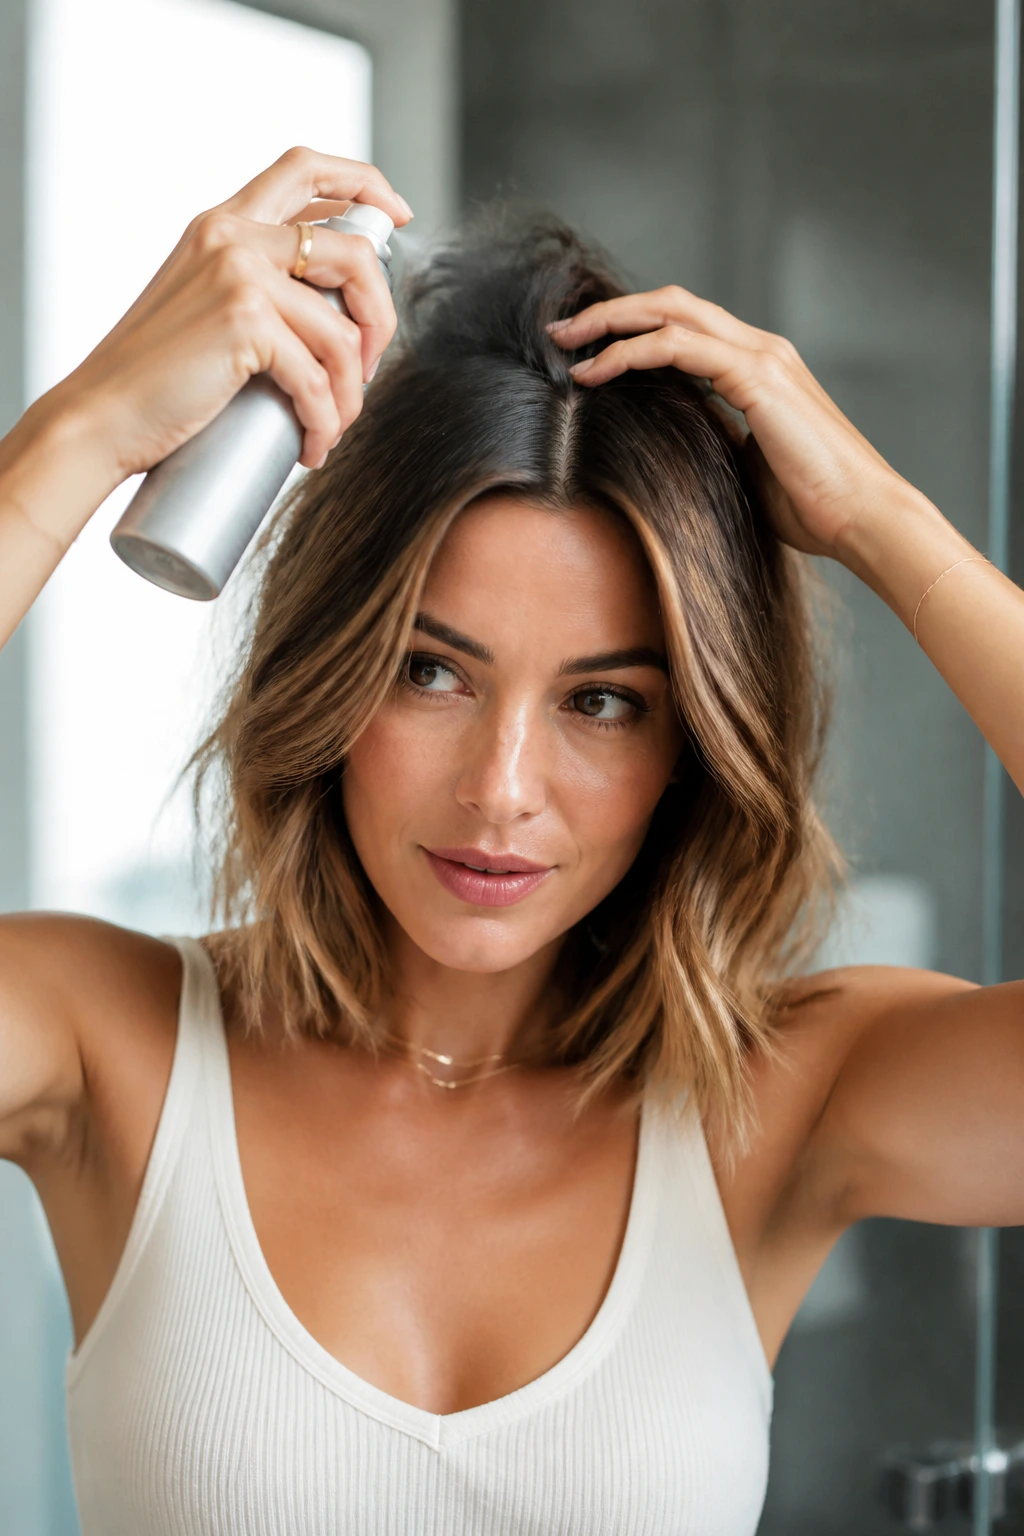
Texture Boost: If your hair is too clean and slippery, work a little dry shampoo or texturizing spray into the roots and mid-lengths first. A style that needs grip will hold better on day-two hair than on freshly washed hair that still feels too silky.
Sleek Finish: For low buns, faux bobs, and slick backs, use a tiny amount of smoothing serum only on the surface. Avoid the ends unless they’re fraying; too much shine product makes medium hair separate and look flat.
Face-Frame Strategy: Choose thin pieces near the temples, not chunky front chunks. Small pieces soften the style without creating a sticky, sweaty curtain around the cheeks.
Accessory Move: If you want the style to feel finished, choose one accessory and stop there. A clip plus a scarf plus a headband usually starts to look crowded on medium hair.
Make-It-Yours: Curly hair can keep more of its natural shape in buns and tucks, fine hair can lean into smaller knots and tighter braids, and thick hair usually benefits from dividing the style into cleaner sections before securing it.
My favorite trick: pin from underneath whenever you can. It hides the hardware and makes the style last longer. Tiny thing. Huge difference.
What Goes Wrong in Hot Weather and How to Fix It
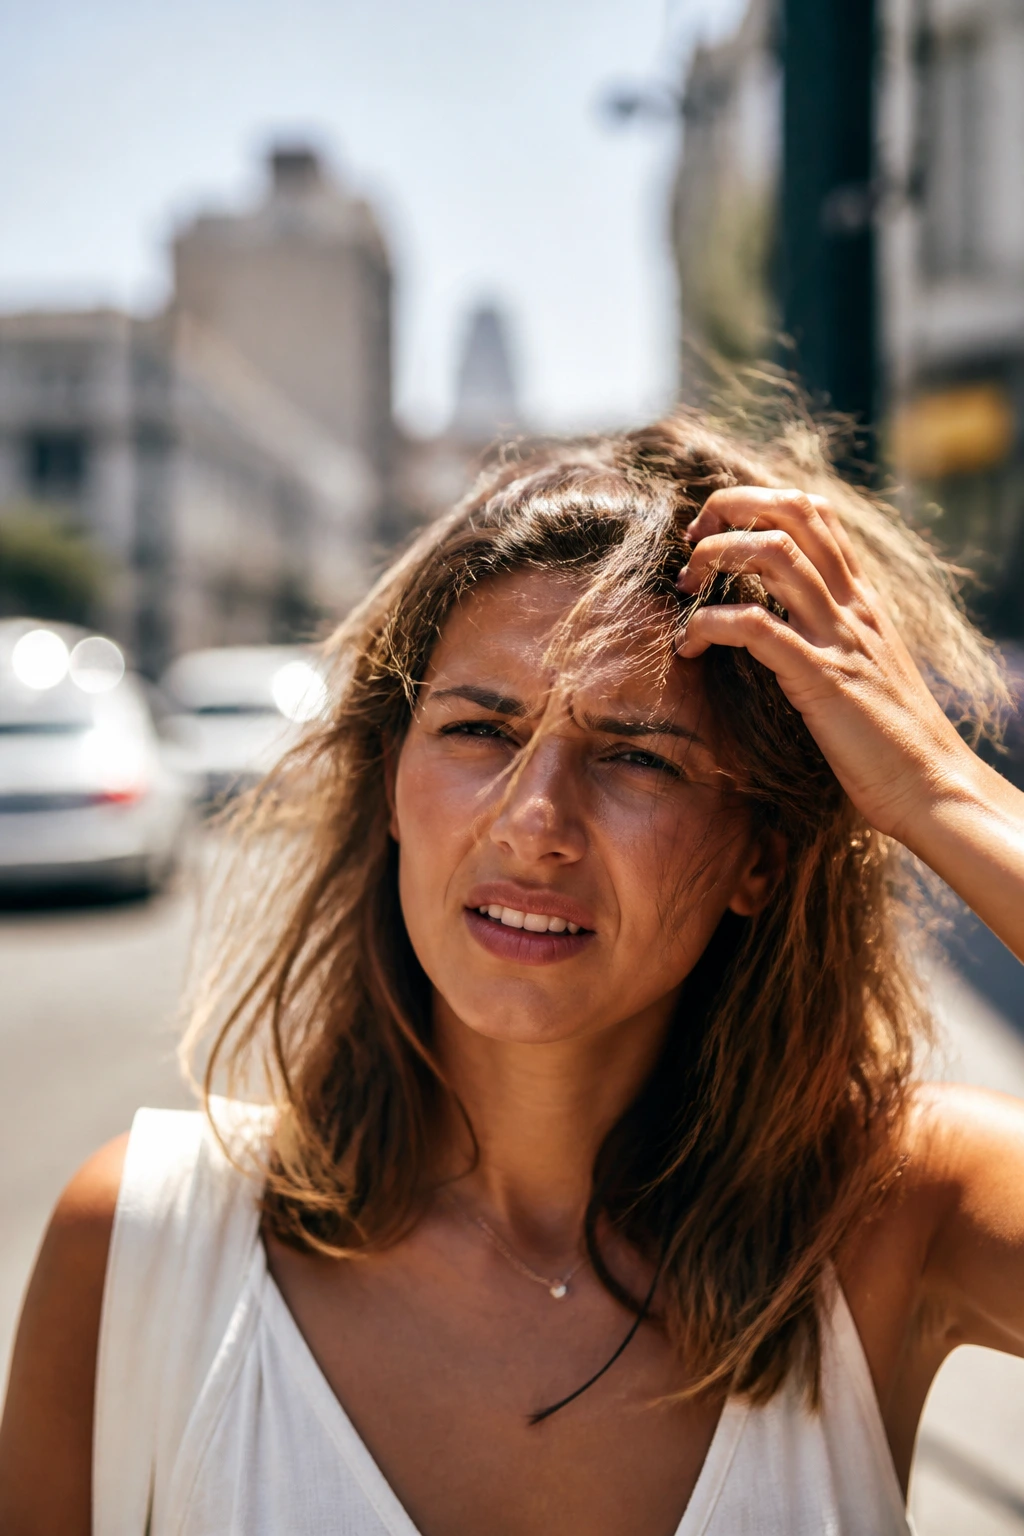
Overloading the roots with product: The hair looks sleek for ten minutes, then turns heavy and flat. Fix it by keeping creams and oils away from the scalp and using dry shampoo at the crown instead.
Pulling styles too tight: This makes the hairline look harsh and can give medium-length hair a stretched, thin shape. Leave a little softness at the temples and the nape so the style breathes.
Using the wrong clip size: A giant claw clip on shoulder-length hair often slides because there isn’t enough hair to lock into the teeth. Use a smaller clip with a firm hinge and a twist that gives the clip something to bite.
Trying to force every style to be smooth: Summer hair has a little puff, a little frizz, and a little movement. If you keep fighting it, the style looks overworked. Smooth the top where needed, then let the rest be hair.
Skipping pin direction: Bobby pins work best when they’re slid into the shape, not just shoved across it. That one detail changes how long a bun or tuck lasts.
Forgetting the haircut itself: Layers, blunt ends, and shorter face pieces all change how a style sits. If the ends won’t stay tucked, use a style that lets them fall intentionally instead of pretending they’re longer than they are.
Variations and Adaptations to Try
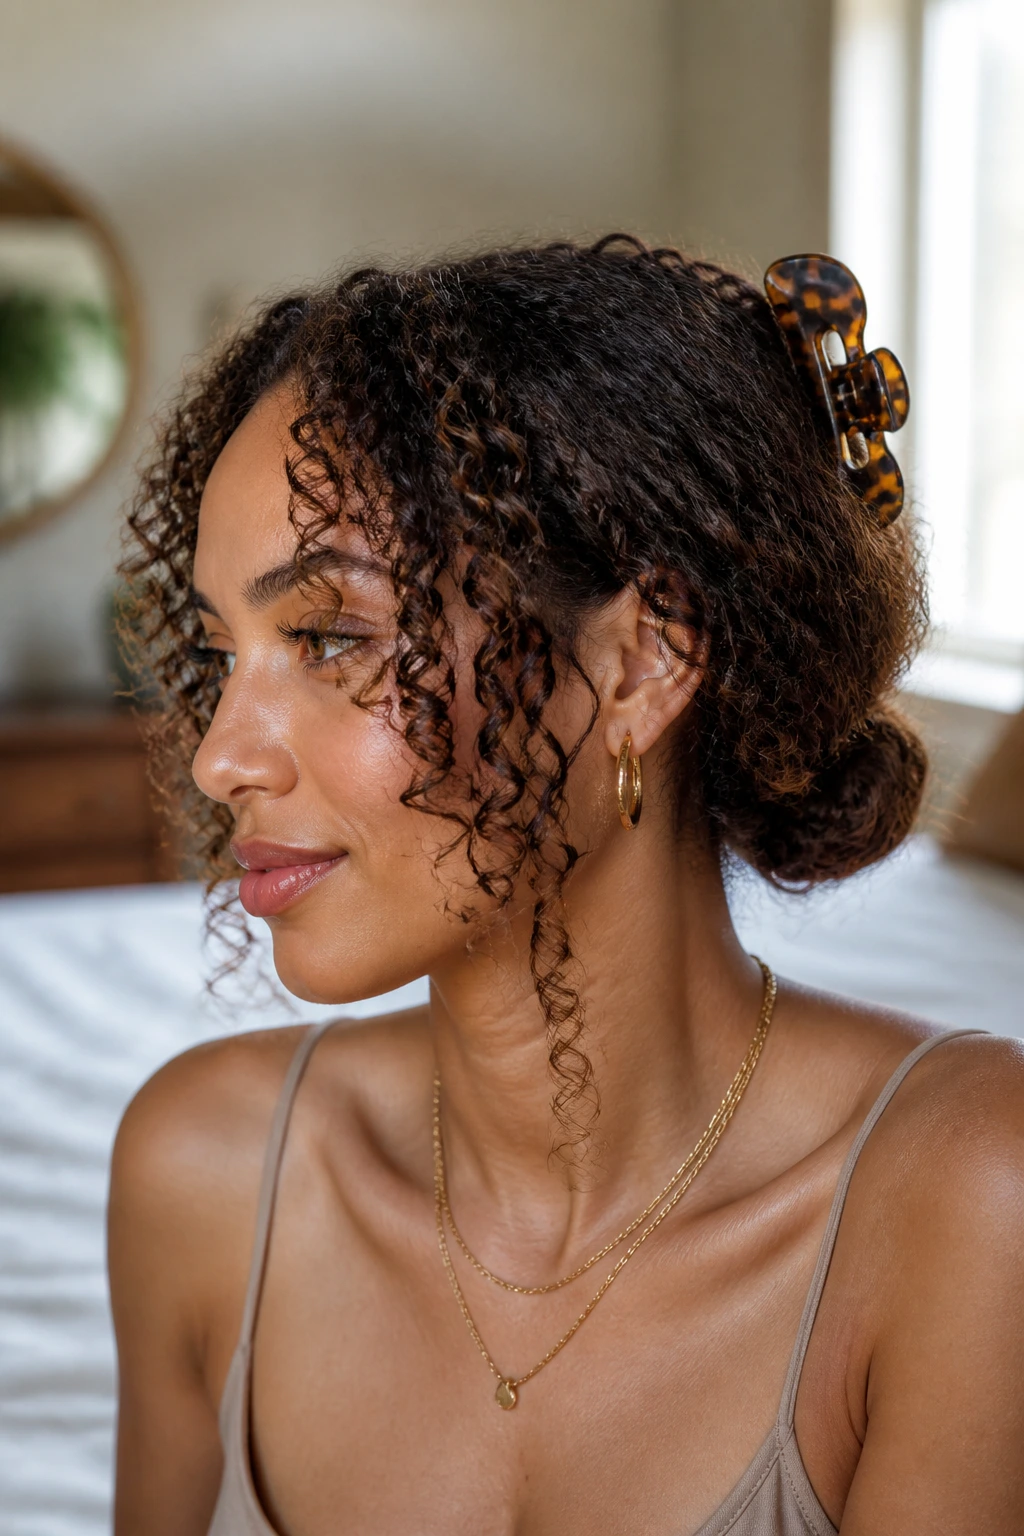
The Curly-Texture Version: Let curls keep more of their shape and choose styles that contain rather than flatten them. Claw-clip twists, low chignons, and half-up knots usually work better than sleek, tight looks. A curl cream or gel can help the front hold its form without puffing out.
The Fine-Hair Version: Go smaller and tighter. Mini buns, rope braids, and low ponytails with scarf details tend to stay put better than oversized updos. Dry shampoo at the roots gives the hair enough grit to grip a clip or elastic.
The Thick-Hair Version: Divide first, then style. A thick head of medium-length hair usually needs cleaner sections, stronger pins, and more than one anchor point. Braids and Dutch braid buns are especially good here because they distribute the bulk.
The Heat-Free Version: Skip irons and use damp braids, overnight twists, or a bit of sea salt spray on air-dried hair. This works well when you want movement without cooking the mids and ends.
The Dressy Version: Swap the messy ends for polished ones. A low bun, faux bob, or chignon with a shine serum finish looks much more formal than a loose wave or clip twist.
The Sporty Version: Tighten the crown, keep the part clean, and choose styles with no loose ends near the face. Bubble ponytails and braids are the easiest place to start.
Keeping the Styles Fresh Overnight and Into Day Two
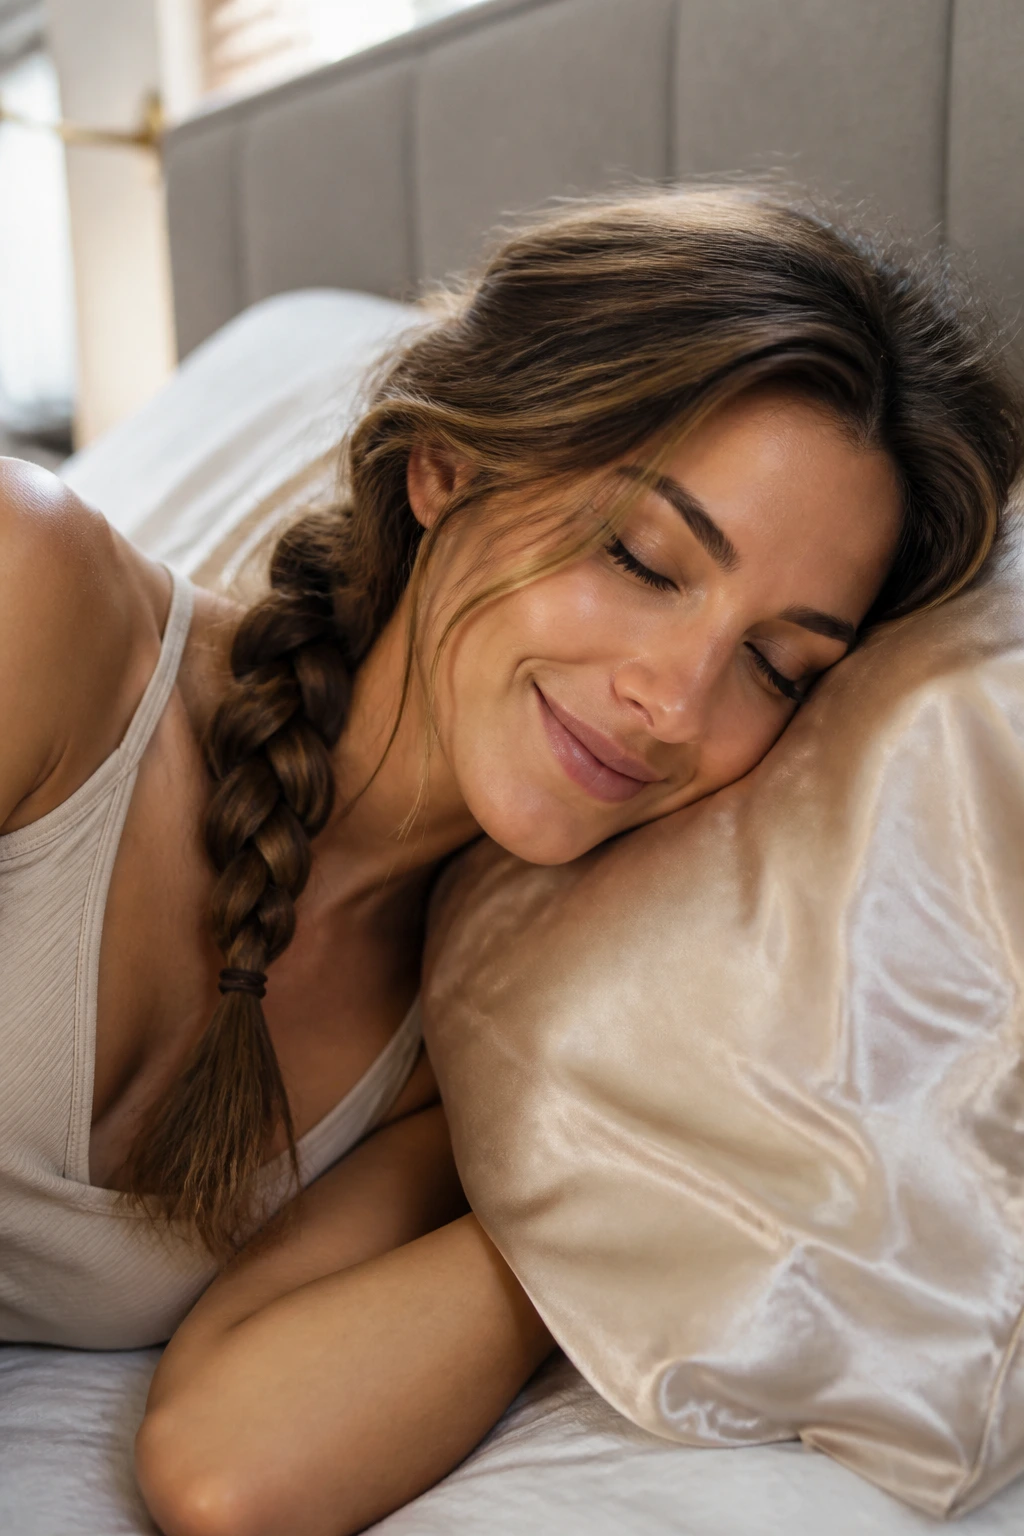
A good summer hairstyle should not collapse the second you sit through dinner. Medium-length hair usually gives you enough structure to stretch a style a little, but the overnight method matters.
Braids, rope styles, and low buns usually survive best if you sleep on a silk or satin pillowcase. The surface cut down on snagging, which means the hair keeps its shape instead of frizzing into a halo. If you want to preserve waves, put the hair in a loose braid or a soft twist before bed. Don’t tie it too tight. The goal is memory, not dents.
For buns and tucked looks, remove the pins before sleeping if the style is no longer needed, then re-secure in the morning rather than sleeping with sharp pins digging in. That keeps the shape cleaner and saves your scalp a lot of annoyance. A little mist of water, followed by a tiny bit of mousse or styling cream, is usually enough to refresh flat sections. I would not soak the hair again. That just restarts the whole problem.
Most braided styles can last two days if the weather is kind and the hair is not overly fine. Sleek styles usually look best fresh or lightly refreshed at the roots. Claw-clip twists and half-ups are easiest to remake from scratch, which is part of their appeal.
Frequently Asked Questions
Which medium-length hairstyle stays in place the longest in heat?
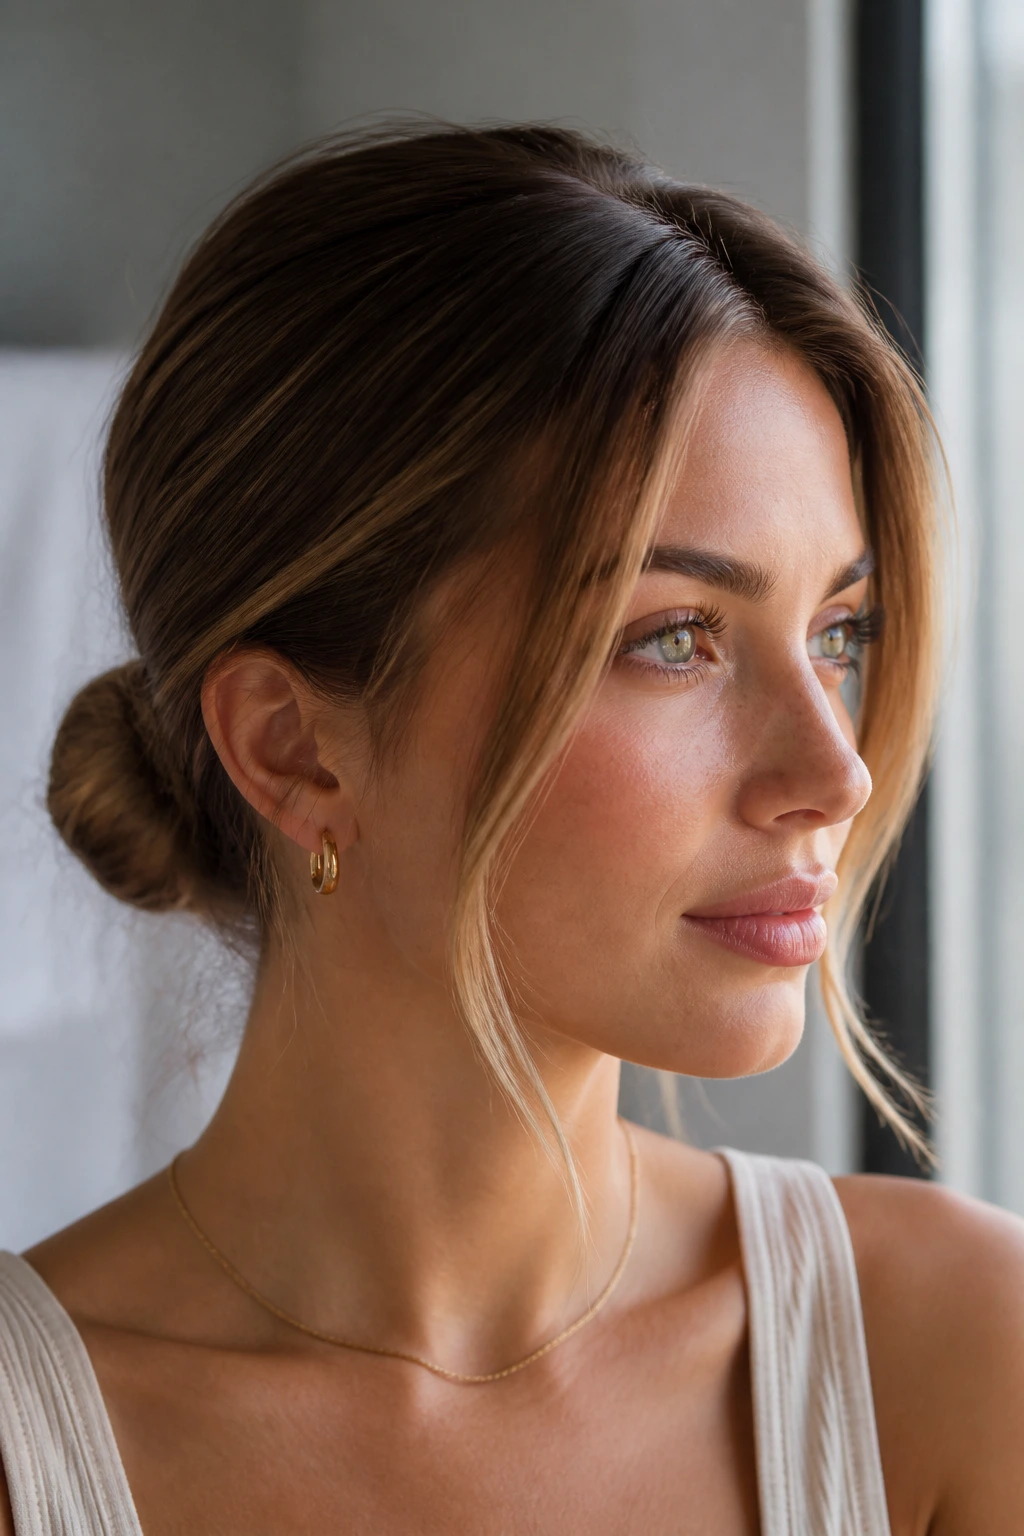
Low buns, Dutch braid buns, and French braid tails usually hold best because they anchor the hair close to the scalp. If your hair is slippery, add texture spray at the roots before styling.
What if my hair is layered and pieces keep falling out?
Use styles that welcome loose ends instead of fighting them. Half-up knots, claw-clip twists, and side braids look better when a few layers escape on purpose.
Can I do these styles on freshly washed hair?
Yes, but some styles work better with a little grit. If the hair is too clean and soft, braids and clips may slip more easily. A small amount of dry shampoo or texture spray fixes that.
How do I make a sleek bun look smooth without using too much gel?
Apply a small amount of smoothing cream only to the outer surface and comb it through the crown. Then use a brush to shape the bun before adding pins. More product is not the answer here.
What’s the best choice for fine medium-length hair?
Smaller styles tend to hold better: half-up knots, scarf ponies, mini buns, and rope braids. Big buns can overwhelm fine hair and slide out faster.
What if my hair is too short for a full bun?
Go for tucked styles, half-ups, low ponytails, and mini twists. Faux bobs and headband tucks are especially useful because they work with shorter medium lengths.
Are these styles safe for curly hair?
Yes, as long as you avoid over-brushing and use enough moisture. Curly hair often looks better in looser braids, controlled buns, and half-up styles that keep the curl pattern intact.
How do I stop the crown from puffing up in humidity?
Use a light smoothing cream at the roots before styling and avoid touching the crown once the style is set. A tight part and a flexible-hold hairspray help keep the top layer from expanding.
Can I wear these styles with a hat?
Absolutely. Low buns, side braids, and tucked styles fit under caps better than high knots or space buns. Keep the crown flat and the back compact.
The Easiest Styles Are Often the Best Ones
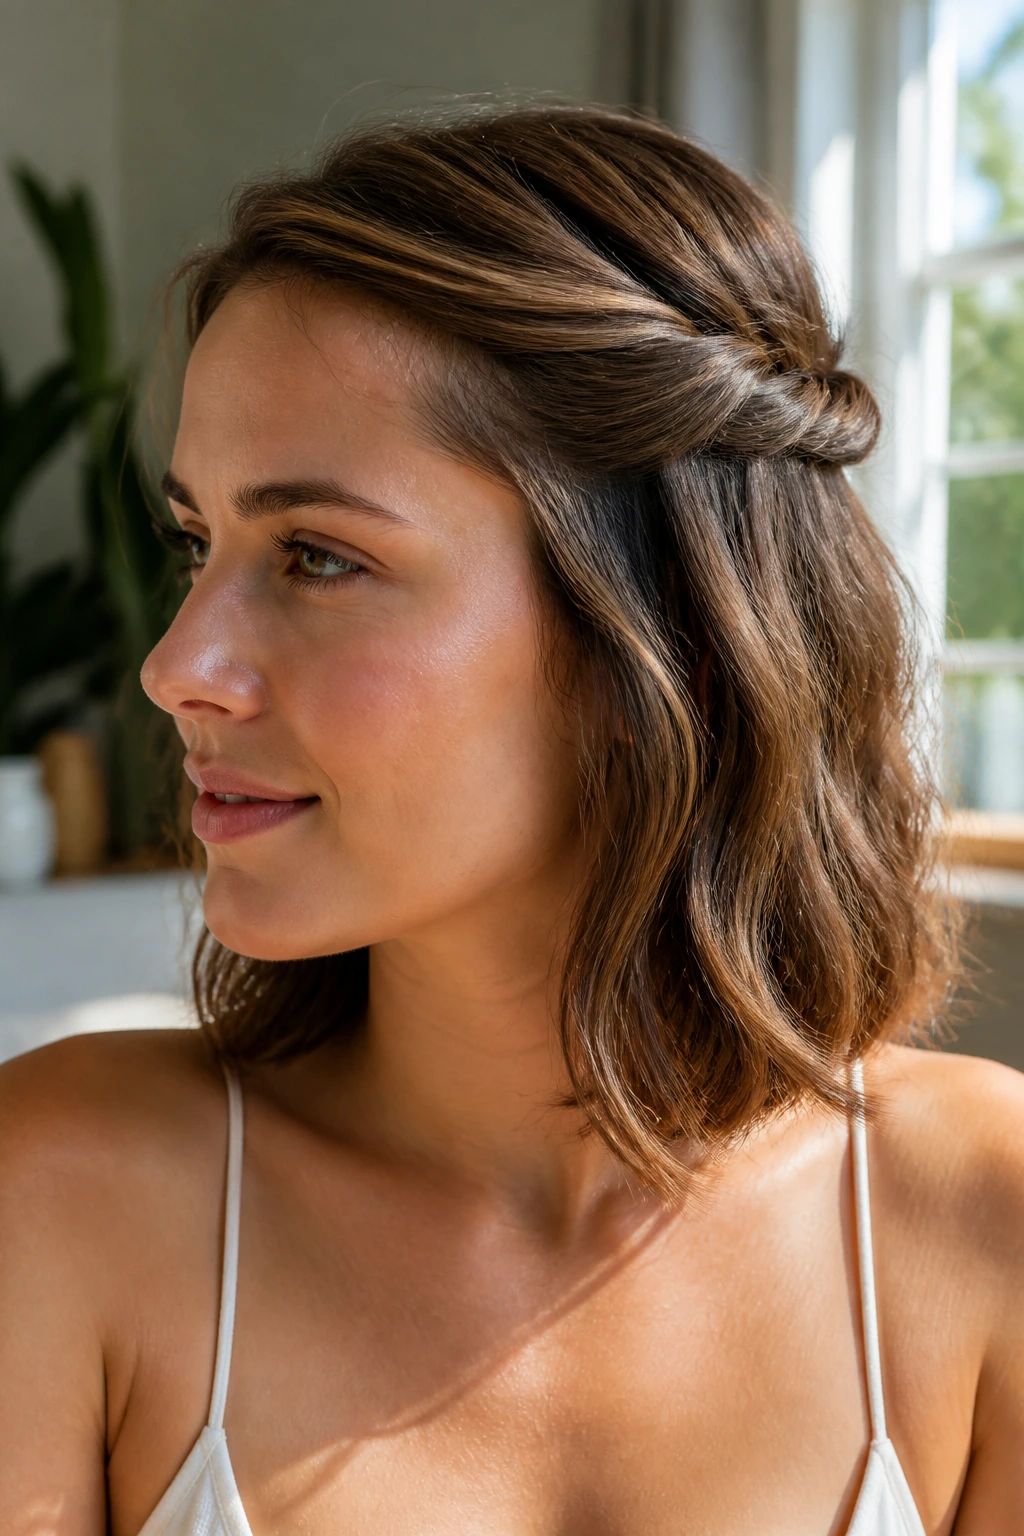
Medium-length hair doesn’t need to be wrestled into something elaborate every time the weather turns sticky. The smartest summer styles are the ones that know when to stay simple: a twist that clears the neck, a braid that holds shape, a bun that doesn’t wobble after lunch. That’s where this length shines. It gives you options without demanding a full production.
A small clip, a few pins, and one good product can carry a surprising number of looks. Once you learn which shapes your hair actually likes in heat — and which ones collapse before you’ve finished your coffee — summer styling gets a lot easier. The goal isn’t to make your hair disappear. It’s to make it behave long enough for you to get on with the day.
