



Half up half down styles for prom night and long hair hit a sweet spot that full updos never quite manage. The crown stays neat, the front pieces can be shaped around your face, and the length still moves when you walk, sit, or spin under bad lighting with a friend taking way too many photos. That movement matters. Long hair looks heavy when it’s all pulled away from the head, and it looks flat when it’s left loose with no structure at all.
The trick is finding the balance. Too much teasing and the top starts to look stiff by dessert. Too many pins and the whole thing turns into a battle you lose by the second song. The best prom hairstyles for long hair usually do one simple job well: they control the crown, then leave the rest of the hair soft enough to look like you still recognize yourself.
I keep coming back to half-up styles for exactly that reason. They don’t fight the length. They work with it. A little braid, a twist, a tucked curl, a few smart pins — that’s often enough to make long hair look finished without making it feel trapped.
Why These Half-Up Looks Earn Their Place on Prom Night
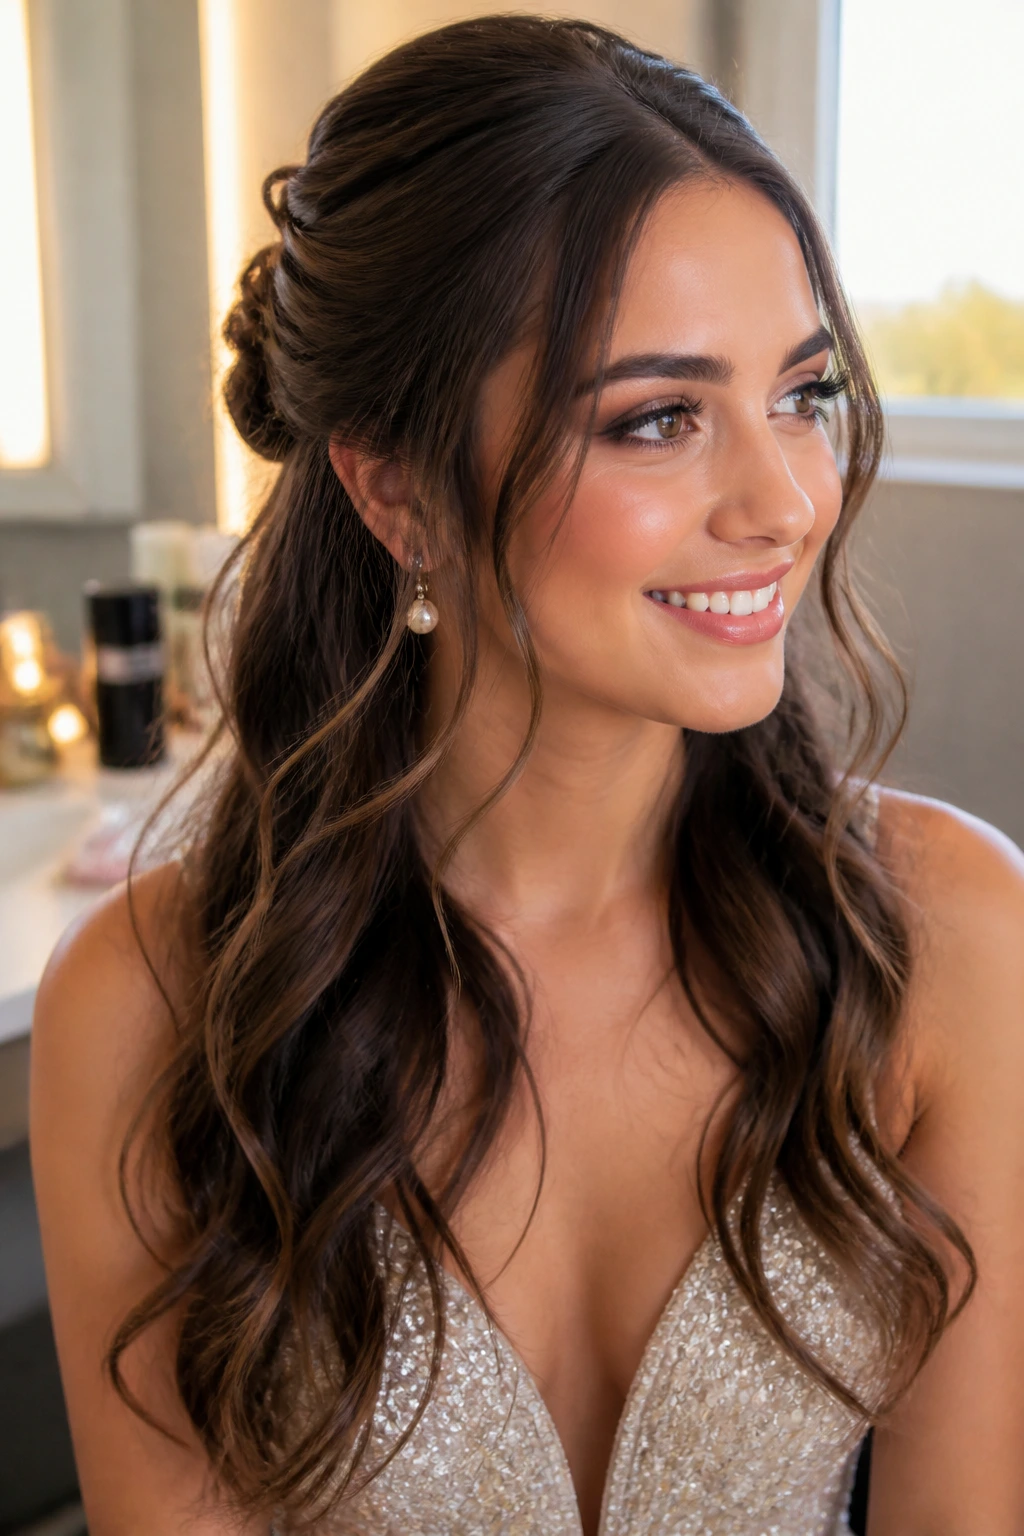
- They control the part that matters most: The crown and temple area stay polished, which is where long hair usually starts to fall flat first.
- They leave room for movement: The lower half can swing, curl, or wave, so the style still looks alive in motion and not shellacked into place.
- They work with almost any texture: Straight, wavy, curly, fine, thick — the basic half-up shape can be adjusted without starting over.
- They give accessories a home: Pearls, combs, ribbons, and pins sit better in a half-up section than they do scattered through loose hair.
- They’re easier to refresh: If one curl or twist loosens, you fix a small area instead of rebuilding the whole head.
How to Prep Long Hair Before You Start Styling
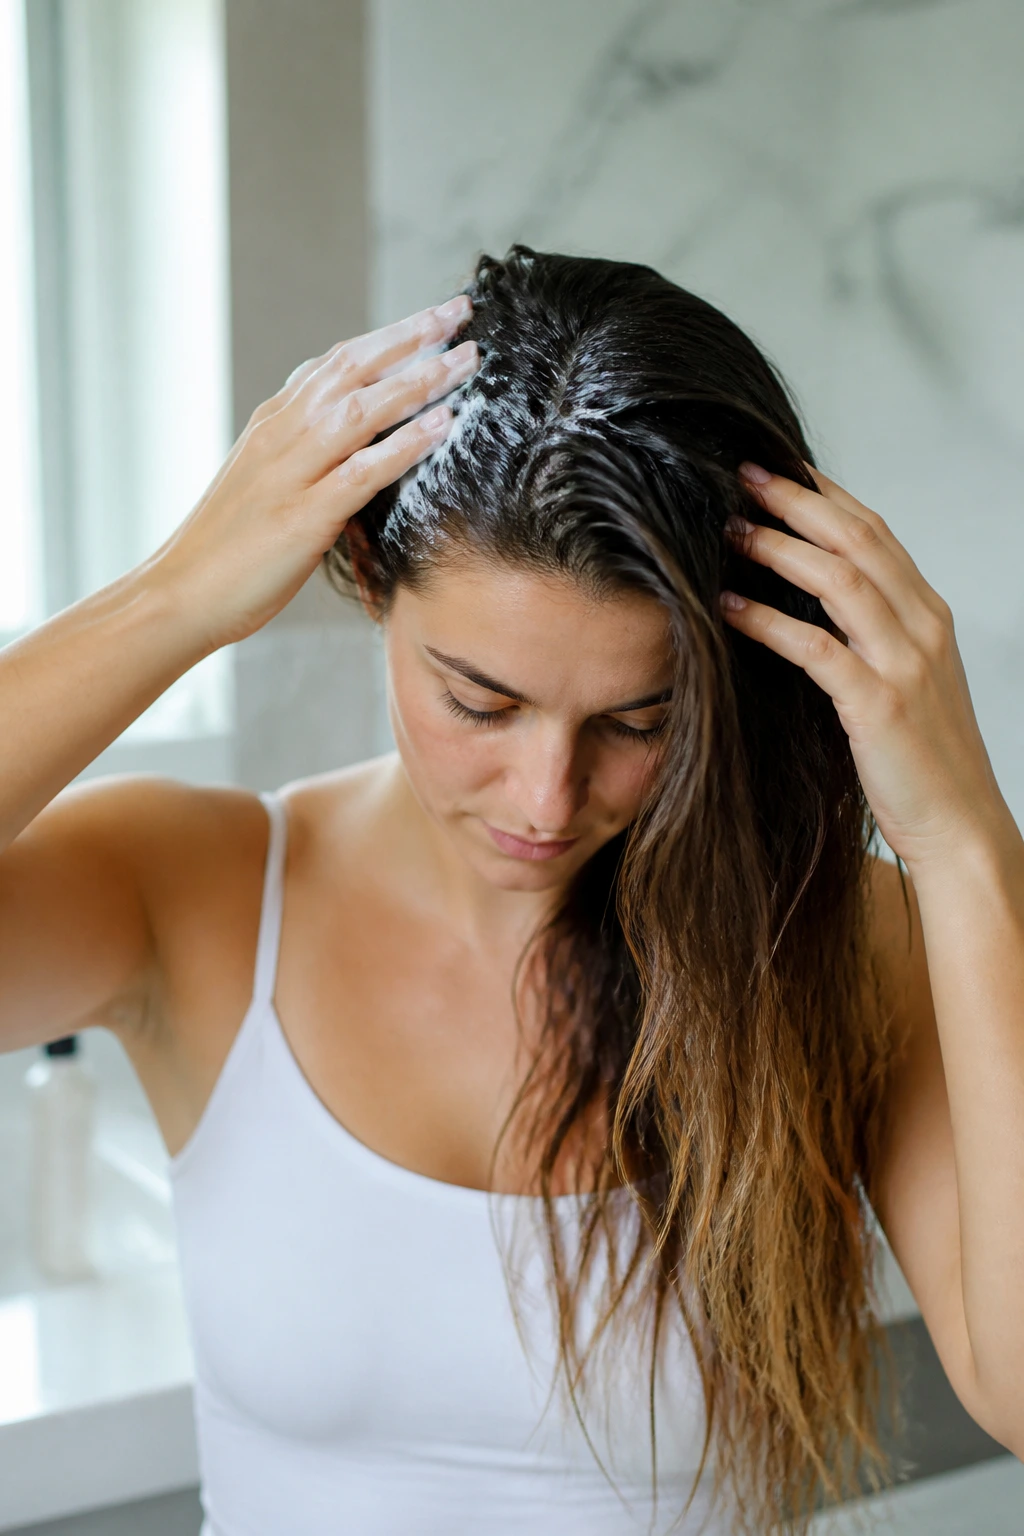
Hair that has a little grip behaves better. That is the whole story, really.
Freshly washed hair can be slippery, especially if it’s fine or silky. If you wash the day of, use a lightweight mousse at the roots and a heat protectant through the lengths, then rough-dry the crown with your fingers before you touch a curling iron. If the hair was washed the day before, a mist of dry shampoo at the roots and a light texture spray through the mids usually gives you better control.
I’m also picky about section size. Long hair can swallow a style if the sections are too fat. Around the temples, 1-inch to 1.5-inch sections are easier to twist, braid, and pin cleanly. Bigger sections look faster, but they slip faster too.
One more thing that gets ignored: let the curls cool. If you curl a section and immediately brush it or pin it hot, the shape drops before you even get to the dress. Clip each curl up for a few minutes if you can. It feels fussy. It saves the whole look.
1. Soft Twist-Back Waves
This is the style I reach for when I want the front to look clean but not severe. Two soft twists pulled back from the temples create just enough shape to frame the face, while the rest of the hair stays in loose waves that still move when you turn your head. It’s simple, but not plain.
Best for a soft, romantic finish
If your hair is long and a little layered, this style behaves nicely because the twist has somewhere to grip. Start by curling the full head with a 1-inch iron, then take a 1-inch section from each temple, twist each one away from the face, and pin them together at the back of the head just above the ears. I like to hide the pins inside the twist instead of stacking them on top. It looks cleaner in photos.
A small detail makes a big difference here: cross the bobby pins in an X. One pin grips the twist, the second locks it in place. That little crossed shape keeps the section from sliding when you move.
Quick note: Leave two face-framing pieces loose if your hairline is high or your dress neckline is busy. The style gets softer, not messier.
2. Braided Halo Half-Up
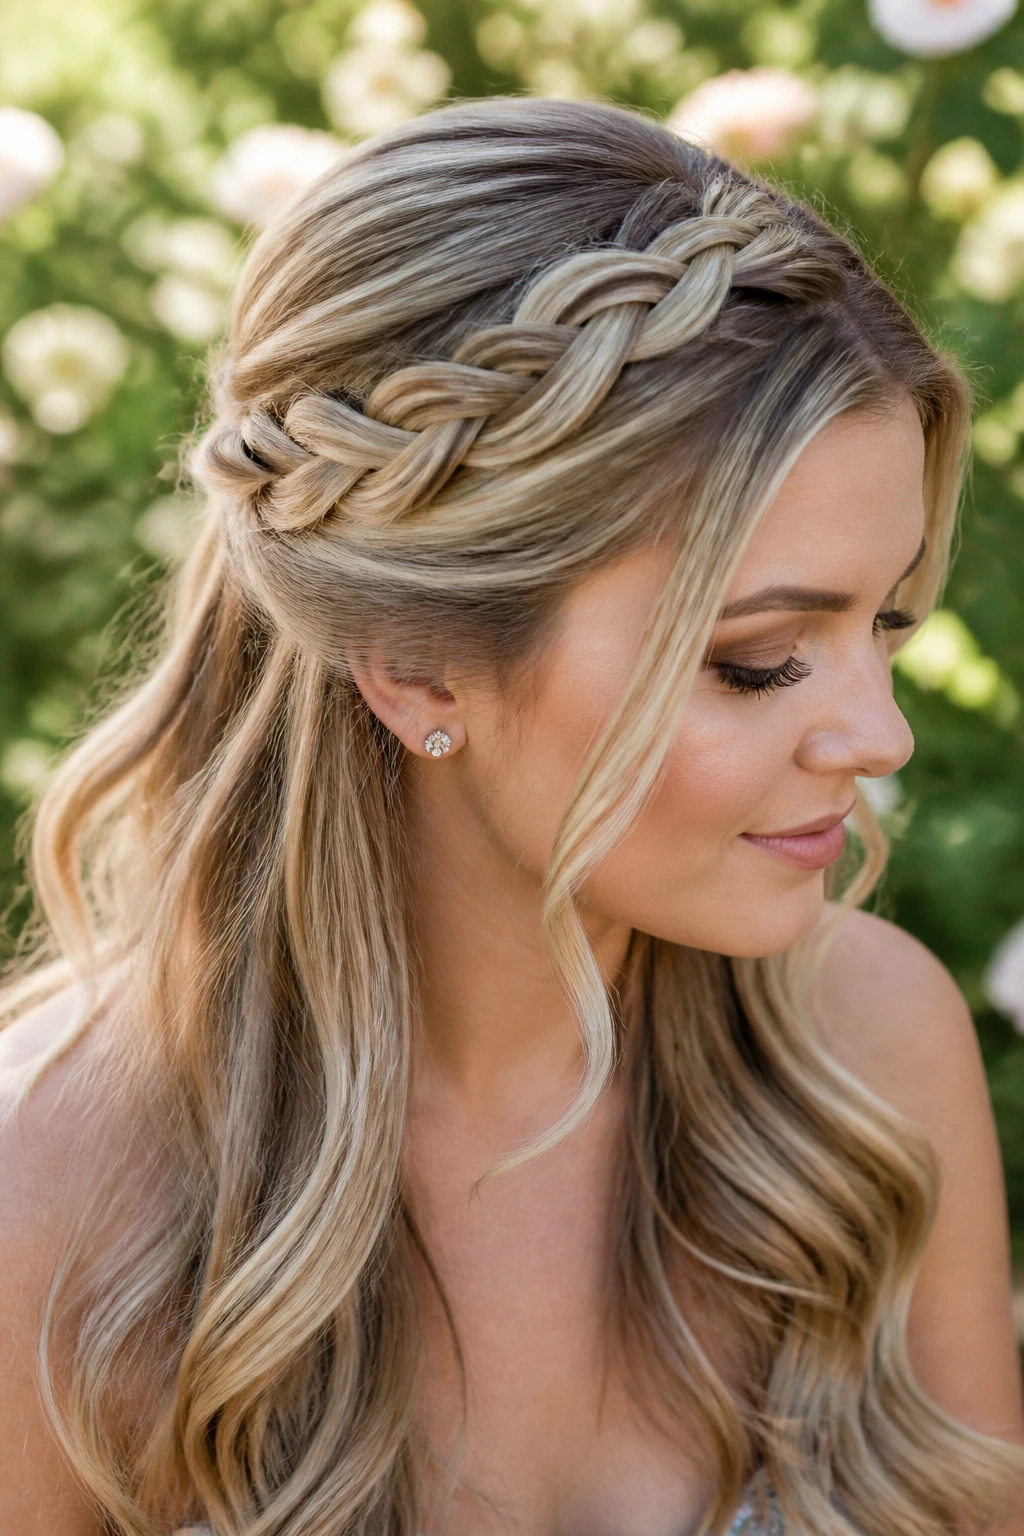
A halo braid makes long hair look composed fast. The braid creates a visible line across the crown, which gives the style structure even if the rest of the hair is loose and brushed-out. That clean band across the head is the whole reason this one works so well on prom night.
Braid from one temple toward the other along the top of the head, either as a French braid or a Dutch braid if you want the braid to stand up a little more. Pin the braid behind the opposite ear, then let the lower hair fall in waves or soft curls. If your hair is slippery, mist the top section with texturizing spray before you start. Do not skip that step. Smooth hair and braids are not friends.
This style is especially good on thicker hair, because the braid has enough substance to read from across the room. On finer hair, make the braid a touch looser and gently tug the outer loops after pinning so it looks fuller.
3. Bubble Braid Crown Half-Up
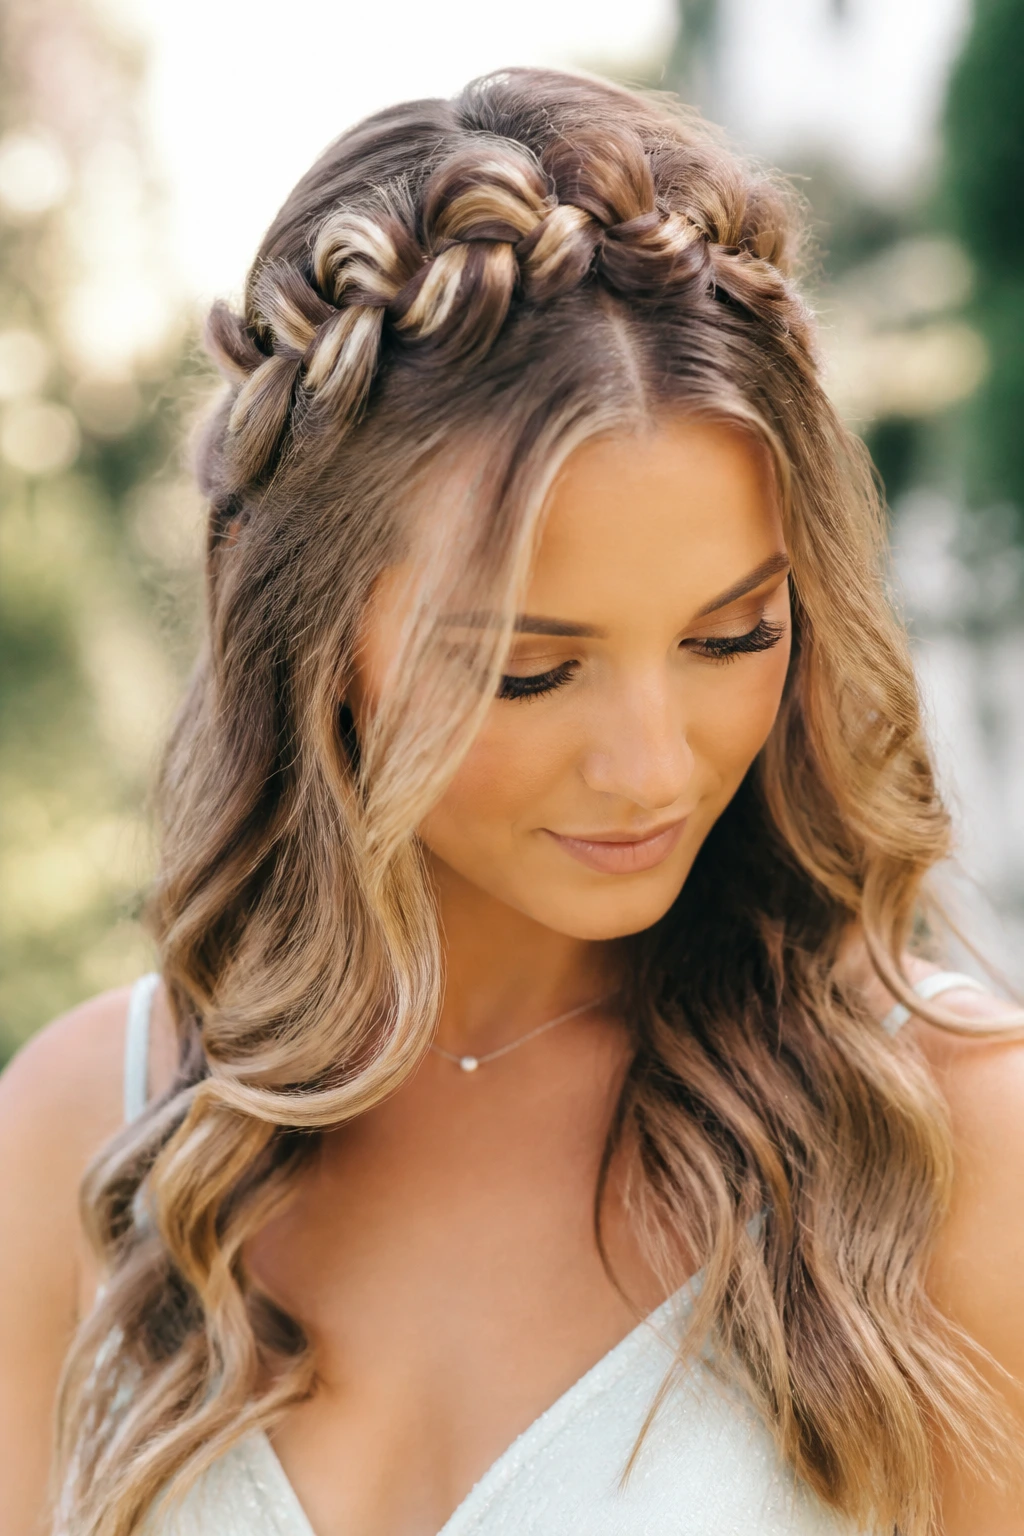
Want something that looks intricate but only asks for a handful of clear elastics? Bubble braid. It has more shape than a plain ponytail and less fuss than a full braided crown, which is exactly why I like it for long hair that needs a little drama without a full styling marathon.
Pull back the top third of the hair into a half ponytail, secure it with a clear elastic, then add another elastic every 1.5 to 2 inches down the tail. After each elastic is in place, gently tug the hair between the bands to make rounded “bubbles.” Don’t yank. Just soften each section until it puffs out evenly. If the hair is very thick, you can wrap a tiny strand around each elastic to hide it.
How to keep the bubbles round
The bubbles hold their shape best when the hair has a little texture first. A dry finishing spray or a light wave through the lengths gives the elastic something to grip. If you use a flat ironed base, the bubbles tend to sink and separate by the end of the night.
This one reads polished from the back and playful from the side. That’s a nice combination for prom.
4. High Half Pony with Crown Volume
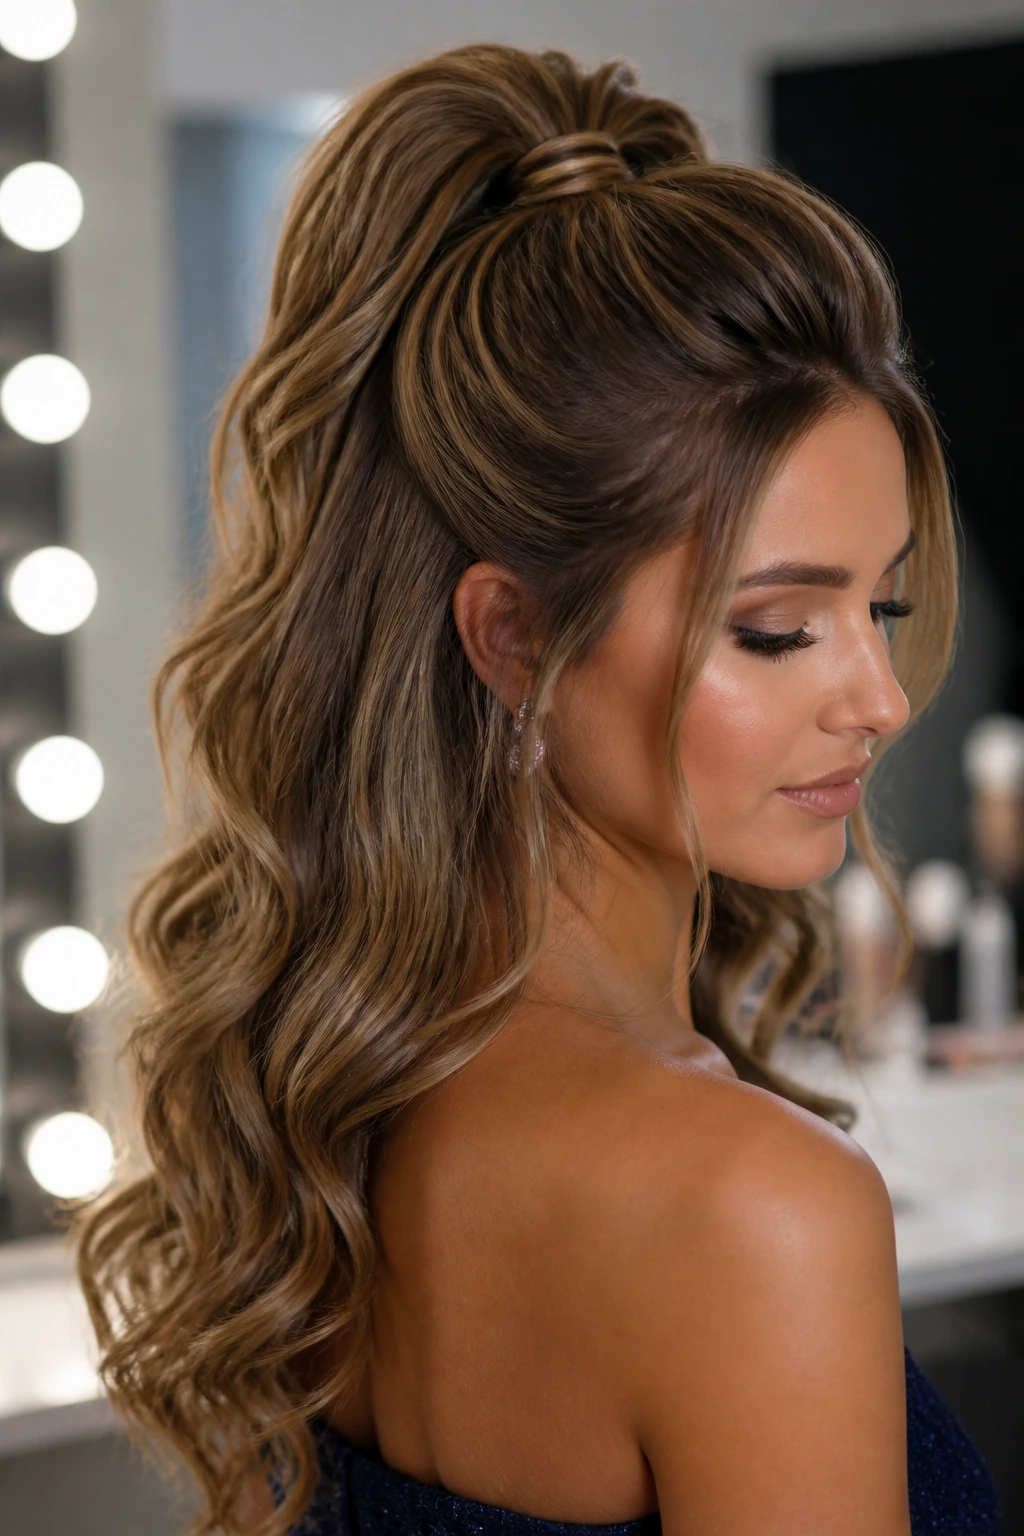
If your dress has a higher neckline and you still want lift at the crown, this is the one. A high half pony gives the hair a little posture, which is useful on long hair because the weight at the back can pull every other style downward.
Backcomb a 2-inch section at the crown lightly, then smooth the top layer over it with a boar-bristle brush. Gather the top half into a ponytail at the back of the crown, secure it with a strong elastic, and wrap a small strand of hair around the band so the base disappears. Curl the ponytail pieces afterward so the movement stays soft instead of rigid.
I like this style with dresses that have open shoulders or clean necklines. It leaves the face open, shows off earrings, and keeps the profile lifted in a way that reads formal without trying too hard.
5. Waterfall Braid Cascade
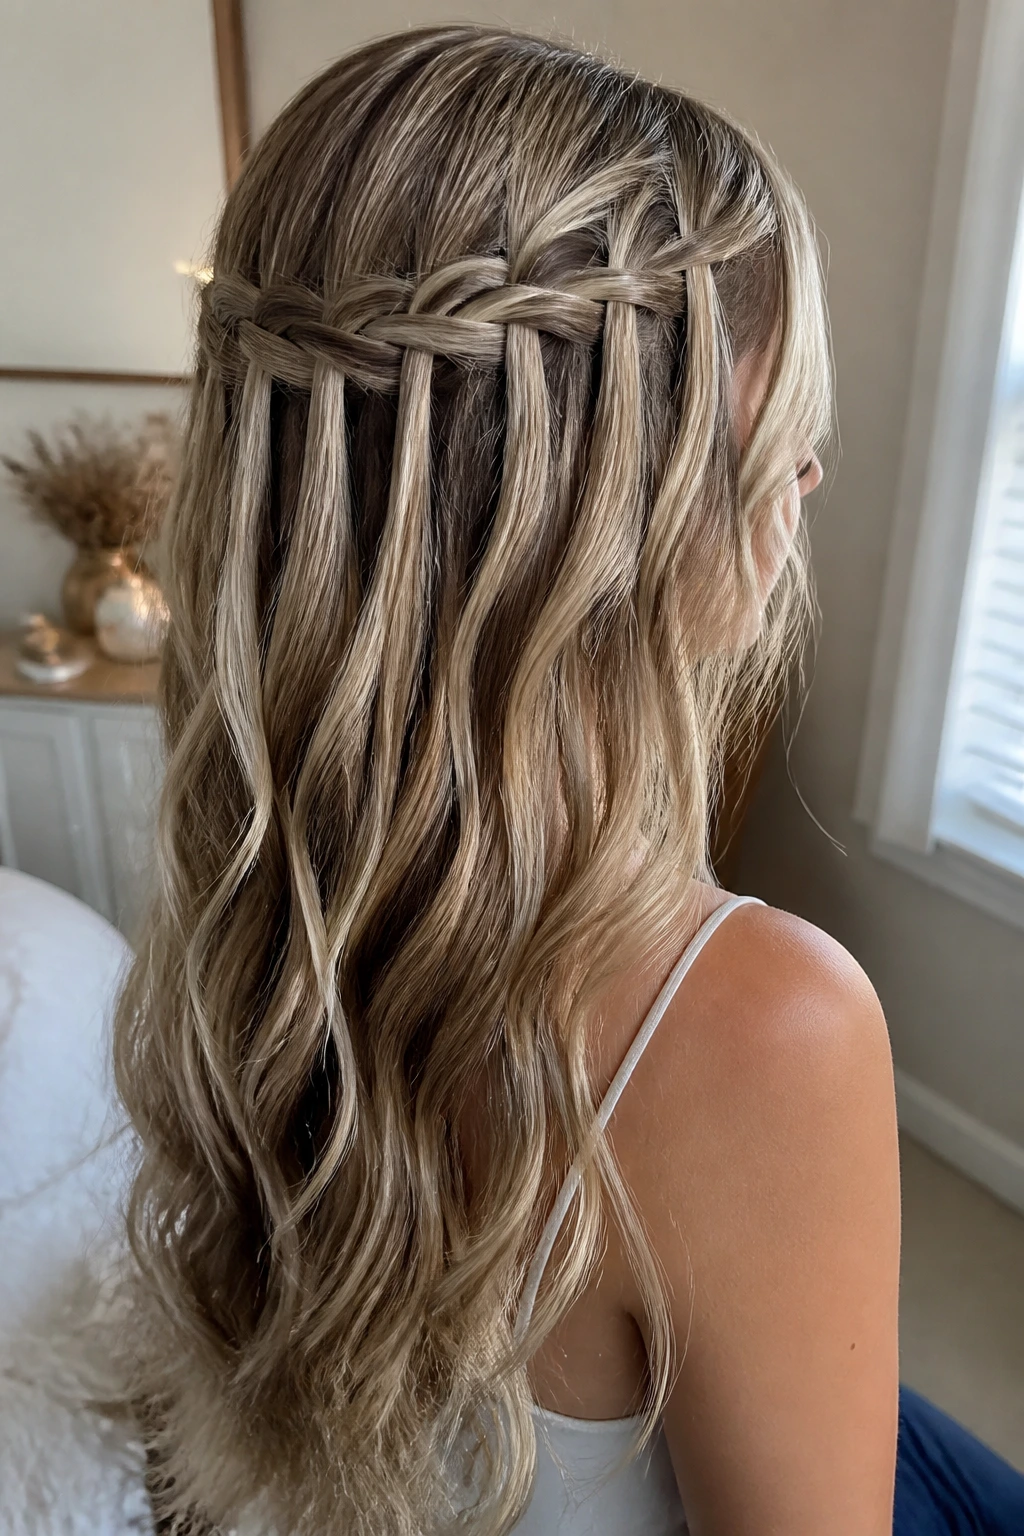
A waterfall braid has a better sense of motion than almost any other half-up look. Instead of locking every strand into place, it lets sections drop through the braid as you go, which creates that soft cascading line across the back of the head. On long hair, the effect is gorgeous because the loose lengths below do half the work for you.
Start on one side with a three-strand braid at the temple, then every time you cross a top strand, drop the bottom strand and replace it with a fresh section from above. Keep the braid close to the head and move horizontally or slightly diagonally toward the opposite side. Pin the end behind the ear with two crossed bobby pins. That little pin placement matters more than people think.
This is a style that likes texture. Second-day hair, loose curls, or a bit of wave in the lower half keeps the braid from collapsing. If the hair is pin-straight and silky, the waterfall pattern can slip into the background. You want the braid to be visible, not anonymous.
6. Sleek Center-Part Pin-Back
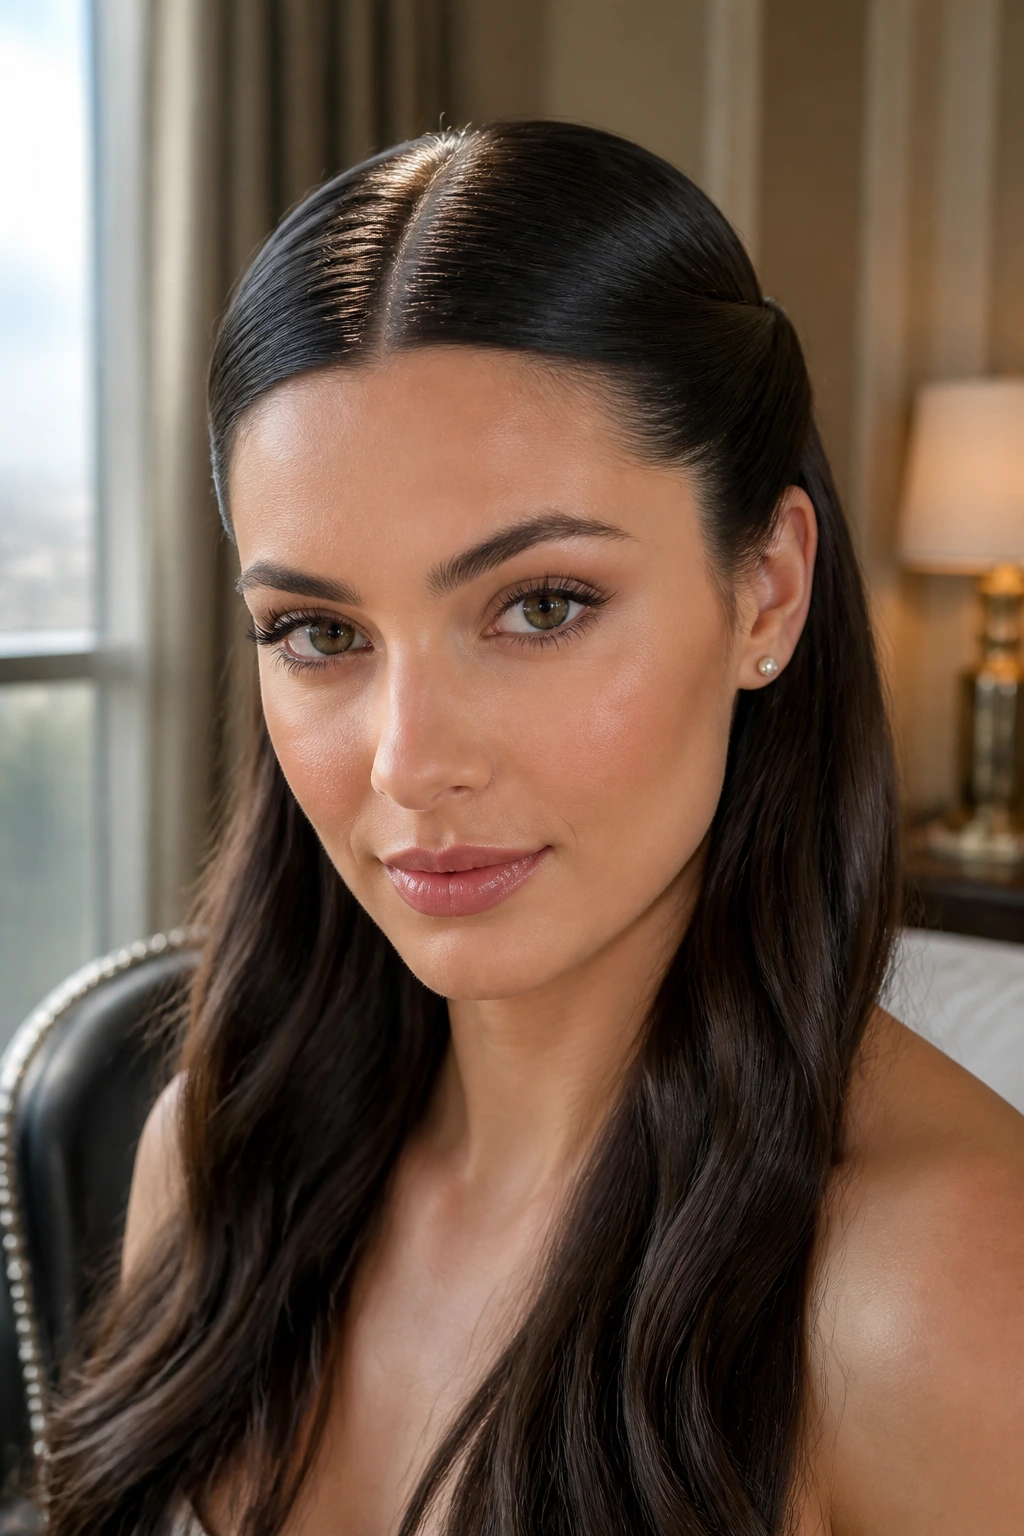
If the curly styles read dreamy, this one reads sharp. A center part with sleek pin-backs gives long hair a cleaner line and lets the dress do more of the talking. It’s a good choice when the neckline is ornate, the earrings are the statement, or you just prefer a quieter hair moment.
Use a flat iron on dry hair at a moderate heat setting that suits your texture, then smooth a small amount of serum over the top and mids. Part the hair down the center, take a 2-inch section from each side above the temples, and pin them flat behind the ears or at the back with hidden bobby pins. Leave the lower lengths straight, softly bent, or lightly waved depending on what looks best with your dress.
The key here is restraint. Don’t over-oil the hair. Don’t over-flatten the crown. You want shine, not grease, and you want smoothness, not helmet hair. A neat middle part with tucked sides can look surprisingly formal when the lines are clean.
7. Double Knot Half-Up
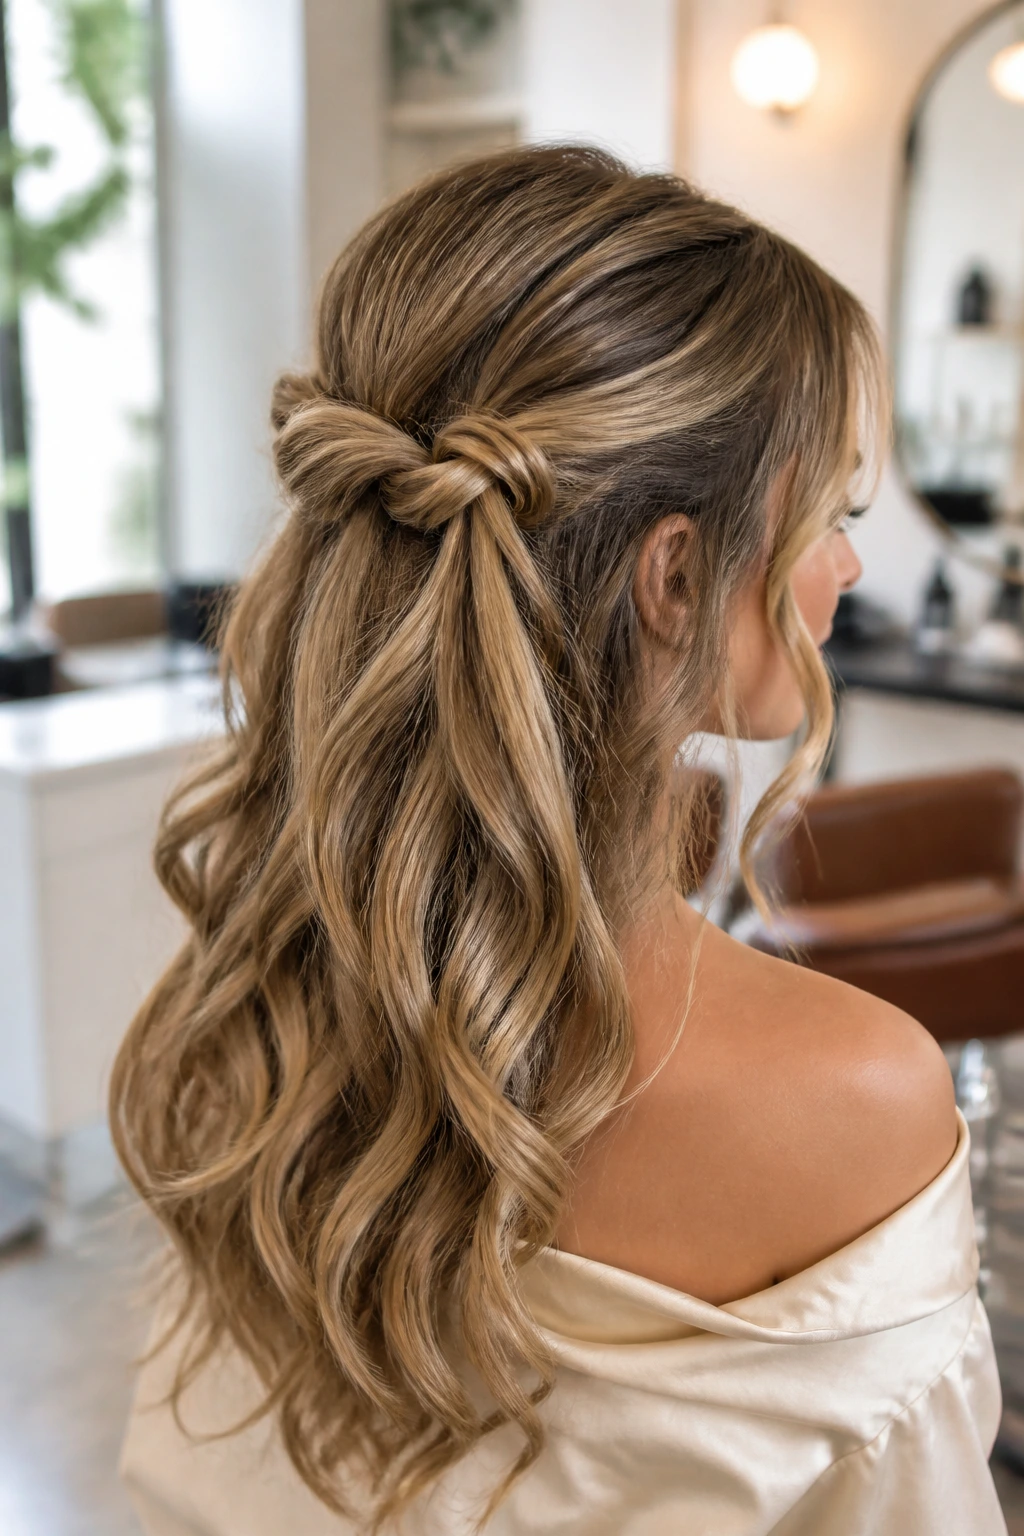
Twisting two side sections into a knot gives you shape fast, and it doesn’t look like you spent the whole afternoon overthinking it. That’s part of its charm. On long hair, the knot sits like a little focal point at the back of the crown, and the rest of the hair can stay in loose curls or brushed waves.
Take a 1.5-inch section from each side of the head, bring them to the back, and tie them into a loose knot. If the hair is thick, you may get a second knot out of the same sections before pinning. Secure the knot underneath with two or three bobby pins so the pins disappear into the twist. Keep the knot sitting just above the occipital bone — that bump at the back of the head — because it gives the style a nice lift without making it look too high.
This style is especially kind to layered hair. Shorter pieces tend to hide inside the knot instead of falling out around the face.
8. Rope-Twist Crossback
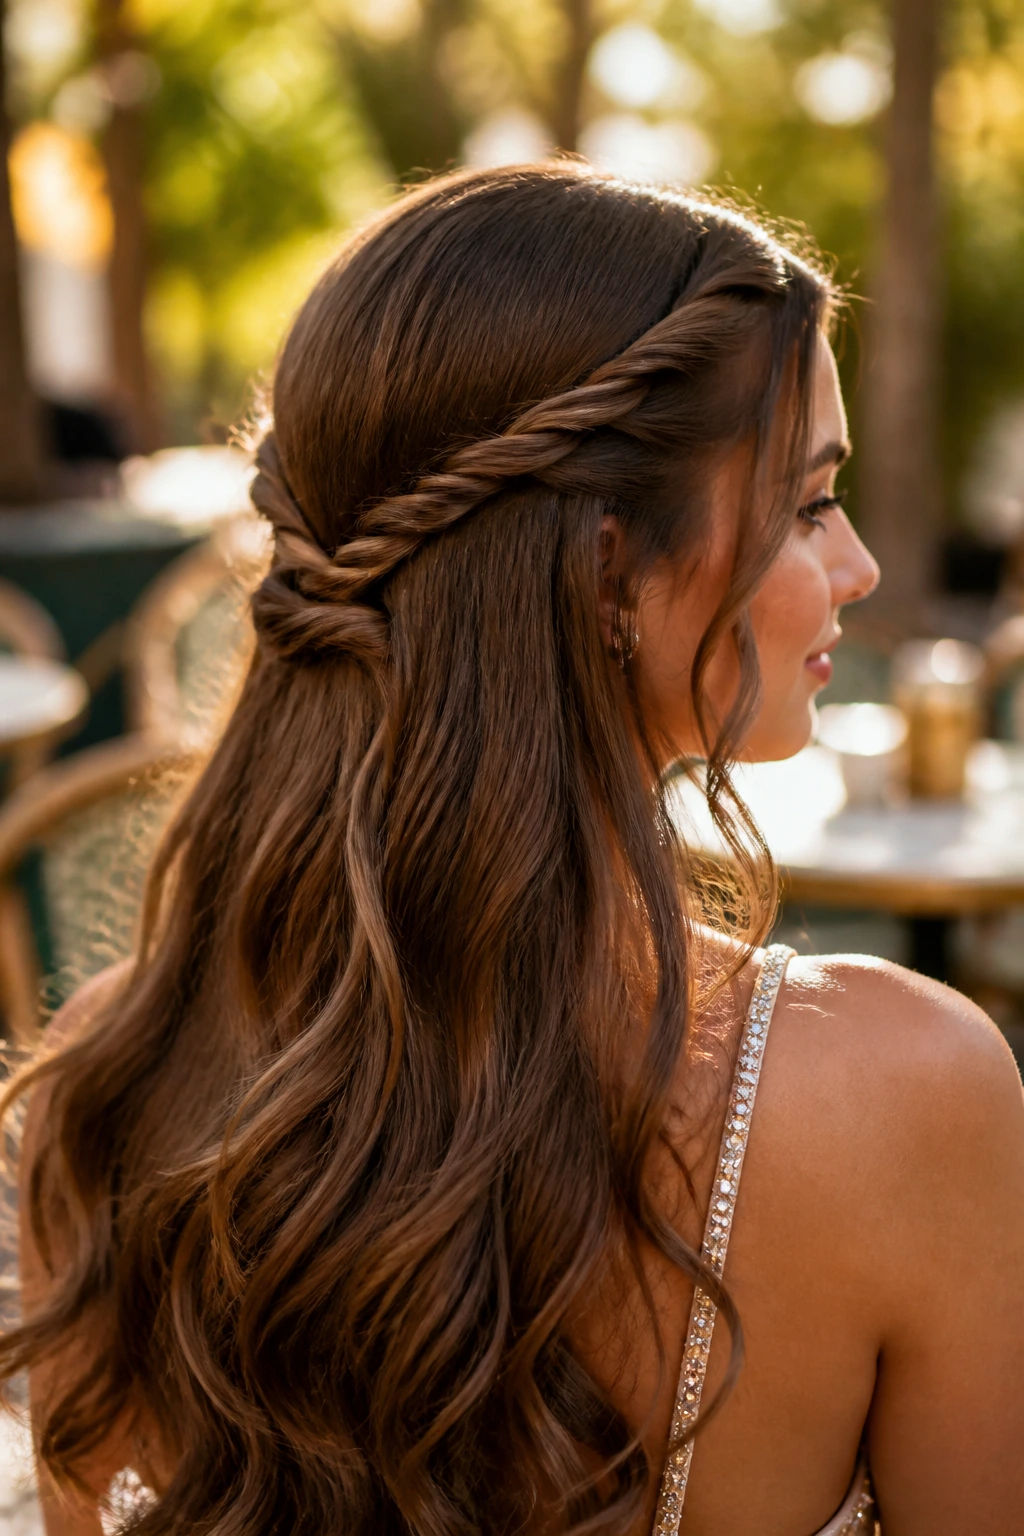
Need something that feels polished but not fussy? Rope twists solve that. They are faster than braids, cleaner than random twists, and they tend to hold well on long hair that doesn’t want to cooperate with a tighter woven pattern.
Take two narrow sections from the temples, twist each section away from the face, then wrap them around each other before pinning them together at the back. Repeat on the other side if you want a mirrored shape, or let the first pair cross into the center and blend into the loose lengths. For extra hold, twist each section once around your finger before you bring it back. That tiny bit of tension helps the twist stay defined.
I like rope twists on highlighted or balayaged hair because the twist lines are easy to see. The pattern gives the hair more visual structure, which matters if your dress is very simple and the hairstyle needs to carry more of the look.
9. Pearl-Pinned Side Sweep
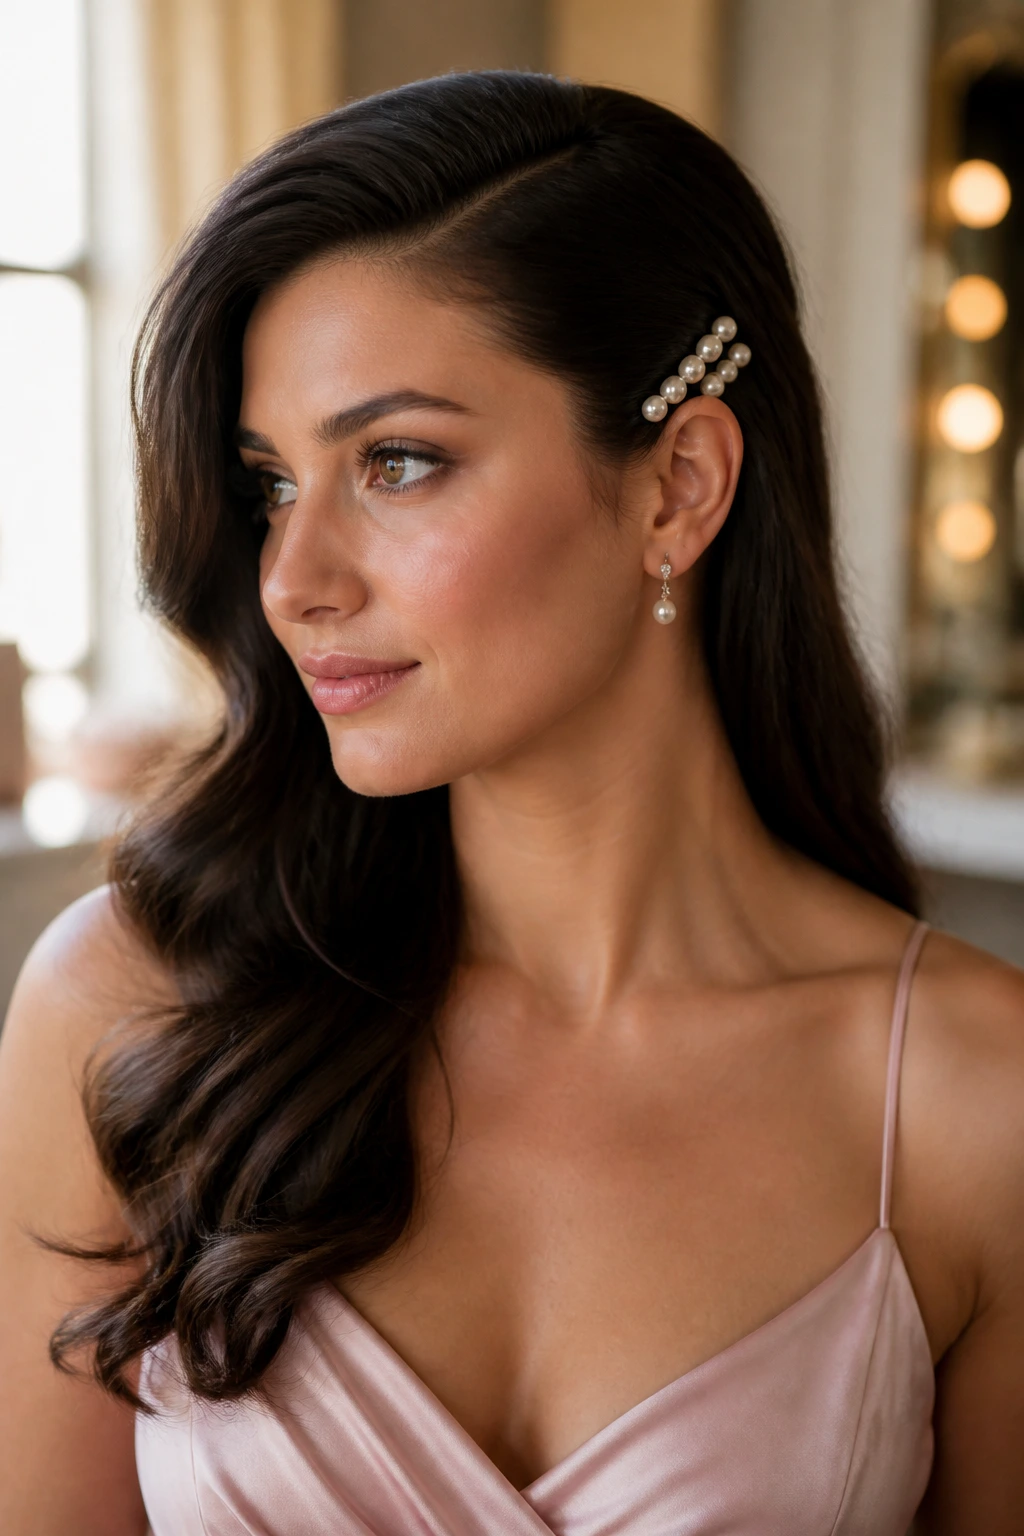
A deep side sweep is the move when you want one side to stay open for earrings and the other side to look sculpted. Pearls make it feel finished, but the real trick is the balance of weight: more hair swept from one side, less from the other, then pinned so the shape curves instead of collapsing.
Choose the side with the heavier part, gather a 3-inch section from the front and temple, and smooth it diagonally across the back of the head. Pin it behind the opposite ear with several bobby pins, then add pearl pins or a decorative comb along the curve. The decorative pieces should follow the shape, not sit in a random cluster. Random clusters look like afterthoughts.
A small detail that helps
If the hair is very long, curl the lower half in a direction away from the face so the sweep and the ends do not fight each other. You want the top to guide the eye and the length to finish the sentence.
This style works beautifully with side-slit gowns and dresses that already have a little movement in the fabric.
10. Fishtail Crown Half-Up
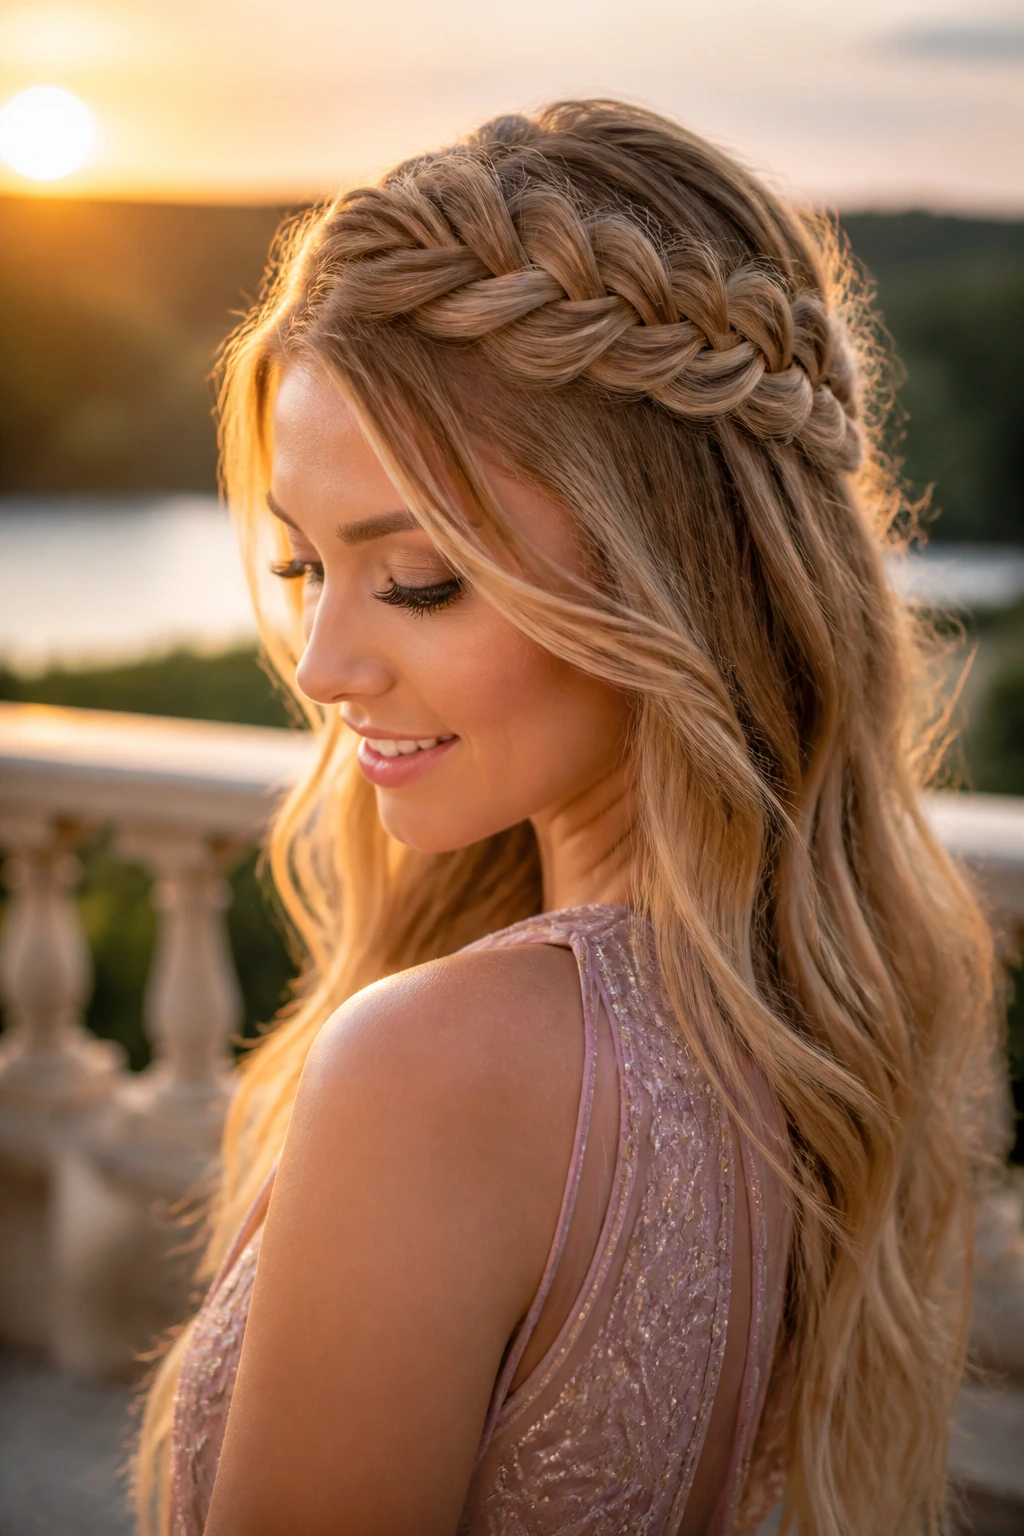
A fishtail crown looks more detailed than a plain braid, and the texture is worth the extra minutes. The braid sits across the crown like a narrow, woven band, then the rest of the hair drops loose underneath. On long hair, the contrast between the tight braid and the soft lengths below is the whole point.
Split the top section into two parts and begin a fishtail braid from one side, taking tiny outer pieces and crossing them over to the opposite side. Keep the braid close to the head and work toward the other temple. Once it’s secured, pancake the braid slightly by pulling at the outer edges with your fingertips. That makes the braid wider and softer, which keeps it from looking too stiff.
I prefer this on thick or medium-thick hair because the pattern holds its shape better. Fine hair can still wear it, but the braid needs a little more texture spray and a less aggressive pull. If you want the lower half to feel coordinated, add loose curls with a 1.25-inch iron and brush them out once they cool.
11. Hollywood Curl Half-Up
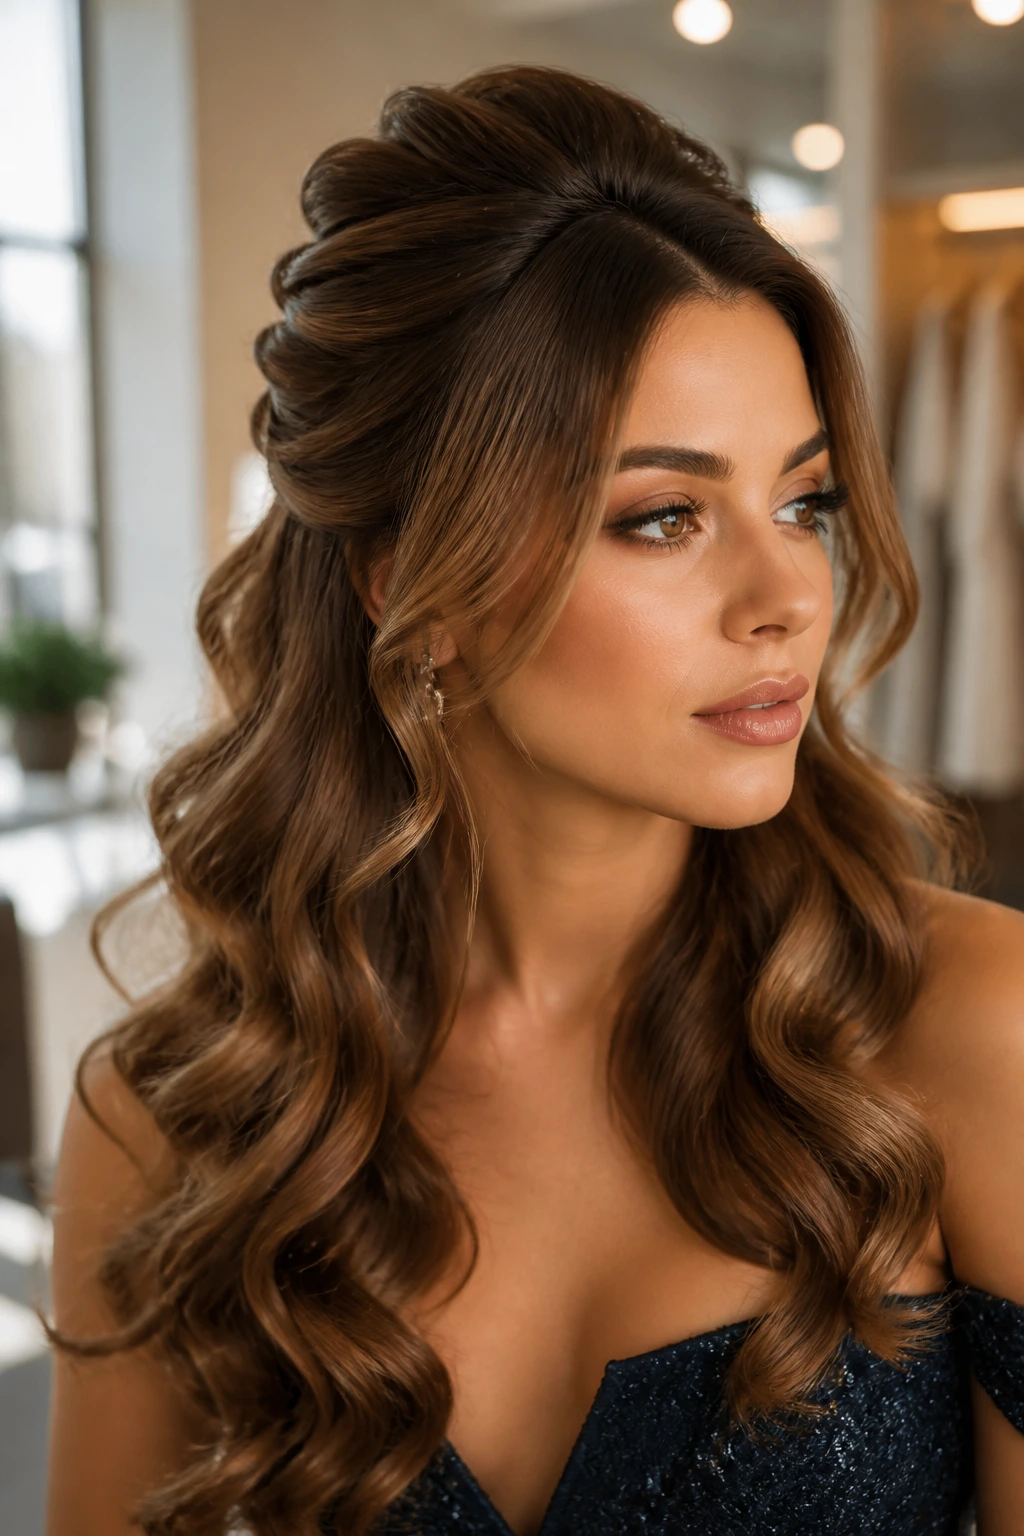
When you want the hair to feel lush from every angle, brushed-out curls with a pinned crown are hard to beat. The look has enough old-school polish for formal photos, but it still feels soft because the curls stay large and touchable instead of tiny and crunchy.
Use a 1.25-inch curling iron or hot rollers on dry hair, curling sections away from the face for a consistent sweep. Let the curls cool, then brush them out gently until they turn into smooth waves with visible bend. Pin back the top sections at the crown and leave the rest down in wide, glossy curves. A tiny hidden clip or a narrow comb can help anchor the top if your hair is heavy.
This is the style I’d choose if the dress is strapless or off-the-shoulder and you want the hair to look expensive without looking rigid. It’s also one of the easier styles to adapt with clip-in extensions, because the added length makes the wave pattern show better.
12. Braided Bun Accent
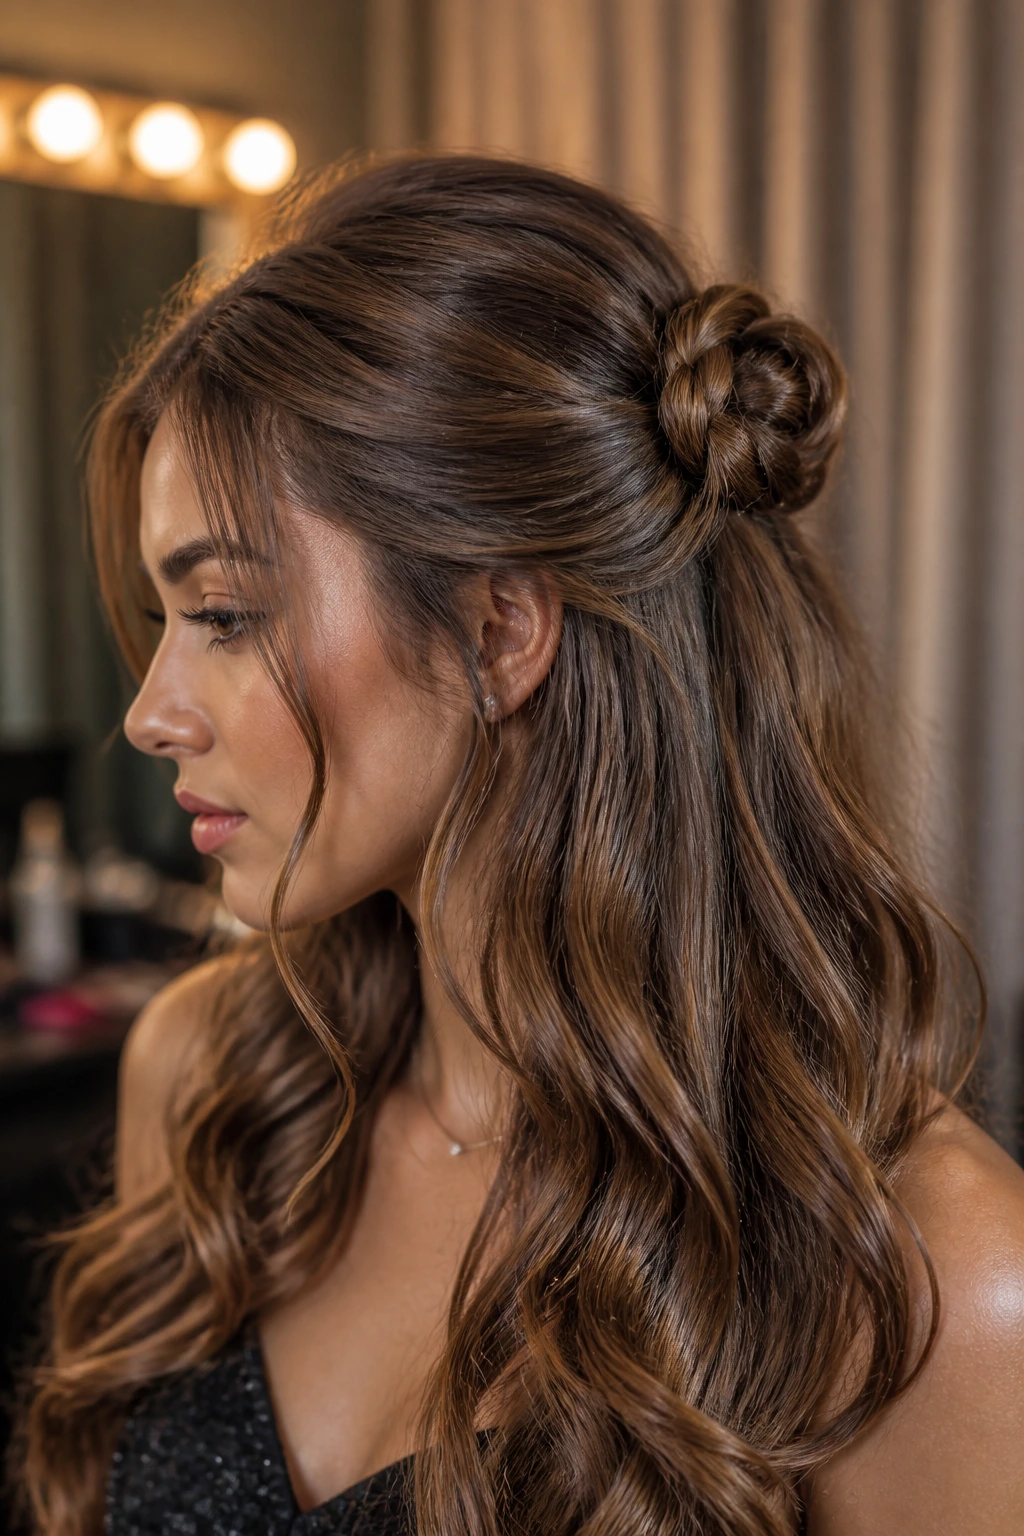
A small braid coiled into a mini bun gives the half-up shape an anchor point and keeps the back from feeling flat. It’s one of those styles that looks more engineered than it is. Good news. You do not need a full braid crown to get the effect.
Take a 2-inch section from the center top or slightly off to one side, braid it all the way down, then coil the braid into a small bun and pin it flat against the head with U-pins or several bobby pins. Leave the rest of the hair loose in curls or waves. The bun should look tidy, but not tiny and invisible. It needs enough size to hold the style together visually.
This works especially well if the dress has an open back. The mini bun sits high enough to show shape, but low enough that it doesn’t block the neckline. I also like it for long hair that tends to separate in the back, because the braid gives the style a clear center.
13. Ribbon-Wrapped Half-Up
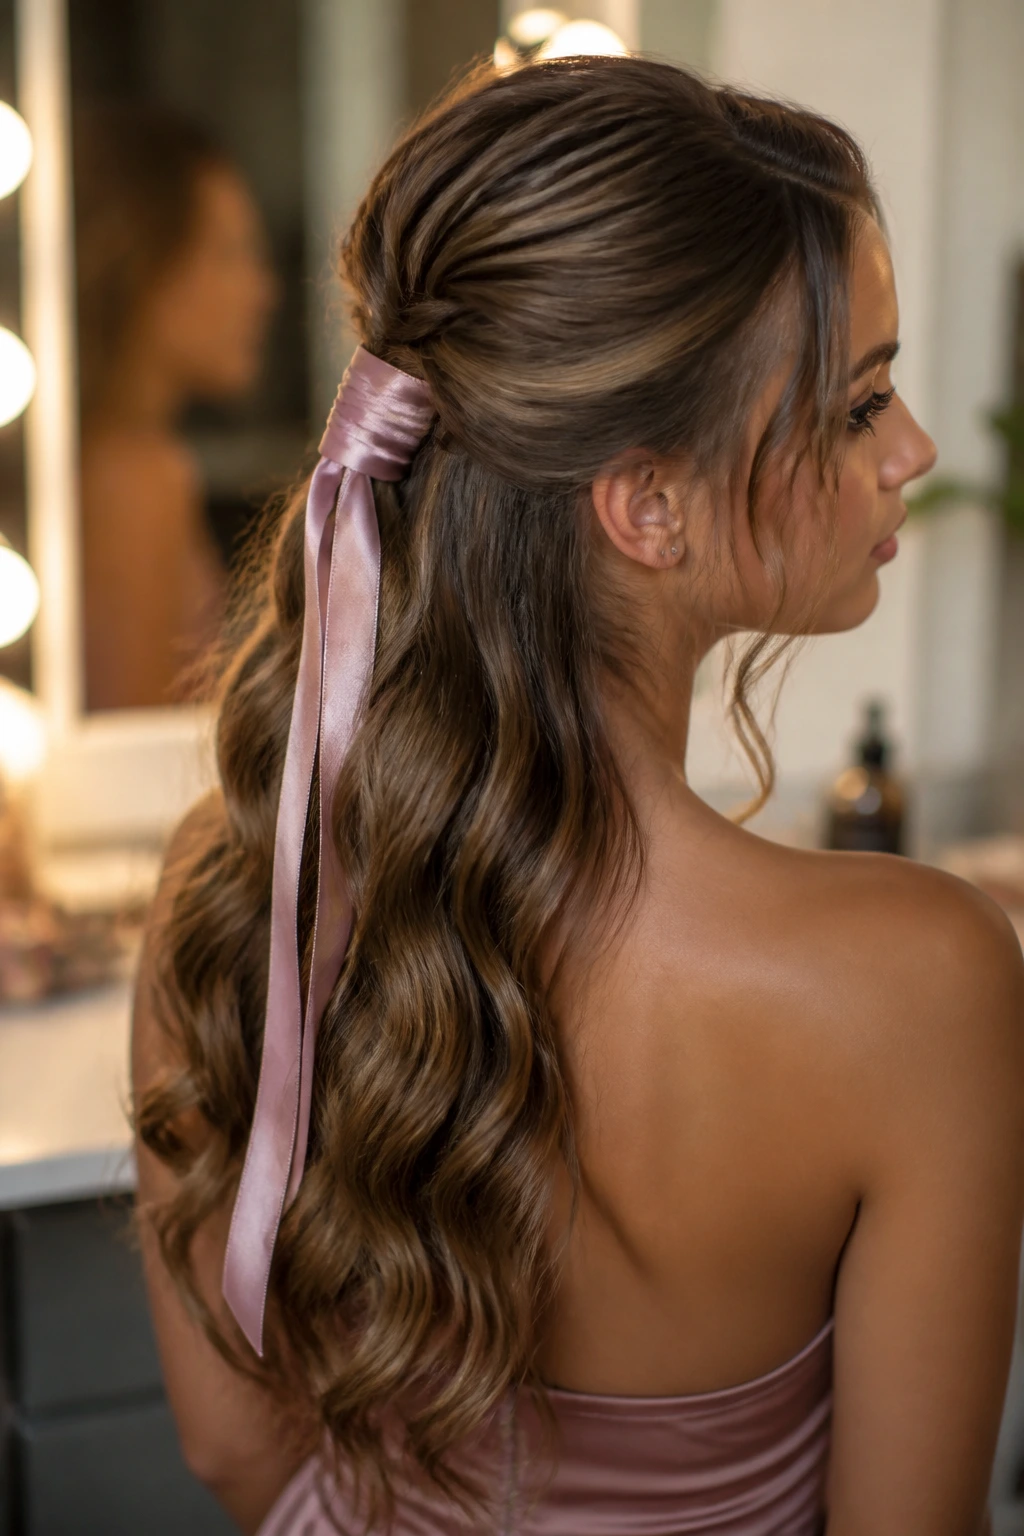
Want the hair to feel dressed up without piling on sparkles? Ribbon is the clean answer. A satin ribbon gives the style a soft finish and adds color without shouting, which is a nice change from the usual rhinestone-heavy prom look.
Choose a 1/4-inch to 1/2-inch ribbon in satin or grosgrain, depending on how smooth you want it to look. Wrap it around the base of a half ponytail, a twisted section, or the center of a braid, then tie it into a small bow or let the ends trail down the back. Satin reads softer; grosgrain holds a shape better. Pick the one that fits the dress, not the other way around.
I like this style on hair that’s already curled loosely through the ends. The ribbon becomes a visual line through the middle, and the loose lengths below keep the whole thing from feeling too precious.
14. Curly Texture Half-Up
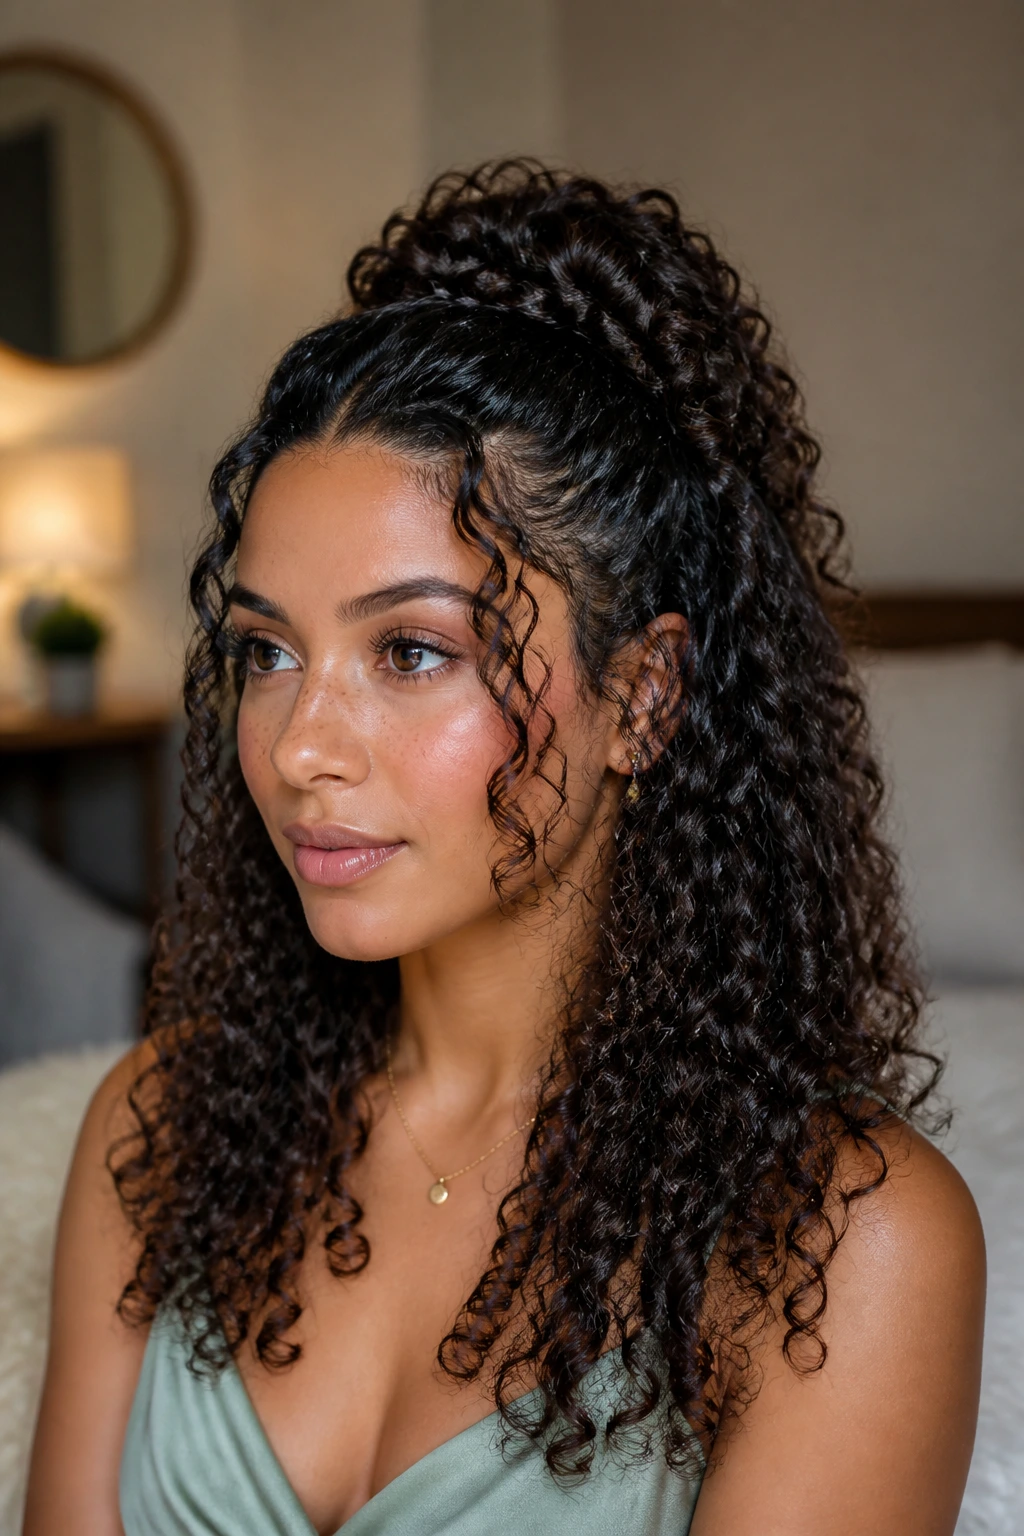
If your hair is naturally curly, this is the style that respects it instead of fighting it. The top half gets gathered and secured, but the curl pattern stays visible from the front and through the lower length, which gives the whole look more life than a flat ironed version ever could.
Work a curl cream or lightweight gel through damp hair, then diffuse or air-dry until the curls are fully set. Once dry, lift the top third of the hair from temple to temple and secure it softly at the back of the crown with a covered elastic or a few sturdy pins. Do not brush the curls out. Separate them with your fingers only if they need a little more shape. Brushing turns defined curls into a puff that you’ll spend the rest of the night trying to tame.
This style is honest in the best way. It doesn’t pretend the hair is straight, and it doesn’t need to.
15. Crown Braid with Loose Ends
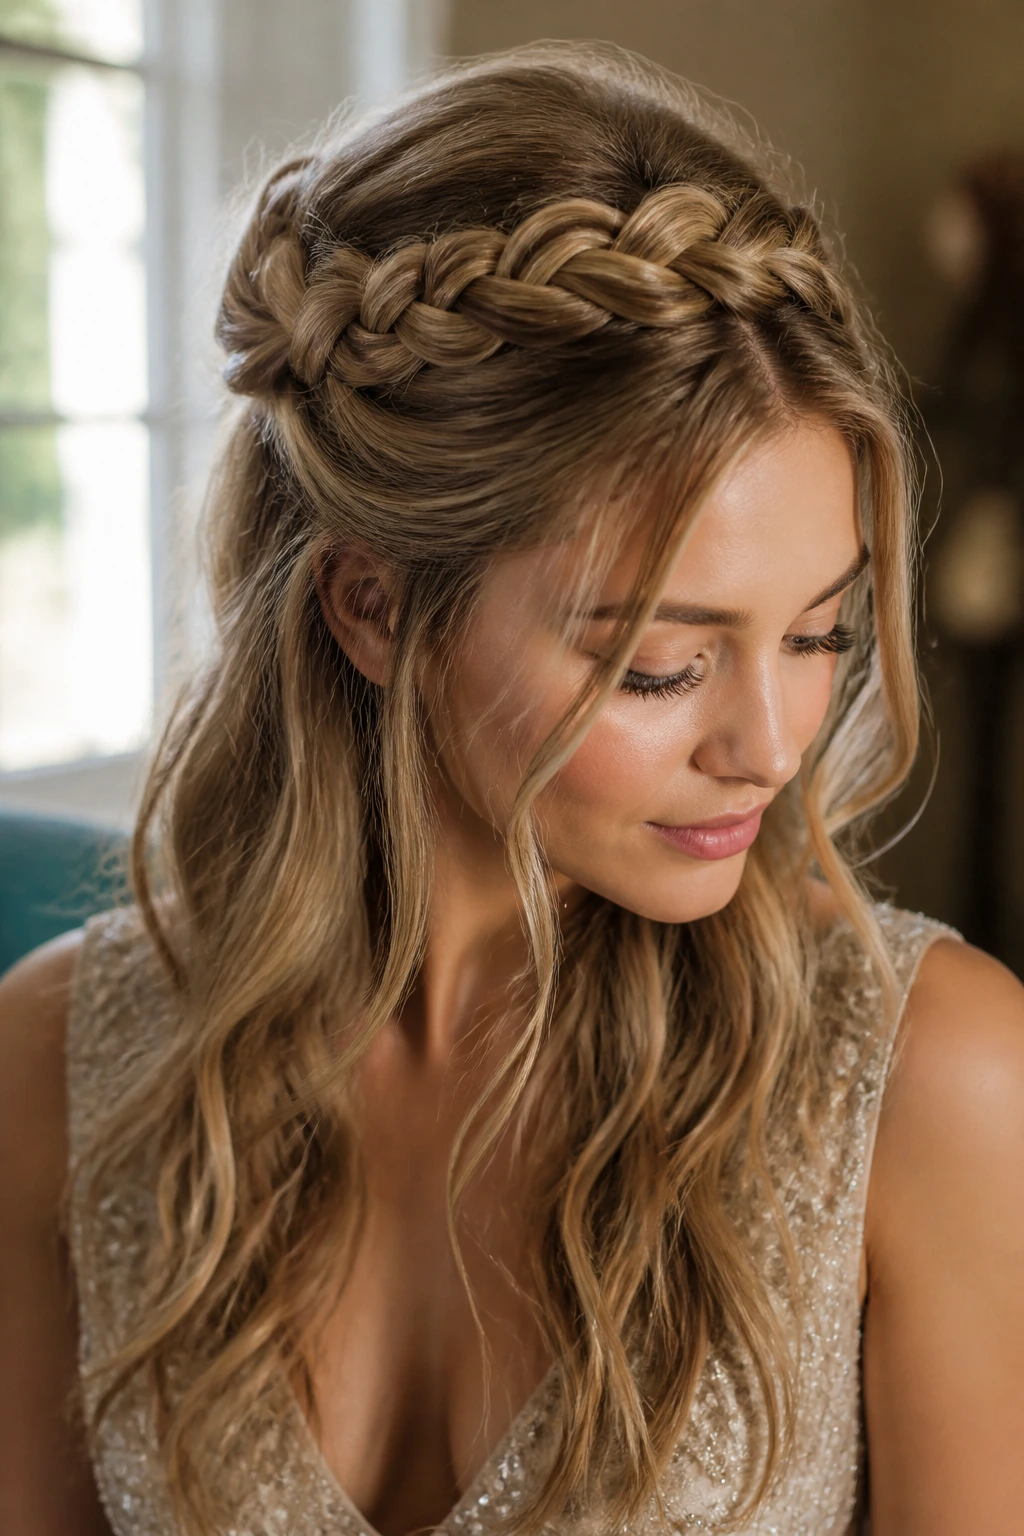
If you want the most secure-looking version of a half-up style without losing softness, this is it. A crown braid wraps around the head like a built-in frame, and the loose lengths underneath keep it from crossing into full updo territory.
Start a braid at one temple and follow the curve of the head toward the back, keeping the braid close but not tight. Add hair as you move if you want a French-braid effect, or keep it as a simple braid if the hair is thick and already has enough grip. Pin the end behind the opposite ear and blend the lower lengths into waves or curls. I prefer three pins here: one hidden at the start, one at the curve, one at the end. It’s more secure than people expect.
This style is especially strong for long hair that needs to survive a long evening. If you know you’ll be moving, sitting, hugging, and taking a dozen photos in a row, the crown braid gives you a little insurance.
The Styling Kit That Keeps Pins from Slipping
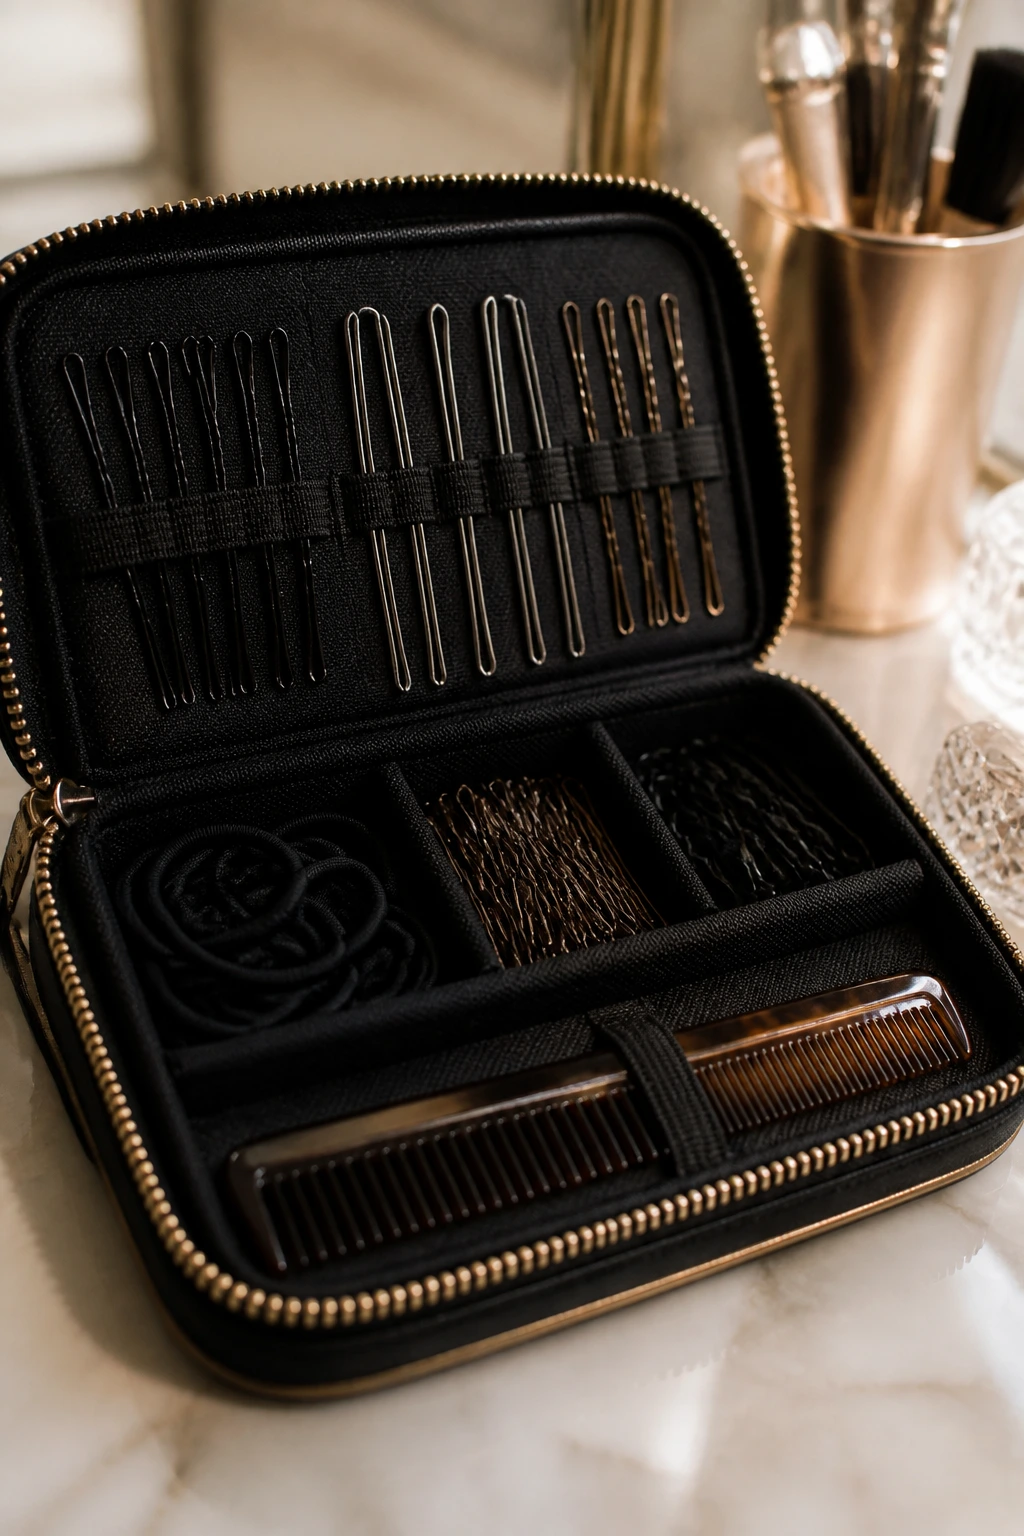
The right tools make half-up styles easier than they look. A lot easier.
- Tail comb: Parting and sectioning are cleaner when the tip is thin enough to separate 1-inch sections without wrecking the part.
- Sectioning clips: These keep the lower half out of the way while you braid or twist the top.
- 1-inch curling iron or wand: The most useful size for long hair because it gives shape without creating tiny curls that disappear into the length.
- Boar-bristle brush: Good for smoothing the top without erasing all the texture.
- Teasing comb: Helpful if you want crown lift, especially on fine hair.
- Clear elastics: Better than bulky bands for bubble braids, tiny half ponytails, and hidden bases.
- Bobby pins in two shades: One close to your hair color, one slightly darker, because color-matching in real light is not always exact.
- U-pins: Better than standard pins for buns and coils.
- Texturizing spray: Gives grip to clean hair and helps braids hold their shape.
- Flexible-hold hairspray: Enough control to set the shape without freezing the ends.
- Shine serum or light oil: Use sparingly on the mids and ends only.
- Hand mirror: Necessary if you’re pinning the back yourself and want the sections lined up straight.
Practical Tips for Prom Hair That Lasts
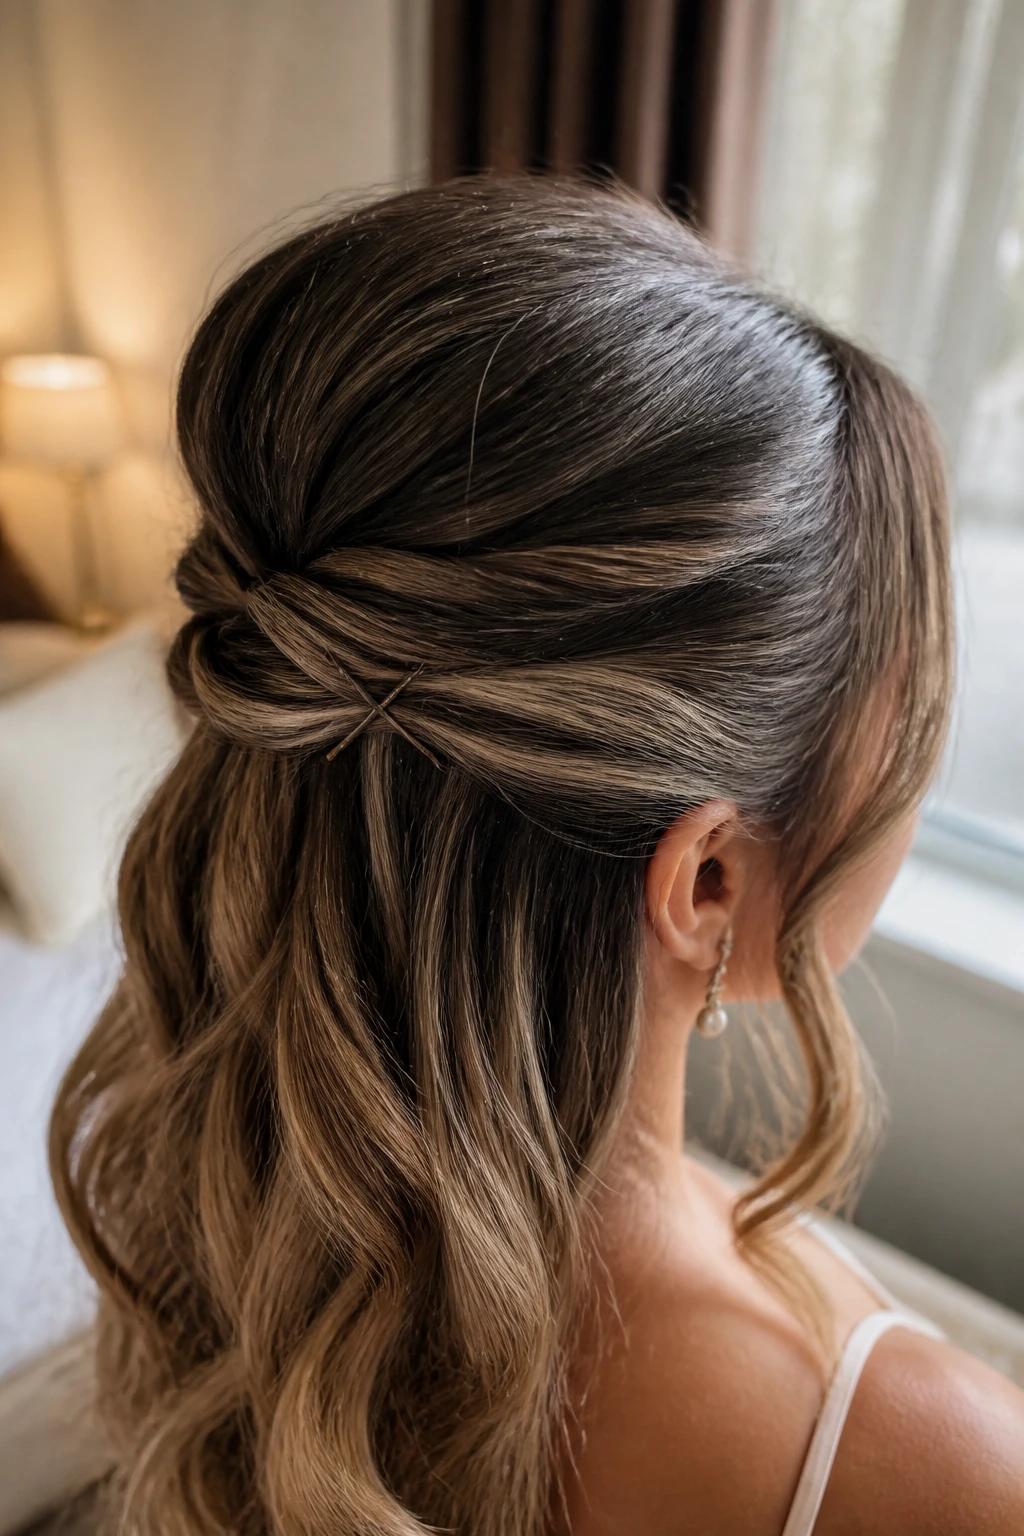
Build the base first. Long hair usually behaves best when the roots have a little roughness. A small amount of dry shampoo or texture spray at the crown gives pins something to hold onto, especially if the hair was washed the same day.
Use fewer products than you think. Too much serum makes the hair slippery, and too much hairspray makes the ends dull and sticky. I’d rather see a clean pin line and soft ends than a helmet with shine.
Anchor the style with crossed pins. Two bobby pins crisscrossed in an X hold better than one straight pin. Push the pin against the twist or braid, then slide it back into the hair so the grip happens underneath, not on top.
Test the movement before you leave. Shake your head, bend slightly, sit down, and turn from side to side. If a section shifts, fix it before the dress is on and the lipstick is done. Tiny slips become huge annoyances once you’re dressed for photos.
Keep a mini emergency kit. Two bobby pins, one small elastic, and a travel hairspray fit in almost any clutch. That tiny kit saves a style faster than a friend saying, “It looks fine.”
Mistakes That Flatten a Half-Up Style Fast
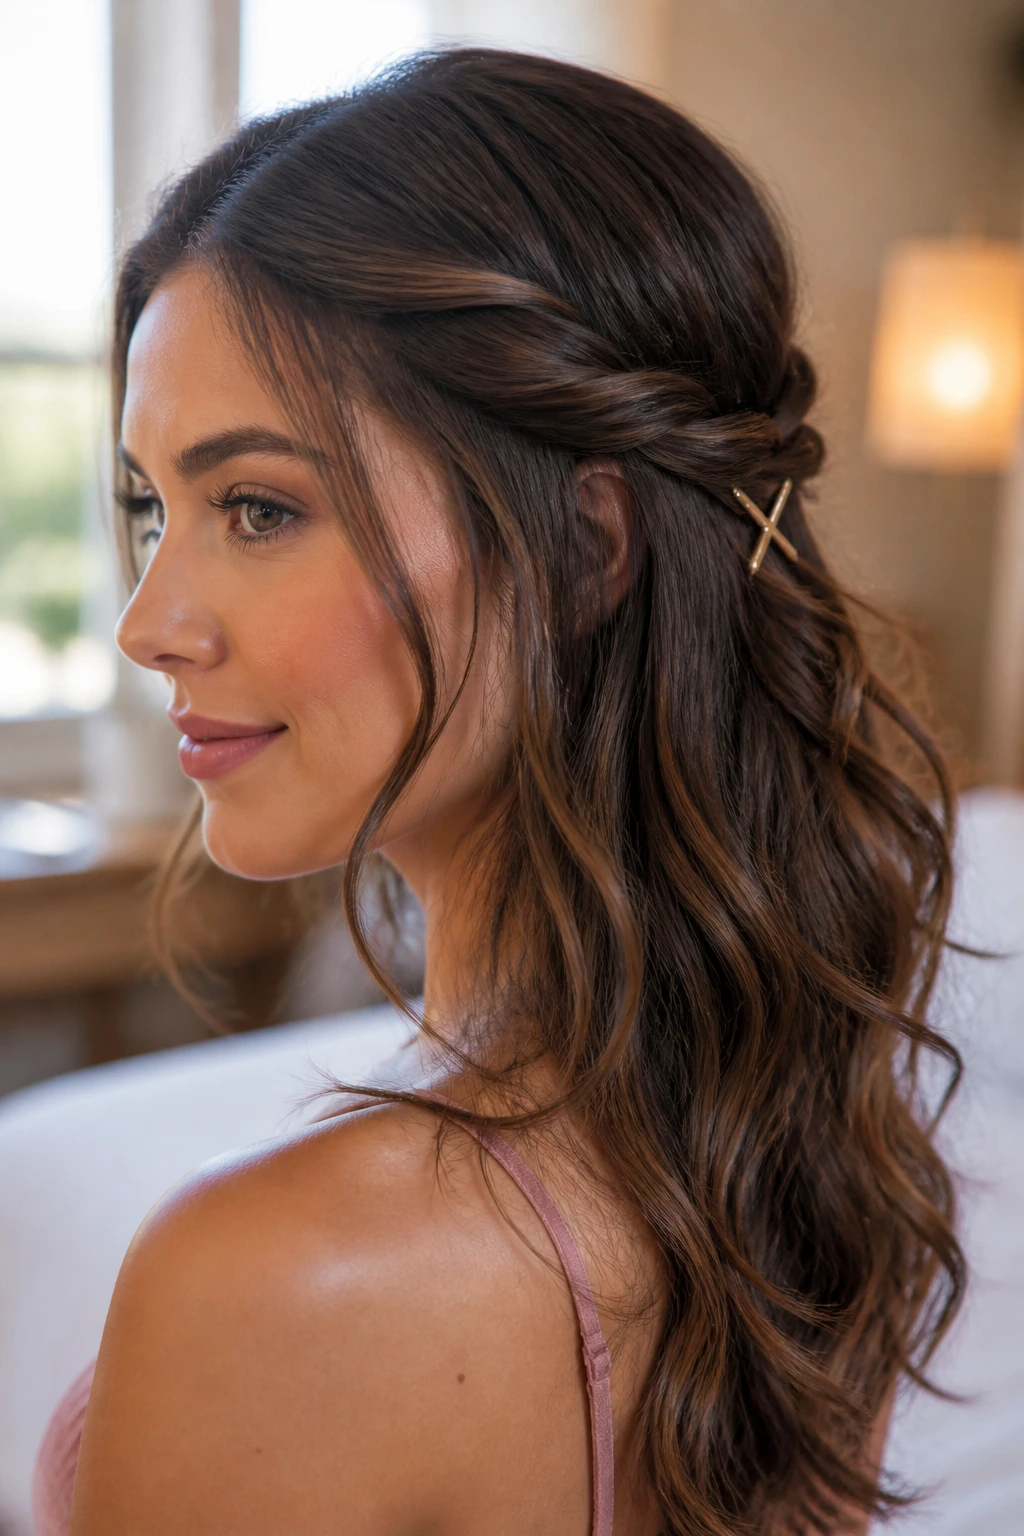
The first mistake is starting with hair that is too clean and too soft. Freshly washed hair can look silky, but it also slips out of pins with annoying speed. If your hair is naturally fine, give it a day and add dry shampoo at the roots before styling. If you have to style on clean hair, texture spray is not optional.
Another common problem is making the top section too tight. A half-up style should look lifted, not pulled. If the sides are stretched back hard, the whole thing starts to resemble a school uniform instead of a prom hairstyle. Leave a little softness around the temples and the crown.
People also take sections that are too wide. Long hair can hide sloppy work fast. Two-inch temple sections and a clean center or side part usually hold better than large, loose grabs of hair that never quite meet in the middle.
Then there’s the accessory overload issue. One pearl comb, one ribbon, or one crystal pin set is enough. If you pile on everything at once, the style gets heavy and the visual focus disappears.
And yes, pin placement matters. Pins shoved straight in from the outside often slide. Push them in along the direction of the twist or braid, then cross them if the section needs extra hold. That tiny change saves a lot of frustration.
Variations and Alternatives to Try
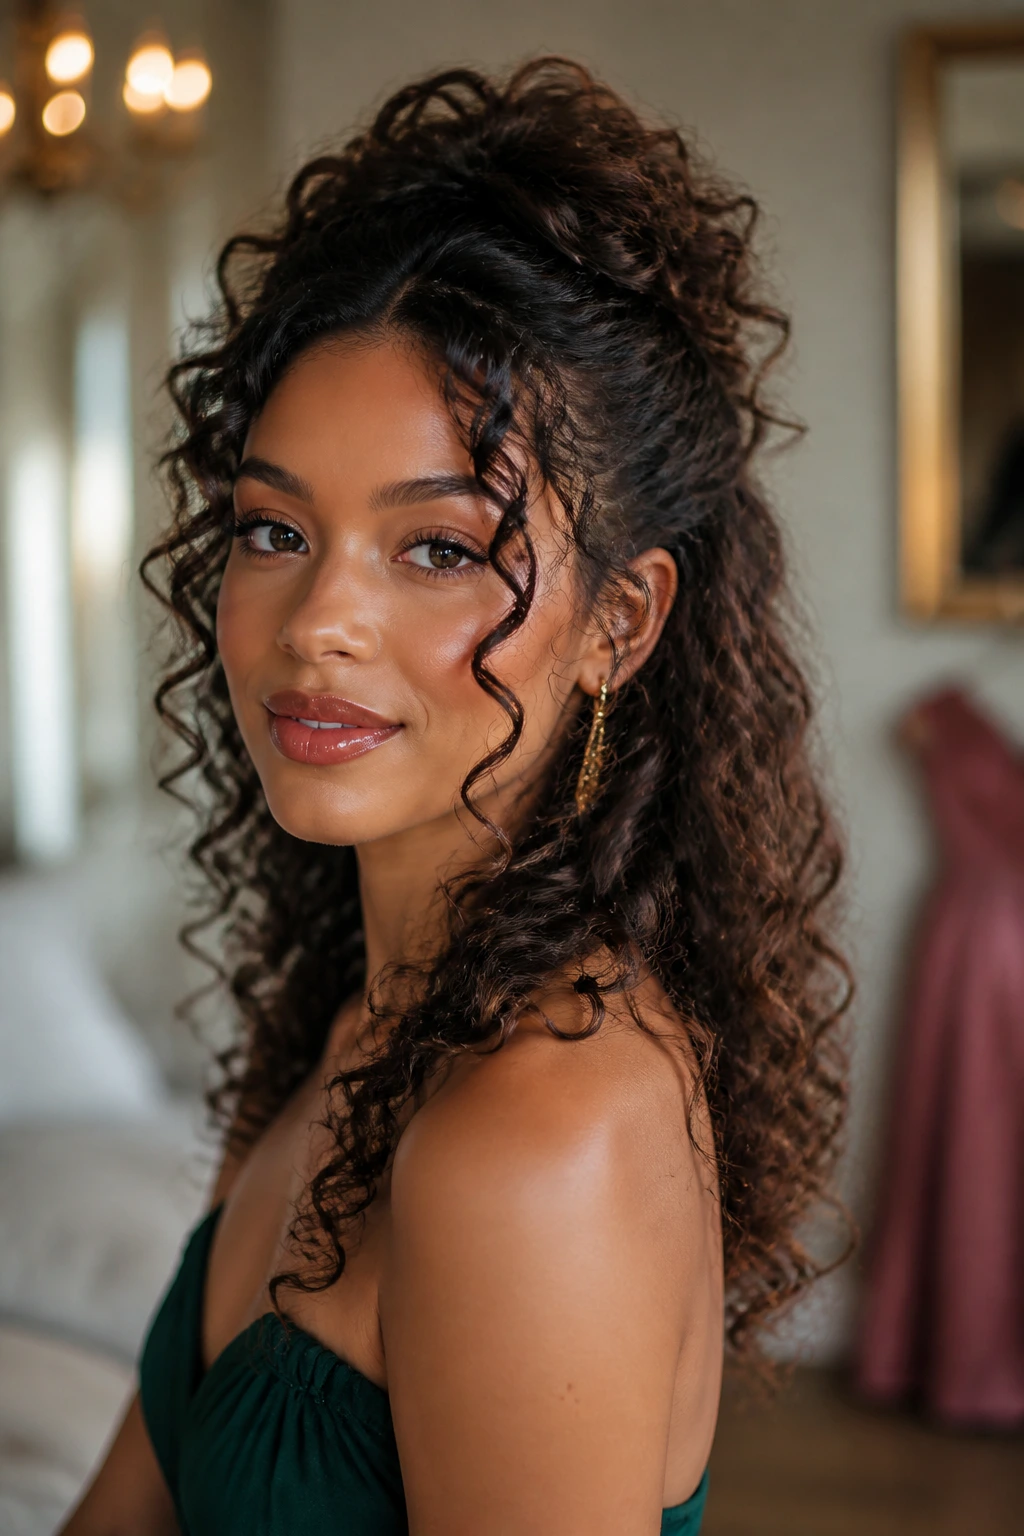
Curly-First Half-Up: Keep the natural curl pattern and gather only the top third of the hair. This works well when the curls already have shape and the goal is simply to get them off the face.
Heatless Wave Version: Use overnight braids, foam rollers, or ribbon curls for the lower half, then build any half-up style on top. It’s useful when you want movement without taking a hot tool to the whole head.
Extra-Polished Version: Smooth the hair with a blowout, use a center part, and keep the half-up section sleek with hidden pins. This version looks best with structured gowns and sharp earrings.
Big-Volume Version: Backcomb the crown lightly, curl the lengths, and choose a higher half pony or a fuller braid. Clip-in pieces can help if the hair is dense at the bottom but sparse near the crown.
Accessory-Light Version: Skip the sparkle and use only clean pins or a hidden elastic. That route works when the dress already has beading, lace, or a strong neckline that doesn’t need competition.
Keeping the Style Fresh After Photos and Dancing
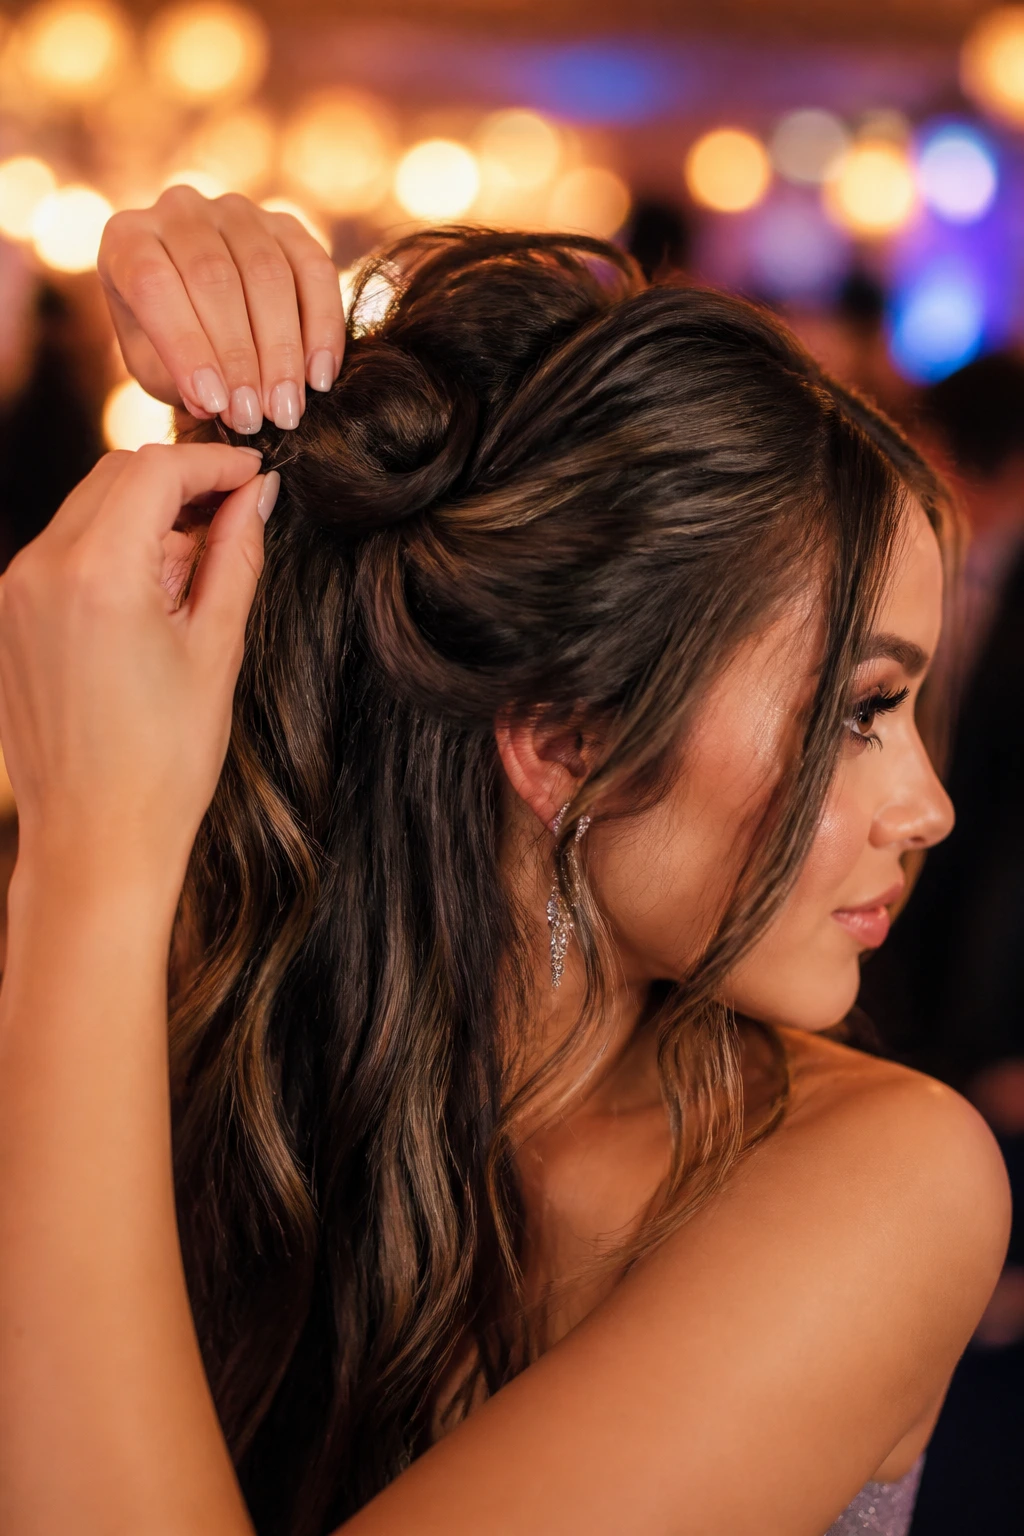
A half-up style lasts longer when you treat it like something you’ll need to touch up once or twice, not something you can forget about after the final spray. Bring a small brush or comb, a travel hairspray, and a few bobby pins in your bag. That’s the whole survival kit.
If the crown starts to loosen, pull the top section back into place and repin it from underneath. Don’t keep stacking pins on top of the visible side. That creates a little metal mess you’ll see in every selfie afterward. Re-pin from below the twist, braid, or knot so the fix stays hidden.
Heat is useful for touch-ups, but only in tiny doses. If the front pieces fall flat or the ends lose bend, wrap one strand around a curling iron for 5 to 8 seconds, let it cool in your hand, then set it back into the style. You usually do not need to re-curl the whole head.
For overnight wear, especially if the event stretches into the next day, loosen any tight elastic, secure the lower hair in a loose braid, and sleep on a silk pillowcase if you have one. A satin bonnet is fine too if your style allows it. It keeps the crown from rubbing itself into a puffball while you sleep.
Humidity can be rude. If you know the air is heavy, choose a style with a braid, knot, or rope twist instead of something relying only on soft curls. Structure beats hope. Almost every time.
Prom Hair Questions People Actually Ask
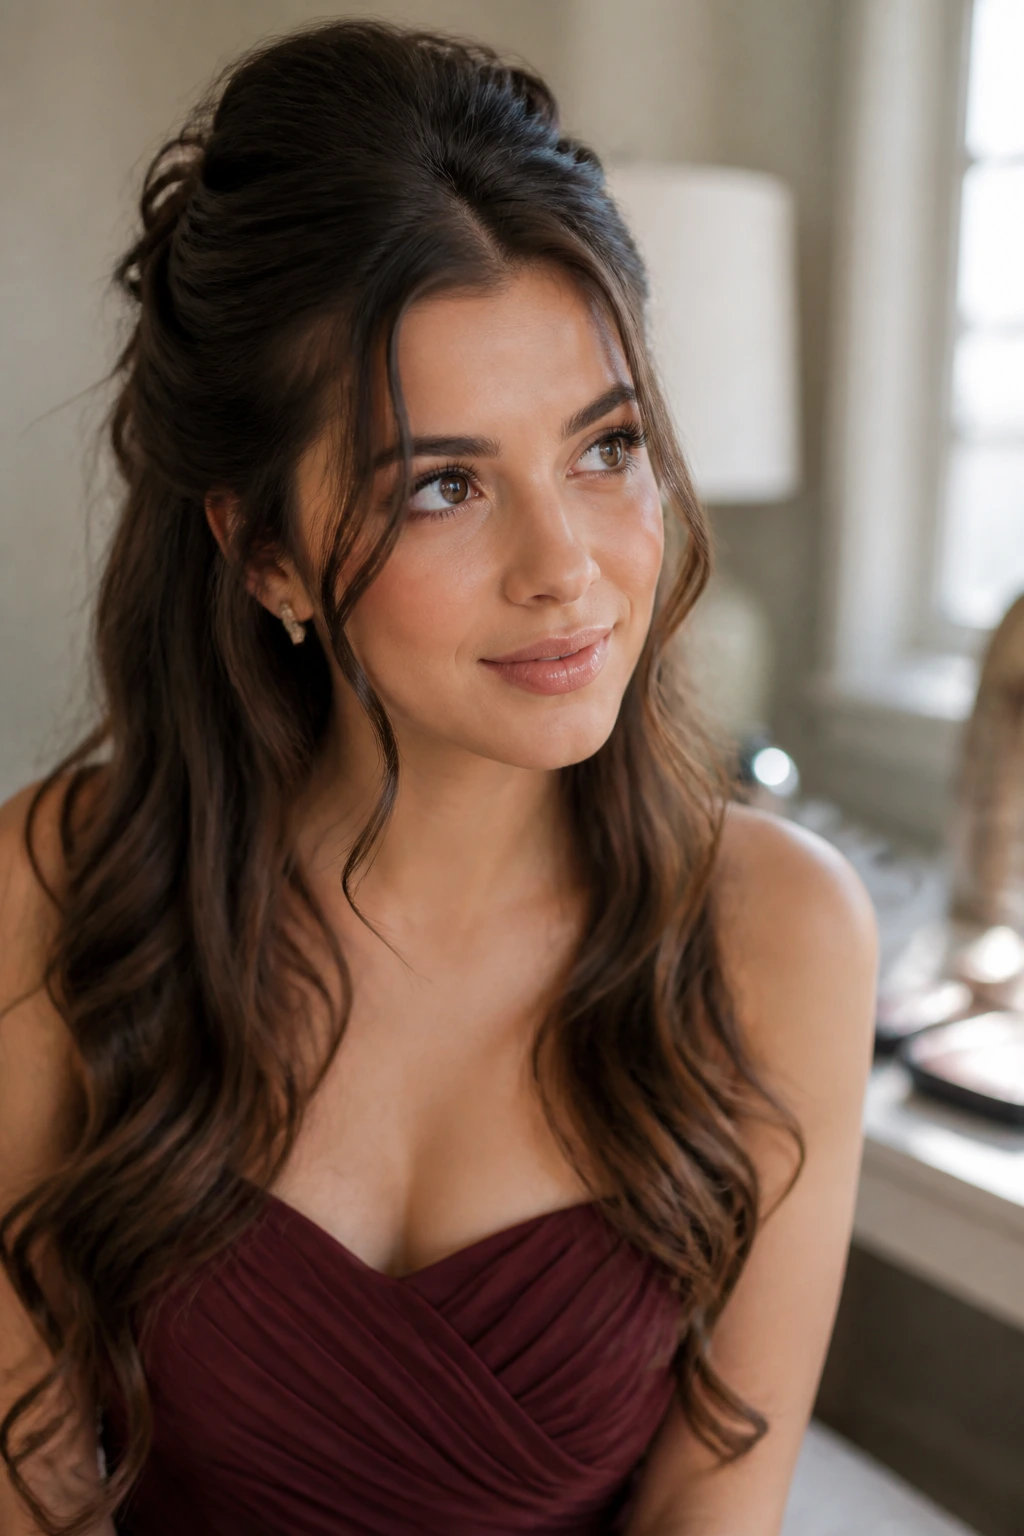
Which half-up style works best for very thick long hair?
Braids and crown styles usually hold best because they give the hair a built-in structure. A braided halo, crown braid, or fishtail crown will manage bulk better than a loose twist that has to carry too much weight.
Can I do a half-up style on freshly washed hair?
Yes, but you need grip. Use mousse at the roots, blow-dry with some lift at the crown, and add texture spray before pinning. Very soft, squeaky-clean hair slips more, so the hold products matter.
What if my hair is layered and pieces fall out near the face?
Leave a few face-framing pieces on purpose and pin the rest a little lower on the head. Short layers around the temple often behave better when they’re allowed to soften the style instead of being forced into the main twist.
Do clip-in extensions make half-up styles harder?
Not if they’re placed before you start styling. Clip them in low enough that the top half can still cover the wefts, then curl the whole head together so the texture matches. They often help long hair hold a fuller shape.
How do I keep bobby pins from showing?
Use pins that match your hair color, slide them in from underneath, and hide the curved end inside a twist or braid. If the pin still peeks out, move it slightly lower and let a small strand cover the top.
Can I make these styles without heat?
Absolutely. Heatless waves, braids, and rope twists all work well on long hair. A braid-heavy half-up style actually benefits from hair that has a little natural wave or overnight texture.
Which style looks best with a strapless dress?
High half ponies, soft twists, and Hollywood curls usually frame a strapless neckline nicely. They keep the upper body open while still giving the hair enough shape to look intentional.
What should I do if the style starts sagging halfway through the night?
Fix the base first, not the loose ends. Re-pin the twist, braid, or half pony at the crown, then smooth the top with your fingers. If you only fluff the ends, the sagging shape stays sagging.
A Style That Still Feels Like You
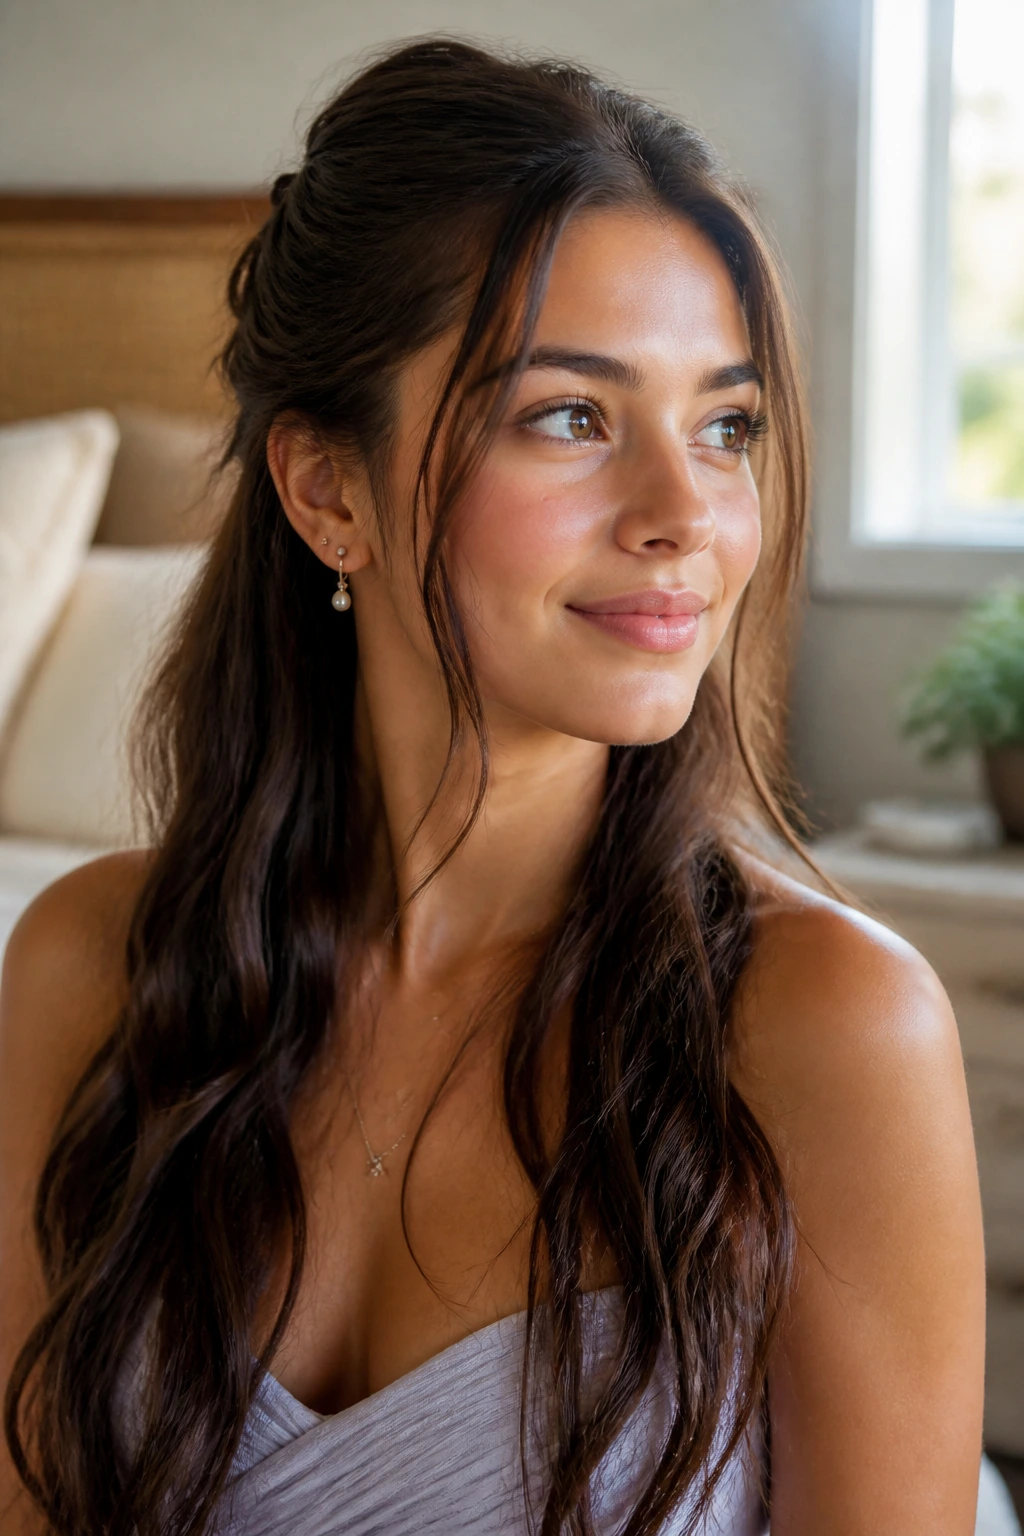
The nicest thing about half up half down styles for prom night and long hair is that they leave room for personality. You can go soft and romantic, sharp and sleek, braided and detailed, or curly and loose — but the shape stays familiar enough that you still look like yourself in the mirror.
That matters more than people admit. A prom hairstyle should hold up under lights, through photos, and across a long night, yes. But it should also fit the way you wear hair on a normal day, just with a little more polish and a lot more pins.
Pick the version that matches your dress, your texture, and the amount of time you actually want to spend standing in front of a mirror. Then pin it well, let the length move, and trust the style to do its job.
