



Some wedding hairstyles fall apart the second someone hugs you too hard. Others survive a veil, a windy car ride, three rounds of champagne toasts, and a dance floor that does not care what your bobby pins are doing. Long hair sits in that awkward middle ground: gorgeous, dramatic, and a little heavy. If you don’t build the style with intention, it can sag, puff out in the wrong places, or swallow the details that made you love it in the first place.
That is why wedding hairstyles for long hair are a different game from everyday styling. You are not just trying to make hair look pretty for one photo. You are balancing weight, texture, neckline, accessories, and staying power. A long style has to keep its shape without looking glued into place, and that balance is harder than it sounds. The styles that win are the ones with a clear structure underneath—clean anchor points, controlled volume, and a finish that still looks soft when somebody gets close.
Long hair gives you choices most lengths never get. Braids can become crowns. Ponytails can turn elegant instead of casual. Loose waves can look expensive rather than undone. The trick is choosing the version that suits your hair density, your dress, your veil, and how much movement you want from the style when the ceremony is over and the room lights dim.
Why These Wedding Hairstyles Feel Worth Considering
-
Built for Weight: Long hair can pull styles down over the course of a day, so these looks are chosen because they use structure, not wishful thinking.
-
Veil-Friendly Options: Several of these styles leave a stable anchor point for a comb, a clip, or a long veil that needs somewhere solid to sit.
-
Photo-Ready From More Than One Angle: The best wedding hair doesn’t only look nice from the front; it holds its shape from the side, the back, and the awkward over-the-shoulder hug shot.
-
Works With Different Hair Textures: Straight, wavy, curly, thick, and fine hair all need different handling, and these styles cover that spread instead of pretending one method fits all.
-
Lets You Keep Length Visible: If you love your long hair, you do not have to hide it in a tight bun just because it’s a wedding.
-
Stays Comfortable for Hours: The styles here favor secure placement and controlled tension, which matters when you’re wearing the look long after the ceremony ends.
1. Polished Low Chignon
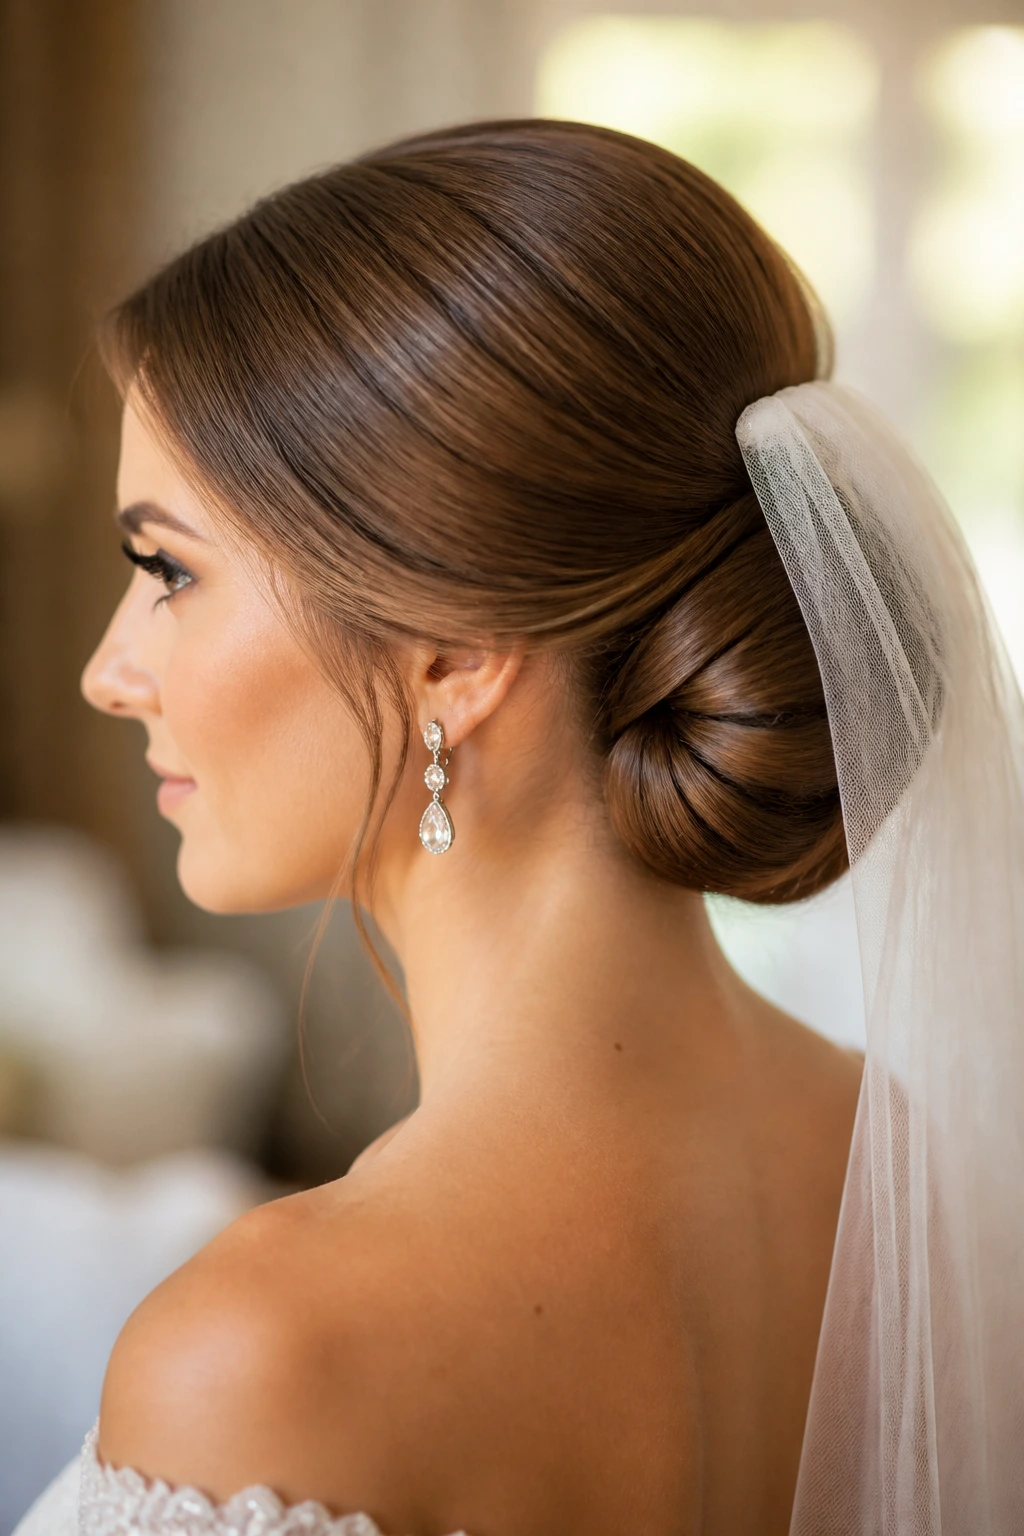
A polished low chignon is the old reliable of wedding hair, but that phrase sells it short. On long hair, a chignon can look sculpted and deliberate, almost like the hair was folded rather than pinned. The charm is in the shape: low at the nape, compact at the center, and smooth enough to let a veil or hair comb sit neatly above it.
Why It Works
Long hair gives a chignon extra substance. Instead of looking skinny or skimpy, the bun has enough mass to hold its own against a full gown or structured neckline. The trick is to build the base first with a low ponytail, then coil the length into a neat knot and secure it with crossed bobby pins and a few U-pins.
This style is at its best when the hair is smoothed with a light serum or cream before pinning. Too much product, and it turns greasy; too little, and the flyaways start freelancing by hour two. I like a finish that still has movement around the face, because a chignon that is too tight can look severe fast.
Quick Shape Notes
- Keep the bun centered or just off-center at the nape.
- Leave the top smooth, but not plastered flat.
- Use hidden pins at the base before shaping the visible coil.
- A narrow veil comb can sit directly above the bun.
Best for: classic gowns, satin fabrics, and brides who want a style that stays put without stealing attention from the dress.
2. Soft Twisted Low Bun
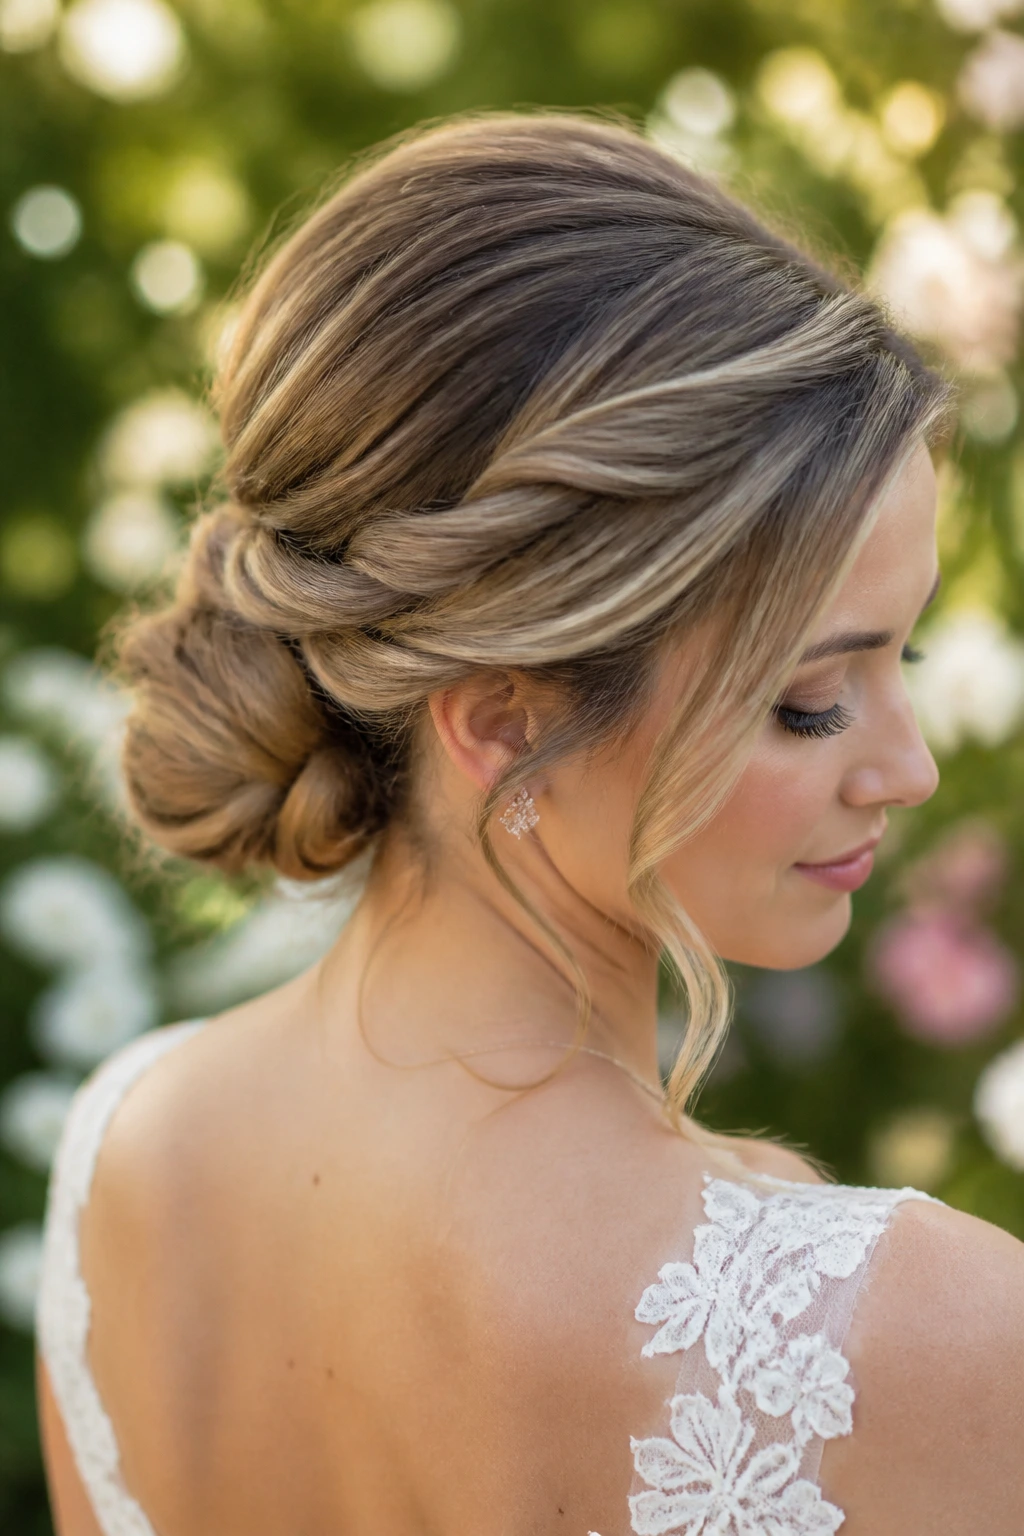
If the chignon feels too formal, the soft twisted low bun gives you the same calm silhouette with a little more movement. It looks less constructed, which is exactly why it works. The twists break up the bun so it reads as romantic instead of rigid.
The style starts with a low base, usually a ponytail at the nape, then the length gets divided into two or three sections and twisted before wrapping into the bun. That extra layering matters on long hair because it prevents the bun from becoming a heavy, flat disk. You want texture in the folds, not random mess.
This is one of my favorite choices for brides with layered hair. Layers can slip out of tighter buns and create frizz at the edges, but a twisted bun tends to welcome them. Use a texturizing spray before you start, then finish with a flexible hairspray so the surface stays touchable. Hard spray makes the twists look stiff, and nobody needs that.
It also plays well with low-back dresses. The bun sits low enough to clear the fabric, yet it still gives the neckline a clean line. That’s a small thing. It matters a lot.
3. Hollywood Waves With a Side Part
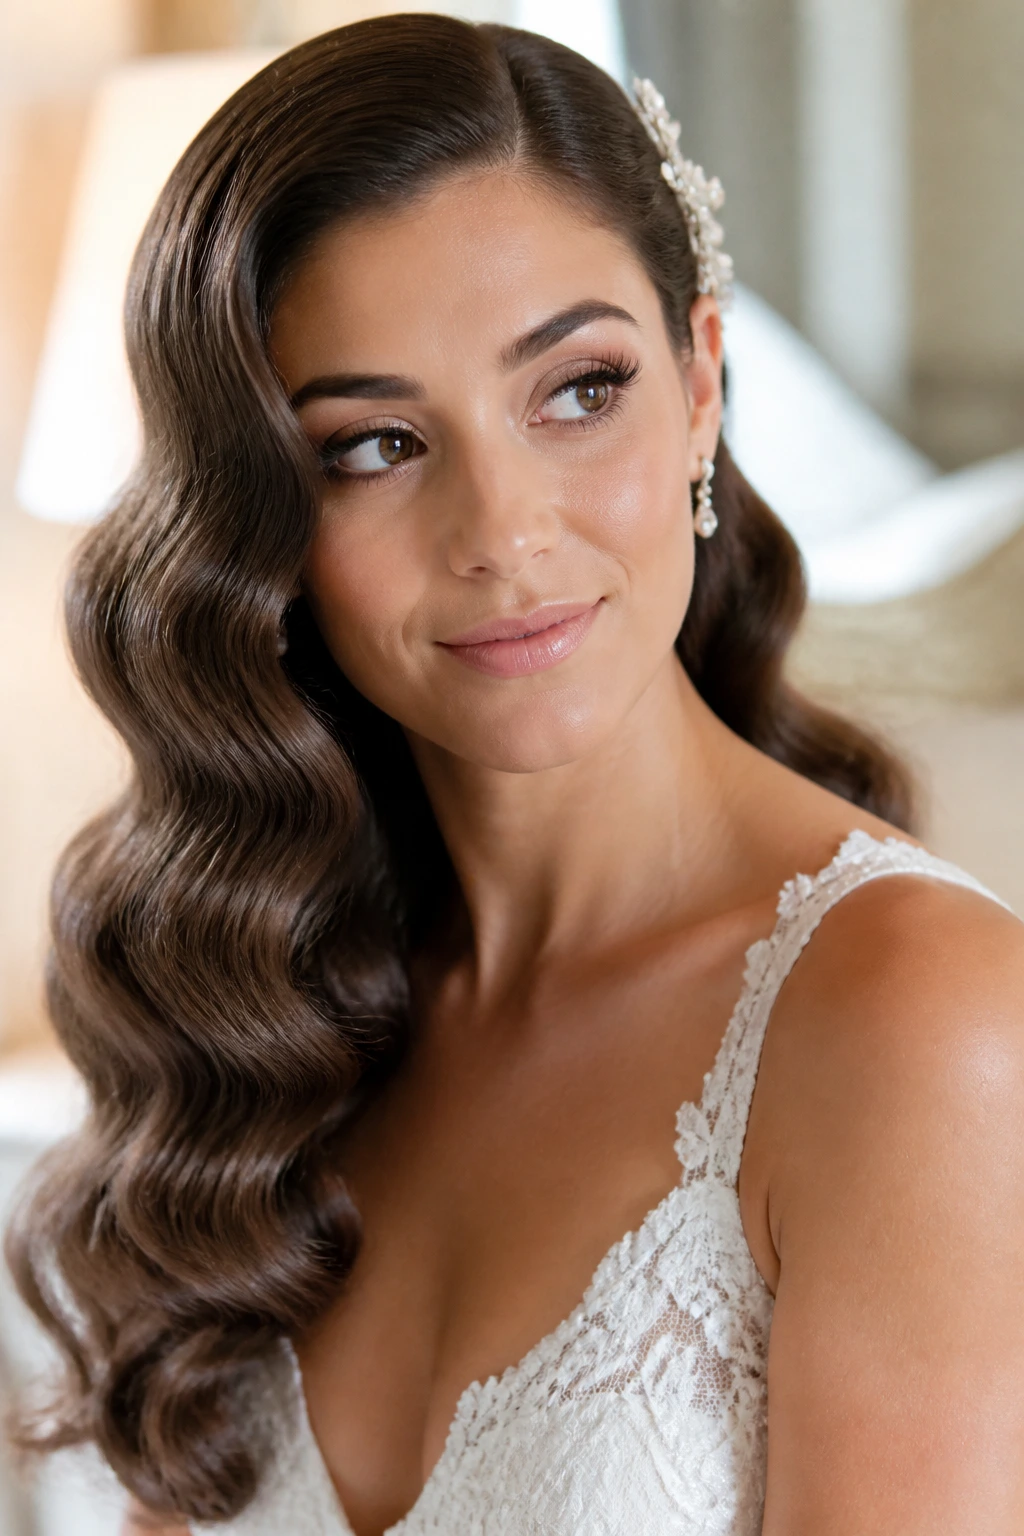
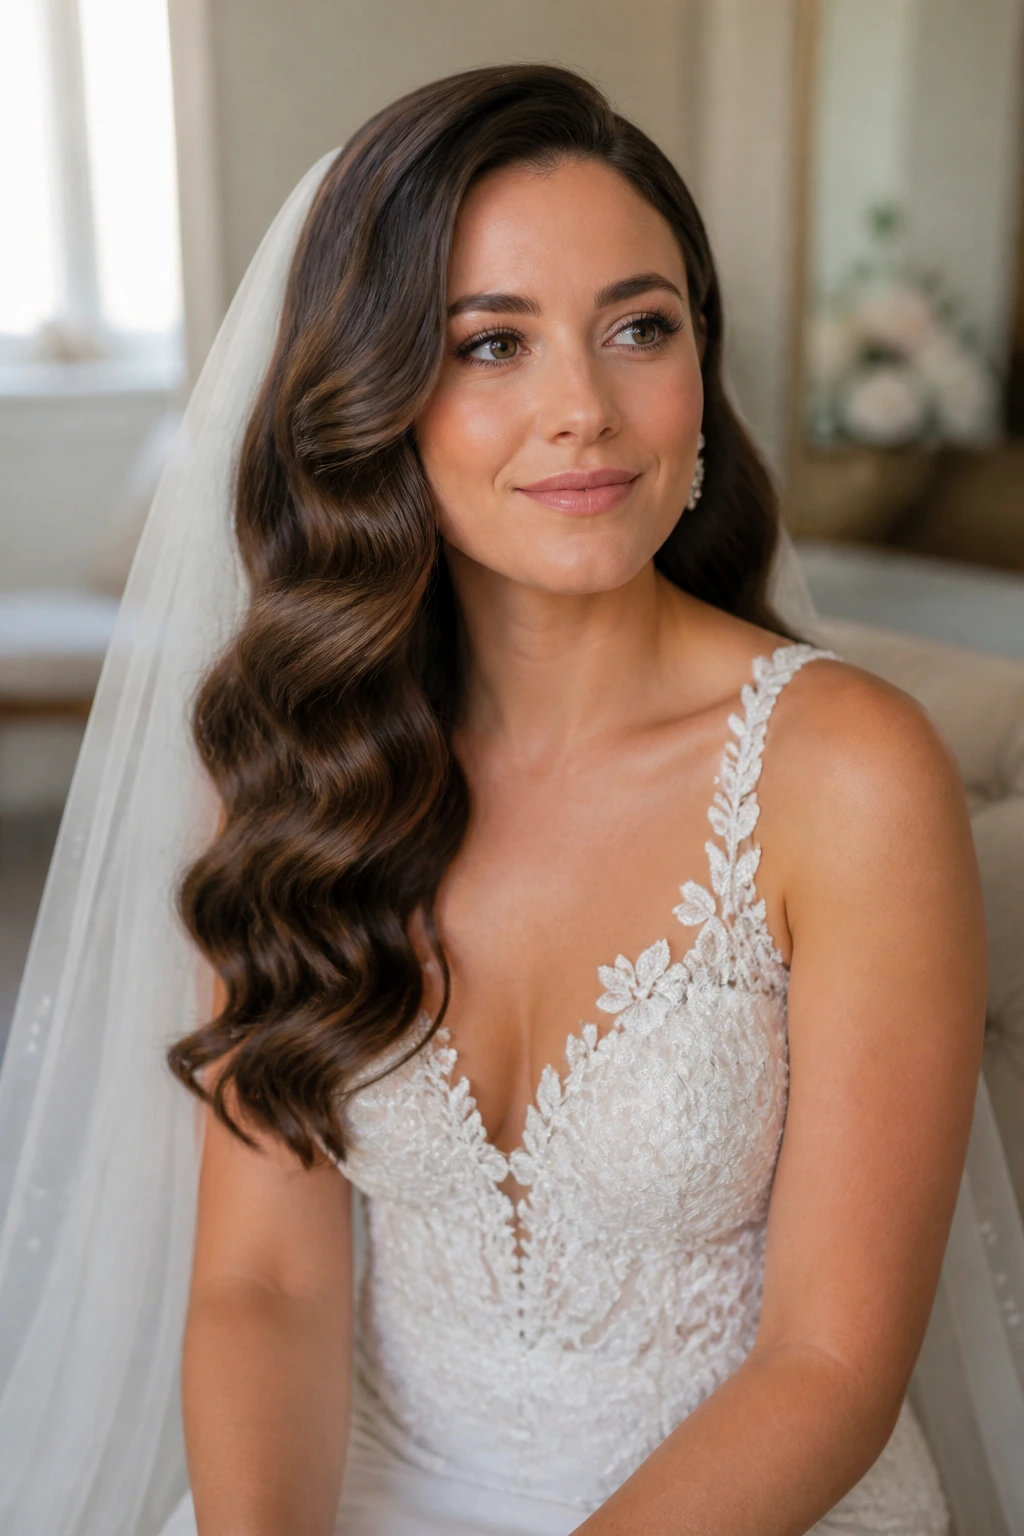
Why do Hollywood waves keep showing up at weddings? Because they give long hair shape without hiding the length. The wave pattern creates a glossy, controlled cascade that feels dressed up even before you add earrings or a veil.
The main thing is setting the waves properly. You cannot just curl the hair and hope for the best. Use a 1.25-inch curling iron or a hot roller set, curl every section in the same direction, let the curls cool fully, then brush them into one smooth wave pattern. That cooling step is the difference between a wave and a frizzy apology.
How to Ask for It
If you’re going to a stylist, ask for a deep side part, polished wave pattern, and soft, brushed-out finish. Mention whether you want the waves to start closer to the cheekbone or lower near the jawline. That detail changes the whole look.
This style shines on long hair because the length creates a real curtain of movement. On medium hair, Hollywood waves can feel finished but small. On long hair, they have drama. Not the loud kind. The controlled, camera-friendly kind.
If your hair is fine, a light mousse at the roots and a root-lift spray at the crown help keep the side part from collapsing. If your hair is thick, clip the cooled curls section by section before brushing them out. That keeps the waves glossy instead of puffy.
4. Braided Crown With Loose Ends
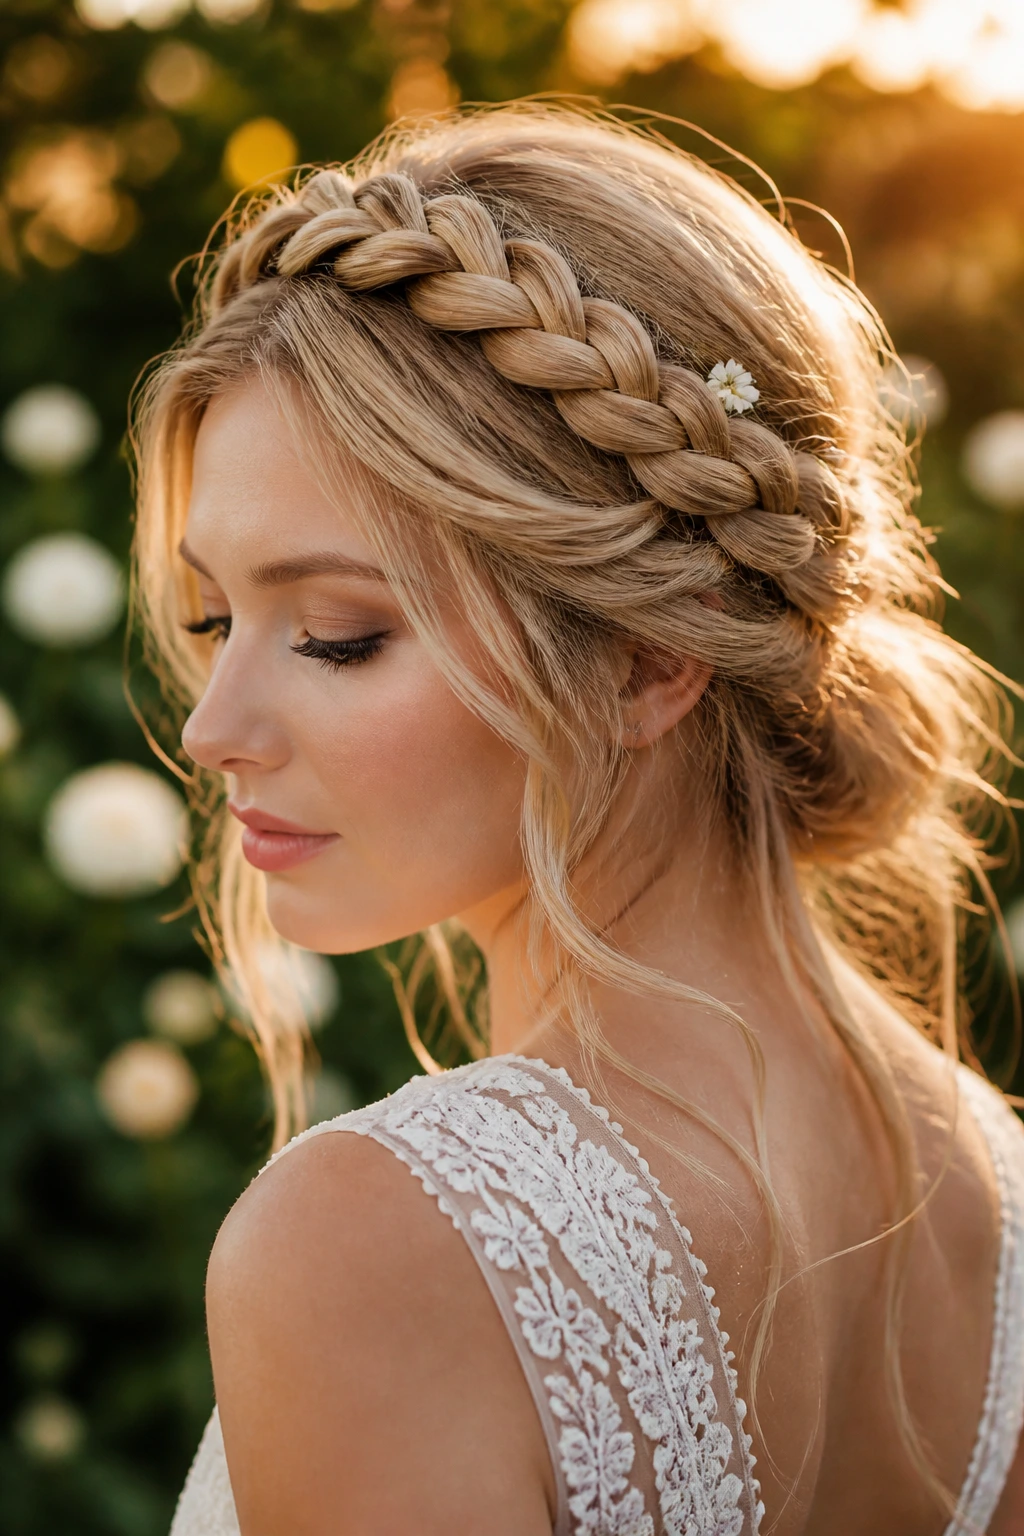
A braided crown looks like it should be complicated, and sometimes it is. But on long hair, the extra length gives the braid enough material to feel lush instead of thin. That matters. A crown braid made from shoulder-length hair can look wispy. The same braid on long hair has body.
I like this style for outdoor weddings, garden settings, and anything where you know wind might get nosy. Once the braids are pinned around the head, the style stays anchored in a way loose curls never will. You can still leave a few ends out at the back or tuck them under a low bun if you want a cleaner finish.
The key is tension. Too tight, and the braid pulls the face and makes the style feel old-fashioned in a bad way. Too loose, and the crown starts slipping. You want a braid that hugs the hairline gently, with tiny pulled-out sections along the edges to soften the shape.
A floral comb, pearl pins, or a thin ribbon woven into one braid can change the mood fast. I’d keep the rest of the look minimal. Let the braid do the talking.
5. Half-Up Twist With Cascading Curls
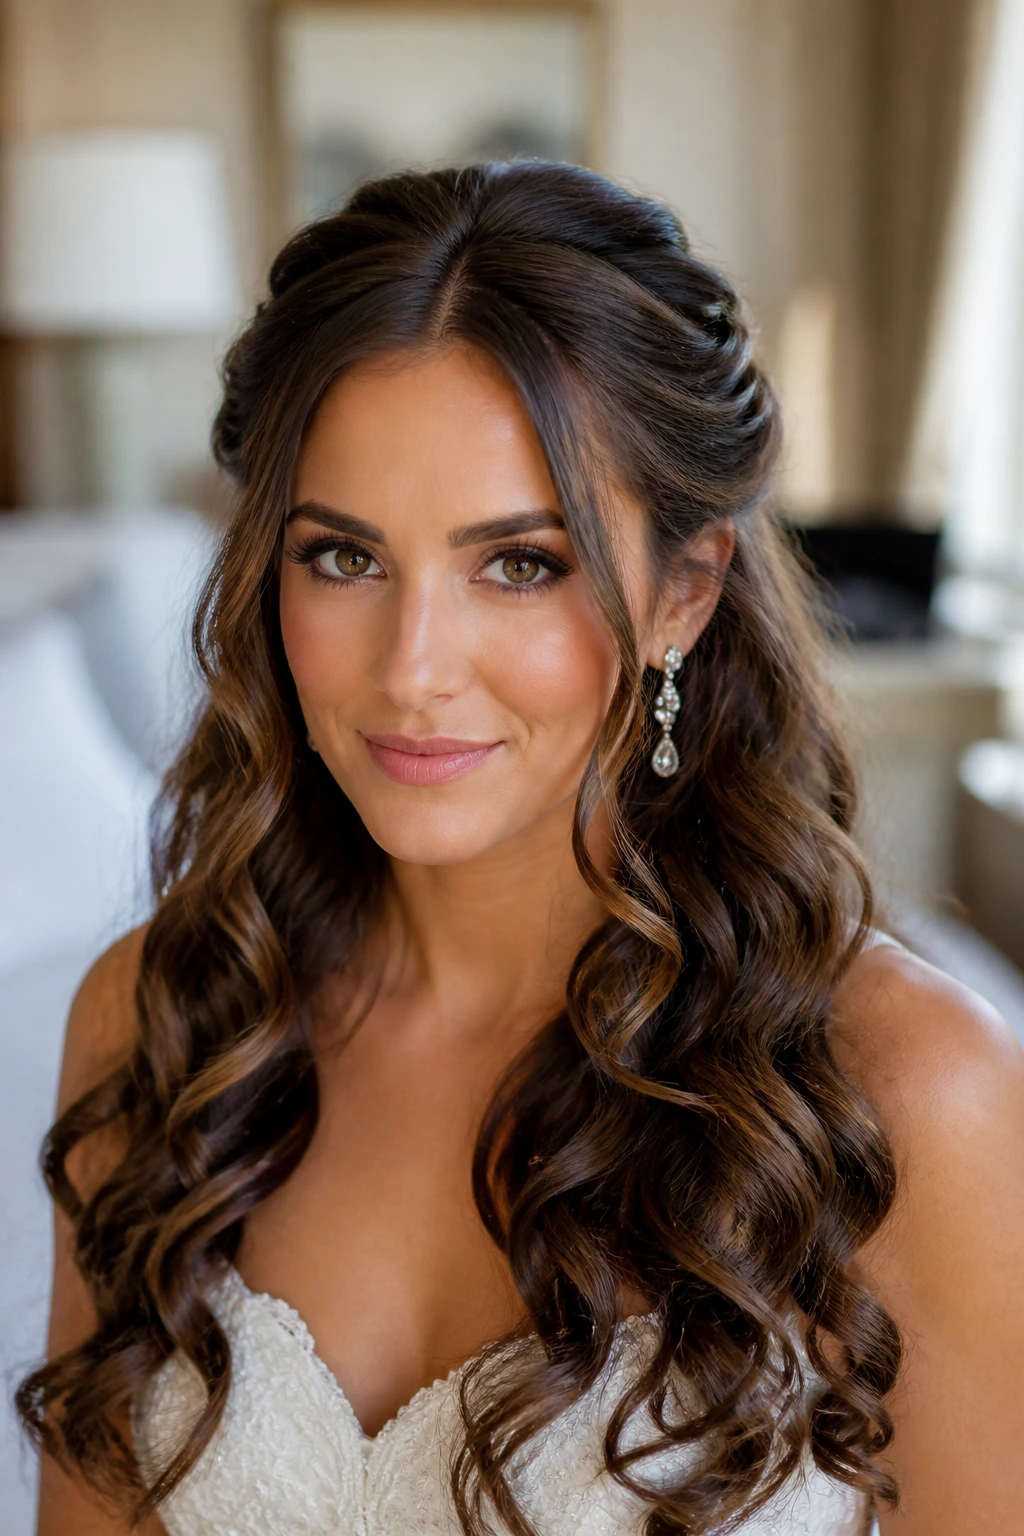
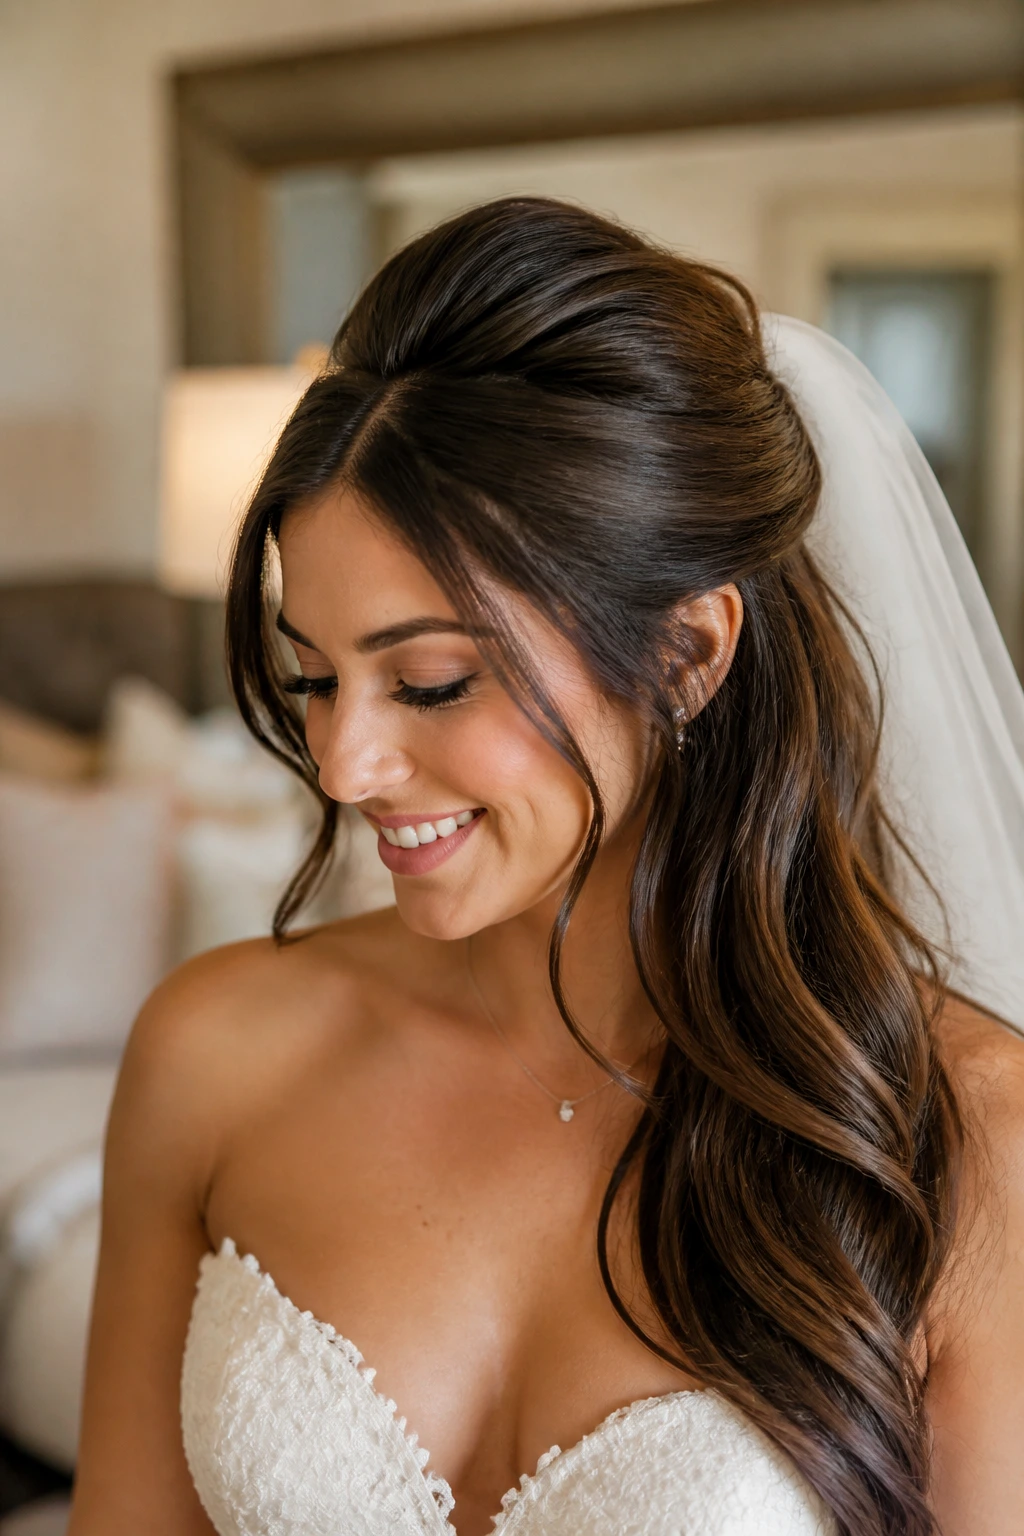
This is the style for someone who wants to keep the length visible but still tame the top half of the hair. The crown area gets lifted and pinned back in two or four twists, while the rest falls in curls or loose waves. It’s one of the most flexible wedding hairstyles for long hair because it can lean polished, boho, or somewhere in between.
The practical advantage is simple: the top section stays off the face, which helps with comfort and photos, while the bottom still gives you the drama of long hair. If your hair is heavy, this style also helps distribute weight instead of forcing all of it into one bun or one ponytail. That makes it easier to wear for a long event.
For styling, I prefer a slight root lift at the crown before the twists go in. Without that lift, the top can flatten against the head and make the whole thing look low-energy. A few loose face-framing pieces help too, but keep them intentional. Stray pieces and face-framing pieces are not the same thing.
This is especially good for brides who want to wear statement earrings. The hair pulls back enough to show the jewelry, but the loose lengths keep the look soft.
6. Sleek High Ponytail
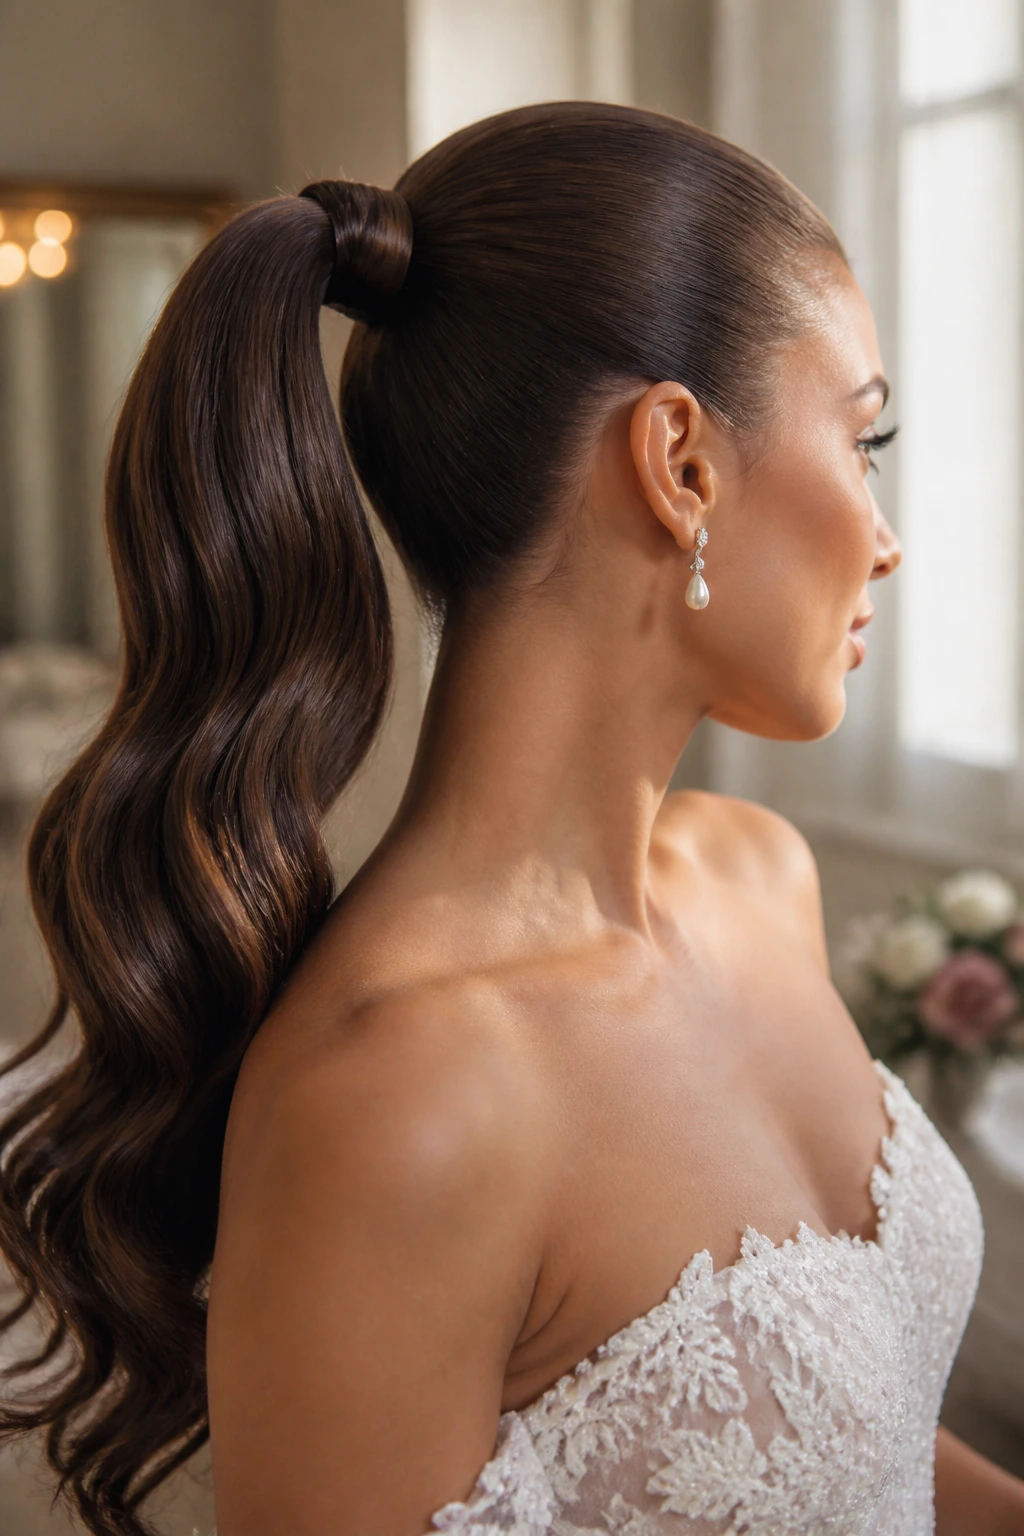
A sleek high ponytail is the most modern look in this group, and on long hair it has a clean, expensive line that reads as deliberate from a distance. It’s not the gym ponytail with a little hairspray. It’s smoothed at the crown, tightened at the base, and finished with a wrapped section of hair so the elastic disappears.
Unlike an updo that hides the length, a high ponytail puts the length on display. That’s the appeal. When the hair falls from the base, every inch of it becomes part of the silhouette, especially if you’ve curled the tail into loose bends rather than tight spirals.
This style works best with dresses that have structure on top—square necklines, halters, one-shoulder gowns, even dramatic earrings. It clears the face, keeps the profile crisp, and gives you room to show off a back detail. A clean ponytail can look a bit severe if the makeup is heavy and the dress is plain, so I usually like a soft bend in the tail or a few face-framing strands.
If your hair is thick, the ponytail can become heavy. Anchor it with two elastics instead of one, then hide the top elastic with a 1-inch wrap of hair secured underneath. Small detail. Big difference.
7. Side-Swept Old Hollywood Curls
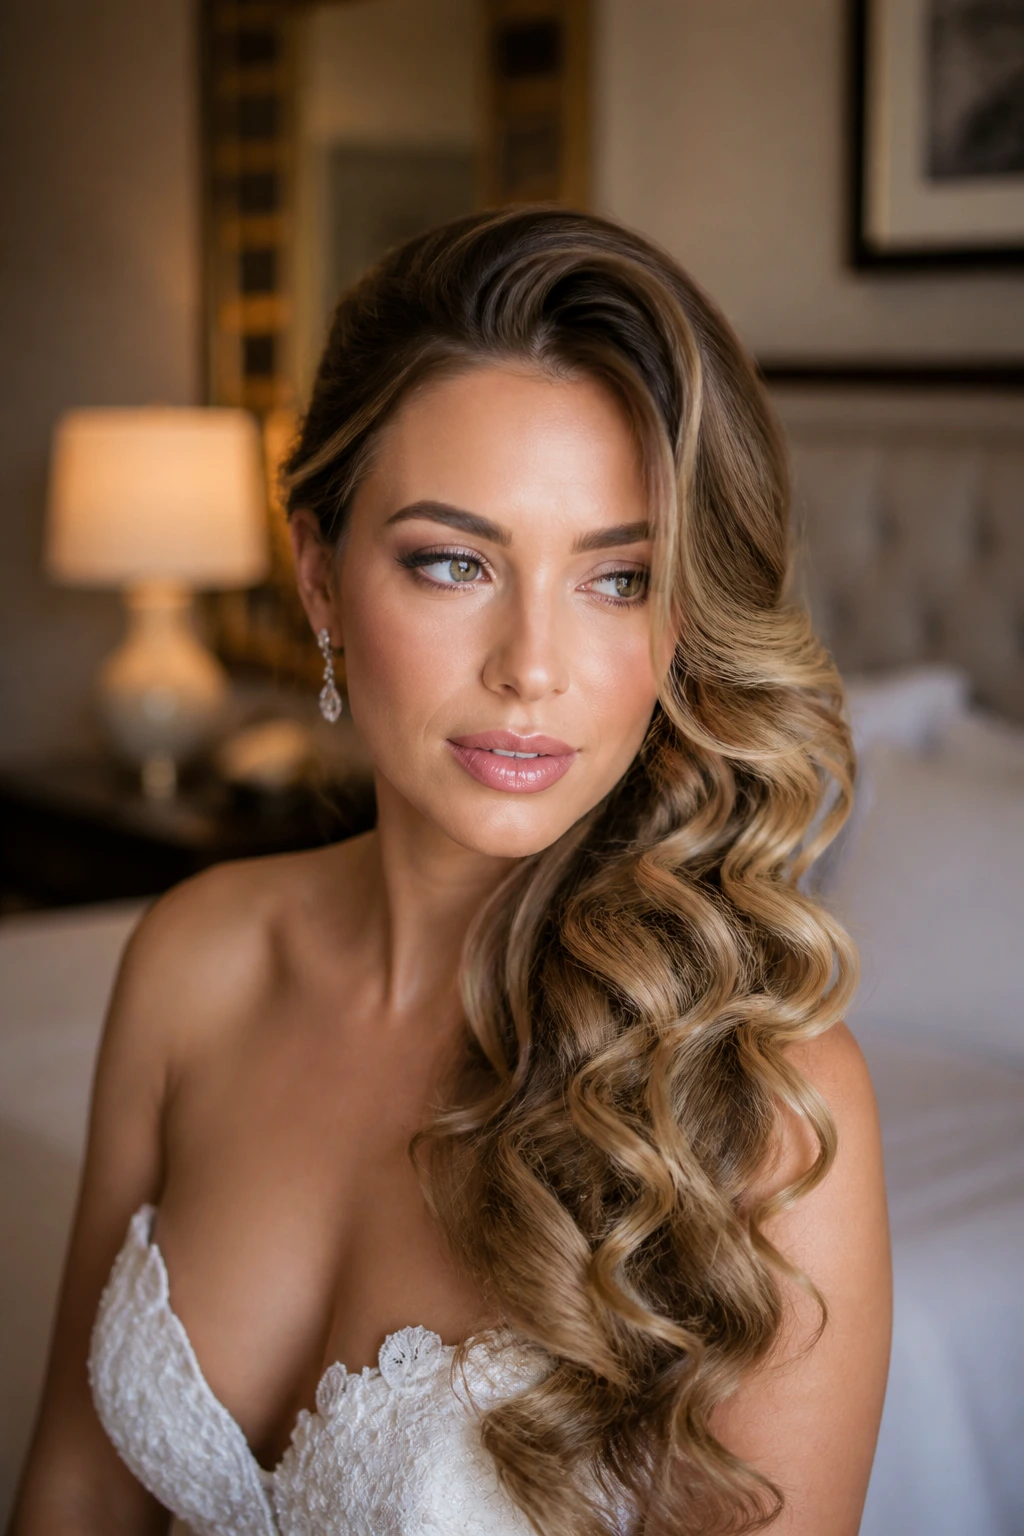
Side-swept curls are a cousin of Hollywood waves, but the shape is looser and a little more romantic. One shoulder carries most of the hair, which makes the neckline look intentional instead of crowded. On long hair, this style has gorgeous drape. It moves.
The structure starts with curls set in the same direction, then brushed and pinned over one shoulder. I like a bit of lift on the opposite side so the part doesn’t collapse flat against the head. The finished look should feel balanced, not lopsided. That balance is subtle, and it’s one of the reasons the style looks expensive when it’s done right.
It’s especially flattering with dresses that have detail on one side—an embellished strap, a beaded shoulder, a dramatic earring. The hair doesn’t fight the dress. It frames it.
A little warning: this style needs good support at the back. If the curls are long and heavy, they can slide forward over time. Hidden pins and a discreet backcomb at the crown help the shape stay where you placed it. Don’t over-brush the curls, either. You want a smooth wave pattern, not a loose cloud.
8. Boho Fishtail Halo
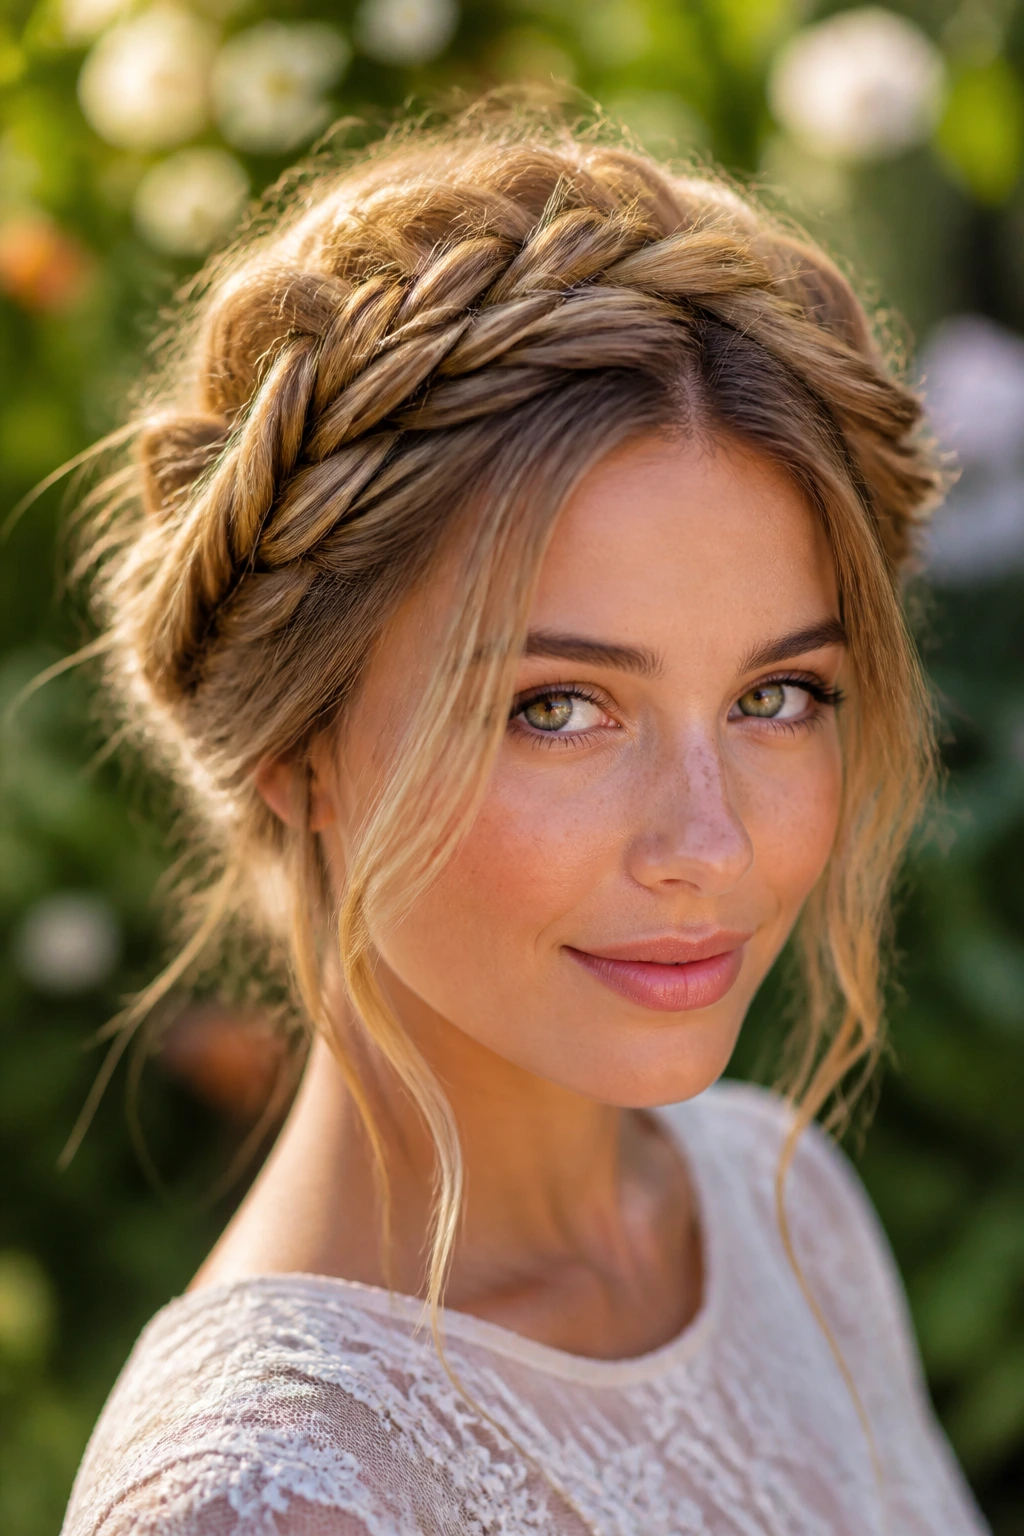
A fishtail halo has a different energy from the more polished crown braid. It feels looser, more textured, and a touch undone—but only if you handle it carefully. Long hair gives the fishtail braid the thickness it needs to look full around the head rather than tiny and fussy.
The best version starts with textured hair, not freshly flat-ironed hair. A little grit helps the braid hold its shape, and the fishtail pattern itself benefits from hair that isn’t sliding around too much. After the braid is wrapped, gently pull the edges apart to widen it. That pancaking step is what gives the halo its soft, generous shape.
I love this style for brides who want movement but don’t want hair falling into their face every time they turn. It sits close to the head and stays there. You can leave the ends tucked away or let them trail into loose waves, depending on how relaxed you want the finish.
One honest note: fishtail braids can look thin if the sections are too small. On long hair, take bigger sections than you think you need. The braid should have presence. Otherwise it reads as overworked.
9. Bubble Ponytail With a Wrapped Base
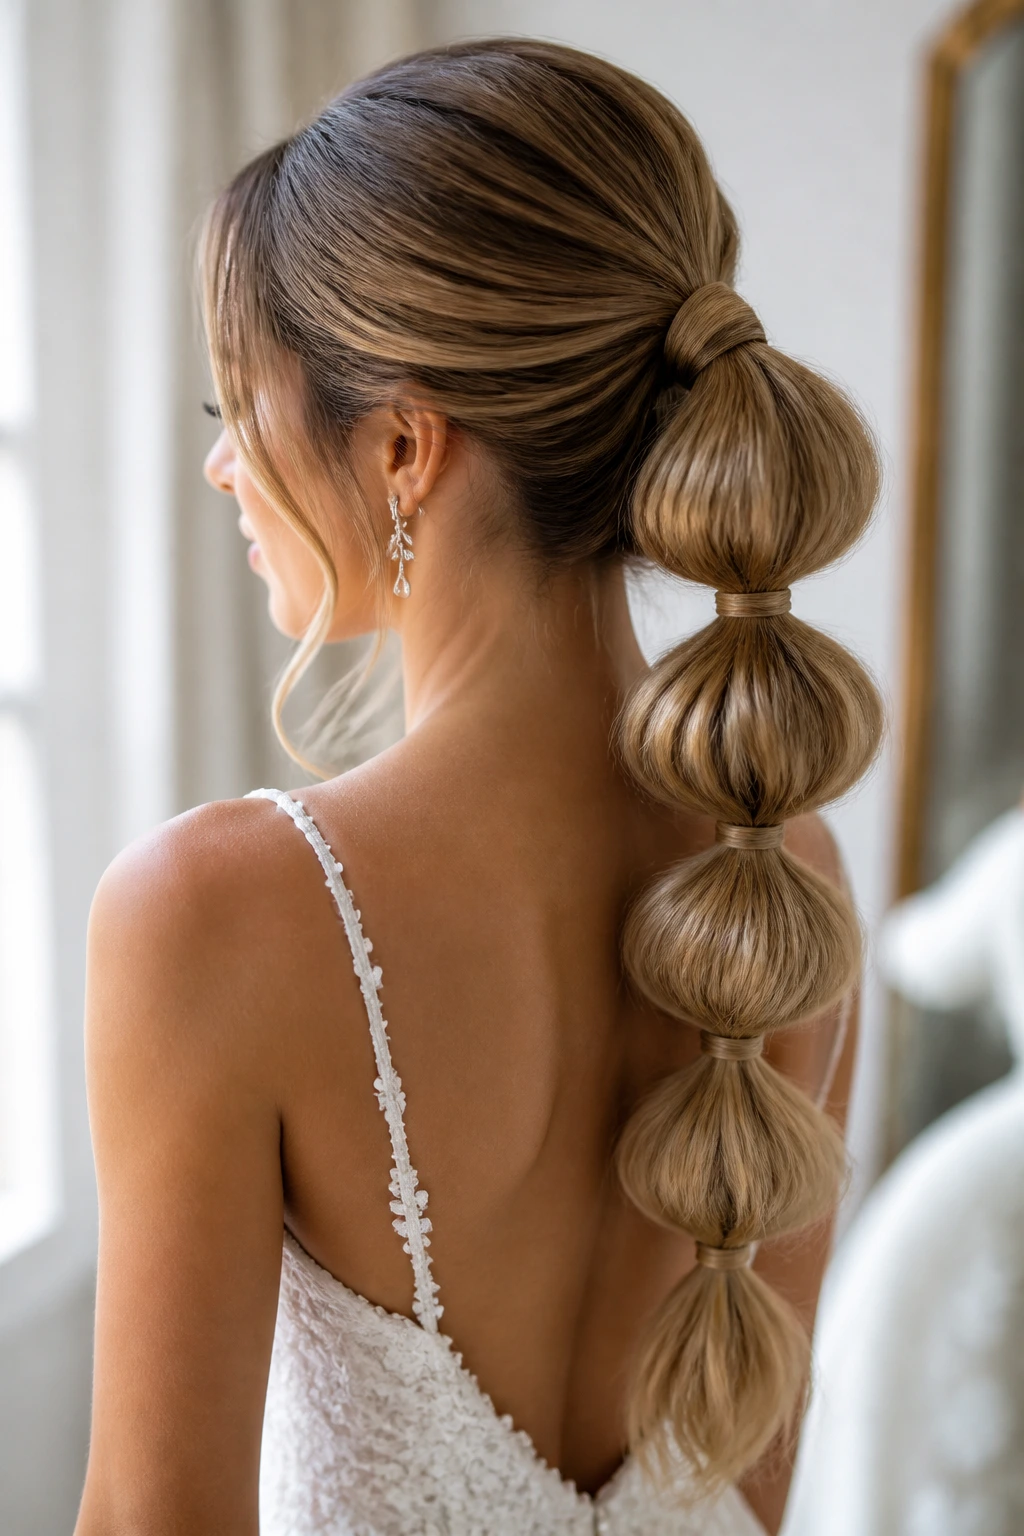
A bubble ponytail sounds playful, and it is, but it can also be surprisingly elegant on long hair. The trick is in the spacing. Clear elastics create sections down the tail, and each section gets gently puffed outward into a rounded shape. The result is graphic, clean, and a little unexpected.
This style is a solid choice when you want the length to stay visible but don’t want loose curls everywhere. It keeps the hair controlled, which makes it practical for long events and outdoor settings. The wrapped base at the crown finishes it off so it doesn’t look like a casual day style with a dress attached.
I’d especially recommend it for brides who like modern lines or minimalist dresses. A bubble ponytail pairs well with strong fabric, clean tailoring, and a simple bouquet. It also works if you have very long hair and want a style that makes use of that length instead of trying to tuck it away.
The one thing to watch is symmetry. If the bubbles are uneven, the style looks accidental. Take a quick mirror check from the side before you leave the chair. It takes twenty seconds and saves a headache later.
10. French Twist With Lift at the Crown
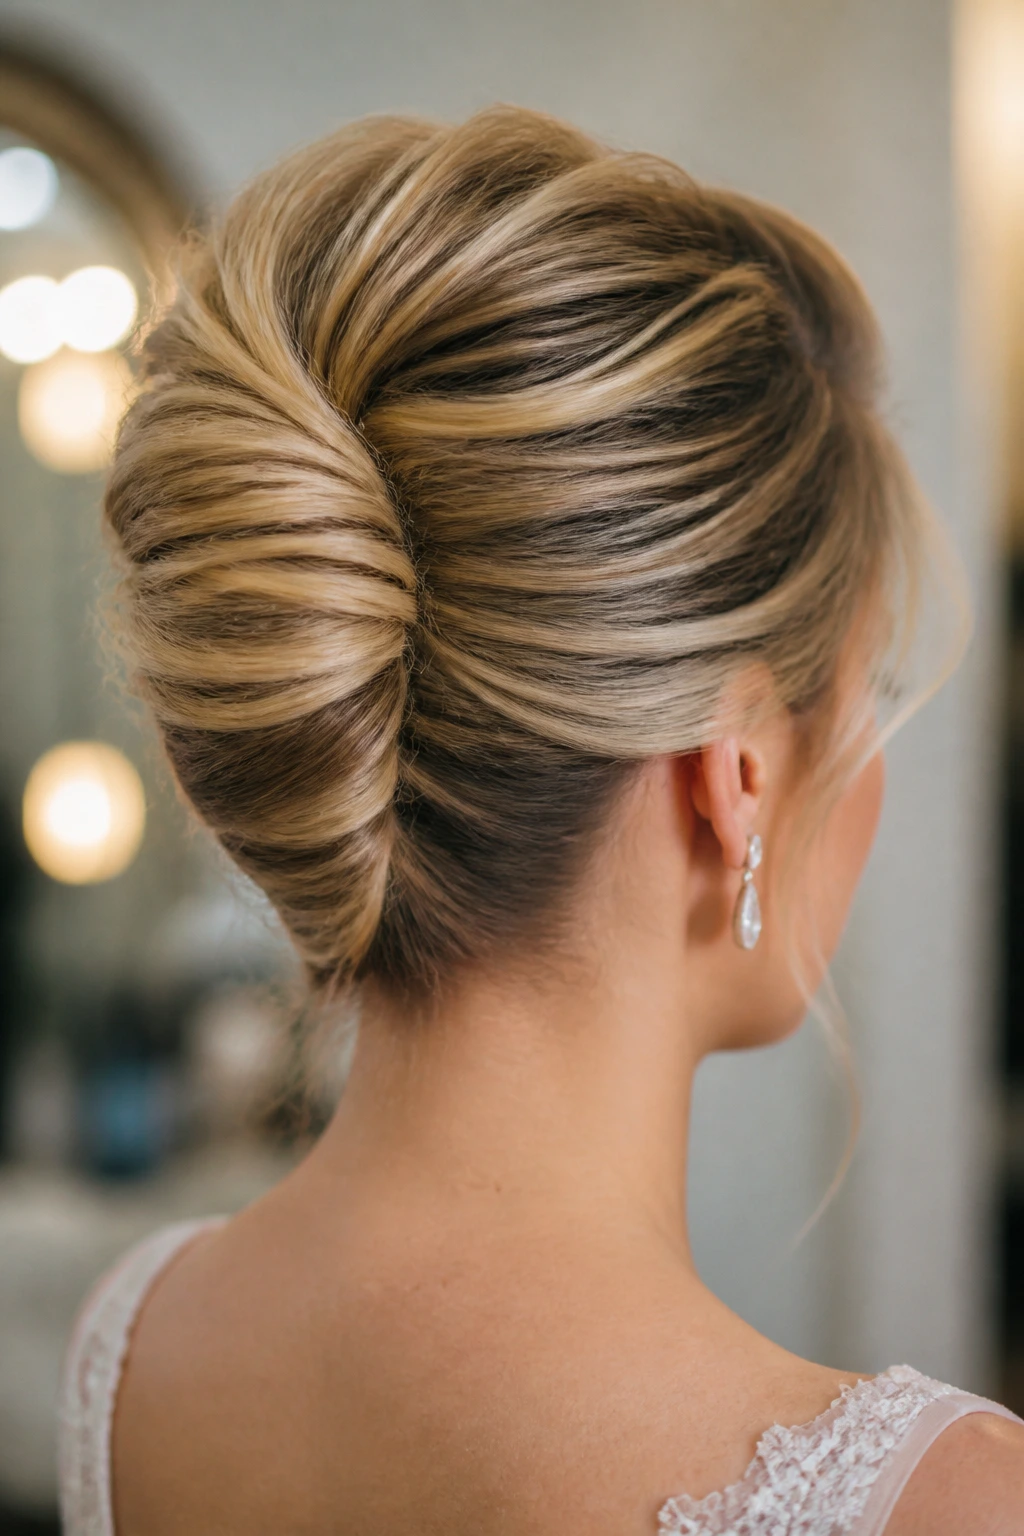
The French twist is one of those styles that looks more complicated than it feels when done well. On long hair, the challenge is managing the length without turning the back into a bulky roll. The answer is to fold the hair upward and inward against the head, then secure it in a vertical seam of pins.
What makes it wedding-ready is the crown lift. A little volume at the top keeps the style from looking too severe, especially if the dress has a high neckline or a structured shape. Without that lift, the French twist can feel formal in a stiff way. With it, the style has some air.
This is one of the best looks if you want your hair off your neck and shoulders but still want a real silhouette. It’s tidy, yes, but not boring when the finish is soft enough around the edges. A few controlled pieces near the temples can keep it from feeling severe.
It also survives veils well. A comb can sit above the twist, and the style gives you a stable point to anchor it. That’s useful because veils that slide around usually do so because the hairstyle underneath wasn’t built with support in mind.
11. Waterfall Braid Half-Up
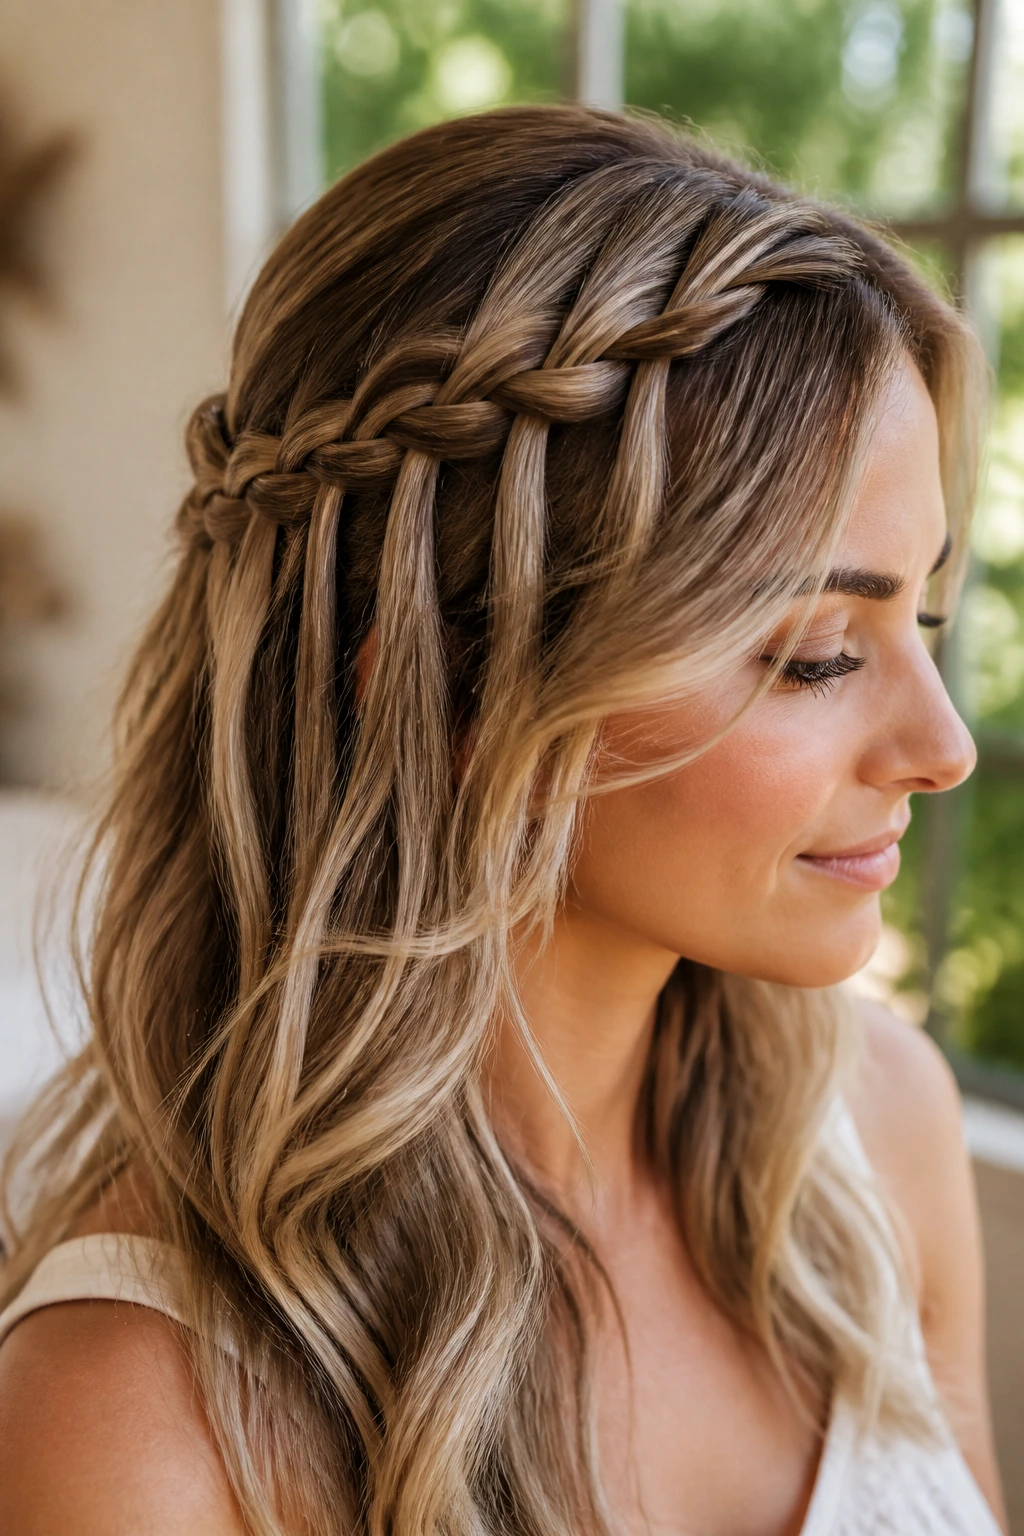
Does the waterfall braid still deserve attention? Absolutely. On long hair, it becomes a moving line of detail that leads the eye across the head and into the length below. The braid releases strands as it goes, which creates that signature layered effect, while the rest of the hair stays down in curls or waves.
The appeal is in the contrast. The braided section is precise, and the loose hair below gives the whole style softness. If you want a wedding look that feels delicate without becoming fragile, this is one of the smartest options.
The waterfall pattern works best on hair that has some grip. Freshly washed hair can be too slippery. A little dry shampoo or texture spray makes the strands easier to handle, and the braid itself holds much better. You don’t need a huge braid. In fact, too thick a braid can hide the waterfall effect.
How to Make It Read Clearly
Keep the braid slightly above the ear or across the back of the head, not too low. The visual line matters. If it sits too low, it can vanish into the length and lose the whole point.
This style is especially pretty with soft highlights or balayage, because the braid catches changes in tone as it moves. No need to overdecorate it. The braid already does enough.
12. Romantic Low Ponytail
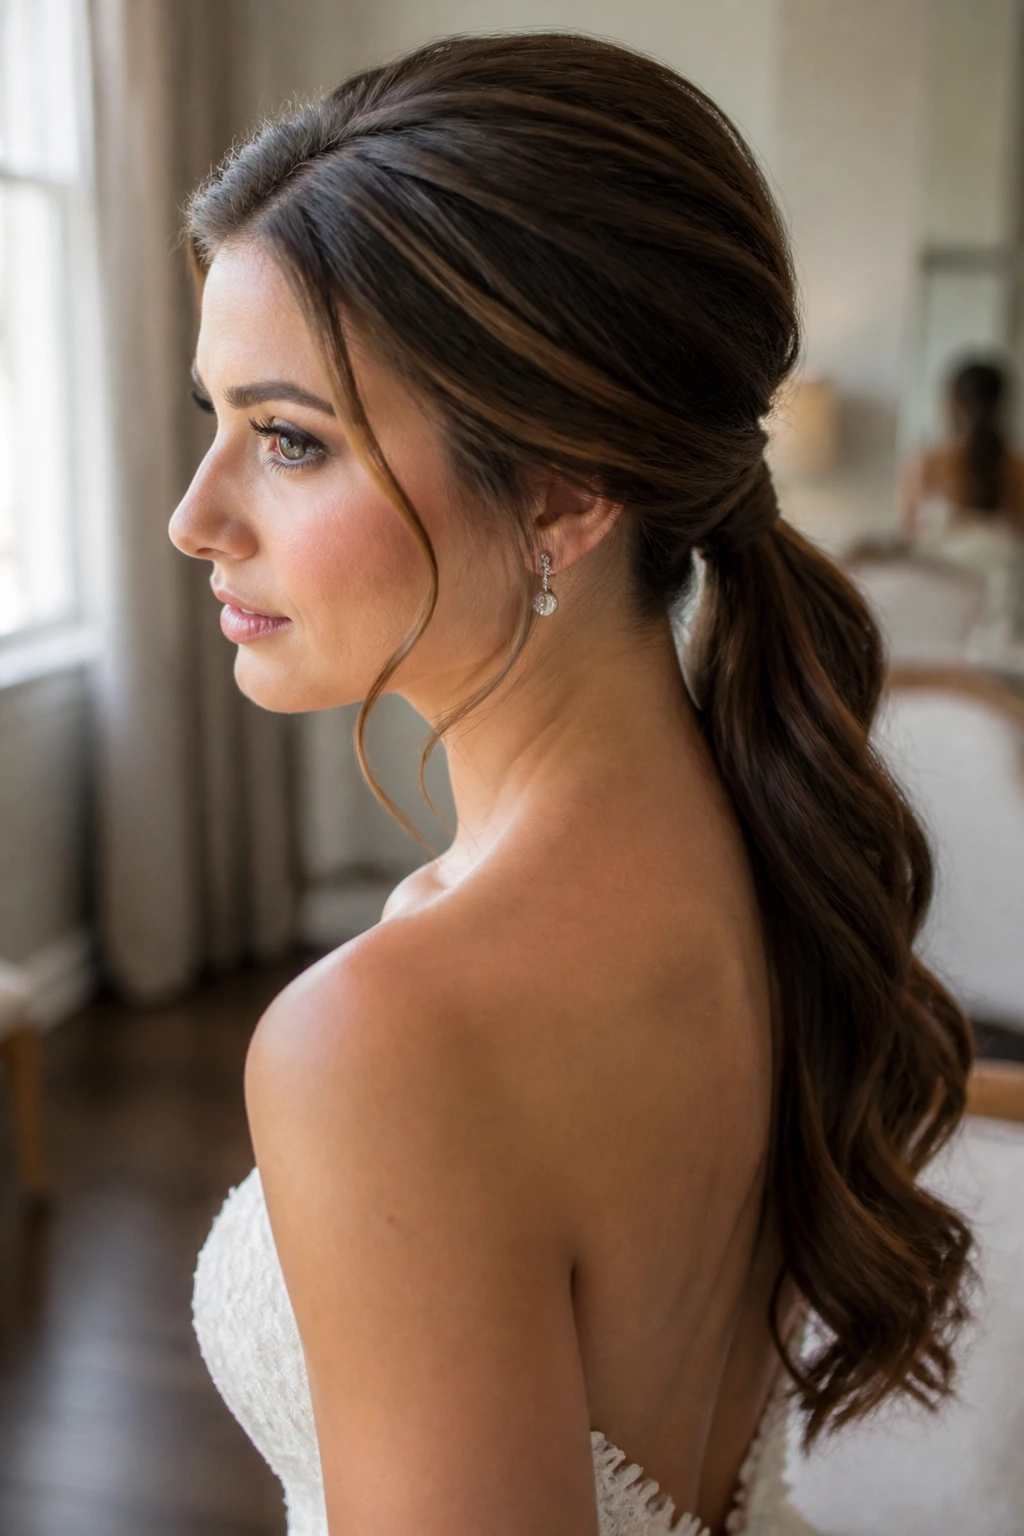
A low ponytail can be wedding hair if you treat it like a style, not an afterthought. On long hair, it looks best when the crown is softly lifted, the base is wrapped, and the tail has polished bends rather than flat ends. Done badly, it reads as rushed. Done well, it’s elegant and easy to wear.
I like this style for brides who want movement and simplicity in equal measure. It keeps hair off the face, leaves the neck open, and gives long lengths a neat hanging line that looks clean in photos. It’s a good match for lace, satin, and dress backs with detail because the ponytail doesn’t fight the clothing.
A soft curl through the tail makes a huge difference. Straight ends can look unfinished under wedding lighting, especially if the hair is very long. A subtle bend creates shape without making the ponytail look overstyled. That’s the sweet spot.
If you want this to feel more formal, add a side part and a small twist at one temple before gathering the ponytail. That gives the style a little ceremony without turning it into a full updo.
13. Rope-Braid Bun
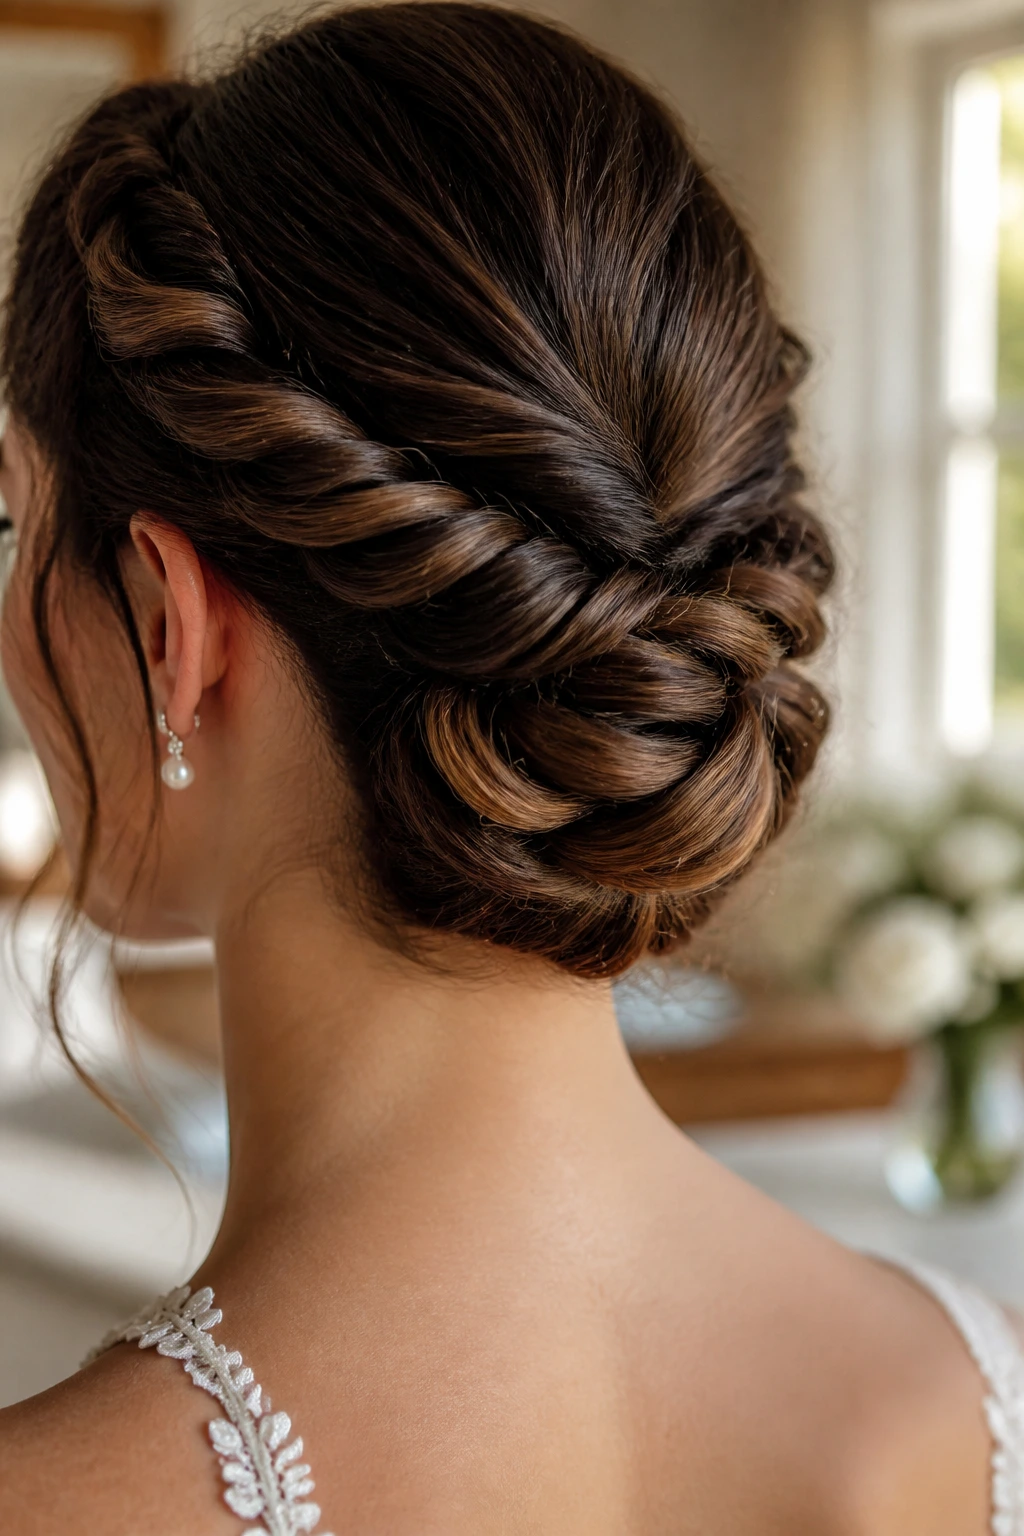
The rope-braid bun is one of those styles I recommend when a bride wants durability first and prettiness second—but then the prettiness shows up anyway. Two sections of hair are twisted around each other, then wrapped into a bun, which gives the style a rope-like texture that looks clean and secure.
Long hair is useful here because it gives you enough length for the rope twist to feel substantial. Shorter hair can make the bun look thin, but long hair fills it out. That makes the style especially good for thicker textures or anyone who knows their hair likes to move around.
It’s a practical pick for warm weather, active receptions, or long ceremonies where you do not want to think about your hair. The bun stays close to the head, and the twisted sections grip each other better than a plain coil. That said, it still needs pins at the base, not just at the outer edge.
A rope-braid bun also looks nice under a veil because the texture gives the comb something to sit against. It’s not flashy. That’s part of the appeal. The structure is doing the work quietly.
14. Glossy Blowout With Big Ends
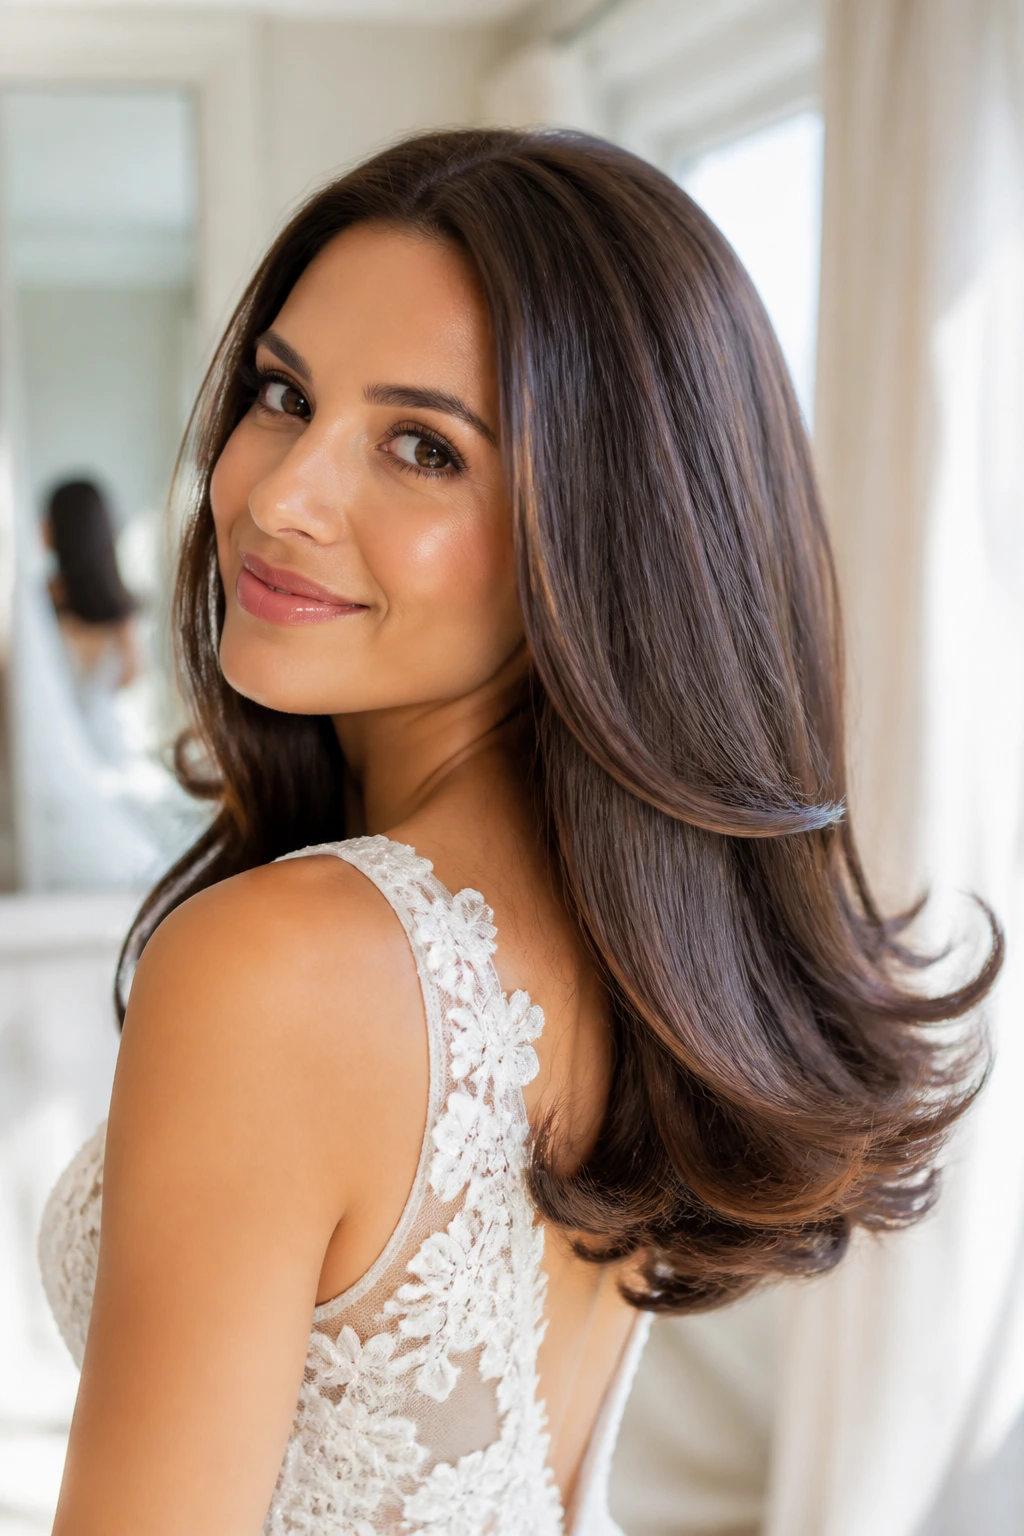
Sometimes the smartest wedding hairstyle for long hair is not an updo at all. A glossy blowout with full, rounded ends lets the hair itself be the main event. It needs good prep, a smooth finish, and a shape that moves without falling flat.
This is the style for brides who love their length, their shine, and the feel of hair that still moves when they turn their head. It’s less about formal structure and more about controlled volume. The ends should curve outward or inward neatly, not sit limp or flip randomly.
The haircut matters here. Long layers, or at least some clean face framing, help the blowout look full instead of bottom-heavy. If the hair is one blunt length with no shape, the finish can feel heavy. A round brush, a strong blow-dry, and a little root lift make the difference between “nice hair” and wedding hair.
I’d use this look when the dress is detailed and the hair should soften it rather than compete. It’s also a smart option for brides who hate the feeling of pins. Some people do. No judgment.
15. Milkmaid Braid With Soft Tails
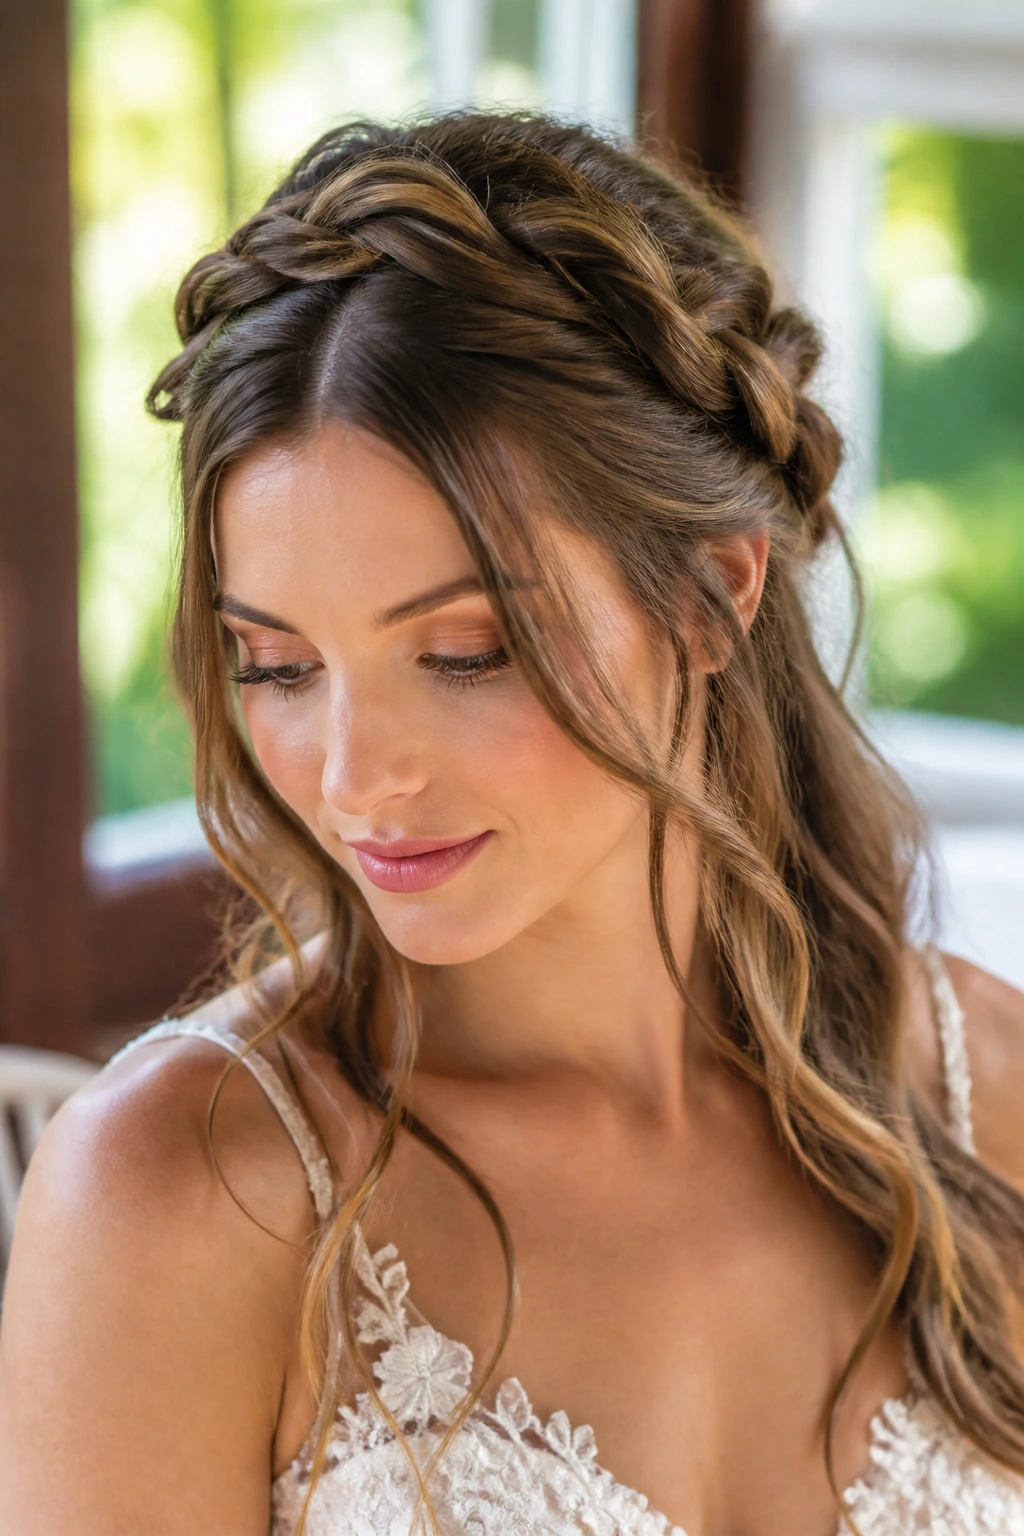
A milkmaid braid can look rustic if it’s done lazily, but on long hair it has the bones for a much more refined finish. The two braids wrap across the head like a frame, and the remaining length can be tucked, curled, or left in soft tails depending on how polished you want it.
What makes this style worth considering is the shape around the face. It opens the features while keeping the length involved in the overall look. That’s useful if you want a style that feels secure but still romantic. It also works better on long hair than on shorter lengths because the braids have enough length to wrap without looking stretched thin.
Keep the braids slightly loose. Tight milkmaid braids can pull too hard and look dated. A little width through the braid makes the style softer and more flattering, especially around the temples. Pull a few tiny pieces near the hairline if you want to avoid a helmet effect.
This style loves texture. If your hair is pin-straight and slippery, prep it with spray and a small amount of grip. Otherwise the braids can loosen before the day is over.
16. Faux Bob for Long Hair
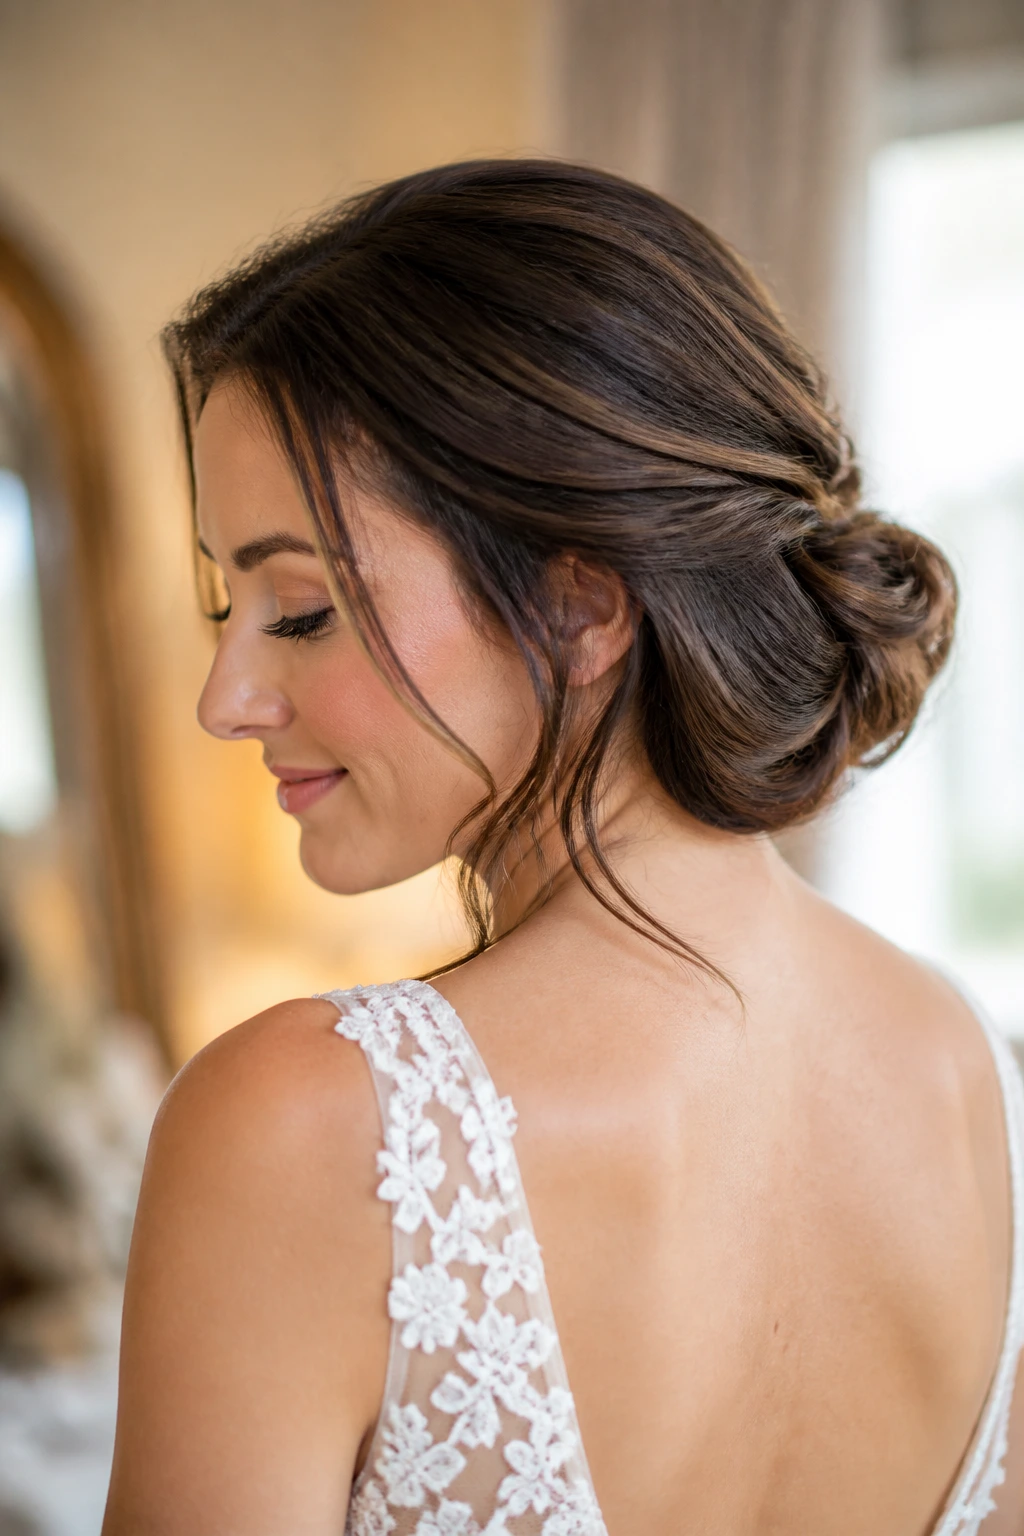
A faux bob is the style for a bride who wants a dramatic change without committing to scissors. Long hair gets tucked under itself, pinned in layers, and shaped into the illusion of a shorter cut. The result can feel glamorous, slightly old-school, and a little unexpected in the best way.
The magic is in the hidden structure. You’re not hiding the hair by accident; you’re folding it intentionally so the ends disappear. Long hair makes this possible because there’s enough length to roll and pin under the outer layer. A chin-length illusion bob looks chic, but it takes planning to avoid lumps at the nape.
This is one of the best choices if your dress has a detailed back and you want the hair off it without choosing a standard bun. It also makes earrings and makeup stand out more because the hair sits closer to the head. If you’re using a veil, place it above the pinned fold so the bob shape doesn’t get crushed.
I’d only do this style with a trial run. It’s not hard, but it is precise. The pinning pattern has to fit your hair density, and that’s hard to guess on the fly.
Why Long Hair Needs a Different Styling Strategy
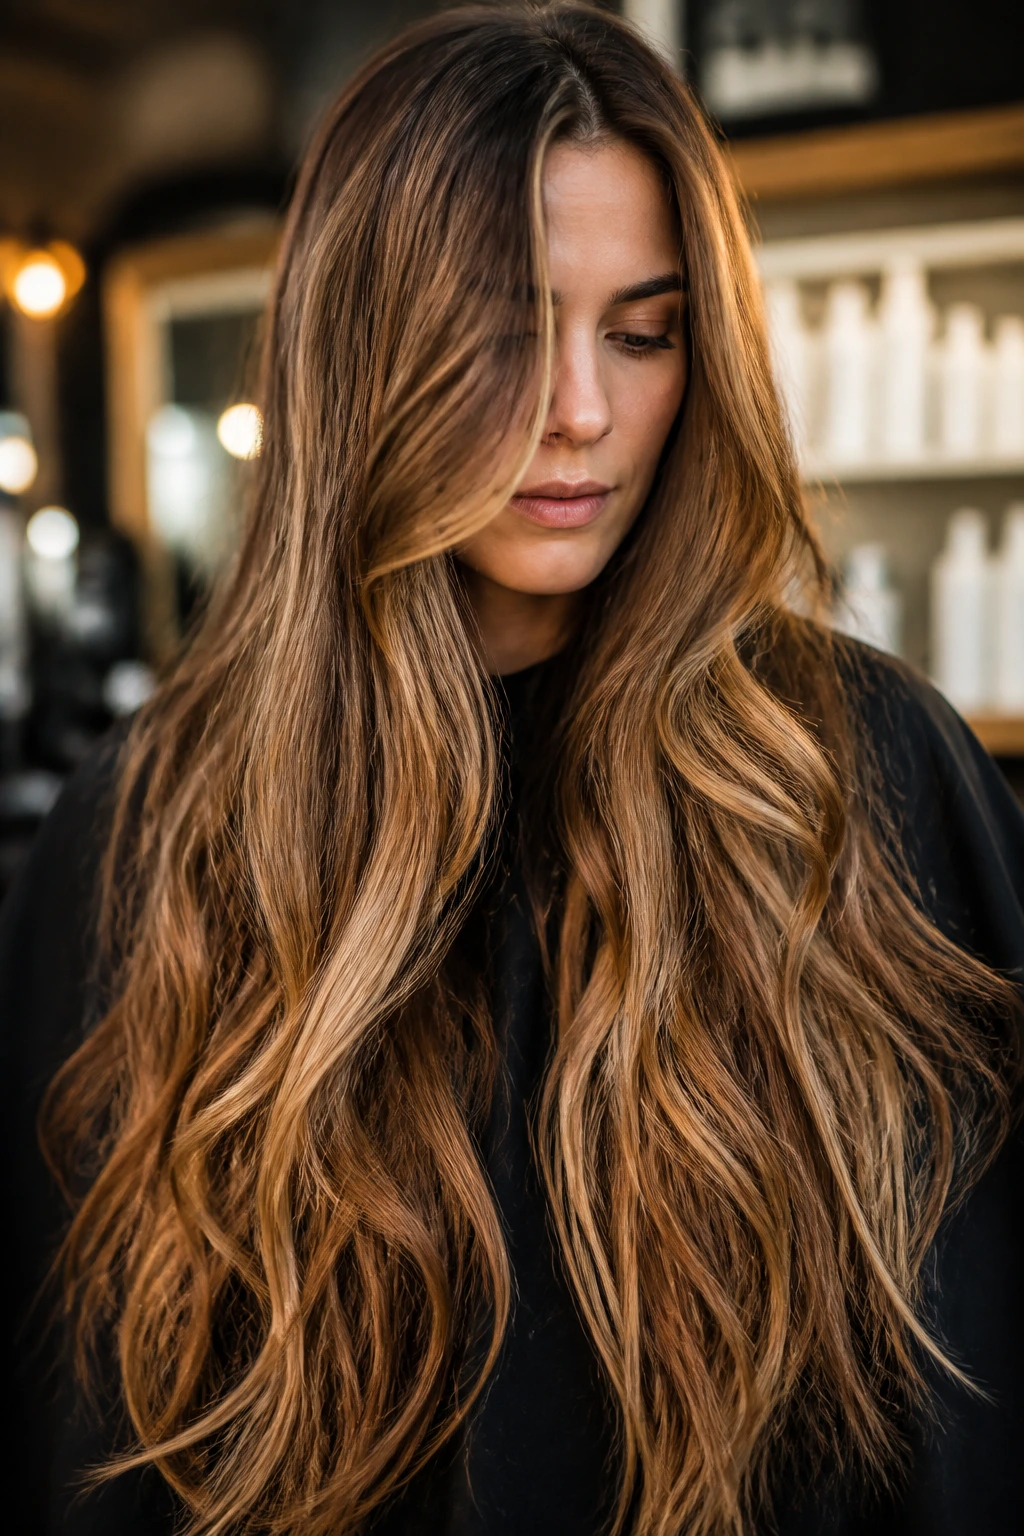
Long hair is generous, but it is not easy. The length brings weight, and weight changes everything. A style that looks airy on shoulder-length hair can start to sink once there’s another eight or ten inches hanging from the base. That’s why so many wedding looks for long hair depend on anchor points, not just surface prettiness.
The second issue is volume distribution. Long hair tends to pull down at the crown and bulk up at the ends, which is lovely when you want a blowout and frustrating when you want a bun. You have to decide where the eye should go: to the face, to the neckline, to the braid, or to the movement down the back. If you don’t choose, the hair chooses for you.
Texture matters too. Clean, silky hair is gorgeous in real life, but it can be slippery under pins and elastic bands. A little grit from dry shampoo or texture spray gives stylers something to hold. On the other hand, overly rough hair can look dry and snaggy in wedding light. The sweet spot is controlled grip, not stiffness.
And then there’s the accessory issue. Veils, combs, flowers, pins, and headbands all need a base that will not budge. Long hair can support them beautifully, but only if the style underneath is built with that support in mind. I’ve seen elegant accessories sag on soft, underpinned styles by the time the portraits start. Nobody wants that.
The Tools That Make These Styles Behave
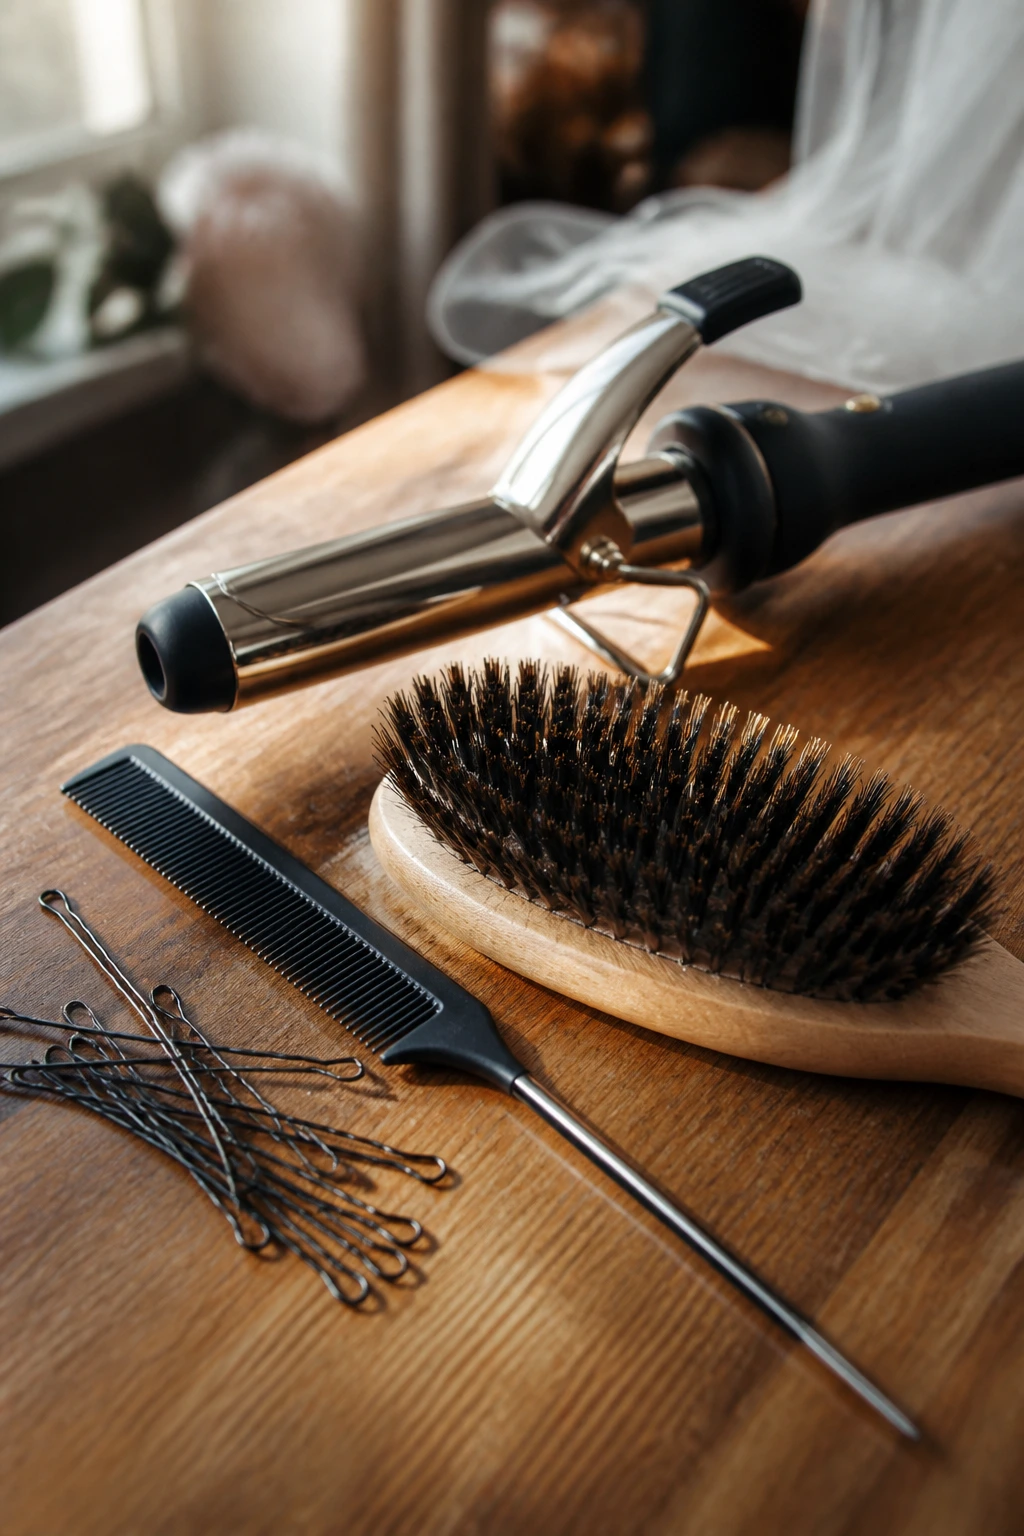
You do not need a salon full of equipment, but you do need the right few things. A wedding style lives or dies by the small tools.
- 1-inch curling iron or wand: Best for defined waves, half-up styles, and ponytails that need shape without giant curls.
- 1.25-inch curling iron: Better for Hollywood waves, blowout bends, and softer curls that brush out well.
- Tail comb: Ideal for clean parts, sectioning, and lifting the crown without making a mess.
- Boar bristle brush: Useful for smoothing the top of sleek styles and blending pinned sections.
- Sectioning clips: Keep long hair under control while you curl or braid one section at a time.
- Bobby pins in two shades: Match them to the hair. Dark pins disappear in brunette hair; lighter pins can vanish better in blonde hair.
- U-pins: Handy for buns and twists where you want hold without visible hardware.
- Clear elastics: Useful for ponytails, bubble ponytails, and hidden anchors.
- Flexible hairspray: Helps set styles while still allowing movement.
- Texturizing spray or dry shampoo: Gives grip to clean hair and helps braids stay put.
- Heat protectant: Non-negotiable before any iron or wand touches the hair.
- Small mirror or double mirror setup: Lets you check the back of the style before you leave the chair.
If you’re doing your own hair, a few duckbill clips and a long-sleeve robe that won’t catch in pins are small comforts that matter more than they should.
How to Prep Long Hair So the Style Lasts
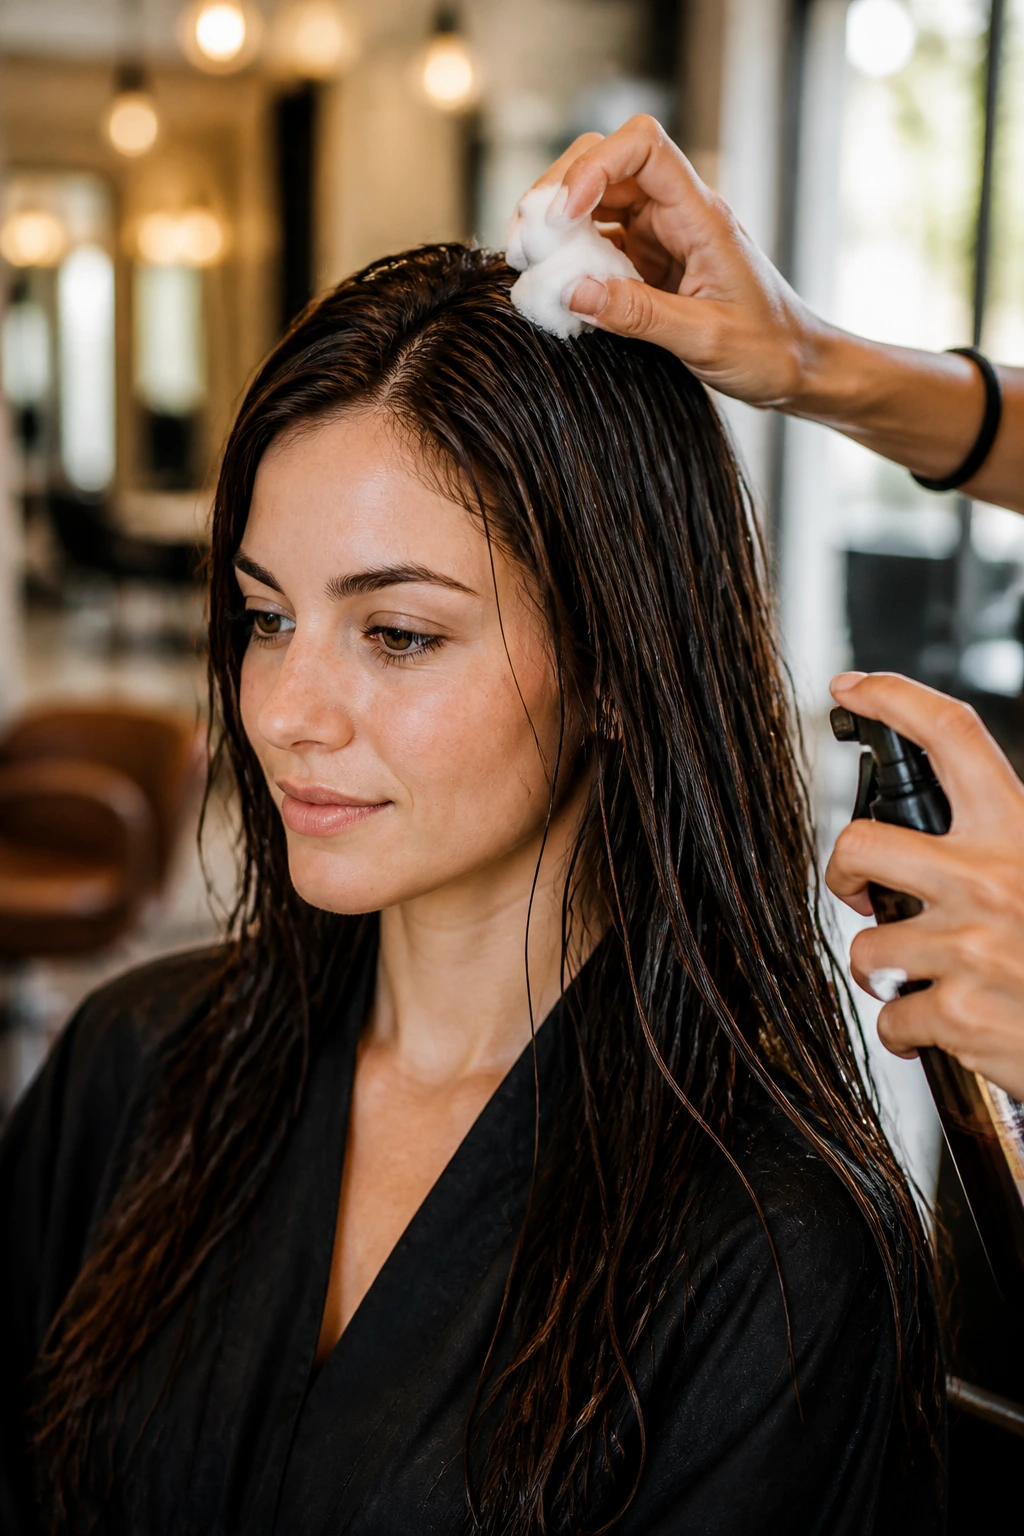
The cleanest wedding hairstyle starts before the curling iron ever comes out. Long hair needs the right amount of slip, grip, and dryness, and the balance changes based on the style you choose.
For sleek looks, I usually like hair that’s been washed the same day or the night before, depending on how naturally oily the roots get. Too much oil at the scalp can make a ponytail or French twist slide. Too-fresh hair can also be too soft, which sounds nice until the pins won’t stay where you put them. A tiny amount of mousse at the roots and heat protectant through the lengths usually does the job.
For braids, half-up styles, and anything that needs texture, second-day hair is often better. Add dry shampoo at the roots, let it sit for a few minutes, then brush through the surface. That gives the hair enough bite to stay braided without becoming gritty. If the hair is very clean, a little texture spray at the mid-lengths helps.
Curling styles need a different prep. Blow-dry the hair smooth first, section carefully, and curl in consistent sections so the waves set evenly. Don’t rush the cooling stage. Curls that get brushed out before they cool tend to collapse into fluff instead of shape. A pin curl set while the hair cools can save a lot of trouble later.
How to Wear These Styles With the Dress, Veil, and Jewelry
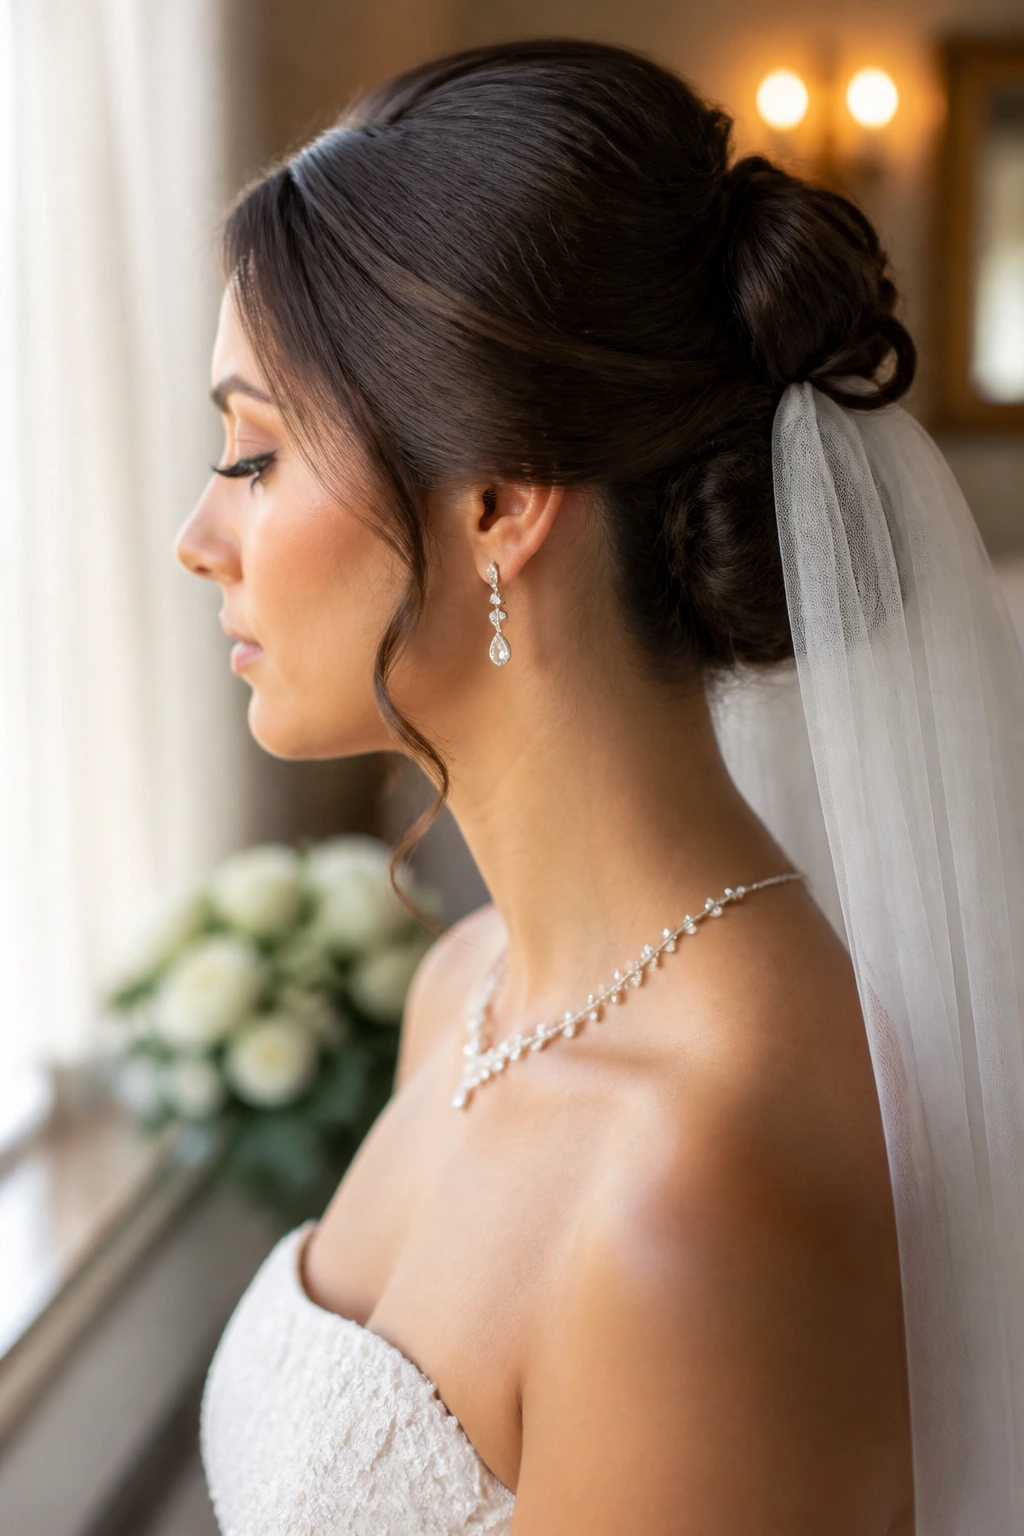
Presentation: A low bun keeps the back of a gown visible. A high ponytail makes a strong neckline look cleaner. Loose waves work best when the dress has some structure, because too much softness everywhere can make the whole look disappear.
Accessories: Veils need a stable base, so place the comb above a bun, twist, or padded crown rather than inside a loose section of hair. Hair vines and pearl pins tend to sit best where the hair has a little texture, not over glass-smooth strands. If you’re wearing a comb, test it while turning your head side to side. If it shifts in the mirror, it will shift in photos.
Balance: Big earrings and loose hair can fight each other. If the earrings are heavy or long, a half-up style or sleek updo usually looks cleaner. If the dress has a detailed neckline, don’t bury it under a thick curtain of hair unless you’re doing it on purpose.
Comfort: The style should let you sit, dance, and hug without tugging at your scalp. If a pin already hurts during the trial, it will be unbearable three hours later. Fix tension before the event. Not after.
Small Changes That Make a Style Feel More Personal
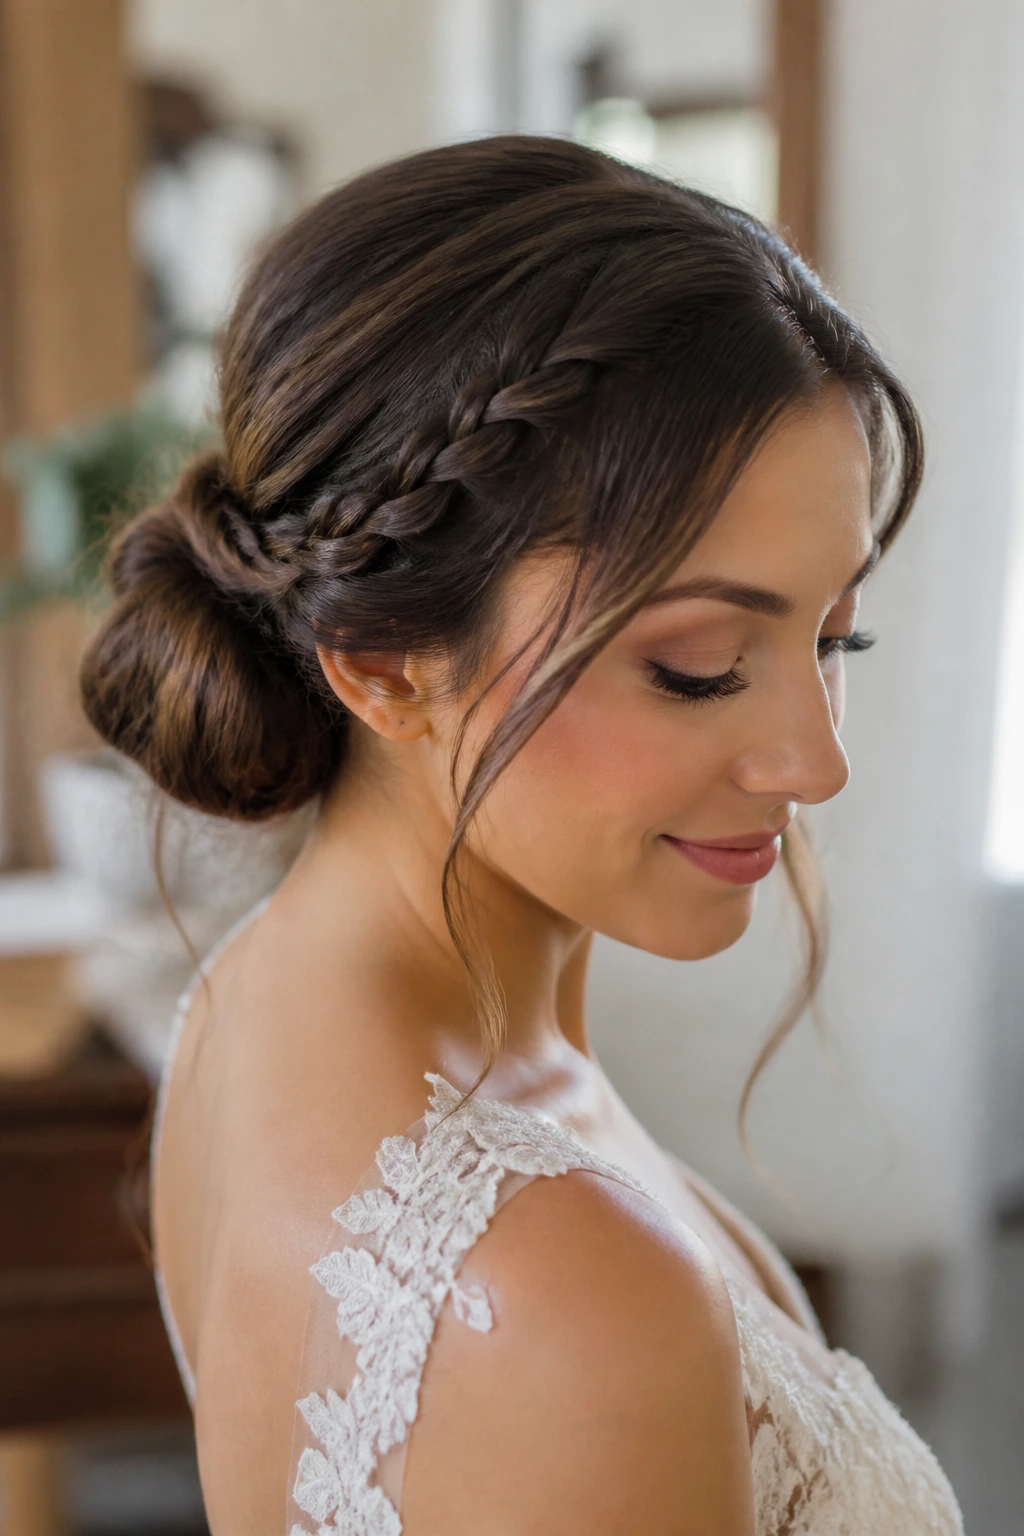
Texture Boost: A pinch of texture spray through the mid-lengths can turn a plain bun into something with grain and shape. It also helps twists stop sliding apart.
Customization: Add a braid into one temple section, wrap the base of a ponytail with a strand of hair, or tuck one side behind the ear for a cleaner profile. Tiny adjustments change the whole mood.
Finishing Touches: A few pins with pearls, a delicate comb, or a veil placed slightly off-center can make the style feel tailored rather than copied from a catalog. I’d skip anything too busy unless the dress is very plain.
Make-It-Yours: If you wear your hair curly, don’t force it into a flat style that fights its texture. If your hair is pin-straight, lean into sleek shapes instead of pretending it wants to be fluffy. If it’s thick, build lower and wider. If it’s fine, create the illusion of fullness with texture and better pinning, not more product.
Trial Runs, Prep Timing, and Midday Fixes
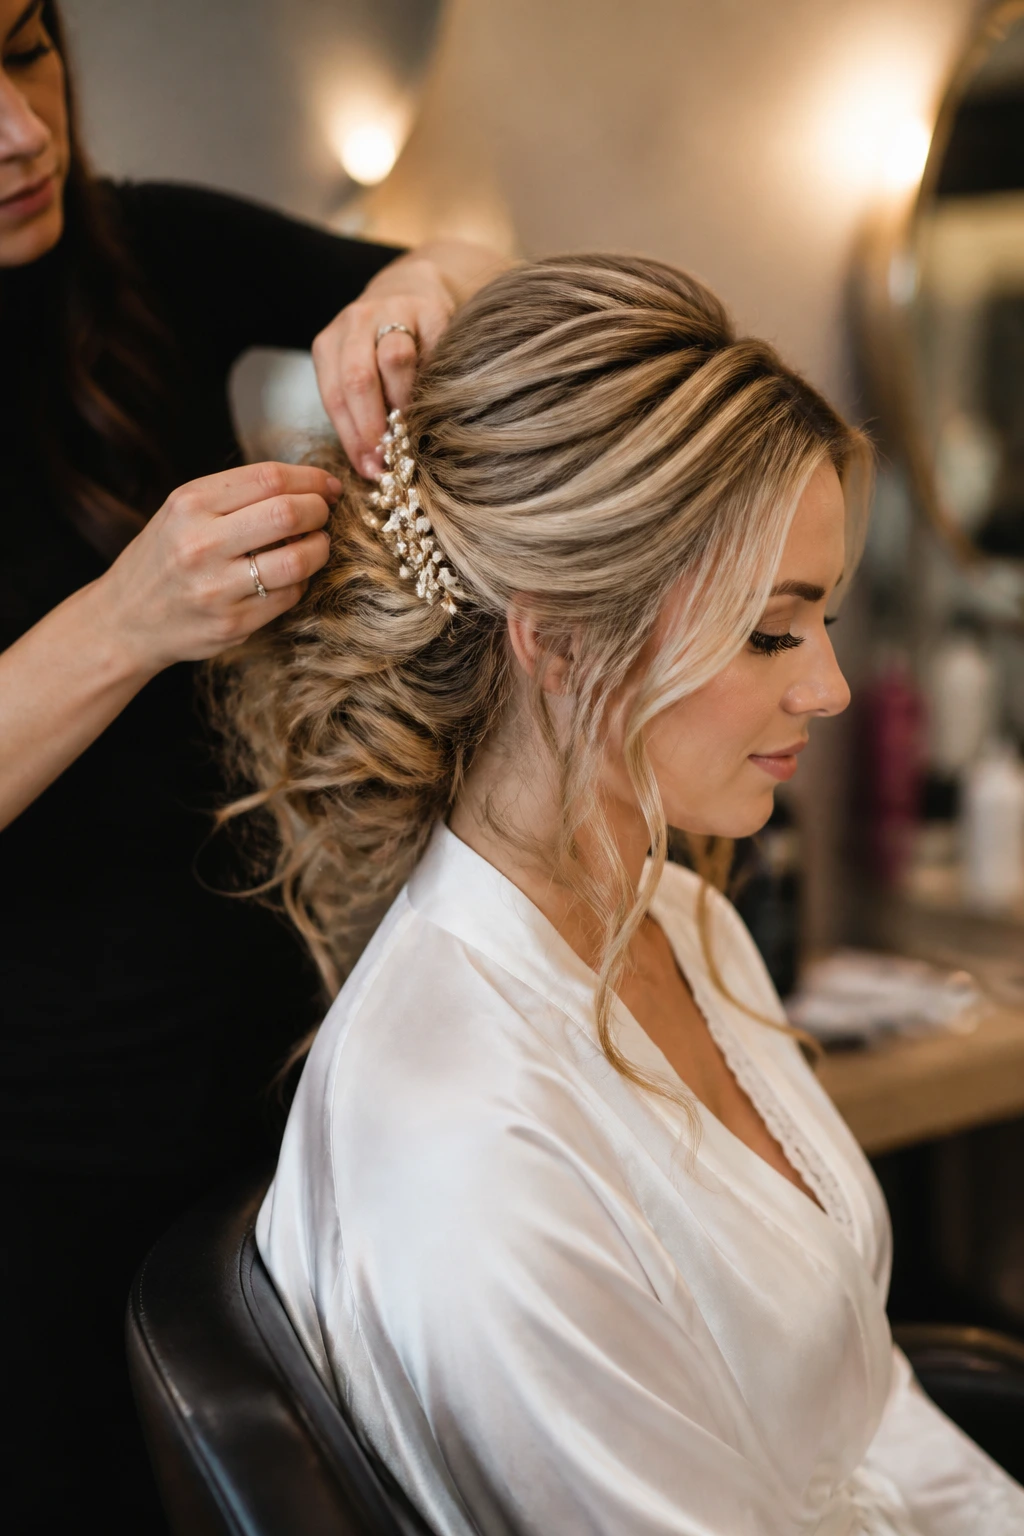
A wedding hairstyle should never be a first-time experiment. Long hair behaves differently once it’s pinned, sprayed, and asked to sit still for a whole event, so a trial run is worth the time even if you feel certain about the style. Wear the look for at least two hours. Sit, turn your head, put on a top with a collar, and see what happens when you move like a normal person instead of a test mannequin.
Timing matters too. For curled styles, the best set often starts with dry hair that has cooled fully before brushing. If you’re doing your own hair, give yourself more time than feels necessary. Seriously. The back sections always take longer than you think, and the last thing you want is to be flattening the crown with panic in the room next door.
Keep a small touch-up kit nearby. A few bobby pins, one clear elastic, a travel hairspray, a tiny comb, and a couple of U-pins can rescue almost any style. If a twist loosens, pin it. If curls go soft, mist the ends lightly and reshape them with fingers, not a brush. If a veil comb starts slipping, it usually needs anchoring into a tighter section of hair, not more spray blasted on top.
For pre-event prep, sleep on a silk or satin pillowcase the night before if you’re doing a blowout or loose curls. It reduces frizz better than wrestling with the style half asleep. If you’re prepping hair the morning of, avoid heavy oils near the roots. They can make long hair droop at the exact spot you need lift.
Variations Worth Trying
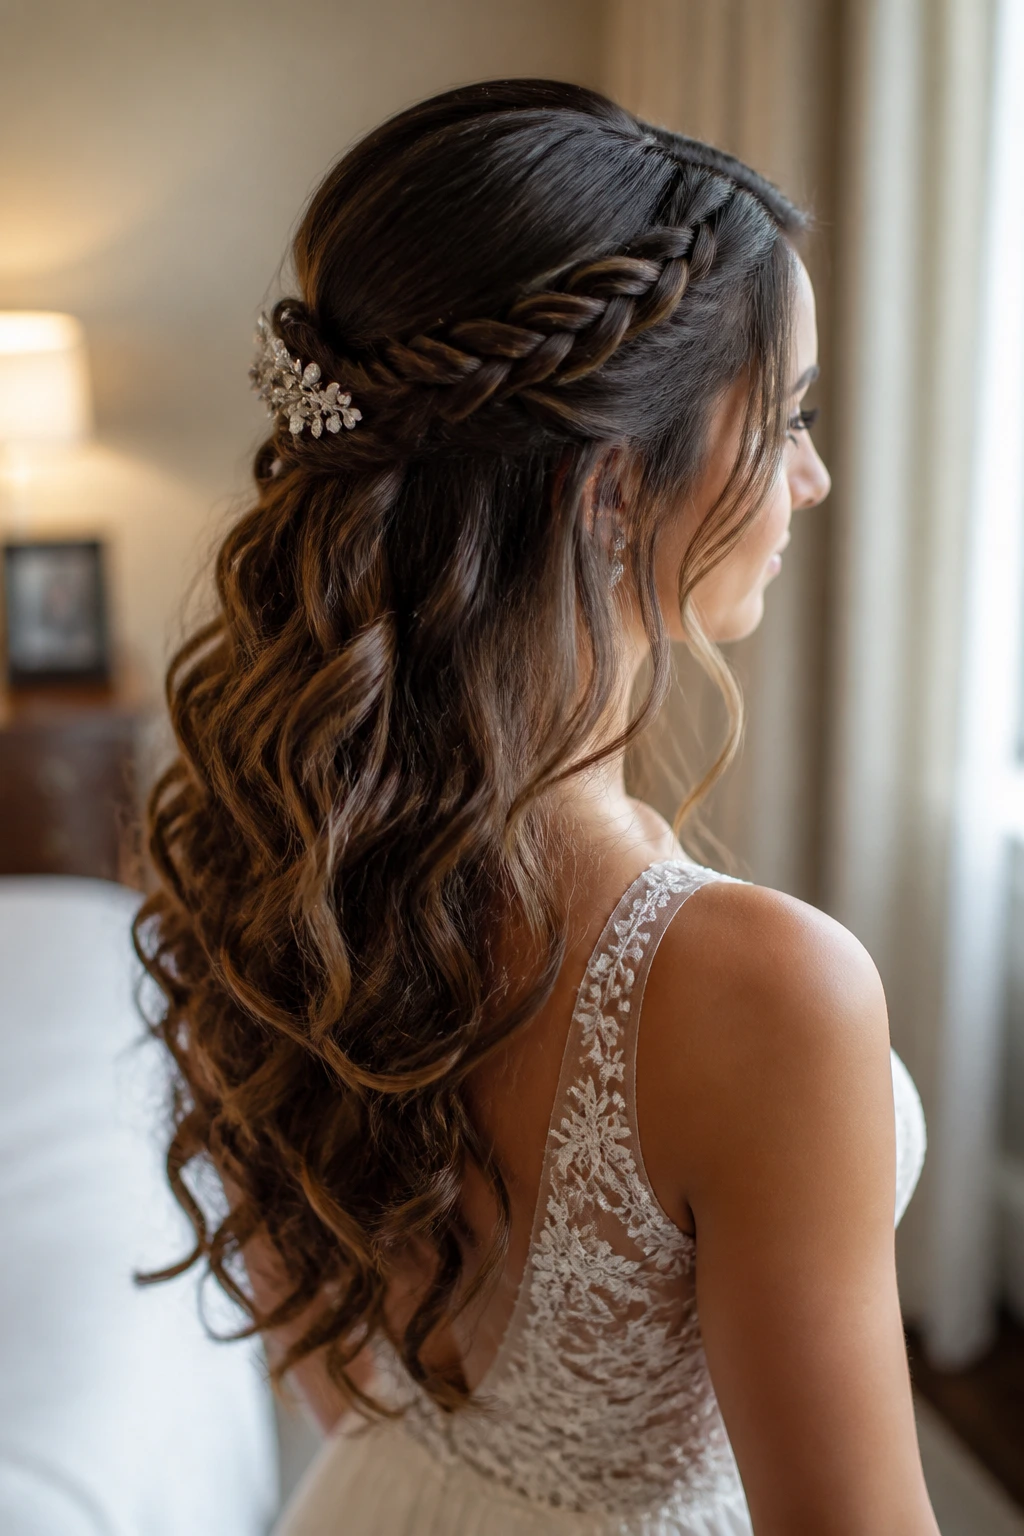
Curly-Hair First Version: Let natural curls lead the shape instead of straightening them out first. A half-up style or a low bun with curly ends keeps the hair’s texture alive and usually lasts longer because you’re not fighting the curl pattern.
Fine-Hair Volume Version: Add clip-in extensions or a small bun pad under a low chignon if you need fullness. Use less oil, more texture spray, and smaller sections so the pins can grip the hair instead of sliding through it.
Thick-Hair Control Version: Choose styles with strong anchors: French twists, low buns, rope braids, and sleek ponytails. Thick hair needs fewer decorative layers and more structural control, or the style turns bulky fast.
Minimalist Bride Version: Go for a smooth ponytail, a polished low bun, or a glossy blowout with one clean accessory. The hair should support the overall look, not compete with it.
Outdoor Weatherproof Version: Pick lower placement, tighter anchoring, and styles with braided or twisted structure. Wind can ruin a loose wave faster than almost anything else, and lower styles usually hold their shape better when the air gets pushy.
Common Mistakes That Ruin Long-Hair Wedding Styles
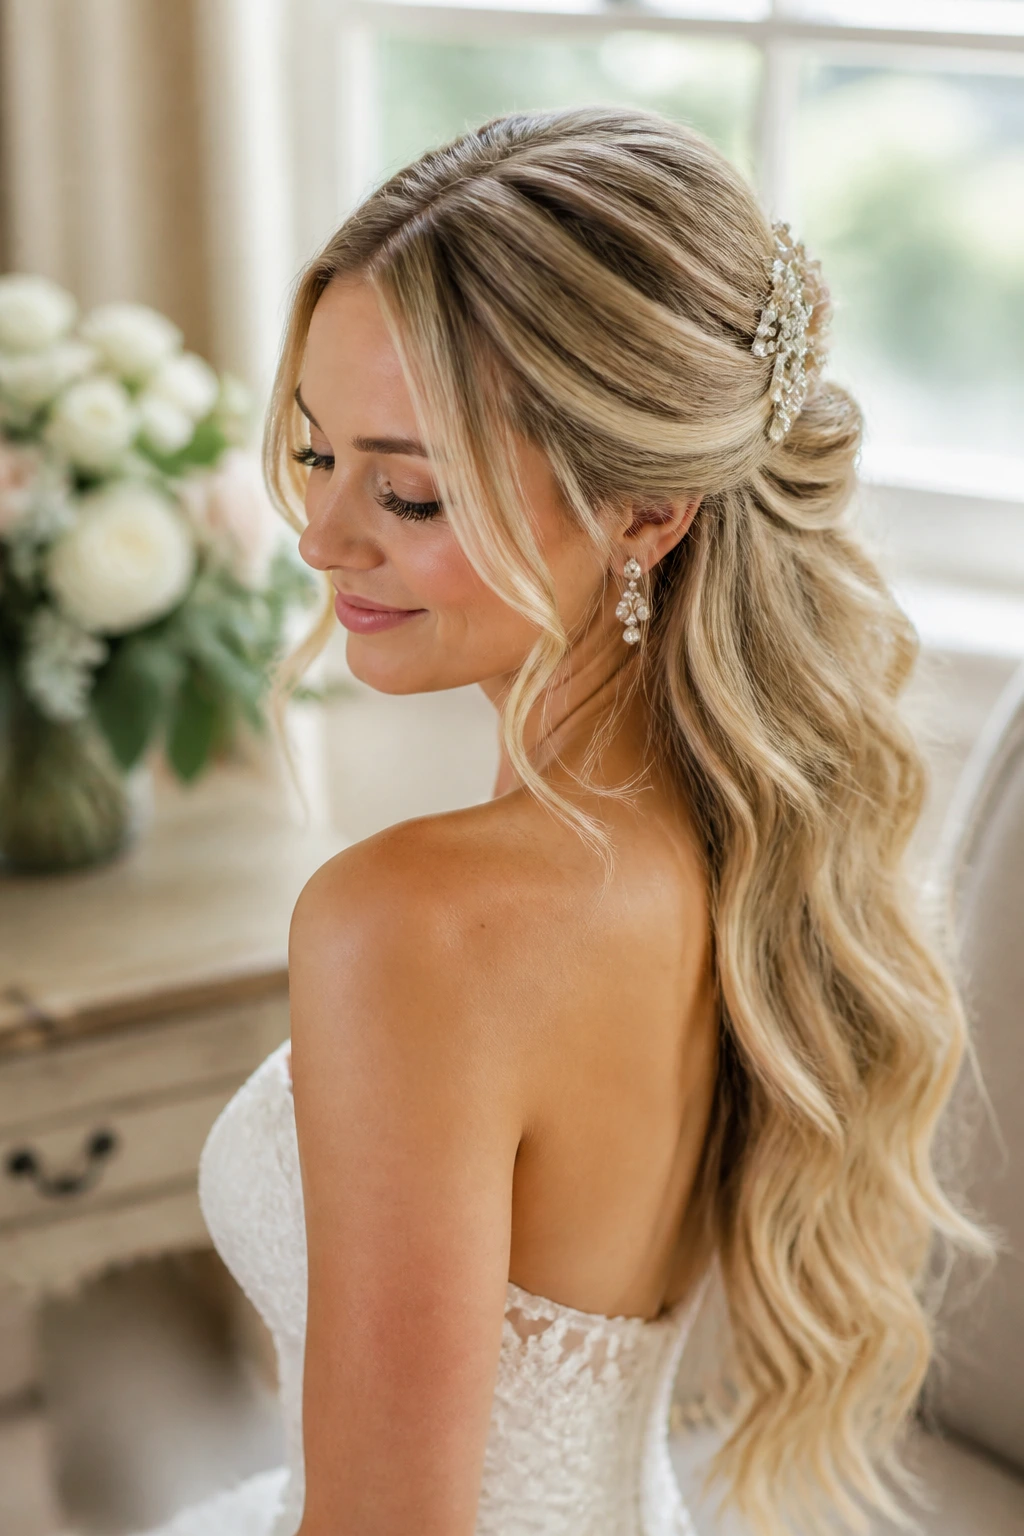
The first mistake is choosing a style that is too heavy for the hair’s own weight. You see it most with buns that start neat and end up drooping by cocktail hour. The fix is to build with a strong base and test the style for a couple of hours before the big day.
Another one is using too much shine product. Long hair loves gloss, but too much serum near the roots makes pins slide and curls drop. Keep shine products on the mid-lengths and ends unless you’re intentionally going sleek.
A third problem is skipping the crown support. Long hair often pulls the top flat, which makes even a beautiful braid look tired. A little backcombing or root-lift spray at the crown gives the style the lift it needs without looking teased to death.
Then there’s overworking brushed-out curls. If you brush Hollywood waves or loose curls too aggressively, you erase the pattern and end up with puff. Use a soft brush or your fingers, and stop as soon as the waves merge.
Finally, plenty of people forget the accessory test. A veil comb or hairpin can feel fine for two minutes and then slide once the hair warms up or the head moves. Put the accessory in during the trial, not just after the style looks finished.
Questions Brides Actually Ask About Long Wedding Hair
Which wedding hairstyle lasts the longest on long hair?
Low buns, French twists, and sleek ponytails usually outlast looser curls because they rely on a firmer base. If you want staying power, pick a style that anchors close to the scalp and uses more than one pin point.
Can I wear my long hair down for a wedding and still look formal?
Yes, if the hair has shape. Hollywood waves, a glossy blowout, or side-swept curls can look far more formal than a messy updo if they’re polished and set properly.
Should I wash my hair on the wedding day?
Not always. Freshly washed hair can be too soft for braids and updos, while second-day hair often gives better grip. For sleek styles, same-day washing can help, but only if your roots aren’t too slippery.
Do I need extensions for these styles?
Not necessarily. Long hair already gives you length to work with, and many of these styles are stronger because of that. Extensions help mainly if your hair is fine, if you want more volume, or if you need extra fullness for braids and ponytails.
What if my hair is very thick?
Pick styles that lower the bulk instead of fighting it. Rope braids, French twists, low buns, and structured ponytails usually behave better than loose half-up styles on very thick hair.
How do I keep a veil from pulling out my hairstyle?
Anchor the veil into a firm section above or just beneath the main style, not into soft loose curls. Use crossed pins around the comb if needed, and test the fit by turning your head and giving the veil a light tug.
Can curly hair work with these wedding looks?
Absolutely. Curly hair often holds pins and shape better than people expect. The smartest move is usually to refine the curl pattern, not erase it, so the style feels deliberate instead of forced.
What if humidity wrecks the style?
Start with anti-humidity spray or a flexible setting spray that suits your hair type. Then choose a style with structure—braids, low buns, or ponytails usually survive moisture better than loose brushed-out waves.
Is it better to do the hair at home or in a salon?
If the style involves precise pinning, veil placement, or waves that need a trained hand, a stylist is worth it. If you’re doing a simple ponytail, blowout, or soft braid and you’ve practiced it before, home styling can work fine.
The Finish That Actually Holds
The best wedding hairstyles for long hair are not the ones that look biggest in the chair. They’re the ones that still look like themselves after the photos, after the hugs, after the first spin on the dance floor. That usually means a style with structure underneath and softness on top, which is a nicer balance than a lot of bridal hair advice makes it sound.
If you love your length, do not hide it just because the day feels formal. Long hair can be sleek, braided, pinned, waved, twisted, or wrapped into something that feels special without losing its character. Pick the shape that suits your dress, your accessories, and your patience for touch-ups, then build it with enough support that you can stop thinking about it.
That is the sweet spot. Hair that looks like it belongs to the day, not hair that spends the day fighting the day.
