



A wedding bun can look almost disarmingly simple from across the room and still hide a small mountain of work. That’s the charm of wedding bun hairstyles: they can read polished in aisle photos, stay neat under a veil, and still hold together after hugs, champagne, and one cousin who insists on dancing like the floor is on fire.
The part people underestimate is structure. A bridal bun is not one shape with a different finish. A sleek low chignon, a braided crown bun, and a curly bun with tendrils each behave differently once you add hair spray, humidity, a comb, and a few hours of movement. Hair texture matters. So does the neckline of the dress. So does whether the stylist has grip at the base or only a neat-looking top layer.
These 18 wedding bun hairstyles are the ones worth knowing because they solve different problems. Some make fine hair look fuller. Some soften a strong dress line. Some are built for veils that need a solid anchor. And some are simply the sort of bun that looks calm in photos instead of stiff, which is a bigger deal than people think. Start with the look that matches the dress and the hair you actually have, not the one that only works on glossy inspiration boards.
Why Wedding Bun Hairstyles Keep Showing Up at the Front of the Aisle
- They stay cleaner in photos: Hair pulled into a controlled bun keeps flyaways, collar friction, and wind from turning the back of your head into a frizz cloud.
- They work with veils and pins: A bun gives you a built-in anchor point, which matters if the veil is heavy or the accessory needs to sit low and not drift.
- They make dress details visible: A low bun opens the shoulders, back, and neckline so lace, beading, and cutwork do not get hidden under hair.
- They can look formal or soft: The same basic bun can read sharp and modern with a clean center part, or romantic with a few loose bends at the temples.
- They are easier to refresh: A bun can be tightened, pinned, or lightly misted during the day without tearing down the whole style.
- They suit long wear: If the hairstyle needs to survive ceremony, portraits, dinner, and a reception that runs long, buns tend to outlast loose curls.
1. Sleek Low Chignon
A sleek low chignon is the one I reach for when the dress has clean lines and the bride wants the hair to behave like part of the tailoring. It sits at the nape, usually in a wrapped or tucked shape, and the surface should look smooth without turning plastic. The best version has a little softness at the hairline and a bun that feels anchored, not plastered.
This style works because it keeps the silhouette narrow. That matters under a veil, near a high back, or with statement earrings that need some breathing room. If the hair is very silky, a light mist of texture spray at the roots gives the pins something to grab. If the hair is thick, the chignon can be built in two sections so it does not puff outward like a rolled cinnamon bun.
- Best with: satin gowns, bateau necklines, minimalist dresses
- Needs: a sharp center part, or a smooth side part if the face needs softness
- Skip if: you want a loose, airy finish with lots of movement
The detail that makes this style work is the finish line at the crown. Keep it sleek all the way back, then stop fussing. Too much brushing at the end makes the bun lose shape fast.
2. Soft Textured Low Bun
A soft textured low bun feels a little warmer, a little less formal, and a lot easier to wear if you hate seeing every hair pinned into place. The hair is usually waved or bent first, then gathered low so the bun has little ridges and soft loops instead of one hard shell. It looks especially good when the dress has lace, tulle, or a neckline that needs some gentleness around it.
This one is forgiving on medium to thick hair, and it’s merciful on hair that does not like to lie flat. The texture gives the pins something to lock into, which means you do not need to overload the style with hairspray. I like this bun for outdoor ceremonies because it doesn’t collapse the moment the air shifts. It moves a little. That’s the point.
A good textured bun still has shape. Messy is not the goal. The bun should look touched by hands, not attacked by them.
3. Braided Crown Bun
The braided crown bun starts with a braid that runs around the head before it disappears into the bun at the back. It has a built-in sense of finish because the braid acts like a frame before the bun even shows up. If the hair is long enough, the braid can wrap from one temple to the other and feed straight into a low knot.
This style earns its keep on wedding days because it holds. Braids grip. That’s plain and simple. Once the braid is pinned into the bun, the whole style tends to resist sagging better than a loose twisted updo, especially on hair that slips out of clips by lunchtime. It also plays nicely with lace sleeves and floral details, since the braid adds texture without stealing attention from the dress.
Best way to wear it
Keep the braid slightly loose at the edges so it doesn’t look severe. Pull the braid apart with your fingertips after it’s secured, then tuck the bun low enough that the crown line stays visible from the front. If the veil is part of the plan, place the comb just below the braid line so it sits on a firm base rather than a slick patch of hair.
4. Center-Part Wrapped Bun
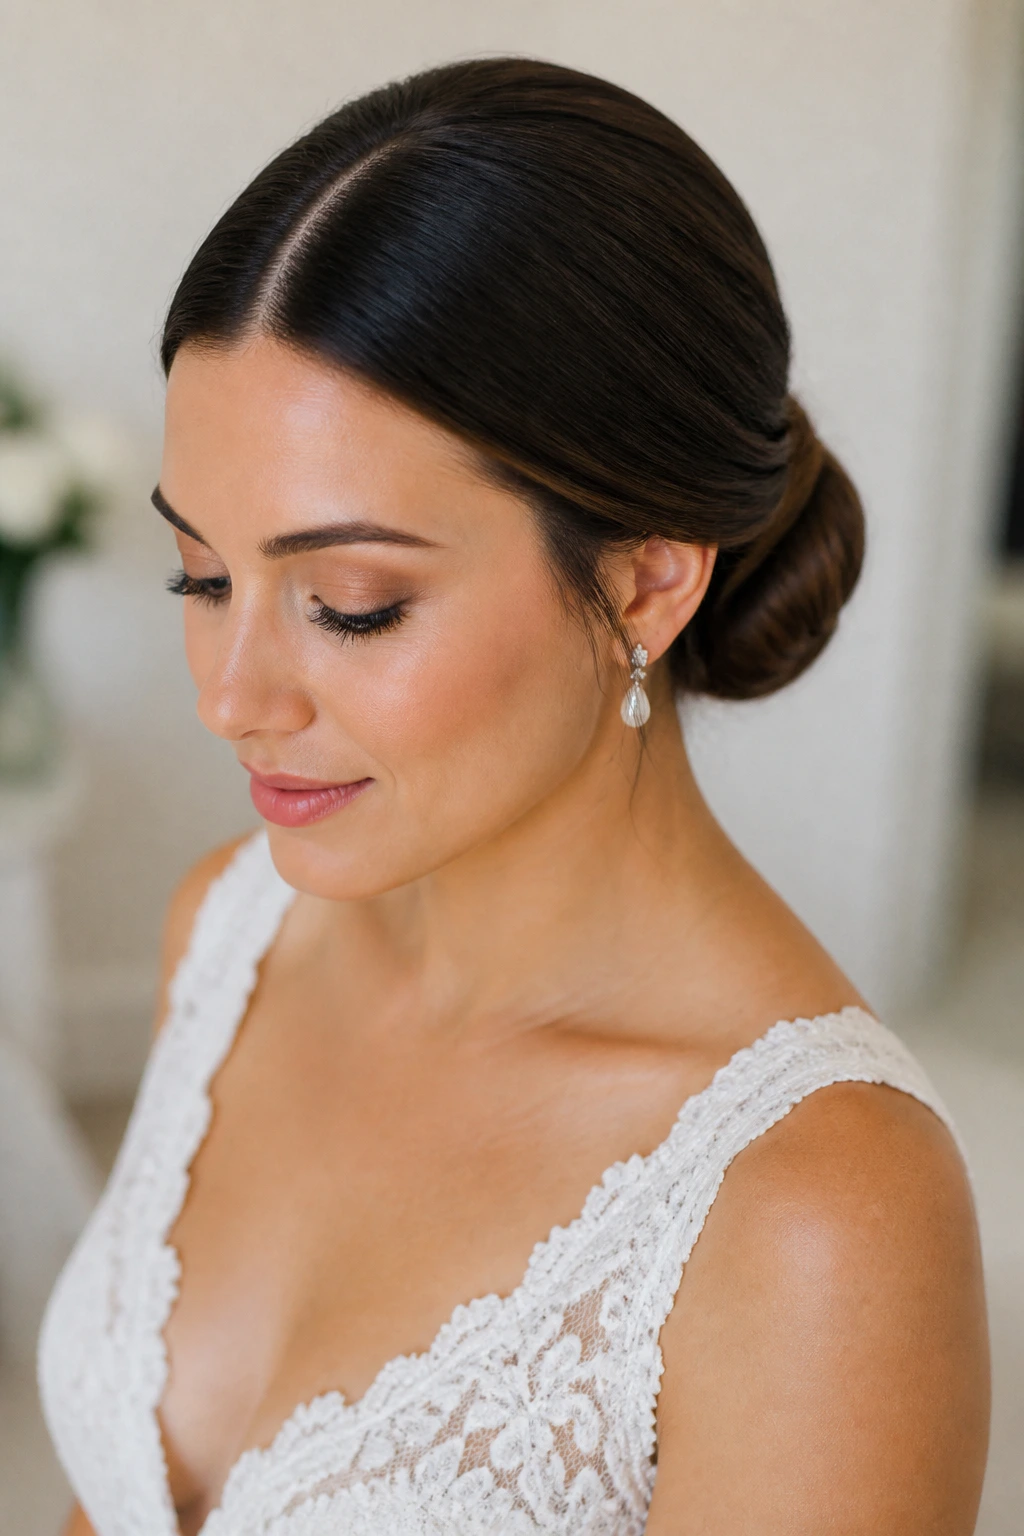
A center-part wrapped bun has a stricter, more modern feel than a soft chignon, and I mean that in a good way. The middle part cuts a clean line through the front, the sides are brushed flat, and the bun itself is wrapped so the finish looks controlled from every angle. It’s the kind of style that makes a square neckline or a sharply cut dress look even better.
The trick here is balance. If the part is too wide, the style starts to feel severe. If the bun is too small, the front dominates the shape and the back looks underbuilt. A good wrapped bun has enough fullness at the nape to match the clean front. You want the crown to lie smooth, but not helmet-flat.
This is one of the best wedding bun hairstyles for brides who like symmetry. It gives the face a neat frame and keeps the attention on the bone structure, the earrings, and the dress line. No drama. Just clean structure.
5. Side-Swept Veil Bun
A side-swept veil bun sits a little off-center, usually tucked behind one ear or just below it, and that offset gives the whole style a quiet swing. It’s a smart choice when the dress has an asymmetrical neckline, one-shoulder detail, or a veil that needs to sit without covering the shape of the bun.
The thing I like most about this bun is the way it softens a heavy veil. A centered updo under a big veil can feel rigid. Shift the bun slightly to one side, and the whole look loosens up a touch without falling into chaos. If the hair is layered, leave a few controlled pieces around the face so the side placement feels deliberate instead of accidental.
The veil comb should anchor into a dense section, not the very edge of the bun. Otherwise the weight pulls the style sideways after an hour. Ask for one side to have more lift than the other; that small detail makes the whole shape read intentional.
6. Twisted Knot Bun
The twisted knot bun is one of those styles that looks deceptively simple and turns out to have a lot of structure under the hood. Sections of hair are twisted, then crossed and pinned into a knot at the nape or just above it. The result is tidy, but not stiff, with visible twists that catch light better than a plain round bun.
This bun is especially useful on thick hair because the twists control bulk without forcing the whole style into one dense ball. It’s also a nice choice if you want the hair to look styled, not overworked. Each twist gives the eye a little line to follow, which makes the style feel more detailed even when the overall shape stays compact.
What I’d watch for is tension. Pull the twists too tight and the hairline gets cranky halfway through the day. Leave just enough softness that the style bends with the head instead of fighting it.
7. Romantic Messy Bun
A romantic messy bun only works if the word “messy” is doing some careful lifting. You still need a base, you still need pins, and you still need a shape that reads from the back. But the outer pieces are looser, the bun is softer, and the face-framing bits are left with a little bend instead of being ironed into submission.
This is the bun for brides who want movement in the hair and a softer edge around the dress. It suits garden ceremonies, chiffon skirts, and bouquets that have a loose, gathered shape. If the hair is naturally wavy, let some of that pattern show. If it’s straight, add a few bends with a curling iron before pinning anything up.
The mistake people make is letting the bun get too puffy. That turns romantic into sloppy fast. Keep the crown slightly lifted, not ballooned, and pin the center down so the style still has a clear anchor.
8. High Ballet Bun
A high ballet bun brings a sharper line, more height, and a little bit of stage energy. It sits high on the head, usually centered, and it pulls the eye upward, which can make the neck look longer and the jawline look cleaner in profile. With the right dress, it feels elegant in a very specific way — not soft, not casual, just exact.
This bun belongs with dramatic necklines, open backs, and dresses that already carry a lot of visual weight. A high collar can also work, but only if the bun is compact enough to stay out of the way. The style is less forgiving than a low bun. If the base is sloppy, you see it immediately.
A small note from the styling chair: this is not the place for giant, fluffy volume at the crown unless the whole dress is equally bold. A high ballet bun should look controlled. Tight enough to hold shape. Smooth enough to keep the line clean.
9. Rope-Twist Bun
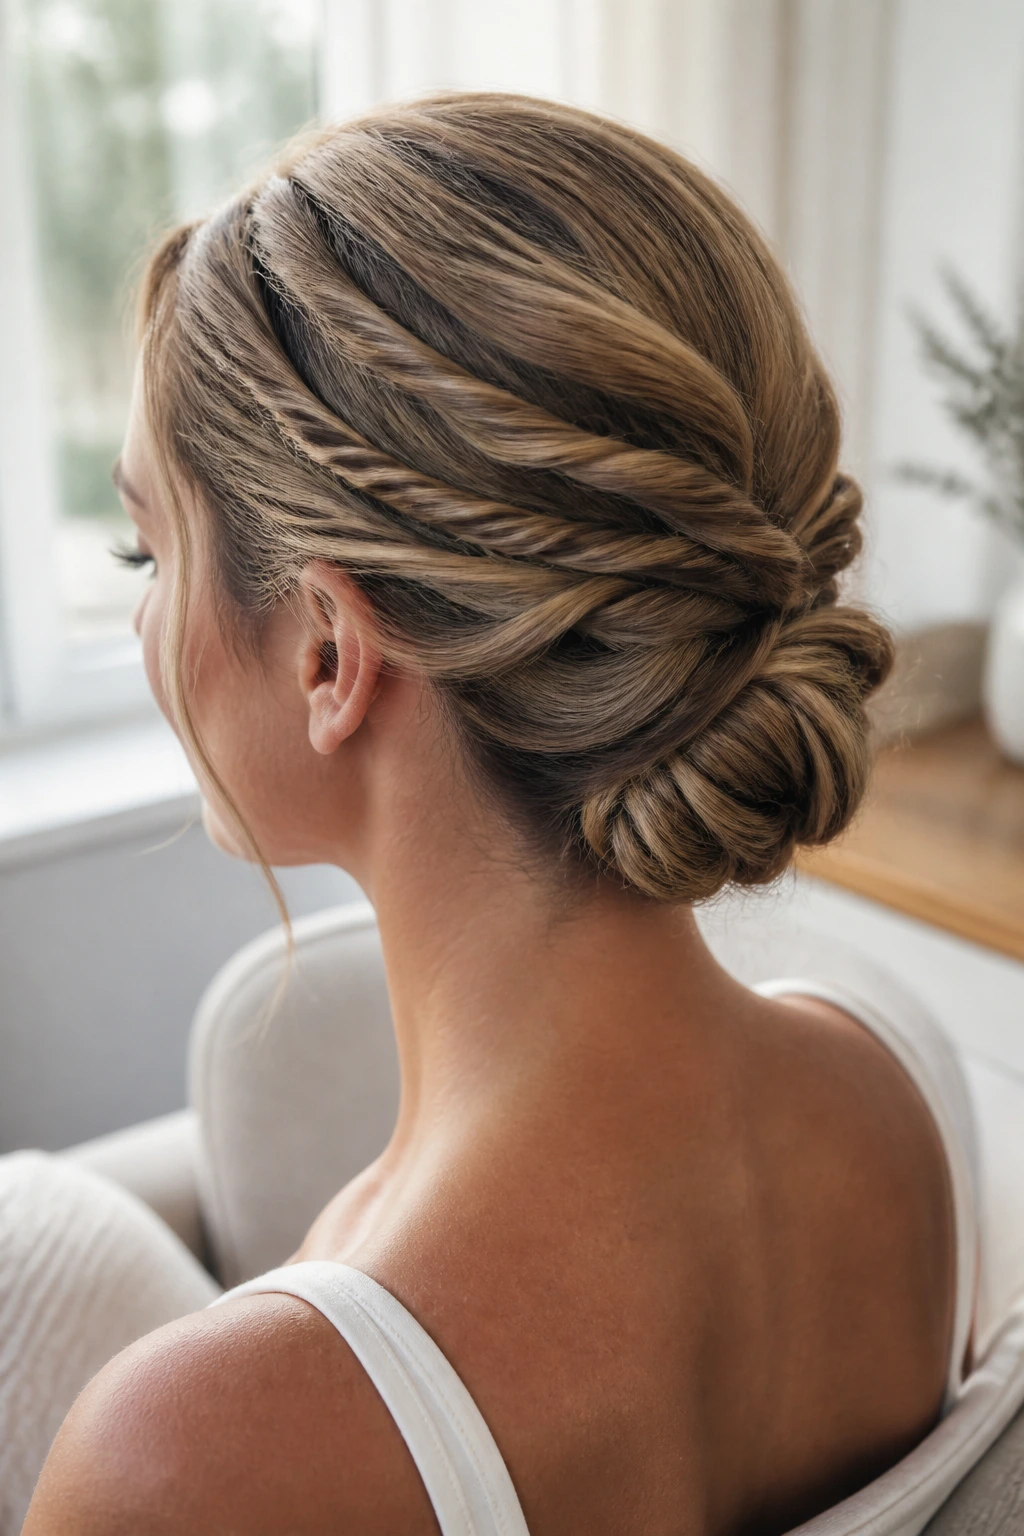
The rope-twist bun is built by dividing the hair into sections, twisting them into rope-like strands, and then wrapping those twists into a bun. It has more texture than a smooth knot and less visual fuss than a braid-heavy updo. That middle ground is its strength.
I like this one for finer hair, because the rope twists create the illusion of more hair than is actually there. They also anchor well without needing every inch of the head to be teased. If the hair is medium length, the twists can be tucked tightly; if it’s long, they can be looped into a fuller base.
The style reads especially well from the back, which matters more than people admit. Wedding photos are full of backs, angles, and half-turns. A rope-twist bun gives that view some structure instead of leaving a blank oval of hair spray.
10. Gibson Tuck Bun
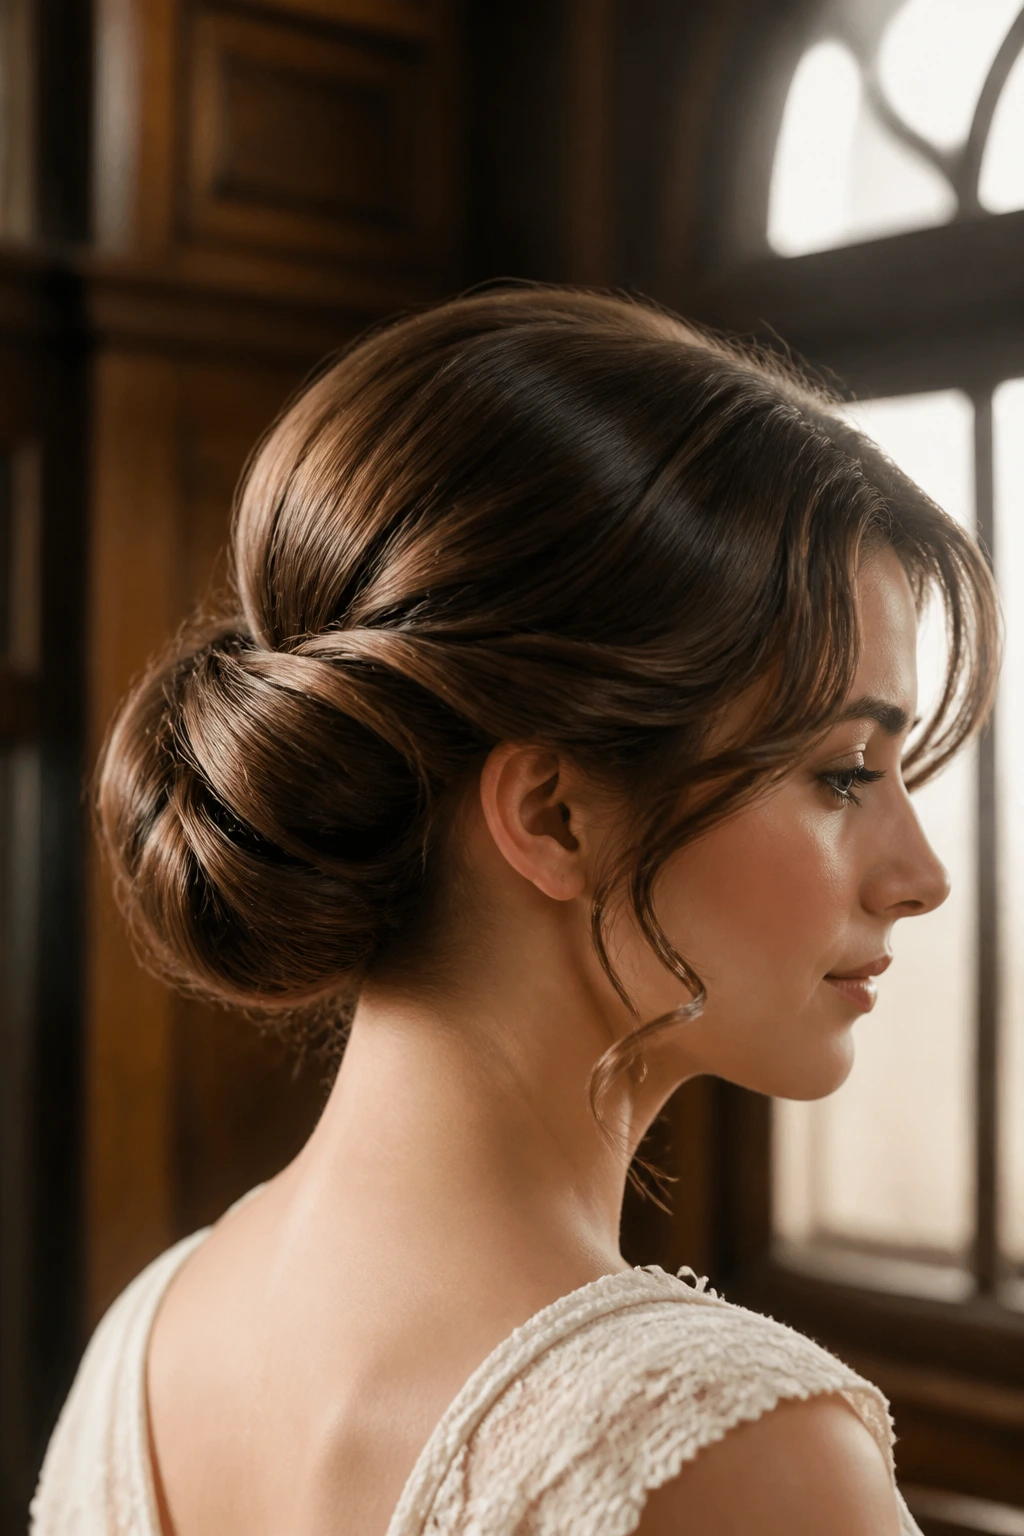
The Gibson tuck bun has a vintage feel, but it does not read costume-y when it’s done cleanly. Hair is rolled or tucked upward at the nape, creating a soft fold that can be pinned into a low bun shape. It works beautifully on shoulder-length hair, which is useful because not everyone walks into a wedding with waist-length waves.
This is one of the smarter wedding bun hairstyles for brides who want something elegant but not severe. It keeps the neckline open and gives the back of the head a rounded, gentle shape. I especially like it with lace, pearls, and dresses that have a little old-world structure. It has memory. It looks like the hair was meant to be there, not just shoved upward and hoped for.
Because the tuck depends on length and smoothness, the prep matters. Hair that is too slippery will slide out. Hair that is too freshly washed can do the same. A bit of grip at the roots makes the fold behave.
11. Curly Tendril Bun
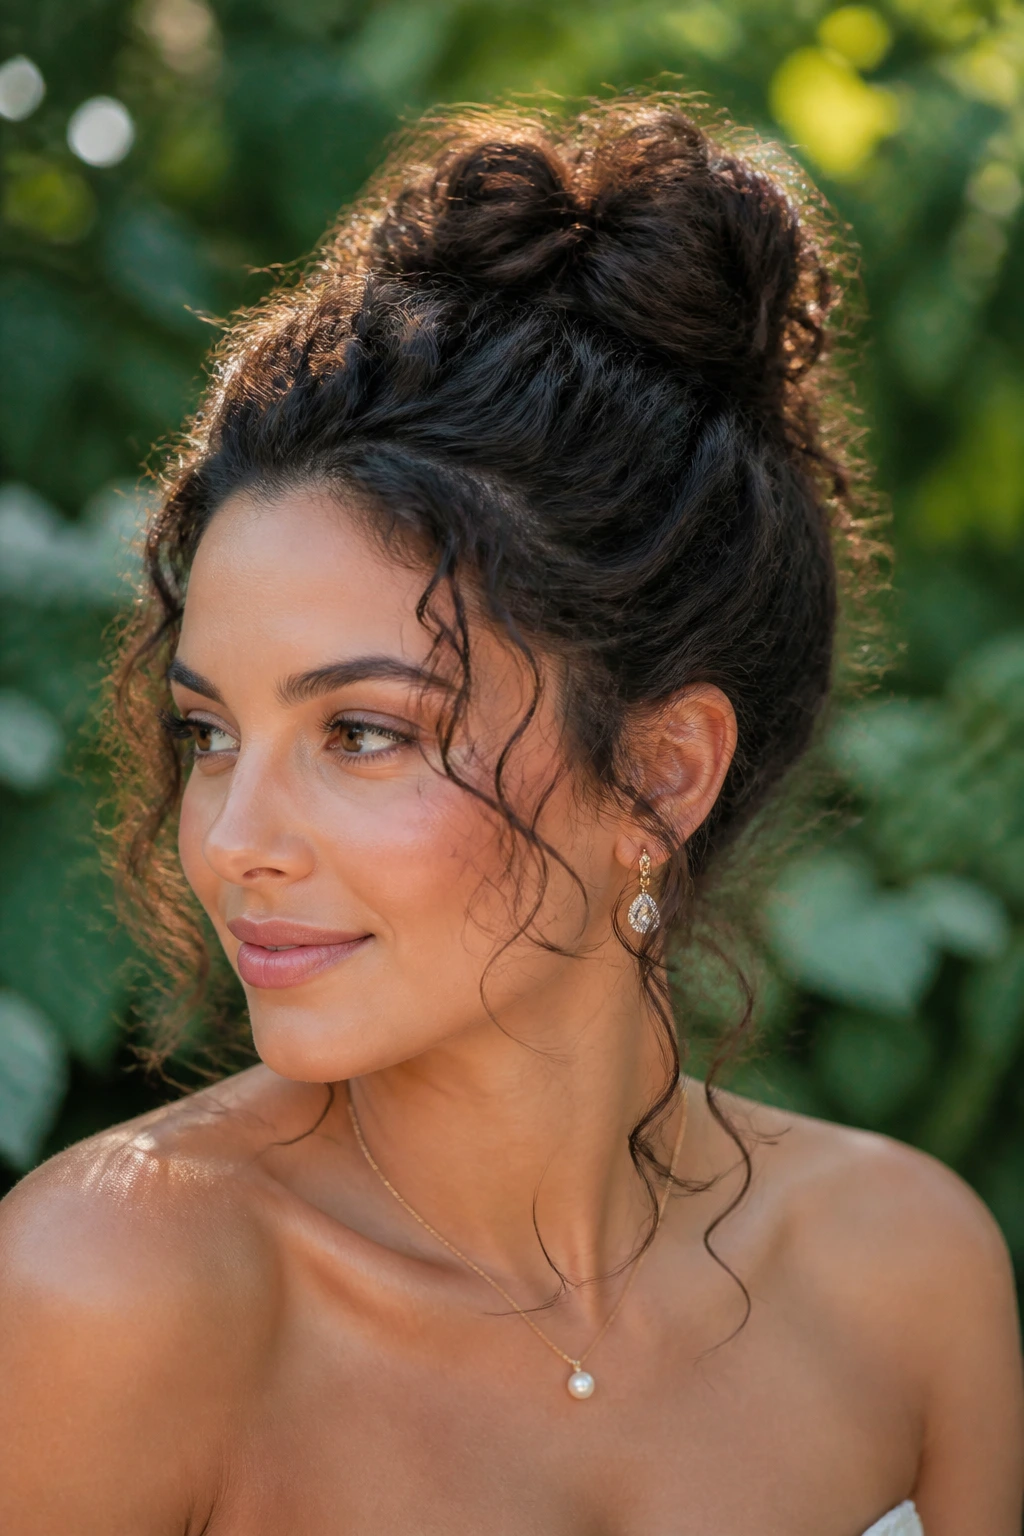
A curly tendril bun is the one to choose when you want the bun to keep the hair’s natural shape instead of fighting it. The curls are gathered into a bun, but some pieces are left free around the temples, ears, and nape so the style feels alive. Those tendrils soften the face in a way that straightened buns rarely do.
This style is at its best on natural curls, coils, or waves that hold a bend without a fight. The goal is to protect the texture while still creating a secure updo. Pulling the curls too tight flattens the pattern and makes the bun lose its charm. Leave enough room for the coils to spring back after pinning.
What makes it work
The bun should be built from the curl pattern you already have, not forced into a fake straight shape first. That means less heat, less stress, and a finish that feels honest. If the veil is involved, keep the tendrils away from the comb area so they don’t snag and frizz through the ceremony.
12. Pearl-Pinned Donut Bun
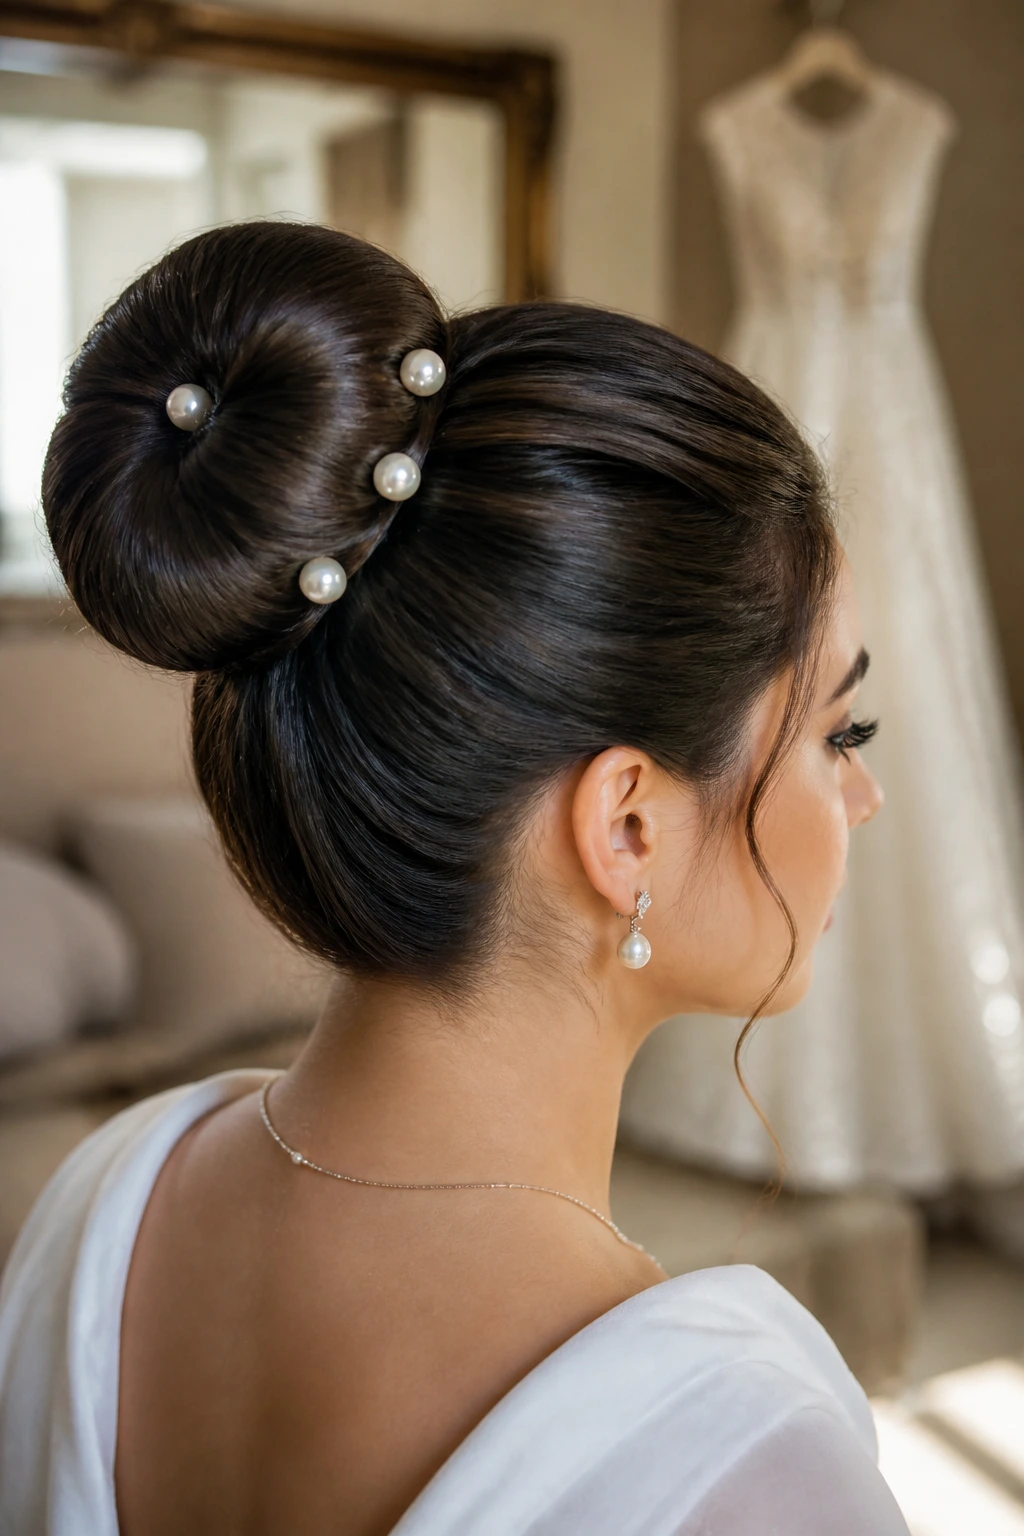
A pearl-pinned donut bun is polished in a very deliberate way. The bun is usually rounded and smooth, sometimes built over a padding form to make the shape full and even, then finished with pearl pins or a comb placed where the light catches it. If the dress already has pearls or beadwork, this style makes the whole look feel connected.
This bun suits formal weddings where the hair needs to be neat enough for close-up photographs but still interesting from the back. The rounded shape reads as balanced, and the pearl details give it one clear focal point instead of a scatter of random clips. I’d use this for a bride who likes classic formality and does not want the hair competing with the dress.
If the hair is thin, a bit of padding can help the shape stay substantial. If it’s thick, keep the bun compact so it doesn’t overpower the accessory.
13. Fishtail-Wrapped Bun
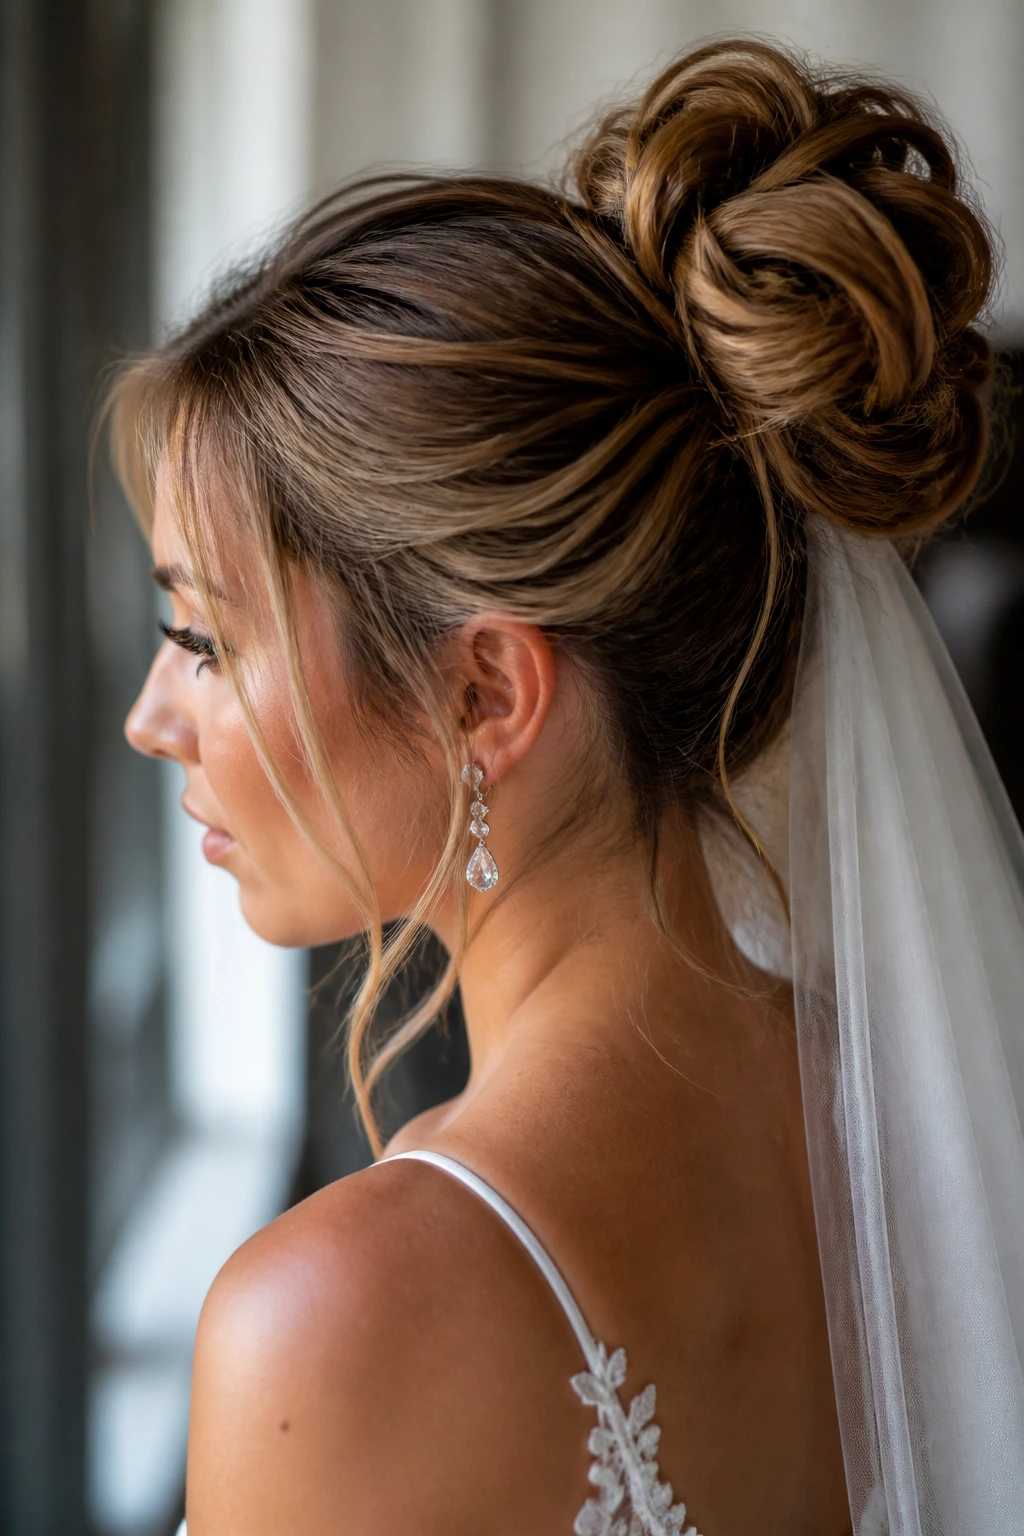
The fishtail-wrapped bun has a lot of texture packed into a small space. A fishtail braid wraps around or feeds into the bun, which gives the style that intricate, woven look people always stop to inspect. It’s more detailed than a basic braid and less fussy than a heavy floral arrangement.
This bun works best when you want the hairstyle to look handcrafted. It pairs well with gowns that have embroidery, beading, or subtle texture because the braid echoes that kind of detail. A fishtail braid can be a little unforgiving if the sections are uneven, so this is one of the styles that benefits from a calm hand and a decent mirror setup.
The bun itself should stay compact. The braid is the star. If the base gets too big, the weaving loses its point and the whole shape starts to feel crowded.
14. Loop-and-Pin Bun
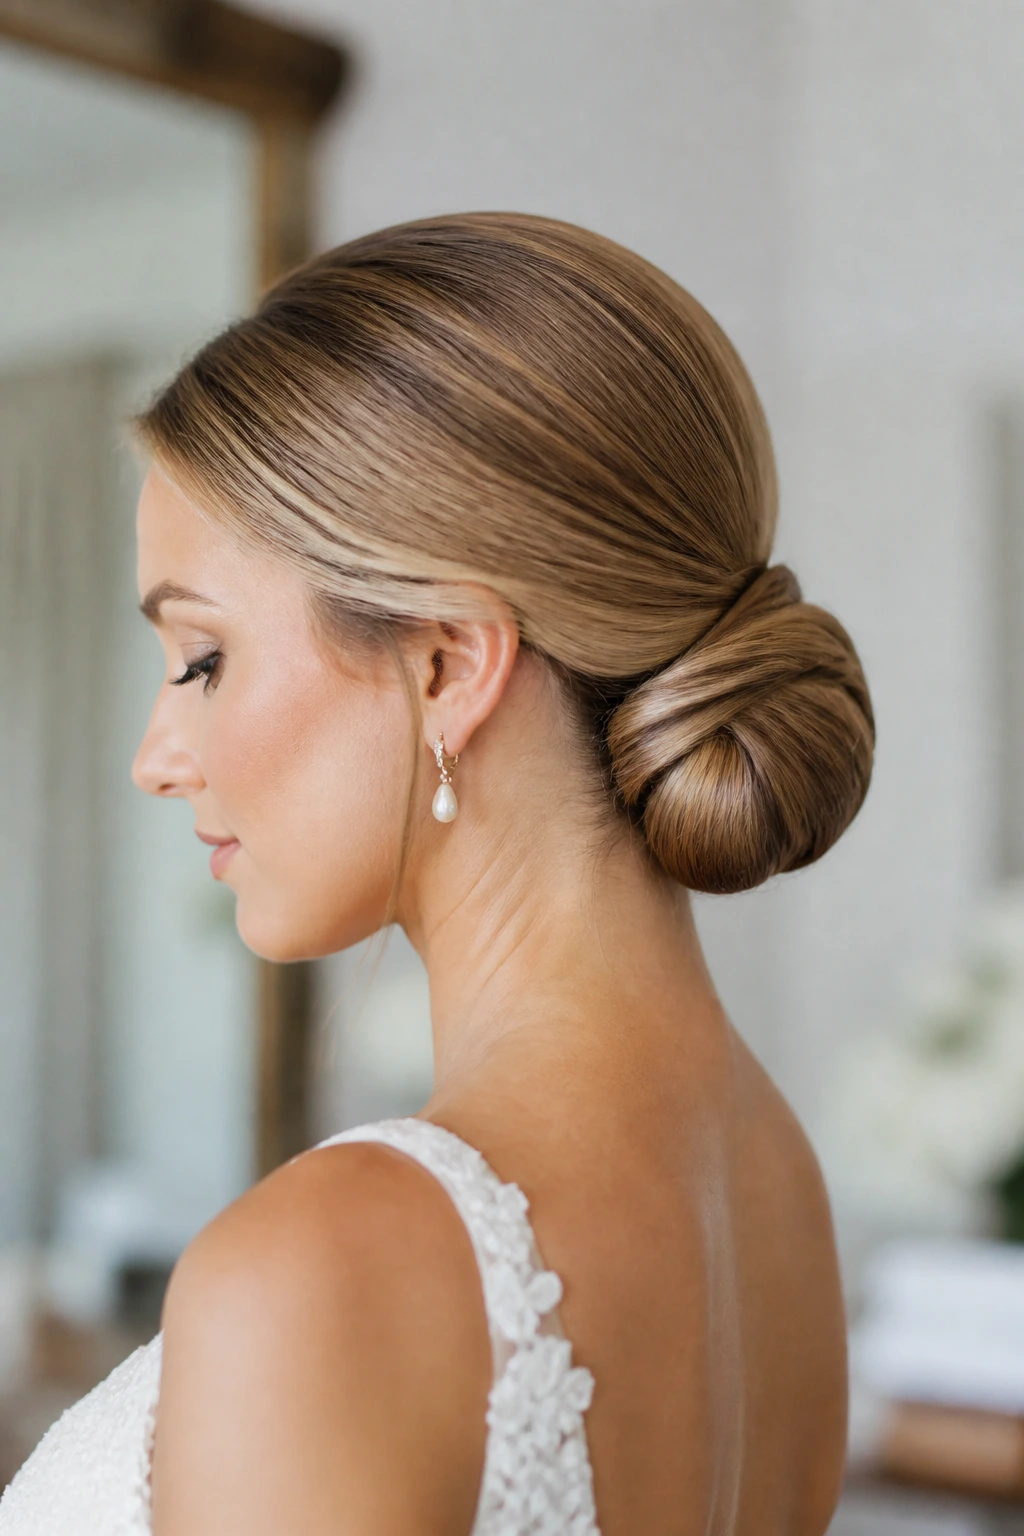
A loop-and-pin bun is built from curved sections that are folded into soft loops and pinned in place so the structure remains visible. It’s a bit more editorial than a standard bridal knot, and that’s what makes it interesting. The loops catch light at different angles, which keeps the back from looking flat.
This style is a strong option if you want the hair to feel sculpted rather than airy. It’s also useful for medium-length hair, because the loops can make the most of hair that doesn’t quite reach the lower back of the head. Instead of forcing it into a false long bun, the loops work with the actual length.
A good loop bun should have clean lines between the folds. If all the sections blur together, the shape disappears. Pin each loop where it starts to bend, not where it ends, so the curve stays visible.
15. Braided Low Bun
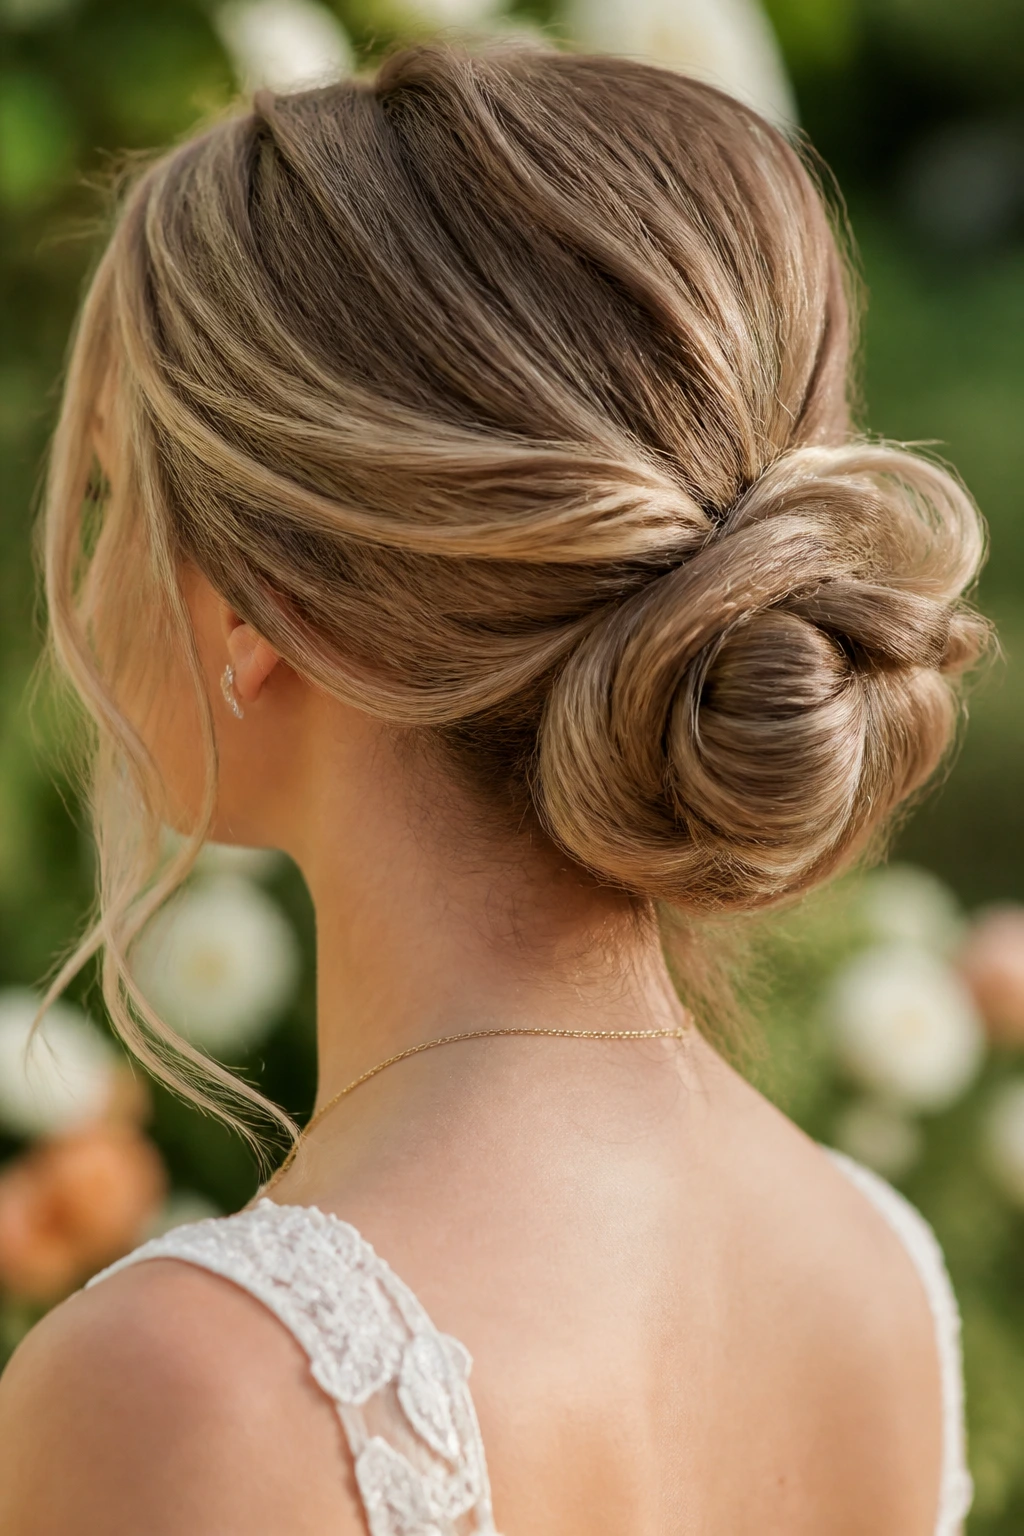
The braided low bun is one of the most practical styles in the whole bunch, and practical does not mean boring. A braid begins at the nape or from one side, then coils into a bun low on the head. Because the braid itself acts like a strap, the style tends to hold well without sliding.
This is one of my favorites for long events. It survives dancing, veil changes, hugs, and the sort of slow hair creep that ruins a style by the dessert course. It’s also flexible enough to look neat or a little softer depending on how tightly the braid is drawn. With a lace dress, it feels classic. With a modern gown, it gives the hair a bit of texture without going full romantic.
If the hair is very fine, lightly backcomb the braid’s starting point so the base has more grip. That one move can save the whole style.
16. Sculpted Bridal Top Bun
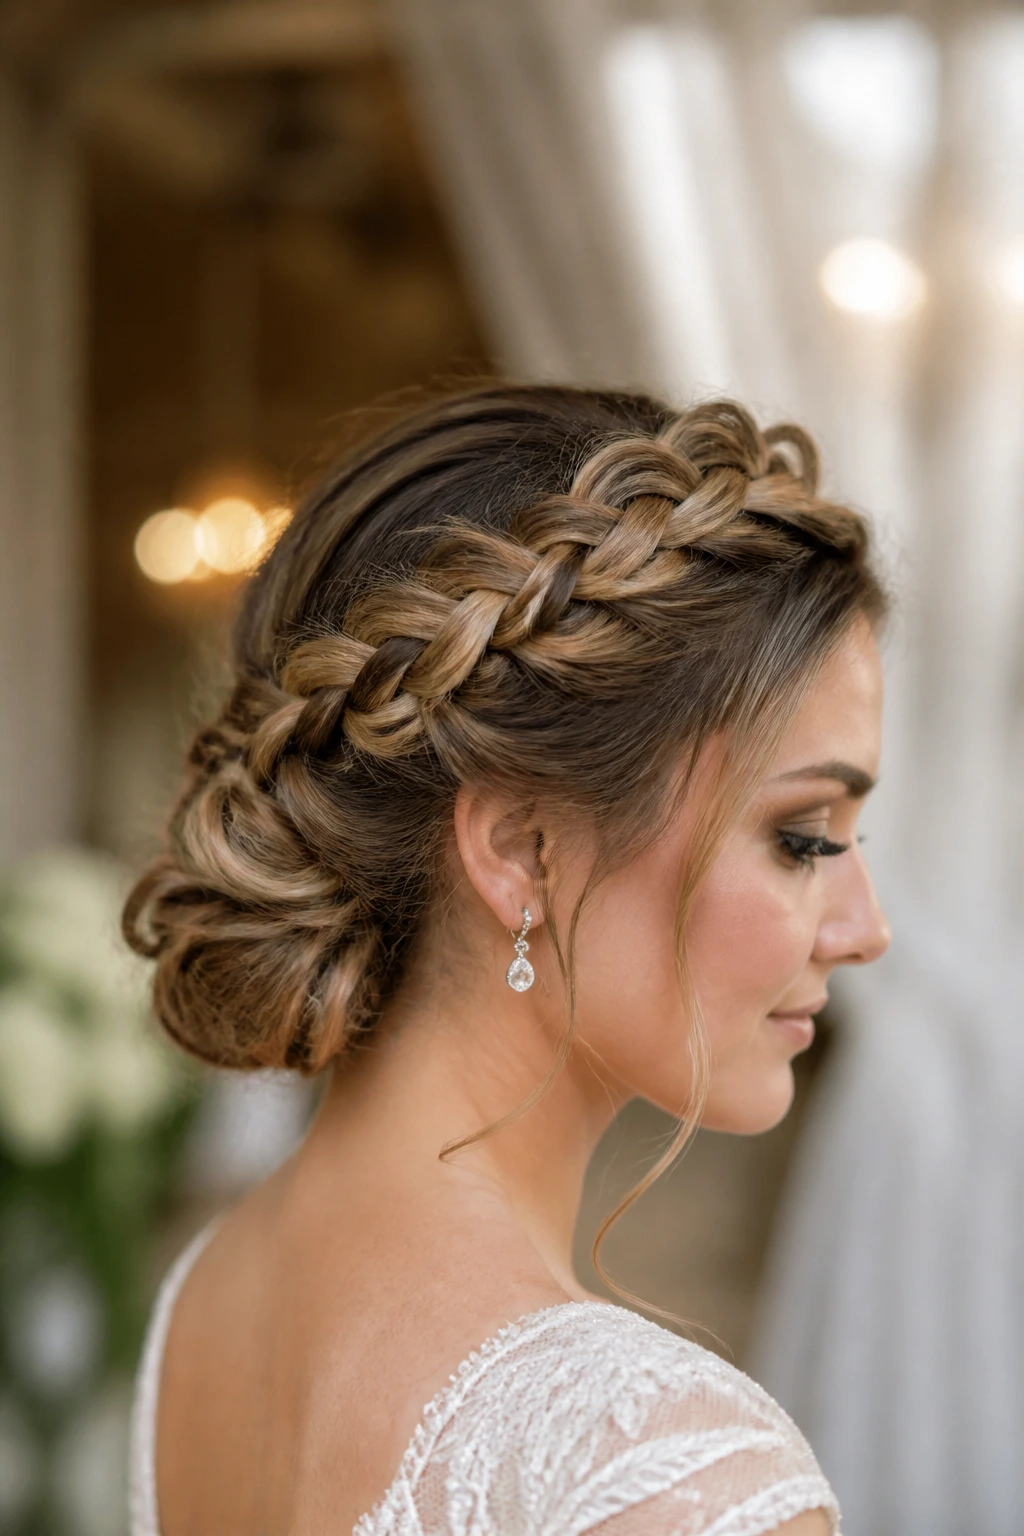
A sculpted bridal top bun sits higher than a low chignon but feels more deliberate than a loose ballet bun. It’s shaped with clean edges and a firm core, which makes it a good fit for modern dresses, sharp seams, and open backs that need the hair to stay out of the way. Think of it as structured height, not piled height.
This bun has a lot of visual presence from the front and the profile, which matters if the ceremony portraits will catch the face from above or at an angle. It gives the look a little lift without drifting into pageant territory if the proportions stay tight. The best version is carefully shaped, with no loose ends peeking out like afterthoughts.
It can be a smart choice for brides with strong features or a gown that already has a crisp line. The bun supports that kind of styling language instead of softening it too much.
17. Flower-Accented Garden Bun
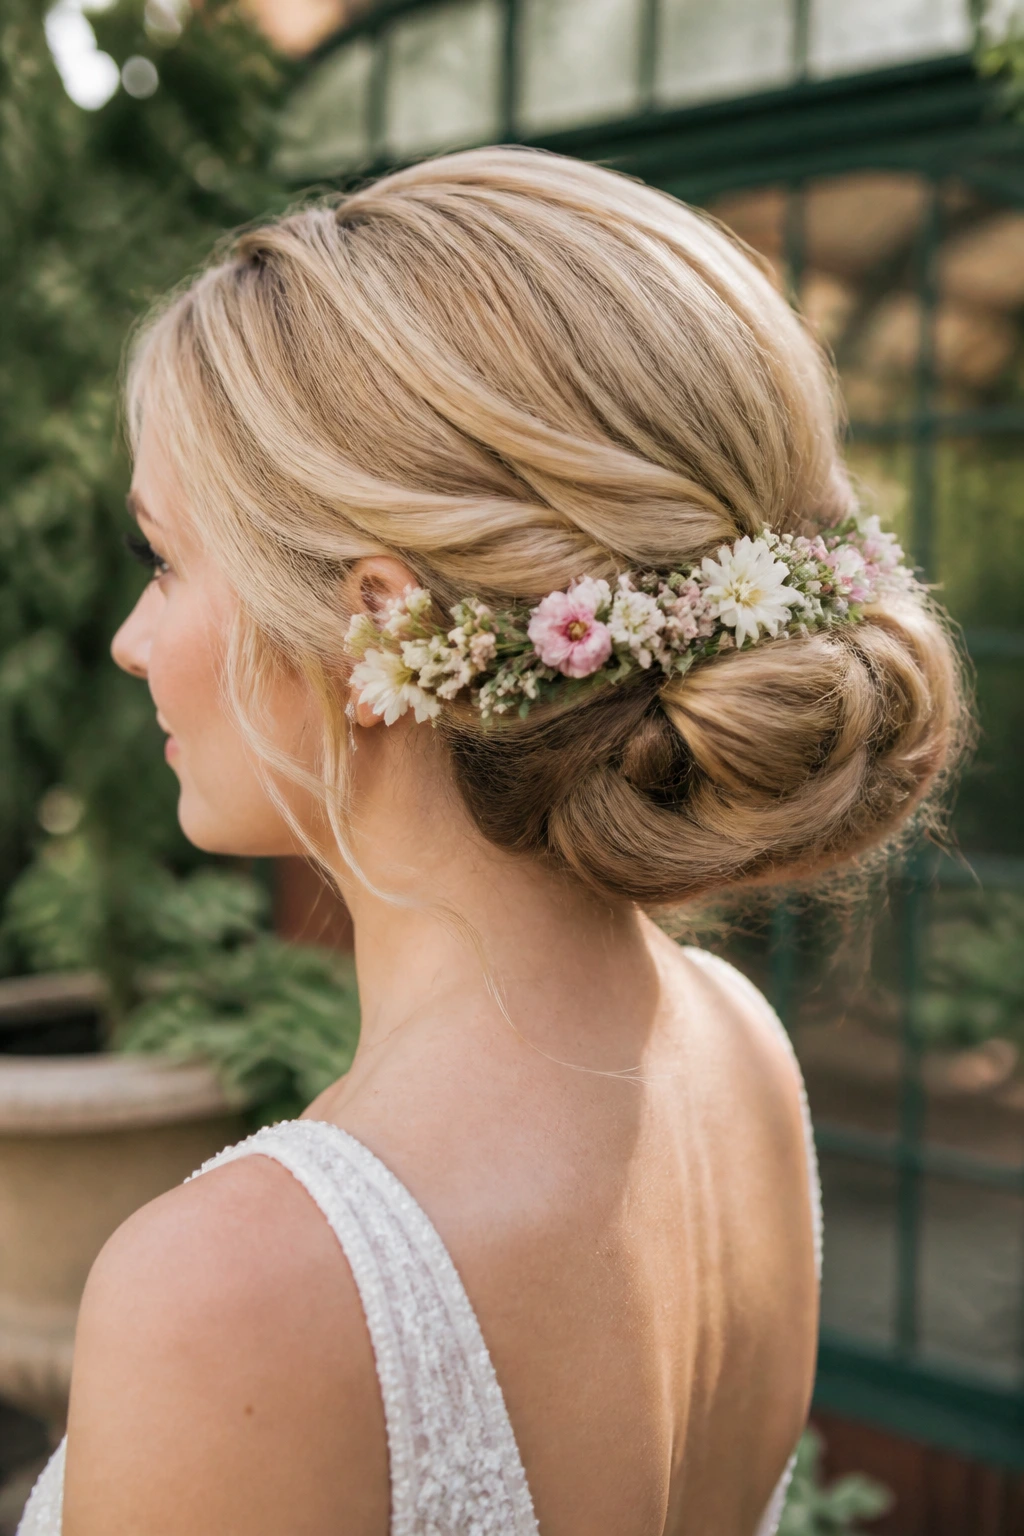
A flower-accented garden bun is one of the few styles that can look relaxed and intentional at the same time, which is harder than it sounds. The bun itself is usually soft and low, with fresh flowers tucked into one side or threaded along the base. The flowers should look placed, not scattered.
This is the bun that belongs in greenhouses, courtyards, vineyards, and anywhere the setting does some of the styling work for you. I’d keep the flowers small or medium-sized unless the bouquet is carrying the same scale. Tiny rosebuds, sprigs of waxflower, or slim blooms often sit better than oversized petals that tug at the pins.
One important note: fresh flowers need moisture control. Stems should be wrapped or wired so they do not drip or bruise the hair. Otherwise, the prettiest part of the style starts to wilt before the dinner course.
18. Satin Ribbon Bun
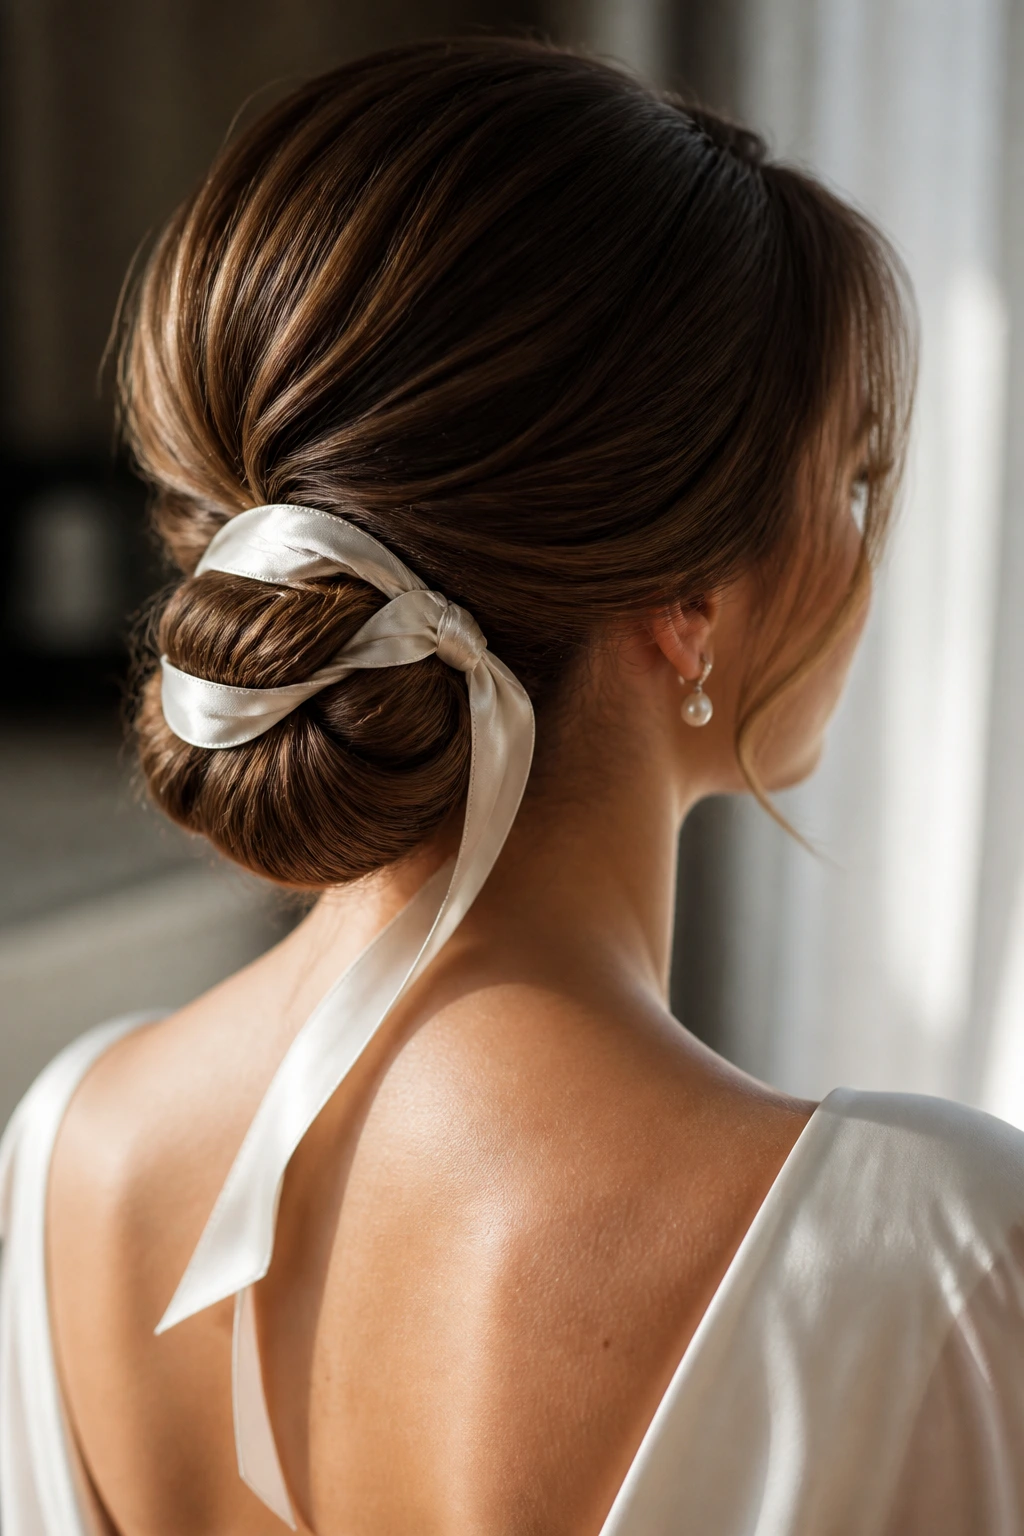
A satin ribbon bun brings a little softness to a bun without making it sugary. A ribbon is wrapped around the base, woven through a braid, or tied into a small finish that echoes the dress fabric. The effect depends on restraint. Too much ribbon and it looks like gift wrap. Just enough, and the style feels coordinated in a smart, quiet way.
This bun works especially well when the dress already uses satin, silk, or a similar sheen. The ribbon can bridge the gap between the hair and the fabric, which makes the whole look feel tied together without looking over-styled. If the hair is dark, a pale ribbon stands out. If the hair is light, a ribbon in a deeper tone can sharpen the shape.
I like this style for brides who want one small detail that feels personal. It does not need a big accessory to work. The ribbon itself is enough, which is often the better choice.
Why the Right Bun Holds Better Than a Pretty One That Slips
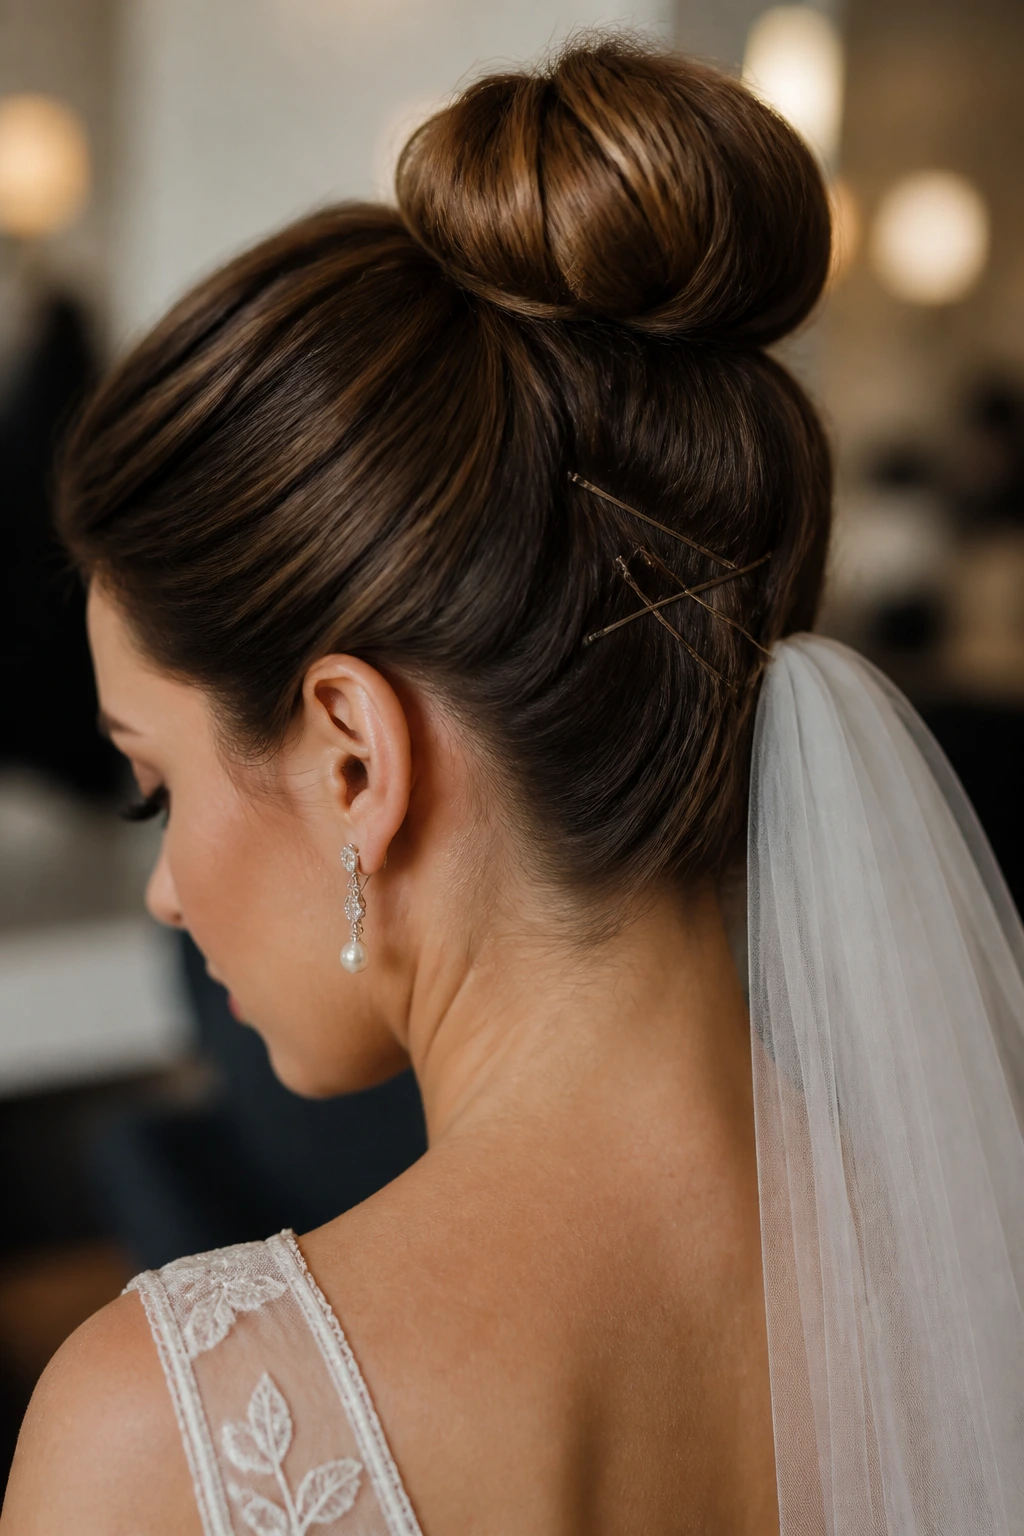
A bun that looks gorgeous for ten minutes and collapses by the first toast is not a good bridal style. That’s the blunt version. The better version starts with grip, pinning, and shape, then adds softness where it actually matters. Hair that has a little texture at the roots behaves differently than freshly washed silk. Pins placed in a cross pattern hold differently than one lonely bobby pin shoved into the middle and hoped for.
The foundation does the real work
Brides often get distracted by the visible part — the smooth top, the flower, the pearl clip — and ignore the anchor underneath. A bun needs a base that can carry weight. That usually means a texturizing spray, an elastic that holds without snapping, and enough pins to keep the coil from rotating. If the style is underbuilt, the prettiest surface in the room will still slip.
The finish should match the day, not the photo
A big, airy bun can be lovely in a still image and annoying in real life because every layer wants to puff. A compact bun can seem a little plain in the mirror and then turn out to be the one that survives dinner, dancing, and the last round of photos. I tend to trust the styles that still look like themselves after three hours of wear. That’s the real test.
Essential Tools for a Bridal Bun That Won’t Slump
- Tail comb: The pointed end gives you a clean part and helps section the hair without tearing through it.
- Boar bristle brush: Best for smoothing the crown and making the outer layer lie flat before pinning.
- Sectioning clips: These keep the front pieces separate while you build the bun, which saves time and keeps the shape cleaner.
- Clear elastics or strong hair ties: Use them as the hidden base; the tie should feel firm, not stretchy-soft.
- Bobby pins in two shades: Match one set to the hair color and keep a few darker or lighter pins on hand for deeper sections.
- U-pins: Useful for buns that need volume without looking over-pinned; they slide into the base and hold bulk well.
- Texture spray: Gives slippery hair enough grip to stay put under pins and accessory weight.
- Strong-hold hairspray: Use it in light layers. One heavy blast tends to make the outer layer crunchy before the style is secure.
- Small bun form or padding: Optional, but helpful for fine hair or when you want a fuller silhouette.
- Hair net: Not glamorous, and very useful if the style needs extra internal support under the visible bun.
Smart Shopping for Pins, Sprays, and Accessories
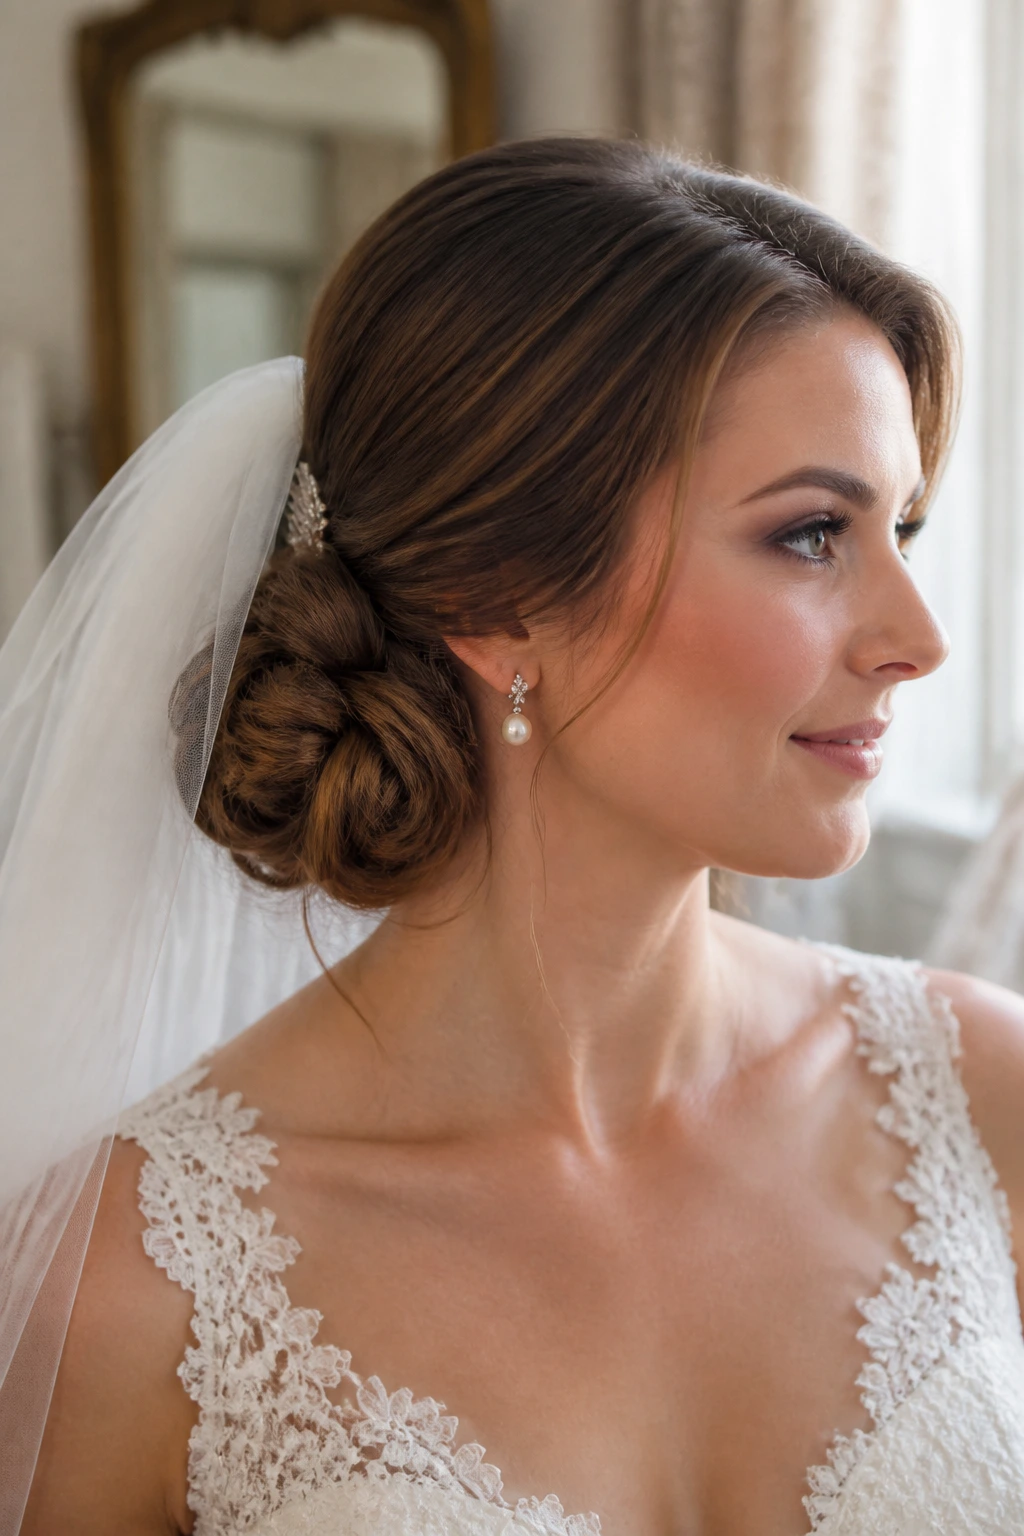
Hair products for a wedding bun should solve a problem, not just smell nice in the bottle. Start with the texture of the hair. Fine hair usually needs grip first, so a dry texture spray or light mousse beats a heavy smoothing cream. Thick or coarse hair often needs a stronger brush-through product and pins that don’t bend the second they hit the base.
Pins matter more than most people think. Good bobby pins have a little tension when you open them, and the wavy side should face down against the scalp when you slide them in. U-pins are worth buying if the bun is large, because they hold shape without leaving a line of visible pin heads. For accessories, choose combs and clips with teeth that can reach into the pinned base, not just sit on top like decoration.
A lot of brides make the mistake of buying the shiniest accessory and ignoring weight. Heavy crystal combs can pull on a soft bun. Fresh flowers can droop if the stems are too long or too wet. Ribbon should be narrow enough to weave without bulk unless the whole dress already has a dramatic finish. Match the accessory to the density of the bun, and it will behave better all day.
How to Match the Bun to the Dress, Veil, and Neckline
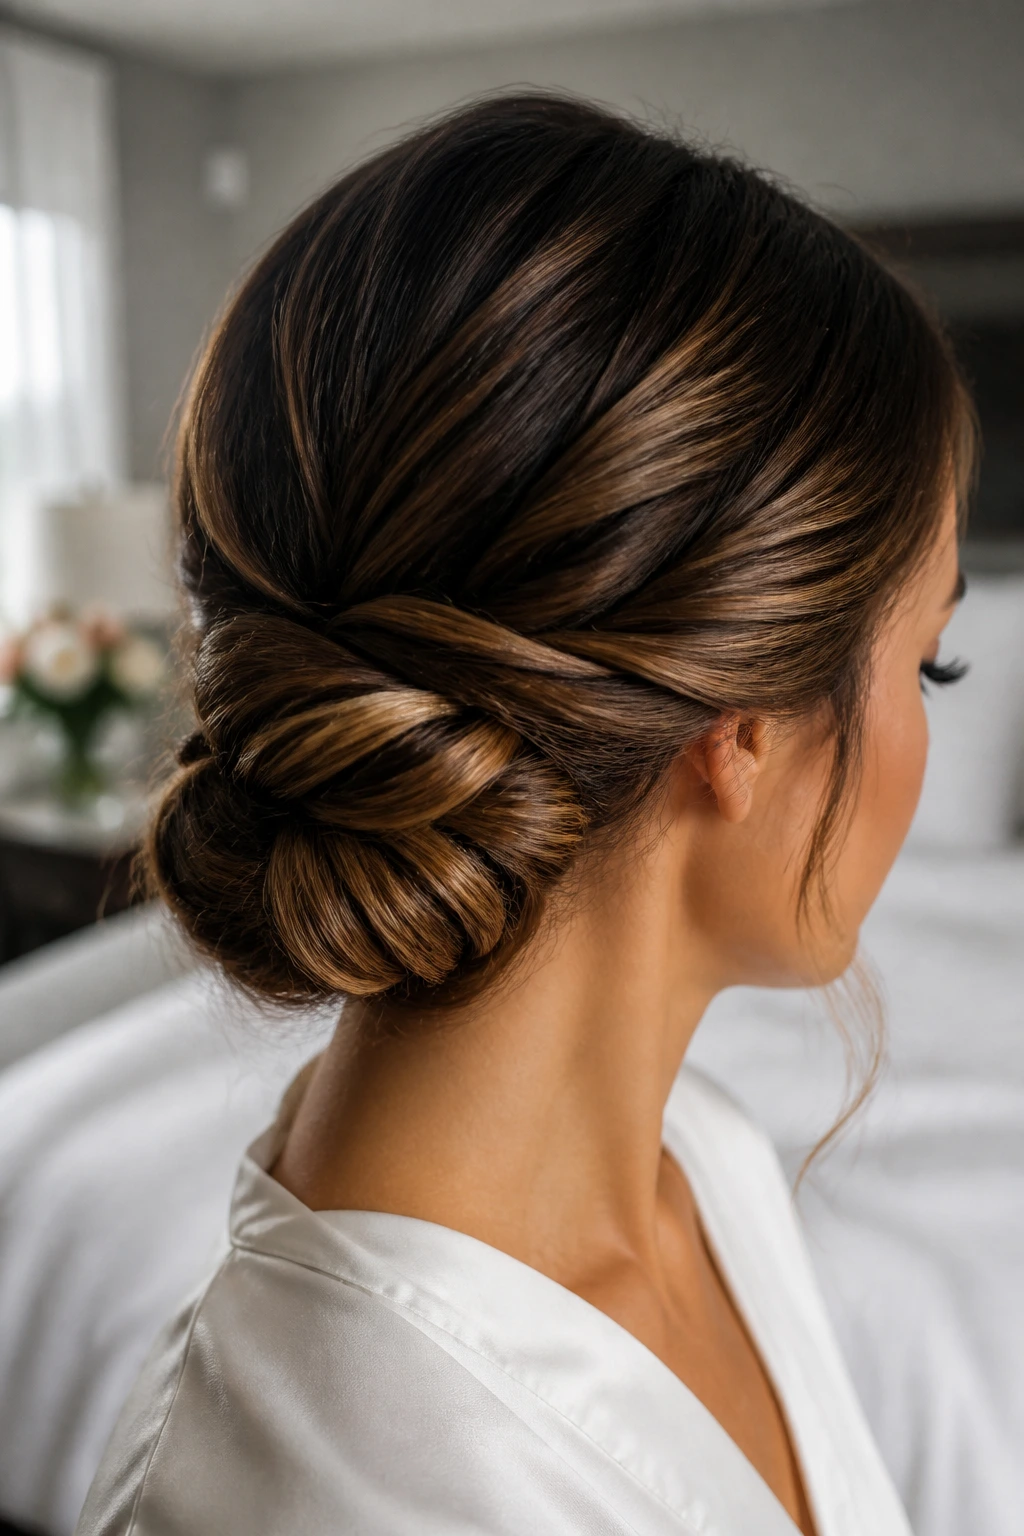
Neckline: High necks and halters usually want a compact bun that clears the shoulders and keeps the line from feeling crowded. Strapless and sweetheart necklines can handle more softness, so a textured low bun or side-swept bun often looks better than a style that sits too tight and formal. An asymmetrical neckline tends to like a side placement because it echoes the angle instead of fighting it.
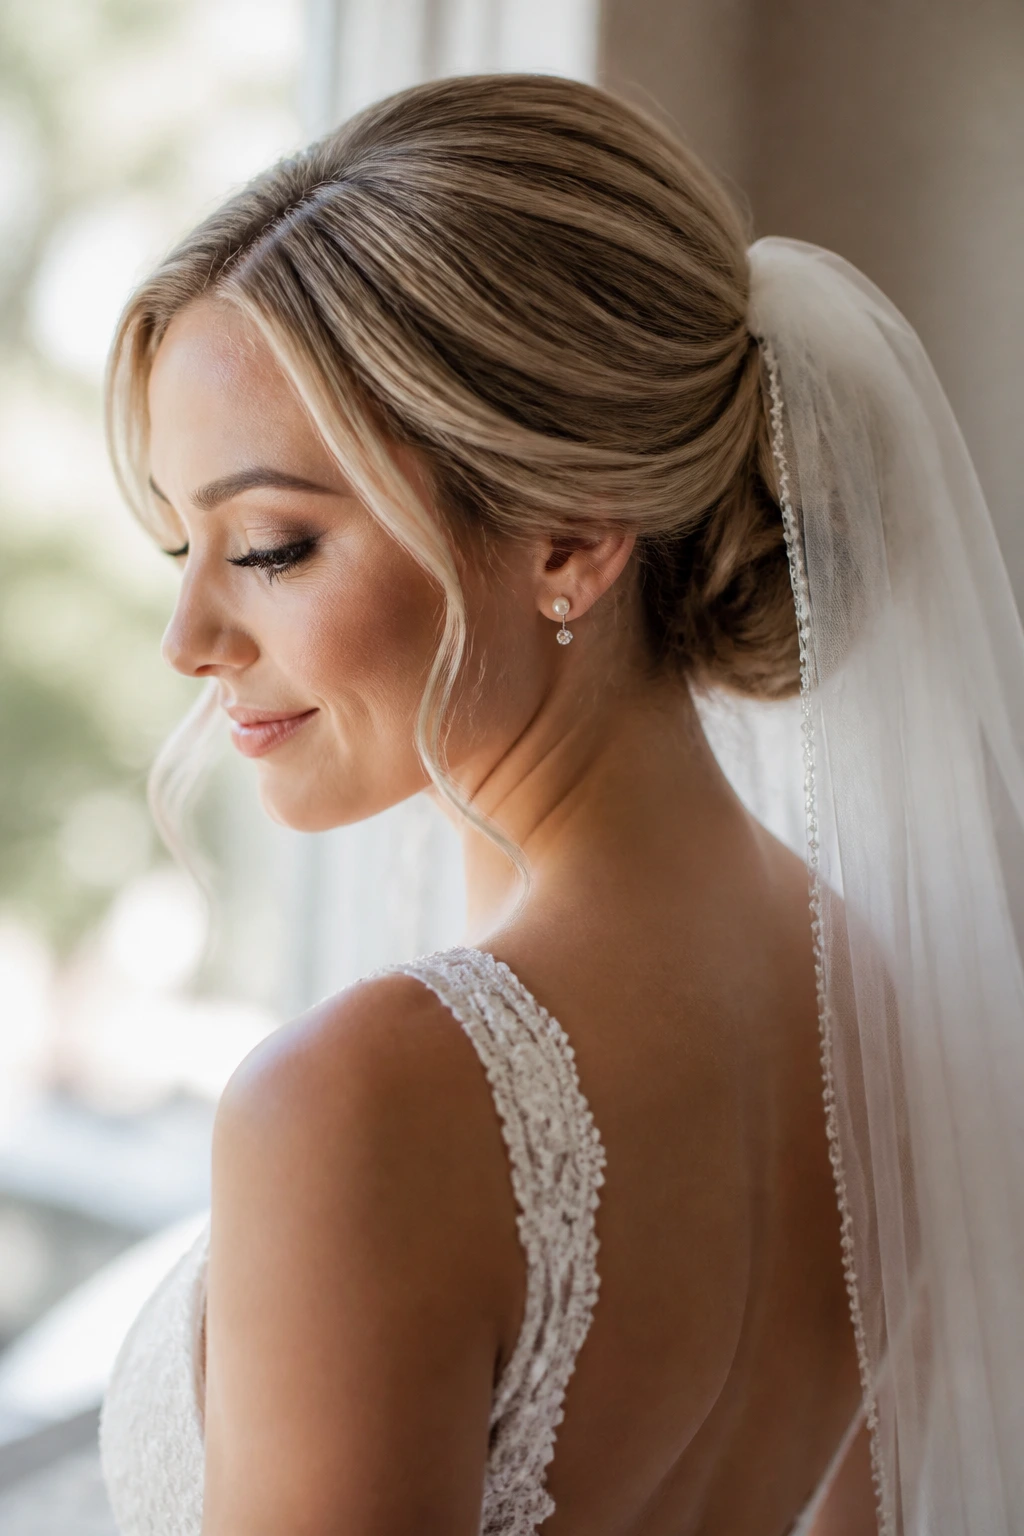
Veil: A cathedral veil needs a solid anchor, which is where a low chignon, braided bun, or compact knot earns its place. Short veils and birdcage pieces can sit higher because they carry less weight. If the veil is coming off later, ask for the bun to look complete on its own; a lot of styles only make sense while the veil is still attached, and that’s a disappointing way to spend a styling budget.
Accessories: Statement earrings pair best with a cleaner bun so the eye has one main focal point. Hair vines and pearl pins can handle more texture in the bun itself. Fresh flowers work best when the bun is soft and the accessory placement is clustered, not scattered across the entire back of the head.
Hair texture: Straight hair usually needs more prep at the root. Curly hair often needs less heat and more shape preservation. Fine hair benefits from a padded base or a tighter twist pattern. Thick hair needs sectioning, or the bun will turn into a knot that is too dense to pin comfortably.
Extra Finishers That Make a Bun Look Intentional, Not Fussy
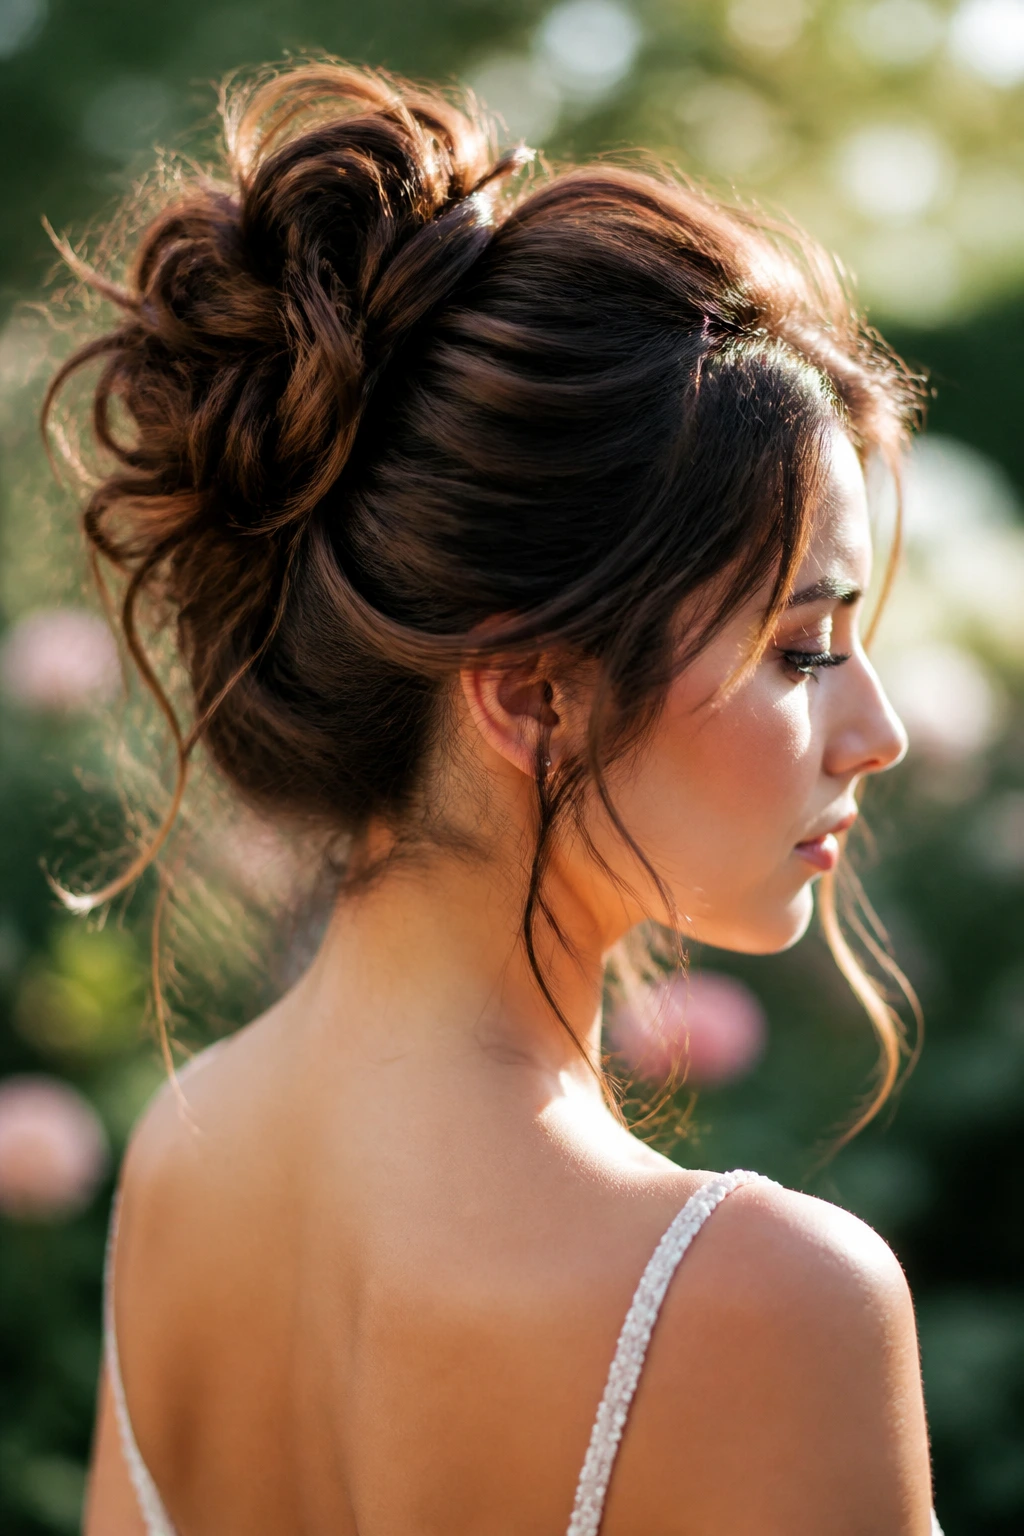
Volume Control: A little crown lift keeps the style from looking flat, but the lift should stop before it becomes a bump. I like to tease only the hidden inner layer, then smooth the outer layer back over it with a brush so the shape stays clean.
Texture: A soft bend around the temples can keep a bridal bun from feeling too stern. If the style needs movement, curl the front pieces once, pin them loosely, and let them cool before you touch them again.
Accessory Placement: Put the comb, flower cluster, or ribbon where the bun already has its strongest line. That usually means the side with the most structure, not the weakest edge. If you place the accessory on a weak side, the style starts to sag under it.
Make-It-Yours: Brides with fine hair can use a small bun form. Brides with curls should keep the curl pattern visible in the finish. Brides who want less shine can skip glossy serum and use a matte spray at the crown. None of that is fancy. It just works.
Common Mistakes That Make Bridal Buns Slip, Puff, or Collapse
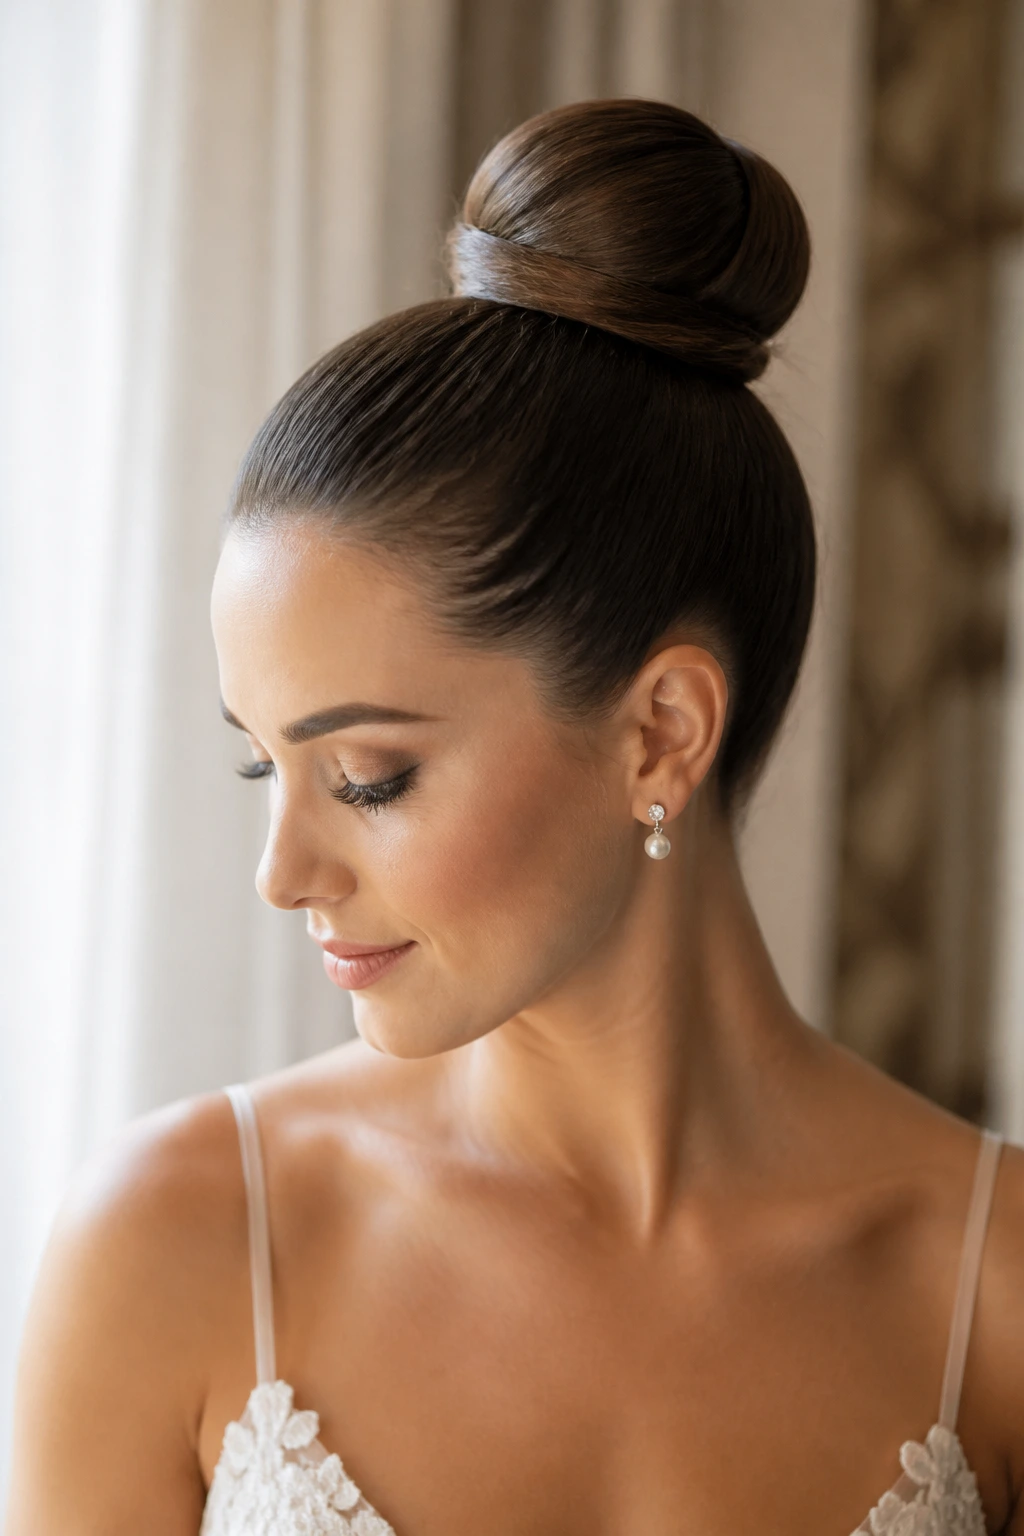
- Building on hair that is too clean and too soft: Freshly washed hair can be slippery, especially if it has conditioner all the way to the roots. The fix is a little texture spray or even day-old hair with better grip.
- Using one elastic and two pins, then hoping for the best: A bun needs an internal structure. If the base is weak, the style starts sliding as soon as the head turns.
- Placing the bun too low for the dress: A bun that sits below a low back can disappear into the gown. If the neckline is open, the bun should sit high enough to show shape.
- Overloading the crown with hairspray: Heavy spray makes the surface crunchy and can cause white flaking if it’s layered on too fast. Mist lightly, let it set, then adjust.
- Ignoring the weight of accessories: A large comb or fresh blooms can drag a soft bun downward. Match the accessory weight to the base, not to the fantasy image.
- Leaving the front pieces undecided: Random face-framing pieces look like an accident. If you want softness, plan the softness. If you do not, pin everything cleanly and be done with it.
Best Variations for Different Hair Lengths and Textures
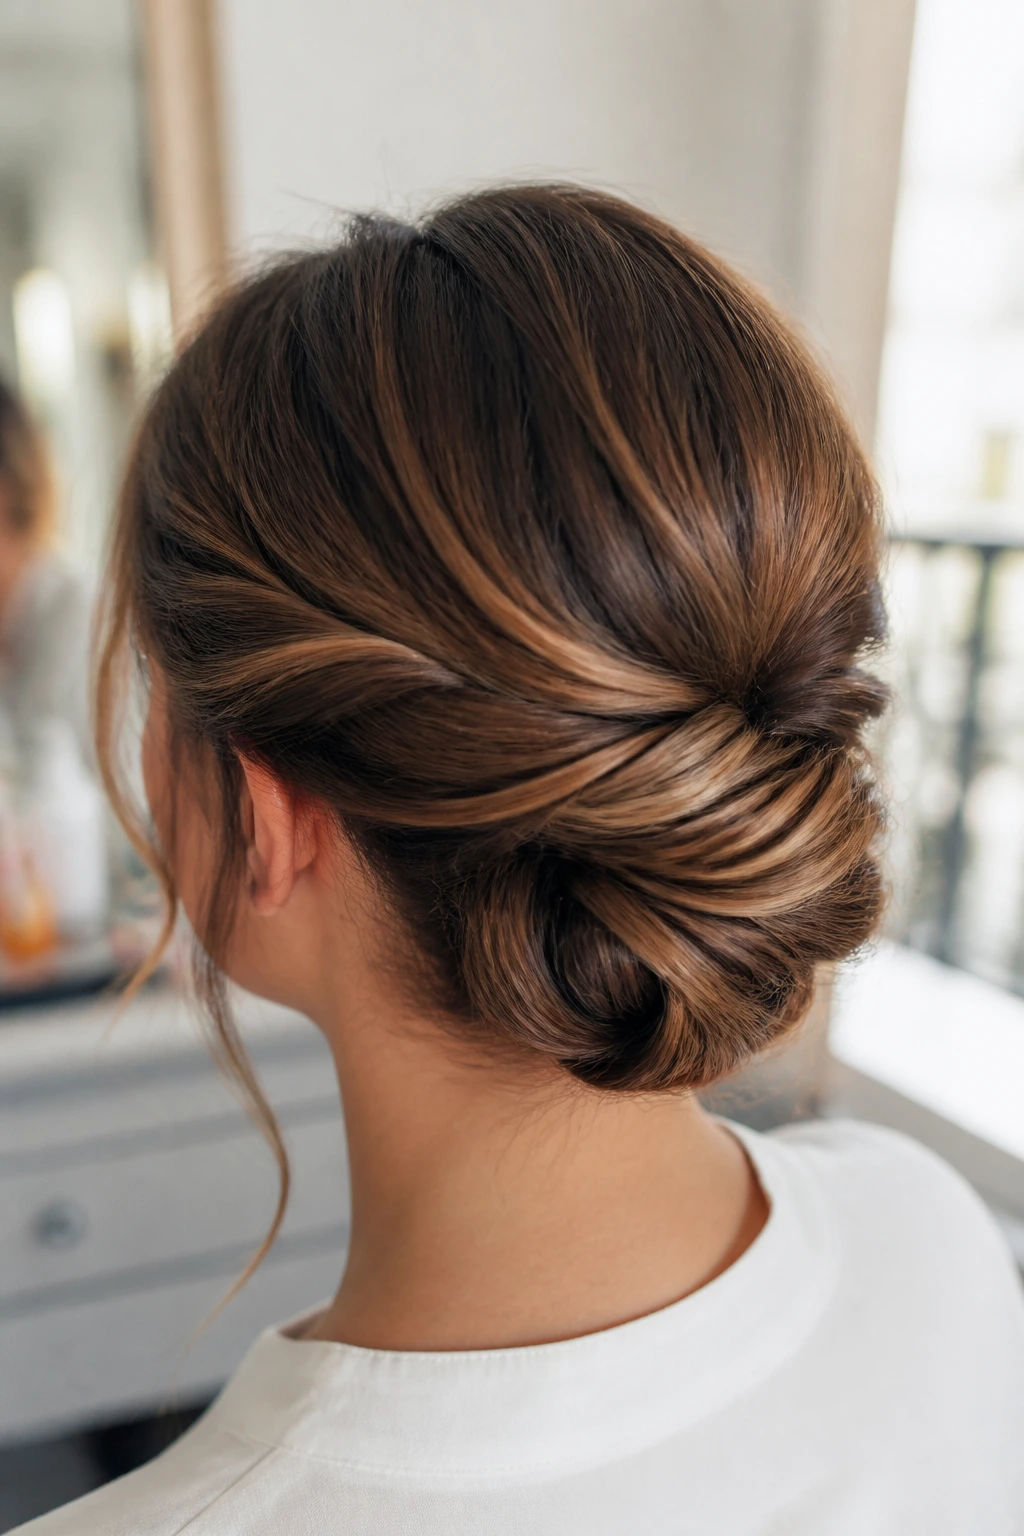
The Shoulder-Length Tuck: If the hair barely reaches the nape, a Gibson tuck or loop-and-pin bun is usually easier than forcing a low chignon. The style looks intentional because the shorter length becomes part of the shape instead of fighting it.
The Fine-Hair Builder: Fine hair needs either padding, a small bun form, or a braid-based structure. A braided low bun or rope-twist bun usually gives the best illusion of thickness without loading the style with too much product.
The Curly Preservation Bun: Curly and coily hair looks strongest when the curl pattern survives the updo. A curly tendril bun or a soft textured low bun lets the shape stay visible, which is far more flattering than straightening everything first and hoping the bun holds.
The Short-Veil Style: When the veil is short or birdcage-style, a center-part wrapped bun or sculpted bridal top bun gives enough structure without swallowing the accessory. The hair and the veil end up sharing the frame instead of competing for it.
The Garden-Setting Version: Outdoor weddings call for softer shapes, pinned flowers, and buns that can handle a little wind. A flower-accented garden bun or romantic messy bun tends to look better than a rigid, over-smoothed style because it can move without falling apart.
How to Keep the Style Fresh from First Photos to Last Dance
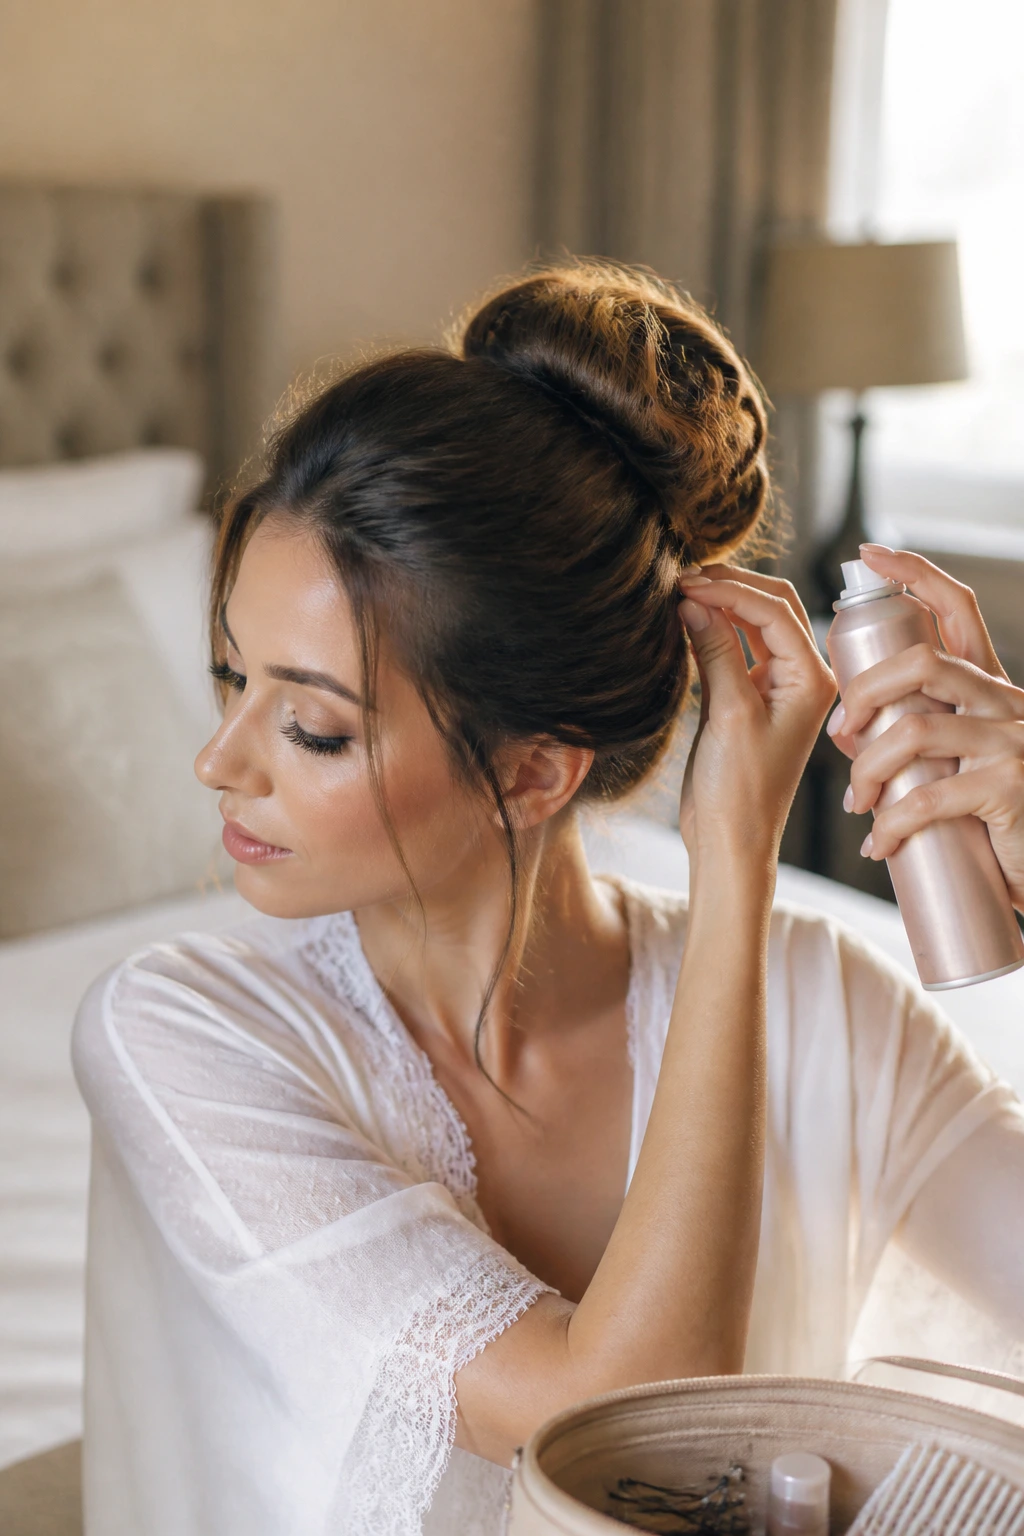
Bridal hair should be built with the whole day in mind, not just the first ten minutes after the stylist steps back. If the bun is going to live through portraits, dinner, and a long reception, the prep has to include some touch-up strategy. That means a few spare pins, a travel-size spray, and someone who knows how to tuck in a loosened side without ripping the whole thing down.
If the style is set the night before, keep the base loose enough to brush lightly in the morning. A silk scarf or bonnet helps prevent the crown from frizzing while you sleep. If the hair is being done the same day, ask for the final spray layer to go on after the accessory is placed, not before. The accessory will disturb the surface if it goes in too late, and the spray will just need to be fixed again.
Heat and humidity are not equal threats. Heat can soften pins. Humidity can puff the edges. Sweat at the hairline can break down the front first. The fix is different each time, which is why a small touch-up kit matters. A wedding bun is not fragile, but it does need a little maintenance if the day runs long.
Questions Brides Ask About Wedding Bun Hairstyles
How far ahead should the bun be styled?
Most wedding buns hold best when they’re finished close to the event, then given a few minutes to set. If the hair is being curled or waved first, that prep can happen earlier, but the final bun should go in after the shape has cooled and been checked from the back.
Can fine hair hold a wedding bun without extensions?
Yes, if the base is built correctly. A small padding form, a few well-placed pins, and texture spray at the roots usually do more for fine hair than heavy extensions that drag the style down.
What bun works best with a veil?
A low chignon, braided low bun, or compact twisted knot usually anchors a veil best because the comb has something solid to catch on. Very loose buns can work, but they need more internal support and a careful veil placement.
Should the hair be clean or a little lived-in?
Day-old hair tends to behave better for most buns because it has enough grip to stay in place. Freshly washed hair can still work, but it needs more prep and usually more dry texture spray.
Can shoulder-length hair still make a proper bun?
Absolutely. Gibson tucks, loop buns, and smaller low buns work well on shorter lengths because they use the hair’s actual reach instead of pretending it’s longer. The style just needs to be chosen for the length, not forced into the wrong shape.
How do you stop a bun from sagging during the reception?
Use a strong base, not just surface pins. A clear elastic, a wrapped anchor section, and pins inserted in crossing directions usually hold better than a pile of loose pins put in after the shape is already done.
What if my hair is curly and I don’t want to straighten it first?
Do not straighten it. Build the bun around the curl pattern and leave a few pieces loose if you want softness. A curly tendril bun or textured low bun usually respects the hair better and looks more alive in photos.
The Bun That Belongs to the Day
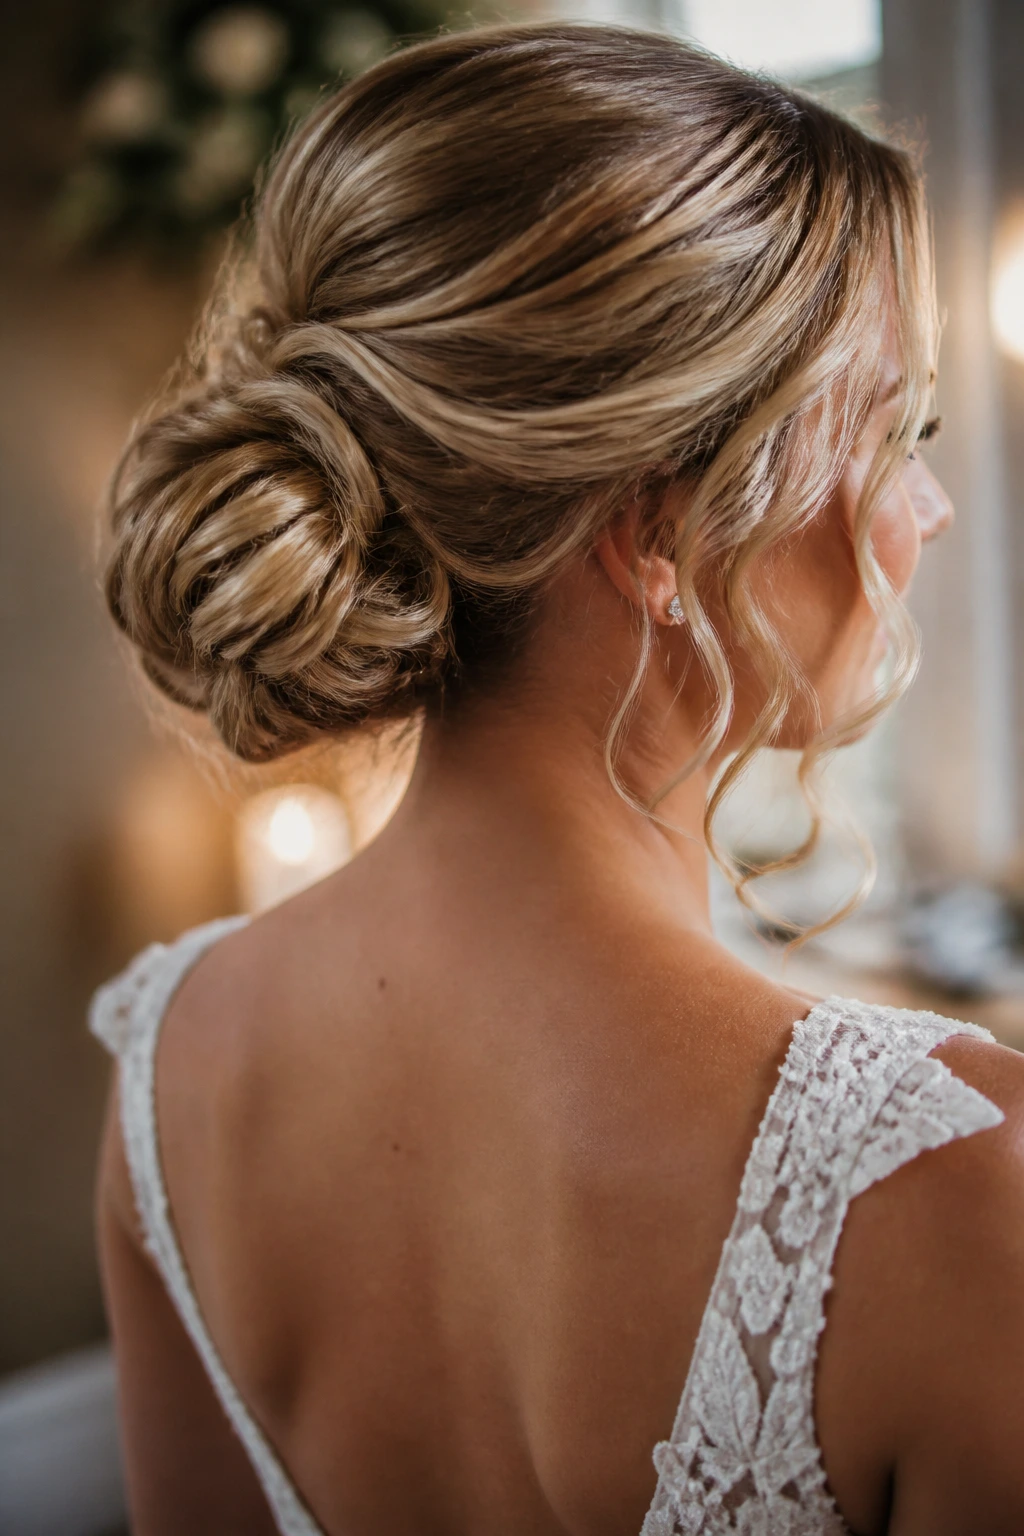
The best wedding bun hairstyles do more than look tidy. They hold the shape of the dress, keep the veil where it belongs, and stay calm when the rest of the day gets busy. That’s a practical way to think about beauty, but weddings reward practicality more than people admit.
Pick the bun that fits the neckline, the hair texture, and the amount of movement you want. A sleek chignon, a braided low bun, or a flower-accented style can all work — as long as the structure underneath is sound. That’s the part that lasts when the photos are over and the floor starts filling up.
