



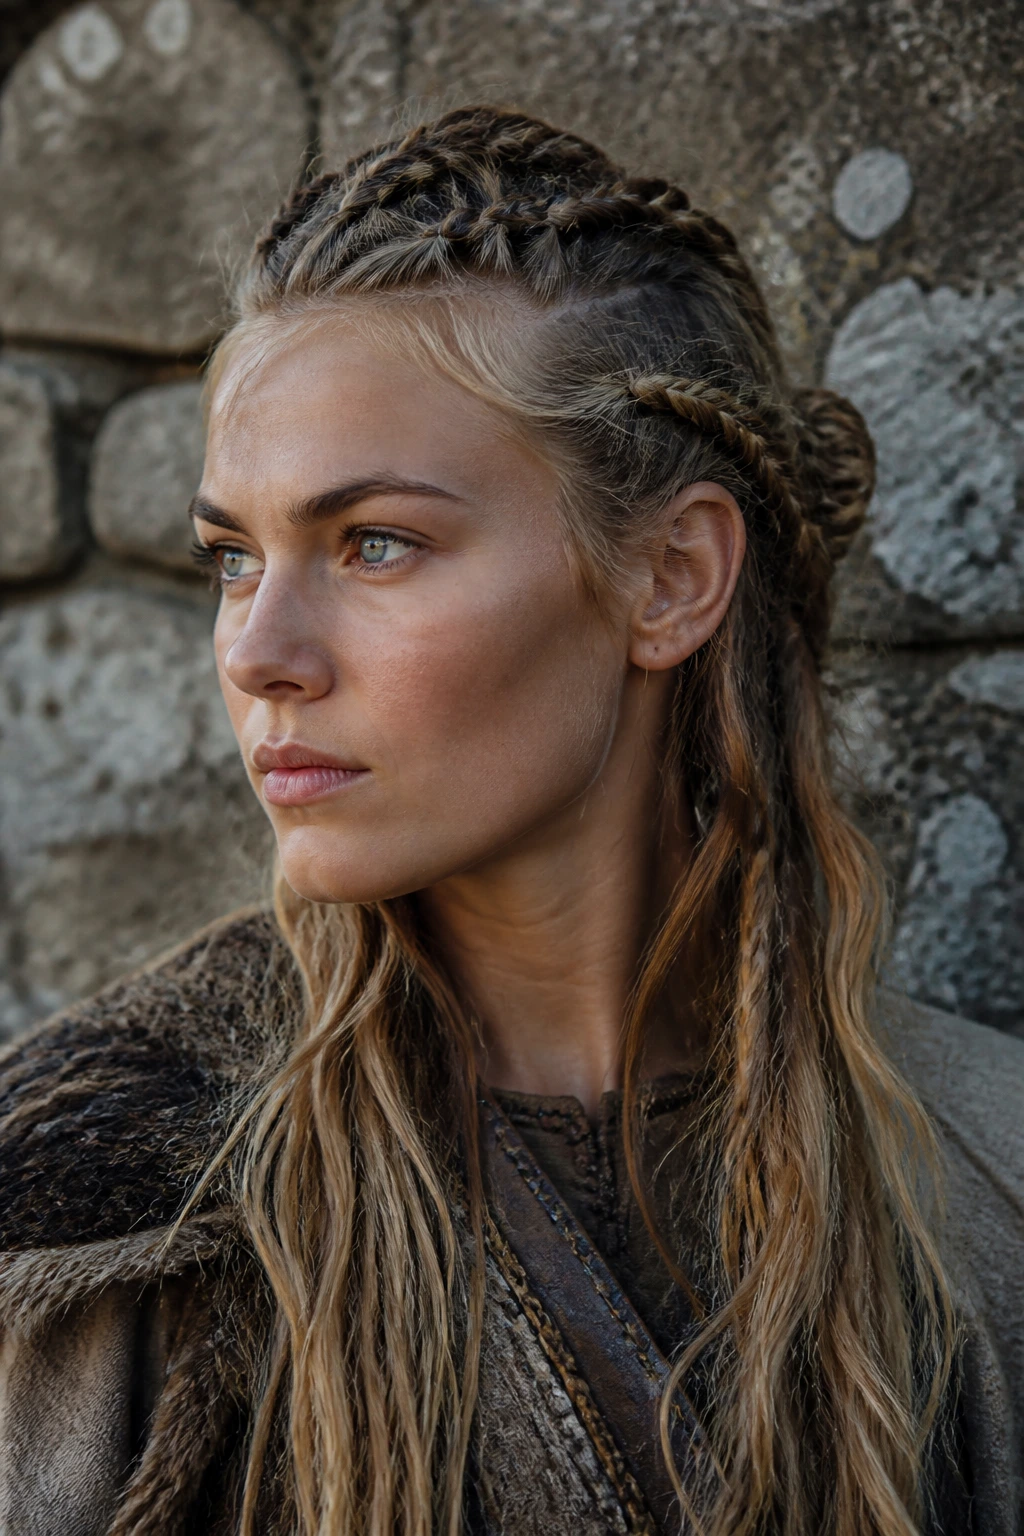
Viking hairstyles for women work best when they look built for weather, not a red carpet. The braid should sit close to the scalp, the twists should feel a little rough in the hand, and the whole thing should have that hand-woven, slightly untamed look that says someone pinned this up before crossing a windy hill, not before posing for a mirror.
Forget the horned-helmet nonsense. That belongs in theater, not hair.
What makes these styles compelling is that they borrow the right parts of the old Northern look: braids, rope twists, wrapped ends, metal cuffs, leather ties, and a little asymmetry. A clean, glossy finish can still work, but it needs texture underneath or the whole thing turns into generic festival hair. The best versions feel sturdy. You can almost hear the comb teeth going through the hair, section by section, with enough tension to hold but not enough to make the scalp angry.
And that’s the sweet spot here: practical enough for real wear, dramatic enough to feel intentional. Archaeological finds from Scandinavia keep turning up combs, pins, and grooming tools, which is a useful reminder that hair mattered there. Not as costume. As habit. As identity. That is the version worth borrowing, and the one that keeps these braids, twists, and loc-friendly looks from drifting into caricature.
Why This Collection Works on Real Hair
-
Texture does half the work: Slightly rough, second-day hair holds braids, twists, and wrapped sections better than freshly washed hair that’s still slippery from conditioner.
-
Accessories stay restrained: One cuff, one leather tie, or a few beads can do more than a whole pouch of glitter and clips. The look should read as forged, not decorated.
-
Most of these styles travel across textures: Straight, wavy, curly, coily, and locked hair all fit somewhere in this collection, as long as the parting and tension match the hair’s grip.
-
The shapes are sturdy: Low braids, halos, knots, and crown wraps keep their outline when the wind hits or when you need to wear them all day.
-
They can look dressed up or plain: The same braid can feel like daily hair or full armor depending on how tight you keep the parting and how much hardware you add.
-
They’re easier to personalize than they look: A tiny change in where the braid starts, how loose the crown sits, or whether the ends are tucked changes the whole mood.
What Makes a Viking Hairstyle Read as Viking
Texture comes first. Always.
A Viking-inspired style does not need to be historically exact to work. It needs structure, tension, and a bit of roughness at the edges. A braid with a shaved line and three metal cuffs can still look flat if the part is too neat and the hair is too polished. A loose, thick braid with a leather wrap, on the other hand, can look right immediately—even on modern hair, even with a blowout, even if the style only took ten minutes.
The trick is to think in shapes. Crown. Rope. Knot. Ridge. Sweep. Those shapes matter more than whether you used a Dutch braid, a fishtail, or a three-strand plait. Historical Norse grooming tools suggest people cared about order, but the style language itself was practical: keep hair controlled, keep it out of the face, and make the setup survive real movement. That gives you a lot of room to play.
If a style starts looking too polished, pull on the sides a little. If it looks too soft, add one accessory or tighten the root sections. That tiny push and pull is where the whole aesthetic lives.
1. Twin Dutch Warrior Braids
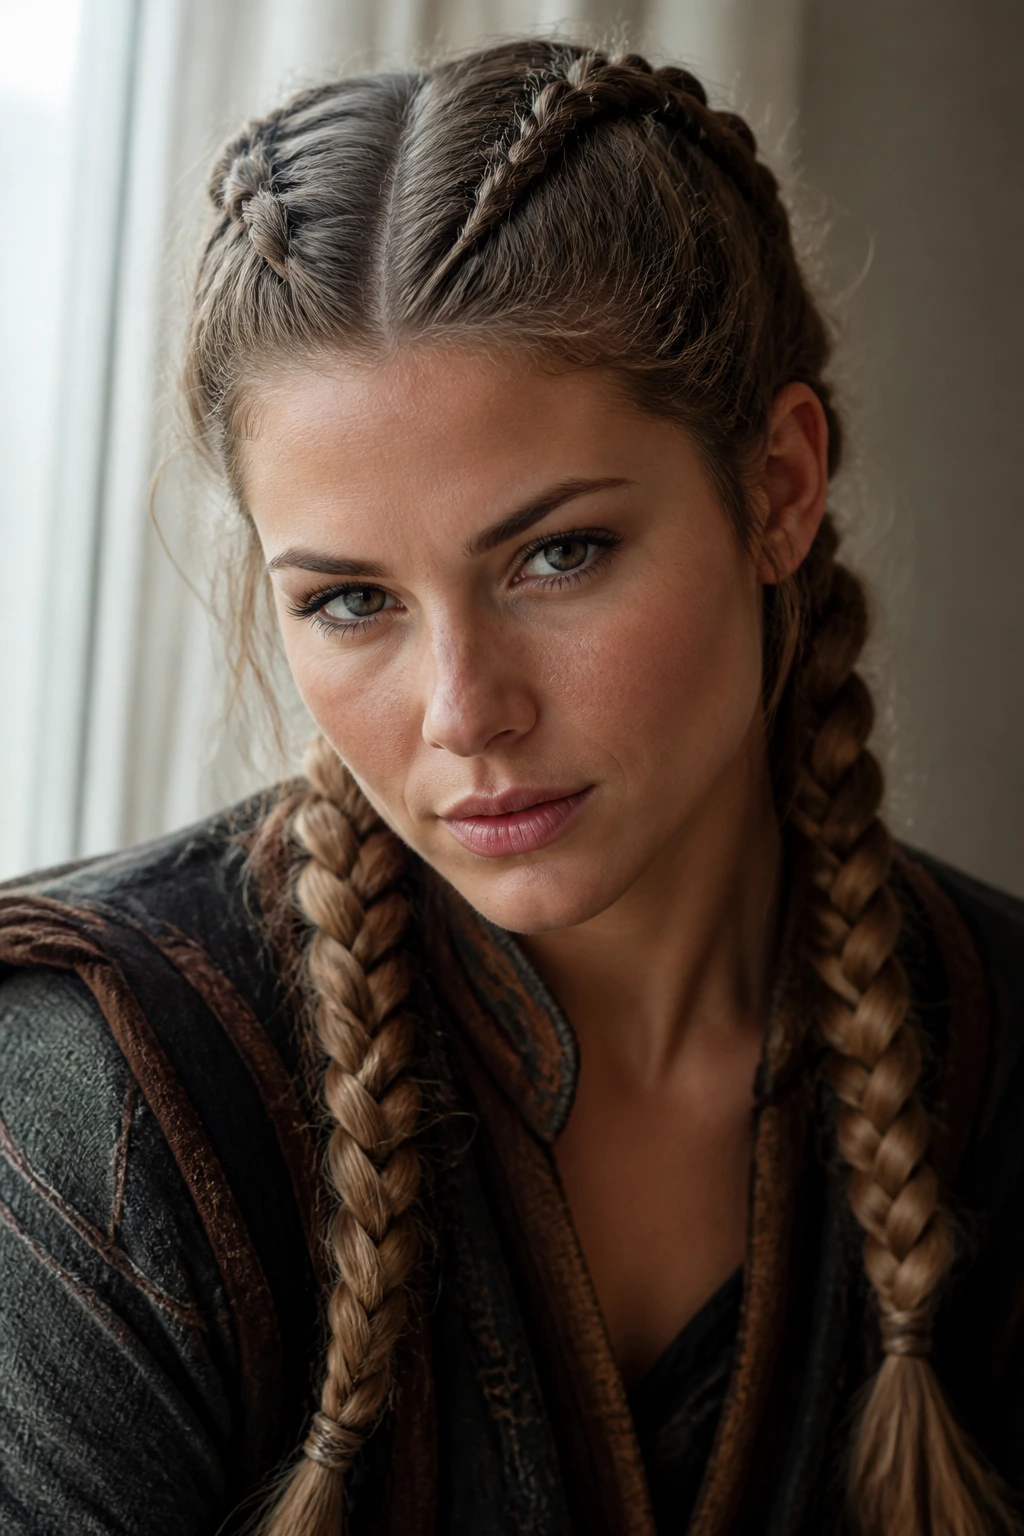
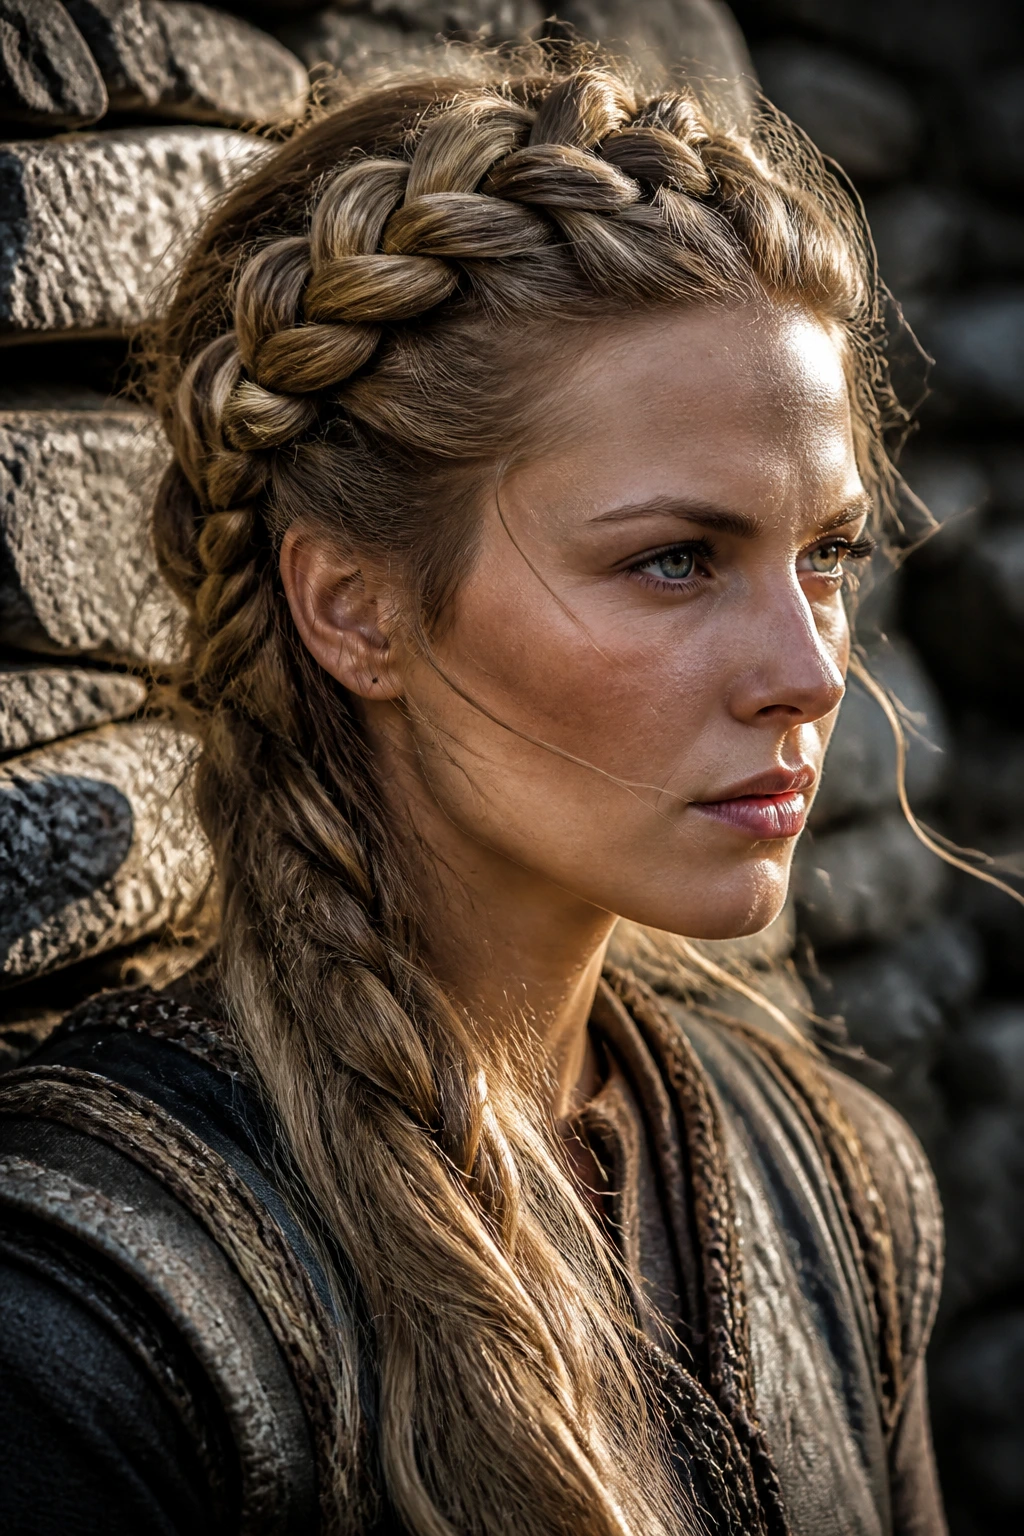
This is the style most people picture first, and for good reason. Two firm Dutch braids framed by a center part give the face a strong, almost armored shape, especially when the braid lines sit close to the scalp and the ends are left a little thick instead of tiny and neat.
Why It Works
Dutch braids flip the strands under instead of over, so the braid sits up from the head instead of sinking into it. That raised line creates the bold outline people associate with warrior braids, and it works on straight, wavy, and blown-out hair especially well. If your hair is very slippery, a dusting of texturizing powder at the roots makes a big difference.
How to Style It
- Part the hair down the center with a rattail comb.
- Mist the roots lightly with water or texturizing spray.
- Start each braid at the hairline and cross the side strands under, keeping the braid snug for the first 3 to 4 inches.
- Braid all the way to the ends and secure with a small elastic.
- Tug the braid edges gently with your fingers to widen the plait and soften the shape.
Best For
This is the one I’d hand to someone who wants the clearest Viking read with the least fuss. It works especially well on medium to long hair and on hair that needs control at the sides. Keep the part clean but not razor-straight; too perfect and it starts feeling cheerleader-adjacent.
2. Crown Braid Halo
Why does a braid around the head look so commanding? Because it turns the hair into a frame instead of a curtain.
A crown braid sits close to the scalp and wraps around the head like a woven band, which gives it that old-world, almost shield-maiden energy without needing a single extra accessory. It’s especially nice on long hair that you want off the neck but not all tucked away in a bun. The front should stay a little soft. If it’s pinned so flat that it disappears, the style loses its shape.
What Makes It Feel Right
A halo braid gets its strength from symmetry with a touch of looseness. The line around the head should be visible, but not so tight that it looks severe. I like to leave the braid slightly fuller at the temples and a little looser at the nape; that tiny imbalance makes the whole thing feel less bridal and more grounded.
How to Wear It
- Create two braids from either side or use one continuous braid that circles the head.
- Pin the braid securely behind the ear and at the nape with hidden bobby pins.
- Leave one or two face-framing pieces out if you want a softer finish.
- Add one small cuff or leather tie near the back rather than loading the whole braid with hardware.
It’s a good style for evenings, but I’ve seen it work just fine in the daytime too. The only real mistake is polishing it into submission. Let it breathe a little.
3. Half-Up Braided Mohawk
A half-up braided mohawk is what happens when you want drama without committing to a full updo. The center ridge gives you that warrior silhouette, while the sides stay sleek or loosely twisted back, depending on how hard you want to lean into the look.
The shape is the whole point here. You’re not making a dainty half-up style. You’re building height through the middle so the braid feels like a spine running from the hairline toward the crown. That line looks especially good on thick hair, layered hair, and locs, where there’s enough body to keep the ridge visible.
How to Build It
- Section off a long strip from the front hairline to the crown.
- Clip the side hair away so the center panel stays clean.
- Braid the middle section in Dutch, French, or rope-braid form.
- Pull the braid slightly upward at the crown for lift.
- Smooth or twist the side sections back and pin them low.
If your hair tends to collapse at the crown, tease the roots under the top section before braiding. Small detail. Big payoff. You can finish the look with a cuff at the end of the center braid or leave the tail loose for a rougher finish.
4. Fishtail Side Sweep
A fishtail braid looks different from a regular braid right away. The weave is tighter, finer, and a little more fish-scale than rope, which gives the style a dense, hand-crafted feel that reads well in Nordic-inspired hair.
This one works beautifully when you want a single strong braid over one shoulder. It’s also one of the best choices for wavy hair, because the texture helps the braid hold shape without endless product. Straight hair can do it too, but you’ll want a small hit of mousse or a dry texturizing spray first. Otherwise the sections slip around and the braid gets floppy halfway down.
A Small Styling Note
Don’t chase perfection here. A fishtail braid looks better when the widths between your hands vary a little. That unevenness gives it a rougher, more lived-in surface, which is exactly what keeps it from looking like prom hair with a different name.
Try it on second-day hair, start it low behind one ear, and bring it forward over the shoulder. If you want more of a Viking feel, wrap a strip of leather around the base or slide in a single bronze cuff near the end.
5. Rope-Twist Pigtails
These are the fast styles people forget to respect. Rope twists sound simple because they are simple, but when you keep the tension even and the ends tied cleanly, they create a compact, old-world look that feels honest and sturdy.
The two strands twist around each other in a way that catches light differently from a braid. That twist makes the style look almost corded. If you have thick hair, this can actually hold better than a classic three-strand braid because the sections stay chunky and less prone to unraveling. On fine hair, you’ll need grip—mousse, powder, or a little dry shampoo at the roots.
How to Get the Most From It
- Divide the hair into two low or mid-height pigtails.
- Split each pigtail into two sections and twist both strands in the same direction.
- Wrap the twisted pieces around each other in the opposite direction.
- Secure the ends with small elastics.
- Gently tug the twist to widen it and make the rope texture more visible.
The only thing to watch is tension. If one side is tighter than the other, the twists will lean and fray. Keep your hands even and the result looks deliberate instead of hurried.
6. Braided Low Knot
This is one of my favorites because it feels grounded. Not fussy. Not precious. Just strong.
A braided low knot starts with one or more braids gathered at the nape and pinned into a compact bun or knot. The low placement is what gives it weight; if you push the knot too high, it starts to lose the Viking feel and becomes generic updo territory. Keep it at the base of the skull, where the shape can sit like a tied bundle rather than a polished bun.
Best Uses
This style is excellent when you need your hair off your shoulders and your neck completely clear. It also works well if your hair is layered and won’t hold one large braid cleanly—braiding smaller sections first and then knotting them together solves a lot of that problem.
Quick Shape Guide
- Braid the hair into 2 or 3 sections.
- Wrap or fold the braids into a low knot at the nape.
- Pin from multiple angles so the knot doesn’t sag.
- Leave the tail ends tucked, braided, or slightly visible, depending on how rough you want it to look.
A little flyaway near the hairline helps. Too much hair gel can make the knot look stiff and oddly modern.
7. Bubble Braids with Wraps
Bubble braids are not historically literal, and that’s fine. They still fit the mood because the repeated sections create a segmented, almost armored look once you add wraps or cuffs at the joins.
The appeal is visual rhythm. Every elastic creates another rounded section, and every section can be puffed just a little with your fingers to make the whole braid look fuller. This is a smart choice for long hair, extensions, or anyone who wants volume without doing a six-strand braid for forty-five minutes. Use clear elastics if you want the shape to carry the show, or tiny leather ties if you want the style to feel rougher and more grounded.
A Useful Trick
Tie each elastic about 2 to 3 inches apart, then gently pull at the sides of each bubble until it rounds out. If you pull too hard, the whole thing collapses into uneven lumps. Slow and steady wins here.
This style looks especially good with a few metal rings or a wrapped cord threaded through the bubbles. It’s simple. It still feels dramatic.
8. Shieldmaiden Double Buns
Two buns can look playful or powerful depending on where you place them. Keep them low and slightly angled out from the head, and they land firmly in shieldmaiden territory.
The front can be parted down the center or with a softer offset part. Either way, the braid or twist that feeds into each bun should feel visible. I prefer smaller accent braids leading into the buns rather than huge perfect braids; the style gets too neat otherwise. If your hair is very thick, split each side into two or three sections before wrapping. If it’s finer, build some texture first so the buns don’t sink.
What to Watch For
These buns should not sit like polished cinnamon rolls. Leave a few pieces tucked loosely into the wrap, let the bun look a little messy, and don’t be afraid of asymmetry. A tiny lean in one bun makes the style feel human.
This is also a good one for days when you want the Viking mood but need your hair out of your face fast. It’s fast once you’ve done it twice.
9. Leather-Wrapped Braided Ponytail
A braided ponytail sounds plain until you wrap it. Then the whole thing changes.
Take a thick braid, pull it into a ponytail—mid-height or high depending on the mood—and bind the base with leather cord, ribbon, or a hair wrap that looks like leather. That single detail gives the style structure and a little grit. The ponytail itself can be a three-strand braid, a fishtail, or a rope braid. I’d pick the braid based on your hair texture rather than the outfit; thick hair holds a rope braid well, while smoother hair often looks fuller in a fishtail.
Why It Works
It keeps the hair long and visible, which matters if you want the silhouette to feel bold. A plain ponytail can fall flat in photos. A braided one with a wrapped base has shape, movement, and enough edge to feel intentional.
If your crown area is a little flat, tease it lightly before gathering the ponytail. Not a bird’s nest. Just enough lift so the wrap doesn’t look like it’s hugging your head too tightly.
10. Waterfall Braid with Loose Waves
This is the softer side of the collection, and I don’t mean that as a knock. A waterfall braid reads as Viking-inspired when the loose lengths underneath are textured, the braid is slightly asymmetrical, and the whole thing feels a little wind-touched instead of salon-perfect.
It’s a smart style for hair that already has bend. Wavy hair practically hands you the finish for free. Straight hair needs some help—think curling iron bends or a braid-out from the night before. The braid should travel across the head like a stream, with strands dropping through the pattern so the lower hair stays loose and visible.
Small Warning, Big Difference
Don’t make the braid too uniform. A waterfall braid that’s tightened down into a perfect arc looks fragile and overworked. The better version lets the braid loosen a touch as it goes, especially near the back of the head.
This one leans more romantic than hard-edged, so if you want a darker, rougher Viking feel, pair it with one cuff, a side part, and loose ends that have a bit of texture spray in them.
11. Four-Strand Shield Braid
This is the braid for when you want the hair itself to look like it’s doing something more complicated than a standard plait.
A four-strand braid has a thicker, flatter body than a three-strand braid, and that extra structure makes it feel almost braided armor. It takes a little practice because the hand rhythm is different, but once you get it, the effect is worth the trouble. The braid looks especially good on long hair or extensions, where the width can really show.
How to Think About It
Instead of a neat, skinny braid, you get a woven ribbon with obvious dimension. That makes it a strong match for Viking-inspired styling because it feels handmade and substantial without needing a dozen accessories. Keep the tension even, especially in the first few passes, or the braid will twist off-center.
If you want to test the braid before a full wear, practice on damp hair with a little leave-in conditioner. Damp hair gives you some control, but don’t braid it wet and leave it that way overnight. That’s a bad habit and a frizz trap.
12. Side-Swept Viking Braid
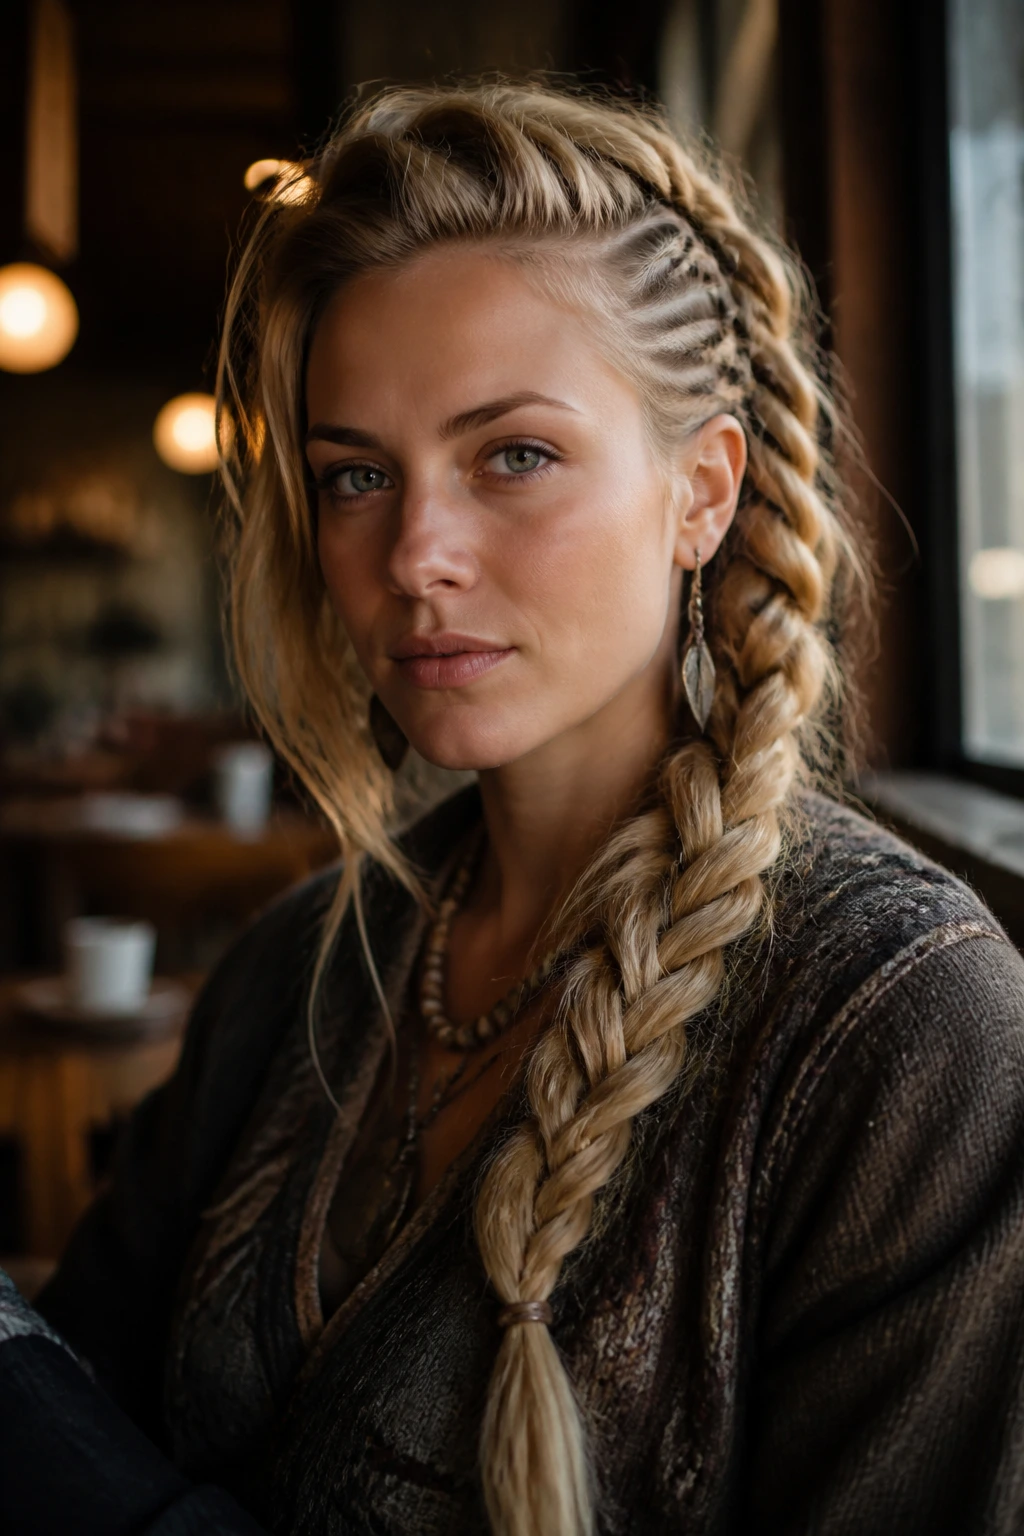
The side-swept braid is one of the easiest ways to make a style feel dramatic without extra hardware. Start high on one temple, braid across the side, and carry the hair over one shoulder so the shape feels weighted to one side.
That asymmetry does a lot of work. It looks less formal than a center style and more like something built in a hurry, which is part of why it lands so well. The braid can be loose and chunky or tighter and more controlled. Both work. What matters is that the side part is obvious and the braid has enough body to read from a distance.
Best on Hair That Won’t Stay Centered
If your part keeps drifting or your hair fights a strict middle line, use that to your advantage. A deep side part plus one substantial braid creates enough visual force that you don’t need to fight symmetry at all. Add a couple of thin face-framing pieces if you want softness around the cheekbones.
One bronze ring near the base is enough. More than that and the braid starts acting like it’s trying too hard.
13. Beaded Micro-Braid Crown
A crown made from tiny braids feels intricate in a way that bigger braids sometimes don’t. It also gives you more room for beads, cuffs, thread, or small rings without overwhelming the style.
This is one of the better choices for coily, curly, or tightly textured hair, especially when you already wear protective styles. Small braids can be gathered into a circular crown or arranged in a half-crown shape across the front. The beads become punctuation. Not decoration for decoration’s sake, but points of weight and shine that help the braid lines stand out.
What to Do
- Make several narrow braids along the front or sides.
- Gather them into a halo or wrap them back toward the crown.
- Add beads only to a few braids so the style doesn’t get heavy.
- Keep the braid bases secure so the hardware doesn’t tug at the roots.
I’d avoid piling on too many cuffs here. A few carefully chosen pieces look deliberate. A whole handful starts sounding loud.
14. Feed-In Halo Braid
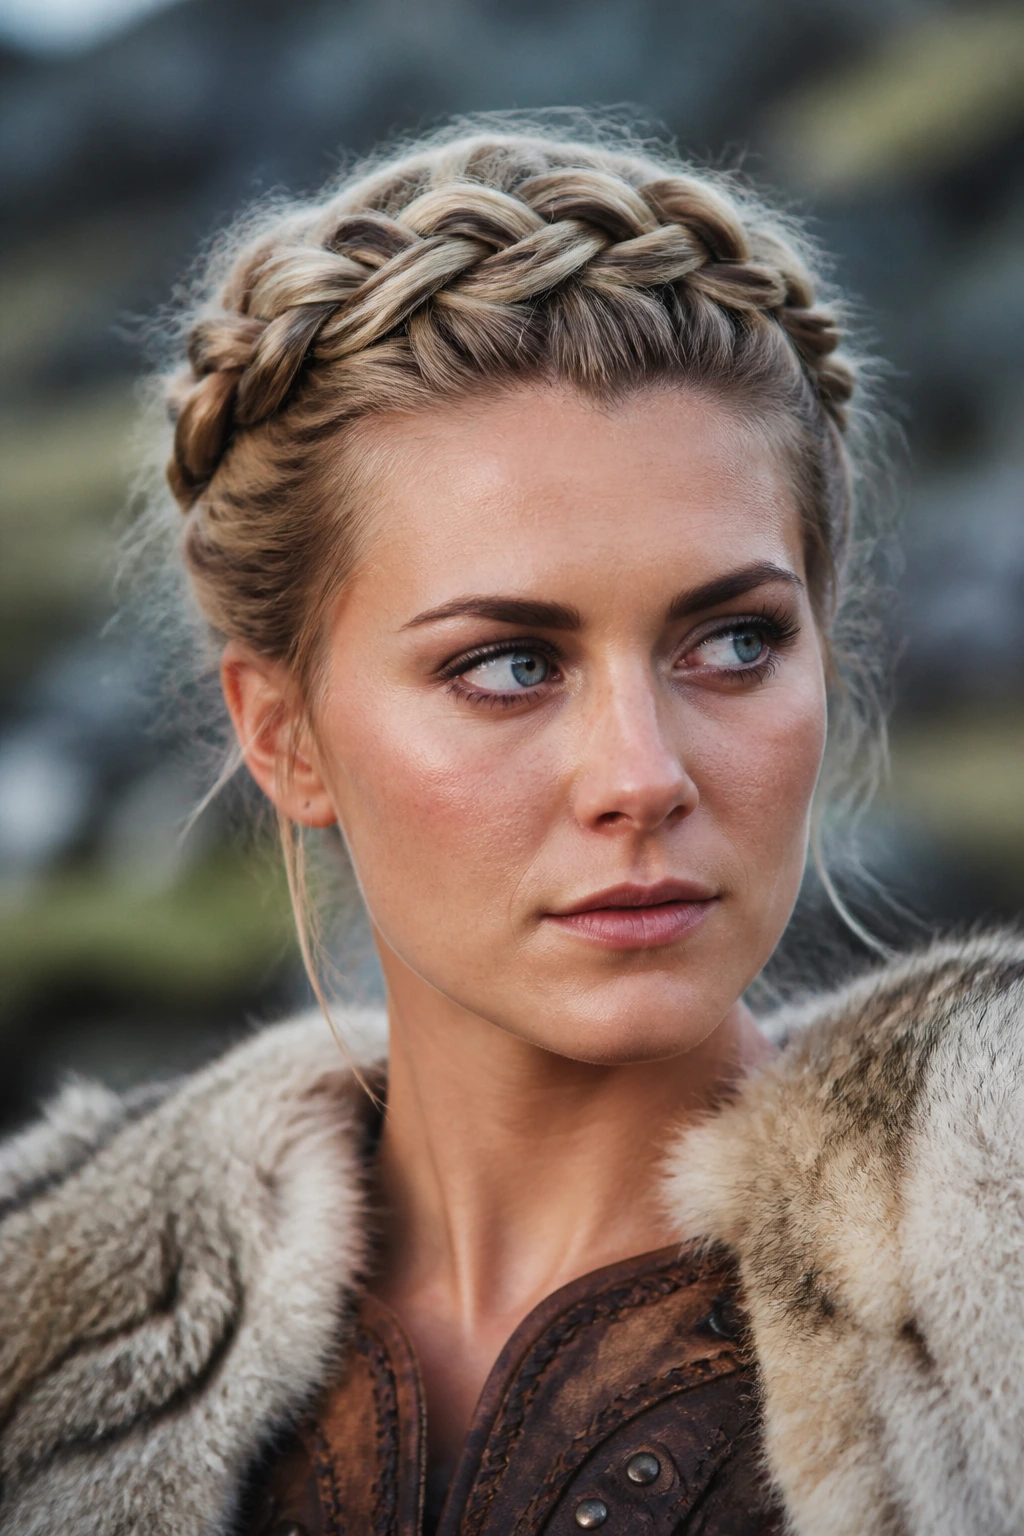
A feed-in halo braid is the neater cousin of the crown braid. Instead of starting with a thick section and wrapping it around the head, you build the braid gradually, adding hair as you go so the base stays sleek and the shape stays close to the scalp.
That gradual feed makes the braid look long and continuous, which is useful if your hair is shorter or if you want a more tailored finish. It can also support extensions without making the braid feel bulky at the start. The result sits somewhere between practical and ceremonial. Very usable. Very strong.
Why It’s Different
The feed-in method matters because it lets the braid taper naturally around the head. That creates a smoother line, which looks great if you want the halo to sit like a band rather than a loose wrap. If you’re using extensions, keep them matched to your hair’s texture and avoid adding too much bulk at once.
This style is one of the best examples of a Viking-inspired look that still works in a clean, modern setting.
15. Messy Braided Top Knot
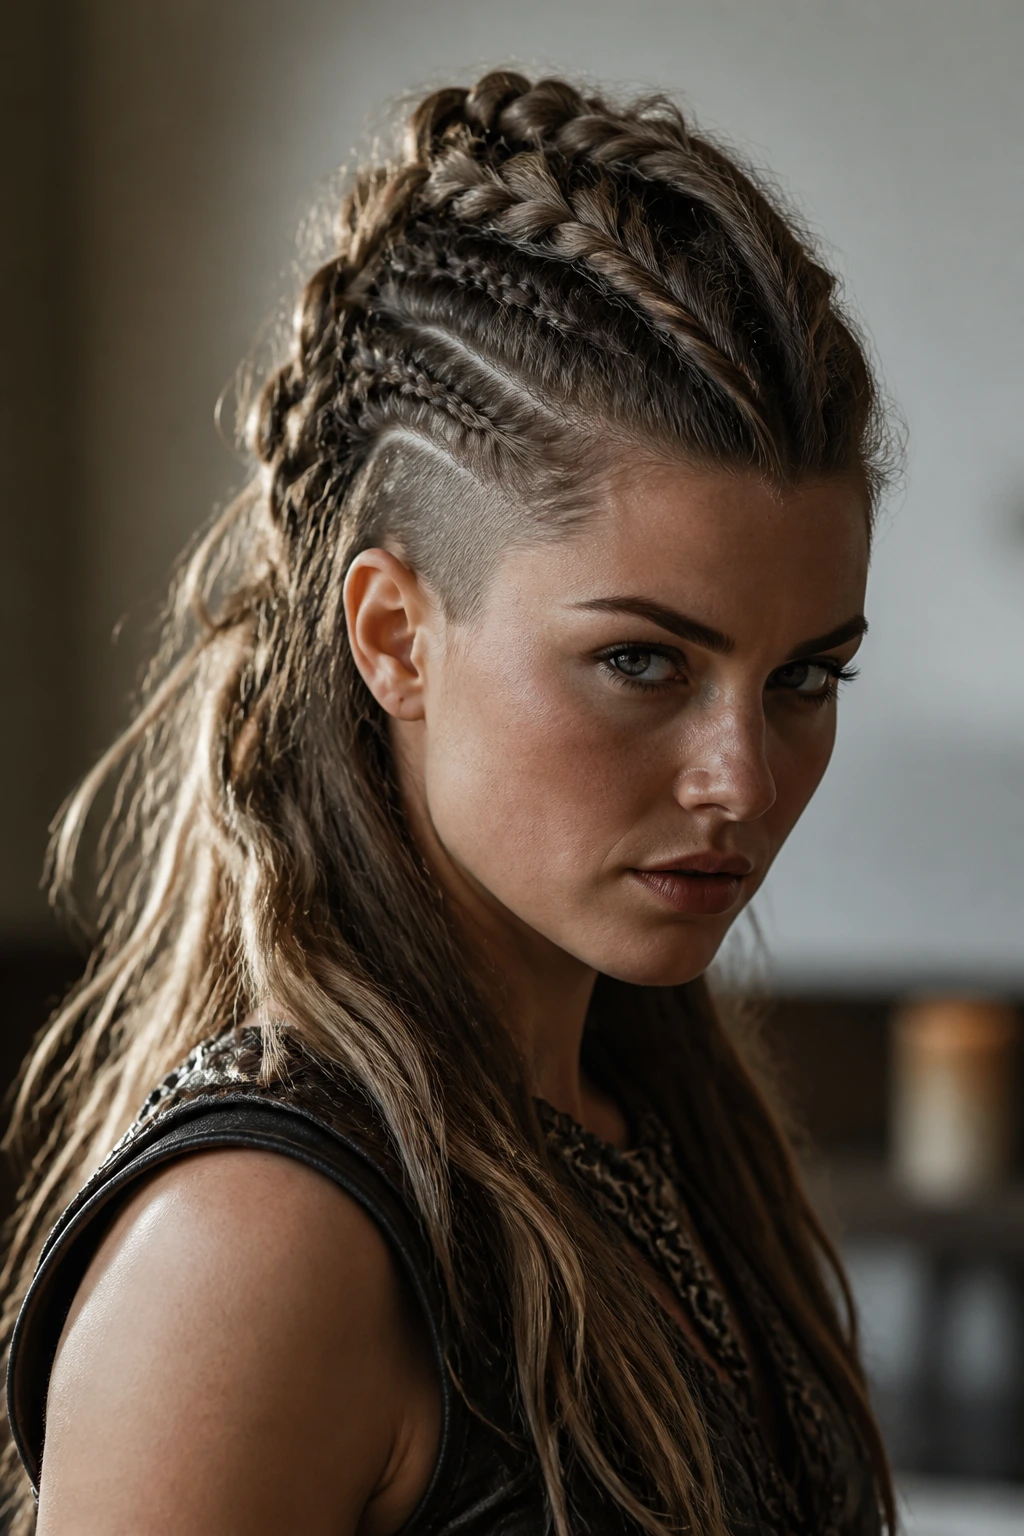
A braided top knot is what happens when you stop pretending every style needs to be symmetrical. Good.
Start with one braid or several small braids, then gather them high and twist them into a knot at the crown. Leave some texture poking out. Leave a few strands visible near the hairline if that suits your face. The knot should feel like it was built fast but well. A little roughness is the point.
When It Works Best
This style is ideal when you want height and quick control. It also suits layered hair better than a sleek bun, because the braid gives the shorter layers something to cling to. If your hair is fine, tease the roots lightly before gathering. If it’s thick, divide the braid into smaller sections before twisting so the knot doesn’t sit like a brick.
You can make this look more Viking by tying the base with leather cord or tucking a metal cuff into one side of the knot. Keep it sparse. The style already has enough attitude.
16. Faux-Undercut Side Braid
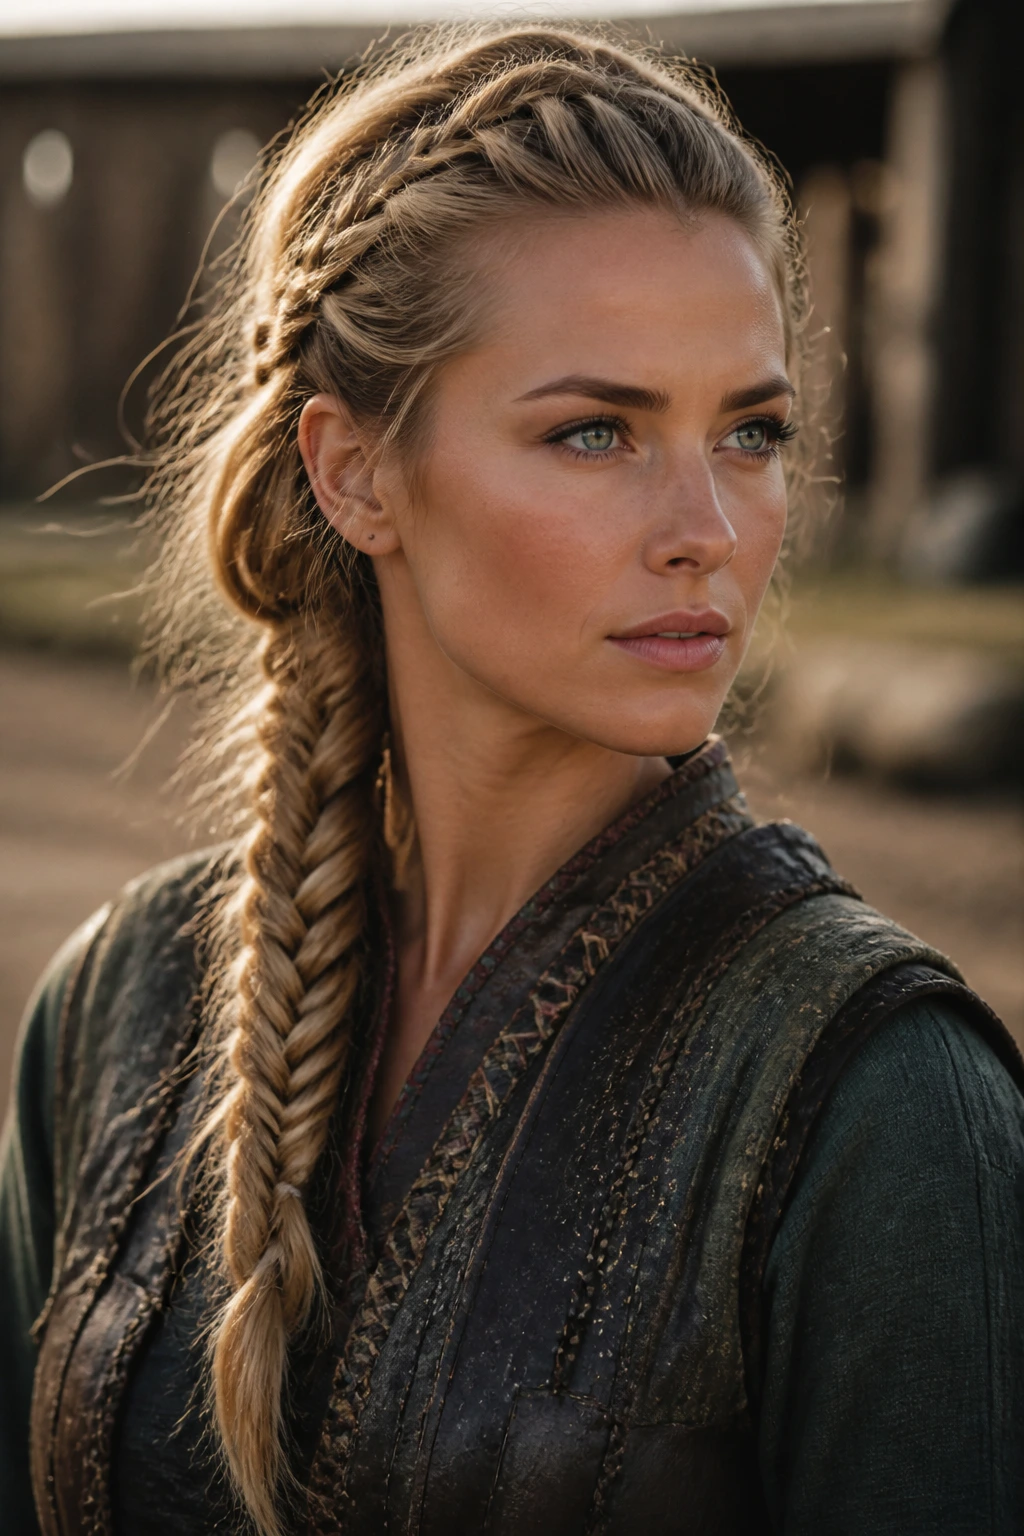
No haircut required.
That’s the appeal here. A faux-undercut side braid gives you the visual edge of a shaved side by slicking one section flat and braiding the rest tightly along the scalp. The contrast between the smooth side and the braided section creates an aggressive, modern-Viking feel that looks especially good with earrings and strong brows.
How to Fake the Shape
Use a side part, smooth one side down with a little styling cream or gel, and braid the opposite section close to the head. The tighter the braid line, the stronger the illusion. If you want more drama, pin the slicked side tightly behind the ear so it disappears.
This is one of those styles that can turn messy quickly if you overdo the product. A pea-sized amount of cream is usually enough. Too much gel turns the whole look shiny in the wrong way and makes the braid slide.
The real reward is contrast: smooth against woven, flat against raised. That’s the whole trick.
17. Twisted Half-Up Waves
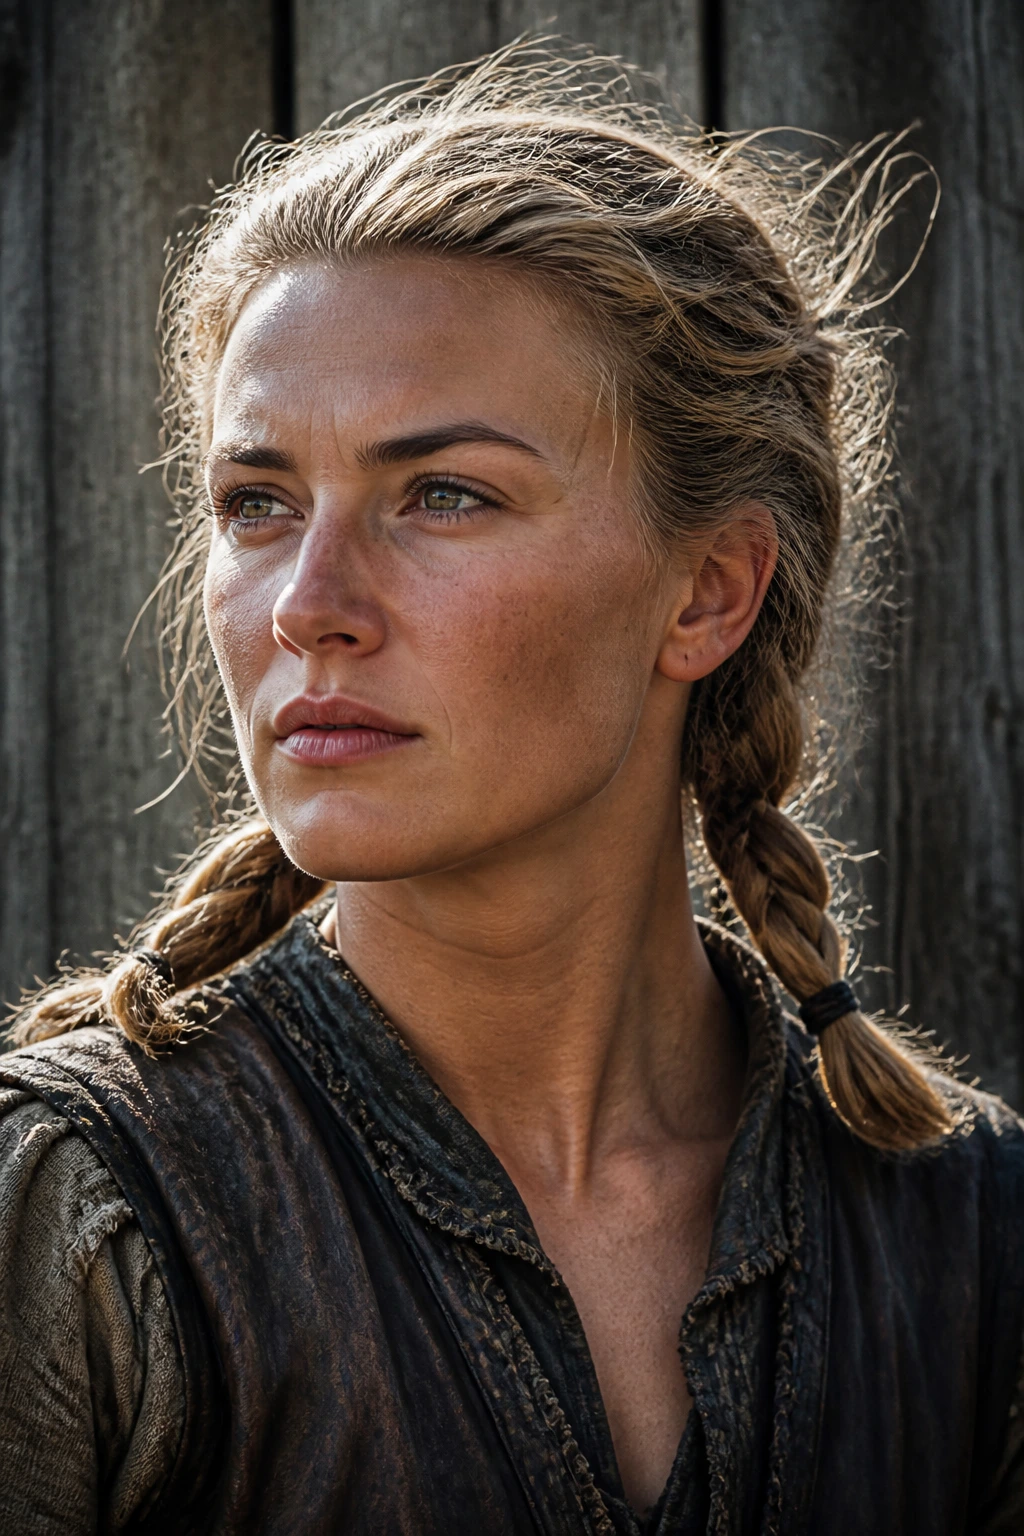
Sometimes the best Viking-inspired style is the one that doesn’t over-explain itself. Two twisted sections from the temples, pinned at the back, and the rest left down in loose waves can carry the mood without turning into a full braid situation.
This works because the twists create structure where you need it—the front—and the loose length keeps the overall feel soft. It’s a good choice for someone who wants a nod to the aesthetic without spending half an hour braiding. On curly hair, stretch the top lightly before twisting so the pins can grip. On straight hair, add a bend through the mids and ends so the down section doesn’t look flat.
The Small Detail That Matters
Pull the twists back at a slight angle rather than straight across. That diagonal line gives the head shape and keeps the style from feeling like a generic half-up clip. If you want more texture, braid the twisted sections before pinning them together. Tiny change. Bigger attitude.
18. Loc Crown with Rings
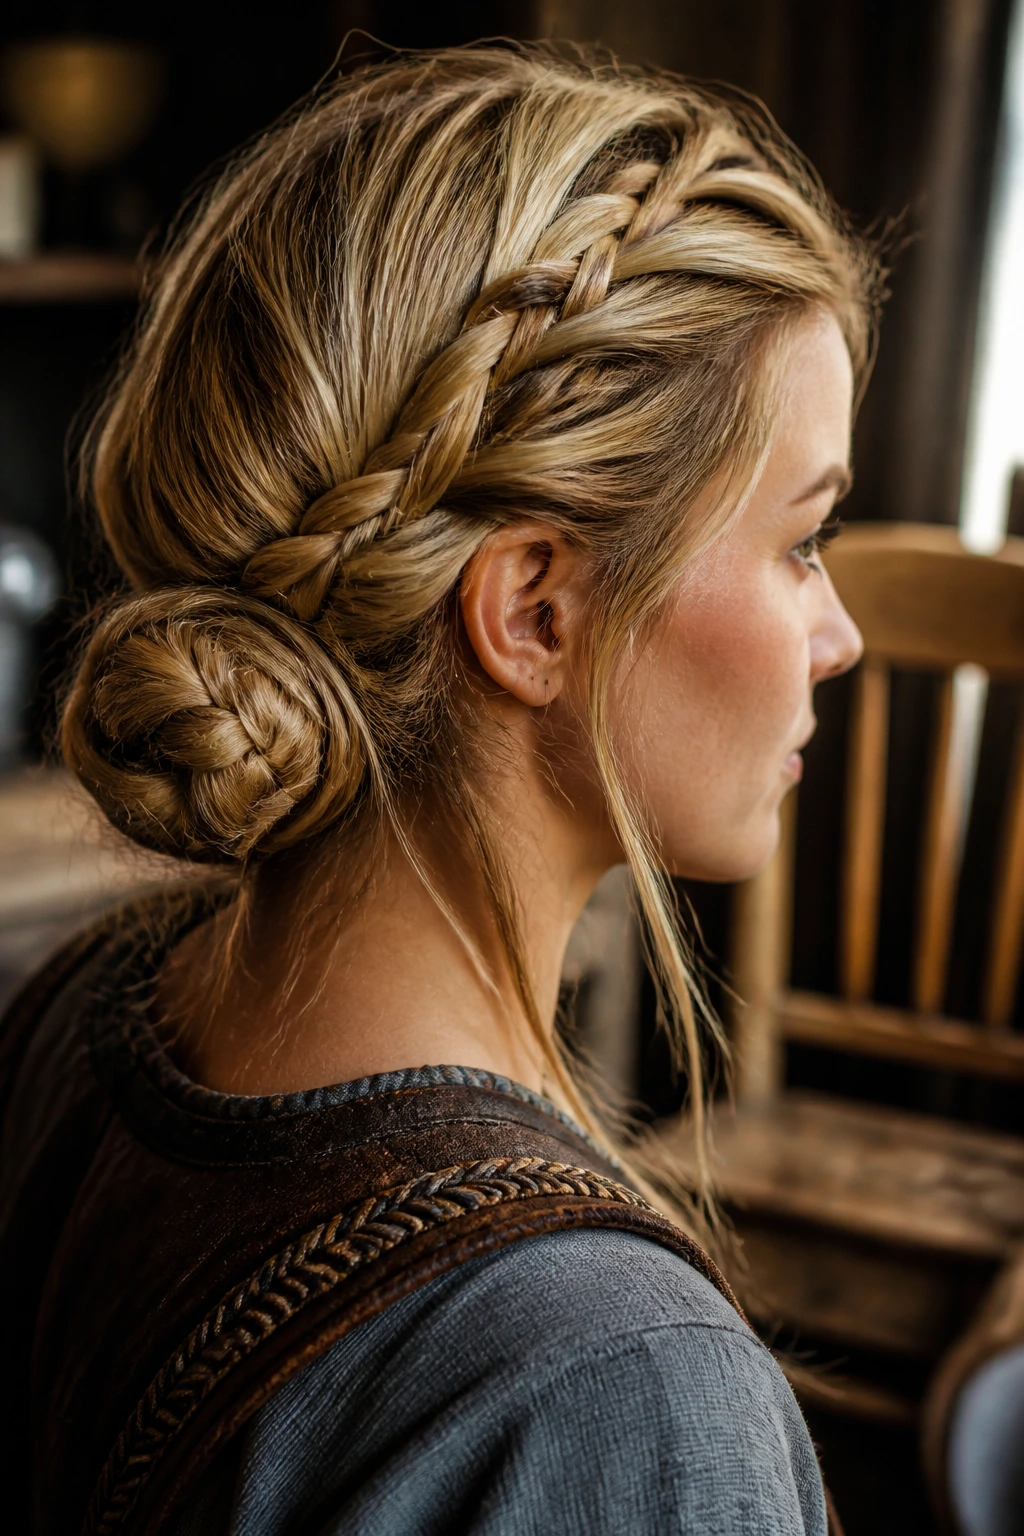
Locs and Viking style are a good fit, and I think people sometimes overcomplicate that. A loc crown uses the weight and texture of the locs to make a halo, wrap, or side-swept crown that looks grounded before you add any accessories at all.
This is not the style to force into a skinny little braid shape. Let the locs keep their thickness. Wrap them around the head, pin them low and secure, and then add a few rings or cuffs where the lines need emphasis. If the locs are longer, you can form a full crown. If they’re shorter, a half-crown or side wrap still gives you the same feeling.
What to Keep in Mind
Tension matters more here than anywhere else. The locs should feel held, not yanked. Use enough pins to support the weight, and spread them out rather than stacking them in one place. A soft edge brush at the hairline can clean the front without making the whole thing too slick.
This one has presence. You don’t need much else.
19. Braided Faux Hawk
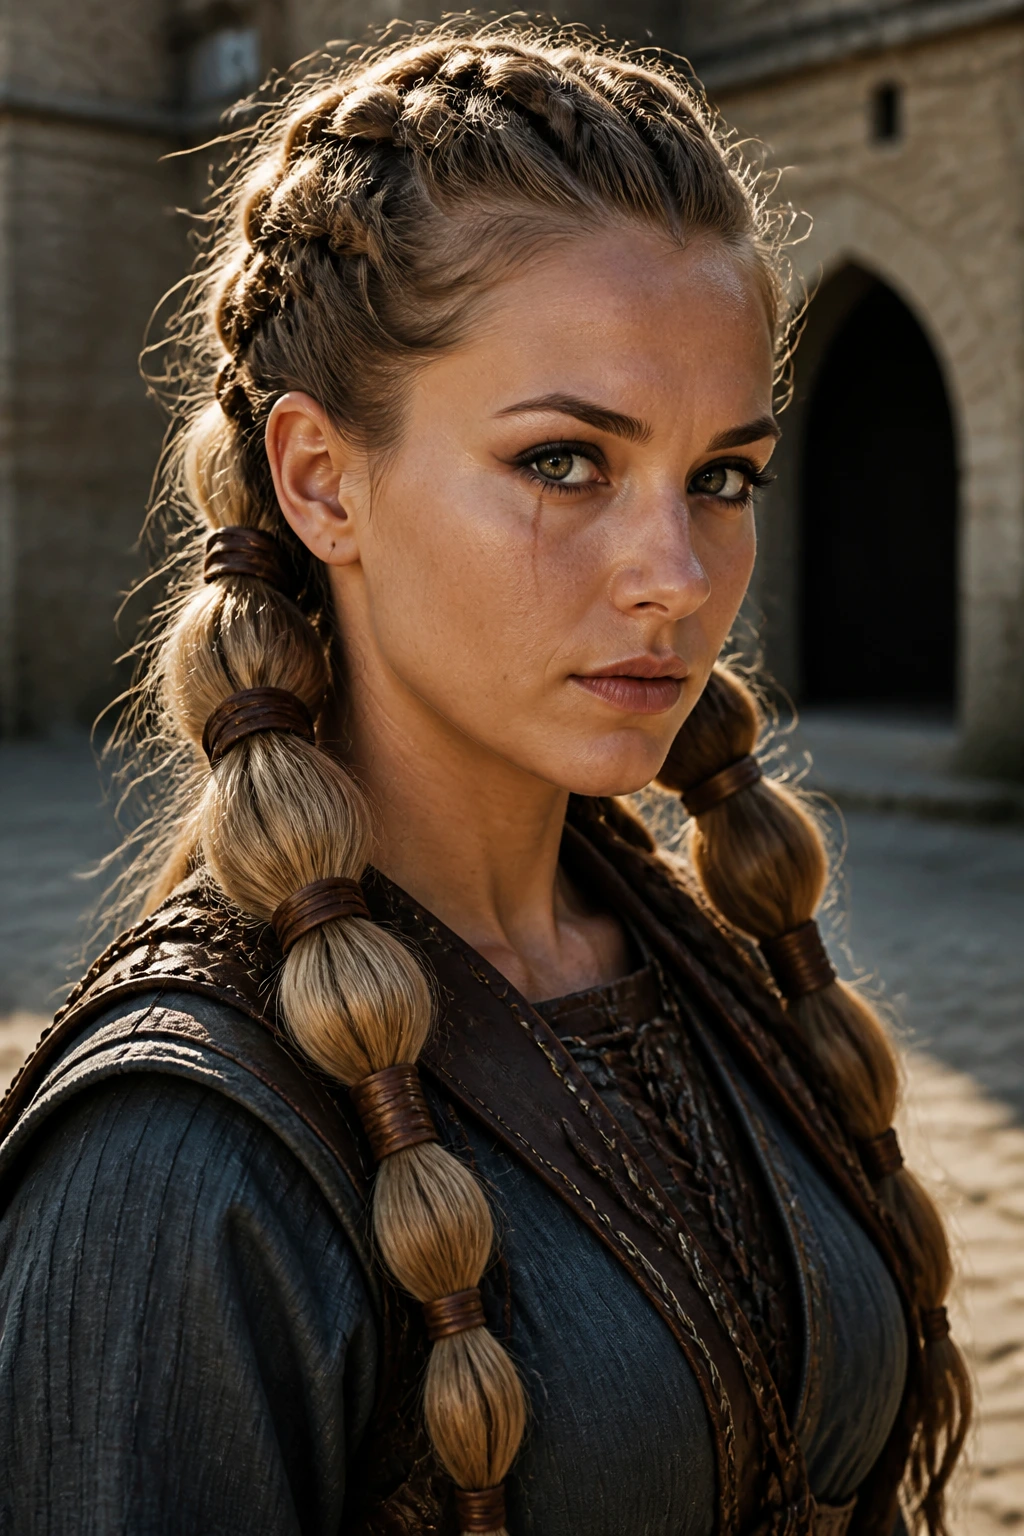
If you want the most dramatic option in the bunch, this is it.
A braided faux hawk lifts the center section into a ridge while the sides are pinned down or braided tight against the scalp. It feels sharper than a simple mohawk, and more wearable because the braid gives the top section structure instead of relying only on teasing and spray. The result works on long hair, medium hair with extensions, and locs that can be gathered into the ridge.
How It Holds
The style depends on contrast. Tight sides. Raised center. A braid or a chain of braids through the middle. If the sides puff out too much, the silhouette disappears. Smooth them with a light cream, pin them down, and let the center have all the attention.
A faux hawk like this can look theatrical fast, so keep the accessories modest. One cuff near the crown or a wrapped tie at the base is enough. The braid should be the headline.
How to Build the Viking Look Without Costume Energy
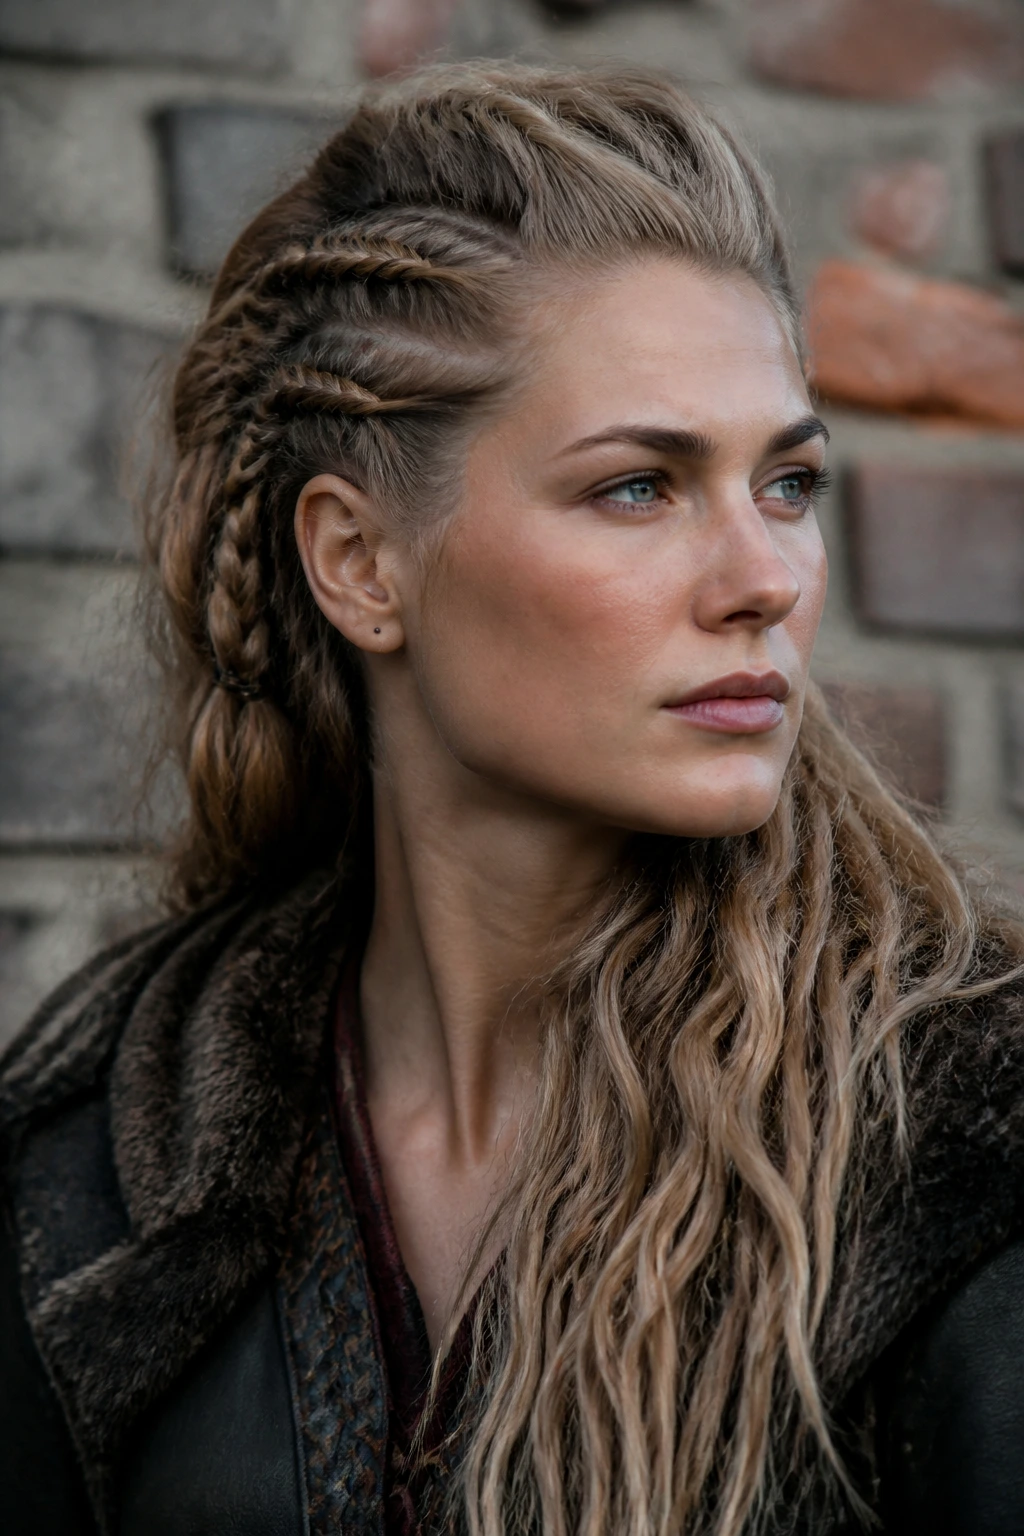
The quickest way to ruin a Viking-inspired style is to over-decorate it. A braid doesn’t need six beads, three ribbons, two cuffs, and a feather. It needs one or two details that look chosen instead of dumped on. That restraint matters more than people think.
Texture helps more than shine. A slightly matte braid line, a loose root, or a bit of visible handwork makes the style feel like someone actually wore it. If the hair is too glossy, too symmetrical, and too finished, it starts reading as themed dress-up. Pull one side looser. Leave the ends thick. Use a leather wrap instead of a bright satin ribbon if you want the look to lean harder into the Nordic mood.
Historical grooming tools found in Scandinavian graves tell us something useful: people cared about hair, but they were not trying to look like a fantasy poster. That’s the line to aim for. Useful. Worn. Strong enough to hold. Fancy enough to notice.
Essential Equipment for These Looks
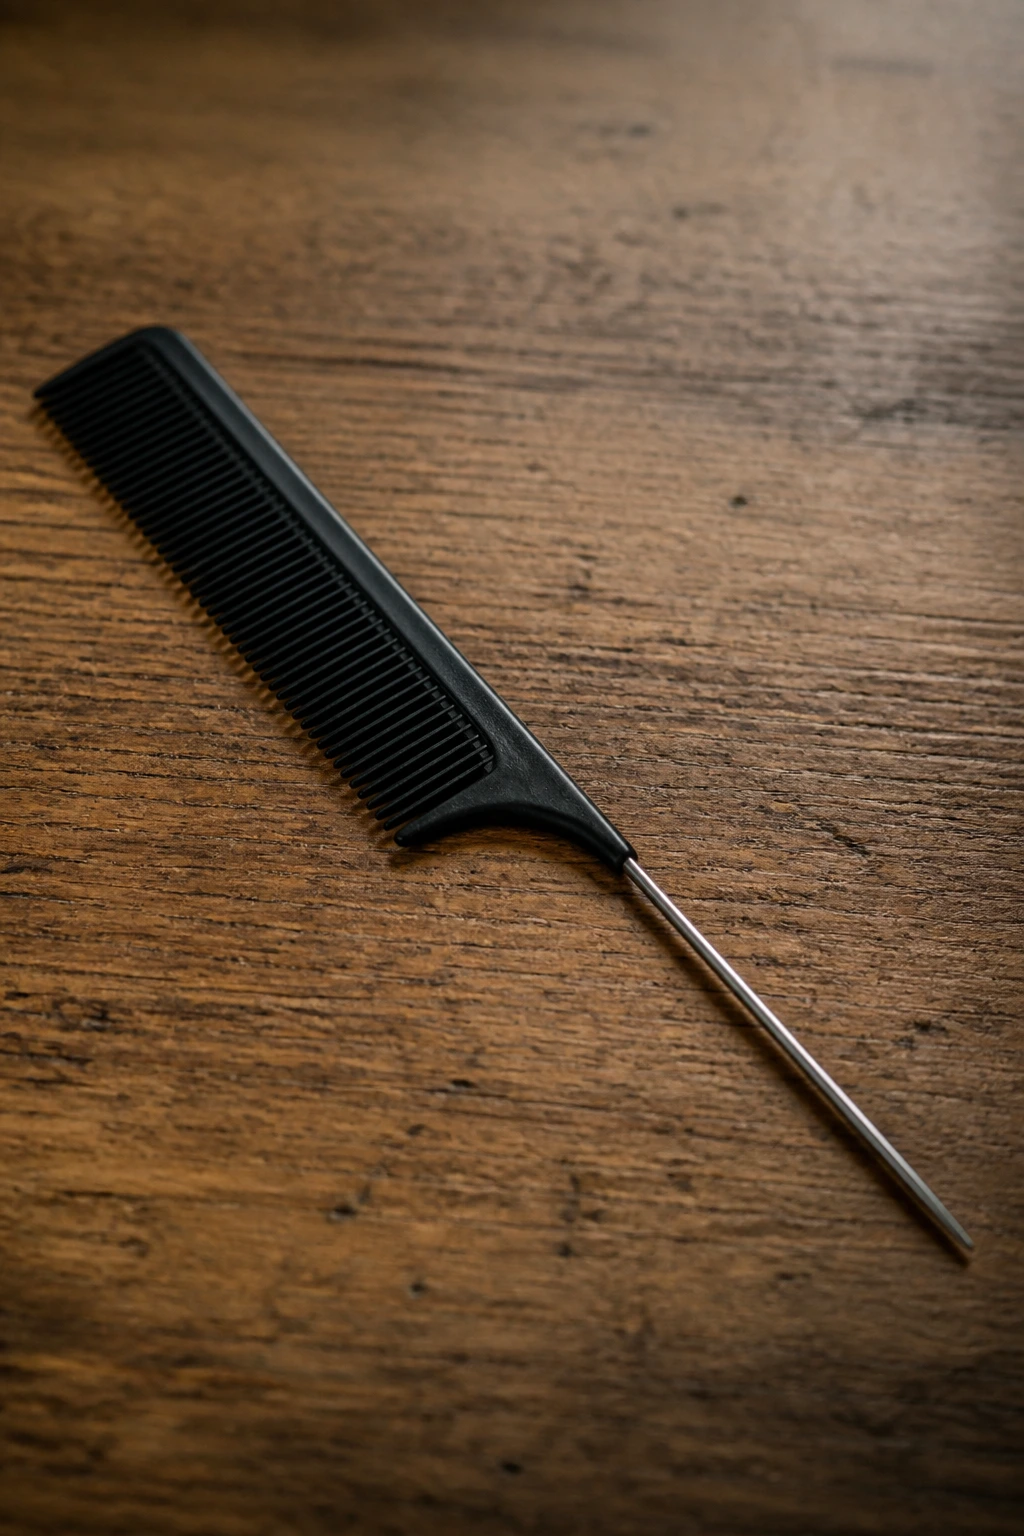
- Rattail comb: Best for straight parts, sectioning, and clean braid starts.
- Sectioning clips: Keep the hair you’re not working on out of the way, especially for crown and halo styles.
- Small clear elastics: These disappear into the braid and work for pigtails, bubble braids, and ends.
- Bobby pins and U-pins: Better for knots, halos, faux hawks, and any style that needs hidden support.
- Texturizing spray or dry shampoo: Adds grip to fresh hair and volume to fine hair.
- Light mousse or styling cream: Helps smooth flyaways and gives twists something to hold onto.
- Edge brush or soft toothbrush: Useful for cleaning up the front hairline without flattening the whole style.
- Hair cuffs, rings, or beads: Keep these to a few well-placed pieces so the style stays wearable.
- Leather cord or ribbon: Good for wraps around braids and ponytails; black or brown usually looks less costume-like.
- Hand mirror: A small one helps with crown braids, low knots, and side styling where the back matters.
- Optional extensions: Worth using if you want more length, more braid body, or a heavier silhouette.
Smart Product and Hair-Prep Tips
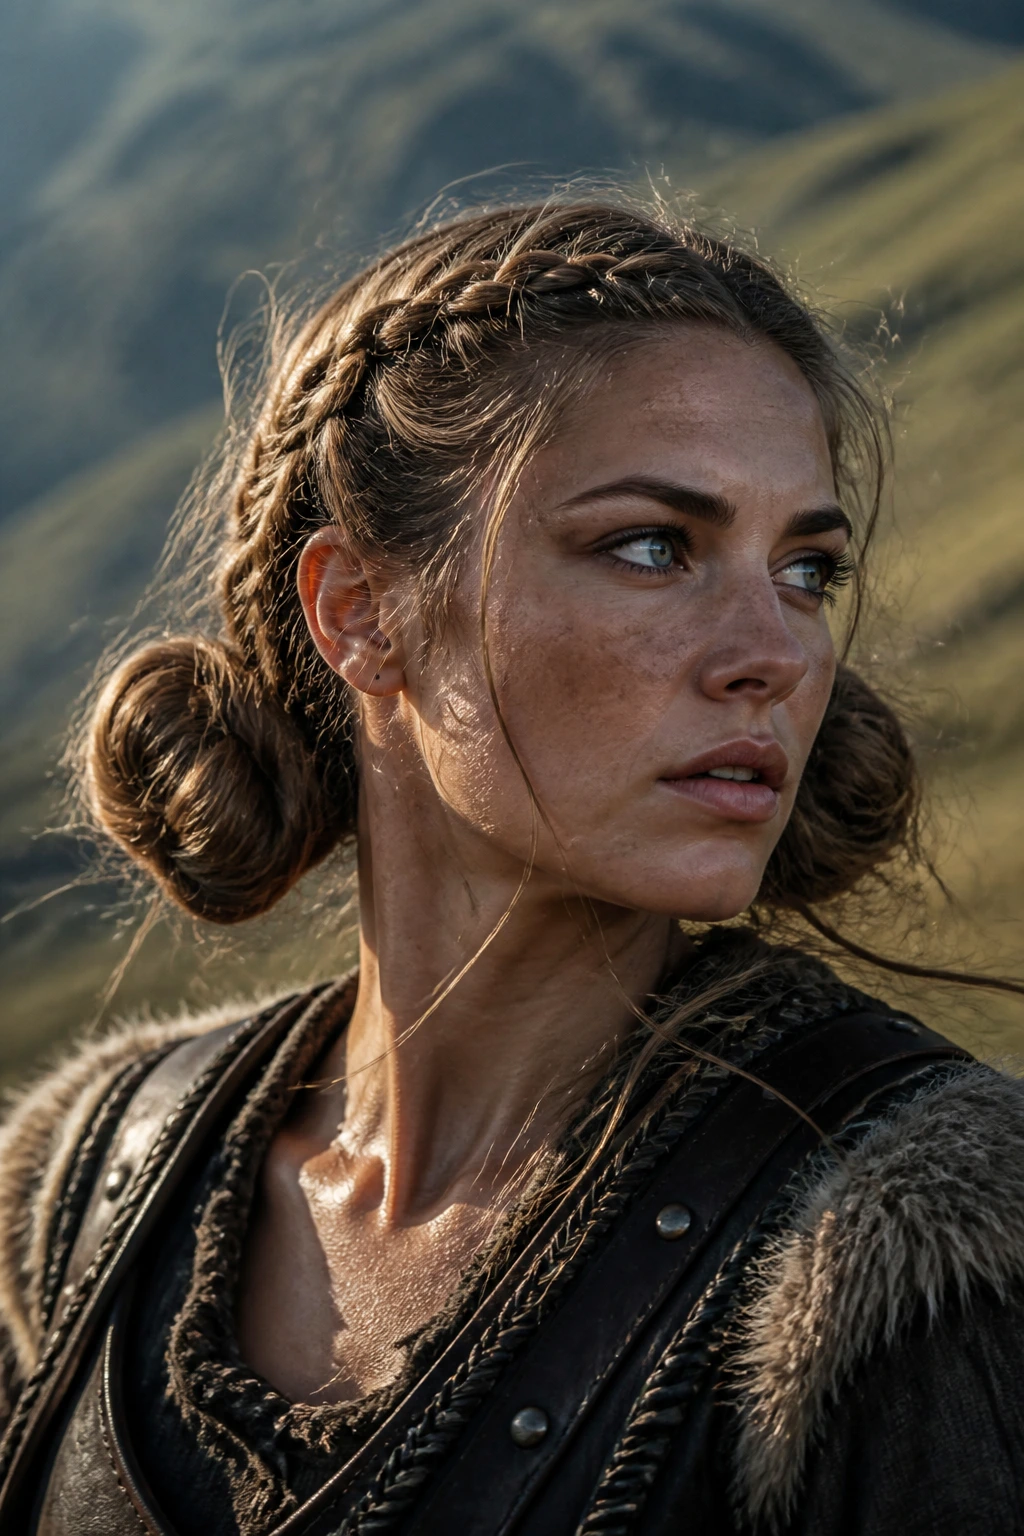
Second-day hair is your friend here.
Freshly washed hair can be too slick, especially if you use conditioner generously or skip any grip product. A little dry shampoo at the roots, a bit of mousse through the mids, and a blow-dry until the hair is about 80% dry gives braids and twists something to hold onto. That grip is half the battle. On thick or coily hair, you may not need much product at all; the texture does some of the work for you.
Use oil carefully. A drop on the ends can keep them from fraying, but too much oil near the scalp makes braids slide and makes bobby pins lose their will to live. Same with gel. A little around the hairline can help tame flyaways. A lot turns the whole head into a slick helmet.
If you’re planning beads, cuffs, or cords, add them after the braid is secured and the style is already balanced. Don’t load the braid first and hope the shape survives. It won’t, or at least not for long.
How to Wear These Styles in Real Life
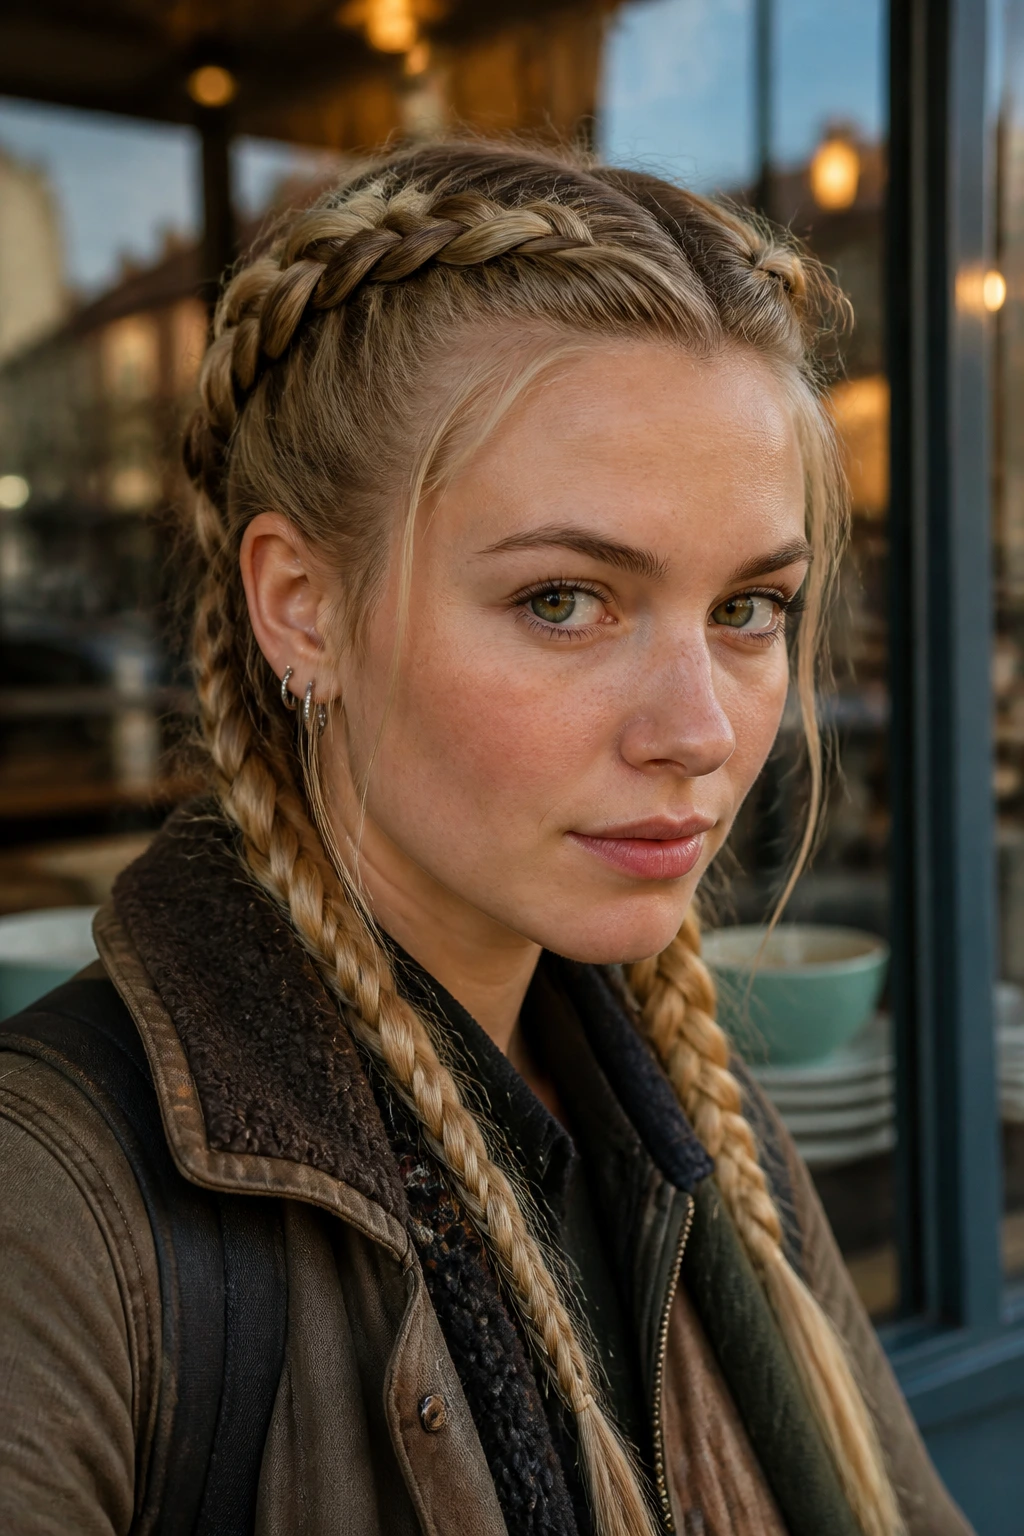
Everyday wear: Choose twin braids, a side-swept braid, a twisted half-up, or a low knot. Keep accessories to one piece, maybe two. The style should move through a commute, a workday, or a long grocery run without needing a mirror every twenty minutes.
Event wear: This is where crown braids, braided faux hawks, and halo styles shine. Add a cuff, a leather wrap, or a few rings, but stop before the hardware starts competing with the braid itself. Strong shape first. Ornament second.
Work or school: A low braid, braided ponytail, or feed-in halo usually feels the cleanest. These sit close to the head, stay put, and don’t need constant fixing. If the dress code is conservative, keep the part neat and the hardware minimal.
Long wear or windy weather: Low knots, crown braids, and loc wraps hold up better than loose styles. Anything with the weight at the nape or around the head is going to survive better than something that hangs freely.
Additional Tips and Style Boosters
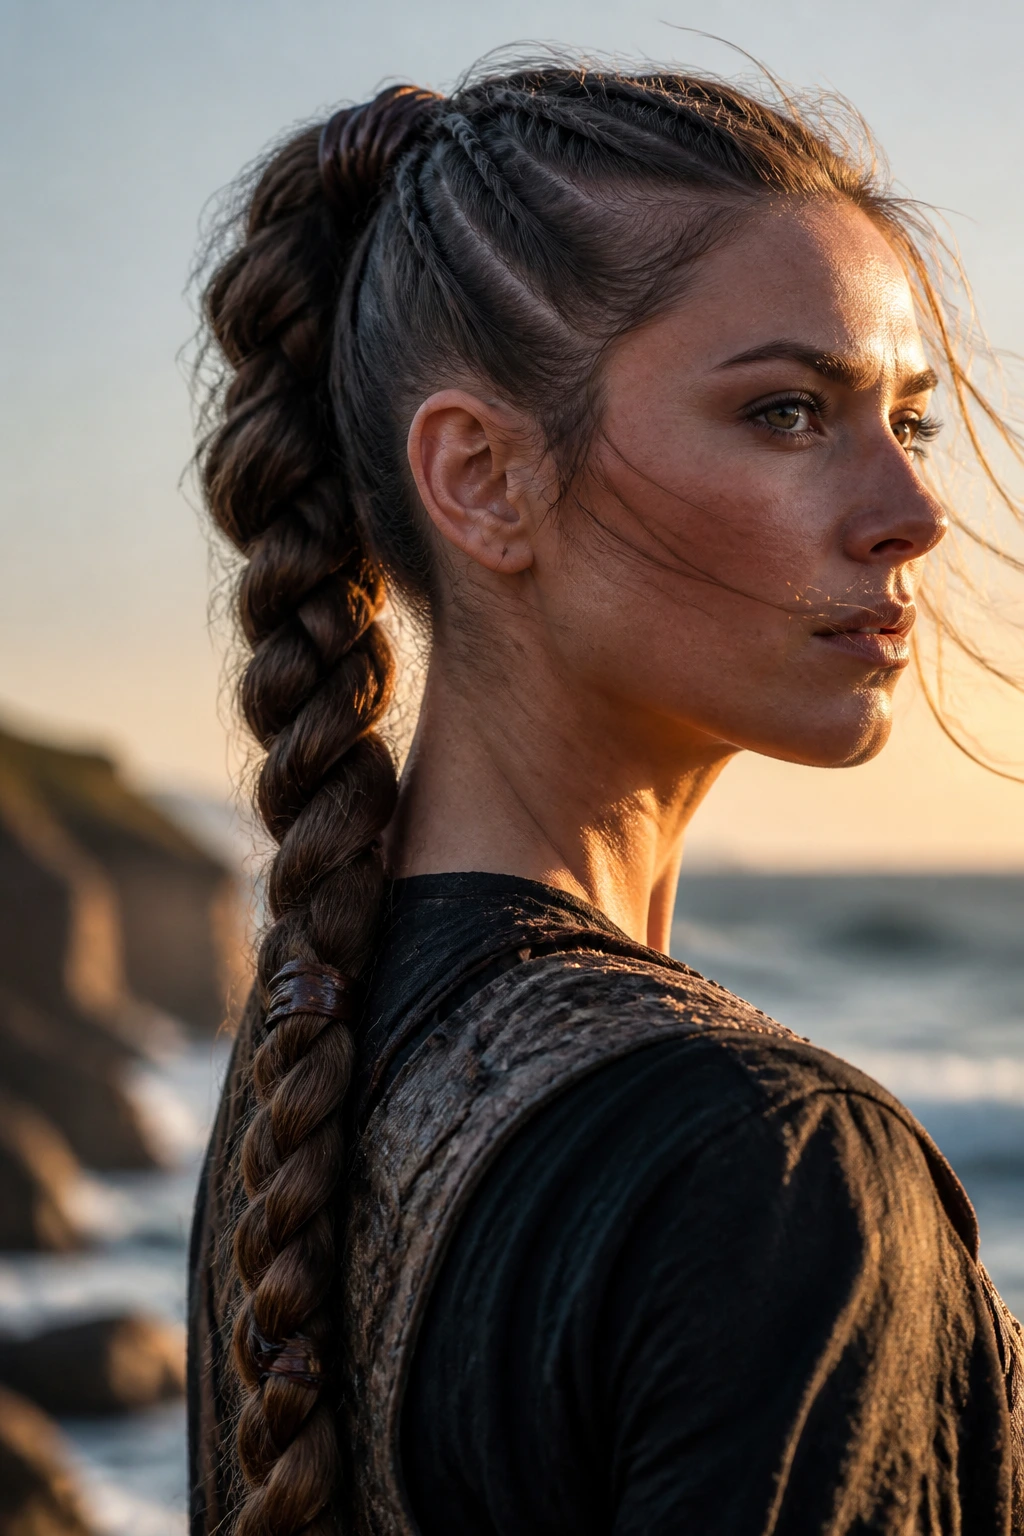
Texture Boost: If your hair slips out of everything, mist the lengths with water and work in a small amount of mousse before braiding. For very fine hair, a dusting of dry shampoo at the roots can give the braid the grip it needs without making it stiff.
Accessory Choice: Bronze-toned cuffs, dull silver rings, leather cord, and wooden beads usually feel more at home here than bright, shiny plastic accents. One good piece beats five noisy ones.
Face-Framing Pieces: A couple of pulled-out strands near the temples can soften crown styles, especially on round or heart-shaped faces. Keep them deliberate. Random wisps are fine; stray hairs that look forgotten are not.
For Thick Hair: Divide before you braid. Working in smaller panels keeps the style cleaner and saves your arms. Thick hair can make even a simple braid feel like an engineering project if you try to force it into one pass.
For Fine Hair: Tease the crown lightly and keep braids a little looser so they look fuller. Tiny braid edges can disappear on very fine strands, so a wider braid line helps.
Make-Ahead, Overnight Care, and Re-Styling Guidance
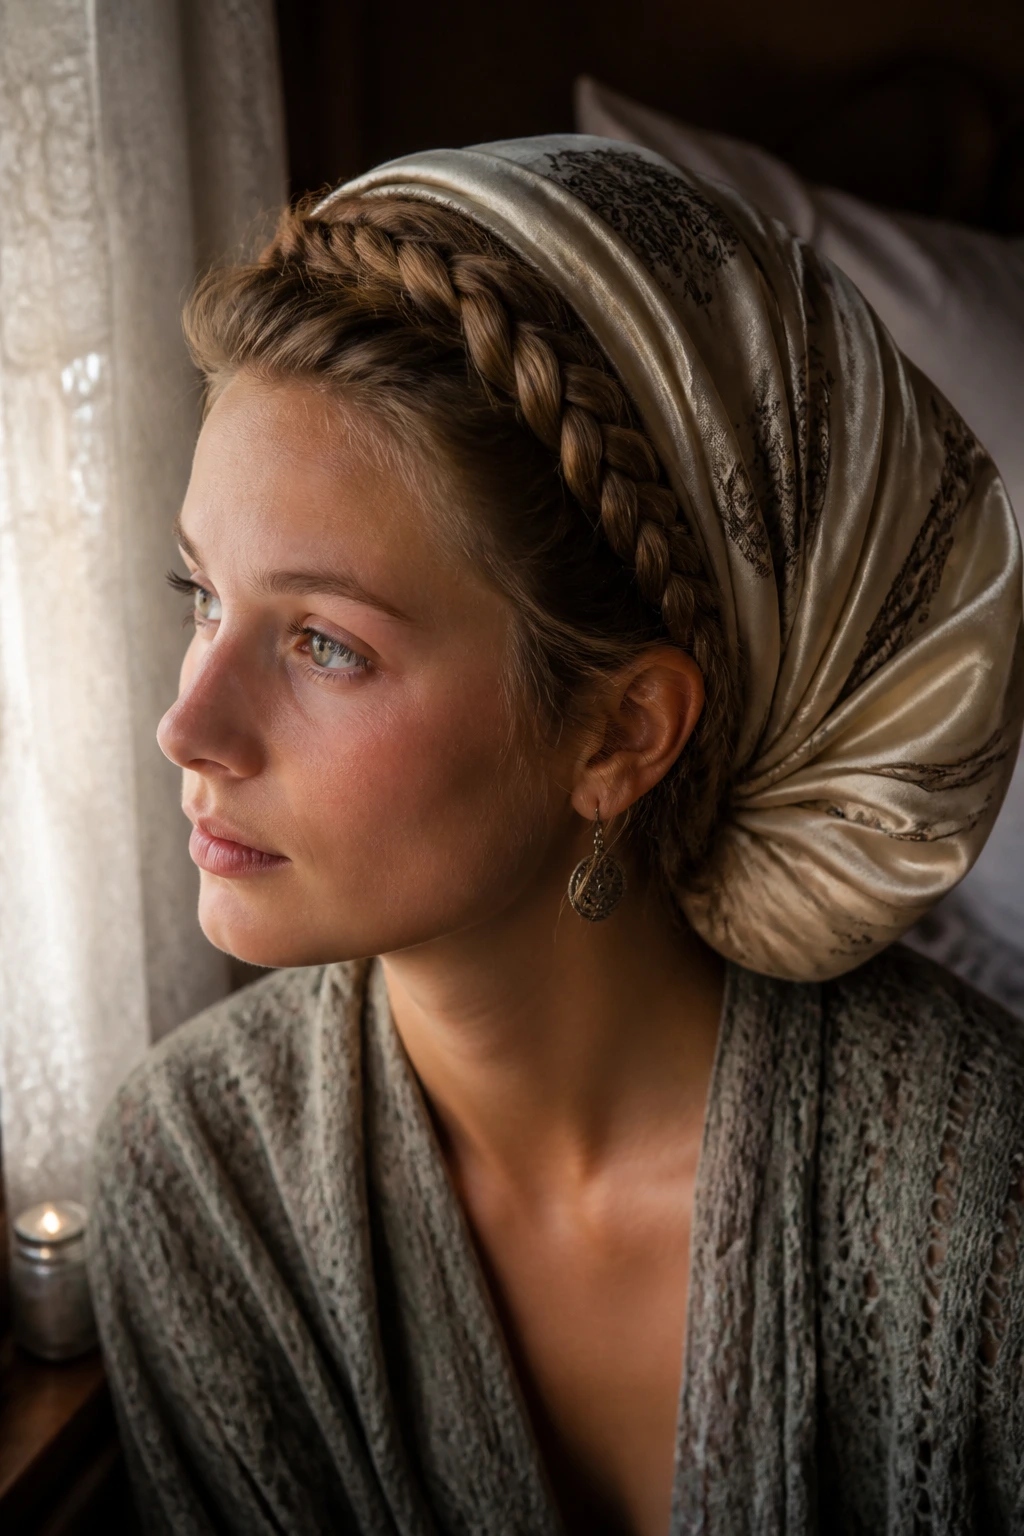
Most of these styles hold best for one to three days if you treat them right. Twin braids, low knots, side braids, and faux hawks can often be worn the next day with only a quick refresh at the roots. Crown braids and halo styles usually need more pin checking overnight, because the weight spreads around the head and the hidden bobby pins work loose faster than people expect.
Sleep on a silk or satin pillowcase if you can. Better yet, wrap the style in a silk scarf or use a bonnet that doesn’t crush the braid pattern. If the ends are tucked, check them in the morning and re-secure any elastic that has loosened. A light mist of water mixed with a drop of leave-in conditioner can wake up the braid line without soaking it.
For locs, wrapped crowns and pinned styles can last longer, but the pins should still be checked daily so they don’t dig in or shift. If the style is meant for a full day out, do it the night before and let it settle. Braids often look better after a few hours anyway. They stop looking freshly built and start looking lived in.
Variations and Adaptations to Try
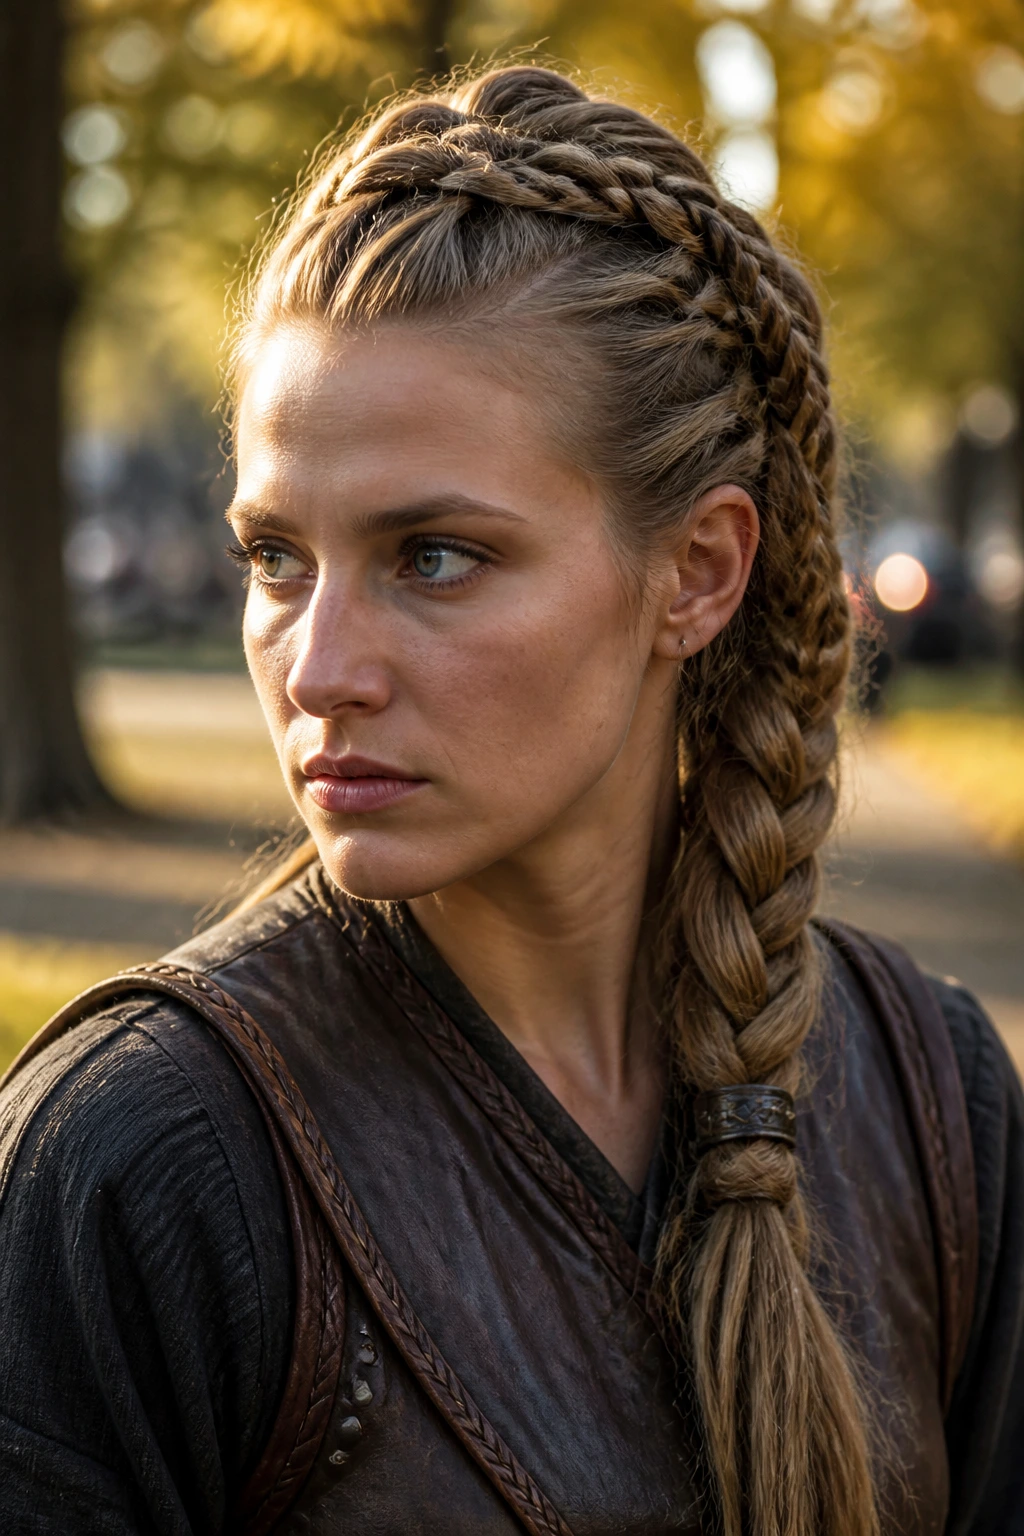
Soft Hearth Version: Keep the braid lines looser, skip the heavy hardware, and leave a few temple pieces down. This version works when you want the mood without the harder edge.
Battle-Ready Version: Tighten the root sections, use a deeper part, and add one leather wrap or cuff near the base. The structure gets sharper, which is useful for photos, performances, or long days when you want the hair to stay put.
Protective-Style Version: Focus on low tension, tuck the ends, and choose braids or twists that don’t require daily manipulation. This is the version to reach for if your scalp is sensitive or if you want to preserve length.
Fine-Hair Version: Start with mousse, dry shampoo, or a little root lift, then build smaller braid sections so the style doesn’t collapse. Hidden pins and tiny elastics matter more here than big accessories.
Curly or Coily Version: Stretch the hair first if you want a cleaner braid line, or lean into the texture and use twists, loc wraps, and crown styles that work with the curl pattern. You do not need to flatten the hair to get the look.
Short-Hair Shortcut Version: Use half-up braids, temple twists, and pinned side sections. You can borrow the Viking shape without needing waist-length hair.
Common Mistakes to Avoid
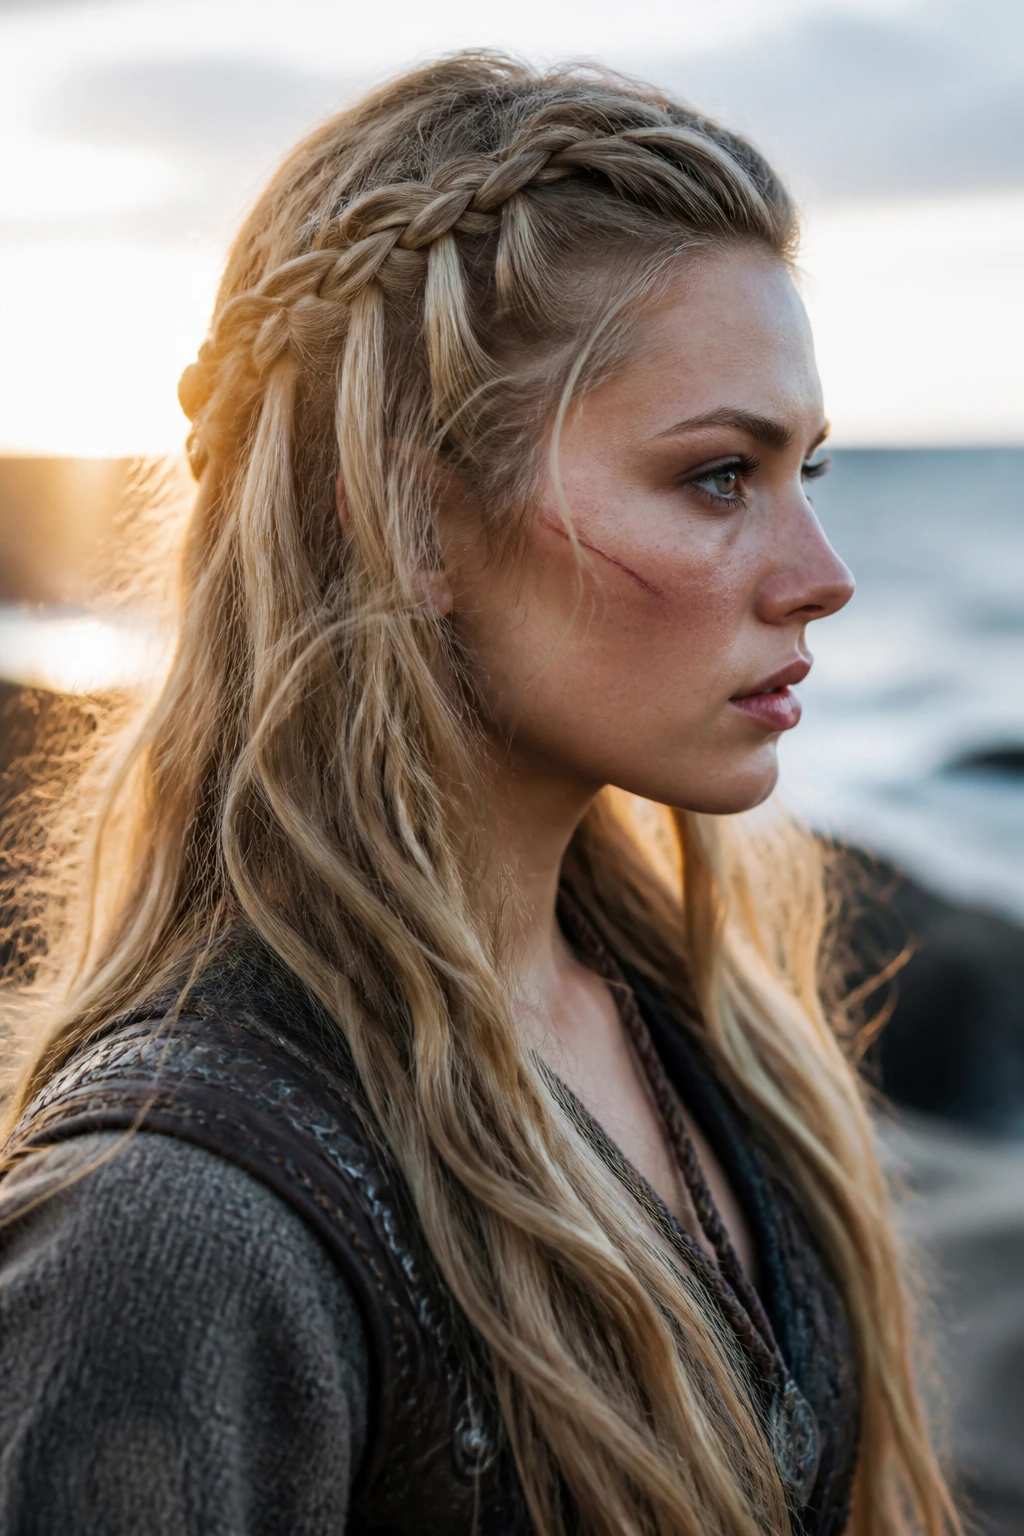
The first mistake is making the braid too neat. A braid that’s straight, shiny, and ironed into place usually loses the whole mood. Loosen the edges a little and let the texture show.
Another easy error is pulling too hard at the roots. Yes, tension helps the braid hold. No, your scalp should not feel like it needs a lawyer. If the style leaves sore spots behind, you’ve gone too far. Back off and use more grip product instead of more force.
Too many accessories can ruin the line of the braid fast. If the beads, cuffs, and cords all appear at once, the eye stops seeing the shape of the hairstyle and starts seeing costume clutter. Choose one focal point and let the braid do the rest.
Freshly washed, silky hair often slips out of the style before lunchtime. If your hair is too clean to cooperate, fix that before you start. Dry shampoo, mousse, or a bit of texturizing spray will save you more time than redoing the whole style.
Finally, don’t forget the back. A style can look clean from the front and sag at the nape like a tired hammock. Check the back in a second mirror or with your phone camera before you call it done.
Frequently Asked Questions
Which Viking hairstyle is easiest for beginners?
Twin Dutch braids or rope-twist pigtails are the least fussy starting points. They give you the braided look without demanding complicated pinning or advanced sectioning.
Can short hair work for Viking-inspired styles?
Yes, but the style choices change. Side braids, half-up twists, faux-undercut looks, and pinned crown sections work better than long hanging braids when the length is limited.
Do these styles need hair accessories to look right?
Not at all. Accessories help, but the shape and texture matter more. A good braid with rough edges can read as Viking even with no cuffs, rings, or leather ties.
How do I keep braids from slipping out if my hair is fine?
Prep the roots with dry shampoo or texturizing spray, then braid hair that is not freshly conditioned. Keep the first few passes snug, and secure the end with a small elastic that matches your hair color.
Are these styles protective?
Some are, some aren’t. Low-tension braids, crown wraps, and loc styles can be protective if they’re not too tight and if you’re not redoing them constantly. A style that hurts the scalp is not protective, no matter how good it looks.
Can I wear these styles with locs?
Absolutely. Loc crowns, side wraps, half-ups, and faux hawk shapes work especially well with locs because the hair already has the body the style needs. Keep the pins spread out so the weight doesn’t pull in one place.
How long can I wear one of these styles?
Most braids and twists are best for one to three days, depending on your hair type and how much movement the style gets. Loc-based versions can often go longer, but the pins and edges still need checking.
What if my braid looks flat instead of full?
Pull the sides of the braid outward gently after you secure it, then nudge the crown area up with your fingers. A little root lift and a touch of texturizing spray can make a plain braid look much thicker.
A Style That Holds Up
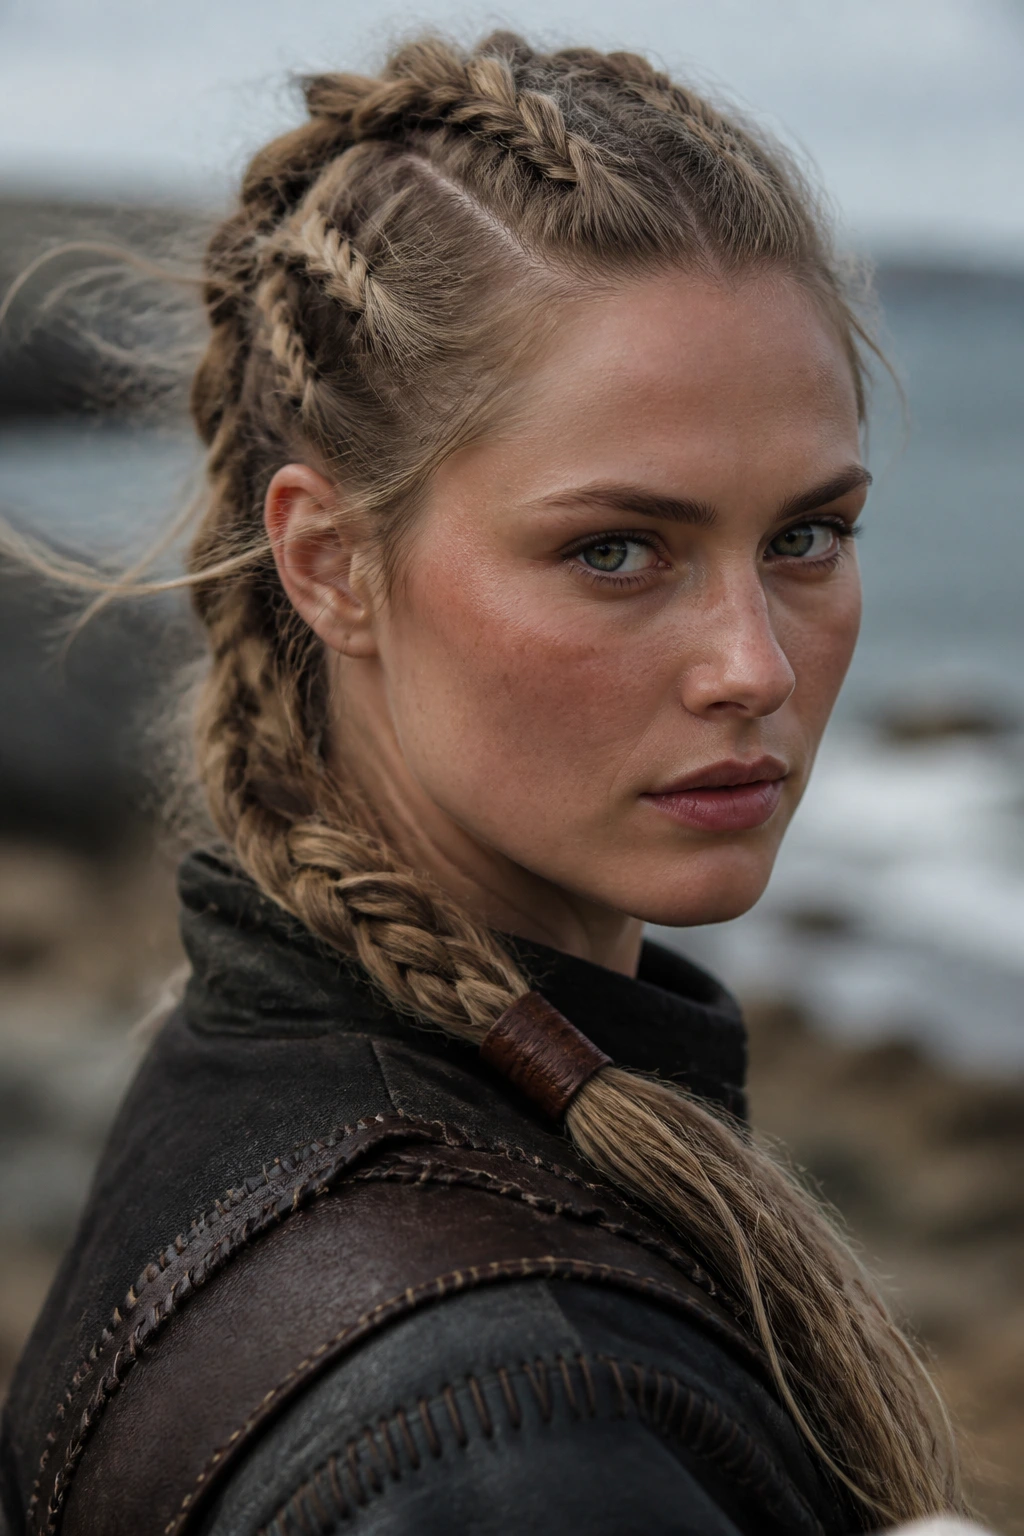
The best Viking hairstyles for women don’t try to look flawless. They look anchored. A little roughness at the edges, a strong braid line, and one well-chosen wrap or cuff do more than a pile of accessories ever will.
Pick the shape that matches your hair, not the fantasy version you’ve seen online. When the braid has enough grip to last and enough looseness to feel human, that’s when the style starts working for you instead of against you.
