



The difference between a flat pixie and one that moves is usually hidden in the layers. A layered pixie cut can look almost quiet at rest, then flick and bend when you turn your head. That small shift is the whole point. It keeps short hair from reading as stiff or boxy, and it gives the cut that soft movement people keep asking for in salons.
I like pixies that breathe. Not fluffy, not over-thinned into wisps, not shaved so tight that you need a different styling routine every morning. The sweet spot is weight removed in the right places: enough lift at the crown to avoid that helmet shape, enough softness around the temples to keep the face from looking severe, and enough structure in the nape that the back of the head still has a clean line.
These 20 looks all do that in different ways. Some lean feathered and airy. Some use a deeper taper or a side-swept fringe to soften the silhouette. A few are better for fine hair, a few are built for curl or thickness, and a couple are for people who want a little bite without losing that easy, touchable finish. Start with the shape that matches your texture, not the one that looks coolest on a mannequin head. That’s where the good cuts live.
Why These Layered Pixie Cuts Feel Softer Than a Blunt Crop
-
They move with your head, not against it: The right layers let short hair bend instead of sitting in one hard line, so the cut still looks alive after a long day.
-
They keep the crown from going flat: A little internal layering at the top adds lift without making the whole cut look puffy or overstyled.
-
They work with real texture: Straight, wavy, curly, thick, and fine hair all need different layer placement, and that’s why these styles don’t all read the same.
-
They make face-framing easier: A soft fringe, a tucked side, or a feathered temple can change the mood of the whole cut without adding length.
-
They grow out more gracefully: When the layers are placed well, you don’t get that awkward shelf at the back after three weeks. The shape just softens.
1. Feathered Crown Pixie
This is the pixie I reach for when someone wants lift without drama. The crown gets the softest feathering, the sides stay close enough to keep the outline tidy, and the whole cut bends instead of poking out. If you’ve ever had short hair that looked sharp in the mirror and oddly stiff in daylight, this shape solves that problem fast.
Why it moves so well
The magic sits in the crown. Ask for layers that are short enough to create movement, but not so short that the top stands up on its own. A good Feathered Crown Pixie usually leaves about 1½ to 2½ inches on top, with the longest pieces directed slightly forward so they fall in a soft sweep.
The nape should stay neat and the temples should be softened, not carved into little corners. That balance keeps the cut from turning into a triangle. Use a small round brush or just your fingers and a blast of air at the roots. That’s enough. Too much product kills the whole point.
Best for: fine to medium hair, small-to-medium foreheads, and anyone who wants lift without a lot of styling time.
Styling note: a pea-size amount of mousse at the roots beats heavy wax every time.
2. Tapered Nape Pixie
A tapered nape changes everything. It makes the back of the haircut look clean and deliberate, while the top stays soft enough to keep the style from feeling severe. If you like a neat neckline but don’t want a hard, shaved finish, this is the one to point to.
The contrast is what gives this pixie its shape. The nape hugs the neck close, usually with clipper work or very precise scissor tapering, while the crown carries more movement through longer layers. That longer top can be pushed back, brushed diagonally, or left messy with a touch of paste. The cut looks especially good when the back of the head has a strong curve. It follows the shape instead of fighting it.
This is also one of the smartest cuts for people who hate fussing with the back of their hair. The neckline keeps its line longer than a blunt bob does, and even when it grows out, it usually grows out cleanly instead of collapsing into a puff.
3. Side-Swept Fringe Pixie
If your forehead is the part of a short cut that always seems too exposed, a side-swept fringe fixes that in a hurry. The fringe adds weight where you want it, then lets the rest of the pixie stay light and movable. It’s a simple trick, but it changes the whole read of the haircut.
The best version isn’t a heavy swoop that hangs in your eyes. It’s a diagonal fringe that starts a little deeper at the crown and lands softly across one brow or just above the cheekbone. That angle gives the cut motion. It also softens a strong brow or a longer face without making the style look like you’re hiding behind your hair.
How to wear it
Air-dry the fringe in the direction you want it to fall, then use a flat brush or fingers to guide it across the forehead. A tiny bit of light cream on the ends is enough. If the fringe gets too polished, the movement disappears.
Best for: round faces, square jaws, and anyone who likes one side to do a little more work than the other.
4. Choppy Micro-Layer Pixie
When hair falls flat by lunchtime, micro-layers are worth a look. Not chunky layers. Micro-layers. Short, deliberate snips through the top and upper sides break up the mass just enough to keep the hair from sitting like one solid cap.
This cut works especially well on straight, dense hair that tends to lie in a single direction. The shorter pieces create little pockets of lift, so the texture shows up even before you add product. A matte paste or a dry texture spray makes the difference obvious. Run your fingers through the crown, pinch a few pieces forward, and leave the rest alone. That slight mess is the point.
Key details
- Top length: usually 1½ to 3 inches, depending on how much you want to push forward.
- Side length: kept close, but not shaved.
- Finish: piecey, not polished.
- Maintenance: every 4 to 6 weeks if you want the texture to stay sharp.
A choppy micro-layer pixie is one of those cuts that looks better a little imperfect. Freshly styled is fine. Overworked is not.
5. Soft Shag Pixie
This is the cut for someone who likes hair that looks like it moved before you walked into the room. The Soft Shag Pixie mixes short layers with a looser, shaggier edge, so the top has swing and the sides never feel too neat. It’s not a classic polished pixie. That’s why it feels relaxed.
The best version keeps the top a bit longer than the temples and lets the fringe fall into a wispy curtain or a broken side fringe. Around the ears, the length should feather out instead of stopping in a hard line. That little softness matters. It keeps the haircut from turning severe the second you tuck one side behind the ear.
I like this shape on wavy hair, especially when the wave starts near the root and doesn’t need much coaxing. Scrunch in a light mousse, rough dry, and stop before it gets too perfect. Perfection is the enemy here.
6. Curly Layered Pixie
Unlike a straight-hair pixie, a curly layered pixie should be cut for shrinkage, not for the first minute in the chair. That’s the part people miss. Curls bounce up. They also change direction. If the layers are cut too short while damp, the finished shape can spring into something unexpectedly tiny.
A good curly pixie usually keeps more length at the crown and slightly longer pieces around the face so the curls can stack softly instead of puffing out in a triangle. Dry cutting or curl-by-curl detailing helps a lot because it shows where each curl really lives. The result is movement that looks natural, not forced.
How to use it
Use a leave-in and a light gel, then let the curls set without touching them much. Once they’re dry, break the cast with clean hands. That’s enough. If you keep fluffing the cut, the shape grows wider than it needs to.
This is one of the most forgiving layered pixies when it’s done right. It doesn’t need daily heat. It needs a good cut and a little restraint.
7. Undercut Pixie with Wispy Top
The undercut pixie can go hard very fast. That’s why the wispy top matters. It softens the whole thing and keeps the haircut from looking like it belongs on a different planet. The undercut removes weight around the sides and nape, which is a gift if your hair is thick, but the top layer has to stay airy enough to balance it.
What makes it work
A visible undercut gives you a clean perimeter. A hidden one gives you the same weight removal without the obvious contrast. Either way, the top should be cut with delicate point-cut layers so the ends don’t look blunt against the shaved or clipped sides.
This is a smart cut if you want a little edge but still need movement on top. It also helps in humid weather, because the bulk is gone where it usually balloons first. Keep the styling light. A dab of cream or paste on the ends, not at the roots, keeps the wisps separated.
Best for: thick hair, strong jawlines, and people who don’t mind an obvious shape.
8. Brushed-Forward Pixie
A brushed-forward pixie has more attitude than people expect. The layers move toward the face, not away from it, which creates a soft, slightly moody frame. It can look gentle, but it never looks sleepy.
The cut works because the longest pieces sit in front of the crown and fall forward across the forehead. That forward direction gives the style a little swing every time you move. It’s especially good if your hairline has cowlicks that fight a side part. Let the cut follow the grain instead of forcing the grain to behave.
I like this shape with a satin-matte finish. Too much shine can make the forward pieces stick together, and then the movement disappears. Use your fingers to push the front downward while the hair is still warm from the dryer. Then stop. Don’t overthink it.
9. Piecey Silver Pixie
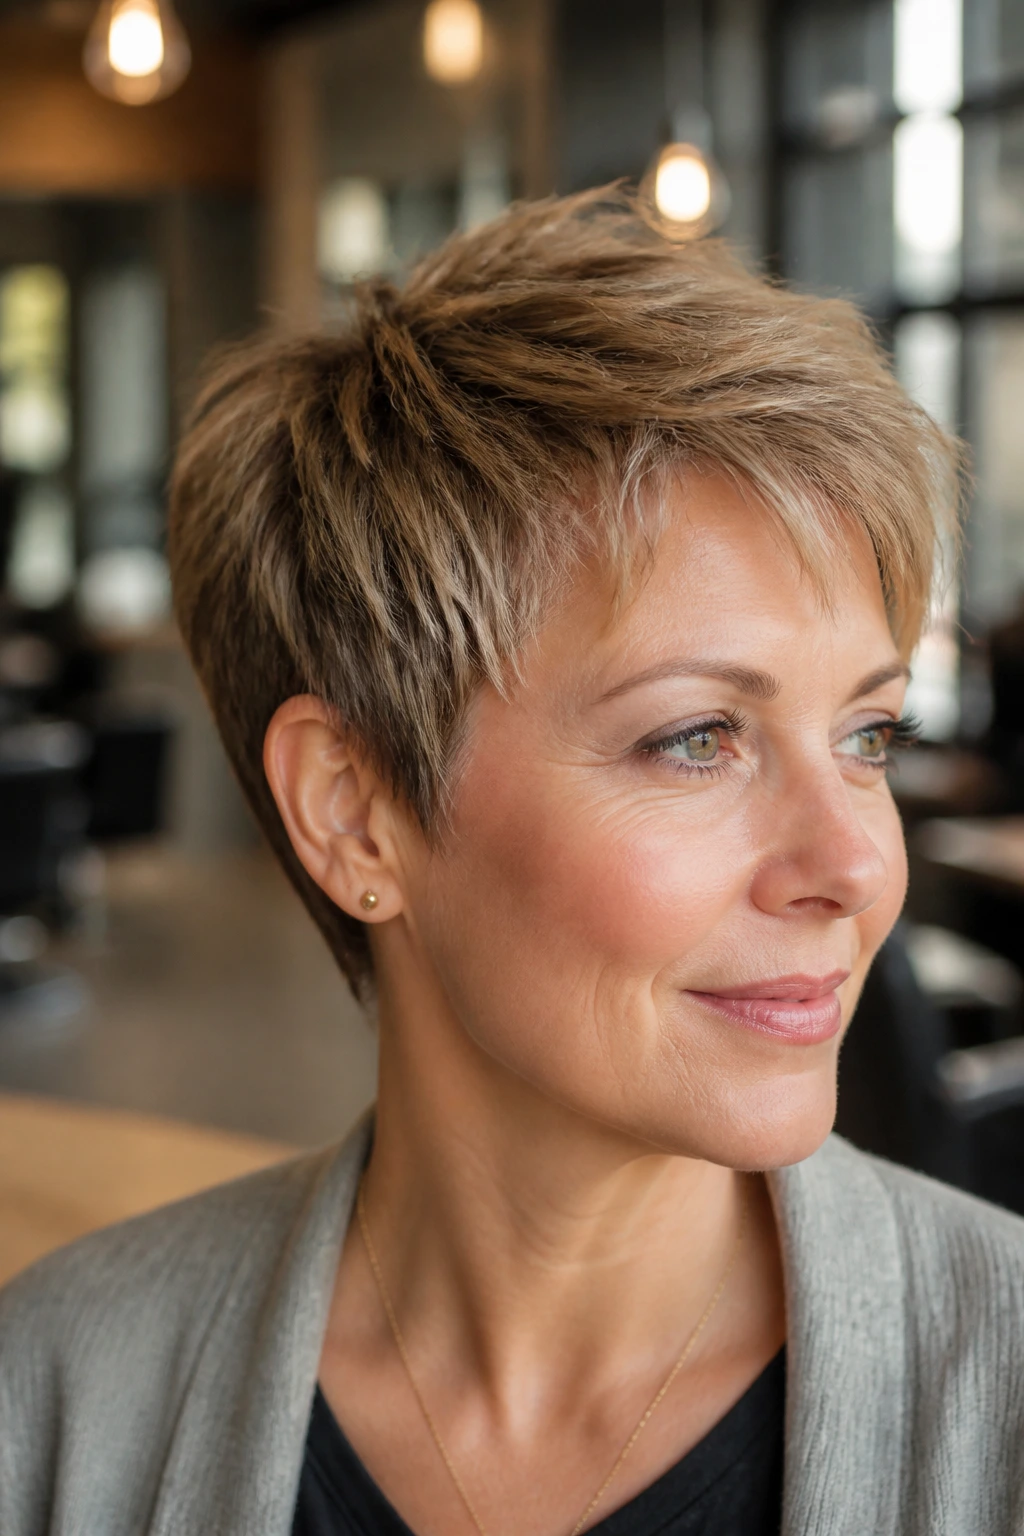
Gray, silver, and white hair can take a layered pixie beautifully, because the color already gives the texture some dimension. The key is to keep the layers deliberate. If the cut gets too fluffy, the tone can start to look washed out instead of luminous.
What makes this version special is separation. You want little pieces to catch light in different ways, especially near the fringe and temple area. A lightweight paste or a soft wax works better than anything creamy. Cream can make silver hair look dull if you use too much.
A quick way to style it
- Work a tiny amount of product through the ends, not the roots.
- Lift the crown with your fingertips.
- Leave the fringe a little undone.
- Tuck one side behind the ear if you want the color shift to show.
This is one of those cuts that looks expensive even when the styling is minimal. The color does half the work. The layers do the rest.
10. Long-Top Pixie with Ear Tuck
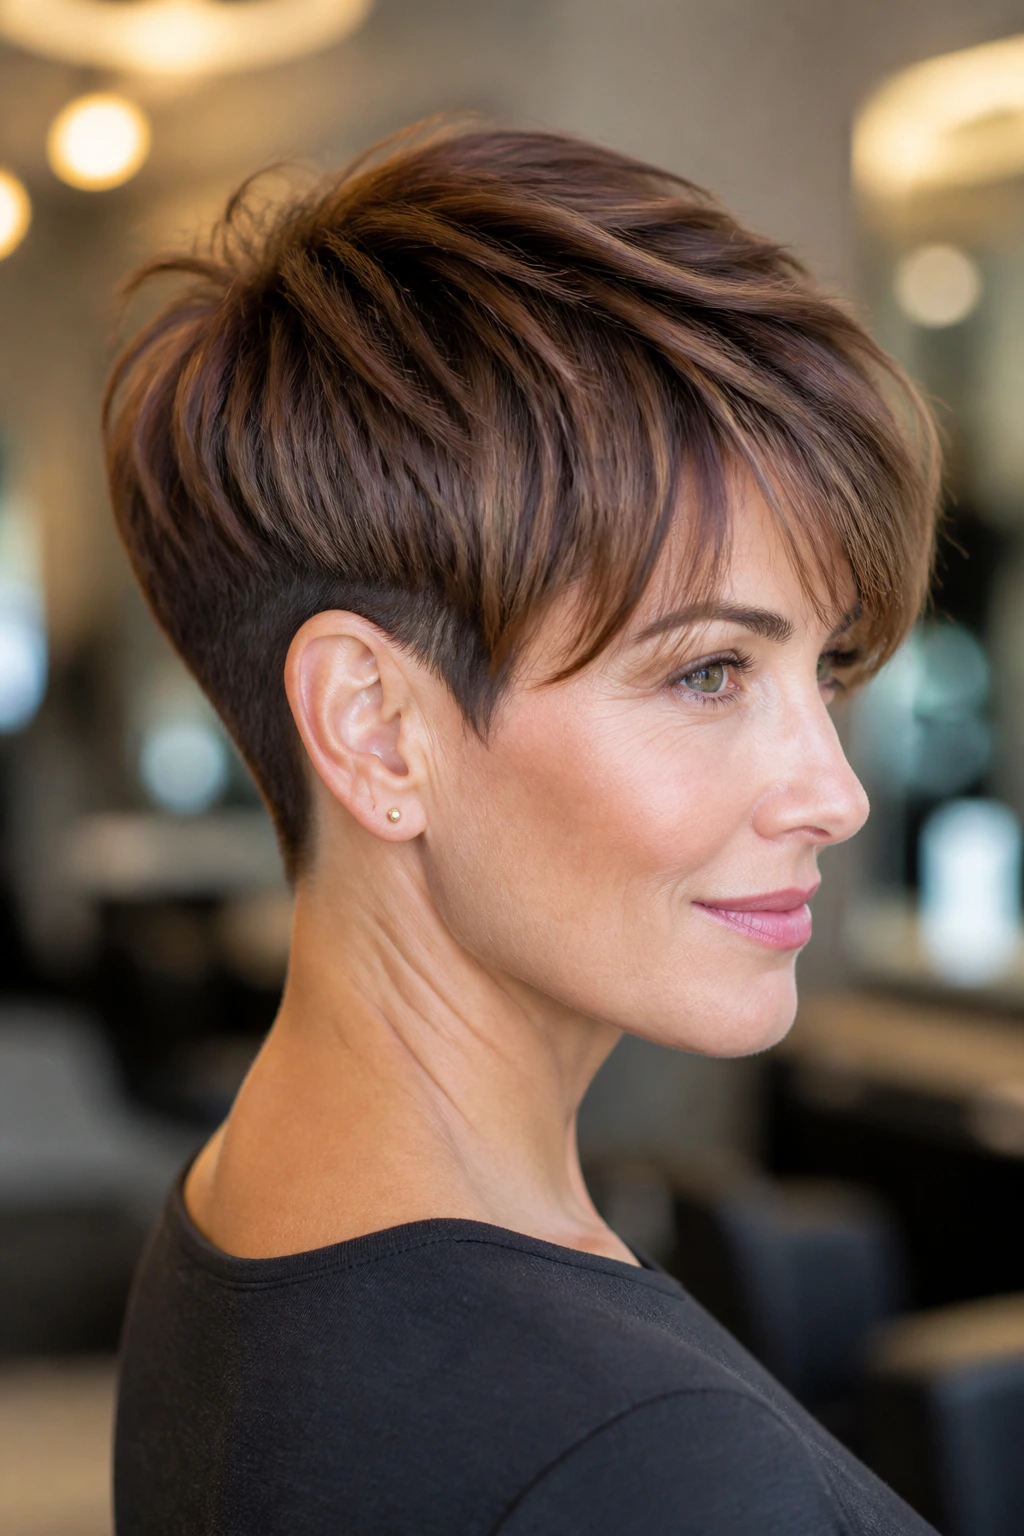
This cut is built for that little moment when you tuck one side behind your ear and the whole haircut suddenly looks more relaxed. The top stays long enough to sweep, the sides stay soft enough to move, and the ear tuck gives the style an easy asymmetry that never feels fussy.
It’s a smart choice if you want short hair but don’t want to commit to a very cropped silhouette. Keep the top around 3 inches, maybe a touch more at the fringe, then taper the sides so they follow the head shape without clinging. The front can be side-swept or slightly off-center. Either way, one tucked side gives the style its personality.
This is a useful cut for glasses wearers, too. The ear tuck clears the frame line and keeps the side from bulking up around the temple. Small thing. Big difference.
11. Rounded Layered Pixie
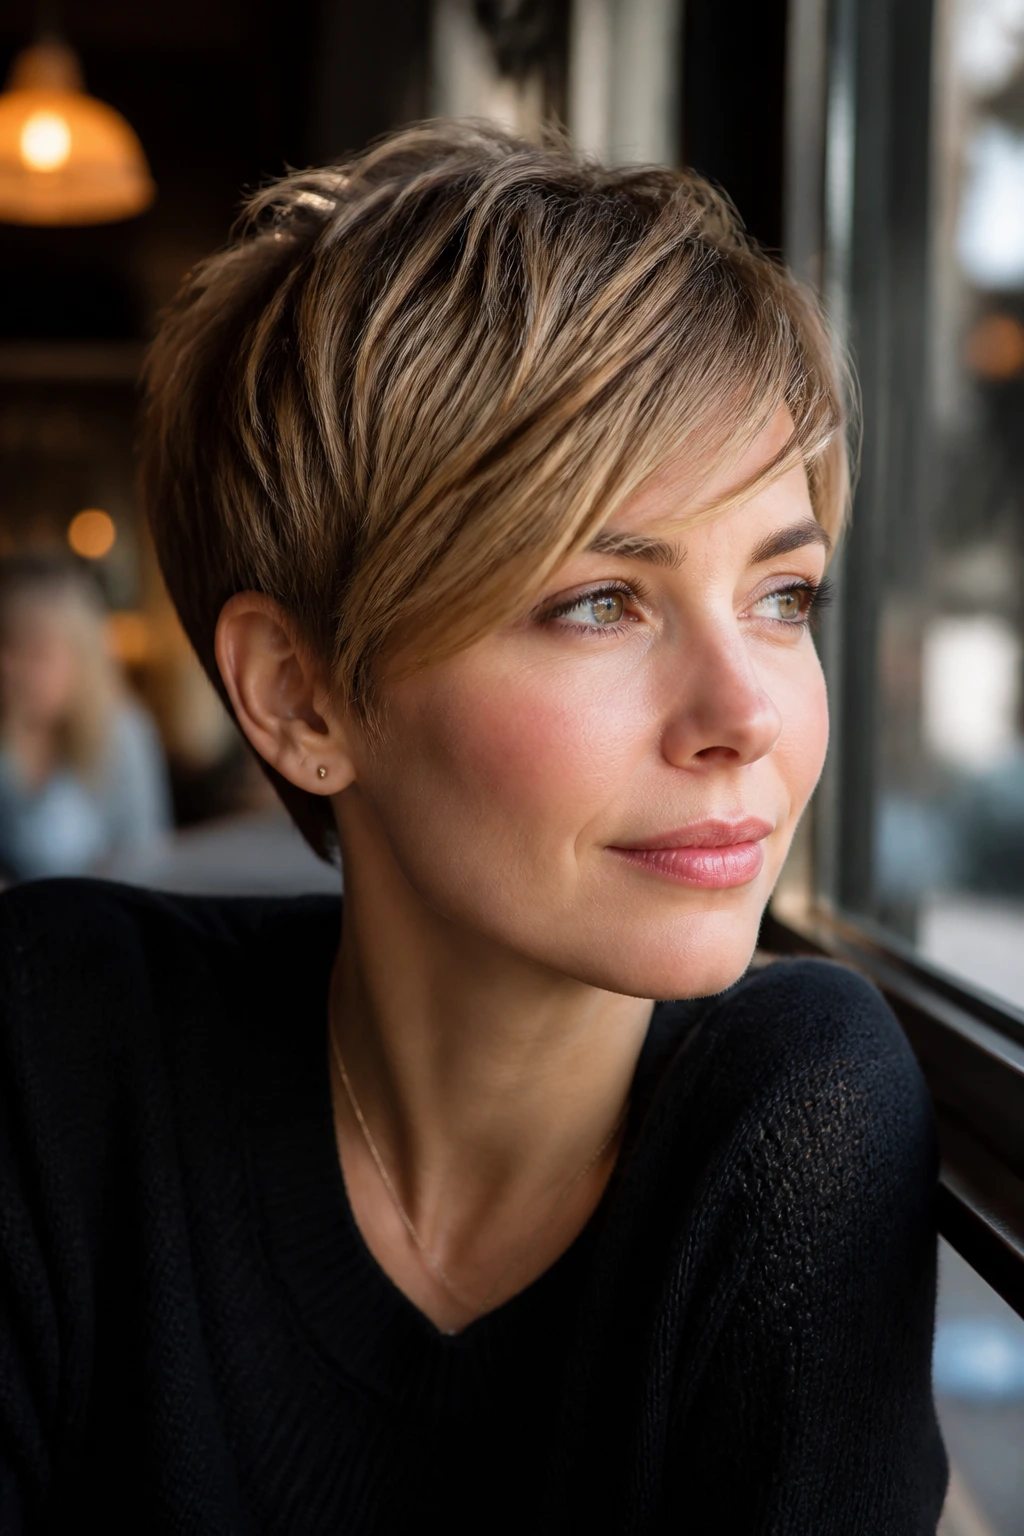
A rounded layered pixie is the neatest shape in the bunch, but it still has movement if the layers are placed right. Instead of building height that shoots upward, the cut curves gently around the head. The outline feels smooth, almost tailored, yet the interior layers keep it from looking helmet-like.
I like this on people who want a cleaner profile. The nape and sides should be trimmed close enough to show shape, while the crown gets soft internal layers that let the hair bend. It’s a smart cut for fine hair that needs a little lift, but not so much that it starts standing away from the scalp.
The trick is not to confuse round with bulky. The curve should follow the head, not widen it. If the top sticks up too much, ask for less length removal at the crown and more soft point-cutting through the interior.
12. Asymmetrical Pixie
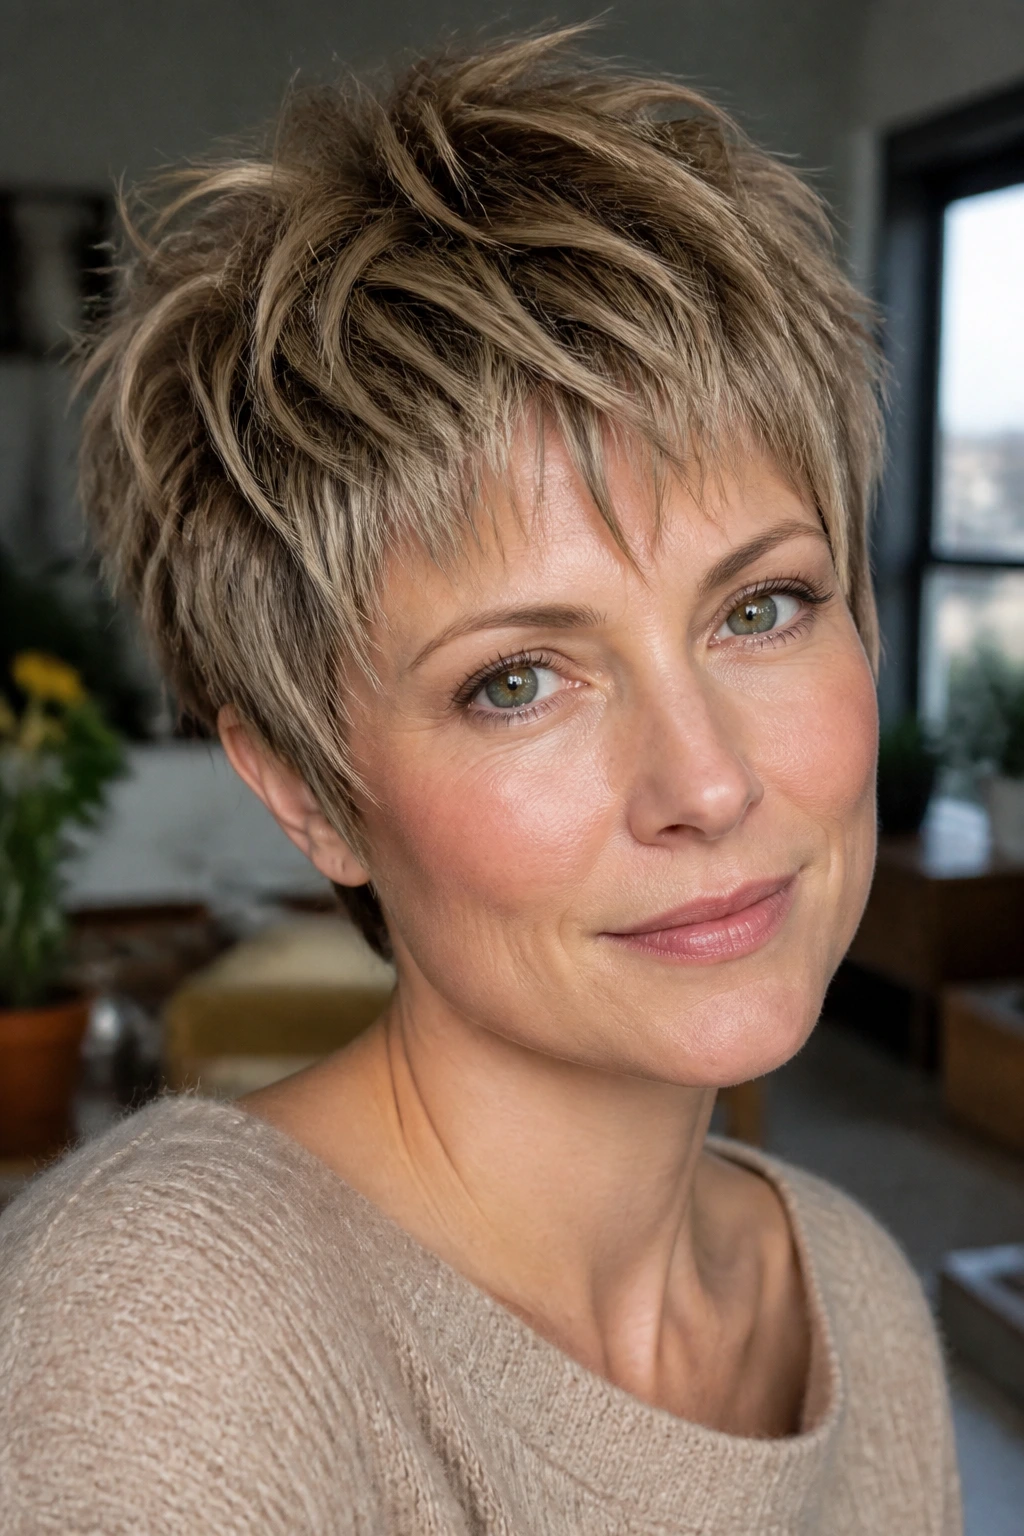
One longer side changes the whole mood. An asymmetrical pixie can feel sleek, edgy, or soft depending on how the layers are handled, but the basic idea is simple: one side carries a little more length, usually by about 1 to 2 inches, and the rest of the cut stays tighter.
That longer side gives you swing. It also creates a natural line across the face, which can be handy if you want to soften one cheek or offset a stronger jaw. The shorter side should not be shaved so far that it turns into a separate statement. The best versions still look like one haircut, not two competing ones.
What to ask for
- A longer front corner on one side.
- Soft layering through the crown.
- A clean, tapered nape.
- A side that can tuck or fall naturally.
This is a good cut if you like a little drama but do not want a big styling routine. The shape does the talking.
13. Bixie with Pixie Layers
The bixie lives between a bob and a pixie, which is exactly why the layered version works so well for people who want softness without going ultra-short. The nape stays a little longer, the sides skim the cheekbones, and the top gets enough lift to keep the cut from lying flat.
It’s a friendly grow-out shape. That matters. You can move from a shorter pixie into a bixie without the ugly middle stage that happens when a crop grows only in the wrong places. The layers help the transition. They keep the silhouette broken up, so the hair doesn’t turn into a block.
Why people like it
- Enough length to tuck behind the ear.
- Enough layering to keep the crown from collapsing.
- Enough softness around the face to avoid a hard line.
- Enough grow-out room that the next salon visit doesn’t feel urgent.
If you like short hair but want a softer checkpoint on the way to something longer, this is a strong place to land.
14. Feathered Pixie for Fine Hair
Fine hair needs a careful hand. Too much thinning and it goes limp. Too little layering and it lies flat. The feathered pixie gets around that by using soft, directional layers instead of heavy removal.
The best version leaves some length at the crown, lightens the sides just enough to stop the helmet effect, and keeps the ends wispy. A blow-dry with a root-lifting mousse can give fine hair the body it never had on its own. I’d take feathering over aggressive razoring here almost every time. Razor work can fray fine ends faster than people expect.
A feathered pixie for fine hair should feel light, not sparse. That’s the line. If the scalp starts showing too much through the crown, the cut went too far. Ask for softness, not emptiness.
15. Thick-Hair Layered Pixie
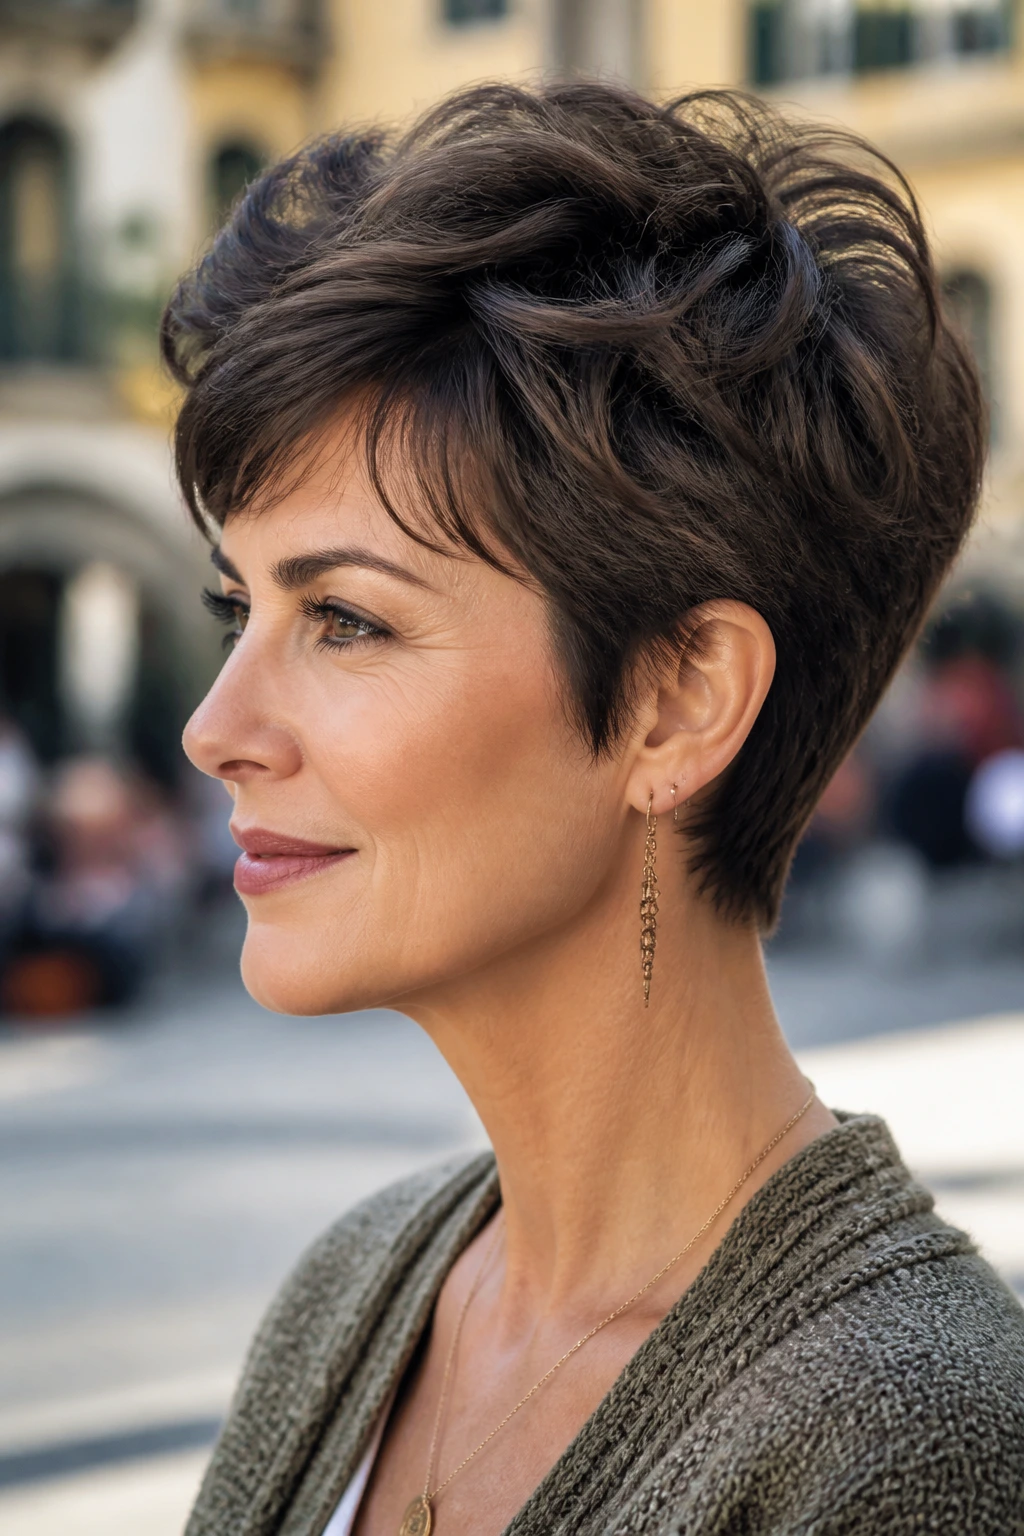
Thick hair needs shape, not just chopping. If you cut thick hair into a pixie without removing weight in the right places, it can sit like a shelf around the head. That’s why layered removal, tapering, and careful point cutting matter so much here.
The goal is to break up the bulk without making the top look ragged. Keep the nape tighter, leave enough length on top to move, and use interior layers to relieve the density. A good stylist will watch how the hair springs back after each section. Thick hair has its own ideas. You have to work with them.
This is the pixie I’d suggest for someone who wants a short cut but hates the triangle that thick hair can create. You get air around the head. You get a cleaner neckline. And you get a style that doesn’t need half a jar of product to sit down.
16. Wavy Pixie with Split Fringe
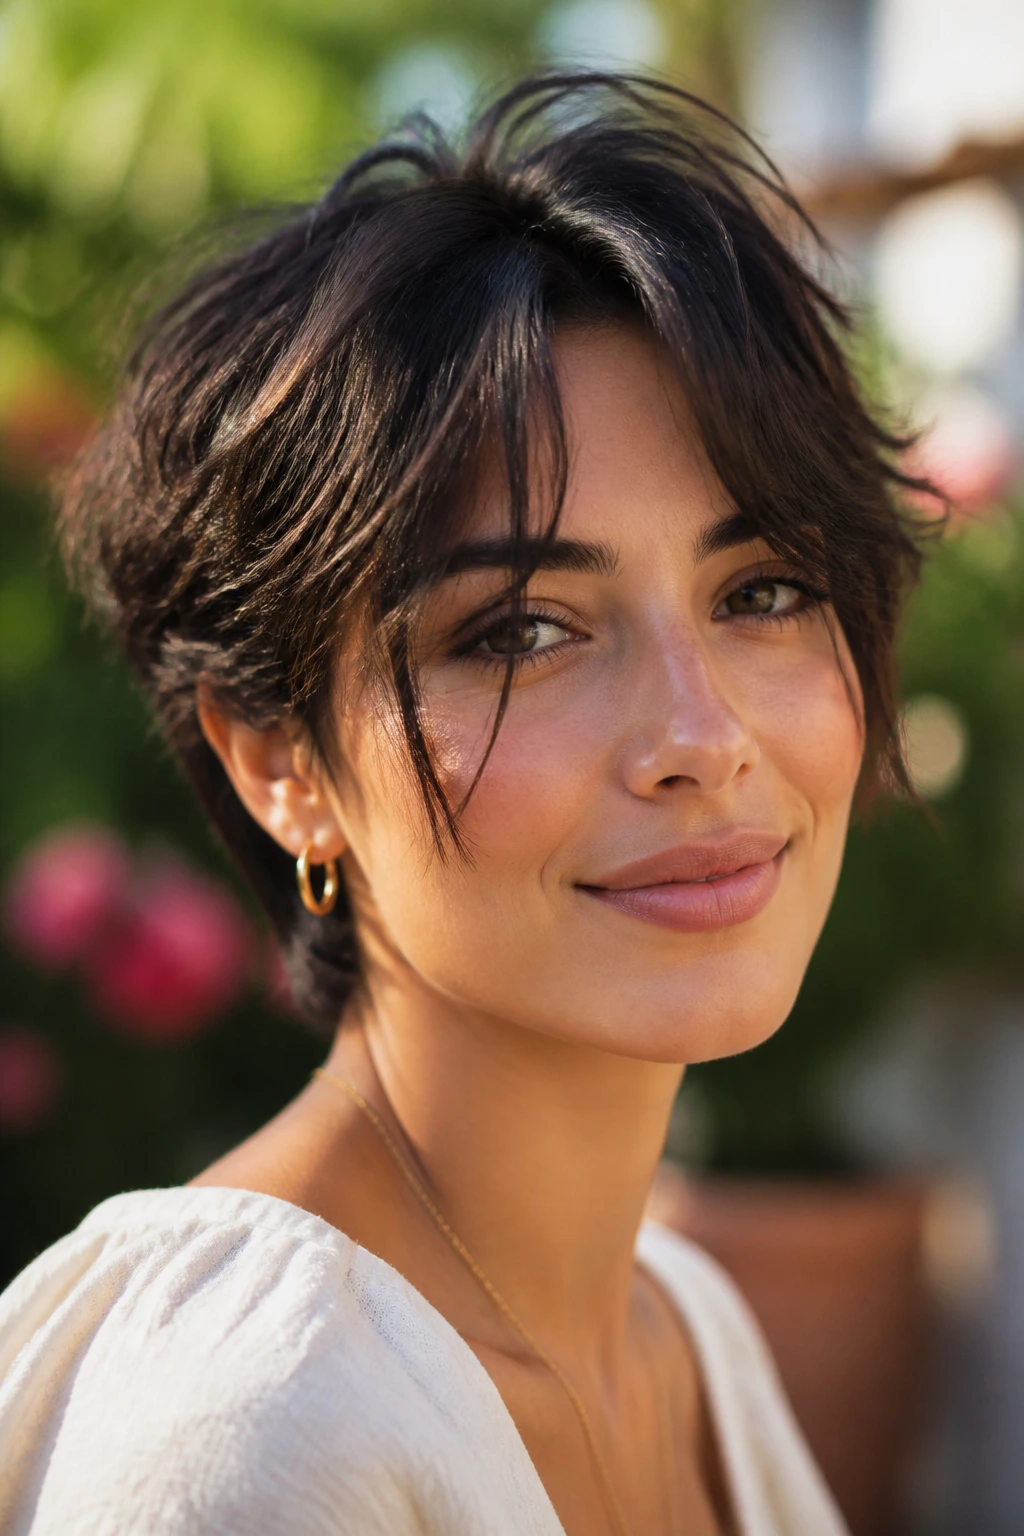
A split fringe softens a wavy pixie in a way that feels easy, not precious. The fringe opens slightly at the center or just off-center, then falls into two loose pieces that frame the face. On wavy hair, that little gap keeps the front from looking heavy.
The rest of the cut should stay layered enough to let the wave show up. If the sides are too short, the cut can puff. If the fringe is too full, the movement disappears. The sweet spot is a broken front line and soft texture through the crown.
This style looks best when it’s allowed to dry on its own part of the way. You can twist the front pieces with your fingers while damp, but don’t smooth everything into submission. Wavy hair hates being bullied. And honestly, that’s part of why it looks so good when it’s left a little loose.
17. Tousled Platinum Pixie
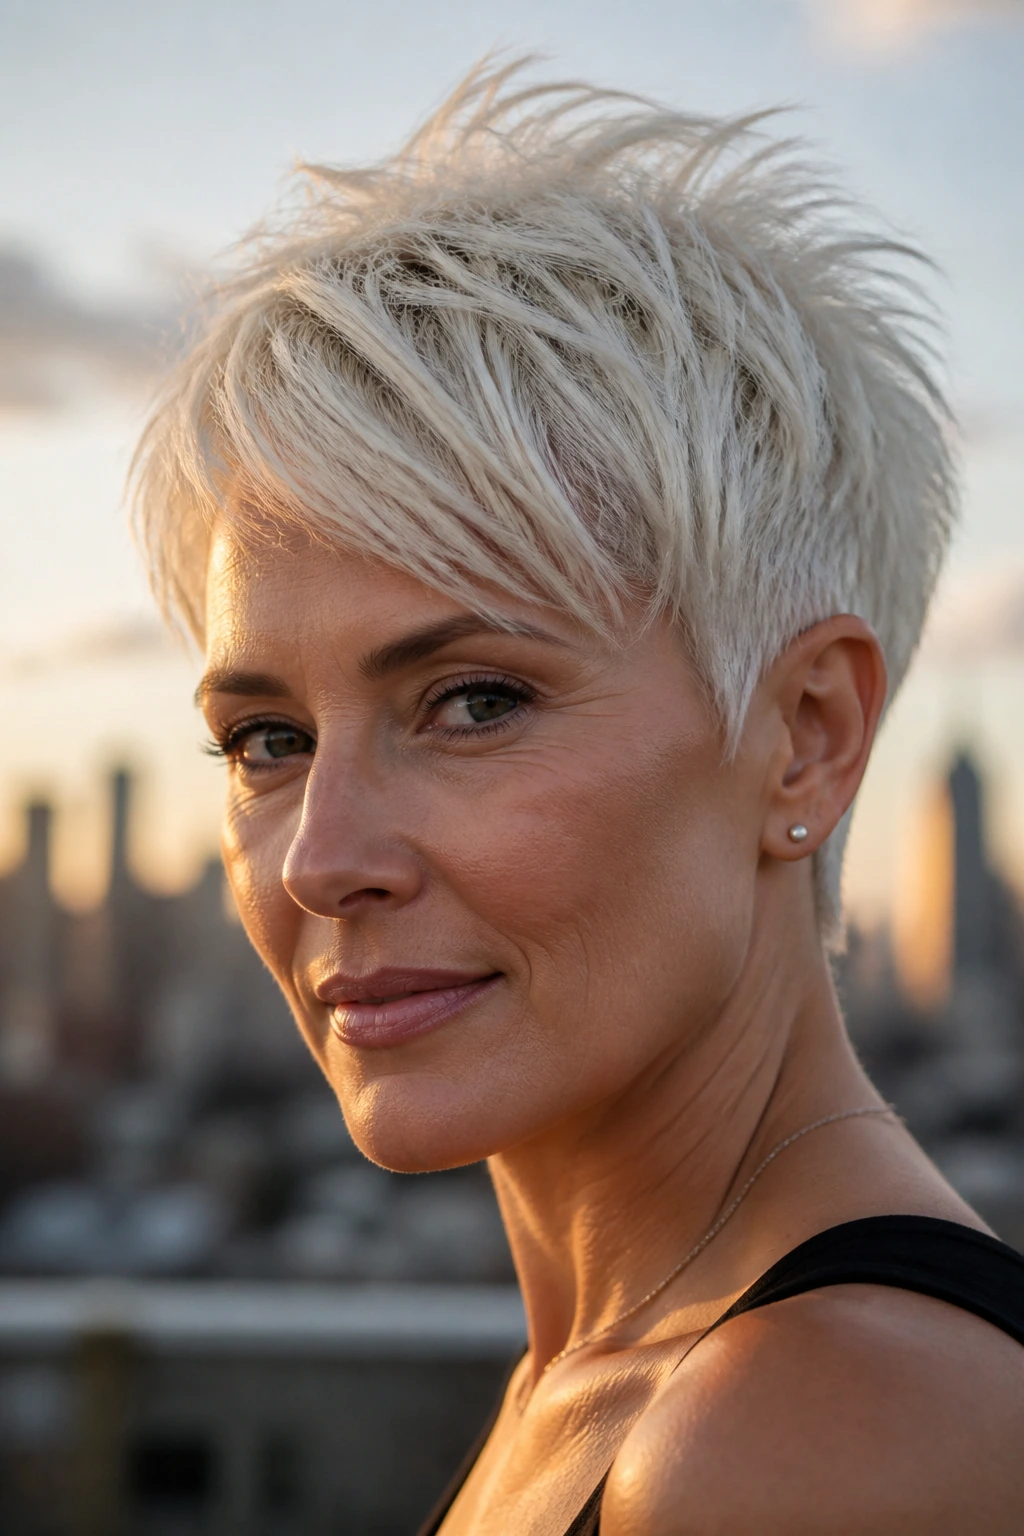
Platinum hair shows every line in a cut, which is why the layers have to be clean. A tousled platinum pixie can look sharp in a good way, but only if the texture is intentional. Bleached hair tends to lose some grit, so the layers need to do the heavy lifting.
Keep the top piecey and the sides soft. A matte finish usually works better than a glossy one, because the hair already has enough visual brightness from the color. If the ends are dry, a small amount of light serum on the tips can keep the style from looking brittle. Not slick. Just calm.
I like this cut when someone wants a bright, short shape that still moves. The color makes the texture visible. The layers make the color feel less severe.
18. Edgy Layered Pixie with Piecey Bangs
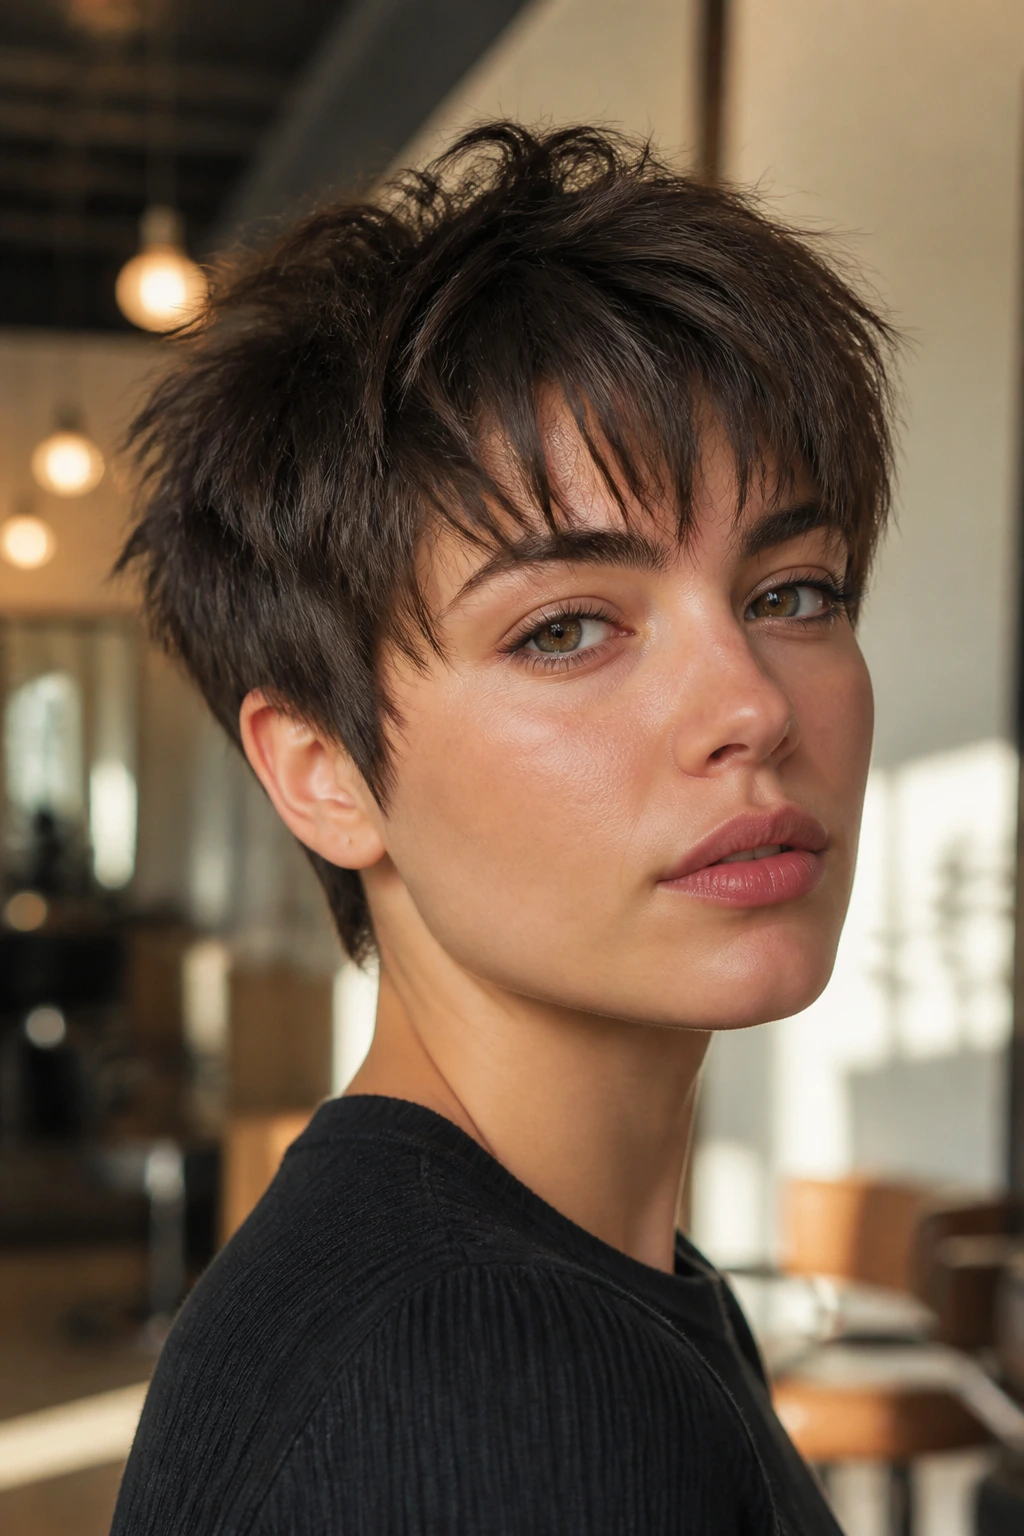
This is the cut for someone who wants a little grit in the fringe. The bangs are broken up into separate pieces instead of one continuous sweep, and the sides can sit a touch shorter so the top becomes the star. It has edge, but not the harsh kind.
The trick is balance. If the bangs are too heavy, the cut turns into a mini bowl. If they’re too short, the softness goes missing. Piecey bangs should land somewhere around the brow or just above it, with enough irregularity that they look lived in. A little texture cream goes a long way here. More product just glues the pieces together.
Best for: straighter hair, narrower faces, and people who want the front of the cut to matter.
Styling cue: pinch the bangs in small sections while the hair is warm. Don’t brush them smooth at the end.
19. Soft Mohawk Pixie
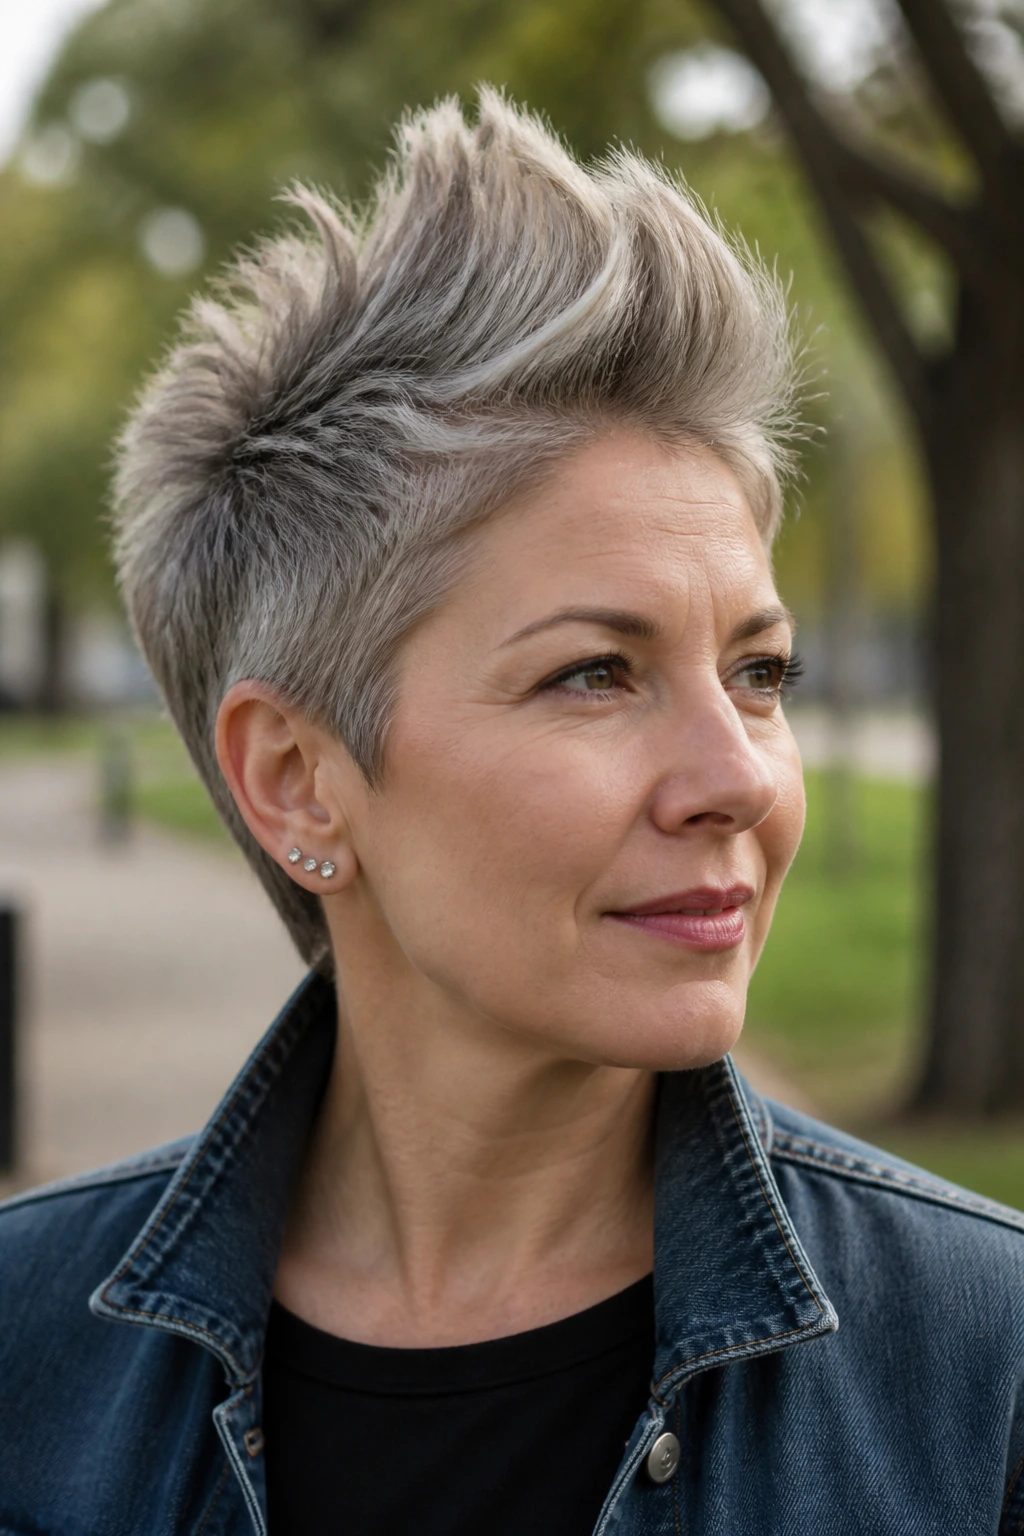
A soft mohawk pixie sounds louder than it is. The center ridge carries the height, the sides taper close, and the line stays rounded enough that the whole cut reads as soft rather than punky. That central lift creates movement from front to back, which is a nice change from the usual side-focused pixie.
The shape can be very wearable if the edges stay feathered. You don’t want a hard strip down the middle. You want a soft crest that rises a little at the crown and settles toward the forehead. This works especially well on thick or straight hair that tends to sit heavy everywhere else.
How to style it
Lift the center with mousse and a vent brush, then smooth the sides down with your palms. A few misted spritzes of texture spray at the crown keep the ridge from collapsing. The key is direction. If you dry it randomly, the mohawk effect disappears.
20. Low-Maintenance Airy Pixie
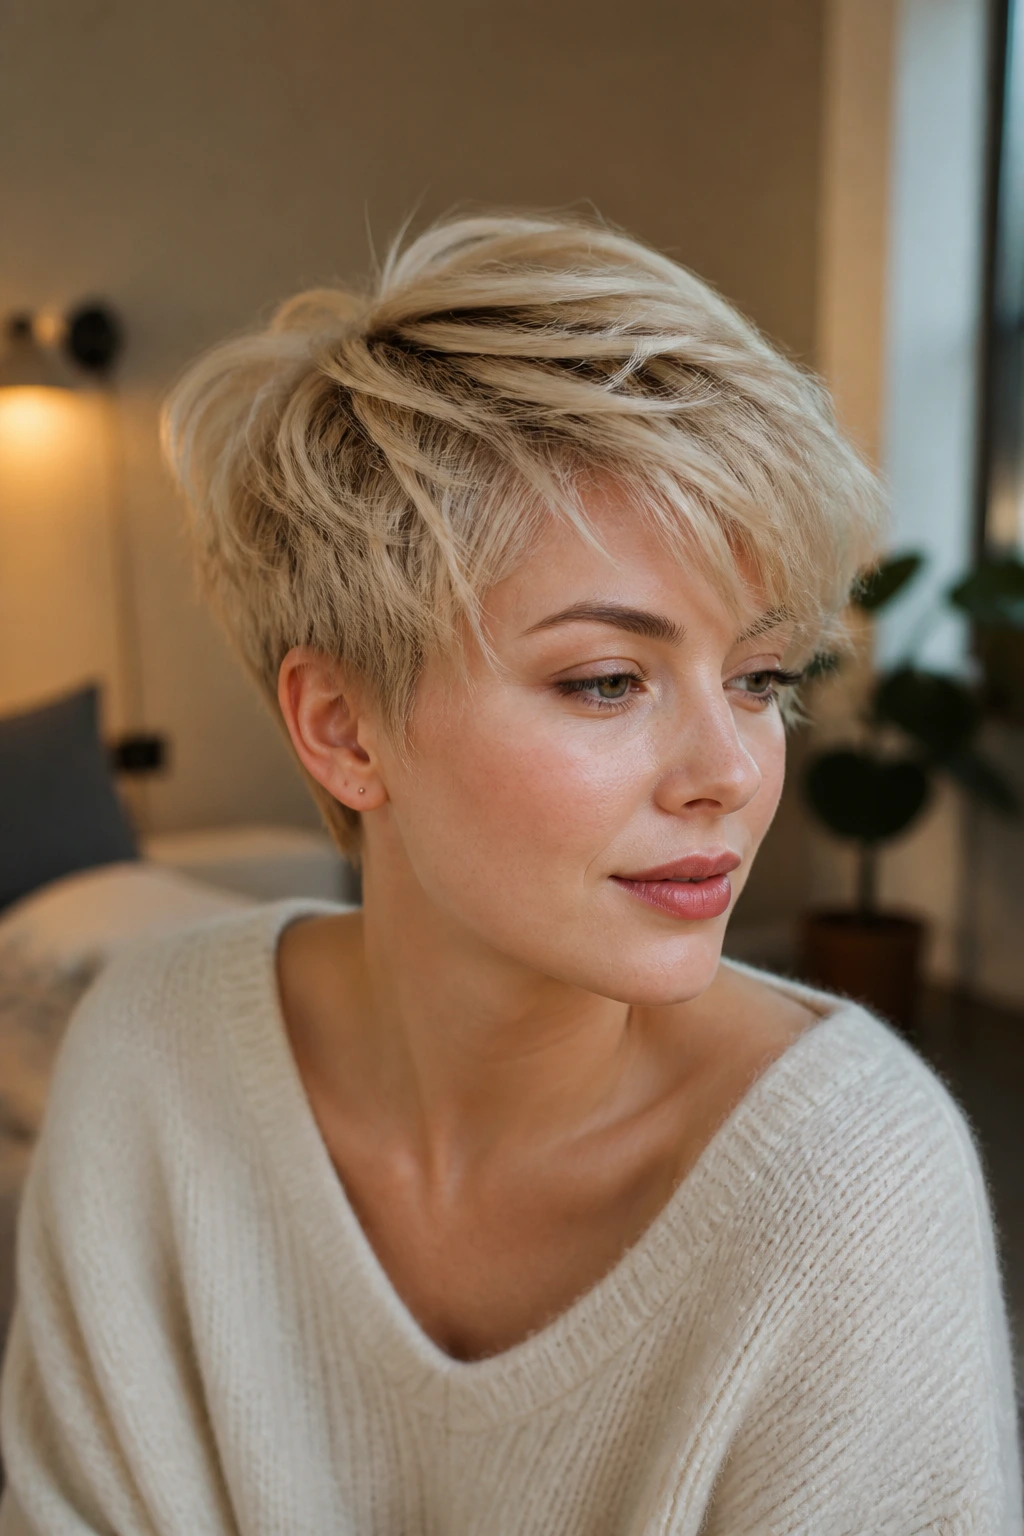
This is the pixie for people who want movement without a daily ceremony. The layers are soft, the nape is neat, and the top has enough length to fall into place after a quick shake and a finger-comb. It’s not the most dramatic cut in the group, but it might be the most practical.
The shape depends on smart restraint. Keep the interior layers light, not choppy. Leave enough length at the crown to stop the style from sticking straight up on wash day. Around the face, the edges should be softened just enough to avoid a hard outline, but not so much that the haircut loses shape by lunchtime.
I’d call this the easy answer for someone who wants a layered pixie cut with soft movement but doesn’t want to babysit it. It’s clean enough for work, loose enough for weekends, and flexible enough to grow out without looking messy at the first sign of new length.
Why Layering Changes the Whole Silhouette
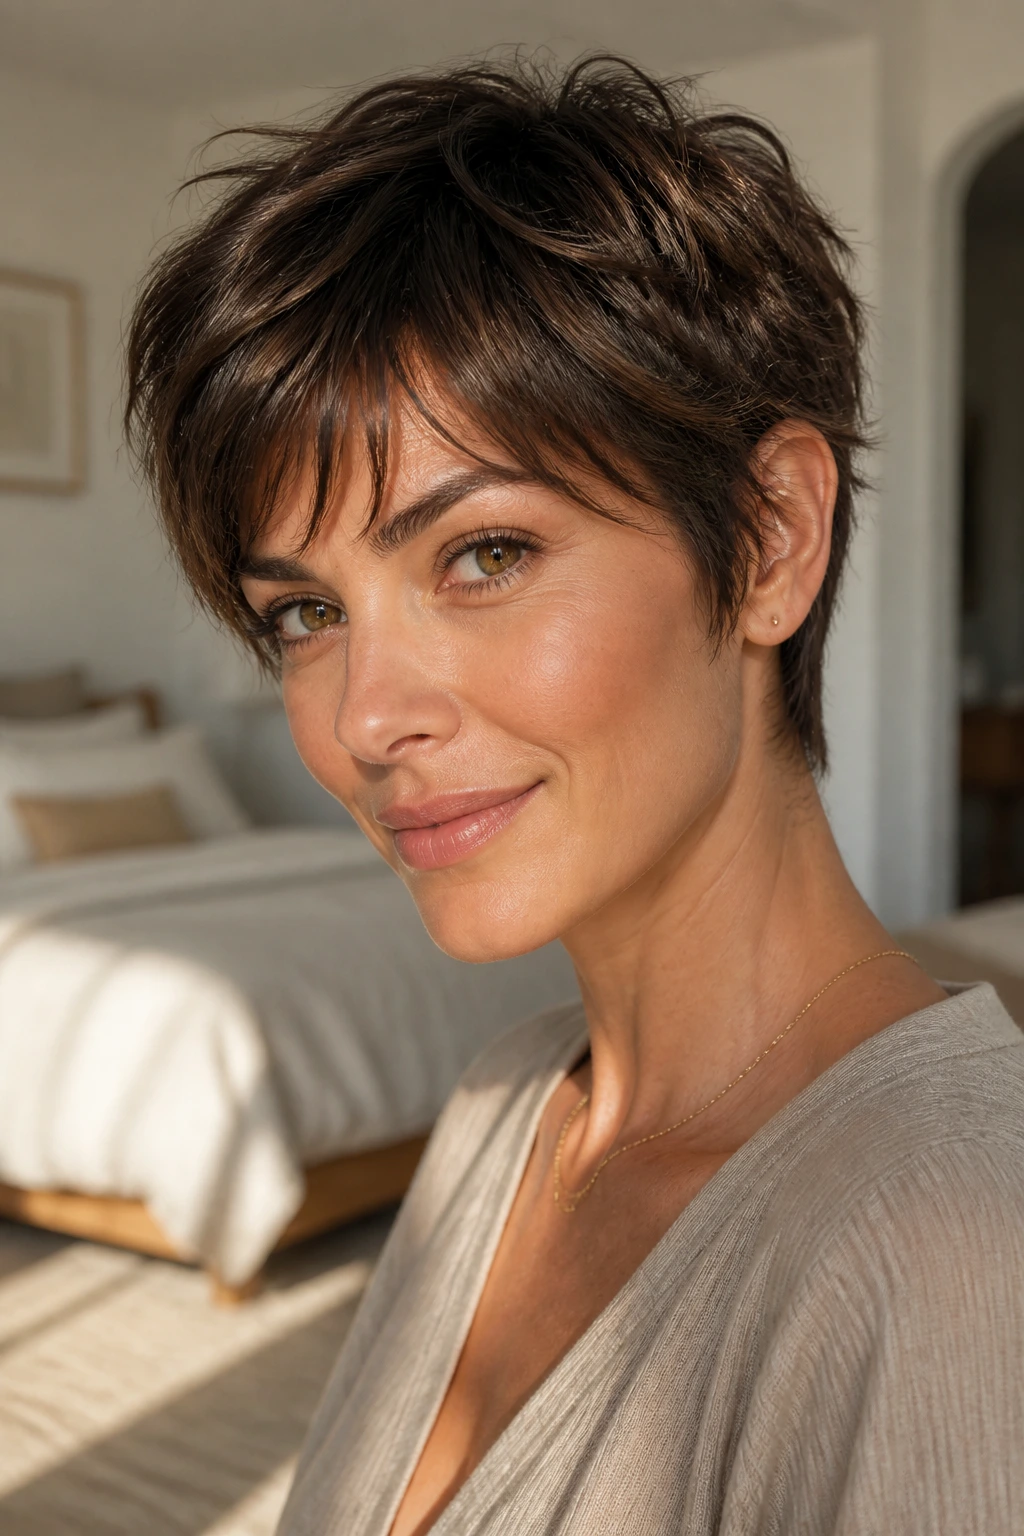
A pixie cut is not just about shortness. It’s about where the weight sits. Leave too much weight at the sides and the hair mushrooms out. Remove too much everywhere and you get a wispy shape that feels unfinished. The right layered pixie cuts solve that by moving volume into the crown, removing bulk at the nape, and softening the perimeter where the eye lands first.
That’s why the same haircut can look sharp on one person and sleepy on another. Hair texture, density, and growth pattern all change the outcome. A cowlick at the crown needs different layering than a flat head of fine hair. Thick hair needs internal debulking. Curly hair needs room to spring. Straight hair often needs more texture through the ends so it doesn’t lie like a sheet.
The best layered pixie styles also use contrast on purpose. A tighter nape makes the top look fuller. A soft fringe makes the face look less exposed. Feathered temples stop the cut from feeling boxy around the cheeks. Little things. They add up fast.
And that’s the part people usually miss. Soft movement doesn’t come from making everything equally short. It comes from deciding where the haircut should breathe.
Essential Tools for Styling Layered Pixie Cuts
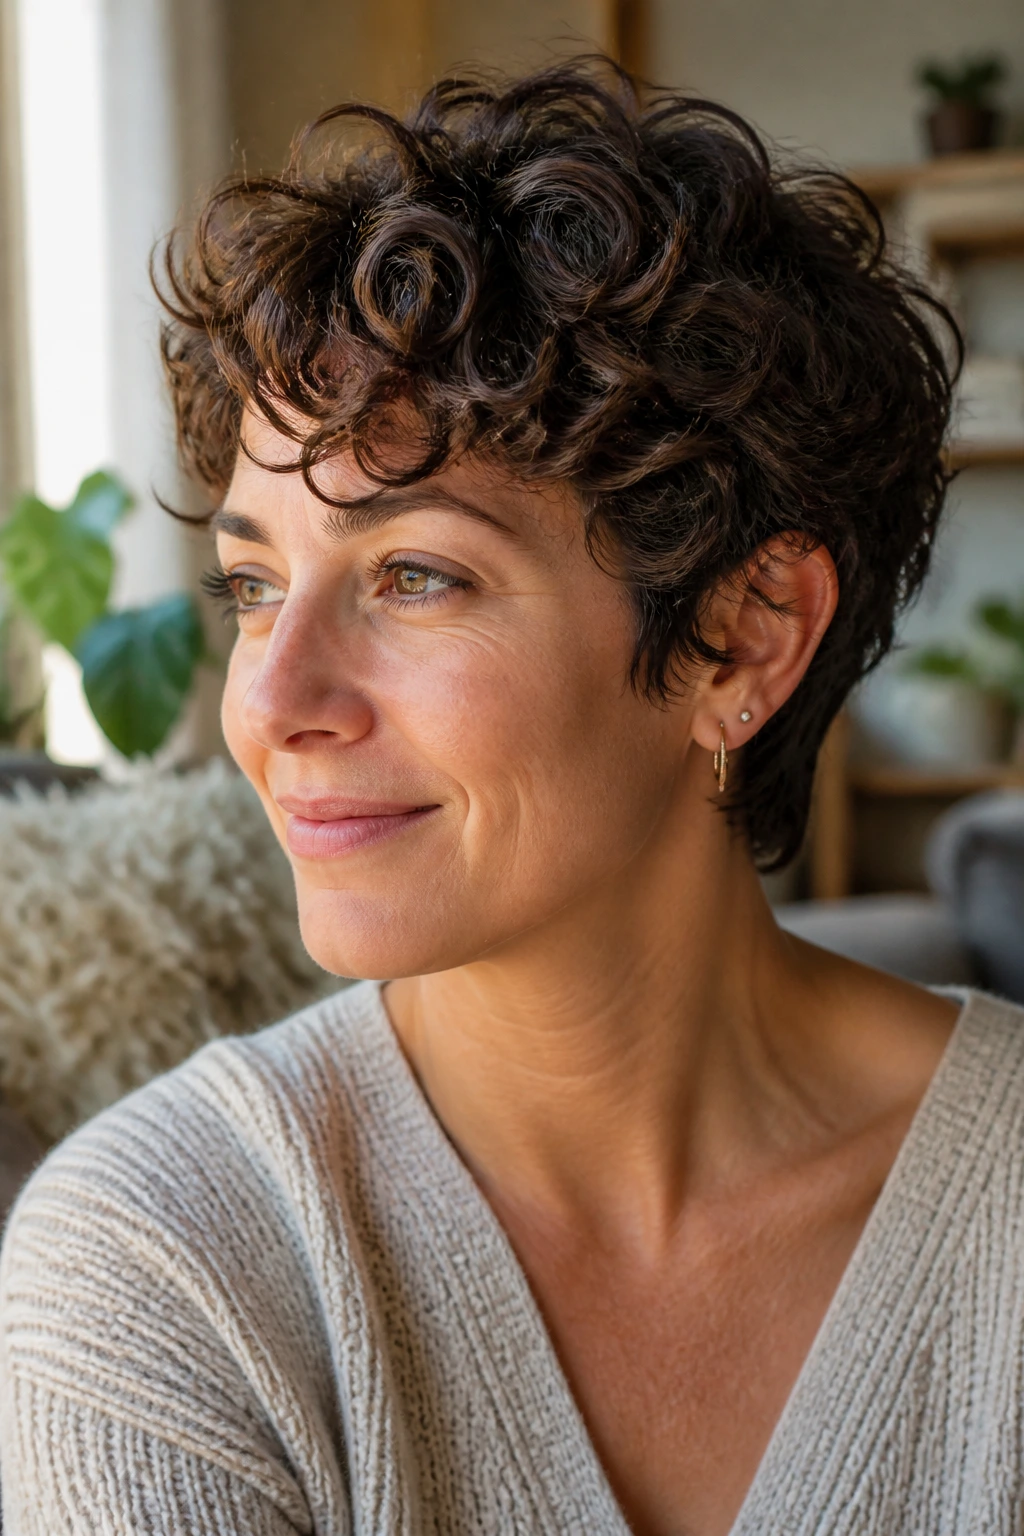
-
1-inch round brush: Useful for lifting the crown without turning the top into a helmet.
-
Vent brush: Good for quick drying and root lift when you want movement, not polish.
-
Blow dryer with a concentrator nozzle: The nozzle helps aim air where the layers need direction, especially at the crown and fringe.
-
Lightweight mousse: Builds hold at the roots without making the cut sticky or crunchy.
-
Sea-salt or texture spray: Adds separation to piecey styles and soft shaggy shapes.
-
Matte paste or soft wax: Best for finishing the ends and defining short pieces around the temple or fringe.
-
Heat protectant spray: Non-negotiable if you blow-dry often or touch the fringe with a flat iron.
-
Small section clips: Handy for keeping the top separate while you dry the sides.
-
Satin pillowcase or sleep cap: Helps the layers keep their shape overnight and cuts down on friction.
How to Brief Your Stylist Without Losing the Shape You Want
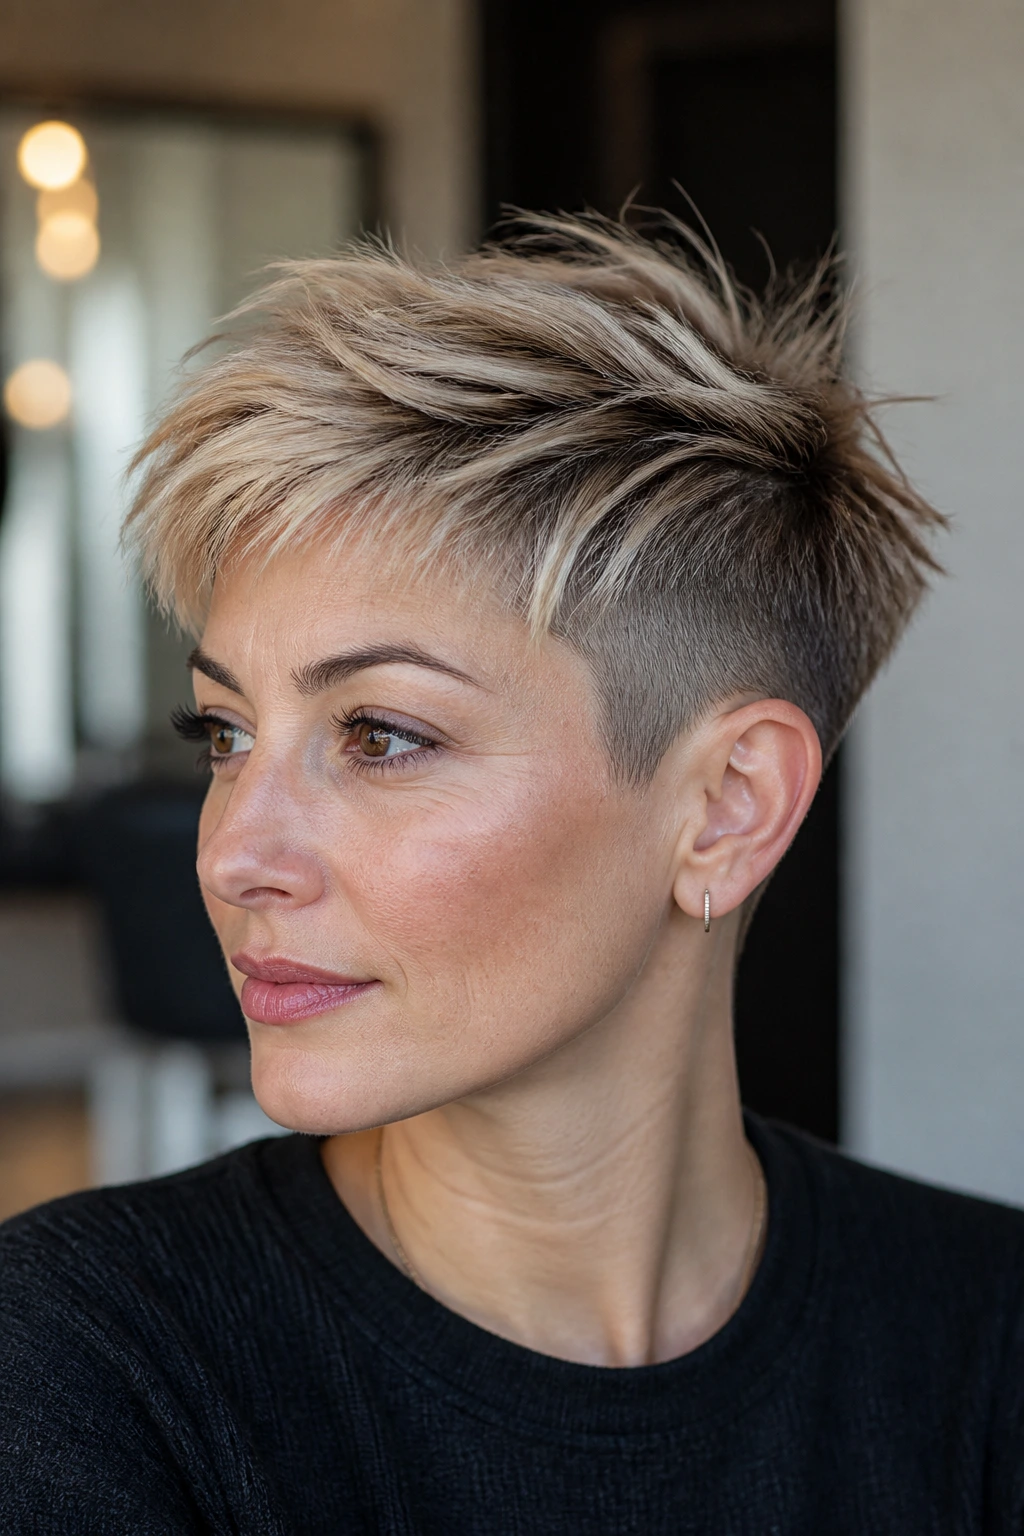
Bring photos, yes. But bring the right ones. One photo of the front, one of the side, and one of the back will save you from a lot of awkward chair-side guessing. A single glamour shot can hide the nape, and the nape is half the haircut in a pixie.
Say what you want the layers to do. Don’t say only “soft” or “textured.” Say whether you want lift at the crown, a neat neckline, a fringe that falls across the forehead, or a side that can tuck behind the ear. Those are useful directions. If your hair is thick, mention that you don’t want it over-thinned. If it’s fine, say you want movement without seeing through the top too much.
The maintenance part matters too. If you want to come back every four weeks, the cut can be tighter. If you want the style to stretch to six or eight weeks, ask for a softer perimeter and less aggressive tapering. That one detail changes the whole grow-out.
Your daily routine belongs in the conversation. A pixie that needs a round brush and ten minutes every morning is a different haircut from one that should air-dry and go. Tell the stylist which one you actually live with. They’ll hear the difference.
How to Style a Layered Pixie So It Moves, Not Puffs
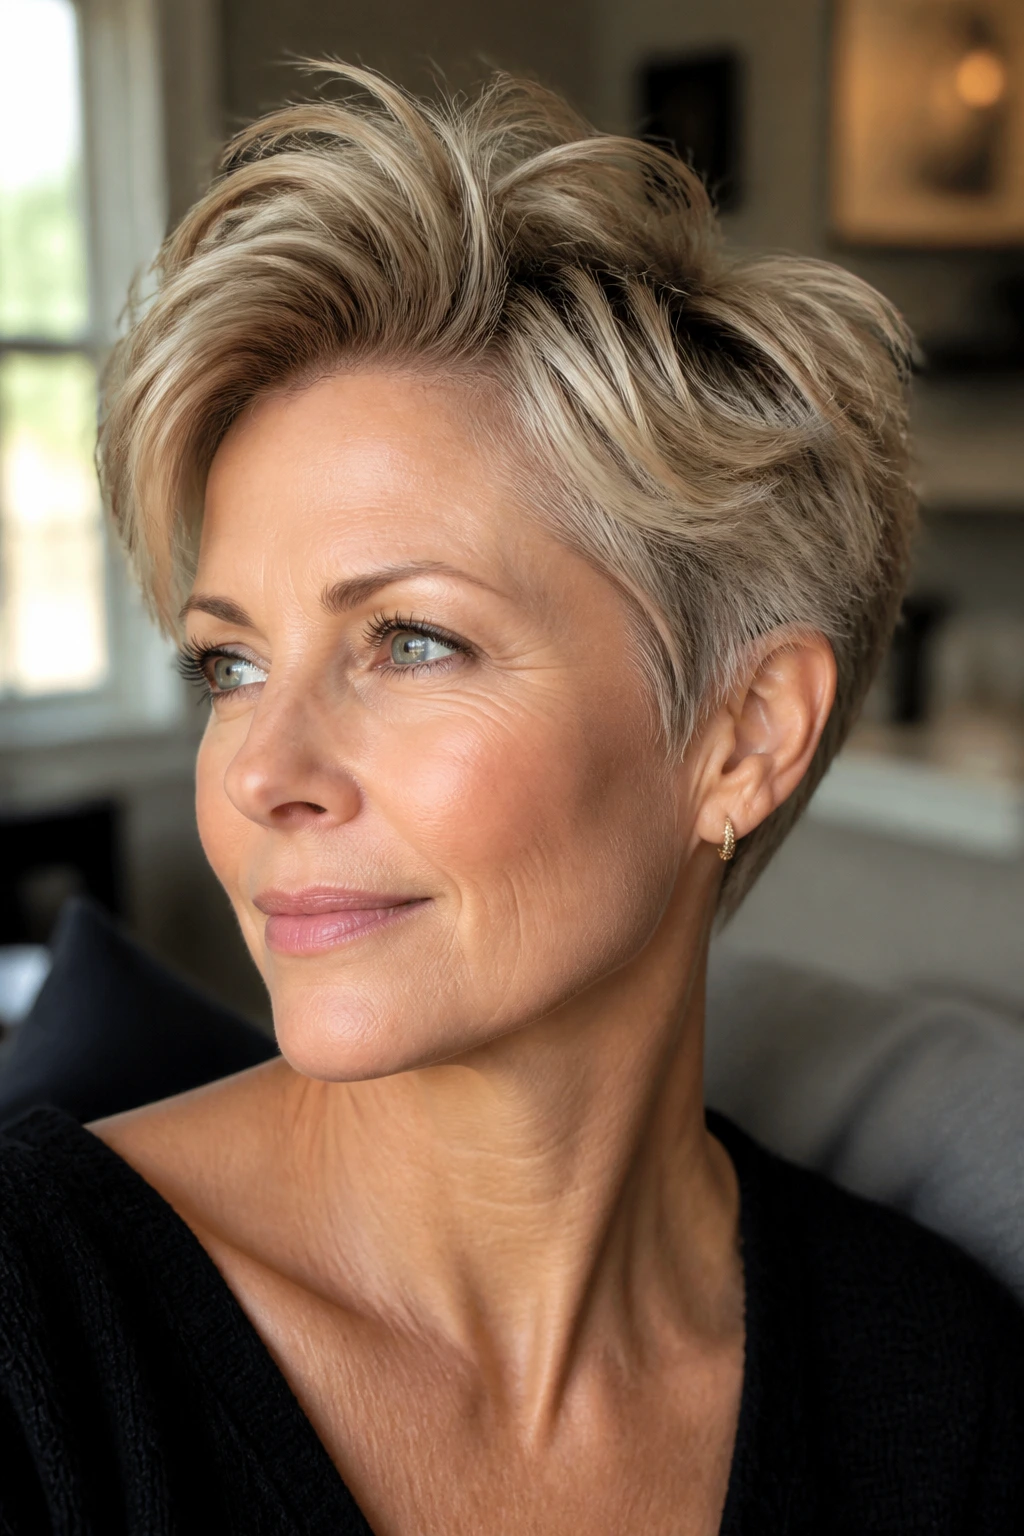
Root lift comes first. Work a small amount of mousse into damp roots, then blow-dry the crown in the opposite direction of your natural part for a minute or two. That little switch helps the layers stand away from the scalp just enough to create shape. Once the root is dry, guide it back into place.
Texture belongs at the ends. If you put paste or wax all the way up the shaft, the cut goes heavy. Warm a pea-size amount between your fingers and pinch it into the fringe, temple pieces, and top layer ends only. The separation should look accidental, even though it isn’t.
Heat should stay gentle. A high blast of air can flatten short layers before they set. Medium heat, a concentrator nozzle, and short passes work better. If you use a flat iron on a fringe or side piece, pass it once and stop. Repeated passes make the hair too sleek, and sleek short hair often loses that soft movement fast.
Let some pieces fall where they want. The whole head does not need perfect symmetry. A small bend near the ear or a loose front piece creates more life than over-directing every strand into place.
Tiny Tweaks That Change the Finish
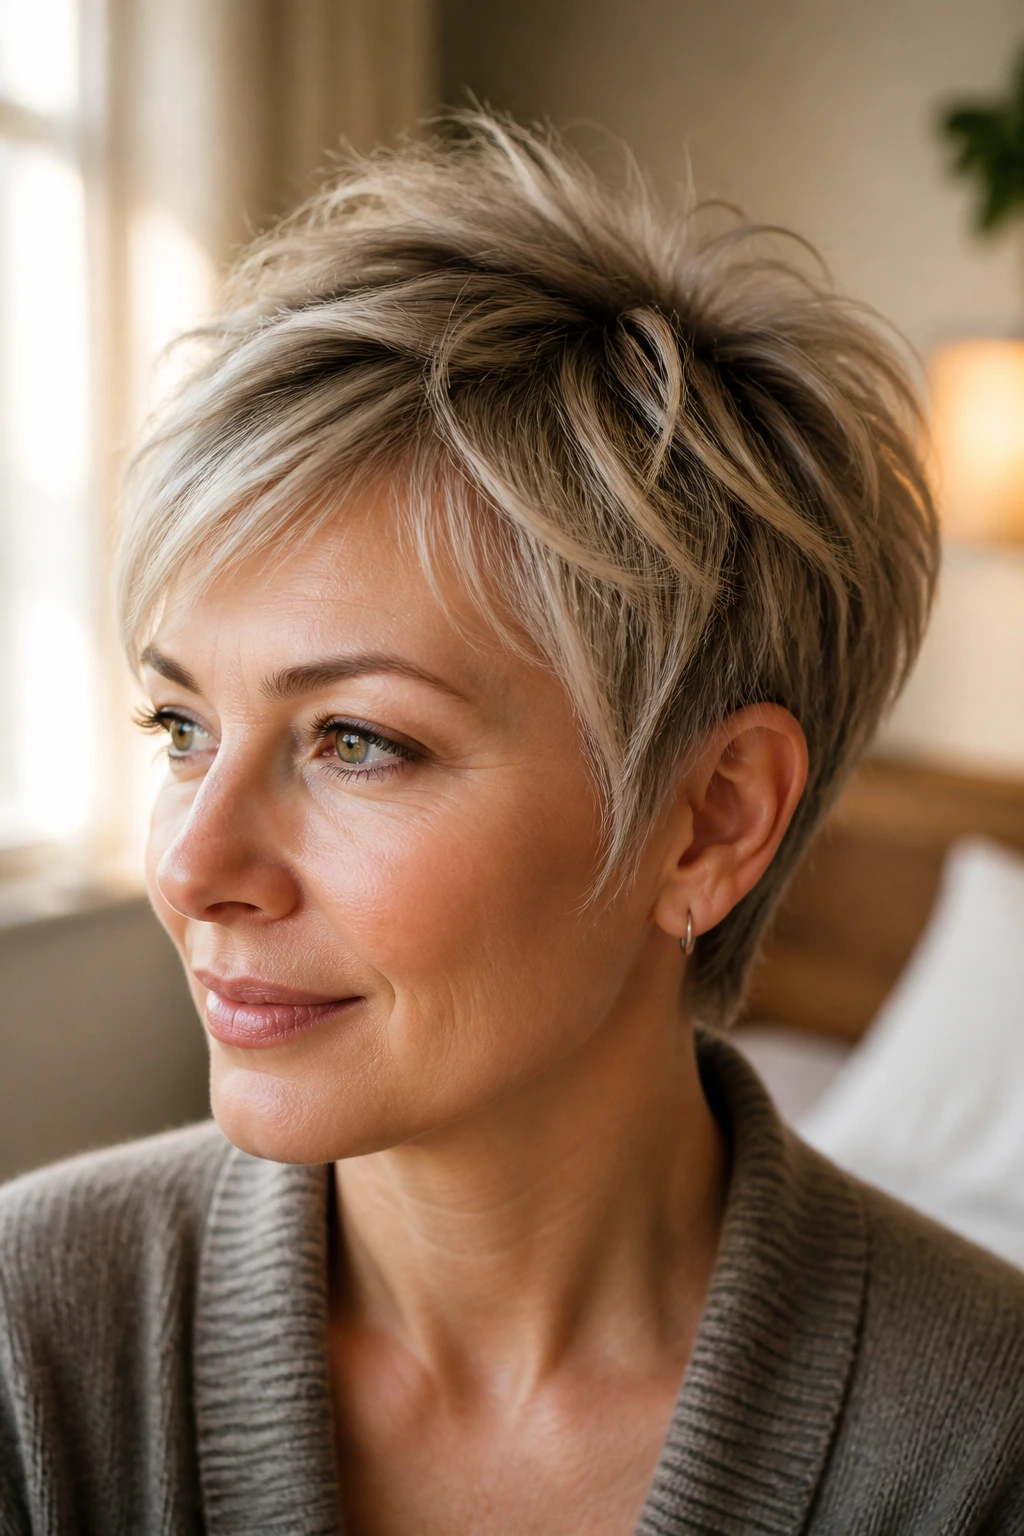
Texture Boost: A mist of dry texture spray at the crown gives lifted pieces a little grit, which helps if your hair slips out of shape by midday. Spray, wait ten seconds, then scrunch lightly with your fingertips.
Softness Boost: If the layers feel too broken up, smooth one drop of serum over the outermost ends only. That keeps the cut from looking frayed, especially on bleached or very fine hair.
Face-Framing Trick: Tuck one side behind the ear and leave the other side loose. The imbalance makes even a tiny pixie feel more intentional. It also shows off earrings, cheekbones, or glasses frames without trying too hard.
Make-It-Your-Own: Keep the fringe longer if you want a gentler look, or go shorter around the temples if you want more edge. Small changes there shift the haircut a long way. You do not need a new cut to change the mood.
Common Mistakes That Make a Pixie Lose Its Shape
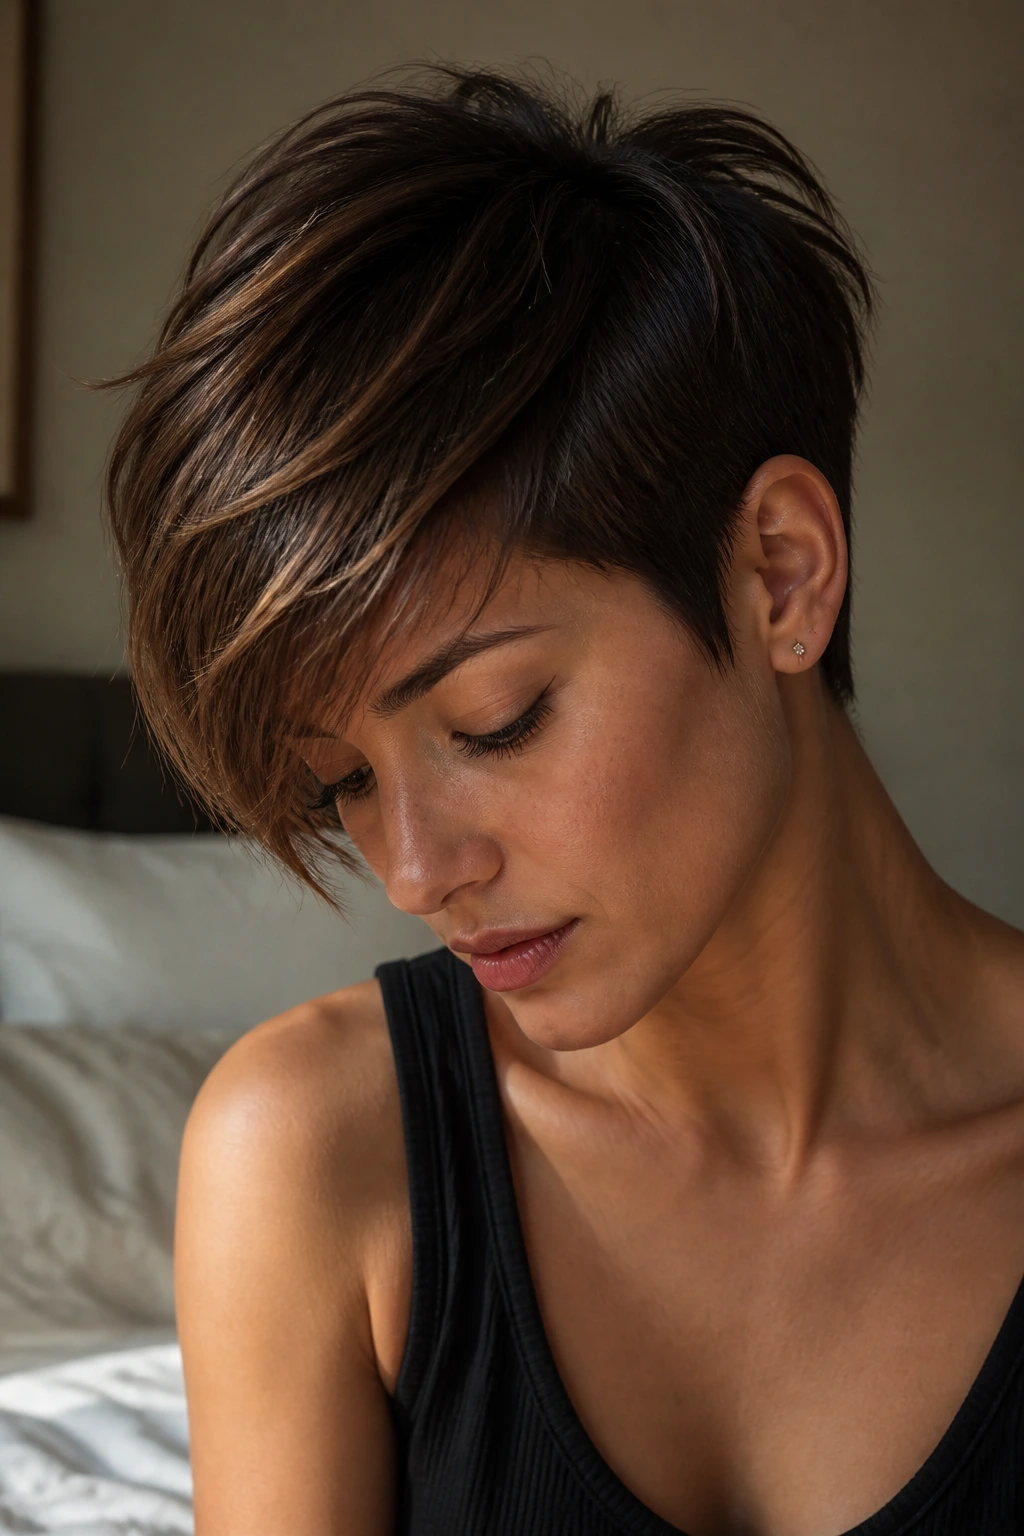
The first mistake is cutting the crown too short. Shorter is not always better. If the crown has no length, the top stands up in little spikes and the whole cut can look stubborn instead of soft. The fix is simple: leave enough length to bend, usually at least 1½ inches on most hair types.
The second mistake is over-thinning thick hair. When stylists remove too much bulk with aggressive thinning shears, the hair can frizz at the ends and puff in the wrong spots. Thick hair needs controlled debulking, not random shredding. You want weight removed from the right zones, not from everywhere.
Another common problem is ignoring the nape as it grows out. If the back gets too heavy, the silhouette stops looking pixie-shaped and starts looking like an unfinished bob. A quick neck trim every few weeks keeps the line clean.
Product overload causes trouble too. Heavy cream, too much wax, or too much pomade makes the layers stick together and kills movement. Short hair needs less product than people think. Start tiny. Add only if the hair asks for it.
Variations and Adaptations to Try
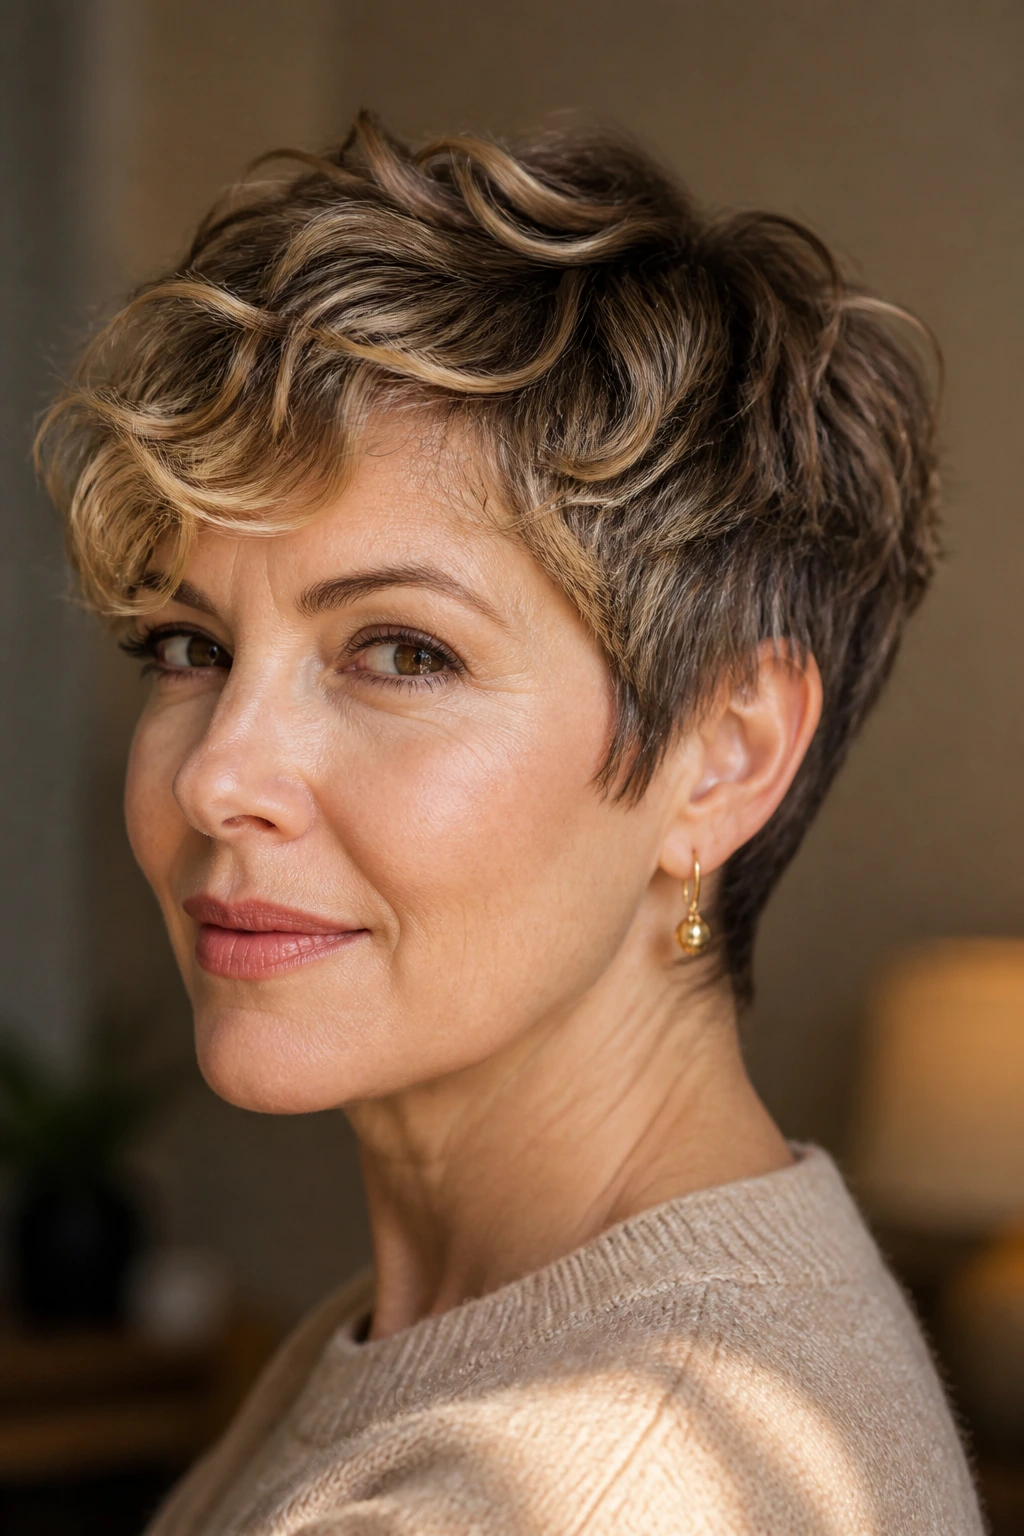
Softly Curled Pixie: Ask for the same layered shape, then style it with a finger wave or a loose bend through the fringe. This softens the cut further and works well if your hair already has a slight wave.
Glasses-Friendly Pixie: Keep the temple area lighter and the fringe a touch longer so the frames don’t fight the haircut. A soft ear tuck helps, too. The cut feels cleaner around the face and less crowded.
Grown-In Pixie: Leave the top and fringe longer, soften the nape, and let the perimeter blur a little. This version is useful if you want to stretch time between trims without losing the style.
Thick-Hair Relief Pixie: Use more internal layering and a tighter nape, then keep the top pieces slightly longer for balance. The goal is to remove bulk without making the head look narrow.
Fine-Hair Lift Pixie: Build the shape with crown layers and a soft side part, then keep the ends feathered instead of blunt. That gives the appearance of fuller hair without relying on heavy product.
Keeping the Shape Between Salon Visits
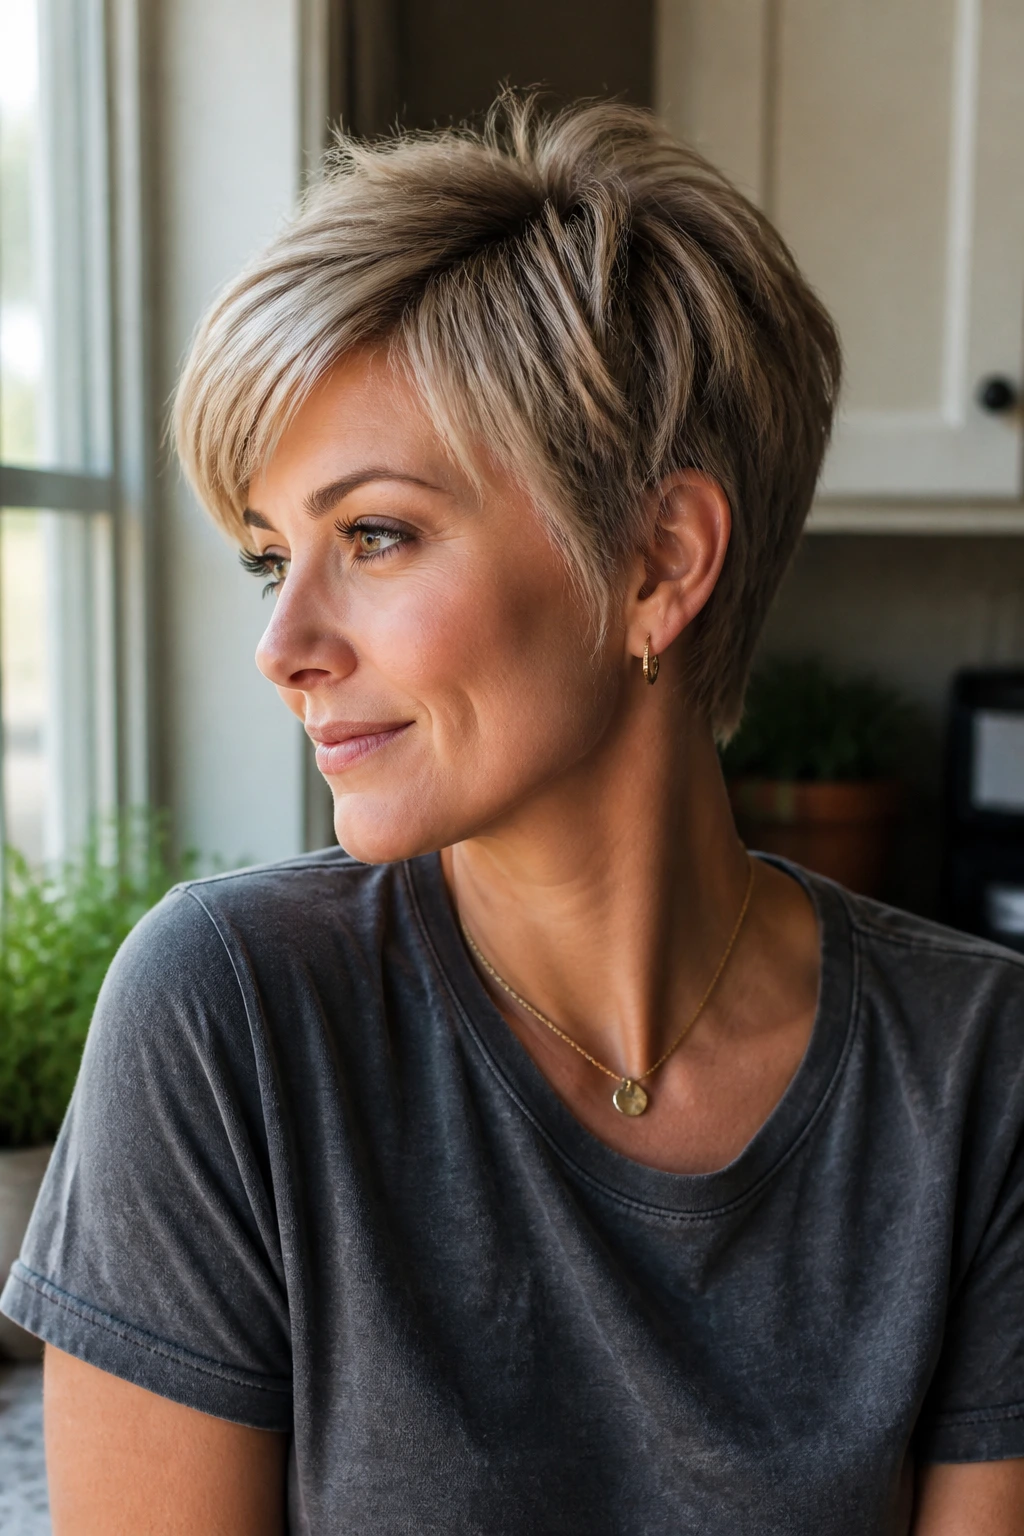
Short hair shows growth fast. That’s not a flaw. It just means the maintenance schedule matters more than it does with longer cuts. Most layered pixies stay crisp for about four to six weeks before the nape starts to blur and the crown loses its lift. If you like a tighter outline, book trims closer to the four-week mark. If you’re happy with a softer, grown-in look, you can stretch a little longer.
The fringe often needs attention sooner than the rest. If it falls into your eyes, gets kinked under glasses, or starts splitting awkwardly, a small bang trim can fix it without touching the whole haircut. The same goes for the neck. A quick cleanup around the nape keeps the cut from looking sloppy even when the top is still behaving.
At home, don’t wash it into submission. A layered pixie usually does best when you give the roots some lift on wash day, then refresh between washes with a damp mist and a little mousse or texture spray. Sleep on a satin pillowcase if you can. Cotton roughs up the short layers fast, and short hair has less length to hide the damage.
If a section flips the wrong way, wet just that piece, twist it back into place, and let it dry for two minutes with a hairdryer. Fast fix. No drama.
Frequently Asked Questions
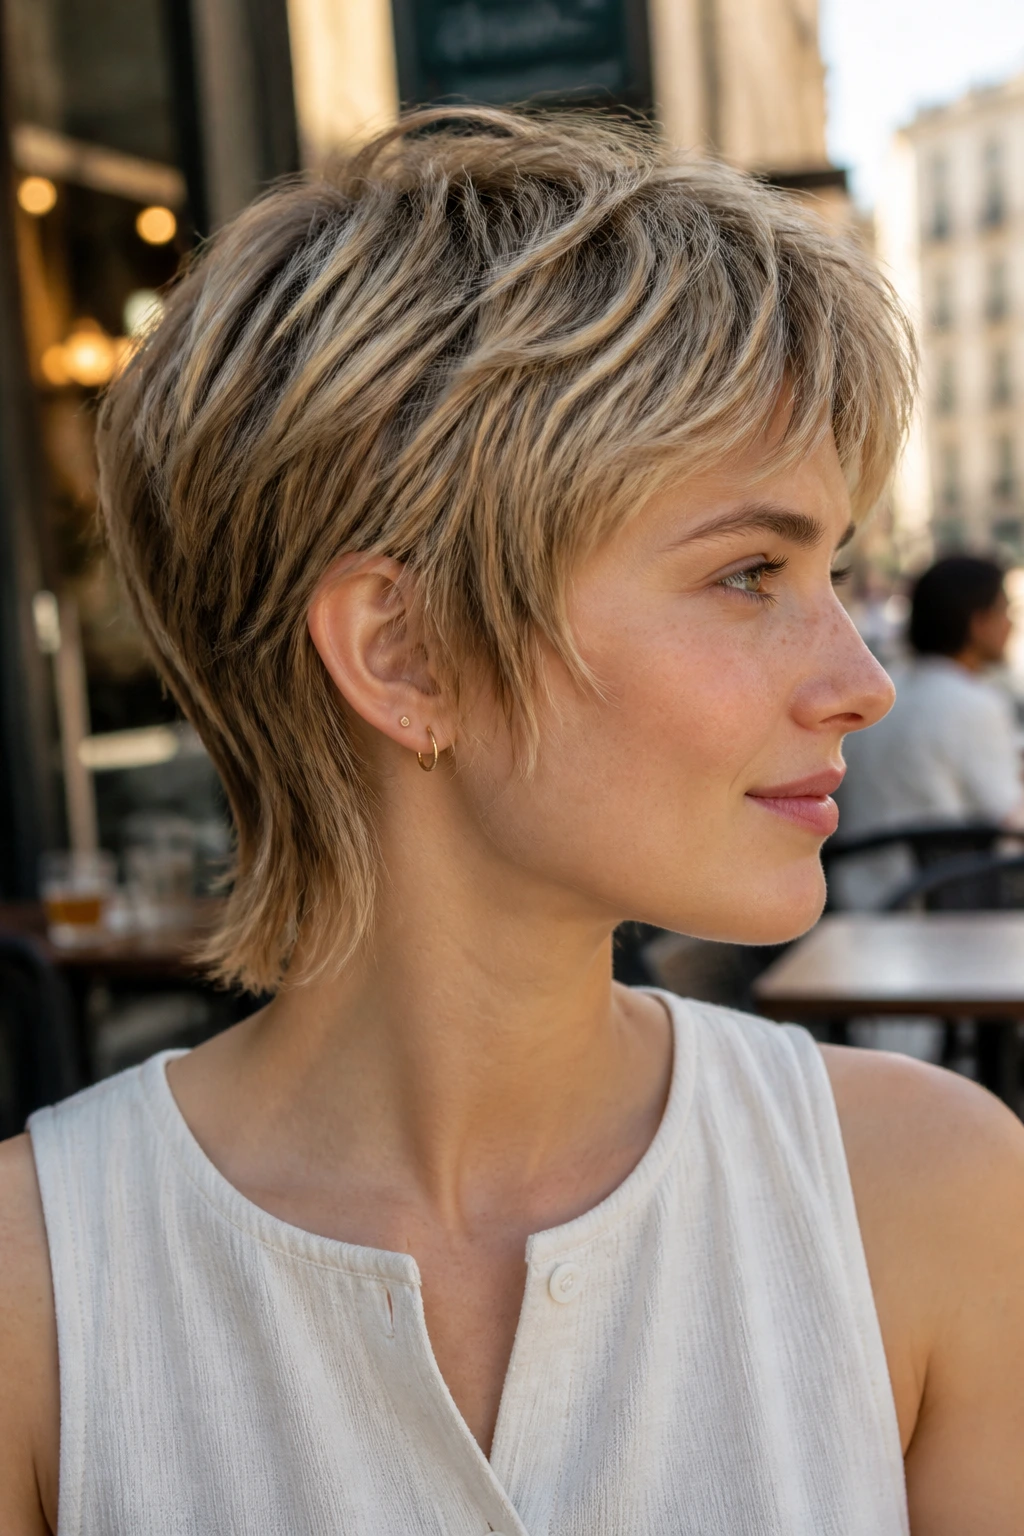
Will layered pixie cuts work on fine hair?
Yes, but the layering has to be light and strategic. Fine hair needs crown lift and soft ends, not aggressive thinning that leaves the cut see-through. A feathered or rounded version usually gives the cleanest shape.
Can layered pixie cuts work on thick hair without looking bulky?
They can, if the weight is removed in the right places. Ask for internal layers, a tidy nape, and enough length on top to keep the silhouette balanced. Thick hair usually looks best when the bulk is controlled, not stripped away.
How short can the sides be before the cut feels too severe?
That depends on face shape and hair density, but most people soften better when the sides still have some texture rather than going fully shaved. Even a short taper can look gentle if the temple area is feathered and the top has movement.
Do layered pixie cuts need a lot of styling every day?
Not usually. The more carefully the shape is cut, the less work you need at home. A quick root lift, a bit of texture at the ends, and finger styling are often enough. If you want a cut that air-dries well, tell your stylist that up front.
What if my crown sticks up no matter what I do?
That usually means the crown is either cut too short or your growth pattern needs a different direction. Try drying the crown forward first, then guiding it back once it’s mostly dry. If the problem keeps happening, the layering may need to be softened.
How do I grow out a layered pixie without that awkward stage?
Keep the perimeter soft and the nape cleaned up while the top gets a little longer. You can also shift into a bixie shape, which bridges the gap between short and medium length more gracefully than a blunt grow-out.
Can I wear a layered pixie with glasses?
Absolutely. Glasses often make a layered pixie look better because the frames give the haircut something to sit against. Just keep the temple area soft and avoid too much bulk where the arm of the glasses meets the head.
What’s the difference between a layered pixie and a shaggy pixie?
A layered pixie is about shape and movement in a short cut. A shaggy pixie pushes that idea further with more broken edges, longer wisps, and a looser finish. The shaggy version feels less tidy, but it can be lovely if you want a more relaxed look.
A Short Final Word
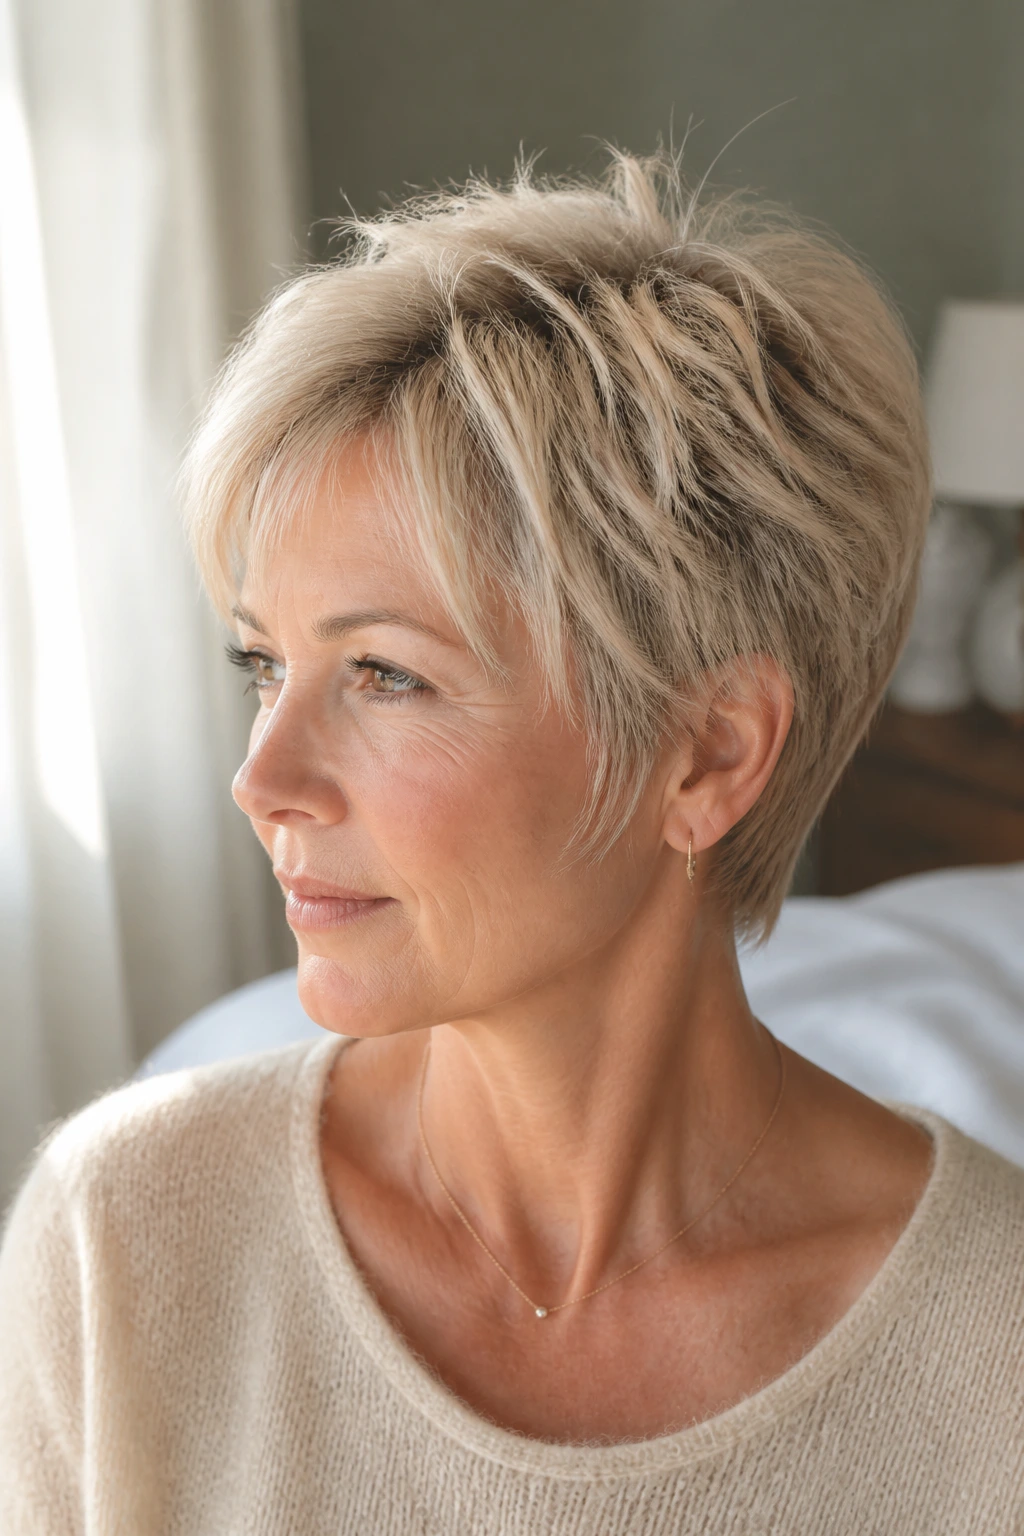
A good layered pixie cut does not shout. It shifts. That’s the reason these styles work so well when they’re cut with care: the crown lifts a little, the fringe softens the face, and the nape keeps the whole thing from falling apart as it grows.
If you’re standing at the edge of a short cut, start with the version that matches your hair texture and your real morning routine. The prettiest pixie is the one you can live in, not the one that needs applause.
