



A middle part can look sharp in the wrong hands. One clean line down the scalp, flat lengths on either side, and suddenly the whole style feels строг? No, not the word. It feels stiff. The difference between that and a soft modern look is usually small: a little bend at the ends, a few face-framing pieces, a crown that isn’t plastered down, or a texture that moves when you turn your head.
That’s why middle part hairstyles still have such staying power. They give you symmetry without turning your hair into a helmet. They can make a blunt bob feel calmer, make long waves look deliberate, and make a basic ponytail look like you thought about it for ten extra seconds. That’s often enough. Hair does not need to scream to look finished.
If you’ve ever parted your hair perfectly in the mirror and then looked back an hour later only to find it collapsed into a weird zigzag, you already know the real issue. The part is the easy part. The shape around it is where the work happens. And that’s exactly where the good styles live.
Why These 20 Styles Feel Softer Than a Hard Center Line
-
The line is only the starting point: The part gives structure, but the softness comes from movement around it — bends, tendrils, layers, or a little lift at the crown.
-
They work with real hair, not just fresh salon blowouts: These styles still make sense on second-day hair, slightly wavy hair, and hair that refuses to dry into a perfectly smooth sheet.
-
They balance symmetry with escape hatches: A tucked ear, a loose face piece, or a ribbon tie keeps the style from looking boxed in.
-
They scale up and down easily: The same center part can become a ponytail, a bun, a braid, or a lob that flips out at the ends. That flexibility is the whole point.
-
They don’t need a huge product stack: A tail comb, a bit of smoothing cream, and one good hold spray often do more than a drawer full of things you’ll never finish.
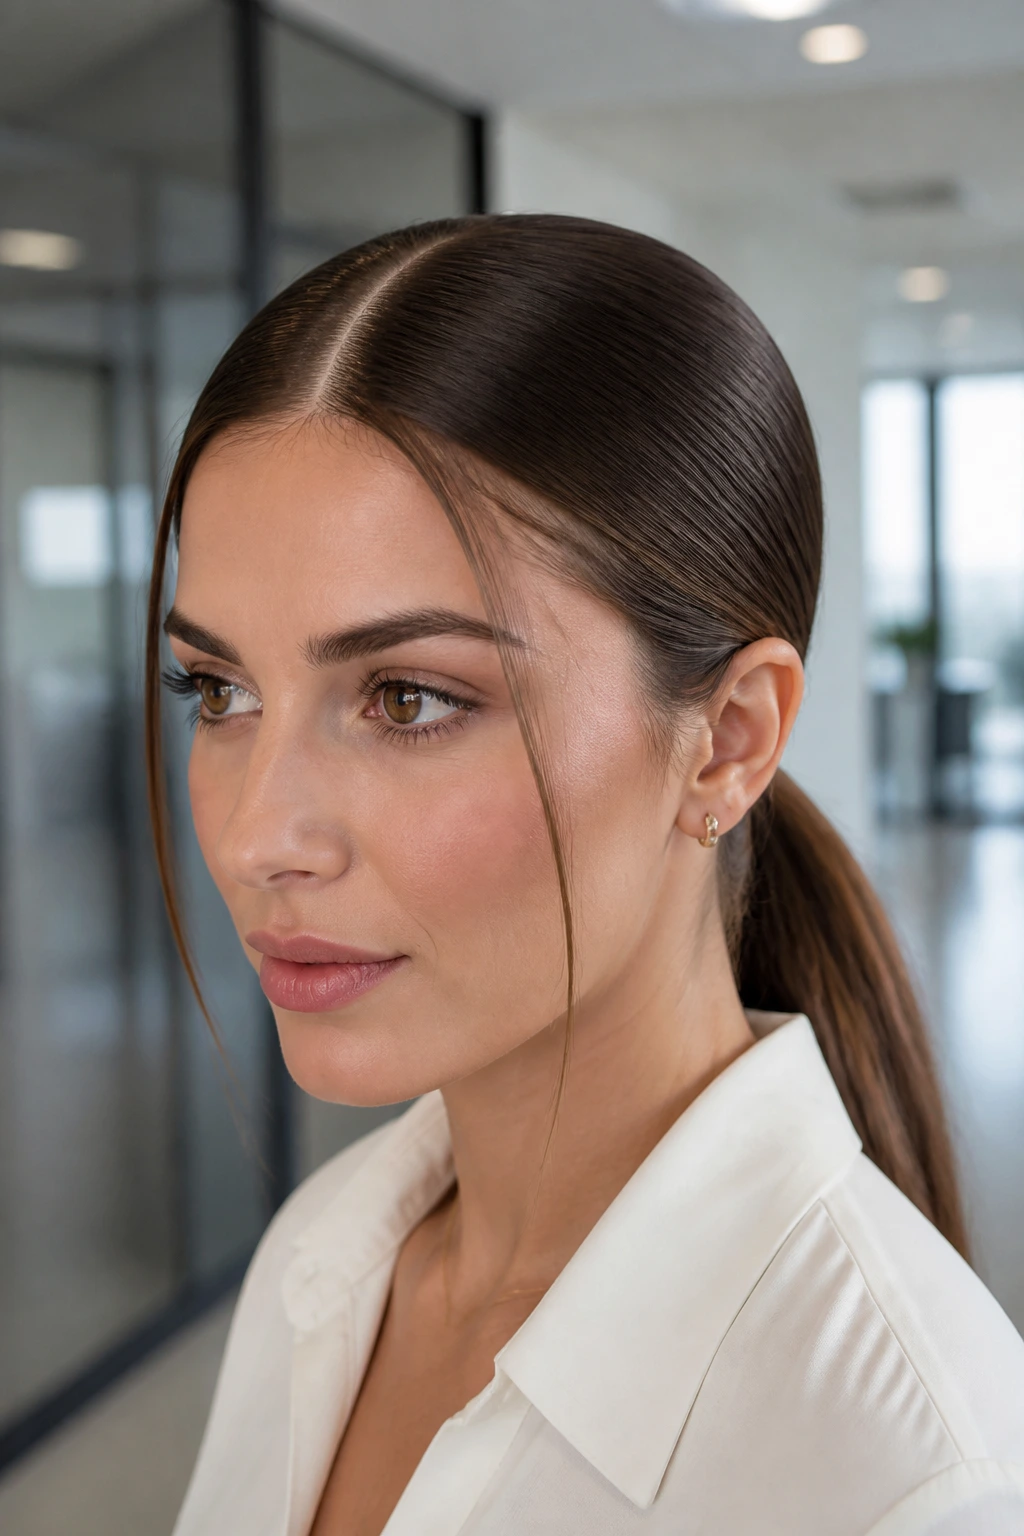
1. Sleek Low Ponytail with a Clean Center Part
A low ponytail sounds plain until you give it a clean center part and a narrow veil of face-framing hair. Then it stops reading as “I gave up” and starts reading as sharp, calm, and deliberate. The trick is keeping the roots smooth without flattening the whole head into a sheet.
If your hair is straight or only lightly wavy, this is one of the easiest middle part hairstyles to keep looking polished all day. I like a tail comb for the part, a dab of smoothing cream through the top layer, and a soft-bristle brush to gather everything at the nape. Leave two slim pieces out near the temples. Not chunky pieces. Slim ones. The difference matters.
How to keep it soft
- Pull the ponytail low enough that the line of the part stays visible.
- Wrap a small strand around the elastic if you want the finish to look cleaner.
- Curl the ponytail ends under once if the hair is very blunt; that little bend keeps the tail from looking like a ruler.
This version works especially well with hoop earrings, a crewneck sweater, or a blazer that has clean lapels. It has enough structure for a workday and enough looseness to avoid looking overdone.
2. Curtain-Bang Blowout with a Soft Center Part
Curtain bangs and a middle part are an easy partnership, but only when the bangs are styled with a bend, not a flip that shoots out like a question mark. The best version looks airy near the cheeks and fuller through the mids, with the fringe opening from the center instead of splitting into two stiff wings.
A round brush or a large hot brush gives this style its shape. Pull each front section away from the face, then roll the brush just enough to make the ends tuck back softly. You want movement, not a perfect barrel curl. If the bang section is too short to cooperate, let it fall where it wants and shape the rest of the hair instead. That often looks better anyway.
This style has a particular trick: the part should begin clean at the hairline, then loosen visually as it moves back through the crown. That keeps the front crisp and the rest from feeling severe. On finer hair, a root lift spray near the crown helps. On thicker hair, a quick pass with a flat iron on the very top layer can tame puffiness without killing the body underneath.
3. Chin-Length Blunt Bob with a Center Part
A blunt bob with a middle part sounds like it might be too sharp for the “soft” part of this list. It isn’t, if the ends are controlled and the finish stays slightly curved instead of poker-straight. The center part gives the cut balance; the bob gives it shape.
This style looks best when the ends sit just under the chin or skim it, not when they flip out wildly. If your hair naturally kicks up at the edges, use a flat iron or round brush to bend the last half-inch inward. That tiny curve takes the edge off the whole shape. It also stops the bob from looking boxy in photos and in mirrors — which, honestly, is where a lot of blunt cuts go wrong.
Keep the bob from looking stiff
- Ask for a soft perimeter if you wear the bob every day; razor-thin ends can look wispy rather than smooth.
- Tuck one side behind the ear for five minutes while the hair cools if you want a little asymmetry.
- Use a lightweight shine spray on the top layer only. Heavy oil near the roots makes the part look greasy fast.
This is one of the best middle part hairstyles if you like clean lines but do not want to spend twenty minutes curling your whole head.
4. Airy Layered Lob with a Loose Bend
If I had to pick one shape that never seems to look fussy, it would be the layered lob with a center part and a little bend through the mids. It’s the haircut that gives you room to move. The layers stop the ends from hanging like wet rope, and the middle part keeps the whole thing looking calm.
The easiest way to style it is with a 1-inch curling wand, alternating the direction of the bends away from the face in the front and leaving the ends slightly straighter. That keeps the movement loose, not pageant-y. You do not want every section to look identical. A little irregularity is what makes it feel lived-in.
What makes it work
- Layers remove bulk around the shoulders, so the shape doesn’t triangle out.
- The middle part keeps the volume balanced on both sides.
- A loose bend around the collarbone gives the cut enough swing to look intentional even on second-day hair.
This is a lovely cut for people who want some softness around the face without committing to bangs. It’s also forgiving. If one side dries flatter than the other, the imbalance reads as texture, not failure. That’s a nice thing to be able to say about hair.
5. Half-Up Claw Clip Twist with a Clean Center Part
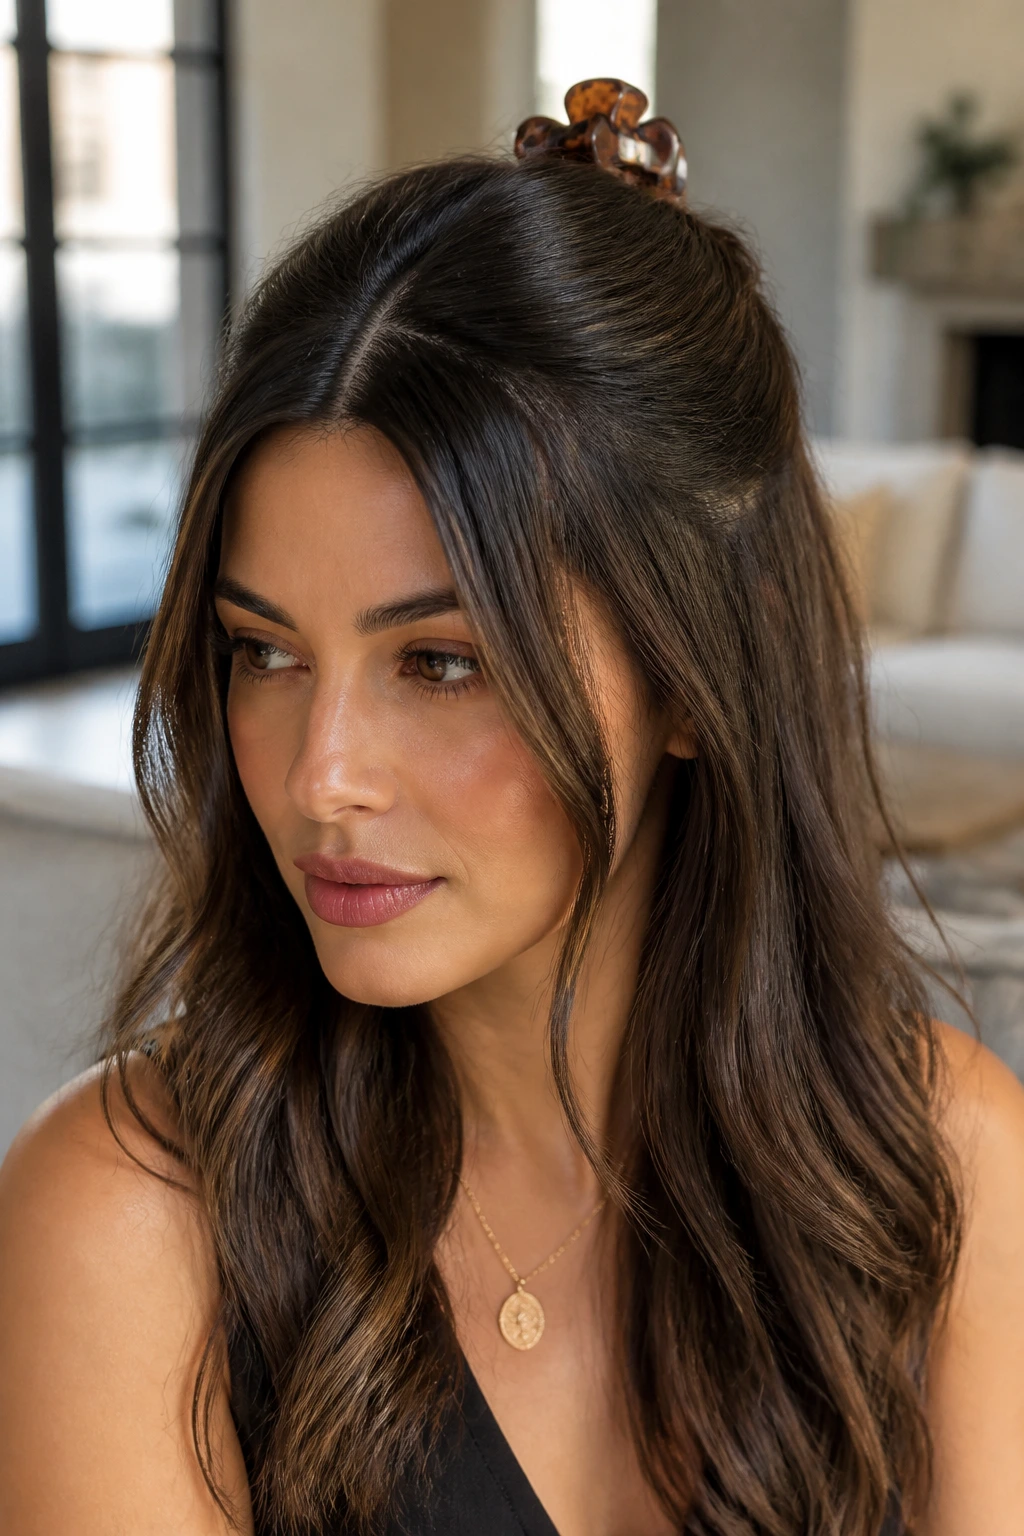
A claw clip can look lazy in the best possible way, but only if you place it with some care. The half-up twist keeps the crown lifted, while the center part keeps the front section grounded. The result is relaxed, not messy-for-the-sake-of-it.
Start by taking the top half of the hair from temple to temple, leaving the lower section out. Twist the top section once or twice, then fold it upward and secure it with a medium claw clip. Don’t shove the clip straight at the back of the head like a shortcut. Angle it slightly so the twist has a bit of shape. Leave the front pieces loose or tuck them behind the ears if you want a cleaner look.
This style is one of those rare ones that gets better on day two. The hair has enough grip to stay in the clip, and the roots are less slippery. If your hair is very silky, mist the top lightly with texture spray before twisting. That gives the clip something to hold.
It’s easy, yes. But it’s not careless. There’s a difference, and the middle part is doing half the work.
6. Low Chignon with Loose Tendrils
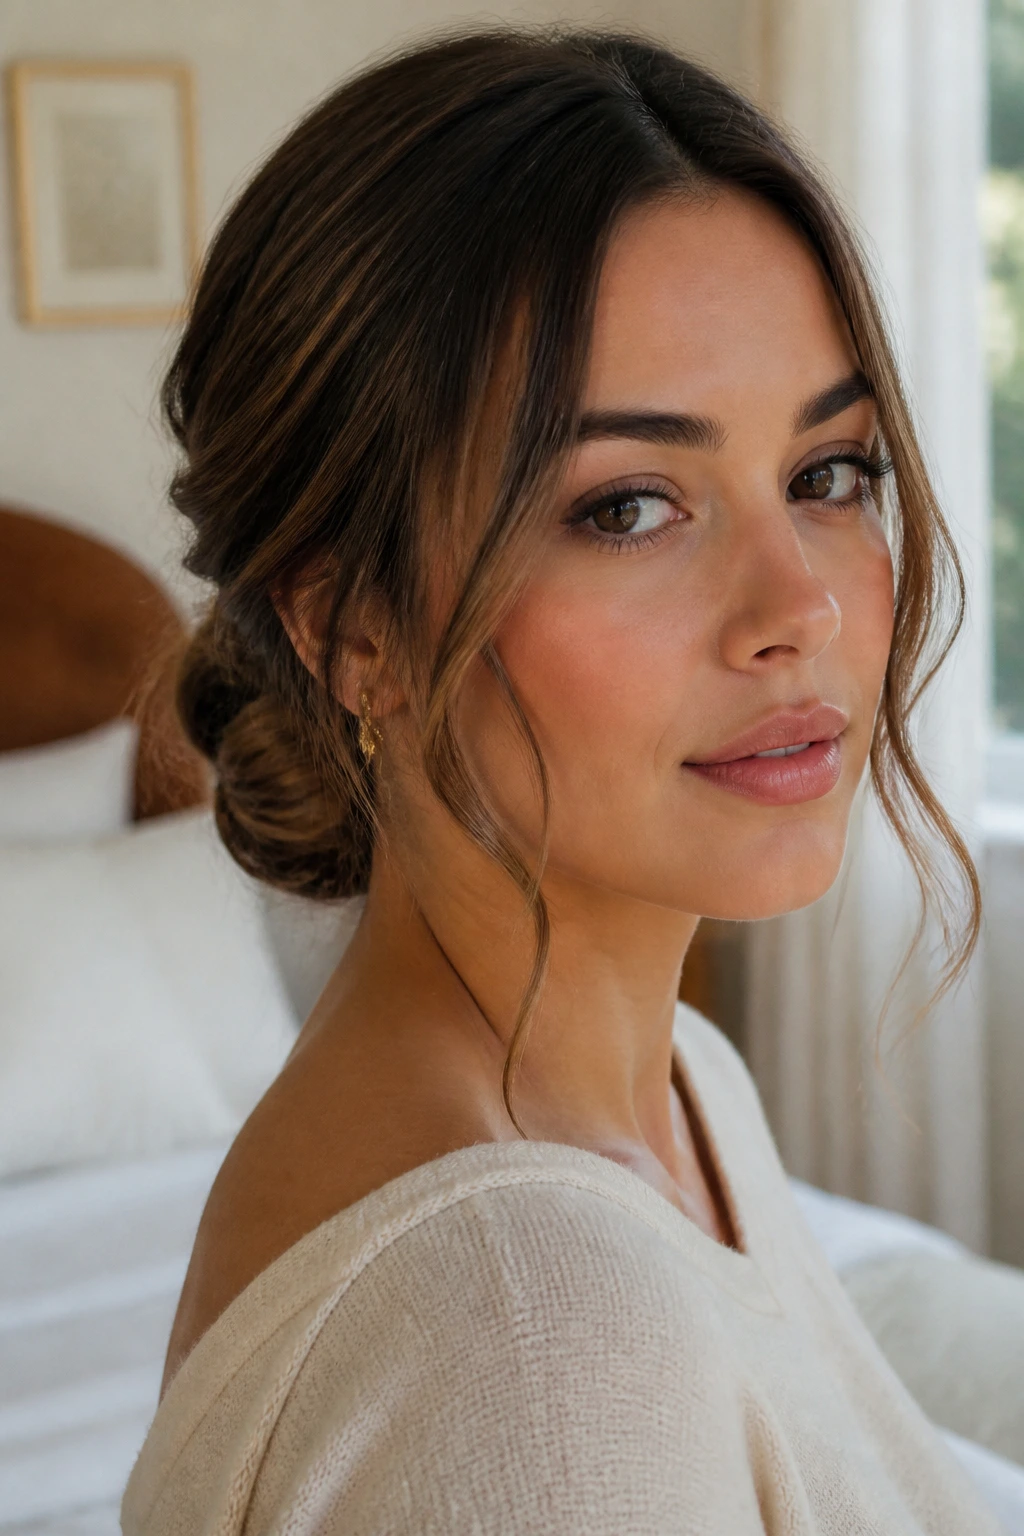
A low chignon can look very proper. Sometimes that’s the goal. Sometimes it isn’t. The center part changes the mood by making the bun feel neater at the scalp and softer around the face, especially when you leave a few narrow tendrils out near the temples and jaw.
This is the style I reach for when I want something secure that doesn’t feel too formal. Brush the hair back smoothly, parting it first, then gather it low at the nape and twist into a compact knot. Pin it with bobby pins in a crisscross pattern so it doesn’t sag after an hour. Then soften the front with your fingers — not by pulling random pieces out everywhere, but by easing just a little tension at the hairline.
What makes it different from a tight bun
The ends disappear, but the face doesn’t get erased. That’s the whole point.
A hard, slick bun can pull every feature into sharp relief. A chignon with loose front pieces leaves some air around the cheeks and temples. It’s kinder. It also wears well with earrings, especially small hoops or simple drops that need a little room to show.
7. Loose Waves with Invisible Layers
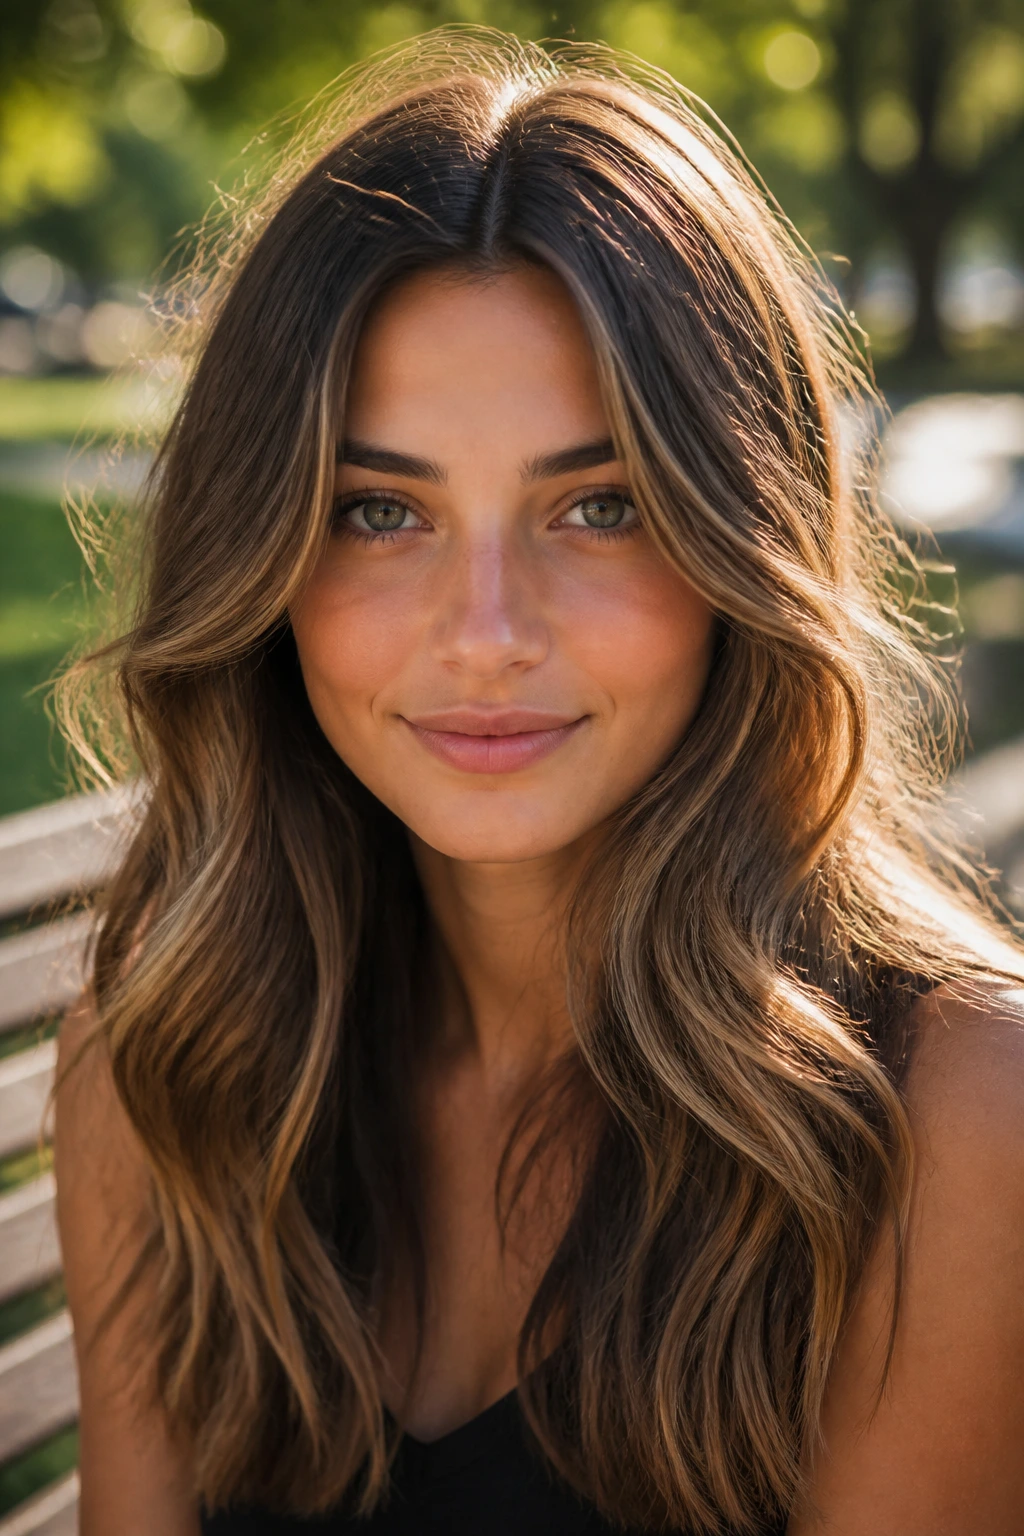
Why do loose waves and a middle part keep showing up together? Because the combination does something very simple and very useful: it lets the part stay clear while the rest of the hair refuses to sit still. The result looks soft even when the styling is minimal.
Invisible layers help a lot here. They remove weight without making the haircut look chopped up. Use a wand or a flat iron to create gentle bends, then run your fingers through once the hair cools. Not ten times. Once. If you keep breaking up the wave, you lose the shape and end up with fuzz.
This style is best when the waves are loose at the ends and a little flatter through the roots. That contrast gives the part some definition without making the crown feel tall or stiff. A mist of flexible-hold spray from about eight inches away is enough to keep the bend without turning the hair crunchy.
It’s the kind of hair that looks like it came together naturally, but it still needs a hand. Hair like this is never completely accidental. That’s the annoying part. Also the useful part.
8. Straight Lengths Tucked Behind the Ears
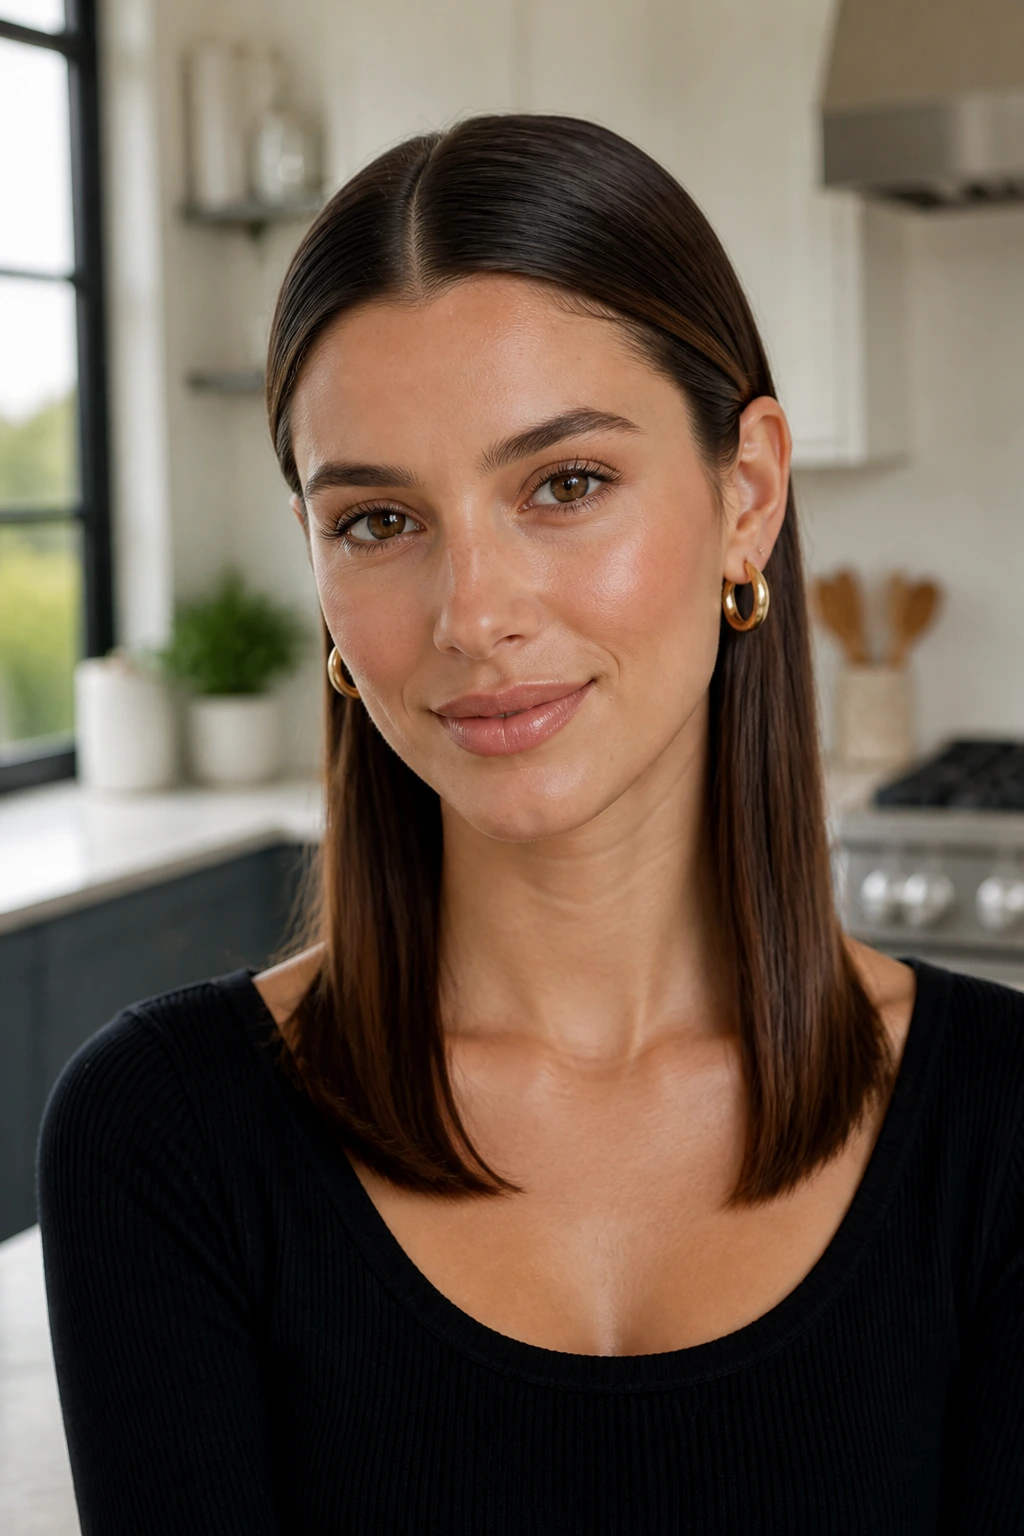
Sometimes the cleanest answer is the right one. Straight lengths with a center part and both sides tucked behind the ears can look sharper than a more complicated style, especially when the hair is smooth, glossy, and ends just a little below the collarbone.
The important thing is not to over-flatten the roots. You want the part to stay visible and clean, but you do not want the crown pressed so hard that the scalp shows in an unflattering way. A small amount of smoothing cream from mid-length to ends helps. So does tucking the front pieces behind the ears and letting them stay there for a few minutes before you decide whether to pin them or leave them alone.
Best details for this look
- Hair should be straight, but not lifeless.
- Ends can bend inward by a half-inch.
- Glasses, statement earrings, or a structured neckline look especially good with it.
This is one of the easiest middle part hairstyles to make feel intentional. It works because the line is clear and the rest is restrained. No drama. No fuss. Just clean hair with a bit of shape.
9. Messy Mid Bun with Wispy Pieces
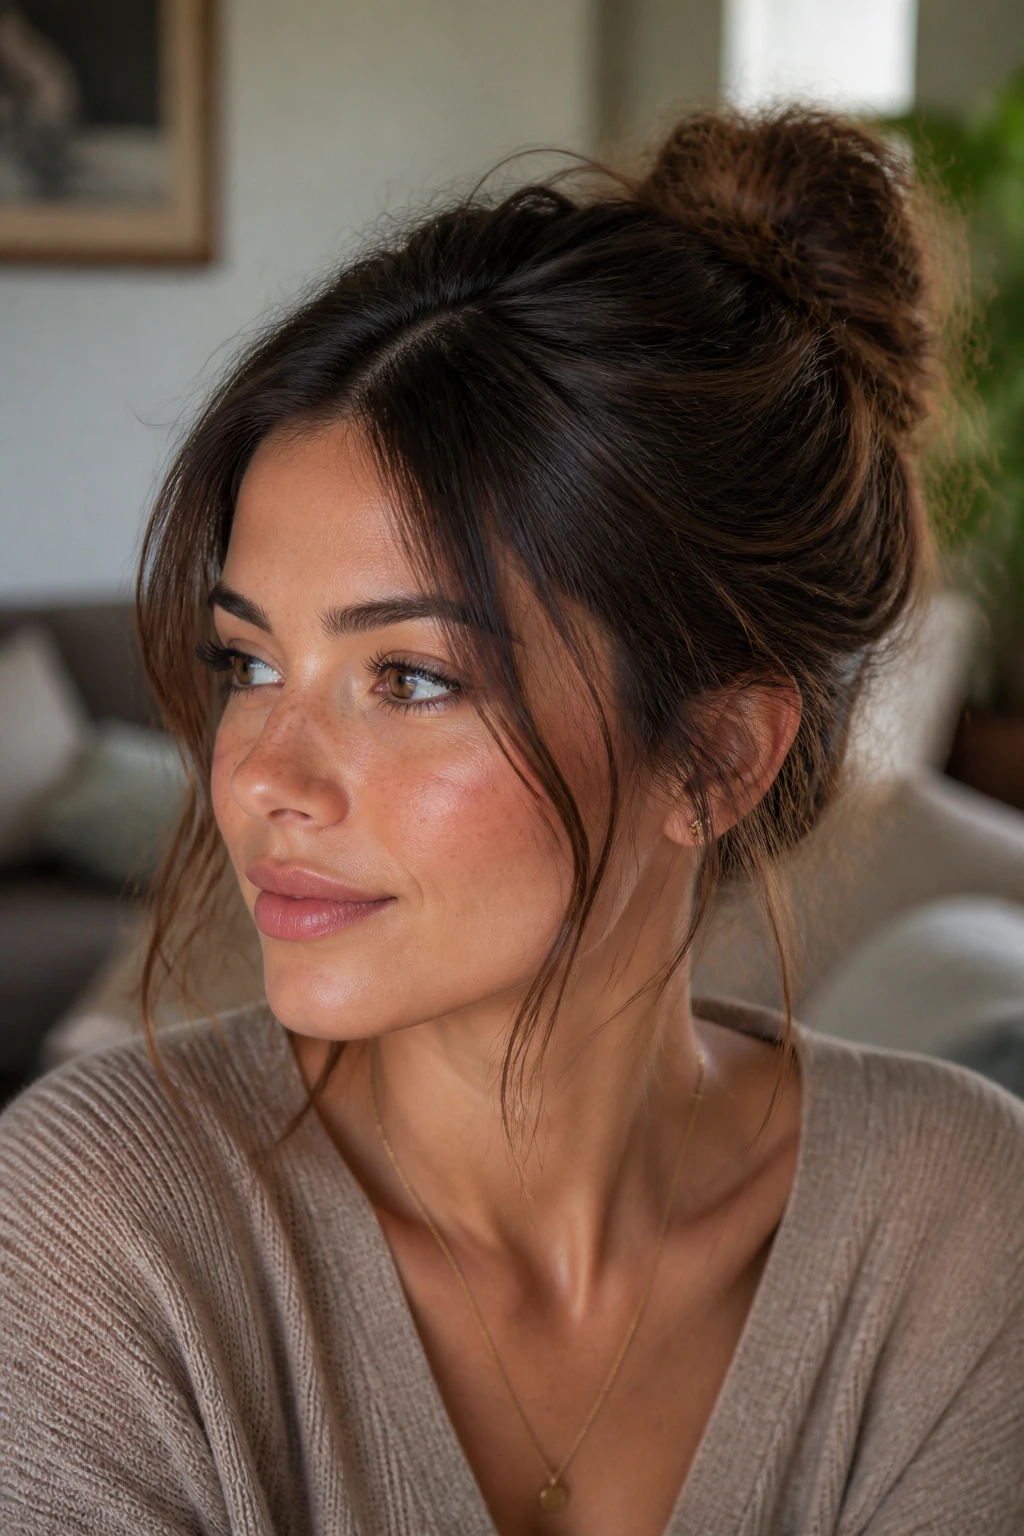
A messy bun can get lazy fast. A middle part prevents that, because it gives the style a clean frame before the bun starts to loosen up. The effect is soft and slightly undone, but still grounded enough that it doesn’t look like a hair accident.
Keep the bun low enough that the part remains visible for a few inches before the hair gathers. That matters more than people think. If the bun sits too high, the whole style becomes top-heavy. Leave a few wispy pieces near the hairline and temples, then stop there. You do not need to pull out half the front section to make the style look soft.
This is an especially good second-day style. Dry shampoo at the roots gives the part more grip, and the hair has enough texture to hold a loose twist. If your hair is thick, use two elastics under the bun before pinning. That extra support stops the knot from drooping after lunch.
It’s a practical style. But it can still look pretty. That’s what makes it worth keeping around.
10. Polished Low Bun with a Visible Part
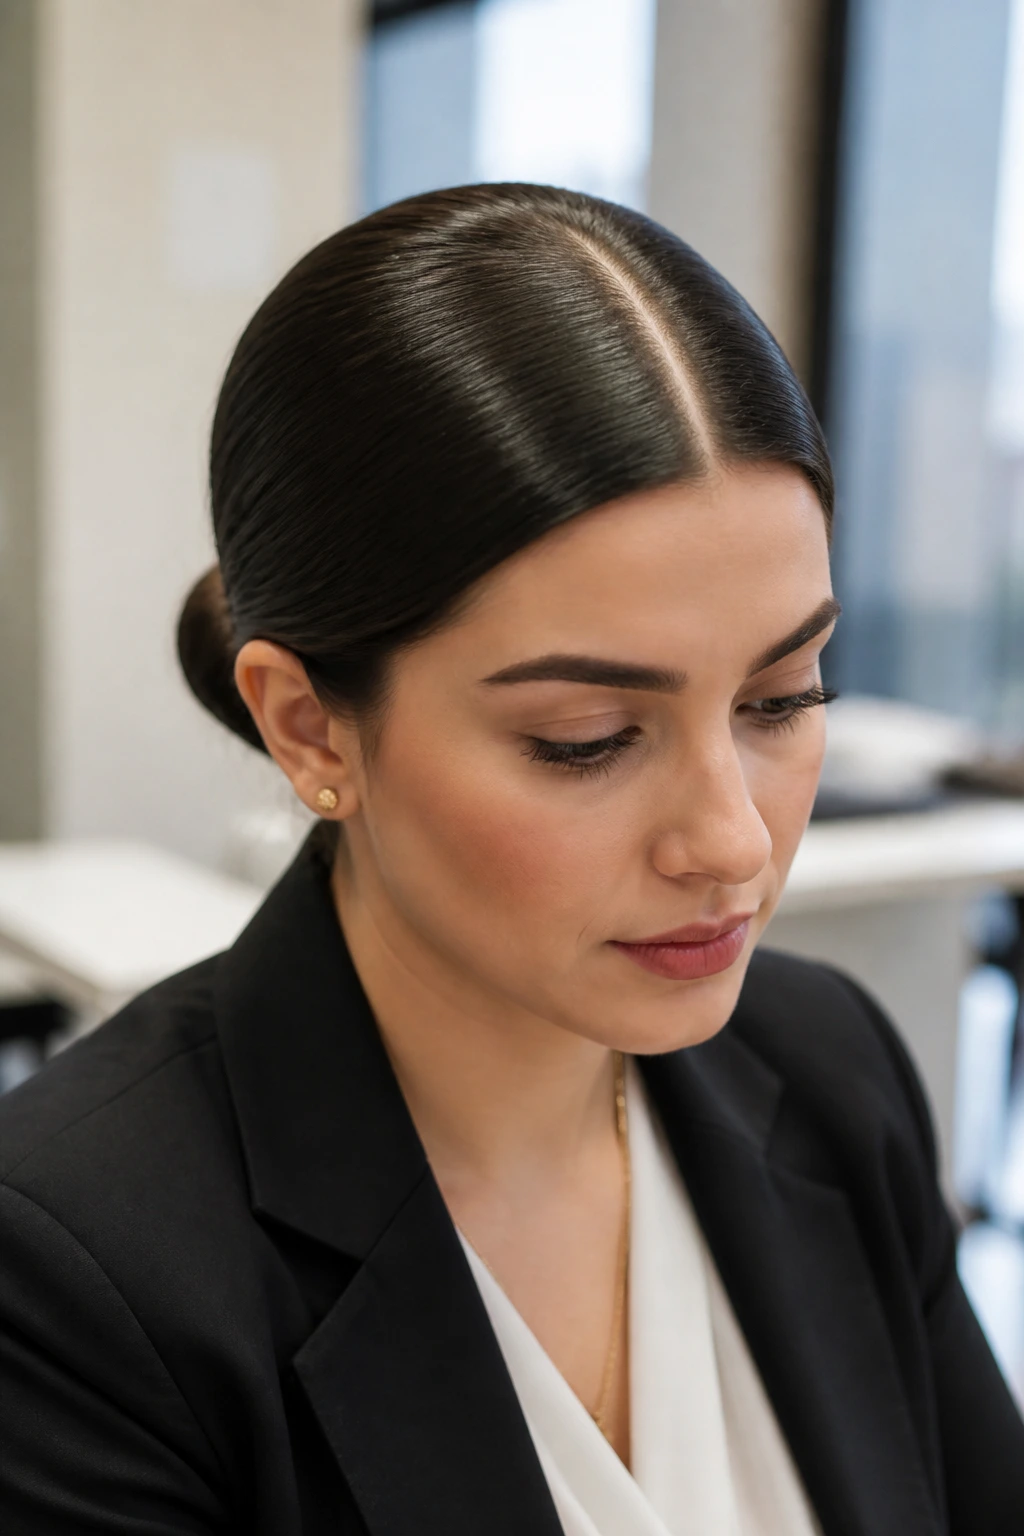
Would a low bun feel too strict for a soft modern look? Not if you keep the part visible and the bun itself smooth rather than slicked to the point of shine overload. The clean middle part creates order; the bun gives you a tidy finish without fuss.
Brush the hair back from the part with a boar-bristle brush or a soft paddle brush. Gather it at the nape, twist it into a bun, and pin the sides firmly. Then check the front. If the part disappears under flyaways, lightly tap them down with a tiny bit of serum on your fingertips, not by spraying half a can of hairspray onto the top. That usually makes things worse.
Pin placement matters
The bun should sit low enough to leave the neck open. That keeps the style from feeling severe.
If your hair is very slippery, twist the ponytail first, then coil it into a bun. The extra tension helps it hold shape. A polished low bun works beautifully with a tailored jacket or a simple knit top because it leaves the face open without looking overly formal. Clean, but not cold.
11. Defined Natural Curls with a Center Part
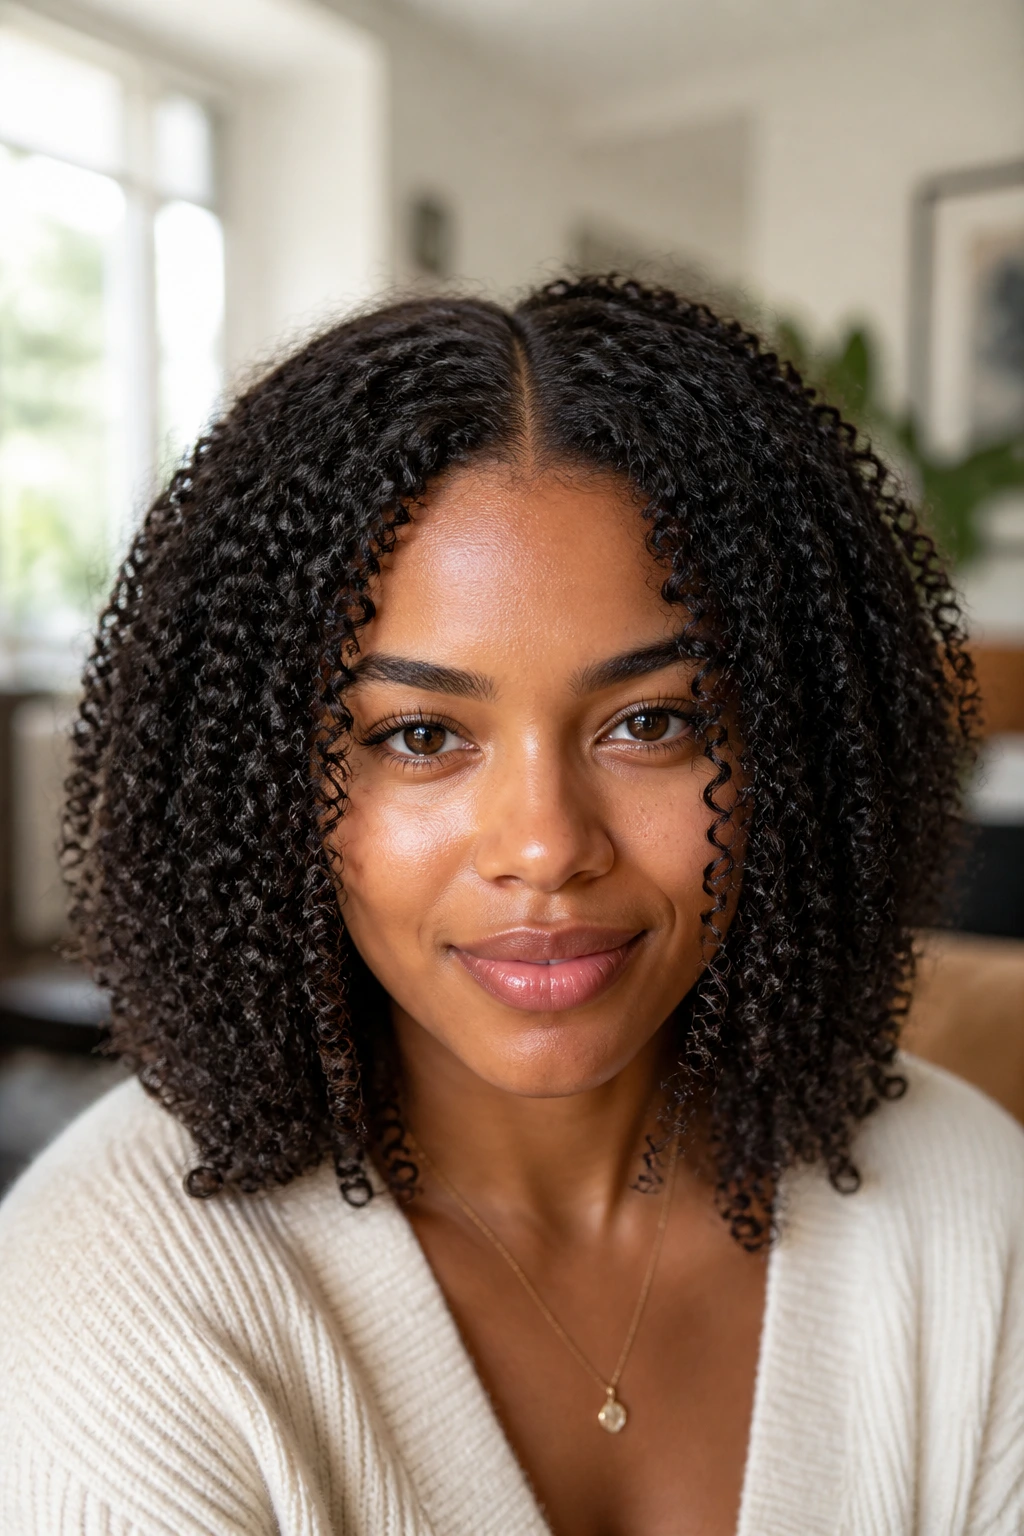
A center part on natural curls has to respect the curl pattern. If you try to force it flat, the result is usually bigger, frizzier, and less defined than the hair would have been on its own. The better move is to part the hair while it’s damp, then let the curls set around the line instead of against it.
Use your fingers or a tail comb to create the part right after applying leave-in conditioner and styling cream. Then smooth the roots near the part with a little gel so the line stays visible without turning hard. The curls around it should still feel springy and soft. If one side looks fuller, leave it alone for a while before you go poking at it. Curls settle late. They always do.
- Best for wash day or the first day after.
- A diffuser helps if you want more lift at the crown.
- A little oil on the ends keeps the curls from looking dry around the face.
This is one of the nicest middle part hairstyles for curly hair because it lets the symmetry do its job without flattening the texture that makes the hair interesting in the first place.
12. Braided Crown with a Clean Center Part
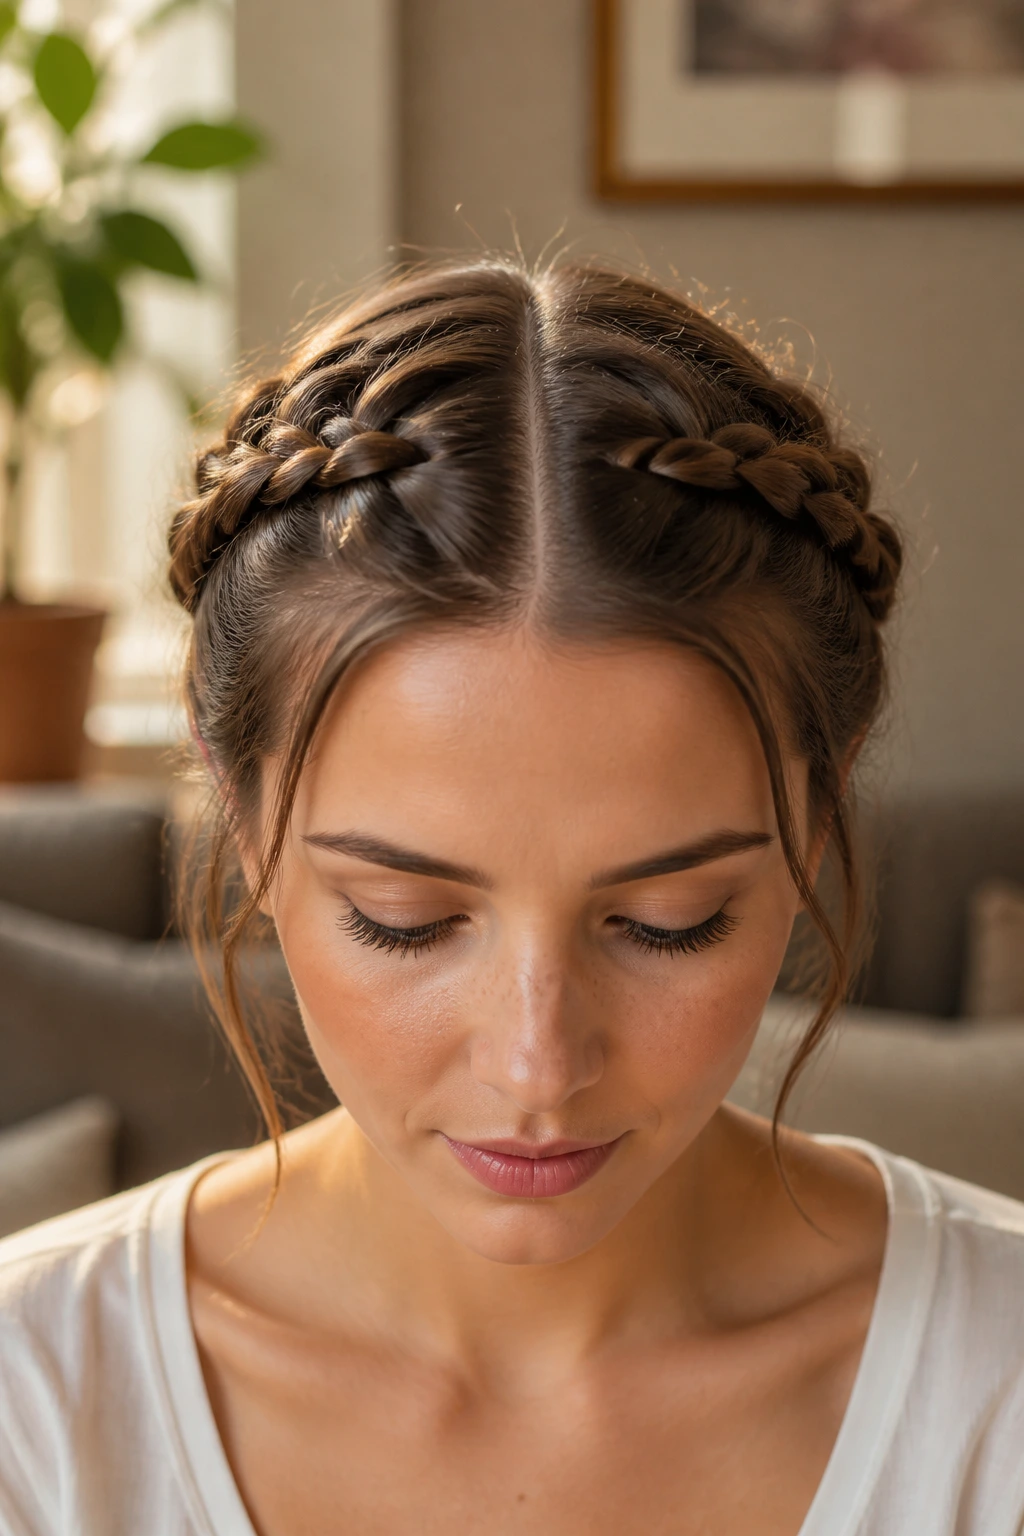
A braided crown can drift into costume territory if it’s too tight or too perfect. The middle part anchors it. Two neat braids, one on each side, give you symmetry at the scalp, then the crown shape softens the whole thing around the head.
I like this style when the hair has a little texture, because fresh, slippery hair fights braiding. Start the part clean, braid each side back from the temples, then wrap or pin the braids across the back of the head. Pull the braid edges very slightly once they’re secured. Very slightly. You want width, not frizz.
It’s a strong style for long afternoons because it stays put. That’s not glamorous, but it matters. If the hairline starts to puff up a bit by the end of the day, the braid still holds its shape and the loose edges only make it feel more relaxed.
This is also a good place for a subtle accessory — a small pin, a matte ribbon, maybe one barrette if you want the finish to feel less bridal and more everyday. The center part keeps it from wandering off into fairy-tale territory.
13. Bubble Ponytail with Root Lift
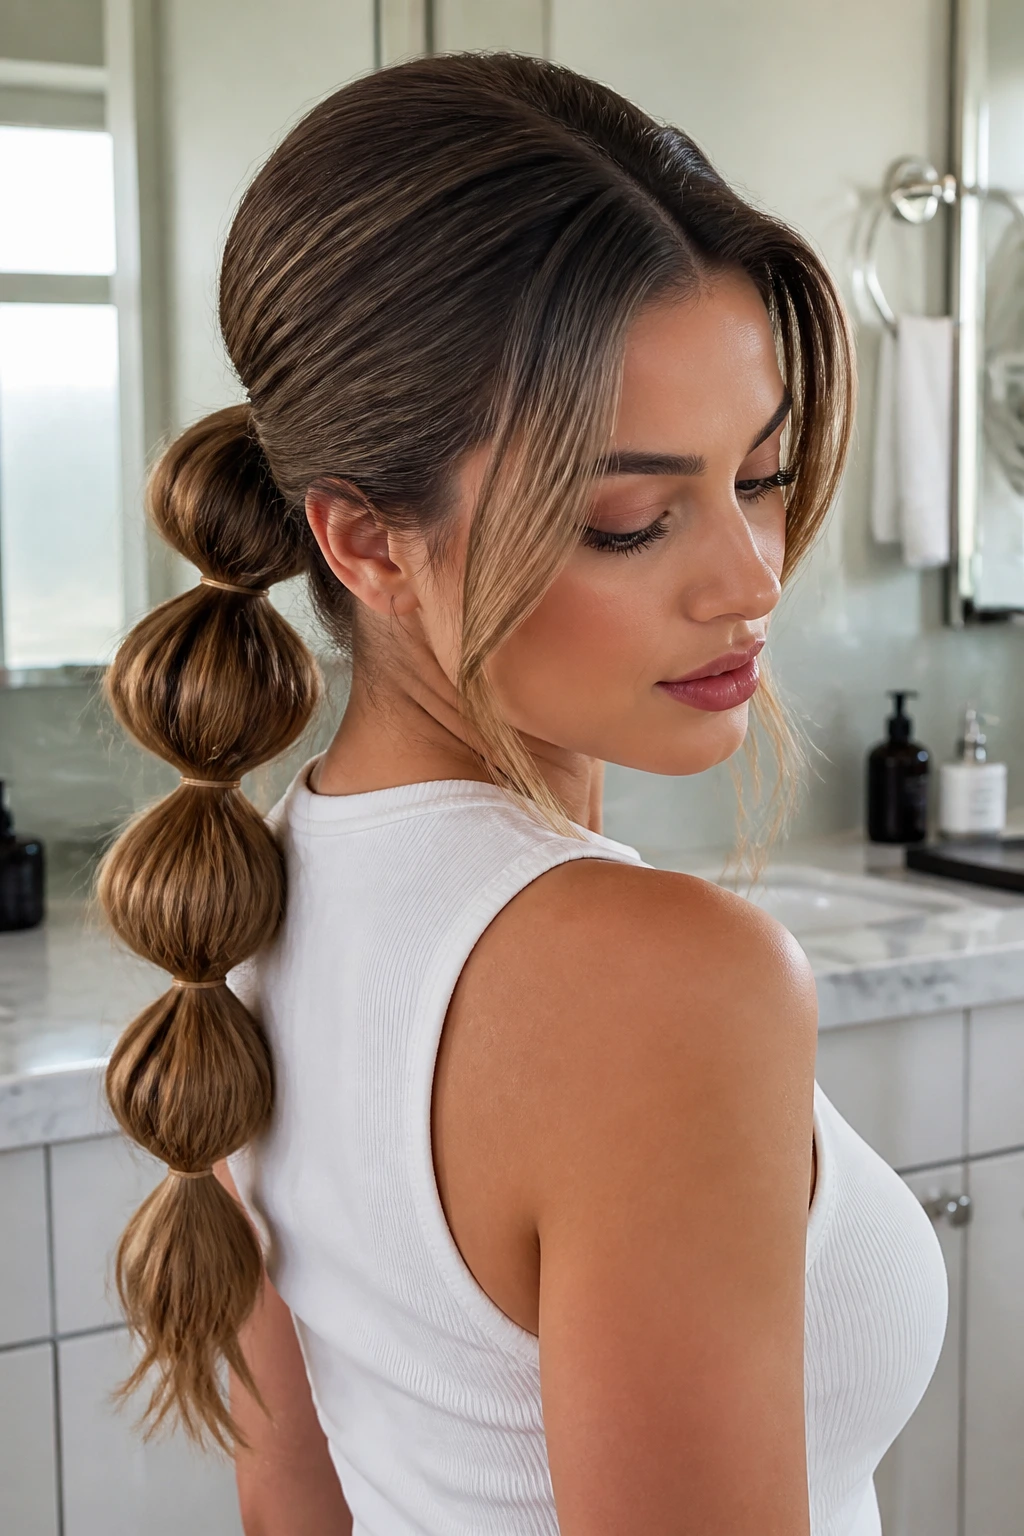
A bubble ponytail can look playful or clumsy, depending on how the base is built. The middle part gives it enough structure to read as deliberate, and the bubble sections keep the silhouette soft. It’s a better fit for this list than a standard high ponytail because the shape moves instead of sitting like a hard line.
Start with a low or mid ponytail, parting the hair first and smoothing the roots. Add clear elastics every 2 to 3 inches down the length, then gently tug each section outward so the bubbles round out. Do not pull them too far. If the sections balloon, the shape loses its polish and starts looking messy in a way you did not choose.
Why this version works
The crown stays clean, but the ponytail itself has texture and bounce. That balance keeps the style from feeling severe.
If your hair is fine, a little backcombing under each elastic helps the bubbles hold shape. If your hair is thick, use small elastics with a grip finish so they do not slide. A bubble ponytail is one of those styles that looks more involved than it is. The center part is doing a lot of the visual work, which is a nice bargain.
14. Defined Curly Puff with a Center Part
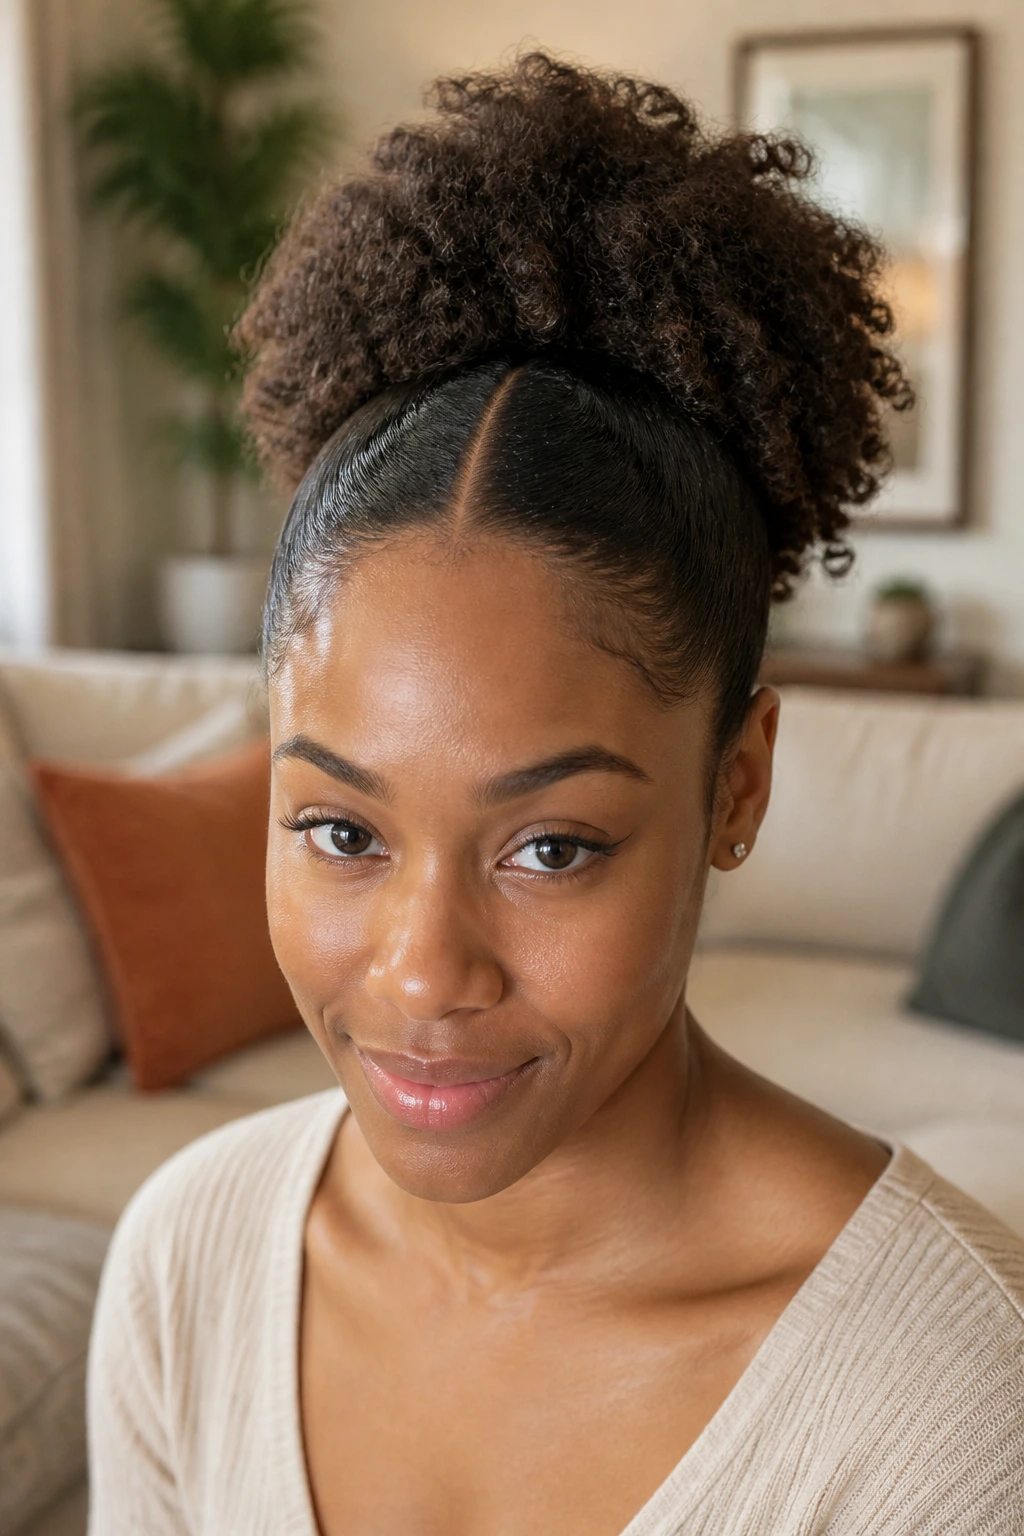
Does a center part have to live on flattened hair? Not at all. On coily hair, a crisp part at the scalp paired with a full puff can look polished, modern, and deeply wearable. The part gives the style intention; the puff gives it warmth and shape.
Part the hair while it’s damp, ideally after leave-in and cream have been applied. Use a tail comb if you want the line sharp, then smooth each side with a little gel and a soft brush before gathering the puff at the crown or slightly lower. The puff itself should stay rounded, not stretched thin. A clean center part against full texture is one of the nicest contrasts in hairstyling, and it never needs much else.
What to avoid
- Don’t over-slick the sides until they look hard.
- Don’t place the puff too tight, or the shape loses its softness.
- Don’t separate the curls at the crown too much if you want the part to stay visible.
This style works because it lets the hair’s own volume stay in charge. The part is there, but it doesn’t bully the texture. That’s the right relationship.
15. Center-Part Pixie with Tapered Sides
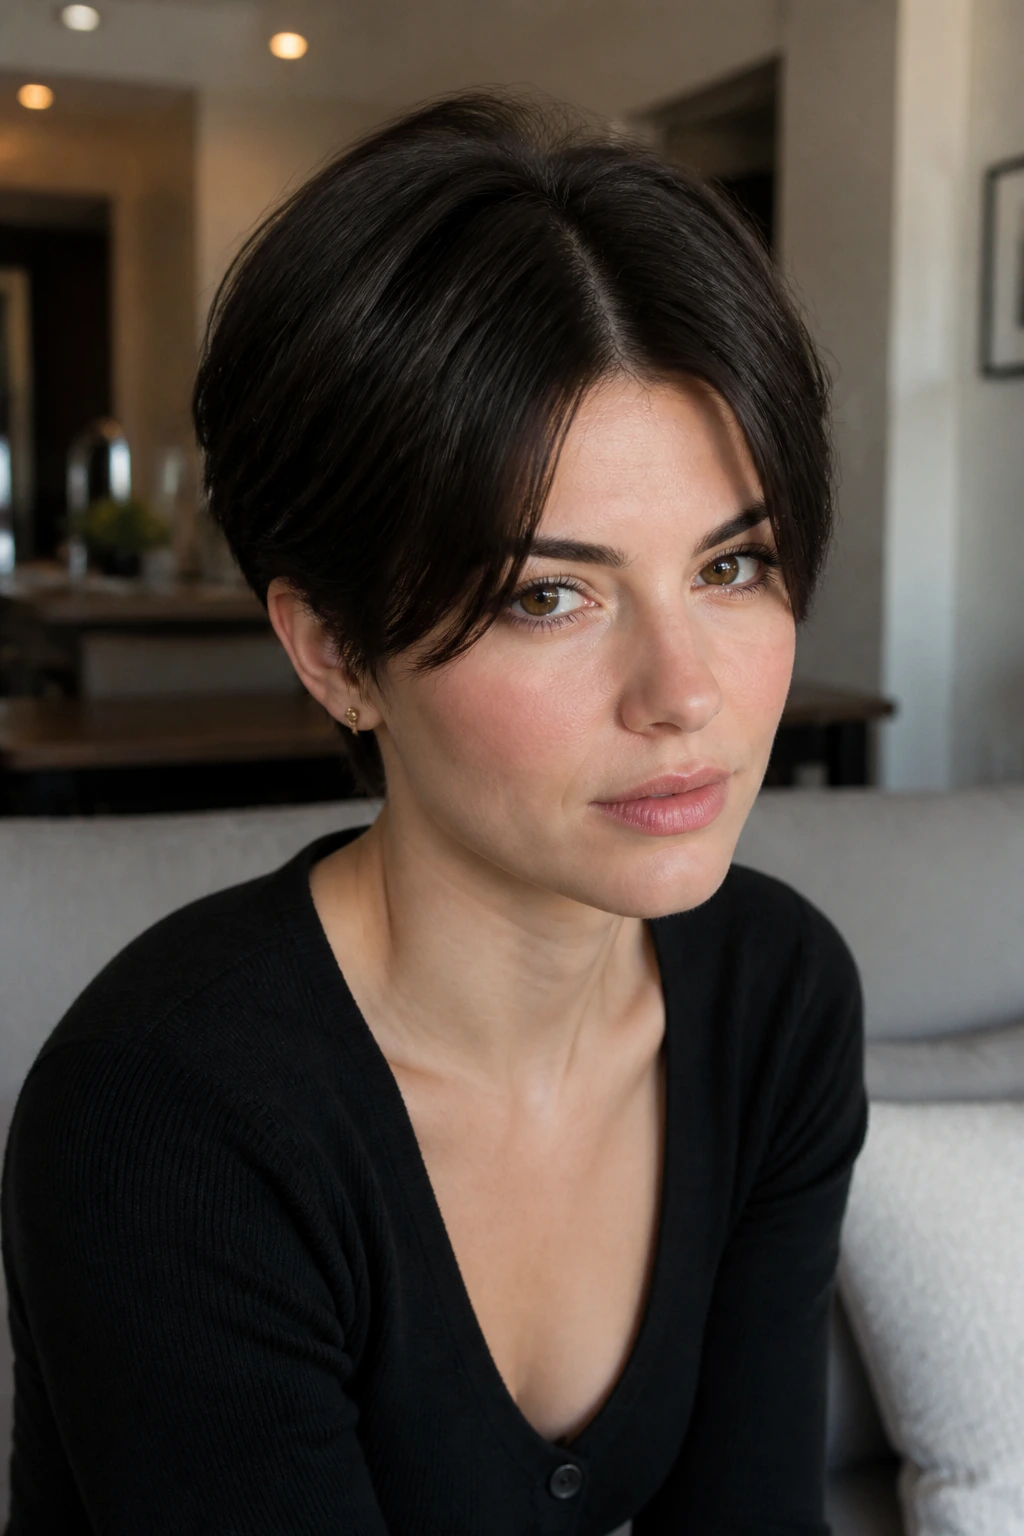
Short hair can wear a middle part, and when it does, the result is often cleaner than people expect. A pixie with a little length on top and tapered sides can split down the middle and still feel soft, especially if the front pieces fall forward slightly instead of standing up.
Use a pea-sized amount of paste or cream, rub it between your hands, and pinch the top sections into place. If the hair is too dry and fluffy, mist it first. If it’s too wet, the product will clump and make the part obvious in a bad way. The sweet spot is barely damp or fully dry with just enough product to control the front.
A center-part pixie looks best when the front pieces are a little uneven. Not sloppy. Uneven enough to move. That movement keeps the cut from reading too severe, which can happen fast on shorter hair. If you have grown-out bangs, this is one of the easiest ways to wear them without fighting the length.
It’s small, but it’s not shy. That’s a nice combination.
16. Ribbon-Tied Pigtails for a Grown-Up Finish

Pigtails can feel childish until you shift them low, keep the center part clean, and swap elastic-only finishes for ribbon or satin ties. Then they become soft, tidy, and oddly elegant in a very low-key way. The middle part keeps the style symmetrical; the ribbons keep it from feeling hard.
Start by parting the hair straight down the middle. Gather each side low at the nape or just below the ears, leaving a few front strands loose if you want more face framing. Secure each side with an elastic, then cover the elastic with ribbon or tie the ribbon directly around the base. Matte ribbon usually looks calmer than shiny ribbon. Shiny can work, but it asks for a more dressed-up outfit to match.
This style is especially nice on shoulder-length hair because the pigtails don’t drag and the shape stays compact. If your hair is very straight, curl the ends under once so the finish doesn’t look too severe. If it’s wavy, let the texture stay visible. That’s the softer option, and usually the better one.
The whole look lives or dies on the part. Keep that line crisp, and the rest can stay relaxed.
17. French Twist with Loose Face Pieces
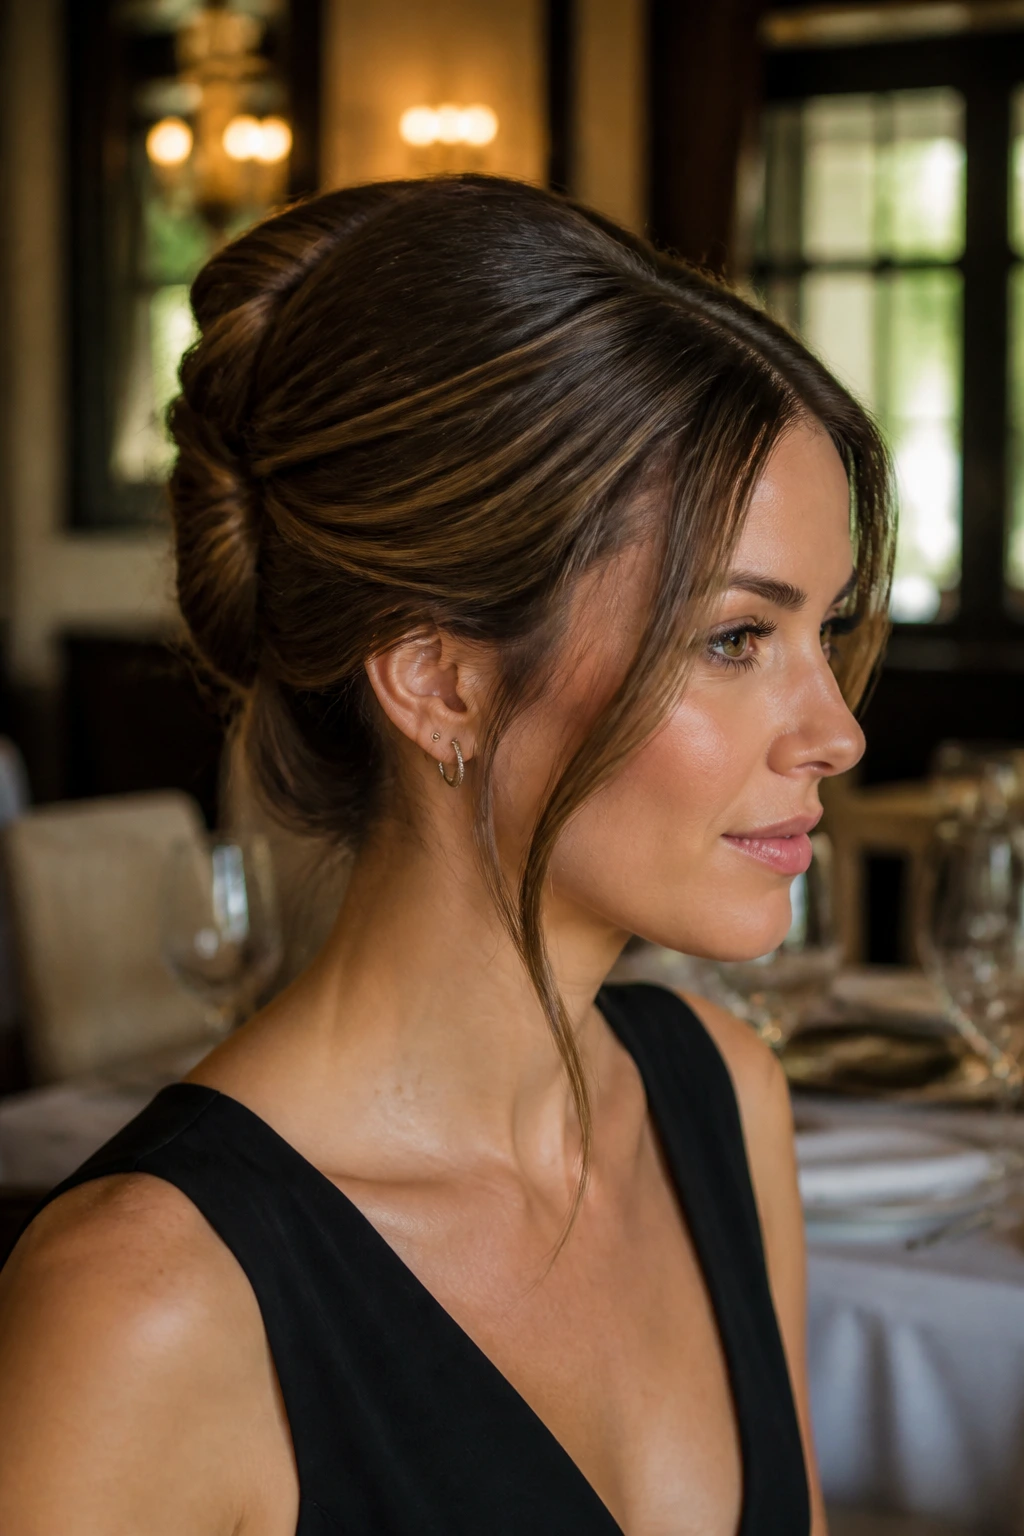
A French twist does not have to feel stern. That’s the myth. With a middle part and a few loose front pieces, the shape can look smooth and elegant without looking like it’s headed to a black-tie event.
Brush the hair back from the part, then gather it at the back as if you’re starting a low ponytail. Twist upward and pin the roll vertically against the head. The trick is not to pull every strand tight. Leave a little give at the sides so the twist has softness where it meets the hairline. Pull two front pieces free if you want to soften the cheeks and temples.
Best use case
This is the style for a dinner, a presentation, a wedding guest outfit, or any moment when you want your hair to behave without looking severe.
It holds better if the hair is on day two or has a bit of texture spray in it. Freshly washed, silky hair can slip out of the twist unless you pin it very securely. A French twist with a middle part is one of those looks that rewards patience. Pin, check, repin, check again. The shape is worth the extra minute.
18. Half-Up Knot with Long Ends Left Out
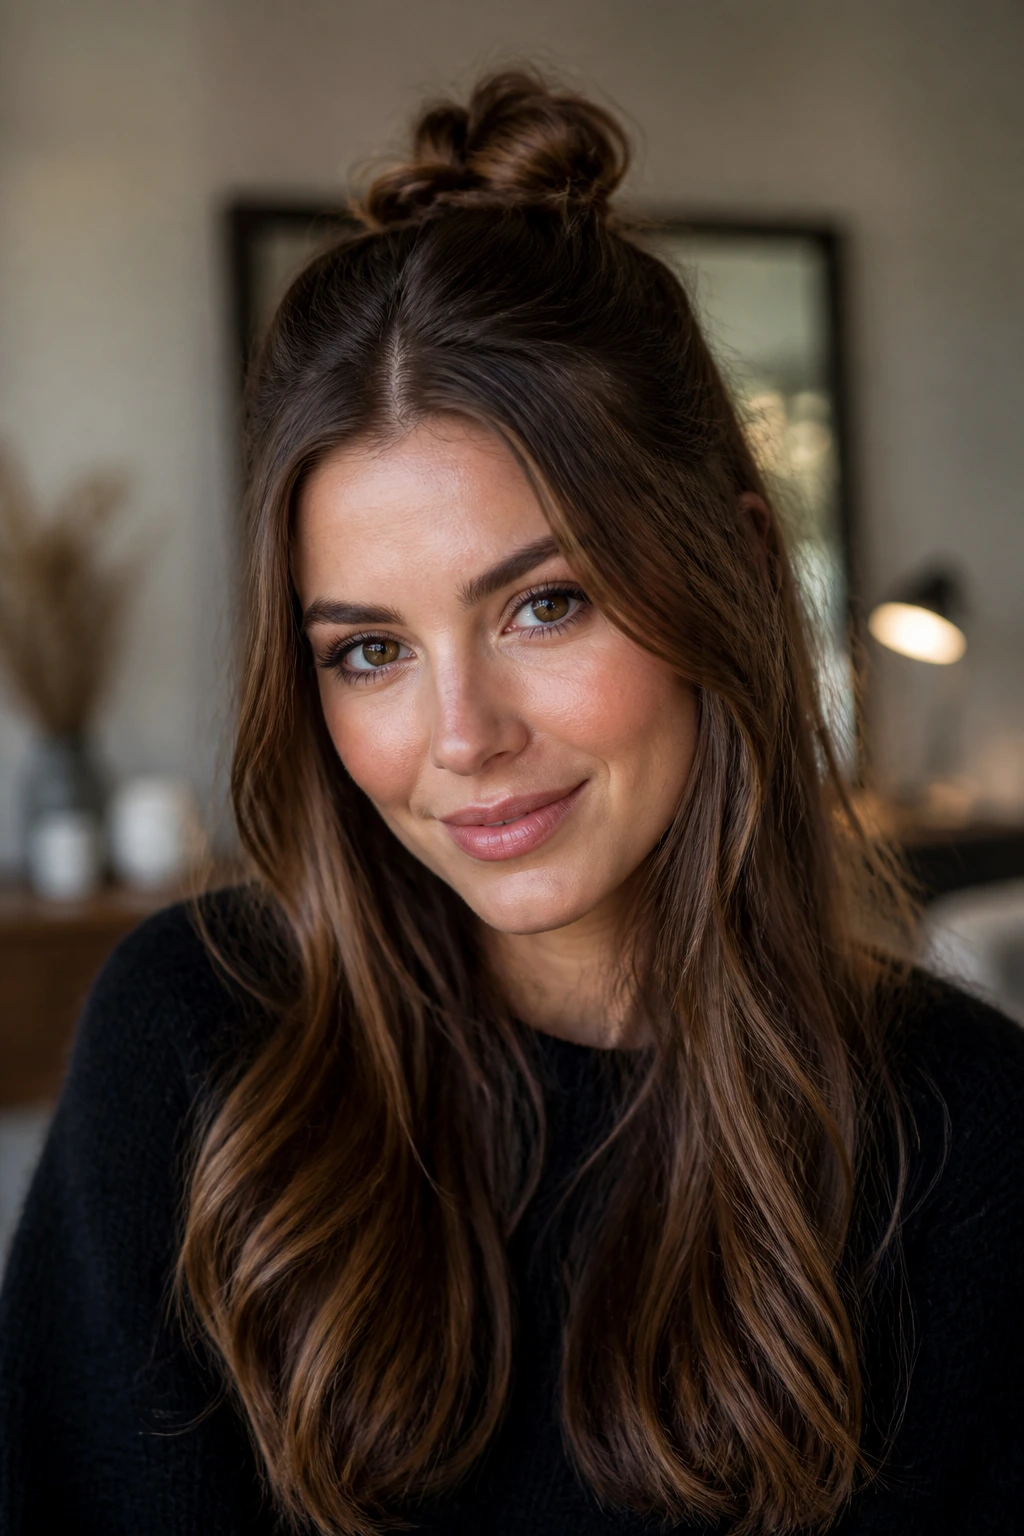
A half-up knot with a middle part keeps the face open while letting the rest of the hair stay loose. It feels modern because the top half is controlled and the bottom half still moves. That contrast is the whole charm.
Take the top section from the temples back, twist it once, and knot it into a small bun or looped knot at the crown. Secure with two pins or a small elastic. Leave the ends below untouched, or give them a loose wave if they’re very straight. The part should stay visible all the way from the hairline into the knot. If it disappears, the style loses its clean frame.
This one is good for medium to long hair and especially nice on layered cuts. The layers around the face soften the part, while the loose lengths keep it from feeling overbuilt. If the knot looks too perfect, pull one tiny edge loose. One. That’s enough.
It’s a practical style for days when you want the front of the hair under control but don’t want the full weight tied back. There’s a reason people keep coming back to it.
19. Curved-Under Lob with a Soft Bend
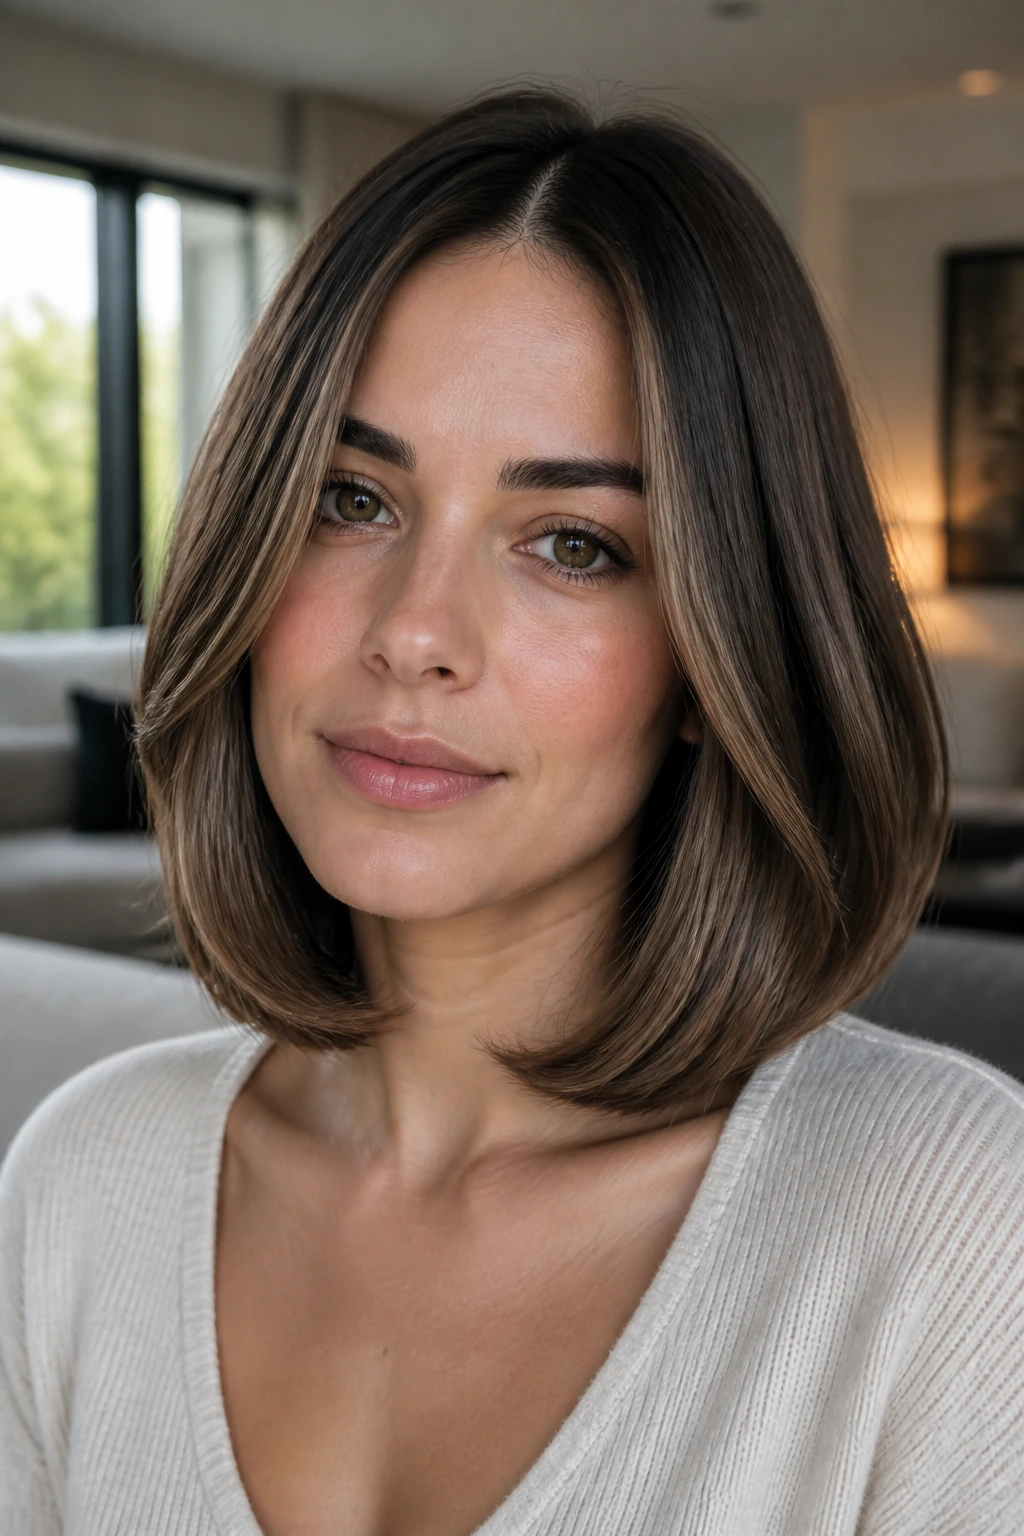
A lob with the ends curved under is one of the quietest ways to wear a middle part, and I mean that as a compliment. It reads polished because the line is clean, but the curve at the ends keeps the shape from looking stiff or too architectural.
Blow-dry with a round brush or use a flat iron to bend the last inch of hair inward. The bend should be obvious enough that the ends do not hang straight, but not so strong that the whole cut turns into a helmet. A center part through the top adds balance, and the curved ends bring the softness back in at shoulder level.
This style is especially good if your hair naturally wants to flip out. You can work with that tendency instead of fighting it hard. Curving the ends under makes the silhouette smoother, and a little tucked shape around the jawline can be kinder than a blunt straight fall.
If you like neat hair but do not like the feeling of being overstyled, this is a smart middle ground. Clean. Calm. No drama. Which, on some days, is the most useful thing a haircut can do.
20. Flipped-Out Blowout with Long Layers
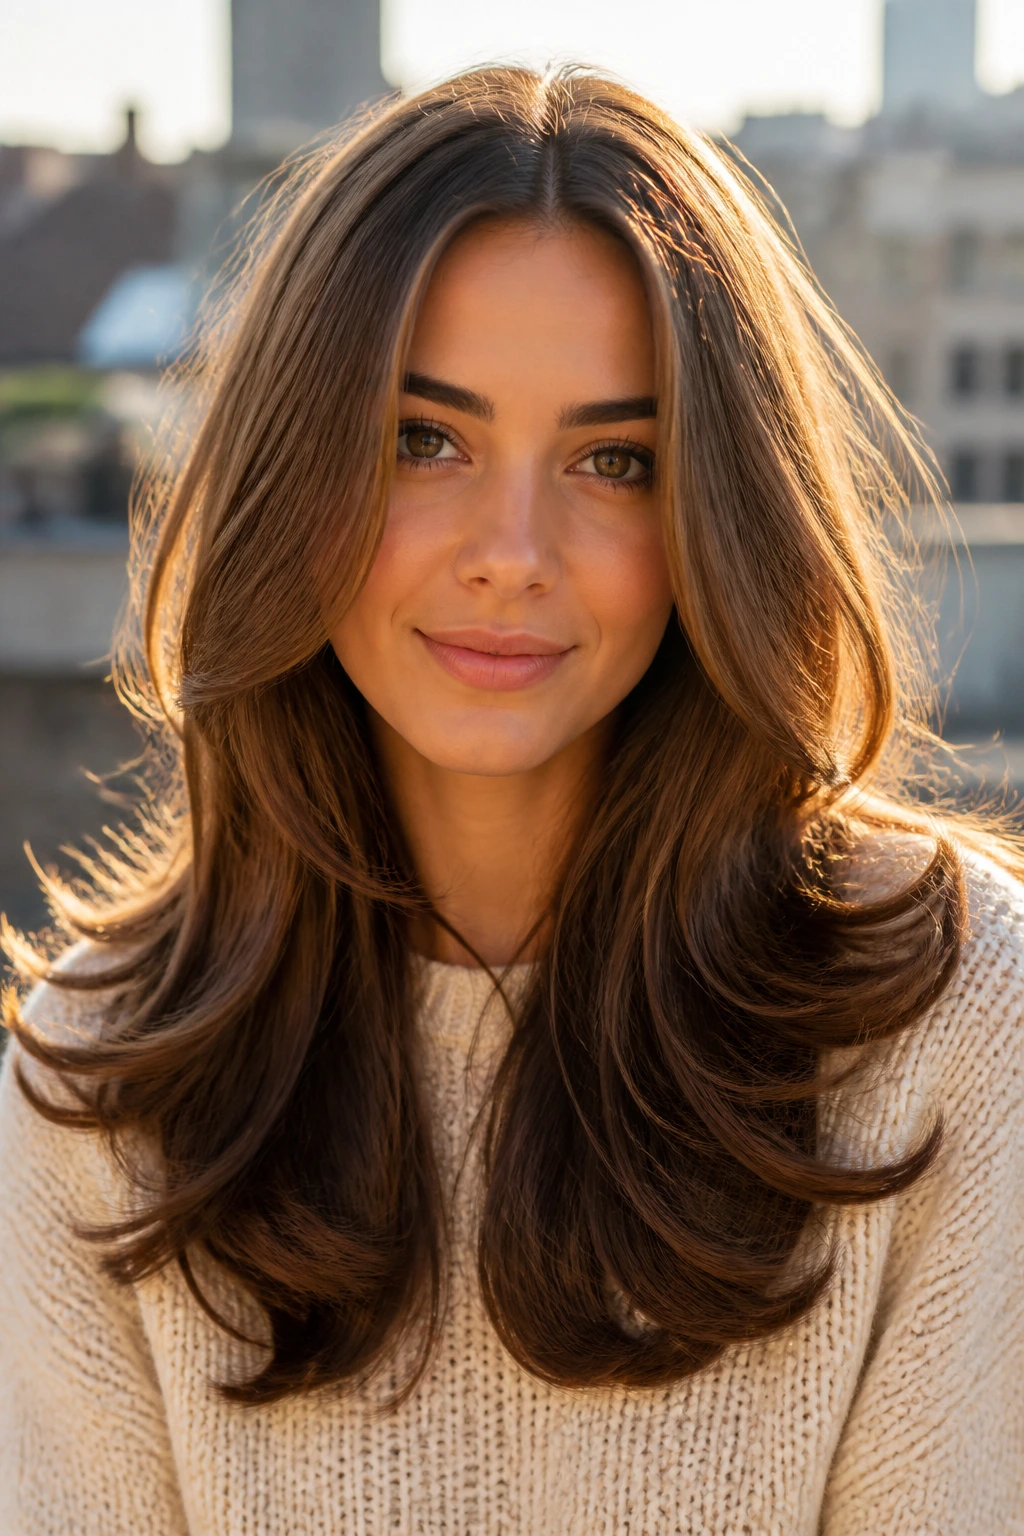
A flipped-out blowout gives the middle part a little motion at the ends, and that motion is what stops the style from feeling severe. On long layers, the flip can happen just at the last inch or two, which keeps the shape airy rather than retro in a costume-y way.
Use a round brush or a large barrel iron to direct the ends outward. Not wildly outward. Just enough to create a clear change from the mid-lengths. Keep the root area smooth and the part clean, then let the ends do the talking. If the layers are well cut, the movement will fall into place with less coaxing than you’d expect.
Why it’s such a good finish
The top stays orderly, while the bottom has a little swing. That balance is what makes the whole look feel modern instead of stiff.
A flipped-out blowout also catches wind better than a pin-straight finish, which sounds like a silly detail until you actually wear the style outside. Straight hair can go limp fast. Hair with a controlled flip has some life in it, and life usually reads as softness.
What Makes a Middle Part Look Soft Instead of Severe
A center part turns hard when the rest of the hair refuses to move. That’s the real issue. The line itself is not the problem. The problem is a flat crown, dry ends, and no face-framing shape to soften the geometry.
The easiest fix is movement. A bend at the ends, a small amount of lift at the roots, or a few pieces cut or styled to fall around the cheeks changes the whole mood. You do not need all three at once, though. One is often enough. I actually prefer when only one or two things are doing the work, because that keeps the style from looking overthought.
Another factor is where the hair sits against the ears. If every strand is pulled tightly away from the face, the part reads stricter. If one side is tucked and the other is left loose, the eye gets a break. That tiny imbalance softens the symmetry without ruining it.
The best soft center parts are not perfect. They are controlled. There’s a difference, and it shows up fast.
Essential Tools and Products You’ll Actually Reach For
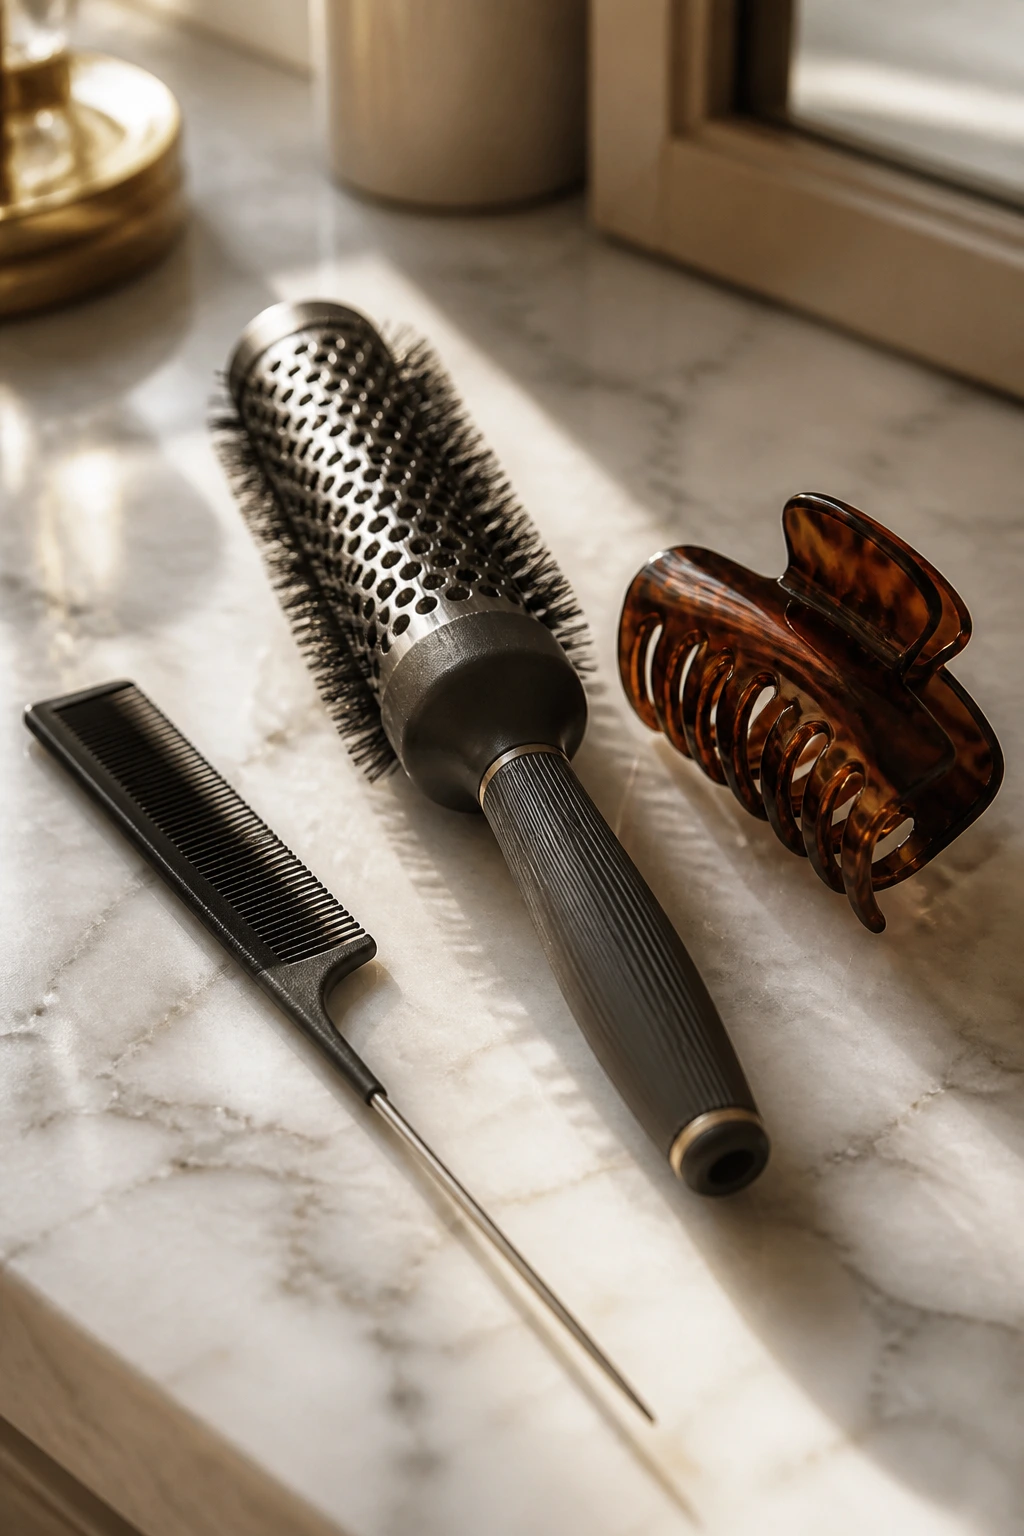
- Tail comb with a pointed handle: Best for making a clean part on damp or dry hair without carving the line with your fingers.
- Blow dryer with a nozzle attachment: Helps smooth the crown and direct the hair where you want it instead of blasting it into frizz.
- Round brush, 1.5 to 2 inches: Useful for curtain bangs, lobs, and flipped ends.
- Flat iron with rounded edges: Better than a sharp-edged one if you want bends, not kinks.
- 1-inch curling wand: The safest size for loose waves that still feel soft.
- Lightweight smoothing cream: Keeps the top layer calm without making fine hair collapse.
- Root lift spray or mousse: Good for fine hair or any style that needs lift at the crown.
- Flexible-hold hairspray: Holds the part and the face pieces without turning the hair stiff.
- Bobby pins and small elastics: Needed for buns, twists, braids, and half-up styles.
- Claw clip: One of the easiest ways to keep a middle part visible while getting the hair off your neck.
- Dry shampoo: Not only for grease; it adds grip to fresh parts and slippery roots.
- Texture spray: Useful for waves, braids, and bubble ponytails when the hair feels too soft to hold shape.
Smart Prep for Different Hair Lengths and Textures
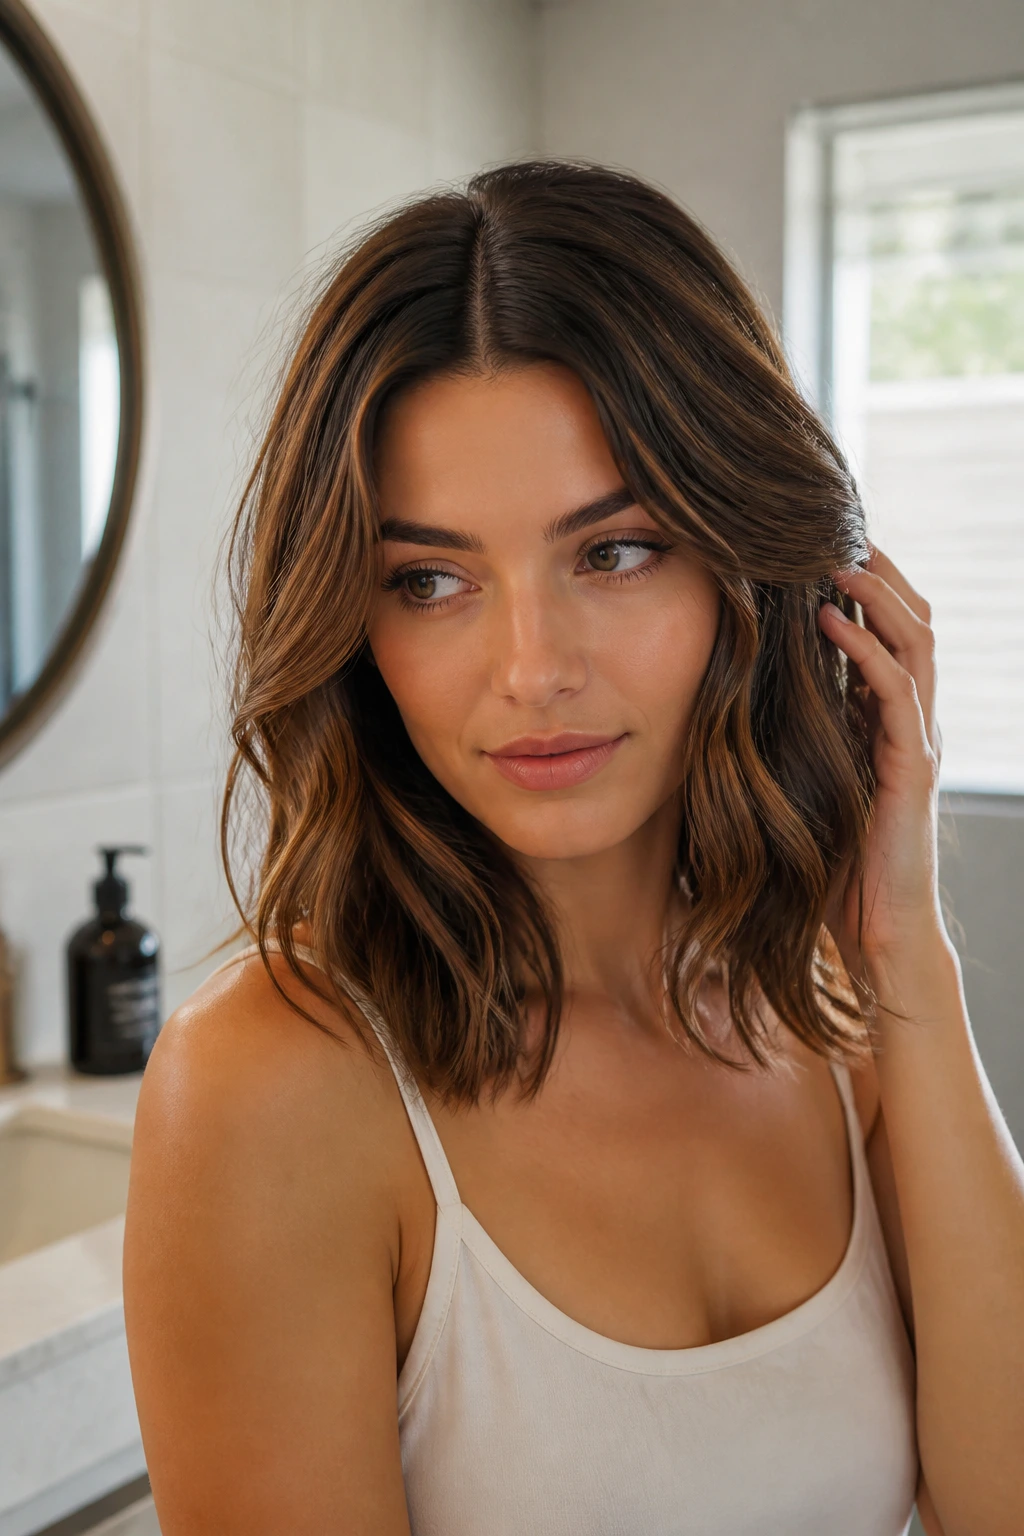
Short hair, medium hair, long hair — they all take the center part differently, and pretending otherwise is how people end up frustrated in front of a mirror. A pixie needs top length and product control. A bob needs shape at the ends. Long hair needs movement somewhere, or it can read flat very fast.
Fine hair
Choose styles with built-in lift: curtain bangs, layered lobs, bubble ponytails, and half-up clips. Heavy oils are not your friend here. They flatten the top layer and make the part look wider than it is.
Thick hair
Go for styles that remove bulk through the shape: low buns, chignons, braids, and layered cuts. Thick hair often looks better with smoothing cream on the crown and a little texture at the ends.
Curly and coily hair
Part on damp hair, not dry hair if you want the line to stay visible. Use cream or gel near the roots, then let the texture build the style for you. The center part should organize the shape, not erase it.
Wavy hair
You got lucky. Wavy hair usually gives you enough movement for the soft look without much coaxing. A little bend, a little root control, and you’re done.
How to Wear These Styles in Everyday Life

Workdays: The sleek low ponytail, polished low bun, tucked lob, and French twist all behave well under a long day, a commute, and a laptop screen. They stay neat without looking severe if you keep a few front pieces soft.
Off-duty days: The claw clip twist, messy mid bun, ribbon-tied pigtails, and half-up knot have the right amount of looseness for errands, coffee runs, and hair that just wants to live a little.
Dressier moments: The braided crown, low chignon, and flipped-out blowout feel finished enough for dinners or events, but they don’t need a heavy shell of hairspray. That’s the sweet spot.
If you wear glasses or earrings: Tucked-behind-the-ears hair and low buns are your friends. They keep the frame of the face clear, which matters more than people think.
The nice part is that none of these looks demands a costume change. They fit into real clothes. That sounds obvious, but plenty of hair tutorials ignore it.
Practical Tips for Better Middle Part Hairstyles
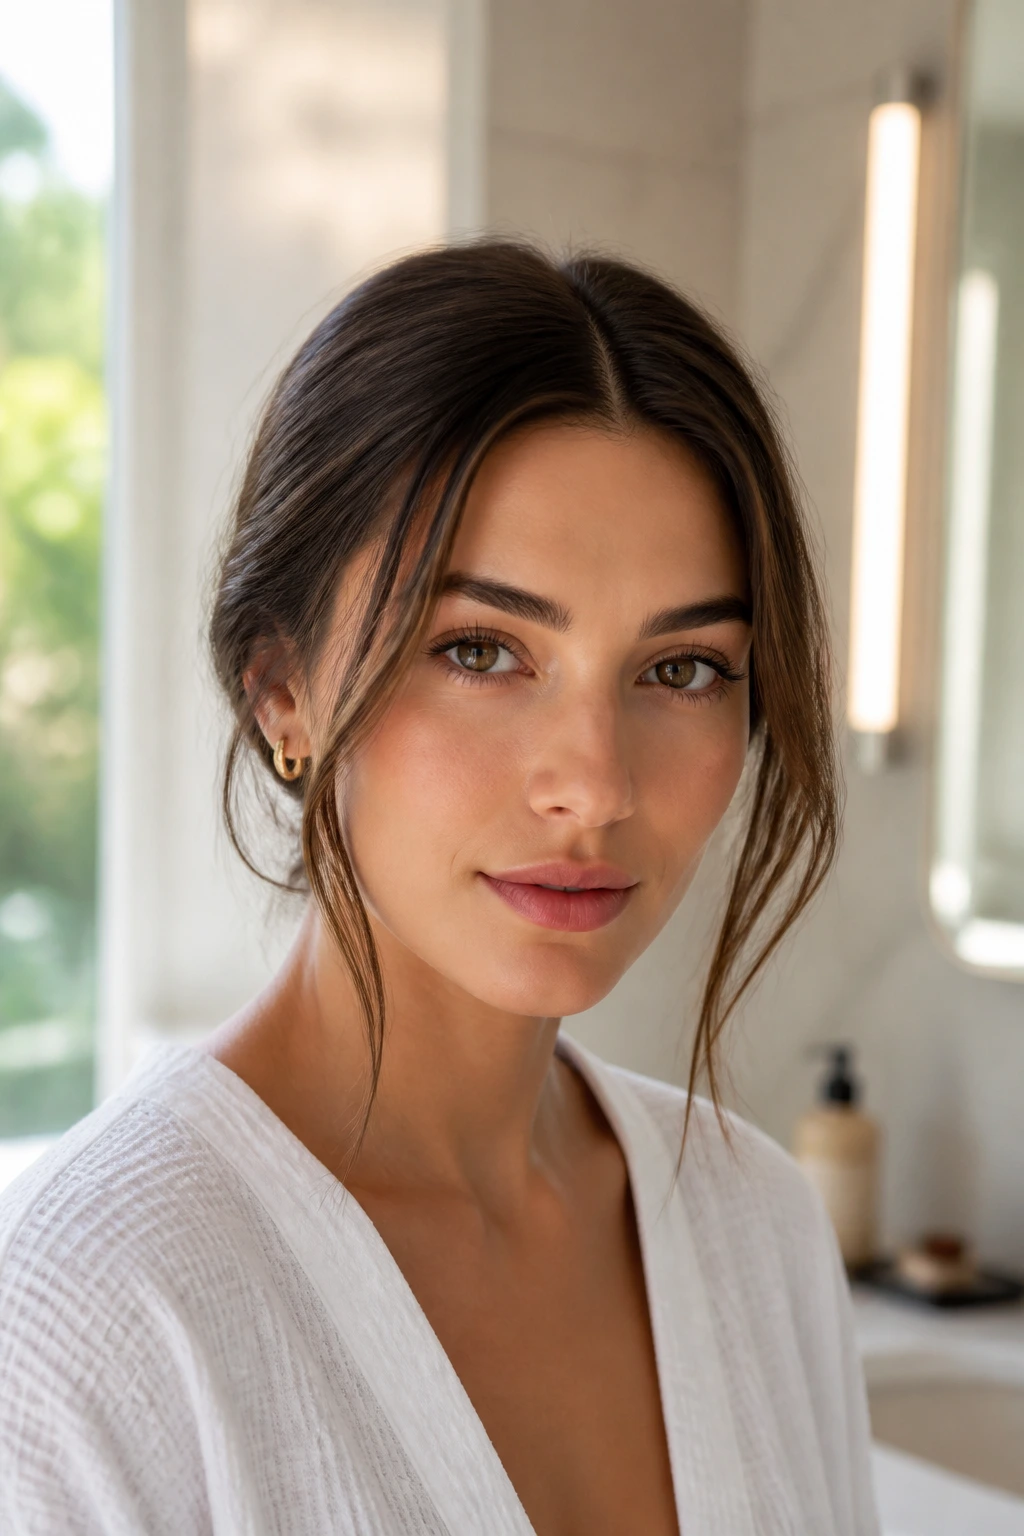
Root Control: Set the part first, then work on volume. If you try to style the rest of the hair and part it later, the line gets uneven and you spend twice as long fixing it.
Softness at the Hairline: Use your fingertips, not a brush, to loosen the front pieces after styling. Brushes can break up the shape too much and make the top look fuzzy.
Heat Discipline: Keep hot tools around 300°F to 350°F for most hair unless your texture needs something different. A higher setting is how ends get fried into little stiff hooks.
Second-Day Advantage: A slightly lived-in root is often better for claw clips, braids, buns, and bubble ponytails. Fresh hair can be too slippery, especially if it’s fine.
Face Framing: Leave the front sections a little longer than you think you need. They shrink when they dry, and a piece that lands at the jaw at the start can end up floating somewhere odd later.
Finish Lightly: Spray from a distance. If the part is stiff, the whole style starts to look staged.
Common Mistakes That Make a Center Part Look Stiff
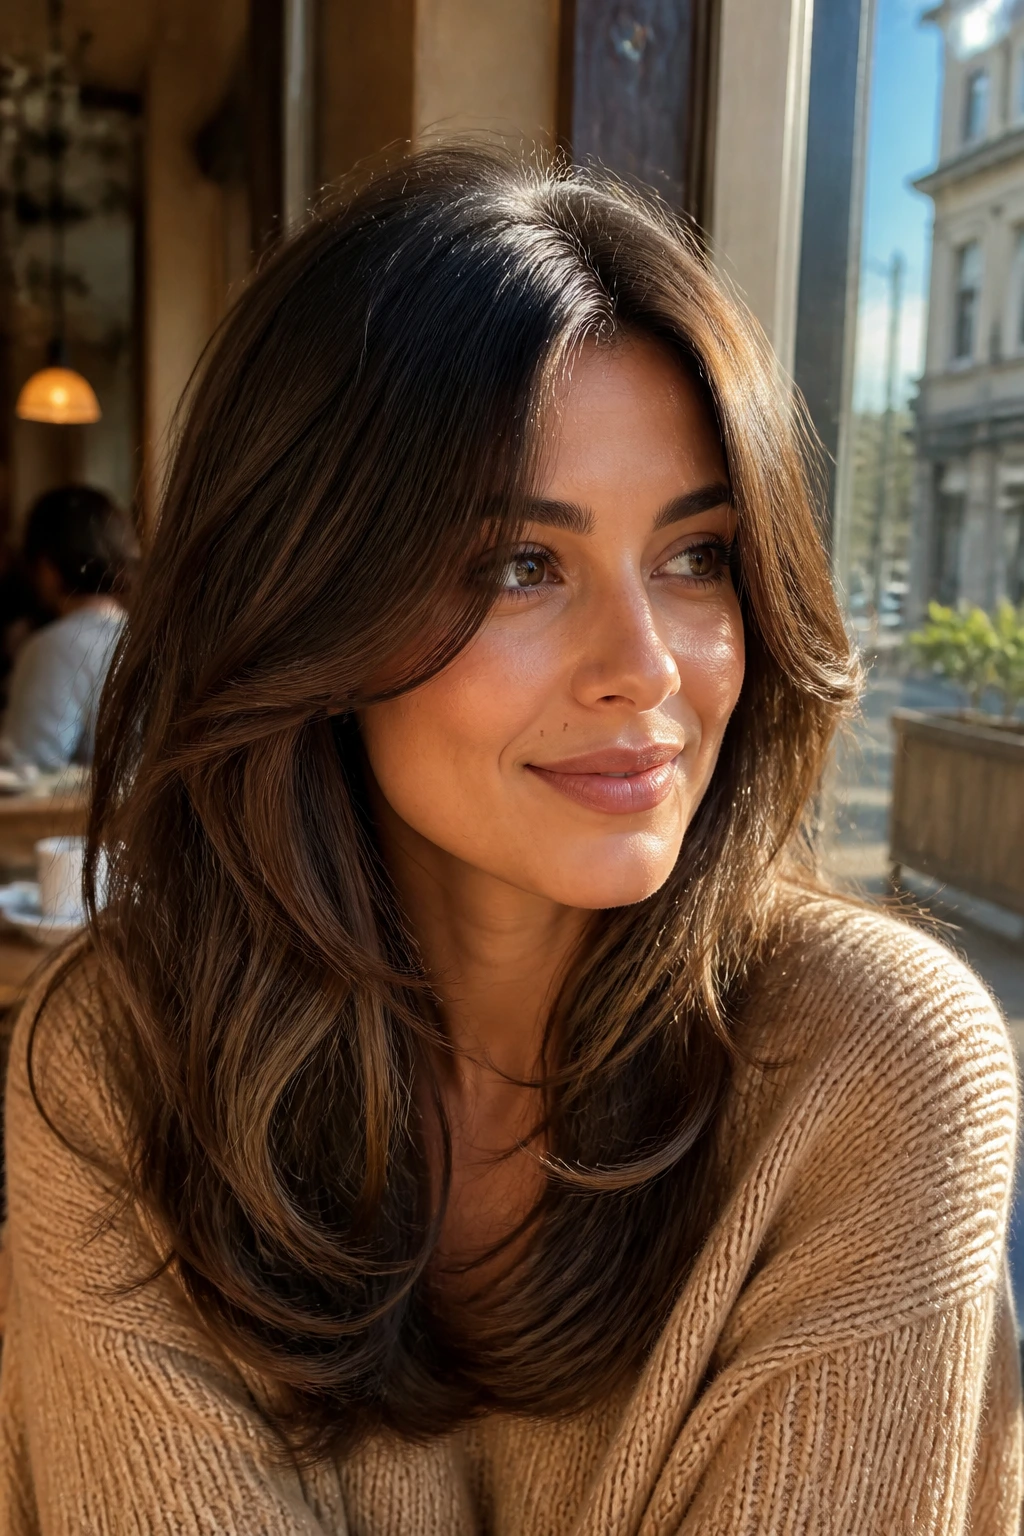
Drawing the part too hard on dry hair: The line looks angry, especially on hair with little movement. Mist the roots lightly, part it with a tail comb, and let the hair settle before styling the rest.
Flattening the crown too much: When the top is pressed flat, the part becomes the loudest thing in the style. A tiny bit of lift near the roots keeps it from looking severe.
Leaving the ends blunt and untouched: Straight, unbent ends can make even a good center part look unfinished. Curl them under, flip them out, or create one loose wave through the mids.
Overloading with heavy cream or oil: The hair gets greasy at the roots and limp through the lengths. Use a little, then stop. You can always add a drop more, but you cannot take it back once the hair collapses.
Pulling face-framing pieces too thin or too thick: Too thin and they disappear. Too thick and they start to look like bangs you didn’t mean to have. Aim for narrow, controlled pieces that sit somewhere between the cheekbone and jaw.
Forgetting the part should support the style, not own it: A good center part is clean, yes, but it should never feel like the whole haircut. If the rest of the look has no shape, the line ends up doing all the work.
Variations and Alternatives to Try
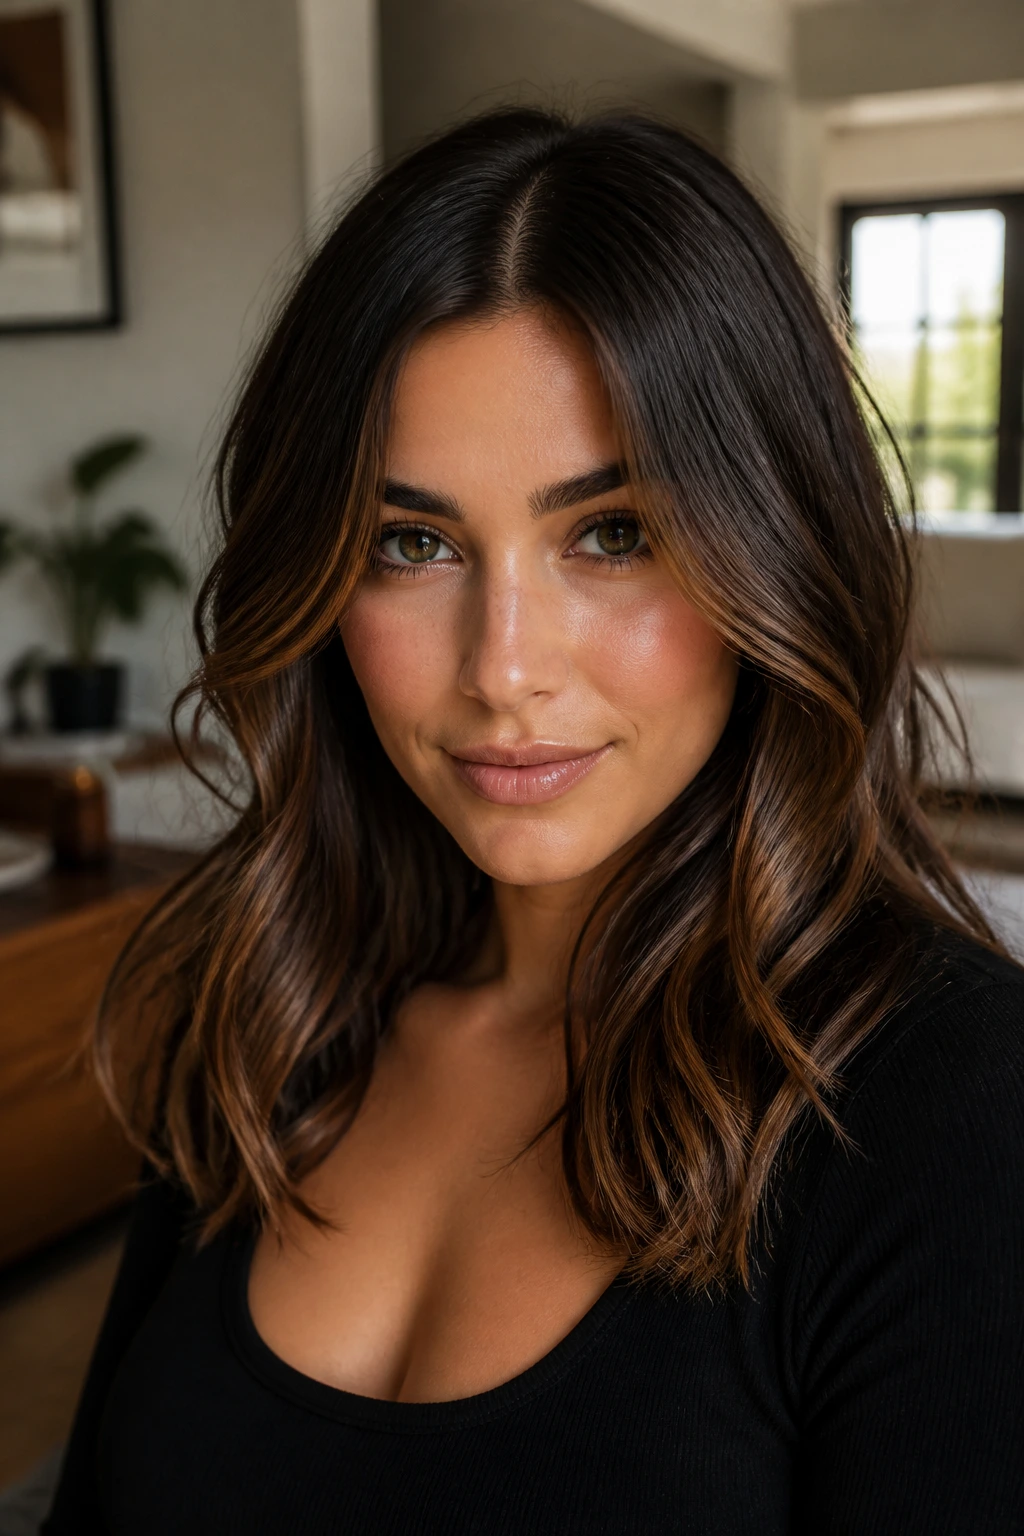
The Softer Side-Slip: If a dead-center line feels too exact, move it a quarter inch off the true center at the crown while keeping the front mostly balanced. You still get the calm framing, just with a little less symmetry.
The Texture-First Version: Keep the center part, but skip heat styling and lean into natural bends, curls, or waves. This works especially well on second-day hair and feels less polished in a good way.
The Sleeker Edit: Use a smoothing cream and a flat brush to keep the top clean, then leave only one or two pieces loose around the face. That version suits people who like order and hate fuss.
The Short-Hair Translation: Pixies, bobs, and short lobs can wear a middle part if the top has enough length to divide cleanly. The trick is keeping the ends moving so the shape doesn’t go boxy.
The Accessory Shift: Swap elastics and pins for ribbons, barrettes, or a claw clip. The part stays the same, but the mood changes fast.
The Curly Adaptation: Let the part organize the roots, then let the curls expand naturally. Do not flatten them into submission. That usually backfires.
How to Keep the Part Fresh Between Washes
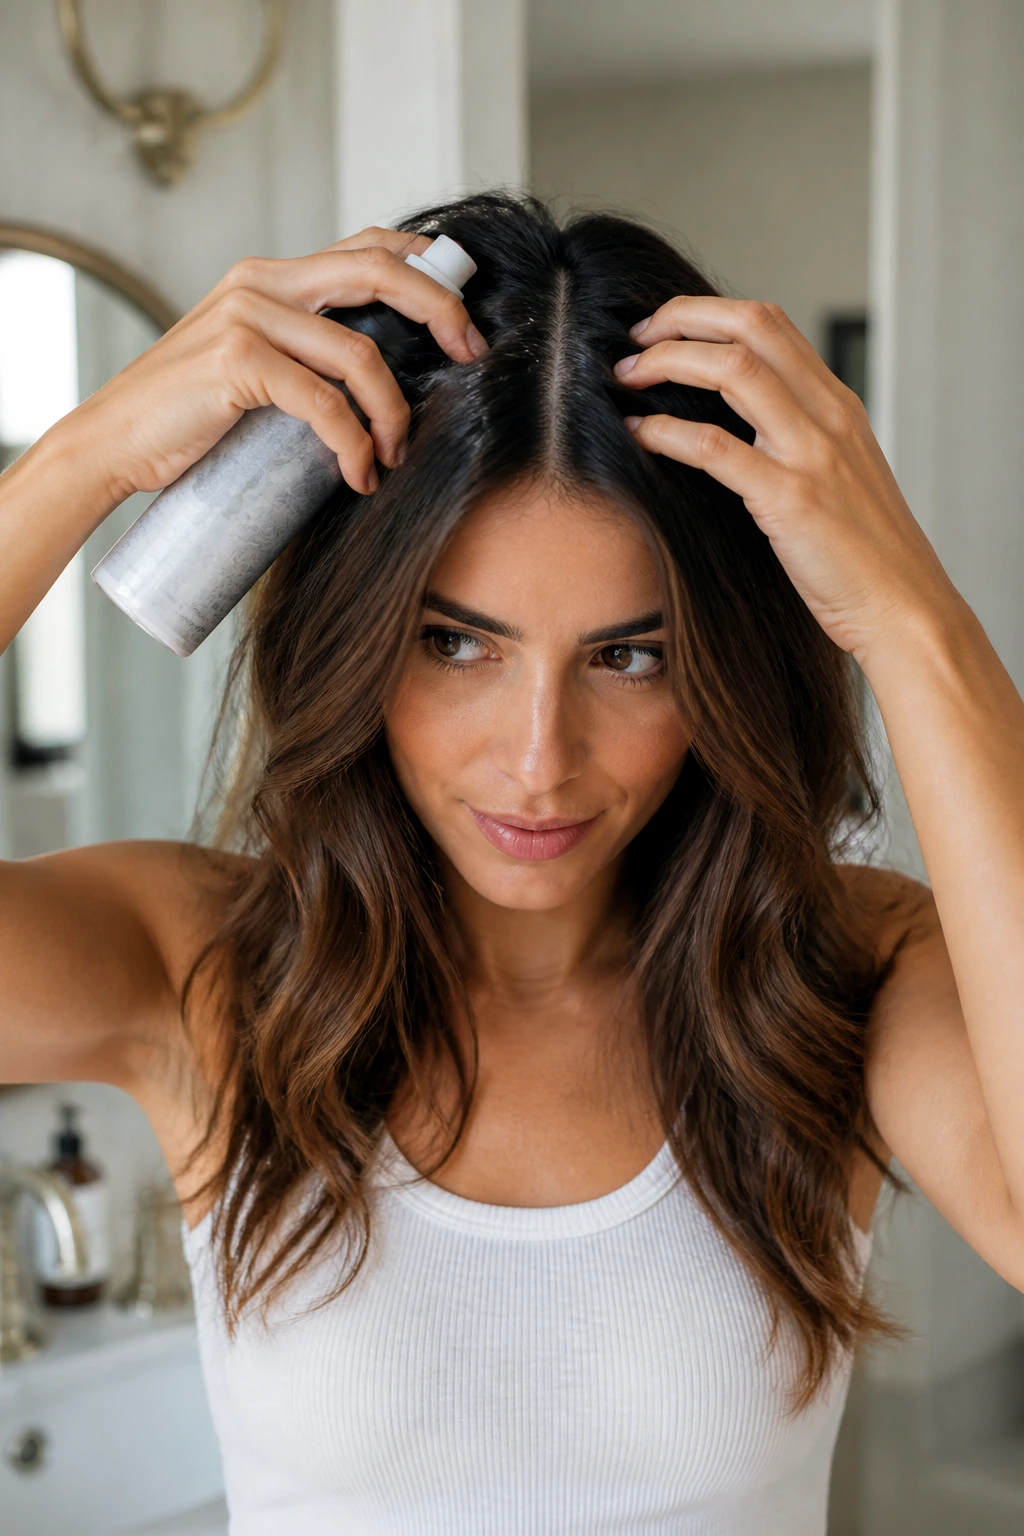
A middle part usually needs the roots refreshed before the ends do. That’s the first thing to watch. If the crown starts collapsing, the whole style looks older than it is, even if the lengths are still fine.
Dry shampoo at the roots can buy you a full day, sometimes two, depending on hair type. Use it early, not only when the hair is already greasy. A small amount brushed or massaged in at the part works better than a giant cloud sprayed from too close. If the hair feels dull after that, a touch of lightweight serum on the ends brings back some shine.
For overnight care, a silk pillowcase helps, and a loose clip or soft scrunchie can keep the center part from being crushed flat. Don’t tie the hair too tight. You’ll wake up with a bend in the wrong place and then spend the morning arguing with it.
If you style with heat often, give the ends a break whenever you can. Heat damage shows up first at the front pieces and the outer layers, which are the exact parts that make these hairstyles look soft. Annoying, yes. True, also yes.
Frequently Asked Questions
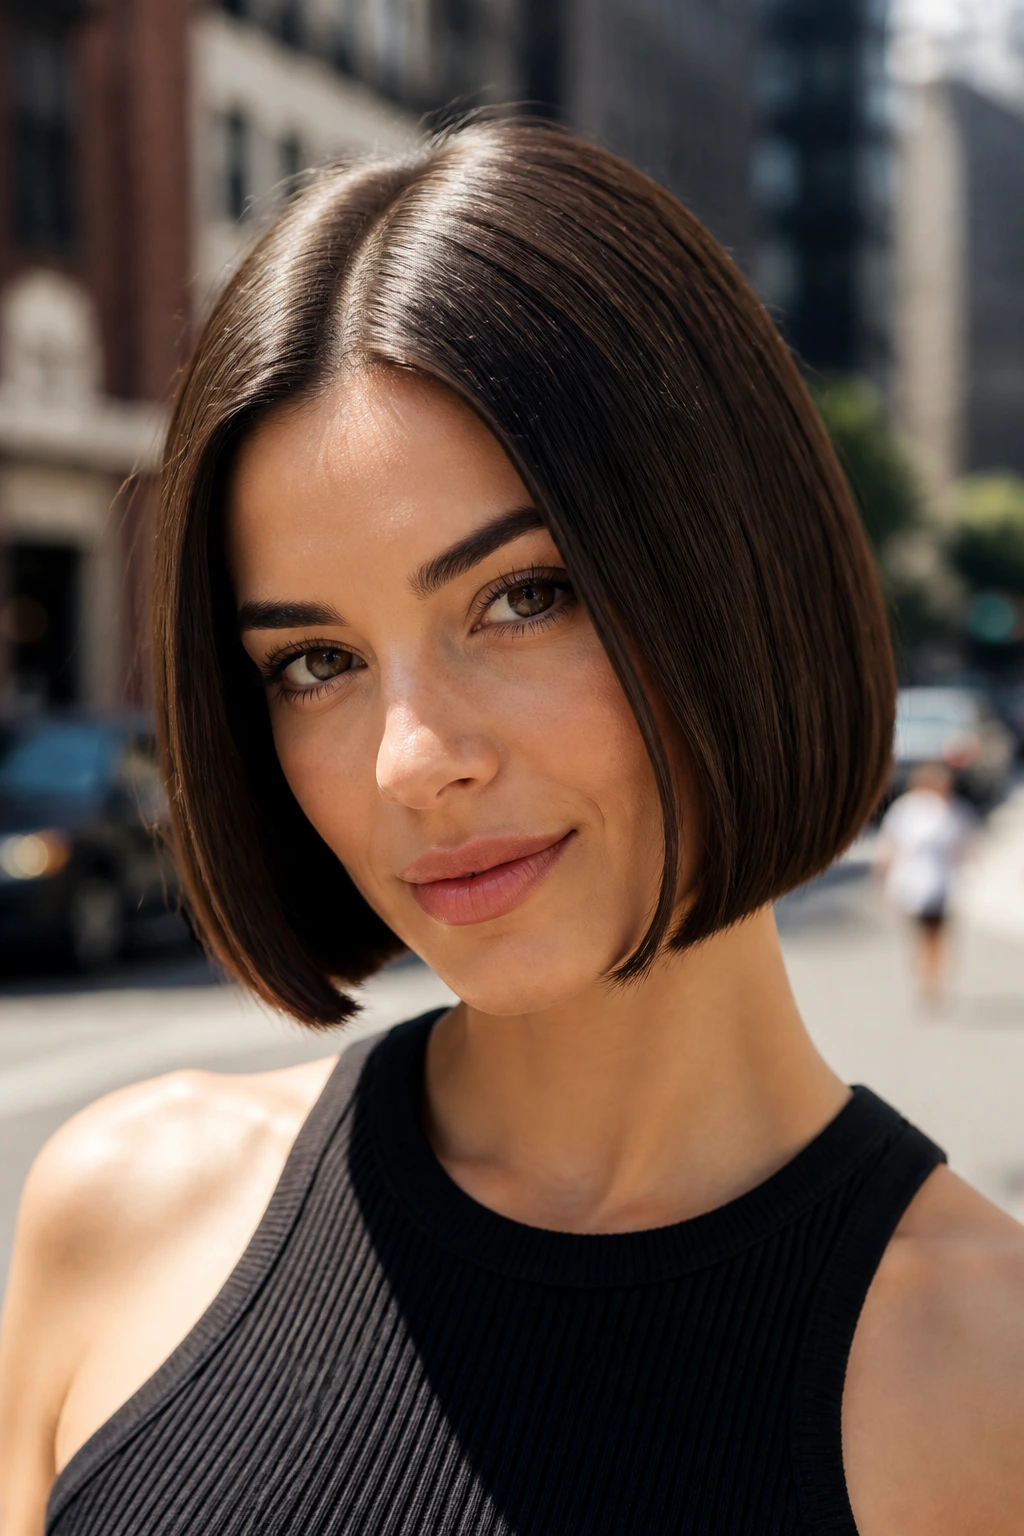
Can a middle part work on every face shape?
Mostly, yes — but the shape around the part matters more than the part itself. If you want a softer look, add face-framing pieces, waves, or a bit of volume at the crown so the line doesn’t sit there alone.
What if my hair keeps splitting off-center?
Set the part on damp hair with a tail comb, then clip each side flat for a few minutes while it dries. Cowlicks are stubborn, but they usually calm down after a few consistent wash cycles and a little patience.
Do middle part hairstyles work with bangs?
They do, especially curtain bangs and grown-out fringe. The goal is to let the bangs blend into the rest of the hair instead of sitting like a separate piece stuck on top.
How do I make a center part look softer on straight hair?
Use a bend at the ends, not a dramatic curl. Tuck one side behind the ear, leave the other side loose, or add a shallow wave through the mids so the hair moves instead of hanging like a curtain.
Are these styles better on clean hair or second-day hair?
It depends on the style. Smooth ponies and buns often look best on clean hair, while braids, claw clips, bubble ponytails, and messy buns usually behave better with a little texture.
What’s the fastest style on this list?
The tucked-behind-the-ears lob and the low ponytail win that race. Both take only a few minutes once the part is set, and both still look intentional.
Will a middle part make my hair look thinner?
It can if the hair is very fine and flat at the roots. A little root lift, a touch of texture spray, or a style with movement through the ends usually solves that.
How do I keep the part from getting greasy?
Avoid loading oil or serum near the crown. Keep product from the ears down whenever possible, and use dry shampoo at the roots before the hair feels oily instead of after.
A Softer Finish That Still Feels Modern
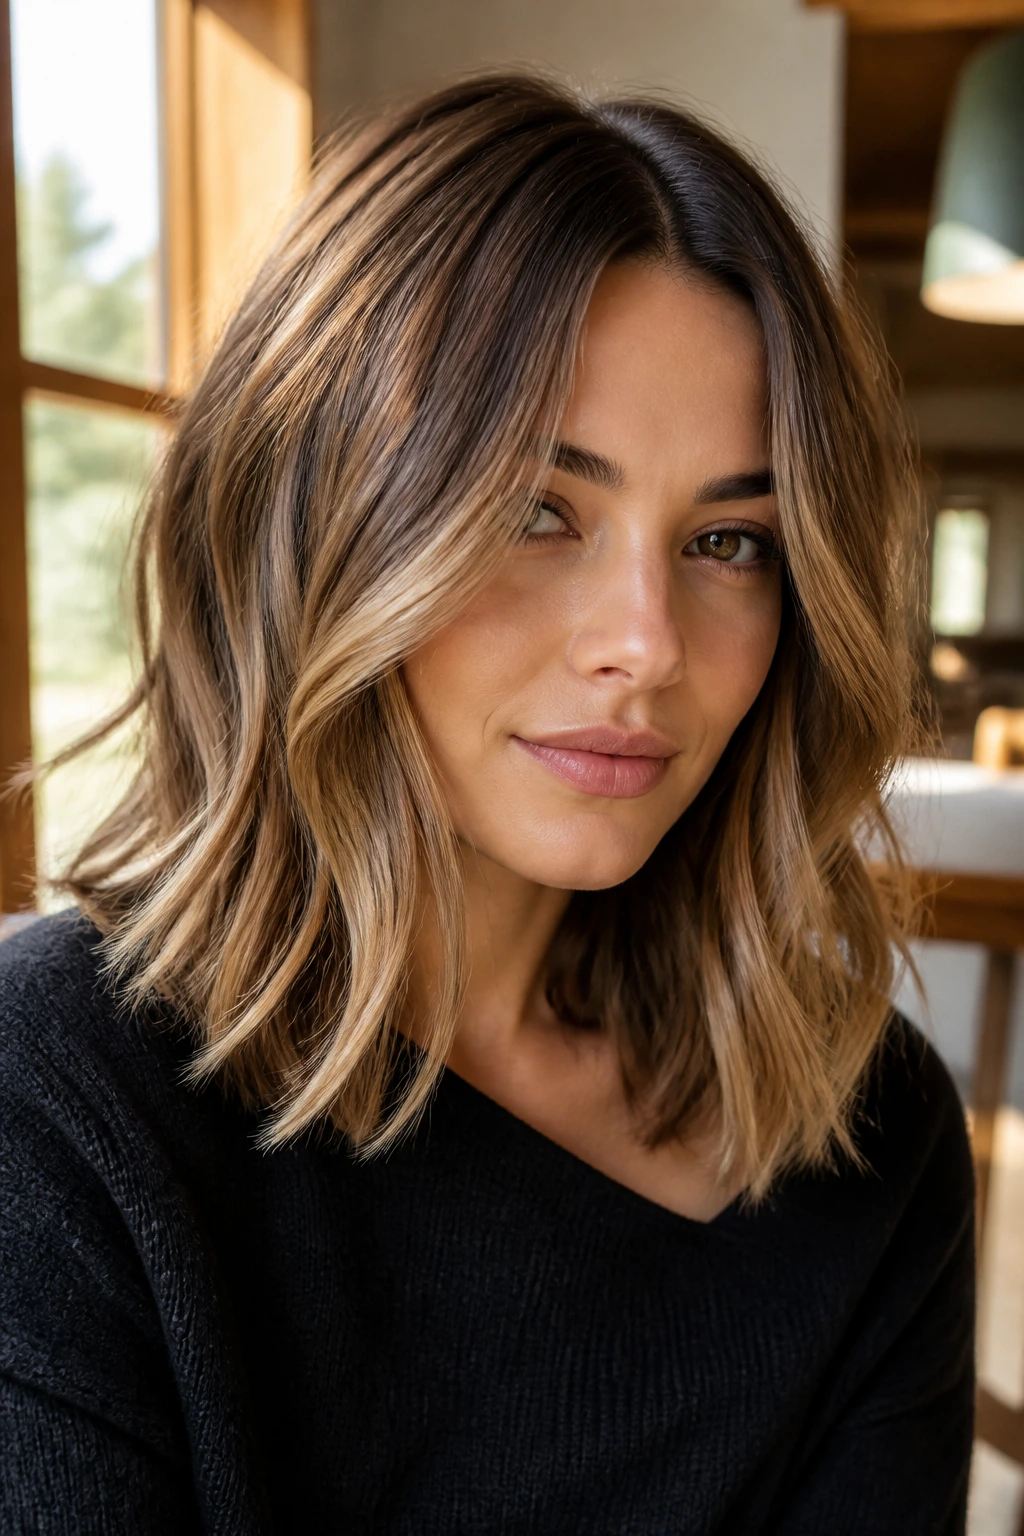
The best middle part hairstyles do not fight the face. They frame it. That’s a small difference, but it changes everything. A clean line with a little movement around it can look calm, polished, and easy to live in without crossing into stiff or severe.
I keep coming back to the same idea because it matters: the part is only the beginning. The real softness lives in the bend of the ends, the looseness at the temples, the way the crown holds a little lift instead of being pressed flat. Get those pieces right, and the style starts doing the work for you.
Pick the shape that matches your hair’s habits, not the one that looks prettiest on a hanger. That’s where the good versions live.
