



A curve cut never shouts. That’s the charm.
The shape does its work in profile—front pieces grazing the cheek, ends bending in or out by a fraction of an inch, the whole cut feeling softer than a blunt line and less fussy than heavy layers. Curve cut hairstyles have that rare trick of looking finished even when the blow-dry is a little messy, which is why they keep showing up on short bobs, long lobs, airy shags, and the kind of shoulder-length hair that usually wants to lie flat and complain about it.
What makes the style so useful is placement. A good curve cut is not about chopping hair everywhere. It’s about letting the front pieces lead the eye, then letting the length fall in a way that rounds the face instead of boxing it in. The result can be neat, loose, glossy, or piecey—depending on how you style it—but the frame stays soft. If your last haircut felt stiff around the jaw or heavy at the sides, that is usually the problem. Not enough curve.
Why These Curve Cut Hairstyles Work So Well
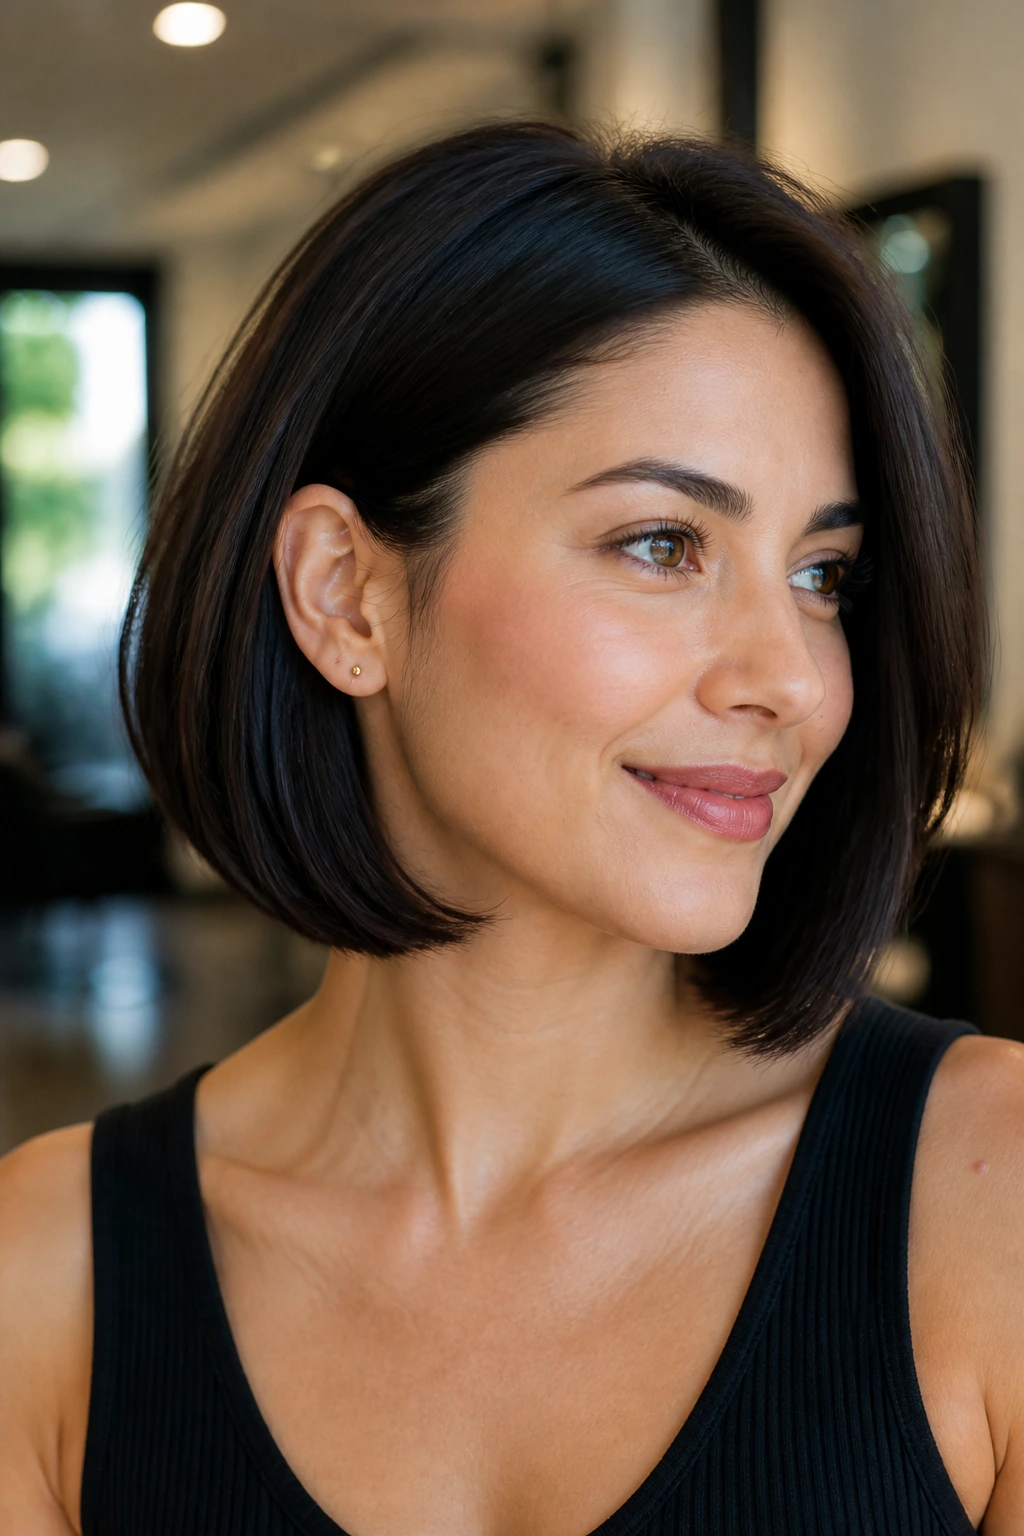
- The shape is doing the styling: A curve cut already has movement built into it, so you do not need a perfect blowout for the haircut to read well.
- The front pieces change the whole mood: A half-inch difference at the cheekbone or jawline can make the same haircut look sharper, sweeter, or more balanced.
- It plays nicely with different textures: Straight hair gets a clean bend, waves get more bounce, curls get a better outline, and thick hair gets rid of that heavy shelf at the bottom.
- It grows out without looking sloppy: When the curve is cut with care, the grow-out usually looks like a longer version of the same idea instead of a bad in-between stage.
- It gives the side view something to do: The profile is where this haircut earns its keep. Flat, one-length hair can disappear from the side. Curve shape does not.
1. The Jawline Curve Bob
A jawline curve bob is the tidy little troublemaker of the group. The length lands right around the jaw, then bends in just enough to soften the edge without turning the whole haircut into a helmet. It’s the sort of bob that looks deliberate even if you only spent six minutes on it.
Why the Jawline Bob Works
The trick is the perimeter. Keep it clean, then let the front pieces fall a touch lower than the back so the shape hugs the face instead of standing away from it. That tiny difference keeps the haircut modern. Too much angle and it starts to look severe; too little and you lose the curve entirely.
This cut shines when you want your hair to feel neat but not stiff. It suits straight hair especially well, since straight strands show every line the haircut gives them. On finer hair, a jawline bob can add the illusion of thickness because the ends sit together instead of scattering into wisps.
What to Ask For
- A bob that lands at the jaw or just below it
- Soft internal shaping around the cheek area
- A gentle bevel at the ends, not a choppy finish
- Enough length in front to tuck behind one ear without losing the line
Pro tip: If your jaw is very angular, ask for the front pieces to land a little below it. That keeps the shape soft instead of pointy.
2. The Collarbone Curve Lob
This is the safer cousin of the shorter bob, and I mean that in the best way. The collarbone curve lob keeps enough length to tie back, clip up, or throw over one shoulder, but the front still bends in toward the face so the haircut feels shaped rather than blank.
The collarbone is a smart landing spot because hair naturally settles there. That gives the cut a little built-in motion. It also keeps the ends from flaring out in a way that can happen with longer, one-length hair. When the bevel is right, the lob looks expensive without acting precious.
3. Curtain Bang Curve Cut
Why do curtain bangs and a curve cut get along so well? Because both are doing the same job from different angles. The bangs open the face in the middle, then the curved front layers wrap it on the sides, so the whole haircut feels airy instead of heavy.
This version is one of my favorites for people who want movement without giving up length. Curtain bangs help the front look intentional even on a day when the rest of the hair is air-dried and a little bent in random directions. The key is to keep the shortest part of the bang high enough to see, but not so short that it fights the curve of the rest of the cut.
How to Style It
- Blow-dry the bangs first with a small round brush.
- Direct the center fringe away from the face.
- Keep the side pieces soft and loose.
- Finish with a light mist of flexible hairspray so the bangs move, not freeze.
4. The Side-Part Sweep
A deep side part changes a curve cut in a way people underestimate. It throws more weight to one side, which makes the front pieces fall diagonally across the cheek and jaw. That diagonal line is flattering because it keeps the haircut from feeling too symmetrical or too expected.
If you wear glasses, this version is worth a long look. A side part can keep the front pieces from crowding the frames, and the longer sweep gives the whole face some motion. It also gives you a little drama without asking for extra length or extra layers.
The best side-part sweep is not slicked to the scalp. It has a bit of lift at the root, a soft bend through the mid-lengths, and enough slack at the ends to move when you turn your head. Flat side parts look tired. This one should look shaped.
5. The Air-Dried Wavy Curve
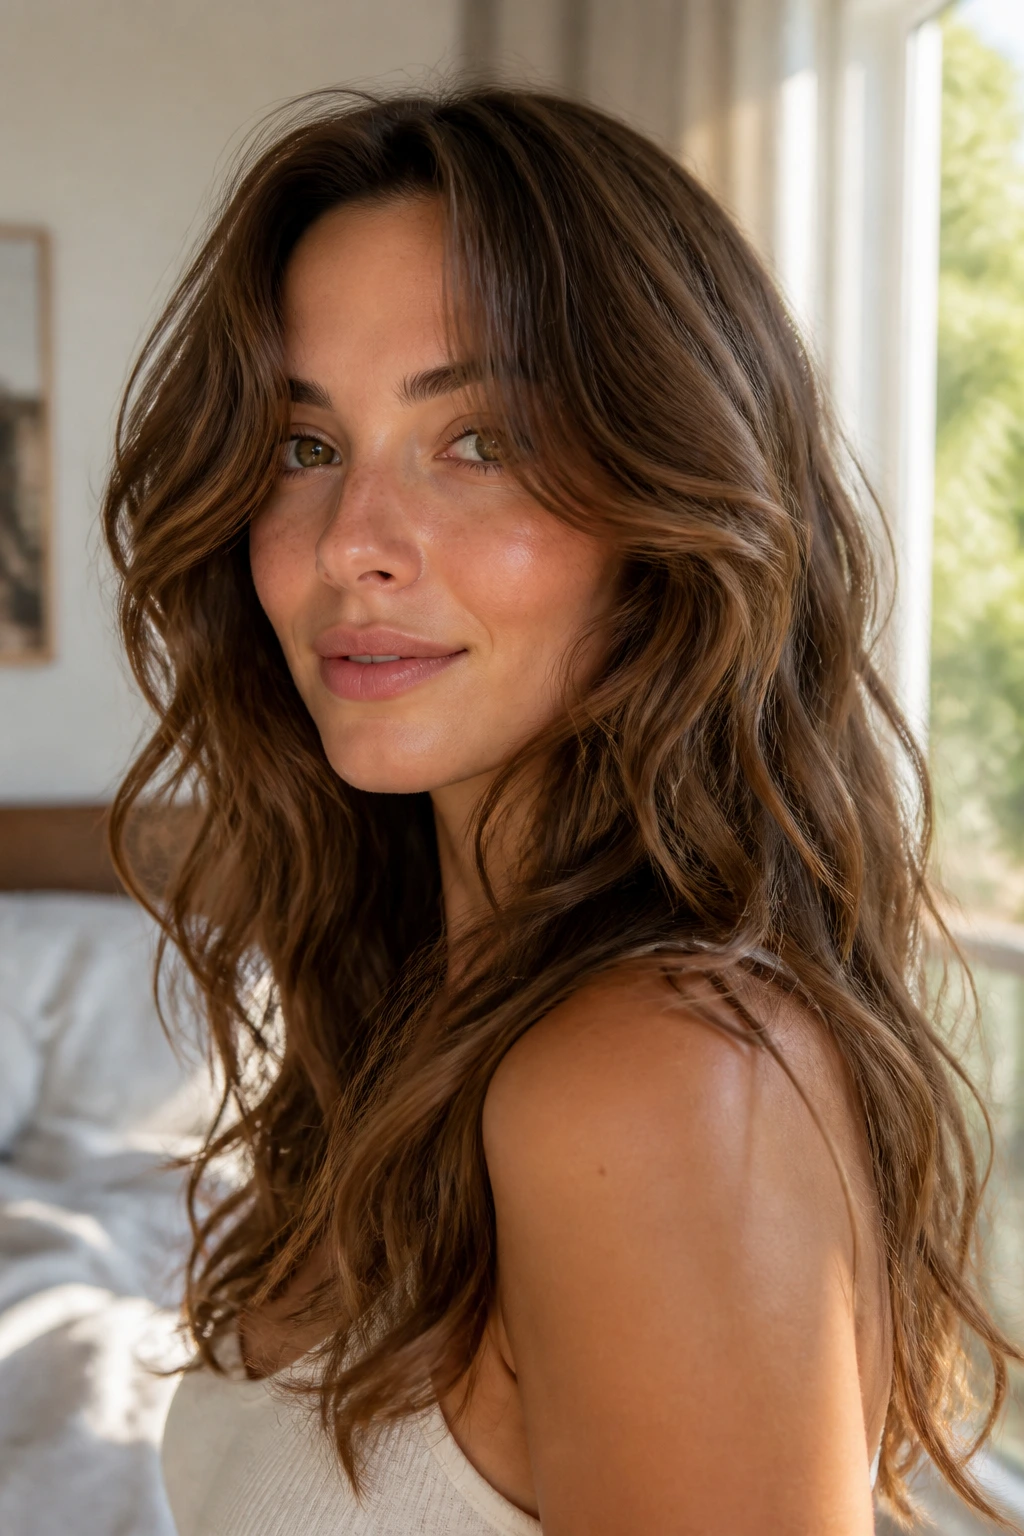
If your hair already wants to wave, work with it. Don’t fight it.
An air-dried wavy curve cut lets the natural bend do half the job. The haircut is shaped so the waves settle around the cheekbones and mouth instead of collapsing into a triangle at the bottom. That means a leave-in cream, a little scrunching, and a towel that doesn’t rough up the cuticle are doing more work than a hot tool ever could.
The sweet spot here is control without stiffness. You want the front to curve, but not in a way that turns the hair into uniform ringlets. A few wave clumps are better than a wall of identical curls. Messy is fine. Puffy is not.
6. The Blowout Flip Curve
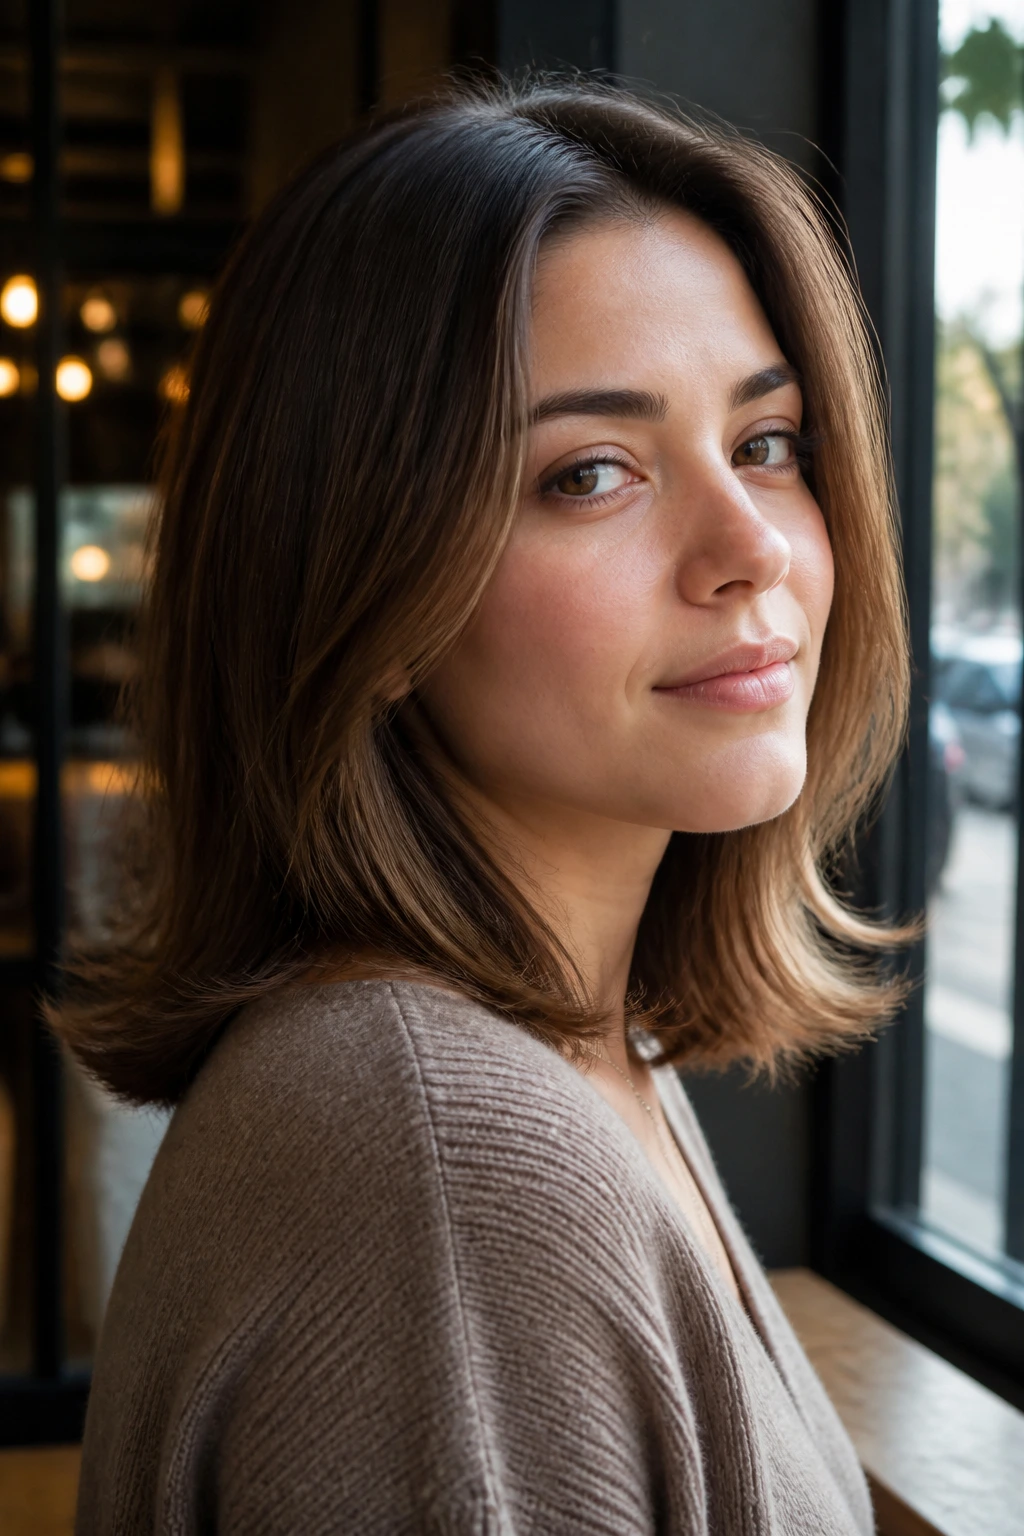
This one has a little attitude. The ends flick outward just enough to keep the shape from feeling too polished or too tucked-under, which is exactly why it works on shoulder-length and long bobs. The flip gives the haircut some edge without tipping it into retro costume territory.
A round brush and a medium-barrel curling iron both work here, but the trick is restraint. You only need a slight bend at the ends, not a full curl. The top should stay smooth, the middle should hold shape, and the final inch or two should turn out just enough to catch the eye.
This is a good choice if you like hair that looks done but not rigid. It also keeps heavy hair from sitting flat around the shoulders, which can make a curve cut lose its shape by noon.
7. The Soft Shag Curve
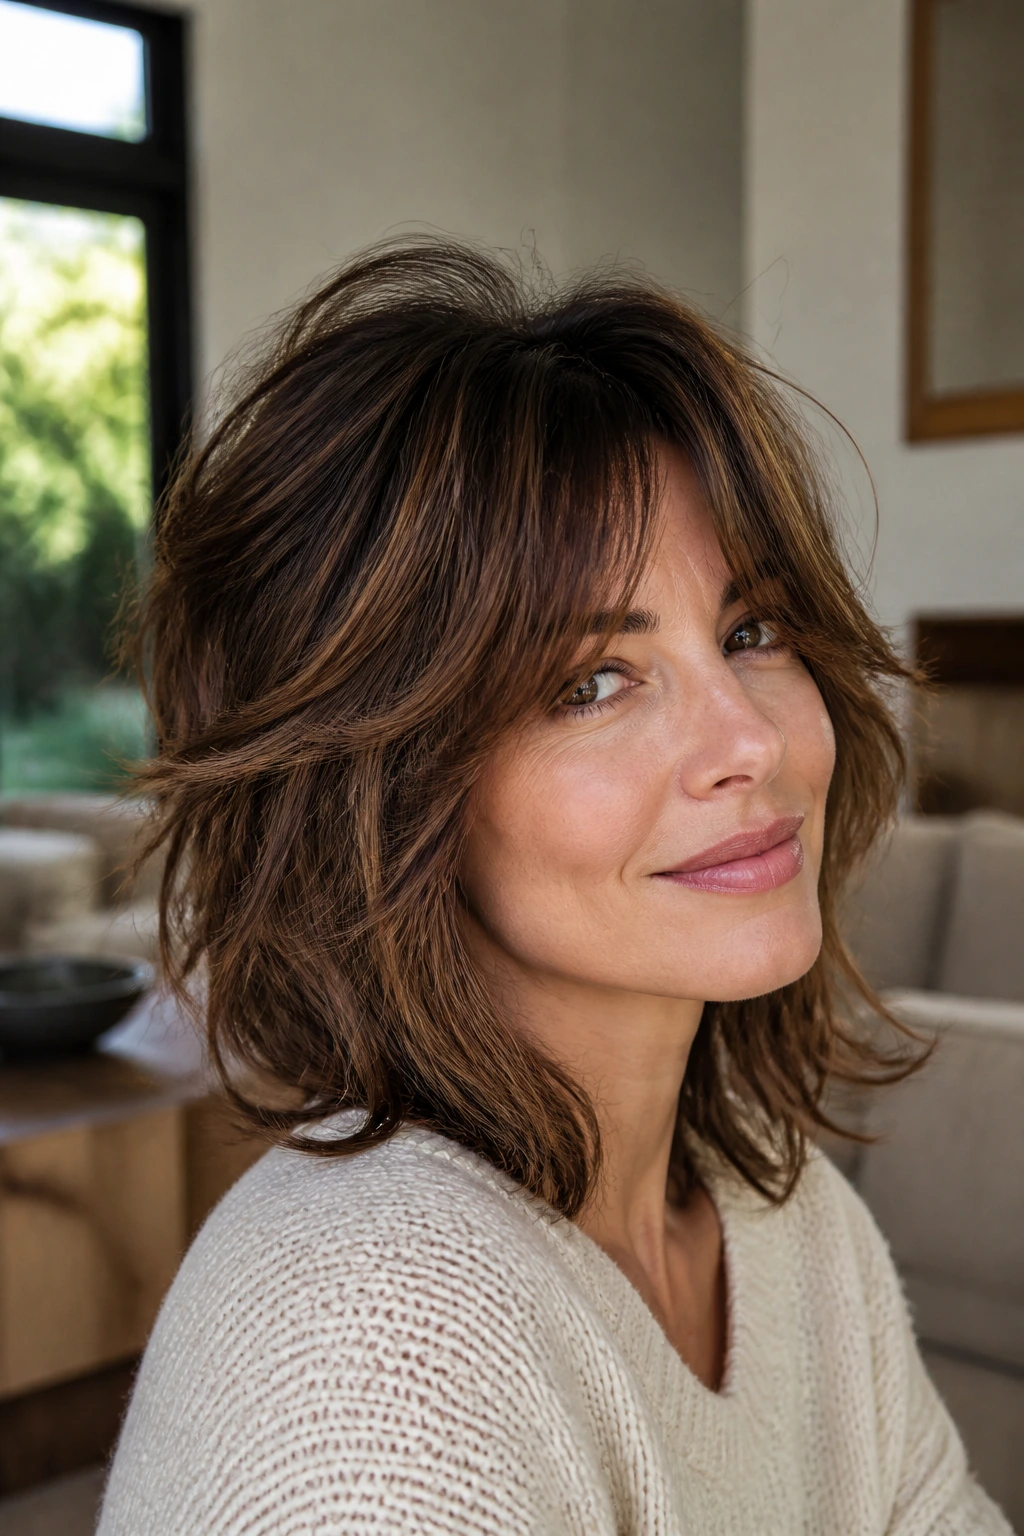
The soft shag curve is for anyone who likes movement but does not want layers that scream at you from across the room. It keeps the curve cut idea—face-framing softness, controlled ends, a rounded outline—but adds a little broken-up texture through the crown and sides.
The point is not to shred the haircut. That’s the trap. Too much texture and the shape starts floating away from the face. A good soft shag curve still has a visible perimeter. It just has more life inside it.
What Makes It Different
- The crown has a little lift.
- The sides are feathered, not thinned to death.
- The front pieces fall in soft arcs, not sharp diagonals.
- The ends can be styled with a rough-dry finish for extra movement.
8. The Curly Curve Cut
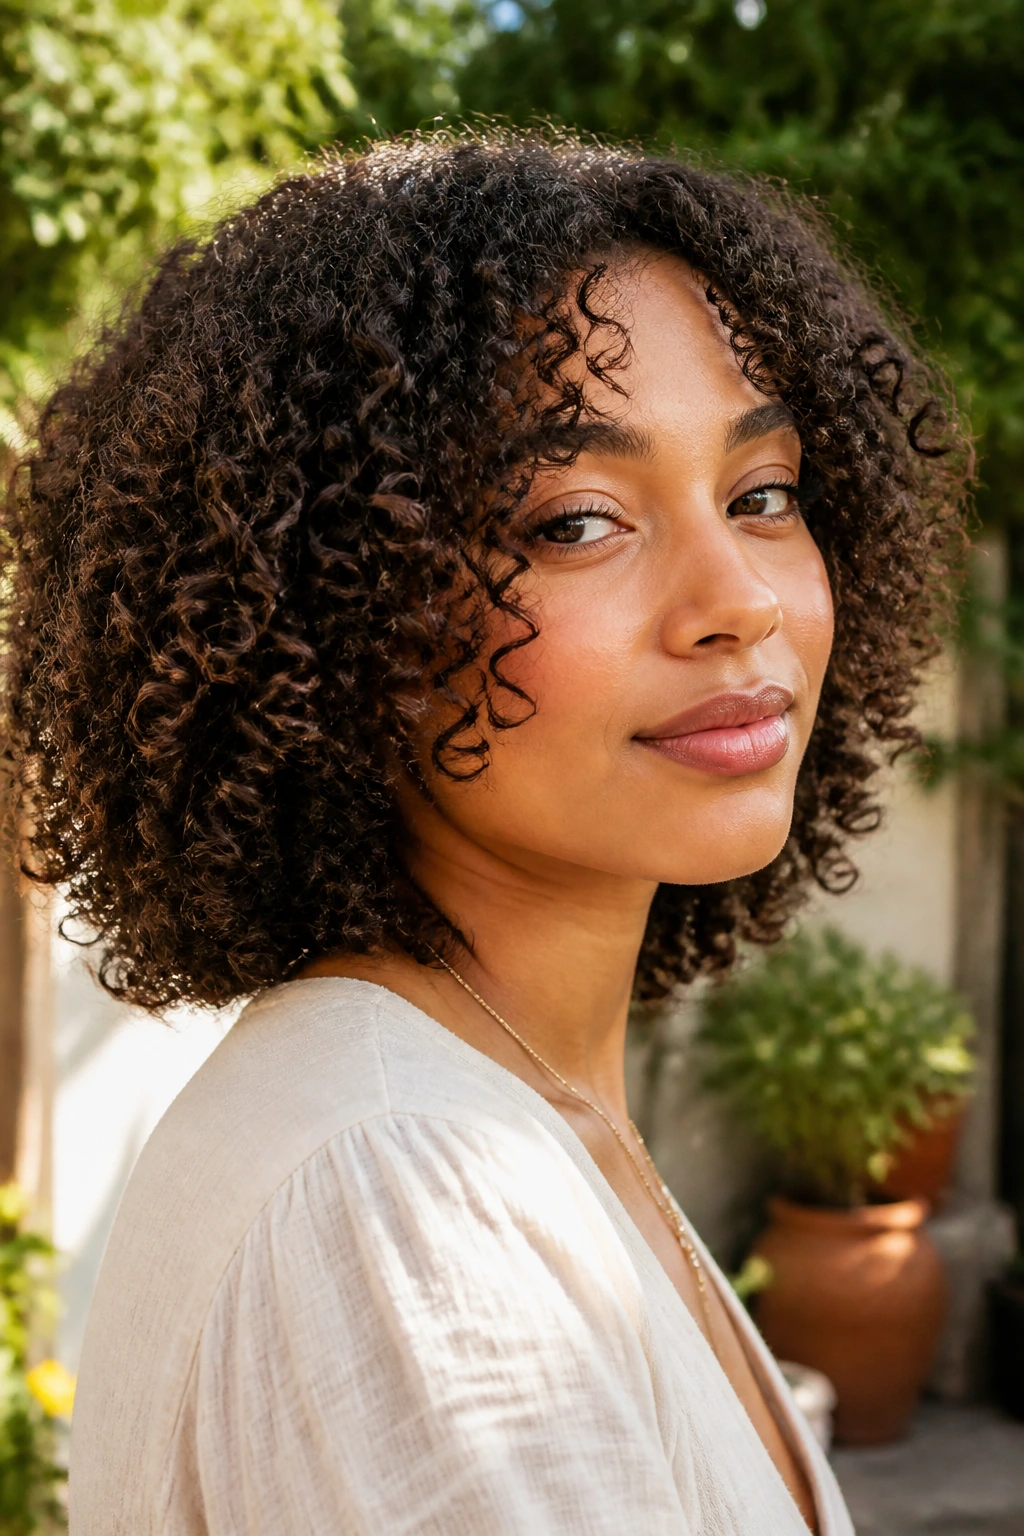
Curly hair needs its own rules, and this is where a curve cut can get interesting. On curls, the “curve” isn’t a blowout bend. It’s the outline. You’re shaping the curls so they land in a soft frame around the face instead of all sitting at one level and puffing outward.
Shrinkage matters here. A curl that looks chin-length when wet may bounce up several inches once it dries. That means the shortest face-framing pieces need enough room to spring without becoming accidental bangs. I like this version best when the front is cut on dry or mostly dry hair, or at least with the curl pattern fully respected.
The payoff is a face frame that feels lively instead of bulky. When curly curve cuts are done well, they make the curl pattern look more expensive, which is a strange phrase but still true.
9. The Thick-Hair Internal Curve
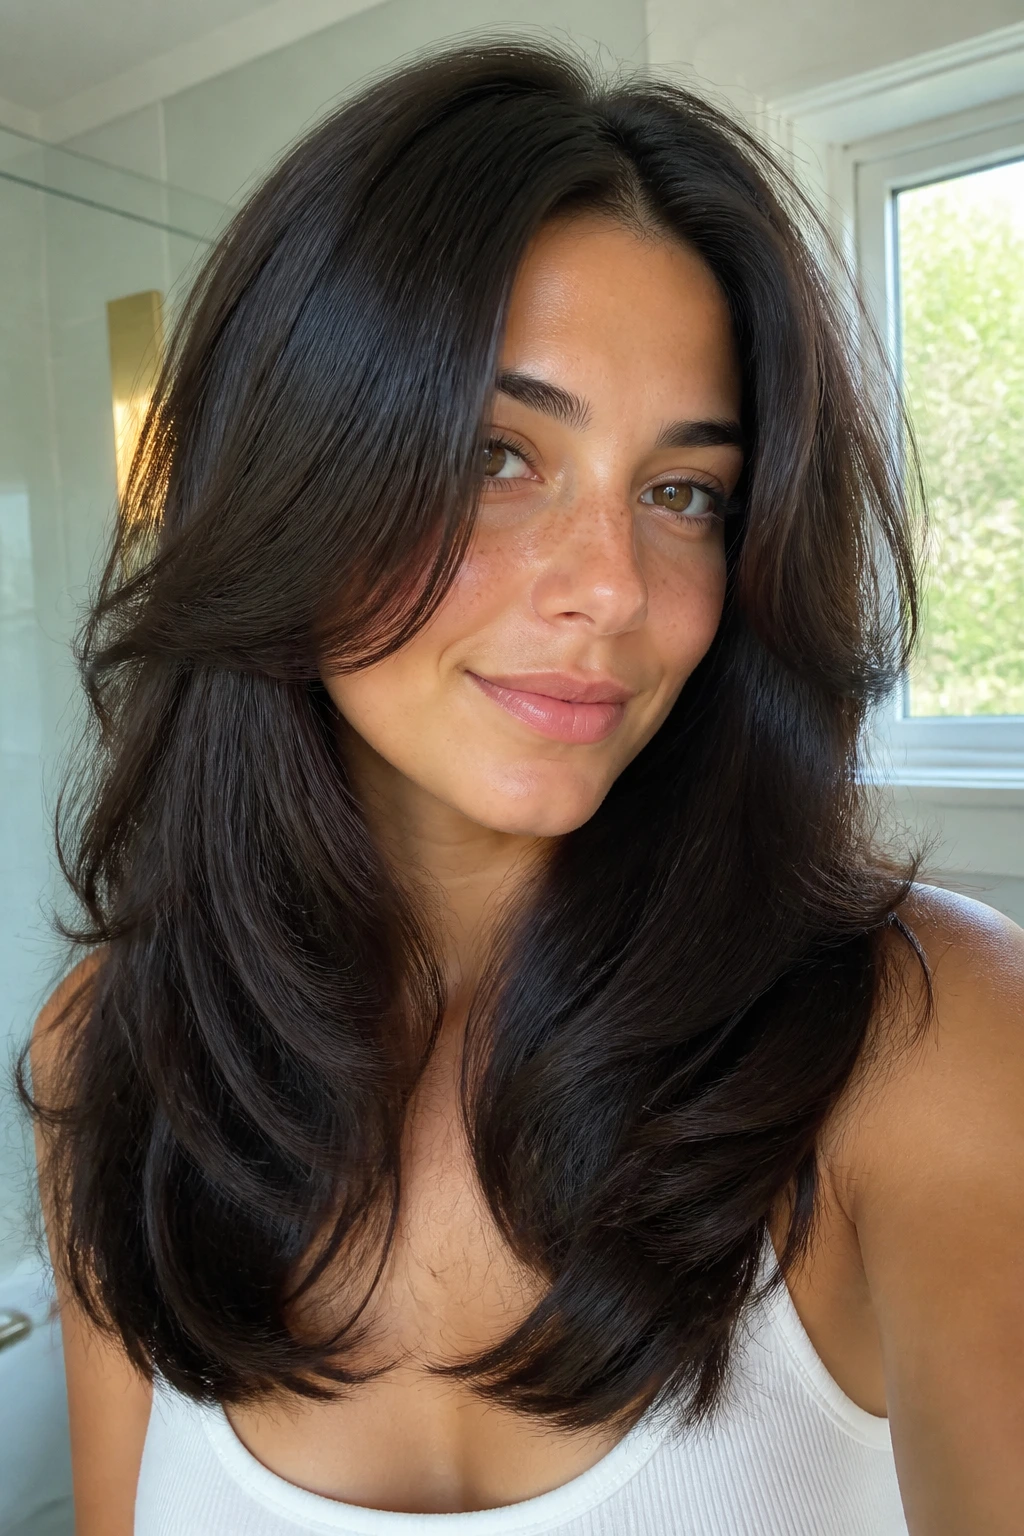
Thick hair can wear a curve cut beautifully, but only if the weight is handled from the inside. If you simply carve the front and leave the rest untouched, the hair can puff into a shelf. No one wants the shelf.
This version depends on internal shaping. The perimeter stays clean, the front pieces curve, and the bulk gets removed inside the shape so the ends can move. That gives thick hair a softer edge and stops it from sitting as one heavy mass around the shoulders.
A good stylist won’t overthin the ends. That’s the mistake. Thick hair looks best when there’s still enough density at the bottom to hold the curve. You want weight control, not wispy surrender.
10. The Fine-Hair Feathered Curve
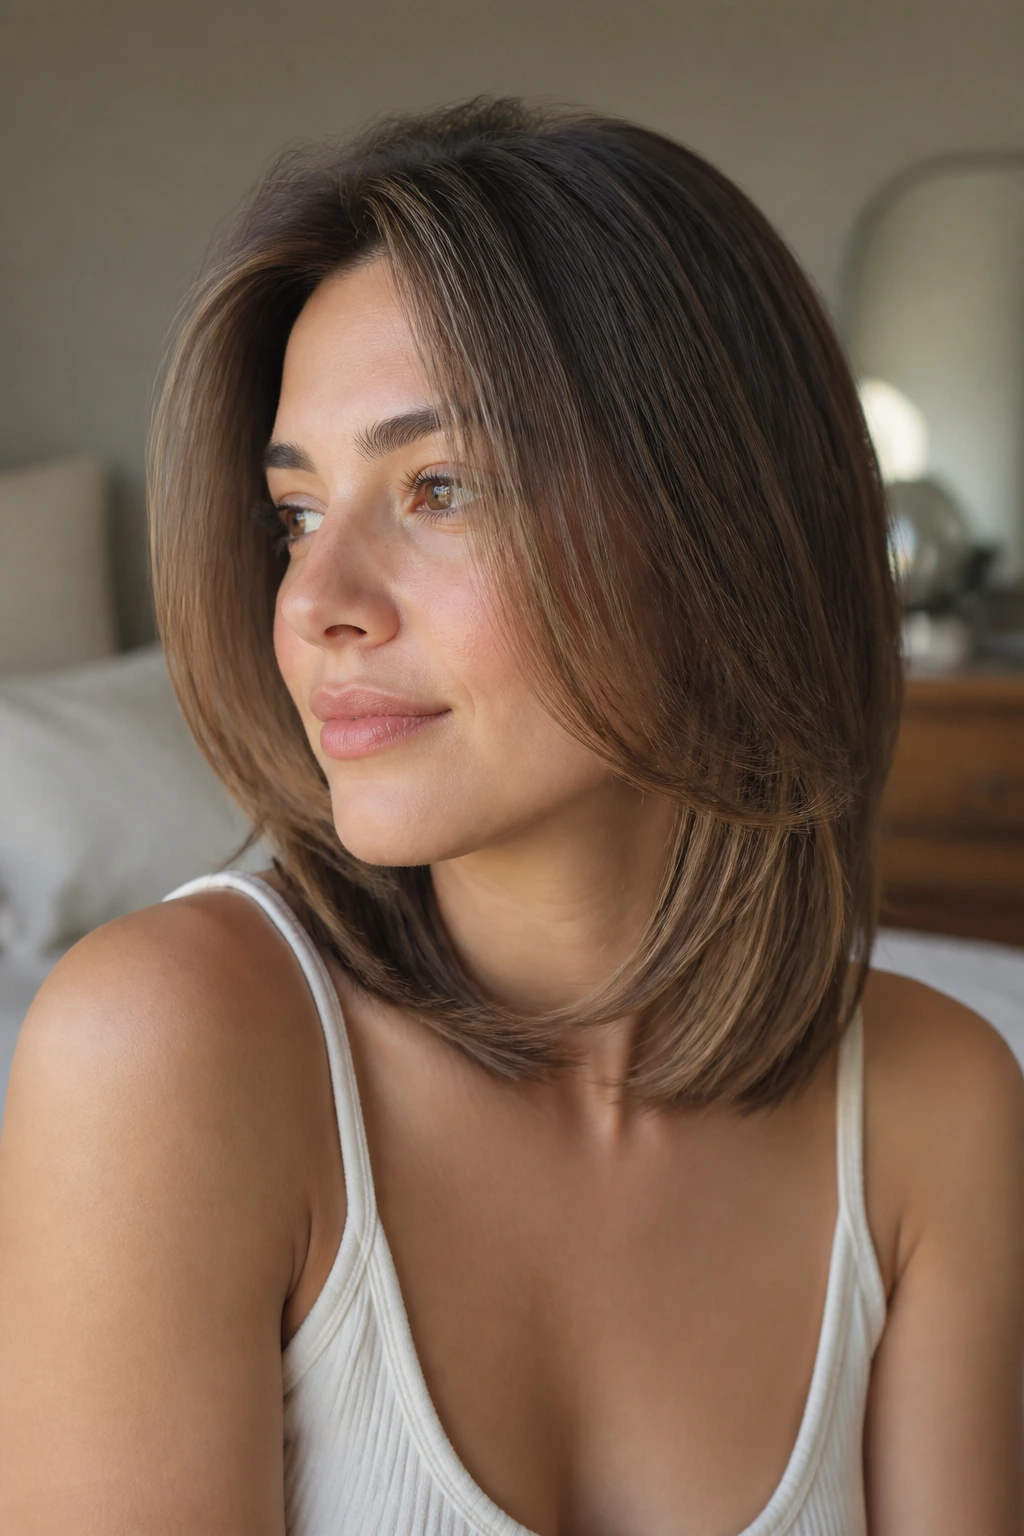
Fine hair needs a different kind of kindness. Too many layers and it goes stringy. Too blunt and it can look limp. The feathered curve sits in the middle, keeping the line intact while letting the front pieces skim the face with a light bend.
This cut looks better when the perimeter is left fairly solid. The shape comes from the front and the interior movement, not from aggressive layering. That means you can still get lift from a round brush or a hot brush, but the haircut itself is carrying enough structure that it doesn’t collapse the second you step outside.
Root spray helps. So does a smaller sectioning pattern when you blow-dry. Fine hair gets lazy fast if the sections are too big.
11. The Highlight-Frame Curve Cut
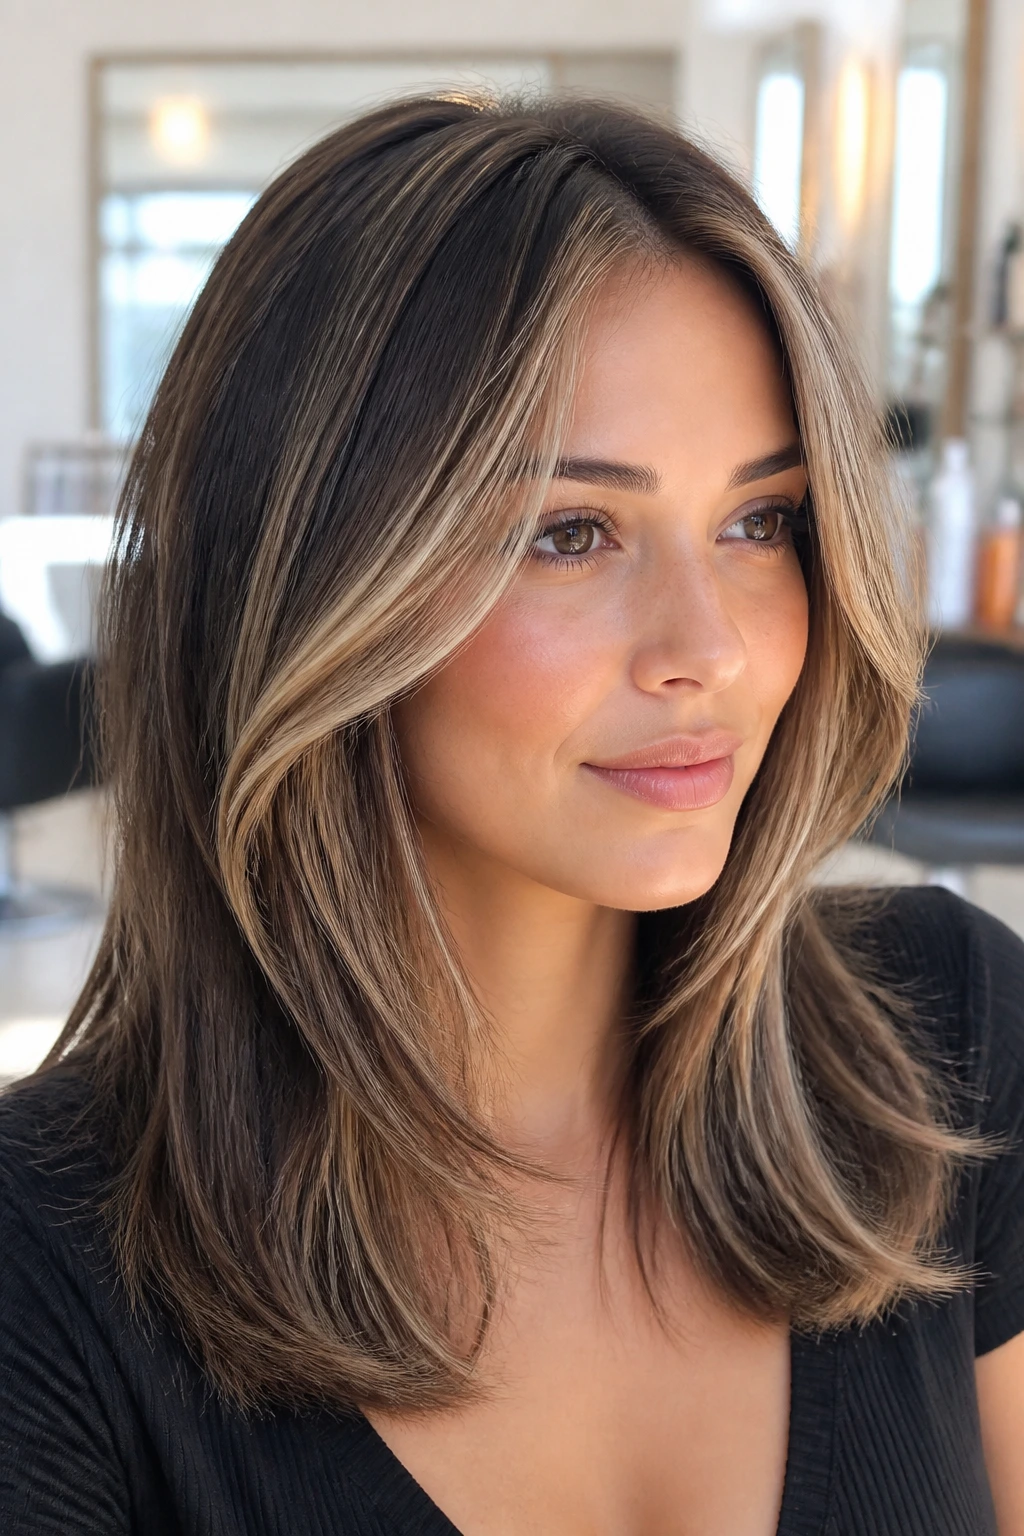
Color changes the way a cut reads. Bright pieces around the face make the curve stand out, especially when the front layers sweep from cheekbone to jawline. A highlight-frame curve cut uses that trick on purpose.
The cut itself can be simple. The interest comes from the front pieces being a shade lighter, or at least more visible, than the rest of the hair. That gives the eye a place to land and makes the curve look more obvious from across the room. It’s a smart move if your hair is naturally dark and the curve keeps disappearing in photos or under indoor light.
You do not need chunky streaks. Thin, well-placed panels near the face are enough. Heavy highlighting can make the haircut look stripey, which is a different mood entirely.
12. The Bottleneck Bang Curve
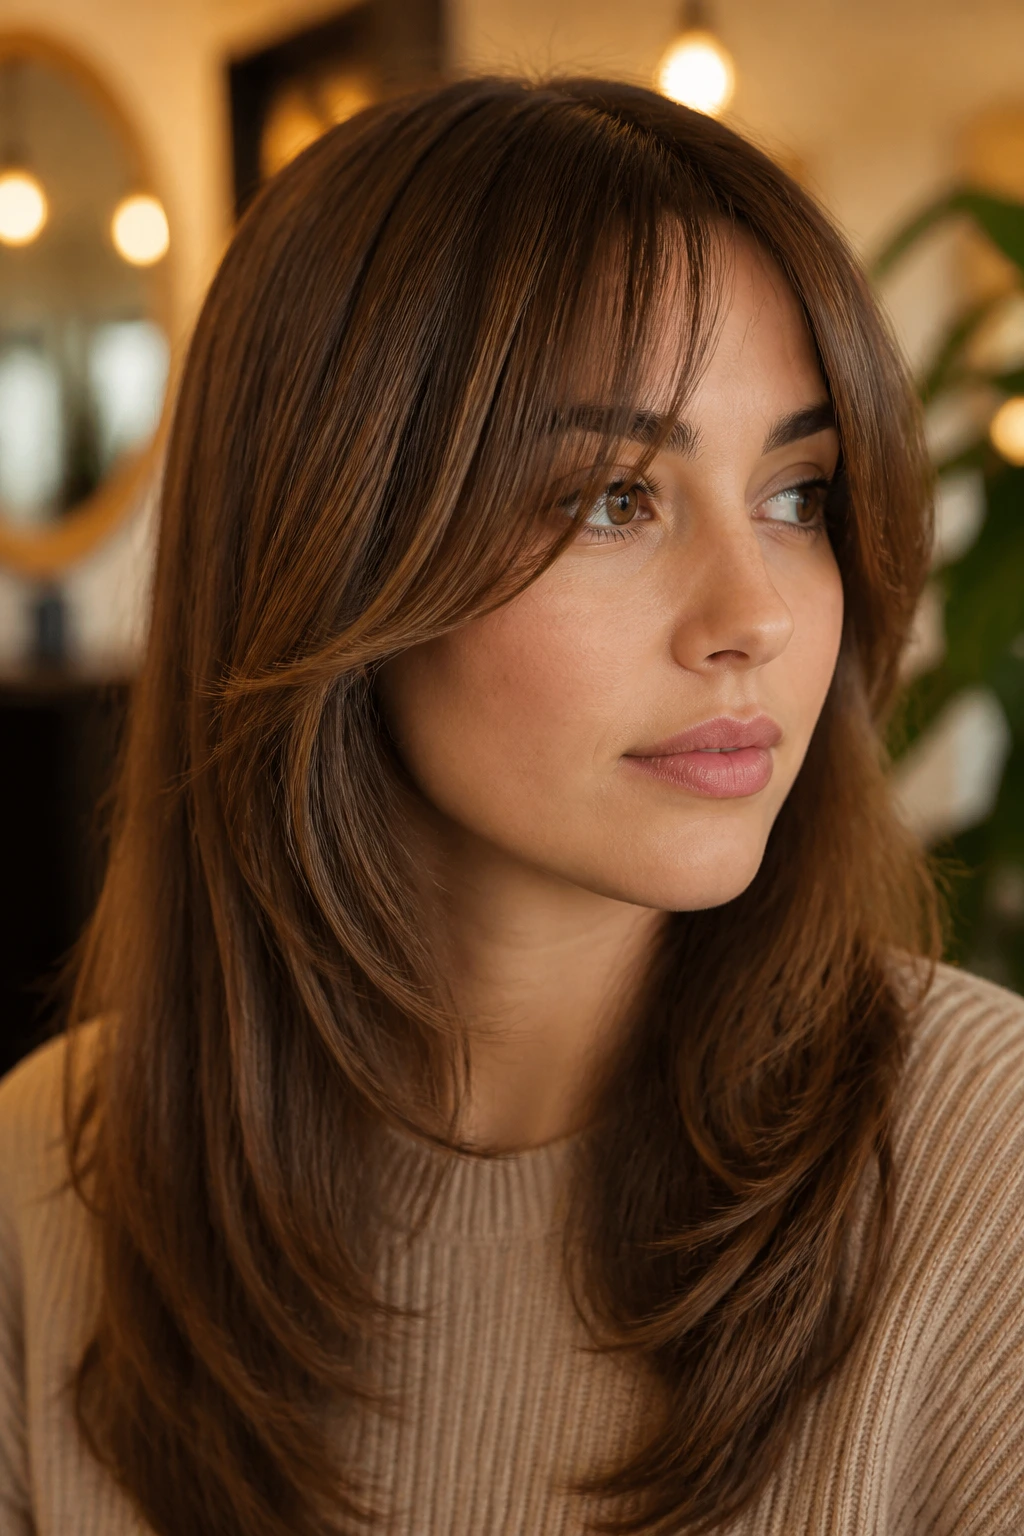
Bottleneck bangs are one of the cleanest partners a curve cut can have. Shorter in the middle, longer toward the sides, they echo the face-framing shape instead of fighting it. The result feels soft, a little French, and less fussy than a full fringe.
What I like about this version is how it keeps the forehead area light while still giving the haircut a focal point. The bang narrows at the center and opens at the temples, which means the curve can keep running down toward the cheekbones without interruption.
This style needs a small amount of daily styling. Not much. A quick bend with a round brush or flat iron, then a touch of texture spray so the bangs stay separated instead of sticking together in a single curtain.
13. The Tucked-Behind-Ears Curve
Sometimes the simplest move is the best one. Tucking one or both sides behind the ears changes a curve cut more than people expect, because it exposes the line of the cheek and lets the front pieces fall in a cleaner arc.
This works especially well on lobs and mid-length cuts. You get to show the shape on one side and keep the other side soft and loose. It’s asymmetrical without trying too hard. That matters. Hair that looks like it is making a statement usually feels less natural than hair that simply falls well.
A tucked curve cut is also practical with earrings, glasses, or a jacket collar that would otherwise steal the whole frame. The tuck clears the face and lets the haircut act like punctuation rather than clutter.
14. The Half-Up Curve
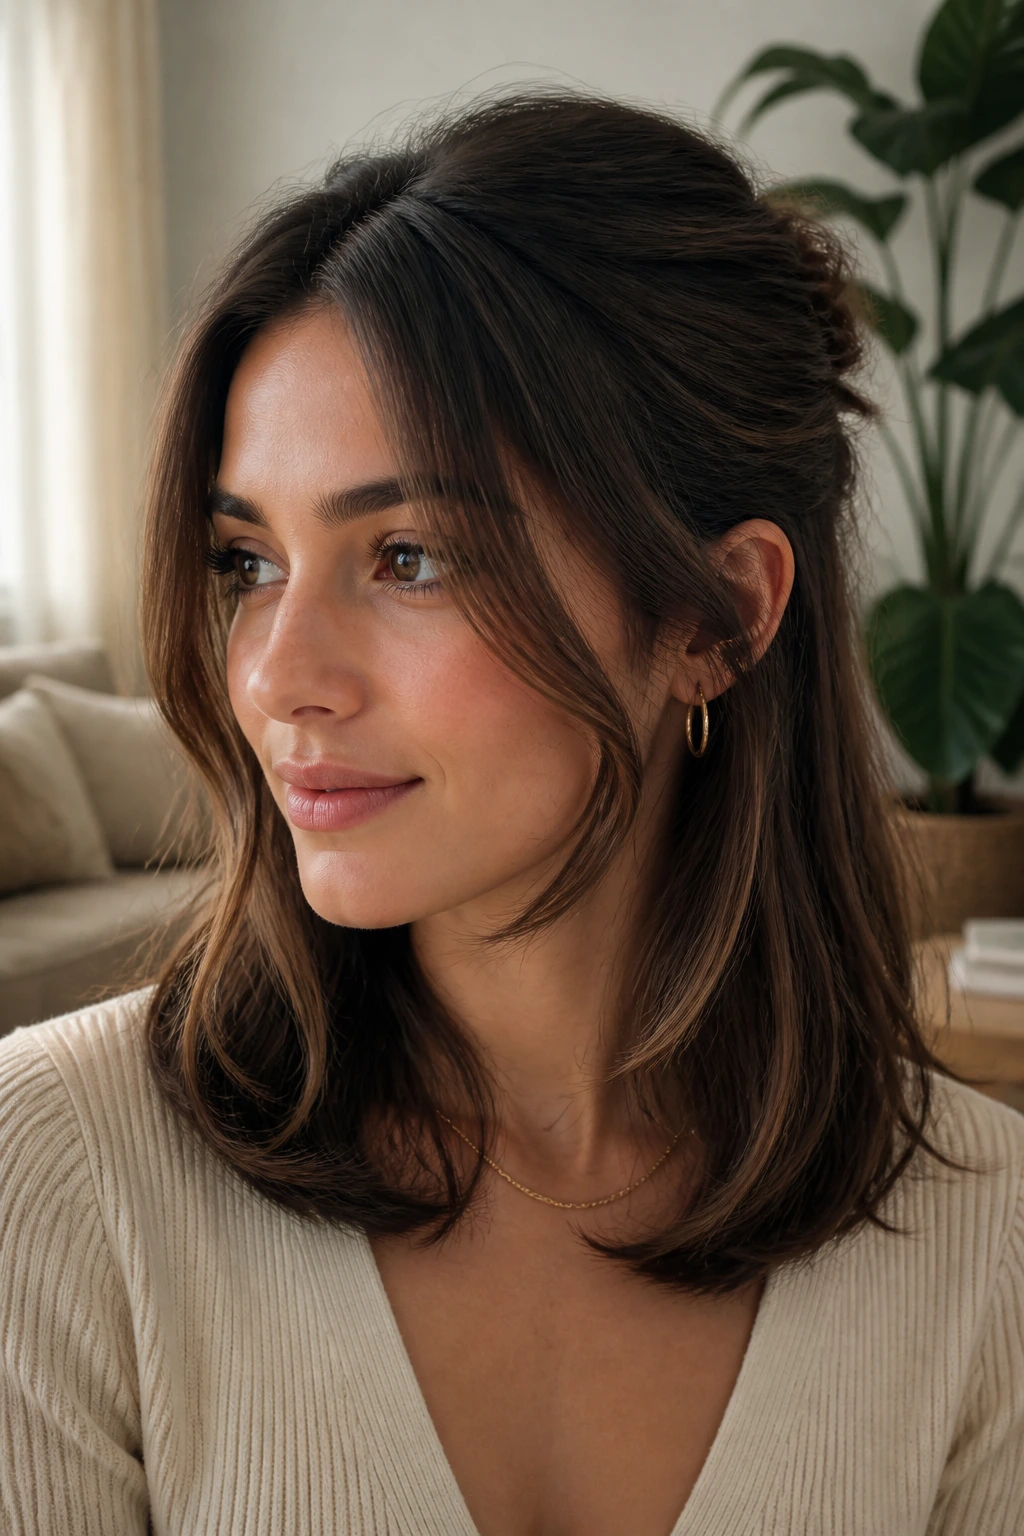
Half-up styles can flatten a haircut if you’re not careful. The trick is to leave the face-framing pieces out and let the curve live in the front, while the crown is gently lifted and secured at the back.
This is one of the most useful versions if your hair hits that awkward day-two stage where the roots are a little oily but the lengths still have shape. A small claw clip or a soft elastic can pull the top half back without destroying the curve. Leave a few front pieces loose, and the haircut still reads as soft instead of scraped up.
I like this for long lobs and shoulder-length cuts. On shorter hair, it can get fiddly. On longer hair, it keeps the front visible and stops the style from sinking into the back of the head.
15. The Long Layered Curve
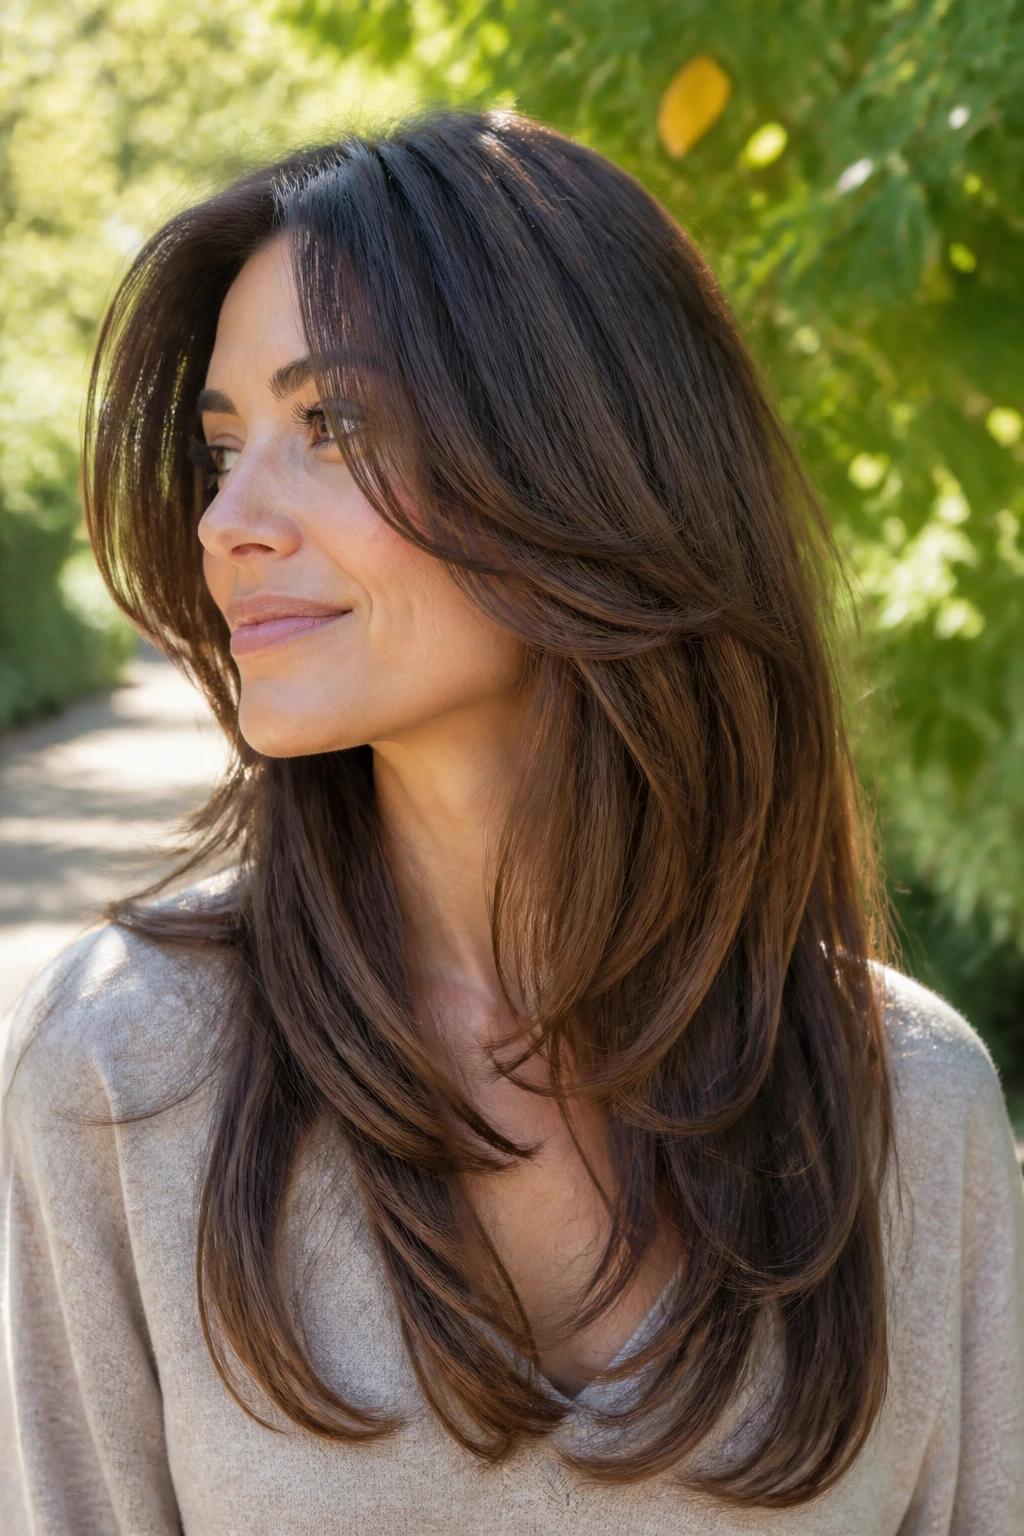
Long hair needs a little guidance or it starts behaving like a sheet. A long layered curve cut gives the front something to do without stripping away length. The face frame bends in, the long layers move behind it, and the whole shape feels lighter than a simple long cut.
The best version keeps the layers around the cheek and collarbone, not all over the place. Too many long layers turn into vagueness. You want enough internal movement that the hair swings, but enough structure that the front still matters.
This is a nice option if you wear your hair down most of the time and want the haircut to do some of the visual work for you. Long hair can be beautiful and still look unfinished. A good curve fixes that.
16. The Grow-Out Pixie Bob Curve
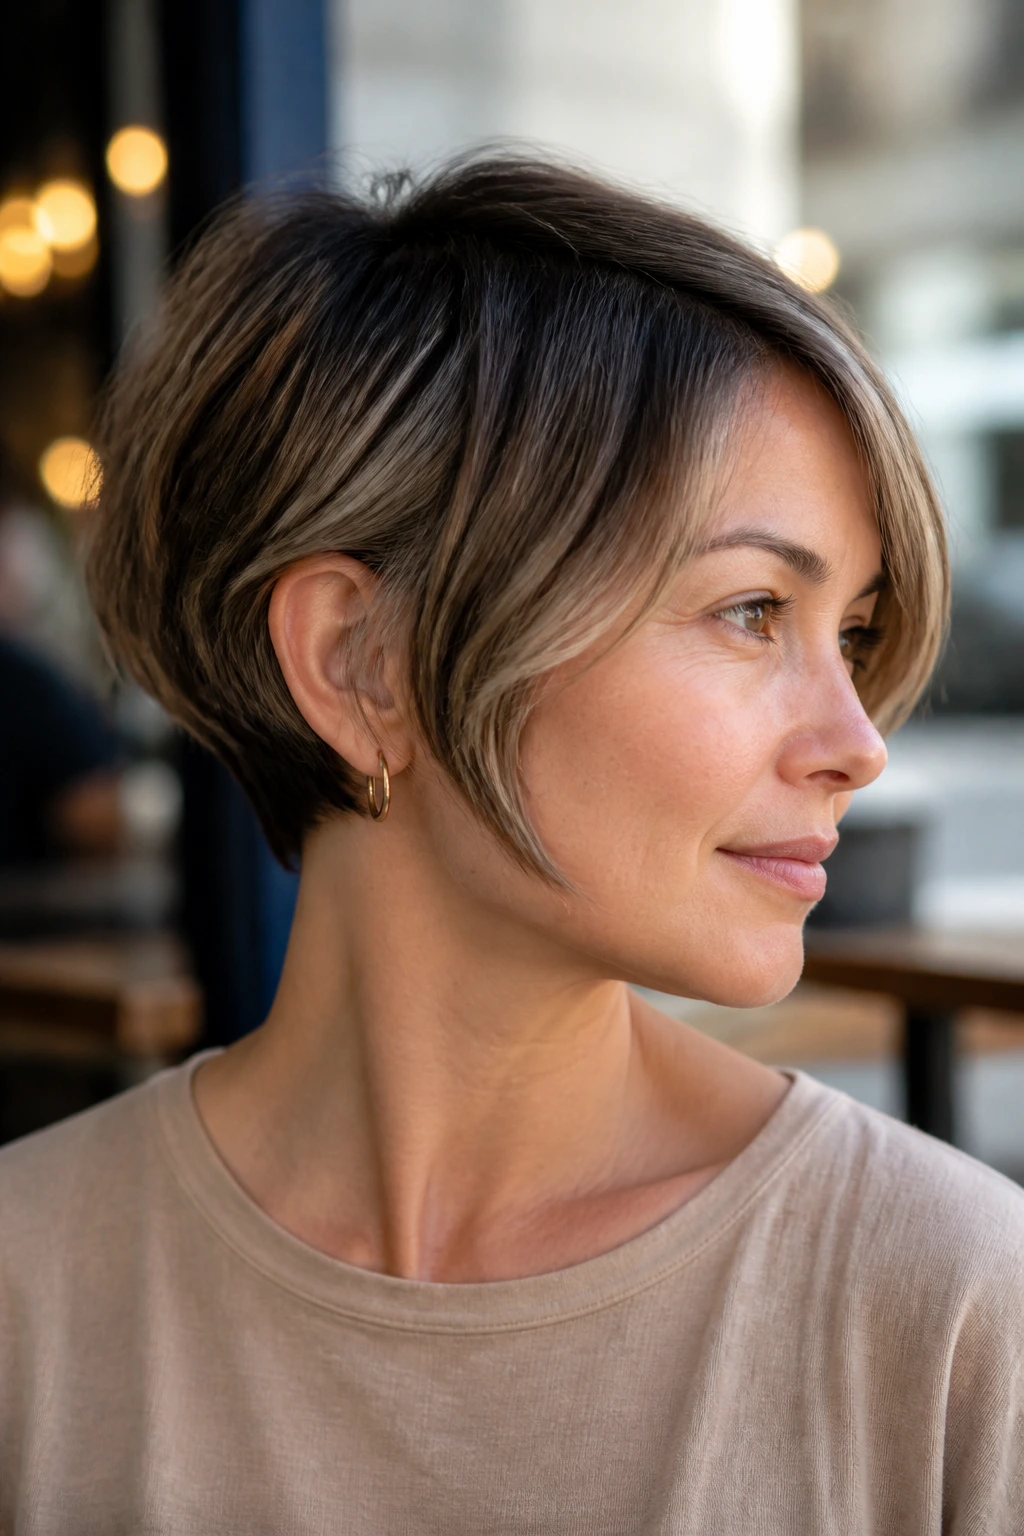
Short grow-outs can be awkward. This one is not.
A pixie bob with a curve shape softens the transition from cropped sides to longer front pieces. The front grows toward the cheekbone and jaw, while the back stays neat enough to keep the haircut from feeling like a halfway project. The curve gives the grow-out a purpose.
This is the version for people who want short hair but not a hard line around the head. It looks especially good when the top has a little bend and the front can tuck behind the ear or sweep across the forehead. Sharp edges make a grow-out obvious. Curve makes it look designed.
What Makes Curve Cut Hairstyles Read Soft Instead of Boxy
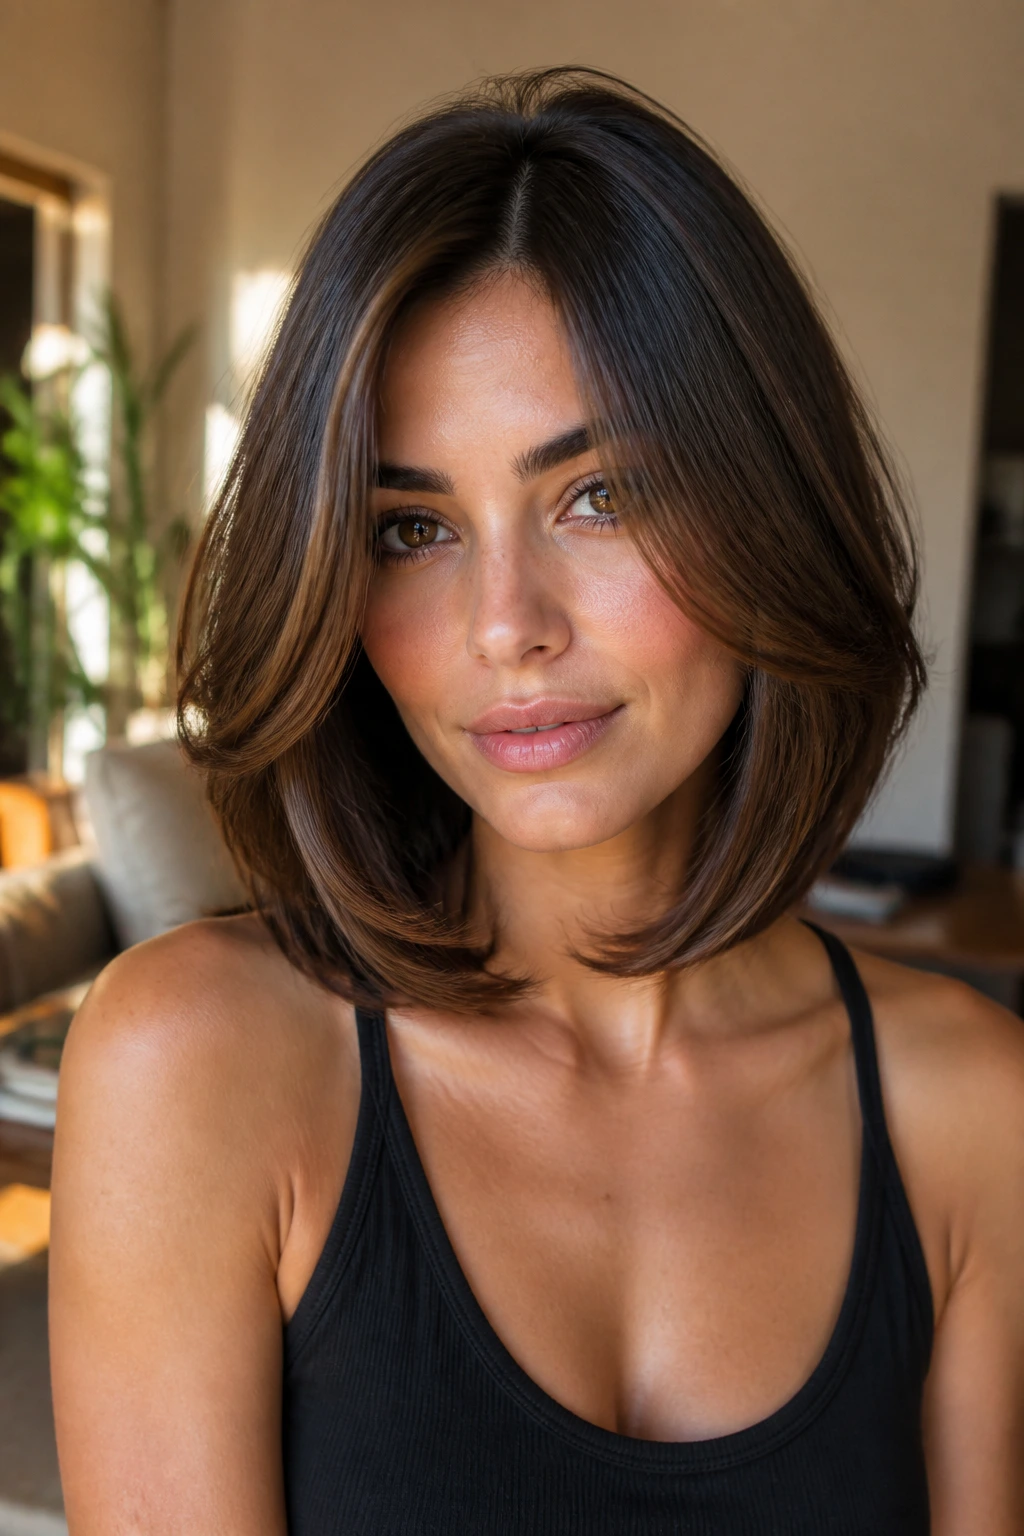
The shortest front piece matters more than the overall length. That sounds obvious until you see how many cuts miss it. A curve cut can sit at the jaw, the collarbone, or halfway down the chest, and still look boxy if the front lands in the wrong place. Get that point wrong and the shape reads flat. Get it right and the whole haircut relaxes.
The other piece is weight. A curve cut is not just “layers.” It’s a controlled outline with enough density left in the right places to keep the bend visible. If the bottom gets thinned too much, the curve disappears and the ends fray. If the top gets over-layered, the hair can puff instead of frame. Neither mistake is subtle.
The three things that decide the shape
- Front landing point: cheekbone, jaw, or collarbone changes the mood.
- Perimeter: blunt, beveled, or lightly feathered decides how soft the edge feels.
- Styling direction: inward bend, outward flip, or air-dried wave changes the finish.
That’s why two curve cuts can look nothing alike even if the salon chair conversation sounded the same. Small changes make a big difference. Hair has a long memory for bad geometry.
The Tools That Actually Hold the Shape
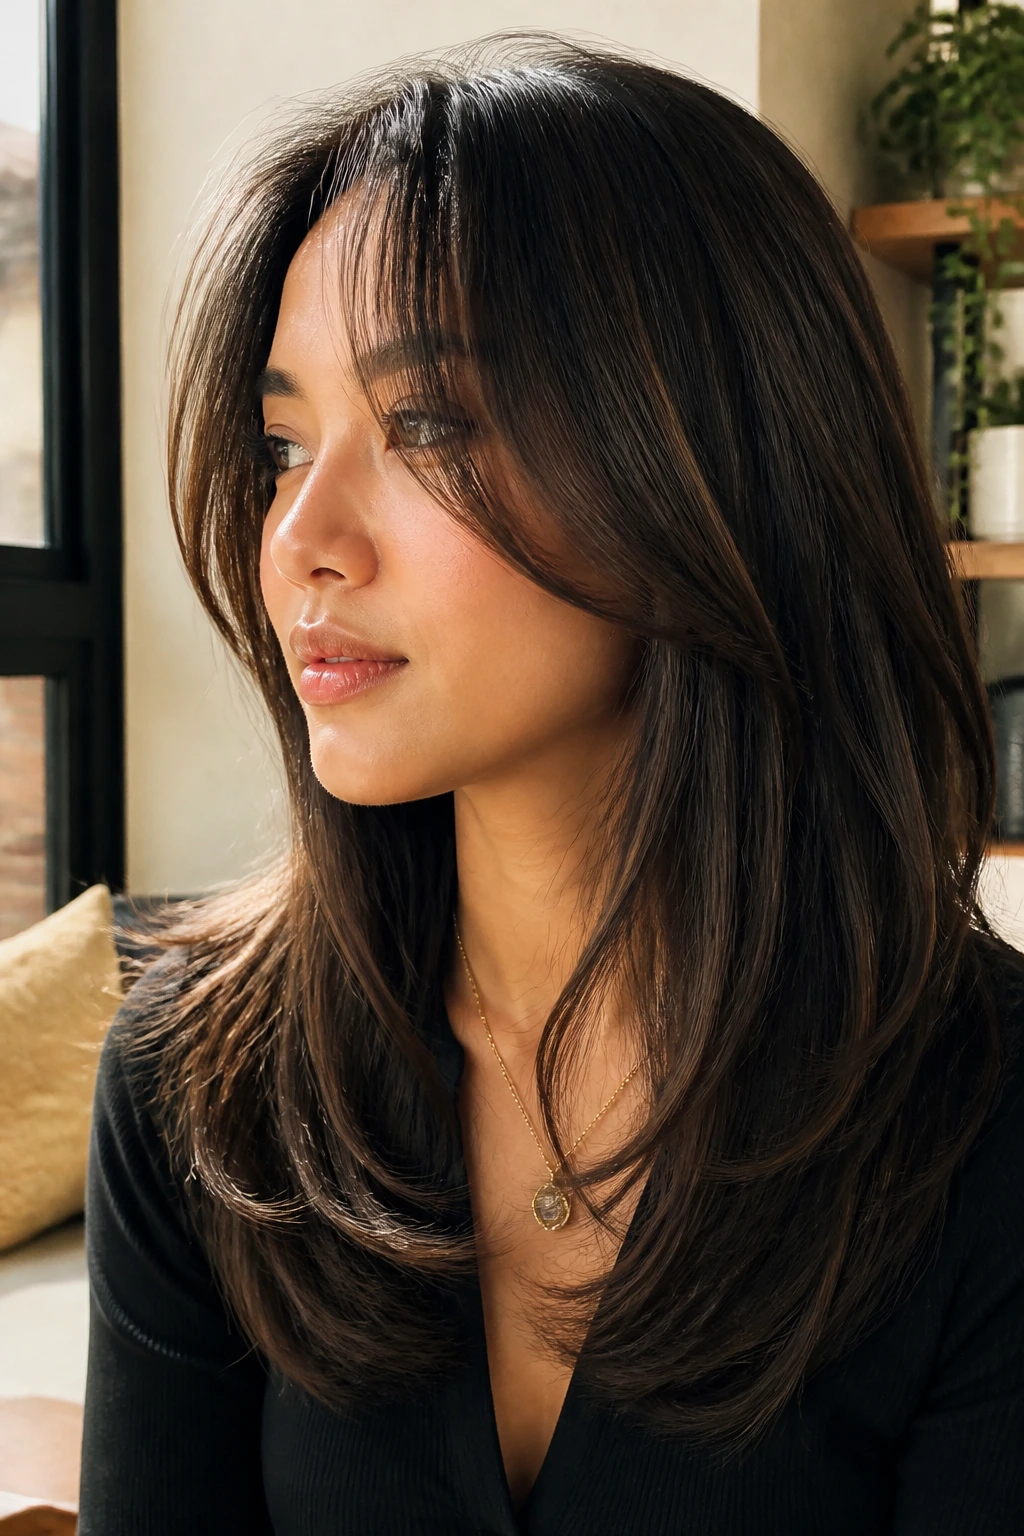
- Round brush, 1 inch to 1.5 inch: Best for creating the bend around the face and rolling the ends under or out.
- Blow dryer with a nozzle: Keeps airflow controlled so the front sections don’t frizz before they set.
- Heat protectant spray: Use it every time you touch the hair with heat. Skip it and the curve will look rough sooner.
- Flat iron, 1 inch plates: Useful for a small bend at the ends or for tightening the front pieces on straighter hair.
- Sectioning clips: These keep the crown out of the way when you’re working on the face frame. Small clips beat fumbling with a rubber band.
- Light mousse or root lift spray: Helps fine hair keep the lift that makes a curve cut read properly.
- Smoothing cream or leave-in conditioner: Good for thick or coarse hair that wants to puff around the curve.
- Texturizing spray: Adds grit to shaggy, wavy, or air-dried versions without making the cut feel sticky.
- Wide-tooth comb: Handy for curl definition and for detangling without crushing the pattern.
- Silk or satin pillowcase: Not glamorous, but useful. It helps the front pieces keep their bend overnight.
How to Ask for the Right Curve at the Salon
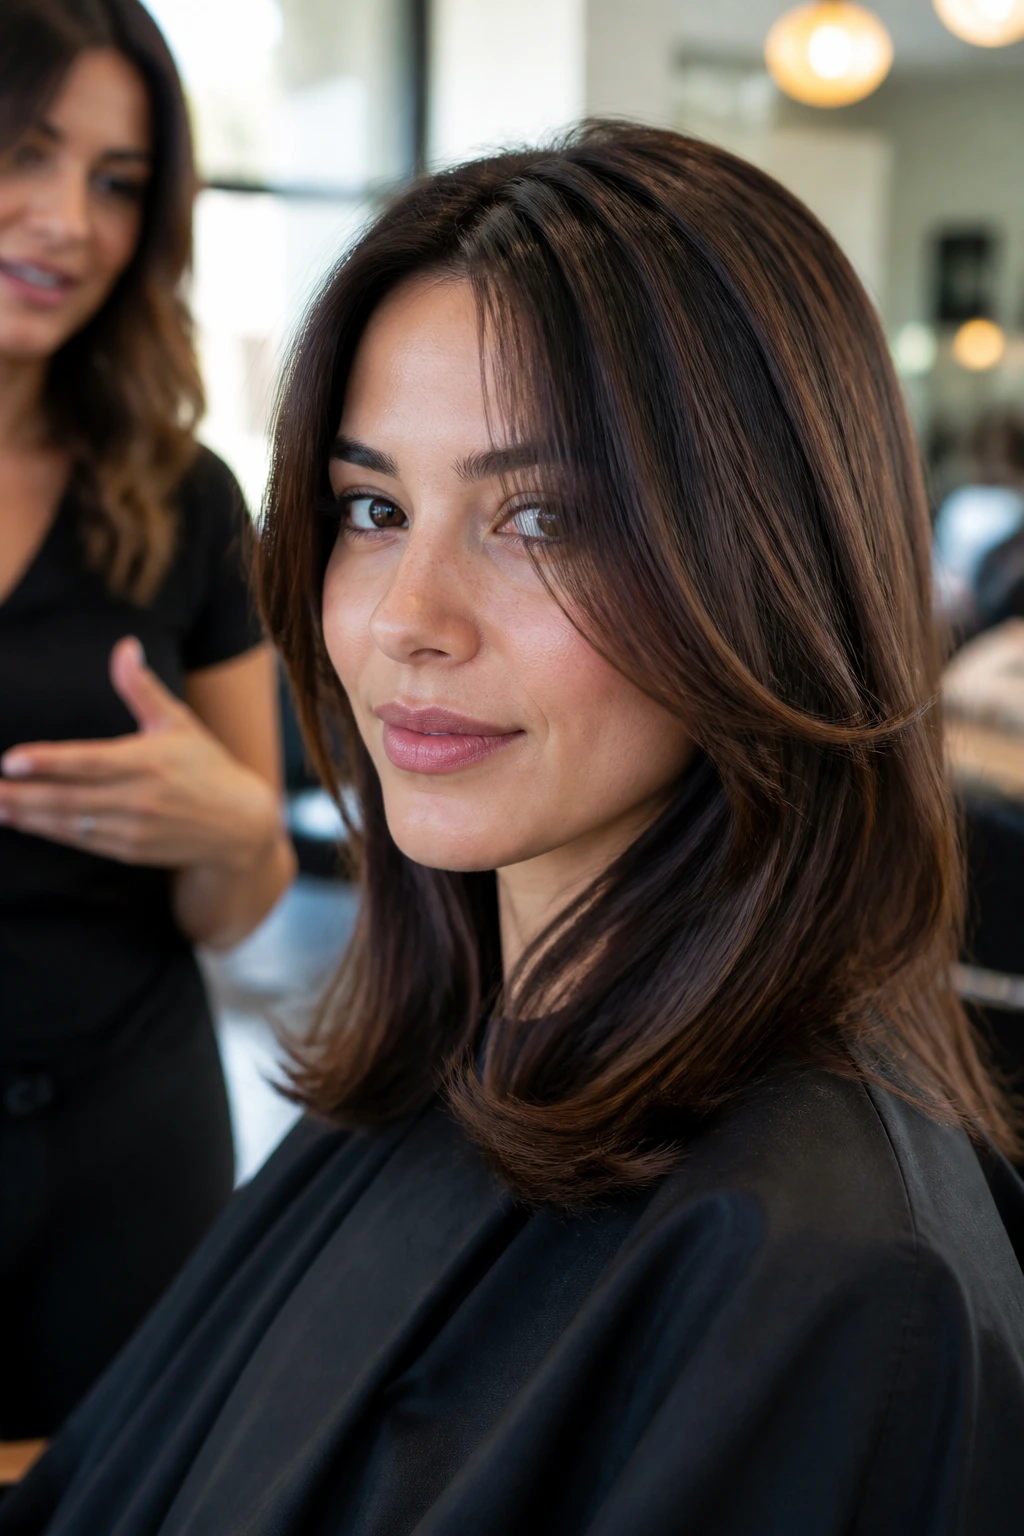
Bring photos, yes, but bring words too. A good picture tells the stylist the vibe. Your mouth tells them where the curve should land.
Say where you want the shortest front piece to hit: cheekbone, jaw, or collarbone. That one sentence changes the cut. Tell them whether you want the ends to turn inward, flip outward, or stay mostly straight with a soft bend. If you wear glasses, mention it. If your hair fights your part, mention that too. Stylists can work with all of it, but only if they know what they’re shaping around.
I’d also be specific about weight. If you have thick hair, ask them to keep enough density at the bottom so the curve doesn’t fray. If your hair is fine, ask for lighter internal shaping, not aggressive thinning. Those are not small details. They decide whether the cut falls cleanly or caves in after one wash.
How to Wear a Curve Cut in Real Life
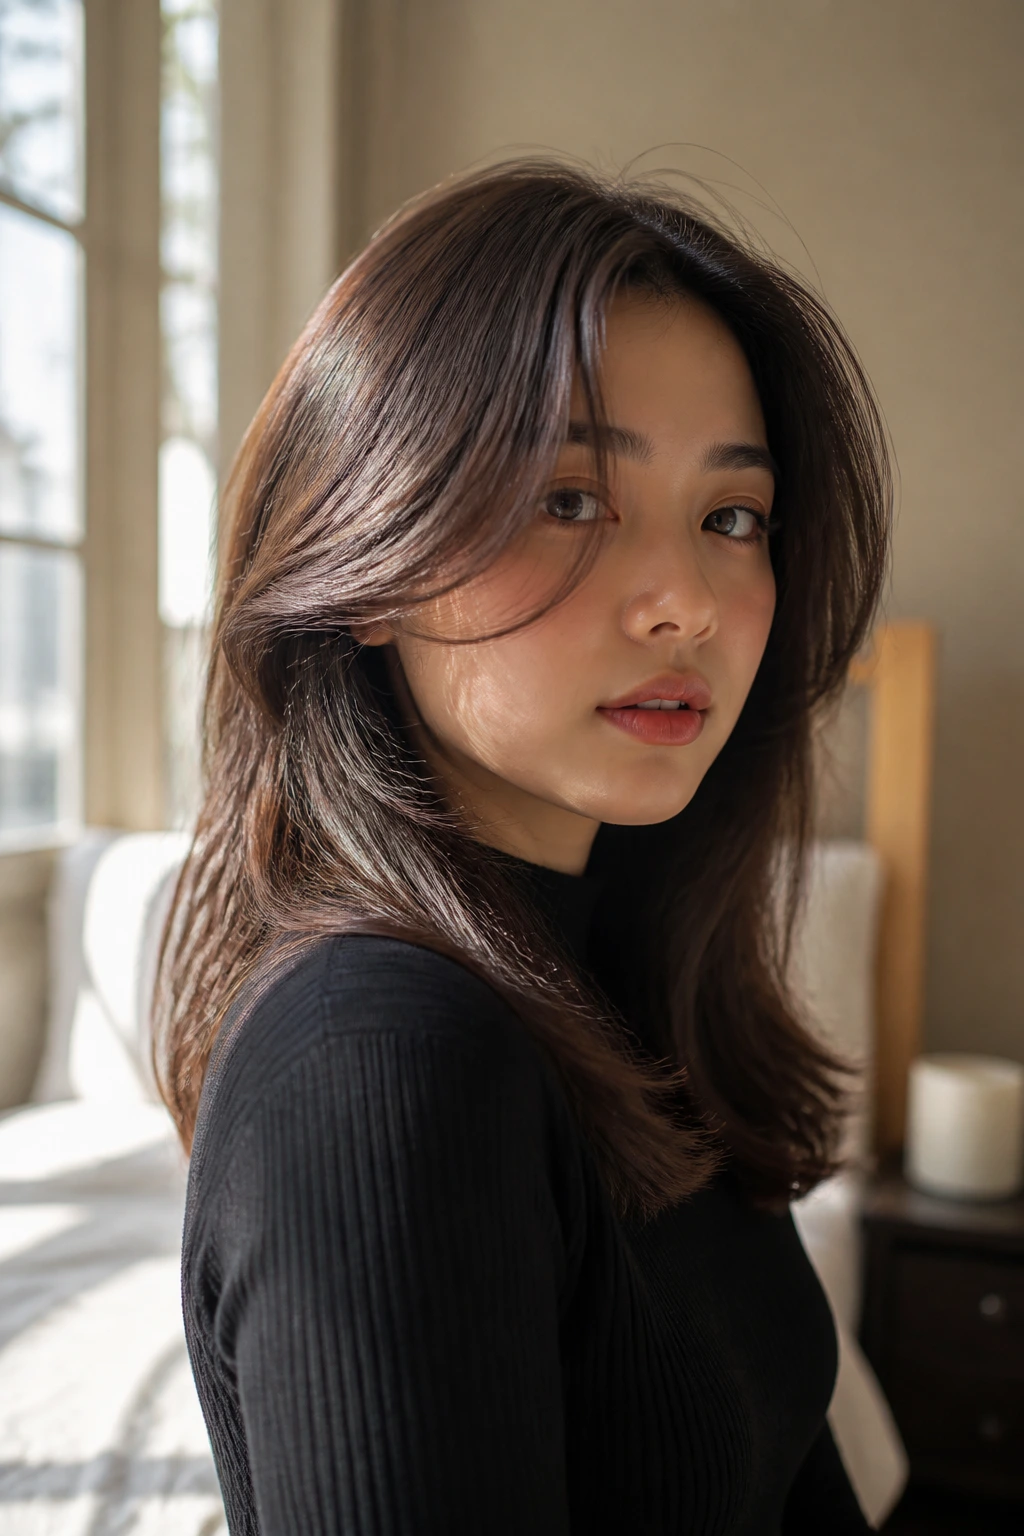
Front Frame: Let the shortest pieces sit where they can actually be seen—around the cheekbone or jaw, not hidden inside the rest of the hair.
Accessories: Small hoops, studs, slim headbands, and clean barrettes tend to work best because they don’t fight the line of the cut. Oversized clips can swallow the face frame whole.
Silhouette Balance: Higher necklines and structured collars usually suit shorter curve cuts, while looser necklines let longer lobs and layered versions breathe a little more.
Wearability: If you need the haircut to behave at work and still look decent after dinner, choose a version with a strong perimeter and minimal layering near the crown. It will survive the day better.
The easiest mistake is over-accessorizing the front. A curve cut already frames the face. Let it do that work. Hairpins, scarves, and big clips should help the shape, not cover it.
Styling Moves That Make the Curve Look Intentional
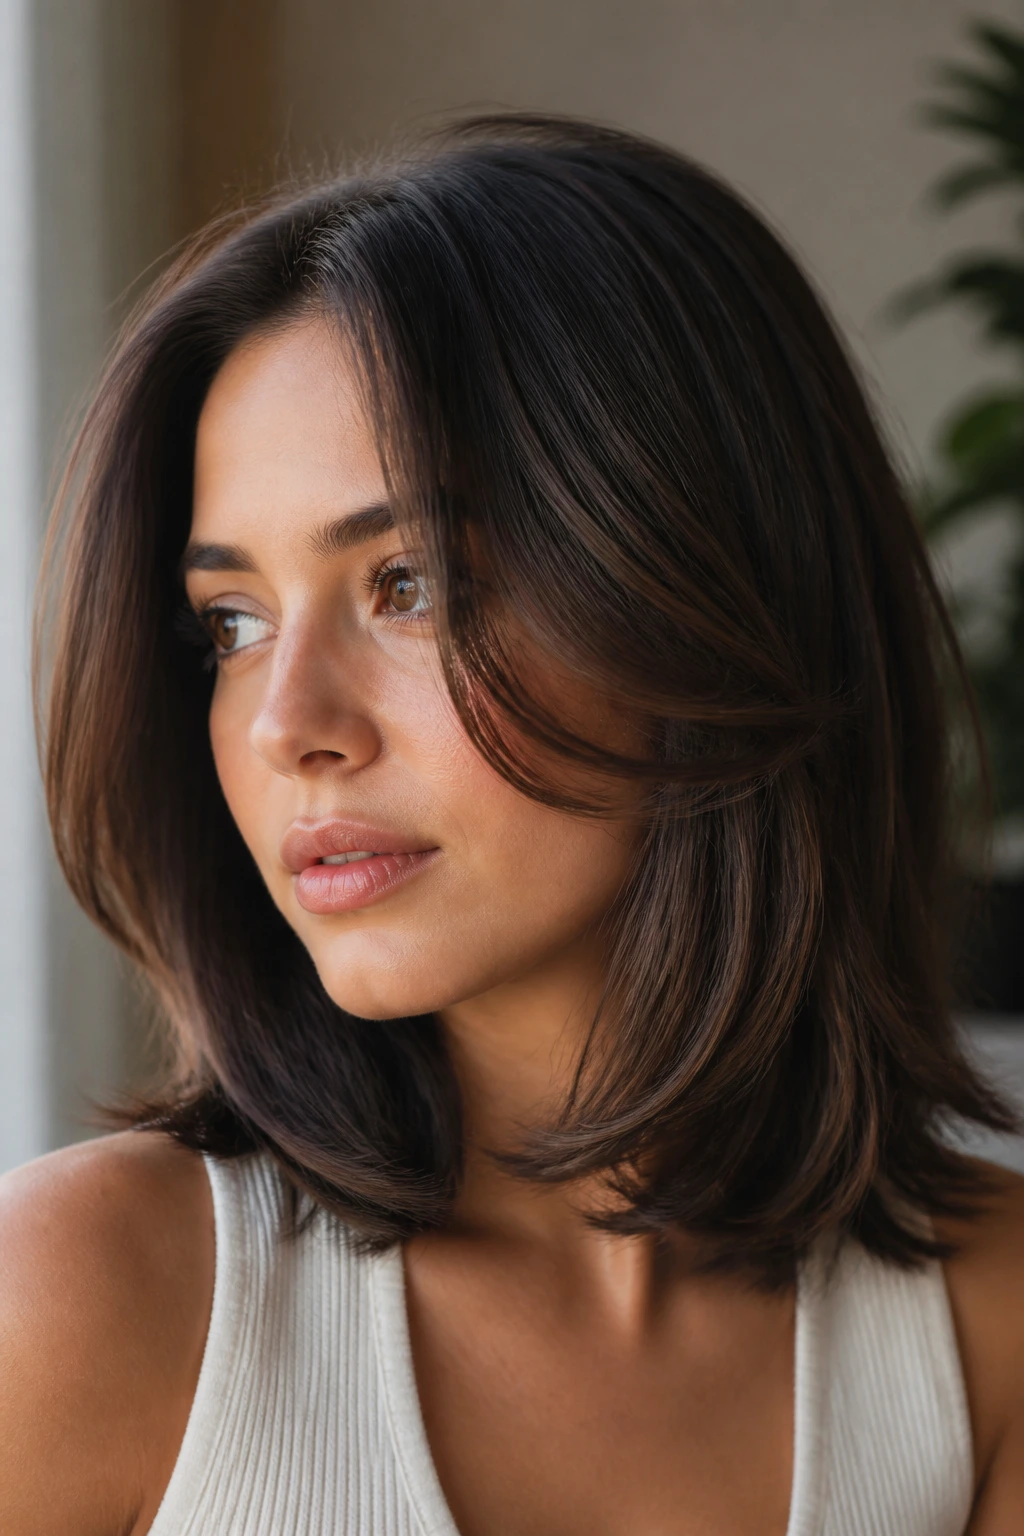
Shape Memory: A little mousse at the roots and a round-brush bend through the first two inches of the front pieces gives the haircut a memory that air-drying alone won’t.
Texture Boost: If the hair is slipping flat by midday, a light mist of texturizing spray at the ends adds grip without turning the style crunchy. Use less than you think. More is not more here.
Shine Finish: A pea-sized amount of serum on the mid-lengths and ends can keep the bend from looking dry, especially on straight or thick hair that tends to spread out.
Make-It-Yours: For a softer look, tuck one side and leave the other loose. For a sharper look, flip both ends under with a flat iron and keep the part clean. For a looser look, rough-dry the roots and leave the movement imperfect.
Keeping the Curve Between Wash Days
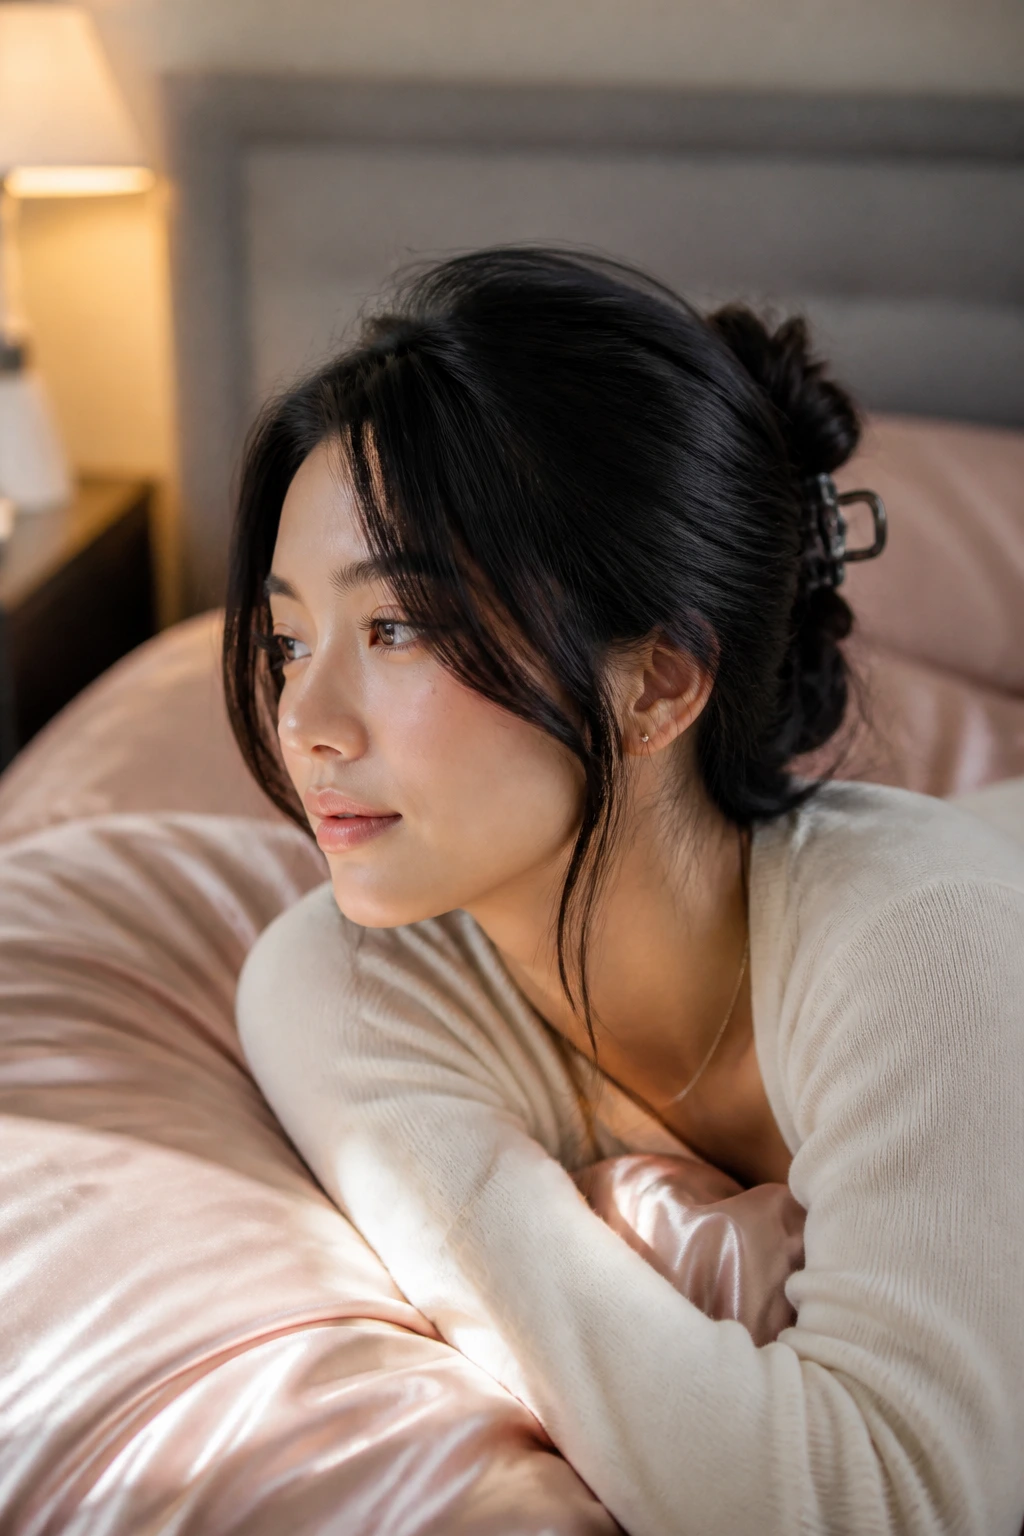
A curve cut survives better when you treat the first night like it matters. Sleep with the hair in a loose low bun, a soft clip, or a very loose braid so the front doesn’t get crushed. A satin pillowcase helps too. Cheap, useful, easy.
By day two, the front usually needs a small refresh. Mist the face-framing pieces lightly with water, re-bend them with a round brush or flat iron, and hit the roots with a touch of dry shampoo if they’re starting to separate. If you use too much dry shampoo, the curve gets chalky and dull. Two short sprays at the root are better than a cloud.
Most curve cuts need a trim every 6 to 10 weeks to keep the front from drifting too long and losing the frame. Shorter versions need maintenance sooner. Longer lobs can stretch a bit more. If the ends start flipping in odd directions instead of bending cleanly, that’s usually the haircut asking for a cleanup.
The Most Common Curve Cut Mistakes

Cutting the front too high: If the shortest pieces start above the cheekbone on a face that needs softness, the haircut can look like it’s trying too hard. The fix is simple: drop the point of the curve lower and let the front breathe.
Over-thinning the ends: The symptom is frizz, flyaway tips, or a wispy bottom that won’t hold shape. Keep the density and remove bulk from the inside instead of shaving the perimeter apart.
Ignoring shrinkage on curls: Wet curl cuts often look longer than they are. If the stylist cuts to wet length without respecting bounce, the front can end up too short and sit awkwardly above the face.
Using the wrong heat size: A barrel that is too large will not create the bend; one that is too small can make the curve look corkscrewed. Match the tool to the length. Short bobs like smaller barrels. Long layers tolerate bigger ones.
Forgetting the part: A curve cut can change completely when you move the part half an inch. If the shape feels off, try the part before you blame the haircut. Sometimes that is the whole fix.
Leaving the crown flat: This one is sneaky. The front can be perfect, but if the crown sits glued to the scalp, the style feels heavy. A touch of lift at the roots changes the whole read.
Curve Cut Variations for Different Hair Types
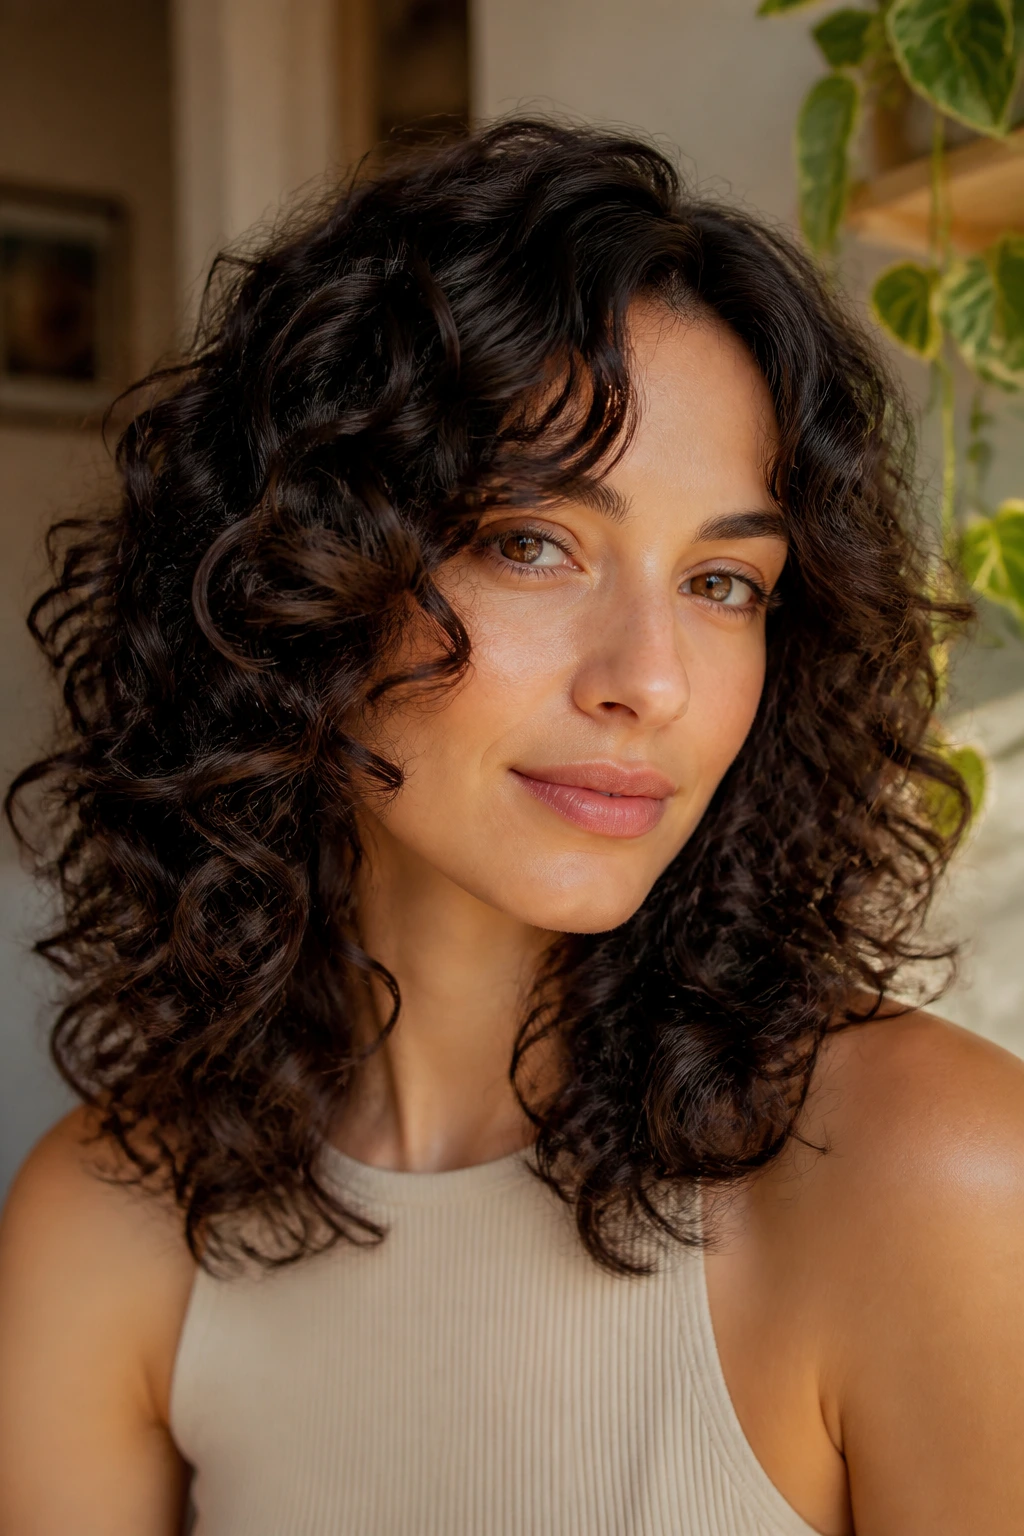
The Lazy-Day Curve: Built for air-drying and minimal heat, this version uses a soft perimeter and a gentle face frame so the hair looks shaped even when you only finger-comb it. It suits waves and relaxed straight textures best.
The Polished Bend: This is the round-brush version—smooth roots, tucked-under ends, a neat front frame. It works when you want the cut to look crisp and controlled without turning into a rigid bob or lob.
The Curl-Respect Curve: Best for curly and coily textures, this variation leans on shape rather than straightening. The front layers are placed to support the curl pattern instead of flattening it, which keeps the silhouette round and soft.
The Heavy-Hair Curve: Thick hair needs a little internal cleanup so the frame doesn’t balloon. This version keeps the ends full and the movement contained, which makes it look expensive rather than bulky.
The Fine-Hair Curve: Here the cut keeps its perimeter mostly intact and adds just enough face-framing bend to create the illusion of body. It’s the version I’d point a nervous client toward first if they hate feeling over-layered.
Curve Cut FAQs People Actually Ask
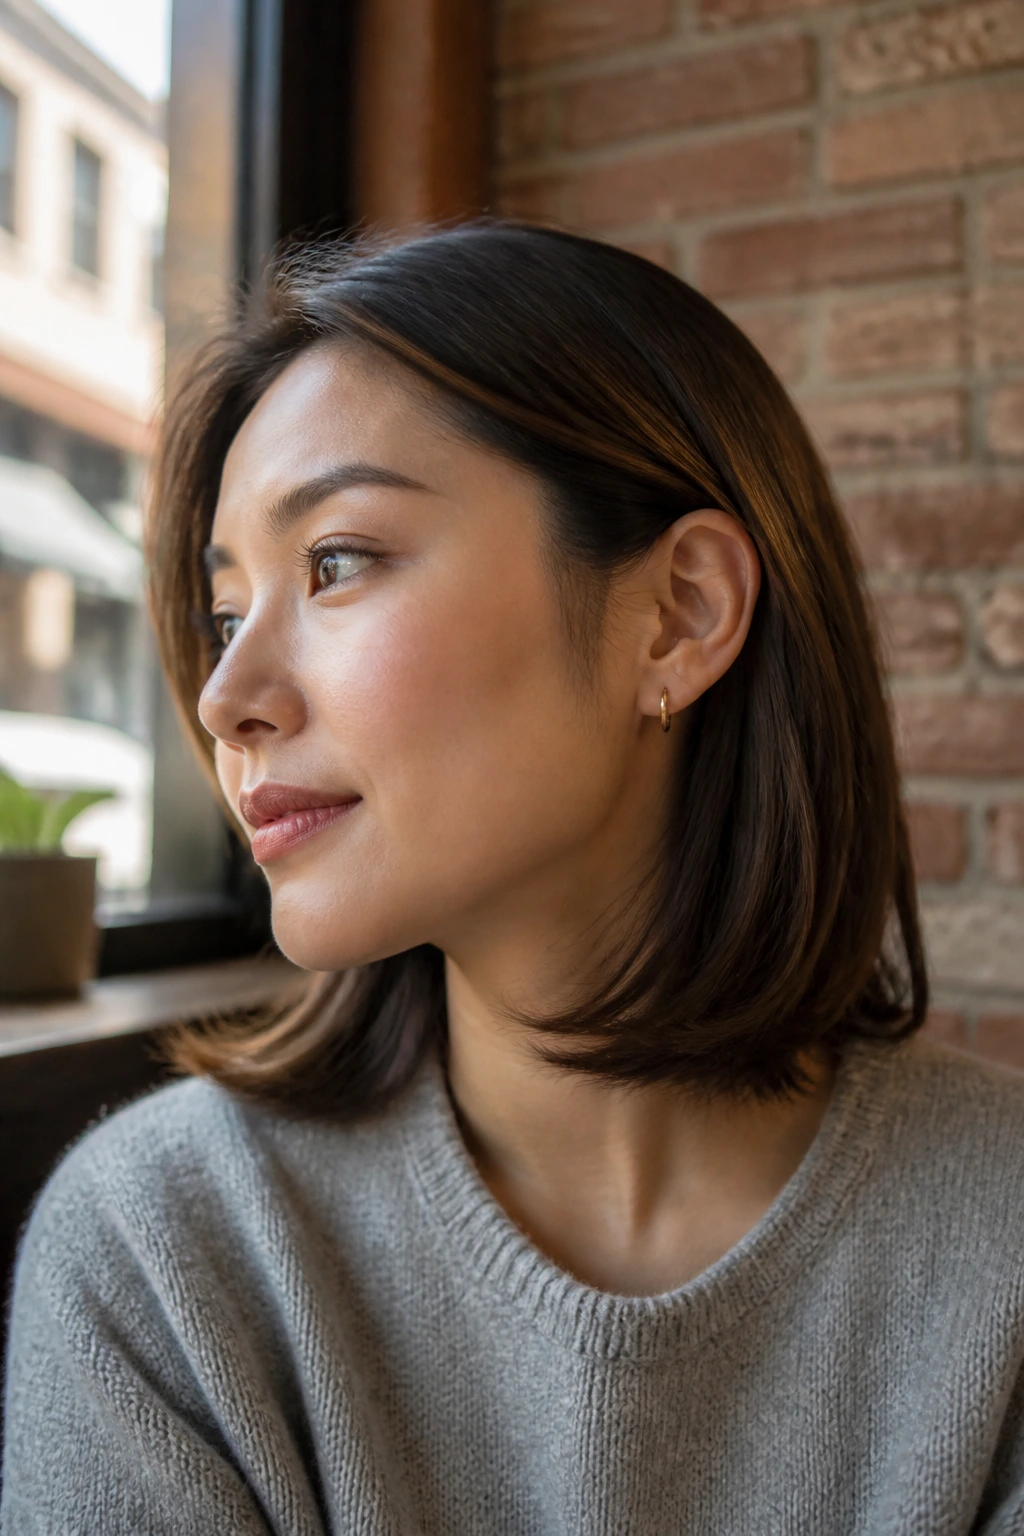
What is a curve cut, exactly?
It’s a haircut shaped to arc around the face instead of falling in one flat line. The curve can be subtle or obvious, but the point is always the same: soften the outline and guide the eye.
Is a curve cut good for round faces?
Yes, if the front pieces are placed carefully. A curve that starts near the cheekbone and drops toward the collarbone can lengthen the face visually, while a curve that lands too high can widen it instead.
Does a curve cut work on straight hair?
Straight hair shows the shape best, which is one reason this cut looks so clean on it. The only catch is that straight hair can expose weak shaping fast, so the haircut has to be precise.
Can you get a curve cut with curly hair?
Absolutely. The key is shaping around the curl pattern and shrinkage, not fighting it. The curve becomes the outline the curls sit inside.
How often does a curve cut need trimming?
Short versions usually need a refresh every 6 to 8 weeks. Longer versions can stretch to 8 to 10 weeks if the front frame is still sitting where it should.
What if the curve looks too dramatic after the cut?
Try changing the part first, then soften the bend with a looser blow-dry or a little texture spray. If it still feels sharp, the front pieces may need to be lowered a touch at the next trim.
Do you need bangs for a curve cut?
No. Curtain bangs and bottleneck bangs are popular partners, but the cut works fine without any fringe at all. Sometimes the cleanest version is the one that lets the front layers do all the talking.
The Shape That Does the Work
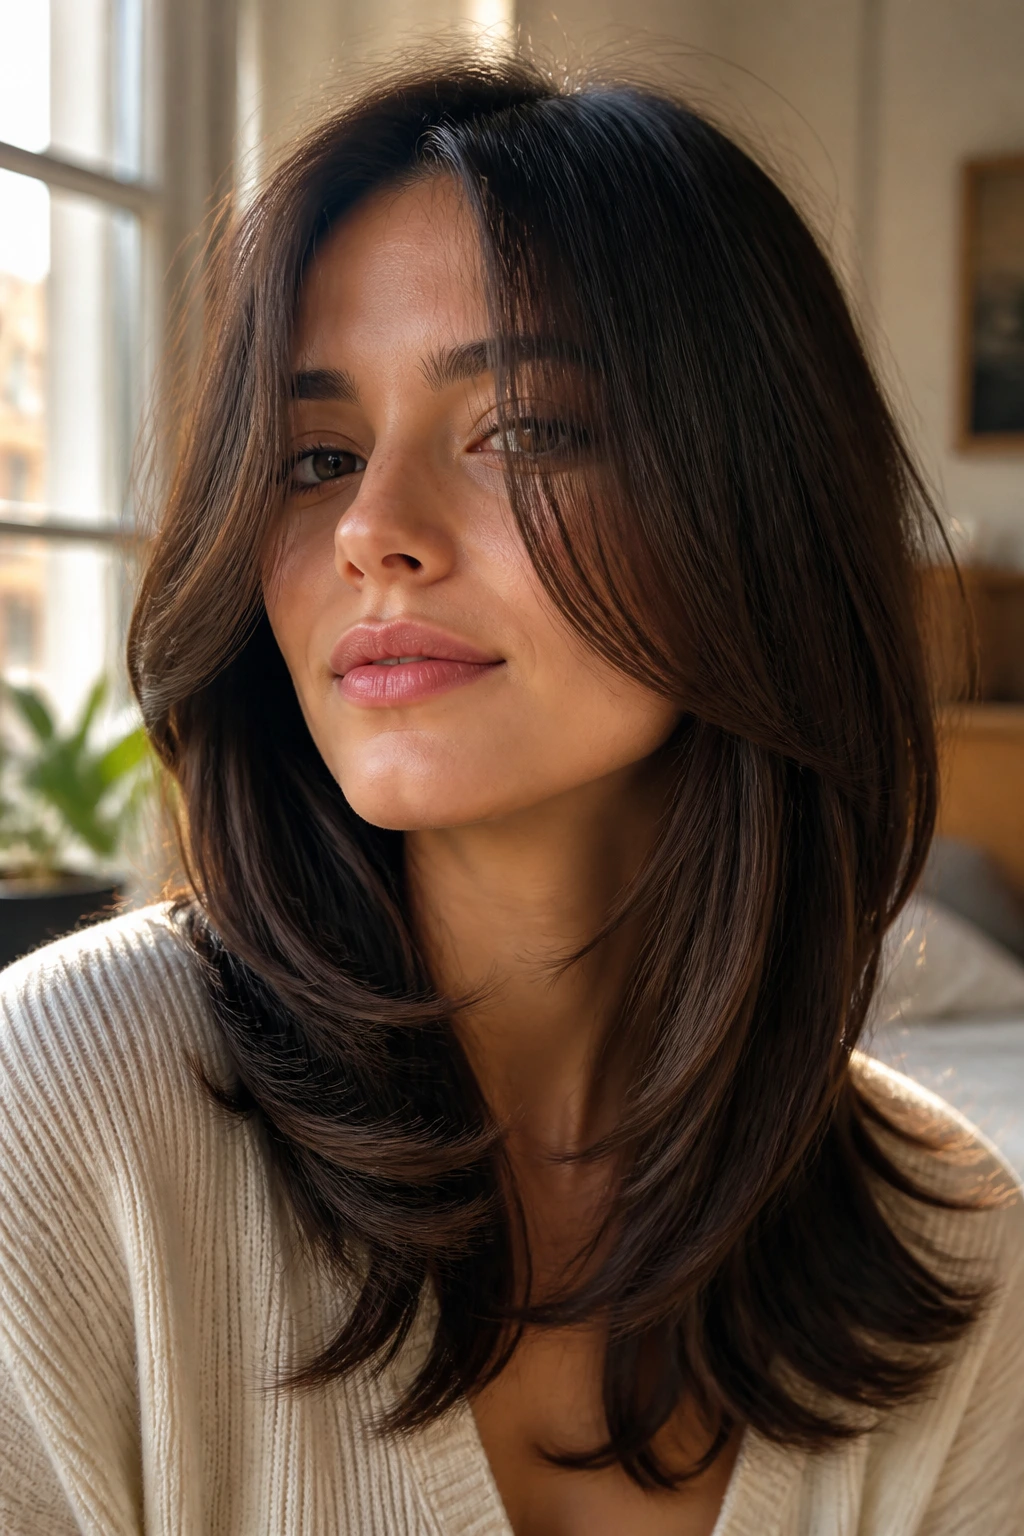
A good curve cut does not need to announce itself. It just needs the front pieces in the right place, a perimeter that knows when to stop, and enough movement to keep the whole thing from feeling carved out of one block of hair.
That is why these curve cut hairstyles hold up across lengths and textures. A bob can do it. A lob can do it. Long hair can do it if the shape is honest. The cut is less about drama than precision, and that is exactly why it feels so modern.
If your hair has been falling flat or hanging in a square shape for too long, start by changing the frame by half an inch. That tiny shift is often the difference between hair that sits there and hair that actually frames the face.
