



Low bun hairstyles have a way of making hair look settled without looking fussy. When the knot sits at the nape, the whole head reads calmer: the crown stays clean, the neck line stays open, and a pair of earrings can do their own work instead of fighting a giant shape above them.
That placement matters. A bun tucked too high starts to feel sporty or severe; one tucked low, with a little slack at the temple or a soft side part, feels deliberate and lived-in at the same time. That balance is why stylists keep coming back to the low bun when a style needs to handle a workday, a dinner, and a coat collar without falling apart.
And yes, the details matter more than people think. A brushed-out surface, a few hidden pins, and a touch of texture at the back can change the whole mood of the style. Once you learn which low bun shape fits your hair and your face, the options stop looking repetitive and start looking like a small wardrobe of their own.
Why These Low Bun Hairstyles Earn Their Spot
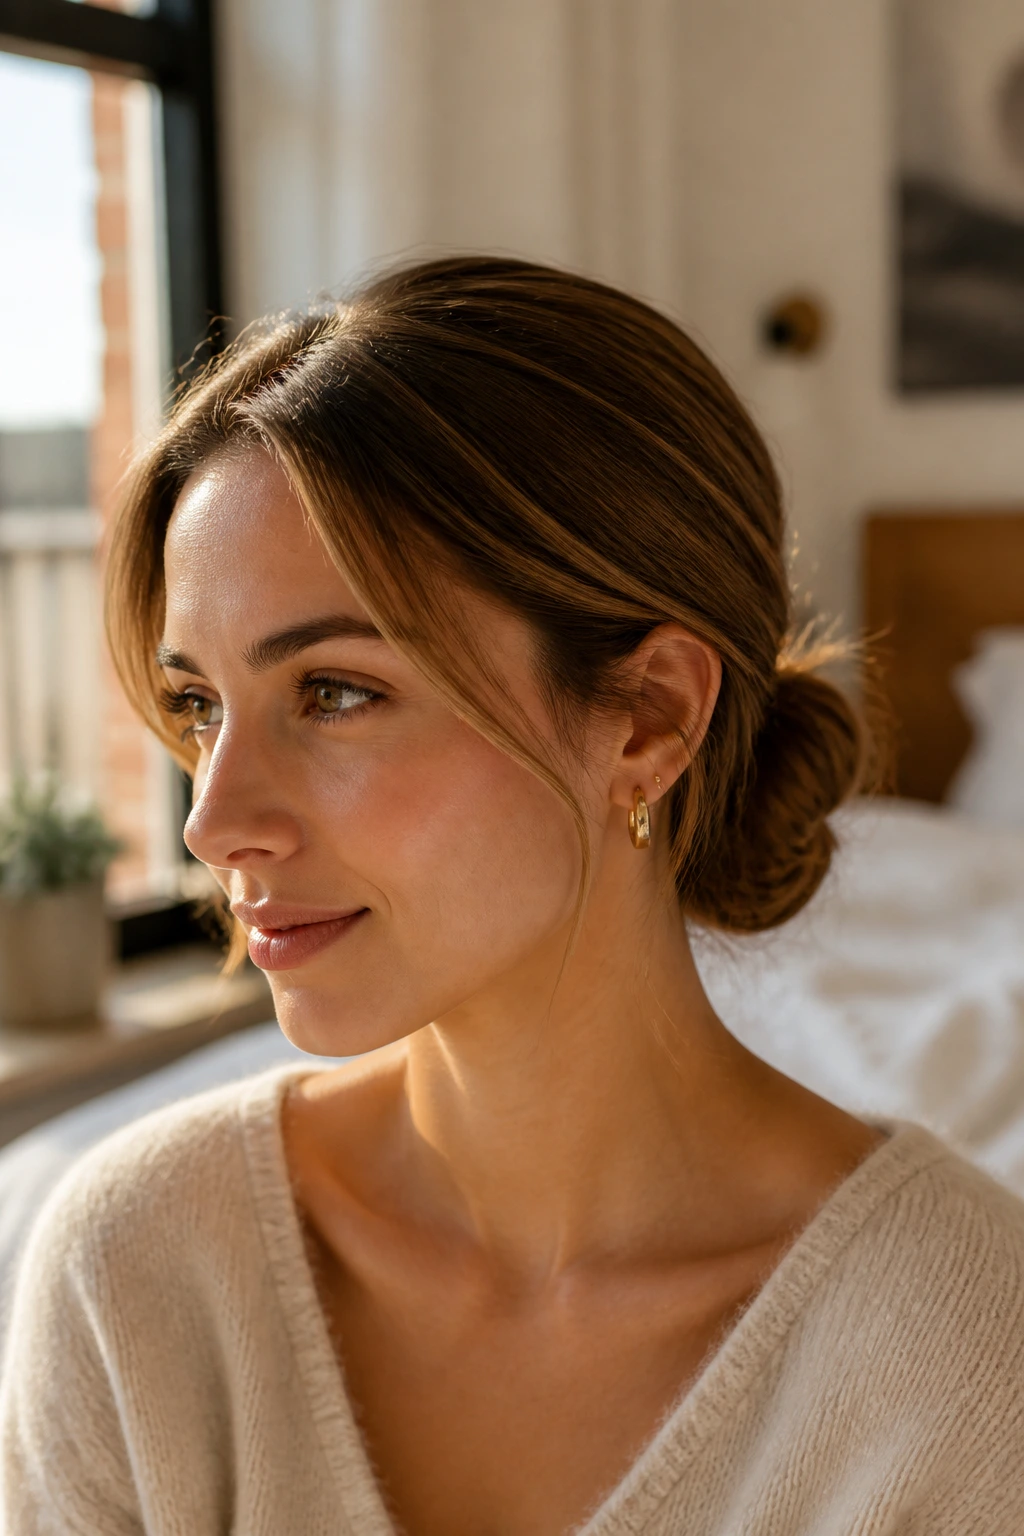
-
Neckline-friendly: A bun that sits low keeps the profile clean, which matters when you’re wearing a collared shirt, a high neckline, or statement earrings.
-
Softens strong features: A loose edge near the temples or a side part can take the edge off a very structured face shape without making the style look messy.
-
Works with more textures than people expect: Straight hair, waves, curls, and coils all behave differently, but a low bun gives each one a place to land instead of fighting the hair’s natural movement.
-
Looks finished fast: A few pins, a small elastic, and a clean part can make even a five-minute bun read intentional.
-
Easy to dress up or down: Swap a plain elastic for a ribbon, pearl pin, or braid, and the whole mood changes.
-
Better on second-day hair: Hair with a little lived-in texture usually grips better, which means less slipping and less spray.
1. Smooth Center-Part Low Bun
A center-part low bun is the cleanest version of the style, and I mean that in the best way. The part gives the face a neat frame, while the bun itself stays tucked close to the nape so the whole look feels controlled.
What makes it work
A center part pulls the eye straight down the face, which can be useful when you want length and calm instead of volume at the crown. The trick is keeping the top smooth without flattening the whole head into a hard shell.
- Best with: Straight to slightly wavy hair that holds a part without fighting back.
- Key move: Brush the top section with a boar-bristle brush before you tie the ponytail.
- Hold detail: Cross two bobby pins over the base of the bun so it doesn’t drift by lunchtime.
My favorite part: a tiny touch of serum on the palms before smoothing the outer layer. Too much turns shiny into greasy fast. Too little and the flyaways win.
2. Soft Side-Part Chignon
Why does a side-part chignon feel softer the second you look at it? Because the part breaks the symmetry before the bun even starts.
That little shift changes everything. The hair falls differently over one brow, the cheekbones get a softer line, and the bun itself can sit slightly off-center without looking like a mistake. I like this version for days when a center part feels too tidy.
A side-part chignon is also one of the easiest low bun hairstyles to make feel a touch more dressed up. Keep the part clean, then leave the bun itself a little loose at the base. The result is polished, but not stiff.
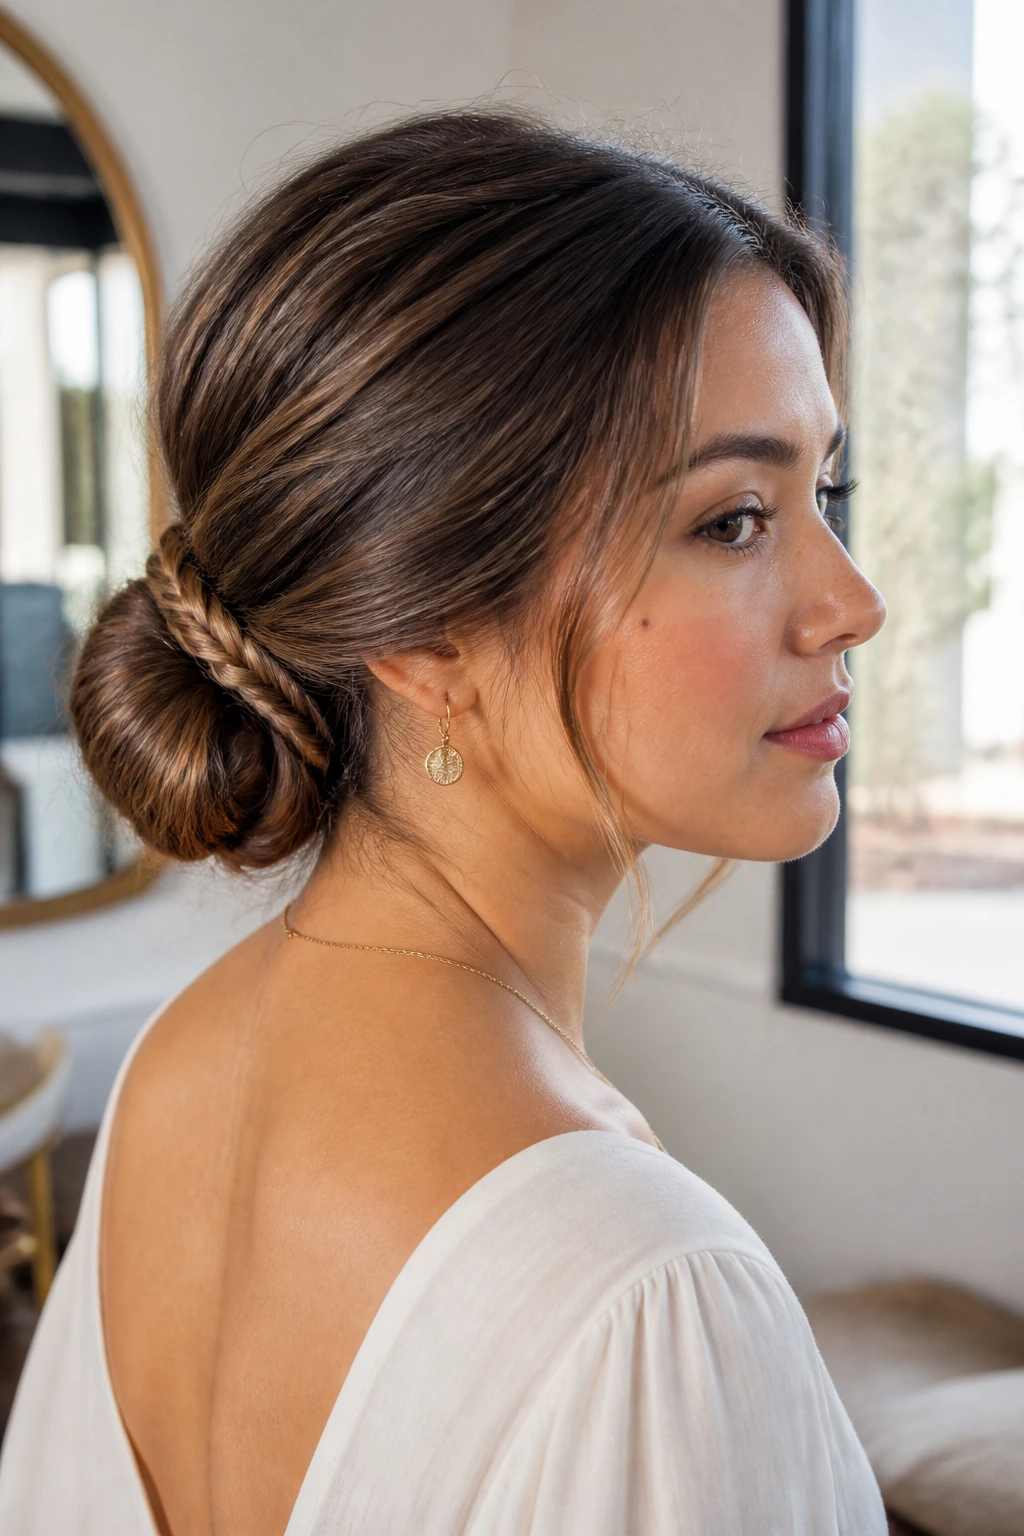
3. Braided Wrap Low Bun
A braided wrap low bun does one useful thing that plain buns often can’t: it hides the elastic and gives the style a built-in anchor. That braid can be a thin one-inch section from the temple or a thicker strip from the nape, depending on how much detail you want.
Why the braid matters
The braid gives the bun texture without forcing you to curl the whole head. It also helps if your hair has layers that try to slip out as soon as you twist it.
- For fine hair: Braid a small section and pancake it slightly so it looks fuller.
- For thick hair: Braid only one side and let the other side stay smooth.
- Best pinning point: Tuck the braid ends under the bun before you cross-pin the base.
The look lands somewhere between neat and romantic. That’s a sweet spot.
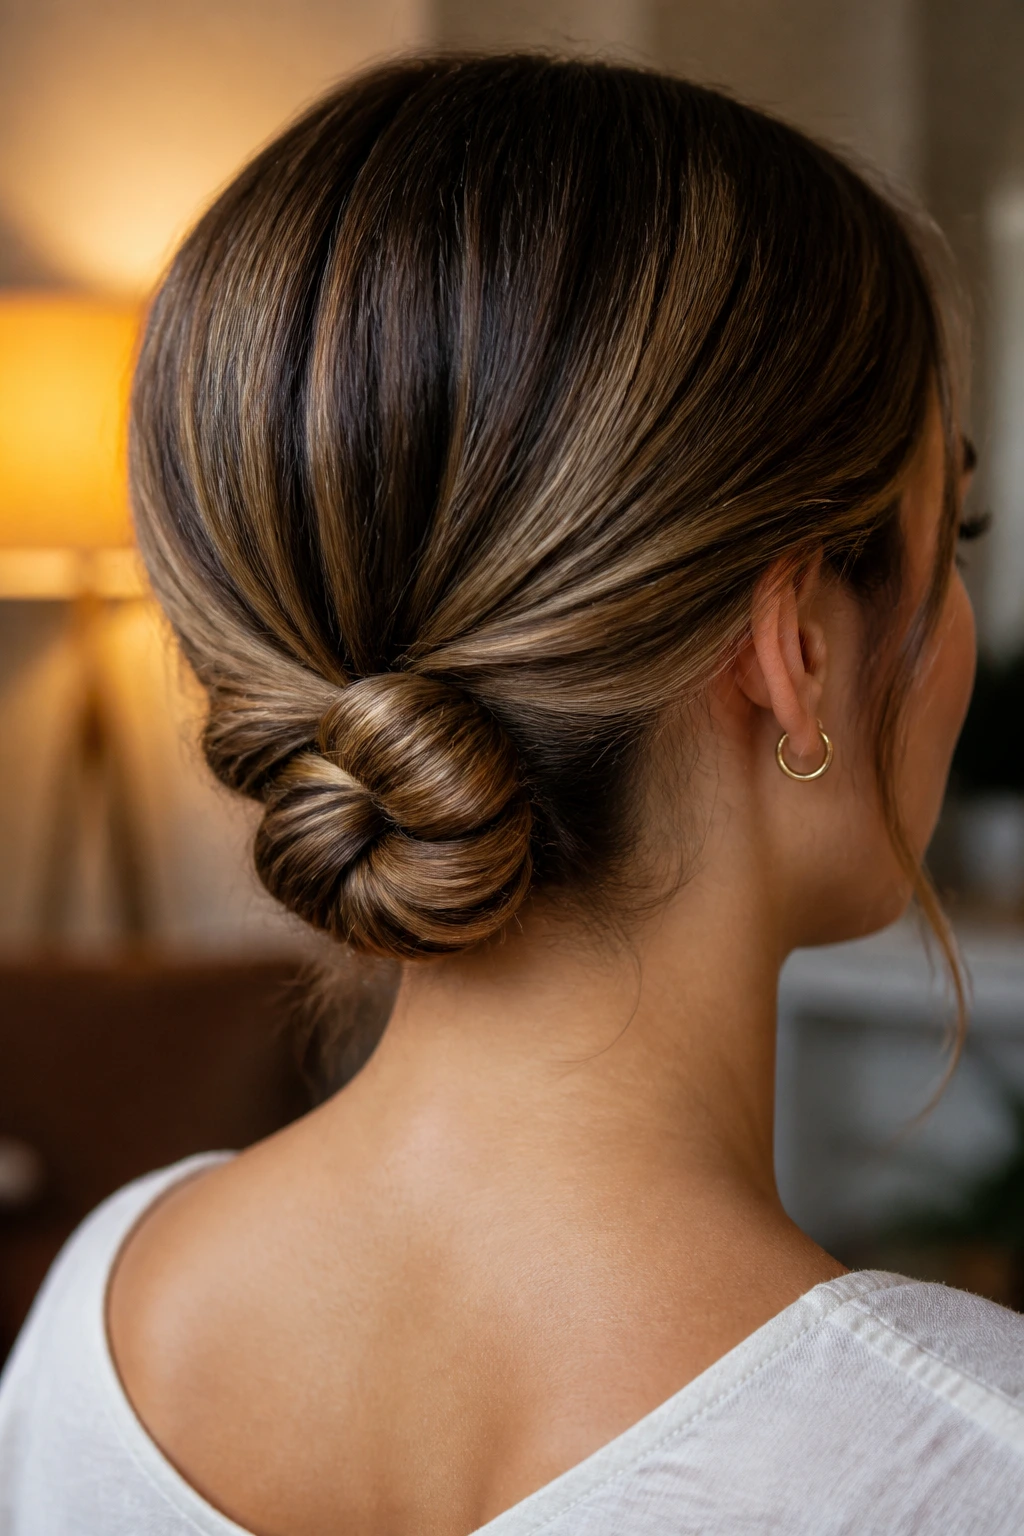
4. Twisted Nape Knot
This one is my quiet favorite when hair needs to be out of the way but still look deliberate. You split the hair into two sections, twist each side back toward the nape, and wrap the lengths into a knot where they meet.
The shape is softer than a braid and less bulky than a full coil. It also shows off the natural bend in the hair, which is a nice thing when you do not want the style to feel overworked.
A twisted nape knot is especially good on medium-length hair. The twists give just enough visual structure that the bun reads as a style, not a last-minute fix.
5. Face-Framing Low Bun
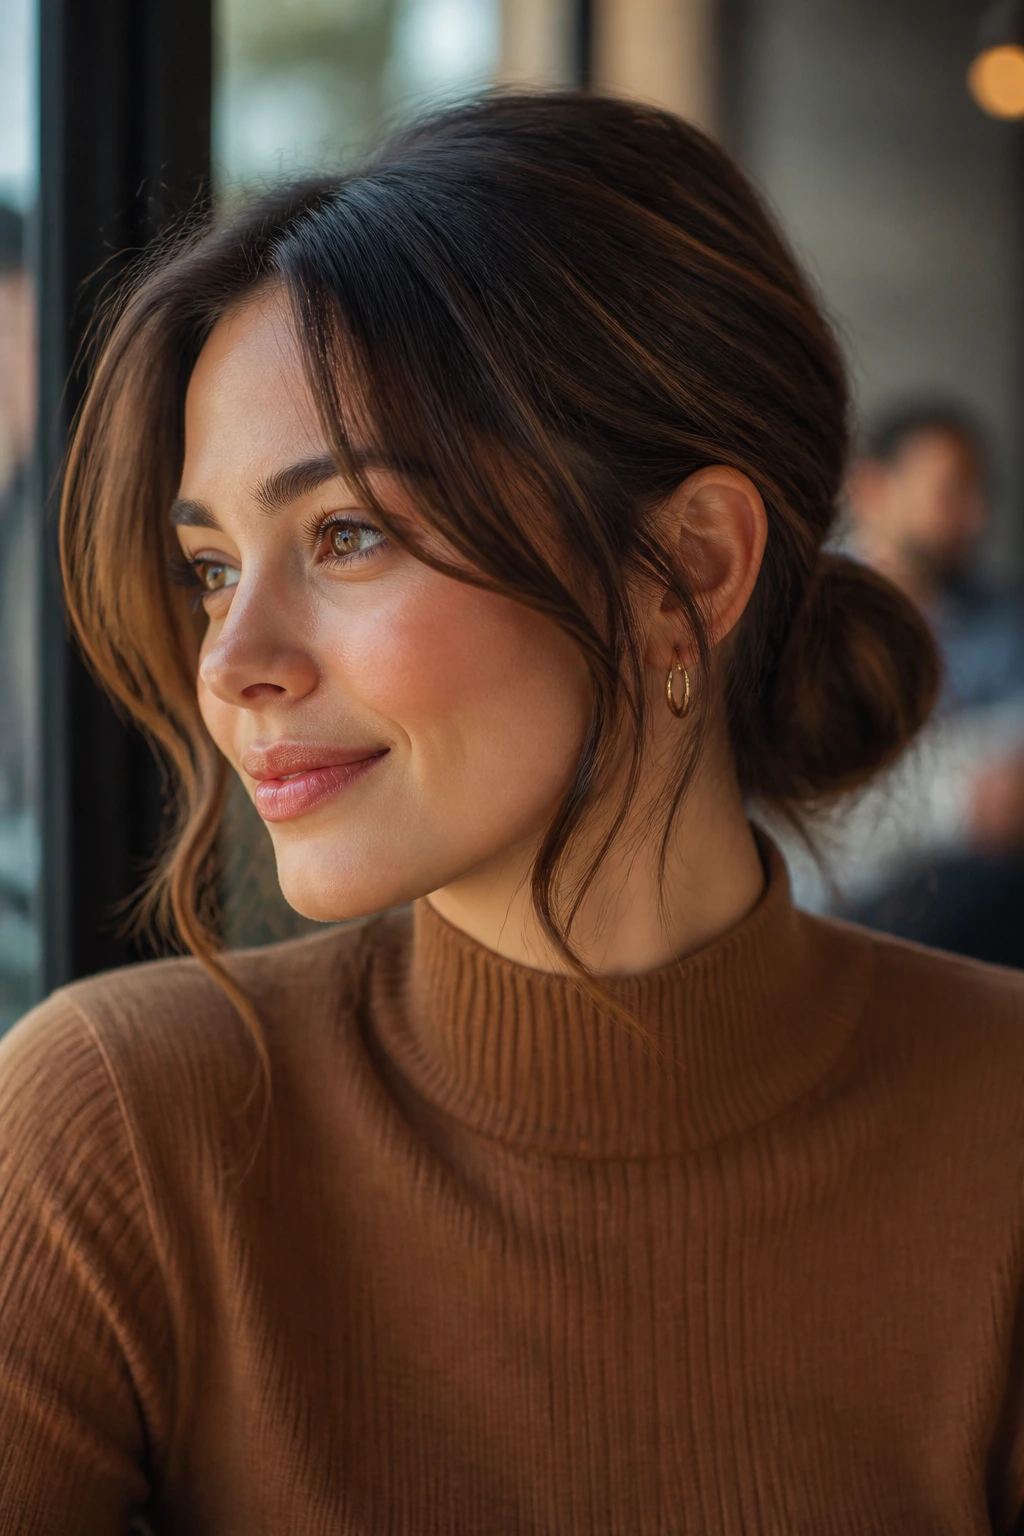
If you want a low bun to look softer right away, leave a little hair at the temples and around the ears. Not a lot. Just enough to show a curve.
That bit of softness changes the whole silhouette. It keeps the bun from sitting like a hard knot against the head, and it gives your face some movement if your features are sharp or angular. I usually curl the loose pieces with a 1-inch iron and then brush them out once, because ringlets can feel too dressed-up for this look.
This version works well with a turtleneck, a blazer, or anything with a high neckline. The loose pieces keep the style from disappearing into the clothing.
6. Rolled Low Bun for Fine Hair
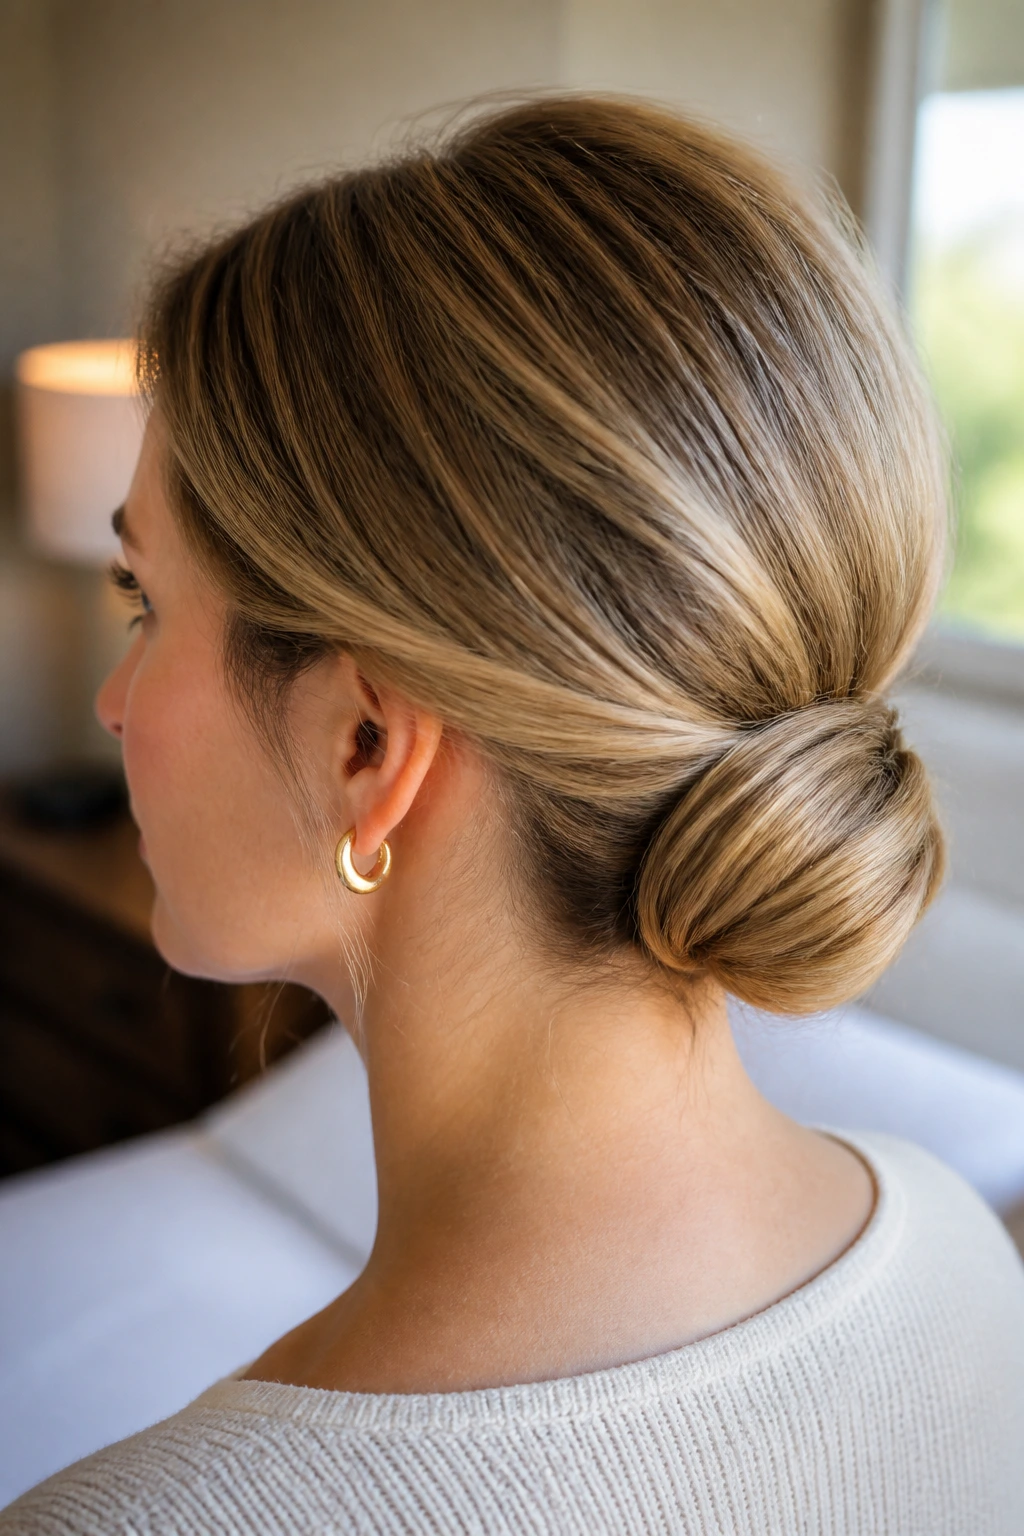
Fine hair often needs a shape that creates volume without asking too much of the strands. A rolled low bun does that neatly. You gather the hair into a low ponytail, then roll the lengths upward around two fingers or a small oval base and pin the edges down.
The result is fuller than a flat twist and lighter than a giant donut bun. A little dry shampoo at the roots gives the hair enough grip to hold the roll in place, which matters more than people admit.
If your hair is slippery, mist the mid-lengths with a texturizing spray before you roll. Skip the roots if they get greasy fast. The bun will hold better, and the top won’t separate.
7. Knotted Low Bun for Thick Hair
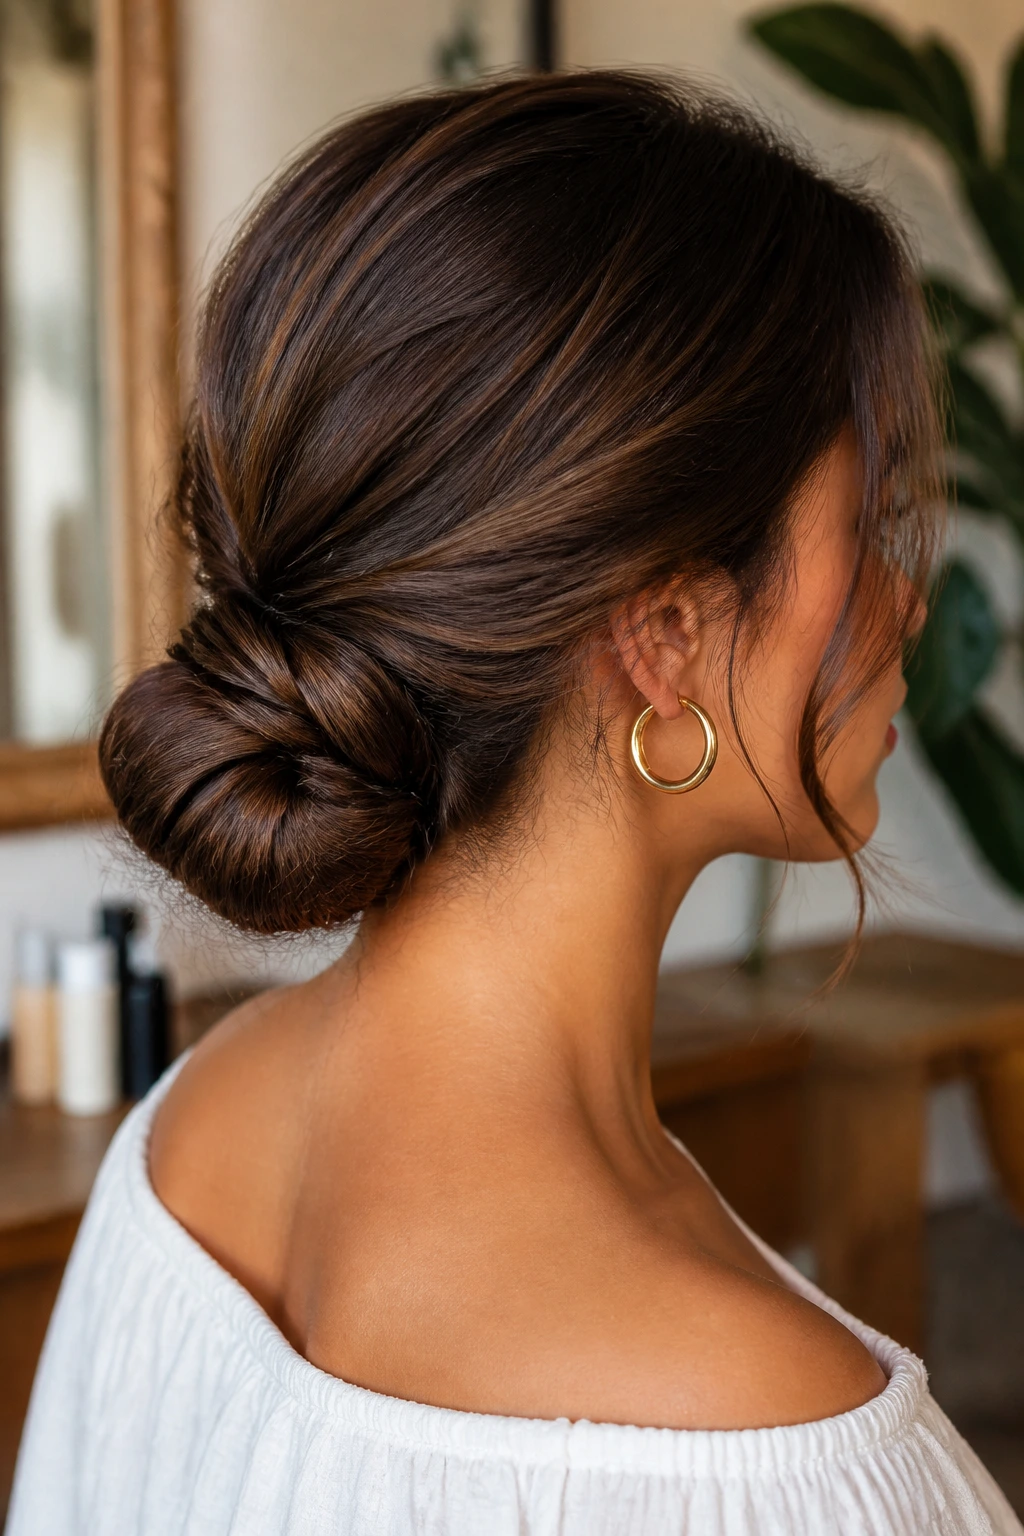
Thick hair wants room. If you try to force it into one tight swirl, the bun grows bulky in the wrong places and starts popping pins out.
A knotted low bun solves that by breaking the mass into smaller sections. Tie the hair into a low ponytail, split the tail into two parts, knot them once or twice, and tuck the ends underneath. You’ll need more than standard bobby pins here — I reach for U-pins or longer metal pins because they grab better through dense hair.
A few specifics that help
- Use a strong elastic at the base before you knot anything.
- Keep the knot low and close to the neck.
- Pin from the inside out so the outer surface stays smooth.
This is the version that lasts through a long day without asking for drama.
8. Sleek Ballet Low Bun
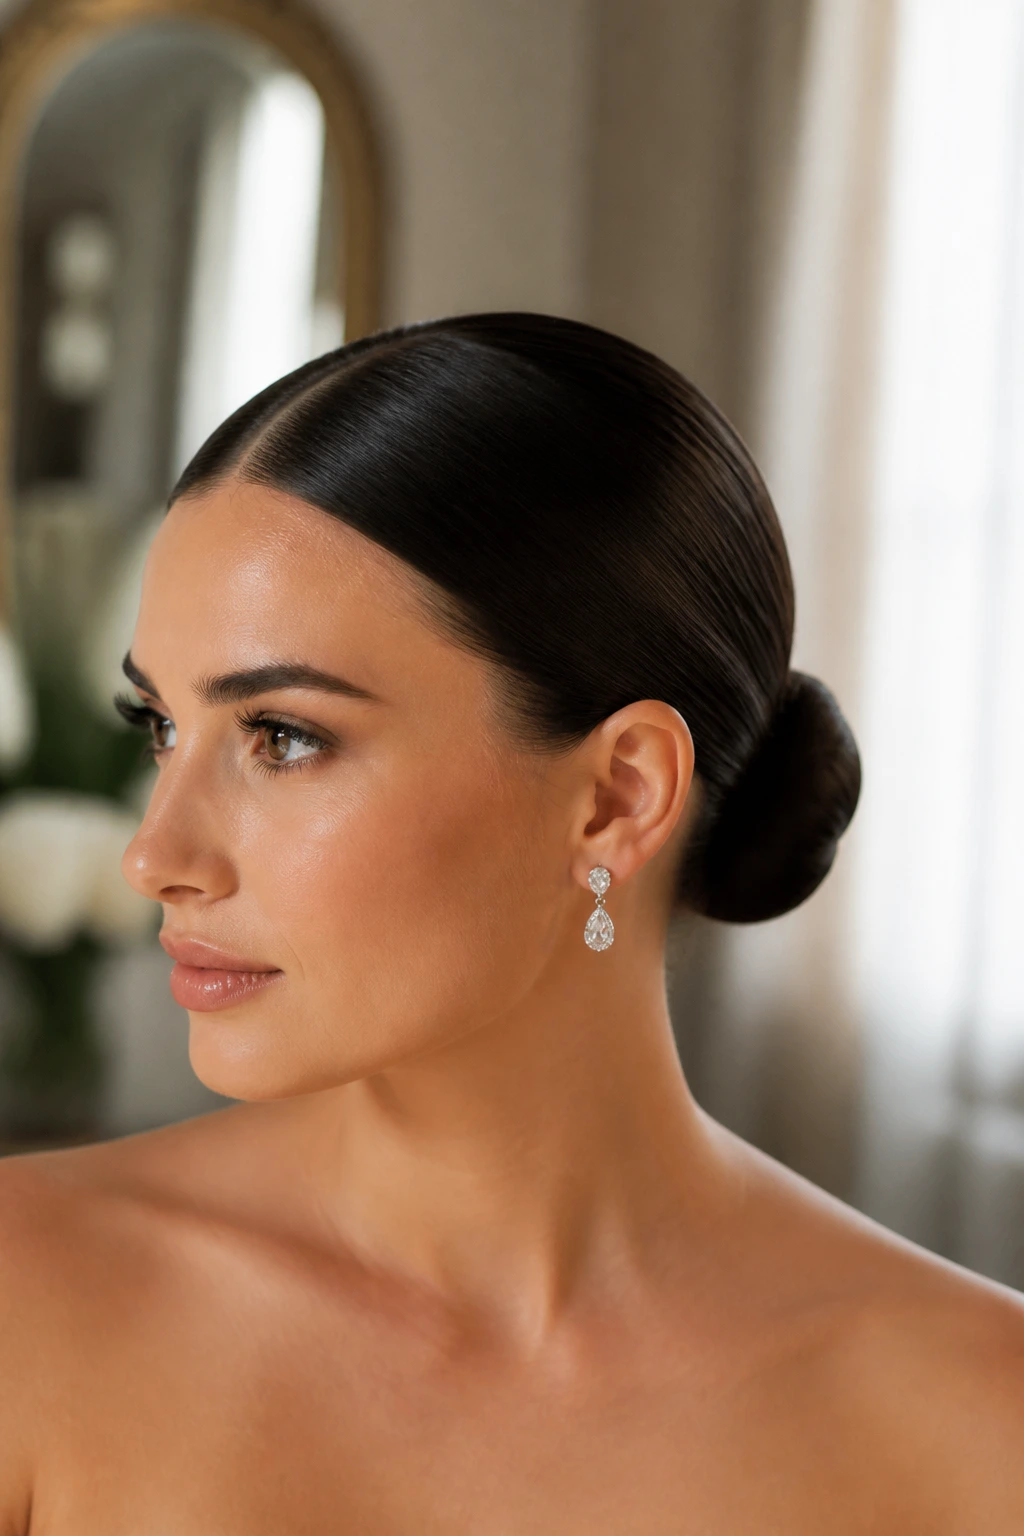
A sleek ballet low bun reads formal fast. The reason is simple: clean lines do a lot of the visual work, so there’s nowhere for the style to hide sloppiness.
Brush the hair back with a firm hand, shape the top with a fine-tooth comb, and keep the bun compact. A light gel or pomade along the hairline can help, but don’t overdo it. A thin film is enough. Too much product turns the front into a shiny helmet, and that is not the mood.
This style looks sharp with a center part and a plain pin. It also sits nicely under a veil, hat, or structured collar because the bun stays close to the head.
9. Textured Second-Day Low Bun
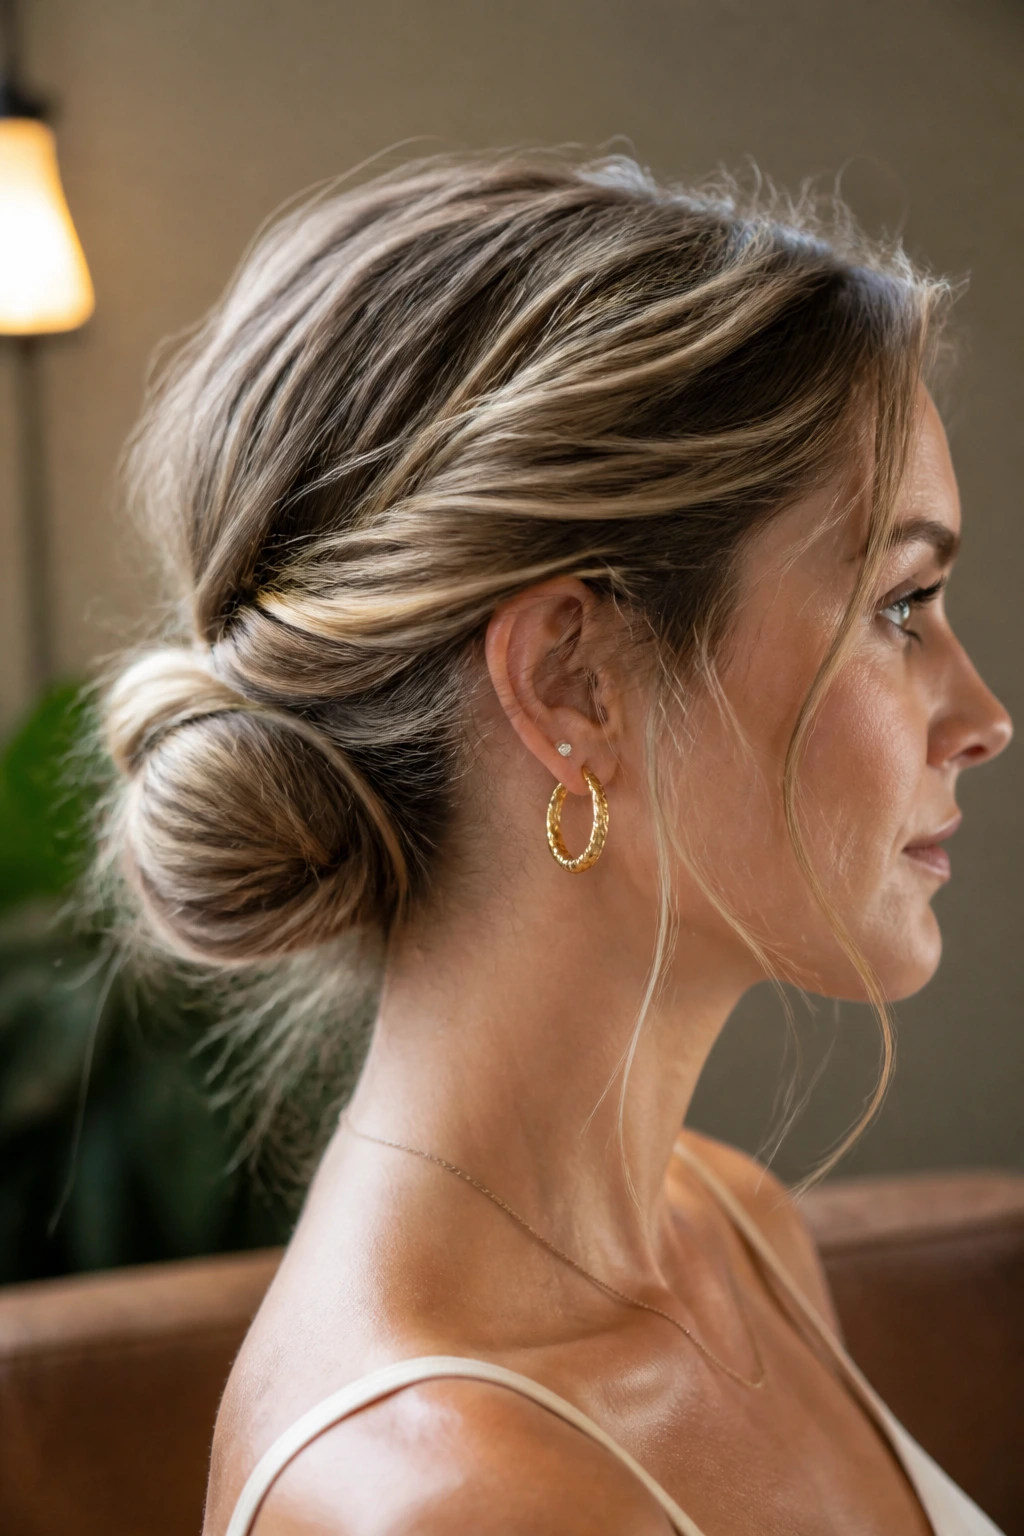
Second-day hair is often better than freshly washed hair for a low bun. The strands have more grip, the bun holds its shape, and the style feels relaxed in a way that fresh, slippery hair usually does not.
The trick is not brushing every wave out of existence. Keep some of the bend, smooth only the top layer, and twist the lengths into a loose bun. If the roots need help, use dry shampoo at the scalp and wait a minute before brushing.
This one looks good with a few escaped bends around the ears. Not messy. Just lived-in enough to keep the bun from feeling too deliberate.
10. Ribbon-Wrapped Low Bun
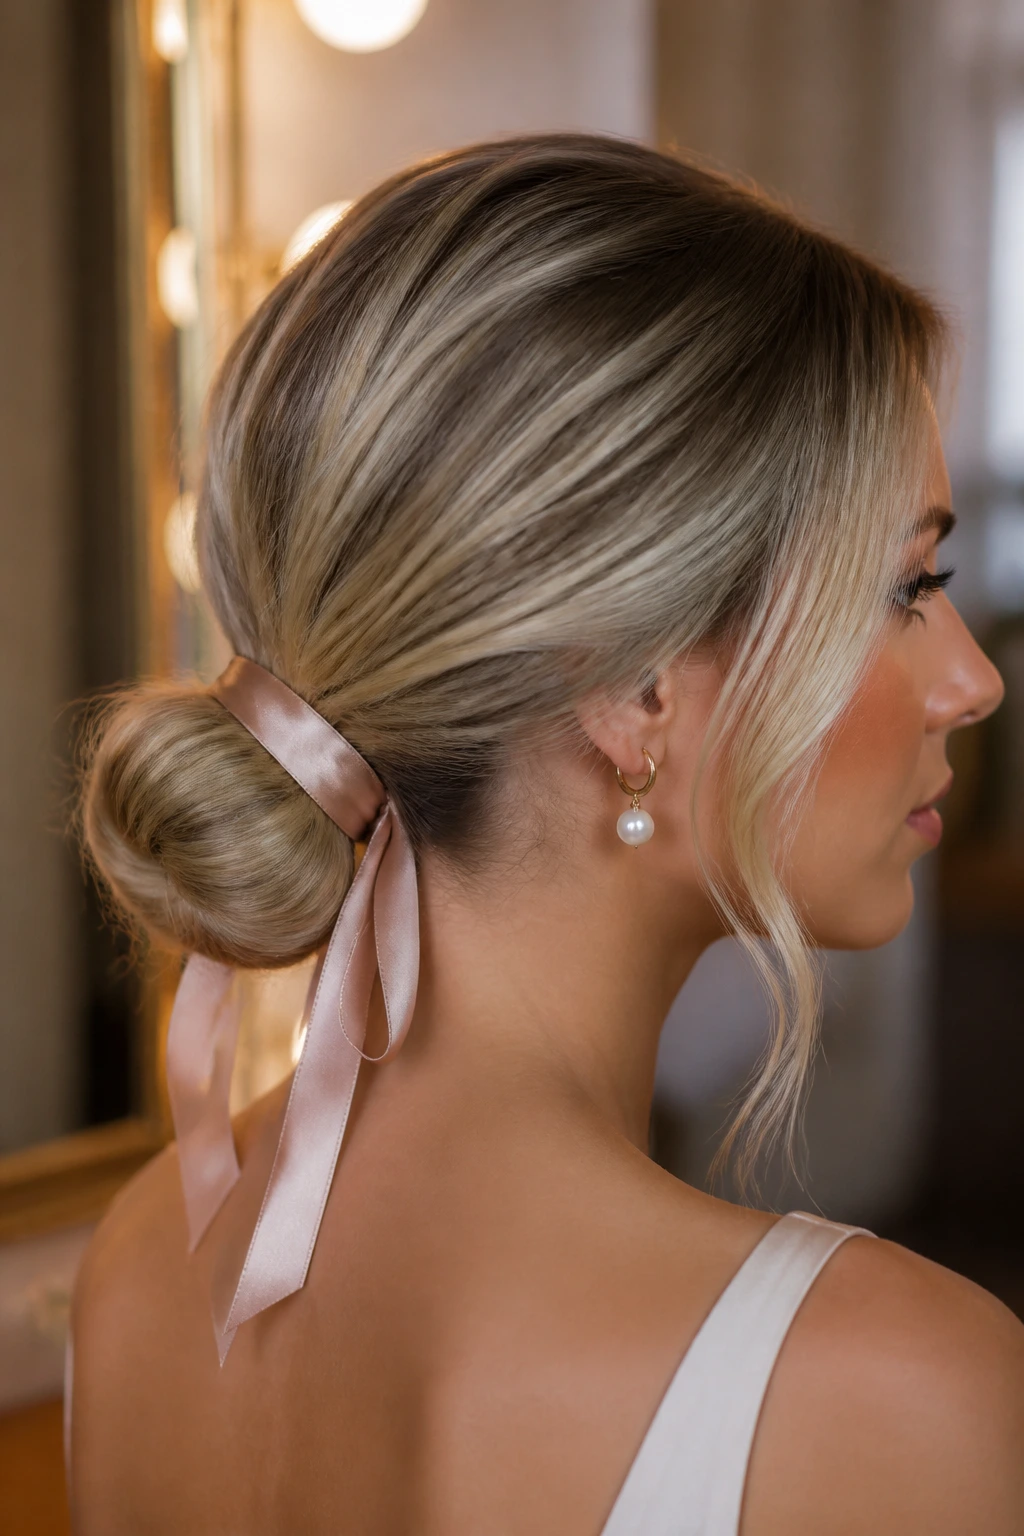
A ribbon-wrapped low bun can take the plainest bun in the world and make it feel finished in thirty seconds. Use a satin or grosgrain ribbon, tie it around the base of the bun, and let the ends hang for a few inches.
That little strip of color does more than decorate. It helps define the nape and gives the hairstyle a focal point, which is useful when the rest of your outfit is simple. Black ribbon looks crisp. Cream or blush softens the whole thing. Deep green or navy feels a bit richer.
I like this version when I want the hair to look cared for without adding another pin or braid.
11. Hidden-Elastic Low Bun
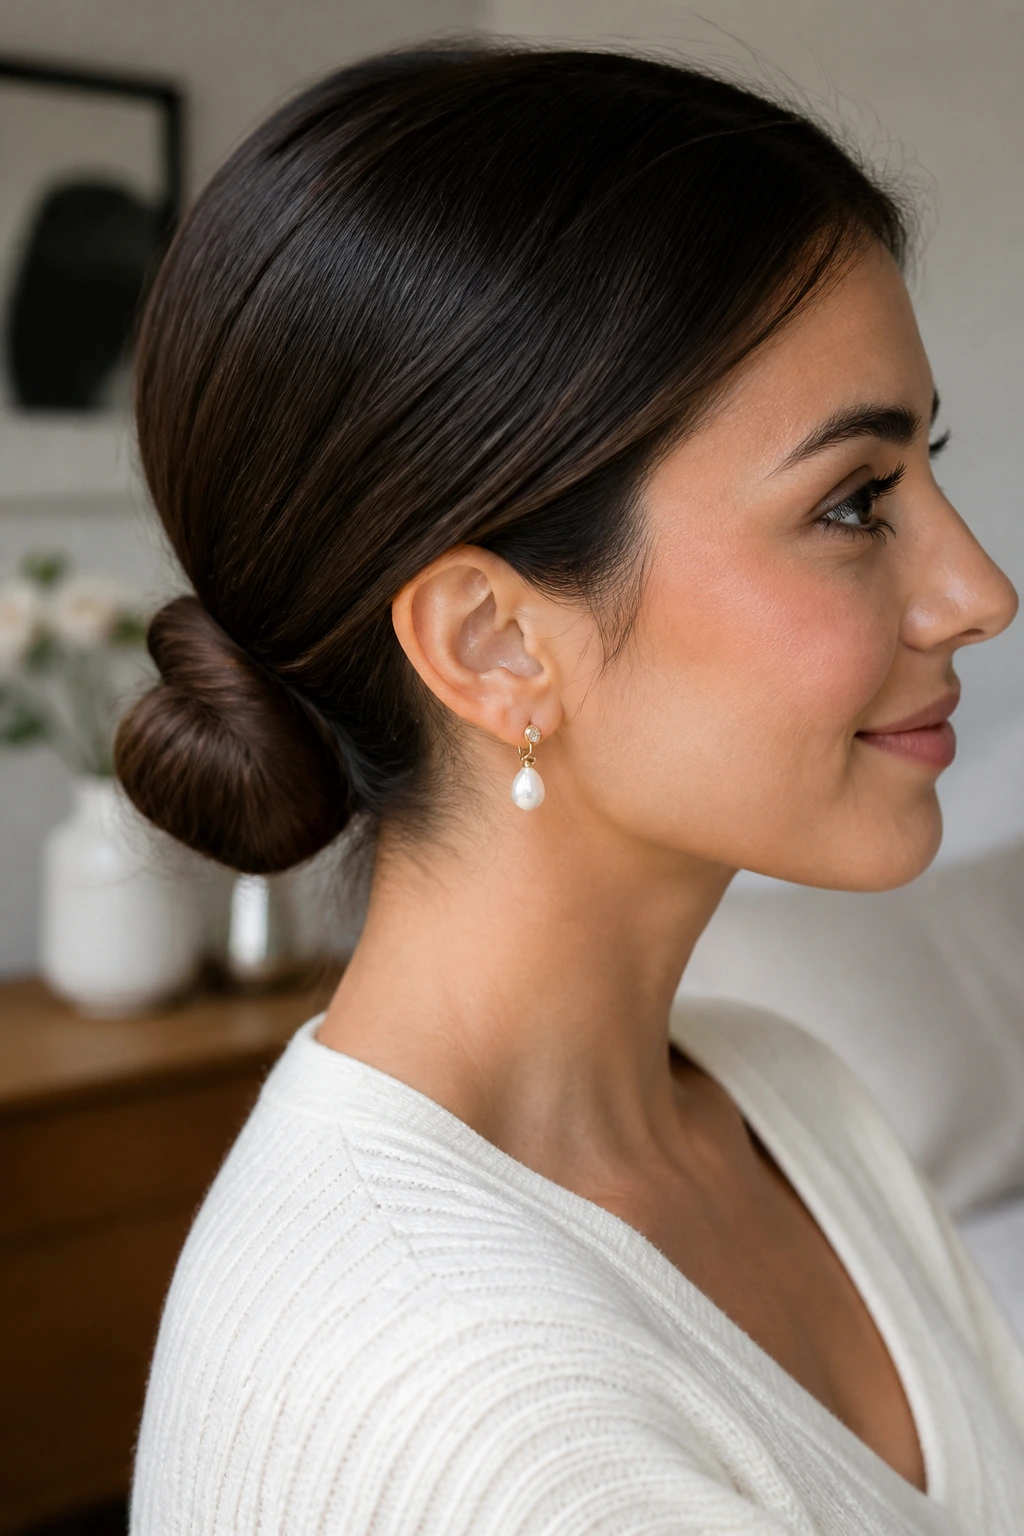
A hidden-elastic bun is the quietest bun in the room. You start with a low ponytail, split the tail in two, and wrap the sections around the base so the elastic disappears under the hair.
It sounds simple because it is. The payoff is that the bun reads as one clean shape instead of a ponytail pretending to be a bun. That distinction matters more than people think.
If the ends want to stick out, tuck them under the base and pin them from underneath. The front stays smooth, and the bun gets that compact, neat look that works for office days, interviews, or any moment when you want the hair to behave.
12. Loose Coil Low Bun
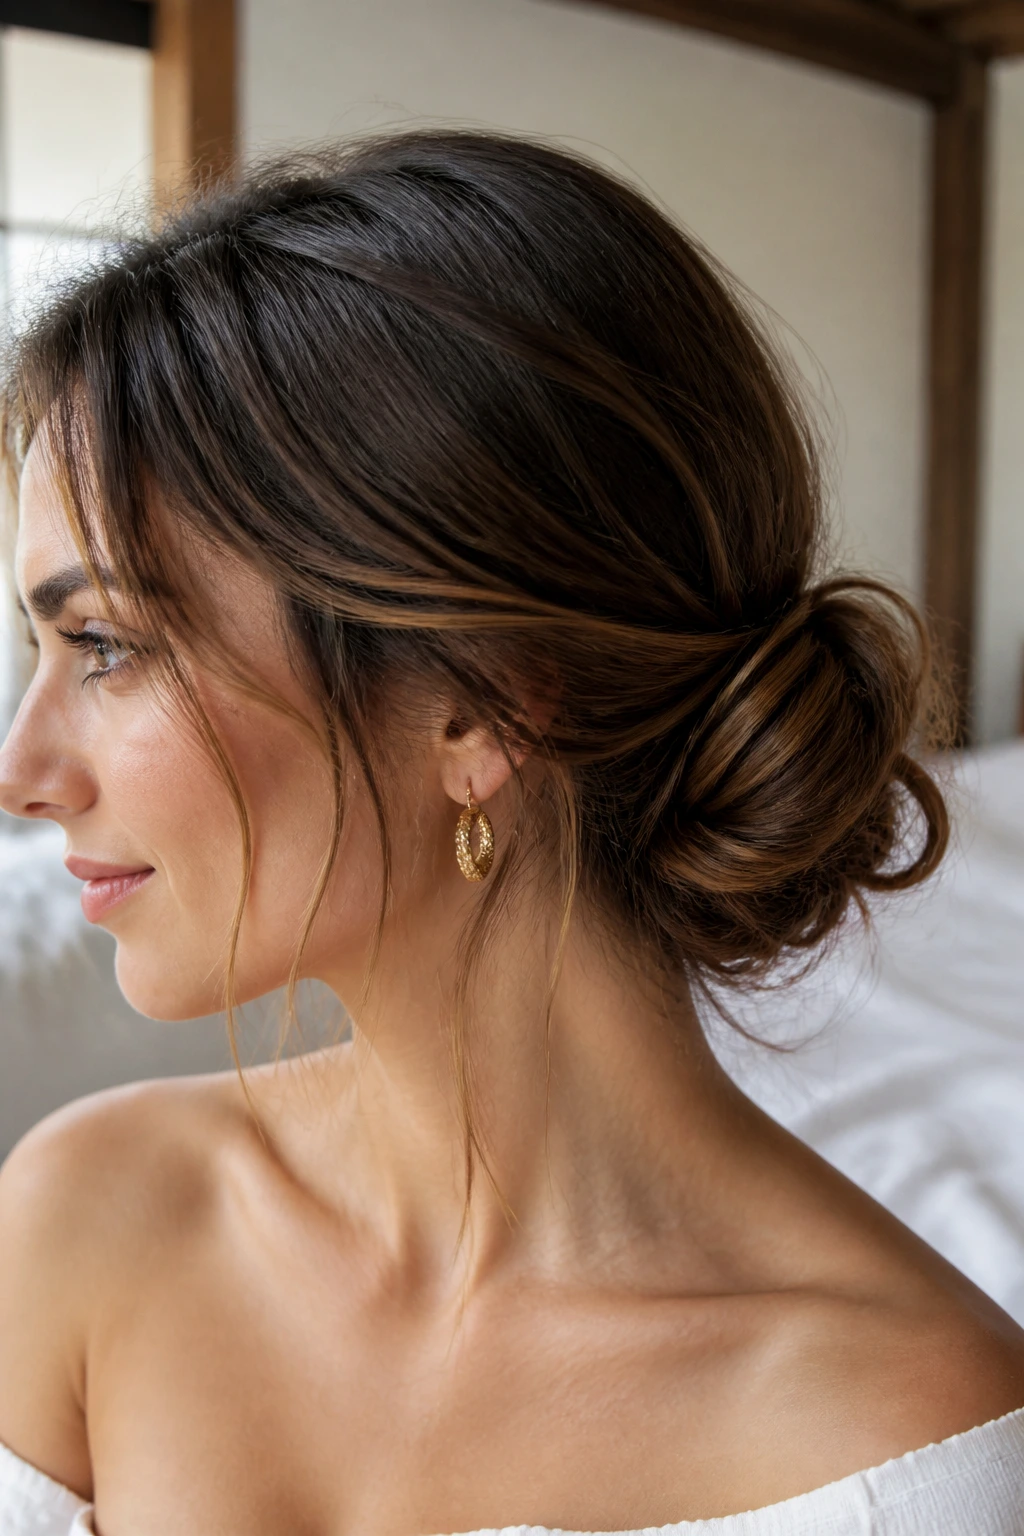
A loose coil low bun has just enough softness to keep it from looking severe. Instead of winding the hair tightly, you coil it around your fingers and pin only the outer edge, letting the inner curve keep some air.
That little bit of looseness is what makes it pretty. If the bun is too tight, it starts to look like a button. If it’s too loose, it loses shape. The sweet spot is a coil that sits flat at the nape but still shows the sweep of the hair.
This one is especially nice if your hair has a natural wave. You get shape without forcing it into submission.
13. Deep Side Sweep Low Bun
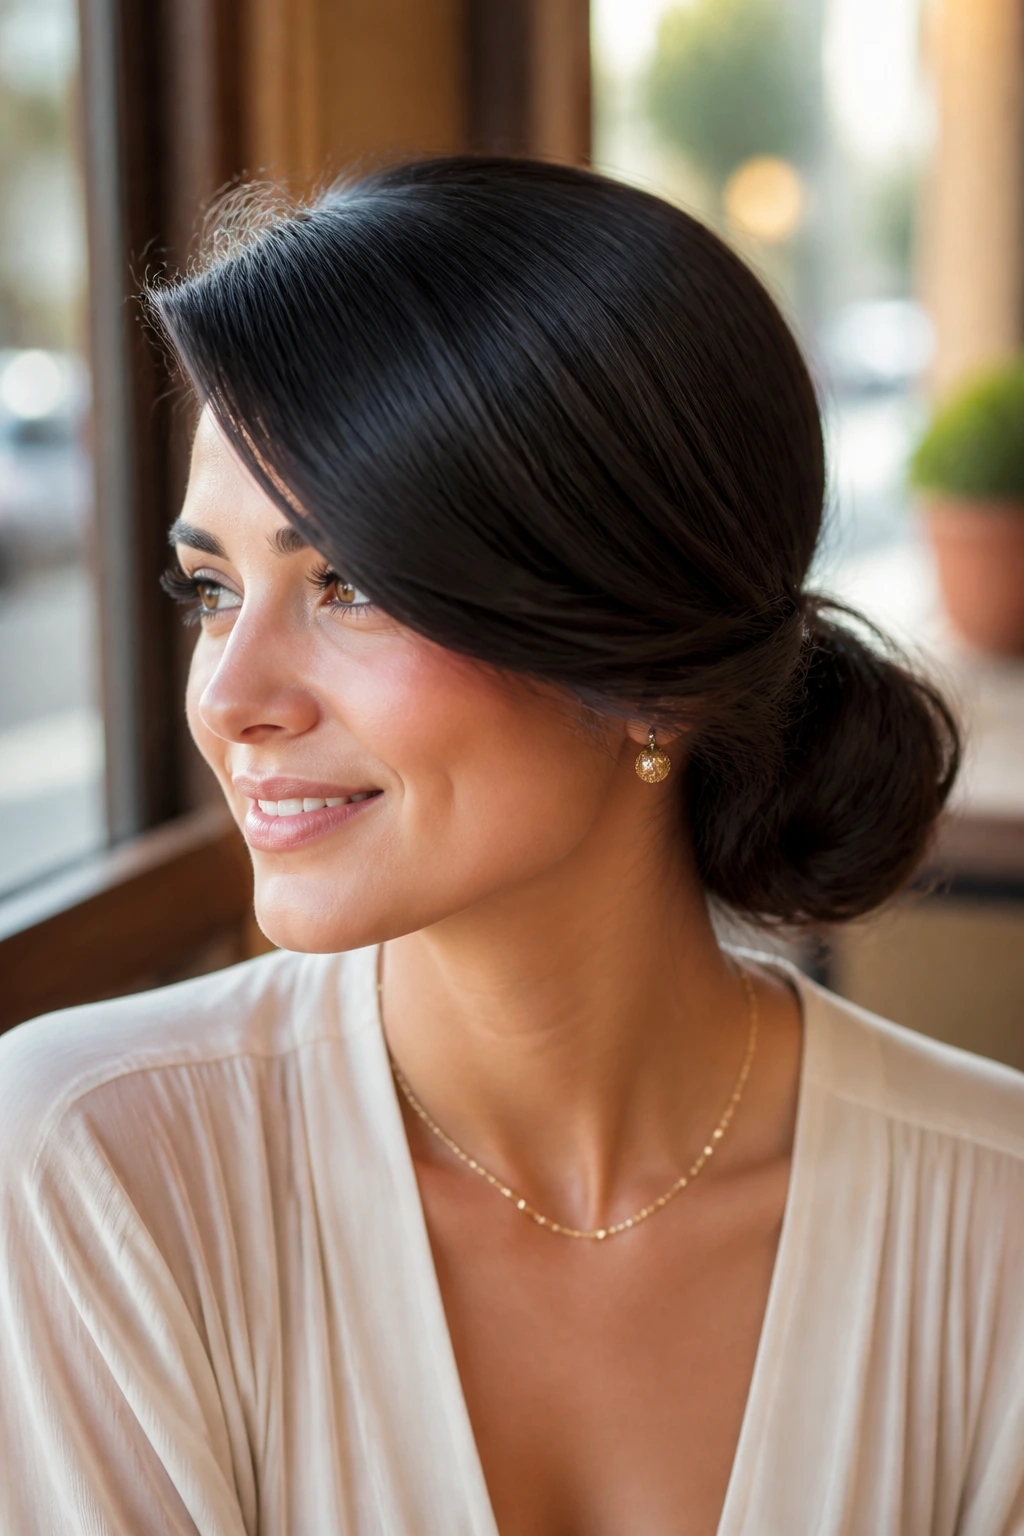
Can a part change the whole personality of a bun? Absolutely.
A deep side sweep low bun moves the hair across one side of the forehead before it gathers at the nape, which gives the face a longer line and a little more drama. It works well on round or square faces because the diagonal movement softens the geometry.
The bun itself should stay low and simple. Let the front do the talking. If the sweep is too stiff, brush it lightly with a soft brush and pin only the back half so the front keeps its curve.
This is one of the few low bun hairstyles that looks intentionally elegant without needing extra decoration.
14. Double-Twist Low Bun
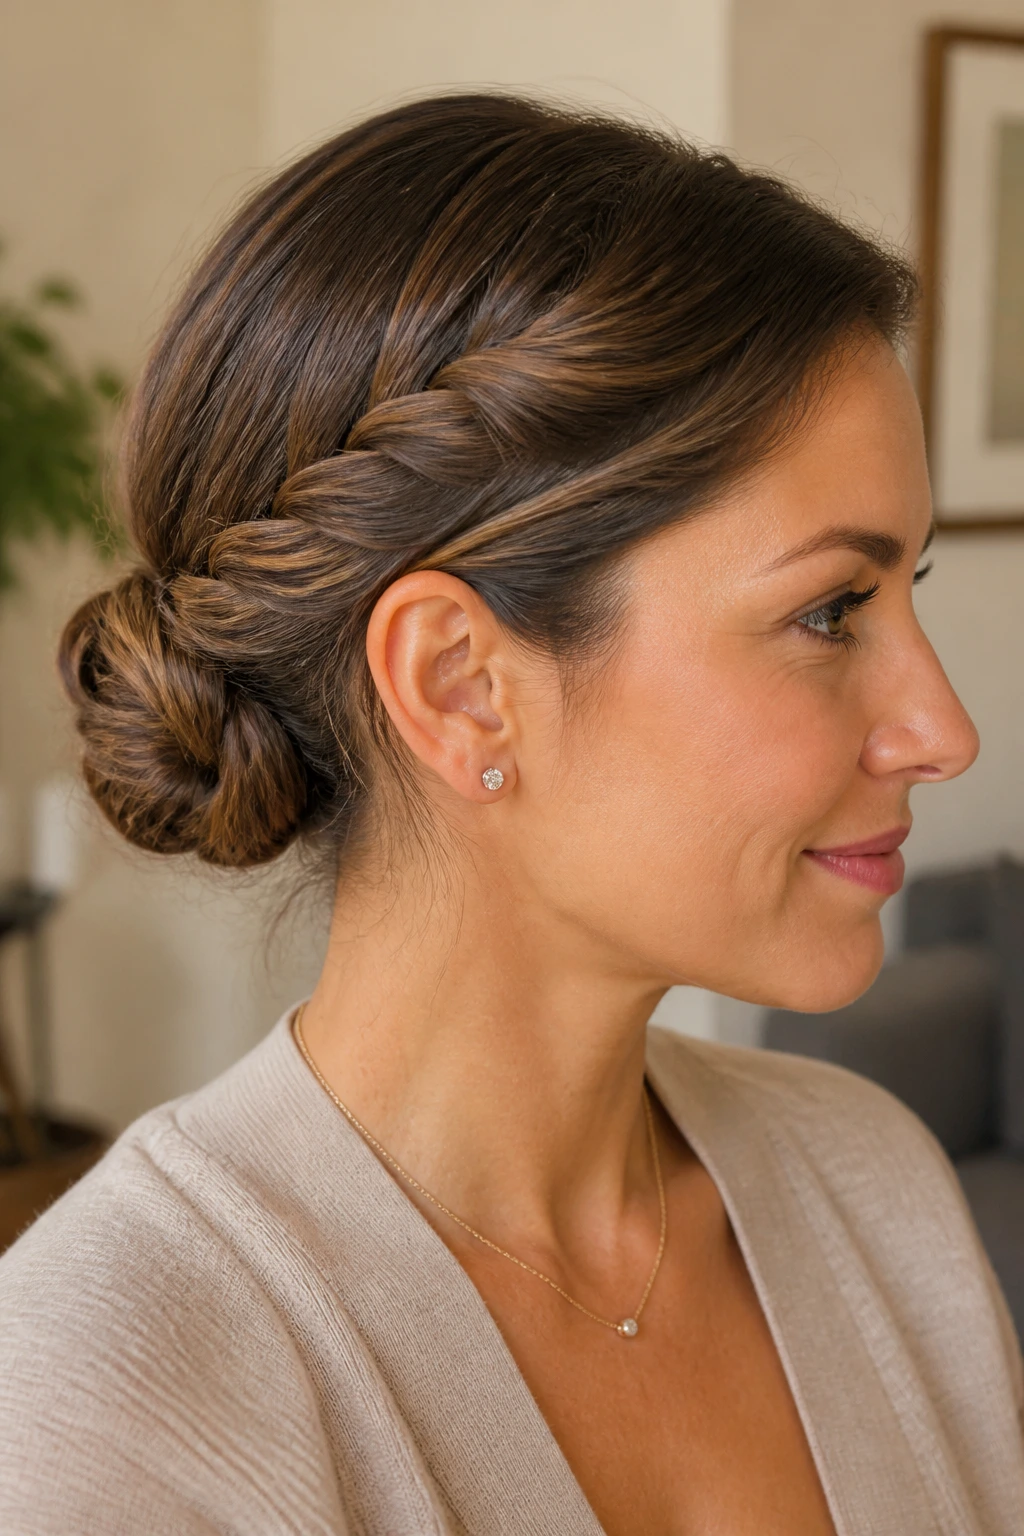
A double-twist low bun is a softer cousin to a braid. You take two sections from the front or sides, twist each one back, and join them into a bun at the nape.
The twists give texture without the rope-like look a braid can bring. That makes the style easier to wear with softer clothes, like knit tops or slip dresses, because the bun doesn’t fight the rest of the outfit.
Use this when you want detail but not fuss. It takes less time than a braided wrap, and if your hair is layered, the twists tend to stay neater than a loose braid.
15. Braided Crown Low Bun
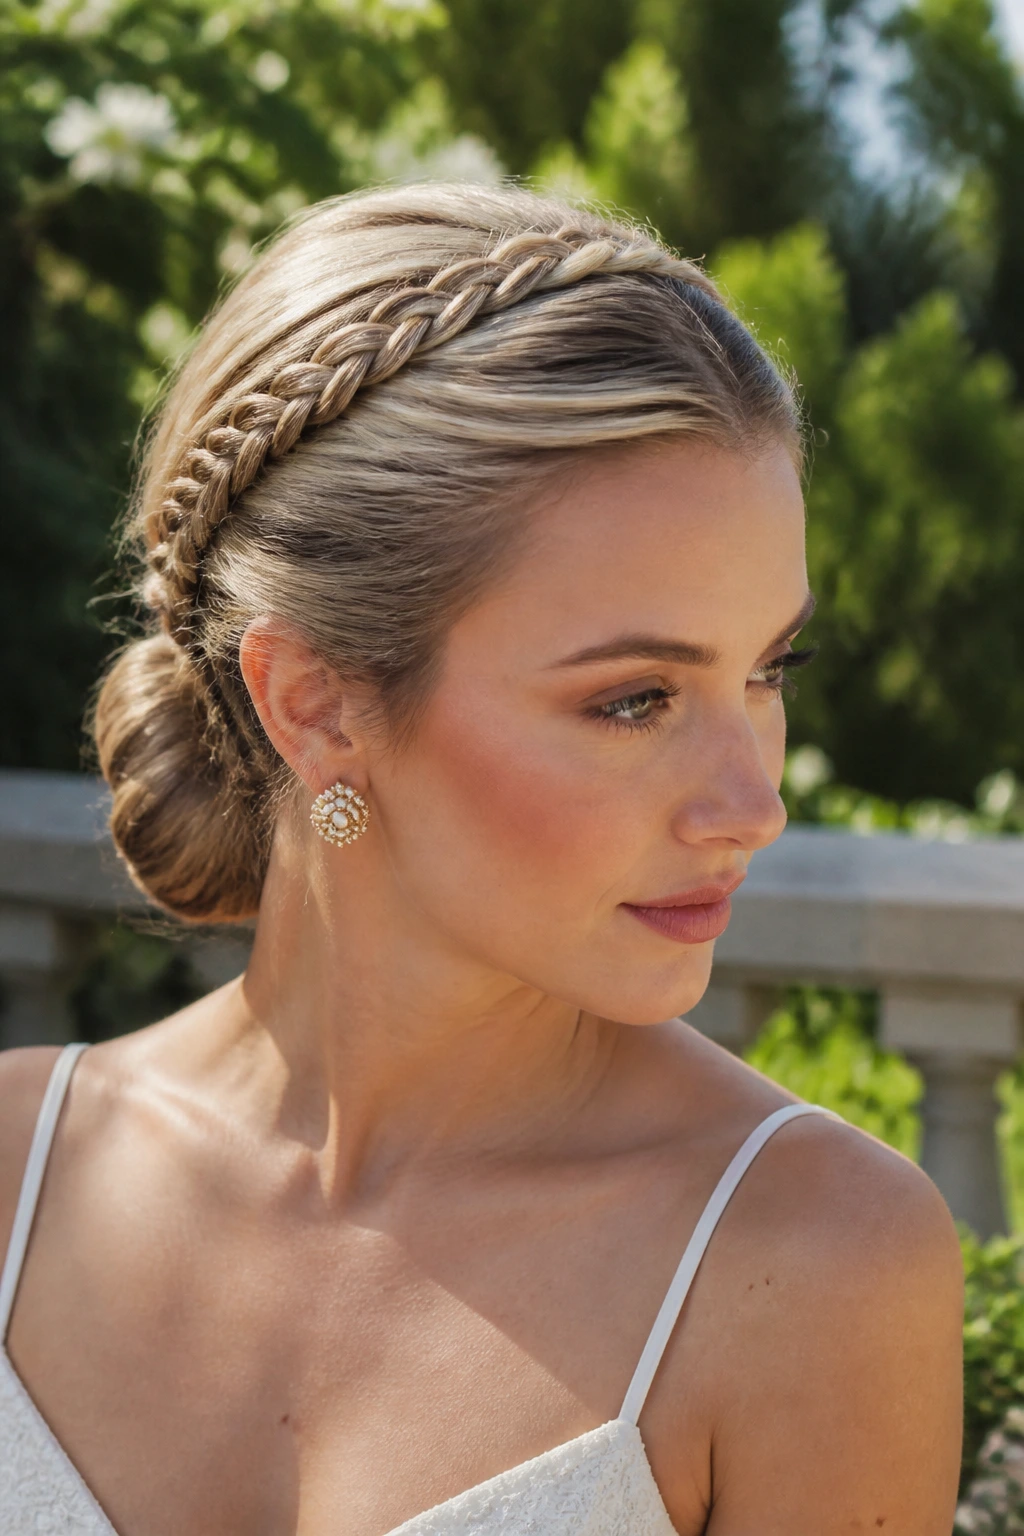
A braided crown low bun gives you structure near the hairline and softness at the nape, which is a useful combination. The braid can run from temple to temple or just along one side before the remaining hair gathers into the bun.
Keep the crown braid thin
A thin braid sits flatter and looks cleaner. If it gets too thick, the top starts to crowd the head and the bun loses its low profile.
Once the braid reaches the opposite side, pin it under the bun base and keep the bun itself compact. This style has a little more presence than the plain versions, but it still behaves well under a coat or scarf. That’s a nice balance.
16. Volumized Crown Low Bun
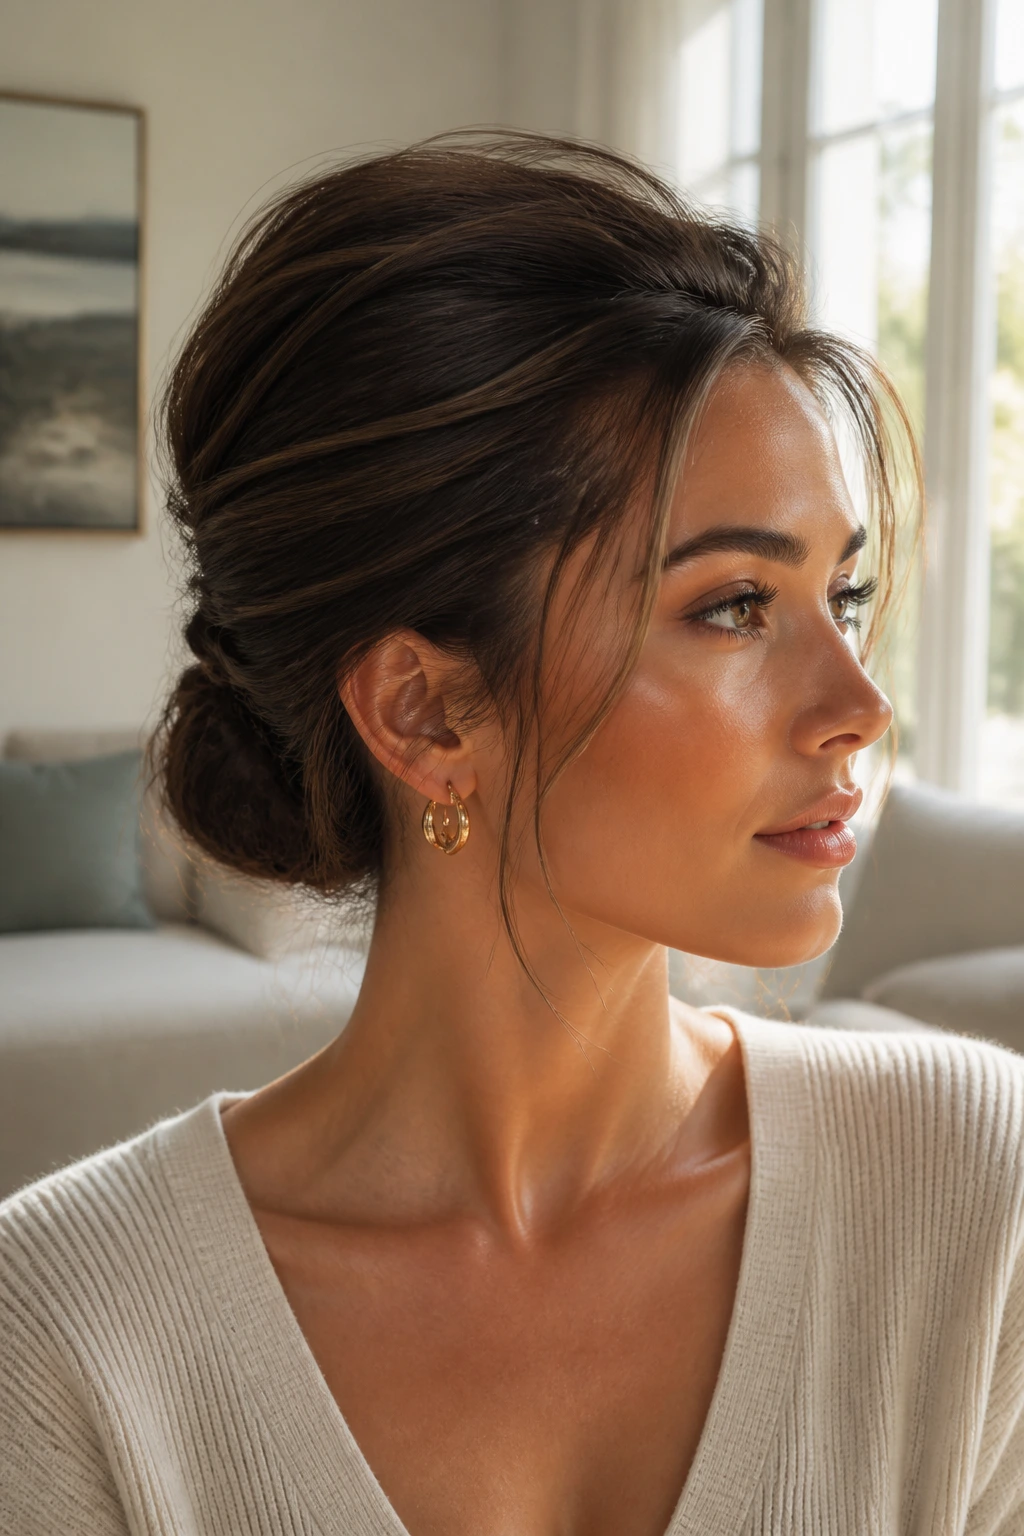
A bit of lift at the crown changes the silhouette more than most people realize. Instead of a flat top leading into the bun, you get a gentle curve that makes the style look fuller and more intentional.
The trick is to tease only the roots, not the whole section. Lift one-inch pieces at the crown, backcomb lightly at the base, then smooth the top layer over it. If you rough up the ends, the bun starts looking teased in a bad way, which nobody needs.
This version is best when the face needs a little length or the hair is fine and disappears into a flat bun too easily. Just keep the volume controlled. Big crown, small bun. That ratio works.
17. Micro-Braided Accent Low Bun
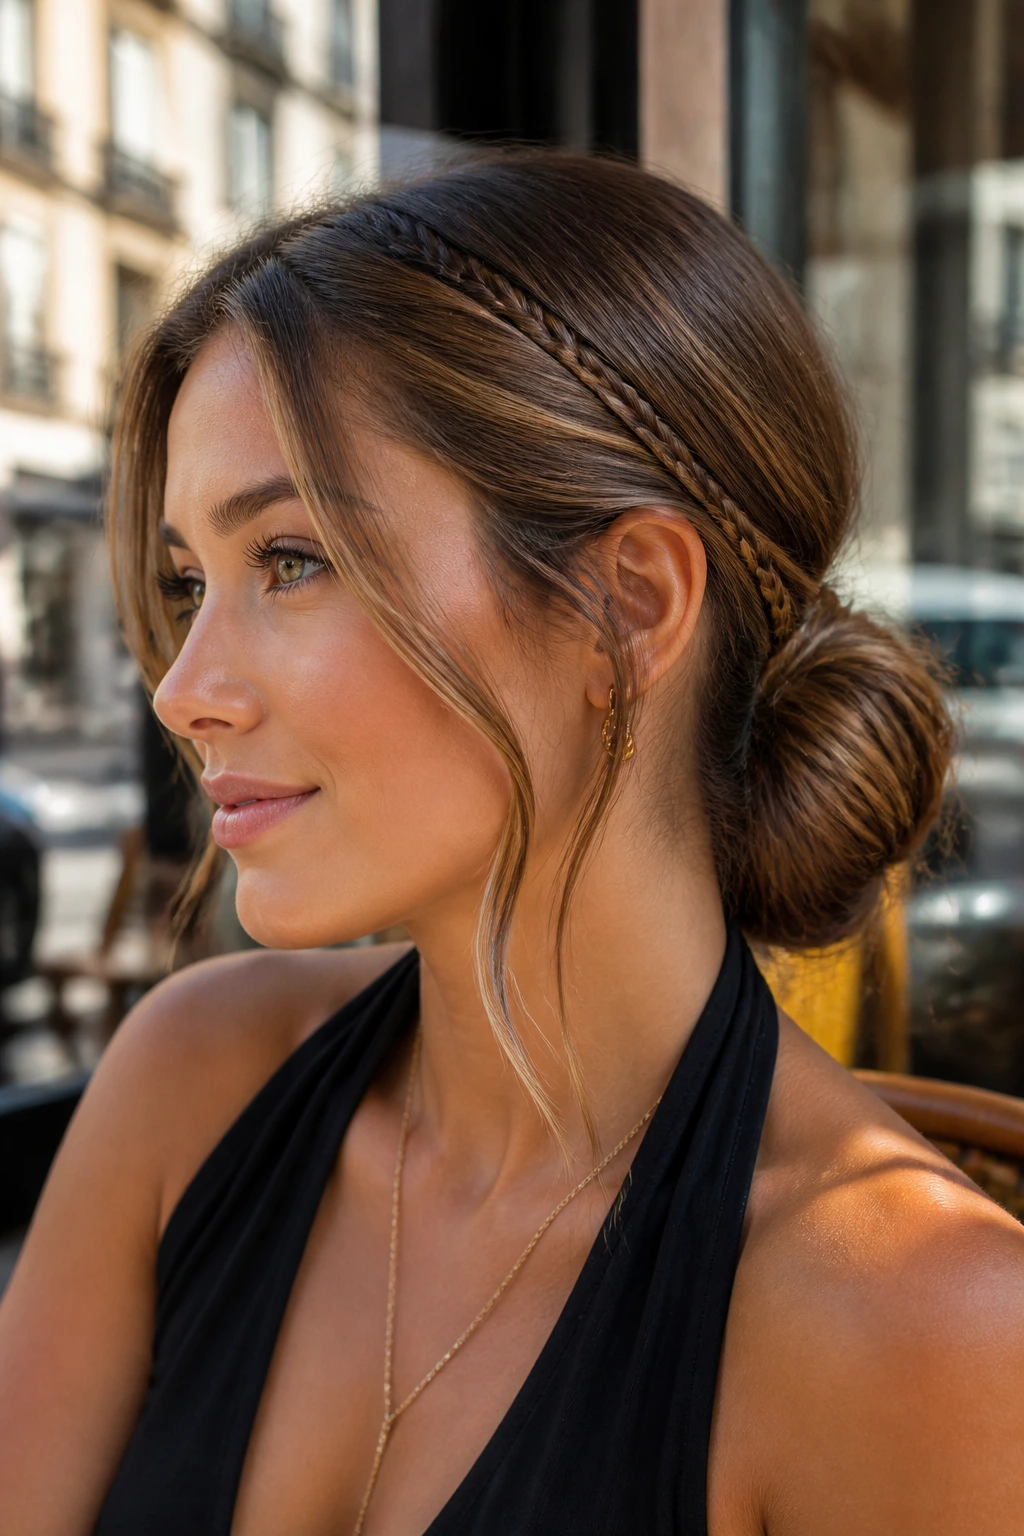
Tiny braids can do more work than they look like they should. One or two micro-braids woven through the side or tucked into the bun add detail without turning the hairstyle into a statement piece.
This is the style I reach for when I want texture but don’t want to rework the whole head. A braid about the width of a pencil can wrap around the bun, hide a pin line, or break up a smooth surface that feels too plain.
The best part is that it still reads as polished. It just has a little more edge than the plain versions.
18. Short-Hair Tucked Low Bun
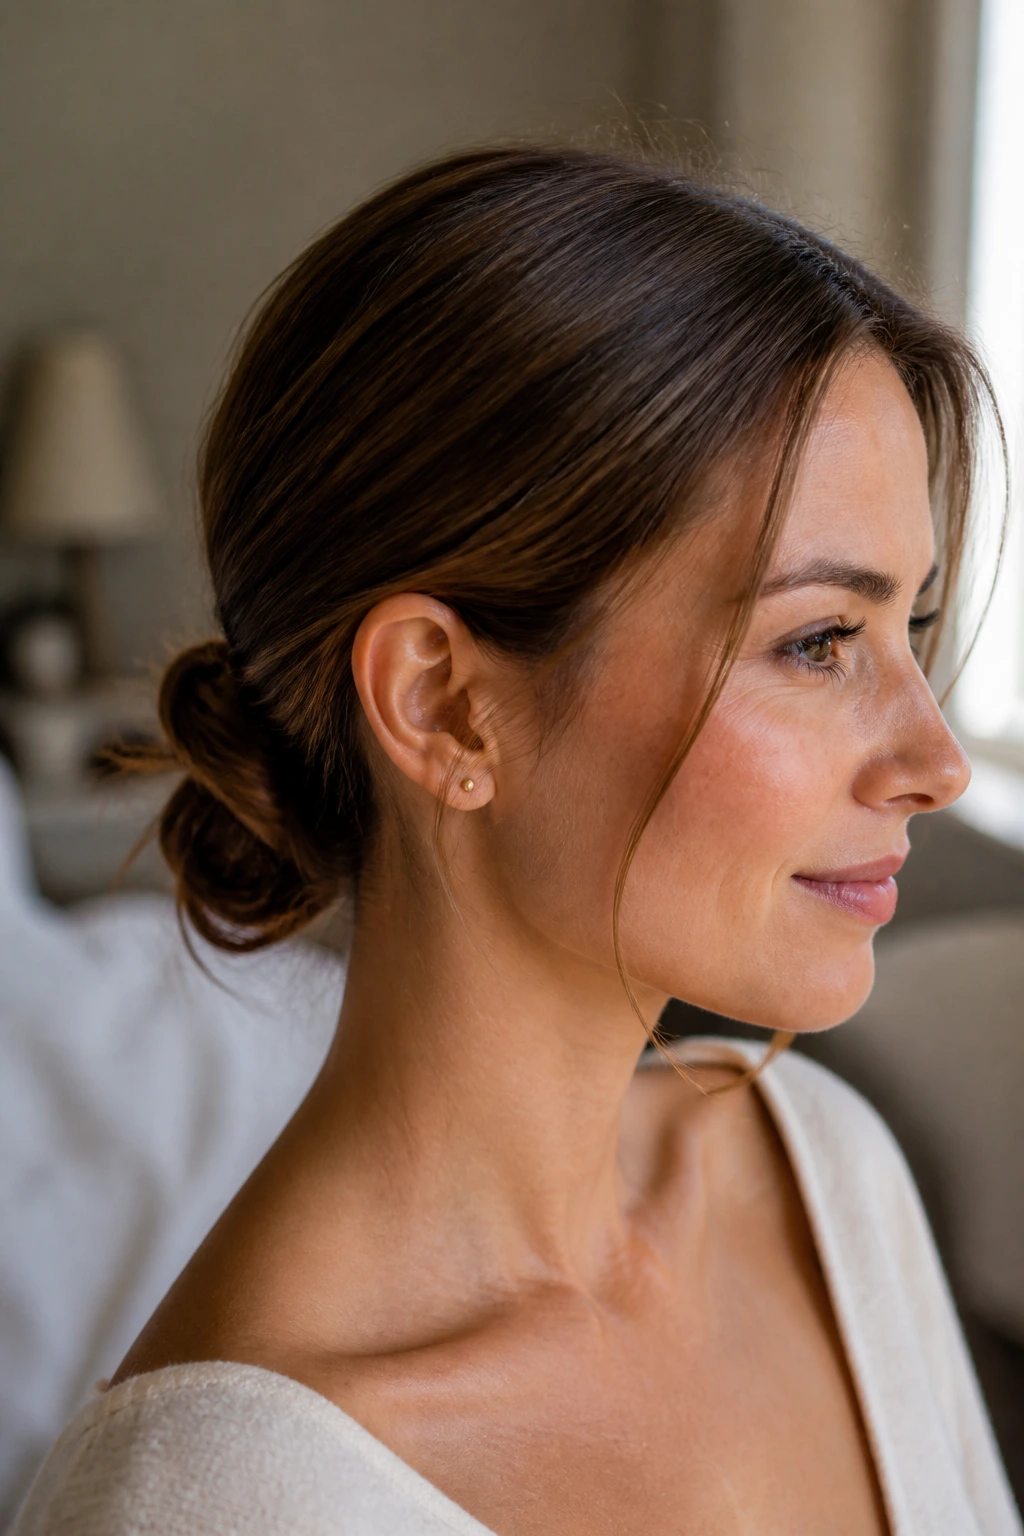
Shoulder-length hair and even some bobs can handle a low bun, but they need a different approach. You are not building a giant knot. You’re creating a small tucked shape that sits close to the neck and uses pins as much as hair.
Start with a low ponytail, then fold the ends upward and tuck them under. Use mini elastics on any short layers that want to escape before you pin. A few deliberate pins around the perimeter will do more than a pile of random ones.
Best on hair that hits the collarbone or a little shorter
- Keep the bun compact and close to the scalp.
- Leave a few front pieces loose if the back is too short.
- Use a light spray instead of heavy cream, which can weigh short layers down.
This version wins by being neat, not large.
19. Long-Hair Loop Bun
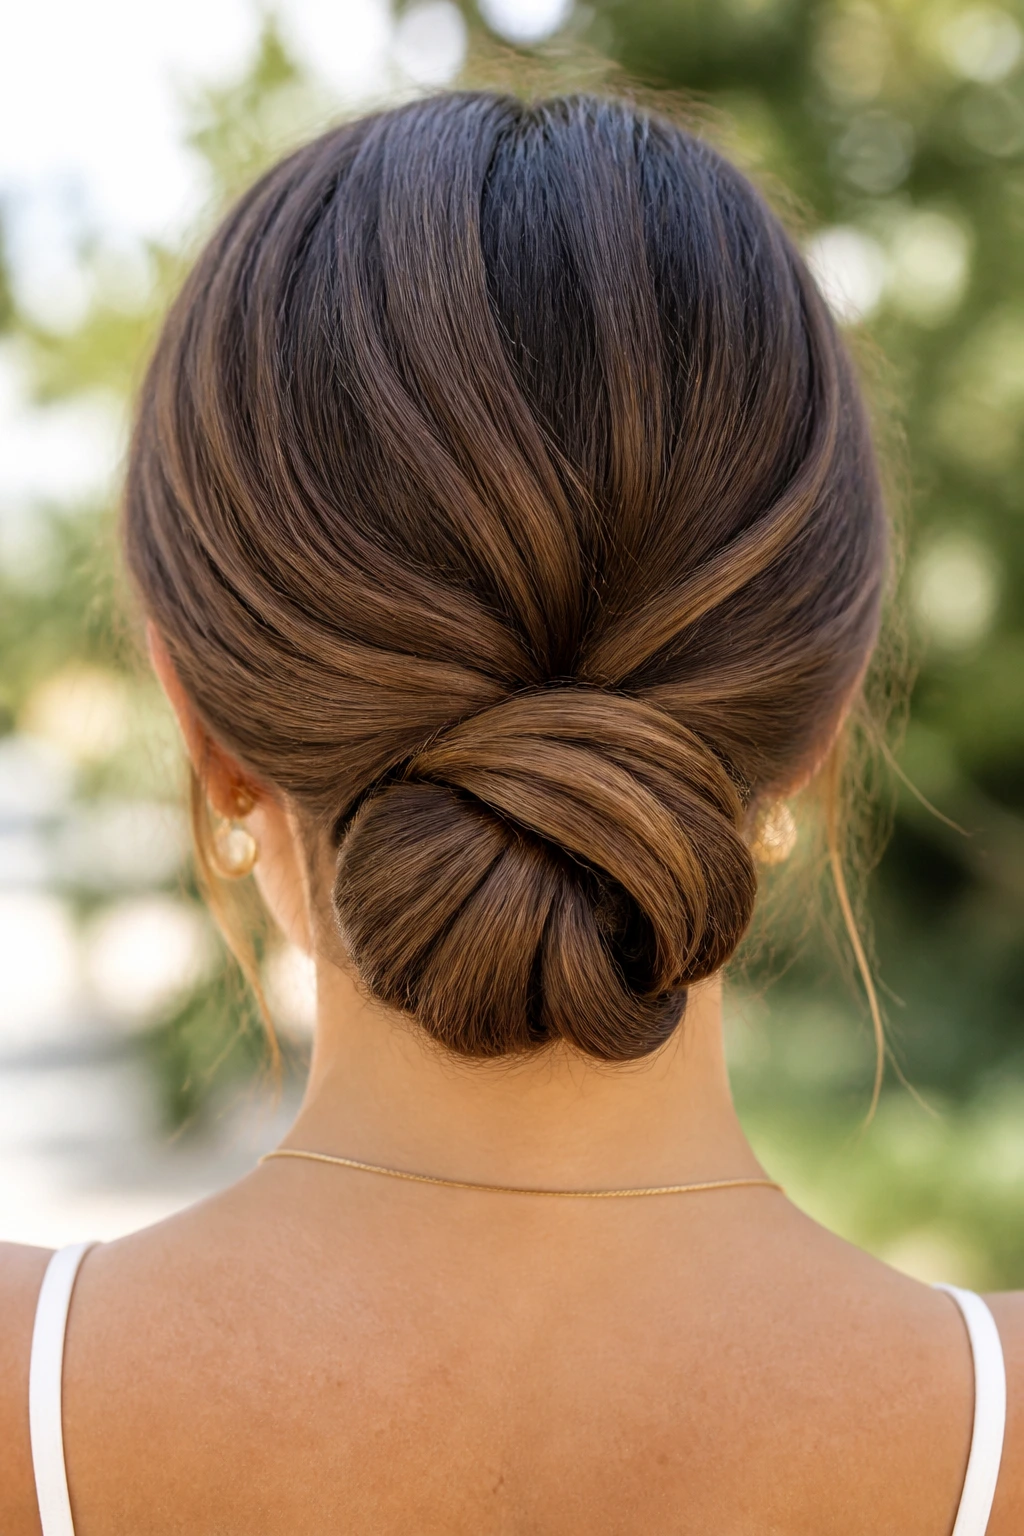
Long hair needs a bun shape that distributes weight. A loop bun does that well because the lengths fold into a loop before the ends are pinned under, which keeps the bun from hanging too low or sagging by noon.
It also avoids the overstuffed look that can happen when long hair is wrapped too tightly around itself. The loop keeps the shape open and round, and the remaining ends disappear under the base.
If your hair reaches the middle of your back, this style is one of the easiest ways to keep bulk under control without going full formal chignon. It looks cleaner than a giant twisted knot and takes less time than people expect.
20. Claw-Clip Low Bun
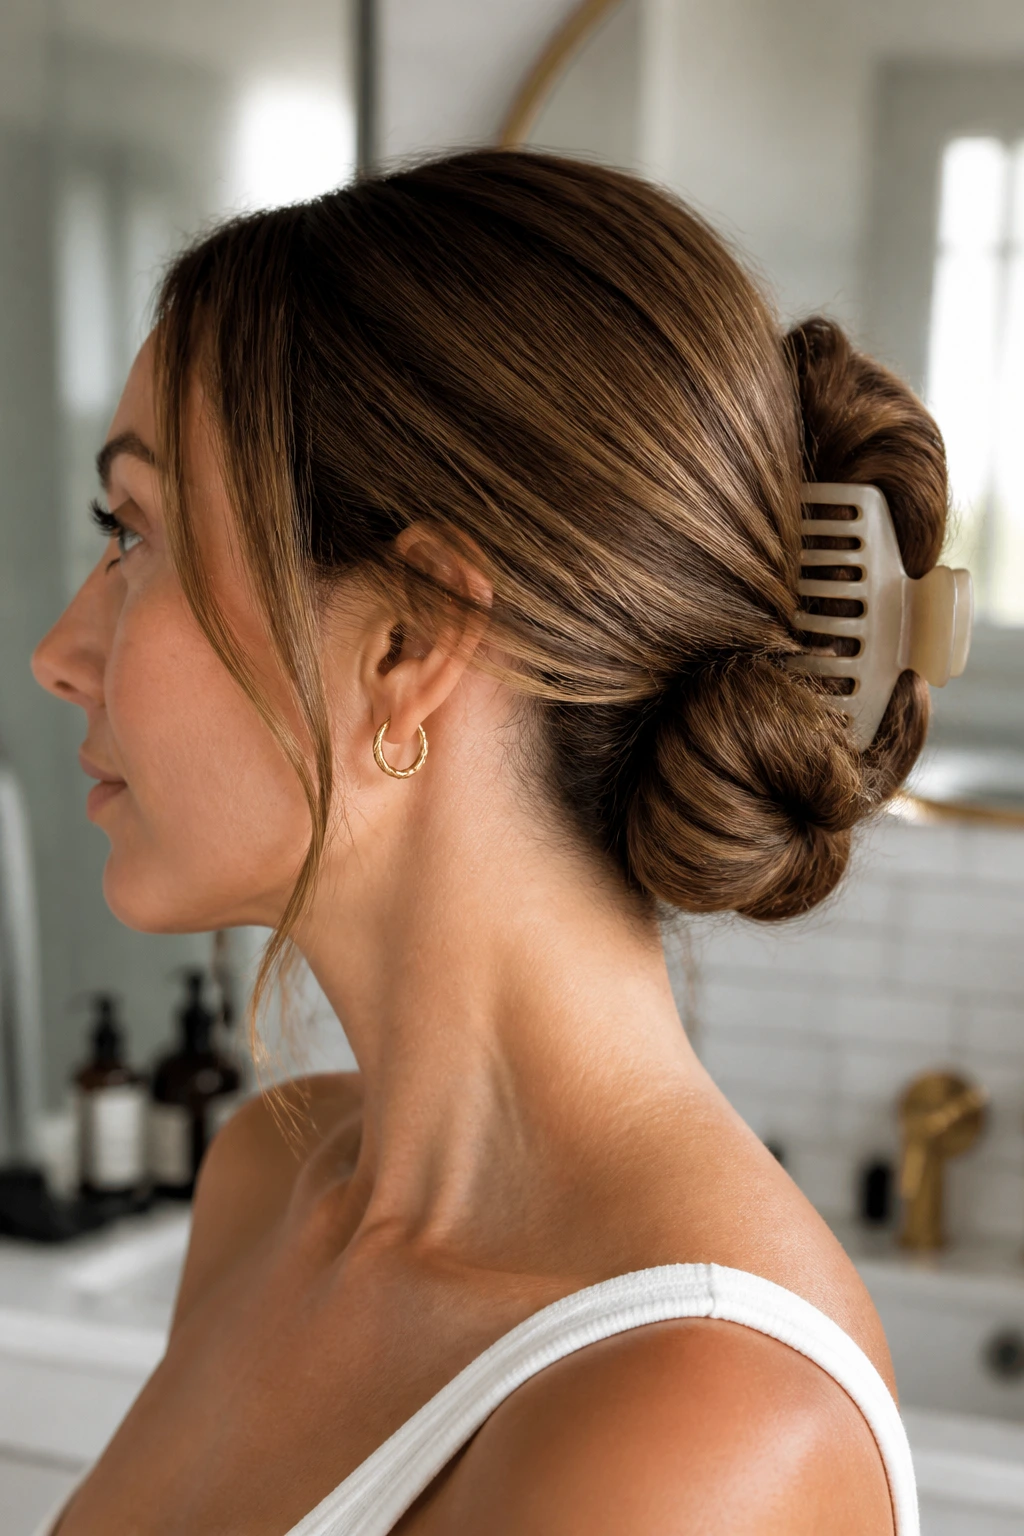
A claw-clip low bun is the quickest style in the group, and I’m not embarrassed to say I like it. Twist the hair into a low coil, fold it upward at the nape, and clip it with a medium claw clip so the ends stay tucked.
The clip matters. Too small and the bun slips. Too large and the style looks like the clip is carrying the whole show. A medium clip holds the shape while still letting the bun read as a low bun rather than a full updo.
This works well on busy mornings, on wet hair that needs a safe hold, or on thick hair that refuses to sit still in a tiny elastic.
21. Tucked-In Faux Chignon
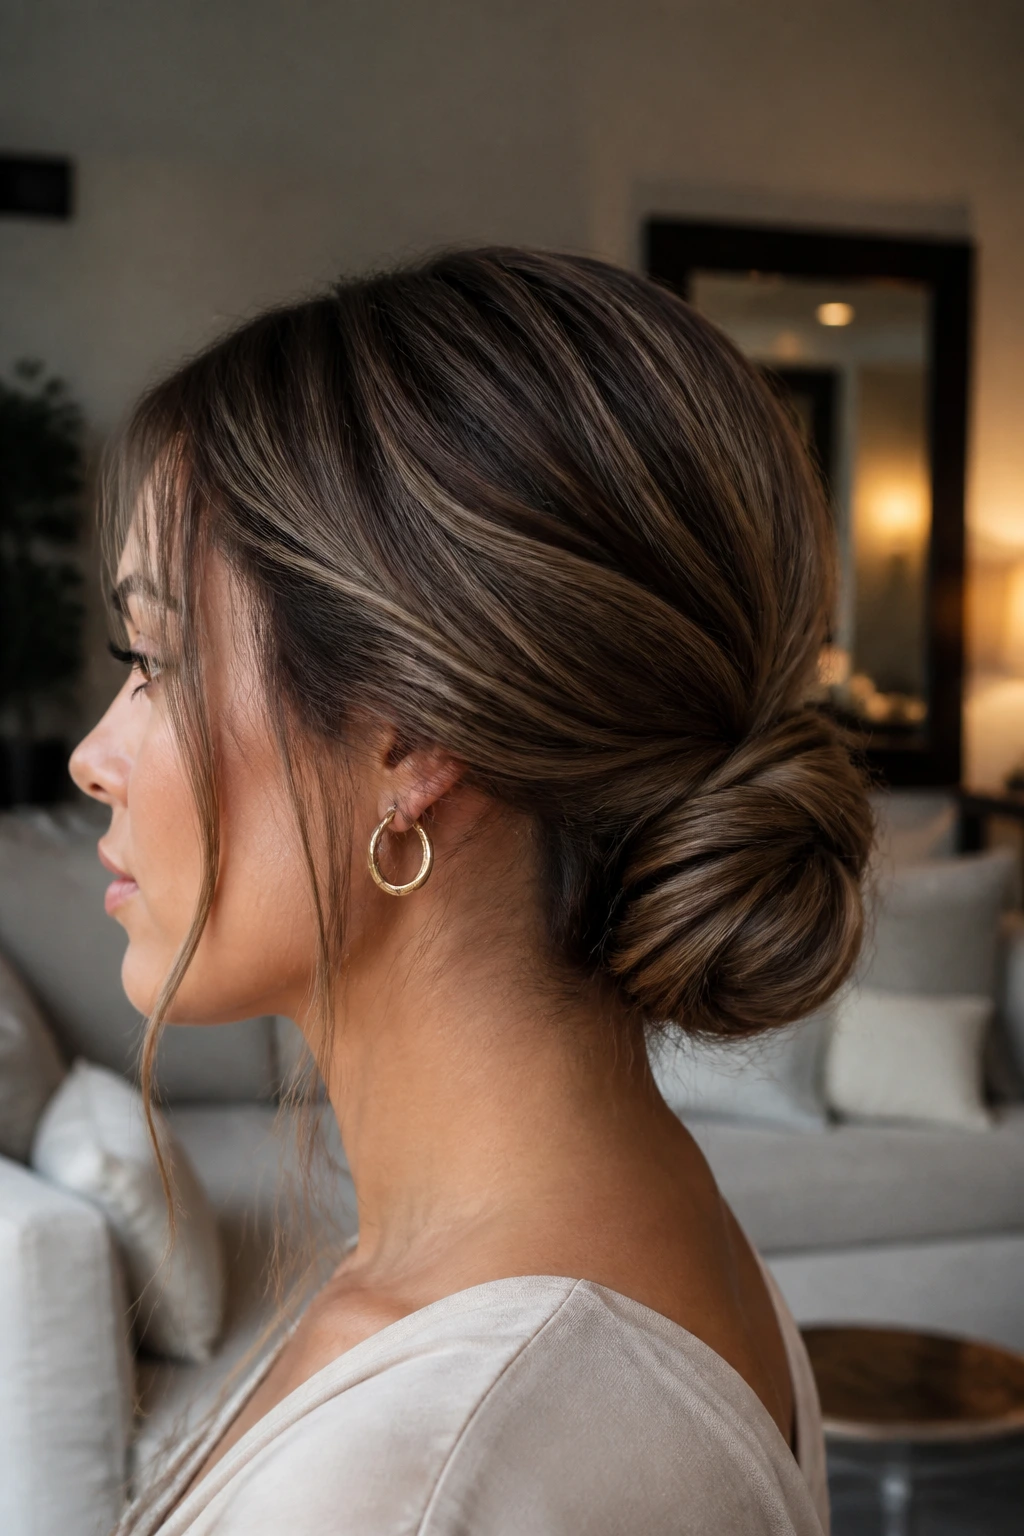
A faux chignon gives you the look of a chignon without the extra shaping. You make a low ponytail, twist the tail, then tuck the ends back into the base so the bun looks fuller and more tucked than it really is.
That illusion is useful. It lets layered hair look intentionally styled instead of half-cooperating. It also gives a nice smooth contour at the nape, which is why this version shows up in more formal looks.
If the bun starts to fan out, flatten the outside with your hands and pin the tucked ends from underneath. The shape should stay rounded and neat, not puffed out like a loose roll.
22. Soft Knot With Peek-Out Ends
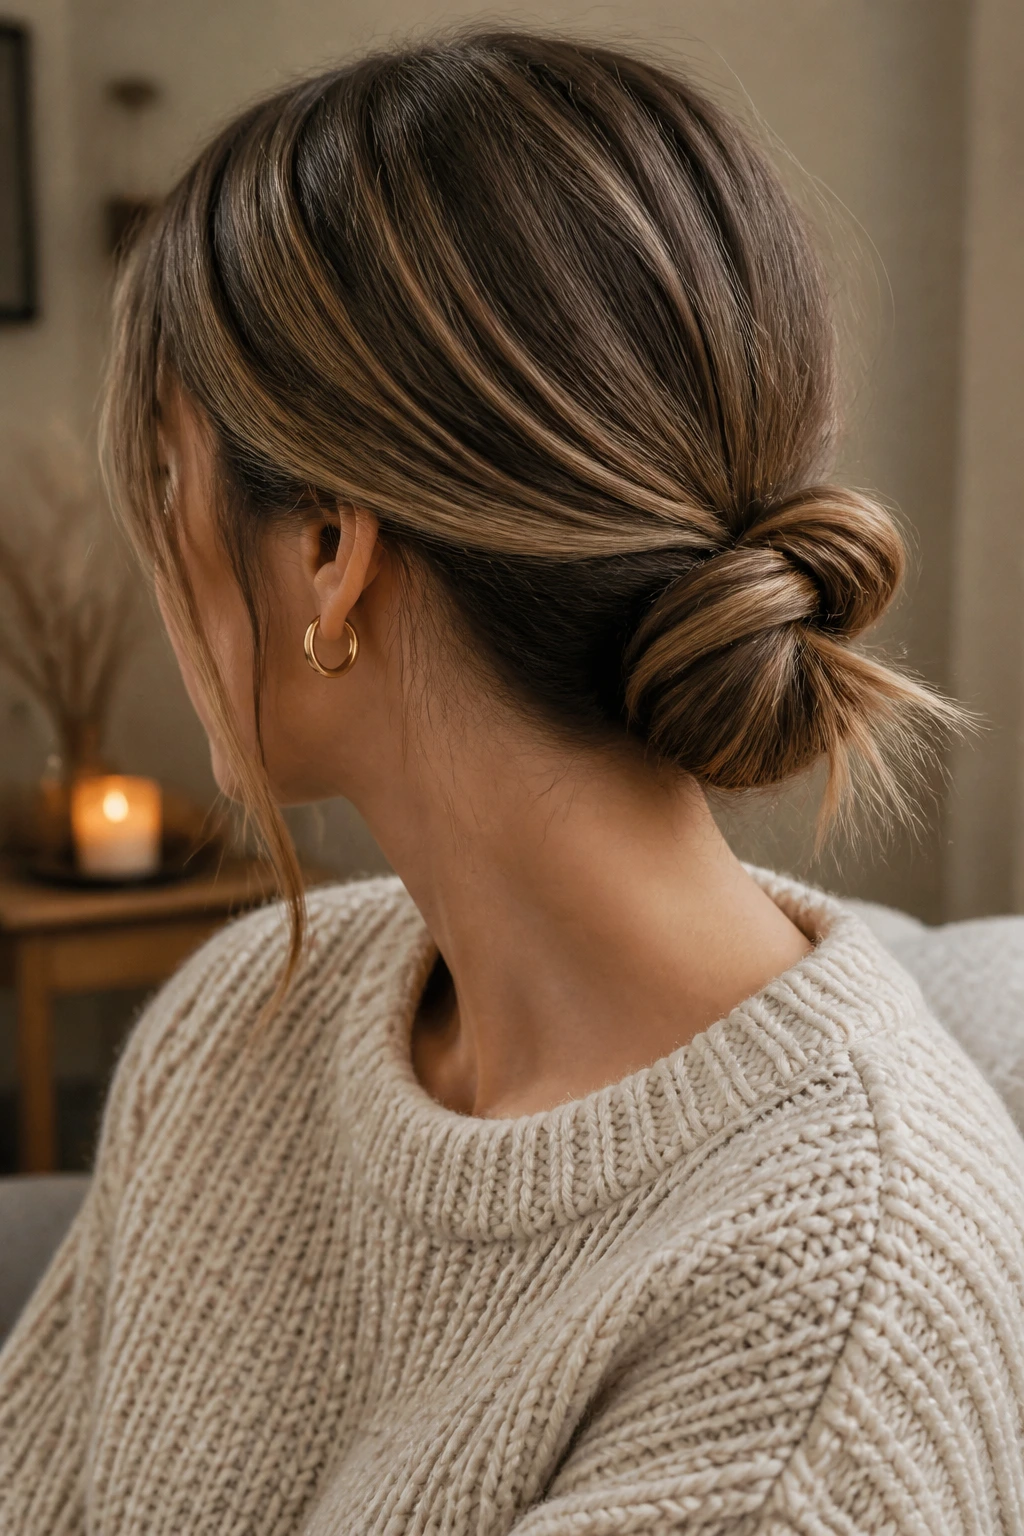
A few peek-out ends can make a low bun feel softer in a way that full polish can’t. The trick is to leave just enough tail exposed that the bun looks relaxed, not unfinished.
This style works when the hair has a little wave or bend. You twist the lengths into a knot, leave one or two short ends visible, and curve them under so they look intentional. A tiny mist of flexible-hold spray keeps the ends from sticking out in random directions.
I like this with knitwear, satin tops, and anything that would look too strict with a sleek bun. It’s polished, but it breathes.
23. Sleek Hairline Low Bun
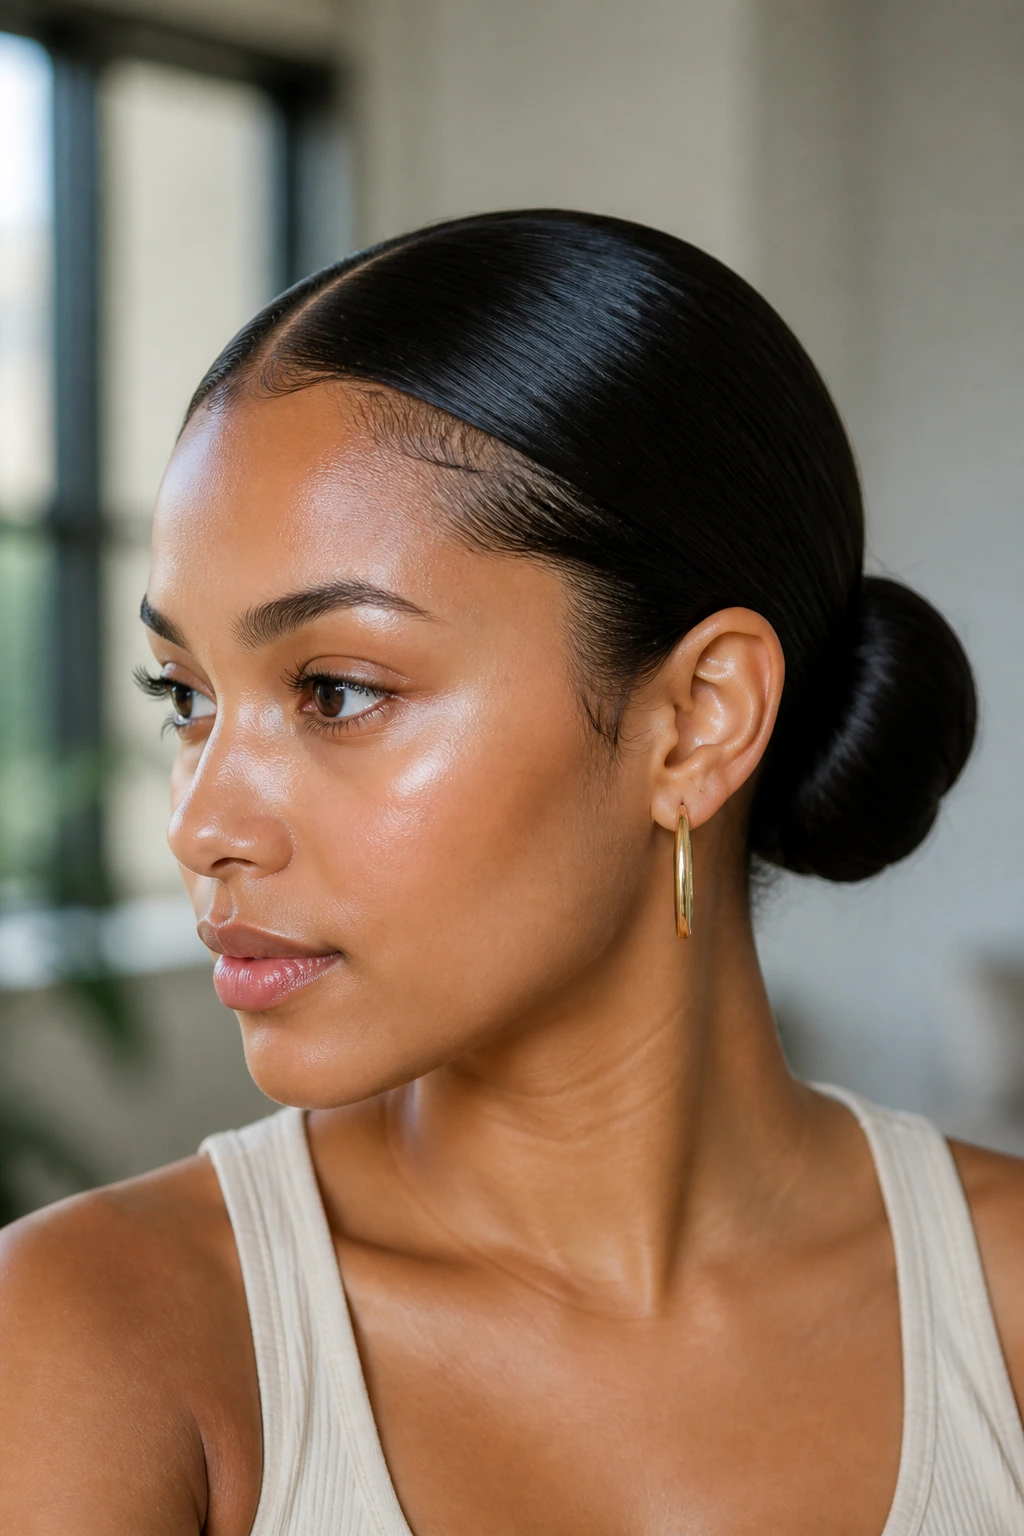
A sleek hairline low bun turns the focus to the face by keeping the front glassy and the bun itself compact. The shine needs to stay controlled, though. A slicked-back hairline with a greasy crown is a fast way to lose the effect.
How to keep the shine controlled
Use a pea-sized amount of gel or cream along the edges, then smooth it with a toothbrush or narrow brush. Leave the bun area softer so it doesn’t look wet from root to end.
This style is sharp without being severe when the bun stays low and the hairline stays clean. A center part makes it feel more formal. A side part softens it a touch. Either way, the front does most of the visual work.
24. Fringe-Forward Low Bun
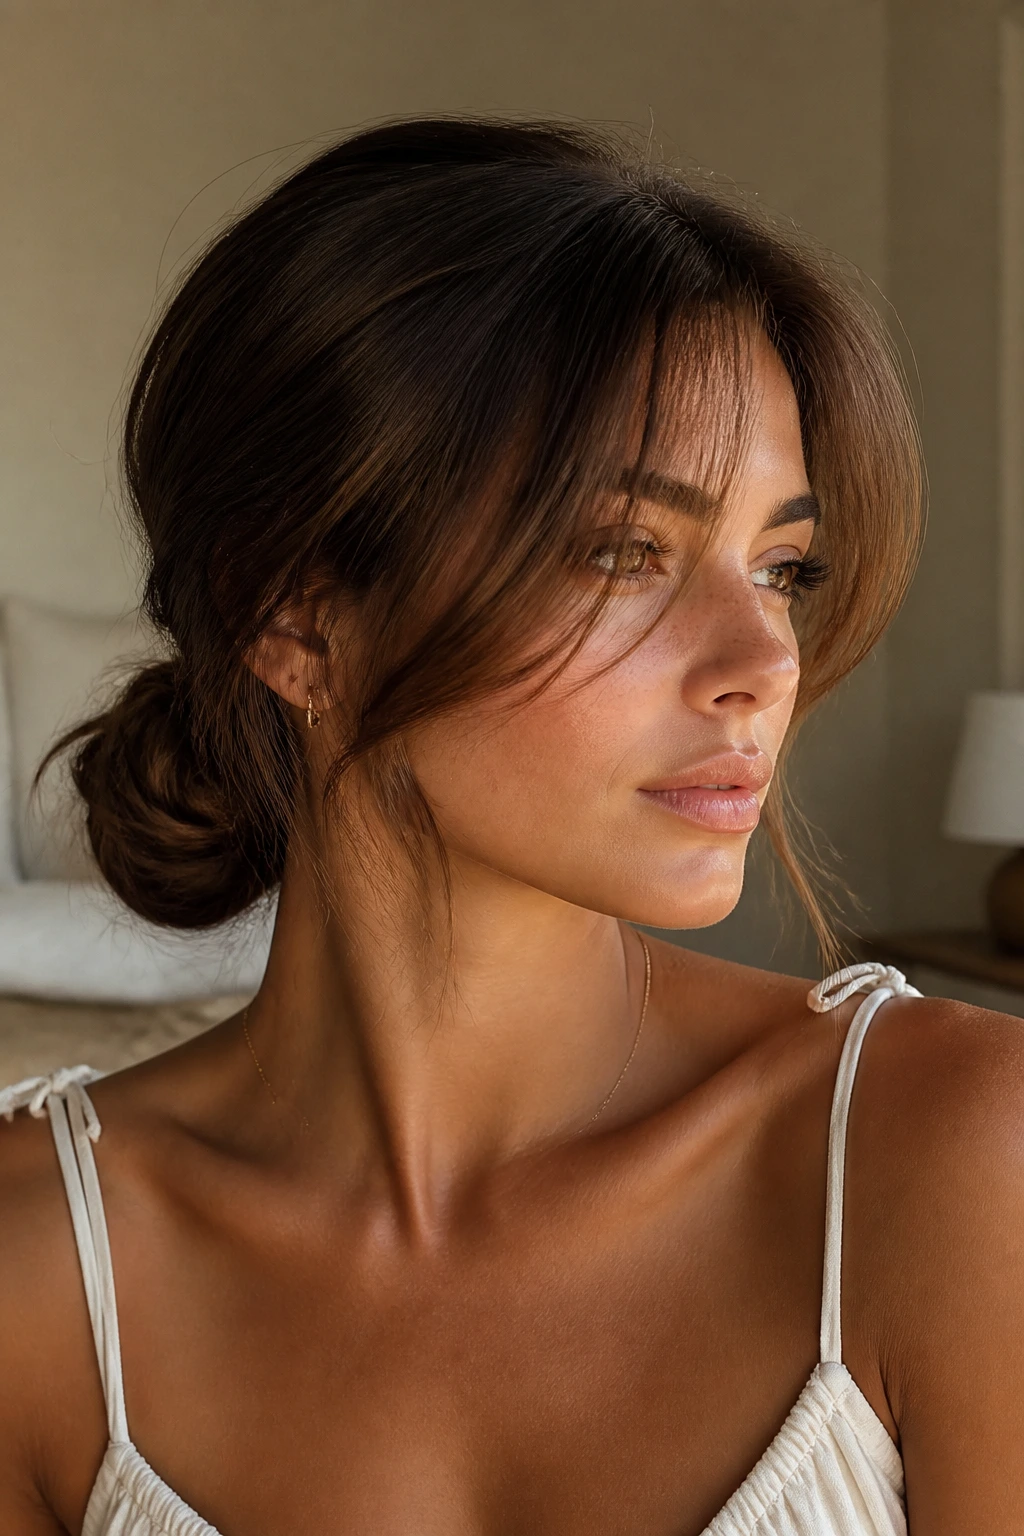
What if the bun stays small and the fringe does the softening? That’s the whole idea here.
Curtain bangs, side-swept fringe, or a short face frame can make a low bun look relaxed without dragging loose pieces from everywhere else. The bun remains neat at the nape while the front keeps movement near the eyes and cheekbones.
If your fringe is blunt or short, smooth it with a touch of styling cream and keep the bun very clean behind it. If it’s longer and split like curtains, let the ends curve away from the face. That little bit of motion keeps the style from looking too fixed.
25. Modern Minimal Nape Knot
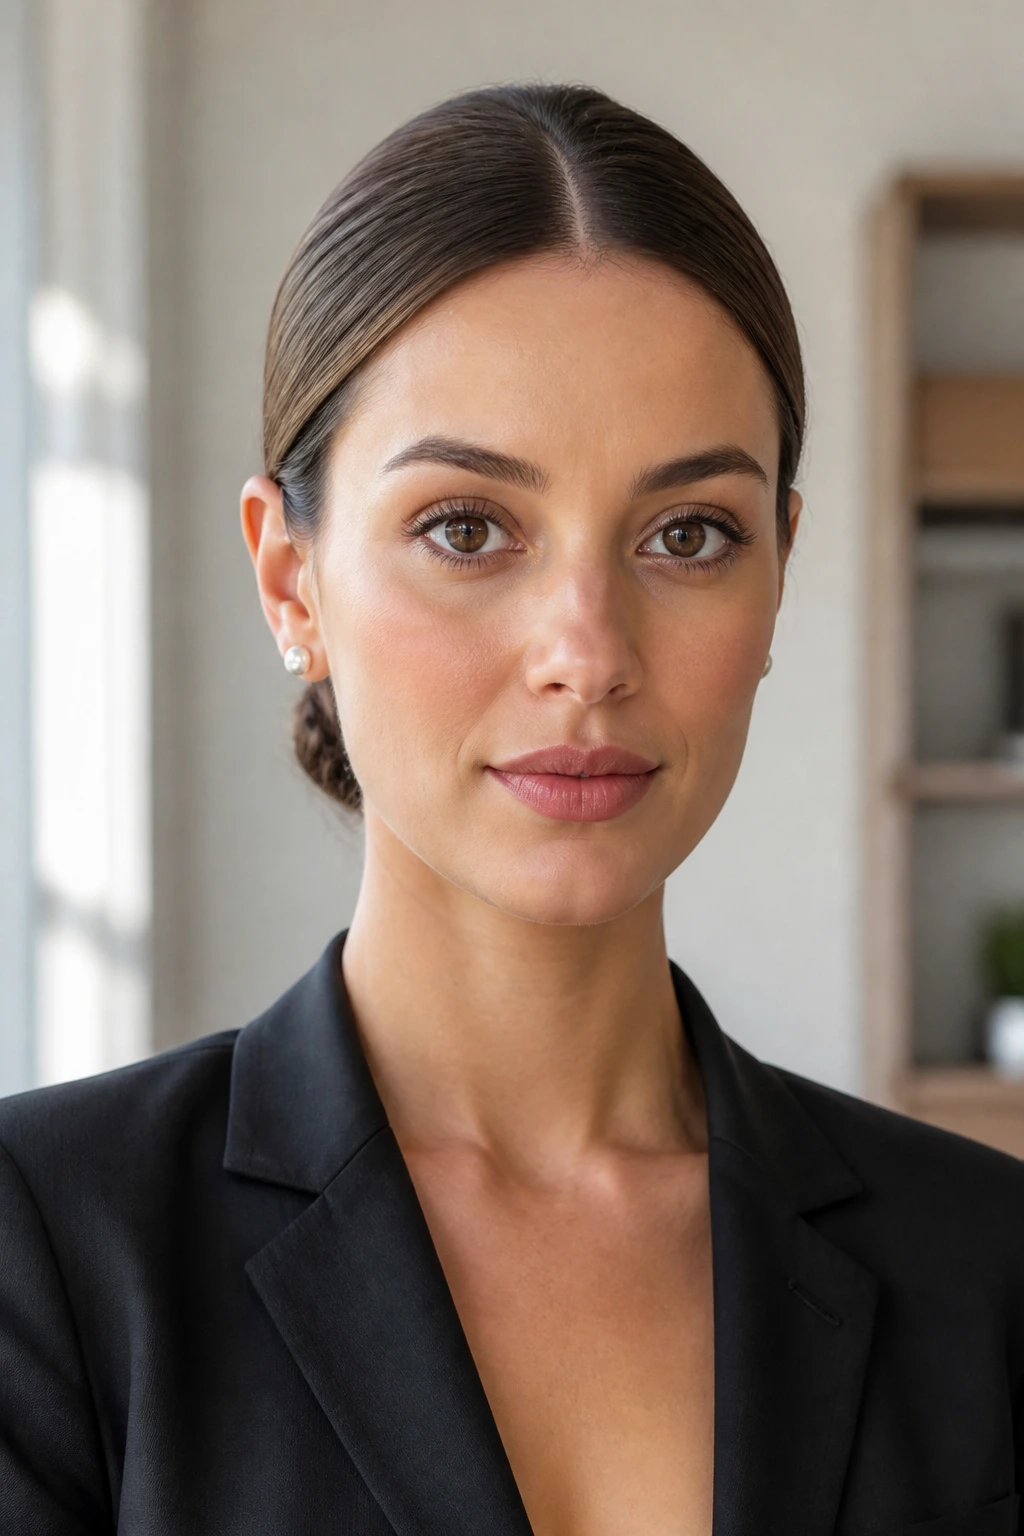
The modern minimal nape knot is the quietest version of the low bun, and it has more presence than people expect. No braids. No ribbon. No obvious texture. Just hair gathered low, folded into a knot, and pinned so neatly that the shape seems to sit there on purpose.
This is the bun for when you want the outfit, the earrings, or the makeup to do the heavy lifting. The hair should stay smooth at the top, compact at the nape, and almost invisible in its own restraint. That restraint is the whole point.
It’s the style I’d choose for a sharp blazer, a simple dress, or any day when less hair drama is the right call.
What Makes a Low Bun Read Soft Instead of Severe
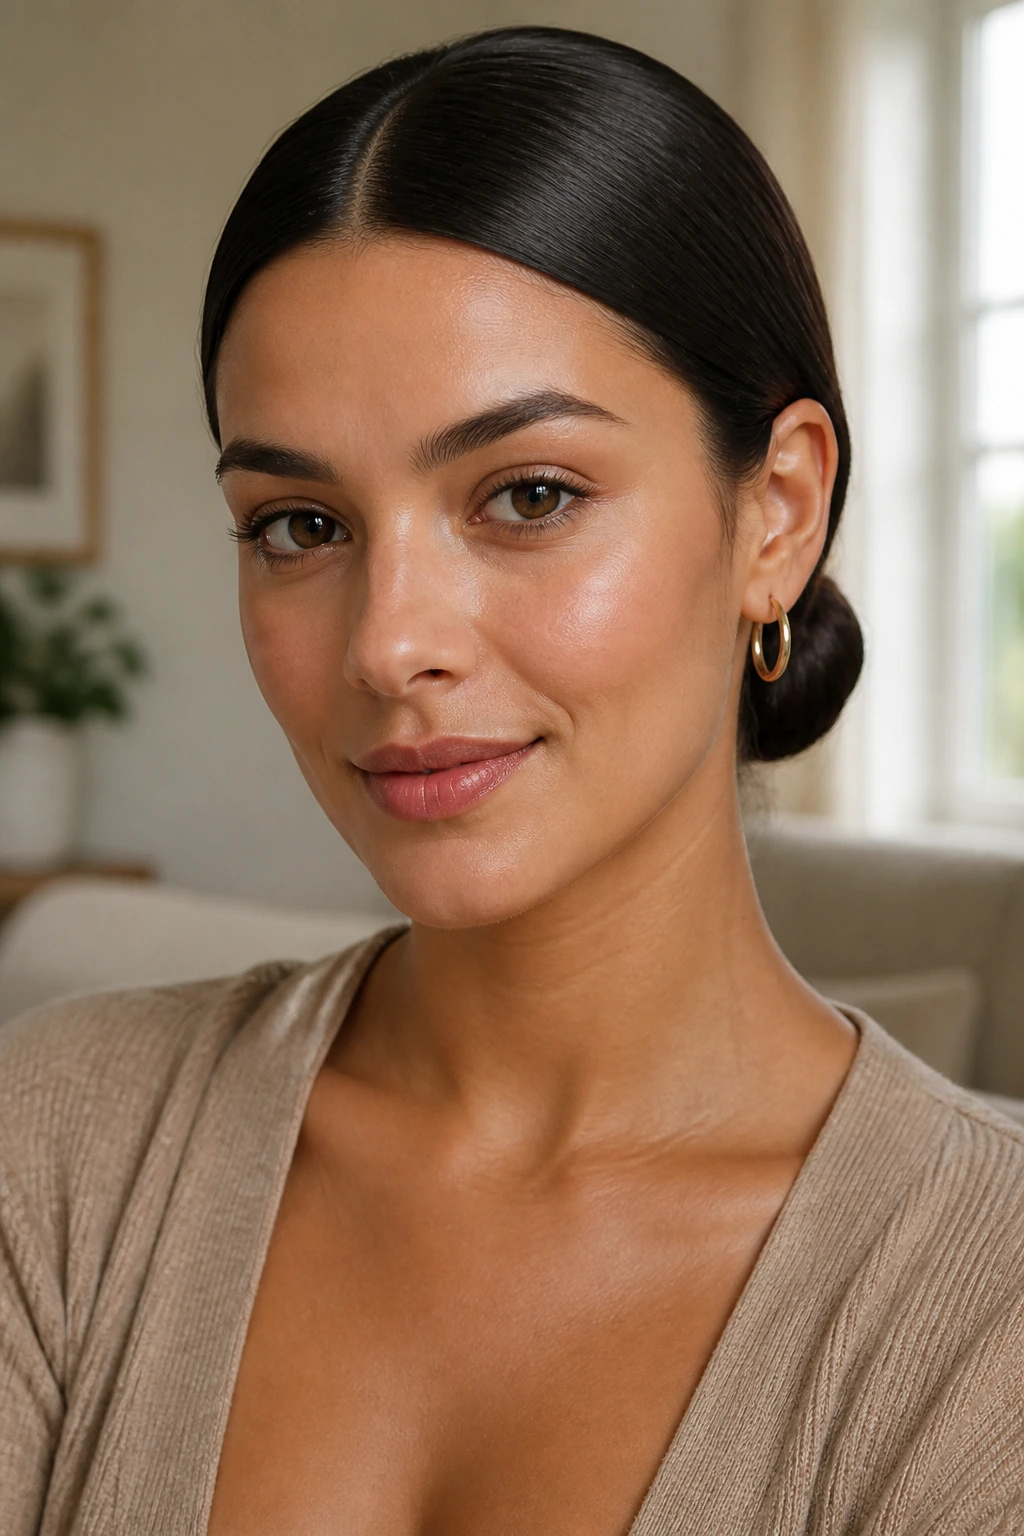
The difference between soft and severe lives in three places: the crown, the temple area, and the edge of the bun. If all three are pressed flat, the style starts to look strict. If all three have a little movement, the bun feels intentional instead of frozen.
The crown is the first place to watch. A little lift keeps the top from looking glued down, but too much teasing makes the style feel dated fast. I usually want enough height that the head keeps its shape, not enough to advertise the styling work.
The second place is the hairline. A single whisper of texture near the ears or a soft part can change the whole mood. Don’t fight every tiny bend unless the look calls for it. Some of the best low bun hairstyles look polished because they leave a small amount of natural movement where the eye expects it.
Essential Tools for Low Bun Hairstyles
-
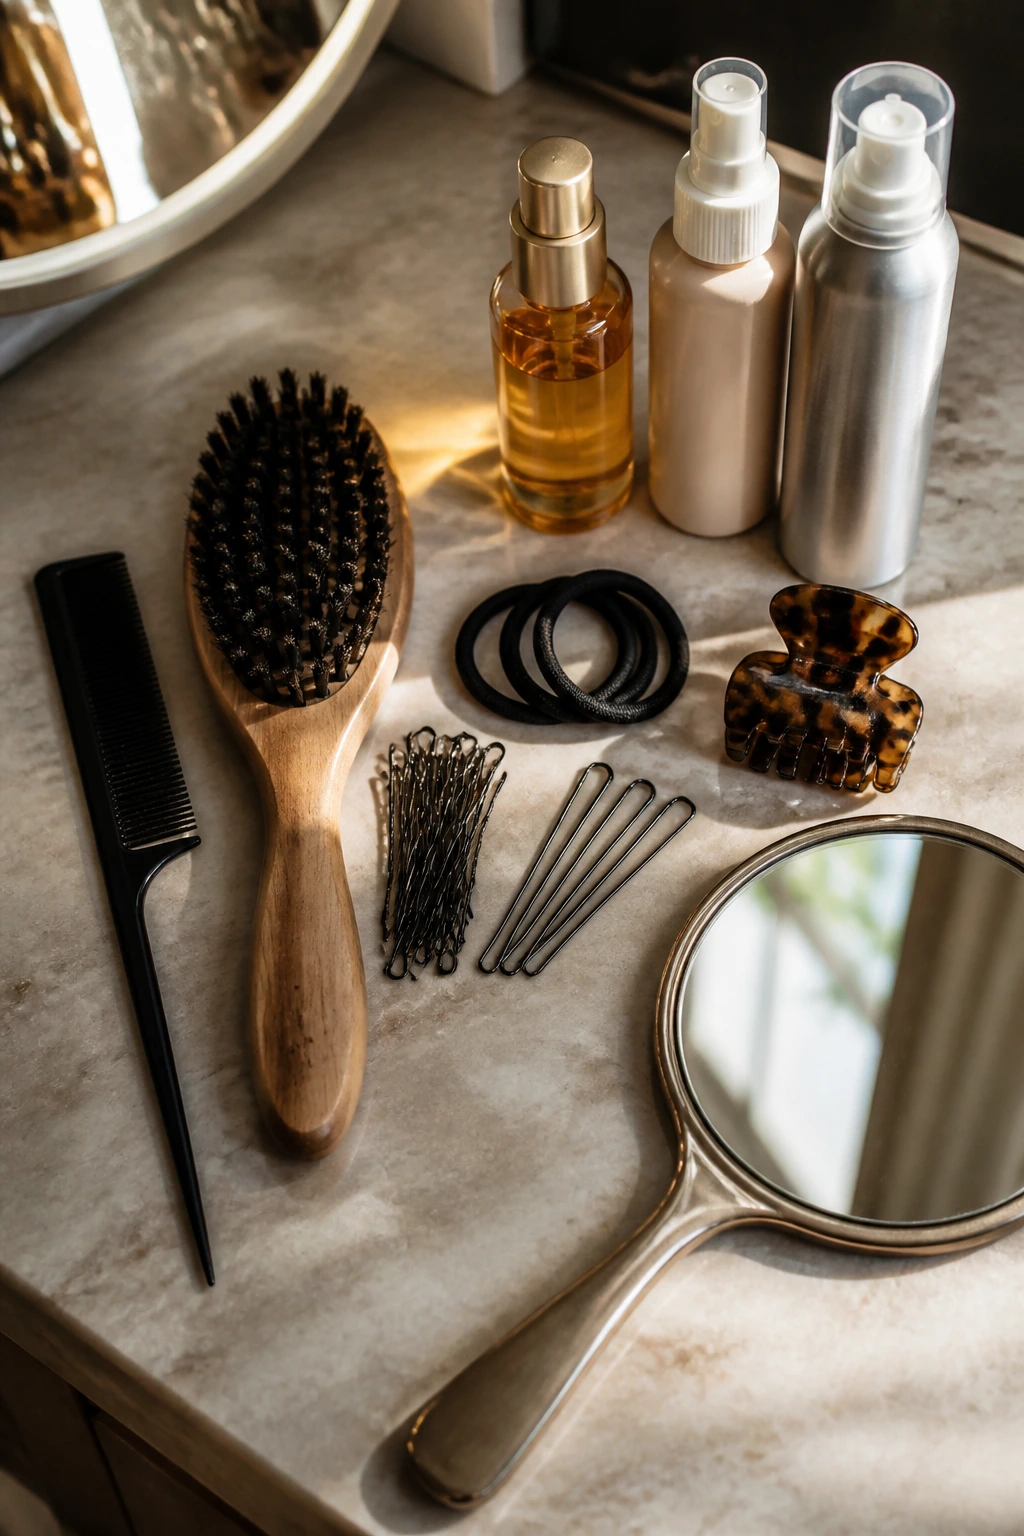
Tail comb: This is the tool that gives you a clean part and a neat section at the nape without wrecking the rest of the style.
-
Boar-bristle brush: Best for smoothing the top layer and nudging flyaways into place without making the hair look scraped back.
-
Snag-free elastics: A small, stretchy elastic holds the base better than a thick one and won’t leave a bulky lump under the bun.
-
Bobby pins and U-pins: Use bobby pins for fine control and U-pins for thicker or heavier buns that need a stronger anchor.
-
Texturizing spray or dry shampoo: A light mist gives the hair grip, especially if it’s freshly washed or naturally slippery.
-
Light-hold hairspray: Good for the surface, not the whole head. Spray into your hands or a brush before smoothing.
-
Hair oil or serum: A pea-sized amount on the ends keeps the bun from looking dry, but keep it off the roots unless the hair is coarse and thirsty.
-
Small claw clip: Optional, but useful for a quick low bun or a looser nape knot.
-
Hand mirror: Worth having. The nape is where buns lie to you.
How to Choose the Right Low Bun for Your Hair Texture and Length
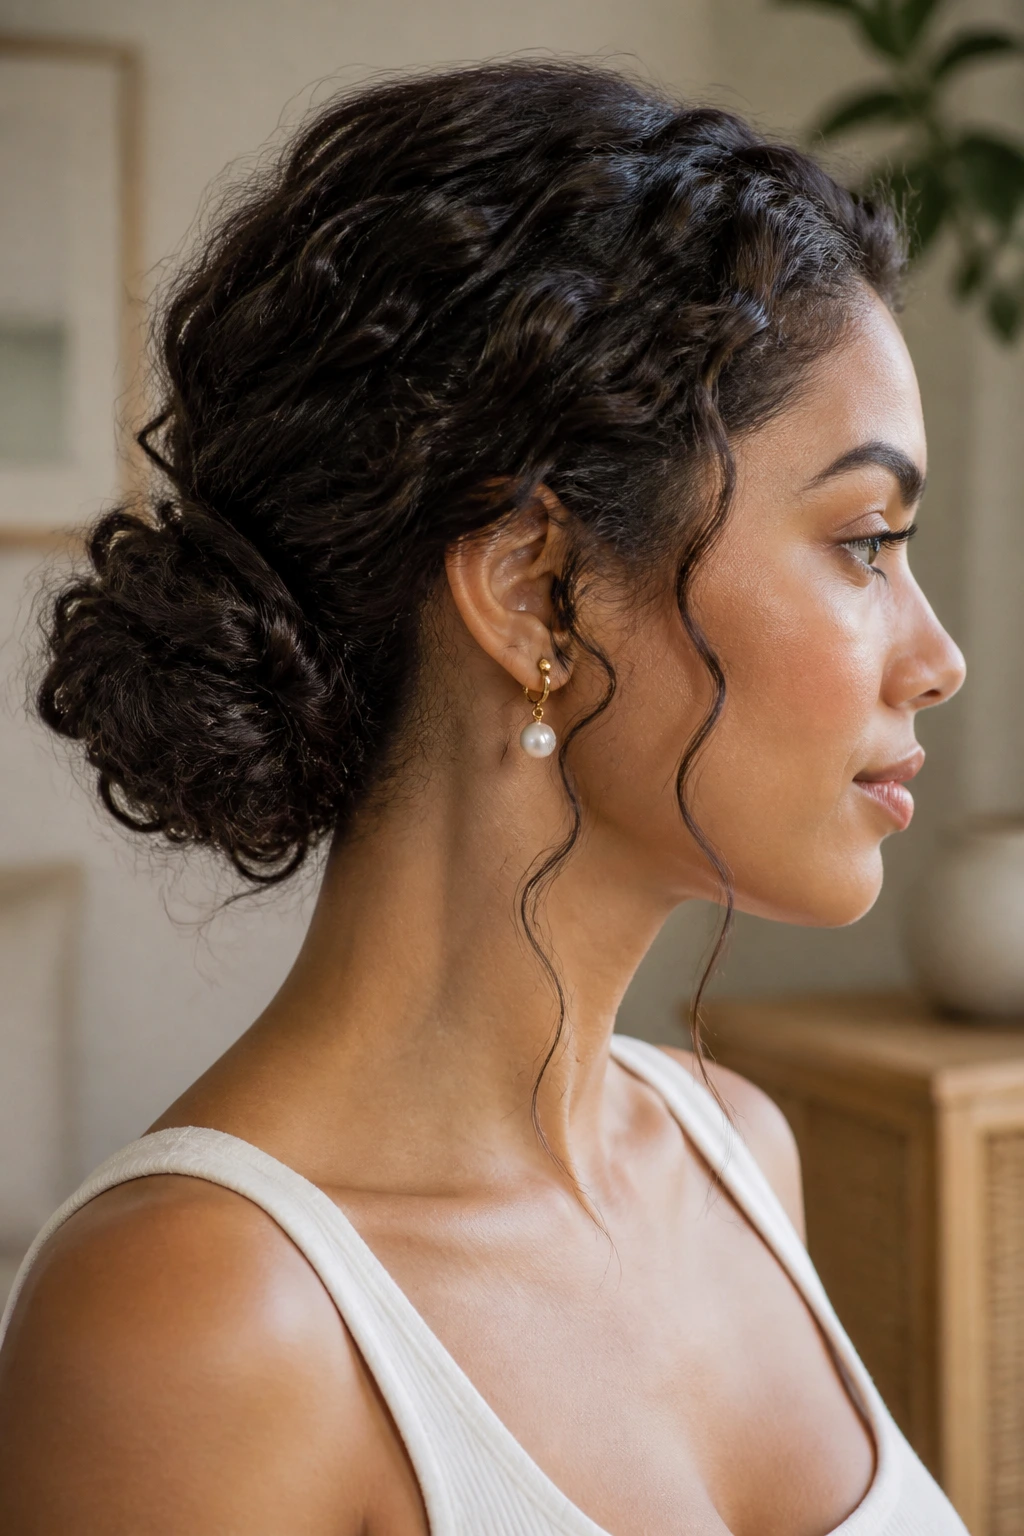
Fine hair usually benefits from shapes that create structure without asking for bulk it doesn’t have. Rolled buns, hidden-elastic buns, and styles with a little crown lift help the head keep its shape. Thick hair needs the opposite treatment: break the mass into sections, use stronger pins, and avoid over-tight wrapping that makes the bun balloon.
Wavy and curly hair do best when you respect the texture instead of trying to erase it. A textured second-day bun or a loose coil bun keeps the bend visible, which looks richer than forcing the hair into a polished shell. Curly hair also likes a few pinned anchor points around the perimeter rather than one tight elastic that does all the work.
Shorter hair needs tuck-and-pin methods. Long hair needs looped or layered wrapping so the weight doesn’t drag the bun down. Straight hair sits neatly but can slip, so use texture spray near the mid-lengths. Coily hair often looks best when the bun stays compact and the edges are shaped with care rather than pressed flat.
How to Keep the Shape Soft Without Losing It
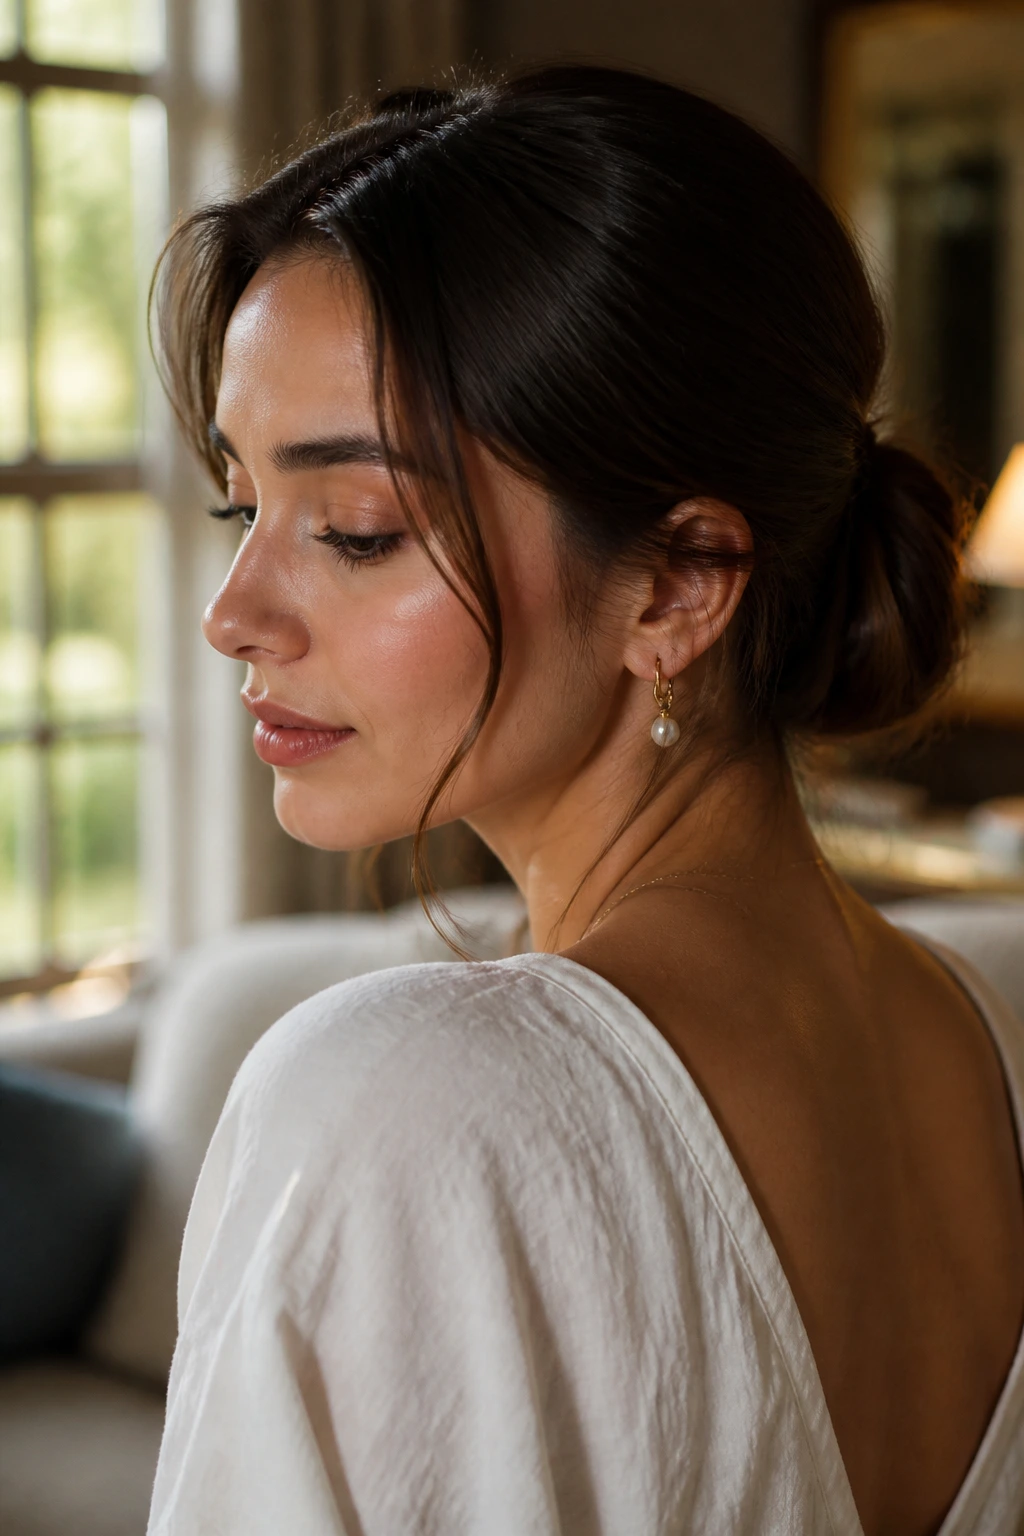
Texture Prep: Start with hair that has a bit of grip. Day-old hair, light dry shampoo, or a touch of texturizing spray near the roots will usually hold better than freshly washed hair that keeps sliding apart. If your hair is very clean, a small amount of mousse through the lengths before drying can help without turning the bun crunchy.
Pinning Strategy: Pin from the inside of the bun toward the nape, not just around the outside where the pins show. Cross two pins in an X shape under the base, then add a third only if the bun feels loose. Hidden support is what keeps the style looking soft instead of sloppy.
Face Balance: Leave a little movement near the temples, ears, or fringe if the rest of the hair is sleek. That balance stops the style from reading too stern. One loose tendril is enough. Ten loose pieces start looking like you changed your mind halfway through.
Finish: Spray a little hairspray onto your hands or a soft brush, then smooth the outer layer once. That gives control without the sticky shell. If a flyaway pops up later, tame it with a toothbrush and one tiny mist — not another full blast of spray.
Common Mistakes That Make Low Buns Look Flat or Fussy
-
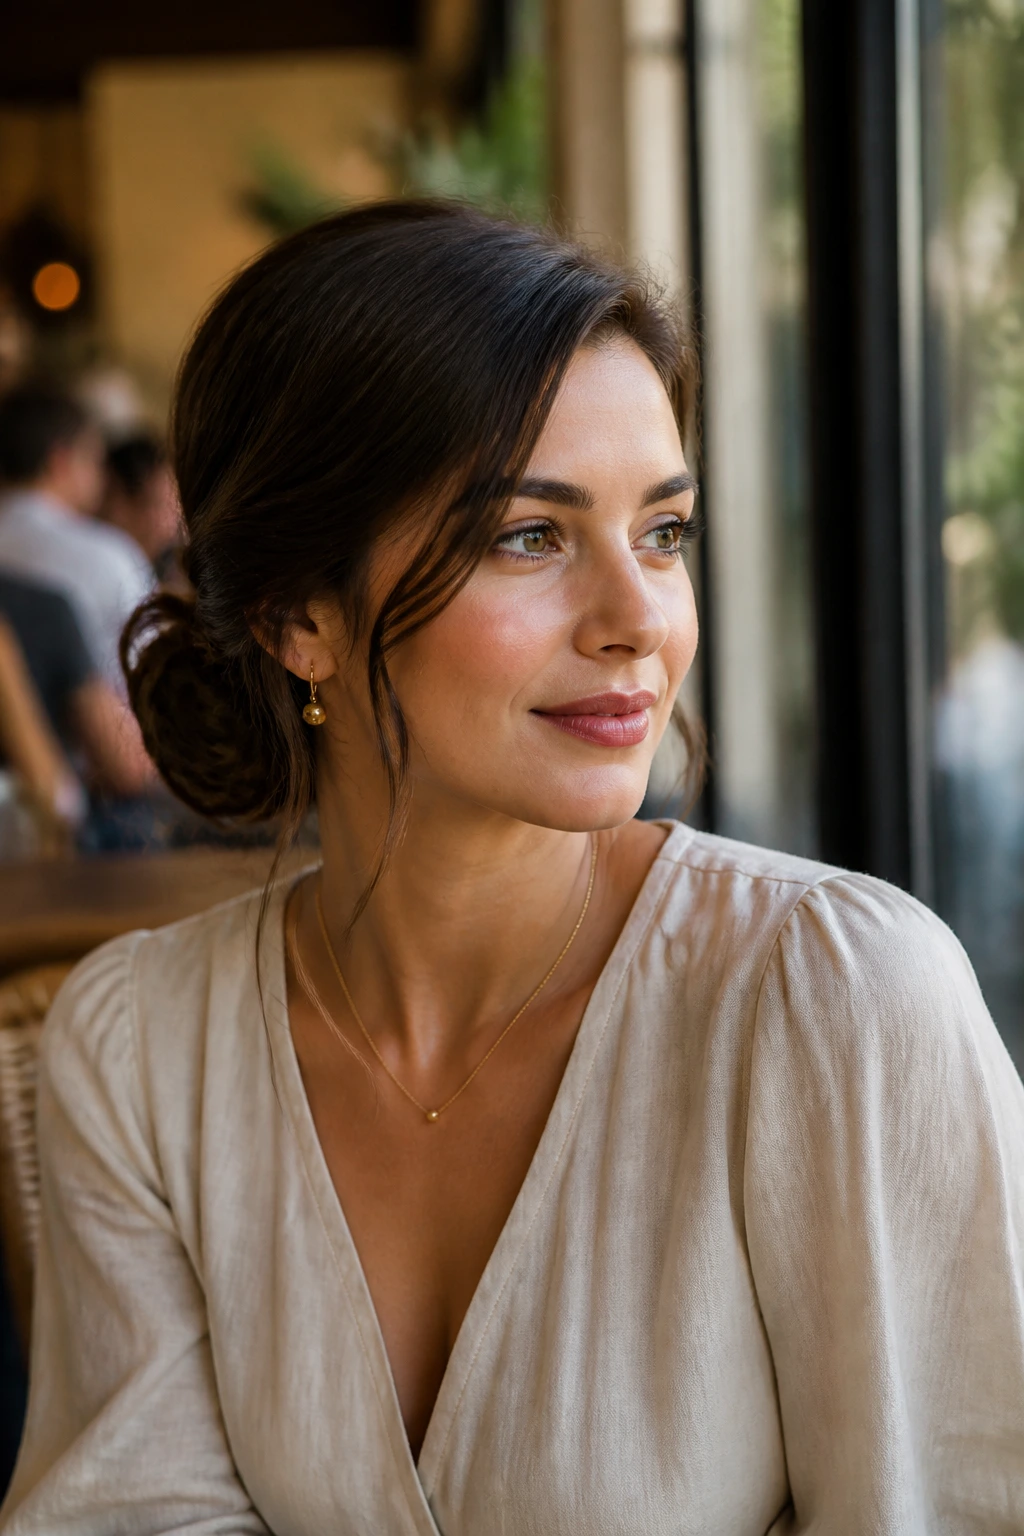
Pulling the crown too tight: The head ends up looking flat from the front and bulky from the back. Leave a hint of lift above the occipital bone so the shape keeps some life.
-
Using too much oil or cream: The bun starts sliding and the hairline goes shiny in the wrong way. Keep product to a pea-sized amount on the mids and ends, not the roots.
-
Ignoring the elastic base: A bun that’s only pinned and not anchored with an elastic will move around all day. Always build on a secure base.
-
Choosing the wrong part for the face shape: A center part can sharpen the look, while a side part softens it. If the style feels harsh, shift the part a finger-width off center and see what changes.
-
Forcing layered hair into one smooth wrap: Short layers pop out and make the bun frizzy at the edges. Braid, twist, or tuck the layers first, then pin them under.
-
Overloading the bun with accessories: One ribbon, pin, or clip usually does enough. Too many extras make the style look busy instead of polished.
Variations and Adaptations Worth Trying
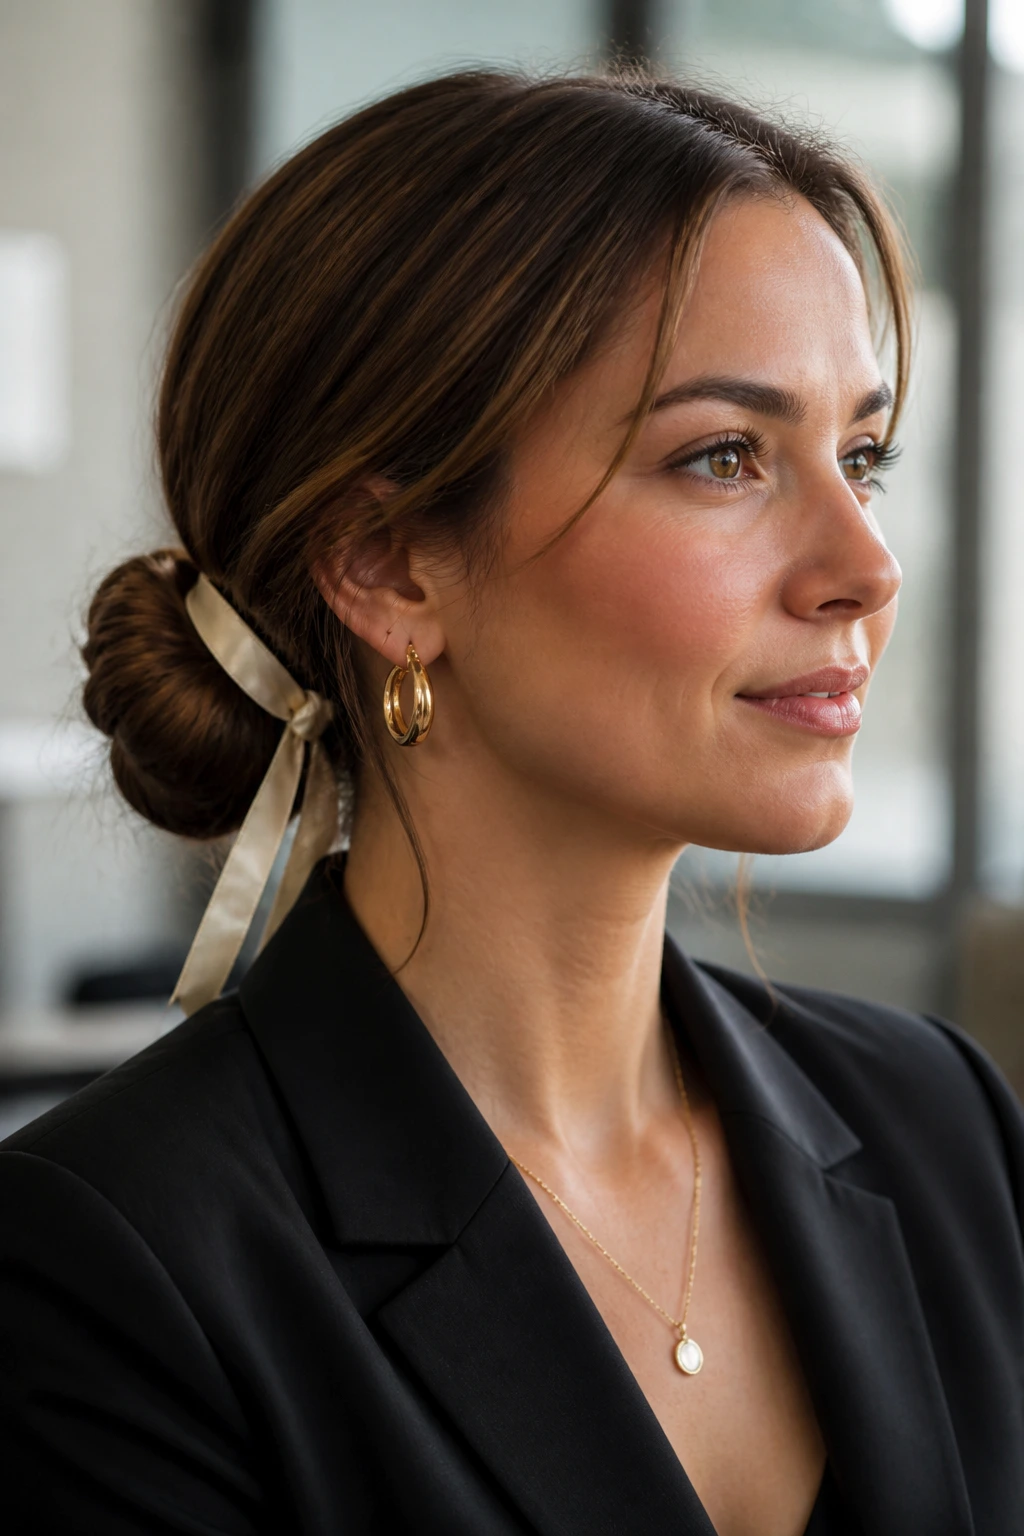
Office-Smooth Twist: Keep the part precise, smooth the front hairline, and twist the bun into a compact nape knot with no loose pieces. It reads sharp under a blazer and still looks calm if you take the jacket off.
Curly Cloud Bun: Leave the curls intact, gather them low, and let the bun keep its natural spring. This works best when you don’t brush the curls into submission first; a little shape at the front keeps the style from feeling too severe.
Ribbon-Tied Nape Bun: Swap a standard elastic for a ribbon that matches your top, scarf, or lipstick. The ribbon adds color in a small, controlled way, which is useful when the hairstyle needs one visible detail.
Weekend Textured Bun: Use dry shampoo, finger-comb the hair instead of brushing it smooth, and pin a looser coil at the nape. The style looks relaxed, but it still has a clear shape.
Pearl-Pin Finish: Add one pearl pin or a slim metallic clip above the bun base. Keep the rest of the hairstyle quiet so the pin reads as a finish, not a rescue mission.
Nightly Care, Rewearing, and Refreshing the Style
A low bun can survive into the next day if you plan for it. If you want to rewear it, loosen the pins before bed, sleep on a silk pillowcase, and either clip the hair loosely at the nape or wrap it in a satin scarf. That keeps the top layer from getting crushed into weird bends.
In the morning, check the part first. That’s usually the part that tells on you. If the hairline has gone fuzzy, mist your hands with water, smooth the surface once, and add one or two fresh pins where the bun feels weak. Dry shampoo helps only if the roots need body; it won’t fix a bun that’s already fallen apart.
If the style used gel or strong spray, wash the hair within a day or two so the edges don’t get stiff and flaky. A low bun is one of the few styles that can be reworn cleanly, but it still likes a reset now and then.
Frequently Asked Questions
Can short hair really make a low bun?
Yes, if the goal is a tucked shape rather than a big full bun. Shoulder-length hair and many bobs can create a small nape knot with mini elastics, pins, and a little patience around the shorter layers.
What’s the best low bun style for fine hair?
Rolled buns, hidden-elastic buns, and crown-lift versions usually work best. They create more visual body than a flat twist, and dry shampoo at the roots gives the hair the grip it needs.
How do you keep thick hair from making the bun look huge?
Break the hair into sections before you wrap it, and keep the bun tight to the nape. A knotted low bun or loop bun spreads the weight better than one giant coil.
Will a low bun work on curly hair without straightening it first?
Absolutely. A textured or curly low bun often looks richer than a smoothed-out version. Leave some curl pattern intact at the front and pin the bun in a way that respects the hair’s shape.
What if the bun slips out during the day?
The base is probably too smooth or too loose. Add texture spray before styling, cross two bobby pins under the bun, and use a snag-free elastic that actually grips the hair.
How do I make a low bun look more formal?
Keep the part precise, smooth the hairline, and choose a compact shape like a sleek ballet bun or minimalist nape knot. One polished accessory — a pearl pin or narrow ribbon — is enough.
Can I make a low bun on freshly washed hair?
You can, but it’s harder because clean hair tends to slide. If you have to work with fresh hair, add mousse while drying, then use a light texturizing spray before you gather it.
What if my layers keep falling out?
Don’t fight them with more spray. Tuck the layers into a braid or twist first, then pin that section under the bun. A few strategic pins beat ten random ones every time.
A Soft Finish That Holds
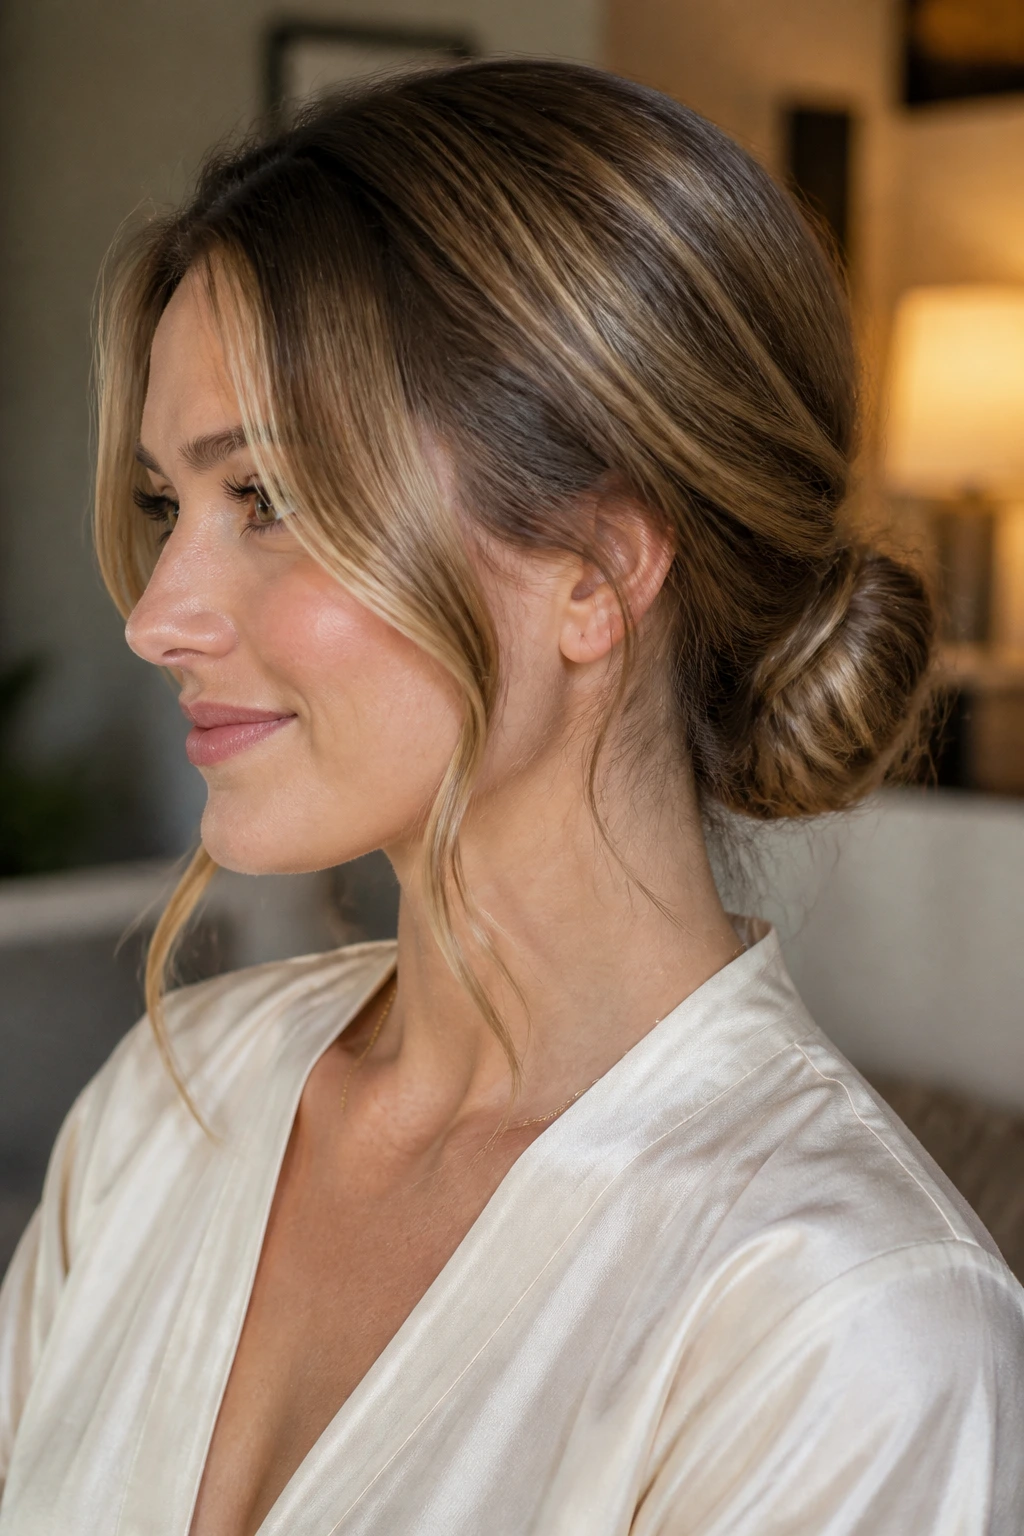
The best low buns don’t look frozen. They look arranged. A clean nape, a calm part, and just enough softness at the edges give the style its polish without the stiff, lacquered finish that ages it fast.
That’s why low bun hairstyles stay useful. They can be plain, dressed up, textured, or nearly invisible, and they still feel like a finished thought. The next time your hair needs to stay out of the way but still look like you meant it, start at the nape and build from there.
