



Shoulder-skimming curls have a useful kind of stubbornness. They’re long enough to gather into a twist or ponytail, but short enough that the shape still sits up instead of dragging down your face.
Curly hairstyles for medium length hair live in that sweet middle ground where you can do more than a wash-and-go without fighting your own hair all afternoon. A clean side part can change the whole mood. So can a clip, a braid, or one twist pinned just above the nape. Medium-length curls also forgive a little bend, a little halo frizz, and a little unevenness around the face. That matters more than people admit.
I’ve always liked this length because it doesn’t force a false choice between “down” and “up.” You get both. You get the ability to show curl pattern, lift the crown, pin back the front, and still keep enough movement that the style doesn’t feel stiff. That’s the real trick with medium curls: shape them, don’t wrestle them.
Why Curly Hairstyles for Medium Length Hair Have So Much Range
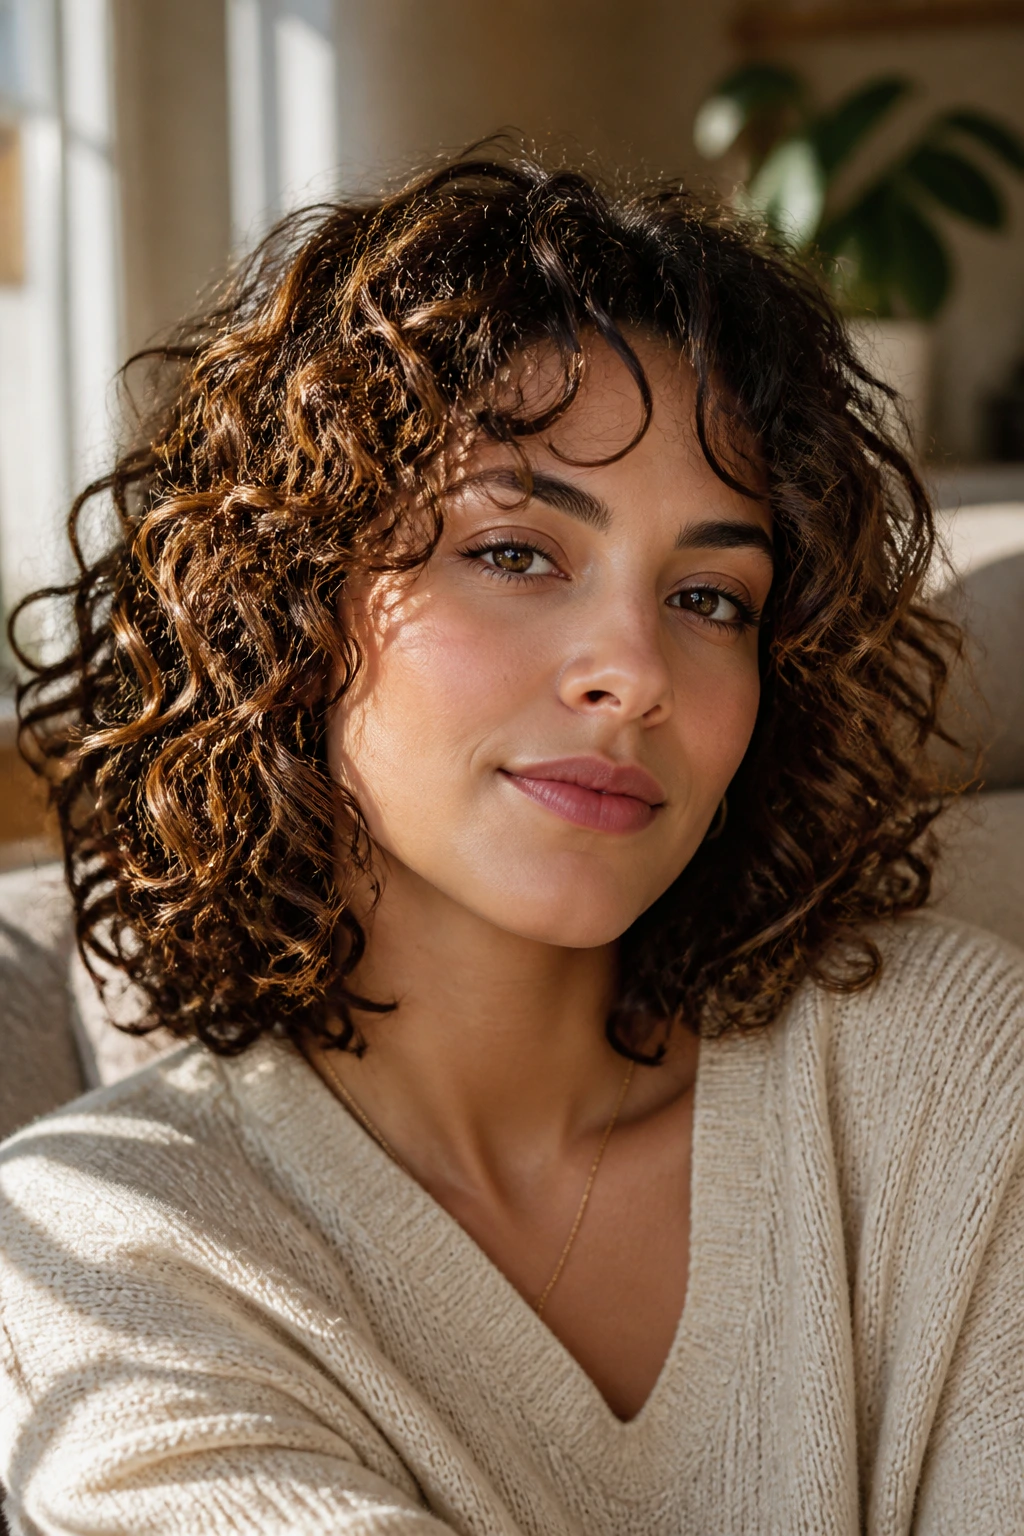
Medium-length curls sit in a practical zone that straight hair never quite gets to enjoy. A cut that lands around the collarbone, shoulders, or upper chest has enough weight to stay put in a clip or twist, but not so much that every pinned style needs a second person and a bag of bobby pins. That balance is the reason these looks can be casual one day and polished the next.
There’s also a shape advantage here. Shorter curls can spring up fast and look airy, which is lovely until you need them to stay tucked. Longer curls can look beautiful, but they also start to pull a style down, especially if the hair is dense or wet. Medium length gives you a wider margin. You can gather, fold, tuck, and braid without the whole thing turning into a struggle.
The other piece people miss is that medium curls show detail. You notice a side part. You notice the way a twist opens at the crown. You notice one pinned curl escaping by the cheekbone and making the whole thing feel softer. That’s why these hairstyles work so well for everyday wear and events alike. The hair keeps enough spring to look alive, but not so much mass that the style disappears.
How to Prep Curly Hairstyles for Medium Length Hair So the Shape Holds
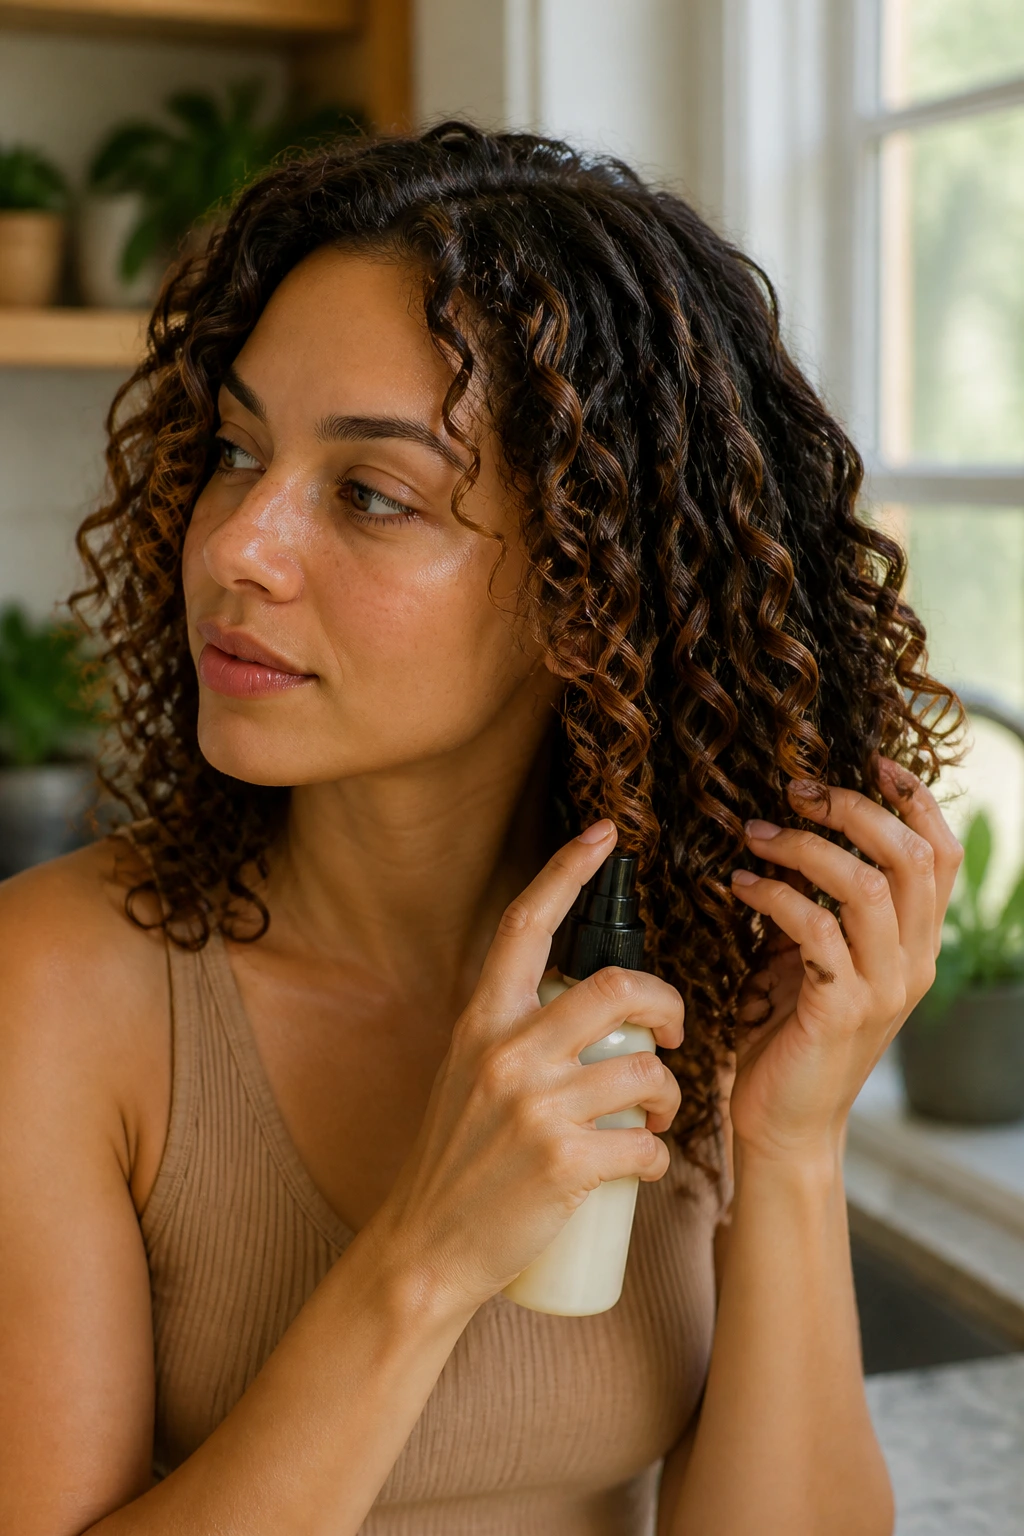
If the base is sloppy, the hairstyle will look like it is trying too hard. That’s the blunt truth. Medium curls need either a controlled wet set or a controlled refresh, depending on whether you’re styling fresh hair or day-two hair.
On soaking-wet hair
For defined styles, start with leave-in conditioner and a curl cream or mousse on very wet hair. Not damp. Wet enough that the product glides and clumps the curls instead of coating them in little streaks. Scrunch with a microfiber towel or T-shirt, then let the hair start to set before you touch the crown again. If you’re using gel, smooth it on top of the curl cream so you get a cast without the sticky, flaky mess.
On second-day hair
Second-day curls usually need water first, product second. Mist the front, the crown, and any frizzy ends until the hair softens, then add a pea-size amount of curl cream or a dime-size amount of gel to the pieces that need direction. That’s the only way a side sweep, a twist crown, or a low ponytail looks intentional instead of flattened by sleep.
A quick note about drying: if a style depends on grip, let the hair dry almost completely before you pin or smooth it further. Wet pins slip. Wet buns sag. Wet ponytails stretch out and then stay stretched. That’s the kind of detail nobody warns you about until you’re redoing the same style at lunch.
1. Deep Side-Part Ringlet Sweep
A deep side part changes the whole mood of medium curls. One side falls in a wide, glossy curtain; the other gets tucked just enough to show cheekbone and ear. It’s a small change, but it reads polished in a way that a middle part doesn’t always manage on its own.
Use a tail comb or the end of a rat-tail brush to make the part while the hair is still damp, then encourage the front curls to fall in the new direction with your fingers. Smooth the top lightly with gel, tuck the heavier side behind one ear, and secure it with two bobby pins crossed in an X if your hair slips easily. A single decorative pin can replace the second bobby pin when you want the tuck to feel more deliberate.
This style is especially kind to medium curls that want to puff at the sides. The deep part gives the hair a lane to follow. It also plays well with glasses, bold earrings, and collars that sit close to the neck.
2. Curly Shag with Curtain Bangs
A curly shag does not apologize for volume, and that is why it works. The layers break up weight around the jaw and shoulders, while curtain bangs soften the front so the cut never feels heavy or boxy. On medium-length curls, it gives you movement without losing length.
The key is keeping the layers matched to the curl pattern. If the shortest pieces hit around the cheekbone and the longest sit at the collarbone, the shape opens nicely as the hair dries. I like this style with a mousse-heavy finish on fine curls and a cream-plus-gel combo on denser hair. Diffuse on low or medium heat, then stop touching it when the cast forms.
It’s one of the rare styles that looks even better when it is not perfect. A few curls landing a little differently around the face add the whole point. Flat bangs, though, kill it fast. Keep the front lifted at the roots with clips while drying, and the shape will keep its bounce.
3. Half-Up Twist Crown
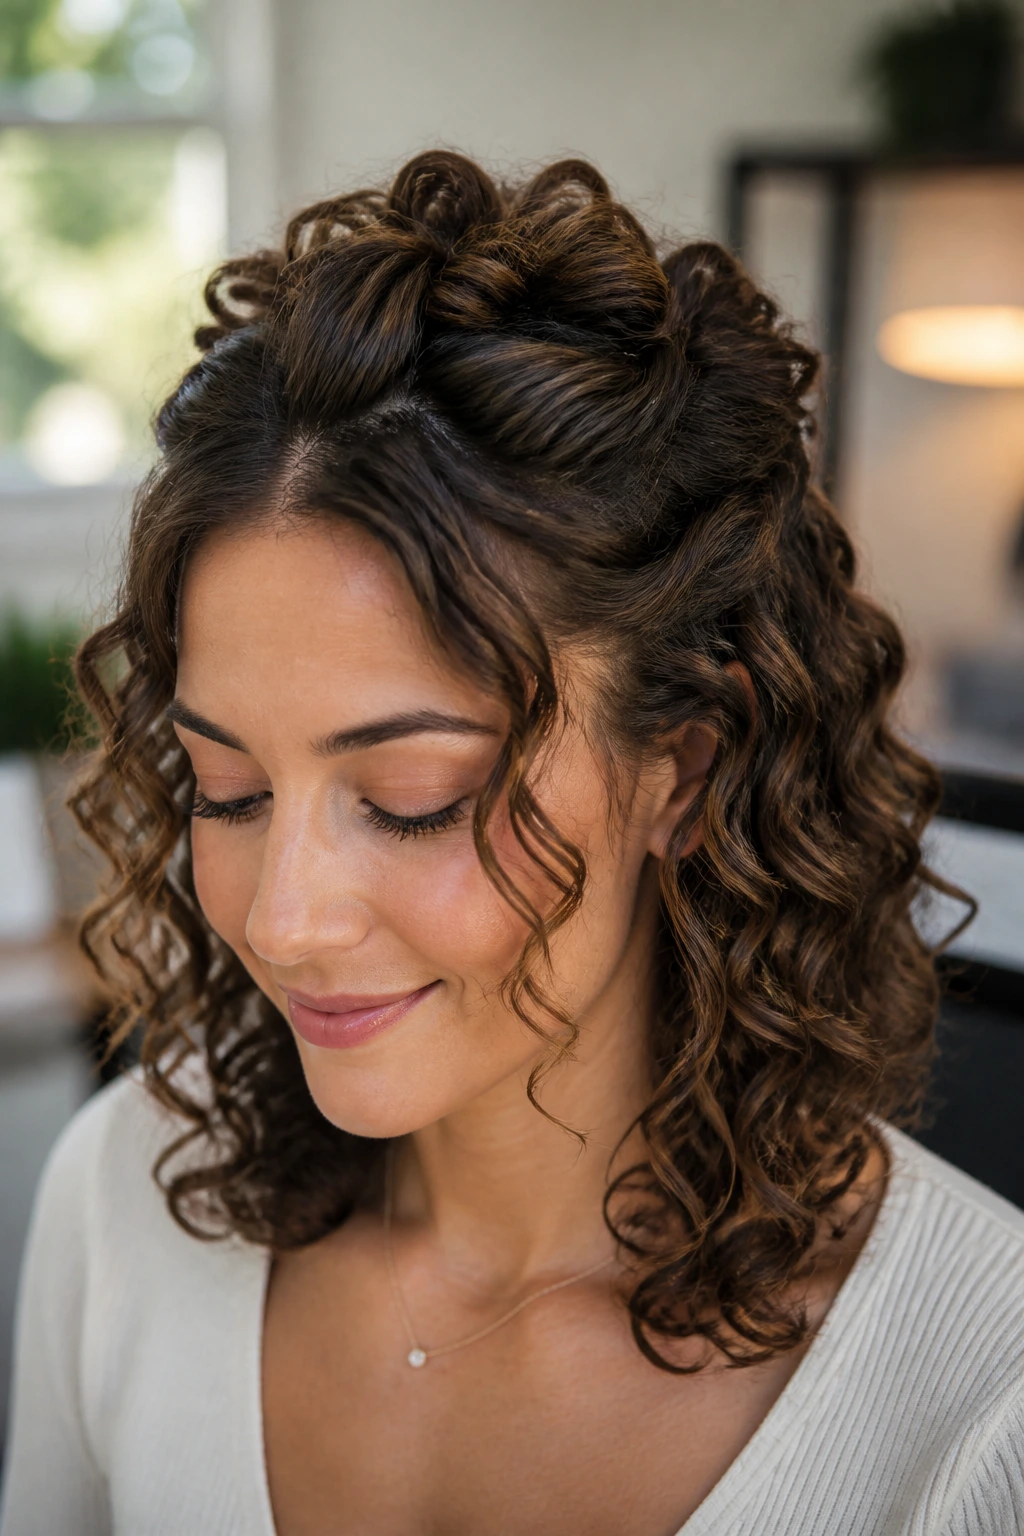
Need the curls off your face without flattening the whole head? This is the one. A half-up twist crown takes two front sections, twists them back toward the crown, and pins them where the parting lines disappear into the curl pattern.
The trick is not twisting too tightly. Leave a little slack at the scalp so the top still has height. If you pull the sections back hard, the crown will look pinched and the back will lose its roundness. Pin the twists where they meet, then let the remaining curls fall freely. If your hair is layered, leave a few face pieces out on purpose. It keeps the style from looking over-managed.
This is a strong option for workdays and dinners because it controls the front without pretending the rest of the hair is straight. The curls at the back still move when you turn your head. That movement is what makes it feel lived in.
4. Claw Clip French Twist
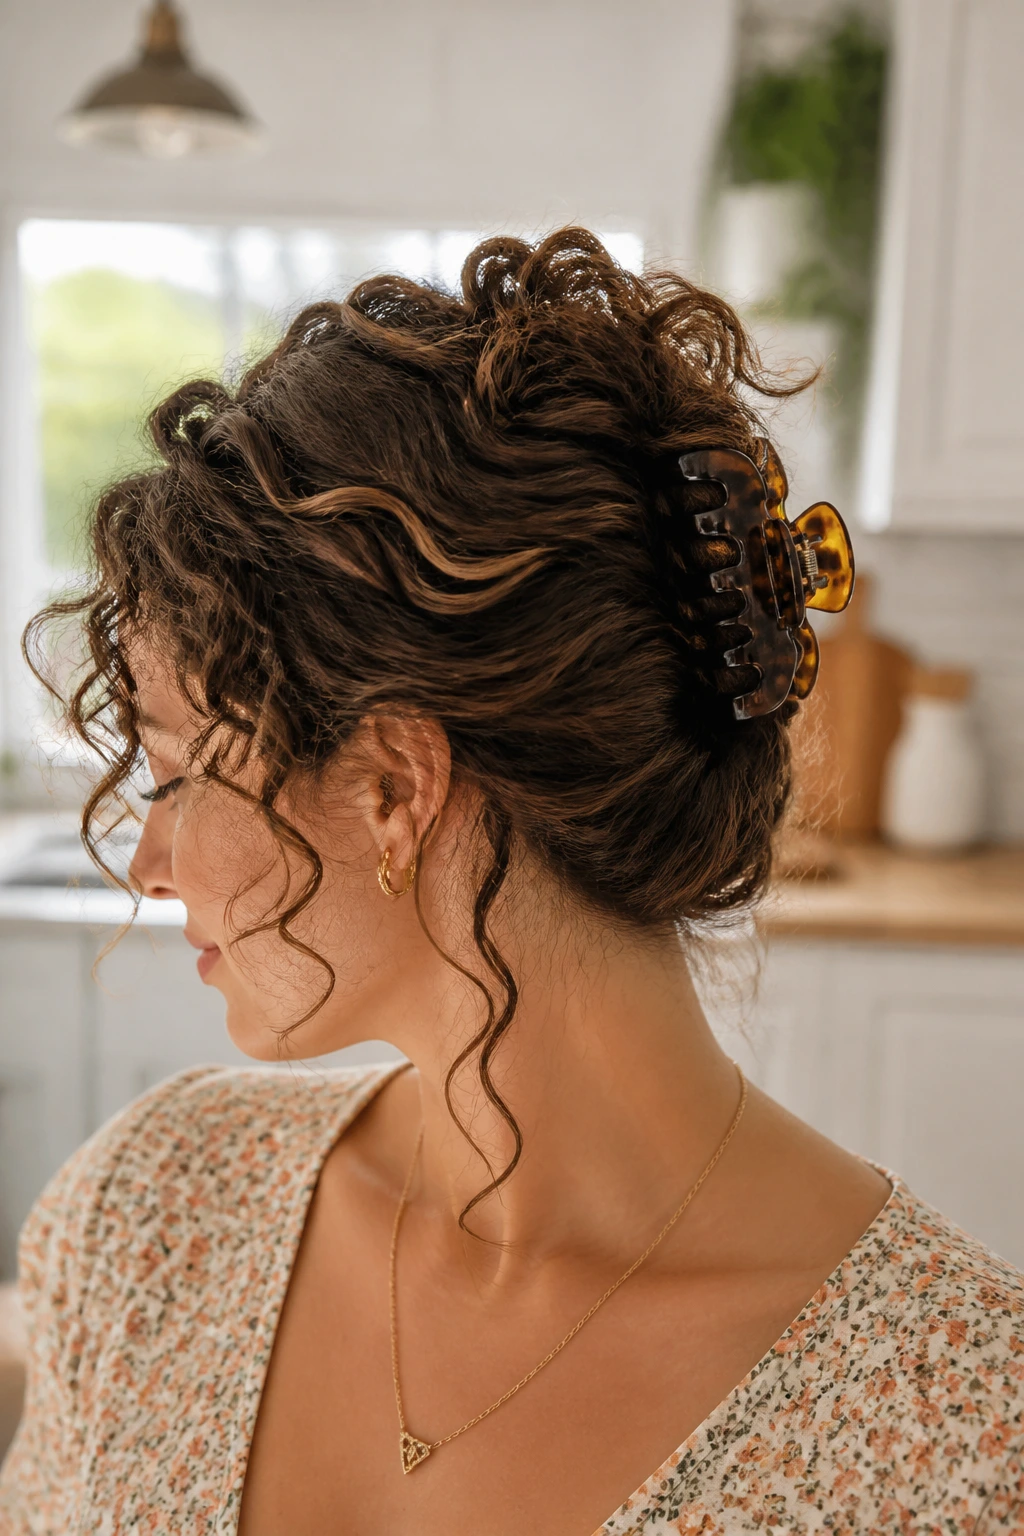
When the hair is between wash days and the front is doing that fuzzy, half-bent thing, a claw clip French twist can save the mood. Gather the hair low at the back, twist it upward, fold the ends under, and catch the whole shape with a clip that has teeth long enough to hold medium curls.
A medium-size claw clip is usually the right call here. Tiny clips slide. Oversized clips can sit awkwardly high and turn the style into a top-heavy lump. Keep the twist loose enough that curls spill a little at the top and around the nape. That softness matters. A too-neat French twist on curls can look forced in a bad way.
I like this one for busy mornings because it looks intentional without needing a mirror for every pin. If a few curls escape near the temples, leave them. They frame the face and keep the style from reading severe.
5. Low Curly Ponytail with Wrapped Base
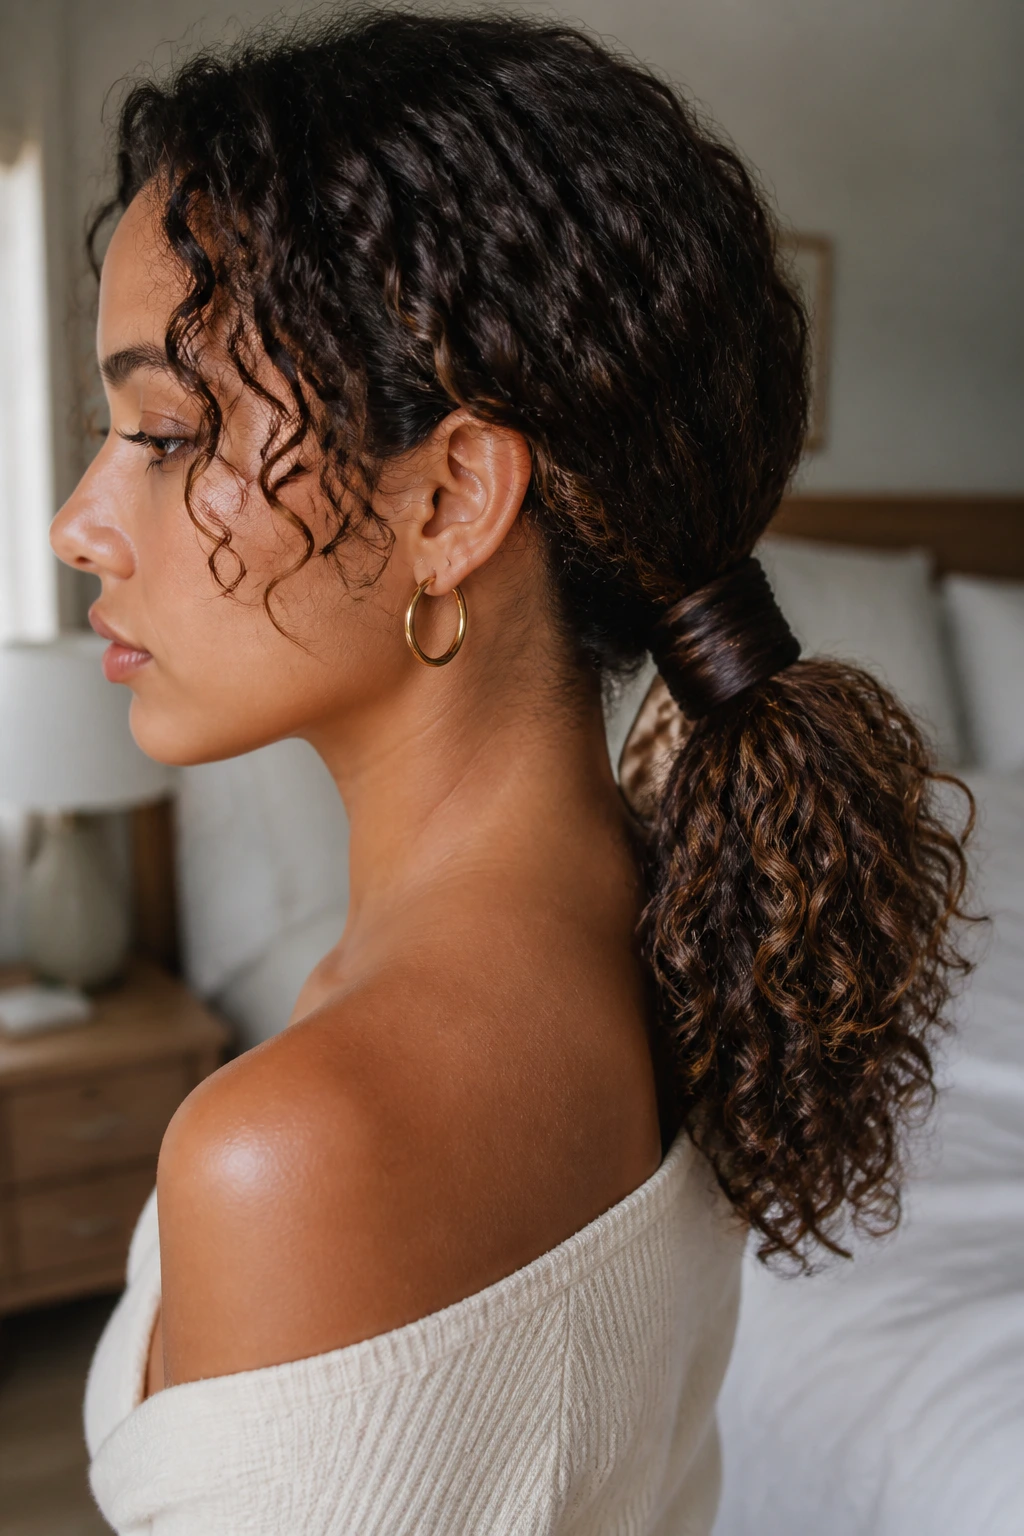
I like this one because it respects the hair instead of sanding it down. A low ponytail keeps the curl pattern visible, but the wrapped base makes it look finished instead of like you were late and gave up halfway through the job.
Smooth the top with a small amount of cream or gel, gather the hair at the nape, and secure it with a satin scrunchie or a soft elastic. Then wrap a 1-inch section of hair around the base and pin it under the ponytail. If your ends are dry, leave them loose and curly; if they’re frizzy, lightly finger-coil the last few inches before you tie them off.
This style works well when your medium curls are dense enough to make a ponytail look full, but not so long that the pony drags. It’s clean, not boring. That’s a better distinction than most people give it credit for.
6. High Puff Ponytail
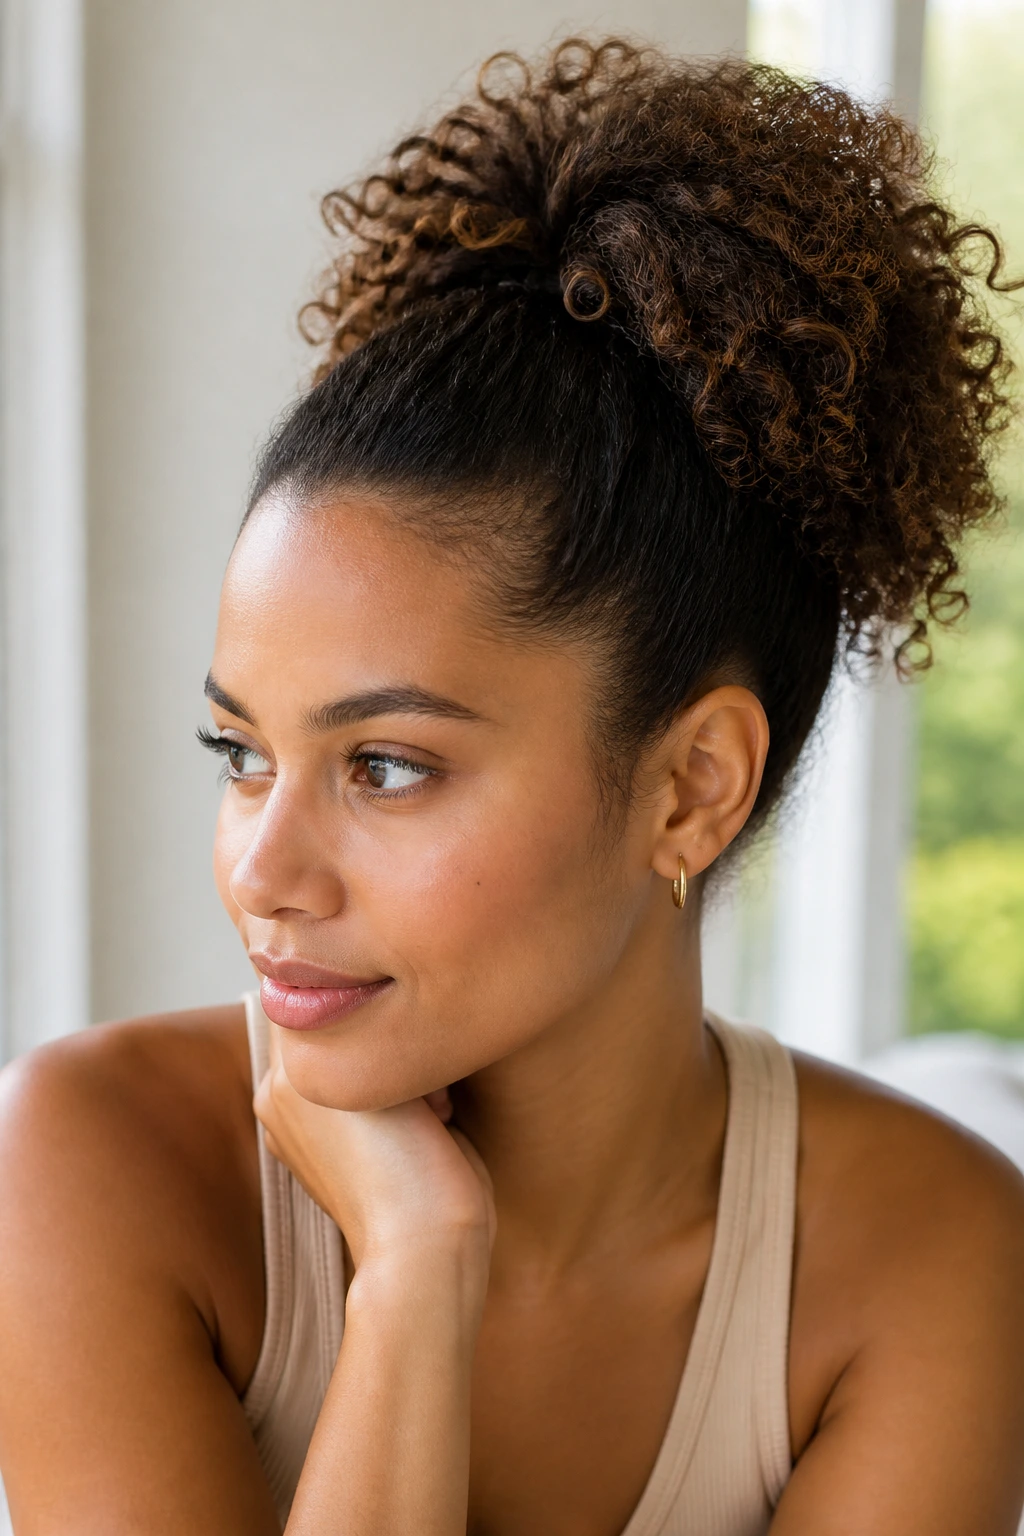
If your curls get puffy by lunch anyway, make the puff the point. A high ponytail on medium-length curls lifts the root, shows off the texture, and keeps the face open. It can look sporty, sharp, or even dressy depending on how smooth you leave the crown.
Use your hands to gather the hair high, almost at the crown, and secure it with a strong elastic or satin scrunchie. Don’t smash the curls flat while you’re pulling them up. A little controlled mess at the roots is what gives the style shape. If you want extra height, clip the roots at the crown for 10 to 15 minutes before you leave the house.
This one is especially good for dense curls that collapse when left loose. The higher placement stops the length from dragging the whole style down. Add a few face-framing pieces if you want softness around the cheeks.
7. Face-Framing Half-Up Knot
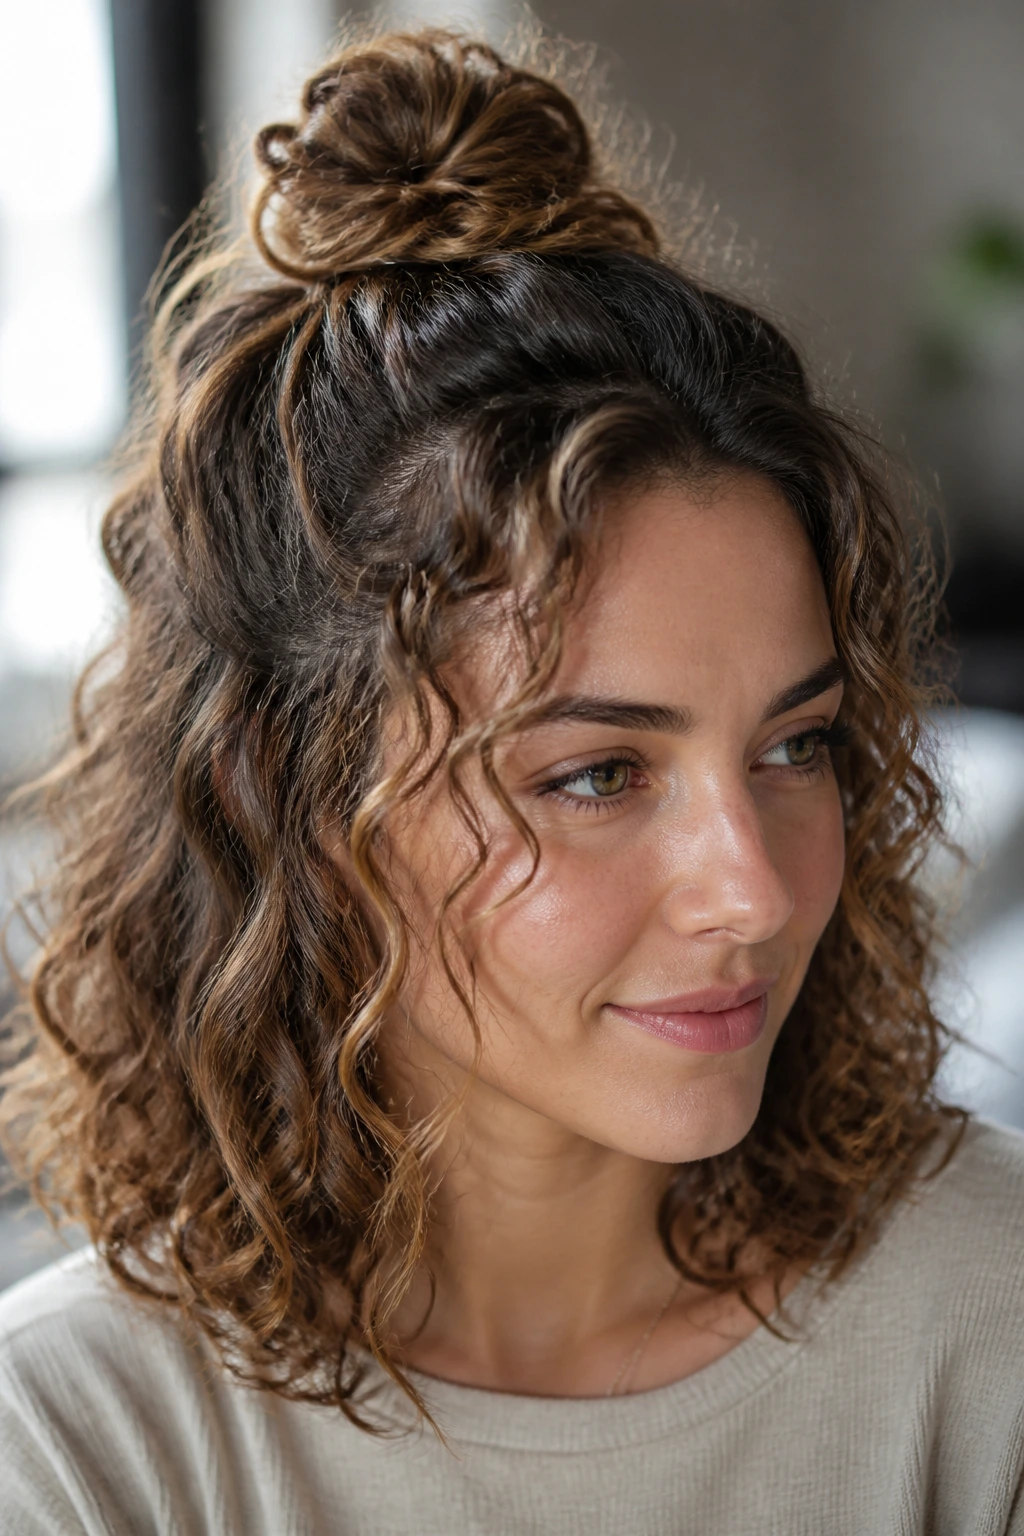
A half-up knot is what I reach for when I want the curls to stay visible but not all over my mouth and glasses. Take the top section from temple to temple, twist it into a small knot at the crown, and pin it down so it sits just high enough to lift the face.
Leave the front curls and a couple of side pieces loose. That is what makes the style look easy instead of severe. If your hair is thick, keep the knot small; if your hair is fine, make the knot a little fuller so it doesn’t disappear against the rest of the length. A matte claw clip can replace pins if the texture is slippery.
This style has a nice side effect: it gives the illusion of more length in the back because the top is lifted. That’s one of those little visual tricks medium curls do well. No drama. Just shape.
8. Braided Halo with Loose Ends
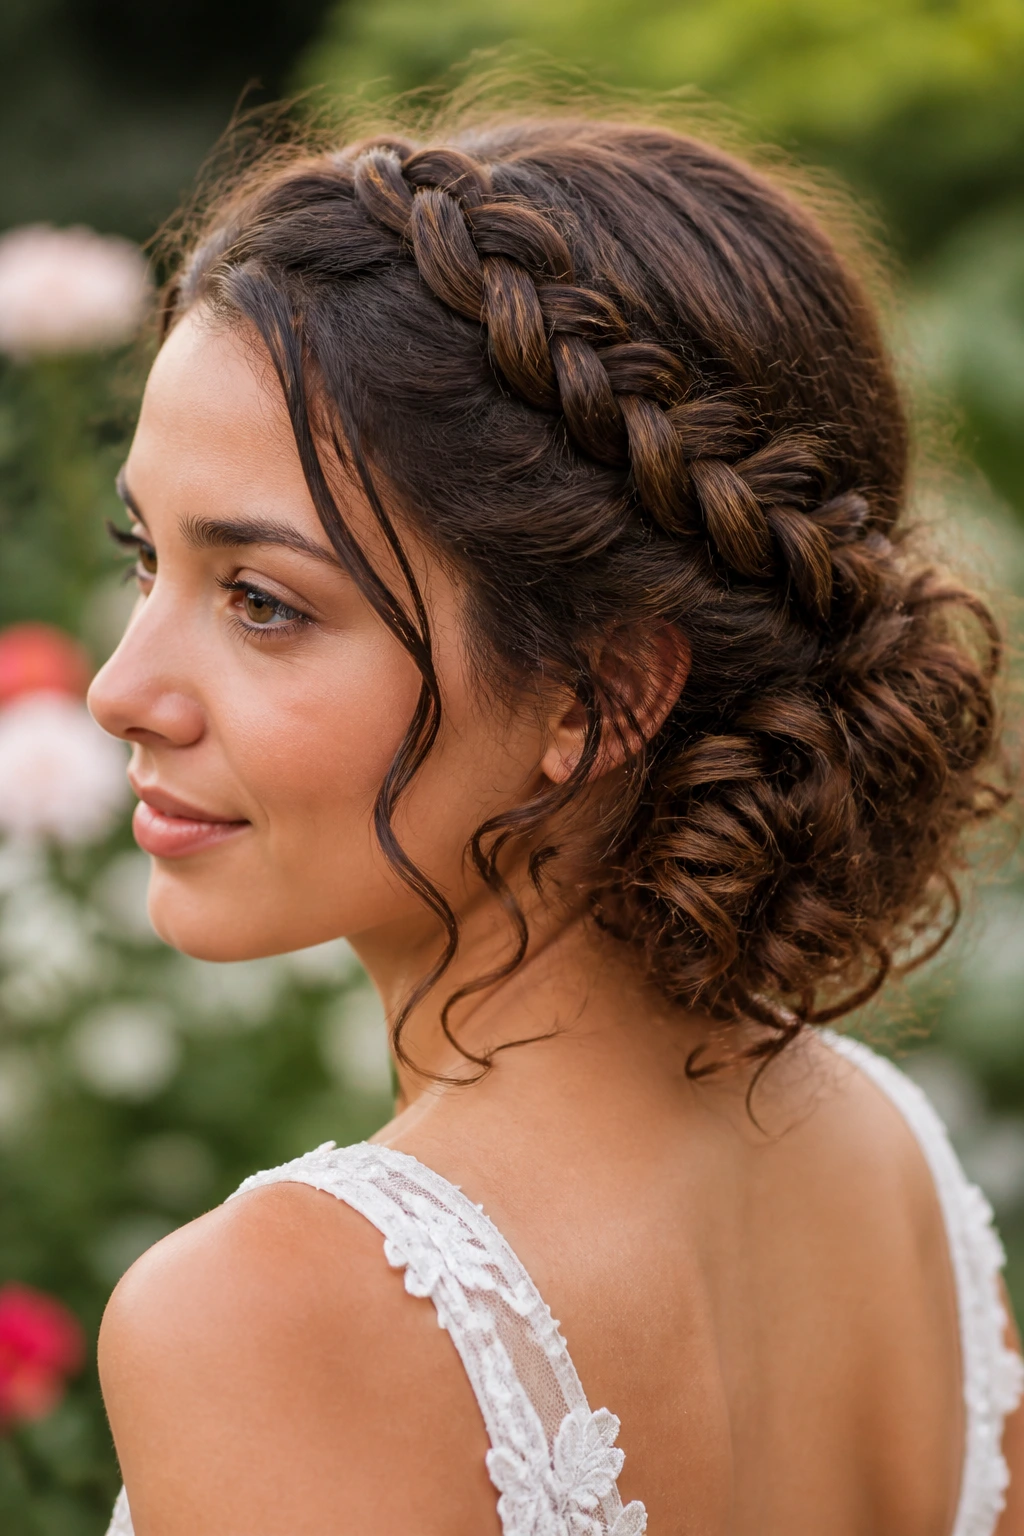
A braided halo sounds fussy until you do it on medium curls and realize the length is just right for it. Two braids run along the sides of the head, meet near the back, and get tucked under the curl mass so the ends disappear or blend into the rest of the hair.
The braid doesn’t have to be tight. In fact, a slightly loose braid looks better because it lets the curls underneath keep their texture. Use a light mist of spray or a touch of gel on the braiding sections so flyaways stay down while you work. If your curls are layered, pin the shorter ends under the braid with small U-pins instead of trying to force them into the plait.
This is one of the better choices for weddings, graduations, and nights when you want the hair to look detailed from every angle. It has shape from the front, structure from the side, and enough softness at the ends that it never feels stiff.
9. Side Braid Into Cascading Curls
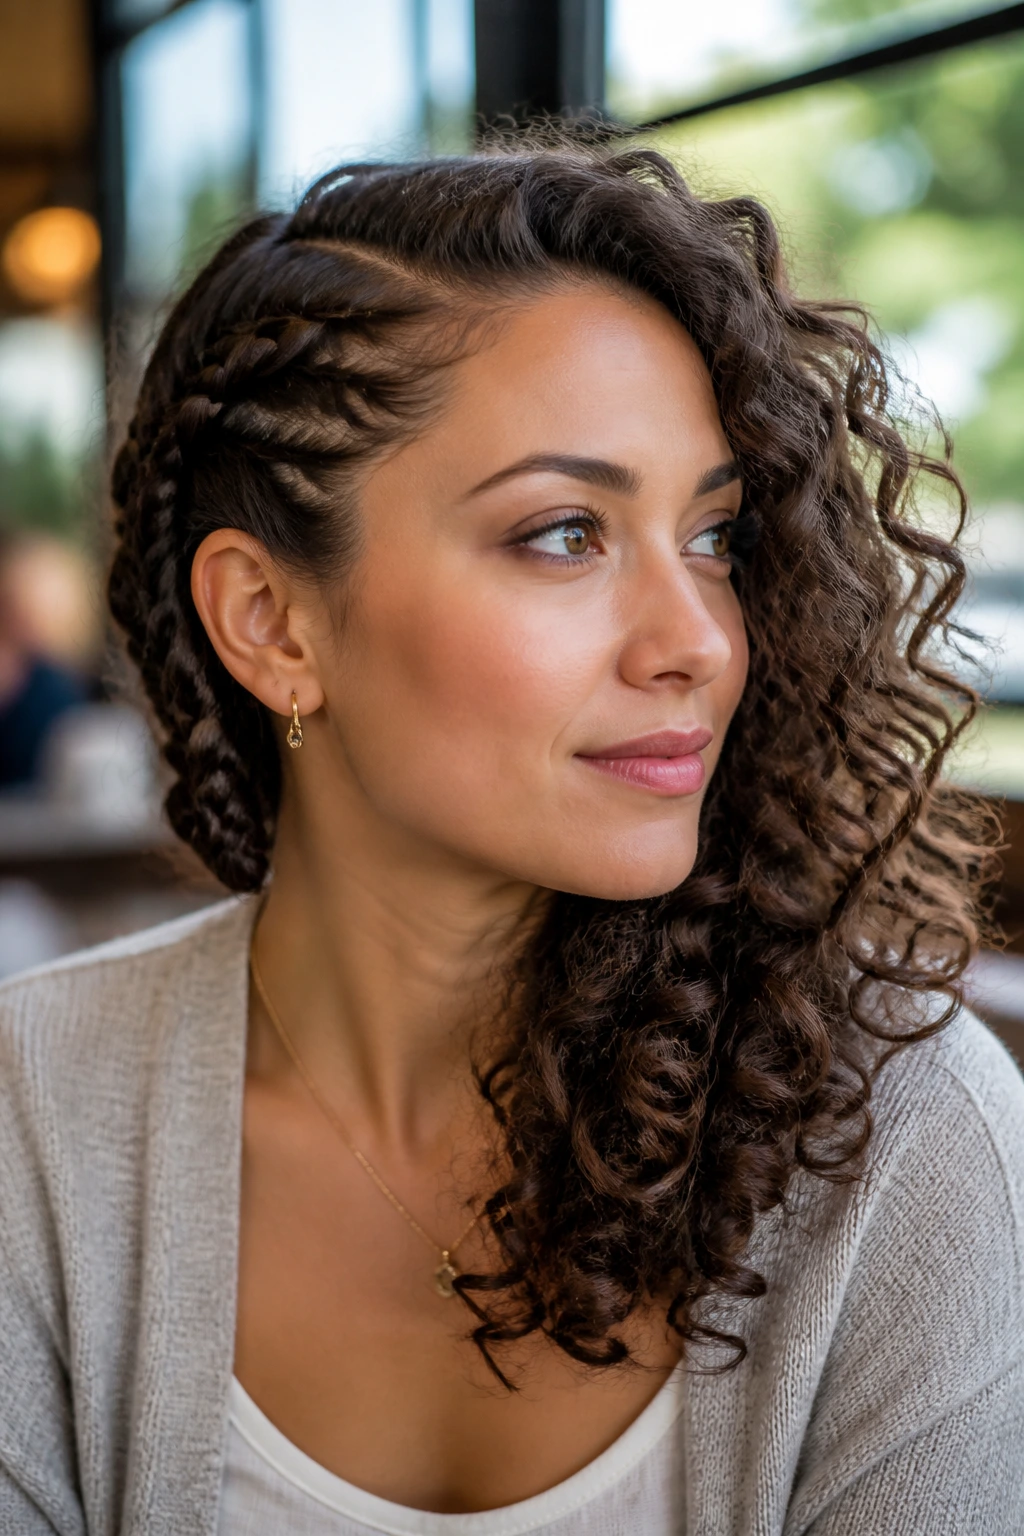
This style is all about contrast. One side gets a braid that starts near the temple and travels down toward the ear or jawline. The other side stays loose, full, and curly. The braid gives your medium-length curls a line to follow, while the open side keeps the volume alive.
It works especially well when the hair has a bit of second-day texture. Fresh curls can be too slippery for a braid to hold its shape. On day two, they have enough grip to stay put without getting rough. Keep the braid medium-sized, not skinny. A tiny braid can look like an afterthought. A braid with a little width looks like design.
If you wear glasses or want one side of the face more open than the other, this is a smart choice. It quietly sharpens the whole look. No heavy pins. No elaborate setup. Just one side doing something different.
10. Space Buns with Springy Ends
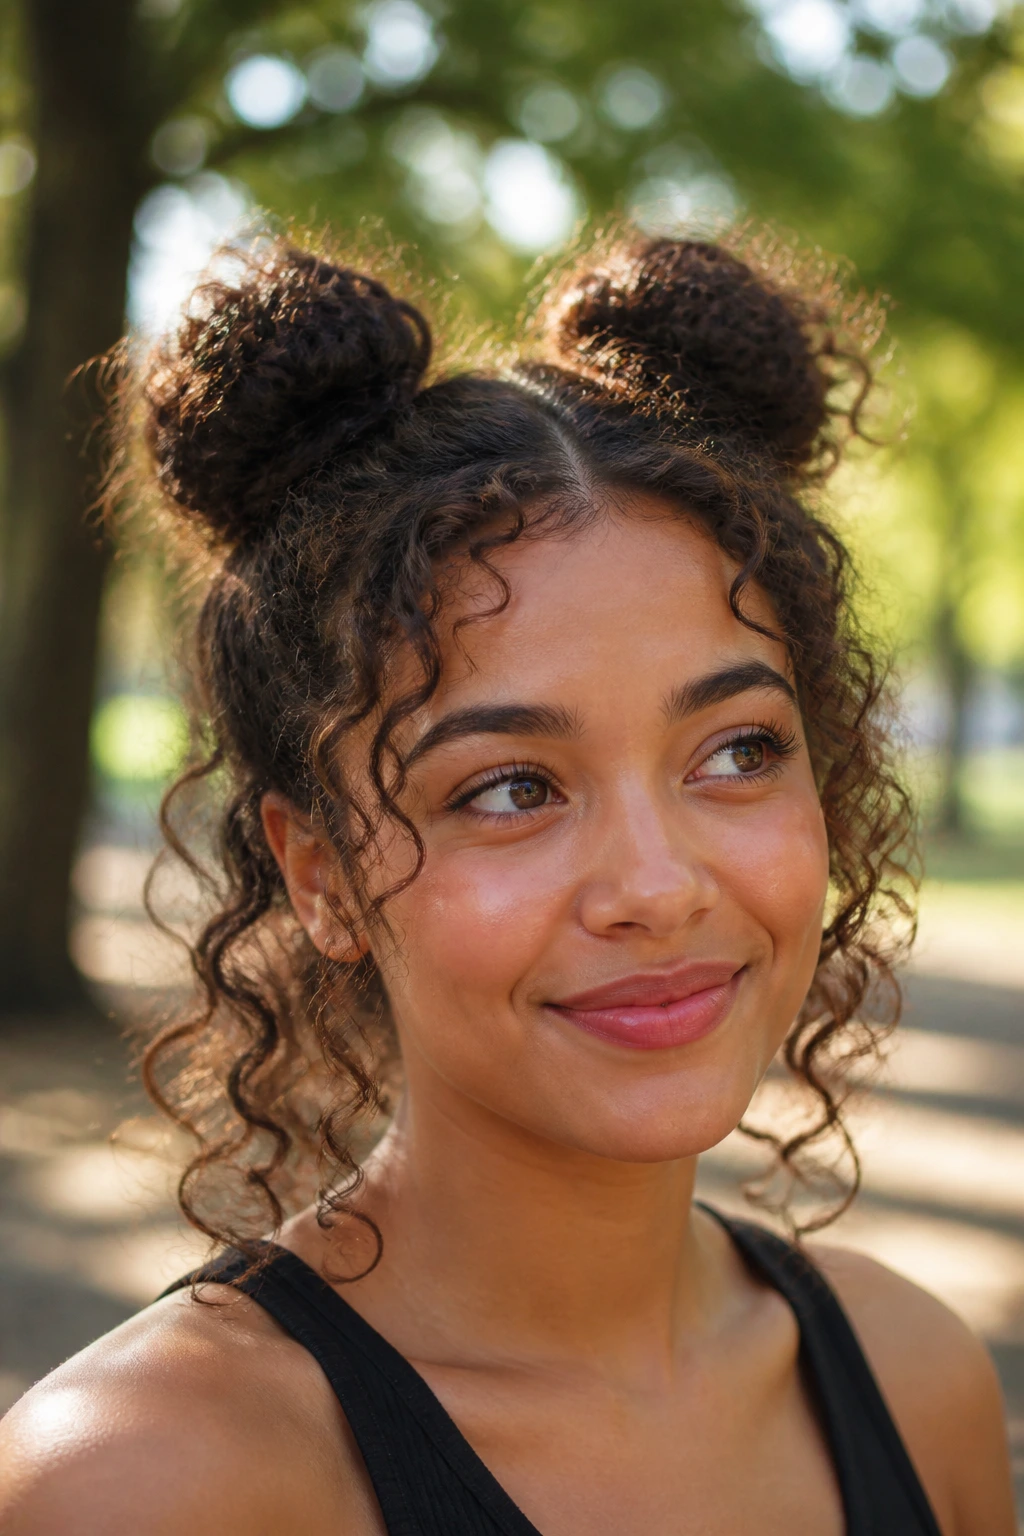
Space buns on medium-length curls can veer childish fast, so the trick is restraint. Keep the buns small, placed a little above the ears or closer to the crown, and let the ends spill out in curly tails instead of tucking everything away.
That detail matters. The loose ends keep the style from looking costume-like. Split the hair into two equal sections, twist each side loosely, and secure the buns with soft elastics or small clips. Don’t smooth the whole head into submission. A little lift at the roots and a few escaped curls make the shape feel modern.
This is the look I’d choose on a humid day when the hair is bigger than planned and you want to turn that into the point. It handles volume instead of hiding from it. That’s usually where curls look best.
11. Sleek Wet Look with Curly Length
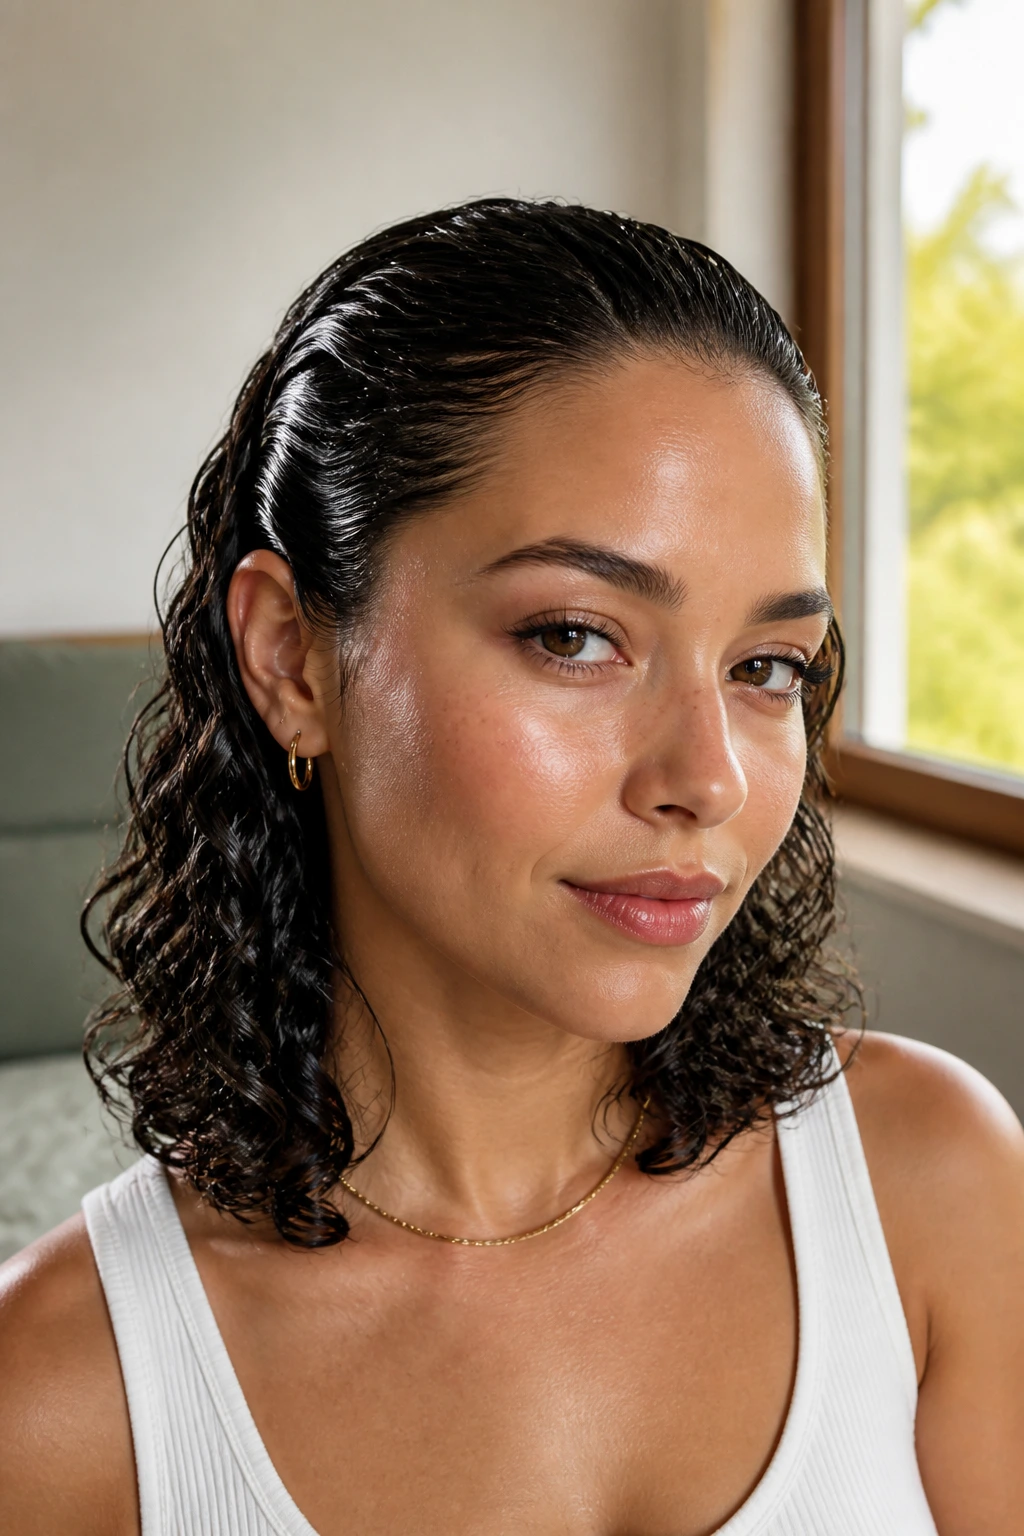
A wet look can work on medium curls if you stop before it turns helmet-like. The crown and sides are smoothed back with gel, while the length stays curly, coiled, or softly waved enough to keep texture at the ends.
Apply gel to very damp hair, then use a fine-tooth comb or brush to direct the front away from the face. Keep the product concentrated at the roots and top layer, not the whole head. The goal is sheen and control, not a shell. Finish by scrunching the ends lightly so they hold shape instead of lying limp.
This style is strongest when you want a sharper finish and the curls need to be visible at the same time. Fine curls can look especially good here because the smooth root makes the length seem fuller. Thick curls can wear it too, but they need a stronger hold and a careful hand.
12. Deep Side Sweep with Bobby Pin Sweep
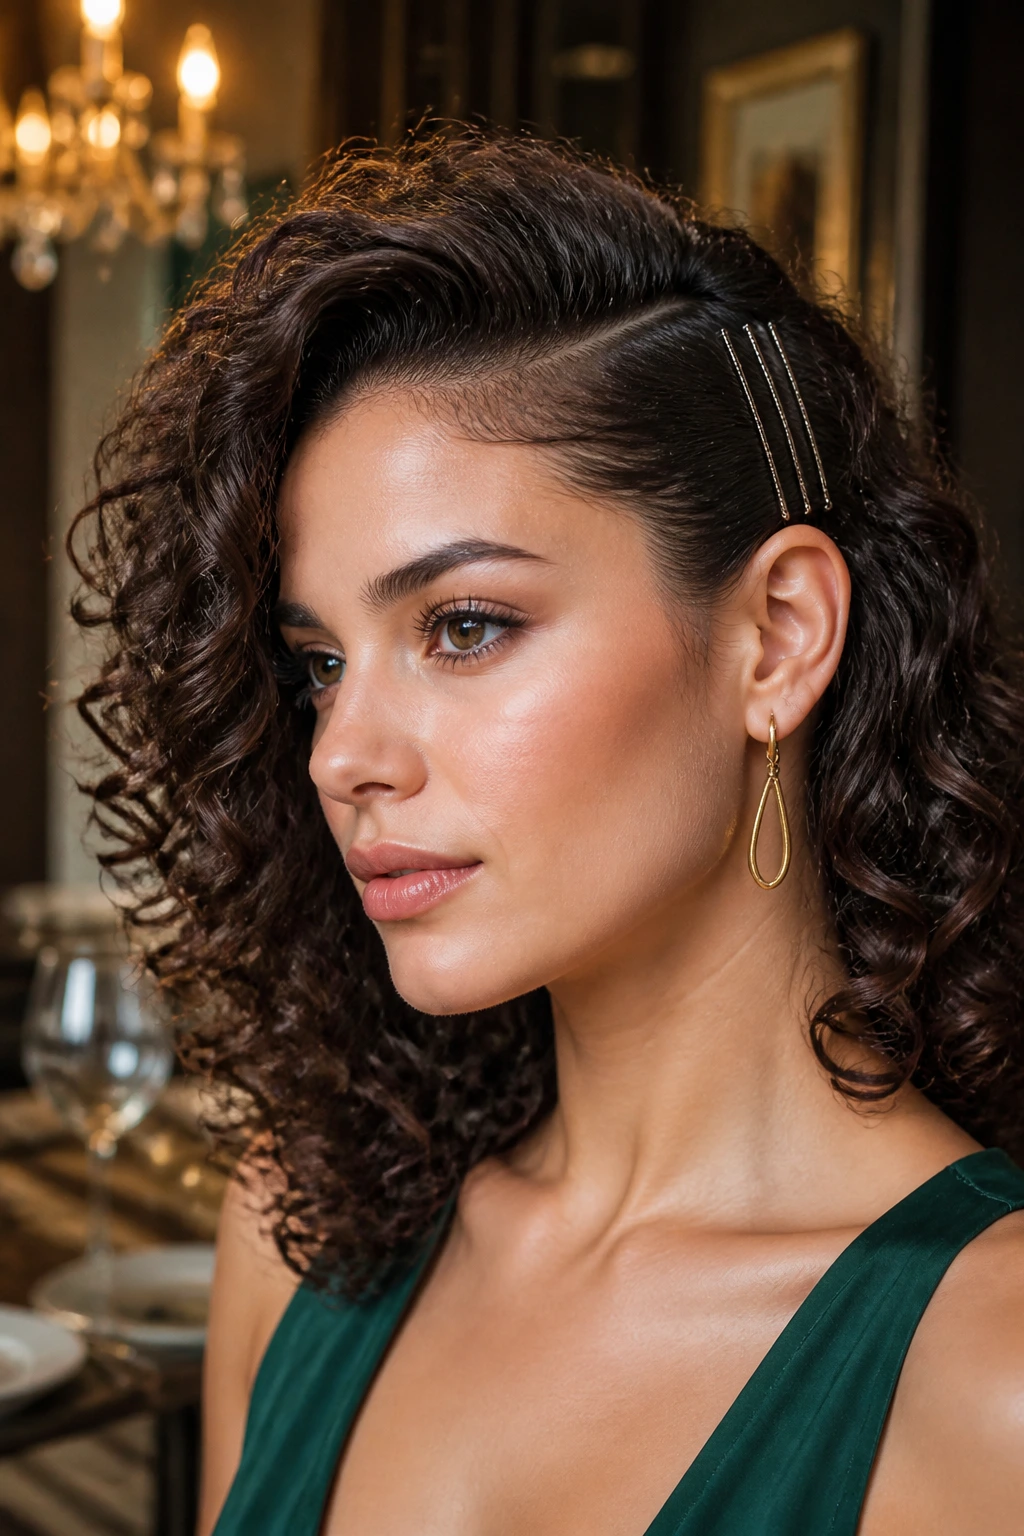
This is old-Hollywood energy without the old-Hollywood fuss. All the curls sweep to one side, the other side stays sleek or softly tucked, and a line of bobby pins keeps the shape locked in place behind the ear or along the nape.
The side sweep works best when the hair has enough length to drape across the shoulder. Medium curls do that beautifully. The curve of the hair becomes part of the style. Use pins that match your hair color if you want them quiet, or go for a jeweled pin if you want the side to read as a feature rather than a fix.
I like this style for dinners, events, and photos because it creates a strong shape from the front and a clear silhouette from the side. It also keeps one ear open for earrings, which is never a bad thing.
13. Twisted Mohawk Half-Up
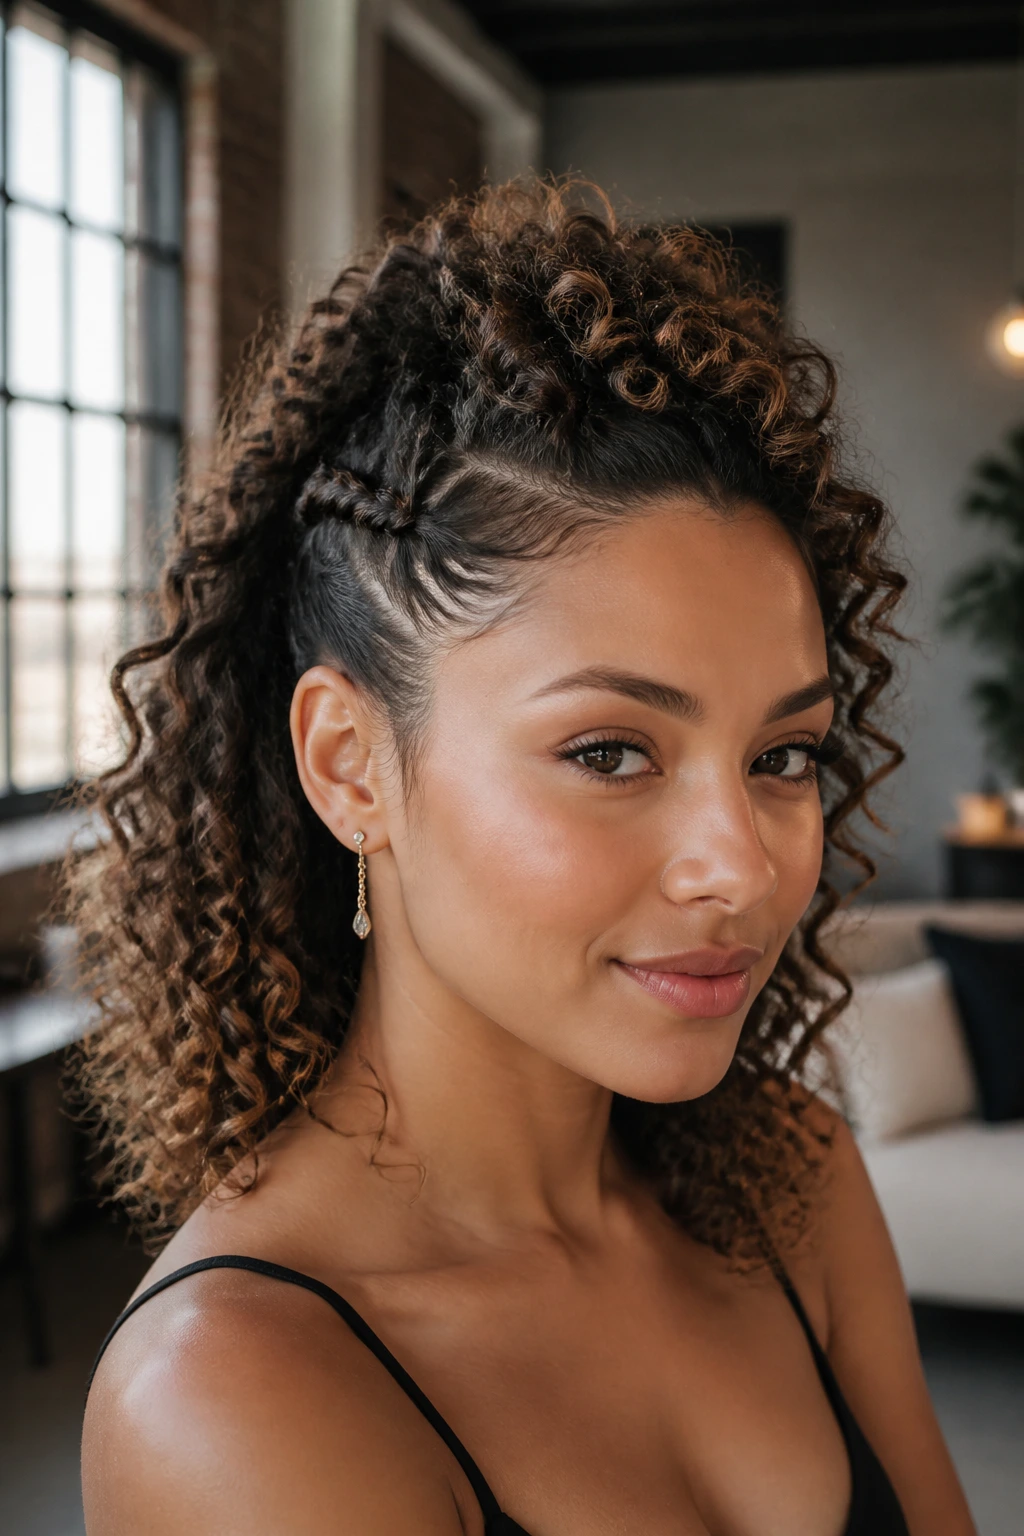
A twisted mohawk sounds louder than it is. The sides get twisted upward toward the center strip, then pinned so the middle section rises into a soft ridge of curls. The look has edge, but it still lets medium-length hair move.
Keep the twists close to the scalp at the temples and looser as they travel back. That gives the crown lift without making the whole thing stiff. If your curls are thick, secure each twist with two pins crossed under the hair. If they’re fine, a small clip can hold the center better than several loose pins.
Best for volume: this one does not hide density. It shows it off.
Best for a quick mood change: if the hair is flat or one side is not cooperating, this style turns imbalance into shape instead of hiding it.
14. Bubble Ponytail on Defined Curls
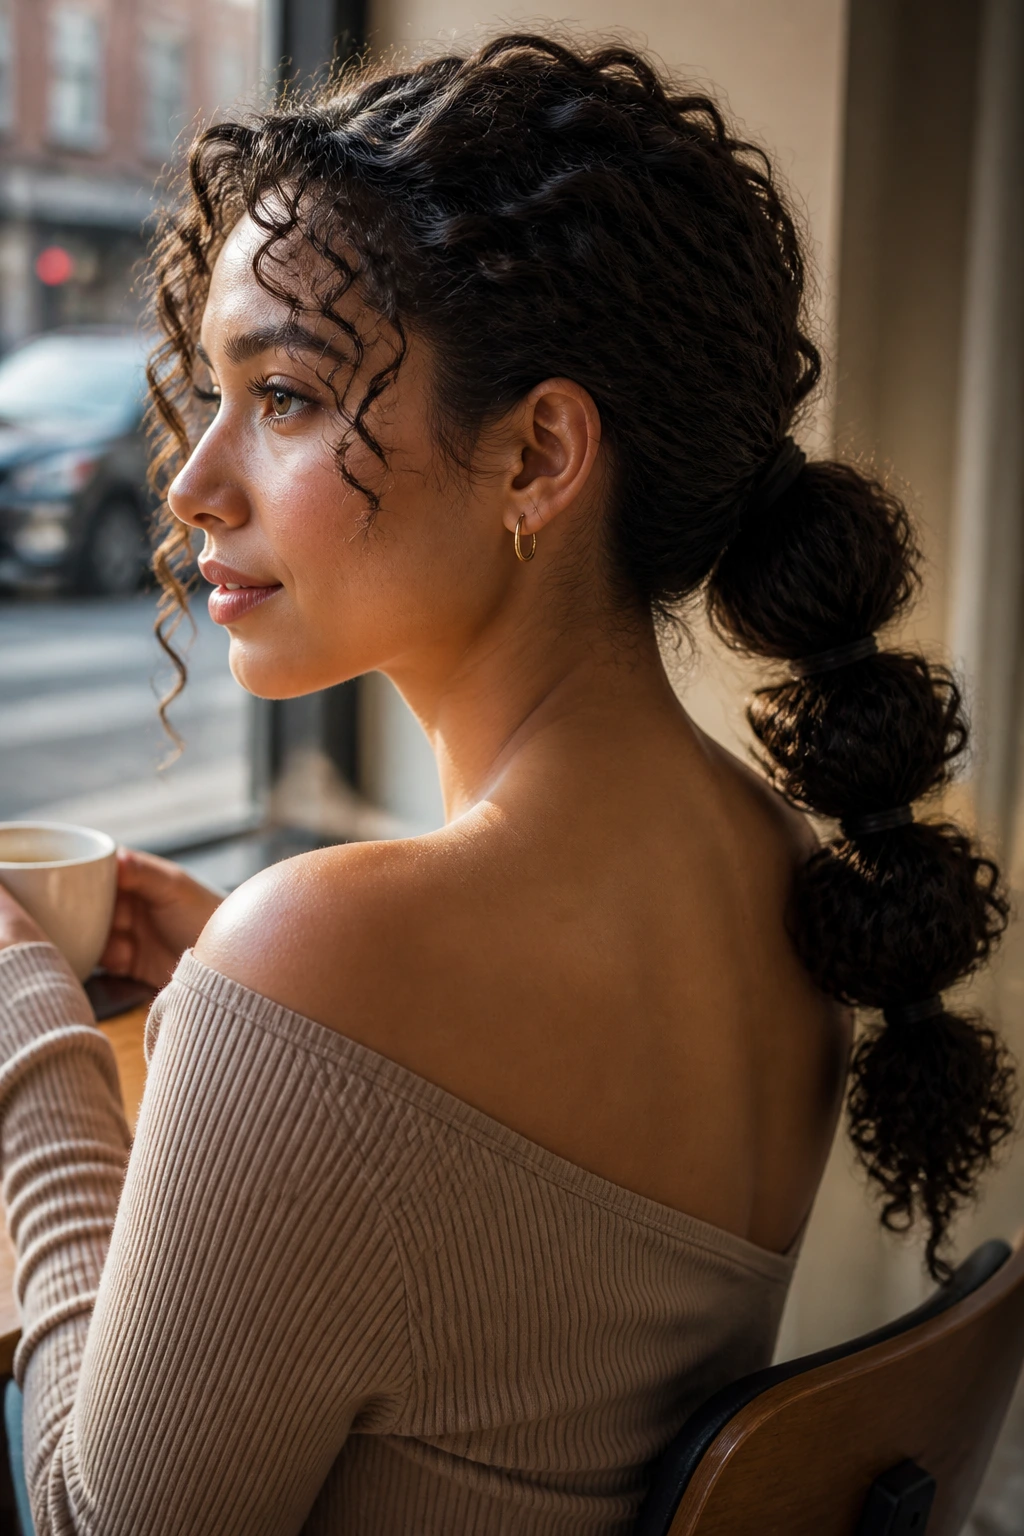
A bubble ponytail gives medium curls a structure that a regular ponytail does not. After you gather the hair into a mid or low ponytail, place clear elastics every 2 to 3 inches down the length and tug each section lightly to puff it into a rounded “bubble.”
The hair between the elastics needs a little curl definition first, or the bubbles look messy in the wrong way. Use mousse or a small bit of gel on the ponytail before you start. The shape works especially well when the curl pattern is visible and the ponytail has enough thickness to hold the bulges.
It’s one of the few styles that can feel playful without losing polish. On medium length, the bubbles stay visible instead of collapsing under their own weight. That’s the whole magic. Small haircut, big payoff.
15. Low Curly Bun with Tendrils
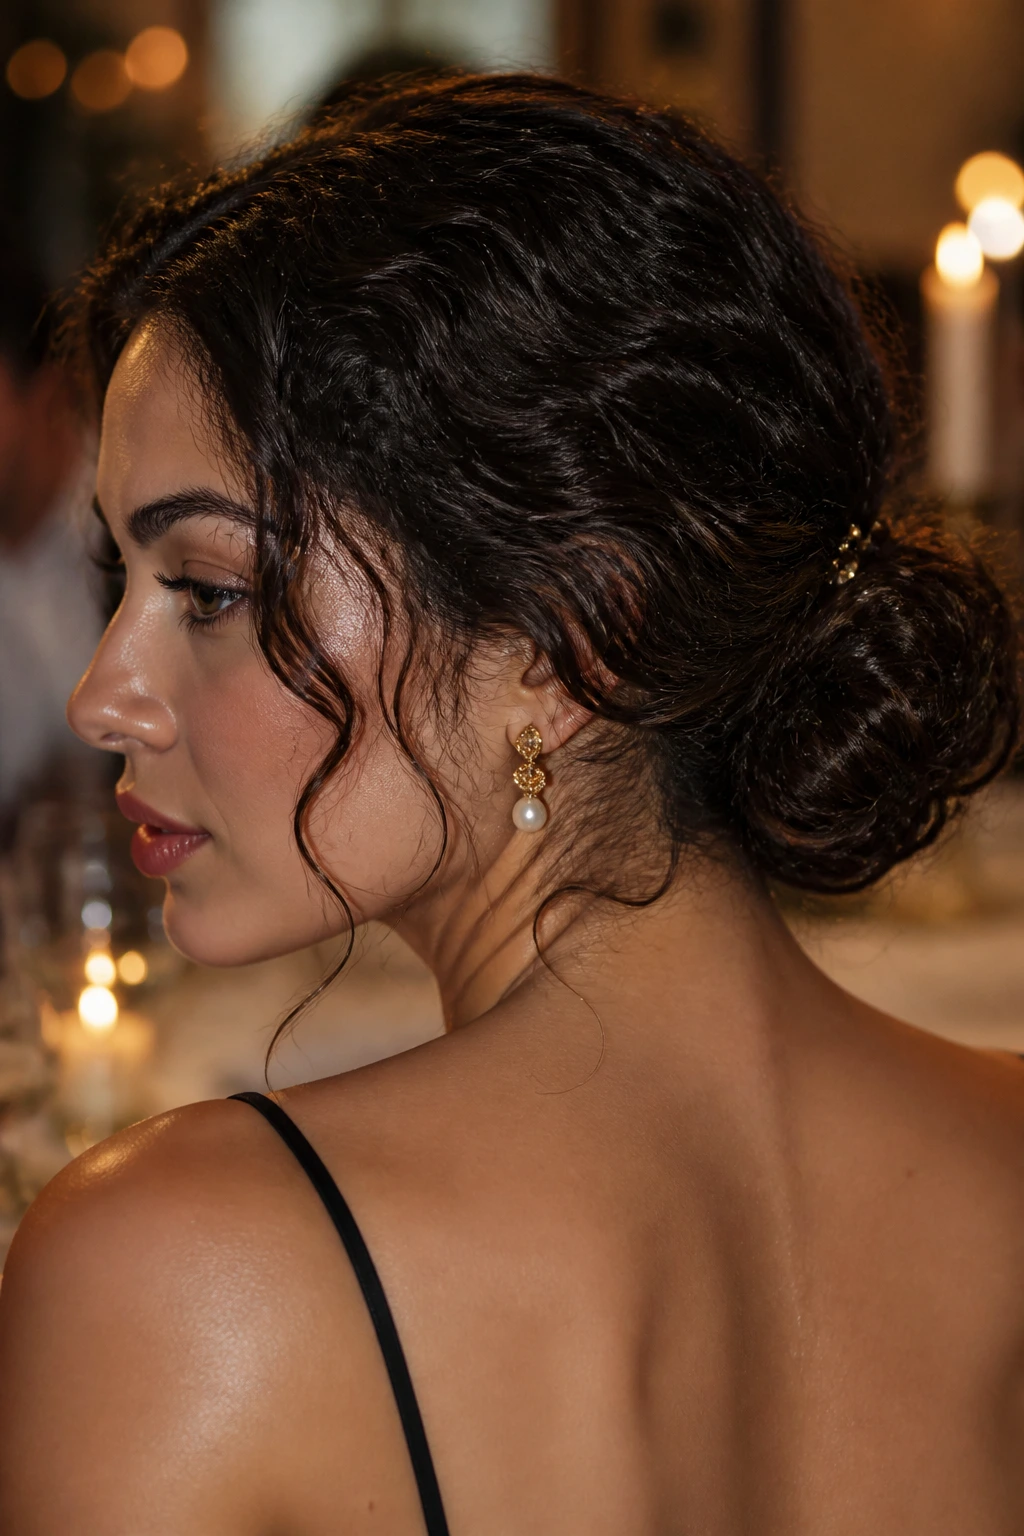
A low bun on curls should never look like you tried to erase the hair. Keep the bun at the nape, let a couple of tendrils fall around the face, and pull out one soft piece near the neck so the shape doesn’t feel too sealed off.
The bun can be a twist-and-pin or a loose coil secured with U-pins. If your curls are layered, tuck the shorter pieces under the bun instead of fighting them into place. A touch of spray at the base helps, but don’t drown it in product. You want the bun to hold, not harden.
This is the style I’d choose for a formal dinner or a humid evening when you want your hair off the neck. It’s tidy, but not stiff. That difference matters more than people think.
16. Tucked French Twist for Natural Texture
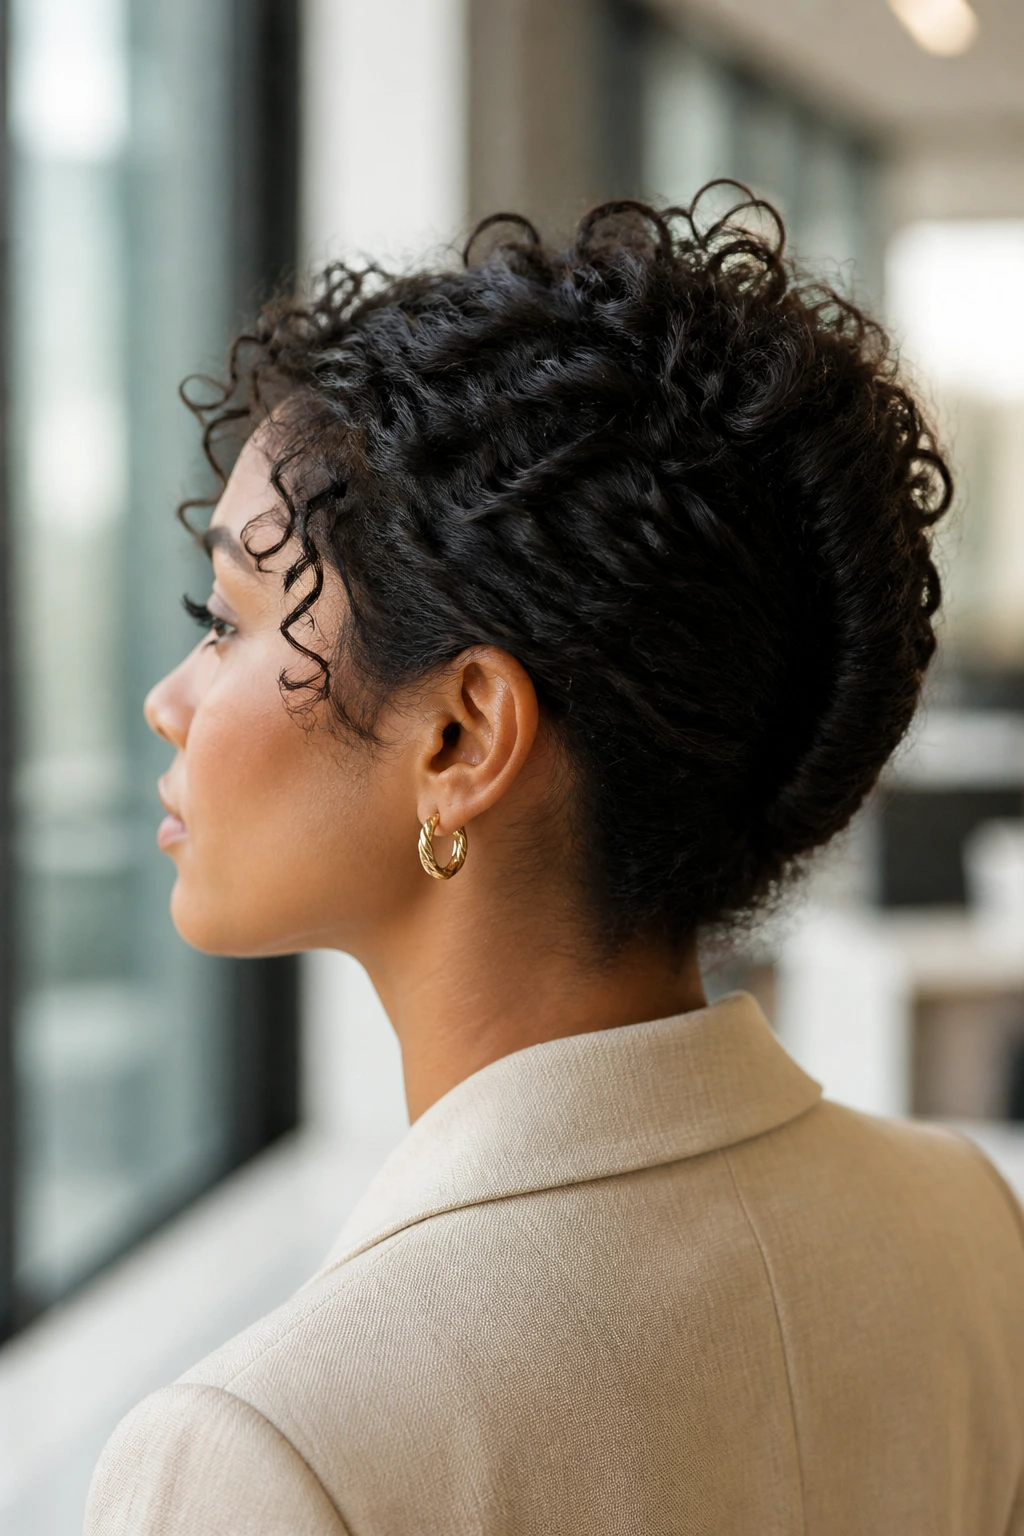
A tucked French twist works beautifully on medium curls because the shape is already there. You roll the hair upward, tuck the ends in, and pin the length down the seam. The result is cleaner than a bun and softer than a slick twist.
Use plenty of grip if your hair is slippery. Dry shampoo at the roots, a little texture spray through the mid-lengths, or a touch of mousse can help the pins stay put. I would use U-pins here before reaching for a pile of regular bobby pins. They disappear better and hold the twist from the inside.
This style has a quiet formality to it. It can handle a blazer, a dress, or a plain sweater and still feel deliberate. If a few curls spill at the top, leave them. They stop the twist from looking too rigid.
17. Scarf-Tied Ponytail
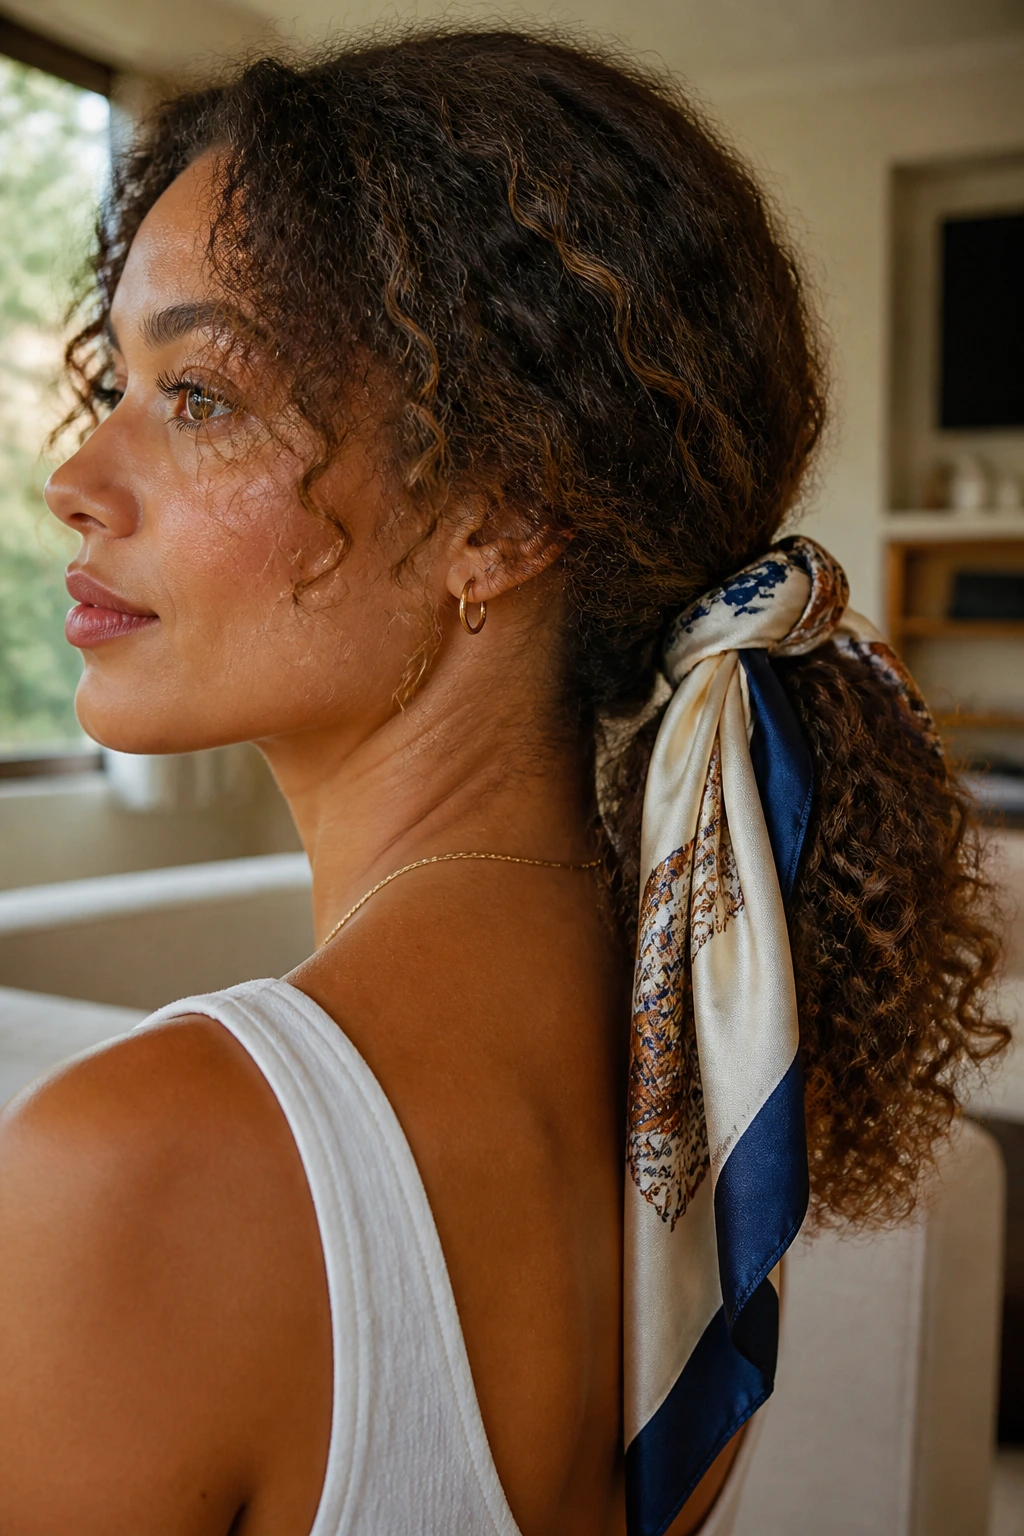
A scarf tied around a ponytail does more than decorate it. It changes the line of the whole style. On medium-length curls, a silk or satin scarf can sit at the base of a low pony, trail down the back, or wrap through the tie point to add color and movement.
Start with a low or mid ponytail and secure it as usual. Then knot the scarf around the base, leaving the tails long or tucking them under, depending on how much color you want to show. If the curls are dry at the ends, let the scarf cover part of the elastic so the frizz looks intentional. It’s a neat trick.
This style is good when the outfit needs one extra thing and the hair should help, not fight. A printed scarf can make a plain white shirt look done. A dark silk one keeps things quieter.
18. Headband Halo with Loose Volume
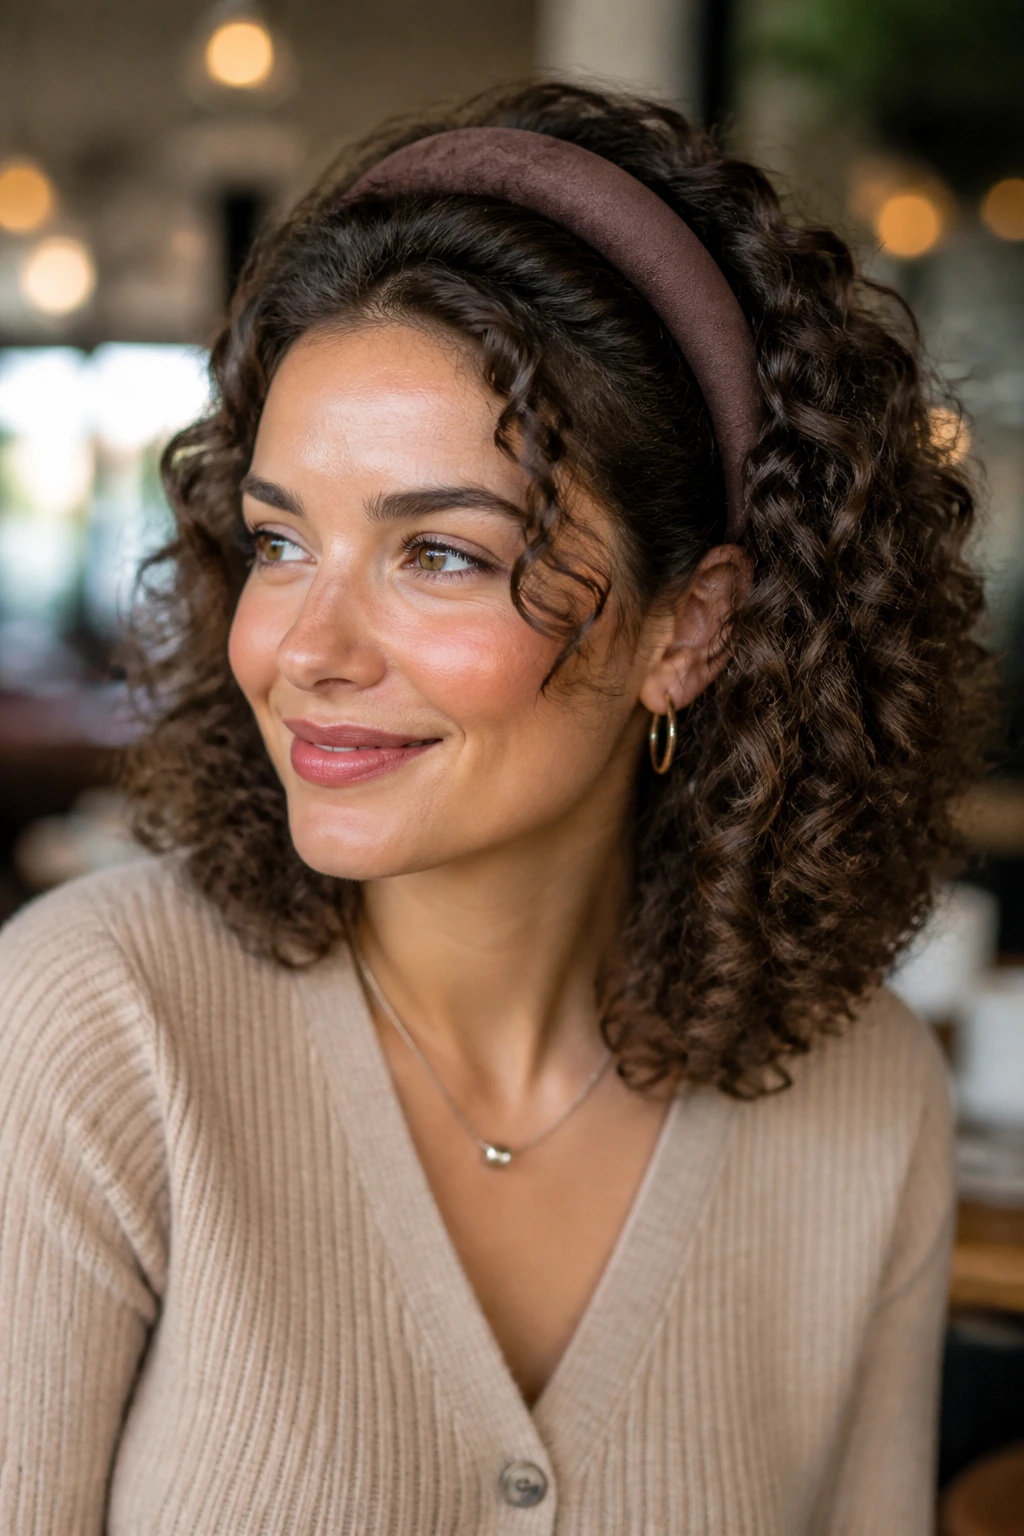
A headband gives medium curls a frame, but only if you place it a little behind the hairline rather than pressing it flat against the forehead. That small shift keeps the crown lifted and the front curls soft instead of smashed.
Choose a padded headband for a slightly dressier read, or an elastic one if you want the style to feel casual. Push the curls back lightly at the sides, then lift a few crown pieces with your fingers so the top keeps height. If your hair tends to slip, add a tiny bit of powder or dry shampoo at the roots before you put the headband on.
I like this look on days when the face needs to feel open but the curls still need to move. It works with chunky sweaters, office clothes, and even a simple tee. It’s one of those rare styles that looks neat without looking tight.
19. Pin-Back Crown Puff
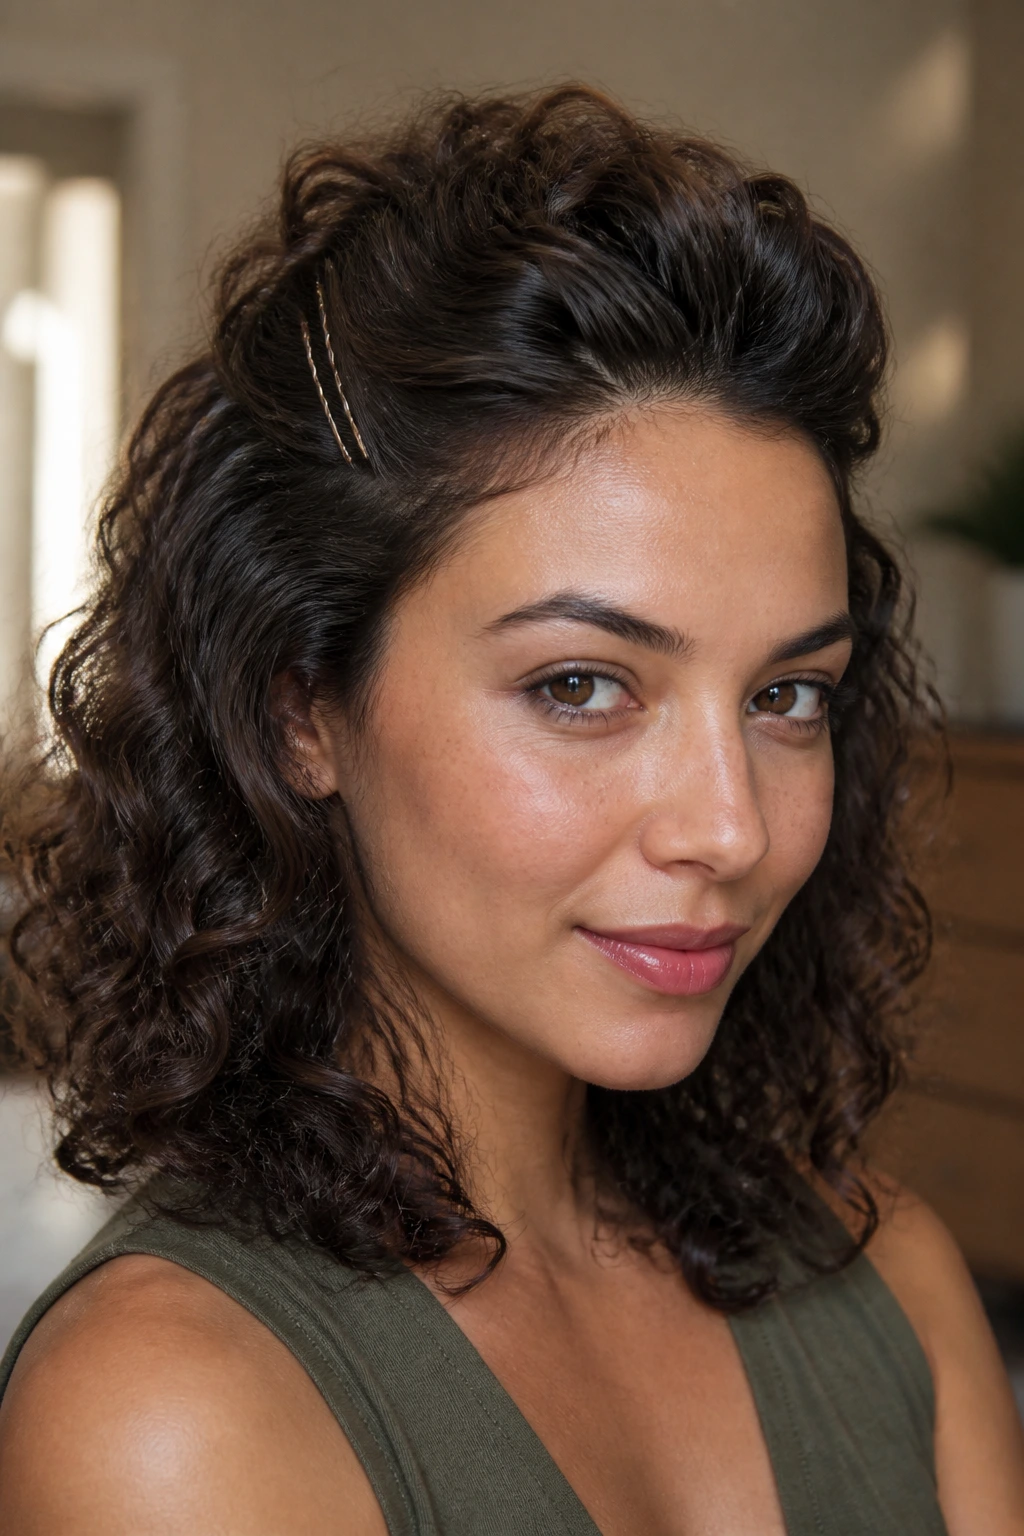
This one is all about lift. You pin back small sections at the temples and just above the ears, leaving the rest of the curls free so the crown gets a puffed-up shape without turning into a full updo.
Use two or three pins on each side, placed slightly diagonally so they catch the hair securely. The pinned section should sit flat enough to hold but loose enough that the root still has air. If your curls are dense, a small amount of smoothing cream at the top keeps the pinned area from frizzing out while the lengths stay full.
Best when you want cheekbones and volume at the same time. The eye goes up first, then out.
This style also plays nicely with side parts and soft makeup because the top has enough height to balance the face. It’s a good one to keep in your back pocket.
20. Retro Side-Swept Waves and Curls
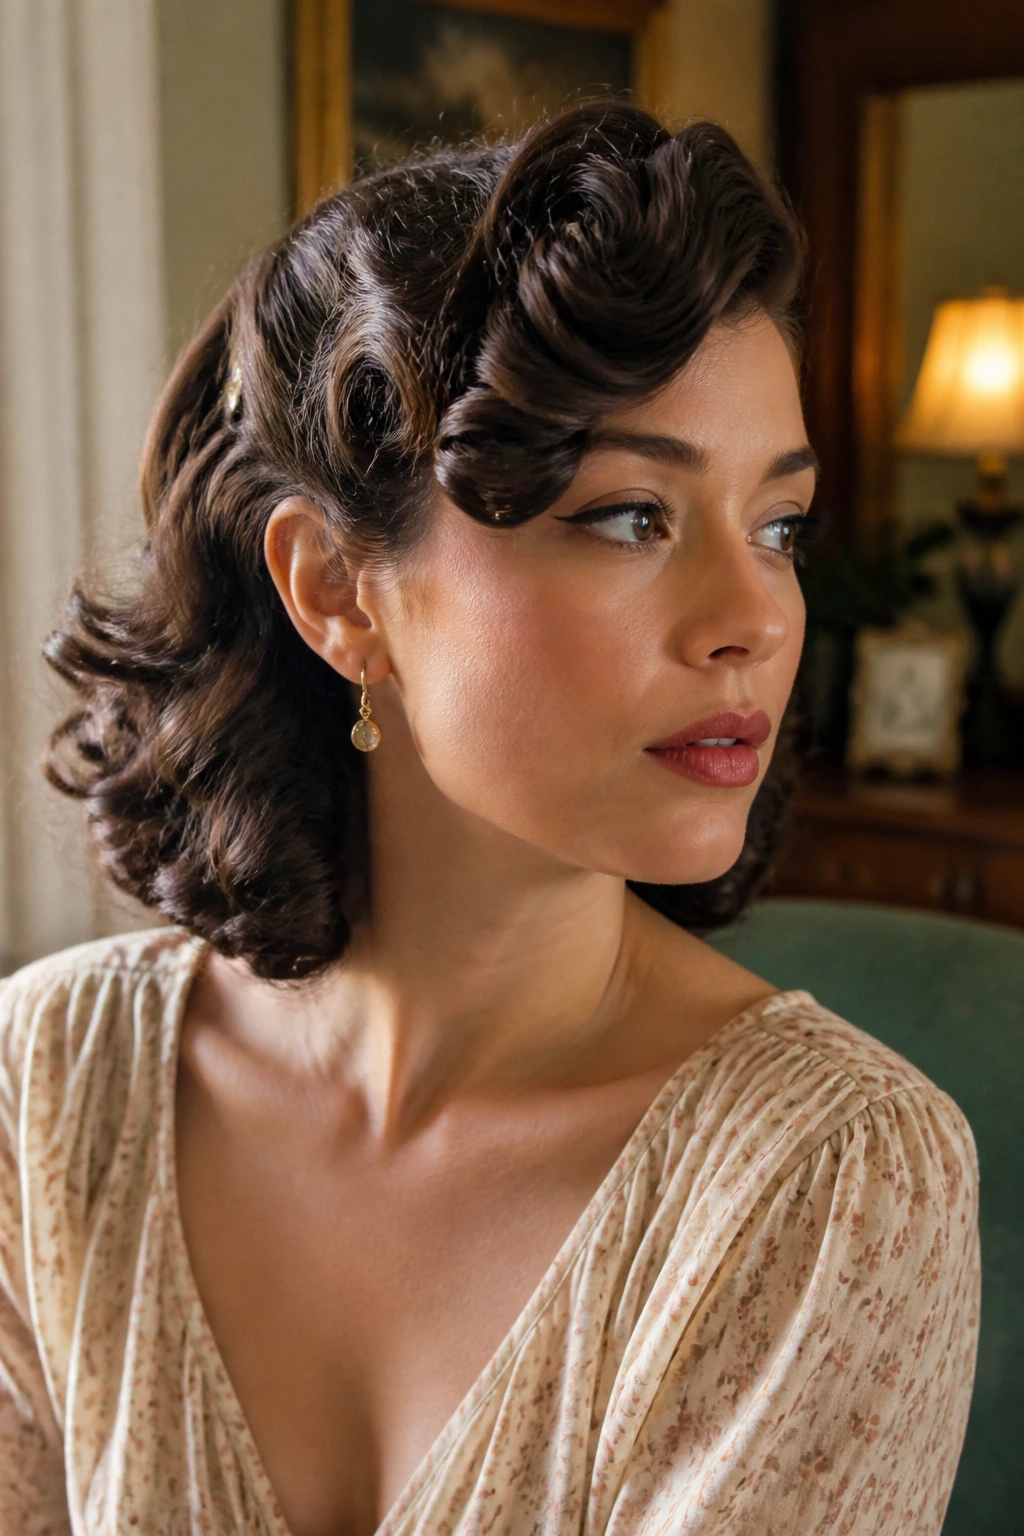
Retro side-swept curls have a strong shape and a soft finish, which is a combination I almost never get tired of. Sweep the front section across the forehead and over to one side, then pin it low or let it tuck behind the ear while the rest of the curls fall in loose waves.
A little setting lotion, a touch of gel, or even a quick pass with a diffuser can help this style keep its direction. Don’t break up the curls too much once they set. The sculpted front is what gives the style its mood; the back can stay more natural.
This one leans dressy without needing a ton of work. It’s especially good when you want the haircut itself to be visible. The side sweep makes medium-length curls look longer and more deliberate than they do in a plain down style.
21. Mini Braids into Open Curls
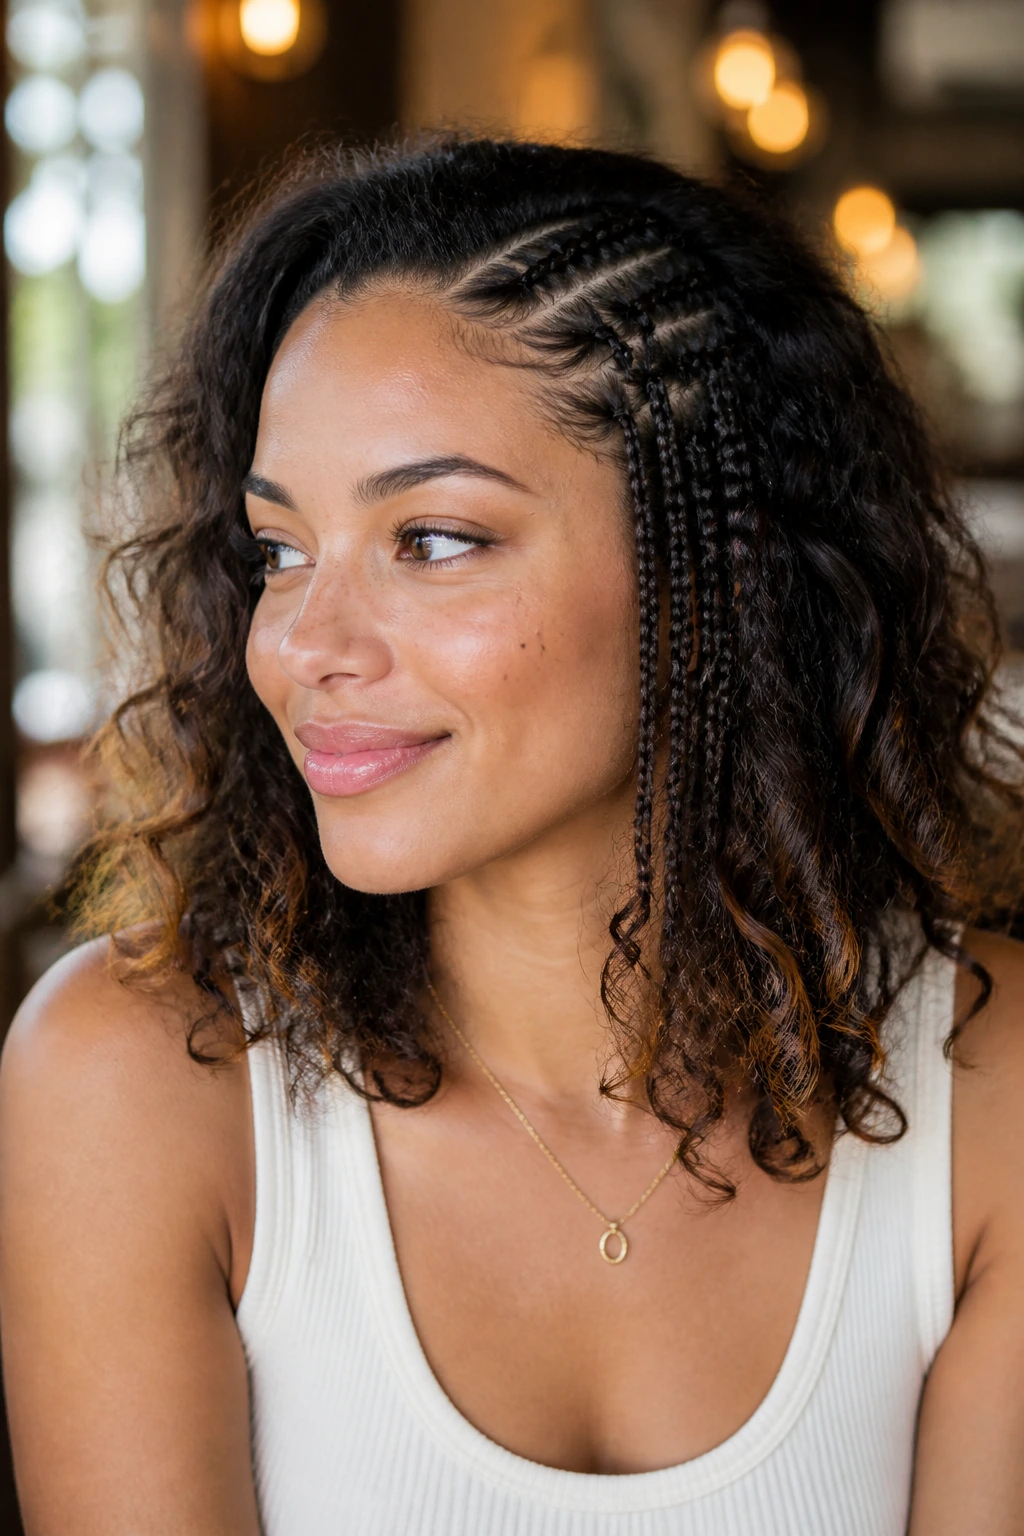
A few tiny braids can do more for medium curls than a whole complicated style. Add two, three, or four micro braids near the hairline or down one side, then let the rest of the curls stay loose and defined.
This works best when the braids are small enough to act like detail, not bulk. A braid at the temple, one near the part, or one tucked above the ear can change the whole read of the hair. Use tiny elastics if your ends are slippery, and seal the braids with a whisper of cream so they do not fray halfway through the day.
It’s a nice option when the curls are fine but you still want texture up front. It gives the style a bit of pattern without hiding the hair you came to show off.
22. Top Knot with a Curly Tail
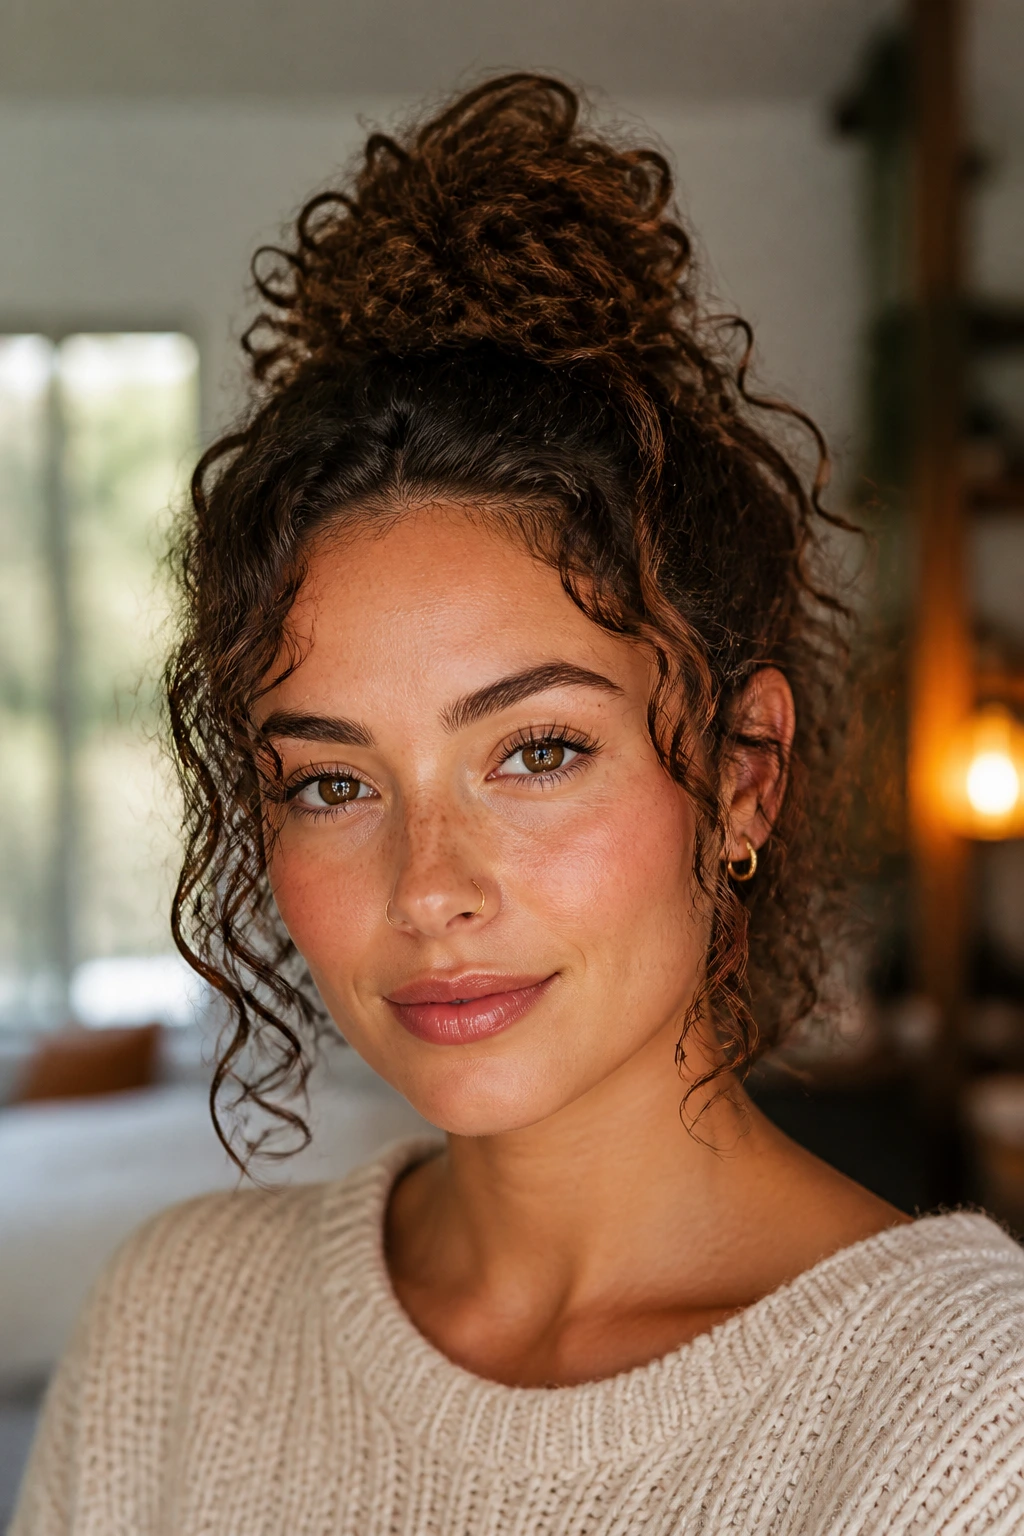
A top knot on medium curls should look a little undone on purpose. Pull the hair into a high knot, twist it once or twice, and let the ends spill out in a curly tail instead of tucking everything under.
The knot should sit high enough to lift the face, but not so high that it pulls the scalp tight. Use a satin scrunchie if you can; it holds the hair without leaving the sharp crease a thin elastic makes. A few face curls can hang loose if you want softness around the jaw.
This is a good “I need the hair up, but not erased” style. It moves with the curls instead of flattening them. And if your hair is medium length, the curly tail becomes part of the look rather than an awkward leftover.
23. Pinned-Back Asymmetrical Lob
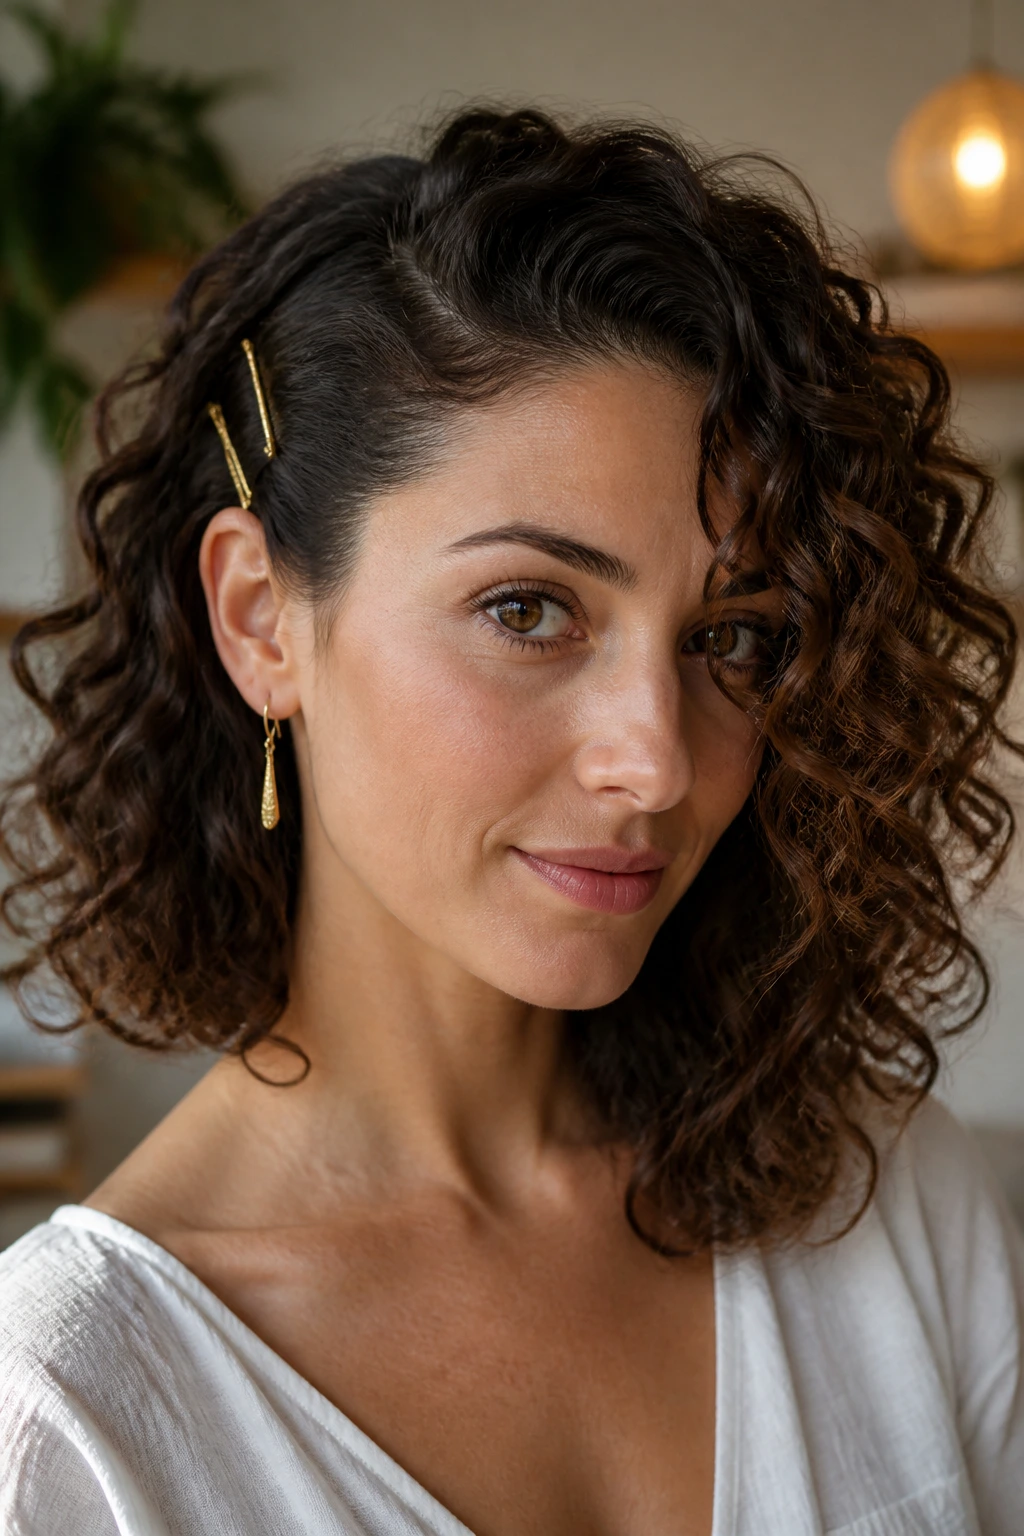
When medium curls sit near lob length, one-sided styling gives them shape fast. Pin one side back with two or three bobby pins or a statement clip, and let the other side fall freely over the shoulder.
The asymmetry makes the cut look sharper without adding work. If one side is flatter or frizzier than the other, use that side as the pinned side and stop worrying about perfect symmetry. That is often the saner move anyway. A side tuck with a strong clip can also show off earrings and neckline details in a way a centered style can’t.
This is one of the cleanest options in the whole set. It feels modern, not fussy. That matters on days when you want the curls to behave without looking overly styled.
24. Rope-Twist Half-Up Style
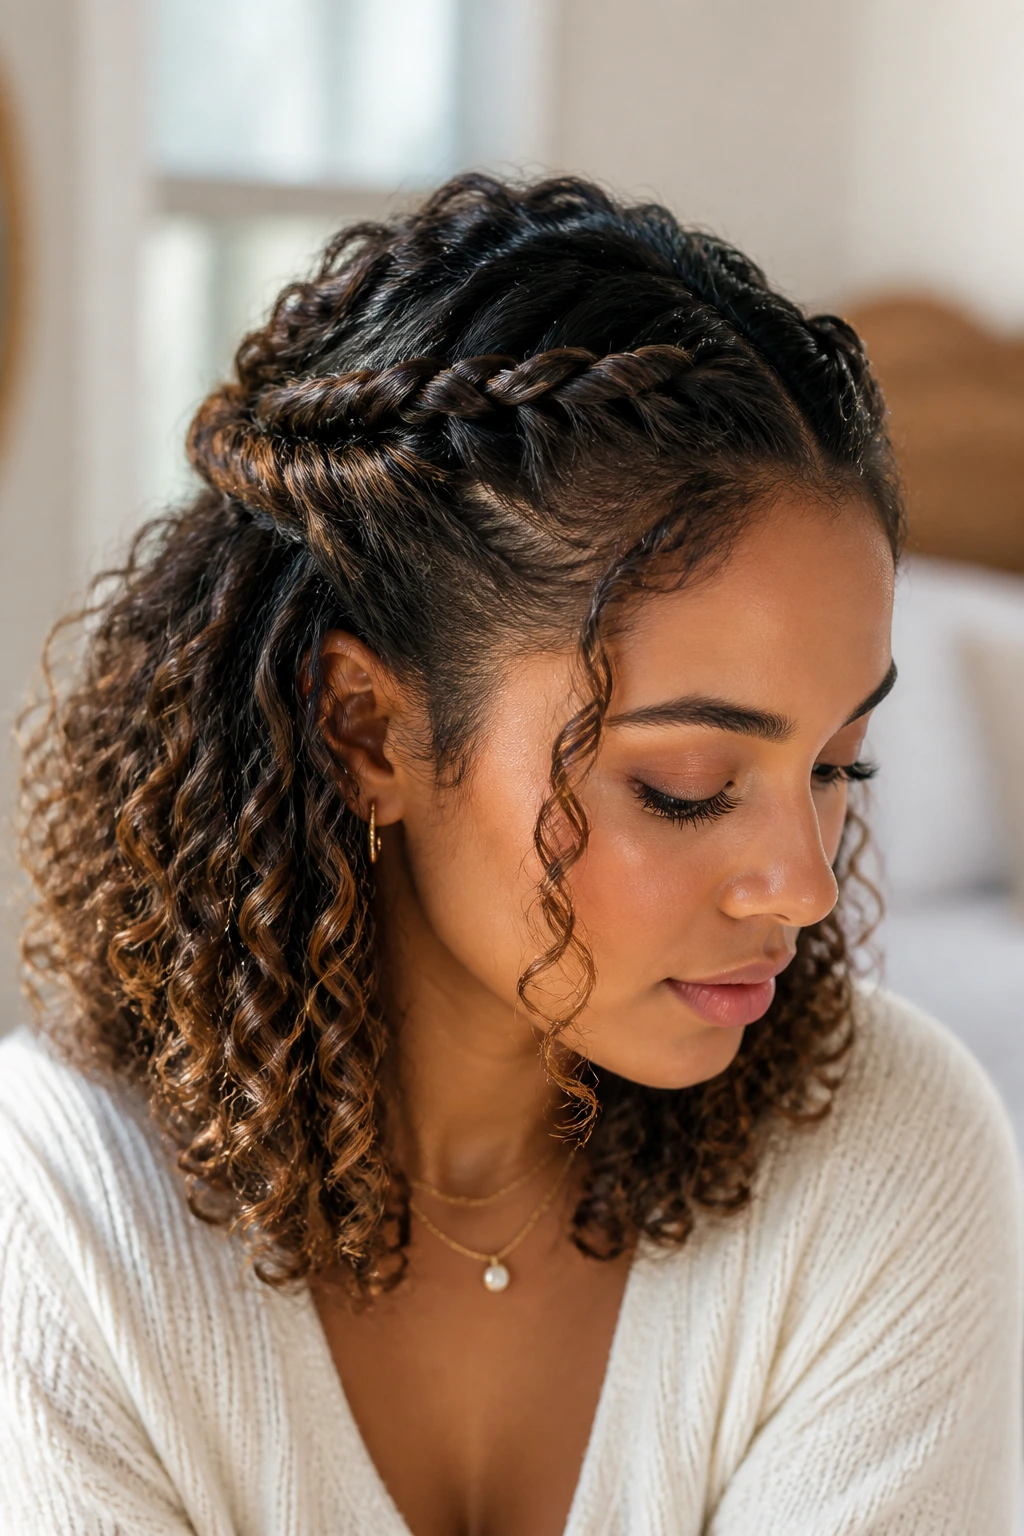
Rope twists are a good answer when a regular twist keeps slipping. Split each front section into two smaller strands, twist them in the same direction, then wrap them around each other and pin them toward the back. The spiral structure gives the style more grip than a flat twist.
This one is especially useful on hair with a lot of slip or layers that keep sliding out of a normal half-up. The rope texture catches itself a little better. Keep the twists relaxed so the crown still has height, and don’t pull the ends too tight into the pin. A tiny hidden clip under the twist can help if the hair is heavy.
The finish is neat but not rigid. It reads as thought-through without looking lacquered. That is a useful line to walk.
25. Tousled Wash-and-Go with Center Part
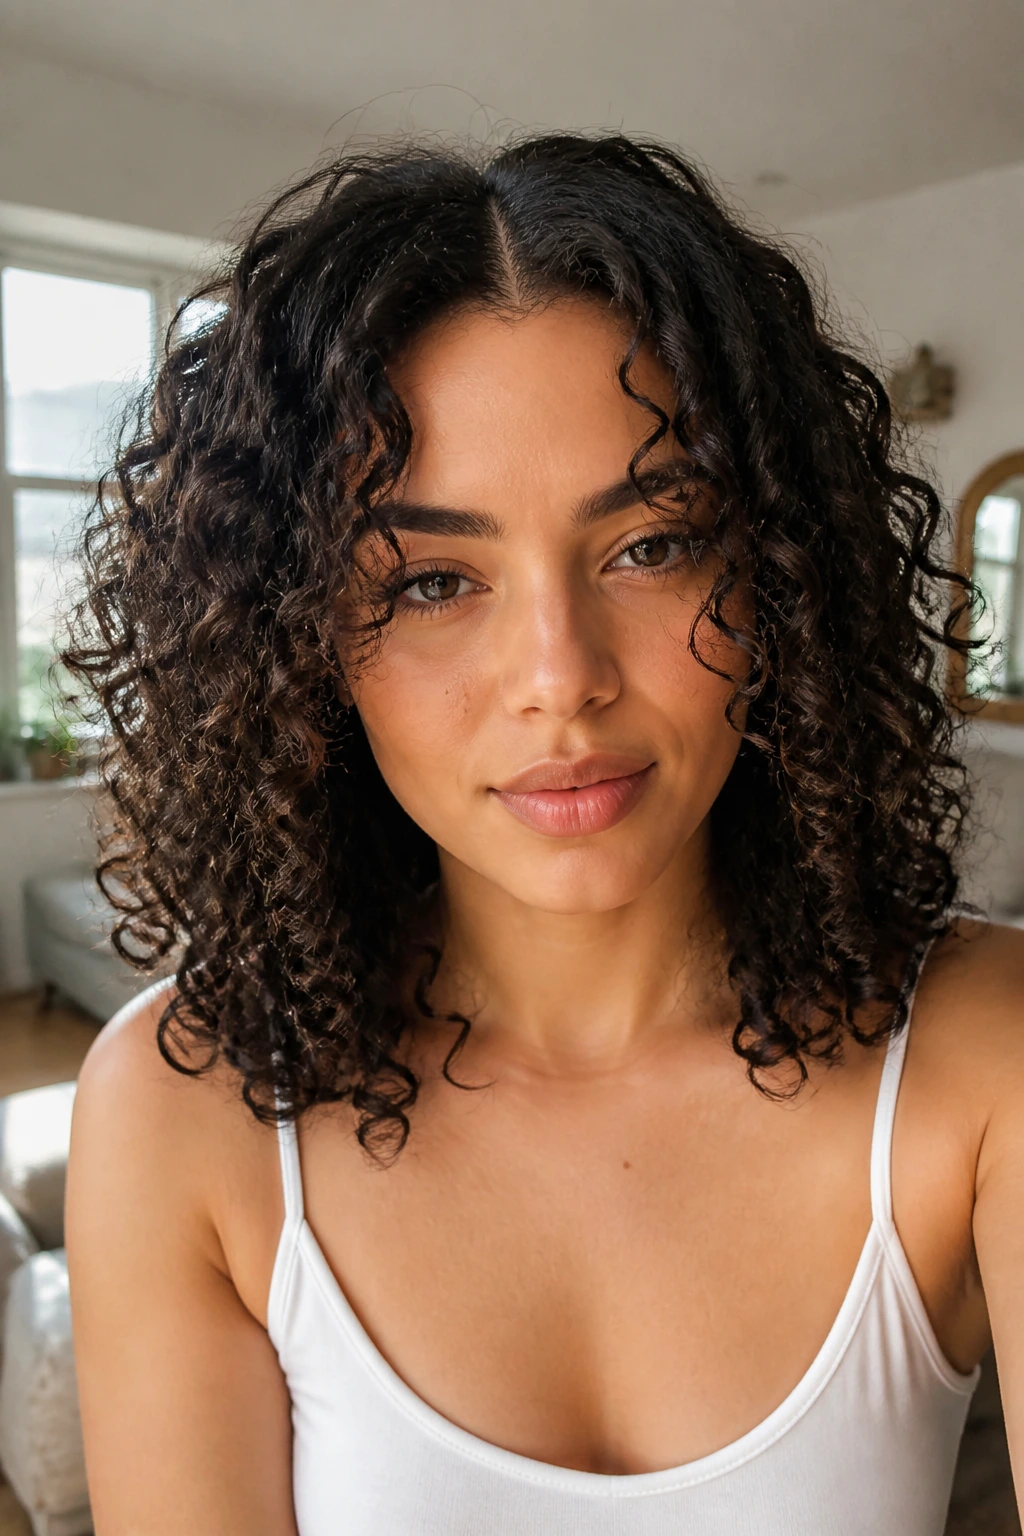
Sometimes the best style is still the curl pattern itself, just arranged more carefully. A center part, clean definition at the roots, and a little lift at the crown can turn a simple wash-and-go into a finished look that holds its own.
Use a product combo that gives you hold without crunching the hair flat. Mousse on finer curls, gel on denser ones, and a diffuser if you need the roots to rise instead of drape. Keep the part straight, then pinch a few curls around the front so the shape frames the face instead of sitting like a curtain.
Best when you want the hair to do the talking.
It’s the least fussy option here, but not the least deliberate. There’s a difference, and curls know it.
26. Statement Clip Side Tuck
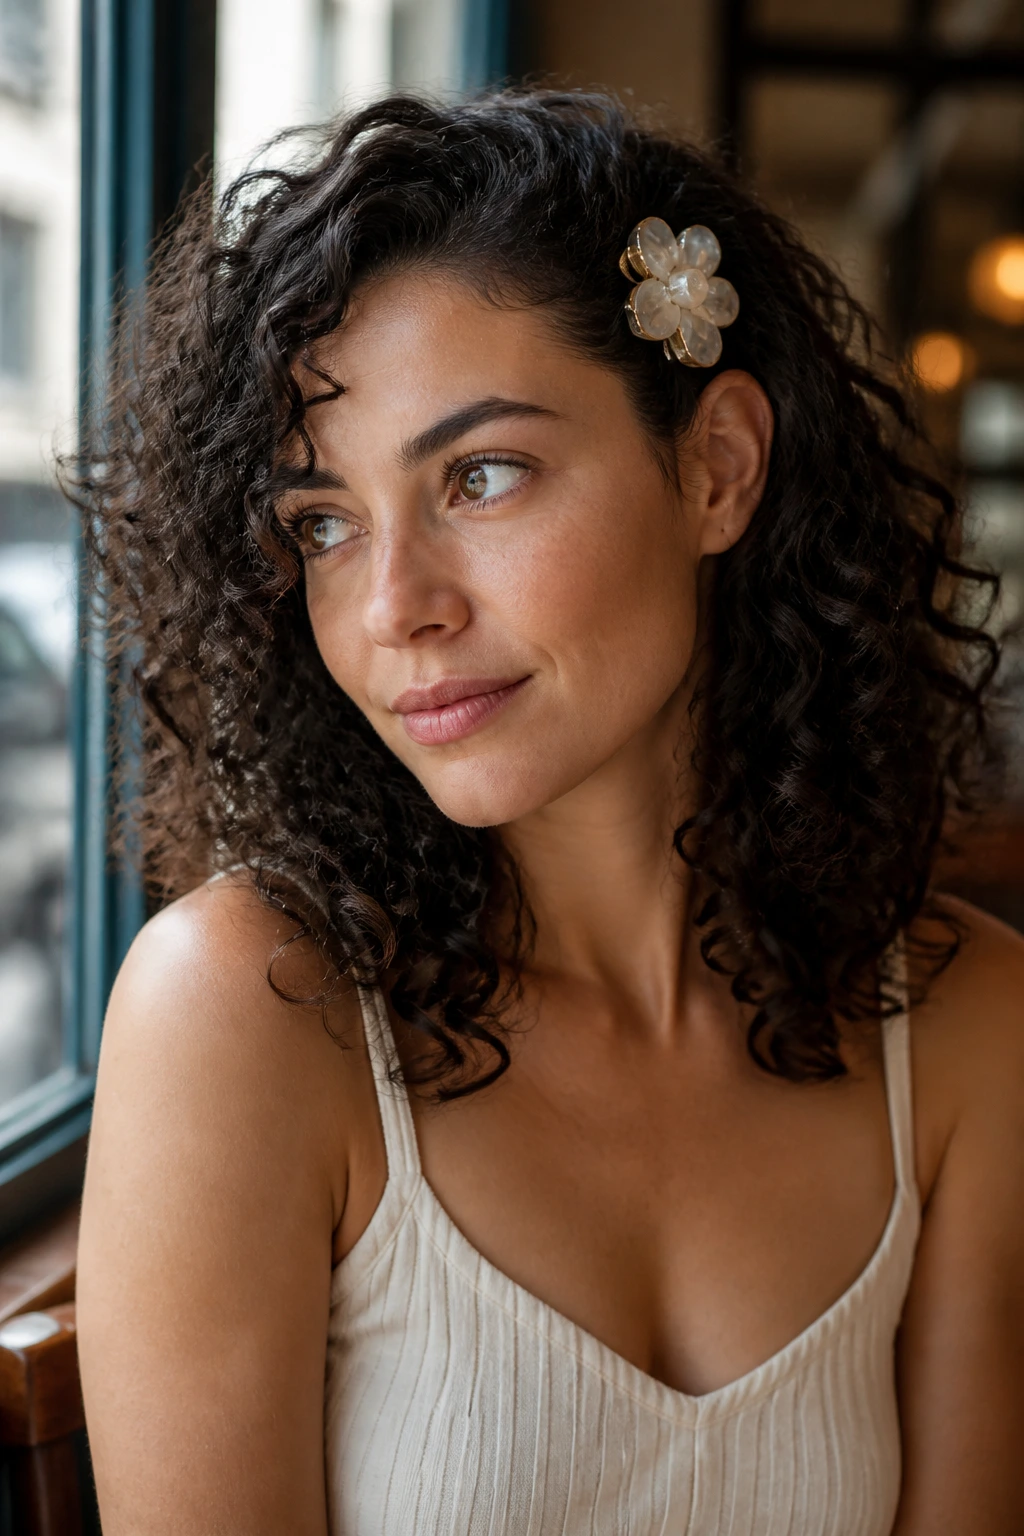
A good statement clip can do more for medium curls than a pile of pins. Tuck one side behind the ear, catch it with a large barrette or decorative clip, and leave the other side loose so the hair keeps its shape and movement.
The clip should bite into enough hair to actually hold. Thin decorative clips look pretty and fail immediately if the hair is dense. Pick one with a real clasp or claw mechanism if your curls are heavy. If the hair on the tucked side is frizzy, smooth it with a pea-size amount of cream before you clip it back.
This style is fast. That’s the point. It gives you the feeling of having planned the whole look when all you really did was choose a smarter clip.
27. Crown-Volume Curl Cascade
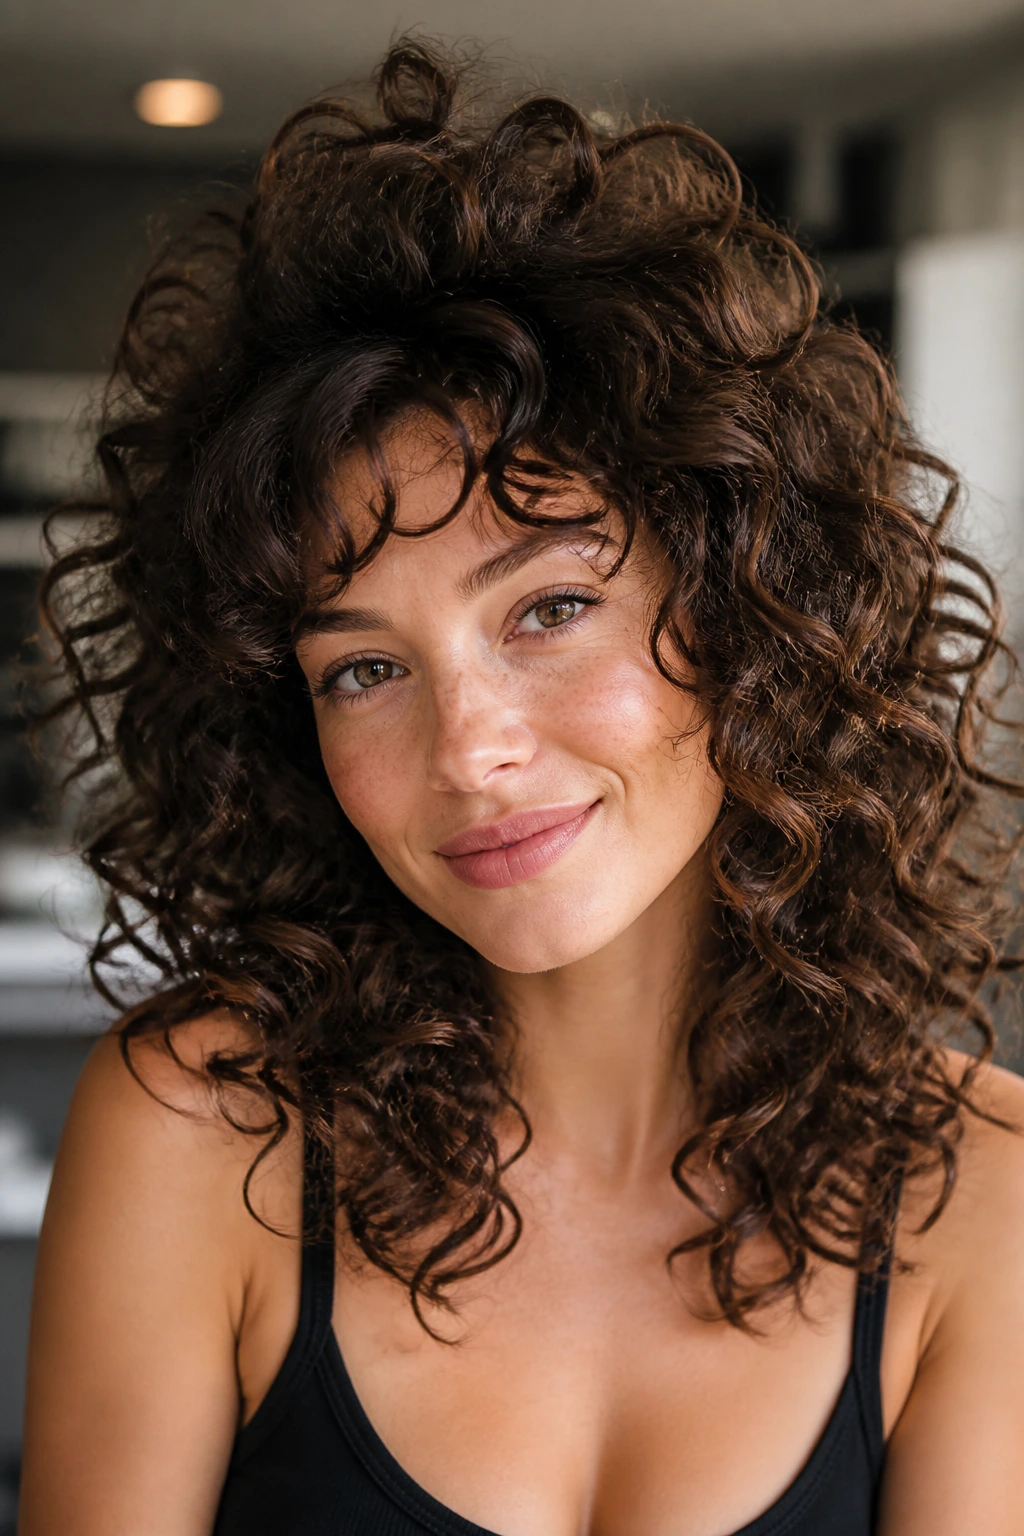
This is the dramatic finish of the list, and medium-length curls are one of the best lengths for it. The crown gets lift from root clips, a diffuser, or a careful upside-down dry, while the lengths fall in a full cascade that keeps the curl pattern visible from top to bottom.
The shape works because medium length has enough body to hold a rounded top without collapsing into a flat sheet. Use a light hand with product so the crown stays airy. A little gel at the roots, some mousse through the mid-lengths, and a soft oil on the ends is often enough. Let the hair set fully before you shake it out.
It’s the style I’d choose when I want the curls to look abundant and the cut to look intentional. No shortcuts. No hiding the pattern. Just a shape that makes medium curls look like they knew what they were doing all along.
Why Medium-Length Curls Still Win on Shape
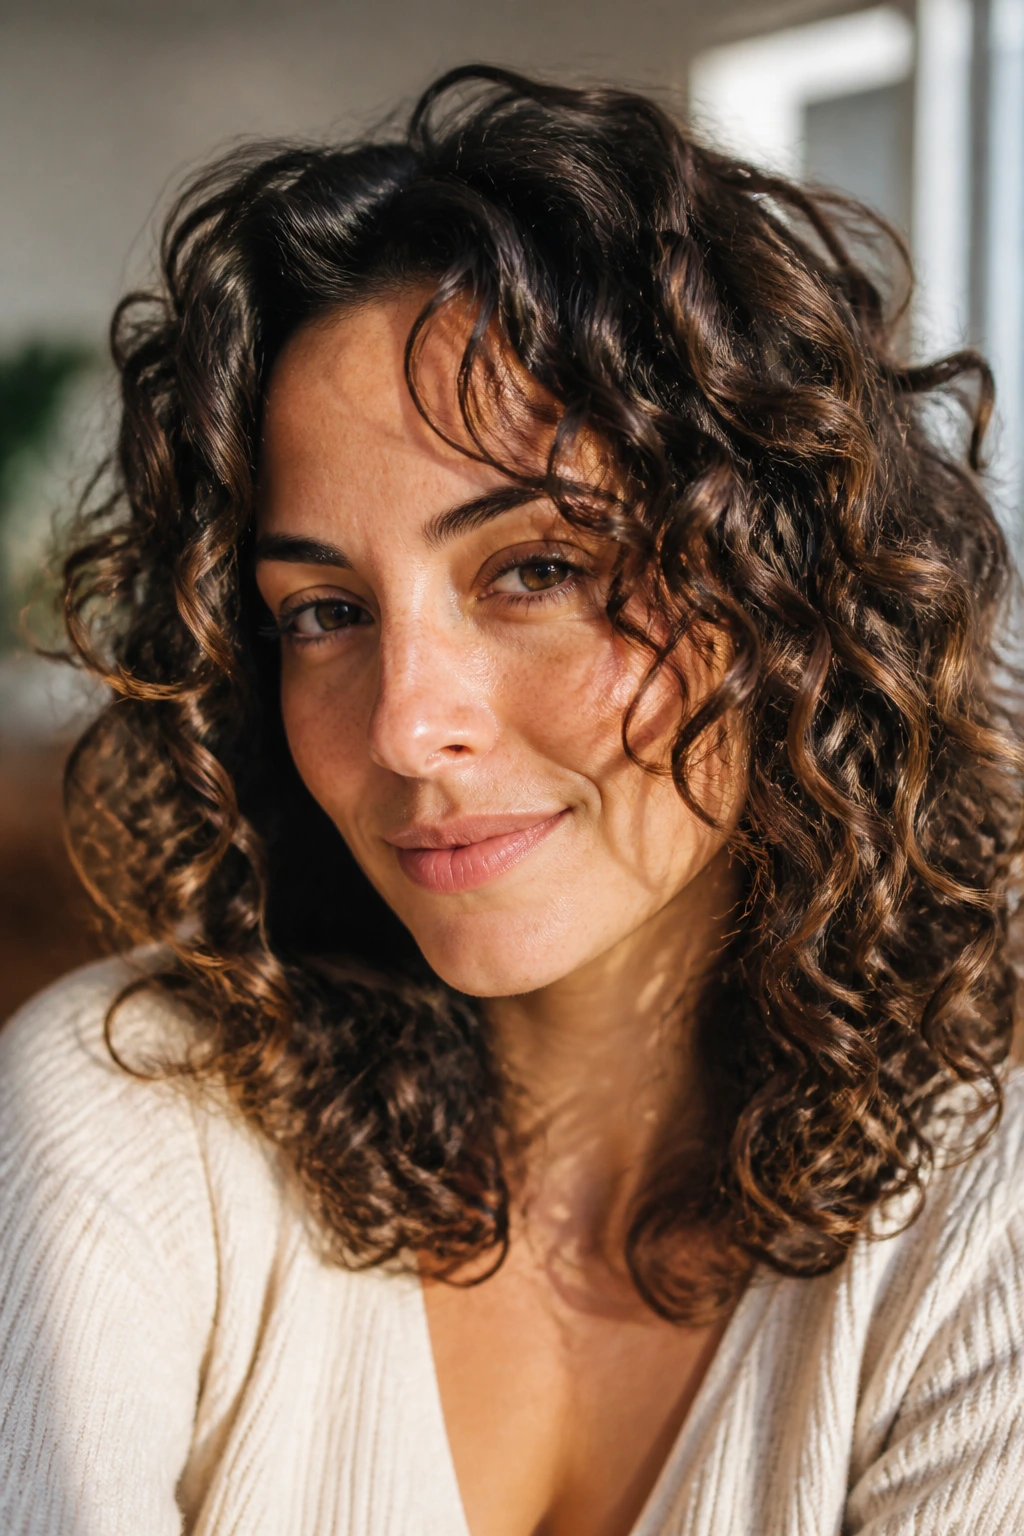
Medium-length curls are easier to style than people give them credit for because they keep their architecture. The hair is long enough to show movement, short enough to keep a profile, and versatile enough to bend into a half-up, braid, ponytail, bun, or pinned side without disappearing into itself.
That middle zone also gives you a cleaner read on what your curls actually want. If a style sits better with a side part, you see it. If a bun needs more volume at the crown, you see that too. Long hair can hide those problems under weight. Short hair can fight you on reach. Medium length tells the truth fast, which is annoying and useful in equal measure.
There’s a practical side, too. Pins stay put more often. Clips can grip. Braids don’t unravel quite as quickly. And when a style falls out, it tends to fall into something still wearable instead of becoming a full disaster. That is a nice place to be.
The Tools That Make Styling Easier
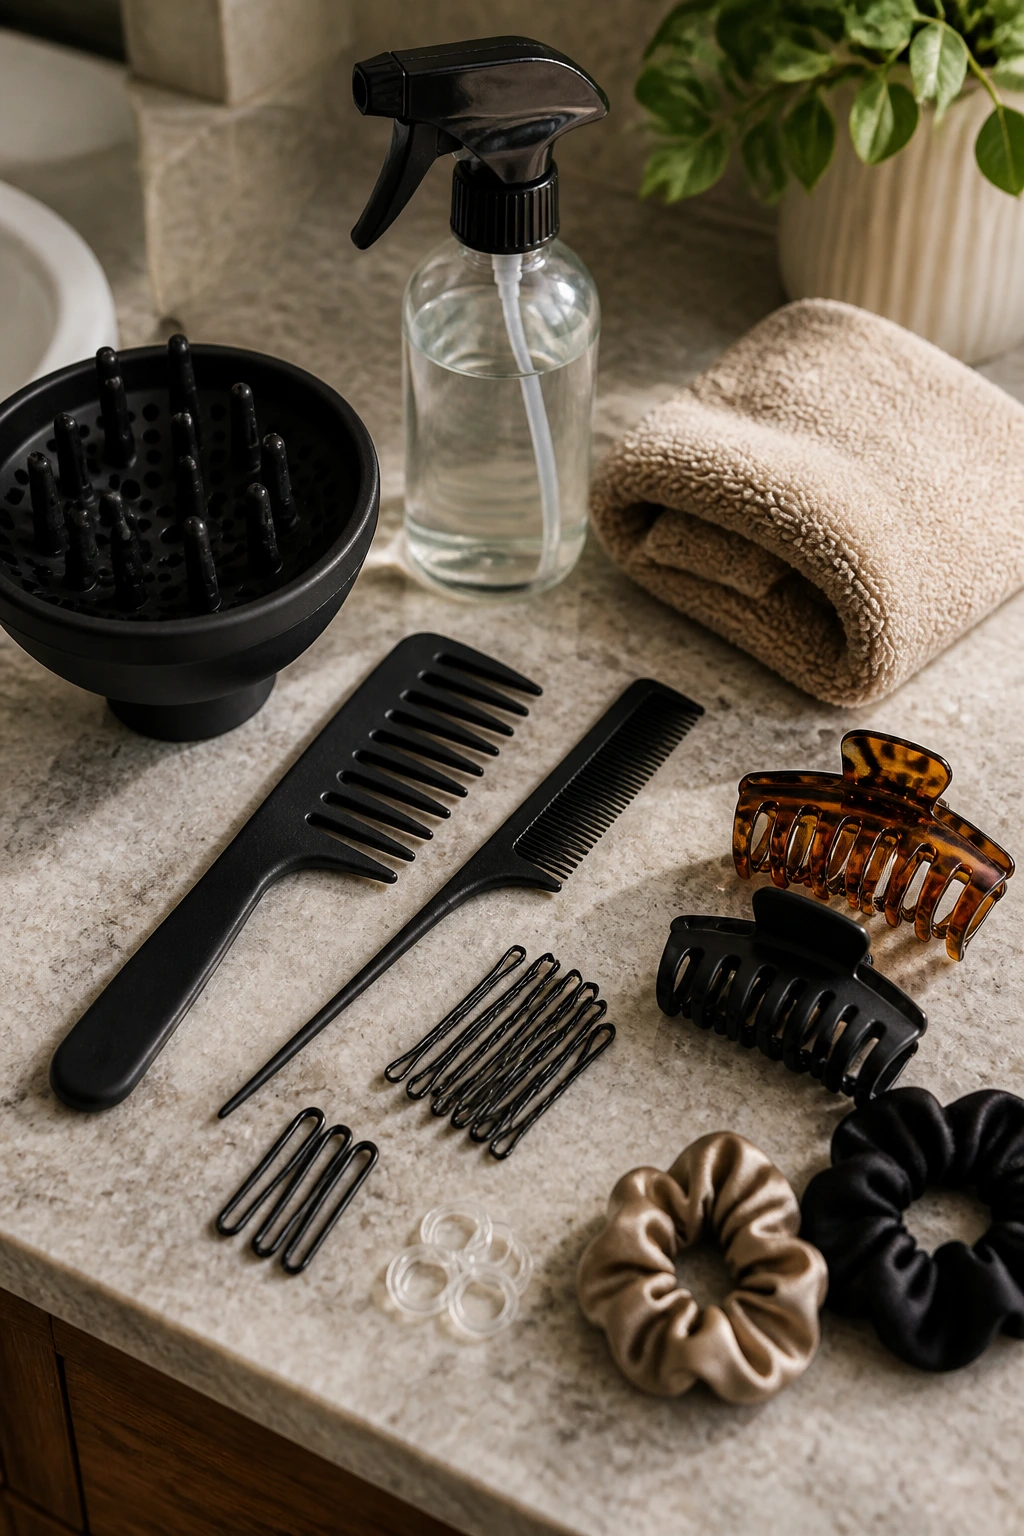
You do not need a drawer full of gadgets, but a few good tools change everything. Medium curls respond best when the tools match the texture instead of fighting it.
-
Wide-tooth comb: Use it in the shower or on wet hair to separate curls without tearing through them.
-
Tail comb: Best for clean parts, side sweeps, and sectioning front pieces with precision.
-
Microfiber towel or cotton T-shirt: Cuts down friction while you squeeze out water, which helps keep the cuticle smoother.
-
Bobby pins in two sizes: Small ones for detailing, longer ones for holding twists and pinned sides that need more grip.
-
U-pins: Better than regular pins for French twists and buns because they hold from the inside and disappear into the hair.
-
Claw clips: Pick one with real teeth, not a flimsy fashion clip that slips by lunchtime.
-
Satin scrunchies: Gentle on the curl pattern and less likely to leave a hard dent around the ponytail.
-
Small clear elastics: Useful for braids, bubble ponytails, and tiny sectioned looks.
-
Diffuser attachment: Helps set shape without blasting curls into frizz.
-
Spray bottle: Essential for refreshing front pieces and reactivating product on day-two hair.
-
Edge brush or soft toothbrush: Good for smoothing the hairline when you want a cleaner finish.
-
Hair oil or light serum: Use sparingly at the ends, never as a blanket over the roots.
Product and Cut Choices That Help the Shape Hold
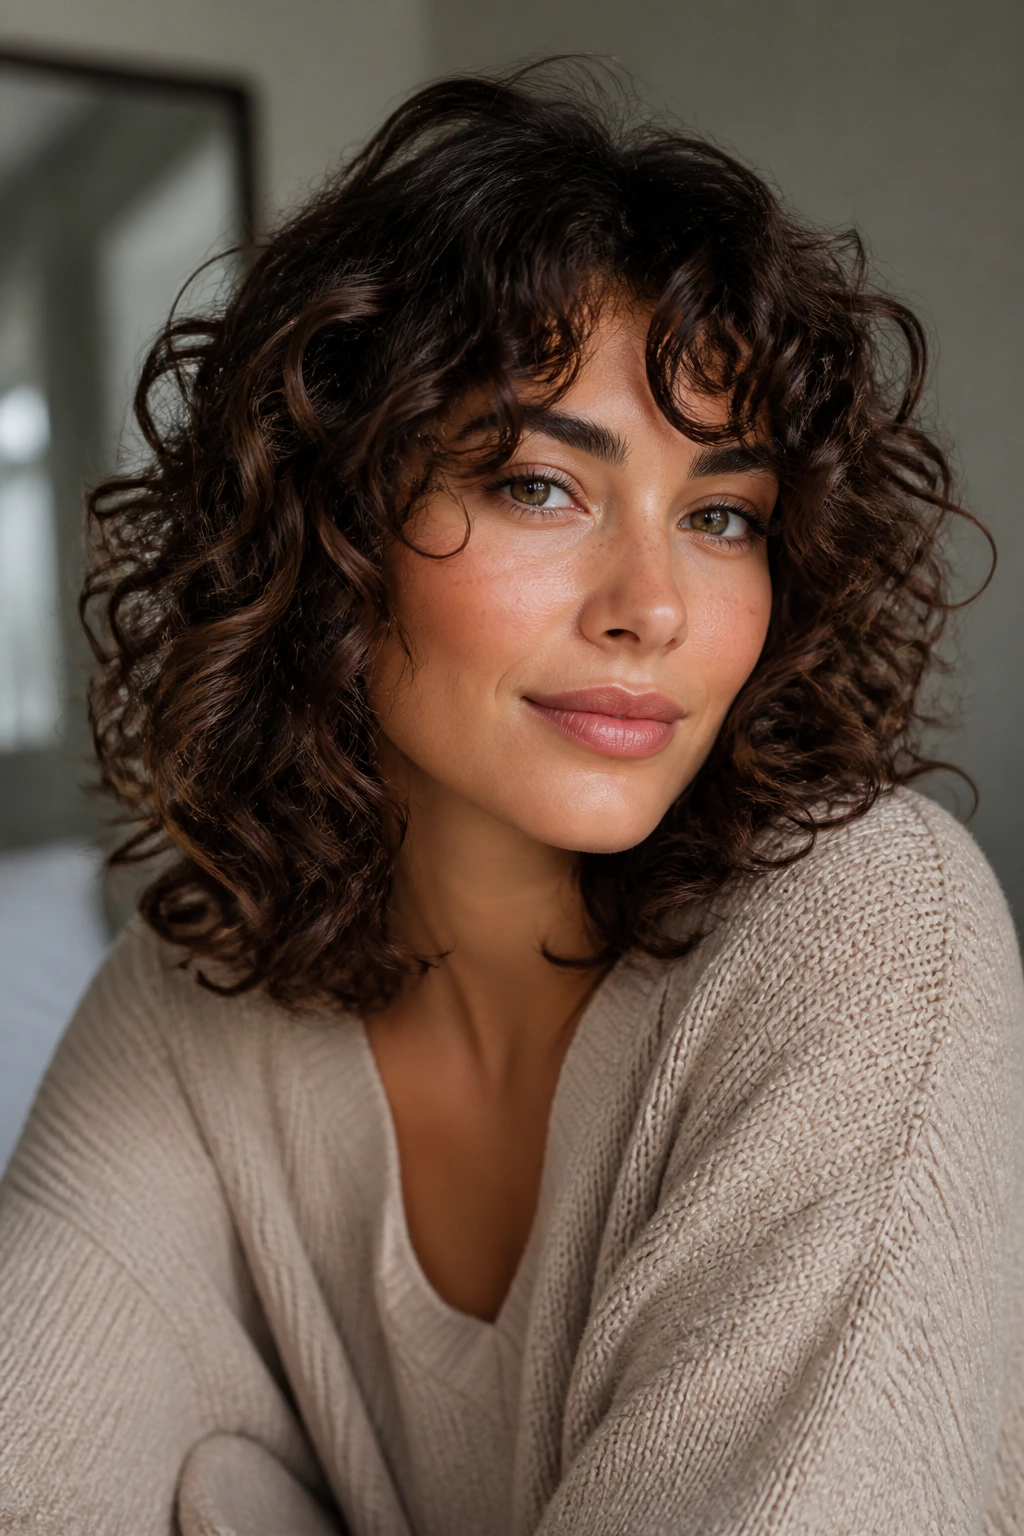
The right haircut does half the work before you even touch a clip. Medium-length curls usually look better with layers that respect the curl pattern than with a blunt one-length shape that lands right at the shoulders and kicks out in odd places. A dry cut or curl-by-curl trim often makes the difference between “styled” and “why does one side do that?”
Product choice matters just as much. Fine curls usually behave better with mousse, light gel, and smaller amounts of cream. Heavy butters can flatten the root and make the whole look sink. Dense or coarse curls often need more slip up front and stronger hold at the end, so a richer leave-in plus gel can help the shape stay put.
I also like keeping one rule in mind: the more structure the style needs, the more hold the base needs. A braided halo can handle softer products. A slick side sweep or wet-look style needs firmer gel. A claw clip twist falls apart fast if the hair is too soft and too slippery. Match the hold to the hairstyle, not to what’s already sitting in the cabinet.
How to Wear These Styles to Work, Brunch, and Big Events
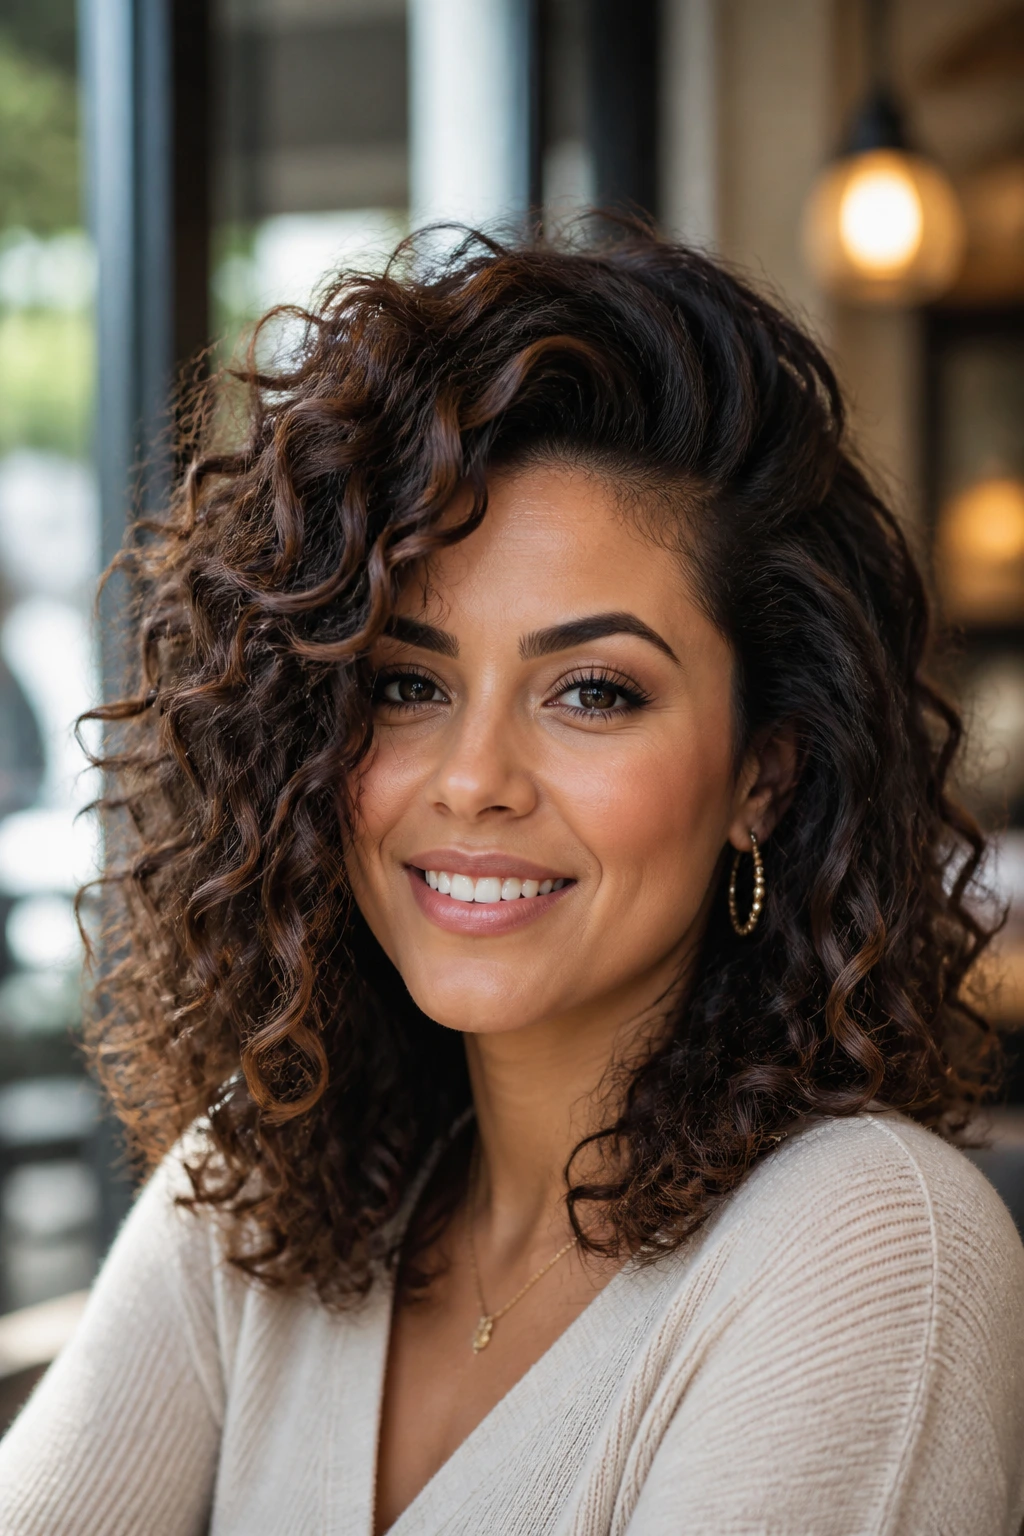
Presentation: Put the visual weight where you want the eye first. A deep side sweep leads the gaze to one cheekbone. A crown puff lifts the whole face. A low ponytail puts attention on the neckline and earrings. Medium curls are good at directing attention, so use that.
Accompaniments: Earrings matter more than people think here. A side tuck loves hoops. A low bun loves a sharp collar or open neckline. A braided halo likes a dress or blouse with a little structure so the hair and clothing do not compete. Even glasses can change the read of the style, especially with a side part or pinned-back crown.
Portions: If your hair is thick, leave more curls free and pin less. If it is fine, keep the sections smaller and the shape closer to the head so the style does not look sparse. Medium curls are at their best when the proportion feels honest, not inflated for the sake of symmetry.
Occasion Pairing: The claw clip twist, wrapped ponytail, and headband halo fit workdays and errands. The braided halo, retro side sweep, and French twist lean dressy. The high puff, statement clip, and wash-and-go with a center part are the ones I’d keep for days when the curls need to look good fast.
Small Styling Moves That Change the Finish
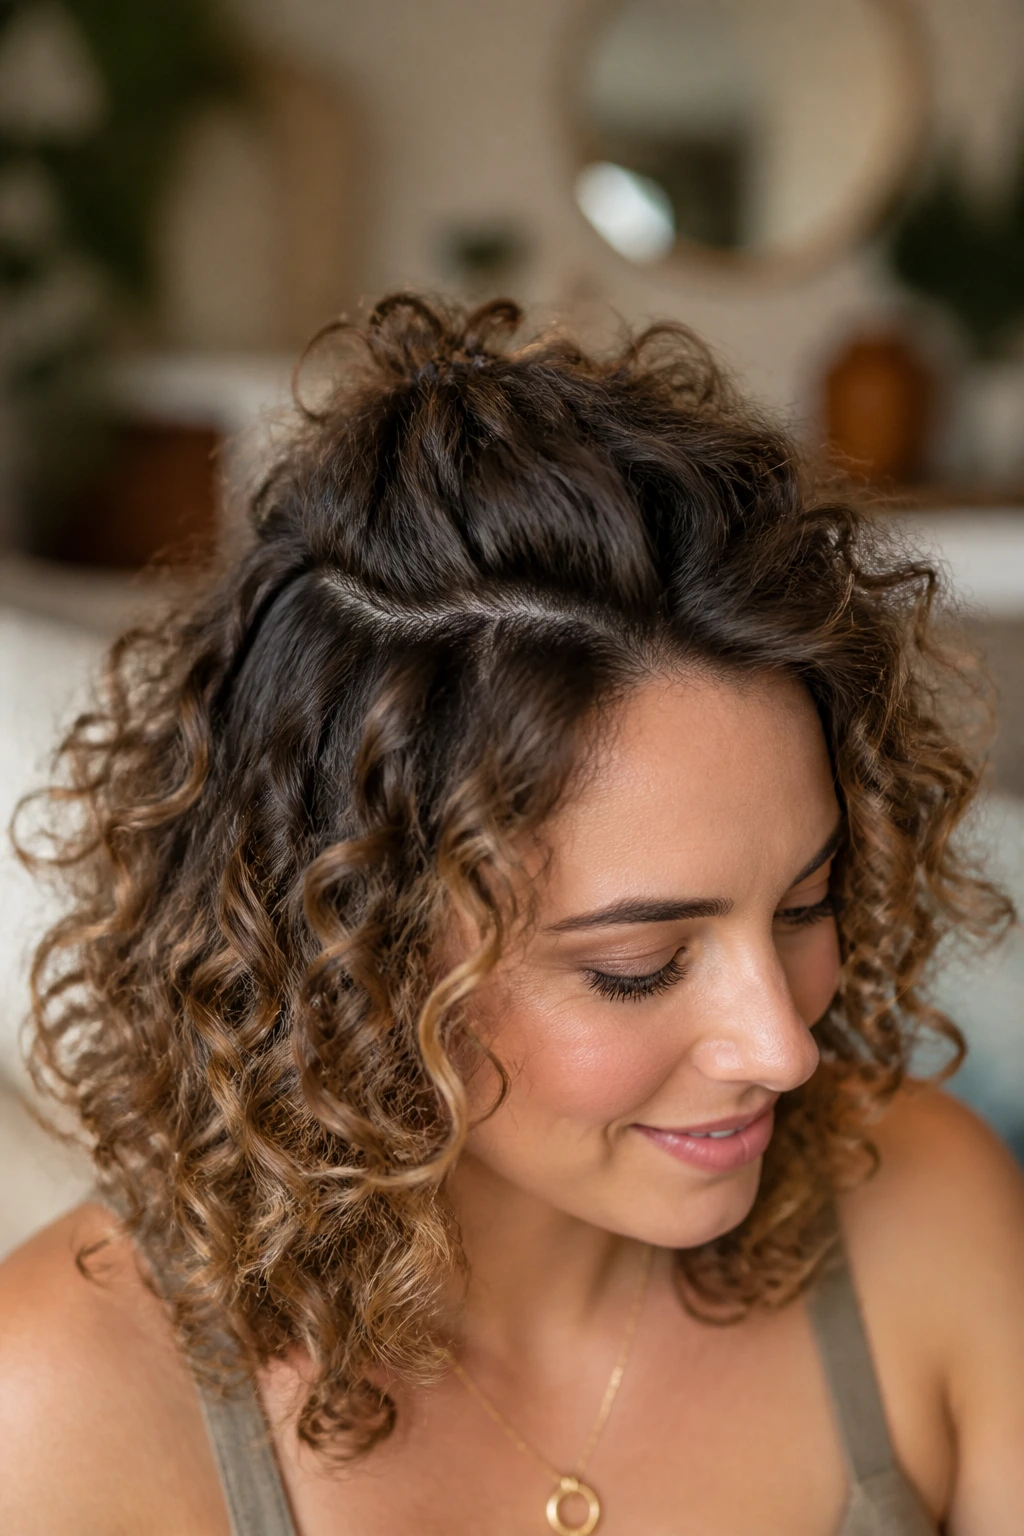
Root Lift: Clip the roots at the crown for 10 to 20 minutes while the hair dries, and the whole style will sit higher. That tiny lift changes more than a lot of people expect.
Grip: Mist bobby pins with a little hairspray before pinning them in. They catch better, especially on silky or freshly conditioned hair.
Definition: Smooth the front pieces with your fingers instead of brushing them hard. You get shape without the puff that a brush can trigger.
Finish: Put oil only on the last inch or two of the ends. That softens the line of the style without flattening the crown.
Customization: Change the part, add one scarf, or pin one side tighter than the other. The whole look can shift from casual to polished with one small choice.
Make-It-Yours: Fine curls usually need lighter products and smaller accessories. Dense curls handle stronger clips, bigger braids, and a little more structure. Tight coils often look best when they keep some height at the root instead of being pinned too flat.
Common Mistakes That Flatten Medium Curls Fast
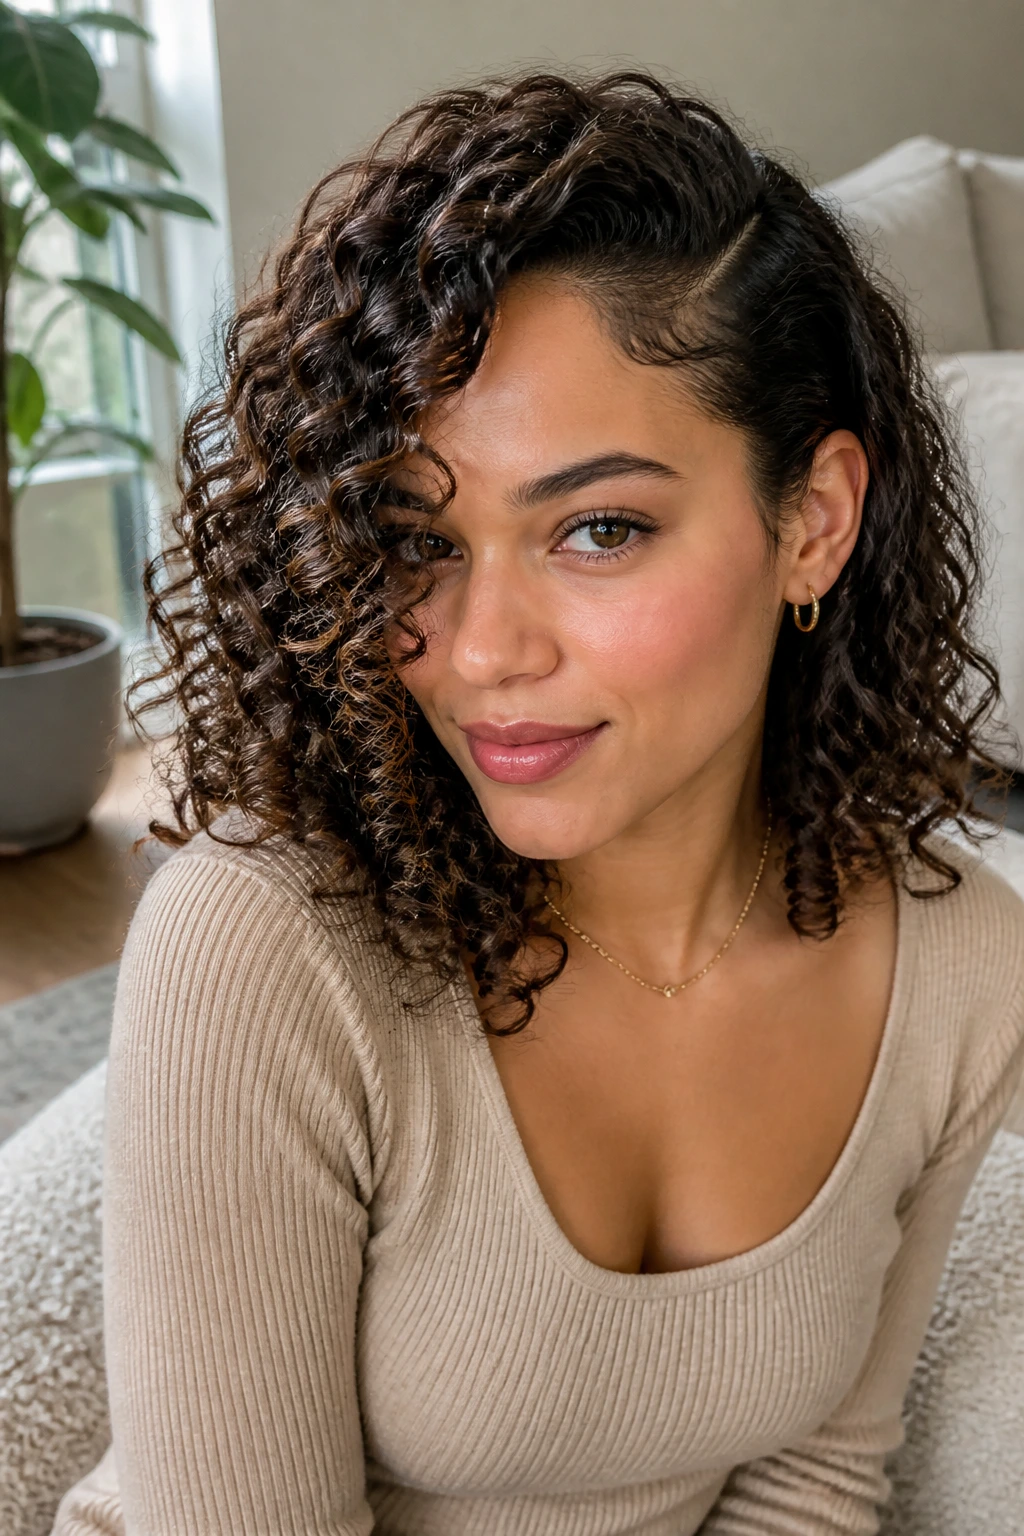
The first mistake is starting with hair that is too dry for the style you want. Dry curls can look frizzy, and once they’re frizzy, pins and clips stop sitting cleanly. Mist the sections you plan to shape, re-activate whatever product is already there, and then style.
Second, people pull curls too tight. A ponytail that yanks the root flat or a twist that squeezes the crown makes the style look tense instead of polished. Leave a little slack at the scalp. That gap is where the shape lives.
A third mistake is using the wrong size clip or pin. Tiny accessories slide out of thick curls. Oversized ones can overpower fine curls. Match the hardware to the density of the hair, not to what looked cute in the store.
Fourth, too much cream or oil can kill volume. If the hair looks greasy or clumps fall apart in the wrong way, you’ve probably overdone the product. Keep heavy shine products for the ends or the very last touch, not the base.
Last, people touch the style before it sets. Wet twists loosen. Wet braids puff. Wet side sweeps collapse into strange bends. Let the shape dry first, then make tiny corrections after the hair has memory.
Variations and Tweaks for Different Curl Patterns
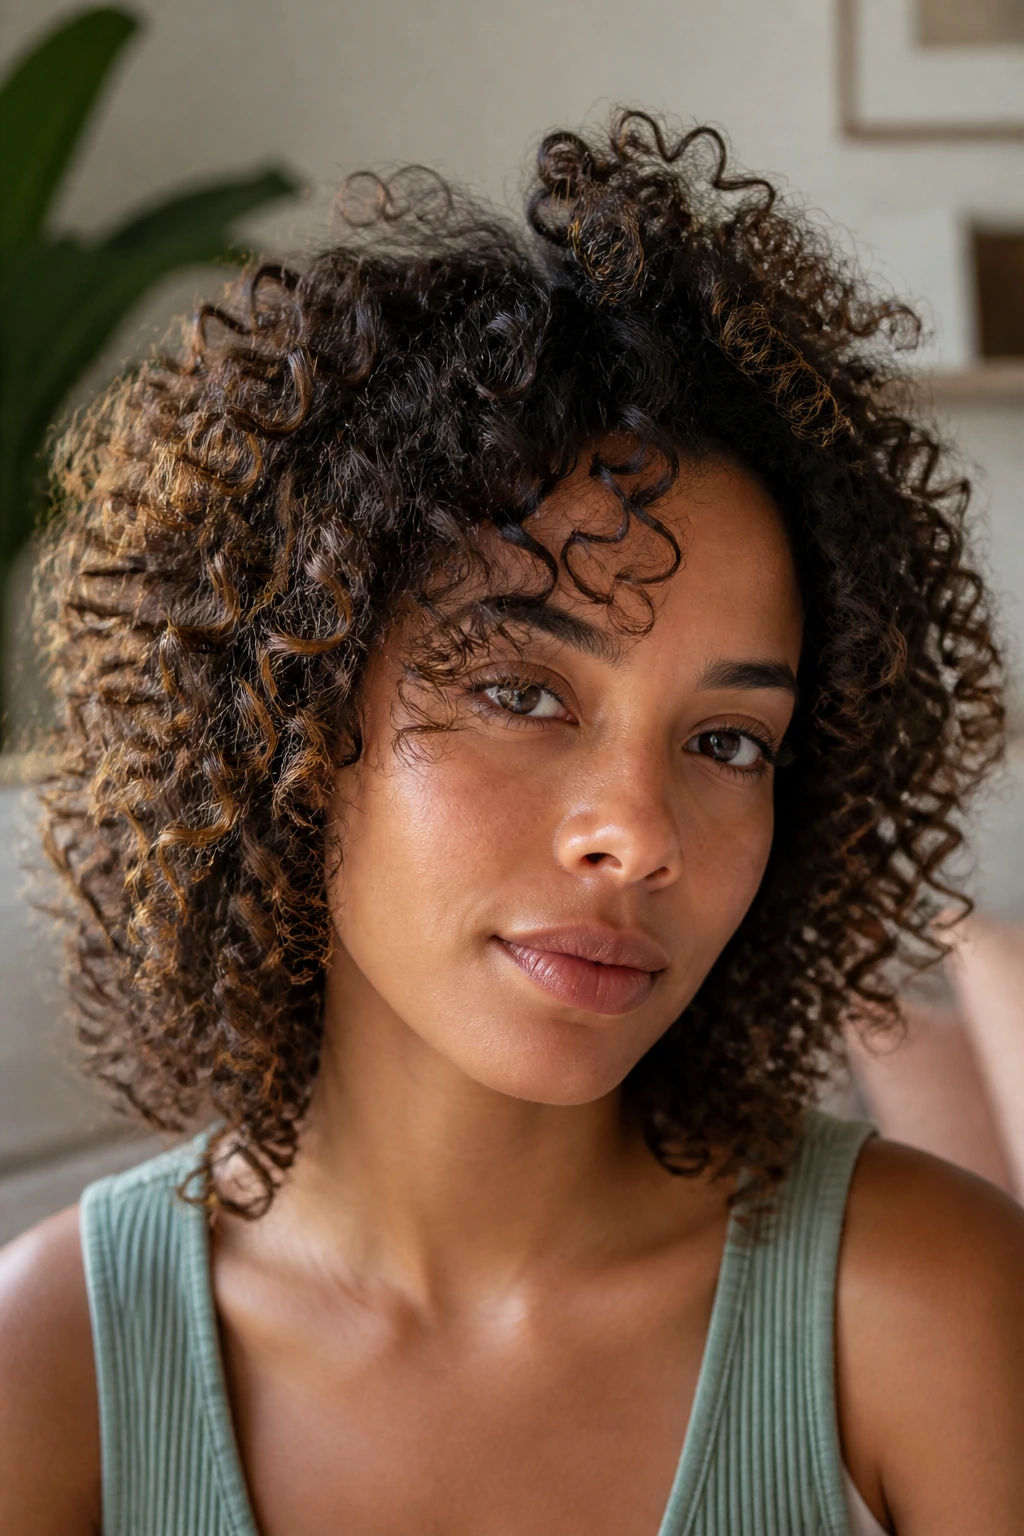
Fine-Curl Lift: Swap heavy cream for mousse, keep the part crisp, and use root clips while drying. Fine curls look fuller when the style stays close to the head and the front pieces are not overloaded with product.
Thick-Coil Control: Use stronger pins, larger clips, and a little more hold at the crown. Thick coils can carry braided halos, high puffs, and twisted mohawks beautifully, but they need hardware that actually grabs.
Humidity Shield: Choose styles that build in shape instead of trying to stay glassy. A low bun, a pin-back crown puff, or a side braid into curls will survive sticky air better than a sleek crown that depends on perfect smoothness.
Soft Office Edit: Keep one side tucked, one face curl loose, and the accessory quiet. A statement clip can work too, as long as it is cleaner than sparkly.
Dressy Texture Version: Add one braid, one scarf, or one jeweled pin to a simple base. Medium curls don’t need a lot of decoration; they need a point of focus.
Keeping the Style Fresh on Day Two and Day Three
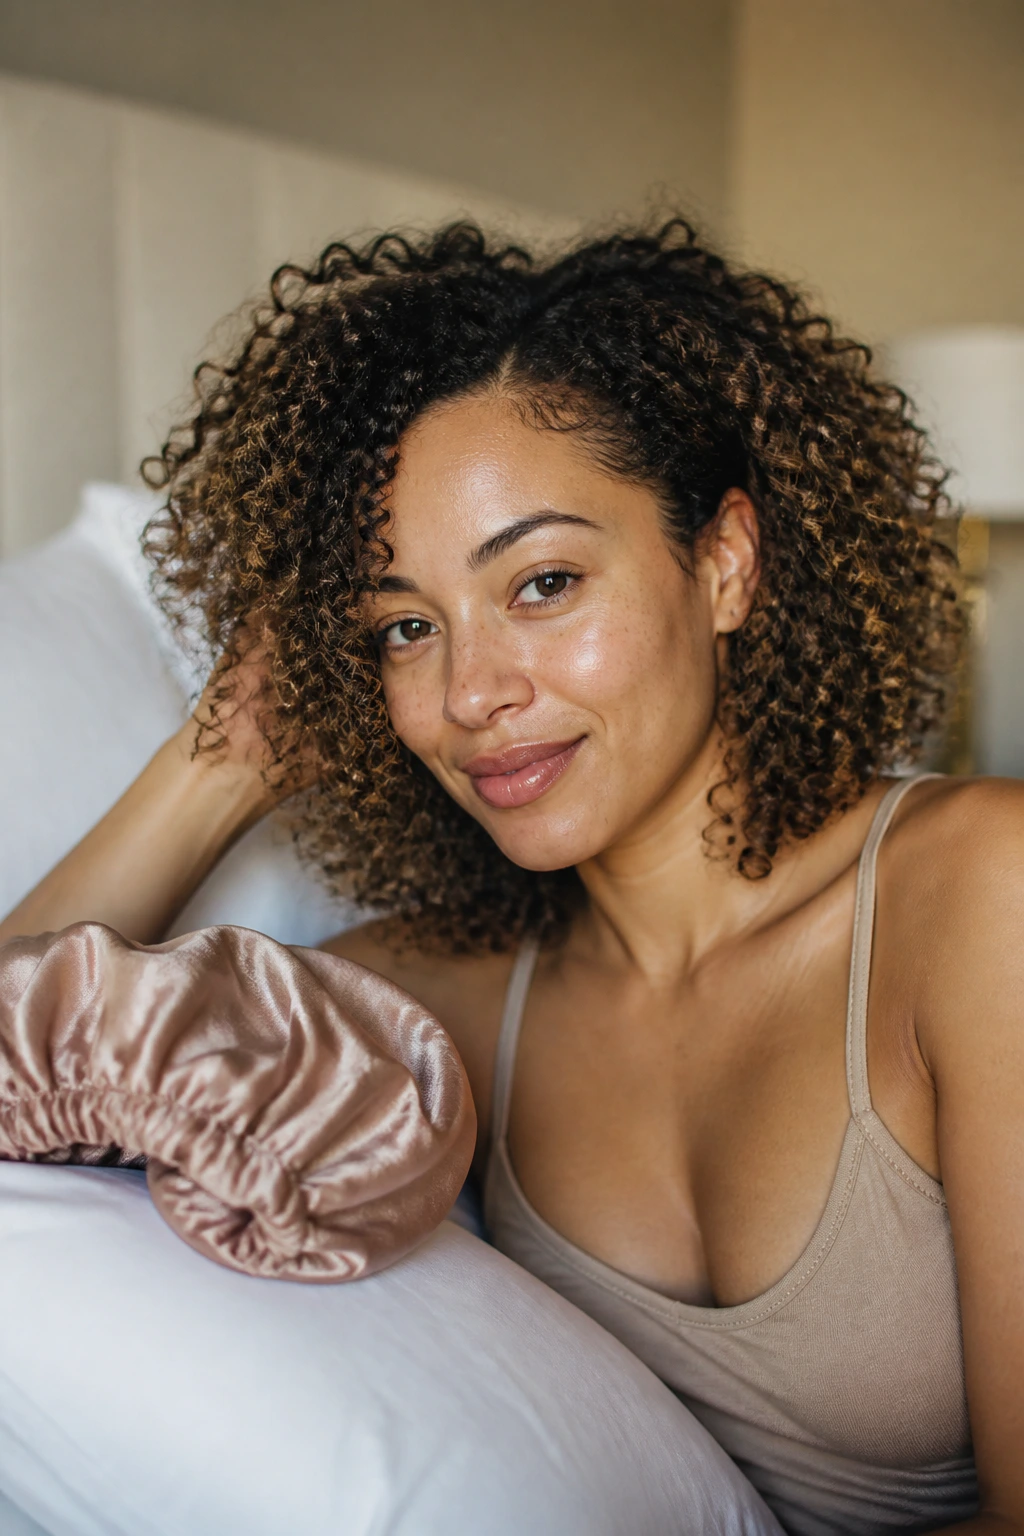
Medium curls usually look best with a little night care. A satin bonnet or satin pillowcase cuts down on friction, which means fewer flat spots at the crown and fewer fuzzy ends in the morning. If a style depends on a twist or braid, pin it loosely before bed so it does not unravel into a knot while you sleep.
For day-two refreshes, mist only the parts that need help. The front, the crown, and the ends are usually enough. Reapply a tiny amount of gel or curl cream where the shape collapsed, then scrunch the hair back into place. If you soak the whole head, you reset the whole style. That is more work than it needs to be.
Day three is where clipped styles and braids earn their keep. A claw clip French twist can still look good after a refresh. A low ponytail can be tightened and rewrapped. A braided halo may only need one loose braid tucked back in with a pin. If the roots need help, dry shampoo at the crown can buy you another day without making the hair chalky.
Frequently Asked Questions About Curly Hairstyles for Medium Length Hair
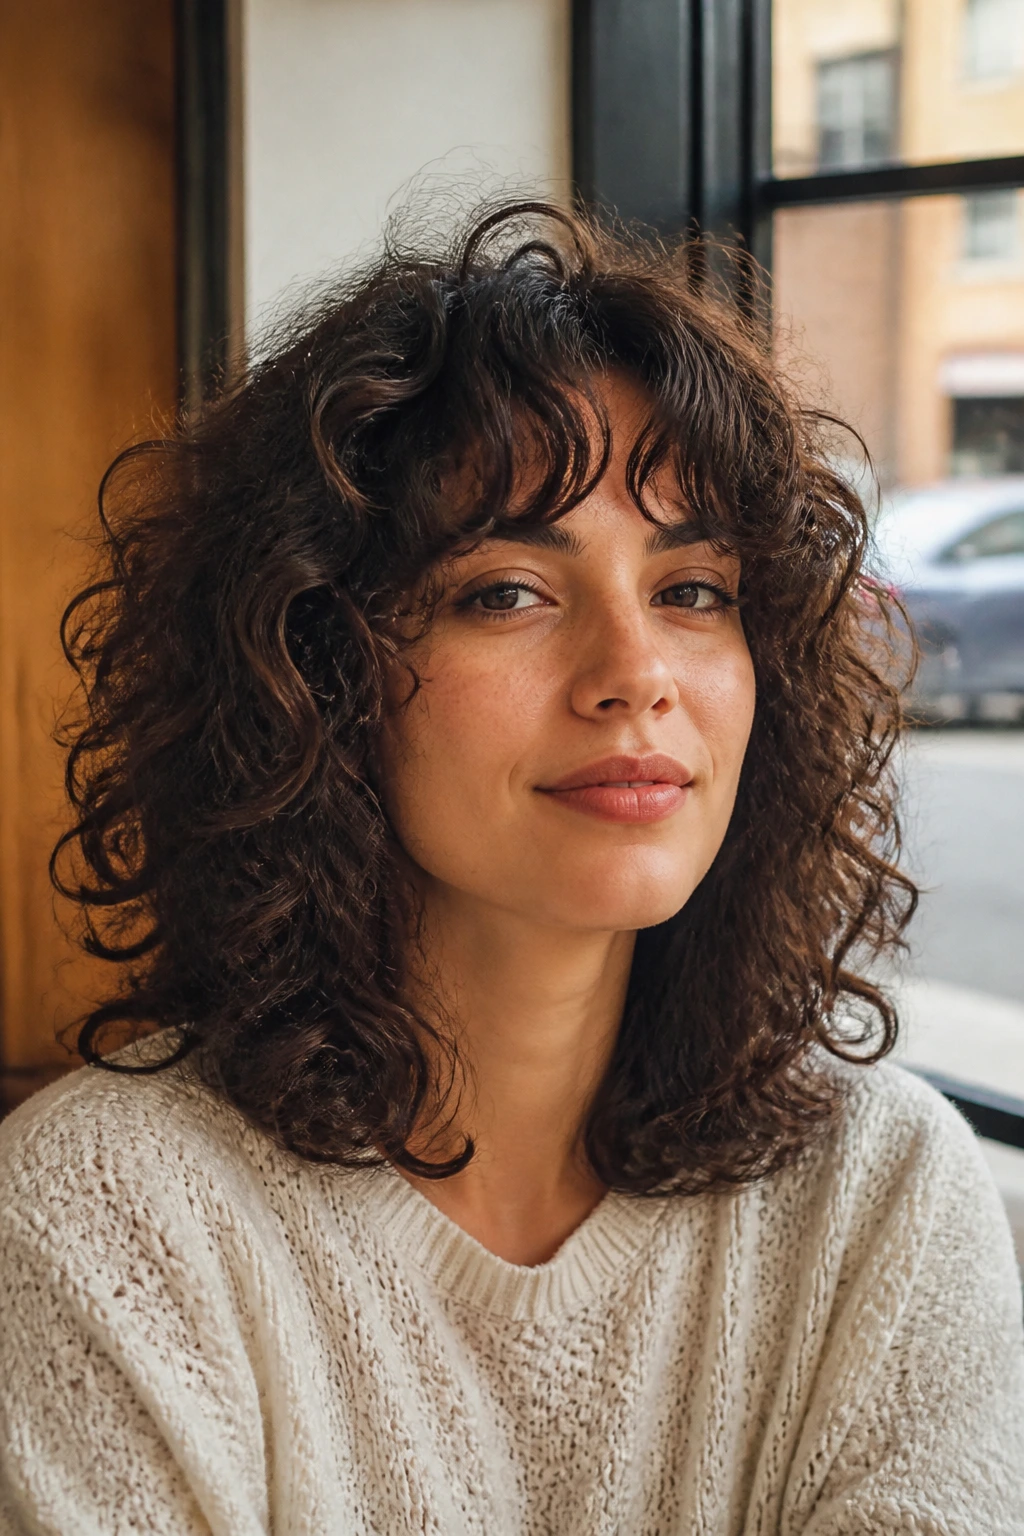
Which curly hairstyle lasts the longest on medium-length hair?
Low buns, claw clip French twists, and side-tucked styles usually last the longest because they use the hair’s own weight to help hold the shape. High puffs and half-up twists can last too, but they tend to need a little more touch-up at the crown.
Can I do these styles on second-day curls?
Yes, and some of them look better on second-day hair. Braids, twists, crown puffs, and side sweeps often hold more easily when the hair has a bit of texture and grip. If the curls are flattened, mist the front sections first so they can be reshaped.
What if my curls are closer to waves than tight spirals?
The same styles still work, but lighter ones tend to suit waves better. Think side parts, half-up knots, statement clips, and scarf-tied ponytails. Heavy braids and tall puffs can still work, but they need a bit more product or root lift to keep the shape.
How do I keep bobby pins from sliding out?
Use them on slightly textured hair, not freshly oiled hair. Cross two pins in an X for a stronger hold, and aim the wavy side of the pin toward the scalp so it grips more hair. A little spray on the pin helps too.
Should I use gel or mousse for these styles?
Mousse gives softer lift and works well for fine curls or styles that need movement. Gel gives firmer hold and is better for side sweeps, slicked crowns, and anything that has to stay in place through a long day. Many curls like both, with mousse underneath and gel over the top.
Can these styles be done without heat?
Absolutely. Most of them are heat-free by design. If you want extra set, you can diffuse, but you do not need hot tools for the braid, clip, twist, or ponytail versions to work.
How do I protect the style overnight?
Use a satin bonnet, a satin pillowcase, or a loose pineapple on top of the head. If the style has pins or a clip, remove anything that would dig into your scalp and recreate the shape in the morning with a quick mist and a few pins.
What if my hair gets frizzy around the face no matter what I do?
Keep a tiny amount of cream or gel in a travel bottle and smooth only the face-framing pieces. Don’t repaint the whole head. The front usually frizzes first because it gets touched most, so fixing just that zone is enough in many cases.
The Styles I’d Reach For First
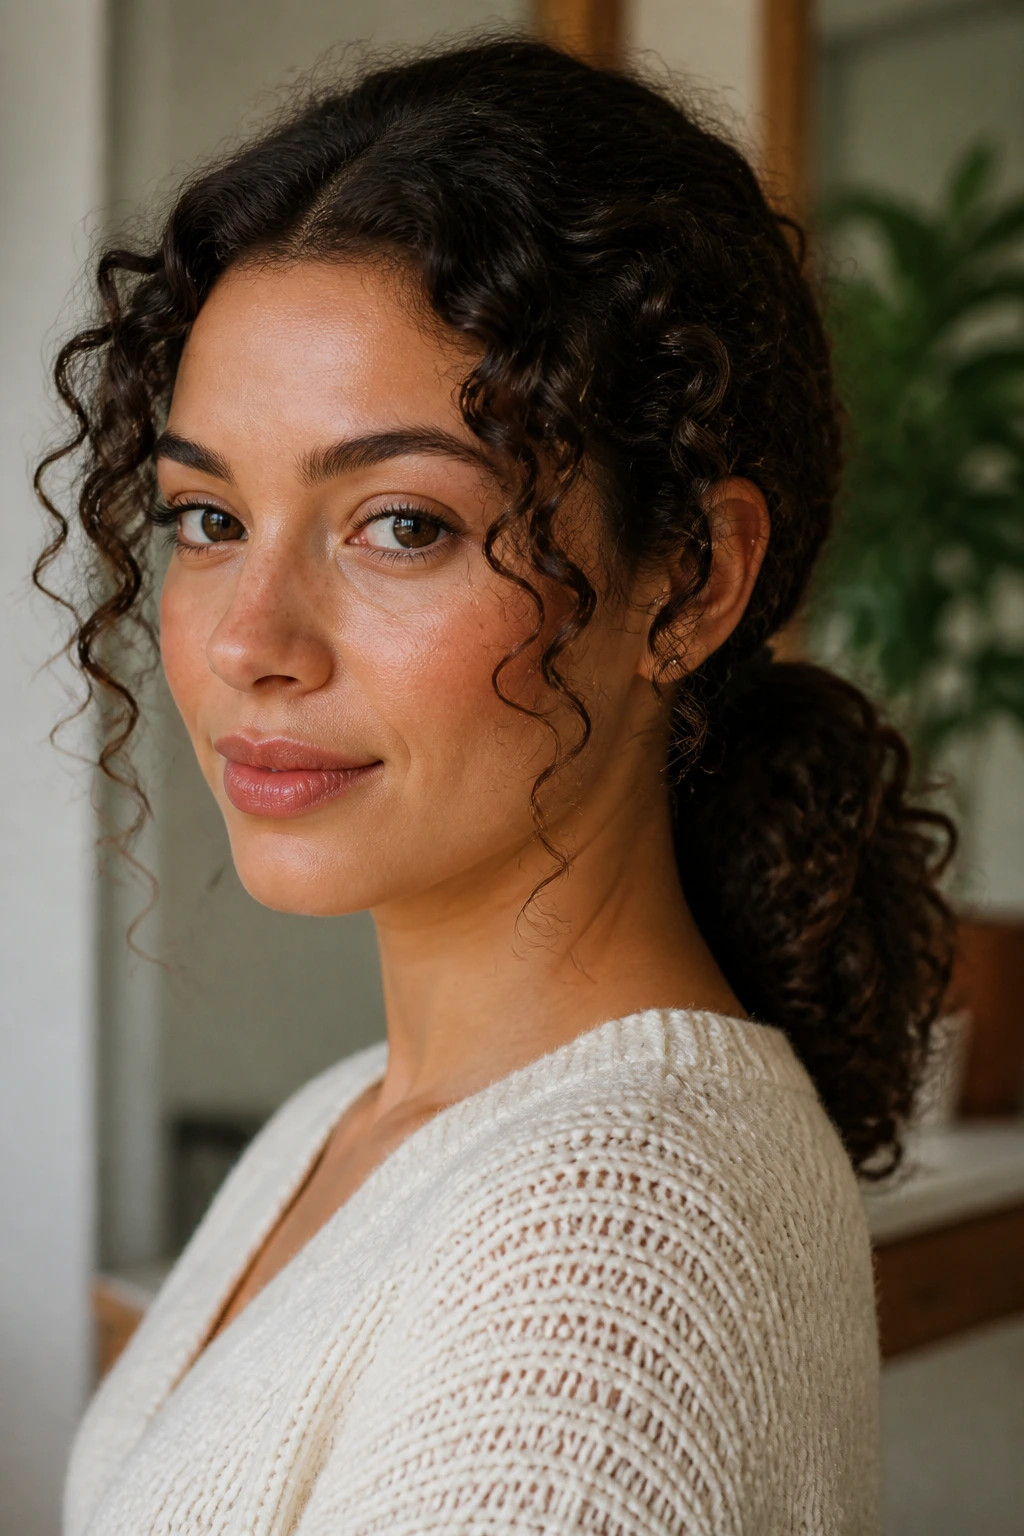
If I had to narrow this list down for real life, I’d start with the low curly ponytail, the half-up twist crown, the claw clip French twist, and the deep side-part ringlet sweep. They all give medium-length curls shape without fighting the texture. They also survive the ordinary chaos of a day better than styles that depend on a perfect, untouched finish.
That’s the real reason medium-length curls are such a good place to experiment. They can hold detail, but they still move. They can look polished, but they don’t need to look stiff. Start with the style that fits your morning, your curl pattern, and the amount of patience you have left, then let the hair do what it already knows how to do.
