



Long wavy hair has a habit of looking either dreamy or a little unruly, and the difference is usually the finish, not the cut. A few extra bends, a cleaner part, or a smarter product choice can make the hair swing instead of puff, drape instead of frizz, and keep the ends from turning into a dry halo by lunchtime.
That’s where beach wave looks for long wavy hair earn their keep. On shorter hair, waves can sit high and springy. On longer lengths, they need more structure through the mids and a lighter touch at the ends, or the whole shape collapses under its own weight. Get that balance right and the hair looks lived-in in the best sense: soft, touchable, and a little sun-kissed even when you’re nowhere near sand.
The good news is that beach waves are not one single style. They’re a family of finishes. Some are glossy and brushed out. Some are gritty and matte. Some lean romantic with a twist or braid. Some are plain stubborn and survive humidity better because they’re built with less heat and more hold. A few of them make sense for second-day hair, which is often where long wavy hair looks best anyway.
Why These 28 Waves Earn a Spot in the Rotation
- They work with long hair’s weight: The bend starts lower, which keeps the crown from ballooning and the ends from going pin-straight.
- They fit real texture: If your hair already has a wave pattern, these looks refine it instead of fighting it into a fake curl.
- They give you options for the weather: Soft mist, gel, mousse, braid-outs, and wand waves all handle humidity and frizz differently.
- They change the mood fast: The same long wavy hair can read casual, polished, romantic, or editorial with one part switch or a single accessory.
- They’re easy to refresh: Most of these looks can be revived with water, dry shampoo, or a quick re-bend on two face-framing pieces.
- They make layers matter: Long layers, curtain bangs, and face-framing pieces finally get to do something instead of hanging there.
1. Salt-Spritz Air-Dry Waves
This is the version that still looks like hair, which I mean as a compliment. The texture lands a little matte, the bend starts around the cheekbones, and the ends stay separated instead of clumping into one heavy rope.
Why it works: A light salt spray gives the hair grip before gravity has a chance to smooth everything out. On long wavy hair, that extra grip matters because the length can pull waves flat fast. The trick is to use enough product to rough up the surface, not enough to make it feel sticky.
How to style it: Mist damp hair from ears down, scrunch with your palms, then twist two or three larger sections around your fingers so the wave pattern has some direction. Let it air-dry most of the way before touching it. If you diffuse too early, you’ll usually get puff at the crown and frizz at the ends.
Best for: Hair that already leans wavy, especially if it tends to go limp when loaded with cream.
Watch for: Salt spray can dry out bleached or porous hair if you use it every day. Keep a lighter hand on the mids, and put a tiny bit of leave-in underneath if your hair feels rough.
2. Center-Part Curtain Waves
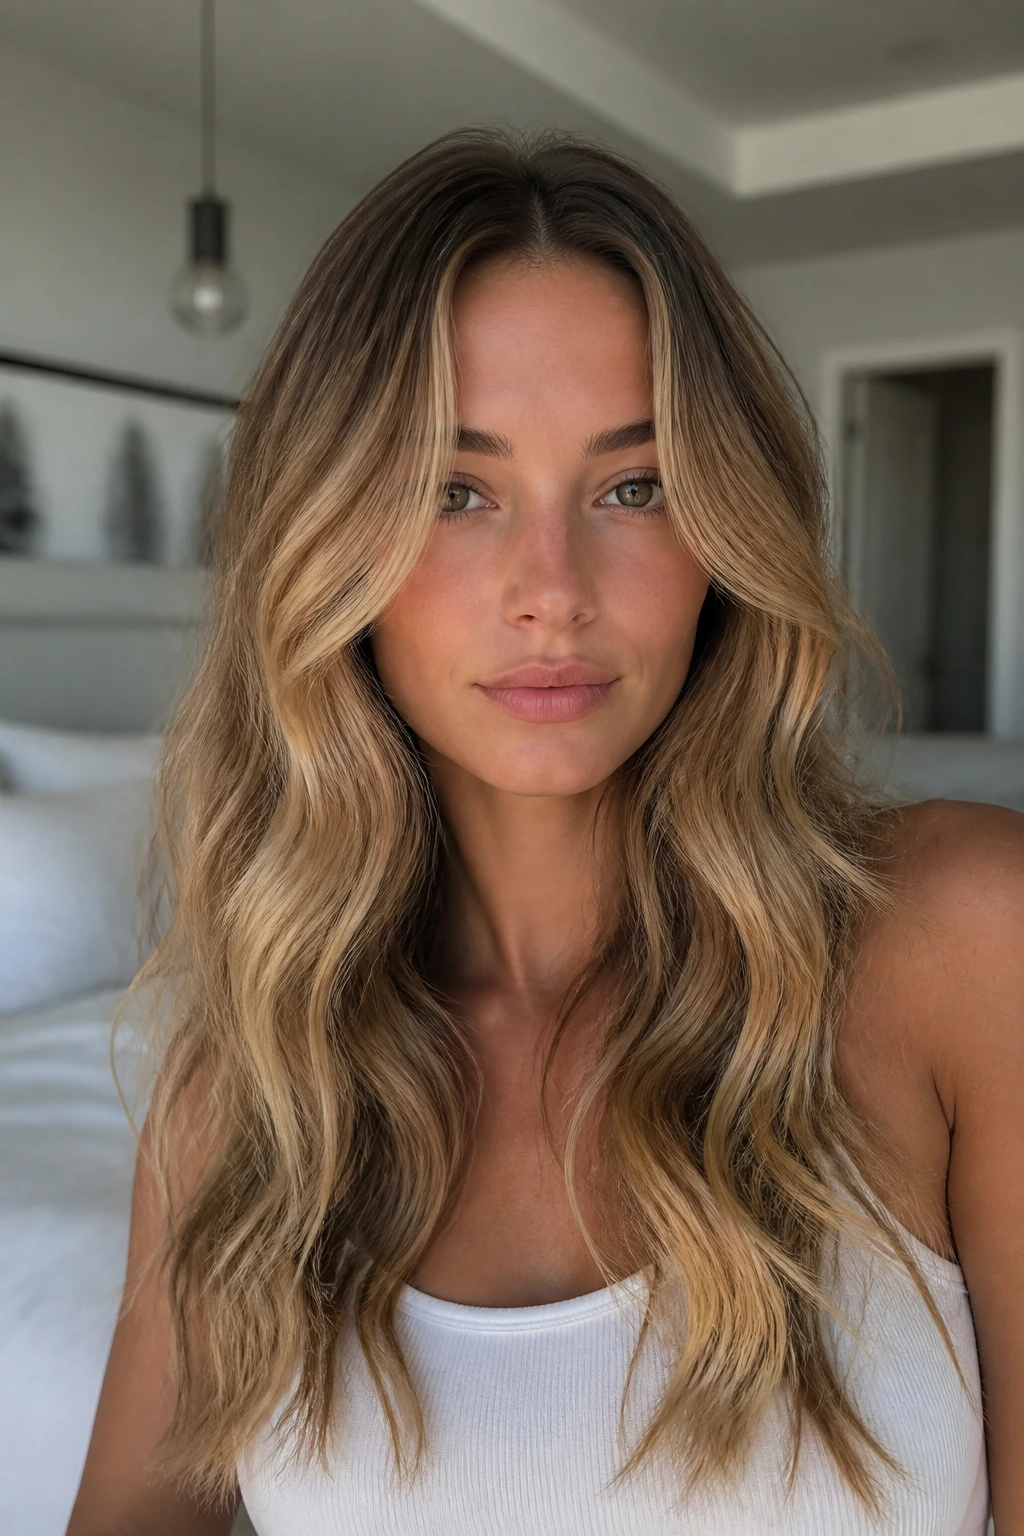
A clean center part changes the whole mood. It puts the wave pattern in a calmer frame, lets the front pieces fall like curtains, and makes long hair look longer without trying too hard.
Why it works: The middle part gives the eye a straight line to follow, which makes the bends around it look softer and more deliberate. On long wavy hair, that matters because uneven parting can make the roots puff to one side and collapse on the other.
How to style it: Create a sharp center part on damp hair, then wrap the front sections away from the face with a large-barrel iron or a brush-dry bend. Keep the first two inches near the scalp smoother than the rest. That contrast is what makes the face-framing pieces fall cleanly instead of sticking out.
Best for: Oval, heart, and long face shapes, or anyone who likes a balanced, modern look.
Watch for: If your crown swirls are strong, don’t force the part against the natural growth pattern. You’ll spend the whole day pushing hair back into place.
3. Side-Swept Cinema Waves
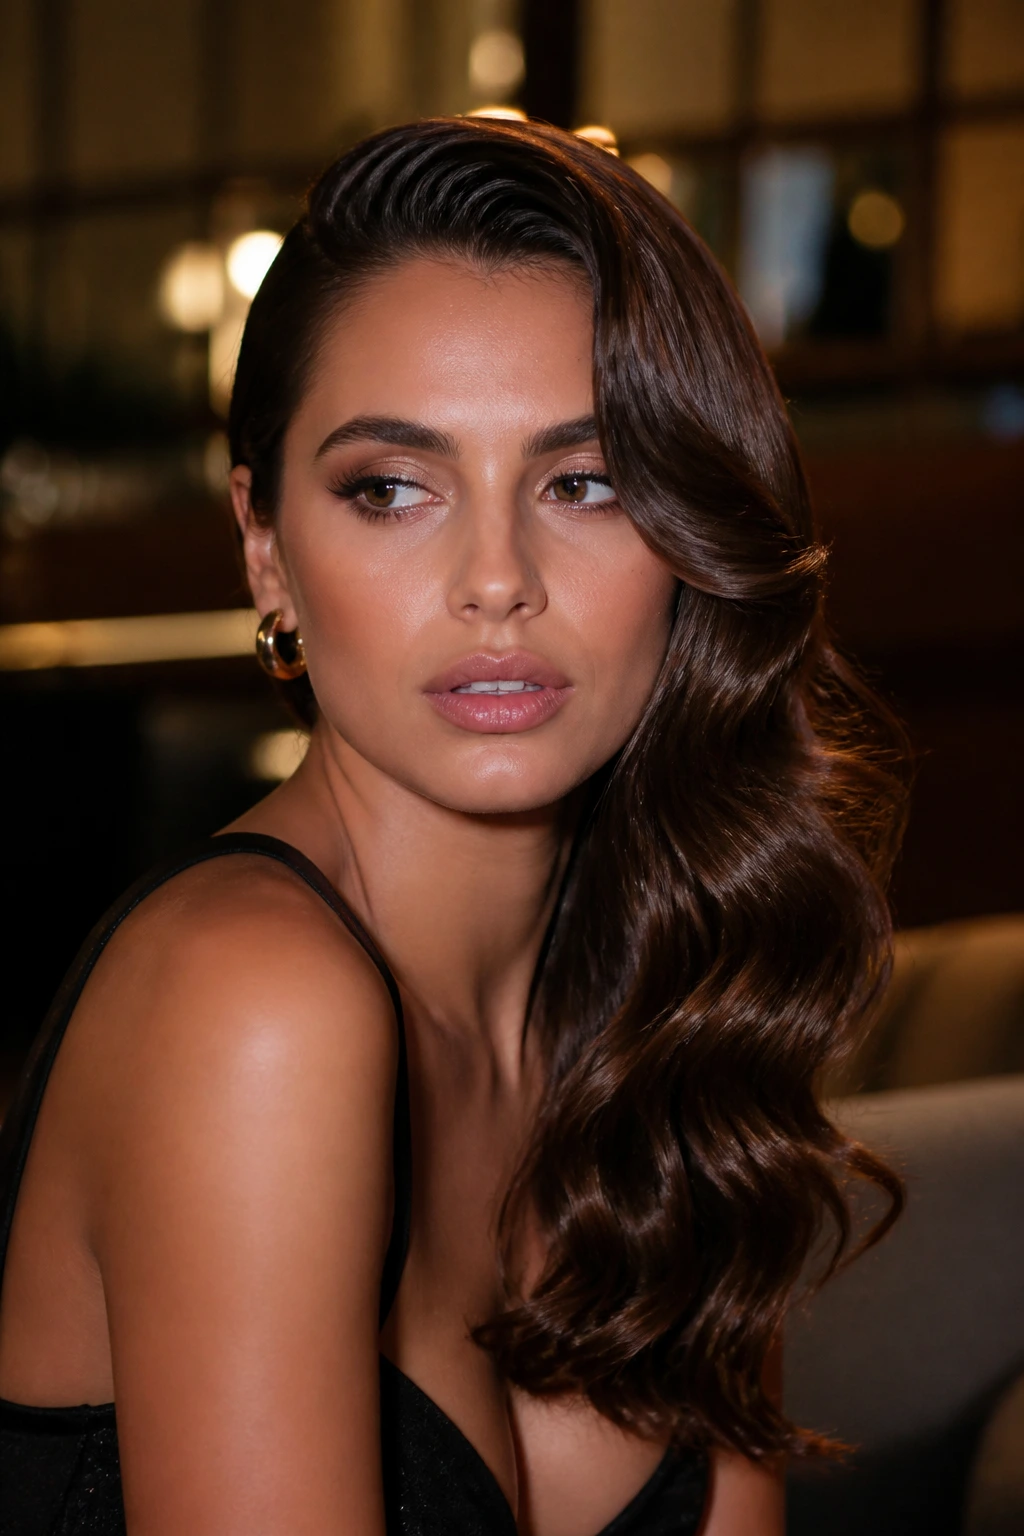
This one has a little drama in it. Not pageant drama. Just enough to make long waves fall over one shoulder and show off the gloss where the light hits the bend.
Why it works: A deep side part adds lift at the crown and gives the lengths a direction to follow. The hair on the heavier side stacks a bit more, which helps long wavy hair look fuller instead of stretched thin.
How to style it: Part the hair above the arch of one eyebrow, then set the top section with a loose wave away from the face. Bring the larger section over one shoulder and keep the ends soft, not curled tight. A flexible hairspray on the side that needs lift helps the style keep its shape without turning stiff.
Best for: Evening plans, photos, or any time you want your hair to look a little more dressed up.
Watch for: A side part can expose frizz on the heavier side if you brush too much. Smooth the top with your hands, not a paddle brush.
4. Mermaid-Length Loose Waves
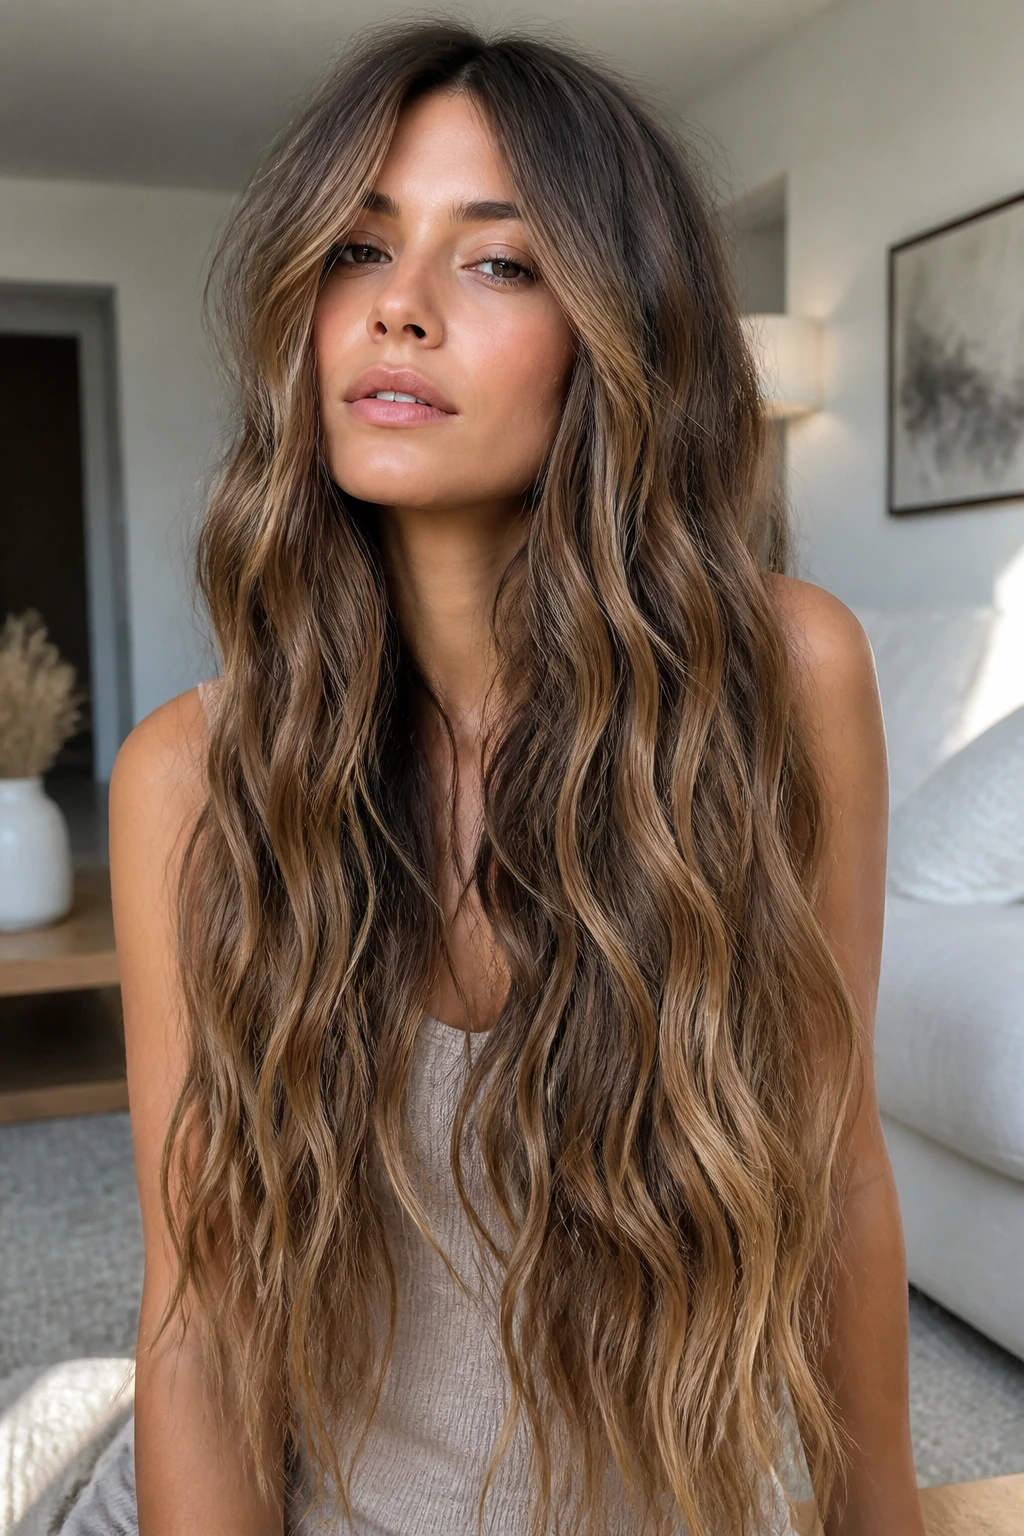
Long hair can look fussy when the curls are too tight. Mermaid-length loose waves avoid that problem by keeping the bend broad and slow, like a ribbon pulled through your fingers.
Why it works: Big, loose curves show off the length without adding bulk. On very long hair, tight curls often spring up and then fall into a weird half-shape. Wider waves hold the silhouette open and let the hair move.
How to style it: Use a 1.25- to 1.5-inch iron or wand and wrap larger sections, leaving the last inch or two out. Let the wave cool in your hand before releasing it. Once everything is set, rake through with your fingers and stop there. A brush will make the pattern too soft and can flatten the lower half.
Best for: Thick hair, layered hair, or long lengths that need a little drama without looking overdone.
Watch for: If your hair is fine, these waves can disappear fast. Prep with mousse at the roots and a light spray at the mids so the style doesn’t wilt.
5. Glossy Blowout Waves
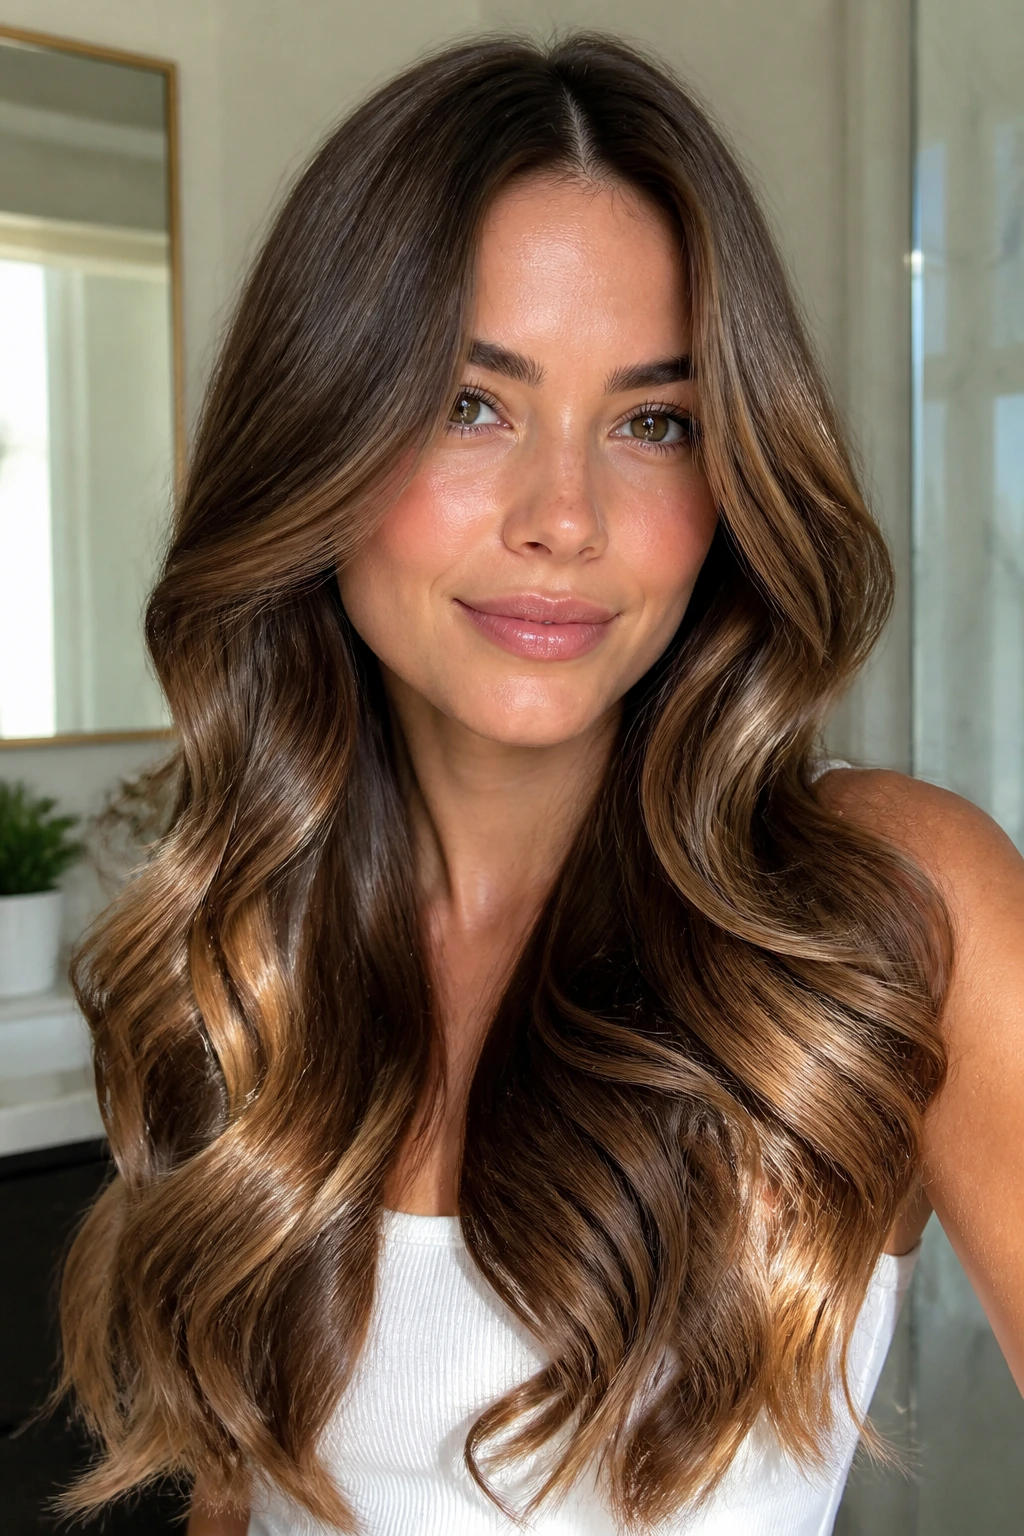
This is beach wave polish with the rough edges sanded down. The crown looks smooth, the wave starts lower, and the whole style has a soft shine instead of a matte finish.
Why it works: Smoother roots keep long hair from spreading out at the top. The bend then lands where the hair can still hold shape. That contrast gives the style a cleaner finish than a straight-up air-dried wave.
How to style it: Rough-dry the roots first, then use a round brush or large barrel to create a loose bend from mid-length to ends. Cool each section in your hand before moving on. A pea-sized amount of serum on the lower third brings back slip and keeps the ends from looking dusty.
Best for: Blended layers, blowout lovers, and anyone who wants waves that can handle a nicer outfit.
Watch for: Too much serum at the top will make the style collapse in an hour. Keep shine products off the crown.
6. Piecey, Separated Waves
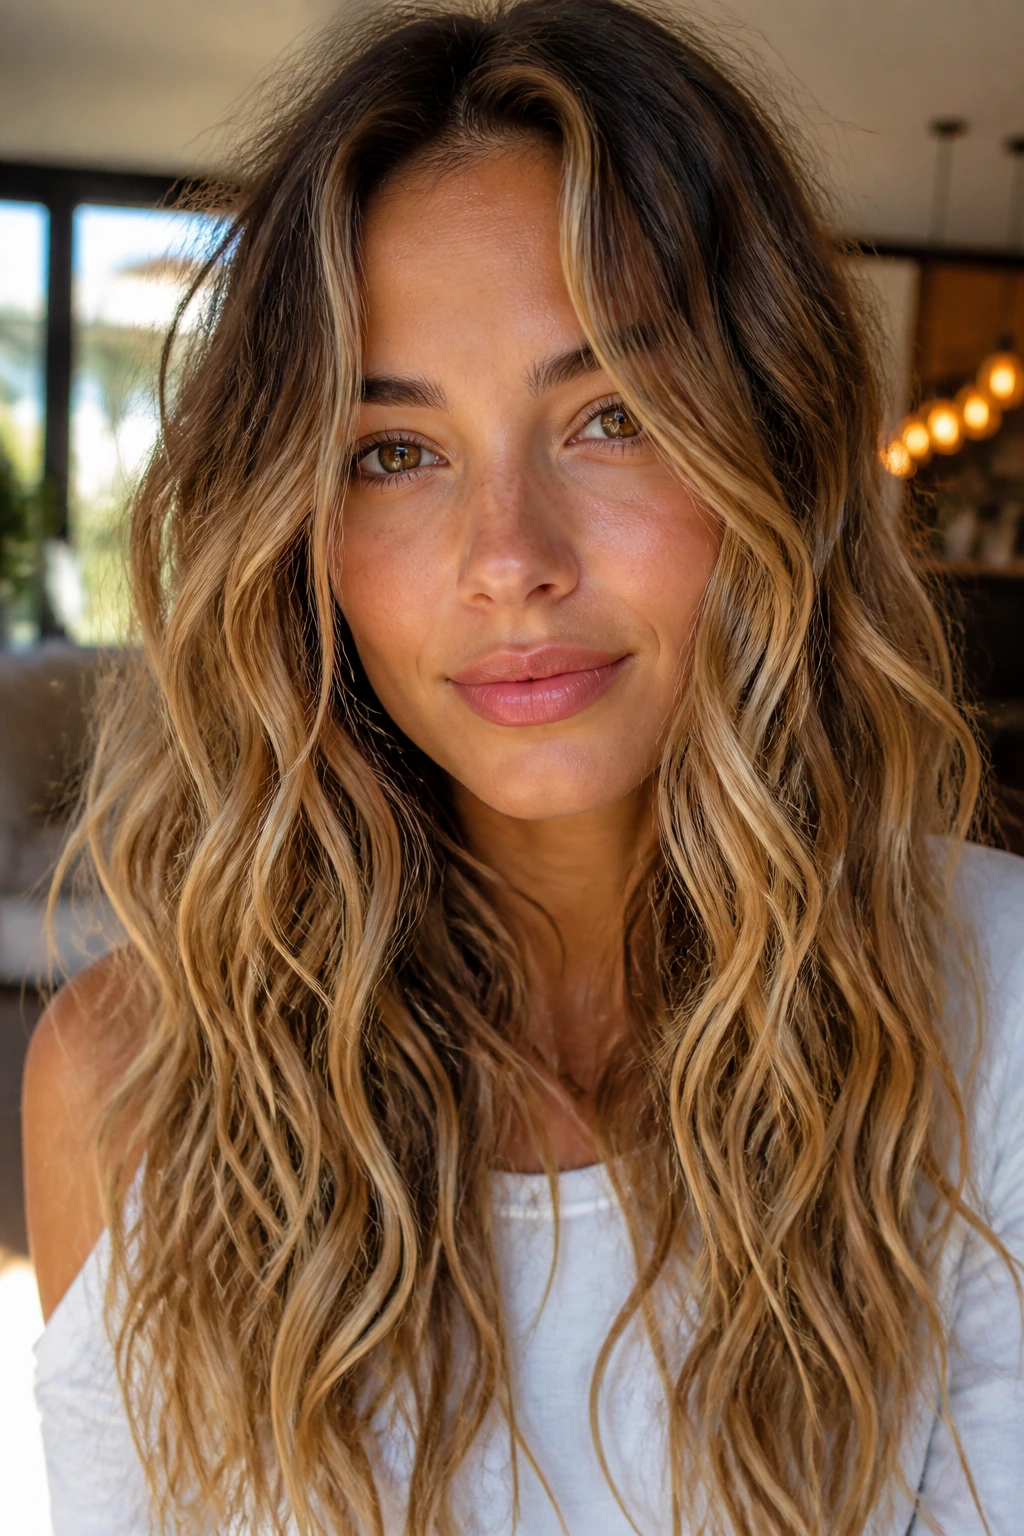
Some people want movement. Others want definition. This version gives you the second one.
Why it works: Piecey waves look good on long hair because the separation keeps the shape from becoming one big sheet. The eye sees individual bends, which makes the whole style feel lighter and more textured.
How to style it: Start with a small amount of mousse or styling cream, then form waves in medium sections. After the hair cools, break up a few pieces with your fingers and tap a little texture paste through the mids. Don’t overdo it. The style should look deliberate, not crunchy.
Best for: Hair with layers, or hair that tends to fall flat unless it has product in it.
Watch for: If you put texture paste near the roots, the crown can go greasy fast. Keep the product low and use a light touch.
7. Half-Up Twist Waves
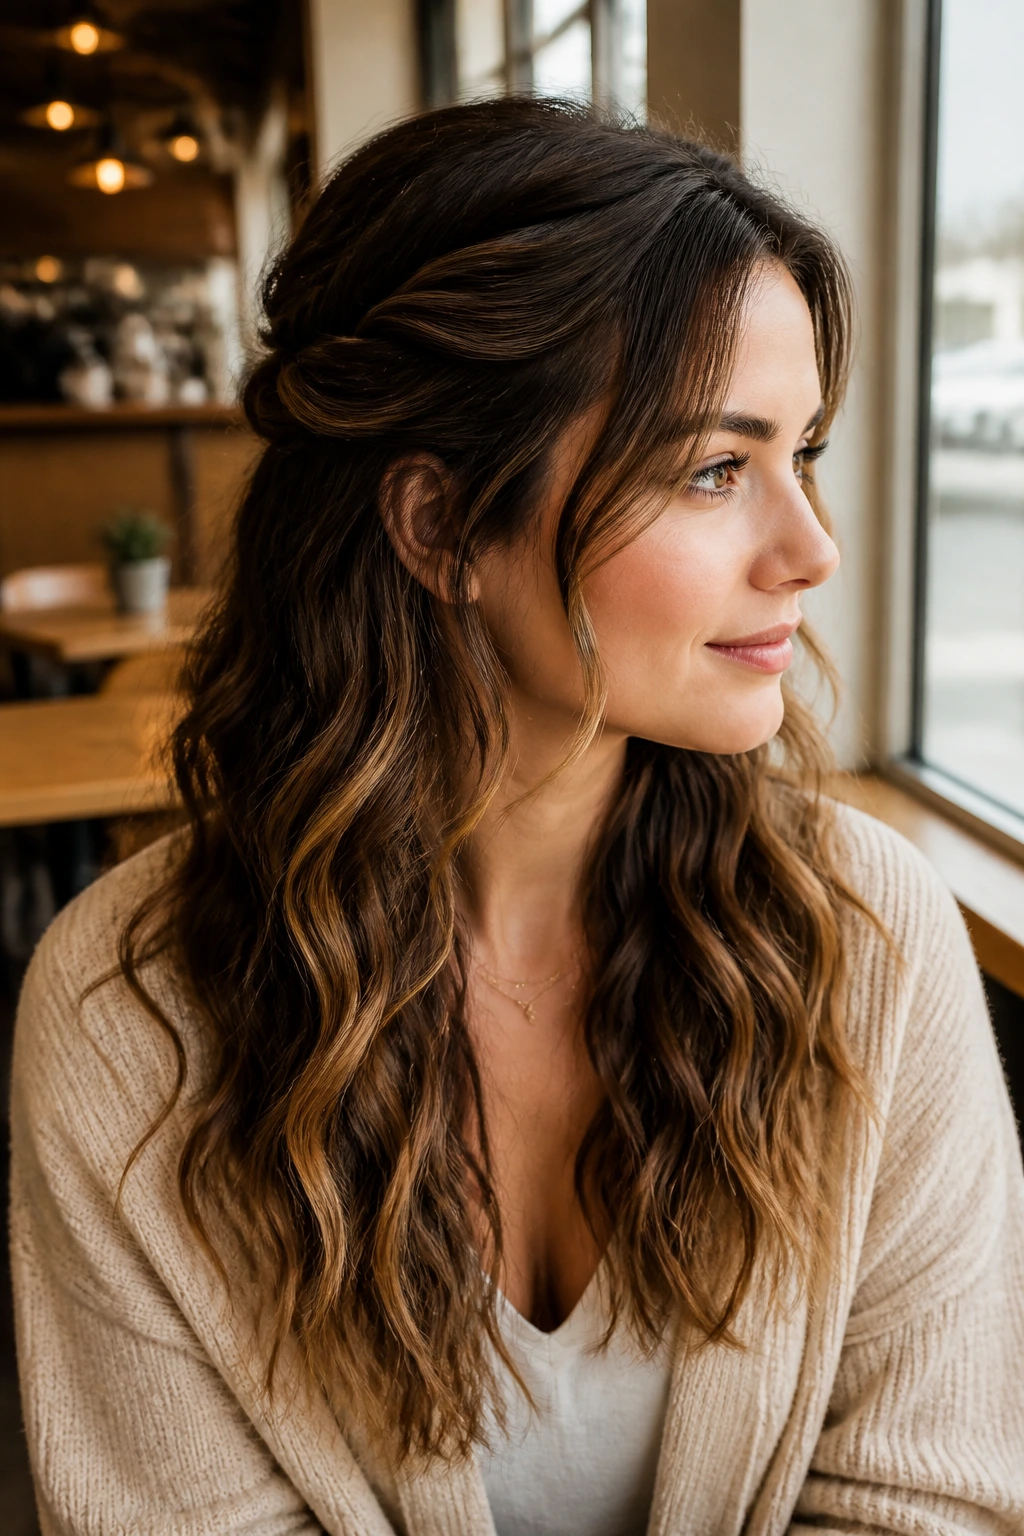
This is one of those styles that quietly solves a lot of problems. It keeps the front pieces out of your face, shows off length, and makes second-day waves look intentional.
Why it works: The twist anchors the top half so the hair around the cheeks doesn’t slide flat. Long wavy hair gets a little lift at the crown and a little looseness through the lengths, which is a nice trade.
How to style it: Take two sections from the temples, twist them back, and pin them at the back of the head. Leave the rest of the hair down and keep the lower waves untouched. If you want more volume, tug the twist gently before pinning so it sits soft instead of tight.
Best for: Busy days, warm weather, and anyone who likes hair off the face without a full updo.
Watch for: Don’t over-spray the twist itself. If the top gets too hard, the whole style loses that easy bendy shape.
8. Braided Crown Ripples
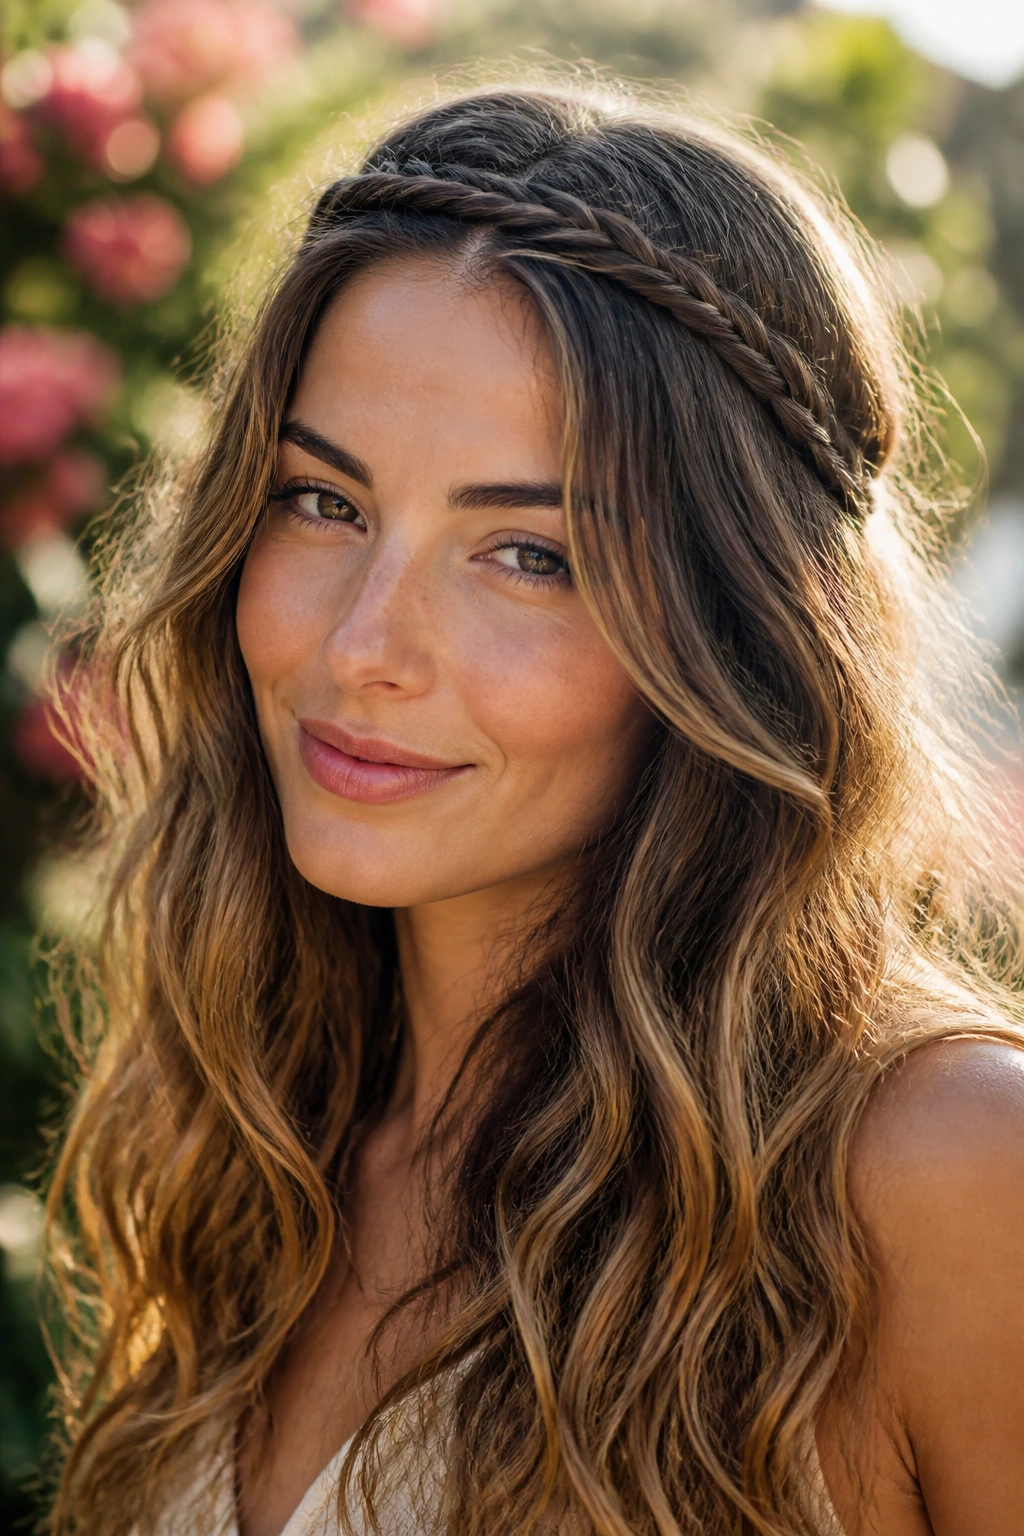
Braids are not only for sleeping. A small crown braid can leave a ripple through the top layer that feels fresh, a little boho, and more controlled than a full braid-out.
Why it works: The braid presses the upper hair in one direction while the rest stays loose. That contrast gives long waves a subtle crimp through the top and lets the lengths hang cleanly underneath.
How to style it: Braid a narrow section along the hairline or across the crown, then pin it back and leave the lengths loose. If your hair is already wavy, do the braid on slightly damp hair so the pattern sets softly. A touch of dry shampoo at the roots helps the braid sit better and keeps the scalp from looking shiny.
Best for: Festivals, weekends, or hair that needs a little structure but not a full set of curls.
Watch for: Braiding too tightly gives you a hard line and a flat top. Keep the braid loose enough that you can slide a finger under it.
9. Rope-Twist Heatless Waves
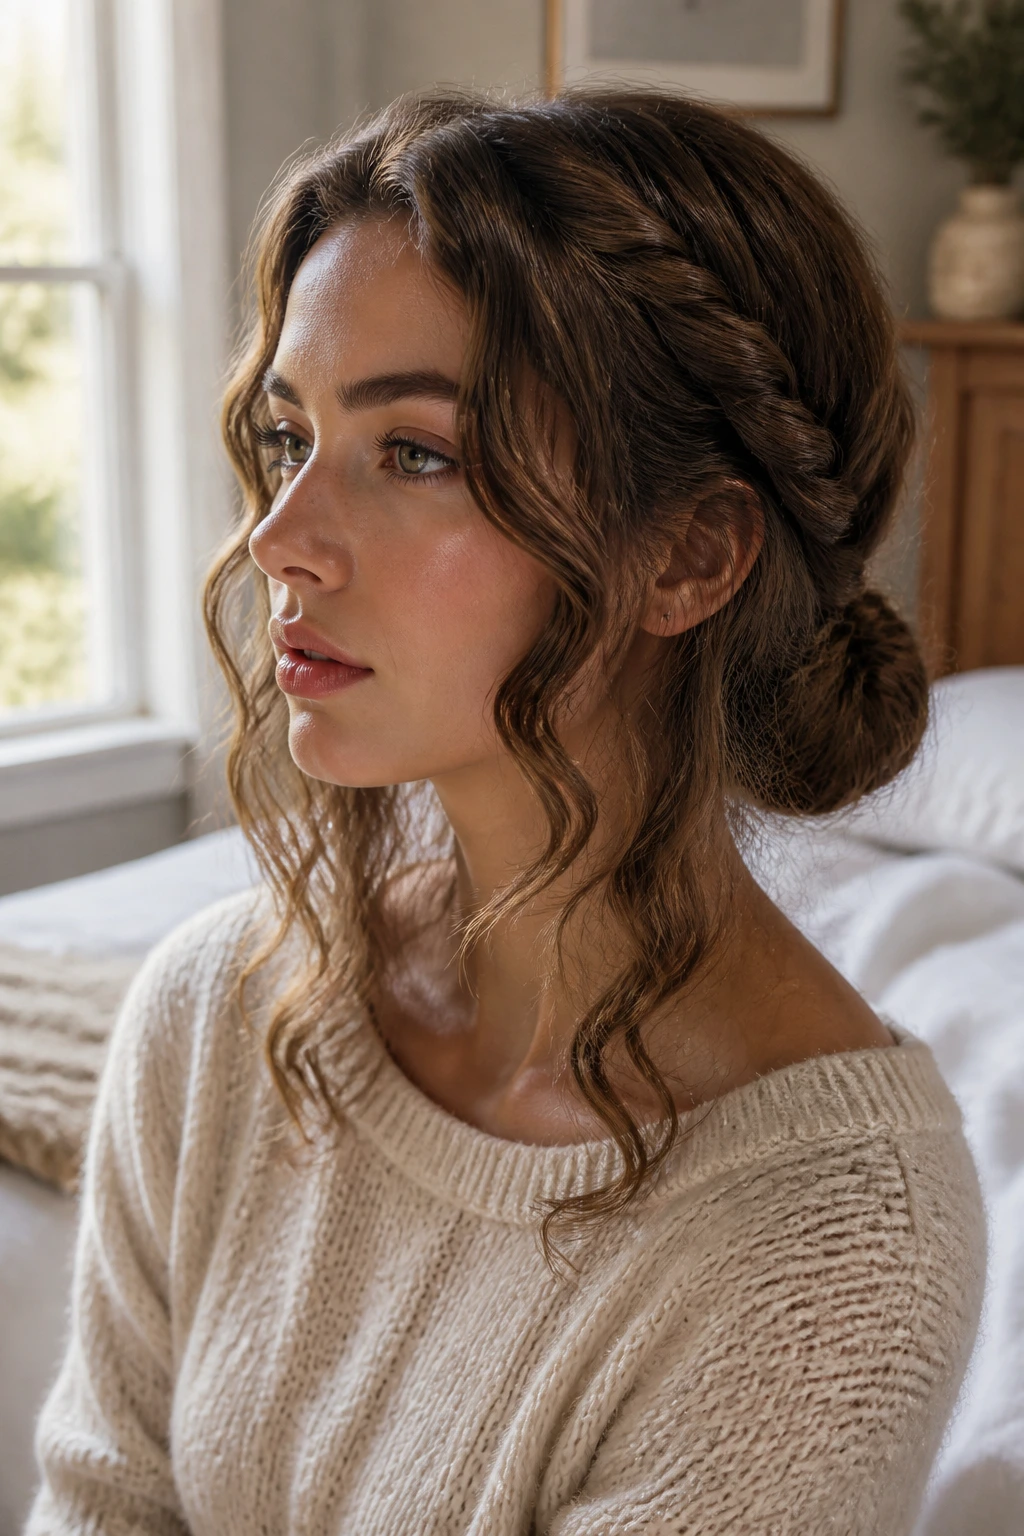
This one has the kind of bend that looks like you slept well and woke up with a plan, even if the reality was a damp twist and a silk pillowcase.
Why it works: Rope twists create a softer wave than braids because the hair spirals around itself instead of crossing over. On long wavy hair, that means less kink at the ends and a looser pattern through the mids.
How to style it: Split damp hair into two or four sections, twist each one away from the face, and coil the twist into a low bun or secure the ends with soft ties. Let it dry fully before taking it down. If you undo it too early, the wave stretches out and you lose the shape.
Best for: People who want texture without hot tools.
Watch for: Hair that is too wet can stay damp inside the twist for hours. Aim for towel-dried, not dripping.
10. Overnight Braid-Out Waves
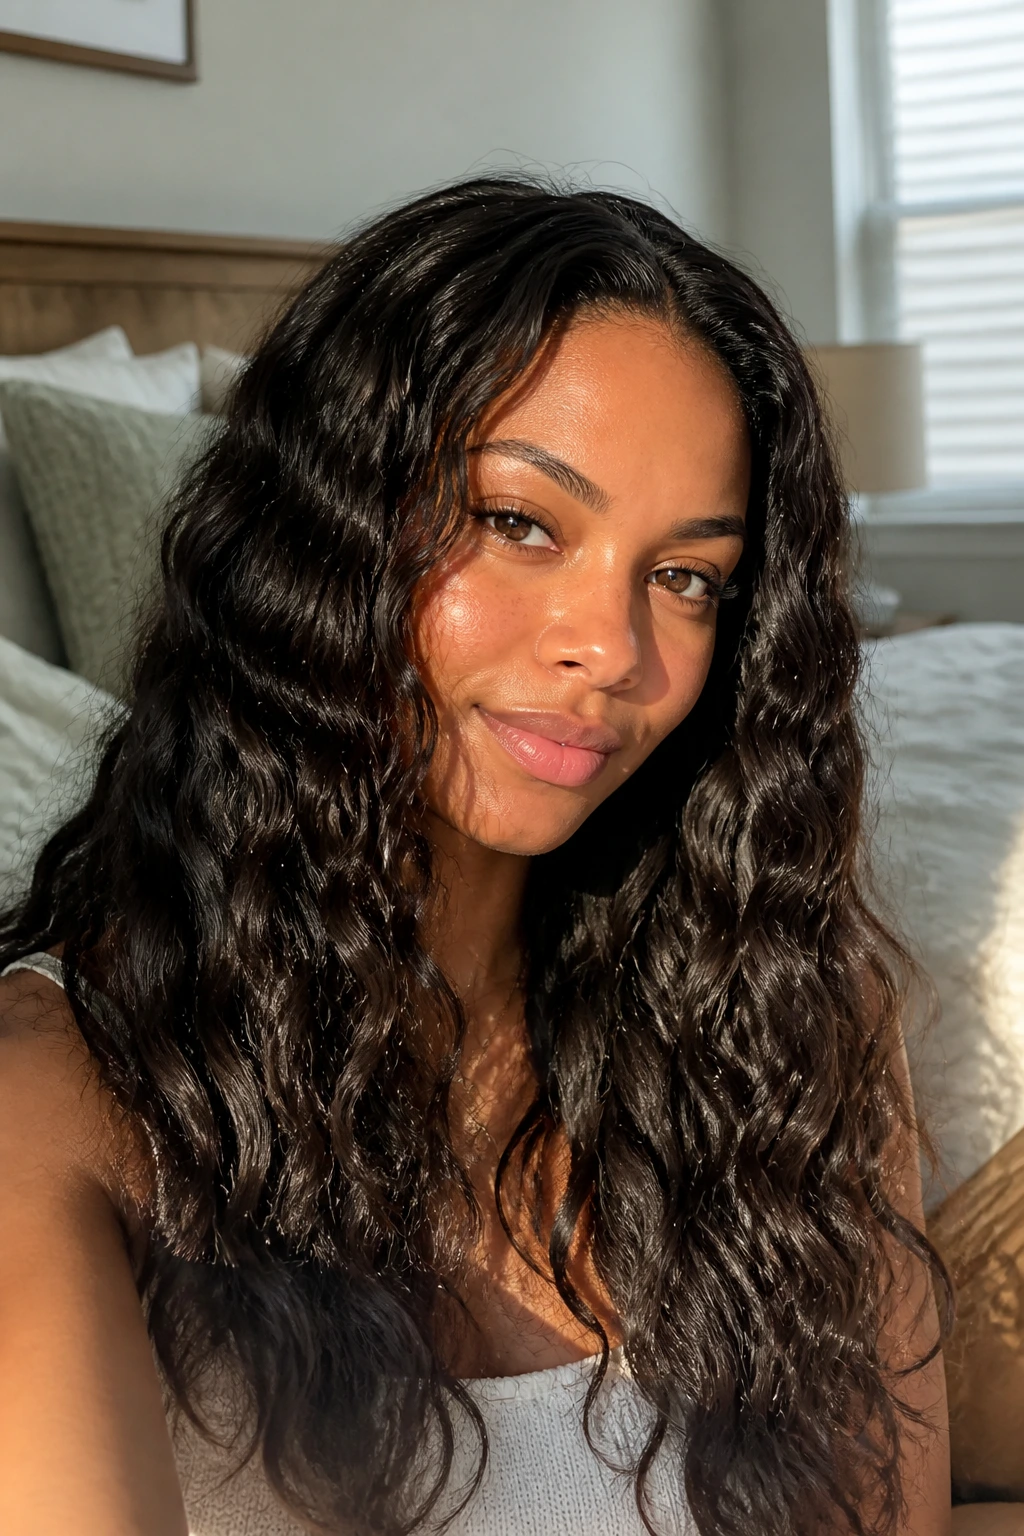
This is the classic for a reason. It gives long hair a richer texture than a single braid and can make the lengths look thicker right away.
Why it works: Braids create repeated bends, and repeated bends give the hair memory. With long wavy hair, that memory helps the lower half hold its shape after you shake out the braid.
How to style it: Divide hair into two or three sections, braid each one loosely, and sleep on it. The next morning, loosen the braids with your fingers, not a brush. If the front pieces look too crimped, smooth just the top inch with a flat iron or your palms.
Best for: Hair that’s fine, straight-ish, or a little stubborn about holding curl.
Watch for: Tight braids near the ends can leave a sharp kink. Leave the last inch loose if your hair likes to snag there.
11. Flat-Iron S-Bend Waves
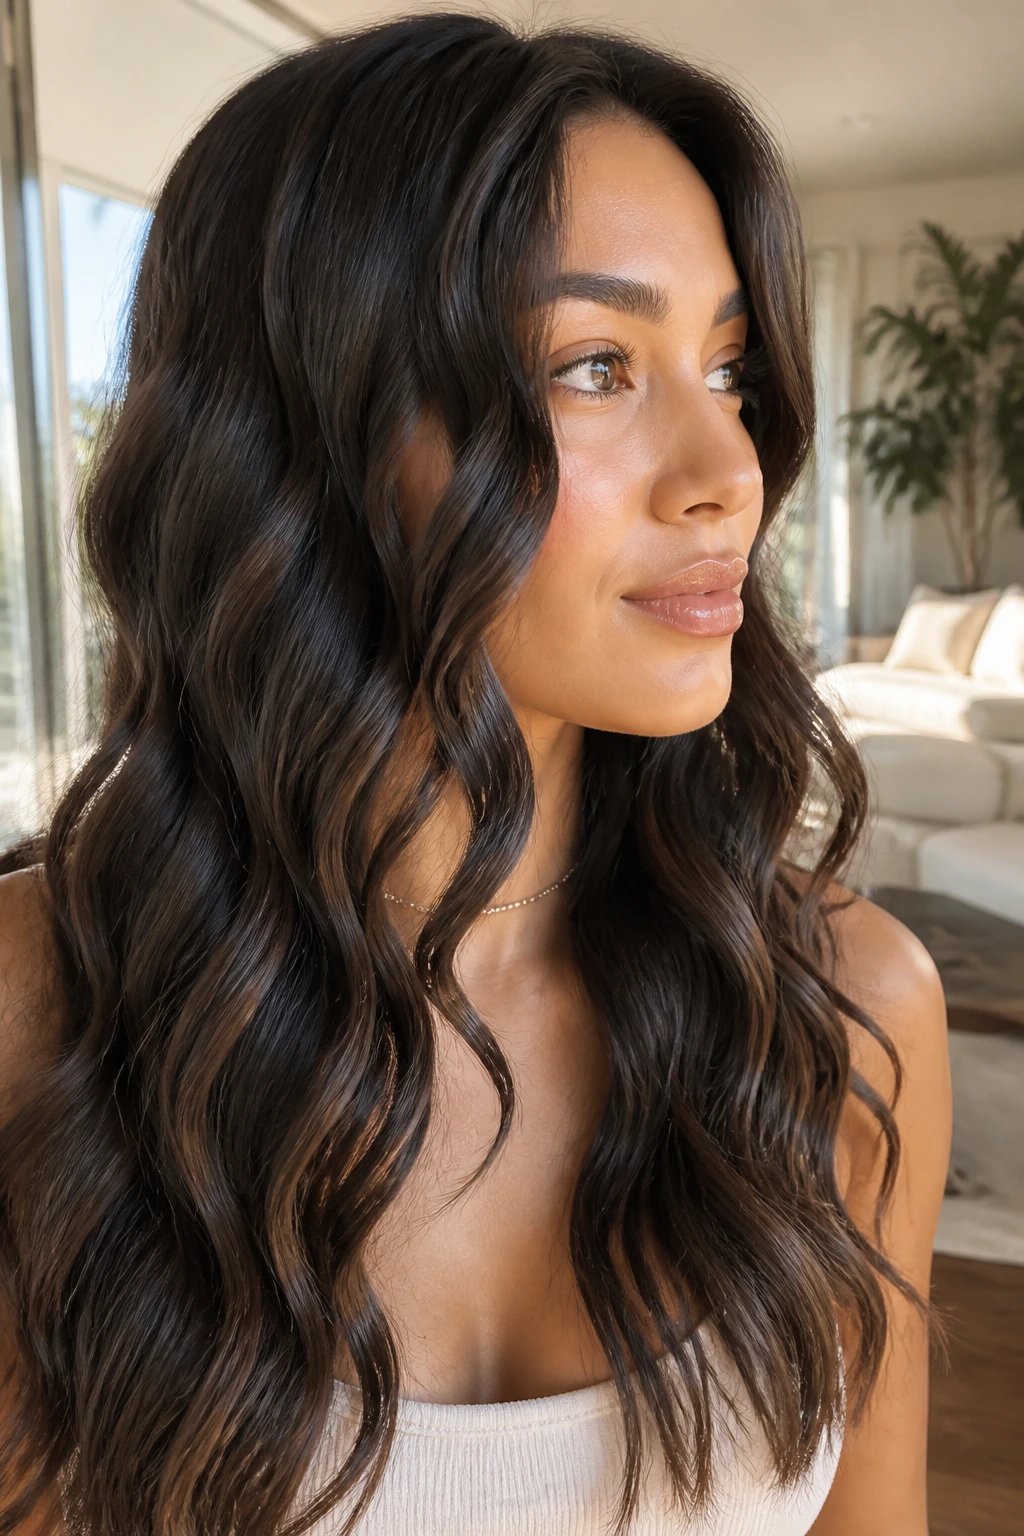
This is the cleaner, sharper take on beach texture. It looks a little more editorial and a little less vacation, which is handy if you want texture without a curly finish.
Why it works: The flat iron creates an S-shape instead of a full curl, so long hair keeps its length and movement. The bend looks more controlled than a wand curl, which makes it good for long layers that can turn bulky fast.
How to style it: Clamp a small section near the root, rotate the iron away from the face, then move down in short pushes and pulls to create an S. Keep the ends straighter if you want the style to stay airy. Once it cools, rake through lightly with fingers and stop before the wave gets too wide.
Best for: Straight-to-wavy hair, or anyone who wants a modern finish with less roundness.
Watch for: If the iron is too hot, the bend gets sharp and crimped instead of soft. Use moderate heat and work in smaller sections.
12. Curling-Wand Alternating Waves
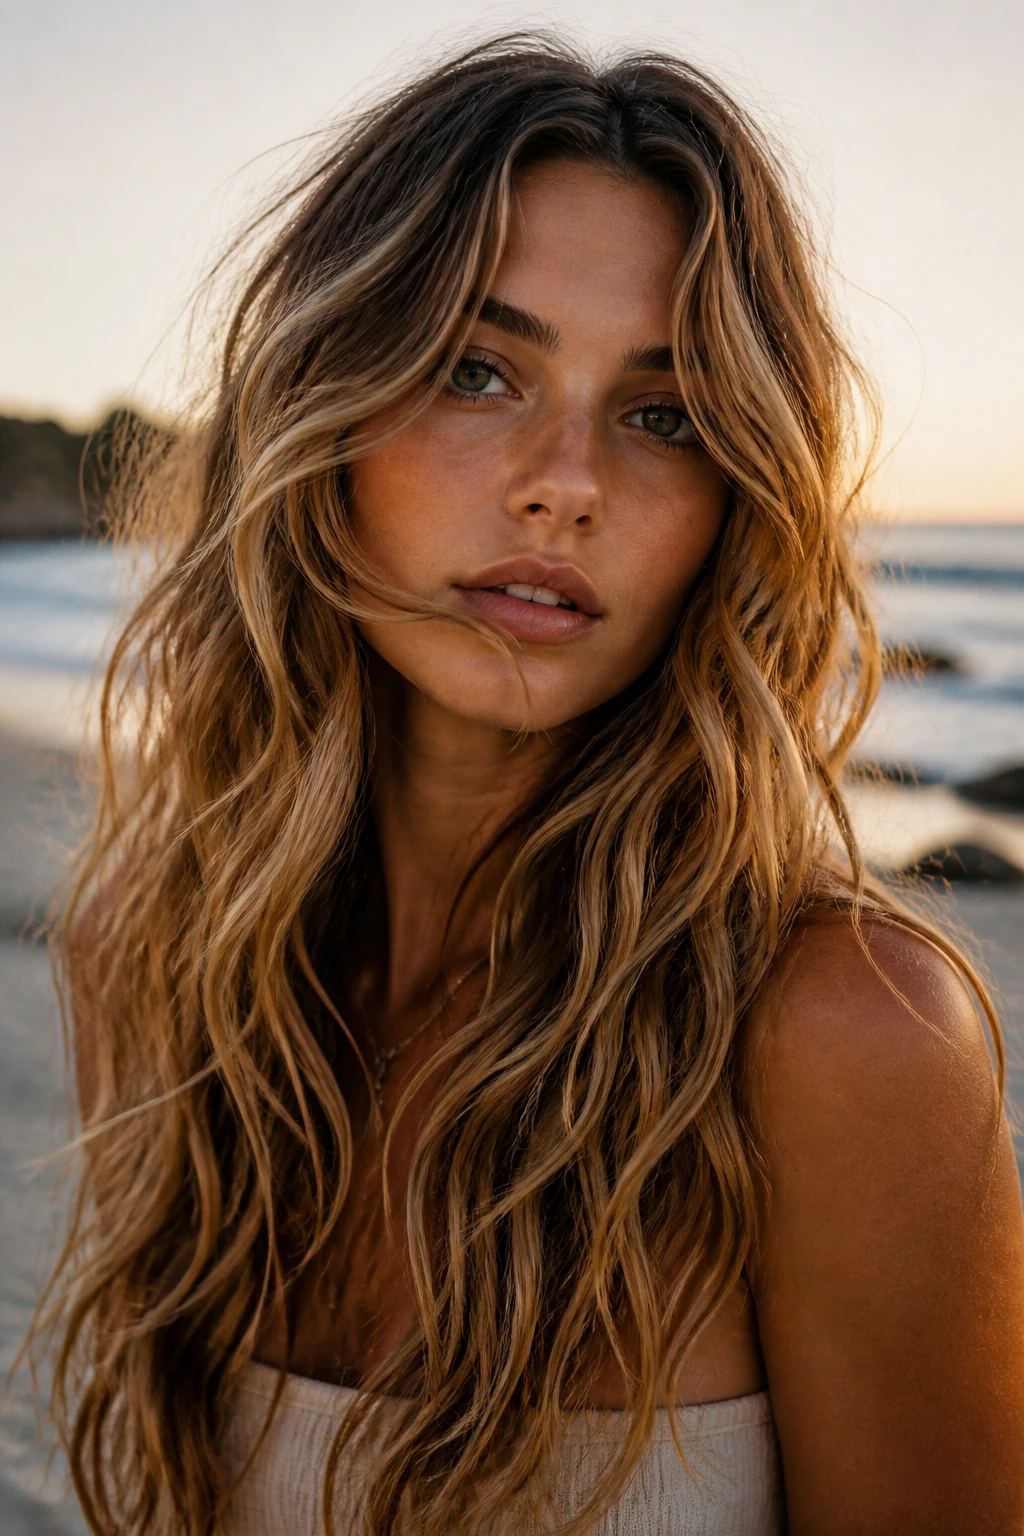
If one-direction curls look too tidy on you, alternating the wrap direction keeps the result from turning into uniform ringlets. It looks more natural. More lived-in. Less set.
Why it works: Alternating directions make the waves collide in a messy, believable way, which is exactly what beach texture wants. On long hair, that irregularity prevents the lower half from looking like a single heavy curtain.
How to style it: Wrap one section toward the face, the next away from the face, and keep the ends out for a looser finish. Let each piece cool before touching it. Once everything is set, shake the hair at the roots instead of brushing through the mids.
Best for: Medium to thick hair, especially if you want movement all the way through the lengths.
Watch for: If every section is the same size, the wave starts to look too even. Vary the size a little. It helps.
13. Wet-Look Beach Waves
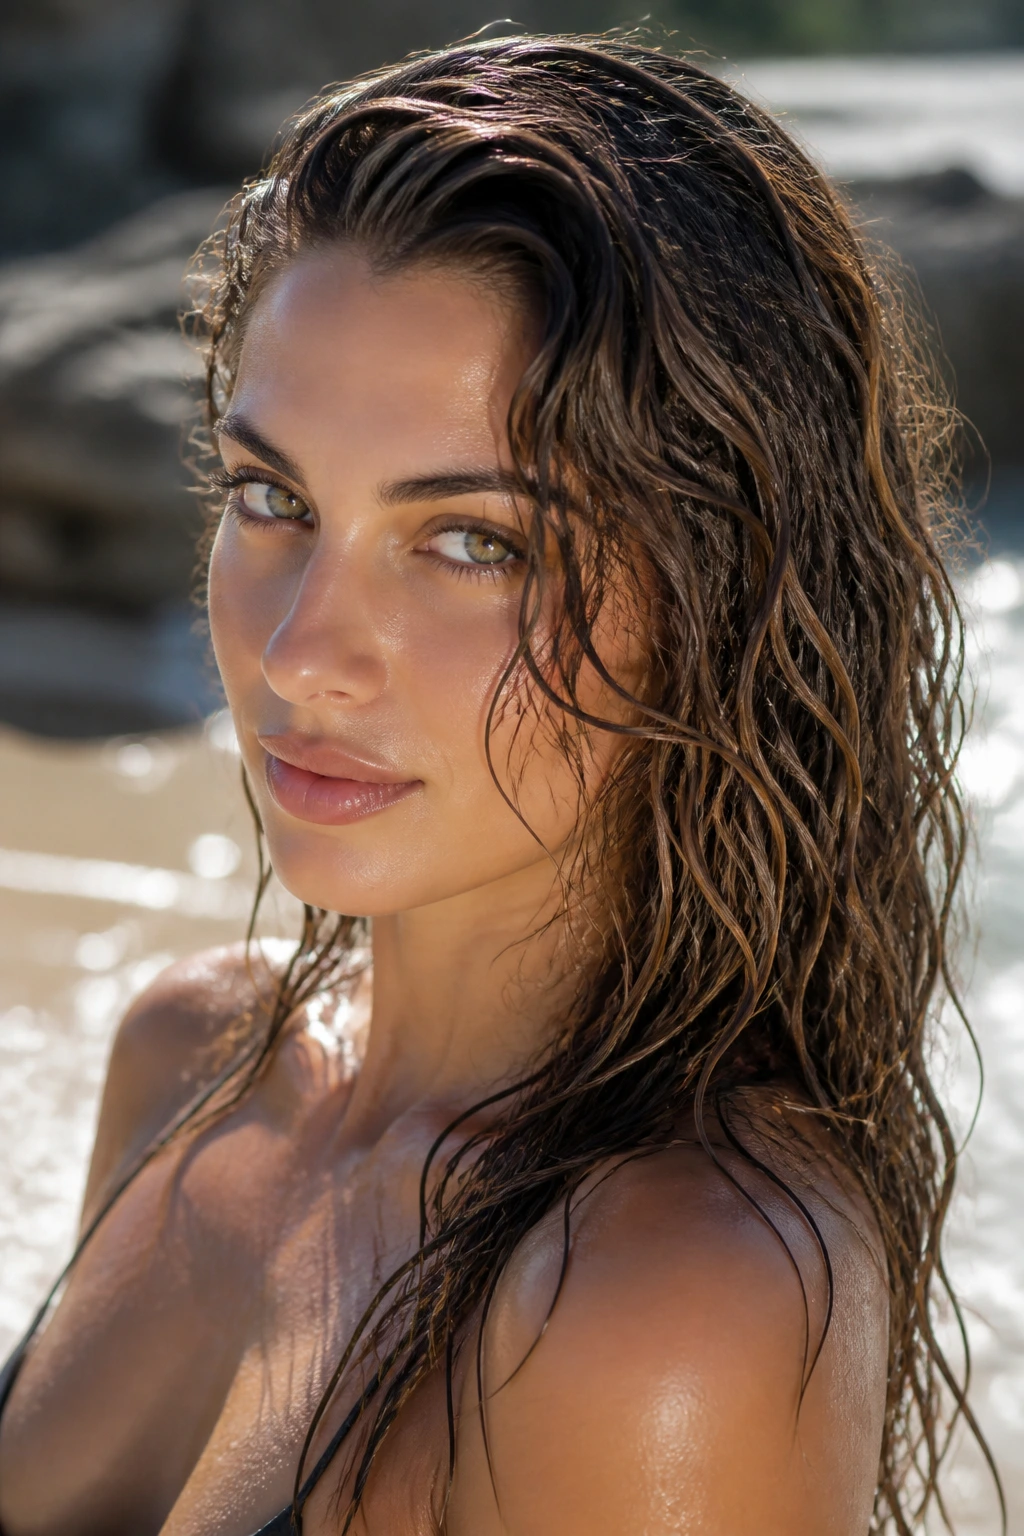
This one is slicker, shinier, and a little more fashion-forward. It’s the cousin of the classic beach wave that drank an espresso and went out late.
Why it works: Gel or strong cream keeps the wave pattern defined while the shine makes the texture look deliberate. On long hair, wet-look waves can stop the mids from frizzing up and turning fuzzy by noon.
How to style it: Apply gel to damp hair, comb it through, then scrunch only the lengths. Use your fingers to form soft bends while the top stays smooth. If you want it extra sleek, tuck one side behind the ear and let the rest fall in defined, glossy waves.
Best for: Heat-free styling, humid days, or dressier nights where you want texture with polish.
Watch for: This look dies if you use too much oil. Shine should come from the gel and from healthy hair, not from greasing the whole head.
14. Brushed-Out Glam Waves
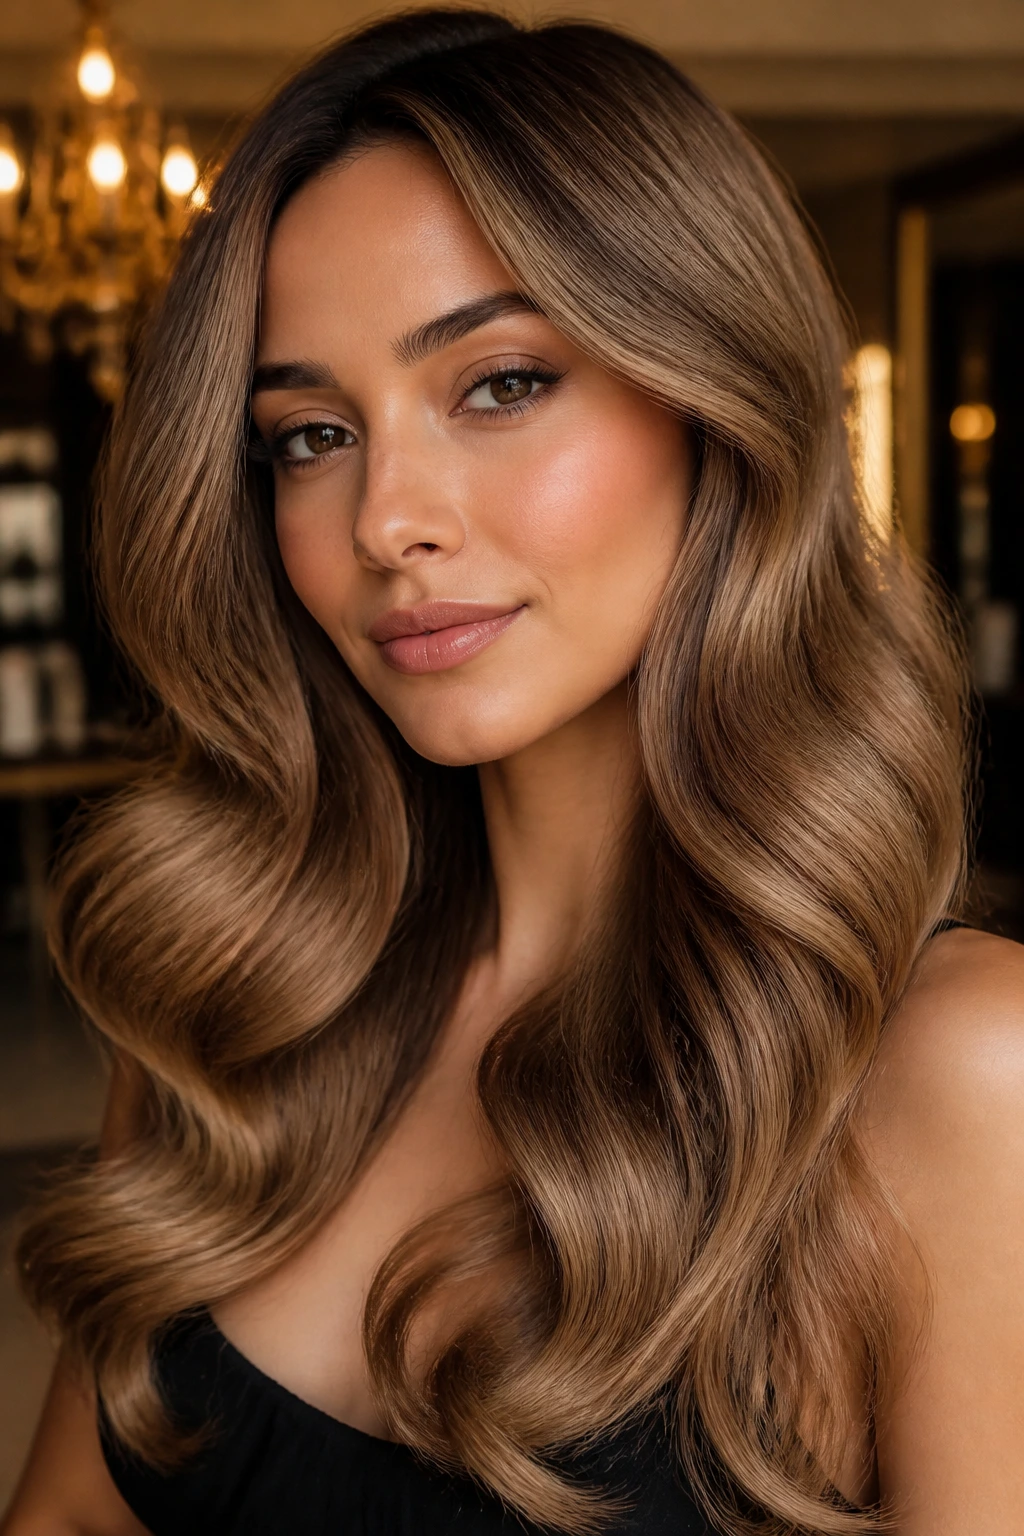
These start out looking almost too curled and end up soft, broad, and expensive-looking — which is a terrible phrase, but accurate enough.
Why it works: Brushing breaks up the curl pattern into one wide wave shape. On long hair, that creates sweep and movement instead of a pile of separate spirals. It’s one of the few styles that looks better after a gentle brush.
How to style it: Set loose curls with a large iron, let them cool completely, then brush from the bottom up with a soft bristle brush. Stop when the waves merge into one smooth ribbon of texture. Finish with a light mist of hairspray and a drop of serum on the ends.
Best for: Formal events, date nights, or hair that holds curl well and needs softening.
Watch for: Brush too soon and you’ll get frizz instead of glamour. Wait until the hair is cool to the touch.
15. Air-Dried Scrunch Waves
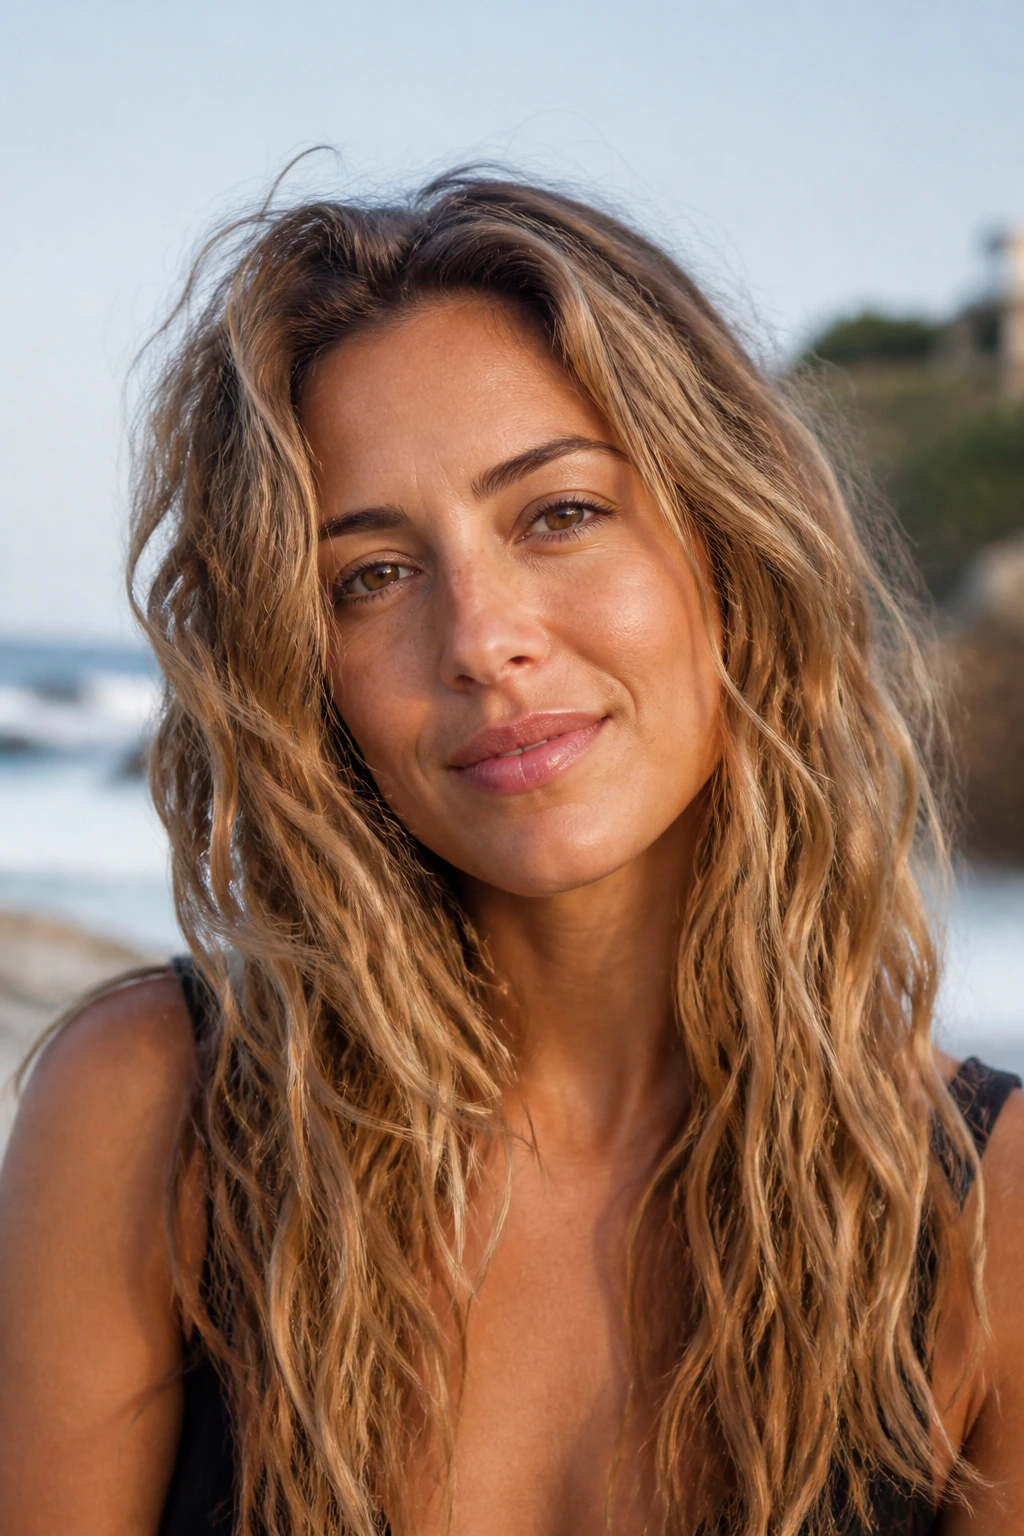
If your hair already bends on its own, this is the style that asks the least and gives the most. It’s relaxed, a little messy, and honest about what your texture can do.
Why it works: Foam or mousse adds enough support for the wave to set while scrunching pushes the pattern upward instead of letting it hang straight. Long wavy hair needs that lift because the lengths can pull themselves out before they dry.
How to style it: Work mousse through damp hair, scrunch from the ends toward the roots, and either air-dry or diffuse on low heat. Once dry, break up the cast lightly with your hands. If the crown feels flat, flip the head over and shake the roots loose for a few seconds.
Best for: Busy mornings and hair that gets weighed down fast.
Watch for: A heavy cream will usually kill this style. Use foam or a light mousse, not a butter.
16. Face-Framing Money Piece Waves
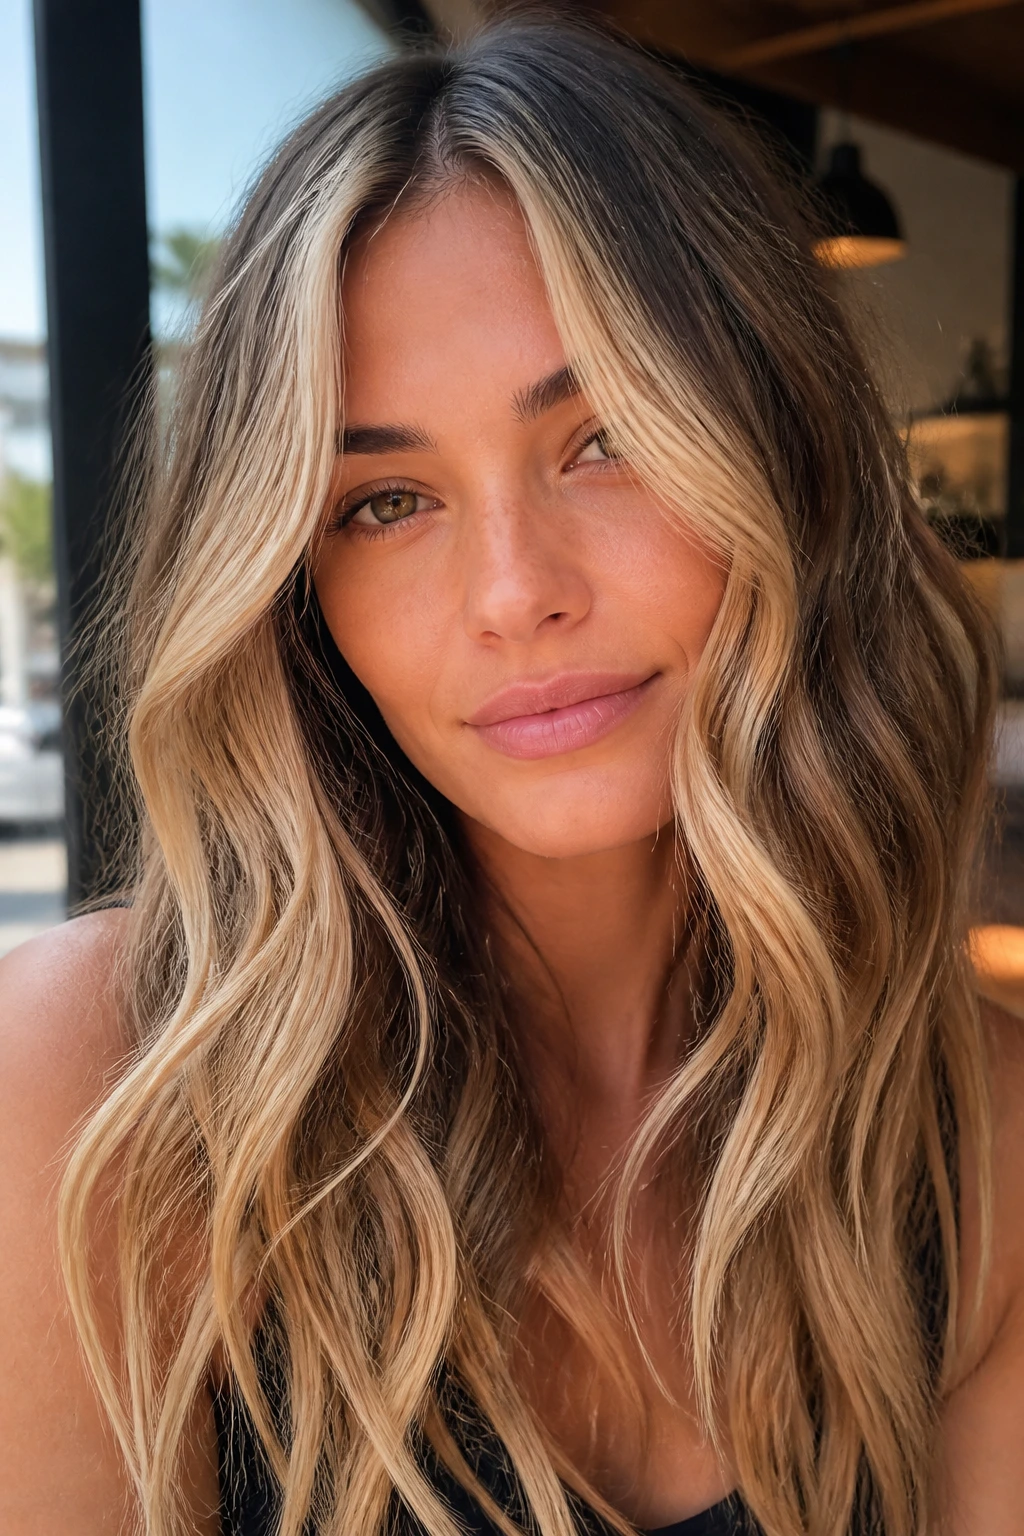
This look puts the attention right where most people want it anyway: around the face. The front pieces are lighter, brighter, and shaped with more care than the rest.
Why it works: A face-framing wave draws the eye down the length of the hair and gives the style a focal point. On long hair, that keeps everything from feeling too uniform. The lighter pieces near the face also catch the movement better.
How to style it: Set the front two sections with a larger barrel or a brush bend, directing them away from the face. Keep the rest of the hair softer and less structured. That difference in texture is the point. It keeps the front pieces visible even when the rest of the hair is loose.
Best for: Highlighted hair, balayage, or any cut with curtain pieces near the cheekbones.
Watch for: If you curl the front too tightly, the money pieces fight with the rest of the style. Soft bend. Not ringlets.
17. Low Pony Waves
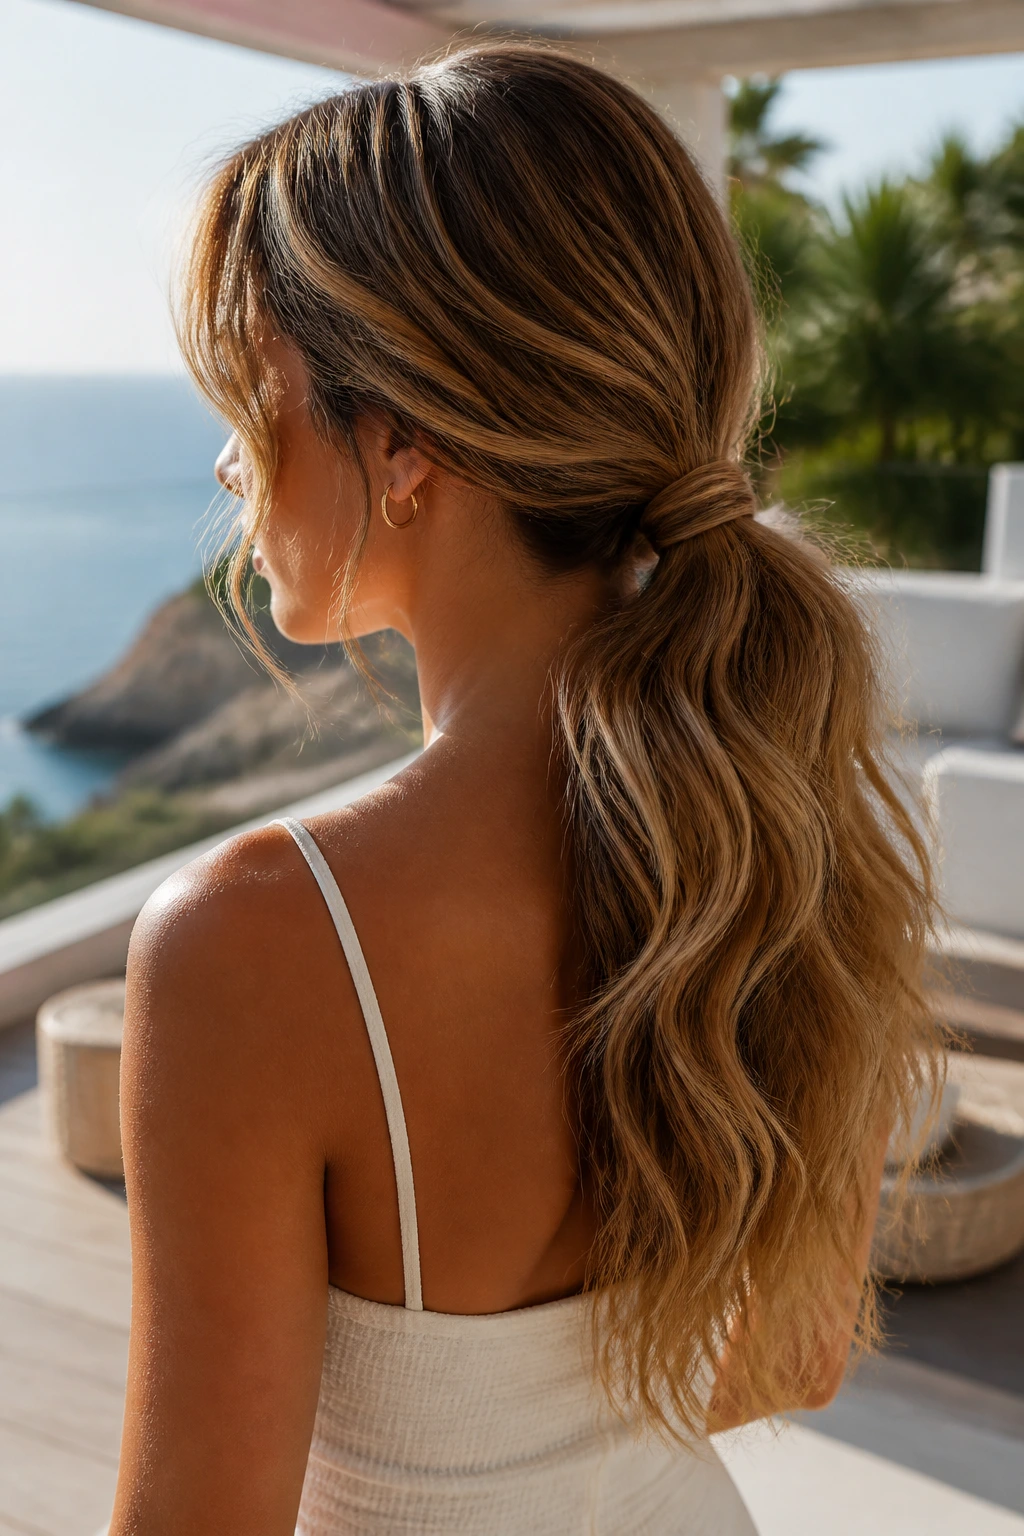
This is the practical one, but it doesn’t look lazy. The waves still get to show off, just with the lengths gathered low so the shape feels cleaner.
Why it works: A low pony takes the pressure off the crown and lets the wave pattern live in the tail. Long wavy hair often looks better this way because the top stays smooth while the ends keep movement.
How to style it: Pull the hair into a low pony at the nape, leave a few face-framing pieces out, then wrap a strand around the elastic if you want it neater. Curl or refresh the tail after the pony is secured so the bends fall together. A tiny bit of texture spray at the tail keeps it from looking flat.
Best for: Office days, travel, or when you want your waves to stay out of the way.
Watch for: If the elastic is too tight, the top section gets a dent. Use a soft tie and don’t pull the pony high.
18. Claw-Clip Wave Pile
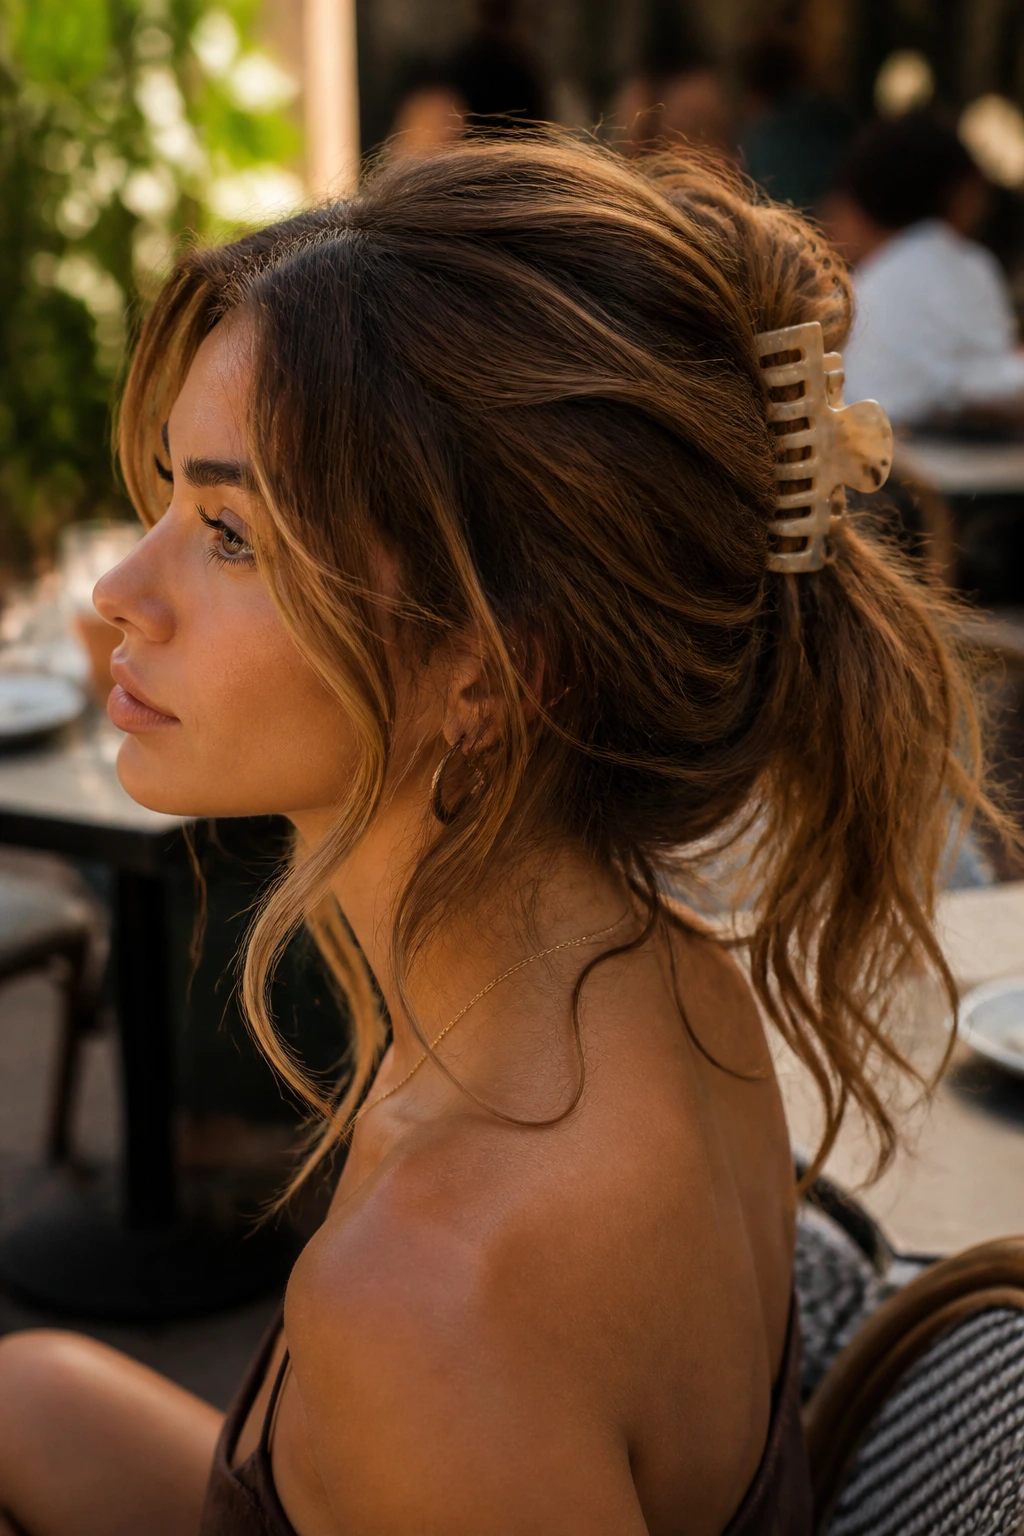
Claw clips are back for a reason: they let the length bend and spill instead of squeezing it into a tight knot.
Why it works: The clip lifts the hair off the neck while the ends stay free, which keeps the wave shape visible. On long hair, that loose coil can look better than a full bun because the weight of the hair still reads in the lengths.
How to style it: Twist the hair loosely, fold it up, and secure it with a large claw clip so the ends drape out the top or bottom. Leave a few front pieces loose if you want it softer. If the hair is freshly waved, don’t twist too hard or you’ll flatten the texture.
Best for: Casual days, hot weather, or second-day waves that need a break.
Watch for: Small clips won’t hold long hair for long. Use one that actually grips the section instead of pretending.
19. Hat-Ready Windblown Waves
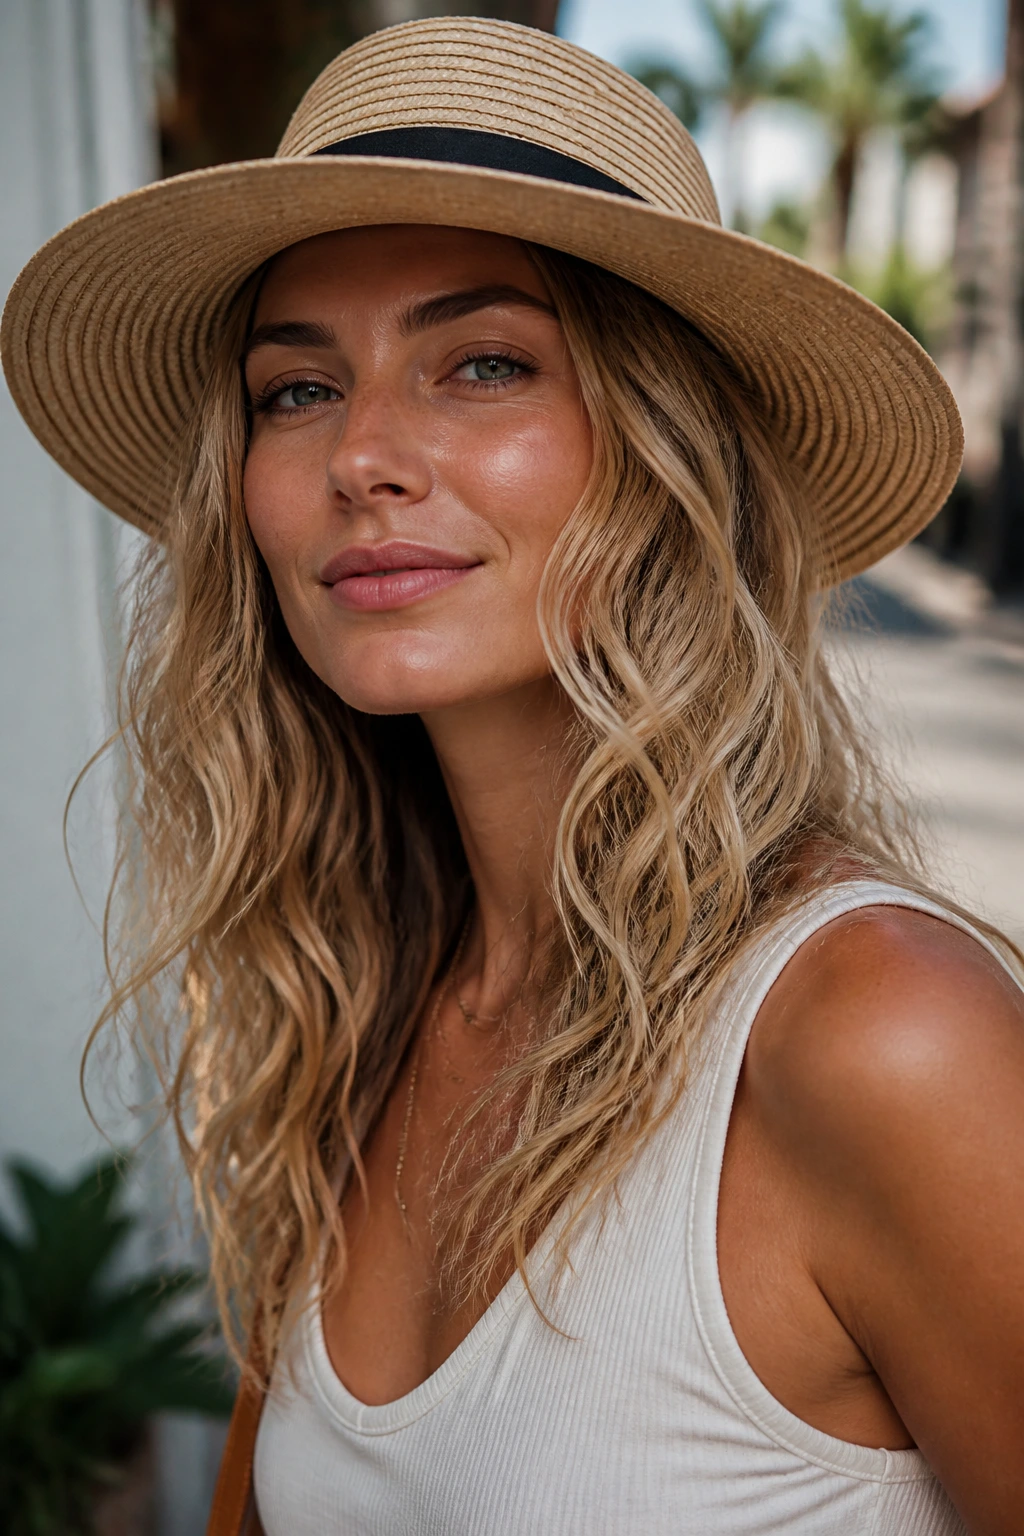
Hats can ruin hair fast. Or they can frame it, if you plan the wave around the brim instead of fighting it after the fact.
Why it works: This version keeps the crown flatter and saves the movement for the lengths below the hat line. On long wavy hair, that matters because the top section is the first part to go limp once fabric presses on it.
How to style it: Set the top hair with less volume than usual, then make sure the wave starts below the ears. When you remove the hat, shake out the roots and pinch a bit of texture through the ends. A little dry shampoo at the crown helps restore lift.
Best for: Outdoors, errands, travel, and anyone who wears hats often.
Watch for: Too much root spray before the hat goes on can make the scalp feel gritty. Keep the product light.
20. Layered Shag Waves
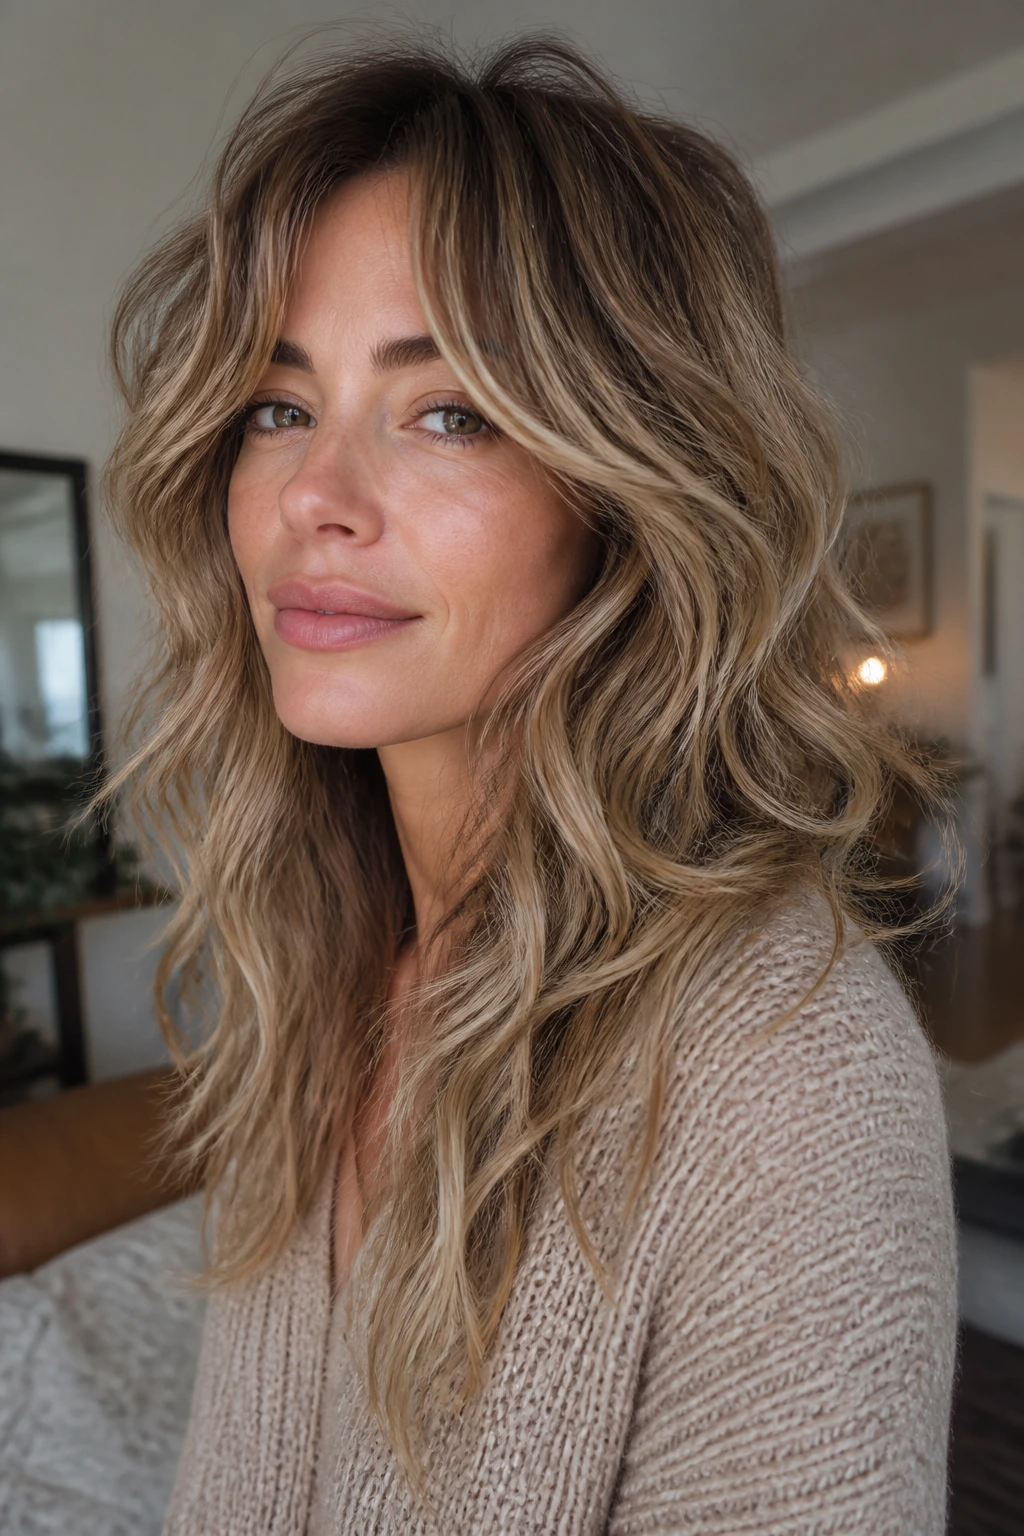
Long layers can save beach waves. So can a shag. It’s the cut that gives the style some backbone before the product even shows up.
Why it works: Choppy layers break up the weight that usually drags long waves straight. The result is more movement through the mids and more swing around the face. If your hair has plenty of density, this shape can change everything.
How to style it: Use a diffuser or a wand to encourage the natural bend, then keep the ends separated with your fingers. The trick is not to over-smooth the layers; a little separation is what makes the shag feel alive. If you brush it down too much, you lose the whole point.
Best for: Thick hair, curtain bangs, and people who want texture to look built in.
Watch for: A shag can go puffy if you overload it with volumizing foam. Keep the roots lifted and the mids controlled.
21. Salt-Dipped Ends Waves
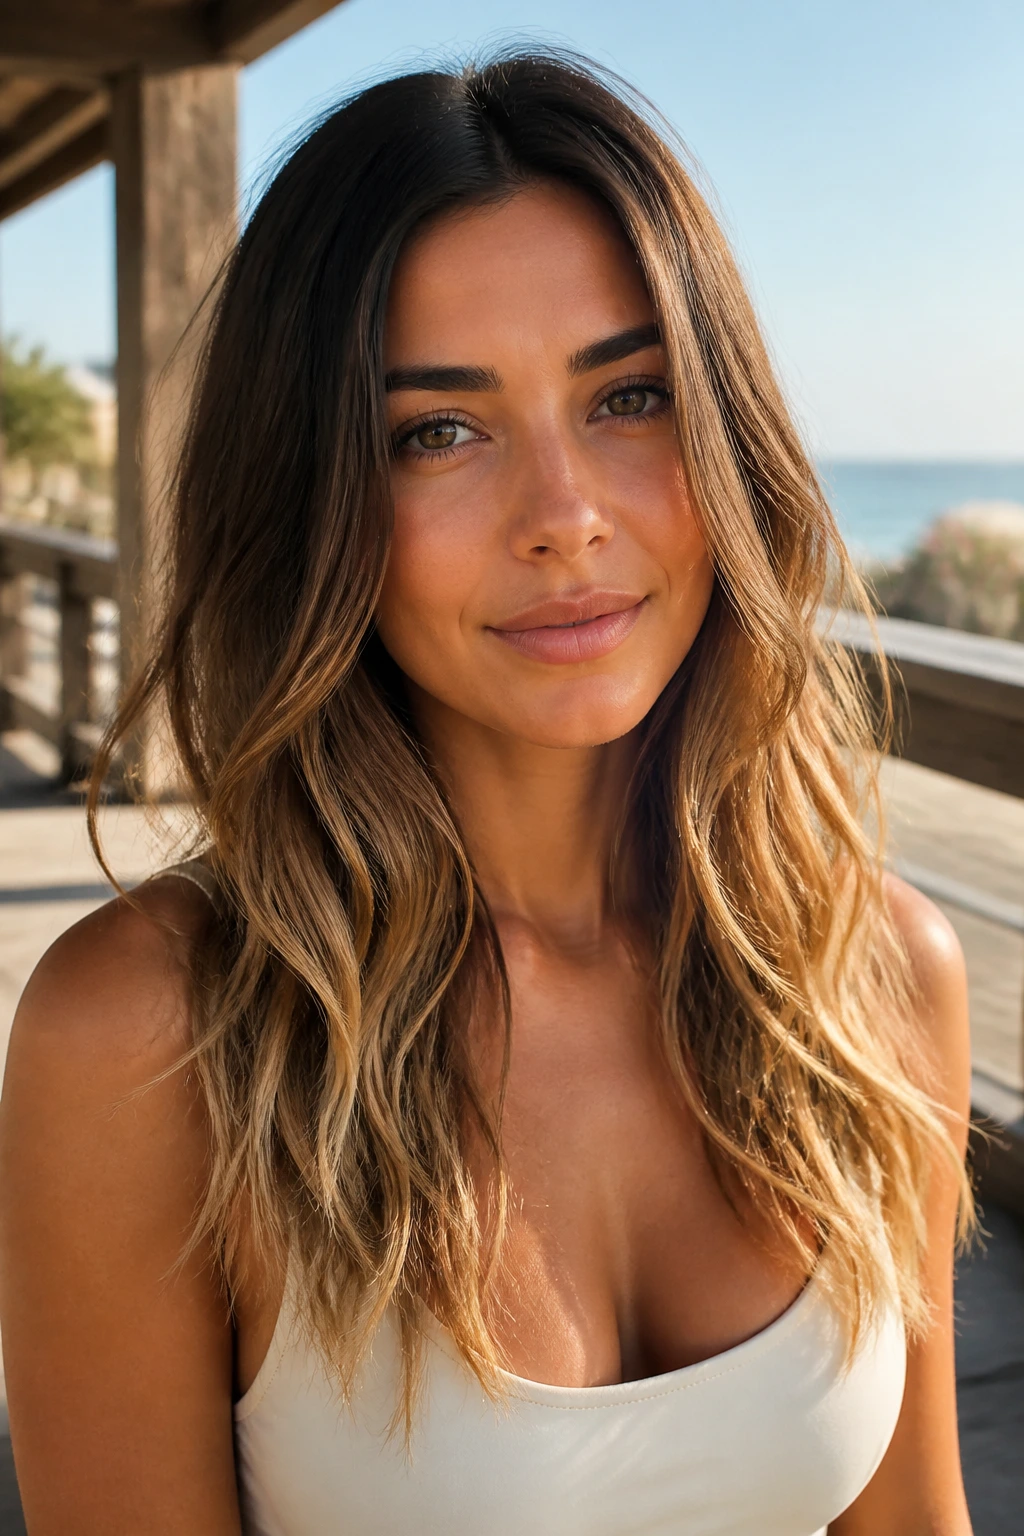
This look keeps the top calmer and puts the texture where it’s easiest to notice: from the cheekbones down.
Why it works: Long hair often gets flat at the top and frizzy at the bottom. Salt-dipped ends fix that split personality by letting the mids and ends carry the beach texture while the roots stay smoother.
How to style it: Apply a very light cream or leave-in near the crown, then use salt spray only from mid-lengths down. Scrunch and twist the lower sections, leaving the top section mostly alone. The result is a cleaner outline with enough grit at the ends to look lived-in.
Best for: Hair that puffs at the crown but loses shape through the lengths.
Watch for: Don’t drag the salt spray through the top. The roots don’t need that much friction.
22. Deep Side Part Waves
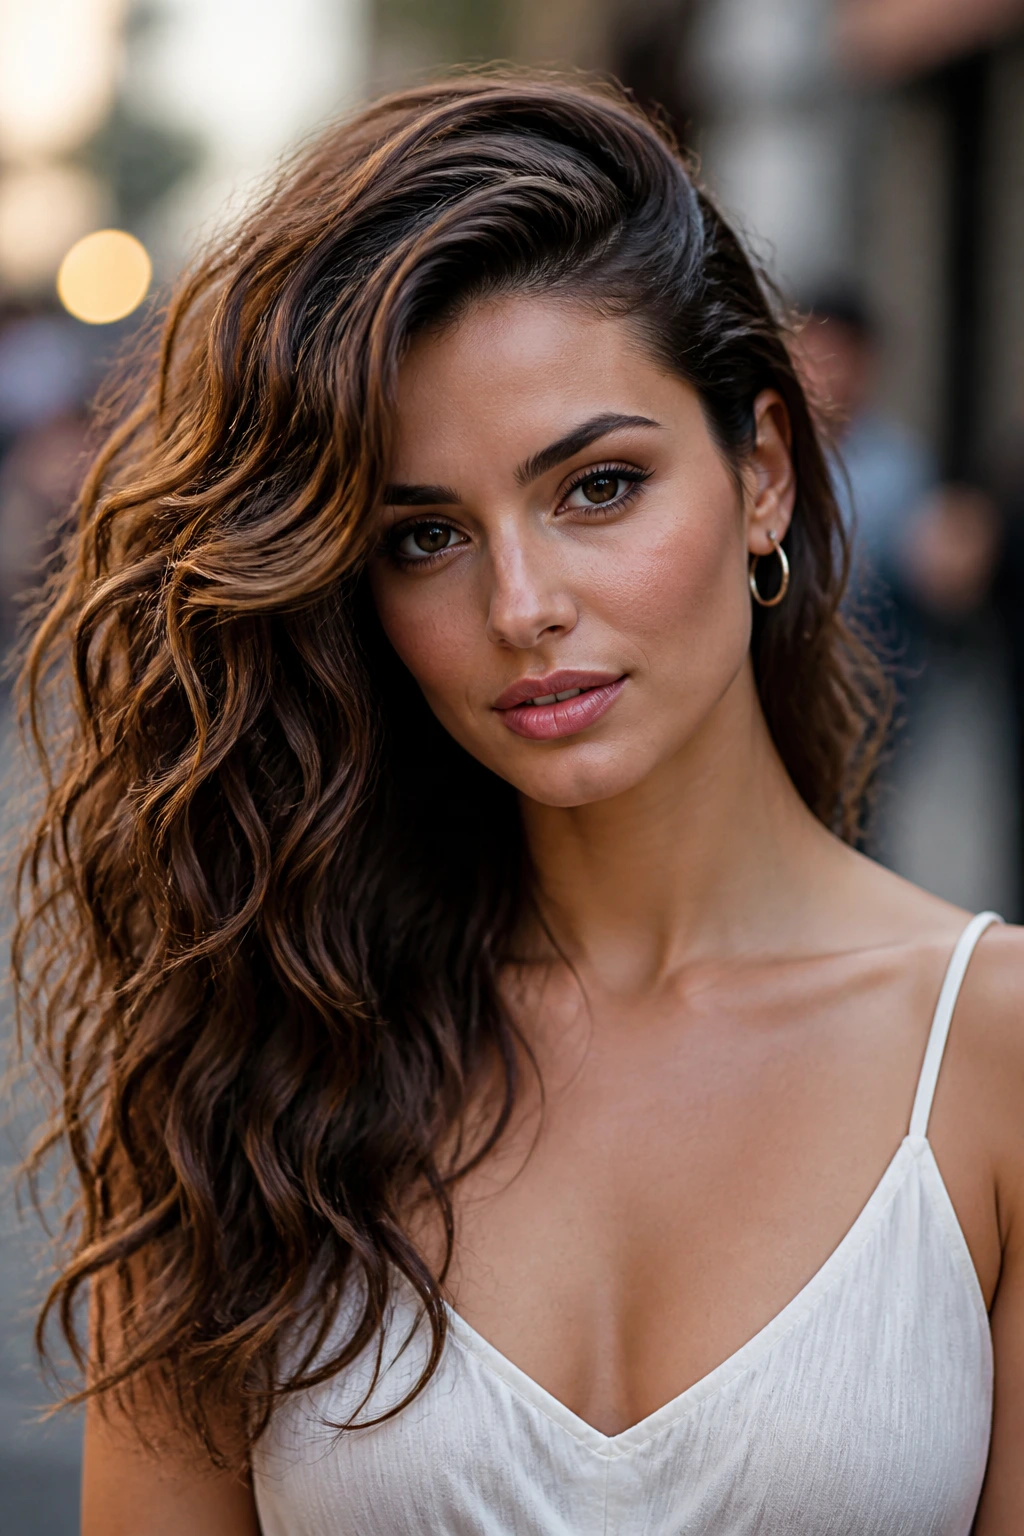
A deep side part can make long waves look instantly fuller. It lifts one side, flattens the other in a good way, and gives the hair a clear direction.
Why it works: Hair needs somewhere to fall, and a deep part gives it that architecture. On long wavy hair, the heavy side has room to stack while the lighter side keeps the face open. The style looks richer because the volume is concentrated instead of spread evenly.
How to style it: Set the part just past the arch of one brow, then sweep the front section over and away from the face. Use a root clip at the crown while the hair cools if it tends to collapse. That little support makes a bigger difference than people expect.
Best for: Fine hair that needs body, or dense hair that needs shape.
Watch for: If you switch your part all the time, the scalp can get stubborn. Train the side you want with a bit of mousse and a clip.
23. Headband Sweep Waves
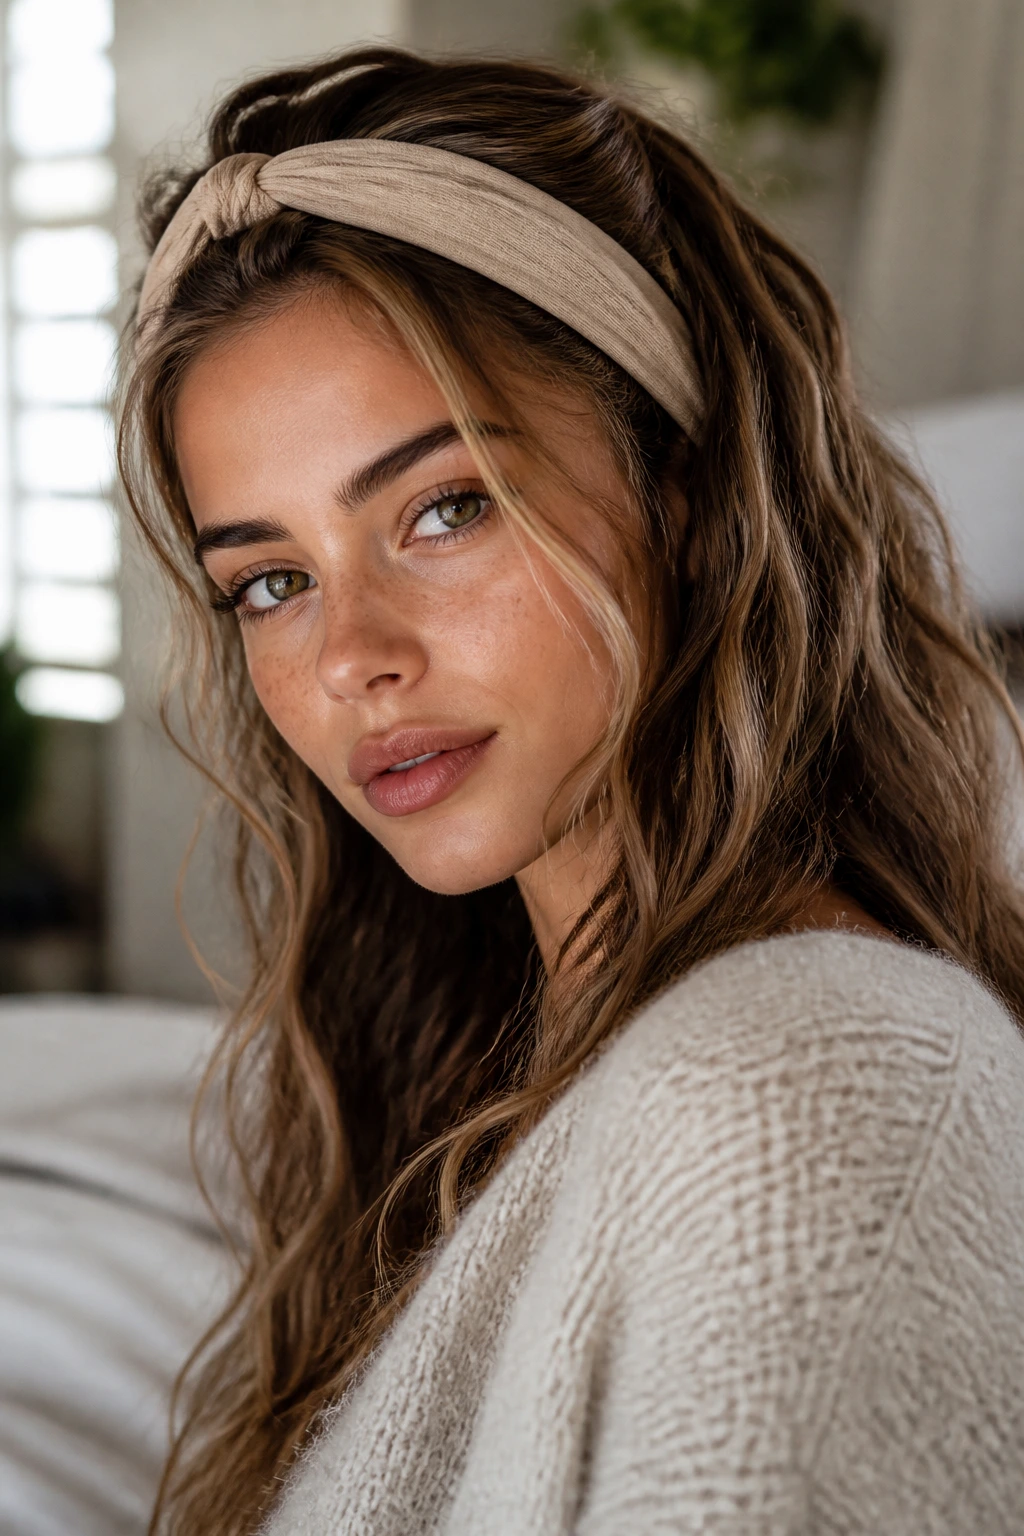
Headbands can either flatten hair or make it look finished. The difference is how much texture you leave behind the band.
Why it works: The band controls the front section and lets the back lengths keep their wave. Long hair benefits from that split, because the style reads as deliberate even when the waves themselves are soft.
How to style it: Put the headband on after the hair has some texture, not before. Push the front back just enough to create a soft puff at the crown, then leave the mids and ends loose. If the band is too tight, the roots will crease; if it’s too loose, it slides.
Best for: School runs, casual lunches, or days when your hair needs to stay off your face.
Watch for: Fabric headbands grip better than glossy plastic ones if your hair is slippery.
24. Ribbon-Tied Waves
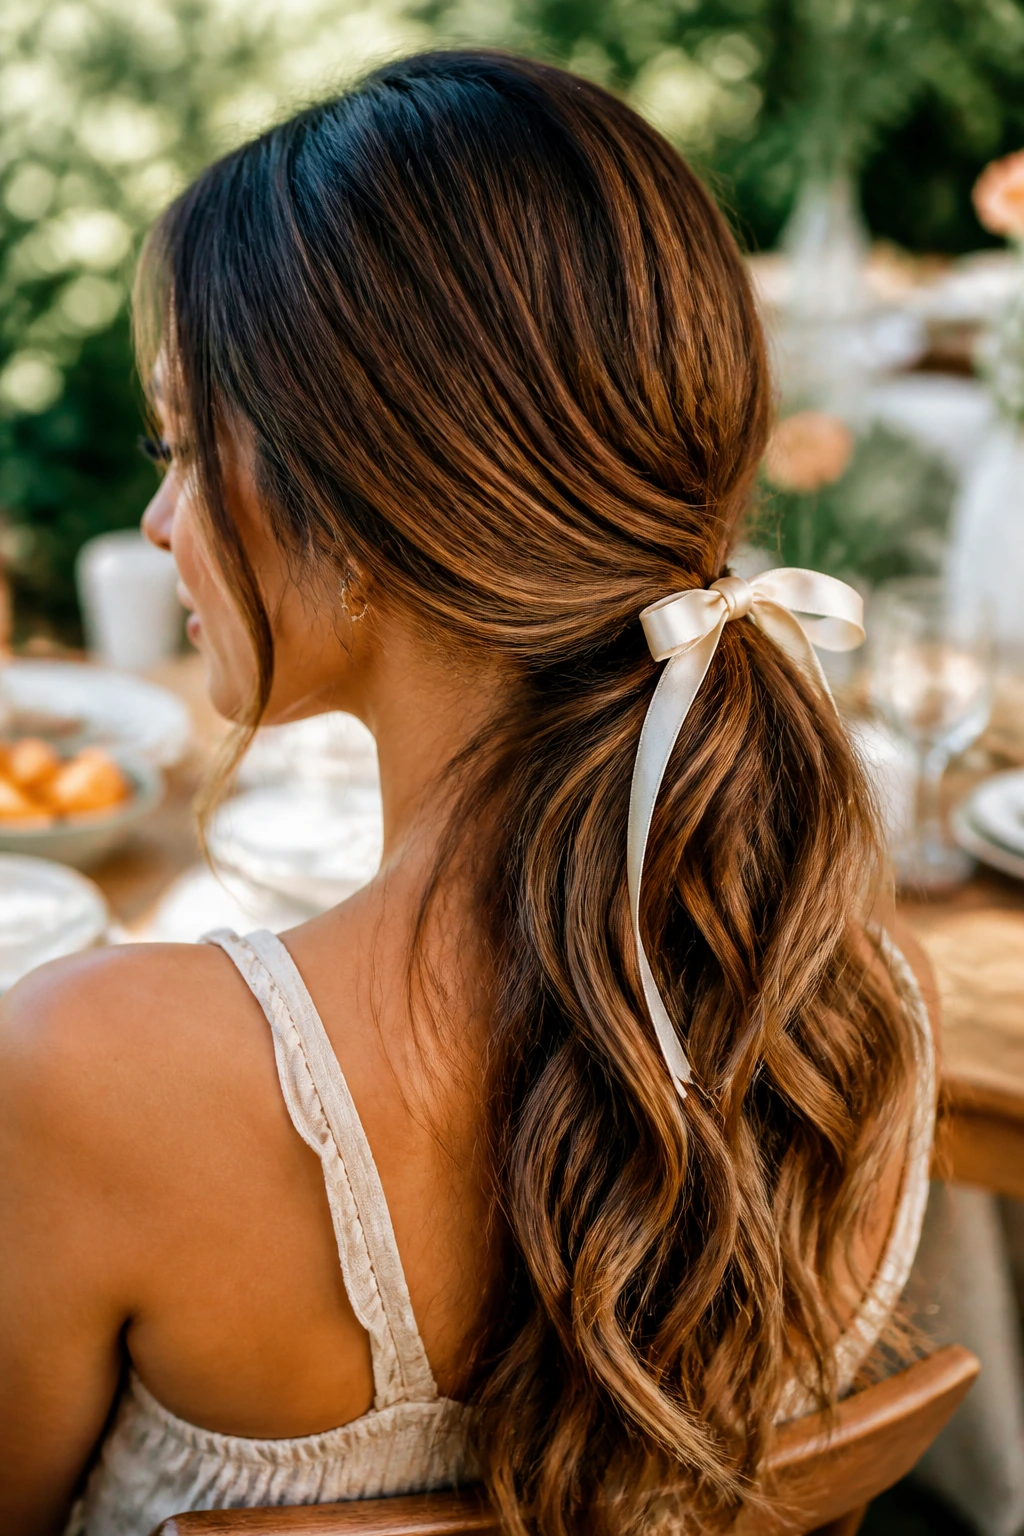
A ribbon sounds small, but it changes the whole mood. It makes the waves feel softer, less beach-bum, more romance novel with salt in it.
Why it works: The ribbon creates a focal point at the back or side of the head, which helps long hair feel styled even when the wave pattern stays loose. It’s a simple way to add polish without adding stiffness.
How to style it: Tie a velvet or satin ribbon around a low pony, half-up twist, or loose braid, then let the rest of the waves fall free. Keep the ribbon thin enough that it doesn’t overpower the hair. If your hair is very thick, a wider ribbon holds better and sits flatter.
Best for: Brunch, garden events, or any look that needs a softer finish.
Watch for: Satin ribbons slide on very smooth hair. Tie them over an elastic or secure them with a hidden pin.
25. Lifted Crown Waves
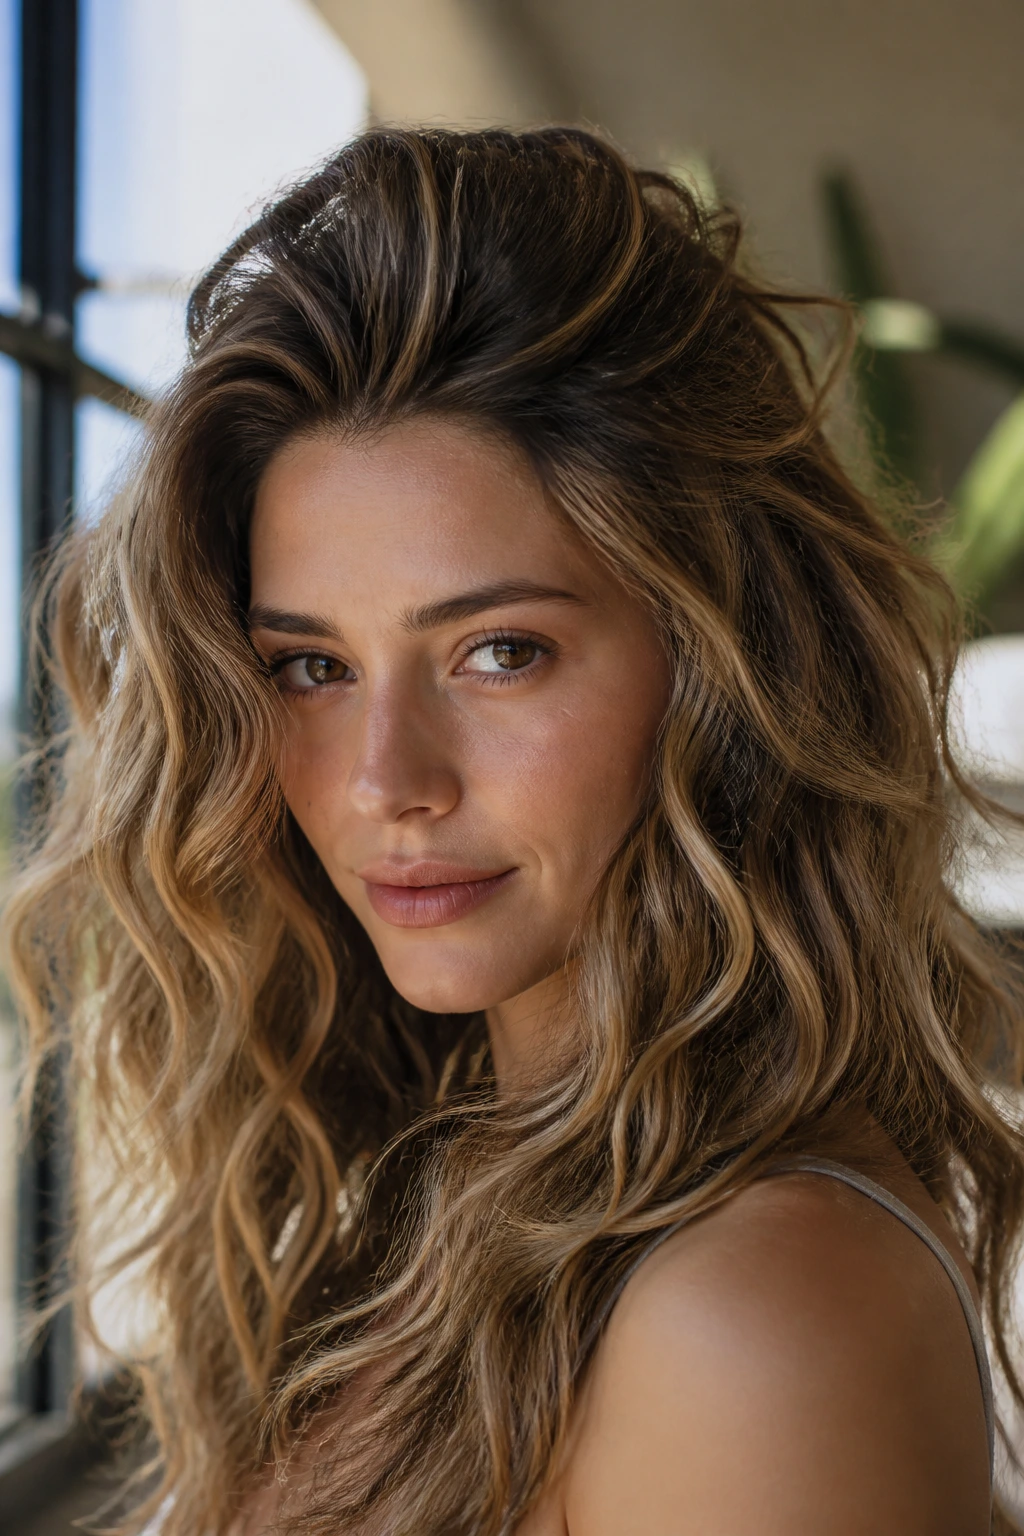
This is the anti-flat-top version of beach waves. It keeps the roots alive and the lengths loose, which is exactly where long hair usually needs help.
Why it works: Volume at the crown stops the style from looking weighed down. A little lift also makes the waves below look longer and cleaner because the eye starts higher up.
How to style it: Apply mousse or root spray at the top, then dry the crown with a round brush or diffuser while lifting sections at the root. Once the lengths are set, leave them alone. The texture should show up lower down, not balloon all the way to the scalp.
Best for: Long hair that goes flat around the part, especially in humid weather.
Watch for: Backcombing can leave the top gritty. A root clip or hot brush is usually cleaner.
26. Mermaid Braid Ends
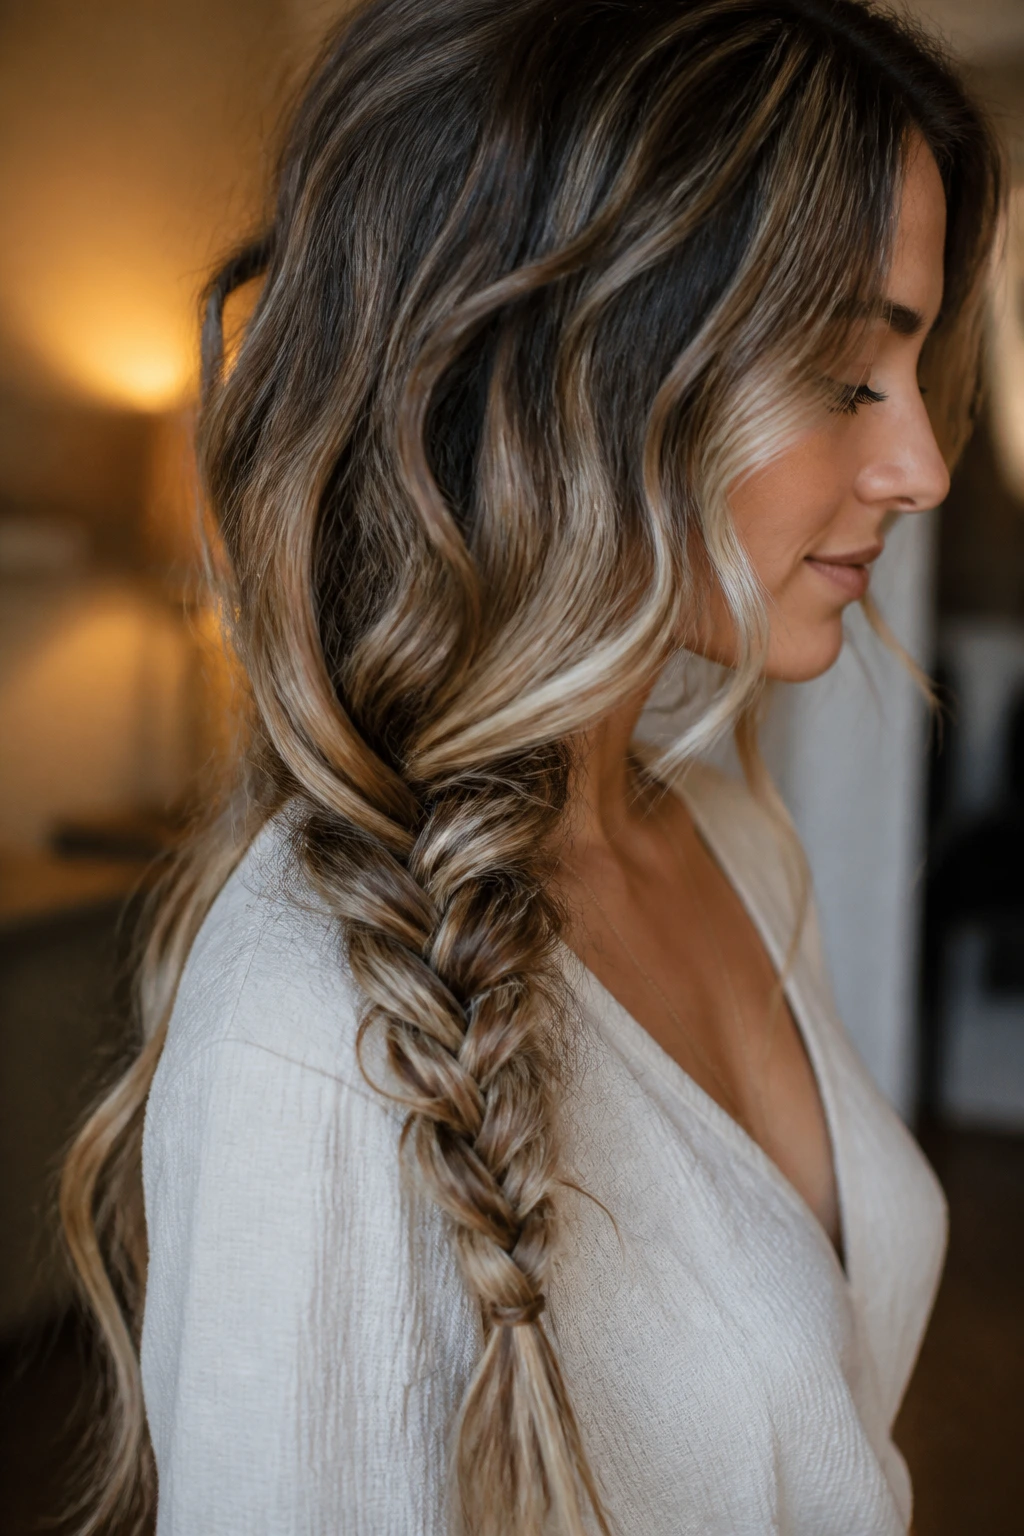
A partial braid gives you texture without turning the whole head into one pattern. It’s especially good when you want the hair to stay loose near the face.
Why it works: Braiding only the lower lengths keeps the top smooth and the ends wavy. On long hair, that creates a nice contrast: clean roots, textured tail, easy movement.
How to style it: Leave the top half loose, braid just the last third of the hair, then loosen the braid once it sets. If you want the ends more piecey, tug the braid gently before taking it down. A dab of cream on the very tips keeps them from looking dry.
Best for: Long layers and days when you want a little more shape through the ends.
Watch for: A tight braid at the bottom can leave a hard line. Keep it loose and stop before the last inch if your hair frays easily.
27. Gloss-Serum Waves
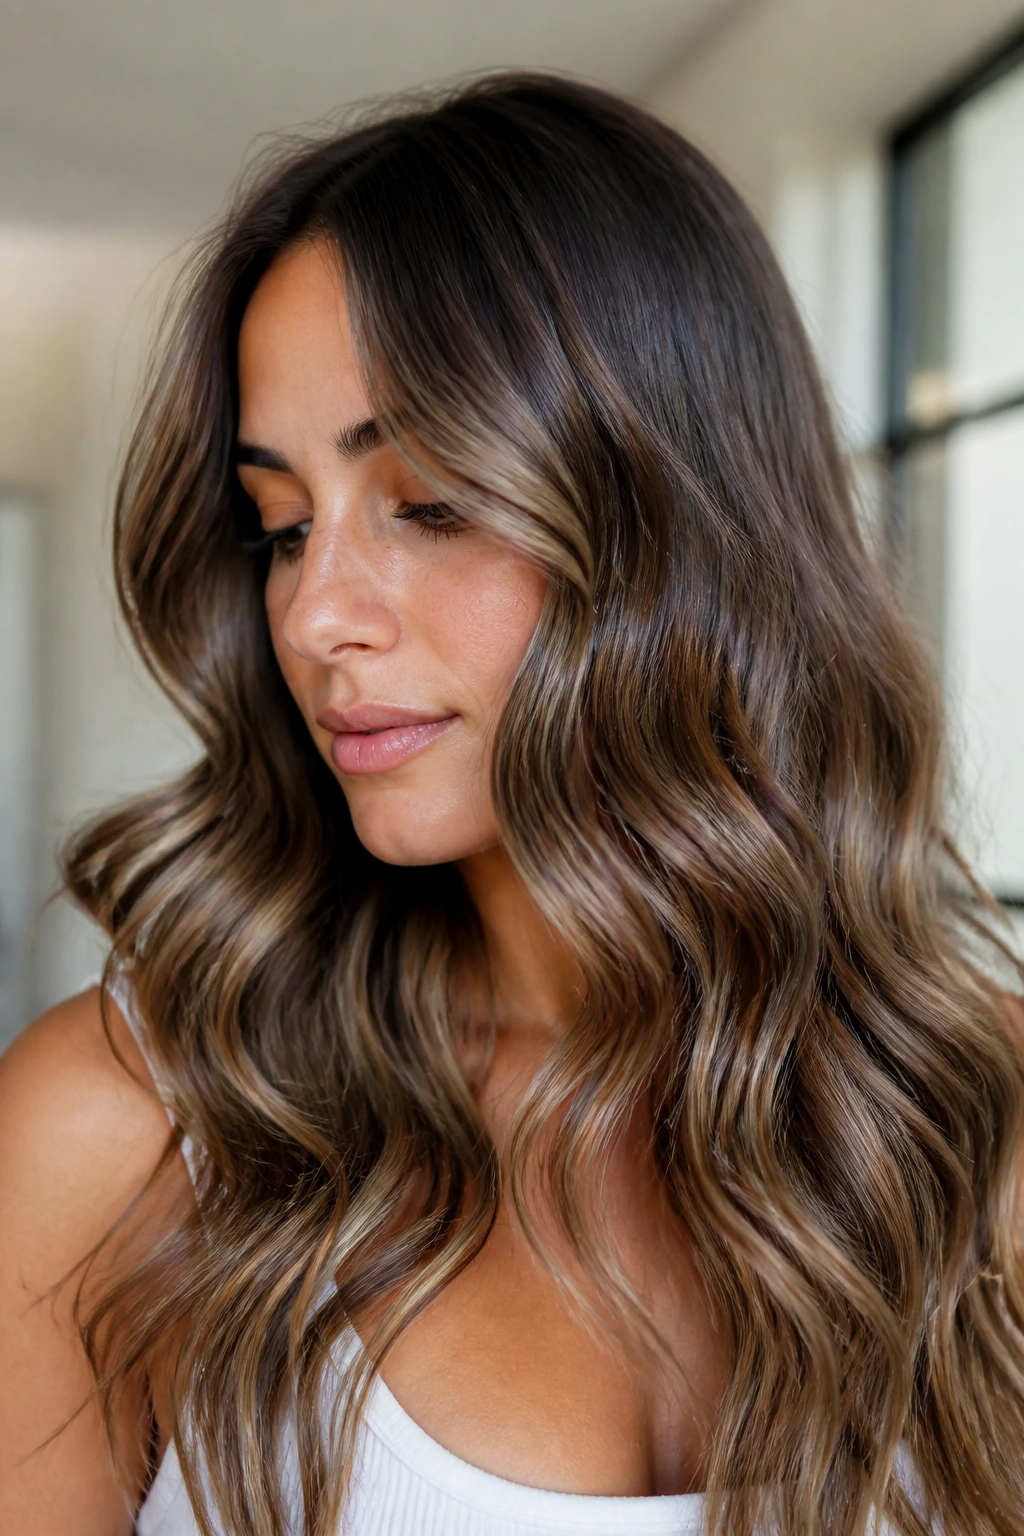
Some waves should look touchable. These should look smooth enough that you want to run your fingers through them, but not so oily that they lose the bend.
Why it works: Long wavy hair can frizz in the outer layer even when the pattern underneath looks fine. A light serum over the mids and ends seals that outer layer and gives the style a cleaner finish.
How to style it: Create your wave first, then warm a drop or two of serum between your palms and glaze it over the lower half of the hair. Avoid the roots. The wave should still move when you shake your head, just with less fuzz around it.
Best for: Dry ends, color-treated hair, or styles that need a little shine for dinner or photos.
Watch for: Too much serum turns soft waves into limp strands. Two drops can be enough on medium-length ends; long, dense hair may need a bit more, but not much.
28. Second-Day Revival Waves
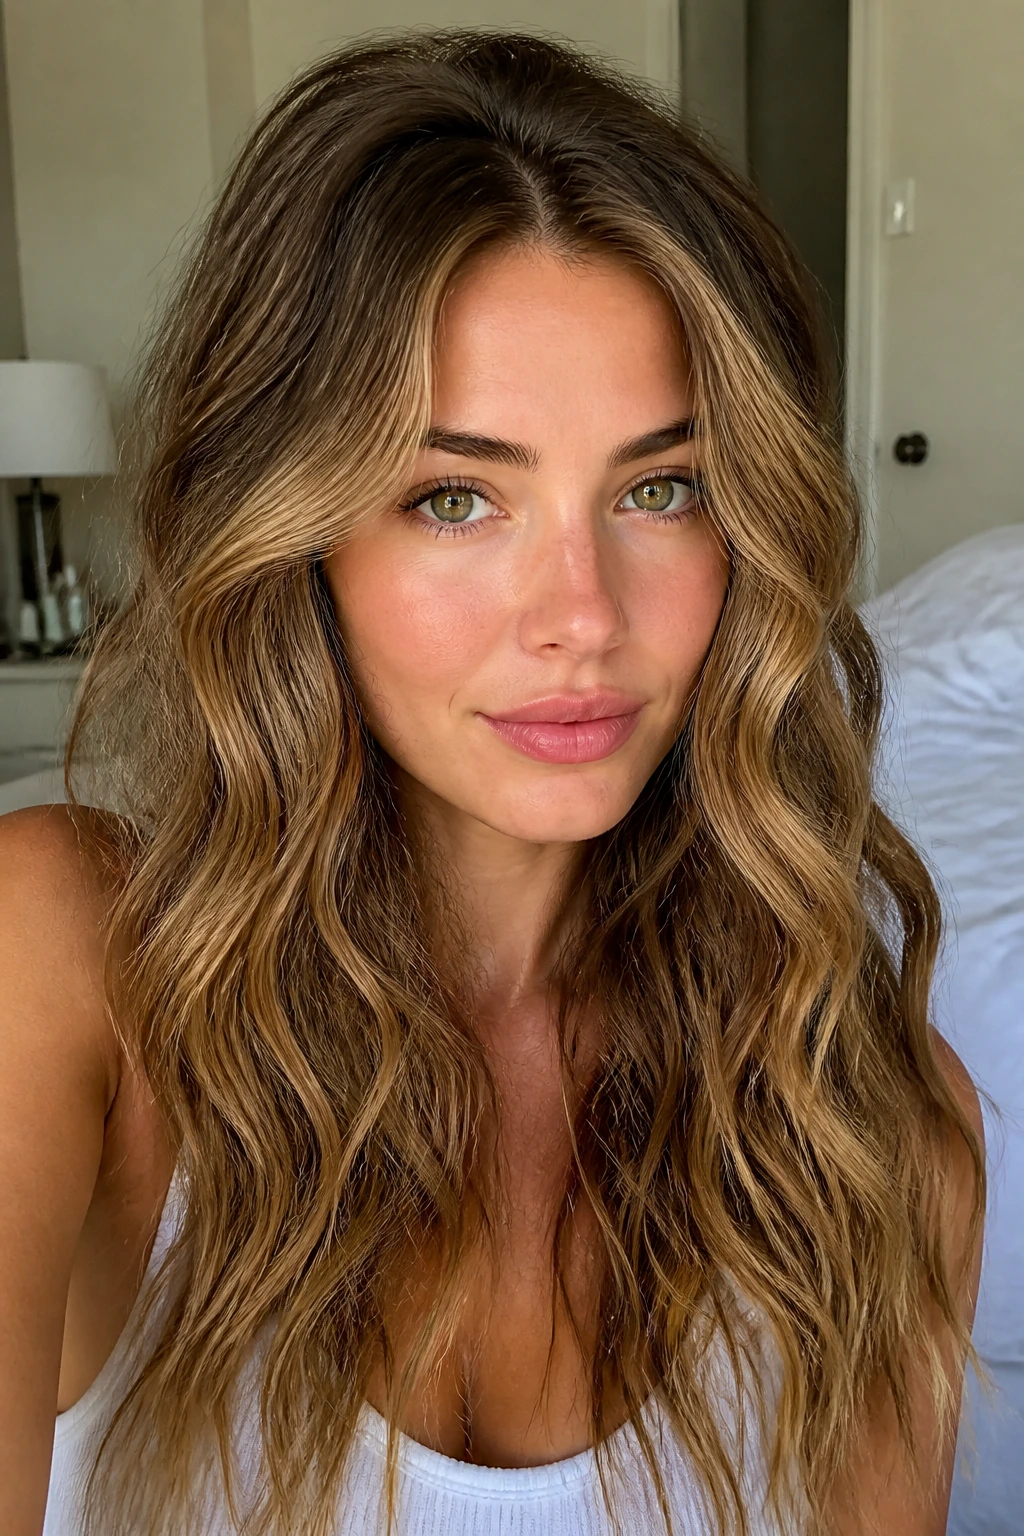
This is the look you get after sleeping on the hair, then making peace with it and fixing the parts that matter. Honestly, it’s often the best one.
Why it works: Day-two hair has less slip, which means it usually holds wave shape better than freshly washed hair. A little dryness at the root gives long wavy hair the grip it needs to stay lifted, while the mids keep their bend.
How to style it: Mist the hair lightly with water or a texture spray, then re-bend only the front pieces and any spots that have gone flat. Use dry shampoo at the roots, rub it in well, and shake the hair out with your hands. The goal is not a reset. It’s a tidy rescue.
Best for: Anyone who hates starting from scratch every morning.
Watch for: If the ends are tangled, don’t pile on more product. Detangle first, then refresh the wave. Slathering on spray over knots only makes the mess worse.
What Makes Beach Waves Look Better on Long Wavy Hair
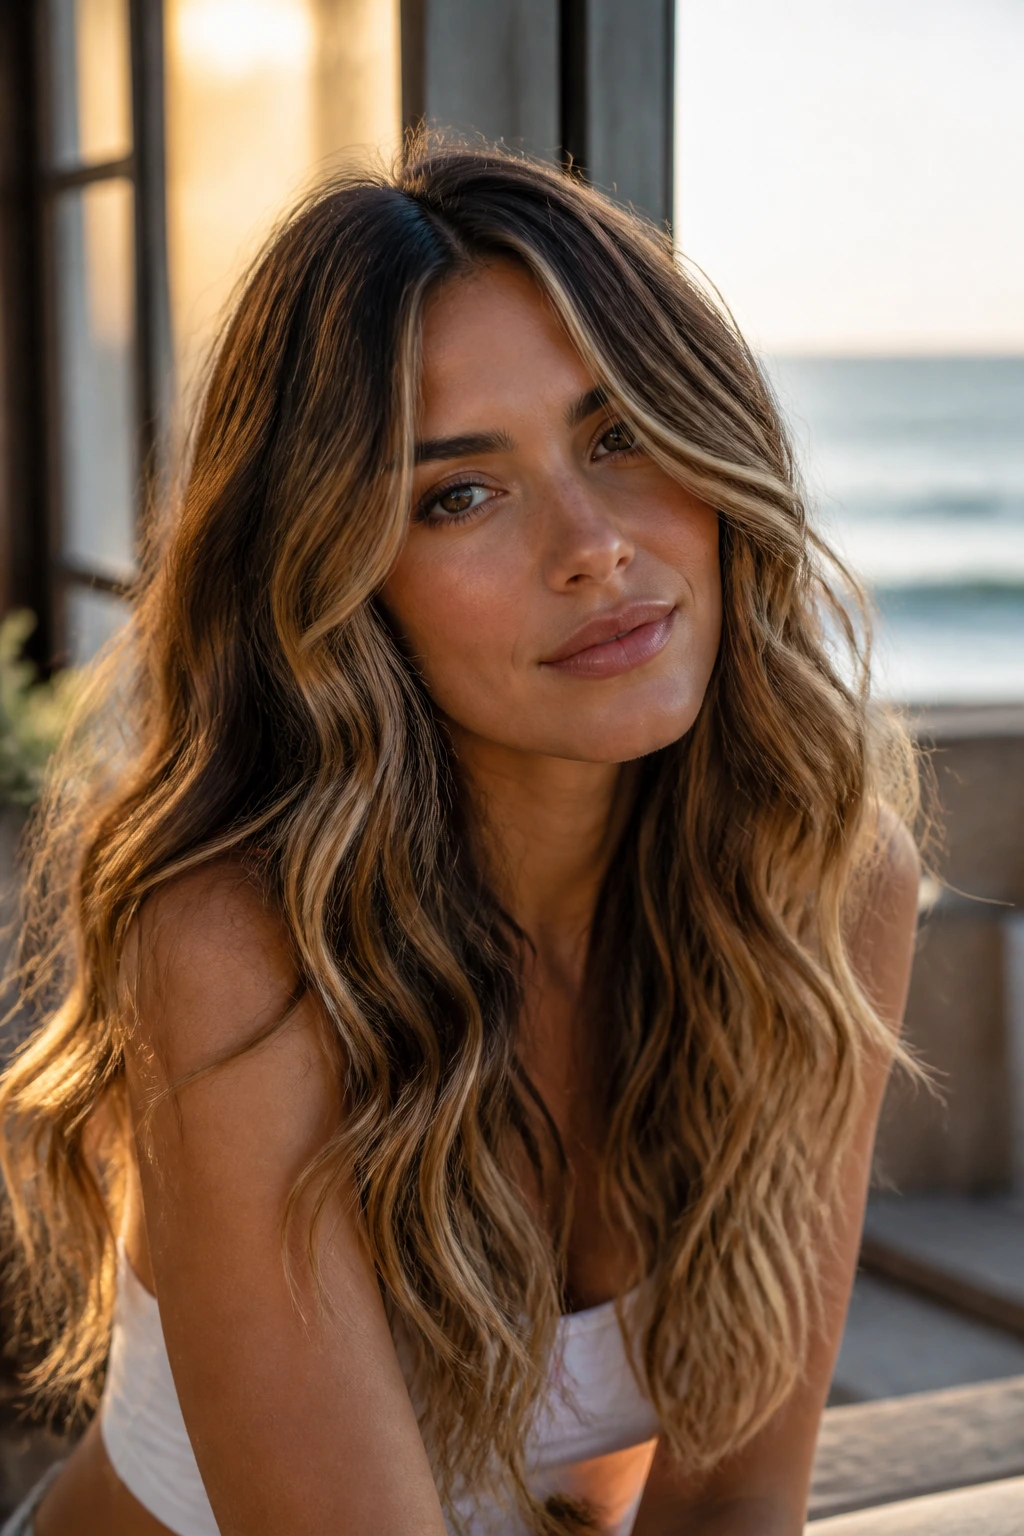
Long hair changes the rules. A lot of tutorials assume shorter lengths, and that’s where people get into trouble. On long wavy hair, the top can flatten while the bottom turns fuzzy, which is why the best beach wave looks don’t start with a tiny barrel and a prayer. They start with shape: a clean part, some root lift, and a bend that begins low enough to survive the weight of the hair.
The other thing that matters is the cut. Long layers give the wave somewhere to sit. One-length hair can still look good, but it usually needs more product and more shaping around the face because there’s nothing to break up the mass. Curtain pieces, feathered layers, and a little movement around the cheekbones make the whole style read softer.
Product choice matters just as much. A salt spray gives grit. Mousse gives memory. Cream gives slip. Serum gives shine. Gel gives hold. Use the wrong one and the hair either slumps or turns crunchy, which is a miserable trade. Use the right one in the right spot and long hair starts behaving like it was styled on purpose instead of surviving by chance.
Humidity and porosity complicate things, because they always do. Hair that drinks product too fast needs a light seal on the ends. Hair that gets greasy at the crown needs less cream and more root lift. No single wave pattern fixes that. The trick is matching the finish to the way your hair actually dries.
The Tools That Make These Styles Easier
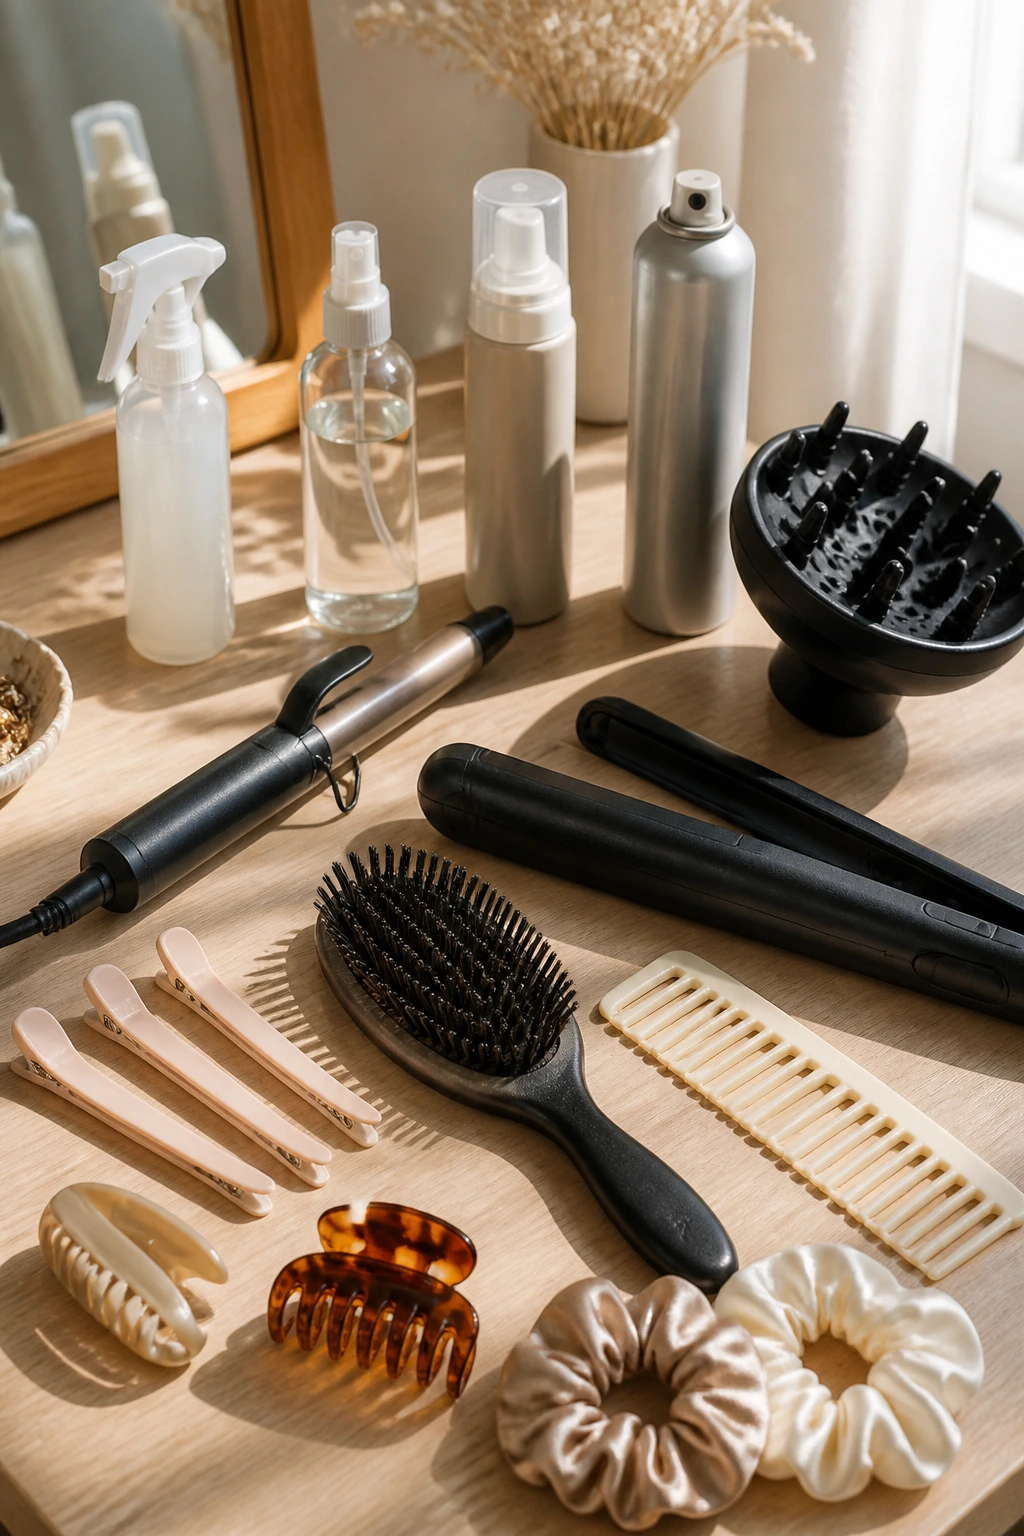
- 1.25- to 1.5-inch curling wand: Best for long hair because it creates broad bends that don’t shrink up too much.
- Flat iron with rounded edges: Useful for S-bends, polished bends, and quick face-framing waves.
- Diffuser attachment: Helps preserve natural wave and keeps the crown from puffing up.
- Heat protectant spray: Non-negotiable if you use hot tools; spray evenly on the mids and ends before styling.
- Salt spray or texture spray: Gives grip and that slightly matte beach finish.
- Light mousse: Adds hold without the stiffness of a heavy cream.
- Soft bristle brush and wide-tooth comb: The brush softens glam waves; the comb keeps wet hair from stretching out.
- Duckbill clips or sectioning clips: Keep the crown lifted while you set the rest.
- Silk scrunchies and claw clips: Better than tight elastics for keeping wave shape.
- Flexible-hold hairspray: Holds the style without freezing the ends in place.
Product Picks That Keep Texture Soft, Not Crunchy
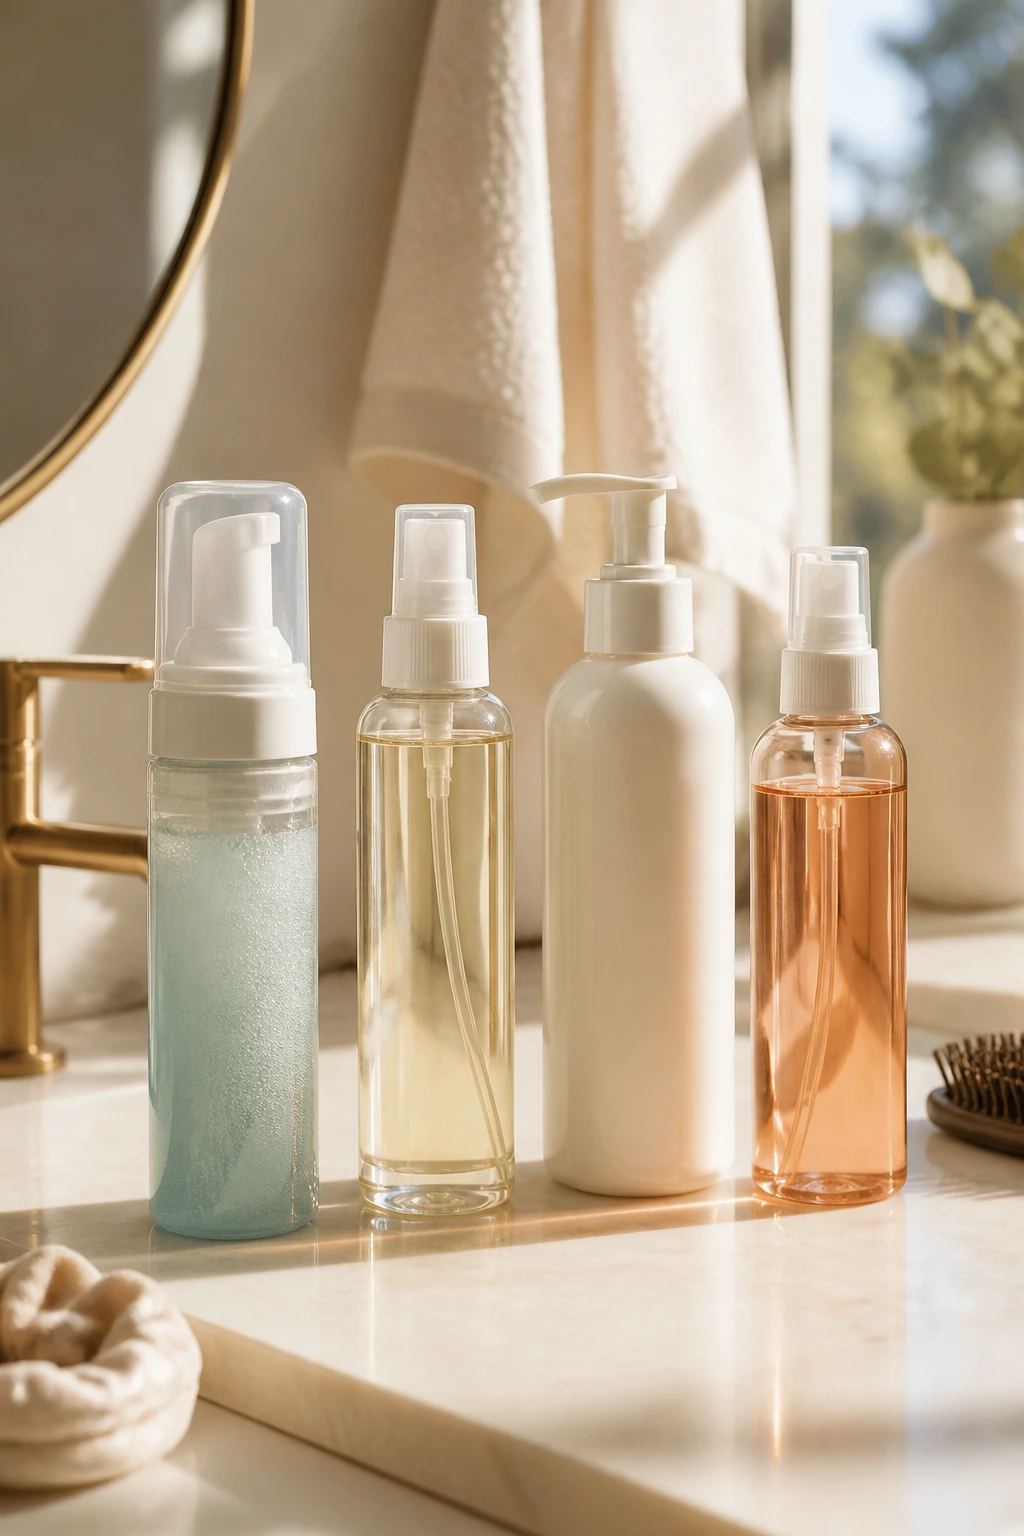
Choose products by what your hair is doing, not by the label screaming “beach.” Fine long hair usually needs foam, light mousse, or a very airy spray. If you start with a cream that’s meant for coarse curls, your wave can disappear before lunch. Thick or coarse long hair is the opposite problem: it often needs cream at the mids and a little serum at the ends so the wave doesn’t turn dry and triangular.
Heat protectant should sit under everything if you’re using a wand or iron. I like sprays that dry fast and don’t leave the hair tacky. If the product feels slippery for too long, hot tools can slide instead of shaping the bend, and that makes the whole process annoying.
Salt spray is useful, but it’s not a daily habit for very dry hair. If your hair is bleached, highlighted, or porous, you’ll usually get better results by pairing a lighter salt spray with leave-in conditioner on the lower half. That keeps the surface from feeling rough without killing the texture.
Serum is for the last mile. One or two drops. Warm it in your palms. Tap it onto the ends and just the outer layer of the mids. If you can feel it sitting on your fingers after you’ve applied it, you used too much.
How to Wear These Waves Without Fighting the Rest of Your Outfit
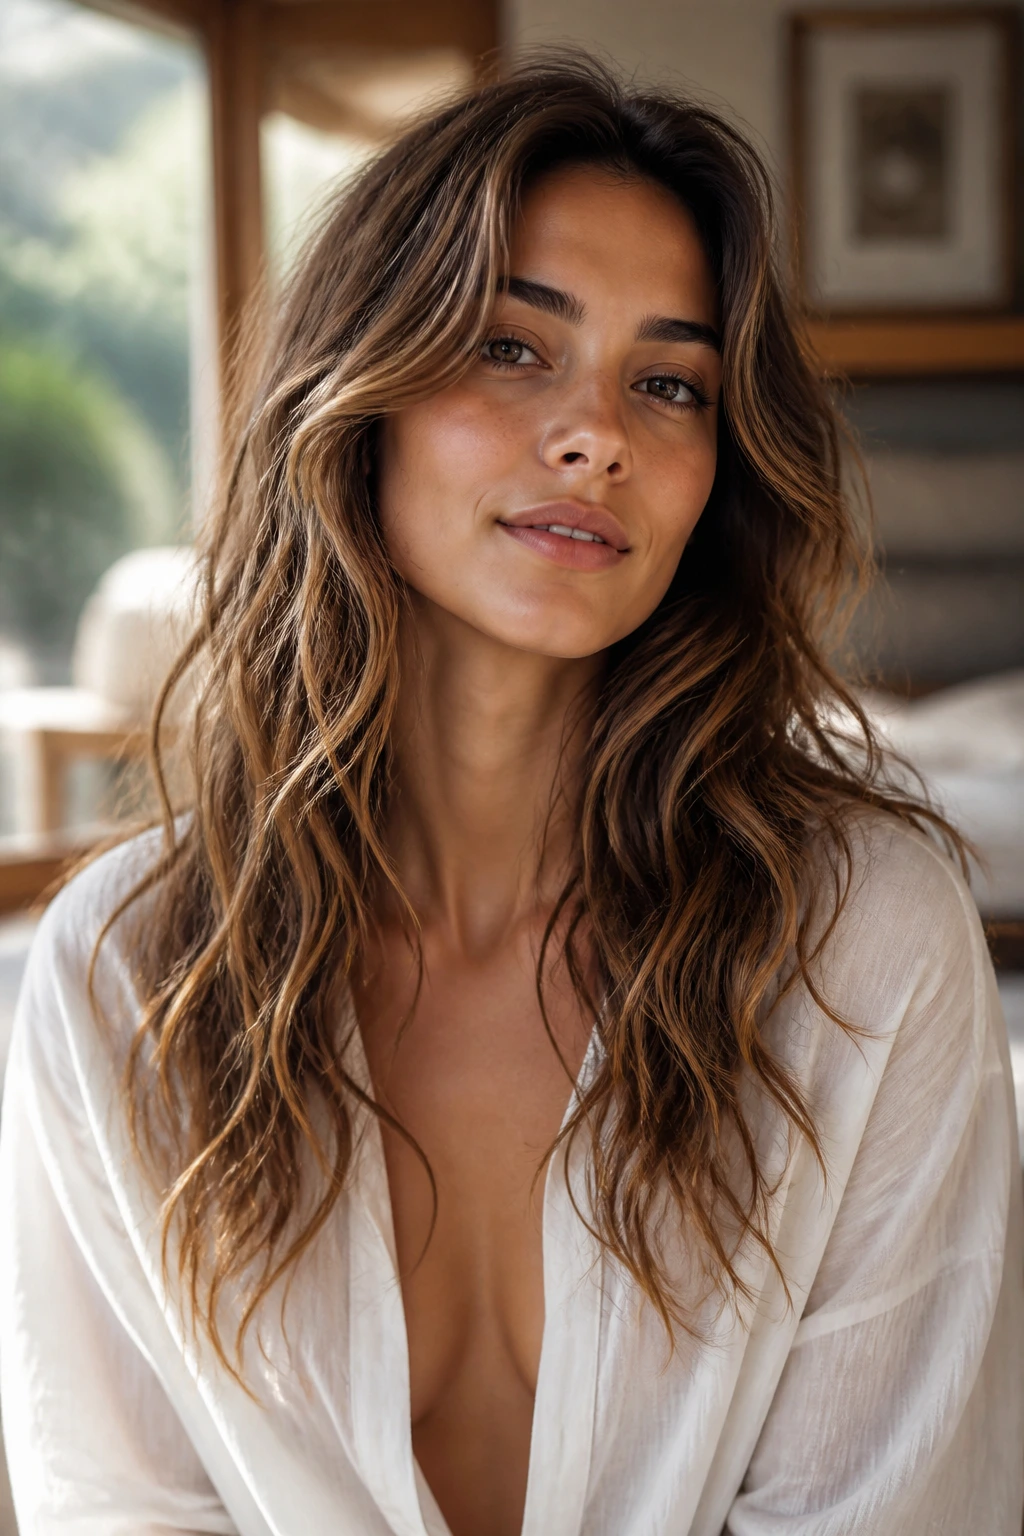
Presentation: Long wavy hair looks best when the top has a little order and the lengths have some looseness. A smooth crown with textured mids keeps the style from feeling accidental. If you want more polish, tuck one side behind the ear, leave a few shorter pieces loose, and let the wave fall over the shoulders instead of stacking it on top.
Pairings: These waves sit naturally with open necklines, hoop earrings, linen shirts, slip dresses, denim jackets, and anything with a little movement. The hair already brings texture, so the outfit doesn’t need much else. If the clothes are structured, go softer with the waves. If the clothes are relaxed, a more separated or matte finish makes sense.
Length and density: Fine long hair usually needs lift at the roots and a smaller amount of product, or the wave falls flat. Thick hair can carry bigger sections, deeper parts, and more defined texture without losing shape. If your hair is in the awkward middle — some thickness, some frizz, some limpness — start by controlling the crown and leave the ends a little looser than you think.
Vibe: Salt-spritz and scrunch styles skew casual. Glossy blowout waves lean clean and dressed up. Braid-outs, rope twists, and crown details land in the romantic camp. That’s the nice part: the same length can do all of it without a haircut.
Extra Tricks for More Lift, More Shine, or More Frizz Control
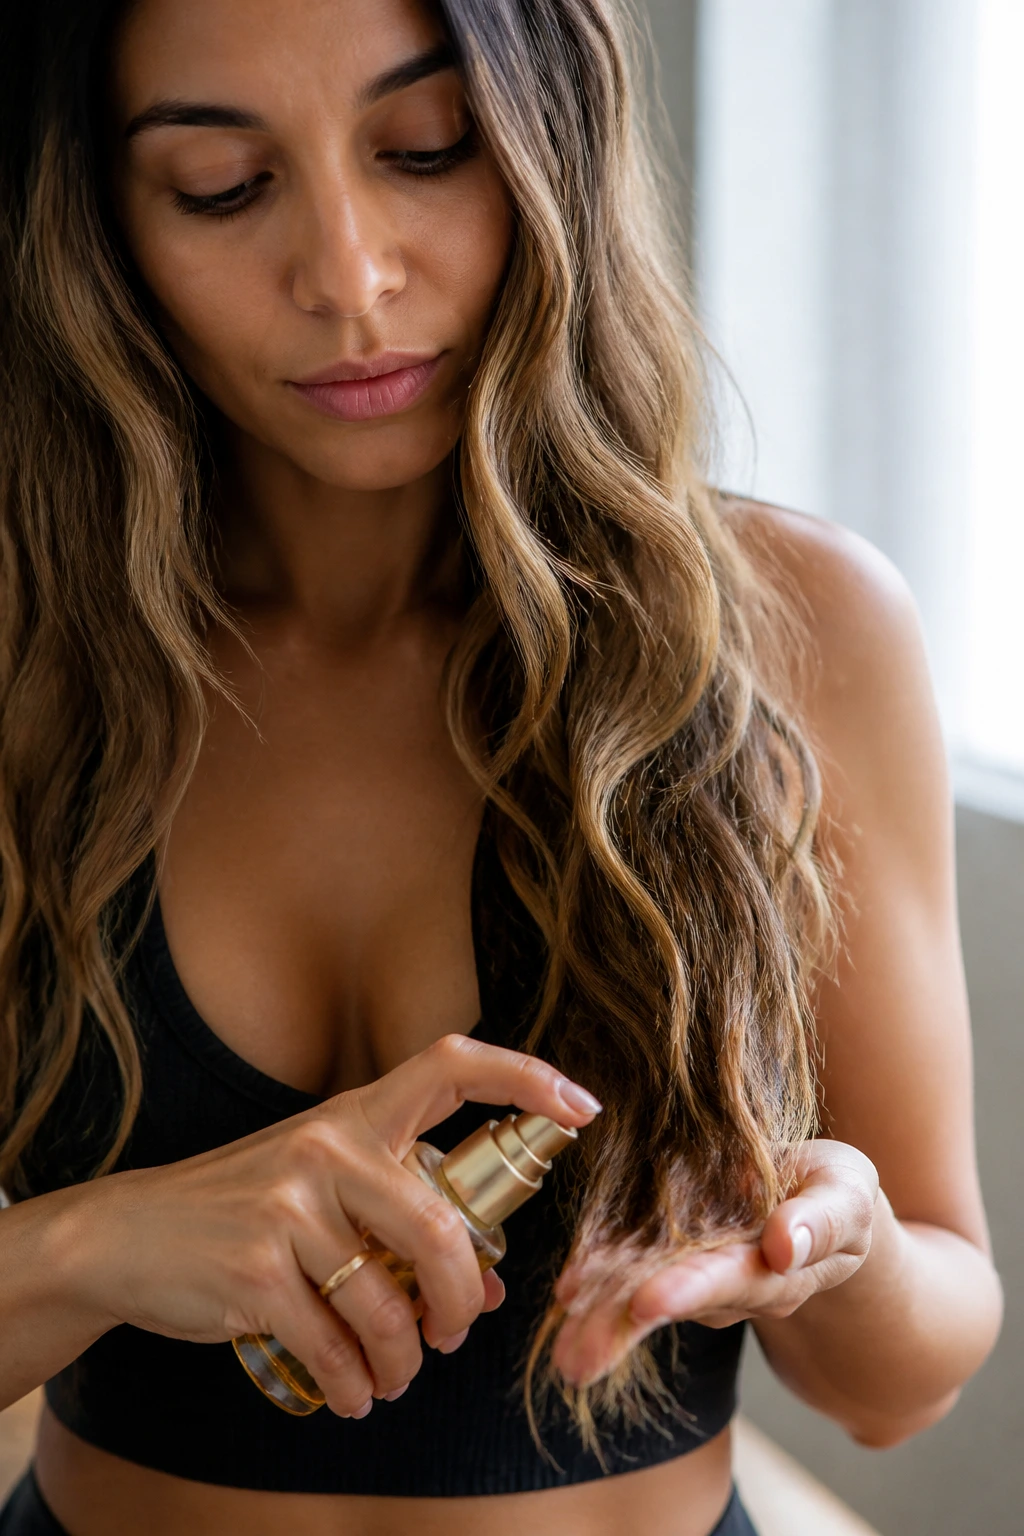
Texture Boost: If the waves look too soft, mist a little texture spray into your palms and scrunch the mids from underneath. That gives you grit without blasting the whole head with product.
Shine Boost: Use a tiny amount of serum only on the outer layer and ends after styling. If you want more reflection, smooth a touch of leave-in through the hair before you dry it, then finish with the serum afterward. Layering shine that way keeps the wave from disappearing.
Frizz Control: Don’t fight every flyaway. Pin down the obvious halo around the hairline, but leave some movement alone. A wave with zero frizz can look plastic. A wave with controlled frizz looks like hair.
Make-It-Yours: For fine hair, keep the products light and the sections bigger. For thick hair, use more sectioning and a stronger hold at the mids. For naturally curly hair, stretch the wave with a diffuser instead of forcing it into uniform curls. For straighter hair, braid-outs and S-bends usually give a better result than trying to fake a loose curl with one pass of an iron.
Keeping Beach Waves Fresh Overnight and Into the Next Day
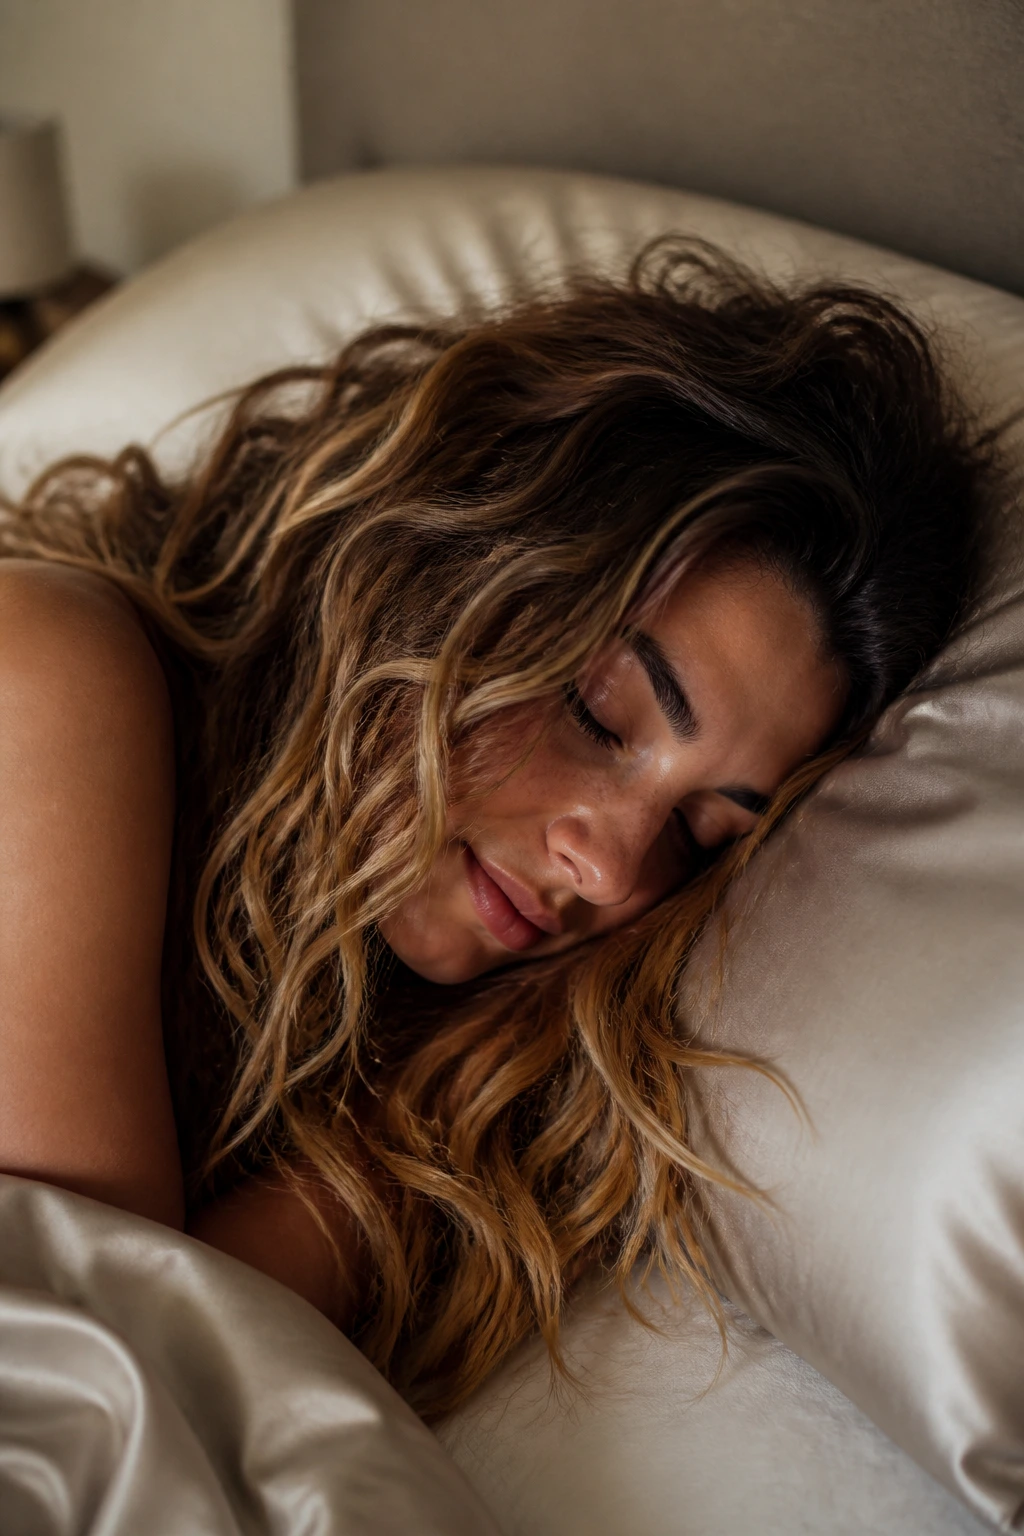
Most of these looks hold best for one to three days, depending on how porous the hair is and how humid the air gets. The softer and more brushed-out the wave, the sooner it will need help. Wet-look styles usually need to be redone the same day. Heatless braid-outs and rope twists can last longer because the pattern starts with more memory.
Before bed, don’t pile long waves into a tight knot. That’s how you wake up with a crease across the crown and a weird kink in the tail. A loose braid, a low twist, or a soft clip at the nape usually protects the shape better. A silk pillowcase helps too, because it reduces the friction that turns the surface fuzzy.
The next morning, work in stages. Start with dry shampoo at the roots if they’ve gone flat. Then mist the mids lightly with water, not enough to soak them, and scrunch or re-bend only the front pieces and the spots that lost shape overnight. If the ends feel dry, a drop of serum is enough.
By day three, many long wavy styles are better off becoming something else — a low pony, a claw-clip twist, or a half-up style. That’s not failure. That’s how long hair extends the life of a style without asking for a full wash.
Mistakes That Flatten Beach Waves or Make Them Sticky
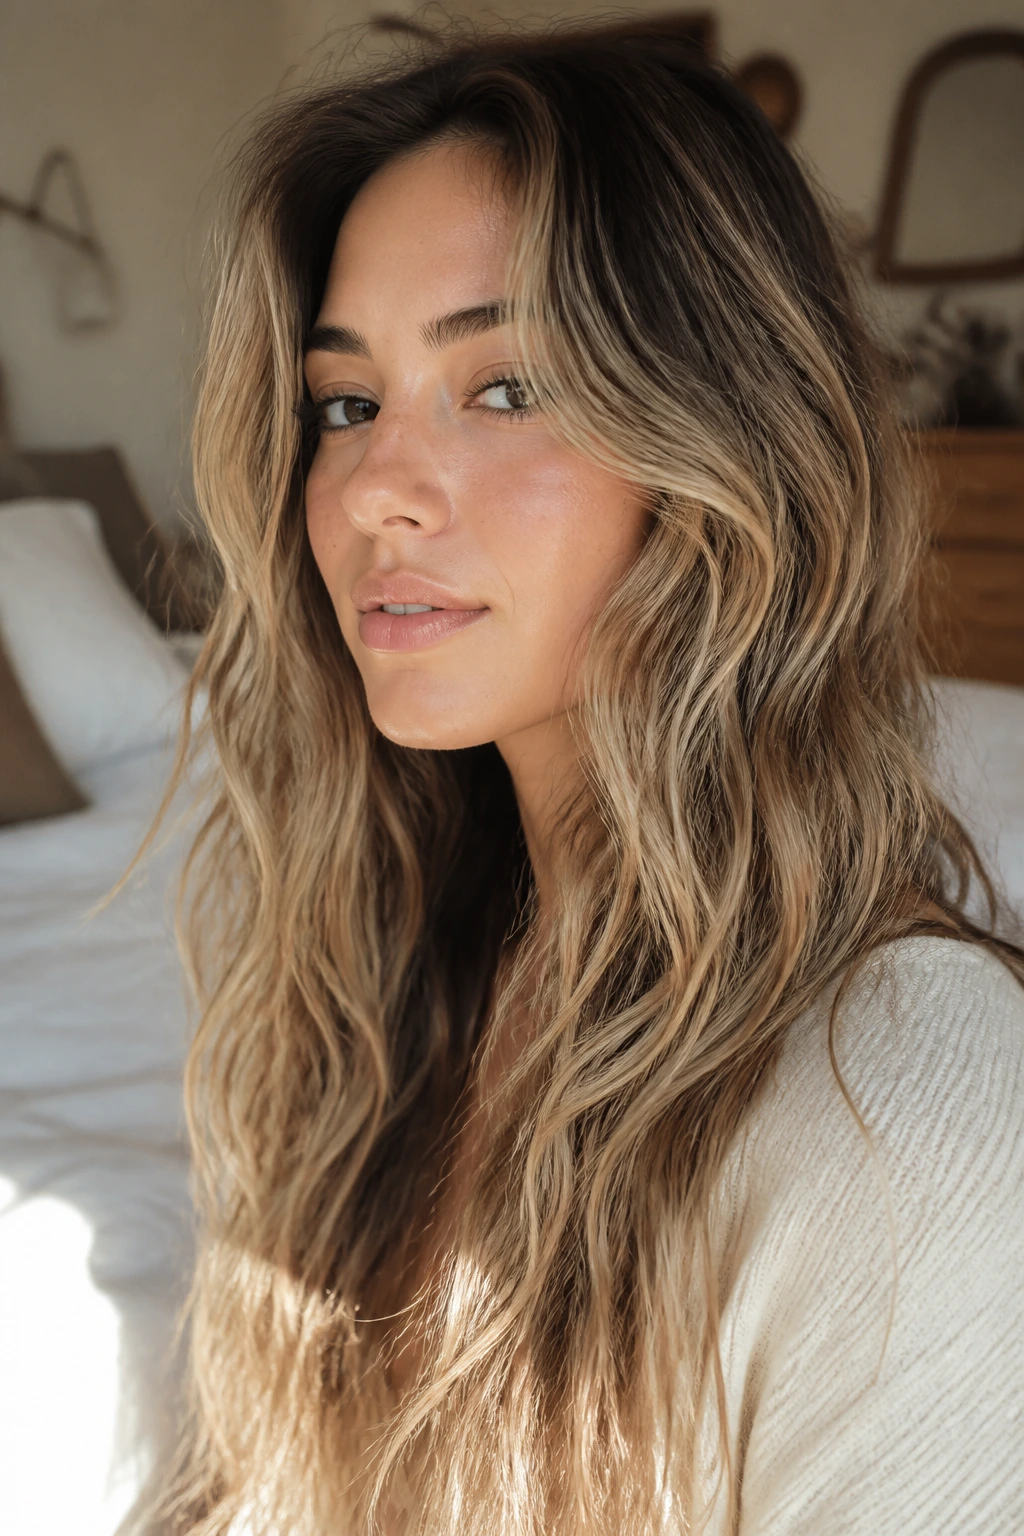
The biggest mistake is loading the roots with too much product. You get greasy roots, flat crowns, and wave that starts too low to matter. Keep heavier creams and oils on the lower half of the hair, where they can actually help.
Second: using sections that are too small on very long hair. Tiny sections create tighter curls, and tighter curls tend to shrink. On long lengths, the better move is usually wider sections and a bigger tool so the wave keeps its stretch.
Third: brushing too soon. Warm hair lies. It looks set before it is. If you brush or finger-comb before the hair cools, the shape loosens too fast and the finish turns frizzy around the ends.
Fourth: making every bend go the same direction. That’s how you end up with hair that looks too polite. Alternate the direction of the wave, especially around the face, and the style feels much more natural.
Fifth: trying to fix frizz with more and more serum. That only works up to a point. After that, the hair looks coated. If the wave is fuzzy, the real fix is usually better prep, less touching, or more hold underneath.
Variations and Adaptations to Try
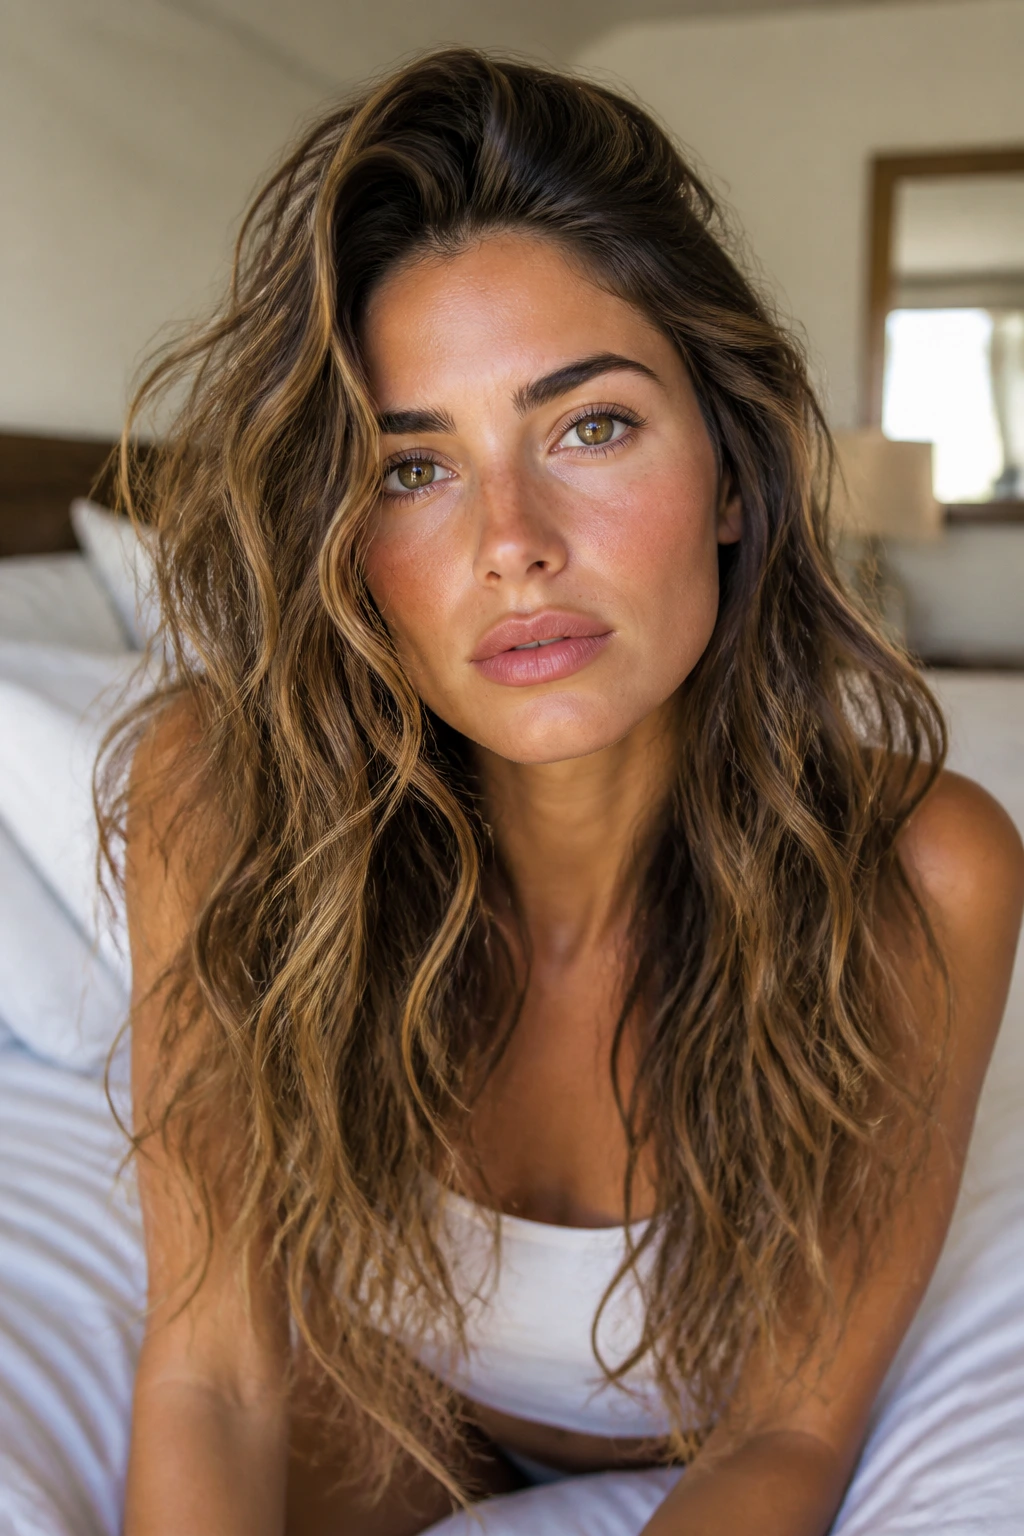
Humidity Shield Waves: Swap heavy creams for a light mousse and flexible hairspray, then keep the ends slightly looser than usual. This gives the style a better chance of surviving damp air without puffing out.
Fine-Hair Lift Waves: Use root clips while the hair cools, then finish with dry shampoo at the crown. The extra lift makes long hair look denser without needing layers cut all over the place.
Thick-Hair Soft Bend Waves: Work in larger sections and use a smoothing cream before heat styling. Thick long hair often needs the wave to be built slower so it doesn’t turn into a triangle at the bottom.
Heatless Weekday Waves: Set the hair in two rope twists or braids at night, then refresh the front pieces with a quick wand pass in the morning. This cuts down heat use without giving up a clean shape.
Glossy Event Waves: Brush out the curl more than usual, then glaze the mids and ends with serum. The finish is smoother and more formal, which helps long hair read elegant instead of sleepy.
Questions People Ask Before Styling Long Wavy Hair
How do I keep beach waves from falling flat on long hair?
Start the bend lower, not higher. Long hair is heavy, so you need lift at the crown and a wave pattern that begins around the cheekbones or lower; otherwise, gravity wins by noon.
Should I use a curling wand or a flat iron?
A curling wand gives softer, broader bends. A flat iron gives a sharper S-shape and can look more polished. If your hair is very long, the wand is usually easier; if you want an editorial finish, the iron wins.
What if my hair is already wavy?
Use less heat and more support. A little mousse, a diffuser, and a few face-framing pieces shaped with a wand are often enough. Over-styling natural wave is how you end up with puffy ends and a tired crown.
Can I make these looks work in humidity?
Yes, but you need hold at the right spots. Root lift, lighter ends, and a flexible-hold spray usually do more than a heavy cream that melts the second you step outside.
How do I stop the ends from looking dry?
Keep salt spray and texture spray off the last inch or two, then seal the ends with one drop of serum. Long hair shows dryness at the bottom first, so that tiny bit of extra care matters.
Do these styles work on second-day hair?
Often better than fresh-washed hair. The hair has less slip, so it grips shape more easily. A little dry shampoo and a quick refresh around the face usually do the job.
What if my crown goes flat while the ends stay puffy?
That means the shape is starting too low and the top isn’t getting enough support. Use a root clip, add mousse near the part, and keep the product off the lower half next time.
Can I sleep on beach waves without ruining them?
Yes, if you do it loosely. A soft braid, low twist, or silk scrunchie is usually enough. Tight elastics and messy knots are what leave the dents.
The Waves You’ll Actually Wear
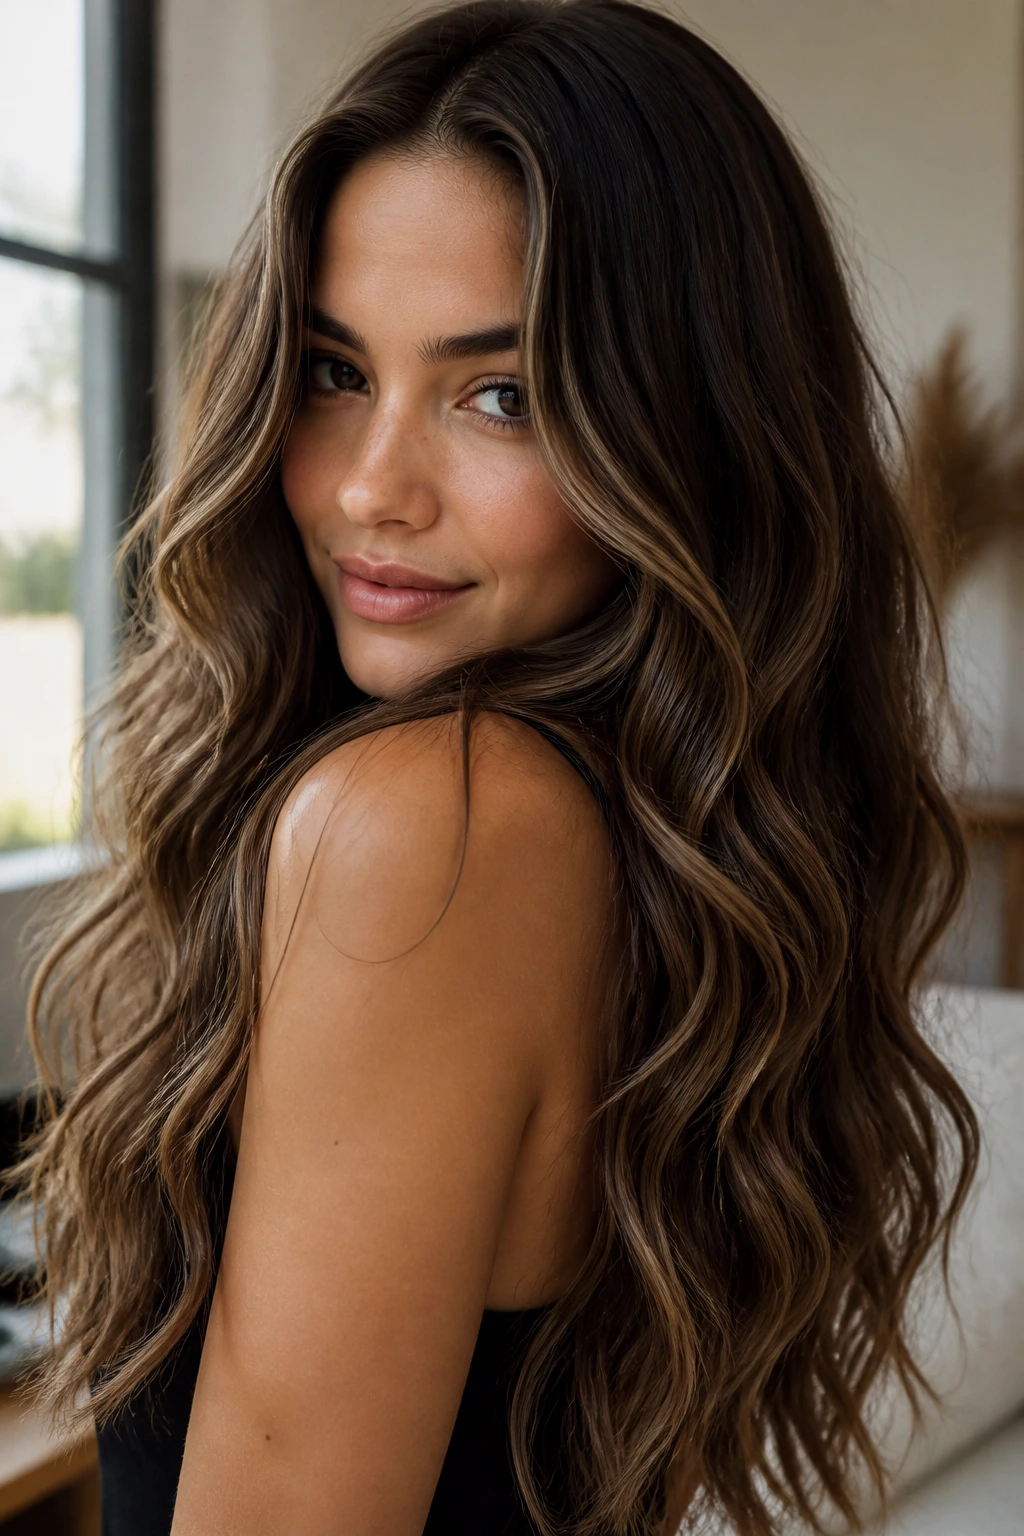
The best beach wave looks for long wavy hair are the ones that respect the hair’s weight instead of arguing with it. A smoother crown, a bend that starts low enough to survive, and the right mix of product and restraint make a bigger difference than any one hot tool.
What I like about this whole family of styles is how forgiving it can be. If the hair is a little frizzy, that can read as texture. If it’s a little soft, that can read as movement. If you need to pin half of it up or twist the front away from your face, that still counts. Long waves have room to change their mind.
Start with the version that matches your hair’s natural bend, then add one product and one detail. That’s usually enough.
