



Wavy hair has a useful kind of stubbornness. It will not stay flat, and it will not become pin-straight for long, so the smartest beach wave looks for wavy hair work with that bend instead of arguing with it. That’s why some styles look breezy and expensive on a person with a natural wave while looking fussy on someone else: the hair already wants to make that S-shape, and a good style just tidies the edges.
The trick is knowing which version of the wave to lean into. Some cuts want wide bends and a soft root. Some want a little grit from sea-salt spray and a quick scrunch. Some need a deep side part, a gloss finish, or one small piece tucked behind the ear so the whole thing doesn’t drift into “I rolled out of bed and forgot my brush.” Small changes. Big difference.
Beach waves are one of those styles people talk about as if they’re effortless, which is nonsense. They’re controlled effortless. The good ones have a plan: where the wave starts, how much volume lives at the crown, whether the ends stay loose, and how much frizz you’re willing to keep. Get those four things right, and wavy hair can look better with less heat than almost any other texture.
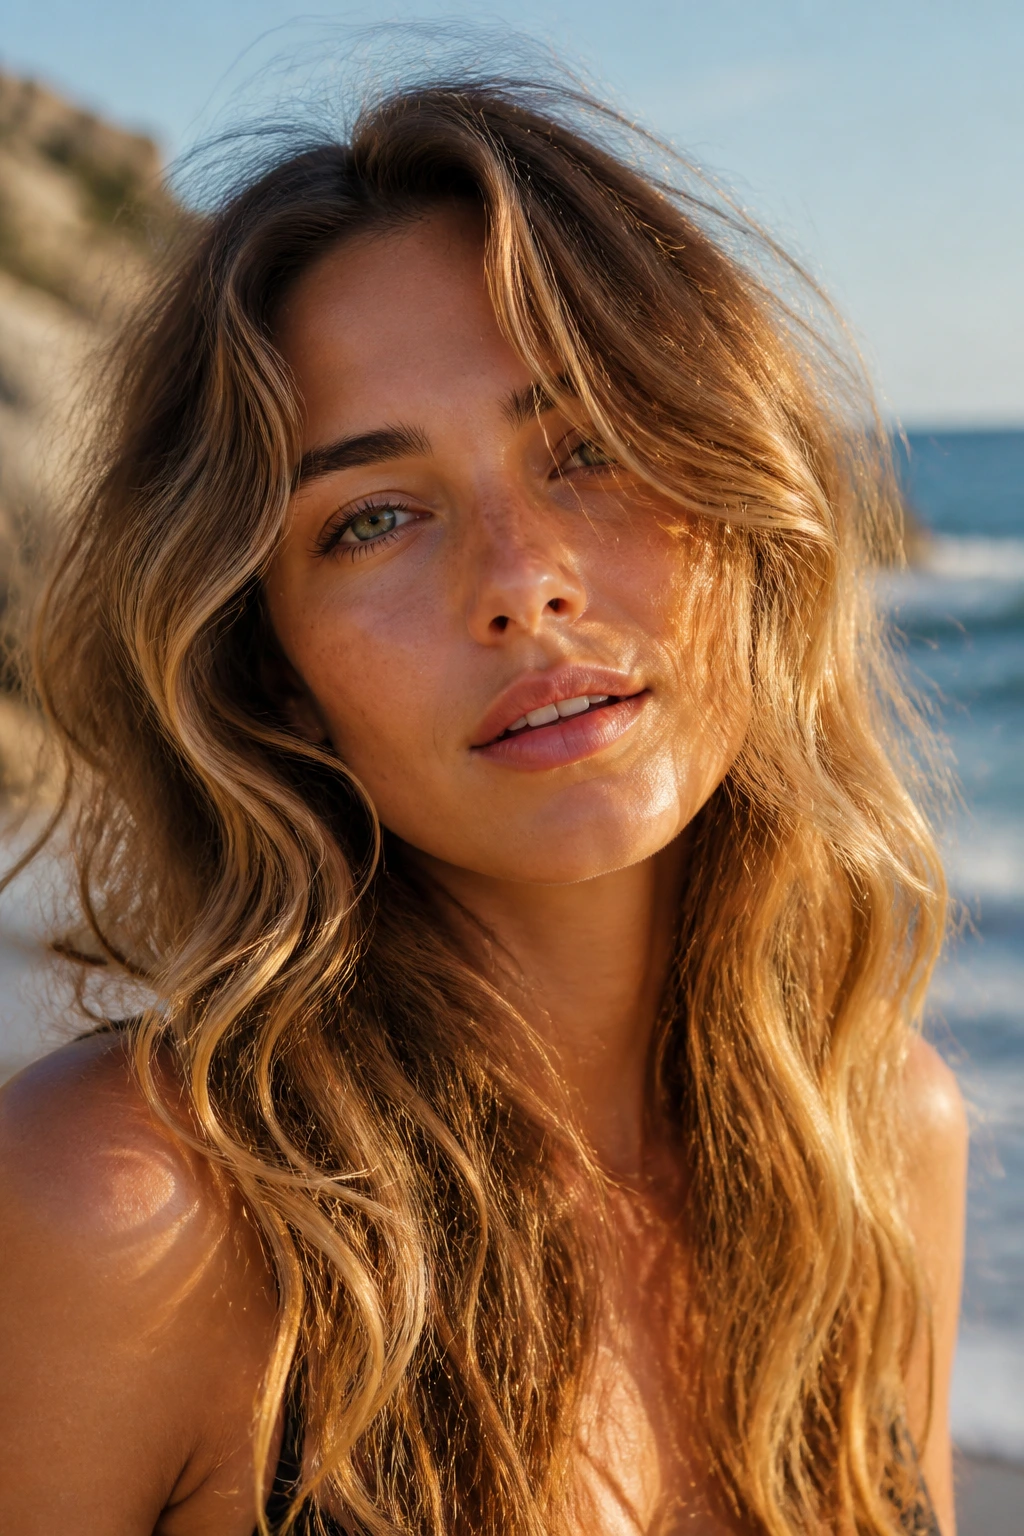
Why These Waves Work So Well on Wavy Hair
-
They build on your natural bend: Instead of forcing a new curl pattern, these looks usually need one pass of a wand, a few twists, or a smart product combo that helps your own wave show up cleaner.
-
They can be low-heat or heatless: Braids, twists, scrunching, and air-drying give wavy hair shape without turning the ends into dry, crumbly straw.
-
They sit well on day-two hair: A little lived-in texture gives mousse, spray, and clips something to grab. Freshly washed hair often slips around too much.
-
They work on a lot of lengths: Lob, bob, shag, long layers, and even pixie cuts can all wear a version of the beach wave if the shape matches the cut.
-
They’re easy to dress up or down: A side part, a glossy finish, or one strong accessory can shift the same wave from casual to polished without restyling everything.
-
They don’t need perfect symmetry: That’s the nice part. A loose wave looks better when a few pieces escape. Too-perfect hair can make the style feel stiff.
1. Soft S-Curve Lob Waves
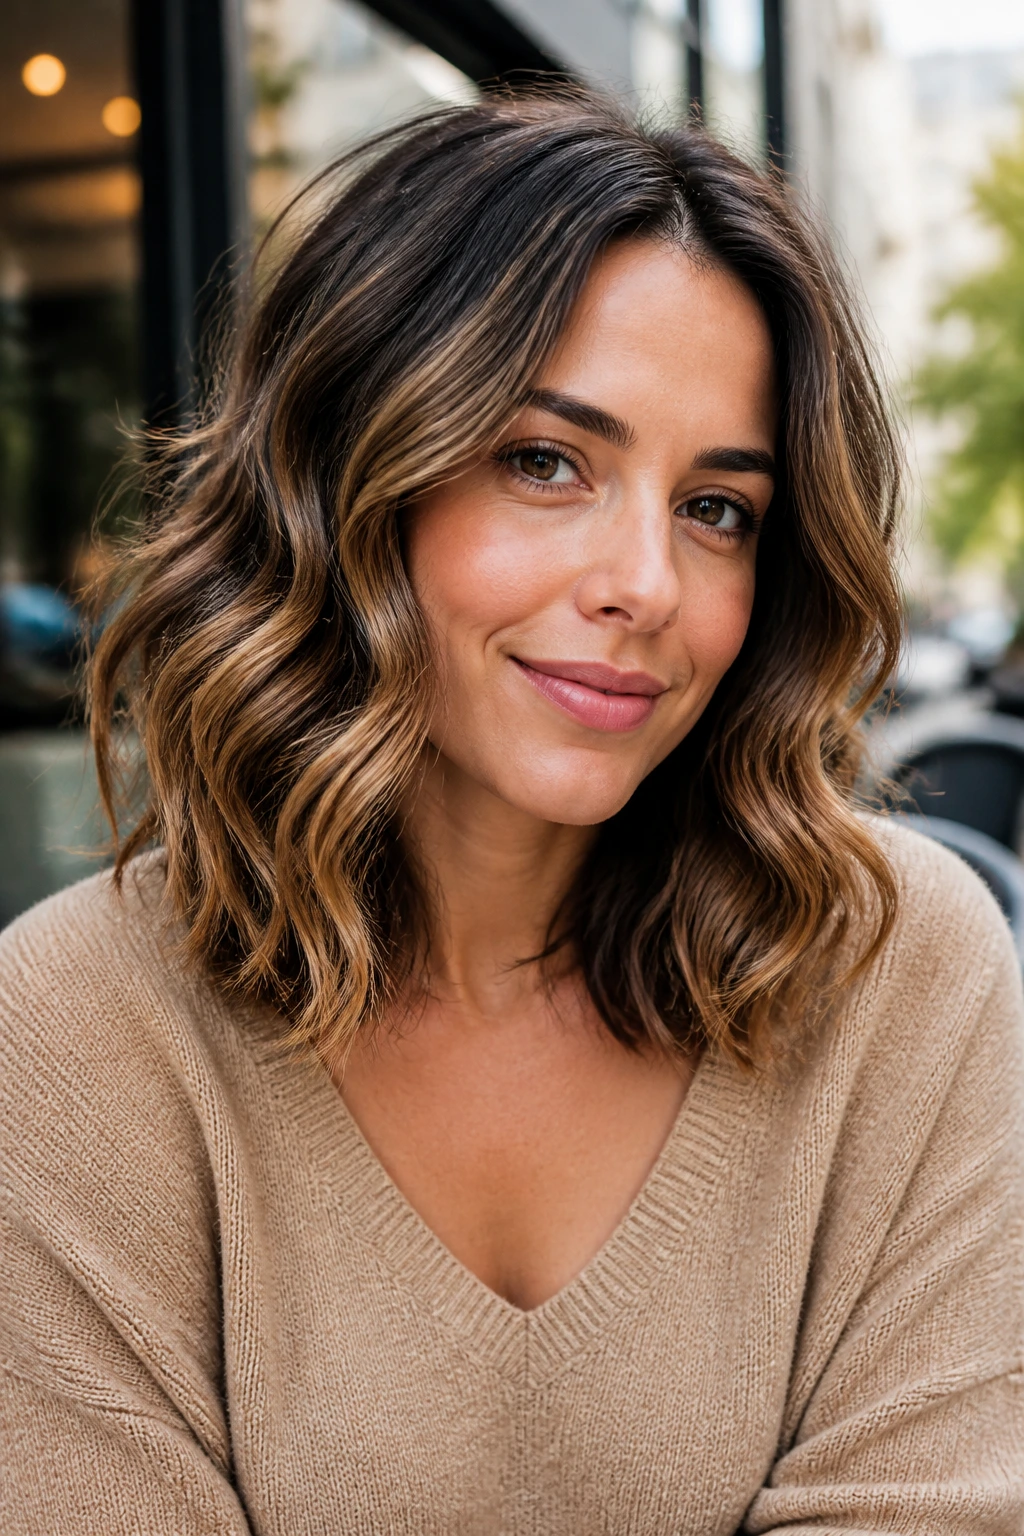
A collarbone lob and a soft S-wave are one of those pairings that look more deliberate than they are. The cut gives the wave room to swing, but not so much length that it drags itself down. Keep the bend wide and loose, and the whole thing reads as polished instead of overdone.
Why It Works
The lob sits right where hair still has some spring, so the wave doesn’t collapse under its own weight. I like this shape with a 1.25-inch curling wand or a few two-inch twists set with a diffuser. Leave the last inch or so of the ends out so they don’t look sealed into a ringlet.
Quick Shape Notes
- Best on hair that hits the collarbone or just below it.
- Use a light mousse at the roots.
- Finish with a drop of oil only on the ends.
Tiny tip: If your lob flips out too much at the bottom, wrap just the middle section around the barrel and keep the ends straight. That keeps it modern.
2. Center-Part Air-Dry Waves
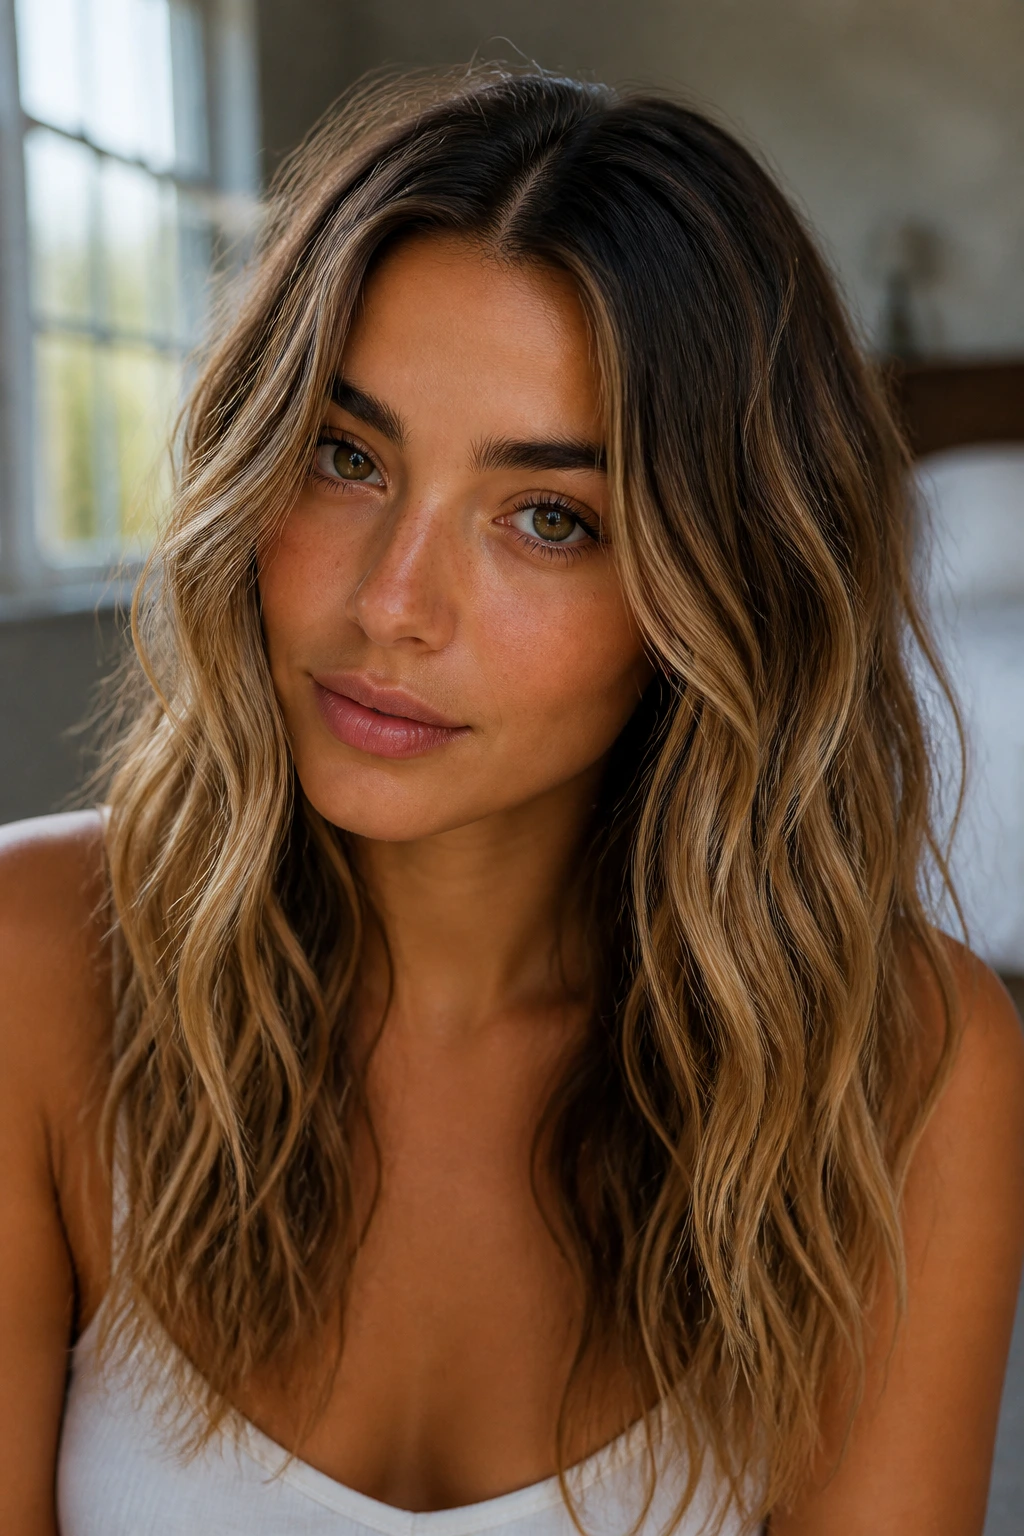
The center part gives wavy hair a cleaner line, and air-drying keeps the wave from getting too polished. This is the look I reach for when I want texture that feels soft, not styled into submission. The middle part also makes the whole pattern look more balanced, which matters more than people think.
A dab of curl cream through wet lengths and a small amount of gel at the surface is enough for many people. Scrunch once, leave it alone, and let the hair dry in a loose, undisturbed shape. If you keep touching it while it sets, you’ll wake up with frizz instead of bend.
3. Side-Swept Beach Waves
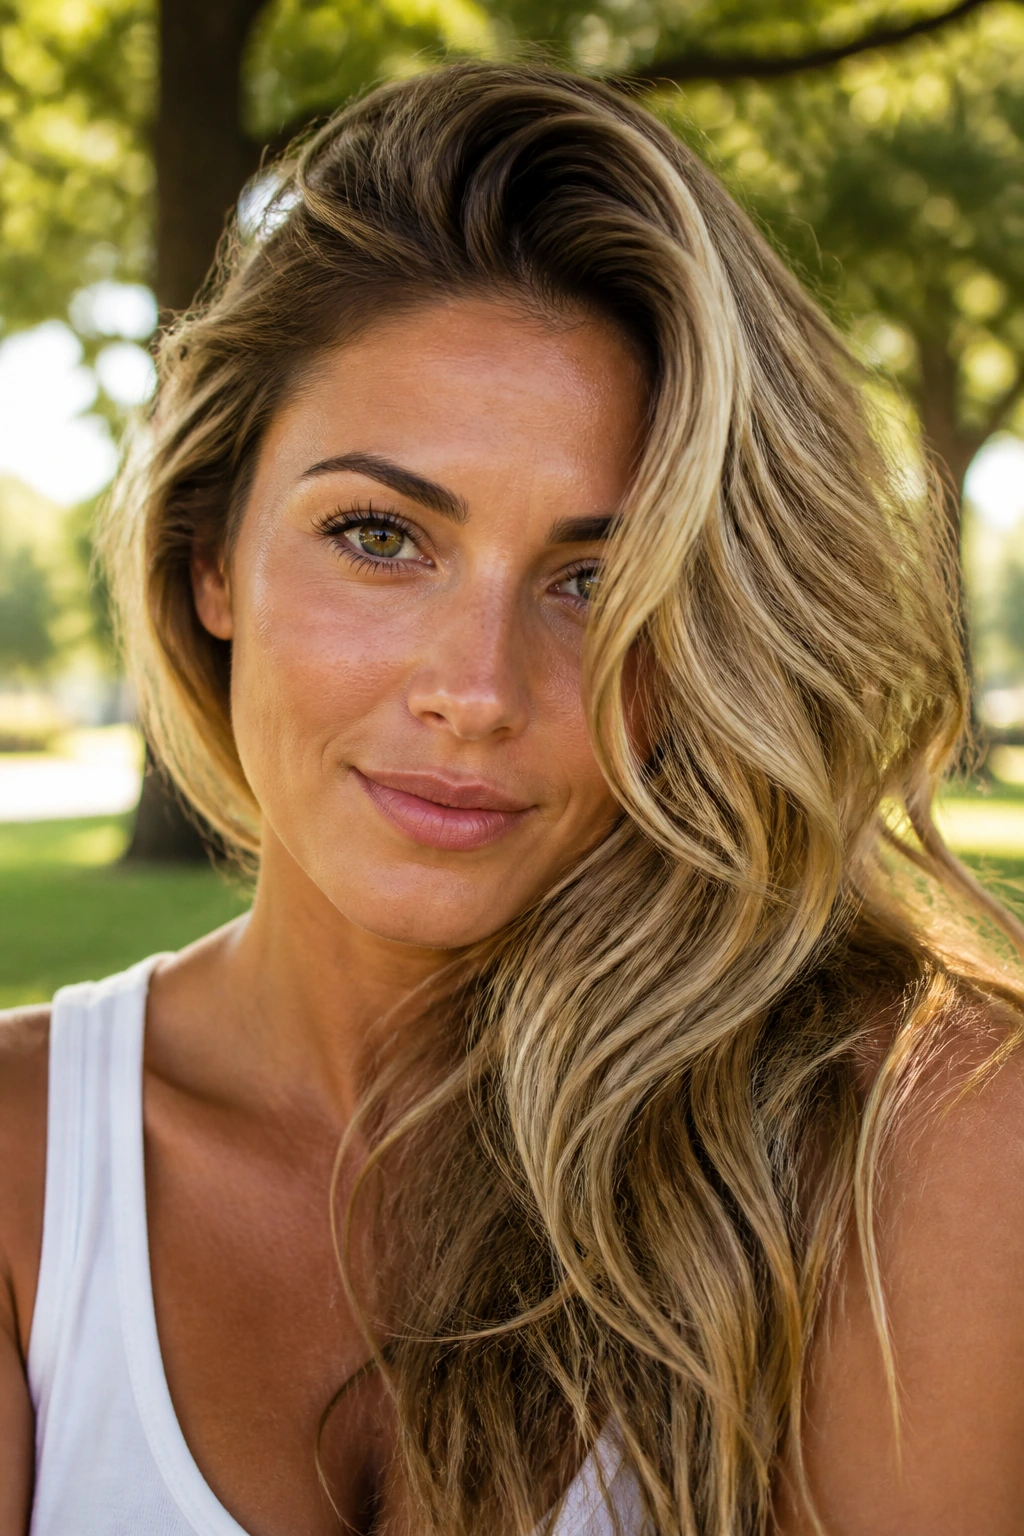
A deep side part changes the whole mood in about ten seconds. The wave on the heavy side gets more lift, and the lighter side falls in a way that makes cheekbones look sharper and the length look fuller. It’s a nice fix when wavy hair has gone a little too flat at the roots.
Best For
- Fine hair that needs root lift.
- Oval, heart, and round face shapes.
- Hair that looks better with one side tucked behind the ear.
Styling Move
Use a root-lifting spray at the part, then bend the top half of the hair away from the face with a wand or round brush. The trick is to keep the wave looser near the crown and a touch more defined through the ends.
Pro move: Clip the heavier side at the temple for 5 minutes while the hair cools. That little set makes the part stay put longer.
4. Piecey Shag Waves
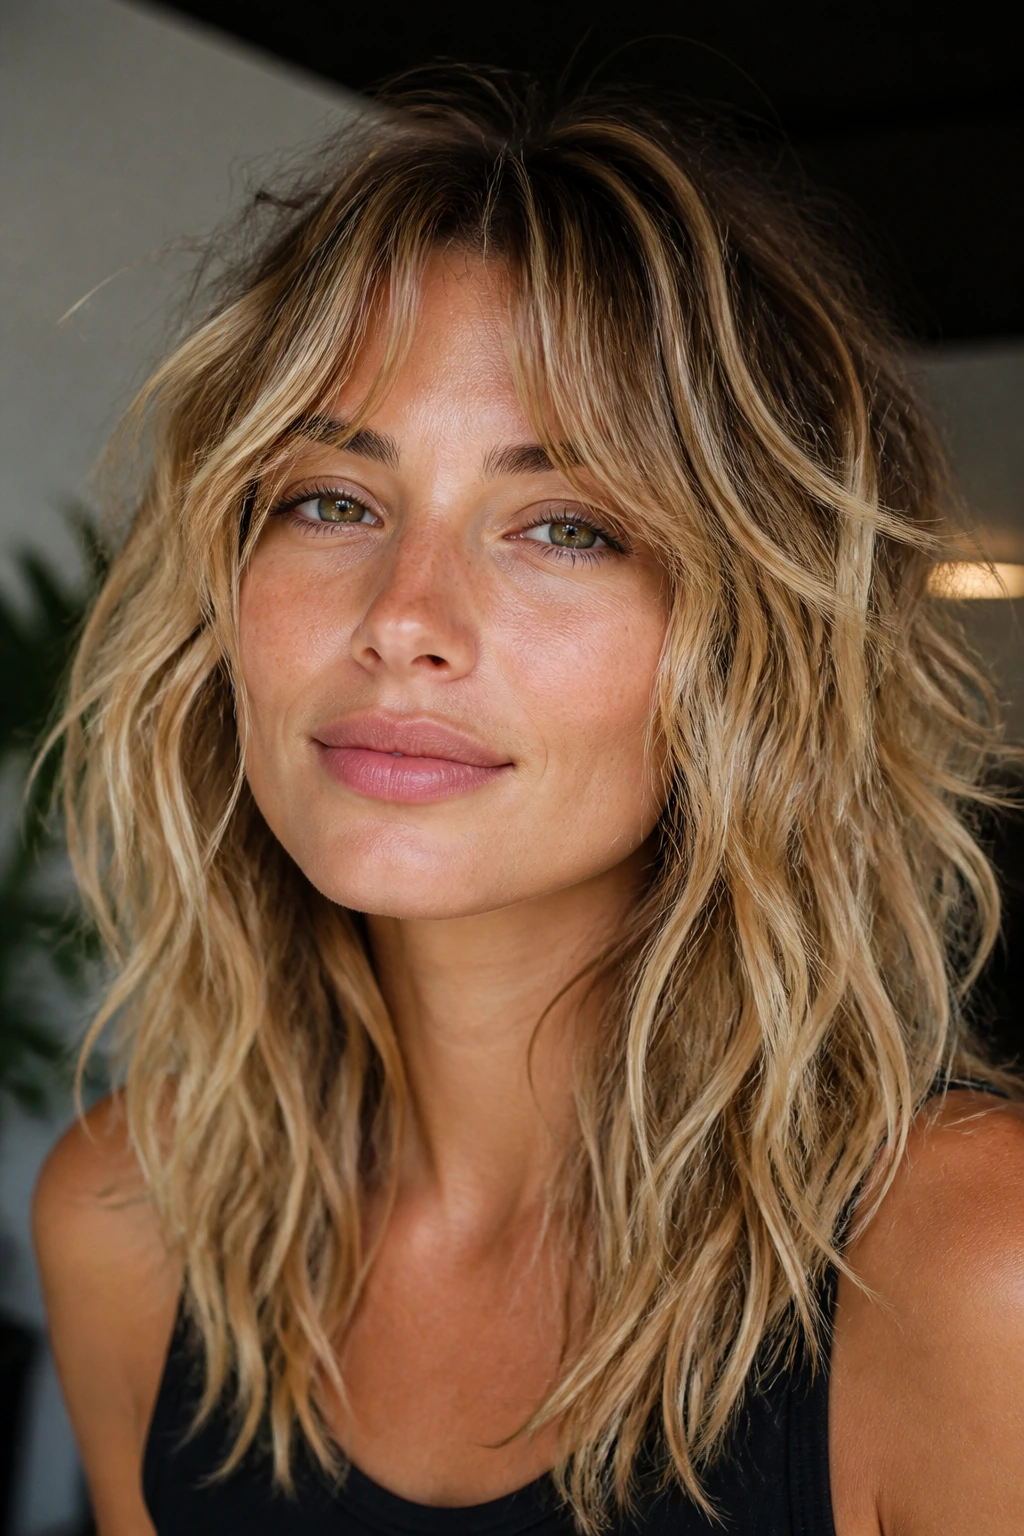
A shag cut loves a bit of grit. The layers do half the work for you, which is the whole reason this look feels so easy to wear on wavy hair. Instead of trying to make every piece match, let the ends separate a little and keep the crown soft.
Use a texture cream or lightweight paste, not a heavy curl butter. Heavy products make shag layers slump, and then the whole cut loses that choppy, swingy shape. A diffuser on low heat helps, but fingers work too if you scrunch the front and leave the rest alone.
5. Half-Up Twist Waves
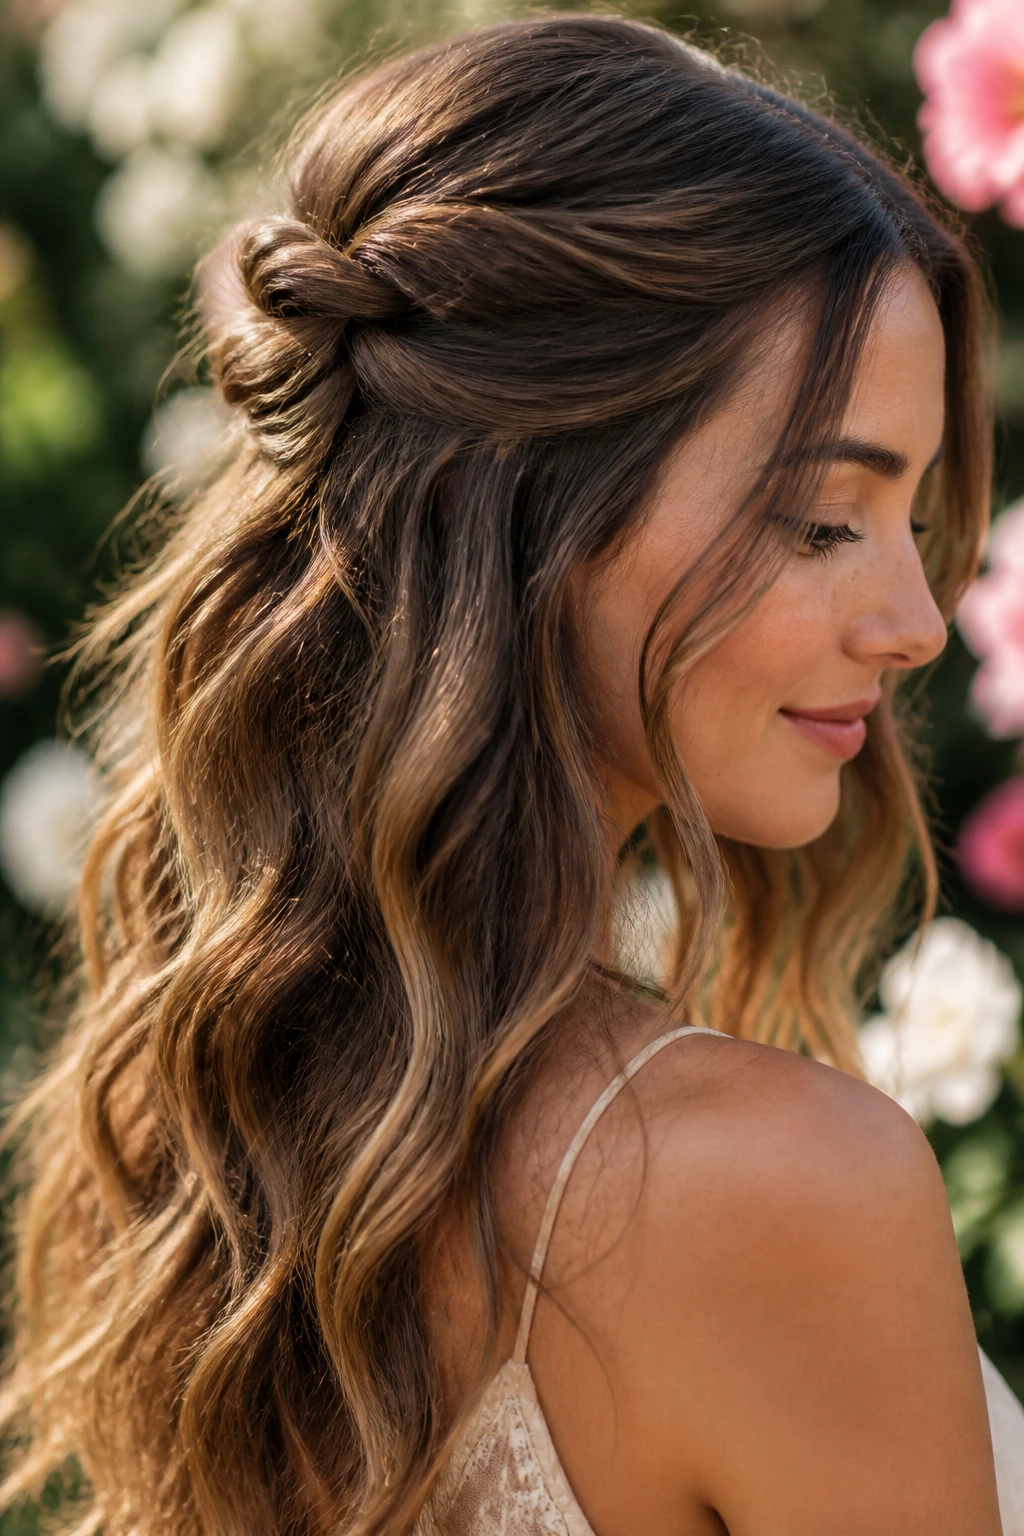
Half-up waves are the fix for hair that looks good in the lengths but a little flat at the top. Twist the temple sections back, pin them loosely, and let the lower waves stay loose so the style keeps its beachy shape. It’s casual, but there’s enough structure that it doesn’t look accidental.
I like this version with a few face-framing pieces left out on purpose. They break up the line near the cheekbones and stop the style from feeling too neat. A small claw clip works better than a tight elastic because it gives the twist a little lift instead of squeezing it flat.
6. Curtain-Bang Waves
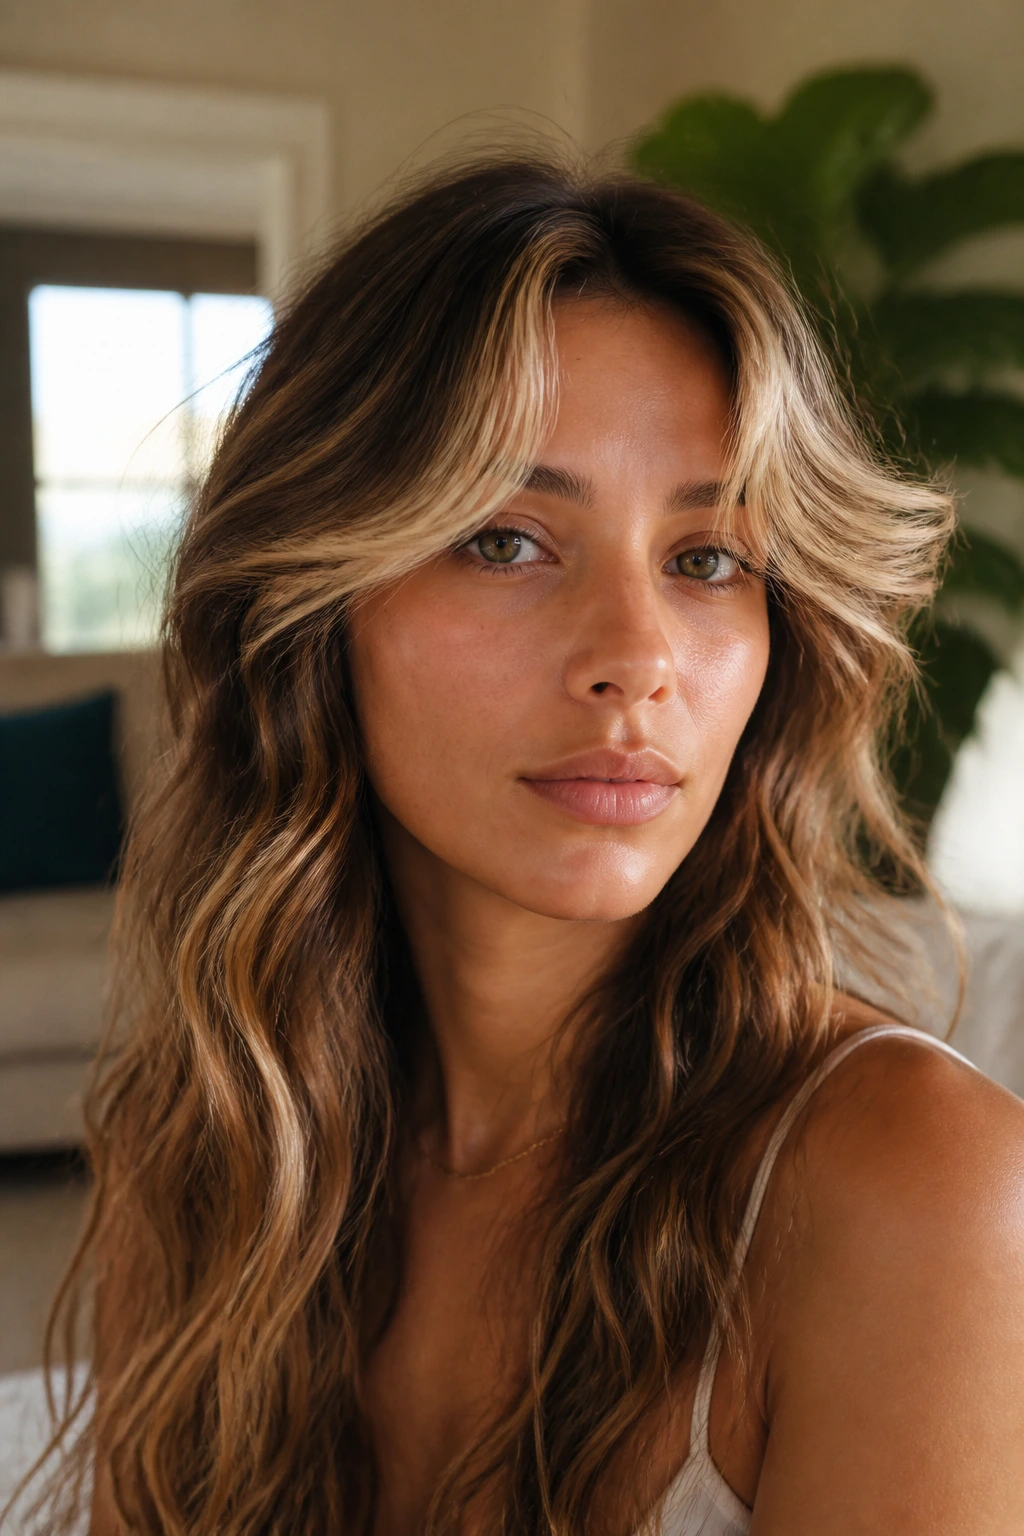
Curtain bangs change the whole front of the head, and on wavy hair they can either look dreamy or go to sleep on you. The better version starts with the bangs blown forward for a minute, then bent away from the face with fingers or a round brush. Keep the wave in the fringe softer than the rest.
The rest of the hair can stay loose and beachy. That contrast is what makes the cut work. If you curl everything too tightly, the bangs disappear into the lengths, and the whole point of the cut gets lost.
7. Glossy Mermaid Waves
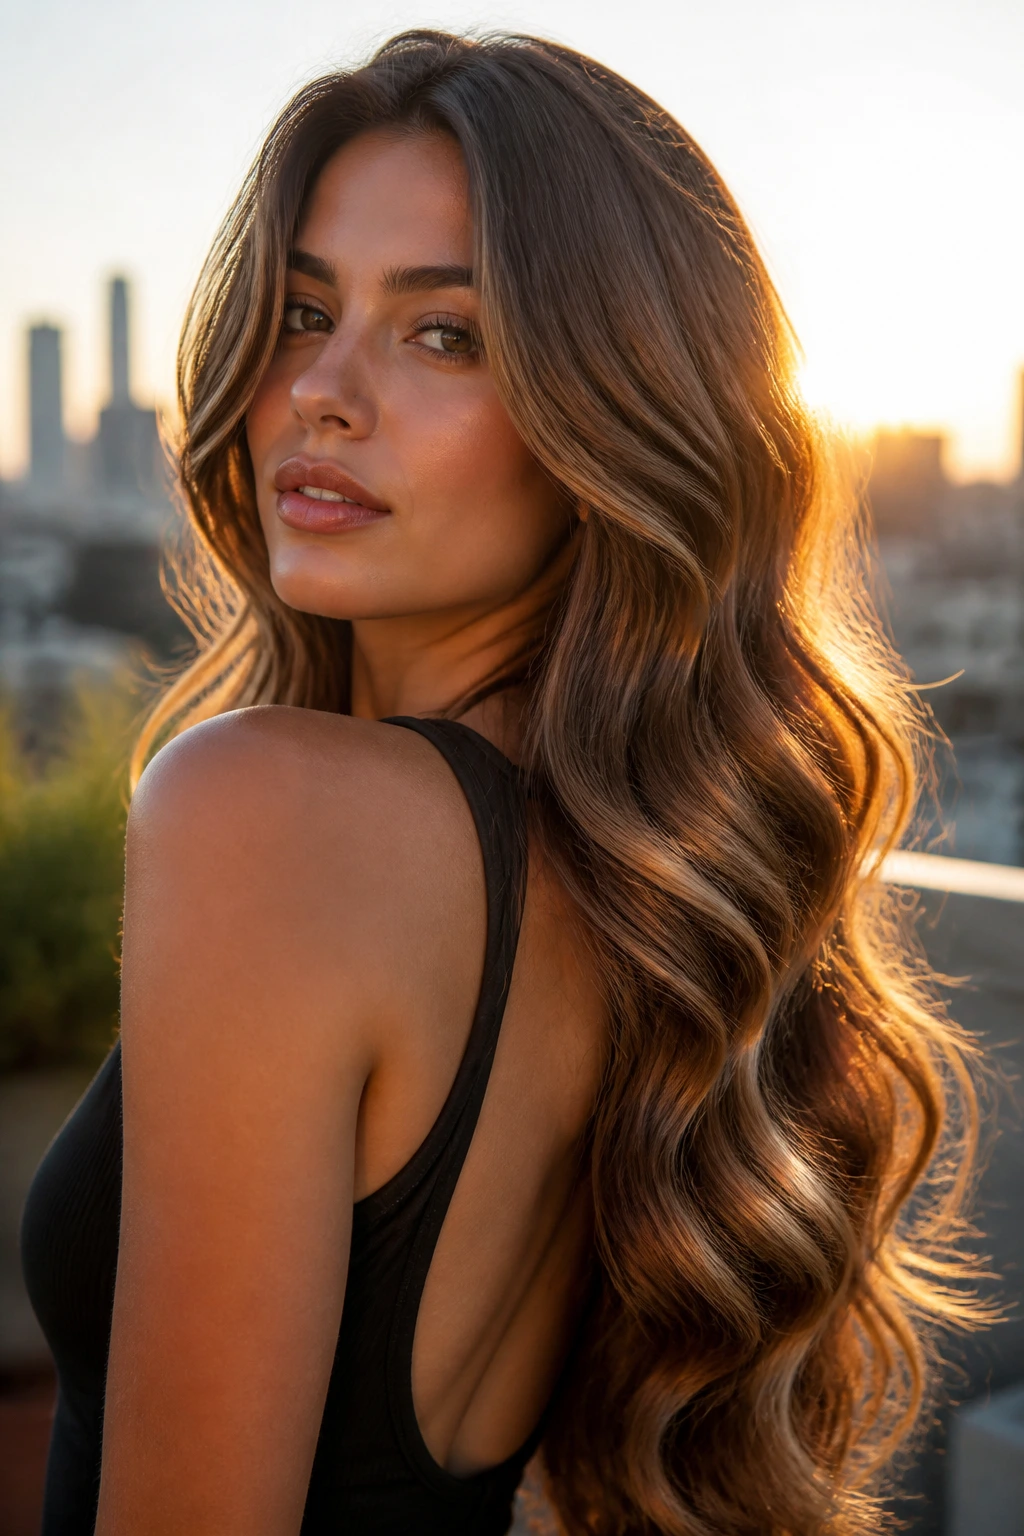
Long waves need shine, or they start looking heavy. This look leans into that gloss with a little serum through the ends and a wide-barrel wave pattern that stays smooth from mid-length to tip. The result is less “messy beach” and more “hair that catches the light after a salt rinse.”
Use a 1.5-inch wand on larger sections if your hair is thick or long. If it’s finer, use a 1.25-inch barrel and brush the waves out once they cool. That gives you the sweeping, ribbon-like finish that makes this style feel richer.
8. Grown-Out Bob Waves
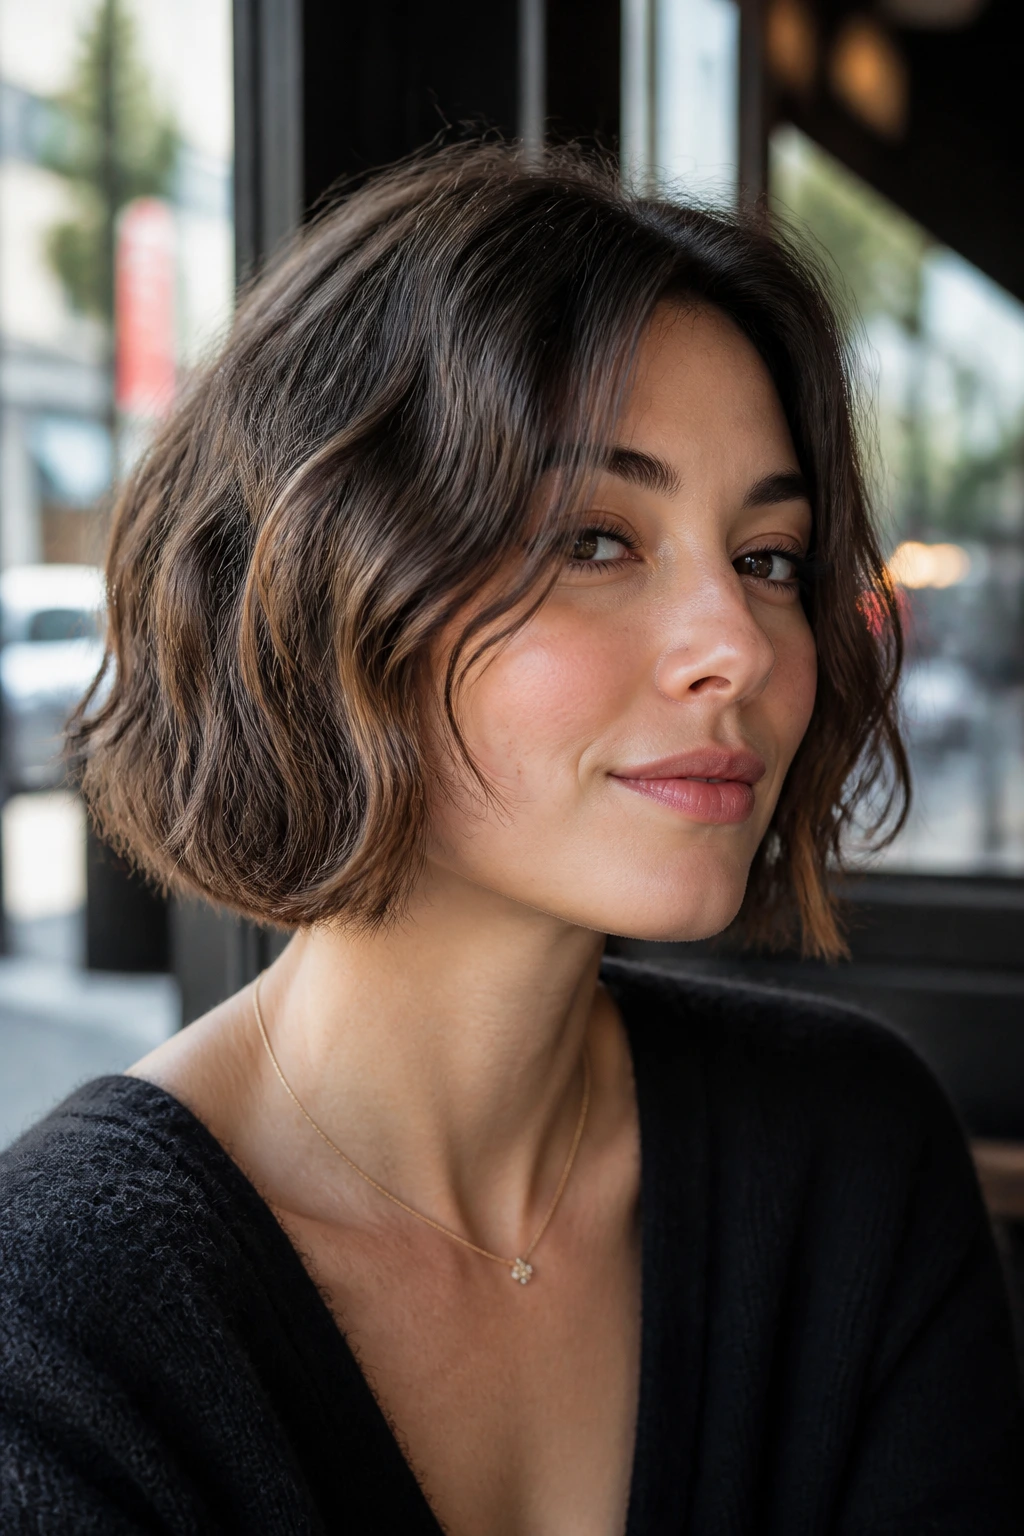
A bob that stops at the jaw or just below it can look blunt fast, so a soft wave saves the whole cut. Keep the movement small and airy. You want bend, not curl. A 1-inch iron or a quick finger wave pattern gives the bob enough shape without making it puff out.
This look is especially good when the ends need a little life but you do not want fullness all over the head. That’s the balance. The wave should start below the cheekbone and stay loose near the roots so the bob keeps its clean outline.
9. Salt-Spritz Scrunch Waves
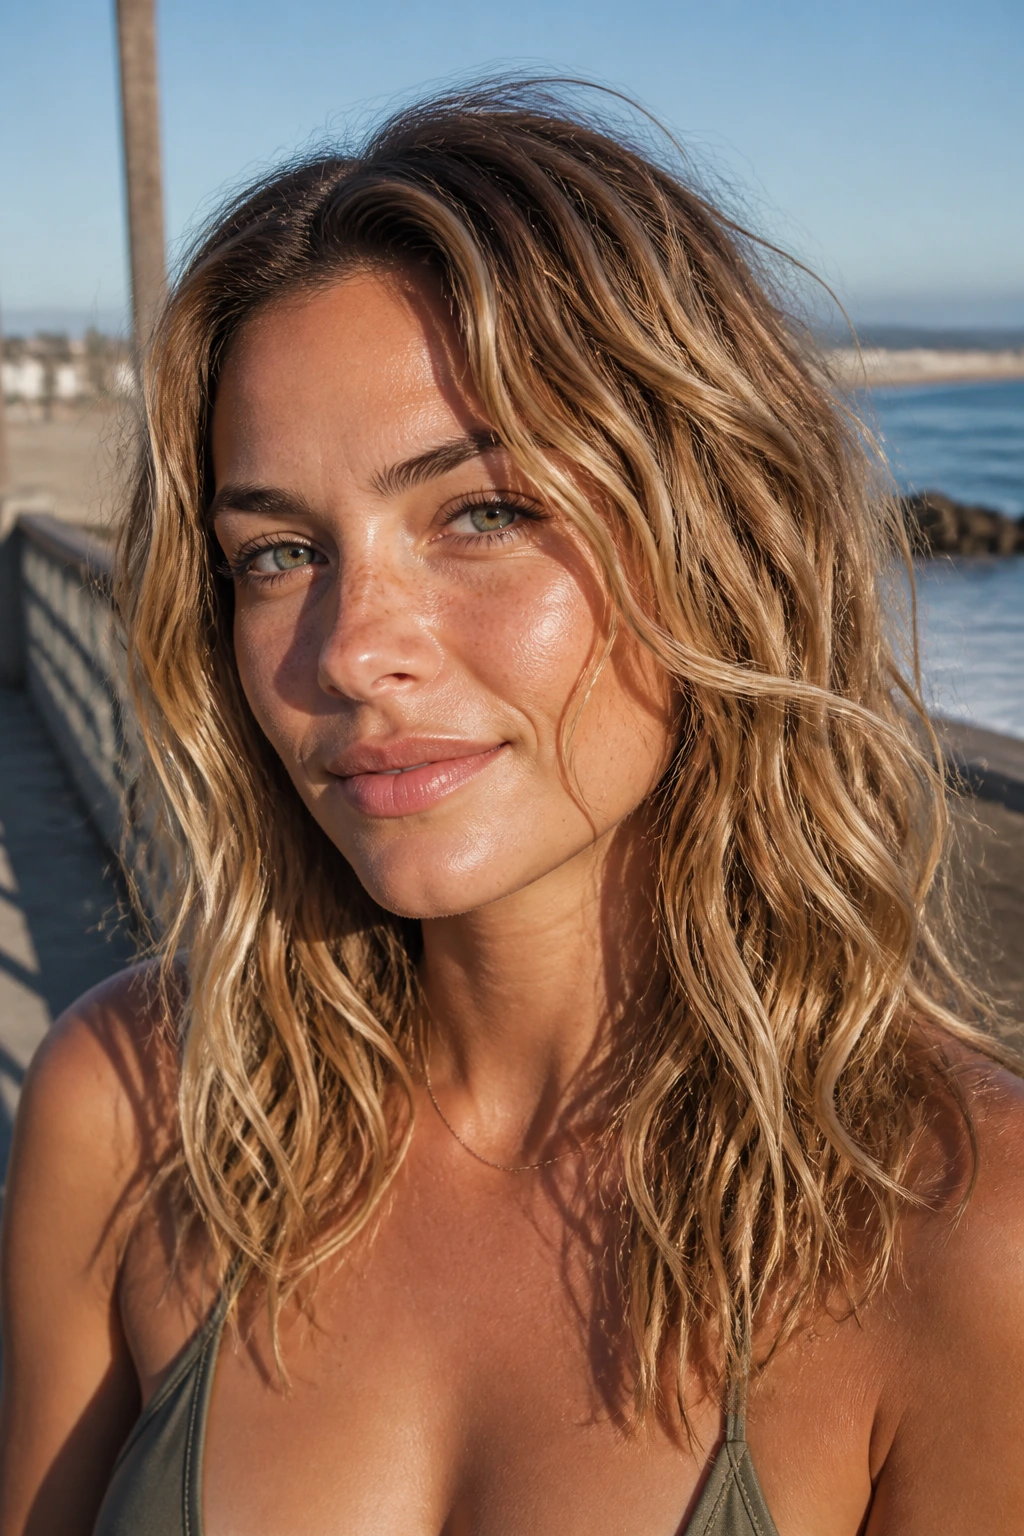
This is the version most people picture when they hear “beach wave,” and on wavy hair it can work beautifully if you don’t drown the lengths in spray. Mist the hair while it’s damp, scrunch in sections, and stop once the surface feels slightly gritty. If it starts to feel sticky, you’ve gone too far.
What Makes It Different
Salt spray roughens the cuticle a little, which helps waves hold their shape as they dry. That makes it useful on hair that slips straight by lunchtime. But it can also dry out the ends, so I’d keep it on the mid-lengths and use a softer cream at the tips.
My preference: If your hair is fine, mix the salt spray with a little leave-in conditioner in your hands before scrunching. Same texture. Less straw.
10. Brush-Out Glam Waves
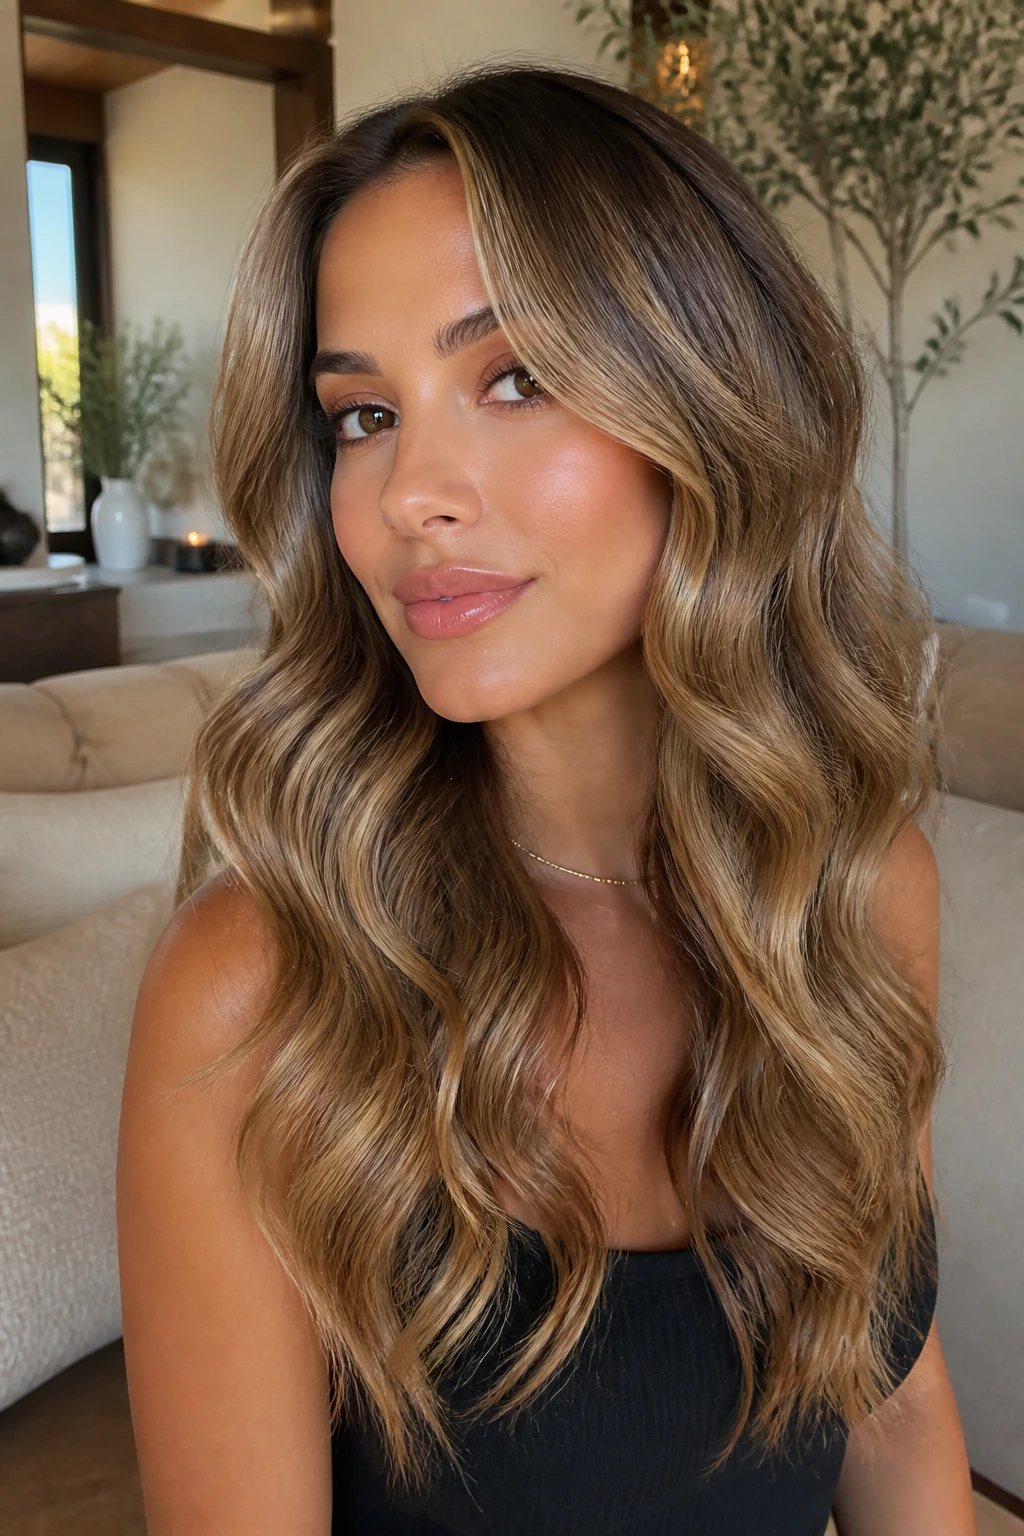
Brush-out waves are the grown-up cousin of beach hair. You set the wave with a wand or iron, let it cool fully, then brush through it with a boar-bristle brush or a very soft paddle brush. The curls open up into broad bends that feel elegant without looking stiff.
It’s one of my favorite looks for wavy hair with a layered cut because the layers separate into big ribbons instead of collapsing into one blob. Keep the root smooth, brush only after the hair is cool, and finish with a touch of shine spray from mid-length down.
11. Wet-Look Sunkissed Waves
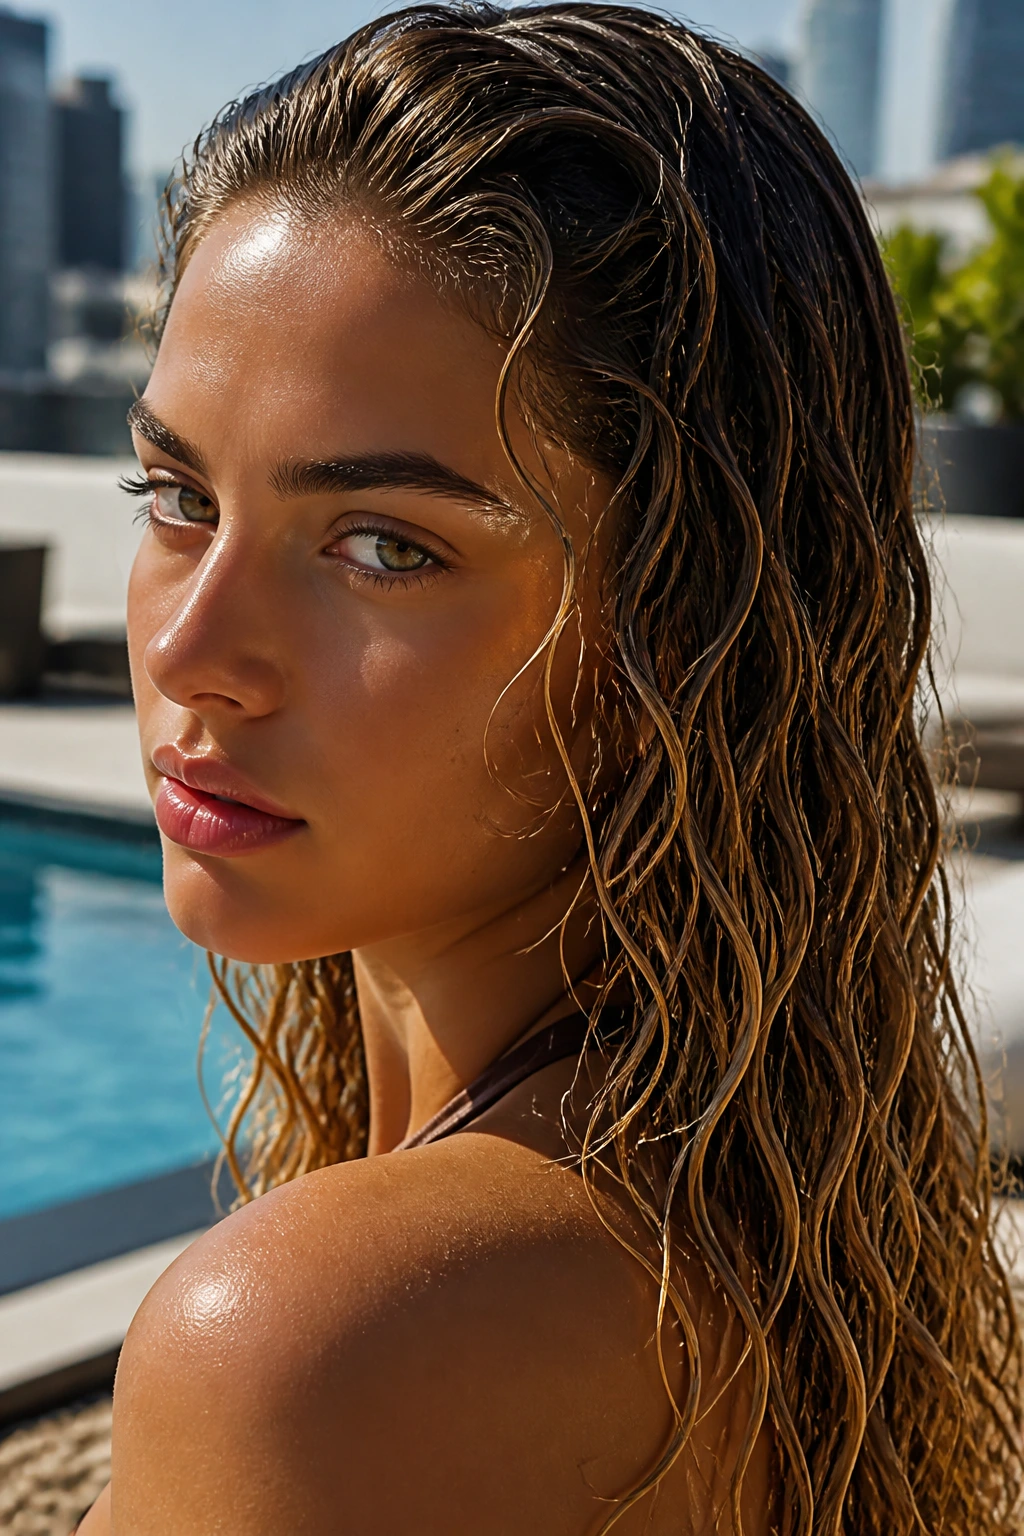
Wet-look waves can go wrong fast if the product is too heavy, but when they’re done well they look sharp and modern. Start with damp hair, smooth gel through the top and crown, and leave the lower lengths a little looser so the wave still shows. The trick is to make the roots look sleek while the ends keep movement.
This works best when you want the texture to read editorial instead of casual. It’s strong around the face and a little sexier than a standard salt spray look. Don’t rake your fingers through it once it starts to set. That’s how you lose the shine and get a patchy mess.
12. Face-Framing Flip Waves
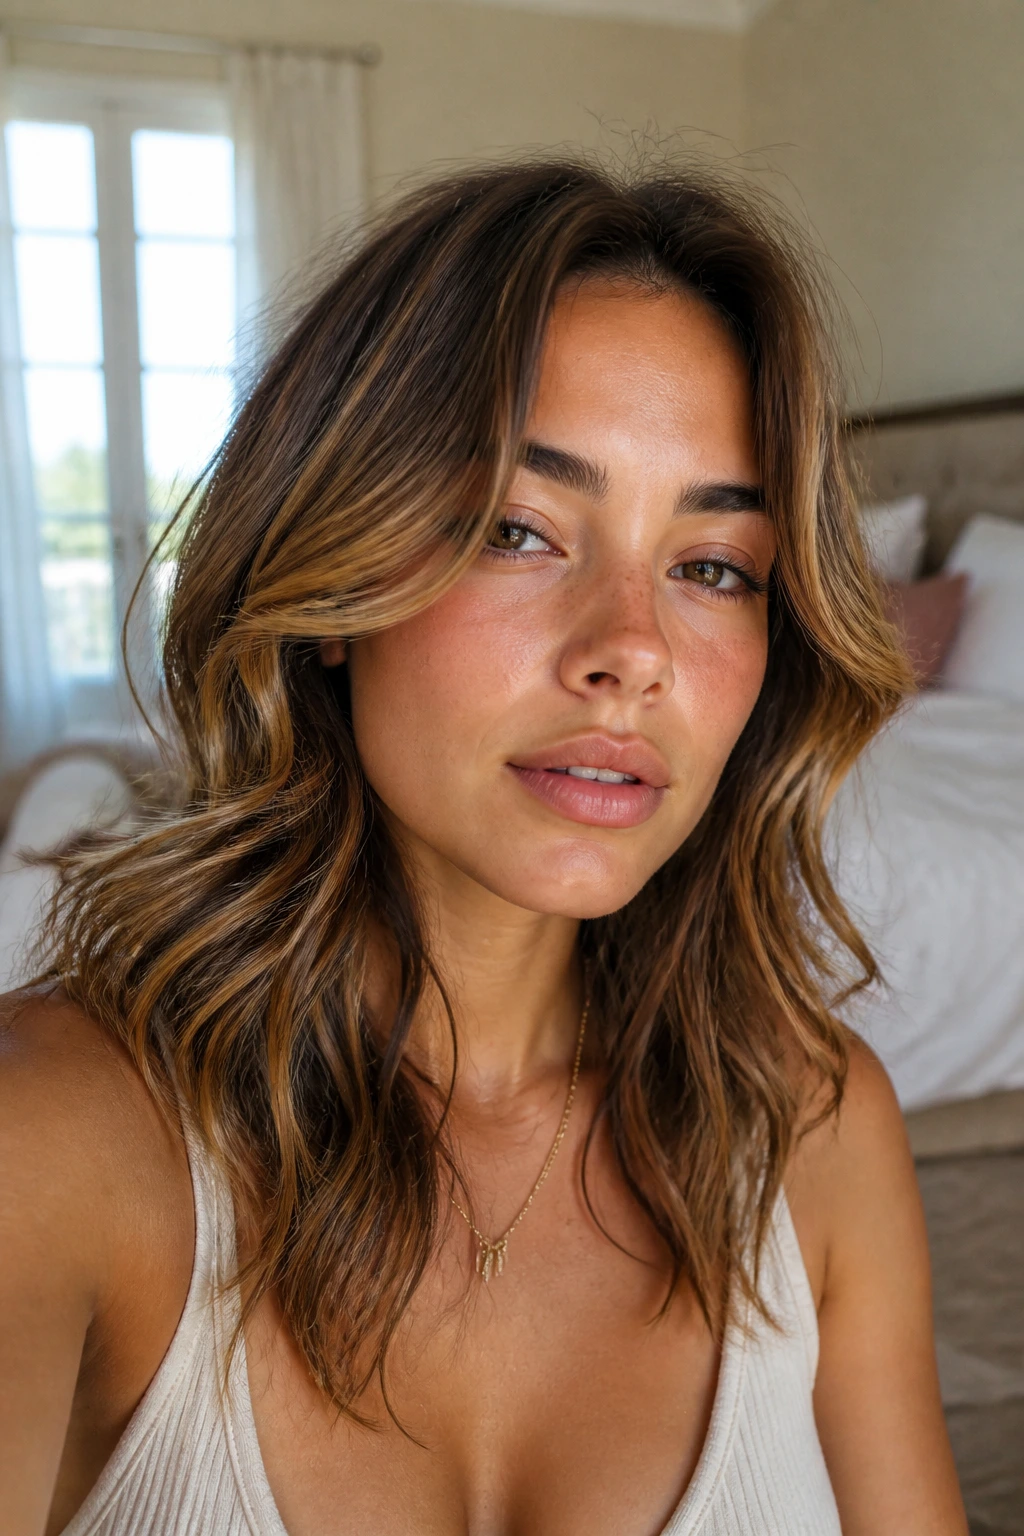
A flipped front piece can save a style that feels too flat or too “same all the way down.” Curl the front sections away from the face, then add a small outward bend at the ends so they turn back just enough to frame the cheekbones. The whole thing feels a little bouncy, a little retro.
This is the kind of detail that changes a haircut without changing the haircut. If the rest of your waves are loose, the flip gives the front some personality. It also works well when you want to show off earrings or a strong neckline.
13. Tucked-Behind-Ears Waves
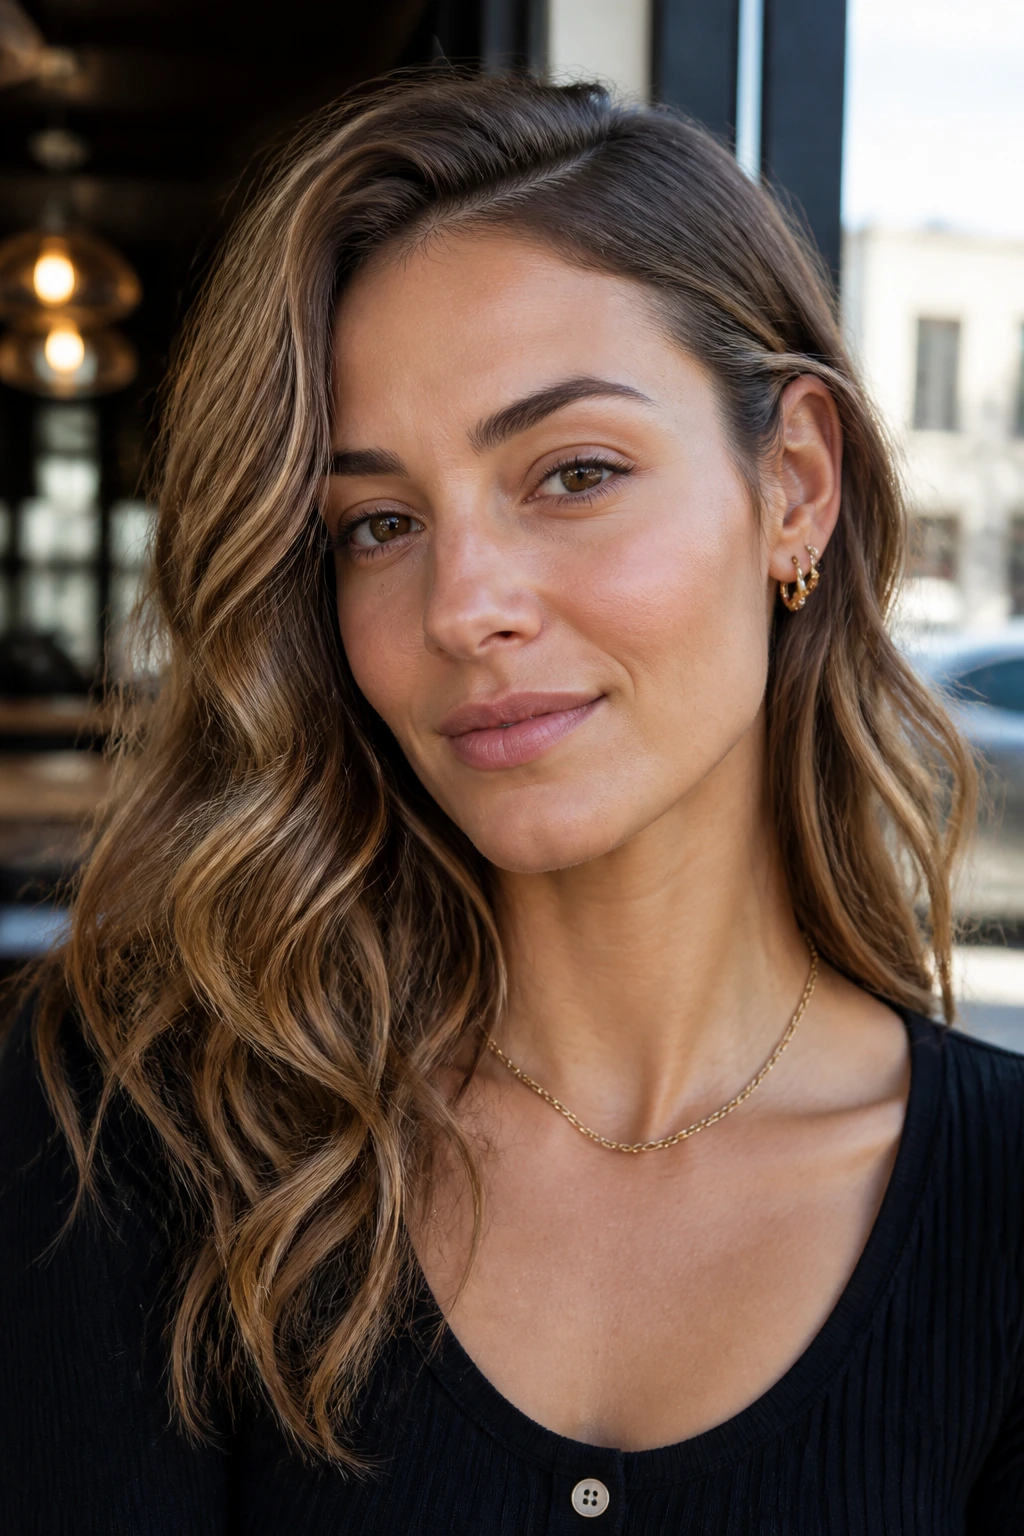
One side tucked, one side loose. Simple. But the effect is strong because the asymmetry makes the wave look intentional and keeps the face open. A barrette, a hidden bobby pin, or even a plain tuck can do the job.
I like this on medium and long wavy hair because it shows off the texture without overwhelming the face. If the style feels too relaxed, bend the front section with a small iron before tucking it. That gives the ear tuck a cleaner line and keeps it from slipping out in ten minutes.
14. Braided Overnight Waves
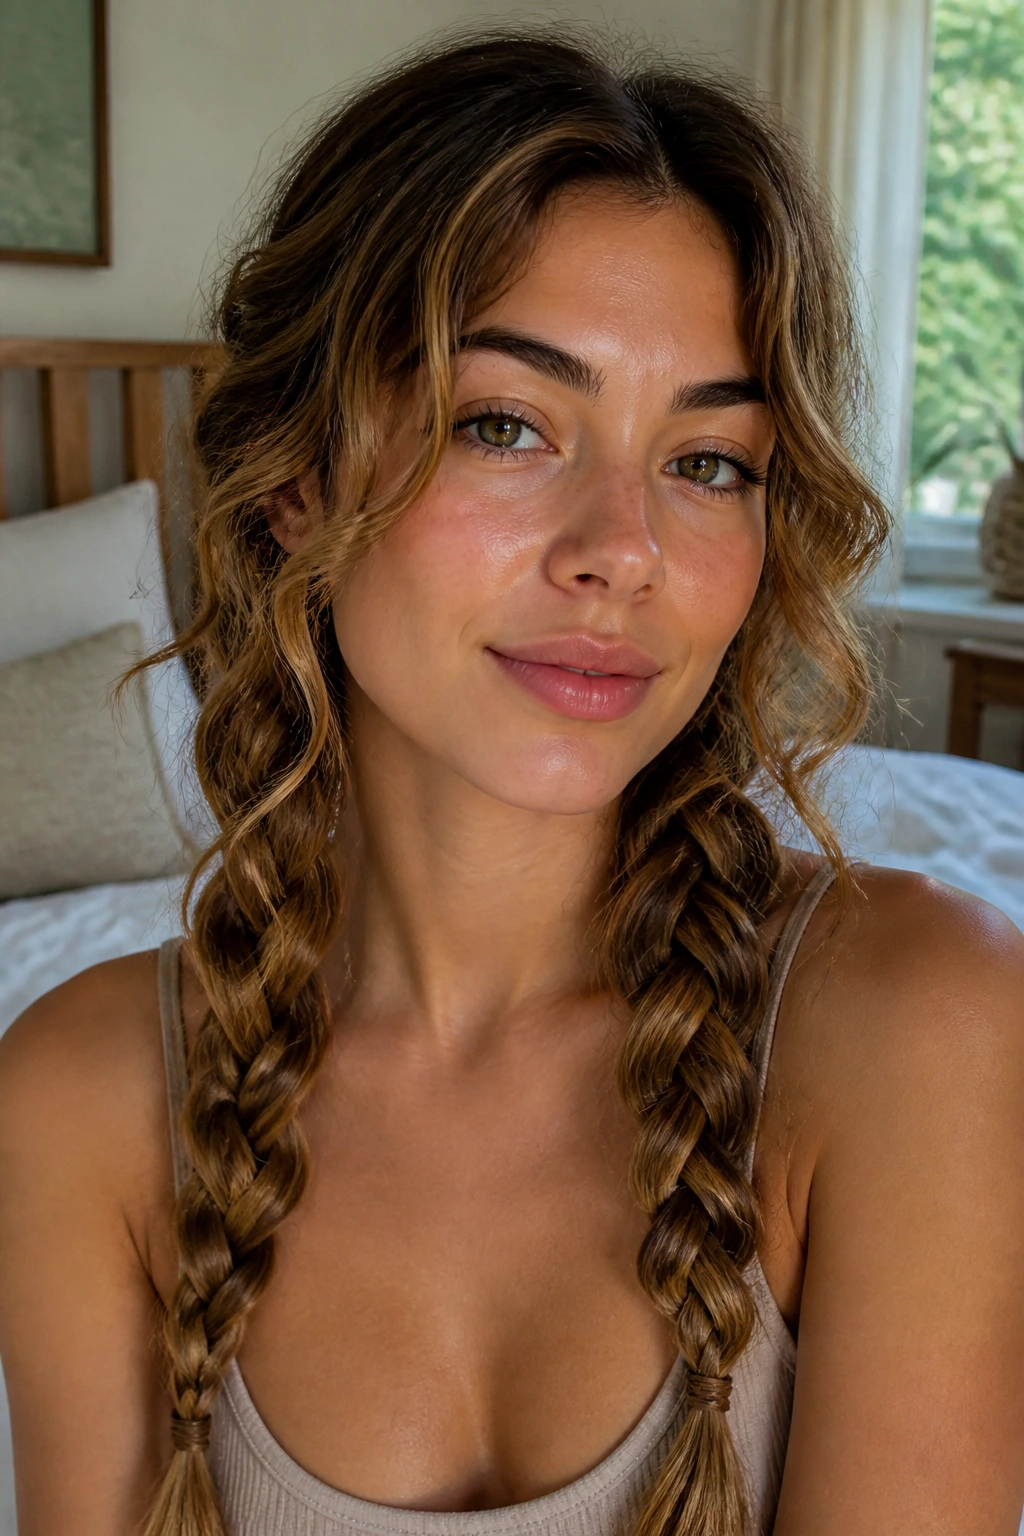
Loose braids are still one of the cleanest heatless options for wavy hair. Two braids make broad, relaxed bends. Four or five smaller braids give more texture and a little more grit. Sleep on them, take them out in the morning, and separate with a drop of lightweight oil.
The biggest mistake is braiding hair that’s too wet. It takes forever to dry, and then the bend can come out uneven or puffy at the roots. Start with hair that’s about 80 percent dry, braid loosely, and secure the ends with soft elastics so you don’t get a hard crease.
15. Diffused Volume Waves
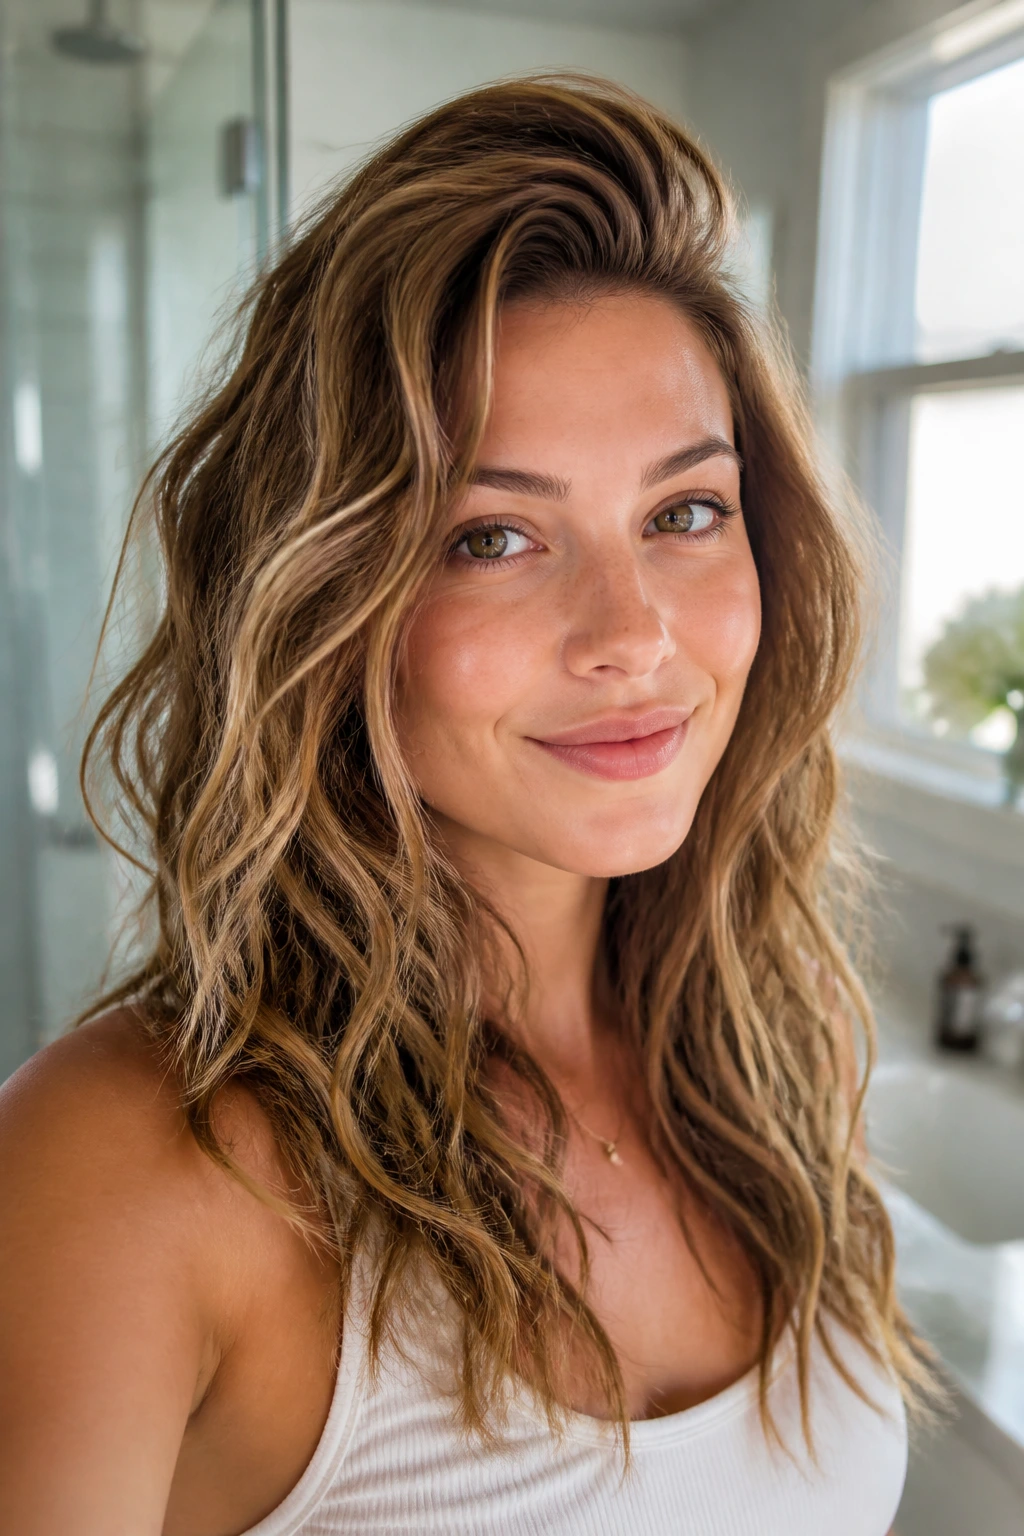
If your waves tend to lie close to the head, a diffuser can wake them up without wrecking the shape. Cup the hair at the ends, bring the diffuser to the scalp, and keep the heat low. You’re not trying to blast the wave into frizz. You’re encouraging lift.
This look is best when the crown needs help and the ends already have a decent pattern. A root clip while the hair dries can make the difference between flat and full. Finish with a tiny mist of flexible hairspray at the top, not the whole head.
16. Collarbone Flip Waves
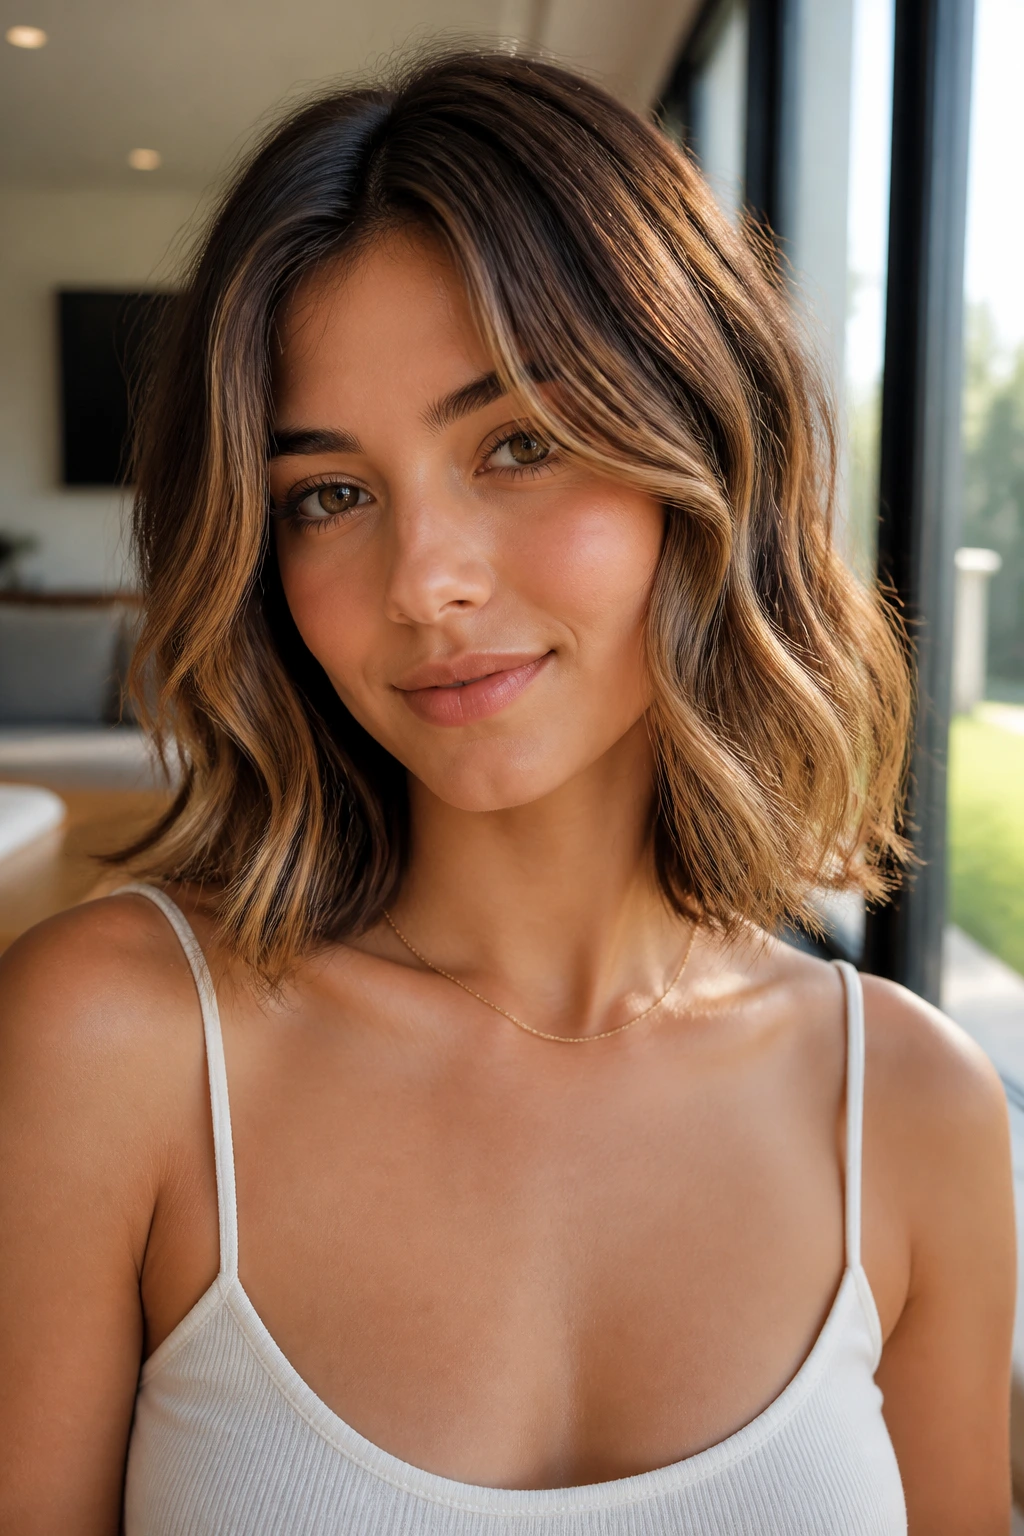
There’s a sweet spot where the hair just grazes the collarbone and naturally flips outward. This style leans into that movement instead of fighting it. The wave should bend through the middle and turn softly at the ends, which gives the cut a swingy, easy shape.
The reason it works so well on wavy hair is that the length is short enough to hold volume but long enough to move. If your hair is thick, use larger sections and a cooler set. If it’s fine, a smaller barrel with a short hold gives the ends a cleaner flip.
17. Deep Side Part Waves
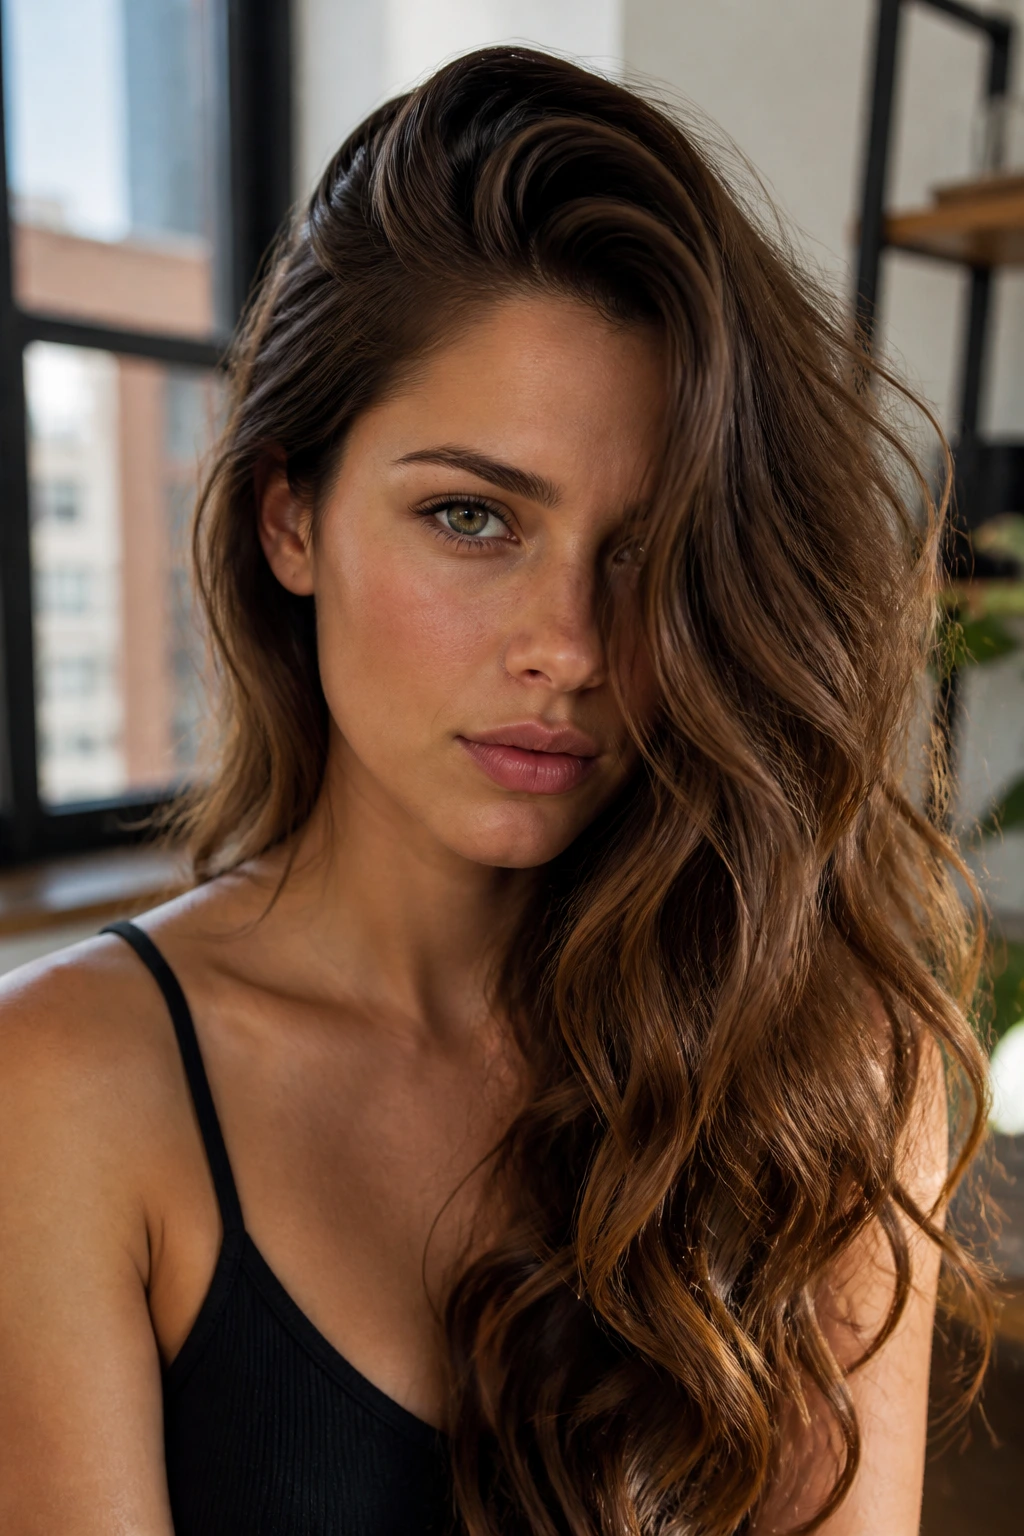
A deep side part gives the crown drama and makes the wave look fuller on one side than the other. It’s one of the fastest ways to make a basic texture look styled. The line itself does a lot of the work, which is nice when you don’t want to re-curl the whole head.
Use a bit of mousse at the roots and direct the front away from the heavier side. That creates the lift you need without teasing the hair into tangles. If your hair falls out of the part, clip it for five minutes while you finish your makeup or get dressed.
18. Clipless Lazy Waves
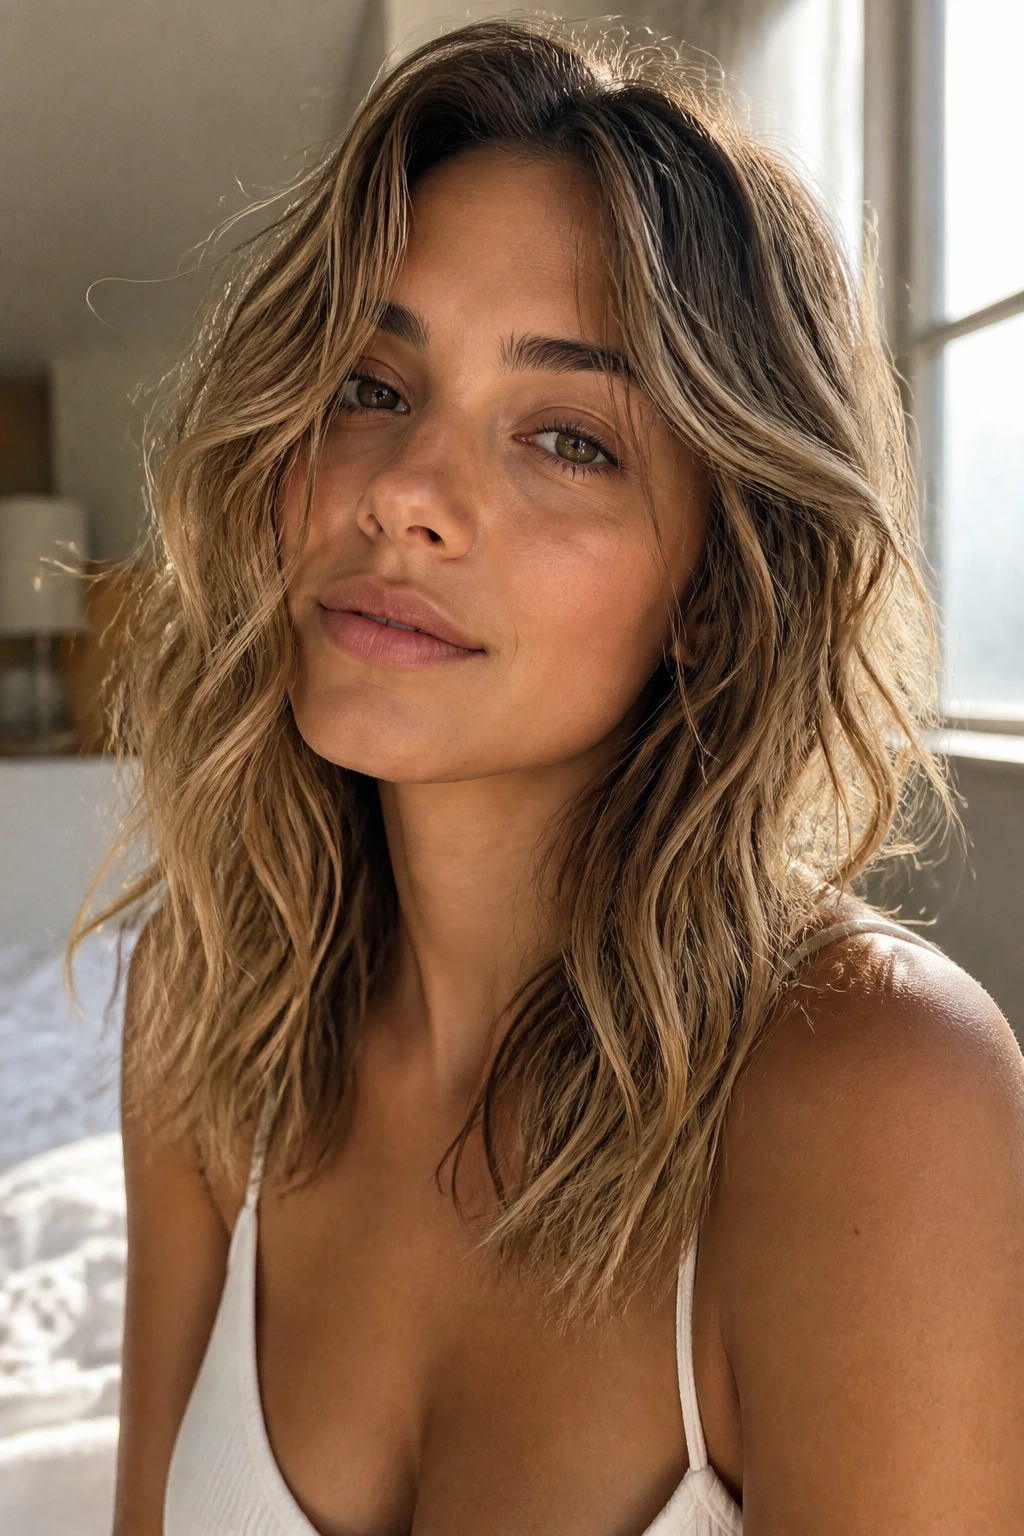
This is the look for people who do not want to babysit a curling iron. Bend the hair in alternating directions with a flat iron or large wand, but leave the ends looser and keep the sections wide. The result is wave, not curl, and it looks especially good on natural wavy hair because the pattern stays relaxed.
A little unevenness helps here. If every bend is identical, the style starts looking stamped. Keep some sections a touch looser near the face and a little tighter through the back, then shake it out with your fingers once it cools.
19. Polished Office Waves

This is the tidy version of beach hair. Same movement, less mess. Smooth the top with a light cream, set the waves softly, and keep flyaways under control around the part and hairline. The ends can still move; they just should not look dry or puffy.
I prefer this finish when the outfit is sharp and the hair needs to match it. Think clean blouse, earrings, and a wave that bends rather than frizzes. A small amount of anti-humidity spray goes a long way here, especially if your hair swells at the first sign of moisture.
20. Highlight-Peeking Waves
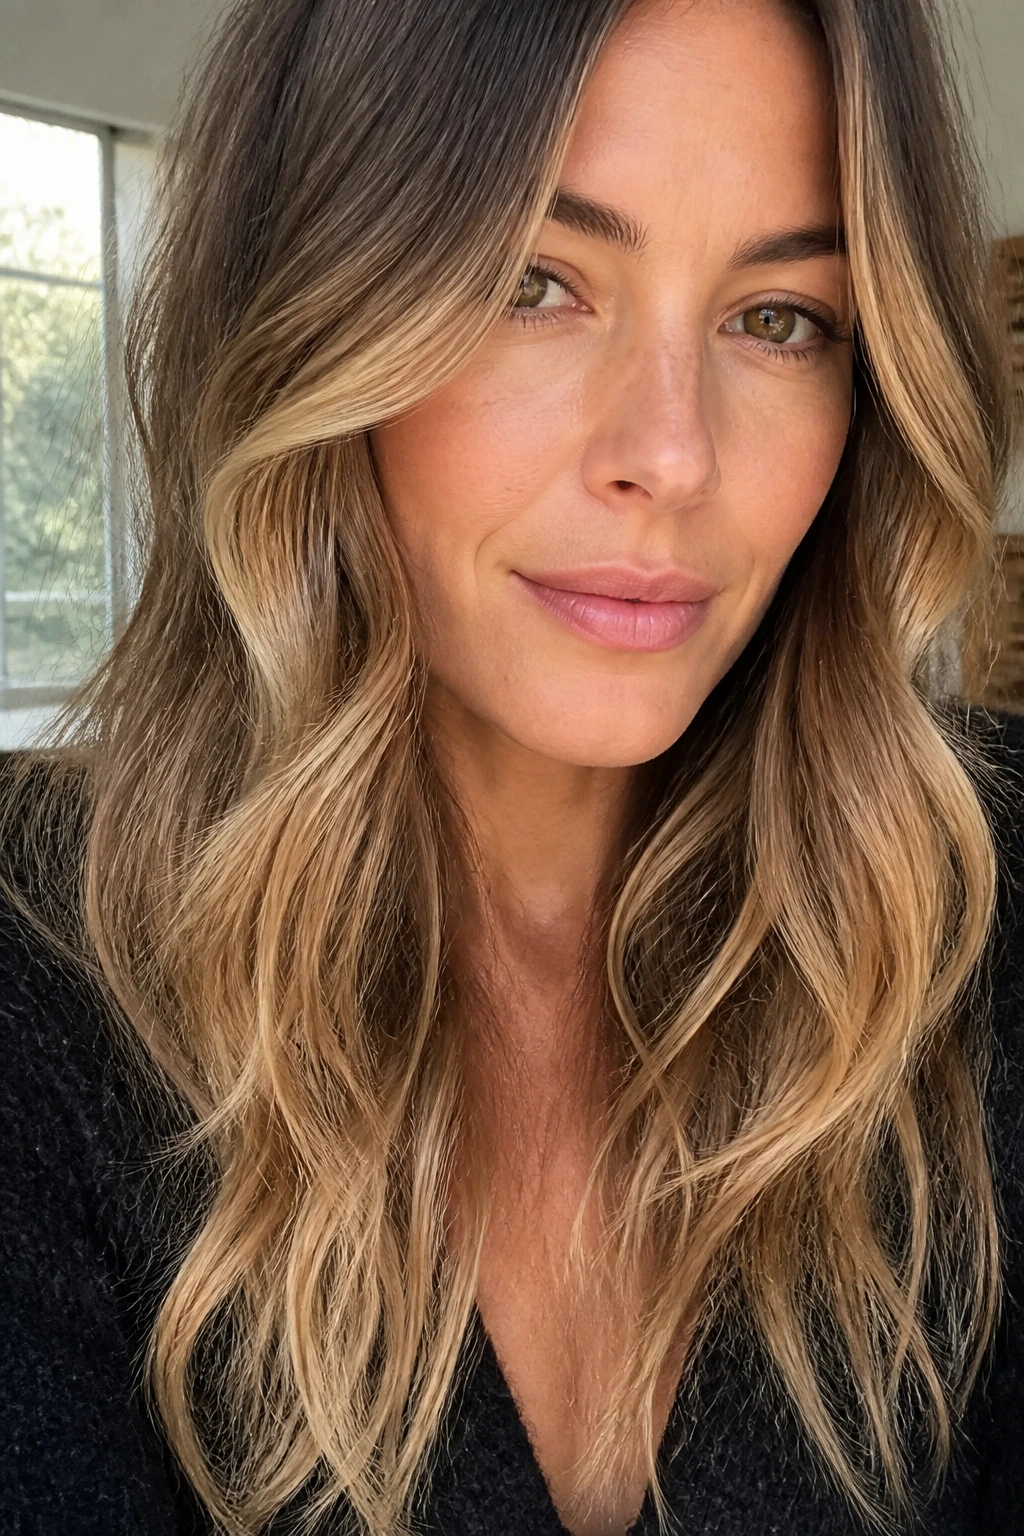
If your hair has balayage, ribbons, or lighter face-framing pieces, the wave should show them off instead of hiding them. That means separating the sections after styling and turning a few front pieces so the color catches on the curve. The wave becomes part of the color story.
This look is less about volume and more about placement. I like it best when the brighter pieces are around the face and the wave starts below the cheekbone. Too much curl at the root can hide the dimension you paid for, and that would be a shame.
21. Beach Bun Release Waves
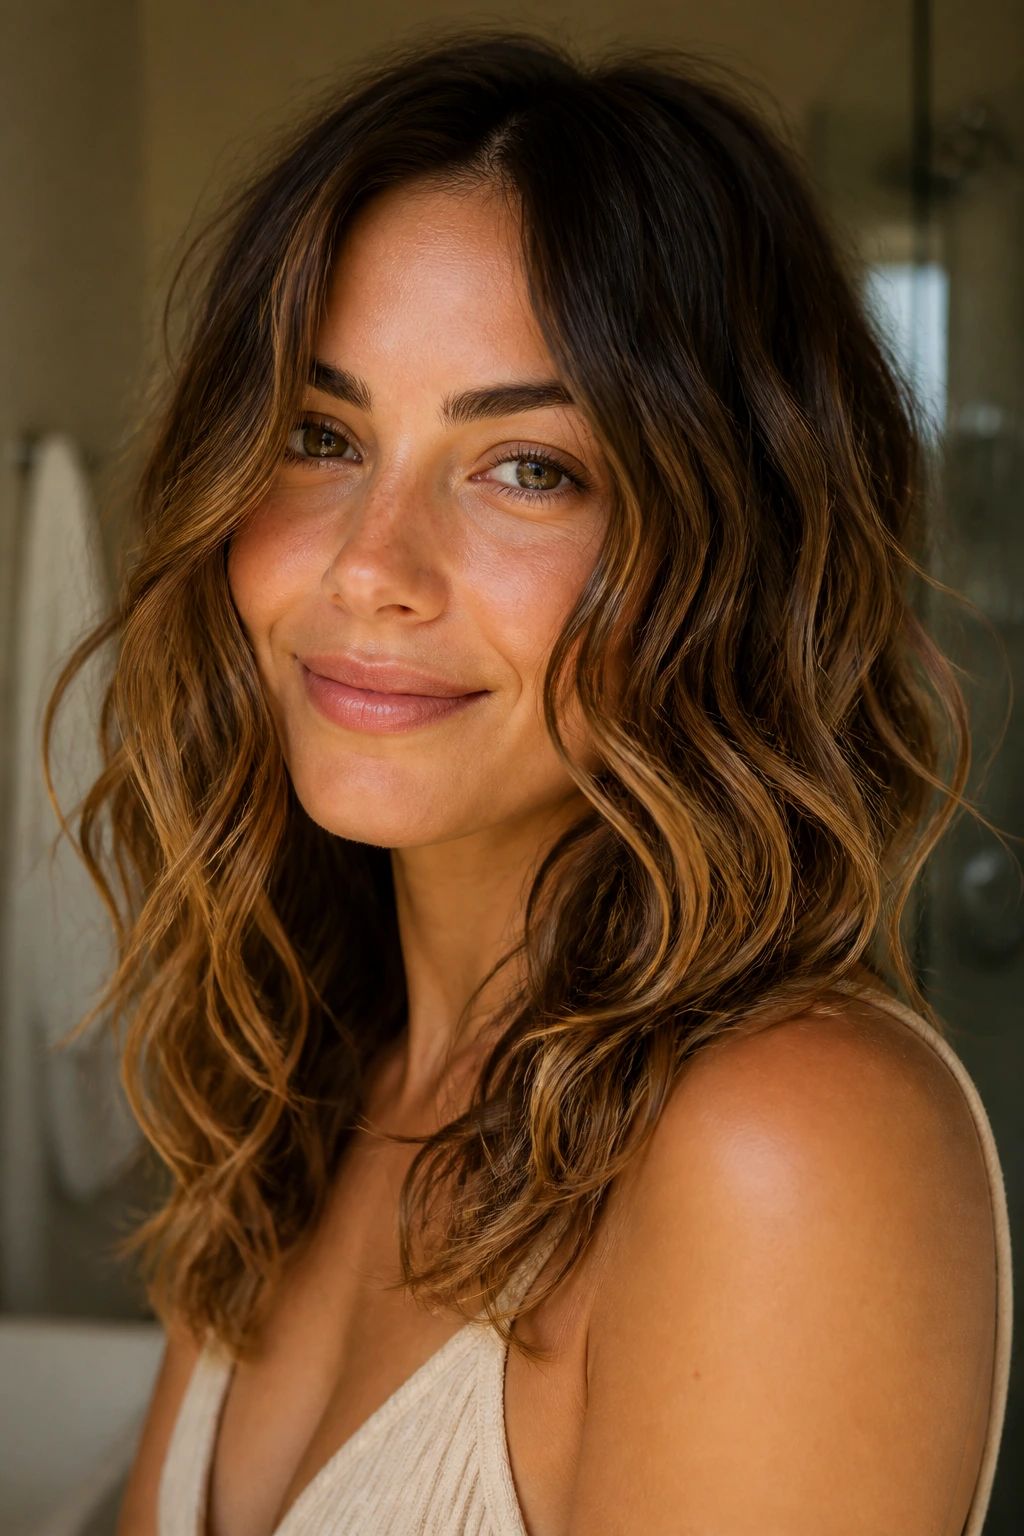
A loose bun can create a soft, bent pattern if you wrap it low and let it sit for a few hours. Take it down, run fingers through the lengths, and you get waves that look relaxed rather than styled to death. It’s a nice way to refresh hair that has gone limp.
Use this when the ends need shape but you don’t want a tight curl. The bun should be loose enough that it doesn’t leave a hard crease, and the hair should be slightly damp or product-prepped before you twist it up. Too dry, and the bend won’t form cleanly.
22. Bent-End Lob Waves
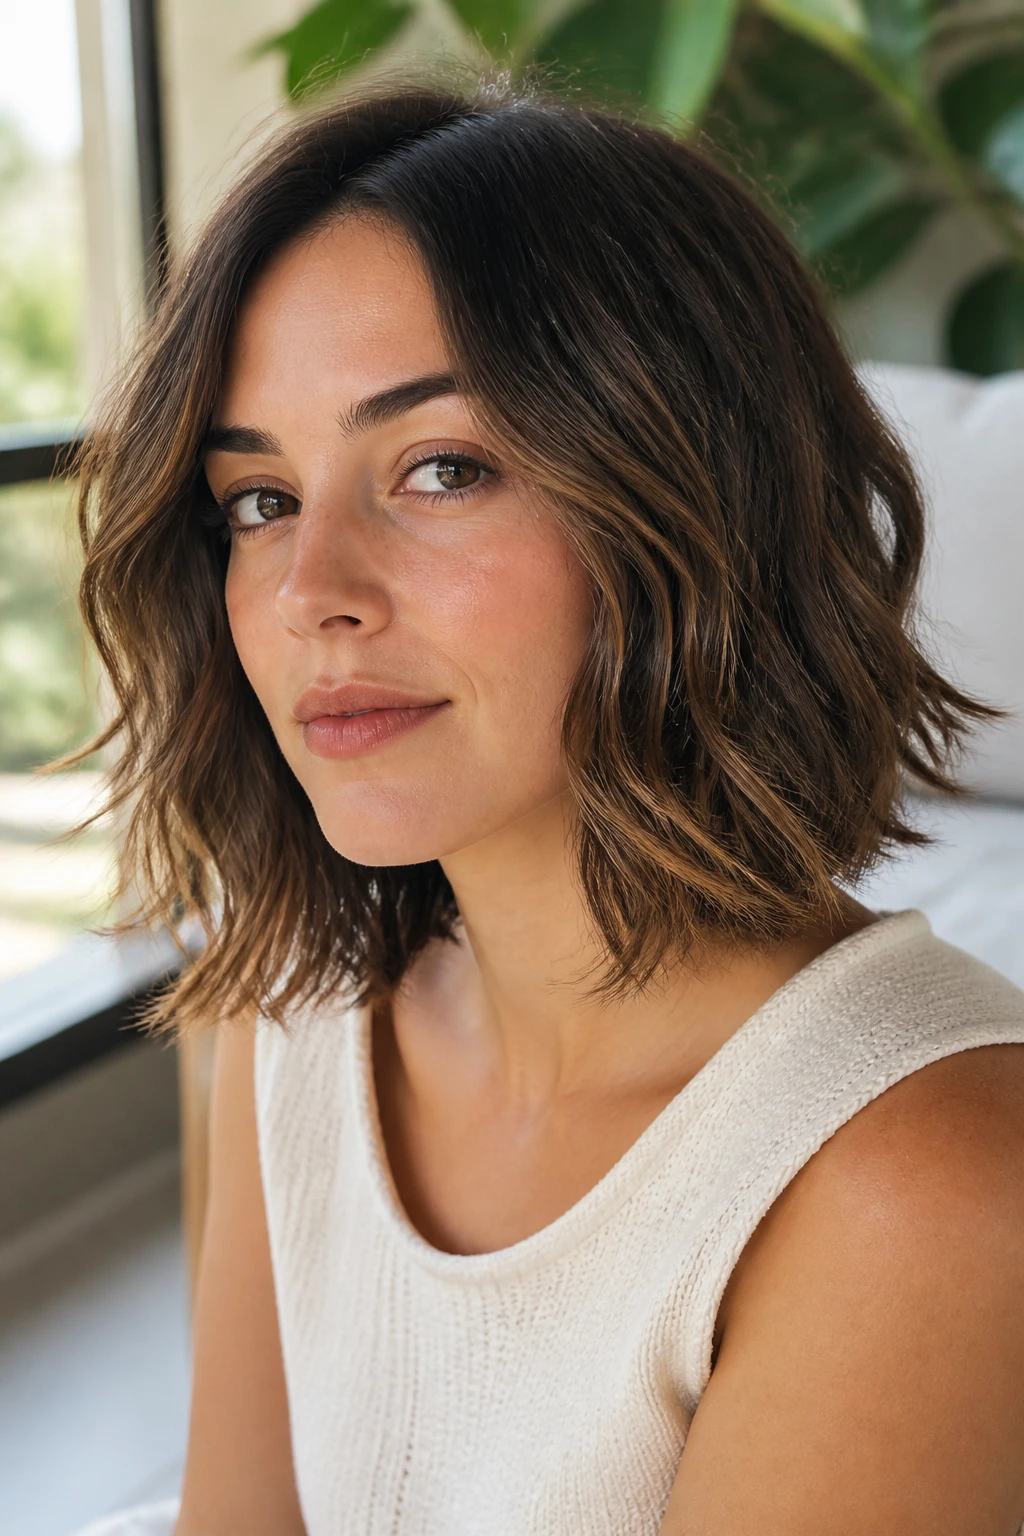
Some waves look best when the root stays smoother and the action lives at the bottom. That’s what this lob does. The bend starts around the jaw or mid-length and turns into loose, slightly flipped ends, which keeps the shape from getting too full.
This is especially good for fine hair because it avoids puffing up the crown. A wide-flat wrap around the wand or a quick bend with a flat iron gives enough movement. Then stop. Do not keep curling the same strand until it turns into a spring.
23. Tousled Pixie Waves

Short hair still gets to have beach texture, and honestly, I think it’s one of the most interesting versions of the style. Keep the wave tiny, piecey, and slightly uneven. A little styling paste at the ends and a few finger bends at the front are usually enough.
The trick is not volume everywhere. It’s direction. Push some pieces forward, some sideways, and let the top stay softer than the sides. That keeps the pixie from turning fuzzy and gives the cut shape instead of fluff.
24. Long Layered Ribbon Waves
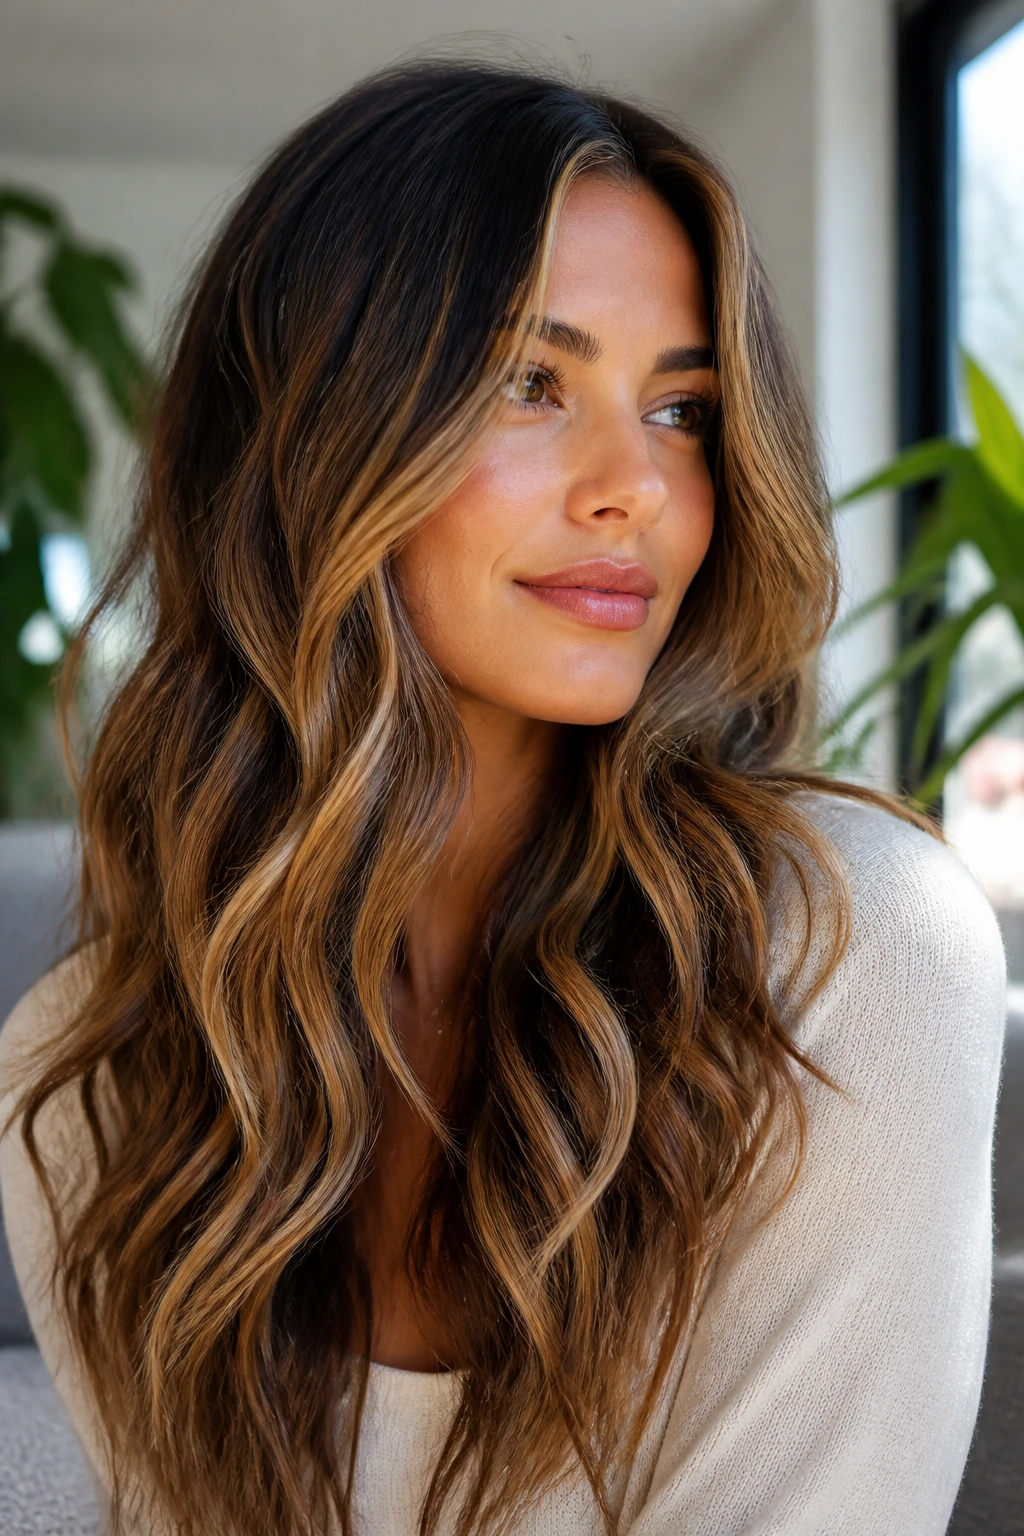
Long layers and ribbon waves go together because the layers break up the length so it doesn’t hang like a sheet. The wave can move through the mid-lengths and still show at the ends. That’s what makes long hair look light instead of heavy.
Use a bigger barrel or wide braids if you want this look to stay relaxed. If the wave is too tight on long hair, it starts reading formal or dated. Brush it out gently and separate only the front pieces if you want to keep the back fuller.
25. Retro Blowout Waves
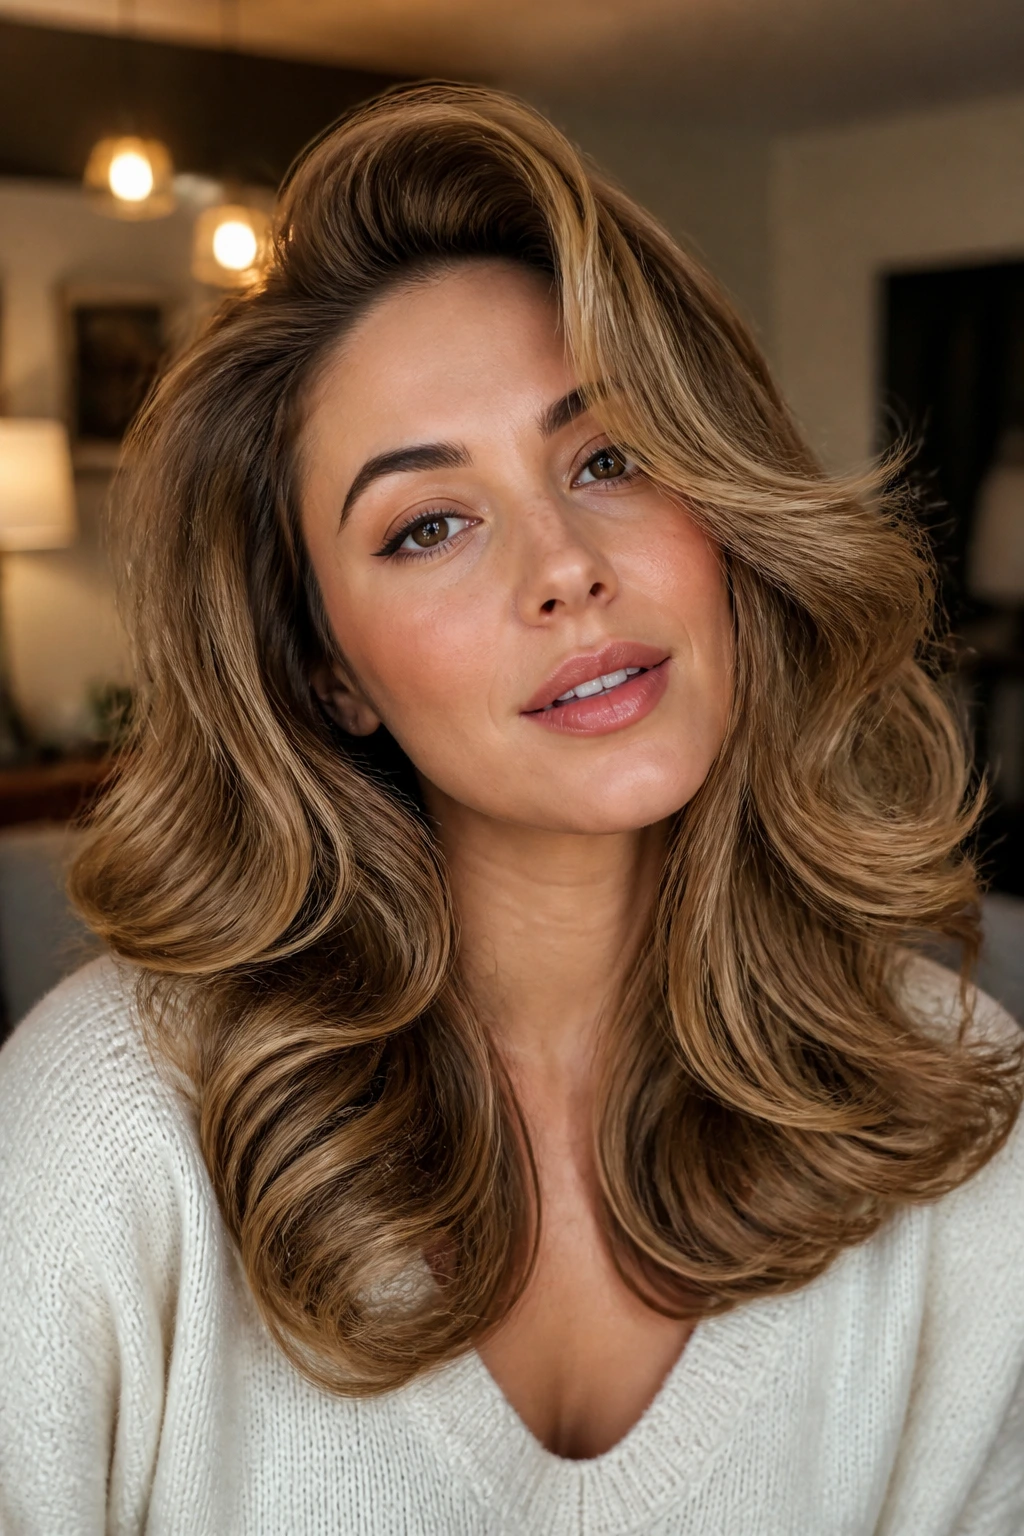
This one sits between beachy and polished. The roots get lifted with a round brush, the mids bend softly, and the ends flip just enough to look finished. It feels a little old-school, which is exactly why it works.
A blowout like this is best when you want wave without crunch. Use a heat protectant, direct the hair away from the face, and keep tension steady on the brush. The shape should be smooth enough to move, not so smooth that it loses all texture.
26. Rope-Braid Sunset Waves
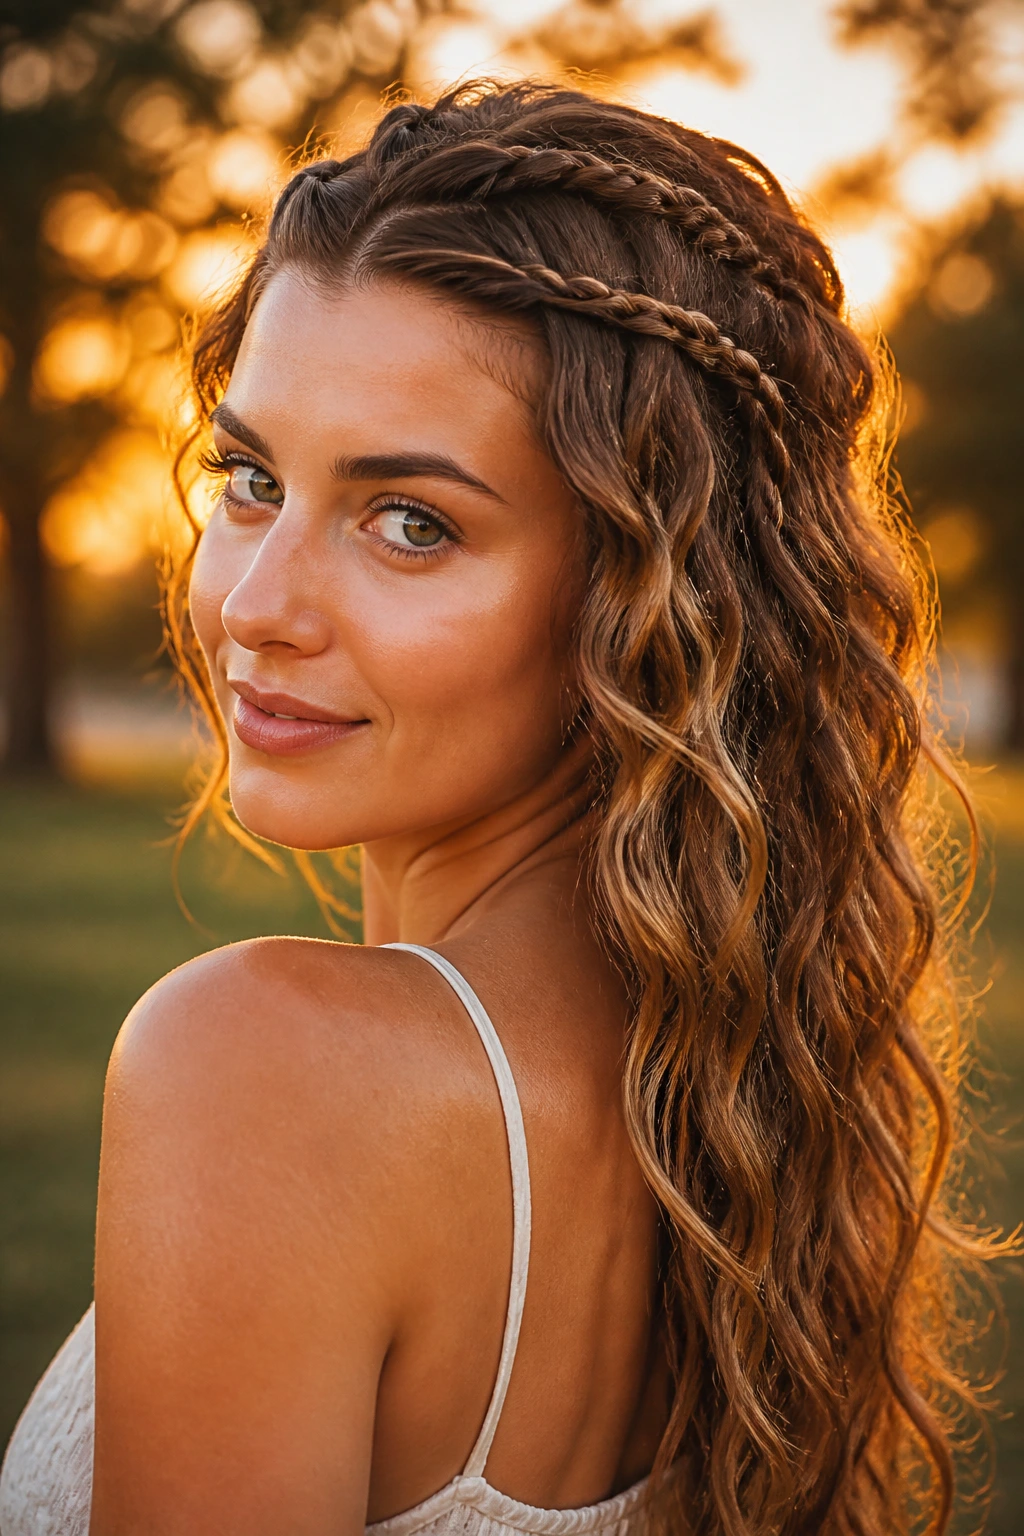
Rope braids give a tighter, more defined pattern than loose three-strand braids, which is handy when your natural wave needs a little extra push. Twist two sections around each other, sleep on them, and you’ll get a soft spiral wave with a bit more grip.
This look feels especially good on medium to long hair that tends to fall flat by noon. The rope braid helps the wave hold its direction without heating the lengths. Separate with your hands, not a brush, or you’ll loosen the shape too much.
27. Crown Clip Waves
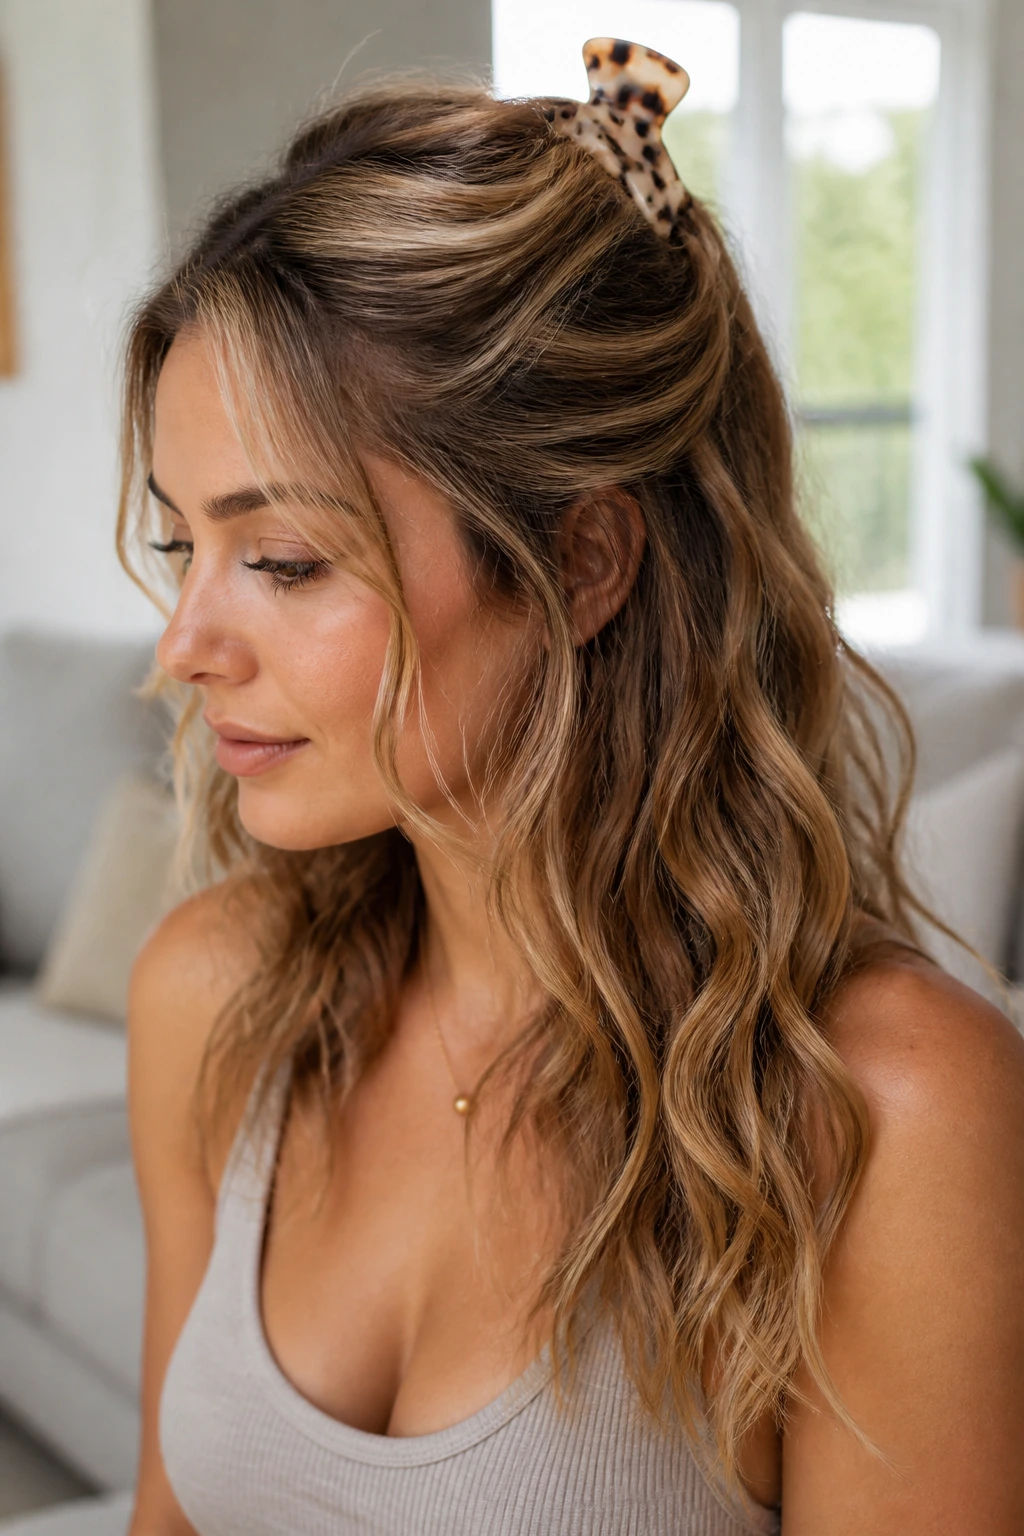
A claw clip at the crown can turn wavy hair into something cleaner in seconds. Pull the top half back loosely, clip it, and let the lower waves fall free. The crown gets lift, the face opens up, and the style still keeps its soft texture.
I like this when the hair is in that “not quite styled, not quite messy” zone. The clip should not sit so tight that it crushes the wave. If you’ve got thicker hair, use a larger clip with a strong grip so the shape stays secure.
28. Micro-Crimp Accent Waves
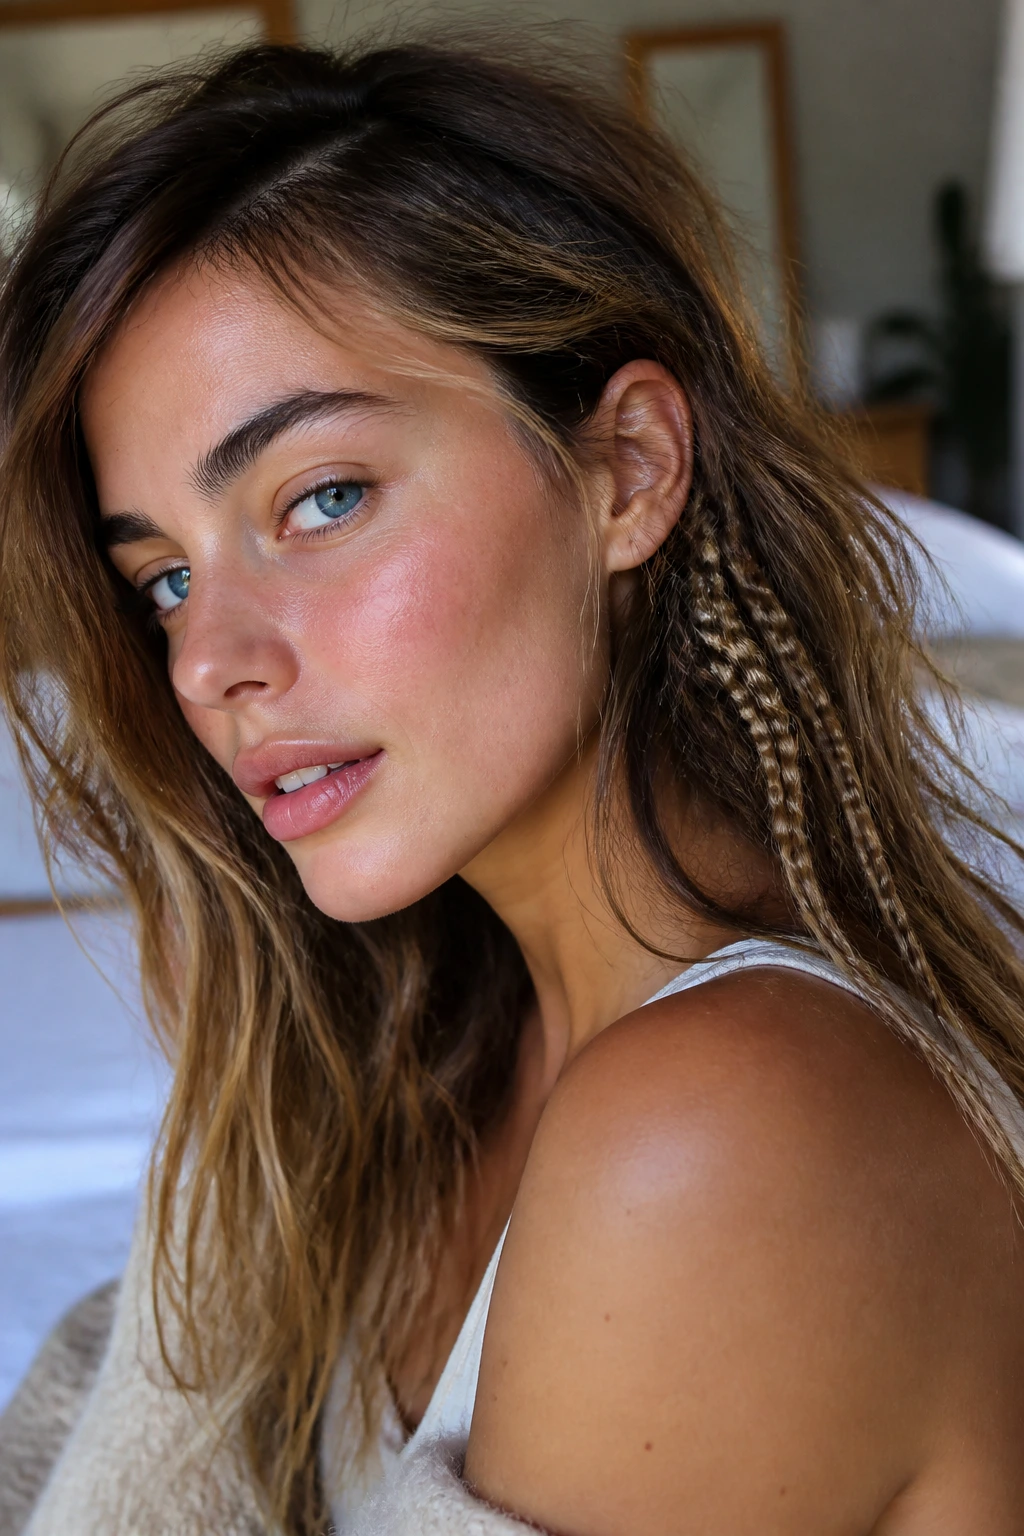
Micro-crimping can sound dated, but used lightly it gives beach waves more grip and a little edge. The key is to crimp only hidden underlayers or a couple of face-framing pieces, then leave the rest soft. That keeps the texture modern instead of full-on throwback.
This is one of those looks that’s more useful than it sounds. The crimped sections help fine or slippery hair hold volume, and they disappear enough under the top layer that the style still reads as loose. Keep the crimp small and sparse. A little goes a long way.
29. Humidity-Proof Matte Waves
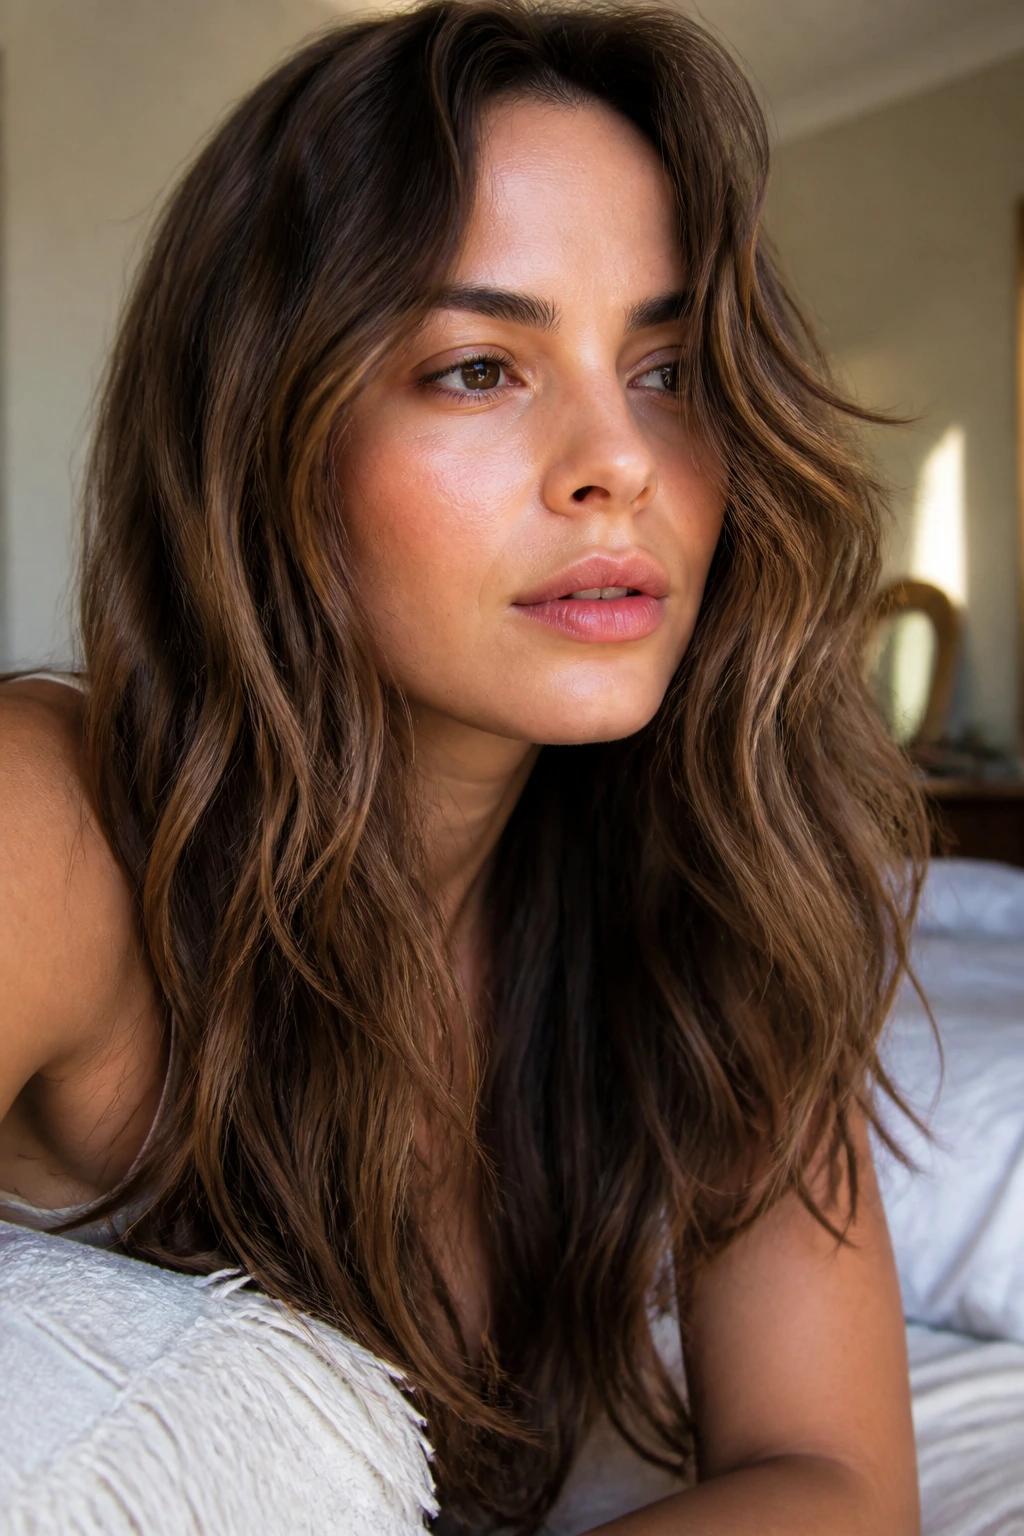
If your hair turns fluffy the second the air gets damp, this matte finish is your friend. Start with a strong mousse, set the wave, and finish with an anti-humidity spray once the hair is dry. Skip heavy shine products; they can make swelling more obvious.
The point is to let the wave have shape without chasing gloss. A slightly matte finish often looks better in real life anyway because it keeps the texture from looking oily by the end of the day. A silk pillowcase helps this style stay cleaner overnight, too.
30. Soft Halo Waves
A halo wave leaves room for a little frizz around the crown and temples. That sounds messy until you see it on wavy hair, where the softness actually makes the shape feel more natural. Keep the lengths loose and let the halo sit lightly around the face.
This is a good version when your hair has grown out and the layers are no longer crisp. Instead of forcing perfect edges, let the wave live in a looser frame. The style feels especially good with minimal makeup and soft earrings because nothing else has to fight the texture.
31. Mid-Length Airy Waves
Mid-length hair can get heavy if the wave is too thick or too tight, so airy waves keep the shape lifted and movable. Think soft bends, not dense curls. The pattern should open at the ends so the hair can swing instead of sit there.
A light mousse and a diffuser on cool air are usually enough. If you curl with a wand, use larger sections and separate them lightly with your fingers. The whole look gets better when the crown stays a little soft and the lower lengths carry the movement.
32. Undone Glam Waves
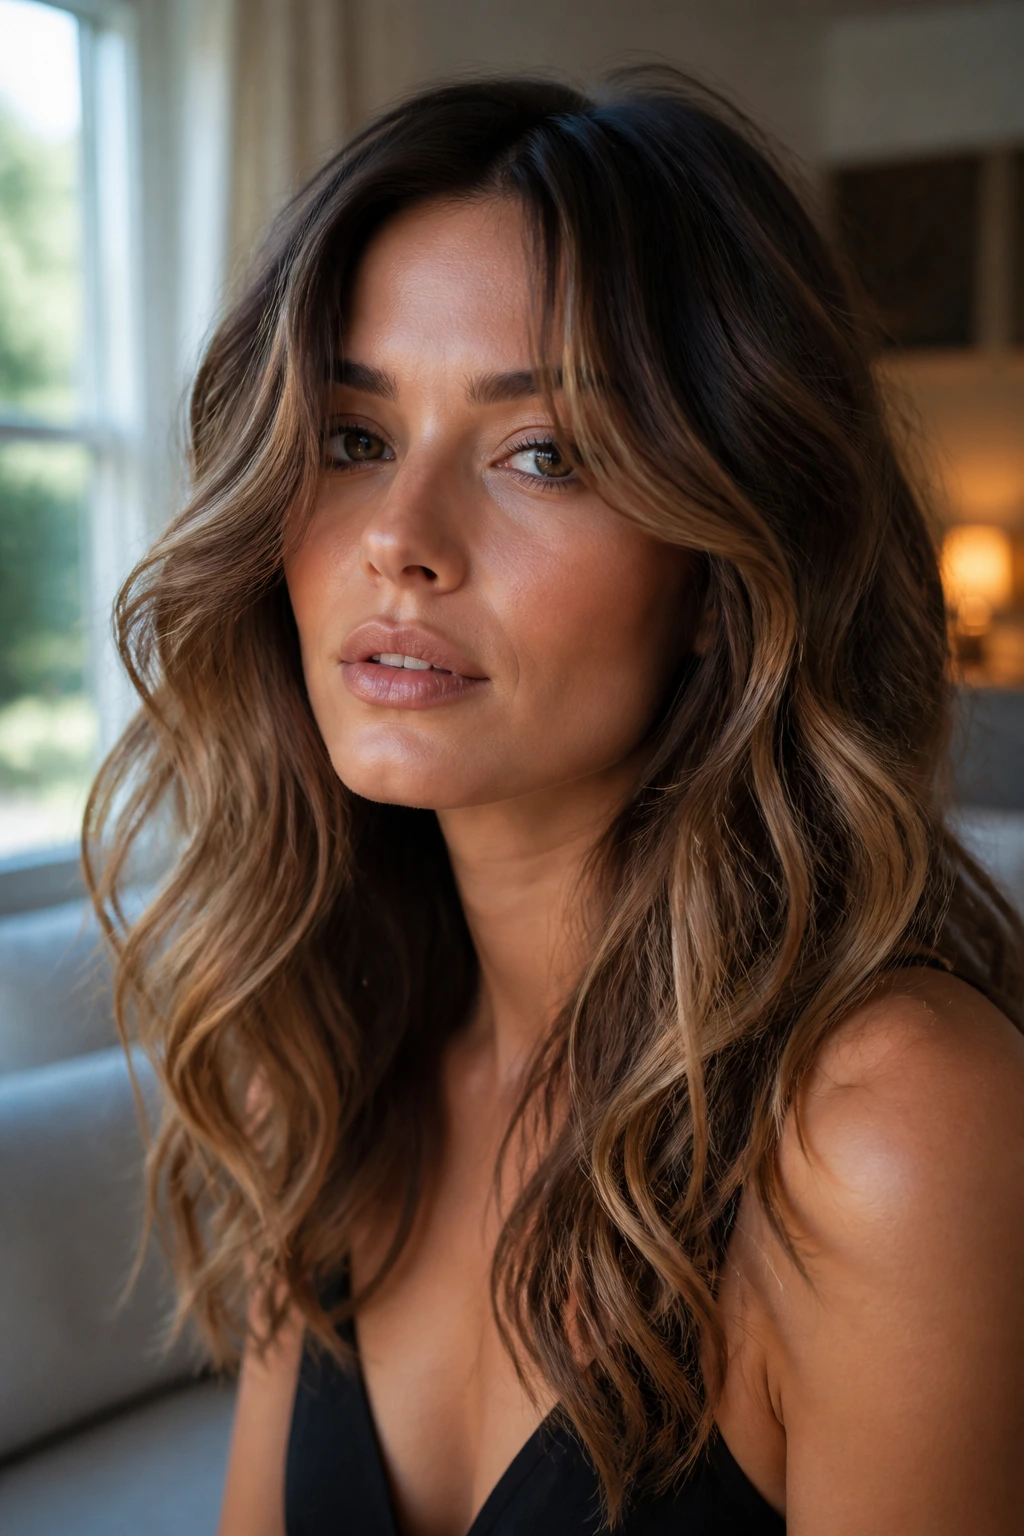
Undone glam is what happens when brush-out waves get a little more relaxed around the face. The lines are broad, the finish is glossy, and the texture feels less strict than a formal wave set. It’s a nice middle ground when you want hair to look done but not stiff.
I like this better than a too-perfect wave because it wears down well during the day. The front pieces loosen into something prettier, not worse. That matters. Start polished, let a few pieces fall out, and resist the urge to keep fixing them every five minutes.
33. Salted Ends Waves
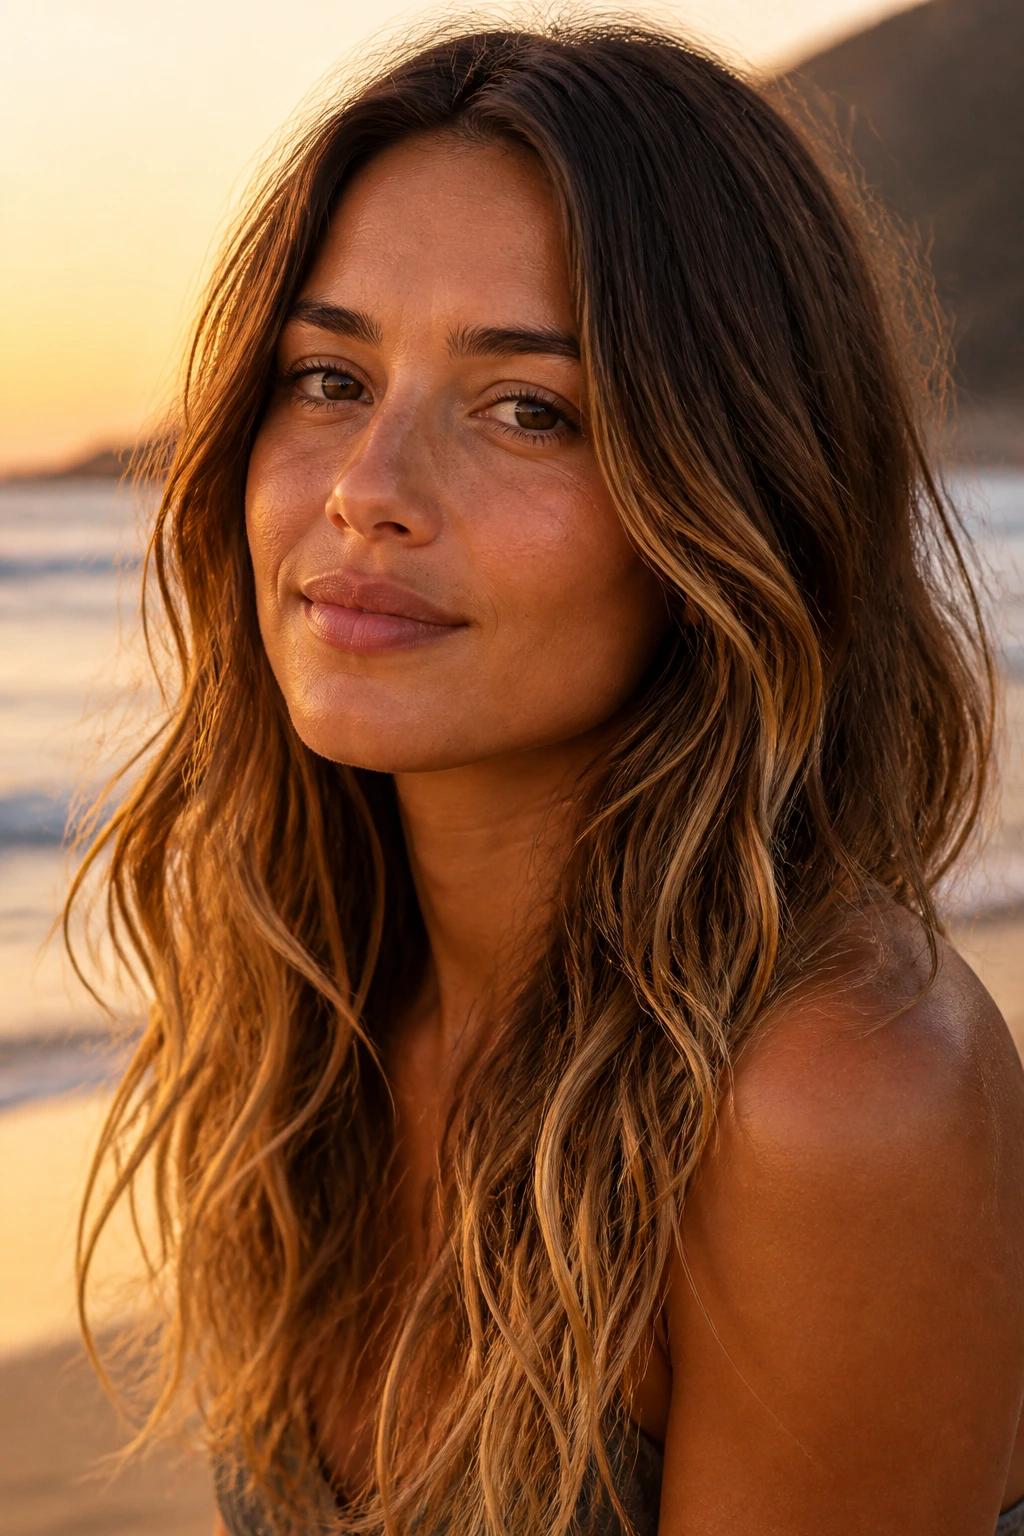
Instead of spraying the whole head, concentrate texture spray or sea-salt spray on the lower half of the hair. That leaves the roots cleaner and keeps the ends looking a little rough, like they’ve spent the day in salt air. It’s a small shift, but it changes the balance.
This version is smart for thick hair that can get bulky at the bottom. Keeping the top smoother and the ends more textured creates shape without overloading the cut. If your ends are dry, pair the salt spray with a drop of leave-in conditioner only on the last inch.
34. Loose Wave Bob with Ear Tuck
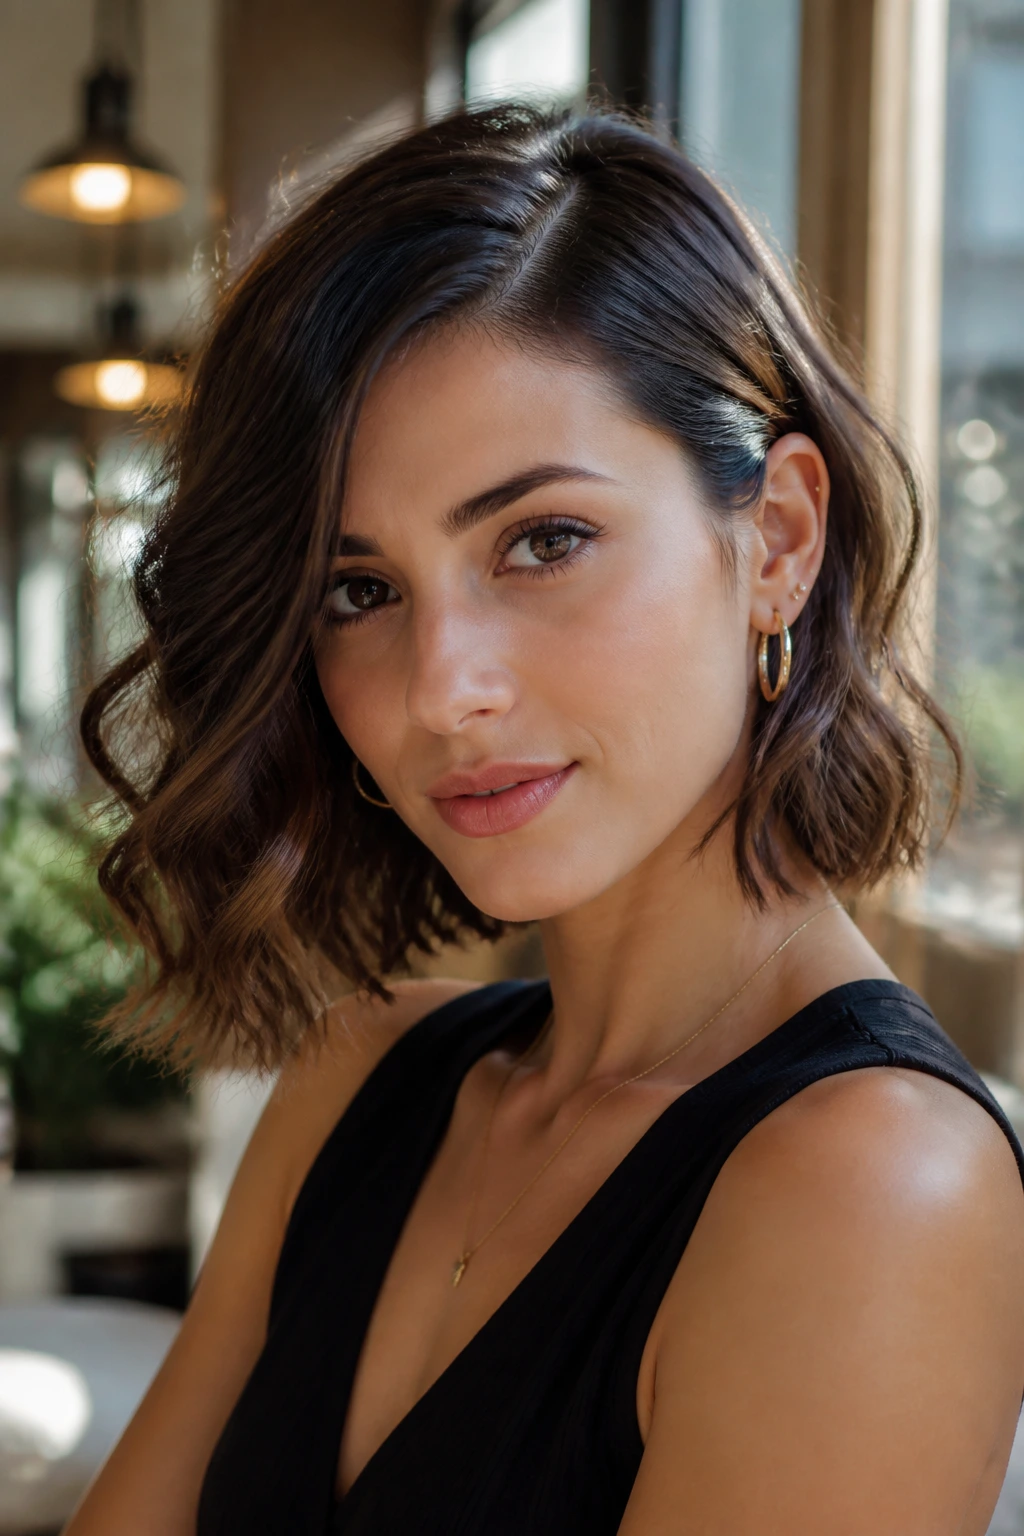
A bob can look boxy when every section is doing the same thing, so the ear tuck gives it shape. One side sits behind the ear, the other side keeps its bend, and the cut suddenly has direction. The wave should be loose enough that the bob still feels light.
This is a very good choice for people who want a bob that feels modern rather than curled. Keep the movement at the cheek and jaw, not all the way up the root. A tiny barrette on the tucked side adds just enough control without stealing the texture.
35. Vacation-Ready Loose Spiral Waves
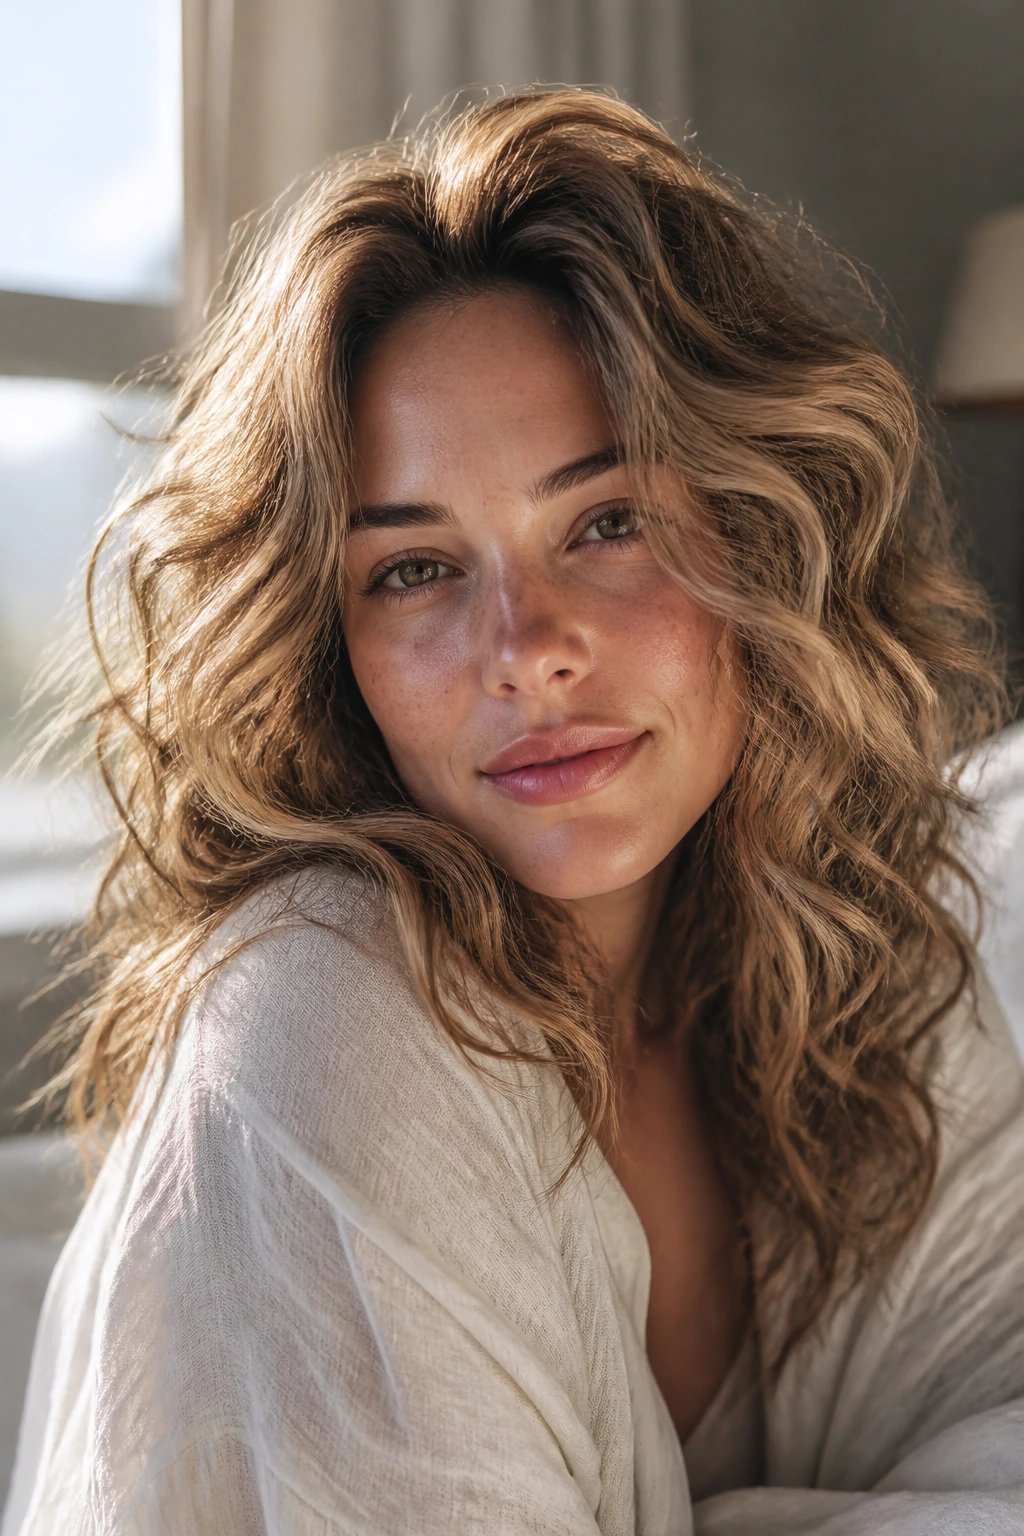
Loose spiral waves are the relaxed cousin of a full curl set. Use a medium barrel, wrap bigger sections, and separate them with fingers once they cool. The result is a soft spiral that still moves like beach hair instead of pageant hair.
This look works when you want a little more shape for long days, travel, or evenings out, but you still want the hair to feel touchable. The best version keeps the roots soft and the spiral wider through the ends. If the wave gets too tight, brush it once and stop there.
Smart Tools and Product Picks for Better Beach Waves
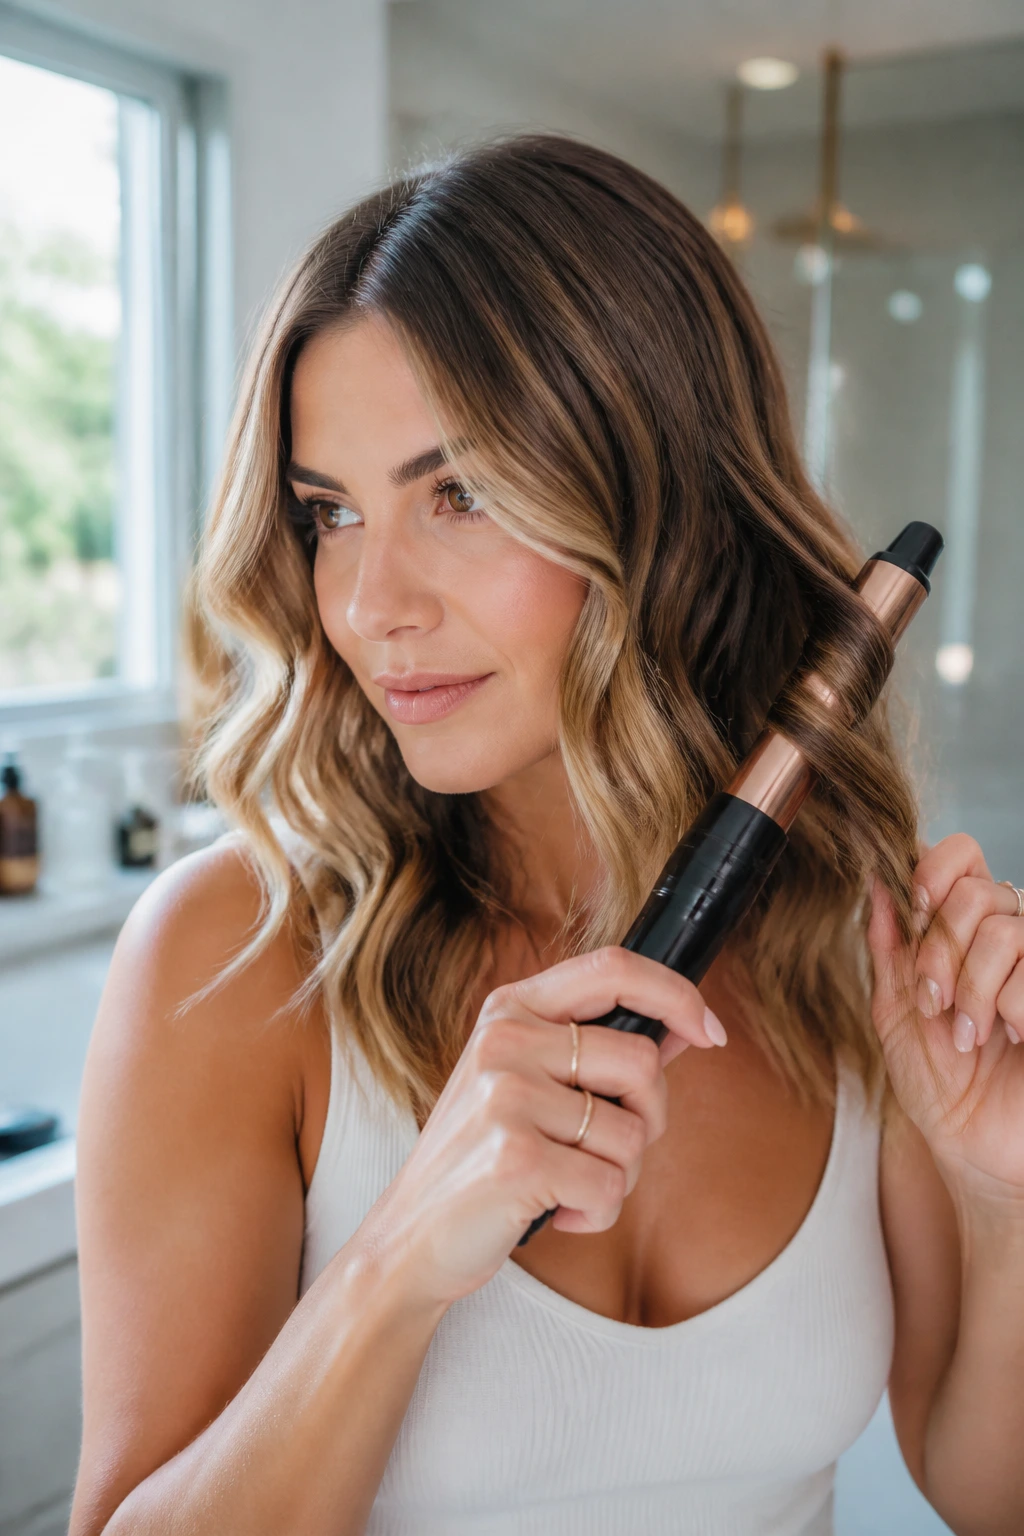
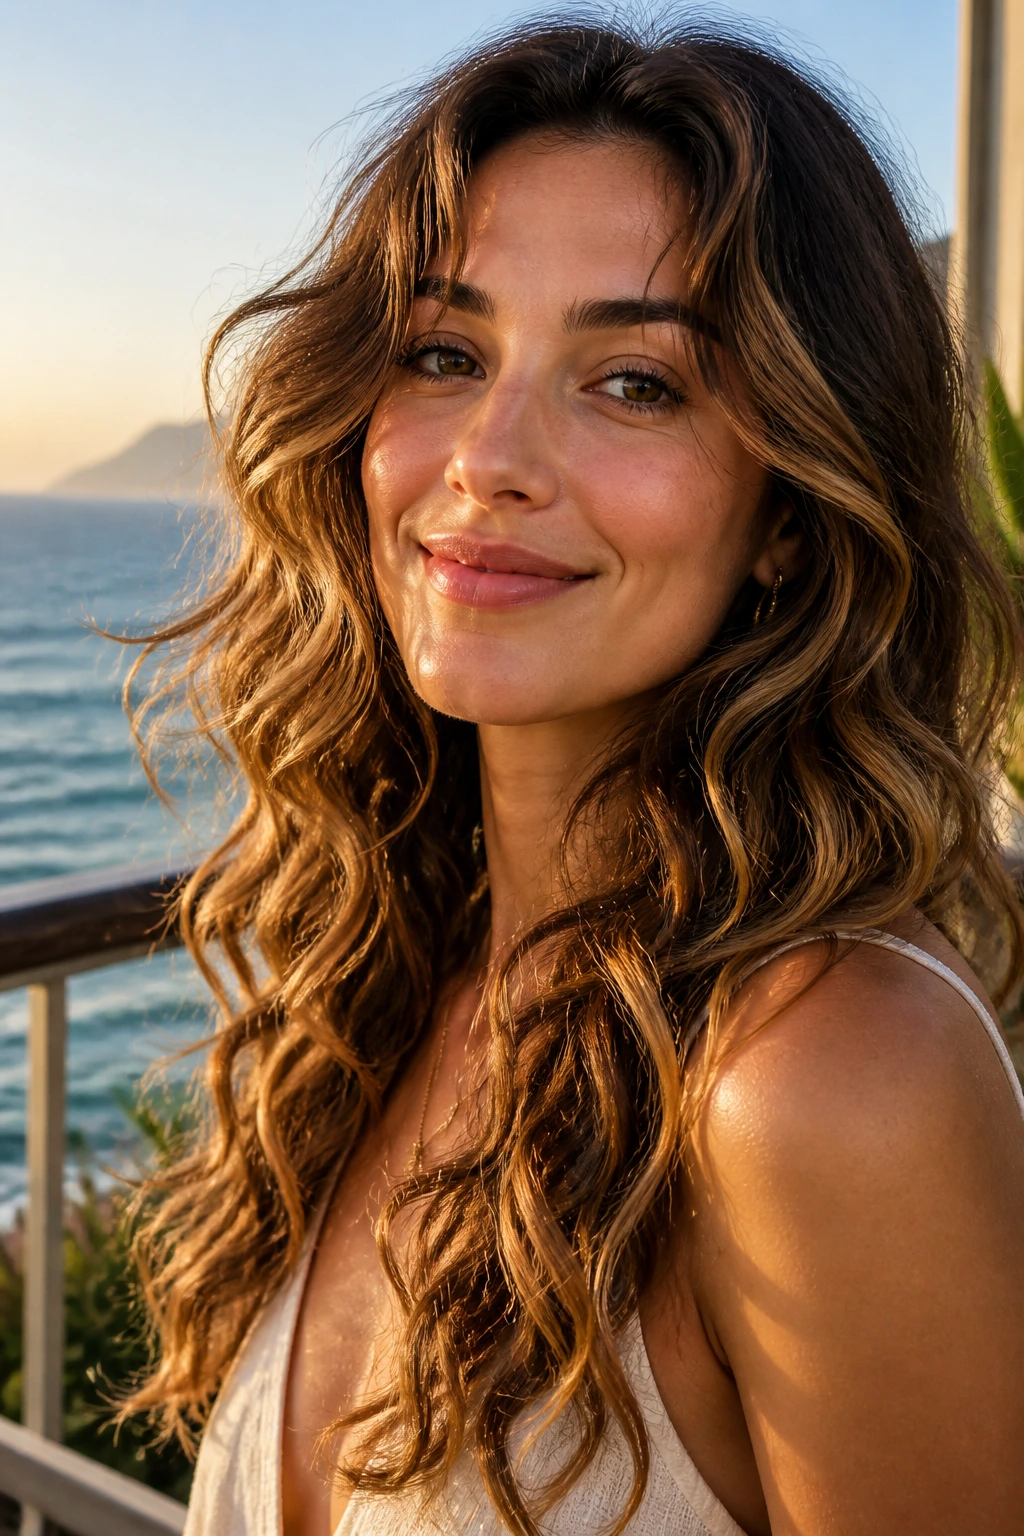
Beach waves on wavy hair depend more on the right products than on a giant toolbox. If you pile on heavy cream, crunchy gel, thick oil, and salt spray all at once, the hair usually responds by collapsing or puffing up in the wrong places. I’d rather have three well-chosen products than a crowded shelf.
Start with a heat protectant if you’re using a wand, flat iron, or blow-dryer. That part is not optional. Hair is weaker when it’s wet, and repeated heat without protection can leave the wave fuzzy at the ends long before the roots show any real damage. For heatless looks, a light mousse or curl foam gives the wave shape without the stiffness.
For fine or low-density hair, pick lightweight mousse, airy texturizing spray, and a small amount of flexible hairspray. Fine hair needs lift more than moisture. Heavy curl creams can make it slick and lazy, and then the wave slides out before lunch. Thick or coarse hair usually needs the opposite: a little more cream, a little less spray, and a stronger hold on the finish.
A microfiber towel or cotton T-shirt matters more than people think. Rough terry cloth makes the surface frizz faster, especially on wavy hair that already lifts at the cuticle. A wide-tooth comb, a diffuser, a 1-inch wand, a 1.25-inch wand, duckbill clips, and a couple of claw clips cover most of these looks without a bunch of clutter.
How to Wear These Waves
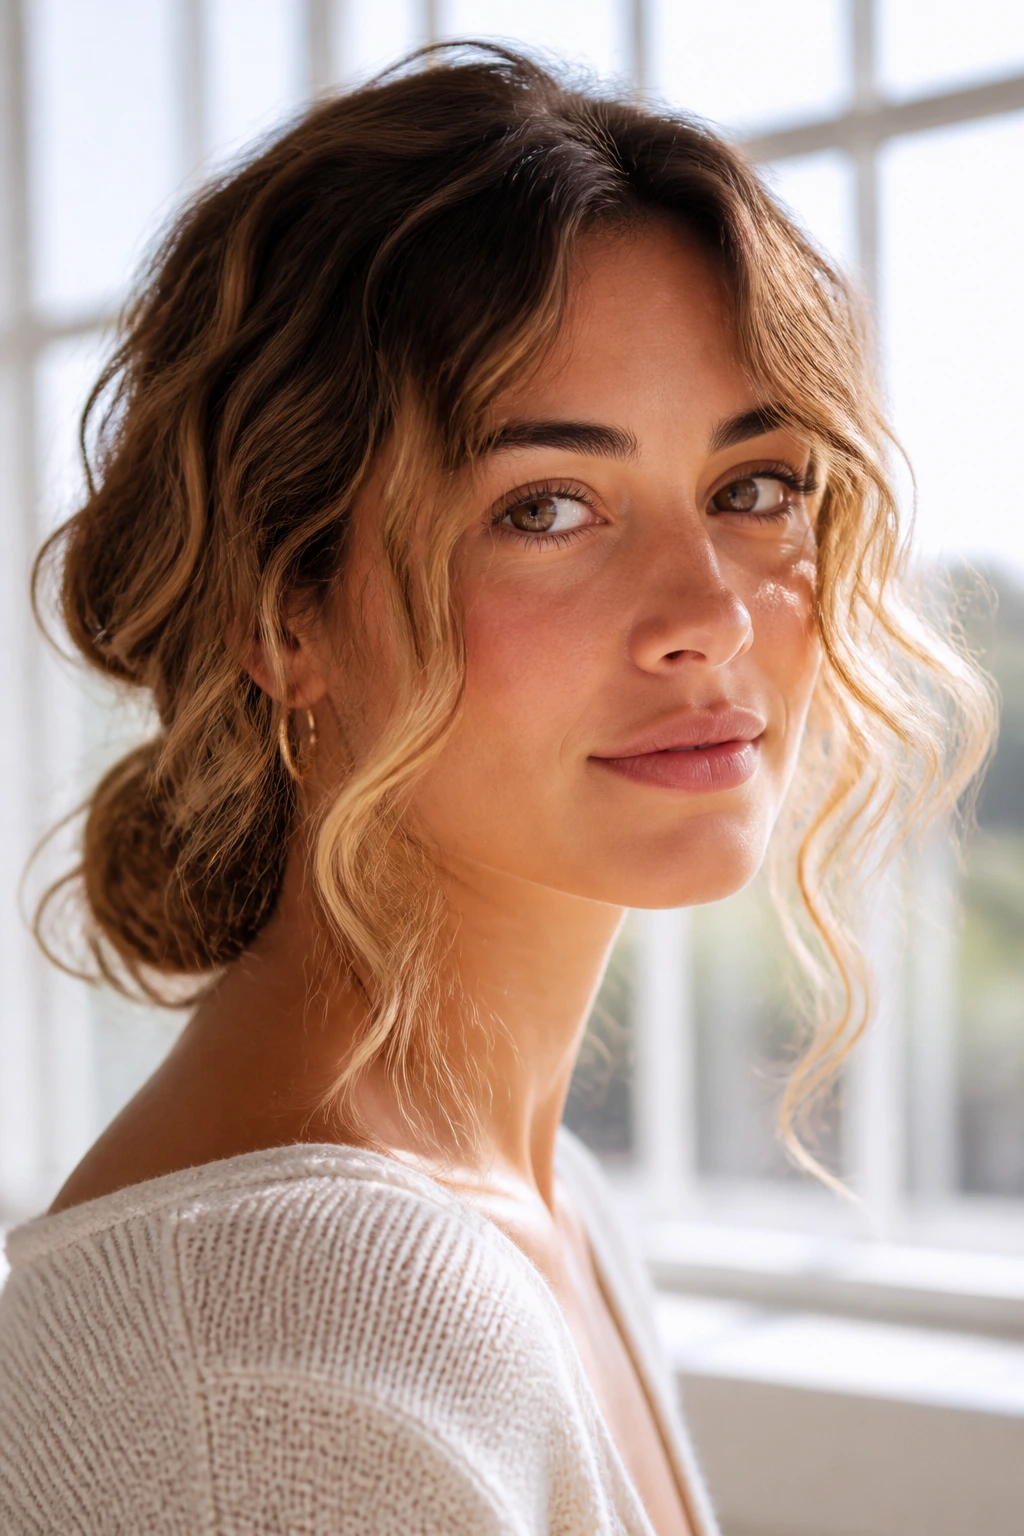
Presentation: Keep the wave shape tied to the haircut. A lob looks best with the bend starting around the cheek or jaw, while long layers can carry wider, softer waves lower down the shaft. If the roots go flat, lift them with a side part, a root clip, or a quick blast of cool air.
Accompaniments: This is the style that loves earrings, claw clips, and simple necklines. Hoops make side-tucked waves look cleaner. A denim jacket, a button-front shirt, or a crewneck sweater lets the hair do the talking without looking overdressed.
Portions: For shorter hair, work in smaller sections and keep the wave looser so the style doesn’t puff out. For longer hair, you can spread the movement across more sections, but don’t curl every inch. Leave a little straightness near the ends if you want the look to stay relaxed.
Beverage Pairing: A cold brew or iced tea fits the loose, sun-faded feeling of a casual wave; a glass of sparkling water with citrus works when the finish is polished and glossy. If the look is brush-out glam, I’d pick something a little more formal. If it’s air-dried and messy, keep the drink easy.
Extra Texture Boosters and Finishing Moves
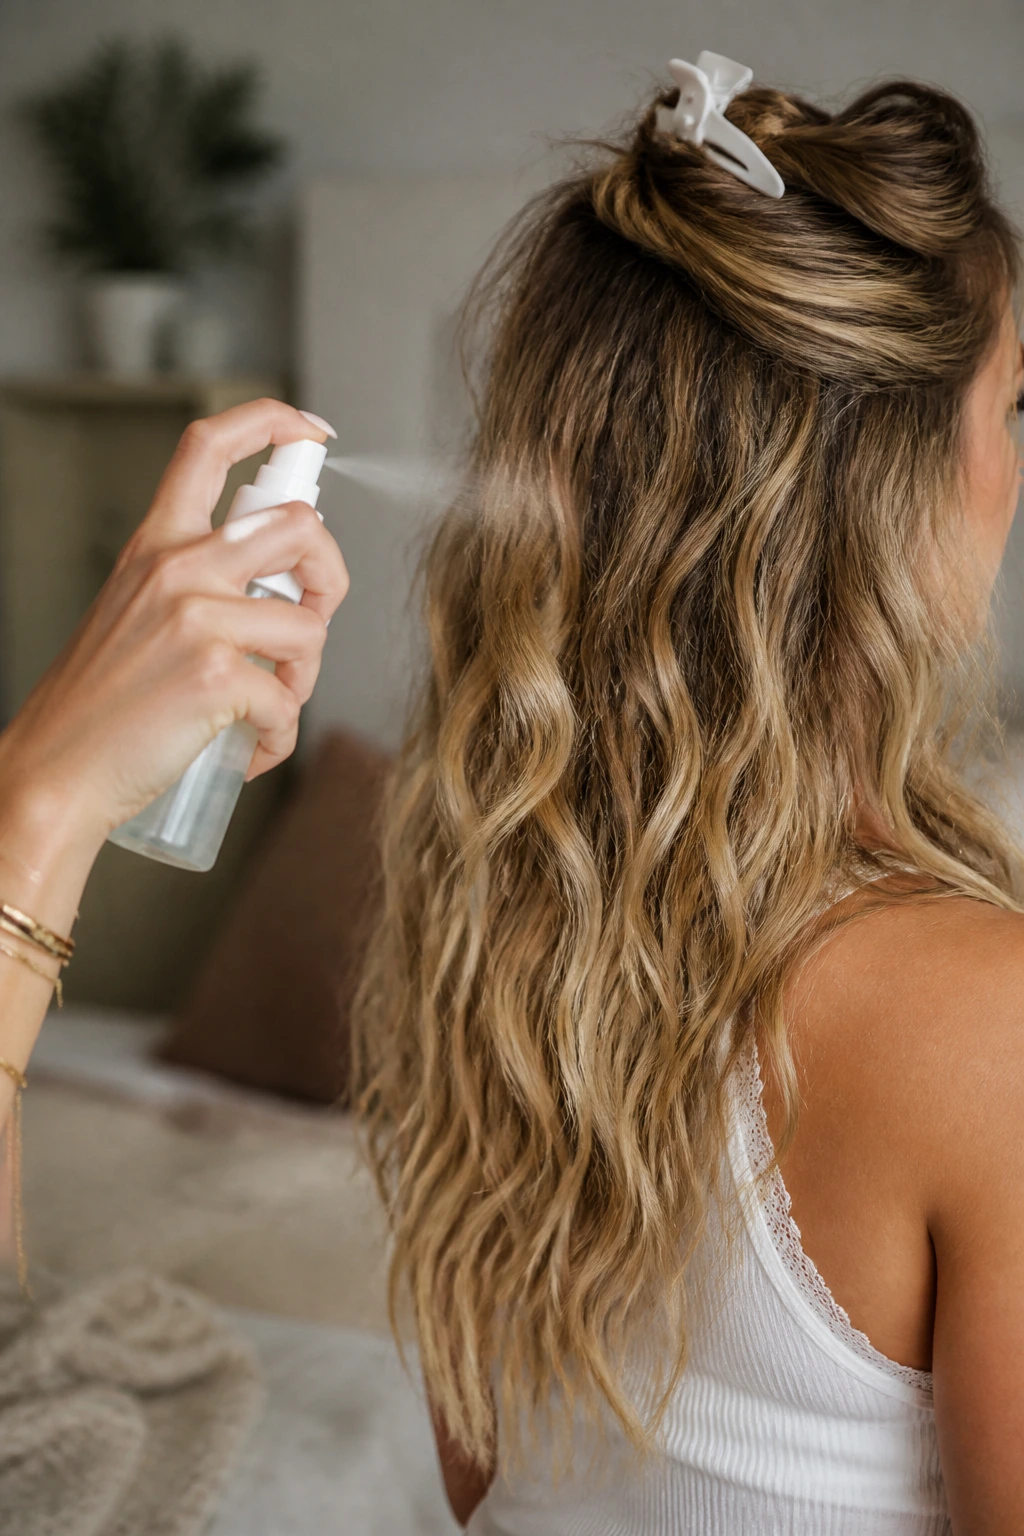
Texture Enhancement: If the wave looks too soft, mist texturizing spray at the mid-lengths and scrunch once with your palms. That gives the hair a little friction without turning it crunchy. For stubborn hair, clip the top layer up for 10 minutes while the lower waves cool, then let it down so the crown keeps some lift.
Customization: Swap the part, not the whole style, when you want a different mood. A center part makes a style feel cleaner; a deep side part gives it a little drama; a zigzag part can soften a blunt cut. Small tweaks like that change the vibe faster than re-styling the whole head.
Serving Suggestions: Finish with one visible piece tucked behind the ear, a claw clip at the crown, or a shine serum only on the last inch of the ends. Those details stop the texture from looking unfinished. If your hair tends to swell, skip heavy oil near the roots and keep the product on the lower third.
Make-It-Yours: Fine hair usually likes mousse and a smaller barrel. Thick hair usually likes stronger sectioning, more cooling time, and a brush-out at the end. Dry ends need less salt spray and more leave-in conditioner; oily roots need a lighter hand up top. That’s the whole game, really.
How to Keep Beach Waves Looking Good for More Than an Hour
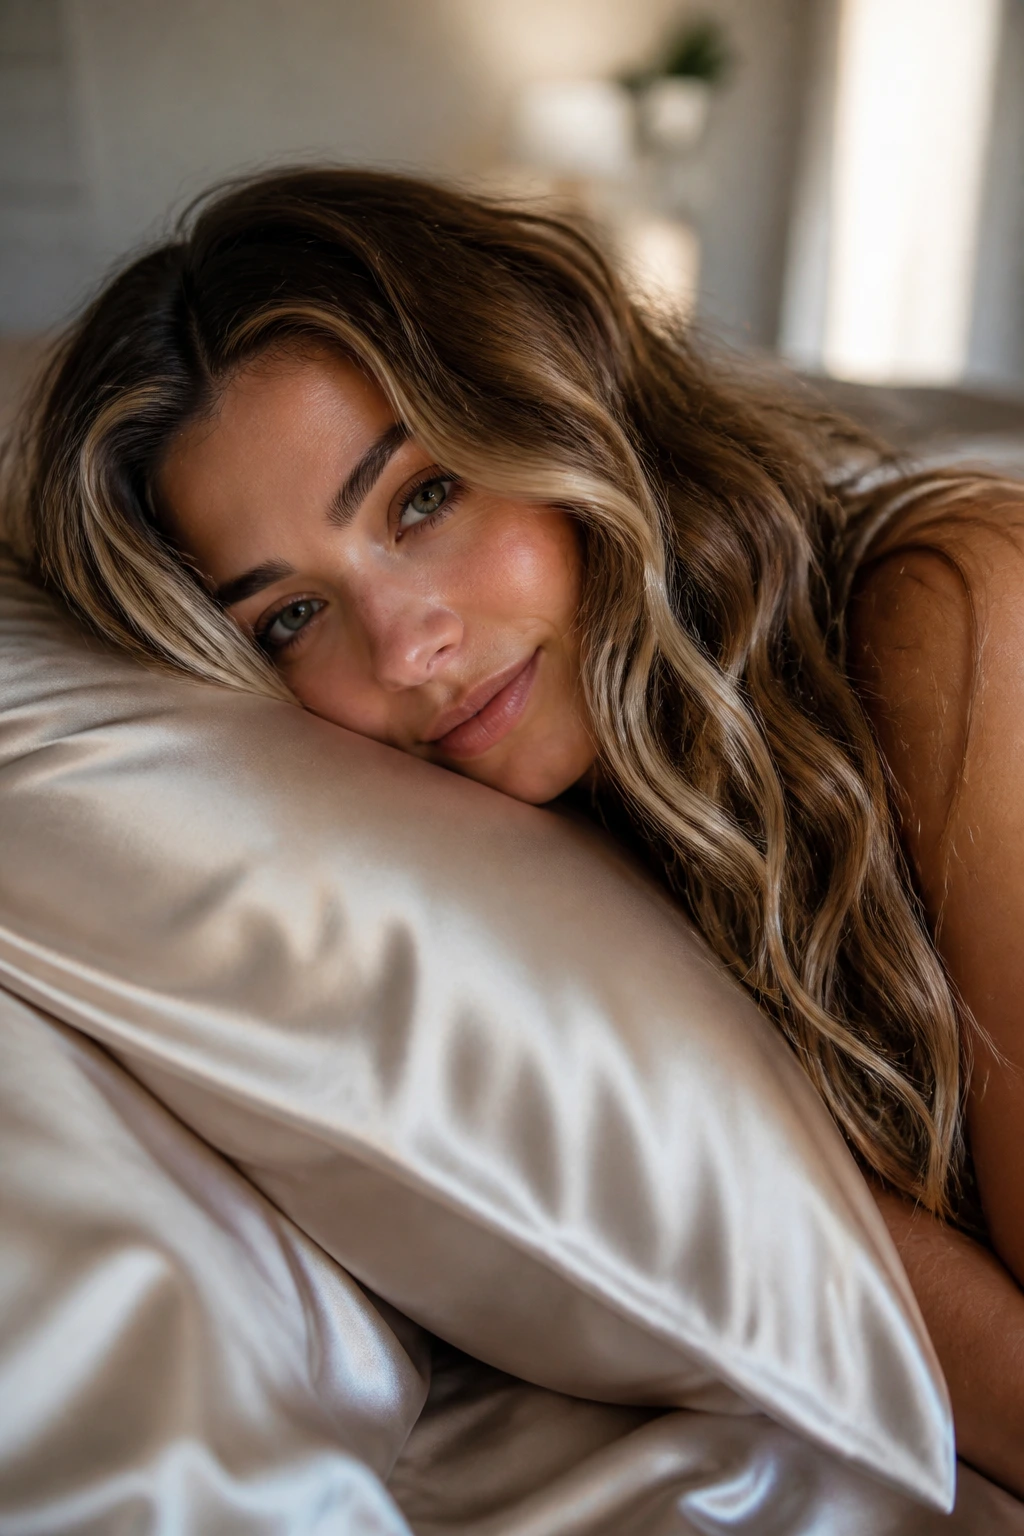
Wavy hair usually looks best on day one or day two, not because it is needy, but because the hair has a little memory and a little grip after the first round of styling. The style starts to fade when the roots flatten, the ends dry out, or you brush it too much. That means the overnight routine matters almost as much as the styling itself.
A silk or satin pillowcase cuts down on friction. It will not keep every wave perfect, but it does keep the hair from roughing up at the crown. If you prefer to tie hair up, use a loose pineapple or a soft scrunchie and keep the tie low enough that it doesn’t leave a crease right at the temple.
For refresh days, mist the hair lightly with water or a water-and-leave-in spray mix, scrunch the wave back into place, and hit the roots with a tiny amount of mousse if they’ve gone limp. Do not soak the hair. Saturating it just resets the clock and makes the ends frizz. A diffuser on low heat can bring the shape back in 2 to 5 minutes if the front has collapsed.
Product build-up is the other problem. Sea salt sprays, dry texture sprays, and stronger hairsprays all leave residue behind if you keep layering them. Clarify every 1 to 2 weeks if you use a lot of finishing spray, or sooner if the hair starts feeling coated and dull. Once the wave stops bouncing and starts feeling heavy, the buildup is usually the reason.
Common Mistakes That Flatten the Wave
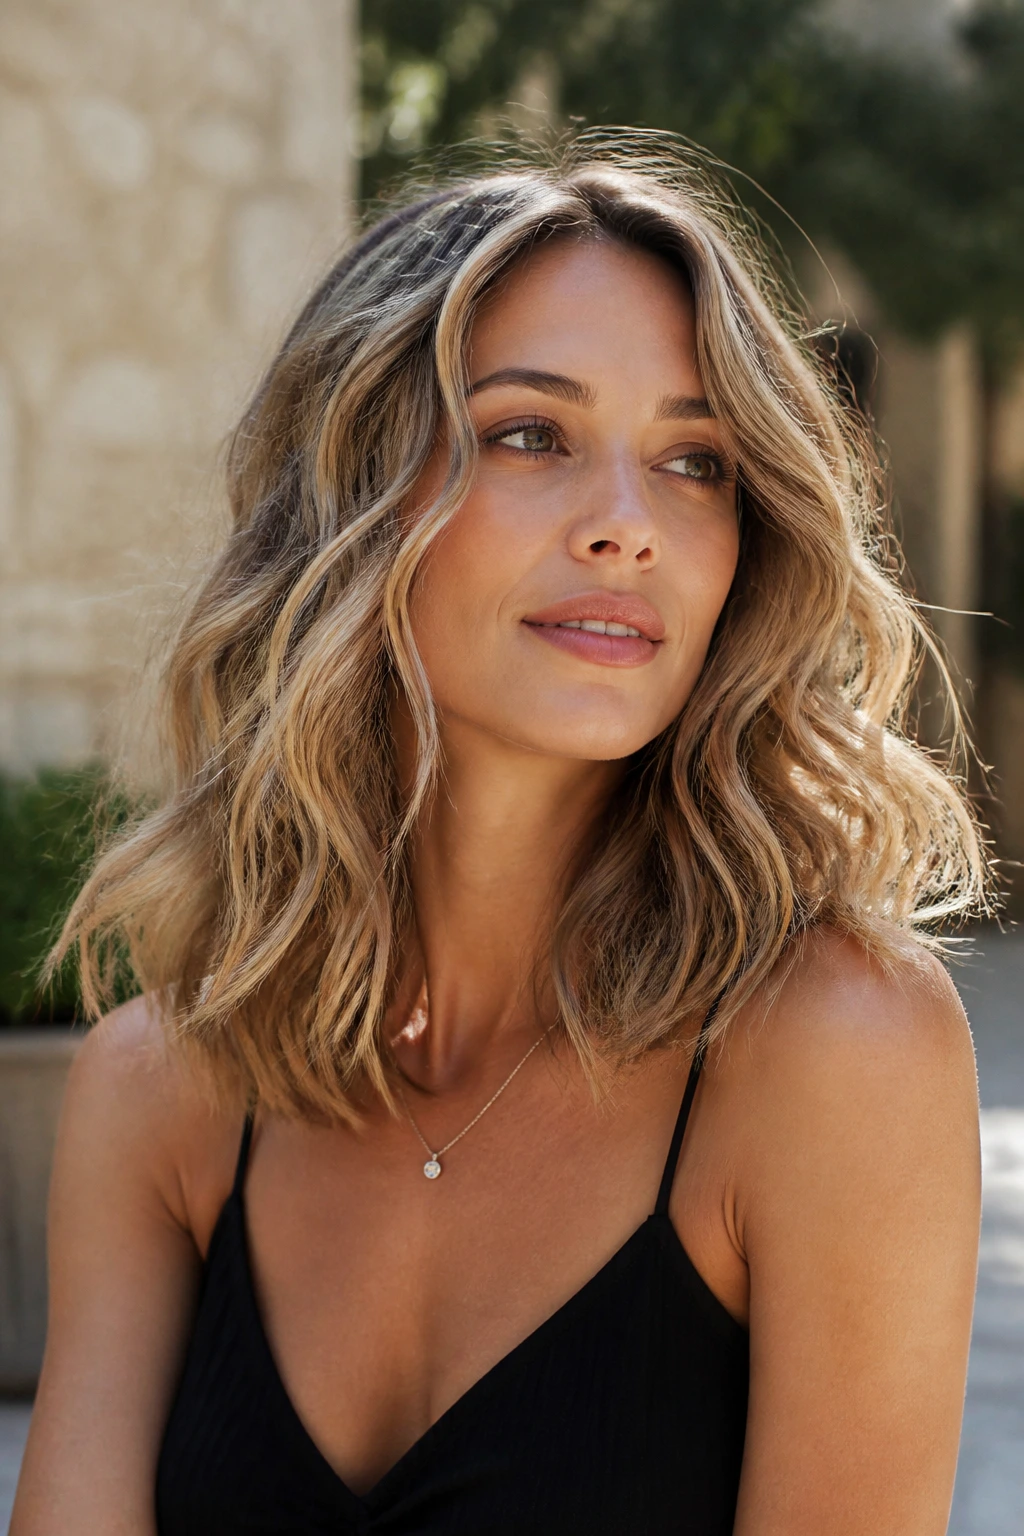
The biggest mistake is using too much product at once. The symptom is obvious: the hair feels sticky at the roots, the ends clump, and the wave falls into odd bends instead of a clean S-shape. The fix is to start with half the amount you think you need, especially with salt spray and cream. You can always add a bit more.
Another common problem is curling every section the same direction. That gives you a neat spiral, not beach texture. It also makes the style look too uniform. Switch direction every other section, and leave the last inch of the ends out if you want the finish to stay loose.
Brushing before the hair cools causes a mess. Warm hair is still setting, so if you rake it apart too early, the wave loosens in the wrong places and turns fuzzy. Let the hair cool all the way, then separate with fingers or a soft brush. That one pause changes everything.
A lot of people also flatten the crown with heavy oils or too much leave-in. The top goes limp while the ends stay dry, and the whole head looks unbalanced. Put rich products only where the hair actually needs them. Usually that means the last few inches, not the top third.
And yes, sleeping on loose waves with no protection will rough them up. A silk pillowcase or loose tie at least keeps the style from smashing into the pillowcase all night. If you care about the wave lasting into the next day, that little bit of effort pays off.
Ways to Adapt These Looks
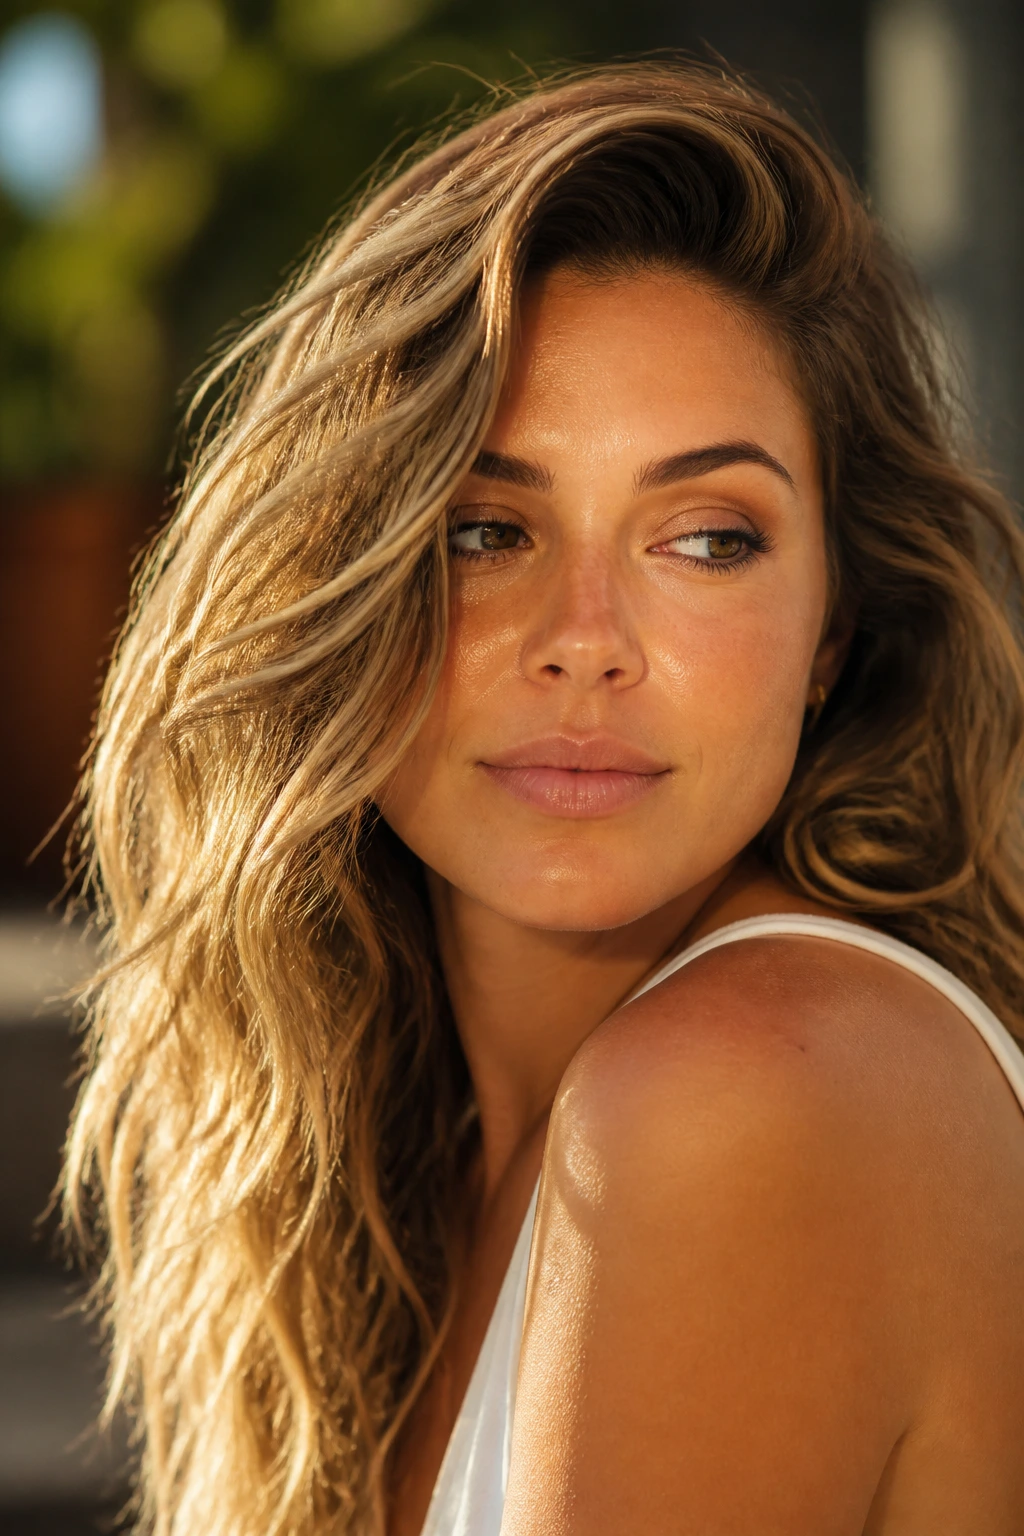
Heatless Weekender Waves: Use braids, rope twists, or a loose bun instead of hot tools. This version is best when the hair is already a little damp and you want movement without dry ends. The pattern comes out softer and a bit less exact, which is often the point.
Humidity-Armor Waves: Swap shine cream for lightweight mousse and set the hair with anti-humidity spray. This helps when your wave usually swells into a halo the second the air gets damp. Keep the finish matte and the roots controlled, and the style holds its shape longer.
Glossy Dress-Up Waves: Use a wand, brush out the waves, then finish with a tiny drop of serum on the ends only. This works for events, dinners, or anytime you want the hair to look smoother and more deliberate. The shine makes the wave pattern read richer, not heavier.
Short-Hair Wave Tweaks: On a bob or pixie, use smaller sections and a smaller barrel so the wave doesn’t disappear. Short hair needs direction more than volume. A little piecey texture around the temples keeps the style from puffing out like a triangle.
Fine-Hair Lift Waves: Start with mousse at the roots, not oil at the ends. Clip the crown while the hair cools, and keep the wave wide instead of tight. Fine hair usually needs structure first and finish second.
Coarse-Hair Soft Wave: Lean on cream and a wider barrel, then brush out the set once it cools. Coarse hair often holds texture well but can look bulky if the sections are too small. Broader bends make the hair look softer and easier to move.
Questions People Ask Before Styling Beach Waves on Wavy Hair
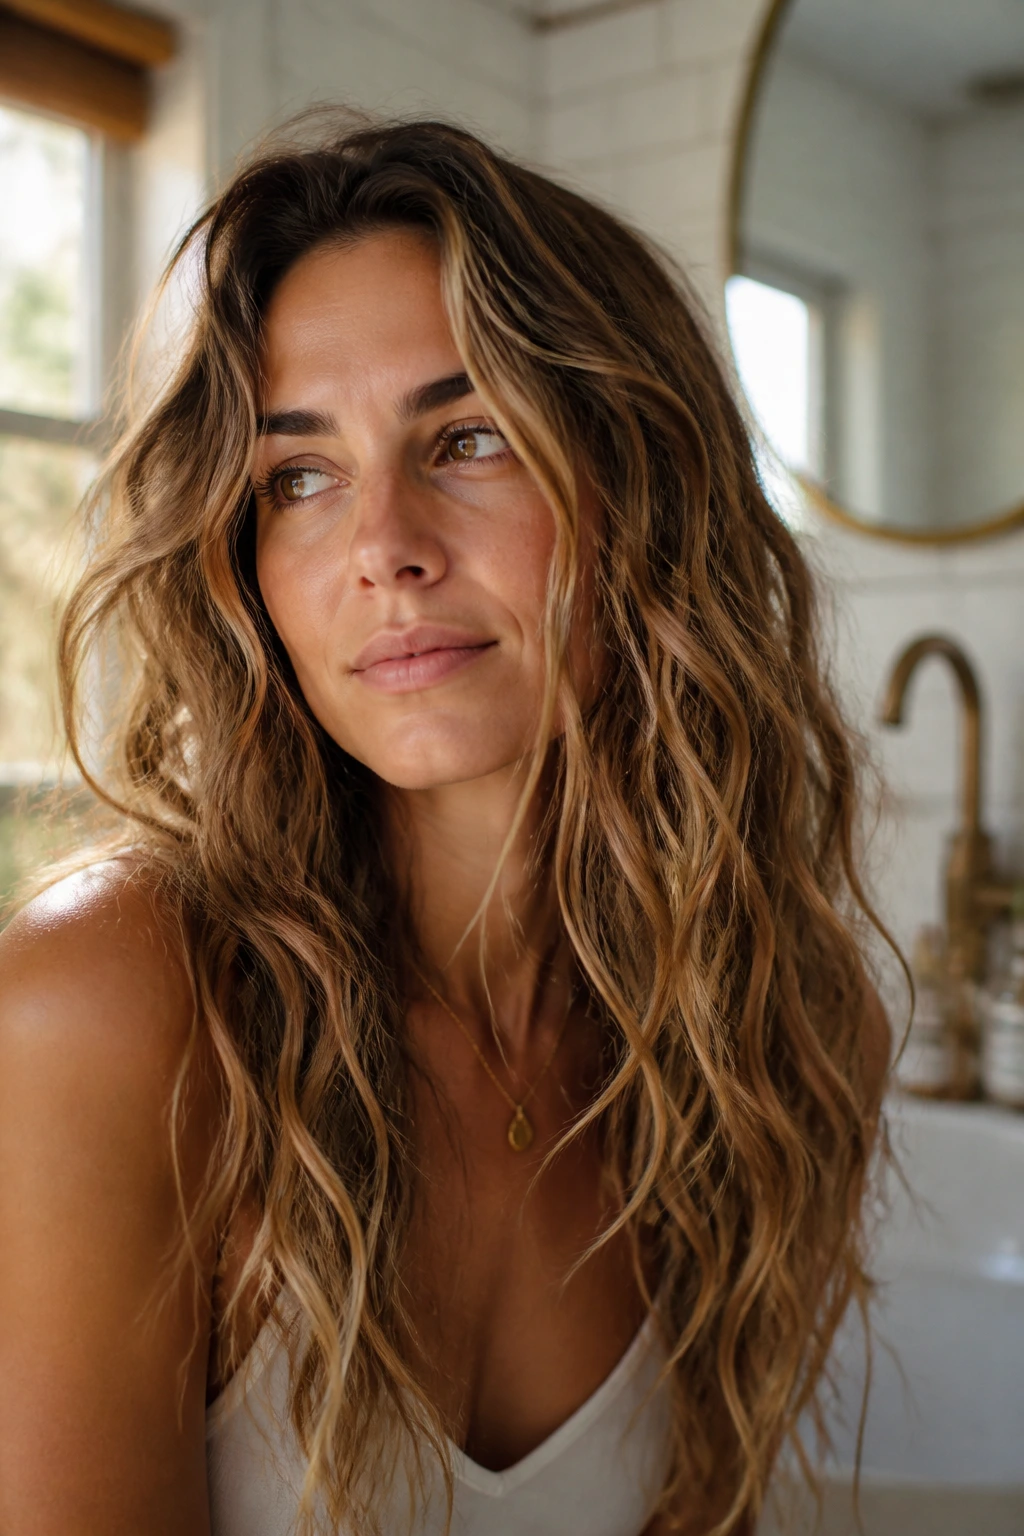
Should I use a curling iron or just enhance my natural wave?
If your wave already shows up with a little product, I’d start there. Air-drying with mousse or a diffuser usually gives a more natural finish than re-curling the whole head. Use a wand only where the hair needs help, usually around the front and the top layers.
What’s better for wavy hair, mousse or salt spray?
Mousse gives structure. Salt spray gives grit. If your hair is fine or limp, mousse usually comes first because it supports the root. If your hair is thick and holds shape easily, salt spray can be enough on its own, especially on the mid-lengths.
How do I keep beach waves from going flat at the crown?
Start with a root-lifting product and do not weigh the top down with heavy cream or oil. A side part, crown clip, or diffuser at the roots can help too. Let the crown cool in place before you touch it.
Can I do these looks on short hair?
Yes, but the section size matters. Short hair needs smaller bends, wider direction changes, and less product. A pixie or bob usually looks better with piecey movement than with a full curl pattern.
Why does my hair get frizzy after I diffuse it?
Usually the heat is too high, the dryer is too close, or you’re moving the diffuser around too much. Keep the setting low, hold the diffuser still for a few seconds at a time, and stop touching the hair once it starts to set. Frizz often comes from overhandling, not just the dryer.
How can I make waves last overnight?
Use a silk pillowcase, a loose pineapple, or a soft scrunchie with the hair gathered gently at the top of the head. You do not need a tight tie. A loose, protective shape is enough to stop the waves from getting smashed flat.
What if my ends look crunchy?
You probably used too much salt spray or a hold product that dried too hard. Warm a drop of serum between your palms, smooth it over the last inch of the hair, and separate the ends lightly with fingers. If they still feel stiff, wash a little sooner next time and reduce the spray.
Is second-day hair better for beach waves?
Often, yes. A little natural oil gives the wave something to hold onto, and the texture usually sits better than on squeaky-clean hair. If the roots are greasy, revive them with dry shampoo and keep the styling product off the scalp.
Waves That Move
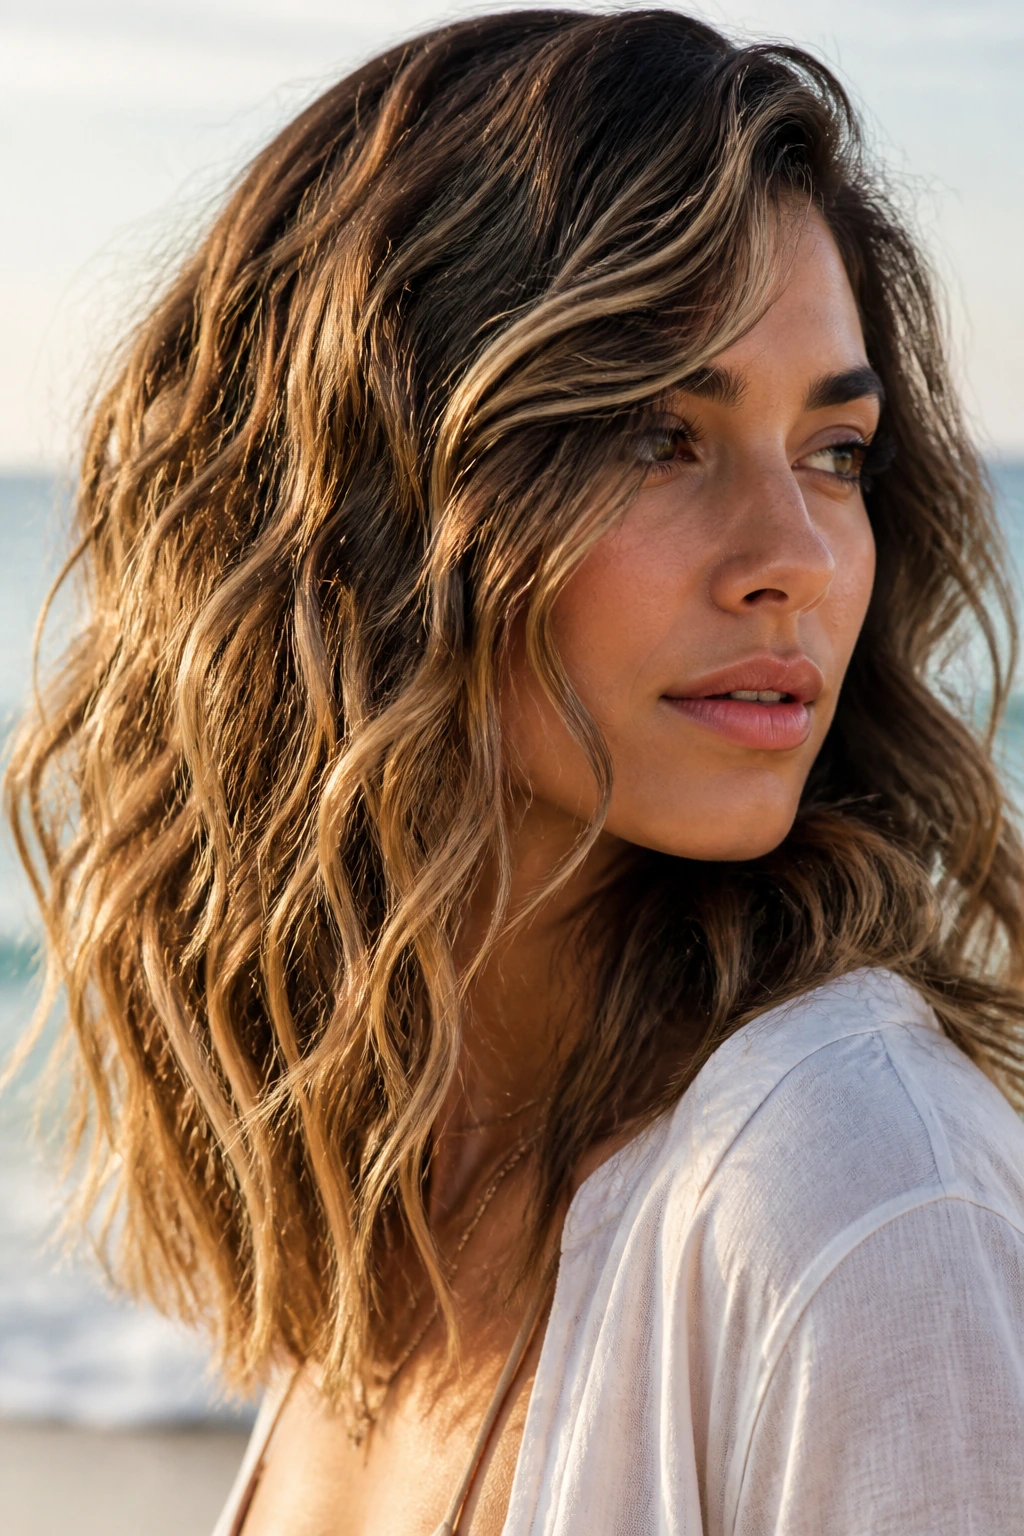
The nicest thing about beach wave looks for wavy hair is that they rarely need to fight the haircut. They work when the bend stays soft at the root, the ends are allowed to breathe, and the product choice matches the hair’s real texture instead of an idealized one. That’s the whole formula, and it’s a good one.
If you only remember one thing, remember this: the best wave is the one that looks like your hair had a plan and didn’t overexplain it. A side part, a loose bend, a clean ear tuck, a bit of salt spray, a bit of shine—small moves, not big ones. That’s where the good versions live.
