



A wet look hairstyle can rescue a bad hair day faster than a flat iron ever will. The trick is that it has to look placed, not soaked—glossy at the crown, controlled at the part, and clean enough around the hairline that nobody wonders whether you simply ran out of time.
I’ve always liked this finish because it gives structure to hair that wants to puff, frizz, or split apart the second humidity enters the room. A plain ponytail turns sharper. A bob looks deliberate. Even curls, when they’re handled the right way, get this sculpted, liquid edge that feels more editorial than fussy. There’s a narrow line between sleek and greasy, and that line is where the whole look lives.
The best part is how many directions you can take it. You can go severe, soft, romantic, edgy, polished, or almost casual, all with the same general idea: smooth the roots, control the shape, and let shine do the heavy lifting. A good slicked-back style also works on hair that’s in that annoying in-between state—too clean for a messy look, too frizzy for a blowout. That’s useful. Very useful.
Why These Sleek Wet Look Hairstyles Work
-
The shine is deliberate: A wet finish tells the eye where the hair starts and stops, which makes even simple shapes read as styled instead of accidental.
-
They control frizz without a battle: When the crown and part are sealed down with gel or cream, the little flyaways that usually pop up around the temples stop stealing the show.
-
They work on more than one texture: Straight, wavy, curly, coily, loc’d, short, and long hair all have a version of the wet look that makes sense.
-
They stretch a haircut farther: A grown-out bob, a layered ponytail, or a pixie with awkward side length can look cleaner and sharper once the product and parting are right.
-
They play well with hard light: Overhead lighting, flash, and late-day shine are less of a problem when the look already has sheen built in.
-
They give second-day hair a job: Hair that has lost its bounce but still has some grip is often the easiest hair to slick down and shape.
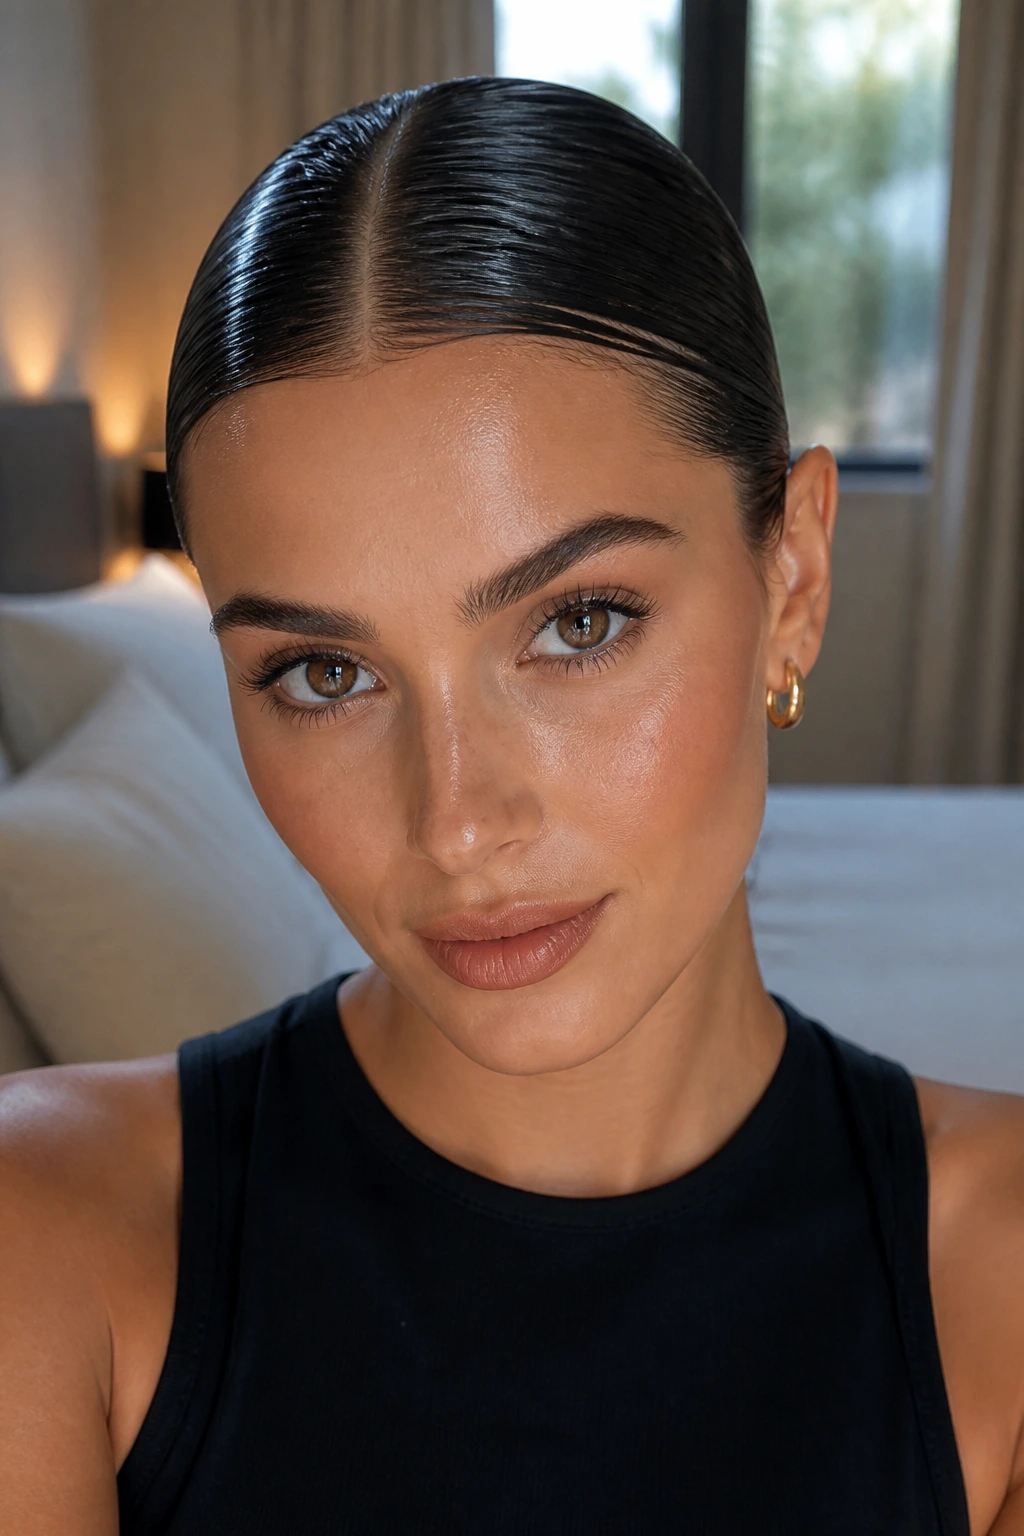
1. Center-Part Glass Ponytail
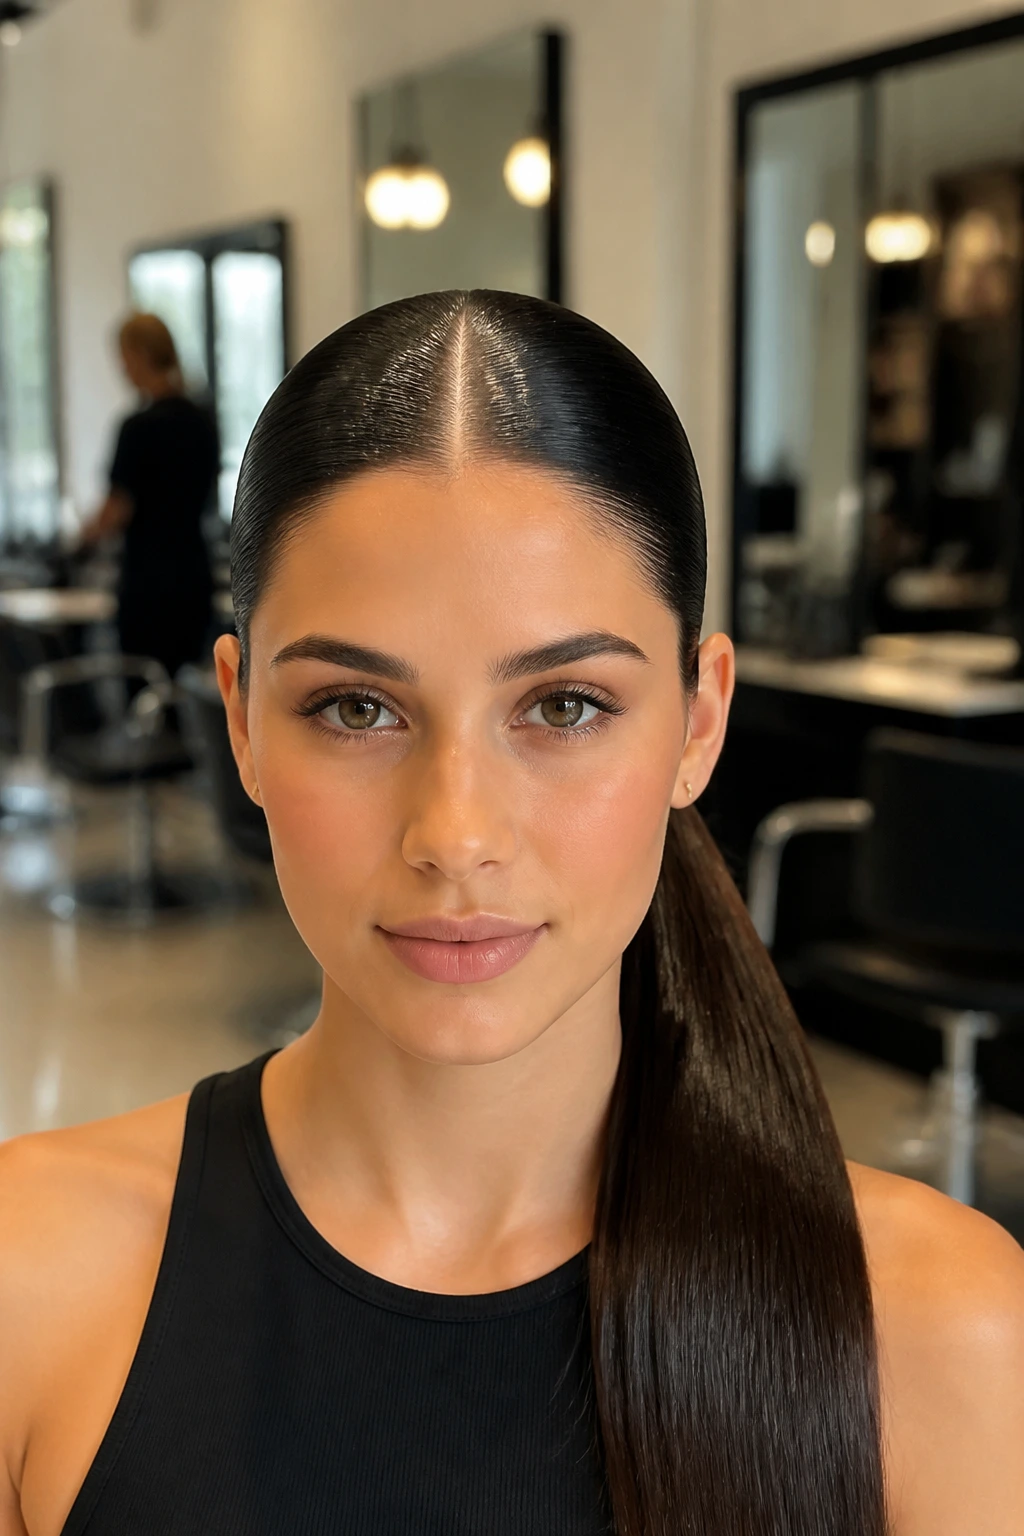
This is the cleanest wet look of the bunch. A sharp center part, flat crown, and a ponytail that hangs like a ribbon makes the whole style feel crisp from every angle.
I like this one on medium to long hair because the shape does not depend on volume. In fact, volume is the enemy here. Brush the front half with tension, seal the roots with gel, and keep the tail glossy but not crunchy. If the ends are a little softer than the top, even better.
2. Deep Side-Part Slick Back
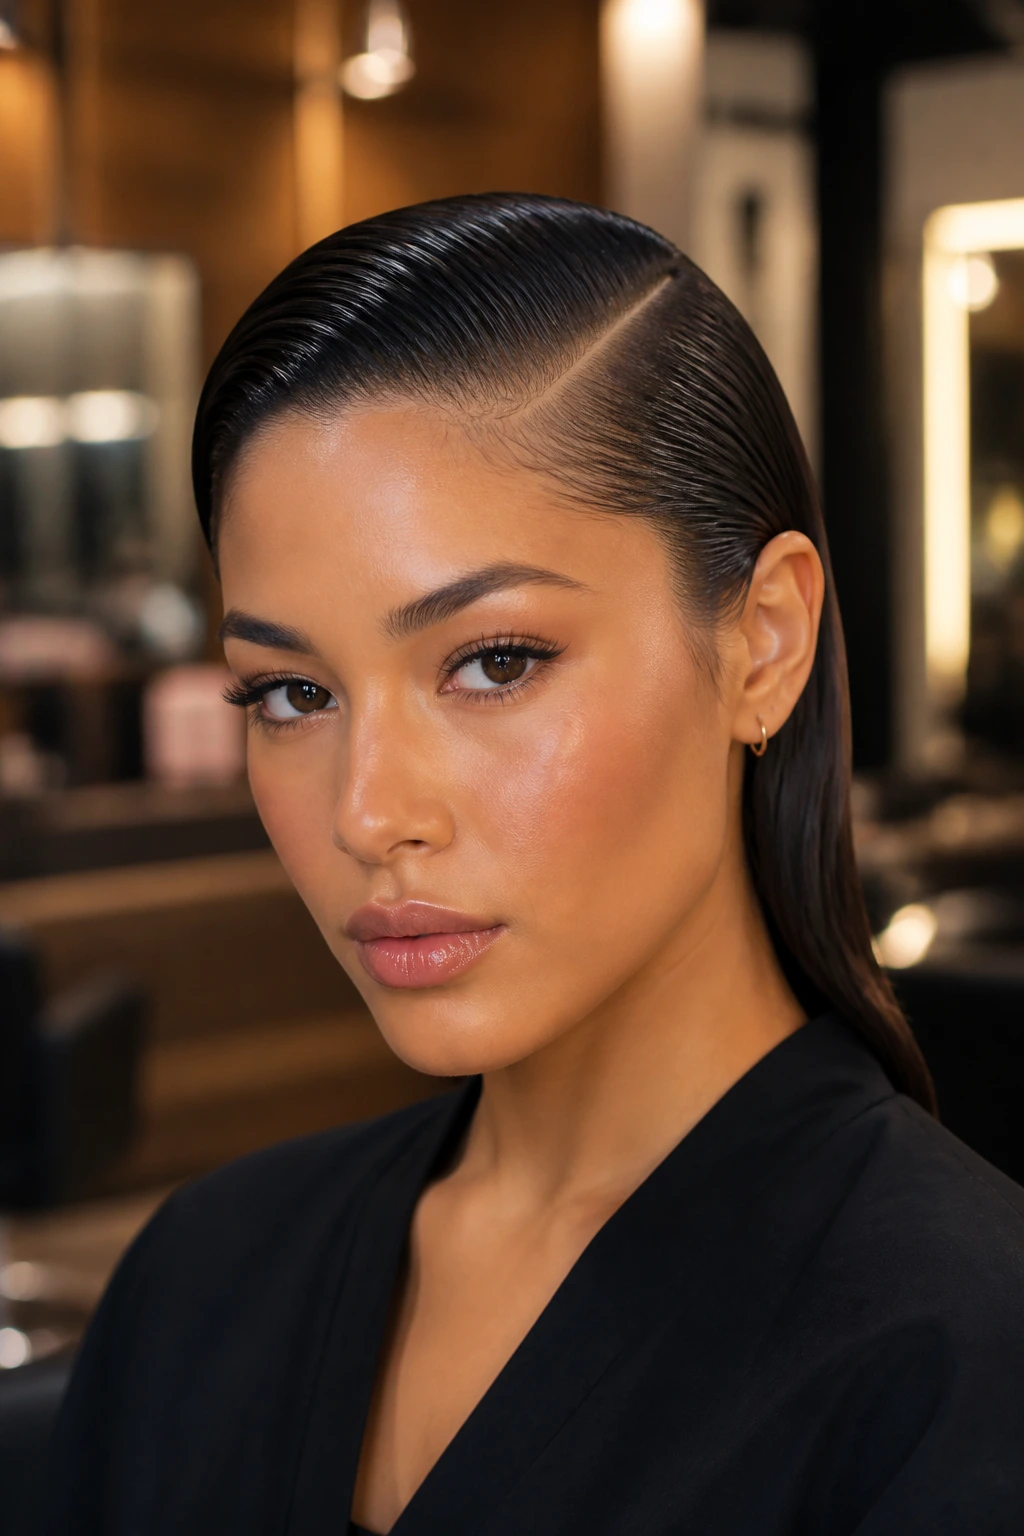
A deep side part changes the mood fast. Instead of looking severe, the hair gets a sweep and a little movement, which makes the wet finish feel more expensive and less sharp-edged.
This style is especially good if one side of your hair has a stubborn cowlick or a fringe that refuses to behave. Push the heavier side back with a fine-tooth comb, then flatten the root area while the product is still wet enough to mold. The trick is to keep the part clean all the way back. Sloppy parting ruins the whole thing.
3. Low Wet Bun With Clean Edges
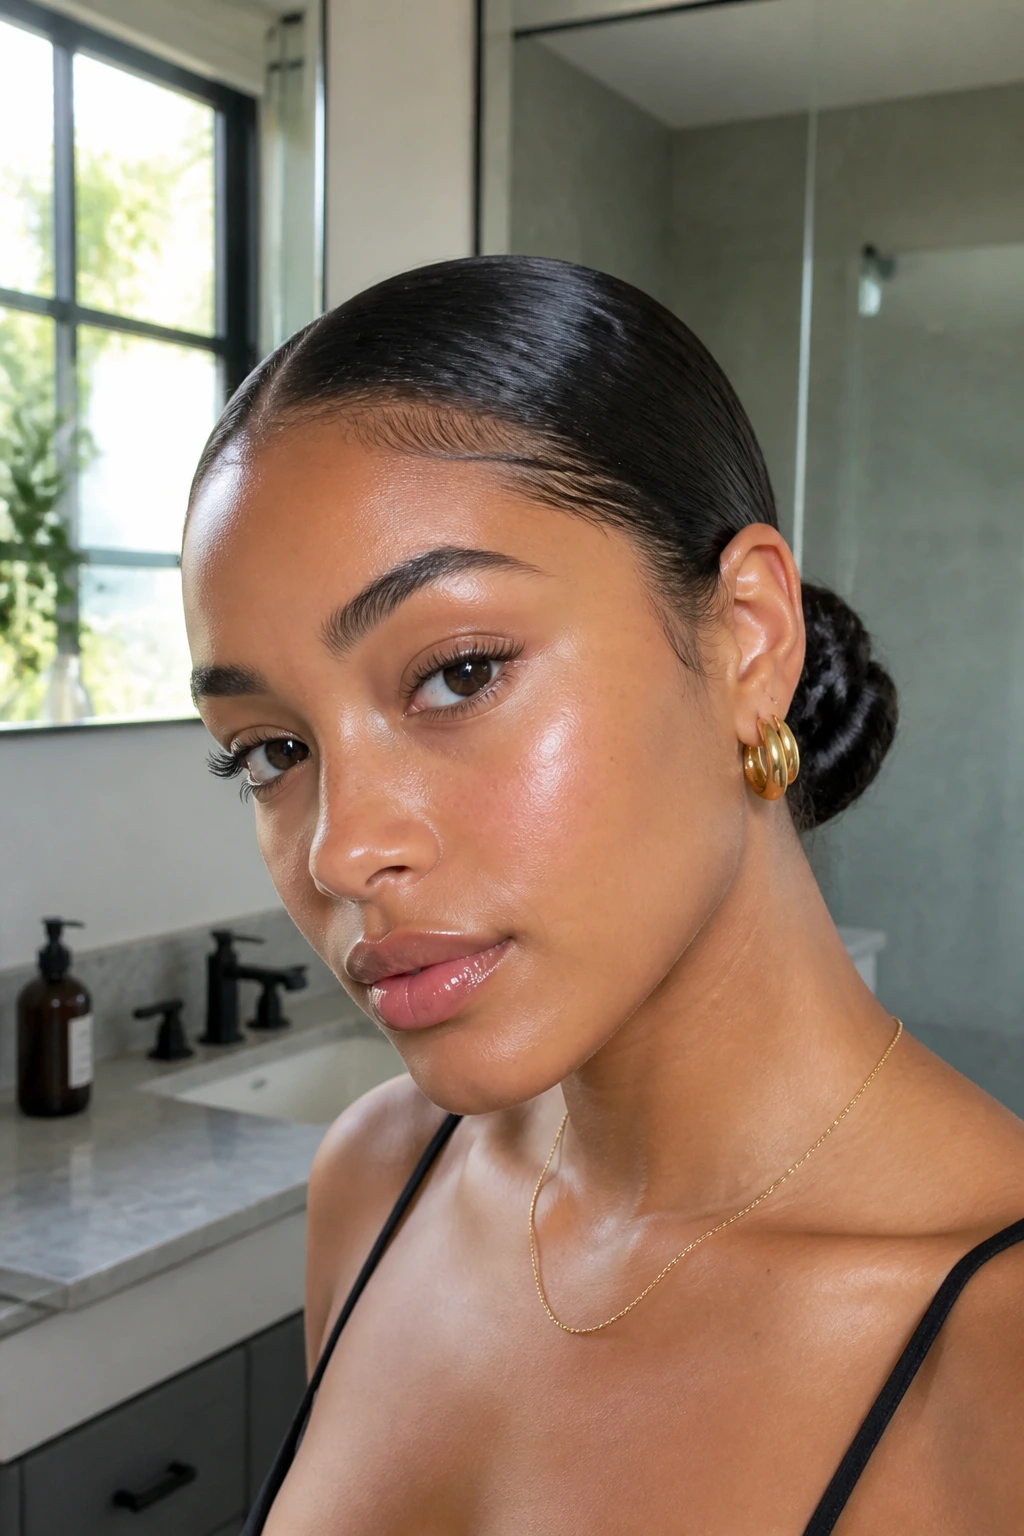
If your bun usually frays by lunchtime, this version feels like a fix instead of a compromise. The base stays tight, the edges stay smooth, and the bun itself can be twisted into a knot, coil, or tucked roll.
This is one of those styles that looks far more controlled when you work in sections. Slick the hair back from the temples first, then gather the lengths low at the nape. Don’t try to force the whole head into place with one swipe of gel. That’s how you get bumps. Small sections, strong hold, clean finish.
4. High Gloss Ponytail
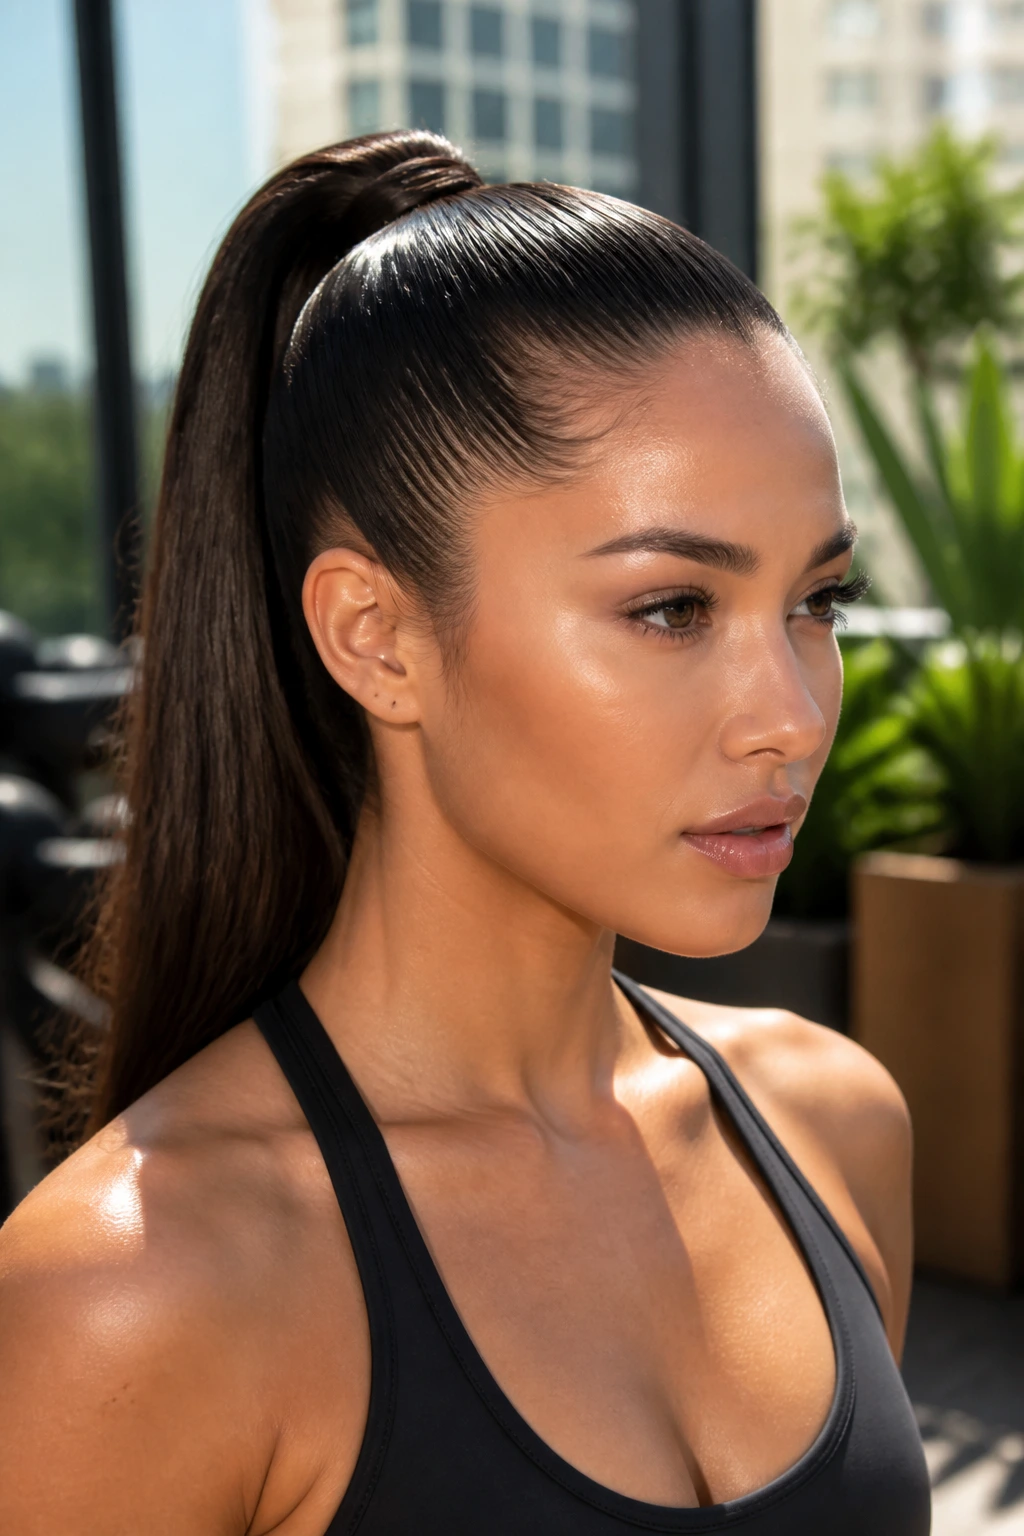
A high ponytail makes the wet look feel athletic and polished at the same time. The lift at the crown gives it energy, while the glossy roots keep it from turning messy around the sides.
I reach for this when I want a style that shows off cheekbones and earrings. The base needs real tension, so use a tail comb and a brush, not your fingers. Wrap a small strand around the elastic if you want the finish to look more intentional. That tiny move changes the whole read of the style.
5. Sleek Wet Bob With Tucked Ends
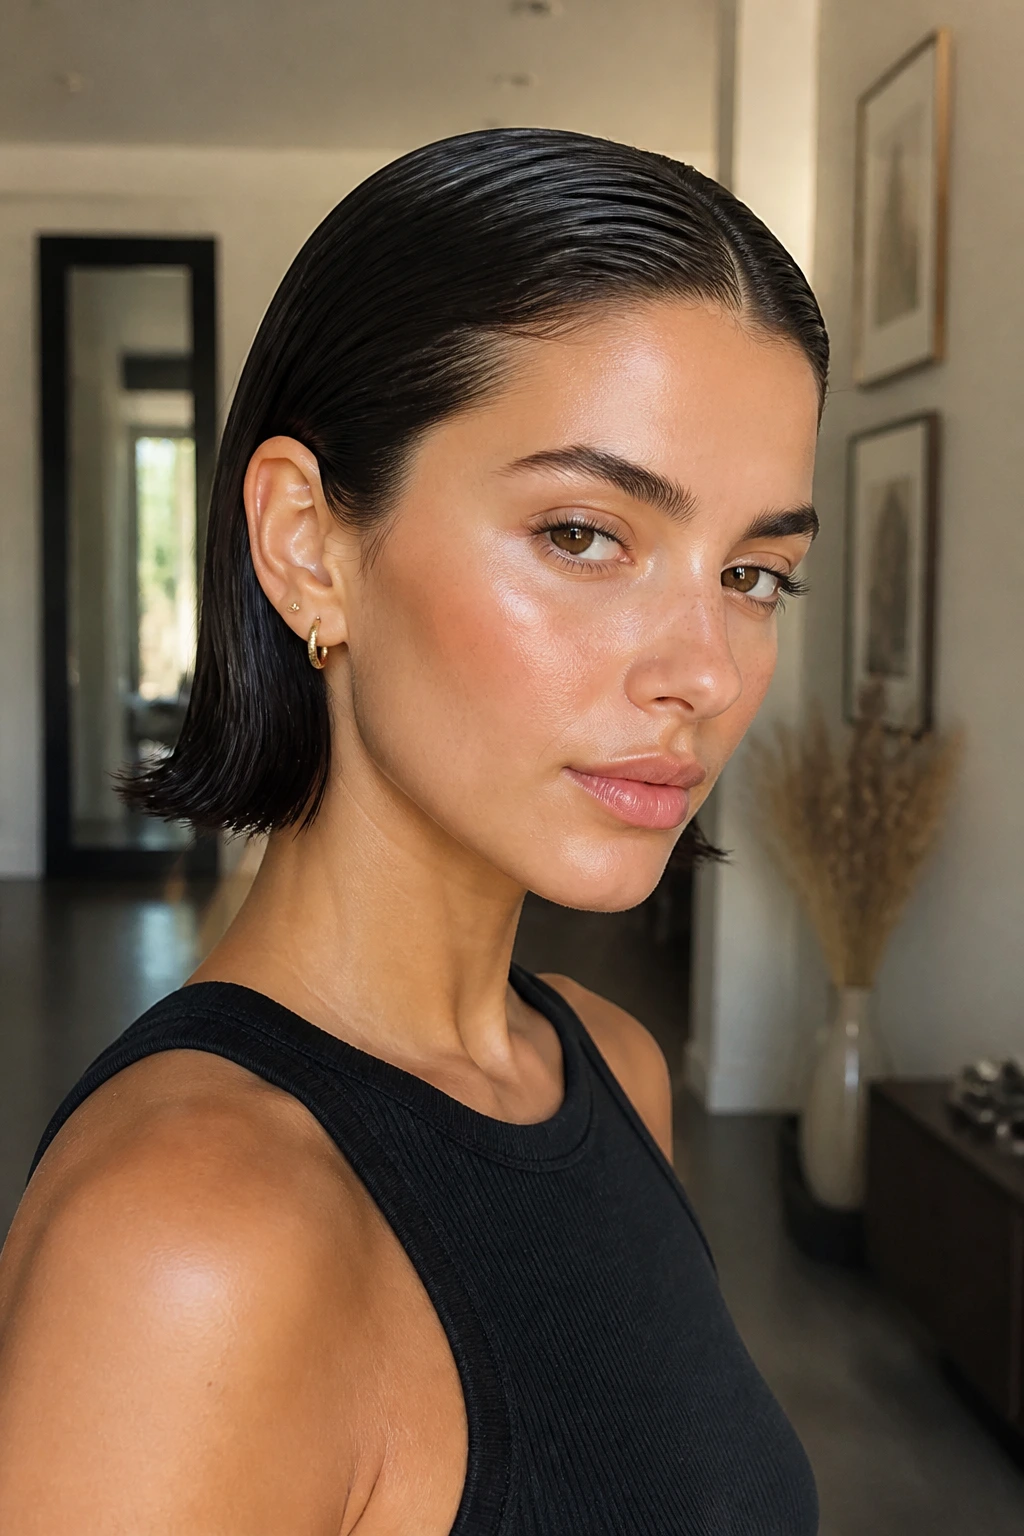
The blunt edge of a wet bob has a crisp, glassy feel that regular styling rarely gives you. Tucking the ends behind one or both ears keeps the shape from puffing outward and lets the line of the cut do the talking.
This one works best when the bob already has a strong shape. If the cut is fuzzy or uneven, the wet finish will show every bit of it. That can be good or bad. I prefer it when the ends are sharp enough to sit flat, because the look lands somewhere between French-girl minimal and runway clean.
6. Slicked-Back Pixie Crop
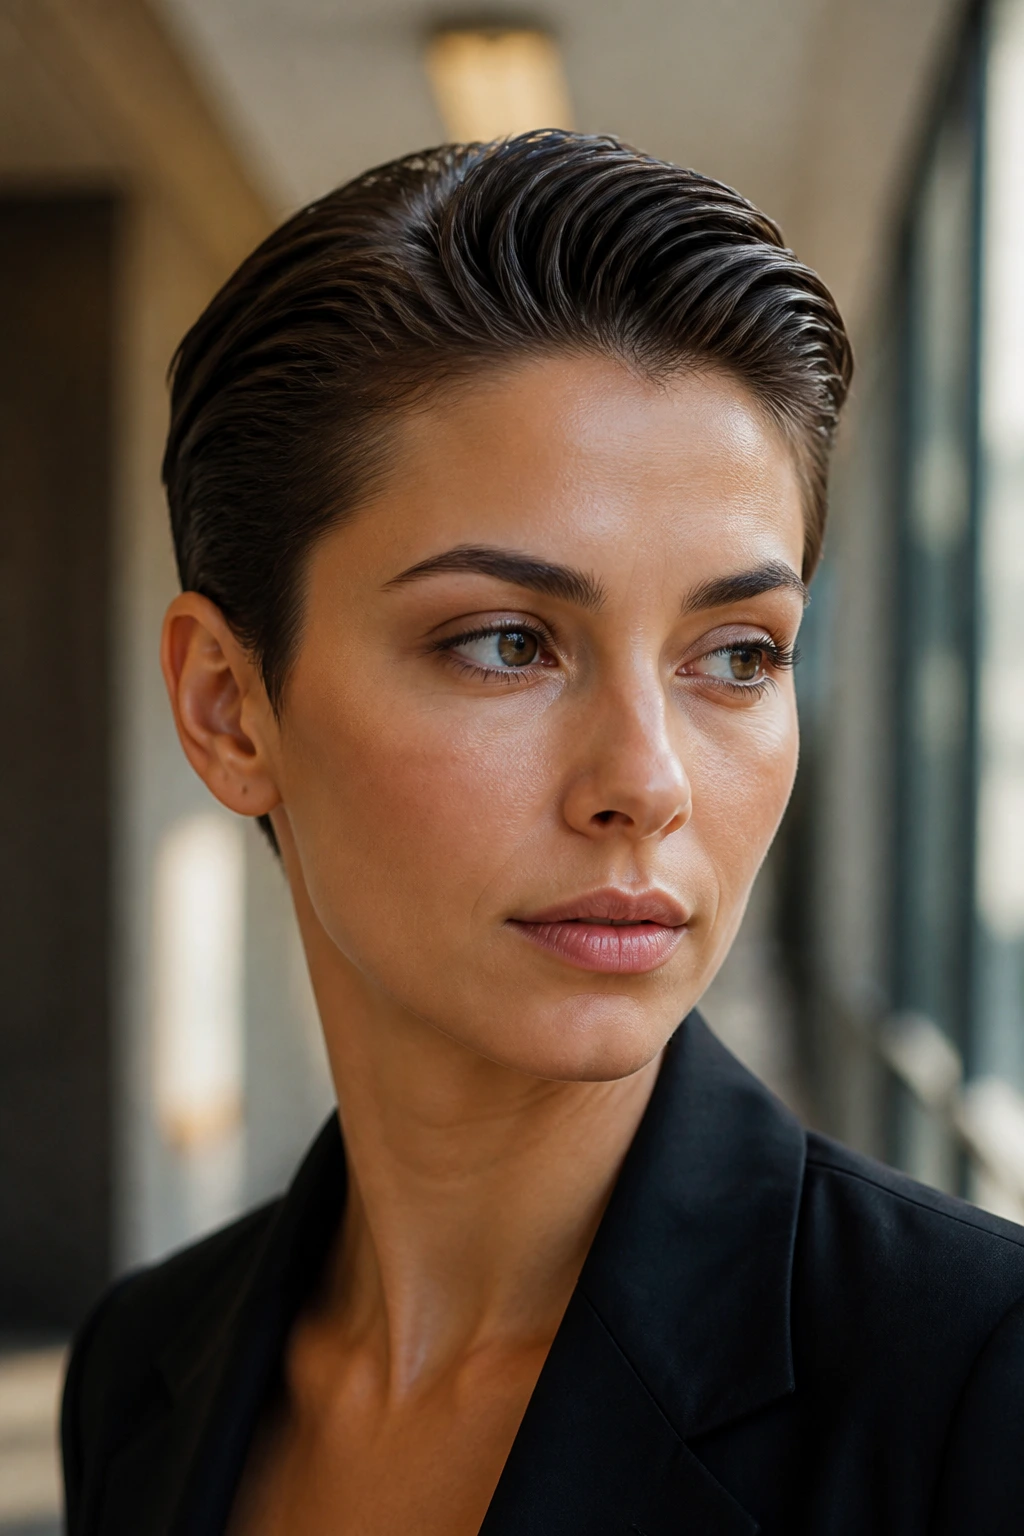
Pixie cuts love gel. Short hair shows the product in a way long hair sometimes hides, so a slicked-back crop can look almost sculptural when the texture is handled carefully.
The key is not to drown the hair. Use enough product to give shine, then comb it back in the direction the cut already wants to go. If the sides sit close to the head and the top has a little lift, the style looks modern instead of wet in the literal sense. A tiny bit of separation around the fringe can keep it from looking helmet-flat.
7. Soft Wet Waves
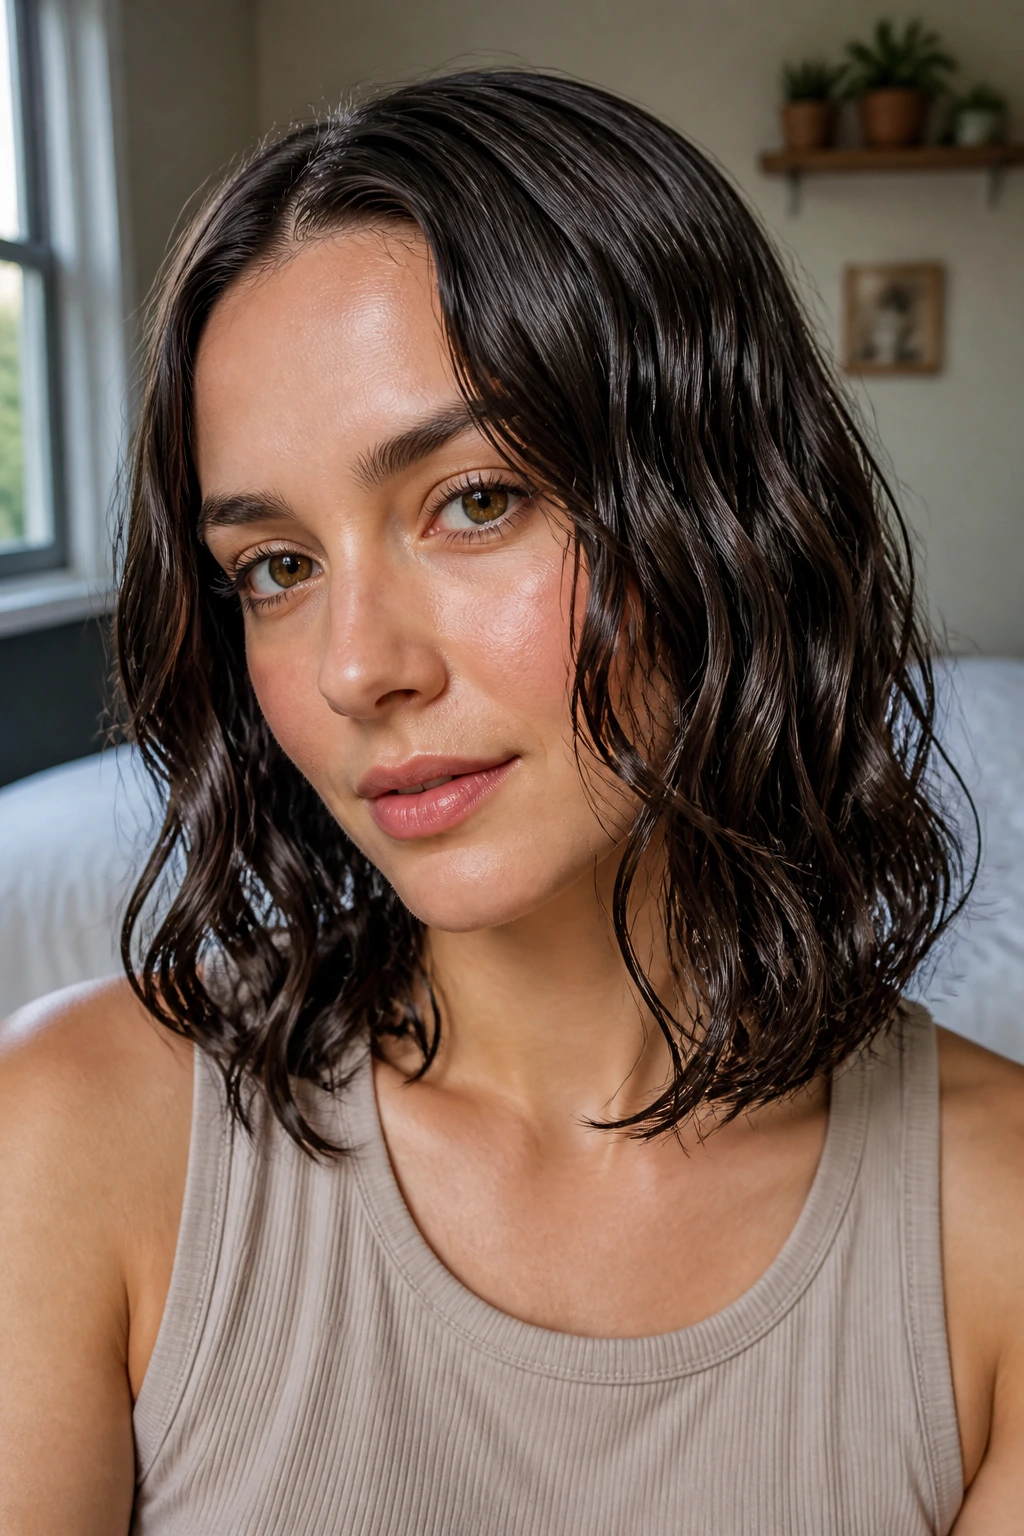
Not every wet look has to be bone-straight. Soft wet waves keep the bend in the hair, but the surface stays smooth and glossy instead of fluffy.
This is the version I like for shoulder-length hair that still has some natural movement. Work product through damp lengths, then scrunch or finger-shape the waves just enough to keep their pattern. The goal is shine with outline. If you shake the hair out too much, the frizz comes right back, and then the whole point disappears.
8. Curly Hair Pushed Back
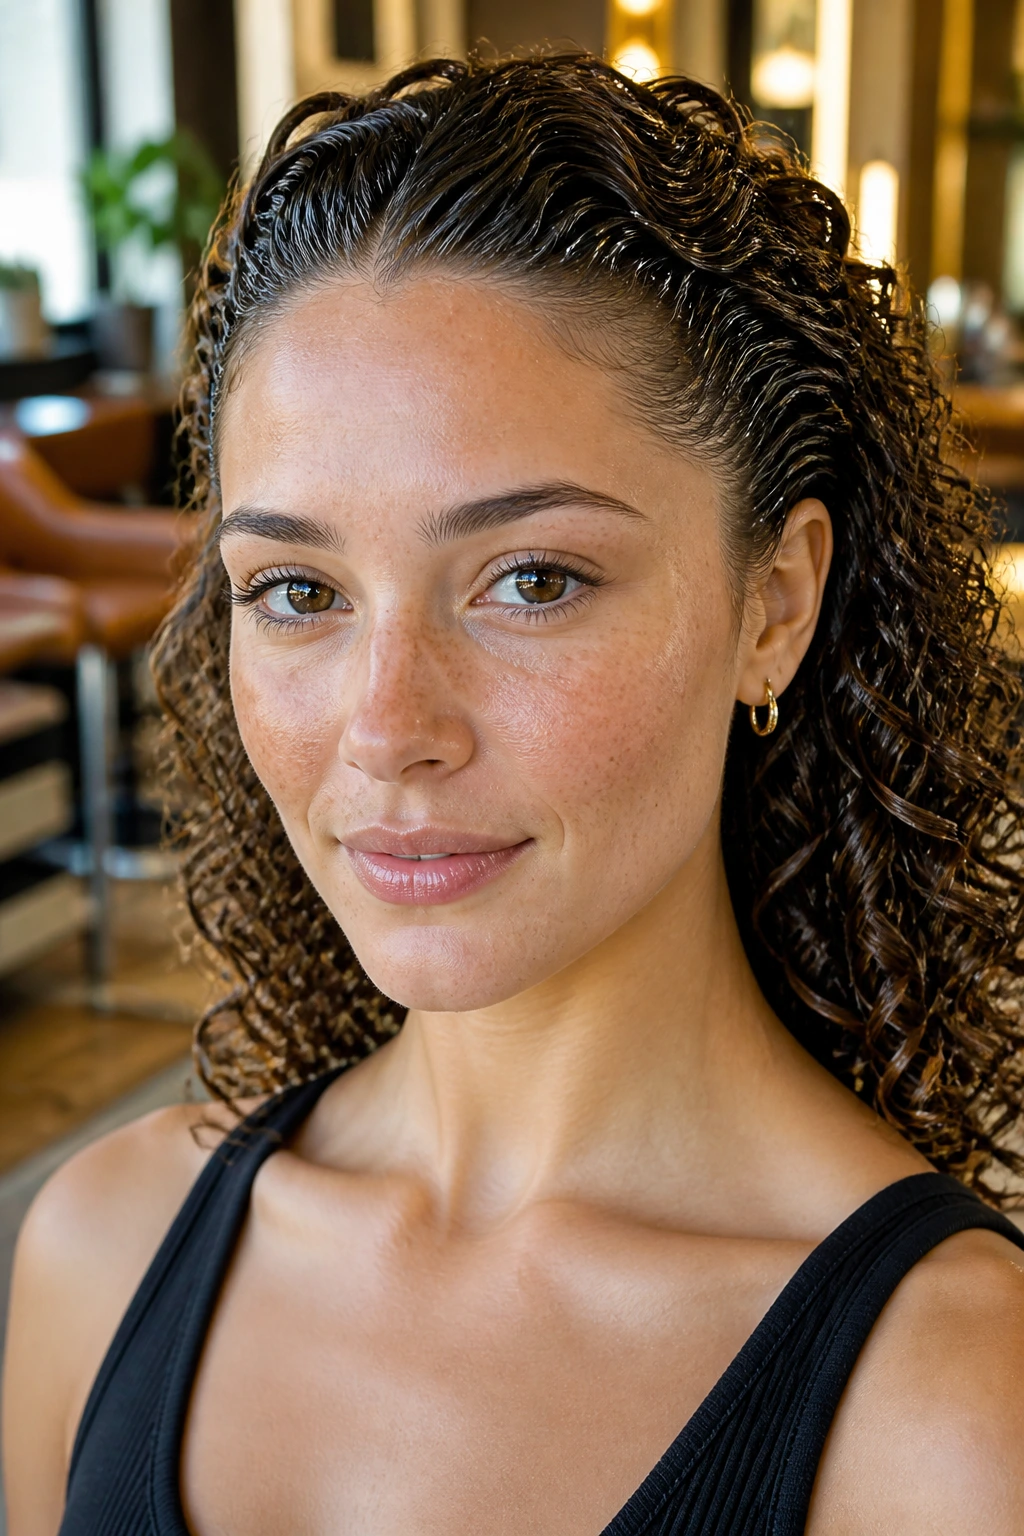
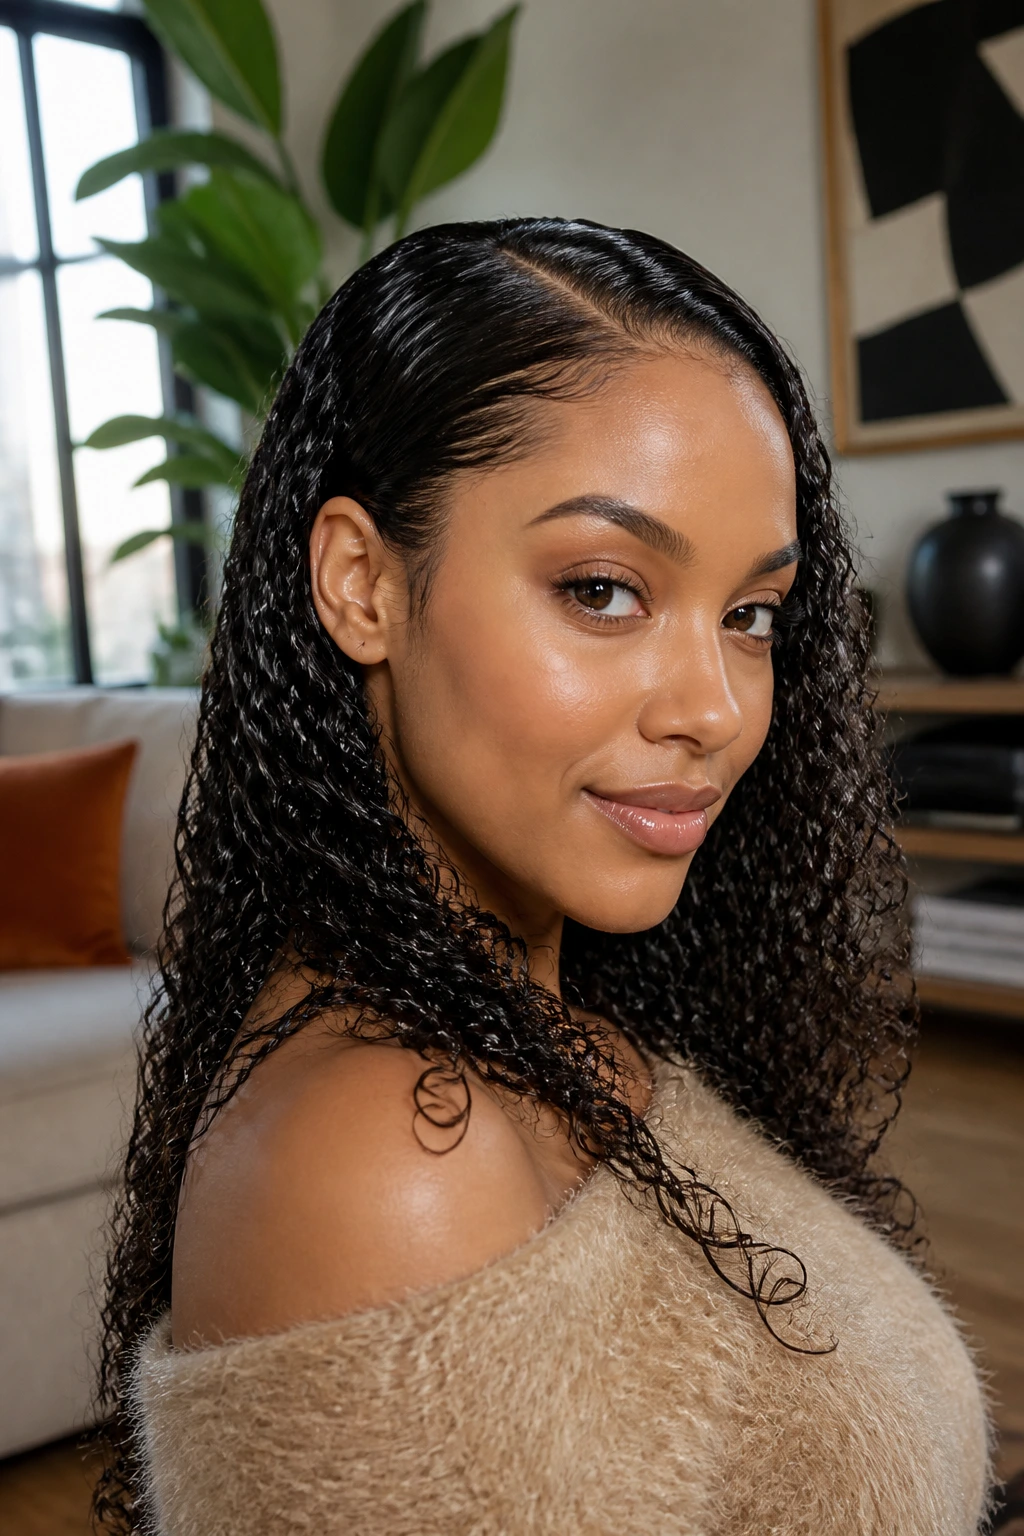
Can curls be slicked back without losing their shape? Absolutely, if you leave the curl pattern alone past the root area. The wet look on curls should calm the top while letting the rest of the texture do what it already does.
This style gets better when you work on damp hair and use a gel that won’t flake once it dries. Push the front back with your palms, then finger-coil or shape the curls at the crown so they sit together instead of puffing out. If the ends stay springy and defined, the look feels polished rather than flattened.
9. Braided Low Knot
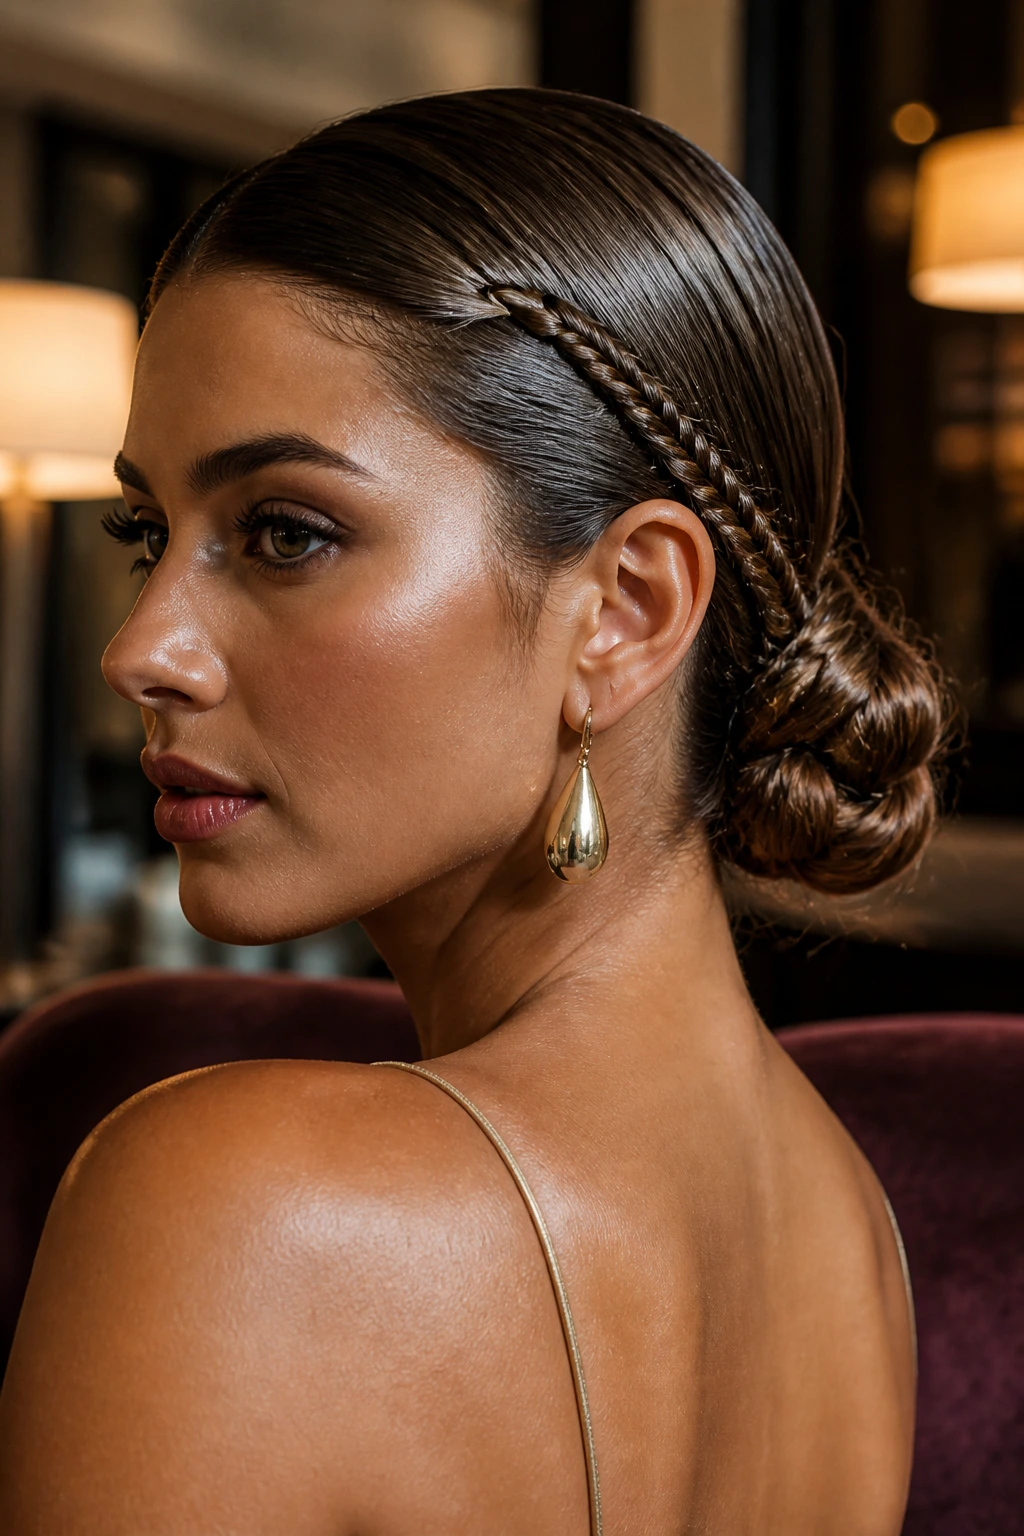
A braid at the base gives the bun a little more grip and keeps long hair from unraveling. It also adds a bit of texture under the shine, which makes the finish look richer.
I like this for thick hair that needs structure. Gather the hair low, braid the tail once or twice, and fold it into a knot or tucked chignon. You do not need a perfect braid here. A slightly imperfect braid often looks better because the wet finish smooths over the rough edges.
10. Bubble Ponytail With Shine
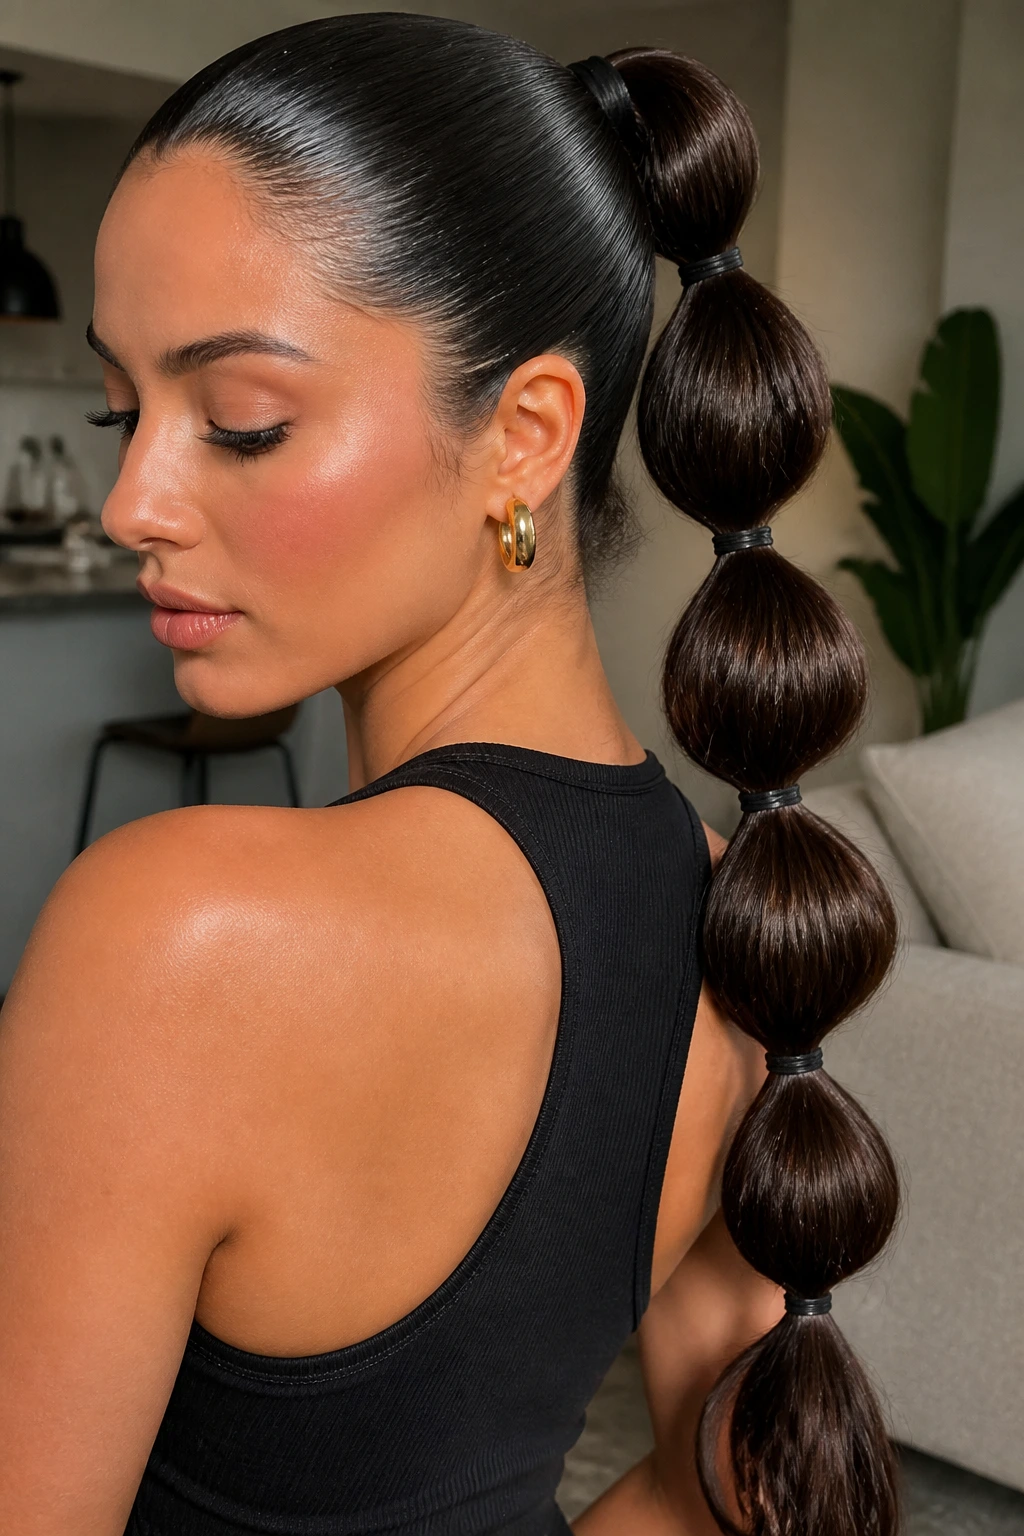
Bubble ponytails can look playful, but with a wet finish they lean sleek instead of cute. The sections become cleaner, the elastics disappear into the gloss, and the shape reads more editorial.
This one loves long hair. Secure the ponytail first, then add elastics down the length at even intervals and gently puff each section between them. If you spray a little shine mist over the finished style, the bubbles catch light without looking greasy. It’s one of the few slick styles that can feel a little fun without getting messy.
11. Twisted Chignon
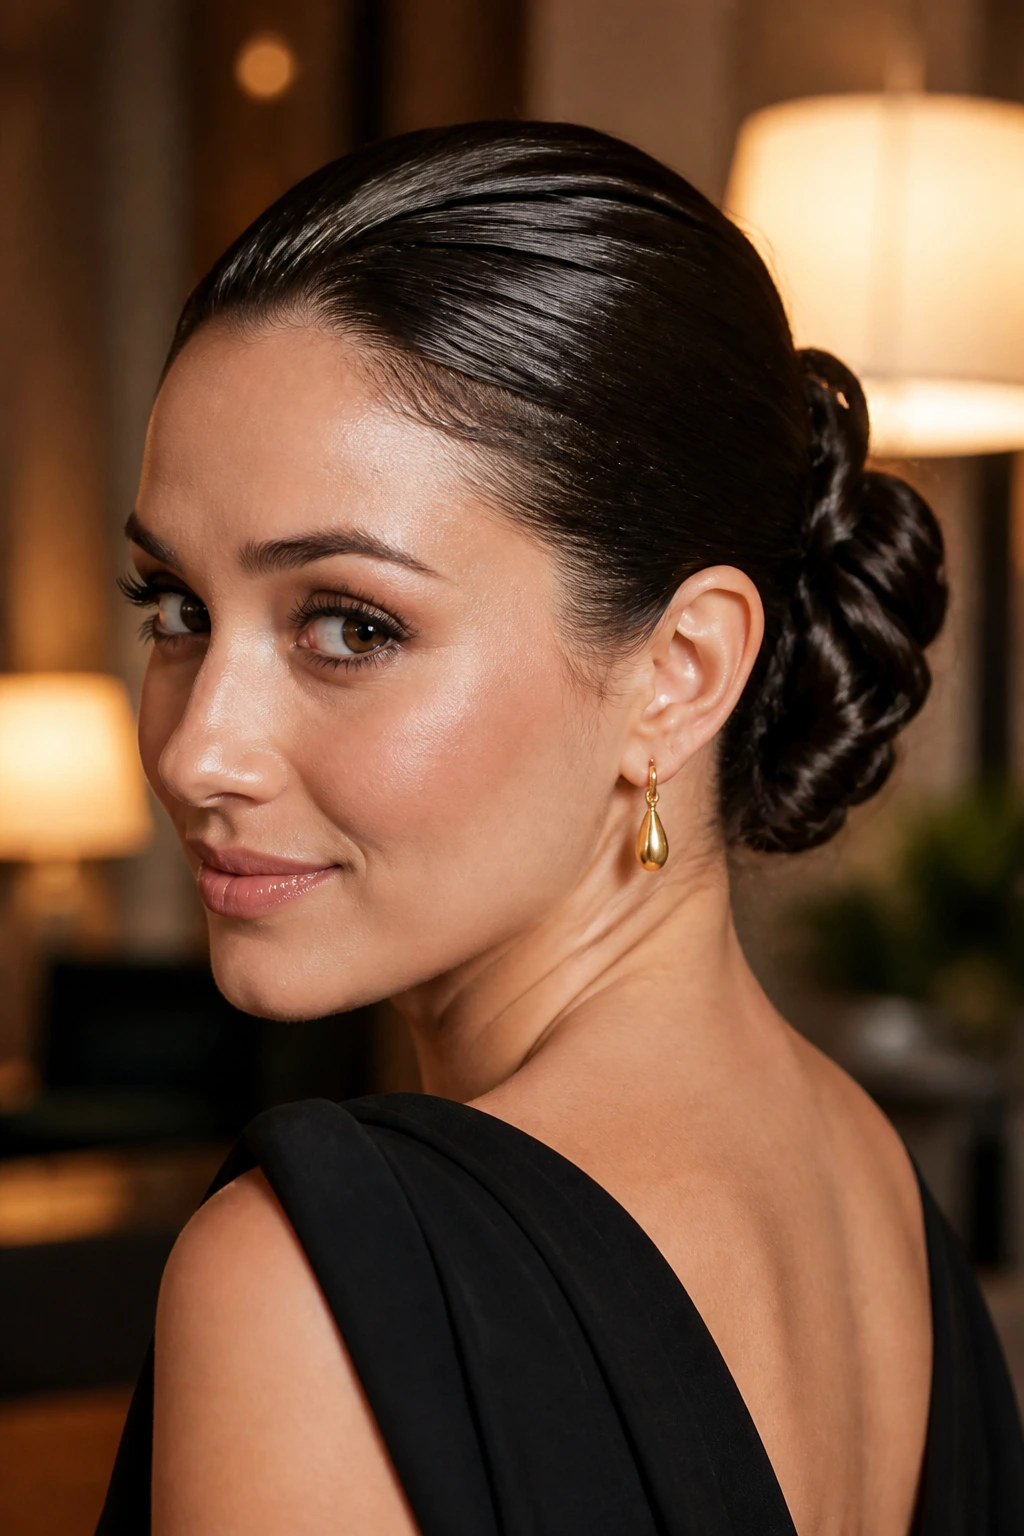
A twisted chignon is what happens when a bun wants to behave like a polished evening style. The twist gives it movement, but the wet base keeps it tight and smooth.
This version is kinder to layered hair than a flat knot. Twist two sections back toward the nape, then pin them into a low roll. The important part is the surface at the front: that needs to be combed clean and held down before the twist starts. If the crown is neat, the whole style feels more expensive than it is.
12. Side-Swept Wet Lengths
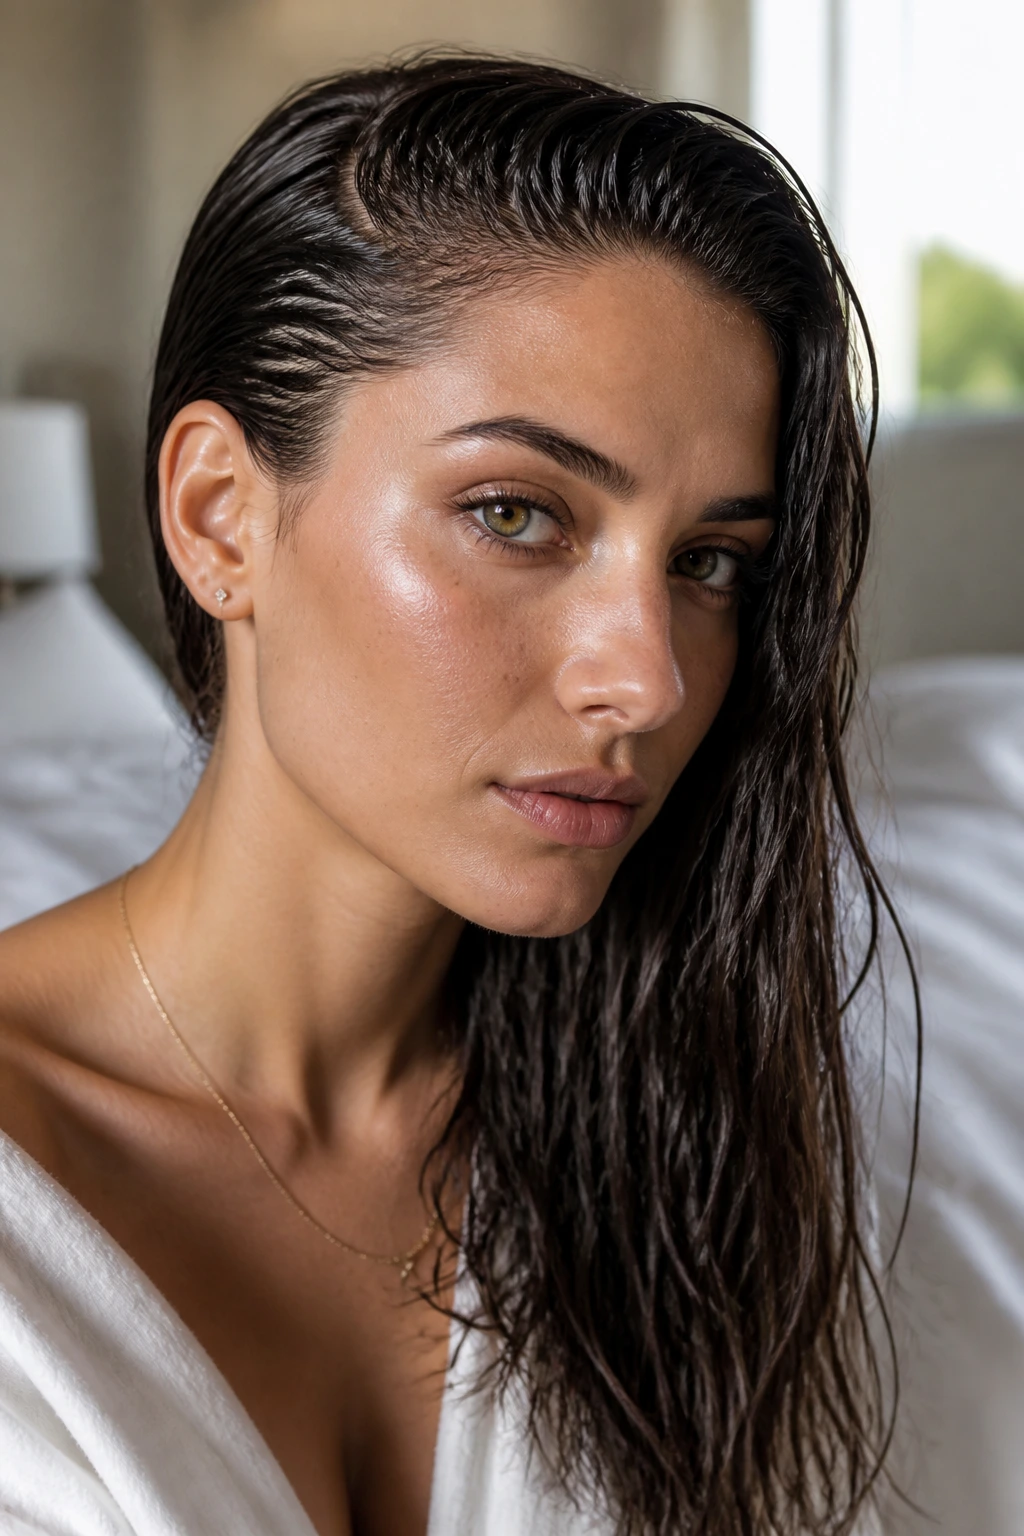
Sometimes the easiest wet look is the one that does not gather all the hair into one point. A side-swept style keeps the lengths loose but controlled, which gives the face a soft frame.
This is a good choice when you want shine without the full severity of a slick bun. Sweep the hair to one side, pin it just behind the ear, and let the rest fall over one shoulder. The trick is to keep the front close to the head so the shape stays smooth. Otherwise the style slips into basic side-part hair, which is not the same thing at all.
13. Half-Up Slick Knot
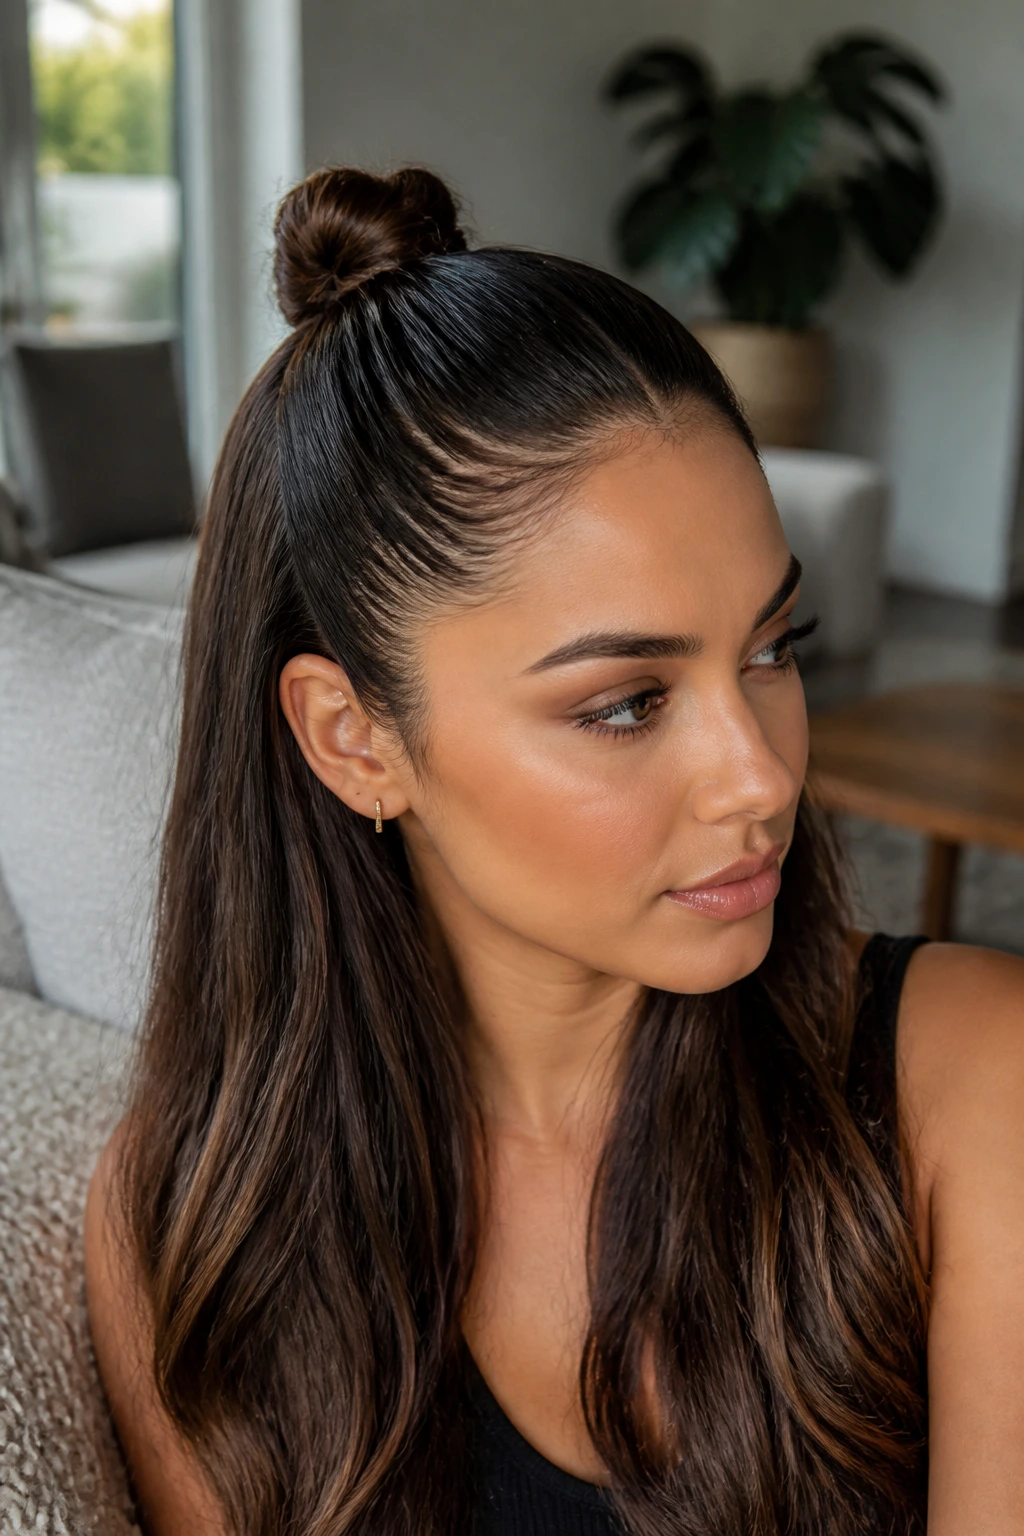
A half-up style gives you the best part of both worlds: a smooth crown and some movement in the lengths. The little knot at the back keeps the top half in place while the rest stays loose and glossy.
I like this on long hair with a little natural wave. Slick the crown back tightly, tie the top section into a small knot or loop, and leave the bottom section soft. If the lengths are curled, the contrast between the polished top and the looser ends looks deliberate. If everything is slicked the same way, the style can feel too rigid.
14. Wet Lob With Tucked Ends
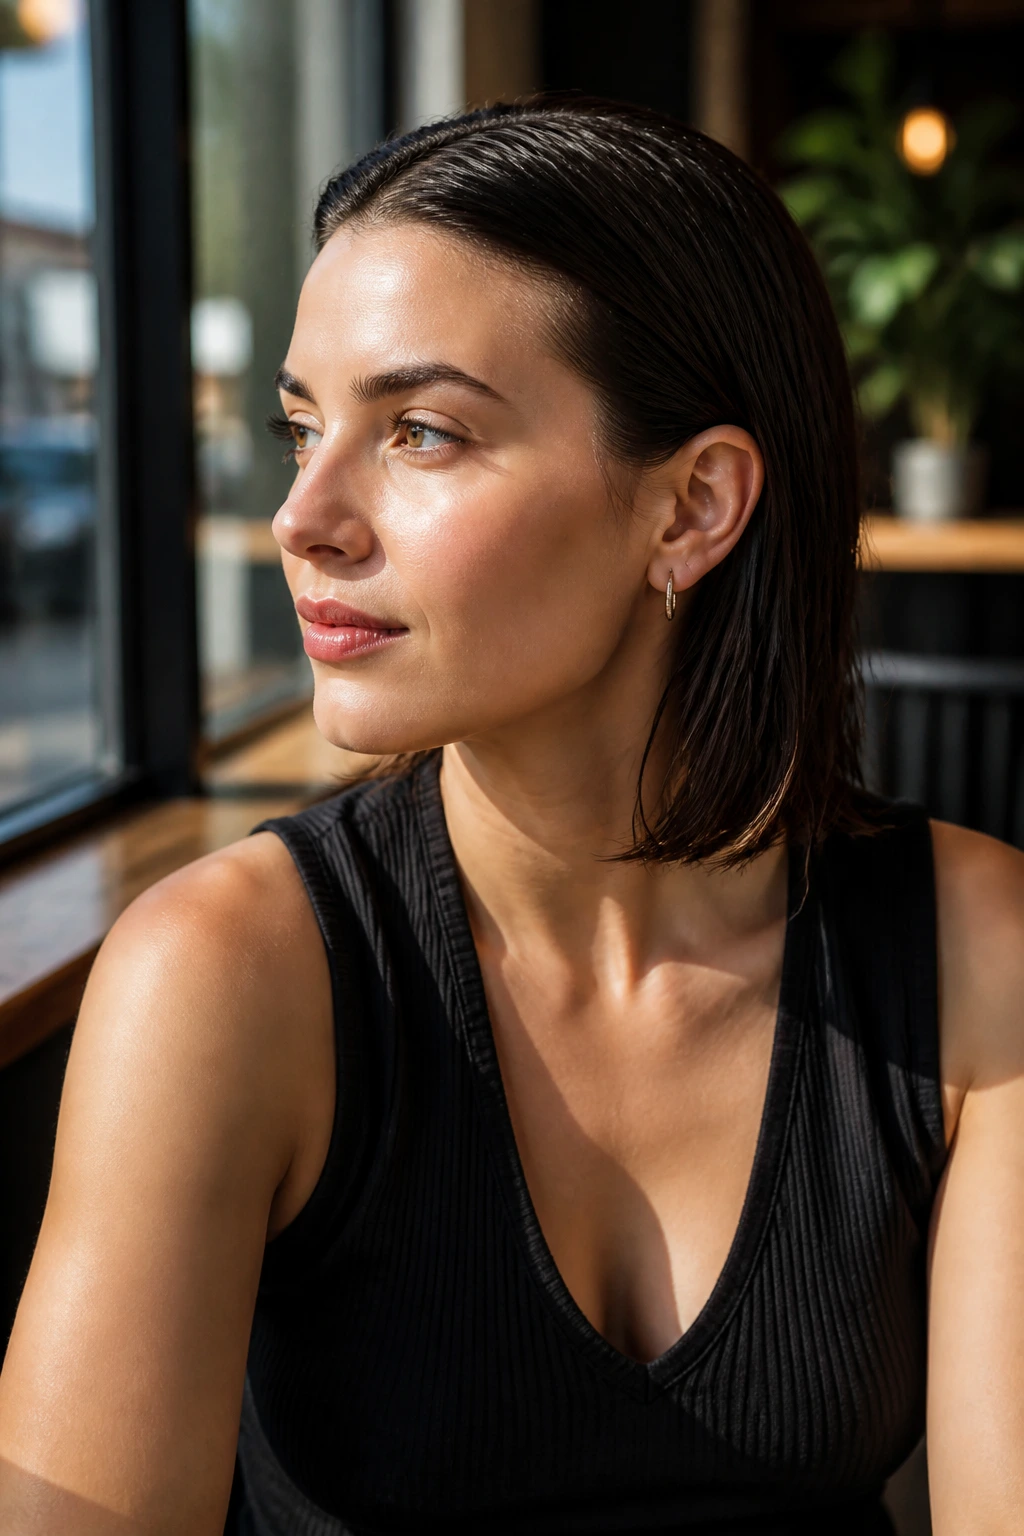
A lob with tucked ends has a clean, modern line that suits medium-length hair especially well. The tucked ends give the style shape, and the wet finish keeps the surface smooth enough to hold that shape.
This is one of the easiest looks to adapt for dinner, work, or a dressed-up daytime event. Tuck one side behind the ear or both sides behind both ears, depending on how structured you want it. If your lob has layers, use a touch more product on the shorter pieces near the face so they stay in place.
15. Rope-Braid Ponytail
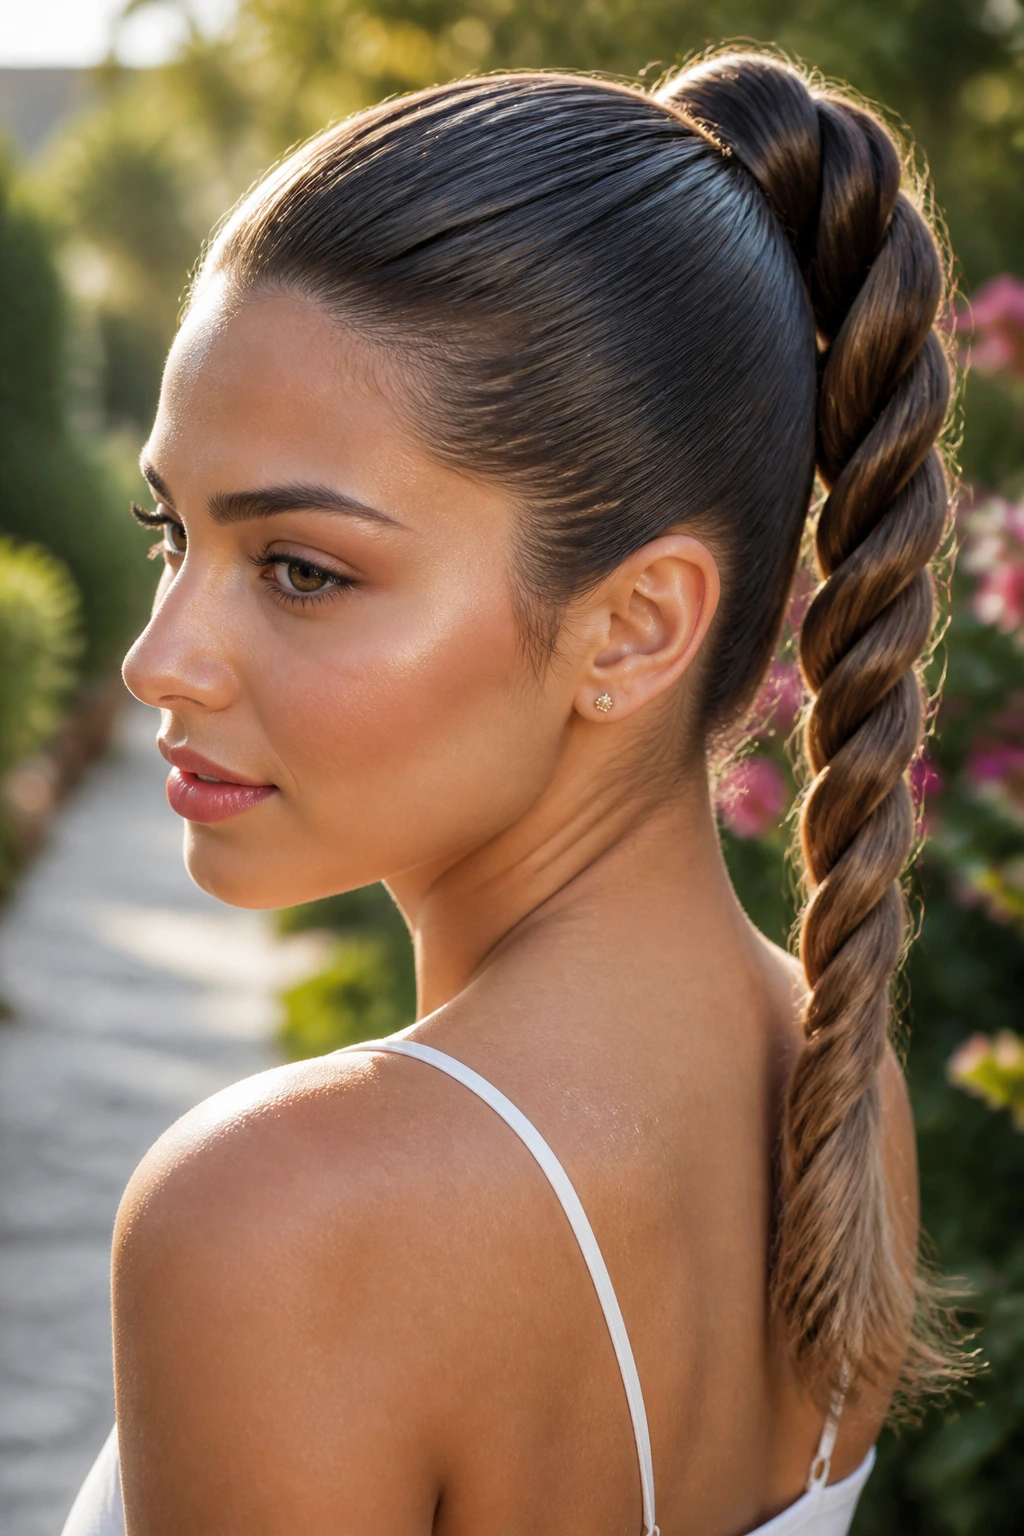
A rope braid looks more polished than a regular braid, and the glossy finish makes the twists stand out. It also takes less hand coordination than a three-strand braid, which matters when your hair is slippery from product.
You’ll get the best result on longer hair that already has some grip. Divide the tail into two sections, twist each section, then wrap them around each other in the opposite direction. That reverse twist is the whole trick. If the braid starts to loosen at the bottom, secure it with a small elastic and call it done. Overworking it makes it frizzier.
16. Double Slick Buns
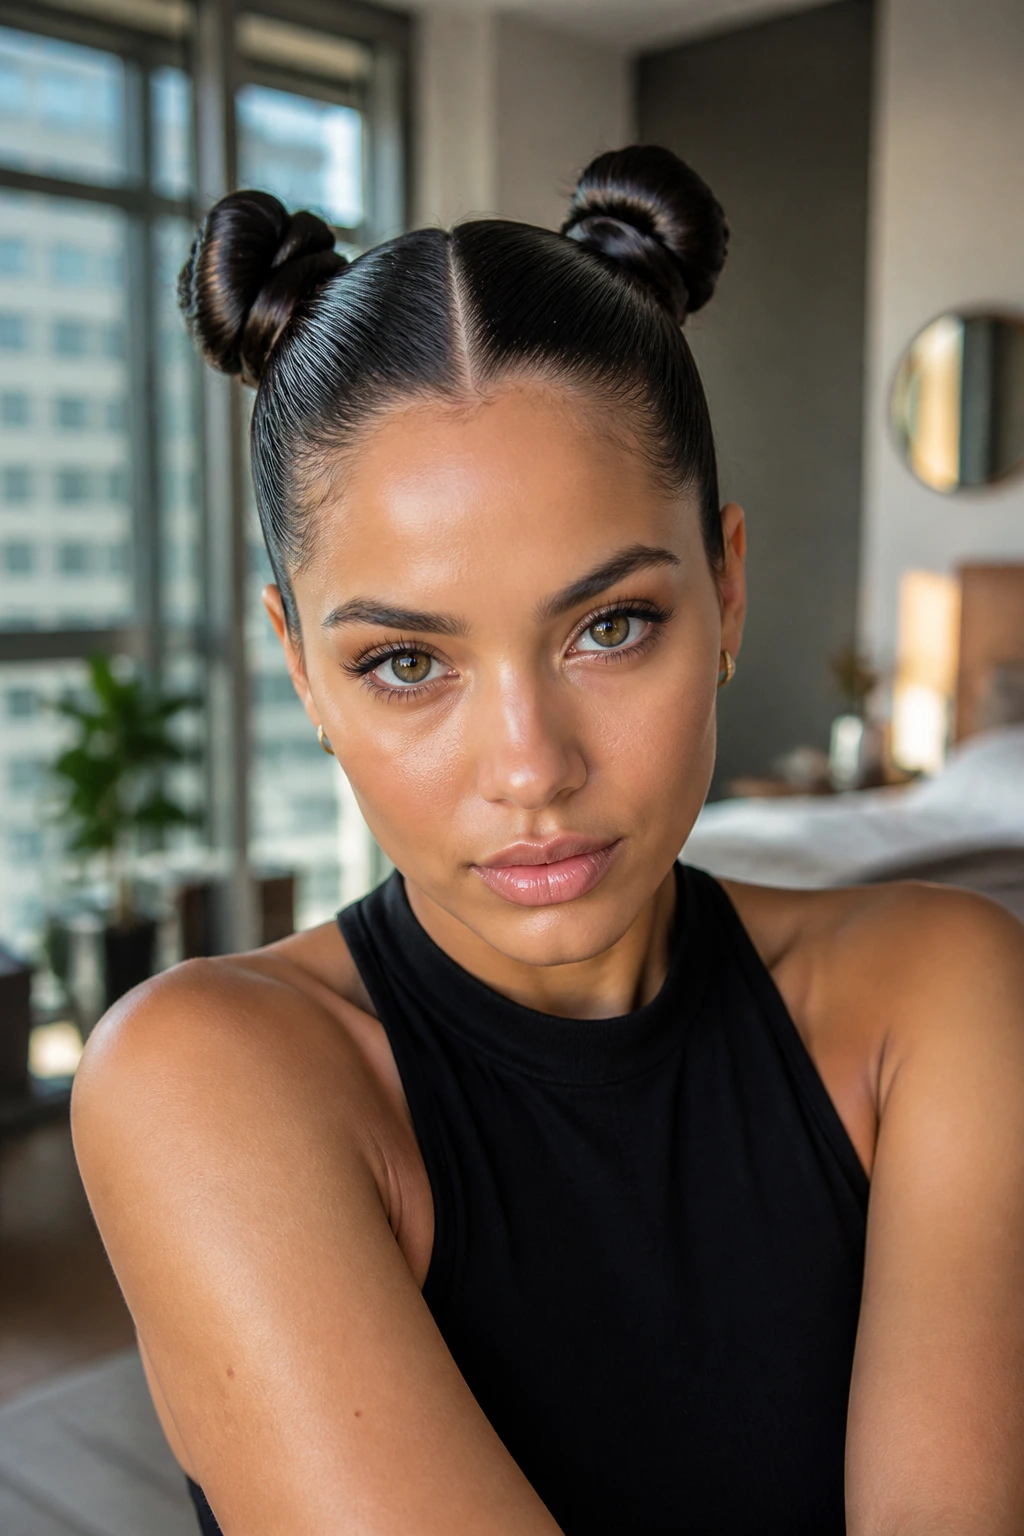
Two buns change the tone completely. Instead of severe or formal, the wet look feels playful and a little sharp, especially when the part is clean and the buns sit level.
This style works best when the base is flatter than you think it should be. A lot of people leave too much lift at the crown, and then the buns look like an afterthought. Tighten the top first, split the hair evenly, and coil each side low or high depending on the mood you want. Symmetry matters here.
17. Claw-Clip Twist
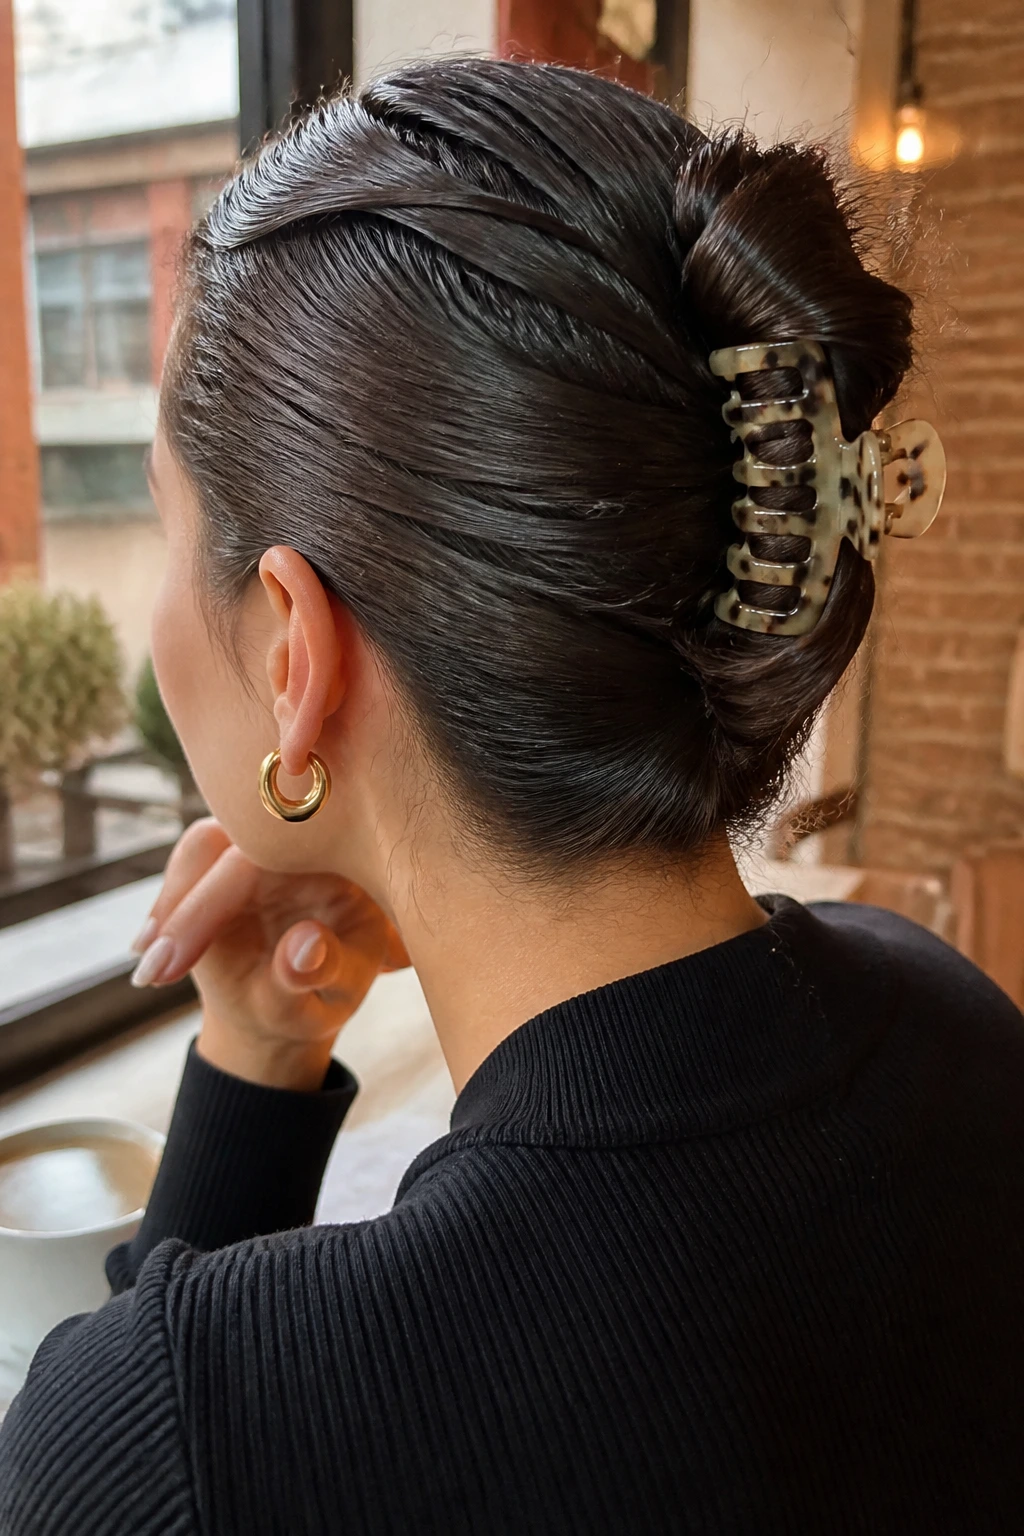
A claw clip can still be part of a wet look if the hair is smoothed first. The clip is just the anchor; the finish comes from the root work and the twist underneath it.
I prefer this when I want the style to look done but not precious. Brush the hair straight back, twist it once, fold it up, and clamp it in place. Leave the ends tucked neatly or let them poke out a little for contrast. The hair should look glossy and held, not as if the clip was the first thing you grabbed on the way out the door.
18. Wet-Finish Faux Hawk
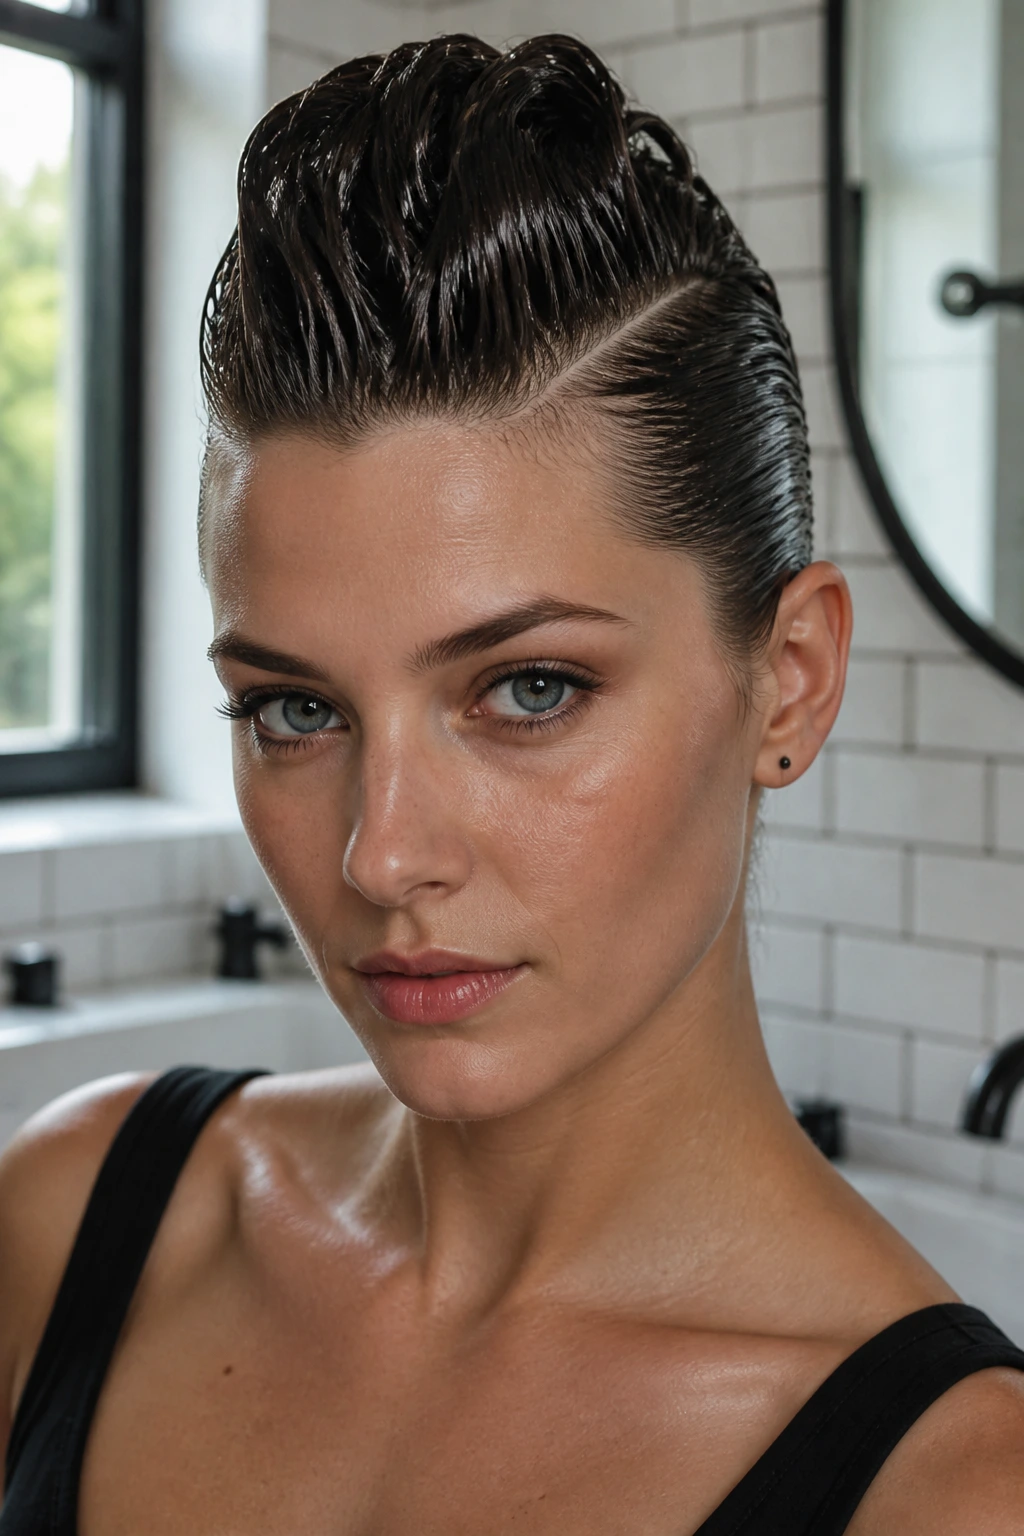
A faux hawk makes the wet look feel more graphic. The sides are smoothed close to the head, and the center strip gets a little height, which gives the whole style a stronger silhouette.
This one is easier on medium to long hair than people think. Use gel or pomade on the sides, then lift the middle section with your fingers or a brush so it has a slight ridge. You do not need punk-level drama unless that’s your thing. A subtle center line is enough to make the style read as intentional.
19. Crown Braid With Gloss
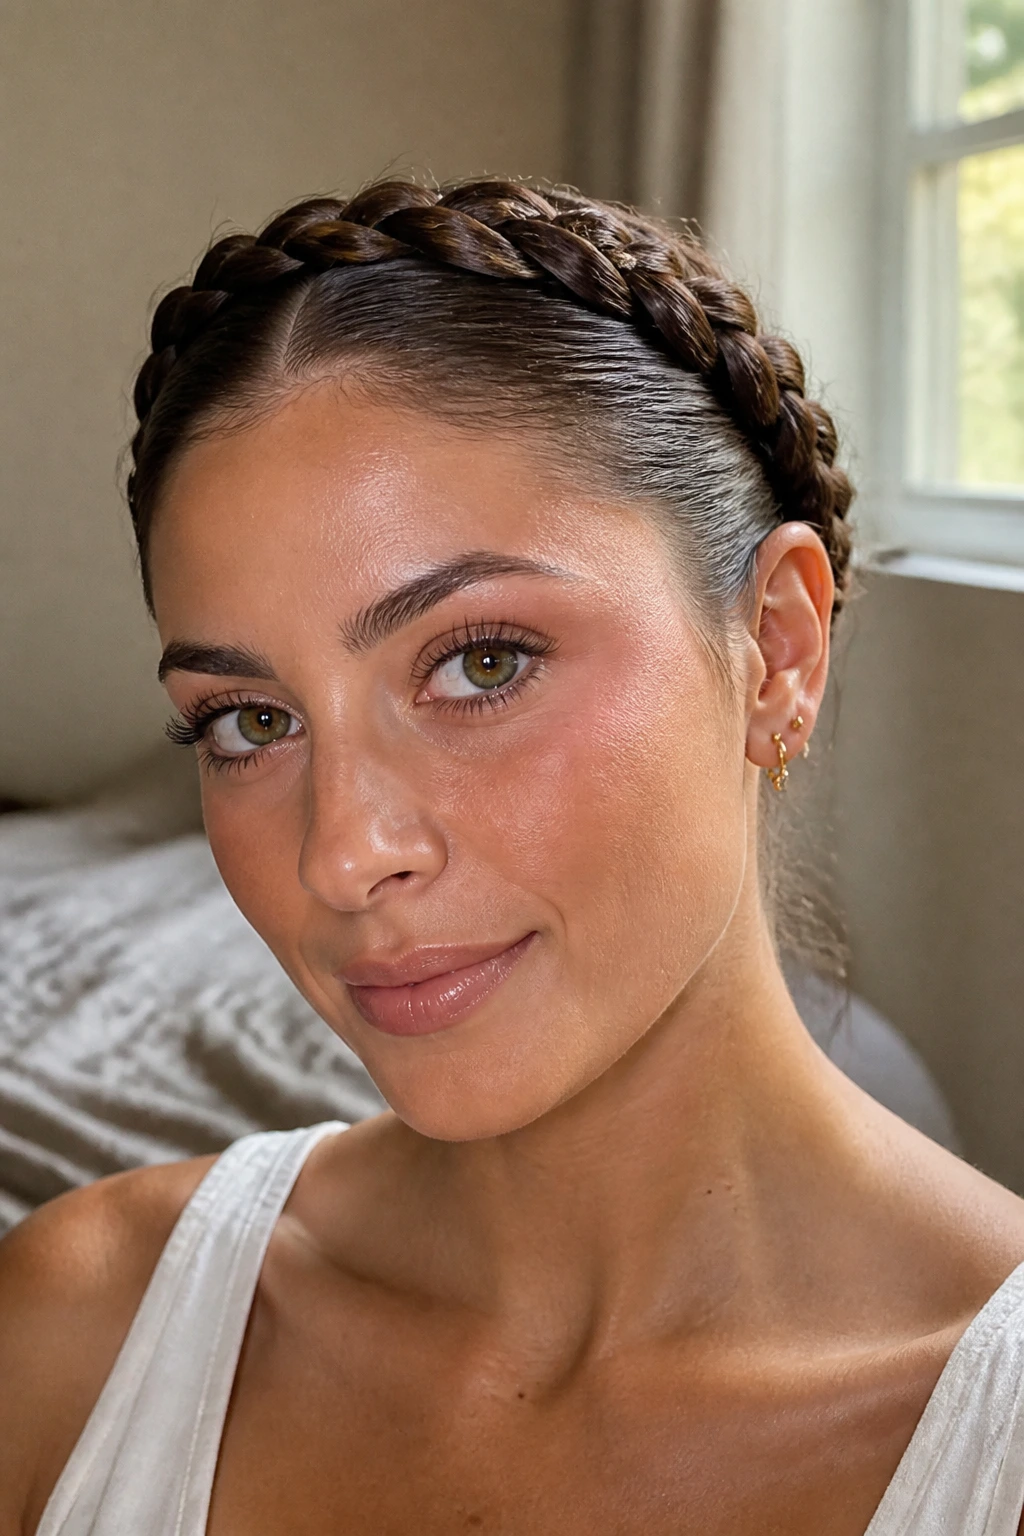
A crown braid can go sweet fast, but the wet finish pushes it into a cleaner, more polished lane. The braid wraps the head like a band, while the glossy roots keep the style from feeling heavy.
This is a strong choice if you want your hair off your face without flattening the whole head. Braid close to the hairline, pin it carefully, and smooth the rest of the lengths back. A crown braid looks best when the product is strong enough to hold the little pieces at the temples. That’s where it usually goes wrong.
20. Glass Hair With Face-Framing Pieces
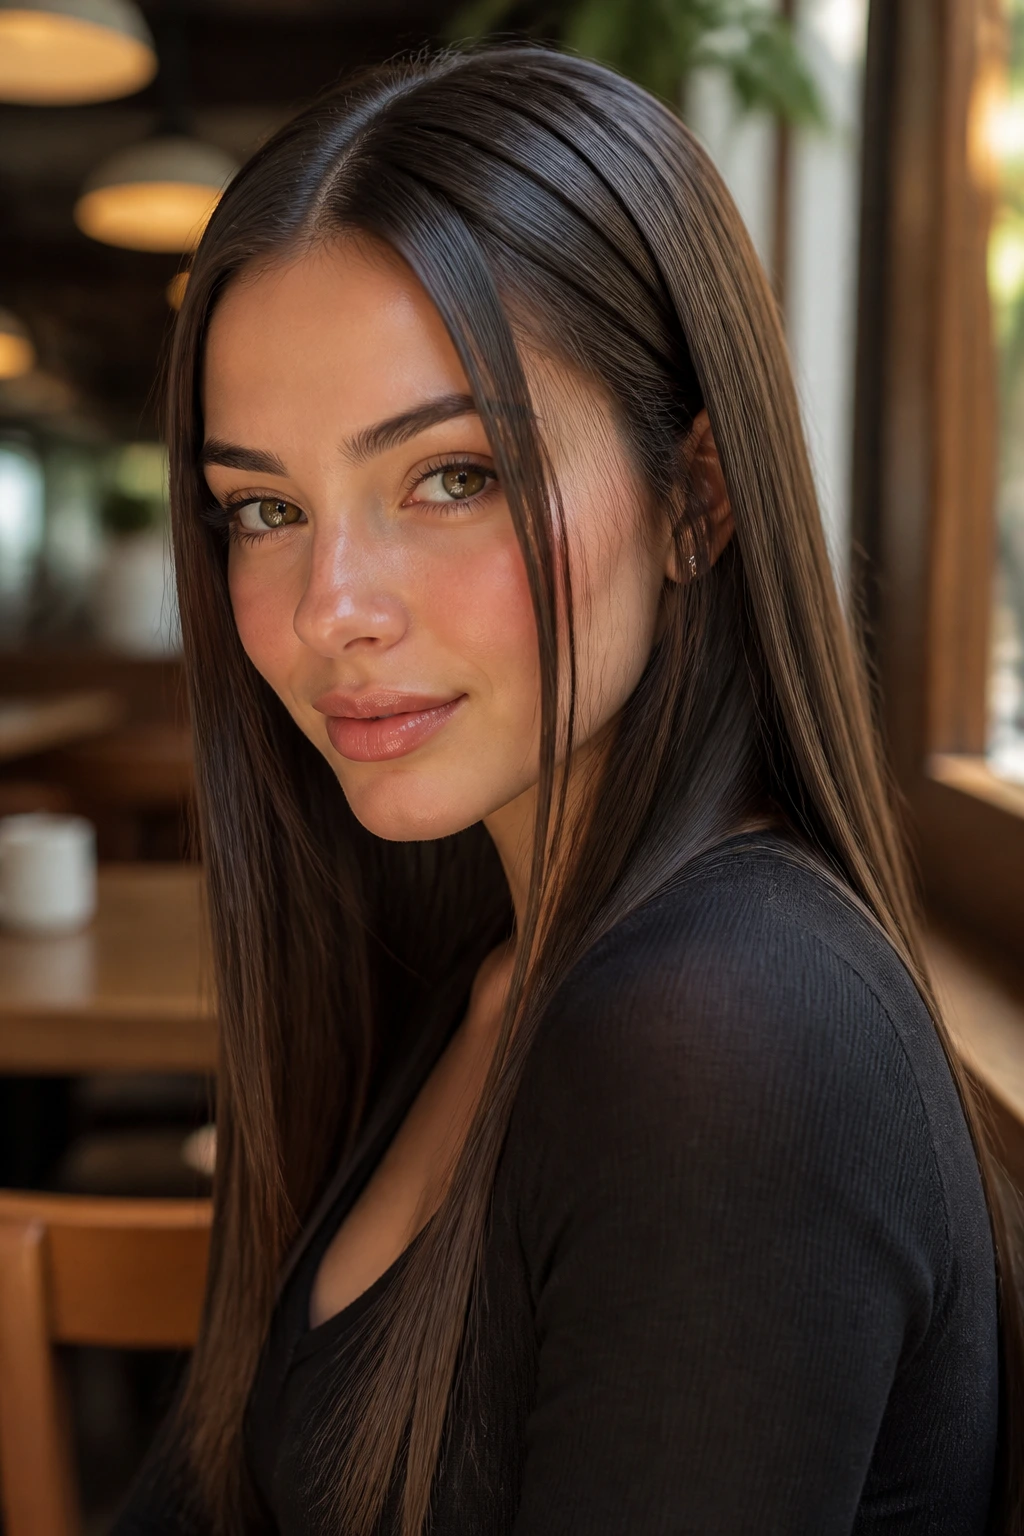
Not every slicked style needs to pull every strand back. A few face-framing pieces can soften the look, especially when the rest of the hair is smooth and shiny enough to contrast with them.
This works well on long hair with layers around the front. Keep the crown and sides flat, then let the front pieces skim the cheekbone or jawline. The trick is restraint. If too many pieces escape, the style stops looking sleek. If only two or four strands stay loose, the wet look feels more human.
21. Slicked-Back Afro Puff
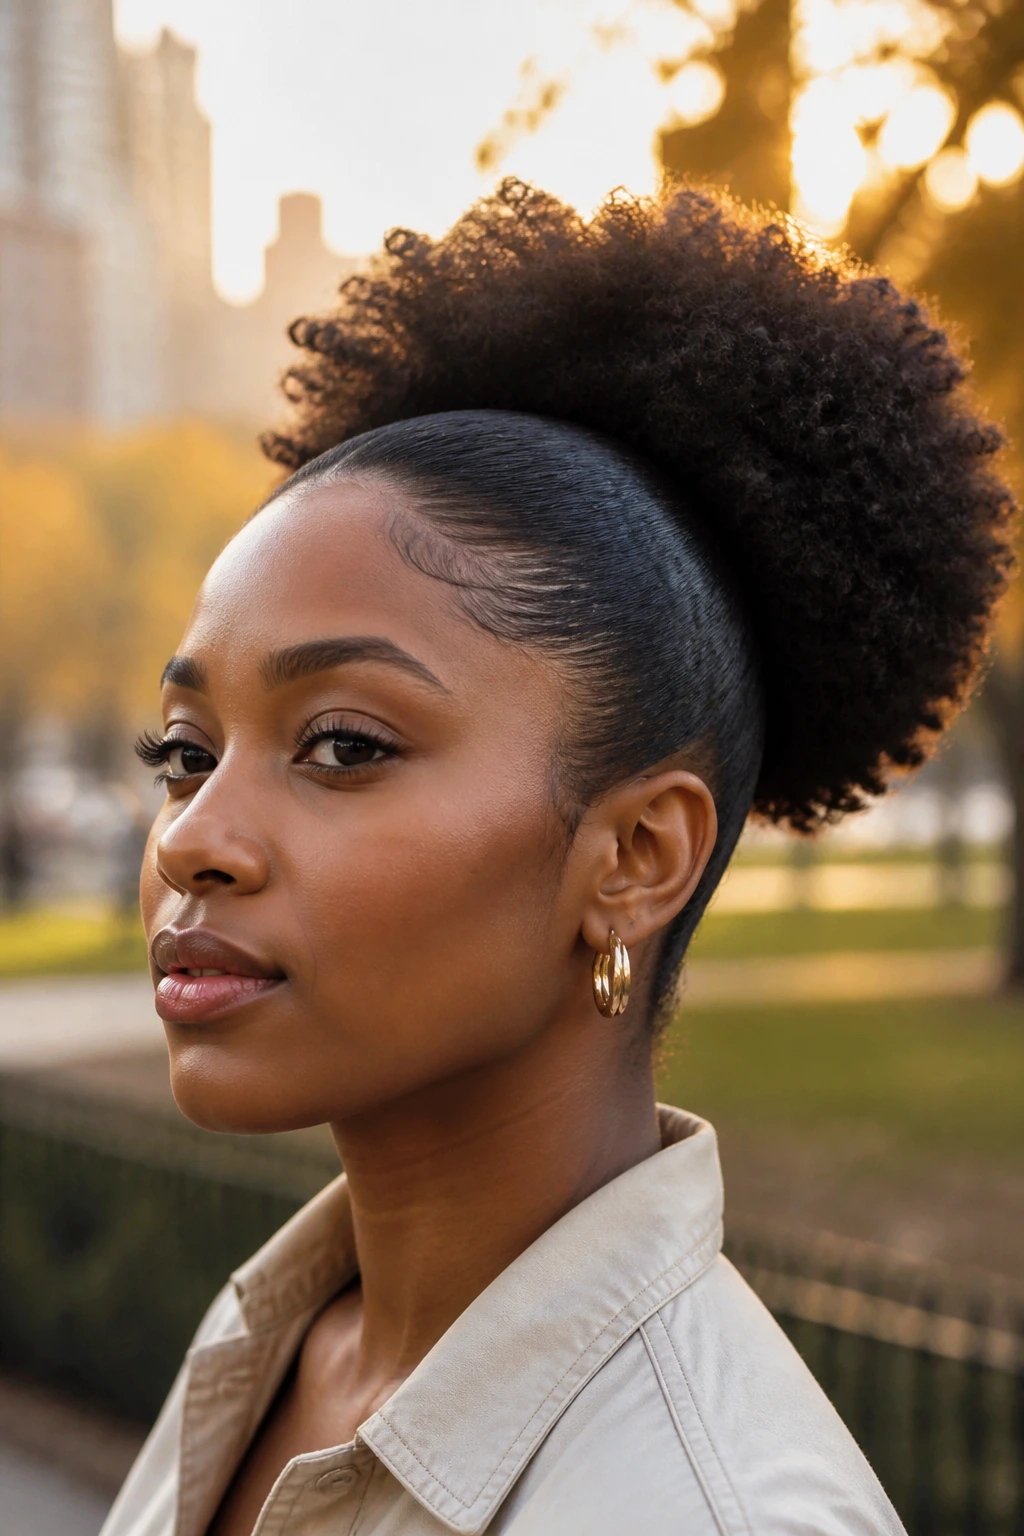
For coily hair, a sleek wet look can be all about the base. The roots are smoothed back, the edges are controlled, and the puff keeps its shape and volume where it belongs.
This is one of my favorite versions because it respects texture instead of fighting it. Use a moisturizing gel or cream at the front, then gather the hair into a puff without stretching out the curl pattern too much. The contrast between the tight front and the full puff at the back is what makes it work. Too much product through the puff itself can make it feel heavy.
22. Wet Space Buns
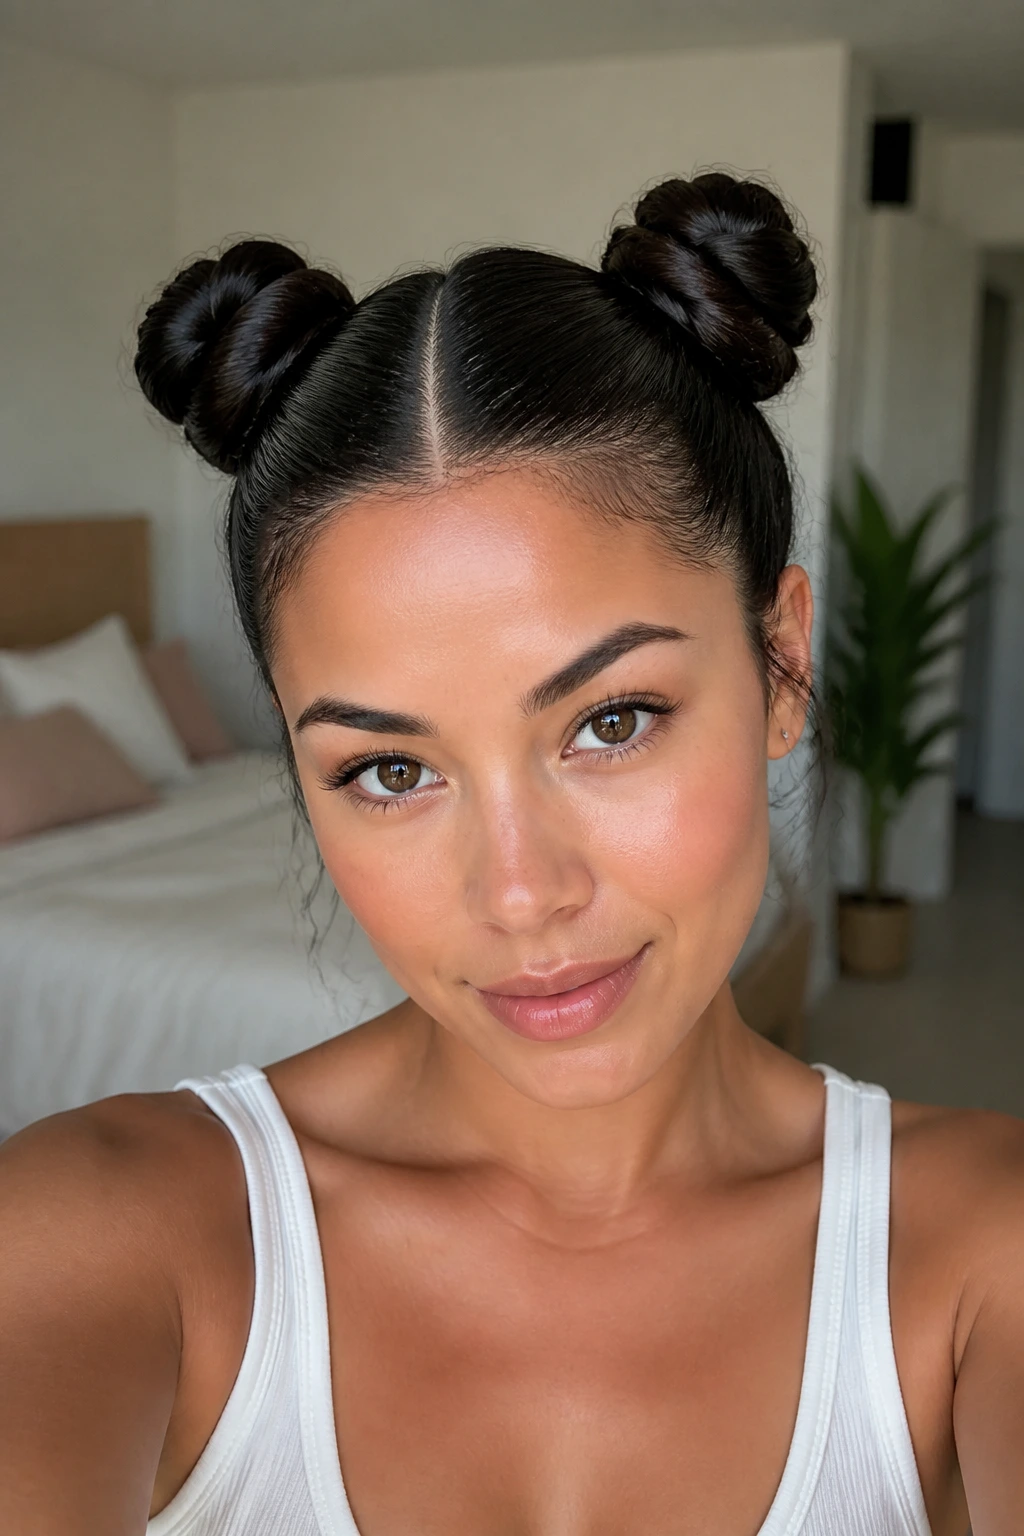
Space buns get a cleaner outline when the base is slicked down first. The wet finish keeps the part crisp, and the twin buns sit up with more shape than a loose, fluffy version ever could.
This style is especially useful when you want something playful that still looks planned. Part the hair in the center, smooth the sides, and build each bun at the same height. A little shine spray over the top finishes it off. If the hair around the ears starts puffing, pin it down before it dries. Once it sets, it stays set.
23. French Roll With Shine
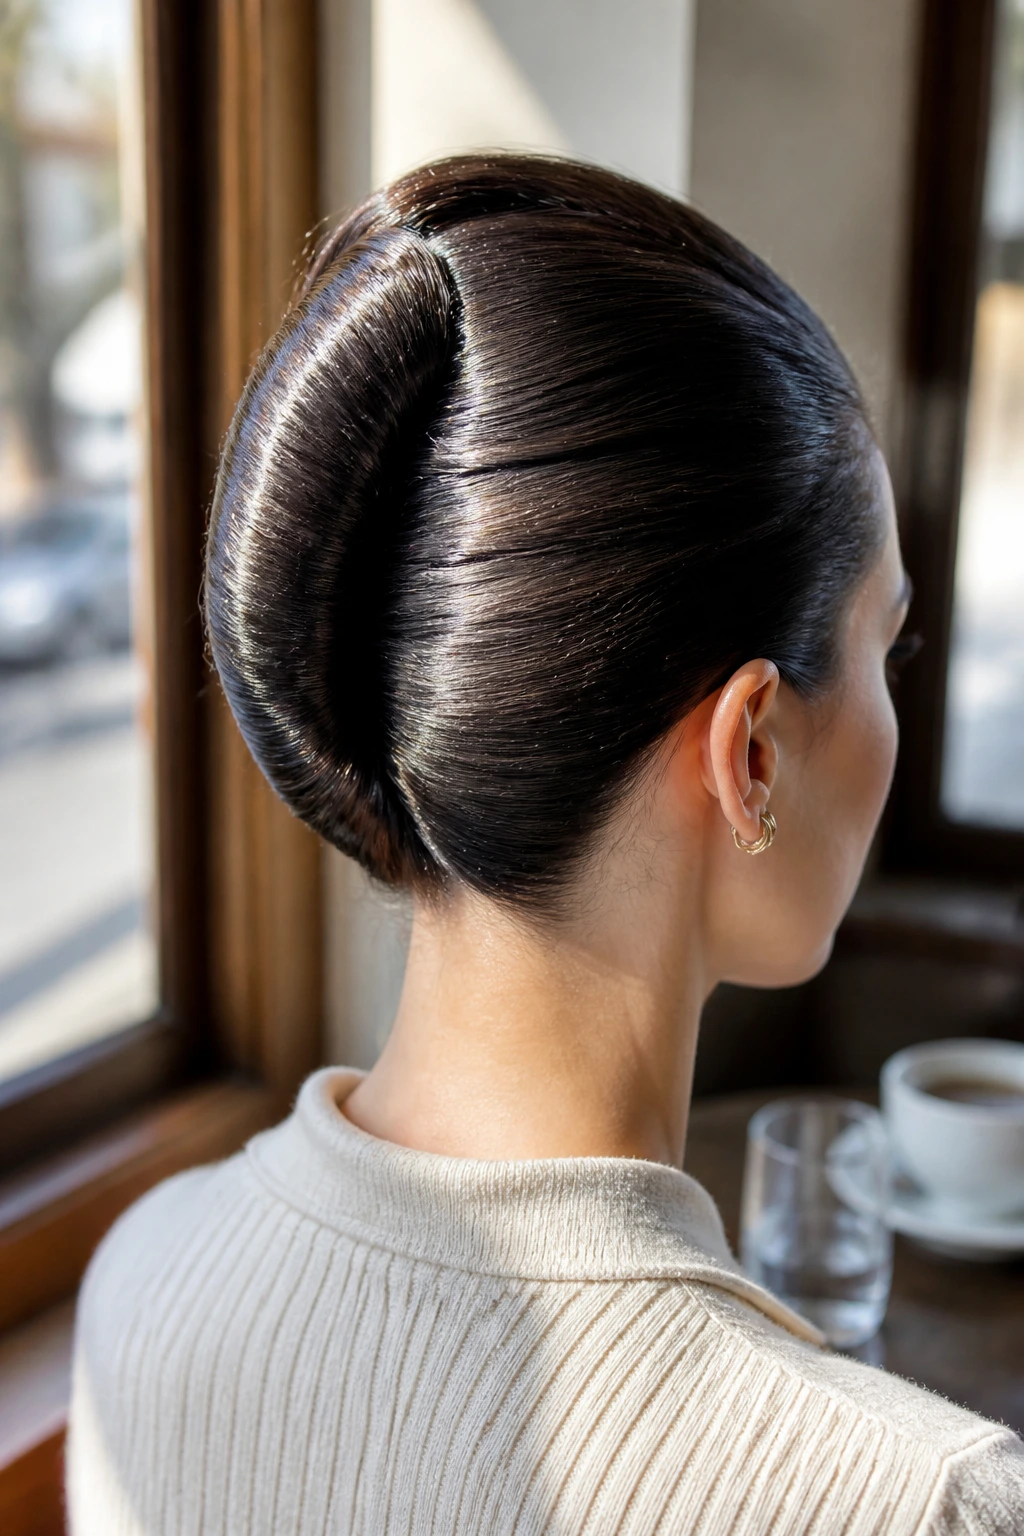
The French roll is a classic updo, but a wet finish strips away any old-fashioned stiffness. What’s left is a sleek shell of hair with a clean vertical line and just enough polish to feel current.
This style works best on medium to long hair with some smoothness already in it. Roll the hair upward at the back, tuck the ends inside, and pin the seam tightly. The front should stay flat and combed back without bulk. If the roll starts to look lumpy, it usually means the sectioning was too wide.
24. Finger Waves With Gel
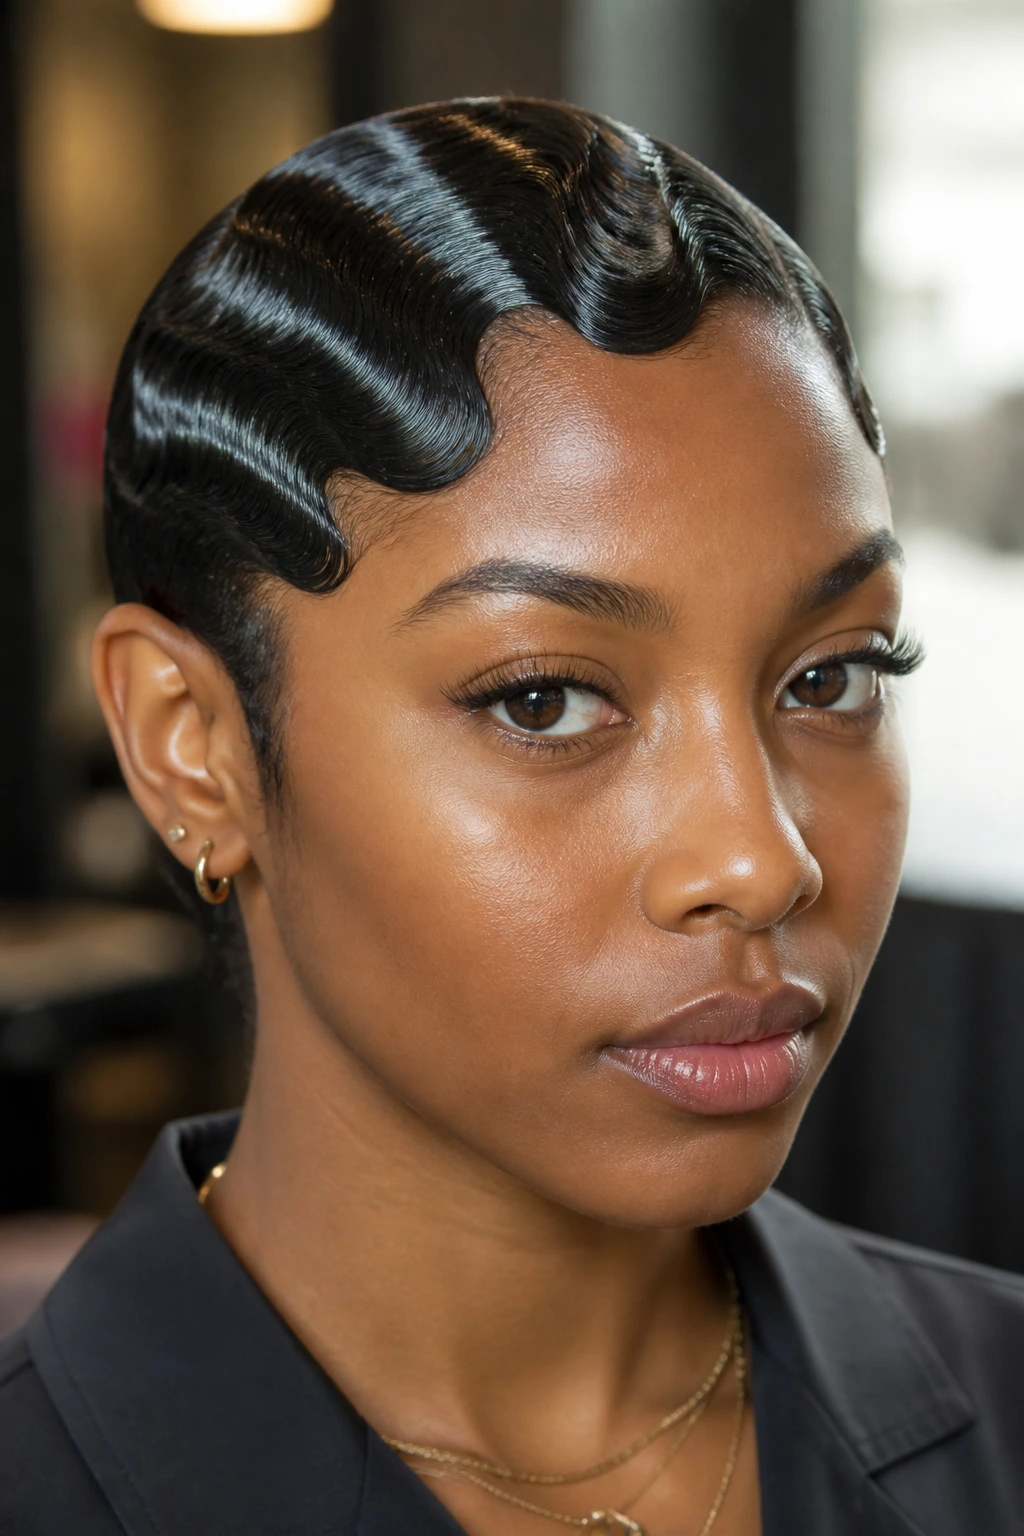
Finger waves are a true wet look staple because the style was built for shine, not volume. The S-shaped curves cling close to the head and turn short or medium hair into something almost sculpted.
This one takes patience, not fancy tools. A comb, clips, and a strong styling gel are enough. Work in small sections and set each ridge before moving on. If you’ve never made finger waves before, the first side will probably look better than the second. That’s normal. Keep going anyway. The symmetry improves once both sides are pinned and dried.
25. Mermaid Braid Finish
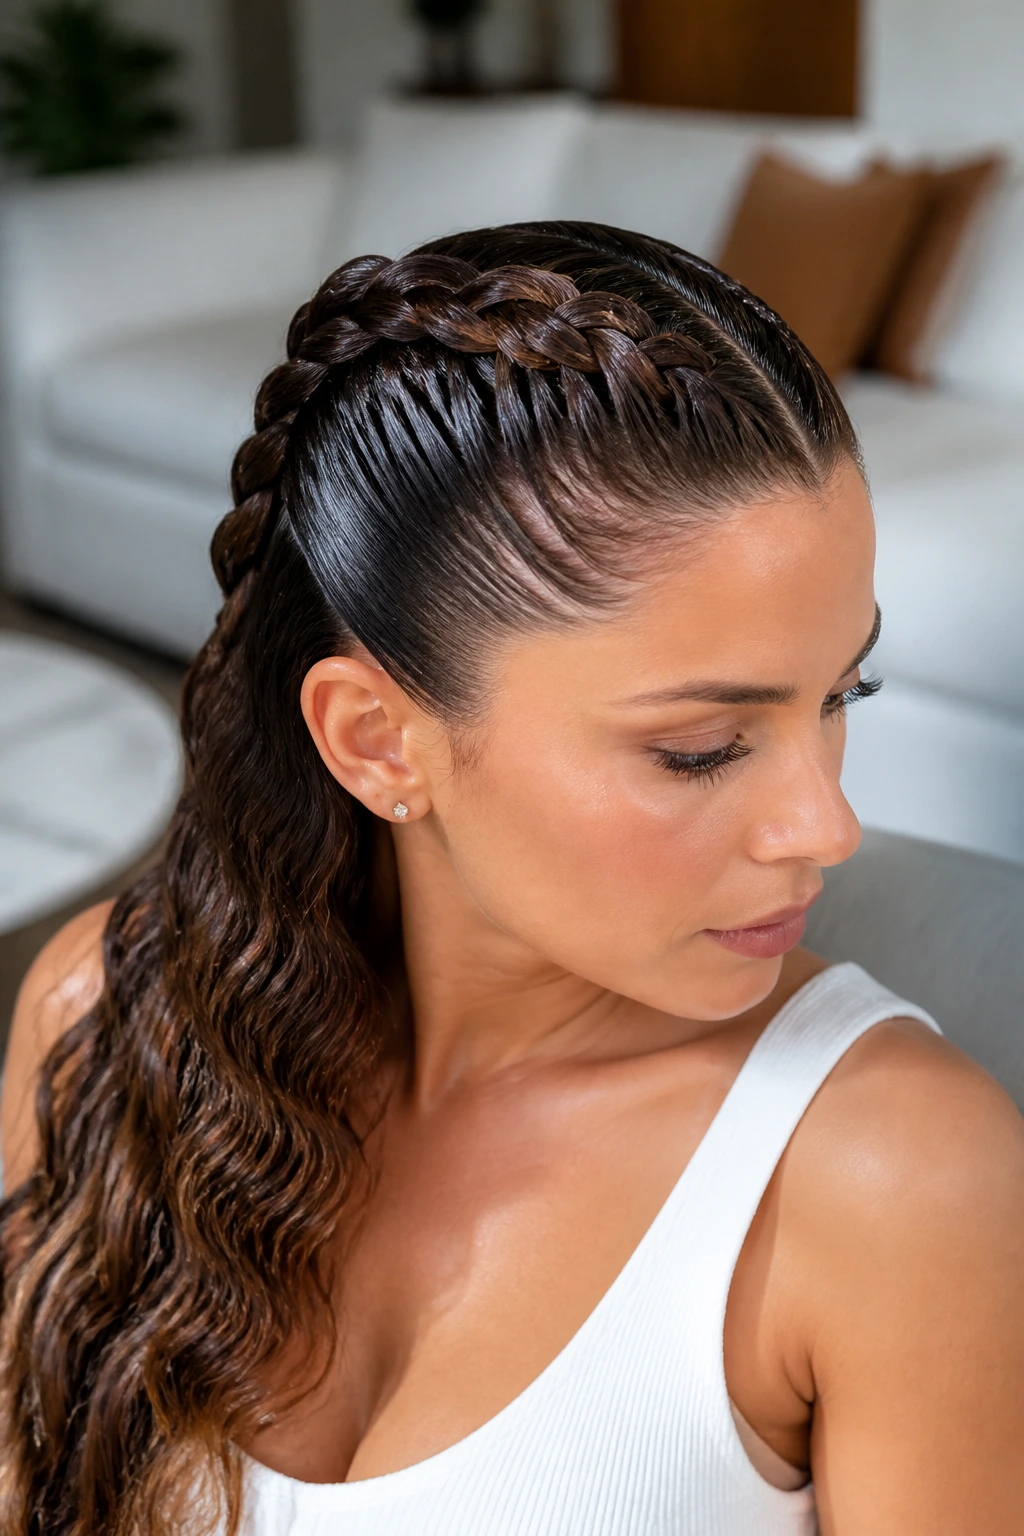
A mermaid braid gets its cleanest look when the roots are glossy and the braid itself stays tight through the top half. The loose texture in the lower sections then feels like a choice, not a mess.
This is a nice option for long, layered hair that needs the braid to hold shape. Start with a smooth base, braid loosely at first, then tighten the upper section where the style needs structure. Leave the tail a little textured. That contrast between slick roots and softer braid lengths is what gives the style its weight.
26. Low Knot With Loose Ends
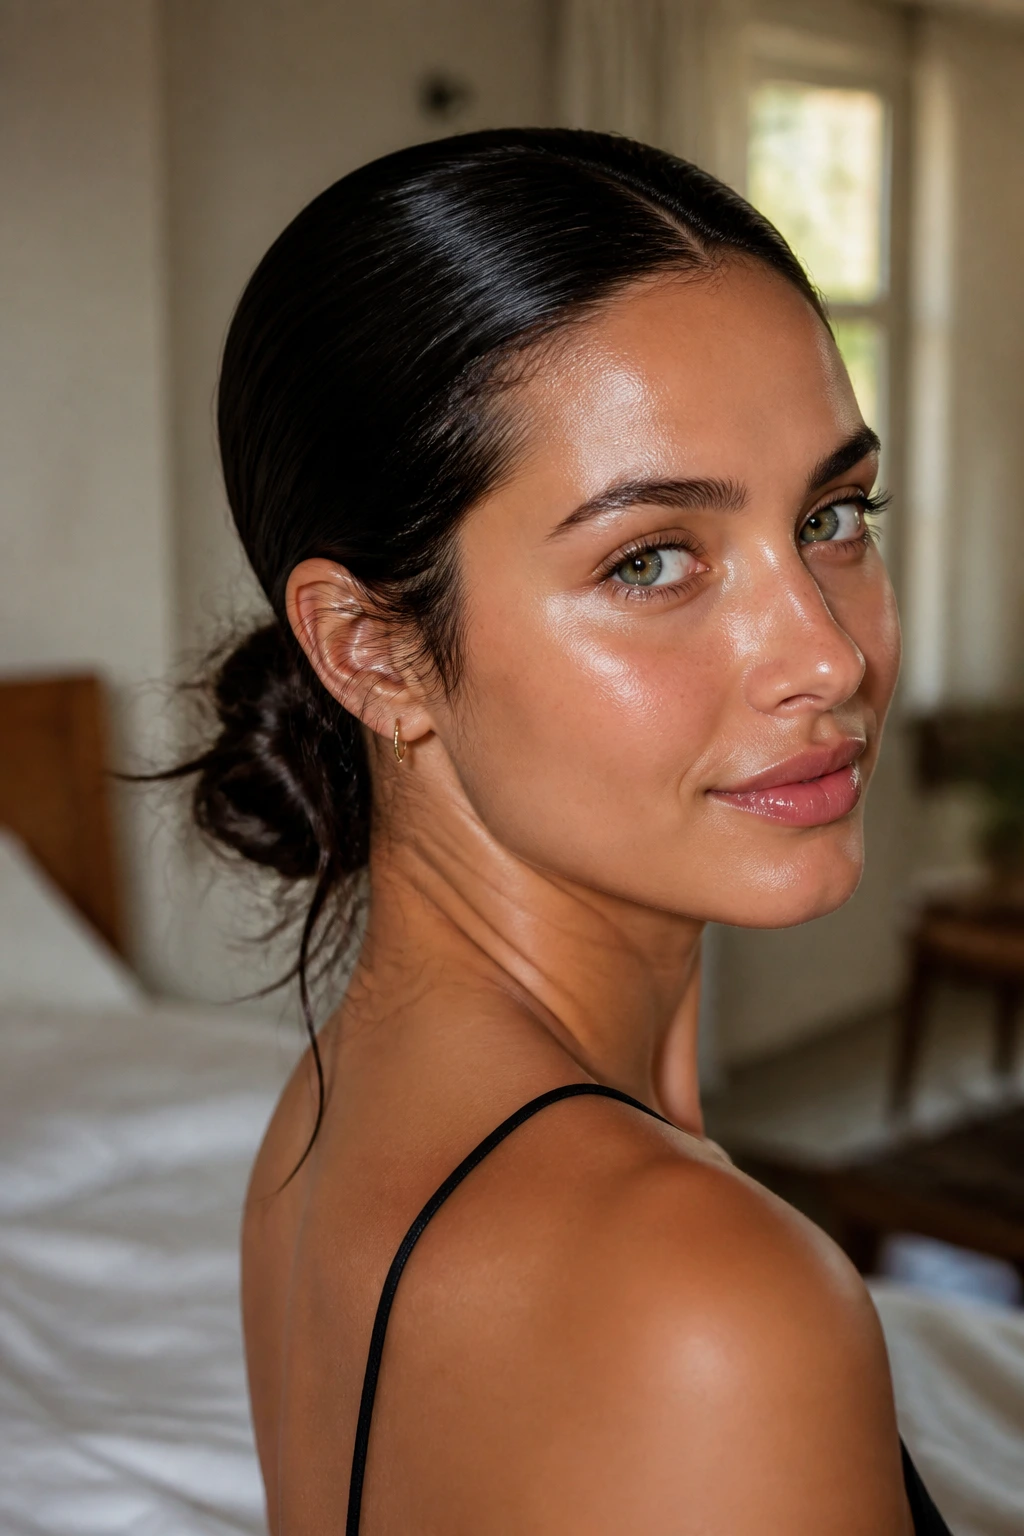
A low knot with a few loose ends is less formal than a strict chignon, and that’s part of its appeal. The hair at the nape stays sleek, but the ends give the style a little motion.
I like this when I want the wet look to feel easier to wear. Twist the ponytail into a knot, then let a few ends stay visible instead of tucking every last inch away. It reads relaxed, but not sloppy, as long as the top of the head stays tight. If the knot is too perfect, the style can lose that softer edge.
27. Curtain Bangs With Sleek Base
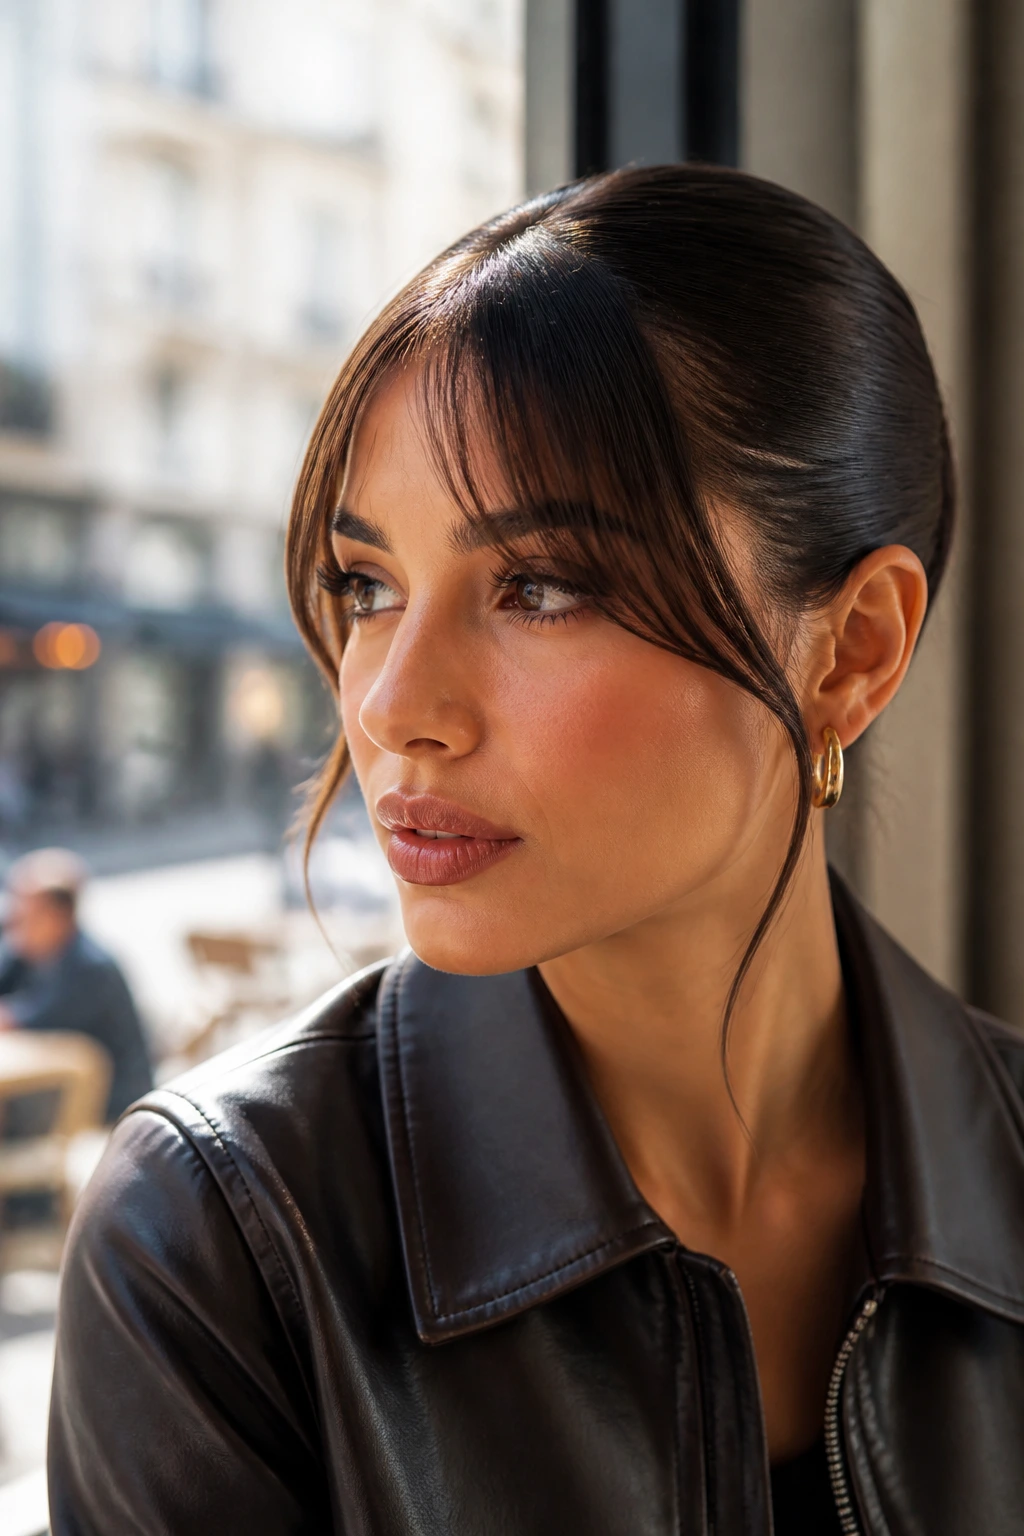
Curtain bangs can work with a wet look if the roots stay flat and the bangs are shaped with a lighter hand. The rest of the hair can be slicked back while the fringe keeps a bit of swing.
This style is useful when you want movement near the face without breaking the slick finish everywhere else. Comb the bangs to each side, keep the roots smooth, and let the ends bend naturally. Heavy product on the bangs usually turns them stringy, so use less there than you use at the crown. That tiny adjustment makes the whole style read cleaner.
28. Wet-Look Bang Sweep
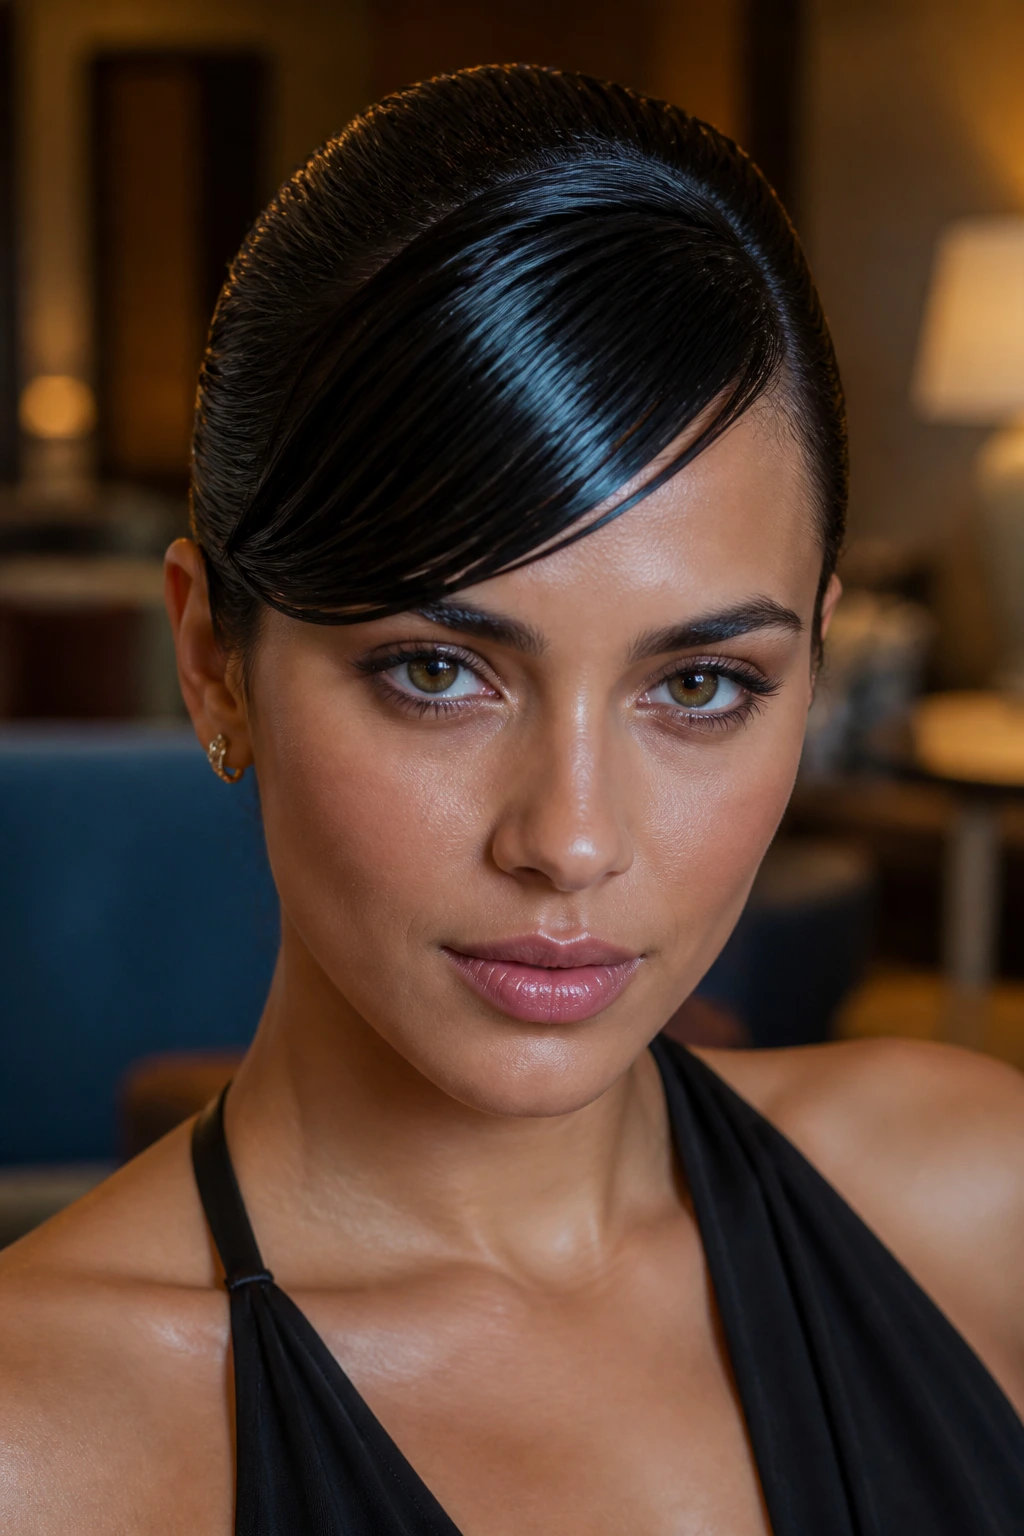
A side-swept fringe changes the energy of the whole hairstyle. Instead of splitting the face straight down the middle, the sweep softens the line and gives the style a little drama.
This works especially well with longer bangs or a heavy fringe that usually wants to separate. Push the hair diagonally across the forehead, secure it lightly at the side, and keep the rest of the hair pulled back. The bang area should look glossy and controlled, not pasted down. A brush with fine teeth helps more than fingers here.
29. Top Knot With Sculpted Sides
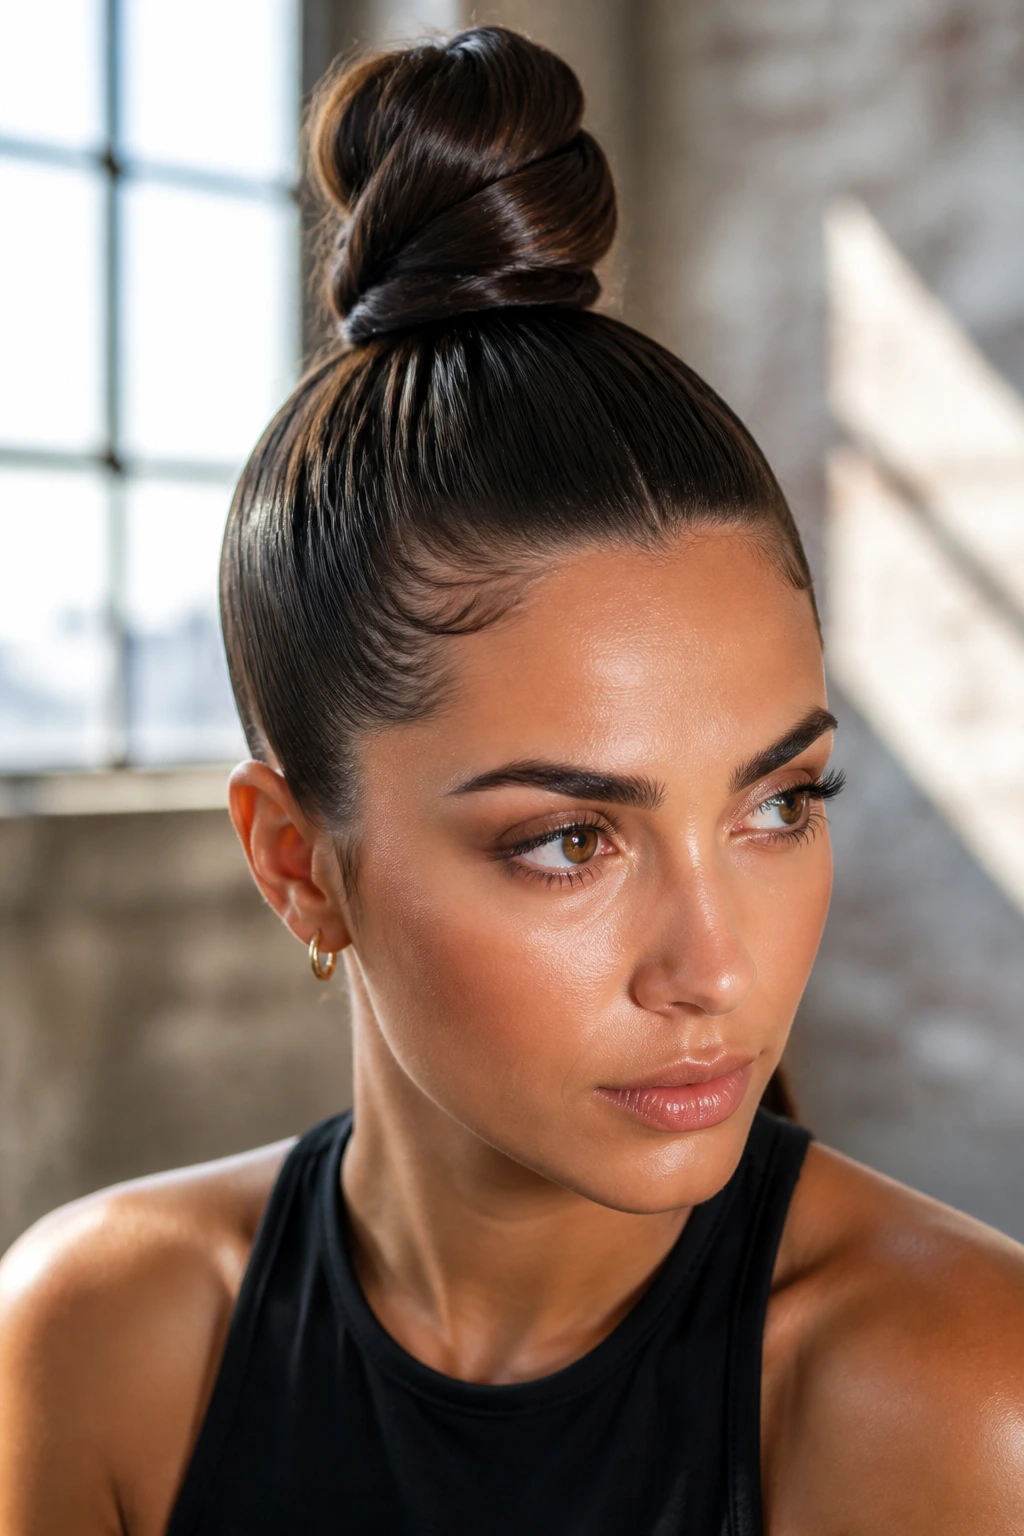
A top knot can still read sleek if the sides are carefully smoothed before the hair goes up. The knot itself sits high, but the base stays polished enough to keep the style from looking rushed.
This is the version I use when I want height without frizz. Pull the hair tight at the crown, twist the knot, and pinch the sides flat before the product sets. If the top looks airy and the sides look sharp, the contrast gives the style more shape. A loose top knot and a wet look are not the same thing.
30. Side Bun With Deep Part
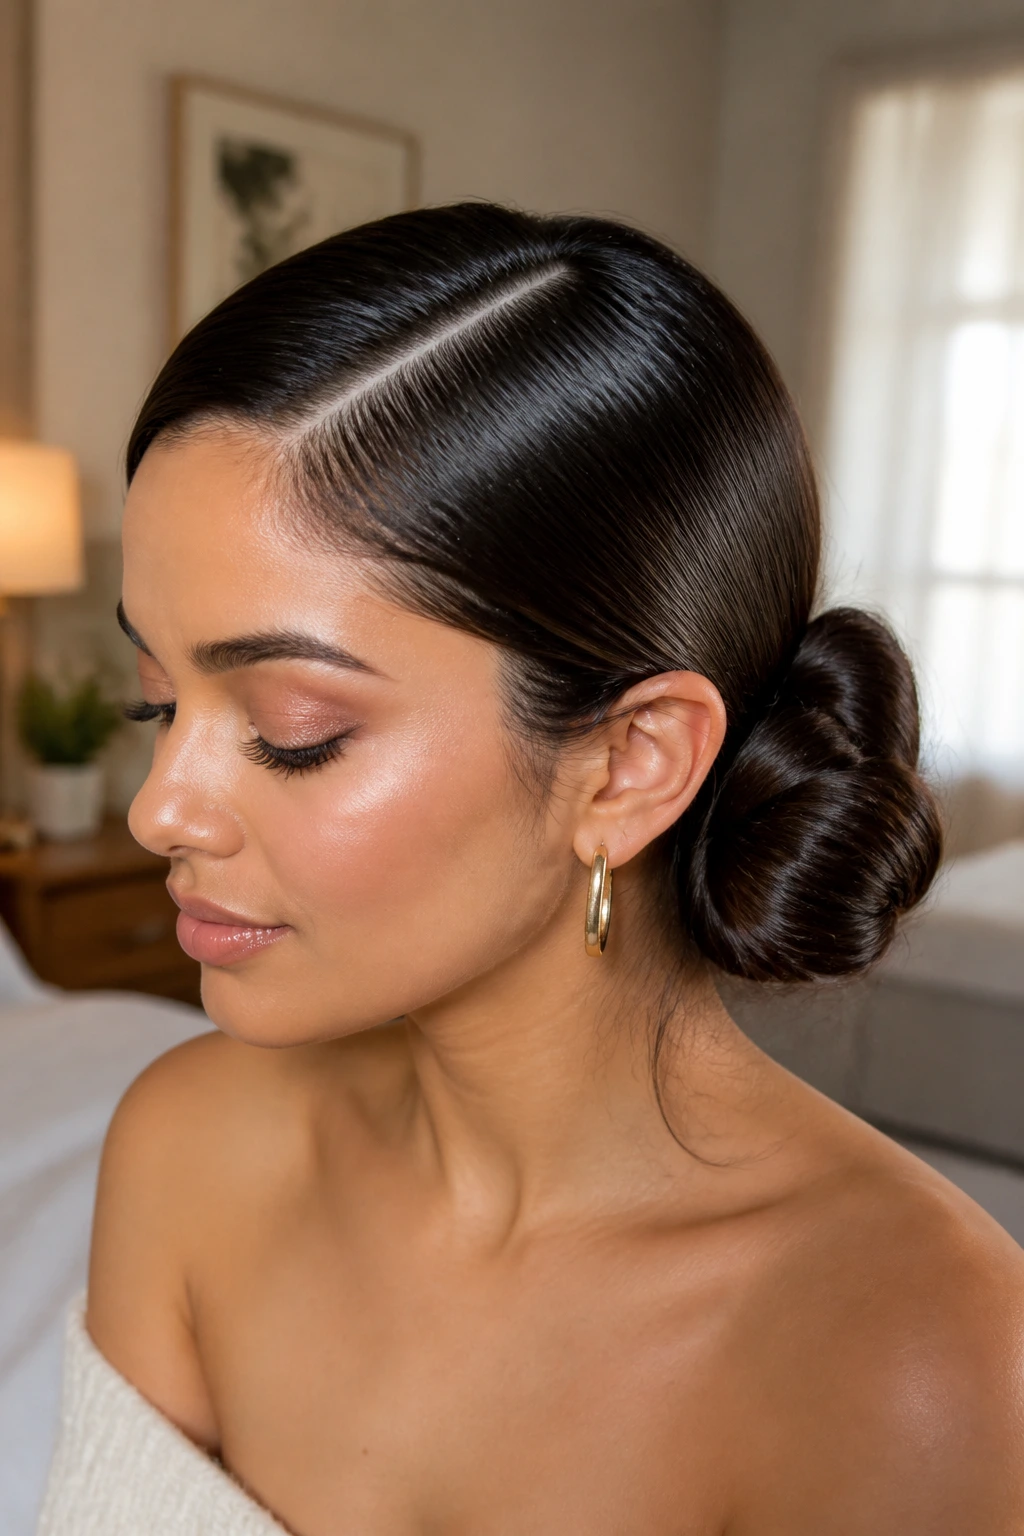
A side bun gives the wet look a softer profile. The deep part makes the style feel a little older-school, while the glossy base keeps it from turning fussy.
I reach for this with statement earrings or a strong neckline. Sweep the hair across one side, secure the bun low and off-center, and smooth the part so it disappears into the rest of the finish. The bun can be tidy or slightly twisted; both work. What matters is that the front stays controlled and the weight of the bun sits where you want the eye to land.
31. Loc Ponytail With Shine
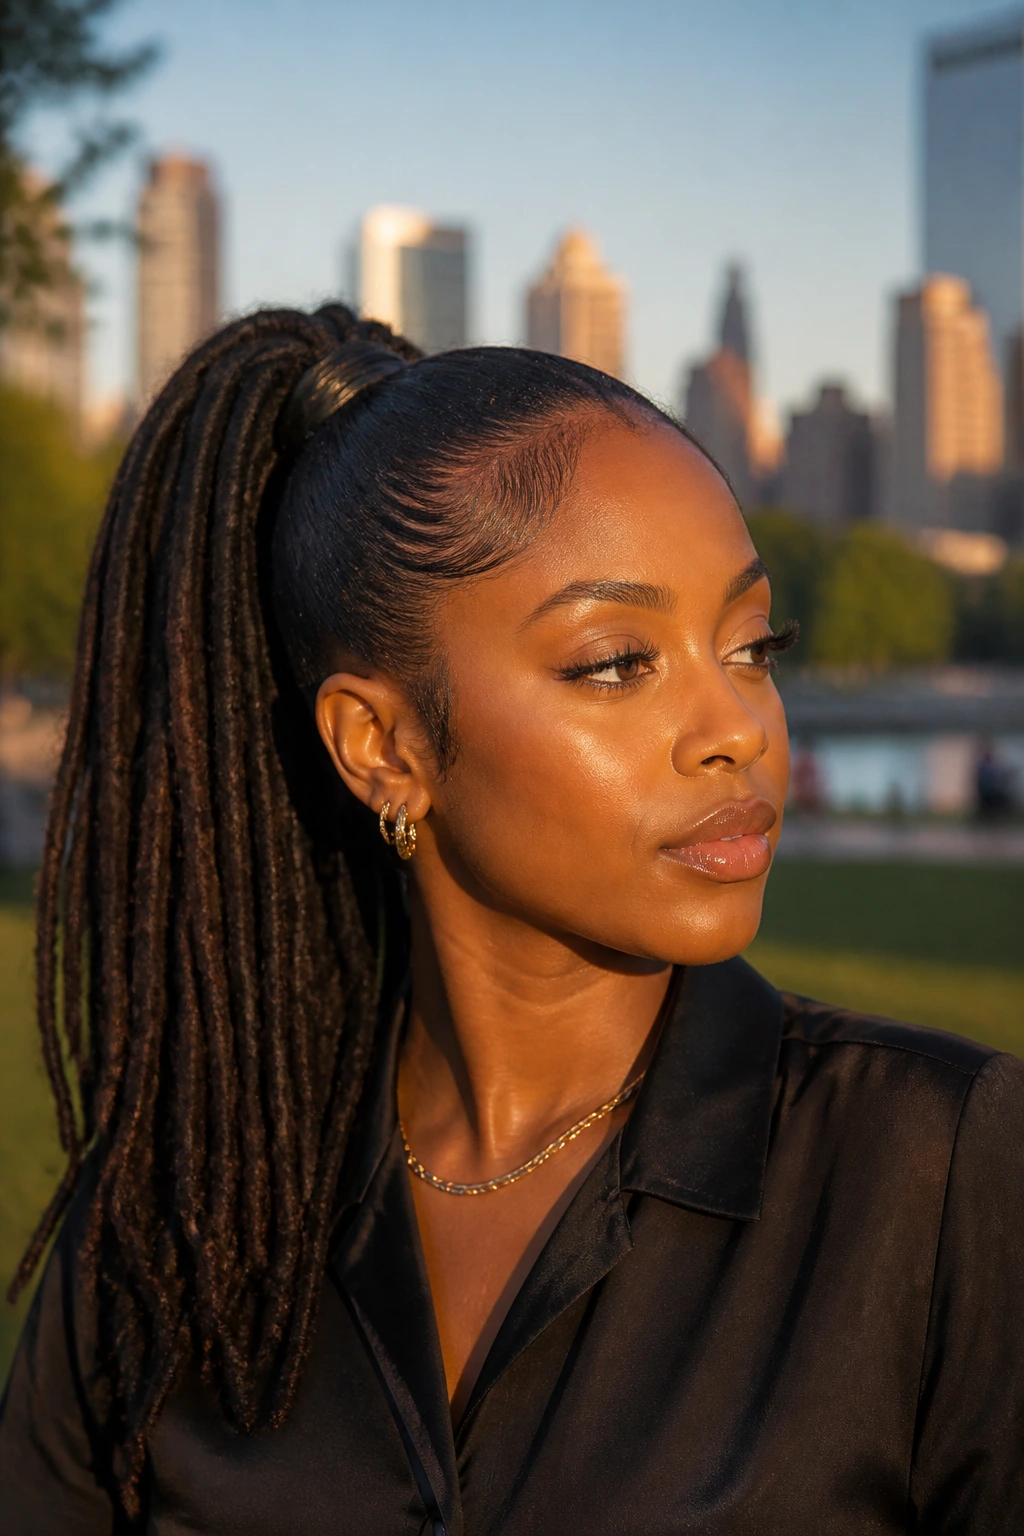
Locs take shine differently, and that’s part of the appeal. A sleek wet look on locs is less about flattening and more about controlling the roots, shaping the base, and letting the length move cleanly.
This ponytail is especially strong when the locs are gathered high or low with a polished wrap around the base. A little oil or sheen spray on the surface helps, but too much product can make the roots limp. Keep the scalp neat, secure the ponytail firmly, and let the locs fall with weight. The style should feel clean, not slippery.
32. Sleek Wet Lob With Ear Tuck
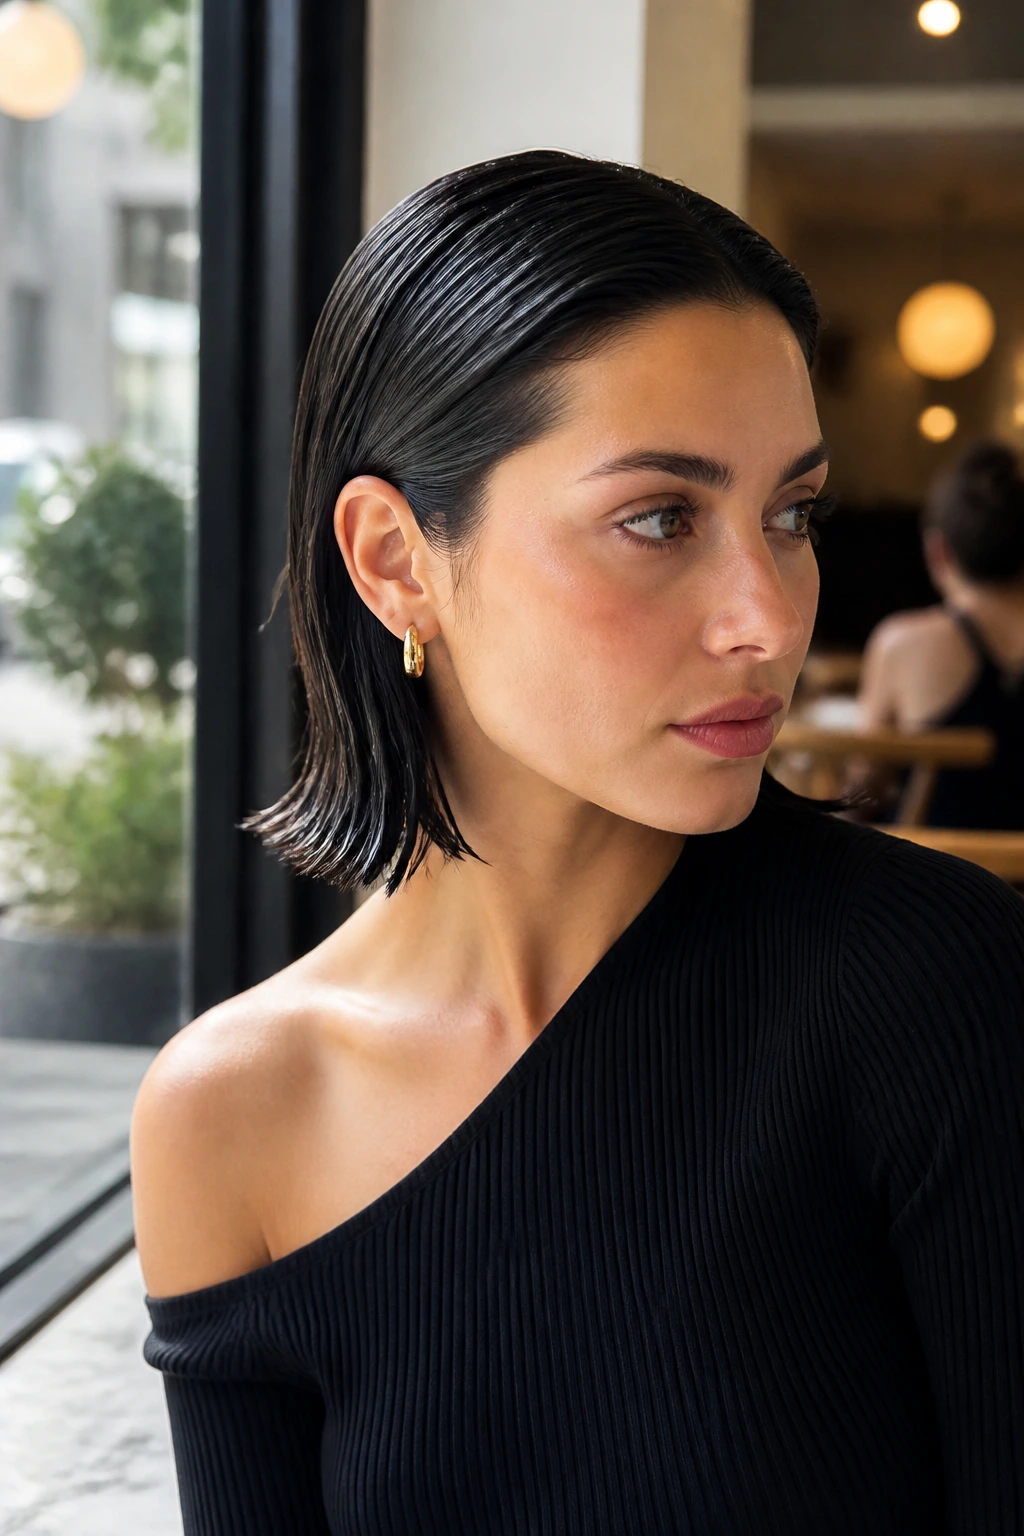
A lob tucked behind the ears is one of the easiest ways to make the wet look feel wearable every day. The hair stays close to the head, the ends remain neat, and the whole shape looks tidy without trying too hard.
This is the style I’d hand to someone who wants something low-drama but not boring. Keep the crown smooth, tuck one or both sides, and let the ends sit in a clean line at the jaw or collarbone. It works because it respects the haircut instead of fighting it. That’s the whole point, really.
Why the Wet Look Starts With the Right Surface
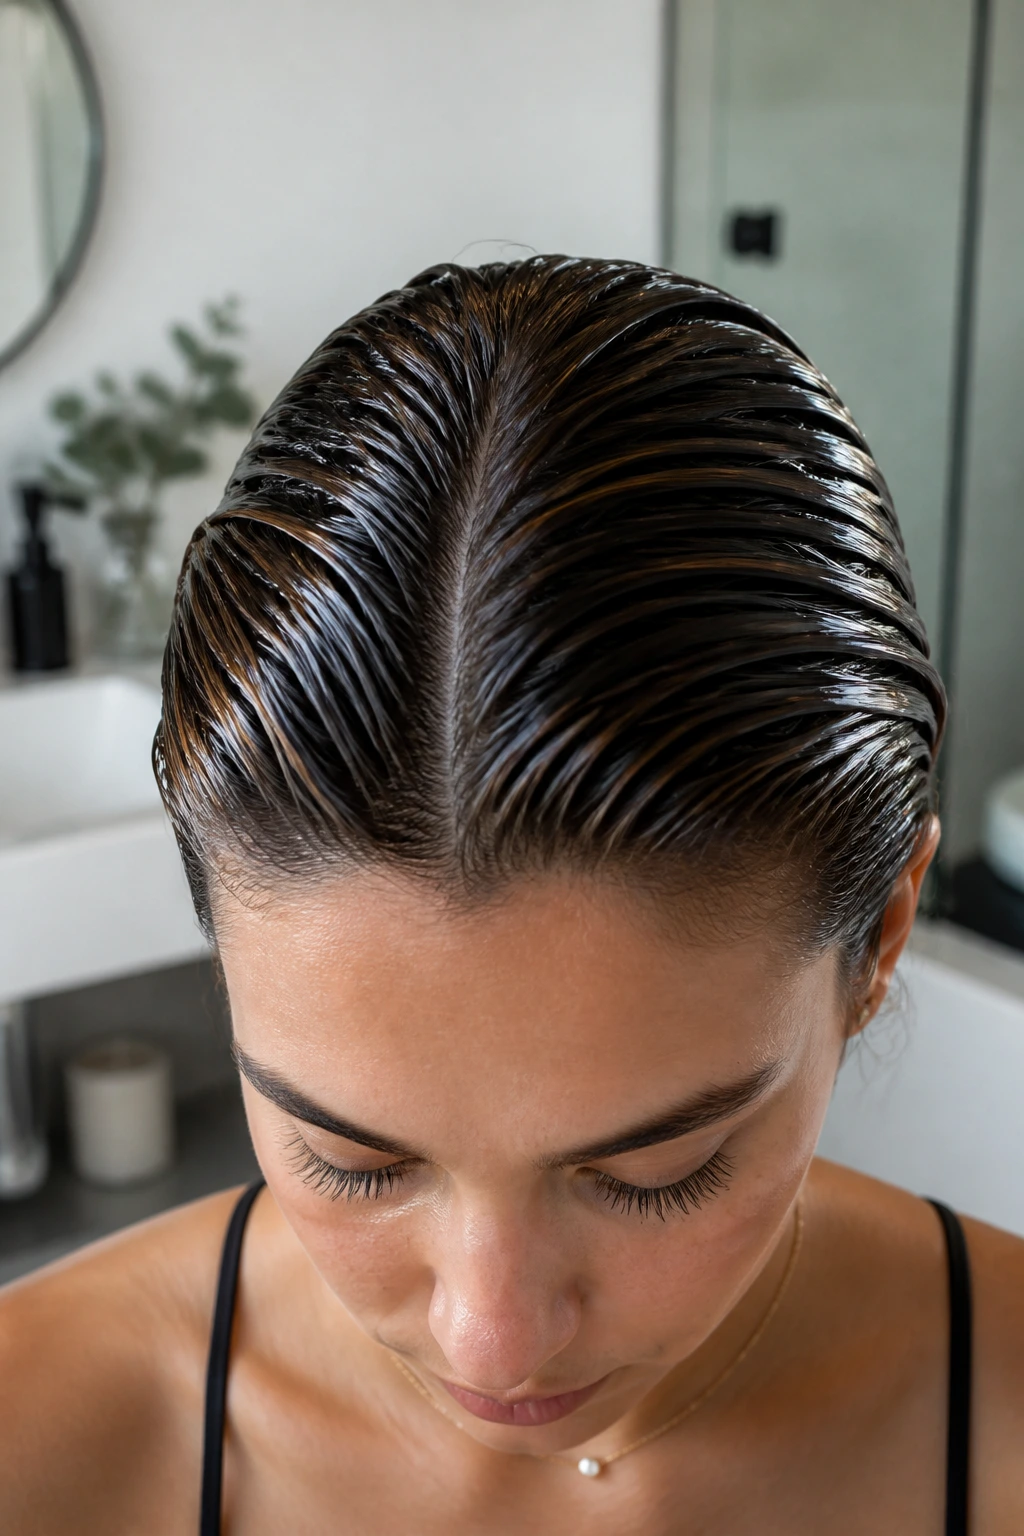
The trick behind a polished slicked style is not drowning the hair in product. It’s building a surface that reflects light in a controlled way. Hair that is just greasy separates at the roots and looks stringy through the mid-lengths. Hair that is styled well stays shiny, but the shape still makes sense.
I like to think of it in layers. A damp base, a grip product near the roots, a smoothing layer through the top half, then a finishing mist or serum only where the hair needs it. That order matters. If you throw heavy oil on first, everything slides around and the part gets muddy. If you use too little hold, the whole style disappears the moment you step outside.
The other thing people miss is tension. Wet look hairstyles are not just about product; they’re about brushing the hair into the position you want and making it stay there long enough to set. A tail comb, a firm brush, and a few careful sections will do more than ten random passes with your hands.
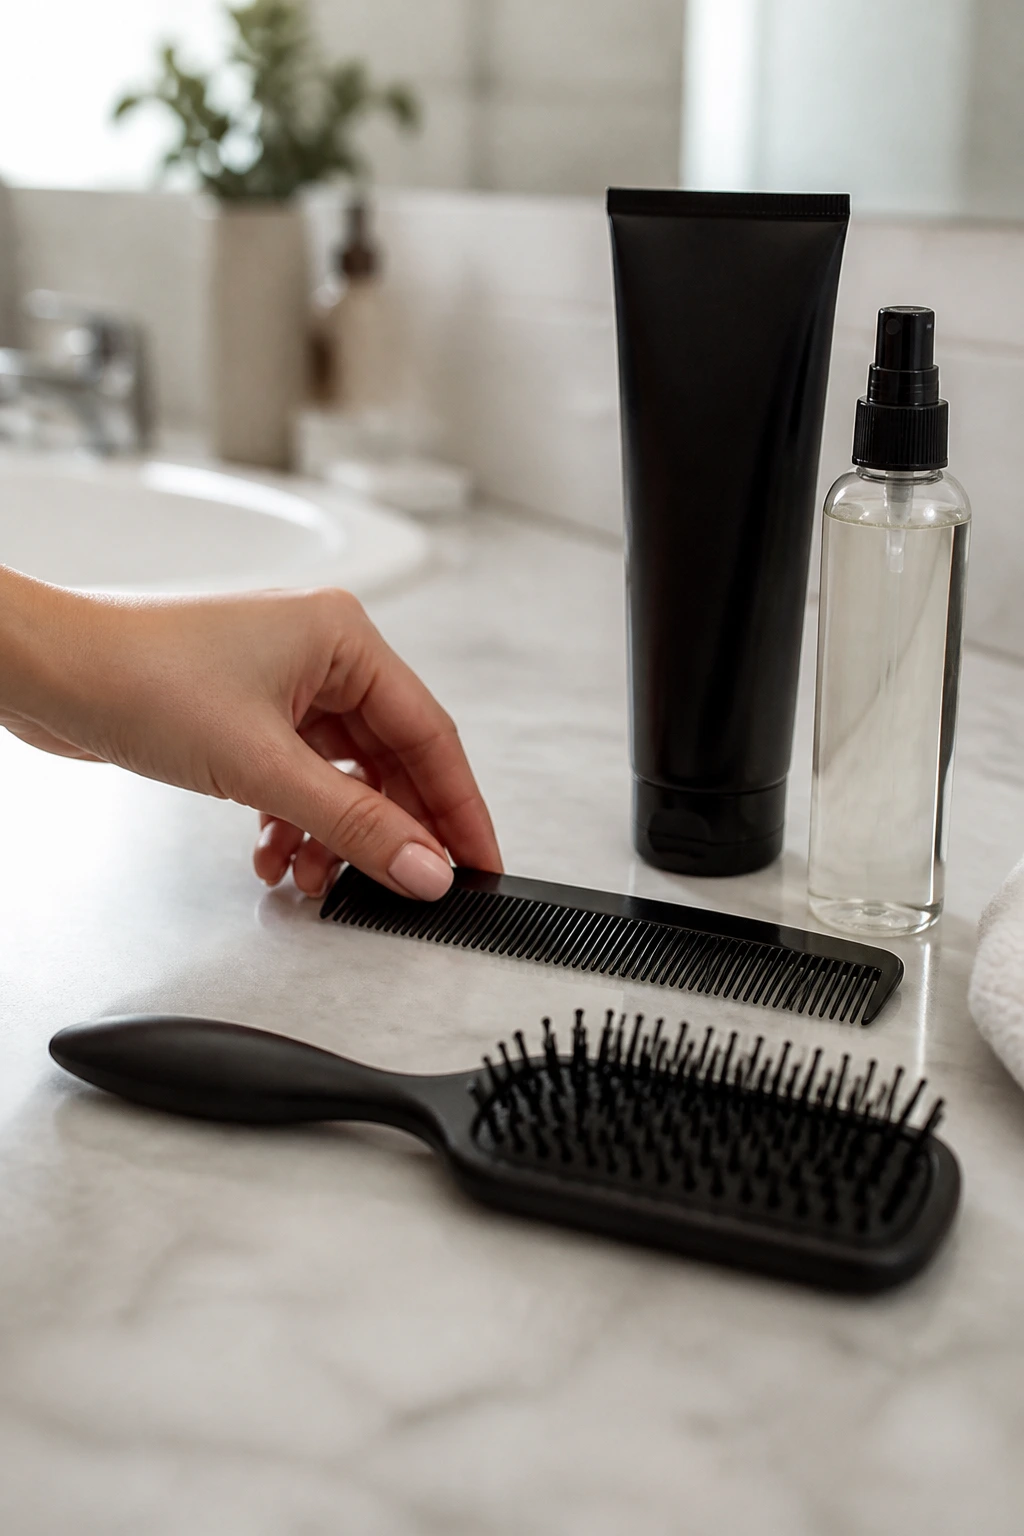
What to Keep on Your Counter Before You Start
-
Fine-tooth comb: Essential for sharp parts and smoothing the crown without leaving brush marks.
-
Boar-bristle or smoothing brush: Helps press the hair flat and distribute product through the top layer.
-
Strong-hold gel or styling cream: This is what keeps flyaways from popping back up.
-
Light leave-in conditioner: Useful on hair that gets dry or frizzy fast; it gives slip before the hold goes on.
-
Shine serum or gloss spray: A small amount on the finished surface adds sheen without making the roots look oily.
-
Sectioning clips: Handy when you need to work one side at a time, especially on thick hair.
-
Hair ties with good grip: Cheap elastics often slip on glossy hair, and that gets annoying fast.
-
Bobby pins and U-pins: Better for buns, rolls, braids, and anything that needs a hidden anchor.
-
Small edge brush or toothbrush: Useful for the hairline and temple area when you want a clean finish.
-
Spray bottle with water: Helps keep the hair damp enough to shape without soaking everything.
Choosing the Right Products for Wet Look Hair
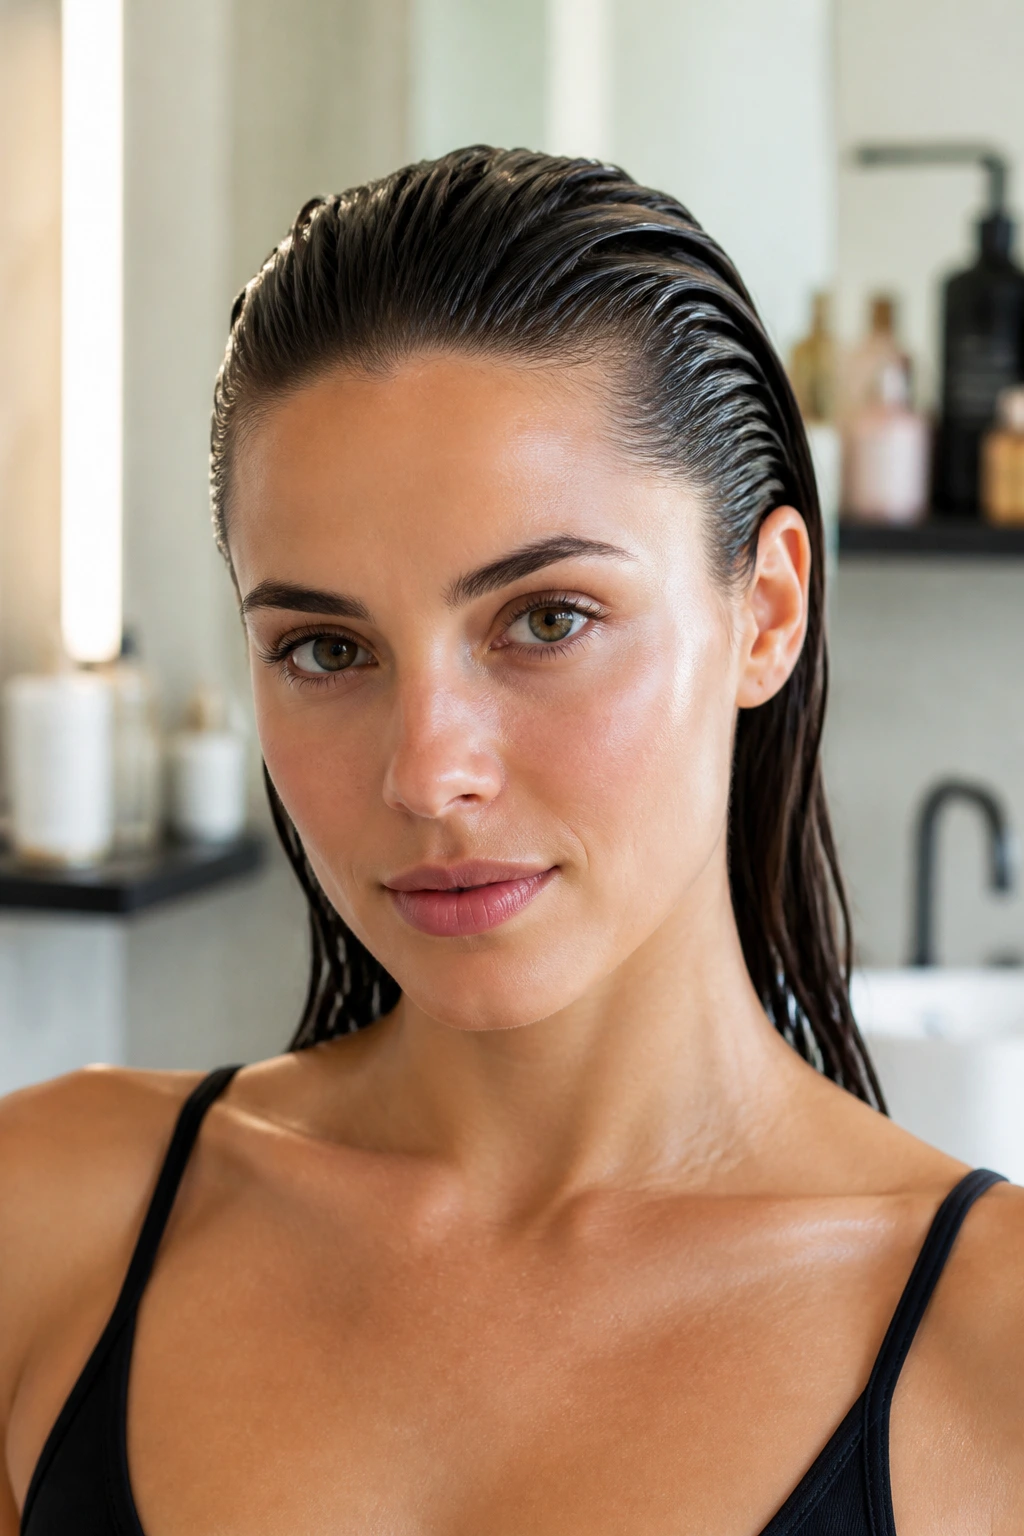
The easiest mistake is assuming one gel does everything. It doesn’t. A stiff, clear gel can give you that glassy hold at the crown, while a creamier styler may be better for curls or coily hair that needs slip before the set. If your hair flakes easily, test the gel on a small section first. Some formulas turn white the second they dry, and that ruins the whole effect.
Hold matters more than scent. If you want a ponytail that stays flat for hours, reach for a stronger hold and use less of it rather than slathering on a soft styler. If you want movement around the ends, use a lighter touch and finish with shine spray instead of more gel. That one product decision changes the mood of the style.
For curly and coily hair, I usually prefer a leave-in plus a gel, with the leave-in kept mostly on the mid-lengths and ends. Roots need control; ends need flexibility. That split keeps the hair from feeling crusty. And if your hair is fine, go easy on oils. Fine hair shows oil fast, especially around the crown and behind the ears.
How to Wear These Styles With Different Outfits
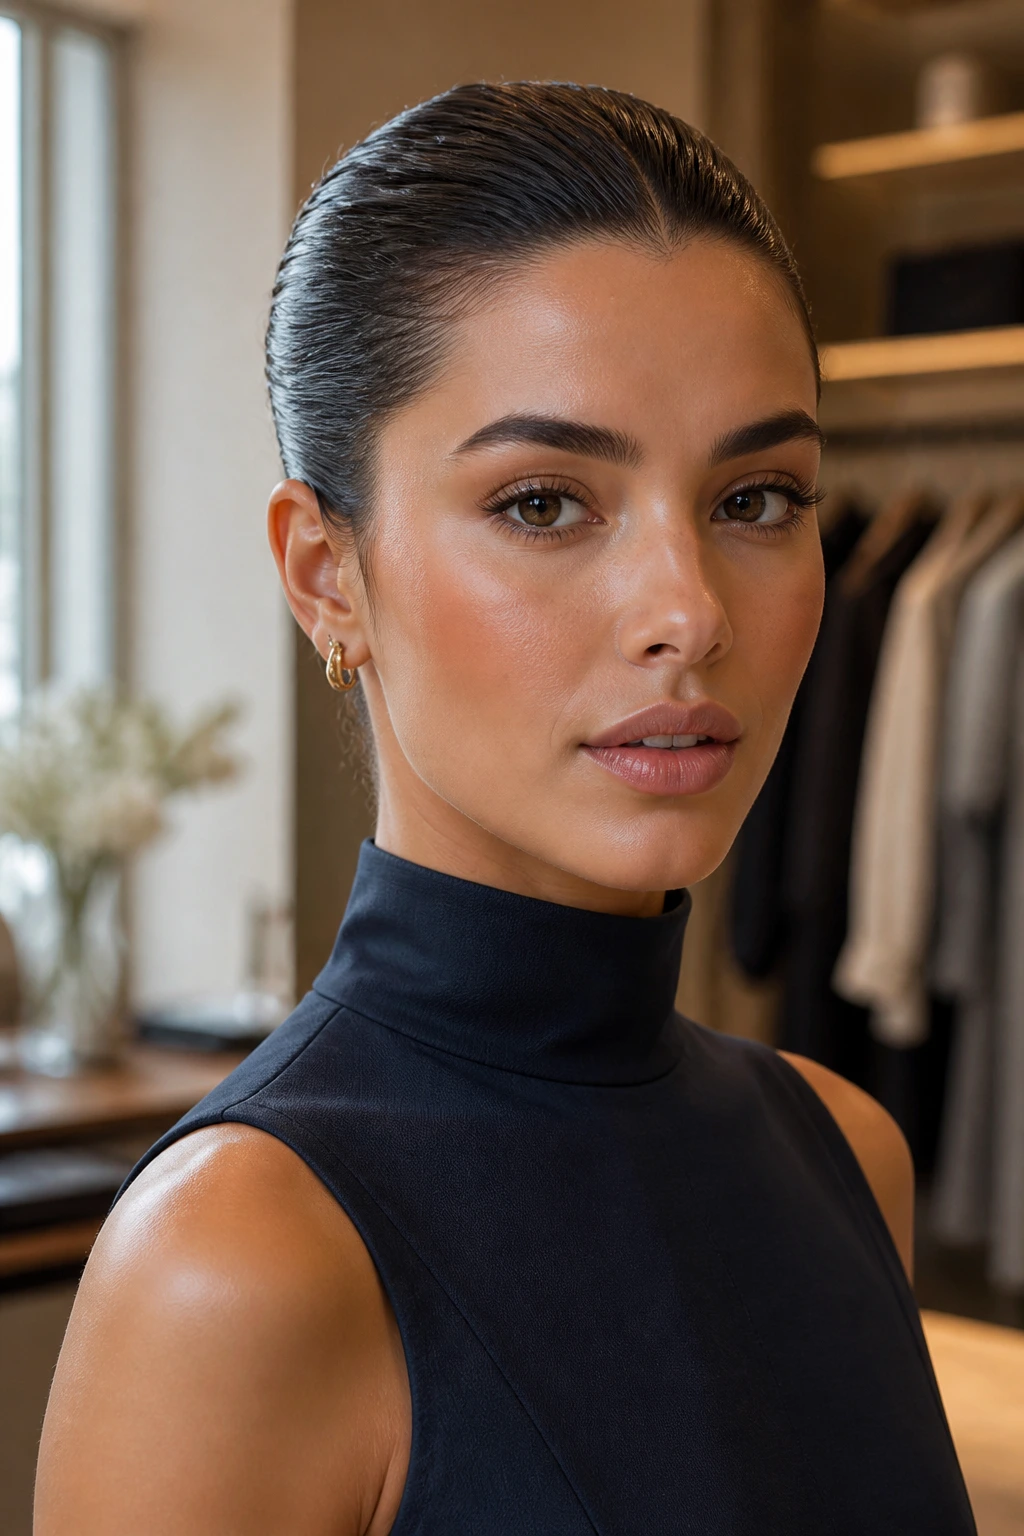
Presentation: A sleek wet look hairstyle carries the eye upward, so it pairs well with clean necklines, strong earrings, or a collar that sits neatly against the skin. A sharp ponytail and a plain shirt can look more deliberate than a complicated updo with the same shirt. The hair does part of the styling for you.
Outfits: High necks and structured shoulders like low buns, side rolls, and tucked lob styles. Open necklines and strapless cuts work well with high ponytails, faux hawks, or side-swept lengths because the hair keeps the frame alive. If the clothes are soft and loose, a wet look can keep the whole outfit from drifting too casual.
Occasions: Some styles read polished enough for work, while others lean bolder. A center-part ponytail or low knot is the quietest option. Double buns, finger waves, and a faux hawk carry more attitude and make sense when you want the hair to be part of the statement.
Accessories: Small hoops, sculptural studs, and a glossy lip all sit nicely next to this finish. A velvet ribbon, a slim metallic clip, or a hidden pin can change the mood without wrecking the line of the hair. Keep the accessory count low if the style already has strong geometry.
Small Tweaks That Change the Mood
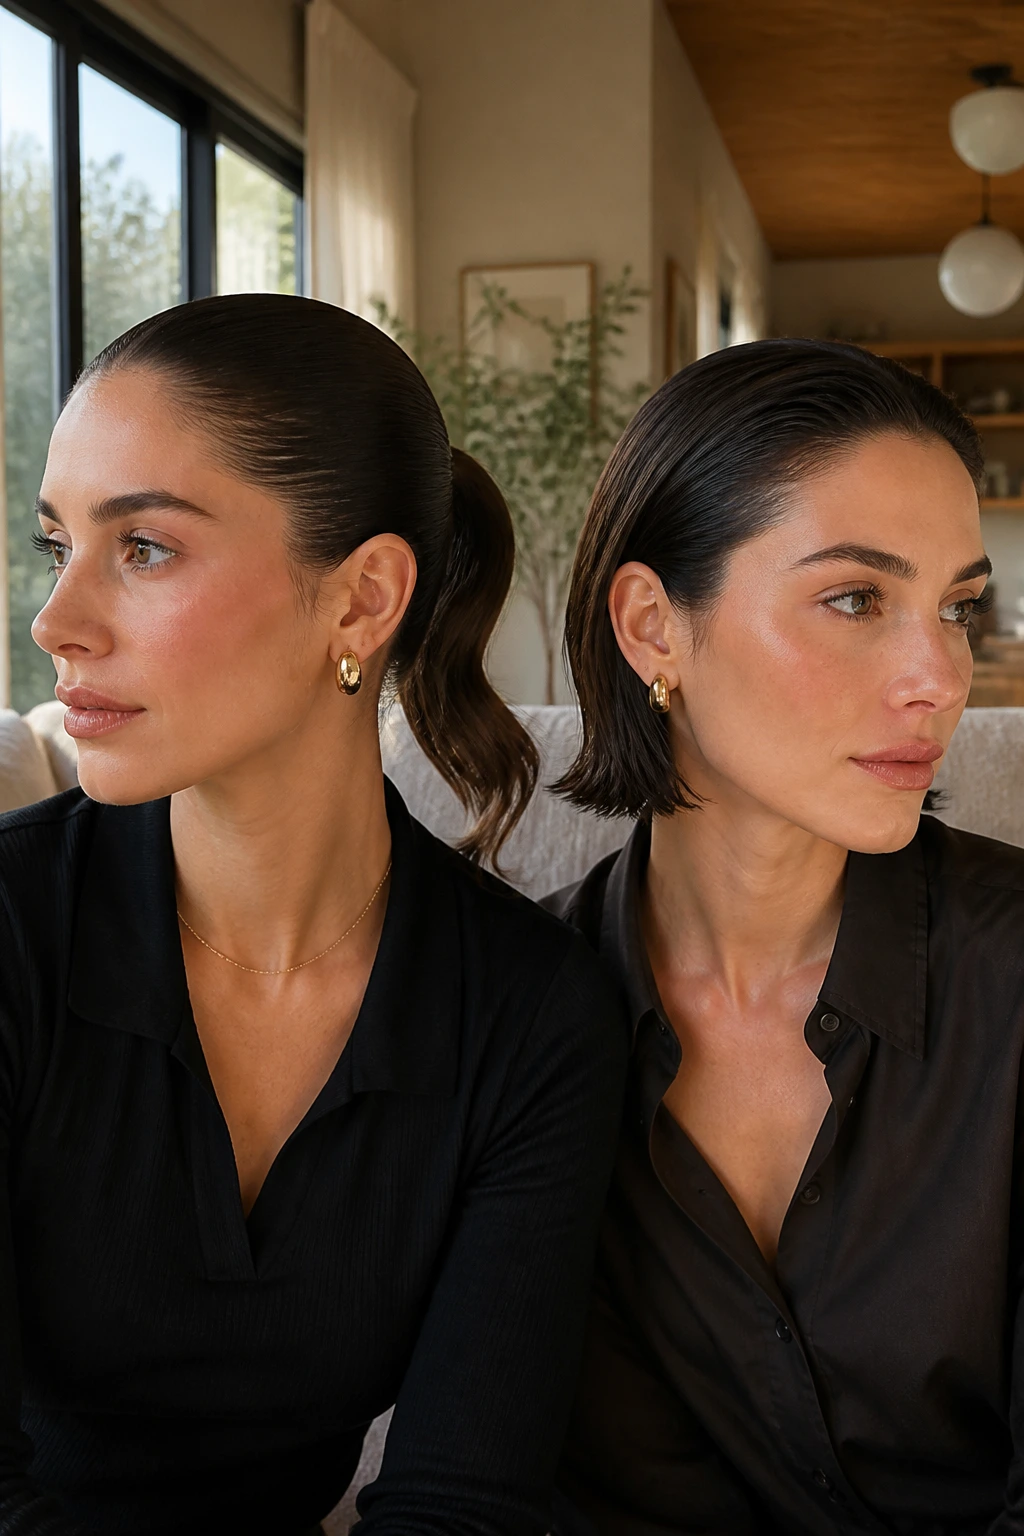
Shine Boost: A light mist of shine spray on the last pass can make the hair look cleaner, but only use enough to catch the outer layer. Too much and the roots start to look wet in the wrong way.
Texture Play: Leave one bend in a ponytail, one tucked end in a bob, or a few curl clumps around the face. Those little imperfections stop the style from feeling stiff.
Accessory Swap: Swap a basic elastic for a covered band, a hidden pin, or a single barrette and the whole look changes tone. The hair stays the same. The vibe doesn’t.
Make-It-Yours: If your hair is fine, use lighter product and tighter shaping. If it’s thick or coarse, work in smaller sections and don’t skimp on the root hold. Curly and coily textures usually look best when the front is sleek and the length still has some life.
How to Keep the Look Fresh Overnight
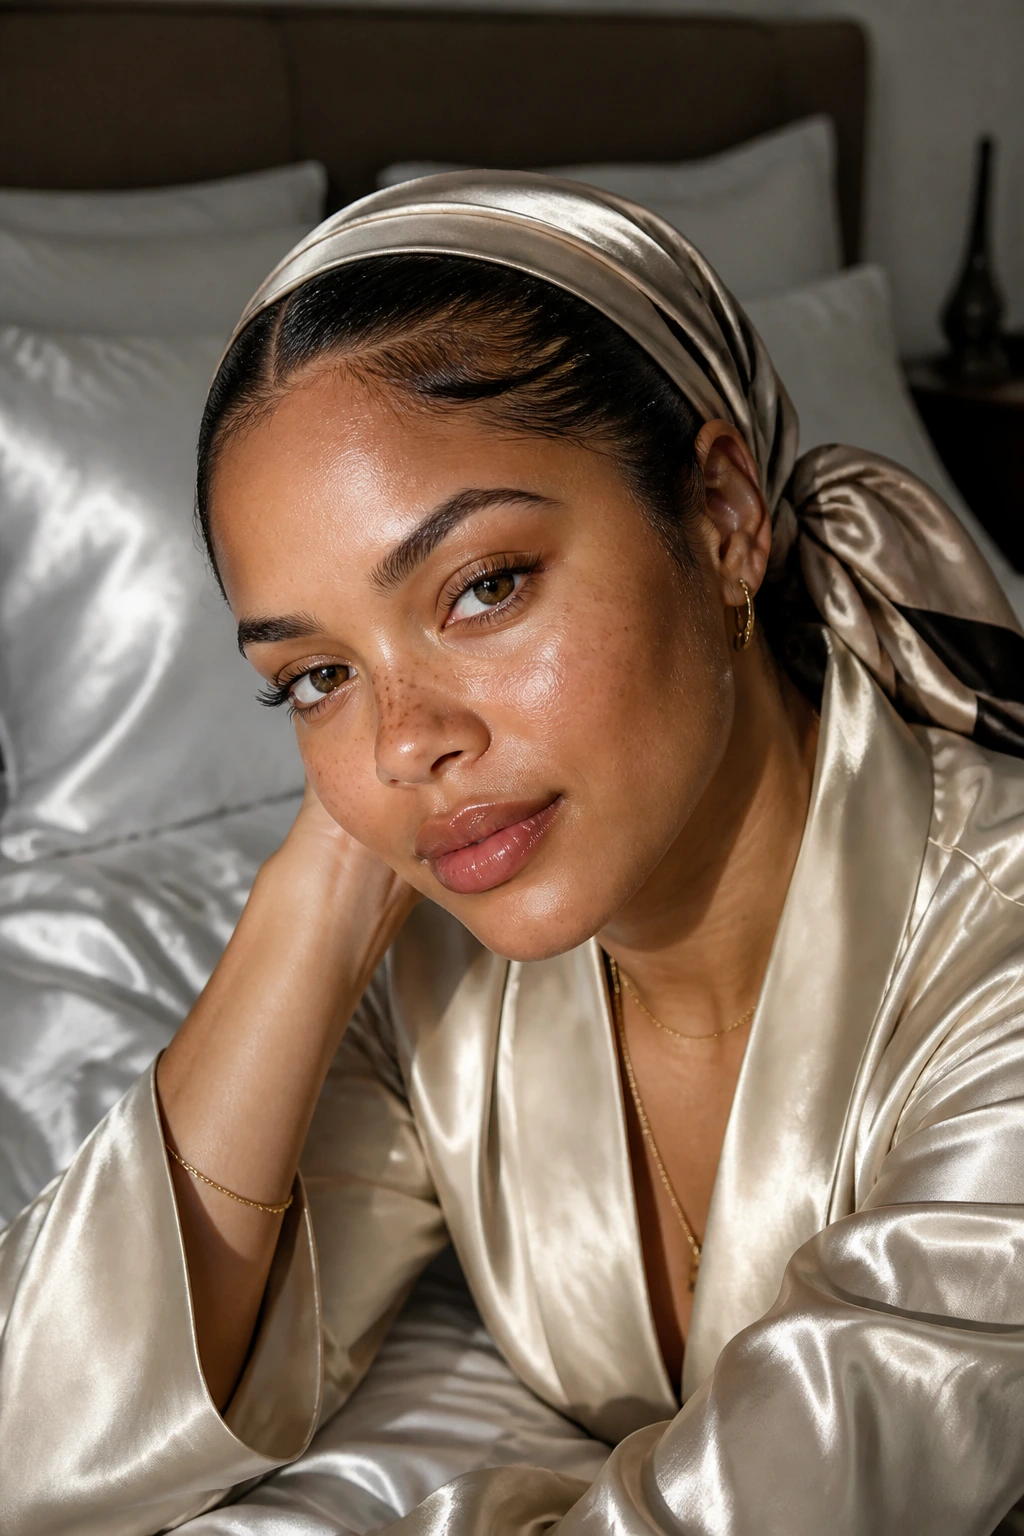
A wet look style does not always survive a pillow fight with dignity. The easiest rescue is a silk or satin scarf wrapped around the hairline, especially if the style depends on a sharp part or smooth edges. A satin pillowcase helps too, though it won’t protect a sculpted bun or ponytail as well as a scarf will.
For ponytails and buns, loosen the elastic just enough to avoid a hard crease if you plan to wear the style again. In the morning, mist the crown lightly with water, smooth the roots with your hands, then add a touch of gel only where the flyaways have come back. Don’t restart the whole head. That’s how the finish gets heavy.
Curly and coily hair often needs the least work the next day. A small re-wetting at the front and a few fingertip presses can bring the shape back. Short hair is the most likely to need a full refresh because product can shift more quickly at the nape and temples. If the style is going flat, a tiny bit of fresh product at the roots is usually enough.
Common Mistakes That Turn Sleek Into Greasy
The first mistake is using too much oil at the crown. That’s when the hair starts looking limp instead of glossy, and the part can spread into a messy stripe. Fix it by saving oil for the mid-lengths or ends, then keeping the root area on a gel-and-brush routine instead.
Another one is brushing after the product has started to dry. The surface gets patched and flaky, and the style loses the clean line you were aiming for. Work fast enough to shape the hair while it still has slip, or re-dampen the section before you try again.
People also forget that the hairline needs as much attention as the ponytail or bun. If the front is smooth but the temples puff out, the whole style reads unfinished. Press those side pieces down in small sections and pin them if the hair refuses to cooperate.
And then there’s the classic overkill move: stacking gel, cream, mousse, serum, and spray all at once. That usually leads to buildup, not shine. Pick the products that solve the exact problem you have, and stop once the hair holds its shape.
Wet Look Tweaks for Short, Long, Curly, and Coily Hair
The Fine-Hair Gloss Lift: Fine hair can collapse under heavy product, so the move is a light gel at the roots and a minimal shine spray at the ends. A low ponytail or tucked bob usually holds better than a big bun because there’s less weight pulling the style down.
The Curly-Controlled Finish: Curly hair looks strongest when the top stays slick and the lengths stay defined. Use a gel that sets without flaking, then leave the curl pattern visible around the mid-lengths or ends. That contrast keeps the style from feeling pressed flat.
The Coily Sculpt: Coily hair tends to look best when the style respects the natural shape instead of forcing it into a straight mold. A puff, bun, or ponytail with smooth roots usually reads cleaner than a fully stretched slick-back.
The Short-Hair Glass Crop: Pixies, cropped bobs, and blunt short cuts need less product than people think. A clean side part and a bit of sheen near the crown are usually enough. Too much product can make short hair look wet in a literal, unflattering way.
The Long-Length Rope Set: Long hair can carry braids, wrapped ponytails, and twisted knots with more drama than shorter lengths. Use more sections and more pins, but keep the surface simple. The length already brings enough visual weight.
The Frizz-Prone Rescue: If your hair puffs the second it dries, start with a leave-in on damp hair, then add gel only where the frizz usually shows up first—temples, crown, and nape. That targeted approach works better than coating the whole head.
Questions People Ask Before Trying Wet Look Hair
Will a wet look hairstyle make my hair look dirty?
Only if you use the wrong products or too much of them. A clean wet finish has shine at the surface and control at the roots; greasy hair usually looks flat, separated, and a little sticky around the hairline.
Can I do this on dry hair?
You can, but the finish usually looks harsher and harder to shape. Damp hair gives product a better chance to spread evenly, especially at the crown and part.
What if my hair flakes when I use gel?
Try a different formula first, because some gels simply do not play well with certain creams or leave-ins. If the flaking still happens, cut back on layering and keep the product stack simple: leave-in, gel, then a light finish spray.
How do I keep a slick style from going flat on the second day?
Protect the shape overnight with a scarf or satin pillowcase, then refresh only the crown, part, and hairline in the morning. A full rewash is usually unnecessary unless the style was heavy with product.
Does this work on fine hair?
Yes, but the style needs a lighter hand. Fine hair gets weighed down fast, so use less product, rely on tighter sectioning, and choose shapes like low ponytails, bobs, or tucked lengths.
What’s the easiest wet look style for beginners?
A low slick bun or center-part ponytail is the least fussy place to start. Both depend on clean roots and simple shaping, which means fewer chances to get the finish wrong.
Can I use this look for a formal event?
Absolutely. A French roll, twisted chignon, or glass ponytail can look sharp enough for a dressy setting without extra ornament. Keep the shine controlled and the part clean, and the style does the rest.
A Finish That Holds Its Shape
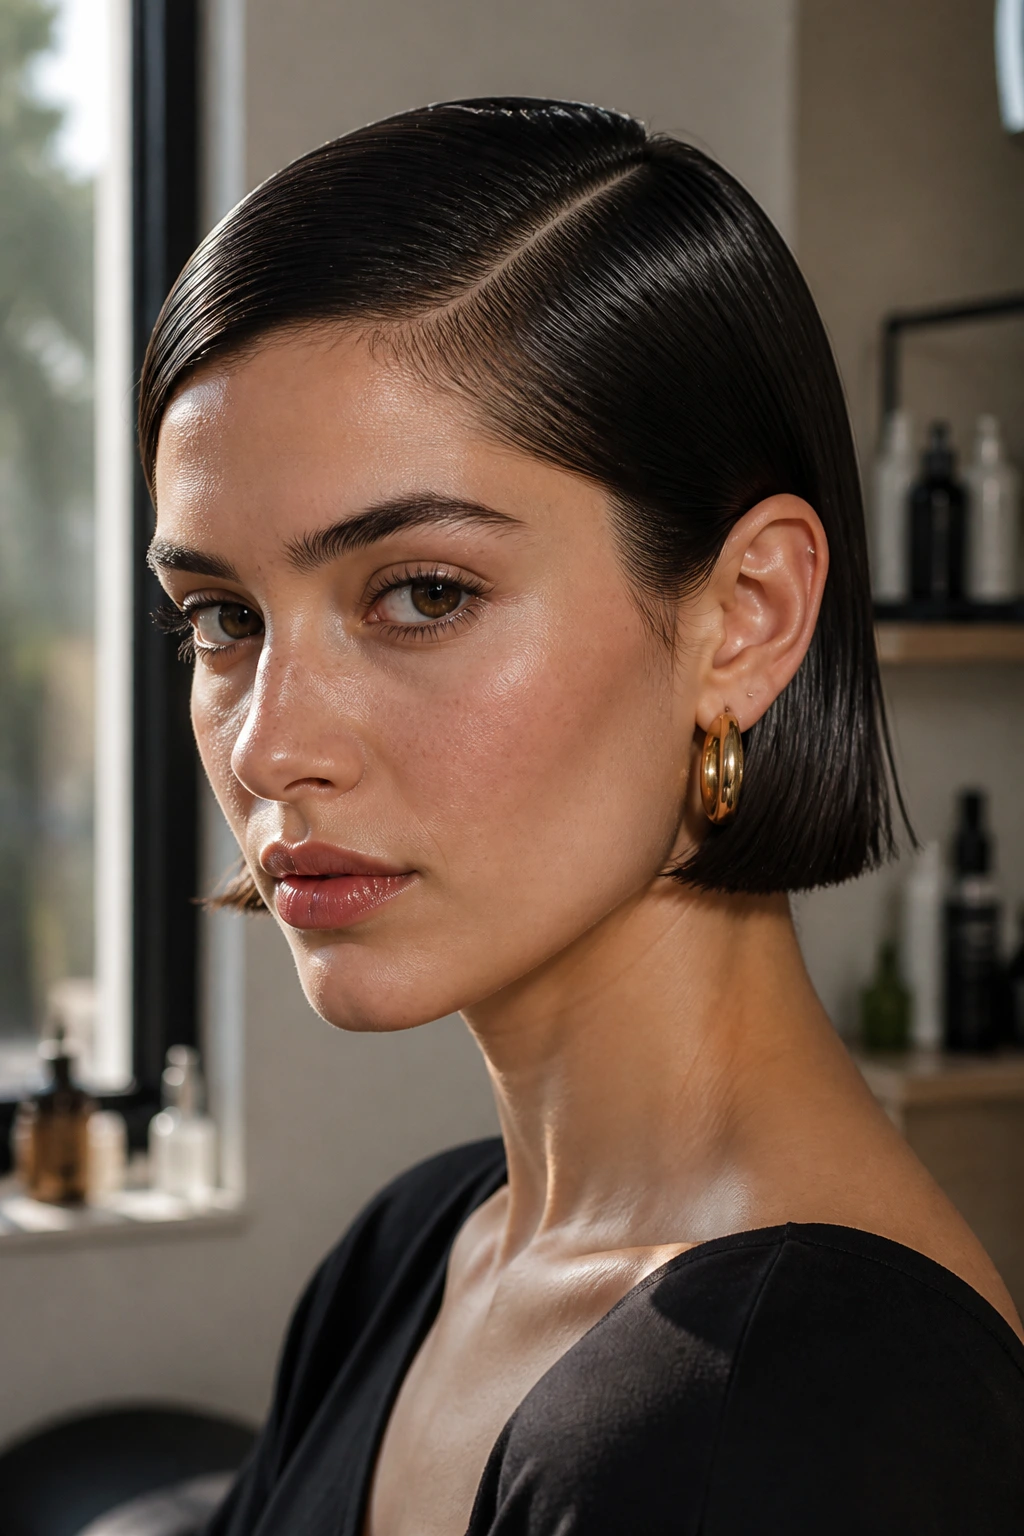
The best sleek wet look hairstyles do one thing really well: they keep the hair’s shape legible. That can mean a ponytail so flat it looks carved, a bob tucked so neatly it skims the jaw, or curls pressed back just enough to let the texture speak without frizz taking over.
Once you understand that shine is only part of the equation, the styles get easier. Product choice matters. Sectioning matters. Tension matters. And so does restraint, which is the part people always want to skip. A little control goes further than a heavy hand ever will.
Pick the version that suits your length and texture, then let the hair do one clear job. That’s where the style stops looking like an experiment and starts looking like a decision.
