



A good blowout never looks stiff. The shape should move when you turn your head, not sit there like a helmet waiting for applause. That’s why blowout hair ideas for bouncy volume are never just about “more hair” — they’re about where the lift starts, how the brush curves the ends, and whether the hair is allowed to cool in the shape you want.
If your roots collapse by lunch, the problem usually isn’t your hair type. It’s the section size, the brush size, the tension, or the fact that the hair was still warm when you started messing with it again. Fine hair needs a lighter touch and more setting at the crown. Thick hair usually needs more patience and a cleaner section map. Frizzy or crimped texture often looks better with a little intention left in it, not ironed into submission.
These 20 blowout looks range from glossy and salon-smooth to shaggy, airy, and texture-forward. Some work best on long layers. Some were practically made for curtain bangs, collarbone bobs, or that awkward middle length where hair can look flat one minute and puffy the next. A few are classic. A few are sneaky. The good ones always have the same thing in common: the hair has shape before it loses steam.
Why These Blowout Looks Earn Their Keep
-
They build lift where it matters: The best volume starts at the root and crown, not halfway down the strand where the shape is already too heavy to hold.
-
They work with texture instead of against it: Several of these looks keep a little movement in the ends, which makes frizz and crimped texture look deliberate instead of fought.
-
They fit different cuts without needing a full haircut: A deep side part, a flipped end, or a face-framing bend can change the whole silhouette without touching the length.
-
They give you options on day two: A good blowout can be refreshed with a brush, a little dry shampoo, and ten minutes of patience. That matters.
-
They’re not all glossy-smooth clones: Some want a sleek crown. Some want a shaggy edge. That variety is the point. Hair should not all move the same way.
-
They make the most of ordinary tools: You do not need a drawer full of gadgets to pull these off. A decent dryer, a couple of brush sizes, and a few clips will do most of the work.
1. The Classic Round-Brush Blowout
There’s a reason this is still the reference point. A classic round-brush blowout gives you that soft lift at the roots, a smooth mid-shaft, and ends that turn under just enough to look finished without looking overworked. It’s the shape that makes hair swing when you walk.
Why It Works
The shape comes from tension, heat, and cooling in that order. If you keep the section taut around a 1.5-inch brush for shorter hair or a 2 to 2.5-inch brush for longer hair, the bend sets cleanly instead of puffing out at random. I like this one on layered cuts because the layers catch the brush and help the volume stack instead of collapsing.
Start with roots. Always. If the root dries flat, the rest of the blowout is playing catch-up.
Quick Styling Cues
- Aim the dryer nozzle down the hair shaft so the cuticle lies smoother.
- Roll the brush under at the ends for a neat curve.
- Finish every section with a cold shot for 5 to 8 seconds before releasing it.
- Don’t touch the section until it’s cooled. That’s the part people skip.
2. The 90s Supermodel Blowout
Big, glossy, slightly dramatic. This one is all about a deep side part, a lifted crown, and face-framing layers that curve away from the cheekbones instead of tucking in close. It has presence. Not volume for volume’s sake — volume with a point of view.
A supermodel blowout looks best when the crown has height but the ends stay soft. That means using a round brush to push the roots in the opposite direction of your part, then flipping the front sections back over once they’ve cooled. If your hair is one length, the style still works, but it benefits from a few long layers around the face.
Best for: medium to long hair, thick textures, and anyone who wants the hair to look expensive without looking too neat.
The Shape to Ask For
- A deep side part
- Long face-framing layers
- Softly beveled ends
- Crown lift, not teased chaos
3. The Curtain-Bang Blowout
Curtain bangs can look featherlight and expensive, or they can sit there like a damp curtain. The difference is the bend. A good curtain-bang blowout sweeps the fringe away from the center, opens the face, and keeps the bangs fluffy instead of chunked together.
Use a smaller round brush — usually 1 to 1.25 inches — on the bang area. Dry the fringe from side to side, then over the brush, then back the other way. That back-and-forth motion matters more than people think; it keeps the roots from setting in one flat direction. I also like to clip the bangs up for a few minutes while they cool. It sounds fussy. It works.
What to Watch For
If the bangs are too dry before you shape them, they’ll split and fray. If they’re too wet, they’ll collapse. The sweet spot is damp, not dripping.
4. The Butterfly-Cut Blowout
This one is basically made for movement. The shorter front layers do a lot of the visual work, while the longer lengths stay soft and sweeping underneath. The result is a blowout that looks full without feeling bulky.
Butterfly cuts give you a built-in frame around the face, so the blowout can focus on shaping instead of creating volume from nowhere. Blow the shorter top layers upward and away from the face, then keep the lengths smooth with a larger brush. That contrast is what makes the style read as airy instead of overdone.
It’s a clever cut for people who want the illusion of thicker hair without sacrificing length. And yes, the front pieces matter more than the back here. They usually do.
Best Pairing
- A middle part or soft off-center part
- Large round brush
- Lightweight mousse at the roots
- A finishing mist, not a heavy oil
5. The Flipped-Ends Blowout
Flipped ends are having a very specific kind of fun. They keep the roots smooth, then push the last two inches of hair outward so the whole silhouette feels lively. It’s especially good on collarbone cuts, bobs, and long hair that tends to hang limp at the bottom.
What I like about this shape is that it refuses to look sleepy. You can do it with a round brush, a flat brush, or a quick pass of a hot tool on the last section only. The trick is not to curl the whole strand. Just bend the ends. That tiny change makes the whole style look sharper.
Quick Tip
If the ends keep flipping under instead of out, change the direction of the last brush roll. Hair remembers the last thing you ask it to do.
6. The Root-Lift Crown Blowout
Flat roots can ruin an otherwise good style. This look fixes that by treating the crown like the main event. The lift starts at the scalp, not the mid-lengths, which is exactly why it holds up better on fine hair.
Dry the roots first with your head tipped slightly forward, then lift each crown section with a brush and direct the airflow at the base for a few seconds. I like root clips here too — the little duckbill kind that hold the lifted section while it cools. They look old-fashioned. They also work.
Use this when: your hair gets greasy fast at the roots, or when you want the rest of the length to stay smooth but not flat.
One Small Rule
Do not load oil or serum near the scalp before you dry. That’s how volume disappears before it even shows up.
7. The Soft Shag Blowout
This is the one for people who hate the idea that a blowout has to look polished to count. A soft shag blowout keeps the edges piecey, the crown light, and the overall effect a little undone — in the best possible way. It’s especially good if your hair has a natural wave or a bit of frizz that never quite disappears.
Instead of smoothing every strand into one glossy sheet, focus on lifting the top and brushing the ends in gentle flicks. Leave some texture in the mid-lengths. If you smooth it too much, you lose the point of the cut. The shag wants movement, not obedience.
What Makes It Work
A light mousse at the roots, a quick round-brush pass over the top layers, and a little dry texture spray at the very end. That’s enough. More than that starts to feel fussy.
8. The Deep Side-Part Blowout
Want instant drama with almost no extra effort? Change the part. A deep side-part blowout creates height on the heavier side and gives the face a long, angled line that feels polished without trying too hard. It’s one of the fastest ways to make hair look fuller.
I prefer this on hair that’s already clean and smooth because the part itself does a lot of the work. Dry the root area in the opposite direction first, then swing the hair over and shape the front. Pin the lighter side behind the ear for a few minutes if you want a more dramatic bend. Small move. Big payoff.
Best For
- Oval, round, and heart-shaped faces
- Day-two hair that needs a reset
- Straight to wavy textures that fall flat in the middle
9. The Velcro-Roller Finish Blowout
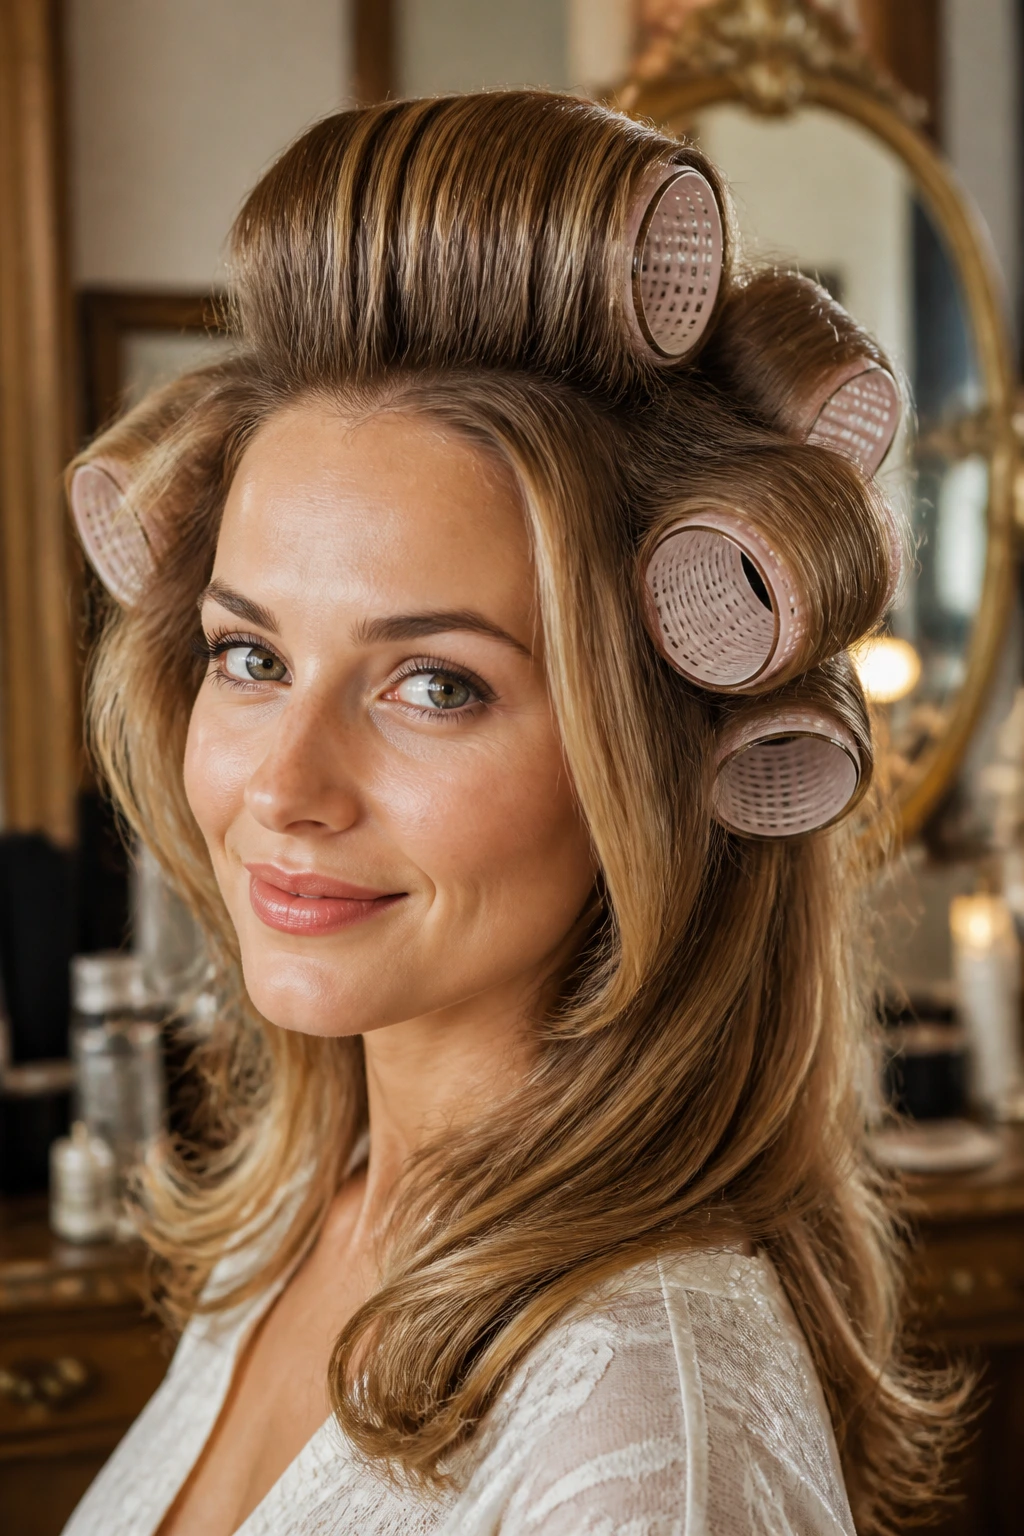
This one feels a little old-school because it is old-school, and I mean that as a compliment. Velcro rollers set the shape while the hair cools, which gives you a lift that a brush alone can’t always hold. They’re especially useful at the crown and around the face frame.
Here’s the thing: rollers are not a shortcut for wet hair. They work best when the section is mostly dry, then wrapped, then left alone for 10 to 15 minutes. Remove them gently and let the hair settle. Don’t rake your fingers through immediately unless you want the bounce to fall apart on contact.
Why I Keep Coming Back to Them
They’re cheap, they don’t need electricity, and they give fine hair a kind of spring that heavy styling cream can ruin. That alone is worth the drawer space.
10. The Airy Face-Frame Blowout
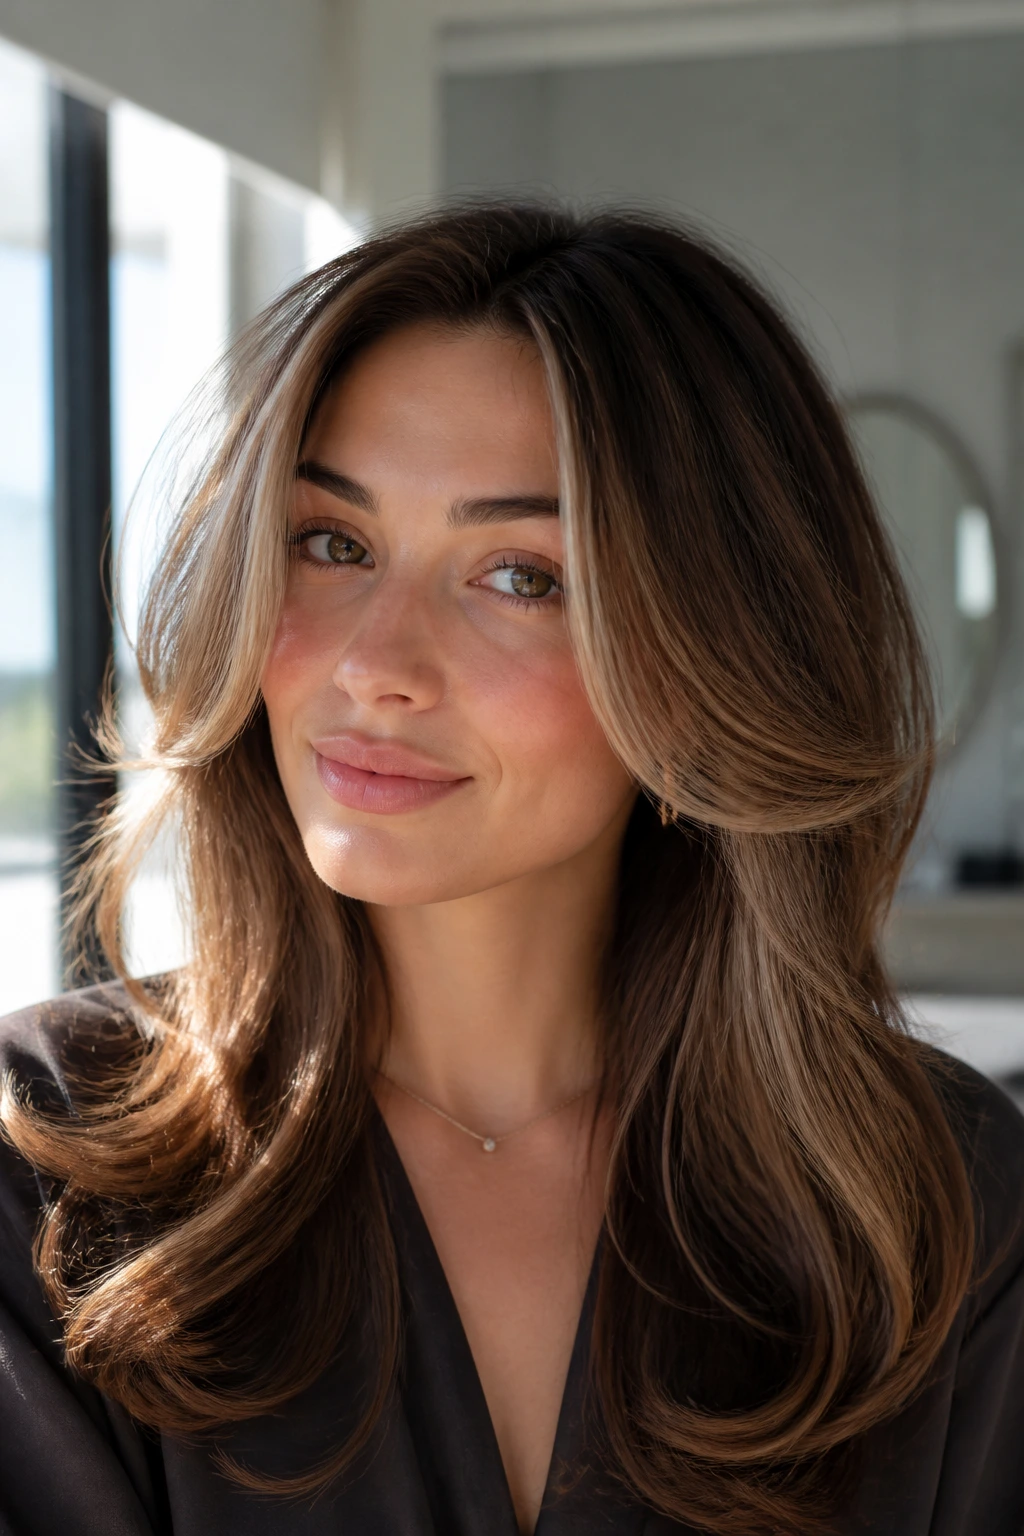
If you like your hair to frame your face instead of sitting on top of it, this is the shape to keep in mind. The front pieces are lifted away from the cheeks, then curved softly outward or under, depending on the cut. It makes the cheekbones look sharper and the whole blowout feel lighter.
Use a smaller brush on the front sections and a larger one everywhere else. That difference gives the face frame more shape than the rest of the head. I also like a little lift right at the temple. Not a bump. Just enough to keep the front from laying plaster-flat.
A face-frame blowout works especially well when your hair is one of those in-between lengths that can otherwise look heavy at the front and thin at the ends.
11. The Big-Barrel Wave Blowout
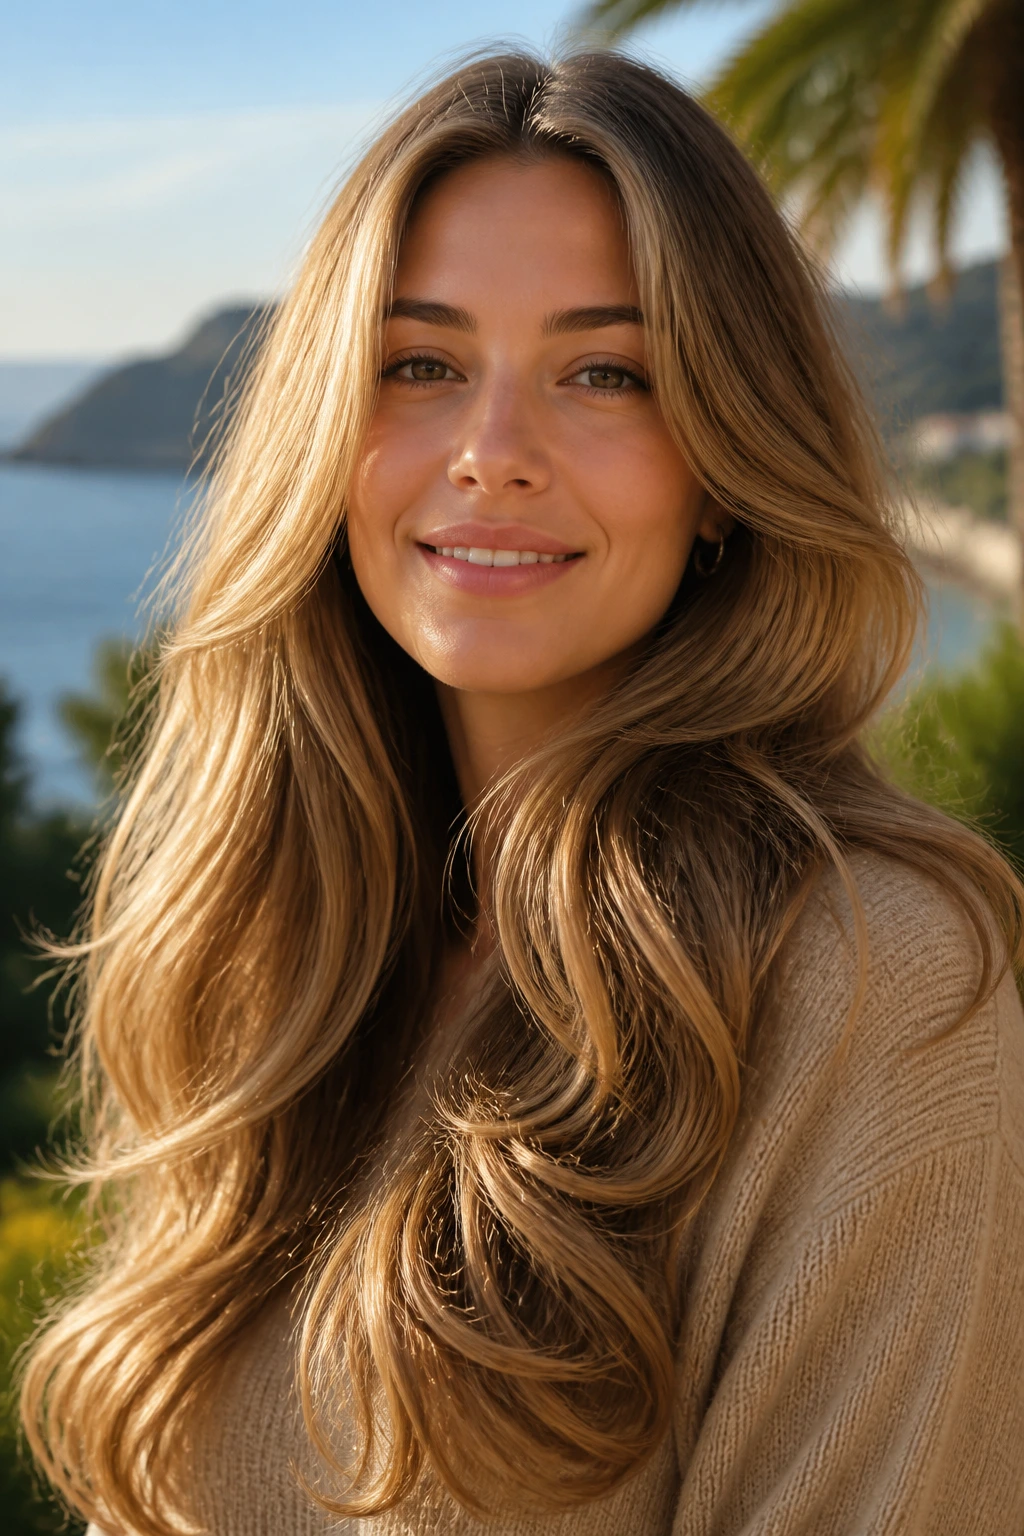
This one sits halfway between a blowout and a loose wave set. You smooth the hair first, then add a broad bend with a large barrel or oversized brush so the result looks full but not curled into tight spirals. It’s a good choice if your hair is long enough to swallow small curls whole.
I like it on medium to long lengths because the wave lands in a nice, readable place. You can see the movement from across the room. Use four to six large sections instead of a dozen tiny ones, or it starts to look overworked. The whole point is easy, broad shape.
A Small Caution
If you have a fine texture, too much wave can go limp fast. Keep the bend higher and the ends softer. That usually lasts longer than trying to curl everything.
12. The Blunt Bob Blowout
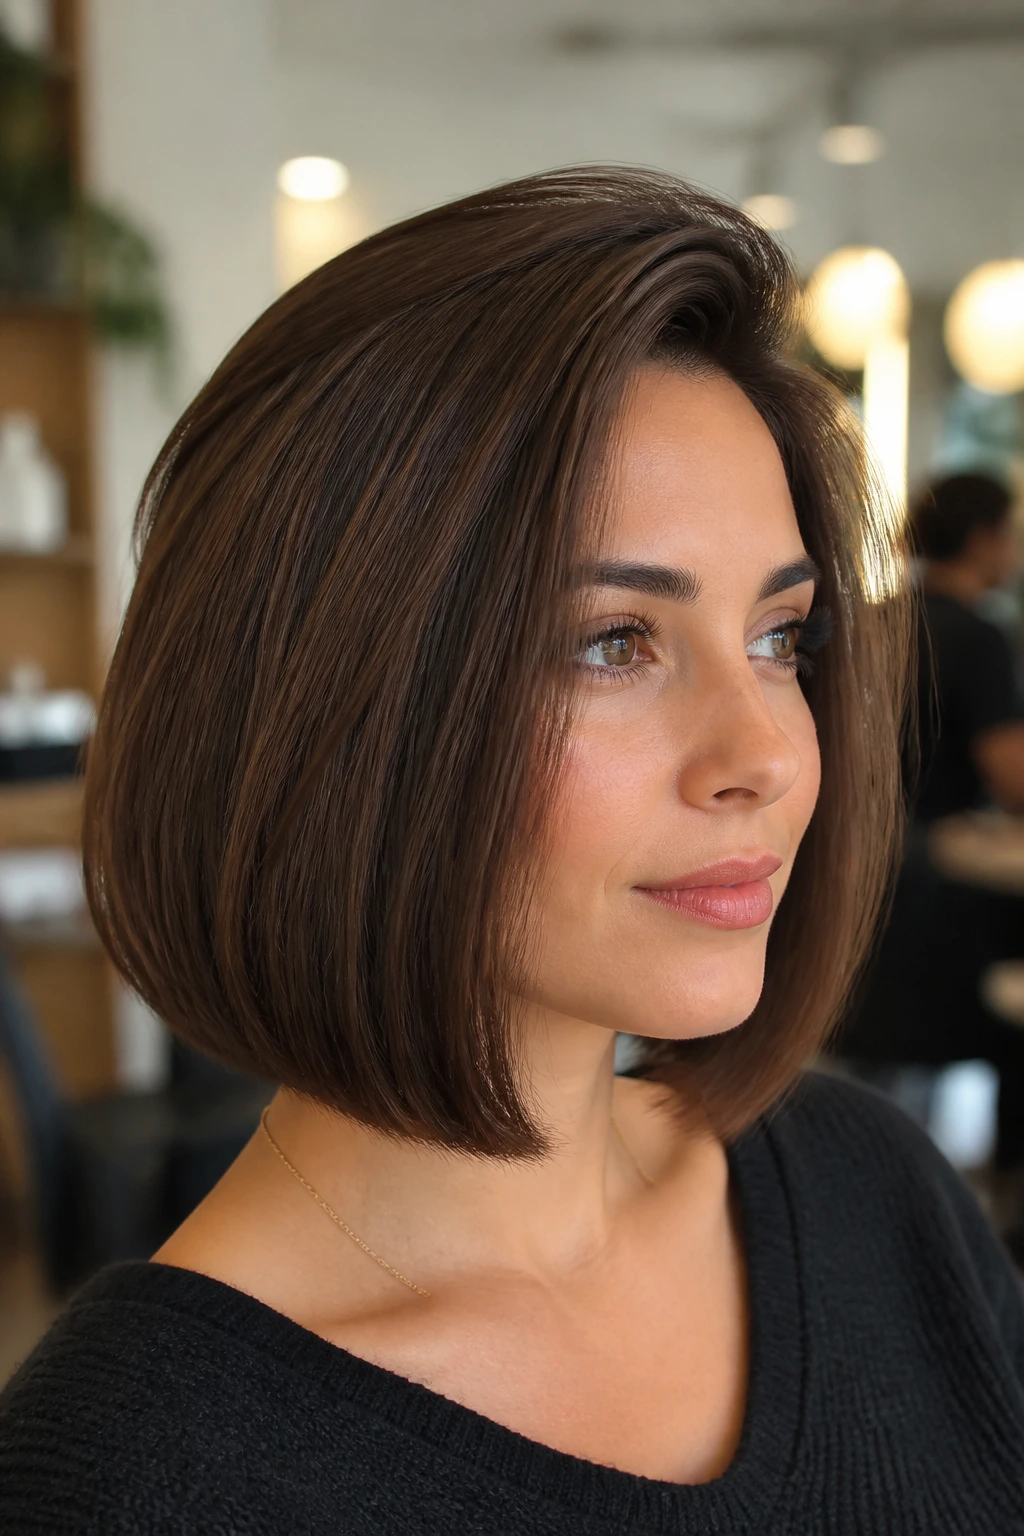
A blunt bob needs a different kind of volume. Not huge, fluffy hair. Shape. The root should stay lifted, the body should look rounded, and the ends need a slight bevel so the line of the bob doesn’t turn boxy.
This is one of those cuts where brush size matters more than people admit. A smaller round brush at the ends can make the bob feel too curled; a paddle brush at the root and a medium round brush at the bottom often gives a cleaner finish. I like the crown slightly lifted, not tall. Tall bob hair can get cartoonish fast.
It’s a crisp, modern look. Also a practical one. Bob hair shows every bad blow-dry move, which is annoying, but it also rewards clean technique.
13. The Long-Layer “Hair That Moves” Blowout
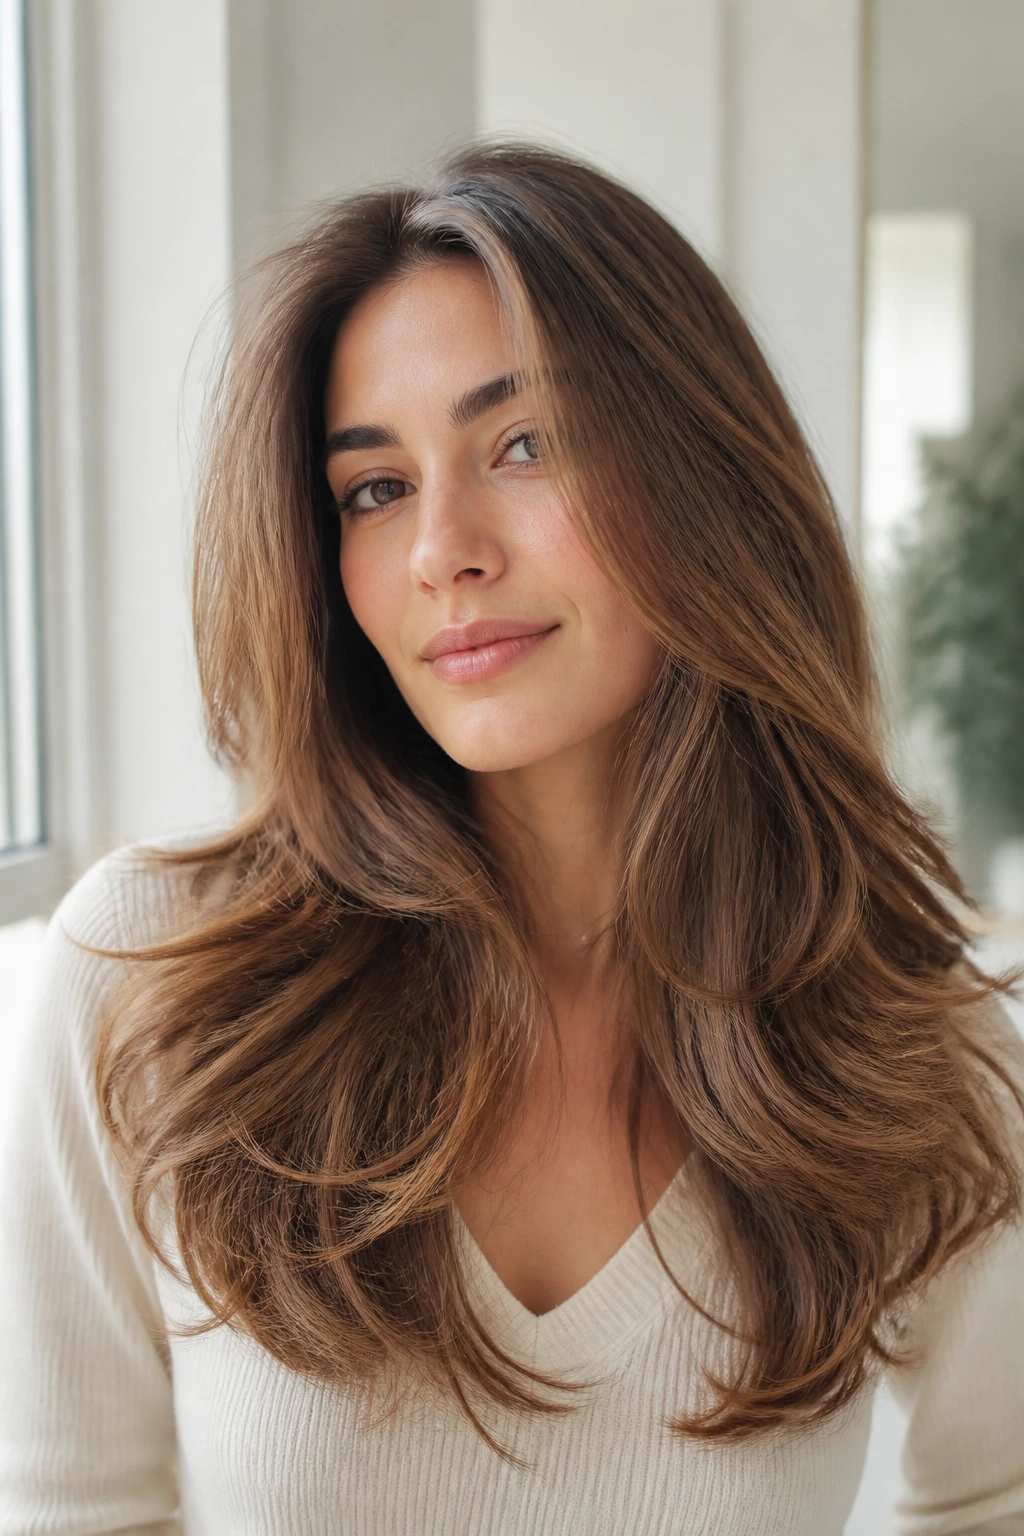
Long hair can get heavy in a hurry. That’s why this version focuses on movement through the mid-lengths and just a soft bend at the ends. The layers keep the hair from turning into a curtain with no shape. The blowout keeps it from turning into a puffball.
I like this look on hair with long internal layers because the shorter pieces lift the bulk without making the ends look thin. Dry the bottom first if it tends to hang damp, then work up toward the crown. Don’t drown the hair in product. Long lengths already carry enough weight.
Practical Note
If the ends are fine, skip heavy cream there. Use a tiny amount of serum on the last inch only. The rest of the length can stay light.
14. The Air-Dry-Then-Blowout Hybrid
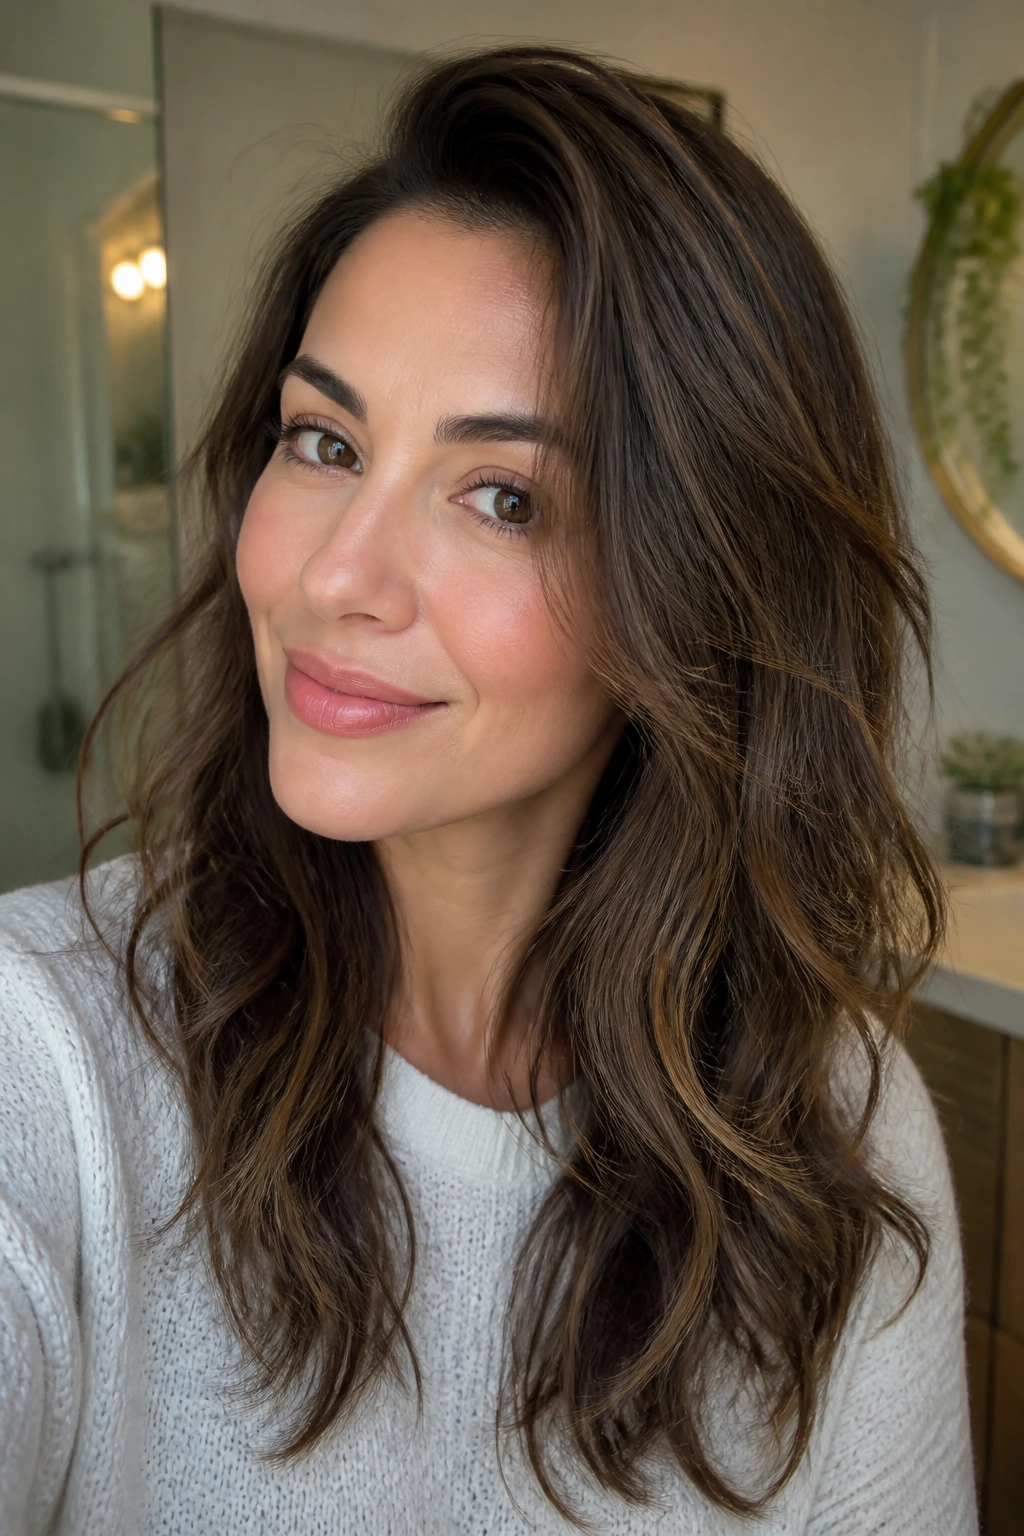
This is the cheat I trust. Let the hair air-dry or rough-dry until it’s about 70 to 80 percent dry, then finish with the brush and dryer. You cut down on heat exposure, which helps the shape hold better and keeps thick, wavy hair from getting too puffy at the start.
The hybrid method is especially useful when you know your hair takes forever to dry. It also gives you a little more control over the roots, because you’re not starting from dripping wet hair. I’ve found it helps textured hair stay smoother at the crown while still keeping a bit of natural bend at the bottom.
No, it doesn’t feel as dramatic as a full wet-to-set blowout. That’s fine. It’s faster, and the finish often looks more believable.
15. The Pin-Curl Set Blowout
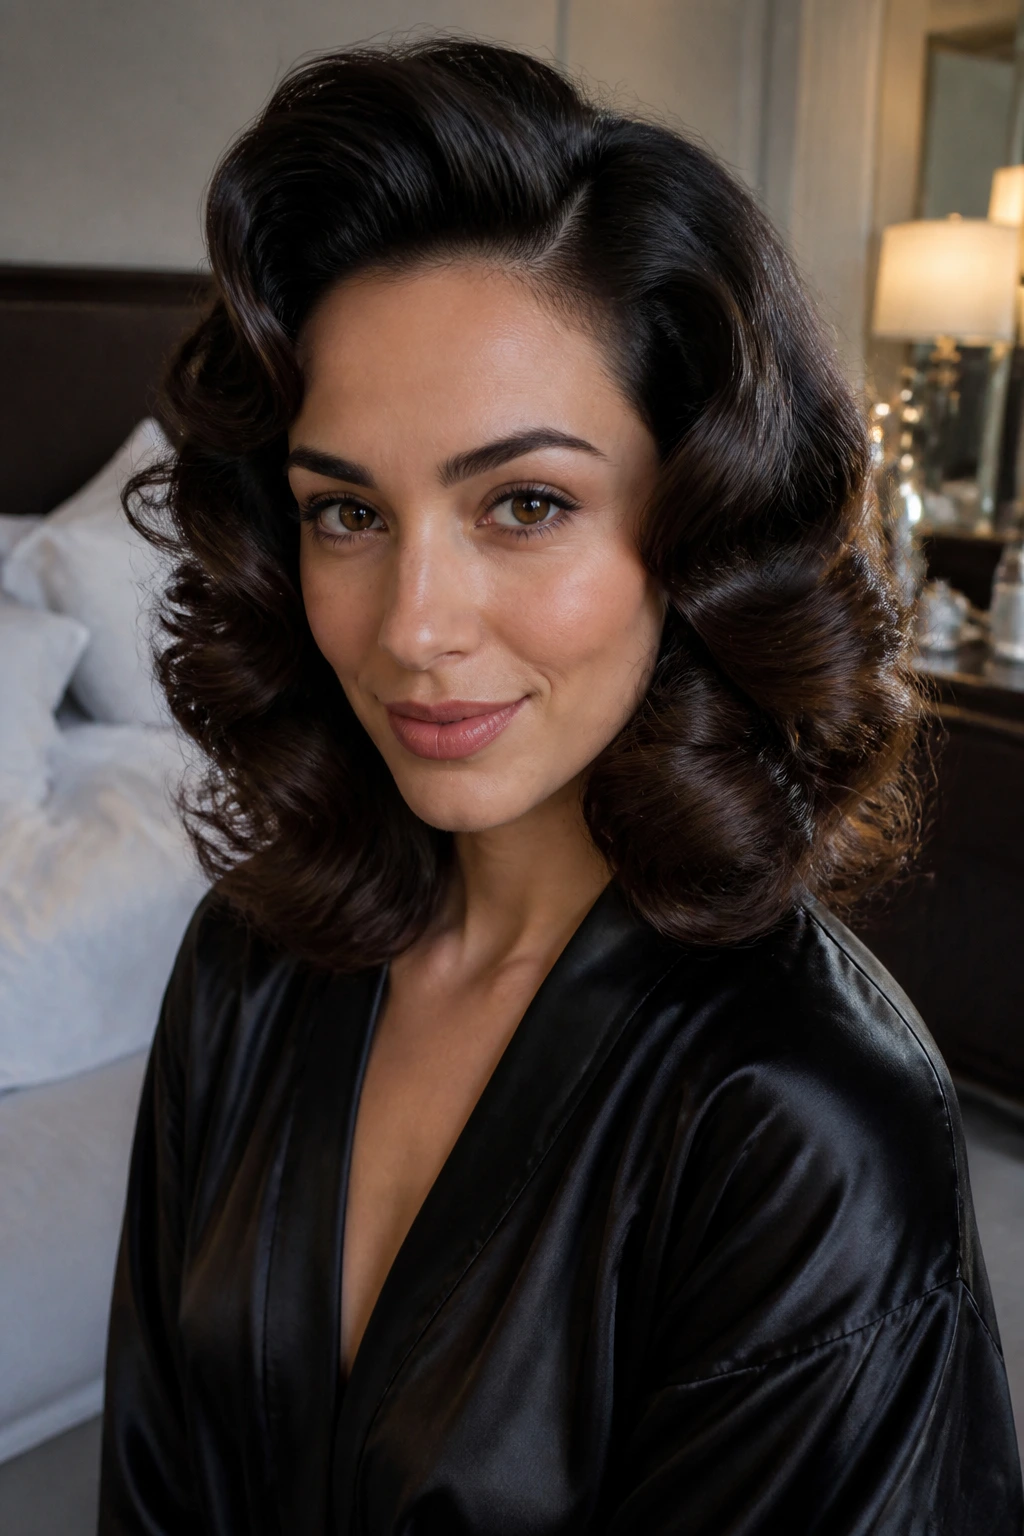
This one is for people who want bounce that lasts past dinner. After each section is dried and shaped, roll it into a loose curl and pin it flat against the head until the hair cools. When you release it, the shape is fuller and springier than a simple blow-dry finish.
It sounds like something your aunt would know how to do without a tutorial. That’s because it is. And it works because the hair sets in place while the warmth disappears. Use it on medium-length layers, shoulder-length cuts, or any style that tends to lose its bend too fast.
Best Detail
Use smooth pins, not claw clips, for the set. Claw clips leave dents. Pins keep the curl cleaner.
16. The Frizz-Friendly Textured Blowout
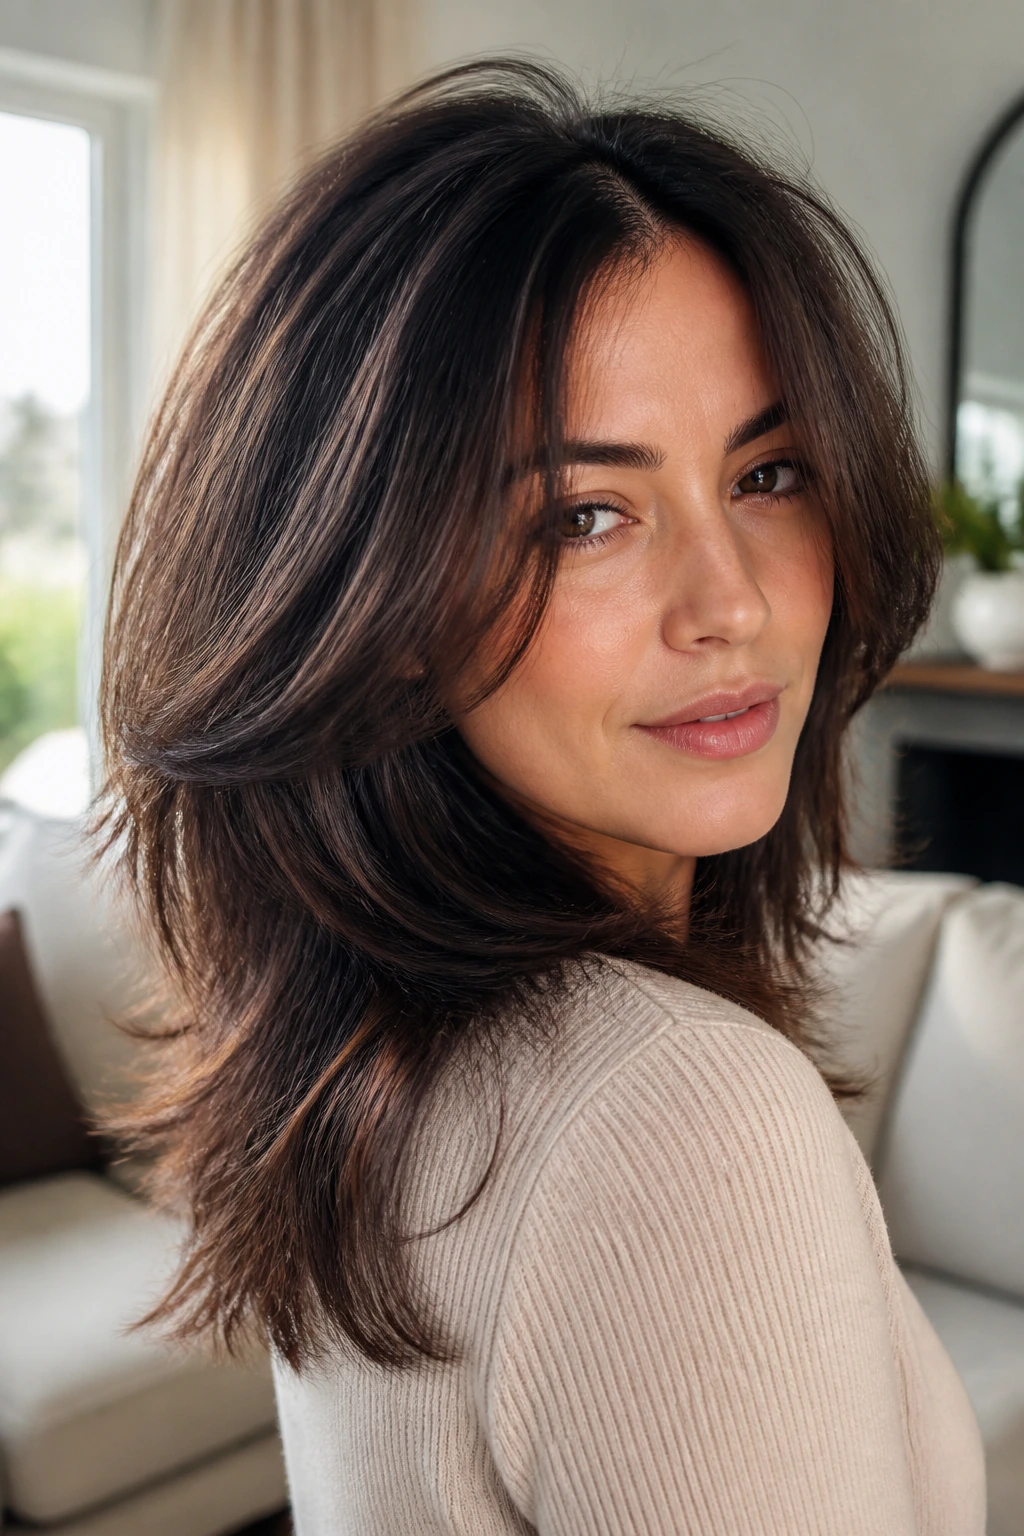
Not every frizzy head wants to be flattened into a shiny sheet. This blowout keeps the texture visible, but shapes it so it looks controlled. The roots are smooth, the face frame is lifted, and the ends keep a touch of grit instead of fighting for perfect gloss.
That tiny bit of surface texture can be a gift. Seriously. On humid days, a blowout that’s too slick often explodes into fuzzy chaos after two hours. A textured finish with a light hold spray tends to age better. I usually keep smoothing cream away from the crown and work it only through the mid-lengths and ends.
If your hair has a crimped or naturally puffy pattern, this is one of the smartest ways to wear a blowout without spending all day chasing every last wave.
17. The Half-Up Crown Lift Blowout
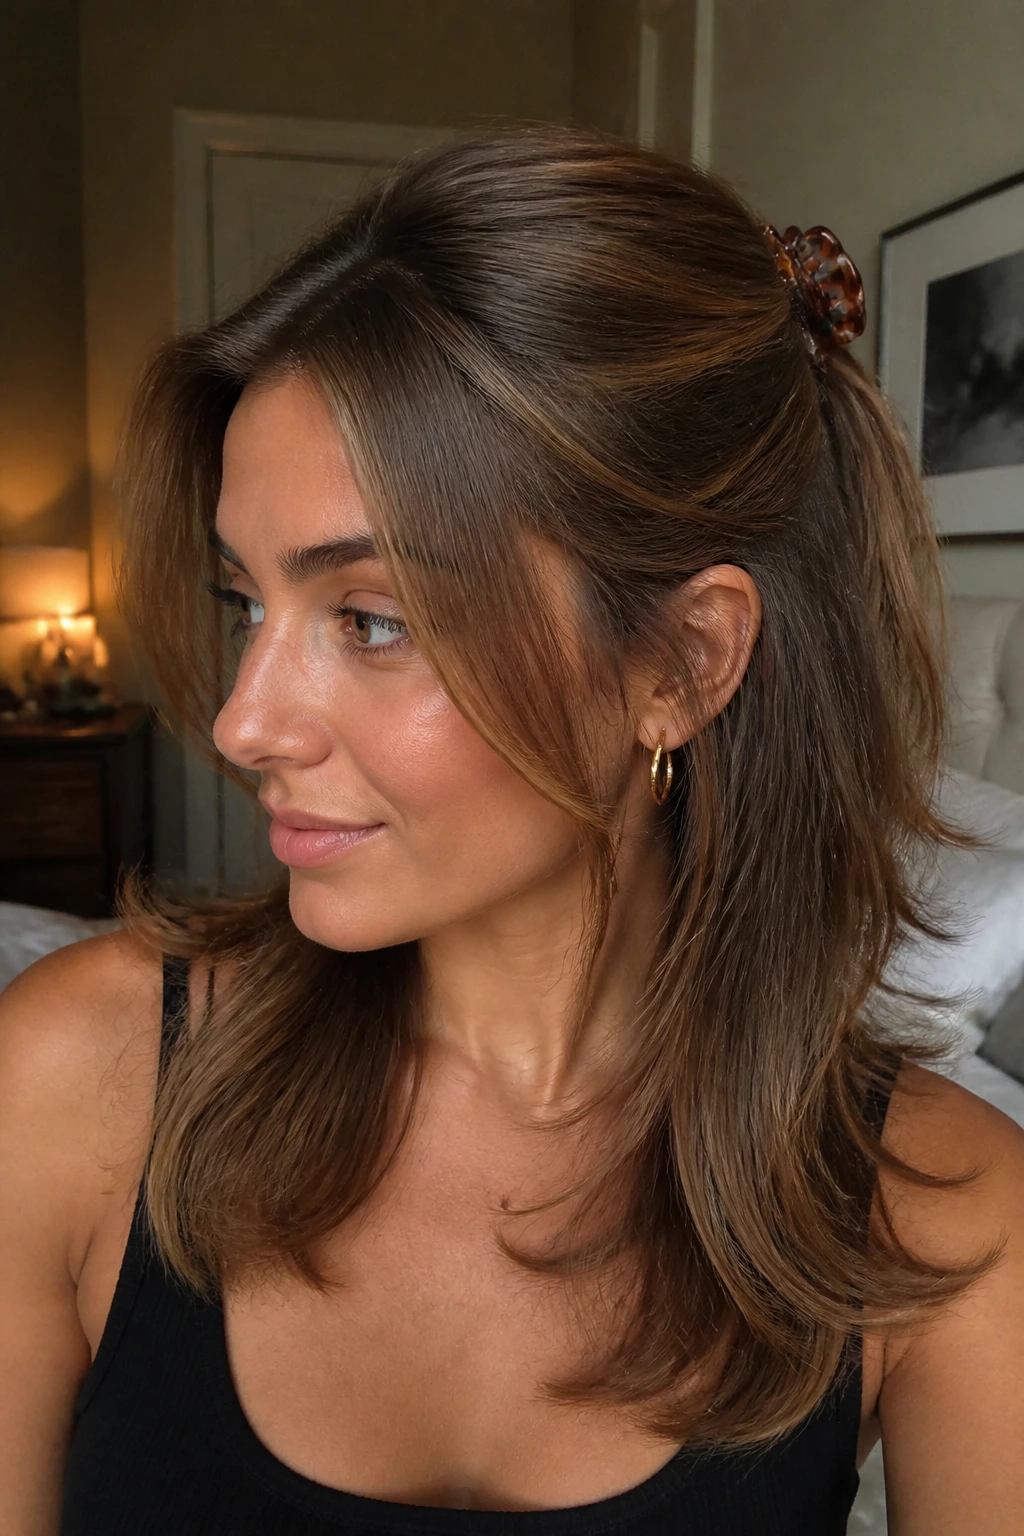
When the crown needs help and you don’t want to start over, the half-up style is a clean solution. Pull the top section back loosely — not tight, not polished into a knot — and you instantly get lift at the roots while the front pieces stay soft around the face.
This works on second-day hair too. That’s the real charm. You can take a blowout that’s started to wilt, gather the upper half just enough to raise the crown, and suddenly the whole shape feels intentional again. Use a small clip or a silk tie if you want it to look relaxed rather than prom-night stiff.
Small Detail, Big Difference
Leave a few face-frame pieces out. If everything gets pulled back, the volume at the crown has nowhere to land visually.
18. The Feathered Ends Blowout
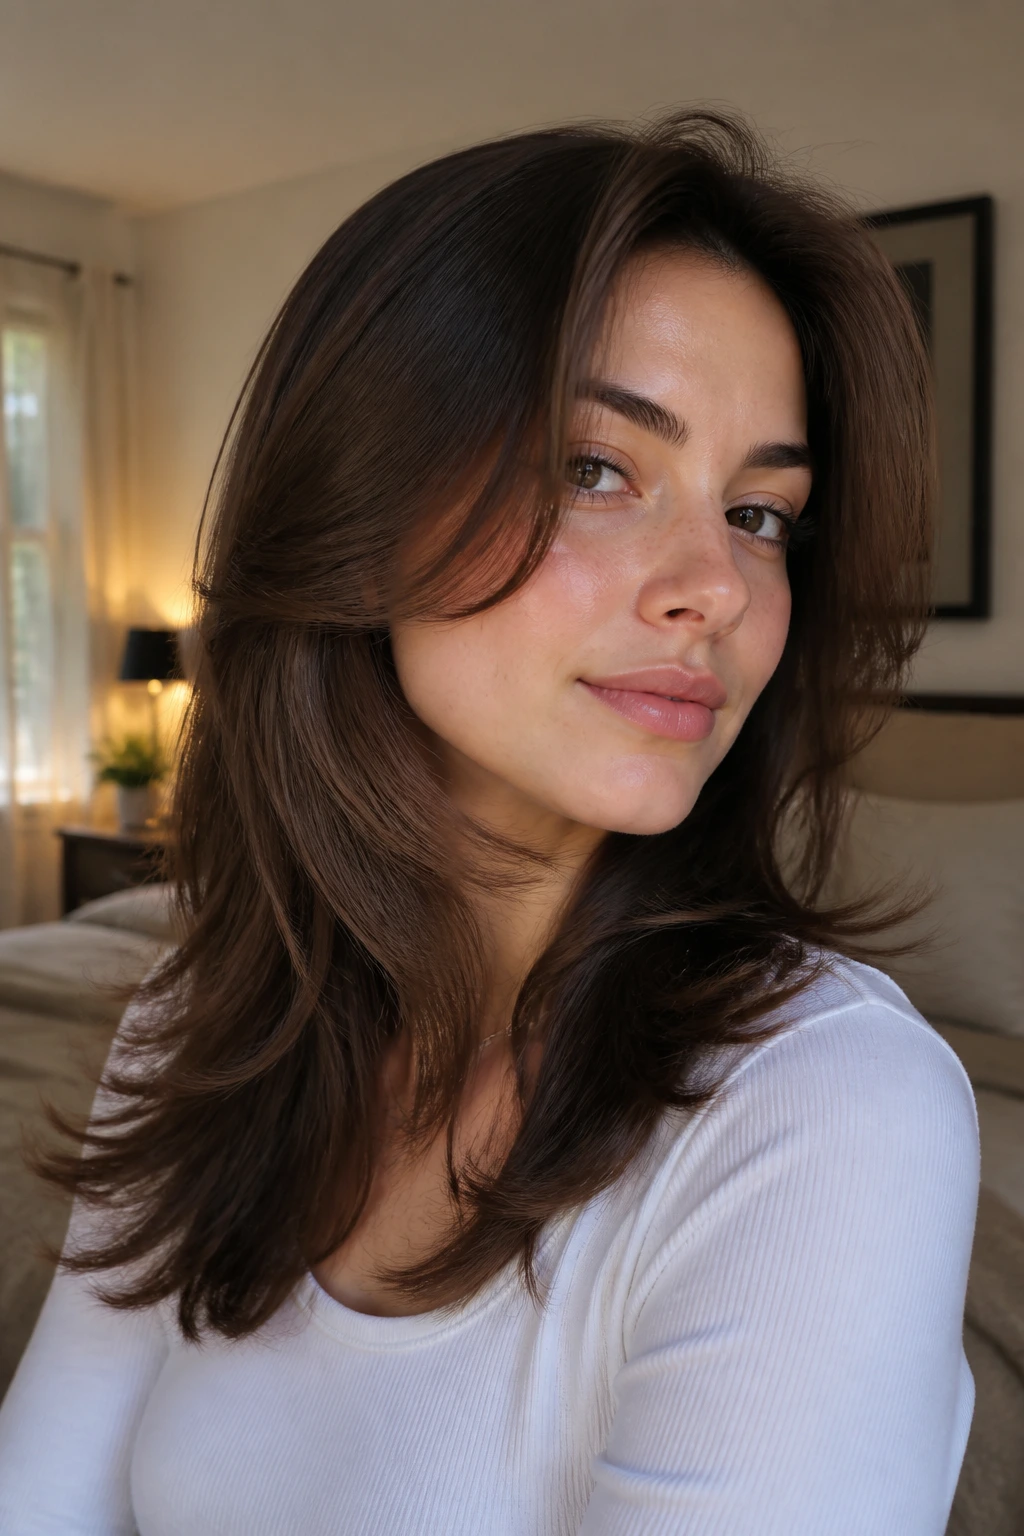
Feathered ends are the cousins of flipped ends, but softer. Instead of a hard turn outward, the ends lift and separate into light, airy pieces that move when you move. This works beautifully on layered cuts and medium lengths that need a little edge without looking too styled.
A feathered finish is about pressure, not speed. Ease the brush off the end and angle it away from the face. If you pull too hard, you’ll flatten the layer and lose that soft flick. If you leave a tiny bit of product on the fingers and rake the ends apart, the pieces stay visible without turning crunchy.
I like this when a blowout needs to read a little lighter and a little less formal. It has shape, but not rigidity. That matters.
19. The Sleek Roots, Bouncy Mid-Lengths Blowout
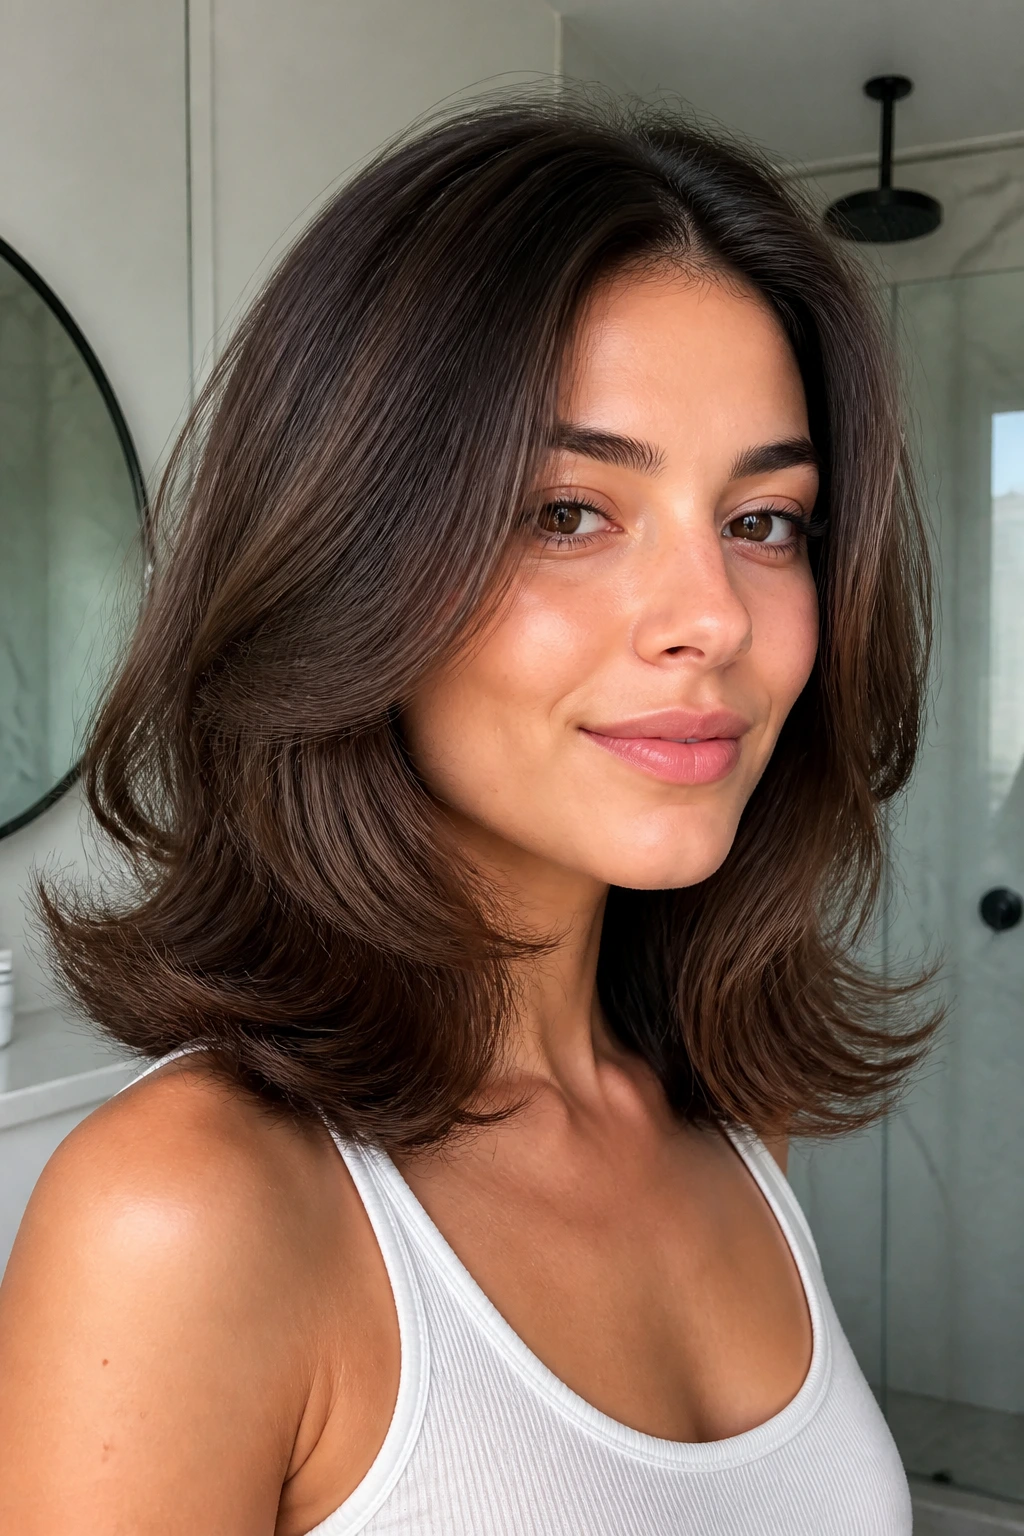
Here’s a shape I reach for when the weather is messy or the hair is thick enough to fight back. The roots stay smooth and controlled, while the mid-lengths and ends get the bounce. It’s polished at the scalp and alive everywhere else.
The best version of this look starts with a flat, neat root section and a slightly larger brush through the body. You are not trying to build volume everywhere. Just in the right place. That keeps the style from puffing out around the hairline, which is where thick hair often goes rogue.
It’s a good compromise if you want a blowout that looks done, not frozen.
20. The Party-Ready Full-Volume Blowout
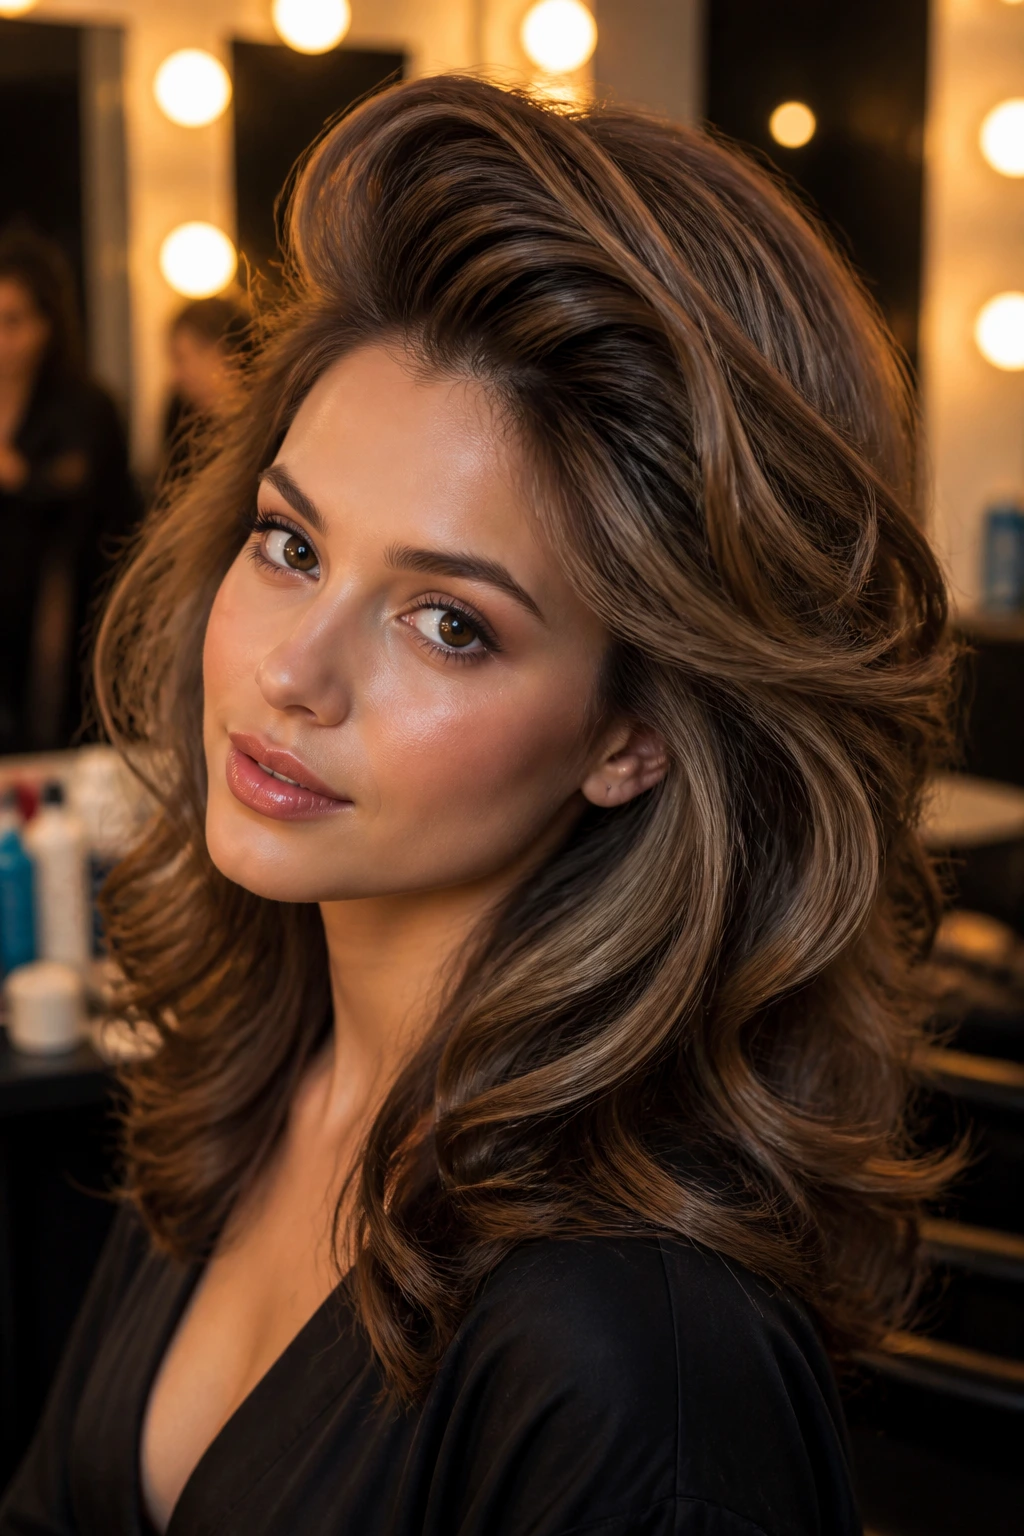
This is the maximalist version. Big crown, big roll at the front, full movement through the sides, and enough hold that the style survives a long night without collapsing into a sad triangle. It’s dramatic on purpose.
I would use this one for weddings, events, or any moment when you want the hair to show up before you do. Start with root clips, use a round brush that matches your length, set sections with rollers if you have them, and finish with a flexible hairspray so the hair still moves when you touch it. Too much hard spray kills the bounce. Too little spray and the style loses shape. The middle ground is where the good stuff happens.
And yes, it’s a commitment. Worth it.
Why a Blowout Gets Bouncy Instead of Flat
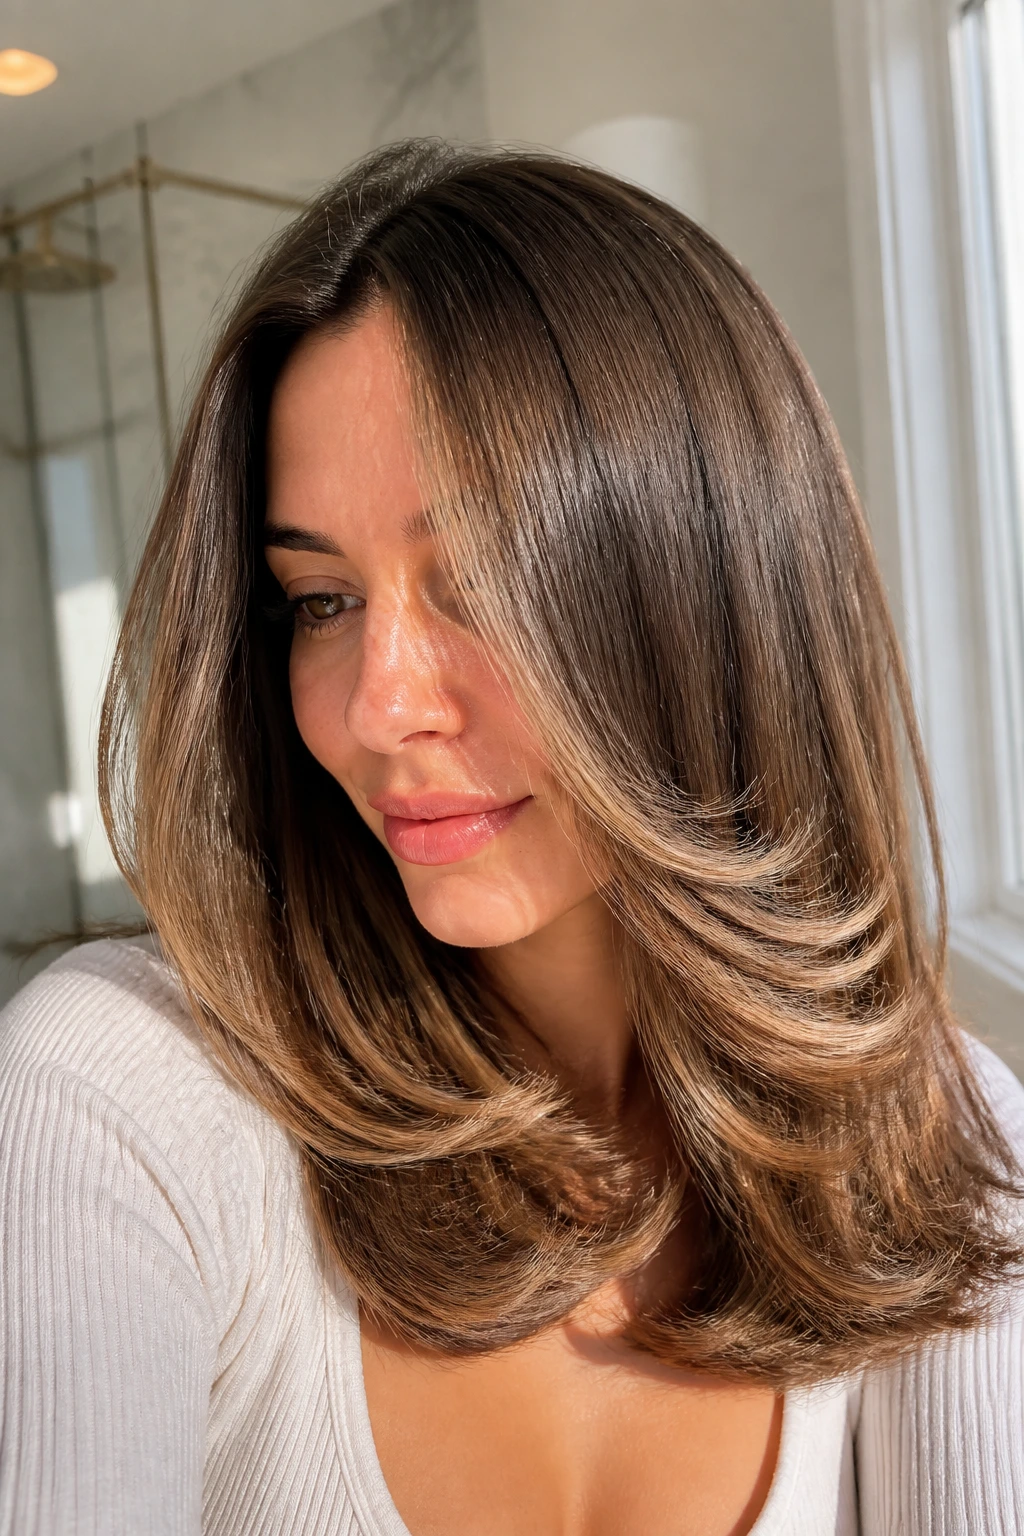
The magic is less mysterious than people make it sound. Hair changes shape when it’s wet because water weakens the bonds inside the strand. Heat and tension guide the strand into a new shape, and cooling lets it keep that shape longer. That’s why the same hair can come out flat one day and full the next, even when you used the same brush and dryer.
The cooling step is the part that gets ignored. Hair that’s still warm is still movable. If you release a section, run your fingers through it, and then keep styling before it’s cooled, the shape never gets a chance to settle. I’ve seen more blowouts fall apart because of impatience than because of the wrong product. Easy to fix. Harder to remember.
Sectioning matters too. Tiny sections take forever, but giant ones leave the inside damp and the outside over-smoothed. The sweet spot is a section that fits the brush with just enough room for tension. That’s why round-brush blowouts on thick hair can feel like a workout. They are. But the payoff is a cleaner bend and better lift.
Texture plays a role as well. Very straight hair often needs more help at the crown. Wavy or crimped hair often needs less smoothing and more direction. Coarse hair usually holds shape well but can puff if it’s overloaded with cream. Fine hair can look airy fast, then collapse just as fast. The fix changes with the fiber, and pretending otherwise only leads to flat hair and bad moods.
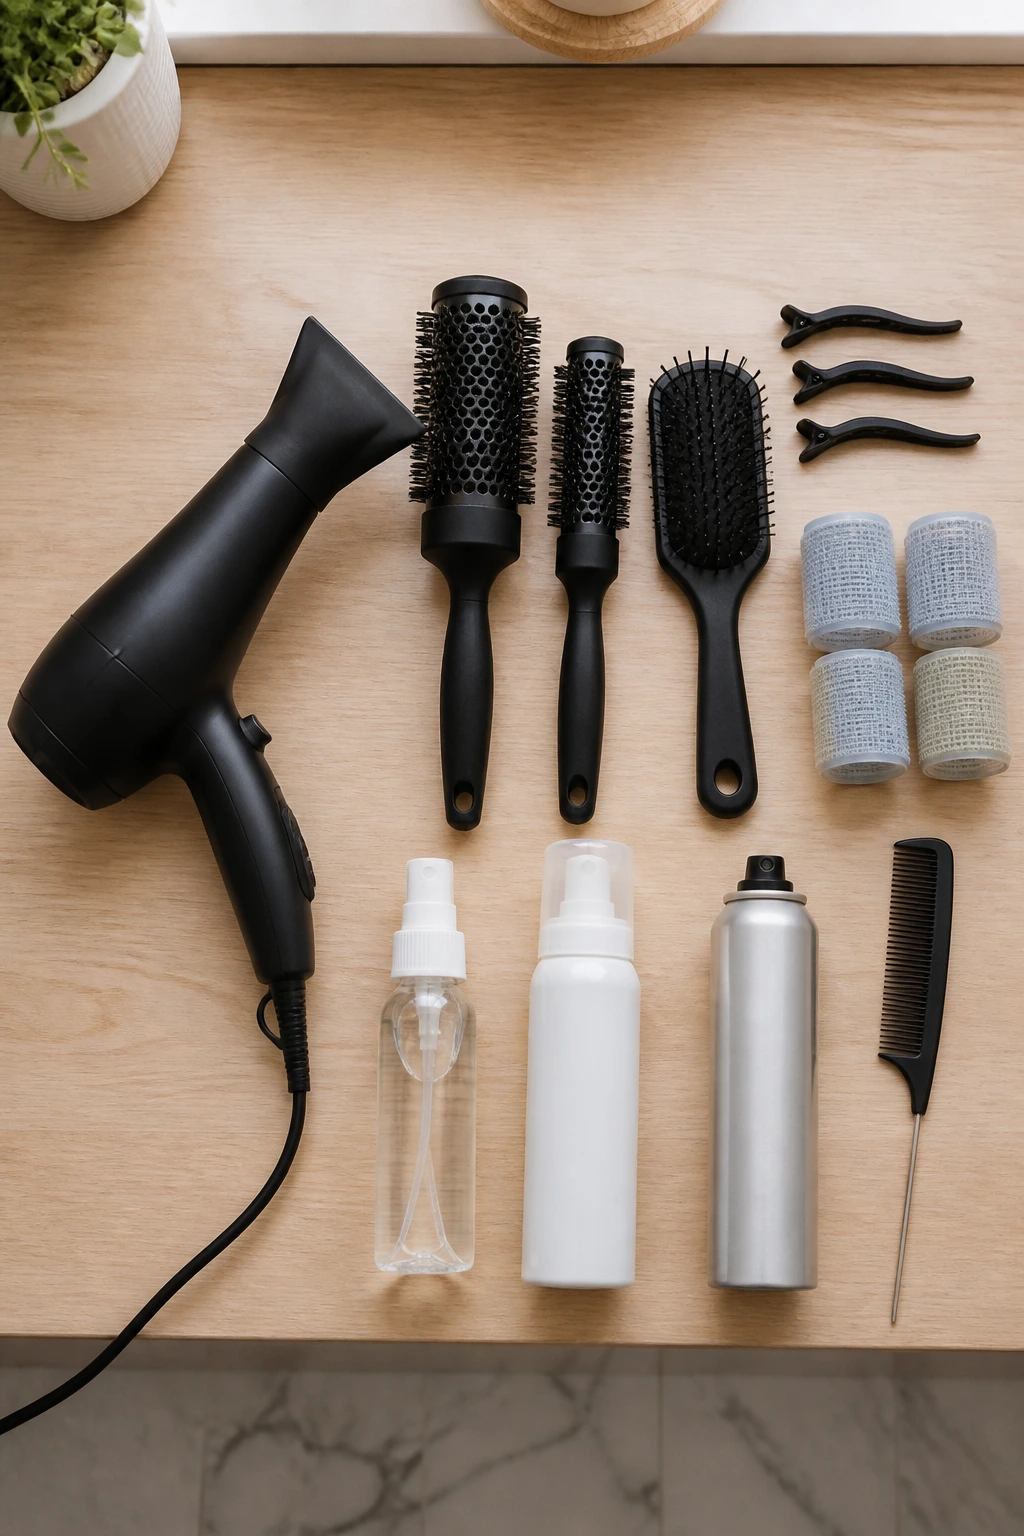
Essential Tools for These Blowout Looks
-
Blow dryer with a concentrator nozzle — The nozzle focuses the airflow and helps you smooth the hair without blasting the cuticle open.
-
Round brushes in two sizes — A 1 to 1.25-inch brush is handy for bangs and short layers; a 2 to 2.5-inch brush works better on longer lengths and bigger bends.
-
Paddle brush — Useful for root smoothing, rough-drying, and sections that don’t need much curl.
-
Sectioning clips — These keep the top layers out of the way while you work through the bottom; the cheap metal ones are fine.
-
Velcro rollers — Especially useful at the crown and face frame when you want more hold than the brush can give.
-
Heat protectant spray — Non-negotiable if you’re using a dryer or any hot tool on the same day.
-
Light mousse or root lift spray — Gives the hair some grit before drying, which helps the style hold instead of slipping flat.
-
Flexible-hold hairspray — A stiff shell spray kills movement. Flexible hold keeps the shape and the swing.
-
Clip or tail comb for clean sections — Not glamorous, but clean sectioning is half the battle.
-
Optional hot brush or large barrel tool — Handy if you want to reinforce the end bend, but not required for every look.
Smart Product Picks and Hair Prep
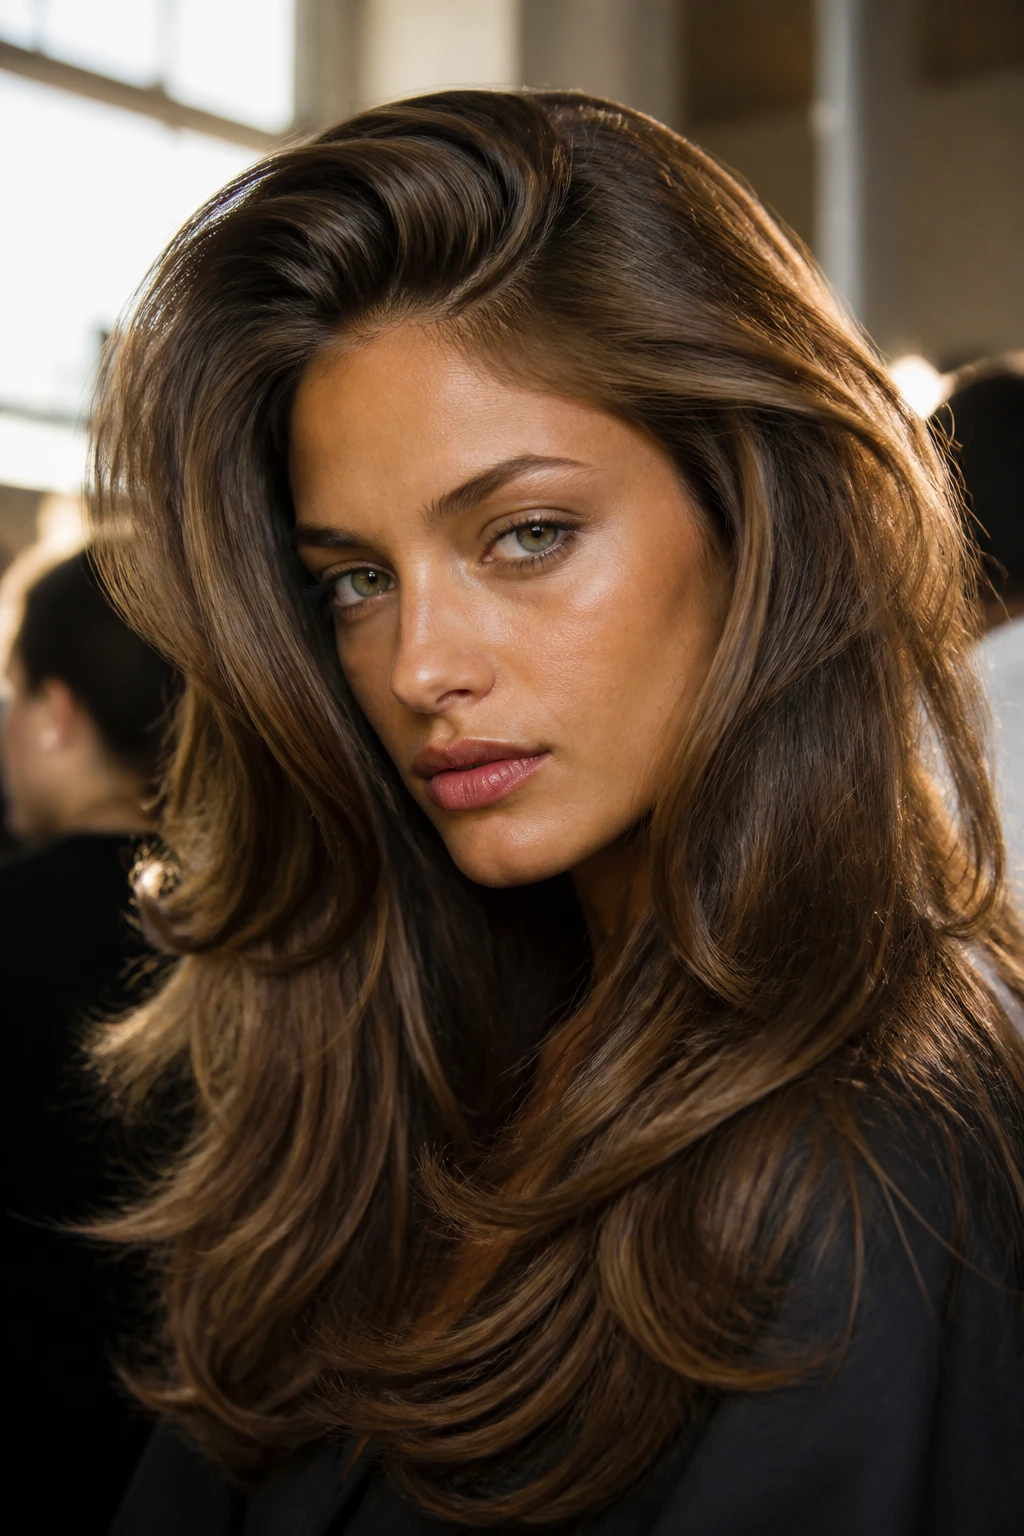
Fine hair needs light products. That means airy mousse at the roots, a little heat protectant through the lengths, and almost no heavy cream near the scalp. If you put rich product everywhere, the hair sinks under its own weight before the blowout is finished. A tiny amount of dry shampoo at the roots before drying can give the section a rougher surface to hold onto. That’s one of those unglamorous tricks that helps a lot.
Thick hair needs patience and a bit more slip. A smoothing cream through the mid-lengths can make the brush glide without snagging, which matters when you’re working in bigger sections. I’d still avoid heavy oils before the blow-dry. Save them for the very ends after the style is set. The difference between smooth and greasy can be one extra pump.
Wavy, frizzy, or crimped hair often does better with a plan that respects the texture instead of erasing it. Use a heat protectant with a bit of hold, then dry the hair until it’s mostly smooth at the root and intentionally softer at the ends. If you try to sand down every trace of natural texture, the style usually rebounds with more puff than you started with. The smarter move is directing the shape, not fighting the fiber.
Color-treated or fragile hair needs lower heat and a dryer that isn’t screaming hot. Look for tools with a decent nozzle, a controlled heat setting, and a brush that doesn’t snag. Hair that’s already been lightened or chemically processed can look beautiful in a blowout, but it gets cranky fast when overheated.
How to Wear the Volume Without Flattening It

Parting: A center part gives a clean, even look, while a deep side part creates instant lift and drama. Switch the parting and the whole style changes without another minute of heat.
Accessories: Use clips, pins, and headbands that sit low on the sides, not across the crown. Anything that presses the top flat is stealing the one thing the blowout worked hard to create.
Clothing: Open necklines and softer collars let the hair move freely. Turtlenecks and high collars can crush the shape at the nape and around the shoulders, which is a small detail until you spend twenty minutes fixing it.
Best Match: The classic round-brush blowout suits everyday wear. Curtain-bang and face-frame versions work well when you want the eyes and cheekbones to do more of the talking. The full-volume, party-ready shapes belong on days when the hair is meant to be part of the outfit, not a background detail.
Additional Tips and Shape Boosters
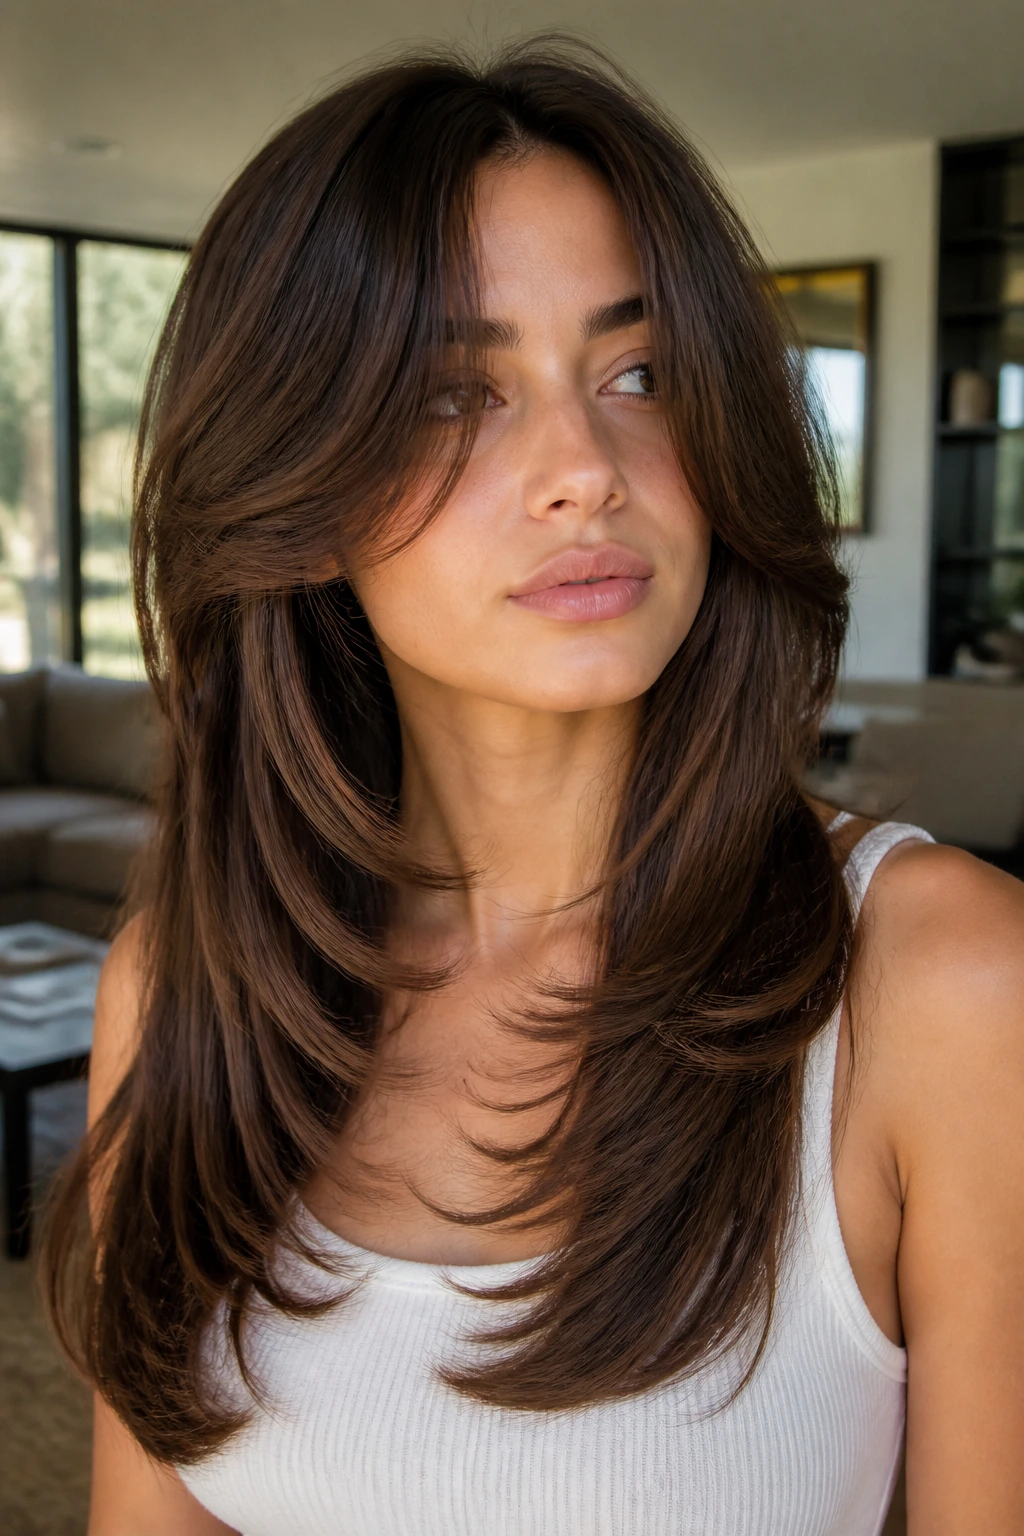
Lift Booster: Blow the roots in the opposite direction for the first 15 to 20 seconds of drying each section. That tiny reversal gives the crown more memory, which is why the hair won’t lie as flat later.
Texture Trick: If the style looks too soft, mist a dry texture spray at the mid-lengths only. Keep it away from the roots unless you want the hair to feel dusty by noon.
Gloss Move: Warm a pea-sized amount of serum between your palms and tap it over the last inch of the hair. The ends look cleaner, but the body still moves. Too much serum turns into slick sadness. Less is better.
Make-It-Yours: Fine hair usually needs rollers or clips for hold, thick hair usually needs more tension and larger sections, and textured hair often needs a lighter smoothing cream with a looser finish. One style can be adapted three different ways without losing its character.
Common Blowout Mistakes to Avoid
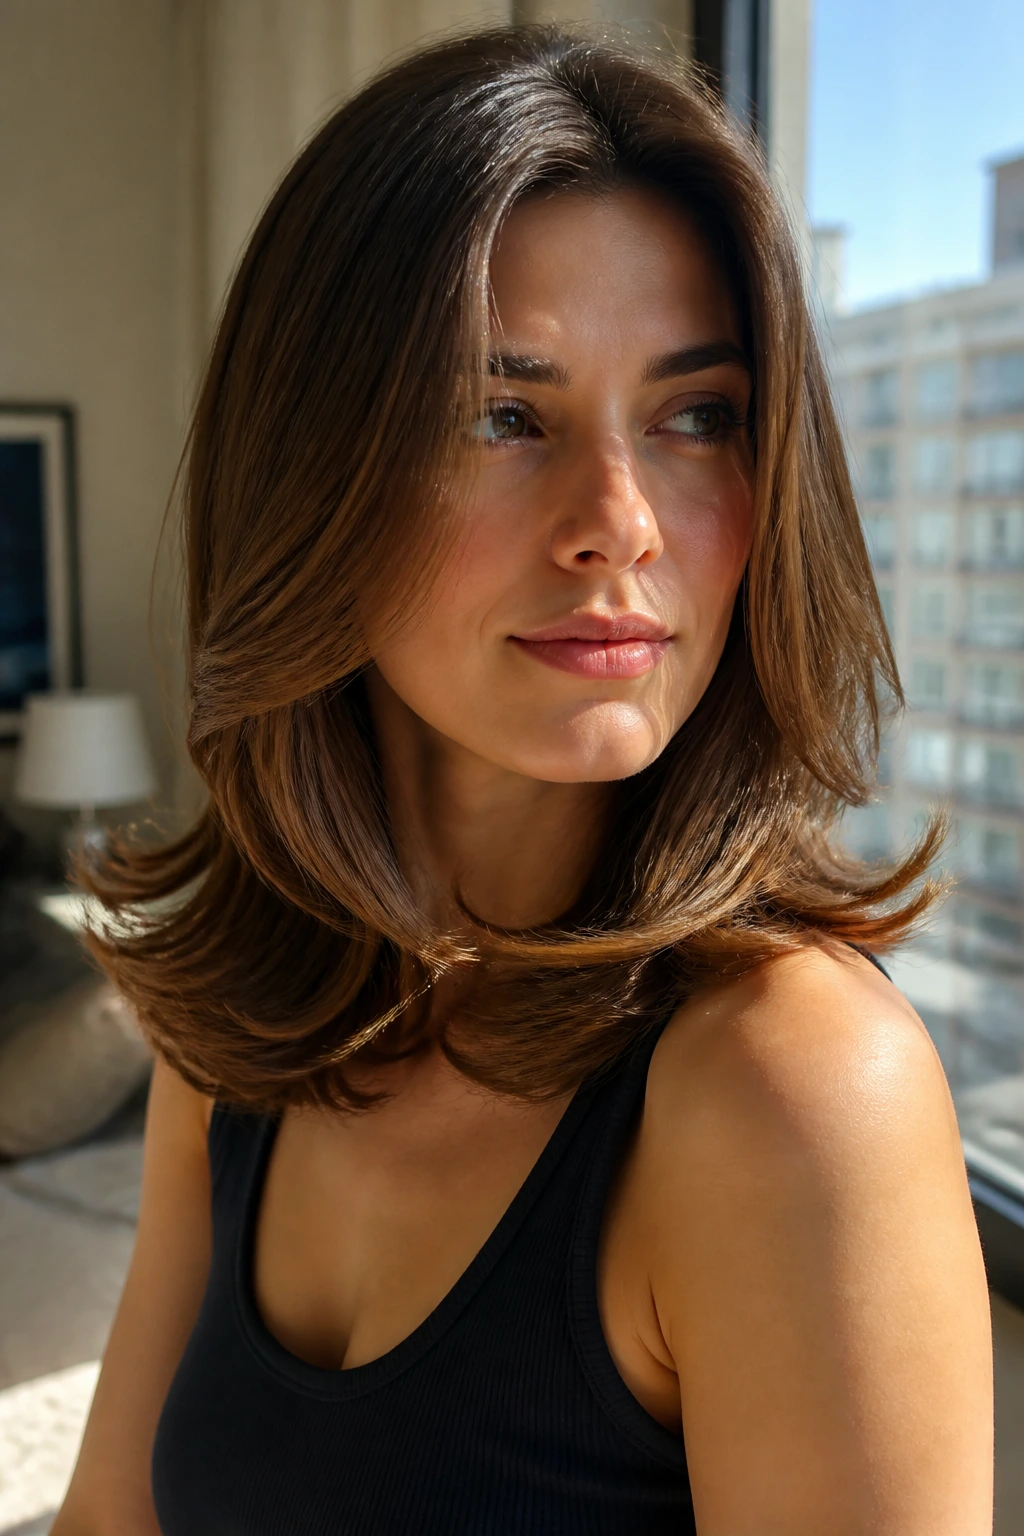
-
Starting with sections that are too wet: The outside dries first and the inside stays limp, which means the shape collapses as soon as the hair cools. Rough-dry until the hair is mostly dry before you start shaping.
-
Using the wrong brush size: A brush that’s too small can make long hair look tight and over-curled; one that’s too large won’t give bangs or short layers enough bend. Match the brush to the section length, not to what looks impressive in a drawer.
-
Putting oil at the roots: Roots need lift, not slip. If the scalp area is coated in heavy product, the blowout flops before it starts.
-
Skipping the cool shot: Heat sets shape. Cooling locks it in. If you release the section while it’s still warm, it will relax back into its old pattern.
-
Over-spraying before the style is finished: Heavy hairspray too early makes the hair sticky and dull, and it can make the brush drag. Set the shape first, spray second.
-
Touching the hair too much after styling: Hands transfer oil, flatten the crown, and pull the bend out of the ends. The less you fuss, the better the shape survives.
Variations and Adaptations to Try
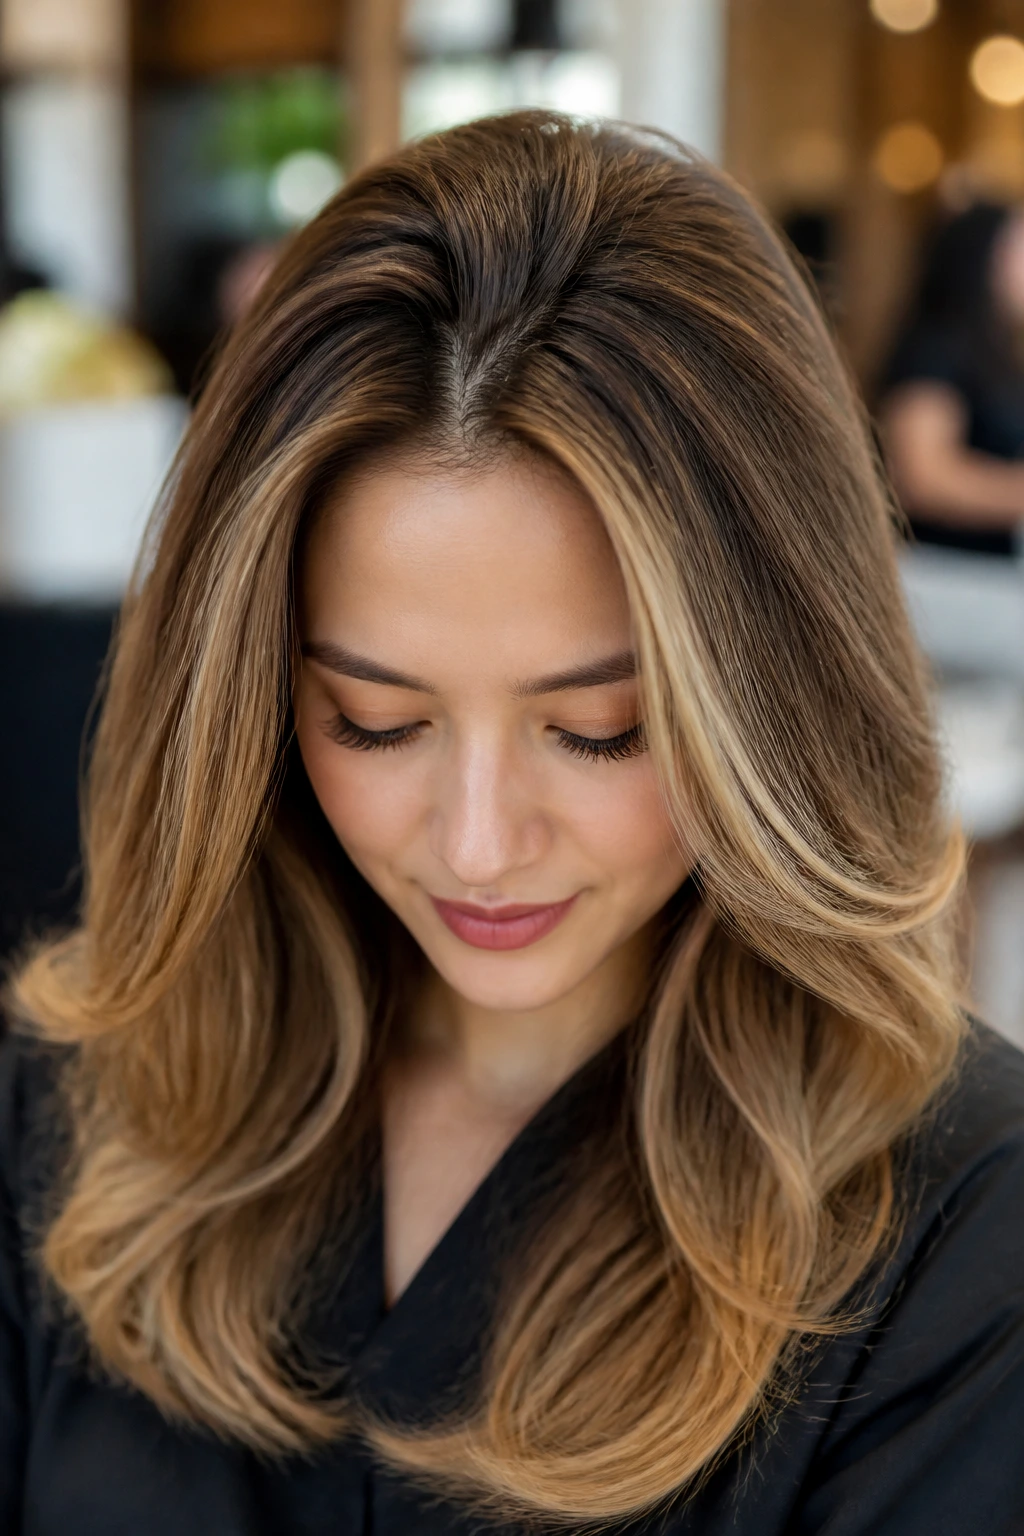
Fine-Hair Lift Set: Use mousse at the roots, a smaller round brush for the crown, and velcro rollers on the top sections for 10 minutes after drying. This gives fine hair a fuller outline without relying on heavy styling cream.
Thick-Hair Smooth Swing: Use a smoothing cream through the mids and dry in larger sections with a concentrator nozzle. The result is less bulk at the crown and more movement at the ends, which thick hair usually needs.
Humidity Shield Blowout: Keep product weight low, finish with a light anti-frizz spray, and choose a style with a little texture rather than a glassy finish. Hair that isn’t over-polished often survives damp air better.
Curly-Texture Blowout: Stretch the curls gently with a brush while drying, then stop before the hair looks pin-straight. Leaving a hint of curl memory makes the style look lush instead of overworked.
No-Heat Evening Set: Dry the hair to about 80 percent, twist the front sections into loose rollers or pins, and let them cool fully before brushing out. It takes longer, but the next-day shape can be excellent.
Maintenance, Sleep, and Refreshing the Shape
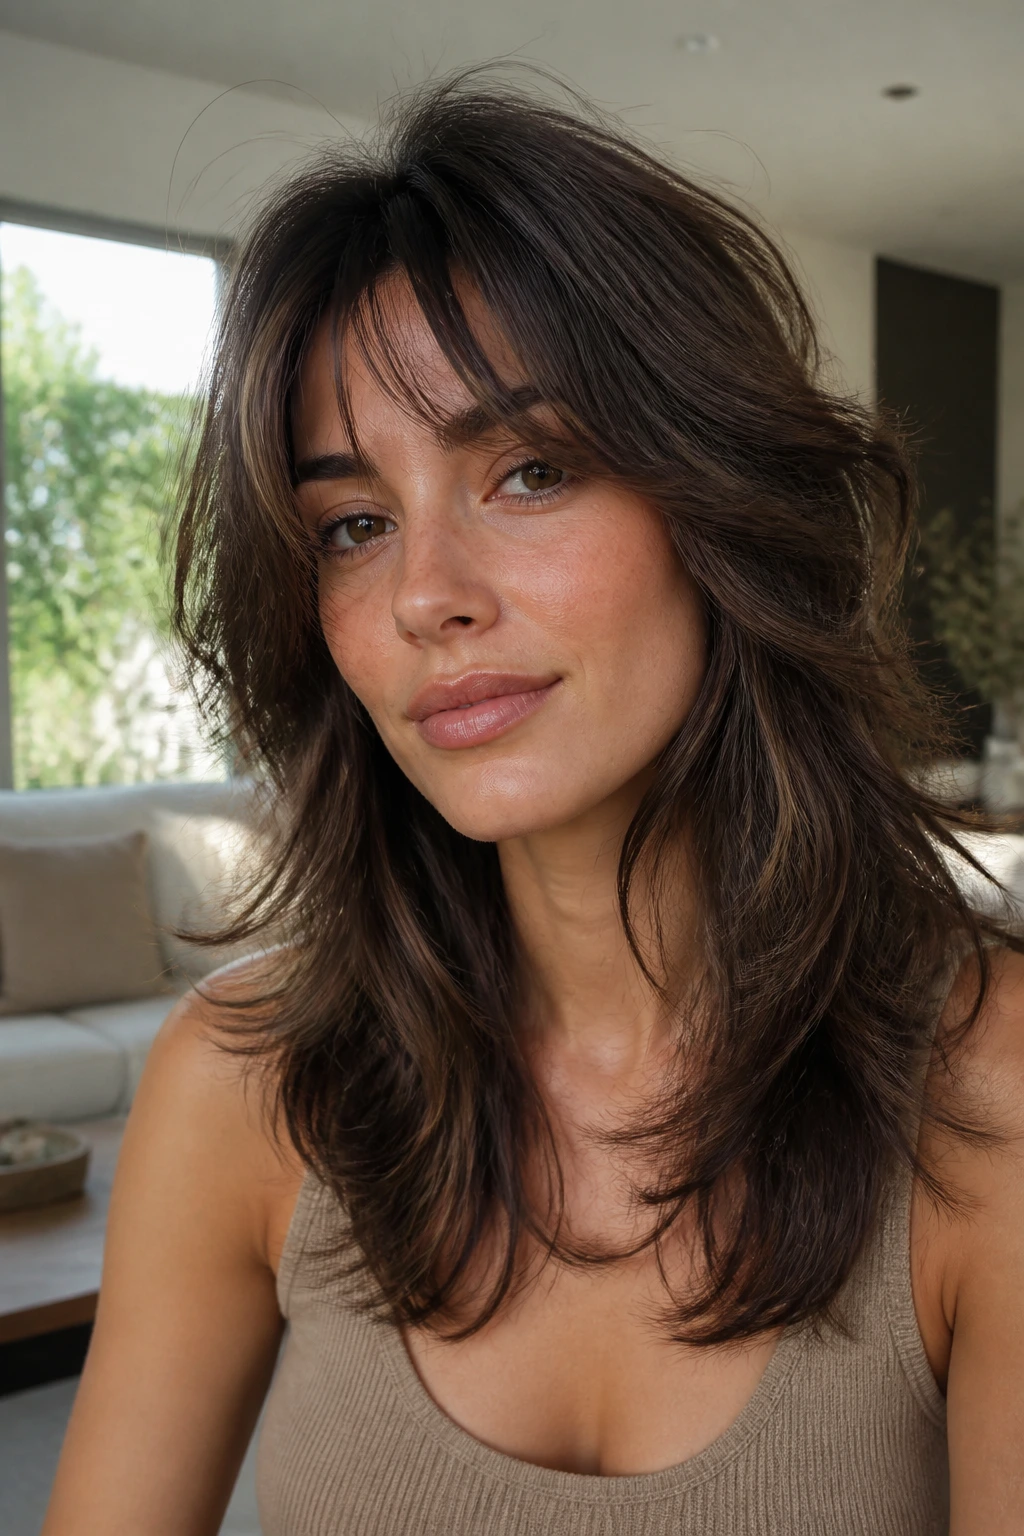
A blowout lasts longer when you stop treating it like wet laundry the minute it’s done. Let the hair cool fully before you go anywhere near a hat, scarf, or high collar. Warm hair dents fast. Cold hair holds shape better.
If you want the style to survive overnight, use a silk pillowcase or wrap the hair loosely with a silk scarf that doesn’t press the crown flat. Long layers can be gathered into a loose top clip or a very soft twist at the nape, but don’t cinch it hard. Hard dents are annoying to fix. Soft bends are easy.
Day two is where dry shampoo earns its keep. Lift small sections at the roots, spray at the scalp from 6 to 8 inches away, and wait a minute before brushing it through. Then re-curve the front pieces with your hands or a brush, not the whole head. The goal is to wake the shape back up, not rebuild it from scratch.
If the ends start looking sleepy, wrap just the bottom inch around a large brush and give it a quick hit of warm air followed by a cool shot. That tiny refresh can buy you another day of wear. Fine hair usually does best with one refresh. Thick hair can often take two. Textured hair may need more root mist and less brushing, because brushing too much can wake up the frizz.
Frequently Asked Questions
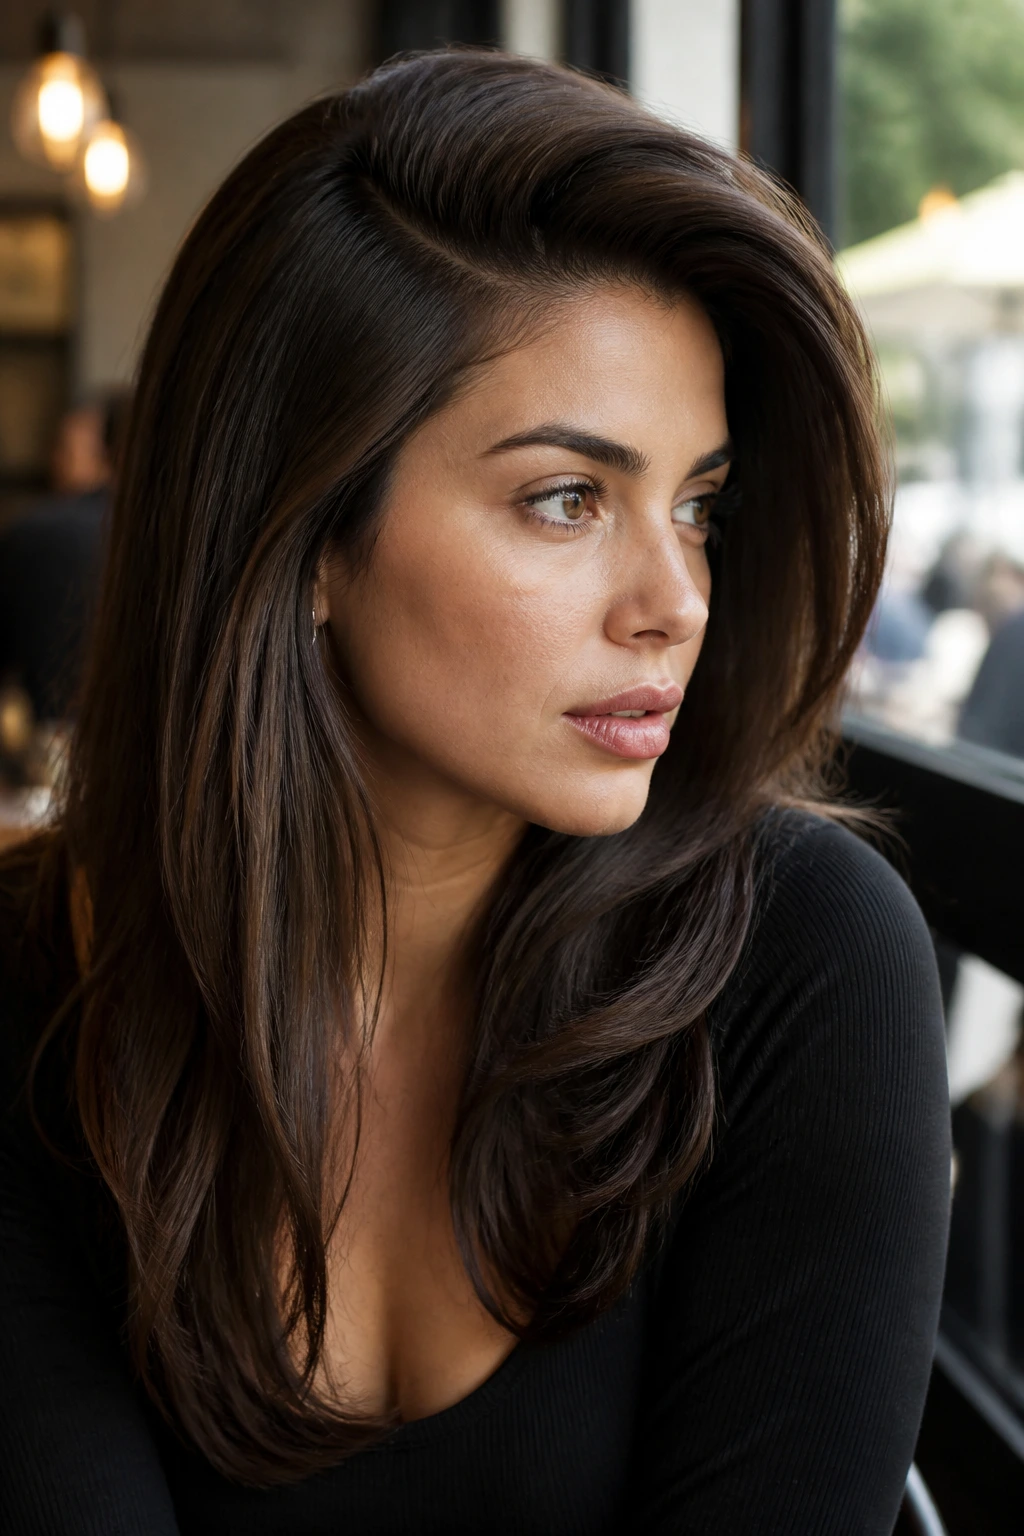
Which blowout gives the most volume with the least effort?
The deep side-part blowout and the root-lift crown blowout both give a lot back for the time you put in. They don’t need a ton of curl through the lengths, so the style looks full without turning into a project.
What size round brush makes the biggest difference?
For most shoulder-length or longer hair, a 2 to 2.5-inch brush creates a softer, bigger bend. Smaller brushes give tighter shape, which is useful for bangs and short layers but can feel too curled on long hair.
Can frizzy or crimped hair still pull off a bouncy blowout?
Yes, and sometimes it looks better that way. The trick is smoothing the root and shape while leaving a little surface texture in the ends so the hair doesn’t puff up from humidity the second you step out the door.
Do Velcro rollers actually help, or are they just old-school?
They help. A lot. They set the hair while it cools, especially at the crown and around the face, which is exactly where bounce tends to disappear first.
How do I keep the top from going flat by lunchtime?
Start with root lift product, dry the crown in the opposite direction first, and leave the hair alone while it cools. If needed, clip the top sections up for a few minutes after styling so the base holds its shape.
Can these blowout ideas work on a bob?
Absolutely. The blunt bob blowout, flipped-ends blowout, and feathered ends blowout are especially good on shorter lengths because they create shape without swallowing the cut.
What if my ends always flip the wrong way?
That usually means the last bit of brush direction is inconsistent. Wrap the ends in the direction you want, hold them for a few seconds, and let them cool before you release. The end of the section is what the hair remembers.
How much product is too much?
If the roots feel sticky, heavy, or dirty before the style is finished, you’ve gone too far. Blowouts work best when the hair still has a clean, touchable feel and the hold comes from shape, not a layer of product.
Bigger Hair That Still Moves
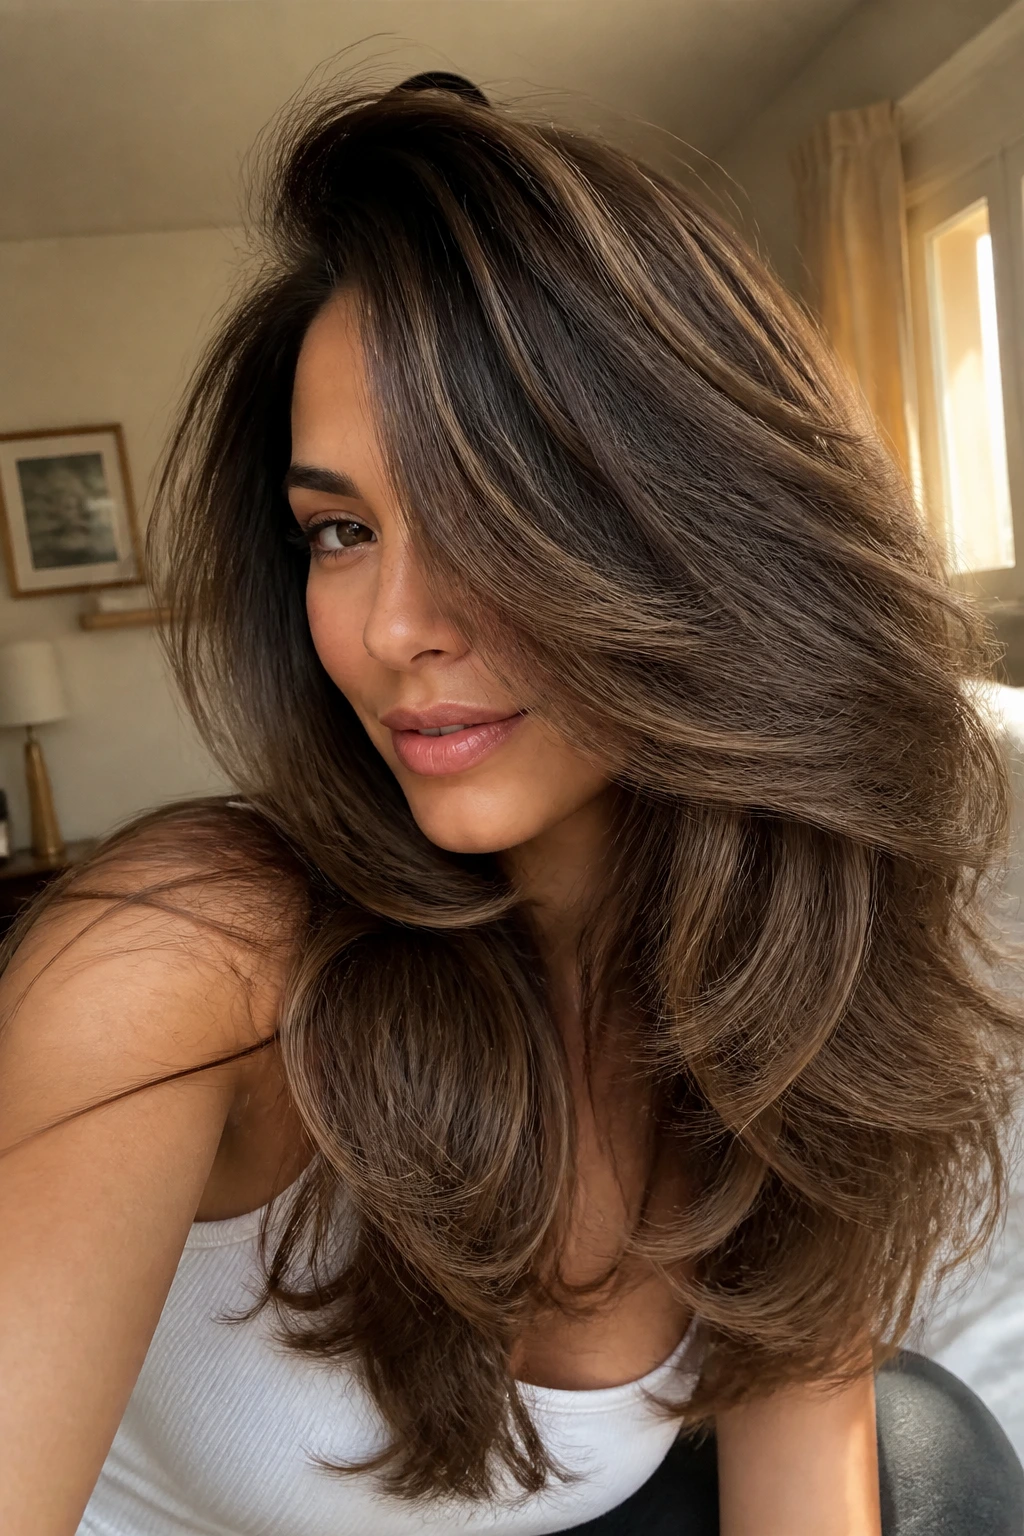
The best blowout is not the one that looks the biggest in the mirror. It’s the one that still moves after you leave the bathroom, after you put on a jacket, after you’ve had the thing on your head for an hour and it still looks like it belongs there.
That’s the real trick with bouncy volume. Build the shape, cool it properly, and choose the version that suits your cut instead of forcing every head of hair into the same glossy template. Pick one of these looks on your next wash day, give it a fair shot, and let the hair tell you what it wants to do.
