



The best beach wave looks never announce themselves. They bend a little, fall a little, and still manage to look good after a hoodie collar, a car ride, or a quick brush through with your fingers. That loose shape is the whole trick. If the waves are too perfect, they start looking dressed up. If they’re too flat, they lose the point.
Beach waves work because they sit in that middle space: not a curl set, not poker-straight, not a giant blowout with too much roundness. The hair still moves. The ends stay soft. And a 1-inch wand gives a different result from a 1.25-inch barrel, which matters more than people like to admit. Tool size changes the bend, section size changes the finish, and cooling time changes whether the style stays airy or turns fuzzy.
This collection leans into that range. Some of these beach wave looks are easy and sleepy in the best way; some are neat enough for dinner; some are made for hair that already has a little grit from day two. The common thread is simple: the wave starts lower than the root, the ends stay softer, and the overall shape never looks frozen.
Why These 45 Waves Keep Working
-
Low pressure, high payoff: Most of these styles rely on a loose bend rather than a tight curl, so you do not need perfect sectioning to make them read well.
-
Heat or no heat: Braids, twists, rollers, flat irons, and wands all show up here, which means you can pick the method that fits your hair and your patience.
-
Built for real hair: Layers, frizz, highlights, and uneven ends are not deal-breakers here. They often make the wave look better.
-
Flexible finish: You can push these looks toward polished, matte, glossy, or rough-textured without changing the basic shape.
-
Day-two friendly: A lot of beach wave styles look softer after sleeping on them, which is rare in hair styling and part of the appeal.
What Makes a Beach Wave Look Soft Instead of Crispy
Beach waves go wrong when the bend starts too high and the finish gets too neat. The hair ends up looking like it was wrapped with a ruler. That is not the goal. The goal is movement through the middle lengths, with the root staying a little lifted and the ends staying a little loose.
Start the bend below the crown
Most good beach waves begin around the cheekbone, jawline, or collarbone, depending on length. That leaves enough straightness near the scalp to keep the style casual, and it keeps the shape from turning into full curl territory.
Let the hair cool before you touch it
Hot hair remembers the shape you give it. Cool hair remembers it longer. That is why waving a section and immediately raking through it can flatten the pattern before it has a chance to settle. Pinning the wave while it cools buys you better hold without more product.
Keep the ends a little softer
The ends tell the truth. If every strand is curled all the way to the bottom, the whole look gets too round and too done. Leaving the last inch or so out gives you that worn-in finish people usually want from beach waves.
1. Soft Shoulder-Length Waves
Shoulder-length hair is the sweet spot for this style. There’s enough length for movement, but not so much that the bend gets heavy and drops out by lunch. I like a 1-inch wand here, with the wave starting around the cheekbone and stopping before the last inch of hair.
The easiest way to keep it soft is to alternate directions and then shake the roots with your fingers instead of brushing everything flat. A light texture spray at the mid-lengths is enough. Too much at the roots and the shape goes puffy fast.
2. Long Surfer Waves
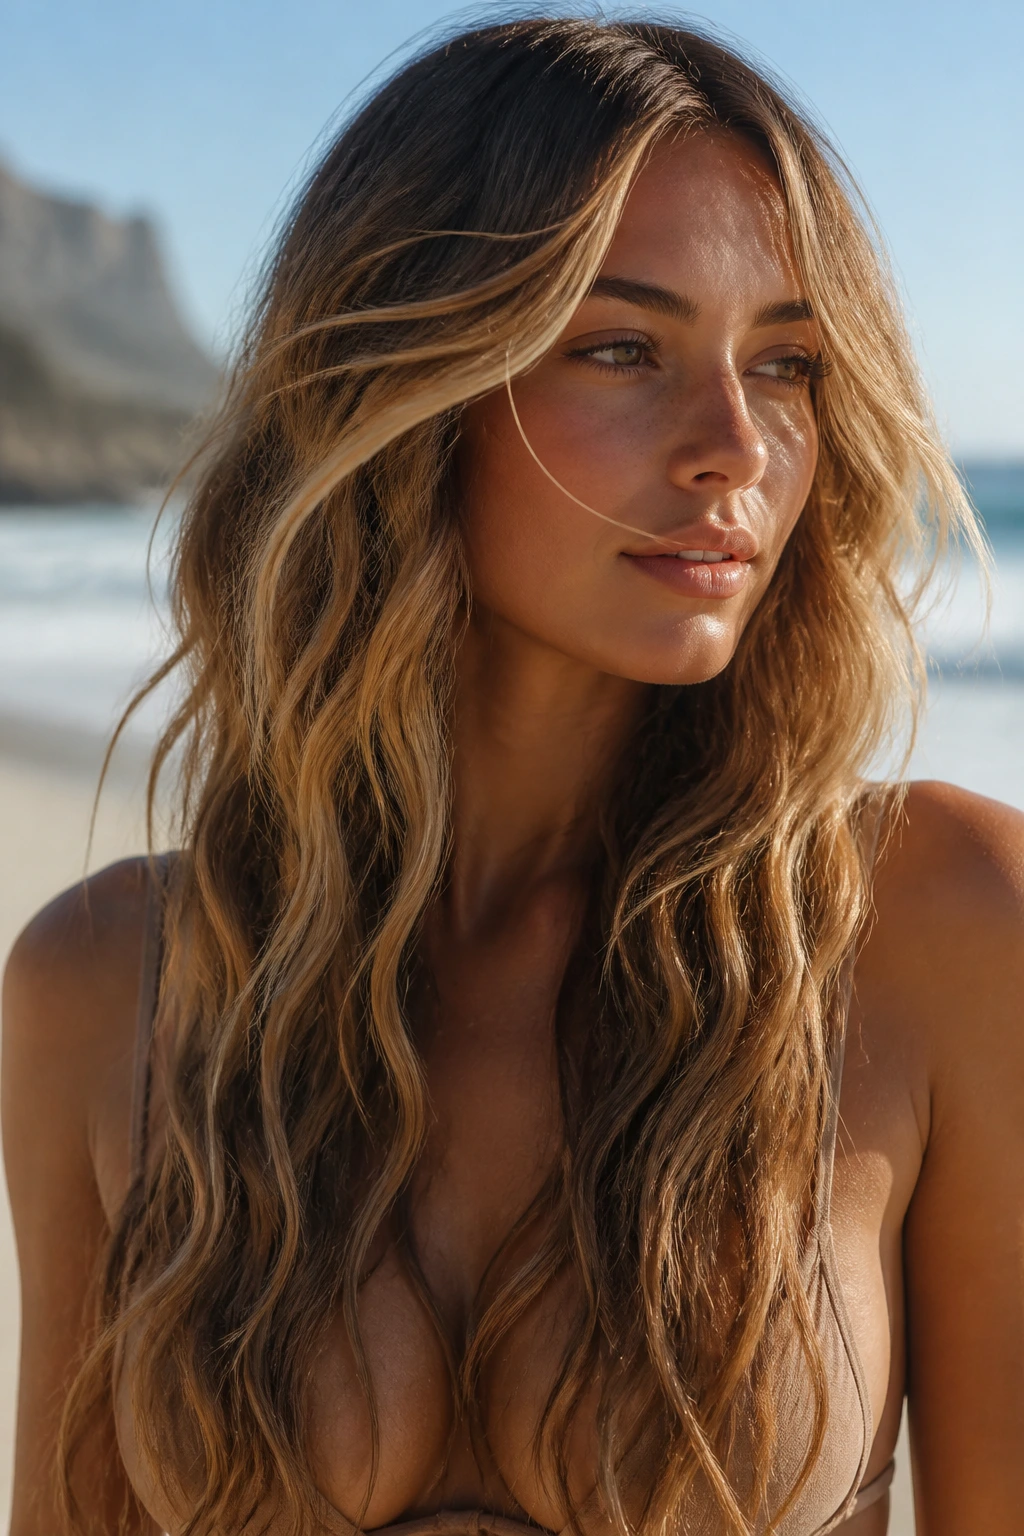
Long hair gives you that classic surfer look, but only if you resist the urge to curl every inch. The best version feels stretched and sun-tossed, not wrapped up tight. A 1.25-inch barrel works better than a tiny wand because it keeps the wave wide and loose.
I’d leave the last 1 to 2 inches straight, then mist the hair with salt spray and scrunch it once or twice. That little bit of grit helps the wave hold its shape without making the finish crunchy. The extra length does most of the work.
3. Curtain Bang Beach Waves
Curtain bangs change the whole read of a beach wave. They soften the forehead, break up the face line, and give the style a little movement right where people look first. The key is to bend the bang pieces away from the face, not curl them under.
Keep the waves below the fringe loose and slightly uneven. If the bangs are too polished, they fight the rest of the hair. I like this look with a side of dry shampoo at the root because the bangs settle better when they have a little grip.
4. Deep Side-Part Waves
A deep side part turns a basic wave into something with a little drama. One side lays flatter against the head, the other side gets more lift and swing. That asymmetry is what makes the style feel intentional.
Use the part to create volume, then wave the lengths away from the face on the fuller side. A small clip at the root while the hair cools helps the deeper side hold. This one looks especially good on longer cuts with face-framing layers.
5. Center-Part Tousled Waves
Center parts can look severe if the texture is too flat, so the trick is to keep the wave slightly irregular. The bend should move in soft sections instead of marching in perfect lines down the head. That tiny bit of mess is what makes it work.
If your hair is naturally straight, wave the front pieces away from the face and the middle lengths in alternating directions. That keeps the center part from looking too rigid. A drop of lightweight oil on the ends gives the style a lived-in finish without killing the texture.
6. Chin-Length Bob Waves
Short hair loves a wave that bends instead of curls. On a bob, too much roundness can make the shape pop out at the sides in a way that feels old-fashioned rather than breezy. A flat iron bend or a small wand gives you more control.
Work in narrow sections and stop the heat before the ends flip too hard. Then pinch the hair between your fingers while it cools. That little pause matters. On short hair, every inch changes the silhouette.
7. Lob With Flat-Iron Bends
A lob gives flat-iron waves room to move. The style looks especially good when the bend runs in an S-shape instead of a full spiral, because the line stays loose and modern. This is one of my favorite versions for hair that sits right at the collarbone.
Clamp the flat iron, turn it half a rotation, slide, and repeat in a relaxed rhythm. Don’t chase symmetry. The unevenness is the point. If the ends need help, flick them out with your fingers once the hair cools.
8. Mermaid-Length Waves
Very long hair can swallow a wave if the bend is too small. Mermaid-length waves need a bigger barrel, bigger sections, and a little patience. The shape should stretch down the length instead of stacking up in one dense block.
I’d skip heavy cream products here. They drag. A thermal spray and a texture mist are enough, then let the hair cool in loose clips before you touch it. Long waves look best when they move in sheets, not in tiny curls.
9. Piecey Salt-Spray Waves
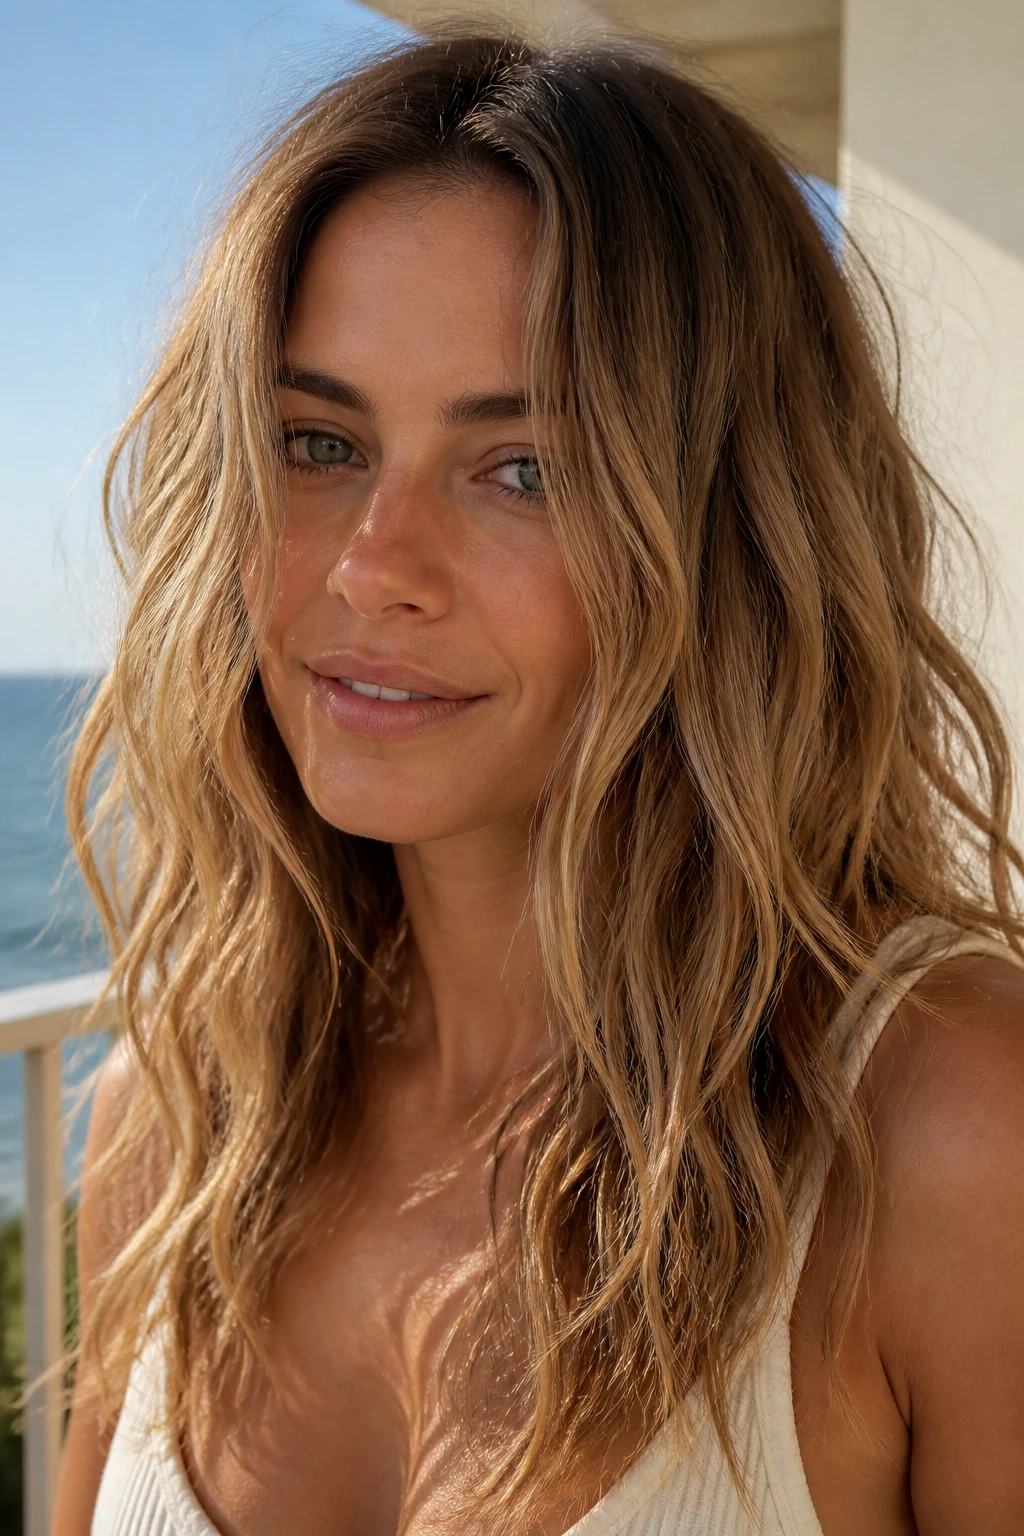
Piecey waves depend on separation. The style should look like someone ran through the hair with sea air and then changed their mind about brushing it. Salt spray is useful here, but only in small amounts; too much turns the ends dry and rough.
Spray the mid-lengths, twist a few sections with your fingers, and then break them apart once they set. Keep the roots cleaner and softer. That contrast is what makes the pieces stand out without the whole head looking frayed.
10. Brushed-Out Barrel Waves
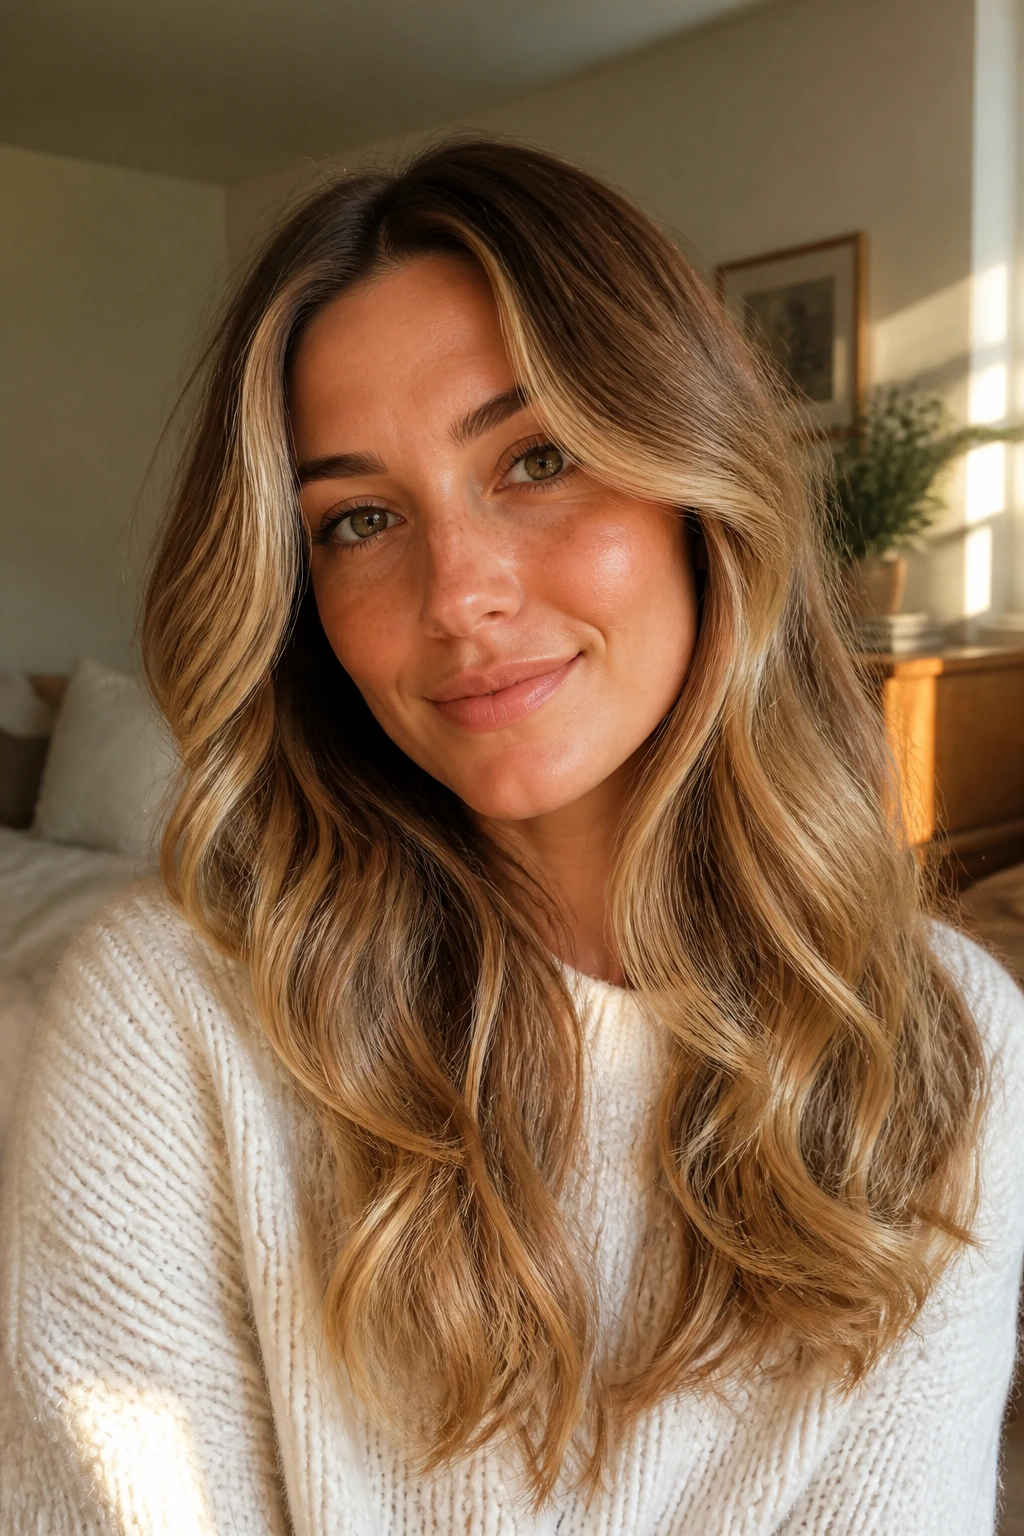
This one starts with a barrel curl and ends with a brush. That’s the whole difference. The curl gives the hair memory, and the brush softens the line until it reads as wave rather than ringlet.
Let each section cool fully before brushing. If you skip that part, the style collapses fast. I like a boar-bristle brush for this look because it smooths the surface while keeping the ends from puffing up.
11. Heatless Rope-Braid Waves
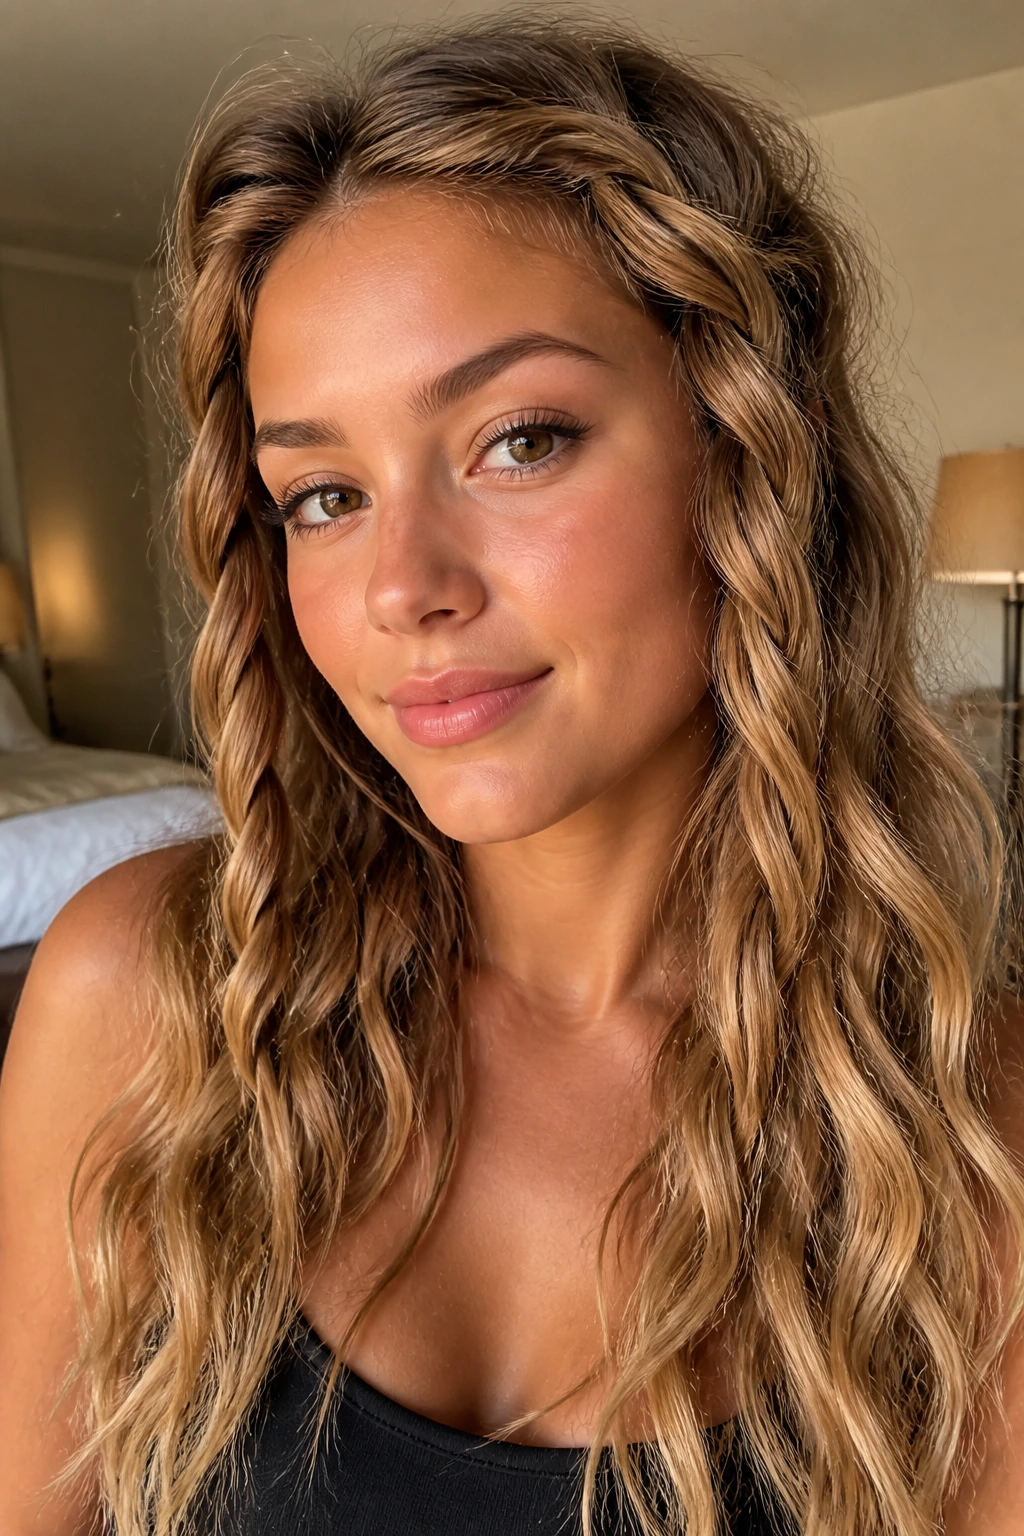
Rope-braid waves are one of the easiest no-heat looks when you want soft movement the next morning. Twist two sections together on each side, secure the ends, and leave them alone until the hair is dry. The result is loose and a little irregular, which helps a lot.
This style works best on hair that holds a shape once it dries, so a light mousse can help. Sleep on it. Really. The longer the twists stay in place, the more the bend settles into something believable rather than obvious.
12. Overnight Twist Waves
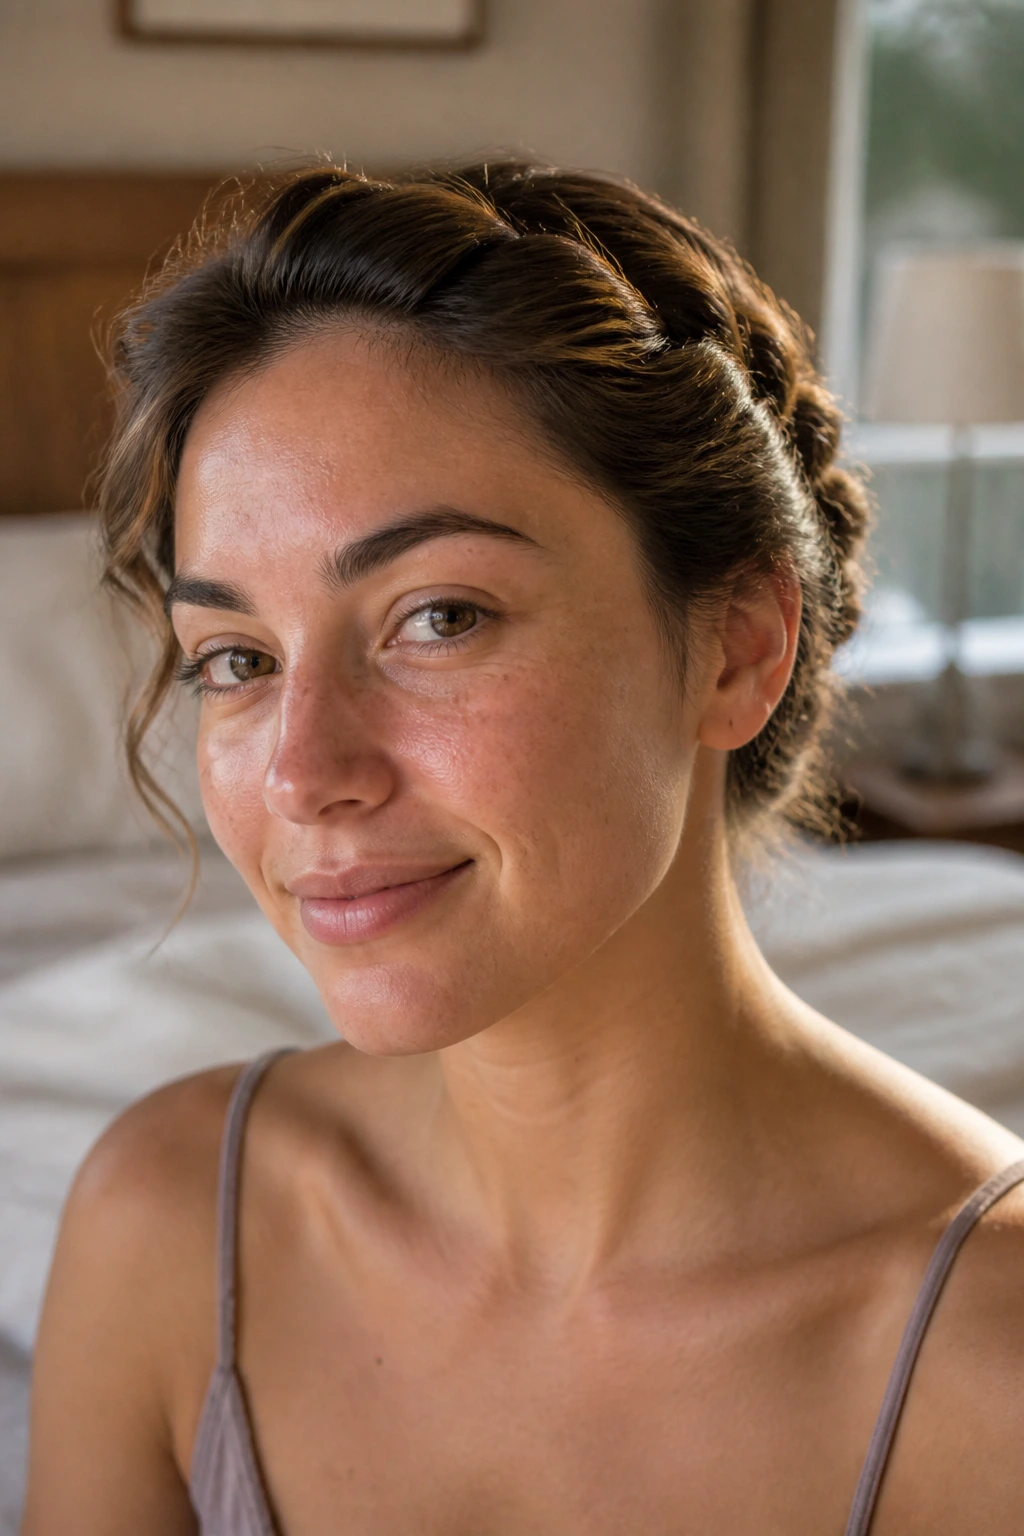
Twist-and-pin waves are softer than braids and a little less patterned. You take medium sections, twist them back on themselves, and pin them flat to the head or coil them loosely. In the morning, the hair opens into a wave that feels easy instead of formal.
I like this for medium-length hair because the bend lands in a nice spot through the mid-lengths. Use smooth pins, not tight clips, or you’ll get dents that are hard to hide. The shape should release in bends, not marks.
13. Air-Dried Scrunch Waves
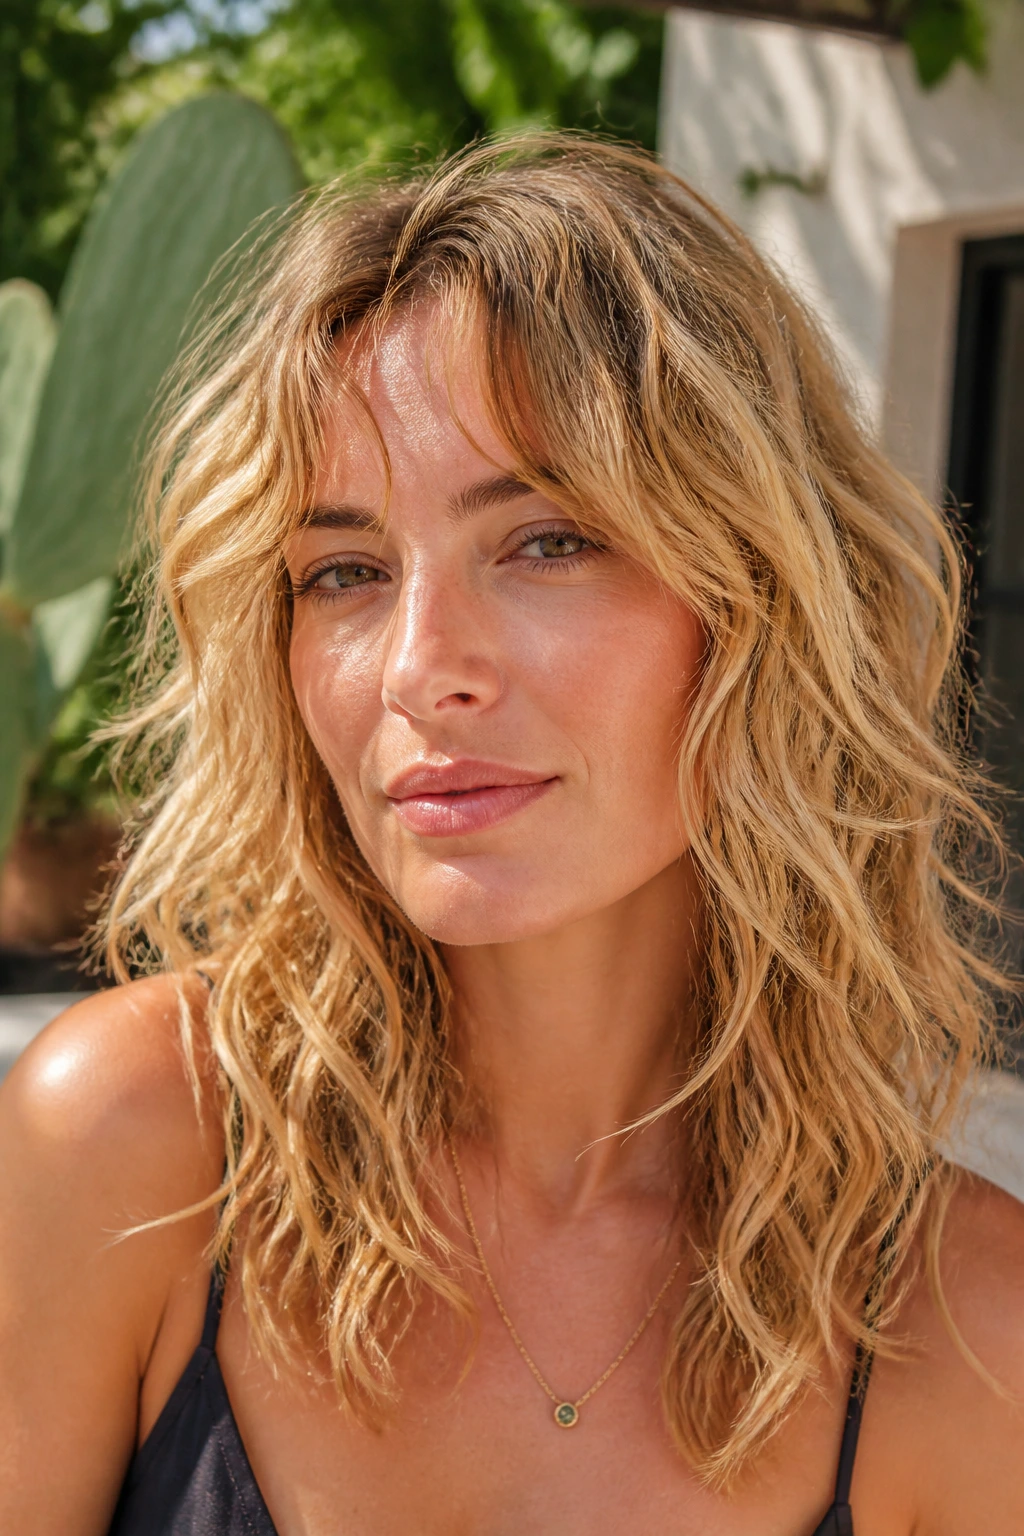
If your hair already has some texture, this is the least fussy option in the bunch. Add mousse to damp hair, scrunch from the ends upward, and leave it alone until it dries. Touching it early ruins the line.
The finish depends on restraint. No combing. No heavy brushing. Once the hair is dry, break the cast with your hands and stop there. You want soft separation, not fluffy halo volume.
14. Blowout-Wave Hybrid
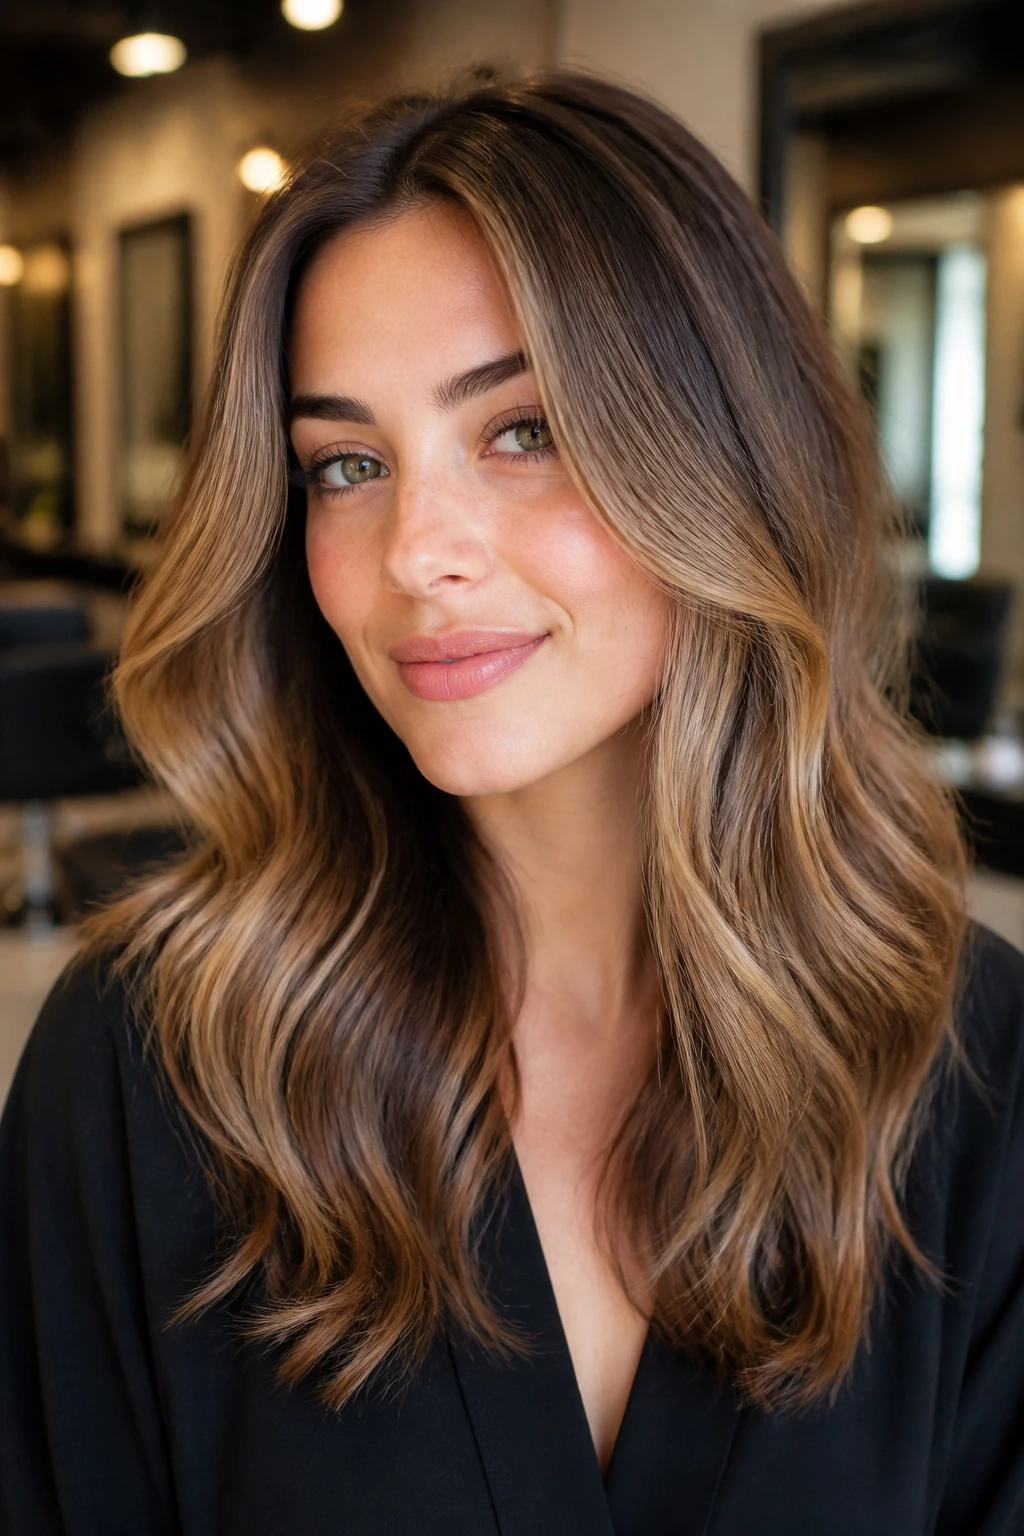
This style sits between a smooth blowout and a wave. The roots stay controlled, the mid-lengths bend, and the ends stay loose enough to keep the whole thing from looking too round. It’s a good choice when you want polished without looking stiff.
A round brush at the roots, then a soft wave through the ends, usually does the job. A lot of people miss that the root work matters as much as the wave itself. If the crown is flat, the style loses its lift.
15. Half-Up Beach Waves
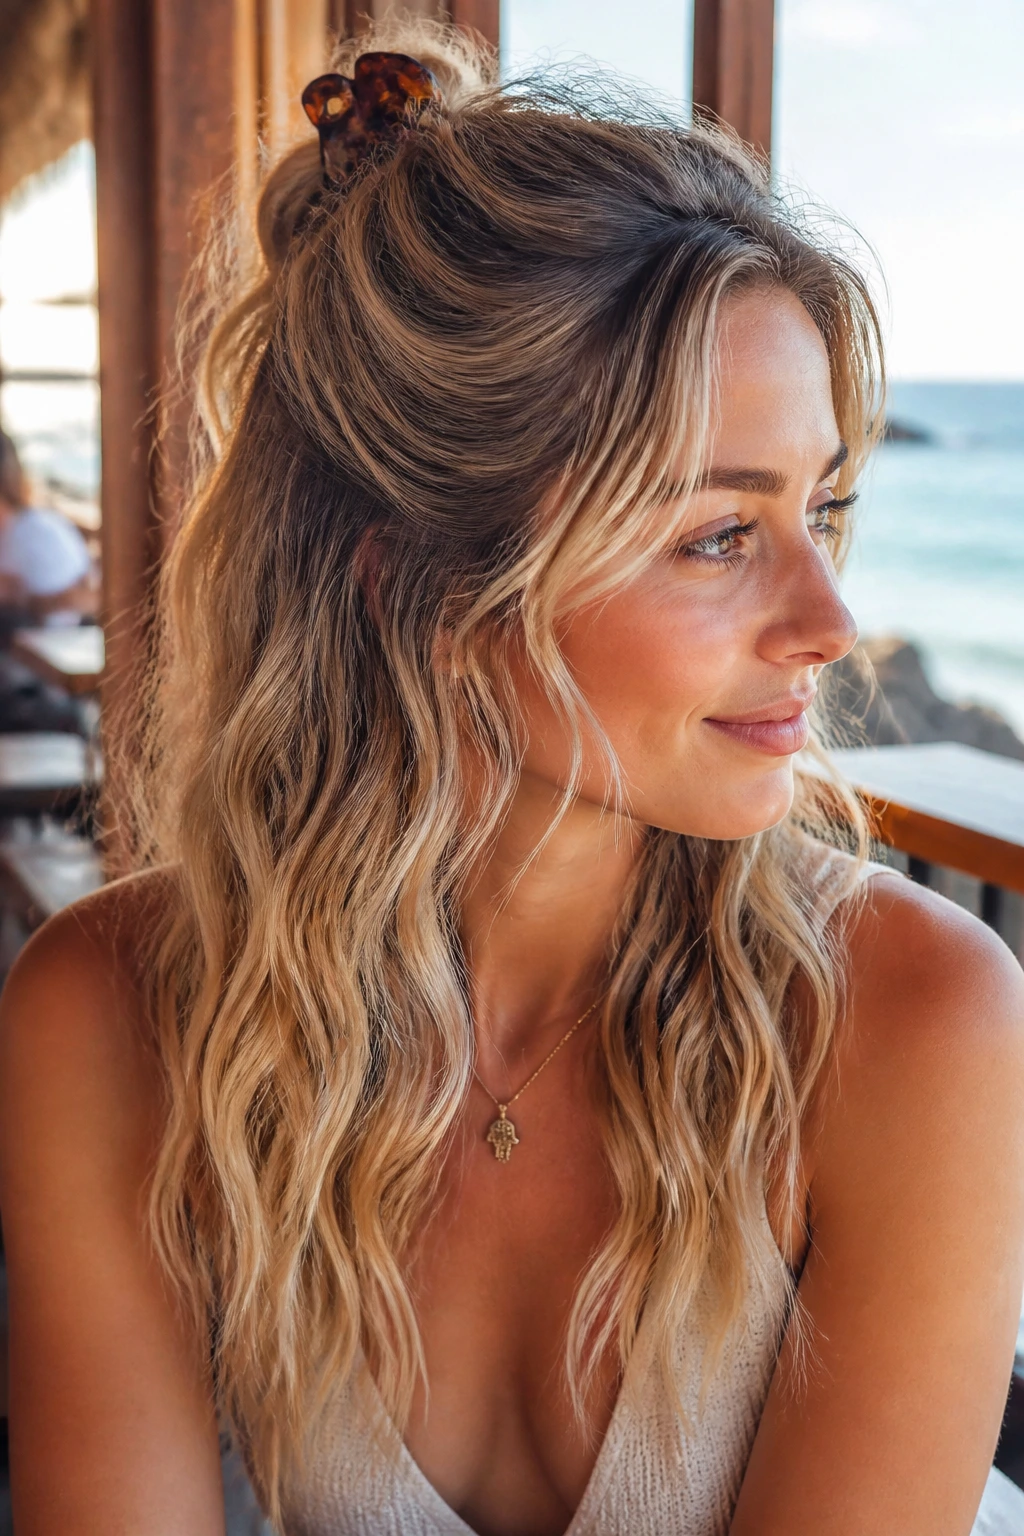
Half-up waves are useful when your hair is getting thick at the sides or when you want the face open but the lengths loose. Pulling back the top section shows off the bend underneath and keeps the style from falling into your eyes all day.
Keep the half-up section loose. Tight is the enemy here. A small claw clip or a wrapped elastic works better than a slick ponytail because it preserves the soft line on top.
16. Beach Waves With Curtain Bangs
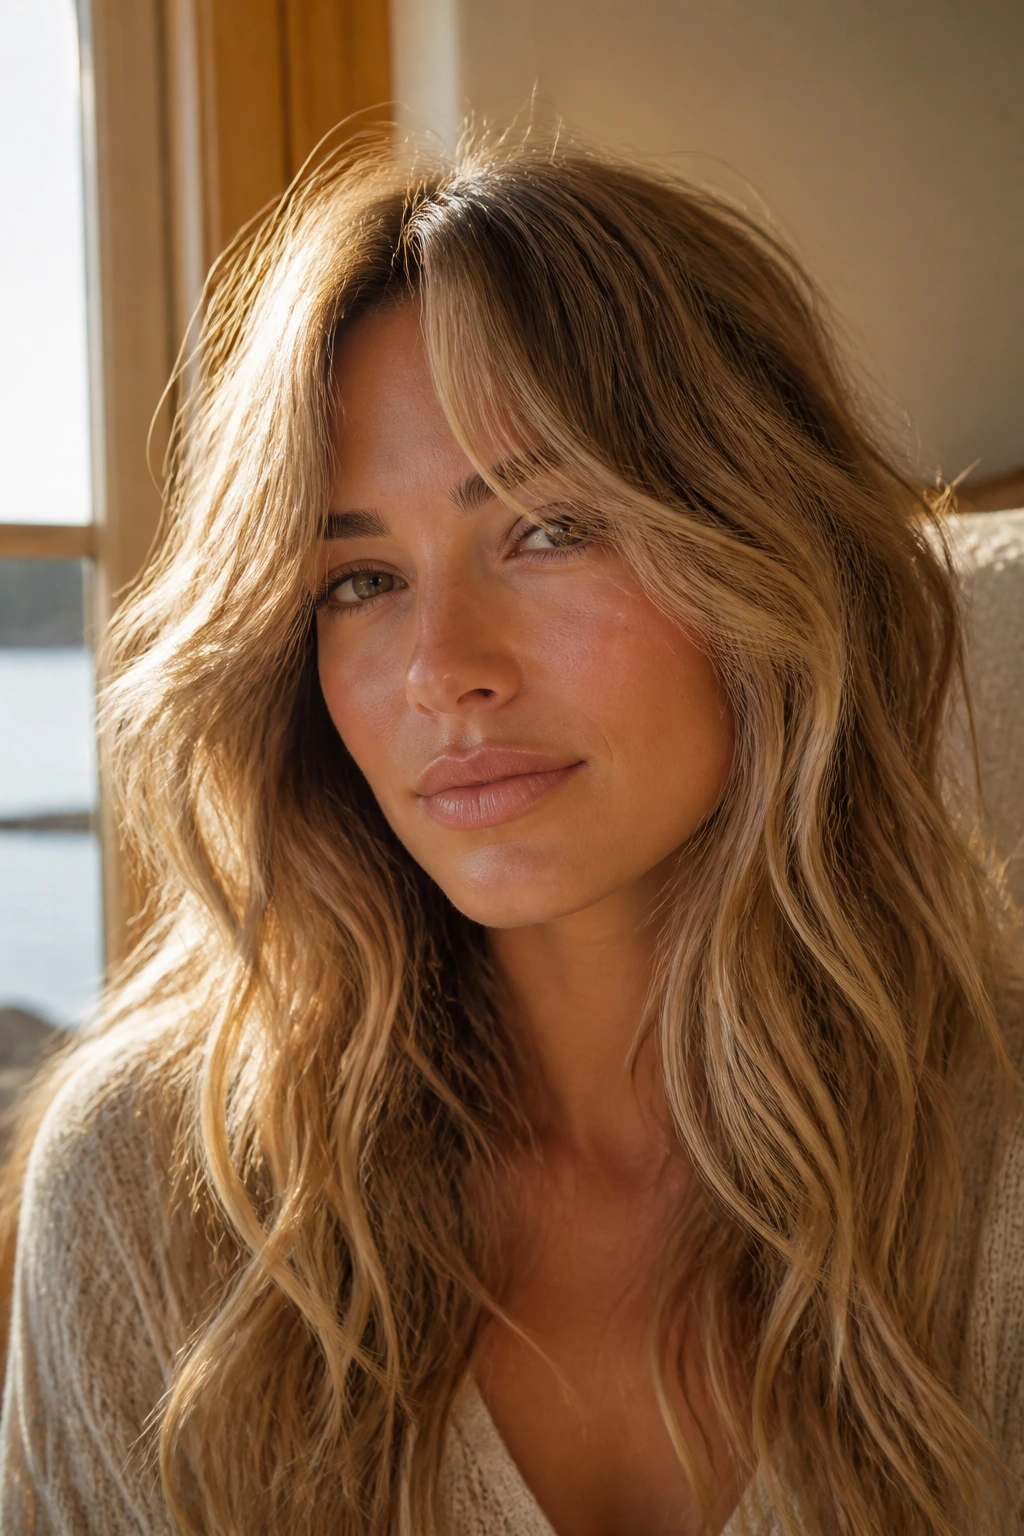
Curtain bangs and beach waves are a good pair because both of them break up straight lines. The bangs add movement close to the face, and the waves keep the rest of the hair from feeling too neat.
I’d bend the bang pieces away from the face with low heat, then let the rest of the hair move in larger sections. If you overdo the front, the style can get crowded. Keep the bang area light and the lengths a little fuller.
17. Tucked-Behind-the-Ear Waves
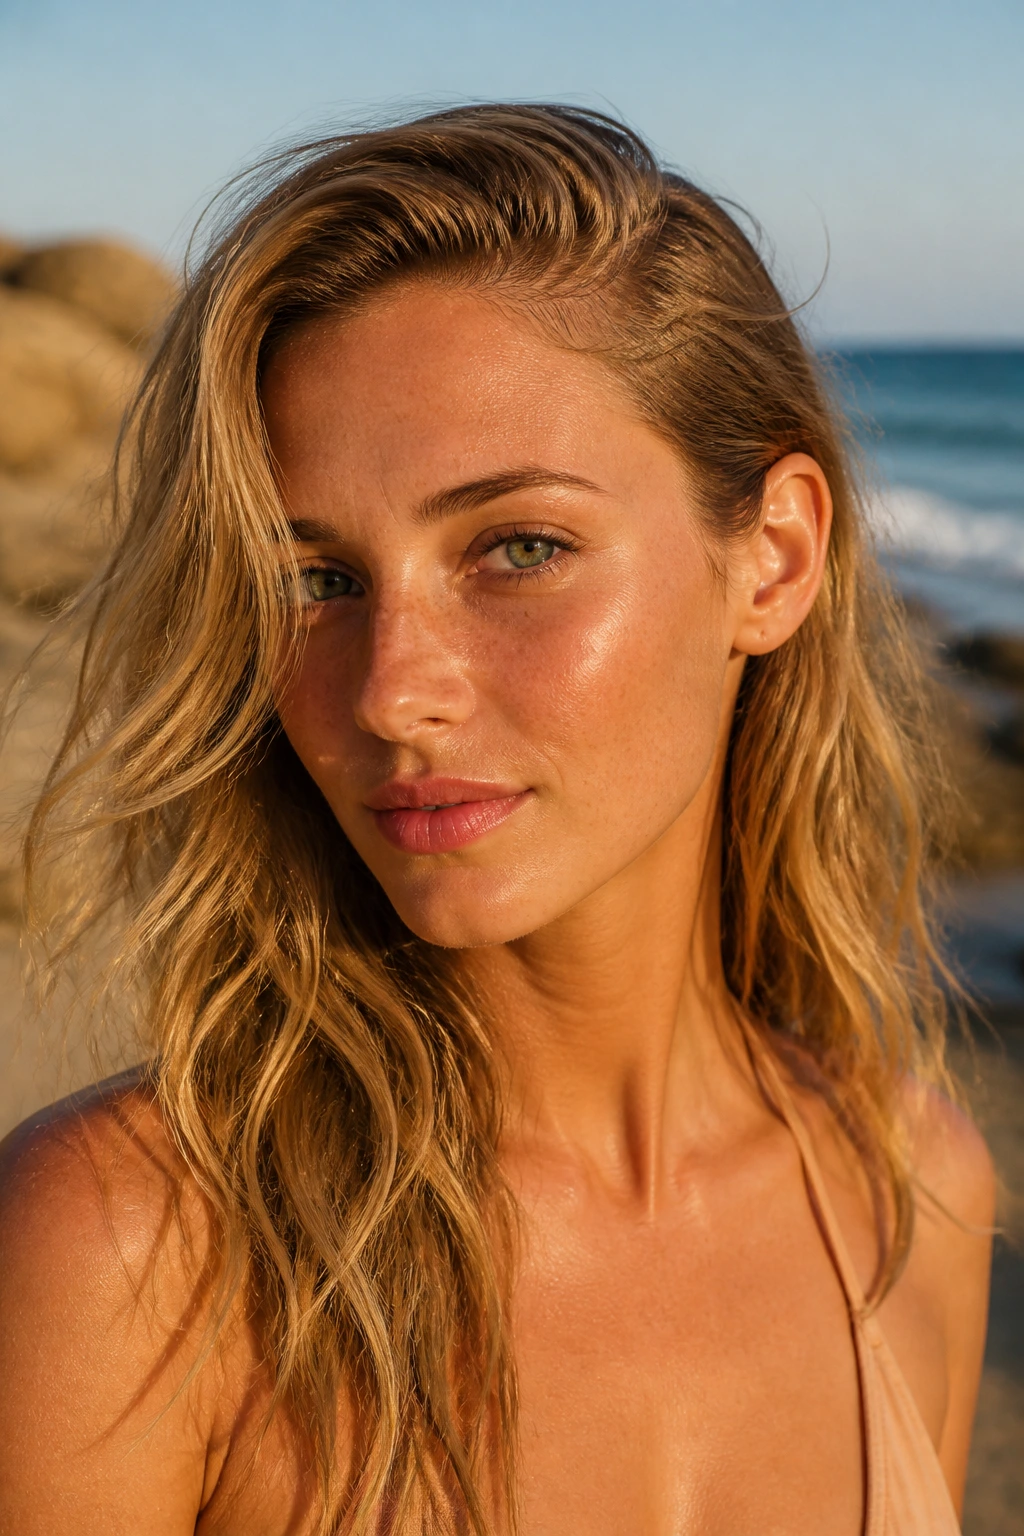
A tucked side changes the whole mood. One side stays soft and open; the other side gets a clean line from the ear back. That contrast makes even a simple wave feel thought through.
This style is a good one for showing off earrings or a sharp jawline. Use a little styling cream behind the ear so the tucked side stays in place. The rest should still look touchable.
18. Glossy Polished Waves
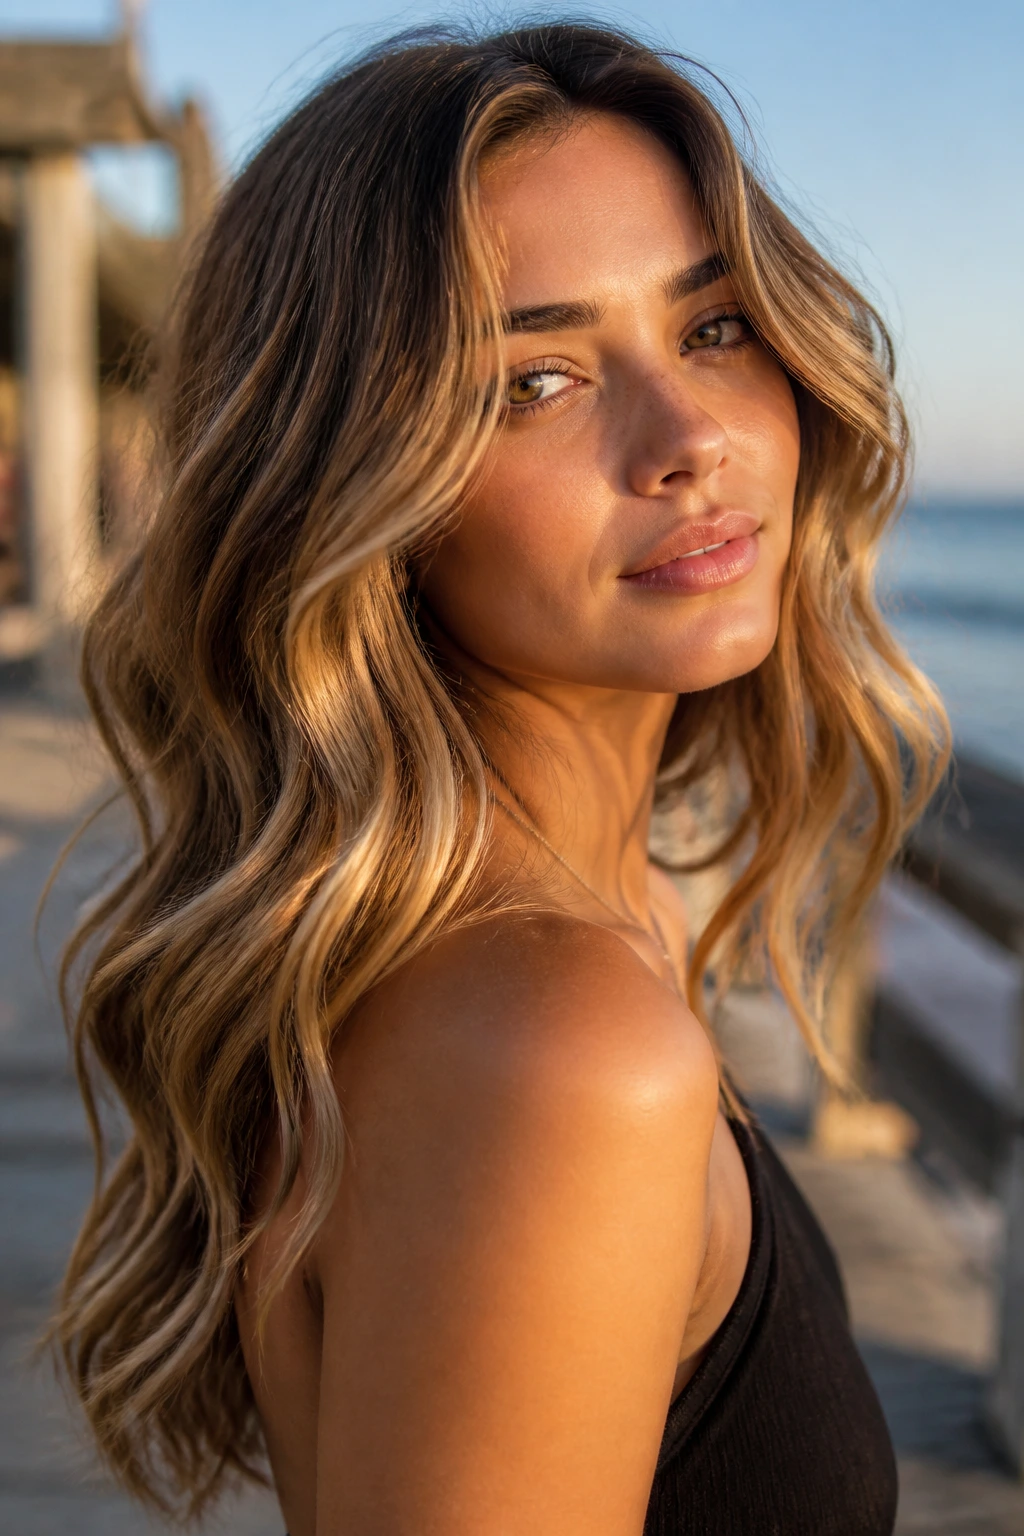
Some beach waves need shine more than roughness. Glossy waves are smooth at the surface, but they still keep that loose bend through the middle. A tiny amount of oil on the ends and a light shine spray are enough.
Do not drown the hair. That’s where glossy turns greasy. I like this version when the wave is brushed out and the ends are still a little sharp. It reads cleaner, not heavier.
19. Matte Lived-In Waves
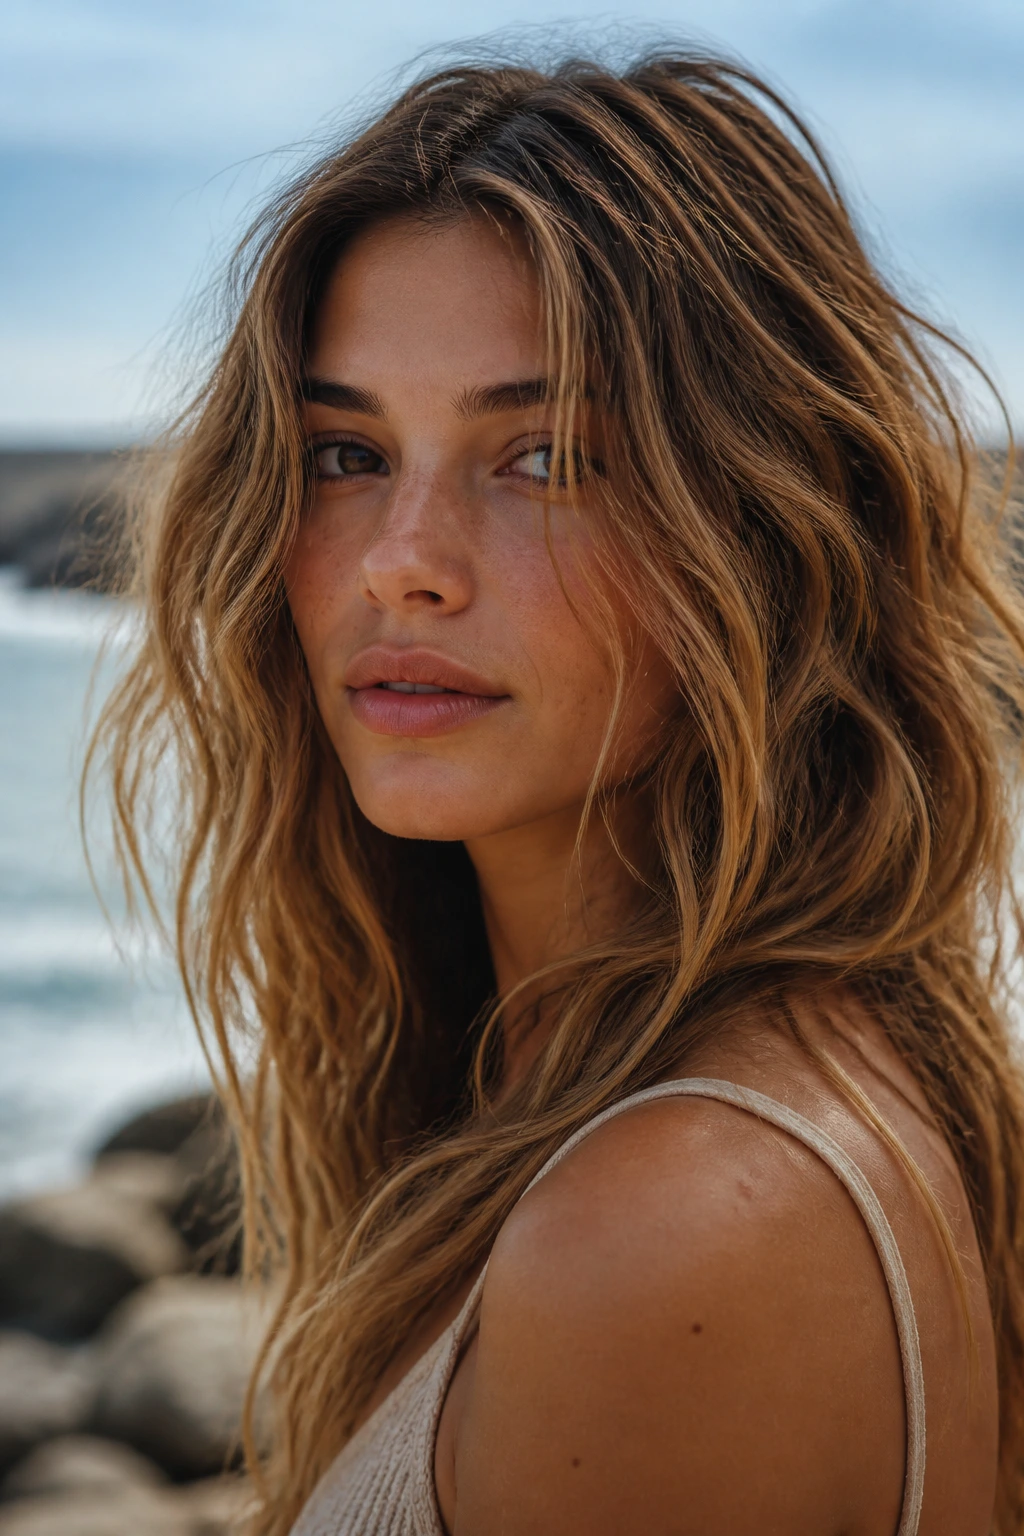
Matte waves have a drier finish and more grip. They’re the ones that look best after a day of wear, a little wind, or a texturizing spray that has done its job. The bend feels slightly rougher, but in a good way.
Dry shampoo at the roots and a texture spray through the lengths usually gets you there. I prefer this finish on layered cuts because the pieces stand apart more clearly. It’s a little less polished. That is the point.
20. Wet-Look Wave Ends
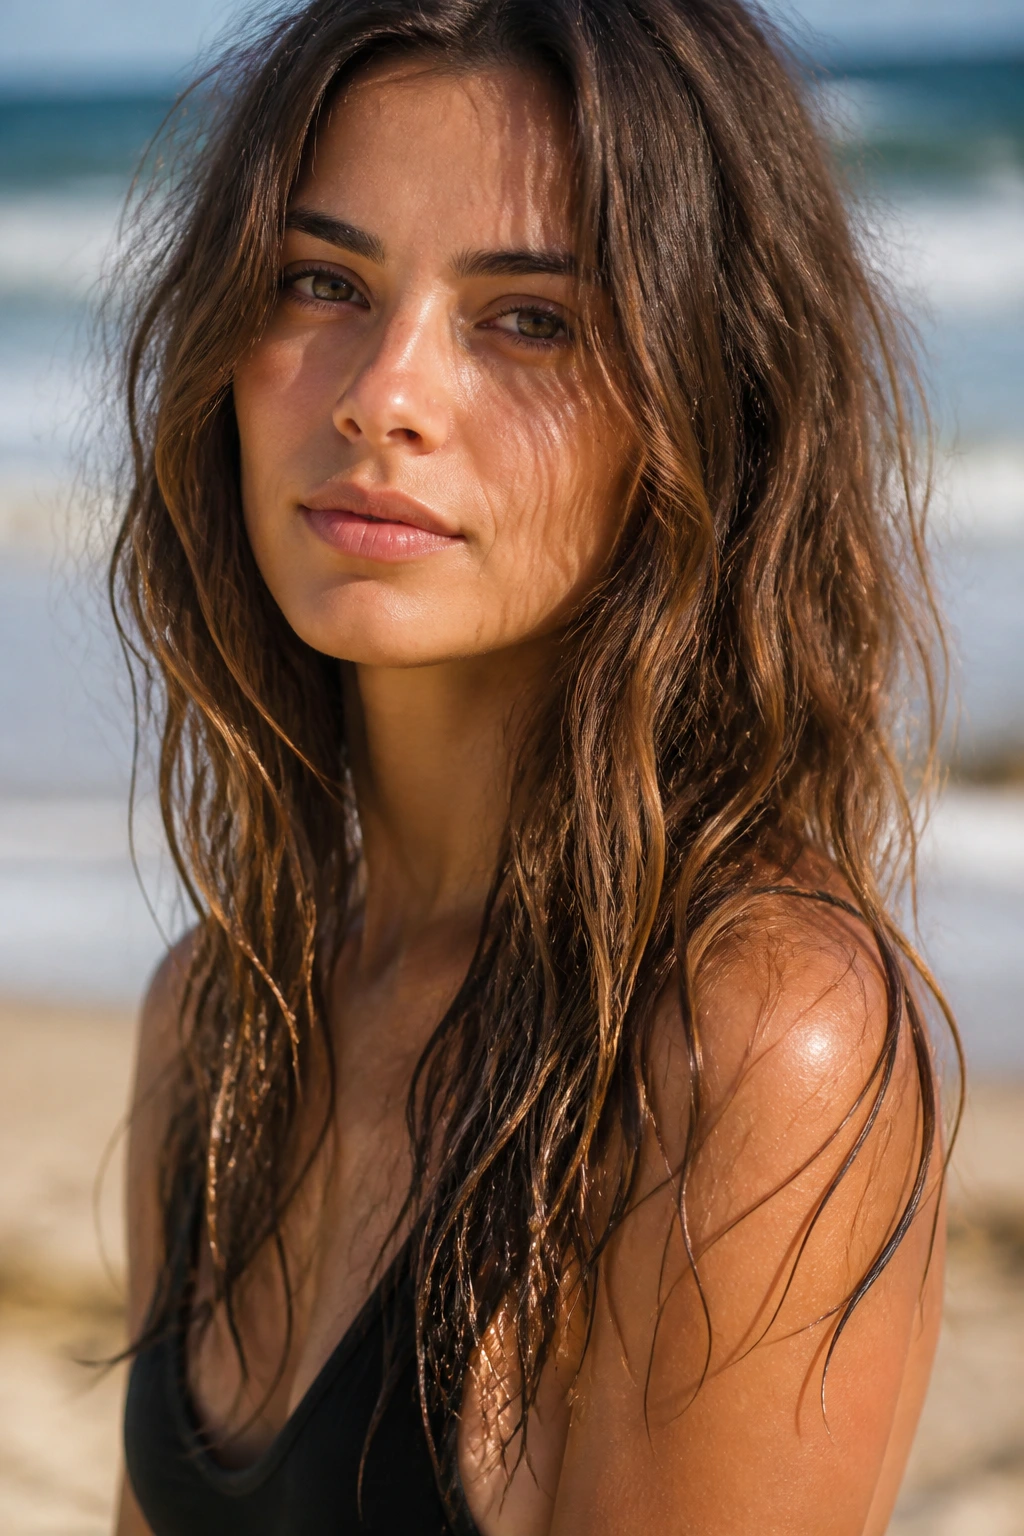
Wet-look ends keep the top part soft and the lower part shiny, almost like the hair is still holding a trace of moisture. This works best when the wave itself stays loose and the shine is concentrated only on the last few inches.
Use a tiny amount of gel or cream on the ends, then leave the roots matte. The contrast makes the style look deliberate rather than oily. It’s a sharp look, but it still counts as beach wave territory because the bend stays relaxed.
21. Extra-Long Boho Waves
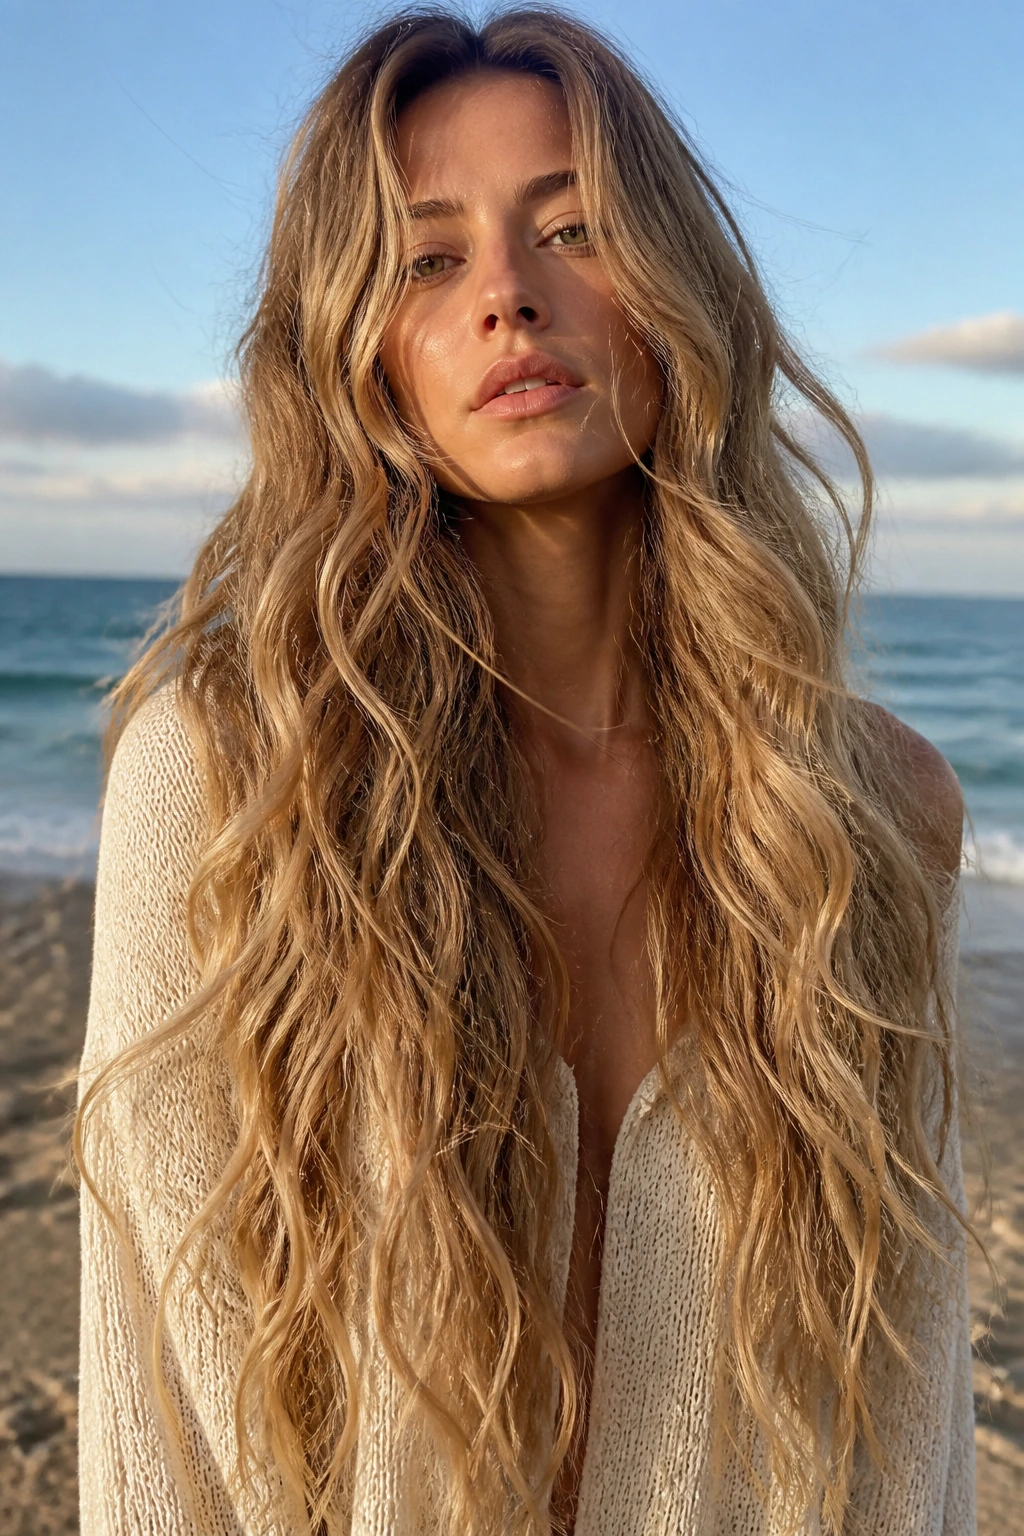
Extra-long boho waves want space. The style works best when the wave is wide, soft, and slightly uneven so the length can swing without looking heavy. Small curls disappear here. Bigger movement wins.
If your hair is very long, I’d work in larger sections and keep the curl pattern inconsistent. That stops the bottom from turning into one giant curtain. A little lifting at the crown helps the style feel lighter than it is.
22. Collarbone Messy Waves
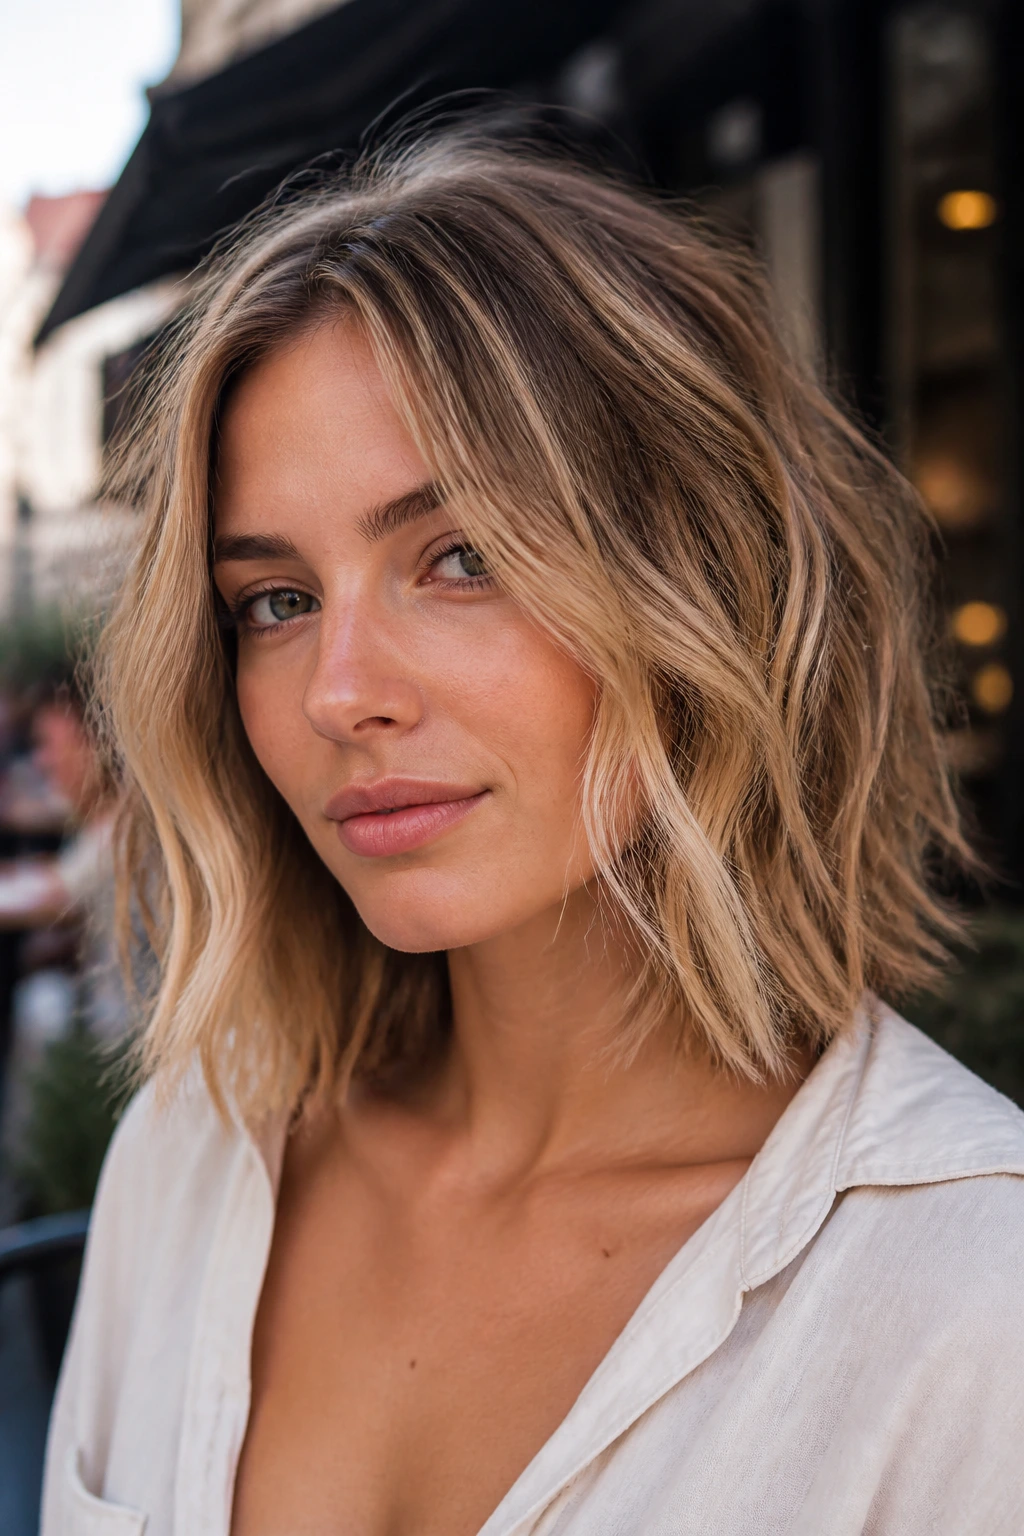
Collarbone length is one of the easiest cuts for a messy wave because the hair hits right where the bend starts to matter. The style can sit close to the neck, then break outward at the ends without getting bulky.
Use a texture spray at the mid-lengths and a quick bend with a wand or flat iron. Keep the ends imperfect. A few pieces can stick out a little. That roughness keeps the look from feeling salon-tight.
23. Choppy Shag Waves
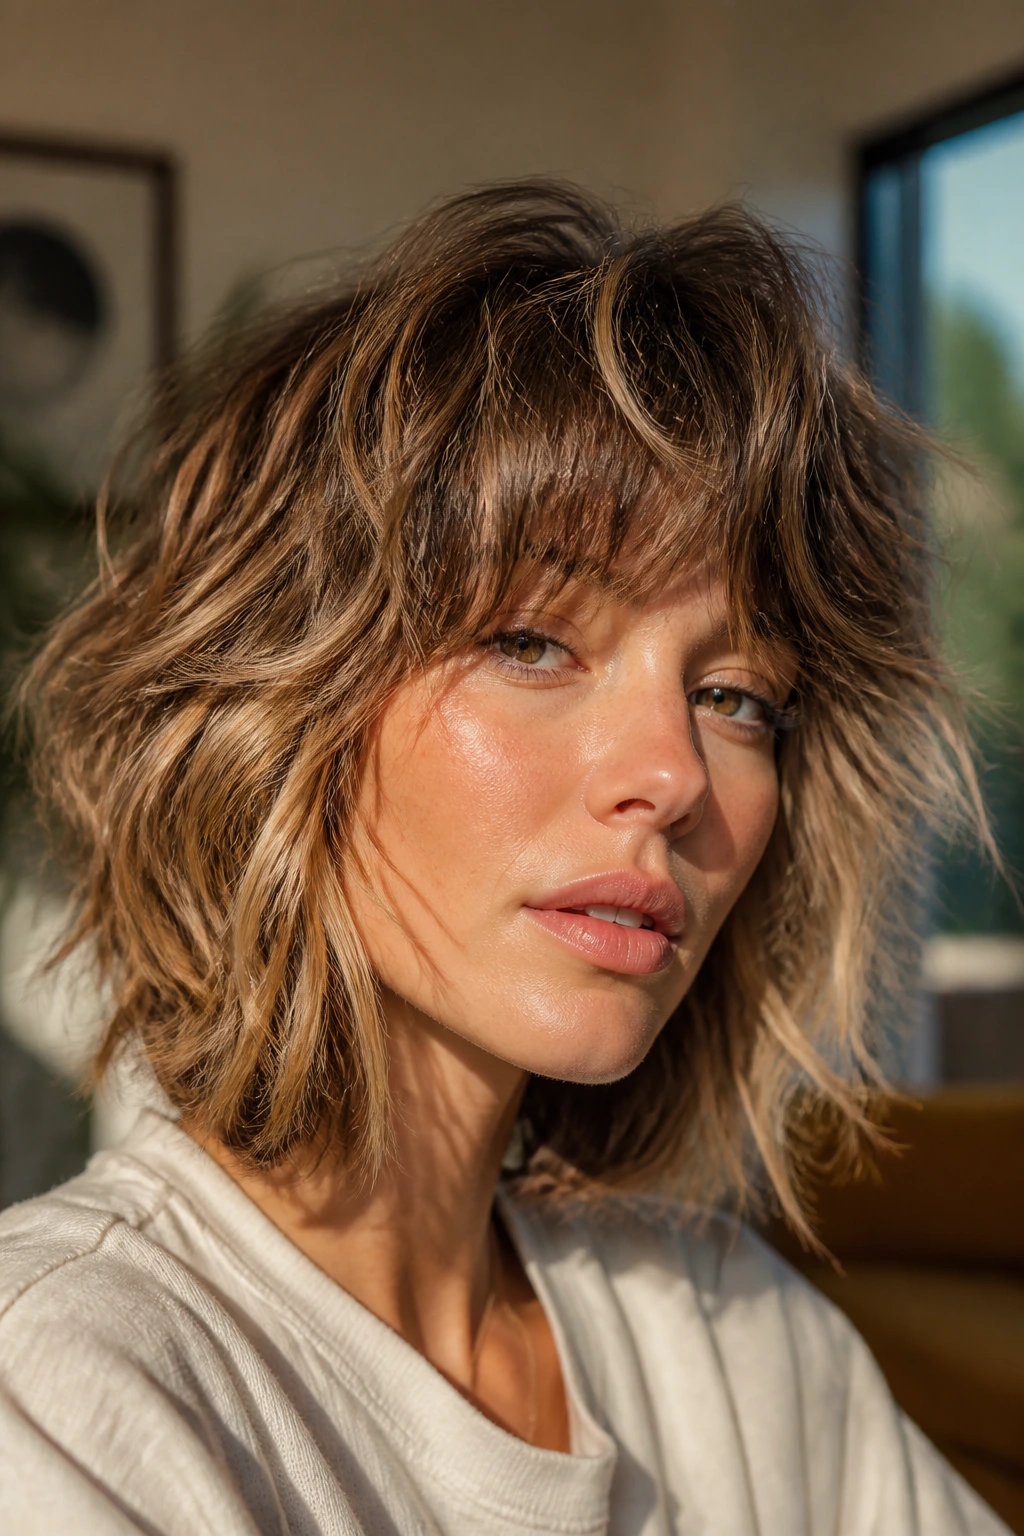
A shag does half the work for you. The layers already create motion, so the wave only needs to add direction. If you curl too much, the haircut loses its edge.
I like this style with a scrunched finish and a few slightly straighter pieces mixed in. It keeps the cut looking lived in. A shag wave should feel like movement, not a set pattern.
24. Soft Wave Ponytail
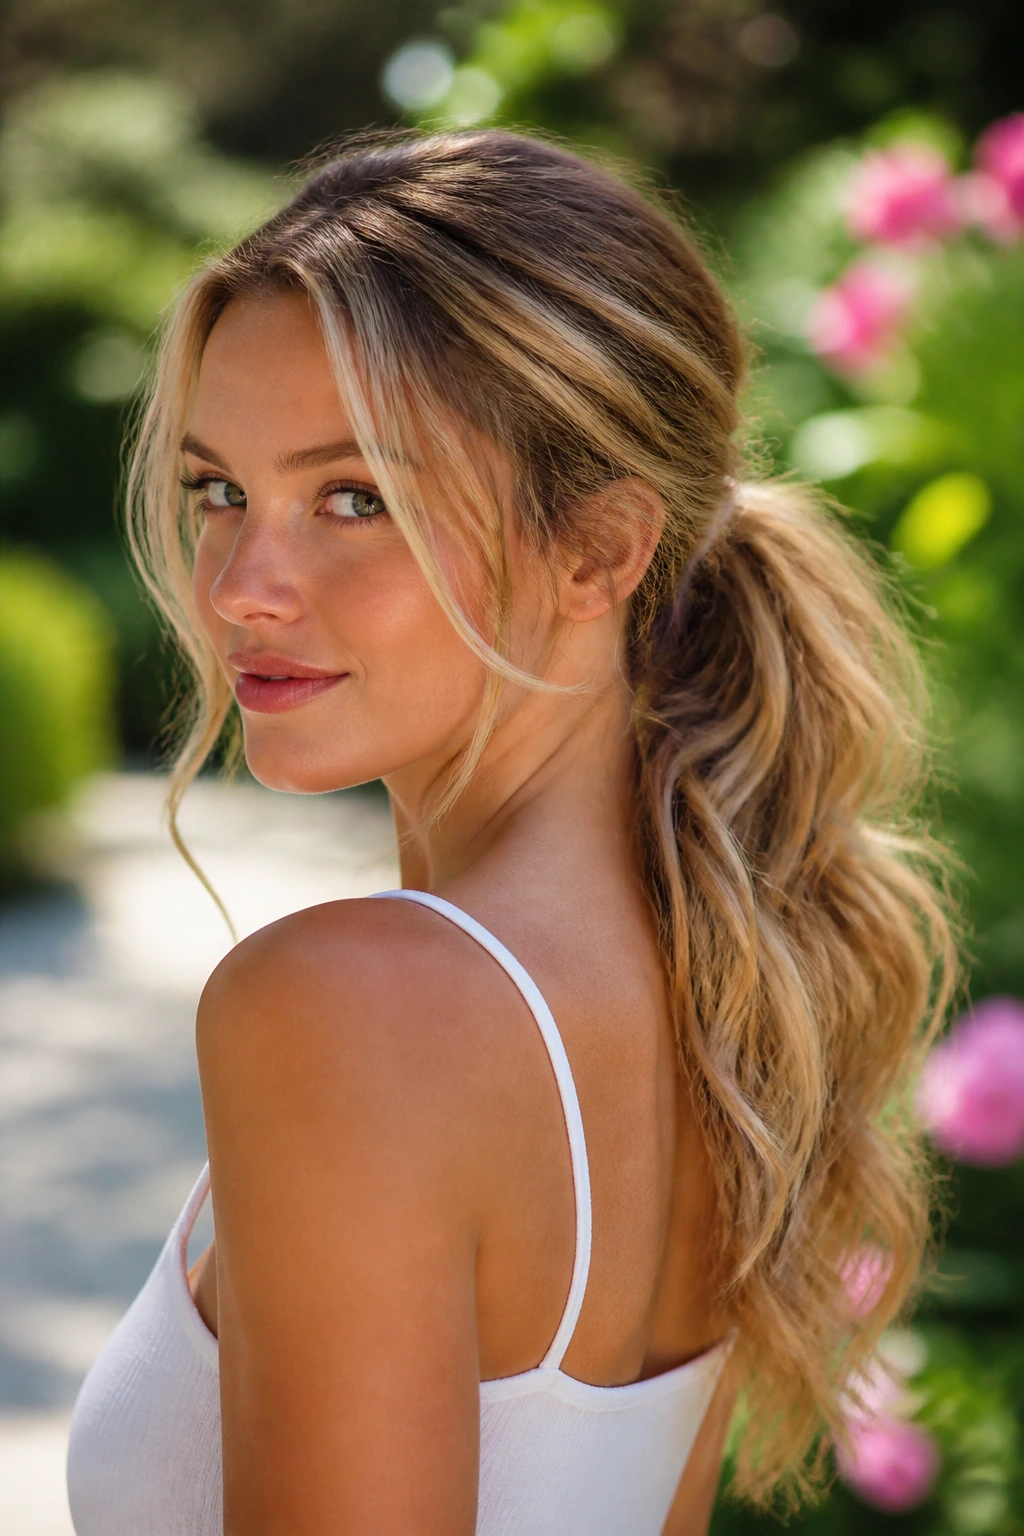
A ponytail can still count as a beach wave look if the lengths have movement and the front stays loose. Pull the hair back, leave a few face pieces out, then bend the tail lightly so it doesn’t hang in one flat line.
This is one of those styles that looks better when it isn’t perfect. Wrap a small piece of hair around the elastic if you want it cleaner. Keep the top soft, though, or the whole thing loses its ease.
25. Claw-Clip Beach Waves
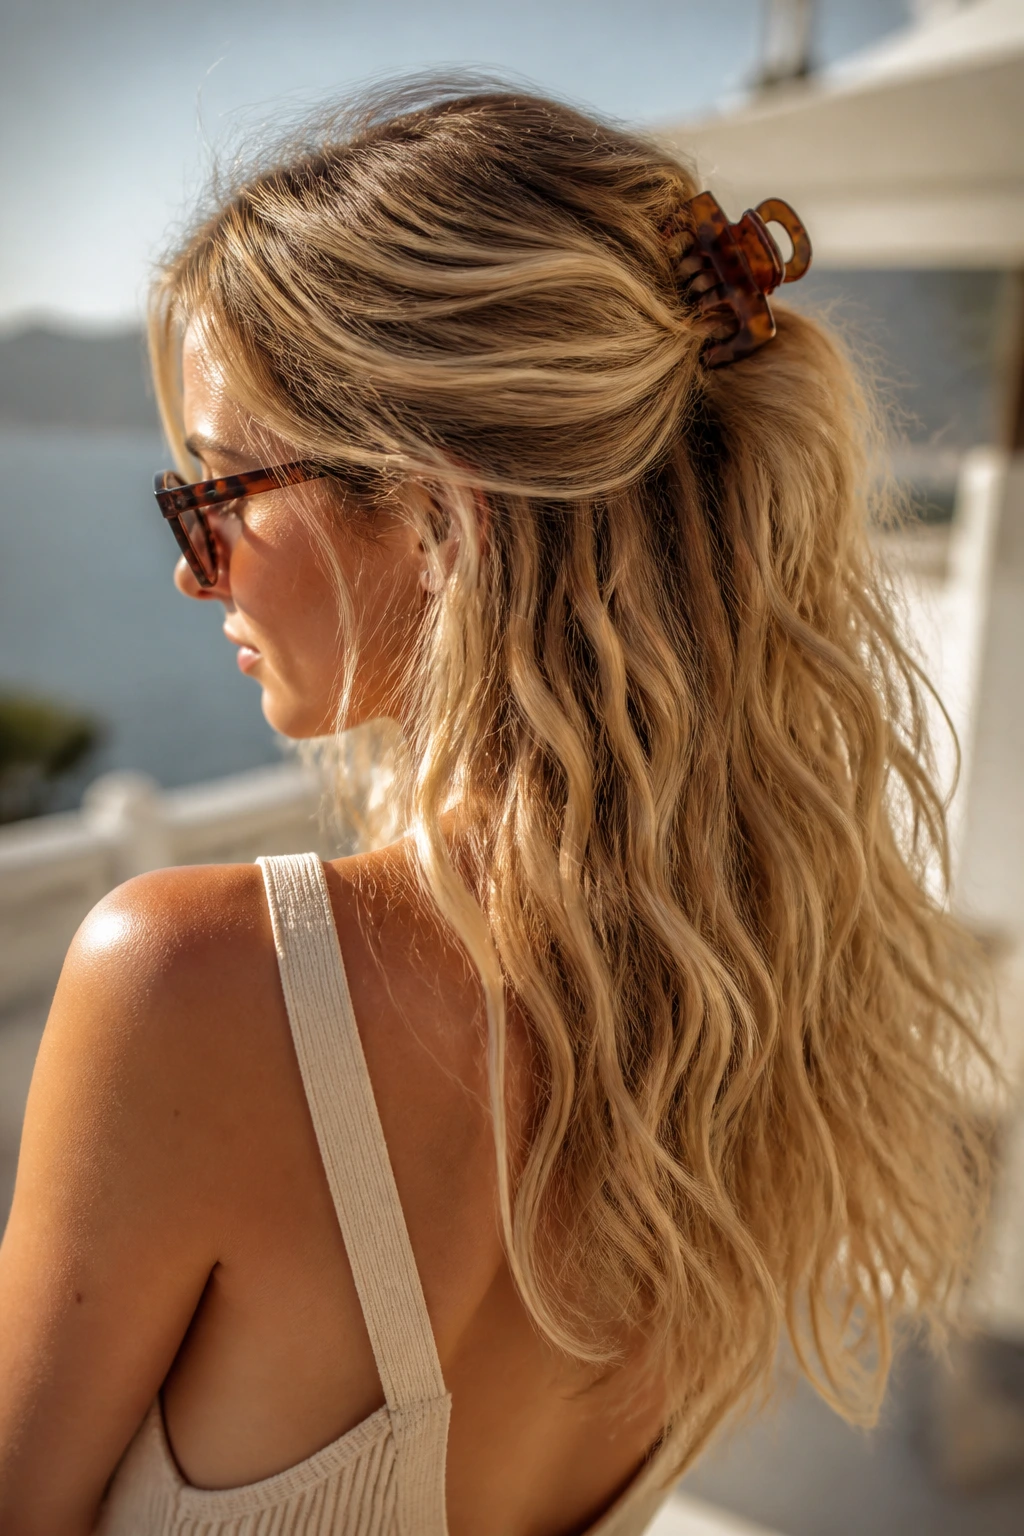
A claw clip gives beach waves a quick lift without hiding the texture. Twist the hair loosely, clip it up, and let a few strands fall free around the face and neck. The wave underneath should stay visible, not crushed.
I prefer a medium clip here because giant clips can flatten fine hair and tiny clips can slide right out of thick hair. Either way, the goal is to keep the shape relaxed. The clip should look like part of the style, not a rescue mission.
26. Braided Crown Waves
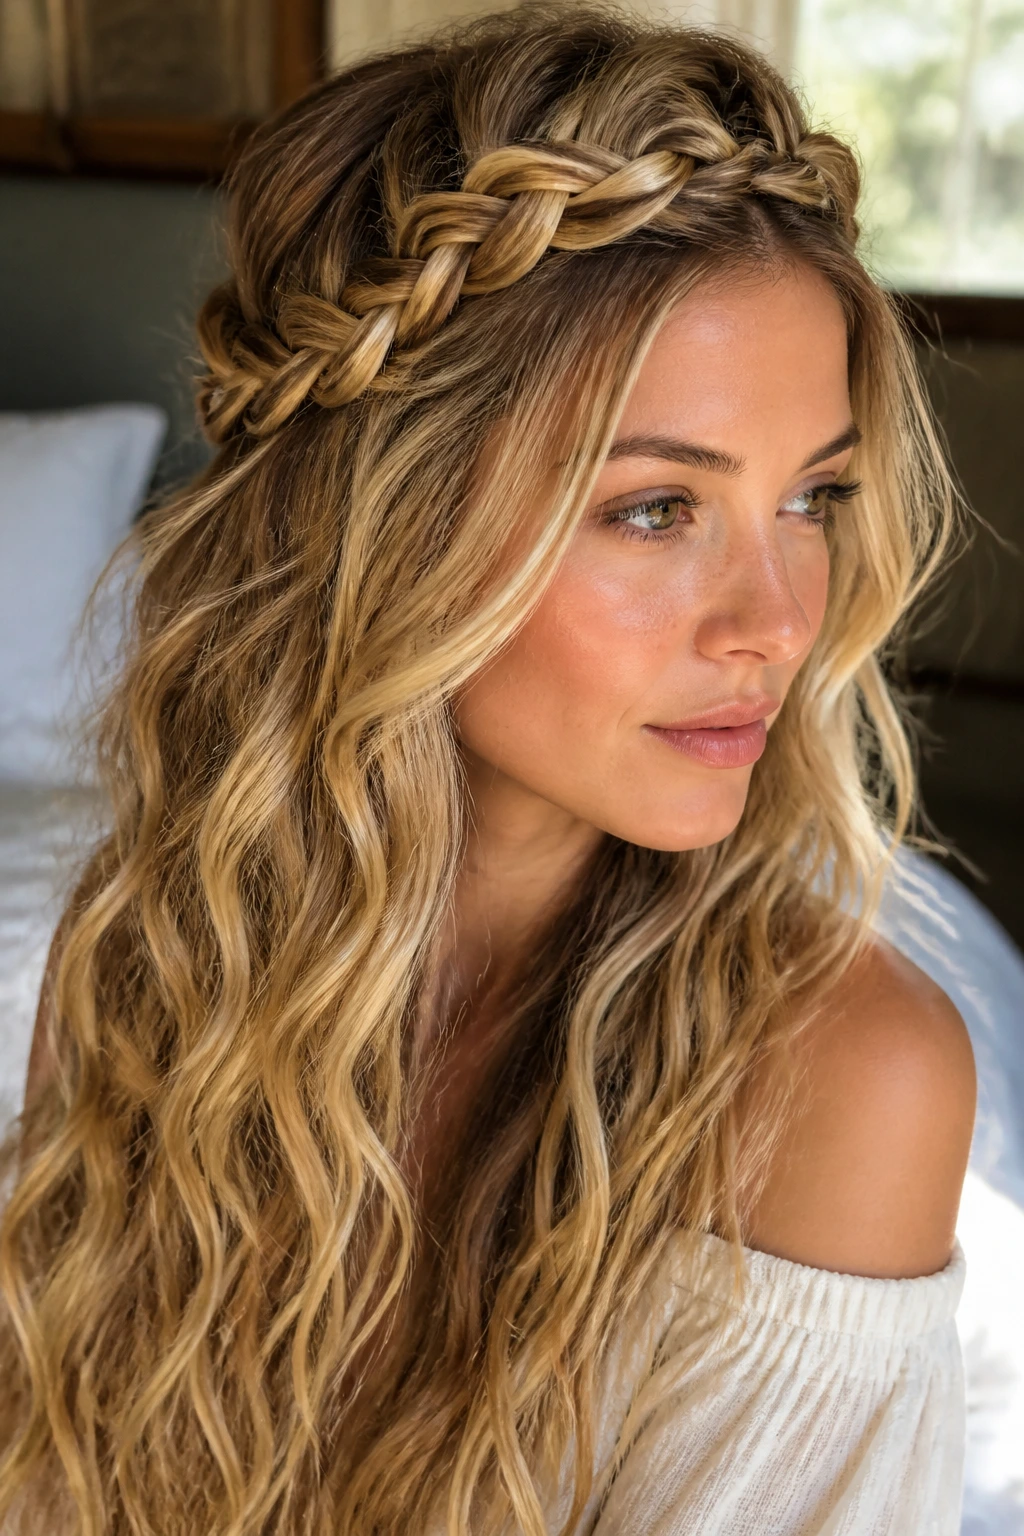
A braided crown adds a little detail at the front while leaving the lengths soft. That balance matters. Too much braid and the style shifts away from beach wave and into festival costume.
Keep the braid loose and let the rest of the hair move in broad bends. A little texture spray helps the braid hold without making the crown stiff. The loose ends below the braid are what keep the style airy.
27. Ribbon-Tied Waves
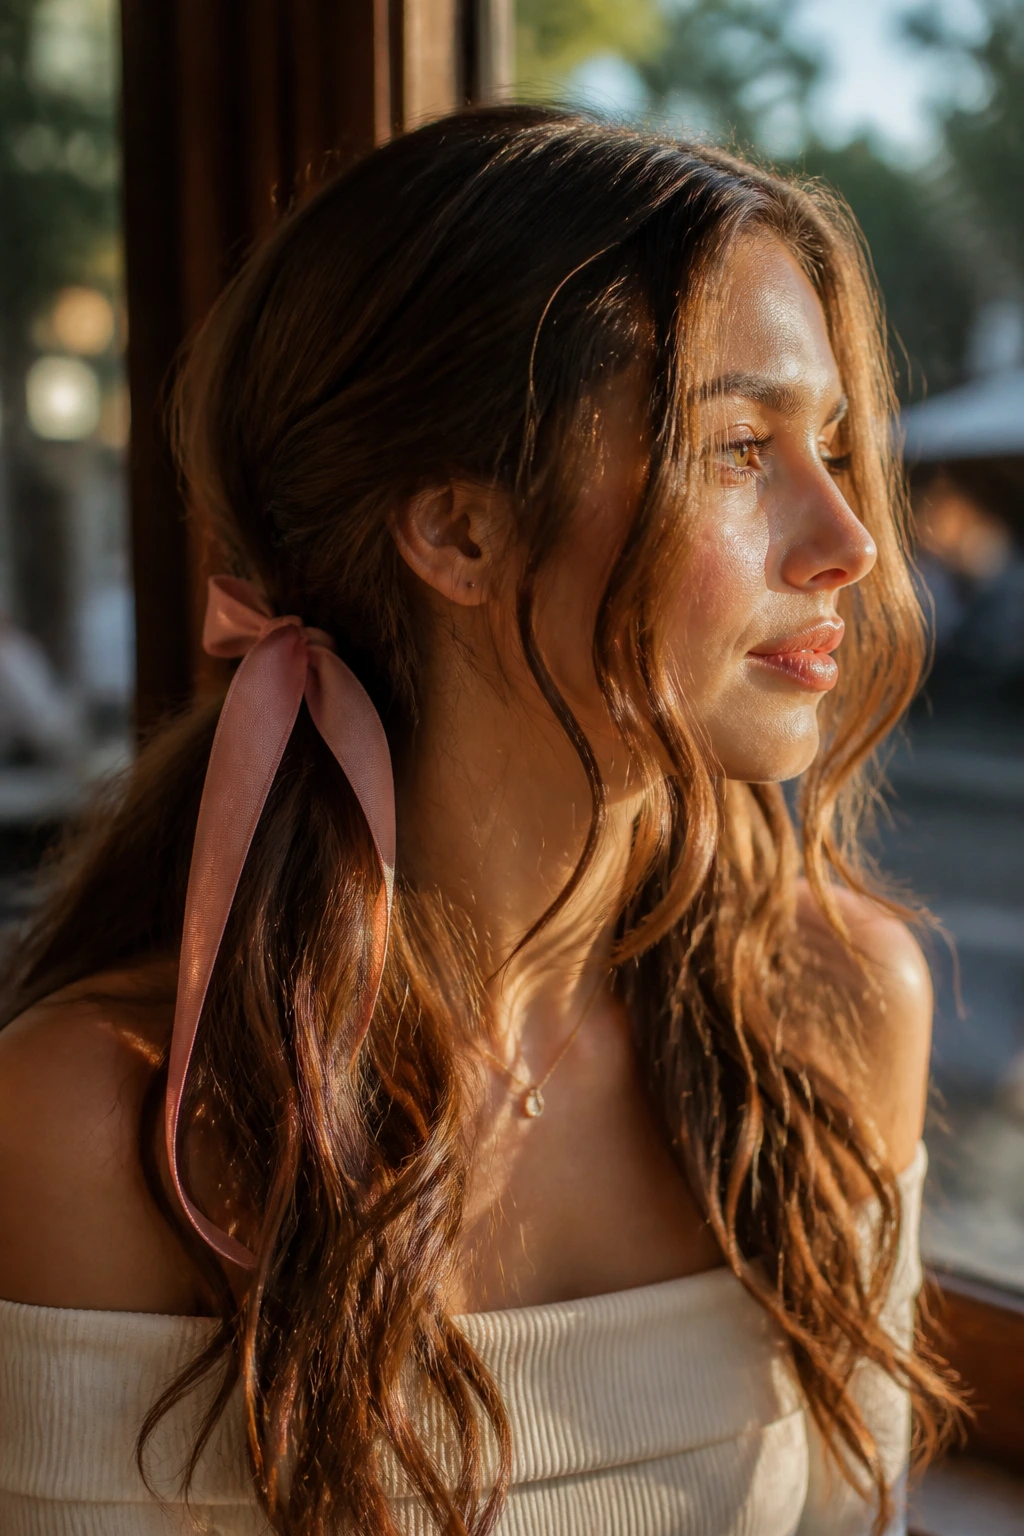
Ribbon makes waves feel softer and more romantic without changing the texture much. Tie a low section or a half-up piece with a narrow ribbon and let the rest of the hair hang in loose bends. The ribbon should add color, not weight.
This works especially well when the hair has visible layers or light texture at the ends. I’d keep the wave a little brushed out so the ribbon stands out. A too-tight curl fights the softness of the accessory.
28. Highlight-Boosting Waves
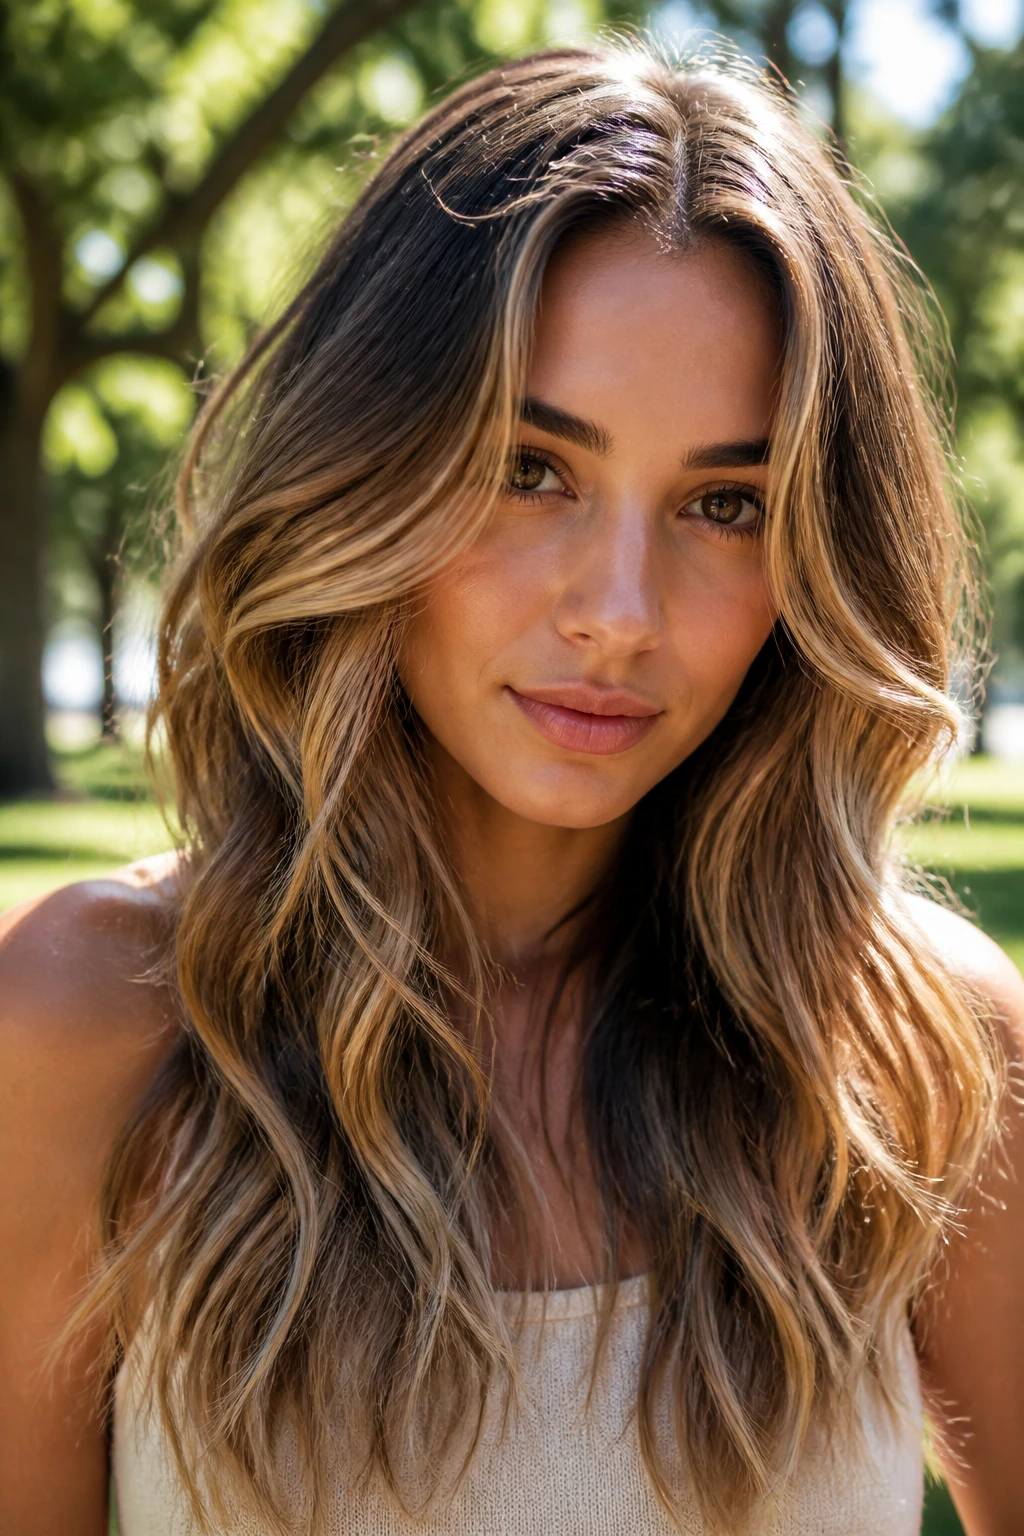
Waves and highlights are a good pair because the bend catches light across different strands. The style does a better job showing dimension when the sections are not too uniform. That little bit of mess is actually useful here.
If your hair is highlighted or balayaged, curl away from the face on the front pieces and alternate through the back. The color will show more clearly when the waves overlap at different angles. A shine mist on the mid-lengths can help, but keep it light.
29. Deep Side-Swept Waves
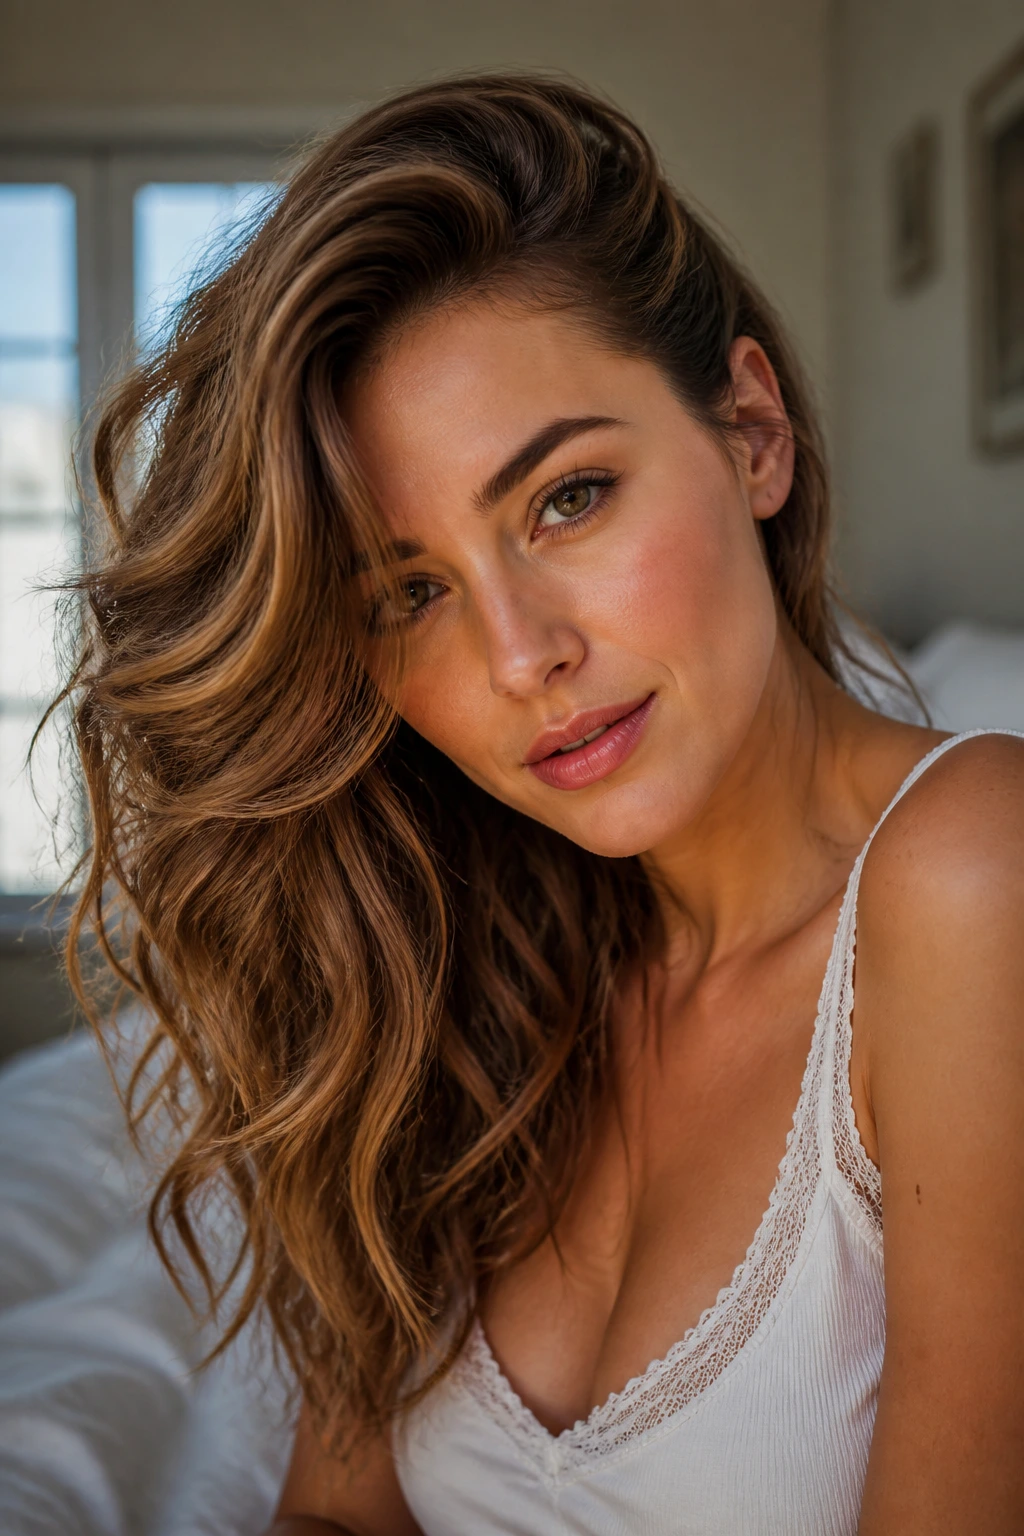
Deep side-swept waves have more drama than a center part and more softness than a sleek blowout. One side drapes across the forehead while the other stays tucked back or lifted. It feels a little old Hollywood, but less formal.
Use larger sections and brush the wave out after it cools. Then push the front over to the heavier side. A pin near the temple can keep the part from slipping if your hair is slippery.
30. Crimped Wave Mix
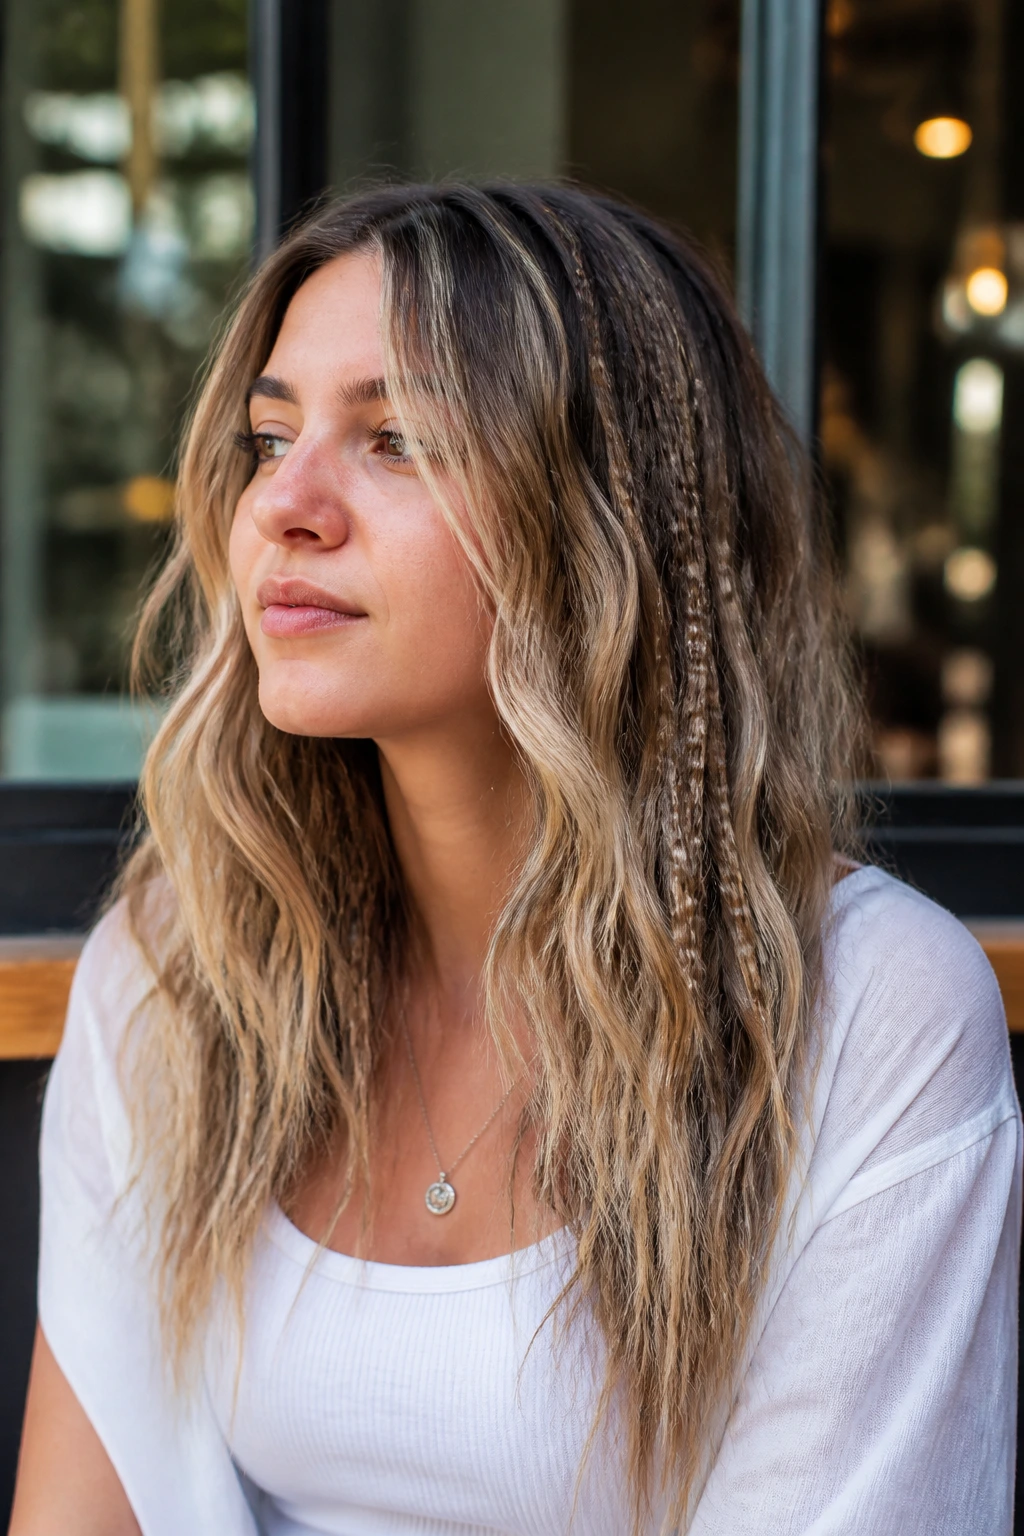
This is where texture gets a little louder. A crimped wave mix uses small bends at the roots or underneath, then smoother waves on top so the style has some grip without looking fully crimped. It’s a good choice if you want edge, not polish.
The trick is keeping the visible surface softer than the underlayer. That way the hair still reads as wave first. I’d keep this look away from heavy oil; it kills the contrast fast.
31. Old-Money Soft Waves
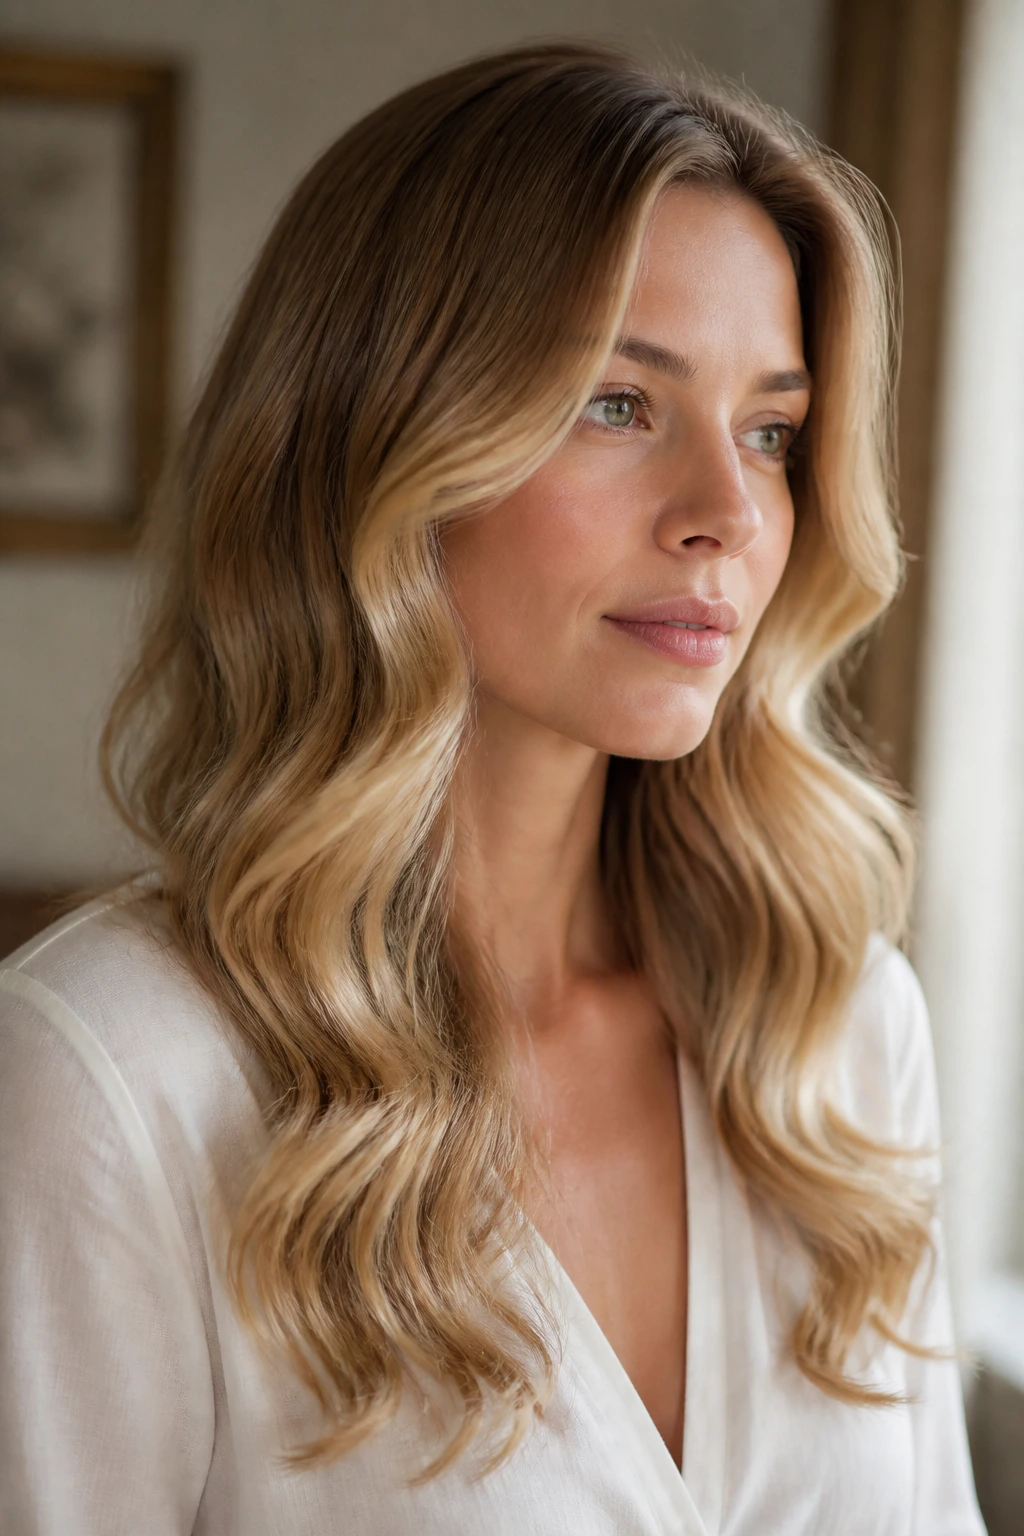
Old-money waves are brushed, glossy, and careful without looking lacquered. The bend is loose and wide, the surface is smooth, and the finish feels more refined than rough. It’s beach wave territory with better manners.
A soft brush, a little oil at the ends, and a larger barrel usually do the trick. The key is not to over-texturize it. If the hair looks too dry, the style loses the calm, expensive feel people are usually after.
32. Beach Waves for Fine Hair
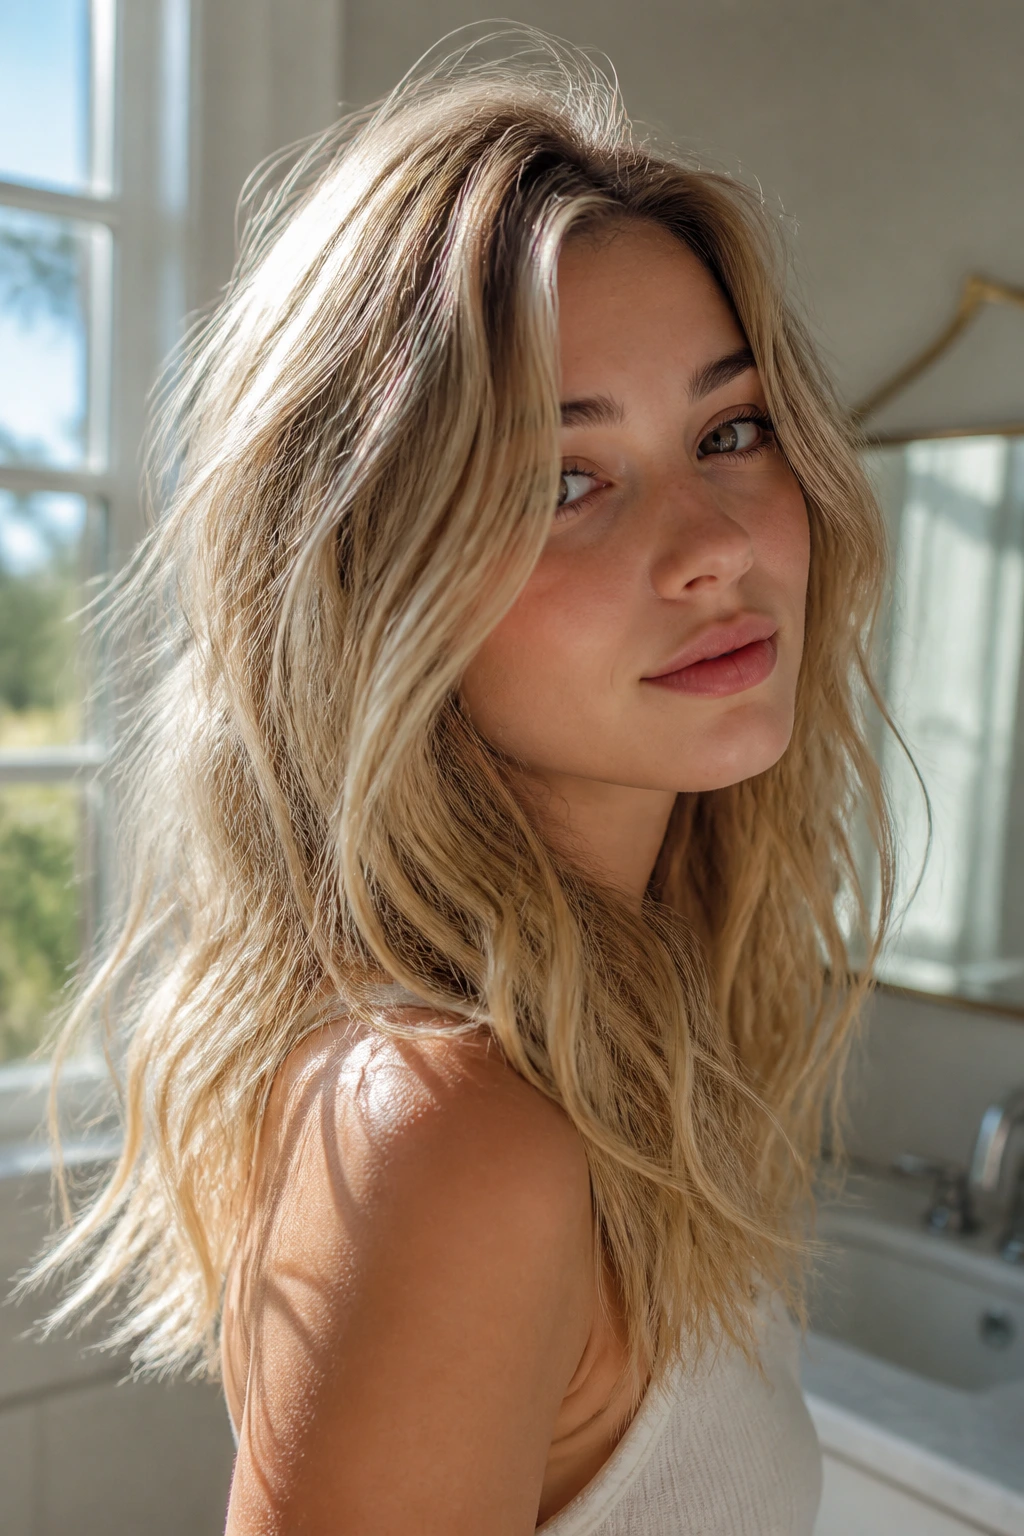
Fine hair needs lift, not weight. That means mousse at the roots, lighter sections, and a cooler heat setting so the strand does not get fried and flat. Big products tend to bury the texture instead of helping it.
I like a smaller barrel here because it gives the hair enough bend to survive the day. Finish with dry shampoo or a light texturizer at the crown. Fine hair usually looks best when the root stays airy and the ends stay piecey.
33. Beach Waves for Thick Hair
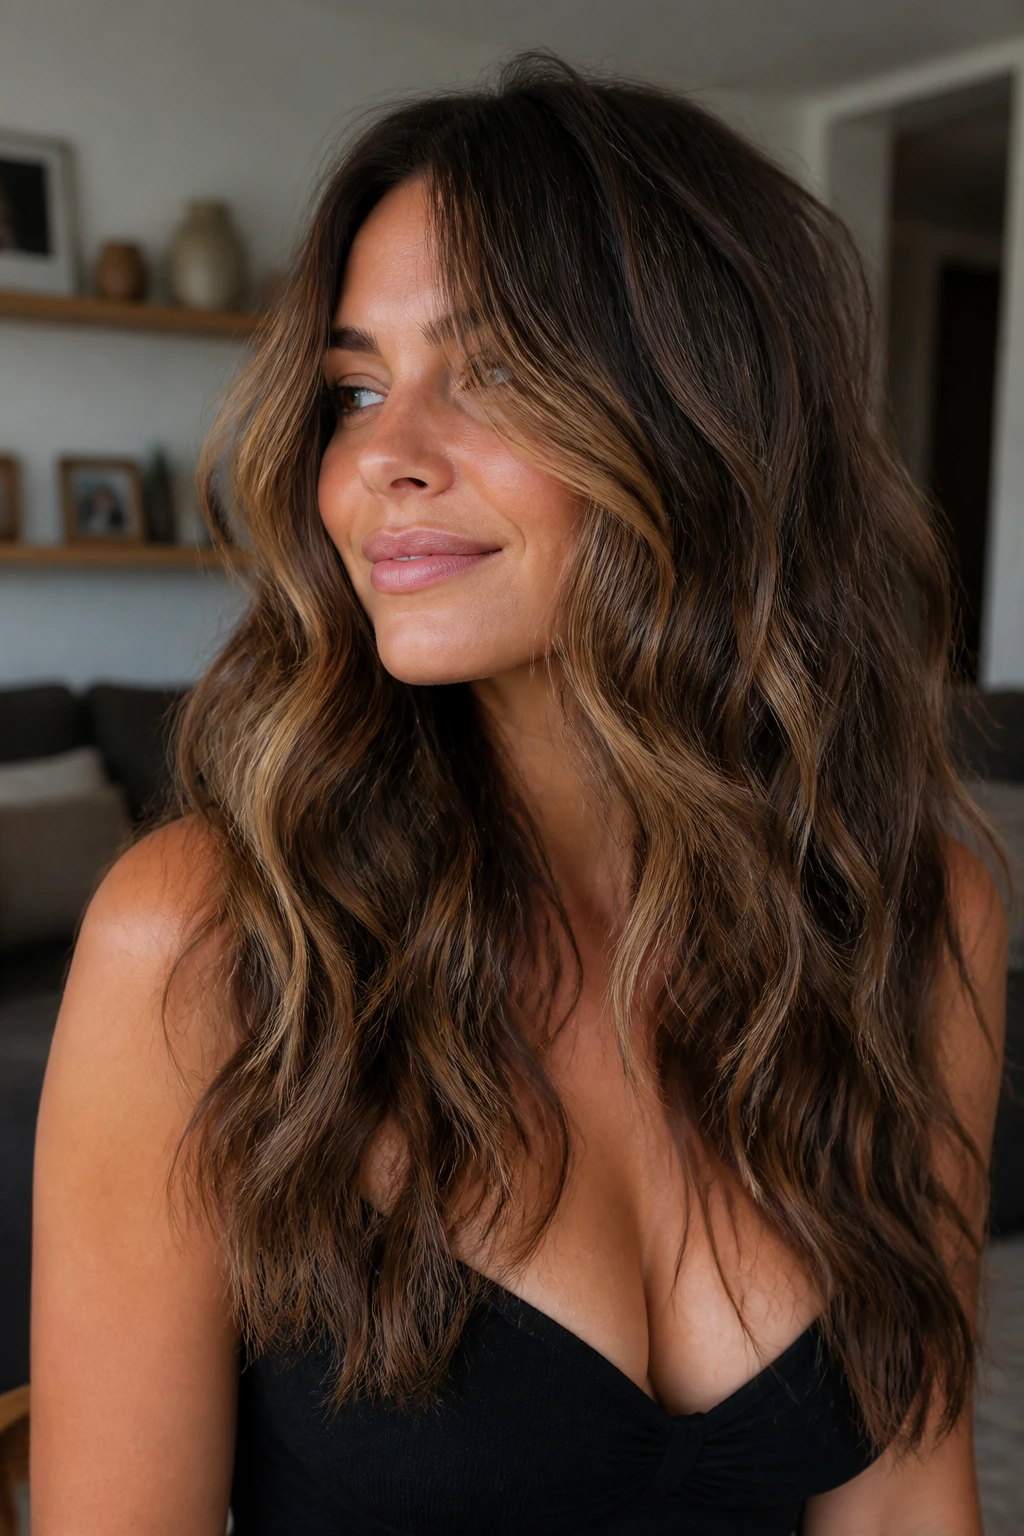
Thick hair asks for control. Smaller sections, more clipping, and a little patience make a huge difference because the hair needs time to cool between passes. If you rush, the top looks smooth and the underneath stays stubborn.
Use a heat protectant, then work in layers from the bottom up. The wave can be softer than you think; the density of the hair will still show it. A flexible-hold spray keeps the bulk from swallowing the shape.
34. Waves for Natural Texture
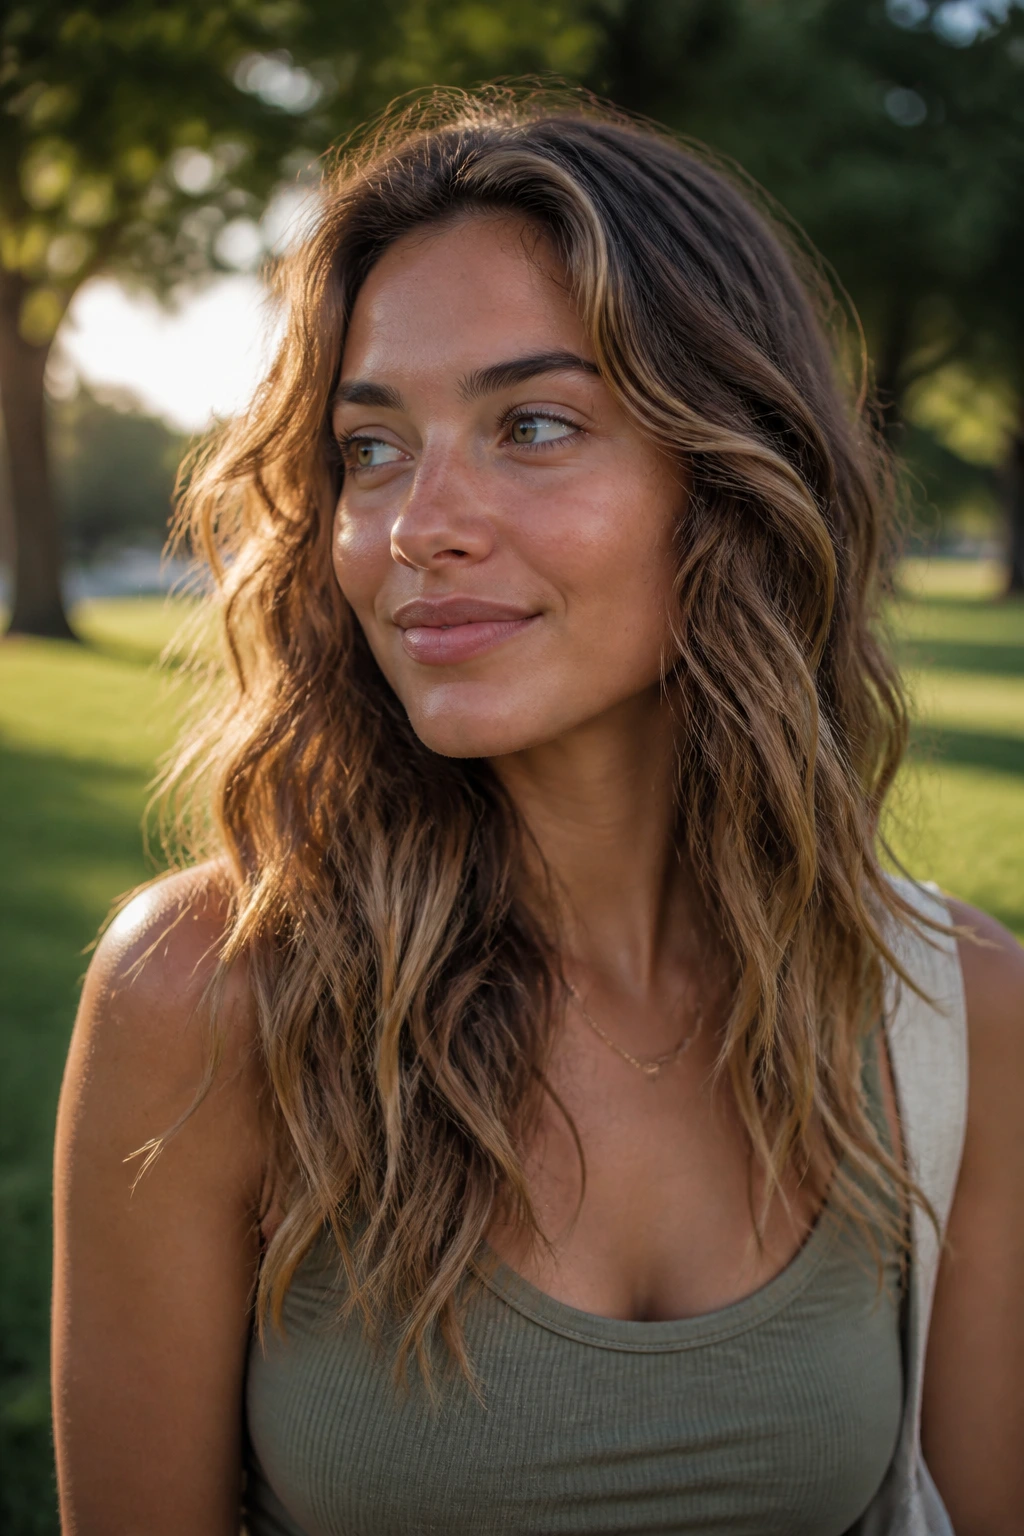
If your hair already bends on its own, don’t fight it. Beach waves on natural texture work best when you enhance the shape you already have rather than forcing a new curl pattern on top. That usually means less heat and fewer tools.
A cream, a little scrunching, and some targeted pieces around the face are often enough. If you want a more defined finish, twist only a few front sections and leave the rest alone. The hair should still look like itself.
35. Heat-Free Fragile Hair Waves
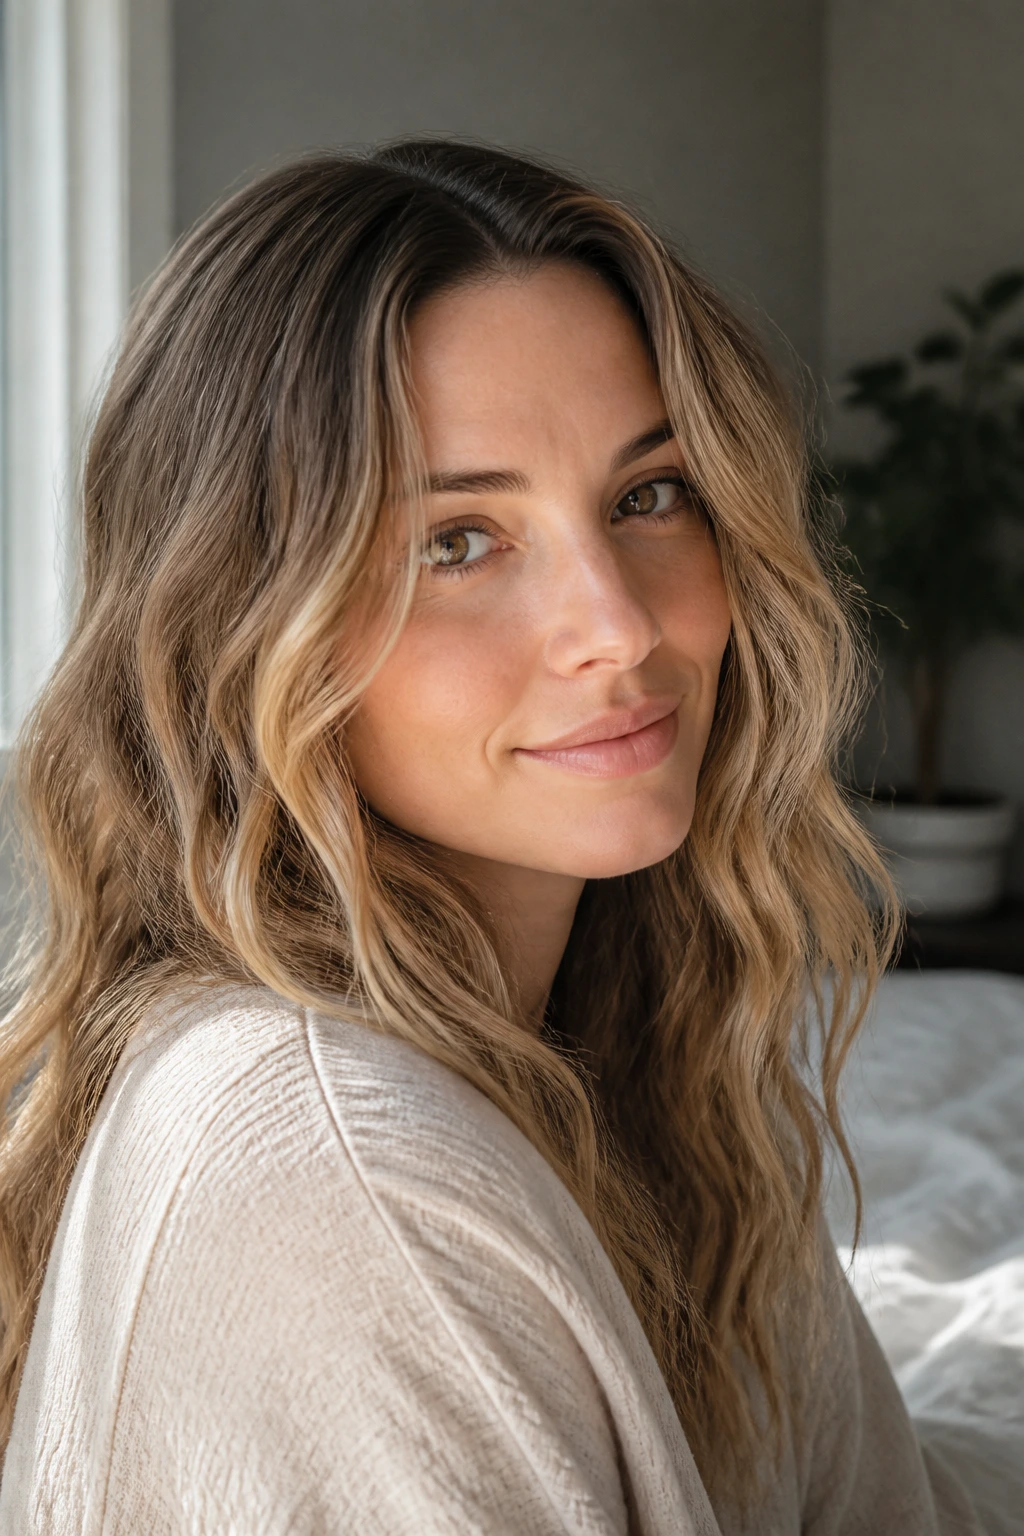
Fragile hair likes soft tension. Foam rollers, loose braids, or a big twist set can give you movement without the roughness that hot tools leave behind. The wave will be gentler, but that is part of the appeal.
Use a lightweight setting product and let the hair dry completely before taking the shape down. If you try to rush it, the bend falls apart fast. Heat-free waves often need a little more planning, but the finish is kinder to the hair.
36. Plop-and-Go Waves
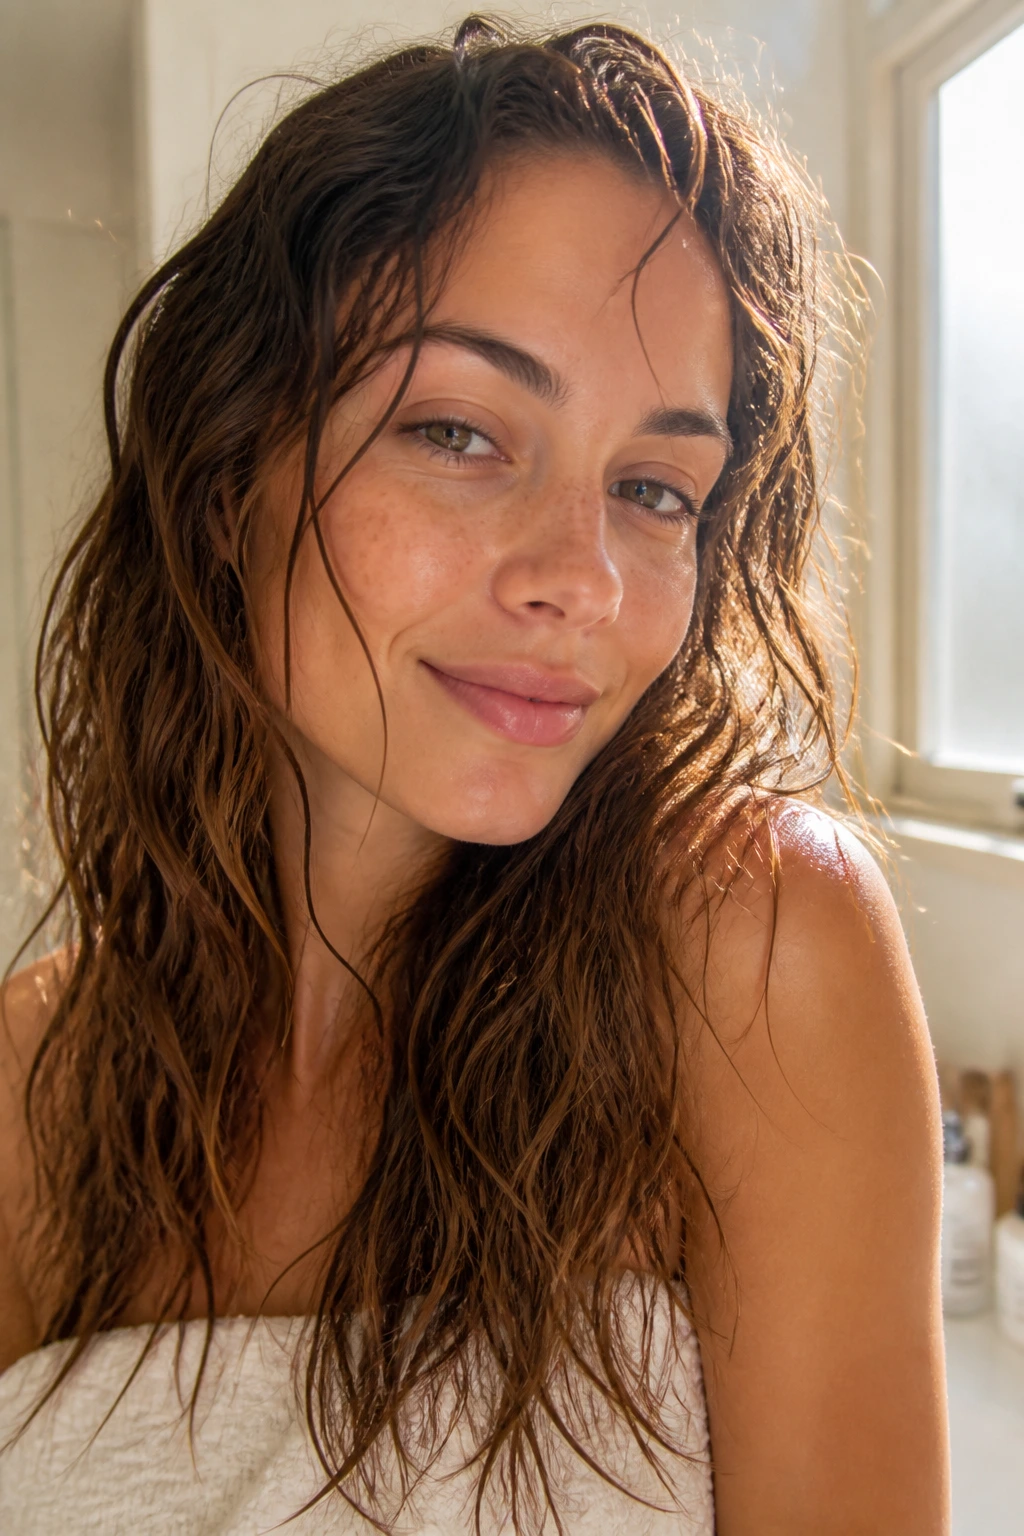
Plopping is useful when your hair already has curl or bend and you want it to dry with less frizz. Wrap the hair in a cotton T-shirt, gather it at the crown, and let the wave set as the water comes out. It can make a real difference on humid days.
This look is best when the hair is not over-handled. Once it comes out of the wrap, leave the sections alone until they dry. The less you poke, the better the wave holds.
37. Tousled Waves With Blunt Ends
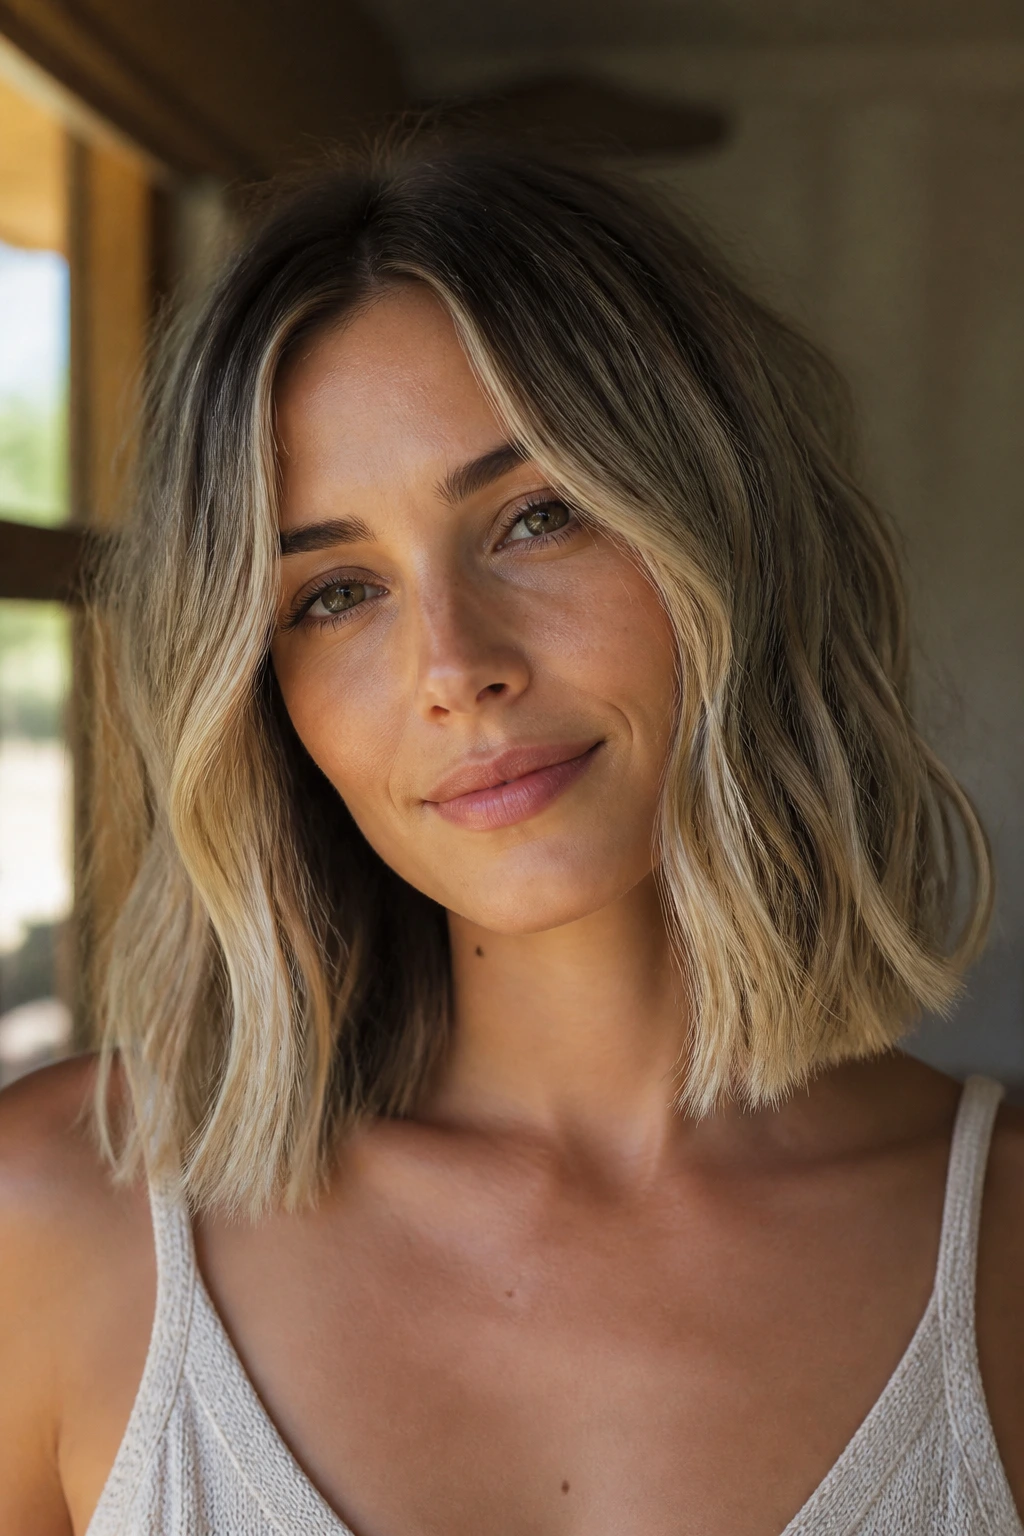
Blunt ends give wave styles a cleaner edge. The contrast between a soft bend and a sharp cut line makes the hair look fuller and more modern. It’s a nice break from the usual layered beach wave.
I’d keep the wave loose and stop the heat before the ends curl under too hard. Let the bottom line stay visible. That contrast is what makes the haircut and the texture work together instead of fighting each other.
38. S-Waves With a Flat Iron
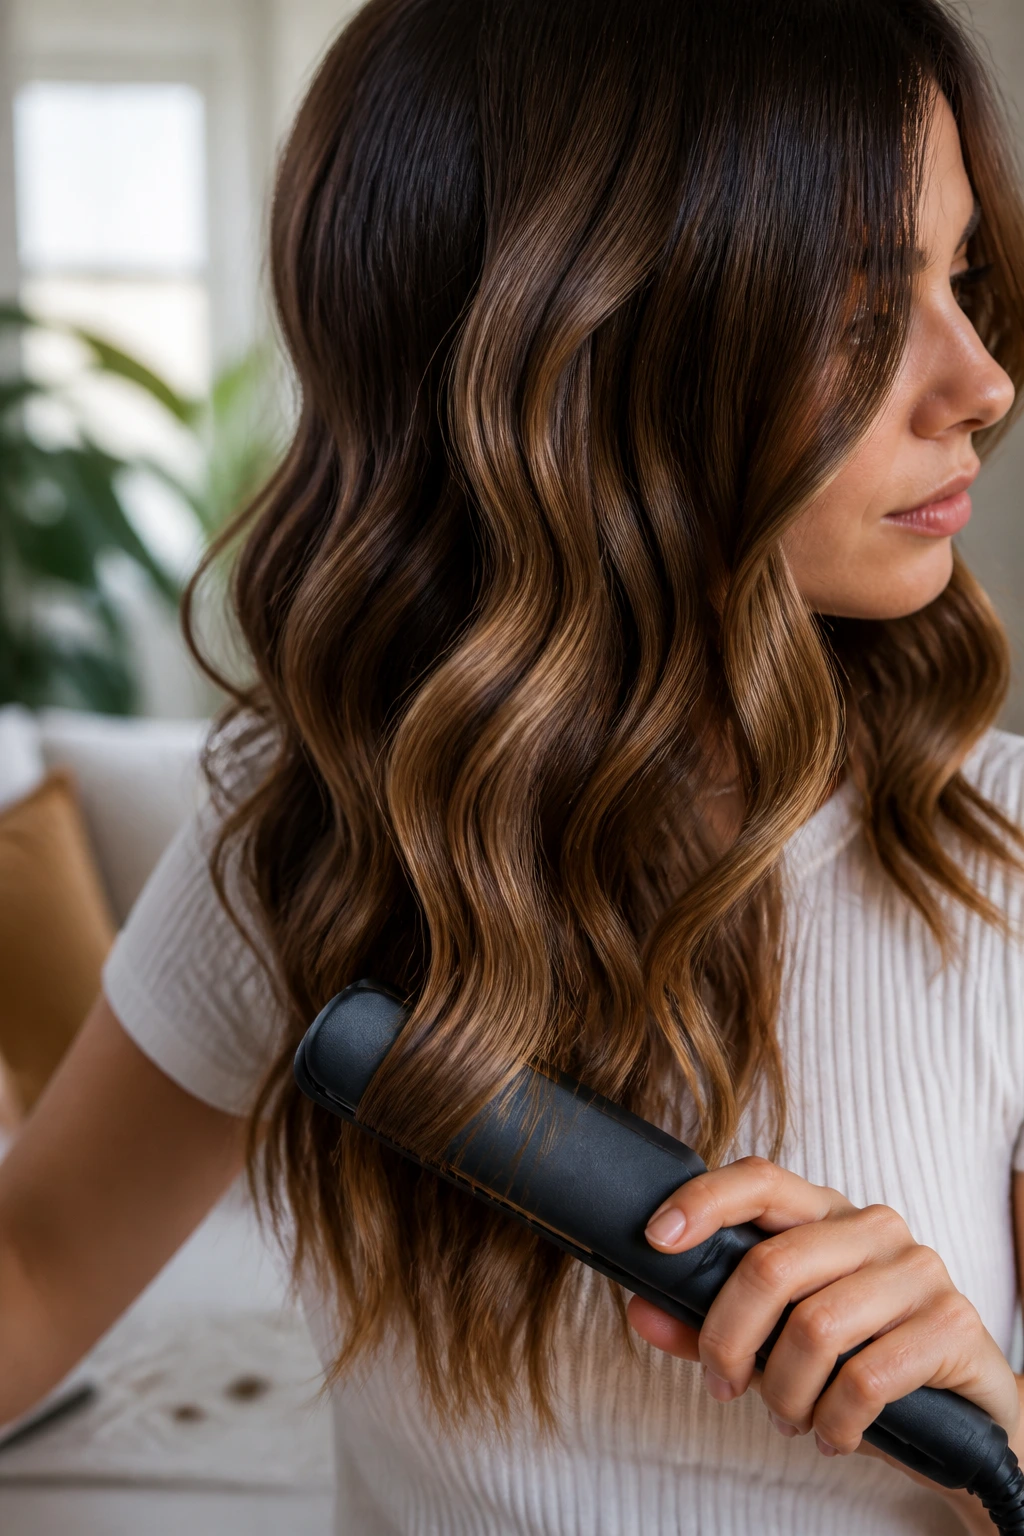
S-waves are all about movement without too much spiral. A flat iron helps carve that bend in a cleaner line, especially when you move the tool in small, gentle turns instead of hard wraps. The result looks shaped, not curled.
Work on narrow sections and keep your wrist relaxed. If the bends are too tight, brush them out once the hair cools. The S-shape should still be visible, just softer around the edges.
39. Big-Bent Waves With a 1.25-Inch Iron
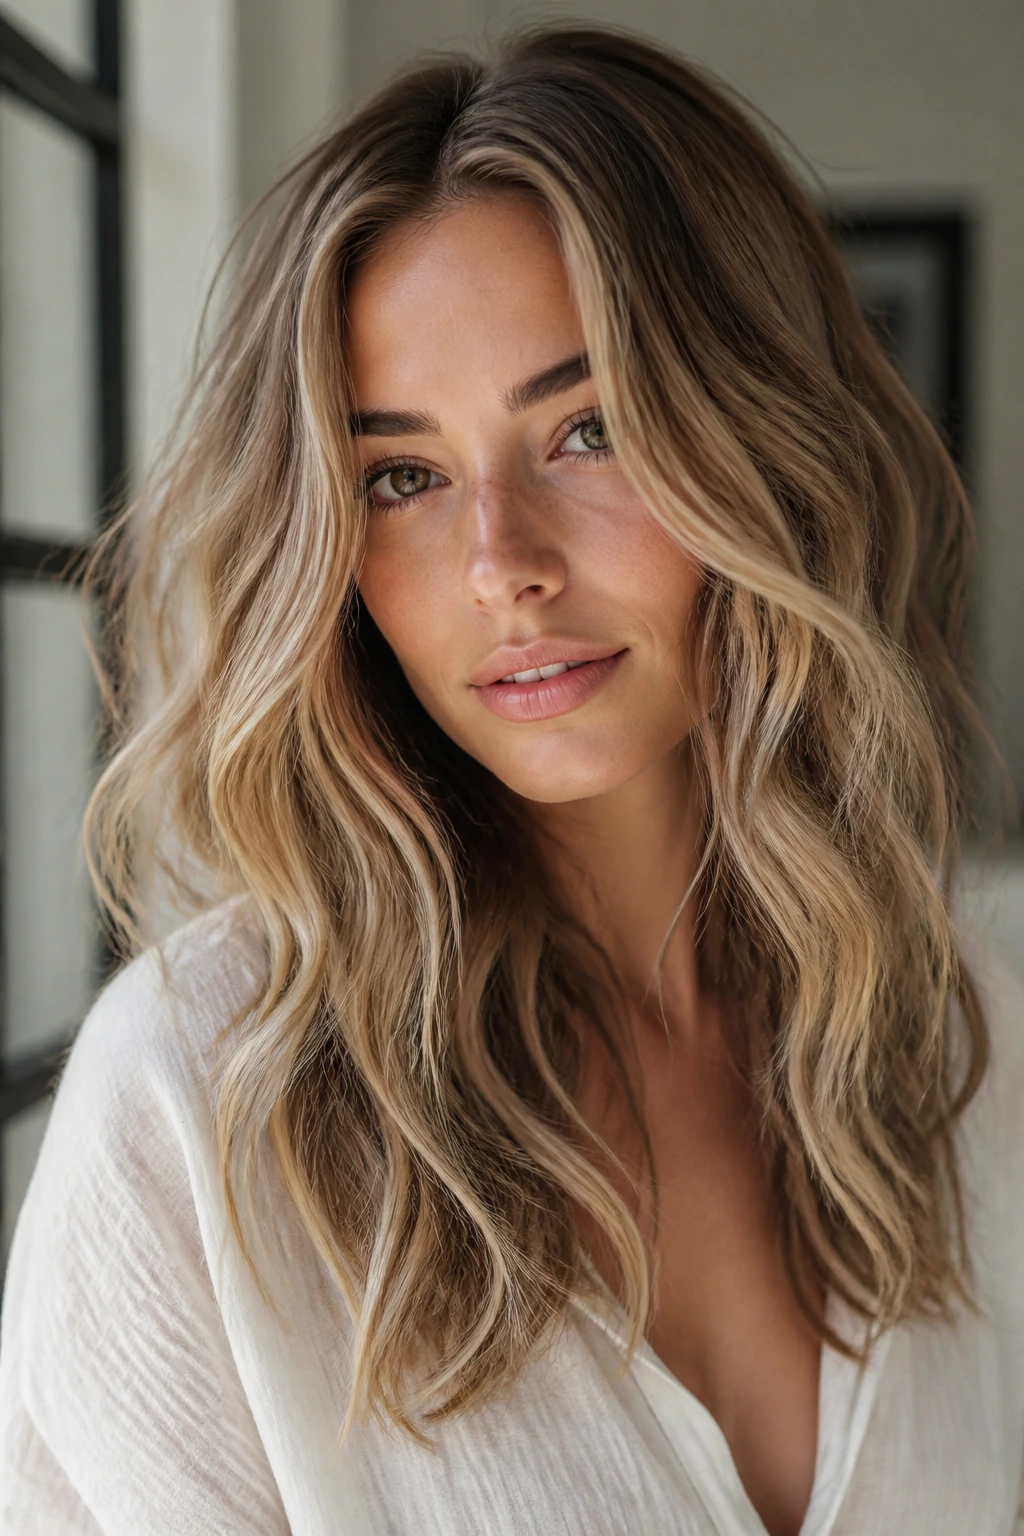
A 1.25-inch iron gives you one of the best loose-wave finishes for medium to long hair. The wave is broad, relaxed, and less likely to shrink up into curl. That makes it useful when you want movement but not a lot of bounce.
Hold each section for a few seconds, then let it cool in your hand or clip it flat to the head. Bigger waves need cooling time to stay wide. Skip heavy spray until the style has set.
40. Loose Spiral Waves Brushed Out
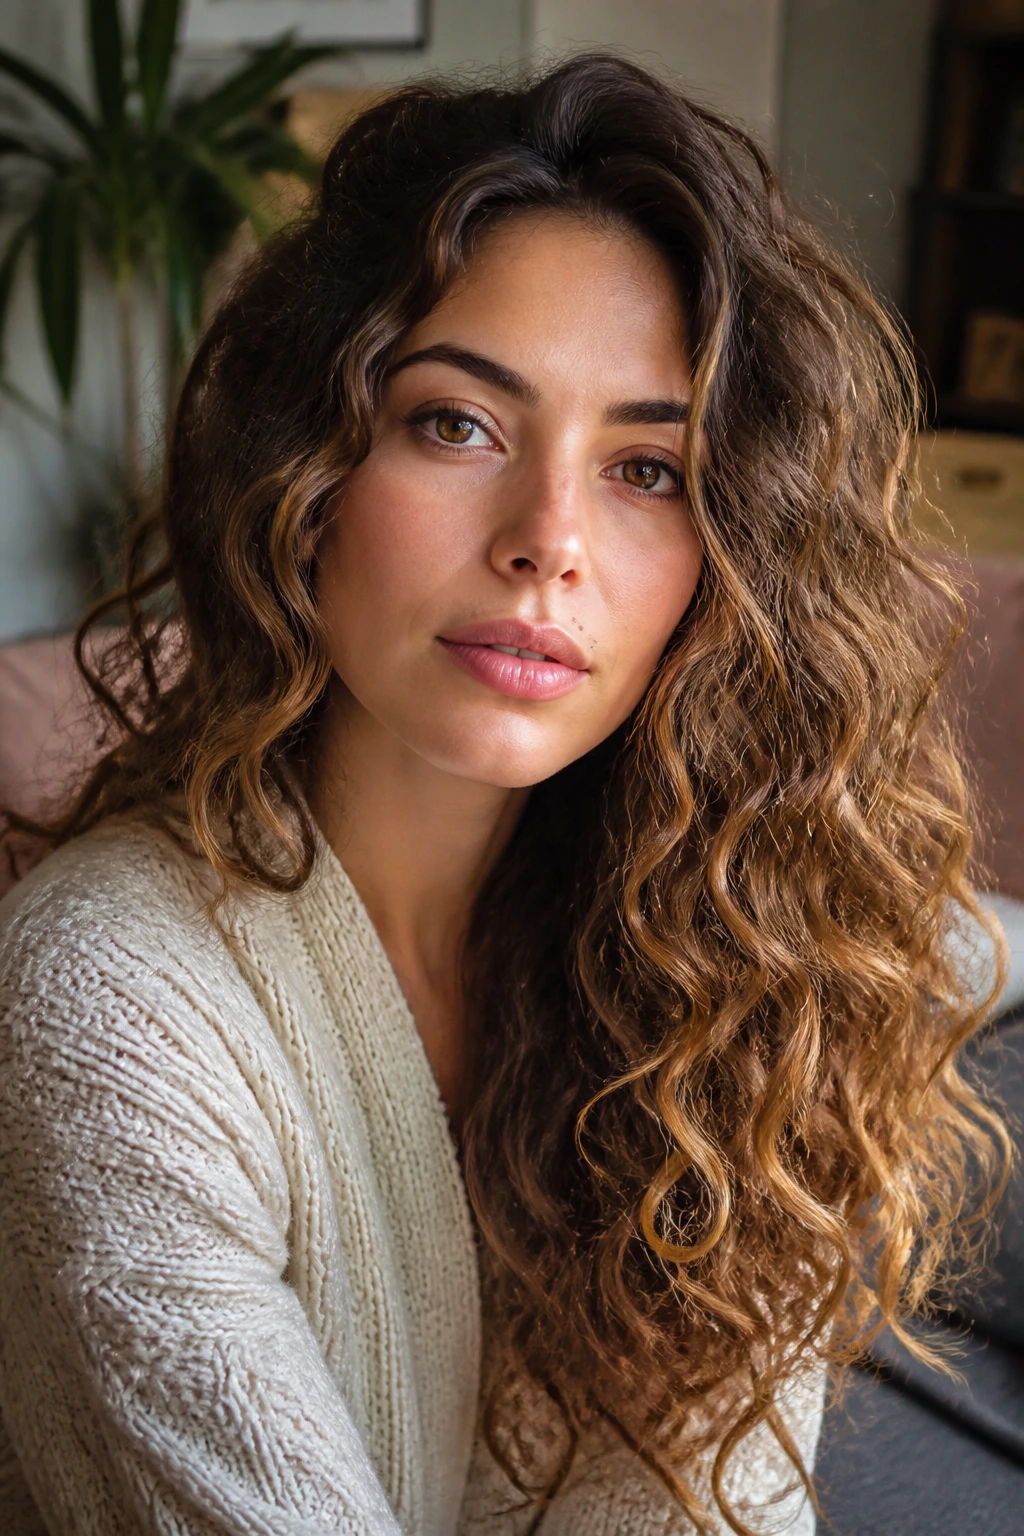
This style starts with more curl than the others and then gets softened on purpose. Brush it out once everything is cool, and the spiral turns into a soft wave with extra body. It’s a good option when hair tends to fall flat after styling.
I like this for medium density hair because the extra curl gives the style longer life. The brush should soften the shape, not erase it. Stop before the ends lose all definition.
41. Windblown Vacation Waves
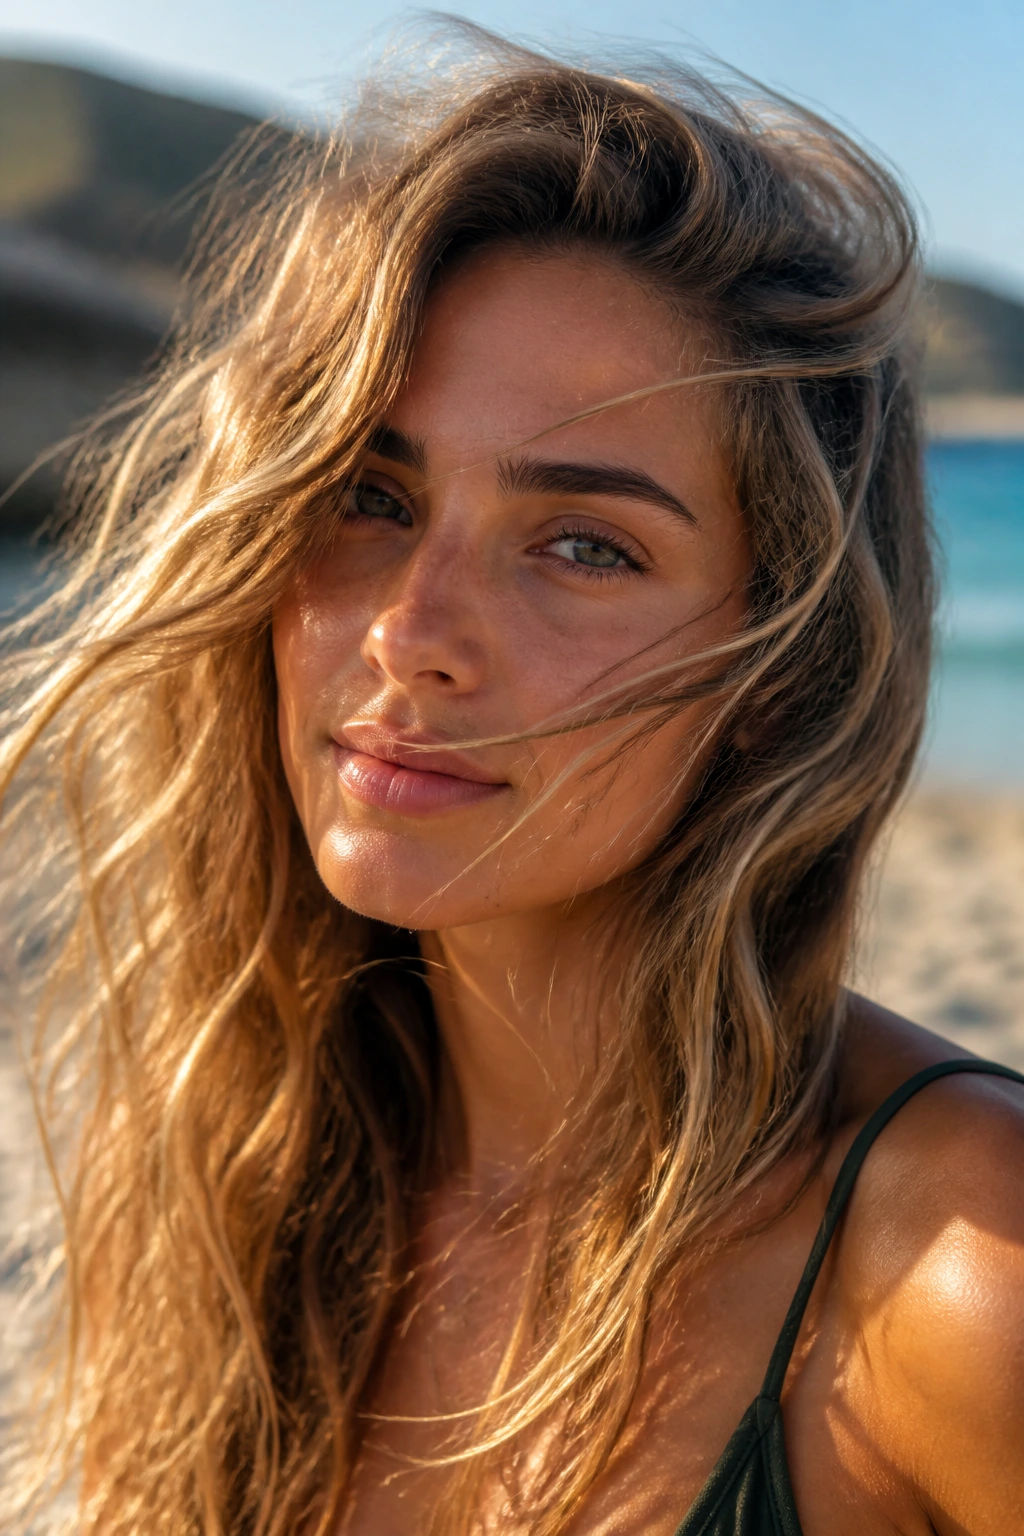
Windblown waves are about movement more than structure. The hair should look like it has lived outdoors for a while, with random pieces shifting in different directions. Too much symmetry ruins the effect.
Use fingers, not a brush, and keep the product light. A texture spray at the ends and a touch of dry shampoo at the root can be enough. This is one of the few looks where imperfect actually wins.
42. Roller-Set Beach Waves
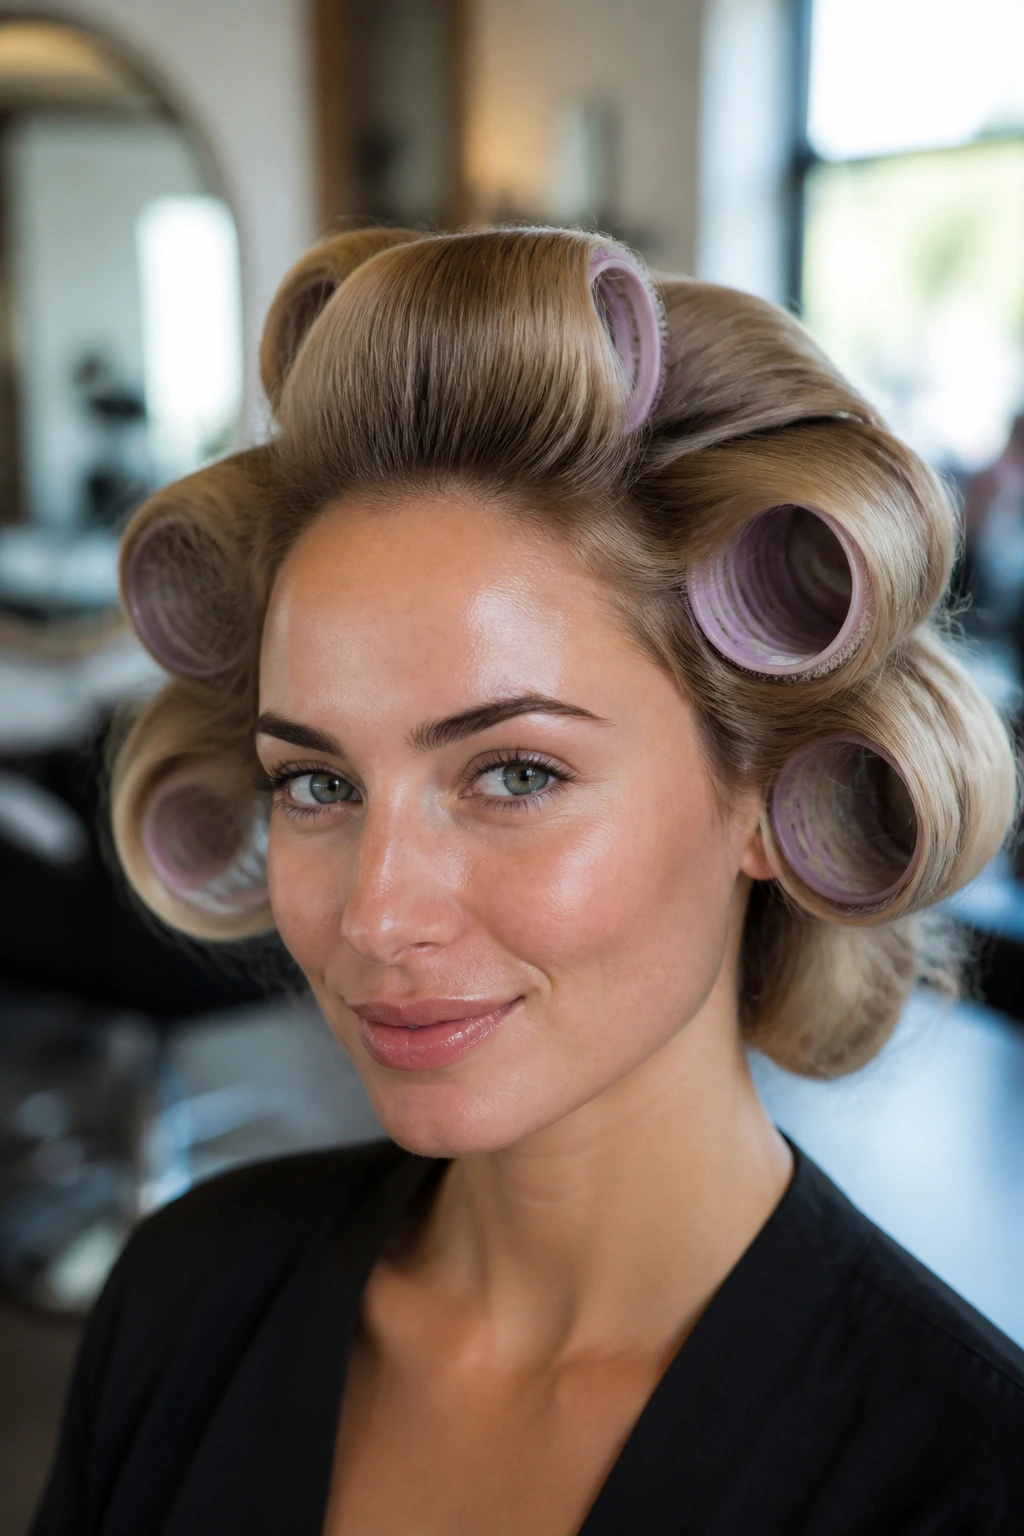
Rollers give beach waves a rounder, softer bend than a wand can. Large Velcro or foam rollers are the nicest route if you want body without a hard curl pattern. They also let the hair cool in shape, which helps a lot.
Roll them in the direction you want the movement to fall, then wait until the hair is fully cool. If you take them out too early, the wave collapses into a shrug. Patience pays here.
43. Flipped-Out End Waves
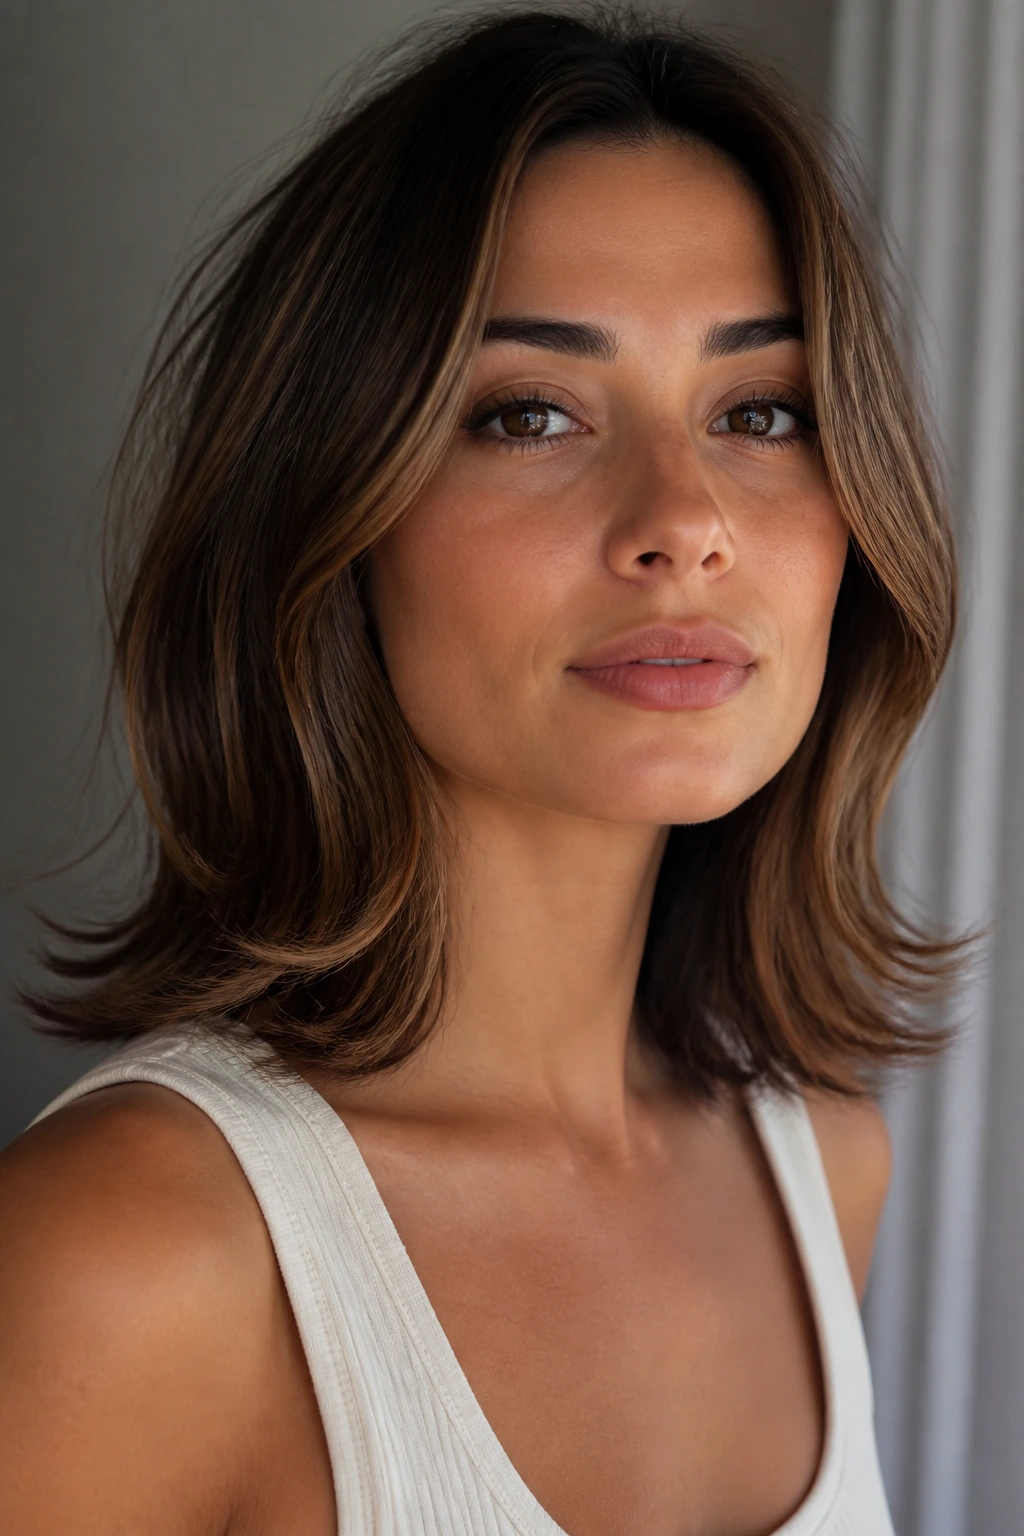
Flipped-out ends add a little retro movement to a beach wave. The mid-lengths stay soft, then the bottom turns outward instead of inward. It changes the silhouette in a way that feels playful, not costume-y.
Use a flat iron or round brush on just the final inch or two. Keep the flip subtle. A hard flip looks dated fast; a soft turn looks deliberate.
44. Sculpted Event Waves
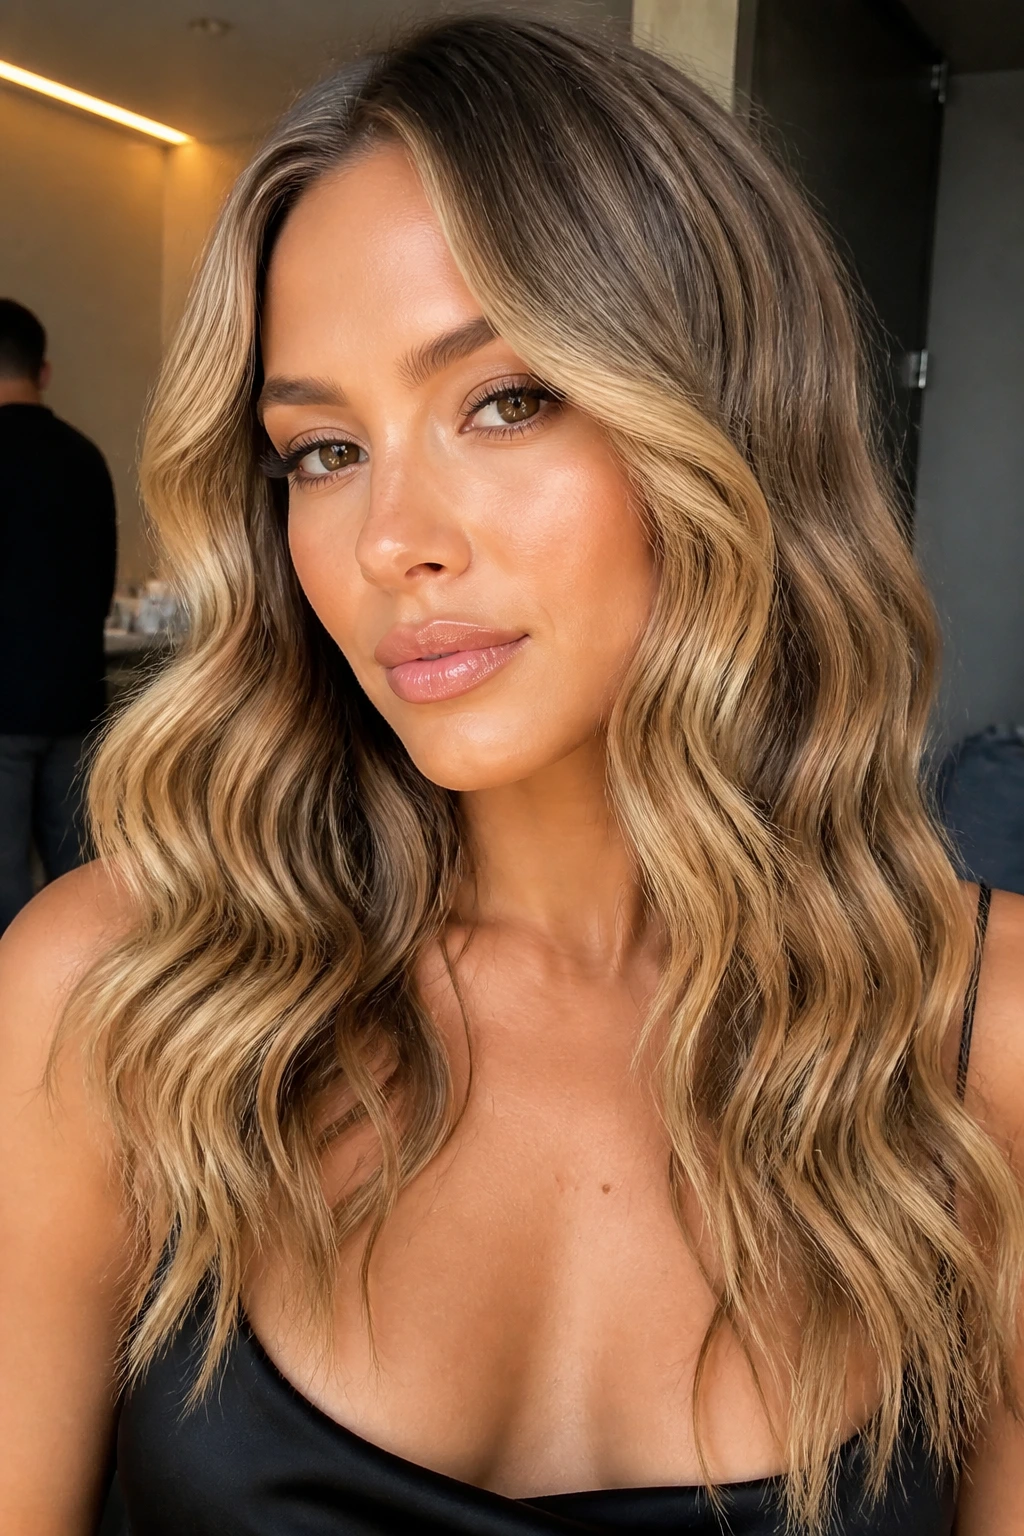
This is the dressy version. The wave is shaped, the shine is controlled, and the front pieces are placed on purpose. It works well when you want beach-wave texture but need the style to hold up under lights and photos.
Use smaller, cleaner sections, then smooth the surface with a light serum or shine mist. Pin one side if you want extra lift. The trick is keeping movement visible while making the line tidy.
45. Five-Minute Everyday Waves
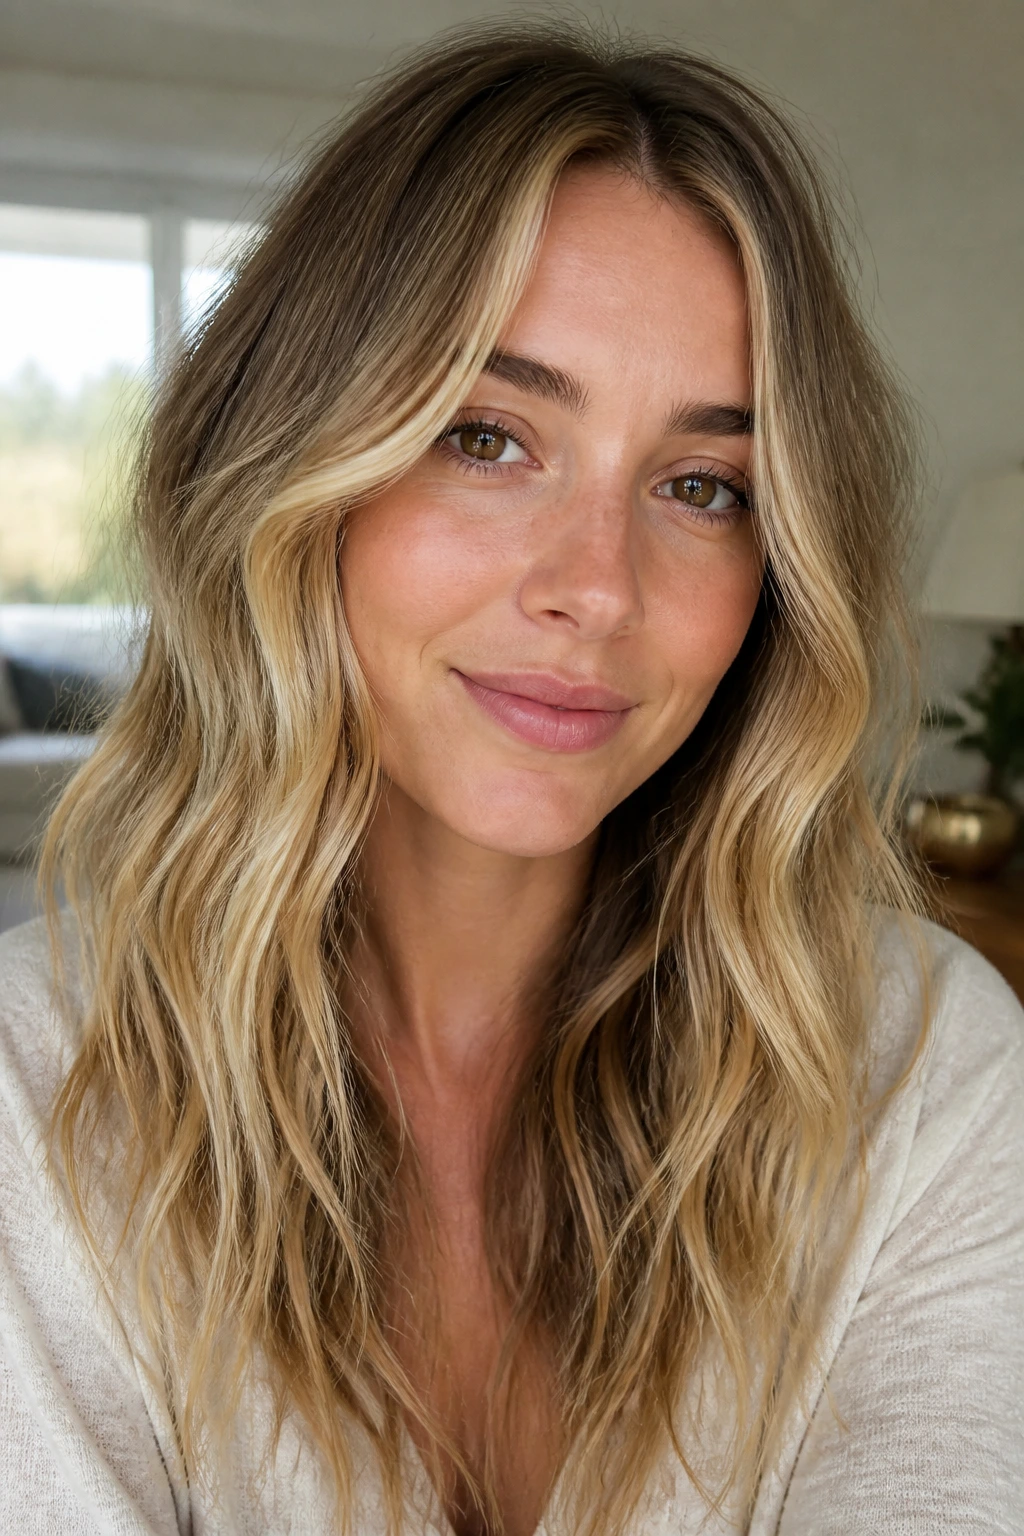
Some days, the whole point is speed. Five-minute waves are about hitting the front pieces, the top layer, and a few ends so the style looks touched without eating your whole morning. They are rougher than the rest of the list, and that is fine.
Use a wand or straightener on only the visible sections, then shake it out with your fingers. A bit of dry shampoo at the root helps it last. It’s the kind of shortcut that still looks put together from a few feet away.
Picking the Right Products and Heat Settings
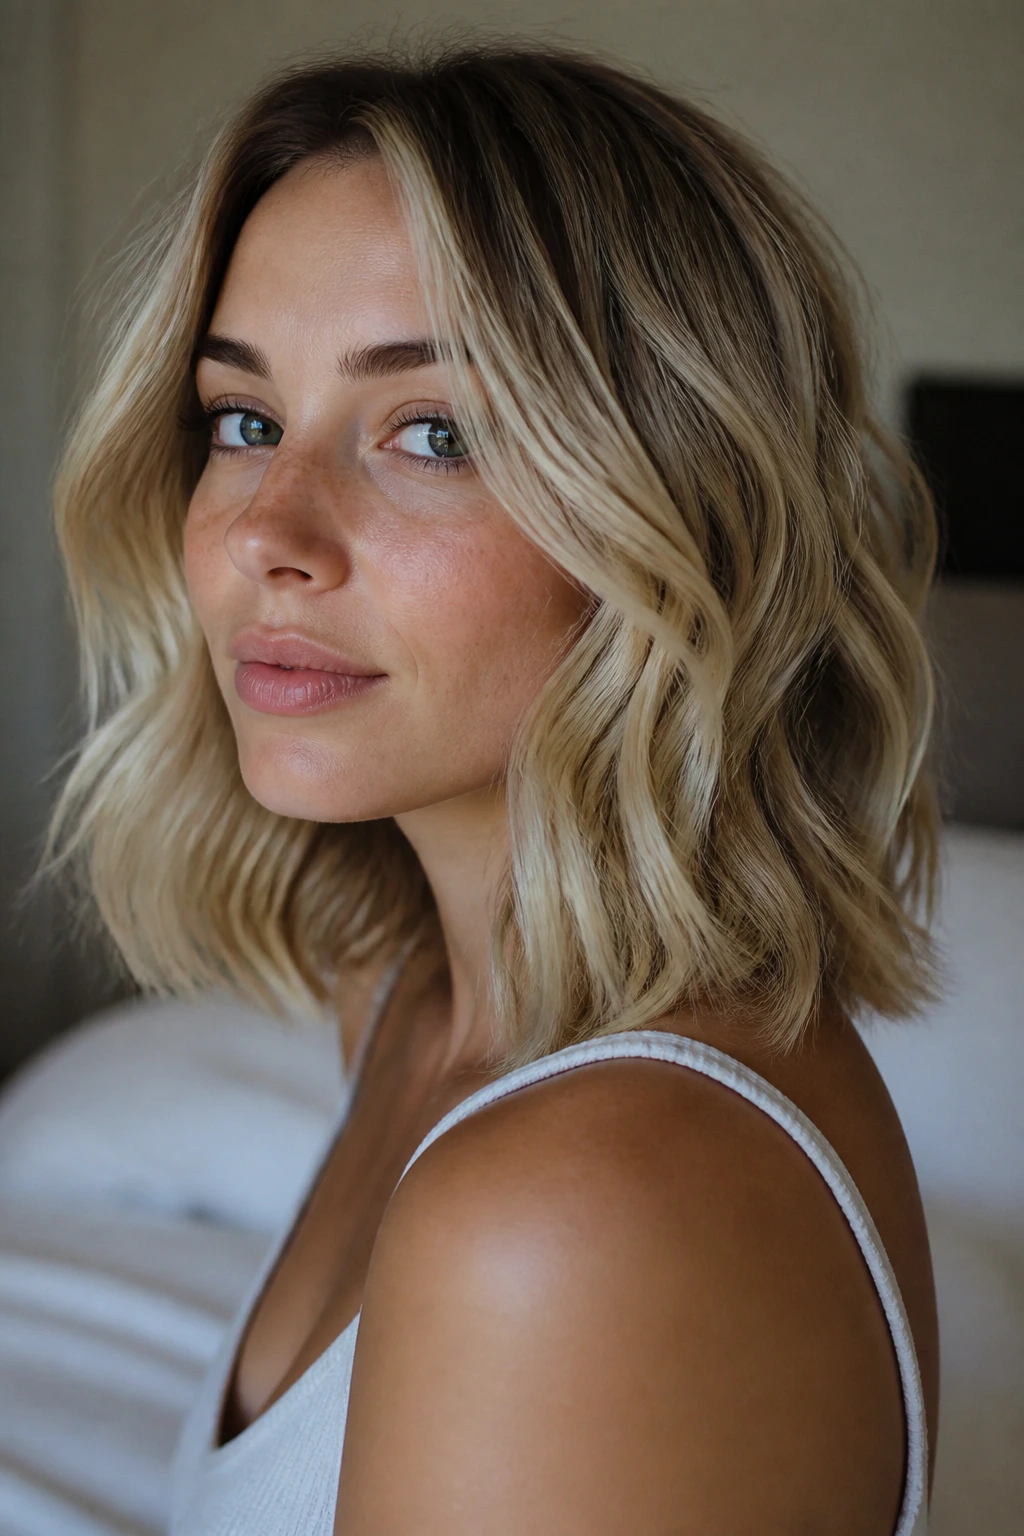
The product shelf matters more than people think. A wave can look expensive or flat depending on whether the hair has grip before you start. Clean hair is slippery, so a little mousse, root lift spray, or texturizing spray gives the bend something to hold onto. Fine hair usually needs lighter products, while thicker hair can take a little more hold without getting weighed down.
Heat should match the hair, not the fantasy. Fine or fragile strands usually behave better around 280°F to 320°F, while thicker or coarse hair often needs 330°F to 375°F to keep the bend from sliding out. Go lower if your hair is dry or color-treated. Go a little higher if your sections are large and the wave keeps dropping before it cools.
A thermal spray is not optional if you use hot tools often. It helps, and it also keeps the ends from looking fried and brittle after a few passes. If the product feels sticky in your hands, you probably used too much. Beach waves need help, not glue.
Fine Hair Needs Grip, Not Weight
Fine hair usually falls flat when it gets too much cream or oil. Start with mousse at the roots, then use a light texture spray through the mid-lengths once the hair is dry. That gives the wave enough structure to hold without collapsing.
Thick Hair Needs Smaller Sections
Thick hair rarely holds a wave if the sections are too large. Smaller pieces cool better and keep the bend longer. It takes more time, yes, but it saves you from redoing the front pieces an hour later.
Fragile Hair Needs Fewer Passes
If your hair is dry, bleached, or generally tired, cut the heat work down. Use one slow pass instead of three quick ones, and keep the barrel size on the larger side so the wave stays loose. Heatless sets may be the better call on some days.
Essential Tools for These Looks
-
1-inch curling wand: Best for shorter cuts, loose waves, and more defined movement in shoulder-length hair.
-
1.25-inch curling iron or wand: Better for longer hair and wider, softer bends that do not spring into tight curl.
-
Flat iron with rounded edges: Useful for S-waves, short bobs, and the more polished bent-wave styles.
-
Heat protectant spray: Keeps the ends from looking dry and rough after repeated styling.
-
Texturizing spray: Adds grip and separation to hair that slips clean before lunch.
-
Mousse or root lift foam: Helps fine hair and clean hair hold a wave instead of dropping flat.
-
Dry shampoo: Great for day-two refreshes and for adding a little roughness at the root.
-
Sectioning clips: Small clips make it easier to cool waves in place and keep thick hair out of the way.
-
Wide-tooth comb or soft brush: Useful when you want to soften a wave without turning it into frizz.
-
Silk scrunchie or claw clip: Handy for heatless sets, loose updos, and keeping the shape intact overnight.
How to Wear Beach Waves Without Letting Them Wear You
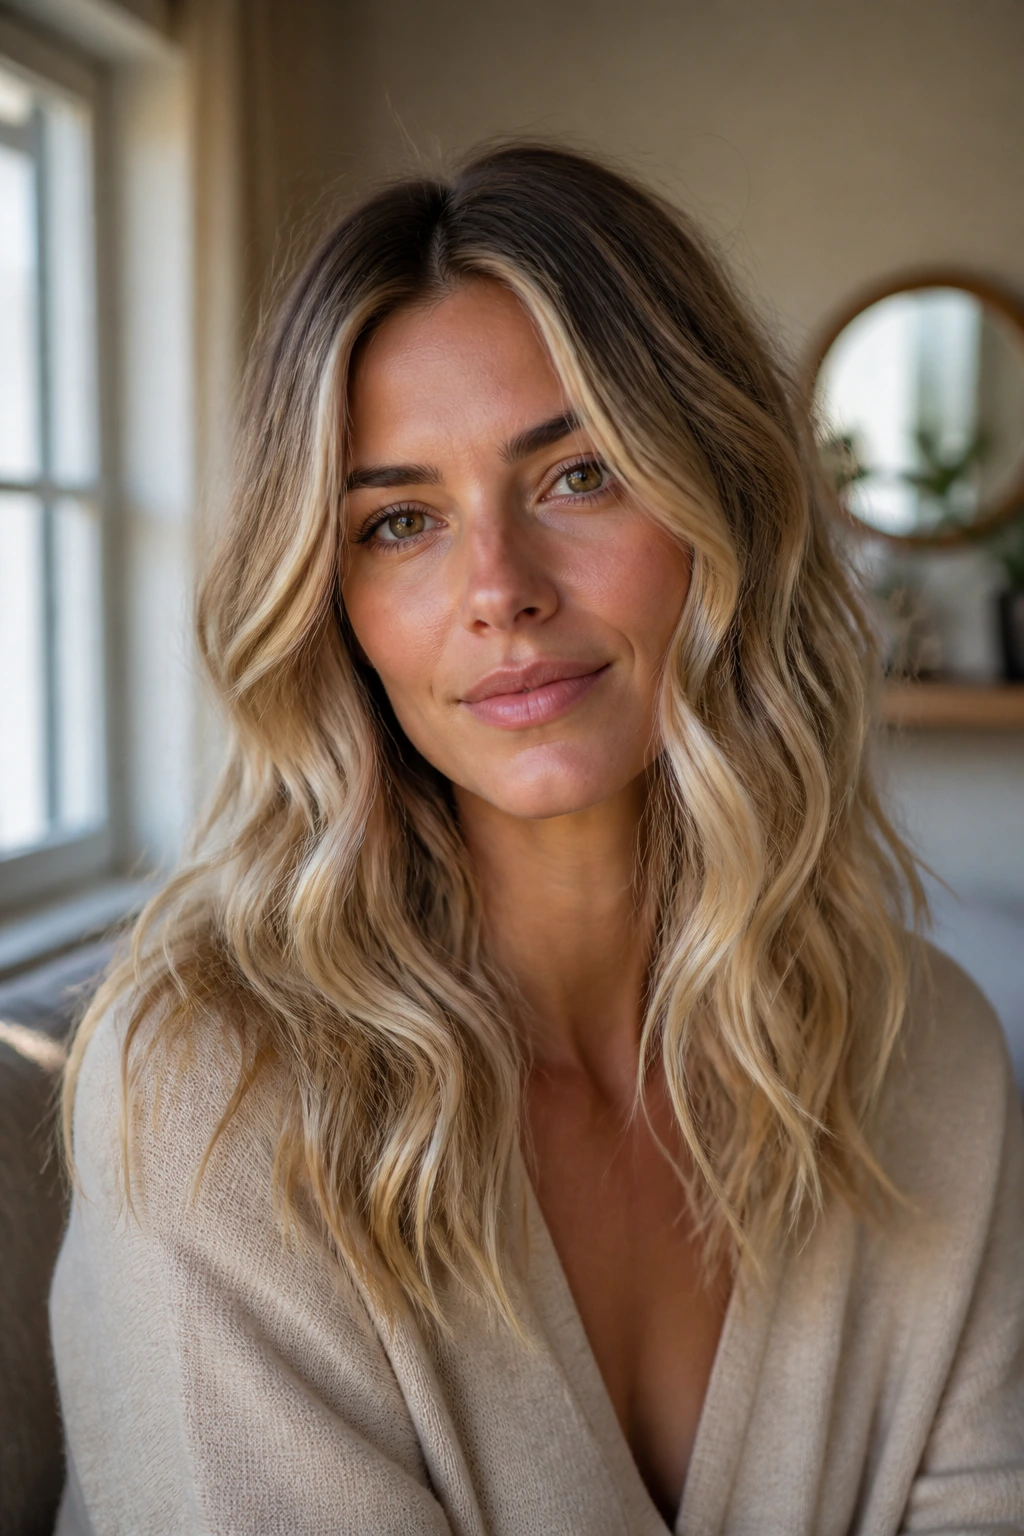
Presentation: Keep the wave starting below the cheekbone or jawline so the shape feels loose around the face. If the roots are too textured and the ends are too curled, the style loses that easy line. A little asymmetry helps more than perfect balance.
Accessories: Small hoops, a claw clip, a narrow ribbon, or a few bobby pins can shift the tone fast. I like accessories that work with the movement instead of pinning it all down. Heavy headbands can crush the top and steal the air from the style.
Outfit Pairing: Beach waves sit naturally with denim, linen, a soft blazer, or a slip dress. They also look good with sharp necklines because the hair adds movement next to all that clean fabric. The wave should feel like part of the outfit, not a separate event.
Best Moments: These styles make sense for errands, dinner, weddings, office days, and anything in between if you choose the finish carefully. Matte, piecey waves feel relaxed. Glossy and sculpted waves feel dressier. Same shape. Different mood.
Additional Tips for More Volume, Shine, or Grip
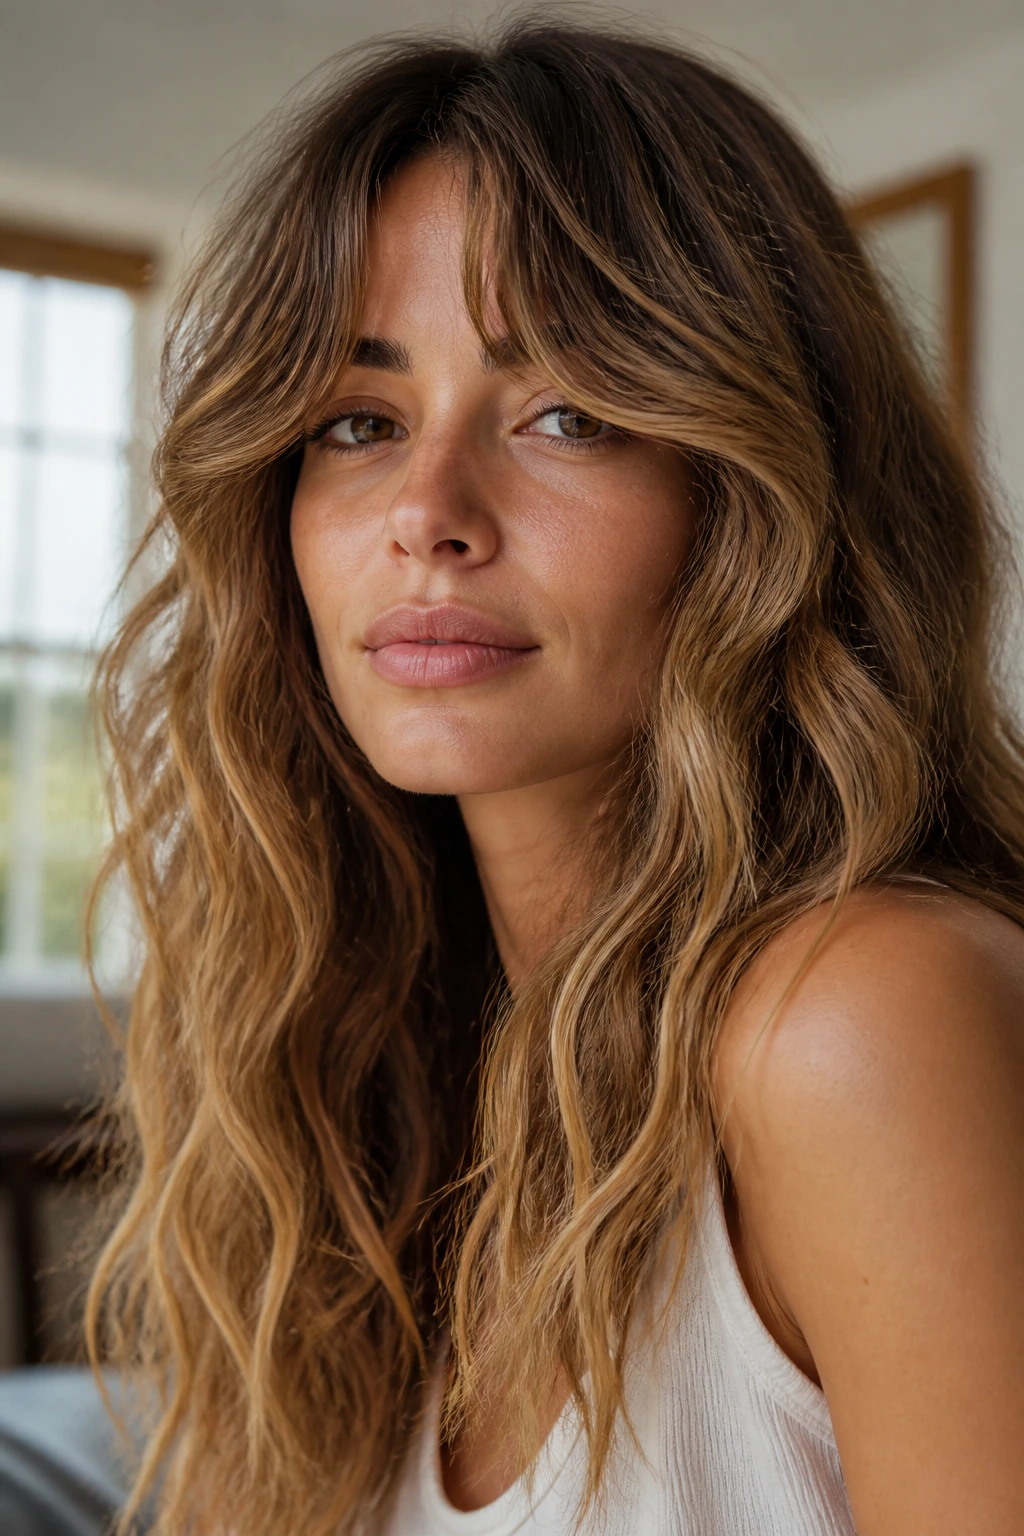
Volume Boost: Clip the roots at the crown while the hair cools, then release them only after the rest of the shape is set. That one move adds lift without teasing the hair into a nest.
Shine Boost: Use a tiny drop of oil on your palms and skim it over the ends, not the roots. If the shine spray goes all the way up to the scalp, the style can look greasy in real light.
Texture Boost: Spray texturizer at the mid-lengths, scrunch once, then stop touching it. The more you fuss, the more the wave separates into frizz instead of pieces.
Make-It-Yours: If you like a softer finish, brush the waves out more. If you want them rougher, leave the bends more defined and use dry shampoo in the roots. The same base style can go in either direction.
Common Mistakes That Flatten the Finish
-
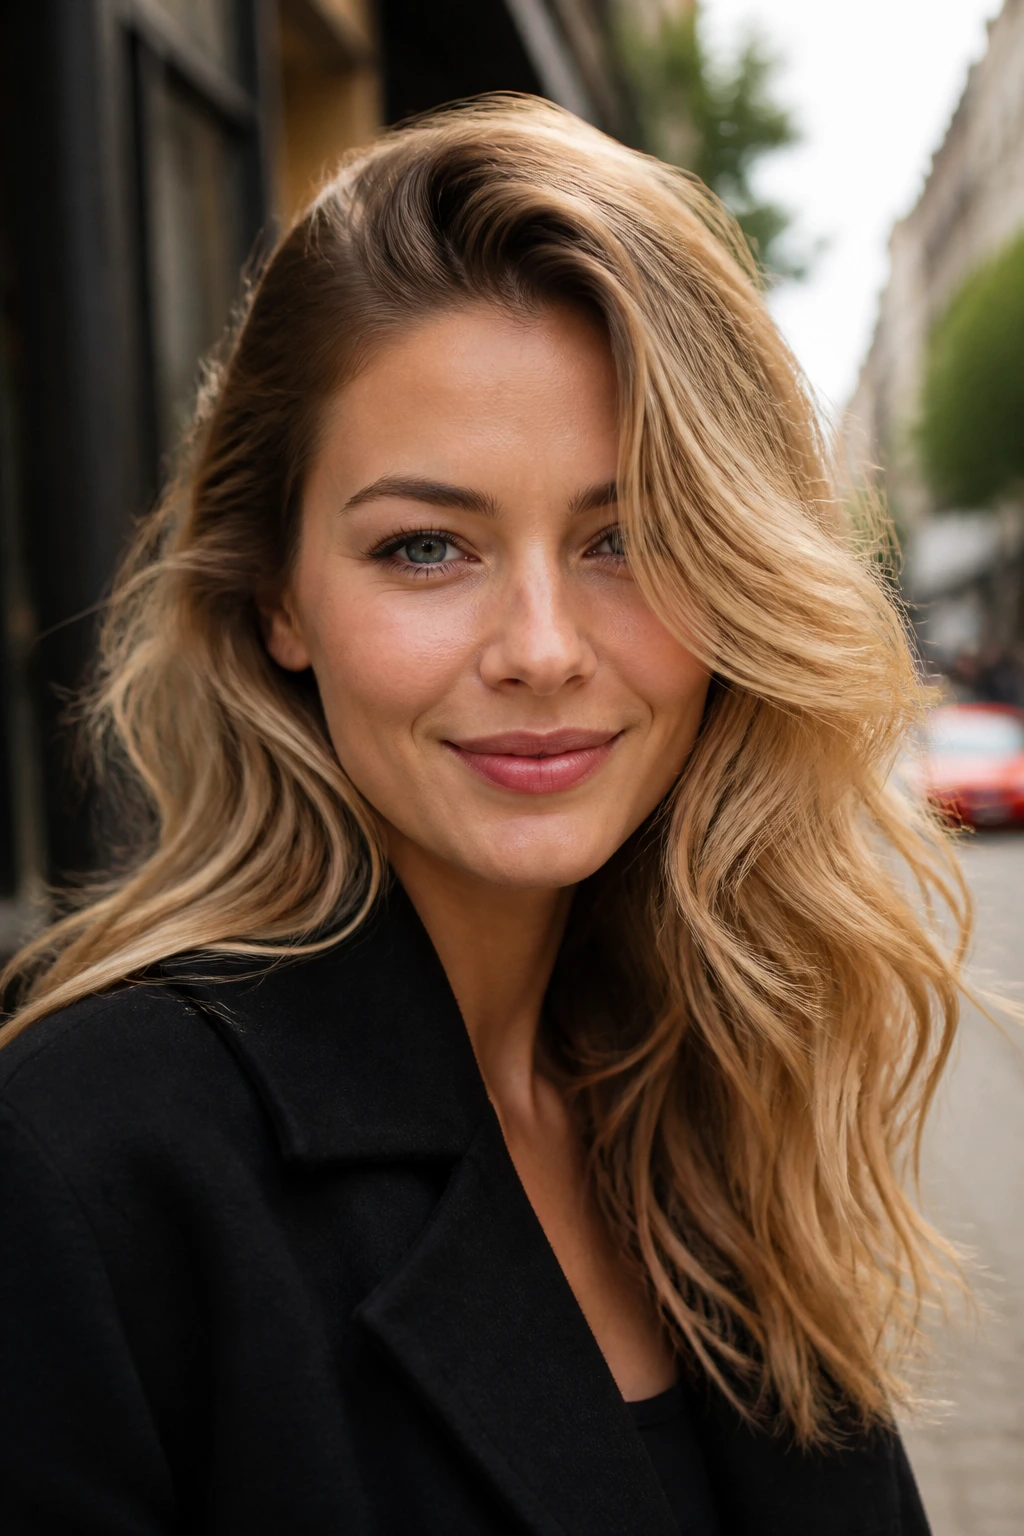
Curling everything the same direction: The hair falls into one heavy pattern and starts looking too set. Alternate the wrap direction or the bend direction to keep the wave loose.
-
Starting too close to the scalp: The style turns into curl instead of beach wave. Leave some straightness at the root so the shape breathes.
-
Using too much product at once: Heavy cream or salt spray can weigh the hair down and make it stiff. Start with a light mist, then add more only where the hair actually needs hold.
-
Touching hot hair right away: The bend has not set yet, so brushing or raking it apart too early erases the shape. Let it cool first.
-
Making every section the same size: Uniform sections can make the style look stamped on. Vary the size a little so the waves fall with more life.
Variations and Alternatives to Try
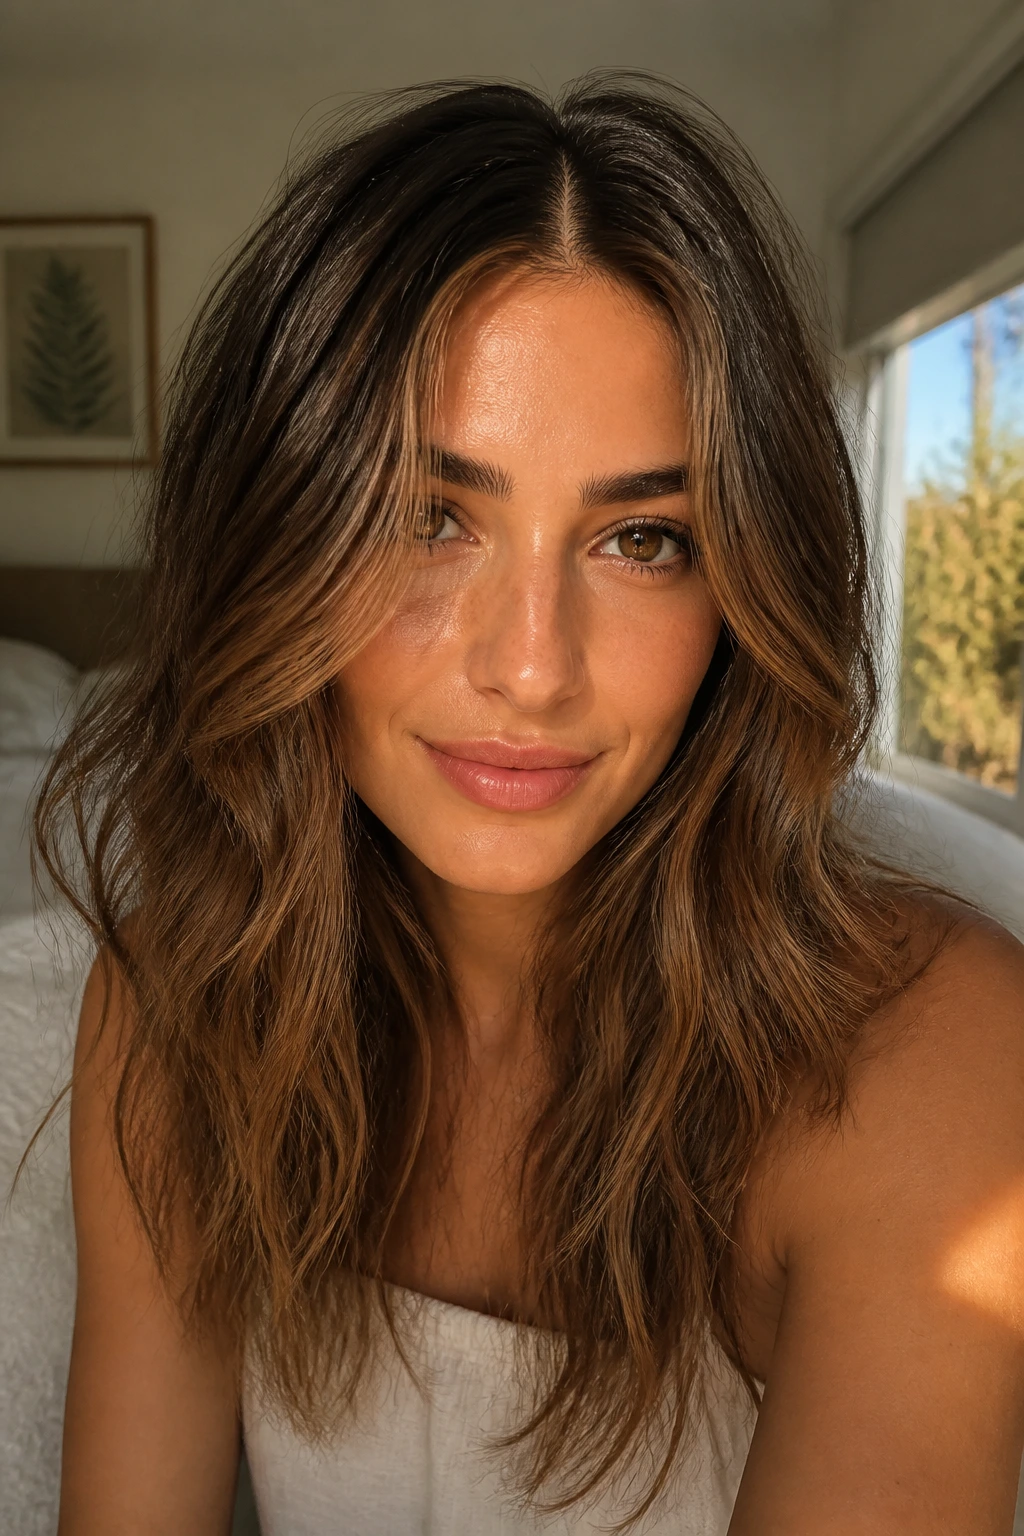
The Heatless Weekend Wave: Swap hot tools for twists, braids, or rollers and give the hair a full drying window. This version is kinder to the ends and tends to look softer on day two, which is why a lot of people come back to it.
The Fine-Hair Lift: Add mousse at the roots, keep the sections small, and stop the wave below the cheekbone. The hair gets more body without losing movement, and that matters when you want lift that survives the afternoon.
The Thick-Hair Soft Breakup: Use smaller sections and a larger barrel, then break up the wave with fingers instead of a brush. Thick hair needs separation more than it needs more curl, so the goal is shape, not extra bend.
The Event-Ready Shine Wave: Smooth the surface with a light serum and keep the front pieces controlled. It gives you a dressed-up version of beach texture that still moves when you turn your head.
The Short-Cut Bend: On a bob or lob, use a flat iron or a small wand and leave the ends almost blunt. Short hair looks best when the wave feels sliced through the cut rather than wrapped around it.
Keeping the Bend Alive After Wash Day
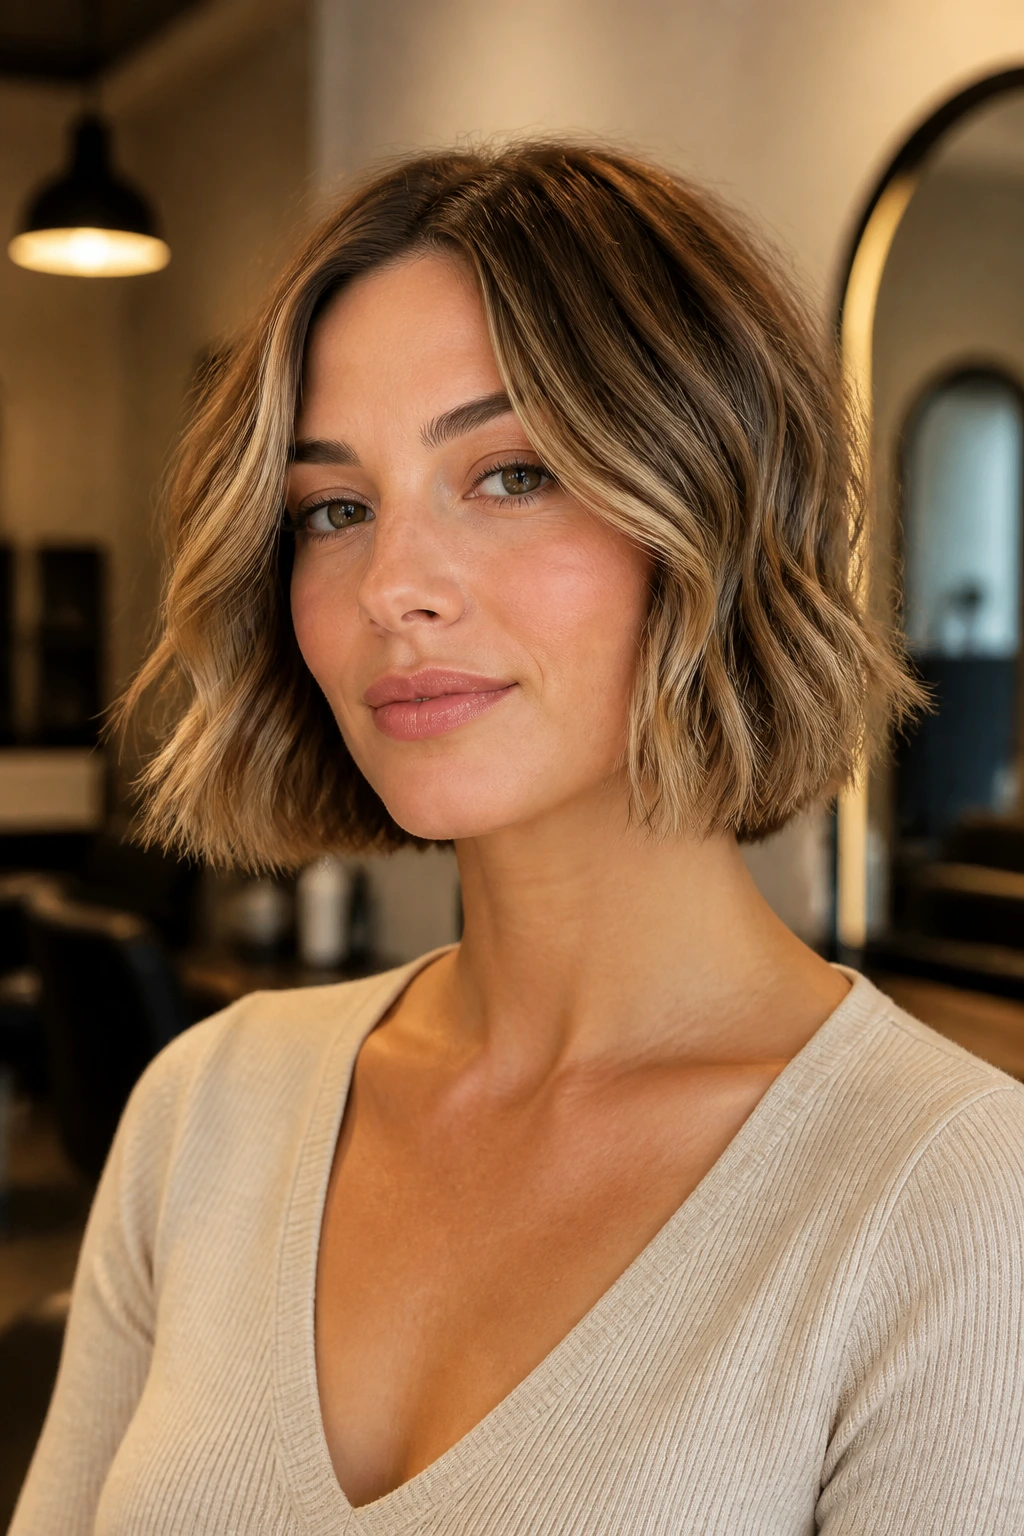
Beach waves usually hold up better when you leave them alone overnight. A silk pillowcase helps cut down on friction, and a loose pineapple or low scrunchie keeps the mid-lengths from getting mashed flat. If you sleep with the hair loose, the roots often wake up bent in all the wrong places.
The next morning, start with dry shampoo at the root if the scalp feels oily. Then mist a little water or texture spray on the parts that lost shape, scrunch once, and let them dry for a few minutes before you touch them again. That is usually enough to bring the wave back without restarting from scratch.
If the style starts getting too fuzzy, use a pea-sized amount of cream or a single drop of oil on the ends. Do not coat the whole head. One tiny smoothing pass at the bottom is often enough to make the whole shape look cared for again.
Heatless sets need patience on the front end and less work later. Hot-tool waves need cooling time and gentler sleeping habits. That’s the real divide. Treat each one differently, and they stay nicer longer.
Frequently Asked Questions
What hair length works best for beach waves?
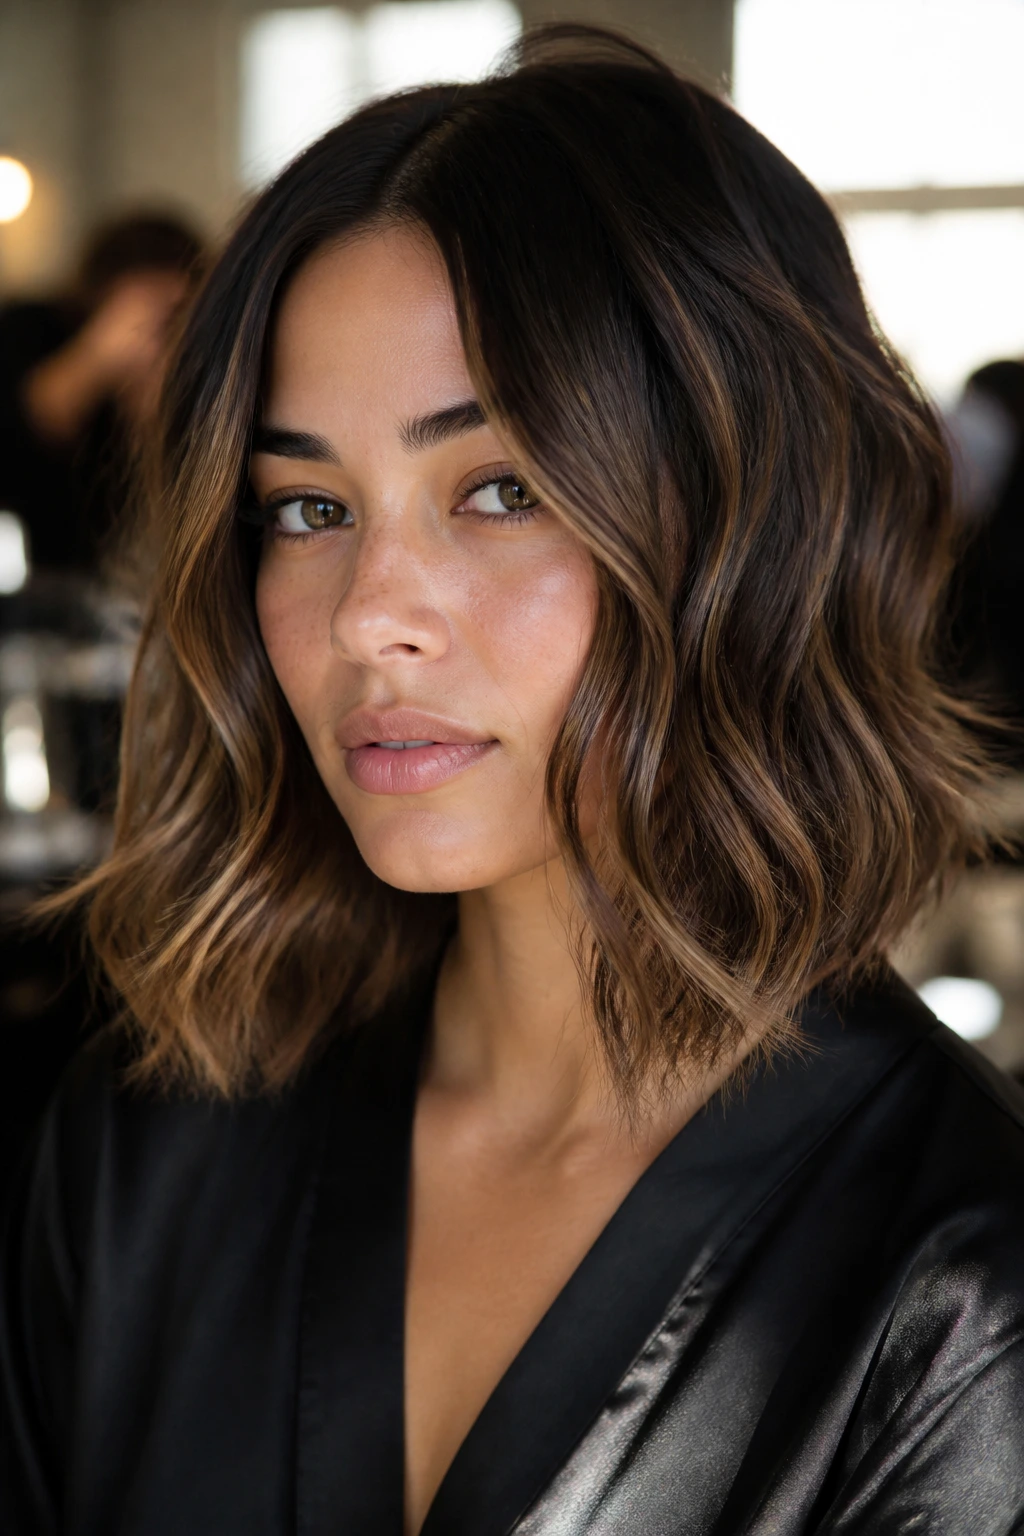
Shoulder-length hair, lobs, and longer cuts are the easiest because the bend has room to fall open. Short hair can work too, but the wave needs to start lower and stay looser so it does not puff out.
Do beach waves work on fine hair?
Yes, but fine hair needs grip more than shine. Mousse at the roots, smaller sections, and a light texture spray usually help the style hold without collapsing.
How do I stop my beach waves from turning frizzy?
Frizz usually shows up when the hair is brushed too much or touched before it cools. Use a heat protectant, let each section set, and keep finishing products light so the surface stays smooth.
Can I make beach waves without heat?
Absolutely. Braids, twists, rollers, and plopping all work if your hair can hold a shape while it dries. Heatless sets often look softer, but they do need more drying time.
Why do my waves fall out so fast?
The most common reasons are large sections, too little product, or heat that’s too low for your hair type. Smaller sections and a bit more hold at the roots usually fix the problem faster than another round of curling.
Should I curl every piece away from my face?
Not always. Alternating direction through the back keeps the wave from forming one obvious pattern, and it often looks more natural. Front pieces away from the face usually flatter the line, though.
How do I refresh beach waves on day two?
Dry shampoo at the roots, a light mist of texture spray through the lengths, then a quick finger twist on any pieces that lost shape. If the ends look dry, a tiny drop of oil is enough.
What size barrel gives the loosest beach waves?
A 1.25-inch barrel usually gives a wider, softer wave than a 1-inch tool. If your hair is short, though, the smaller barrel may make more sense because the larger one can slide too much.
Can thick hair hold beach waves all day?
Yes, if the sections are small and the hair cools fully before you touch it. Thick hair usually needs more time, but it tends to keep the shape well once it sets.
What if the style looks too curly instead of wavy?
Brush it out more, or start with a larger barrel next time and leave more of the ends out. Beach waves should look relaxed, not springy.
The Waves You’ll Reach For Again
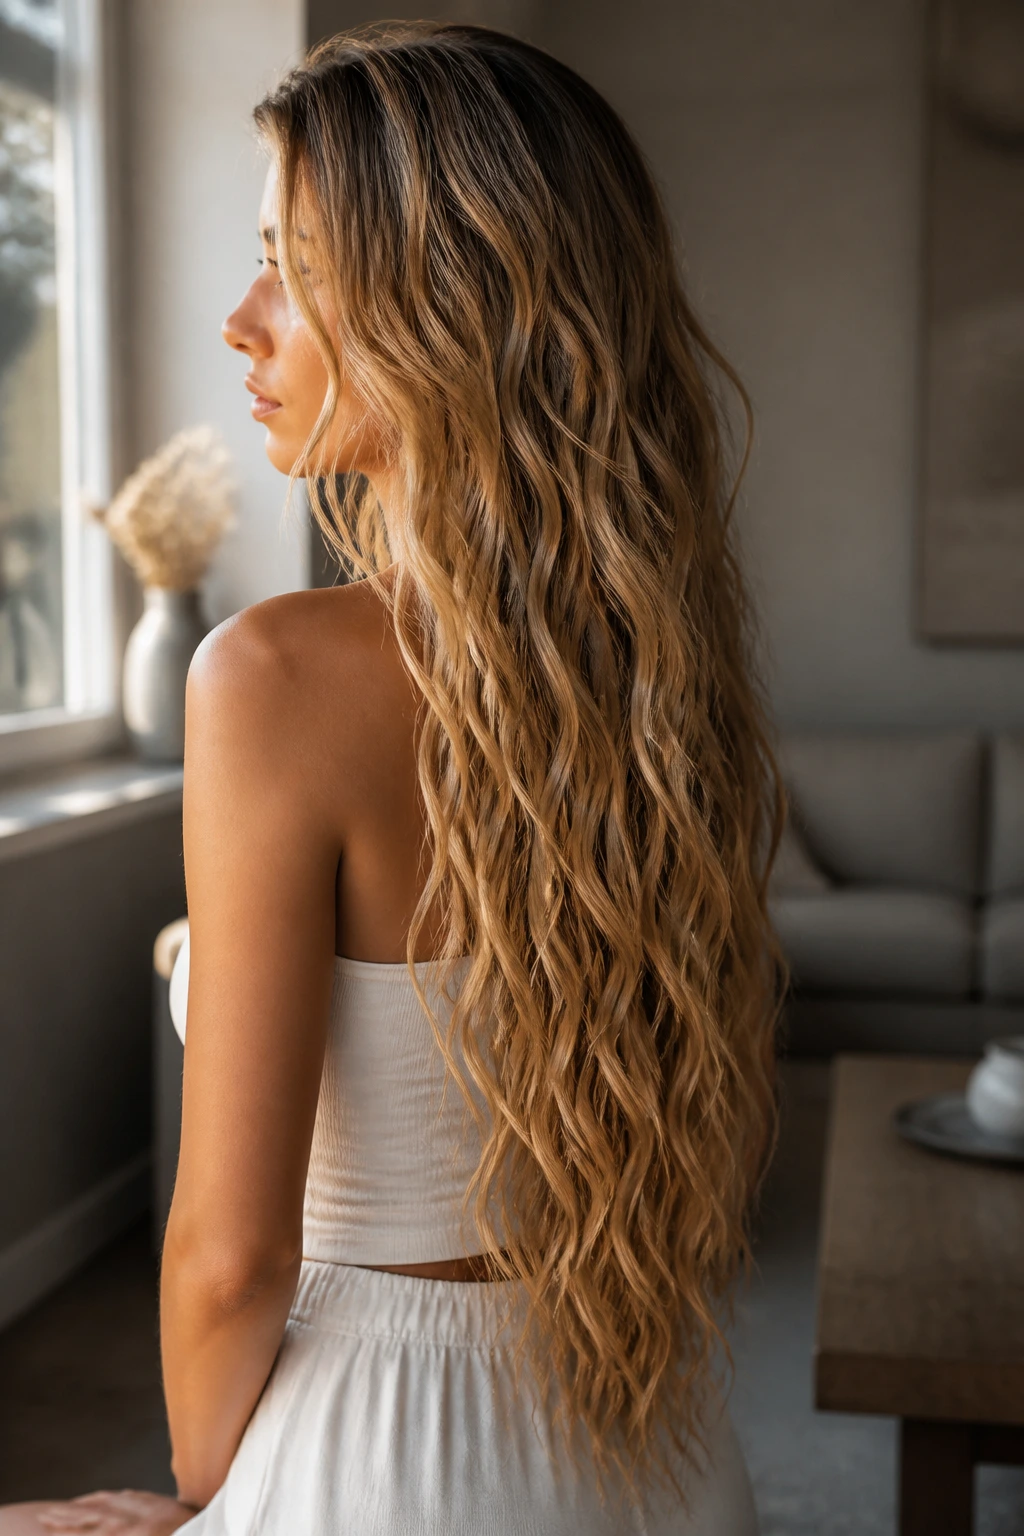
The nicest thing about beach waves is that they do not ask for perfection. A few uneven pieces usually help. A slightly crooked part usually helps. Even a little frizz can help, if the rest of the shape is soft and the ends stay loose.
That is why these looks keep showing up in real life. They work on hair that is short, long, fine, thick, layered, blunt, shiny, dry, clean, or day-two messy. Pick the finish you want, choose the tool that fits your hair, and stop before the wave gets too obedient.
