



Long hair makes beach waves look lush right up until they slide flat. With beach wave looks for long hair, the real trick isn’t getting a curl at all; it’s getting a bend that survives the weight of the ends, the oil at the roots, and the first brush-through. Hit that balance, and the style lands somewhere between relaxed and polished, which is why it keeps showing up on hair that looks expensive without trying too hard.
Start the wave too high and the hair turns puffy. Start it too low and the lengths stay straight in a way that looks unfinished. I always think the sweet spot lives somewhere between the cheekbone and the collarbone, with enough movement left in the ends to keep the whole thing from feeling stiff.
This collection leans into real decisions: center part or side part, matte or glossy, heat or no heat, piecey or brushed-out. Those choices matter more on long hair than people admit. The difference between flattering and flat is often half an inch of sectioning and one wrong product.
- Long hair needs a plan: Waves that start too high collapse into a puff; waves that start lower keep the length looking smooth and deliberate.
- Not every wave needs heat: Braids, twists, and air-dried bends can look better than a hot-tool curl if your hair already has a little natural movement.
- Finish changes the whole mood: The same base pattern can look glossy, matte, piecey, or dressed up just by changing the brush and the last product.
- Hair density matters more than you think: Fine hair needs lift and grit, while thick hair needs thinner sections and less oil at the finish.
- Day-two hair is part of the look: Long-hair waves often settle into their best shape after they’ve cooled, slept on, and been shaken out with clean fingers.
- You can tailor the wave to the occasion: A soft bend reads casual, a brushed-out wave reads dressed up, and a side-swept version gives the whole style more drama.
1. Center-Part Soft Waves at the Collarbone
A center part on long hair can look serene or severe. The difference is where the wave starts. If you begin the bend below the cheekbone and let the last inch or so stay a little straighter, the whole shape feels loose instead of curled. That little restraint matters.
Why It Works on Long Hair
Long lengths eat tiny curls for breakfast. A 1.25-inch wand, sections kept to about 1 to 1.5 inches, and a slow cool-down give the wave enough body to survive the weight of the hair. I like this shape when the ends are healthy and you want movement without losing that clean middle part.
- Best for: one-length cuts, softly layered hair, and anyone who wants symmetry.
- Finish: brush once with a soft boar-bristle brush, then stop.
- Tiny trick: tuck the front pieces behind the ears for five minutes while they cool.
2. Deep Side-Part Waves with Lift at the Crown
A deep side part does two jobs at once. It gives the crown a bit of lift and it makes long hair fall in a more dramatic sheet, which is useful if your lengths are heavy and tend to hang straight by noon. The side sweep also keeps the style from feeling too casual.
The wave itself should stay loose. Think broad bends, not tidy ringlets. Use a root-lifting spray at the front hairline, then flip the part while the hair is still warm so the roots don’t set in one flat line.
If your hair is thick, this is one of the easiest ways to make it look lighter without chopping off a single inch.
3. Loose S-Waves with Straight Ends
Why do some beach waves look modern and others look like a prom updo that wandered off? The answer is usually the ends. Leaving the last inch or two straighter creates that soft S-shape people actually want, especially on long hair where a full curl can look fussy.
How to Style It
Wrap the mid-lengths around a 1-inch iron, then release the ends before they get fully heated through. Let the wave cool in your hand for a second, then rake through it with fingers only. A touch of dry texture spray at the mid-shaft keeps the bend visible without turning it crunchy.
This one’s my favorite when the hair is long enough to show off the line of the wave. It feels relaxed, but not sloppy.
4. Rope-Twist Waves for Fast Texture
Rope twists are the fast, low-tech answer for hair that already has a little bend. Split damp or dry hair into small sections, twist each one away from the face, and hit it with heat for a few seconds if you want the pattern to last longer. The twist gives the wave a chunkier, more irregular shape.
This is the kind of style that looks better when it isn’t too neat. Pull the twists in different directions, vary the size a bit, and don’t chase perfect symmetry. Long hair can handle a little mess; in fact, it usually needs it.
A rope-twist wave is especially good when your hair has layers that don’t all behave the same way.
5. Heatless Braided Waves for Low-Effort Mornings
Braids make sense on long hair because length gives you room to work. Two loose braids give you a broader wave, while four smaller braids give a more detailed texture. Start on slightly damp hair, not soaking wet hair, or the wave takes forever to dry and the roots can end up odd.
Sleep on the braids, undo them in the morning, and keep your hands off the top layer for a minute. That last bit matters. The first instinct is always to pull everything apart, and that’s how you lose the shape before it even gets a chance.
If your hair is very straight, mist a little light hold spray on each braid before you tie it off. Not much. Just enough to help the bend hold.
6. Flat-Iron Bends with a Softer Edge
Flat irons get blamed for making hair too sharp, but that’s only what happens when every motion is the same. With a gentle wrist turn and a slow glide, you can make soft bends that sit flatter against long hair and look cleaner than wand curls. It’s a better pick if your ends are blunt and you want the wave to read sleek.
Use one smooth bend, then release. Don’t clamp too hard. If the plates leave a hard crease, the whole style starts looking technical instead of easy.
A little heat protectant is non-negotiable here. Long hair shows damage fast, and the ends will tell on you before you notice it at the crown.
7. Large-Barrel Wand Waves for Extra Length
Does long hair need a bigger barrel? Sometimes, yes—but only if you still control the section size. A 1.5-inch wand gives a softer, wider wave that sits beautifully on hair past the shoulders, especially if your hair is dense and heavy and a smaller tool makes the curl too tight.
The catch is that big barrels can disappear in very long hair if you take thick sections. Keep the sections thin enough for heat to reach the middle, then pin the curls until they cool. That keeps the wave from falling out before lunch.
This is the one I’d choose for a soft, expensive-looking finish that doesn’t scream “I used a curling iron for 40 minutes.”
8. Brushed-Out Glam Waves That Move in One Sheet
There’s a reason brushed-out waves keep showing up on long hair. They move like a curtain, not a pile of curls. First you build the wave with a larger iron, then you pin or clip it until it cools completely, and only then do you brush it out.
If you skip the cooling step, the wave collapses into frizz. That’s the whole game.
The final look lands between beachy and dressy, which makes it useful for nights when you want the hair to look done but not stiff. Add a little shine spray to the lower half and leave the crown alone.
9. Piecey Matte Waves with a Dry Finish
Some hair looks better when it doesn’t shine much. Matte, piecey waves work especially well on long layers because the separation shows off the cut instead of hiding it. A sea-salt spray or texture mist at the mid-lengths gives the hair that dry, slightly wind-tossed look.
Don’t brush this one. Use fingers, then maybe a wide-tooth comb only at the very bottom if the ends bunch up. The point is separation, not polish.
If your hair is fine, go light on the product or it can get stringy. A little grit is useful. Too much grit starts to look dusty.
10. Glossy Polished Waves with Clean Shine
Glossy waves are the opposite of the matte, piecey look, and they’re especially good on long hair when the cuticle is smooth and the color has depth. The base should be blow-dried clean, the wave should be broad, and the finish should be soft rather than crunchy.
I like this version with a center or slightly off-center part and a drop of serum only on the last 3 to 4 inches. Anything more, and the wave loses its shape. Shine is useful. Grease is not.
- Best for: formal plans, polished outfits, and healthy-looking ends.
- Tool note: ceramic barrels usually keep the surface smoother than cheap, hot metal.
- Finish tip: comb the top layer once, then leave the rest alone.
11. Root-Lift Waves That Don’t Collapse
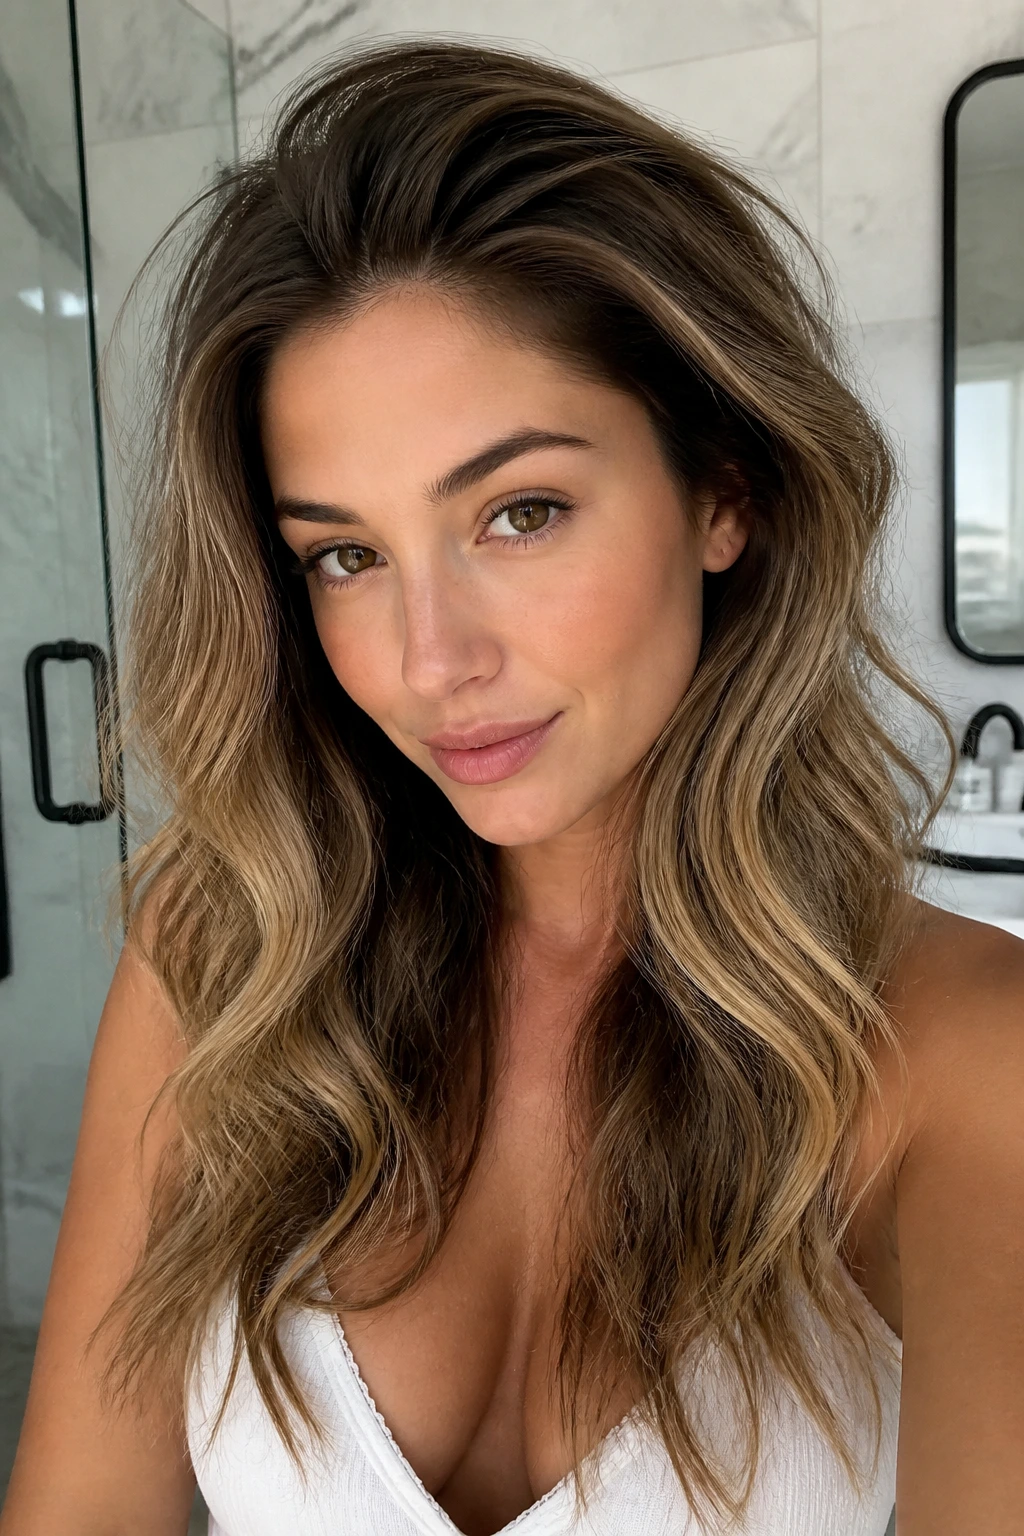
Why do long waves flatten so quickly at the top? Because the weight pulls everything down before the roots have time to set. Root-lift waves solve that by putting the volume where the hair needs it most: at the crown and along the first two inches.
What Makes It Different
Blow-dry the roots with a mousse or foam, then clip the crown while the hair cools. After that, wave only the mid-lengths and ends. That keeps the top from puffing while the lower half carries the texture. If you have fine hair, this is one of the few long-wave looks that won’t disappear on you.
A little dry shampoo at the roots the next day helps too. Not because the hair is dirty, but because the texture gives the wave something to grip.
12. Face-Framing Waterfall Waves
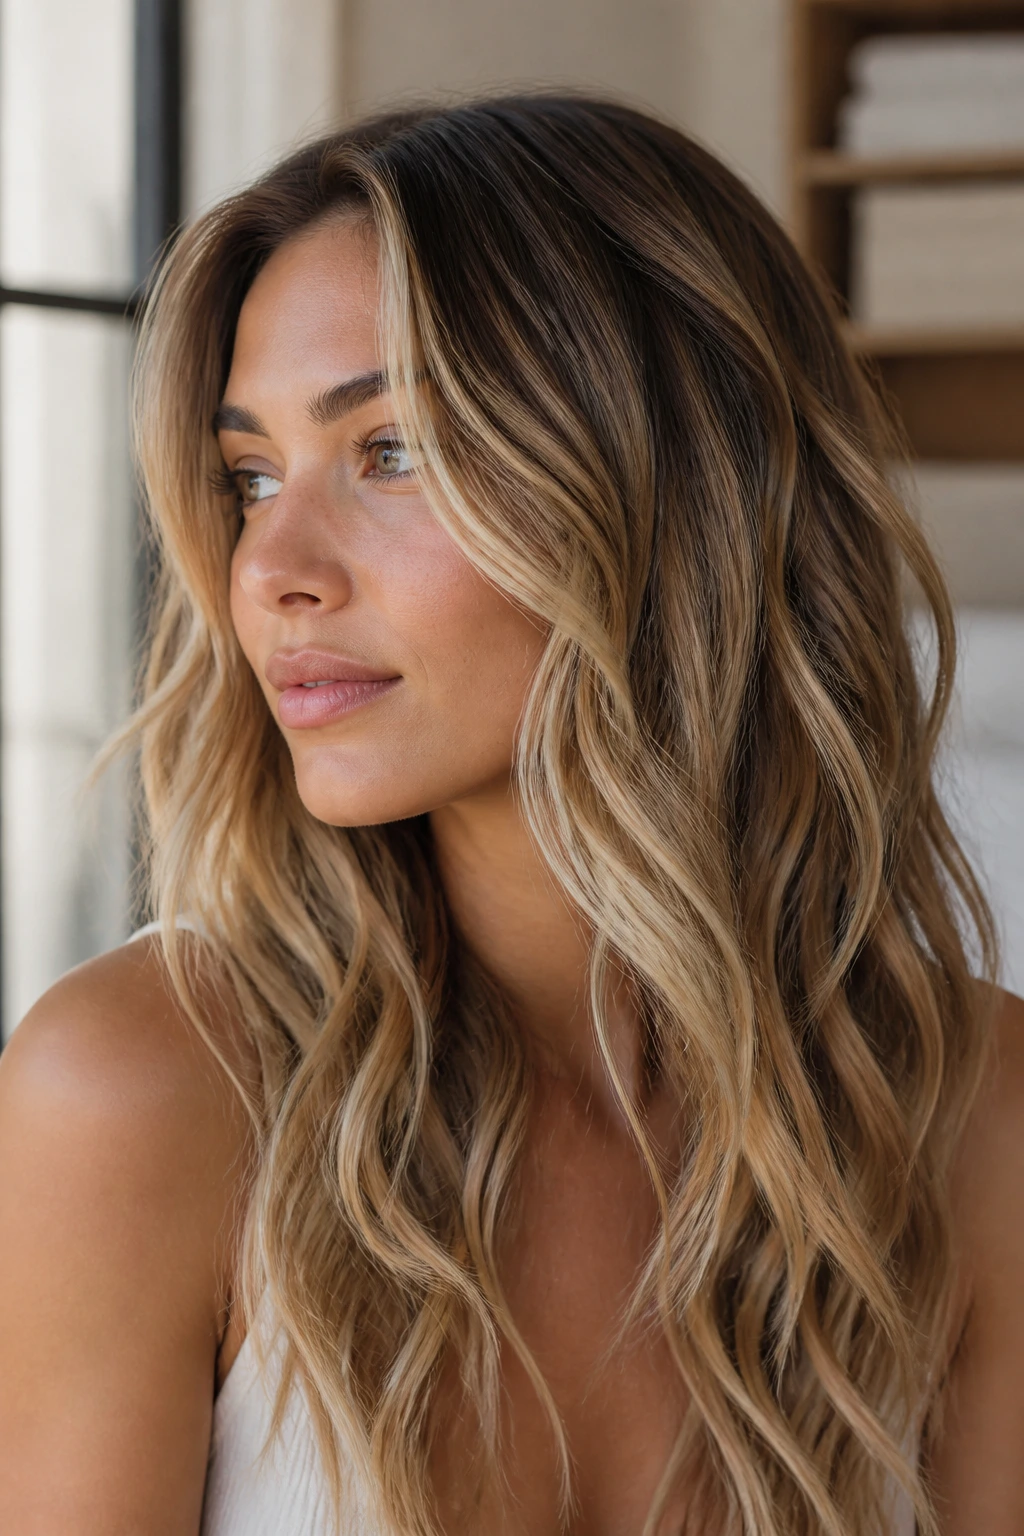
The front sections matter more than people think. On long hair, face-framing waves can change the whole shape of the head, especially if the rest of the hair is fairly simple. A softer front bend pulls the eye toward the cheekbones and collarbone, which is usually more flattering than having every section curl the same way.
Keep the front pieces slightly wider than the rest. Angle them away from the face, then let them fall on their own for a minute before touching them. That tiny pause makes the bend less stiff.
This is the version I reach for when the hair is long enough to feel heavy but I still want movement around the face.
13. Half-Up Waves with a Hidden Clip
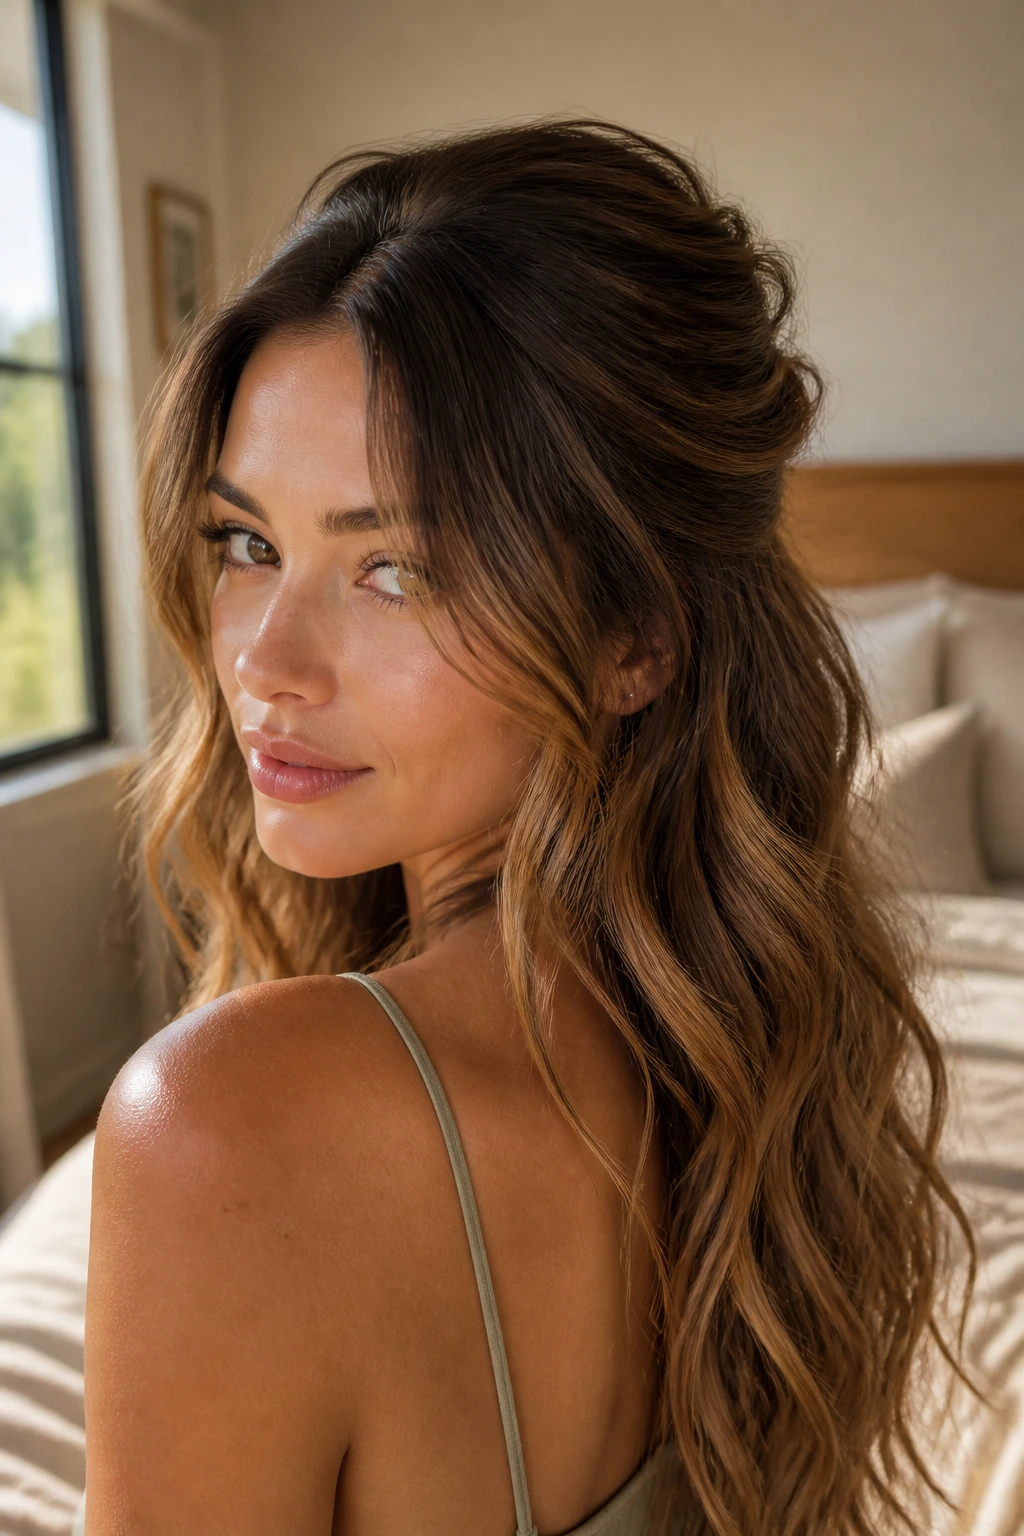
Half-up styles are the easiest way to make long waves feel lighter. You show off the texture, but you pull some of the weight off the crown so the style doesn’t slide down by evening. A small clip or a wrapped elastic does the job without stealing the whole show.
The lower half should stay loose and soft. If the wave is too tight, the half-up top starts looking childish. Keep the crown smooth, then let the lengths do the interesting part.
- Best for: second-day hair, weddings, dinners, and busy days.
- Accessory note: matte clips blend in better than shiny plastic.
- Practical bonus: it hides the upper layer if the roots need a refresh.
14. Messy Bun Waves with Loose Ends
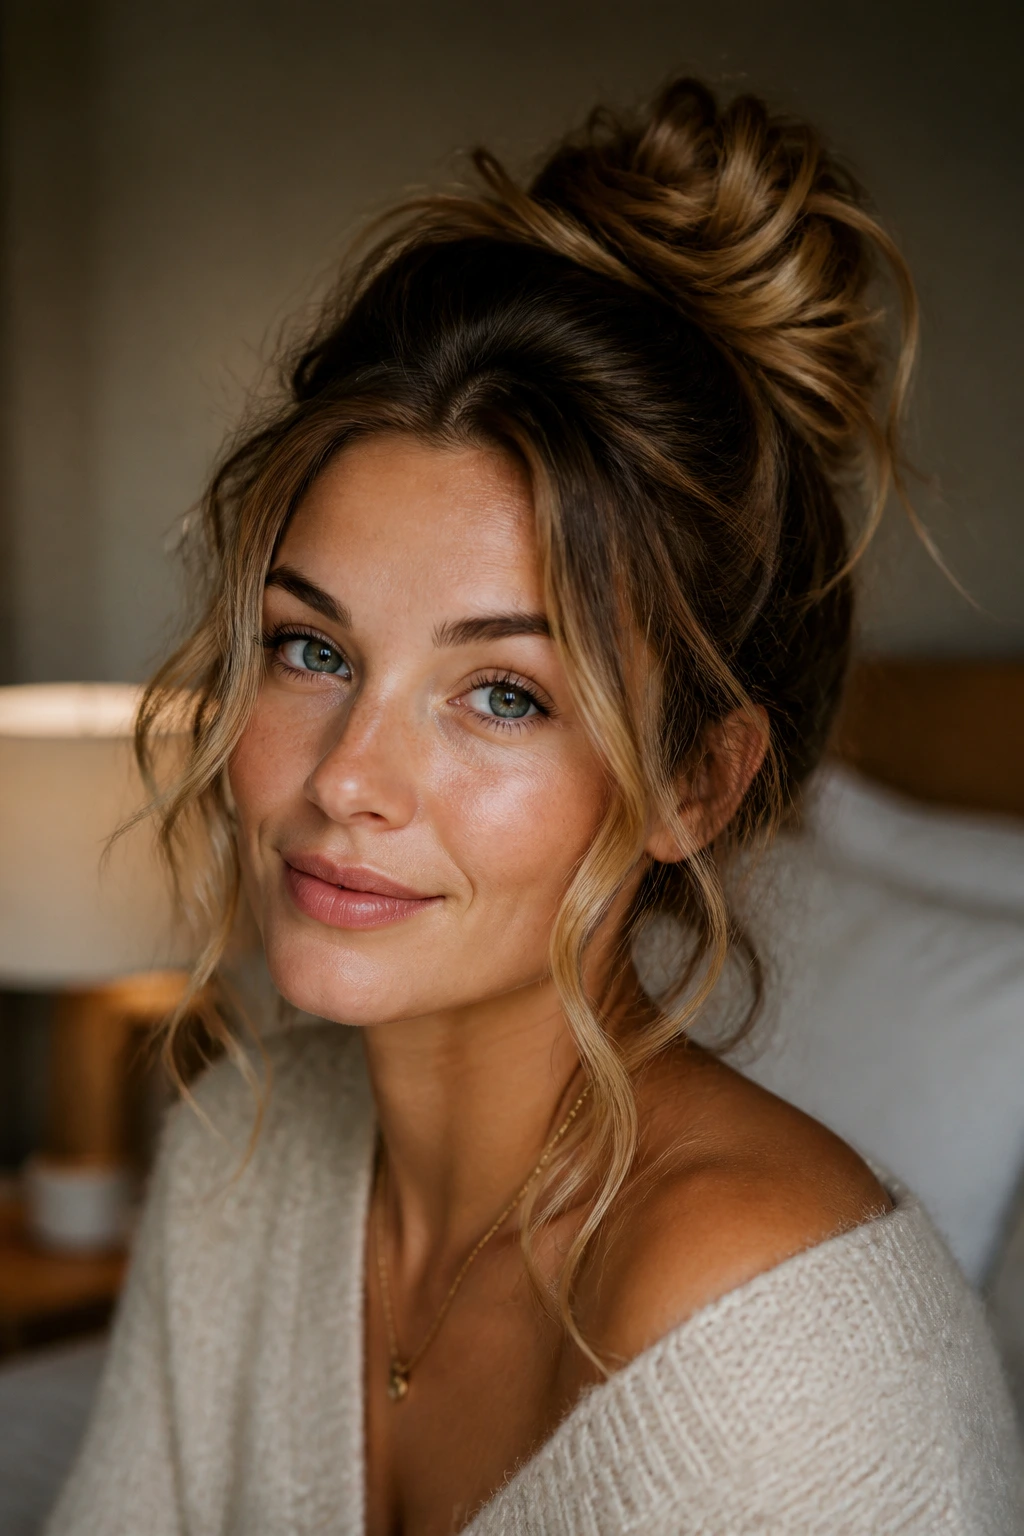
Can a bun still count as a wave look? Absolutely, if the loose lengths are doing enough work. This is the style for days when the top half needs to disappear but you still want the ends to show a soft texture. The bun should sit high or mid-height, not tight and polished.
Leave out a few front pieces and a wider section at the bottom. Then bend those loose bits with a wand or flat iron so they frame the face instead of hanging there flat.
It’s one of the smartest ways to keep long hair from feeling heavy. Less hair on the shoulders. More shape where people can see it.
15. Curtain Bang Waves with Soft Side Flow
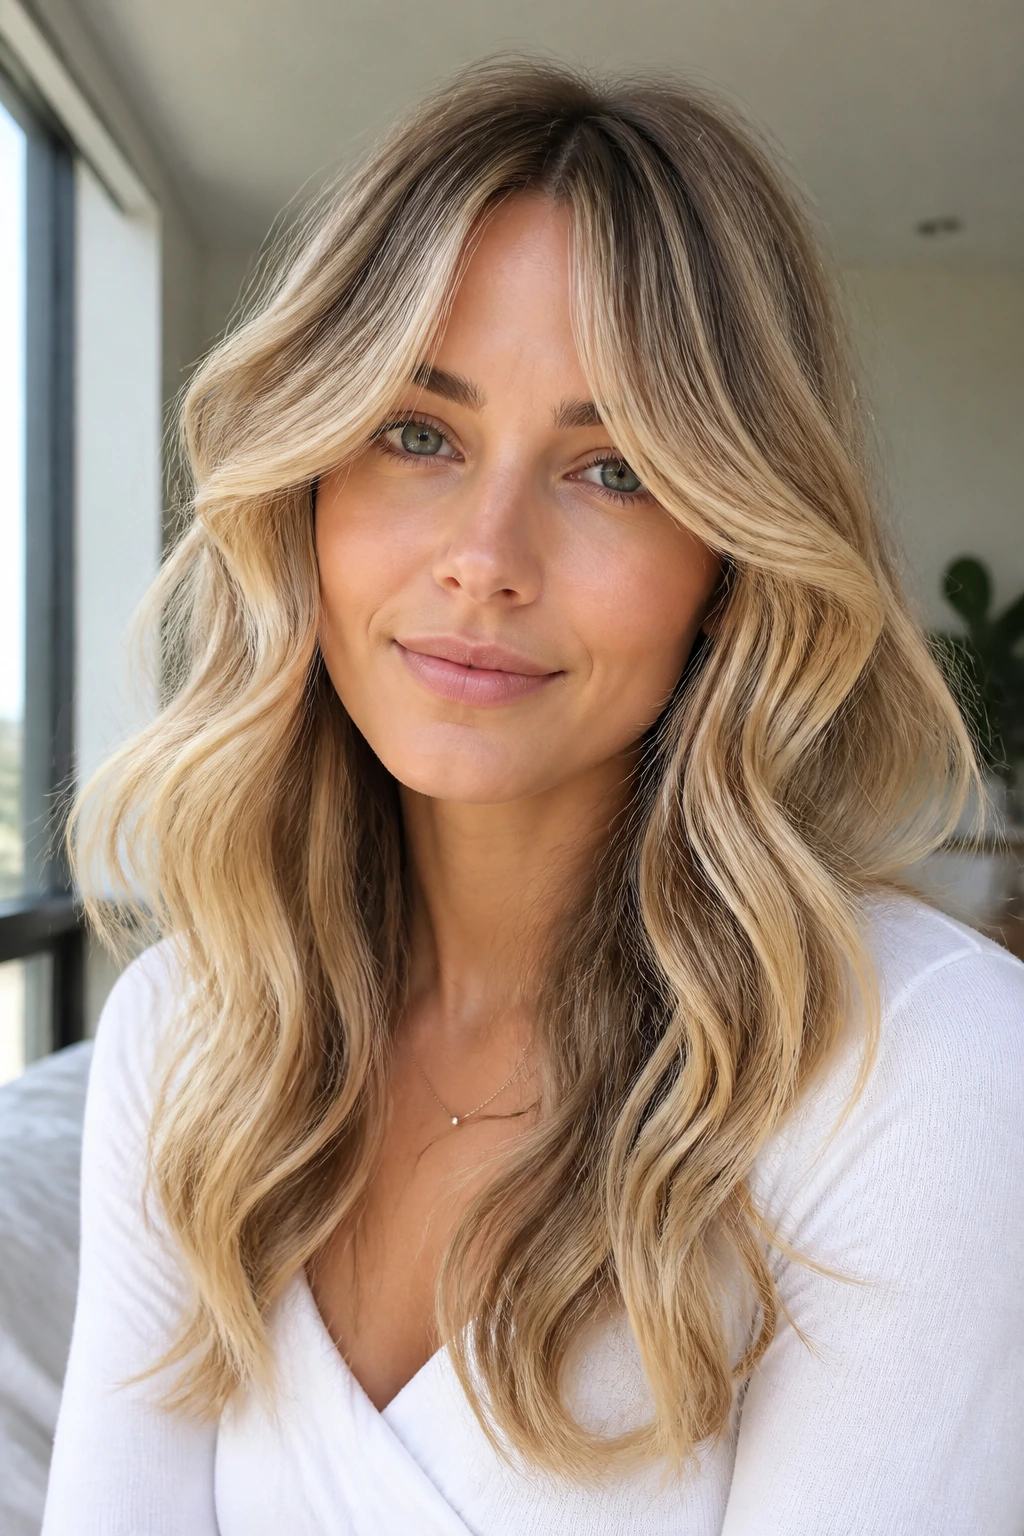
Curtain bangs change the math. They already draw the eye to the center, so the wave on long hair should stay loose and flowy rather than over-cooked. The best version blends the fringe into the side sections so the front doesn’t look chopped off from the rest of the hair.
A medium barrel, a gentle bend away from the face, and a quick brush through the bangs are enough. Don’t over-style the fringe. Too much heat makes the front pieces behave like they’ve been separated from the rest of the hair on purpose.
The result feels soft, a little undone, and much easier to wear than a blunt wave pattern that fights the bangs.
16. Long-Layer Waves That Don’t Hide the Cut
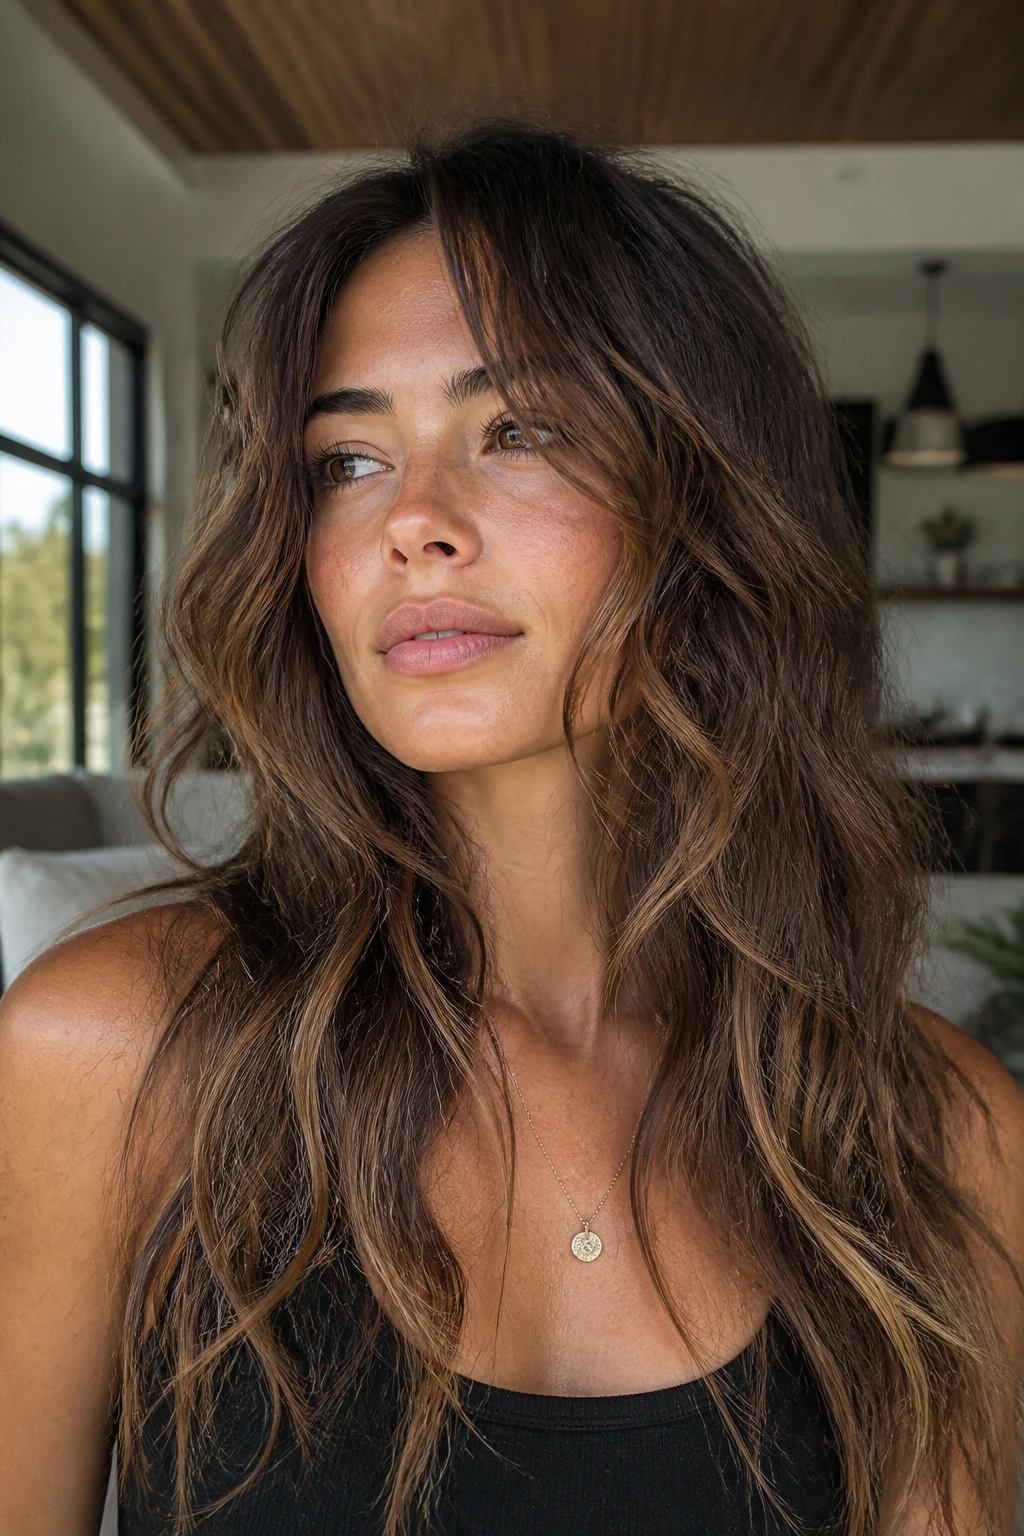
Layers on long hair are meant to move, so the wave should respect that. If you curl everything into the same size bend, you flatten the cut and lose the shape that makes long layers useful in the first place.
The better move is to wave the longest pieces first, then give the shorter face-framing layers a slightly tighter bend so they don’t disappear. That contrast helps the cut show up in real life, not just in a mirror.
- What to watch for: over-curling the top layer makes the whole head look shorter.
- Best tool: a medium wand that gives enough bend without shrinking the length.
- Finish: finger-separate the ends, not the crown.
17. Fine-Hair Volume Waves with Lift at the Roots
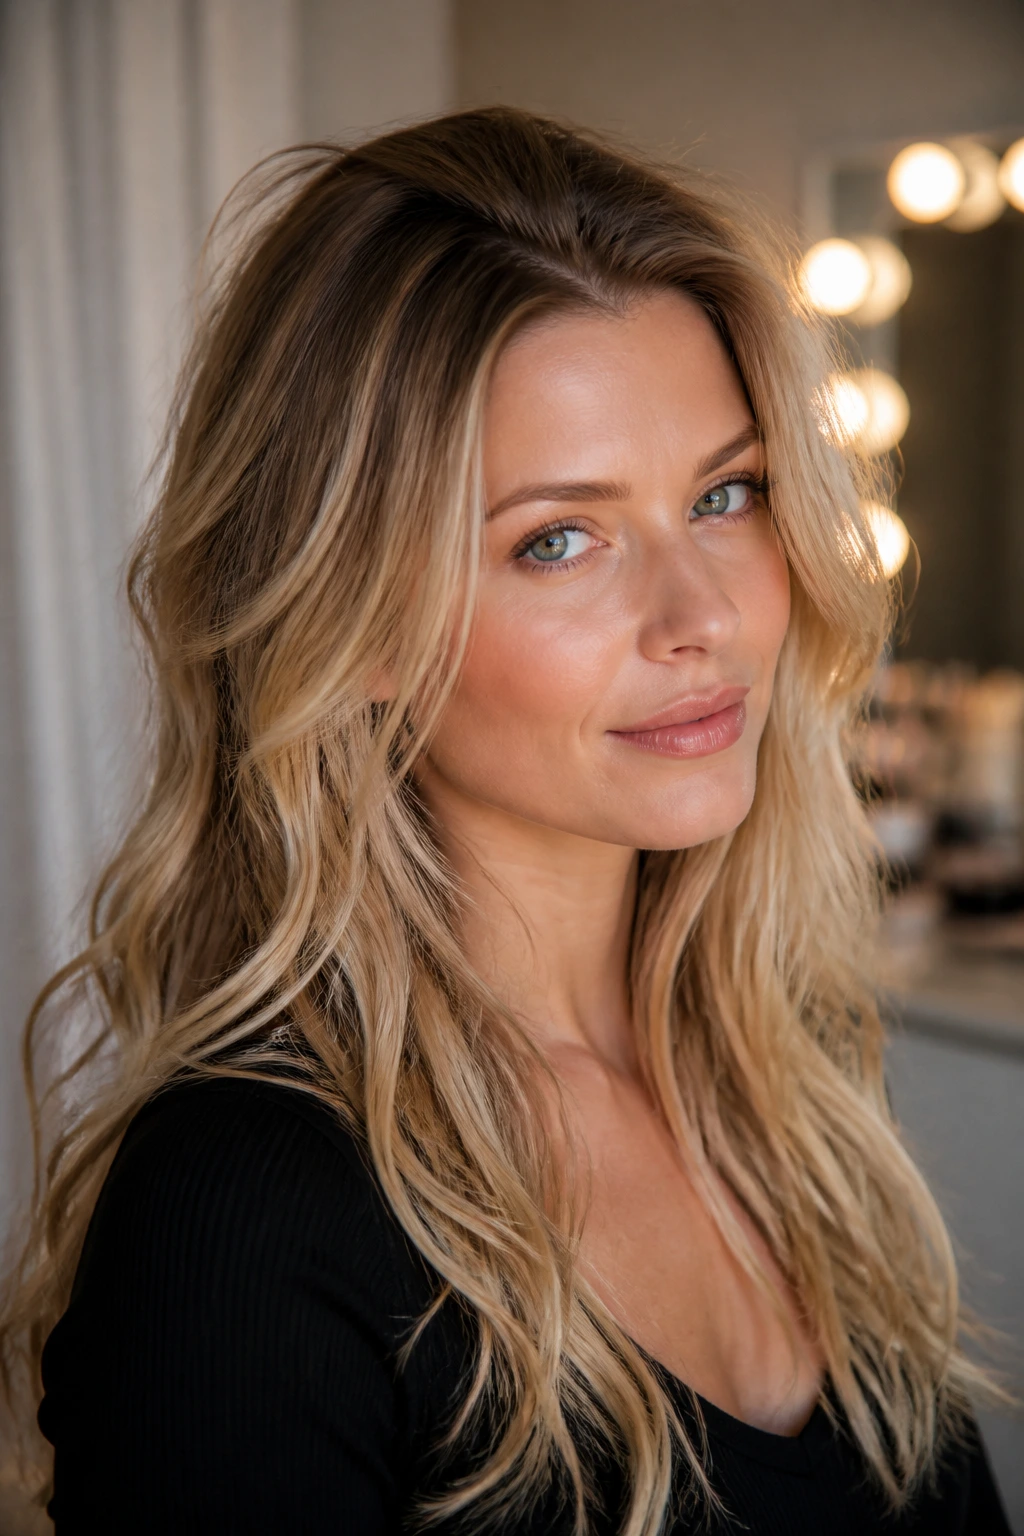
Fine hair on long lengths can look fantastic in waves, but only if the roots don’t go limp. A little mousse at the scalp, a blow-dry with tension, and smaller sections around the face give the wave enough grip to stay visible. If you take giant sections, the hair turns flat fast.
I like this look with a slightly off-center part and a texturizing spray only at the crown. The lower half can stay softer. Fine hair often looks better when the top has energy and the ends stay airy.
A drop of heavy oil is the enemy here. It eats volume for lunch.
18. Thick-Hair Taming Waves with Thin Sections
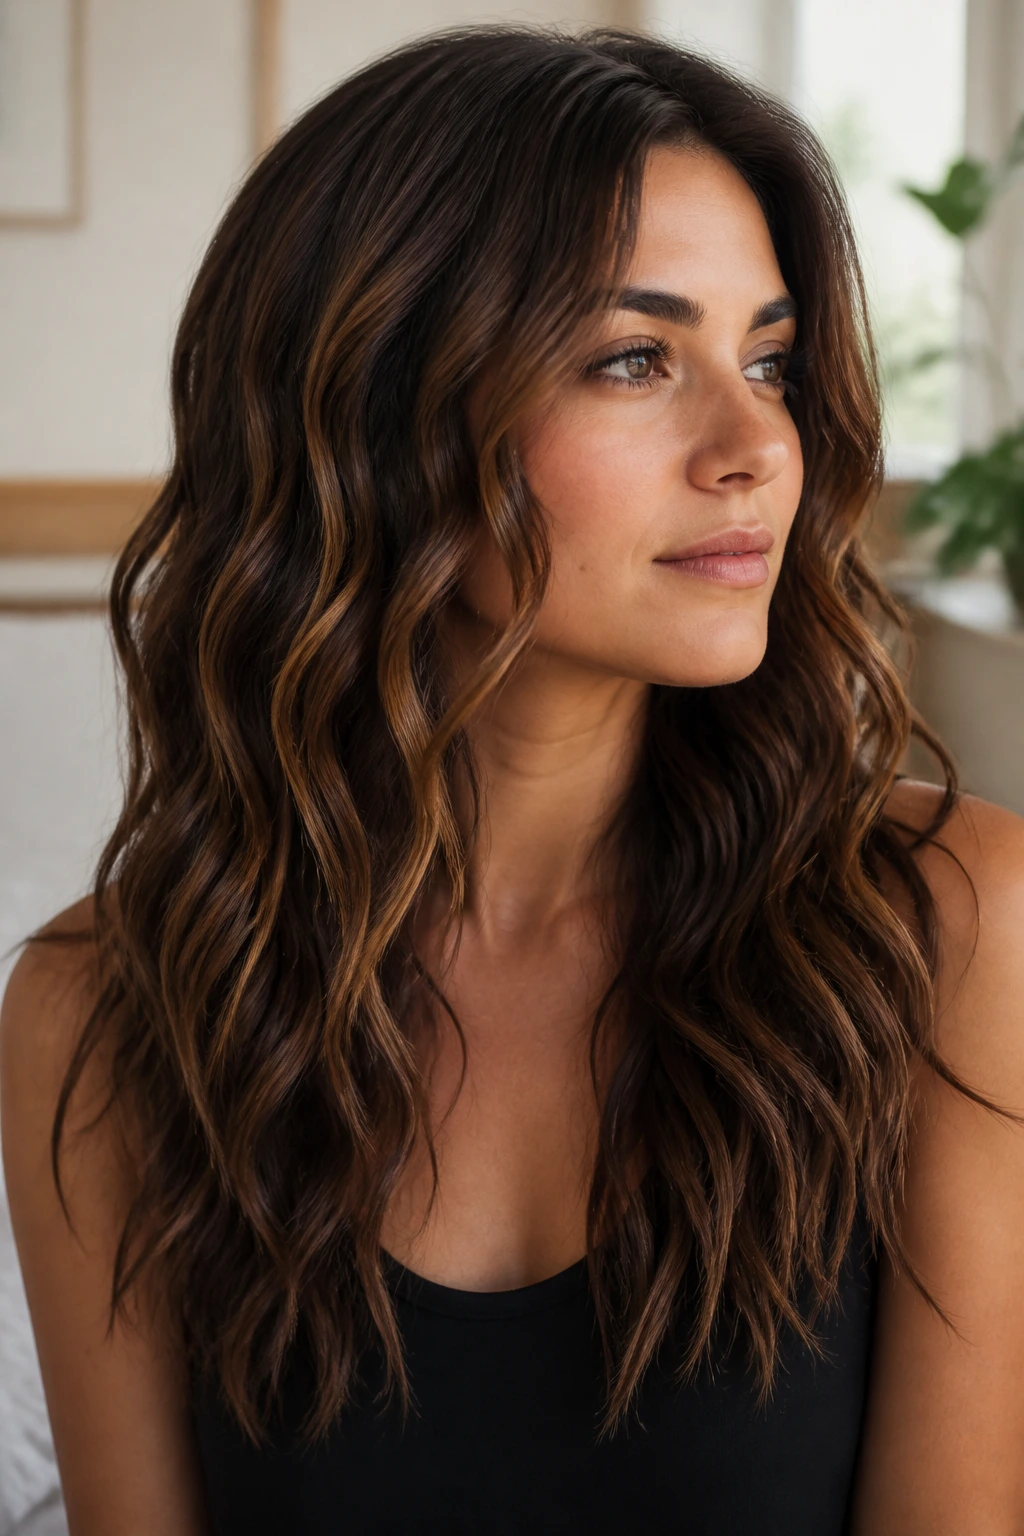
Thick hair needs more patience, not more product. Why? Because long dense lengths can trap heat in the middle of each section, which means the outside looks styled while the inside stays stubbornly straight. Thin sections and a slower pass solve that better than piling on spray.
The Smart Approach
Work in small, clean sections, keep the tool at a moderate heat, and let each wave cool before moving on. A cream or smoothing lotion before styling helps, but keep it away from the roots or the whole style collapses. If your hair is especially dense, alternating curl directions stops it from turning into one giant wall of texture.
This look works because it respects the weight of the hair instead of fighting it.
19. Wet-Look Waves for Sleek Texture
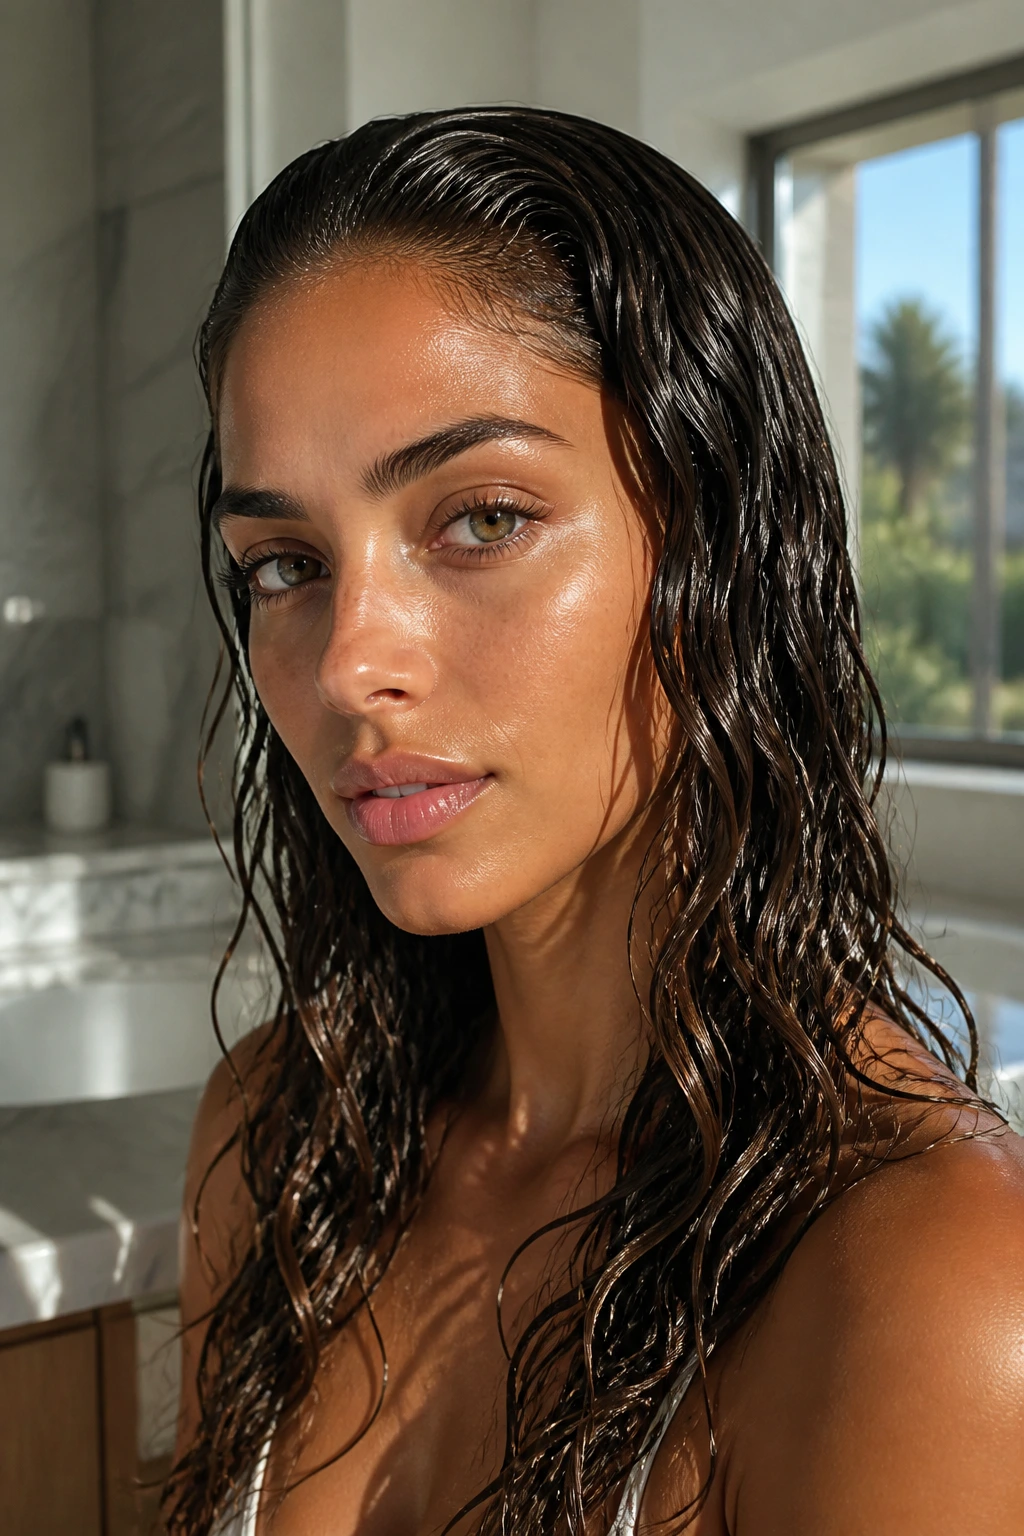
Wet-look waves are not the same as damp hair that just gave up. The finish is intentional: glossy, controlled, and slightly sculpted. On long hair, the style reads strongest when the wave sits in broad bends and the top stays smooth.
Start with gel or a strong mousse on damp hair, then shape the wave with your fingers or a wide comb. Diffuse if you need speed, or let it air dry if the hair holds shape easily. Once it’s dry, leave it alone. Touching it too much breaks the shell and turns shine into frizz.
This one is a little dramatic. That’s the point.
20. Air-Dried Waves for Natural Bend
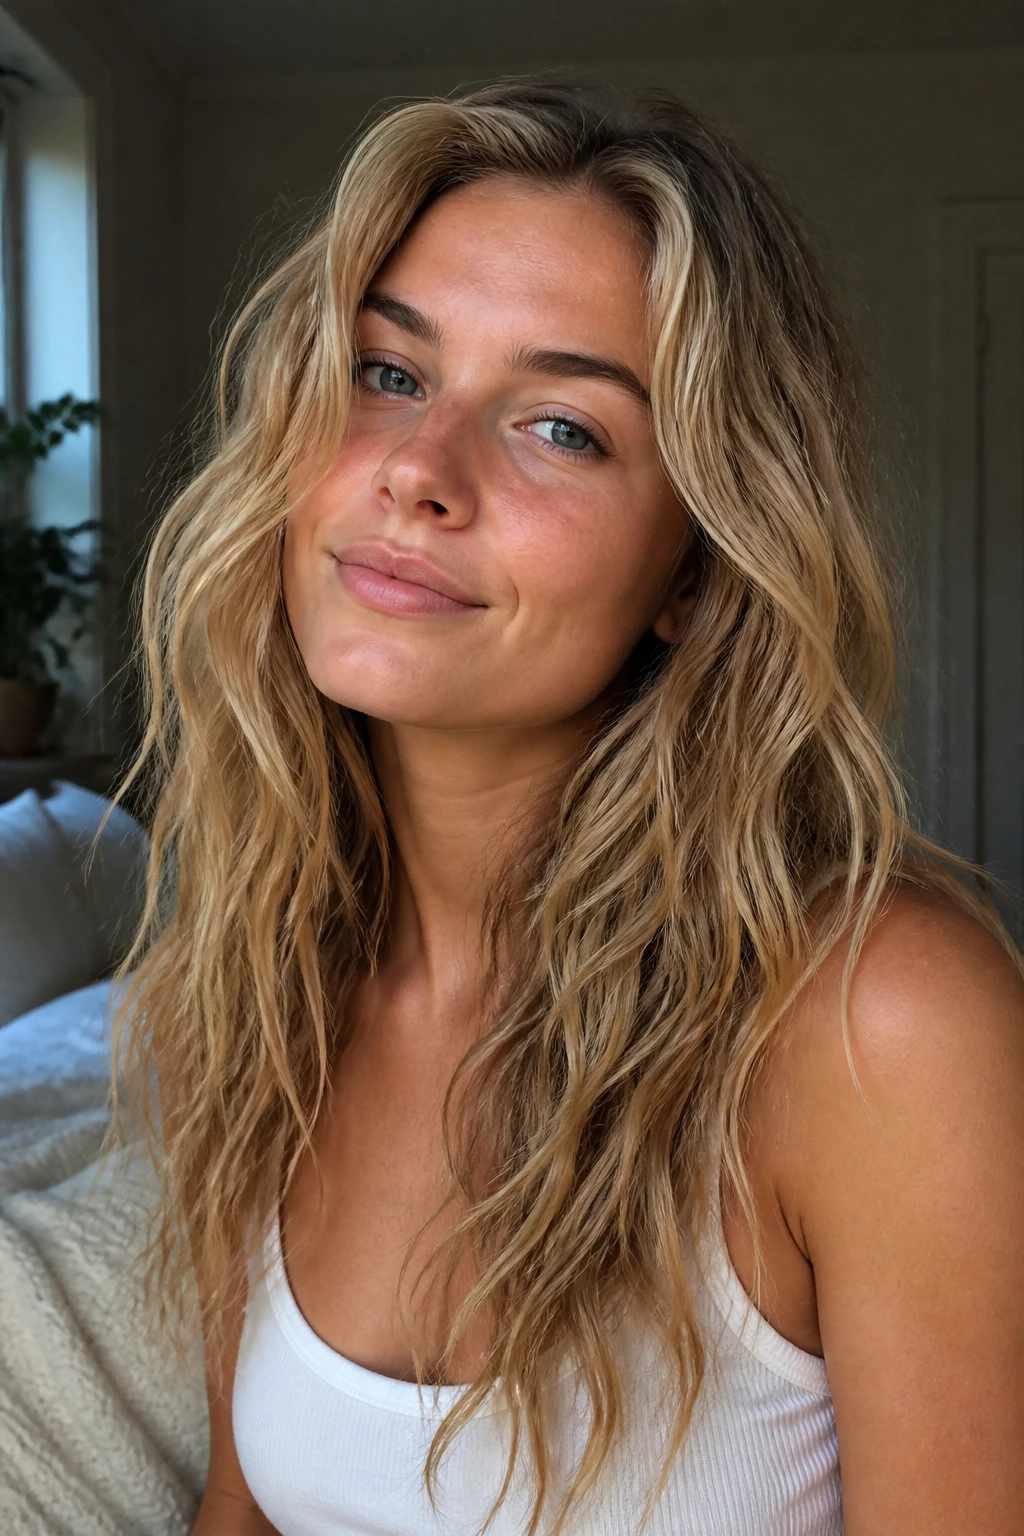
Some long hair already has enough texture to do the work itself. Air-dried waves lean into that and skip the hot tool completely. A leave-in conditioner, a little scrunching, and a side-to-side twist while the hair is still damp can be enough to create a loose beach wave look.
The key is restraint. If you keep messing with it while it dries, the wave pattern falls apart and the frizz takes over. Let the hair set, then separate it gently once it’s fully dry.
This is the easiest style to wear when you want movement but not perfection. Perfection would ruin it anyway.
21. Balayage Waves That Show Off Color
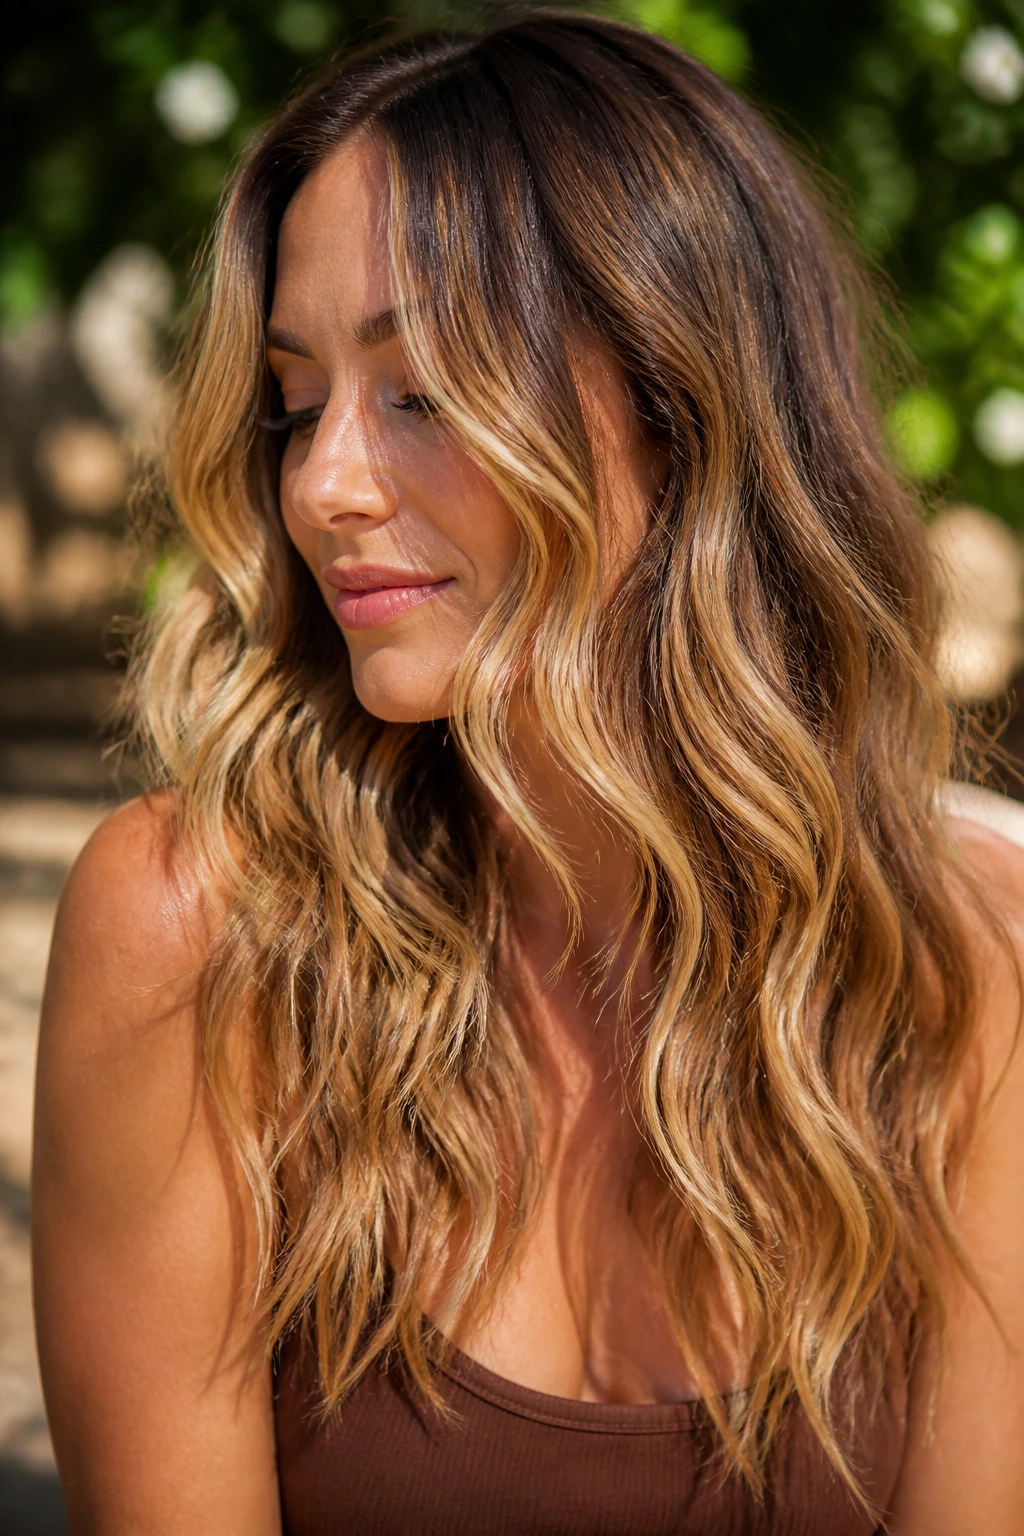
Balayage and beach waves are friends because the bends catch the lighter ribbons and make the color look more dimensional. On long hair, that effect is strongest when the wave pattern changes slightly through the lengths instead of repeating in a perfect rhythm.
Take a few wider sections in the back and narrower ones at the front. That unevenness keeps the color from looking striped. It also makes the hair look like it moved naturally, which is the whole appeal.
- Best for: painted highlights, soft contrast, and sun-kissed color.
- Styling note: a center part often shows dimension more evenly.
- Finish tip: use a light gloss spray only on the outer layer.
22. Outdoor-Event Waves That Survive a Breeze
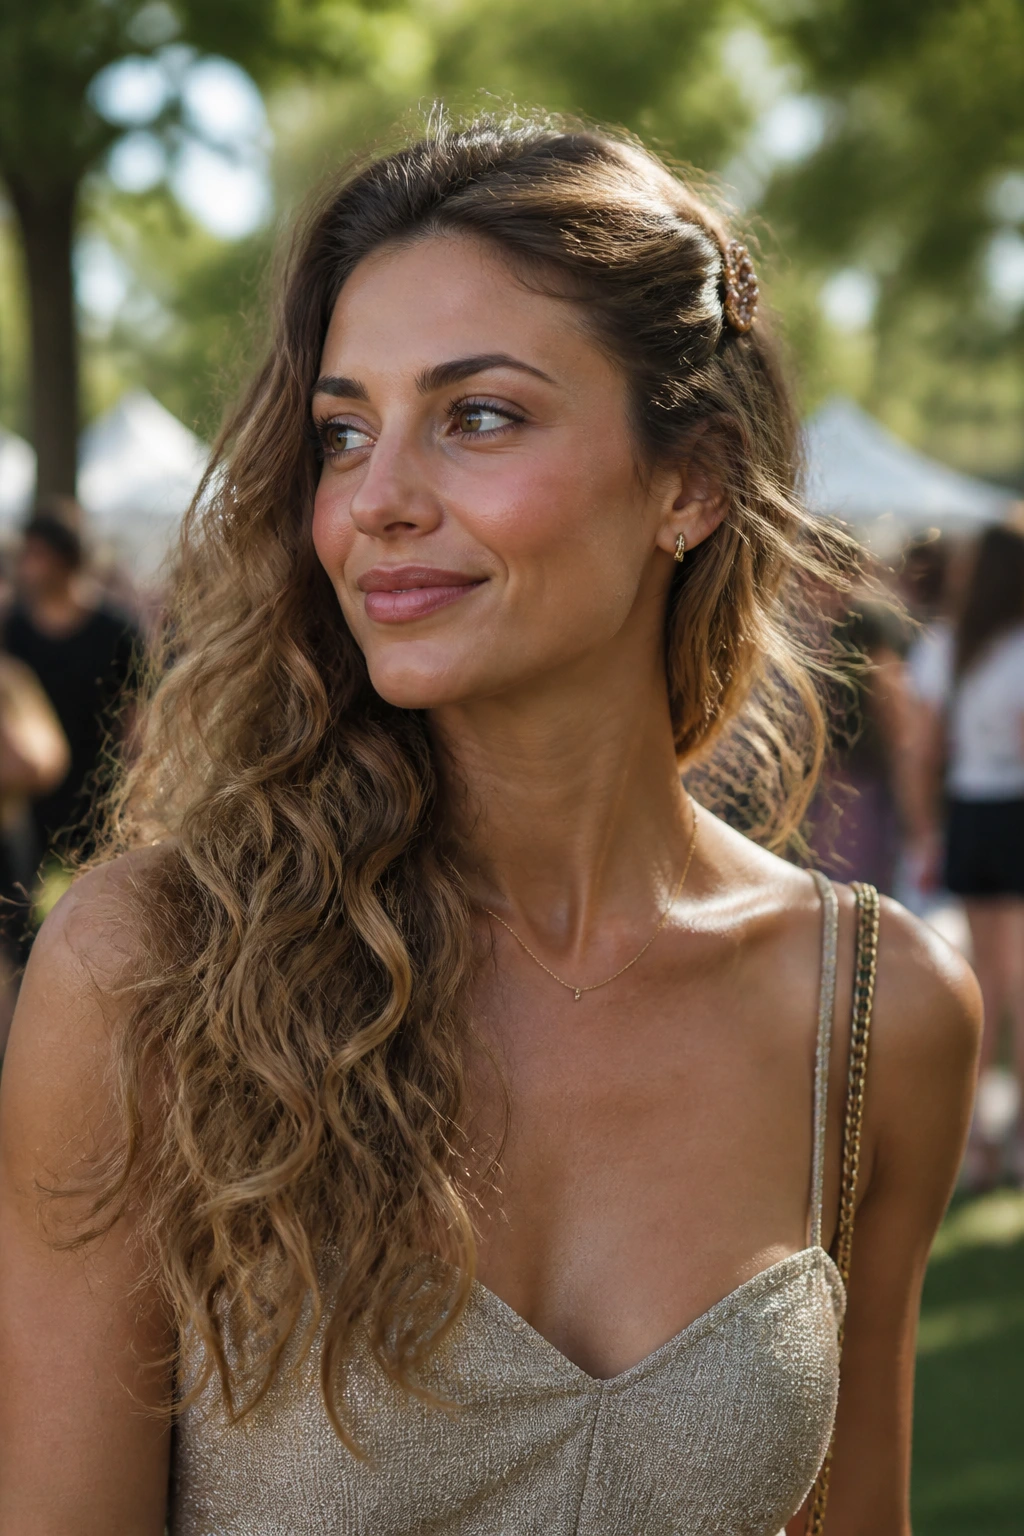
A breeze can wreck soft hair in ten minutes if the shape isn’t set properly. For outdoor events, keep the wave a touch tighter than usual, then let it soften after it’s fully cool. Flexible hairspray and hidden pins at the sides help more than heavy product ever will.
Don’t choose a style that depends on every strand staying in one place. Long hair moves. The goal is controlled movement, not a helmet.
I’d also tuck one side behind the ear or secure a front section with a small clip. It keeps the face open and stops the style from getting swallowed by the wind.
23. Office-Friendly Waves with a Smooth Surface
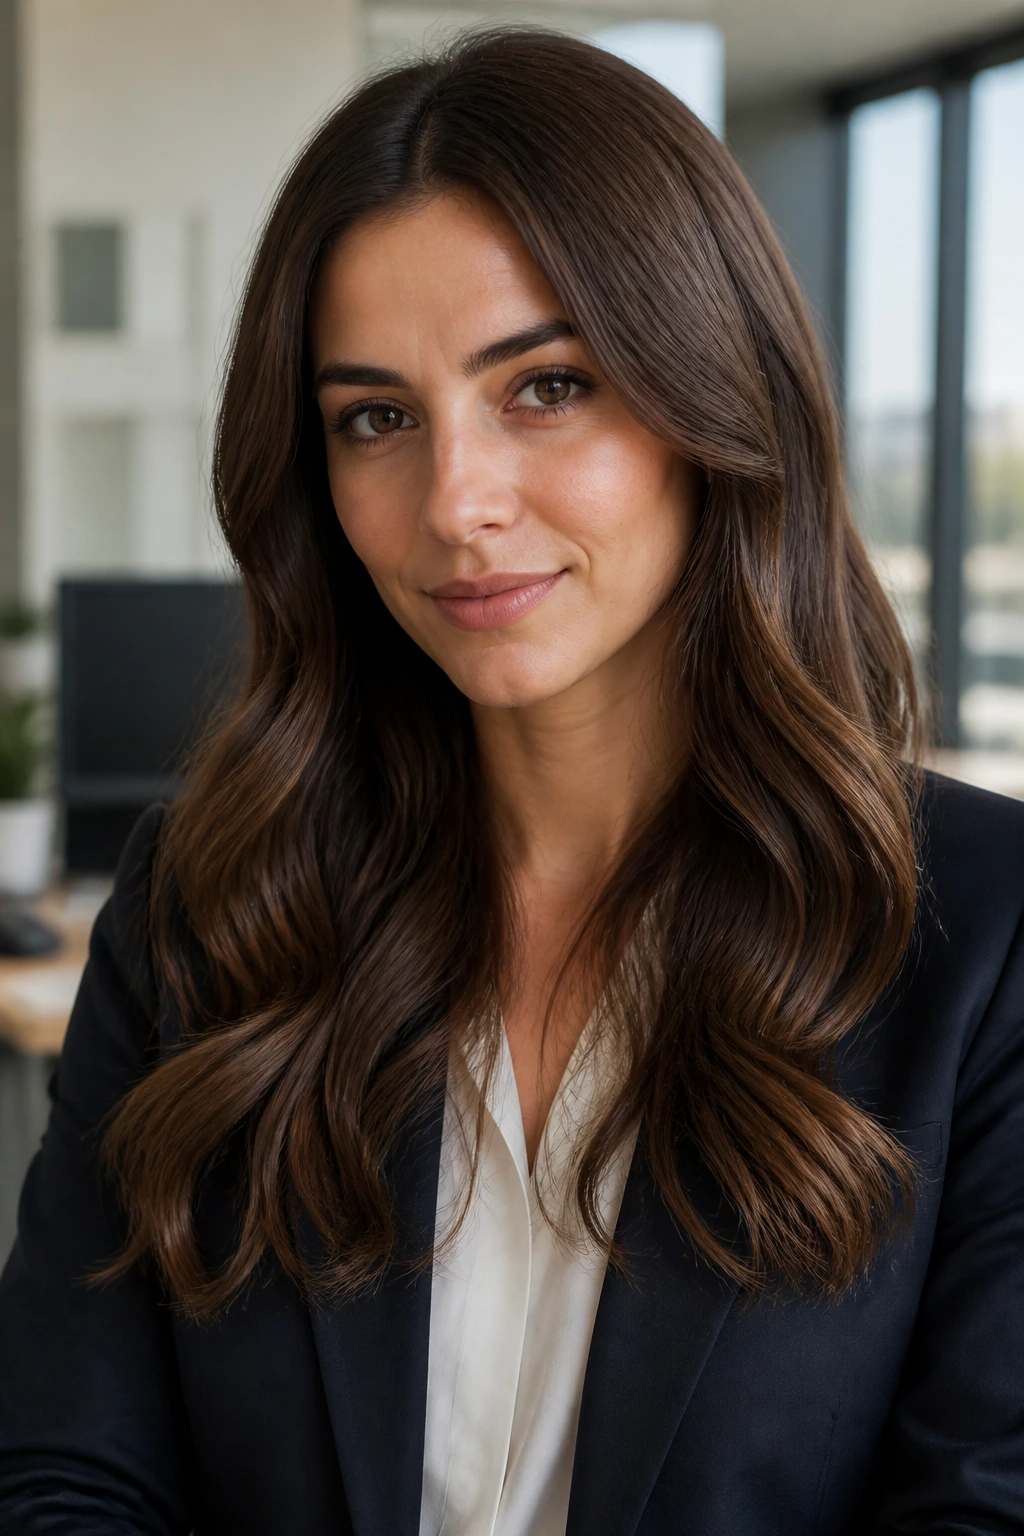
Office waves should look calm, not flat. A soft bend, smooth roots, and a low-shine finish make long hair look intentional without turning it into a full glam style. Think of it as the version that survives a blazer and a long day of sitting still.
The trick is to keep the surface clean. Blow-dry the hair well before waving, then brush the top layer just enough to remove sharp lines. You want the wave to be visible from a few feet away, not obviously styled from across the room.
This is one of those looks that benefits from understatement. Too much texture reads casual; too much shine reads finished for the wrong reason.
24. Date-Night Waves with a Deep Sweep
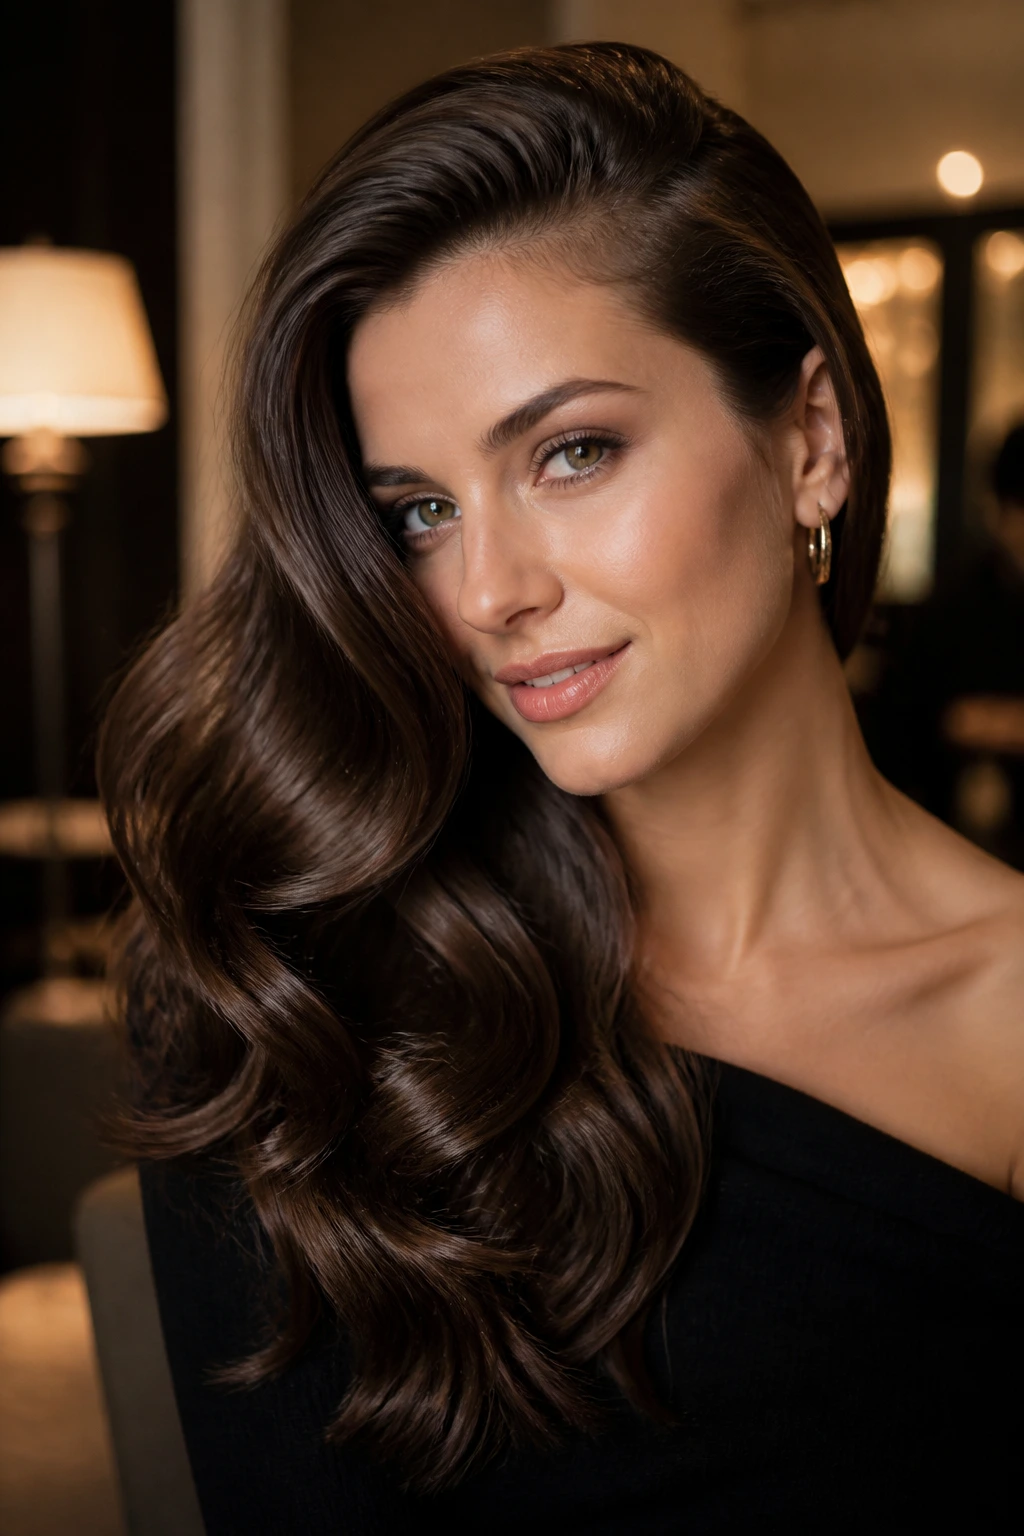
A deep sweep changes everything. It gives the long hair movement, shows off one shoulder, and makes the wave pattern feel a little more deliberate. This is the version I’d choose when the hair needs to look soft but not sleepy.
The front sections should be brushed back and tucked or pinned on one side. Add a bit of shine to the lower lengths, then leave the ends free. That contrast between a controlled top and loose bottom is what makes the look work.
- Best feature: the shape stays flattering even if the wave loosens over time.
- Accessory idea: a slim clip or barrette on the tucked side.
- Finish: polished, not stiff.
25. Festival Waves with Braids and Cuffs
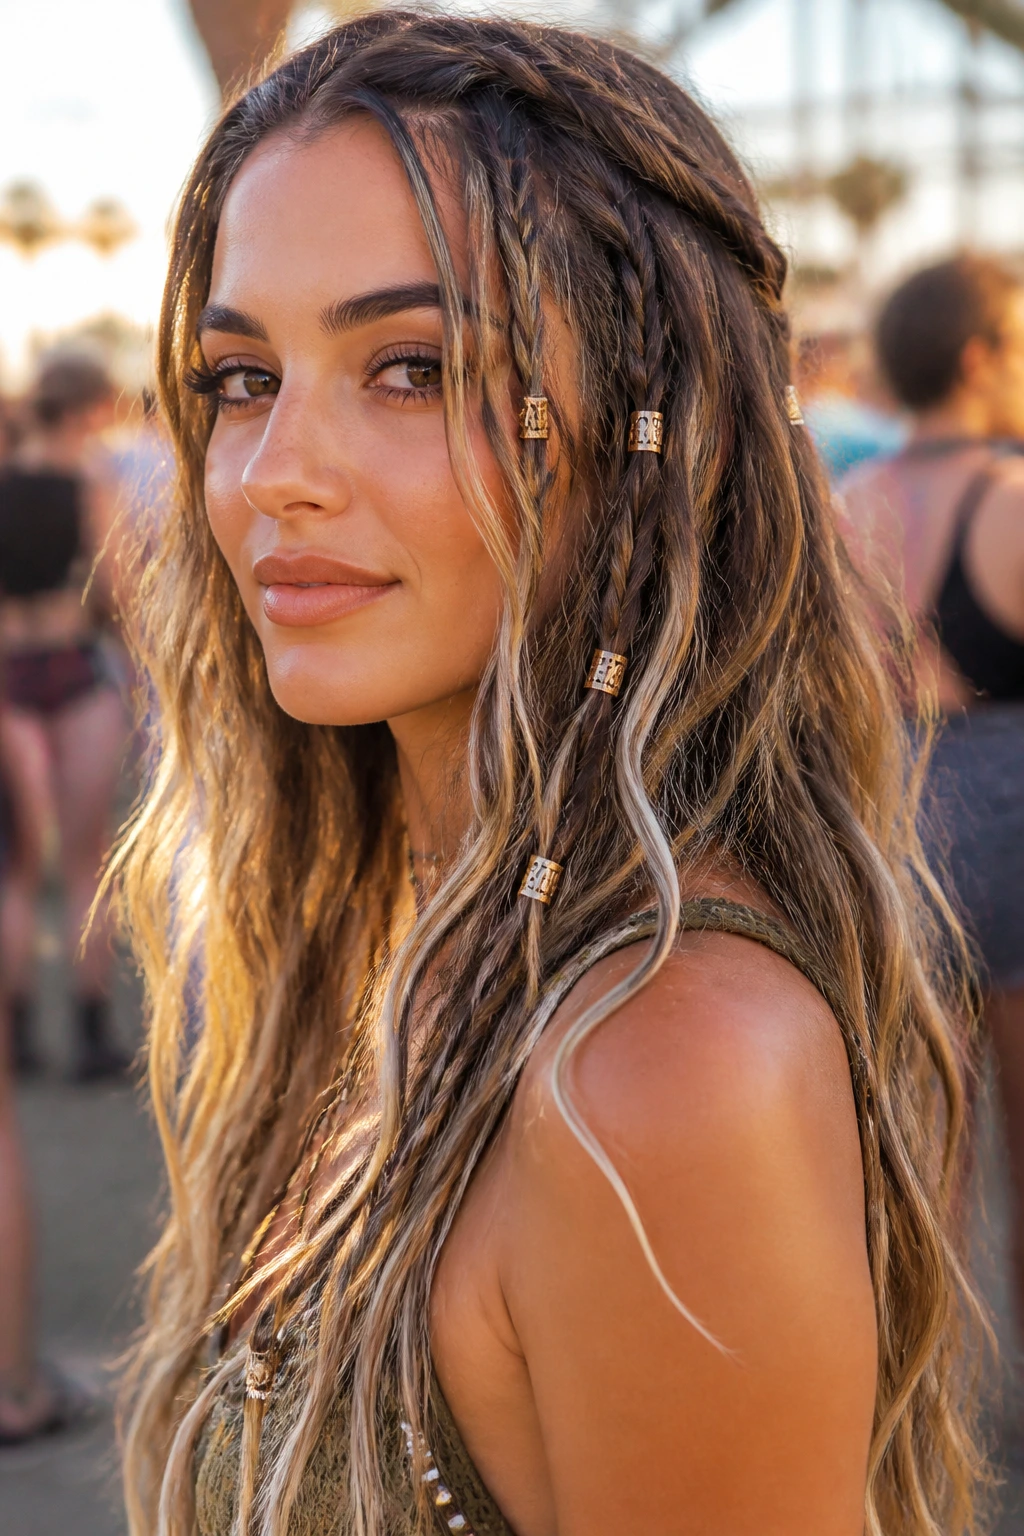
Festival hair gets away with more texture because the whole point is movement and personality. Long waves pair well with tiny braids woven into the top layer or a few hair cuffs scattered through the lengths. The wave itself can be rougher, more piecey, even a little frizzy.
That looseness helps. Overly perfect hair looks wrong next to braids and accessories. Let the wave pattern bend in different directions, then use your fingers to separate it into chunky pieces.
A small word of caution: too many accessories can drag long hair down. Pick two or three accents, not ten.
26. Holiday Waves with a Soft Clip or Pin
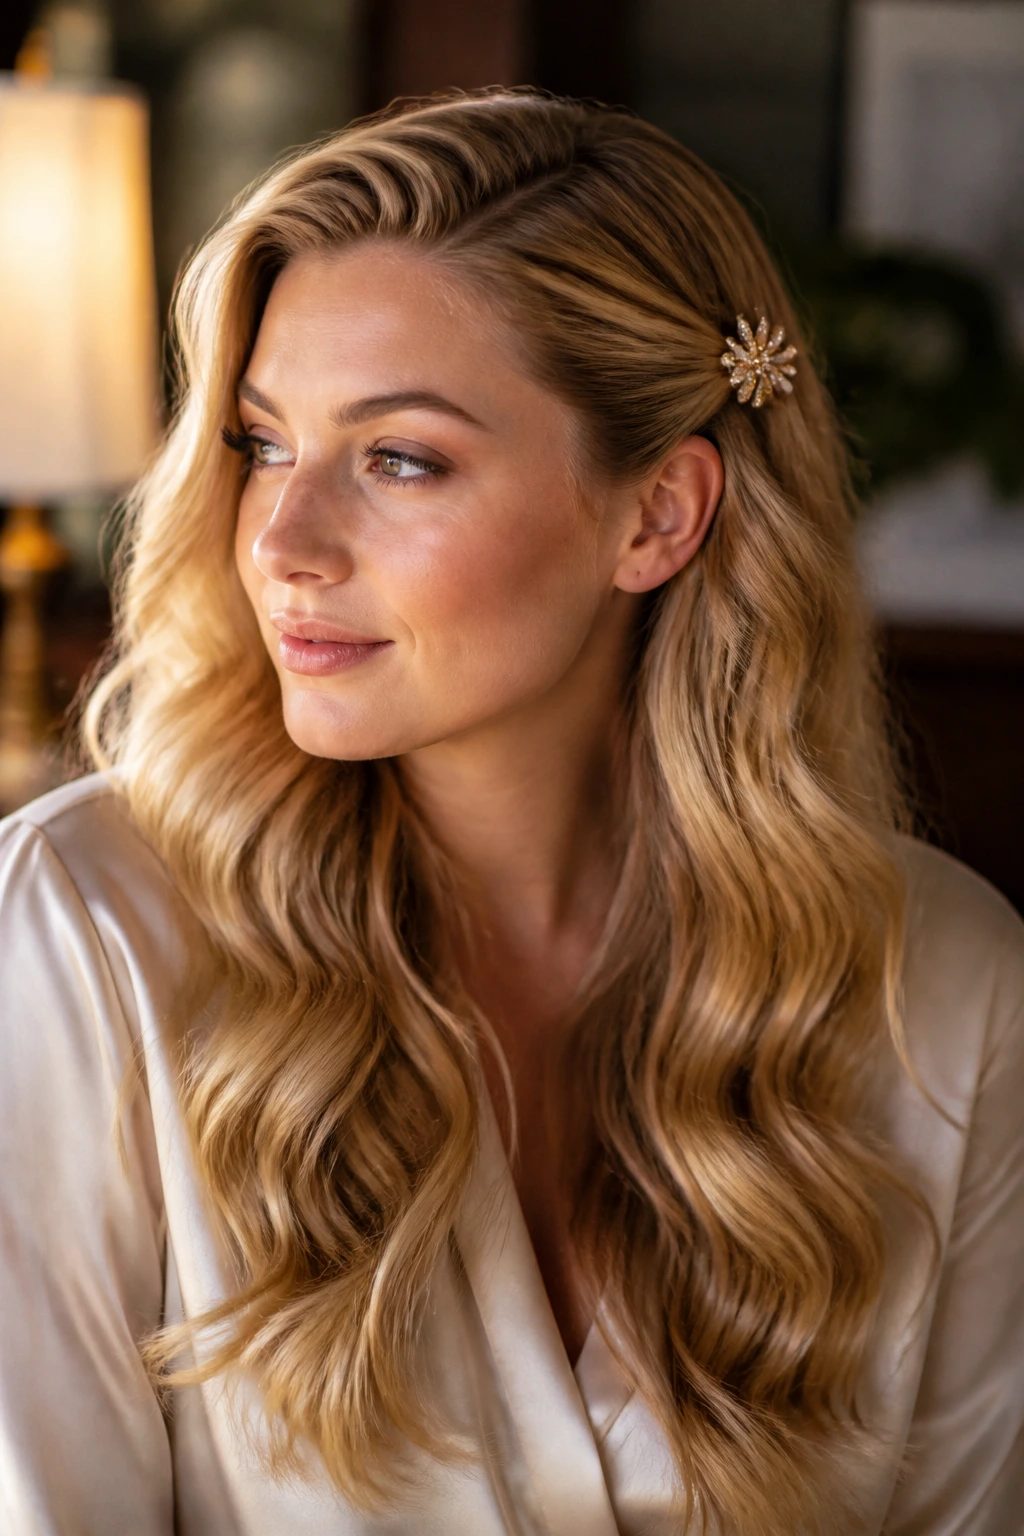
Holiday hair often needs to stand up to indoor heat, coats, and a long evening without looking overworked. Soft waves with one tucked side or a decorative pin strike that balance nicely. The shape feels dressed up, but the long length still reads relaxed.
I prefer a brushed-out finish here. It catches light better and looks smoother in person. If your hair is layered, leave the shortest pieces around the face a touch looser so they don’t poke out from the pin.
This is a good place for a barrette with some weight to it. Cheap clips slide. A decent pin stays put.
27. Humidity-Proof Waves with Anti-Frizz Prep
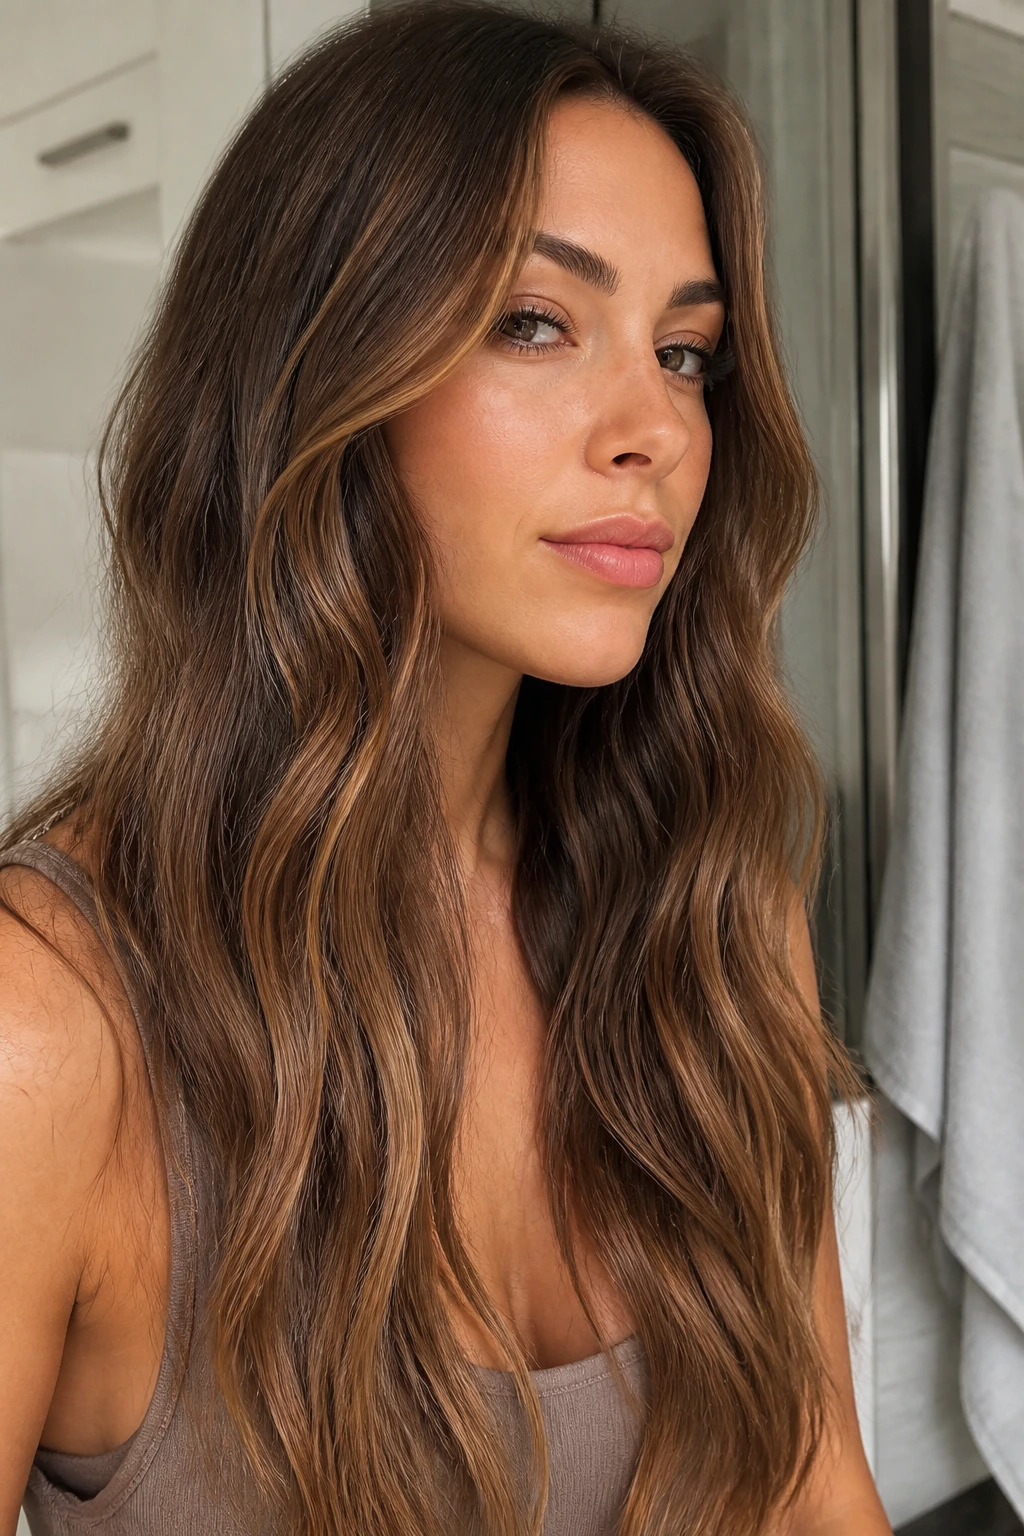
Humidity changes the rules. If you know the air is going to fight your hair, prep matters more than the actual wave. Use a smoothing cream on damp lengths, dry the hair fully, and finish with a light anti-frizz spray once the shape is set.
What Helps Most
Thin sections hold up better than giant ones. So do waves that start lower on the hair shaft, since the crown is usually the first place to swell. A touch of serum on the ends can help, but keep it away from the roots or you’ll get flatness plus frizz, which is an annoying combination.
This is the kind of style that needs maintenance, not panic. A few finger touches during the day, and that’s usually enough.
28. Oval-Face Waves That Keep the Balance
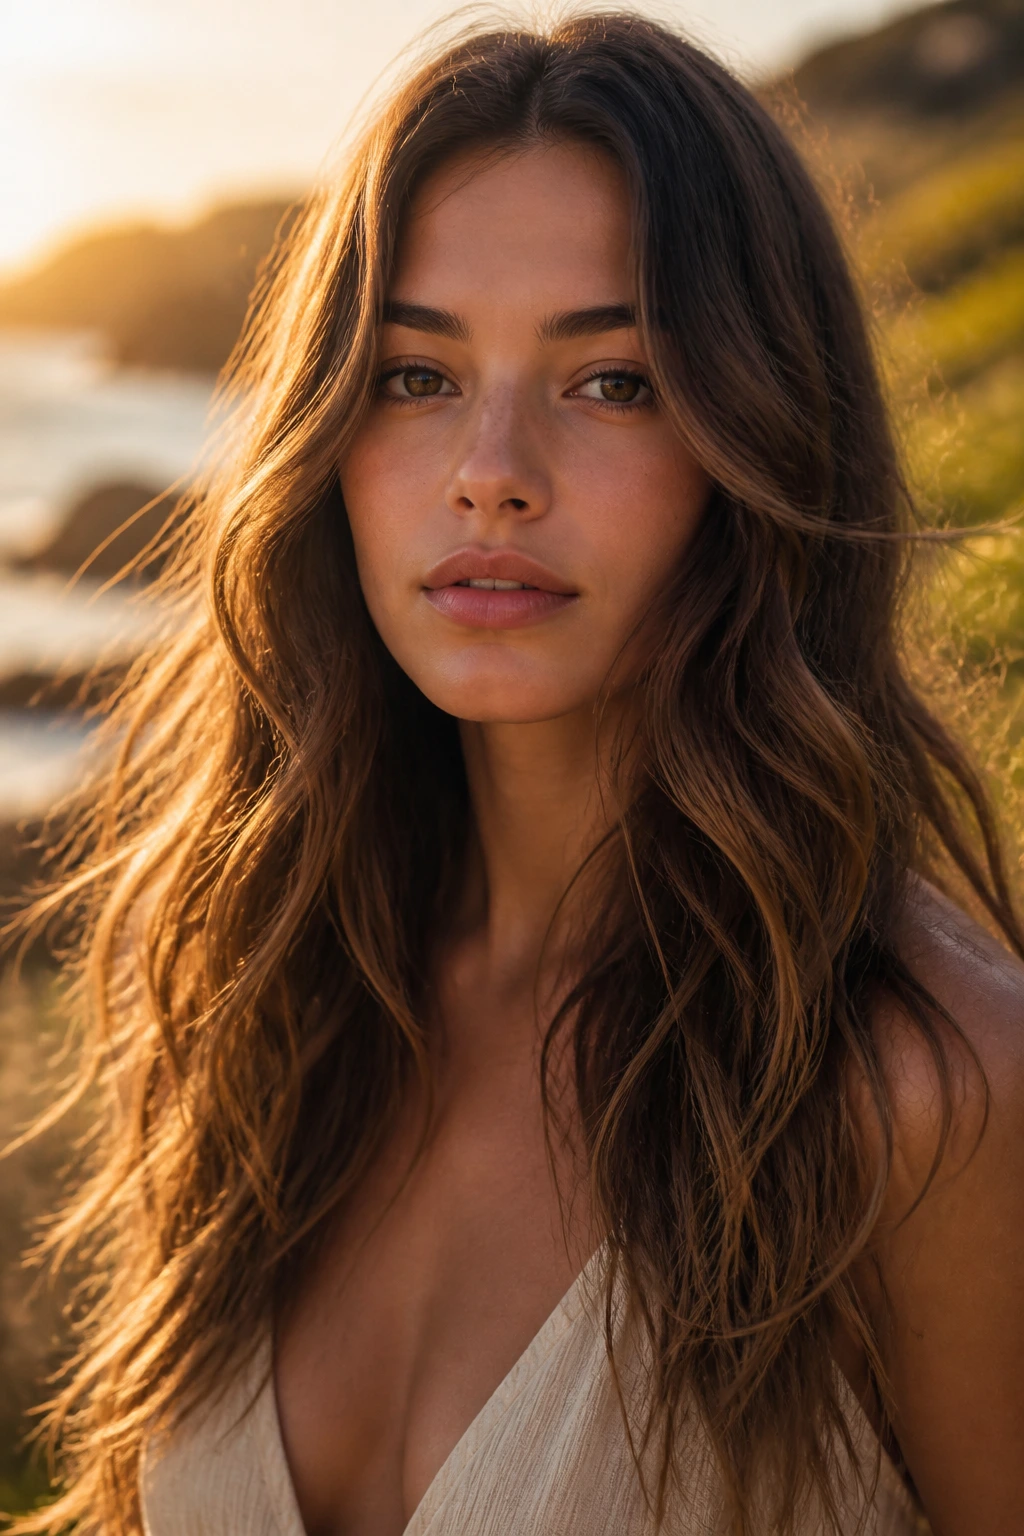
Oval faces are easy to flatter, which is both a blessing and a trap. Long beach waves should keep the balance by placing most of the movement below the cheekbones and avoiding too much volume right at the temples. A center or soft off-center part usually works best.
The wave can be broad, loose, and slightly brushed out. Nothing heavy at the sides. If the hair is too full near the face, it starts to swallow the shape instead of framing it.
This is one of the few times where restraint is not boring. It’s smart.
29. Round-Face Waves with Lift Up Top
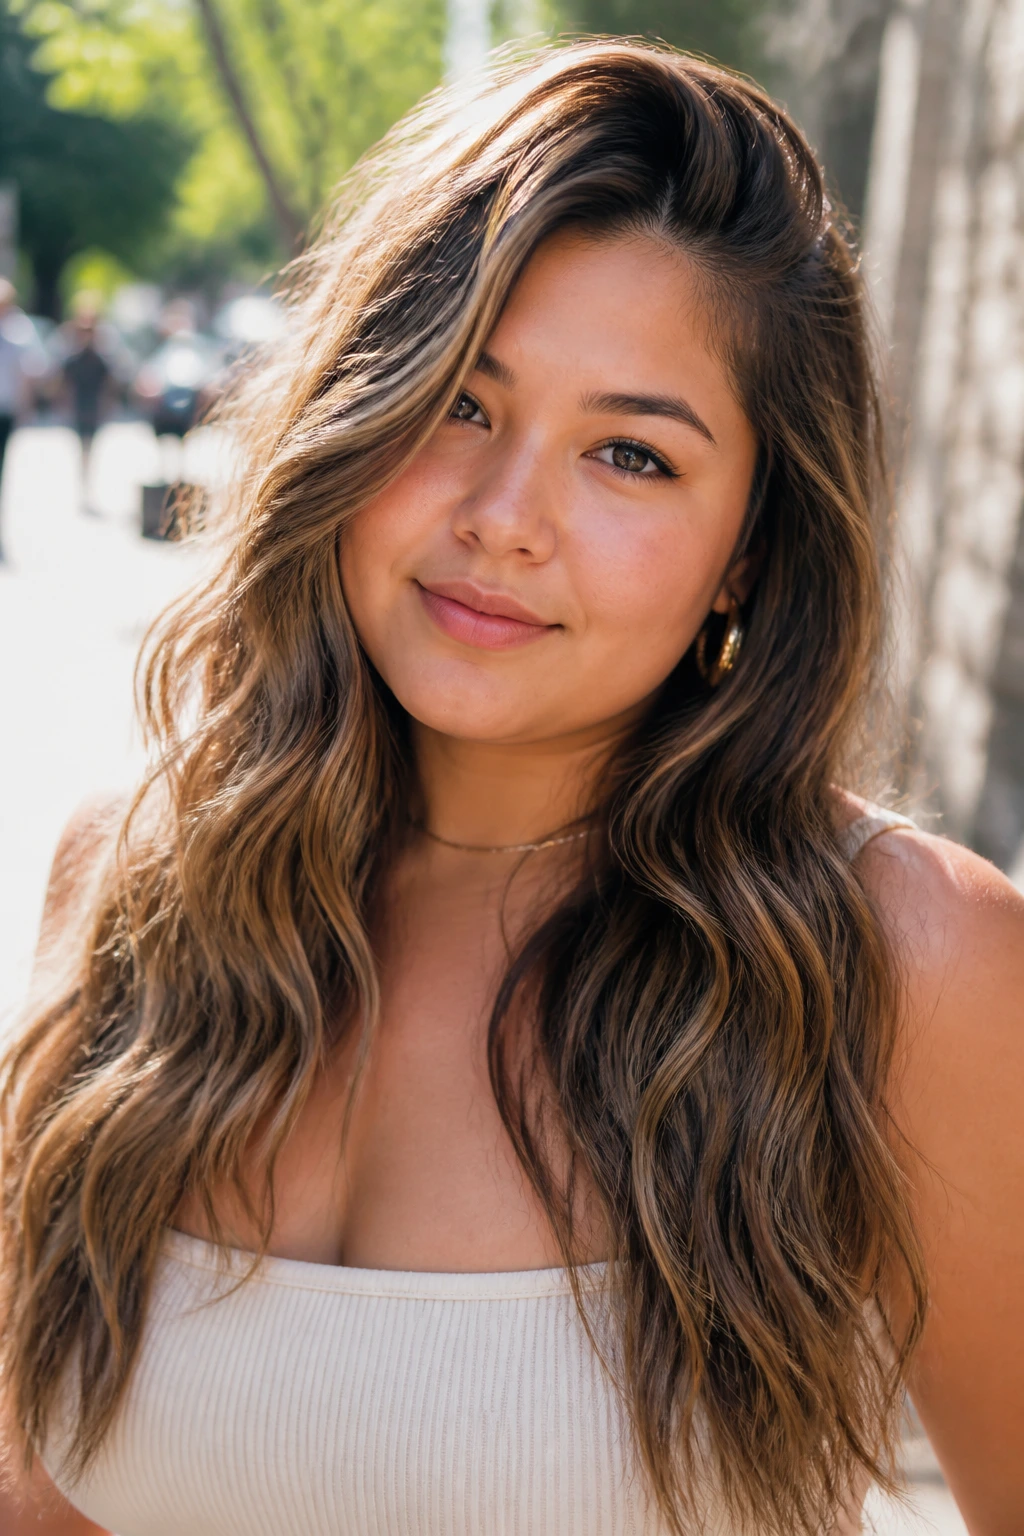
How do you keep long waves from widening a round face? Push the volume higher and keep the bend lower. A side part helps, root lift helps, and the first wave should start below the cheekbone so the width doesn’t land at the widest point of the face.
A few narrower sections around the front can create vertical lines, which makes the whole style feel longer. The ends can stay a bit straighter too. That little stretch pulls the eye down.
- Best move: clip the crown while the hair cools.
- Avoid: full, symmetrical waves at cheek level.
- Finish: soft and airy, not poufy.
30. Square-Face Waves with Rounded Front Pieces
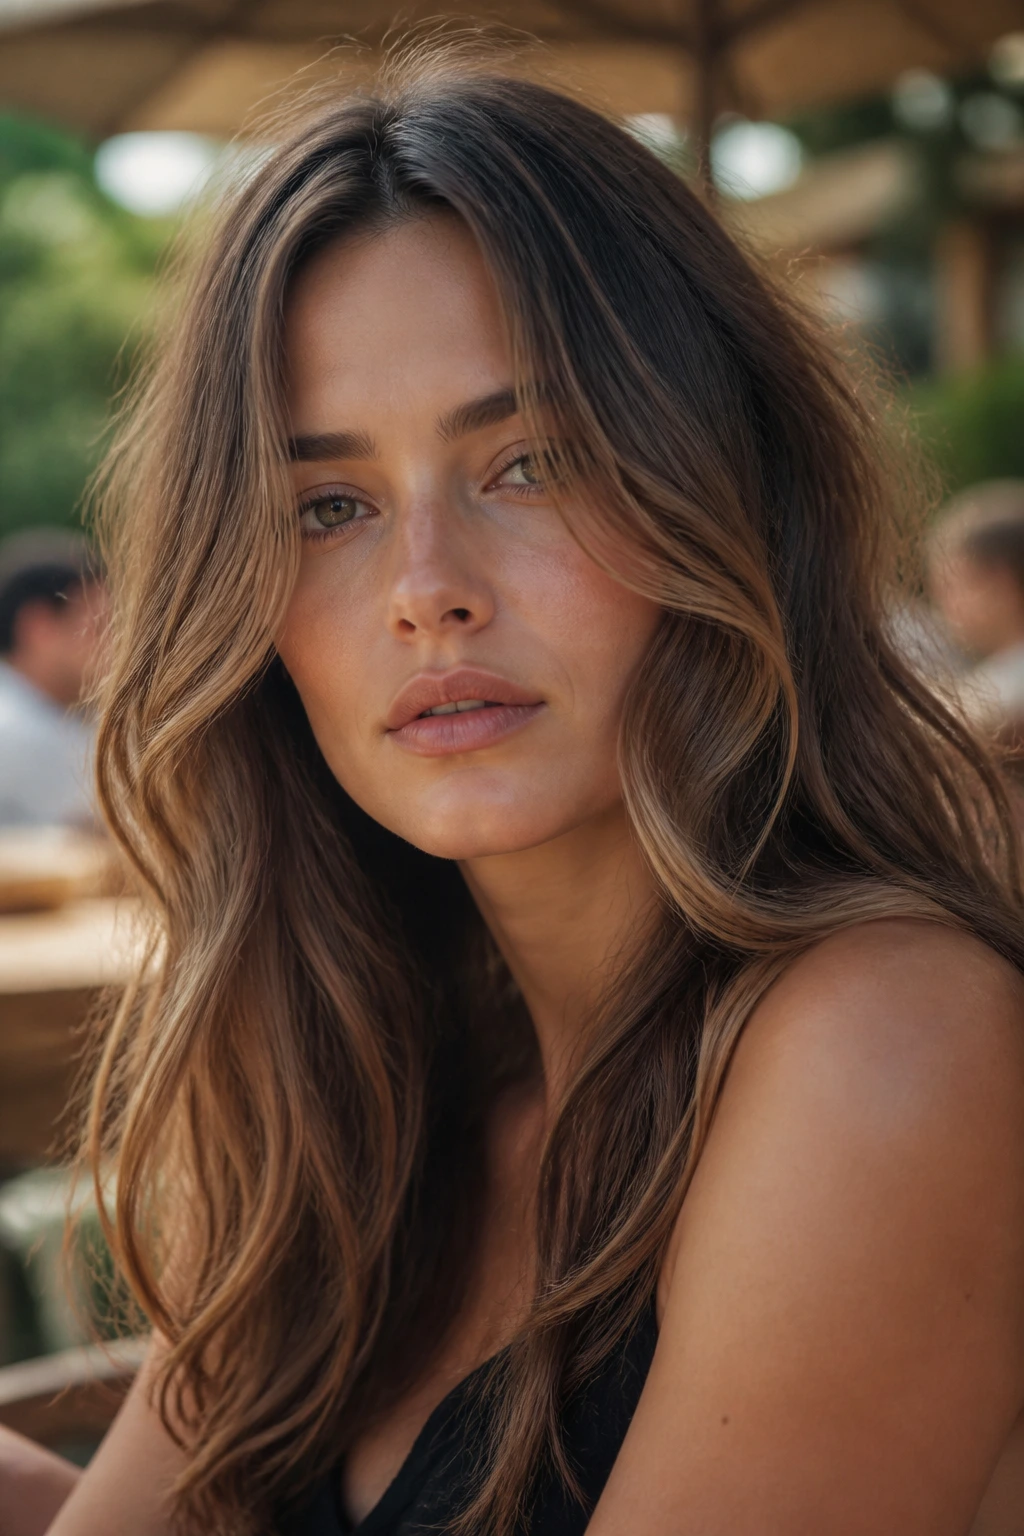
Square faces look especially good with waves that soften the jaw. Keep the front pieces curved, not straight down, and let them fall a little past the jawline before they bend. On long hair, that roundness takes the edge off strong angles without hiding the face.
A side part can help, but it doesn’t have to be dramatic. What matters more is the front shape. If the wave is too uniform, the jawline can look even stronger than it is.
This is a good style to brush out slightly around the face and leave the lower lengths more textured.
31. Heart-Face Waves with Volume at the Jaw
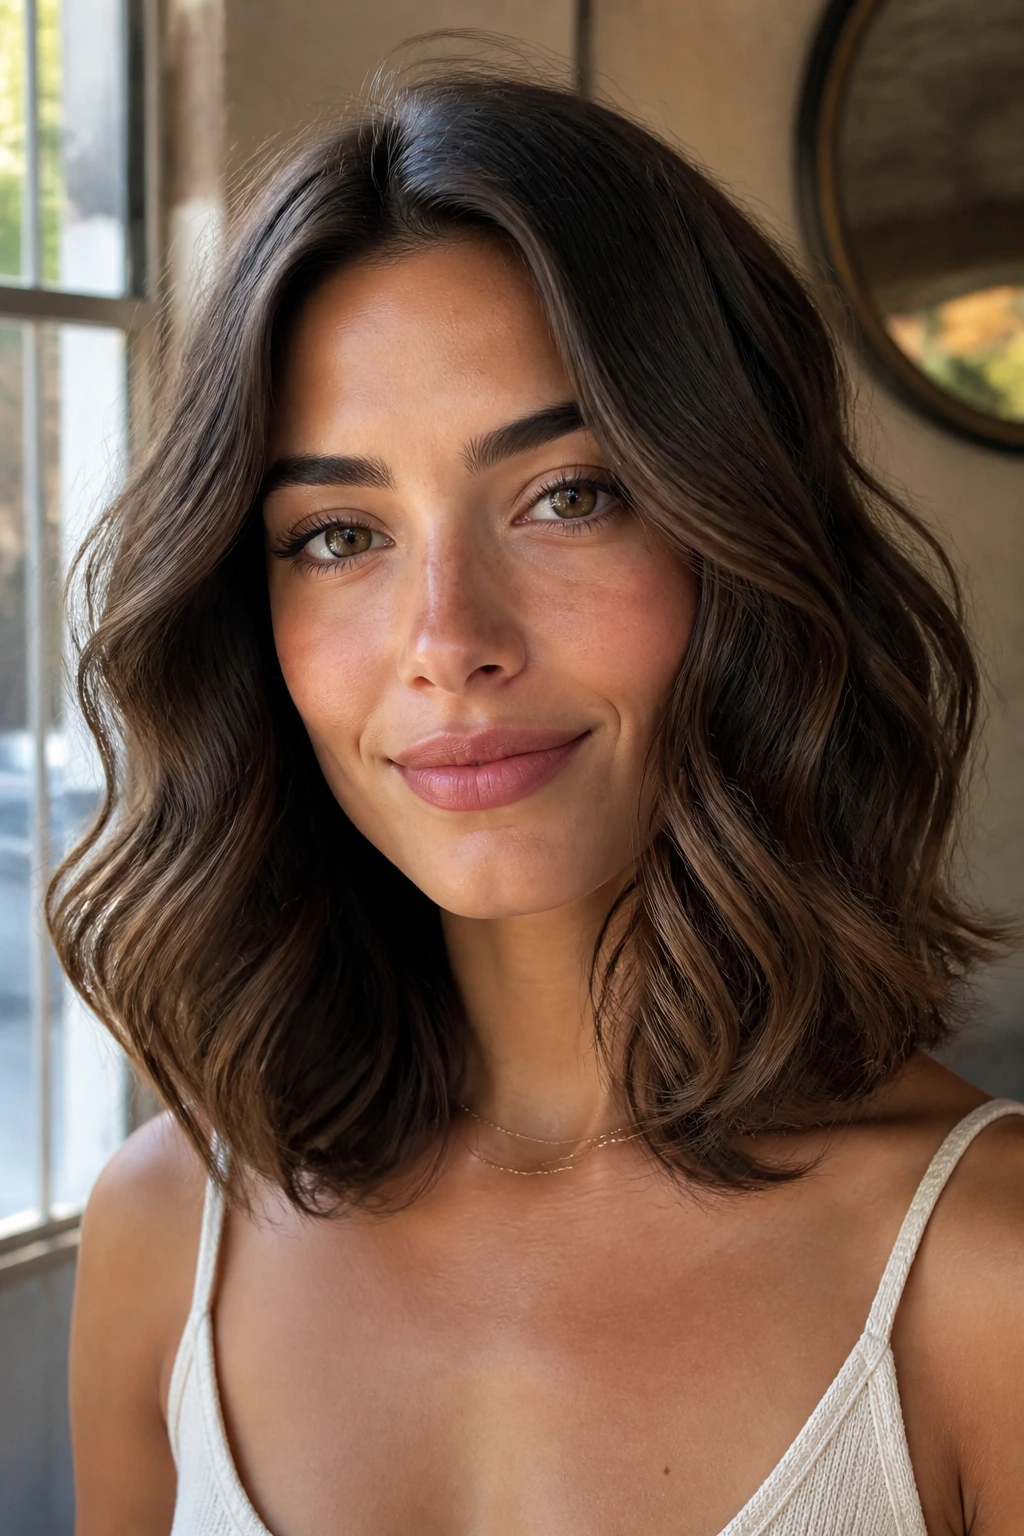
A heart-shaped face usually looks best when the lower half of the hair carries some of the visual weight. That means the wave should be a little fuller around the jaw and collarbone, not all piled up at the crown. A very high lift at the roots can make the forehead feel wider.
The fix is simple: keep the top smooth and the wave soft through the mid-lengths. A few face-framing pieces that turn away from the face help balance the width at the brow.
This version feels elegant without trying too hard, which is usually the right answer.
32. Travel-Friendly Waves You Can Refresh on the Go
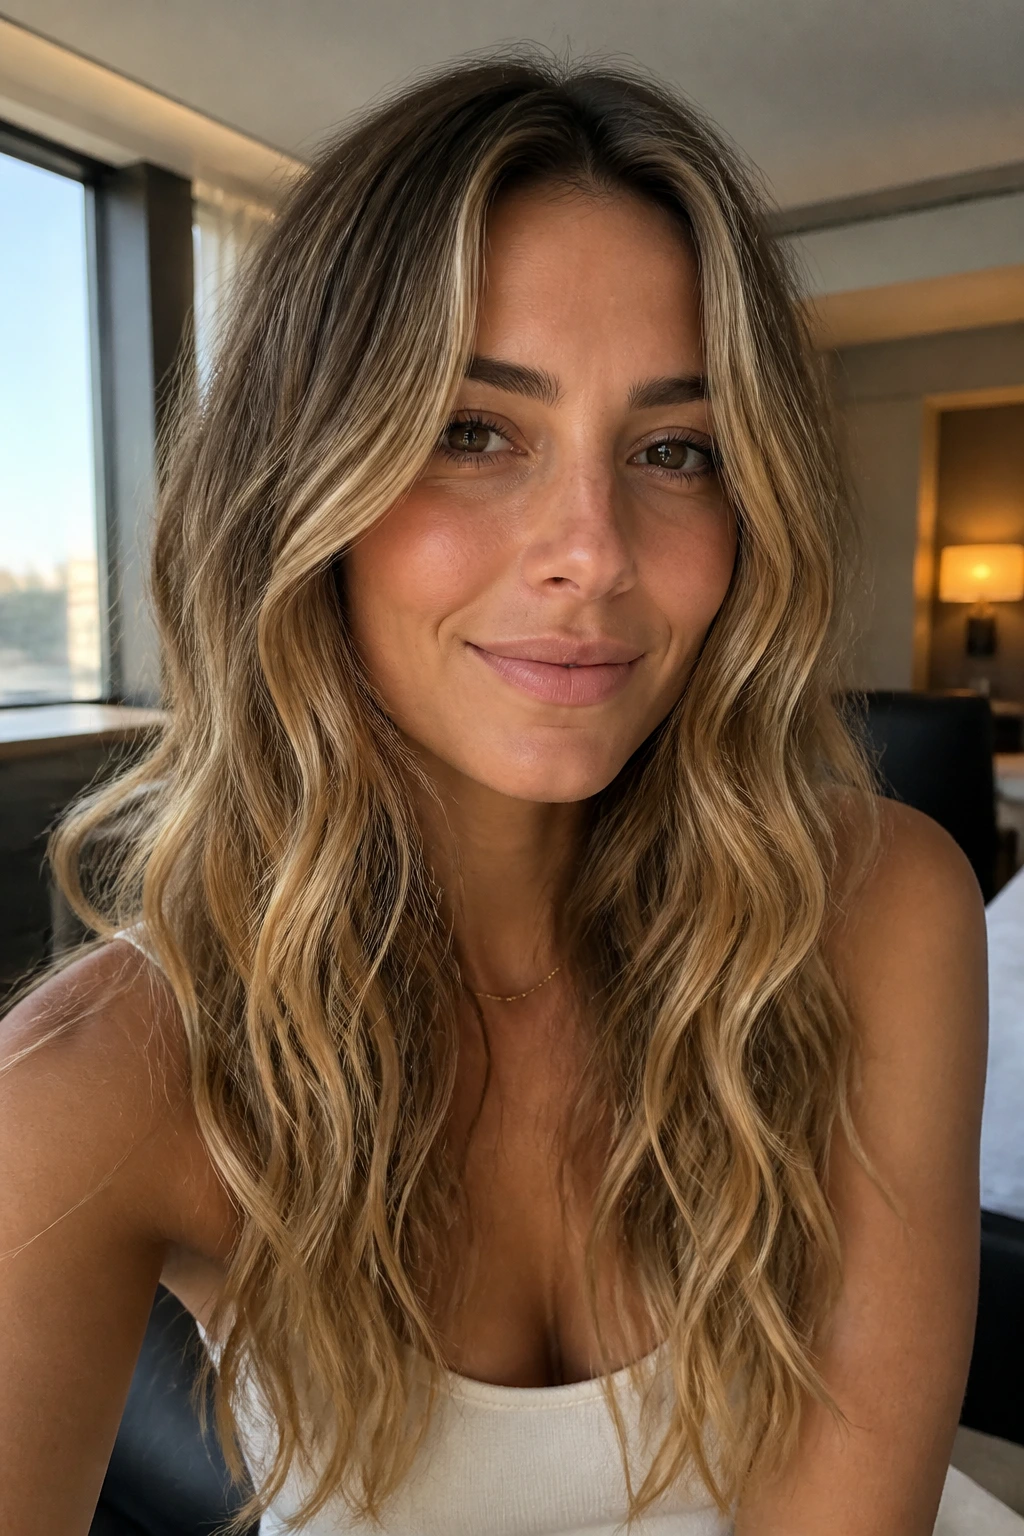
What holds up better in a suitcase than a perfect curl? A soft wave with room to bend again. Travel-friendly waves are built for refreshing, not preserving untouched. Start with a loose braid, twist, or soft iron wave, then pack a mini dry shampoo and a small texture spray.
In the morning, shake the roots, mist the lengths lightly, and re-bend only the pieces that flattened out. You do not need to redo the whole head. That’s the mistake people make when they’re tired and rushed.
- Pack: travel-size dry shampoo, small clip, and a compact comb.
- Works best: on long hair with a little natural texture.
- Goal: believable movement, not perfection.
33. Satin-Finish Waves with Controlled Shine
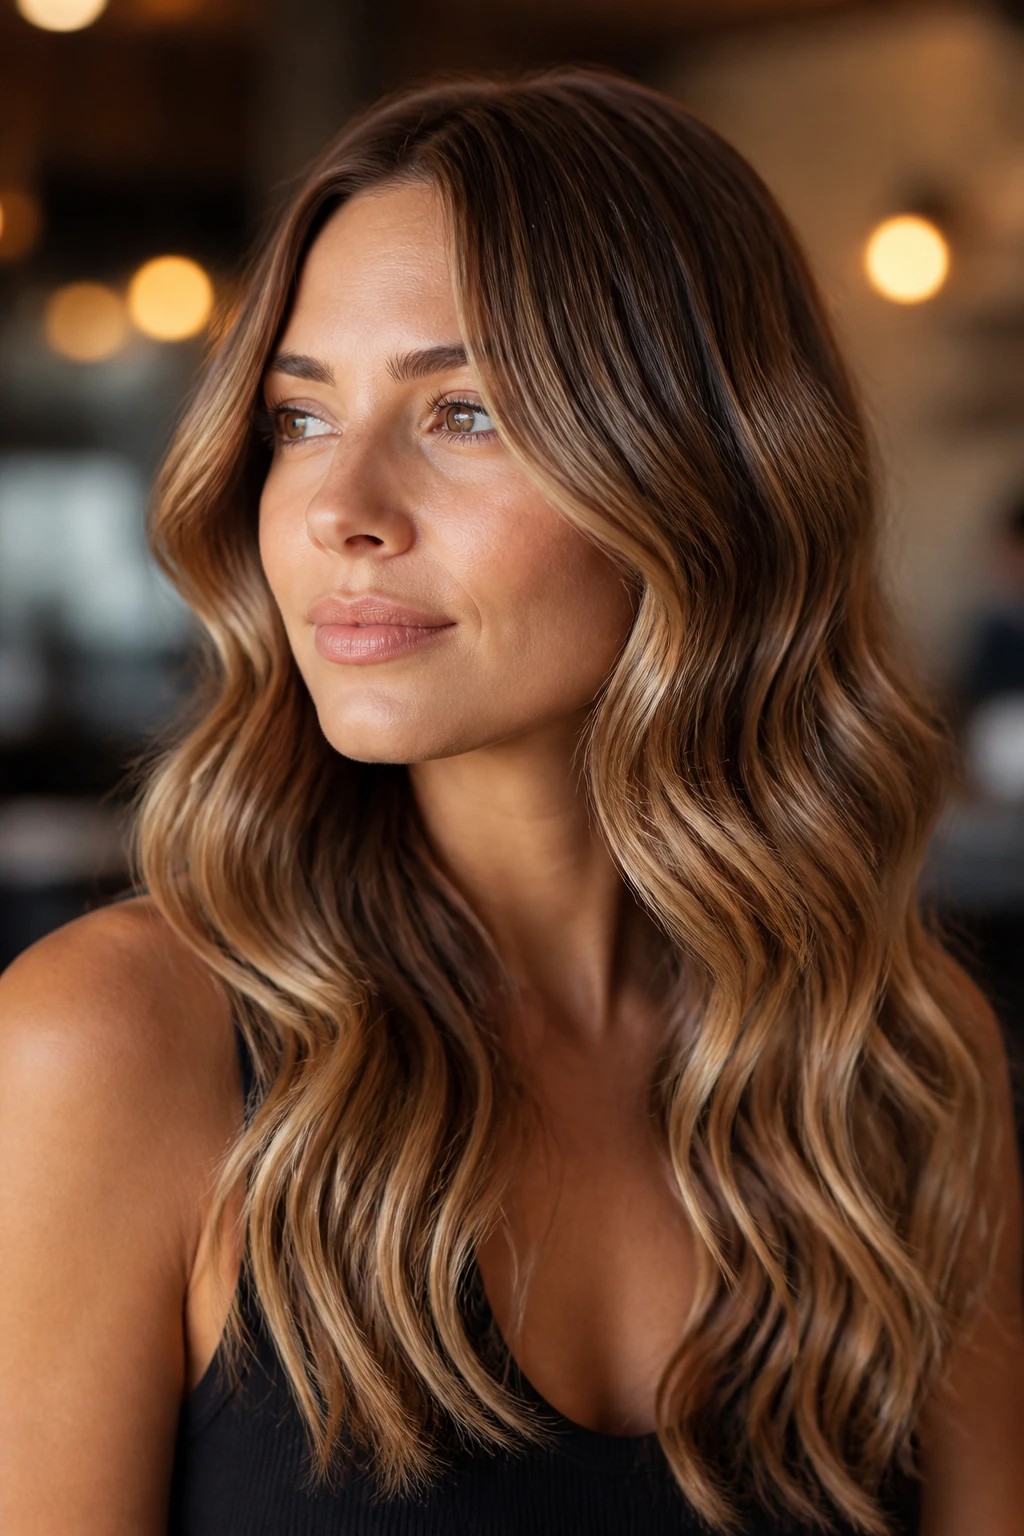
Satin-finish waves sit between glossy and matte. They’re soft, smooth, and touchable without looking oily. On long hair, this finish is useful because the lengths can sometimes look too dry if you go full matte, but too slick if you use too much serum.
Start with a smooth blow-dry, then wave with a medium barrel and finish with one light pass of shine cream only on the middle and ends. Keep the crown nearly bare. That leaves the movement where it belongs.
This is one of my favorite finishes for long layers. It makes the cut look healthy without flattening the texture.
34. Textured-Ends Waves That Keep the Length Light
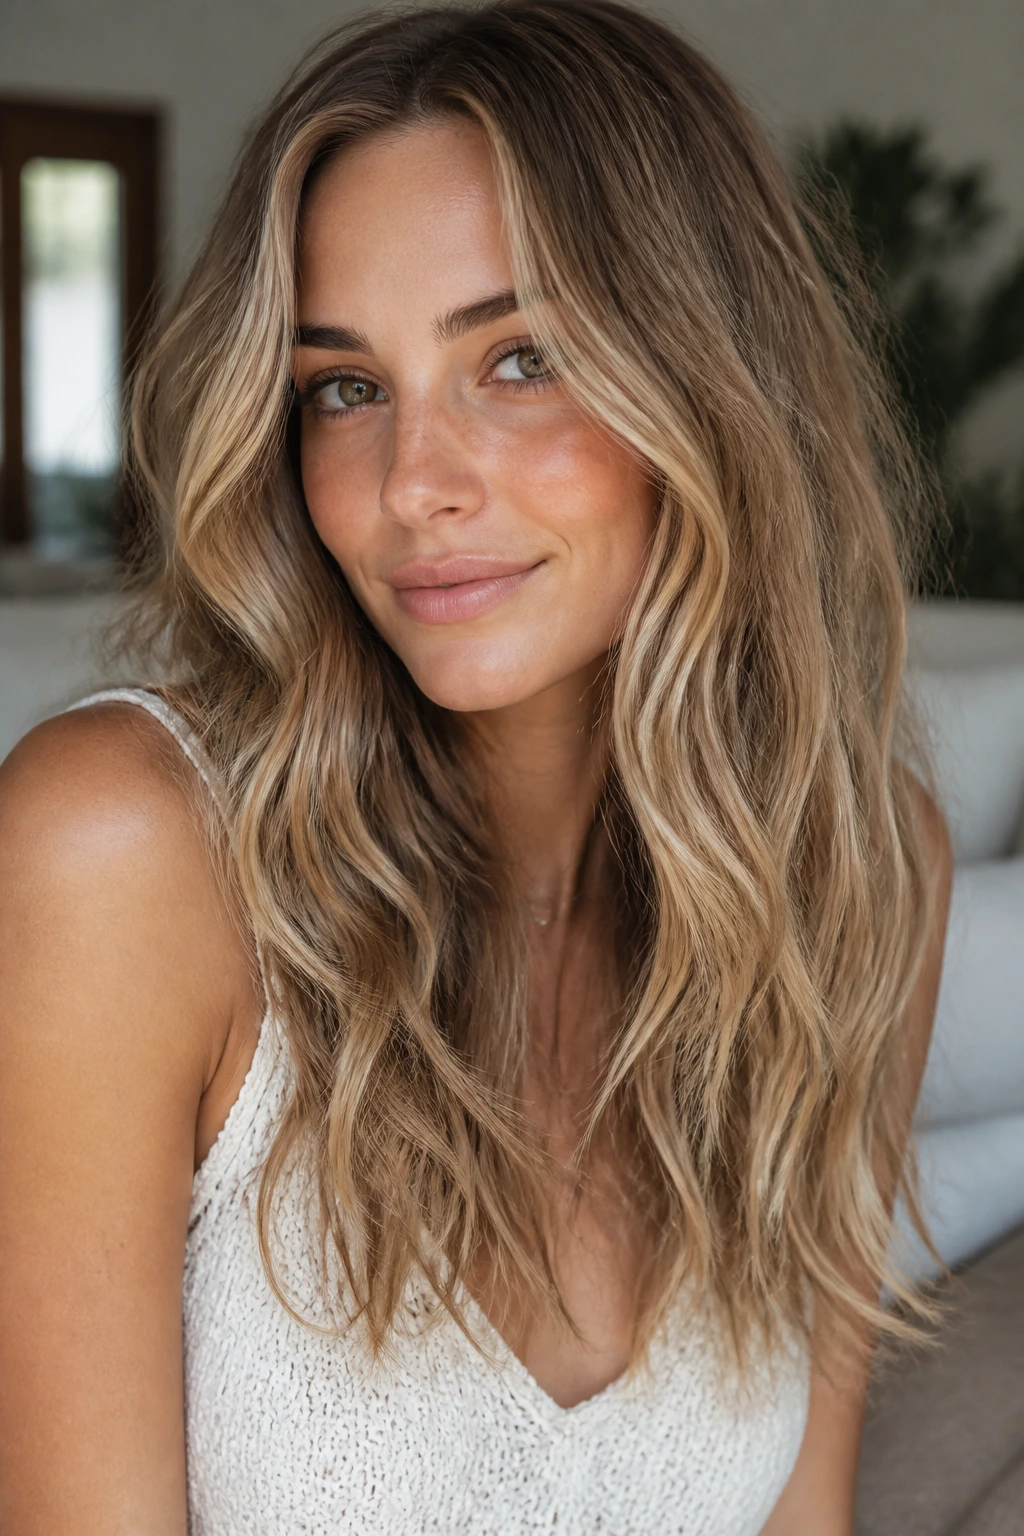
Long hair can drag the wave down if every inch is curled the same way. Textured ends keep the shape lighter by letting the last section stay a little piecey or straight. That gives the eye a place to rest and keeps the whole look from turning into one heavy block.
You can get this effect with a wand, a flat iron, or even a twist-and-heat method. The important thing is to stop short of the very ends, then separate those ends with fingers once they cool. That uneven finish is what keeps the wave modern.
If your hair is thick, this is one of the most flattering ways to avoid bulk.
35. Crimp-Base Waves for Extra Grip Underneath
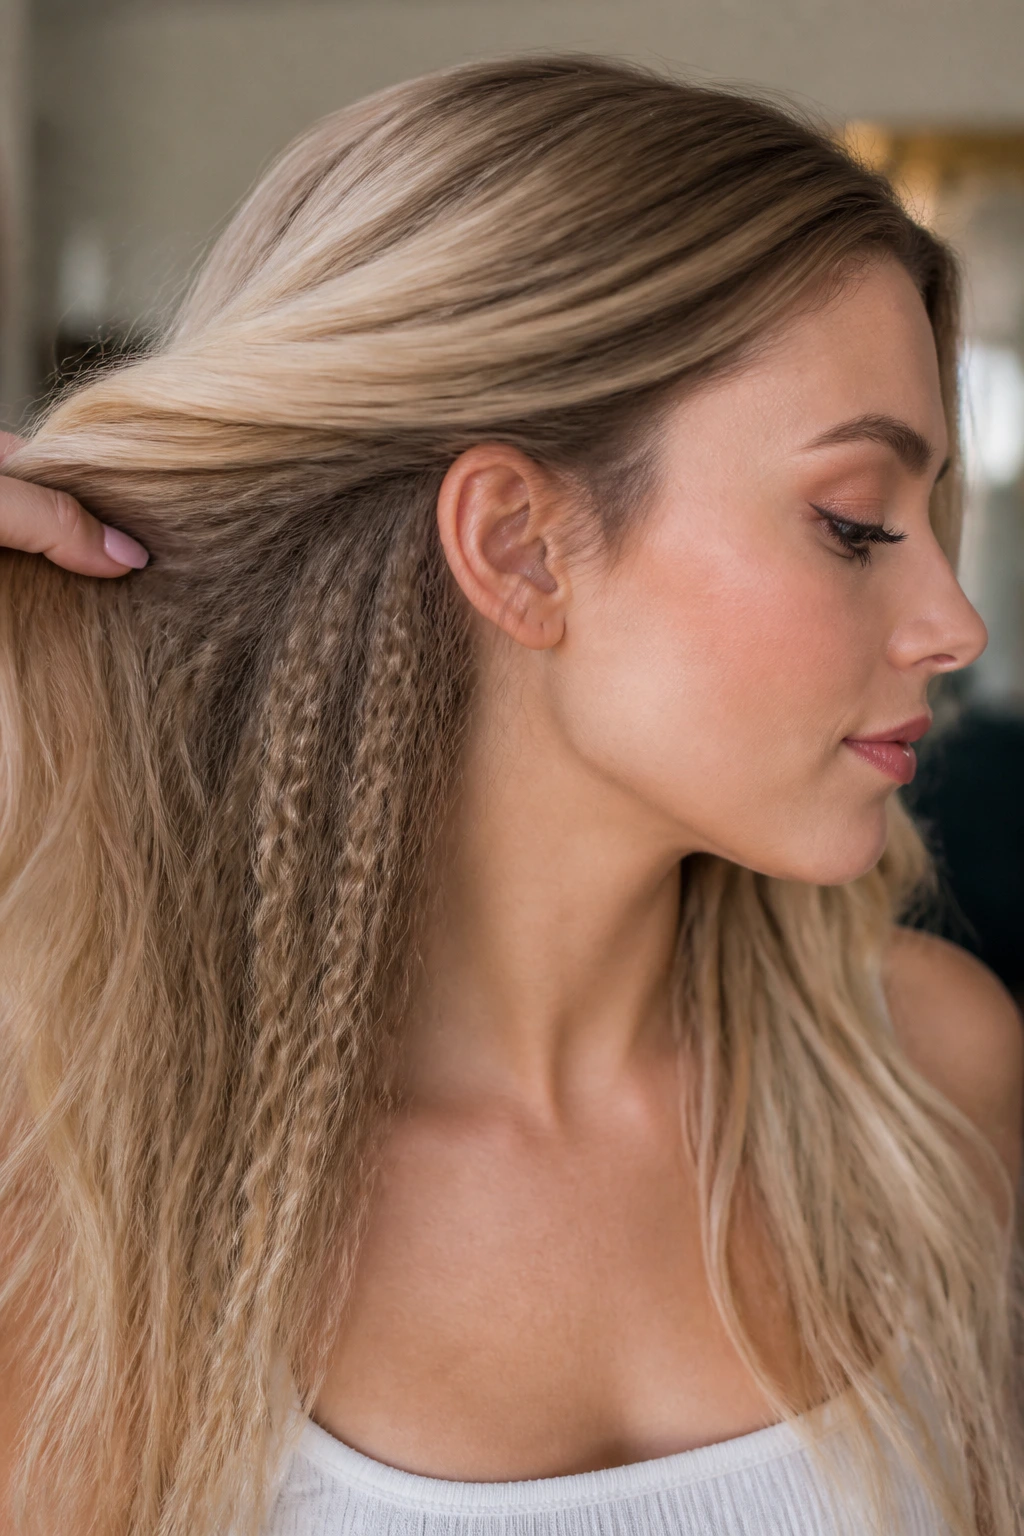
A hidden crimp under the top layer sounds odd until you try it on long hair. The crimped underside gives the wave something to hold onto, especially if the hair is silky and tends to slide flat. Keep the top layer smooth and let the texture live underneath.
That contrast is the whole point. You get more grip without showing the crimp everywhere, which keeps the style from looking too 2000s unless that is exactly what you want. A light brush over the top layer softens the effect and helps the lengths fall in loose bends.
For hair that refuses to stay waved, this is a smart cheat. Not fancy. Just useful.
Why Long Hair Needs a Softer Wave Map
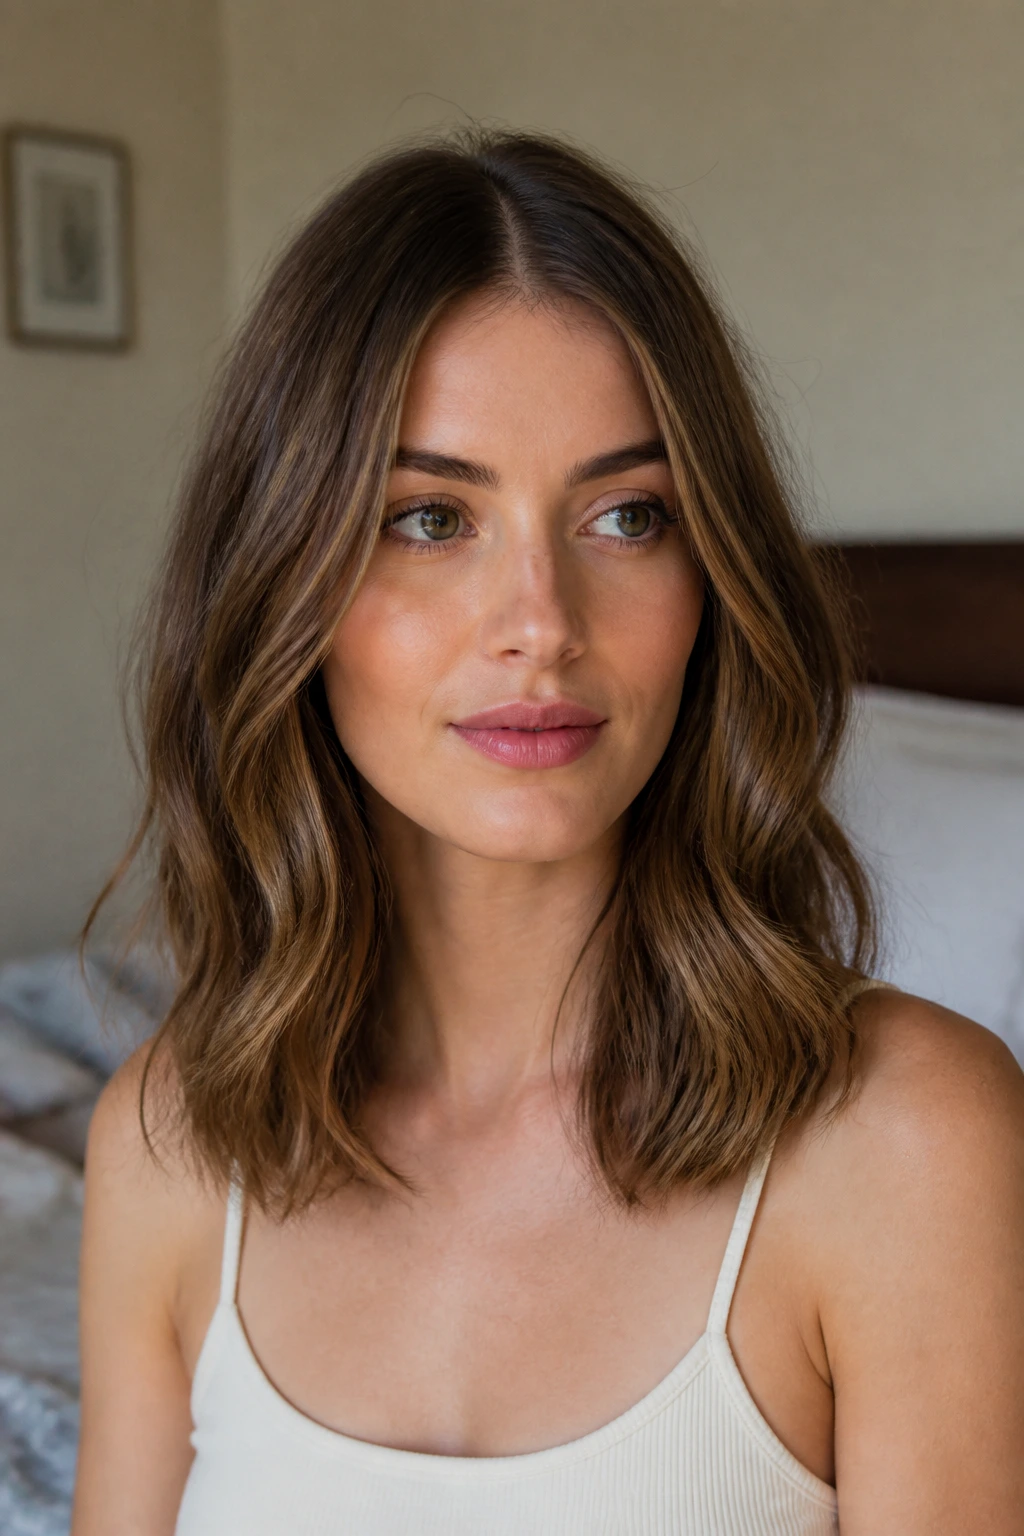
Long hair is gorgeous, but it behaves like it has opinions. Every extra inch adds weight, and weight pulls a wave down before it’s finished setting. That’s why the same iron that gives shoulder-length hair a tidy bend can give waist-length hair a sagging one.
The answer is usually not more heat. It’s better mapping. Start the wave lower on the head, use thinner sections where the hair is thickest, and leave a little straightness at the ends so the whole shape feels intentional. I know that sounds small. It isn’t. On long hair, a half-inch in section size can decide whether the style lasts or gives up.
I also think long hair looks better when the crown and the lengths are treated differently. The top needs lift and calm; the mid-lengths need movement; the ends need enough softness to avoid the old-school curled-hair look that never quite dies. Once you think that way, the styling decisions get easier.
The Tools That Actually Matter
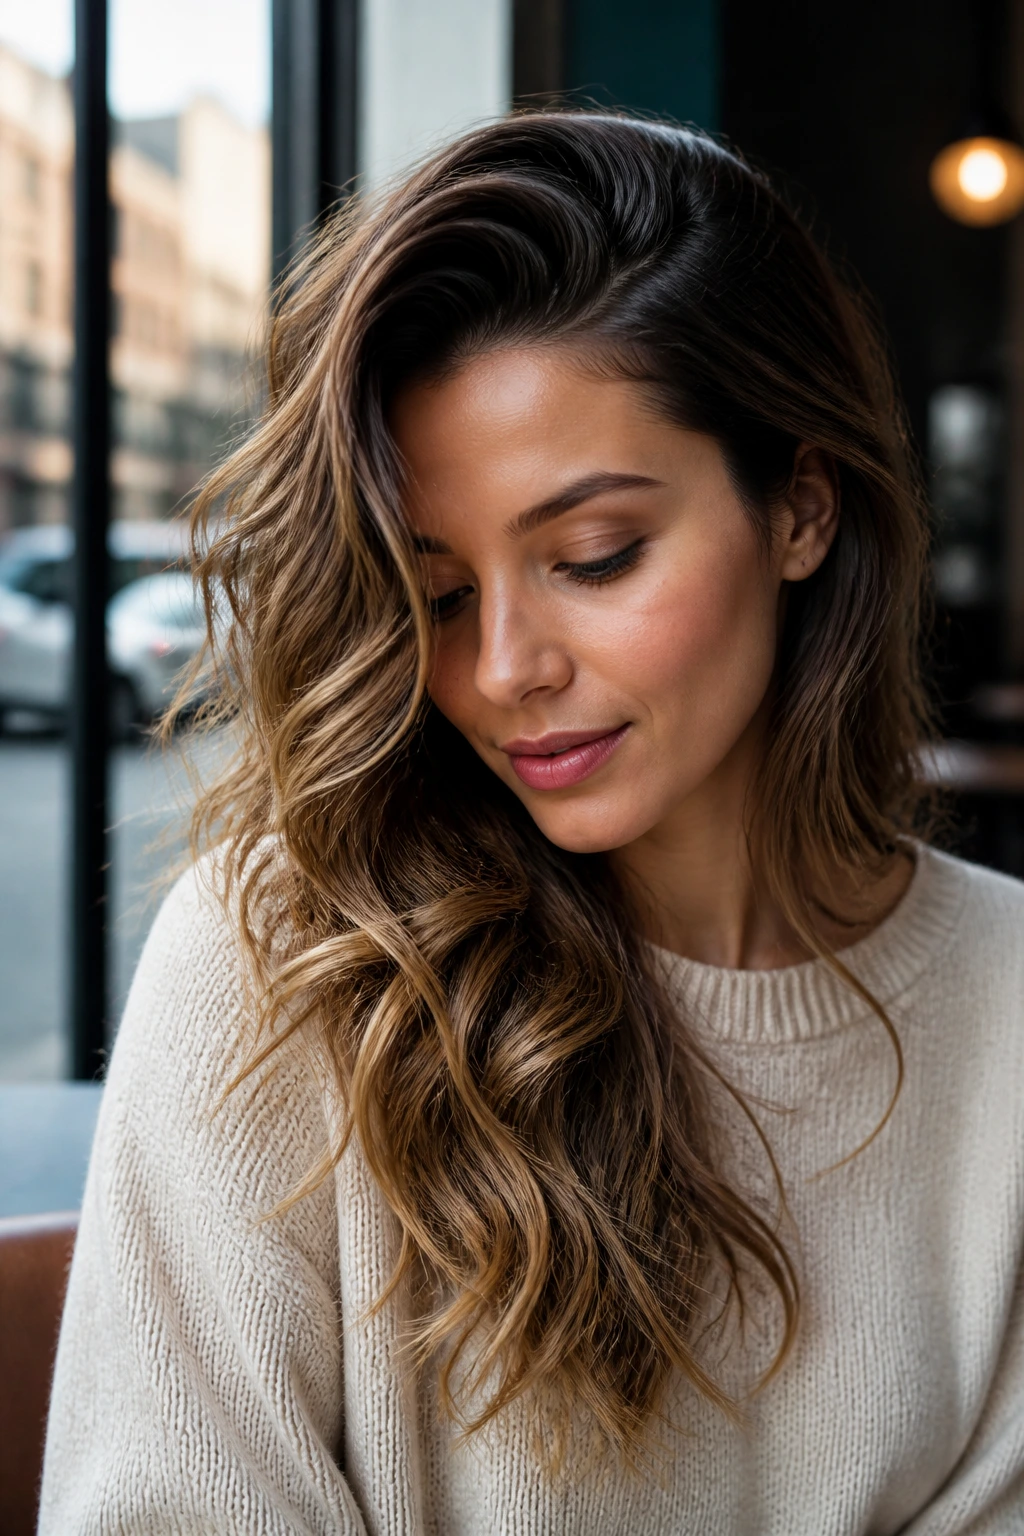
You do not need a drawer full of gadgets. You need the right few things, and you need them to be the right size for long hair.
- 1-inch curling iron or wand: Best for tighter bends, finer hair, and styles that need more lasting shape.
- 1.25-inch curling iron or wand: My default for most long-hair wave looks because it gives a soft curve without shrinking the length.
- 1.5-inch wand: Useful for brushed-out glam waves and broader, smoother movement.
- Flat iron with rounded edges: Better for soft bends and S-waves than a sharp-edged straightener.
- Heat protectant spray: Keeps the outer layer from drying out and helps the wave look smoother.
- Sectioning clips: Long hair gets messy fast; clips keep the top half out of the way.
- Wide-tooth comb and soft brush: One for separation, one for smoothing the top layer.
- Dry texture spray: Adds grit and keeps the wave from slipping apart.
- Light hairspray: Flexible hold matters more than stiff hold on long lengths.
- Silk scrunchie or soft clip: Useful for overnight prep and day-two refreshes.
Product Picks That Make Long Waves Hold
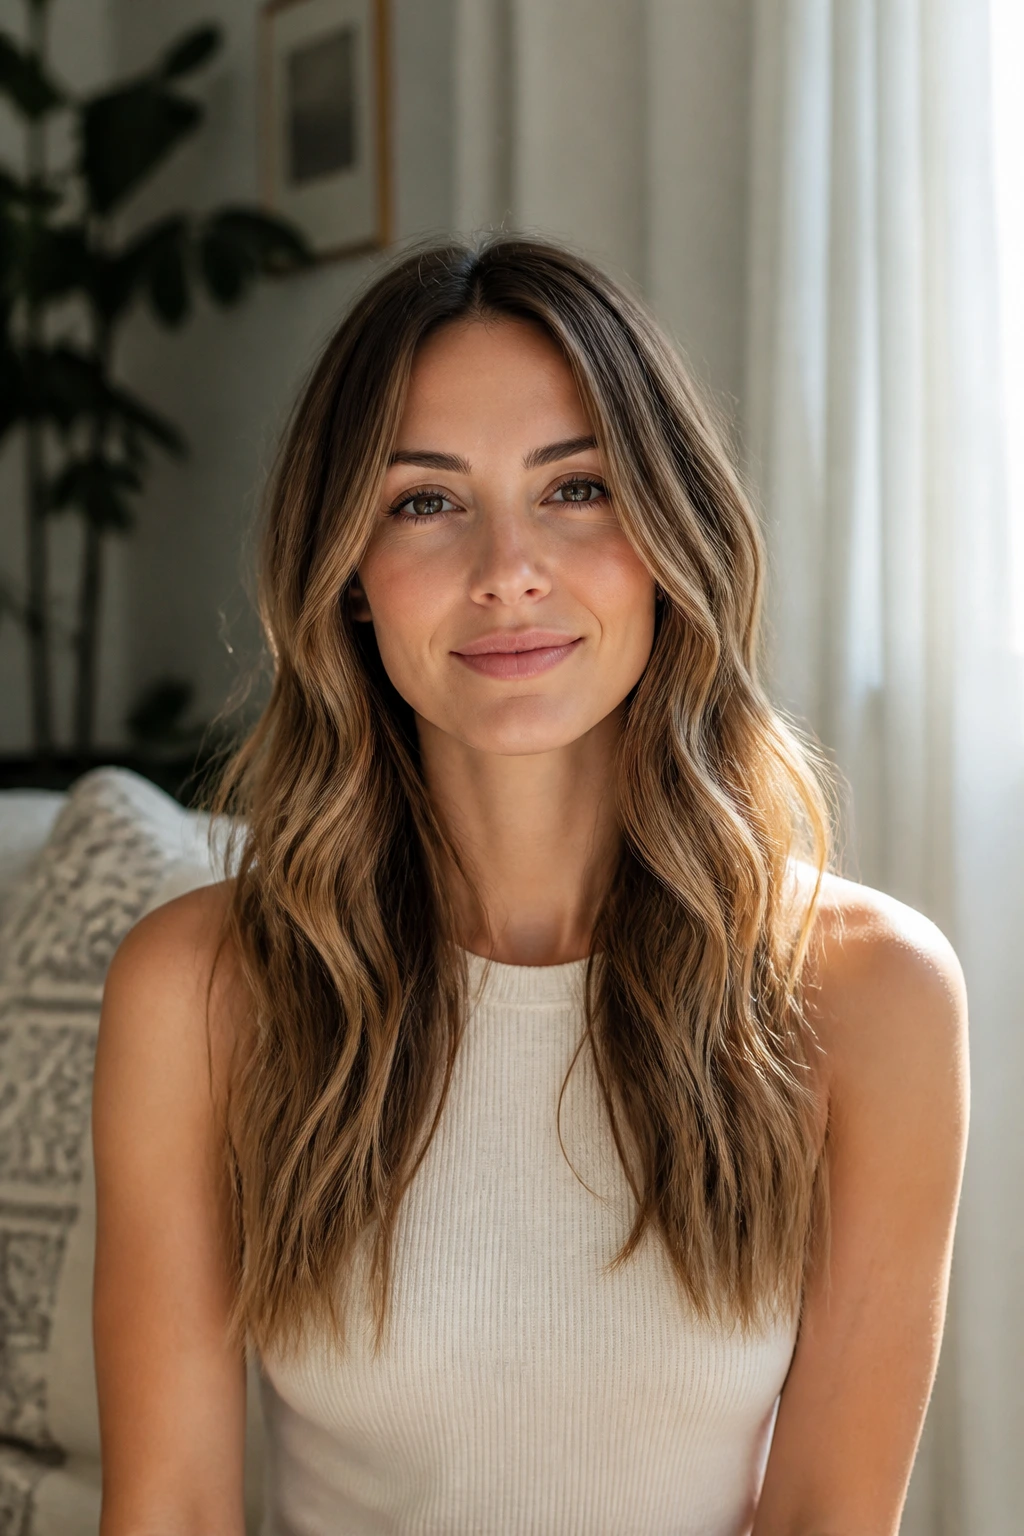
The product aisle can get noisy fast. For long hair, I’d keep the lineup lean: a heat protectant, one prep product that matches your hair type, and one finish product that doesn’t overload the lengths. More than that starts weighing the style down.
Fine hair usually likes foam mousse or a light volumizing spray at the roots. Thick or coarse hair tends to do better with a smoothing cream before heat, because it cuts puffiness without making the hair sticky. Frizz-prone hair needs an anti-humidity finish, but only in a fine mist and only after the wave is set.
Texture spray is useful, but it should feel like a whisper, not sandpaper. If the hair feels stiff before you even leave the house, the bottle is doing too much. And hair oil? Great on the last two inches, risky anywhere near the scalp.
How to Match the Wave to the Moment
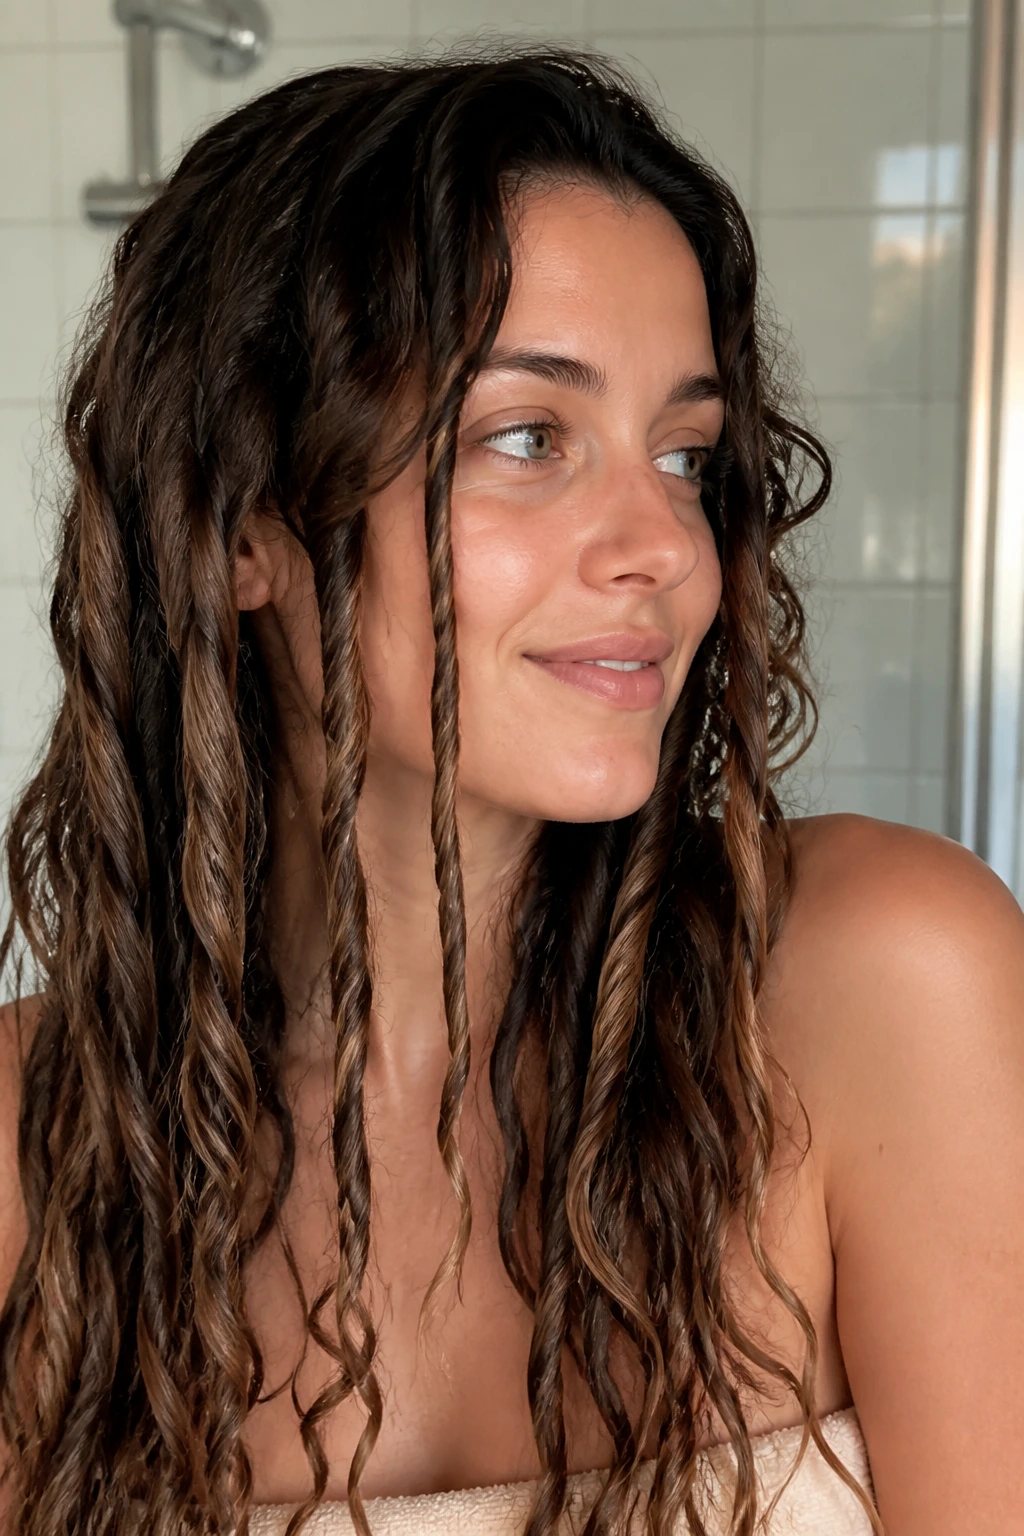
Placement: Center parts make long waves feel calm and balanced, while deep side parts add lift and a little drama. If your face is more angular, a softer sweep around the front can take the edge off; if your hair is heavy, a side part can keep the crown from lying there like a sheet.
Finish: Glossy waves suit dressier plans and smoother outfits, while matte or piecey waves work better with denim, knitwear, and anything that looks better a little undone. If the ends are the star, keep the top simple. If the top has volume, let the lengths stay softer.
Accessories: Small claws, gold clips, silk ribbons, and tucked-behind-the-ear sections all change the mood fast. Use one accent, not five. Long hair already gives you enough drama.
When to choose which: Soft waves are for everyday wear. Brushed-out glam waves are for nights when you want polish. Heatless braids, crimped texture, and air-dried bends are the best answer when you want the hair to look lived-in instead of styled to death.
Extra Texture Tricks and Personal Tweaks
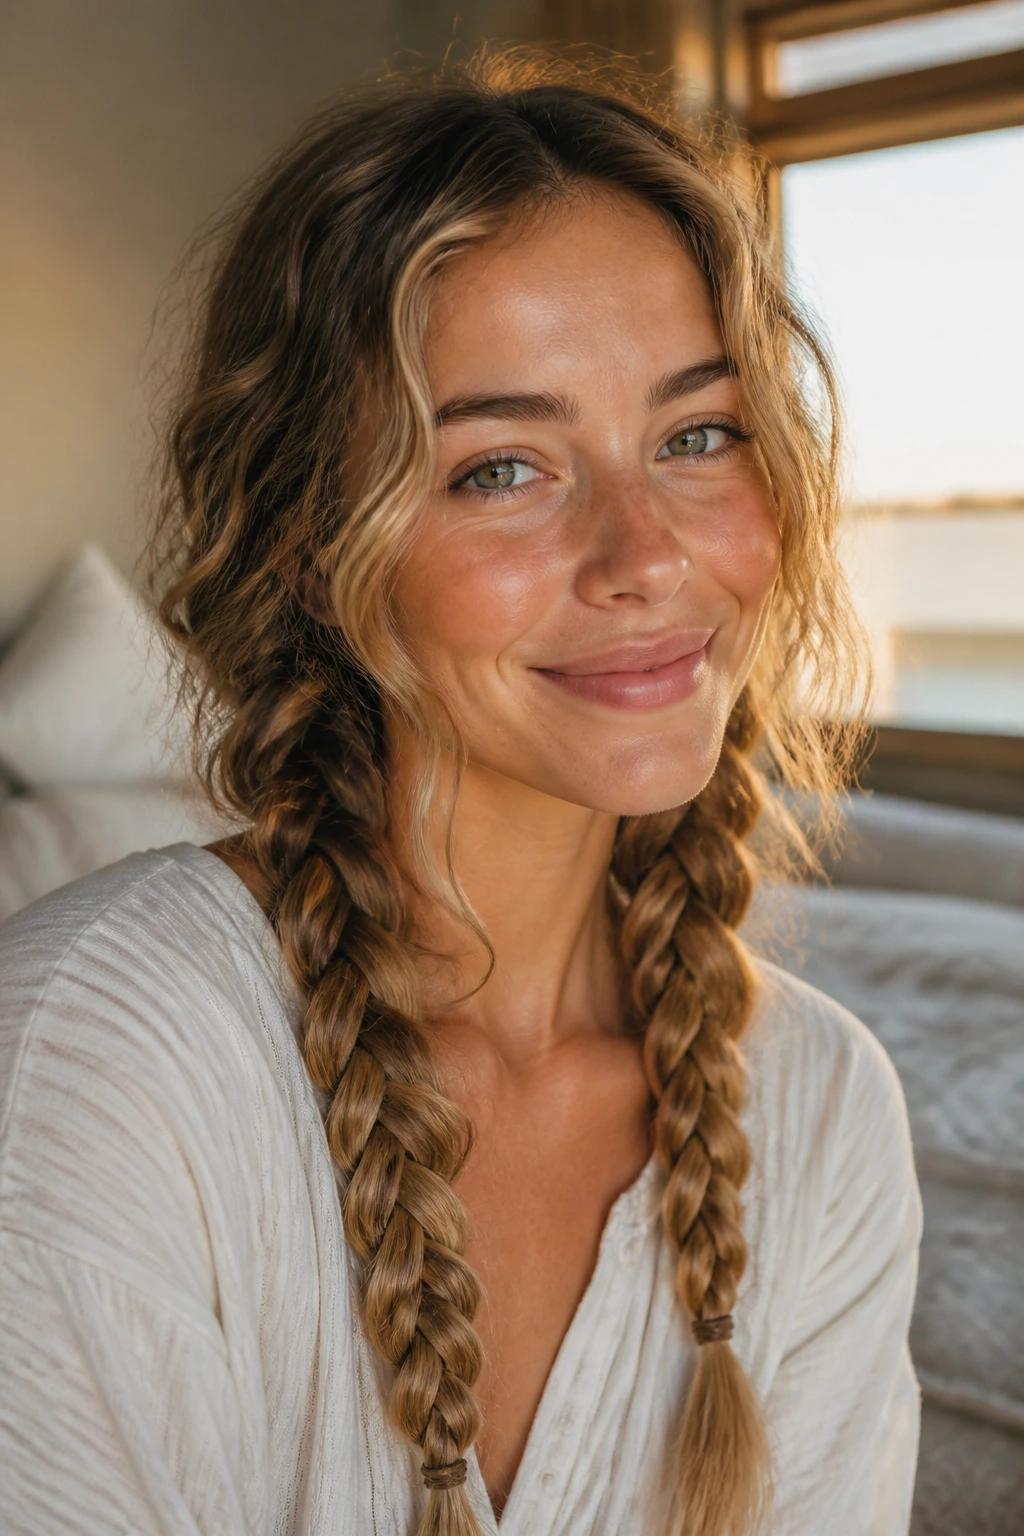
Texture Boost: Mist dry texture spray only from the mid-lengths down, then scrunch the hair once with open hands. That keeps the crown cleaner and stops the top from looking dusty.
Root Lift: Clip the roots at the crown while the hair cools, especially if you have long, heavy lengths. A few minutes of cooling in the clipped shape gives the style a better backbone.
Softness: If the wave looks too gritty, brush only the outer layer from the ears down. The top smooths out, the lower half keeps movement, and the style reads softer without losing texture.
Make-It-Yours: For a more polished version, add a small barrette and a touch of serum to the ends. For a more lived-in look, twist a few face-framing pieces in different directions and leave the part a little imperfect. Tiny changes like that matter more than people think.
Keeping Waves Alive for Three Days
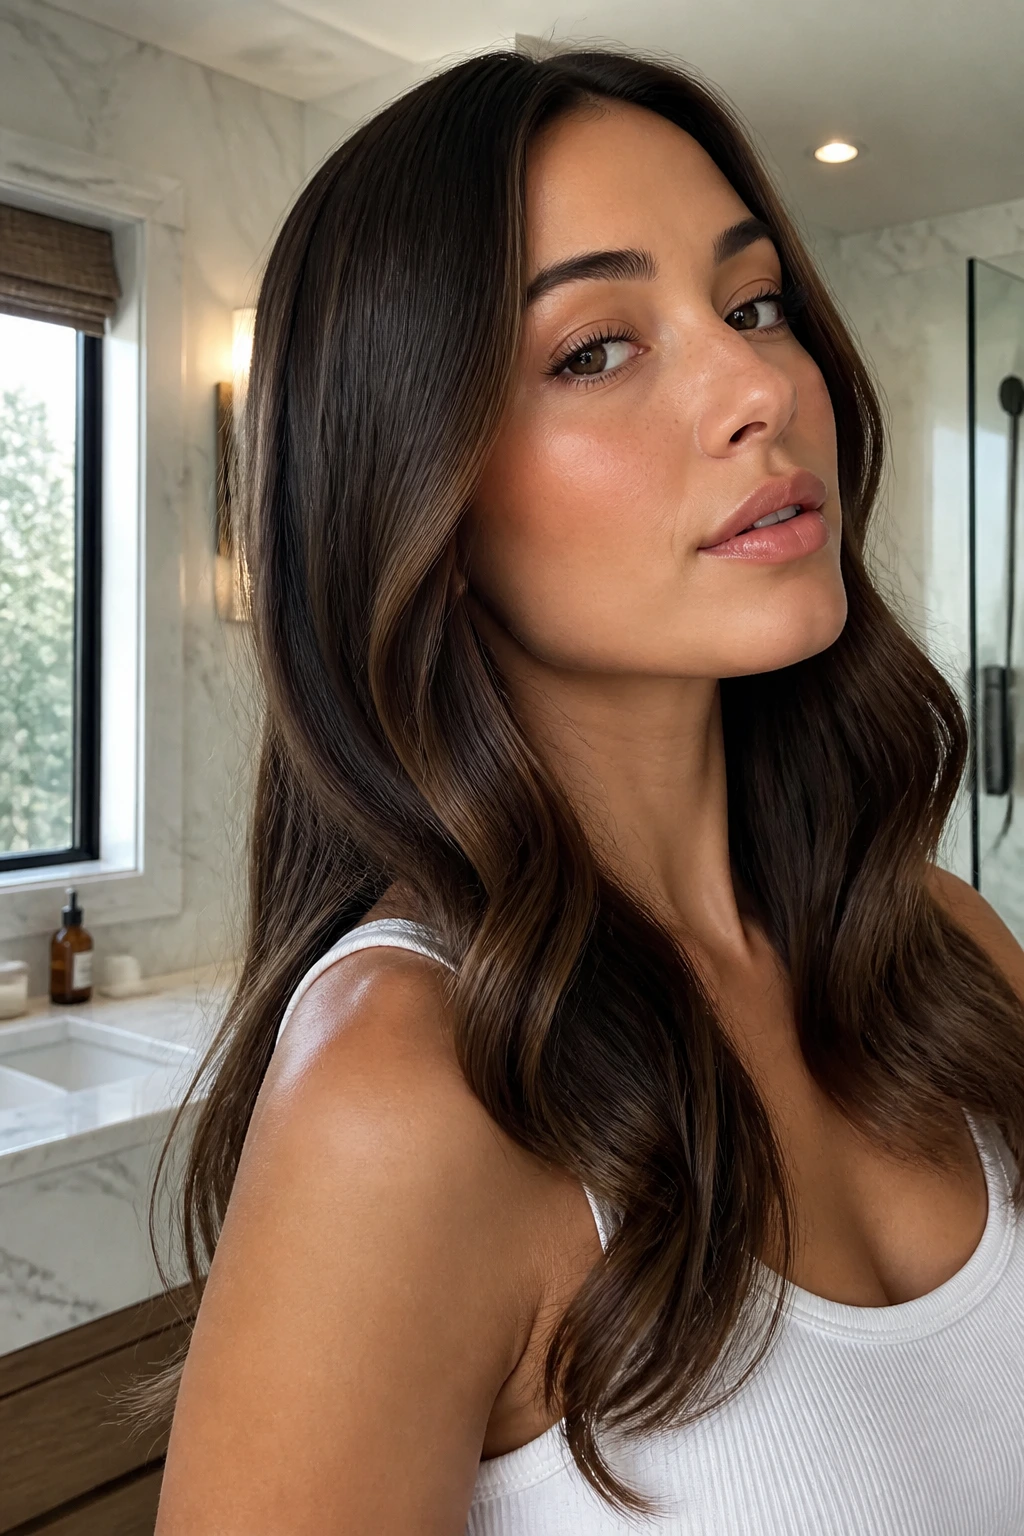
Beach waves on long hair usually look best on day one or day two, but day three can still work if you treat the style like it has a job to do. After styling, let the hair cool completely before you touch it. That part is boring and necessary. Warm hair moves.
At night, loosely braid the lengths or twist them into a soft low tie with a silk scrunchie. A satin or silk pillowcase helps too, mostly because it reduces the weird flattening around the crown. If you sleep on rough cotton and then wonder why the top looks smashed, well, that’s the answer.
On day two, dry shampoo at the roots and a tiny mist of water or refresh spray on the mid-lengths usually bring the bend back. On day three, restyle only the front pieces and any sections that went straight. You don’t need to redo the whole head unless the product buildup is getting obvious. Then wash it out, start again, and keep the conditioning heavier on the ends than the roots.
Variations and Adaptations to Try
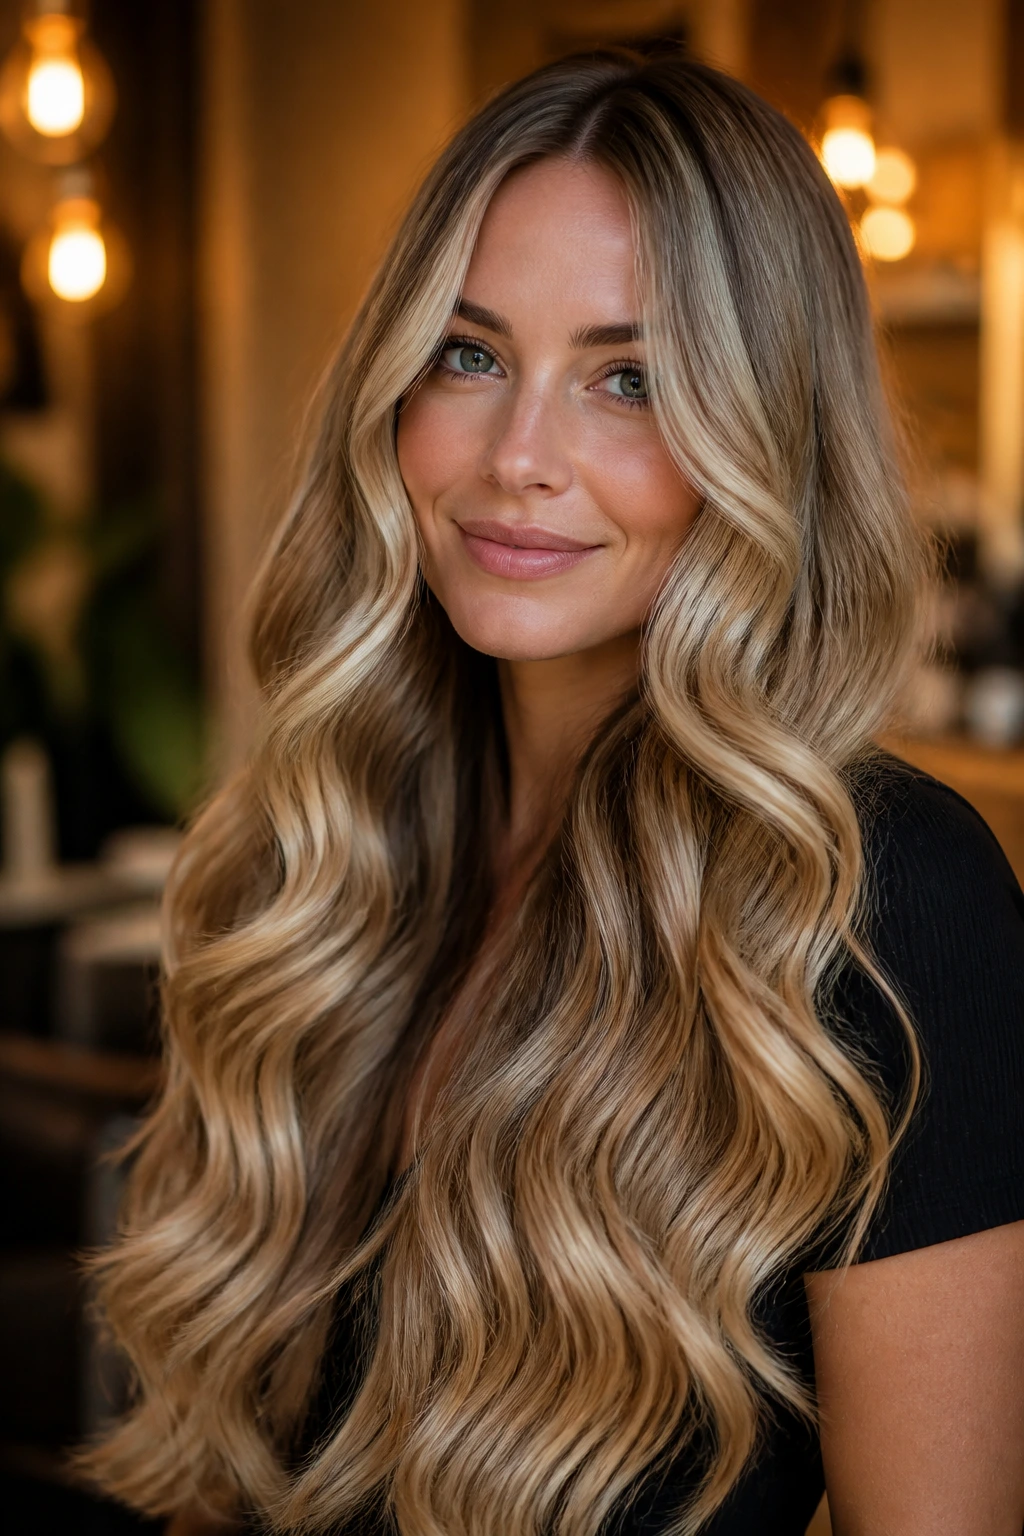
Fine-Hair Lift Kit: Use a foam mousse at the roots, a 1-inch wand, and smaller sections. Fine hair needs grip first, shine second, or the wave vanishes.
Thick-Hair Weightless Version: Stick to thin sections and a smoothing cream before heat. Alternate curl directions so the hair doesn’t form one giant wall of texture.
No-Heat Weekend Waves: Go with loose braids, soft twists, or a low bun on slightly damp hair. It’s slower, but the finish can look more natural than hot-tool waves.
Humidity Shield: Prep with anti-frizz cream, dry the hair fully, and finish with flexible hairspray. Keep the wave lower on the strand so the top doesn’t swell out first.
Crimp-Texture Hybrid: Add a hidden crimp under the top layer for extra hold, then smooth the surface. This works especially well on silky hair that refuses to keep a bend.
Common Mistakes to Avoid
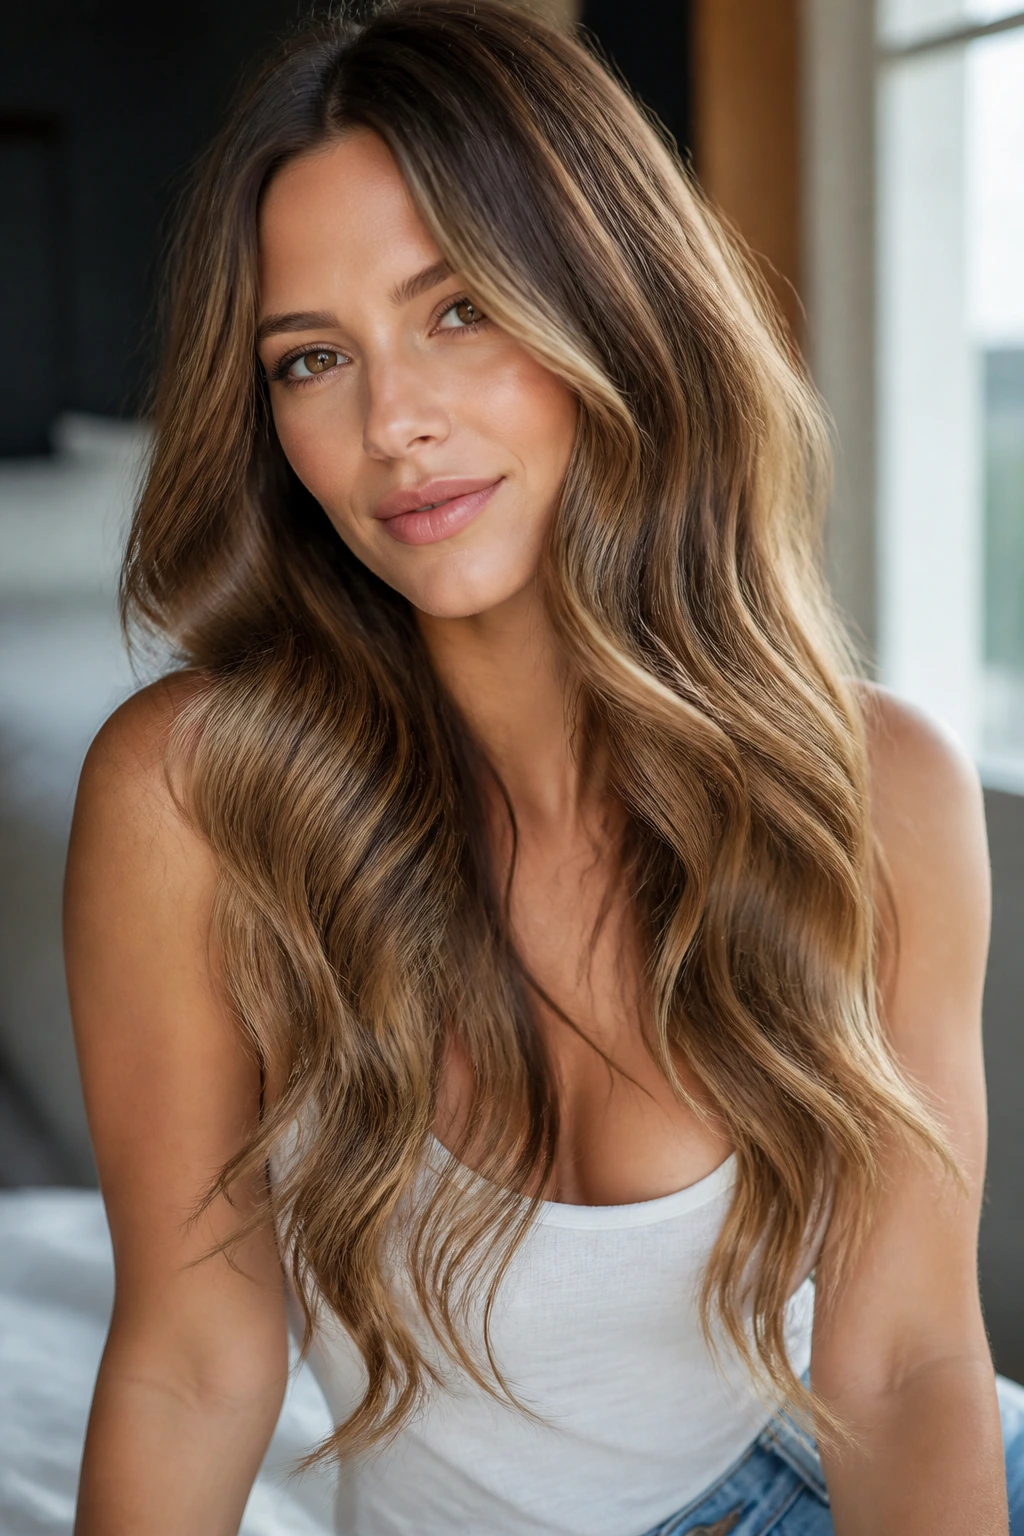
- Starting every wave too high: The hair gets puffy at the crown and loses that soft long-line shape. Start lower and let the wave live around the cheekbone, jaw, or collarbone.
- Using sections that are too wide: The outside looks styled while the inside stays straight. Keep the sections thin enough for heat to reach the middle.
- Brushing before the hair cools: That’s how you turn a wave into a frizzy shrug. Let it set first, then separate it.
- Using too much oil near the roots: Long hair can go flat in a hurry, and extra oil only speeds that up. Save the oil for the ends.
- Curling every piece the same direction: The result looks too neat and can clump together. Mix the direction or alternate sections for a softer finish.
- Ignoring the ends: If the ends are overly curled or overly dry, the whole style feels old-fashioned. Leave them softer or give them a light finish instead.
Frequently Asked Questions
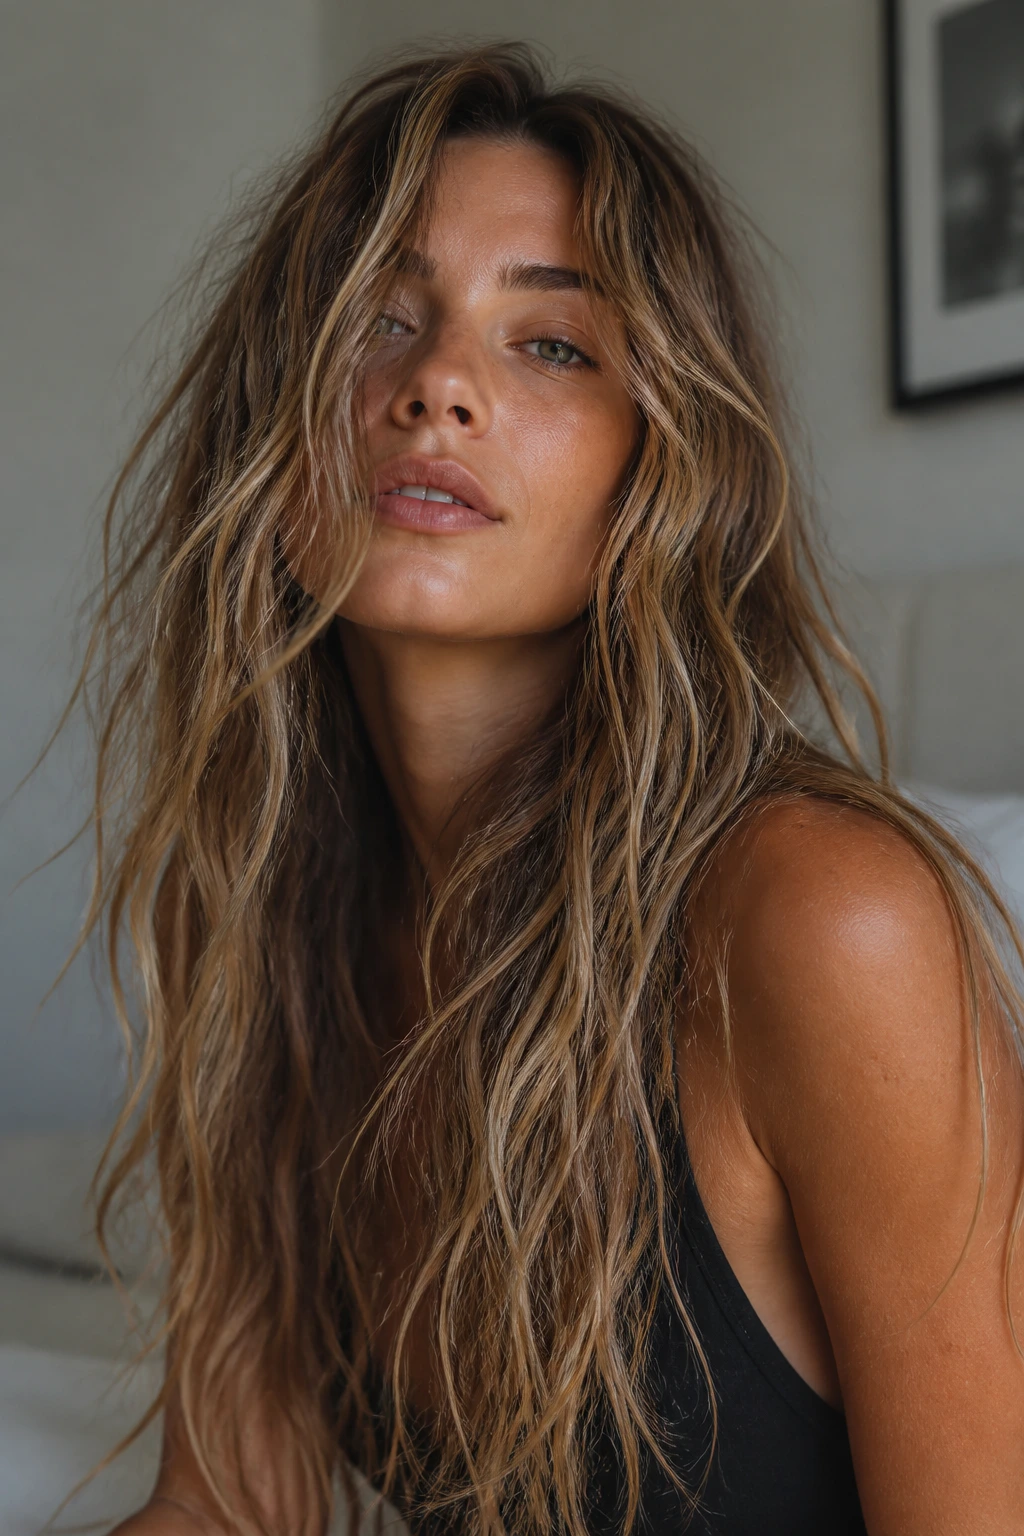
What barrel size works best for long hair?
A 1.25-inch wand or iron is the safest starting point for most long hair because it gives a soft bend without turning the lengths into tight curls. If your hair is very heavy or dense, a 1-inch tool can hold better; if you want a brushed-out glam finish, a 1.5-inch barrel works well.
Can I get beach waves on very straight hair?
Yes, but the prep matters more than the waving itself. Use heat protectant, a light mousse or texture spray, and pin the curls until they cool so the shape has time to set. Straight hair usually needs smaller sections and a little more hold than naturally wavy hair.
Why do my waves fall out so fast on long hair?
Usually because the sections are too big, the waves start too high, or the hair never cooled before you touched it. Long hair weighs itself down, so the pattern needs more structure than short hair does. A clip at the crown and a flexible hairspray help more than piling on product.
Should the ends be curled too?
Not always. Leaving the last inch or two straighter often makes the look feel more modern and keeps long hair from turning into a barrel of ringlets. If the ends are damaged or frayed, a slight bend can smooth them out; if they’re healthy, a straighter finish usually looks better.
Is salt spray enough on its own?
Sometimes, if your hair already has a little natural bend. On very straight or very long hair, salt spray usually needs help from a twist, braid, or heat tool. It adds grit, but it doesn’t create a whole pattern from scratch.
How do I keep beach waves from looking frizzy?
Dry the hair fully before styling, use heat protectant, and keep your hands out of it until it cools. If the hair is already frizz-prone, a smoothing cream underneath and a light anti-humidity spray on top usually work better than extra heat.
Can I do these looks with layered hair?
Yes, and layers often make the texture look better. The trick is to vary the wave a little so the shortest pieces don’t disappear into the rest of the style. Longer layers can take a softer bend; shorter face-framing pieces may need a slightly tighter wrap.
What’s the fastest way to refresh day-two waves?
Mist the mid-lengths lightly with water or a refresh spray, scrunch once, and re-bend only the pieces that flattened out around the face. Most of the style usually needs only a small reset, not a full redo.
Soft Ends, Better Shape
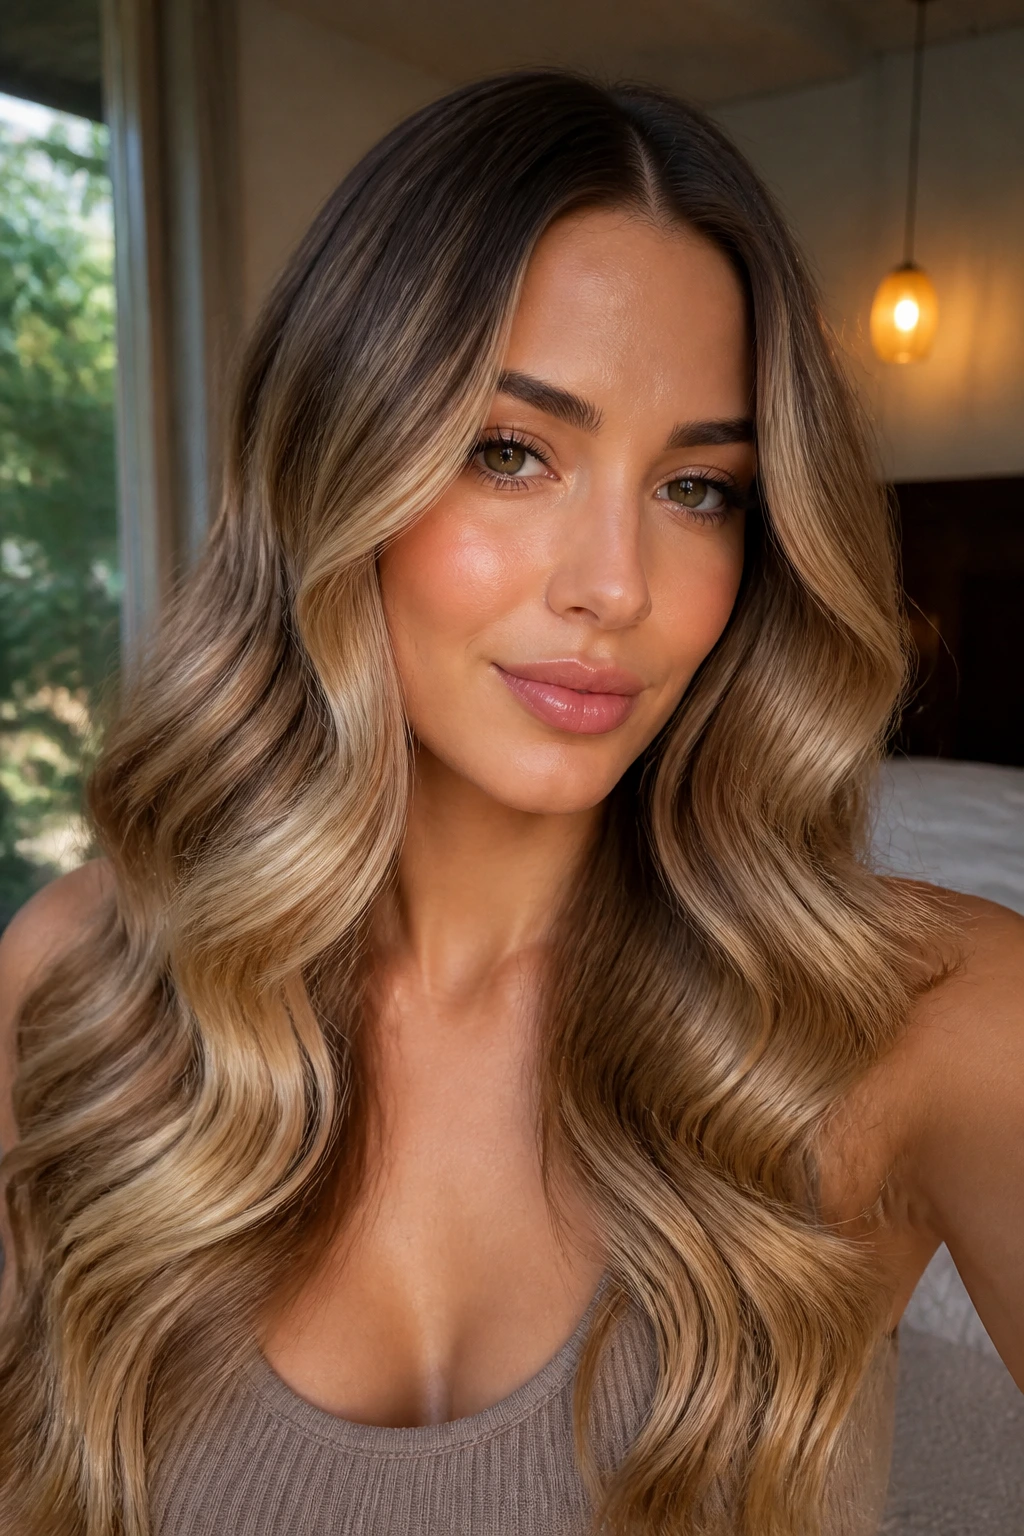
Long hair does not need more curl. It needs better shape. Once the bend starts in the right place, the whole style gets easier to wear, easier to refresh, and a lot less fussy than the old habit of wrapping every inch of hair around a barrel and hoping for the best.
The looks that last usually have one thing in common: they respect the weight of the length. Sometimes that means a lower wave. Sometimes it means a cleaner root. Sometimes it means leaving the ends alone and trusting the hair to move on its own.
Pick one version, try it with the tools you already own, and pay attention to where the shape starts to fall apart. That spot tells you more than any trend ever will.
