



Curly hair already knows how to bend; beach waves are mostly about deciding how much of that bend to keep, how much to stretch, and where to let the frizz live. The sweet spot is not flat, not stiff, and not polished to the point of looking rehearsed. It’s that soft, piecey texture that moves when you turn your head and still holds its shape by lunch.
That balance matters because curly hair can go one of two ways fast: too much cream and it collapses into a heavy curtain, too much salt spray and the ends feel dry and wiry. The best beach wave looks for curly hair respect the pattern that’s already there. They nudge it. They don’t bully it.
What makes this fun is that the same curl head can wear a dozen different wave moods. Loose 2C bends need one kind of touch. Tight 3C spirals need another. Short crops, lobs, long layers, curtain bangs, humid days, dry days — all of them can work if you choose the right amount of hold and the right amount of separation. Some looks here lean glossy, some lean messy, and a few are basically strategic chaos with better lighting.
Why These Curly Beach Wave Looks Keep Working
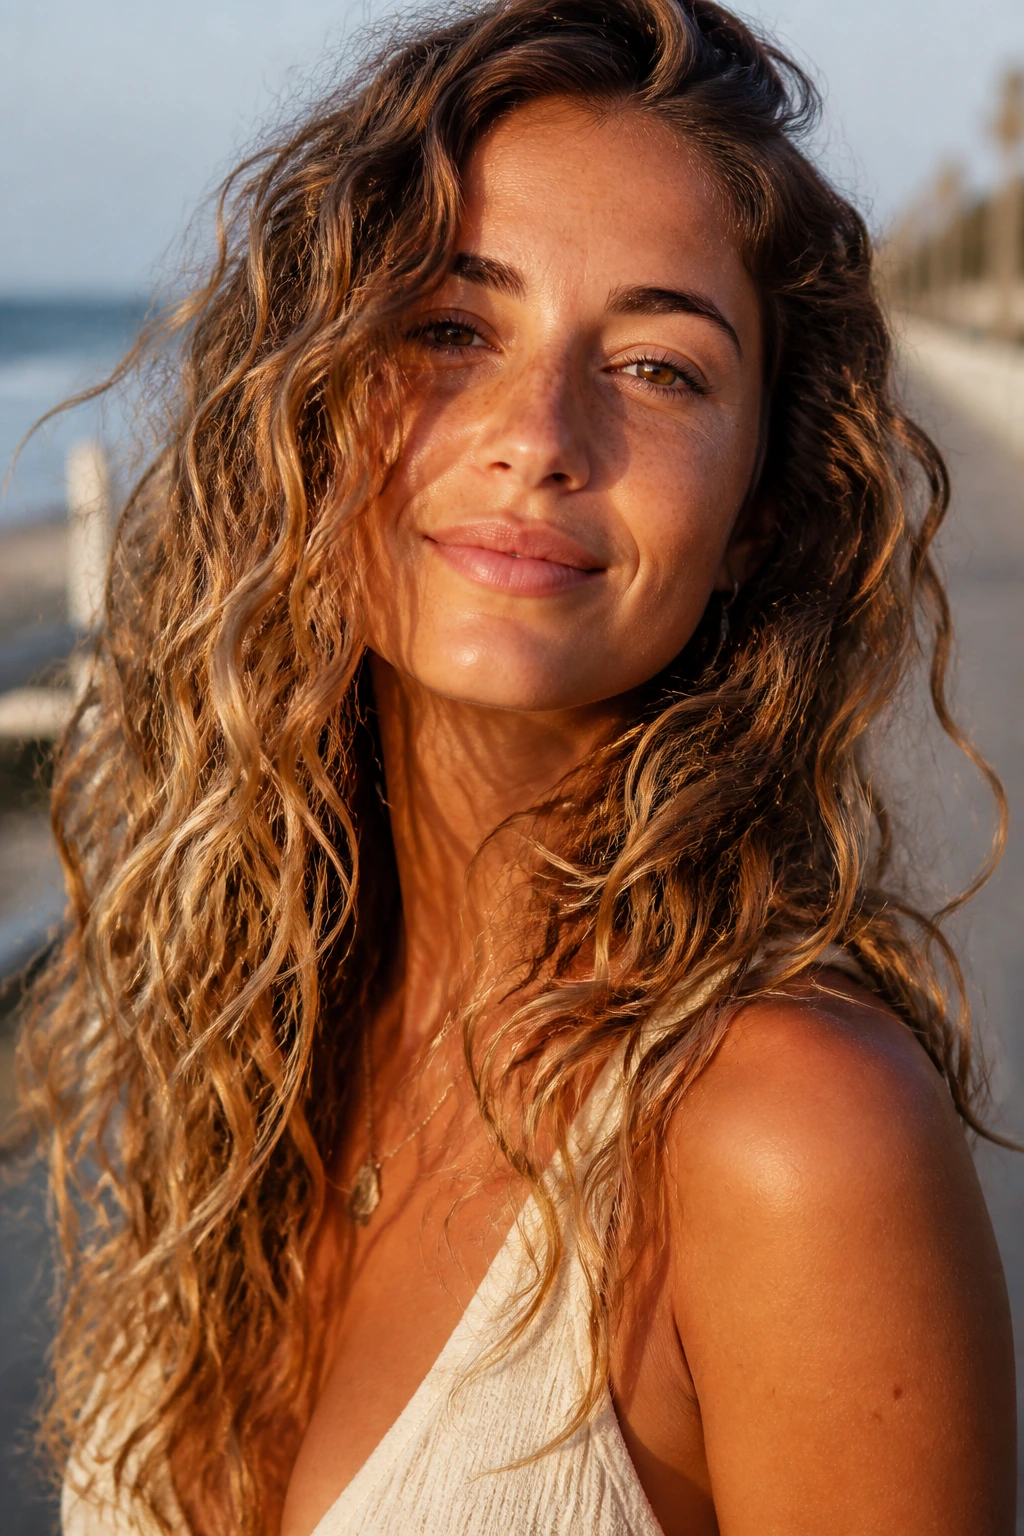
- Built for real curl patterns: These looks start from the bend you already have, so you’re shaping texture instead of forcing a straight-haired version onto curly hair.
- Heat is optional, not mandatory: Braids, twists, clips, and diffusing show up beside wand-set styles, which gives you a heat-light and heat-free mix.
- There’s a version for every length: Pixies, bobs, lobs, layers, and long curls all get their own lane, which keeps the list from feeling like it was written for one hair type only.
- Day-two hair gets a job: Several of these styles look better after the cast softens or the crown settles a little, which is exactly where curly hair usually lives anyway.
- Frizz is handled like texture: A few flyaways are not a failure here; they’re part of the finish, as long as the shape stays controlled.
- Easy to tune up or down: You can push these looks toward polished, undone, soft, or gritty without changing the whole method.
1. Soft Scrunch-and-Go Waves
This is the most forgiving version of the bunch, and on curly hair it often looks better than the styles that take twice as long. The trick is to leave the curl clumps alone until they’re about 70% dry, then scrunch out the extra stiffness with clean hands. If you keep touching the crown while it dries, the whole shape turns fuzzy fast.
Why It Works on Curly Hair
A little leave-in and a little mousse are enough for most 2C to 3B textures. The product gives the curl something to hold onto, and the scrunch keeps the wave from drying into one giant puffball. Air-dry if you have time, or diffuse on low heat for 5 to 10 minutes just to set the top layer.
- Best on medium-length curls that want movement without a lot of work.
- Works well when you need the ends softer than the roots.
- Keep the sections chunky, not tiny; tiny sections make the result too ringlet-heavy.
Best tip: stop scrunching once the cast is set. After that, you’re just breaking the shape.
2. Diffused Salt-Spray Waves
Want a little grit without straw-like ends? This is the version that gives you that slightly windswept, slightly piecey look, especially if your curls are loose enough to stretch. The key is not spraying everything until it feels crunchy. One or two light passes at the mid-lengths and ends are enough.
What Makes It Different
Salt spray on curly hair can work, but only when it’s treated like seasoning, not sauce. Mist it, don’t soak it. Then diffuse with your head upright so the root pattern stays lifted instead of collapsing into the scalp.
- Best for 2C, 3A, and fine 3B hair.
- Use it after leave-in, not before, or the texture can feel dry.
- If your hair is porous, follow with a pea-size bit of oil on the very ends.
How to wear it: let the top stay a little soft and the ends look chunkier. That contrast is the point.
3. Half-Up Clipped Beach Waves
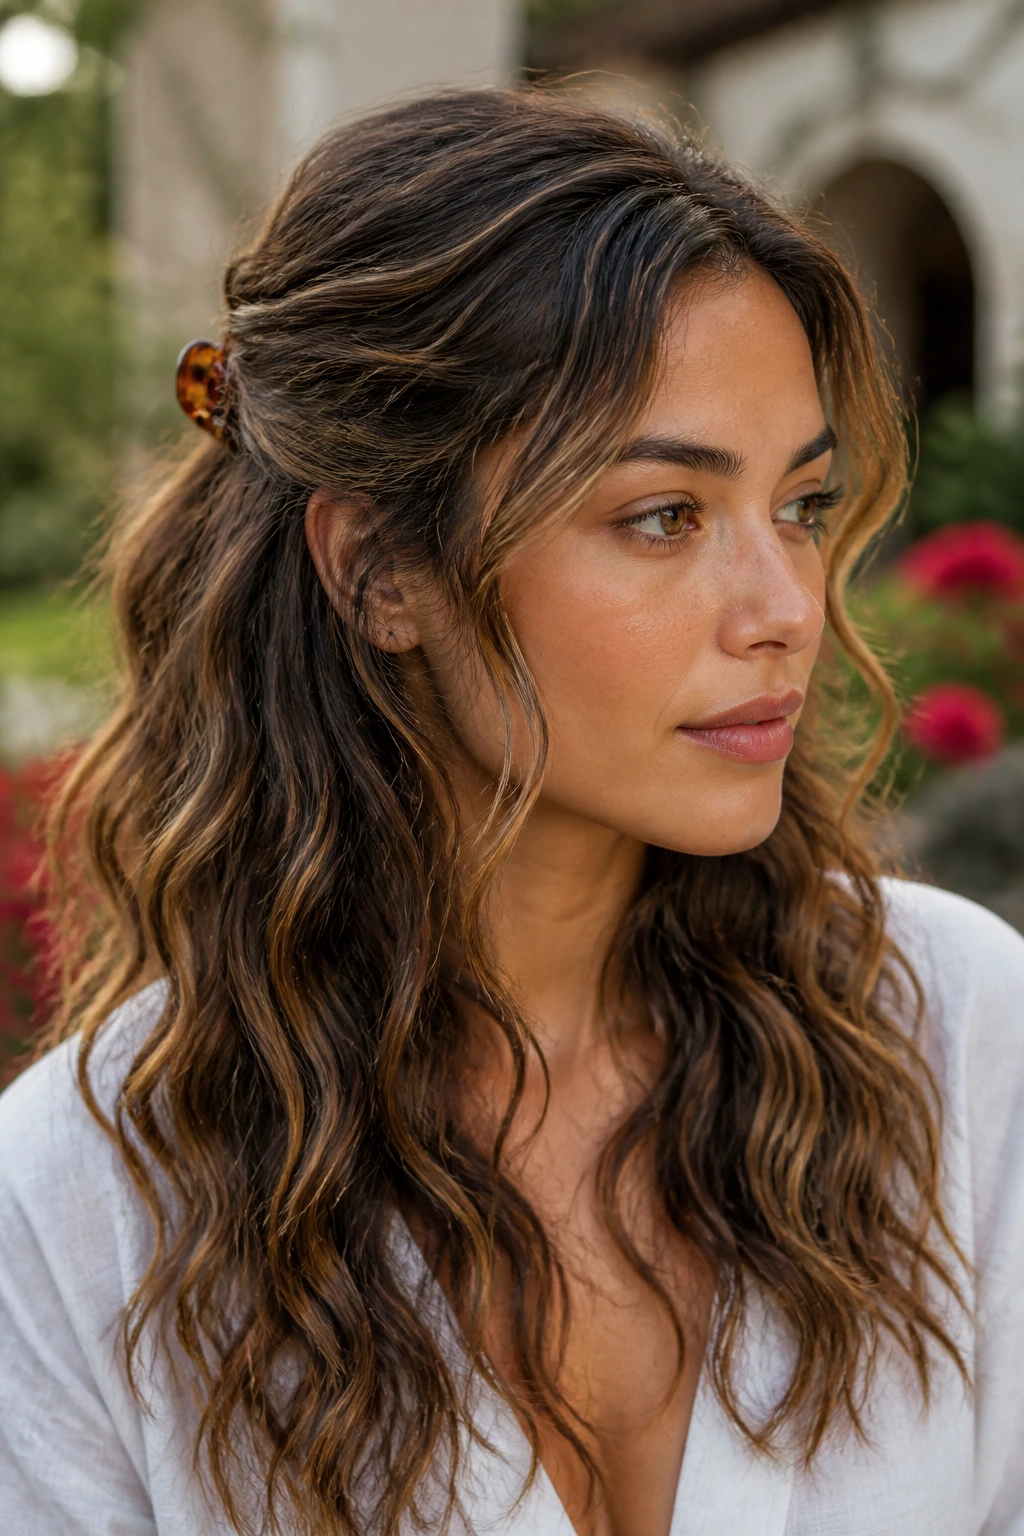
A half-up clip changes the whole mood of curly beach waves. It pulls the face frame back, gives the crown a little breathing room, and lets the lengths do the interesting part. On humid days, this is also one of the easiest ways to keep the style from puffing up into a triangle.
The best version uses a small claw clip or two metal barrettes set just above the ears. Keep the top section loose enough that you don’t flatten the wave pattern. If the front curls are too tight, twist them once before clipping so the shape falls softer around the cheekbones.
4. Deep Side-Part Surf Waves
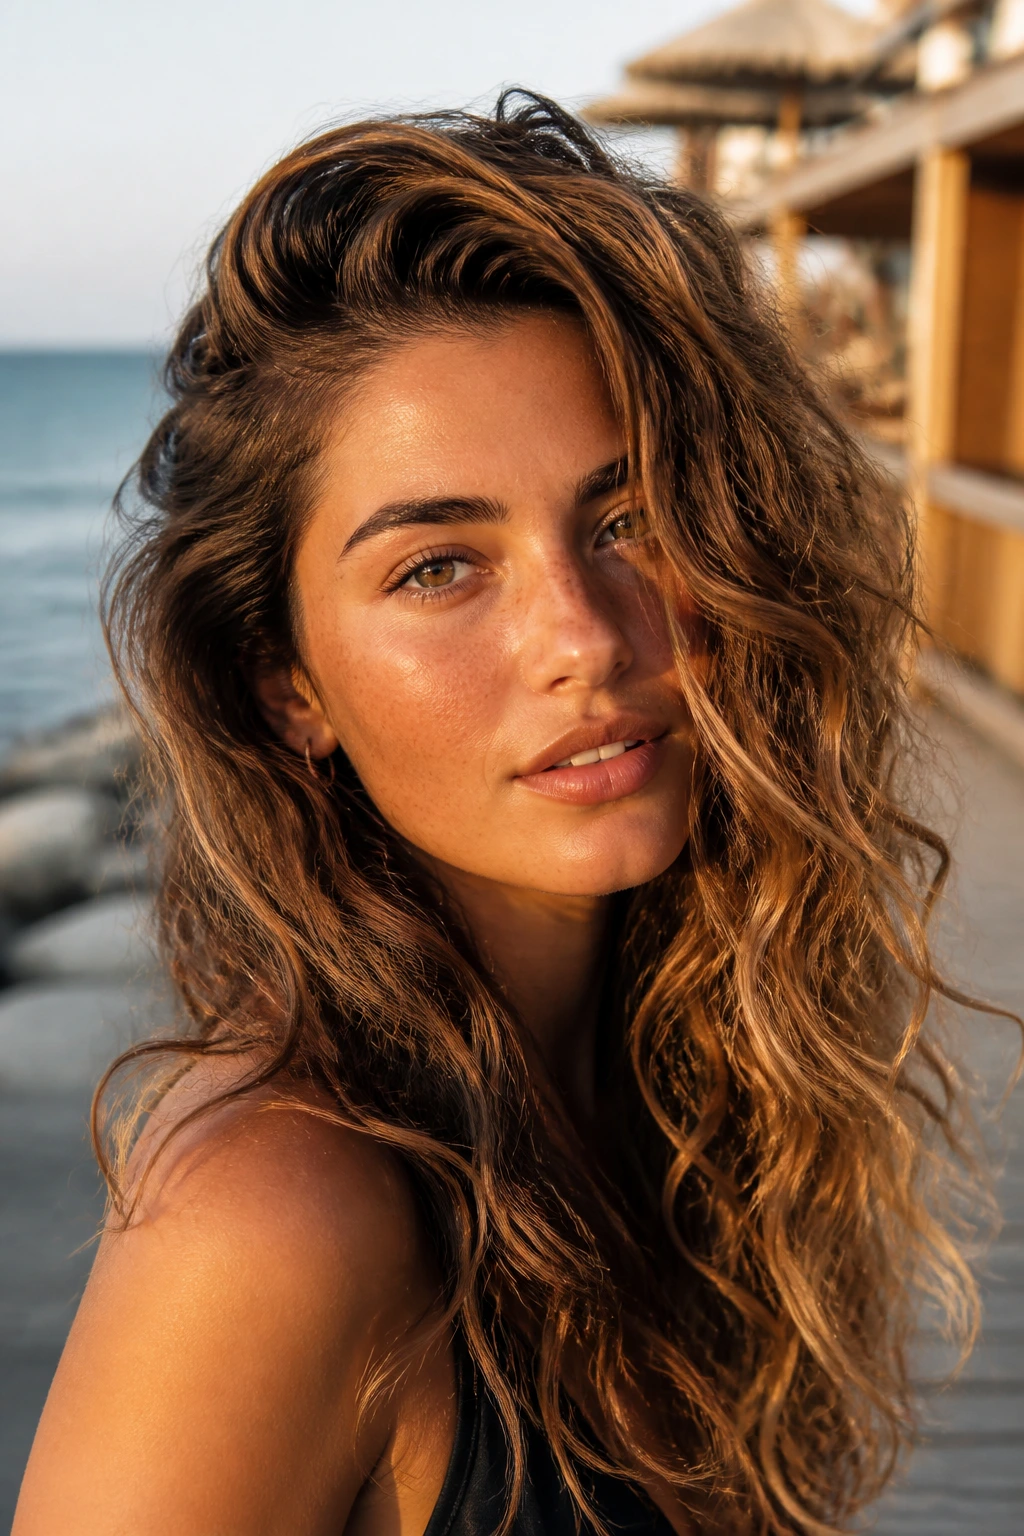
A deep side part is not old-fashioned here. It gives curly hair a stronger direction, which makes the wave pattern look more deliberate and less accidental. The result is a long sweep over one side and more lift on the other, which is a useful trick if the crown tends to lie flat.
Why It flatters Curly Hair
The side part breaks up symmetry, and symmetry is where curly hair often starts to look bulky. Set the part while the hair is still damp, then clip the heavier side at the root for 10 to 15 minutes. That little pause matters. It trains the hair to fall where you want it instead of where gravity prefers.
5. Face-Framing Ribbon Waves
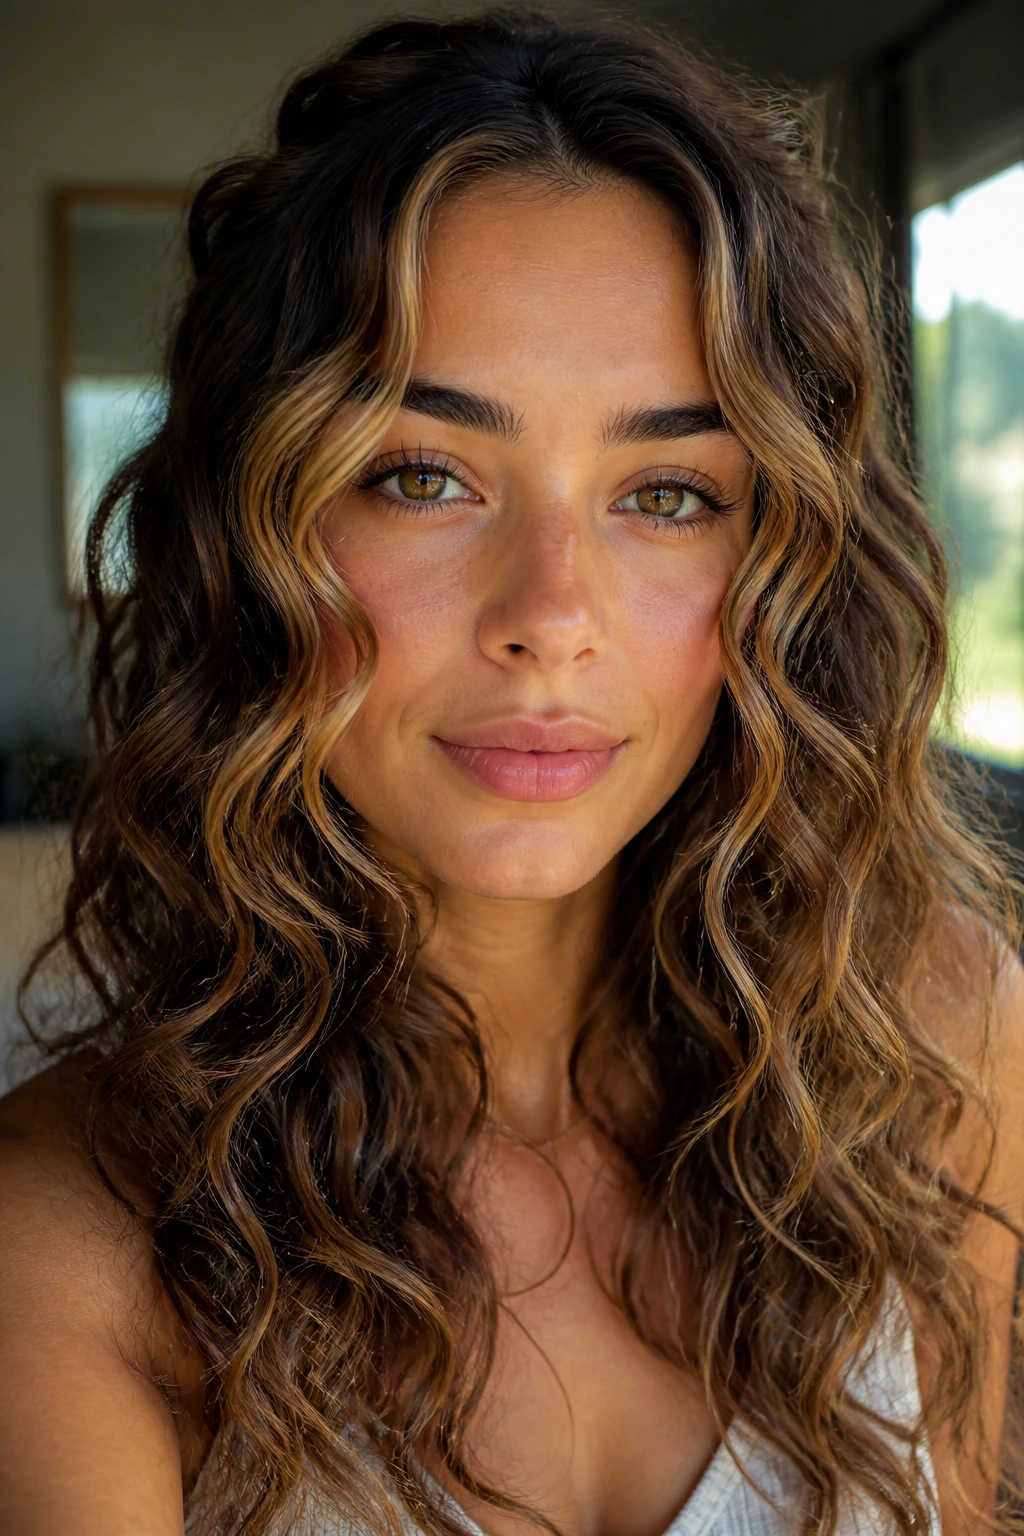
The front pieces matter most. They’re the first thing people see, and on curly hair they can turn a decent style into one that actually looks styled. Ribbon waves are those soft front strands that bend away from the face in loose, smooth curves instead of tight spirals.
If your curl pattern near the hairline is stubborn, wrap just the front 1-inch sections around a wand or finger-coil them while damp. Leave the rest alone. That keeps the style from looking overworked, which is the mistake a lot of people make with curly beach waves.
6. Glossy Wet-Look Waves
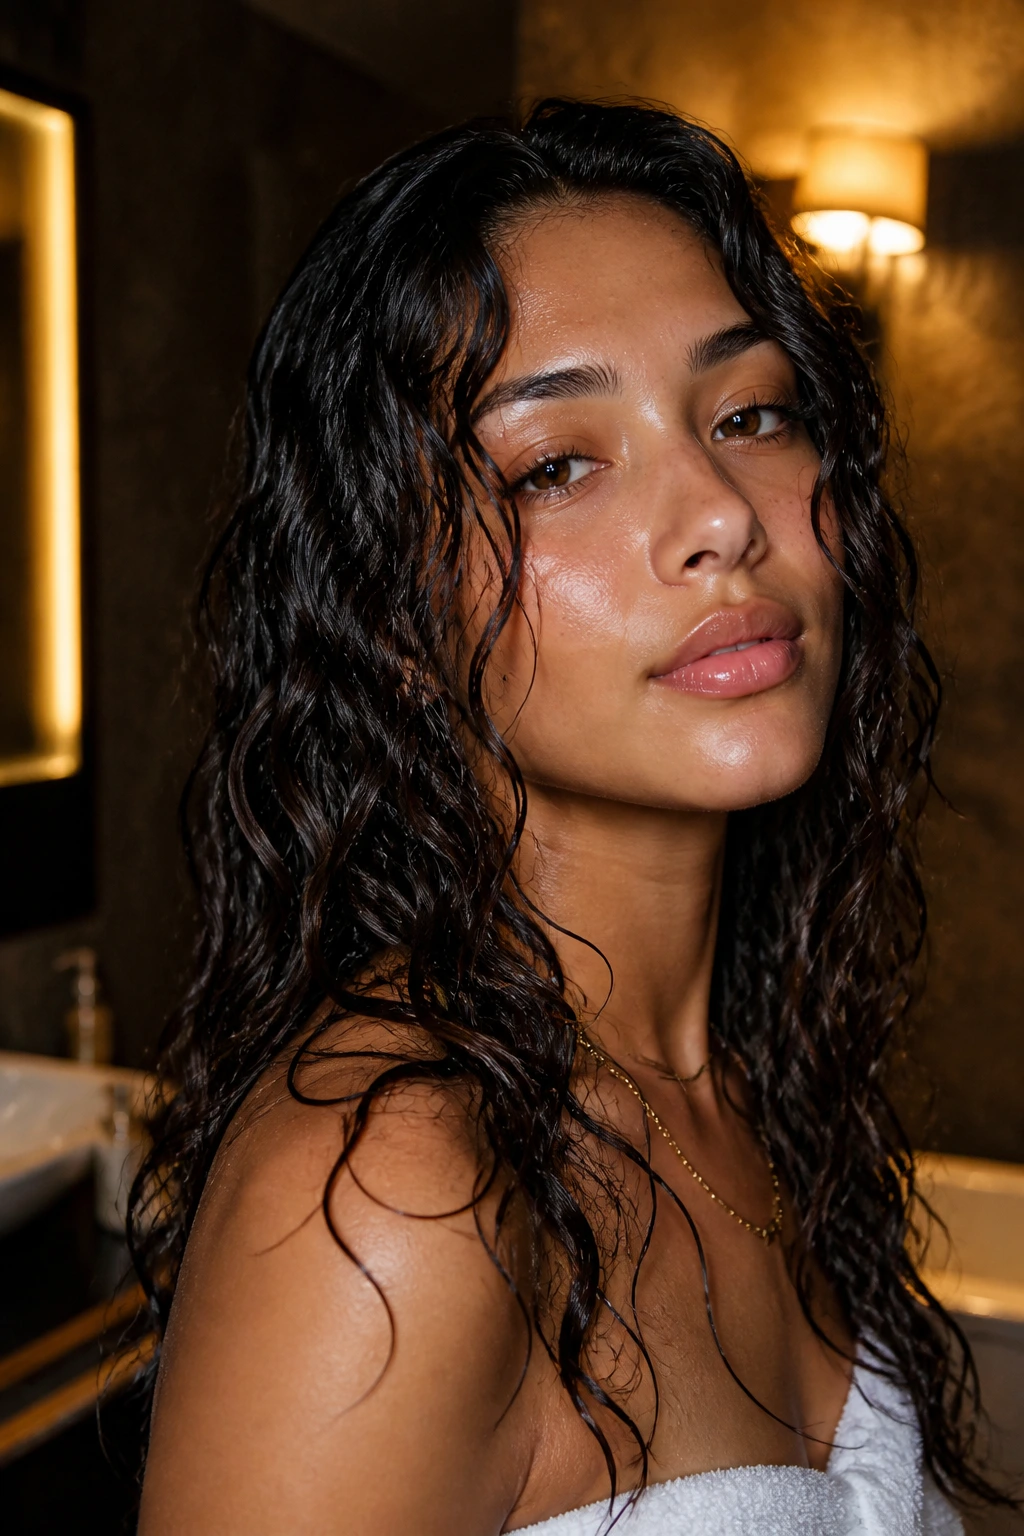
Wet-look waves on curly hair can look polished, not greasy, if you stop before the shine turns oily. This style is all about strong definition, a damp-looking finish, and a cast that stays visible for a while. It works especially well at night or any time you want the texture to look intentional from six feet away.
The Difference Is in the Product Load
Use gel first, then a tiny amount of shine serum once the hair is mostly dry. Not before. The gel creates the shape; the serum smooths the outer layer. If you reverse that order, the style can slip around and lose its edges.
- Best for 3A to 3C curls that like strong hold.
- Keep the parts clean and the sections smooth.
- Do not rake through this style once it starts setting.
Pro move: scrunch only the ends after the cast is dry, leaving the crown sleek.
7. Crown-Volume Tousled Waves
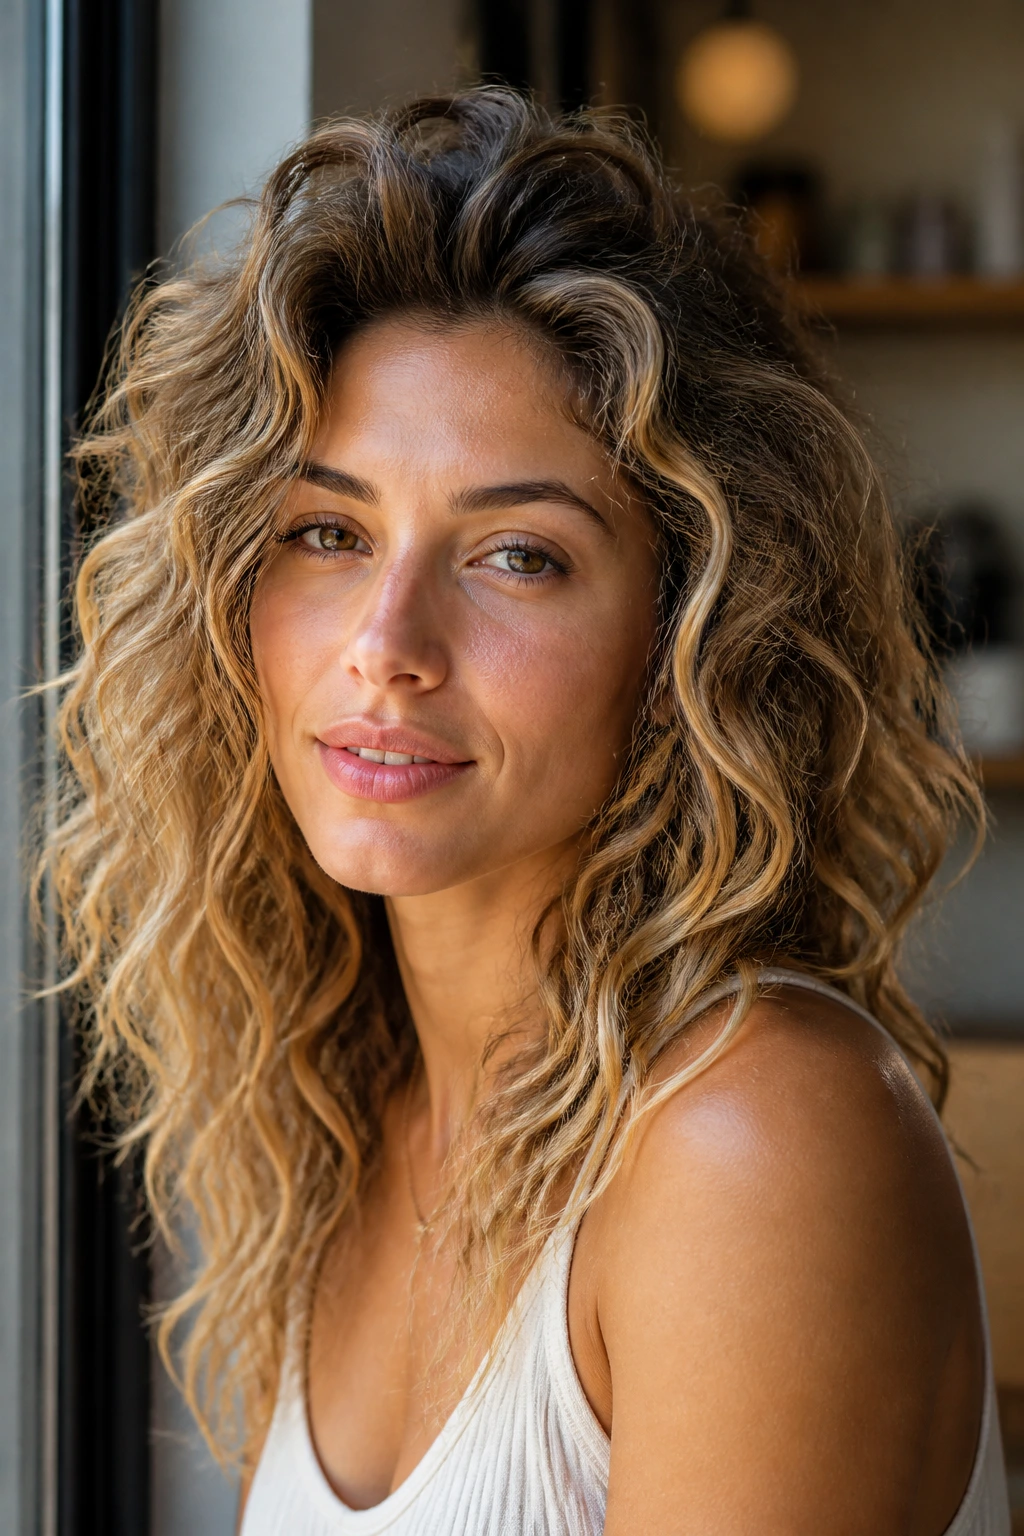
Why does crown volume matter so much? Because curly hair can flatten at the top while the lengths stay lively, and that mismatch makes the whole style look unfinished. Crown-volume waves fix that by lifting the root area with clips or a diffuser, then leaving the ends a little softer.
I like this look when the hair has some body but not enough control on its own. Clip the roots at the crown in four small sections, then remove the clips once the hair cools. You get lift without teasing, and the wave pattern stays round instead of boxy.
8. Overnight Braided Beach Waves
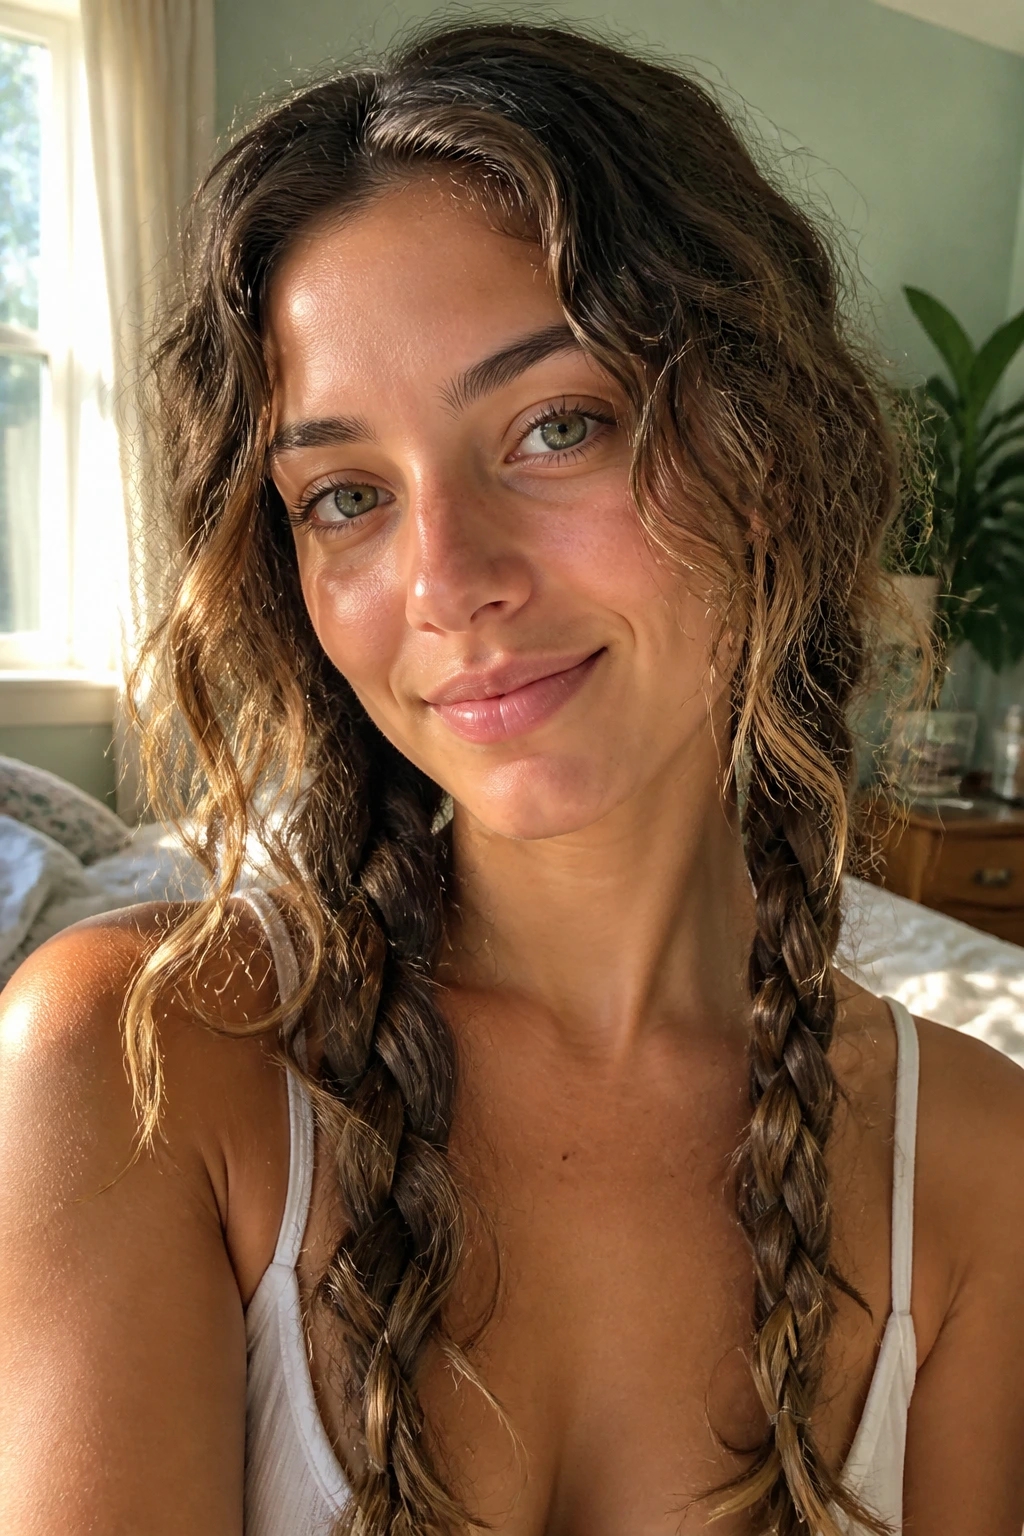
Overnight braids are the style you make when you want to wake up with texture and no heat. On curly hair, loose braids soften the curl into a broader wave, especially if your pattern leans 2C to 3A. Tight braids will give you a more crimped result, which is fine if you want that.
Two loose braids are usually enough. Put them in when the hair is about 80% dry and seal the ends with a soft scrunchie. If you braid soaking hair, the pattern can stay damp too long and get flat at the roots.
9. Rope-Twist Texture Waves
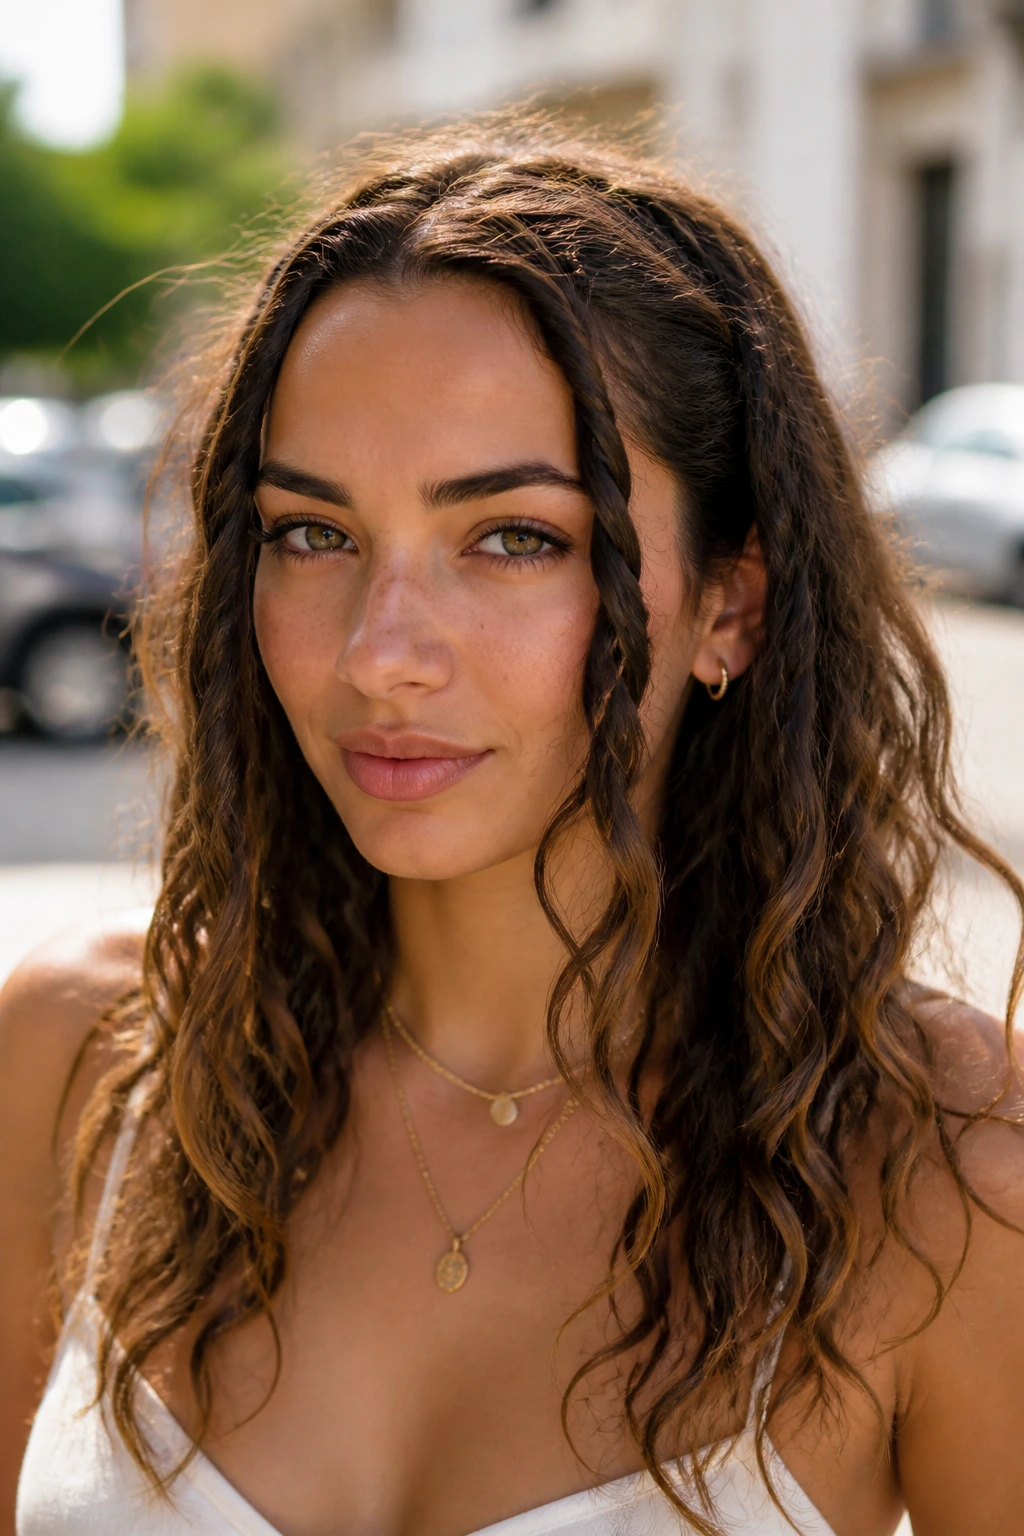
Rope twists give a cleaner bend than braids do. They’re good when you want visible texture but not a lot of little zigzags running through the lengths. Twist two front sections away from the face, let the rest dry, and then shake them out with your fingers.
This method works especially well on medium-length curly hair that wants definition near the cheeks. It can also tame layers that otherwise spring in too many directions. If you like some structure but don’t want a curl set that feels rigid, rope twists hit a nice middle ground.
10. Curly Lob Beach Waves
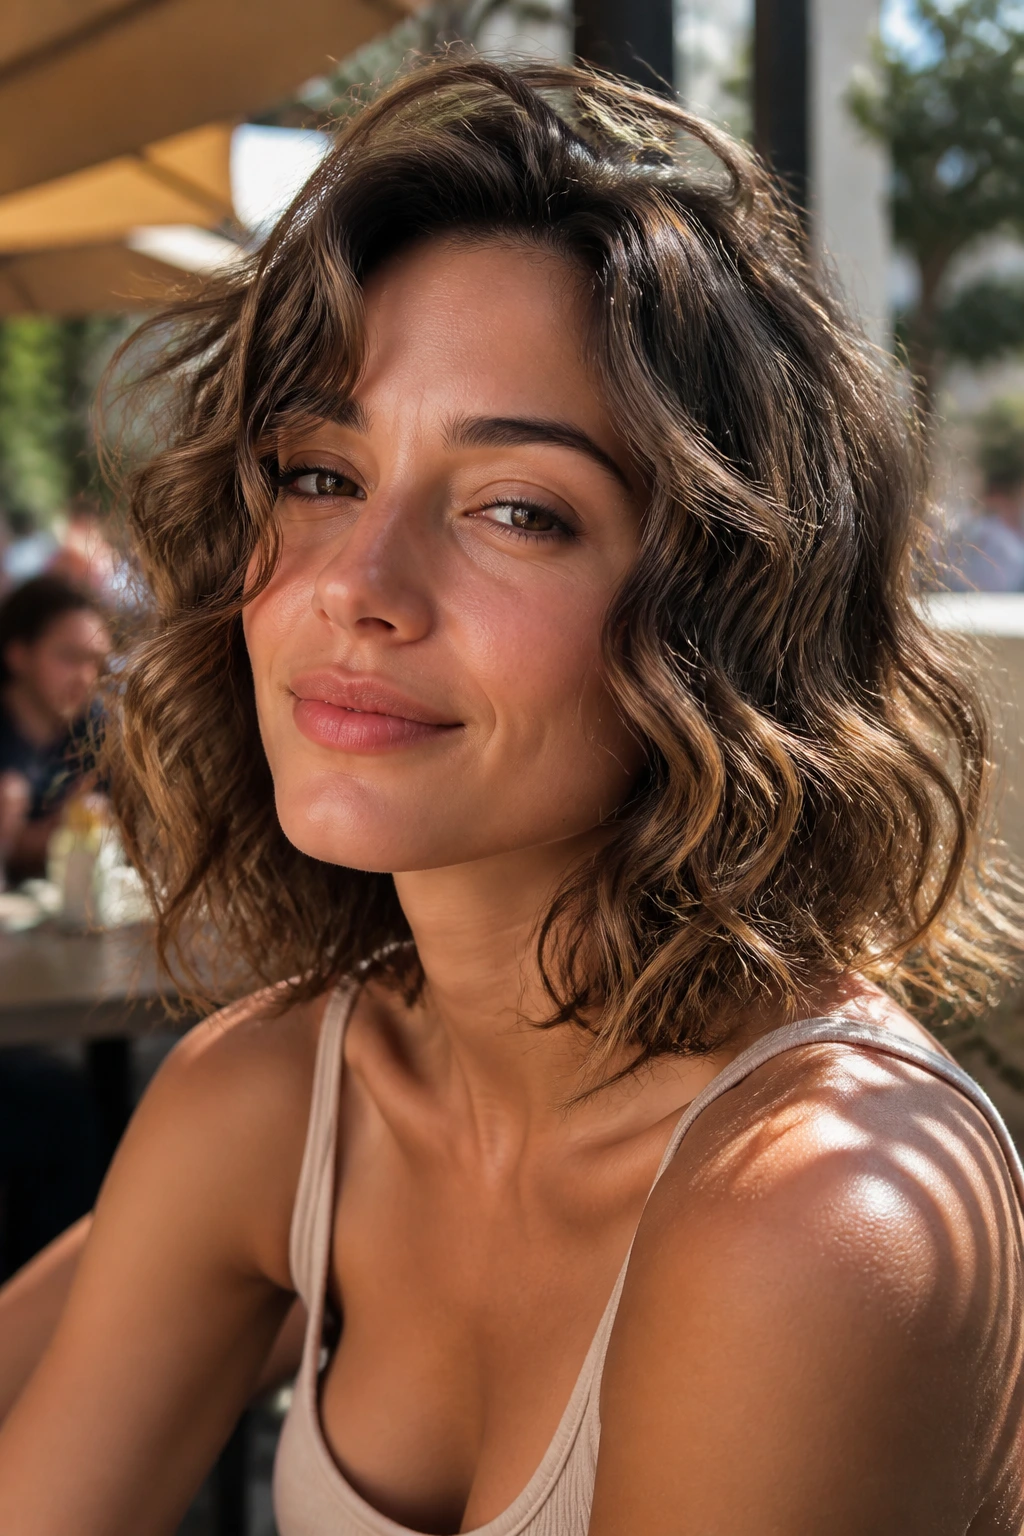
A curly lob gives beach waves somewhere to land. The collarbone length keeps the shape from getting too wide, and the ends stay visible enough to show the wave pattern. On curly hair, that length also makes day-two styling easier because you don’t have as much hair to reset.
The best lob wave shape has a little bend at the cheekbone and soft movement at the ends. A single pass with a wand on the outer layer can help, but only if the underneath texture is already soft and dry. Otherwise, the style gets too shiny on top and too dry underneath.
11. Shaggy Layered Wave Cut
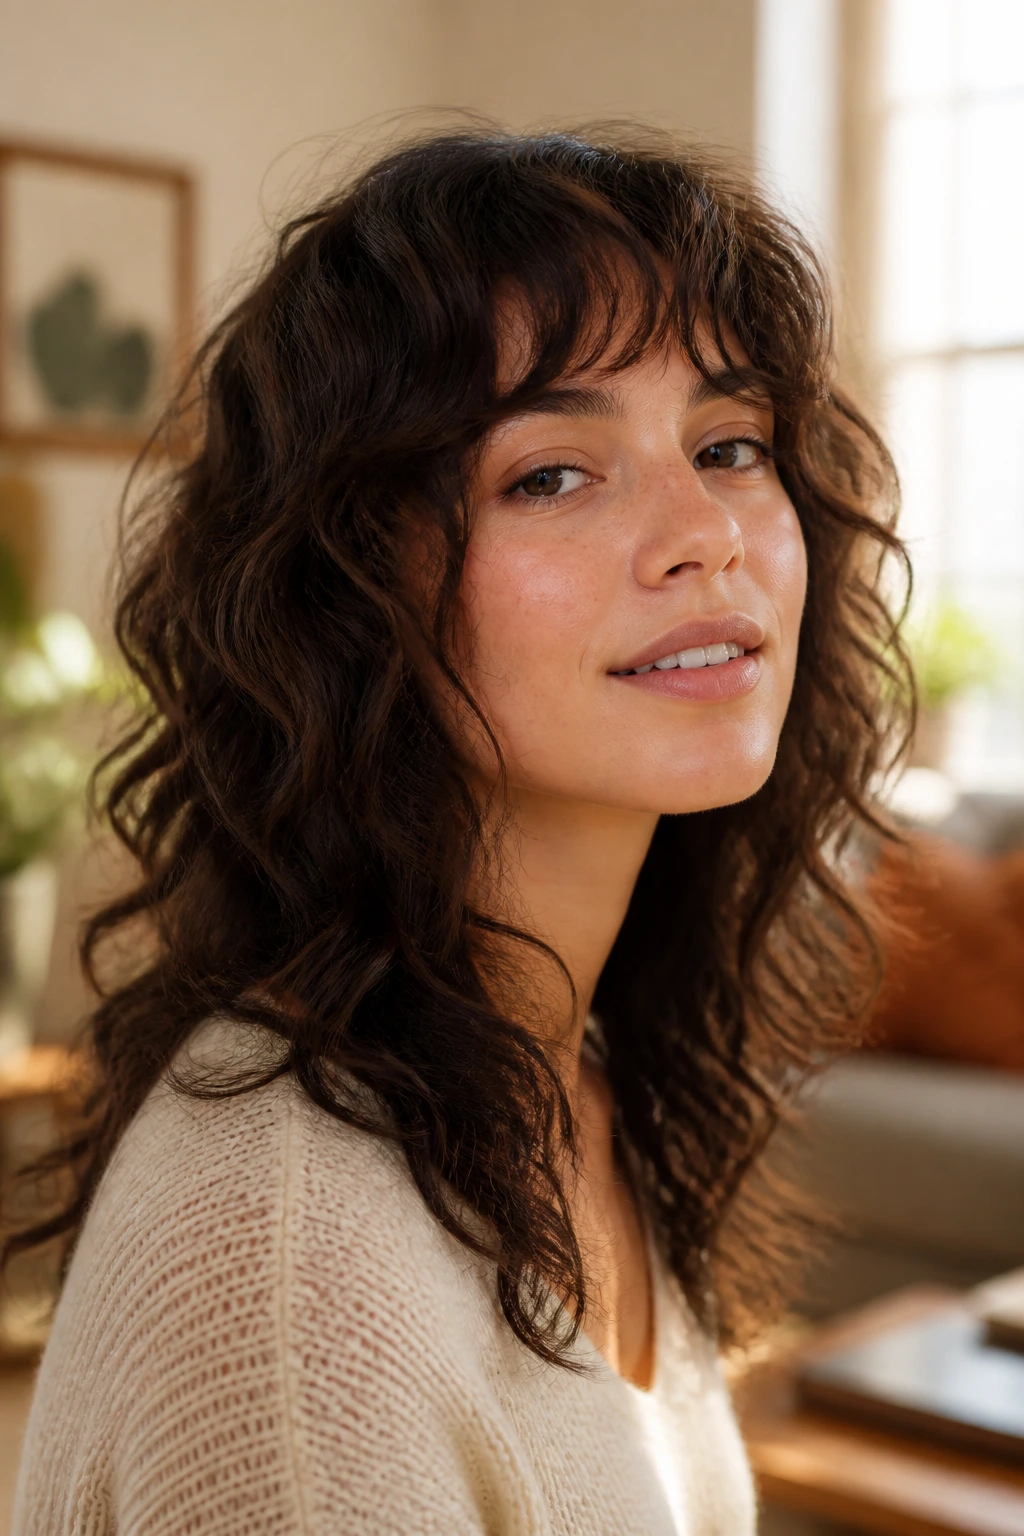
Shag layers do half the work for you. That’s the blunt truth. A shaggy cut breaks up curly density, so the wave pattern falls in loose pieces instead of forming one heavy curtain.
Why Layers Help Here
Layers let the curls stack in a staggered way, which creates movement from root to tip. If your hair gets bulky fast, this cut can make beach waves look lighter without changing your natural texture. Ask for soft internal layers, not chopped-up ends that stick out in weird places.
- Best for thick curls that need shape removal.
- Diffuse upside down for the first 5 minutes.
- A little mousse at the roots makes the layers separate better.
12. Airy Pixie Texture Waves
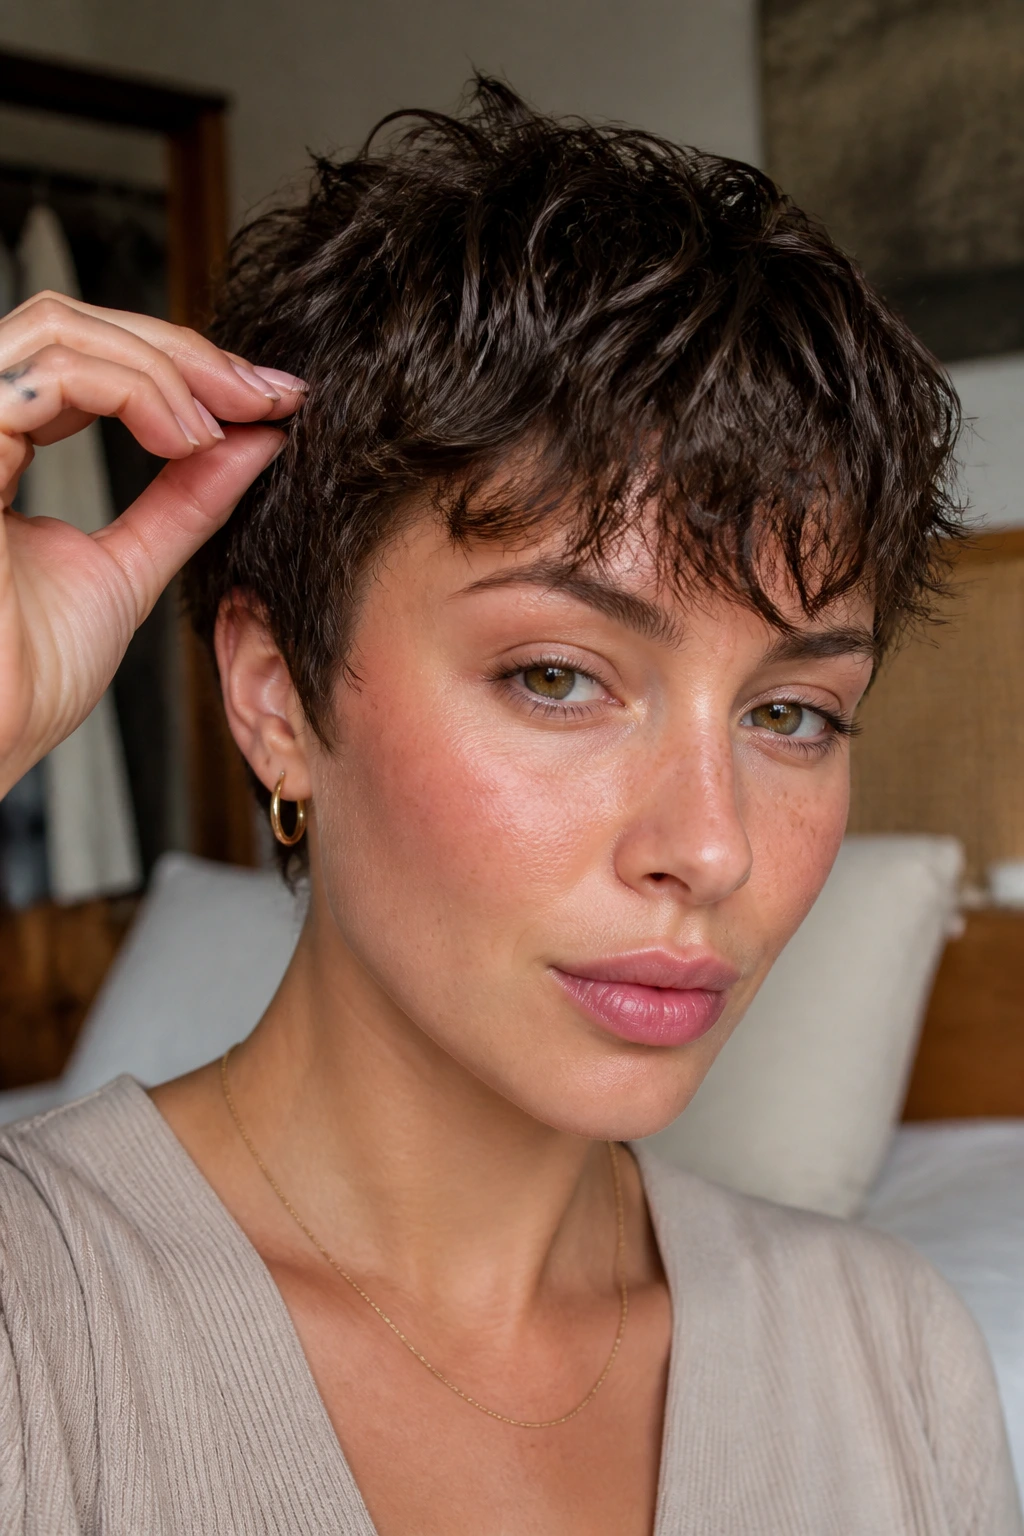
A pixie cut can still read beachy if you stop chasing perfect curl separation. The goal here is not long-wave drama; it’s soft, airy texture through the top and fringe. Use a light cream or paste, then pinch the pieces into place while they’re damp.
The best pixie wave looks are a little imperfect around the temples and crown. That messiness keeps the cut from feeling too neat. If the hair is fine, skip heavy oils completely. They flatten the short layers fast.
13. Headband Push-Back Waves
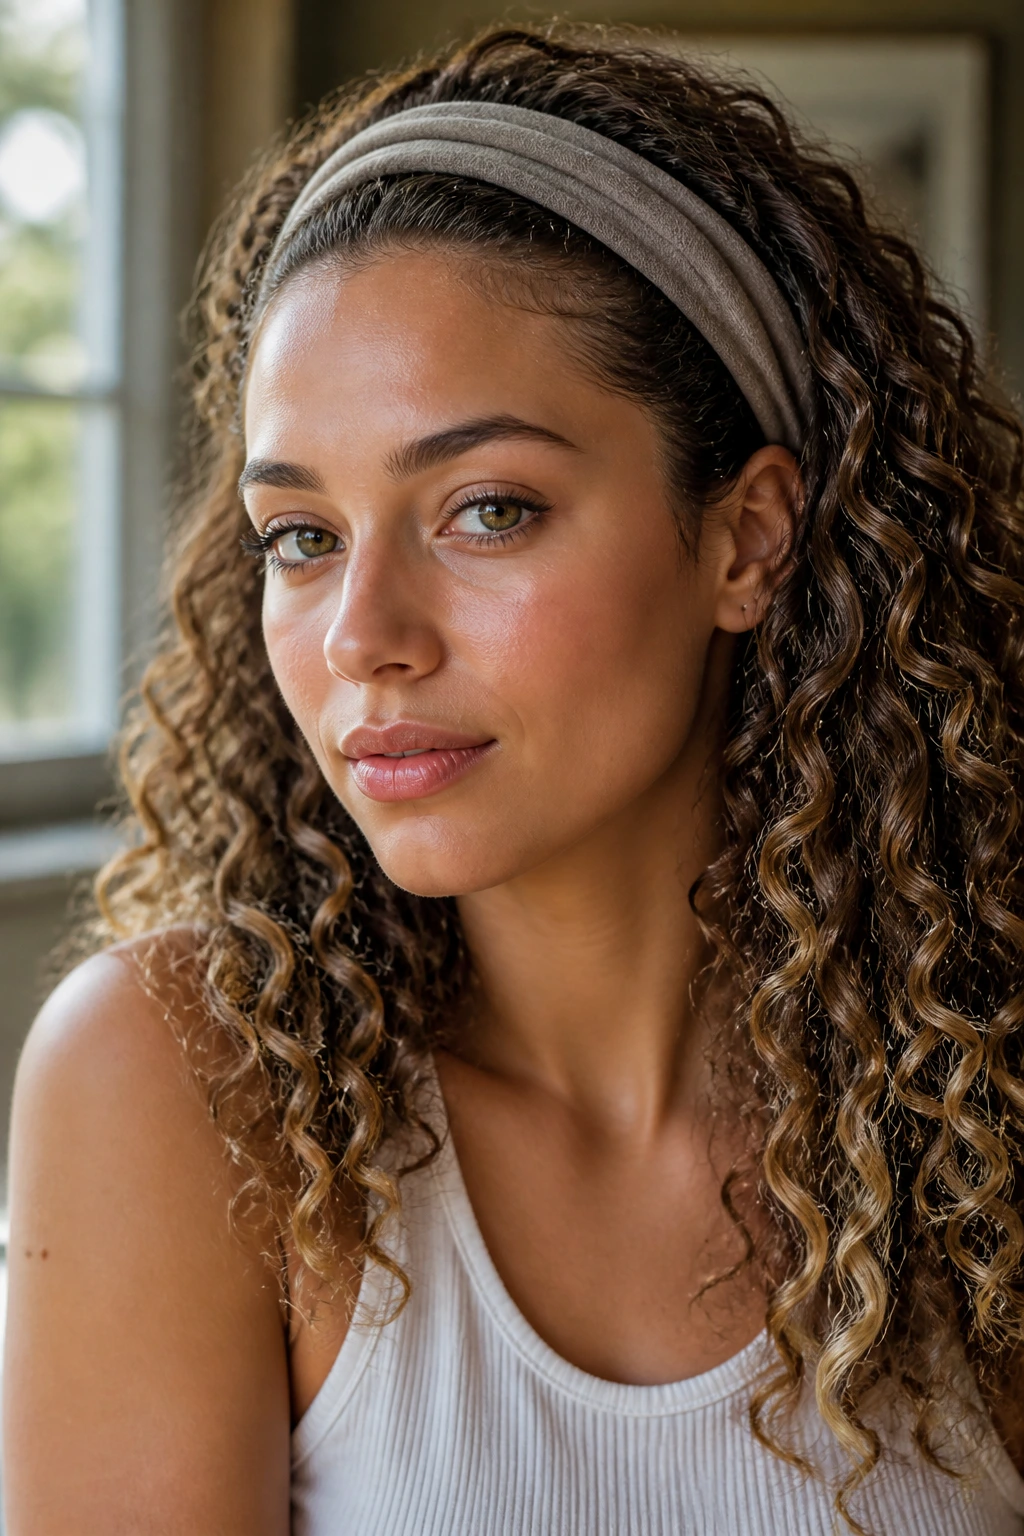
A headband gives you a smoother face frame before the hair is even dry. Slide it on while the curls are still damp, then let the front bend backward slightly as they set. When you remove the headband, the hair falls away from the face in soft arcs.
This is a good look for curls that puff out at the temples. It’s also an easy way to create a shape around earrings or a high neckline. Use a fabric headband if your hair is prone to dents. Hard plastic bands can leave a line that takes forever to hide.
14. Pineapple-Set Loose Waves
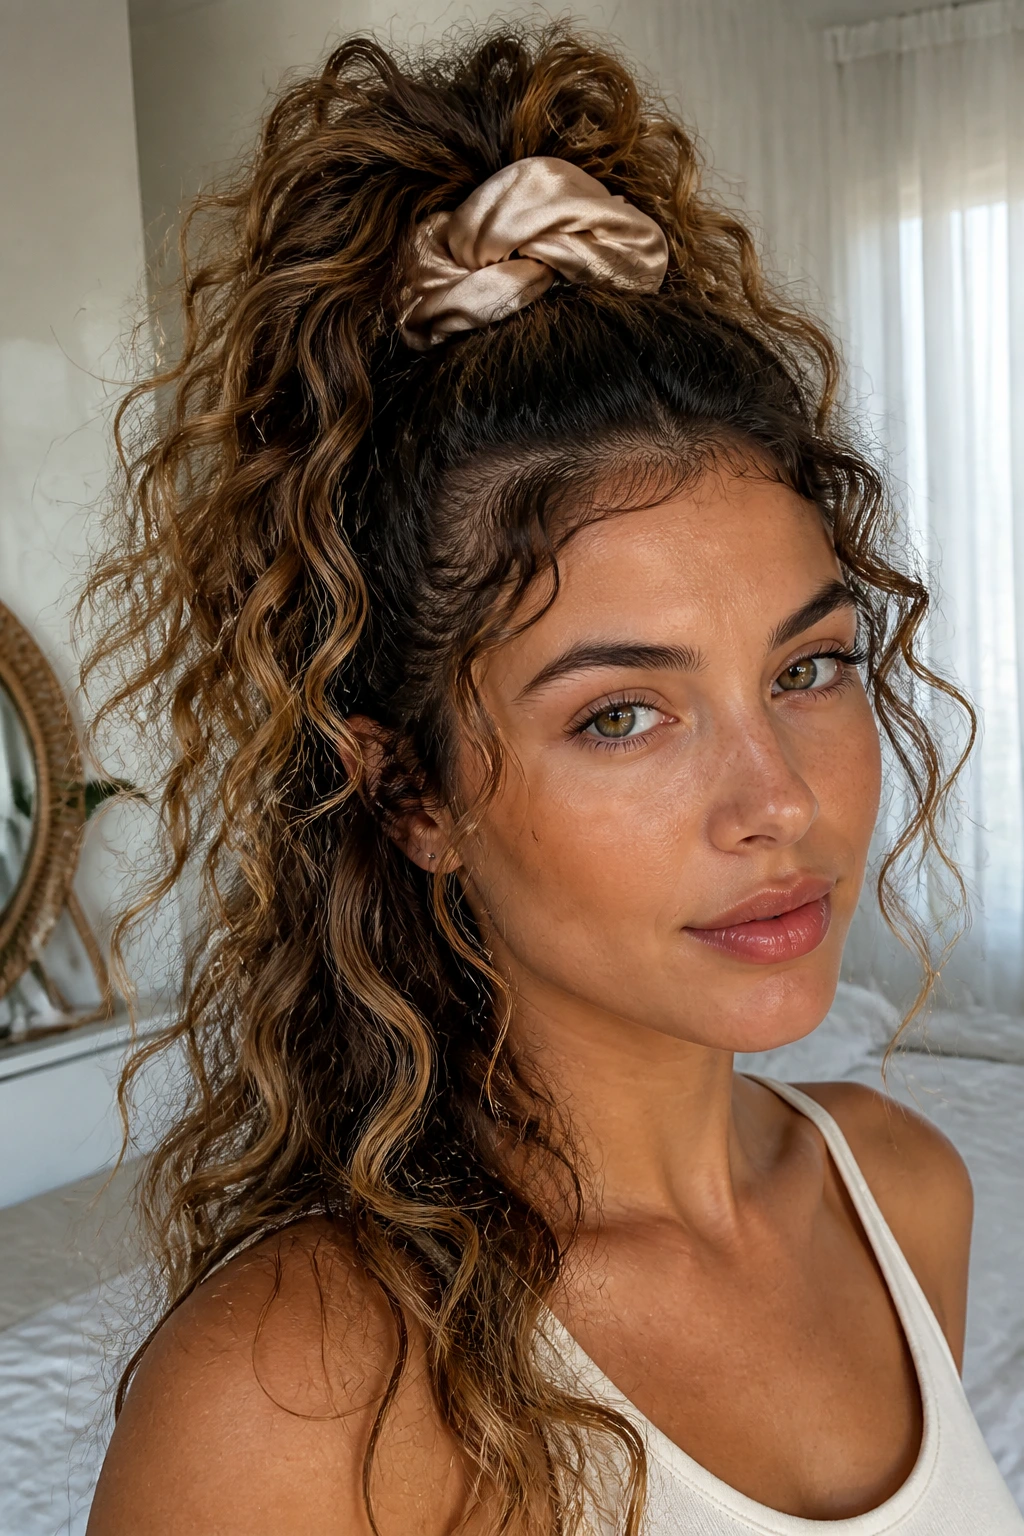
The pineapple isn’t just a sleep trick. It can shape the way your curls settle into loose beach waves the next day, especially if you wear it high and loose for a few hours before going out. The top gets a little lift, and the ends stay separate instead of collapsing.
Use a silk scrunchie and keep the tie loose enough that you can slide two fingers underneath. If you pull it tight, you’ll flatten the crown and get a crease in the back. Nobody needs that.
15. Flat-Iron S-Bend Waves
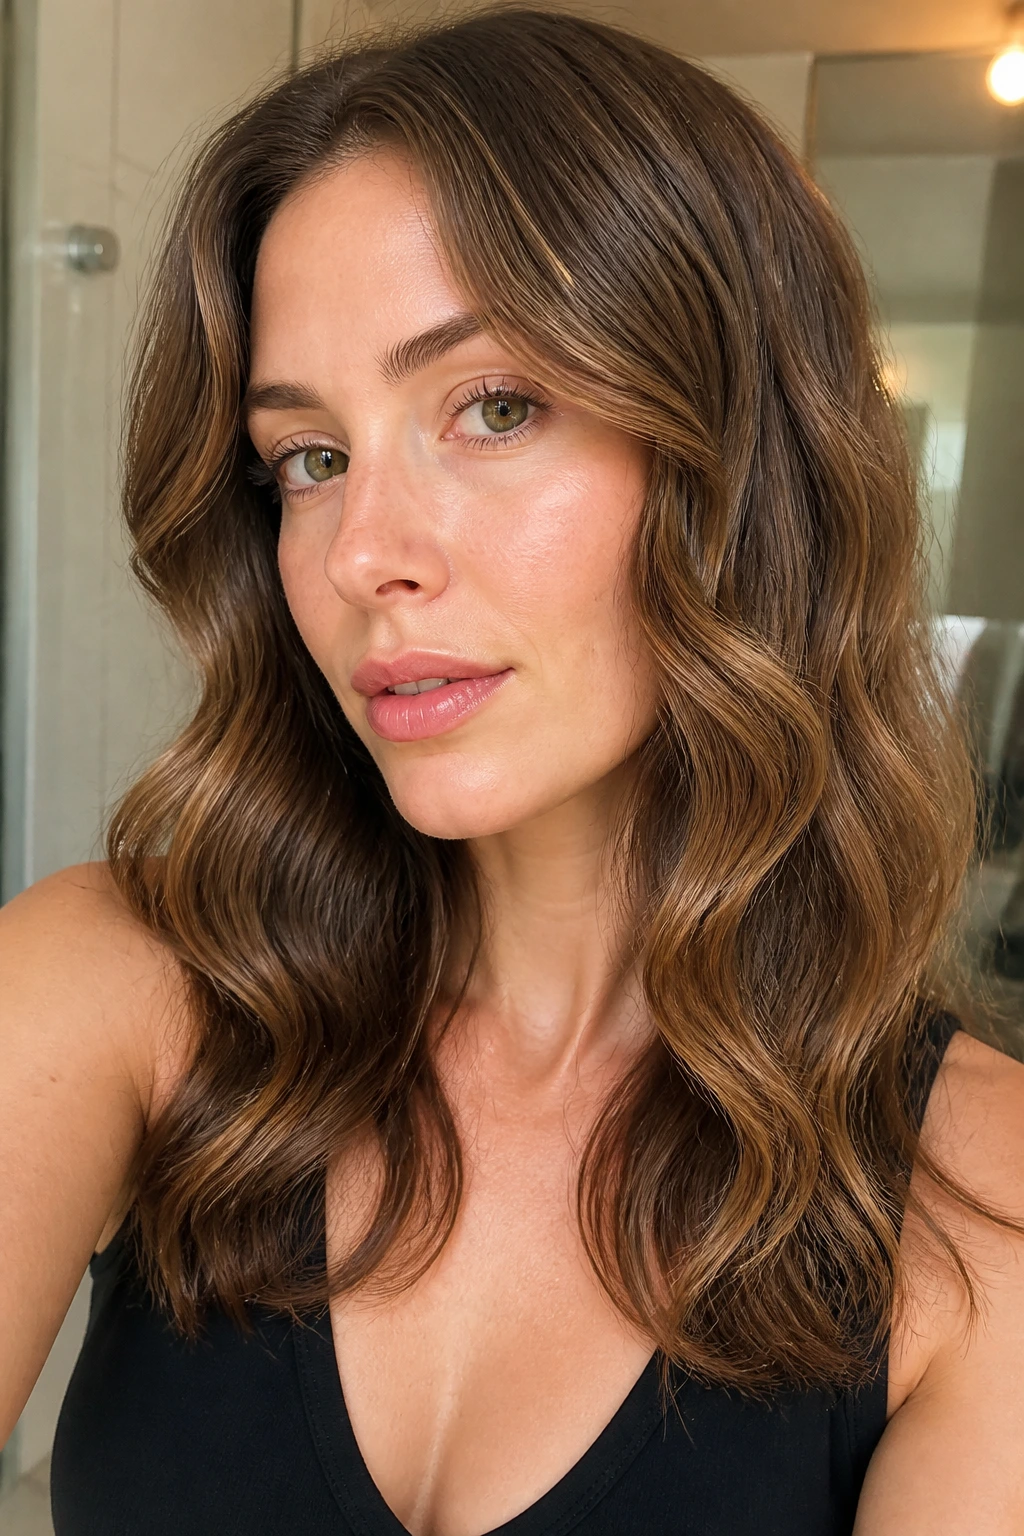
Flat-iron S-bends are for the days when you want a more controlled wave. They give curly hair a smoother, more deliberate shape, especially on the outer layer and face frame. The trick is to bend the iron in alternating directions, not clamp and drag.
Use a heat protectant, then work in 1-inch sections. Once the section is warm, make two or three shallow curves instead of one big one. If you overdo the heat, the ends can flip into a stiff, old-school shape that fights the rest of the curl pattern.
16. Mermaid-Length Defined Waves
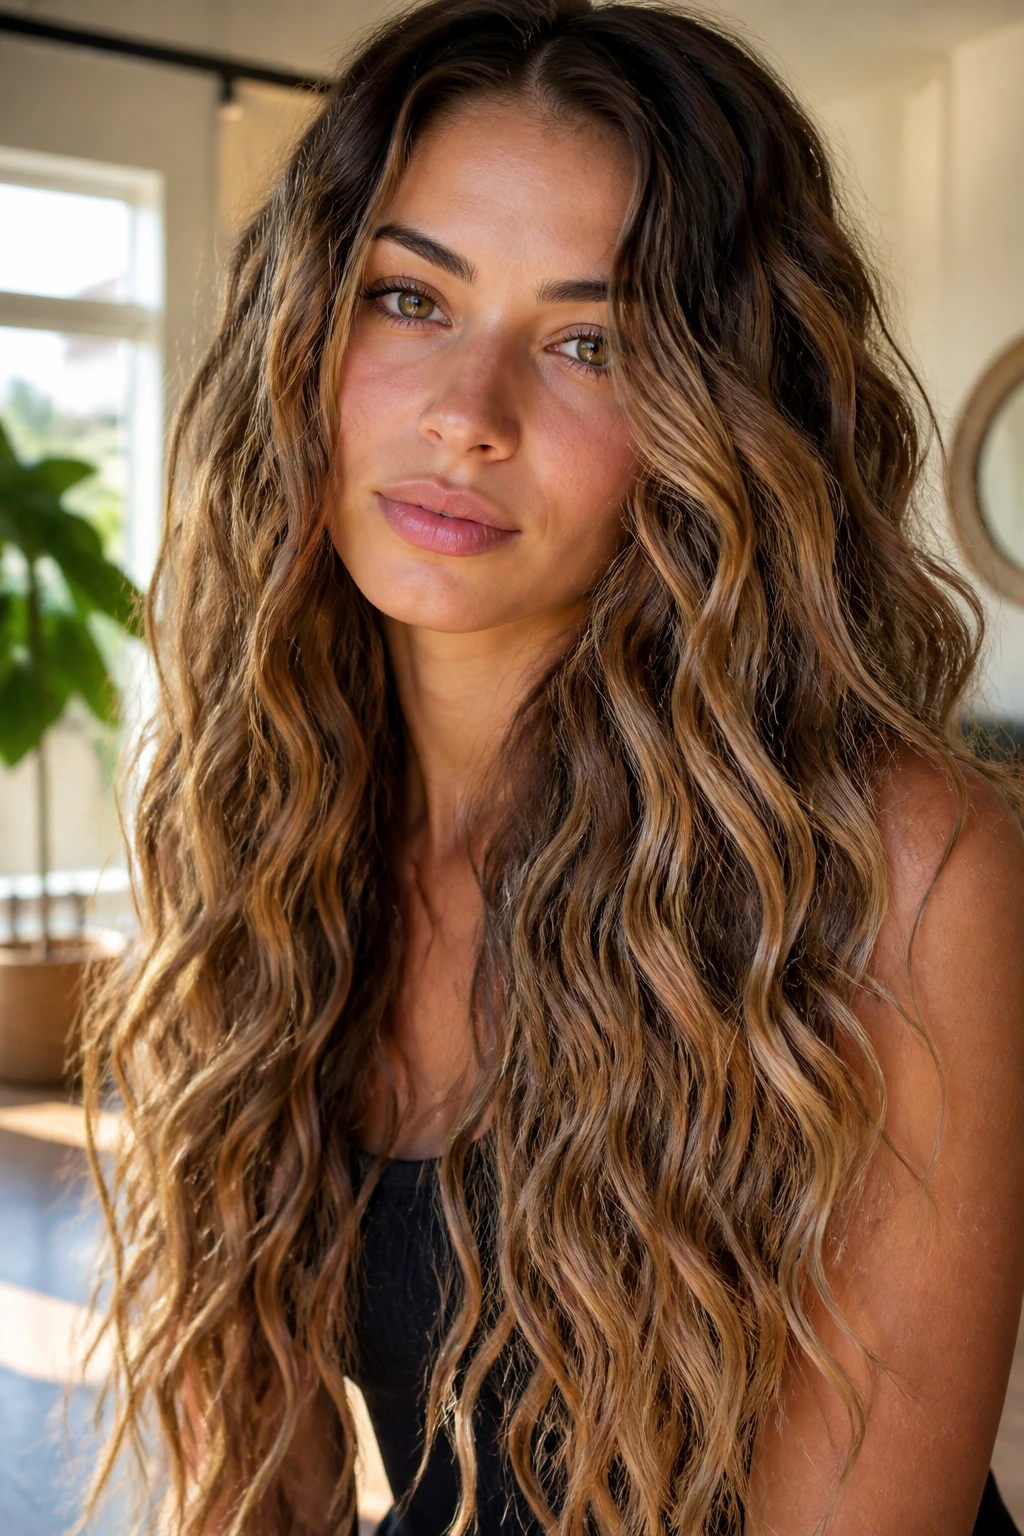
Long curls need bigger sections, not more product. That’s the mistake people make with mermaid-length waves; they keep adding cream until the hair hangs. A better approach is to define only the outer layer and let the lower layers stay soft and loose.
How to Keep Length From Dragging the Style Down
Diffuse the roots first, then the mid-lengths, and leave the ends alone until the very end. Long curly hair keeps weight in the bottom half, so if you load product there, the wave collapses fast. A light gel at the top and a drop of serum on the tips is usually enough.
17. Mushroom-Cut Beach Texture
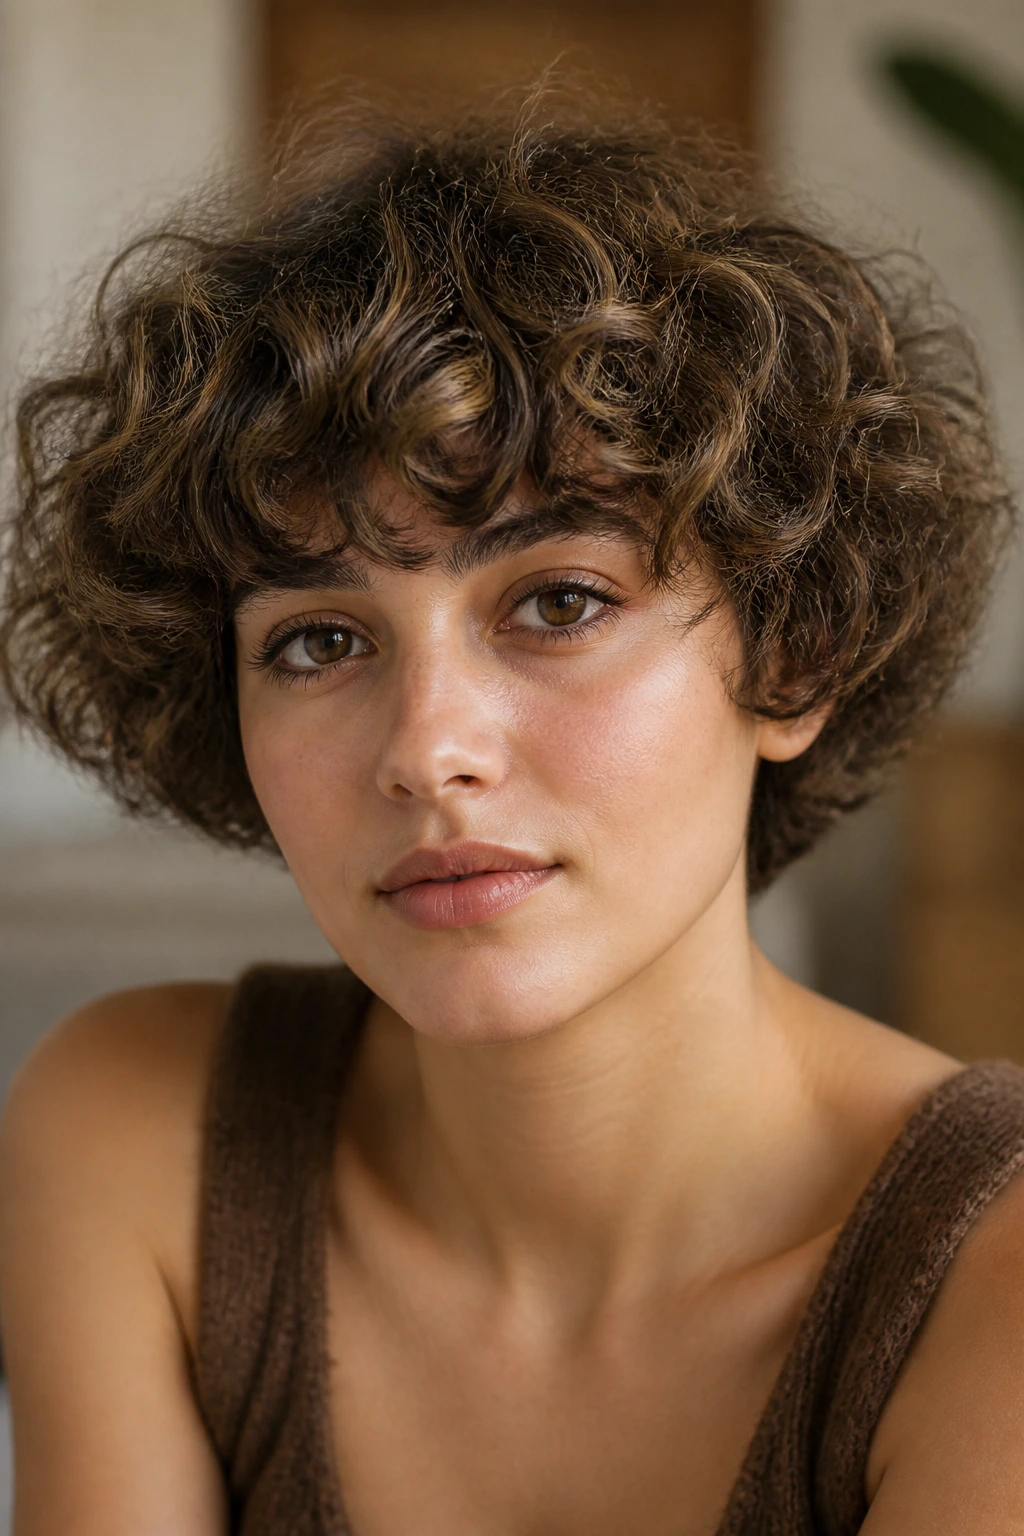
A mushroom cut sounds odd until you see how the rounded shape softens curly beach texture. The silhouette is full near the top and tucked at the sides, which means the wave pattern can look cozy and sculpted instead of bulky. It’s a strong choice if your curls flare out around the ears.
This look works best when the perimeter is kept soft. You want visible bend, not a shell-like line. Use your fingers to separate only the outermost curls once they’re dry. If you break up everything, the round shape loses its charm.
18. Curtain Bang Wave Blend
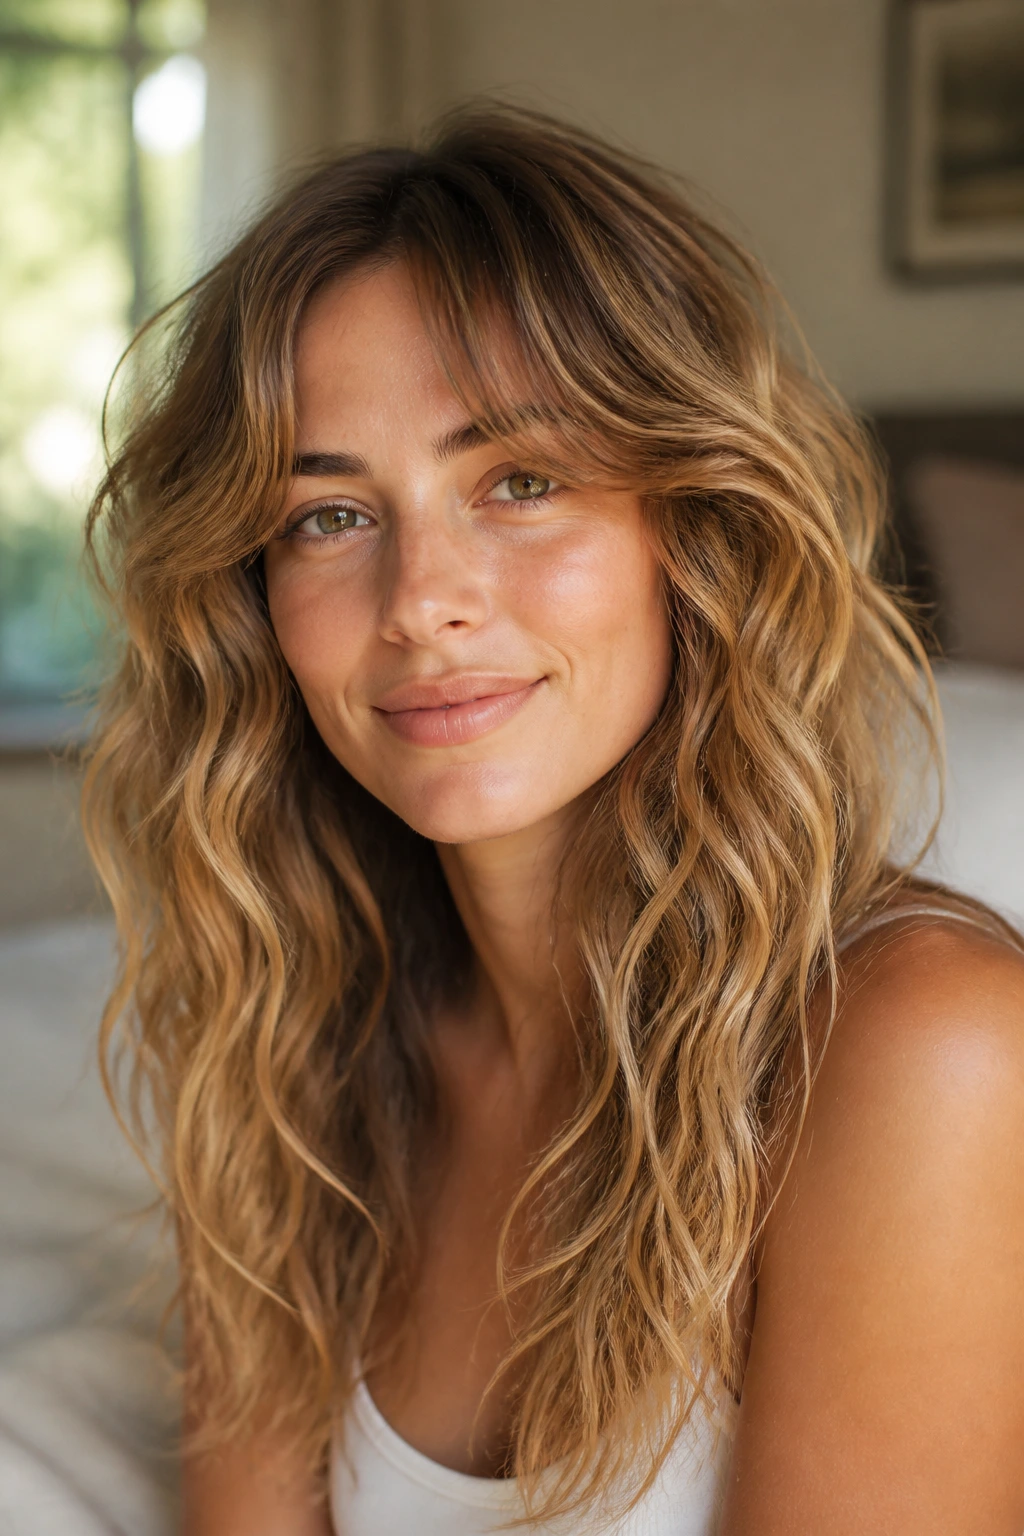
What do curtain bangs do to a beach-wave look? They make the whole style feel more layered right away. On curly hair, curtain bangs can either soften the face frame or get lost in the rest of the volume, so the trick is to shape them separately.
Finger-coil the bang pieces while damp, then diffuse them on low heat for a minute or two before letting the rest air-dry. The fringe should bend away from the face and settle into the longer layers. If the bangs are too heavy, they’ll drag into a curtain that covers everything. That’s fixable, but only if you keep the sectioning clean.
19. Scarf-Tied Vacation Waves
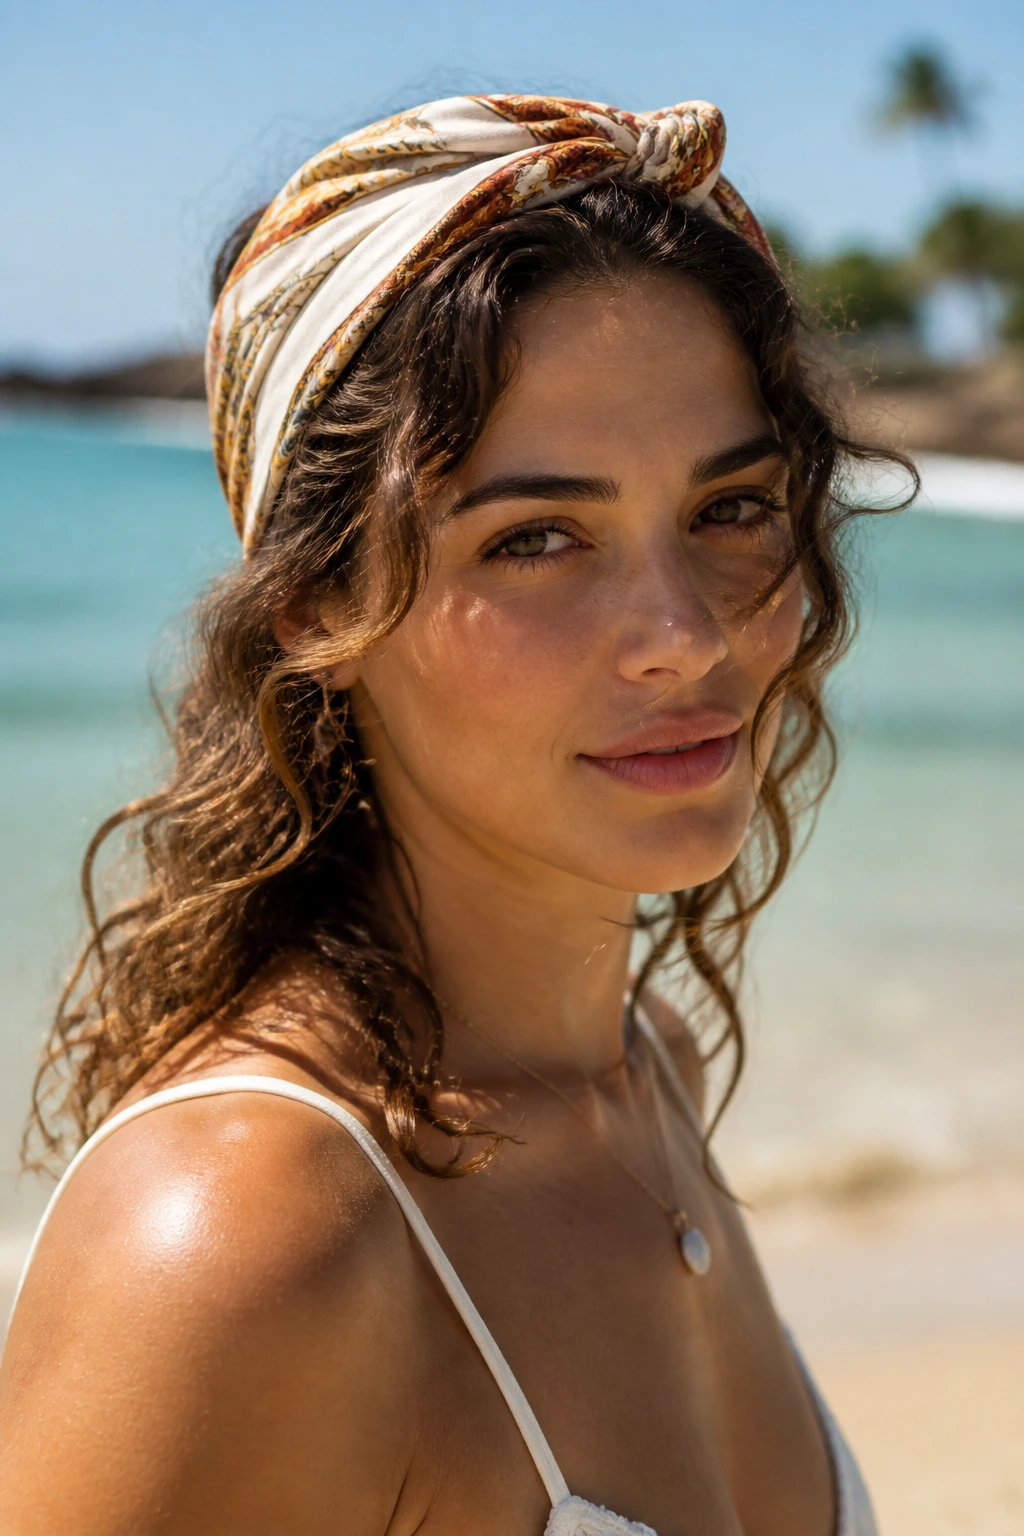
A scarf can hide a messy crown and make it look intentional. That’s the honest reason people reach for it. Tie it around the head after the hair is about 90% dry, and let the lower layers keep their wave while the top gets a little polish.
This is one of the better looks for dry, windy days because the scarf controls flyaways without flattening the curl pattern completely. Choose a lightweight scarf, not a thick one that squashes the roots. The best version looks effortless because the scarf and the wave are doing different jobs.
20. Mousse-Only Soft Waves
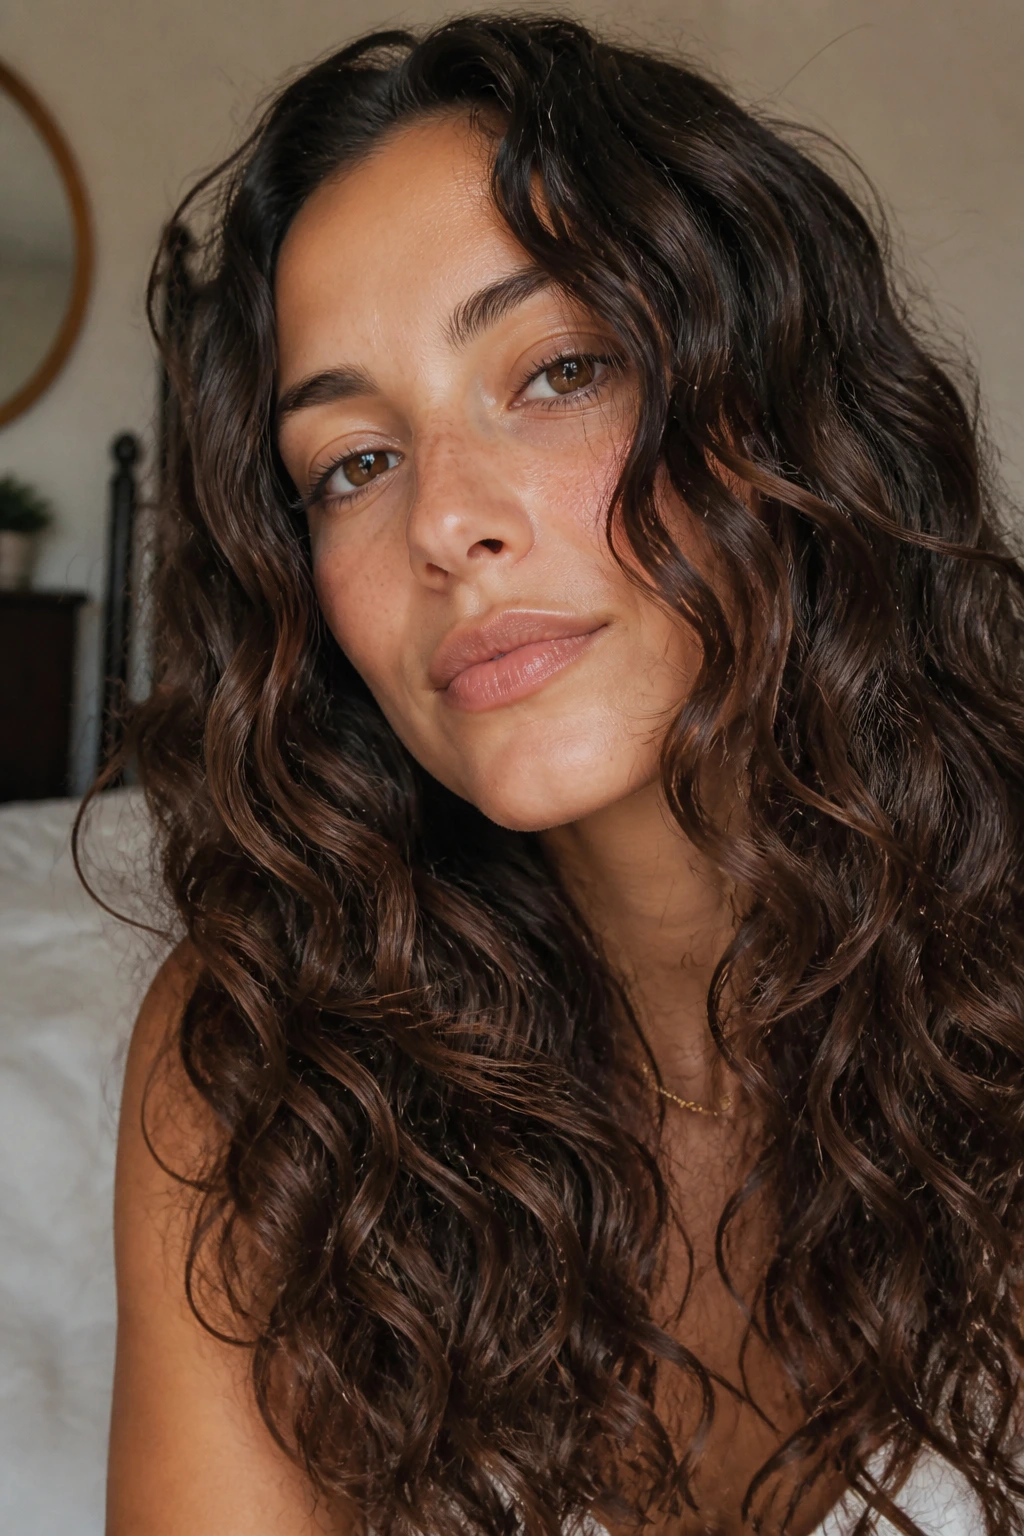
Mousse-only waves work because the hair doesn’t get weighed down. On fine curls, that matters a lot. Cream can blur the shape, and heavy gel can make the roots sticky. Mousse gives lift and a bit of grip, which is enough for a softer beach-wave finish.
Apply it on soaking hair, scrunch, and leave the curl clumps alone until they dry. If you want a little more definition, add a single drop of oil to the very ends after the cast is gone. Do not add oil first. It makes the mousse slip around and lose hold.
21. Cream-and-Gel Controlled Waves
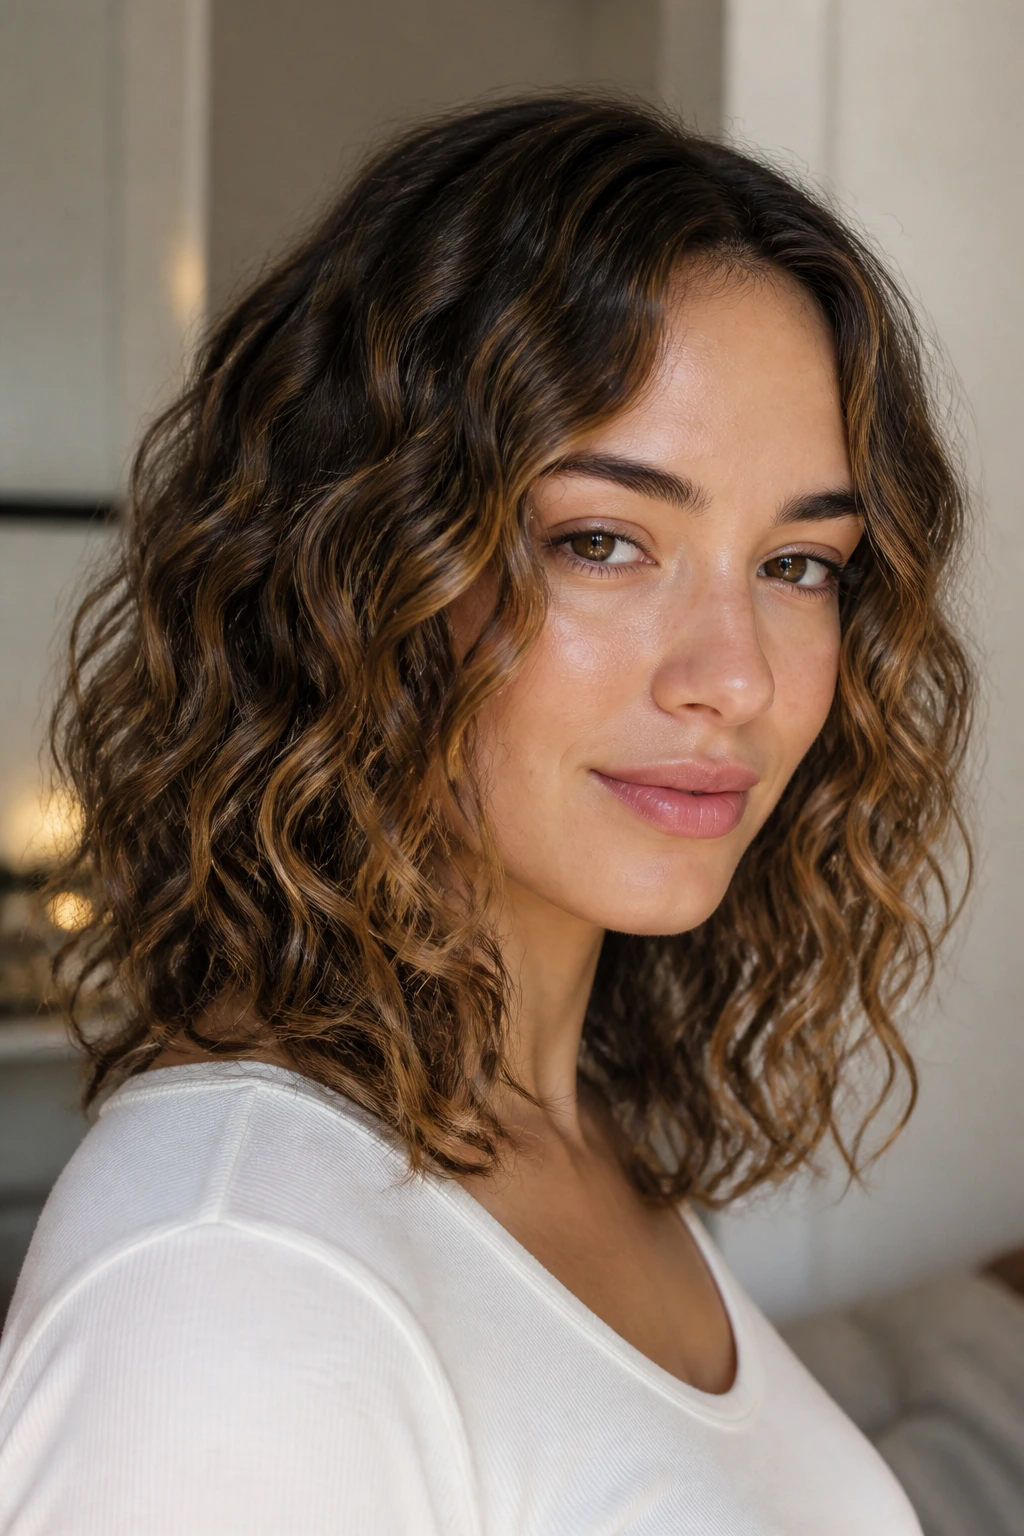
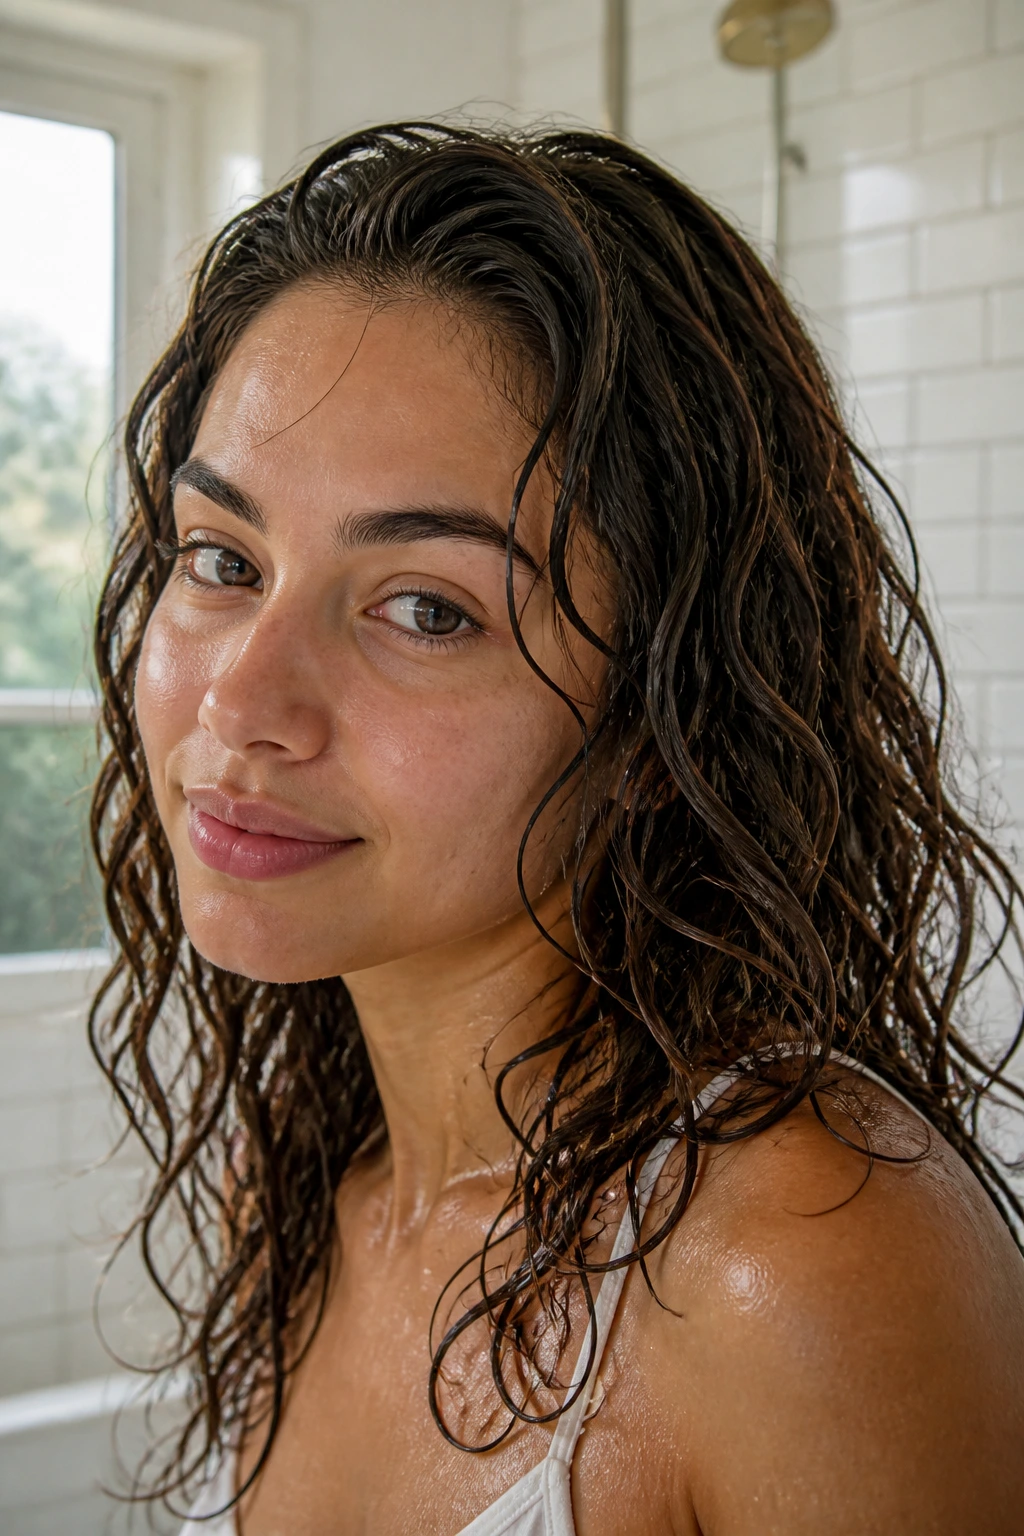
Cream and gel together can be the calmest route for frizz-prone curls. The cream keeps the hair from feeling stripped, and the gel locks down the outer layer so the wave doesn’t explode by noon. It’s a good option when the weather is sticky or your hair has a rough cuticle.
Best On Coarse or High-Porosity Hair
Use a small amount of cream — about a nickel-size amount for shoulder-length hair — then layer gel over the top while the hair is still wet. Scrunch once, maybe twice, and stop. Too much handling breaks the cast and turns the ends fuzzy before they’ve even dried.
22. Salt-Spray Microvolume Waves
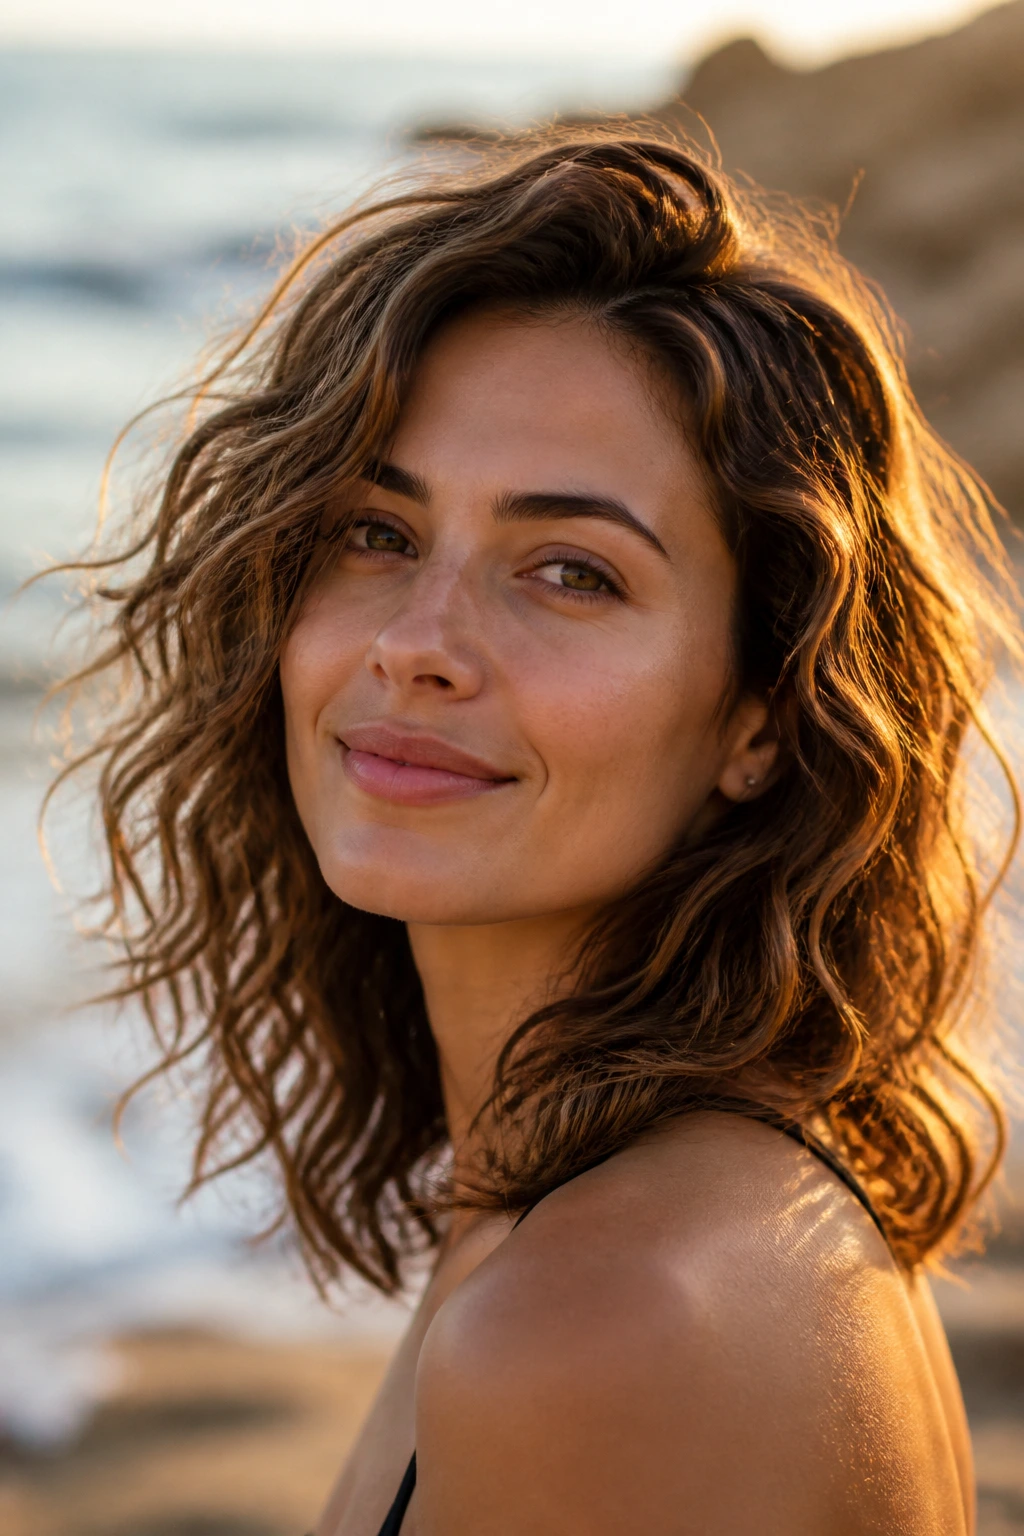
A micro-mist of salt spray gives texture without turning the ends crispy. That’s the whole appeal. You’re not trying to make the hair feel like a rope. You’re trying to make the bend a little more broken up and piecey.
This look is best when sprayed from 10 to 12 inches away, aimed at the middle and lower thirds of the hair. If you spray the crown heavily, you lose softness fast. I’d rather have a light, touchable root area and a gritty mid-length than the other way around.
23. Deep Side-Swept Beach Waves
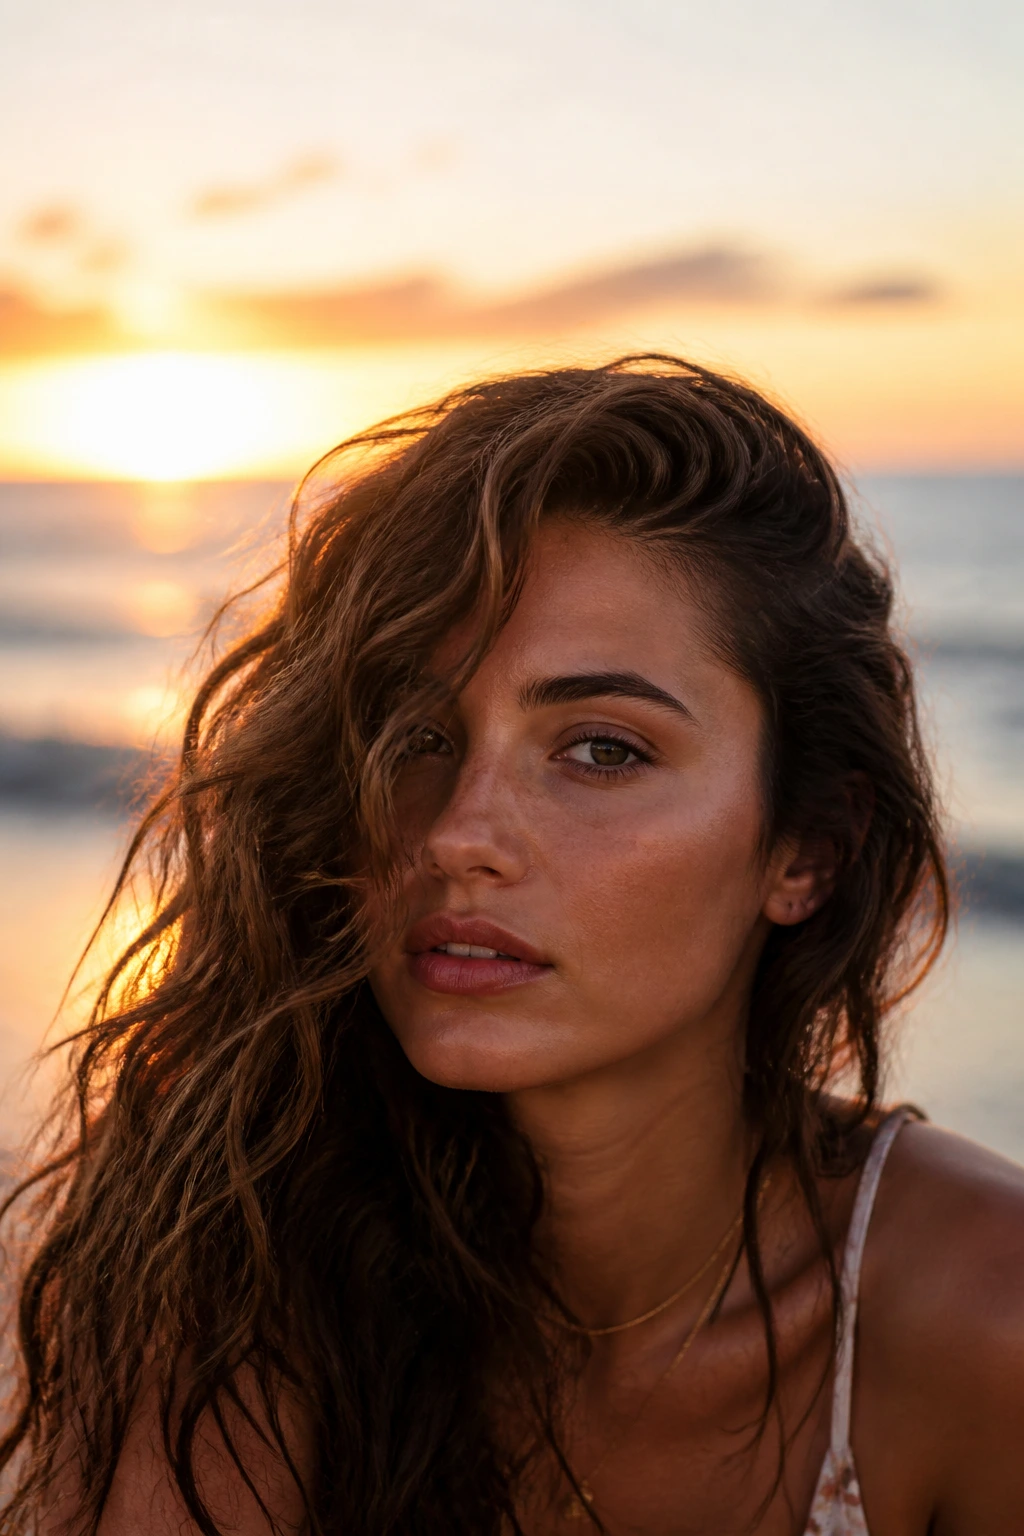
A deep side-swept wave reads more dressed up than a center part, even when the texture is the same. That’s because the weight shifts to one side and the line across the forehead becomes more dramatic. The wave itself can stay loose and soft; the part does the heavy lifting.
This is a smart choice for curls that flatten near the temples. Sweep the heavier side back with a clip or tuck it behind one ear and let the other side fall forward. The asymmetry keeps the style from looking too sweet. Good. Sweet is not the goal here.
24. Clip-Set Root Lift Waves
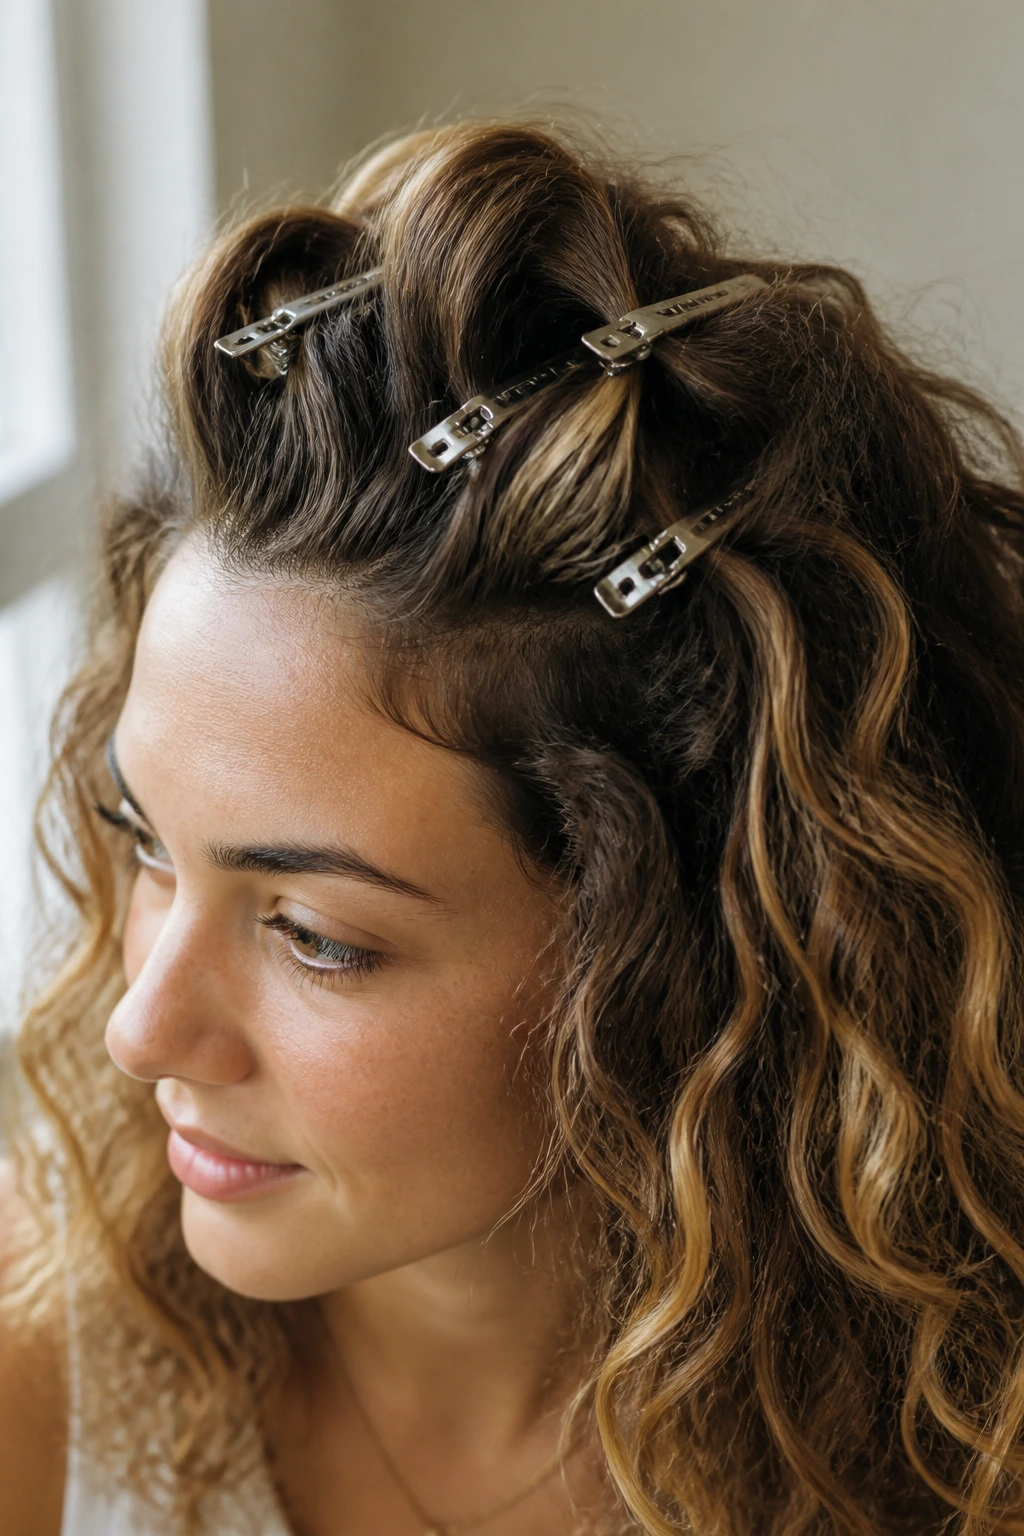
Duckbill clips are boring until you see what they do at the roots. Set them into the damp crown in small sections, clip the hair up and away from the scalp, and leave them there until the hair is cool and mostly dry. You get lift right where curly hair usually needs it most.
This works especially well if your hair shrinks at the top but stretches at the ends. The clips keep the root area from drying flat, which means the wave pattern has room to breathe. Remove the clips gently. If you yank, you break the shape you just built.
25. Tucked-Behind-Ear Waves
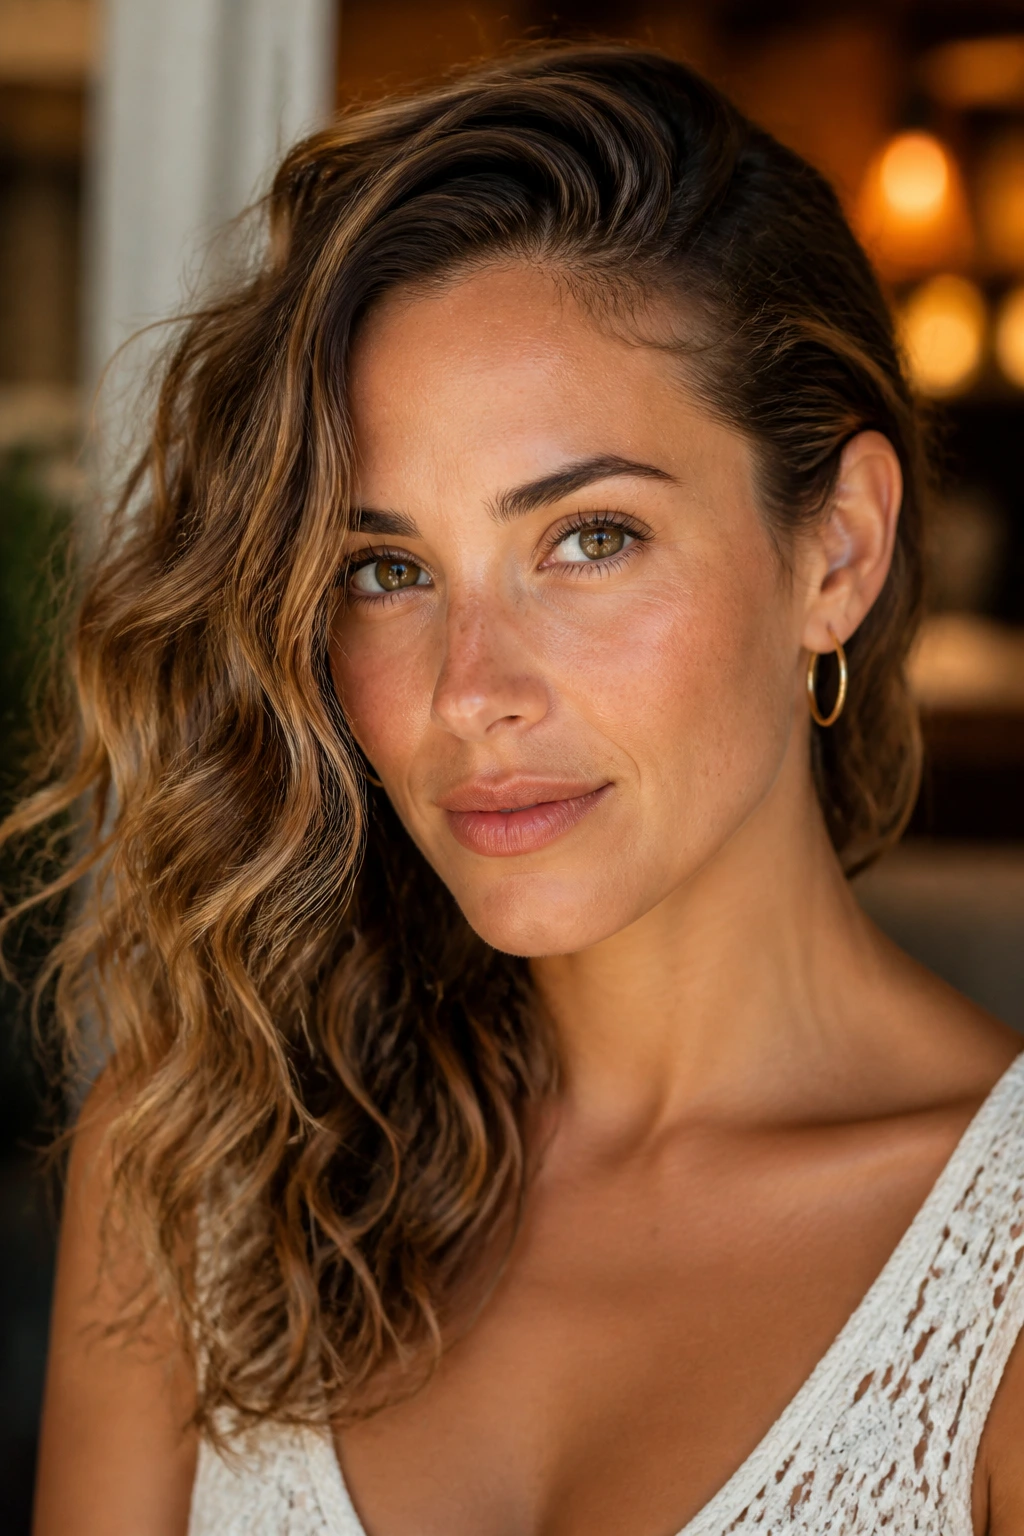
Tucked-behind-ear waves are the cleanest shortcut in the bunch. They keep the sides controlled and let the back and lower lengths do the interesting work. On curly hair, that tuck can make the texture look sharper without needing any extra product.
Use this when one side of your hair is misbehaving or when you want your face frame to stay put. A small barrette helps if the hair slips out fast. The style looks better with a little asymmetry, so don’t force both sides to behave the same way.
26. Halo Braid Wave Crown
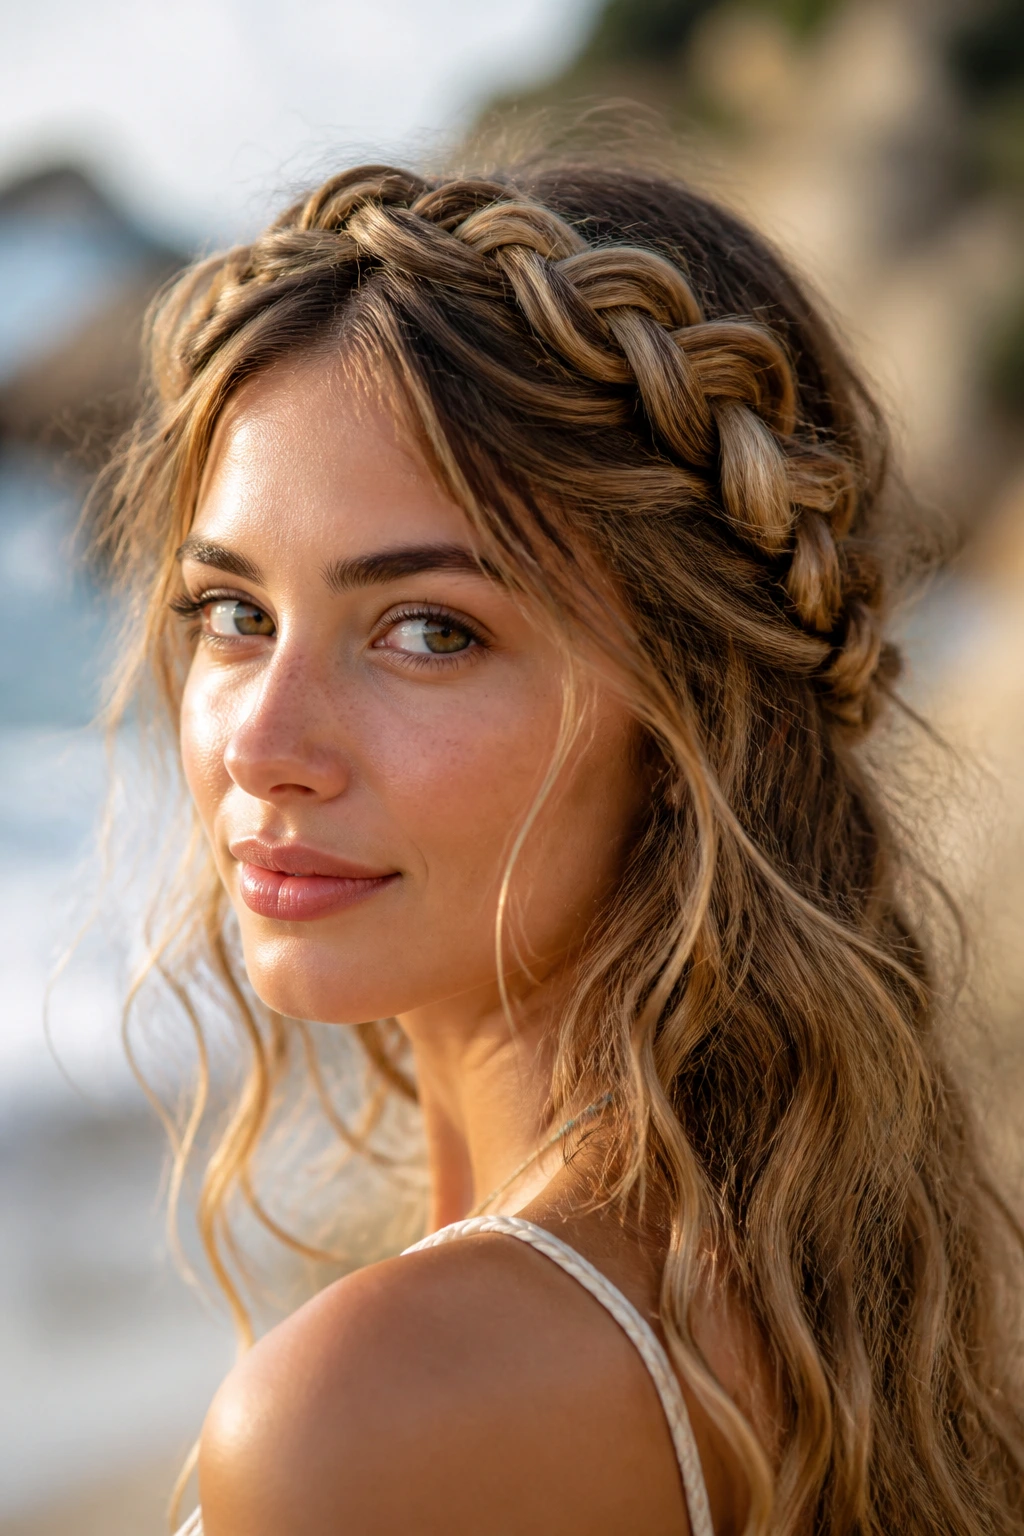
A halo braid gives you one of those woven, beach-weekend shapes that stays put. It circles the head, pulls some of the curl away from the face, and leaves the lower lengths loose. If your hair is medium to long, the effect is soft but structured.
Braid loosely so the crown doesn’t get too tight and flat. Let a few face-framing pieces fall free if you want the style to feel less formal. This is one of the few looks that can survive a long day without much fuss, which makes it handy when you don’t want to babysit your hair.
27. Flipped-Out Beach Waves
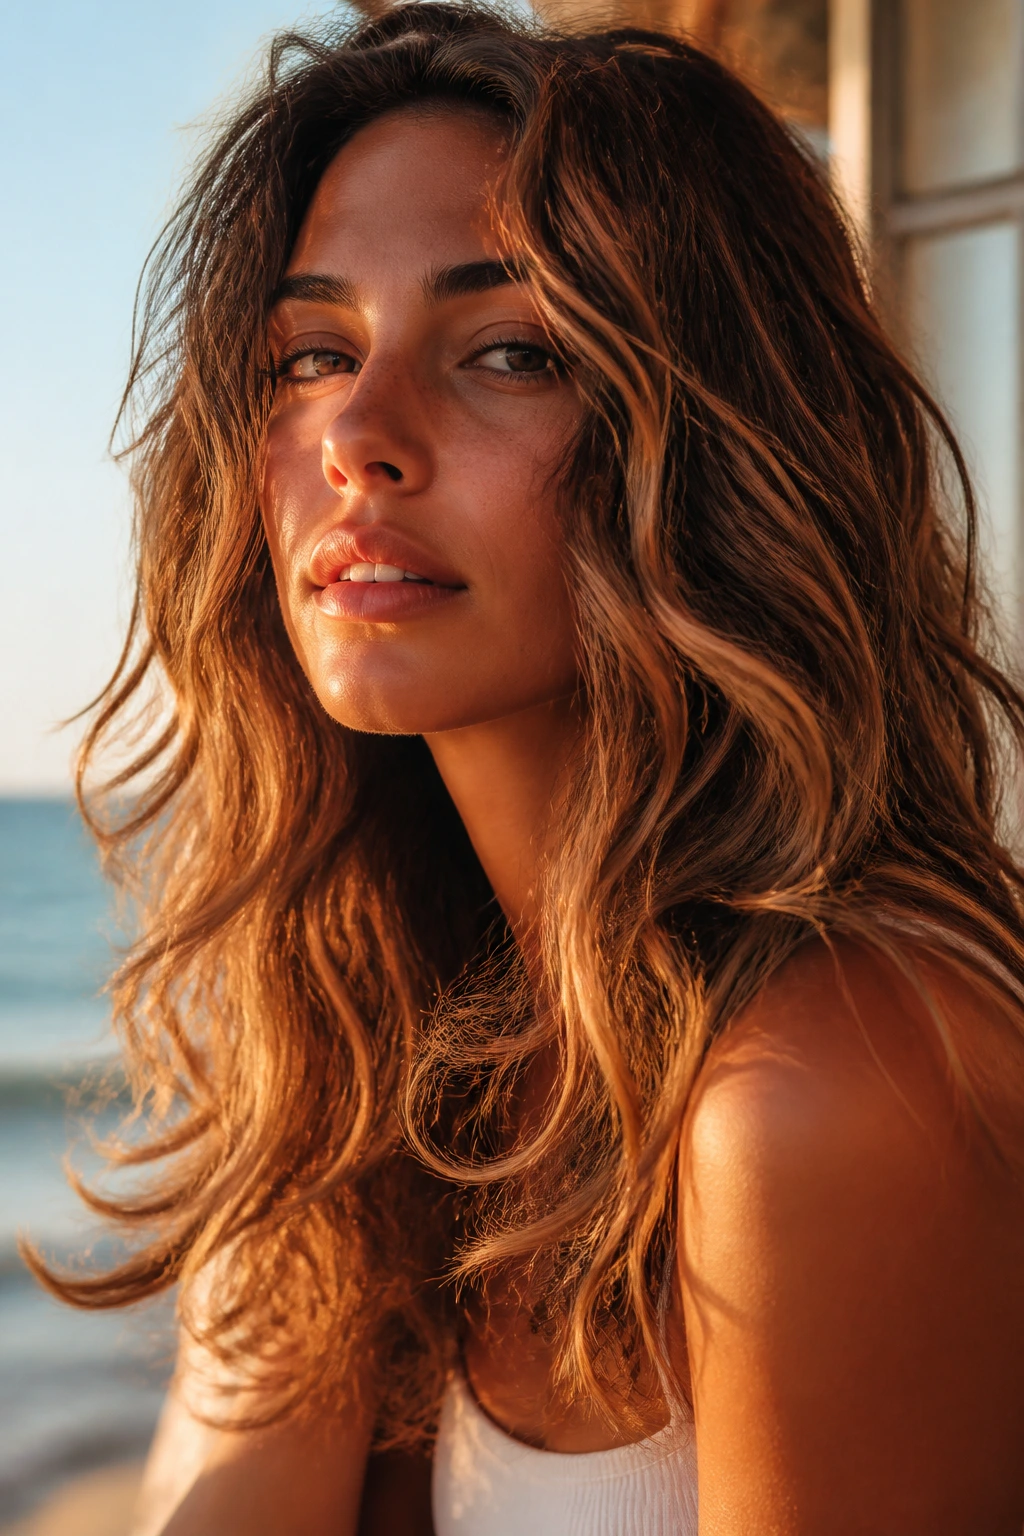
Flipped-out ends are not the enemy of beach waves. They just change the mood. Instead of everything curling inward or hanging straight, the ends kick outward in a soft flick that keeps the hair moving.
This is useful if your curls are long enough to weigh themselves down at the bottom. A wand or round brush can create the flip on the last 2 inches of hair. Keep the rest of the wave loose so the ends don’t look like a separate hairstyle. They should feel like an accent, not a costume change.
28. Broken-Pattern Waves
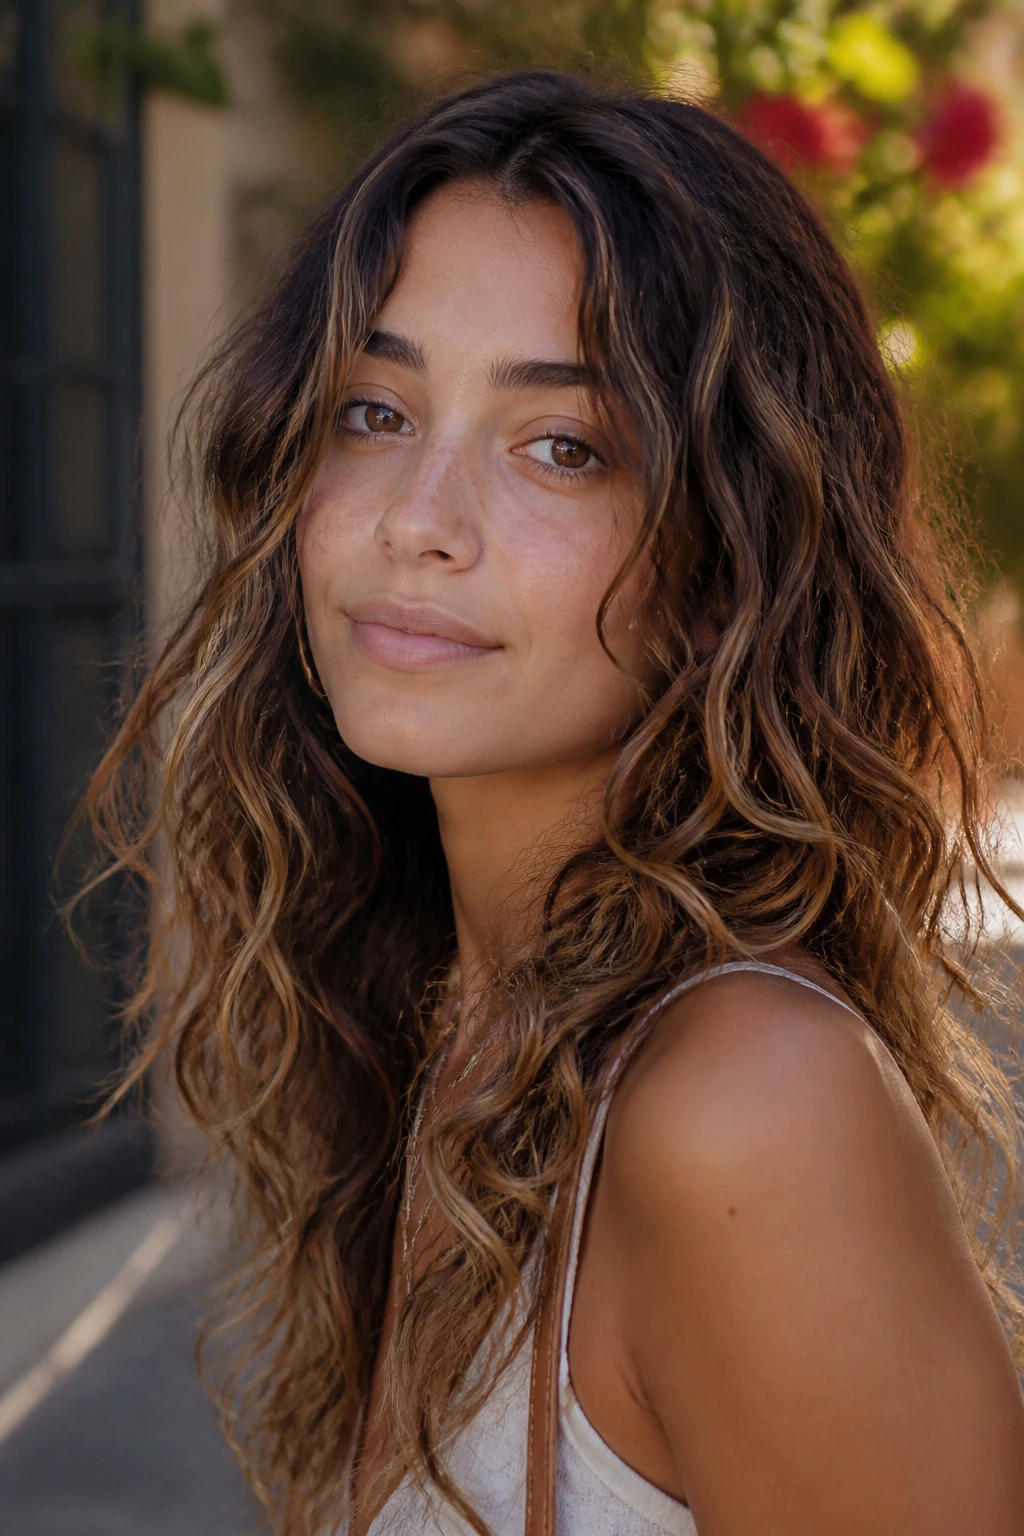
What if the curls are not uniform? Then lean into broken-pattern waves. Mix a few tighter bends with a few looser sections and let the hair look a little irregular on purpose. That’s often how beach hair looks after a full day outdoors anyway.
The trick is to keep the irregularity balanced. Don’t make one side frizzier than the other just because you ran out of patience. A quick finger separation at the ends and a little gel at the crown usually does the job. The result should feel lived-in, not neglected.
29. Clipped-Ends Waves
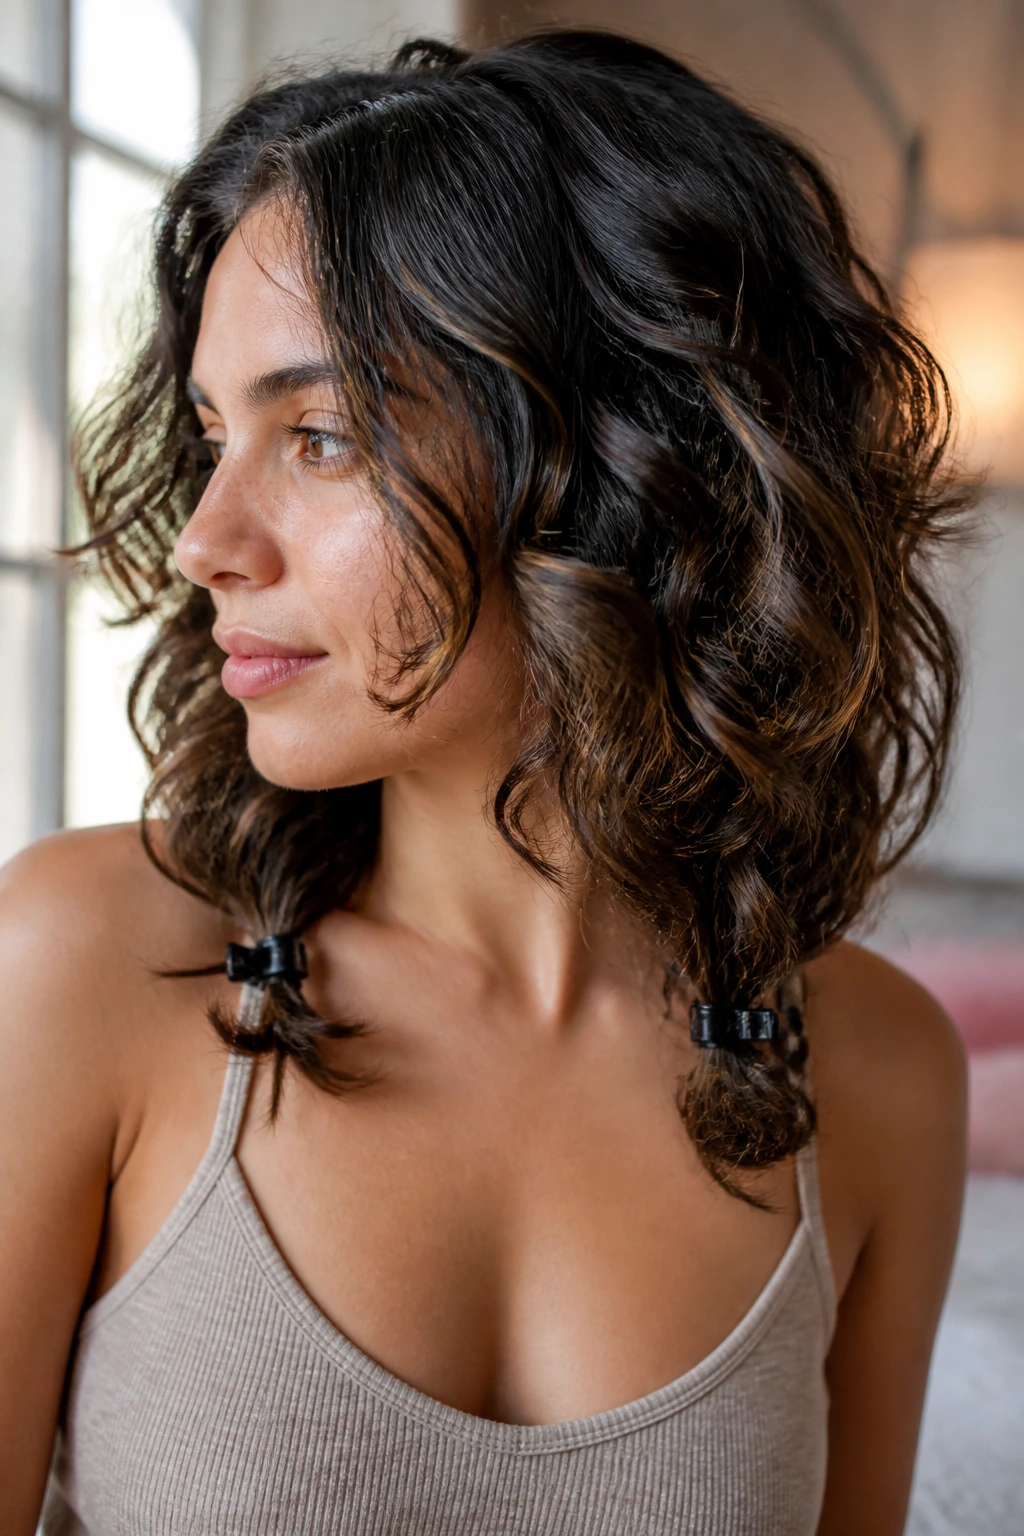
Clipping the ends changes how a wave dries at the bottom. Instead of curling into a hard, tight finish, the ends stay softer and more feathered. This is useful for curly hair that likes to spring too much at the very tips.
Set the ends with small metal clips or even a couple of bobby pins while they dry. Remove them only when the hair is fully cool. If you take them out early, the ends bounce right back and you’ve done all that work for nothing.
30. Sleek Roots, Tousled Ends Waves
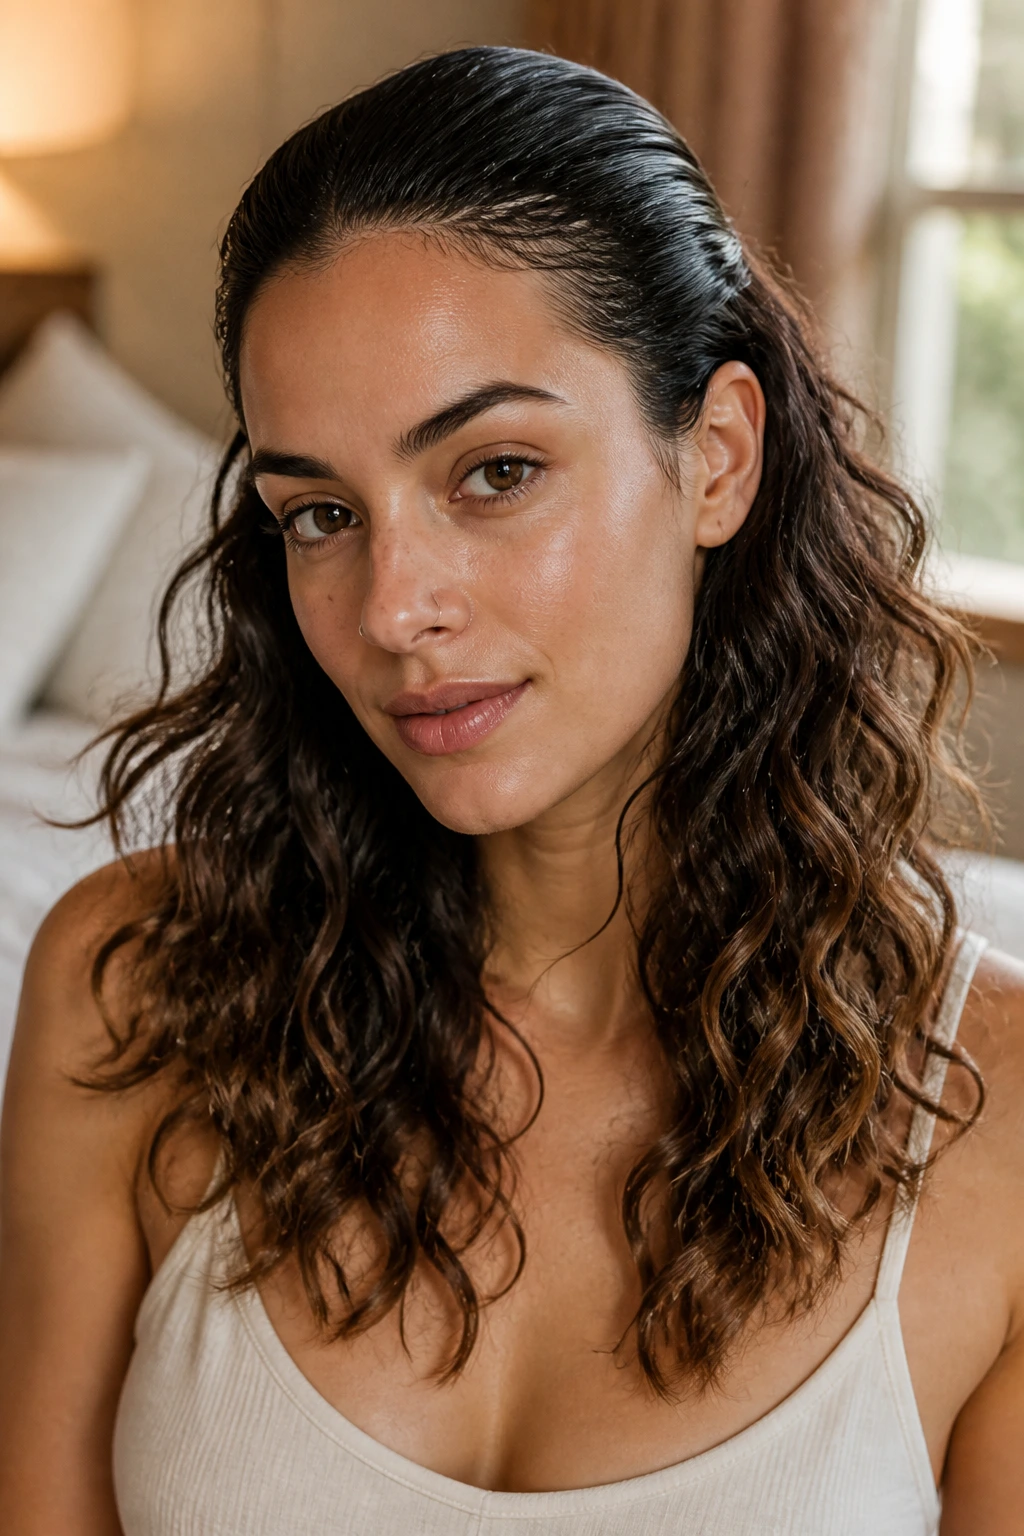
Sleek roots and tousled ends work because the contrast keeps the style from looking puffy. Curly hair often needs the top smoothed down a little while the lower half is allowed to show off. That split is part of what makes the style look intentional.
Apply a touch of gel along the hairline and crown, then use a diffuser or air-dry the rest with more movement. The lower lengths should still feel touchable, not shellacked. This is one of the better looks for people who like a tidy top but don’t want the ends to lose their personality.
31. Humidity Shield Waves
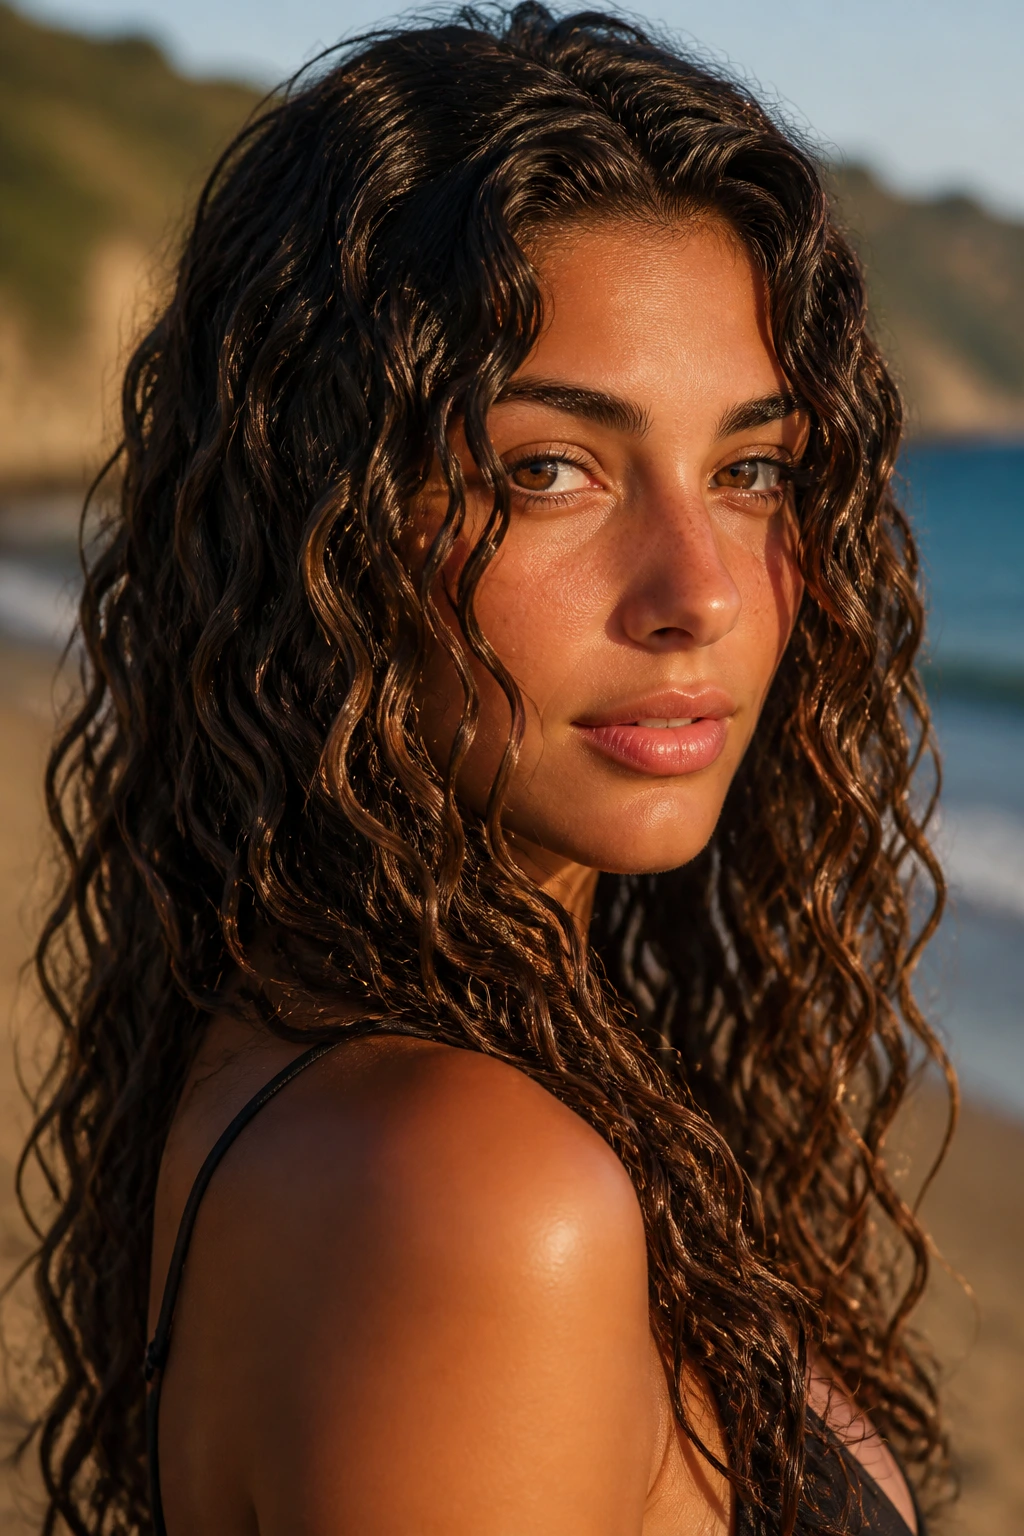
Humidity-proof beach waves depend on how the hair dries, not just what product you use. If the cuticle is left open and the shape is under-held, damp air wins every time. A strong gel cast, a controlled dry, and a little patience make the difference.
What Matters Most
Let the style dry completely before you touch it. Not mostly. Completely. If you scrunch too early, the hold weakens and the waves swell up later. That’s the part people hate, and it usually starts with impatience.
- Best for humid weather or porous hair.
- Use a gel with stronger hold than you think you need.
- Finish with a tiny amount of serum only after the cast is gone.
32. Low-Product Weekend Waves
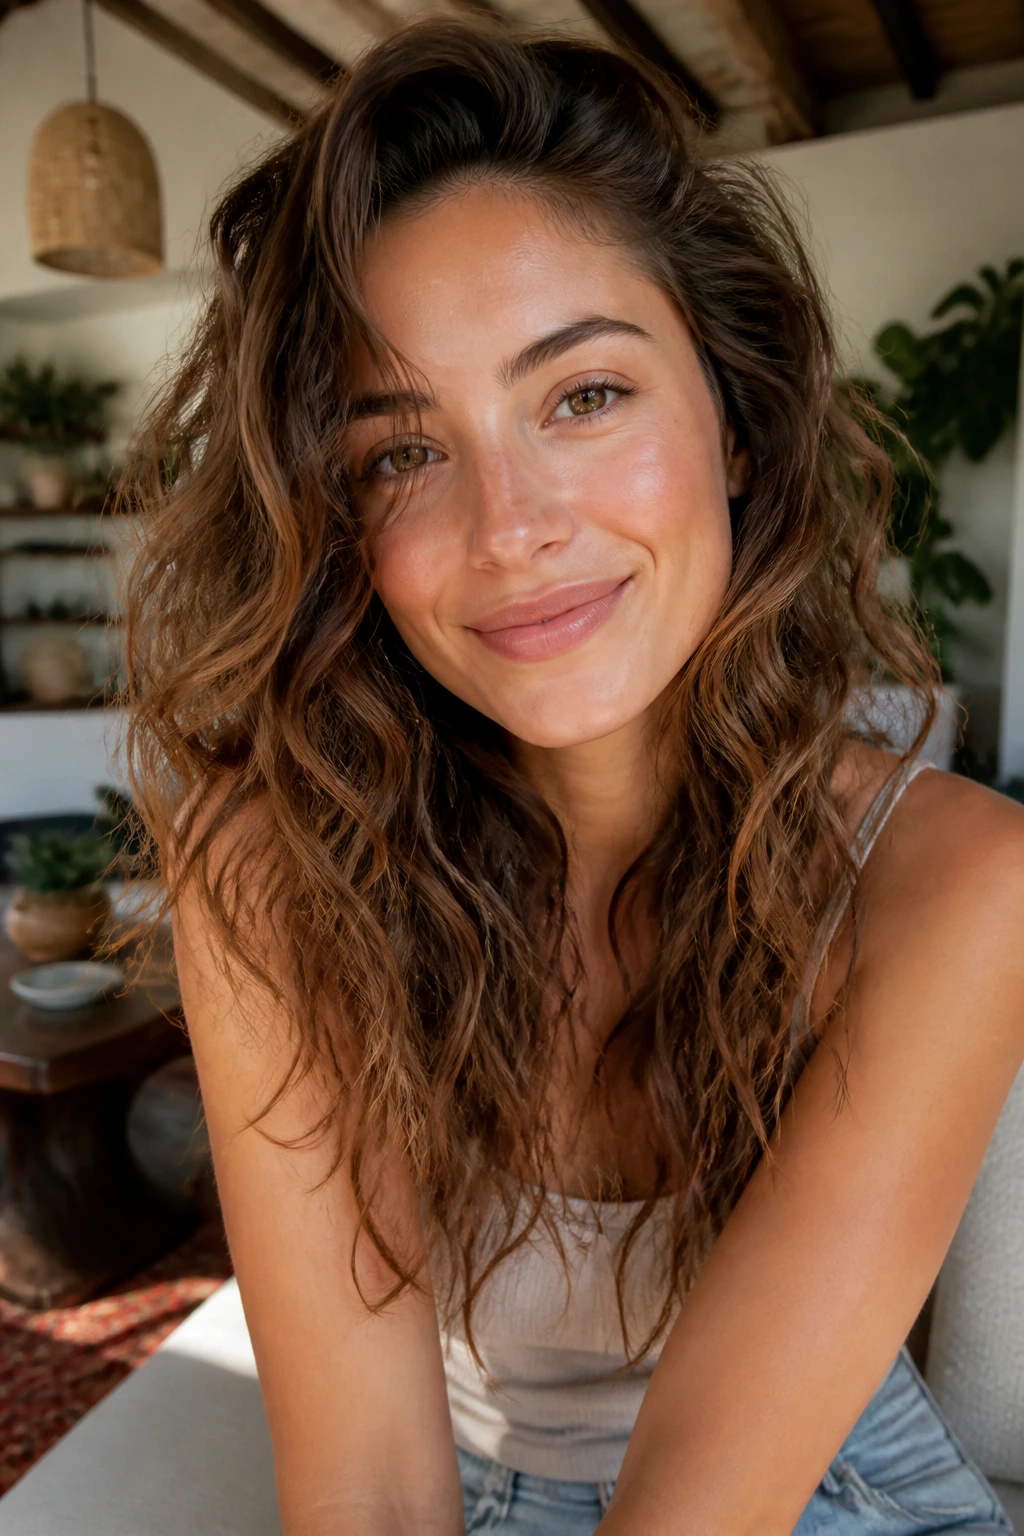
Low-product weekend waves are usually the ones people end up wearing longest. They don’t feel overmanaged, and they age better as the day goes on. If your curls are already fairly cooperative, you may not need much more than water, a light leave-in, and a bit of scrunching.
This look works because it respects the shape your hair wants to make on its own. It’s less about control and more about editing. If the hair gets a little fluffy by evening, that’s acceptable here. The whole point is to look like you slept well and didn’t overthink it.
33. Luxe Undone Beach Waves
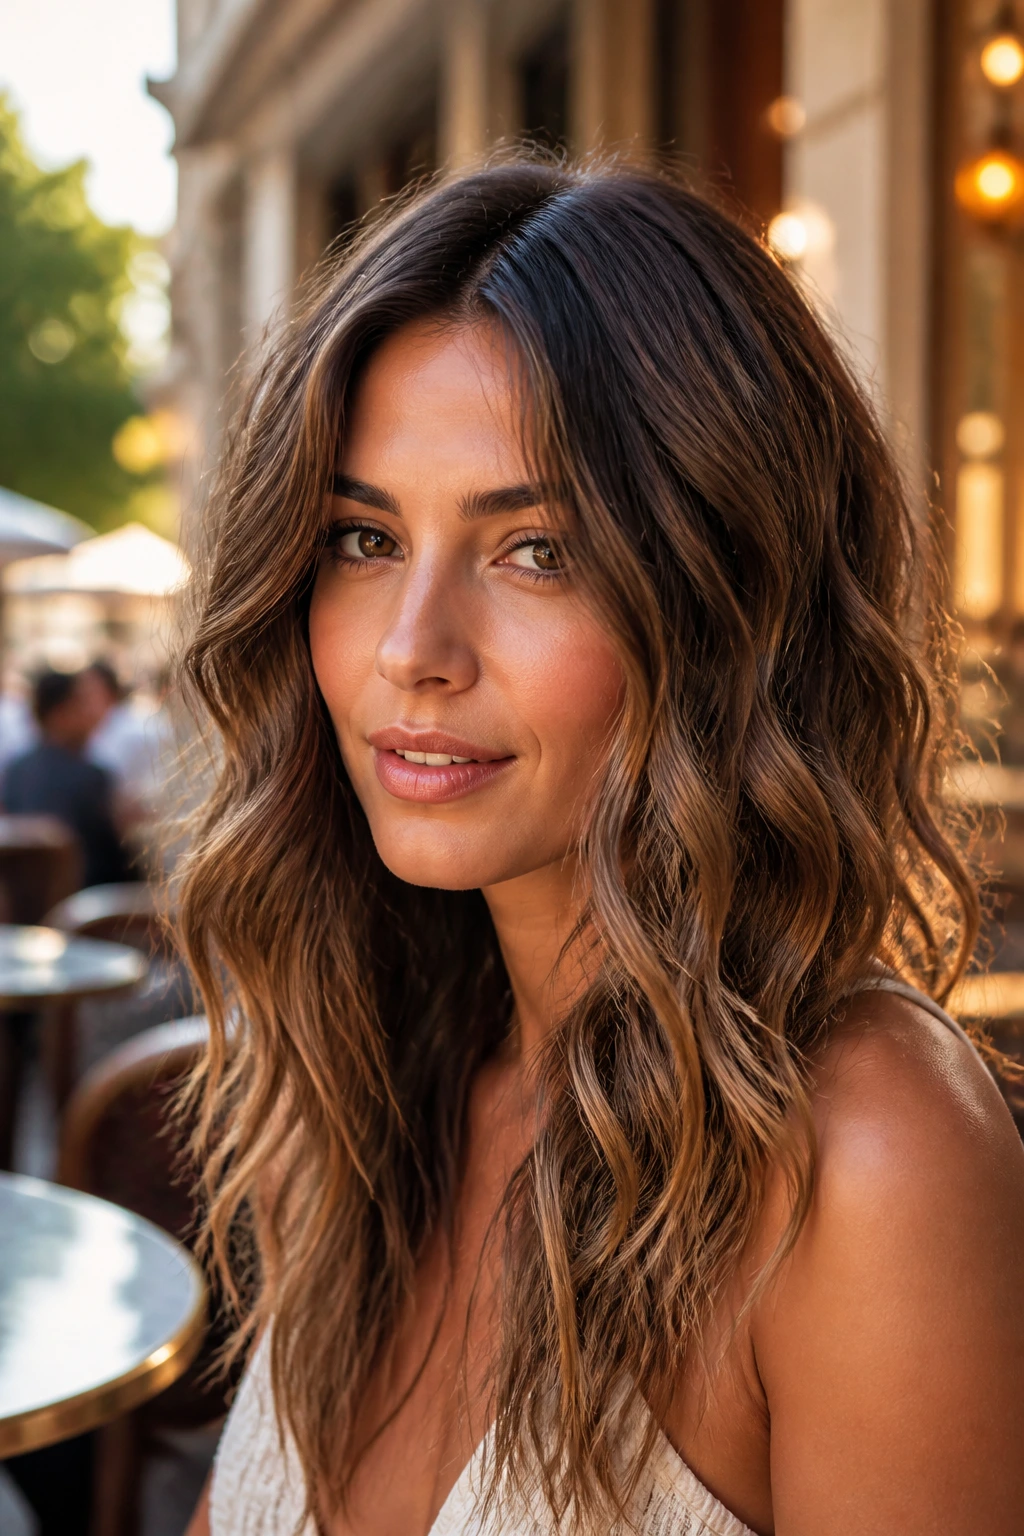
Luxe undone waves are just beach waves with the edges polished. The texture stays relaxed, but the finish gets a little shine and the part is a touch cleaner. This is the style that belongs at dinner, not just on a grocery run.
Use a strong foundation — gel or mousse — and finish with a very small amount of serum on the outer layer once everything is dry. A side part or a deep center part both work, as long as the crown stays smooth. The final look should move easily, but not fall apart when you step outside.
Why Curly Hair Makes Beach Waves Look Better
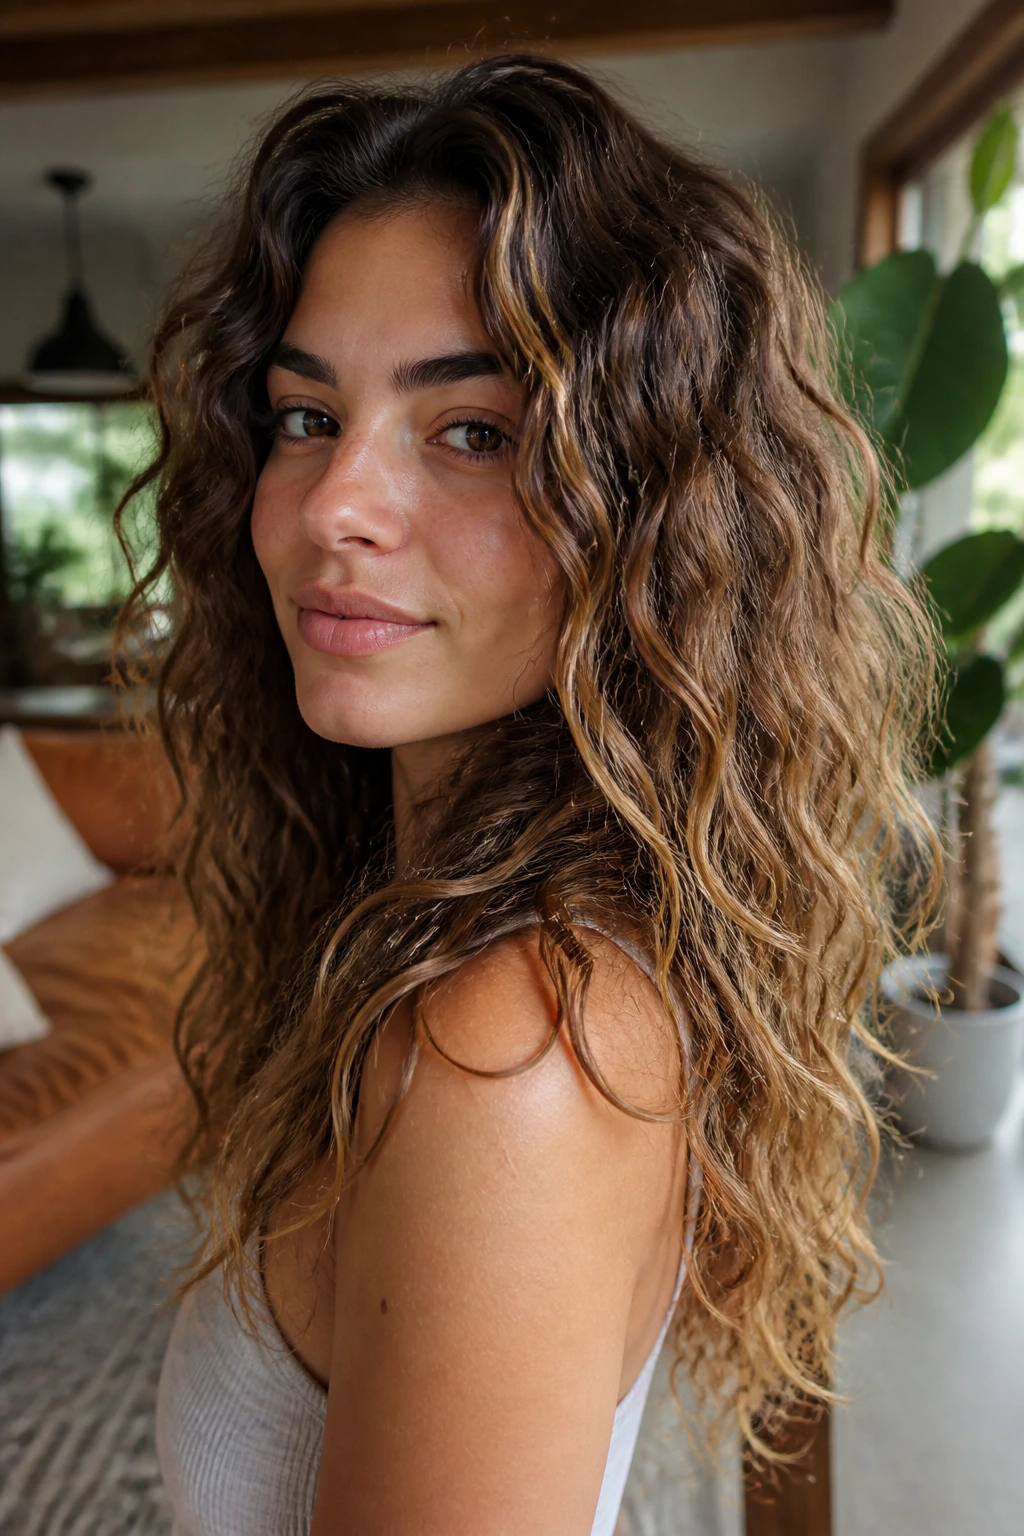
Curly hair and beach waves get along because the base pattern already has movement. You are not building shape from nothing. You are softening, stretching, and arranging what is already there. That means the real decisions are about hold, weight, and where you want the frizz to live.
The Curl Pattern Is Already Doing Half the Job
With looser curls, beach waves can come from stretching the pattern slightly and keeping the clumps wide. With tighter curls, the trick is more about defining the outer layer and easing up on the inner density. Either way, the wave reads best when the ends are lighter than the roots.
A lot of people fight this by using the same product all over the head. That’s usually the wrong move. The crown often needs lift, the mid-lengths need shape, and the ends need softness. Three zones. Three jobs.
Weight, Moisture, and the Wrong Kind of Softness
Heavy cream can make beach waves sag. Too little moisture, though, and the hair goes frizzy before lunch. The sweet spot is usually a light leave-in for slip, then a styling product with hold. Not a mountain of both.
If your curls are porous, they’ll soak up products fast and can still puff up in humidity. If they’re low-porosity, they can sit on top of products and get flat or greasy. That’s why the same wave routine doesn’t work for every head, even when the curl type looks similar on paper.
Essential Tools for These Looks
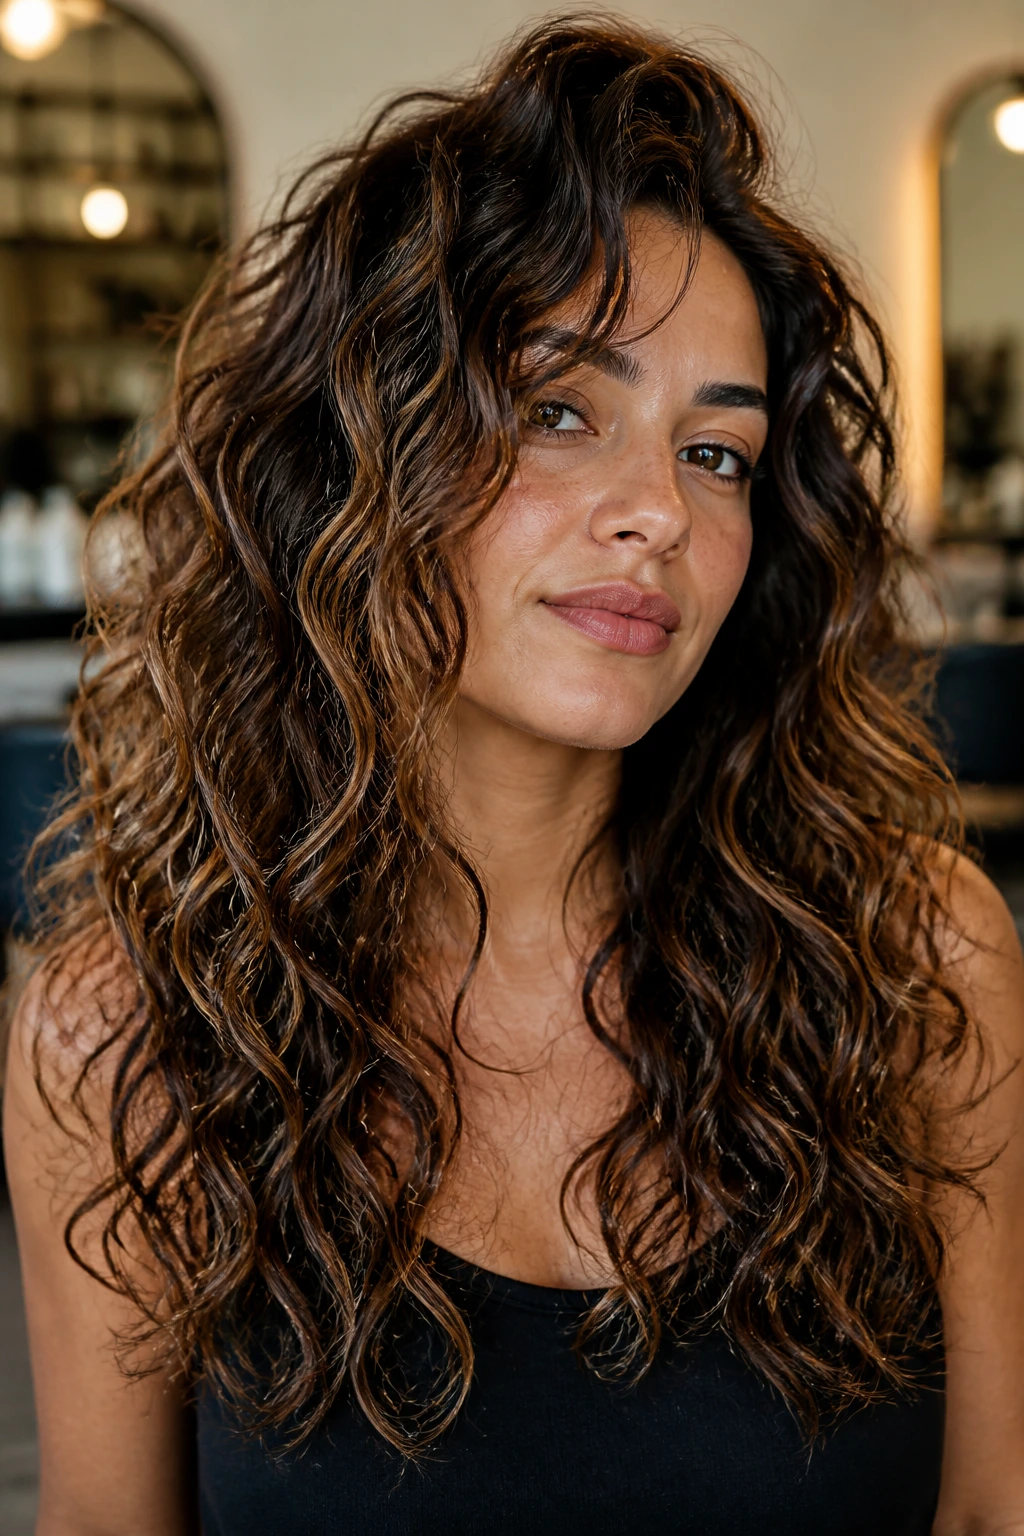
- Leave-in conditioner: Gives slip and keeps the wave pattern from drying rough.
- Lightweight mousse: Adds body at the root and soft hold through the mid-lengths.
- Curl cream: Best for coarse or dry curls that need softness before shaping.
- Strong-hold gel: Useful when you want the wave to survive humidity and movement.
- Sea salt spray: Good for grit and piecey texture, but easy to overuse.
- Wide-tooth comb: Helps distribute product without shredding curl clumps.
- Microfiber towel or cotton T-shirt: Cuts down on friction and frizz during drying.
- Diffuser attachment: Sets shape while keeping airflow gentle.
- Duckbill clips: Great for root lift and setting a part.
- 1-inch curling wand or flat iron: Handy for face-framing pieces or S-bends.
- Heat protectant spray: Non-negotiable if you bring in heat tools.
- Silk scrunchies or bonnets: Keeps the shape from getting crushed overnight.
- Silk pillowcase: Reduces friction and helps day-two waves stay smoother.
Smart Product and Ingredient Tips for Curly Beach Waves
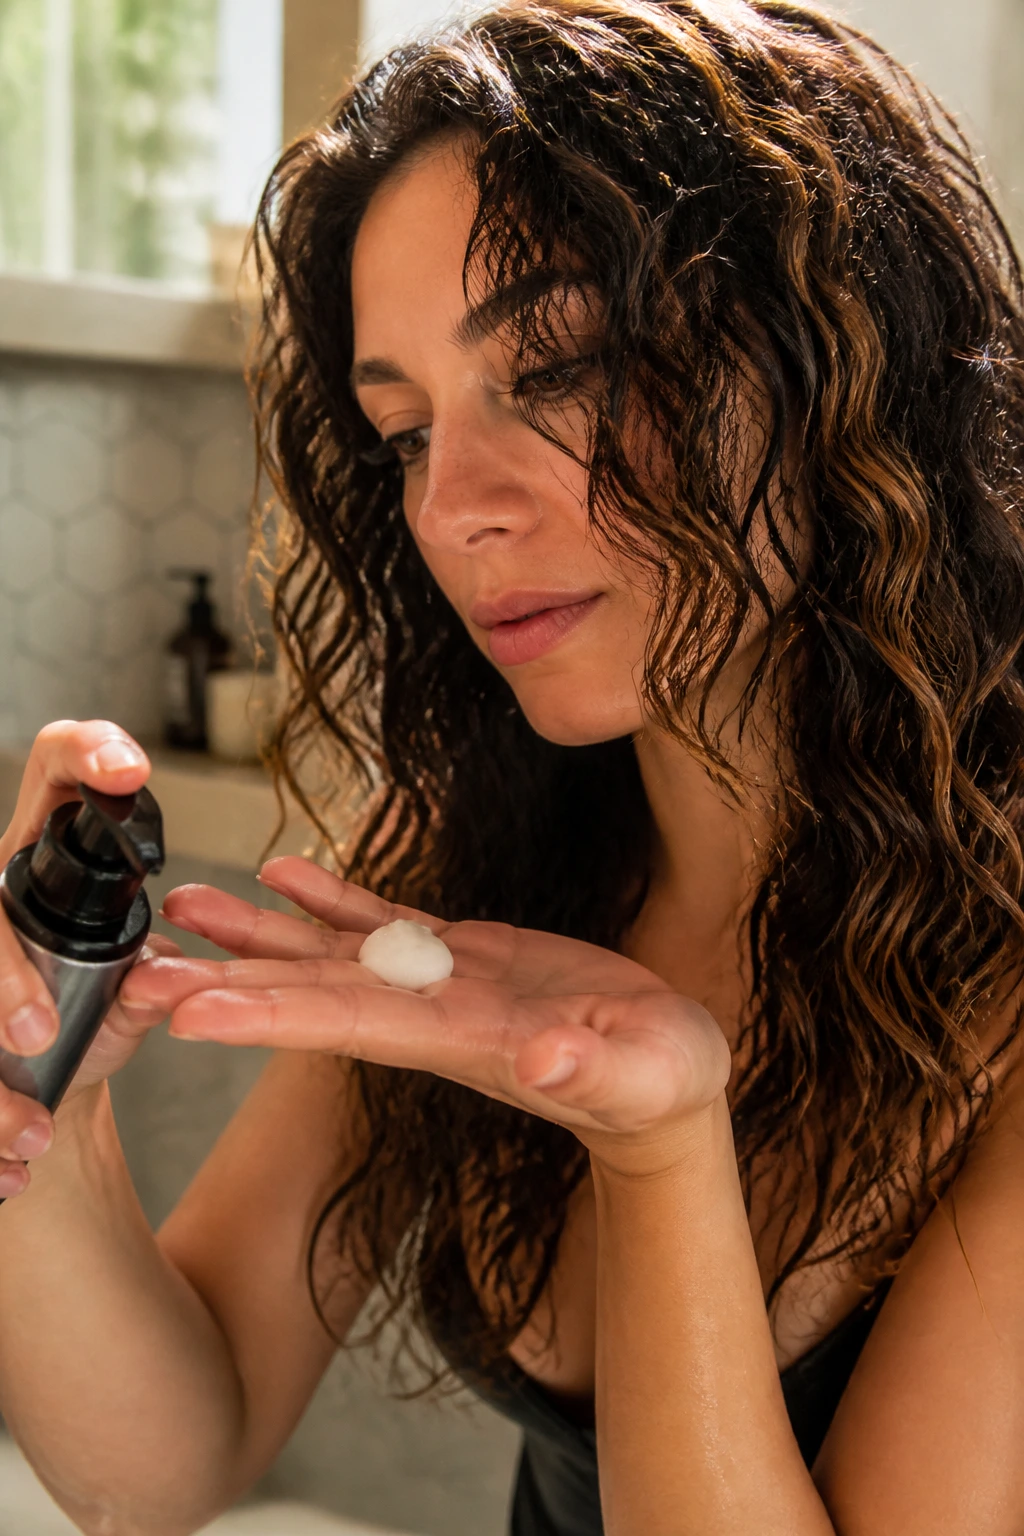
The biggest product mistake is overloading the hair with “beach” stuff and ending up with dry, sticky lengths. Sea salt spray can give you that rougher texture, but it also pulls moisture out of the hair shaft, so it works best in small doses and usually on top of another styler. If your hair already feels dry or brittle, use salt spray sparingly and lean on mousse or gel instead.
Look for a mousse or gel that matches the way your hair behaves, not the way the bottle talks. Fine curls usually want airy hold and little weight. Coarse or high-porosity curls often need a cream underneath a gel so the cuticle doesn’t flare up and frizz out. If your hair gets soft and undefined too quickly, a stronger-hold gel is usually the fix, not more oil.
A clarifying shampoo matters more than people think. Salt sprays, oils, creams, and gels can pile up and dull the wave pattern, especially if you refresh the style a few days in a row. Wash that buildup off every 2 to 4 weeks, or sooner if your hair starts feeling coated. And if you’re using heat tools, pick a heat protectant that you trust on damp hair and apply it before the wand or flat iron touches anything.
How to Wear These Looks With Different Outfits and Occasions
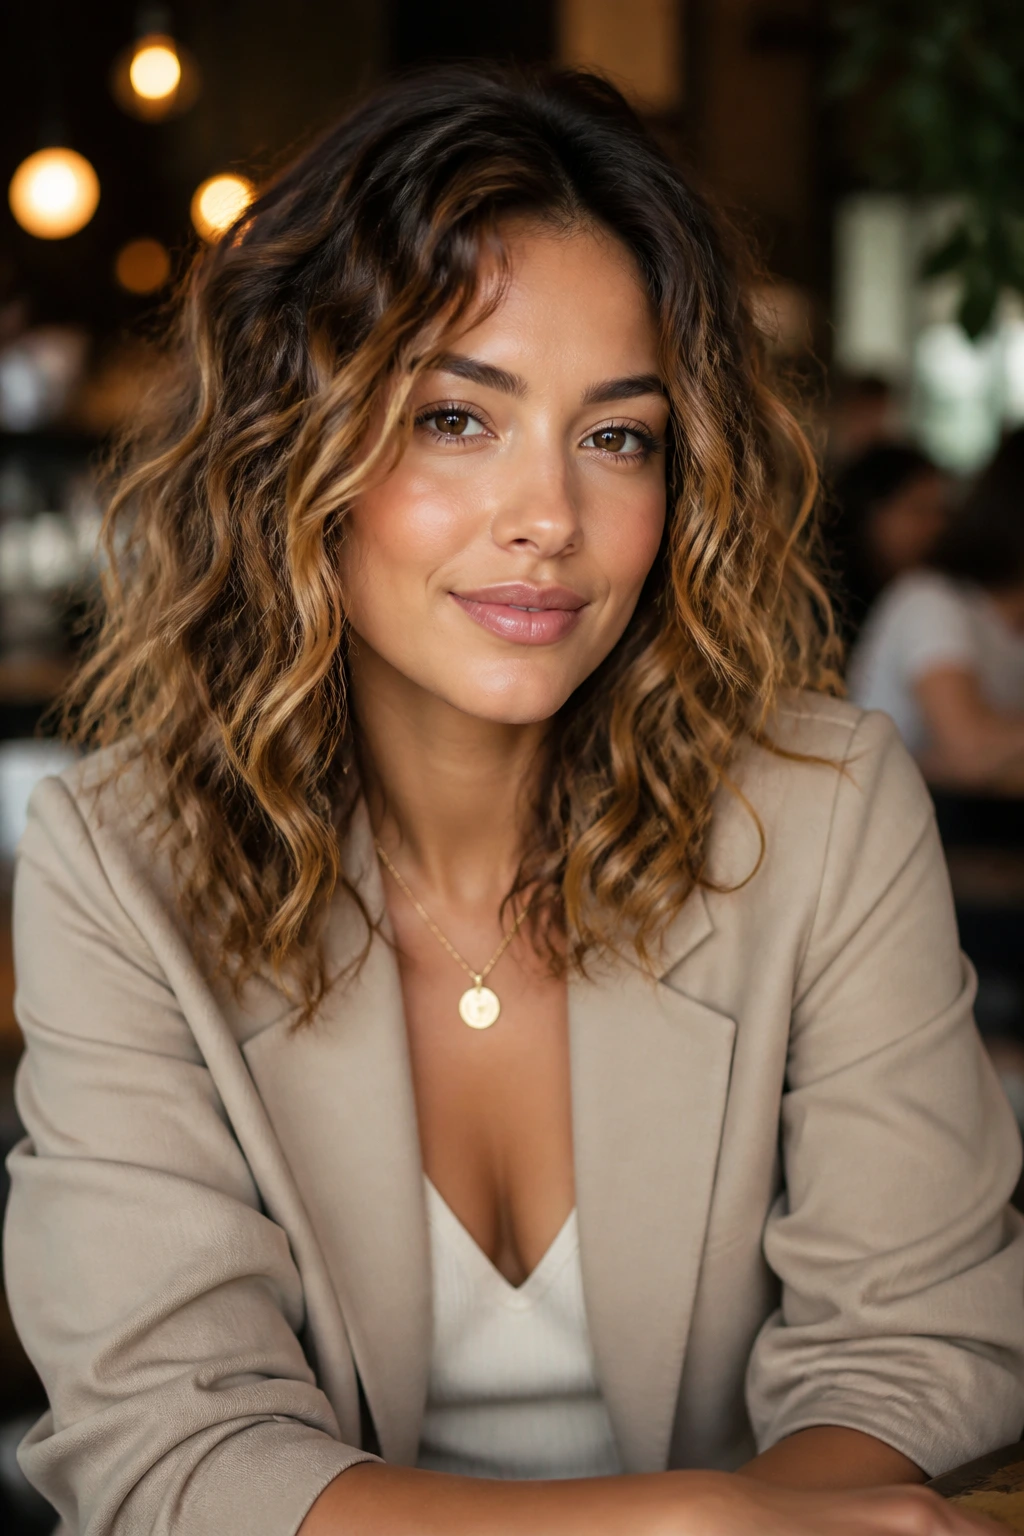
Placement: Keep the part, the crown lift, and the face frame in sync with the neckline. A deep side part and a tucked side look sharp with a high collar, while looser center-part waves sit nicely with open necklines and simple tops.
Accessories: Claw clips, scarves, barrettes, and headbands change the mood fast. A small clip near one ear makes the style feel casual and tidy, while a scarf or a broad headband pushes it into a more styled lane without changing the wave pattern itself.
Wear Time: Braided, twisted, and gel-set styles usually last longer than mousse-only looks. If you need the style to survive a full day, choose one with a stronger cast or root clips. If it only needs to last until evening, a softer finish is often nicer because it still moves.
Best For: Dressier versions like glossy wet-look waves, deep side-swept waves, and luxe undone waves work well for evenings and photos. Softer looks like low-product weekend waves, scrunch-and-go texture, and pineapple-set waves are better for errands, travel, and days when you want your hair to cooperate without being bossy.
Extra Texture Tricks and Personal Tweaks
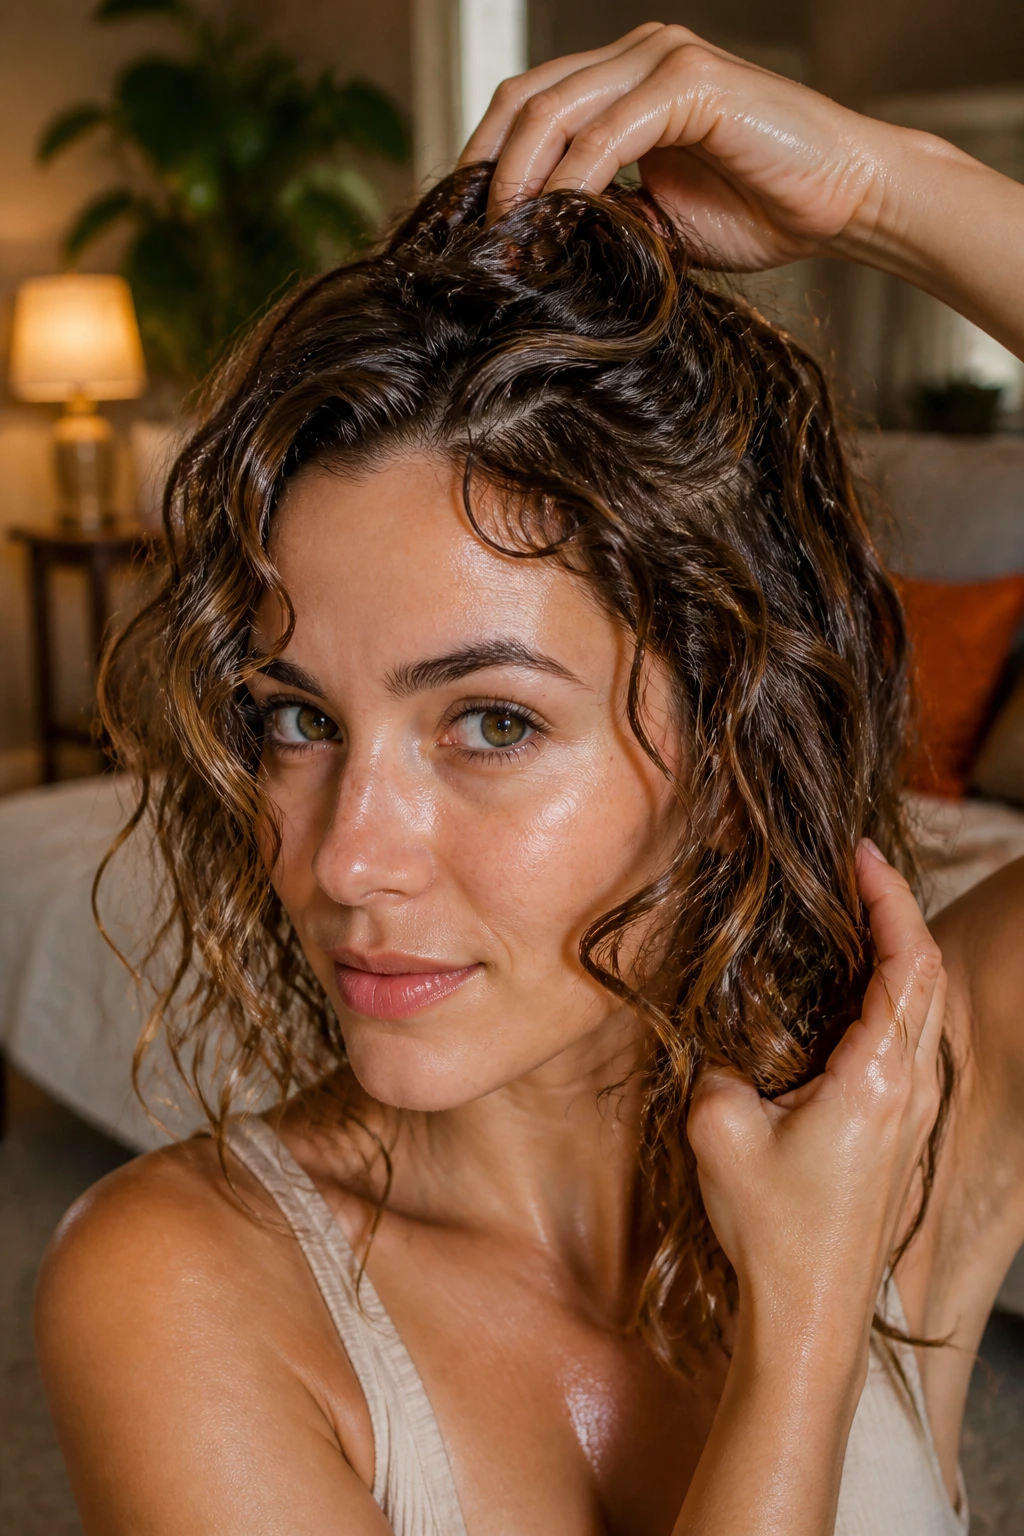
Texture Boost: Add a pea-size bit of mousse to the roots while the hair is still damp, then scrunch the mid-lengths with clean hands. That gives the wave more lift where it usually falls flat.
Softness Boost: Once the hair is dry, warm a drop of serum between your palms and smooth only the outer layer. Do not rake it through the underside unless you want to lose the piecey separation you just earned.
Customization: Fine hair usually looks better with mousse and clips. Coarse or frizzy hair often needs cream under gel. Loose curl patterns can take a wand through the front pieces, while tighter curls usually look better with only a few touched-up sections.
Make-It-Yours: If you want a more polished finish, keep the part clean and the crown controlled. If you want something more relaxed, break up only the ends and leave the top nearly untouched. That one decision changes the whole look.
Common Mistakes That Flatten the Shape or Build Frizz
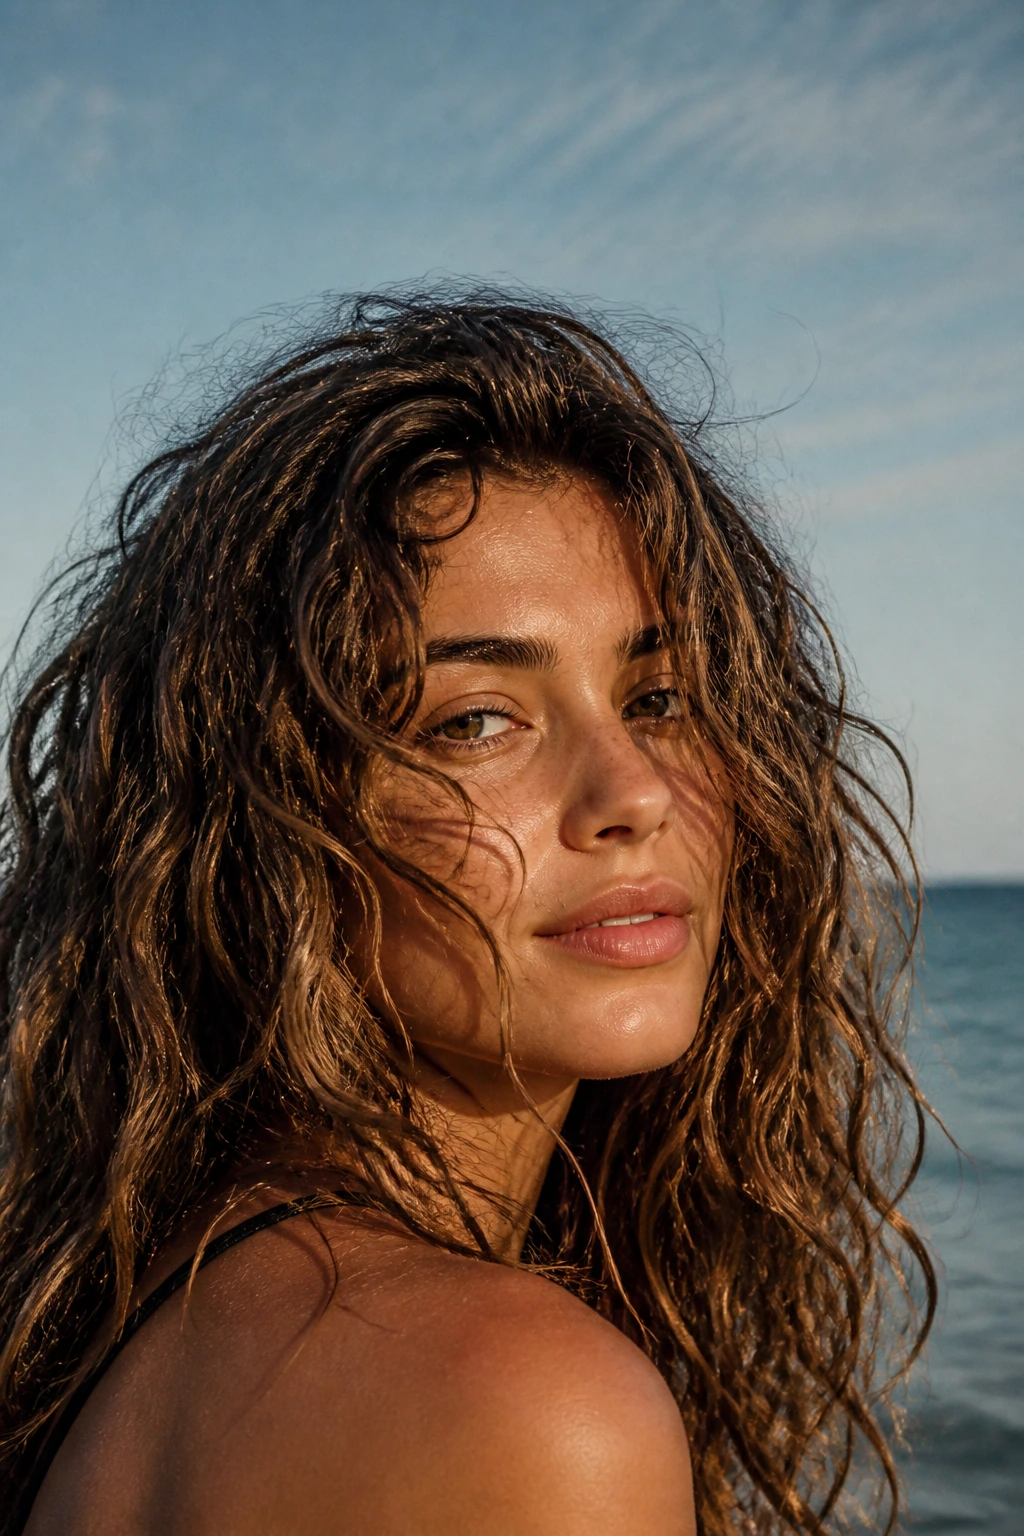
- Using too much cream: The hair goes soft, then flat, then weirdly dry at the same time. Fix it by cutting the cream in half and adding a gel or mousse for hold.
- Touching the hair while it dries: This turns curl clumps into frizz clumps. Leave it alone until the cast sets or the hair is fully dry.
- Brushing dry curls into waves: Brushing breaks the natural bend and makes the top wide. Use fingers or a wide-tooth comb only when the hair is damp and coated with product.
- Spraying salt product everywhere: The ends feel crispy and the roots lose softness. Mist mid-lengths and ends lightly, then stop.
- Skipping root lift: The crown collapses while the lengths look fine. Use clips, diffusing, or a side part to keep the top alive.
- Using heat without protection: The wave may look smooth for a day, then the ends feel rough and split. Always use heat protectant, and keep the tool moving.
Variations and Adaptations to Try
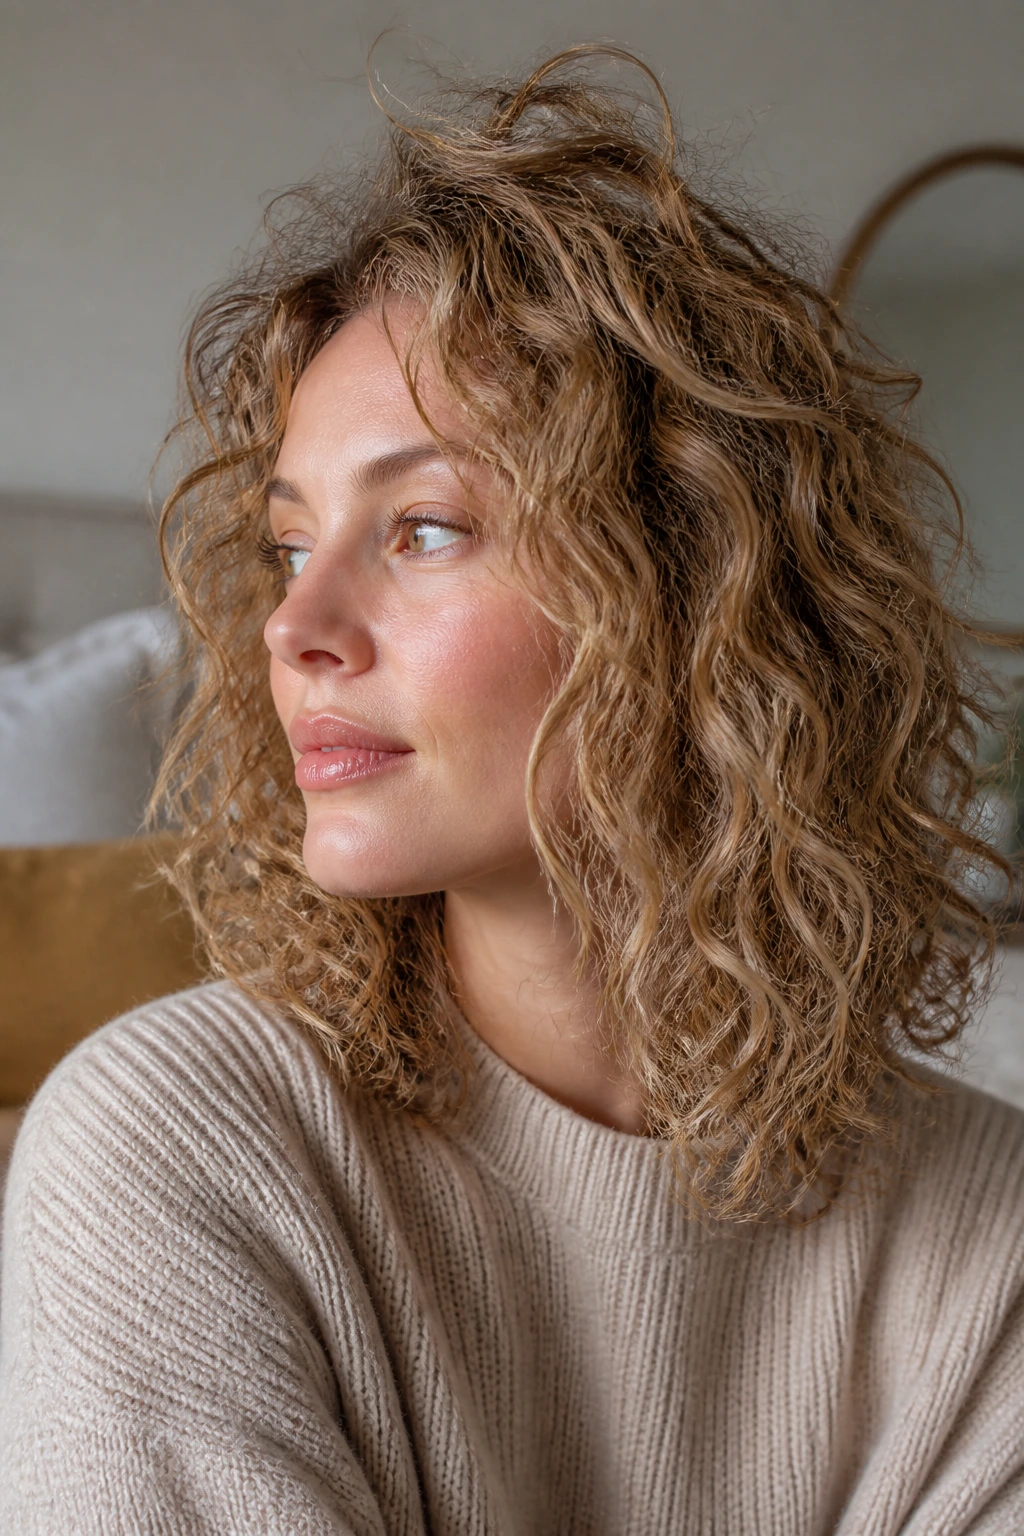
Fine-Curl Feathering: If your hair is fine, keep everything light and airy. Use mousse only, then add a tiny bit of texturizing spray at the end if you want more grit. Heavy creams will bury the shape.
Coarse-Curl Polish: For thicker curls, layer cream under gel and diffuse until the cast is firm. This keeps the shape neat and stops the frizz halo that coarse hair can get when the weather turns damp.
Heat-Free Braided Set: Two or three loose braids on damp hair give a softer, more relaxed wave. This is the easiest route when you want texture without a wand or flat iron anywhere near your head.
Short-Crop Surf Texture: Short hair needs a more piecey finish, not huge waves. Use a paste or lightweight gel, pinch the top layers into direction, and keep the sides soft. That’s enough.
Humidity Shield Finish: If the air is sticky, choose the strongest gel you own and let the hair dry completely before you break the cast. A little serum after that helps the outer layer stay smooth.
How to Refresh and Protect the Style Overnight
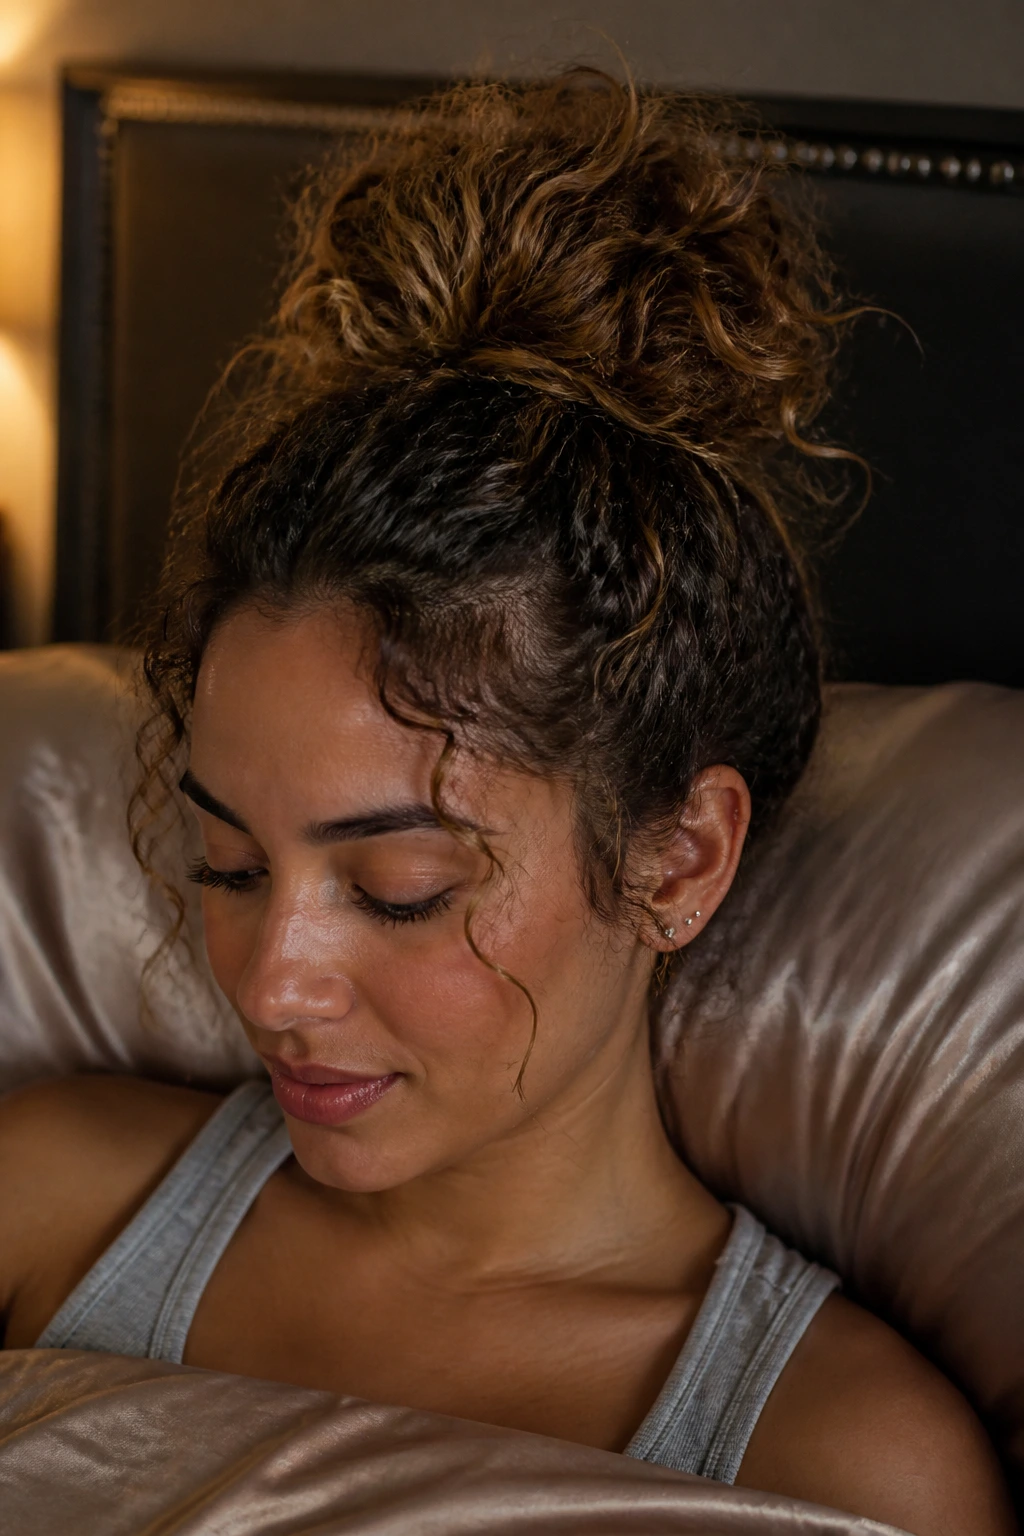
Curly beach waves usually look best when they are treated like day-one hair you plan to wear again tomorrow. Before bed, gather the hair into a loose pineapple, a soft topknot, or two low braids depending on length. Use a silk scrunchie or a satin tie so the hair doesn’t get a hard crease. A cotton pillowcase will rough up the cuticle faster than people expect, so a silk pillowcase is worth it if you wear textured styles often.
In the morning, don’t soak the whole head unless the style has truly fallen apart. Start with a spray bottle filled with water and a tiny splash of leave-in, then mist only the flat areas and scrunch them back into place. If the roots look oily or limp, dry shampoo at the crown can revive the lift, but keep it a few inches away from the scalp and massage it in gently.
Salt-spray styles need extra care because they dry out fast. If you wear one two days in a row, add a little moisture back before restyling or the ends will start feeling rough. Clarifying every 2 to 4 weeks helps remove product buildup, especially if you’re using mousse, gel, and texturizing sprays together. And if one section goes flat while the rest still looks good, fix that one section. Don’t restart the whole head out of stubbornness.
Questions People Ask About Curly Beach Waves
Can beach waves work on tight curls?
Yes, but the look usually ends up softer and more separated rather than truly loose. Tight curls often do better with controlled definition, a little stretch at the front, and a light outer-layer finish instead of a full head of heat-styled bends.
Do I need a curling wand to get these looks?
No. Braids, twists, clips, diffusing, and the pineapple method can all get you there. A wand helps with face-framing pieces or the outer layer, but it is not required for most of these styles.
Why does my hair look frizzy instead of wavy?
Usually the hair was touched too much, dried without enough hold, or loaded with the wrong product weight. Too little hold lets the curl separate into fuzz; too much dry spray or salt can rough up the ends. The fix is usually cleaner sectioning and a stronger base product.
Can short curly hair pull off beach waves?
Absolutely. Short hair often looks better with a piecey, airy version than with long, loose waves anyway. Focus on direction and root lift rather than trying to create big bends that the length can’t support.
Should I air-dry or diffuse?
Air-drying gives you a softer finish, while diffusing gives more lift and faster set time. If your crown goes flat easily, diffuse the roots first and let the rest dry on its own. That mix usually works better than choosing only one method.
How much product is too much?
If the hair feels sticky before it dries, you’ve probably gone past the sweet spot. Start with a quarter-size amount of mousse or gel for short to medium hair and a little more only if the hair is thick or very porous.
Can I sleep in these styles?
Yes, but choose the style carefully. Braids, pineapples, and loose clips hold up better overnight than smooth wet-look waves. If you want the style to last, protect the hair with a silk bonnet or pillowcase.
What if the top looks flat but the ends still look good?
That’s a root problem, not a wave problem. Clip the crown while the hair is damp, use a diffuser near the scalp, and keep heavy product away from the top section. The ends usually don’t need rescuing at all.
The Texture You Already Have
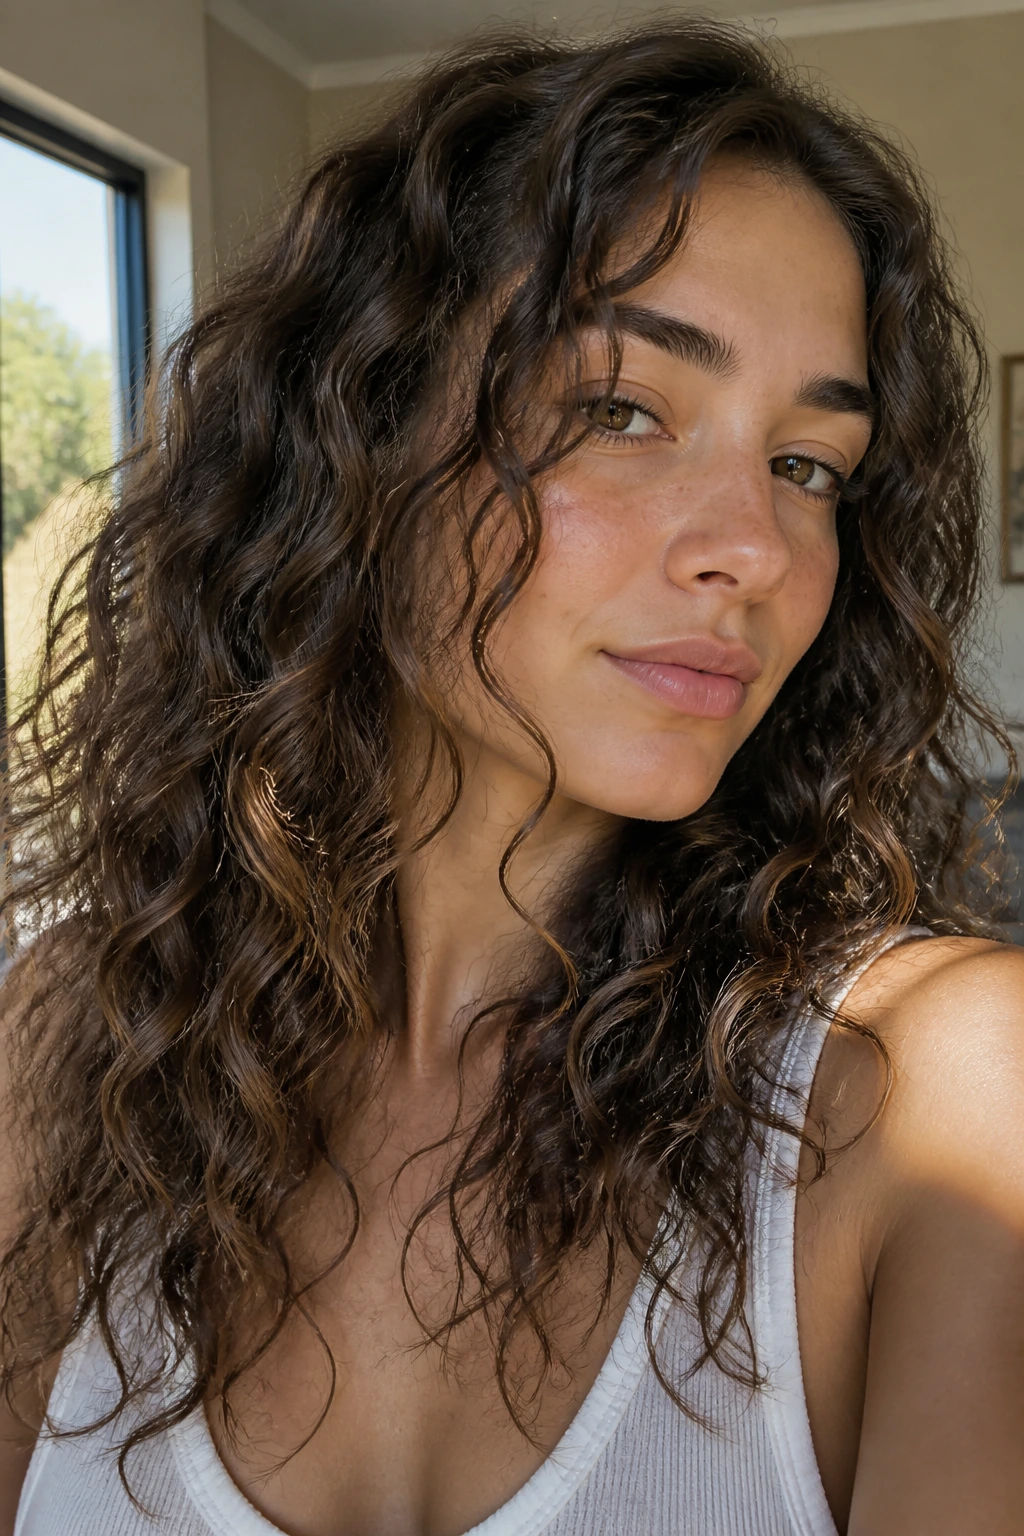
Beach waves on curly hair work best when they stop trying to imitate straight hair. That’s the real trick. Shape the crown, respect the clumps, and leave a little roughness where it helps the style breathe. Once you stop chasing perfect uniformity, the whole look gets easier.
Pick the version that matches your hair’s mood, not the one that looks fanciest in a photo. Some days call for glossy and controlled. Other days want a braid, a clip, and a quick scrunch. Curly hair has range, and the best beach-wave looks are the ones that let that range show.
