



Curly hairstyles for wavy hair work best when they stop pretending waves are a problem to solve. They’re not. A bendy 2A crown, a 2B wave with a little frizz at the ends, or a 2C pattern that wants to swell in humidity all need the same thing first: room to move. Not a helmet of product. Not a brush fight. A shape.
That’s why the looks that actually hold up on wavy hair are usually the ones with a little slack in them. A low ponytail that doesn’t yank the front flat. A half-up knot that keeps the top from collapsing. A side braid that leaves the last few inches loose so the wave pattern still shows through. The hair looks intentional, but it doesn’t look punished.
I’ve always liked styles that look better after they loosen a bit. Wavy hair does that naturally. Give it a part, a clip, a twist, or a clean line, then leave it alone long enough to settle. The styles below lean into that idea: some polished, some messy, some the kind of thing you can do with damp hair, a mirror, and five extra minutes you didn’t think you had.
Why These Curly Hairstyles for Wavy Hair Work So Well
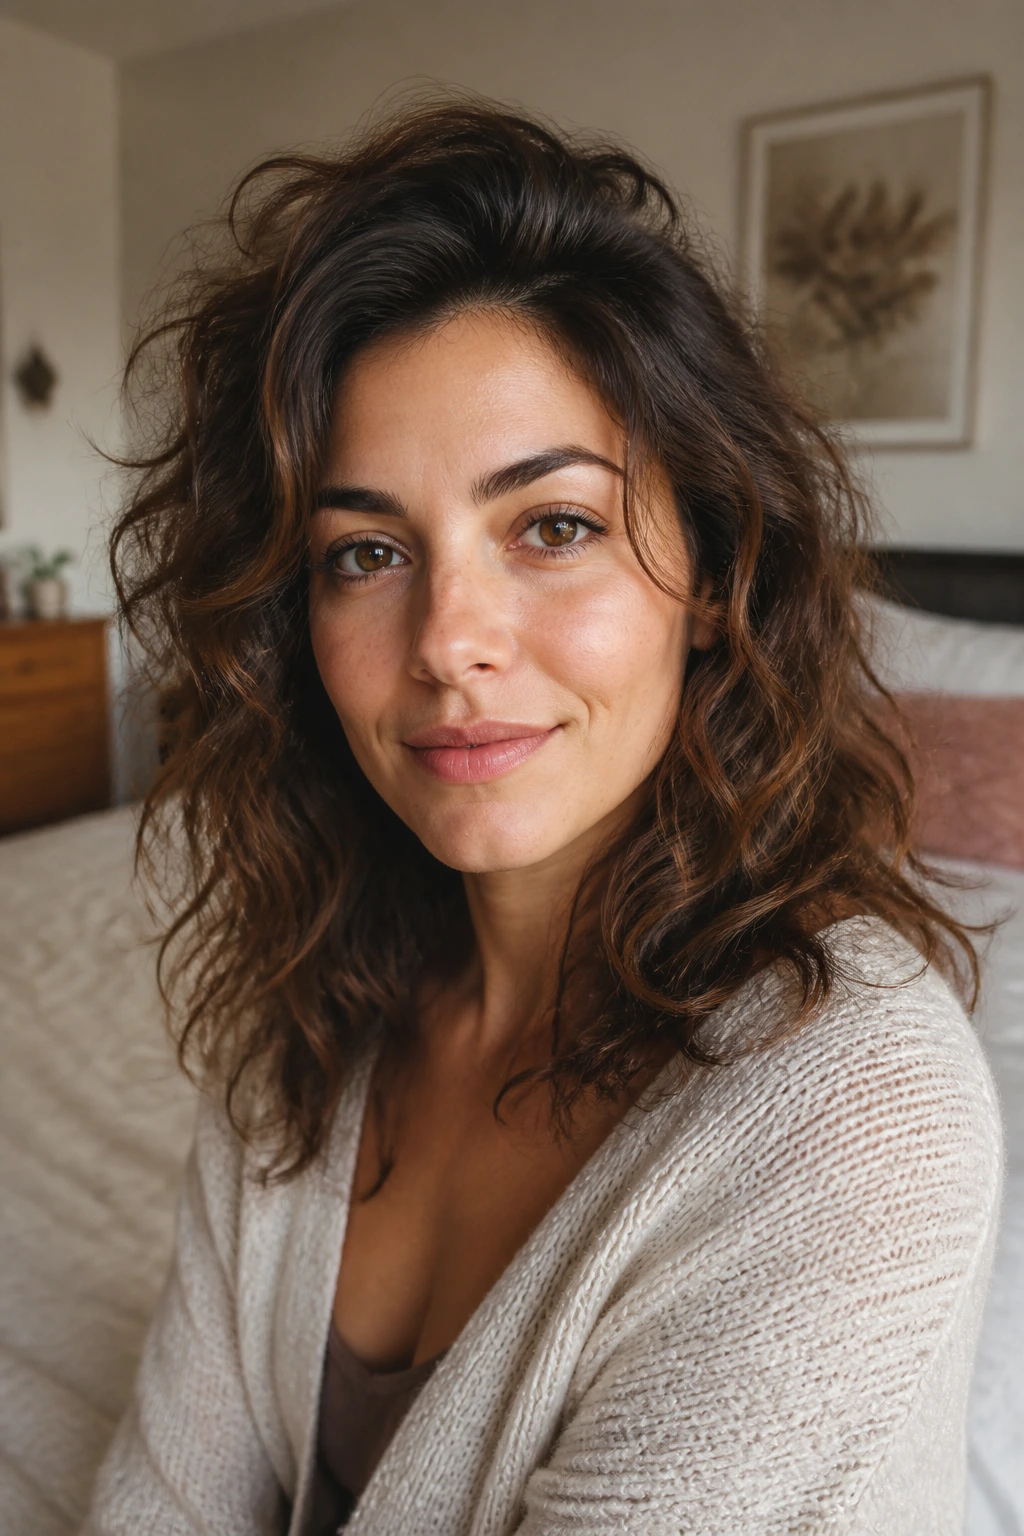
- They keep the root lift intact: Most wavy hair loses shape at the crown before it loses it anywhere else, so these styles avoid heavy pulling and give the top some air.
- They use movement instead of flattening it: A braid with loose ends, a clipped-back front, or a twisted half-up section lets the wave pattern show instead of hiding it.
- They survive second-day hair: A lot of these looks get better when the hair has a little grit, which means less washing and less fuss.
- They fit different lengths: You’ll find options for pixies, lobs, shoulder-length cuts, and long layers, not just one narrow hair type.
- They do not need perfect curl formation: That matters. Wavy hair can look great even when one section bends more than another. Uneven texture is part of the charm.
- They move from casual to dressed-up fast: Change one clip, one part, or one finish, and the same base style can go from coffee-run to dinner without starting over.
1. Air-Dry Waves With a Soft Center Part
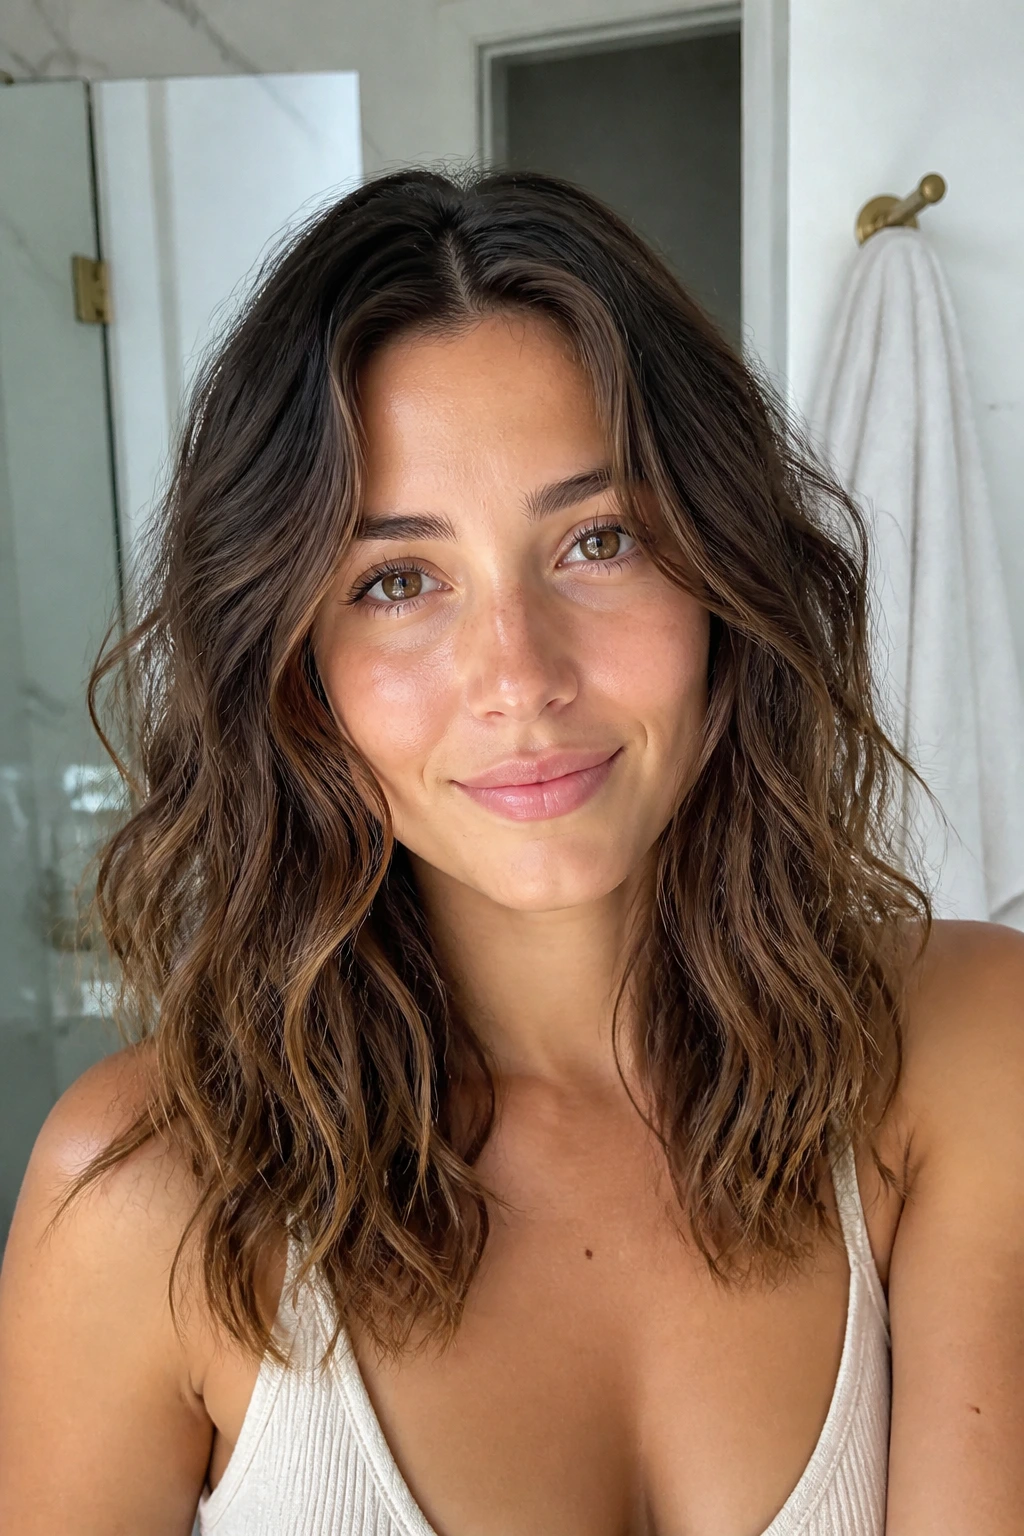
This is the style I reach for when the hair already has decent shape and I do not want to get in its way. A soft center part gives wavy hair a clean line, and the air-dried finish keeps the bend from turning stiff at the ends. It works especially well when the layers are cut to sit around the cheekbones and collarbone.
The trick is restraint. Smooth a small amount of lightweight mousse through damp hair, part it down the middle with your fingers or a tail comb, then scrunch once or twice and stop. If the roots look too flat, clip a small section at the crown while it dries. That little lift makes the whole style look more awake.
2. Clipped-Back Crown Waves
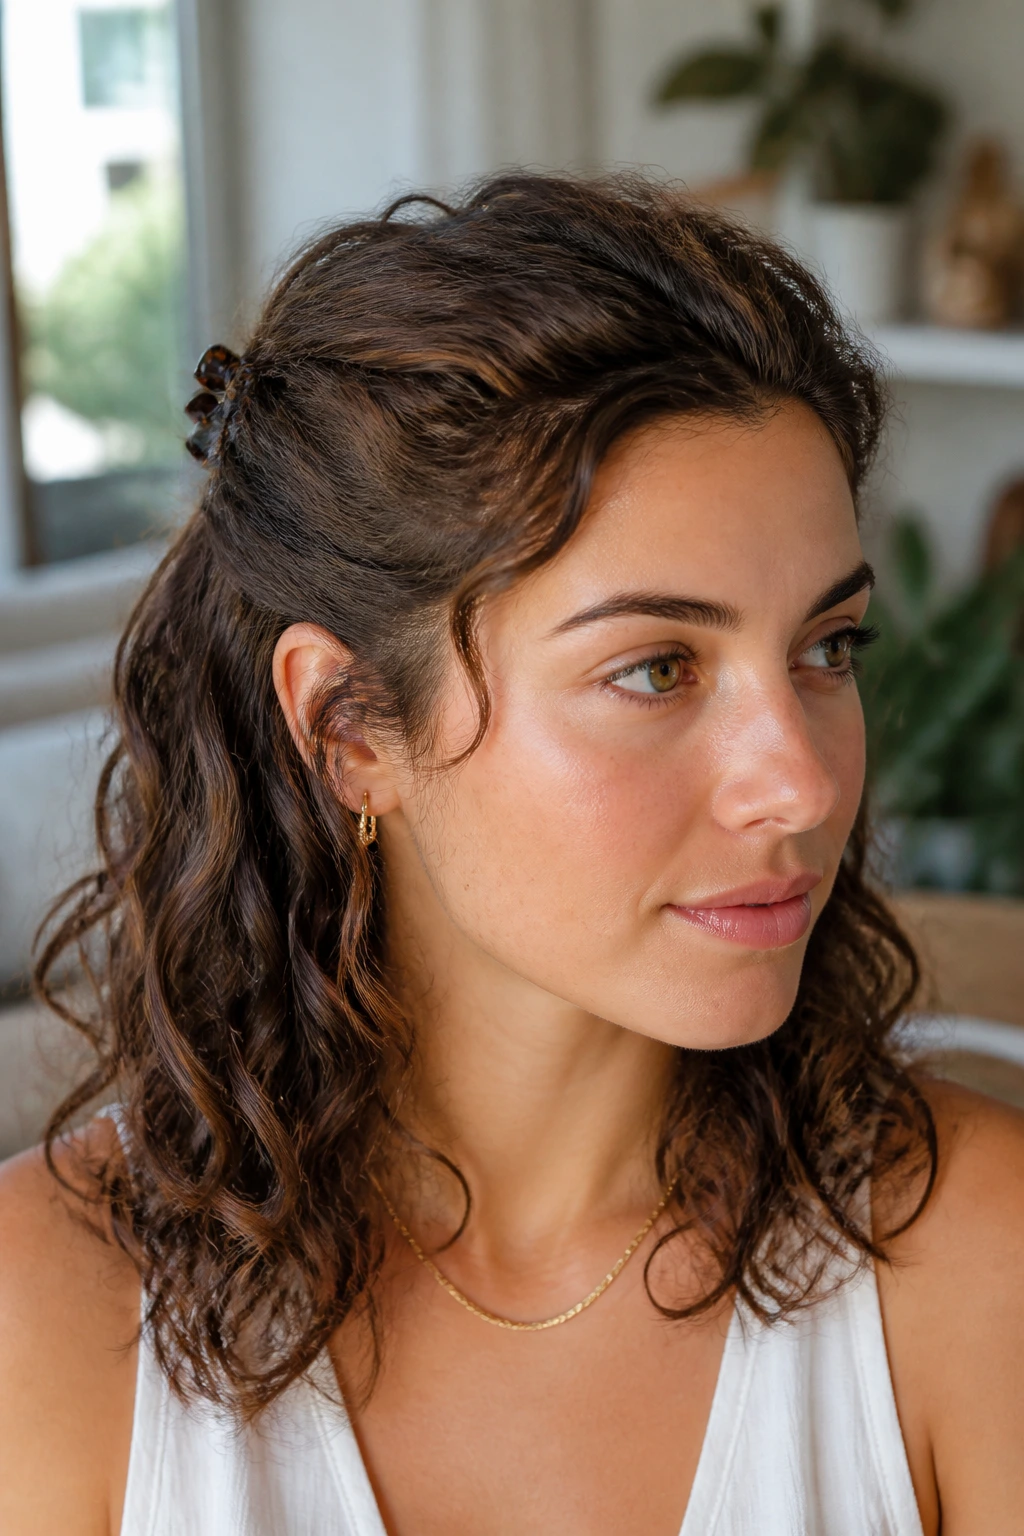
A few well-placed clips can fix a bad hair day faster than a full restyle. This look pulls the front sections away from the face and leaves the rest of the wave pattern alone, which is why it works so well on hair that gets frizzy near the hairline.
Use two small barrettes, snap clips, or polished bobby pins just behind the temples. Keep them low enough that they hold the hair without flattening the crown. If you want the style to feel cleaner, tuck the front pieces back with a pea-size dab of cream first. If you want it softer, leave a thin wave hanging loose near the ears.
3. The Half-Up Knot
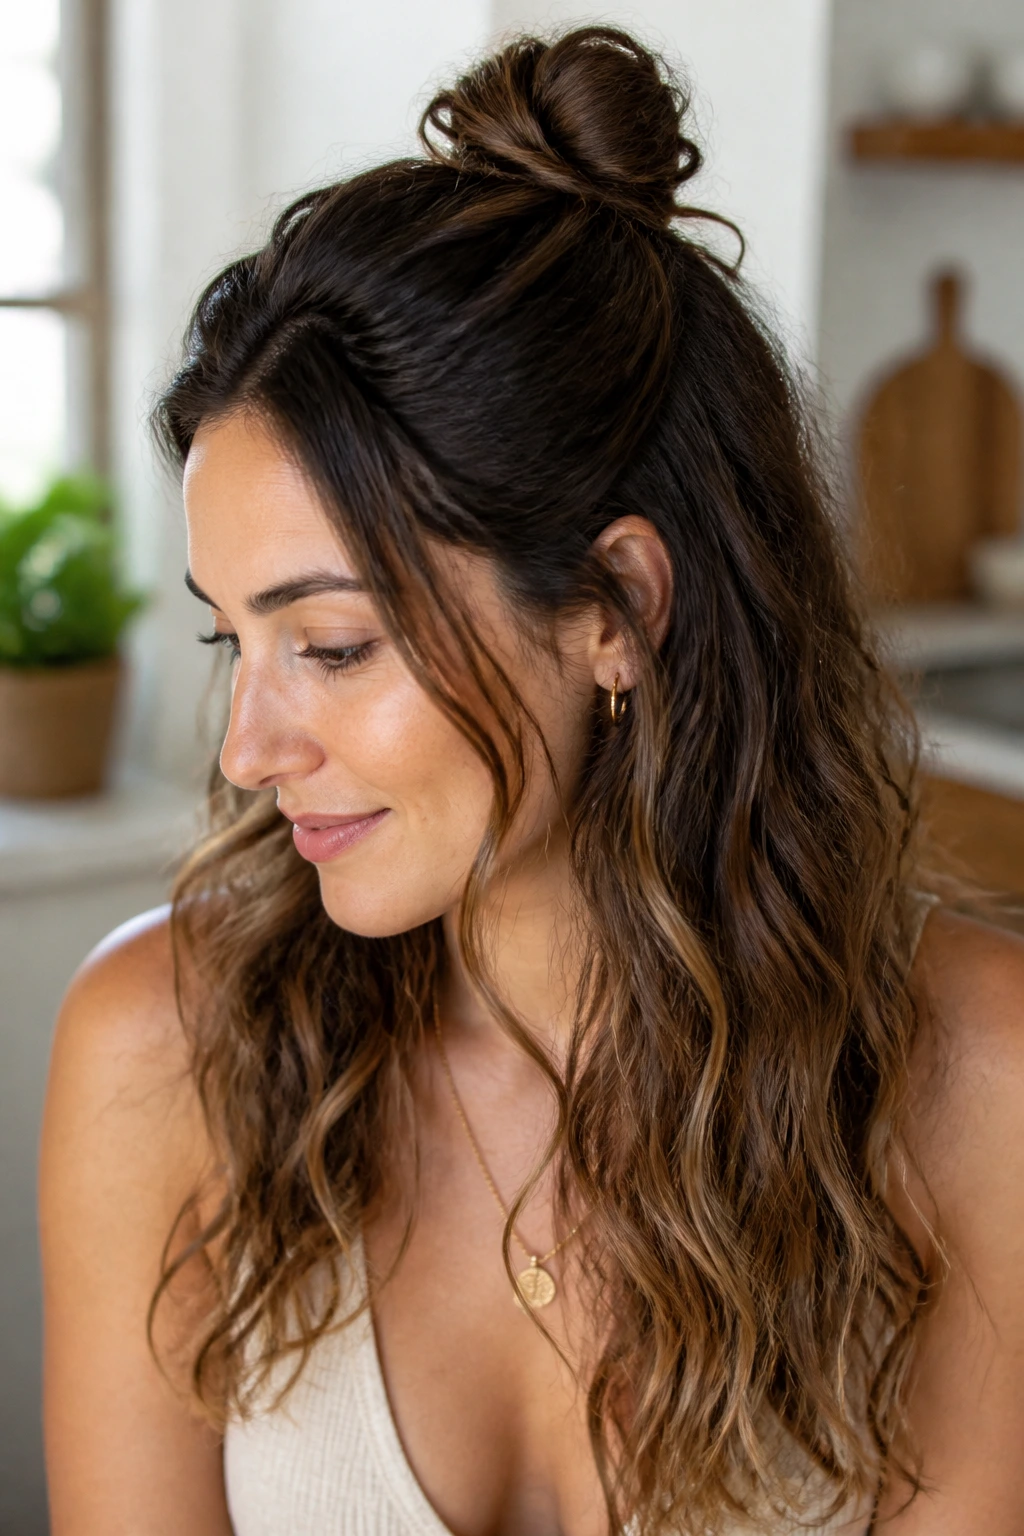
The half-up knot is the useful middle ground between “I did something” and “I still look like myself.” Pull only the top third of the hair back, twist it once or twice, and secure it into a small knot or loop. Leave the lower waves loose so they keep their movement.
This one shines on second-day hair, when the roots need a little control but the ends still have shape. It also gives fine wavy hair a bit more lift because the top section gets a break from gravity. Keep the knot loose. If you cinch it hard, the whole look goes from airy to strained.
4. Curly Shag With Face-Framing Layers
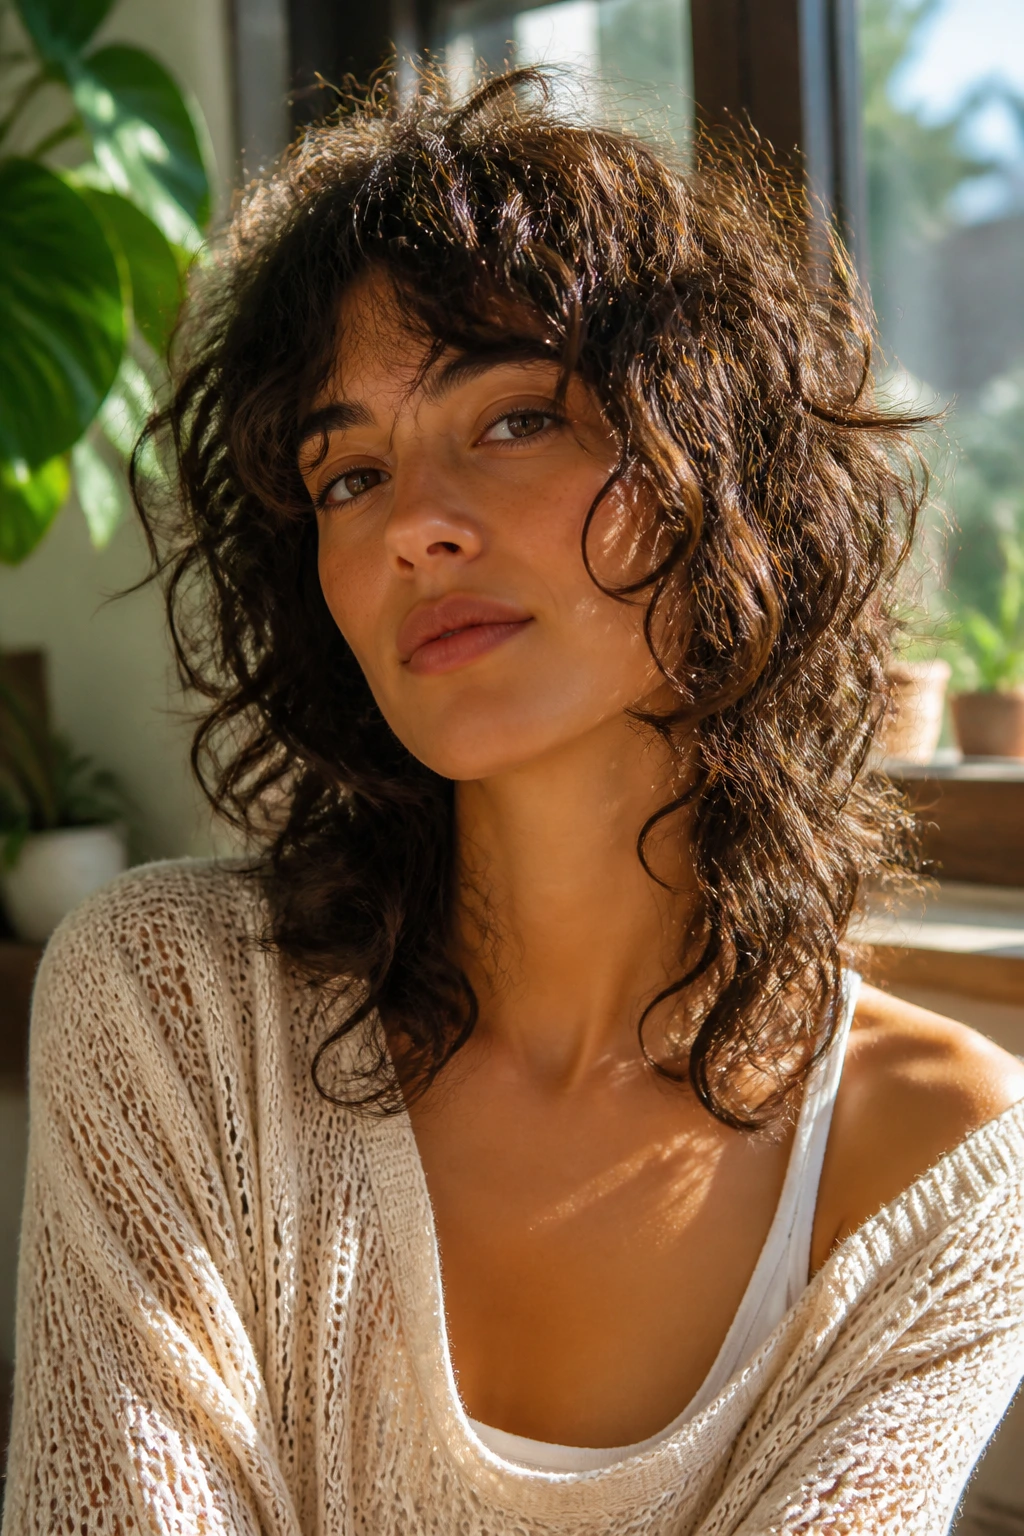
A curly shag is one of the few cuts that seems to get better when the wave pattern is not uniform. The shorter crown layers create lift, the face-framing pieces open up the cheeks, and the choppier ends keep the style from sitting like a heavy curtain.
What matters here is the balance between shape and frizz. Too much cream and the layers clump; too little and the short pieces puff out. I like a light curl cream at the mids, then a touch of gel at the very front pieces so they hold their bend. Diffuse on low or air-dry and break the cast only when the hair is dry to the touch.
5. Loose Side Braid
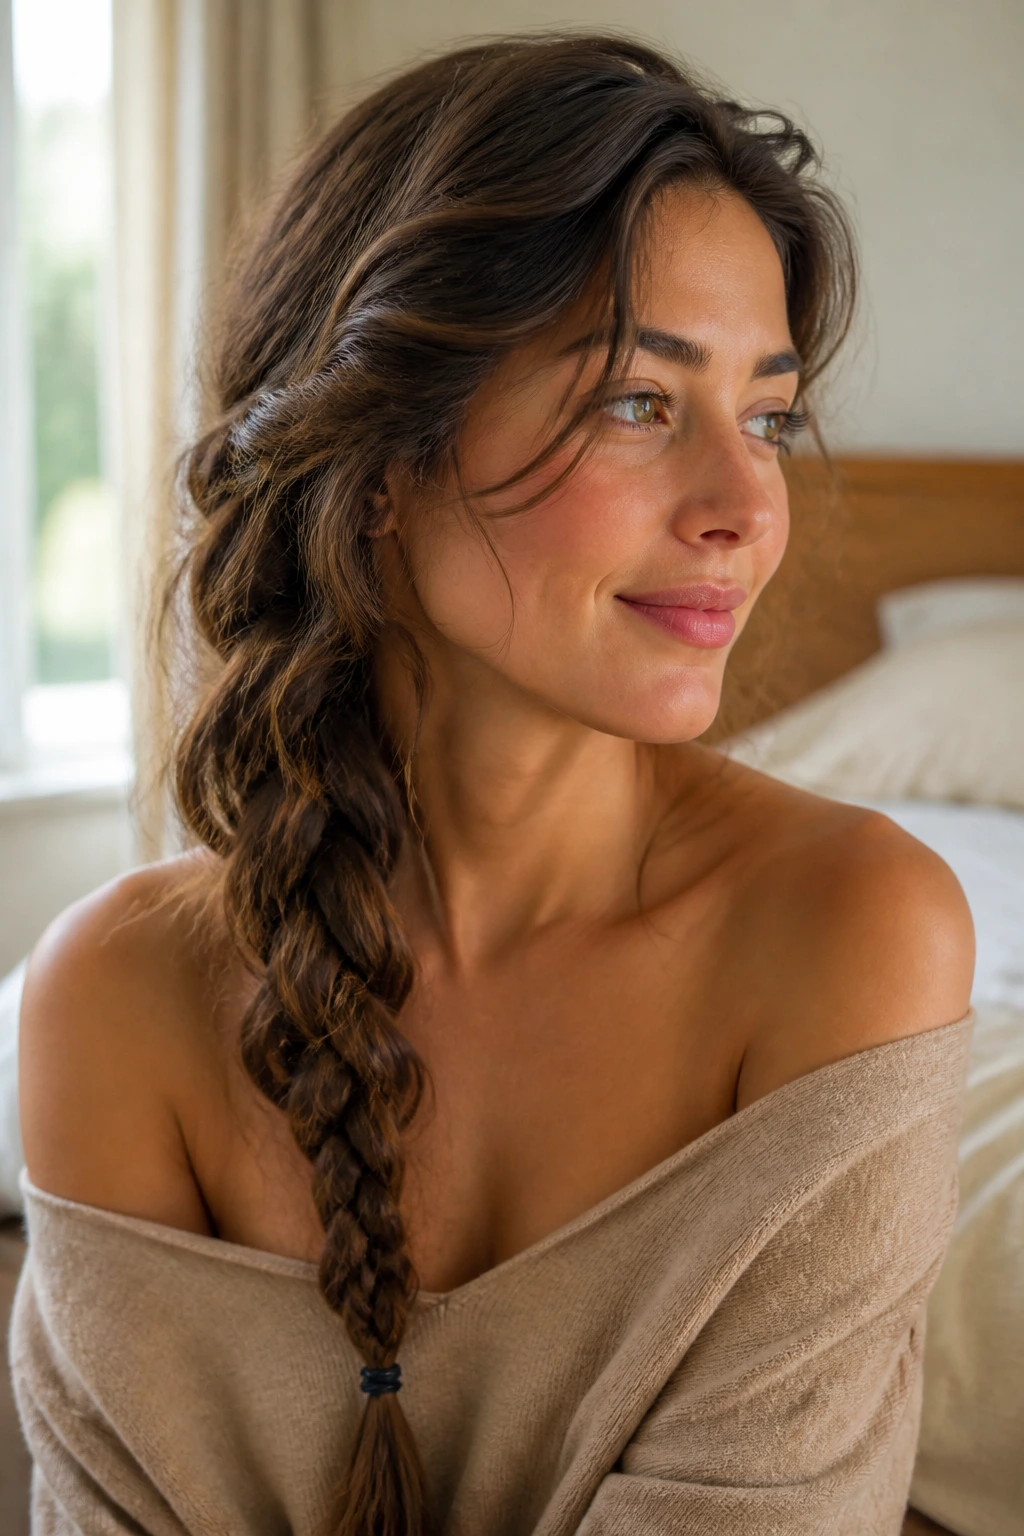
A side braid looks relaxed on wavy hair because it keeps the natural bend inside the braid instead of forcing it flat. Start low, bring the hair over one shoulder, and braid it loosely so the pattern still shows through the sections. Stop before the ends if they have a pretty bend; a tiny elastic at the very bottom is enough.
A good side braid has a little slack at the crown. That gives the face some softness and keeps the braid from looking too school-uniform. Pancake the braid gently with your fingers after it’s tied off. Not much. Just enough to widen it by a half-inch or so.
6. Low Textured Ponytail
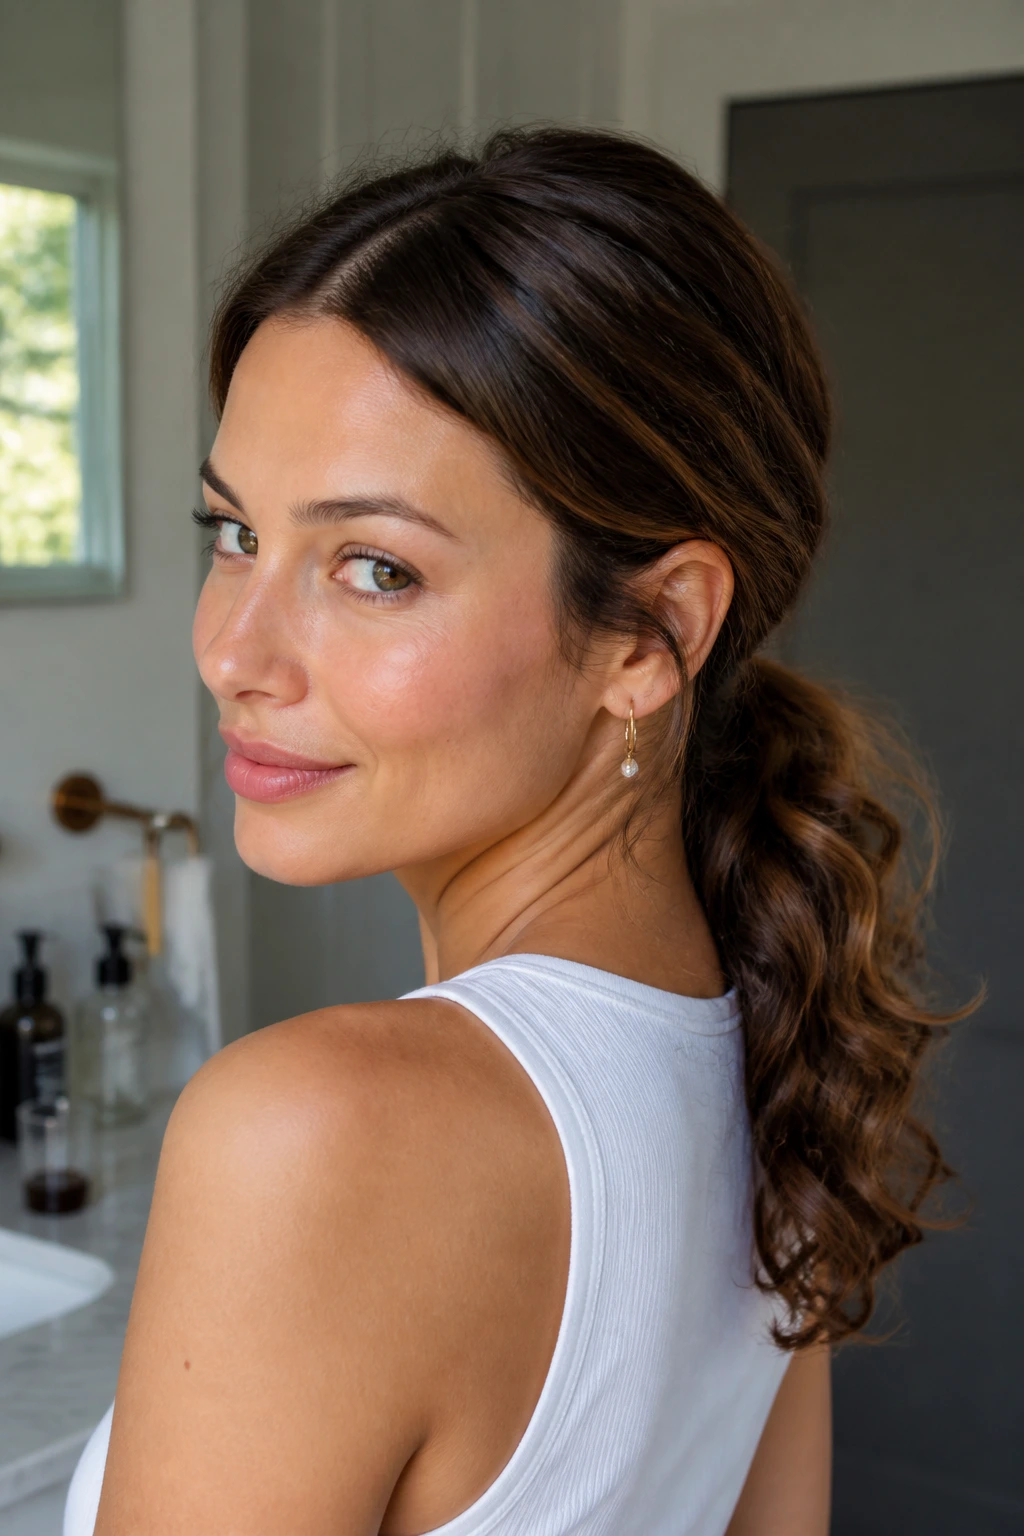
There’s something clean about a low ponytail that still lets the hair breathe. Gather the hair at the nape, smooth the top with your hands, and leave the tail loose enough to show the wave. Wrap a small strand around the elastic if you want it to look more finished.
This works best when you want the front neat and the tail soft. A little texture spray at the roots helps if the crown slips flat during the day. If your ends are dry, mist the ponytail lightly before tying it so the bend comes back instead of hanging in a straight line.
7. Diffused Glam Waves
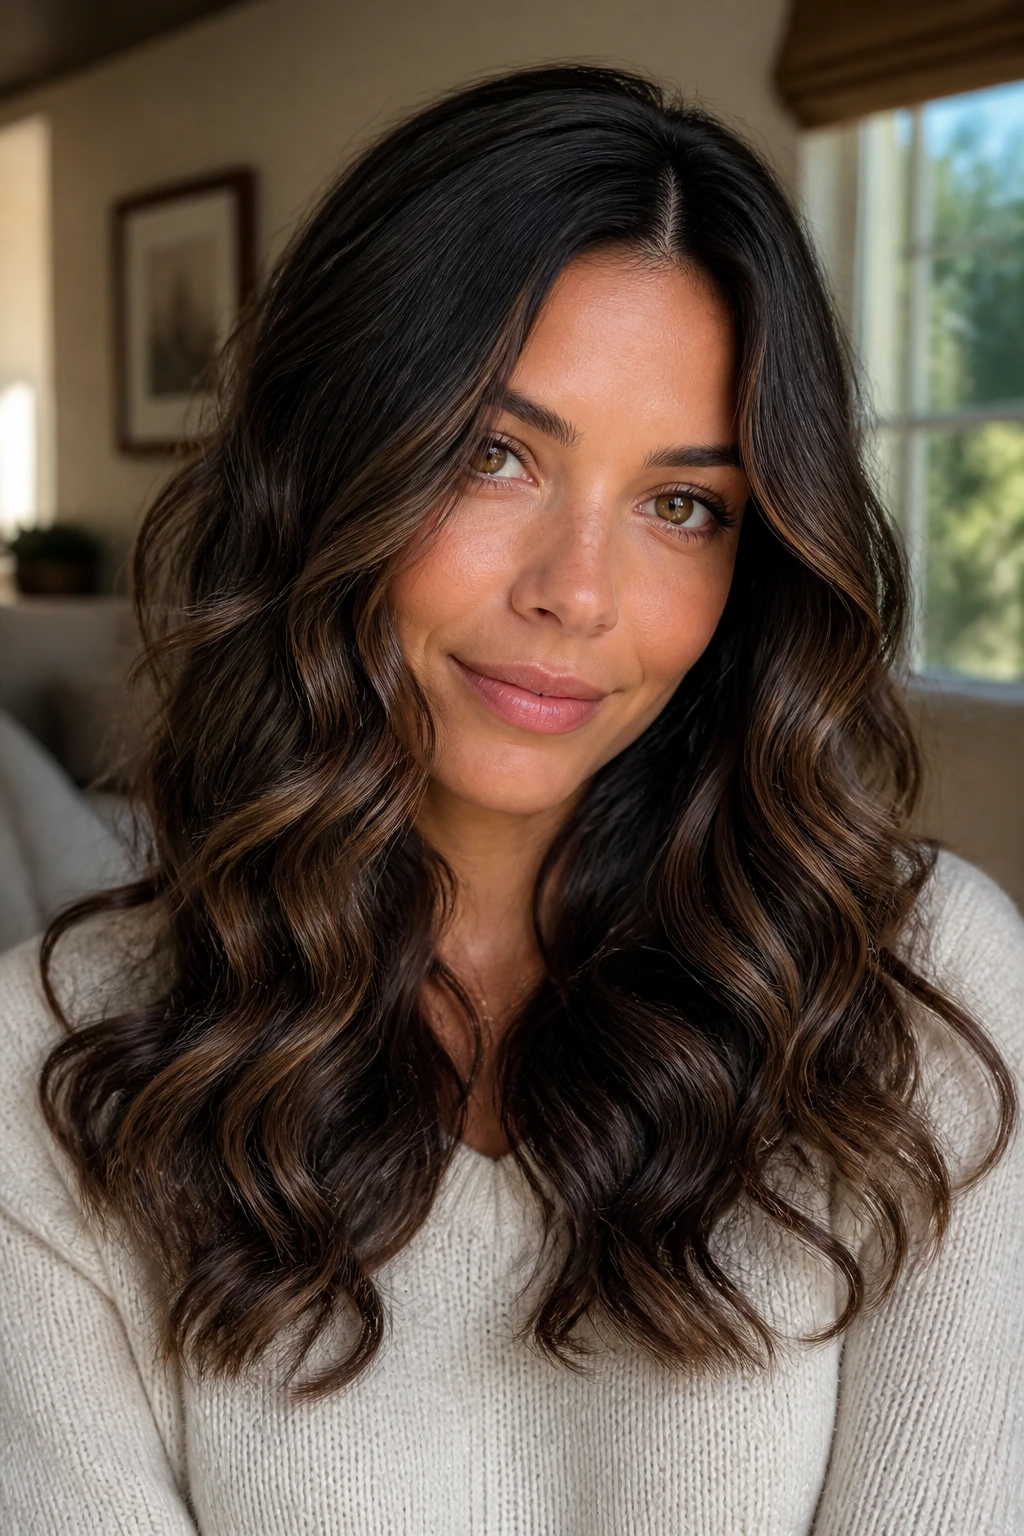
If you want waves that look more defined and less sleepy, this is the move. Start with damp hair, work in a small amount of mousse or gel, then diffuse on low heat with the bowl of the diffuser cupping the ends. The goal is shape, not volume at every cost.
The big mistake here is flipping the hair around too much. Don’t. Let the diffuser sit in one section long enough for the pattern to set, then move. When the hair is dry, scrunch out any stiffness with a drop of serum on your palms. The finish should feel soft, not crunchy.
8. Mini Space Buns
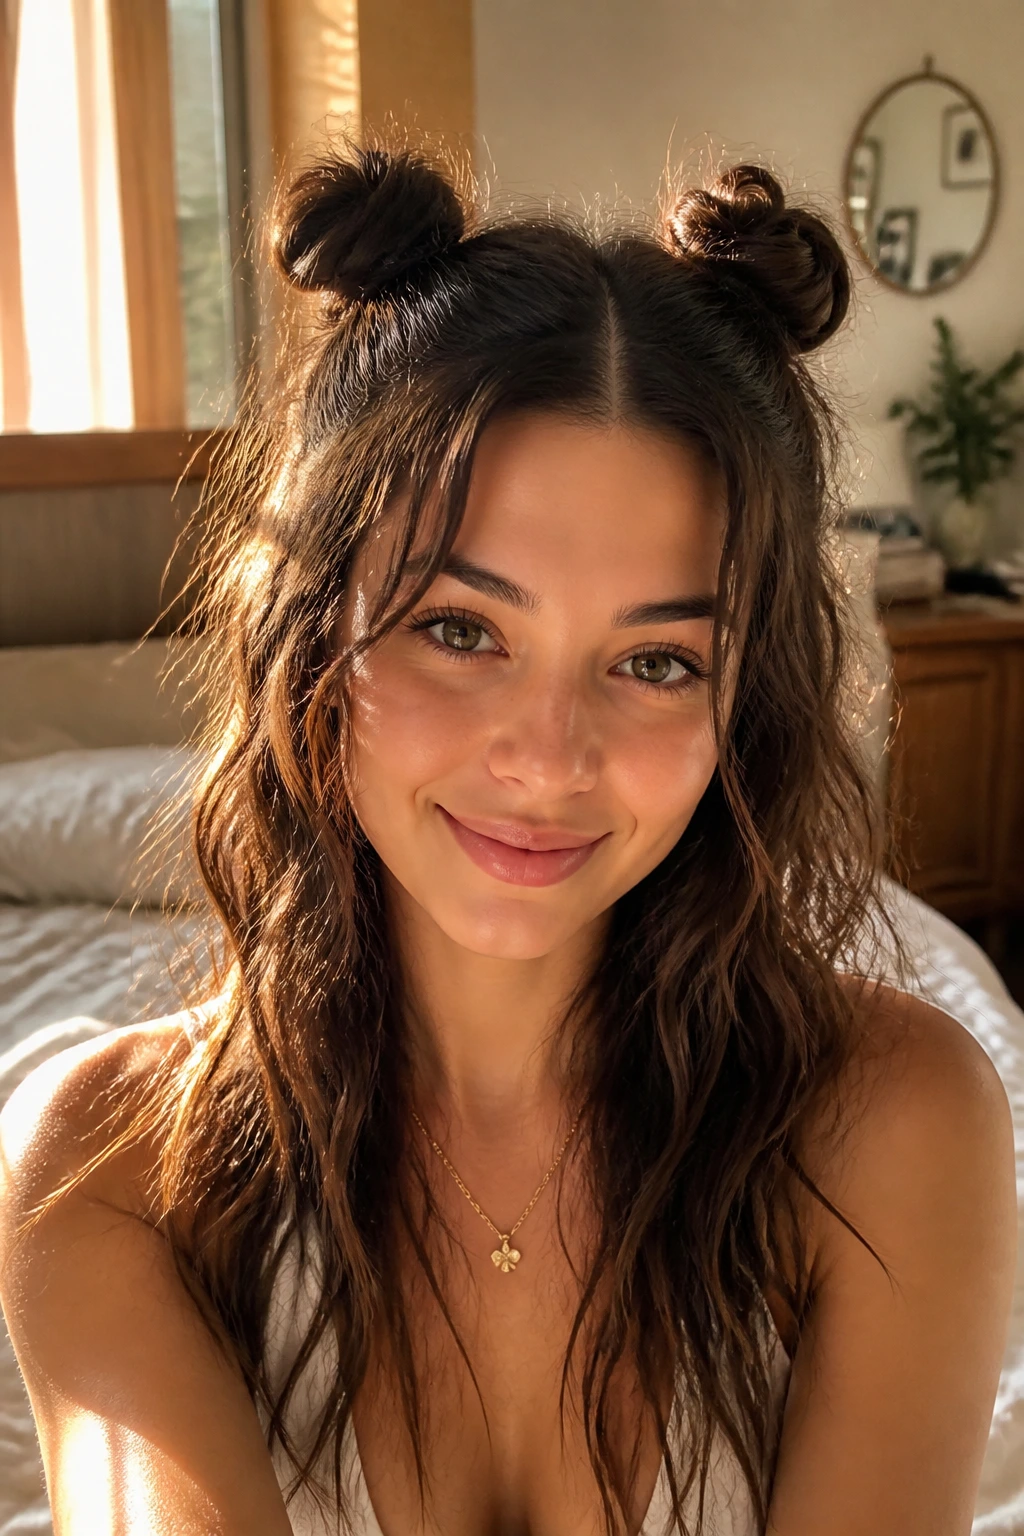
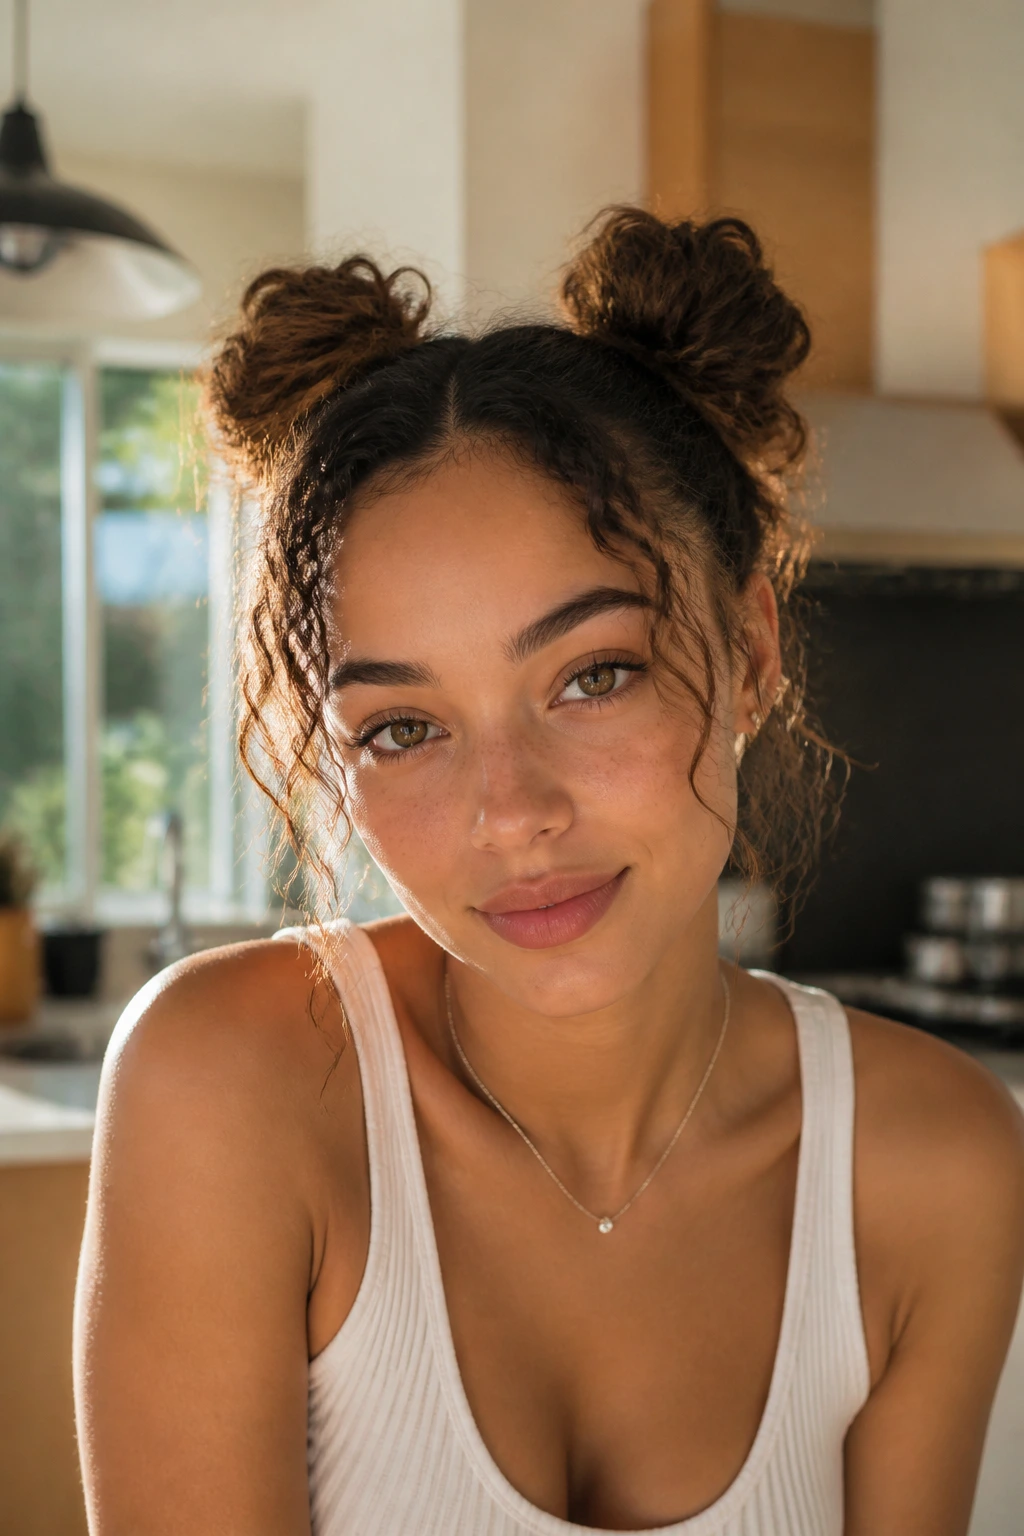
Mini space buns are playful, fast, and surprisingly good on wavy hair that won’t settle. Part the hair down the middle, twist each side into a small bun, and leave the ends poking out a little so it does not look too perfect. The loose ends keep the style from feeling too rigid.
This is a good choice when humidity is working against you. It pulls the length up and out of the way while still showing off the texture near the face. A few face-framing strands make the whole thing look less like a costume and more like a real haircut with a mood.
9. French Twist With Soft Ends
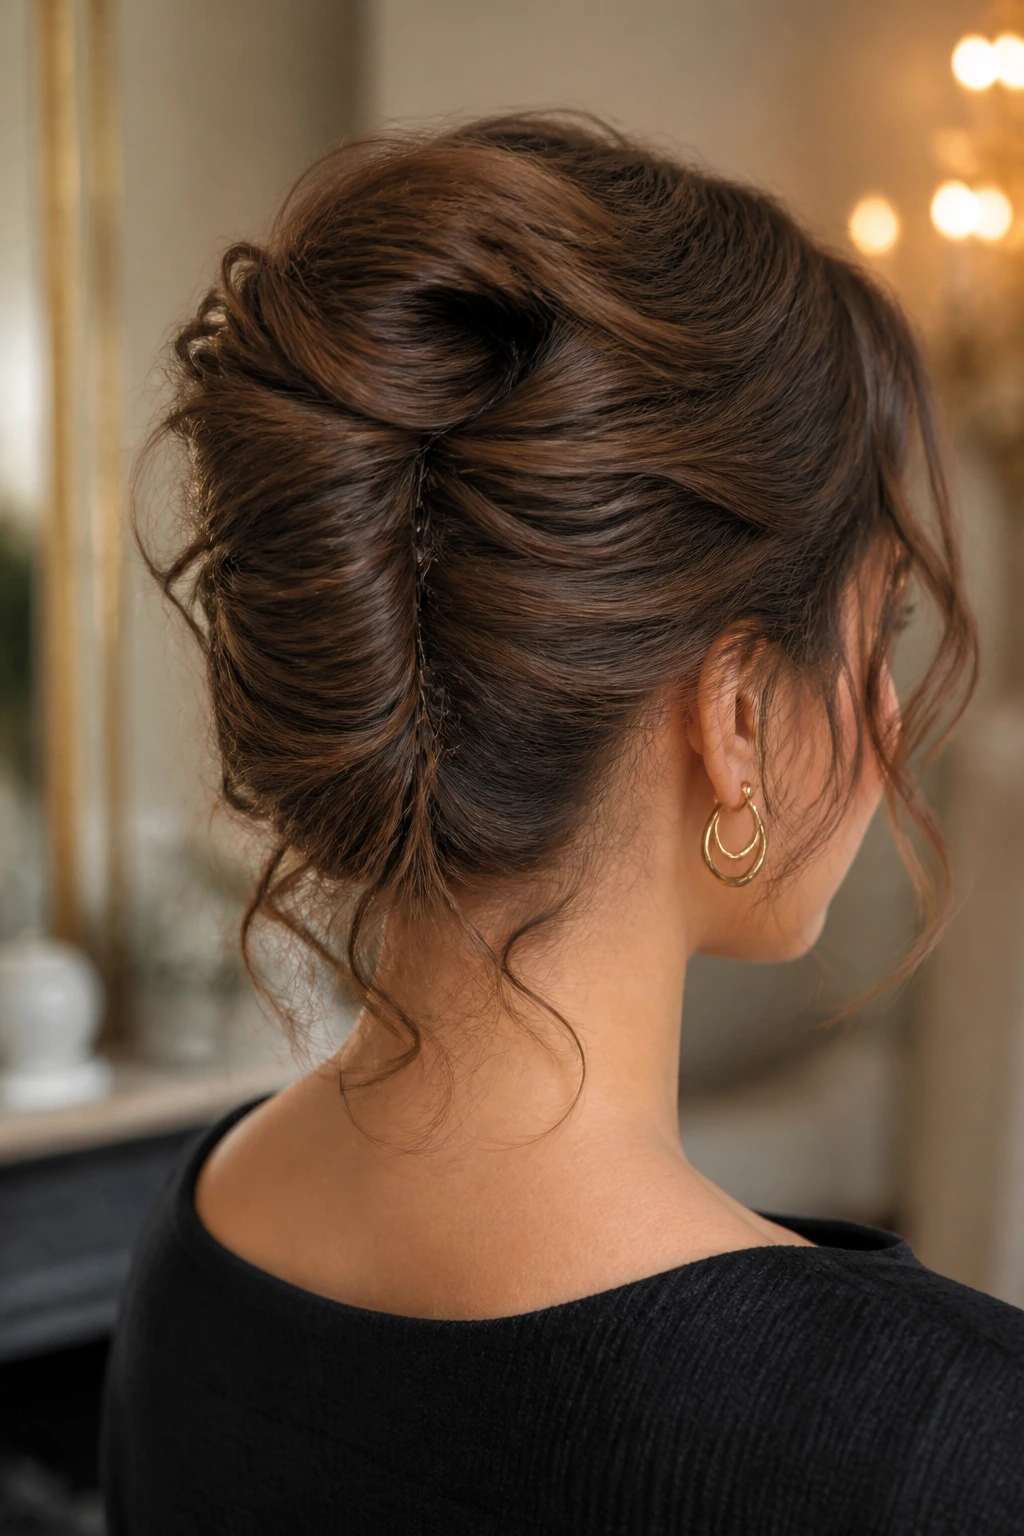
A French twist on wavy hair should never look glassy from root to tip. The magic is in the softness: twist the length up the back, tuck most of it in, then let a few wavy ends spill out near the nape. That little bit of escape keeps the style from feeling severe.
Use pins, not a giant claw clip, if your hair is medium or long. The shape holds better, and the twist sits closer to the head. A light mist of hairspray before pinning helps the twist grip without turning it stiff. This one looks especially good with earrings. There’s a reason for that.
10. Headband Sweep
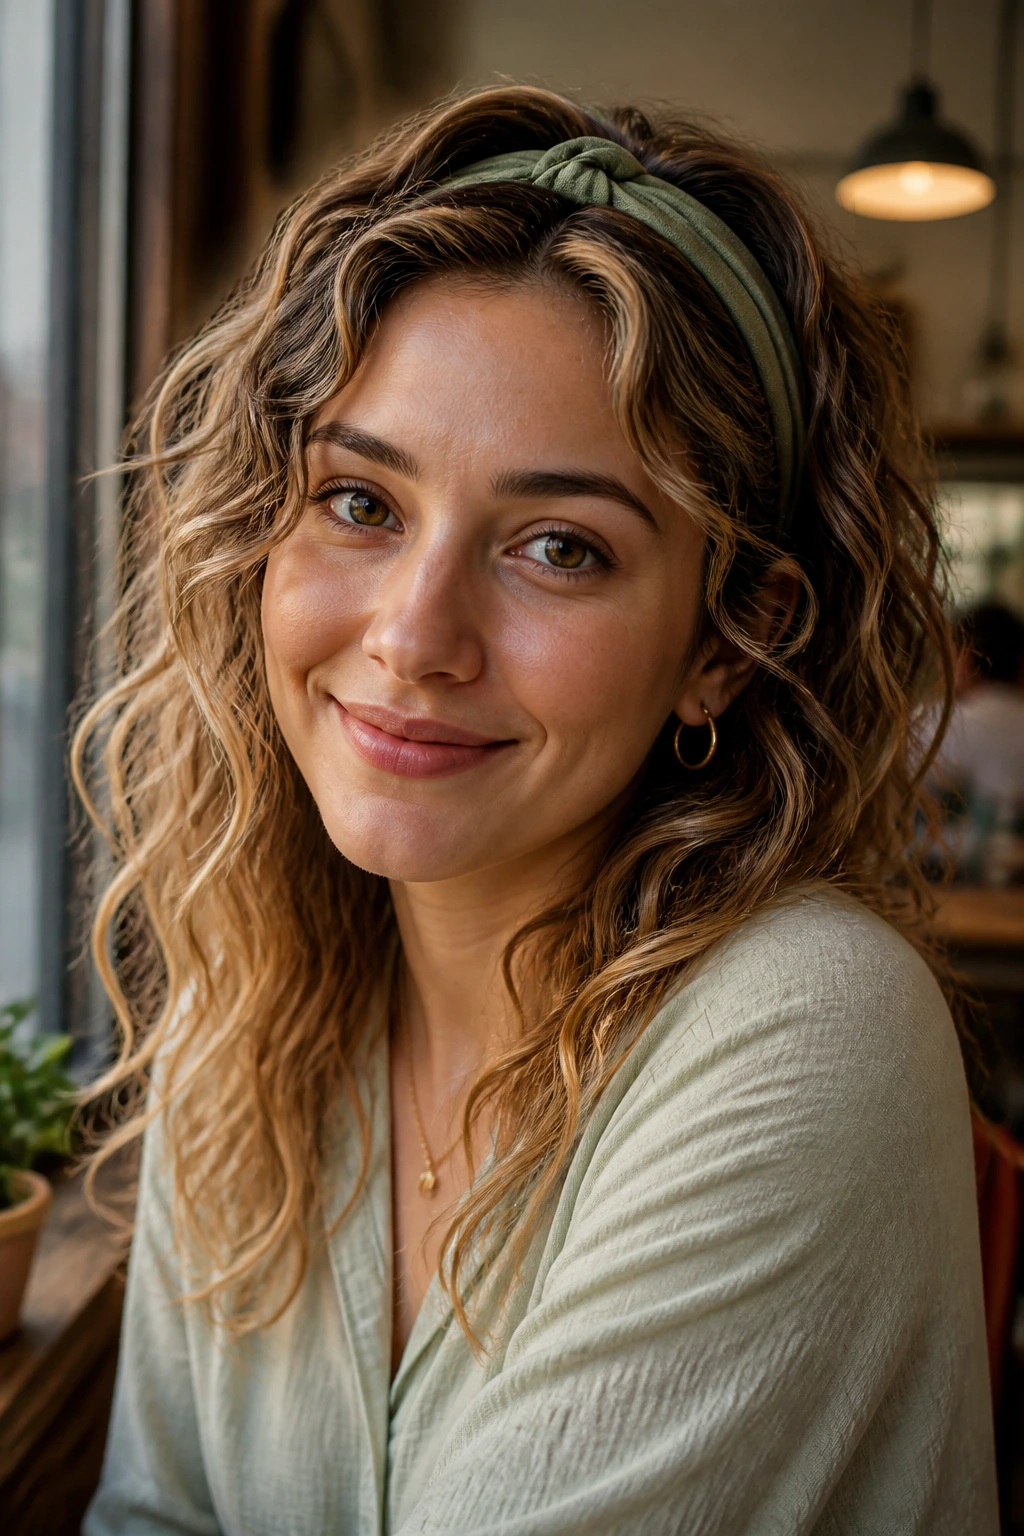
A headband can save a wave pattern that is starting to swell at the roots. Push a fabric or padded headband back from the hairline, then use your fingers to tuck the front sections up and over it so the waves fall in a loose frame around the face.
The useful part is how it controls the front without flattening the rest. It’s also one of the best styles for growing out bangs. Keep the headband a shade softer than your outfit if you want the look to feel easy; go bold if you want the accessory to do the work.
11. Claw-Clip Roll-Up
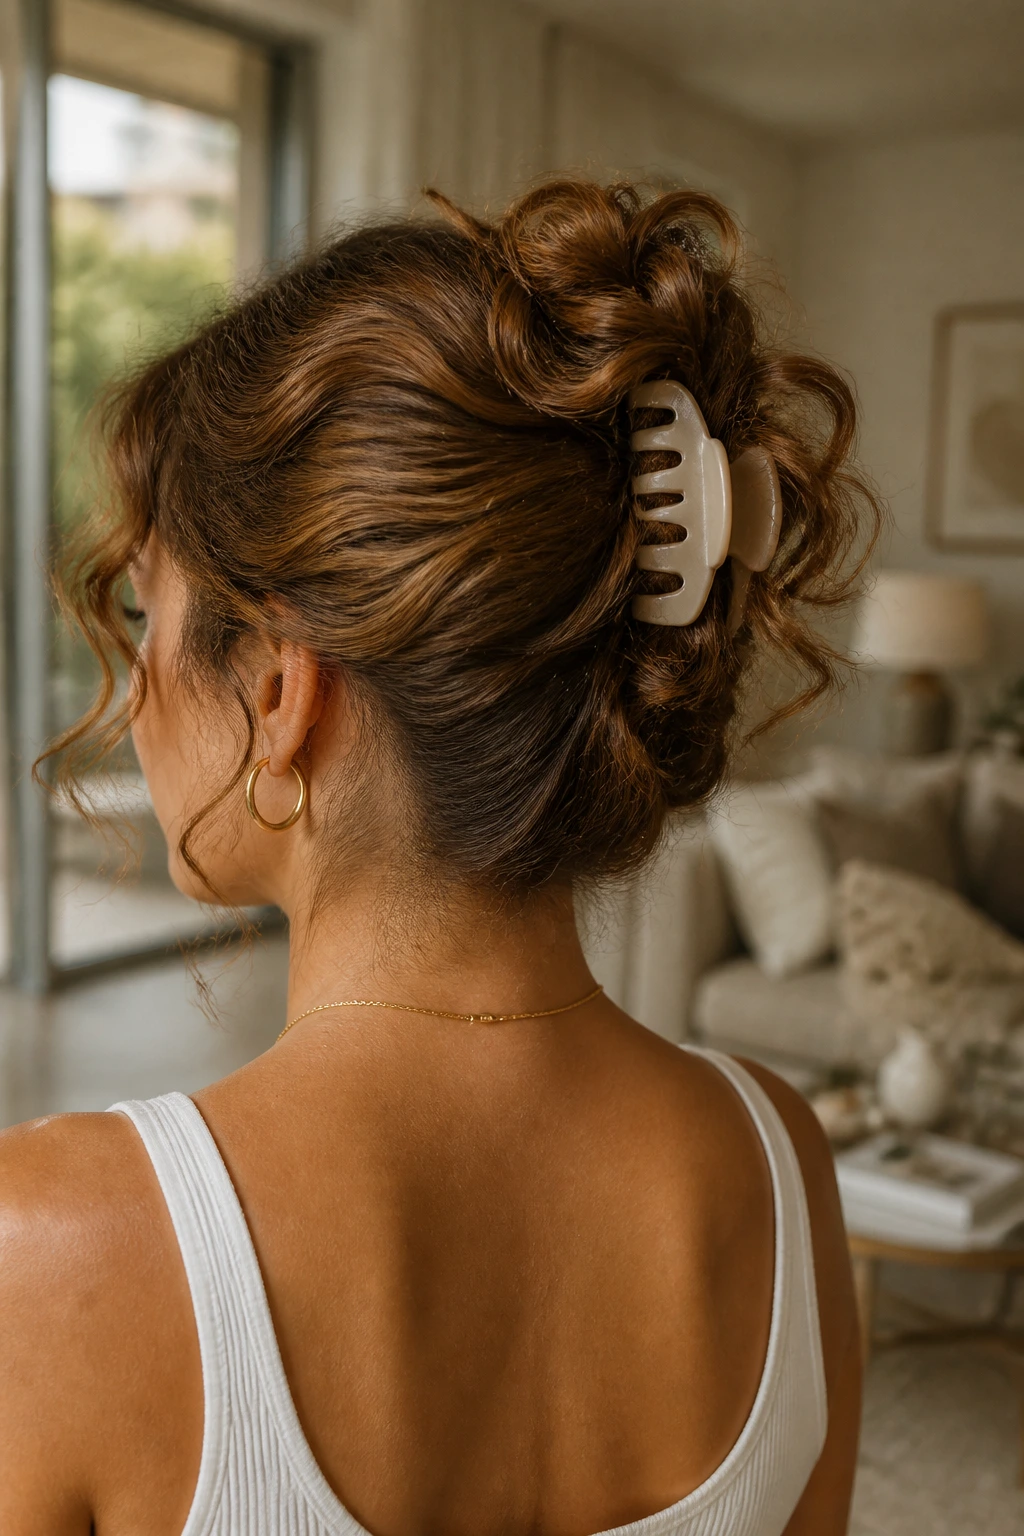
The claw-clip roll-up is one of those styles that looks more complicated than it is. Gather the hair, twist it upward, and clip it so the ends spill out in a soft roll. On wavy hair, that messy spill is the best part. It makes the style look casual instead of stiff.
Use a medium or large claw clip depending on density. If your hair is thick, twist it once, then fold the length in half before clipping. If it’s fine, one simple twist is enough. A few loose pieces around the ears keep the shape from looking too office-ready.
12. Pineapple Updo
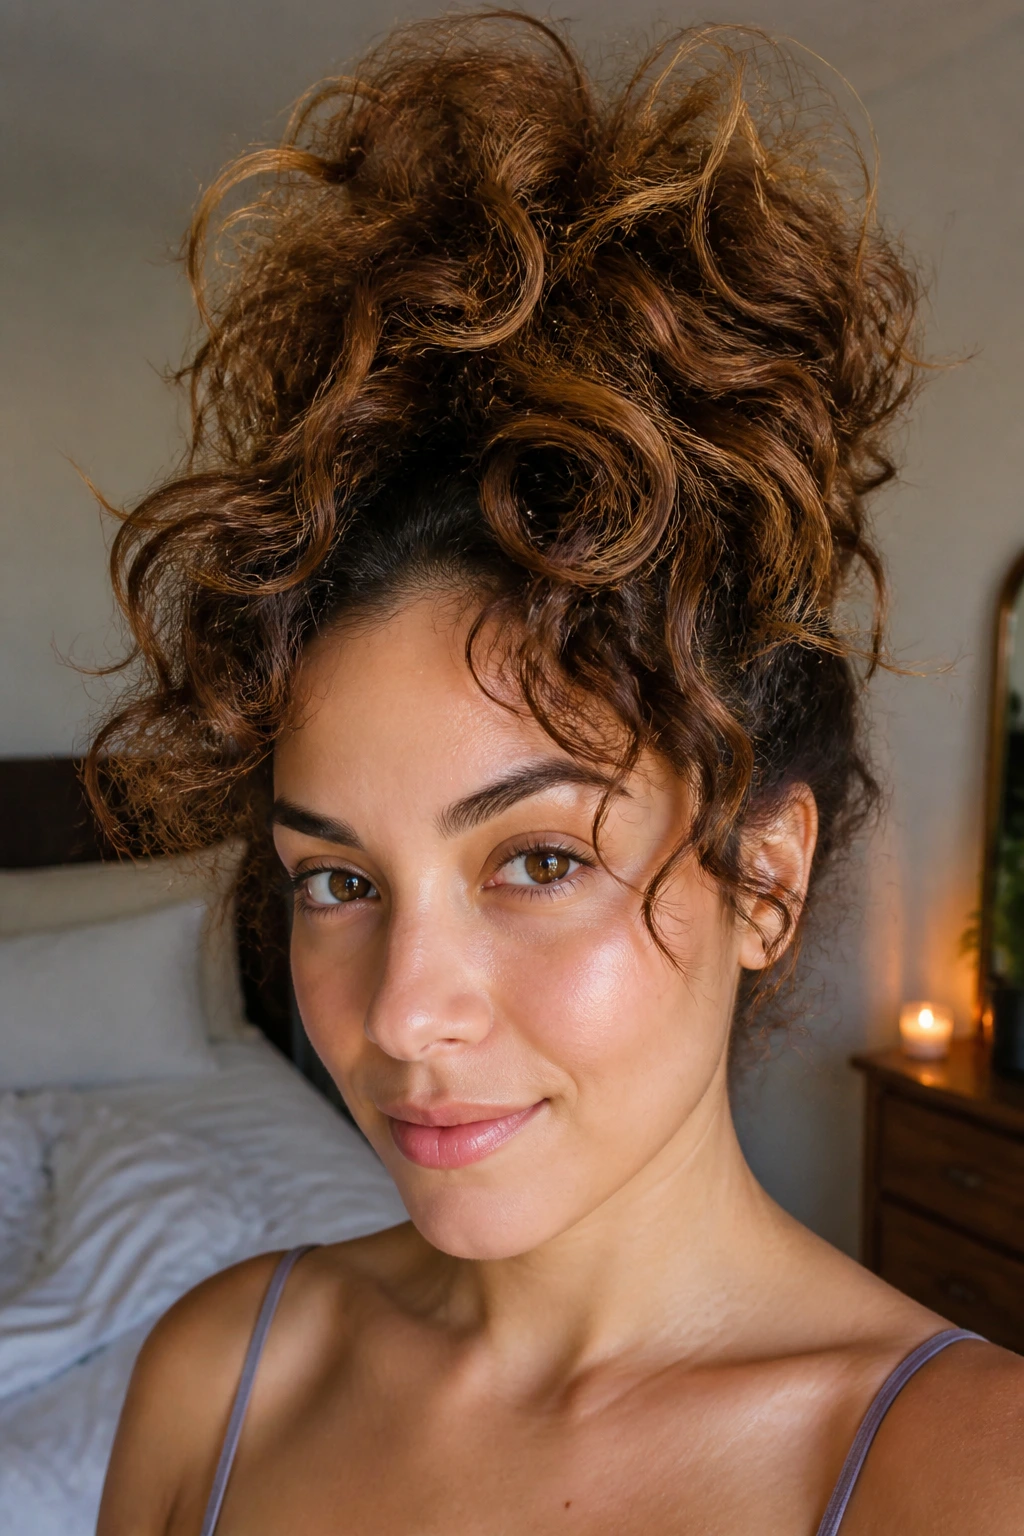
The pineapple is a style and a saving trick at the same time. Pull the hair very high and very loose at the crown, letting the waves fall forward and out in a rounded shape. It keeps the pattern from getting crushed and gives the face an open frame.
It’s one of the few looks that also works as overnight protection. A satin scrunchie is better than a tight elastic because it leaves less of a dent. Wear it as a daytime style when you want volume on top, or use it at night to keep day-two waves from turning into a flat mess.
13. Side-Swept Bob Waves
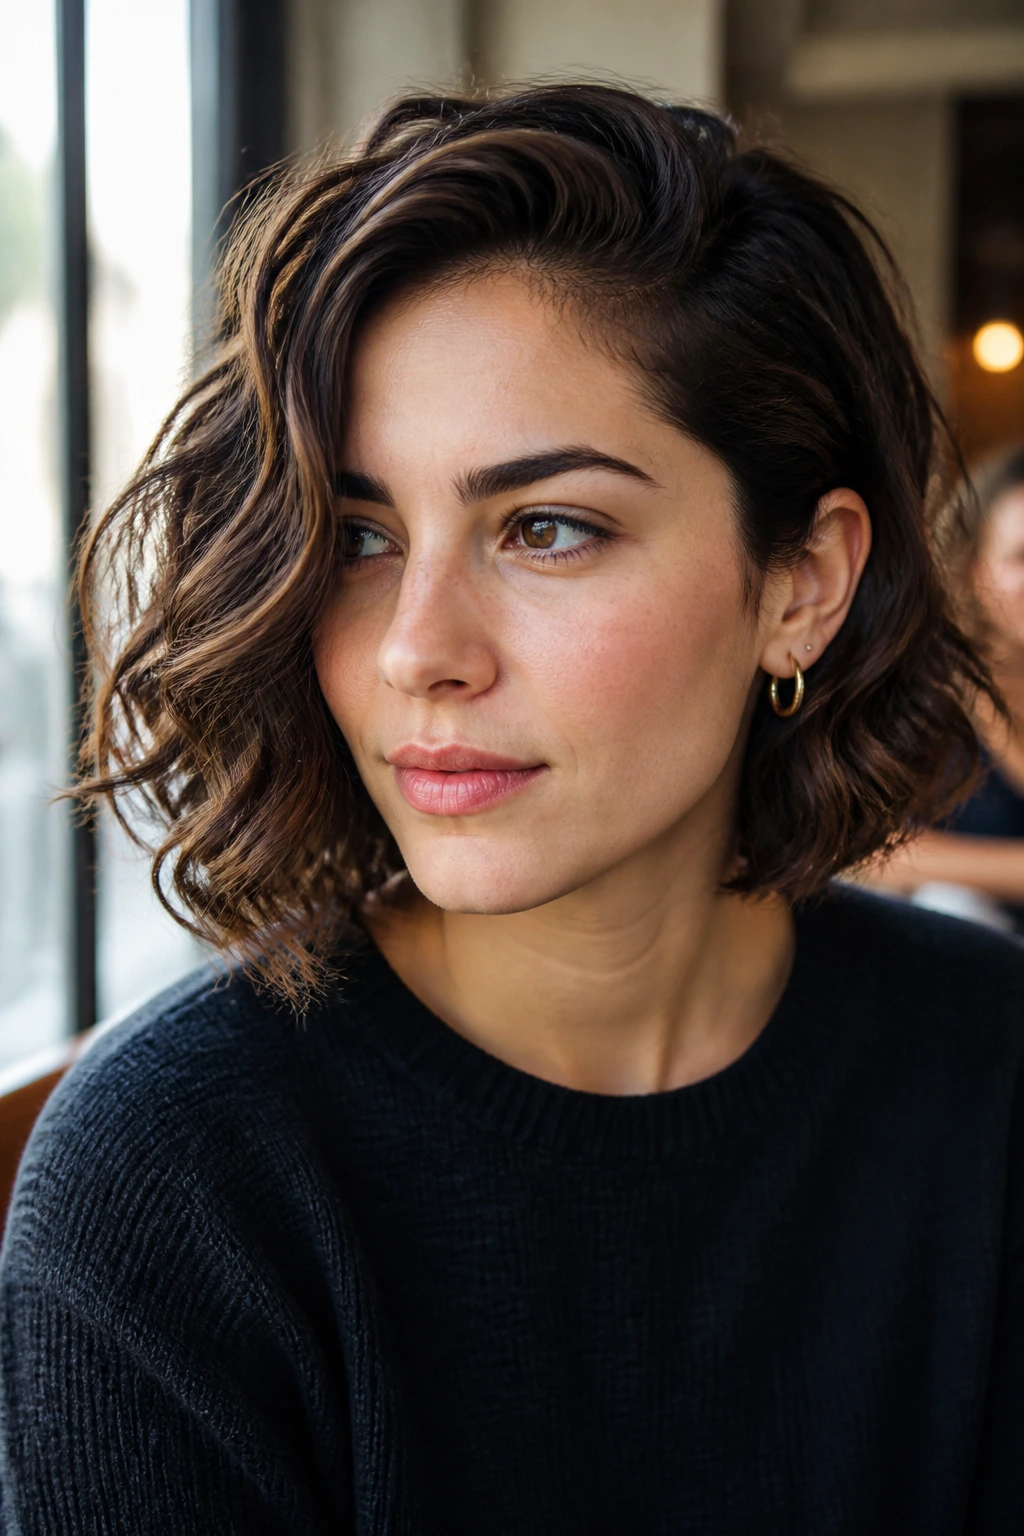
A side-swept bob thrives on asymmetry. Move the part over, tuck one side behind the ear, and let the longer front section fall across the cheek. Wavy hair in a bob can feel boxy fast; this solves that by letting the cut move a little.
A tiny pin near the temple is often enough to hold the tucked side in place. If the ends flip in a weird direction, smooth just the bottom inch with a touch of cream and let the rest stay airy. The point is not sleekness. The point is shape.
14. Wet-Look Gel Waves
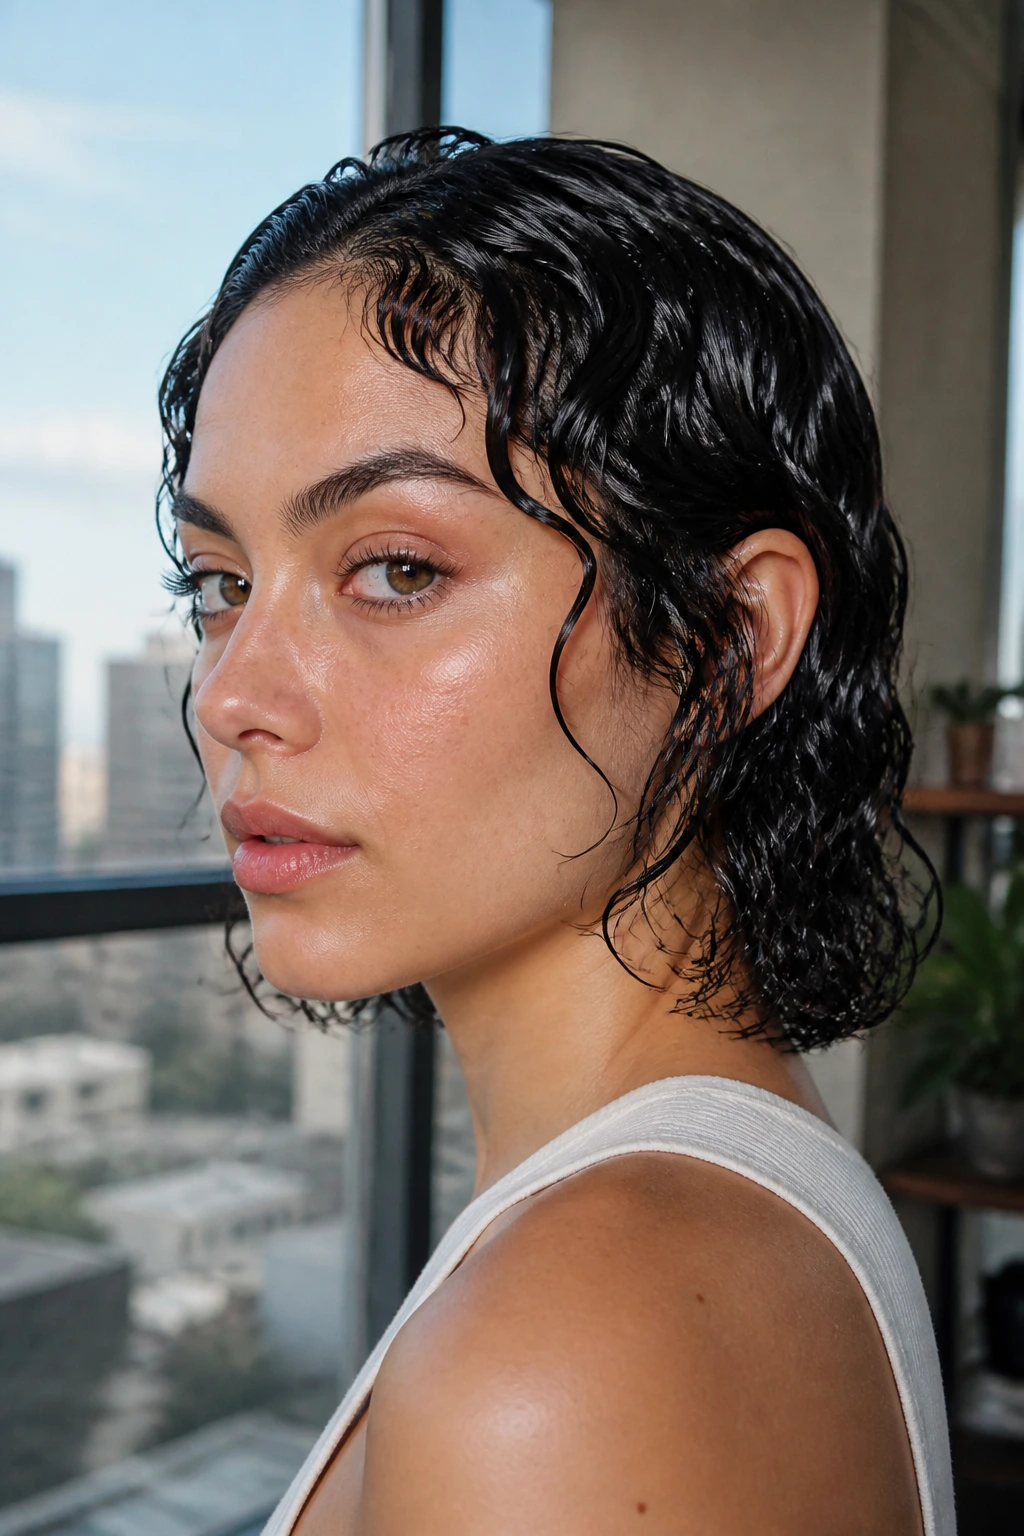
Wet-look waves are for days when you want shine and control in the same sentence. Apply gel to soaking-wet hair, comb it through once, and let the hair dry in place or diffuse very lightly. The wave pattern stays visible, but it sits closer to the head with a polished finish.
This style can go wrong when the gel is too heavy or the hair gets touched too early. Leave it alone while it dries. Seriously. Once it sets, the finish should look glossy along the top and smooth through the lengths, not sticky or stringy.
15. Ribbon-Tied Half Pony
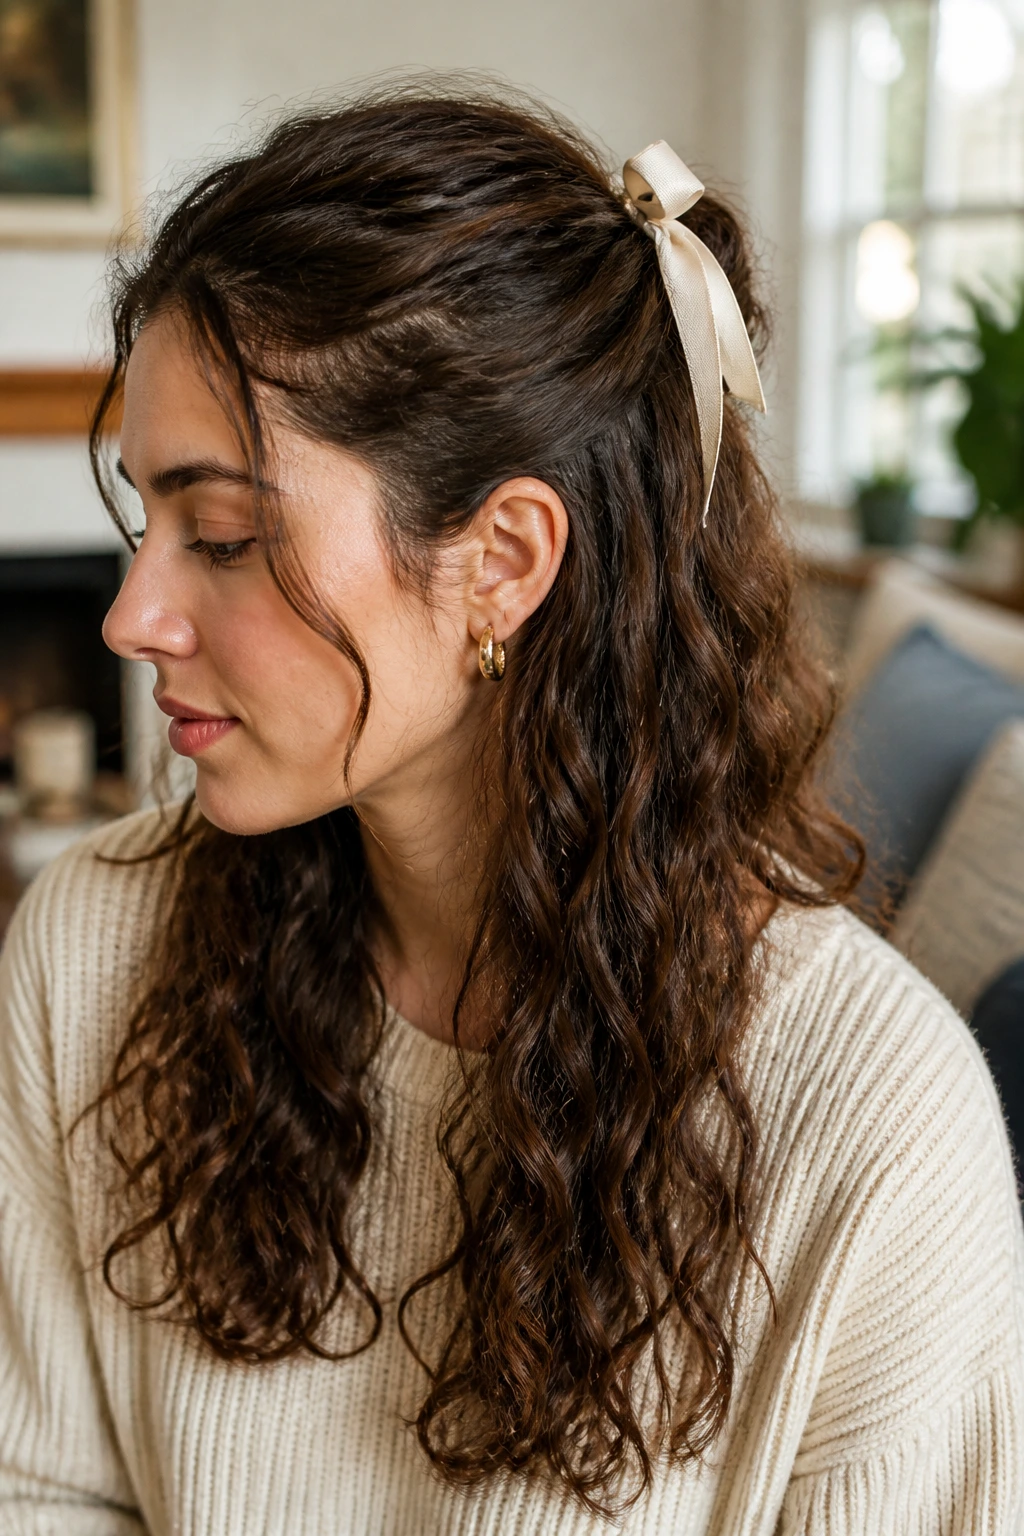
A ribbon-tied half pony has a soft, old-fashioned feel without becoming fussy. Pull back the top half of the hair, secure it with a thin elastic, then tie a ribbon over the elastic so the knot sits under the hair. The lower waves stay loose and visible.
This works especially well if your hair has a medium bend and you want the front off your face. Choose a ribbon that lies flat, not a stiff one that sticks out. Velvet feels richer in colder months; cotton or silk reads lighter and less formal.
16. Loose Low Bun With Tendrils
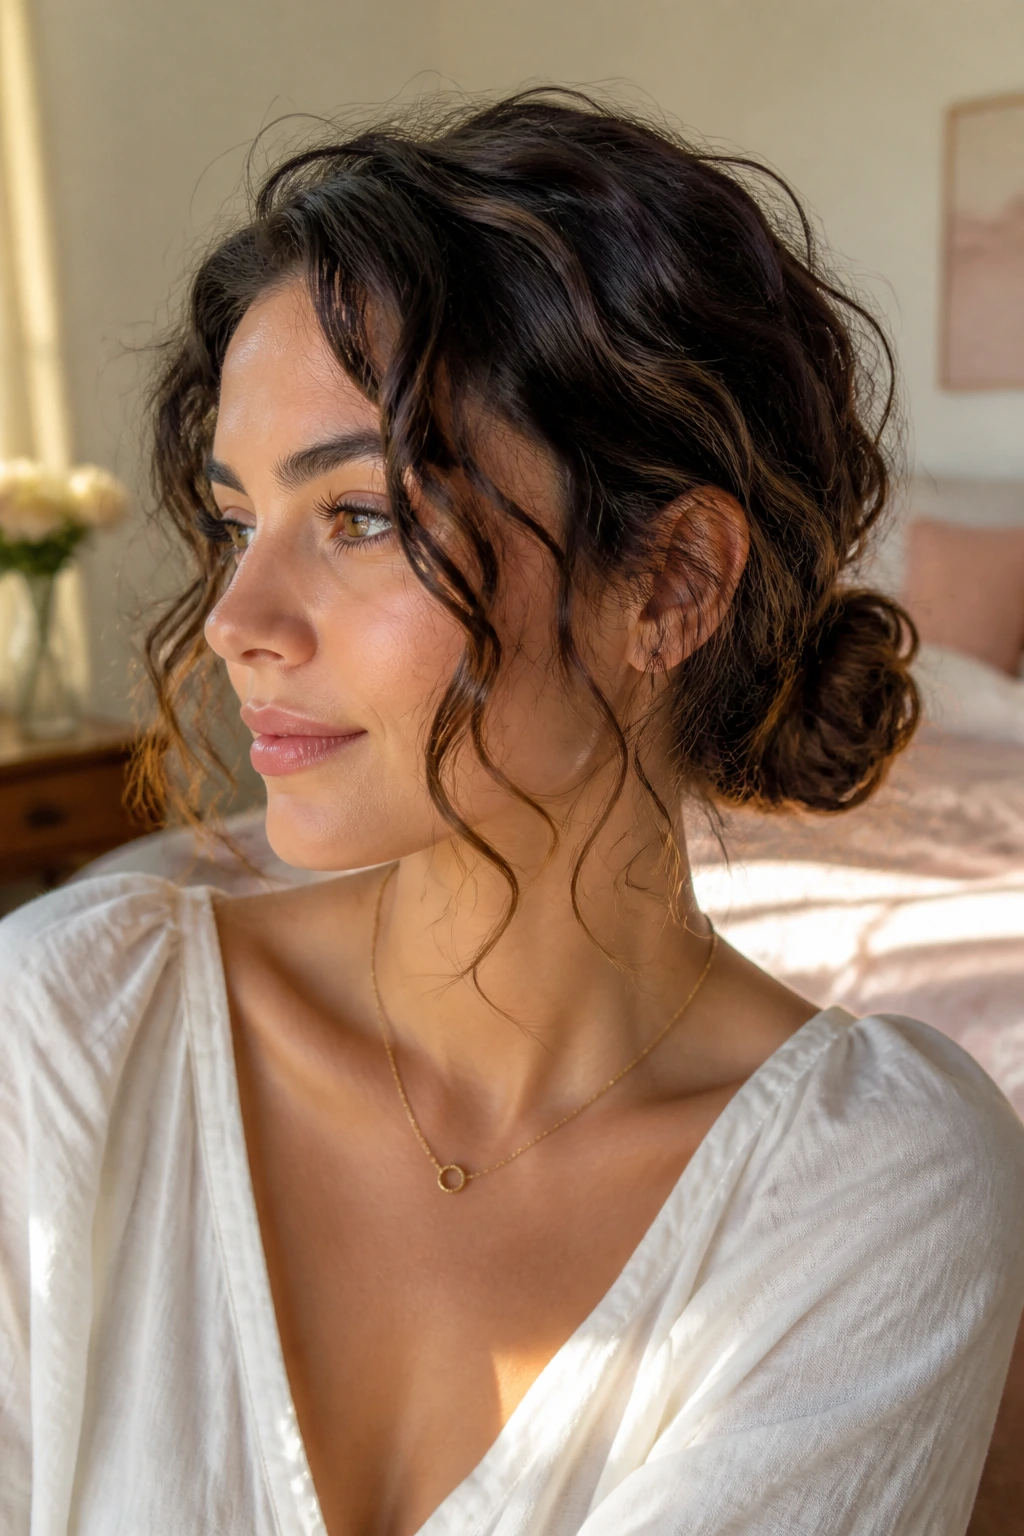
A loose low bun is one of the easiest ways to make wavy hair look deliberate fast. Gather the length at the nape, twist it into a soft bun, and leave two or three slim tendrils around the face. Don’t brush the whole head smooth. That kills the texture.
A low bun is more forgiving than a high one because it works with the natural bend near the neck. If your hair is layered, pin the shorter pieces first so they stay inside the bun. A little spray at the end helps the tendrils keep their curve instead of slipping straight.
17. Curly Wolf Cut
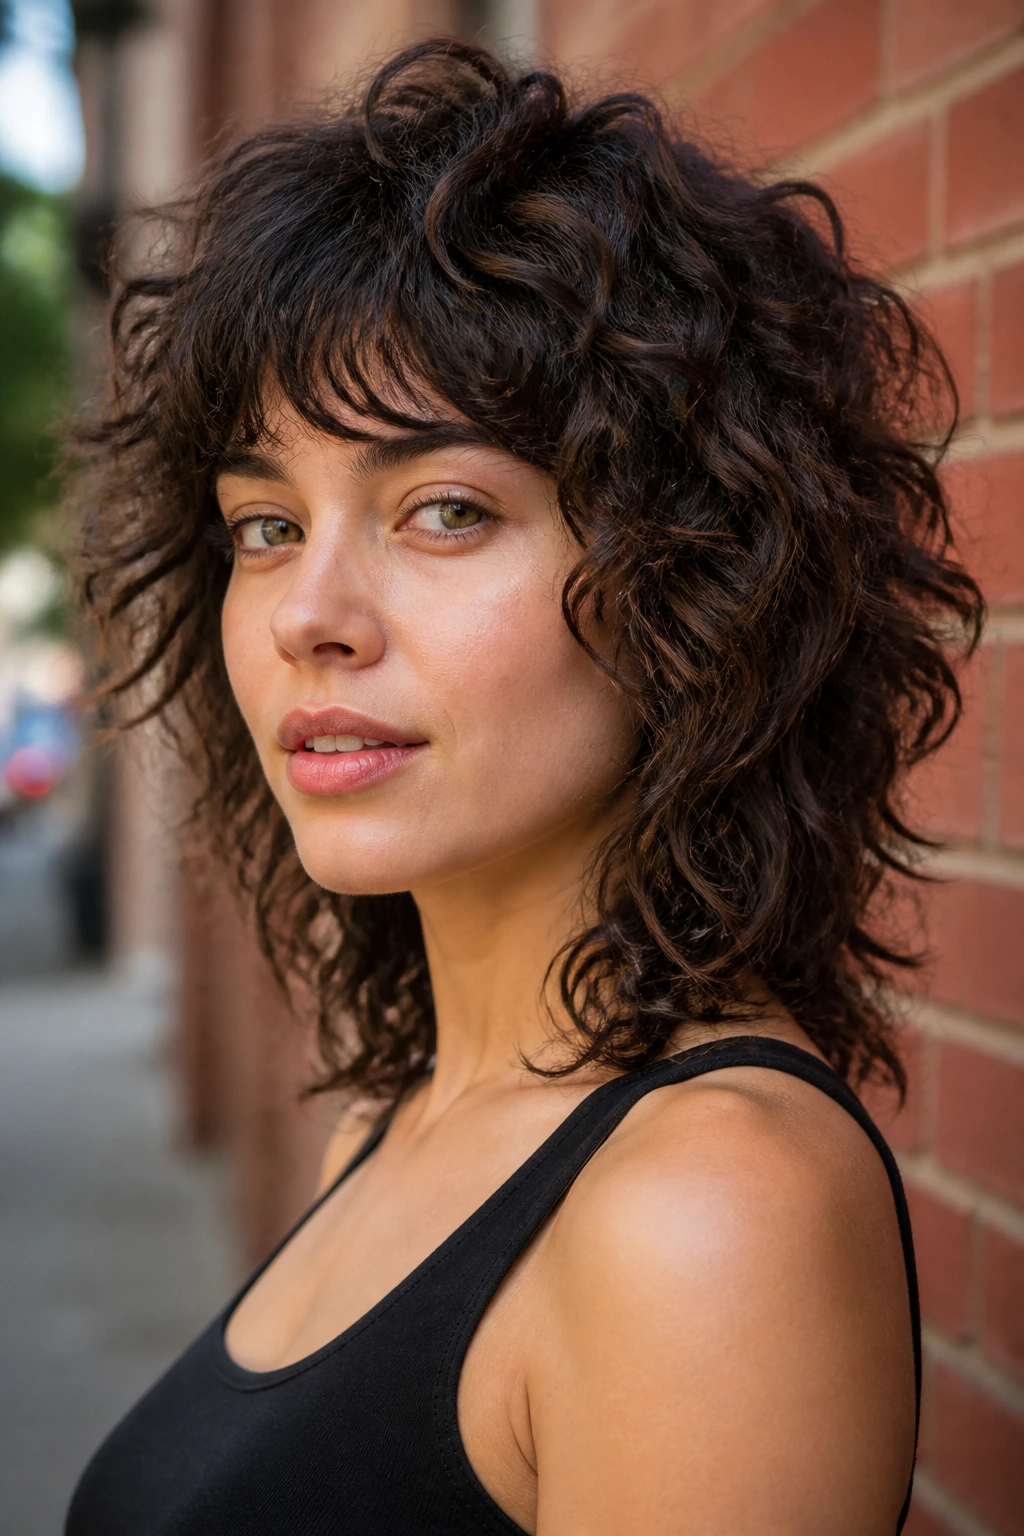
The curly wolf cut has edge because it respects uneven texture. The crown is shorter, the layers are choppy, and the ends hang with enough irregularity to keep the style from feeling neat in a boring way. On waves, that shape adds body without asking the hair to fake a different curl type.
I like this cut when the hair tends to go limp under its own weight. Use a light cream, not a thick one, and scrunch from the ends upward. If you have dense waves, air-dry halfway and then diffuse the rest so the shorter layers do not collapse against the head.
18. Bubble Ponytail
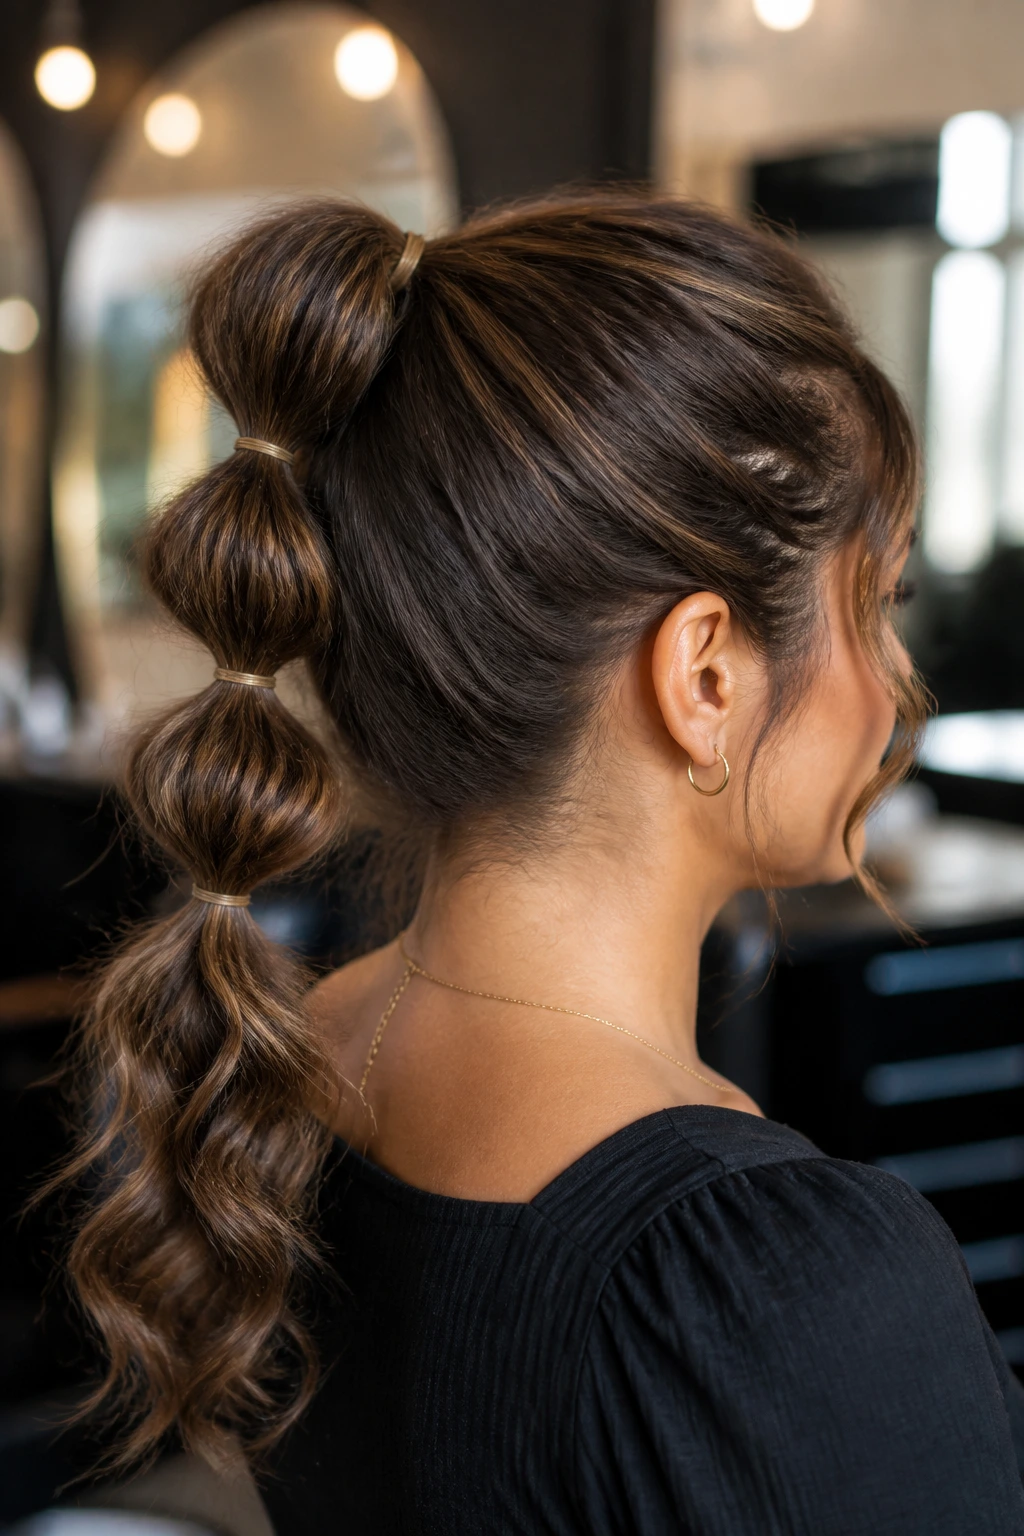
The bubble ponytail gives wavy hair structure without making it stiff. Tie the hair into a ponytail, then add small elastics every 2 to 3 inches down the length. Gently pull each section outward until it puffs into a rounded bubble.
It’s a smart style for long waves because it turns the length into a feature instead of a thing to tame. The key is spacing. Too close, and the ponytail looks cramped. Too far, and the bubbles sag. A little texturizing spray on the ponytail first helps the sections hold their shape.
19. Braided Crown Halo
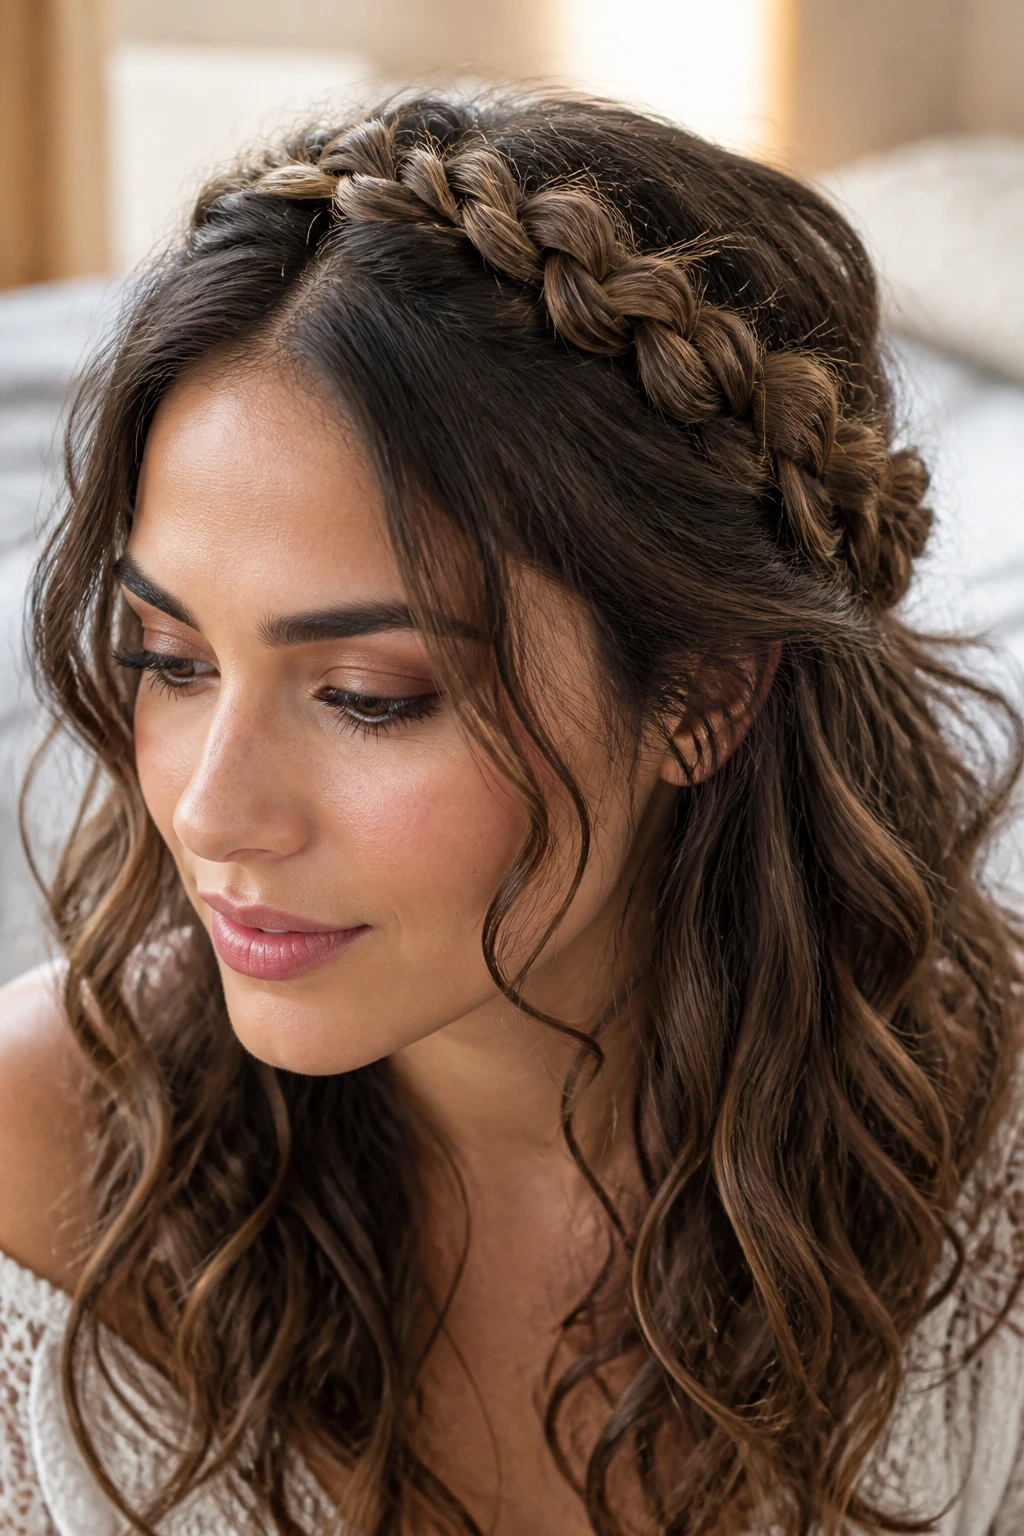
A braided crown halo takes patience, but it has real staying power. Start a braid near one temple, work it around the head like a headband, then pin the ends behind the opposite ear. Loose waves underneath make the braid look fuller and less severe.
This is a good choice when you want the top controlled and the rest of the hair free. Leave the braid a little undone; a tight, tiny braid can disappear into wavy hair. The halo looks best when the face has a few soft pieces around it, not a hard line.
20. Deep Side Part Waves
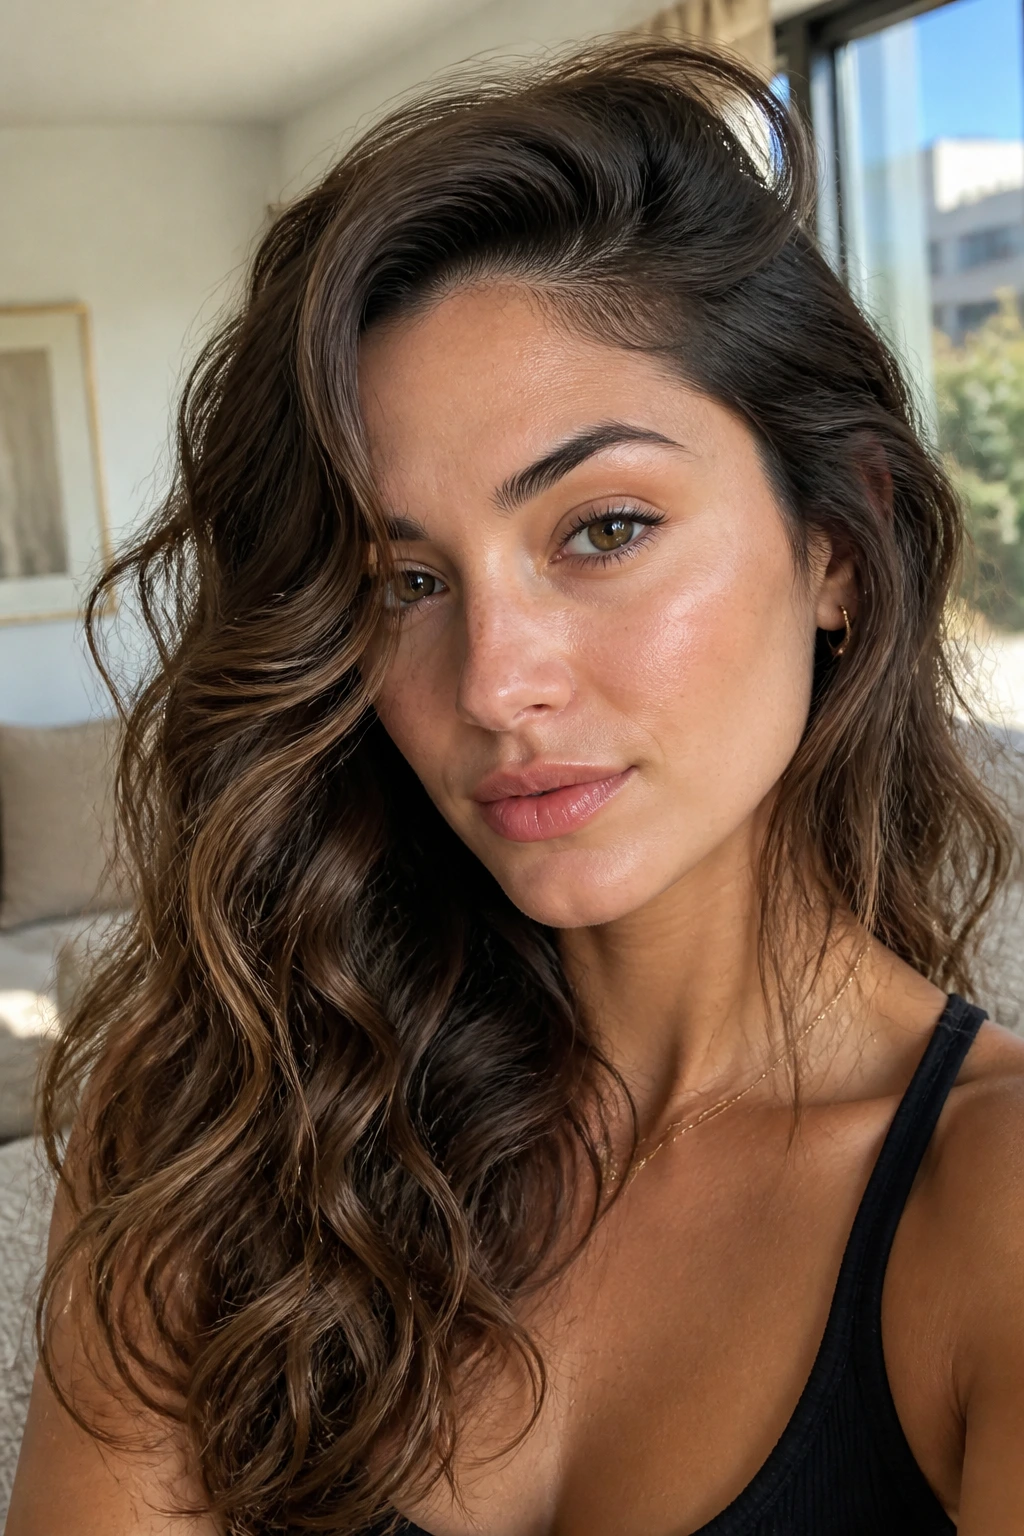
A deep side part can change the whole mood of wavy hair in about ten seconds. It gives one side more height, drags some weight away from the crown, and creates that old-school sweep that makes simple waves look more dramatic.
Use a tail comb or your finger to move the part farther than feels normal. That’s usually the right distance. Clip the heavy side at the roots for a few minutes while the hair sets, then release it. The extra lift at the top is the part people notice first.
21. Messy Top Knot
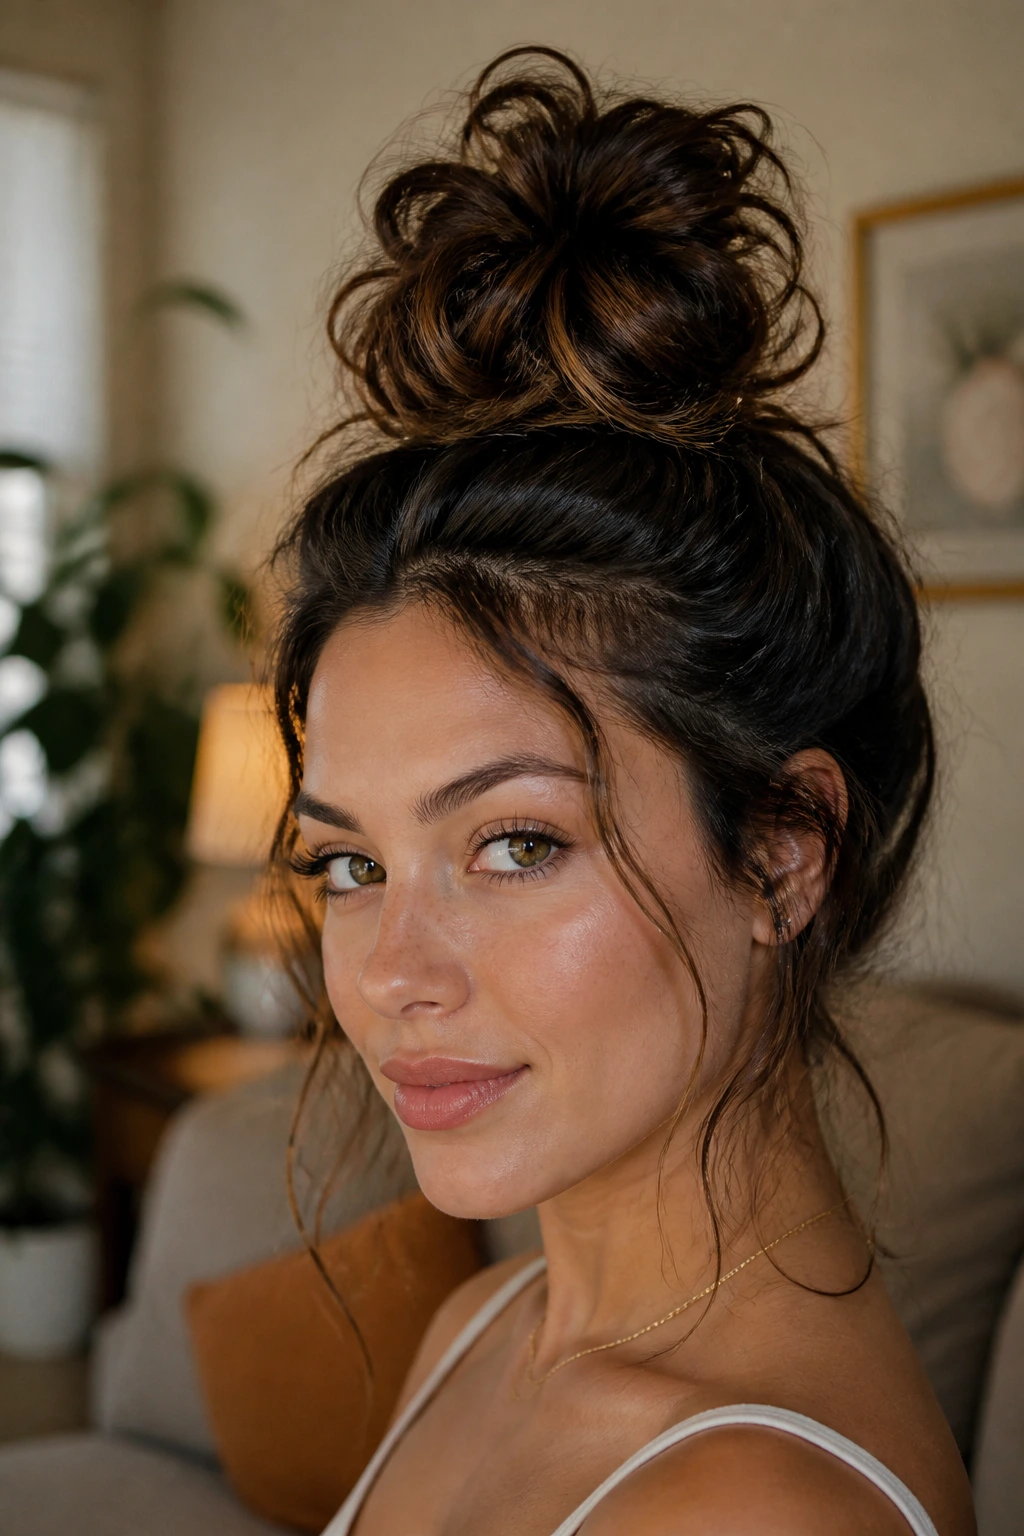
A messy top knot is not a neat bun that gave up halfway. It should look loose on purpose. Pull the hair to the crown, twist once, wrap the ends around themselves, and pin the knot so some texture sticks out instead of being smoothed away.
This is the style I’d choose for day-three waves that still have a little bend but need a reset. Keep the front soft and let a few shorter layers escape near the temples. If you want more height, flip the head upside down before gathering the hair. Small move. Big difference.
22. Shoulder-Length Flip-Out Ends
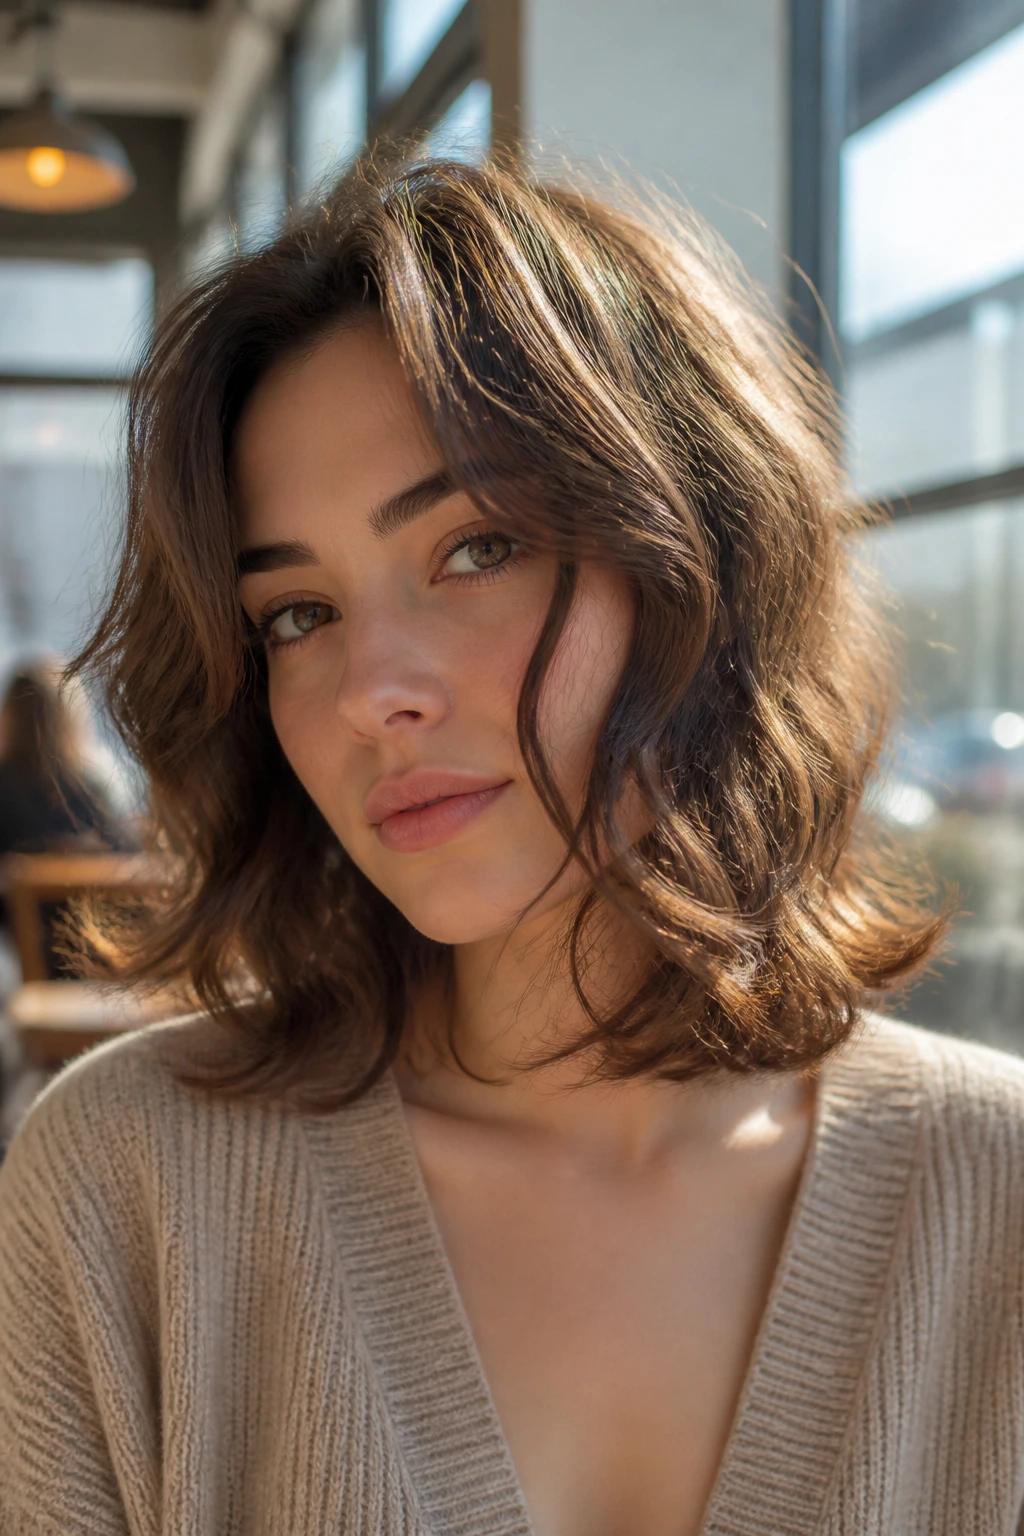
Flip-out ends give shoulder-length waves a bit of swing. Dry the hair with the ends turned outward using your fingers or a round brush, then leave the body of the wave loose. The result feels retro without looking costume-y.
This works especially well on blunt-ish shoulder cuts that need movement at the bottom edge. A light mousse at the roots and a touch of cream on the very ends help keep the flip from separating. If the ends behave like they’ve got a mind of their own, that’s fine. That’s the point.
23. Twisted Half-Up Rosette
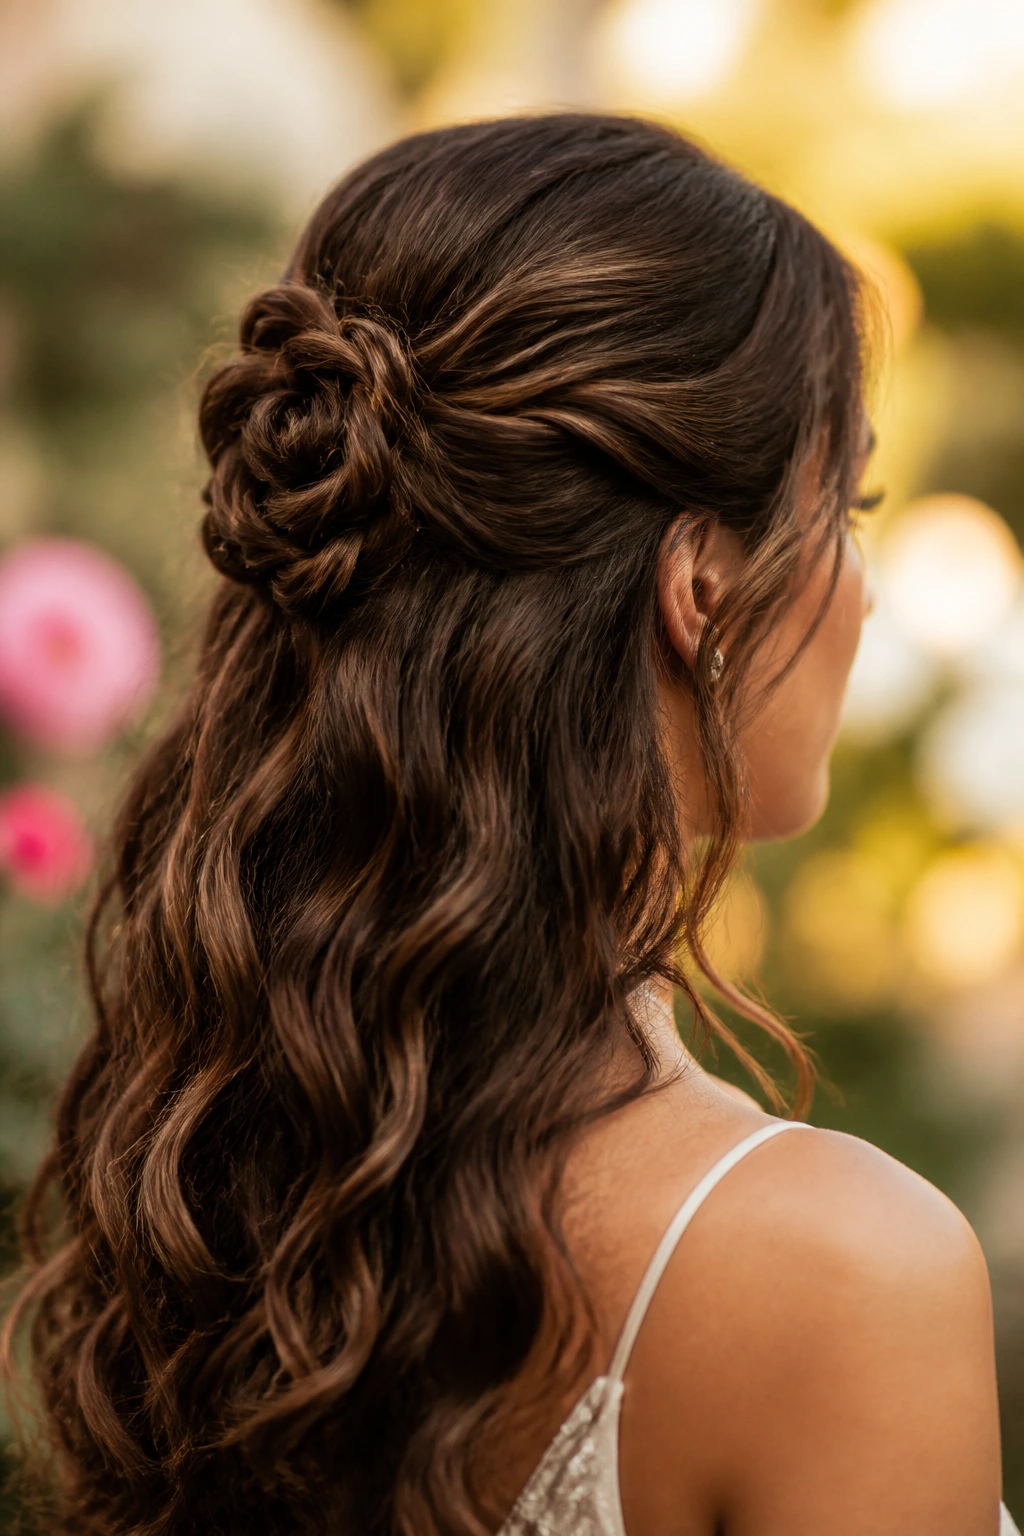
A twisted half-up rosette looks fancy until you do it once and realize it’s only two twisted sections pinned into a small coil. Pull back the top sides, twist each side toward the middle, then wrap them into a rosette shape and pin.
Because the lower hair stays free, the style still reads as wavy and soft. It works best on hair with enough length to twist into a visible knot, usually at least past the shoulders. Keep the rosette low and small. If it gets too large, it stops looking tidy and starts looking lumpy.
24. Curtain Bangs With Wavy Lengths
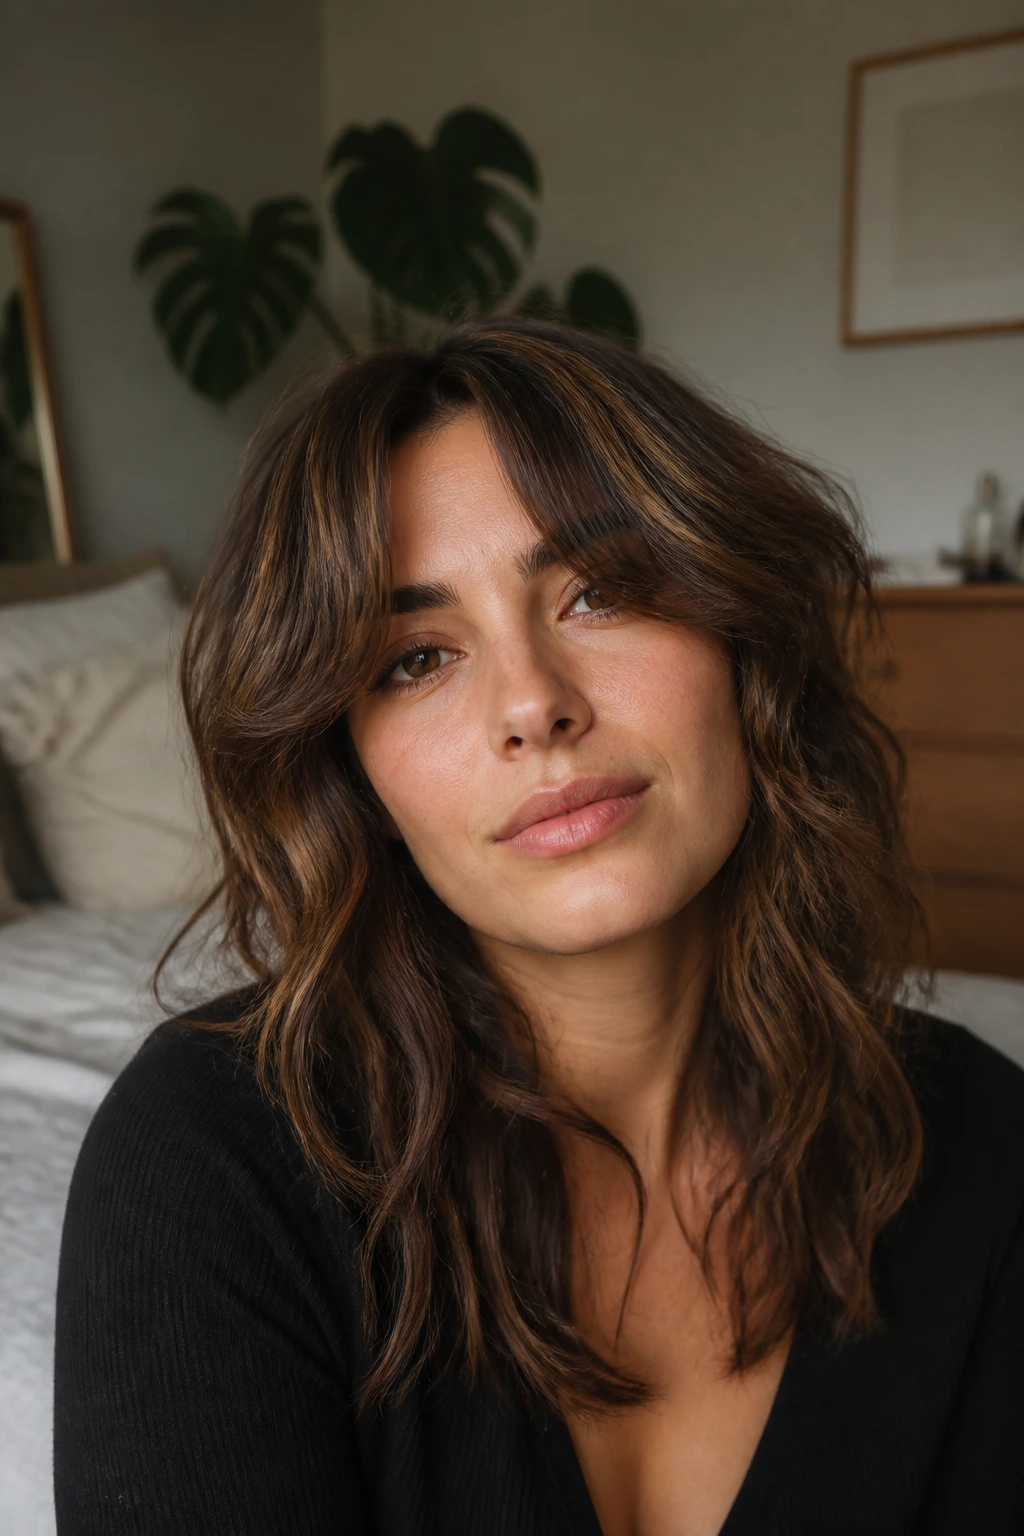
Curtain bangs are good at making wavy hair feel lived-in instead of overworked. They break up the front, frame the eyes, and sit nicely with longer waves that need a little direction near the face. The trick is keeping them piecey, not flat.
A tiny amount of cream or mousse is enough for the bangs. Too much makes them separate in a heavy curtain, which is a different thing entirely. Sweep them away from the face with your fingers while they dry, or give them a quick bend with a round brush if you want a more polished curve.
25. Shoulder-Grazing Lob With Scrunched Texture
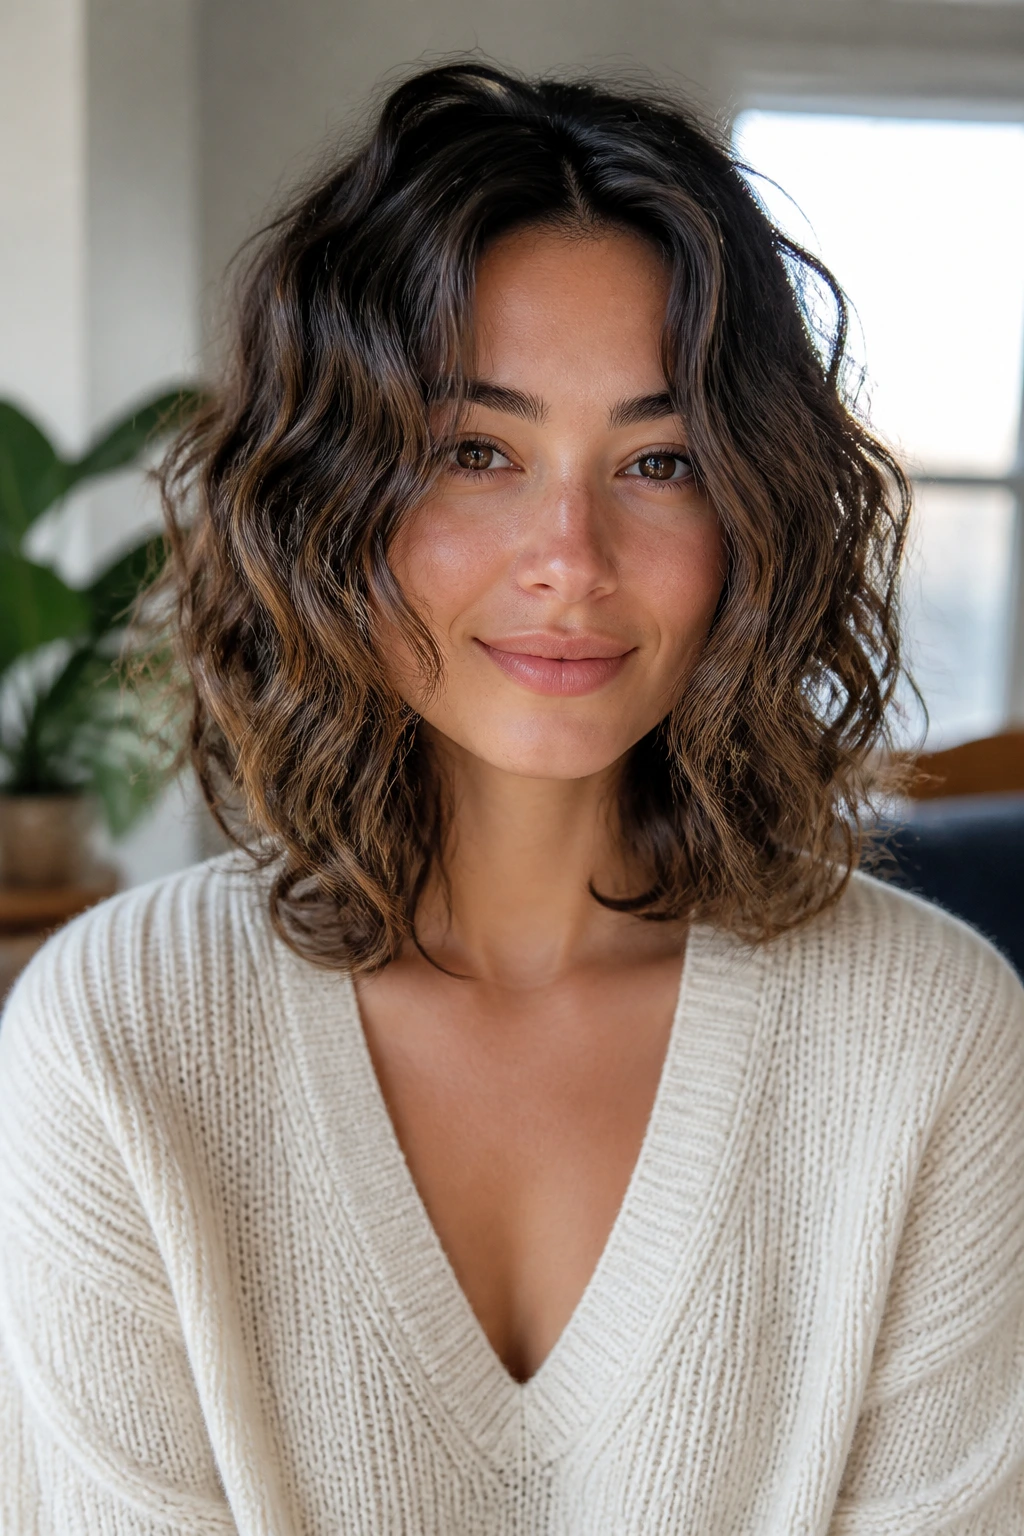
A shoulder-grazing lob is a sweet spot for wave pattern. It’s long enough to show movement and short enough that the hair doesn’t get dragged straight by its own weight. Scrunched texture at this length gives the cut some bounce without needing a perfect curl set.
I like this style with a middle part for symmetry or a slightly off-center part for more lift at the roots. A bit of gel on damp hair, scrunched upward, keeps the wave from puffing out at the bottom. If the ends are too straight, twist just the last inch around your fingers while they dry.
26. Two-Strand Rope Braid
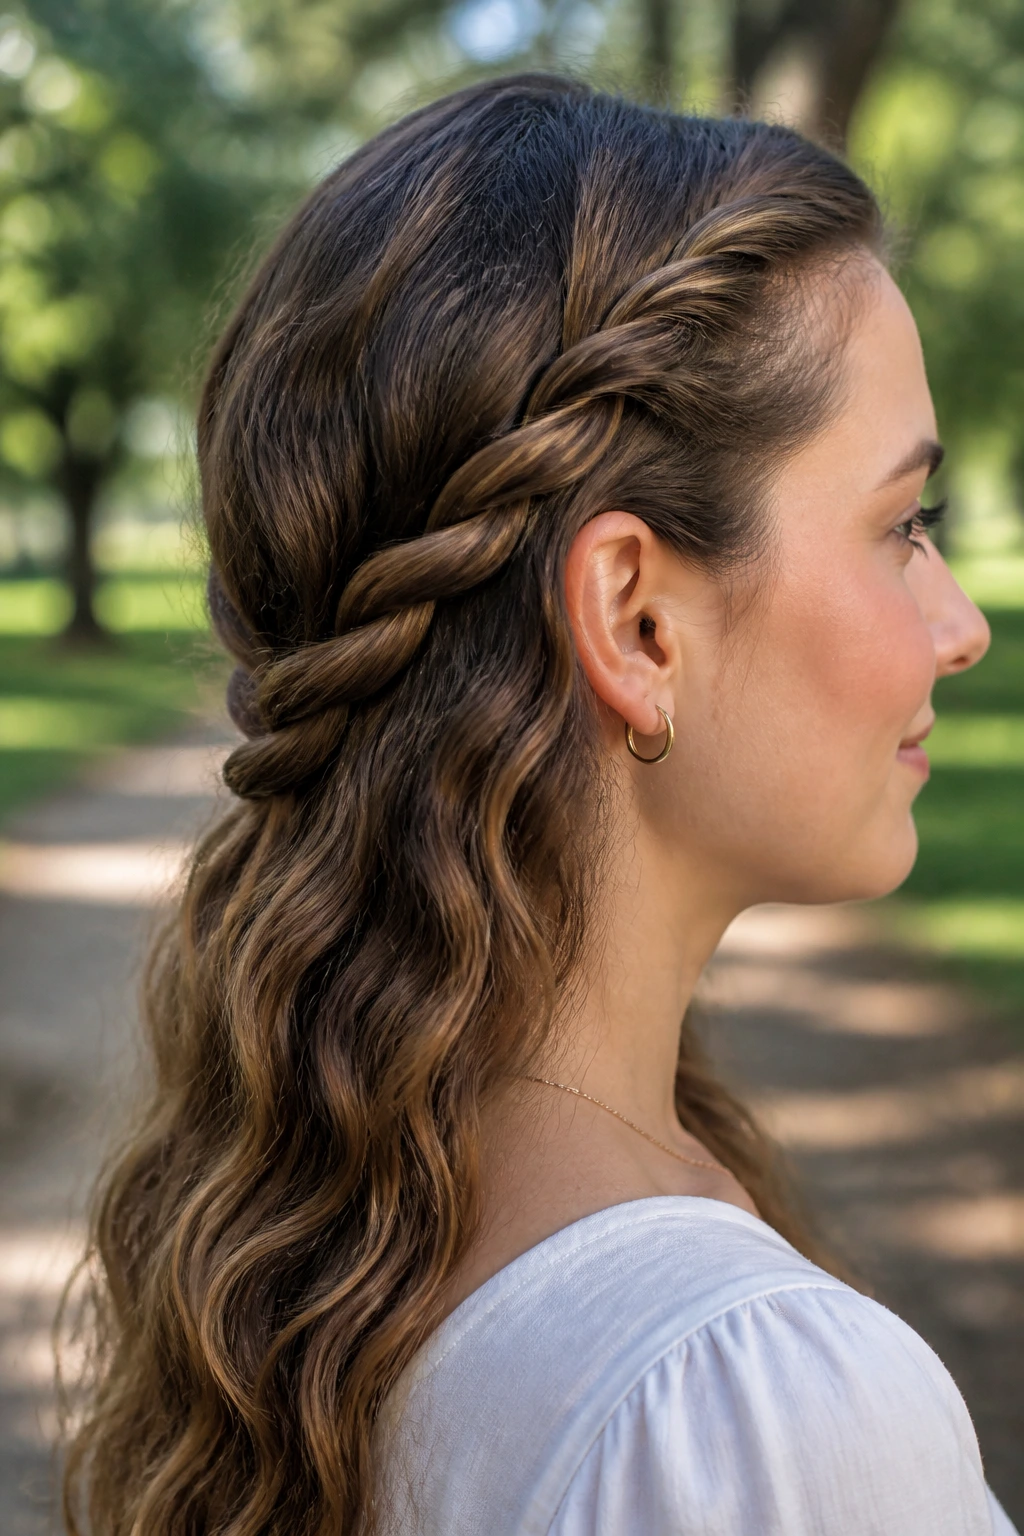
The rope braid is smoother than a three-strand braid and often holds better on wavy hair because it grabs the texture without chewing it up. Split the hair into two sections, twist each section in the same direction, then wrap them around each other in the opposite direction.
That opposite-direction rule matters. It keeps the braid from unraveling too fast. A rope braid looks especially good on medium-to-long hair because the twist pattern shows up. If the hair is very layered, start a little lower at the back of the head so the short pieces don’t pop free immediately.
27. Sleek Tucked-Behind-Ears Style
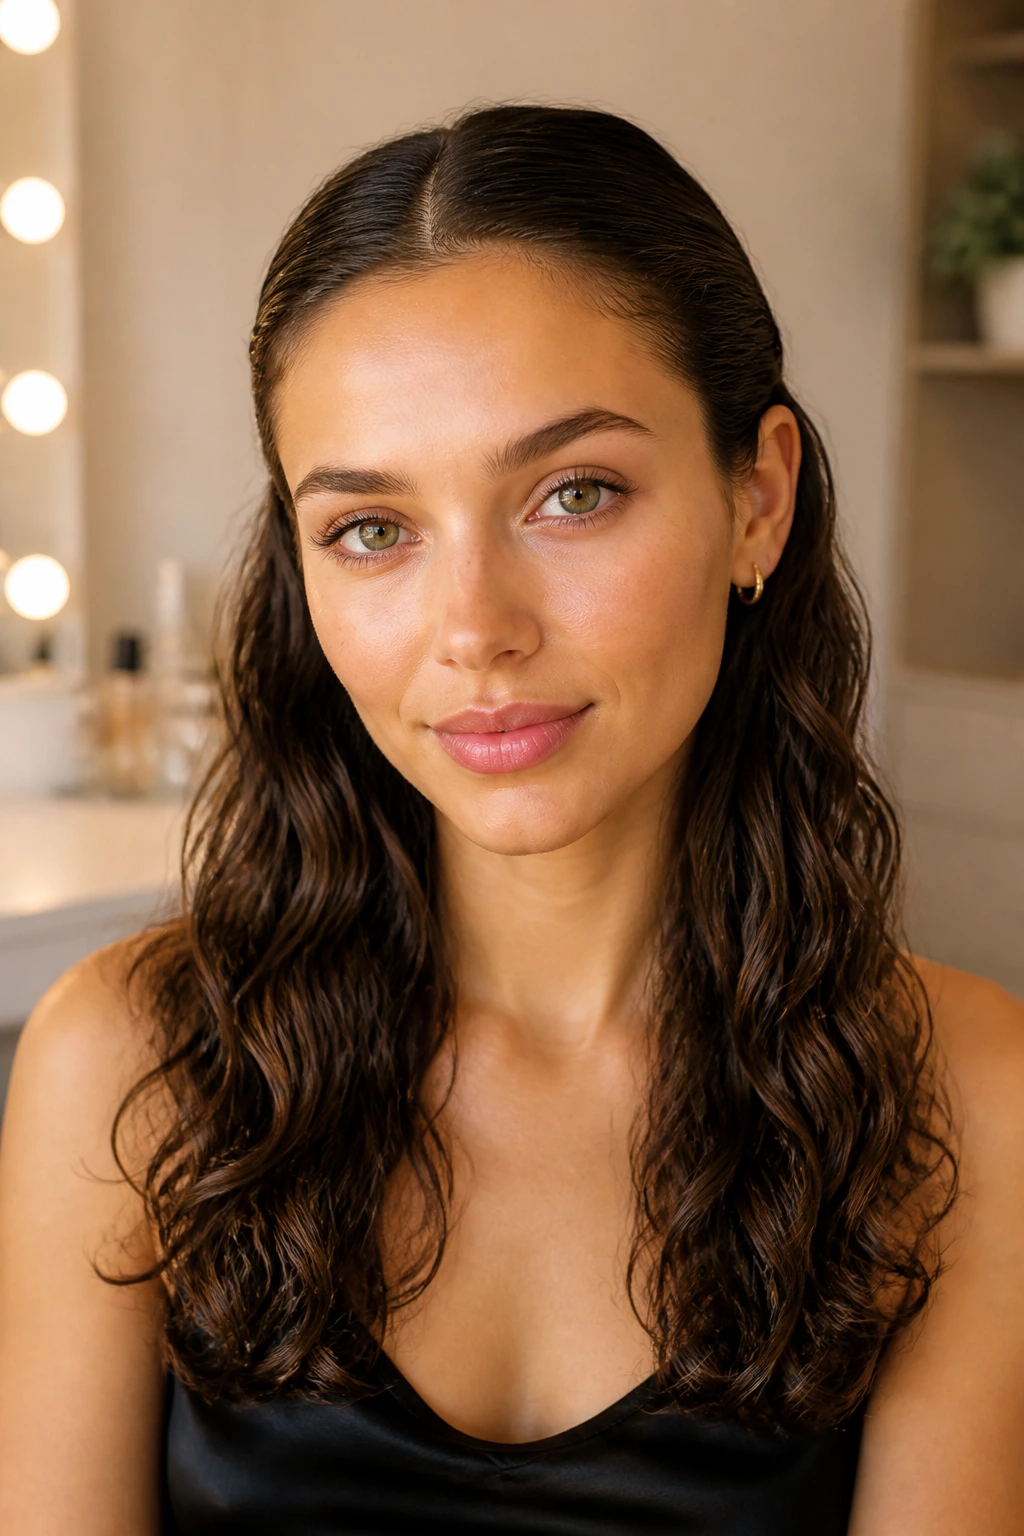
This one is for days when you want the face open and the wave pattern still visible. Smooth the front sections back behind the ears with a small amount of cream or serum, then let the lengths fall naturally. The style is clean, not flat.
Tiny pins can hide under the hair if it keeps slipping forward. I prefer this look on hair that has a good bend from the ears down, because the tucked front creates a nice contrast. It’s a neat style, but not severe. That’s the sweet spot.
28. Vintage Pin Curls for Loose Waves
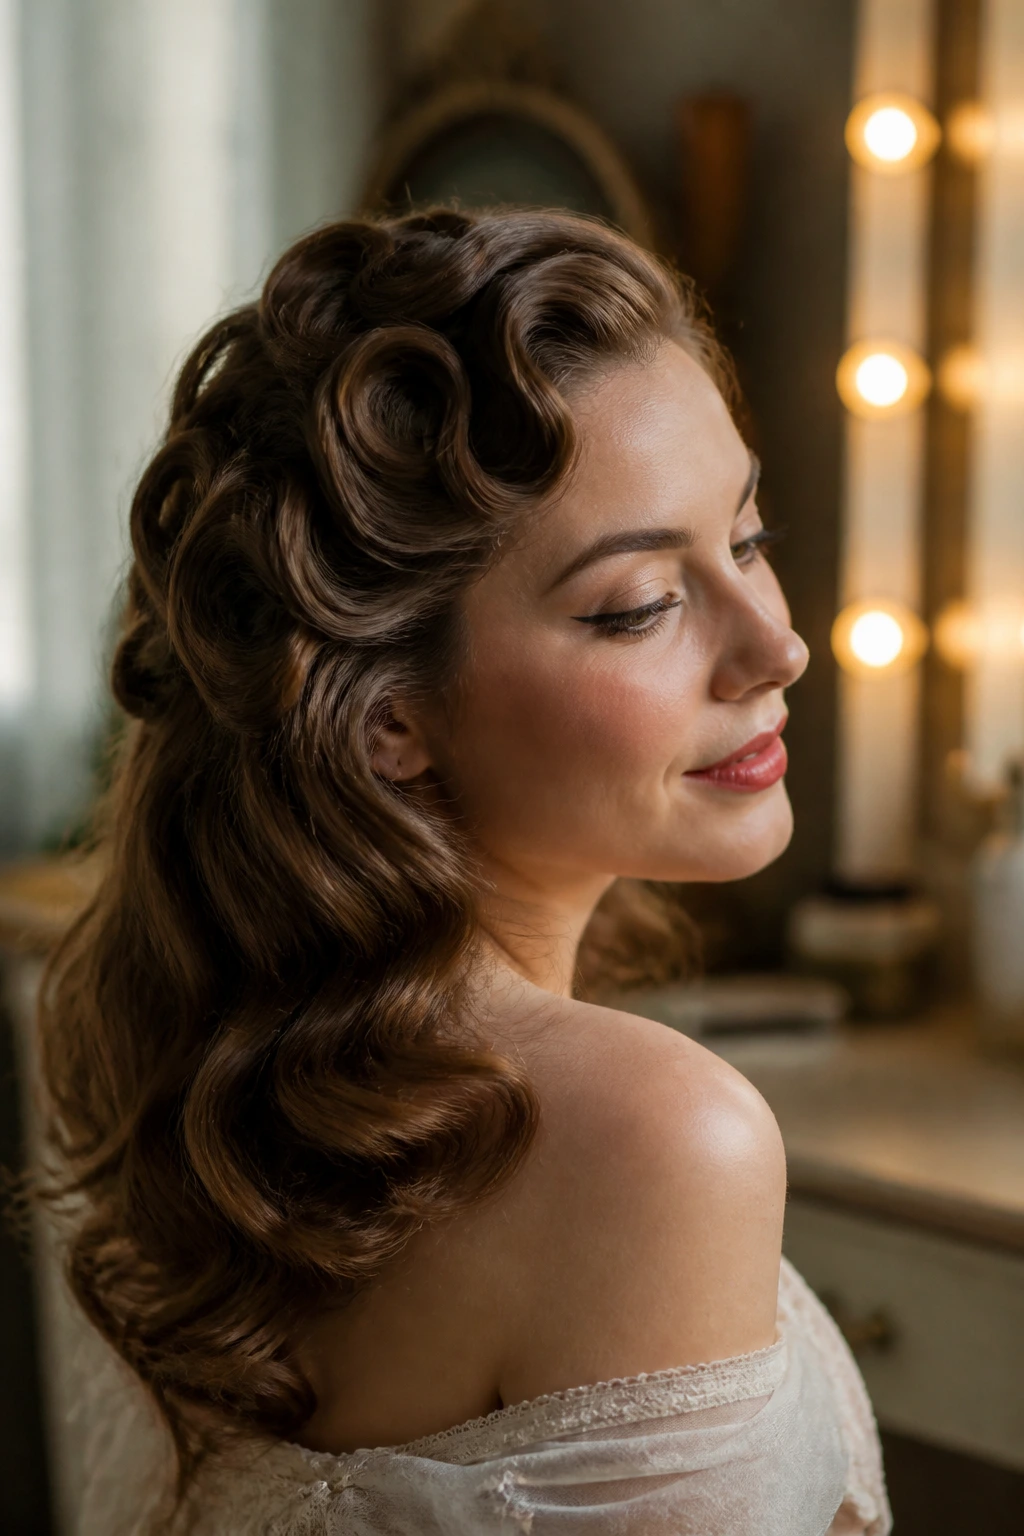
Pin curls sound old-fashioned because they are, and that’s half the charm. Set damp sections into flat coils, pin them to the head, let them dry fully, then release for a rounder, more controlled wave. It’s one of the better ways to shape wavy hair without heat.
This style takes time, and it rewards patience. If the curls come out too tight, finger-comb them while they’re still cool. If they come out too soft, pin a few front pieces again for another hour. The result looks especially nice for event hair because it feels deliberate without turning stiff.
29. Faux Hawk Puff
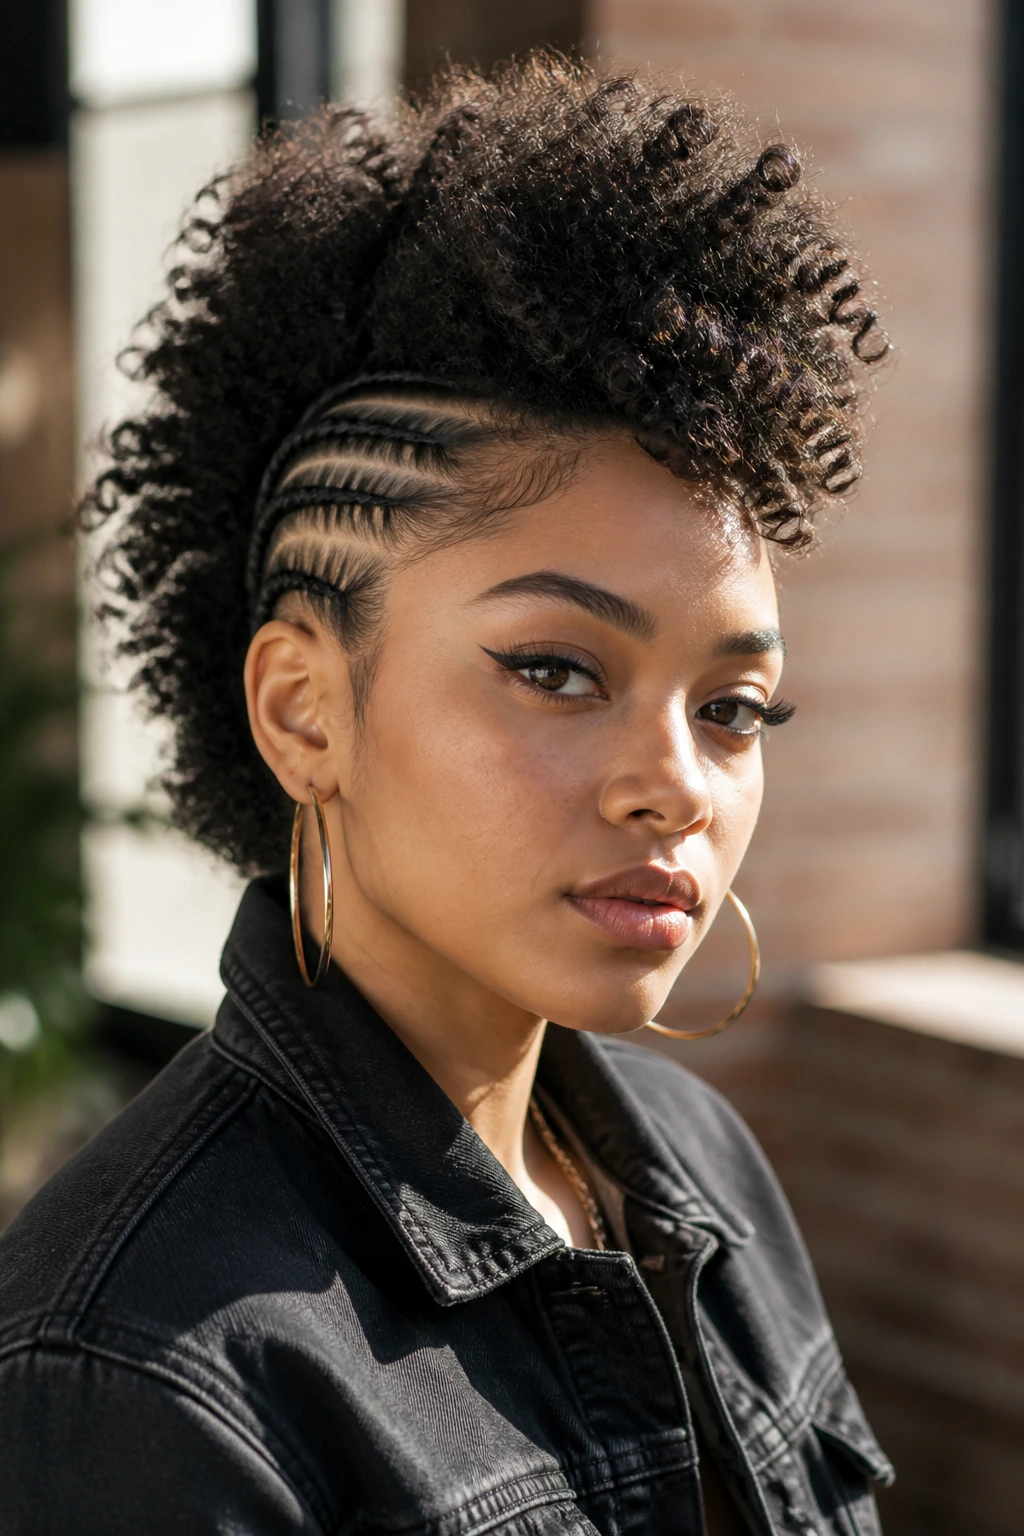
A faux hawk puff gives wavy hair attitude without a haircut commitment. Pin the sides back tightly or braid them close to the scalp, then let the center section rise into a soft ridge. The wave in the middle does the heavy lifting.
It’s a strong look, so the finish matters. Leave the center a little fluffy and piecey rather than smooth. That keeps it from looking too sharp. If your hair is thick, secure the sides with more pins than you think you need. Gravity is rude.
30. Low Chignon With Texture
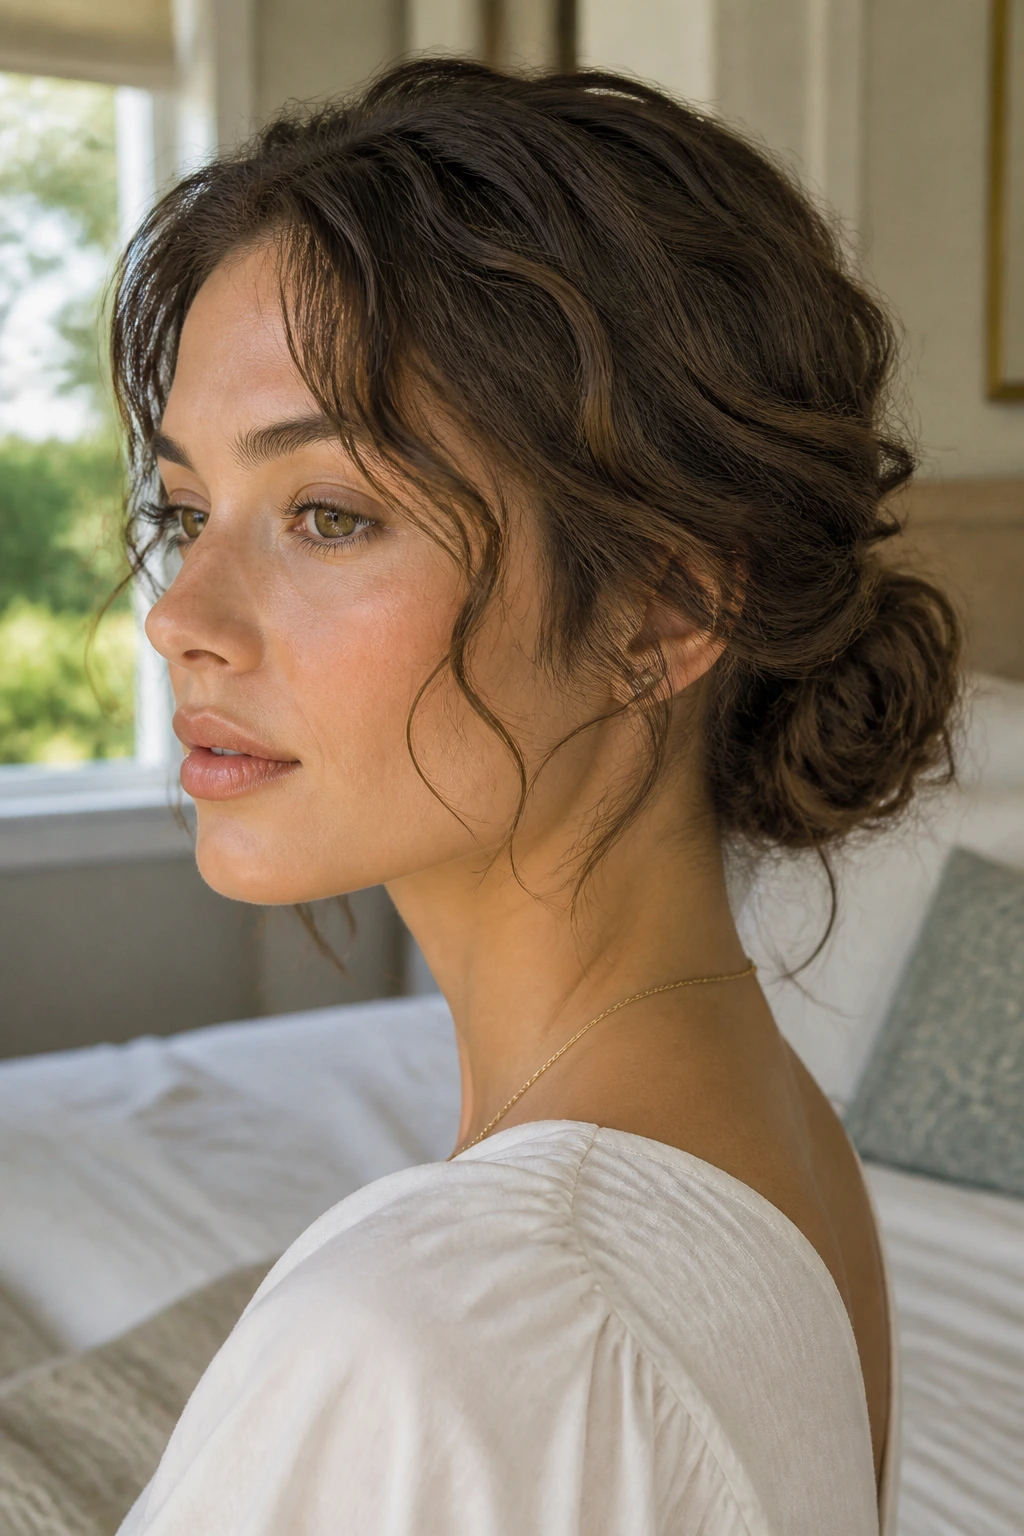
A textured chignon at the nape is one of the easiest formal styles for wavy hair because the texture hides the pins. Gather the hair low, twist it into a loop or knot, and secure it with pins so the shape stays soft. Leave a few wispy pieces at the temples.
What makes this version work is that the bun is not polished to death. A smooth chignon can look too hard on wavy hair. A textured one lets the shape breathe. A little spray on the outside is enough; the inside can stay loose and pinned.
31. Beachy Undone Ponytail
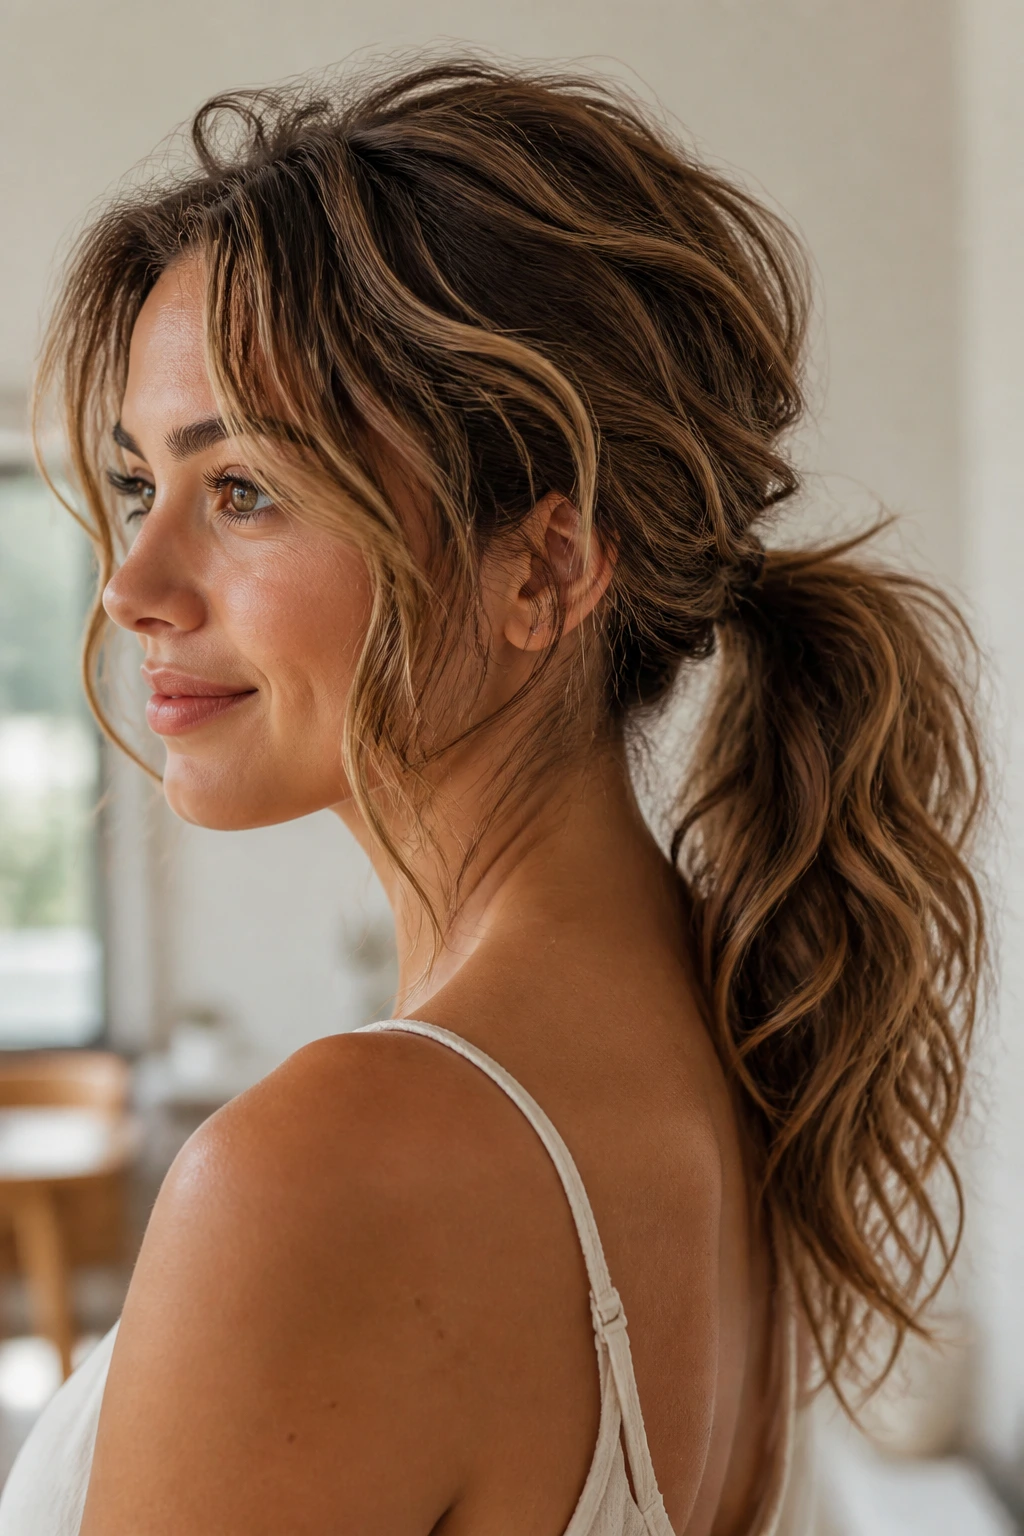
This is the ponytail for people who hate ponytails. Pull the hair back loosely, but do not brush it into submission. Let some wave stay around the ears, leave the tail slightly bent, and tug the top a little for softness.
The whole thing works because it looks like you used your hands, not a styling manual. A few face-framing pieces and a soft elastic make the difference. If the tail is too straight, bend it around two fingers before tying it. That tiny bit of bend makes the style feel much less plain.
32. Scarf-Wrapped Waves
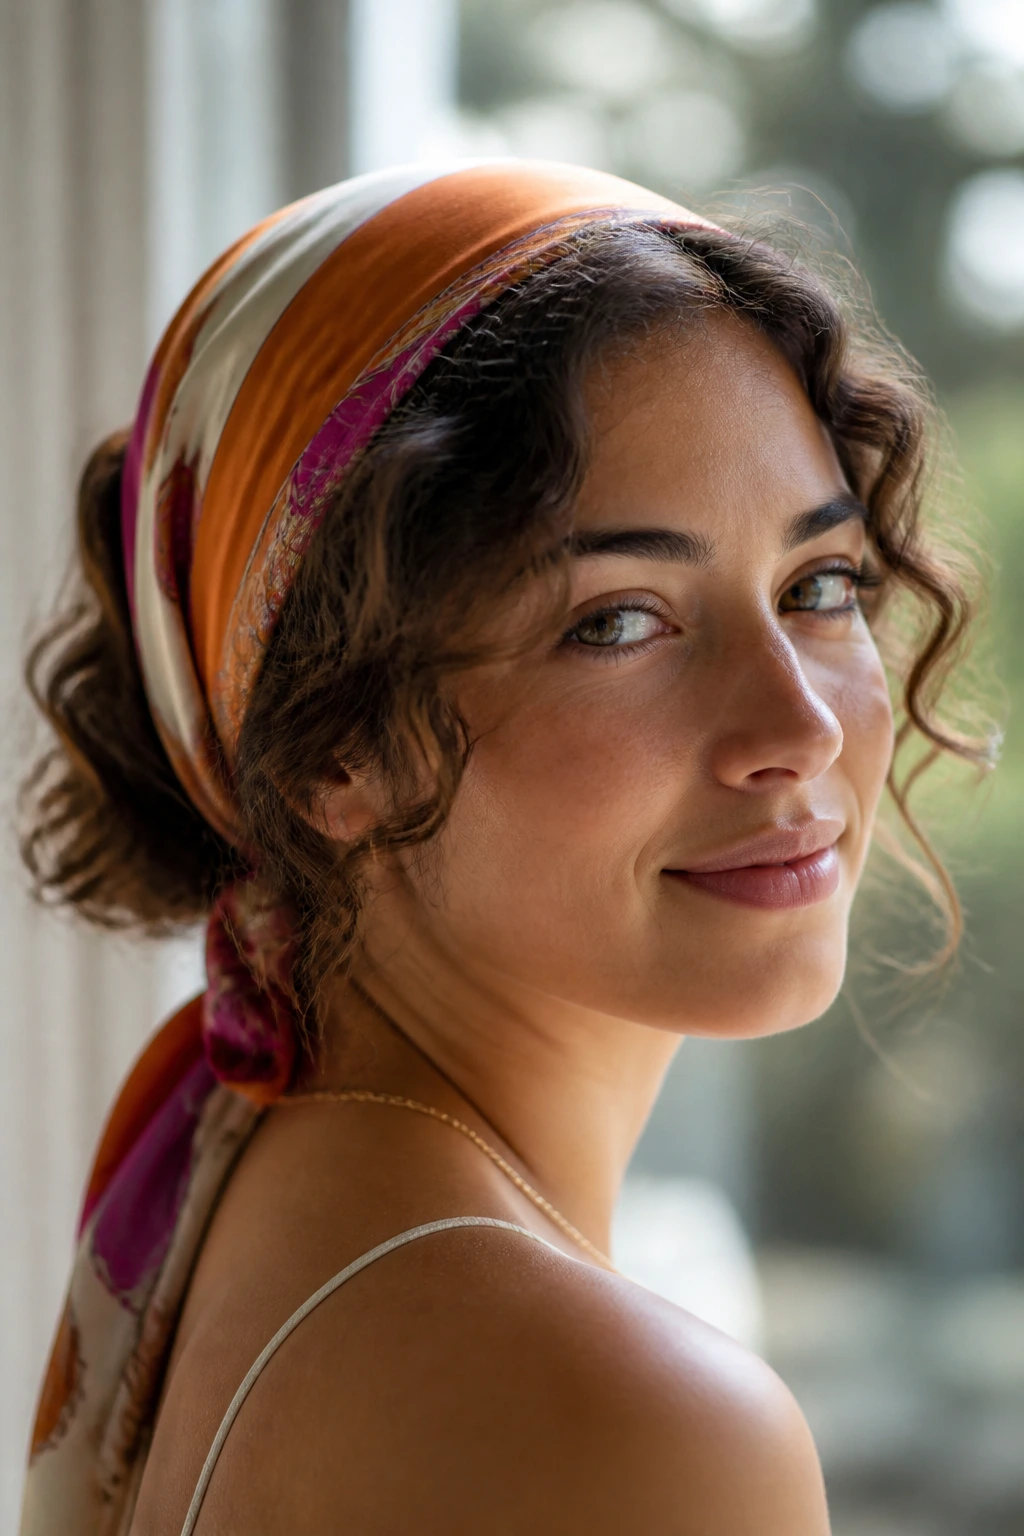
A scarf can hide a tired root line fast and still give the hair shape. Tie a silk or cotton scarf around the head like a headband, wrap it around a ponytail, or knot it at the crown so the length stays loose underneath. The scarf becomes part of the style instead of a cover-up.
I like this for travel days and windy days because it keeps the top controlled without crushing the wave. A printed scarf gives the hair a more playful look, while a solid one reads cleaner. Keep the rest of the style simple so the scarf gets to do the talking.
33. Micro-Braid Accent Style
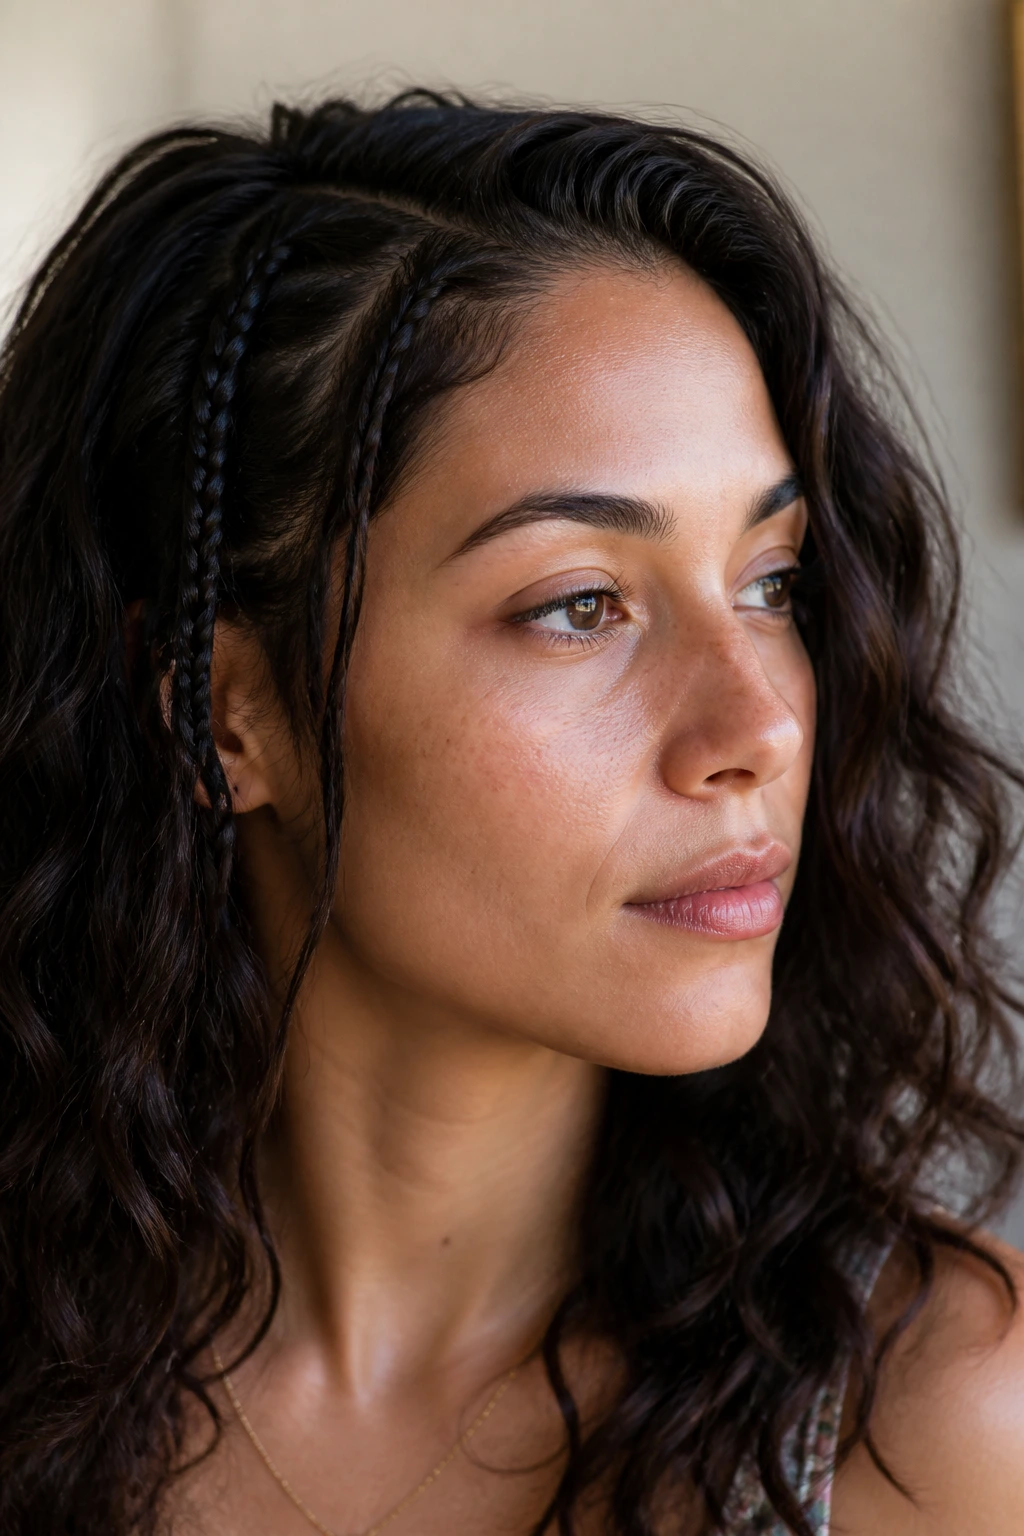
Micro-braids are a small detail with outsized payoff. Braid one tiny section near the temple, tuck another near the part, or add two thin braids into loose waves for texture. The point is not to cover the hair in braids. The point is contrast.
This style works best when you want something that looks intentional but does not take a long time. The braids should be thin enough to disappear into the waves, not chunk the hair up. A dab of cream on the braiding section helps keep little flyaways from sticking out like antennae.
34. Soft Hollywood Side Sweep
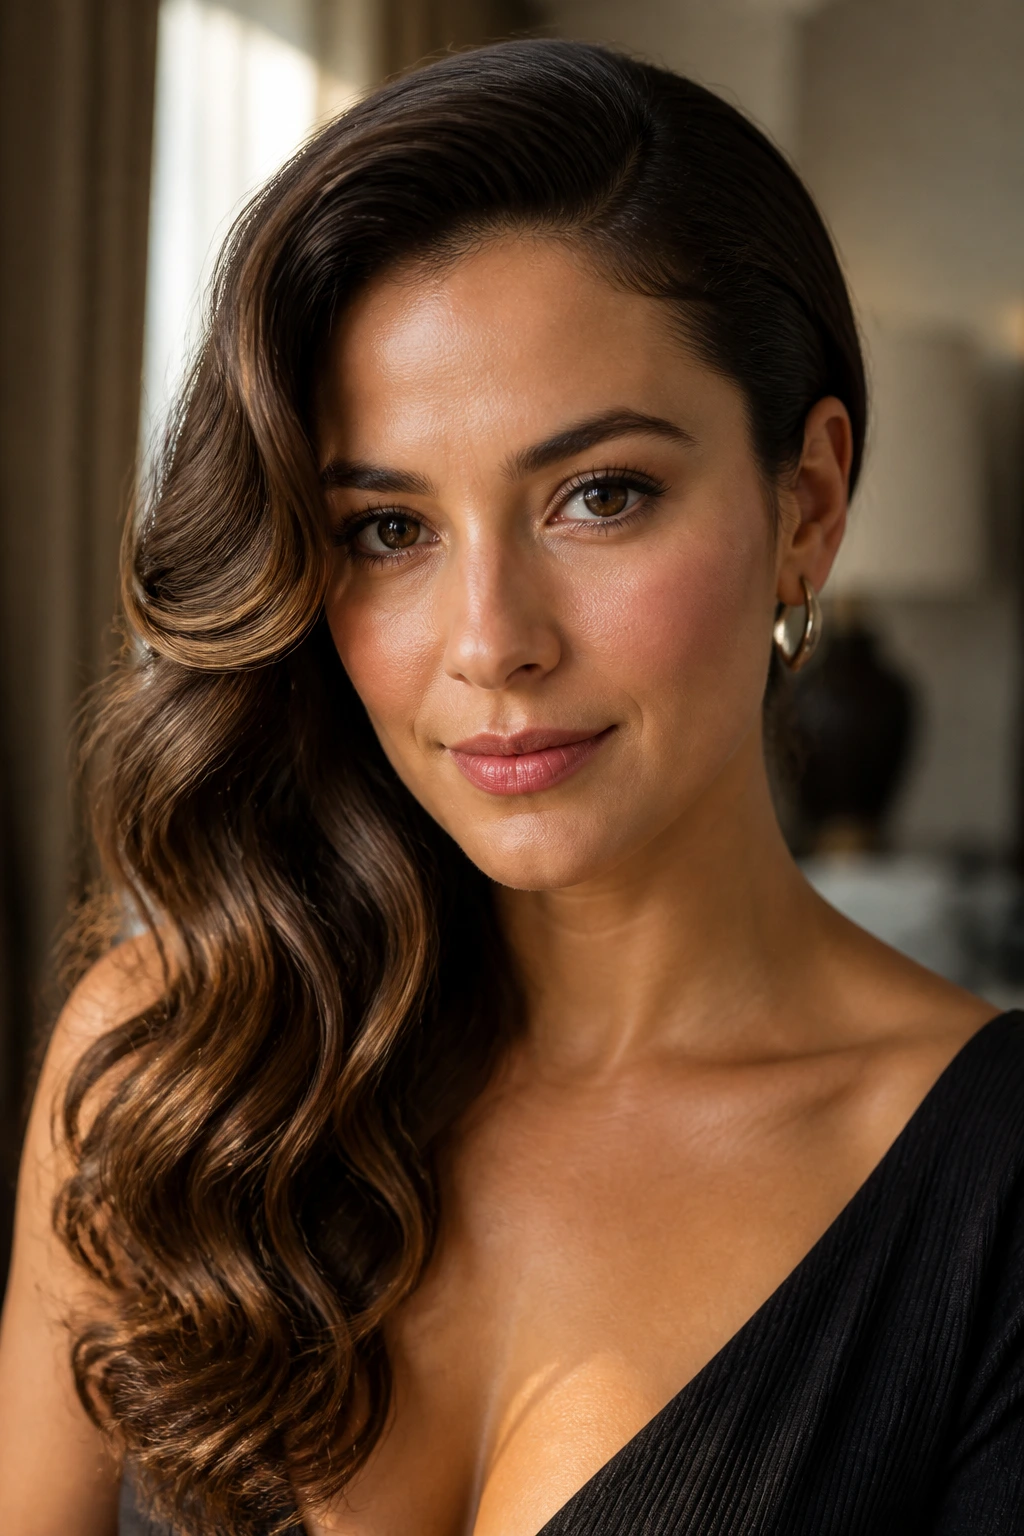
A side sweep on wavy hair can look dramatic without becoming stiff. Move the part deep to one side, brush one section back over the shoulder, and pin the other side behind the ear or at the back of the head. The wave should fall in one direction with a little curve.
This style does best when the front is shaped, not flattened. A bit of shine spray can help the top lay smoothly, but keep it light. Too much and the waves lose their body. If you want it to feel more evening than daytime, tuck in a statement earring and let one curl hang loose near the cheek.
35. Waterfall Braid With Loose Texture
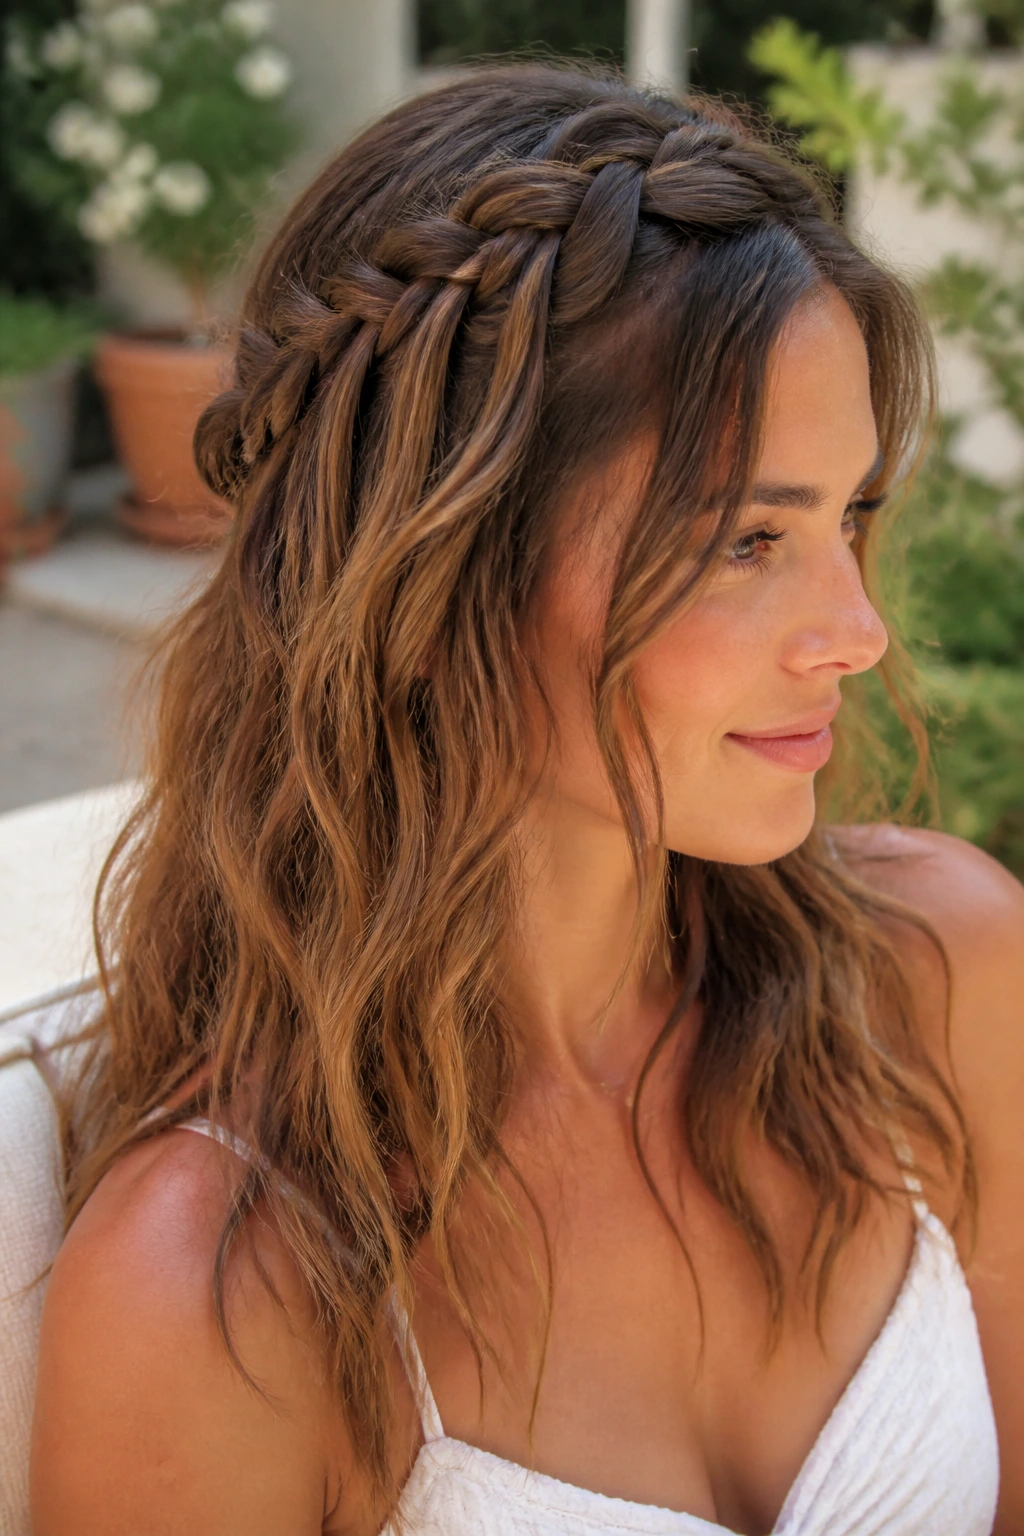
A waterfall braid gives wavy hair a pretty line without locking the whole head into a braid. Braid across the crown or upper side, dropping one strand each time so the rest falls into a cascade. The loose sections underneath keep the texture visible.
This style works best on medium to long hair because the braid needs enough length to read clearly. It looks especially good when the waves are already a little irregular; the contrast makes the braid stand out. Leave the braid slightly loose and pull the edges a touch wider once it’s done. Small detail, bigger shape.
36. Knotted Half-Up Crown
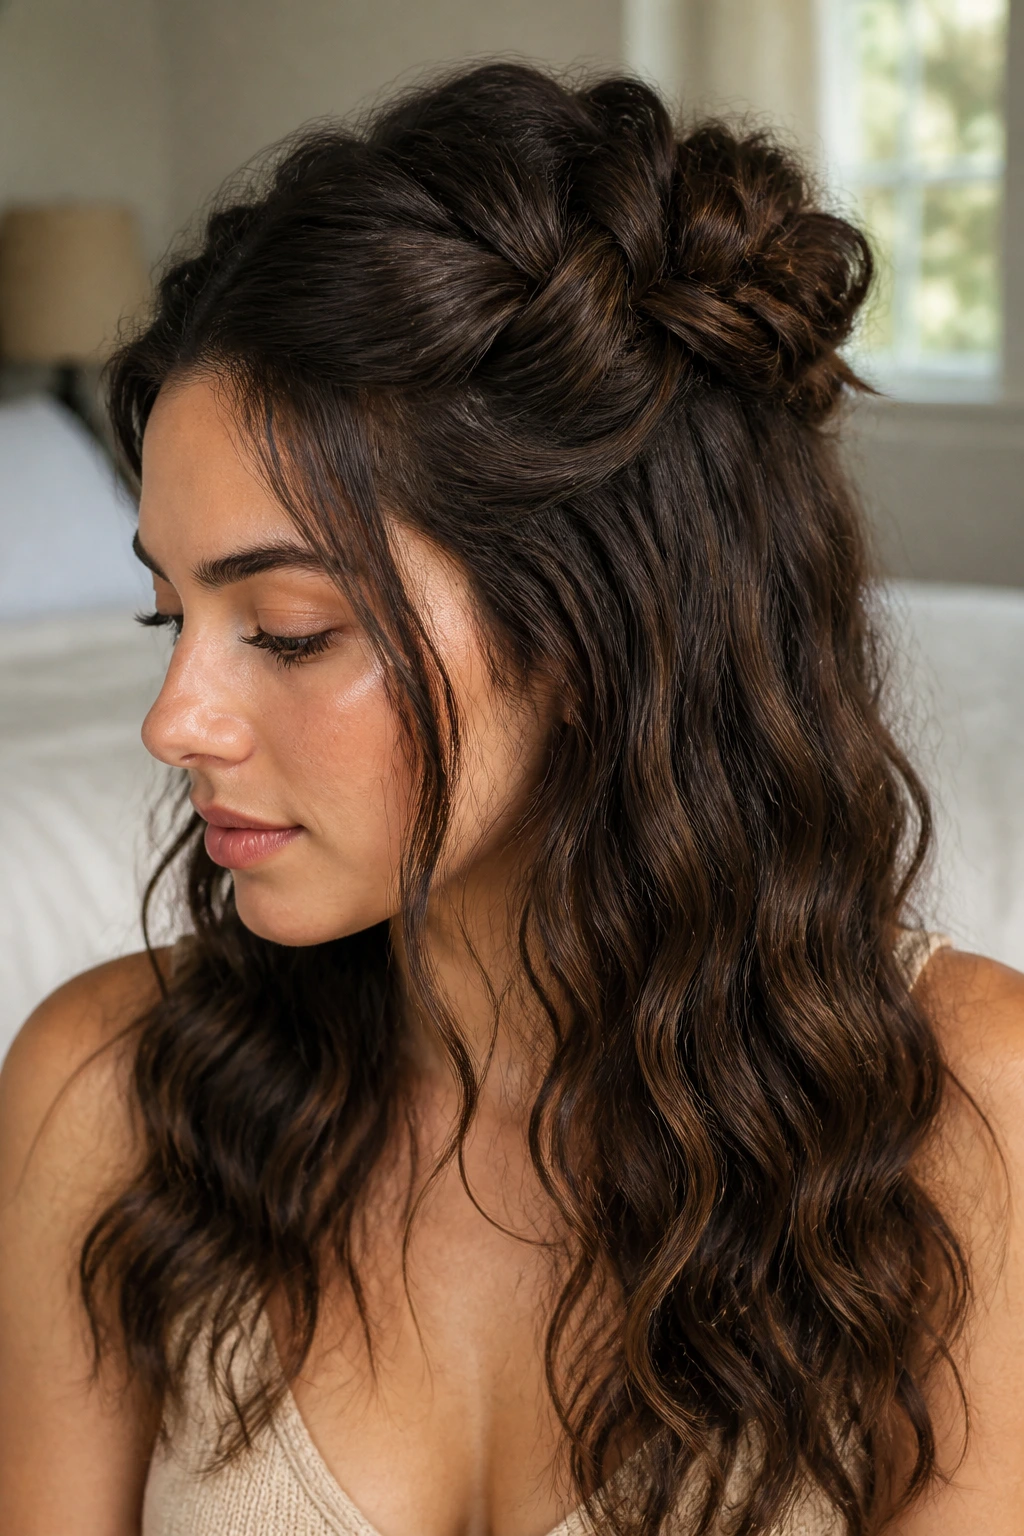
A knotted half-up crown is one of those styles that looks more complex than it is. Take two side sections, knot them once or twice at the back of the crown, and pin the ends so they disappear under the top layer. The rest of the hair hangs down in waves.
It’s a nice choice when you want a soft top shape but do not want a full updo. The knot sits where the eye naturally lands, so it gives the style a focal point. Keep the knot low and slightly loose. Tight knots look like an accident. Loose ones look chosen.
37. Textured Pixie Waves
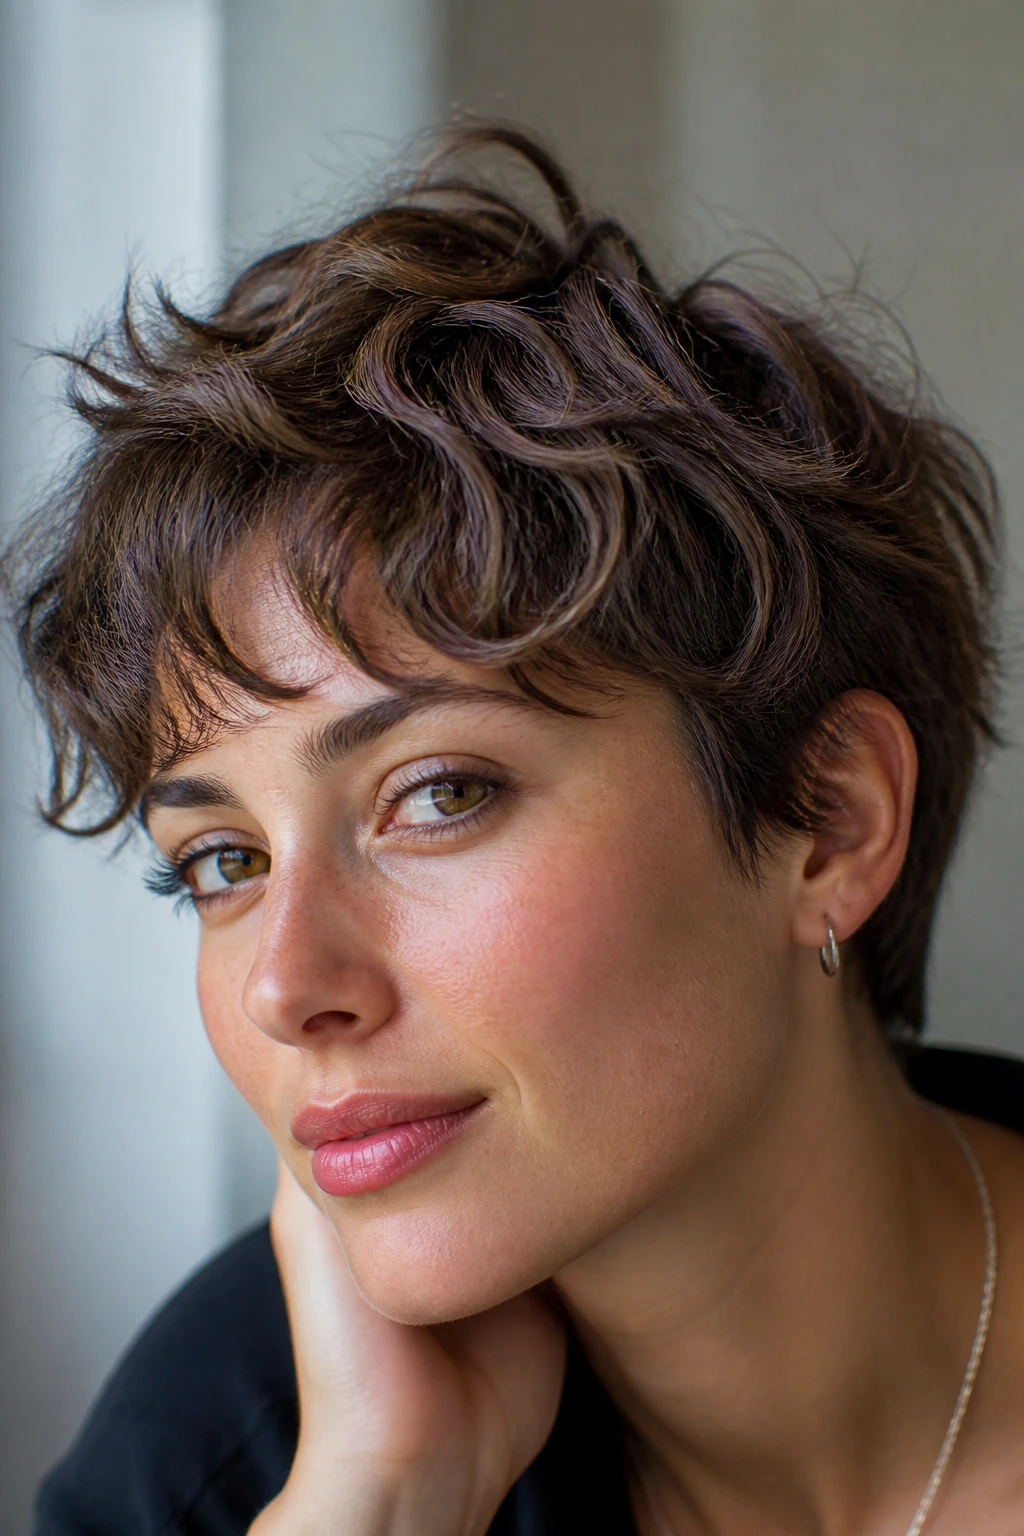
A pixie with texture can still read as wavy, and it looks better when the movement is piecey instead of frozen in place. Work a tiny bit of cream or pomade through the top layers, then pinch the bends with your fingers so a few strands separate cleanly.
The important thing is not to overload short hair. One pea-size amount can be enough for the whole head if the cut is short. If the sides go flat, lift them with your fingers while the product is still warm from your hands. That gives the cut a little air.
38. Long Wavy Layers With a Side Clip
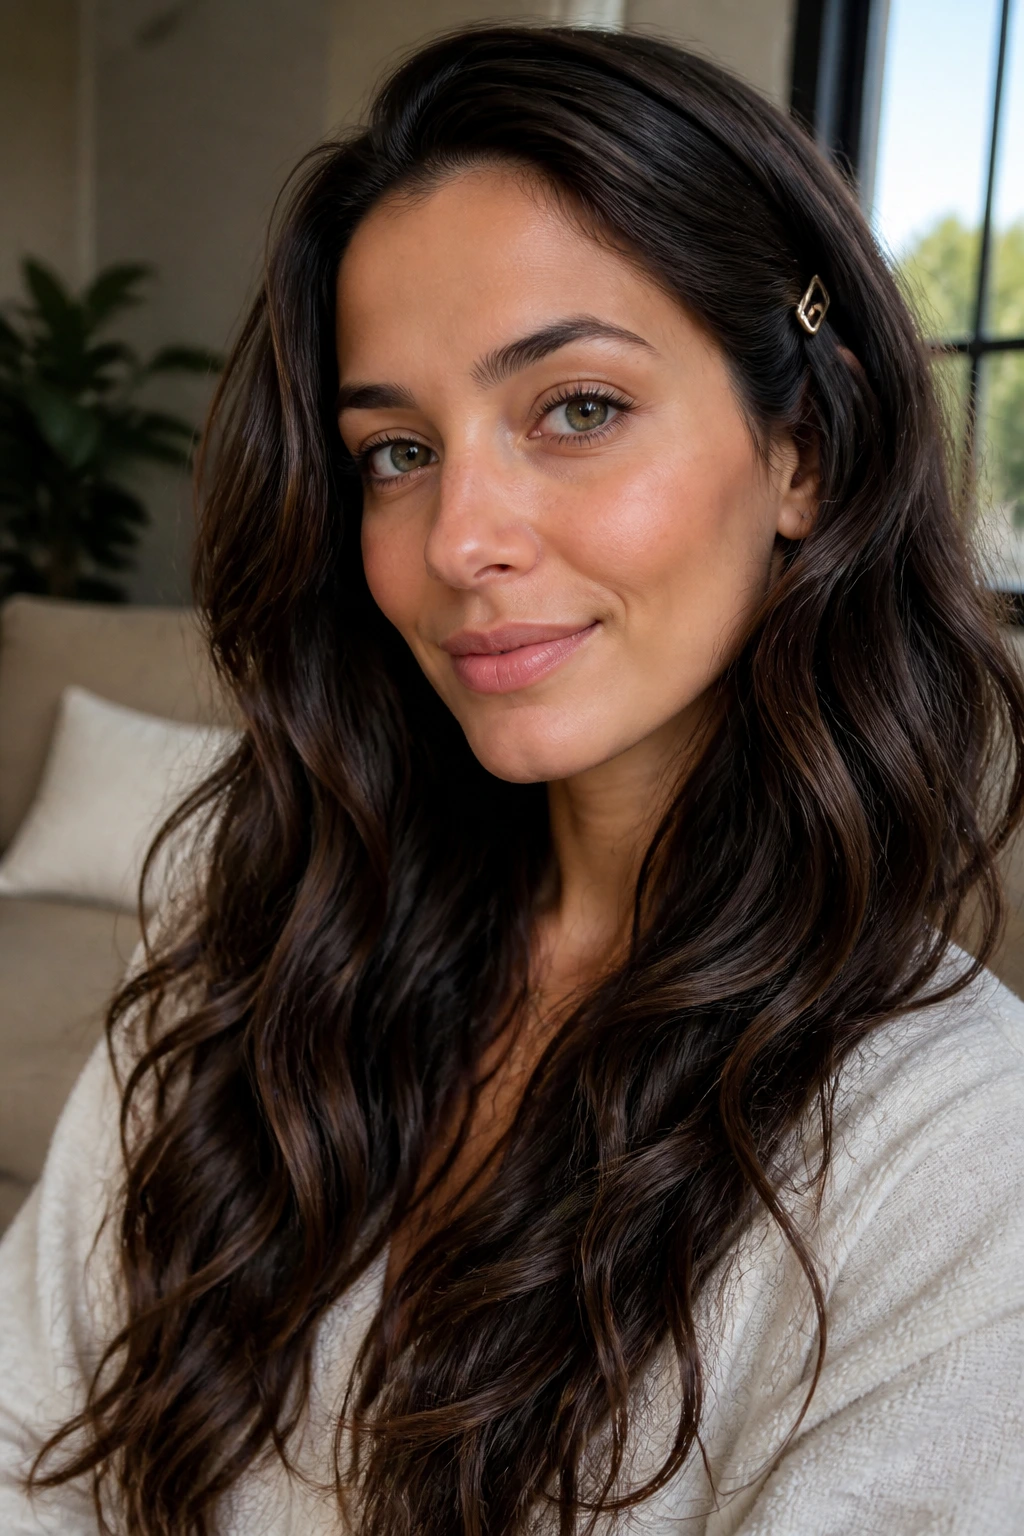
Long layers need a small focal point or they can drift into sameness. A simple side clip near the temple solves that. It pulls one side back, shows off the layers underneath, and keeps the front from swallowing your face.
This is the easiest style in the group, and I mean that as a compliment. It gives long wavy hair one clean line without flattening the length. Choose a clip that grips well, not one that looks nice and slides out after ten minutes. A good clip is a tiny piece of engineering.
How These Styles Sit Better on Wavy Hair
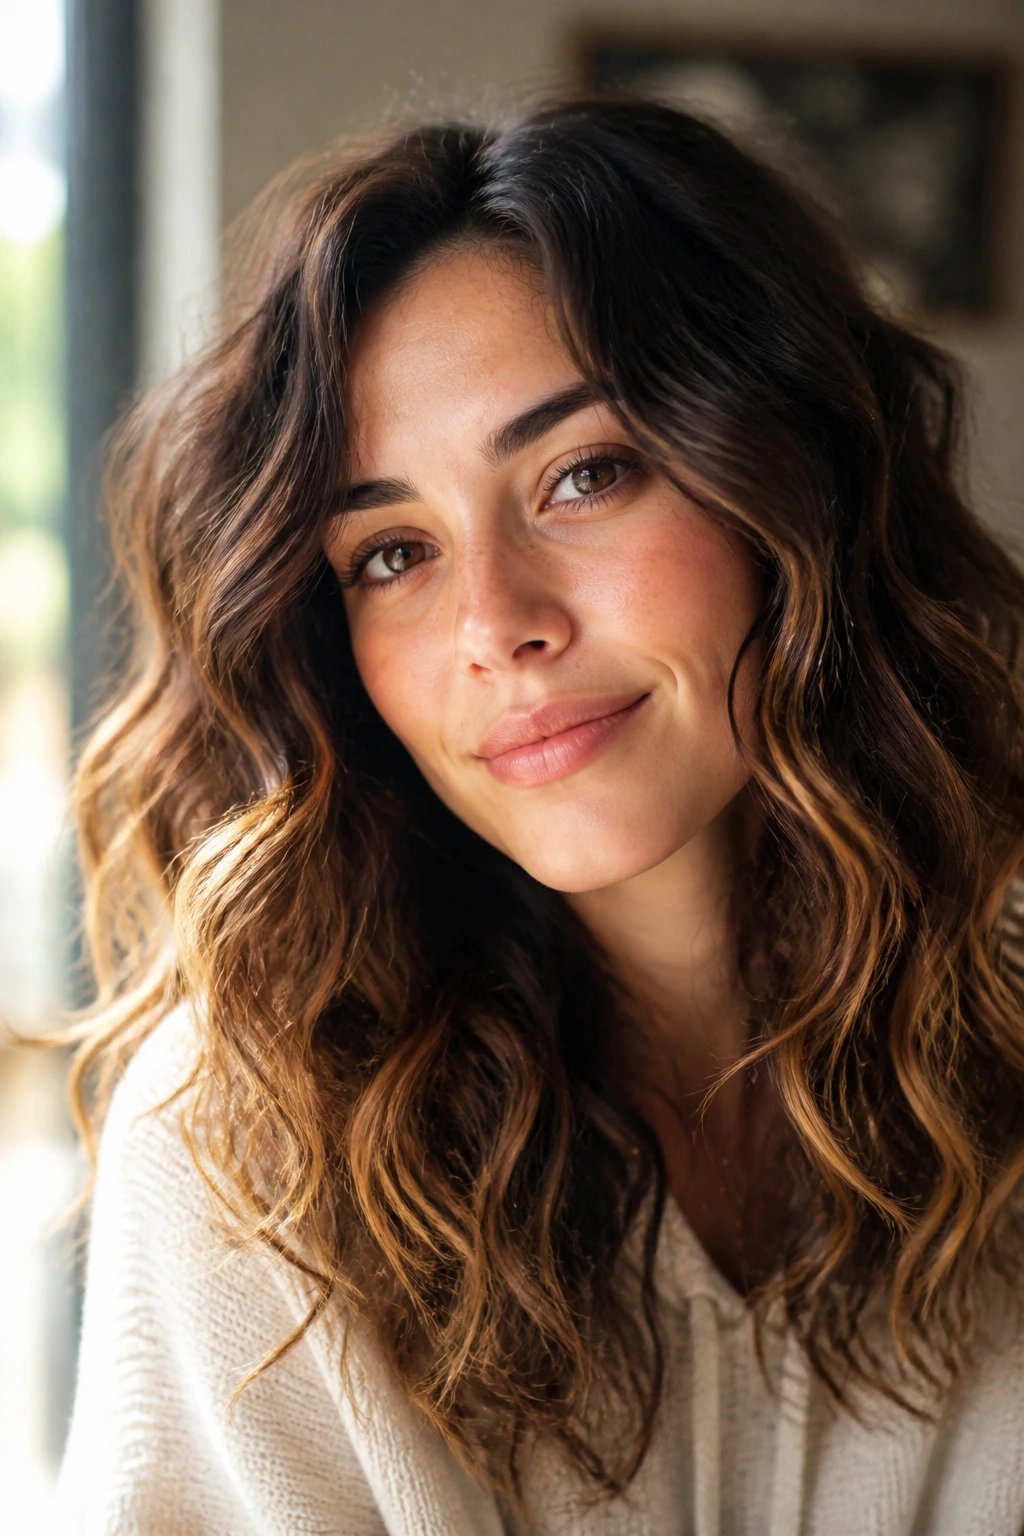
Wavy hair tends to do two things at once: it wants shape, and it hates being overhandled. That tension is why these styles work. They give the hair a job—hold a part, sit in a twist, rest inside a braid, or gather into a ponytail—without forcing every strand to match a perfect pattern.
The best-looking styles usually leave one thing loose. A few face pieces. The tail of a braid. The ends of a bun. That little looseness is not sloppy. It is what keeps the style from looking pressed into place.
There’s also a practical reason these looks last. Wavy hair frizzes fastest where it gets rubbed, pulled, or brushed too much. These styles reduce all three. Less friction. Less flattening. Less drama at the roots.
Choosing Curly Hairstyles for Wavy Hair by Length and Density
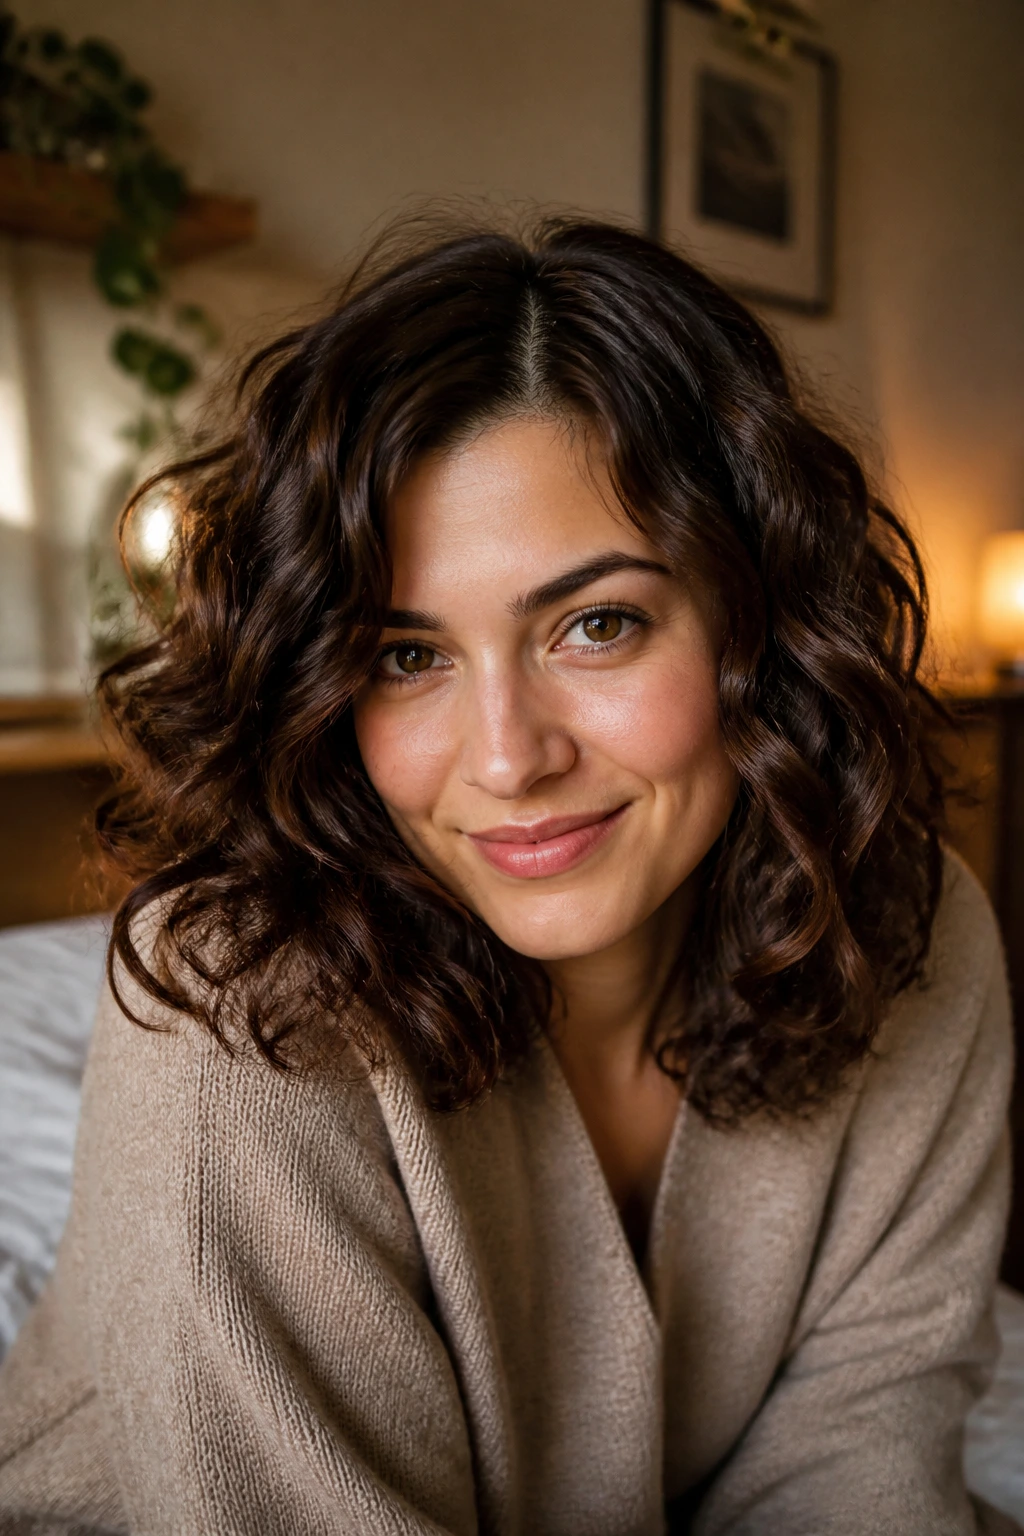
Short, medium, and long wavy hair do not behave the same way, and pretending they do wastes time. Shorter hair usually needs shape near the roots, because there isn’t much length to drag it down. Medium hair can handle more pins, braids, and half-up shapes. Long hair often needs lift at the crown so the ends don’t pull the whole style limp.
Density matters too. Fine waves collapse when you overdo the cream. Thick waves get bulky fast if you try to gather them too tightly. Low-density hair usually looks best with styles that keep the scalp open a little—clips, headbands, side parts—while high-density hair can carry buns, braids, and twists that would swallow finer hair whole.
Face shape is the last piece people ignore. A deep side part gives more drama and height. A center part gives balance. Soft tendrils around the face can soften a stronger jaw, while pinned-back sides bring more attention to earrings, brows, and cheekbones. None of that is mysterious. It’s mostly placement.
Products and Tools That Help Curly Hairstyles for Wavy Hair Last Longer
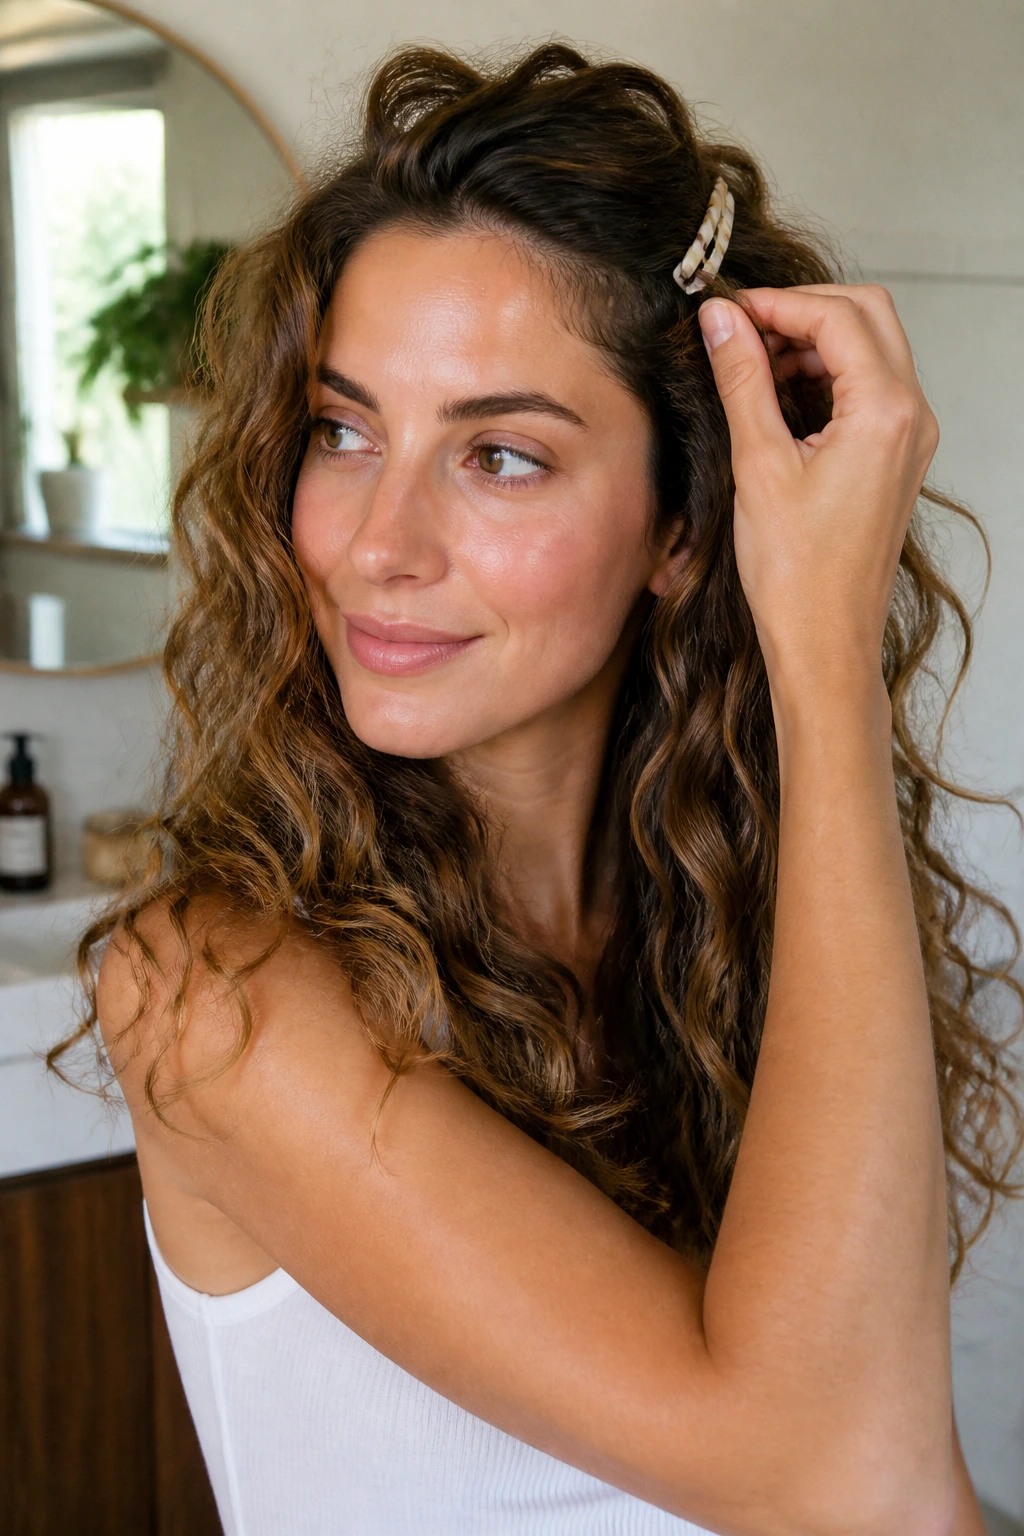
A style on wavy hair is only as good as the prep underneath it. The biggest mistake is reaching for heavy curl butter when a lighter product would do the job better. Wavy hair usually likes mousse, light cream, soft gel, and a flexible-hold spray. Enough to guide. Not enough to glue.
The useful things are boring things. A wide-tooth comb for detangling. A microfiber towel or cotton T-shirt for drying. A tail comb for parts. Small pins. A medium claw clip. A diffuser if you use heat at all. You do not need a drawer full of gadgets.
A few product notes matter more than brand names. Use lighter products near the roots and richer ones only on dry ends. If the hair goes flat by lunchtime, the problem is usually too much cream, not too little. And if the hair frizzes the second you touch it, the fix is often gel or spray, then hands off.
Small Fixes That Make Wavy Hair Look Better All Day
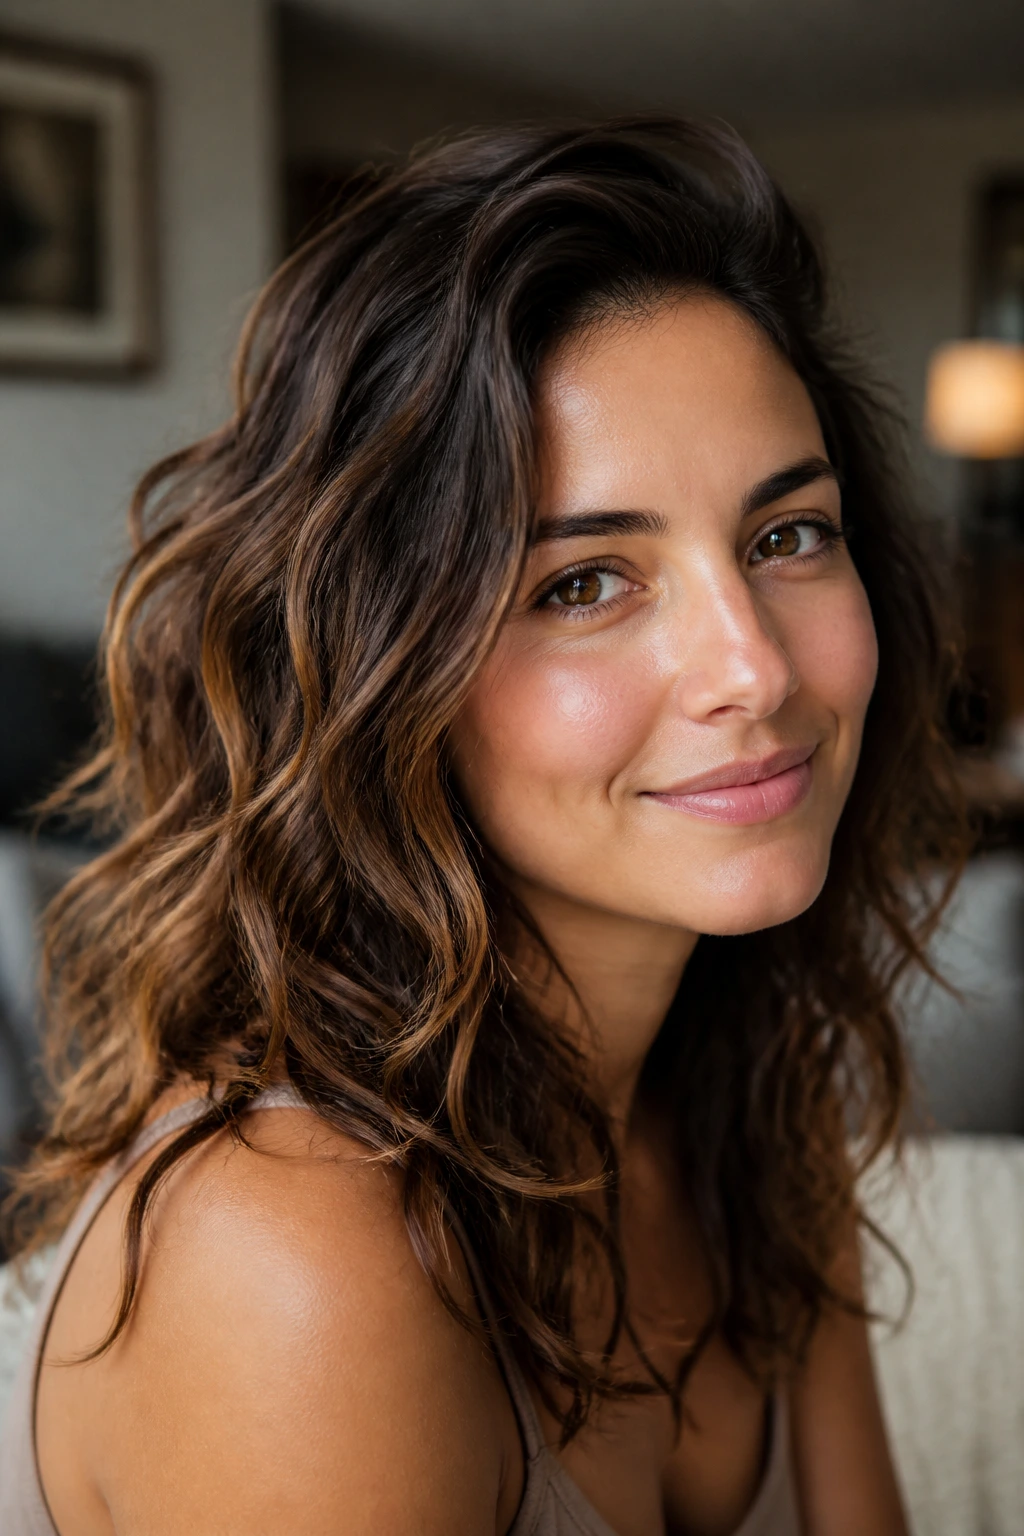
Root lift comes first. If the crown is flat, the style can look tired even when the ends are doing fine. Clip the roots while they dry, flip the part slightly off-center, or mist the crown with a little water and lift it with your fingers.
Use less product than feels safe. Wavy hair can turn stringy fast. Start with a dime-sized amount of cream or mousse, then add more only if the mid-lengths still feel dry. Heavy product at the top is the fastest way to lose volume.
Stop brushing once the shape is set. A brush can fix tangles, but it can also erase the bend. Detangle before styling, then use your fingers, a wide-tooth comb, or a very light pass with a tail comb. That’s enough.
Pick one focal point. A clip, a braid, a part, a scarf, or a knot. Not all five. One focal point keeps the style readable and keeps the hair from looking crowded.
Common Mistakes That Flatten Wavy Hair
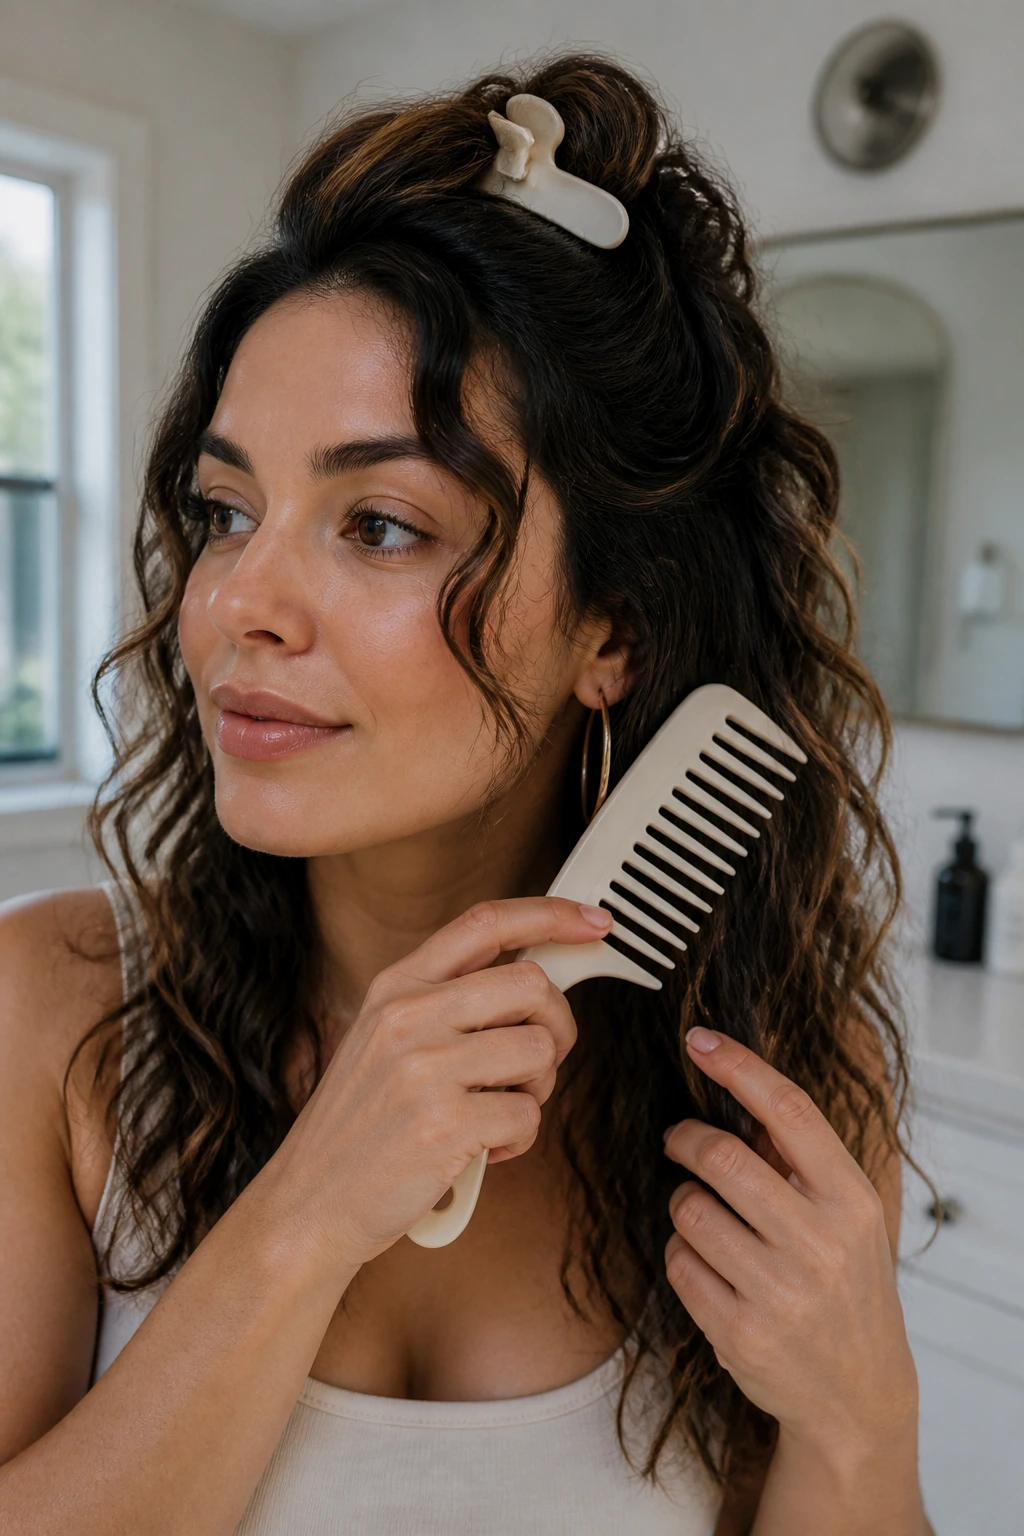
The first mistake is pulling everything too tight. The crown goes flat, the wave pattern loses air, and the style starts to look stiff. The fix is simple: leave a finger’s width of slack at the roots and loosen the front before you pin or tie anything.
The second mistake is using rich product everywhere. Wavy hair often needs more control near the ends and less at the scalp. If the roots look greasy by midday, the problem is probably product placement, not the product itself.
Third, people keep touching the hair while it dries. That breaks the bend and roughs up the surface. Let the hair set, then break any cast only when it’s dry. If you keep scrunching after that, you’re just making frizz.
Last, a lot of people forget that wavy hair needs different treatment after sleep. A style that looks good in the morning can get crushed by a cotton pillowcase. Satin or silk helps. So does a loose pineapple or a low scarf wrap, depending on the length.
Variations and Alternatives to Try
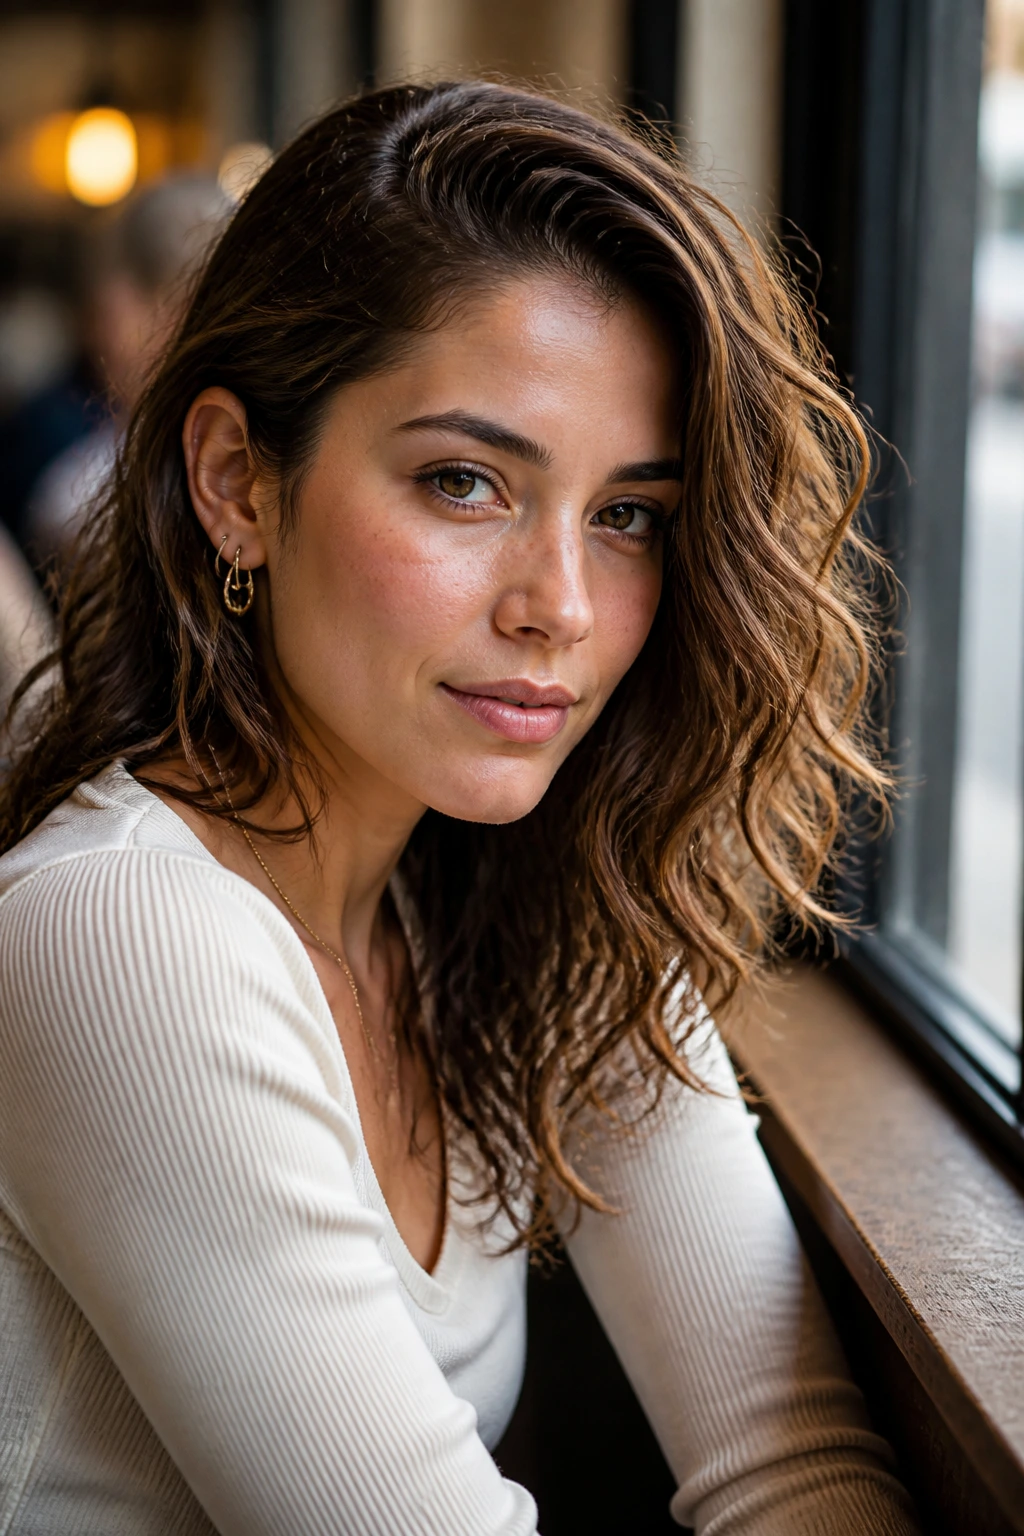
Fine-Wave Lift Mode: If your hair is thin or easily weighed down, swap cream for mousse and keep the style closer to the head. Clipped-back fronts, side parts, and low ponies usually hold better than heavy buns.
Thick-Wave Control Mode: If your hair has density, use stronger pins, bigger clips, and styles that split the weight across the head. Braids, bubble ponies, and low chignons keep the bulk under control without looking squashed.
Short-Length Switch: Pixies, bobs, and shoulder cuts need styles that show the cut lines. Headbands, side sweeps, tucked-behind-ear looks, and tiny braids make short wavy hair look intentional instead of simply grown out.
Heat-Free Weekend Set: Air-dry with mousse, then choose styles that keep the bend alive—half-up knots, braided halos, and loose low buns all work here. Skip anything that asks for a round brush unless you want to spend the time.
Humidity Shield Version: When the weather gets sticky, go for styles that keep the lengths contained: pineapple, claw-clip roll-up, bubble ponytail, or a low bun with tendrils. The less the hair rubs against itself, the better it tends to behave.
Essential Tools for These Styles
- Wide-tooth comb: Good for detangling damp waves without tearing through the bend.
- Microfiber towel or cotton T-shirt: Cuts down on friction and helps the hair dry with less puff.
- Tail comb: Useful for clean parts, especially center parts and deep side parts.
- Small clear elastics: Best for half-up knots, braids, and accent styles where you don’t want bulky ties showing.
- Satin scrunchie: Gentler on waves than a tight elastic and easier to sleep in.
- Bobby pins and snap clips: The unsung heroes for tucked sides, twists, and buns.
- Claw clip: Fast, practical, and worth having in one medium and one large size.
- Diffuser attachment: Helpful if you want more definition and less random frizz.
- Light hairspray or flexible hold spray: Good for keeping the shape without turning the hair stiff.
- Satin pillowcase or bonnet: Keeps overnight friction down and helps the style last into the next day.
Keeping the Style Fresh Between Washes
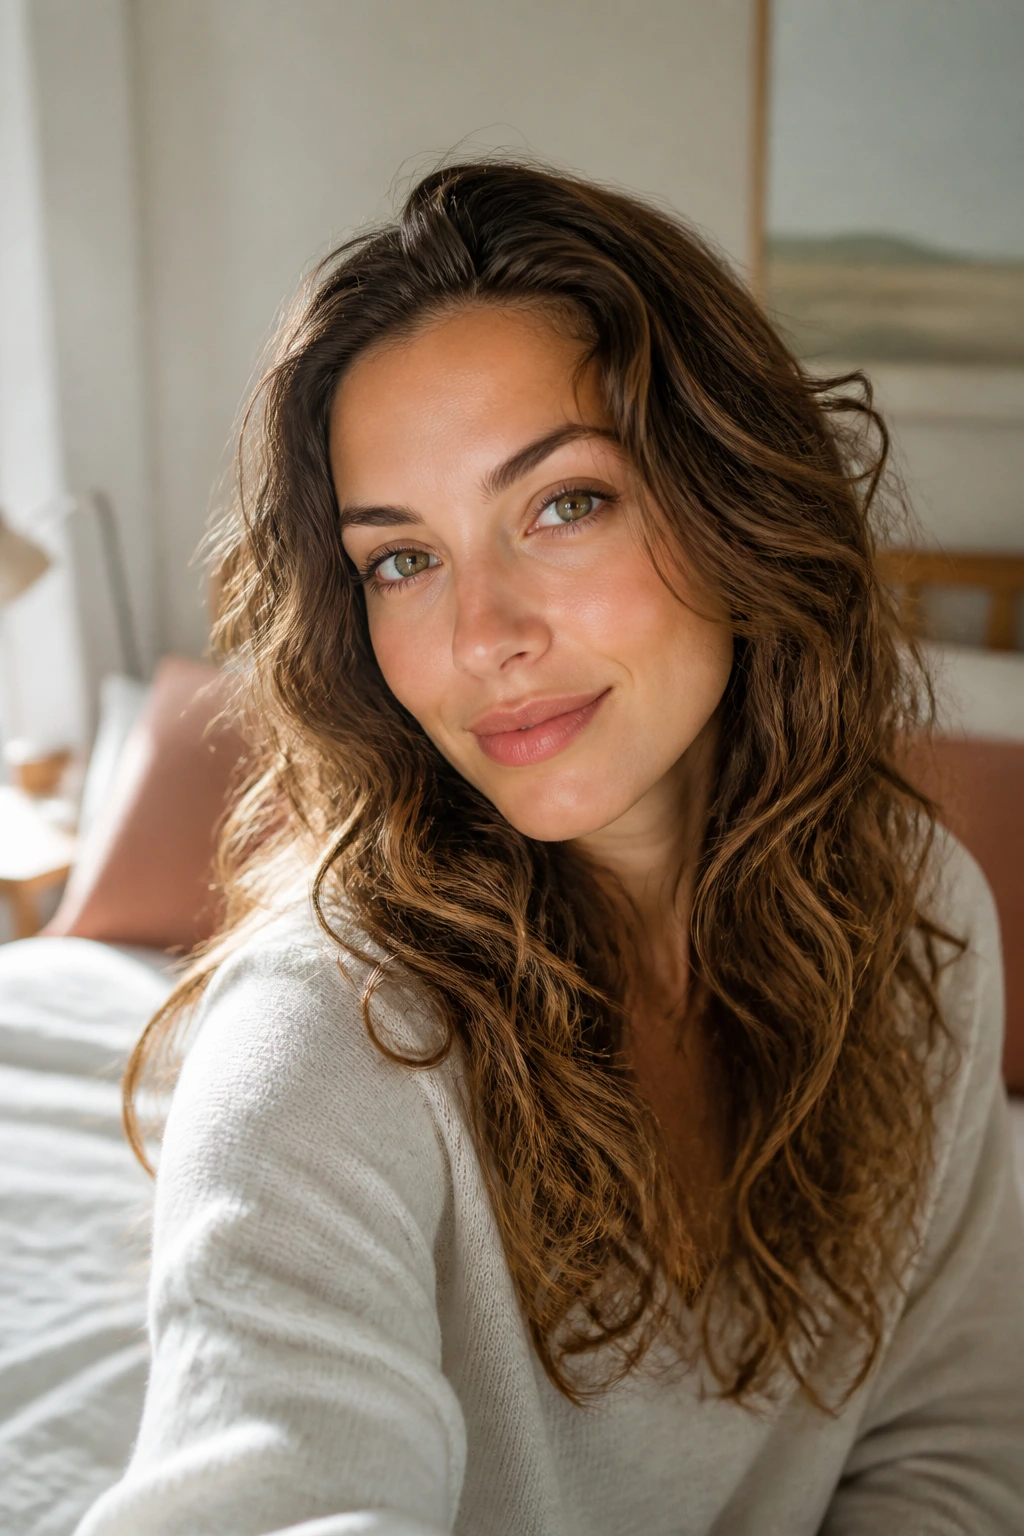
Wavy hair usually does not need a full restart every morning. A light mist of water at the front, a little scrunching at the ends, and a quick reset of the part can bring back most styles in under five minutes. If the roots look tired, use dry shampoo sparingly at the crown and wait a minute before rubbing it in.
Overnight care matters more than people think. A loose pineapple helps longer hair. A satin pillowcase helps almost everything else. Braids and buns should go in before sleep only if they’re loose enough that you don’t wake up with a dent where the elastic sat all night.
For styles with clips or pins, take them out before bed unless the style was built to stay put. And if a half-up look has started to sag by day two, don’t fight it. Pull it into a low pony, a bun, or a scarf wrap and let the hair reset without a full wash.
Frequently Asked Questions
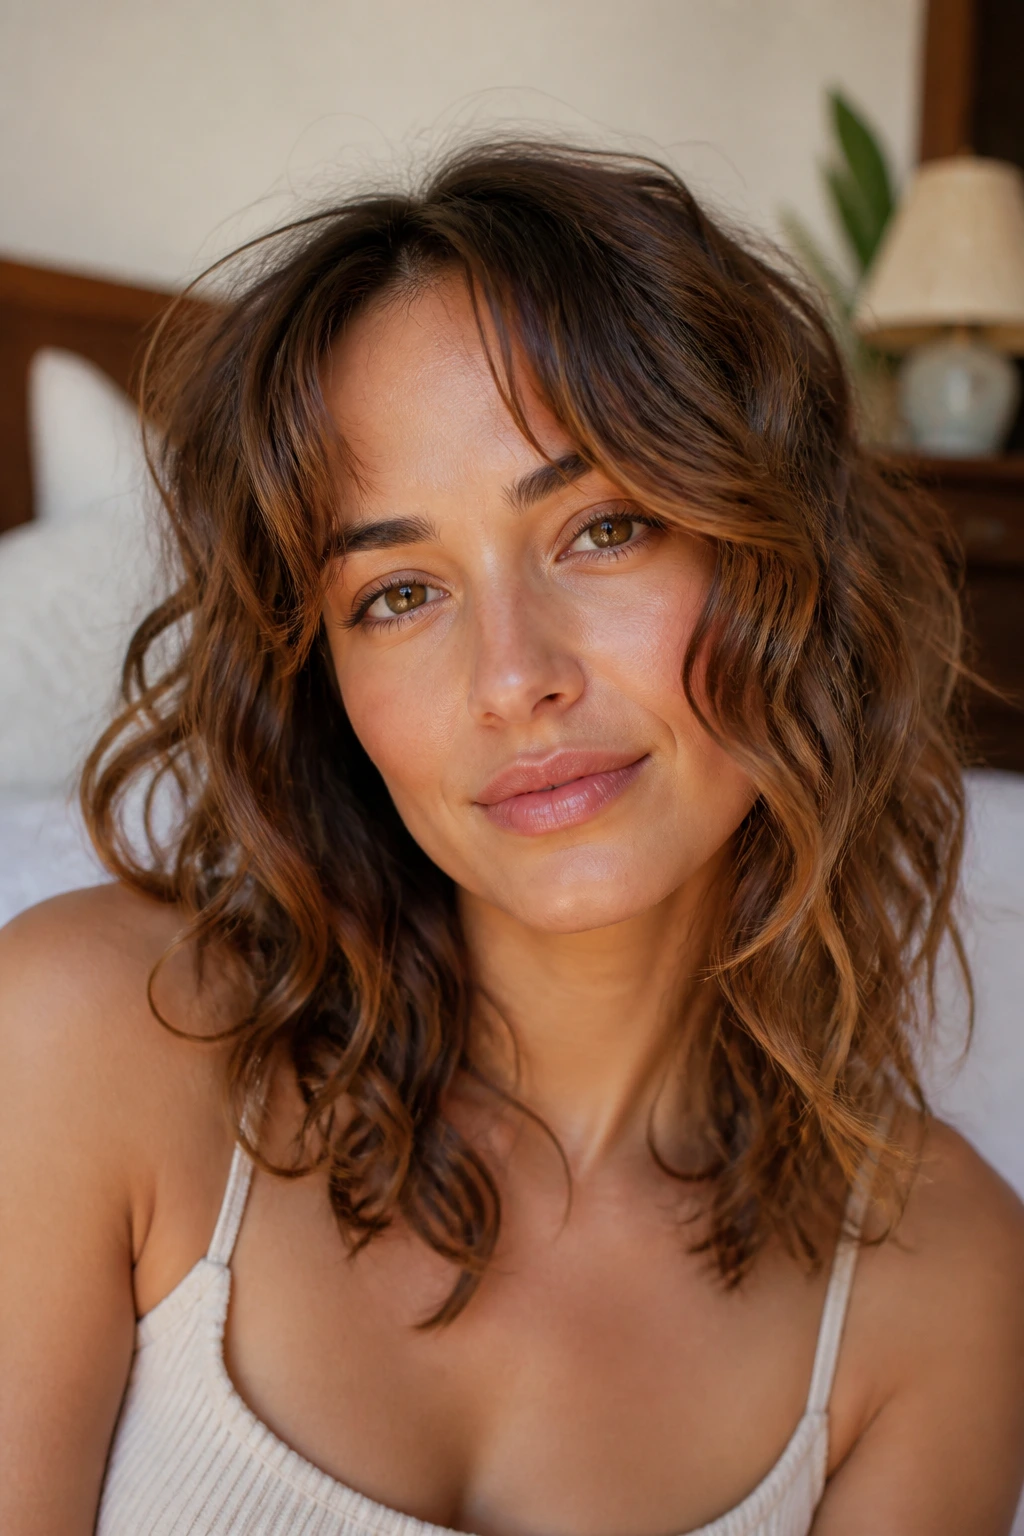
Which of these styles works best for 2A waves?
2A waves usually do best with lighter shapes that don’t steal volume from the crown. Soft center parts, clipped-back fronts, side sweeps, and loose ponytails tend to hold up better than very tight buns or heavy braid styles.
Can fine wavy hair wear buns and braids without going flat?
Yes, but the trick is size and placement. Keep the bun or braid loose, leave some lift at the crown, and use smaller pins so the style does not collapse under its own weight. Fine hair usually looks better with a little openness around the scalp.
Should I use curl cream or mousse for these looks?
If your waves need softness and a bit of shape, use mousse first. If the ends feel dry or rough, a tiny amount of cream on the mid-lengths helps. Heavy cream at the roots is where things usually go wrong.
How do I keep a side part from falling flat?
Clip the heavier side at the roots for five to ten minutes while the hair sets, then release it. A little dry shampoo at the crown can help too, especially if the hair naturally slides back to the middle.
What if my waves frizz when I braid them?
That usually means the hair was too dry or too brushed before braiding. Add a touch of leave-in or cream to the section first, braid with looser tension, and stop fiddling with the braid once it’s tied off.
Can I wear these styles with bangs or curtain fringe?
Absolutely. Bangs often make these styles better because they add shape at the front. Keep fringe products light, though. Too much product on bangs makes them separate into sad little strings by midday.
How do I make a style last overnight?
Choose the right overnight shape for the style you already have. Pineapple for longer hair, satin pillowcase for almost everything, loose braid if you want waves to stay controlled, and no tight elastic if you want to avoid dents. Morning refresh should be small, not a full rebuild.
What if my hair is thick and the style looks bulky?
Use a deeper part, a lower placement, or a style that spreads the hair out, like a halo braid, low chignon, or bubble ponytail. Thick waves look better when the weight is divided across the head instead of piled in one spot.
A Style That Lets the Wave Stay
The best curly hairstyles for wavy hair do not try to erase the wave pattern and they do not trap it either. They give the hair a shape, a line, or a point of focus, then let the bend stay visible. That’s the sweet spot. Clean enough to feel styled. Soft enough to still look like hair.
Pick the version that matches your length, your density, and the amount of time you actually have in the morning. That’s the part people skip, and it matters more than whatever product is sitting on the shelf. A good style on wavy hair is the one that still looks right when a few pieces loosen up.
And honestly, that’s usually the sign you chose well: the style gets a little better as it relaxes.
