



Short curls have a built-in advantage that people with longer hair often miss: they can look styled before they look fussy. A clean wave, one good roll, or a well-placed pin changes the whole mood in minutes, and that’s why curly hairstyles for short hair with a vintage vibe hold up so well. They don’t need extra length to feel dressed up. They need shape, tension, and a little nerve.
That’s the part most people get wrong. Vintage hair on short curls is not about making every strand obey like it’s headed to a studio portrait. It’s about guiding the curl pattern into a form that feels deliberate: glossy finger waves, tucked-under ends, brushed-out volume, or a scarf tied low enough to keep the silhouette neat. Once you stop trying to flatten the curl out of the style, the whole thing gets better.
And short hair is friendlier to this kind of styling than it looks at first glance. The ends dry faster, the shape holds more easily, and a few well-chosen pins can do what a whole head of long hair would need a heat tool and half a can of spray to accomplish. Some of these looks are soft and romantic. Some are hard-edged and pin-up sharp. A few are a little cheeky. That’s the fun of it.
Why These Looks Feel So Good on Short Curls
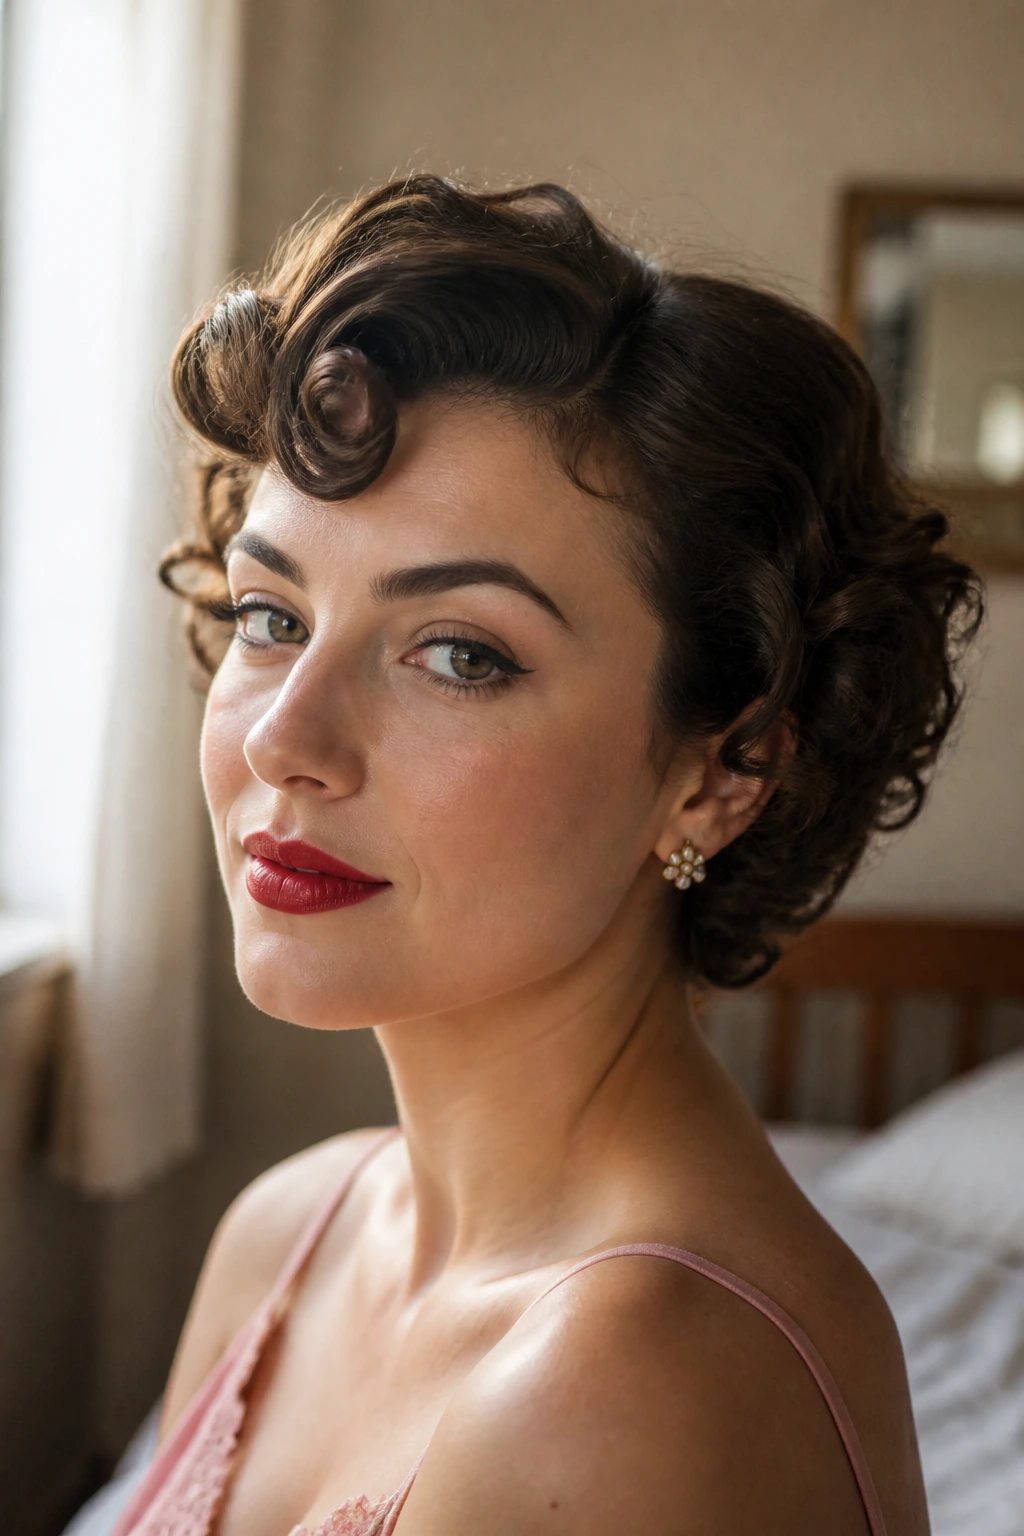
- Shape does the heavy lifting: Short curls show off the outline of a style first, which is why a deep side part or a rolled crown changes the look so fast.
- You can get drama without extra length: A 2-inch roll at the front or a tucked nape can read more vintage than another six inches of hair ever would.
- They work with texture, not against it: The best versions leave some curl pattern visible, so the style looks lived-in instead of helmet-like.
- They photograph cleanly from the side: Short vintage hair tends to have a strong profile, which is where finger waves, ridges, and rolls look their best.
- Accessories actually matter here: A single comb, scarf, or barrette can do real visual work instead of feeling like a last-minute add-on.
1. Sculpted Finger Waves on a Cropped Pixie
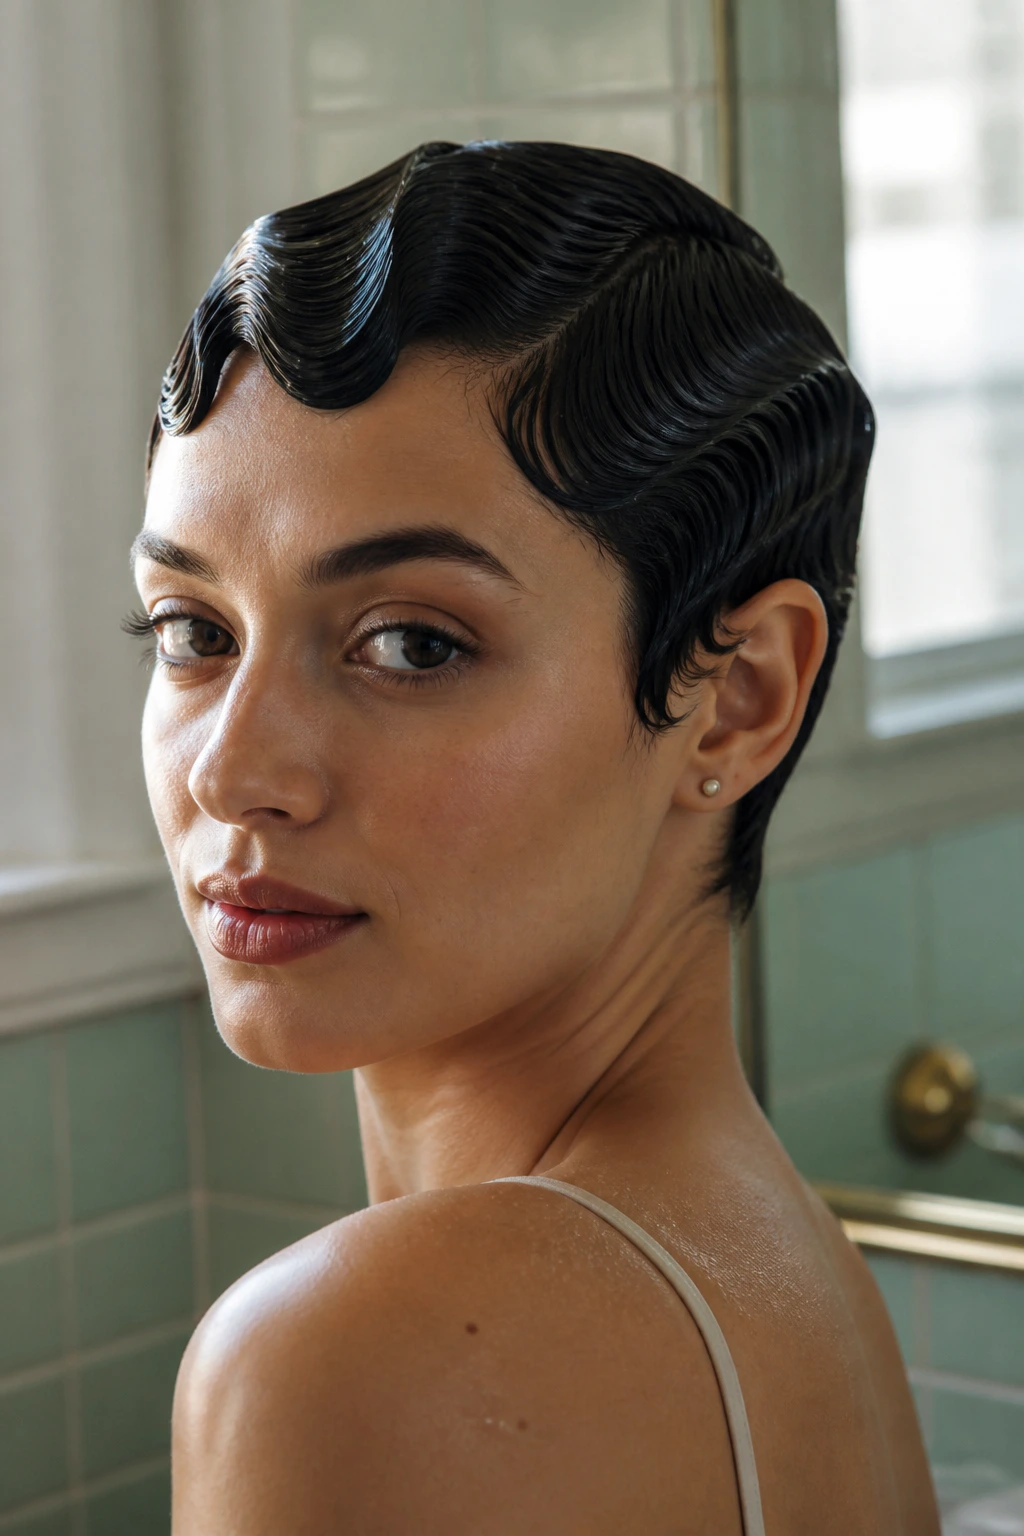
Finger waves are the obvious starting point because they were built for short hair. On a cropped pixie, they give you that glossy, close-to-the-head shape that feels straight out of an old black-and-white still, even when your curl pattern is loose underneath. The trick is not volume. The trick is control.
Why this one works
Finger waves rely on damp hair, strong-hold gel, and a rat-tail comb more than heat, which makes them especially useful for short curls that fight a curling iron. If your hair lands between 2 and 4 inches long on top, you can usually sculpt at least one strong wave along the front hairline and one near the temple. That’s enough. You do not need to cover the entire head in waves unless you want to spend the afternoon on it.
The best part is the shine. A proper wave set sits low and sleek, with those little ridges catching light in a way that makes the style look expensive even if the products were not. Keep the side closest to your part a little tighter and let the opposite side breathe more. That tiny imbalance keeps the look from turning stiff.
What to do with it
- Work gel through damp hair in sections.
- Use the comb to push the hair into an S-shape.
- Clip each ridge flat until it dries.
- Finish with a mist of flexible spray, not a heavy shell.
If the waves collapse, the hair was too wet or the gel wasn’t firm enough. If they look crunchy, you used too much. There’s a narrow middle ground here, and once you find it, you’ll use it again and again.
2. Victory Rolls That Sit Just Above the Ear
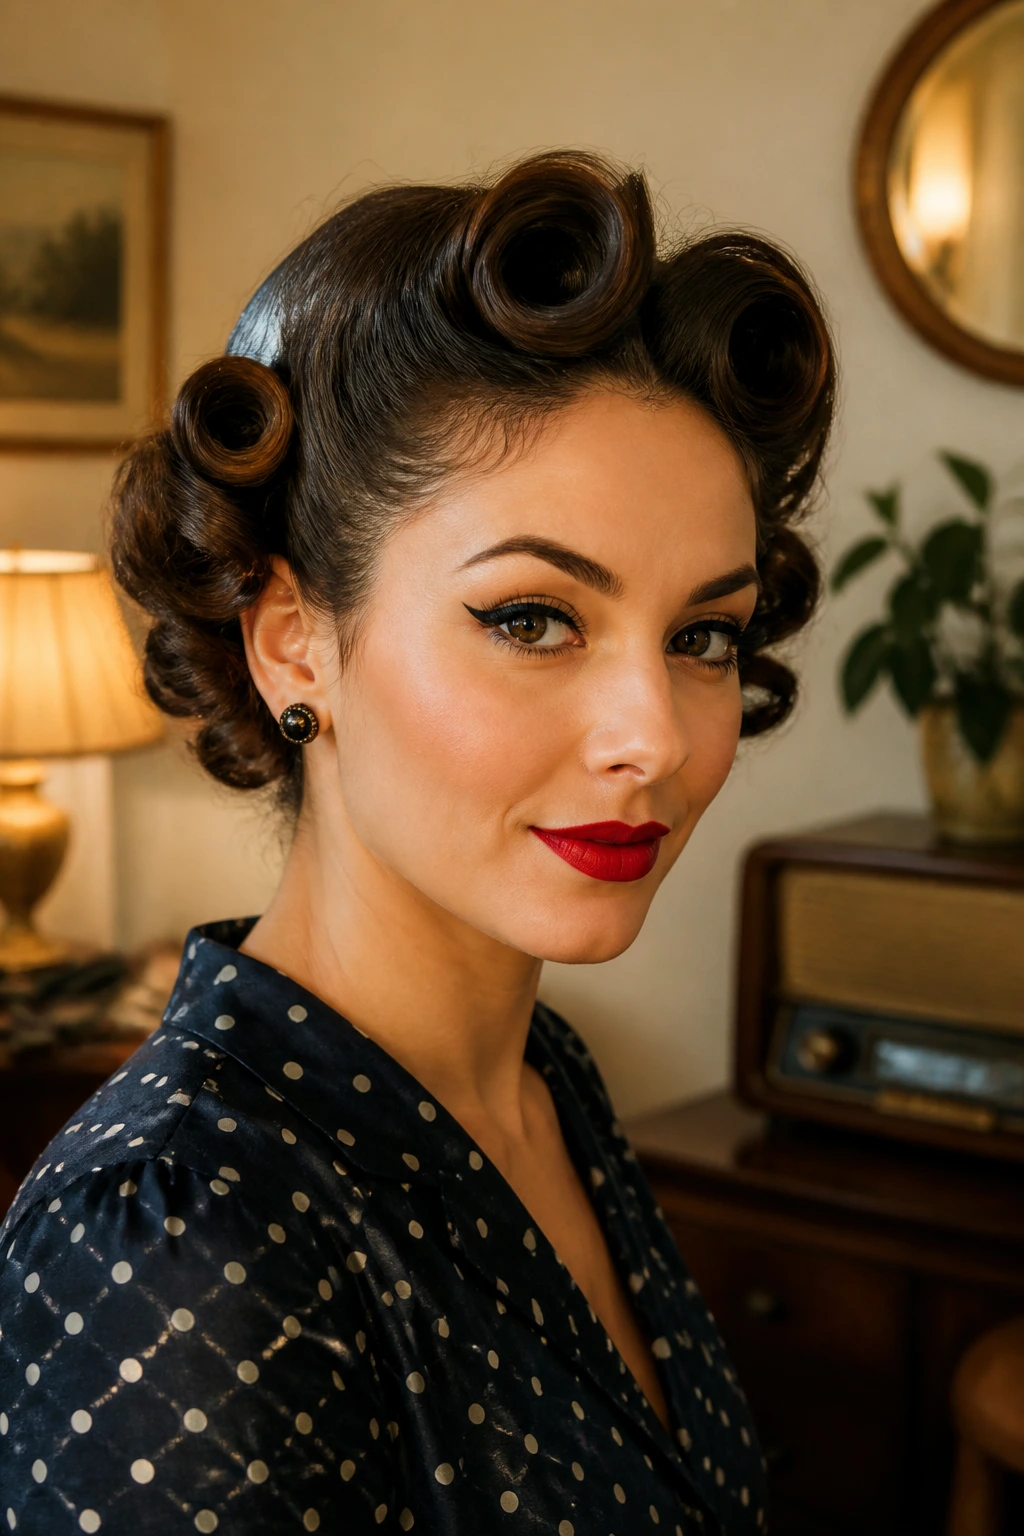
Victory rolls on short curly hair are a little mischievous. They’re structured, yes, but they also have swagger. On a short cut, they sit high enough to show off the face and low enough to feel wearable instead of theatrical. That balance is why they keep showing up in pin-up styling even when the rest of the hair is barely brushing the ears.
The roll itself should be obvious from the front, but not huge. If you try to build it too wide on short hair, it starts to look like a lump. Keep the roll compact, pin it from underneath, and leave the back soft. That contrast matters. The front says “I planned this,” and the back says “I still have hair moving around.”
A good way to wear it
Use a small round brush or your fingers to direct one side of the front section upward and back. Twist the section once, then roll it inward toward the scalp. Anchor it with two crossed bobby pins so the roll doesn’t slowly unravel while you move.
If your curls are springy, set the front section with a little mousse first and let it cool before rolling. That keeps the roll from puffing open. A side part looks sharper than a center part here, and a bright lipstick or a clean neck line does half the styling work for you.
3. Deep Side-Part Hollywood Waves on a Short Bob
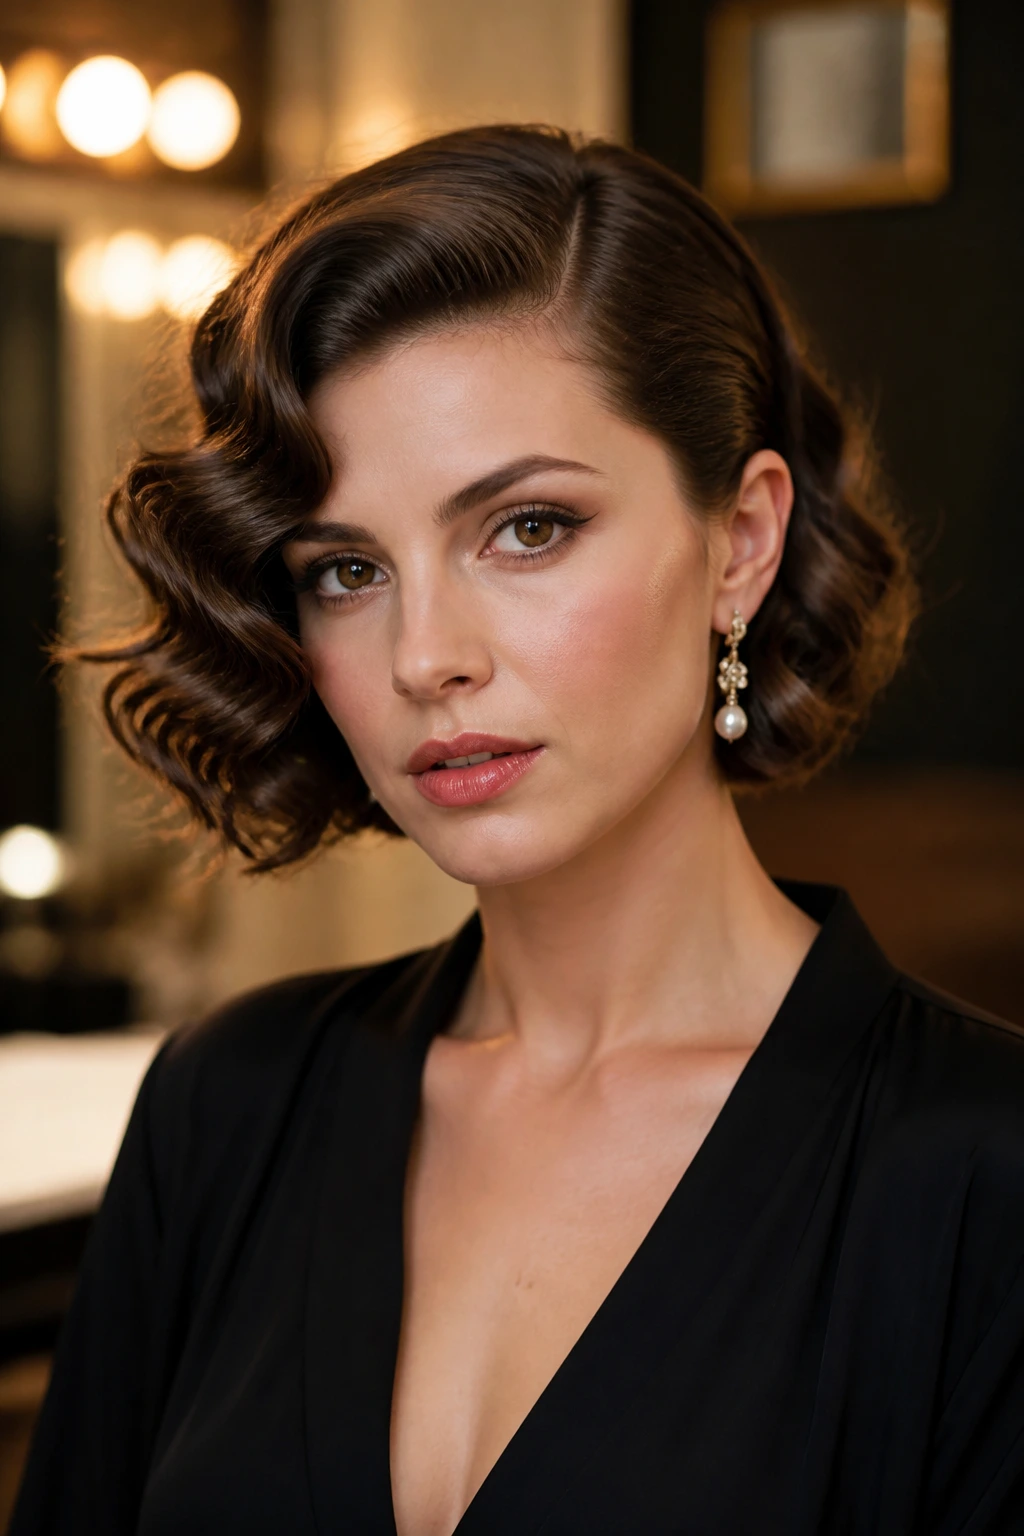
This one is all about the part. A deep side part turns a chin-length curly bob into something that feels more polished, more dramatic, and a lot more old-Hollywood than the average wash-and-go. The curl shape stays soft, but the weight shifts to one side, which gives the whole cut a long, slinky line.
The style works especially well if your curls are loose to medium and your bob has some bluntness at the ends. The blunt edge keeps the wave shape from dissolving. I like this one for dinners, photos, or any time you want short hair to look like it has a dress code.
What makes it different
The best version is not brushed flat. It’s brushed just enough to join the curls into larger, smoother bends. Think 1940s screen-star energy, not prom-night overcurling. A 3/4-inch or 1-inch iron can help define a few front pieces if your curl pattern is uneven, but you should leave the back a little freer. That slight inconsistency is what keeps it from looking sprayed into place.
A light serum on the ends helps the line stay glossy. Don’t pile oil near the roots. Short hair shows product buildup fast, and once the crown starts getting greasy, the whole style loses its snap.
4. A Rolled Nape Pageboy for Tight Curls
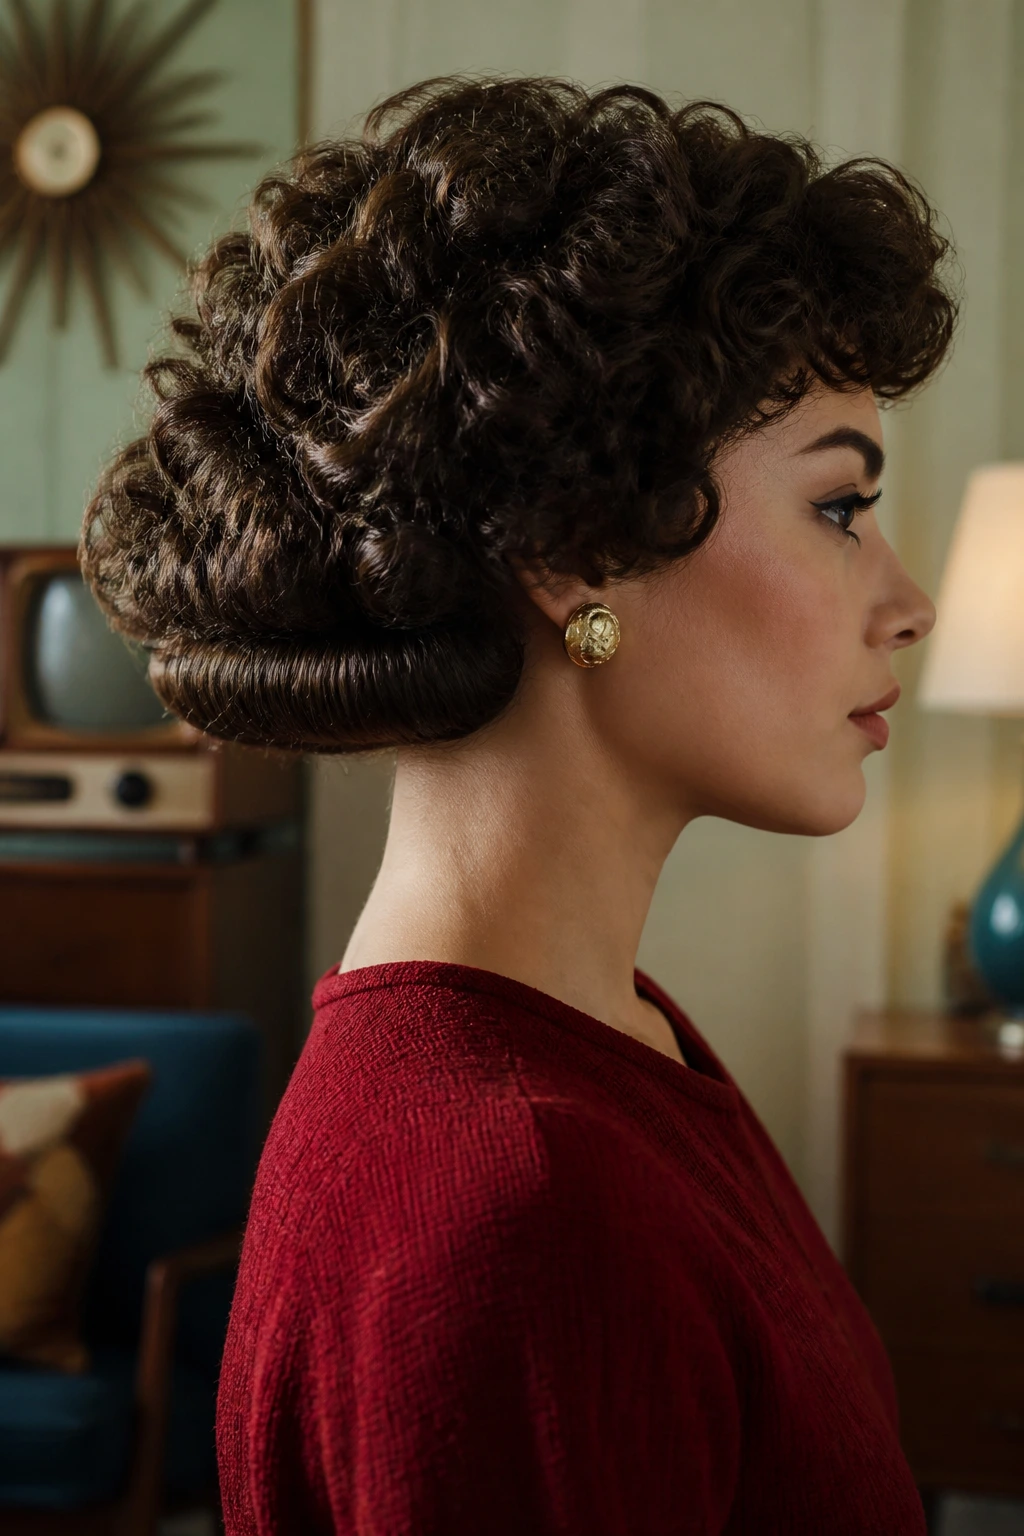
A pageboy cut with rolled-under ends is one of those styles that looks almost too simple until you see it from the side. Then it lands. The nape curves inward, the top stays smooth, and the outline gives you that clean 1950s shape that works beautifully on short, dense curls.
This is a good choice if your hair naturally wants to puff outward. Instead of fighting that behavior, you’re redirecting it. Blow-dry the ends with a round brush or tuck them under with a brush and a low-heat pass from the dryer. The roll under should feel neat, not pinched.
Best use case
This is the style I’d pick for a sharp blouse collar, a knit sweater, or a simple dress where the hair needs to do the talking. It’s tidy without looking severe. If the curl pattern is tight, a little smoothing cream on the mid-lengths before drying helps the silhouette stay tucked.
One small detail matters here: keep the crown smooth and the roll concentrated at the edge. If you build too much volume at the top, you lose the pageboy shape and drift into bouffant territory. That can be a good look, but it’s not this look.
5. Flipped-Out Ends with a Satin Headband
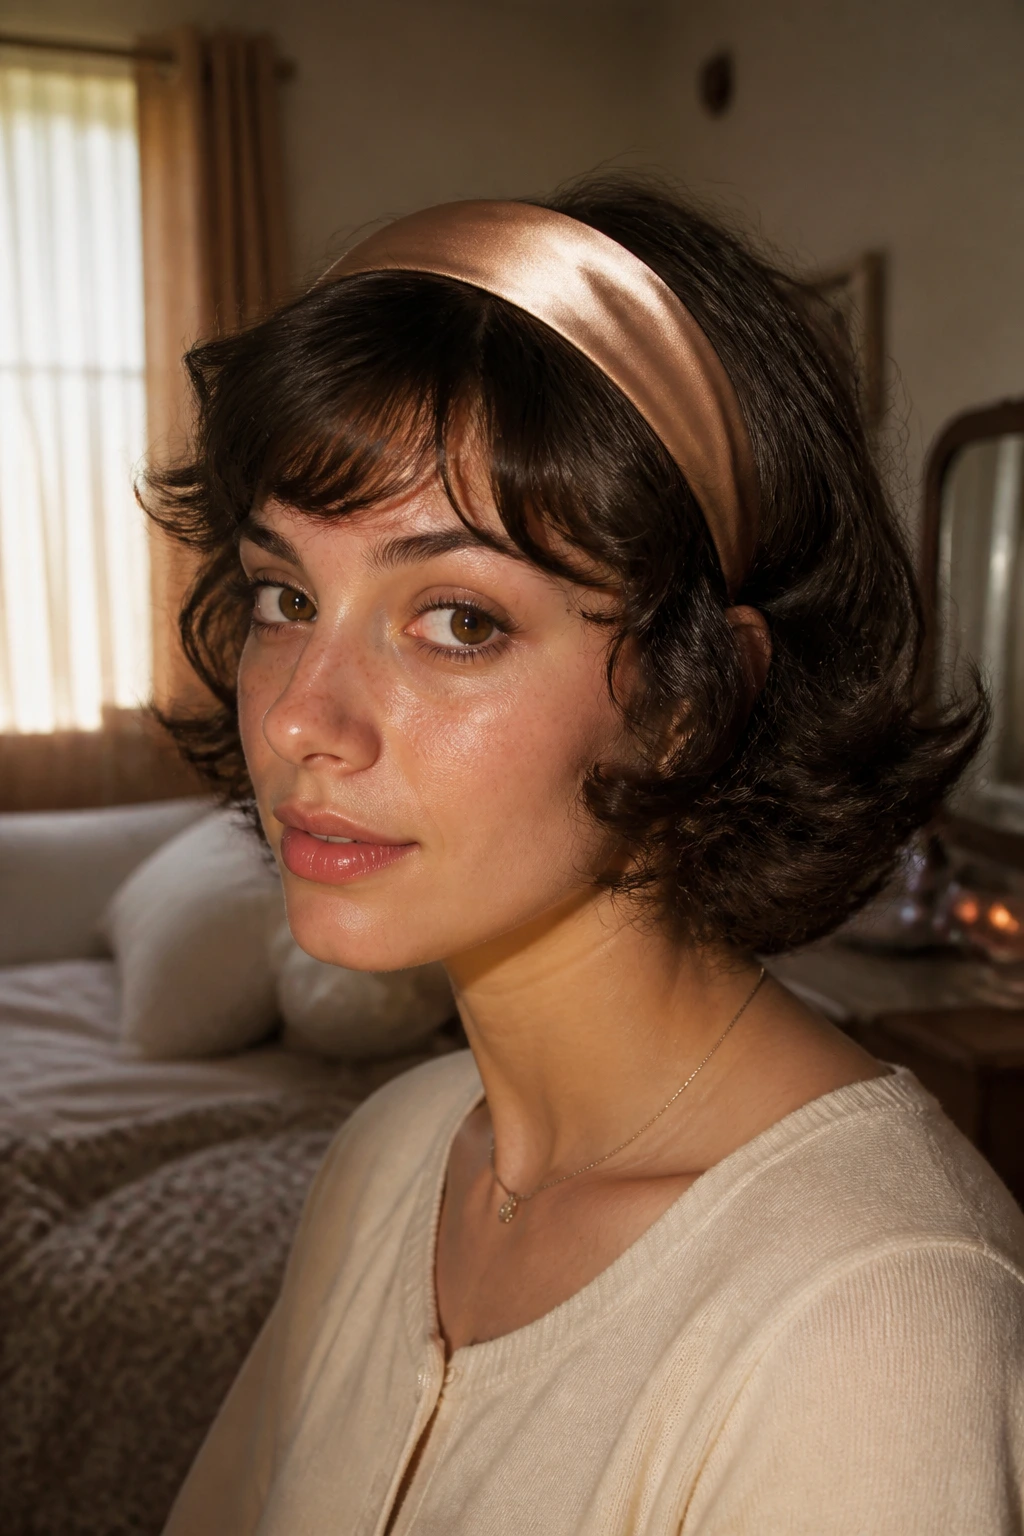
Flipped-out ends bring the hair straight into the 1950s, and short curls love this treatment because the shape is already halfway there. Add a satin headband, and the whole thing shifts from casual to intentional in about ten seconds. It’s one of the easiest vintage-inspired styles in the lineup, which is saying something.
The flip works best when the ends are dry and slightly cool, not freshly steamed with product. You want the outward bend to hold without turning frizzy. A small round brush, a curling iron held horizontally, or even a heated brush can create the flip. Then the headband comes in and anchors the look.
Why I like this one
It has range. Wear the band in the same color as your outfit for a tidy, classic finish, or choose a contrast color if you want the headband to act like the statement piece. On short hair, a wide band can flatten the crown too much, so I usually reach for something narrow to medium width.
Keep a few front curls loose around the temples. That little softness keeps the look from feeling stiff around the face. And if your hair is thick, tuck the band slightly behind the ears rather than pressing it flat against the hairline. You’ll avoid that squeezed feeling nobody enjoys.
6. Pin-Curled Halo on Short Natural Hair
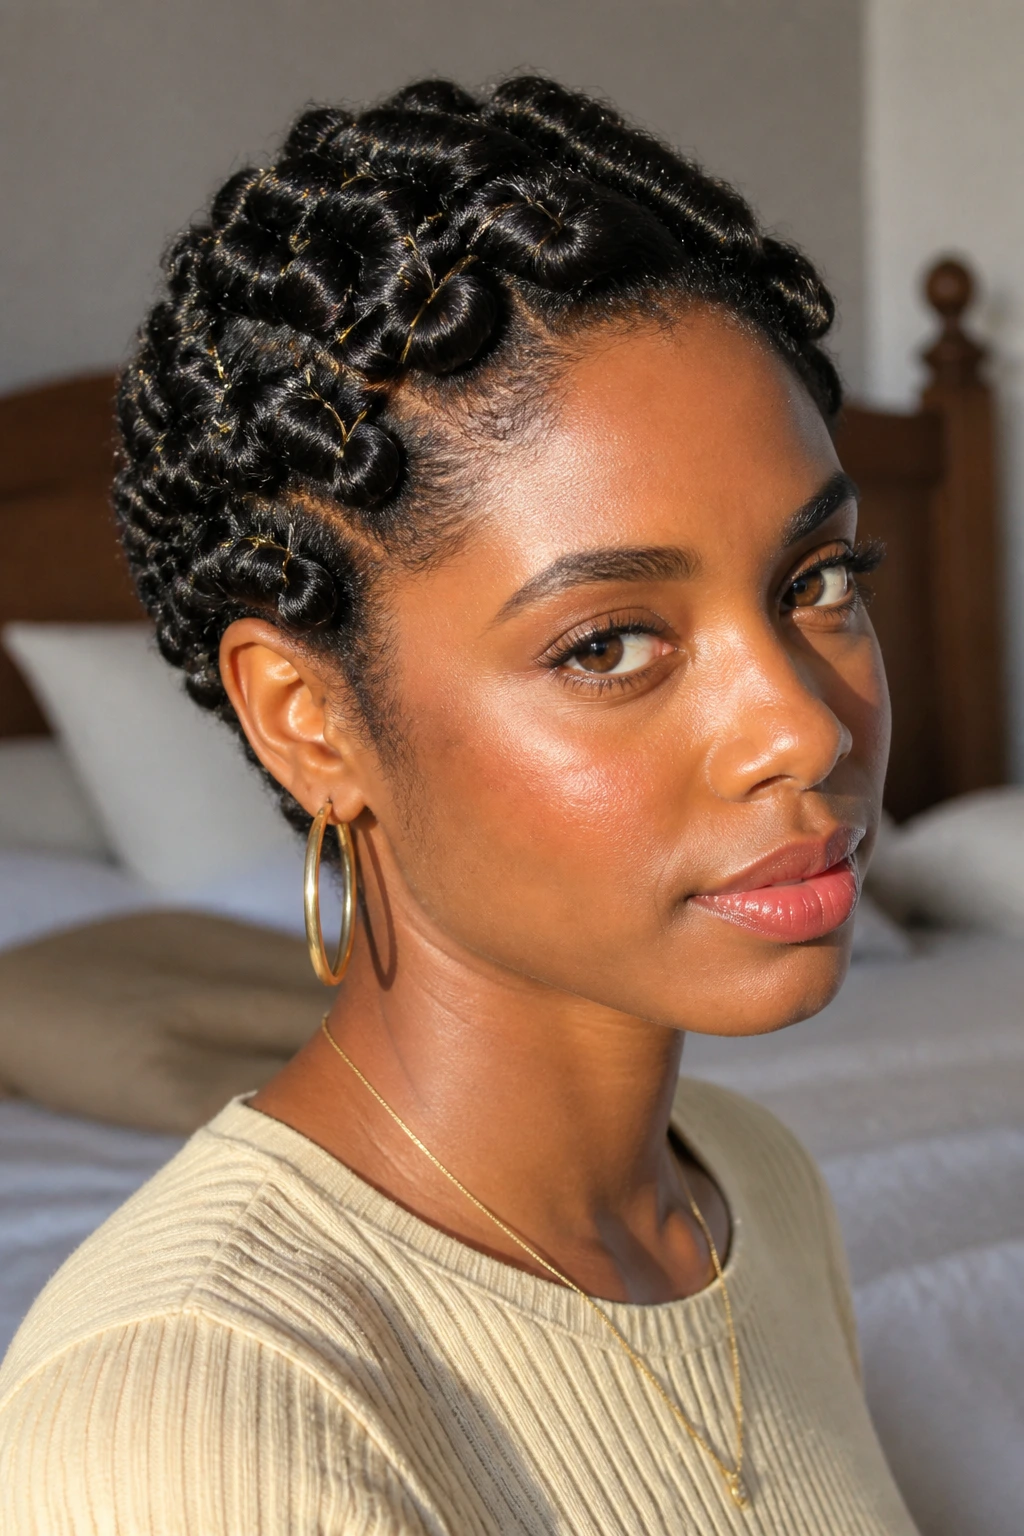
A pin-curled halo is one of those styles that makes people assume you spent an hour in a chair when, in reality, the structure comes from a handful of carefully placed curls and pins. On short natural hair, it gives you a soft crown shape with the edges left neat and the texture still visible.
This works especially well when your curls are medium to tight and you want the style to read vintage without losing your natural pattern. Section the top and front into small pin curls, set them flat against the scalp, and let the side pieces stay close and controlled. When the pins come out, you get that soft shell-like shape around the head.
A small detail that matters
Don’t make the pin curls too large. Big curls look pretty while you’re setting them and then fall apart into vague waves later. Small sections hold better and create cleaner ridges. If you want the halo effect to read more clearly, use a little setting lotion before pinning and let the hair dry all the way through. Half-dry curls are the enemy here.
This is also a smart choice when you want your hair to feel protected. Less brushing, less tugging, more shape. That’s a fine trade.
7. Teased Crown with Soft Curly Length
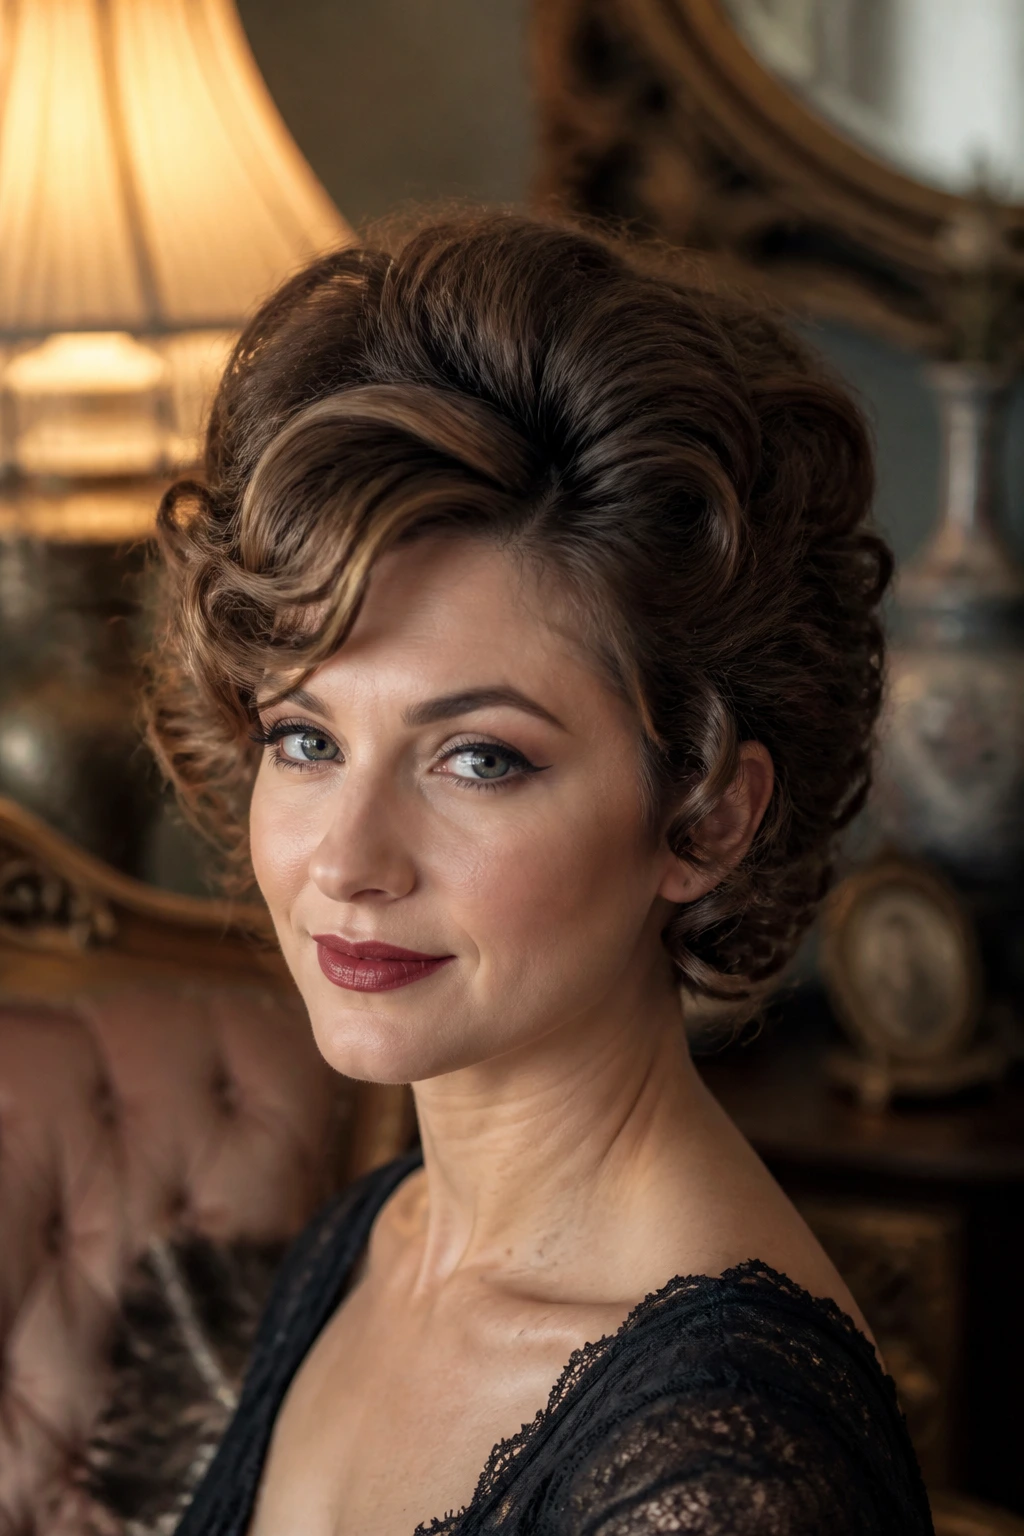
The 1960s knew exactly what it was doing with crown height. A little teasing at the roots can make short curls look lifted, elegant, and not remotely boring. On short hair, the trick is to keep the crown full while leaving the ends soft, so the shape has a proper contrast.
I prefer this style when the haircut is layered. The layers give the top enough movement that teasing won’t look like a mound. Backcomb only the top 1 to 2 inches near the crown, smooth the outer layer lightly, and stop before you turn the whole thing into a fuzzy cloud. You want height, not confusion.
Best for a little drama
A side-swept front piece makes this look especially good. It gives the crown somewhere to “go” visually, instead of leaving all the height in the center like a cone. Use a light finishing spray to keep the lift, then keep your hands out of it. The more you touch teased hair, the faster it falls.
This style looks best with earrings or a sharp neckline. The hair creates the frame; the accessories do the rest.
8. Side-Swept Glam Curls with One Hidden Pin
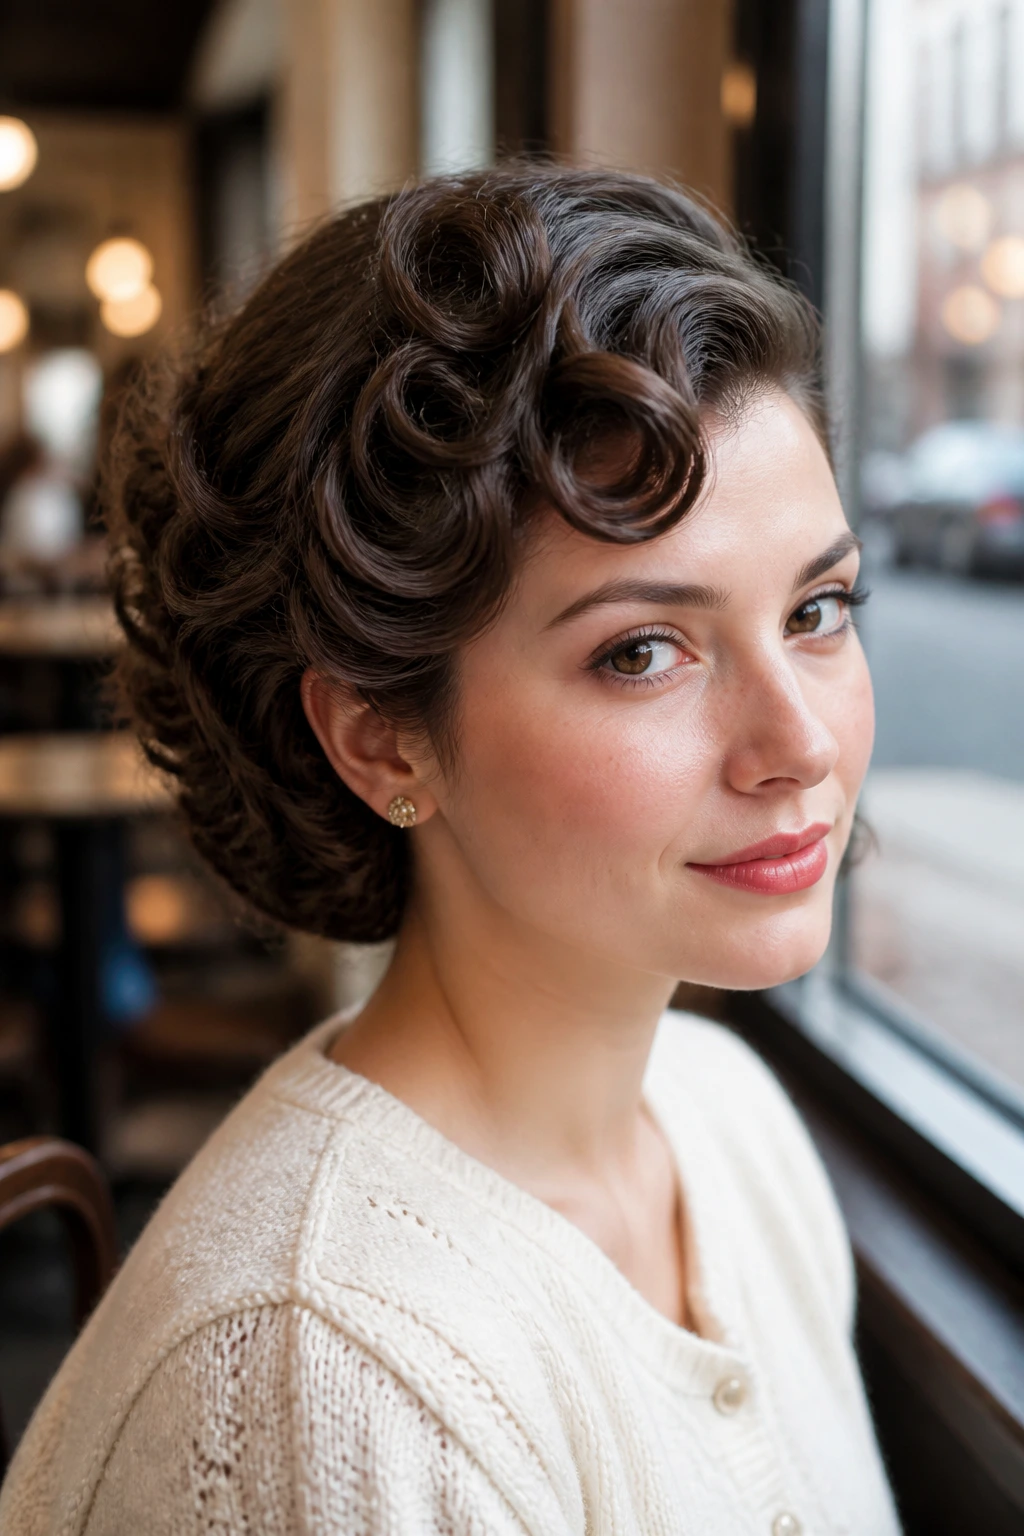
Sometimes the most vintage-looking short hairstyle is the one that looks the least forced. Side-swept glamour curls fall into that category. You brush one side back, pin it low and hidden, and let the front curl drift across the forehead with a soft, deliberate sweep.
It’s a quieter style than finger waves or victory rolls, which makes it easy to wear without feeling dressed up to the rafters. Short curls often need just this one move: move the part, pin one side, and let the rest keep moving.
The shape to aim for
The front should curve gently, not collapse. If your curl pattern is tight, twist the front section once before pinning so the sweep has a little memory. If it’s loose, a quick pass with a curling wand on the front chunk can help it sit in the right direction.
I like this on days when the outfit already has personality. A vintage blouse, a red lip, a chunky necklace—pick one. The hair doesn’t need to fight for the spotlight. It just needs to look like it belongs there.
9. The Curly Faux Bob with Tucked Ends
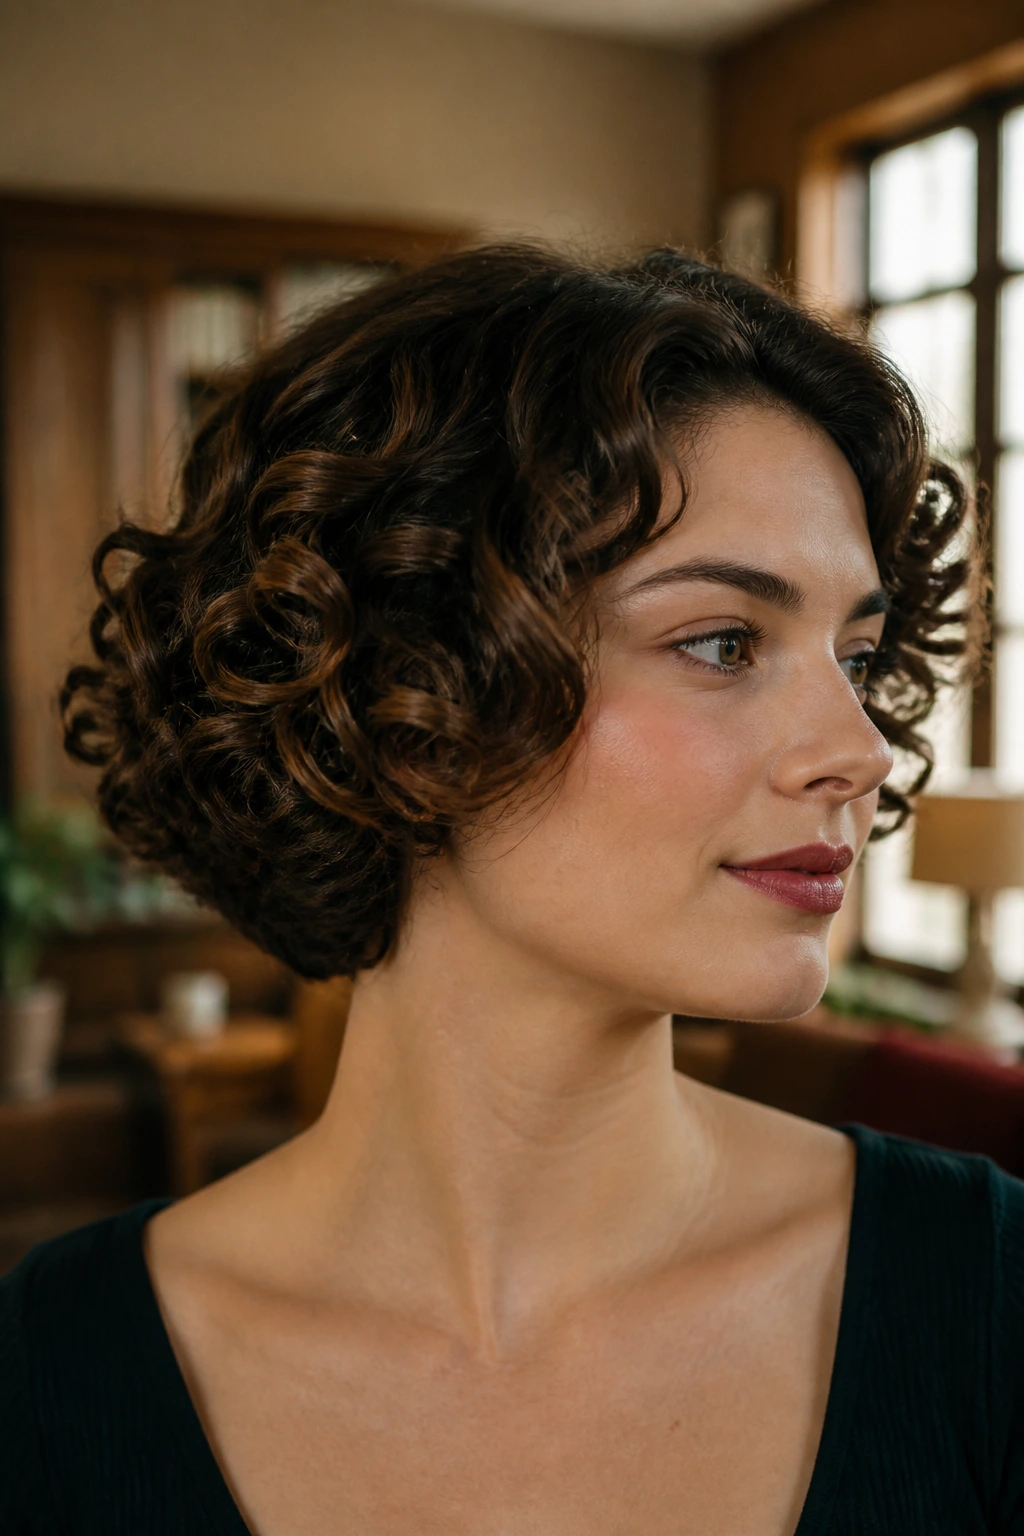
A faux bob on short curly hair sounds almost funny until you see how well it works. You’re not actually hiding much length, because there isn’t much to hide. You’re creating the illusion of a fuller, more rounded bob by tucking the ends inward and pinning any stray sections underneath.
This style is smart on layered cuts or grown-out pixies that need a little shape rescue. Smooth the top, tuck the nape, and let the ends sit just below the chin line if your hair is long enough. On very short hair, the “faux” part comes from the rounded silhouette rather than from an actual tuck.
What to remember
The underside matters more than the top. If the hidden pins are placed badly, the shape slips and the whole thing loses credibility. Use crossed bobby pins and anchor them into the denser parts of the hair, not the soft edges.
This is one of those styles that looks fancy in motion. You turn your head, the tucked curve shows, and suddenly the whole thing feels like a salon set. It’s a useful trick, and not a fussy one.
10. A Scarf-Wrapped Short Curly Set
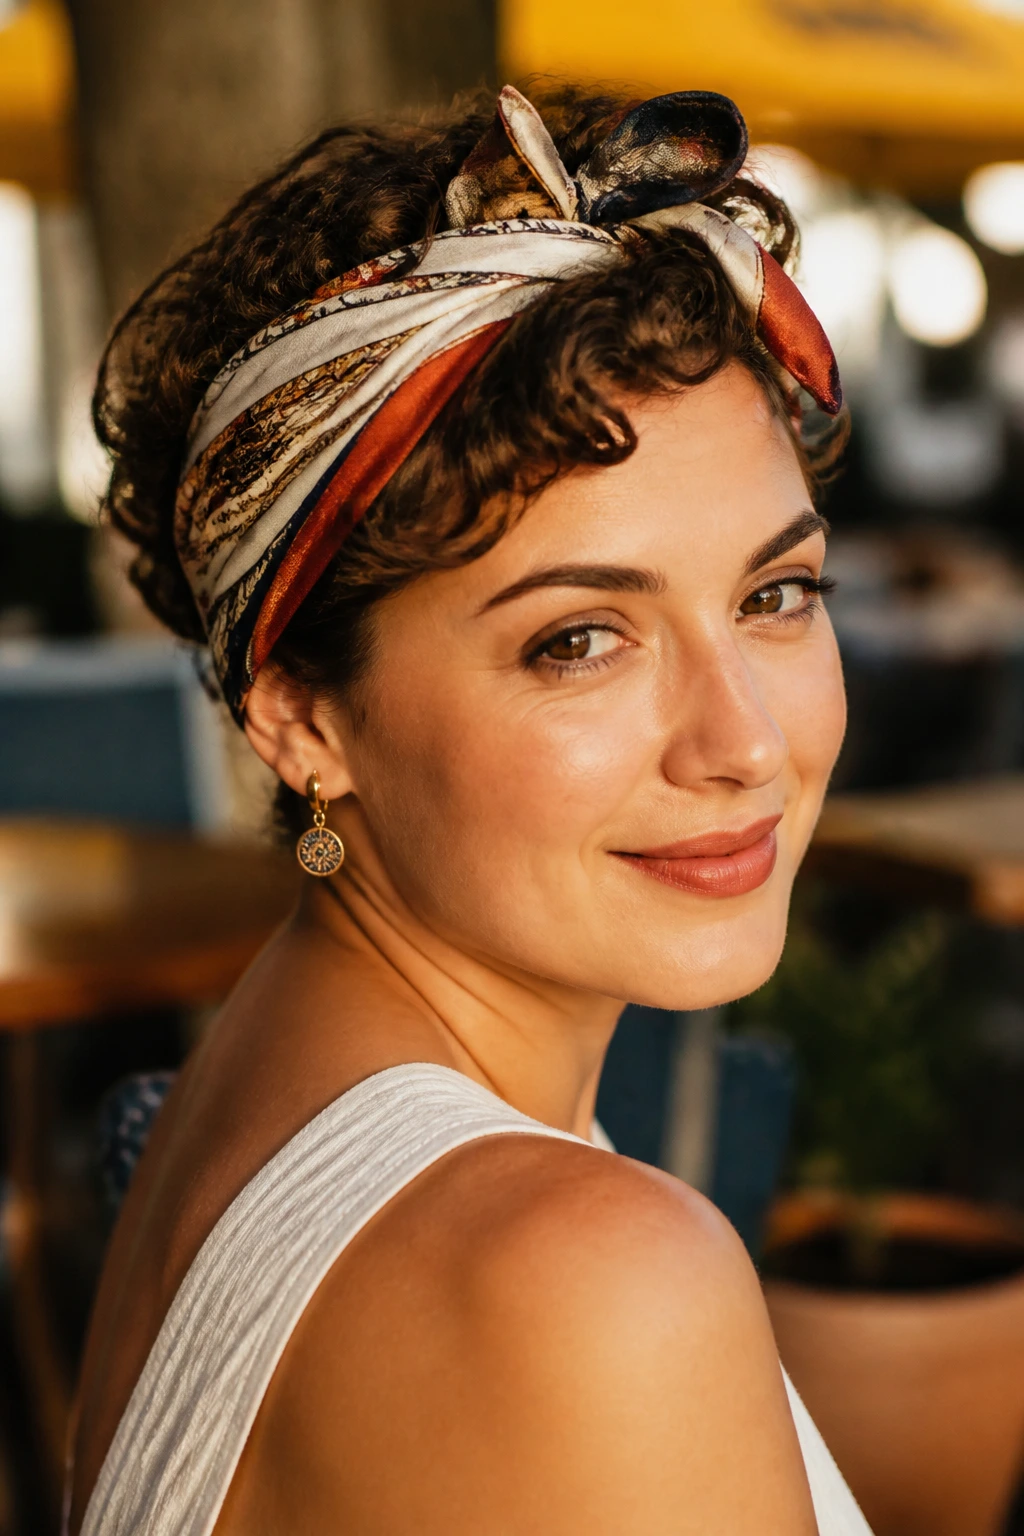
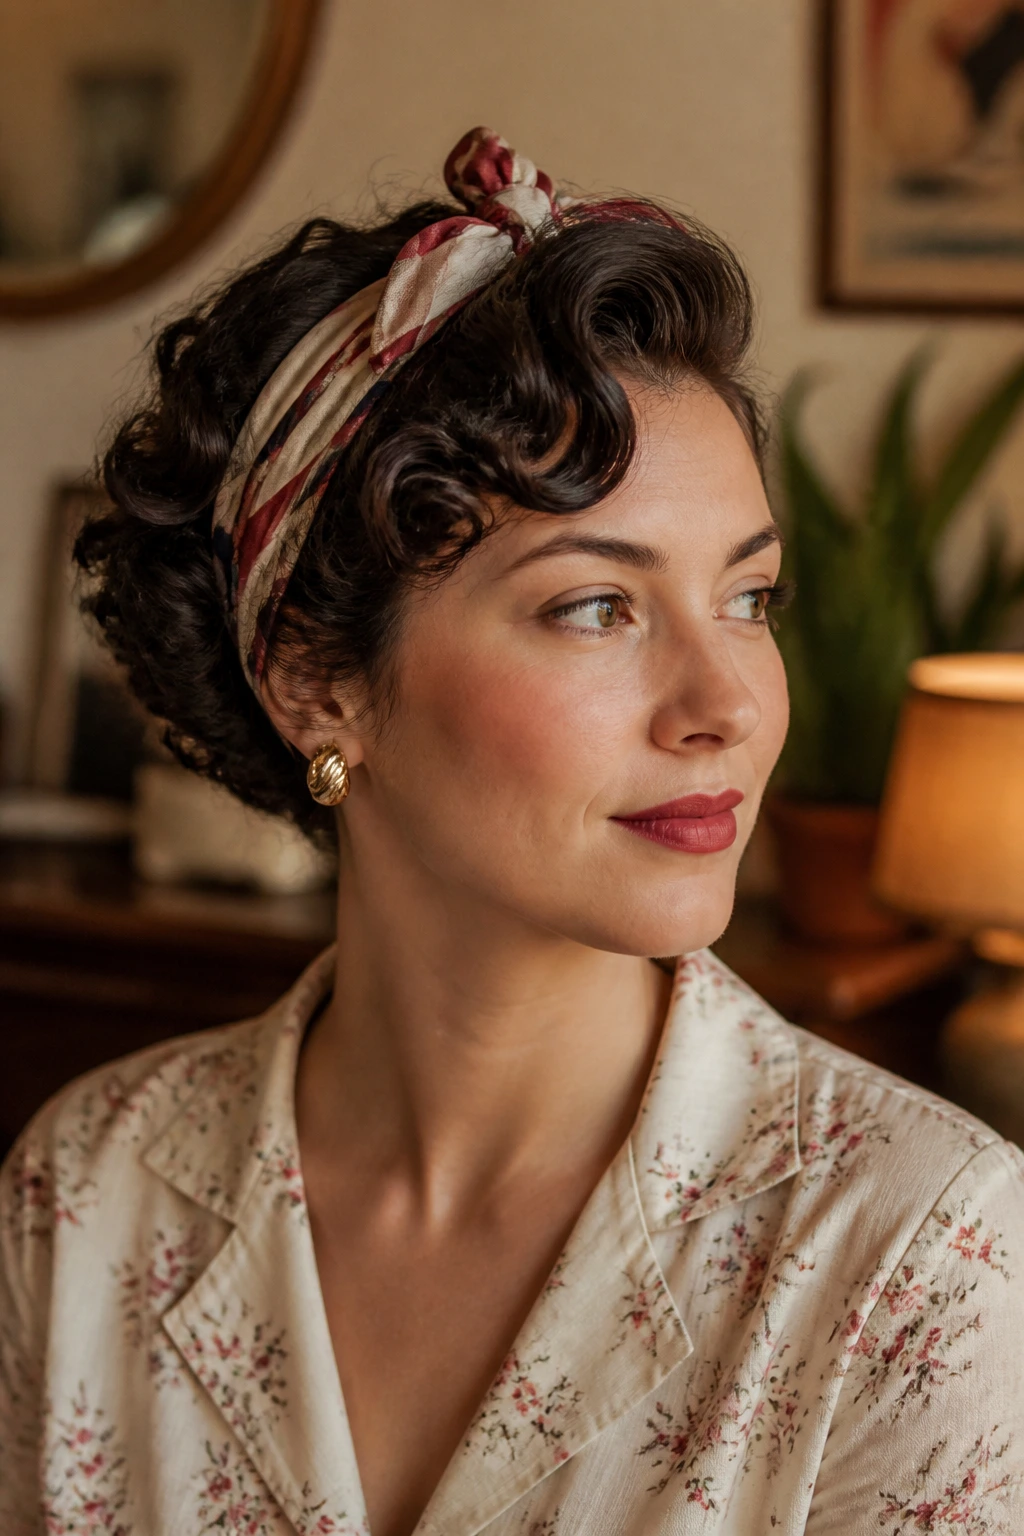
A scarf changes the whole mood of short curly hair. It can hold back the front, flatten the crown slightly, and give the style that 1950s weekend feel that looks effortless only after you know what you’re doing. The scarf is decoration, yes, but it is also structure.
For short curls, wrap the scarf low across the hairline and tie it at the top or side depending on where you want the attention. If the hair is already full, a narrow scarf keeps things from getting bulky. If the cut is slim, a wider scarf adds enough visual weight to make the style feel intentional.
Where this shines
This is the one to use when you need the hair out of your face but still want the style to read as part of the outfit. It works with hoops, cat-eye frames, and plain knits that need a little lift. It also saves a bad hair day without pretending the hair is doing more than it is.
Keep some curl visible at the back or around the ears. If every strand is hidden, the style starts to feel like a head wrap rather than a vintage hair look, and that’s a different conversation entirely.
11. Barrel-Rolled Bangs on a Cropped Cut
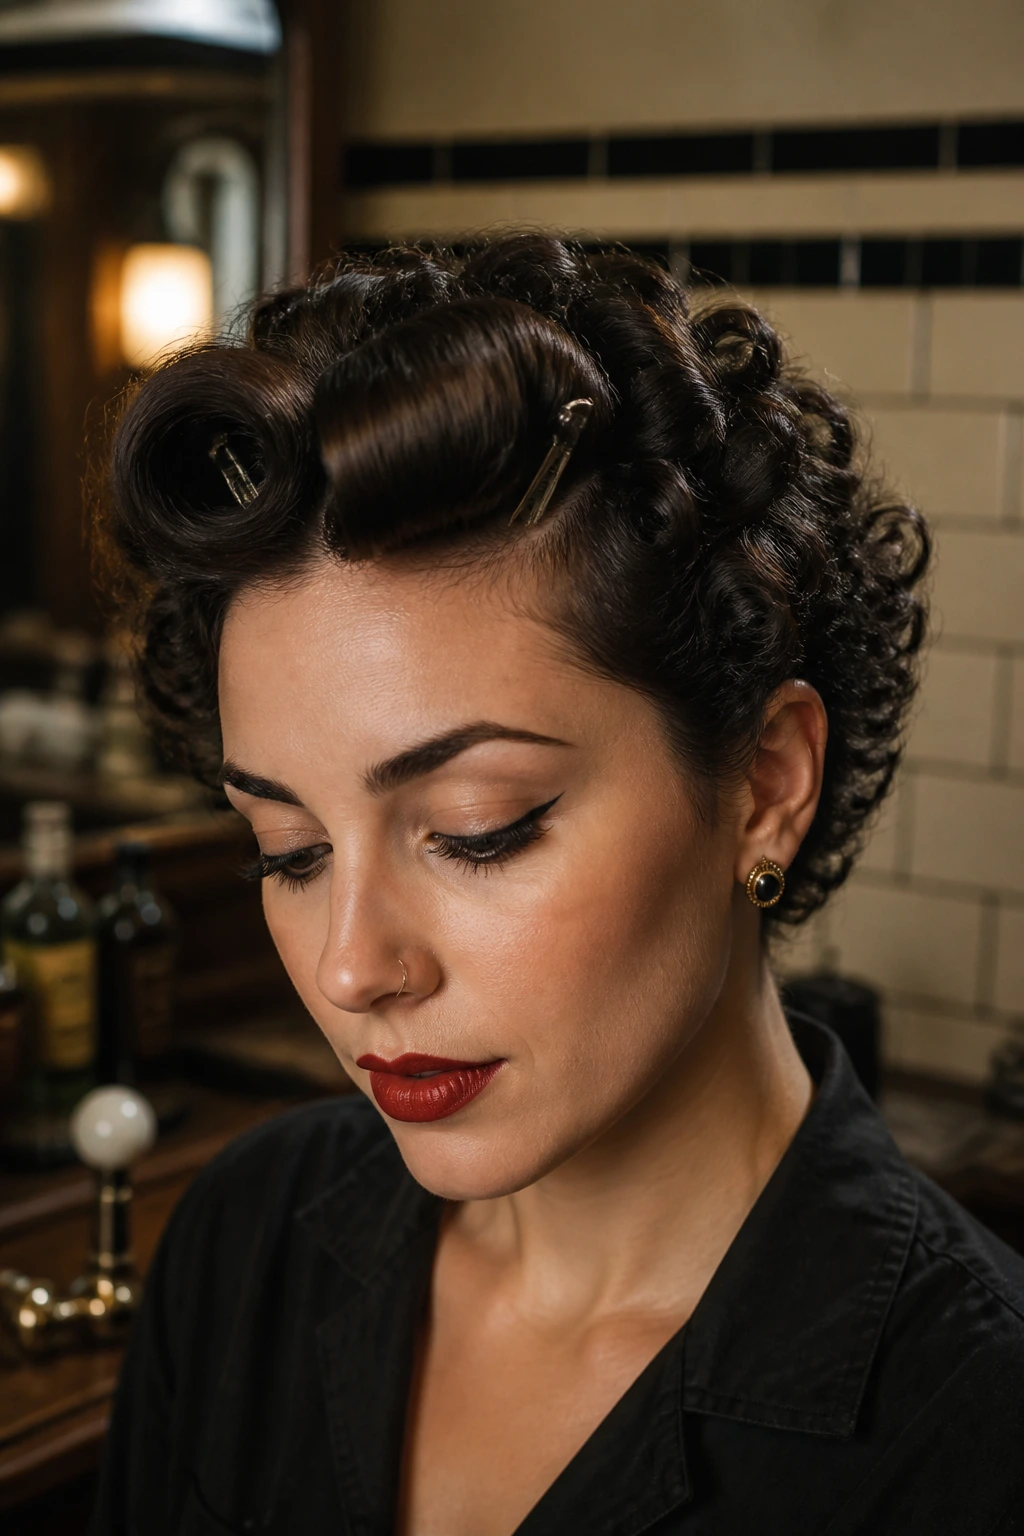
Barrel rolls at the front are pure pin-up theater in the best way. On short curly hair, they give you a focal point right where the eye lands first, which is handy if the rest of the cut is very short or very layered. The roll can be centered or offset, and both versions have their uses.
The main thing is the roll needs enough tension to hold its curve. If your hair is slippery, a bit of mousse or setting cream at the front will help. Roll the section away from the face, pin underneath, and let the rest of the hair stay soft. That contrast gives the roll its punch.
A practical note
Bangs that sit too heavy can make the face feel closed in. Pull a small amount of hair from just behind the front section so the roll doesn’t look like a separate object perched on top. It should feel attached to the haircut, not dropped onto it.
This style is especially nice when you want old-school charm without changing the whole head. One roll. One strong idea. That’s enough.
12. Wet-Look Waves for Short Hair
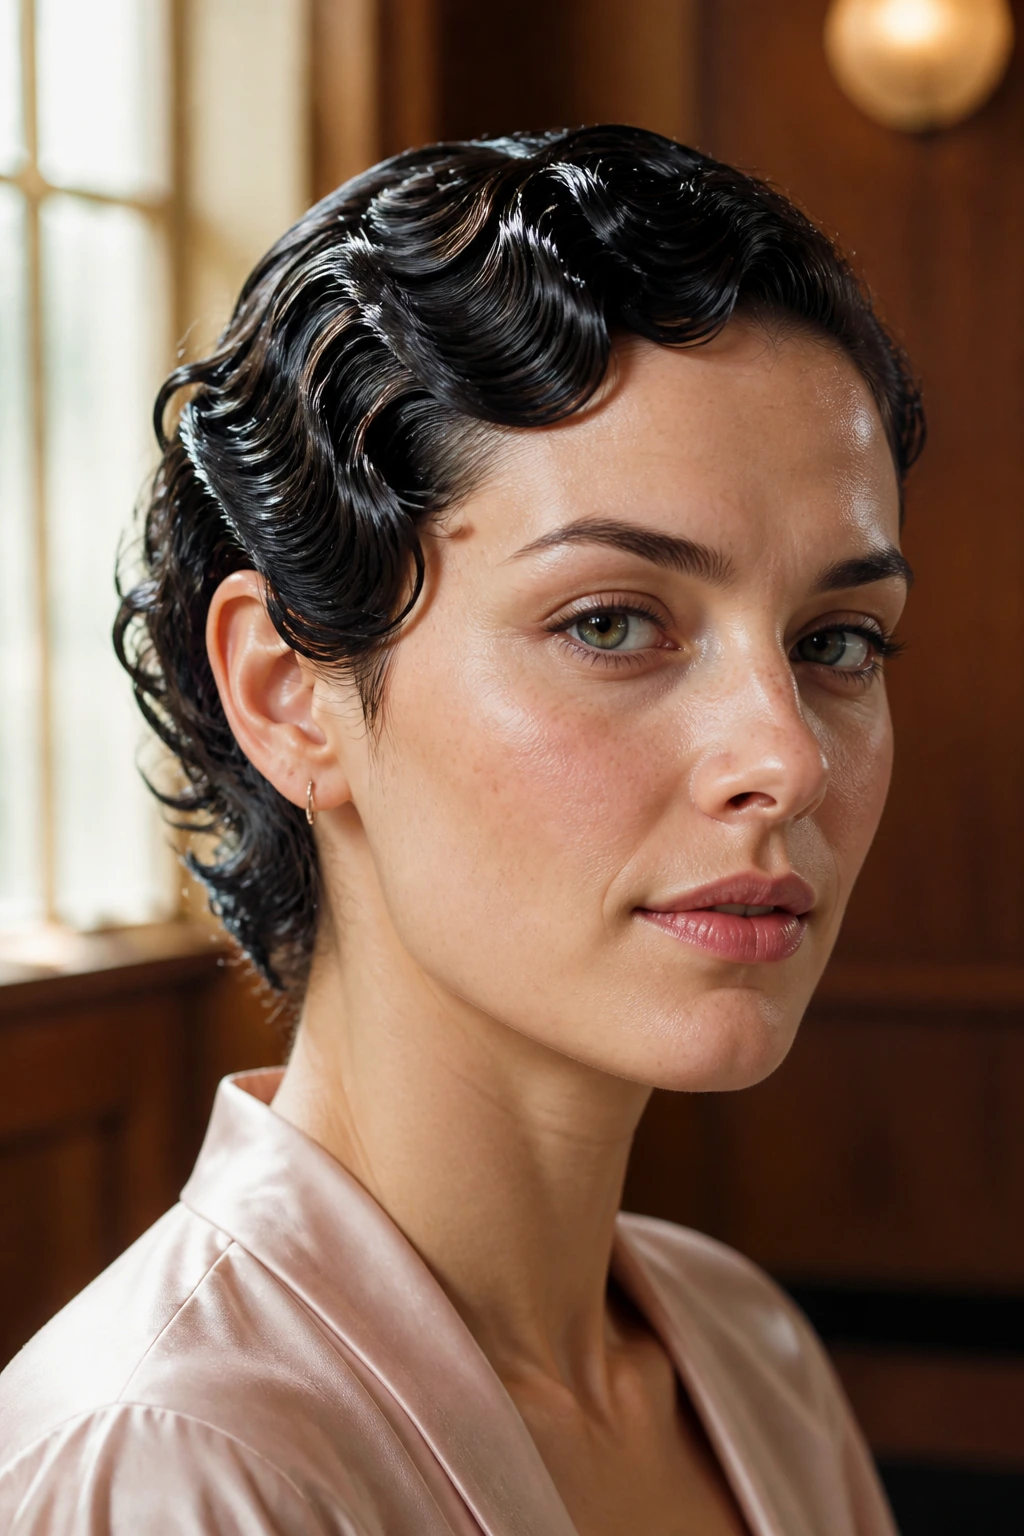
Wet-look waves are the sleek cousin in this group, and they have a strong 1930s and 1940s vibe when they’re done with restraint. On short curly hair, they let the natural texture stay visible while the product does the styling work. It’s glossy, controlled, and a little severe in a good way.
Use gel on damp hair and shape the wave pattern with fingers or a comb. Don’t over-comb it. Too much smoothing turns the look flat and lifeless, and that’s a shame because the appeal is in the sculpted surface. You want shine with a touch of body underneath.
Best when you want polish
This is a strong choice for short haircuts that don’t need much extra volume. It pairs well with clean necklines, sharp collars, or dresses with texture because the hair itself becomes the sleek counterpoint. If your curls are dense, use a little more water and distribute the gel evenly; patchy product is what gives the style uneven shine.
One warning: this look can harden fast. Shape it quickly, set it in place, and walk away. Fussing later only breaks the line.
13. Mini Beehive with Curly Ends
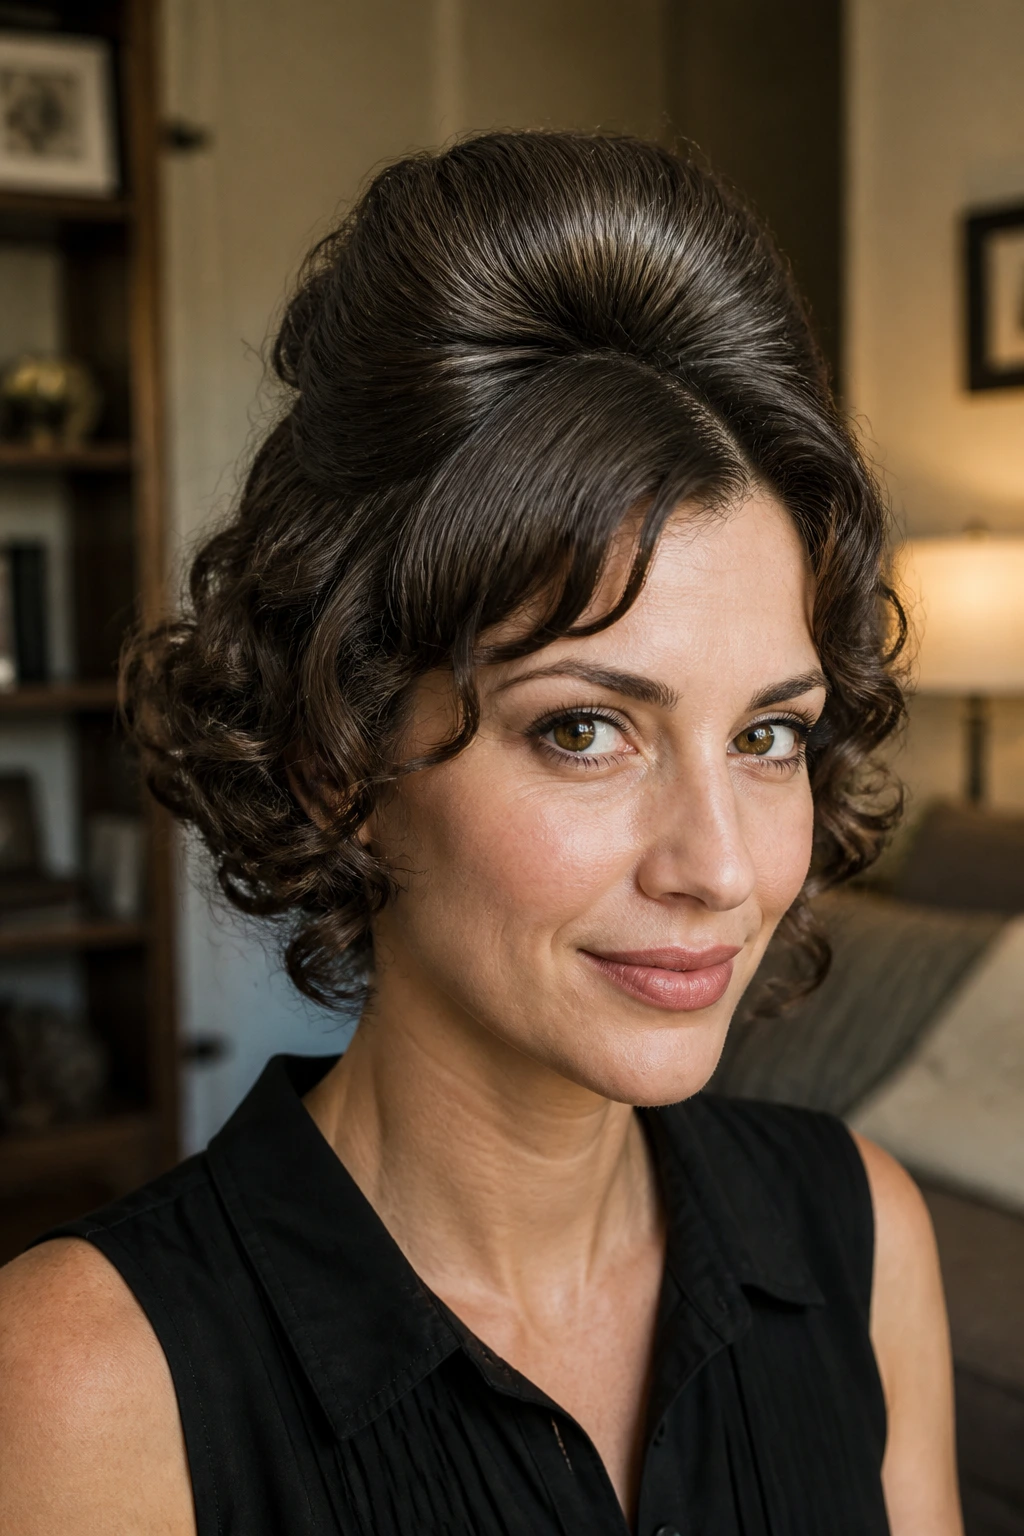
A mini beehive on short curly hair should never look like you’re trying to wear a full retro costume on your head. Keep it small, keep it high, and keep the ends soft. That’s the whole charm. You get a lifted crown with a rounded silhouette, but the curls still relax around the face and nape.
Tease only the root area at the top section. Smooth the surface lightly, pin the shape, and leave the bottom curls loose or flipped under in a small arc. If you push the height too far back, the style gets awkward fast. The better move is to keep the bump close to the crown.
Who this suits
This is a strong pick for short hair with a bit of density at the roots. Fine hair can do it too, but you’ll need a dry texture spray or mousse first. The style is not about making the head look huge. It’s about creating a little architecture.
Wear this with a scarf, a narrow headband, or a small barrette if you want to soften it. Without an accessory, the shape does all the talking, which is fine if that’s your mood.
14. Retro Barrettes and Baby Rolls
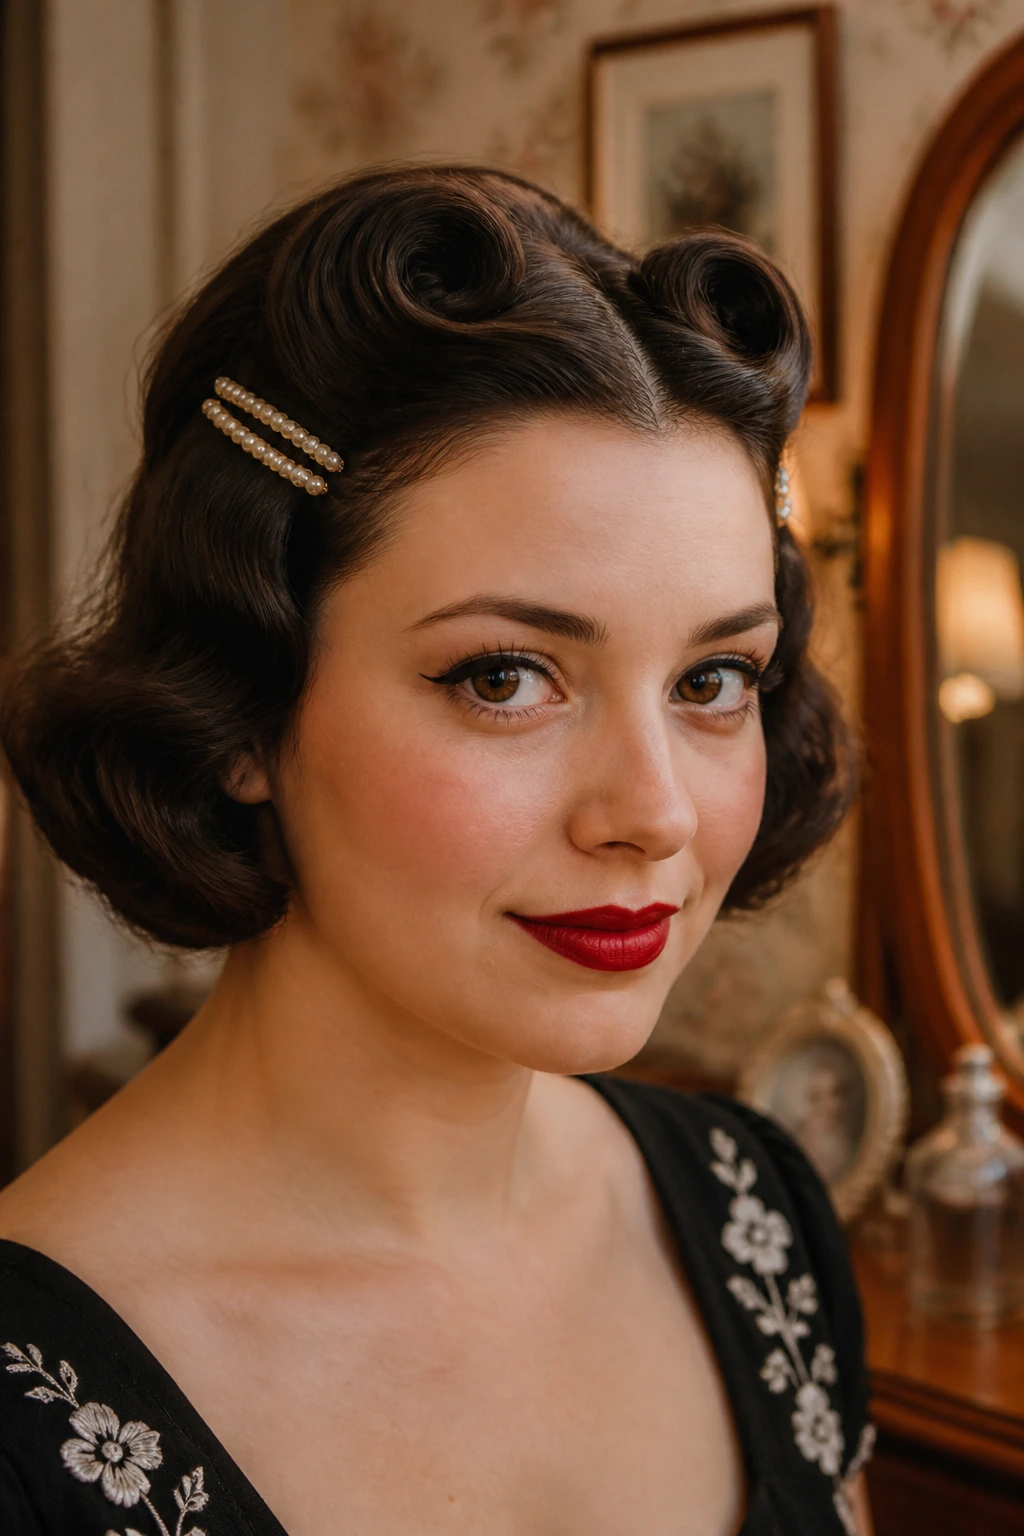
Baby rolls are the tiny, convincing cousins of victory rolls. On short curly hair, they’re especially useful because they don’t demand much length. Add a couple of decorative barrettes, and the style suddenly feels dressed and deliberate without becoming precious.
I like this one when you want a retro look that still lets the haircut do some of the talking. Roll the front pieces away from the face, pin them neatly, and keep the rest of the hair smooth or lightly defined. Then place barrettes where the curve ends. That creates a neat visual stop.
Small hardware, big difference
Don’t scatter too many clips. Two strong barrettes or one strong pair is enough. The minute you start adding five little pieces, the eye stops reading the shape of the hair and starts reading the accessories instead. That may be the goal, but usually it isn’t.
This style is good for shorter event hair because it stays on through movement better than a loose wave set. Pins hold. Clips hold. Hair that’s been half-brushed and half-ridged often looks better by the end of the day than the styles that looked too perfect at the mirror.
15. Soft Marcel Waves on a Chin-Length Cut
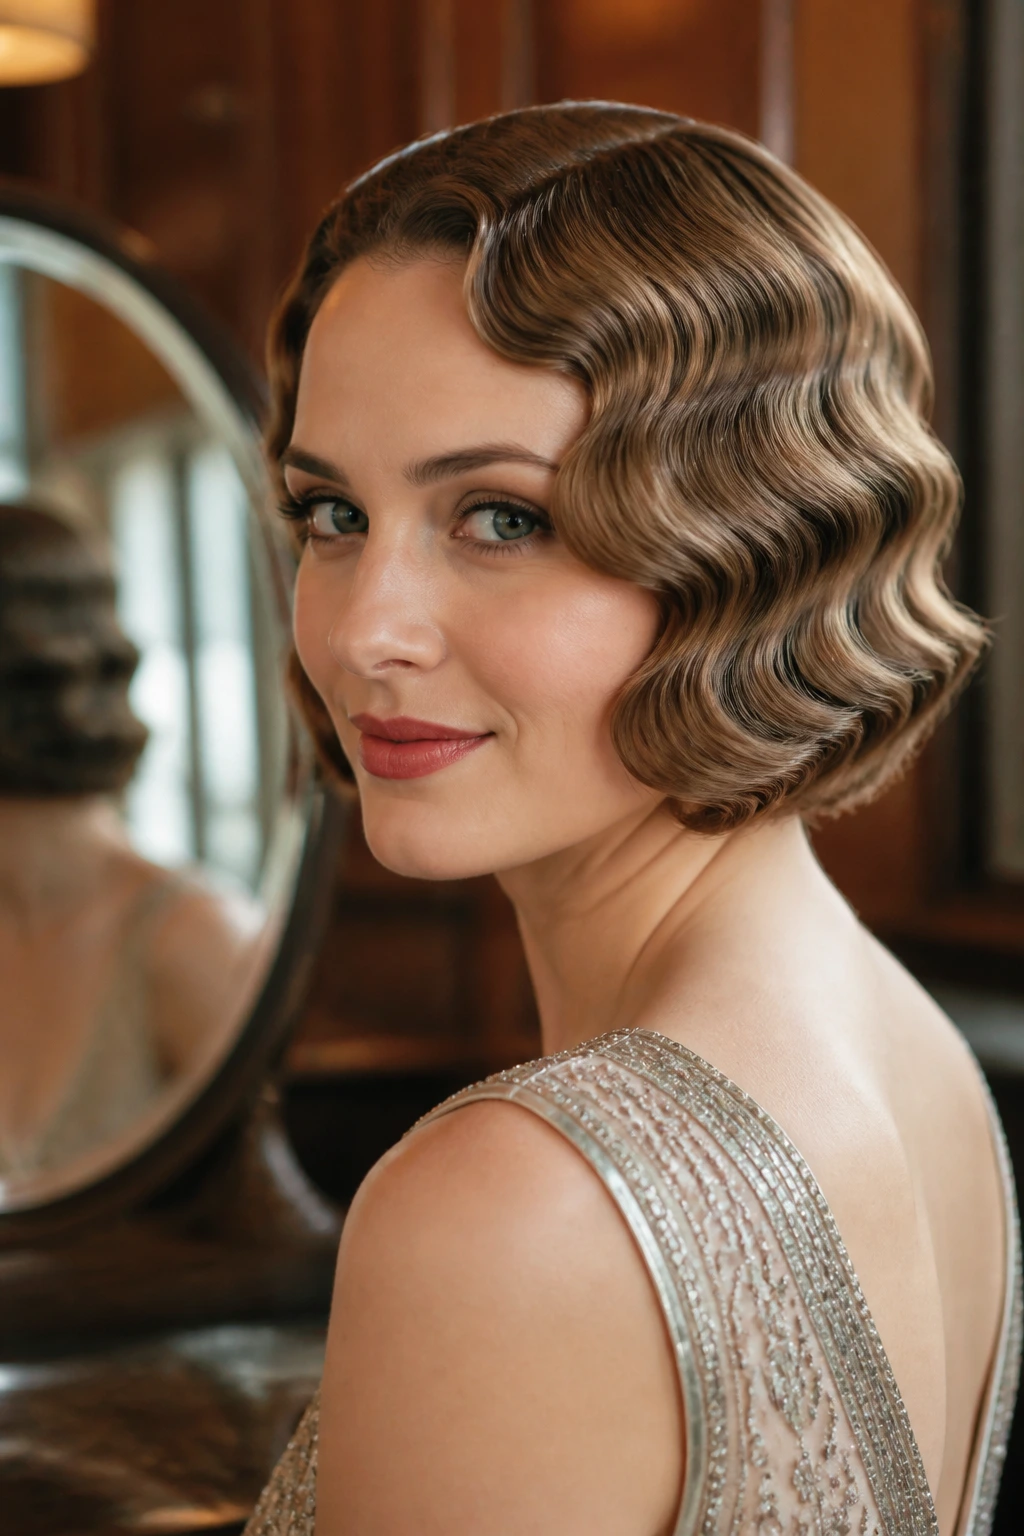
Marcel waves are finger waves’ slightly looser, more glamorous cousin. On short hair that reaches the jaw or chin, they create a smooth, repeating pattern that feels very 1930s without looking costume-heavy. The wave line is the point here. Clean, glossy, and deliberate.
To get the shape, you can use an iron or create the pattern with clips while the hair sets. The key is to keep the bend uniform from wave to wave. If one bend is bigger than the others, the whole rhythm gets thrown off. This style loves symmetry more than most.
Why I keep coming back to it
It’s one of the few short styles that can look equally good in daylight or under warm indoor light. The surface reflects light in a way that makes the wave pattern easy to read. That’s useful when your cut is simple and the styling needs to carry the mood.
If your hair is naturally very curly, stretch it a bit first with a diffuser or a gentle blow-dry. Not straight. Just stretched enough to let the wave pattern take shape.
16. A Curly Sweep with One Side Tucked Back
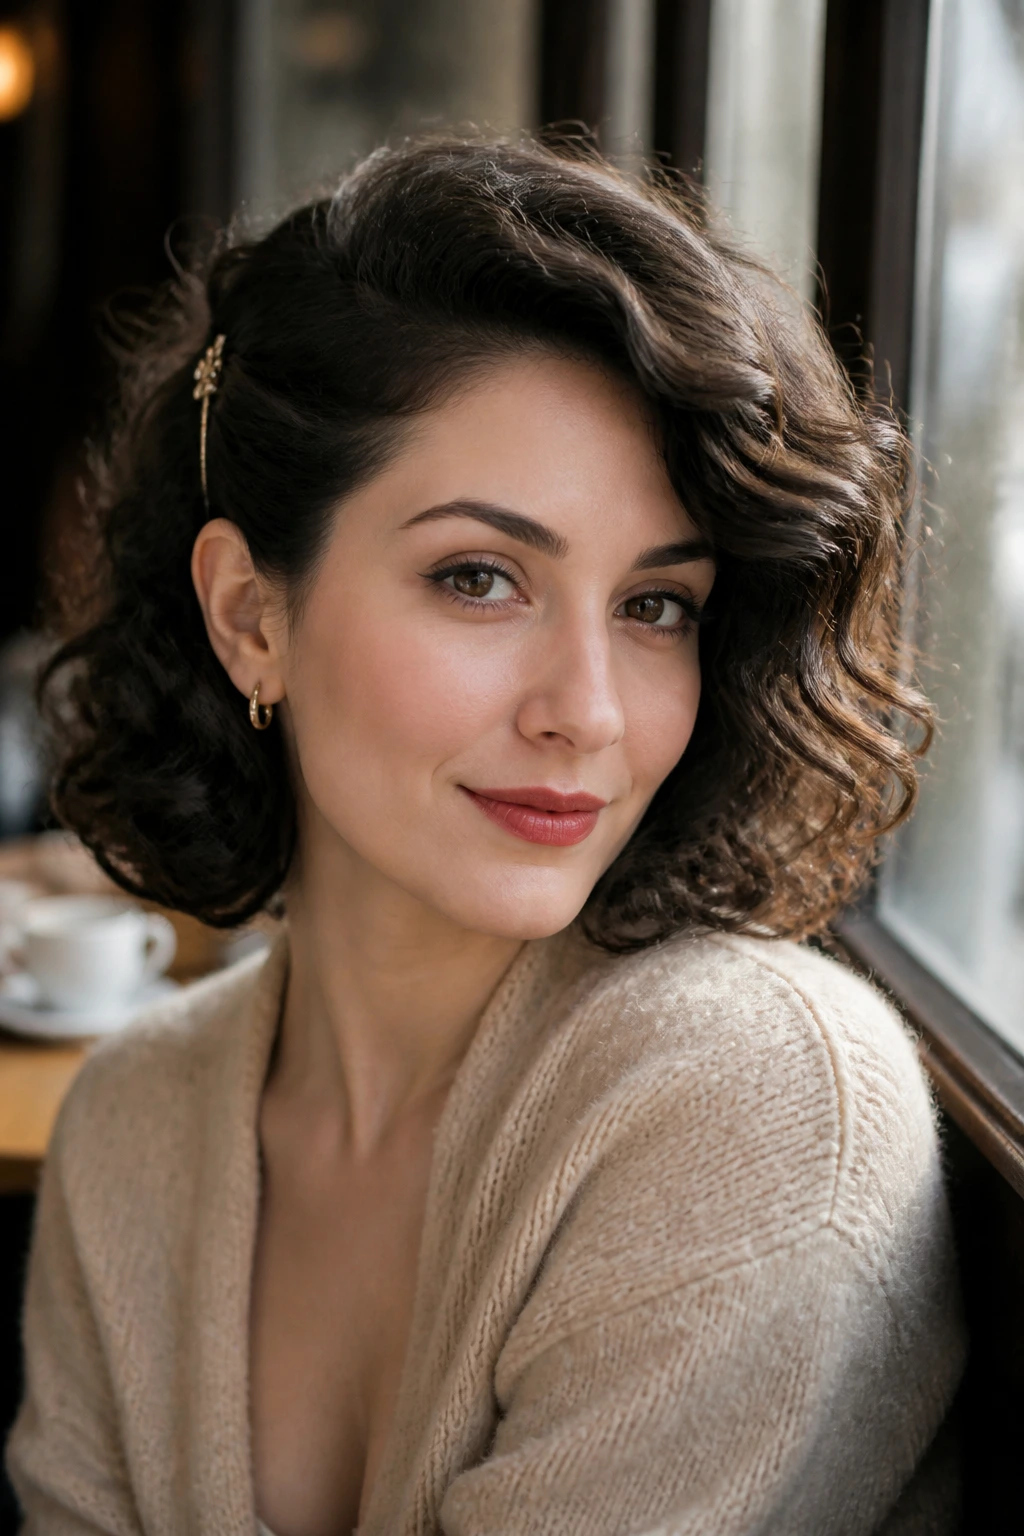
Sometimes you do not need the whole head to feel vintage. One side tucked back, the rest left soft, and the result lands right in that sweet spot between everyday and styled. On short curly hair, this works because the tucked side gives structure while the loose side keeps movement.
Use a side part or a slightly off-center part, then pin one side behind the ear with a comb or a flat barrette. Leave the curls on the other side visible and let them frame the cheekbone. That asymmetry does the work for you. It feels old-Hollywood without copying a single exact era.
A cleaner finish
If your hair tends to frizz around the temples, smooth that area first with a small touch of cream or pomade. Don’t smear it everywhere. Just the surface near the pin. That keeps the tucked side tidy and lets the loose curls stay fluffy instead of weighed down.
This is probably the easiest style in the collection to wear on an ordinary day. No special occasion required. Just one smart pin and a part that has some opinion.
17. Retro Pompadour Pixie with Defined Ends
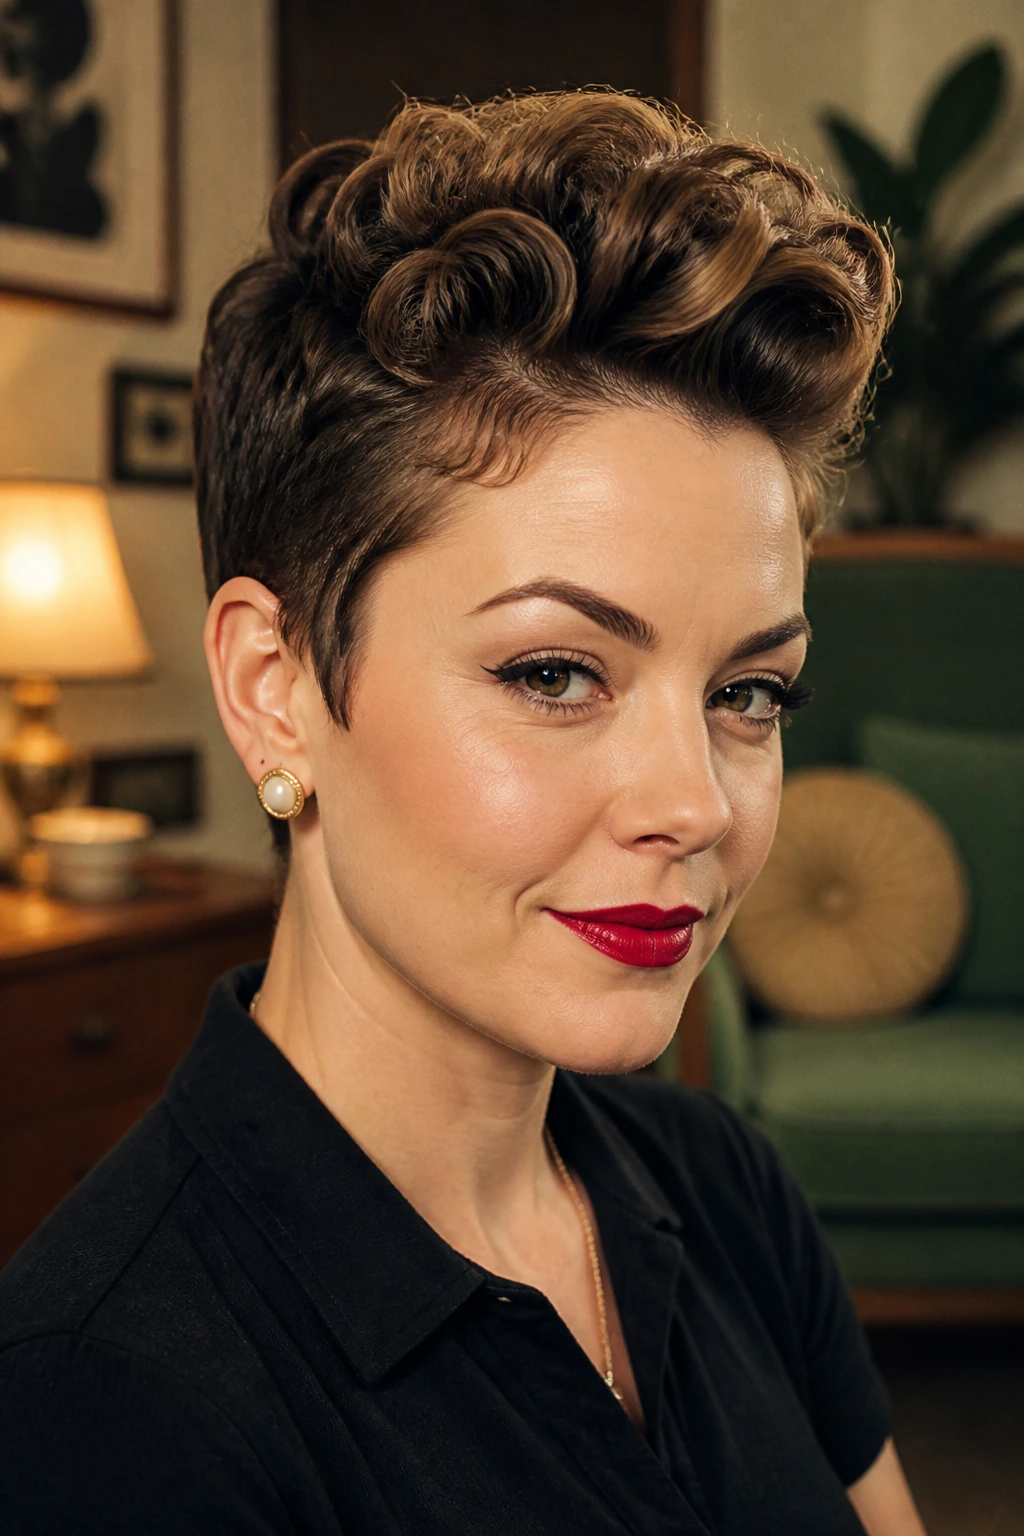
A pompadour on a pixie cut is for anyone who wants the vintage vibe with a little bite. The front lifts upward and back, the sides stay tight, and the ends keep their curl or texture. It’s part rockabilly, part old-school glamour, and fully willing to be noticed.
This style needs a little root support. Blow-dry the front upward with a round brush or set it with a roller while the rest of the hair dries. Once the front has height, the rest of the cut can stay soft and defined. That combination is what makes it work. Height without stiffness. Texture without collapse.
Best use case
I like this on short cuts with a little length at the front, because the pompadour needs enough hair to arc cleanly. Fine hair benefits from a bit of texture spray; thicker hair usually needs more smoothing at the sides so the front can stay the star.
If the front looks too square, soften the edges with your fingers. If it looks too flat, lift it and pin beneath. It’s one of those styles that lives or dies on the first ten minutes.
Why Vintage Styling Keeps Working on Short Hair
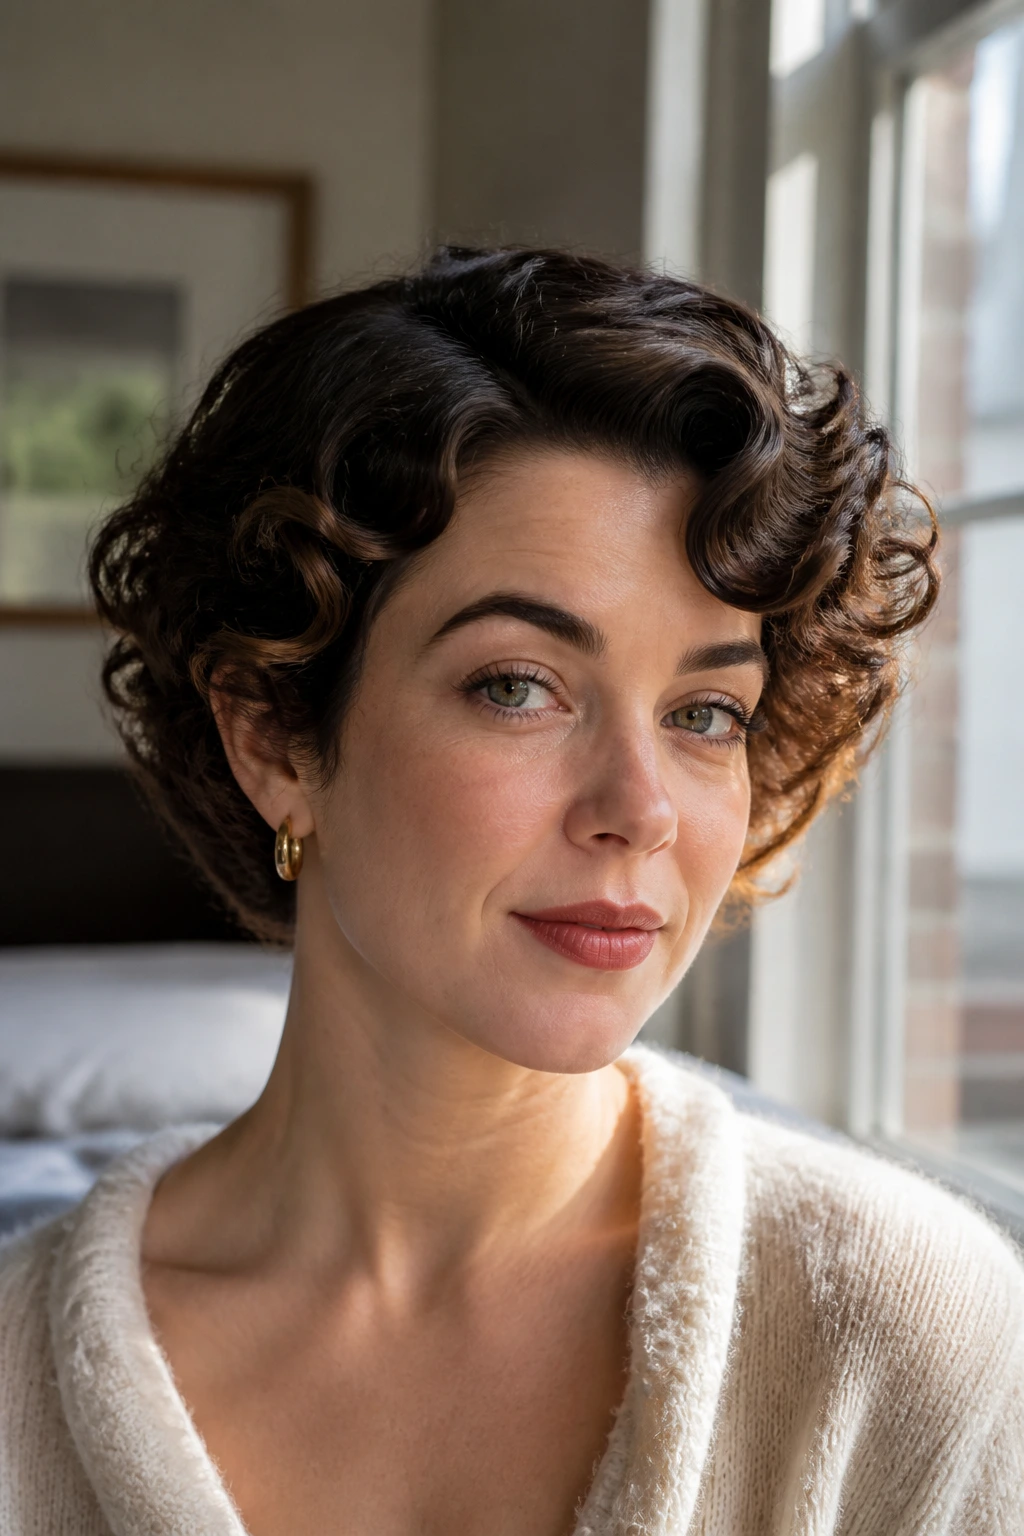
Short curls have a strong silhouette on their own, and vintage styling leans into that instead of fighting it. That’s the real reason these looks stay useful: they don’t ask for a lot of length, but they do ask for shape. A side part, a tucked end, a small roll, a wave line, a scarf at the hairline—each one changes the outline fast, which is exactly what short hair needs.
There’s also a practical reason they last. Short hair dries faster. It pins faster. It can be set in sections without the whole head turning into a project you regret by noon. If you’ve ever tried to force a modern beach wave onto a short curly cut and watched it fall apart halfway through the afternoon, you already know the issue. Vintage shapes tend to be more anchored. The style has bones.
And they let you pick your level of drama. Want subtle? Tuck one side and leave the rest alone. Want full-on pin-up? Roll the front, smooth the crown, and finish with a strong lip. Want something between the two? That’s where the scarf and barrette looks live. Short hair gives you a tighter canvas, which sounds limiting until you realize it makes the choice sharper.
Essential Tools for These Looks
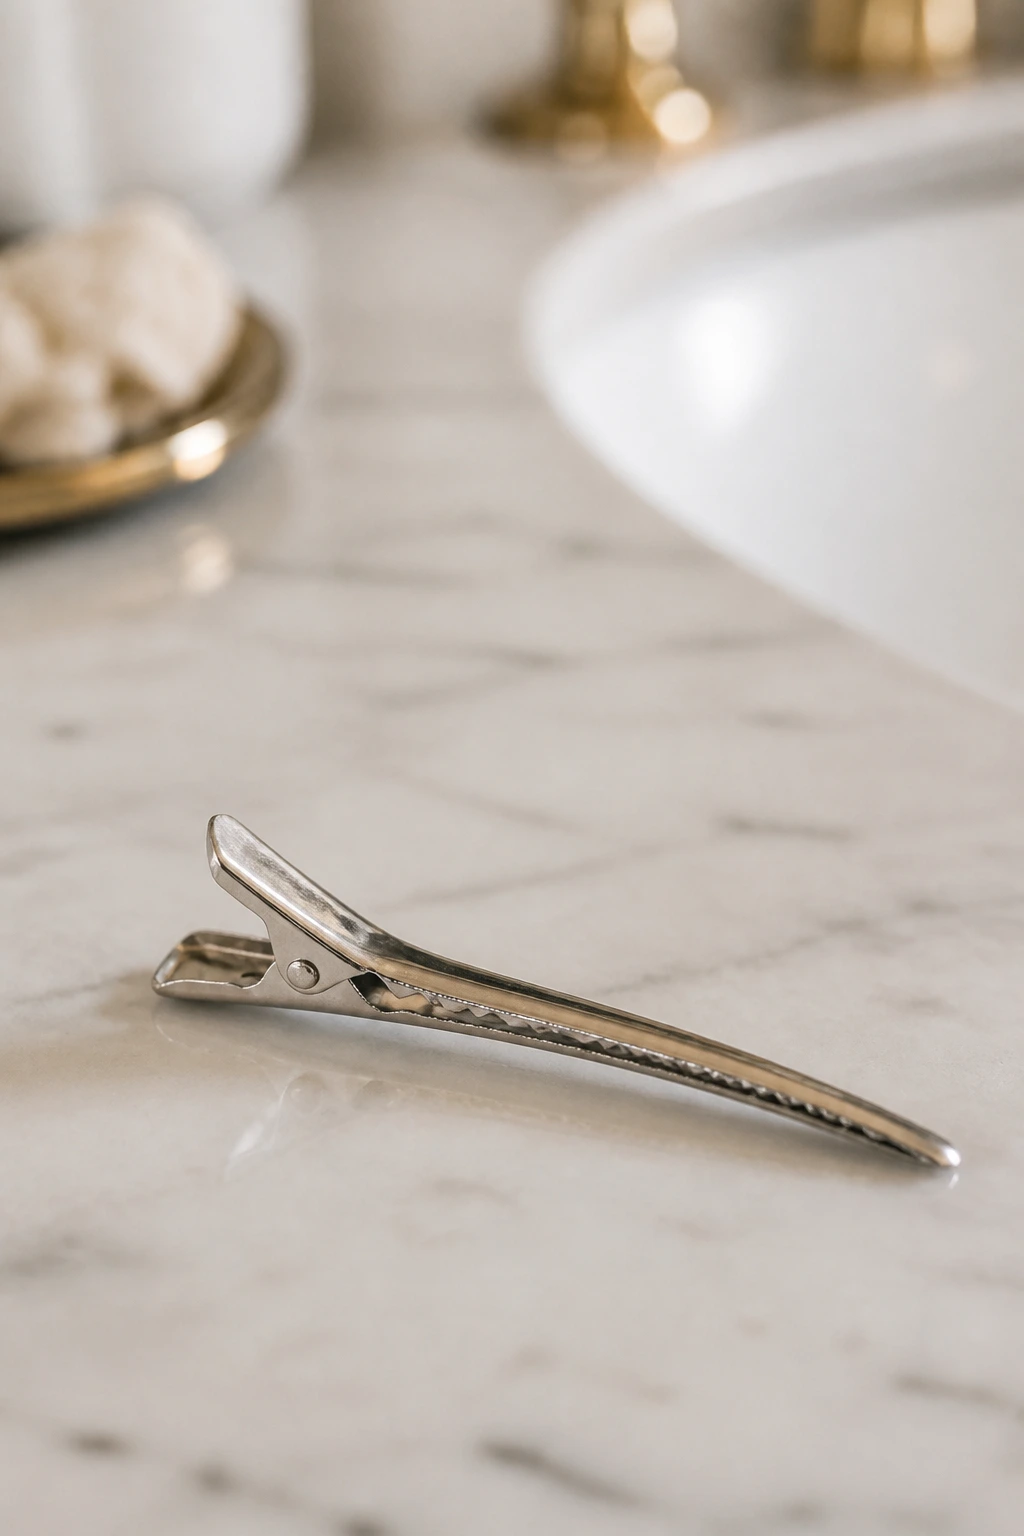
- Rat-tail comb: The fine point is what lets you draw clean parts and shape waves without tearing through curls.
- Duckbill clips: These hold finger waves, rolls, and set sections flat while they dry.
- Bobby pins in two sizes: Small pins disappear better in short hair; larger ones help anchor heavier sections.
- Setting lotion or mousse: Use this on damp hair when you need the style to remember its shape.
- Strong-hold gel or pomade: Gel gives sleek control; pomade is better for smoothing flyaways and edges.
- Boar-bristle brush: Good for smoothing the surface without leaving the whole head fluffy.
- Small curling iron or wand: A 3/4-inch to 1-inch barrel helps tighten loose pieces and revive end shape.
- Diffuser attachment: Useful when you want to keep curl pattern while drying the roots.
- Satin scarf or bonnet: These help the style survive overnight without getting smashed.
- Decorative barrettes, combs, or a narrow headband: These are not optional if you want a real vintage finish.
Picking Products and Prep That Make the Shape Hold
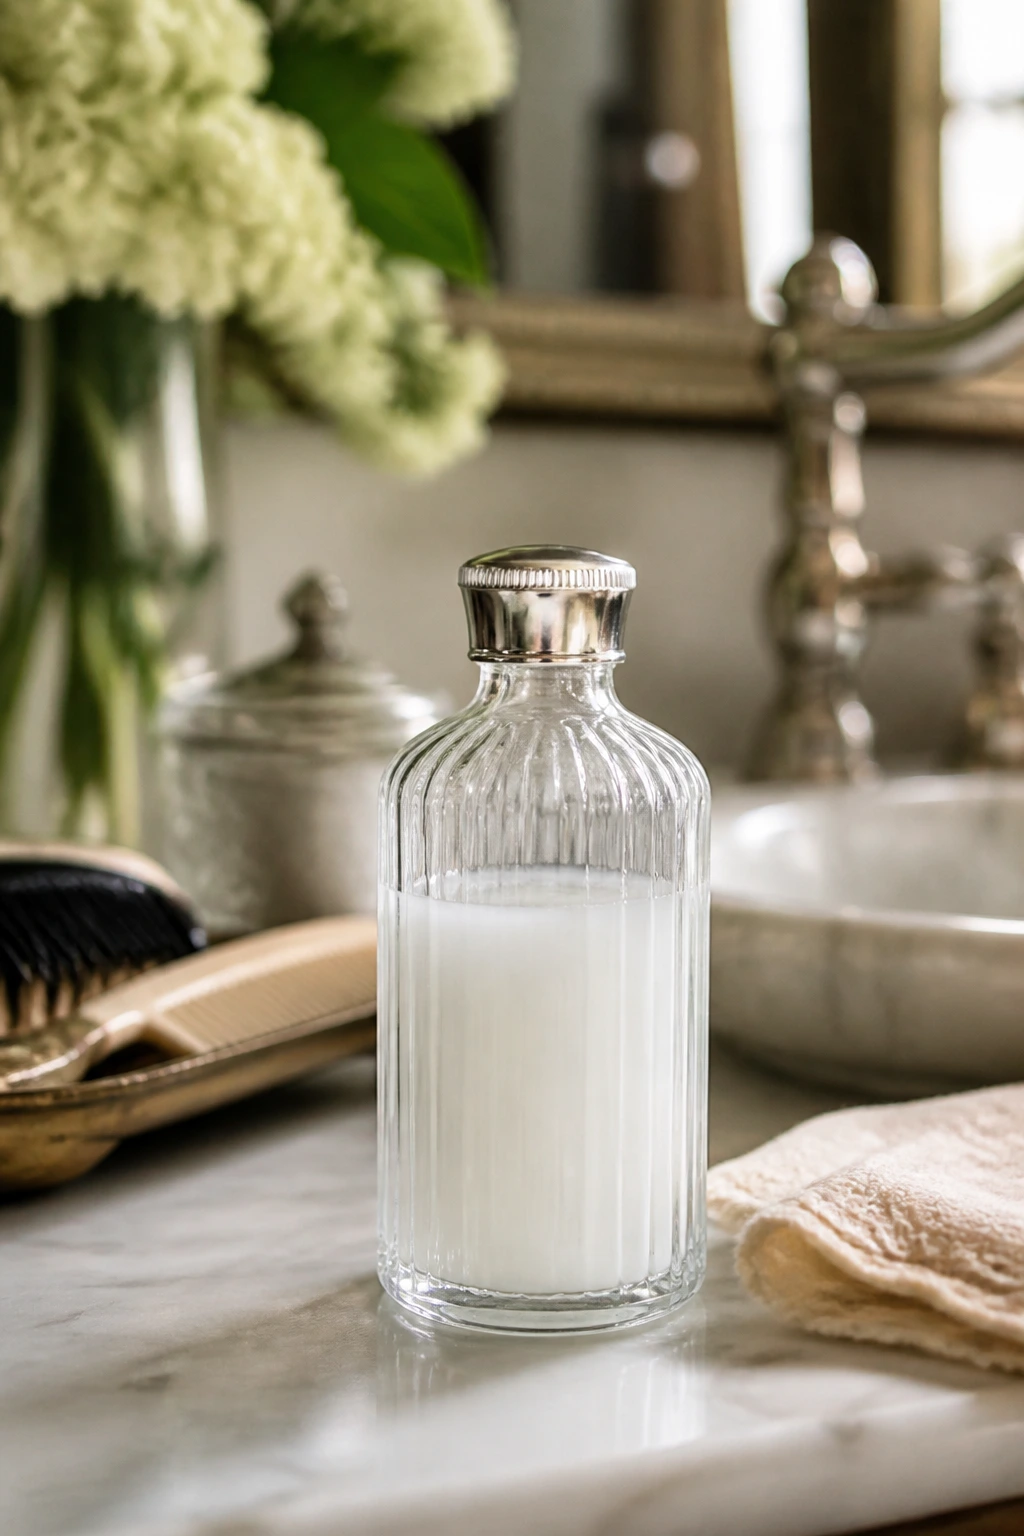
Short vintage hair behaves best when you prep it with intention, not with piles of random product. Start with clean or lightly day-old hair if you’re aiming for clean waves and rolls. Freshly washed hair can be too slippery; a little grit helps. If your hair is very soft, a dry shampoo at the roots before styling can give the comb something to catch.
For sleek looks, I’d rather see a small amount of strong gel than a big cloud of mousse that never really dries. For softer looks, use mousse or setting lotion at the roots and mid-lengths, then finish with a lighter spray. The wrong product texture is usually what makes short vintage styles fail early. Too soft, and the shape falls. Too heavy, and the hair turns greasy and separates in little ugly strings.
If your curls are fine, don’t drown them. Start with a golf-ball sized amount of mousse for the whole head and build only where you need it. If your hair is thick or coarse, you’ll probably need more control at the surface and more patience in the drying stage. Set the style first, then dry it fully. Half-dry vintage hair is a mess waiting to happen.
Heat is useful, but it shouldn’t be the first tool you reach for. A lot of these looks can be built with damp-setting, fingers, clips, and one good brush. That’s the old trick, and it still works.
How to Wear These Looks Without Feeling Costumed
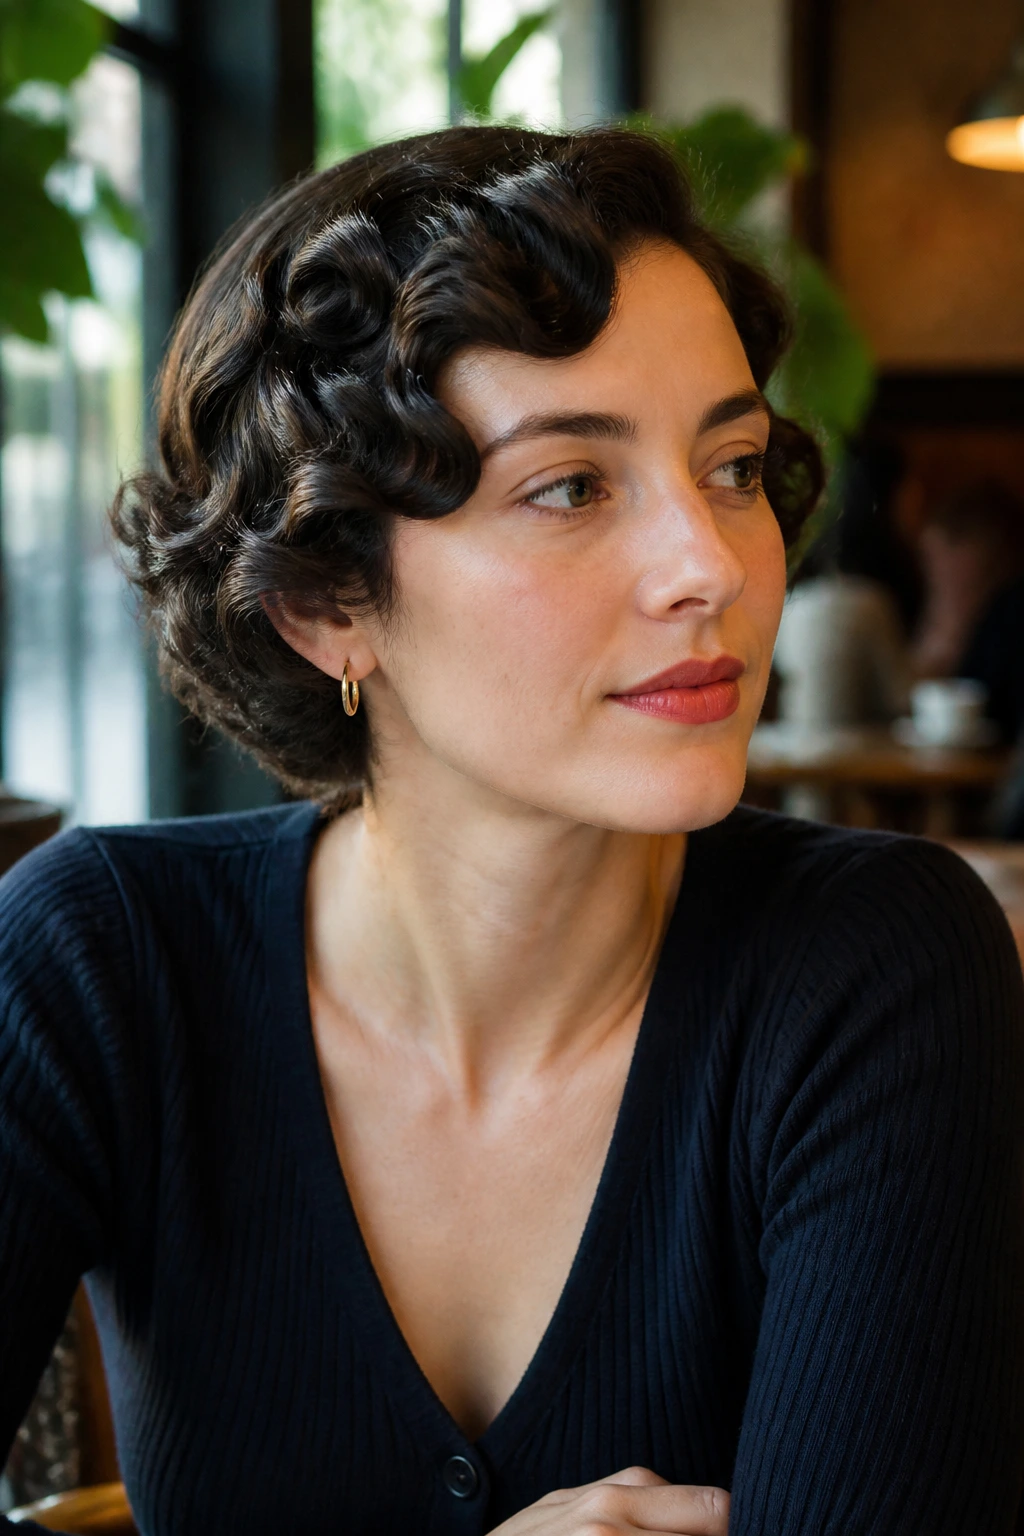
Placement: Keep the most structured detail near the face or crown—finger waves at the temple, a roll above one ear, a tucked side at the nape. Short hair gets awkward when every inch is trying to do a different job.
Pairing: A vintage hairstyle reads more naturally when the clothing has one matching cue: a sharp collar, a satin headband, a cardigan, hoop earrings, or a red lip. You do not need every piece to be period-accurate. One or two signals are enough.
Balance: If the hair is sculpted, let the clothes stay simpler. If the outfit is busy, keep the hair cleaner and closer to the head. That balance keeps the style from turning into a costume by accident.
Wear time: A tight set, a smooth wave, or a rolled front can hold through a long evening if it is pinned well and fully dry. Loose brushed-out curls look softer but need a touch-up sooner, usually after a few hours of movement or humidity.
Additional Tips and Style Boosters
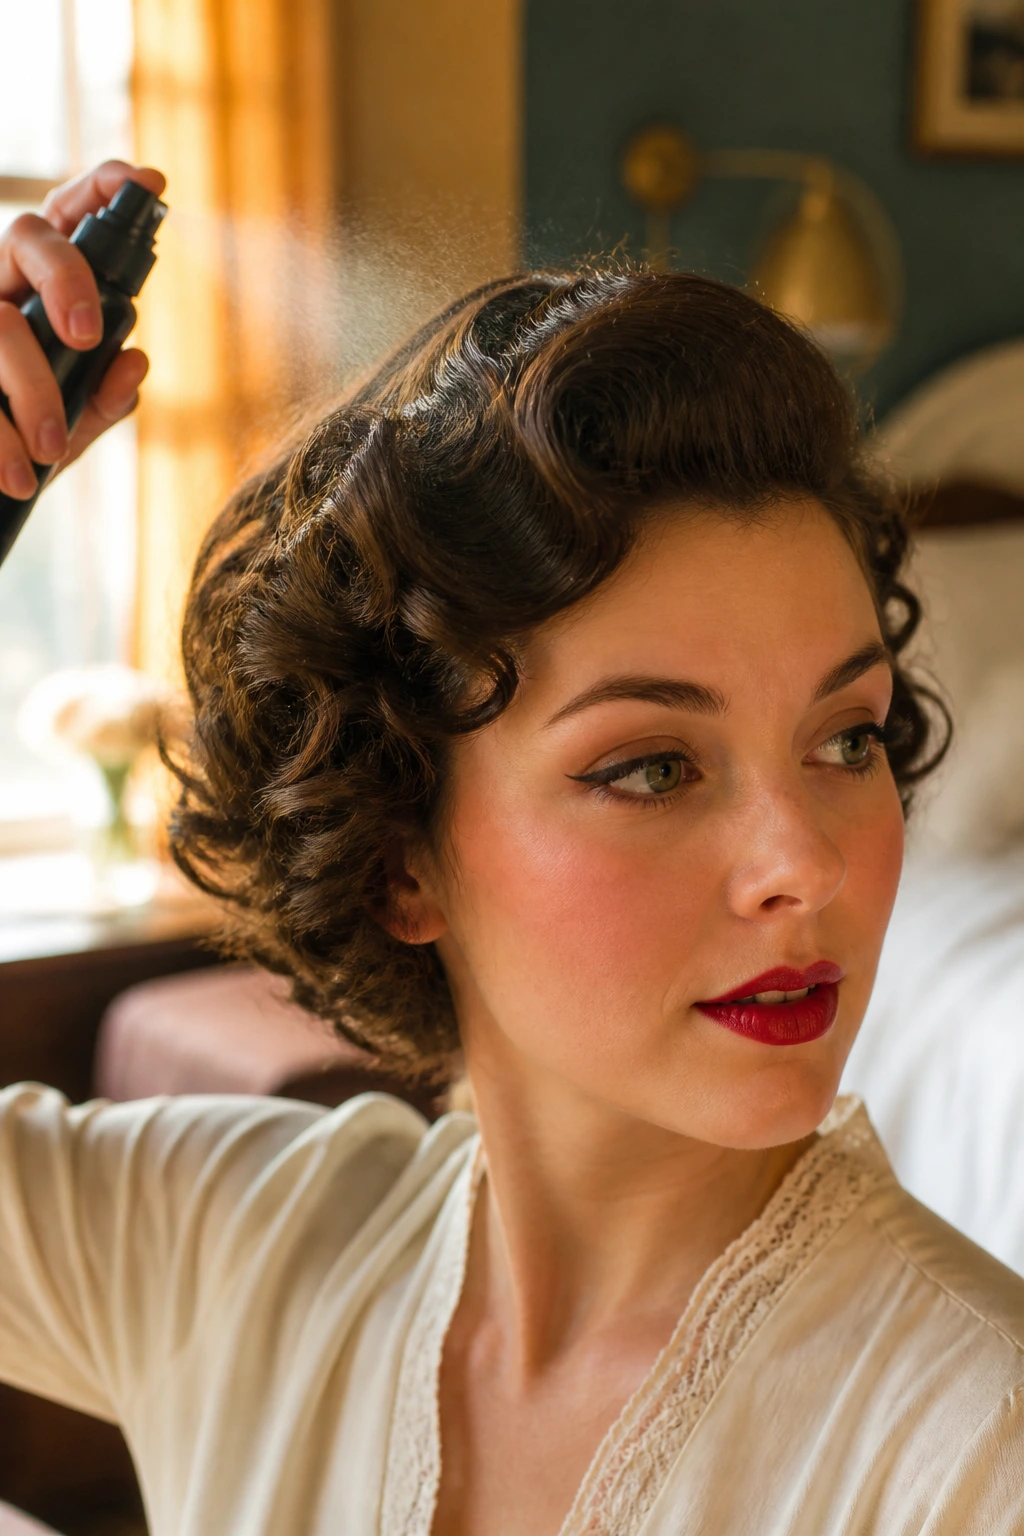
Hold Booster: A light mist of flexible spray over the finished shape helps, but spray from 10 to 12 inches away. If you hold the can too close, the surface gets sticky and the curl pattern goes dull.
Texture Booster: For styles that need grip—victory rolls, pompadours, baby rolls—work a little dry shampoo or texture spray at the roots before you pin. The hair stops slipping so much, and the shape stays put longer.
Accessory Move: Match the accessory to the size of the style. Small rolls want a slim comb or barrette. Bigger crown shapes can handle a wider headband or scarf. When the accessory is too large, it steals the shape from the hair.
Make-It-Yours: Fine hair usually benefits from more root lift and less oil. Thick or dense curls often need stronger smoothing at the surface and more pinning underneath. Natural coils can keep more texture visible and still read vintage; the secret is in the outline, not in forcing the curl pattern flat.
Common Mistakes That Flatten Short Vintage Hair
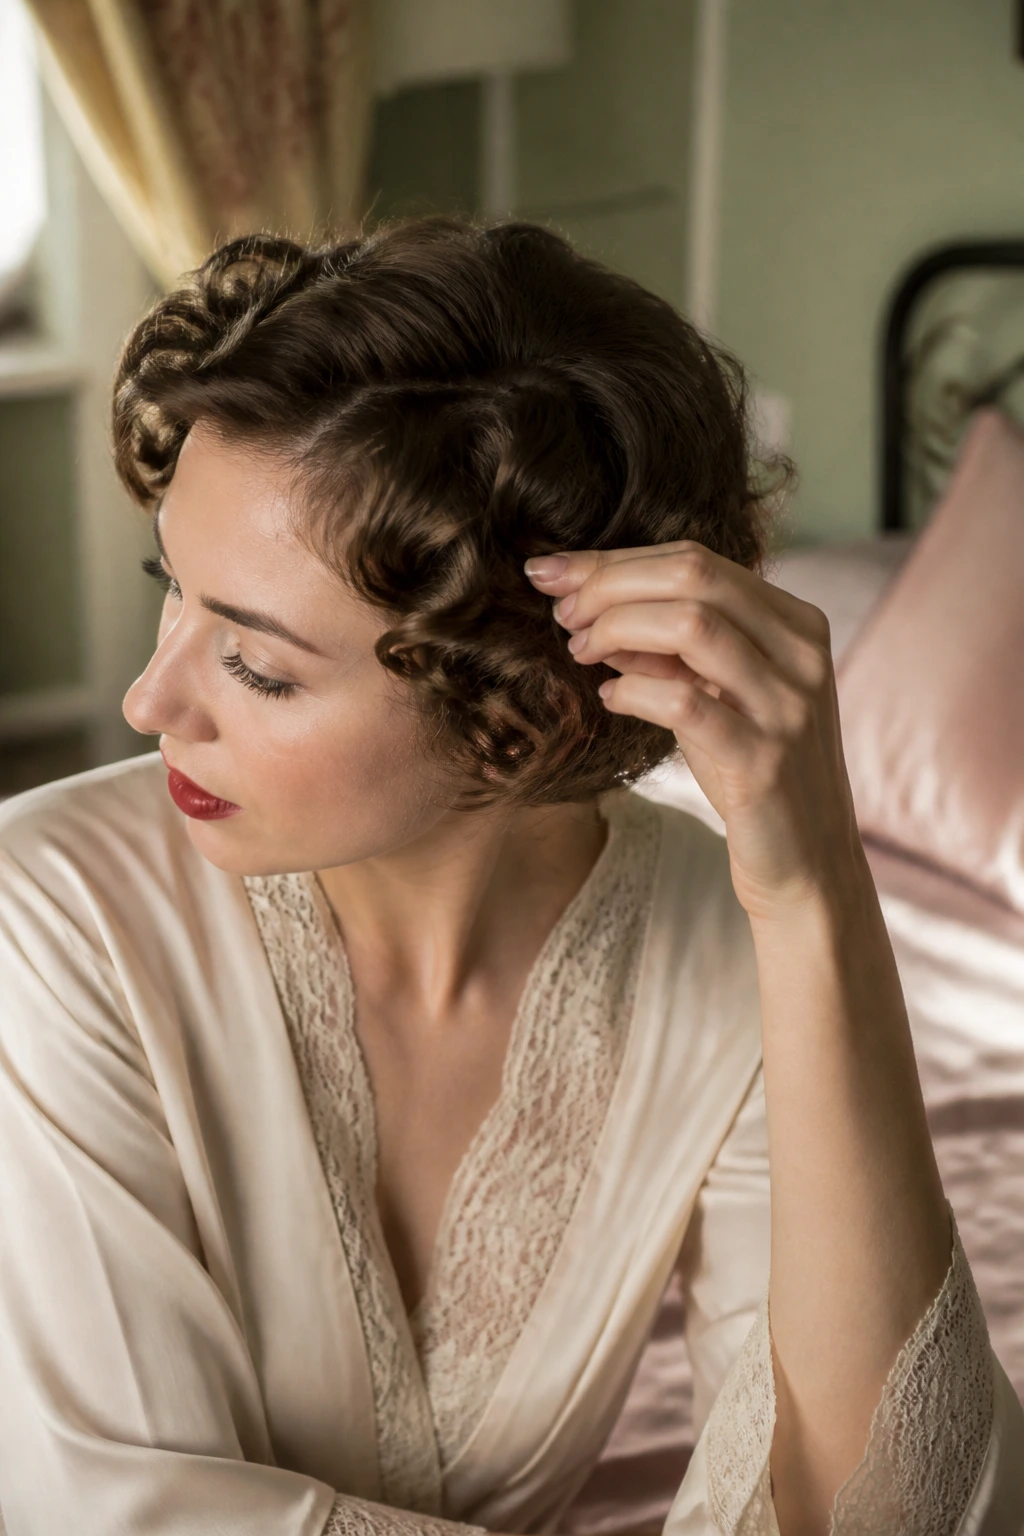
Using too much product at the root: The hair starts out shiny and then turns heavy by lunch. Keep the root product light and add more only where the shape needs help.
Brushing out the set too early: If the waves or rolls are still warm, they will loosen faster than you expect. Let the hair cool completely before you touch the shape.
Making the roll too big for the hair you actually have: This is the classic short-hair mistake. A roll that looks elegant on long hair turns lopsided on a pixie or bob, so scale the shape to the cut.
Pinning in the wrong direction: Bobby pins work best when they anchor into the direction of the hair’s tension, not against it. If a roll keeps slipping, the pins are probably fighting the curl instead of holding it.
Leaving the crown too flat: Vintage styles need some contour somewhere. If the crown is glued down and the sides are tight, the whole head can look narrow and harsh.
Skipping a test run: A style that looks easy in a mirror can behave badly once you start moving. Do a quick practice version before an event so you know where the pins sit and how much spray the hair can take.
Variations and Adaptations to Try
The No-Heat Set: Use damp pin curls, clips, and setting lotion overnight, then brush and shape the next morning. This is the best route if your hair gets dry fast or refuses to hold with hot tools.
The Soft Pin-Up Version: Keep the front rolled or waved, but leave the rest of the curls loose and touchable. It gives you the vintage cue without making the whole head look rigid.
The Scarf-and-Sweep Combo: Pair a side sweep with a narrow scarf tied at the crown or behind the ear. It works well on second-day hair and takes the edge off any frizz at the hairline.
The High-Gloss Evening Look: Use gel instead of mousse, shape the waves tighter, and finish with a shine spray. This version reads cleaner and more dramatic under indoor light.
The Natural-Texture Version: Leave more curl visible at the back and sides, and only sculpt the front or crown. That keeps the look vintage without flattening the pattern you already have.
Keeping the Style Fresh for a Second Day
Short vintage styles usually live their best life on day one, but day two can still behave if you protect the shape overnight. Satin is your friend. A bonnet, scarf, or even a smooth pillowcase helps the roll or wave keep its line instead of getting smashed flat at the back. If you slept badly on one side, that’s not a disaster; it just means the morning reset needs a little patience.
The fastest fix is a light mist of water on the flattened area, then a few seconds of finger shaping. Don’t soak the hair. You’re nudging it back into place, not restarting the whole style. If a roll or wave has lost its edge, a small dab of mousse or gel at the root and a quick clip while it dries can restore the silhouette.
For styles with a lot of structure—victory rolls, finger waves, tucked bob shapes—plan on a refresh every 24 hours if you want them crisp. Softer styles, like a side sweep or brushed-out wave, can usually make it to a second day with just a small touch-up. If the hair feels too soft or too loose by then, it’s often easier to restyle the front and leave the rest alone. That takes less time than trying to rescue the whole head.
Questions People Actually Ask About Vintage Short Curly Hair
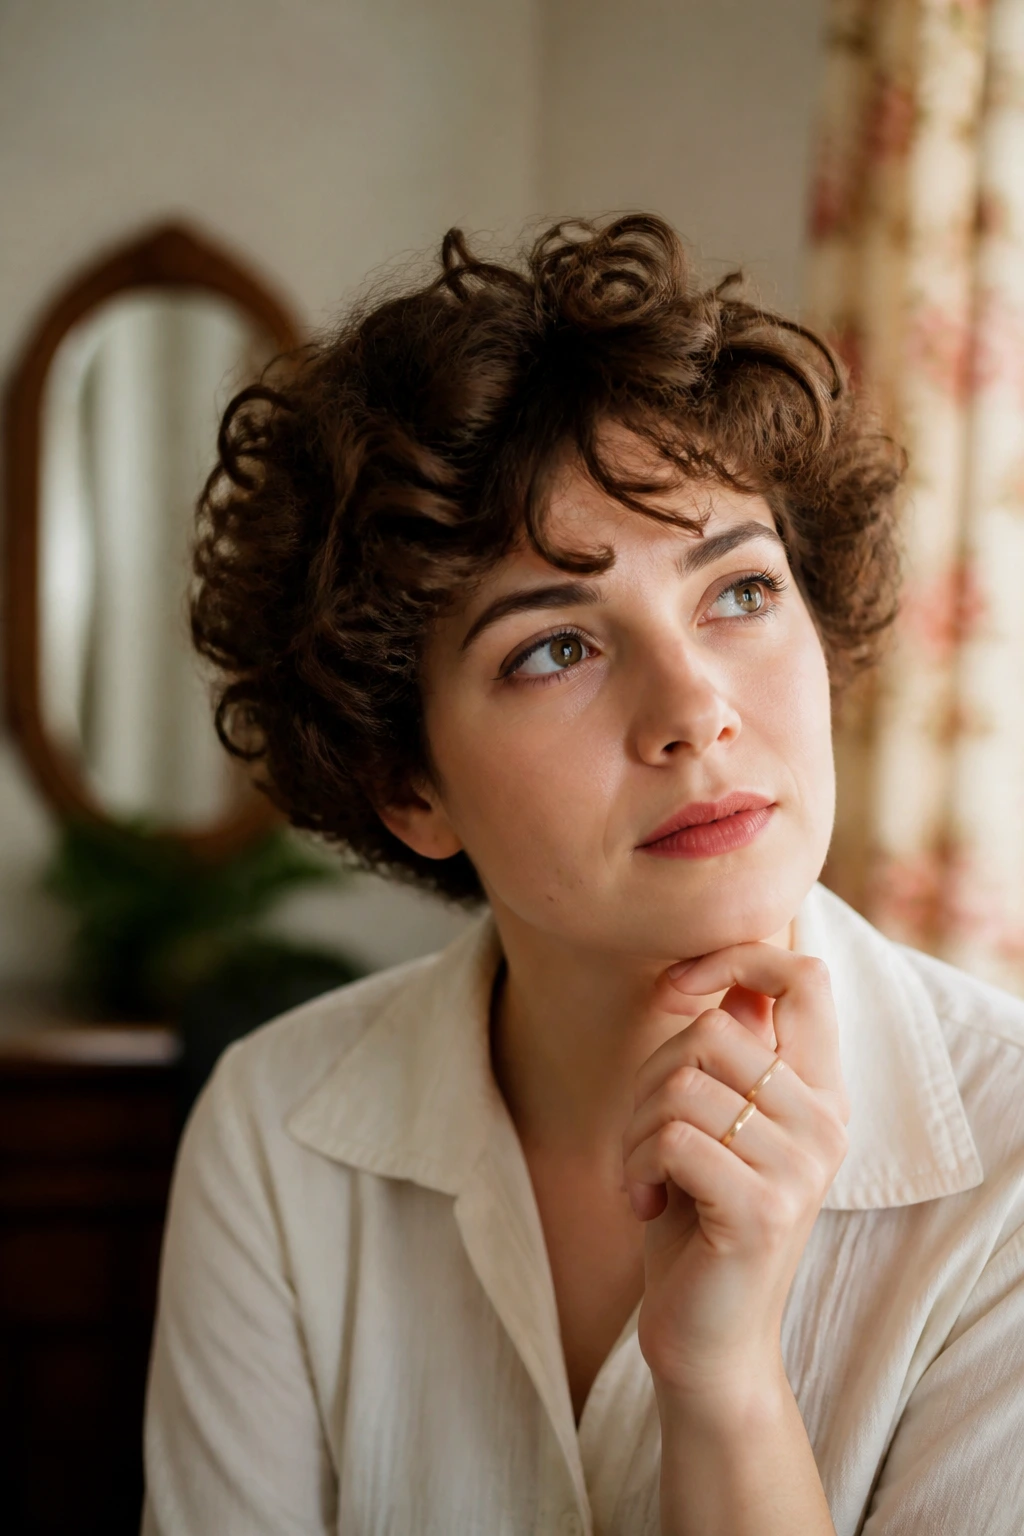
Can short curls really hold vintage styles?
Yes, and in some cases they hold better than longer hair because the shape is lighter. Short hair usually needs fewer pins and less spray, so the style has less weight pulling it down.
Do I need heat for these looks?
Not always. Finger waves, pin curls, scarves, and many rolled styles can be built with damp-setting and clips. Heat helps with polish, but it’s not the only road.
What if my curls frizz when I brush them?
Don’t brush them dry from root to end. Smooth with your fingers or a boar-bristle brush in the direction the style needs, then stop once the silhouette is set. Too much brushing makes the surface bloom.
Which style is easiest for a pixie cut?
A side tuck, a tiny front roll, or sculpted finger waves on the front section are usually the most realistic. Full-head vintage shapes need more length than a very short pixie can give you.
How do I keep bobby pins from showing?
Use pins that match your hair color and slide them in where the hair is densest. Cross two pins if a section feels loose; it holds better than trying to hide one huge pin that keeps sliding out.
Are these styles good for very thick hair?
Yes, but thick hair needs more smoothing at the surface and more anchoring underneath. If you skip that part, the shape looks bulky instead of polished.
What if my hair is layered and won’t sit flat?
Use the layers to your advantage. Choose styles that rely on lift, sweeps, or partial pinning instead of trying to force a sleek full-head set. Layers can actually make the style feel softer and more natural.
How can I make a vintage style look modern instead of costume-like?
Keep one thing understated. That might be the makeup, the jewelry, or the clothing. When every part of the look is screaming period detail, the hair stops feeling fresh.
One Last Mirror Check
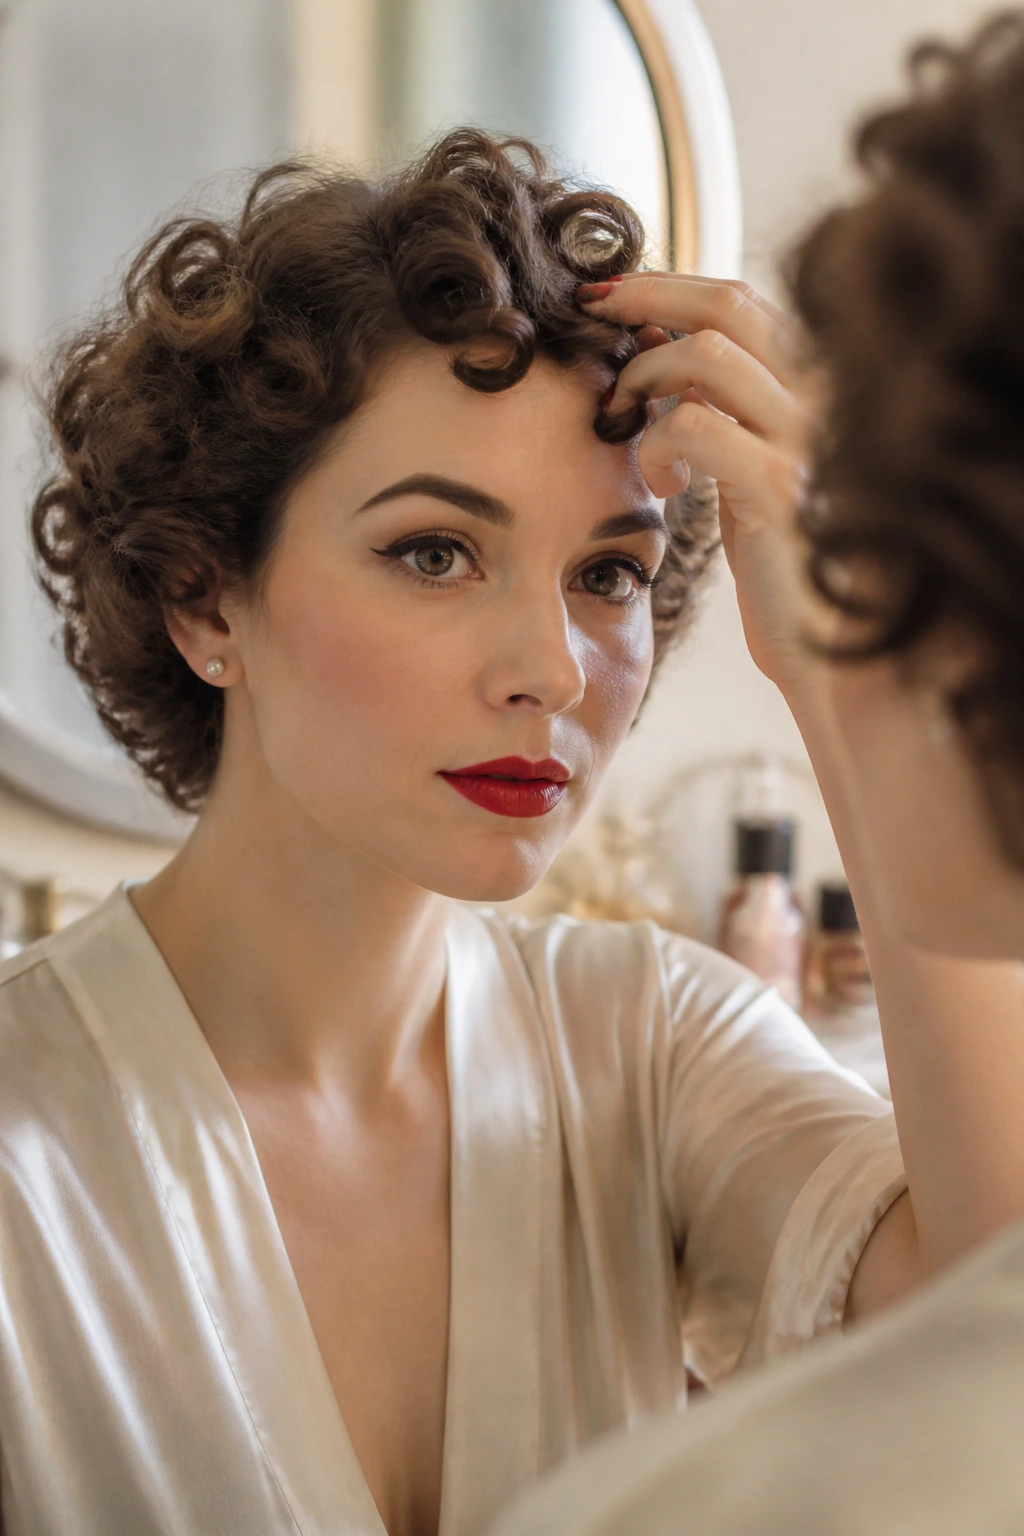
Short curly hair does not need permission to look retro. It needs a shape, a few pins, and a decision. Once you know which vintage line suits your cut—wave, roll, tuck, sweep, or scarf—the rest gets easier fast.
The nicest part is that these styles don’t ask you to erase your curl pattern. They ask you to frame it. That’s a better deal, honestly, and it’s why these old shapes keep making sense on modern short hair. Pick one that suits your length, pin it with a steady hand, and let the outline do its job.
