



Medium length hair with layers over 60 works because it keeps enough weight to fall neatly, but not so much that the cut turns into a blunt block. That middle ground matters. Hair that used to hold a shape on its own can start feeling flatter at the crown, puffier at the ends, or a little too honest around the jaw. Layers fix that by bending the silhouette, not just shortening it.
I’ve always preferred a layered medium cut to a severe chop for this stage of hair. You still have room to tuck it behind one ear, brush it into a low twist, or let it swing at the collarbone. And the right layers can do something a one-length cut rarely does: bring the cheekbones forward, soften the neck, and keep gray or silver strands from looking heavy and shelf-like.
The tricky part is that “layers” can mean a lot of different things. Some need to be long and feathered. Some need to be tucked inside the shape so the ends don’t fray. Some need a little lift at the crown and almost nothing else. The 17 looks below cover the useful range, from soft and polished to airy and textured, so you can choose the one that fits your hair instead of wrestling with it.
Why These Layered Medium Cuts Keep Showing Up in Great Hair Rooms
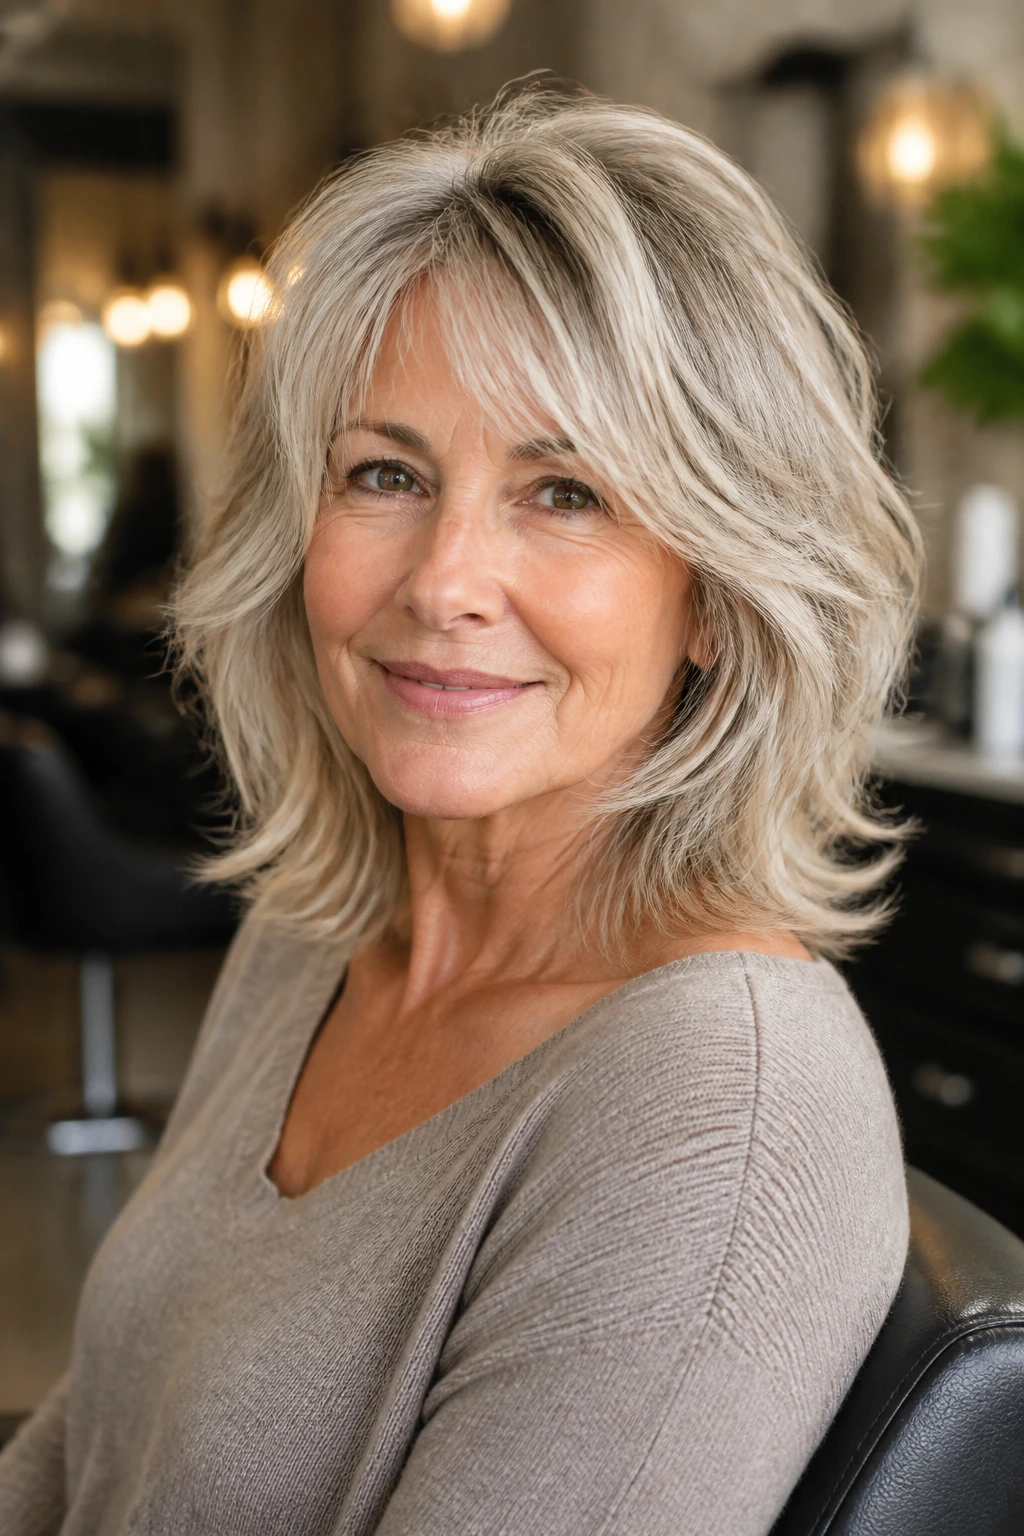
Crown lift: A few well-placed layers can stop the top from lying flat against the head, which makes a huge difference when the crown has thinned a bit.
Face shape: Medium layers soften the line from cheek to chin, which is where hair often starts to look heavy if the cut stays one length for too long.
Texture control: Gray strands, finer strands, and thick strands all behave differently, and layers give you a way to control that without going short.
Styling range: These cuts can be blown smooth, worn wavy, or left to air-dry with a little product and a decent part.
Easier grow-out: A shoulder-skimming or collarbone-length cut with layers usually grows out with less drama than a sharp bob or a cropped cut with a hard line.
Less helmet, more movement: That’s the whole point, really. Hair should move when you turn your head.
1. Feathered Collarbone Layers
Feathered collarbone layers are the safe-looking cut that never actually feels boring. The length sits right around the collarbone, and the ends are softened so they don’t land as a blunt shelf. When the front pieces start around the chin or mouth, the whole cut gets a little swing the second you tuck one side back.
This shape is especially good if your hair has lost some density but still has enough body to hold a bend. The feathering keeps the perimeter from looking heavy, and it lets gray or silver strands catch light in thin slices instead of one flat sheet. That matters more than people think.
How to ask for it
Ask for a collarbone-length cut with long, soft layers and a feathered face frame. If you wear glasses, mention that too. A good stylist will keep the front pieces clear of the frames instead of cutting them so short they keep falling into your lenses.
A round brush and a quick bend away from the face are enough here. No drama. No giant production.
Best for: medium hair, fine-to-normal density, and anyone who wants movement without losing the ability to pin it back.
2. Soft Shag With a Wispy Fringe
A soft shag is what happens when a layered cut decides it wants some personality. The crown gets a little lift, the ends get broken up, and the fringe stays light enough that it doesn’t sit like a curtain on the forehead. Done well, it looks relaxed instead of messy.
The key word is soft. You do not want a razor-happy shag that eats the shape of the hair. You want layers that create air around the cheeks and neck, with a fringe that lands lightly across the brows or just below them. That leaves the face open, which is the whole reason this works so well on medium hair.
A little mousse at the roots and a diffuser or finger-dry routine usually does the job. If your hair has a natural bend, even better. The cut will show it off without asking for a salon-level blowout every morning.
Why it works: the shorter pieces give lift, while the longer perimeter keeps the cut from looking overdone. That balance is what makes a shag wearable after 60 instead of theatrical.
3. Curtain-Bang Lob
Why do curtain bangs keep showing up on layered medium cuts? Because they solve a very specific problem: hair that feels too heavy at the front. A lob with curtain bangs opens the face at the center and then lets the sides fall softly along the cheekbones. It sounds simple. It is simple. And that’s why it works.
The lob length should sit somewhere between the chin and just above the shoulders, depending on your neck and your styling habits. The bangs should split cleanly at the middle and blend into the front layers, not stop abruptly like a chopped fringe. If the transition is smooth, the cut looks intentional; if not, it looks like two different haircuts arguing with each other.
How to wear it
Blow the bangs forward first, then sweep them away from the center using a round brush or a medium velcro roller. That little bend matters. It stops the bangs from collapsing into the middle of your forehead by noon.
If you wear reading glasses or full frames, curtain bangs are often kinder than blunt bangs. They sit around the frames instead of fighting them, which means less fuss and fewer adjustments with your fingers.
4. Side-Parted Layers With Crown Lift
A deep side part can do more for a layered medium cut than another inch of hair ever will. It shifts the weight, which makes the top look fuller and gives the whole cut a more lifted profile. If your roots lie flat no matter what you do, this is the move.
The layers here should concentrate around the crown and upper sides, with enough length left through the bottom so the cut still feels polished. The front pieces can be a touch longer on the heavier side of the part. That keeps the shape from collapsing into your cheek every time the wind moves.
A root-lift spray at the base and a quick blast with the dryer while lifting the hair in the opposite direction of the part makes a real difference. Let it cool before you settle it back into place. Warm hair remembers shape better than cold hair.
Best for: flat roots, finer hair that needs height, and anyone who wants the face to look a little more open at the top.
5. Blended Layers for Fine Hair
Fine hair does not need to be chopped to bits. It needs shape without losing density at the ends. That’s why blended layers are such a smart choice. The layers are long, soft, and connected, so the hair still looks full from the back instead of wispy and underfed.
I like this cut when the perimeter is kept just a touch blunt. Not rigid. Just solid enough to give the eye a line to follow. Then the internal layering adds movement inside that shape, which keeps the whole cut from sitting like a helmet.
Skip aggressive thinning shears if your hair is already fine. They can leave the ends see-through in a week. Ask for point cutting or soft slide-cutting instead, which removes some bulk without stealing the thickness you actually need.
A small amount of mousse at the roots and a light serum on the ends is usually enough. Heavy cream can be too much here. It drags the hair down fast.
6. Weight-Removing Layers for Thick Hair
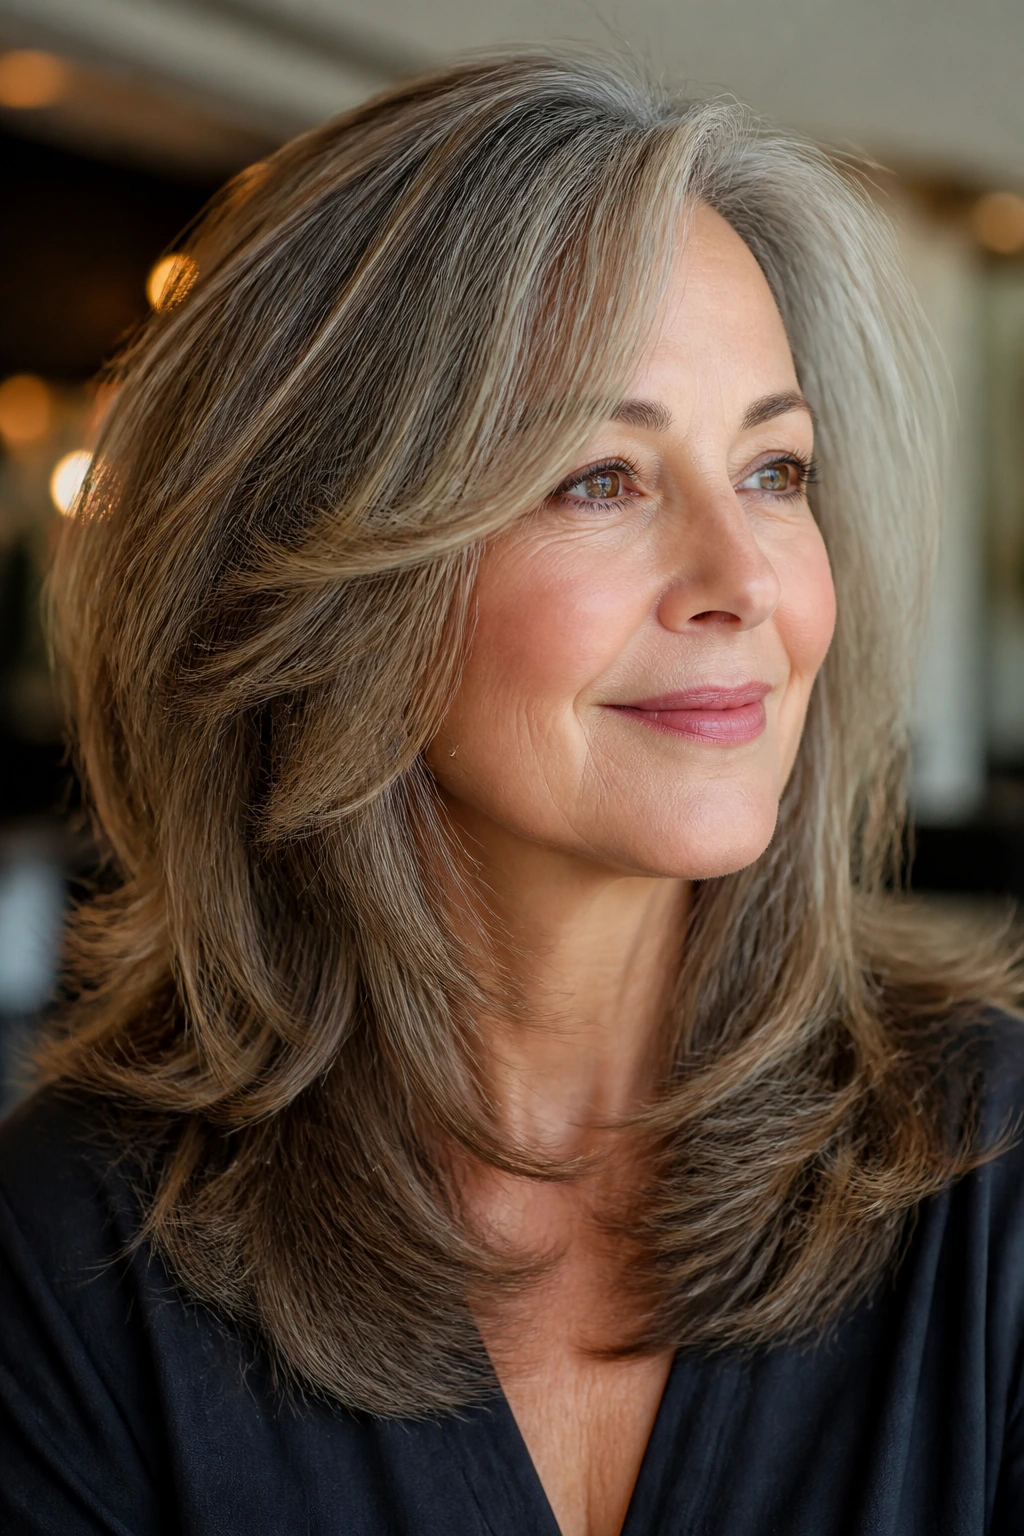
Thick hair can get wide, square, and annoyingly hot around the neck if nobody takes the weight out of it. Long weight-removing layers solve that by moving the bulk inside the cut instead of slicing the surface into pieces. The outside still looks full. The inside stops feeling like a blanket.
This is one of those cuts that should feel lighter the minute the stylist finishes the last section. If it doesn’t, they probably left too much bulk through the lower half. The goal is movement, not a hollow shell.
What to tell your stylist
Ask for longer layers that start low enough to keep the ends substantial. If the shortest layers begin too high, the cut can puff out at the sides and lose that clean medium-length outline. Thick hair usually needs restraint more than it needs texture.
A paddle brush and a blow-dryer nozzle help here, but so does a simple rough dry followed by a few round-brush passes around the face and crown. Don’t make every inch fight for attention. The shape should settle, not explode.
7. Wavy Layers With a Broken-Up Perimeter
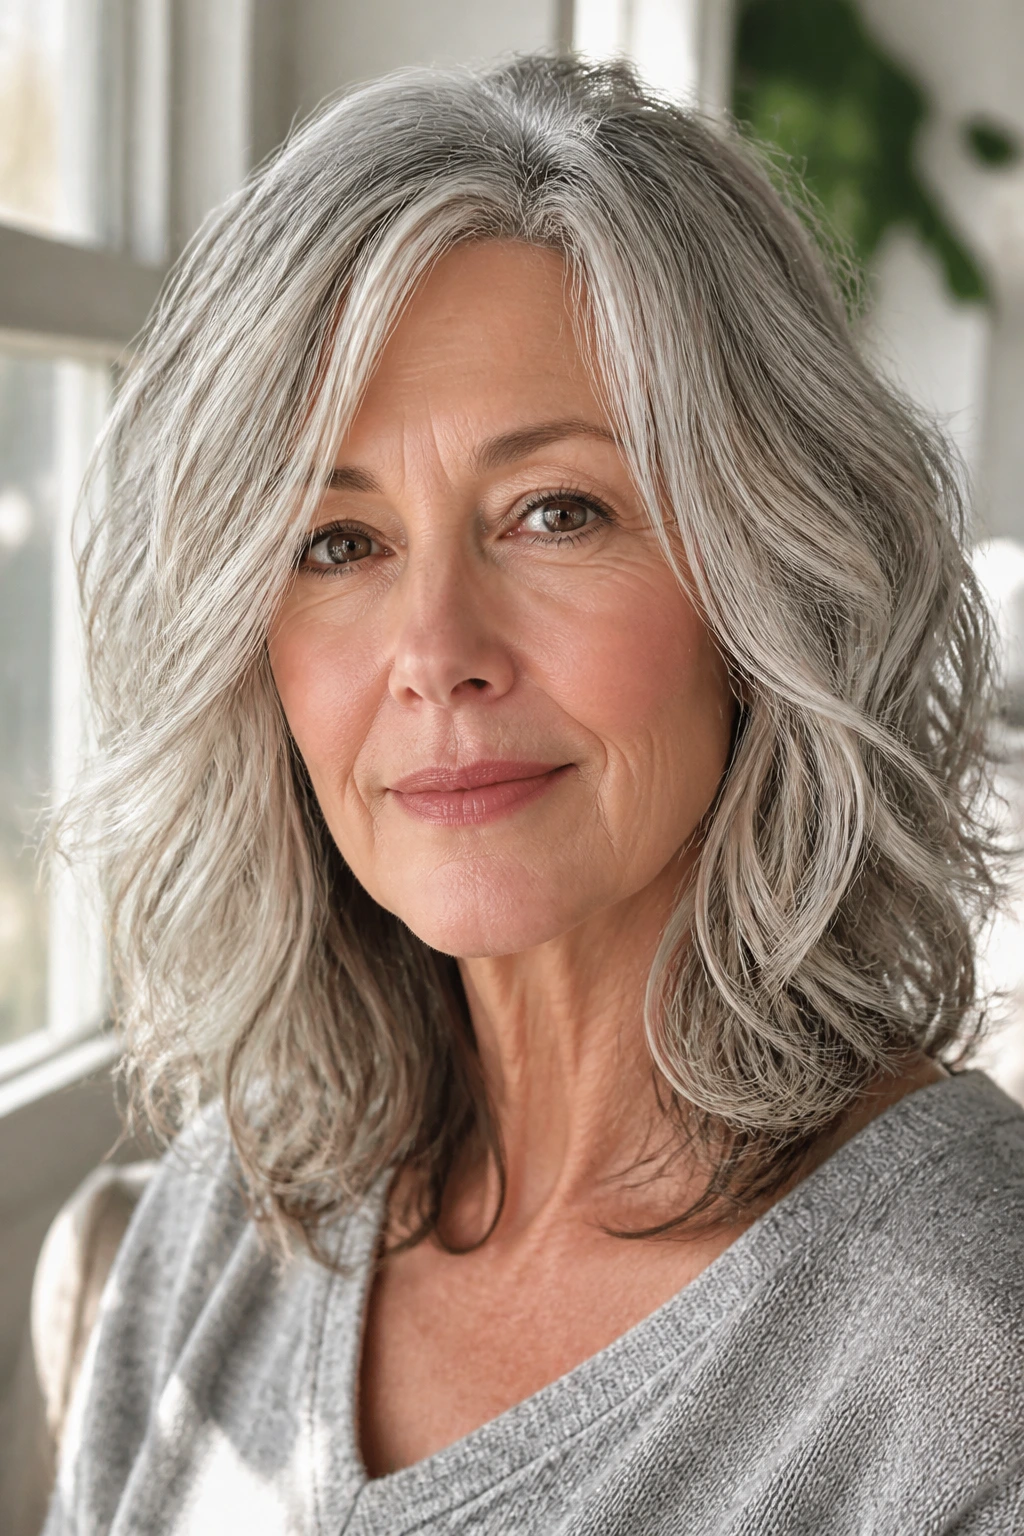
Natural waves love a layered medium cut when the ends are broken up just enough to follow the bend of the hair. The perimeter should not look like a ruler line. It should look alive. That little irregularity lets the wave pattern do its work instead of folding awkwardly at the bottom.
This cut feels especially good on hair that goes flat at the root but puffs a little through the middle. Layers remove the middle puff and create space for the wave to fall into a better shape. You can air-dry it, diffuse it, or bend a few pieces with a wand if needed.
Best way to style it
Work in a light curl cream or wave foam while the hair is damp, then scrunch from the ends upward. If your waves are looser, twist a few front sections around your fingers while they dry. That gives you cleaner framing without making the hair look styled within an inch of its life.
A center part can work, but a soft off-center part usually feels better on this cut. It keeps the top from sitting too symmetrical, which is where wavy hair often gets a little stiff.
Little warning: too much layer at the ends can make waves look stringy. Keep the shortest pieces below the cheekbone unless your hair is very dense.
8. Curly Medium Layers That Keep the Shape Round
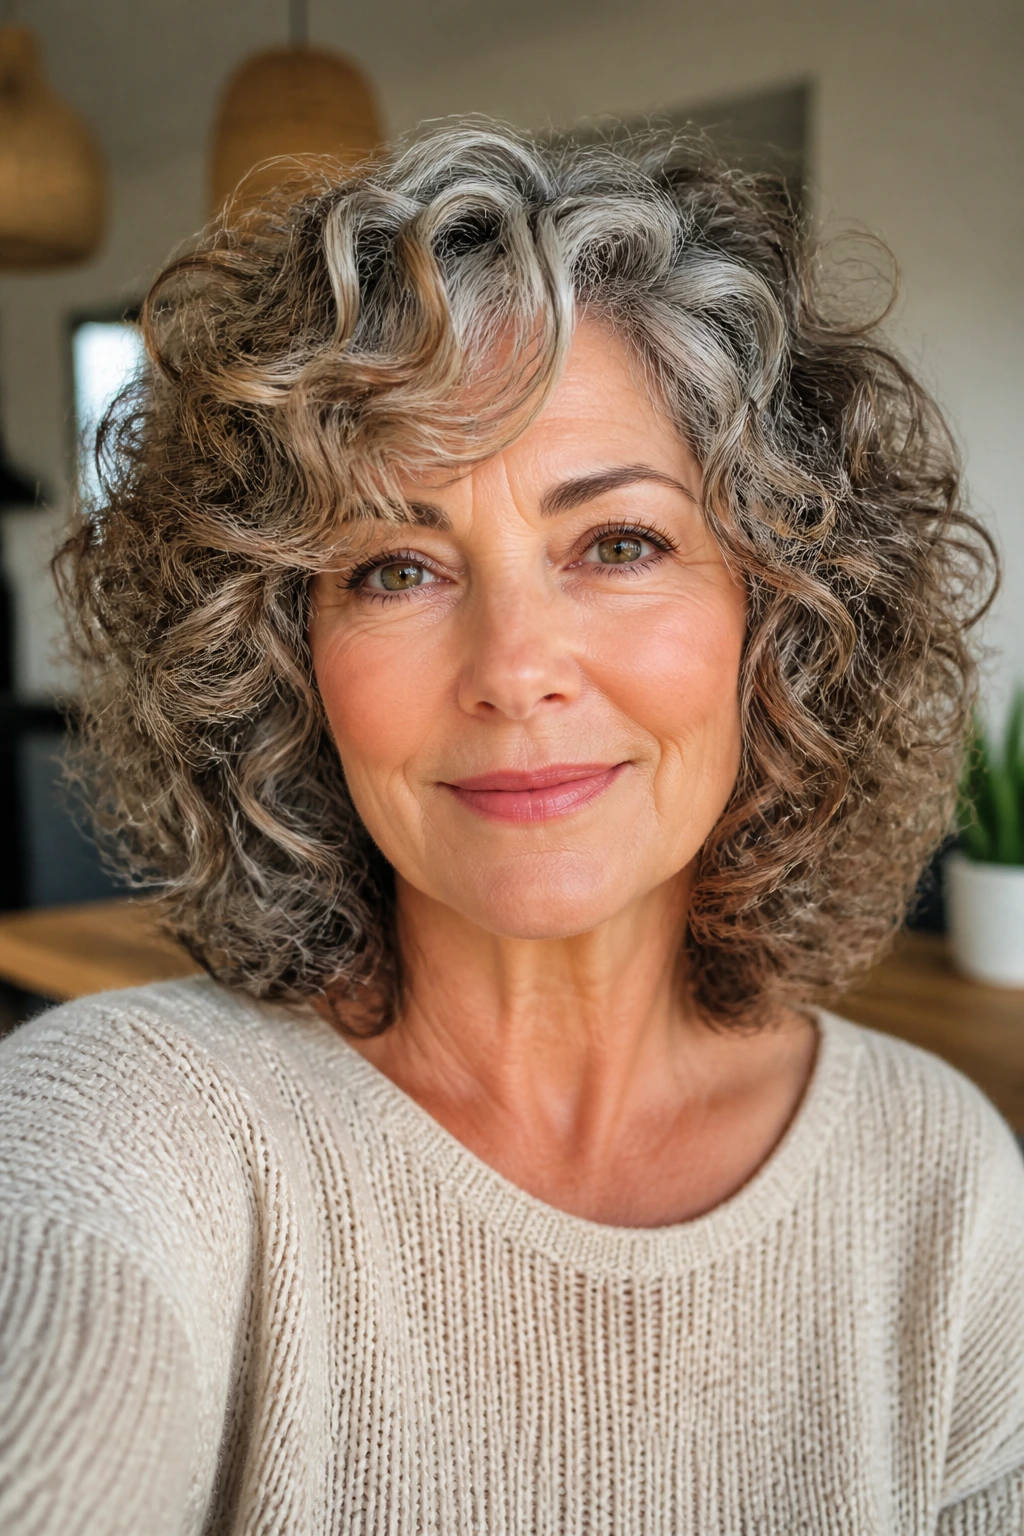
Curly hair needs layers that respect the curl pattern, not fight it. A medium cut with rounded layers lets the curls stack naturally instead of building into a triangle. That triangle shape is the one people complain about, and for good reason.
The best version keeps the layers long enough to preserve curl clumps. Short, choppy sections can split the curl and create frizz, especially around the face. Rounded layering gives the top some lift while letting the side sections drop in a soft arc.
What helps most
A diffuser on low heat. A leave-in that gives slip. A curl cream or gel with enough hold to keep the curl from expanding into fluff by afternoon. Those three things matter more than fancy cutting language.
If your curls are tighter, the stylist should cut with shrinkage in mind. If they’re looser, the front can carry a bit more length so the layers don’t spring up too high. Either way, the silhouette should look balanced from the front and the side.
A curly cut like this can look expensive even when it’s not styled to the hilt. That’s because the shape does the work.
9. Silver-First Layers That Let Gray Shine
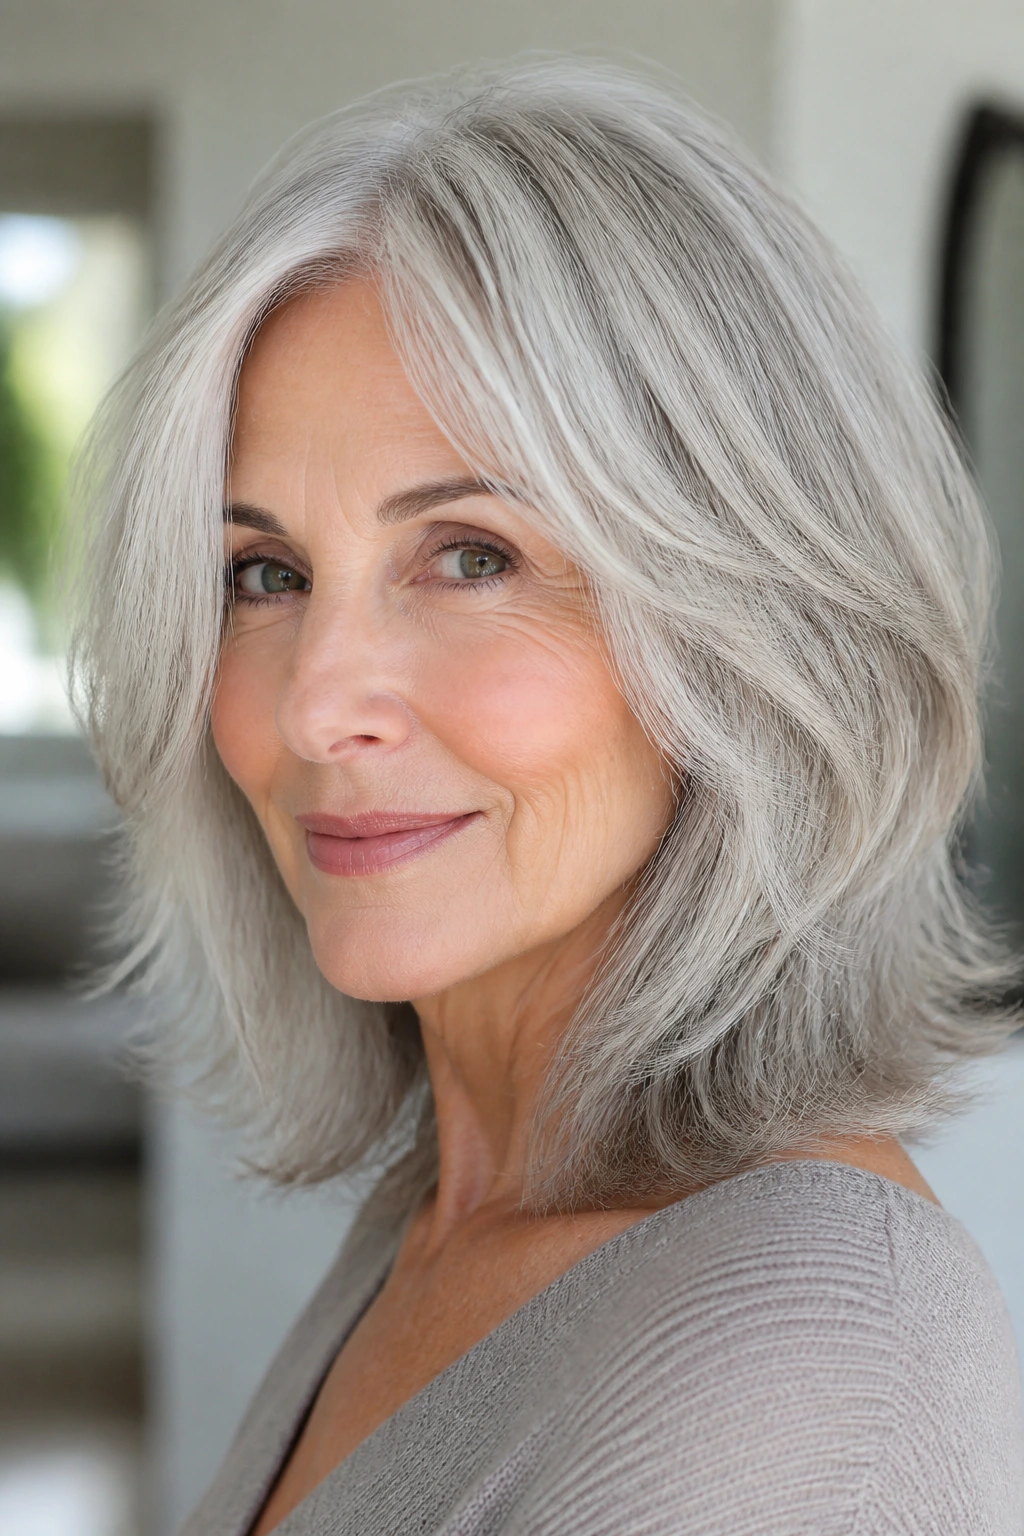
Silver and white hair often has a different texture from the hair you had before it went gray. It can be coarser, drier, or a little more stubborn around the ends. Layers help because they keep that texture from turning into a heavy sheet.
What I like here is a clean, soft shape with enough movement to show off the contrast in silver strands. Salt-and-pepper hair looks especially good when the layers are subtle but visible. The cut should feel tailored, not shredded.
Skip over-thinning if your gray hair is coarse. That’s a fast way to get frizz at the crown and fuzz around the face. A little shine serum at the ends and a good conditioning mask once a week usually do more for this style than extra texturizing ever could.
Best for: women who want to lean into gray or silver without making the cut look severe.
10. Flipped-Out Ends With Layers
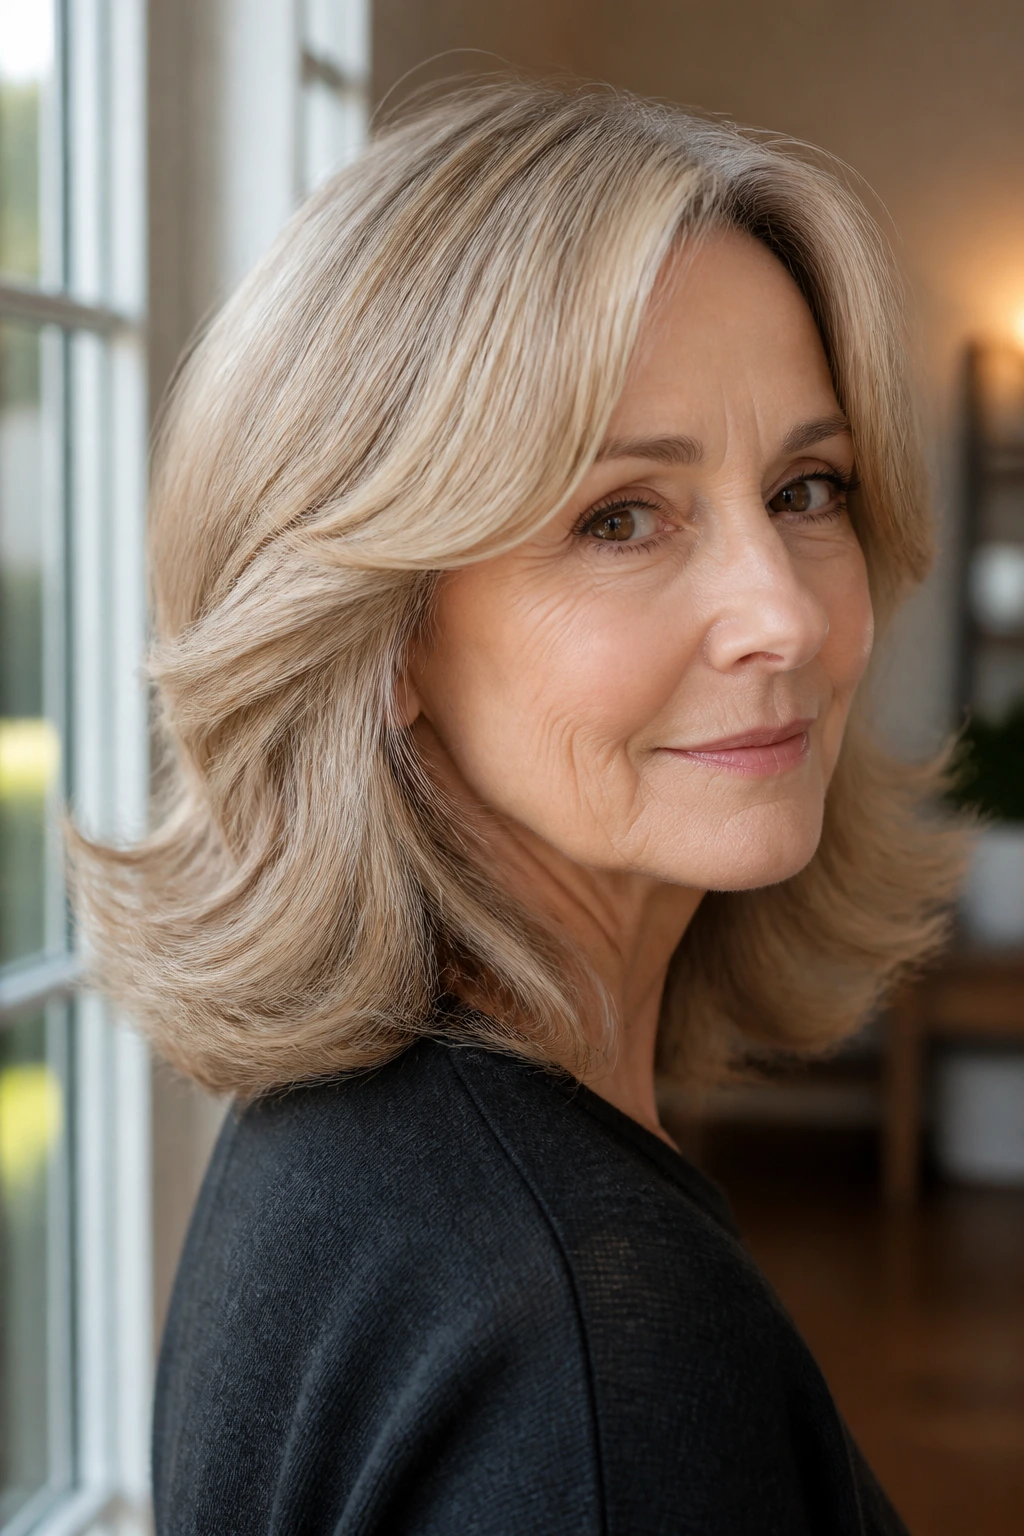
This one has a little retro energy, and I mean that in a good way. Flipped-out ends bring life to medium hair that otherwise wants to hang straight and heavy. The layers help the ends kick outward instead of sitting in one tired line.
The style works best when the layers are long enough to keep the body, but light enough that the ends can turn. A 1.5-inch round brush or a large barrel brush is usually enough. You’re not making curls. You’re making a bend.
A practical note
Flip-out ends look sharp with a side part, a tucked-back side, or a simple earring. They can make the whole cut feel more finished, especially if your hair tends to fall a bit flat after a few hours. That said, the flip should be soft. A hard, pageant-like curl at the bottom dates the cut fast.
A touch of heat protectant and a light spray wax or flexible hold spray is enough to keep the ends from collapsing. Heavy lacquer is too much.
11. Deep Side Sweep With a Long Face Frame
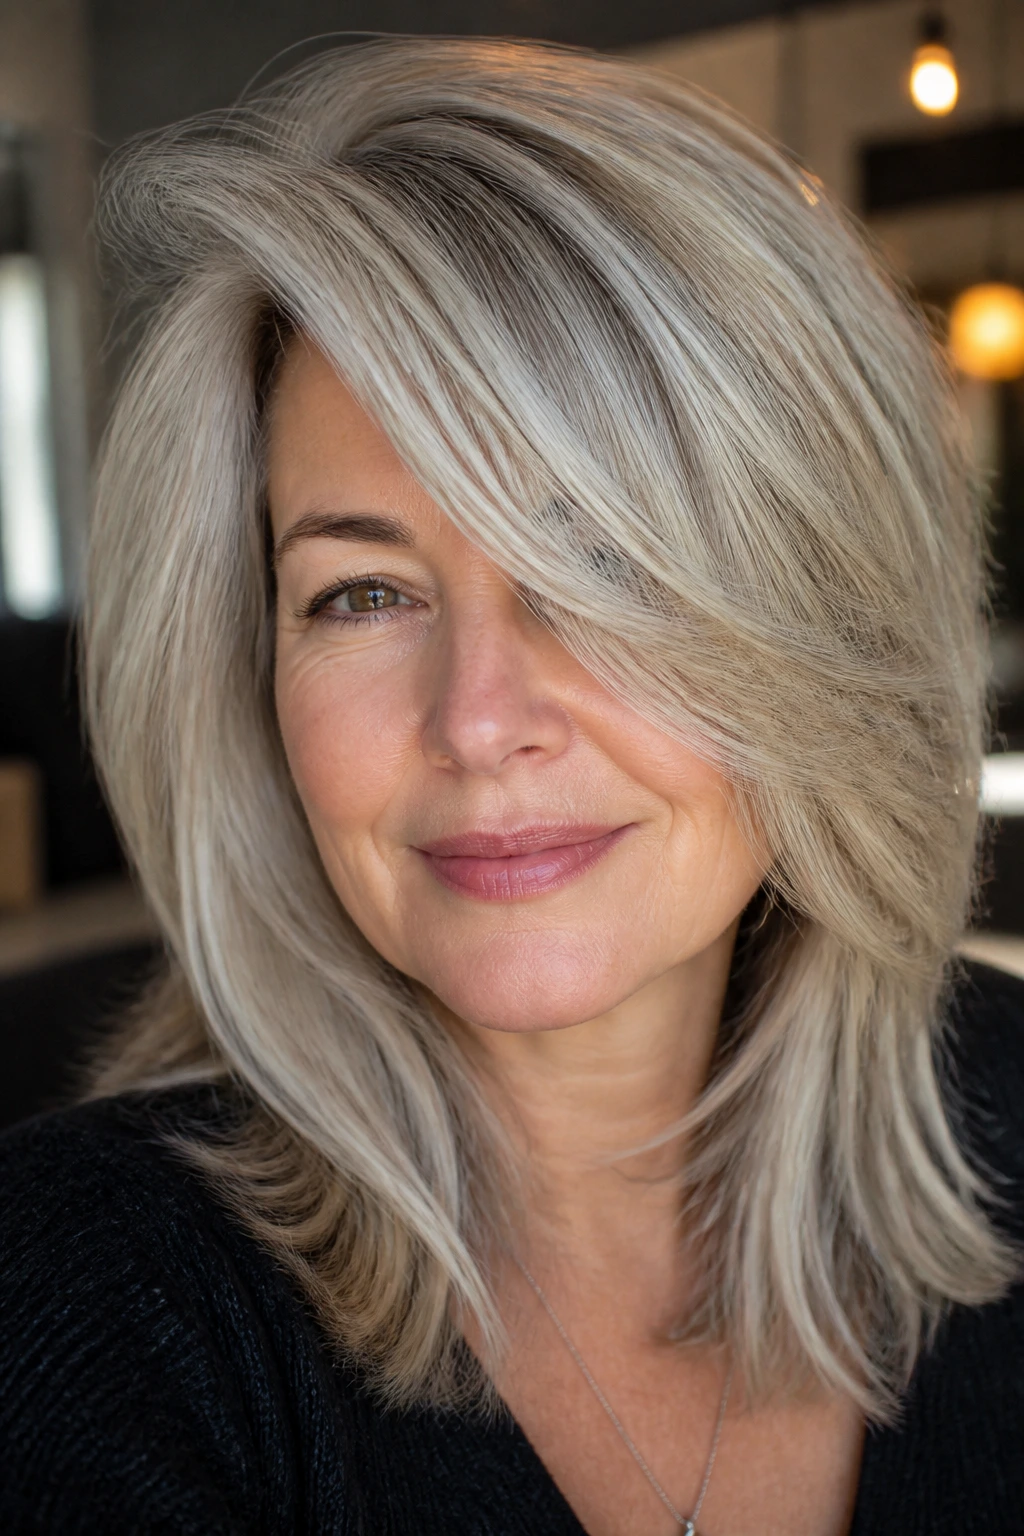
A deep side sweep can be a small change with a big effect. It shifts attention upward and diagonally, which softens the face and makes the layers feel more deliberate. If one side of your hair tends to behave better than the other, this is a clever way to work with it.
The long face frame is the important part. It should start below the cheekbone and taper into the rest of the layers so the cut doesn’t look like it has a separate front piece glued onto it. When the sweep is smooth, the hair moves like a single shape.
This style is useful if you wear statement glasses or earrings, because it leaves room around the face instead of crowding it. It also looks polished on days when you don’t have time to do much beyond a quick blow-dry.
One sentence here is enough: the diagonal line does a lot of quiet work.
12. Cheekbone-Skimming Layers
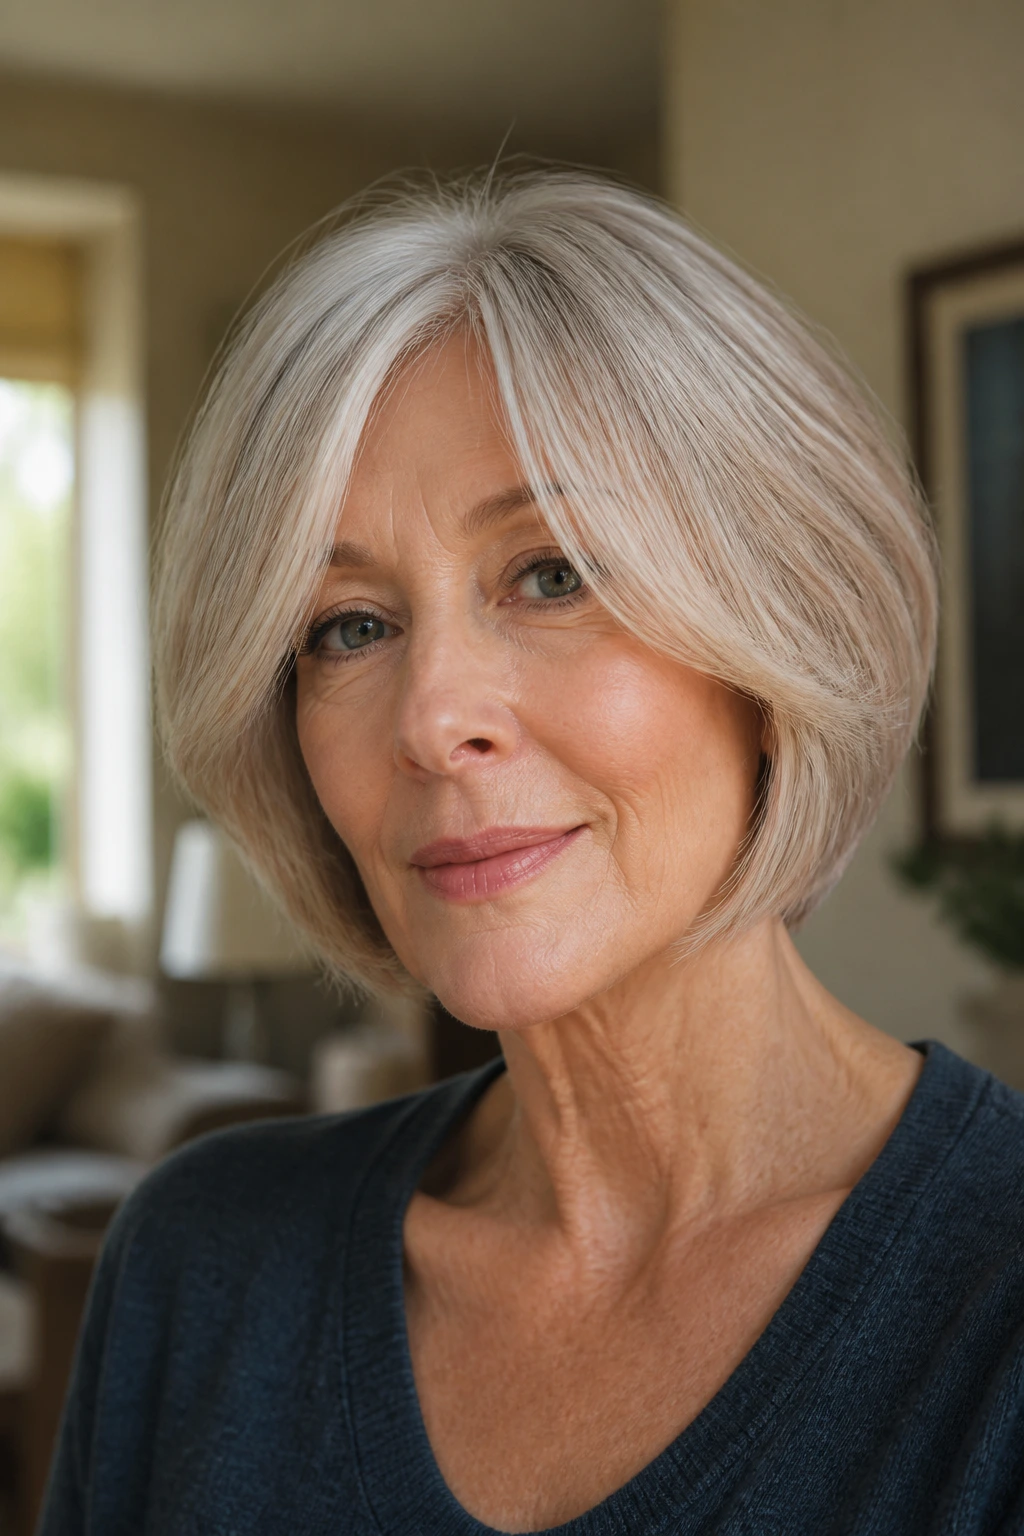
If you want the face to look a little more lifted without going short, layers that skim the cheekbone are worth a serious look. The shortest pieces sit where the bone naturally catches the eye, so the whole cut starts drawing attention upward instead of downward.
This cut is more precise than people expect. Too short, and the front looks busy. Too long, and you lose the lift. The sweet spot is usually a soft point around the cheekbone or just below it, with the rest of the layers tapering into the medium length.
Why it flatters
It works well on square faces because it softens the corners. It also helps round faces by adding a little vertical line through the front. And on longer faces, it keeps the cut from pulling the eye only downward.
Wear it smooth or with a loose wave. Both work. Just keep the front pieces moving so they don’t hang in a stiff line beside the jaw.
13. Lightly Stacked Layers at the Back
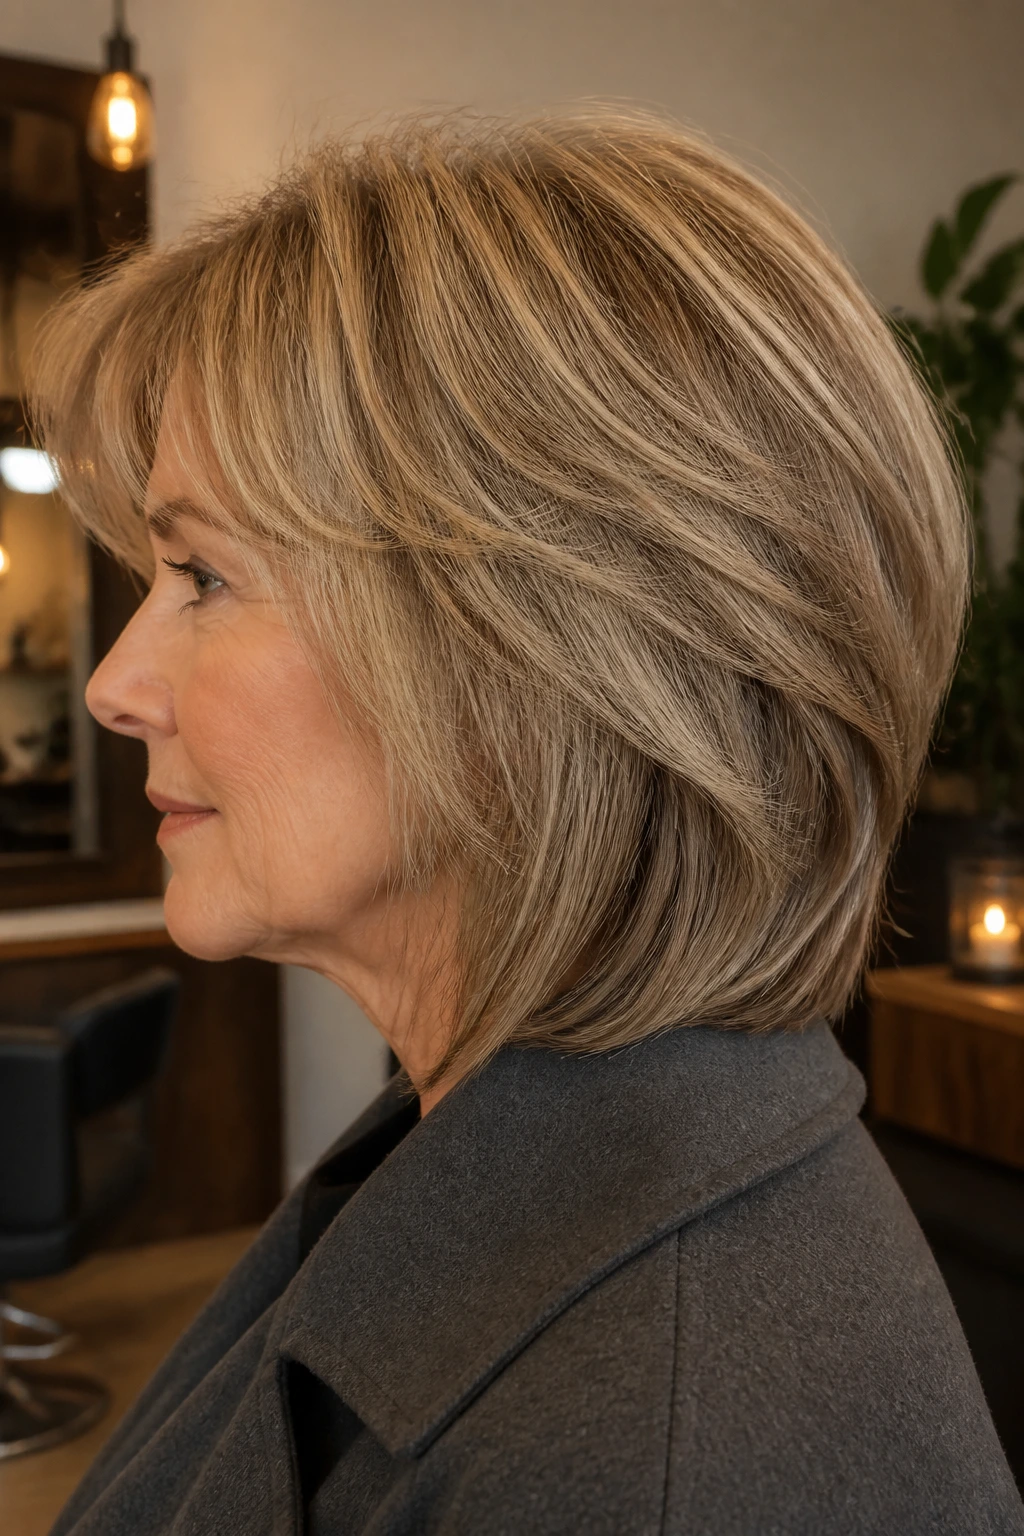
A lightly stacked back gives medium hair a better profile without turning it into a short bob. That’s the trick. You get a subtle lift at the nape and a cleaner line when you look at the cut from the side, but you still keep enough length to tuck or pin the front.
This shape is especially useful if the back of your hair tends to collapse against the neck. A little graduation there keeps the silhouette from going flat and helps the head look a touch more lifted. It also makes the cut sit better under a coat collar or scarf.
How to wear it
Blow-dry the back first, using a round brush to lift the roots slightly under. Then smooth the top over it. If you do it the other way around, the crown can go flat before the nape has a chance to shape itself.
Keep the stacking subtle. Too much graduation and you end up with a bob that feels shorter than you wanted. A light stack is enough.
14. Air-Dry Layers With Texture and Breathing Room
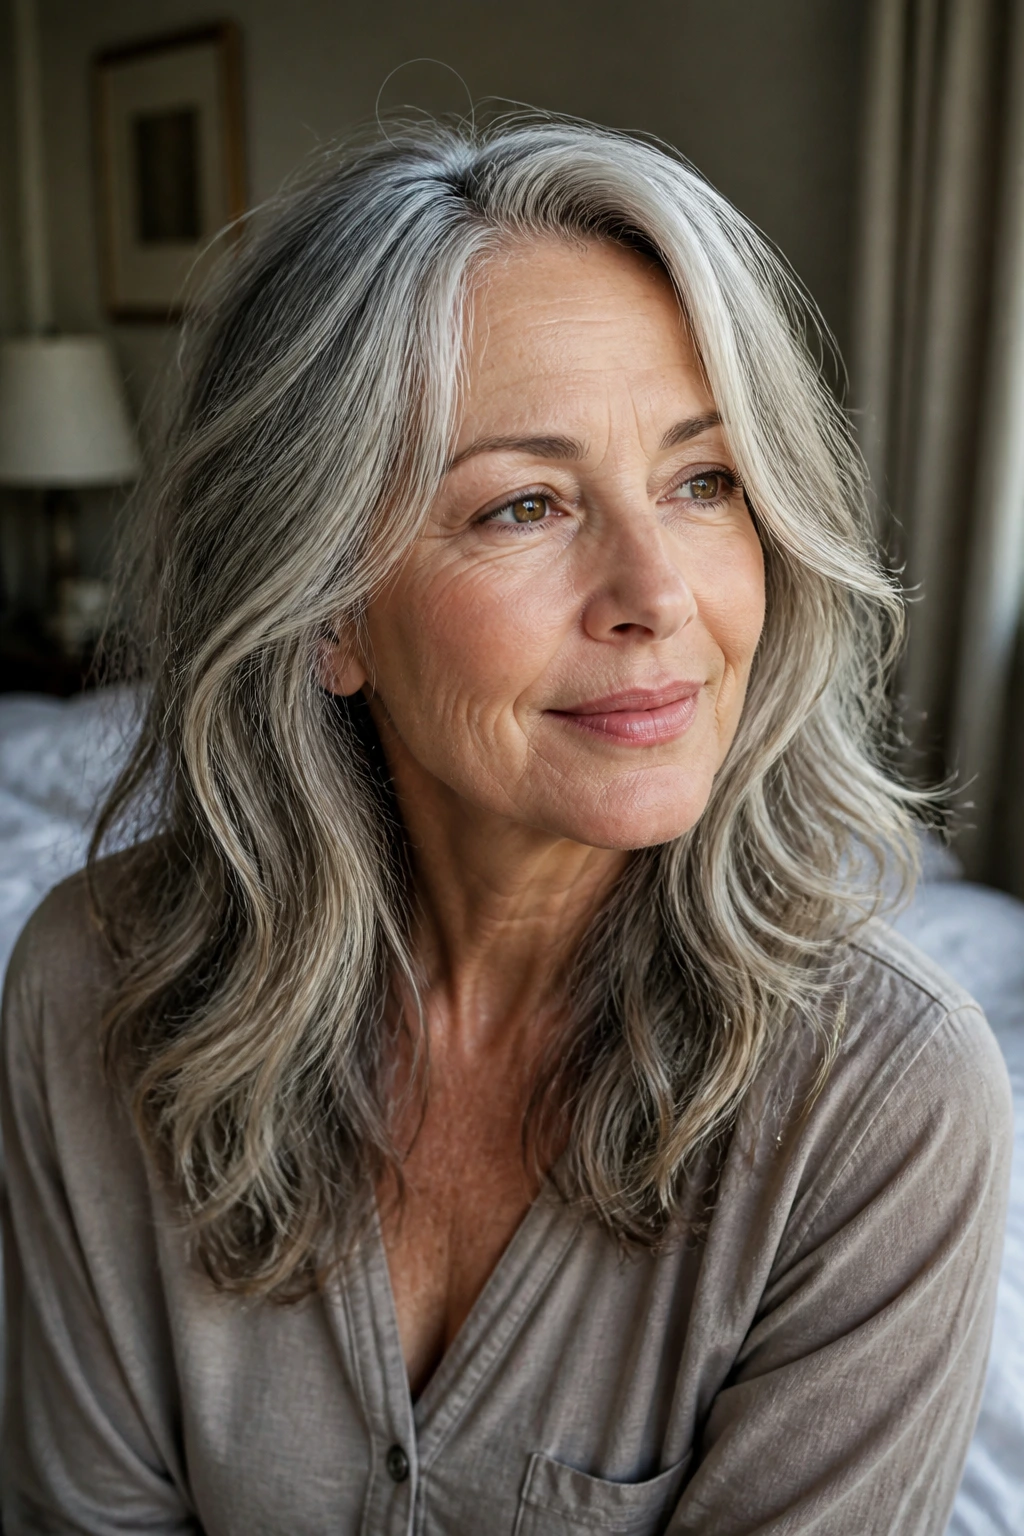
Not every haircut needs a full styling session to look decent. Air-dry layers are built for hair that already has a bit of wave or bend and just needs shape around the face and ends. The cut should feel open and easy, not polished to the point of stiffness.
The layers here are usually longer and softer, with enough internal movement to let the hair dry in a natural shape. I like this for anyone who hates hot tools or wants a cut that still looks sane if the morning gets interrupted.
Use a leave-in conditioner, a touch of cream or foam, and then leave the hair alone more than you fuss with it. If you keep touching damp hair, it gets frizzy and loses its pattern. That part is not glamorous, but it’s true.
A side part or a loose center part both work. The better choice is the one your cowlicks tolerate.
15. Smooth Blowout Layers
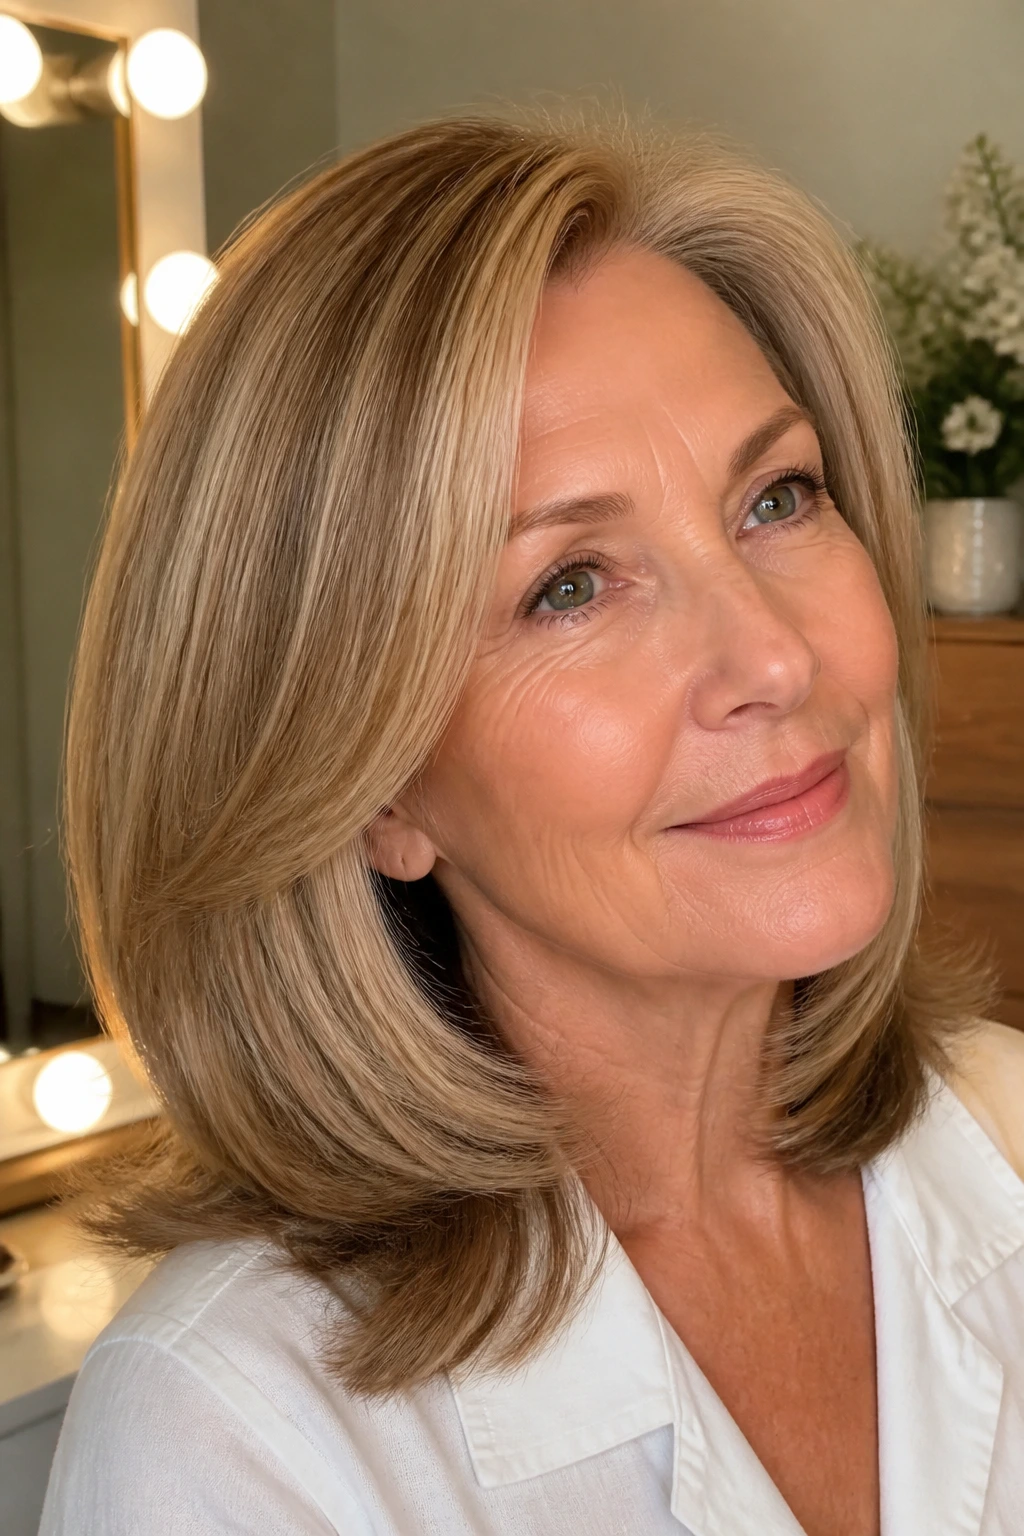
Smooth blowout layers are for days when you want the hair to look fuller, not bigger. The layers give movement, but the styling keeps the surface sleek and controlled. This is the cut that looks especially good with a little shine through the ends and a soft bend under the chin.
The styling formula is old-school because it works: heat protectant, root lift, round brush, and a cool shot at the end. Large sections keep the finish smooth. Tiny sections make the blowout look overworked.
Best results come from this
Pre-drying the roots about 80 percent before you start shaping the ends. If the hair is too wet, you’ll be fighting it forever. If it’s too dry, the brush won’t guide it cleanly.
Velcro rollers can help at the crown while you do makeup or get dressed. They’re not fussy. They just hold the lift long enough for the shape to set.
16. Razored Layers for Extra Swing
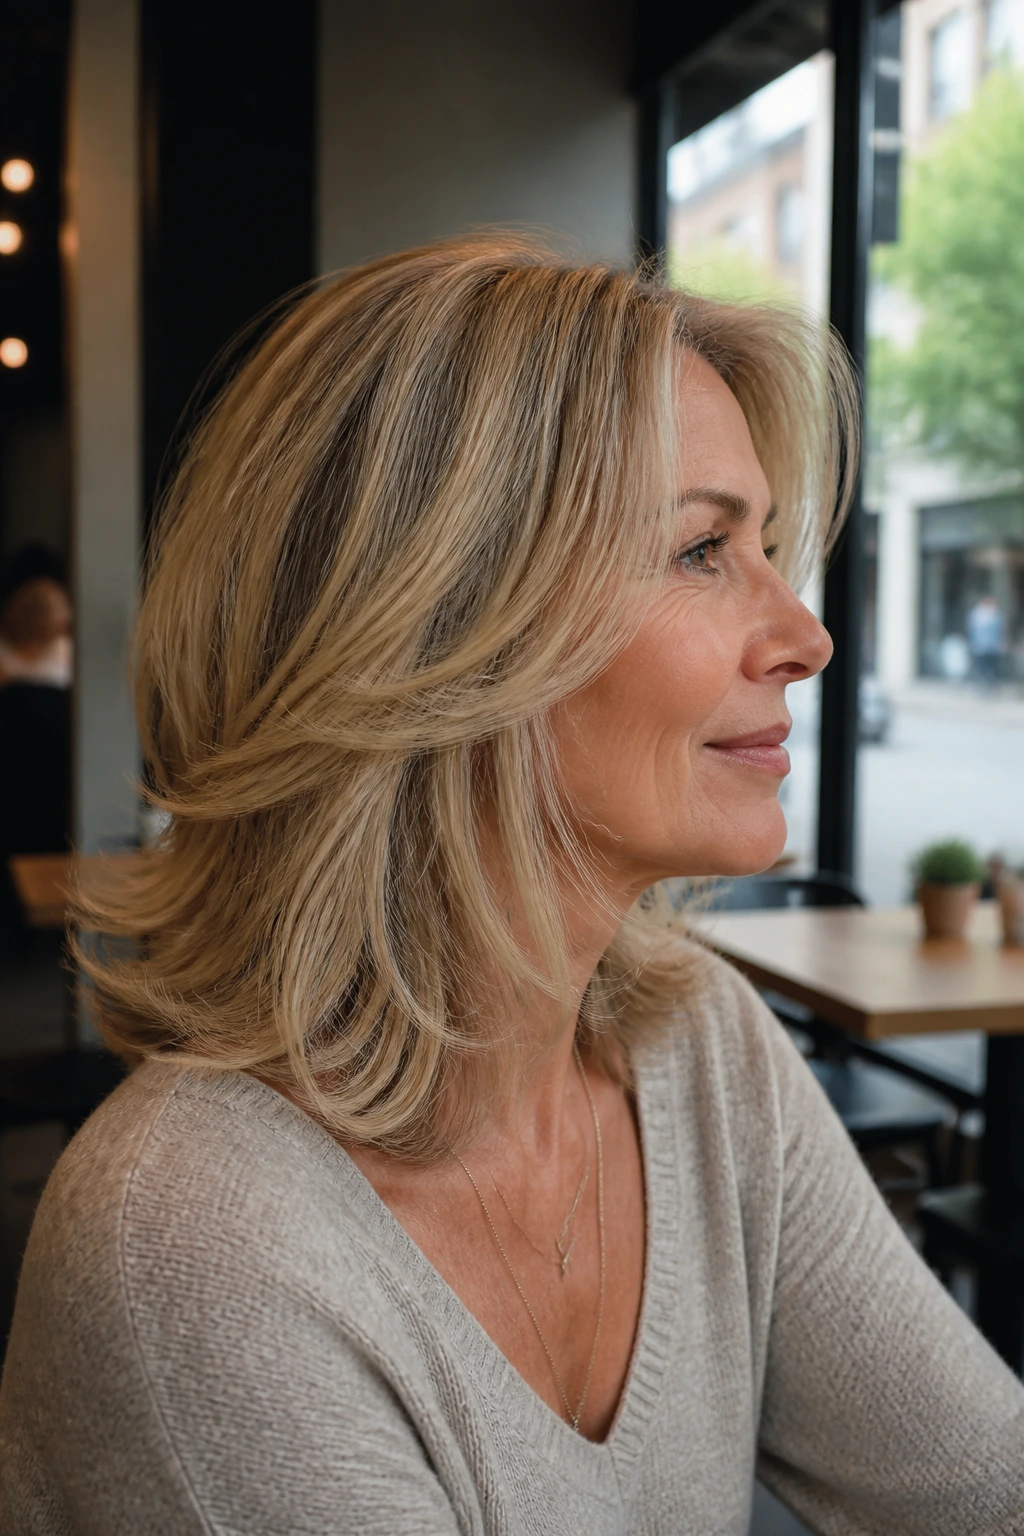
Razored layers can be beautiful on medium hair, but only when they’re done with restraint. The point is to create swing and separation, not to chew up the ends. On the right head of hair, a little razor work makes the layers feel lighter and more fluid.
This approach suits hair that’s dense, slightly coarse, or resistant to movement. A straight scissor cut can leave those strands feeling blocky. Razor detailing softens the edge and helps the cut bend instead of sitting like a thick slab.
Still, there’s a catch. Fragile ends, very fine hair, and damaged gray hair can look frayed if the razor is used too aggressively. If that sounds like your texture, keep the blade out of the conversation and stick with soft scissors and point cutting.
The result, when it works, is a cut that swings when you walk. That little motion is the whole reason people ask about it.
17. The Collarbone Lob That Grows Out Gracefully

If you want one layered medium cut that won’t make a fuss every six weeks, this is the one I’d put at the top of the list. The collarbone lob sits in that useful zone where the hair still feels substantial, but the layers can move and the shape can breathe. It’s the haircut equivalent of a well-made jacket.
The face frame should stay soft, the perimeter should stay clean, and the layers should be long enough that they don’t shout at you while they grow. That gives you room to live with the cut, not manage it every day. Tuck it, wave it, blow it out, or let it fall naturally. It handles all four.
This shape is also kind to busy mornings. A quick brush, a little spray, and you’re fine. Not perfect. Fine. Which is often better.
If you want one style that feels balanced rather than dramatic, this is the safest bet in the best possible sense.
Why Medium Layers Work So Well Once Hair Changes Texture
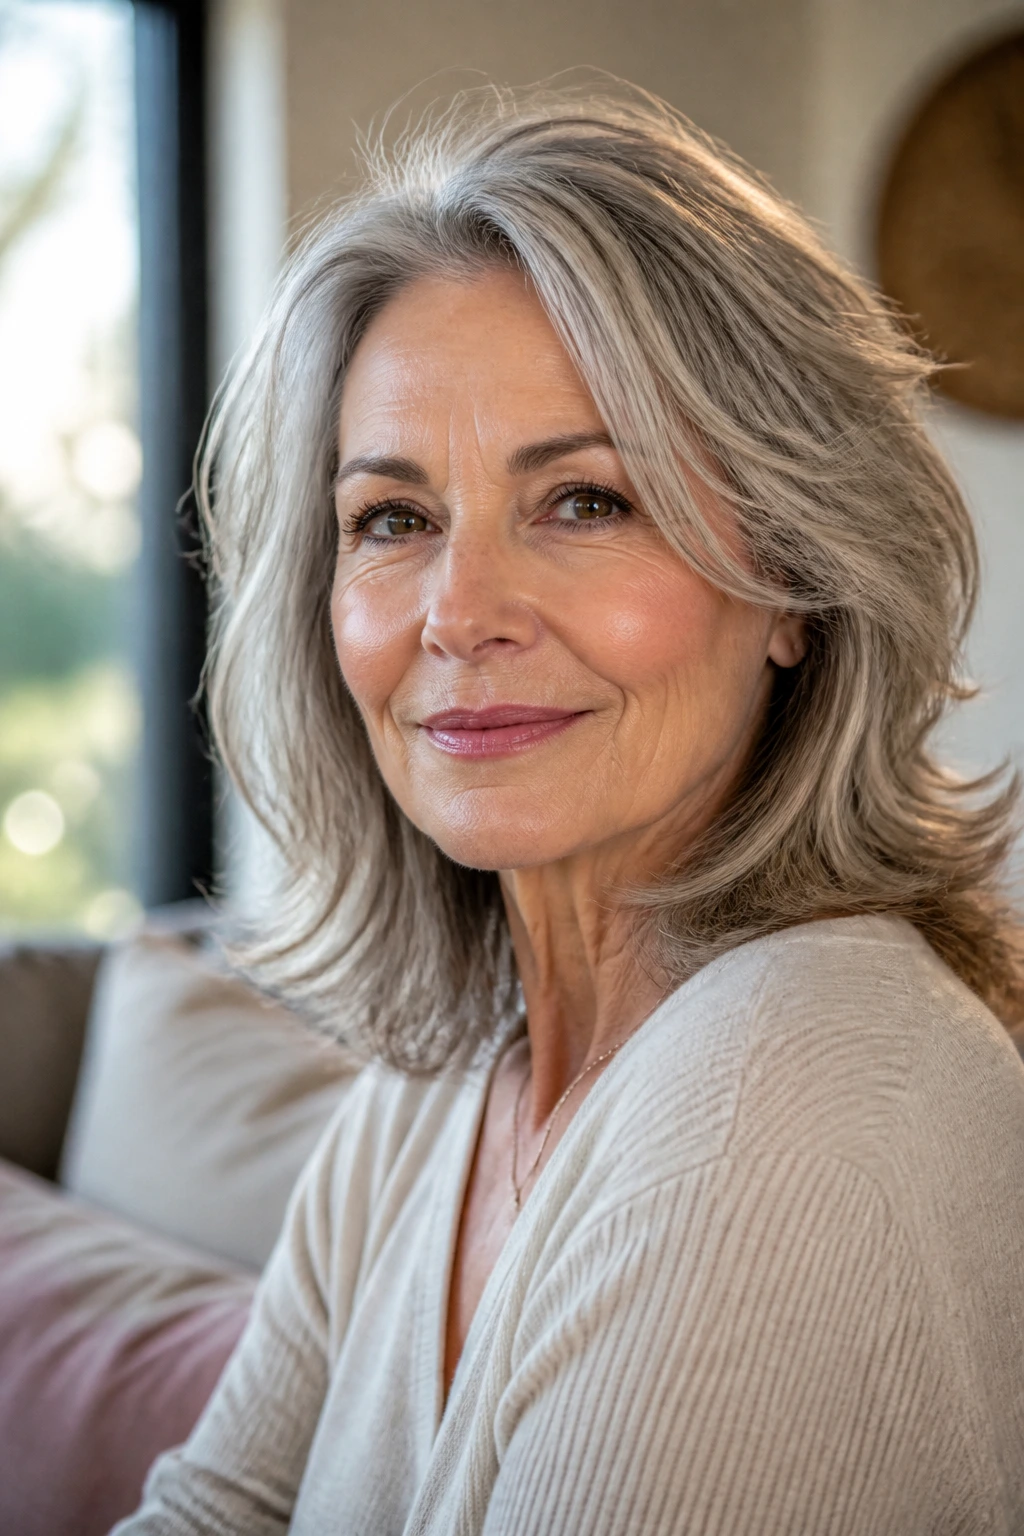
Hair after 60 is rarely the same hair you had at 35. The strands may be finer in some places and coarser in others. The crown may be a touch flatter. Gray hairs may pop up with more wire and less silk. Medium layers help because they let a stylist shape all of that without fighting the head.
A blunt cut keeps all the weight in one place. That can be nice on thick, dense hair, but it often turns medium-length hair into a box once the top starts to thin. Layers break that box. They give the top a little lift, the sides a little movement, and the ends a little freedom to sit where they want.
The best layered cuts also leave options open. You can tuck them behind the ears and show off earrings. You can wear them with glasses. You can air-dry them on a rushed morning or round-brush them on a day when you want a cleaner finish. That flexibility matters more than fancy salon language.
How to Talk to Your Stylist Before the First Snip
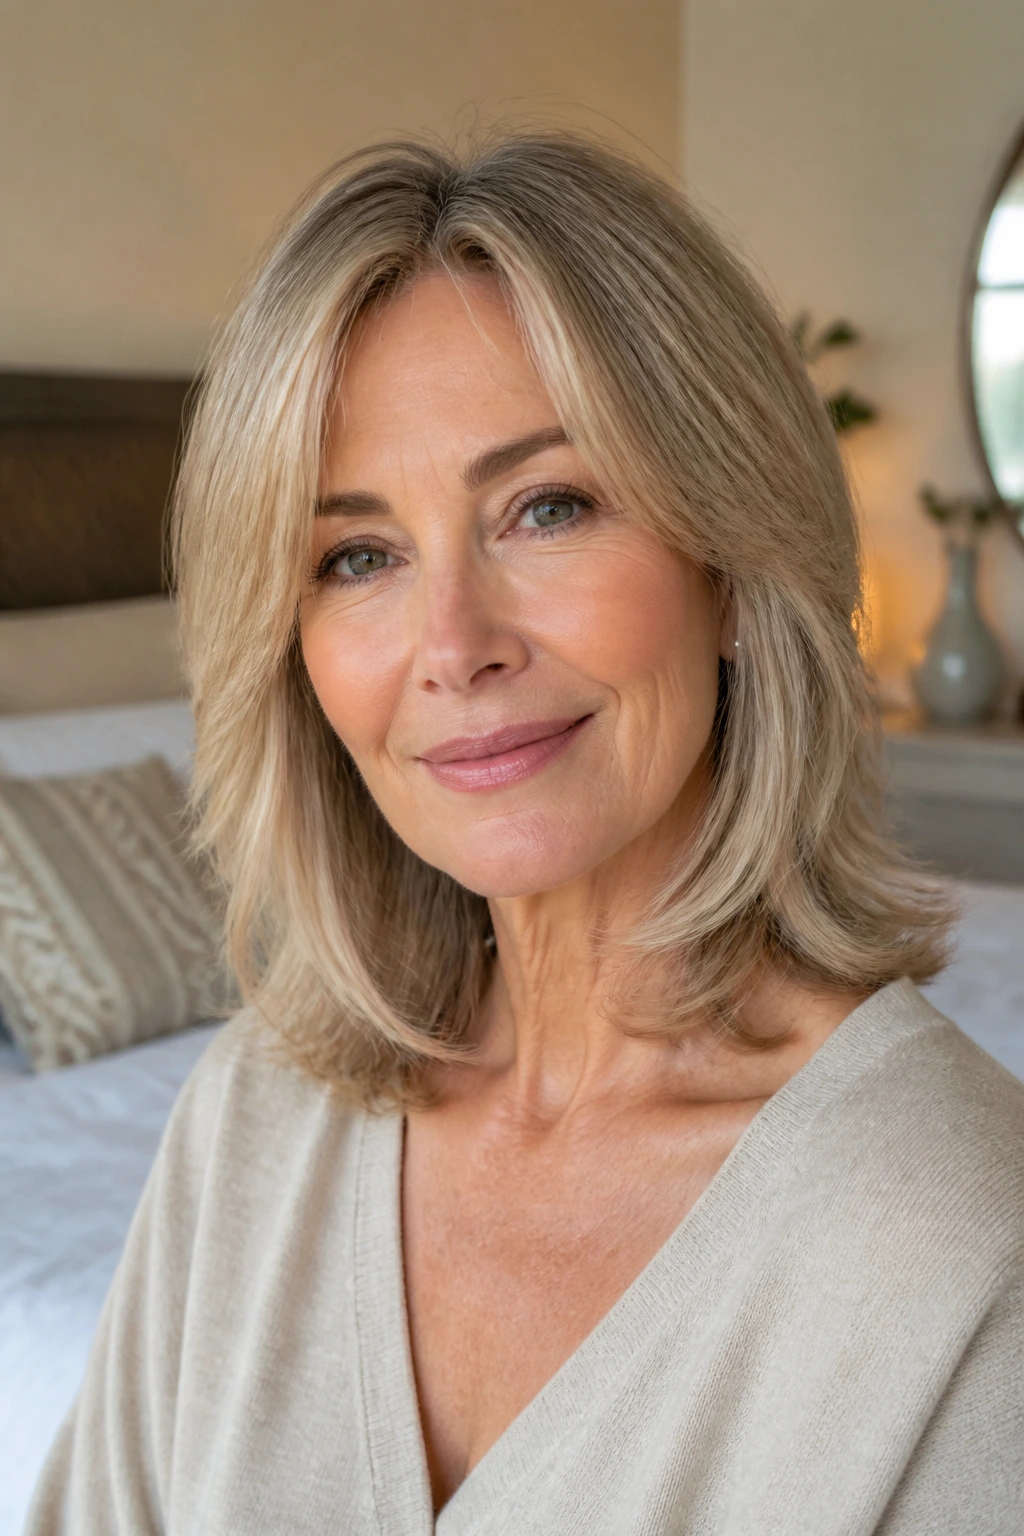
Bring photos, but bring the right kind. A photo should show length, movement, and face framing. It should not just show a pretty head of hair in perfect lighting. If you can’t explain what you like about the picture, the picture won’t help much.
Tell your stylist how much time you actually spend styling. Ten minutes and thirty minutes are two different haircuts. If you want to air-dry most days, say so. If you use a round brush, say that too. A cut that relies on a salon blowout will disappoint you if you never recreate the finish at home.
Length cue: point to where you want the hair to land — collarbone, shoulder, or just above the shoulder. That matters more than saying “medium.”
Density cue: explain whether your hair feels flat, full, or too wide. A good stylist will shift the layers differently for each one.
Face cue: mention glasses, cowlicks, a long forehead, or a neck you like to keep visible. Those details shape the haircut faster than any vague request.
Tools That Make Layered Medium Hair Easier to Style
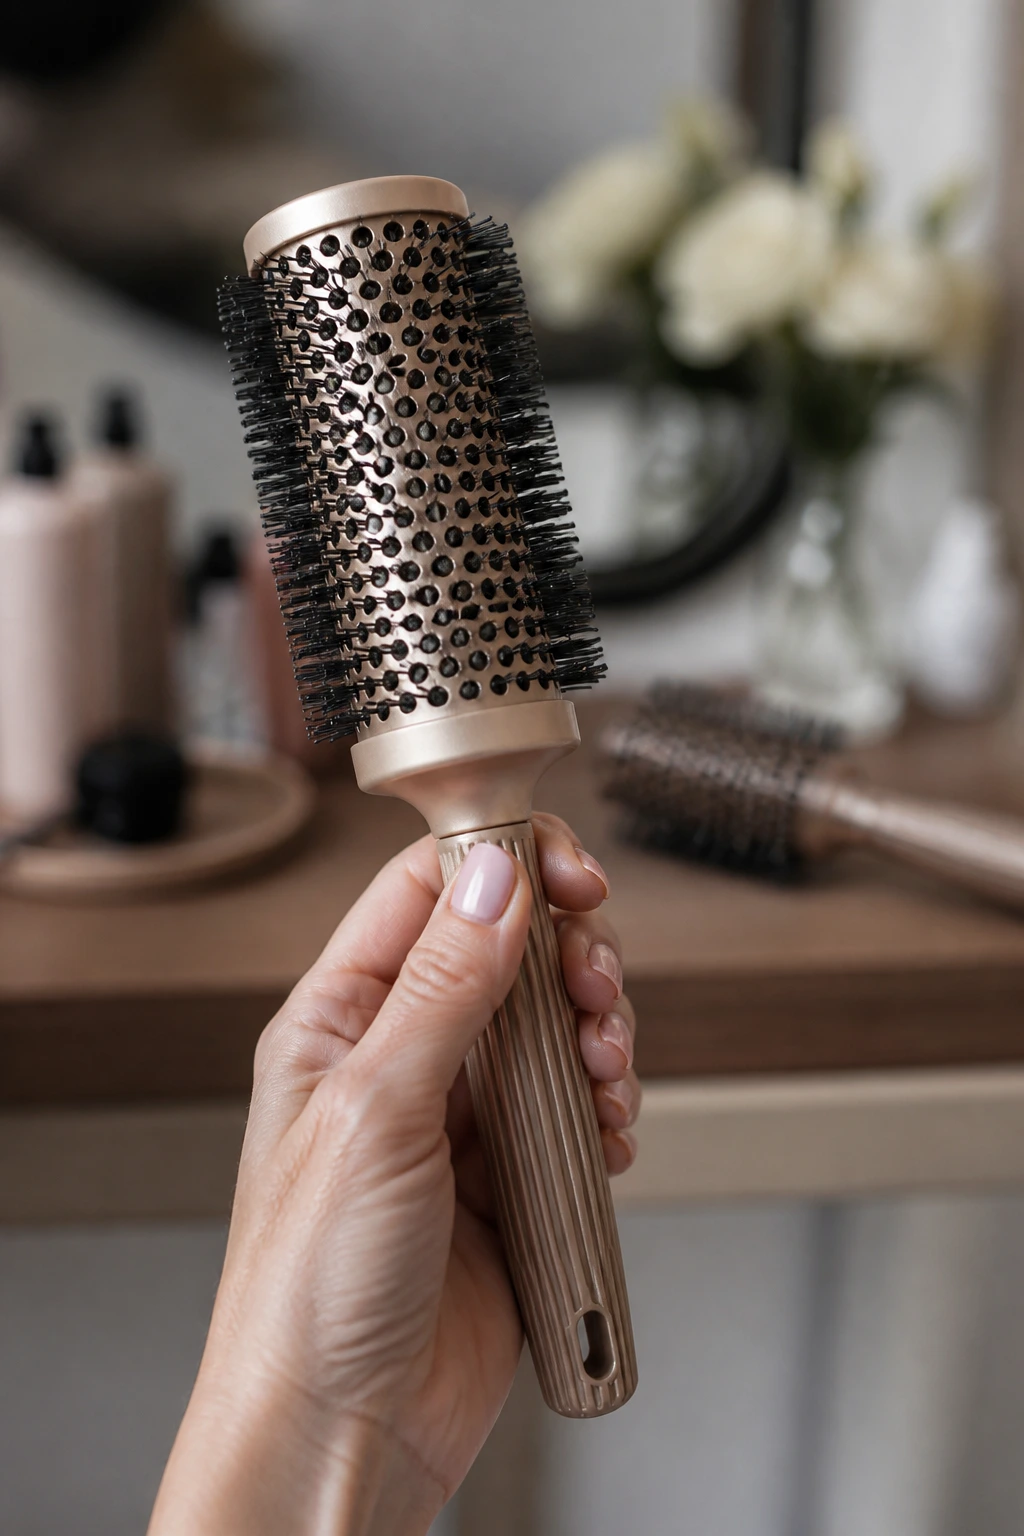
- Blow dryer with a concentrator nozzle: This narrows the airflow and gives you control around the crown, bangs, and face frame.
- 1 to 1.5-inch round brush: A medium brush adds bend without over-curling the ends.
- Vent brush: Good for rough-drying roots fast when you want lift and speed.
- Wide-tooth comb: Useful for distributing product through wet waves or curls without pulling them apart.
- Sectioning clips: Keep the top and front sections out of the way while you work.
- Diffuser attachment: Helps curly or wavy layers dry with less frizz and more shape.
- Velcro rollers: Handy for crown lift and face framing when you want extra body.
- Heat protectant spray: A non-negotiable if you use a dryer, iron, or hot brush.
- Tail comb: Nice for creating a clean side part or lifting the roots in narrow sections.
- Paddle brush: Best for smoothing thicker hair without forcing too much bend into it.
Product Picks That Actually Match the Hair You Have
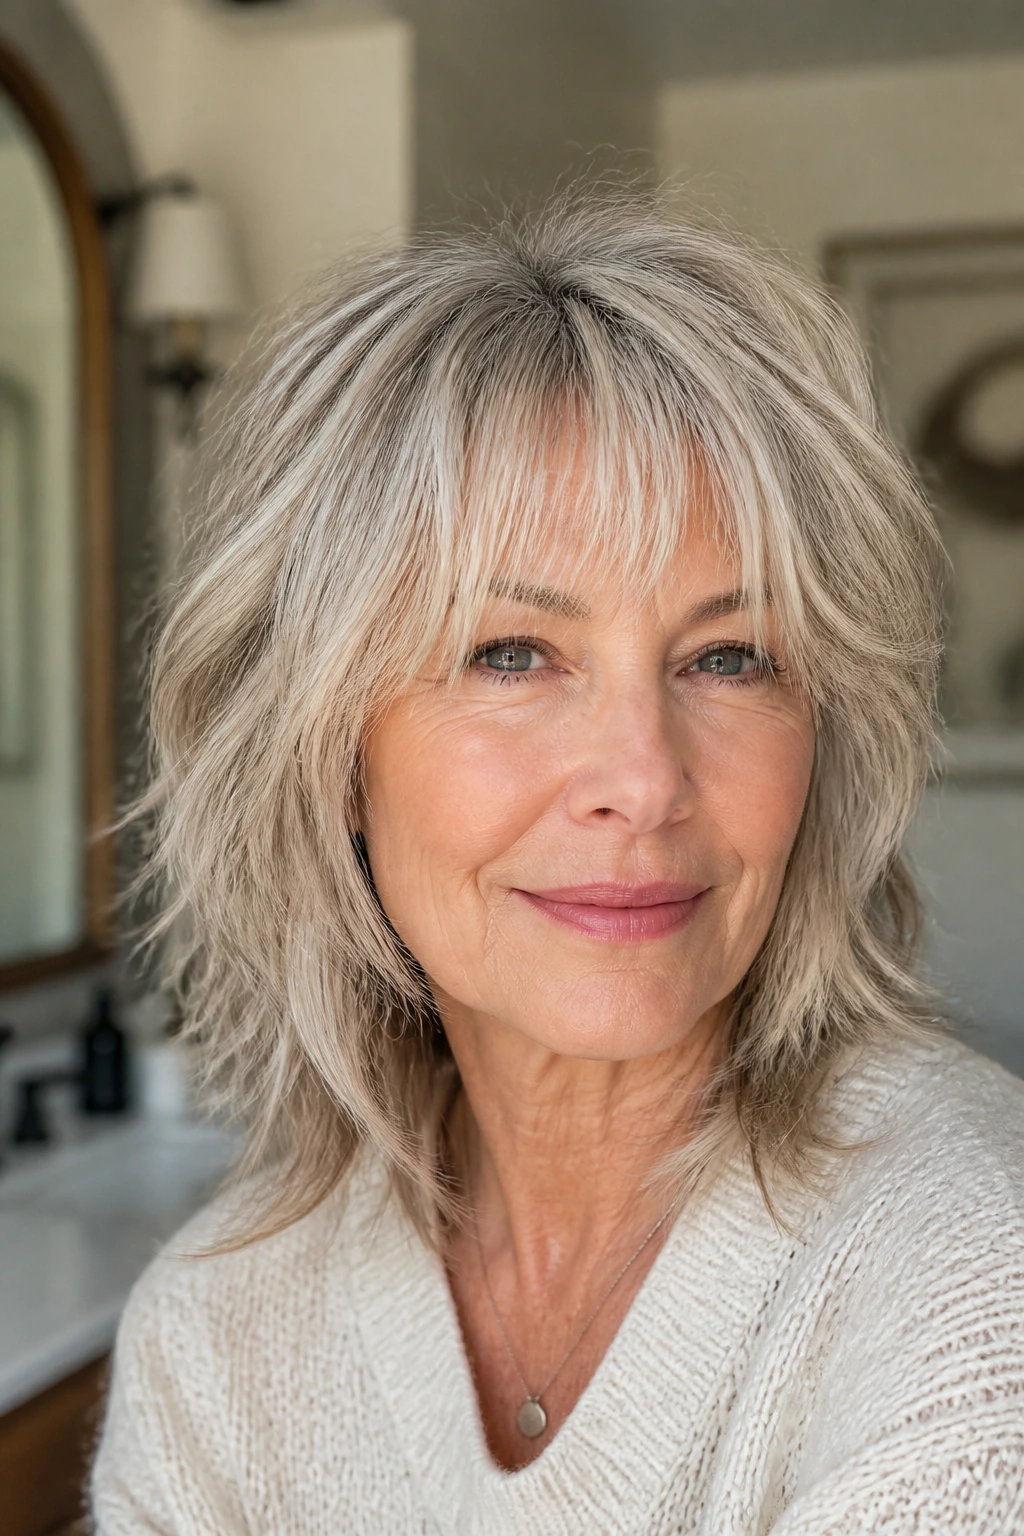
Fine hair usually likes lightweight mousse, root lift spray, and a flexible finishing spray. Heavy creams can drag it down by noon, which is frustrating when the cut itself has good shape. If your hair is fine but dry, use a small amount of lotion-like leave-in just on the ends, not all over.
Thicker hair often wants a smoothing cream, a little serum, and sometimes a leave-in conditioner before blow-drying. That doesn’t mean loading the hair with product. It means giving the cut enough slip so it can be shaped without puffing up. Too much, though, and the layers turn limp. That’s the line to watch.
Gray or silver hair often benefits from a soft glossing serum and a richer conditioner once a week. Purple shampoo can help if brassiness shows up, but don’t overdo it. Gray hair can dry out quickly, and dry silver hair loses that clean, bright look that makes layered cuts stand out.
Curly and wavy hair usually does best with a curl cream, a gel or foam with real hold, and a leave-in that makes the strands feel slick before they dry. If the product disappears into the hair and leaves nothing behind, it probably won’t hold the layers together.
How to Style Layered Medium Hair Without Fighting It
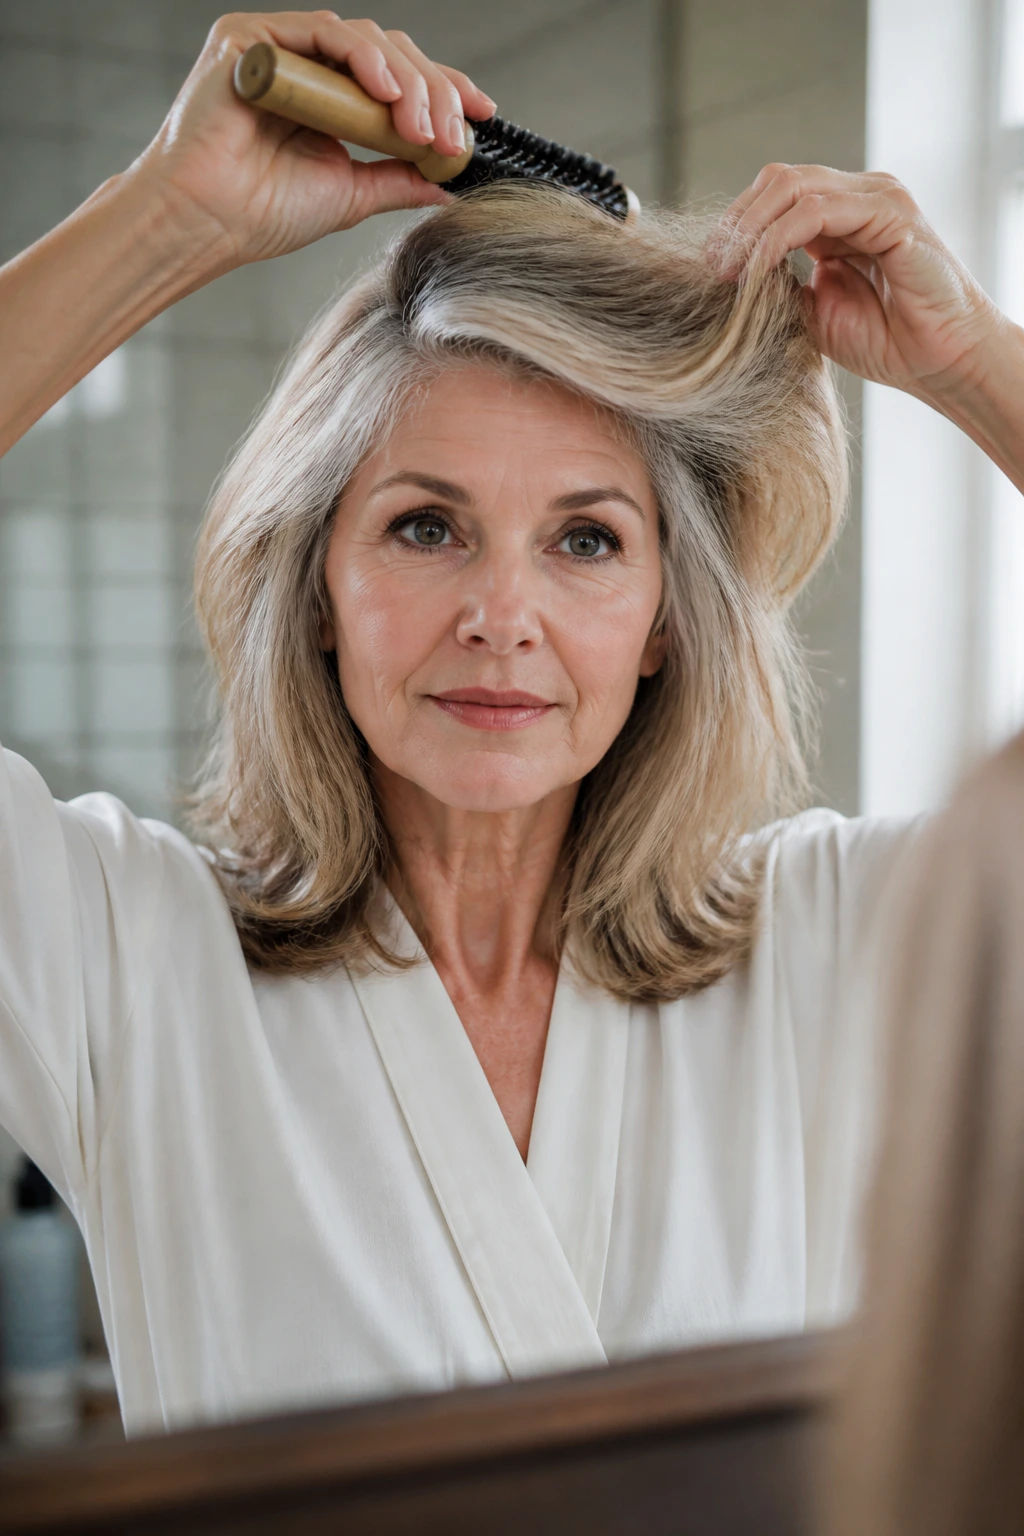
A layered medium cut looks best when the styling follows the haircut instead of forcing it into a shape it doesn’t want. Start at the roots. They matter more than the ends. If the crown is flat, the whole cut looks tired even if the bottom is freshly brushed.
For a blowout, rough-dry about 80 percent first, then work in sections with a round brush. Roll the front away from the face and lift the crown straight up before letting it cool. The cooling part is not optional. Warm hair will sag if you skip it.
For an air-dry routine, work in a leave-in and a small amount of mousse or wave cream, then scrunch or twist the front pieces so they dry with shape. Do not keep combing them as they dry. That’s how you get fluff instead of pattern.
For curls, apply product while the hair is soaking wet, not half dry. Then use a diffuser on low heat and low speed. High heat can make the top frizz before the curl has time to set.
Mistakes That Flatten or Frizz the Shape
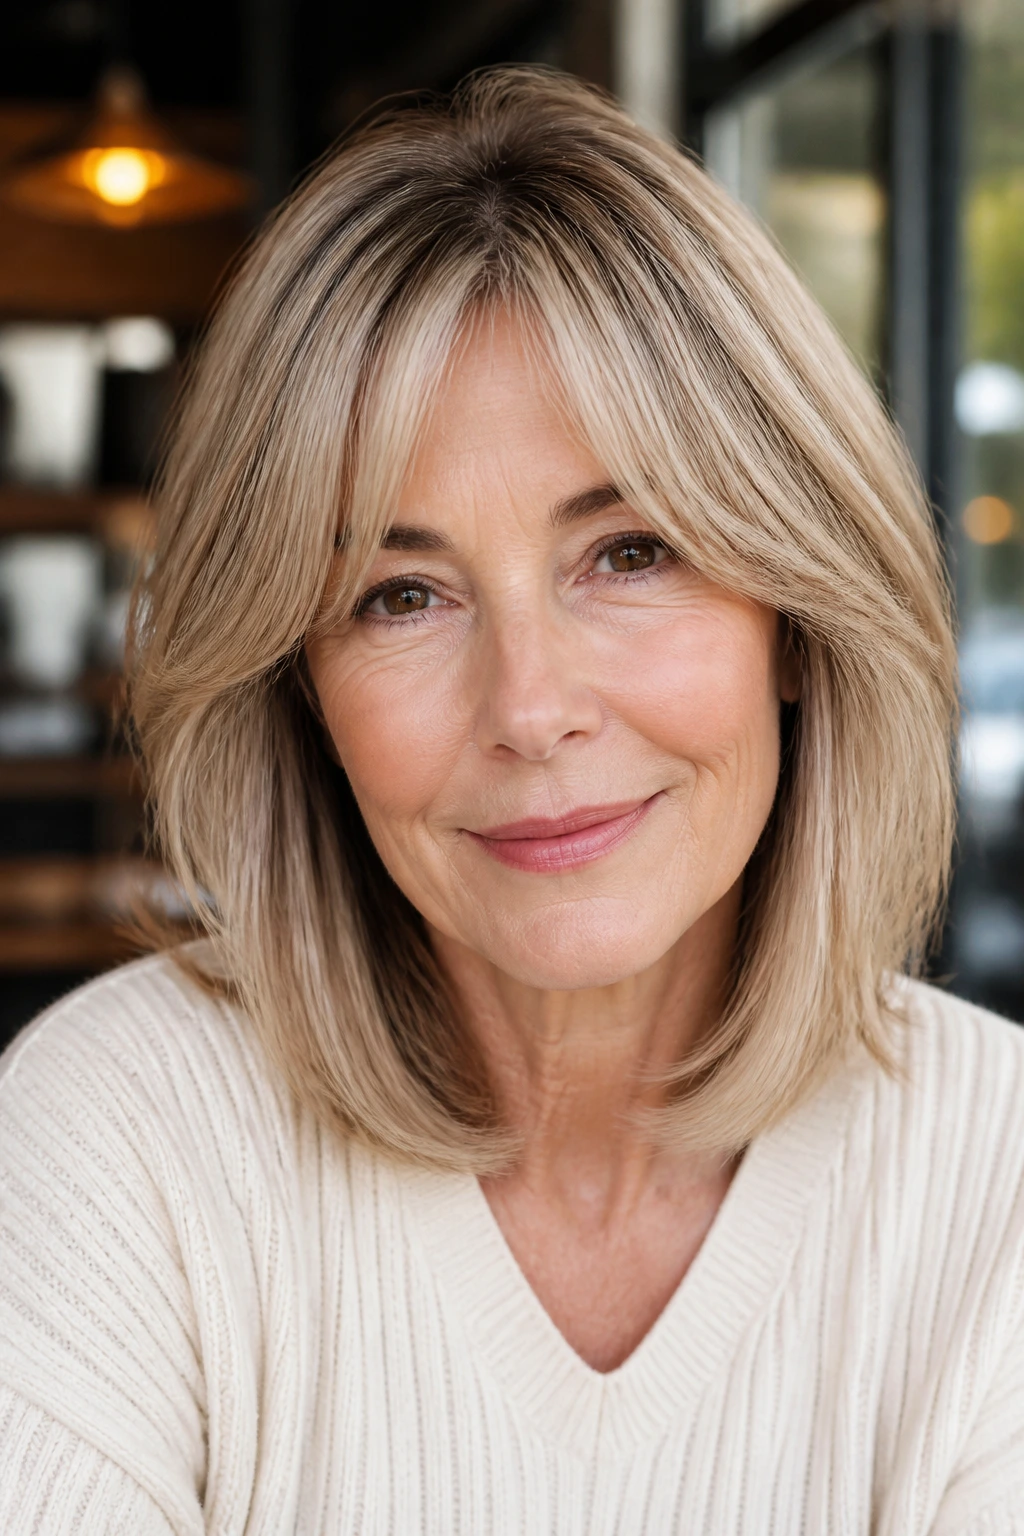
Too much short layering at the crown: The hair can puff up on top and look thin at the ends. Keep the shortest pieces lower if your density is already dropping.
Over-thinning thick hair: It may feel lighter in the chair, but it can grow into a fuzzy halo in a week. Ask for bulk removal inside the shape, not all over the surface.
Using heavy cream on fine hair: The cut loses lift and sits flat against the head. Use mousse or a root spray instead, and keep cream only on the ends if they need it.
Cutting the front too short: Face-framing pieces that sit above the cheekbone can feel dated fast and get annoying with glasses. A longer frame usually wears better.
Skipping trims for too long: Layers grow out into one another and the shape starts to blur. The cut doesn’t fall apart, but it stops doing the job you paid for.
Blowing the hair dry without direction: If every section dries in a different direction, the finished cut looks puffy and scattered. Pick the movement you want before the hair sets.
Variations and Adjustments to Try
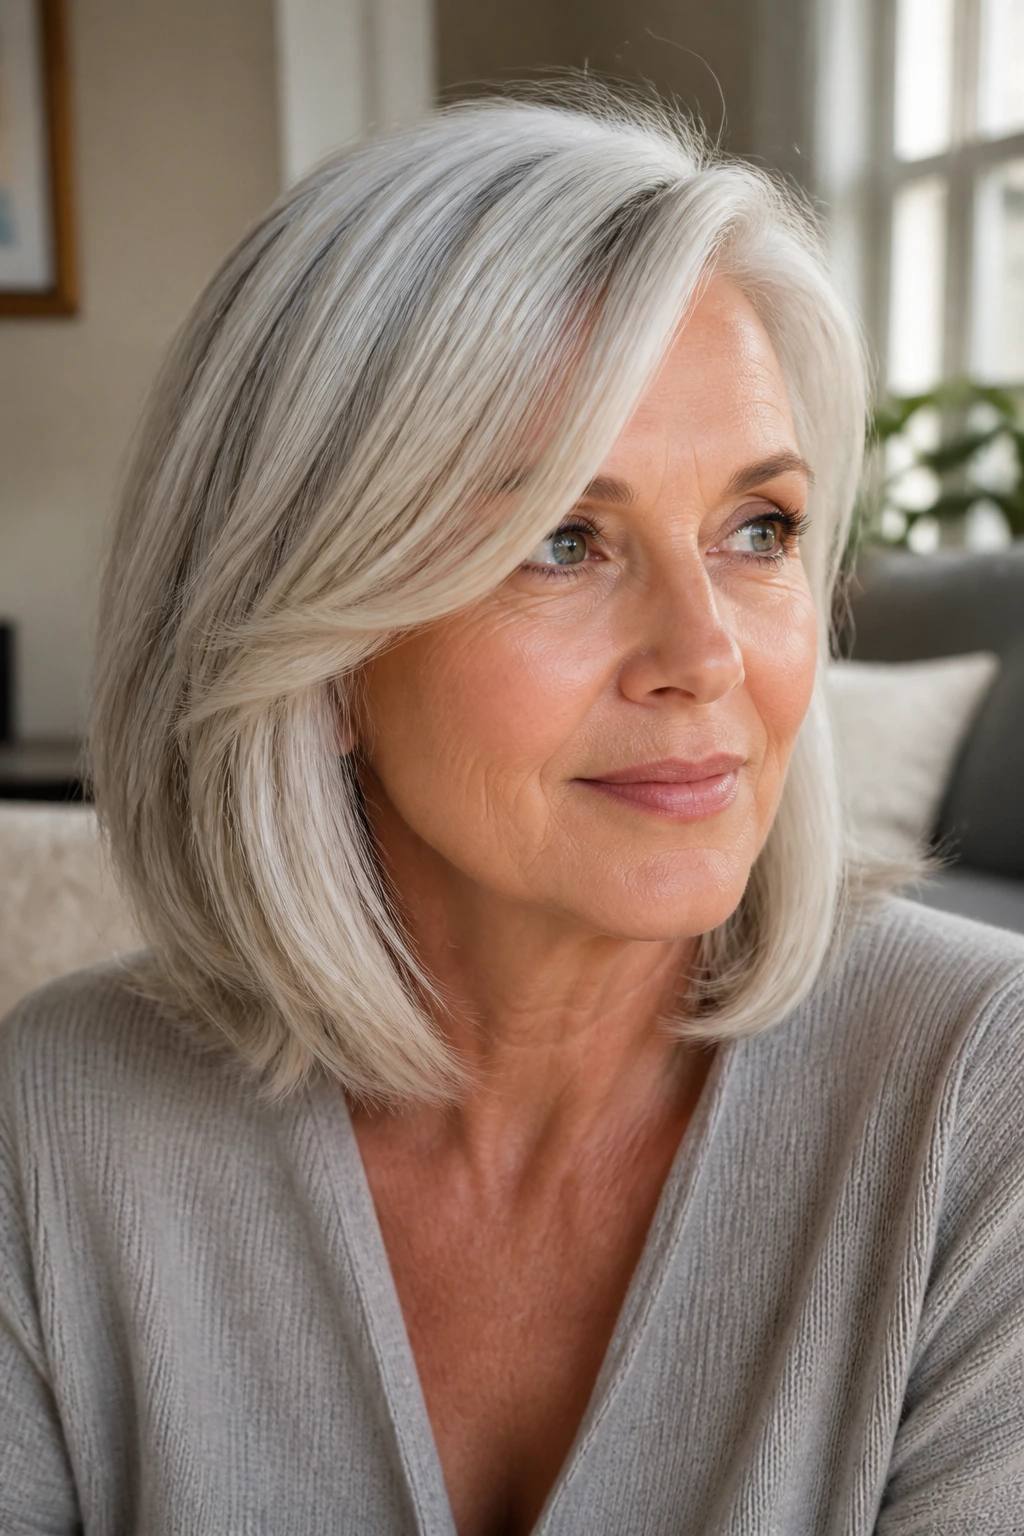
Soft Silver Sweep: Keep the perimeter collarbone-length and add a long sweep through the front. This looks especially good if your hair is gray or white and you want the color to show in clean, bright panels.
Fine Hair Lift: Use longer layers, a slightly blunt bottom line, and a side part. This keeps the hair from turning stringy while still giving it the lift it needs.
Thick Hair Air-Lite: Ask for internal weight removal below the crown and a face frame that starts low. This keeps the shape breathable without chopping the surface to pieces.
Curly Halo: Keep the layers rounded and let the curl pattern create the outline. The goal is a soft halo shape, not a triangle, and that usually means leaving the top a little longer.
Low-Maintenance Lob: Choose a collarbone cut with soft face framing and no hard fringe. It grows out cleanly, holds behind the ears, and doesn’t need constant rescue work.
Trim Schedule, Washing, and Day-to-Day Care
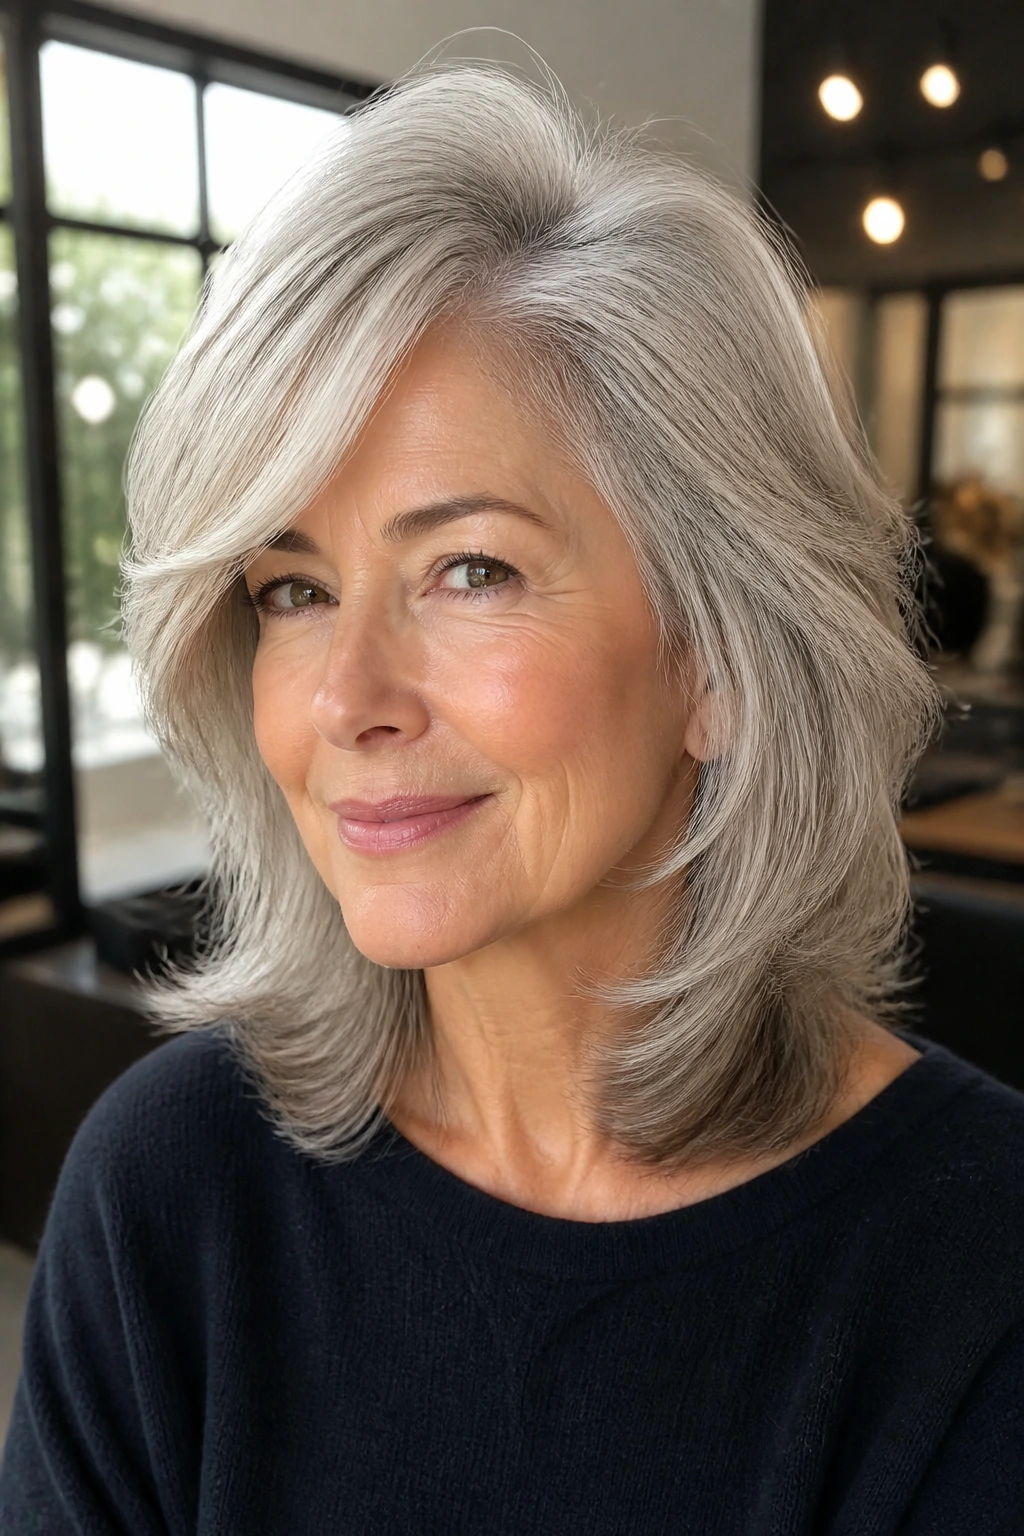
Layered medium hair usually looks its best with trims every 6 to 8 weeks. If you wear bangs or a stronger fringe, 4 to 6 weeks is safer. Wait too long and the layers start to merge in a way that makes the shape feel stale, even if the haircut technically still looks long enough.
Wash frequency depends more on texture than age. Fine hair can need washing every 1 to 2 days because oils show fast at the root. Dry, coarse, or gray hair often does better with fewer washes and a richer conditioner. A layered cut is forgiving, but it still needs the right moisture balance or the ends get fuzzy.
On the second day, a little dry shampoo at the roots and a quick blast with the dryer can bring back lift. On the third day, a damp brush and a touch of leave-in on the ends can smooth things out. If you sleep on a silk or satin pillowcase, the layers keep their bend longer and the ends snag less.
If your cut starts flipping in weird directions, that’s usually a sign that the shape needs a refresh, not a whole new haircut. A clean dusting and a small adjustment around the front can fix a lot.
Questions People Ask Before They Sit in the Chair

Will layers make fine hair look thinner?
Not if they’re cut well. Long, blended layers with a solid perimeter can add movement without stealing density, but short choppy layers can leave fine hair looking see-through.
Are curtain bangs hard to live with?
They’re easier than blunt bangs, but they still need some styling. If you’re willing to blow-dry the front for a minute or two, they usually settle better than people expect.
Can curly hair handle medium layers?
Yes, and it often needs them. The trick is cutting with shrinkage and curl pattern in mind so the shape stays round instead of widening into a triangle.
What if my hair is gray and coarse?
Keep the layers soft and the ends well-conditioned. Coarse gray hair can look frizzy if it’s cut too aggressively, so a cleaner shape usually wins.
How do I grow out a layered cut without looking awkward?
Ask for long layers that blend into the perimeter. That way the haircut still looks intentional as it grows, instead of turning into two different shapes.
Should I choose a side part or a center part?
Pick the part that gives you the most lift and keeps the hair from flattening at the crown. For many people, a soft off-center part is the easiest middle ground.
Can I still tuck my hair behind my ears?
Absolutely. In fact, a good medium layered cut should still let you tuck, pin, or clip the sides without wrecking the whole shape.
What if the cut flips out in the wrong direction?
That usually means the layer angle is off or the brush work is fighting the cut. A stylist can soften the angle at the ends, and at home a round brush will usually tame it.
A Shape That Keeps Moving

Medium length hair with layers over 60 works because it gives hair a job to do. It lifts where hair wants to collapse, softens where hair wants to sit hard, and leaves enough length to feel like yours. That last part matters. The best haircut is never the loudest one in the room.
If you bring a clear idea of your texture, your part, and how much time you’ll actually spend styling, the right layered medium cut becomes surprisingly easy to wear. Not flawless. Easy. And that’s the better promise anyway.
