



Straight hair can look plain when it’s left alone. Give it a clean part, a blunt edge, and a little controlled shine, though, and it starts reading like a choice instead of a default. Long straight hairstyles do that better than almost any other hair look: they turn length into a line, and that line changes the whole face.
The annoying part is that the good versions are picky. A half-inch too much layering, a frayed end, or a part that sits just a little crooked can make the whole style feel tired. Long hair shows everything. The upside is that it also rewards precision in a way shorter cuts can’t, especially when you want something polished without spending an hour wrestling with curls or waves that refuse to stay put.
A style like this is never just “hair down.” It’s the shape of the hemline, the direction of the part, where the front pieces land, and how much weight stays at the ends. Those small decisions are what keep sleek hair from collapsing into flatness, and they’re the reason the best long straight hairstyles still look good when you’re standing under bad office lighting or stepping out of a car with the windows half-open.
Why These Styles Work So Well
Sharp lines do the heavy lifting. Long straight hair looks polished when the eye gets one clear shape to follow, whether that’s a blunt cut, a center part, or a tucked front section that frames the jaw in one clean sweep.
Length gives the style room to matter. A short straight cut can disappear into the rest of a look, but long hair creates a visible column of shine that reads from across the room.
The finish can be quiet. You do not need helmet hair or a pile of spray. Most of these looks work with a flat iron, a blow-dryer nozzle, and one good smoothing product used sparingly.
They move between settings without much effort. A sleek style can look right with a blazer, a knit top, a satin dress, or a plain white tee, which is more useful than people admit.
The right cut keeps them from going limp. Blunt ends, soft face-framing pieces, and invisible layers each solve a different problem, so the style can stay long without looking stringy.
1. Mirror-Straight Center Part
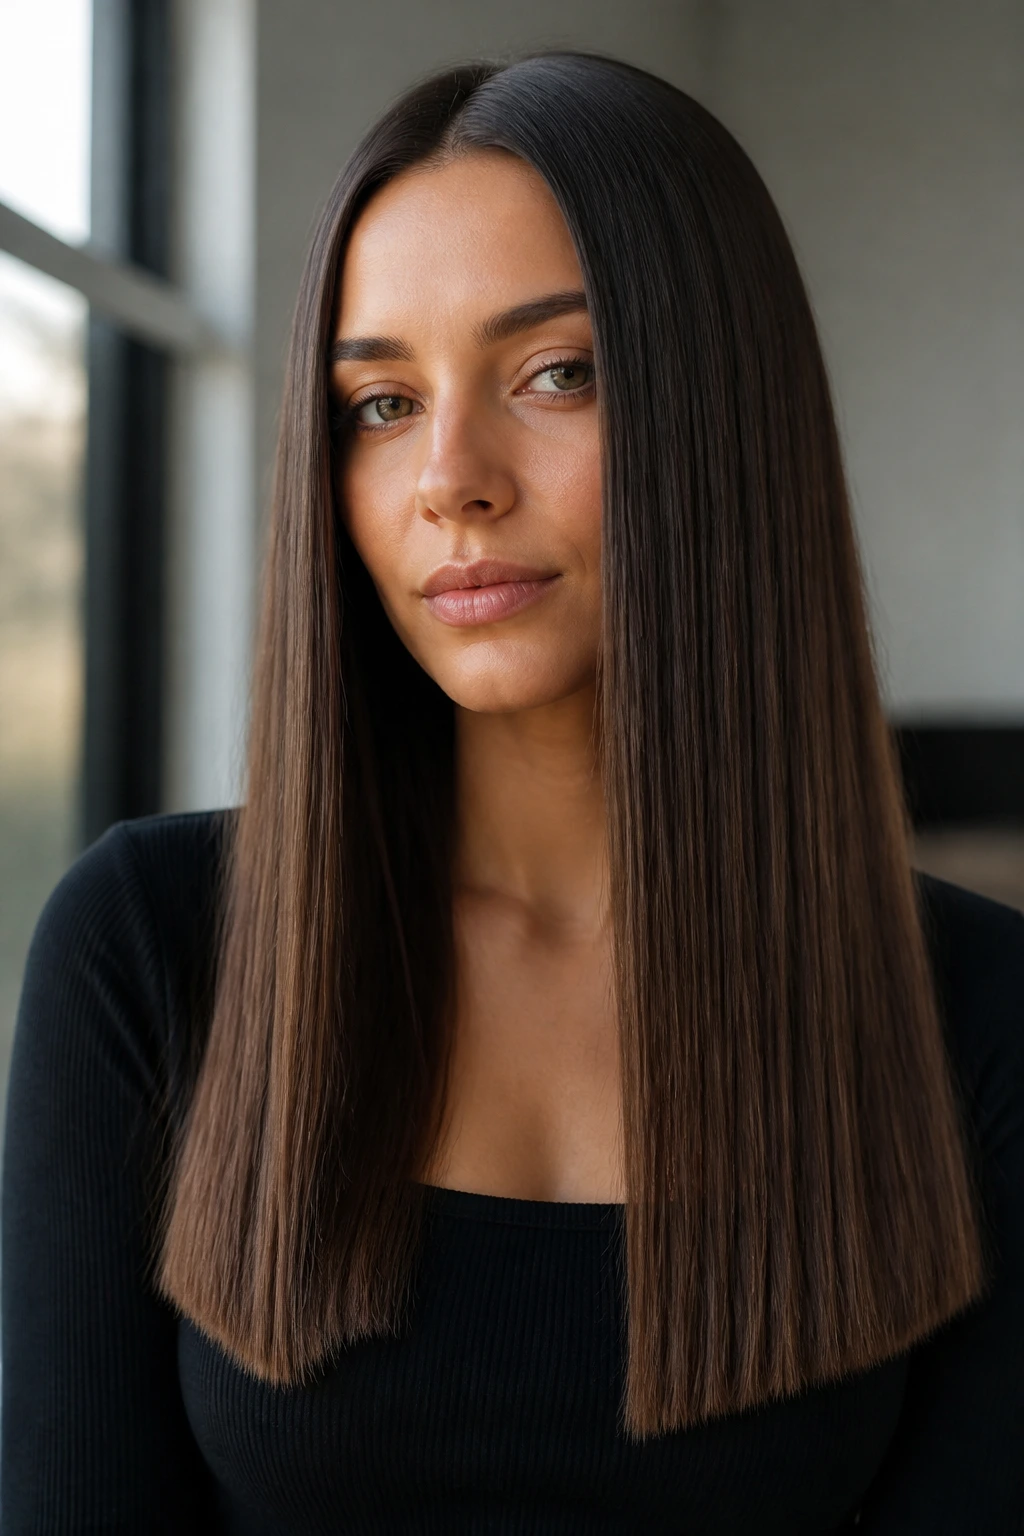
A center part is the cleanest line you can draw through long hair, and that’s exactly why it looks so sharp when the finish is smooth. On hair that falls past the shoulders, the split becomes a vertical seam that makes the whole style feel deliberate. It’s minimal, yes, but not boring when the ends are tidy and the surface has that light-catching sheen.
Why it reads so clean
The middle part gives both sides the same weight, which means your eye goes straight down the length instead of wandering. That symmetry is especially strong on long straight hairstyles because the hair itself becomes the statement. Keep the part narrow, about the width of a tail comb, and use a flat iron in 1-inch sections if you need to knock out a bend near the crown.
A tiny bit of serum on the mid-lengths and ends is enough. Too much near the roots, and the whole thing slides from polished to greasy in about an hour.
Best on: oval, heart, and long face shapes.
Best with: blunt ends or very subtle layers.
Best finish: soft shine, not wet gloss.
Watch for: a center part that pulls too tight at the hairline; it can make fine hair look see-through.
Pro tip: If your natural part is off-center, move it over gradually over a few washes instead of forcing it in one day. The hair settles faster that way.
2. Blunt One-Length Length
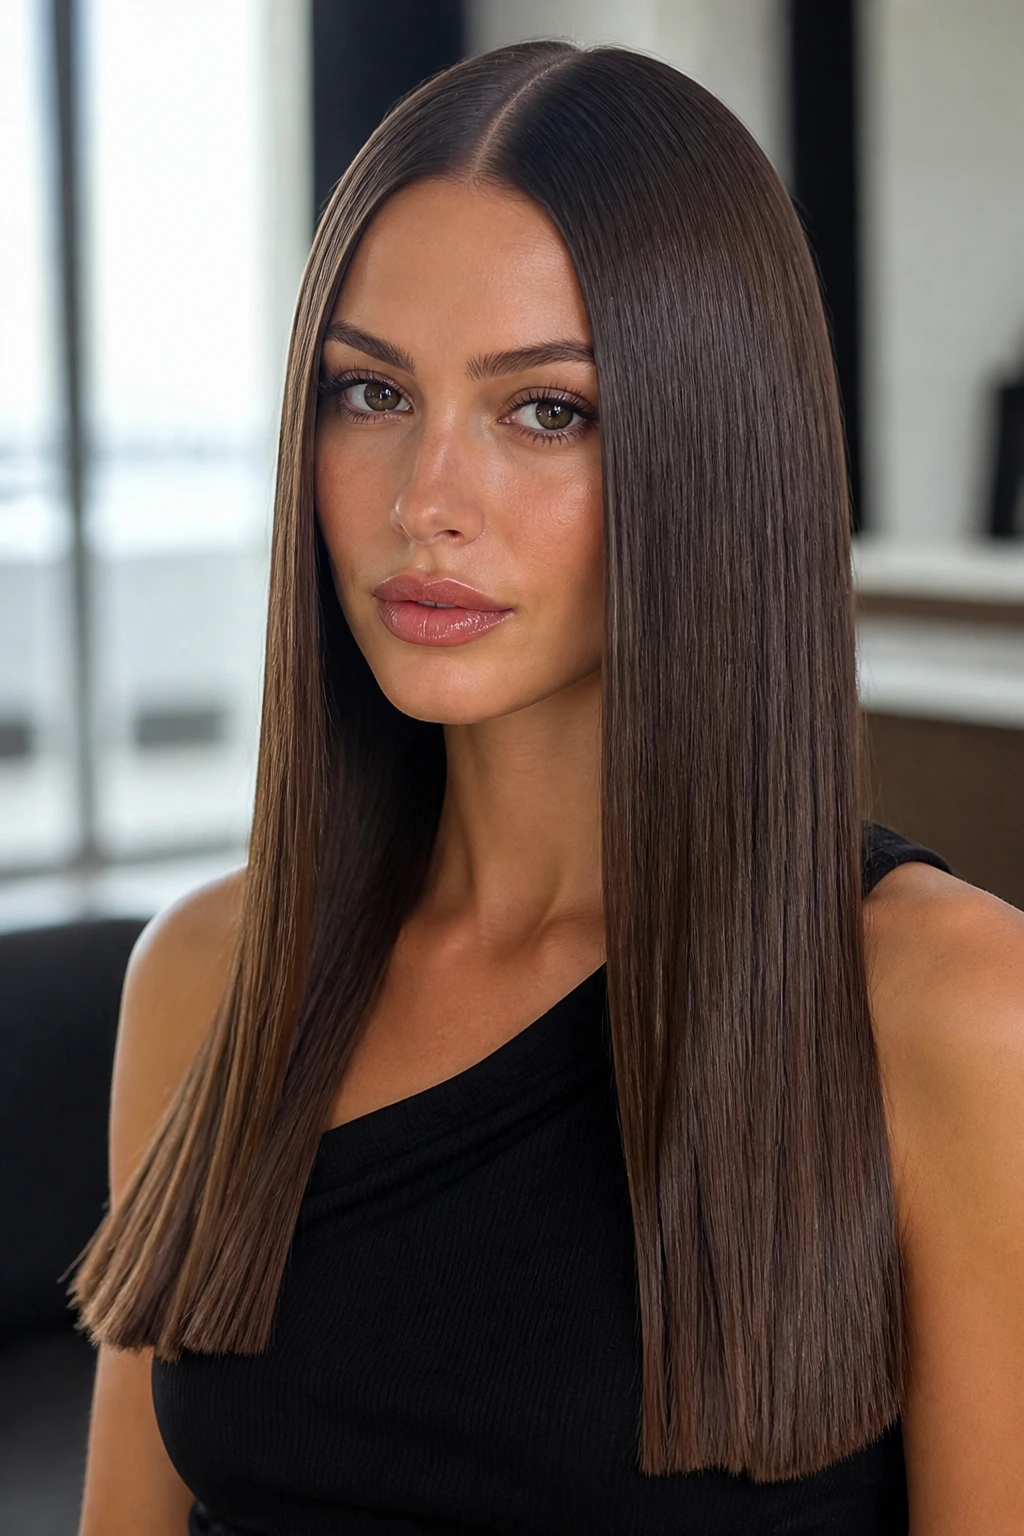
This is the style that makes people ask whether your hair is thicker than it is. A blunt cut keeps the perimeter full from shoulder to hem, so the length looks solid instead of wispy. On straight hair, that solid edge has a sort of quiet force to it. No extra fluff. No fussy shape. Just a clean line.
The thing people miss is that blunt does not mean heavy in a bad way. If the cut is done well, the ends sit in one calm plane and the hair reflects light more evenly. That’s why this cut works so well on long straight hair that tends to fray at the bottom. The edge does the visual work, and the rest of the hair can stay simple.
If your hair is thick, ask for a tiny bit of internal removal so the underside does not puff out like a bell. Keep the outer line intact. That’s the part that matters.
3. Long Layers with a Soft Bend
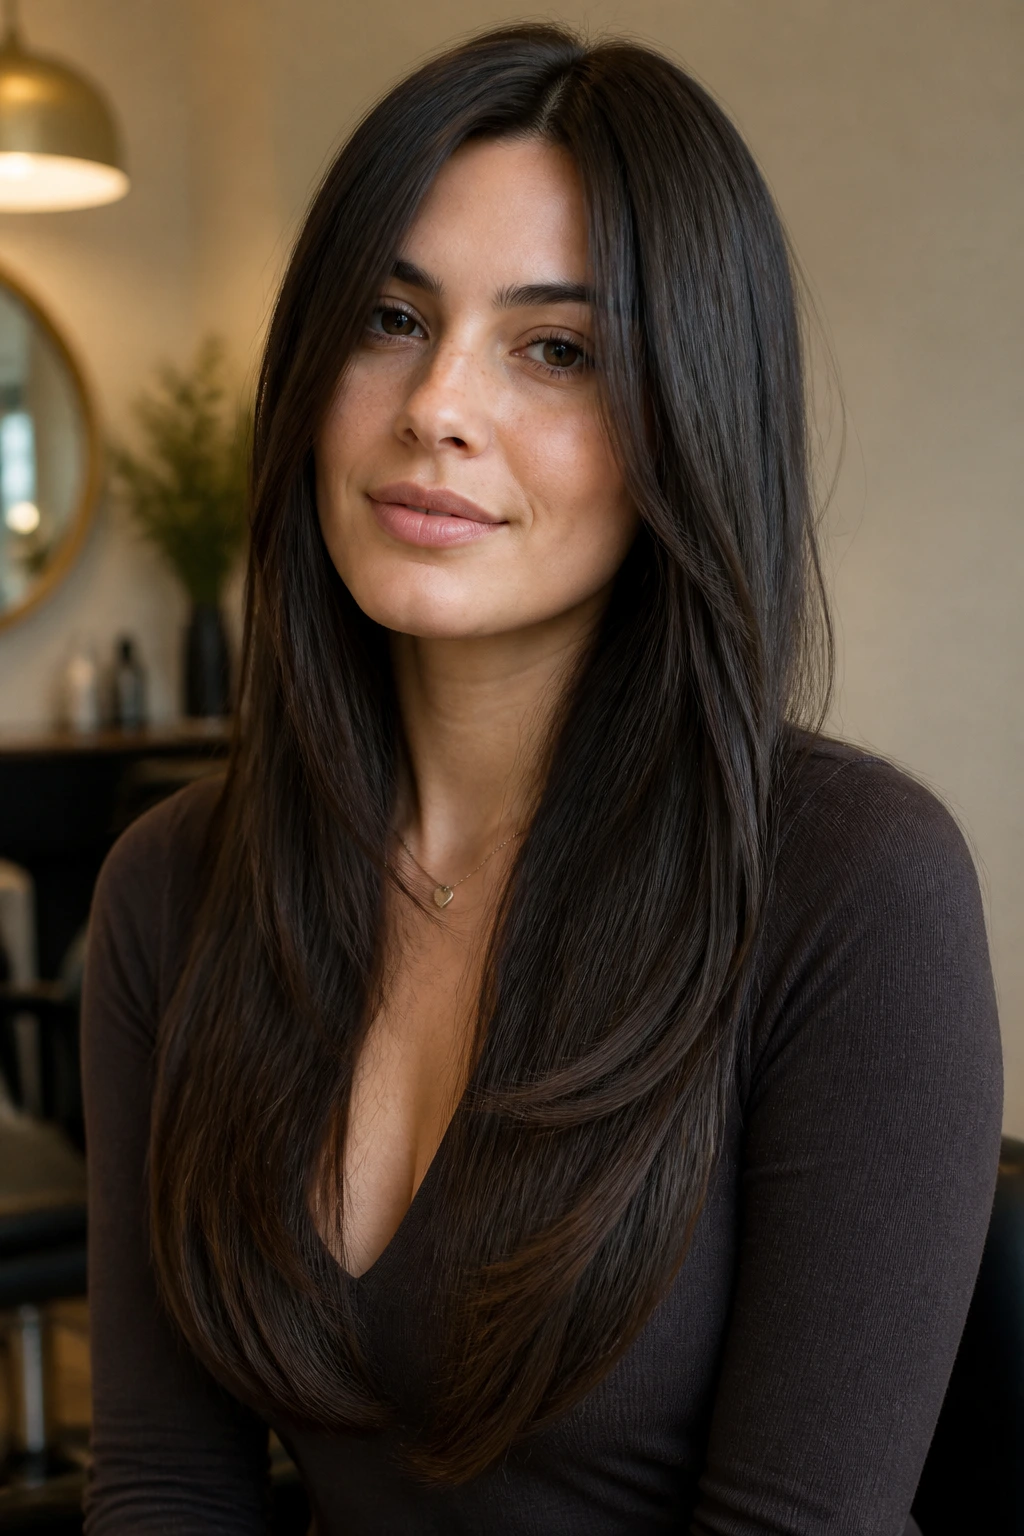
A little movement at the ends changes the mood fast. Long layers with a soft bend keep the length sleek but stop it from hanging in one heavy sheet, which is useful if your hair falls flat around the collarbones. The bend should be tiny. Think a gentle curve at the last 1 to 2 inches, not a full curl.
What makes it different
The layers should start low enough that the front still reads long and clean. If they begin too high, the cut starts to break into pieces and you lose the smooth line that makes straight styles look expensive. A large round brush or a 1.25-inch blow-dry brush can create the bend without making the ends puffy.
This style is especially good if you wear a lot of soft knits, because the curved ends keep the hair from sticking straight to the sweater. Little thing. Big difference.
How to style it:
- Blow-dry with the nozzle pointing downward.
- Smooth the mid-lengths first.
- Turn the brush under only at the final pass.
- Let the ends cool in shape before touching them.
A blunt layer line and a soft bend are not rivals. They just solve different problems.
4. Deep Side Part and Ear Tuck
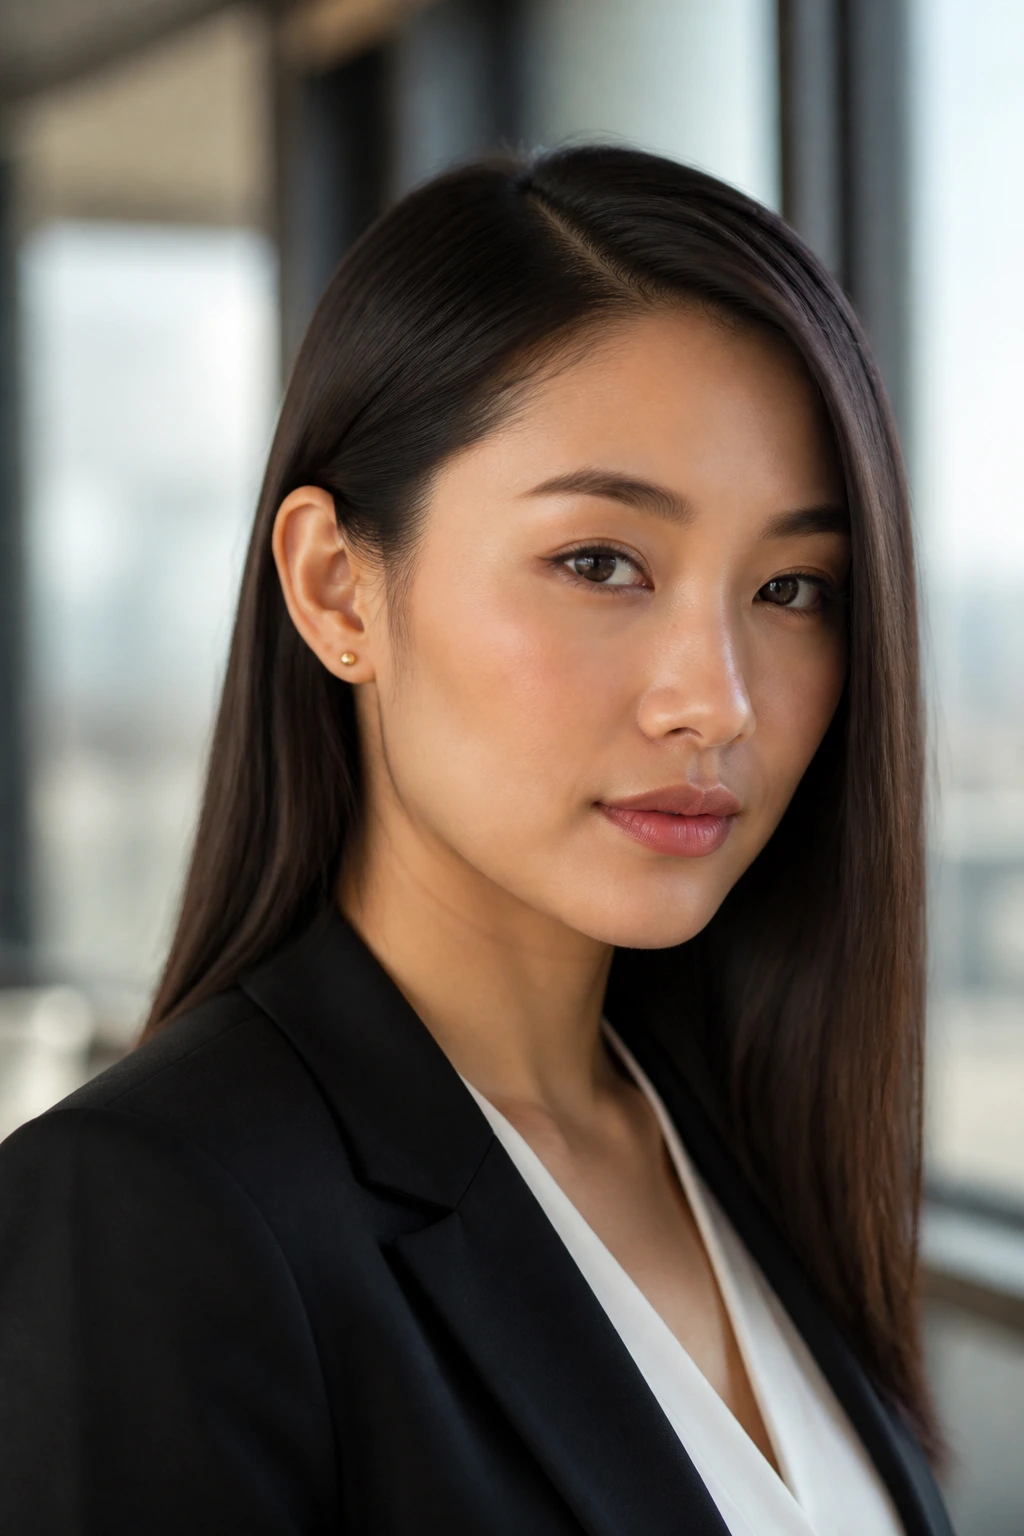
If the center part feels too strict, shift the part and tuck one side behind the ear. It takes about ten seconds, and the whole face changes. The line becomes asymmetrical, the cheekbone shows more, and the tucked side keeps the hair from swallowing earrings or colliding with a high neckline.
This style is one of my favorites for straight hair because it uses the simplest possible trick to make the length feel styled. The tucked side should sit close to the head, not puff out near the temple. A fine-tooth comb helps, and a single mist of light-hold spray over the front section keeps the tuck from slipping by lunchtime.
It looks especially good with a collar that has some structure — a blazer, a crew neck, a crisp shirt. The clean part plus the tucked front gives the whole look a sense of direction.
5. Sleek Low Pony with Loose Ends
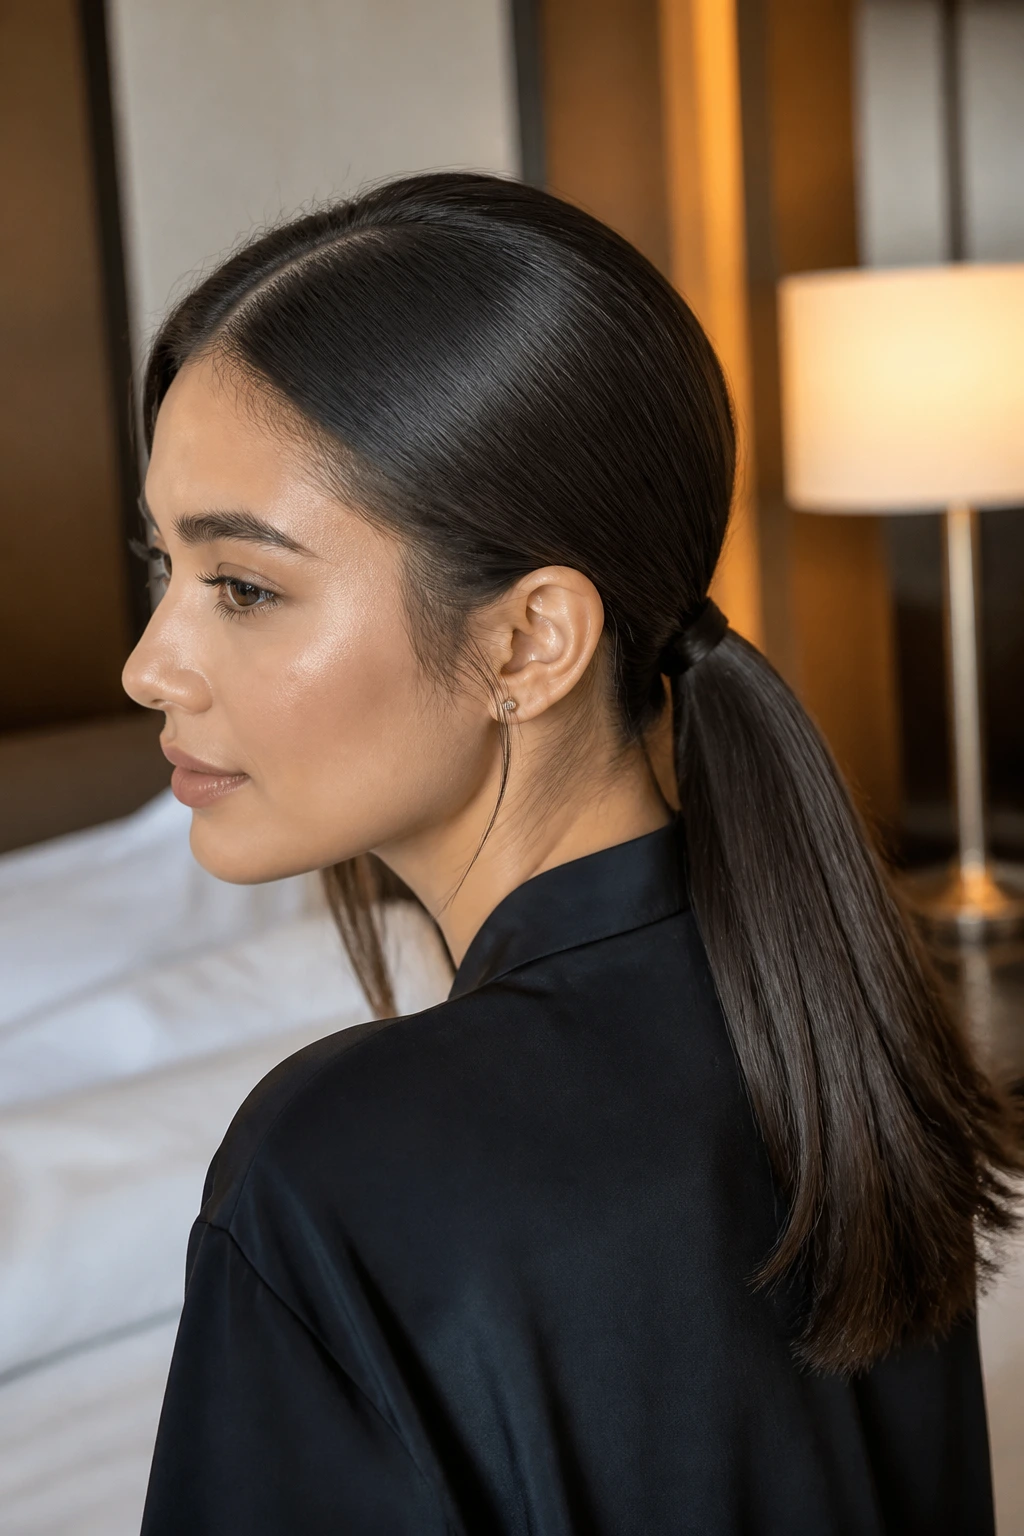
A low ponytail can look severe if it’s too tight or too glossy, but when the lengths stay smooth and visible, it keeps the polish without losing the point of long hair. That’s the trick here: secure the base at the nape, wrap one small strand around the elastic, and let the tail fall straight. The length still shows, which is the whole reason to keep it long in the first place.
Use a boar bristle brush to smooth the crown before you tie it back. Not a giant amount of gel. Just enough to tame flyaways at the hairline. If the ends have a small bevel from the flat iron, the ponytail looks finished instead of rushed.
This is one of those looks that earns its keep on travel days. It stays neat through a coat, a seatbelt, and a long walk, which is more than I can say for most loose styles.
6. C-Bend Blowout Ends
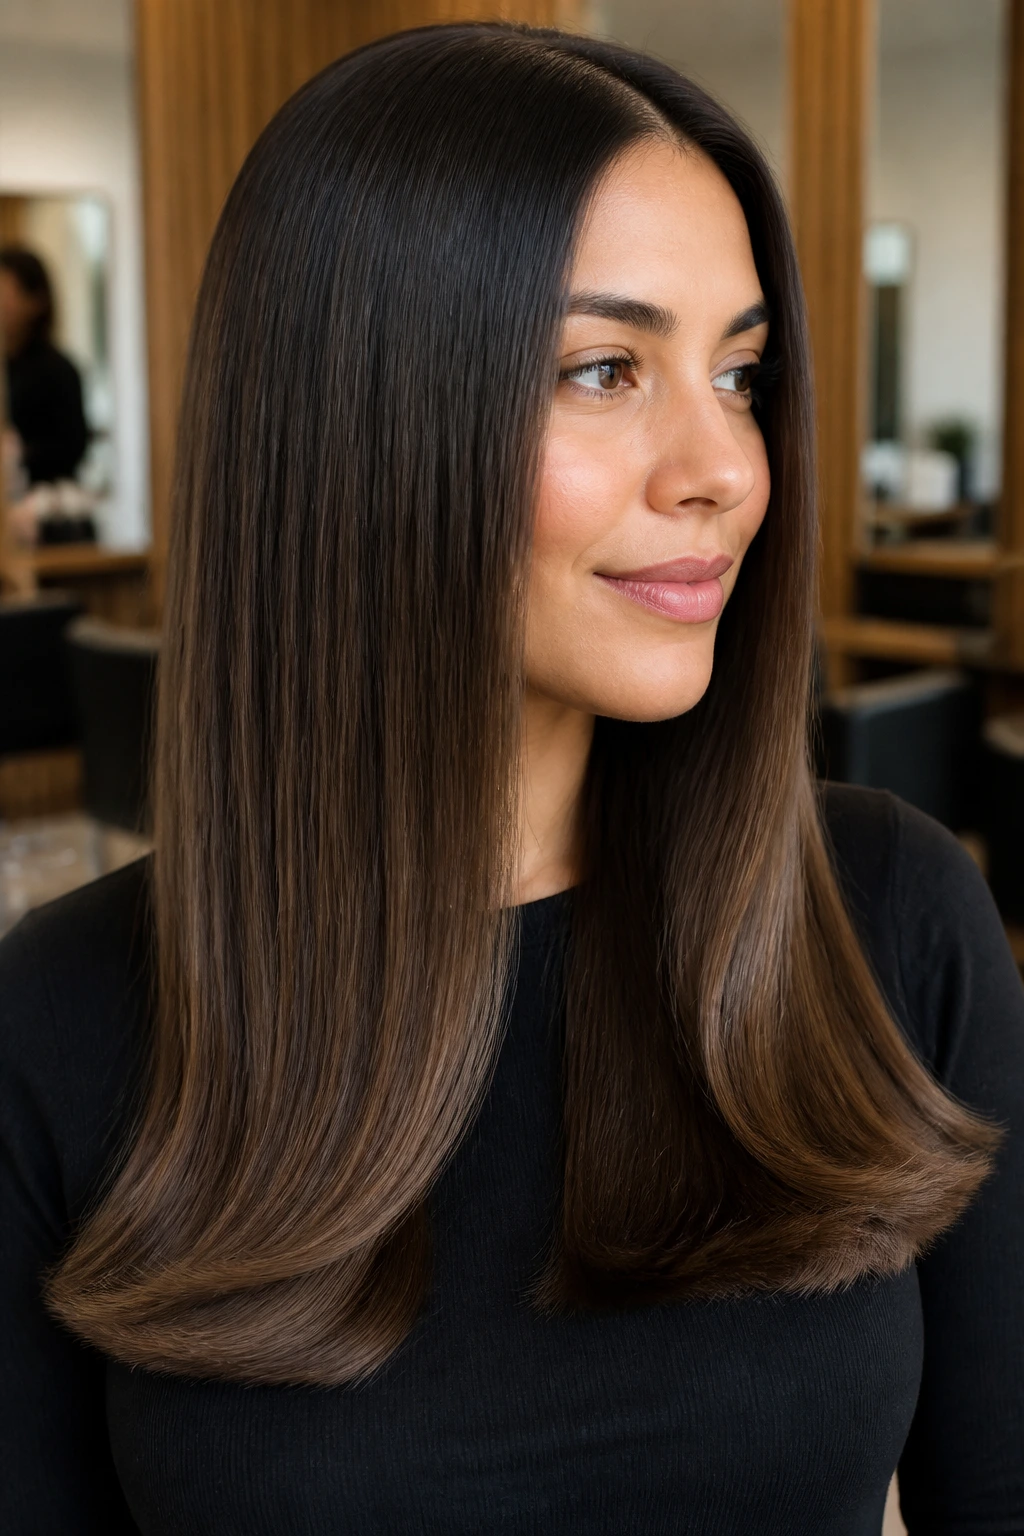
A C-bend is the friendlier cousin of stick-straight hair. Instead of hanging like a ruler, the last couple of inches curve inward in a soft, rounded shape that keeps the ends from looking stiff. The style still reads sleek, but it doesn’t feel severe.
That tiny bend matters more than people think. On long hair, especially hair that has some weight to it, a straight, blunt finish can drag the whole silhouette downward. A C-shape lifts the outline just enough to make the ends look cared for. Use a round brush or a hot brush, hold the ends around the barrel for just a second or two, then let them cool before moving on.
The best version is subtle. If the bend is obvious from across the room, it’s too much. You want movement, not a flip from a 1970s shampoo commercial.
7. Face-Framing Front Pieces
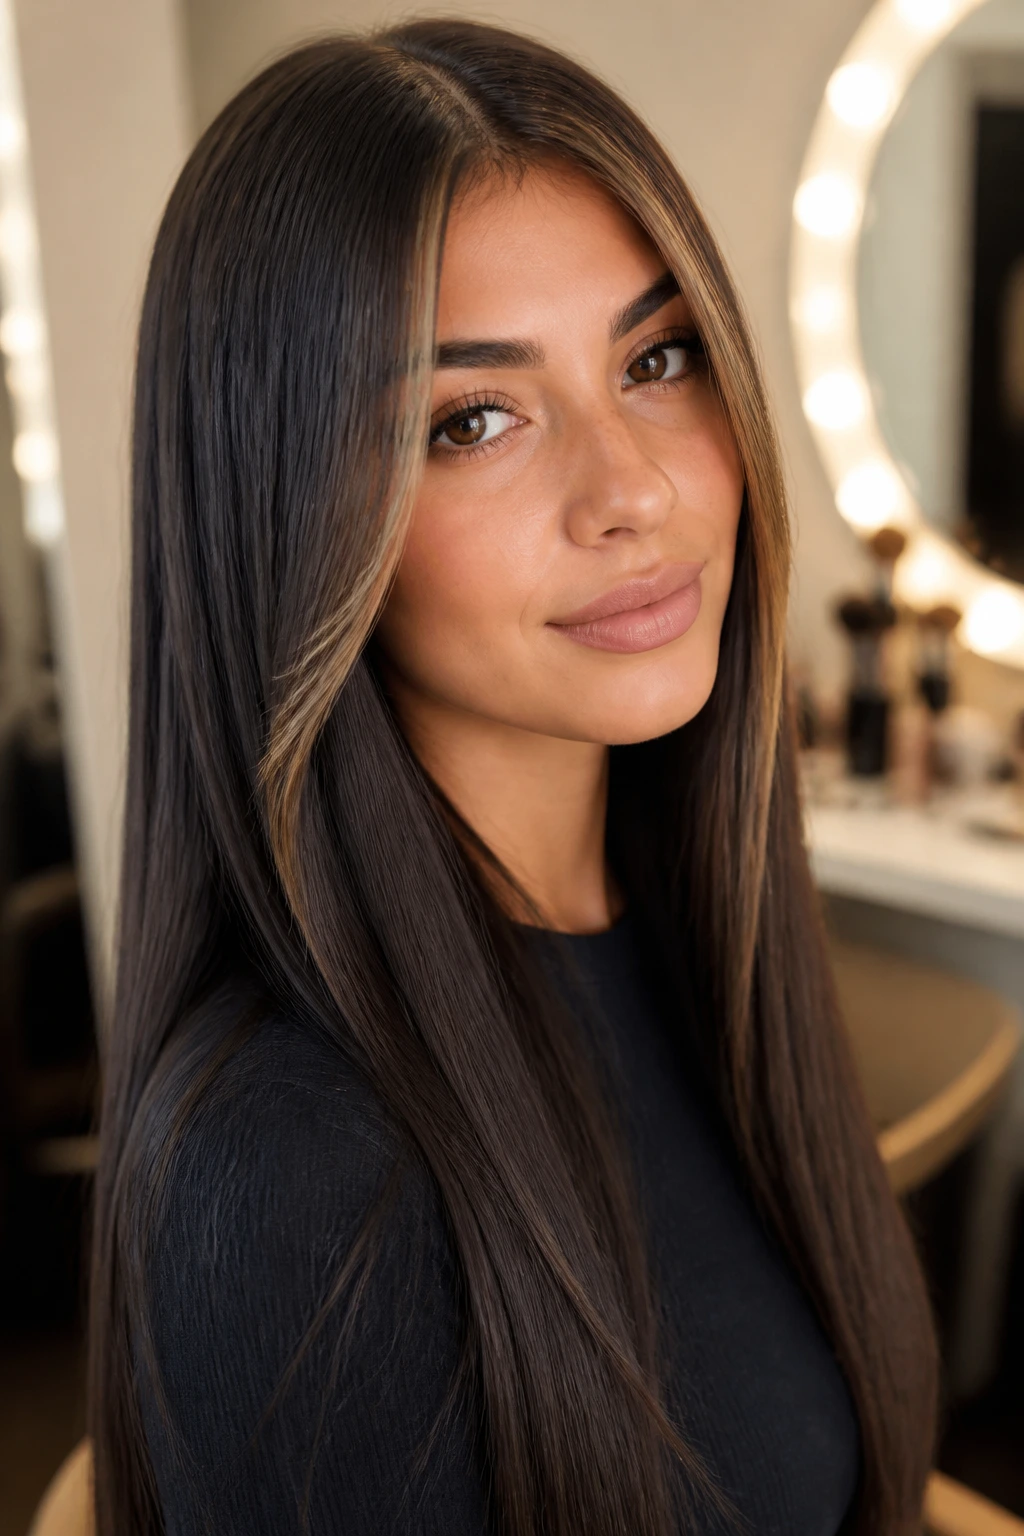
Why do two front pieces change everything? Because they break the wall of length right where the eye lands first. Face-framing pieces can start at the cheekbone, the corner of the mouth, or the jaw, and each placement changes the mood. Higher pieces feel softer. Lower ones feel sharper.
On long straight hairstyles, those front sections give shape without forcing the rest of the hair into visible layers. That’s the part I like most. You keep the long outline in back, but the front stops the hair from pulling the face downward.
Ask for the pieces to be cut with a slight angle so they sit close to the jaw and collarbone. If they’re too blunt, they just hang there. If they’re too short, they fight the rest of the length.
8. Half-Up Ribbon Tie
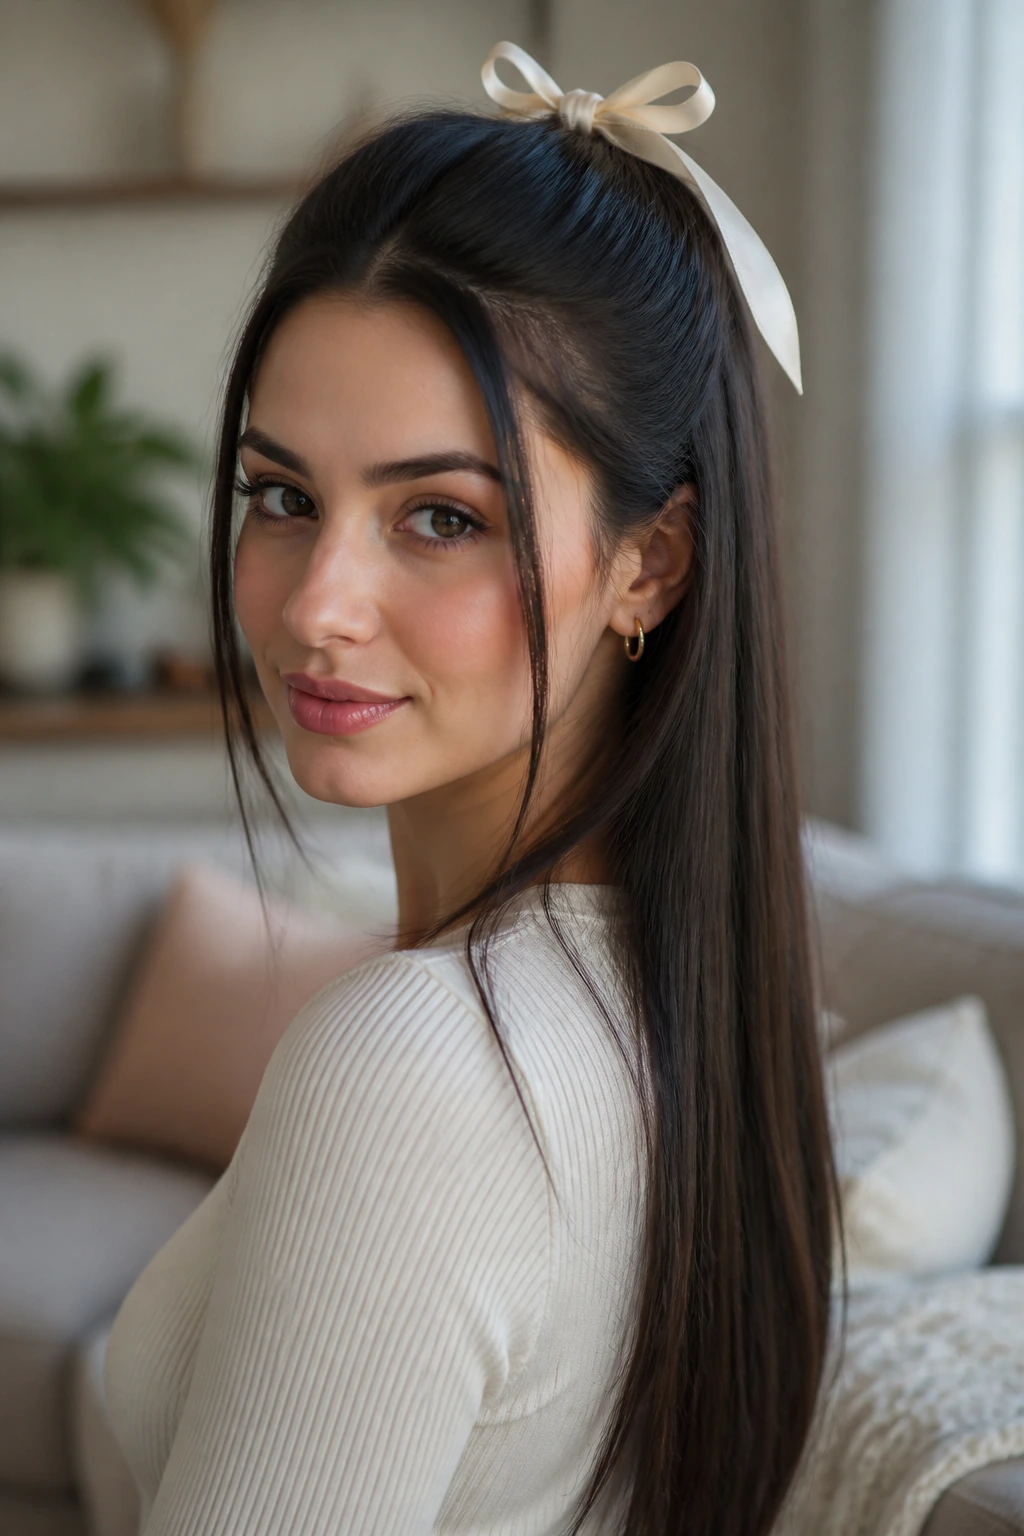
A half-up style with straight lengths left down gives you structure on top and drama below. The crown stays controlled, the face stays open, and the long tail still gets to be the point. Add a ribbon, and the whole thing shifts from casual to composed without turning fussy.
Keep the top section smooth from temple to crown before you tie it back. If the top is bumpy, the style looks accidental. A small elastic hidden under the ribbon keeps the finish neat. Satin, velvet, or matte grosgrain all work better than shiny plastic if the goal is polished rather than childish.
This is the kind of style that saves a day-two blowout. The roots can be a little lived-in, the lengths can still be sleek, and the ribbon does enough visual work that nobody is counting flyaways.
9. Curtain Bangs with Straight Length
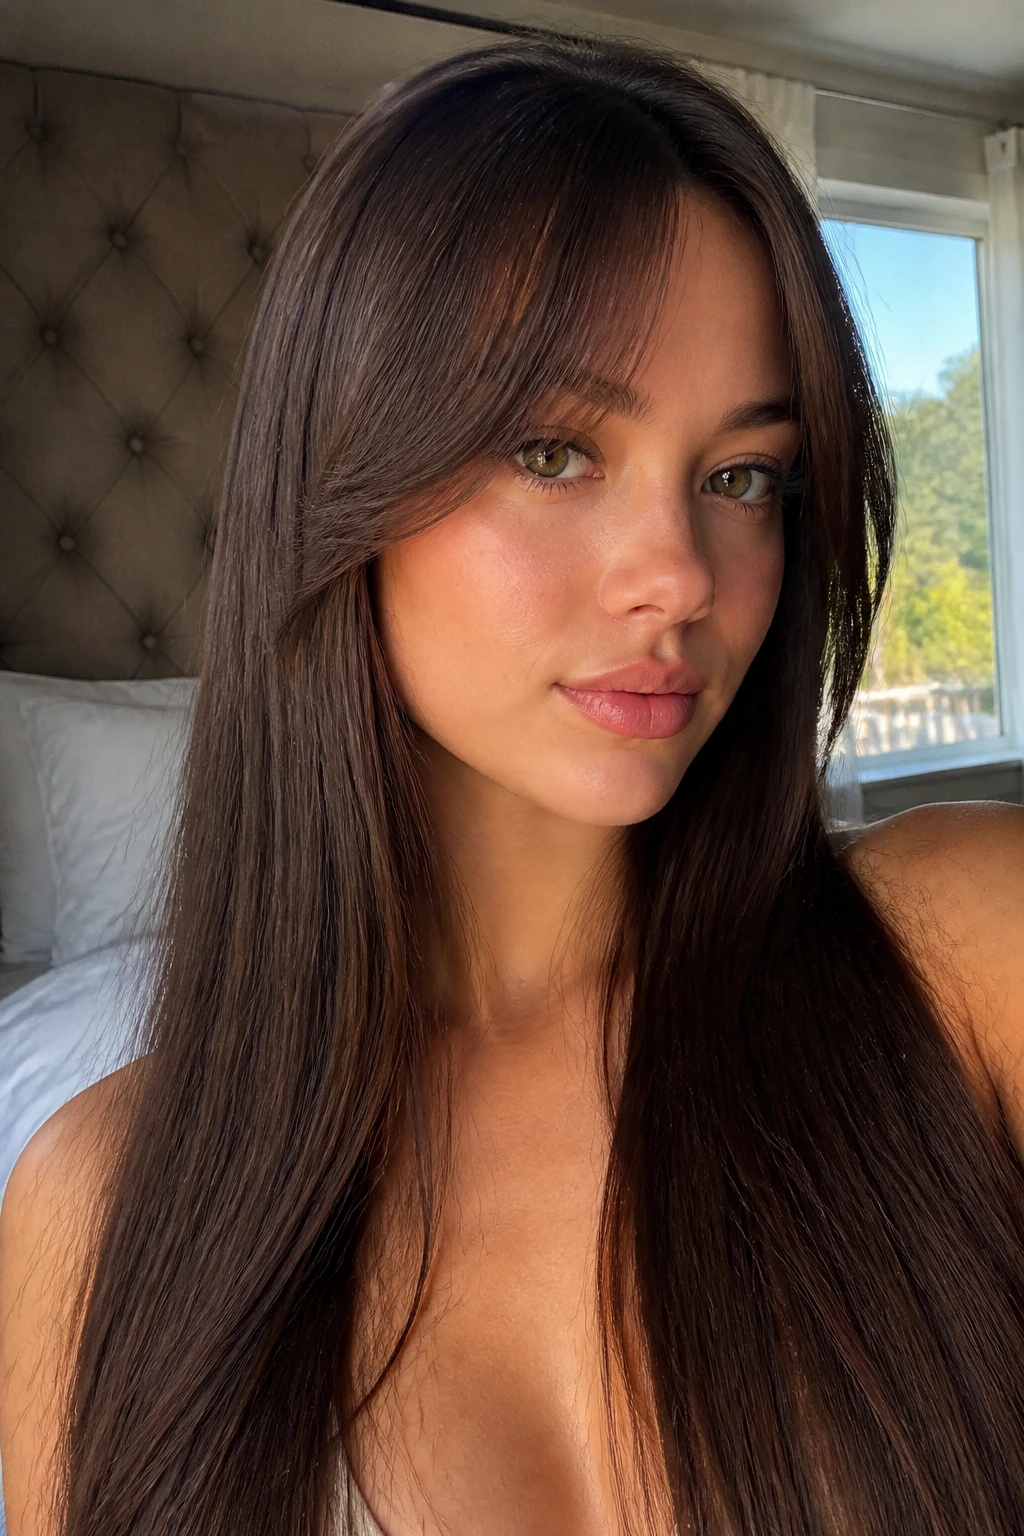
Curtain bangs are the easiest way to bring movement to a long straight style without giving up the length you worked for. They split softly at the center and frame the face instead of sitting as one hard line. On straight hair, that little break at the front keeps the style from feeling too stern.
The cut matters here. Curtain bangs should be long enough to sweep into the sides — usually around cheekbone to lip length when dry — so they blend into the rest of the hair instead of sitting like a separate section. Blow them away from the face with a round brush and let them cool that way. If you skip the cooling step, they collapse fast.
This style needs a trim schedule, though. Not endless drama, just maintenance. Bangs grow out faster than the rest of the cut, and once they lose that arch, the whole look starts to sag.
10. Invisible Layers for Dense Hair
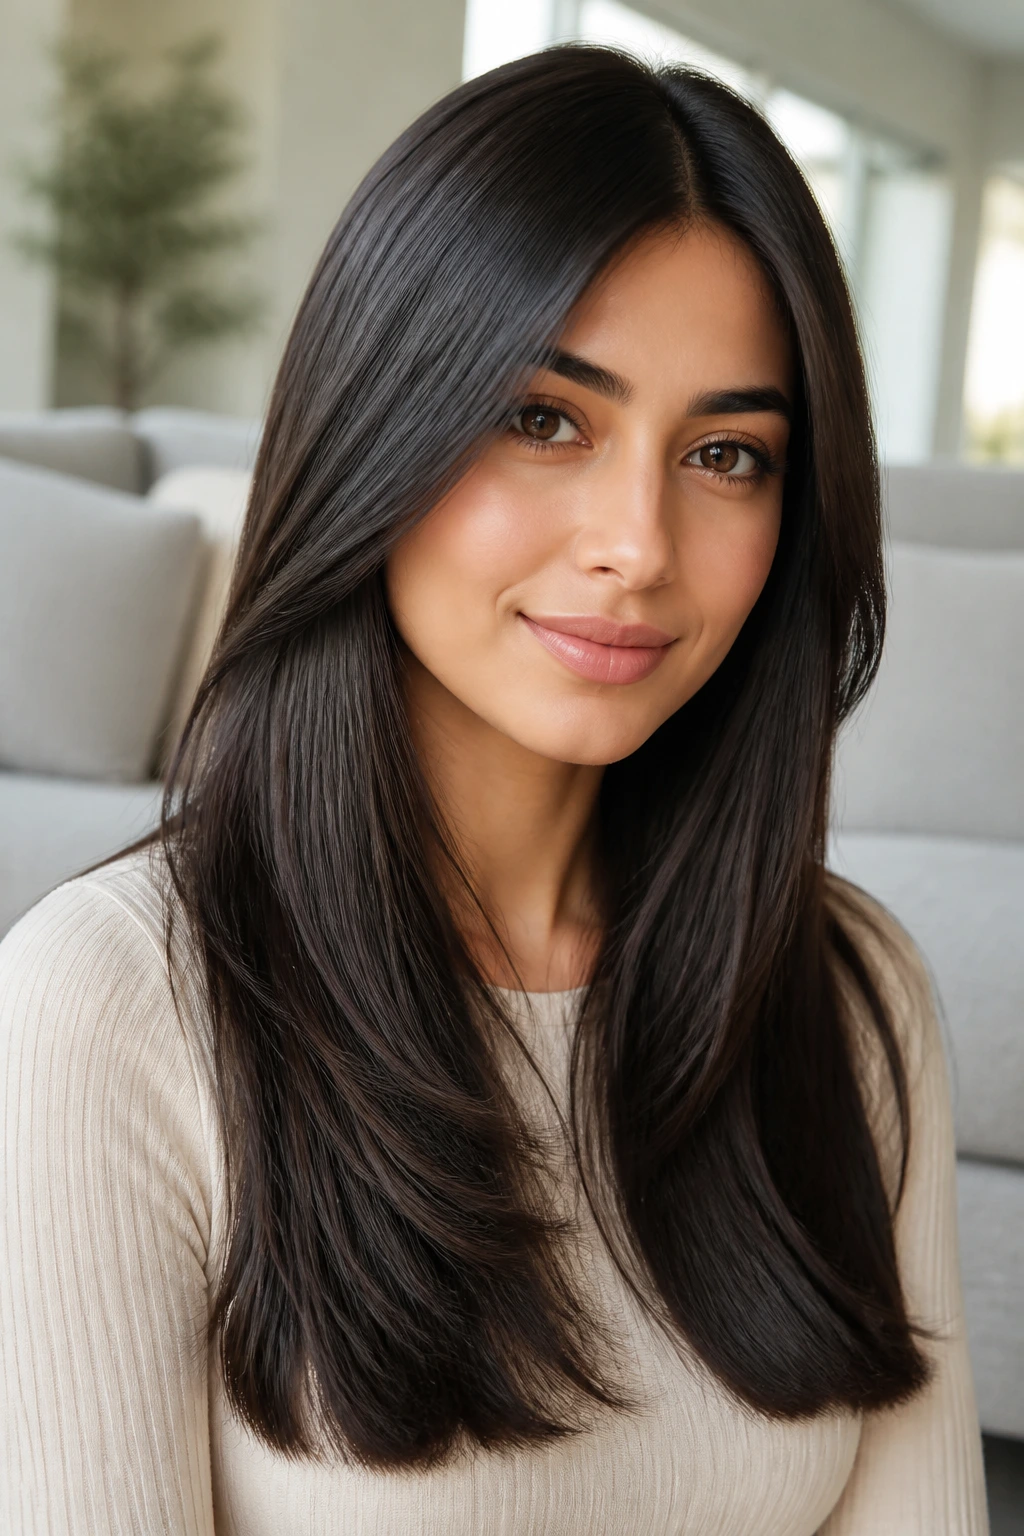
Invisible layers are for people who want long hair to move without looking chopped up. The layers live under the top surface, so the outside still falls in a smooth sheet. On dense straight hair, that matters a lot, because a heavy block can puff at the bottom and feel too wide through the back.
The cut removes weight where no one sees it first. That keeps the outline calm while giving the inside room to breathe. If you’ve ever had long straight hair that looked good from the front but bulky from the side, this is the fix. Ask for interior layering that starts below the collarbone and keeps the perimeter intact.
The result is not flashy. It just sits better. Which, honestly, is the whole point of a good haircut.
11. Low Knot with a Tail
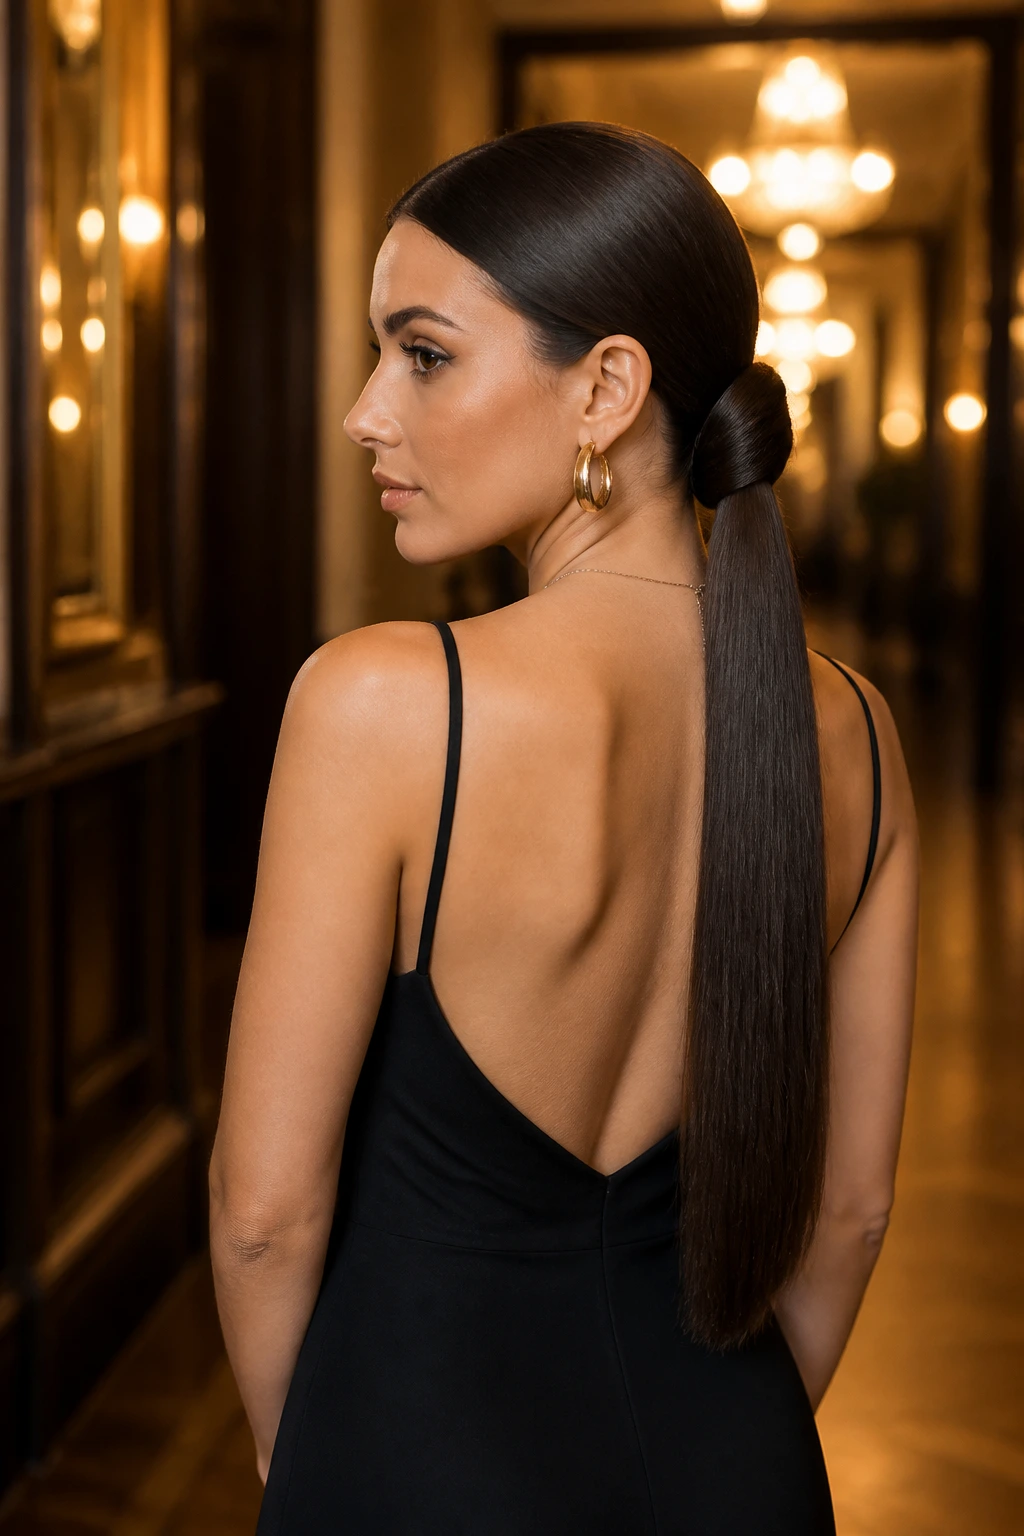
A low knot with a tail looks more considered than a standard bun because it leaves the length in play. The hair is gathered low, twisted once or twice, and pinned or wrapped so the ends fall out in a straight tail rather than disappearing into a full chignon. That tail gives the style a long line even while the crown stays controlled.
I like this look for formal settings where loose hair would feel too casual but a full bun would kill the whole point of having length. Keep the knot snug, not tight enough to dent the roots, and smooth the surface with a small brush before you secure it. A little shine spray on the tail can make the ends look intentional instead of afterthought.
The trick is balance. Too neat, and it turns stiff. Too loose, and it falls apart. Right in the middle is where it works.
12. Slicked-Back Crown and Free Length
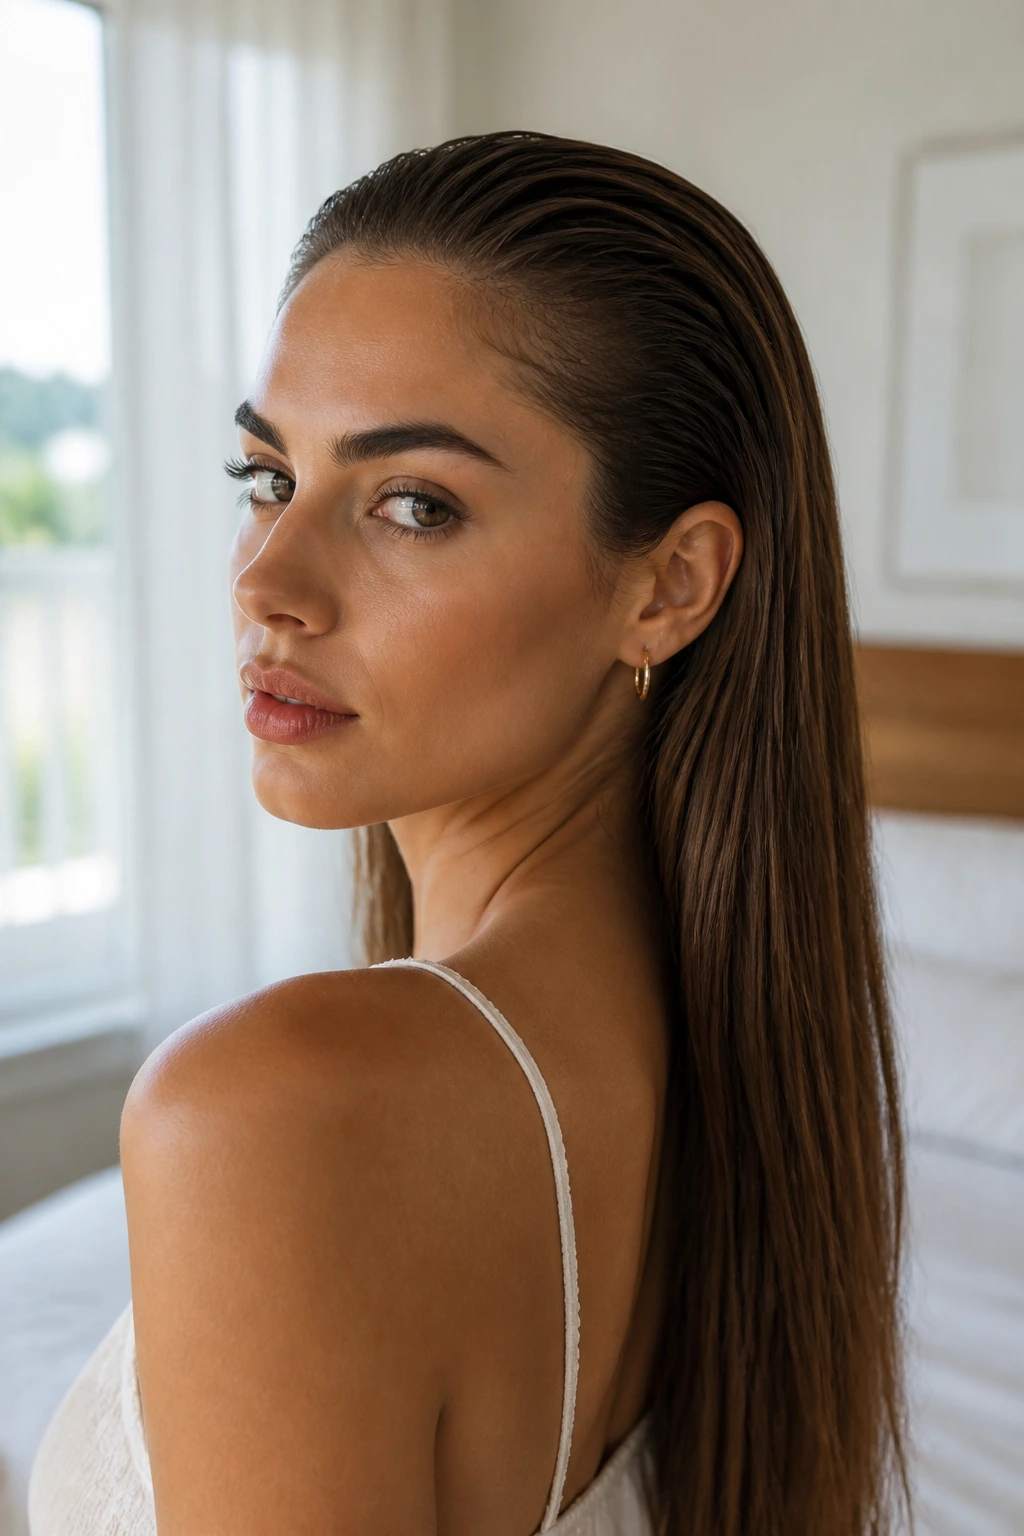
A slicked-back crown gives long straight hair a strong frame without hiding the length. The hair at the front and sides is brushed back close to the head, usually with a light gel or cream, while the rest falls straight down the back. That contrast — tight at the top, loose underneath — is what makes the style look sharp.
It’s a good fix for humid weather, oily roots, or a second-day blowout that needs structure. Use a small amount of product, then comb it through the front in one direction. If the crown looks shiny in a deliberate way and not wet in a heavy way, you’ve got it right.
This one does ask for clean hairlines. If baby hairs are unruly, smooth them with a toothbrush or a small edge brush and stop there. No one needs a painted-on helmet.
13. Blunt Cut for Fine Hair
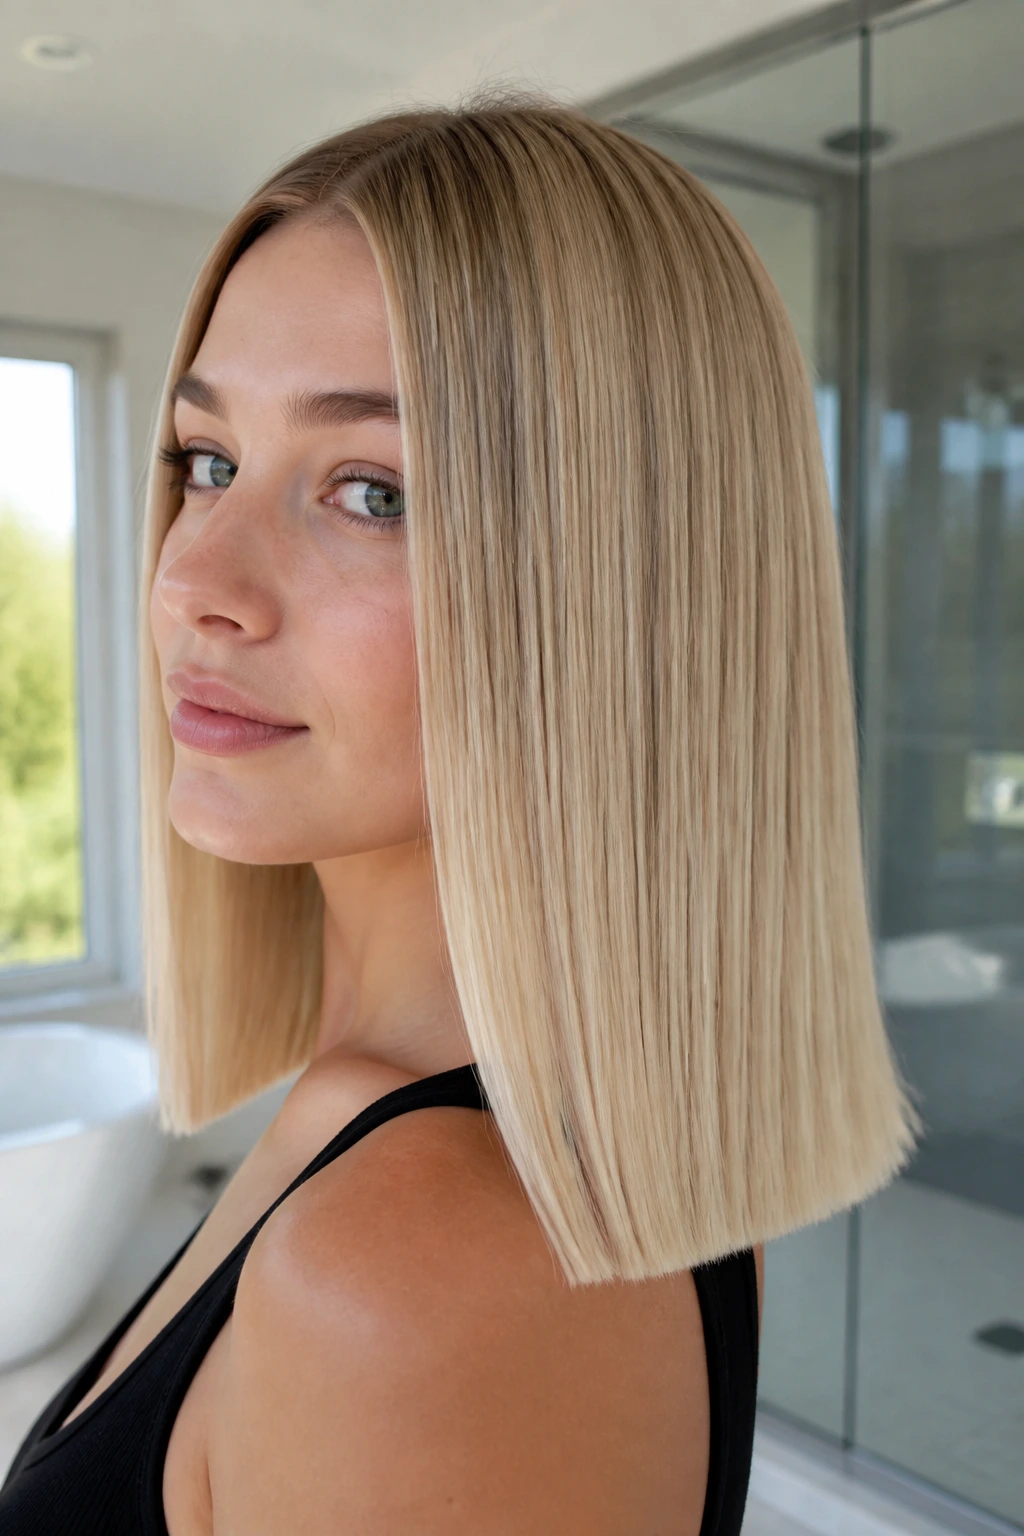
Fine hair usually looks better when the ends are thick enough to read as one line. That’s why a blunt cut can be such a relief. The perimeter feels fuller, the length looks healthier, and the hair gets a little more visual weight without needing a ton of styling product.
Here’s the catch: fine hair also shows damage fast. So the cut has to stay fresh. A clean line every 8 to 10 weeks keeps the ends from going ragged, and a narrow flat iron pass on the top layer can help the surface look smoother without flattening the whole head.
Skip heavy oils near the roots. Fine hair does not forgive that. A drop or two on the ends is plenty.
14. Micro-Flipped Tips
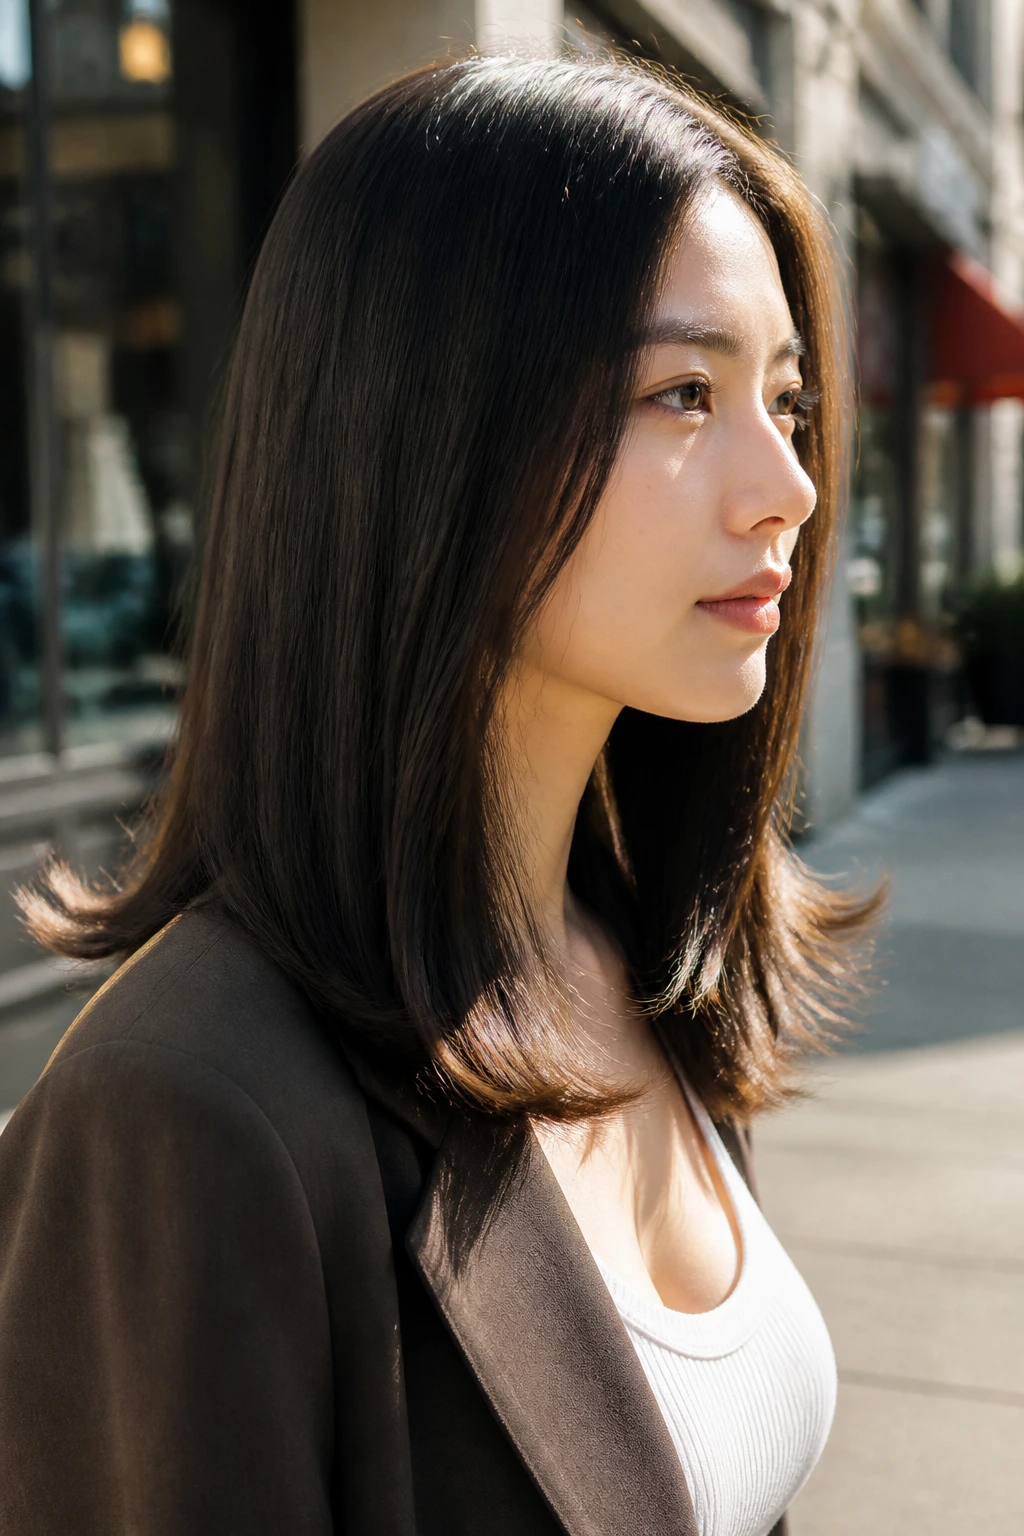
A micro-flip at the ends is for anyone who wants straight hair with a tiny spark of attitude. The flip should be just enough to break the line — maybe half an inch of outward bend at the very bottom — so the style reads polished but not severe. It’s cleaner than a full wave and more relaxed than dead-straight hair.
You can get it with the last twist of a round brush or a quick turn of a flat iron at the ends. The important part is restraint. If the flip starts halfway up the hair, the style loses its sleek shape and turns fussy fast.
This works especially well with long black coats, sharp collars, and simple earrings. A little flick at the hemline keeps the hair from disappearing into the outfit.
15. Claw-Clip Sweep
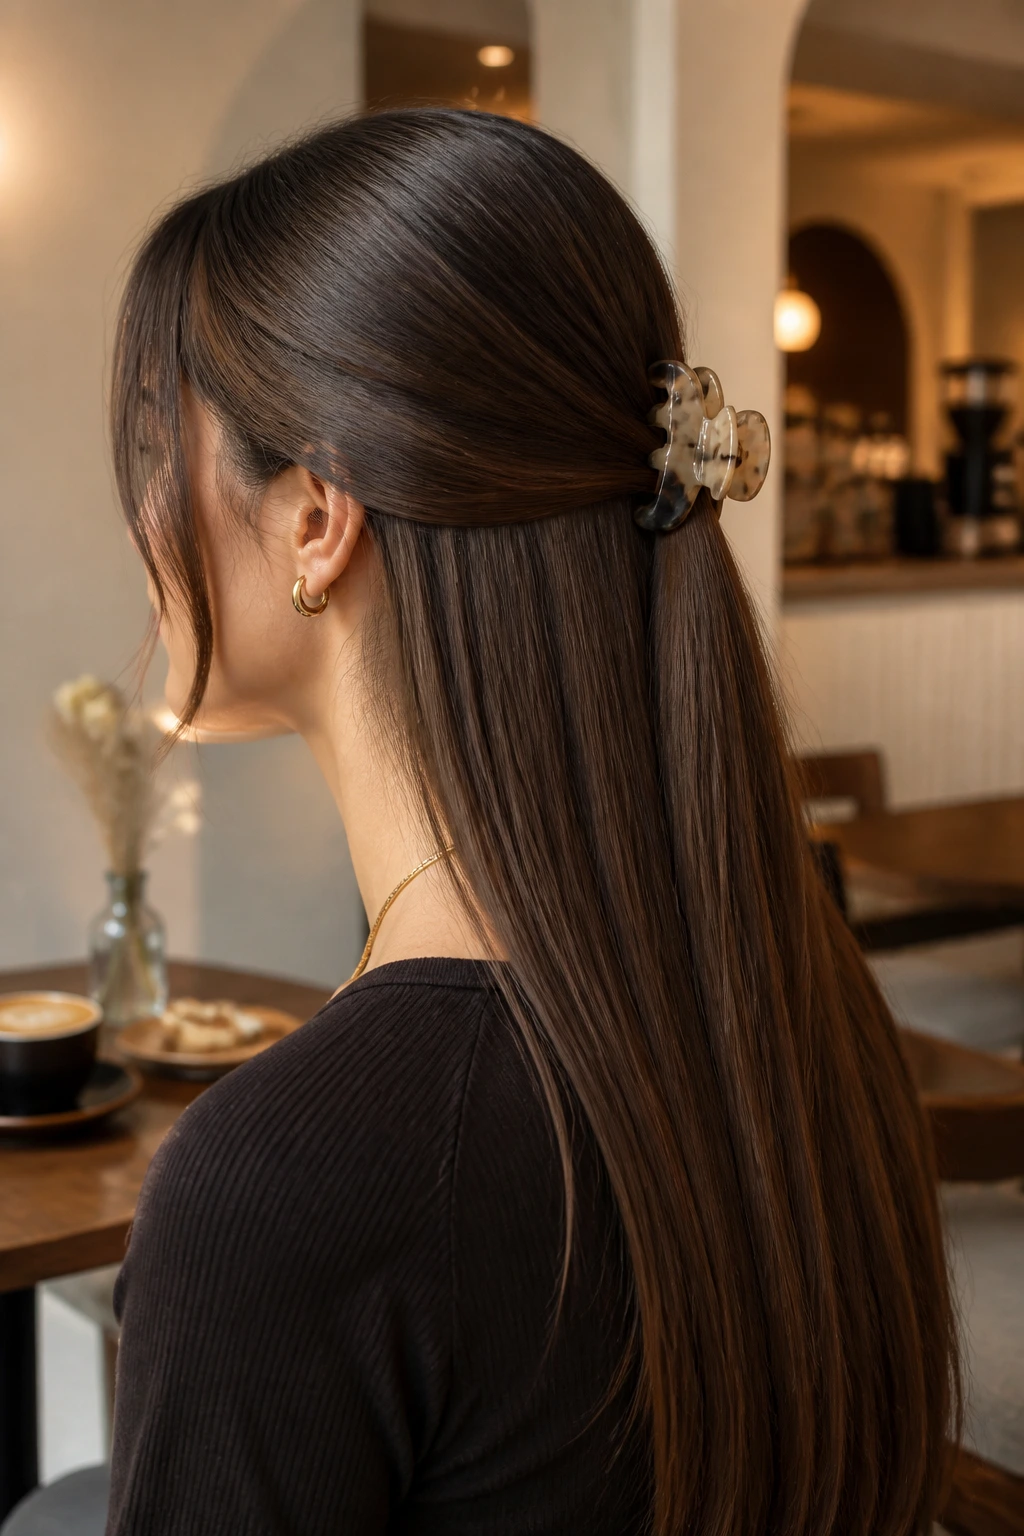
A claw clip can look lazy or elegant, depending on how much the hair is smoothed before it goes up. For long straight hair, a mid-size clip at the back of the head lets the lengths spill out in a controlled sweep while the front stays clean. It’s a fast half-up look that still shows the length instead of hiding it.
The clip placement matters. Too high, and the style gets awkward. Too low, and the clip slides. The sweet spot is usually just above the occipital bone, where the hair has enough grip to stay put. A quick pass with a brush before clipping keeps the top section sleek.
I reach for this when I want the feel of an updo without committing to one. It’s easy, but it doesn’t look careless. Big difference.
16. Waist-Length Straight Cascade
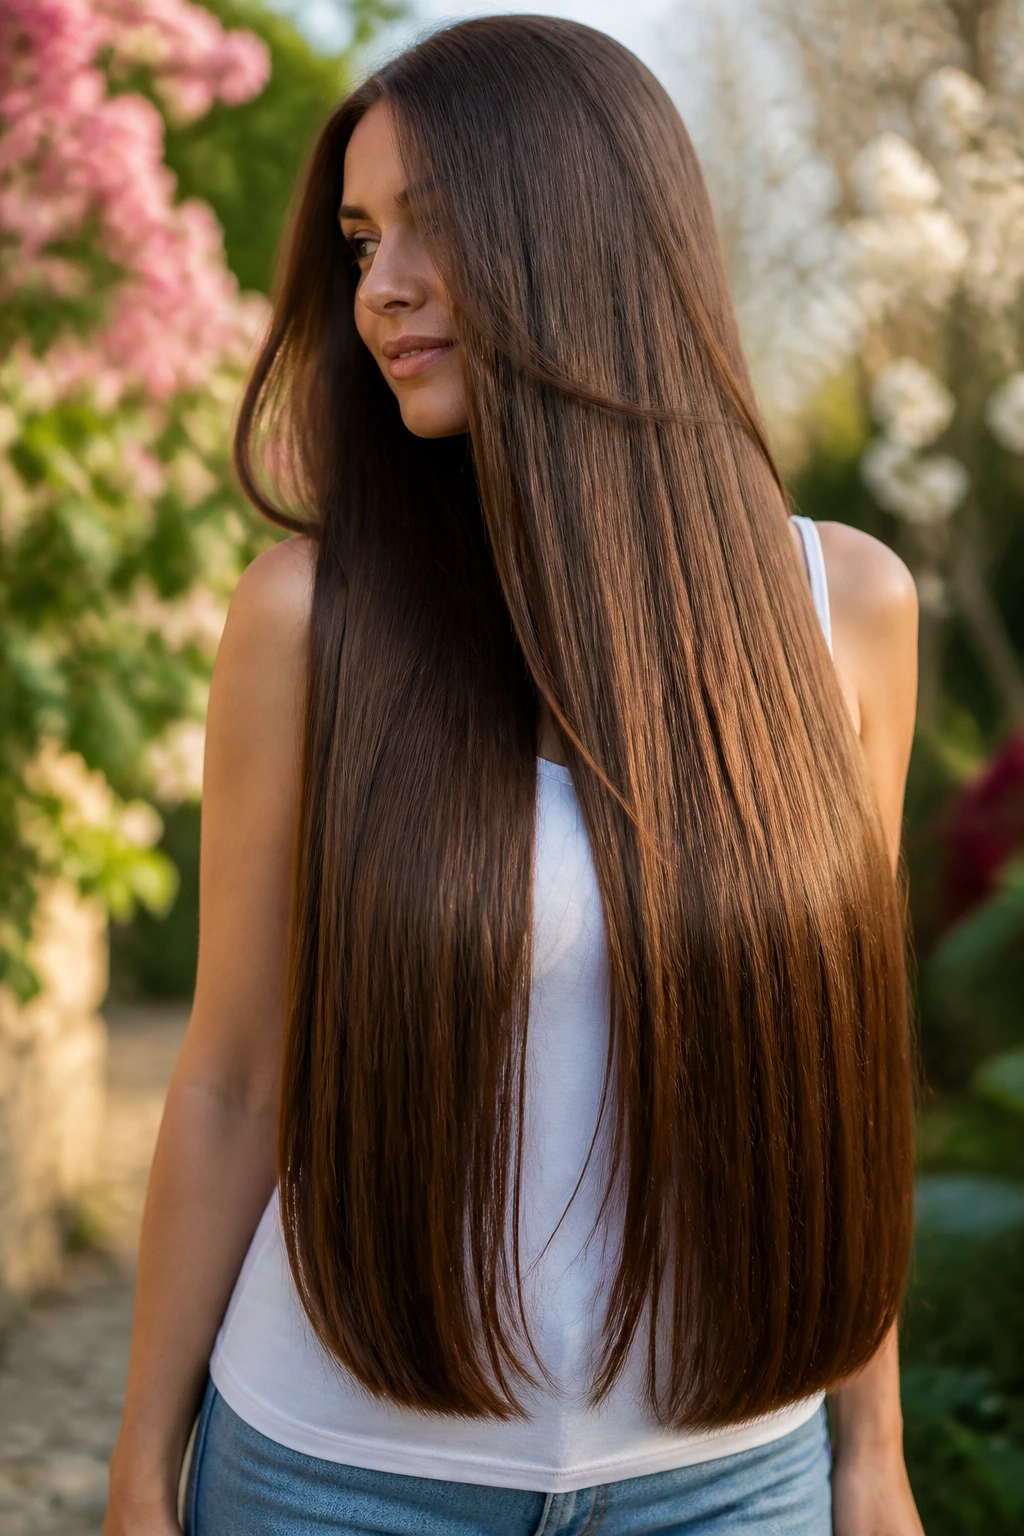
At waist length, straight hair stops being background and becomes the whole event. The line is long enough to show every trim, every part shift, and every inch of shine. That makes maintenance non-negotiable, but it also creates one of the strongest silhouettes in the category.
The key is not letting the ends go thin. A slight U-shape or a blunt hem keeps the bottom from looking stringy, which can happen fast once hair gets very long. If you wear it center-parted, the style feels calm and almost architectural. If you switch to a deep side part, it becomes softer and more dramatic.
A long necklace, a high neckline, or bare shoulders make this length look even better. The hair itself is already doing a lot of visual work.
17. Side Fringe and Satin Finish
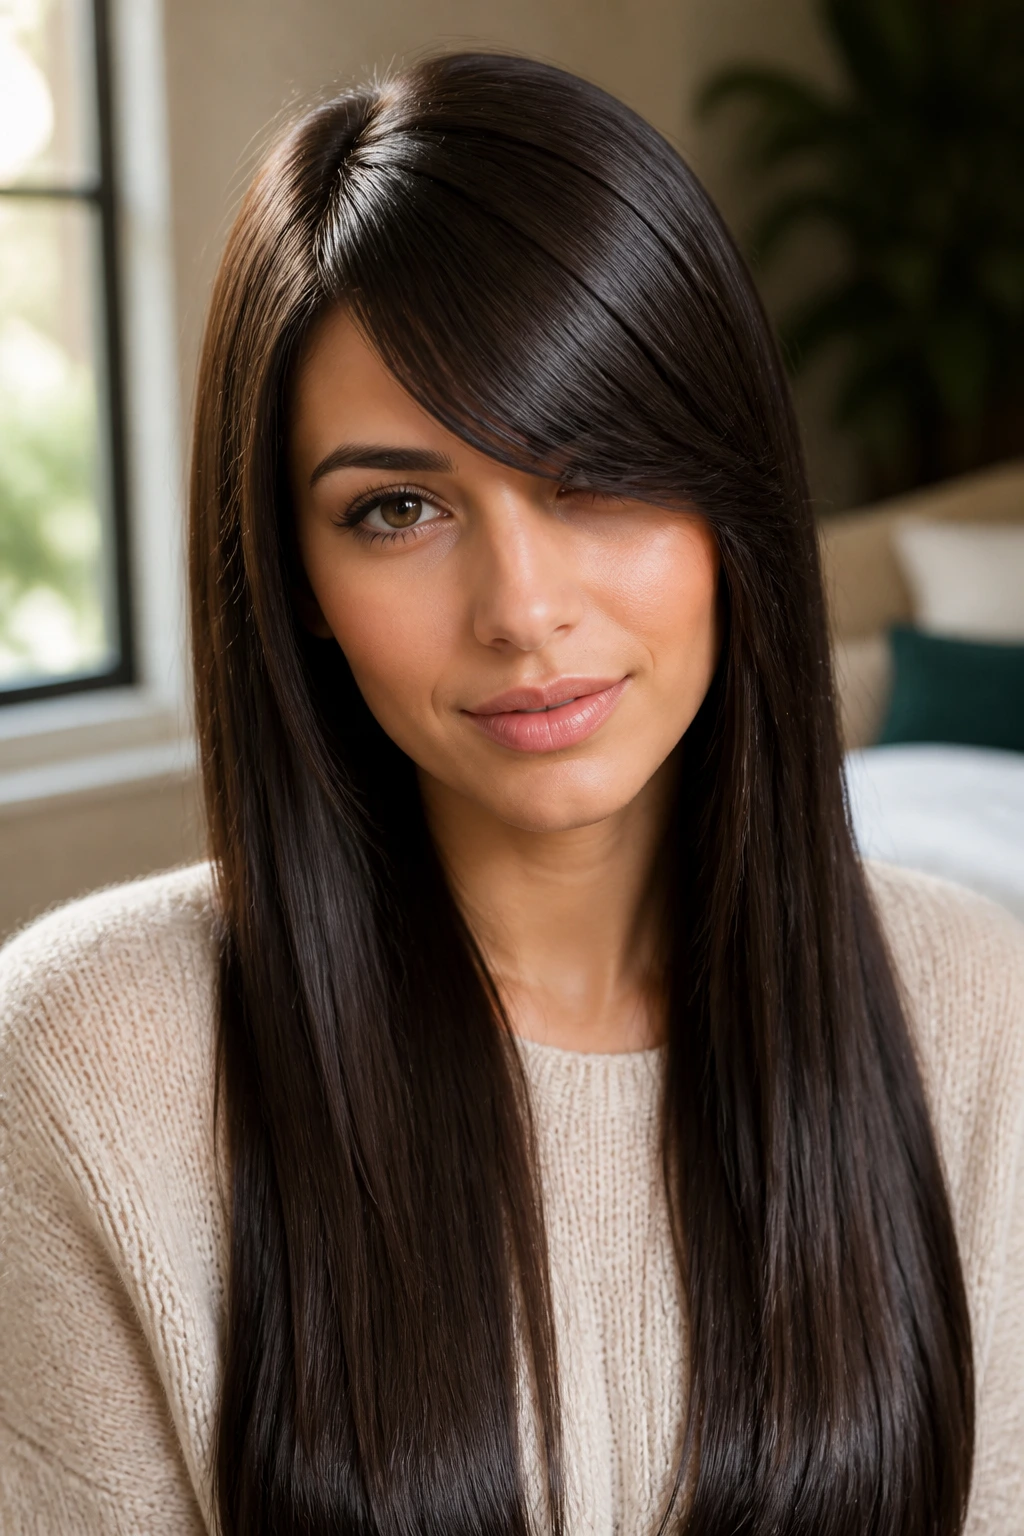
A side fringe softens the straight-hair line without breaking it apart. The fringe sweeps across the forehead and melts into the length, which keeps the face open but less severe than a center part. It’s one of the better choices if your features feel too exposed with all the hair pulled back from the front.
The fringe should be cut long enough to move, not sit in one stiff strip. Blow it with a round brush toward the opposite side first, then let it settle naturally. That little bend gives the fringe the same soft finish as the rest of the hair.
A satin finish — not high gloss, not matte — suits this style best. The hair should catch light, not glare under it.
18. Soft Face Curve and Center Part
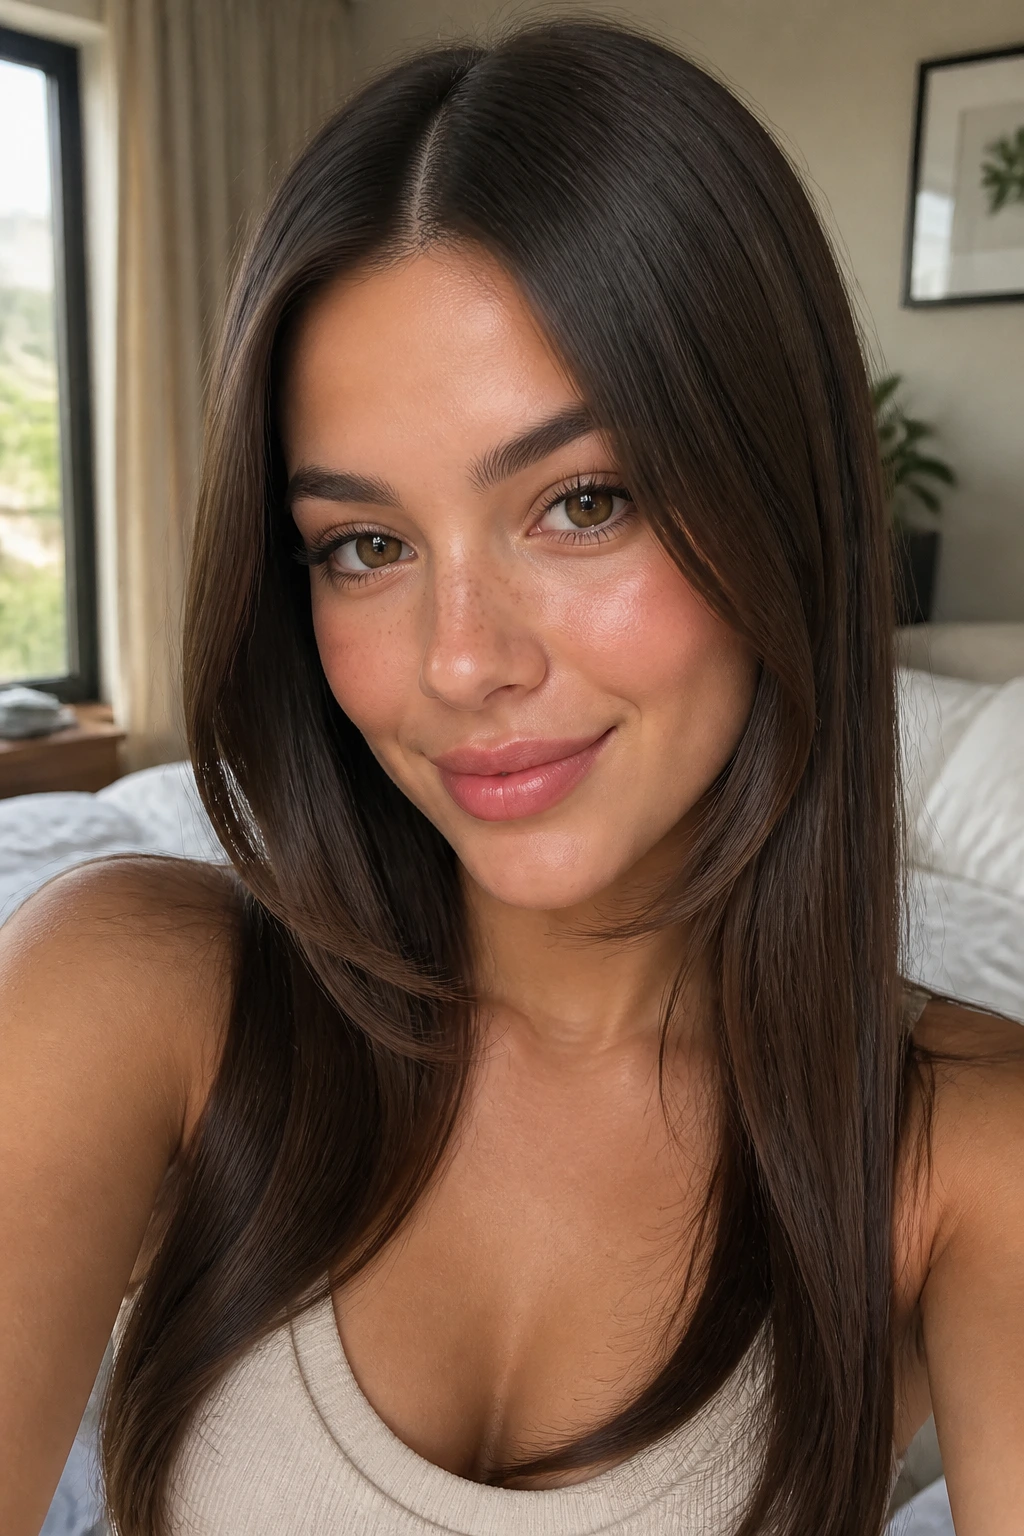
A center part does not have to mean hard edges everywhere. If the front pieces curve in softly around the jaw while the rest stays straight, the style keeps its clean line but gains a little shape around the face. That curve can be created with a round brush or a single pass of a flat iron turned slightly inward at the very ends.
This works especially well when you want long straight hair but don’t want it to look severe. The face curve keeps the length from dragging the eye too far down. It also helps the cut blend into coats, blazers, and high necks without looking boxy.
The best version is understated. You should notice the shape only after you see the whole style, not before.
Why the Cut Matters More Than the Flat Iron
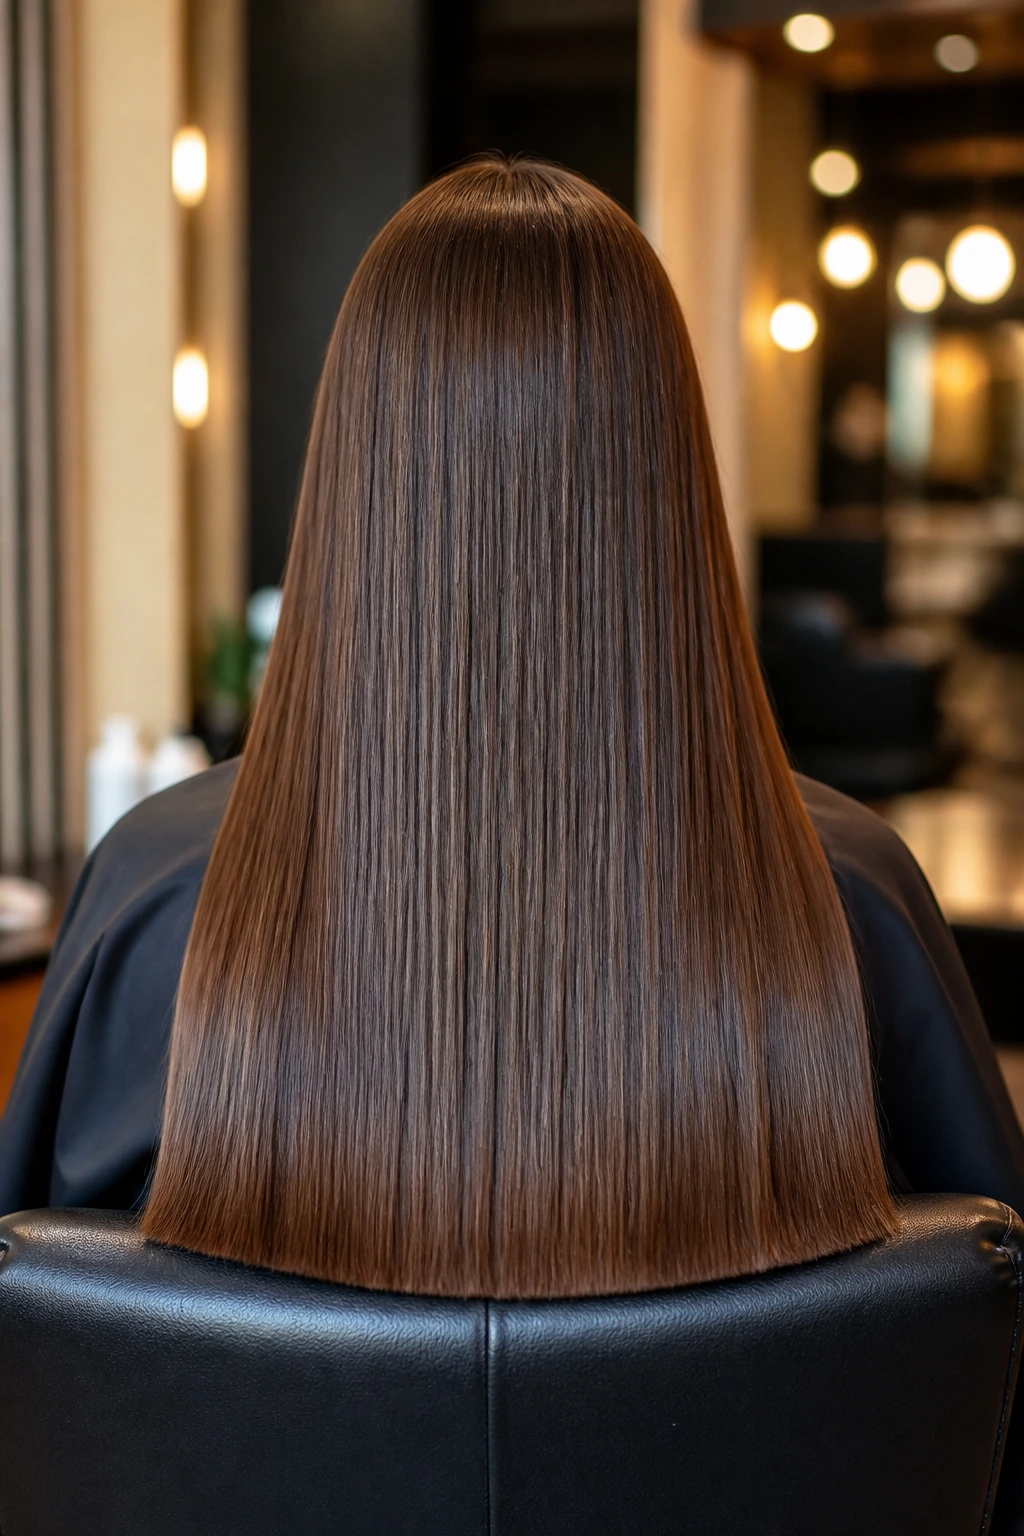
The flat iron finishes the job. The cut decides whether the job looks clean.
That’s the part people skip when they chase sleeker hair. They buy the hotter tool, the pricier serum, the smoother brush, and still end up with ends that puff, collapse, or split into little spikes at the bottom. Long straight hair is ruthless that way. If the outline is wrong, every styling choice has to fight it.
Blunt edges create the strongest shine. When the perimeter is even, light bounces off it more consistently, and the whole style reads cleaner from a distance. That matters most on fine hair, where wispy ends can make the length seem thinner than it is.
Layers need a job. If they’re too high or too many, the style starts looking busy. If they’re placed low and used to remove bulk, they help the hair sit flatter against the back and shoulders. I prefer that kind of invisible structure to decorative layers that shout for attention.
What to ask for
- A blunt perimeter if you want the heaviest-looking finish.
- Slight internal debulking if your hair is thick and puffs at the sides.
- Face-framing pieces that start no higher than the cheekbone.
- A dusting trim every 8 to 10 weeks so the ends stay clean.
The best straight styles are not the ones with the most product on them. They’re the ones with the clearest shape before the styling even starts.
Essential Tools for Sleek Straight Styles
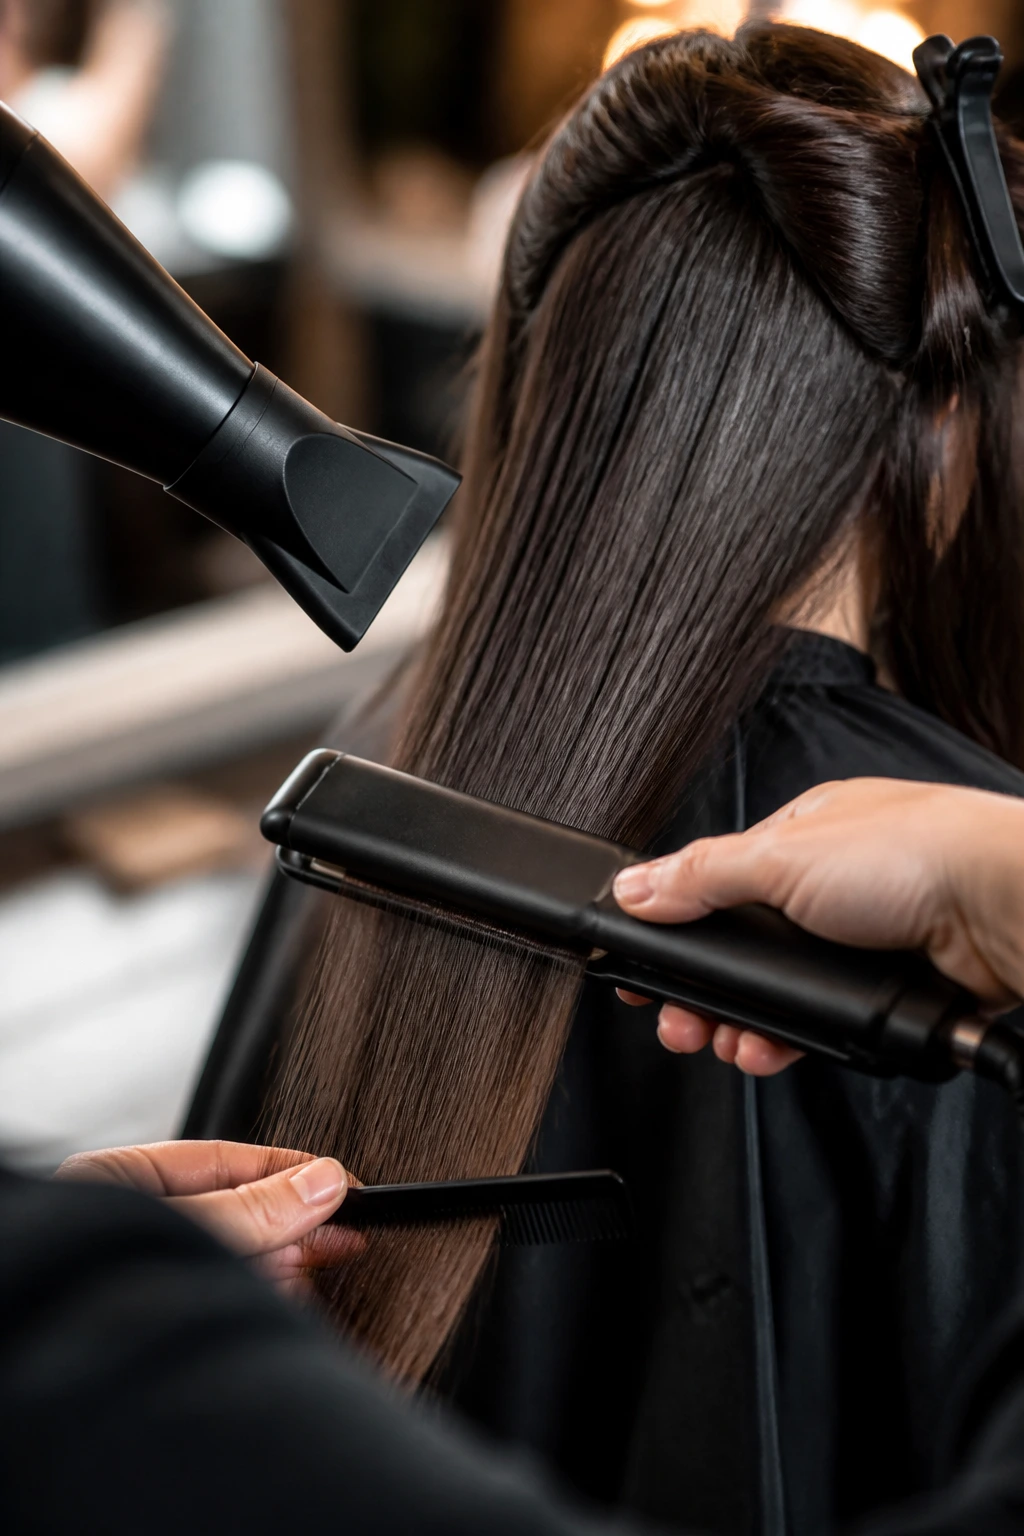
- 1-inch flat iron: Small enough to control the crown and the ends without leaving obvious clamp marks.
- Blow dryer with a nozzle: Directs air downward so the cuticle lies flatter and the hair dries smoother.
- Paddle brush or boar bristle brush: Good for flattening the surface and keeping the part neat.
- Tail comb: Handy for a razor-sharp part and for separating thin sections when flat ironing.
- Sectioning clips: Keep the back half from getting tangled while you work through the top layers.
- Heat protectant spray or cream: A non-negotiable shield before any hot tool touches the hair.
- Lightweight serum: Use one small pump on the mids and ends to tame frizz without making the roots limp.
- Anti-humidity spray: Useful if your hair tends to puff the second you step outside.
- Dry shampoo: Keeps the roots from collapsing on day two or three.
- Silk scrunchie or ribbon: Better than a hard elastic when you want a low ponytail or a half-up shape with less breakage.
What to Ask Your Stylist for the Cleanest Finish
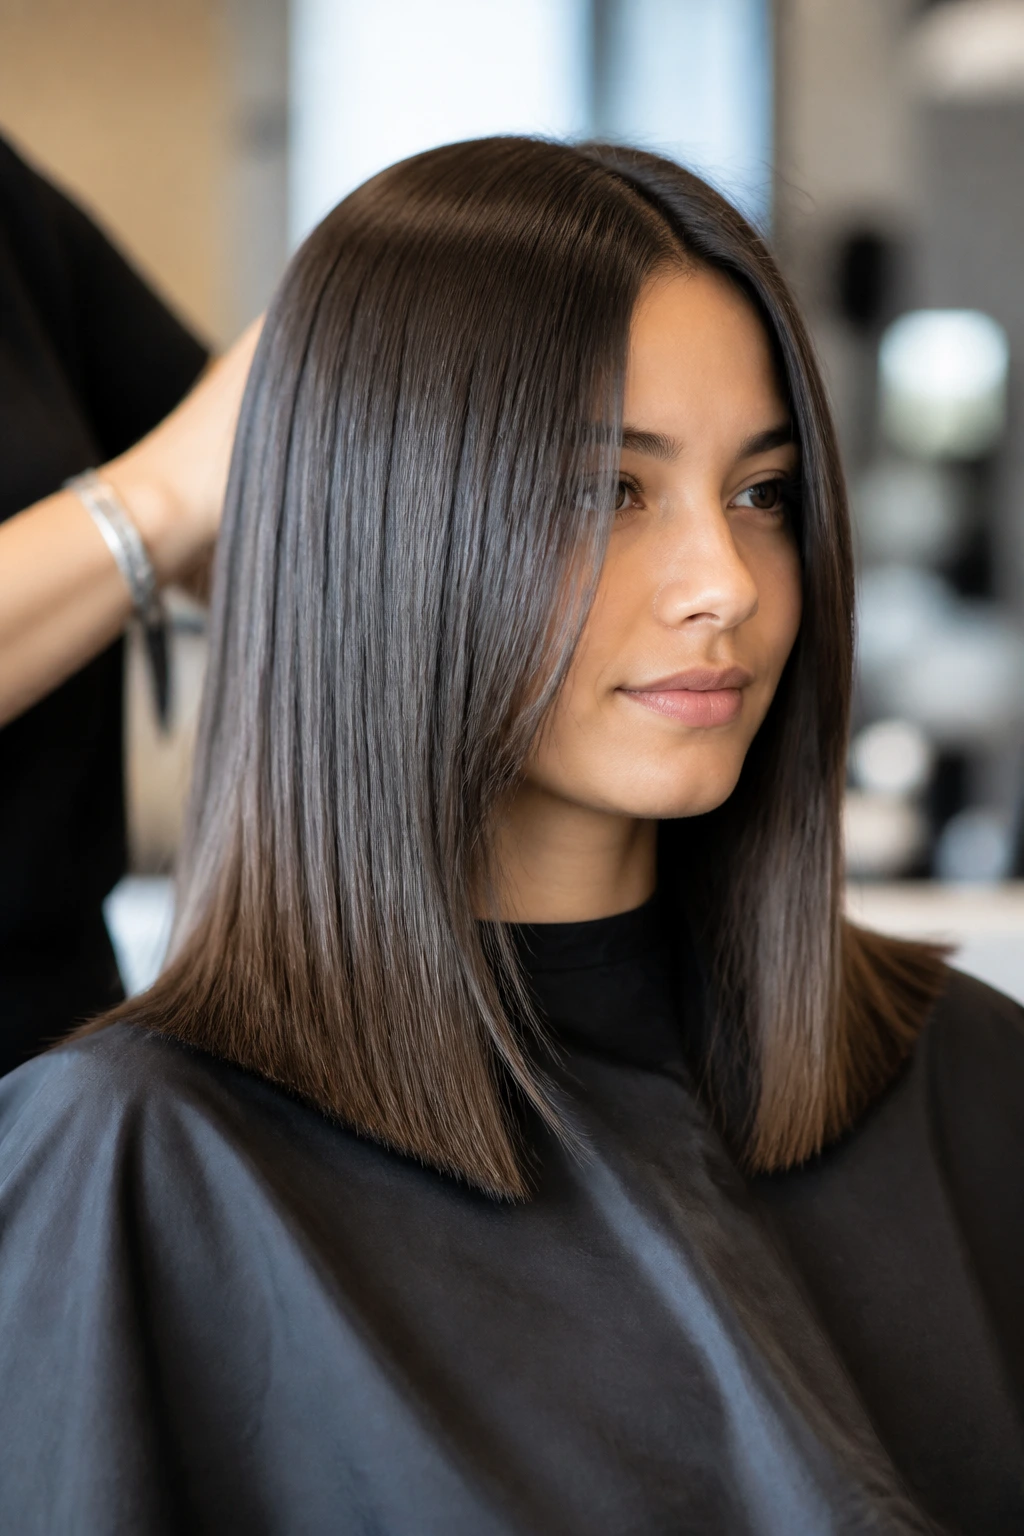
A sleek long style starts with the haircut appointment, not the mirror at home. If your hair is fine, say you want the perimeter to stay full and blunt. If it’s thick, ask for internal weight removal so the shape does not bell out at the sides. Those are two very different requests, and mixing them up is how people end up with a cut that looks good for a week and awkward for three months.
Bring up the front pieces too. If you want face-framing strands, tell the stylist where they should begin — cheekbone, lip, or jaw. That one detail changes the whole mood. Cheekbone pieces feel soft. Jaw-level pieces feel sharper. Lip-length pieces blend the easiest into long hair, which is why I tend to like them.
If you wear your hair straight most of the time, ask for a cut that behaves that way. Some stylists default to layers that look good curled but break the straight line when worn smooth. Say you want the hair to lie flat when air-dried or blown out with a paddle brush. That sentence saves a lot of regret.
And if the ends are transparent, say so. Most people wait too long to trim the last half inch. By the time they notice, the whole hemline has gone thin and stringy.
How to Wear These Looks With Different Outfits
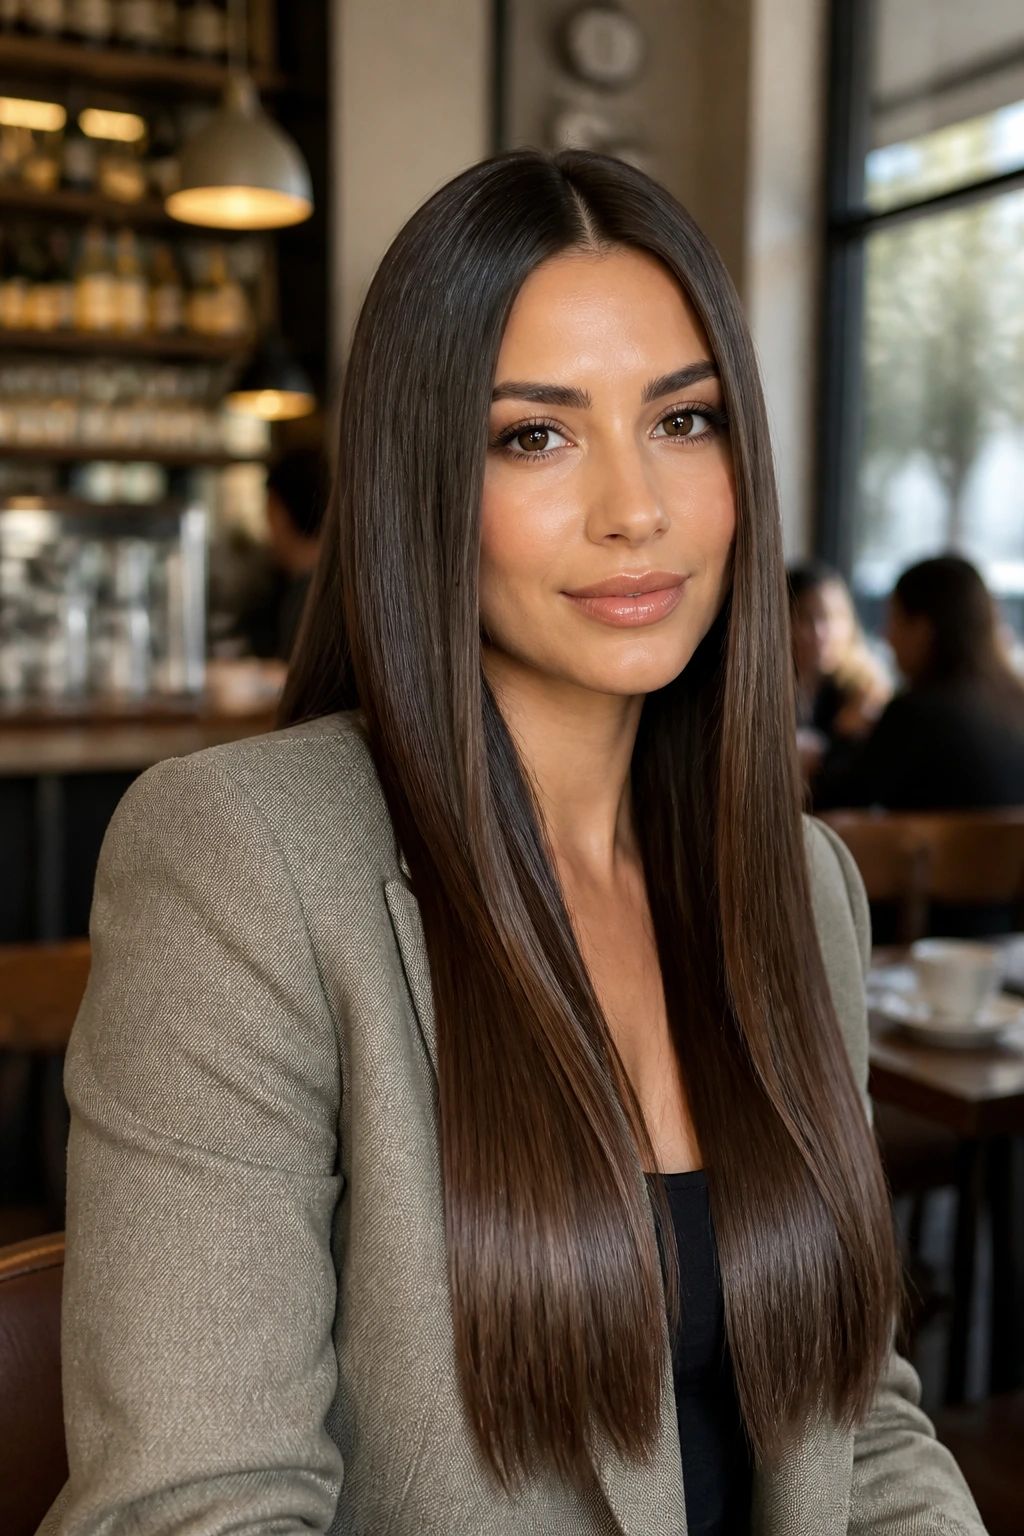
Presentation: Keep the part clean and the surface smooth so the hair reads like a line, not a cloud. A polished straight style looks best when the front sections are deliberate — tucked, centered, or softly curved — instead of left to wander.
Outfit Pairings: Crisp shirts, tailored blazers, ribbed knits, and simple dresses all work because they echo the same clean shape. If the clothing already has texture, like chunky wool or pleats, a sleeker hairstyle keeps the look from getting noisy.
Occasions: These styles are useful on workdays, at dinners, for interviews, and for any event where you want the hair to stay calm while the rest of the outfit does the talking. A low pony, a side tuck, or a ribbon tie is often enough when the clothes are already strong.
Time Budget: A center part and serum finish can take under 10 minutes on already straight hair. A full blowout finish usually takes 25 to 40 minutes, depending on density and length. If the hair is waist-length or very thick, add another 10 minutes and a little patience.
Additional Styling Tips and Finish Boosters
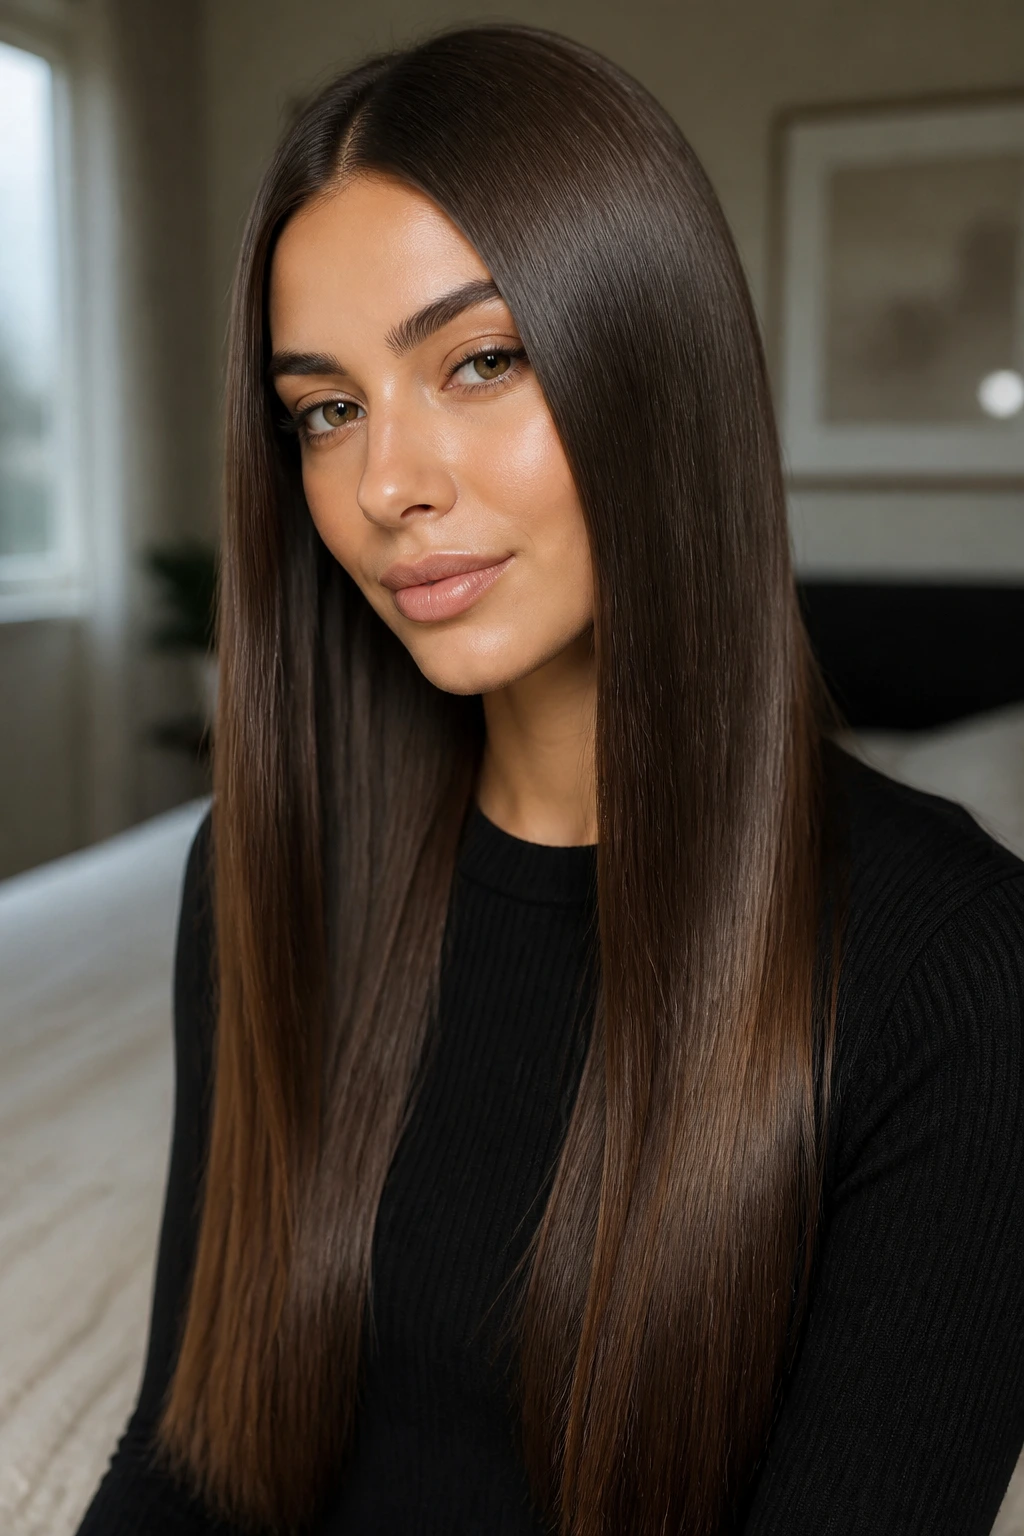
Shine Enhancement: Put one small pump of serum into your palms, rub it until it disappears, then skim only the mid-lengths and ends. If your roots get shiny, you used too much or started too high.
Customization: Shift the part by half an inch, and the style changes more than people expect. A deep side part makes the face feel softer; a center part feels more direct; an off-center part lands in the middle and works on days when you want balance without symmetry.
Accessory Move: A narrow ribbon at the base of a half-up tie, a thin metal clip near the temple, or a matte claw clip at the nape can change the tone fast. The accessory should feel like a punctuation mark, not a costume piece.
Make-It-Yours: If your hair is fine, keep the crown airy and the ends blunt. If it’s thick, use smoothing cream before the blow-dry and skip bulky layers that fight the line. If your hair is naturally wavy or frizzy, aim for a softer C-bend or face curve instead of trying to force a perfect board-straight finish every single time. That fight gets old.
Common Mistakes That Make Straight Hair Look Tired
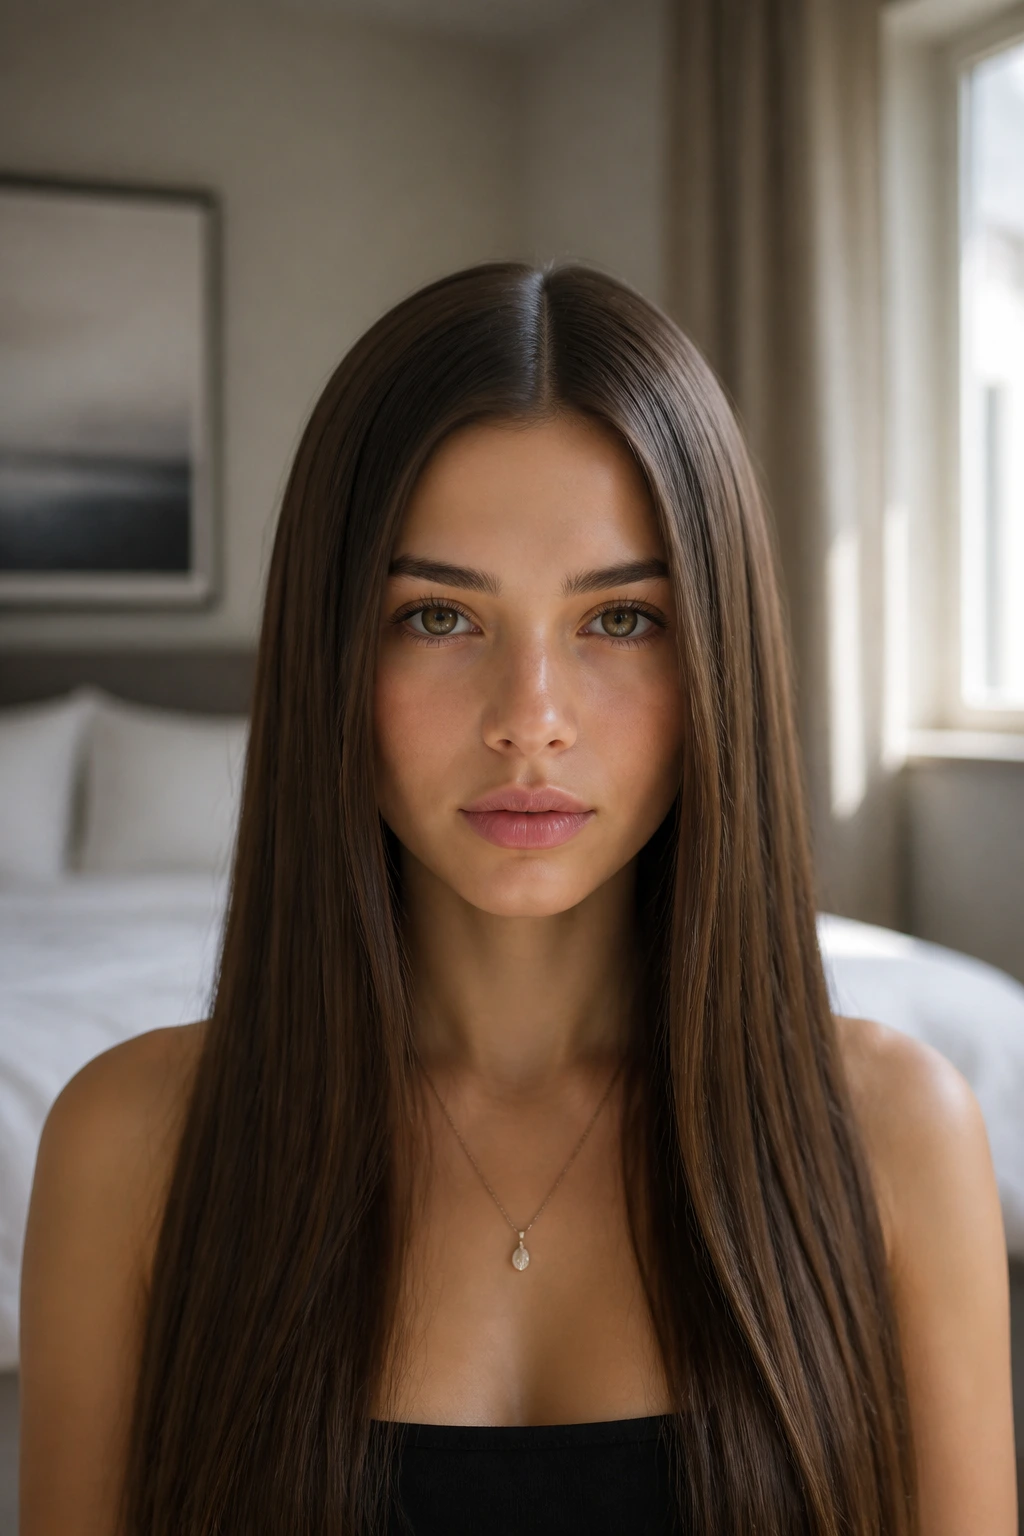
- Flat-ironing huge sections: Big pieces look faster, but they leave bends in the middle and roughness underneath. Use 1-inch to 1.5-inch sections so the heat reaches the whole strand.
- Putting serum at the roots: The shine ends up in the wrong place, and the style loses lift at the crown. Keep finish products from the ears down.
- Skipping the trim schedule: Long straight hair shows split ends faster than wavy hair because there’s nowhere for the damage to hide. Dust the ends every 8 to 12 weeks.
- Forcing every strand perfectly flat: A little movement near the face or at the ends keeps the style from looking stiff. The goal is smooth, not lifeless.
- Ignoring the hairline: Flyaways around the temples can make the whole look feel unfinished, even if the lengths are glossy. A toothbrush-sized brush and a touch of styling cream clean that up fast.
- Sleeping on it carelessly: Cotton pillowcases rough up the surface overnight. A silk pillowcase or loose silk wrap keeps the finish intact much longer.
Variations and Adaptations to Try
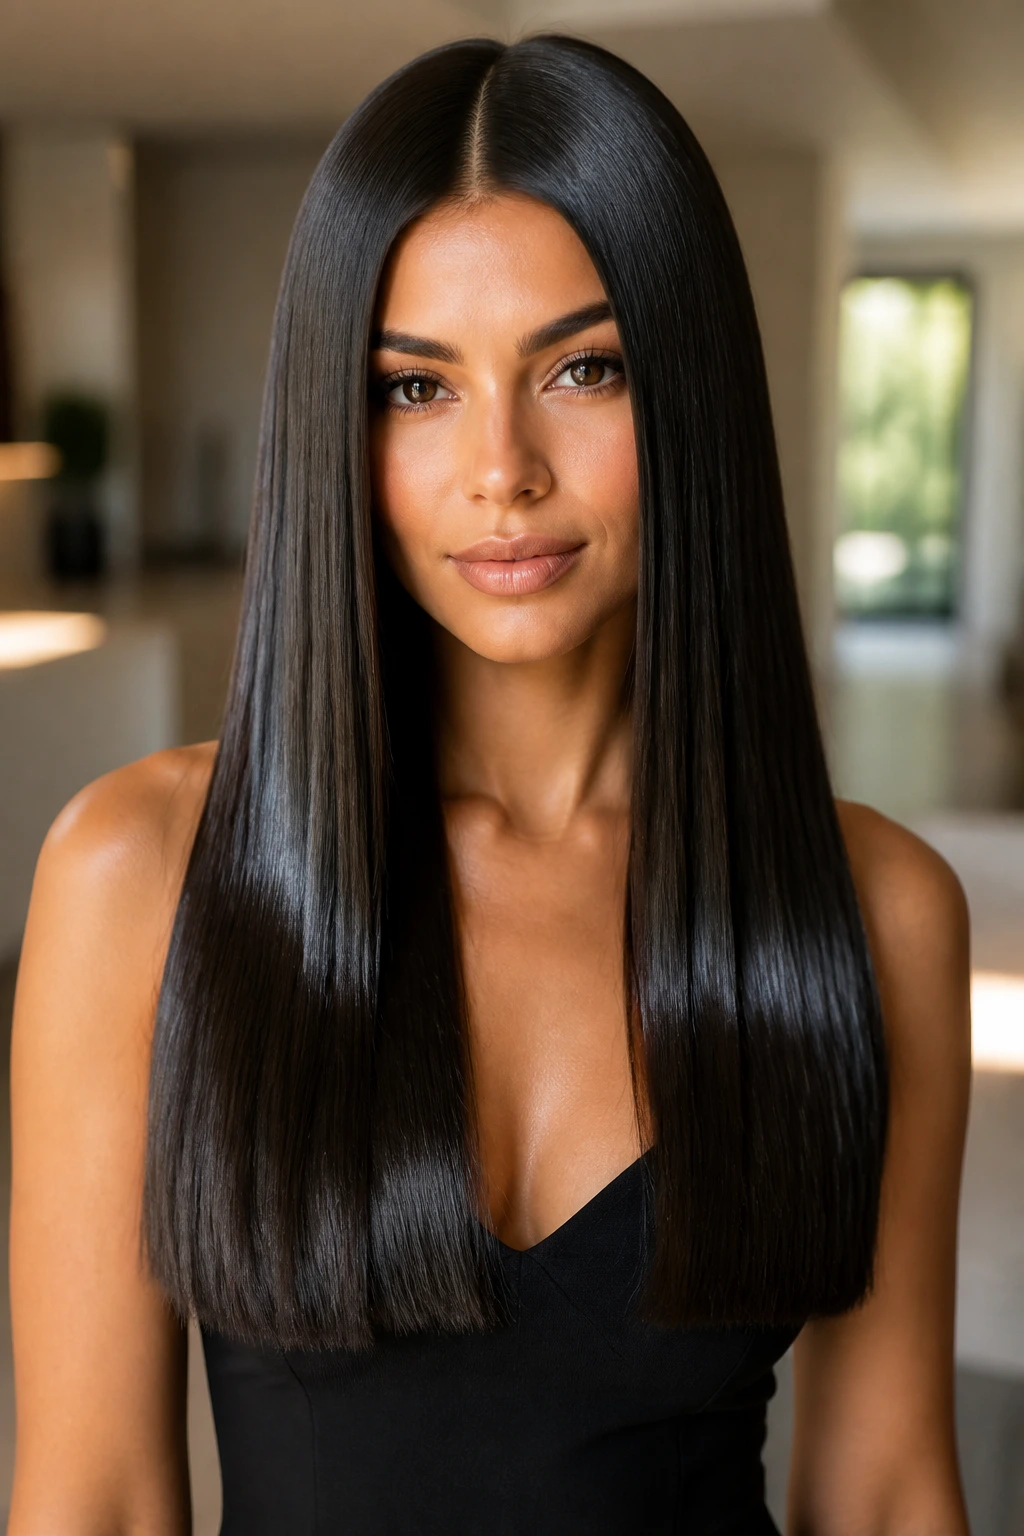
Glass-Hair Minimalist: Keep the center part, blunt ends, and mirror-like finish as the whole look. This works when the haircut is strong and you want the hair to feel almost architectural.
Soft Movement Version: Add long invisible layers and a small inward bend at the ends. It’s a smarter choice for thick hair that tends to balloon at the bottom.
Workday Low-Effort Version: Pull the top half into a tight half-up and leave the rest straight. The crown stays neat, and you only need to smooth the front pieces.
Statement-Length Version: Go for waist-length hair with a blunt hem or very shallow U-shape. That one relies on exact trims, because the whole effect comes from the long, unbroken line.
Texture-Friendly Finish: If your hair is wavy, frizzy, or coily, use a blowout or silk-press approach and stop once the surface is smooth, not pin-straight. You still get the sleek shape, but the hair keeps a little more softness and movement.
How to Keep Long Straight Hair Sleek Between Washes
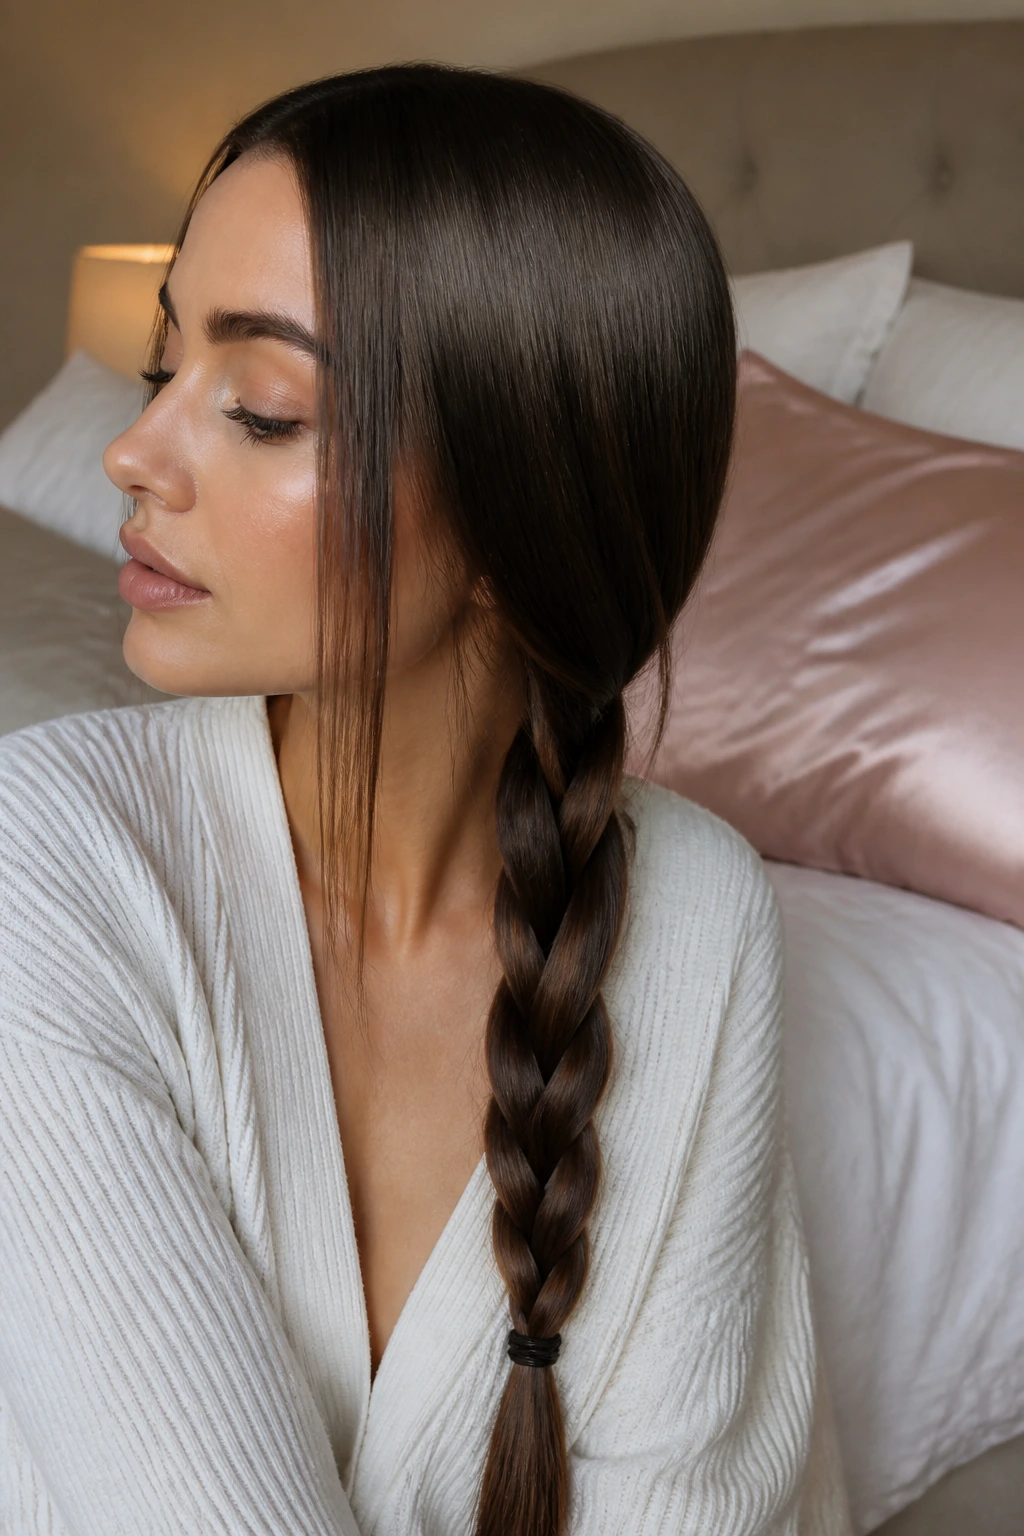
At night: Let the hair cool completely before you go to bed. If you sleep on damp straight hair, it bends in weird places and holds the bend all day. A silk pillowcase helps, but so does a loose low braid or a soft wrap when the hair is fully dry.
Between washes: Dry shampoo belongs at the roots, not down the lengths. Spray it from about 8 inches away, wait 30 seconds, then brush it through so the powder doesn’t sit in a chalky patch.
Touch-ups: If the front sections fold weirdly, re-flat-iron only those pieces and leave the rest alone. A quick pass at 350°F to 375°F is usually enough. Going over the whole head again every morning is how ends get fried.
Trim schedule: Blunt cuts usually need a dusting every 8 to 10 weeks to keep the edge solid. If your hair is heavily layered, you can stretch that a little longer, but once the ends start looking see-through, the style loses its clean line.
Frequently Asked Questions
How do I keep long straight hair from looking flat at the crown?
Use less product at the roots and more lift in the first 2 inches of the blow-dry. A quick upside-down rough dry or a round brush at the crown gives the style enough height so it doesn’t sit pasted to the scalp.
What flat iron temperature works best for sleek straight styles?
Most hair does well somewhere between 300°F and 375°F, depending on texture and condition. Fine or color-treated hair needs the lower end, while coarse hair usually needs a bit more heat to smooth in fewer passes.
Can wavy hair wear these long straight looks?
Yes, but it works better when the cut is chosen with the natural texture in mind. Wavy hair usually looks nicest in a softer C-bend, a face curve, or a smooth blowout finish rather than a hard, glass-flat line every day.
Which part is more flattering: center or side?
A center part gives the strongest symmetry and tends to look sharpest on long hair. A side part softens the face and can add lift if the front is heavy. If you hate one look, that’s usually the answer right there.
How often should I trim long straight hair?
Every 8 to 12 weeks is a sensible range if you want the ends to stay clean. If the style is blunt, stay closer to 8 weeks; if it has invisible layers, you can often stretch a little longer before the outline starts to look fuzzy.
What if my ends flip out by the end of the day?
That usually means the last pass with the iron or brush was too loose, or the ends are starting to dry out. Refresh the bottom 1 to 2 inches only, then seal with a tiny bit of serum so the hair stays in line longer.
How do I stop humidity from puffing up straight hair?
Use a heat protectant with smoothing ingredients, finish with an anti-humidity spray, and avoid touching the hair once it’s set. The more you rake your hands through it, the more the surface opens up and invites frizz.
Are long straight hairstyles better on thick hair or fine hair?
Both, but the haircut changes. Thick hair usually needs internal weight removal so it doesn’t balloon, while fine hair usually needs a blunt edge to keep the ends from looking thin. Same style family. Different engineering.
A Cleaner Kind of Simple
Long straight hair has a reputation for being easy, and that reputation is mostly earned by people who have never tried to keep it sleek in real life. The truth is more useful: the style is simple once the cut, part, and finish all agree with each other. That’s why these looks work. They keep the line clear.
The best part is how little you need when the shape is right. A blunt edge, a tidy part, one careful pass with a flat iron, and a small amount of finish product can carry a whole evening. On hair this long, polish lives in the details, and those details are often smaller than people expect.
