



Defined texture changes the whole mood of natural hair. A wash-and-go that clumps cleanly, a twist-out that opens into ropey coils, a rod set that lands in shiny little spirals — those styles do something a loose, unstructured finish never quite manages. They let the pattern speak without begging for attention.
The best natural hairstyles for defined texture are not about forcing every curl into the same shape. They’re about choosing styles that work with the way Black hair actually bends, coils, stretches, and shrinks. Water, section size, tension, and dry time matter more than fancy packaging ever will. Use the wrong combo and you get puff. Use the right one and the curl pattern looks sharp from roots to ends.
And that’s the part people miss. Definition is usually built, not bought. A strong hold gel can help, sure, but the real difference comes from how you section the hair, how wet it is when you start, and whether you leave it alone long enough to set. That’s where the good stuff happens.
Why These Styles Hold Texture So Well
-
Clumping does the heavy lifting: When hair is evenly saturated and coated with slip, curls group together instead of frizzing apart, which is why so many defined styles start on soaking-wet hair.
-
Hold matters more than shine: A glossy product can look nice on day one and still collapse by lunch; a gel, foam, or setting lotion with real hold keeps the curl pattern visible longer.
-
Section size changes the finish: Smaller sections create neater coils, tighter twist-outs, and cleaner rod sets. Bigger sections give you more volume, but the texture reads softer and less precise.
-
Drying all the way through is non-negotiable: Wet centers lead to puff, shrinkage changes, and that annoying half-defined look where the outside looks finished and the inside is still trying to catch up.
-
Night protection keeps the work from disappearing: Satin bonnets, scarves, pineapples, and loose re-pinning stop the edges from fuzzing out on the pillowcase.
-
Texture-friendly styles are built for movement: The best versions still move when you turn your head. They’re defined, not shellacked.
1. Wash-and-Go with Brush Definition
A wash-and-go is the clearest, quickest read on your natural texture. When it’s done well, the curls look grouped, springy, and shiny without looking stiff. When it’s done badly, you get a halo of frizz and a top layer that looks like it gave up halfway through the job.
Why It Works
Brush definition gives each curl cluster a little nudge into place. A Denman-style brush, or any flexible styling brush with decent tension, helps the strands gather into cleaner clumps before the gel starts setting. That is why this style can look so polished on coils, curls, and everything in between.
The trick is starting with real moisture. Not damp. Not “I misted it once and hoped for the best.” Soaking-wet hair lets the leave-in and gel spread evenly, which keeps the finish smoother and less fuzzy at the surface.
What I’d Do With It
- Work in small sections, about 1 to 2 inches wide.
- Apply a water-based leave-in first.
- Smooth a strong-hold gel over the section.
- Brush from mid-lengths to ends, then rake lightly if the curl clumps need help.
- Scrunch the ends once the section is coated.
Bold tip: Don’t touch it until it’s dry. If you keep separating curls while they’re still cool or damp, the cast breaks too soon and the whole style starts puffing up.
2. Twist-Out with Soft Separation
A good twist-out has a softer edge than a wash-and-go. The curls open into long, ribbon-like coils that look deliberate, not overworked. I like it when the twist pattern still shows a little at the base. That’s the part that makes it look rich instead of fluffy.
Why It Works
Two-strand twists stretch the hair just enough to show definition when they come down. The pattern is more relaxed than finger coils and usually less tight than a Bantu knot-out, which is why it lands in that sweet spot between shape and movement.
You’ll get the cleanest result on hair that’s damp, not dripping. Too dry and the product sits on the surface. Too wet and the twists take forever to set, which usually leads to frizzed roots and an impatient unraveling job.
How I’d Wear It
A twist-out can be worn full and rounded, pushed to one side, or tucked with a clip near one temple. If you want the curls to read clearly, separate the twists only once, and use a tiny bit of oil on your fingertips before you untwist. That keeps the strands from snagging.
The best version is the one that still looks defined on day three. That means small enough sections to hold pattern, but not so small that the style turns into a pile of tangles when you take it down.
3. Braid-Out with Crisp Wave Pattern
Why does a braid-out sometimes look sharper than a twist-out? Because the braid presses the hair flatter and forces a different bend into the strand. The result is a more zigzag texture, a little more stretch at the roots, and a finish that can look almost sculpted if you set it right.
What Makes It Different
A braid-out gives more elongation than a twist-out, especially on tighter coils. The pattern tends to read as a wave rather than a spring, which is useful when you want definition without a ton of shrinkage. On longer hair, the length hangs better. On short-to-medium hair, it can create the illusion of extra hang without making the style limp.
How to Use It
- Braid on damp, not wet, hair.
- Use a cream plus a light gel or foam for slip and hold.
- Keep the braids even in size if you want the pattern to look consistent.
- Let them dry all the way through before you take them apart.
Best move: Unravel from the ends upward, not the roots downward. The braid pattern stays cleaner, and you don’t accidentally rough up the front before the back is even open.
4. Finger Coils with Spaced-Out Springs
Finger coils are one of those styles that make people stare a little longer. Each coil is tidy, springy, and separate, which means the texture reads with almost no effort once the set is dry. They also make short natural hair look intentionally styled instead of “in between” anything.
Why It Works
The fingers act like a tiny molding tool. You wrap each small section around your index finger until it springs into a tight spiral, and the product holds that shape in place. On coily hair, that spiral can stay visible for days if the sectioning is clean and the drying is complete.
This style is patient work. No pretending otherwise. But the payoff is a set that looks structured from the crown to the ends, and a haircut or tapered shape looks especially sharp with it.
Quick Facts
- Works best on short to medium lengths.
- Needs a strong-hold gel or mousse-gel combo.
- Smaller sections give a neater finish.
- A hooded dryer can save the day if the coils are dense.
One thing to watch: If you separate the coils before they’re fully dry, they fluff out too fast. Leave them alone, even if they feel a little boring while they set. Boring is good here.
5. Mini Twists Worn Loose
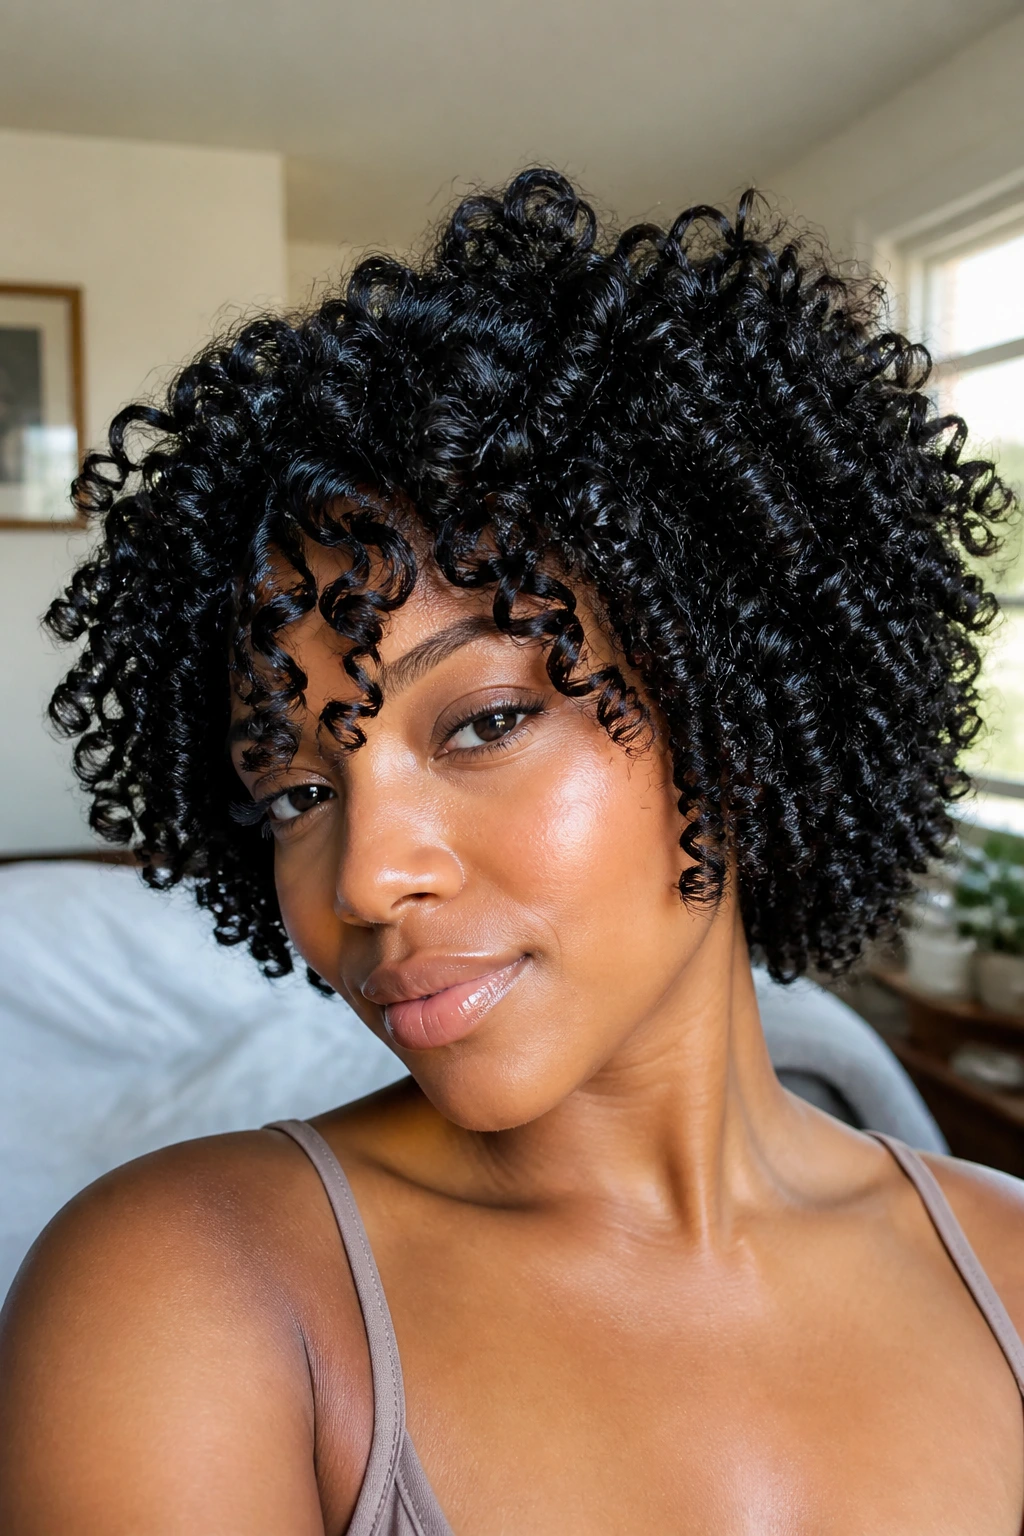
Mini twists are the style I reach for when I want definition that lasts longer than a wash-and-go but still looks like actual hair, not a helmet. The tiny rope pattern gives the texture a clear shape, and the ends can be worn loose, tucked, or curled under depending on the mood.
Why It Works
Smaller twists hold pattern better because each section has less hair trying to escape. That matters a lot for dense coils or hair that tends to swell the minute you step outside. The twist pattern stays visible even after a few days, which is half the appeal.
There’s also a practical side to this one. Mini twists can be kept in for a while, then worn as a twist-out later. Two styles, one prep session. That’s not laziness. That’s efficient hair math.
What I Like About It
The parts matter here. Clean parts make the style look deliberate, and the twist size should be small enough to show definition but not so tiny that you spend half a day twisting. I usually like them around pencil width or a little bigger, depending on density.
A light leave-in, then a cream or mousse, then a soft gel at the ends is plenty. Heavy butter tends to blur the texture. It also makes the roots greasy faster, which is not the look.
6. Bantu Knot-Out with Spiral Ends
A Bantu knot-out gives you a tighter, more playful spiral than most other set styles. The pattern lands somewhere between a coil and a wave, with a little lift at the root and a visible curl memory that holds up well on hair that likes shape.
Why It Works
The hair is wrapped into compact knots, so the bend gets set right into the strand. When the knots come down, the pattern opens into little spirals that can look almost spring-loaded. That’s why this style is so good when you want your texture to look very deliberate.
It’s a better choice than a twist-out when you want the ends to curl up more tightly. It’s also a smart option for medium-length hair that needs a bit of stretch but not a full elongating set.
What to Watch For
The knots need to dry completely. Not mostly. Completely. If the center is still damp, the unraveling gets messy and the shape falls apart near the roots.
Use enough product to give hold, but don’t drown the sections. If the hair is too slippery, the knots can loosen before they set. If it’s too dry, the wraps look rough and the curls pop apart in odd places.
7. Flat Twist Crown
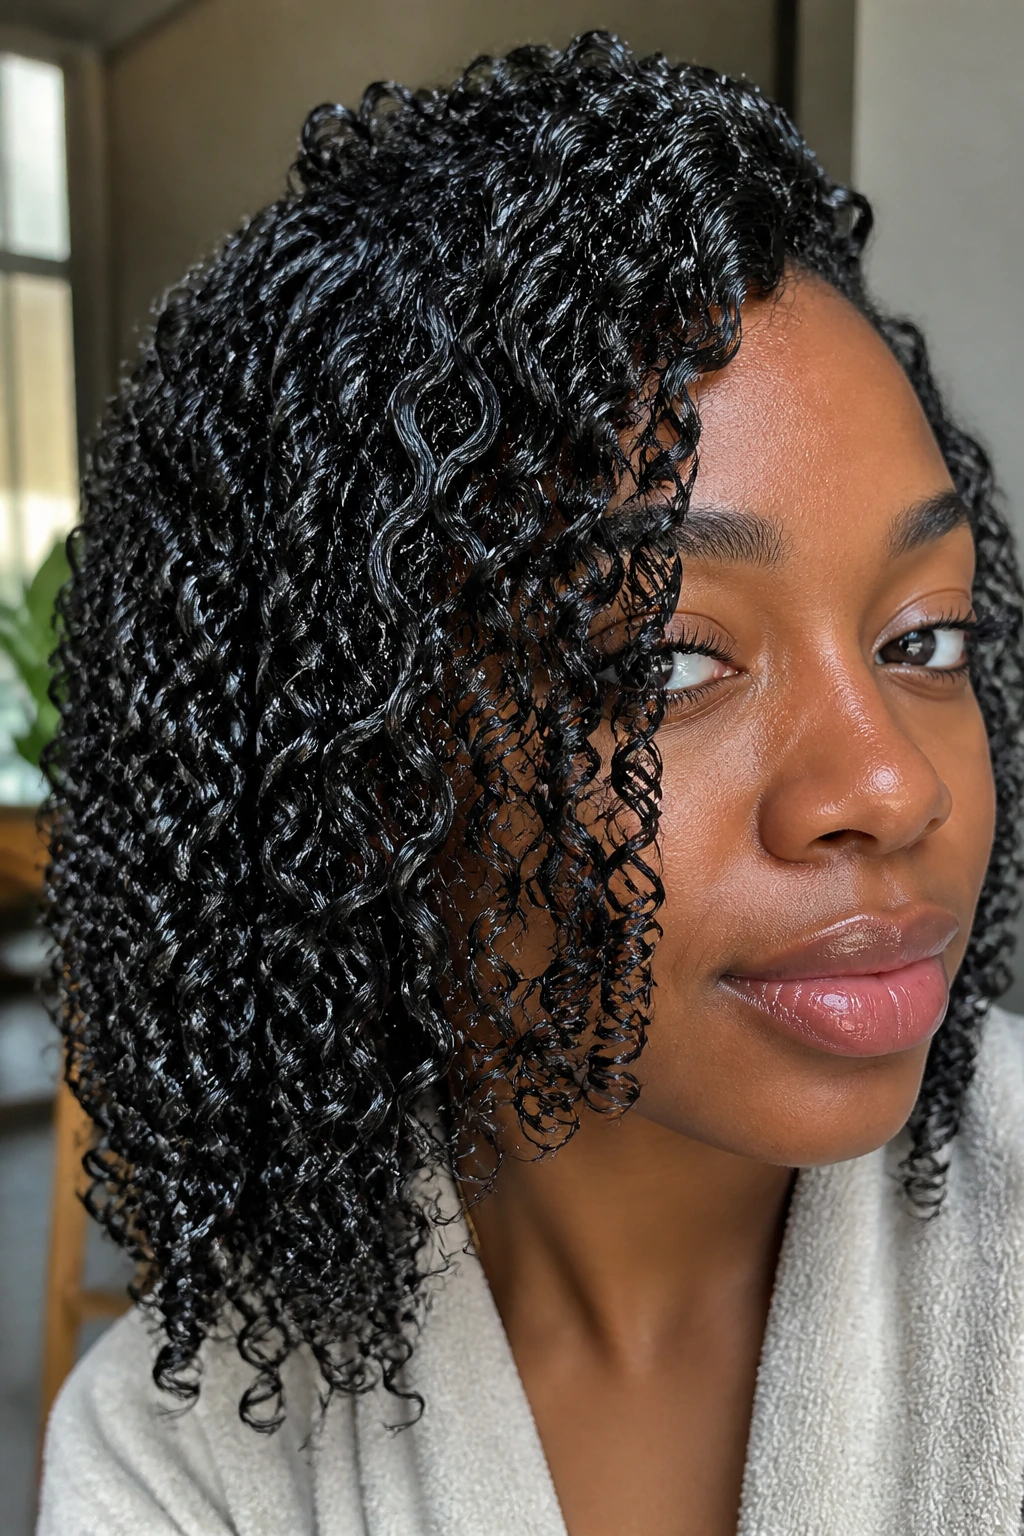
A flat twist crown is more structure than volume, and I mean that as a compliment. It pulls the texture into a visible pattern around the head, almost like a frame, while still leaving the natural curl or coil character intact in the sections that aren’t tucked away.
Why It Works
Flat twists lie close to the scalp, so the style keeps the top neat and the shape controlled. The exposed sections still carry texture, which is what keeps it from looking too polished or too formal. If you’ve got a few inches of length, this is one of the best ways to make the hair look dressed without losing its natural feel.
How I’d Style It
A side part helps. So does a little stretch at the roots before you start twisting. If the hair is too shrunken, the crown can bunch up instead of lying flat, and the whole shape gets harder to pin.
A few gold cuffs or small pins can make the twists look finished without adding clutter. I’d skip heavy accessories. The braid-and-twist pattern is already the star.
8. High Puff with a Defined Hairline
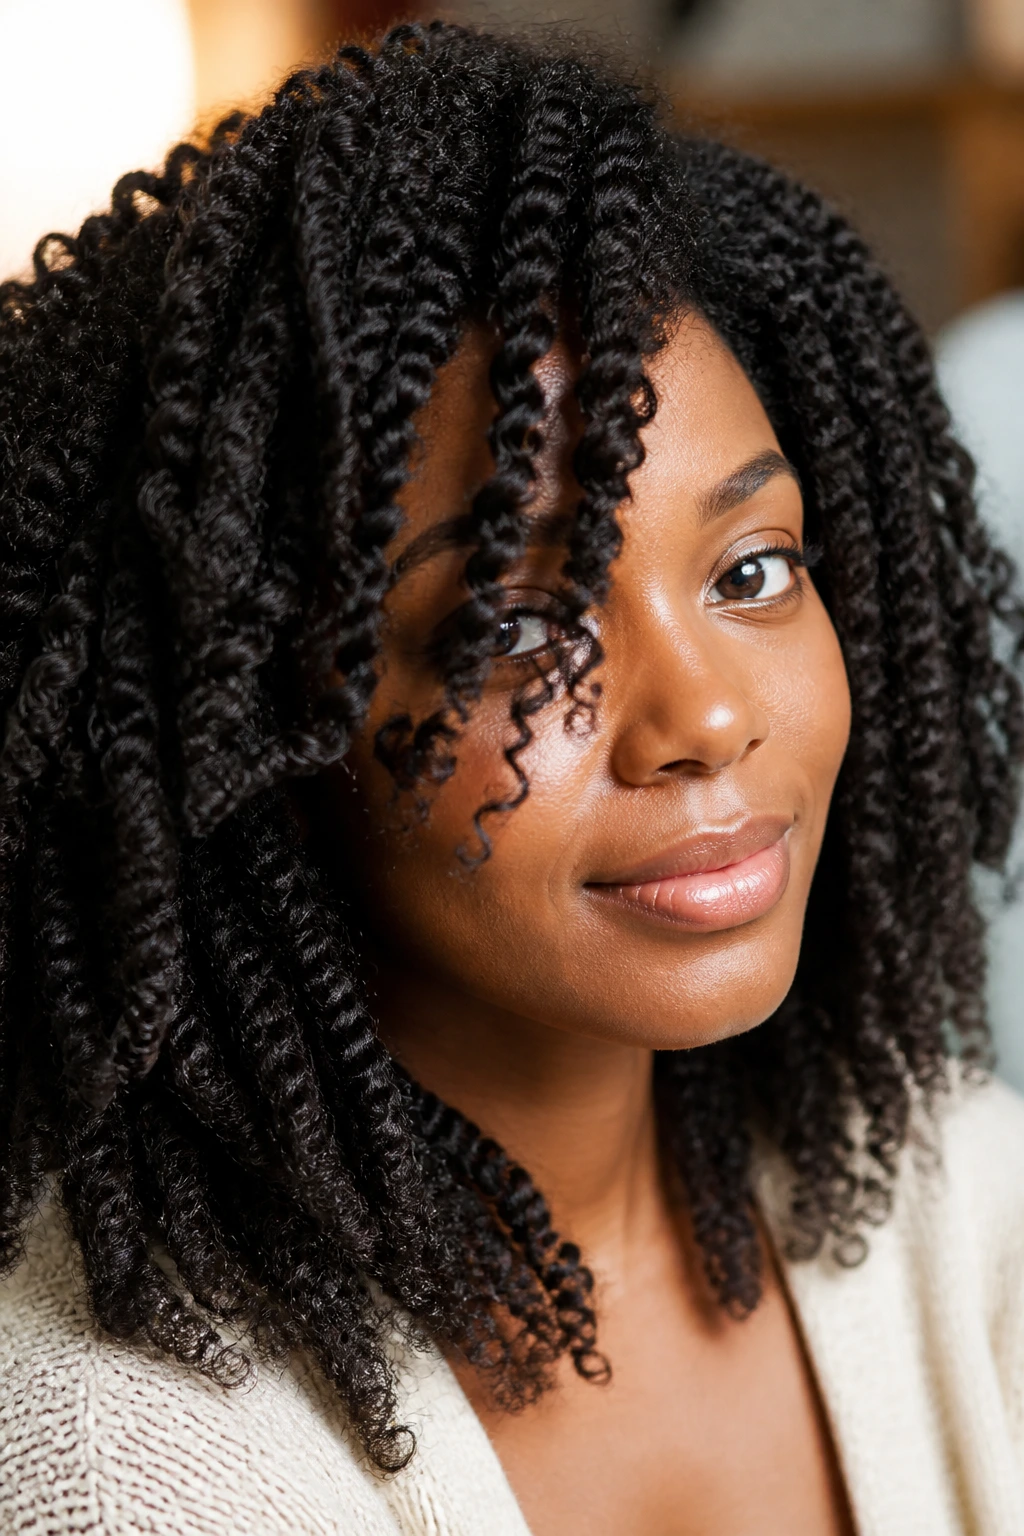
The high puff can be lazy or sharp. The sharp version is the one worth keeping. It keeps the texture front and center while the hairline stays smooth, which makes the whole style look intentional instead of rushed.
Why It Works
The puff gives height and volume without hiding the curl pattern. The front edge — the part that sits at the forehead and temples — is where the definition lives. If you define that area well, even a simple puff looks dressed up.
A soft gel or edge-friendly styling product works best at the perimeter. Don’t smear it all over the roots. You want control around the hairline, not a crunchy cap that makes the puff feel stiff.
A Few Real-World Notes
- Use a snag-free puff cuff or stretchy band.
- Keep the band loose enough to avoid a dent.
- Fluff the puff with your fingers, not a brush.
- Leave a curl or two out in front if that suits your face shape.
The best high puffs have movement. If the whole thing sits like a perfect sphere, it usually means the hair got pulled too tight. Nobody needs that.
9. Pineapple Puff on Stretched Curls
How do you keep day-two curls from collapsing into a flat, fuzzy halo? You gather them high, let the ends hang, and keep the crown loose enough that the shape doesn’t get crushed. That’s the pineapple puff, and it’s one of the cleanest ways to stretch time between full refreshes.
Why It Works
This style protects the curl pattern by stacking the hair where it gets least friction. The ends keep their bend, the roots get a break, and the overall shape stays rounded instead of smashed. It works especially well on twist-outs, braid-outs, and rod sets that still have movement left in them.
Where It Fits Best
The pineapple puff is nicest on medium to long hair, but shorter hair can fake the effect with a tiny top pony and a few pinned sections. A satin scrunchie matters here. Regular elastic can flatten one spot too hard and leave a crease that takes forever to relax.
If the crown is already a little fuzzy, smooth only the top layer with a touch of mousse or gel. Do not soak the whole style. You’ll lose the shape you were trying to save.
10. Rod Set with Polished Ringlets
A rod set is the style I reach for when I want the curl pattern to look almost architectural. Clean ringlets, even ends, a little bounce. It’s one of the most defined finishes you can get on natural hair, and it’s especially useful on shorter lengths that need shape rather than volume.
Why It Works
The rod gives each section a fixed curl diameter, so the finished style looks consistent from top to bottom. The smaller the rod, the tighter the curl. The larger the rod, the softer the wave. That one detail changes the whole mood of the style.
Setting product matters here. Foam, setting lotion, or a light gel can help the hair wrap smoothly and dry into a clean shape. If the ends aren’t wrapped neatly, the curl loses its polish at the last second, which is a shame because the rest of the set might be perfect.
Equipment Matters
- Perm rods or flexi rods in the size you want.
- A tail comb for clean parts.
- Clips to keep unused sections out of the way.
- A hooded dryer if you don’t want to wait overnight.
Practical note: Let the rods cool all the way before removing them. Warm curls relax faster, and you lose some of that crisp ringlet shape.
11. Flexi Rod Set with Soft Bend
Flexi rods are a little more forgiving than rigid rods. They bend to the hair, which makes wrapping easier and sleeping on them less miserable. The finish is still defined, but it usually reads softer and a touch more relaxed than a tight perm rod set.
Why It Works
The foam-covered wire inside the rod holds the shape without creating hard lines. That means the curl comes out with a smooth bend and a glossy finish if the product mix is right. On medium to long hair, flexi rods can give you a very clean spiral without looking over-set.
This is a good style when you want the texture to be visible but not overly tiny. It also works when you want to stretch shrinkage without heat. And yes, that matters more than people admit.
What I’d Do
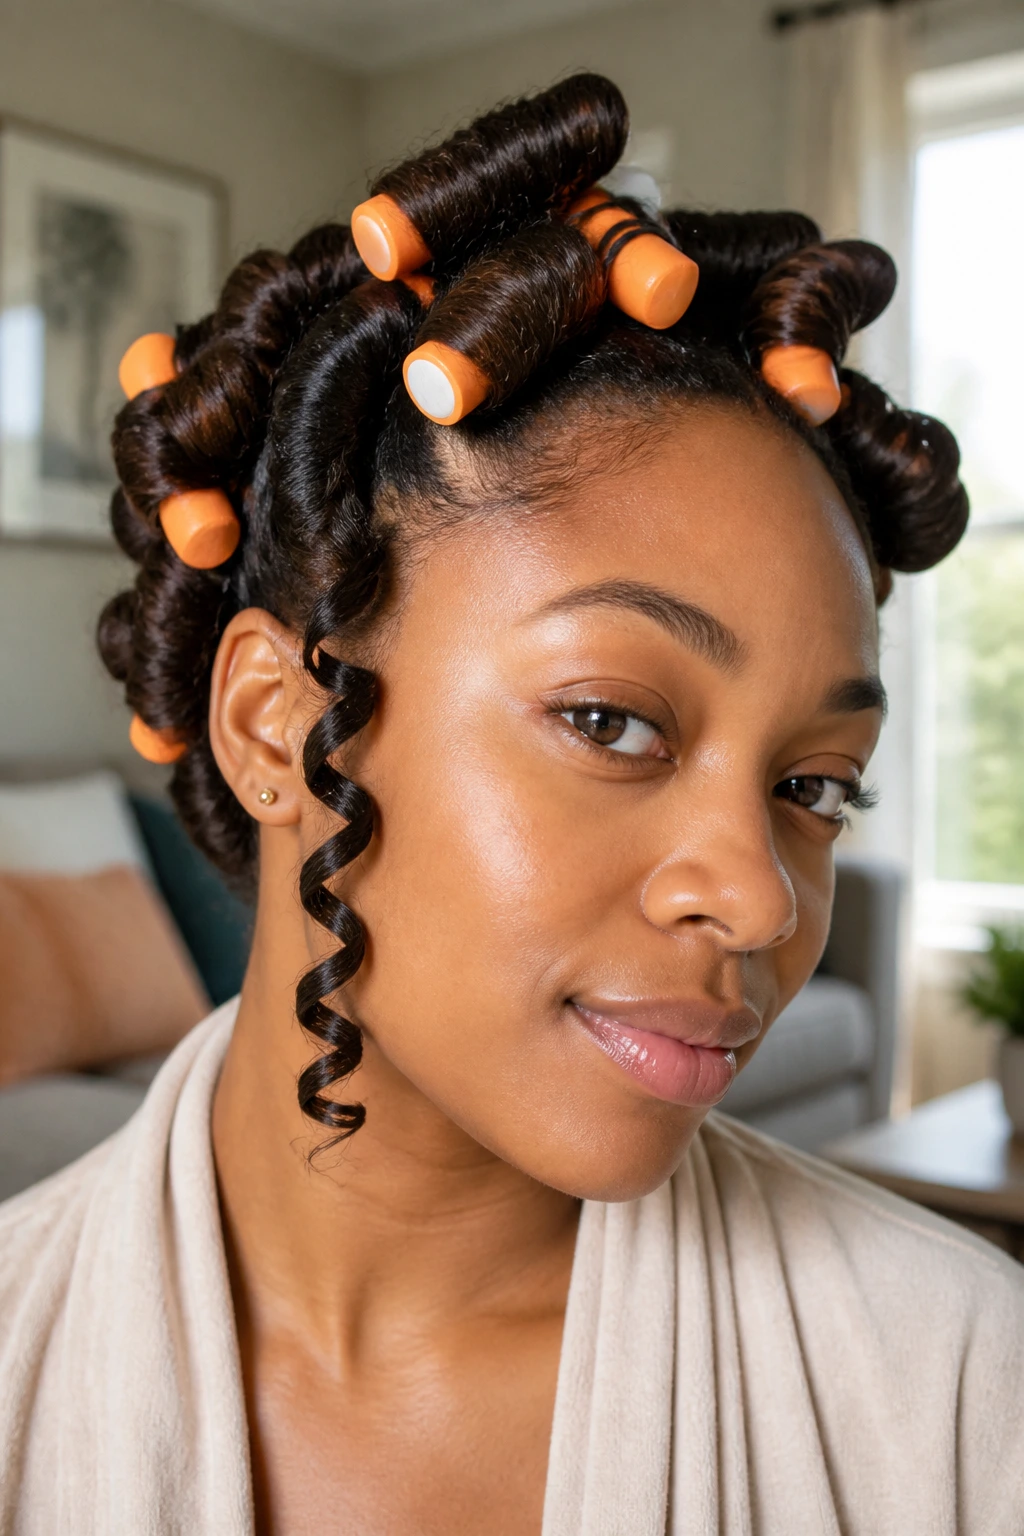
Set the rods on hair that is damp, not wet. Too much water slows the dry time and makes the center of the curl sag. If your hair is dense, separate the sections a little smaller than you think you need. The rod should move smoothly, not fight you.
Take the rods out only when the hair is dry and cool. If you remove them early, the curl loses the bend and you end up with half-defined ends that look tired by midday.
12. Shingled Curls
Shingling is one of the most detailed ways to get definition, and it shows. You take tiny sections, smooth product through each one, and let the natural curl group itself into neat little pieces. There’s no hiding here. Every strand gets a say.
Why It Works
This method is built for curl clarity. By coating and separating small sections one at a time, you let the pattern form with almost no competition from neighboring strands. The result is often the cleanest visible texture you can get on tightly coiled hair.
It takes more time than a twist-out. A lot more. But if you’ve got an event, a photo day, or just a stubborn urge to see your pattern at its best, shingling earns its keep.
What to Expect
The finish can be flat at the roots if you use too much gel, so I like to start with a light leave-in and a stronger stylers only where needed. The goal is clumped curl families, not slick helmets.
Touching the sections while they dry ruins the whole point. Leave the curls where they are. The definition gets sharper the less you interfere with it.
13. Tapered Fro with Defined Coil Sides
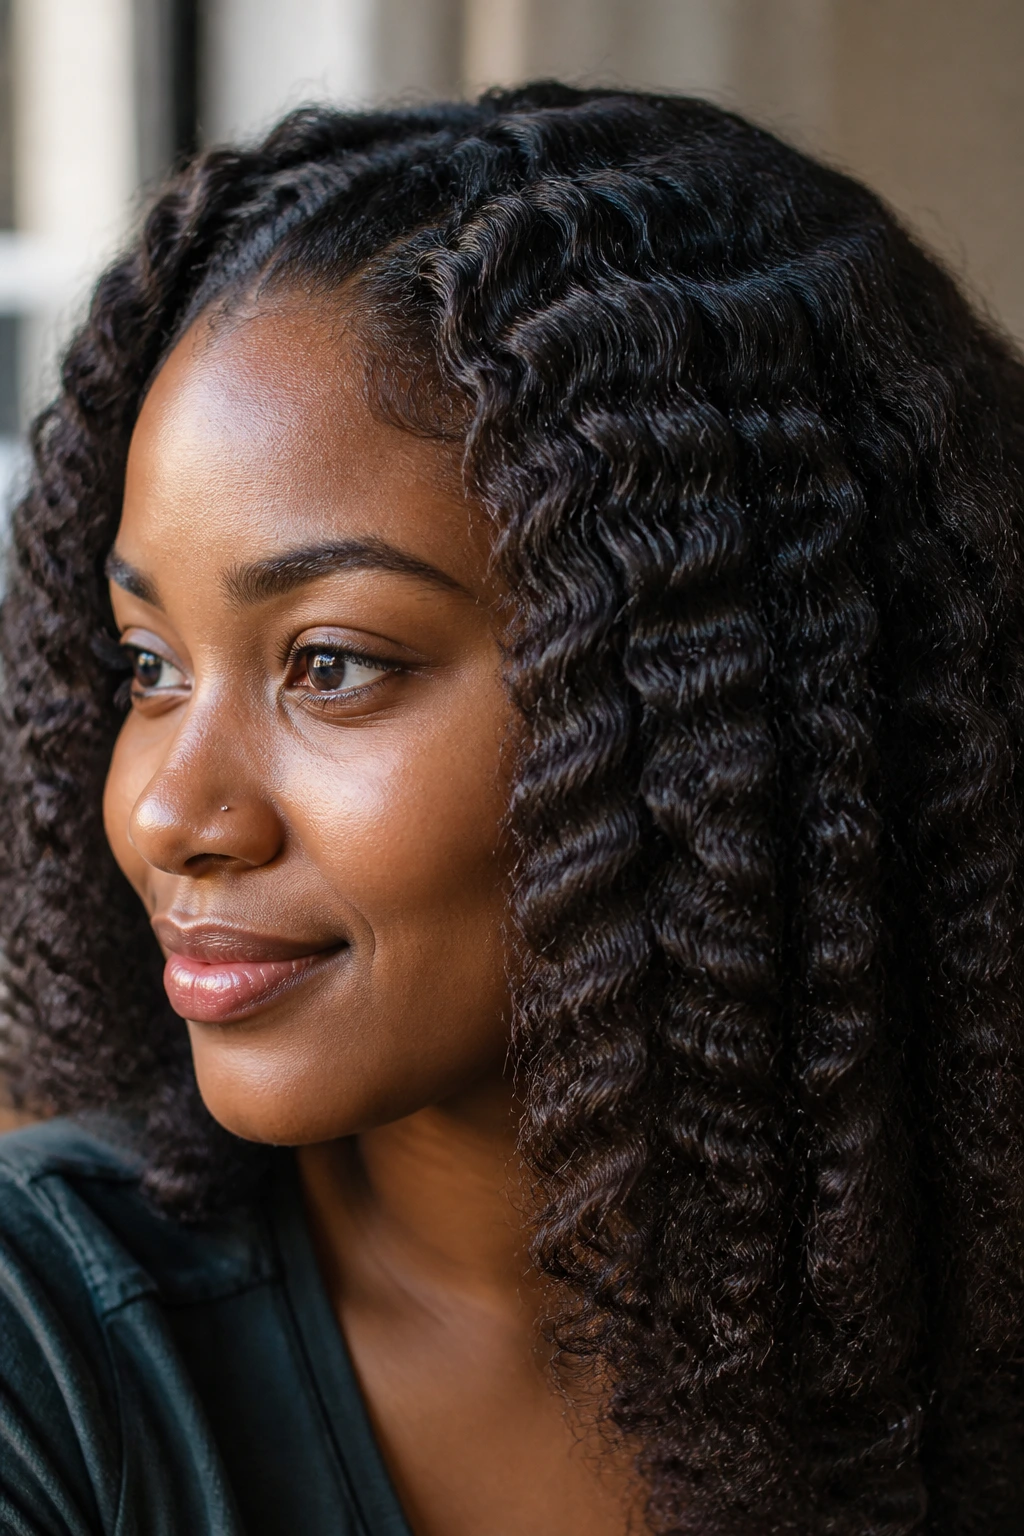
A tapered fro can do a lot of work without looking busy. The shorter sides let the coil pattern show off, and the fuller top gives the whole cut some shape. When the sides are defined, the cut reads crisp instead of fuzzy, which is exactly what you want from this style.
Why It Works
The haircut does half the styling for you. The tapered shape narrows the silhouette, so the coils become the feature instead of getting lost in width. If the sides are finger coiled, sponge-defined, or brushed into tiny clumps, the texture reads clearly even at a distance.
This is one of the few styles here that can look fresh with very little manipulation once the cut is right. That matters. A strong shape saves a lot of daily fuss.
Best Use Case
It’s ideal if you like a low-maintenance routine but still want your texture visible and tidy. You can wear it with a clean side part, a little lift at the crown, or a soft fringe that sits forward.
A tapered cut also makes density easier to manage. Thick hair can feel bulky in longer styles, but here that thickness becomes shape. That’s the whole trick.
14. Halo Braid on Stretched Hair
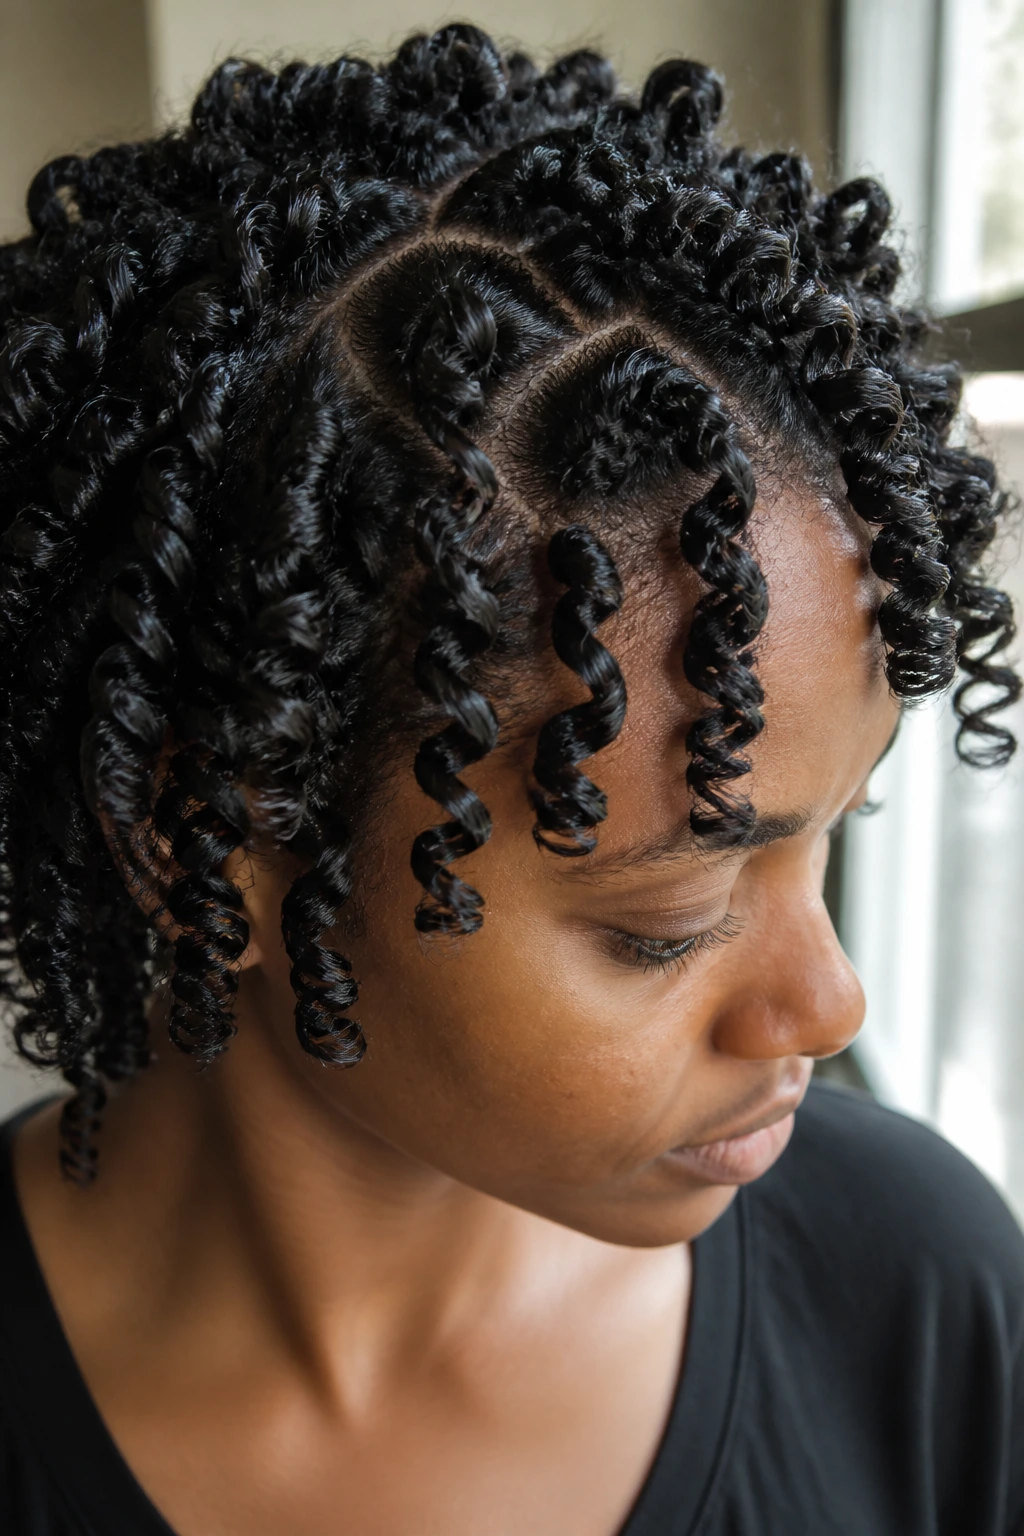
A halo braid frames the face in a way that feels polished without flattening the texture underneath. On stretched hair, it keeps the curl pattern visible while the braid itself acts like a clean border. I like this one when the rest of the style needs to stay put for more than a day.
Why It Works
The braid pulls the eye around the face and keeps the length contained, which helps the texture underneath stay defined longer. It’s also a good bridge style for old twist-outs or braid-outs that still have some life left but don’t need to be worn loose anymore.
A Small Detail That Matters
A slight stretch at the roots helps the braid sit smoothly. If the hair is too shrunken, the braid starts fighting the pattern instead of framing it. That usually shows up as puff at the temple or a braid that lifts away from the head.
I’d finish with a few tucked ends or hidden pins. Keep the hardware discreet. The braid should look like part of the hairstyle, not a repair job.
15. Chunky Flat-Twist Updo
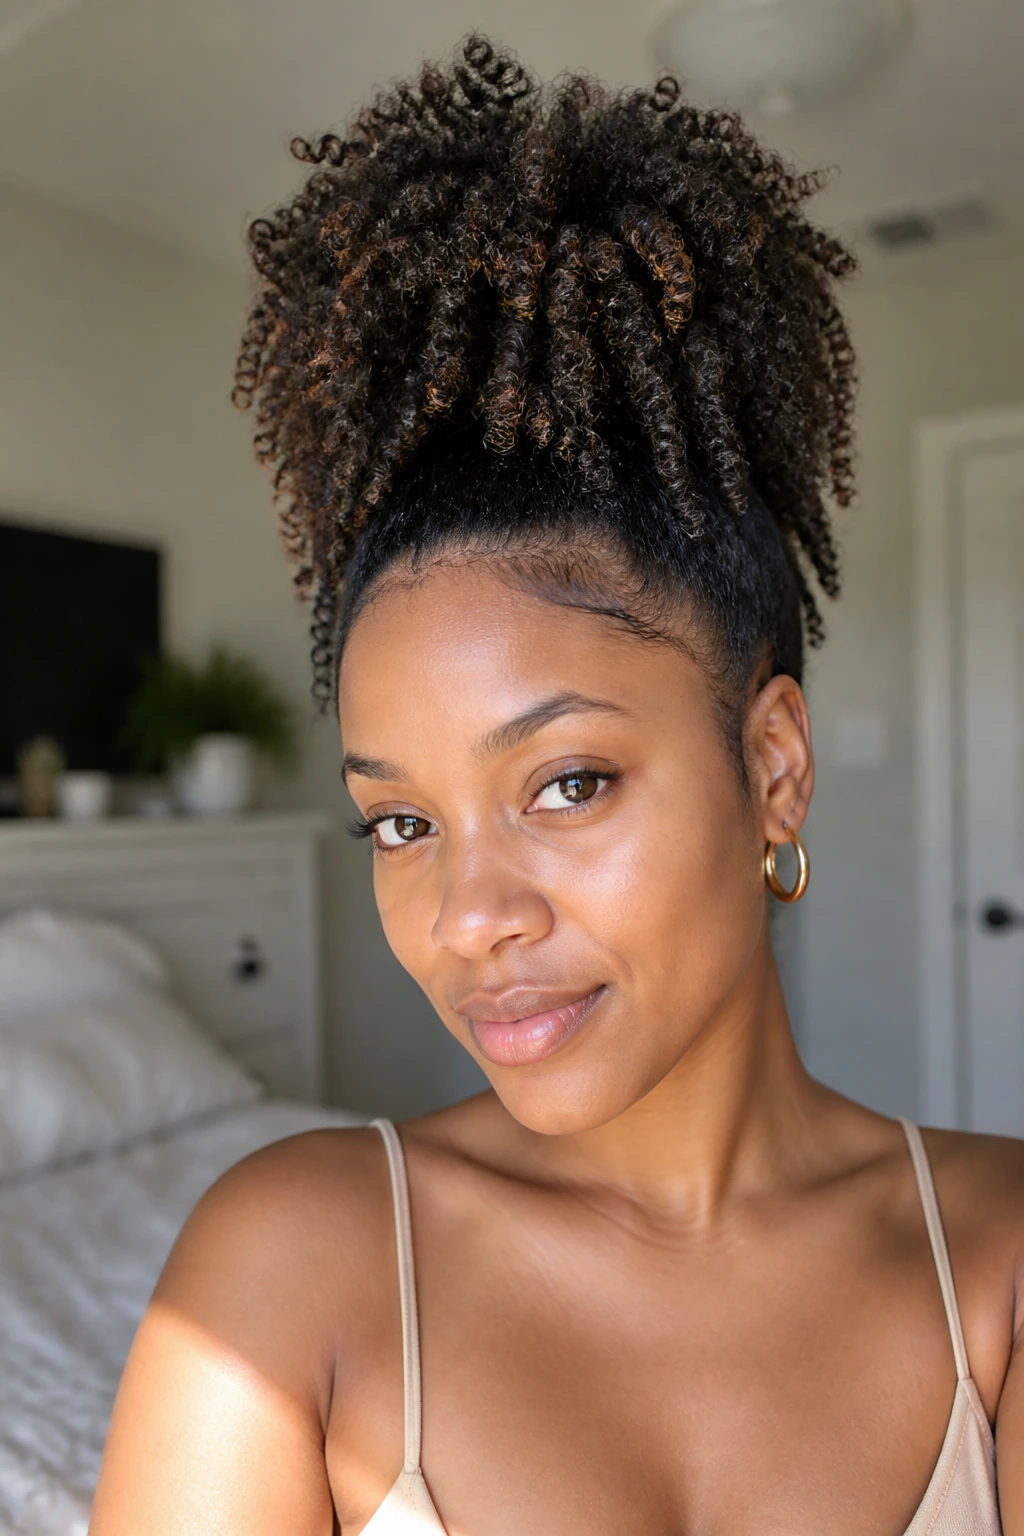
Chunky flat twists are nice when you want the pattern to read from the scalp outward. In an updo, they give you sculptural lines and enough texture to avoid that overly slick, over-controlled look. The shape feels put together without losing the hair’s character.
Why It Works
Flat twists hold the hair close to the scalp, which makes them good for keeping the top neat while the ends are tucked into a bun or pinned shape. Chunkier sections make the twist pattern visible, and that visibility is the whole point. Tiny twists can vanish into the style. Bigger ones stay readable.
Quick Details
- Works well on medium to long hair.
- Needs moisture, but not too much slip.
- Pins should be hidden under the twists, not shoved through the visible pattern.
- A little edge smoothing around the perimeter helps the style look finished.
The best part is that this can go from casual to formal fast. A few hair cuffs or a patterned scarf can change the feel completely, and the texture still gets to stay front and center.
16. Side Part Frohawk
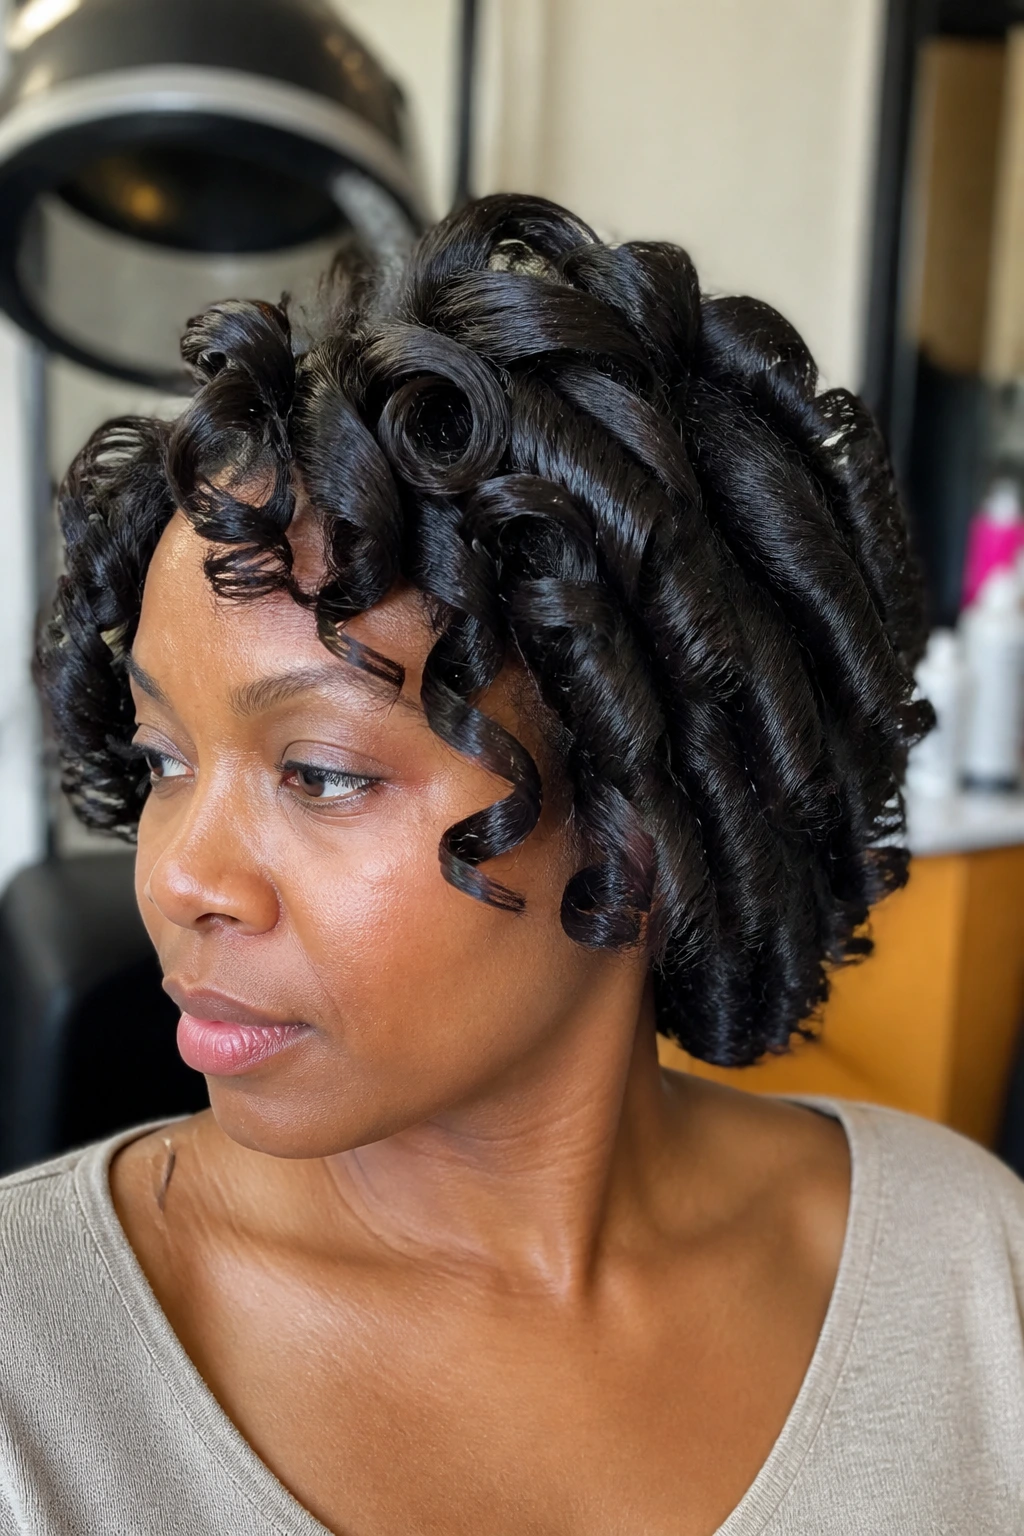
A side part frohawk has attitude. The sides are pulled tight or braided flat, and the center strip stays full, lifted, and textured. The contrast is what makes it work. You get shape, height, and definition in one shot.
Why It Works
The side sections create a clean lane for the middle texture to stand out. That middle section can be twisted, brushed into coils, or left in a more natural puffed shape depending on how polished you want the finish. Either way, the frohawk silhouette gives the texture a dramatic frame.
This one is especially useful when you want a style that feels a little more dressed up than a basic puff. The shape does the talking. The texture gets to do the rest.
What I’d Do
A neat side part helps the whole style look sharper. So does a firm hold product along the sides, because loose edges can make the outline fuzzy fast. Keep the center section soft and touchable, though. If the whole style gets too stiff, you lose the contrast that makes the frohawk worth wearing.
17. Two-Strand Twist Updo
Two-strand twists don’t have to hang loose to look good. Pinned up, they turn into rope-like lines that show texture in a more controlled way. The pattern stays visible, which is why this style is one of my favorites when you want definition and protection at the same time.
Why It Works
The twist itself gives the hair a visible pattern. When you gather and pin the lengths into an updo, that pattern stays intact instead of disappearing into a bun. The style is also gentle if you keep the tension low and the parts clean.
How to Wear It
You can make this look soft with a few twists left out around the face, or more structured by tucking every end into the back. If your hair is medium length, the pinned version usually feels easier to control than a free-hanging twist-out on the same day.
A satin scarf at night keeps the twist lines from fuzzing up too fast. That part sounds boring. It isn’t. It’s the difference between “still cute on day four” and “why is my hair suddenly doing that?”
18. Half-Up, Half-Down with Defined Ends
Half-up, half-down styles are the rescue plan when the roots are getting older but the ends still look good. You keep the curl definition where it shows most — around the face and through the length — while gathering the top so the shape stays tidy.
Why It Works
This style lets you keep the best part of yesterday’s twist-out, braid-out, or rod set and control the part that tends to puff first. The crown gets lifted out of the way, the texture stays visible below, and the whole style feels fresh without needing a full reset.
It’s especially smart on hair that’s a little frizzy at the roots but still defined at the ends. You don’t have to throw away the good texture just because one section is tired.
Best Version of It
A soft top knot, a half pony, or a clipped crown all work. I’d keep the top loose enough that it doesn’t dent the pattern underneath. Then let the bottom sections hang or fluff lightly with your fingers.
A little face-framing piece can help the style look intentional. Without that, it can read as “I gave up halfway.” That’s never the goal.
What Makes Definition Last Instead of Puffing Out
Defined texture is built on a boring foundation, and I mean that as praise. Clean hair, the right amount of moisture, sensible sectioning, and a drying method that actually finishes the job — those are the pieces that stop a style from unraveling before lunch. You can have the prettiest curl cream in the cabinet and still get a fuzzy mess if the prep is wrong.
Water is the first thing that matters. It helps the strands clump, gives product something to spread across, and keeps the surface smooth while the hair sets. Heavy oils and butters can sit on top of the strand and block that process, which is why so many styles look weighed down instead of defined.
Dry time is the quiet villain. If the roots are still cool, damp, or squishy, the style will expand the second you touch it. A hooded dryer, diffuser on low, or just plain patience can save hours of frustration later. And yes, patience is annoying. Still necessary.
Humidity gets a vote too. Hair absorbs moisture from the air, which is why a style that looks sharp in the house can puff when you walk outside. Strong hold, good night protection, and light refreshes beat constantly piling on new product. Less fuss, better shape.
The Tools That Make These Styles Easier
-
Spray bottle with clean water: For rewetting sections before styling and refreshing day-two curls without drenching the whole head.
-
Water-based leave-in conditioner: Gives slip at the start so curls and coils can clump before hold product goes on.
-
Styling gel with real hold: Useful for wash-and-gos, shingling, edges, and any style that needs a defined cast.
-
Curl cream or light butter-free cream: Good for twist-outs and braid-outs when you want softness before the hold kicks in.
-
Mousse or foam: Helps rod sets, flexi rod sets, and some twist-outs dry faster with less crunch.
-
Denman brush or flexible styling brush: Useful for brush definition and smoothing product through small sections.
-
Rat-tail comb: The clean part-maker. It’s also handy for sectioning and separating without wrecking the curl pattern.
-
Duckbill clips or sectioning clips: Keeps unused hair out of the way so the parts stay neat.
-
Satin bonnet or scarf: Protects finished styles at night and keeps lint off the hair.
-
Microfiber towel or cotton T-shirt: Lets you blot excess water without roughing up the cuticle like a regular bath towel can.
-
Diffuser or hooded dryer: Speeds up dry time on twist-outs, rod sets, and wash-and-gos. Optional, but helpful.
-
Flexi rods, perm rods, or small rollers: Needed for rod sets and some transition styles.
-
Edge brush: Useful if you want the hairline smooth without scraping product everywhere.
How to Wear These Styles in Real Life
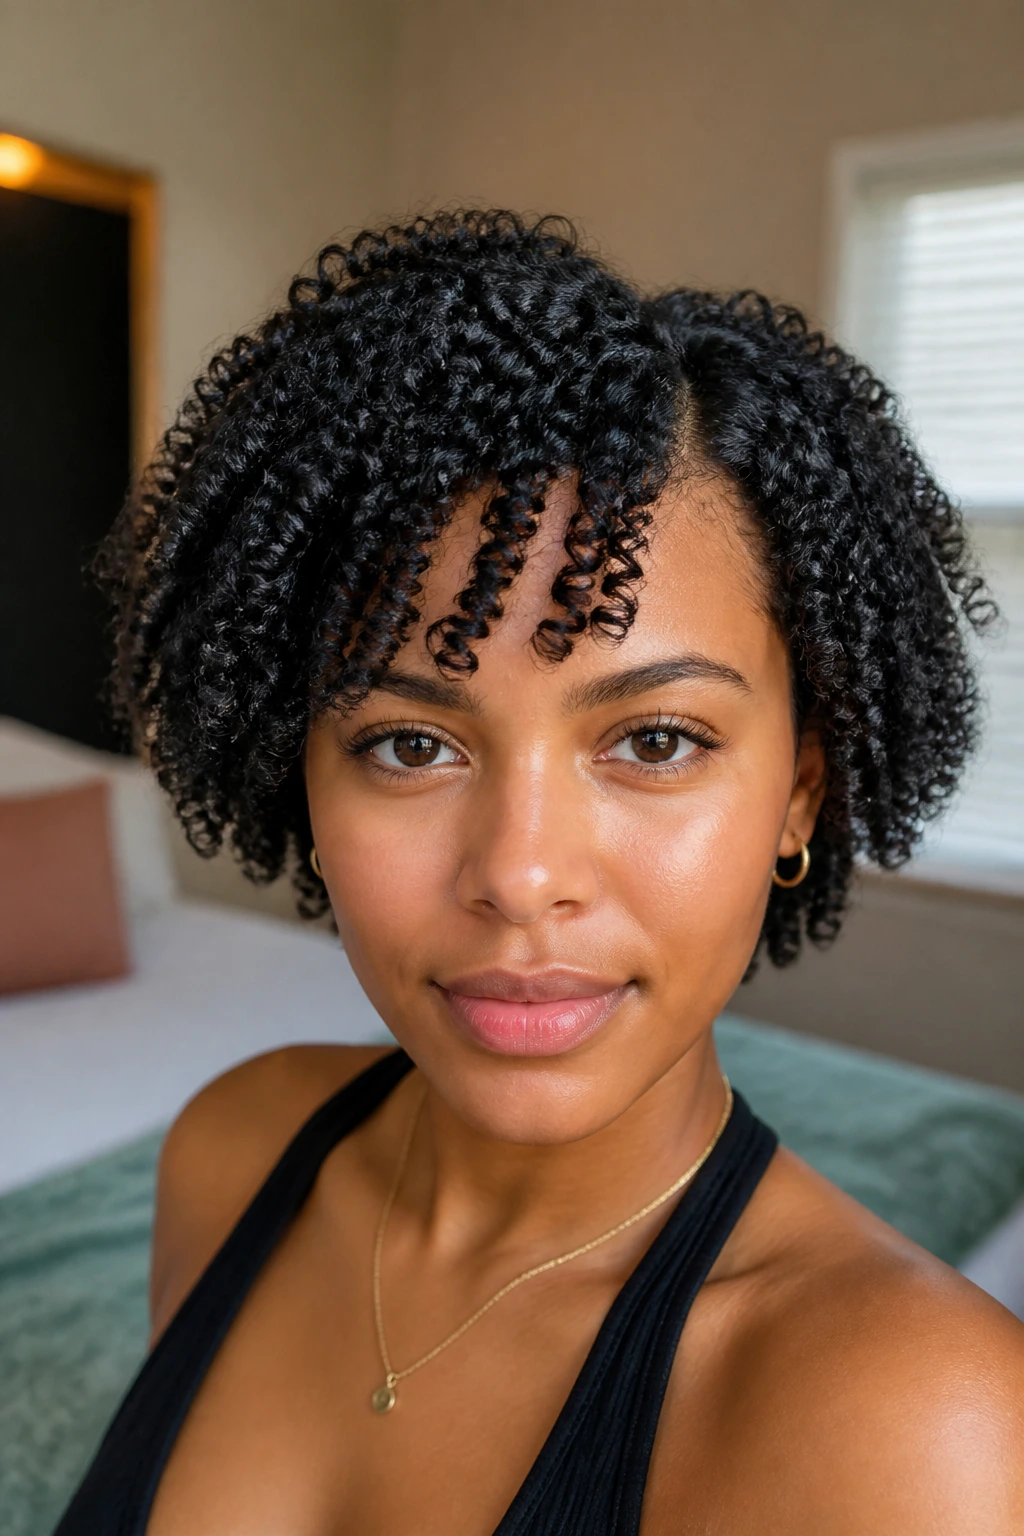
Presentation: Shape matters. A clean middle part, a deep side part, or a lifted crown can change the whole read of a style, even when the curl pattern stays the same. I like a little face framing on styles that are otherwise full, because it keeps the silhouette from feeling too round.
Accessories: Gold cuffs, slim headbands, satin scarves, small clips, and a few well-placed pins can sharpen a defined style fast. The trick is not to pile on too many pieces. One strong accent usually beats three competing ones.
Length: Short hair loves finger coils, rod sets, and tapered shapes because the definition reads clearly. Medium lengths do well with twist-outs, braid-outs, and half-up styles. Longer hair can handle halo braids, flat-twist updos, and stretched looks that need a little weight to hang right.
Wear Time: Wash-and-gos tend to look crisp for 2 to 4 days, twist-outs and braid-outs for 3 to 5, rod sets for 3 to 6, and updos longer if the pins and scarf care are good. Don’t force one style to outlive its shape. A style that’s ready to be retired looks dry, puffy at the roots, and a little tired around the face.
Additional Tips and Texture Boosters
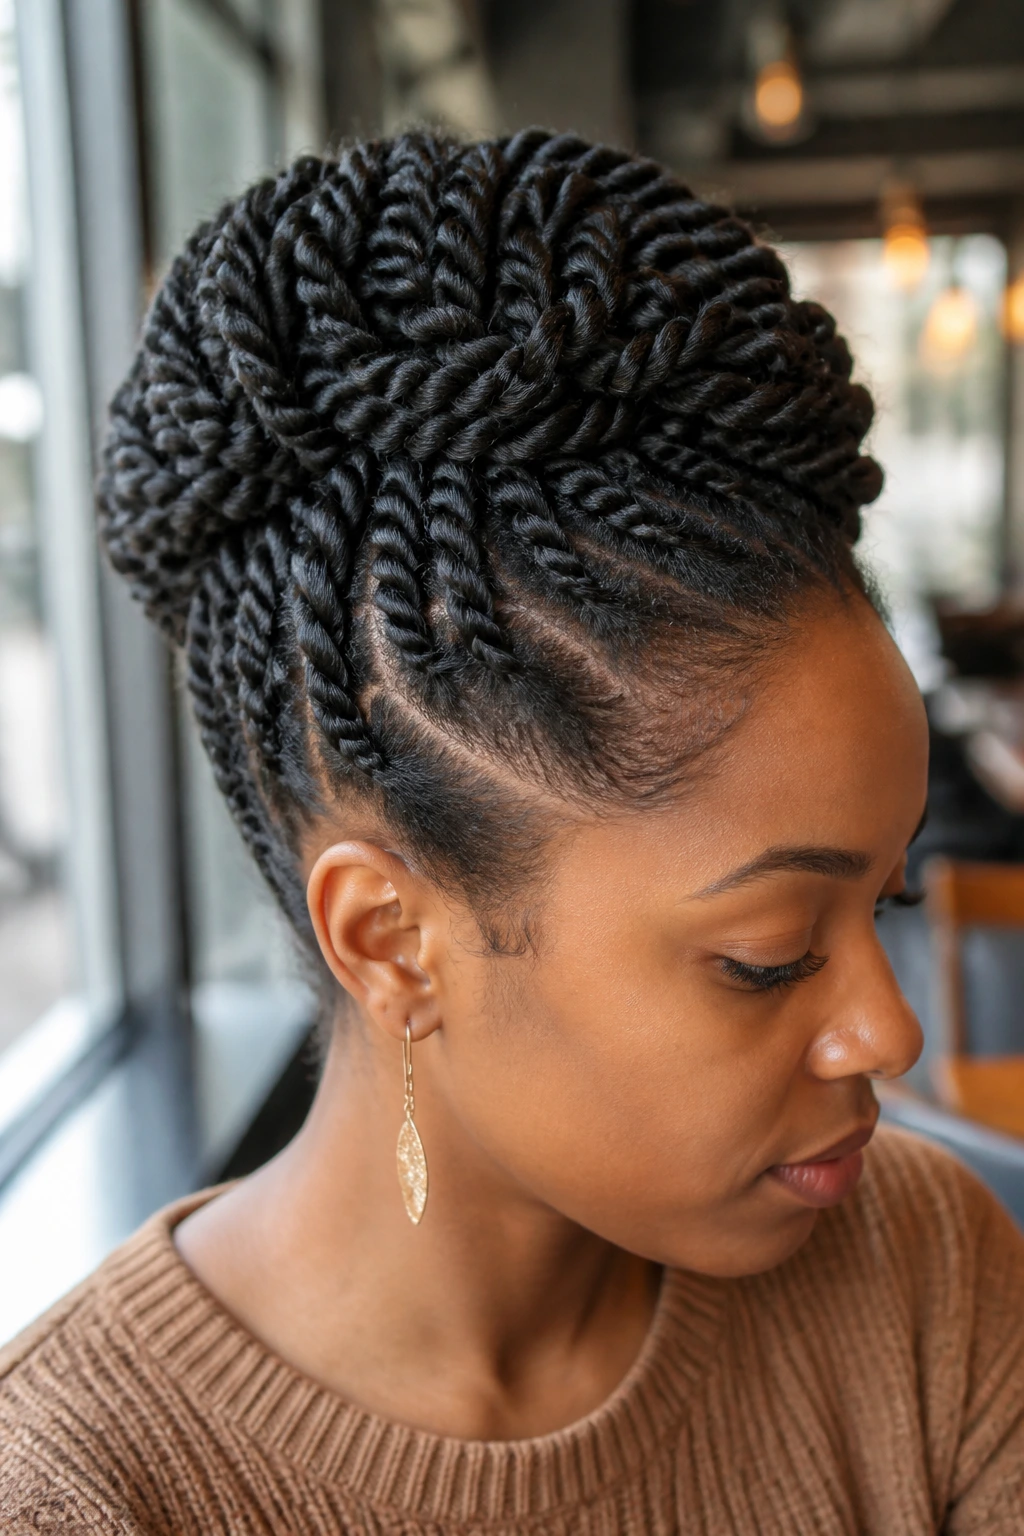
Texture Enhancement: Start with clean, well-conditioned hair, then style in sections small enough that each one gets coated evenly. If the section is too big, the middle stays undefined while the outside looks finished, and that mismatch is what ruins so many styles.
Customization: Want more stretch? Use a bit more cream and less gel, then set the hair in twists, braids, or rods. Want more crispness? Lean harder on gel or foam and keep your hands out of the style until it’s dry. The product balance changes the whole personality of the look.
Serving Suggestions: A center part gives a defined style a sharper, more modern line. A side part softens the face and can make fuller textures feel a little longer. A few loose curls at the front — or a single tucked piece — can stop an updo from looking too severe.
Make-It-Yours: If your hair is low density, choose smaller sections and avoid heavy creams that flatten the shape. If your hair is dense, larger flat twists, chunkier braid-outs, and puff styles help the texture read without taking all day. For tighter coils, definition usually needs more hold and more patience. For looser curls, less product often works better than more.
Nighttime Care, Refreshing, and How Long These Styles Last
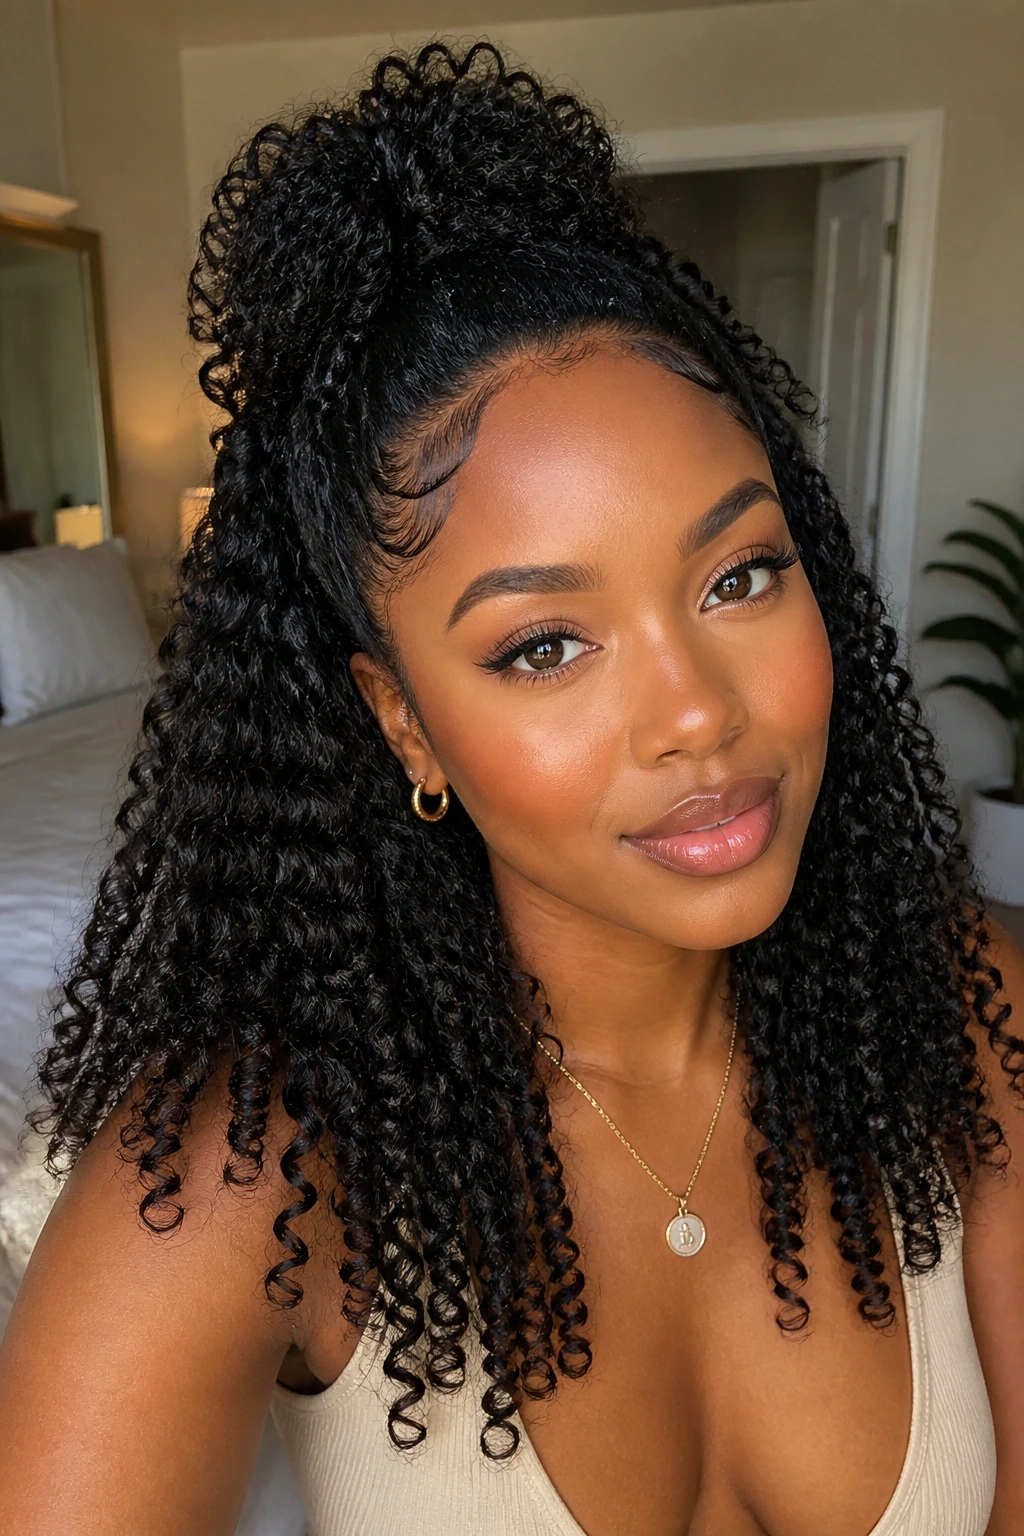
Most defined styles need some kind of nighttime rescue. A satin bonnet works for twists, coils, and rod sets if the shape isn’t too tall. A pineapple works better for stretchier styles and curls that want to keep their lift. If one side is always getting crushed, pin that side loosely before you cover it.
Wash-and-gos usually need the earliest refresh, often by day three or four, especially if the air is humid or the hair is touched a lot. Twist-outs and braid-outs tend to last a touch longer if you separate carefully and keep your hands off them. Rod sets and finger coils can hold their shape longer, but only if the sections were fully dry before styling.
Refreshing should be light. Mist the frizzy pieces, smooth with wet hands, and spot-apply a little gel or foam where the definition has softened. Do not soak the whole head every morning unless you want to restart the set from scratch. That’s not refreshing. That’s beginning again.
When a style starts to feel too soft at the roots, that’s your sign to move on. Use the shape for a half-up style, a pinned crown, or a puff instead of fighting it for two more days. Hair tells you when it’s done. Listen.
Common Mistakes That Blur the Pattern
-
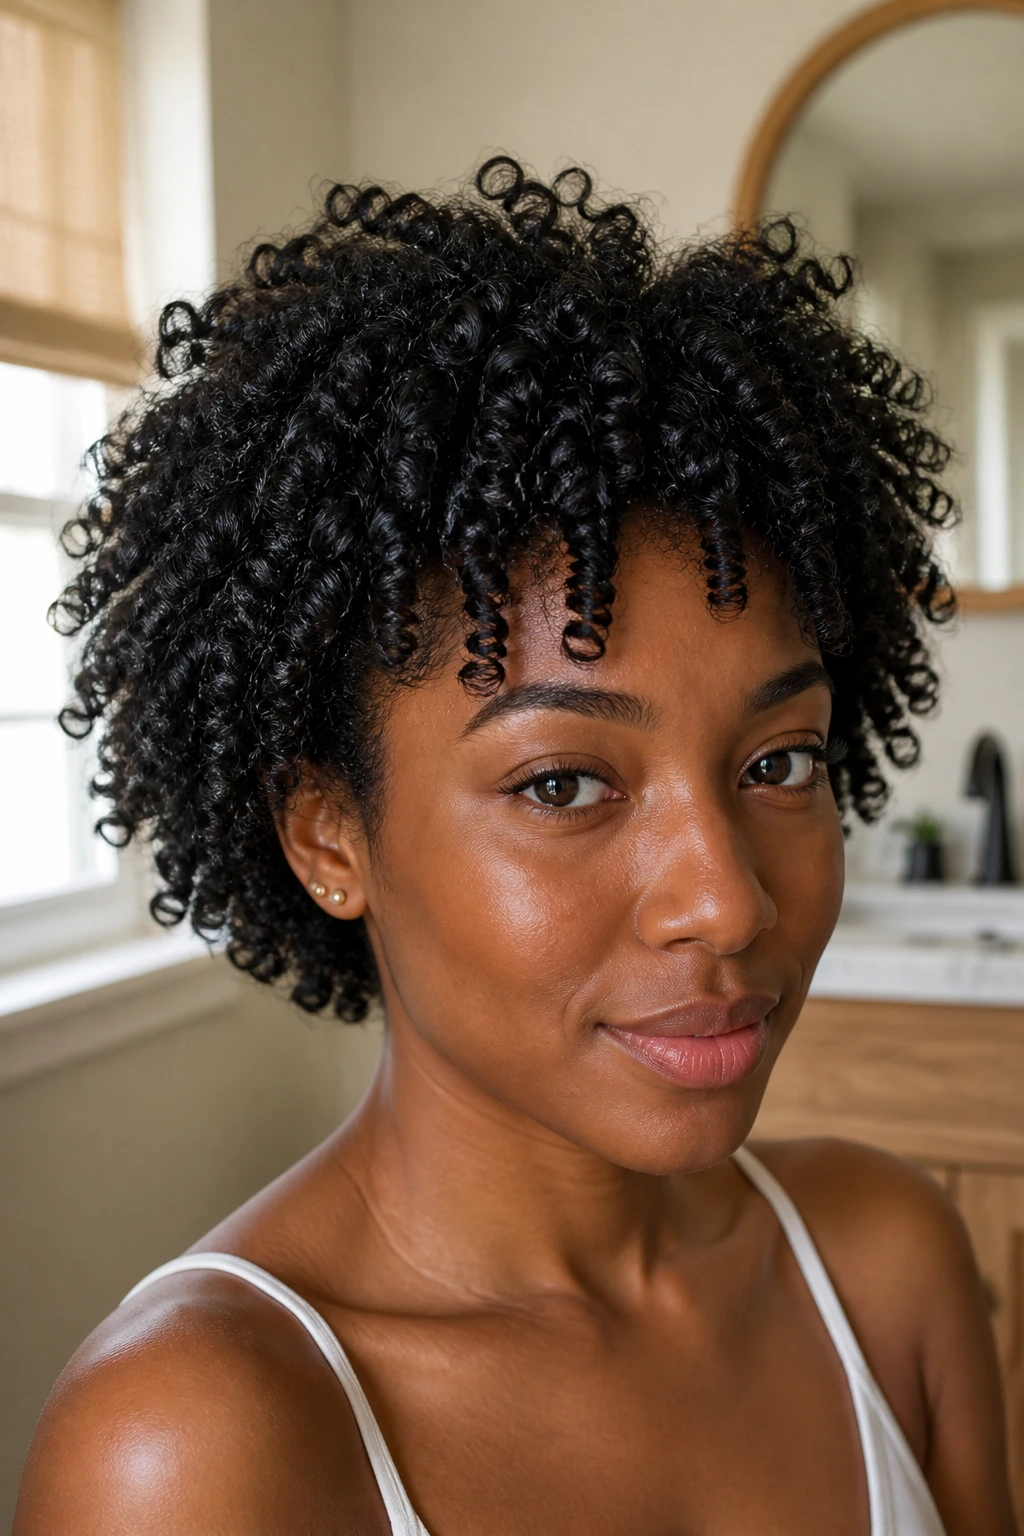
Starting on dry hair: Dry strands fight product and separate into frizz instead of clumping. The fix is simple: wet the section enough that it feels slippery, then apply your leave-in and styler.
-
Using too much heavy product at the start: Thick butters and oils can coat the hair so heavily that the curl never forms cleanly. If the style looks oily, soft at the root, or weirdly flat, back off the heavy stuff and let the hold product do its job.
-
Unraveling before the hair is fully dry: This is the fastest way to wreck a twist-out, braid-out, or rod set. The outside may feel dry while the center still holds moisture, so give it more time than you think it needs.
-
Touching the style all day: Every time you separate, fluff, or smooth without purpose, you break the clumps. That means more frizz and less definition by the end of the day.
-
Skipping night protection: Cotton pillowcases rough up the cuticle and flatten the pattern. Satin or silk protection is not optional if you want the style to last.
-
Using sections that are too large for the texture: Bigger sections can save time, but the middle often stays fuzzy and the finish looks uneven. Smaller sections take longer, sure, but they give the pattern a better chance to show.
Ways to Switch the Look Without Losing Definition
Short-Crop Definition: Keep the shape tight with finger coils, mini twists, or a clean tapered fro. Short hair benefits from styles where the curl pattern has nowhere to hide, and the result looks crisp with very little fuss.
Humidity-Ready Finish: Choose a strong-hold gel, use lighter creams under it, and finish with cool air or a hooded dryer. In damp air, heavy product can collapse the pattern faster than you’d expect, so less weight usually wins.
Soft Volume Version: Separate less, fluff only at the roots, and stretch the hair just a little more during the set. This keeps the texture visible while letting the silhouette grow wider and fuller.
Low-Tension Scalp-Safe Style: Flat twists, halo braids, and chunky updos can be worn with looser tension and cleaner parting. If your scalp gets sore easily, that matters more than chasing the tightest possible style.
Stretched and Long-Looking Finish: Use braid-outs, twist-outs, or flexi rods on medium sections, then let the hair cool completely before separating. This creates more hang and less shrinkage, which is useful when you want the hair to read longer without heat.
Rescue-Style Upgrade: Turn an older twist-out or rod set into a half-up style, side part, or puff. That buys you an extra day or two of wear without pretending the whole style still looks fresh from the first day.
Frequently Asked Questions
Which natural hairstyle gives the most definition?
Finger coils and shingled curls usually give the sharpest individual curl definition because each section is set on its own. Rod sets come close, especially if you want uniform ringlets. Wash-and-gos can look just as defined, but they tend to show more shrinkage and frizz if the hold isn’t strong enough.
Should I style on wet hair or damp hair?
Wet hair works best for wash-and-gos and shingling because the strands clump more easily. Damp hair is often better for twist-outs, braid-outs, and rod sets since it dries faster and keeps the style from staying mushy at the center. If the style feels too wet before setting, you probably started too early.
Why does my twist-out look good on day one and fuzzy on day two?
Usually because the hair wasn’t fully dry, the sections were too big, or the night protection wasn’t strong enough. A twist-out also needs careful separation; pulling it apart too much creates frizz before the style has a chance to settle. A light refresh and a satin scarf at night can buy you another day.
Can I get defined texture without gel?
Yes, but the style usually won’t hold as long. Foam, setting lotion, or a light mousse can help, especially for rod sets and softer twist-outs. If your hair frizzes fast, some kind of hold product usually makes the difference between “cute for an hour” and “stays put until tomorrow.”
What style lasts the longest?
Mini twists, chunky flat-twist updos, and well-set finger coils tend to last the longest with decent night care. Rod sets can also hold for several days if they dry fully before removal. Loose wash-and-gos usually fade sooner because the hair is exposed and touched more often.
How do I keep my hairline from looking crunchy?
Use a small amount of product at the edges, apply it with a toothbrush or edge brush, and stop before the hair starts looking wet. The goal is smooth, not shellacked. If the perimeter is stiff, the whole style can look heavy.
Can these styles work on short natural hair?
Absolutely. Short hair is often where definition shows most clearly because the shape is easier to see. Finger coils, rod sets, shingled curls, and tapered fro shapes are especially good on shorter lengths.
What if the roots stay fuzzy even when the ends are defined?
That usually means the roots needed more hold or more drying time. Flat twisting the roots before setting, using a stronger gel near the scalp, or choosing a style with more structure — like a rod set or mini twists — can help. Sometimes the answer is not more product. It’s smaller sections and a slower dry.
Texture That Still Moves
The prettiest defined styles don’t look frozen. They have shape, but they still bounce when you turn your head. That balance is what makes natural hair styling so satisfying when it’s working: the pattern stays visible, yet the hair still feels alive.
If one style flops, it usually comes down to the same handful of things — section size, moisture, hold, or dry time. Fix those, and the whole routine gets easier. The curl pattern was never the problem.
Pick the style that fits your length, your schedule, and how much patience you’ve got that day. Then let the texture do its own thing.
