



A frohawk does something most hairstyles don’t bother trying: it turns texture into the whole point. On Black women, that middle ridge can be soft and fluffy, sharp and braided, neat enough for a meeting, or wild enough for a concert in a humid room where everything else has given up. That range is the magic. A frohawk is not one look; it’s a silhouette.
And that silhouette plays especially well with coils, curls, locs, twists, braids, and cropped cuts because it doesn’t ask your hair to behave like straight hair. It uses lift, taper, pinning, and sectioning instead. Some versions take ten minutes and a mirror. Others need gel, a pack of pins, and the patience to let the front dry all the way before you touch it. That tradeoff is worth understanding, because the shape can be soft and easy or polished and architectural.
The best frohawk hairstyles for Black women respect the hair first. They work with shrinkage instead of pretending it isn’t there. They use the scalp as a frame and let the center do the talking. And once you know which version suits your length, density, and schedule, the whole style family stops feeling like a trend and starts feeling like a reliable option.
Why These Frohawk Styles Earn a Spot in Rotation
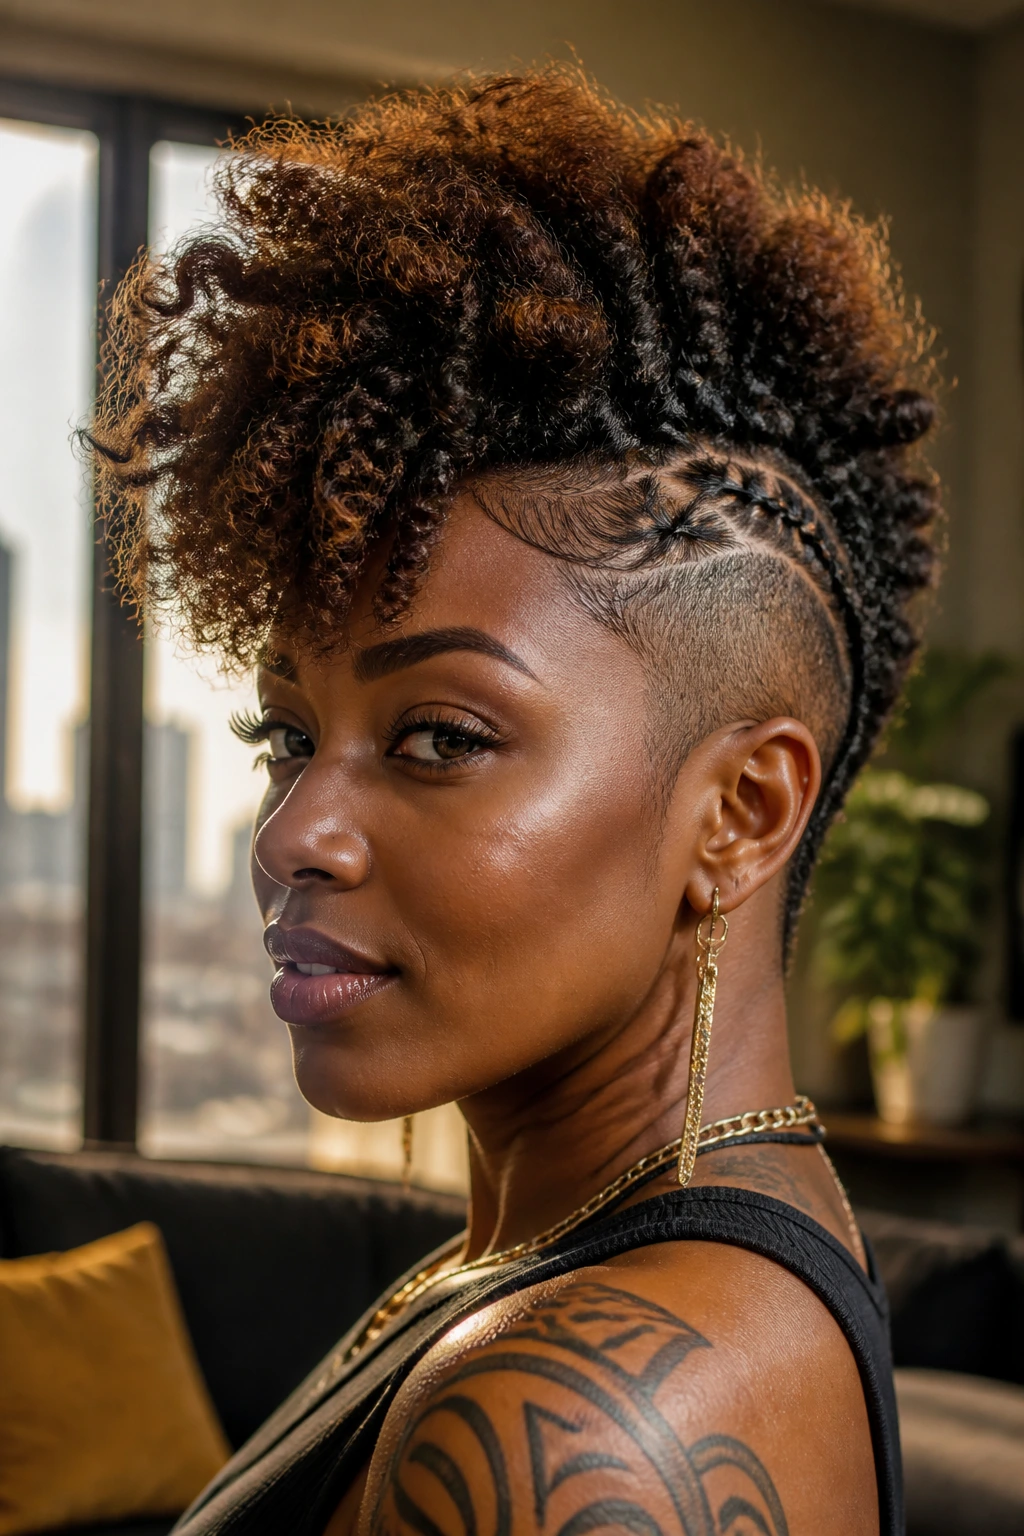
- Texture Does the Heavy Lifting: These looks let coils, curls, braids, and locs create the volume, so you’re not fighting your hair into a shape it doesn’t want.
- Short Hair Isn’t Left Out: A tapered cut, a cropped twist-out, or even a few well-placed pins can still read as a frohawk when the center line is built with intention.
- Protective Styling Is Built In: Many of these versions tuck the ends away or reduce daily handling, which matters if you’re trying to keep your hair from getting chewed up at the edges.
- The Shape Works in Real Life: Some styles are fast enough for a weekday morning; others hold up for events, photos, or a long day where you don’t want to touch your hair twice.
- One Style, Many Moods: The same basic silhouette can look sporty, formal, playful, or sharp depending on how much shine, height, braid detail, or accessory work you add.
1. Soft Curly Frohawk
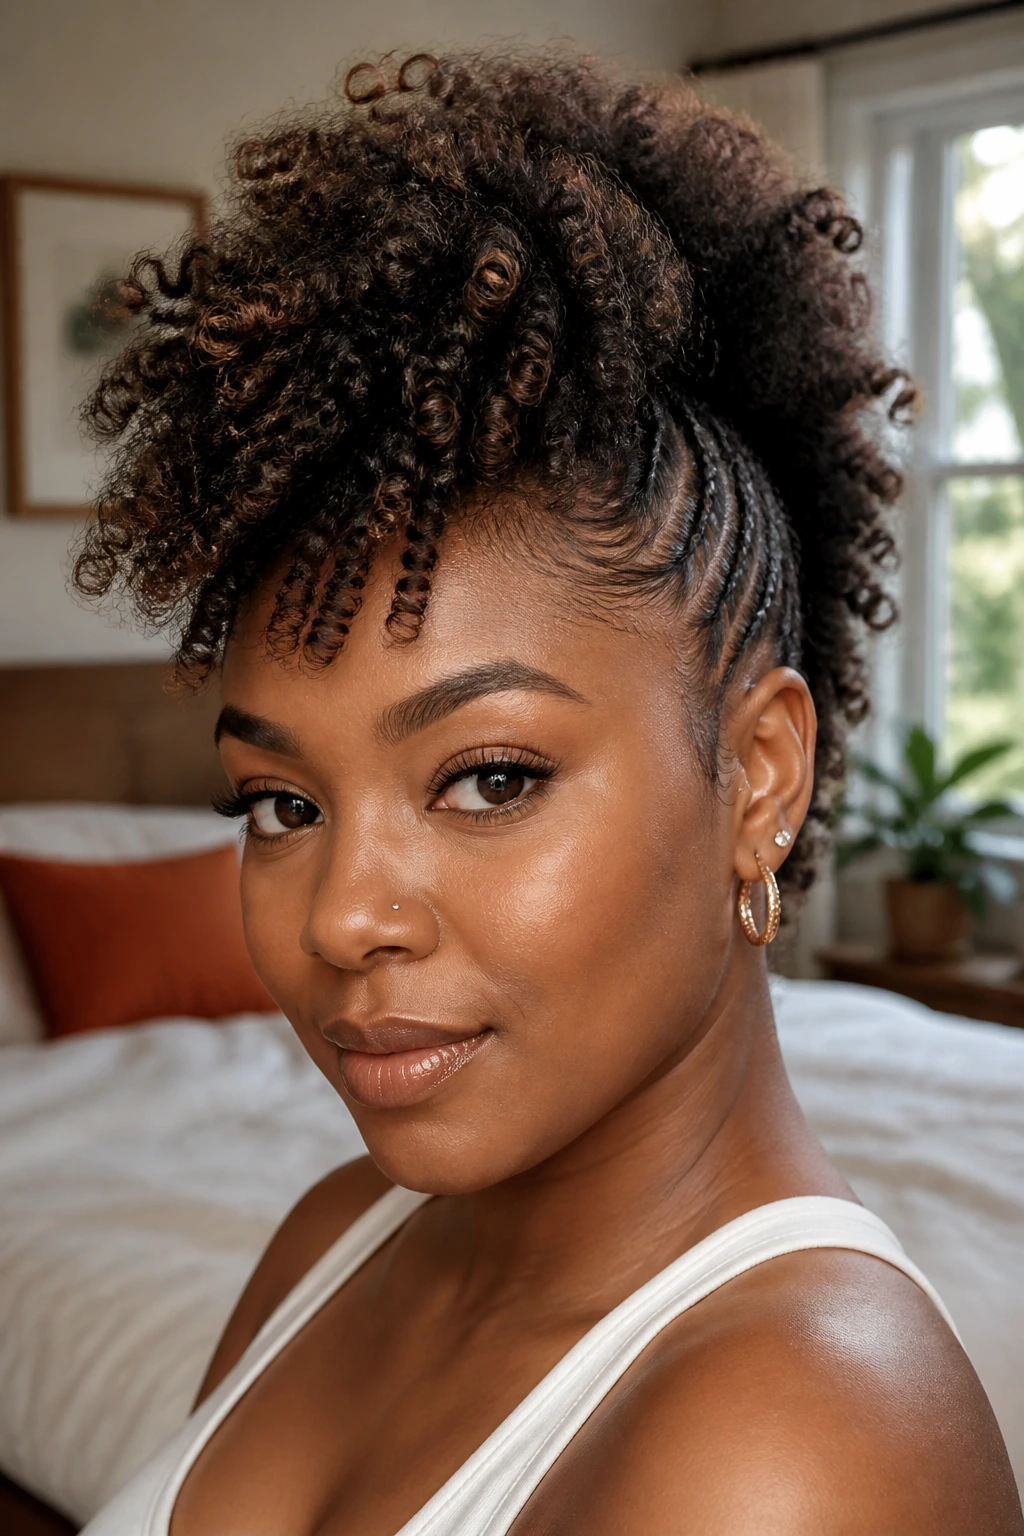
A soft curly frohawk is the one I reach for when I want shape without stiffness. The sides get pinned or flat-twisted close to the head, while the center stays fluffy, airy, and full of curl. It’s the version that looks best when the curls still have spring in them instead of being stretched to death.
The key is restraint. You want the sides neat enough to make a clean line, but not so slick that the style starts looking hard. A light mousse on damp hair, then a few bobby pins hidden under the curls, usually does the job. If your curls are already defined from a wash-and-go or twist-out, this becomes even easier.
This works especially well on medium-to-long natural hair because the center has enough length to arch upward instead of just sitting there. It also flatters round and oval faces because the height pulls the eye up. Keep the crown loose, and don’t over-pack the top with product. The best version looks touched, not lacquered.
2. Cornrow-Back Frohawk
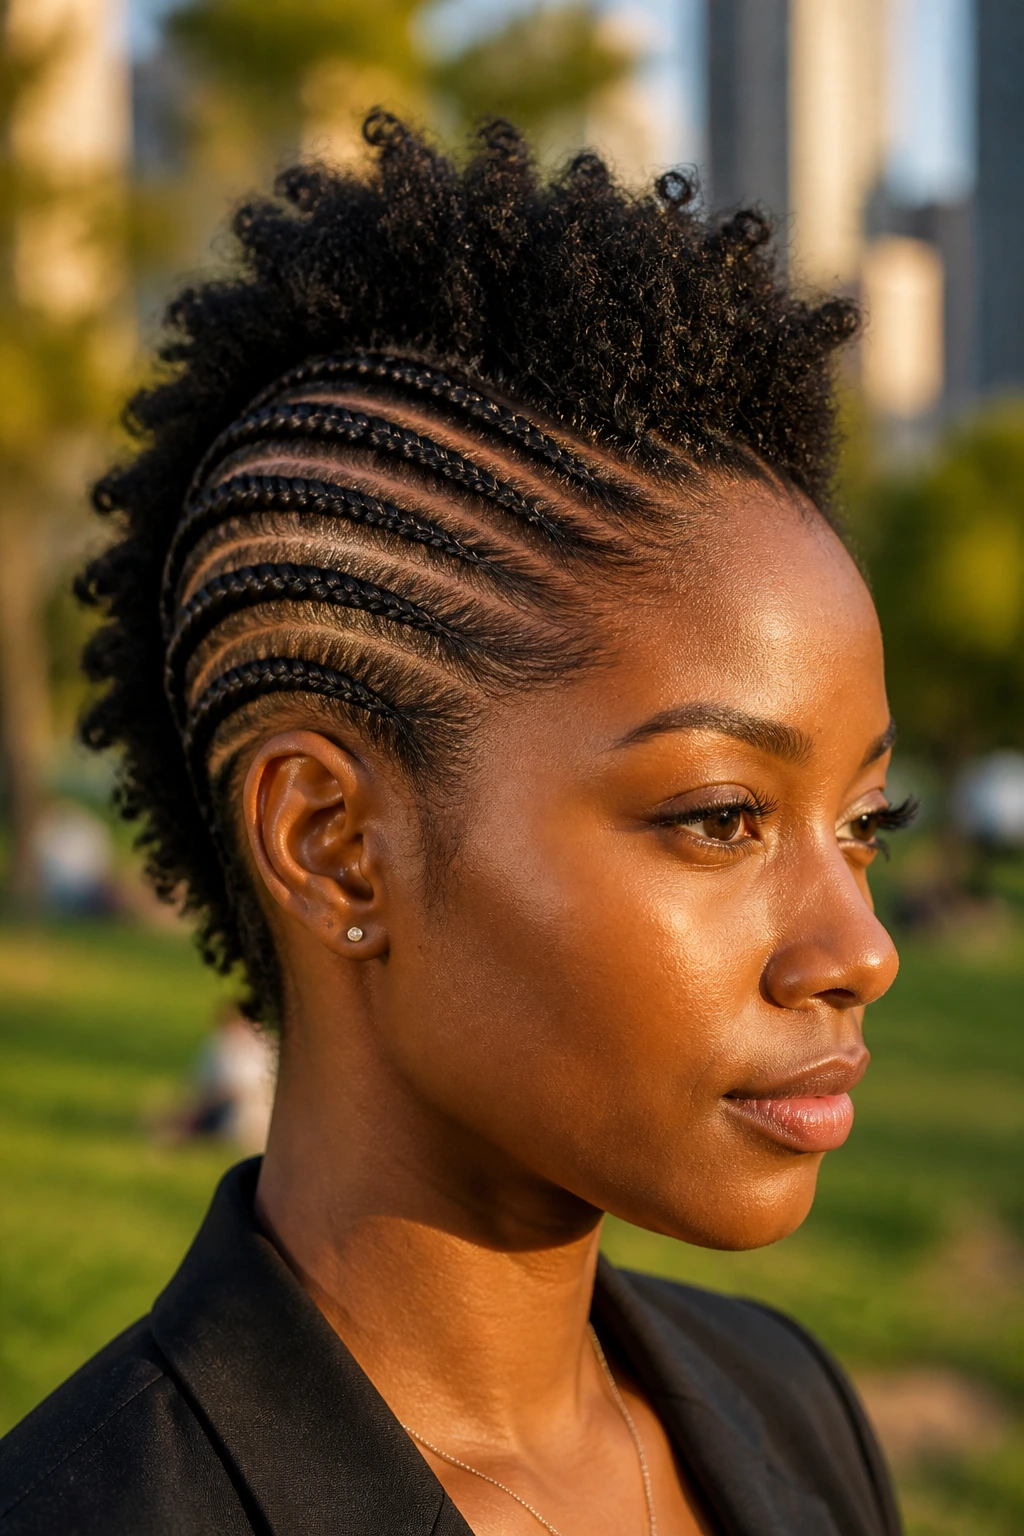
Cornrows give a frohawk its cleanest spine. Once the sides are braided straight back, the center section becomes the star, and the whole style suddenly looks planned instead of improvised. That matters if you want a frohawk that can survive a full day, a warm room, or a windy commute without puffing out at the temples.
Why the braid base matters
The braid base gives you structure. Without it, the sides can swell up and steal the shape.
A good cornrow-backed frohawk is all about parting and tension. The parts need to be neat enough to guide the eye, but not so tight that your scalp feels pulled by noon. If you’re adding extension hair, keep the feed-in pieces thin so the braids sit flat before they curve toward the top.
- Best for: medium to long natural hair, plus anyone who wants a style that stays put.
- Finish with: a light sheen spray or foam on the center section, not the braids themselves.
- Use when: you want a frohawk that can last several days and still look crisp.
A side braid that ends near the nape changes the whole mood. So does a middle braid that rises into a puff. Cornrows are the backbone here. Everything else is decoration.
3. Flat-Twist Frohawk
Flat twists make a frohawk look calm in the best way. The twists hug the scalp, which gives you a smooth frame on the sides, and the top can be left loose, coiled, or rolled into a soft ridge. It’s a quieter style than cornrows, but I think that’s exactly why so many Black women keep coming back to it.
This version is especially kind to hair that likes stretch. If your coils shrink fast, flat twists keep the silhouette visible. They also tend to be gentler to install and take down than tighter braid styles, which makes them a smart choice when your scalp wants a break.
The center can be twisted into a chunky rope, left as a puff, or split into two lifted sections for extra height. I like it best when the twist pattern is visible but not overly perfect. A frohawk can handle a little softness. It doesn’t need to look like it came from a ruler.
4. High Puff Frohawk
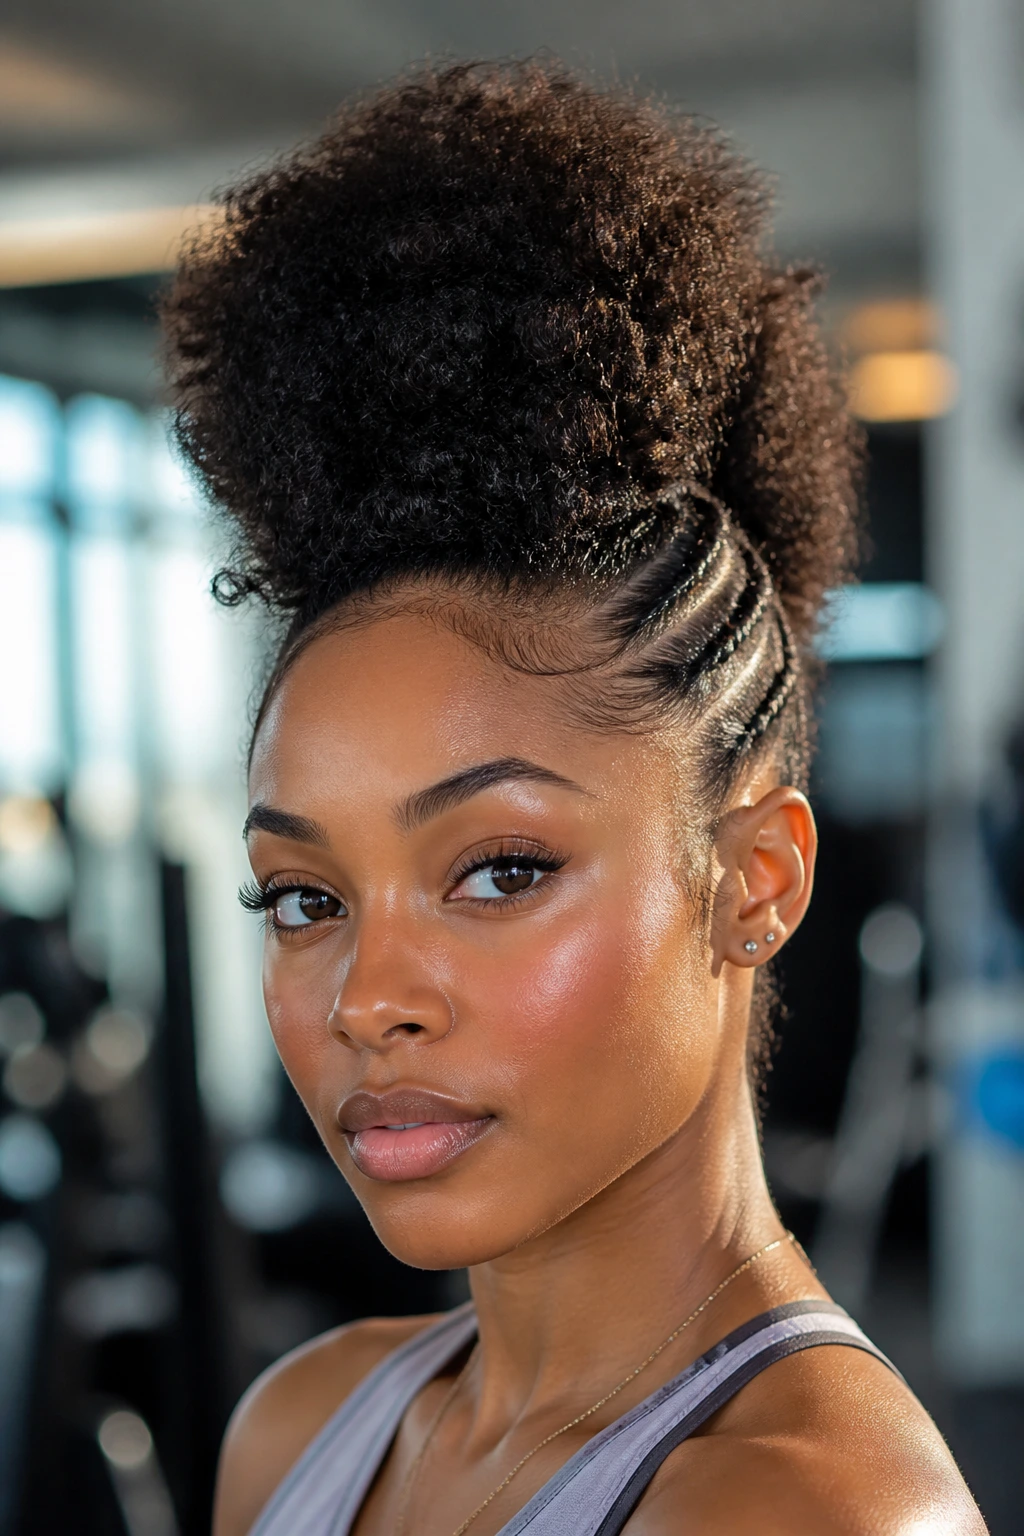
A high puff frohawk does not ask permission. It puts all the height at the crown and uses the sides as a clean runway, which makes the whole face look longer and more lifted. If your hair likes volume, this is one of the easiest shapes to get right.
The trick is where you place the puff. Too low and it starts looking like a simple puff with pinned sides. Too high and it can tug the front hairline. The sweet spot is just above the crown, where the puff sits upright without tipping backward. A wide satin scrunchie or a snag-free band helps keep the base smooth.
This is the style for busy mornings, gym-to-brunch days, and hair that needs to look intentional after a few days without a full wash day reset. The sides can be braided, twisted, or slicked back with gel, but the crown should stay soft and full. That contrast is what makes it work. Sharp frame. Big middle. Done.
5. Stacked Puff Frohawk
Stacked puffs are playful without turning childish, which is a harder balance than people think. You section the hair into two or three puffs running from front to back, then angle them so the line reads like a mohawk rather than a row of random ponytails. On Black hair, the result can look sculptural and full in a way that straight hair has to fake with padding.
This style shines on medium-length natural hair and transitional hair, especially when the ends are still thick enough to hold their own. It’s also useful when you want the frohawk shape but don’t want a single giant puff sitting on your head all day. Multiple puffs spread the volume out, which can feel lighter.
The section sizes matter. Keep the front puff smaller if you want lift at the forehead and a longer line through the crown. Keep the back puff a little fuller if you want balance. And don’t smooth the sections so hard that they lose texture; the slight roughness is part of the charm.
6. Bantu Knot Frohawk
Bantu knot frohawks are for the days when you want your hair to look deliberate from every angle. The knots themselves create the ridge, and the parts between them give the style its graphic shape. Even when the knots are small, the finish reads bold.
Picking knot size
Smaller knots look cleaner and last longer. Larger knots give more drama and can double as a curl set if you take them down later.
A balanced Bantu frohawk usually has the knots marching along the center line while the sides stay braided, slicked, or twisted down. The shape can feel a little formal, almost like hair sculpture, which is why it works so well for events or photo-heavy days. It’s one of those styles that makes earrings and neckline choices matter.
- Small knots: tighter, neater, better for a longer hold.
- Medium knots: the sweet spot for most people.
- Large knots: more visual punch, less secure if your hair is very soft.
If you’re taking this route, let each knot dry fully before you touch it. Half-dry knots loosen fast. And once you start separating them, do it with oil on your fingers so the parts stay smooth instead of fuzzy.
7. Twist-Out Frohawk
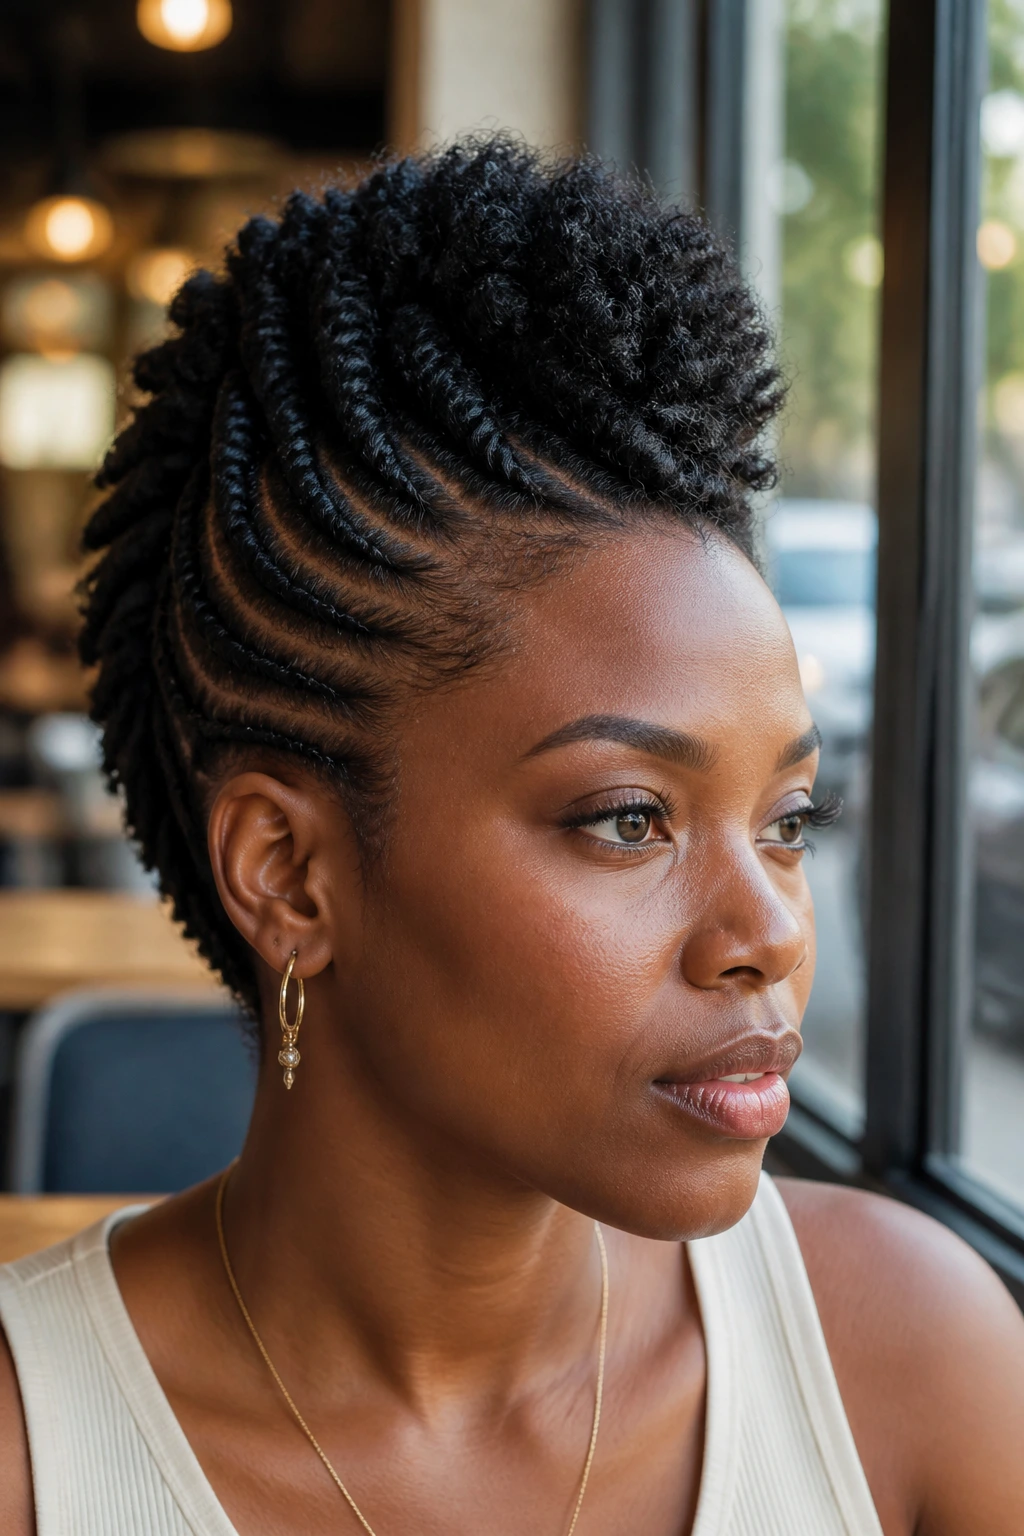
Why does a twist-out frohawk look so rich? Because the texture already has movement built in. A twist-out gives the center section soft ridges, a little shine, and enough body to rise without becoming stiff. The sides can be pinned flat or flattened with two-strand twists that disappear into the crown.
This is one of the easiest frohawk options when you’ve already done the work the night before. If your twist-out is fresh, the style practically sets itself. You lift the root area a little, pin the sides close, and let the middle stay plush. No heavy teasing required.
The important part is not to pick the ends too much. Keep the bottom of the twist-out defined so the whole style doesn’t blur into a cloud. The crown can have volume. The ends need shape. That contrast keeps the frohawk from looking unfinished.
8. Braid-Out Frohawk
A braid-out frohawk has a different energy from a twist-out. The texture is more ropey, a little more stretched, and often a touch smoother at the ends. That makes it a smart pick if you want a frohawk that lasts through humidity without collapsing into a halo by lunchtime.
The braid-out center section can be gathered into one lifted ridge or split into two soft peaks. I prefer the single ridge when the hair is long enough, because it gives the silhouette a cleaner line. The sides can be tucked under with flat braids, or you can leave a few slim braids visible if you want the style to feel less polished.
This version works especially well when your hair needs stretching before the braids are taken down. If the braids are too tight, the result can look wiry. If they’re too loose, the whole thing loses structure. Medium tension gives the braid-out its sweet spot: defined, springy, and still soft at the edges.
9. Loc Frohawk
Loc frohawks have a built-in advantage: the shape already lives inside the texture. Whether you’re working with sisterlocks, microlocs, or thicker locs, the mohawk line appears the moment you start tucking the sides and lifting the middle. The style can look regal, clean, or a little wild, depending on how much you separate and fluff.
The best loc frohawks usually lean on pins, barrel rolls, or a neat side tuck. I like when the locs at the top are allowed to arc forward a bit before settling into the ridge. That small curve keeps the style from looking boxy. Beads and cuffs can do a lot here, but use them sparingly if your locs are already heavy.
This is also one of the few frohawk looks that gets better with a little wear. A day or two of movement softens the shape in a good way. The trick is protecting the roots at night so the sides don’t puff up and steal the profile.
10. Sleek-Sides Faux Hawk
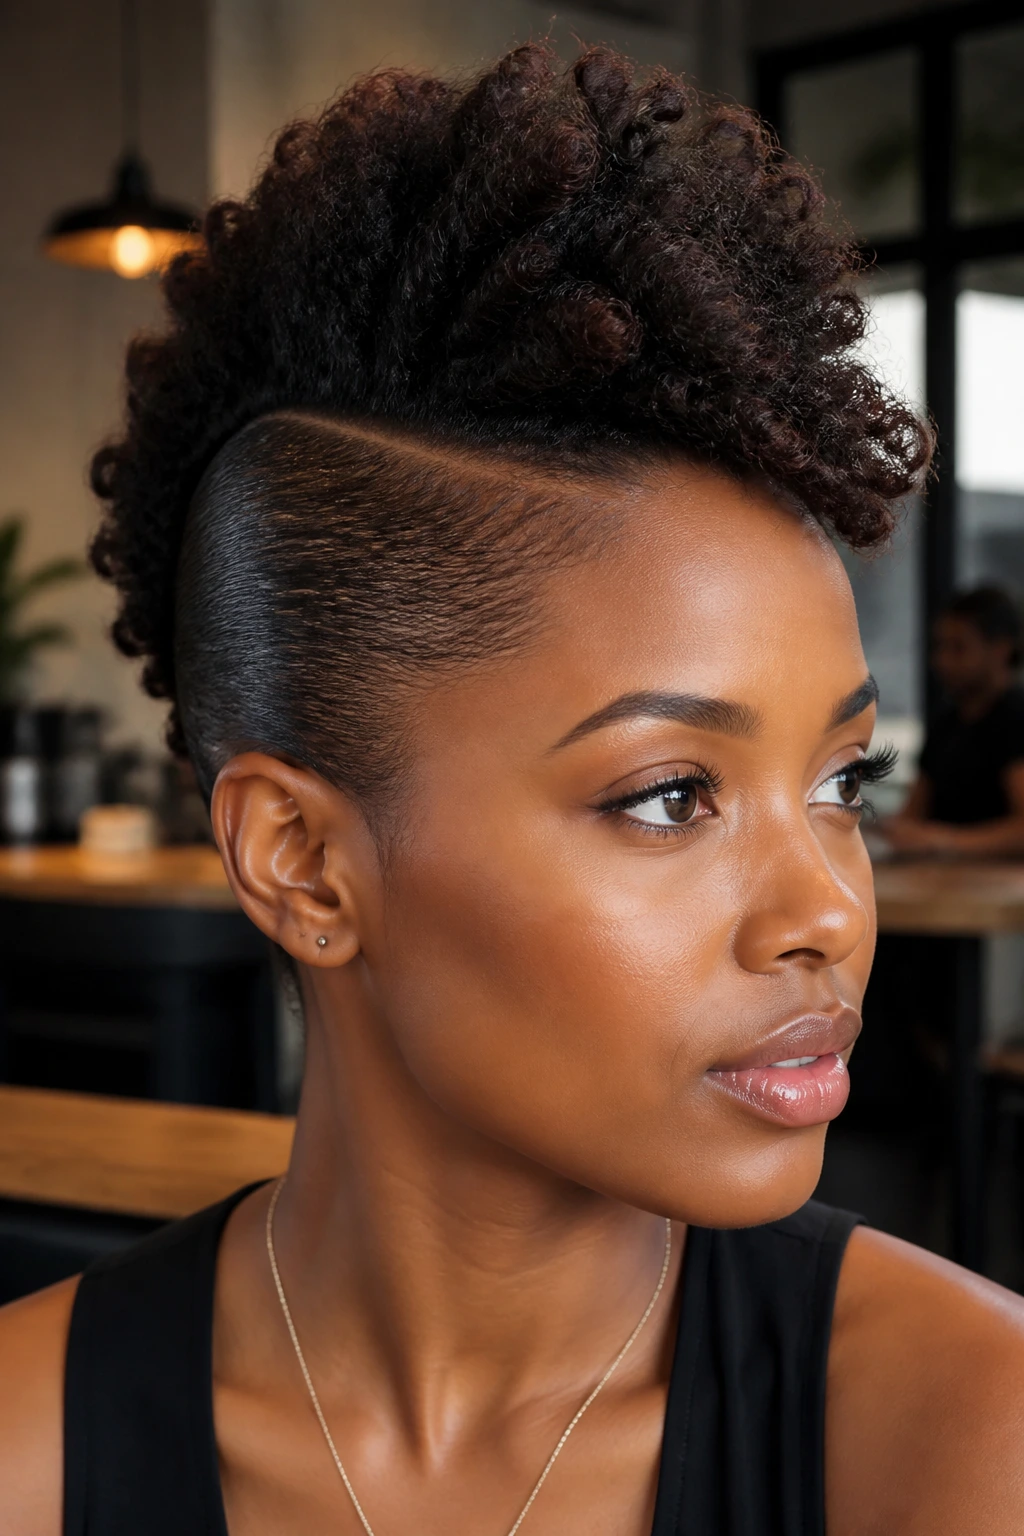
Not every frohawk needs to be fluffy. Sometimes the smartest move is to go sleek on the sides and let the center carry all the texture. A faux hawk with flattened sides looks sharp, grown, and a little dramatic in a way that plays well with formal clothes and strong makeup.
The sides need a firm hold product and a brush with enough stiffness to smooth the hairline without scraping it raw. I’m not a fan of drowning the edges in gel here. A thin layer, brushed in one direction, is enough if the hair is already stretched. The center can be blown out, braided, curled, or rolled upward, depending on how full you want the top to feel.
This version is great when you want contrast. Soft top. Tight sides. Clear shape. It’s also useful for hair that won’t cooperate with a big fluffy frohawk on a given day. If the texture is frizzing up, the sleek base saves the whole look.
11. Mohawk Bun Frohawk
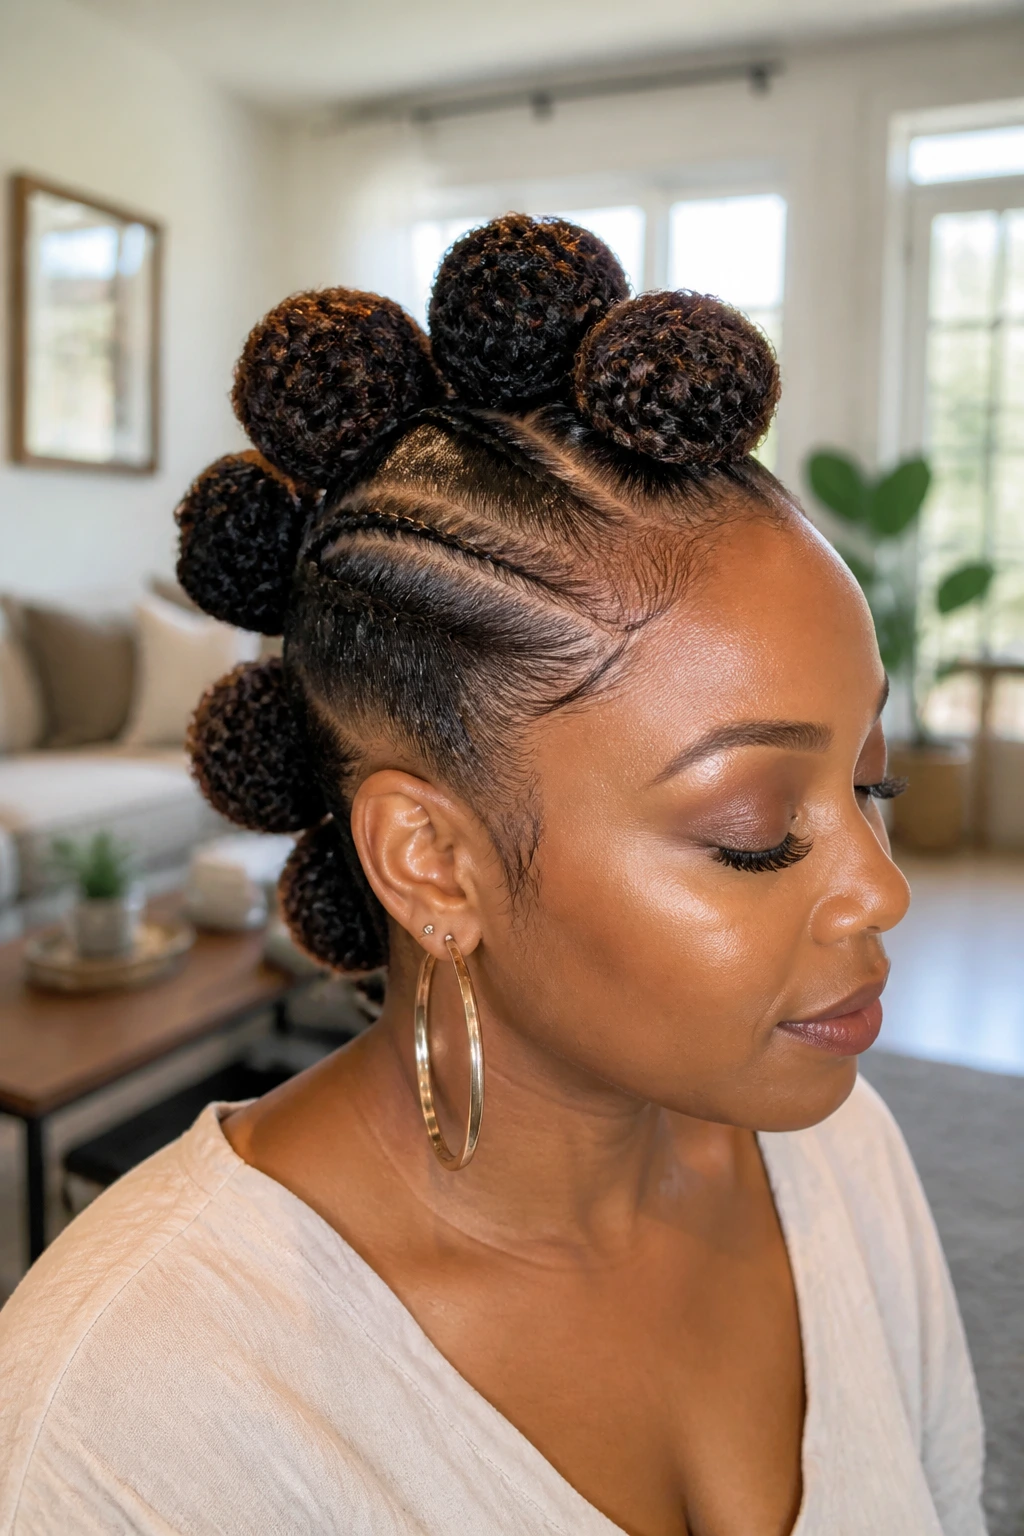
A mohawk bun frohawk is a row of little decisions that pay off later. You gather the center section into buns or knots from front to back, which gives the style texture and rhythm without requiring a lot of length. The result feels playful, but not messy.
The buns can be tiny and tight or larger and more rounded. Smaller buns read neater and hold better on shorter hair. Larger ones create more drama and work best when your hair has enough density to support them without drooping. A few pins at the base of each bun usually keep the line clean.
This style is one of my favorite in-between options because it handles layered hair well. If the ends don’t all reach the same point, the buns still make sense. You’re building shape from sectioning, not depending on perfect length. That makes it forgiving, and forgiving styles are the ones people actually wear again.
12. Feed-In Braid Frohawk
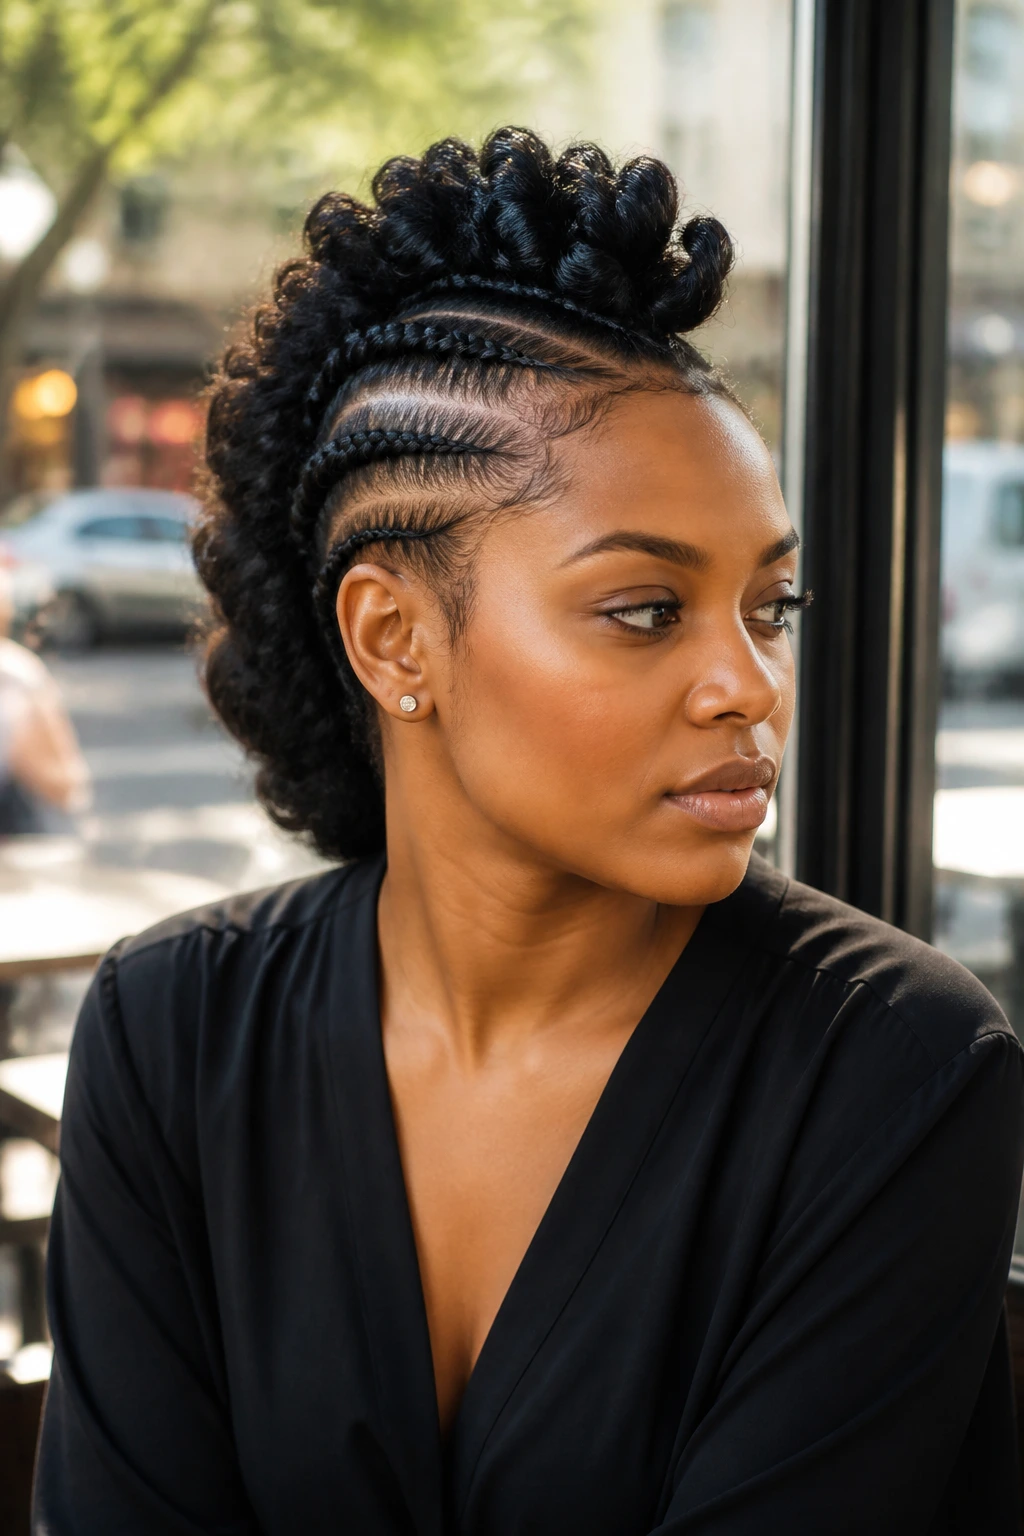
Feed-in braids give a frohawk length without bulk at the roots, and that’s a useful trick. By gradually adding hair into the braid, the center ridge stays smooth at the scalp and fuller through the middle, which keeps the style from looking heavy at the hairline. It’s a neat solution when you want the outline of a mohawk but need more extension power.
Where the braid should sit
Keep the braid line centered and raised slightly off the scalp as it moves back. That creates the mohawk profile.
This style can go sleek and athletic, or it can turn dressy with gold cuffs and a sharp middle part. The feed-in method also helps the style last because the braid base doesn’t loosen as quickly as a loose ponytail or pinned puff. If you’re wearing extension hair, match the texture closely enough that the added pieces don’t look pasted on.
- Best for: long wear, concerts, travel, and weekends when you want low daily fuss.
- Watch for: tension at the edges. A frohawk is not worth sore temples.
- Finish with: a light mousse over the braid lengths to keep stray hairs under control.
13. Finger-Coil Frohawk
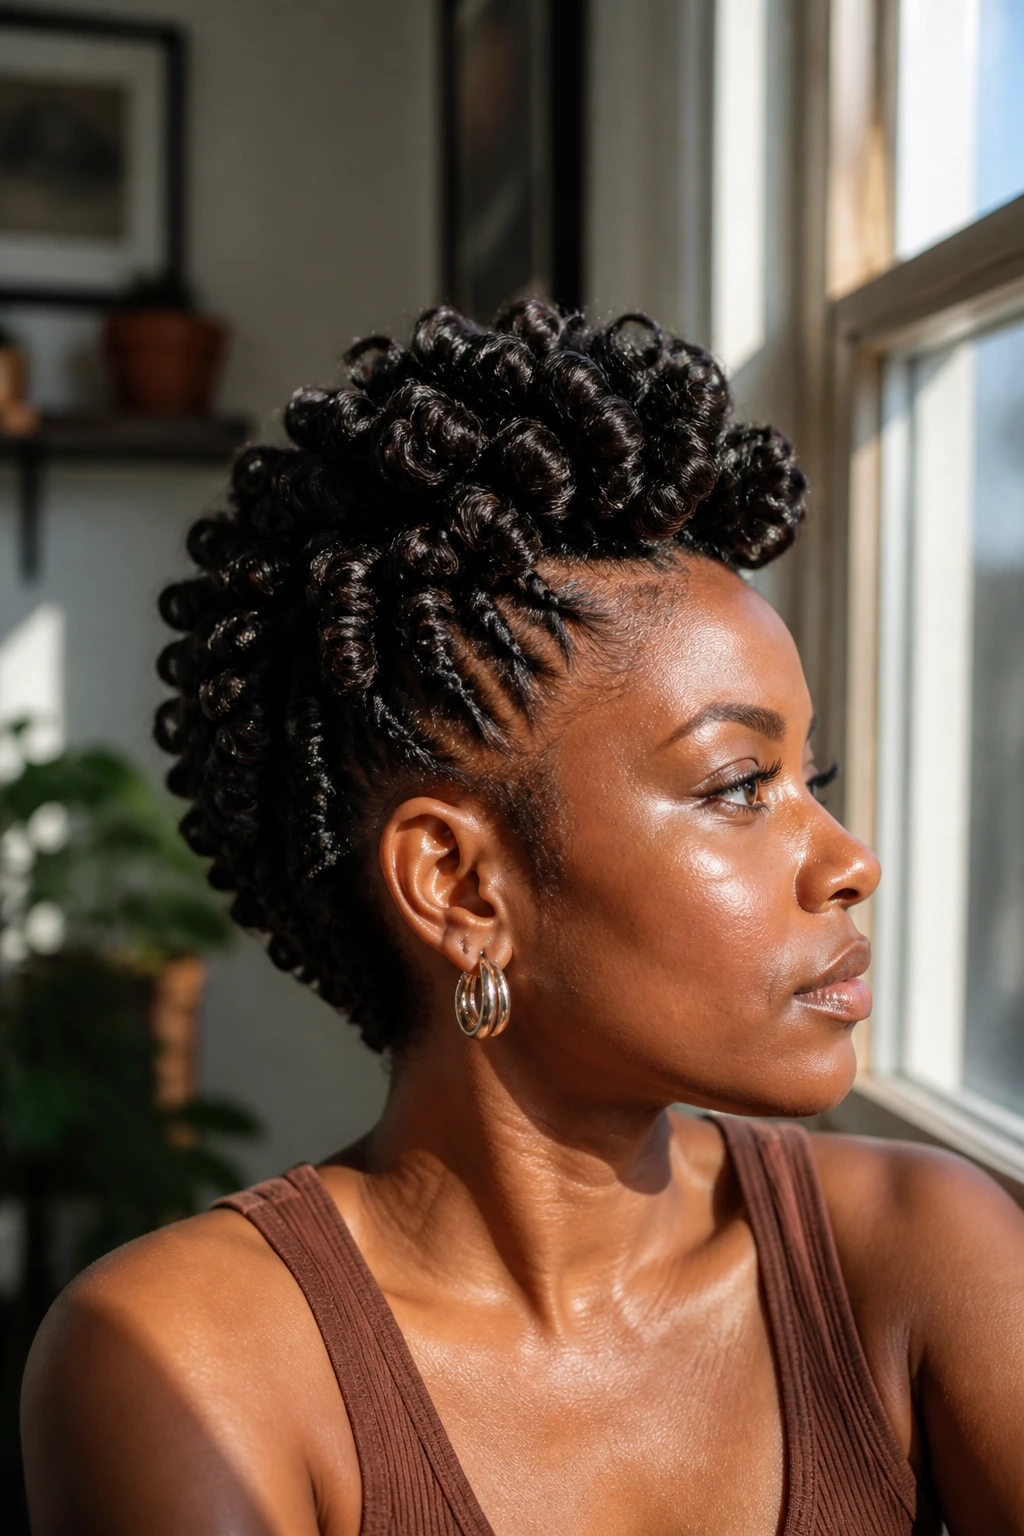
Finger-coil frohawks are tiny, detailed, and a little obsessive in the best way. Each coil has its own shape, and when the center section is arranged into a lifted ridge, the whole style looks carefully built rather than casually assembled. It’s especially good on short to medium natural hair.
The main thing is spacing. If the coils are packed too tightly together, the center can look flat. Give them room to breathe so the ridge has height. A strong gel or styling custard helps the coils hold their shape, but don’t overload the hair or the finish turns sticky instead of crisp.
This style works beautifully when you want definition instead of sheer volume. It also photographs well from the side because the coils catch light differently at each angle. The sides can be pinned down or cornrowed back, but the center should stay visible. The coils are the whole point.
14. Tapered Cut Frohawk
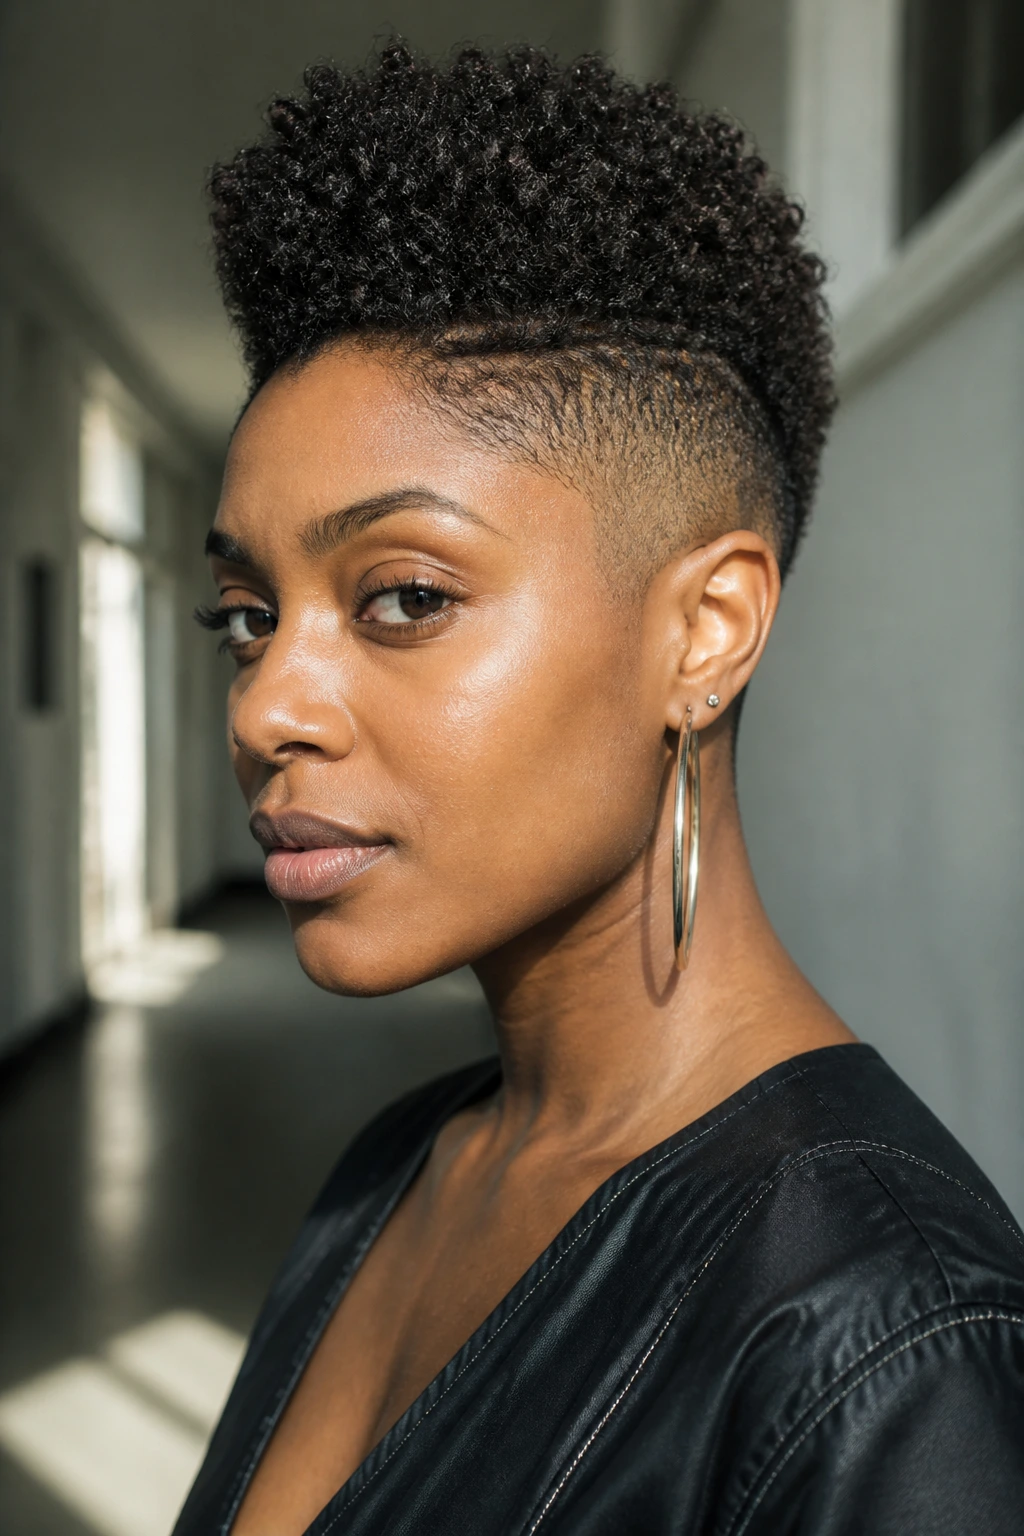
If you already have a tapered cut, the frohawk is practically built in. That’s the truth people skip over. The fade at the sides and back already creates the outline, so your job is mostly about deciding how much to lift the crown and how to define the top.
This is one of the lowest-effort entries on the list, but it can still look sharp. A little curl cream, a pick at the roots, and a shaped front line are often enough. On a good tapered cut, the silhouette does not need extra drama. It already has it.
I like this version for women who want a frohawk feel without a lot of pinning or braiding. It’s also a strong choice for natural hair that shrinks in a way you want to show off rather than hide. The taper gives you clean edges; the top gives you texture. Done right, it looks like the haircut and the styling are having a very polite conversation.
15. Two-Strand Twist Frohawk
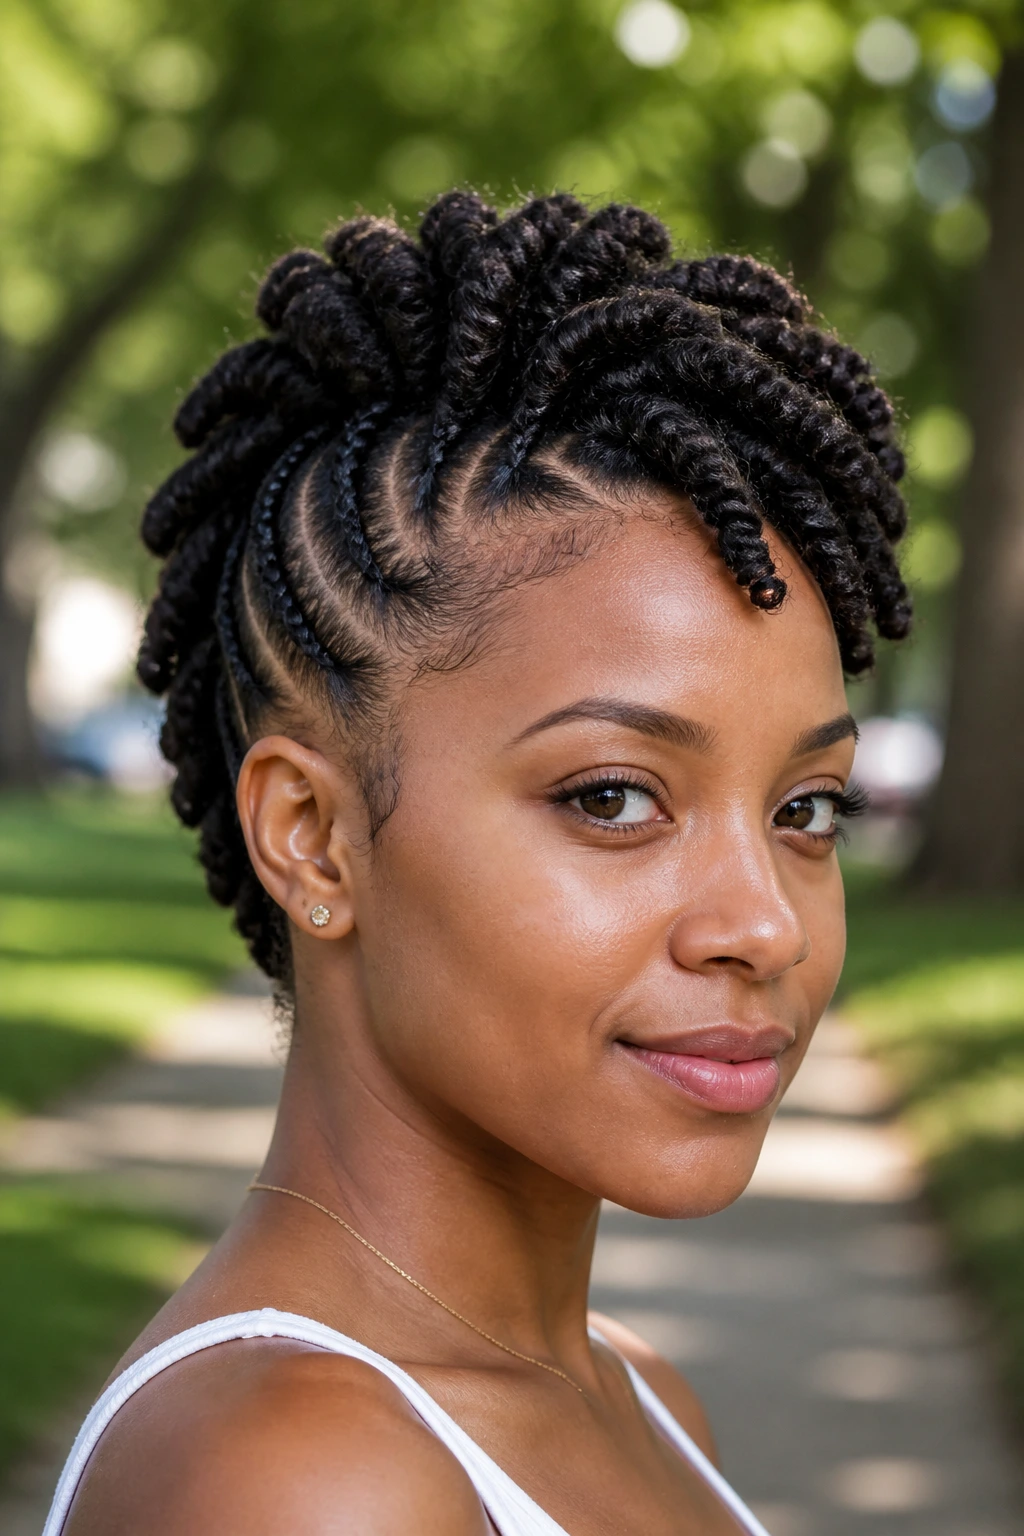
Two-strand twists bring a softer, chunkier texture to the frohawk shape. They sit somewhere between a braid-out and a flat-twist style, which makes them flexible if you want the middle to feel full but not too loose. The sides can be twisted back or pinned, and the center can be stacked into a ridge or left to spill a little.
This style is especially nice when you want a protective look that still has shape. The twists keep the hair organized, and the mohawk line keeps it from feeling flat or overly uniform. If the hair is longer, the twists can be wrapped upward toward the crown; if it’s shorter, they can sit closer to the head and still read clearly.
A small tip: twist direction matters. Keep the center twists all moving the same way so the ridge looks intentional. Random twist directions can make the style split in odd places. Clean lines matter more here than extra shine.
16. Puff-and-Braid Hybrid Frohawk
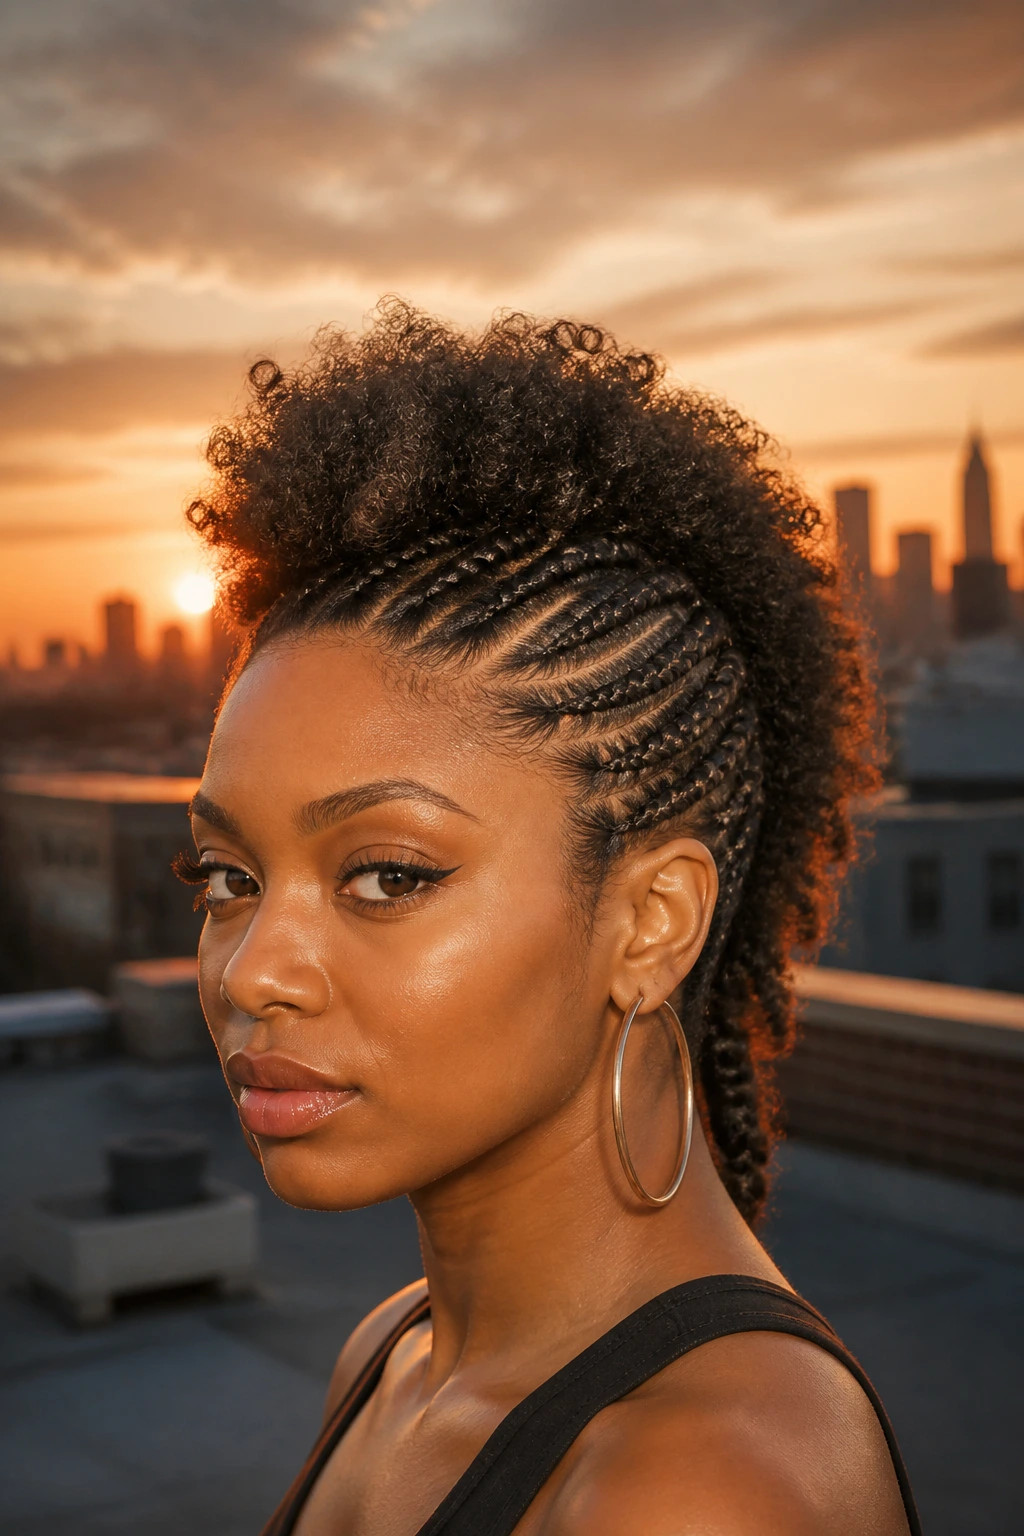
A puff-and-braid hybrid is for anyone who wants the best of both worlds and doesn’t mind mixing textures. The front might be braided back, the middle section left as a puff, and the back tucked into another braid or small knot. It sounds busy, but on the head it reads as a layered mohawk with movement.
This is a smart choice for transitional hair or hair at mixed lengths. The braids help control the shorter front pieces, while the puff gives the center some lift. If your hair has been in the middle of growing out for months and you’re tired of pretending it’s one neat length, this style can make that awkward stage look intentional.
- Best detail: keep the braid sizes balanced so one side doesn’t overpower the puff.
- Good add-ons: cuffs, slim barrettes, or a single wrapped strand of color.
- When to wear it: weekends, parties, or any day you want the style to feel layered rather than strict.
17. Accessorized Side-Part Frohawk
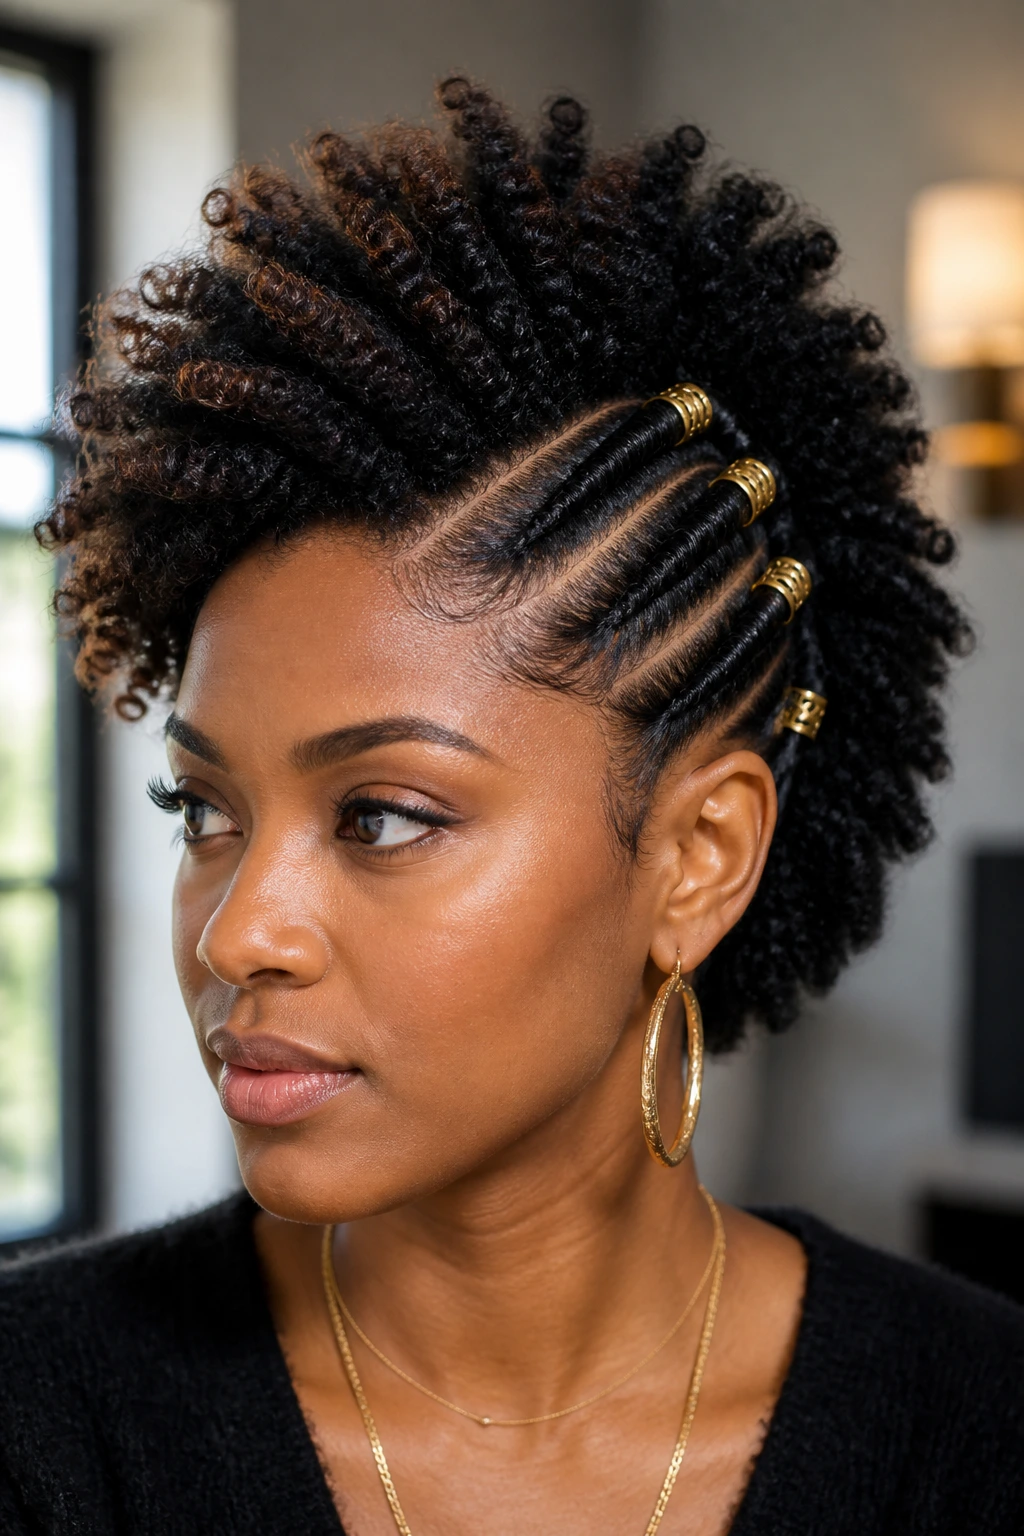
Accessories can rescue a frohawk that feels too plain, and a deep side part gives you a strong base for that. Once the part shifts off-center, the center section can rise diagonally, which creates a little more movement than a straight middle line. That line gives you room for clips, cuffs, pins, or even a slim scarf tucked into the braid base.
Where accessories do the most work
Place them where the style bends or pins, not where the hair is already crowded. That keeps the look clean.
A few gold cuffs on the side braids can change the whole mood. So can pearl pins if you want something softer. I’d avoid piling on every accessory you own; the point is to guide the eye, not to bury the haircut under hardware. The hair should still be the main event.
This version is useful when you want a frohawk for a special occasion but don’t want to go all the way into formal updo territory. It’s dressy, but not stiff. And because the side part breaks symmetry, the style can flatter a lot of face shapes without looking overworked.
18. Crochet Frohawk
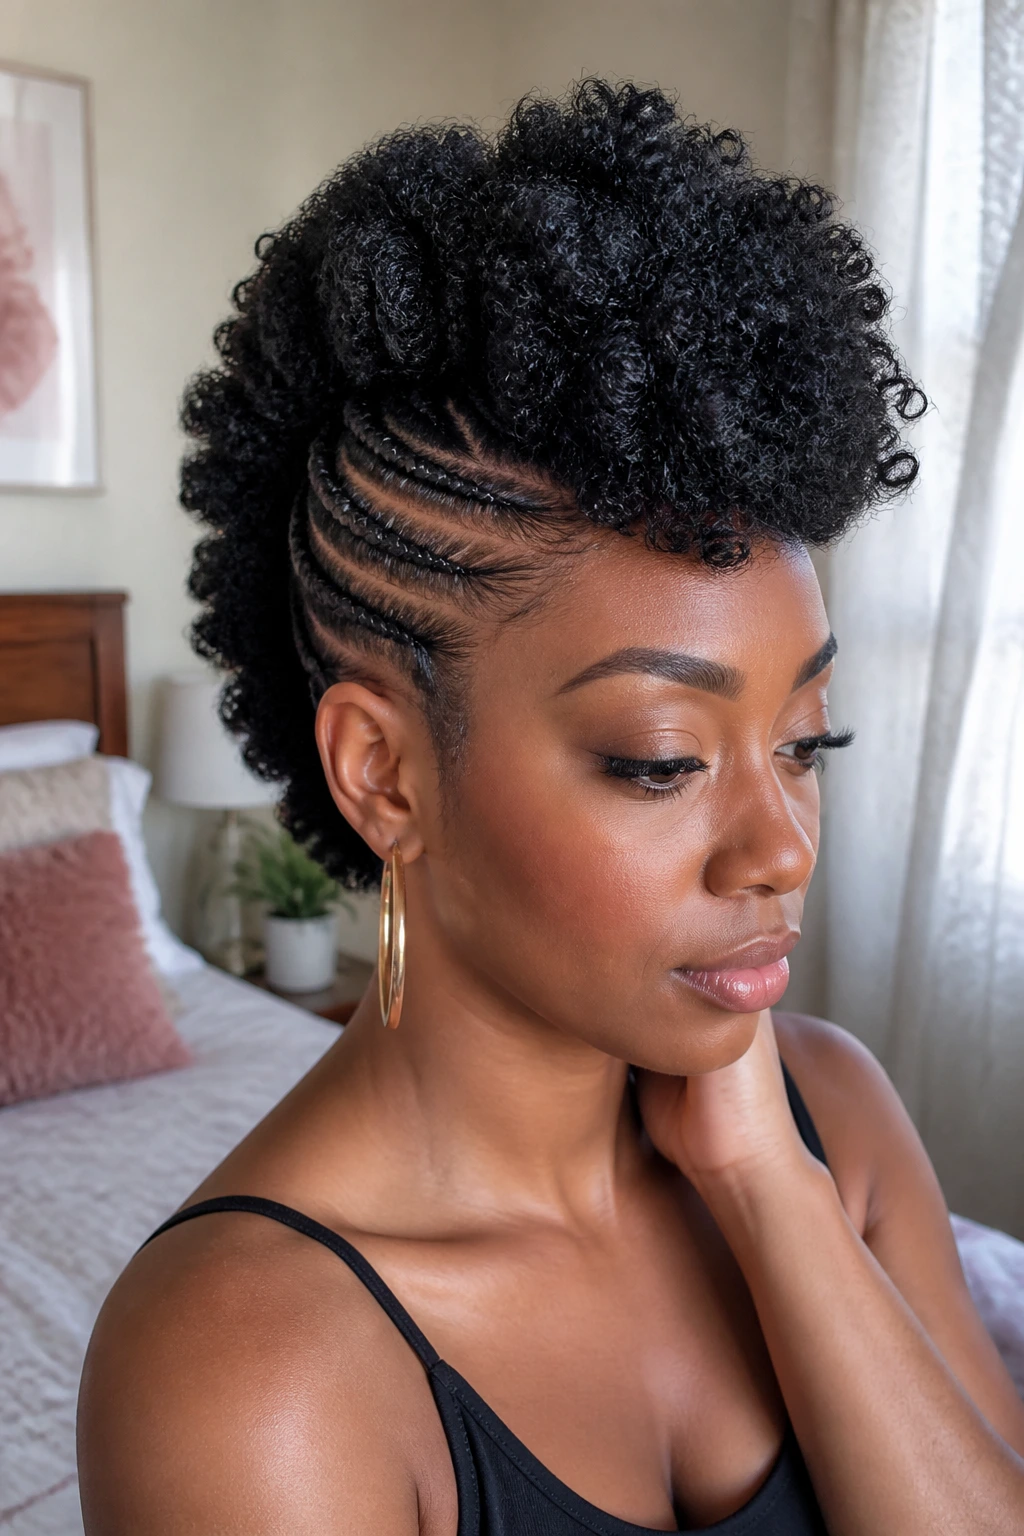
Crochet frohawks are one of the easiest ways to get a lot of hair in the middle without spending your entire afternoon in front of a mirror. A braided base supports the crochet hair, and then the center is shaped upward into the mohawk silhouette. The sides stay neat, the top gets full, and the whole thing can last far longer than a loose natural style.
This is the version for anyone who wants length, density, or a more dramatic outline without committing to a sew-in. The finish can mimic curly hair, kinky texture, or even faux locs, depending on the extension used. The choice matters more than people think. A curl pattern that matches your own hair keeps the style from looking disconnected.
The main watchout is weight. Too much hair at the top pulls the frohawk down and makes the sides work overtime. Keep the crown full, not overloaded. If the center starts tipping backward, you added too much bulk. Easy fix. Remove a few pieces before it becomes a headache.
19. Sculpted Editorial Frohawk Updo
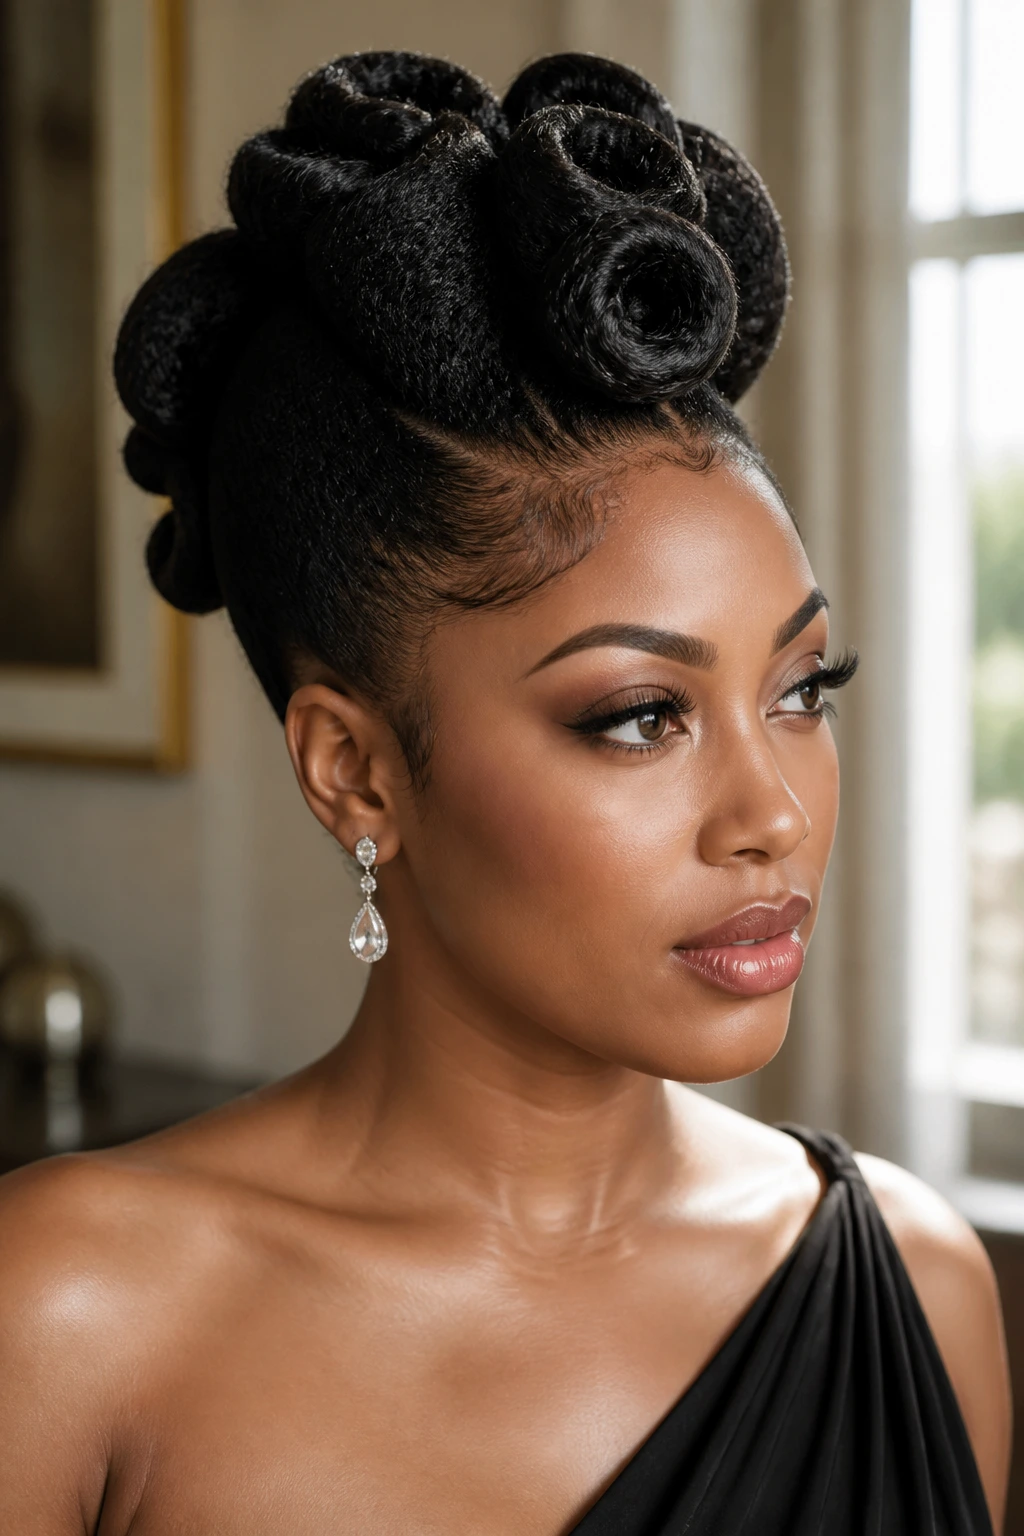
This is the one you wear when you want the frohawk to look like it was designed with a ruler and a little attitude. The sides are pinned or braided tight, and the center is sculpted into loops, rolls, or lifted sections that hold their own shape. It has the clean finish of an updo and the edge of a mohawk.
What makes it different is control. Every curve should feel placed. Every section should have a purpose. That doesn’t mean the style has to look stiff — it just means the shape is intentional from front to back. A little shine spray helps, but the real work comes from good pin placement and sectioning that follows the head, not fights it.
This is the frohawk for weddings, formal photos, or any moment when you want your hair to say something before you do. It suits strong earrings, open necklines, and makeup that can hold its own. If you like a style that looks expensive without needing to say so, this is the one.
What Makes a Frohawk Hold on Coily Hair
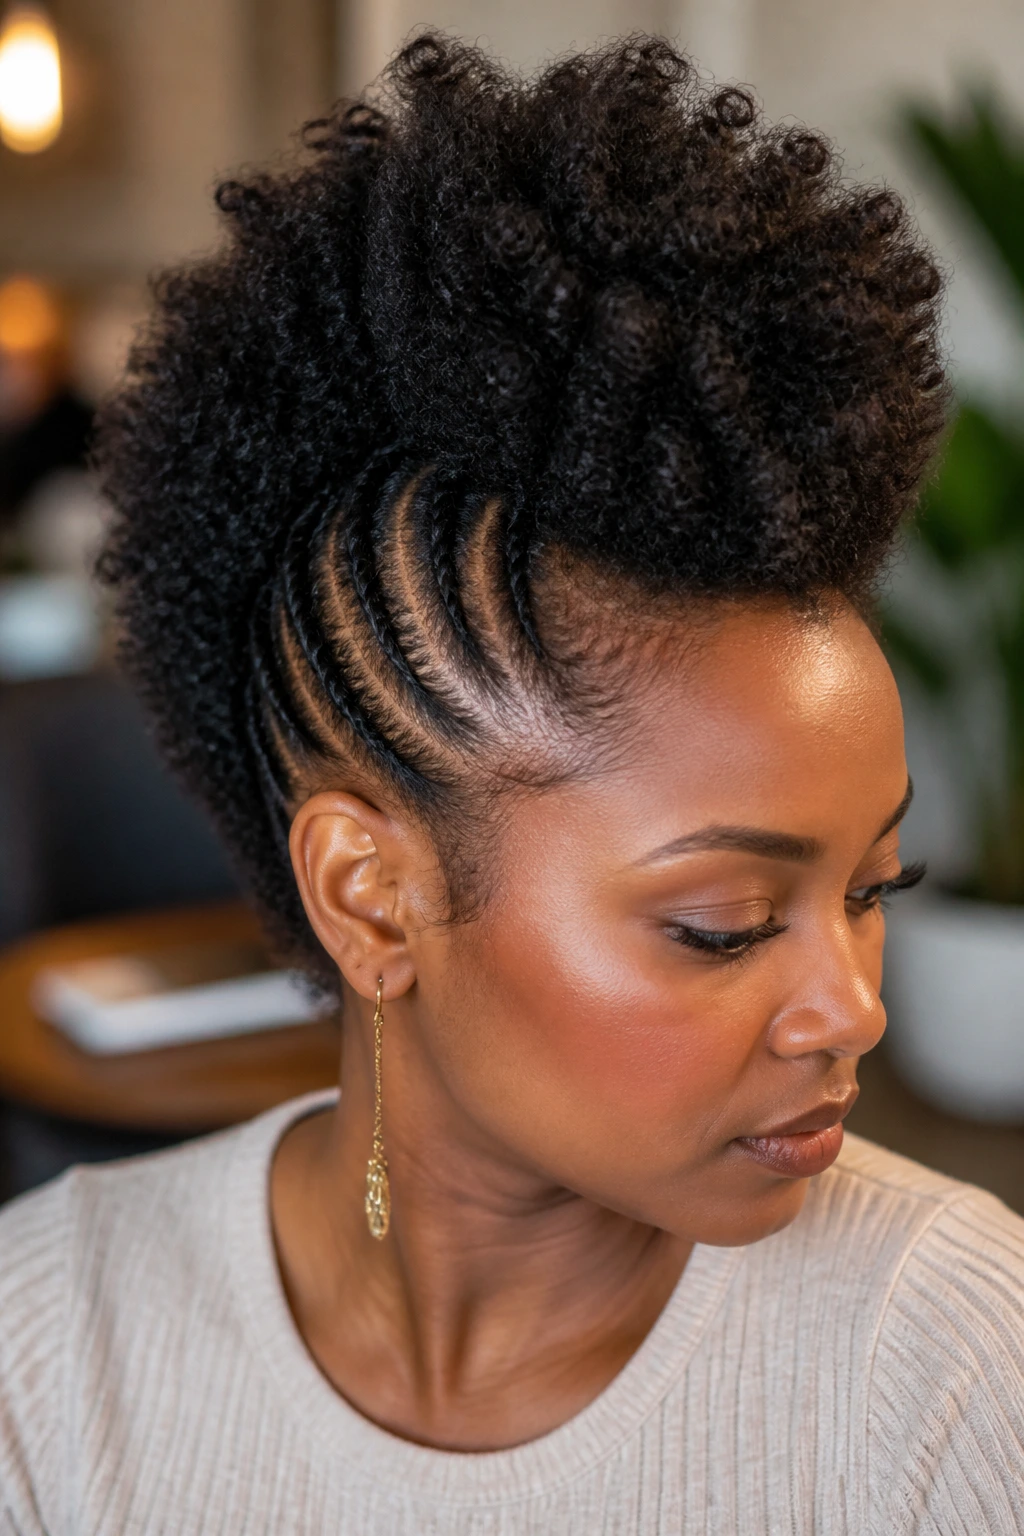
A frohawk works on coily hair because the hair already has body. You are not creating volume from nothing. You’re directing it. That’s the difference between a style that fights the texture and one that feels like it belongs there.
The center ridge holds best when the hair is stretched a little first. Not bone-straight. Just stretched enough that the strands stack instead of puffing in every direction. Braid-outs, twist-outs, banding, and blow-drying on low heat all help, depending on how much time you want to spend. The sides need a firm base too, whether that base is cornrows, flat twists, pins, or a clean gel brush-back.
Humidity matters. So does density. Thick hair tends to support the shape on its own, while finer curls may need more pinning and a lighter product load. The big mistake is loading the whole head with heavy butter and hoping it will stay put. It won’t. The style needs balance, not grease.
Essential Tools for These Looks
- Rat-tail comb: For crisp parts, especially if you’re doing braids, twists, or a side part.
- Duckbill clips or sectioning clips: They hold sections out of the way while you build the center shape.
- Bobby pins and U-pins: Use both. Bobby pins for grip; U-pins for bulkier curls and puffs.
- Edge brush: Helpful for smoothing hairlines without flattening the whole style.
- Spray bottle with water: Best for reactivating curls before shaping, not soaking the head.
- Mousse or setting foam: Great for soft hold and drying down flyaways.
- Firm-hold gel or edge control: Use sparingly on the sides and hairline if you want a sleeker finish.
- Wide-tooth comb or pick: For lifting the center section without tearing through it.
- Satin scarf or bonnet: Keeps the shape from getting shredded overnight.
- Hand mirror: Necessary if you’re pinning the back of your head and want both sides to match.
Smart Prep and Product Choices
The cleanest frohawks usually start with hair that’s already been moisturized and stretched a bit. That doesn’t mean limp hair. It means hair that has enough give to stay where you place it. If your curls are fresh from a wash, let them dry until they’re at least mostly set before you try to build height. Wet hair slips. Damp hair can work, but it makes pins shift and parts fuzz faster.
Product choice should match the finish you want. Mousse gives you soft hold and keeps the style light. Gel gives you a firmer shell, which is useful for sleek sides and clean edges. Heavy creams are fine on the ends if your hair is dry, but they can make the base collapse if you use too much near the roots. That’s where people get into trouble.
If you’re planning to twist, braid, or coil the center first, start with leave-in on the lengths and a lighter product closer to the scalp. A clean foundation matters more than a thick coating. And if you’re going for a frohawk that has to last more than one day, let it dry all the way before you pin, pick, or fluff. Half-dry hair will undo itself the minute you step outside.
How to Wear the Shape Without Fighting It
Face Shape: Taller frohawks lengthen round faces, while wider, fuller center sections balance long faces. If your face is already narrow, keep the height moderate and let the sides stay a little softer.
Outfit Pairing: Off-shoulder tops, sharp collars, and simple necklines let the silhouette show. Heavy turtlenecks can crowd the shape unless you want the hair to feel more casual and less styled.
Accessories: Big hoops, cuffs, or a single bright clip can carry the look without cluttering it. If the frohawk is already sculpted, skip the extra noise and let the hair do the talking.
Best Setting: Sleek versions fit work, formal dinners, and events with dress codes. Puffy, curly, and accessory-heavy versions lean more weekend, vacation, or night-out, especially if the texture is intentionally big.
Additional Tips and Finish Moves
Volume Boost: Lift only the roots of the center section with a pick or fingertips. If you tease the ends, the shape turns frizzy fast and starts looking tired by midday.
Edge Detail: A thin brush and a light hand are enough for most hairlines. You want the front to frame the face, not scrape it raw.
Humidity Plan: Keep a few extra pins in your bag if the weather is heavy. Frohawks fail at the sides first, not the crown.
Softness vs Structure: Mousse and a satin scarf give you softness. Gel and tighter sectioning give you structure. Mixing both on different parts of the head is often smarter than choosing one product for everything.
Night Care, Refreshing, and How Long They Last
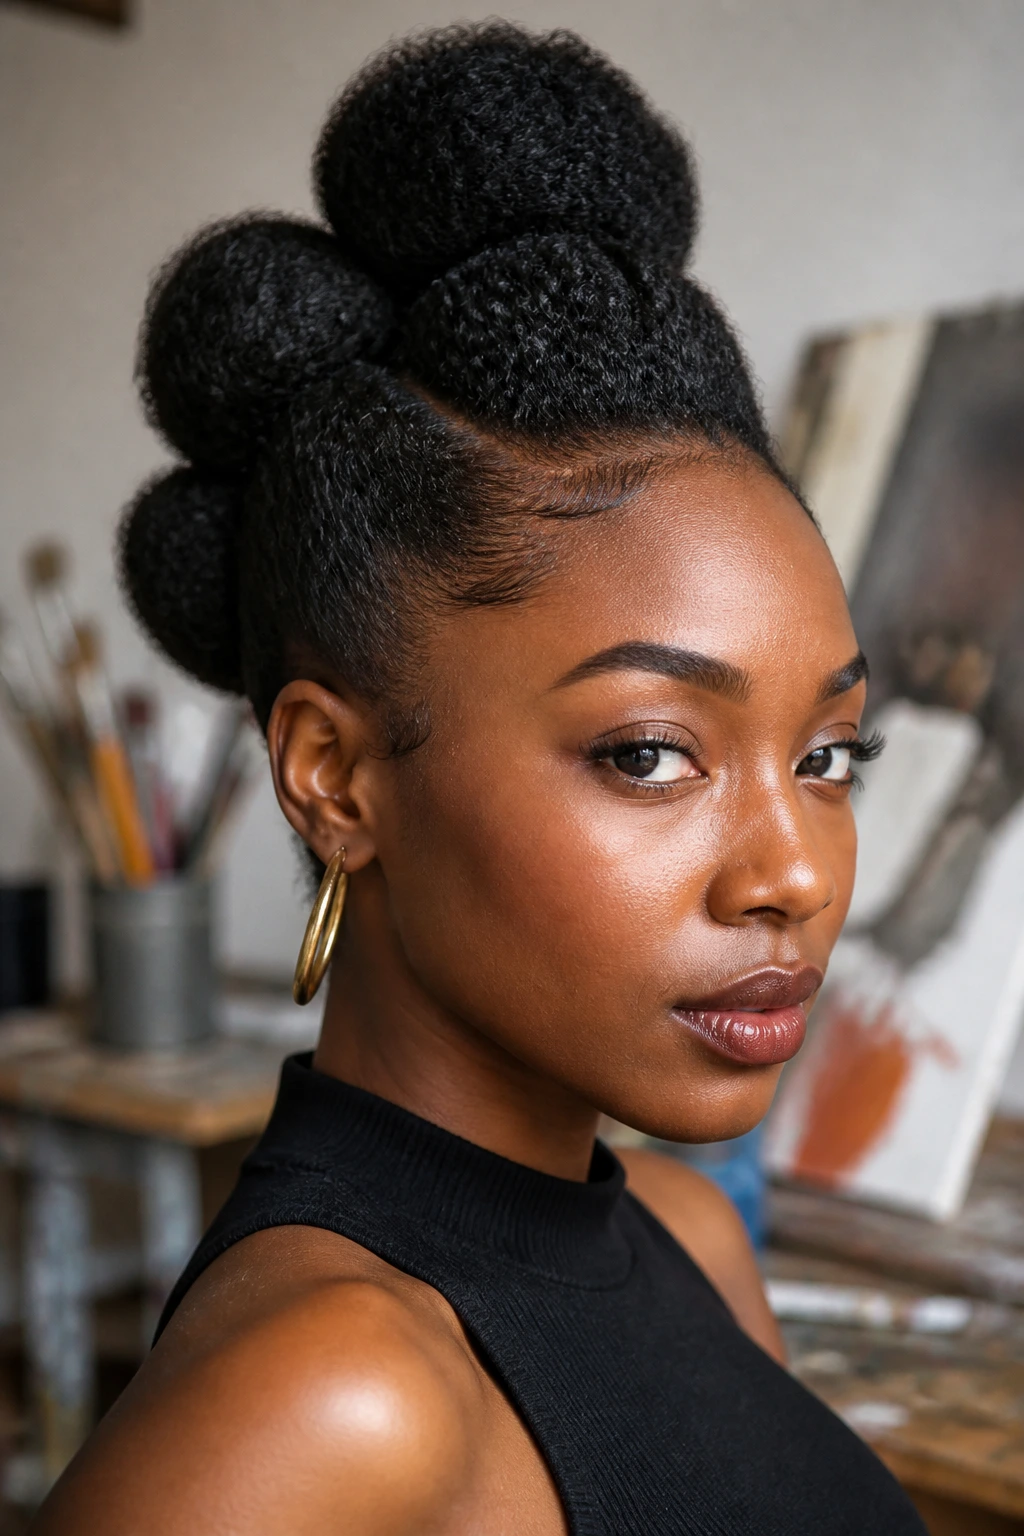
- Pinned curls and puffs: Usually hold well for 2 to 4 days if you wrap them at night with a satin scarf and keep the sides pinned.
- Braided or twisted bases: Often last 4 to 7 days, sometimes longer if the parts stay neat and your scalp doesn’t get oily fast.
- Loc and crochet versions: Can stretch beyond that, but the cleaner versions still need a quick nightly wrap or bonnet to keep the outline from getting fuzzy.
- Morning refresh: Use a light mist of water or water plus leave-in on the center only, then re-fluff with your fingers. Do not soak the sides; they’ll puff before you finish breakfast.
- If the top sags: Re-pin from underneath rather than loading the outside with more pins. Hidden support always looks better.
If your frohawk relies on curls, it usually looks best the first or second day, when the definition is still there. Braids and twists hold longer. Sleek-sides versions need the most upkeep because the hairline shows every fray. There’s no shame in redoing the edges in the morning. That’s part of the style.
Variations and Adaptations to Try
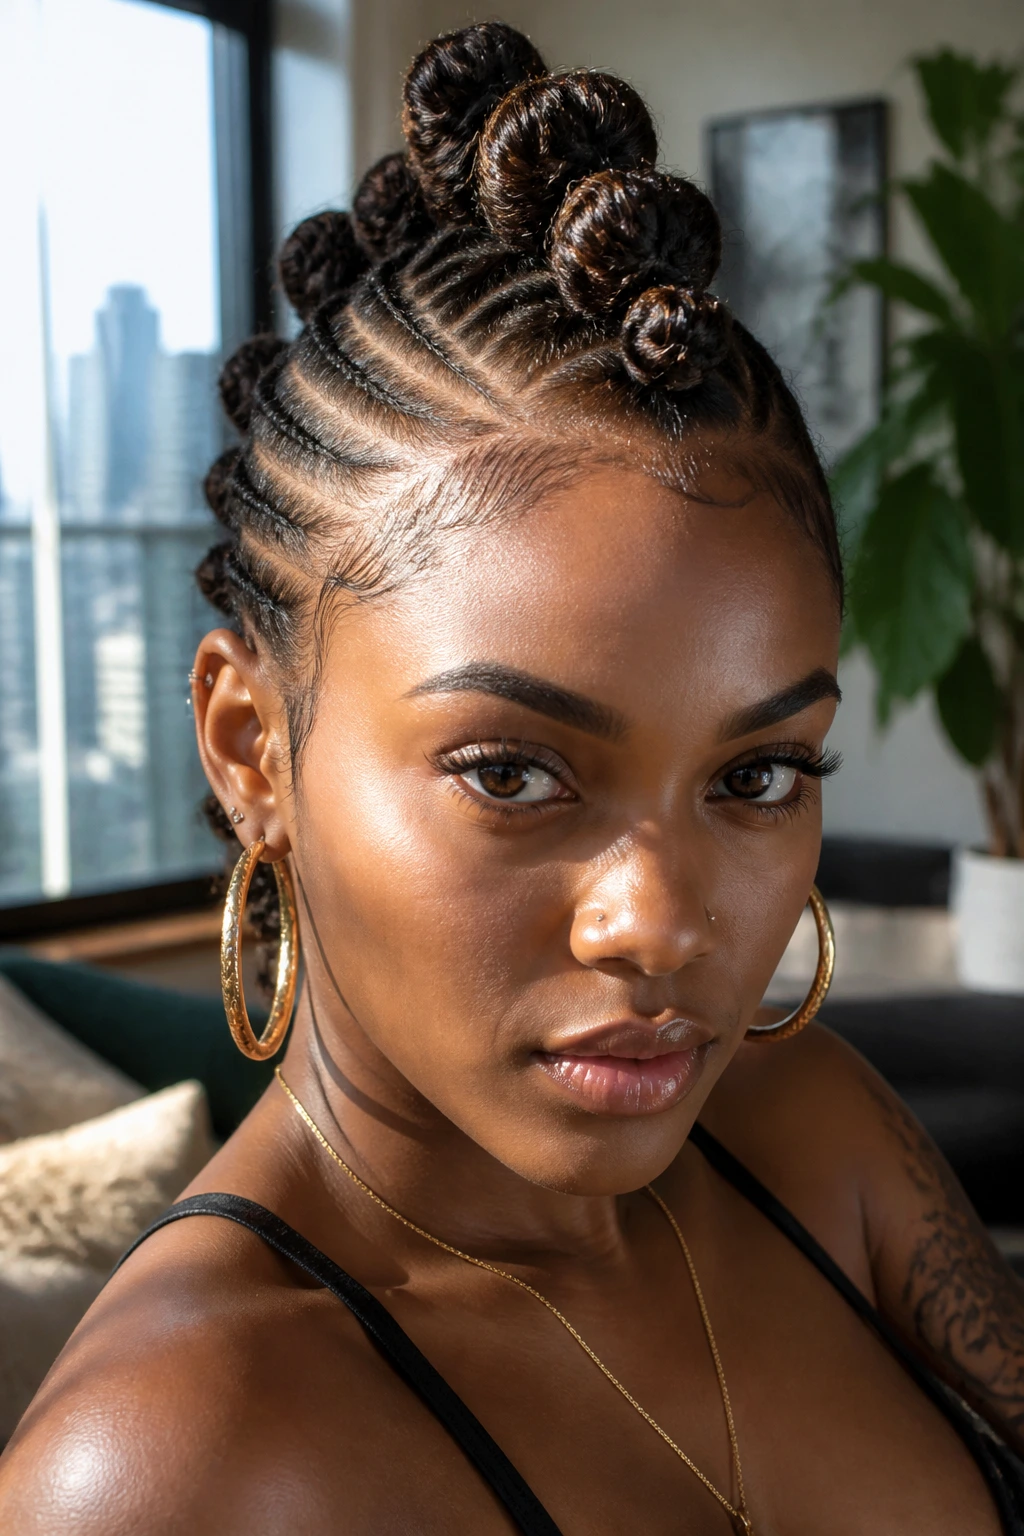
Short-Crop Frohawk: If your hair is short or tapered, keep the sides clean and use finger coils, small twists, or a high-texture curl cream at the top. The shape matters more than the length, and a little root lift goes a long way.
Protective Frohawk: Choose flat twists, cornrows, or two-strand twists as the base, then tuck the ends away. This version keeps handling low and is easier to wear for several days without much fuss.
Formal Frohawk: Lean into sleek sides, polished parts, and one strong accessory like cuffs or pearl pins. Add shine spray at the end, not before, or you’ll weigh down the volume.
Soft Natural Frohawk: Skip the hard gel and let the center stay fluffy. This one is best when you want the style to look airy and relaxed rather than tightly shaped.
Extended Frohawk: Add crochet hair, feed-in braids, or extension pieces at the crown if you want more length or drama. Keep the roots secure and the added hair matched closely enough that it blends.
Common Mistakes to Avoid
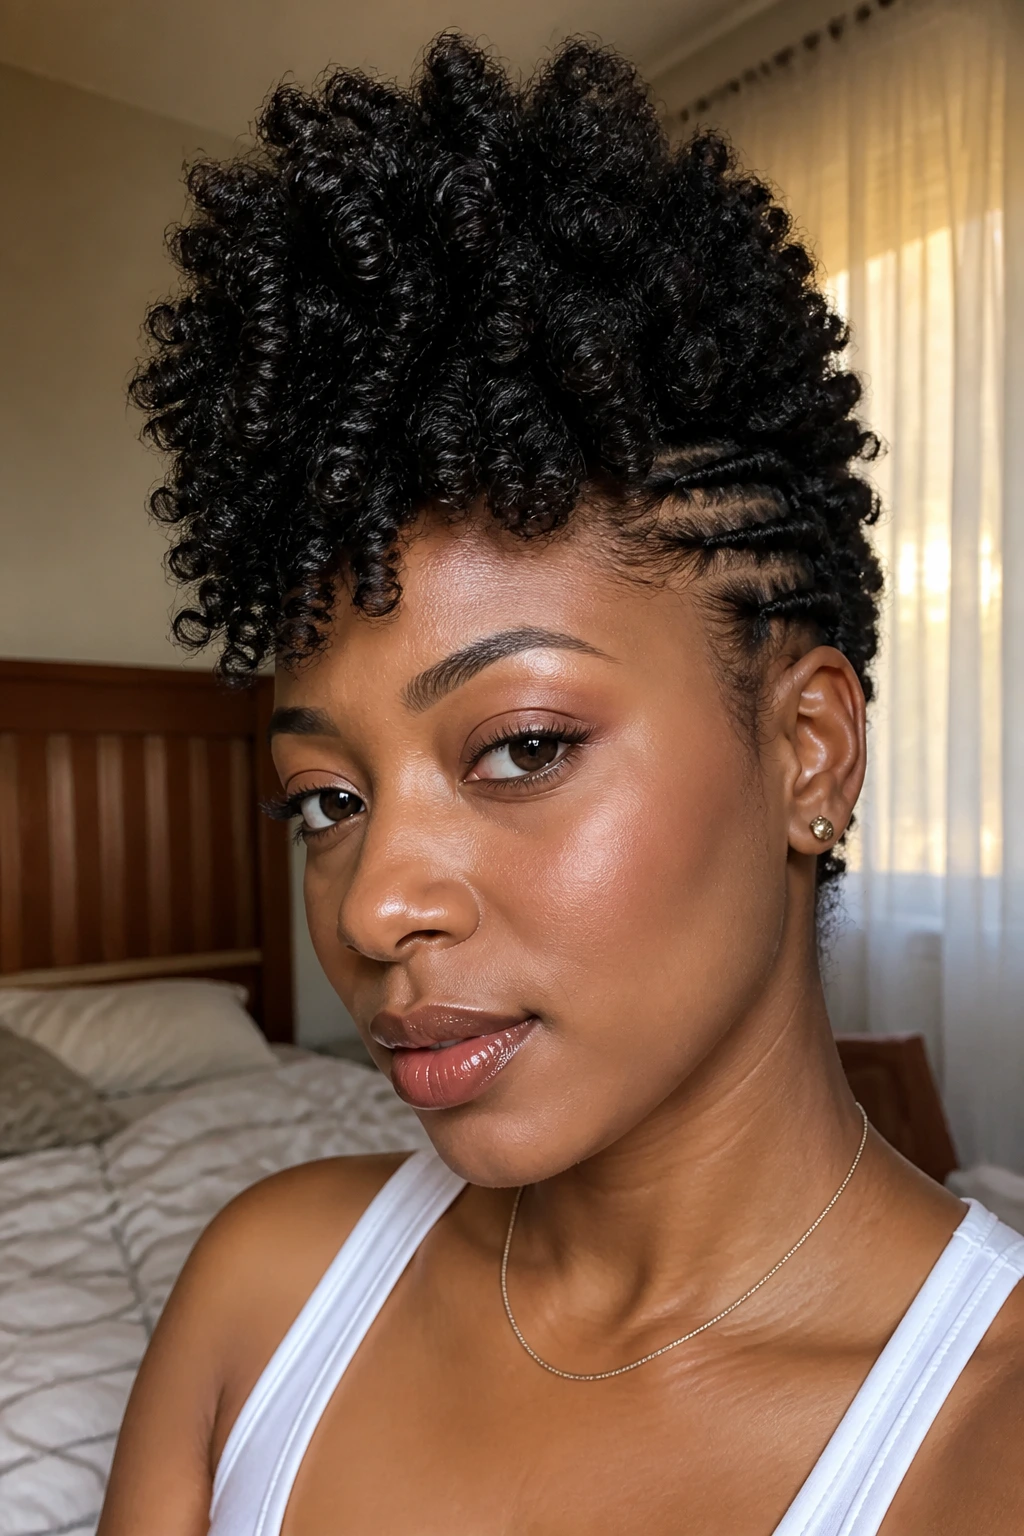
- Pulling the sides too tight: If your temples hurt, the style is too tight. A frohawk should frame your face, not leave it tender for two days. Loosen the sectioning or switch to a gentler base.
- Styling before the hair is dry: Half-dry hair swells later and changes shape. If you want a frohawk to hold, let the base dry all the way before you stop touching it.
- Using too much product at the root: Heavy creams and thick gels near the scalp make the center sag and the sides dull. Keep product light at the base and richer on the lengths if needed.
- Ignoring the back view: Frohawks can look fine from the front and lopsided from behind. Check the back with a hand mirror before you leave the house.
- Forgetting shrinkage: Coily hair can shrink hard once it dries. Build the center slightly higher than you think you need if the style depends on visible height.
Frequently Asked Questions
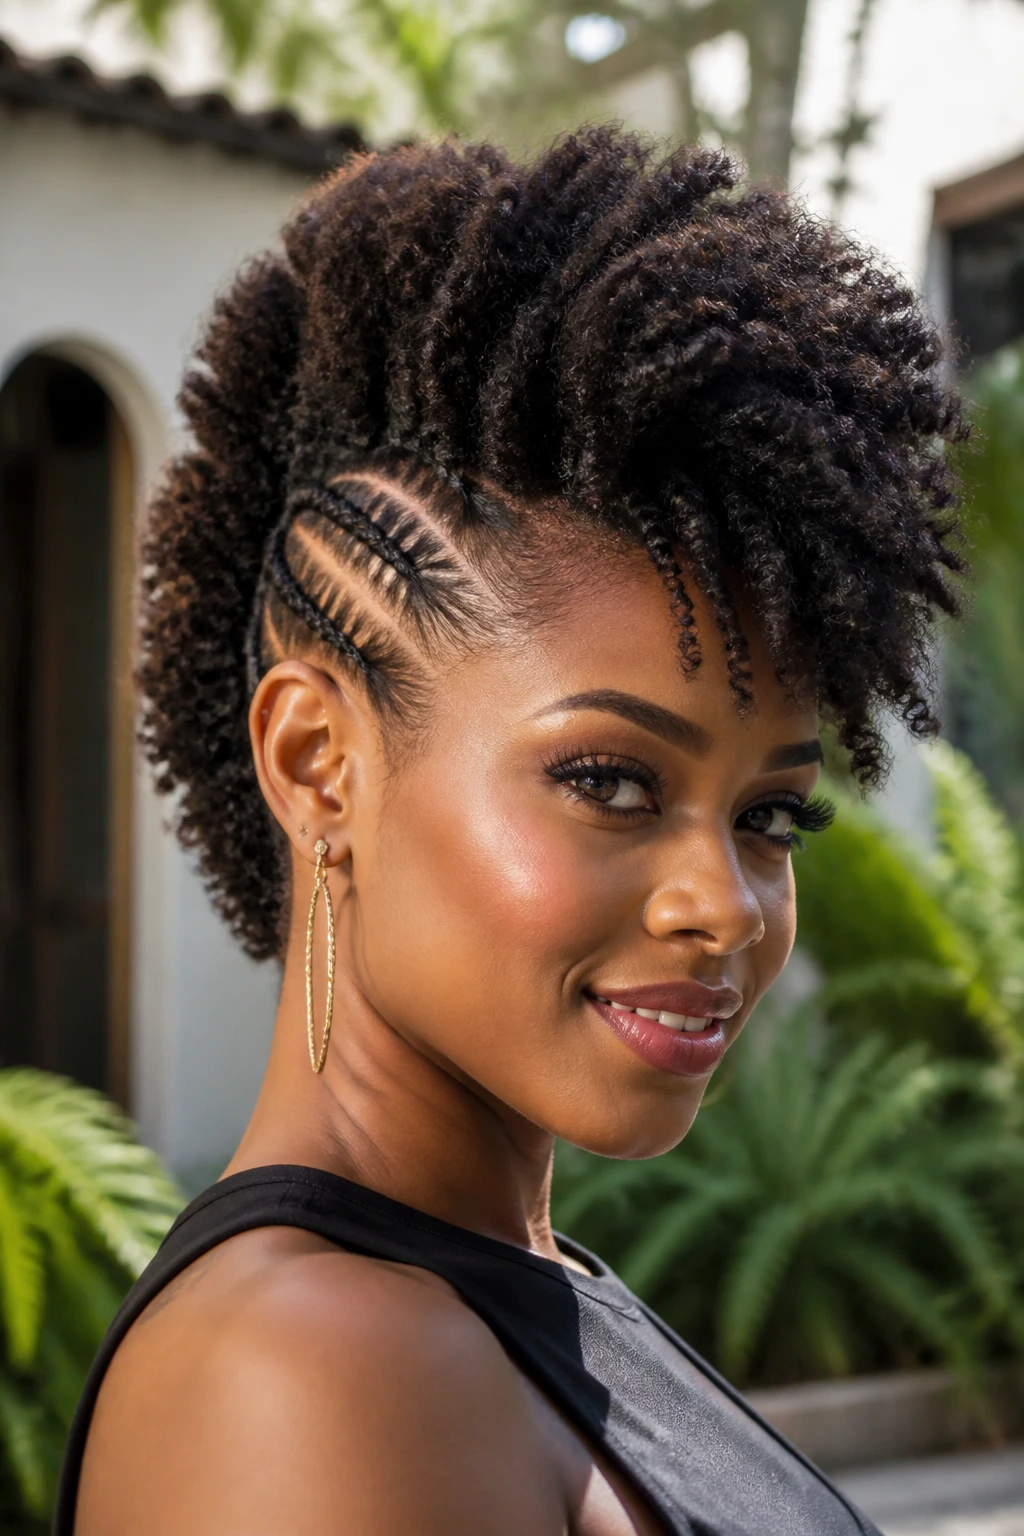
Can you do a frohawk on short natural hair?
Yes, and sometimes short hair makes the shape easier. Tapered cuts, finger coils, mini twists, and pinned curls all work well because the silhouette shows up fast without a lot of extra weight.
What lasts longer: braids, twists, or curls?
Braids and twists usually hold the longest because they keep the texture organized from the start. Loose curls look softer, but they usually need more refreshing after a day or two.
How do I keep the sides flat without hurting my edges?
Use a gentler base like flat twists, loose cornrows, or well-placed pins instead of yanking the hair tight. If your hairline feels sore, the style needs to be redone, not “worn in.”
Can a frohawk work for a wedding or formal event?
Absolutely. Sleek sides, polished parts, and a sculpted center with accessories can look dressy enough for formal wear. The trick is to keep the shape clean and the finish intentional.
What if my curls puff out too fast?
Start with a stretched base and use mousse before pinning the sides. A little frizz in the center is fine; it’s the sides collapsing that usually ruins the silhouette.
Is a frohawk protective?
Some versions are, some aren’t. Braids, twists, loc-based looks, and crochet styles are more protective than loose pinned styles because they reduce daily manipulation and keep the ends tucked.
Can relaxed hair wear a frohawk too?
Yes. Relaxed hair can be molded into sleek sides, buns, or a curled center ridge. Just be careful with heat and tension, because relaxed strands can break faster at the hairline if you overwork them.
How do I refresh the style in the morning?
Wrap the edges with a satin scarf overnight, then mist the center lightly and re-pin any loose sections underneath. Try not to add more product every day; that’s how the style gets heavy and sticky.
Why This Shape Keeps Getting Reached For
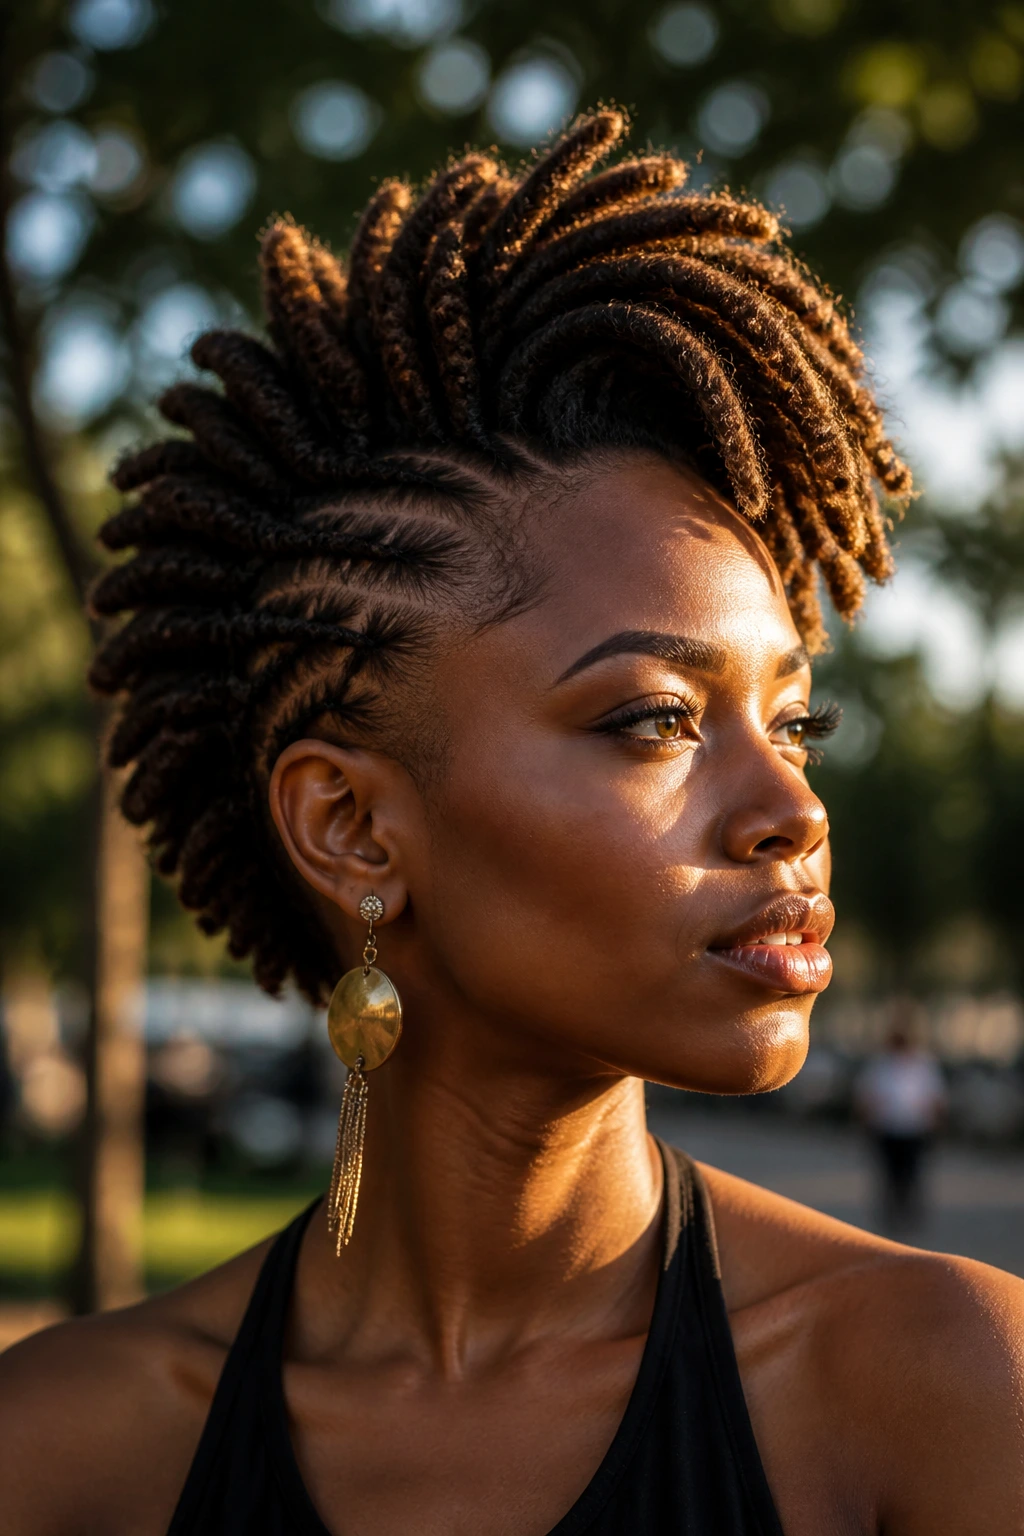
The frohawk keeps showing up because it has range. It can be soft, strict, playful, polished, or loud, and it doesn’t need straight hair tricks to get there. On Black women, that matters. Texture isn’t a problem to solve here. It’s the whole design.
If you’re choosing one for the first time, start with the version that matches your hair’s natural behavior instead of the one you saw on a perfect head of hair in a clean studio. The right frohawk should work with your curl pattern, your patience level, and your morning schedule. Pick the shape that fits, pin it well, and let the middle do its job.
