



Medium length mohawk hairstyles for women have a particular kind of attitude. They’re bold without needing waist-length drama, and they’re practical in a way a full shaved-sides mohawk never quite is. On shoulder-length or collarbone-grazing hair, the center ridge can stand up cleanly, the sides can be slicked, pinned, braided, or tucked, and the whole shape still feels like a real haircut instead of a costume.
That’s the part people miss. A mohawk on medium hair isn’t only about edge. It’s about control. Too much product and the hair turns stiff and shiny in the wrong way. Too little and the sides puff out by lunch, especially if your texture has a mind of its own. The best versions use the natural bend, curl, or weight of the hair as part of the design.
And frohawks — the textured cousin of the classic mohawk — deserve their own fan club. On curly, coily, or wavy hair, the shape can look richer and more alive than a straightened version, because the height comes from the hair itself instead of brute force. The styles below lean into that balance: some are slick and sharp, some are soft and airy, and a few sit right in the middle, which is where medium length hair tends to look most interesting.
Why These Mohawk Looks Work So Well on Medium Length Hair
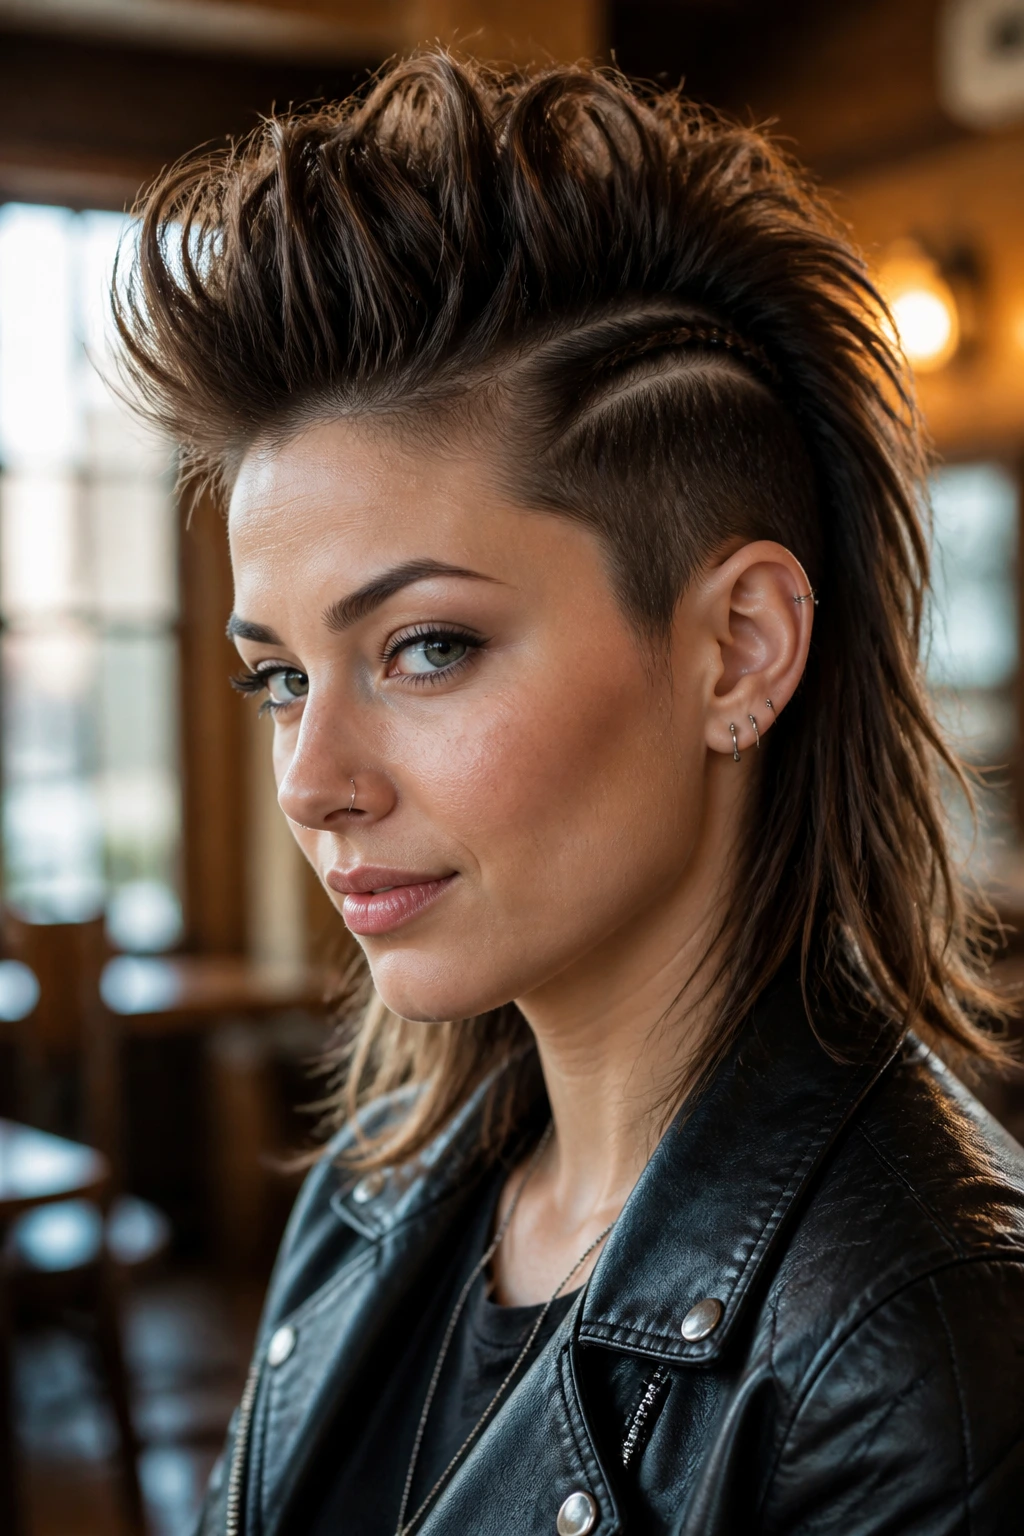
Enough length to build shape: Medium hair gives you enough material to twist, braid, pin, or push upward, but not so much weight that the center section slumps before noon.
Sides stay manageable: When the hair is between the chin and collarbone, it’s easier to tuck, slick, or braid the sides flat without a battle of pins and flyaways.
Texture becomes part of the design: Waves, curls, and coils don’t have to be ironed into submission. On this length, the natural shape can create lift all by itself.
Less commitment than a shaved mohawk: You get the visual punch of a mohawk silhouette without taking clippers to the sides. That matters if you like changing your mind.
Works in real life: These styles can read sharp at a concert, neat at a dinner table, and relaxed on a Tuesday if you loosen the finish a little.
1. Curly Frohawk with Soft Volume
A curly frohawk on medium length hair has a way of looking styled even when it isn’t trying too hard. The sides are pinned or smoothed back, the curls stay full through the center, and the whole thing has that lifted, rounded shape that makes the neckline look longer and the cheekbones a little sharper. It’s one of the easiest medium length mohawk hairstyles for women who already have curl pattern to work with.
What I like here is the softness. You’re not forcing every curl into a stiff ridge. You’re gathering the hair so the curl clumps stack upward, then letting a few spirals fall where they want. That little bit of freedom keeps the style from looking overbuilt. A diffuser on low heat, plus a gel or curl cream that dries with some hold, usually does the job.
If your curls shrink a lot, leave a bit more length on top than you think you need. The final silhouette matters more than the wet shape. And if the sides feel too wide, smooth them with a soft brush and a pea-sized dab of edge control rather than soaking them in product.
2. Sleek Tapered-Side Mohawk
This is the no-nonsense version. The sides are brushed down close, the center strip is left higher and fuller, and the contrast does all the talking. On medium hair, a sleek tapered-side mohawk can look almost architectural if the line from temple to nape stays clean and the top is lifted just enough to show some height.
The trick is grip without helmet hair. Start with damp hair, work in a lightweight mousse or styling cream, then blow-dry the sides flat with a concentrator nozzle. A fine-tooth comb helps, but don’t drag it through the top section so hard that you flatten the ridge before it even stands a chance. A little bend at the crown looks better than a stiff spike.
This version shines when your haircut already has some layers or tapering through the sides. If your hair is blunt and heavy, the mohawk can look boxy. Ask for subtle internal layering through the center so the top lifts instead of hanging like a curtain.
3. Braided Center-Crown Mohawk
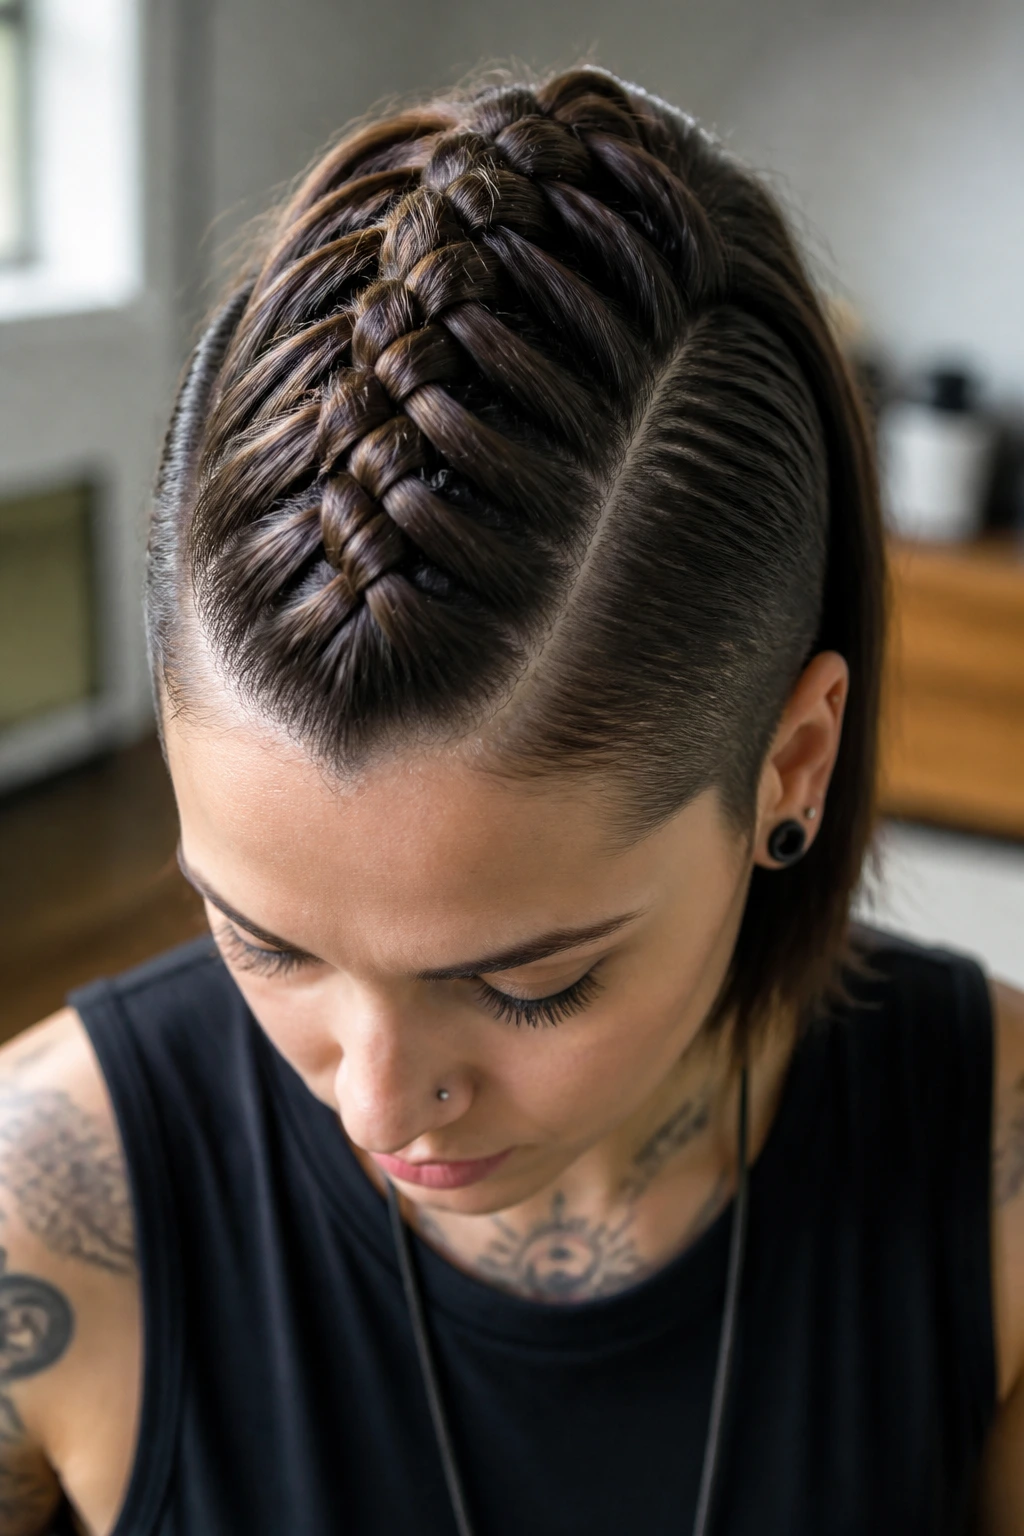
Want a style that looks detailed before anyone even gets close? Braids do that. A braided center-crown mohawk works especially well on medium length hair because the braid can travel from the front hairline to the nape without running out of length halfway through. The sides stay flat, and the braid itself becomes the ridge.
Dutch braids give the strongest visual line, but flat twists can look just as good if your hair texture prefers a softer grip. I like this style when the hair needs to stay put for a full day without constant checking. It’s tidy, sure, but not boring. A braid that sits slightly raised off the scalp has more dimension than one pulled down so tightly it looks pasted on.
If you’re doing this yourself, part the center section first and clip the sides away. Keep the braid tension even from root to tip. The biggest mistake is starting tight at the hairline and then loosening later; that makes the braid bulge in odd places. Even tension. Clean part. Better result.
4. Twisted Rope Mohawk
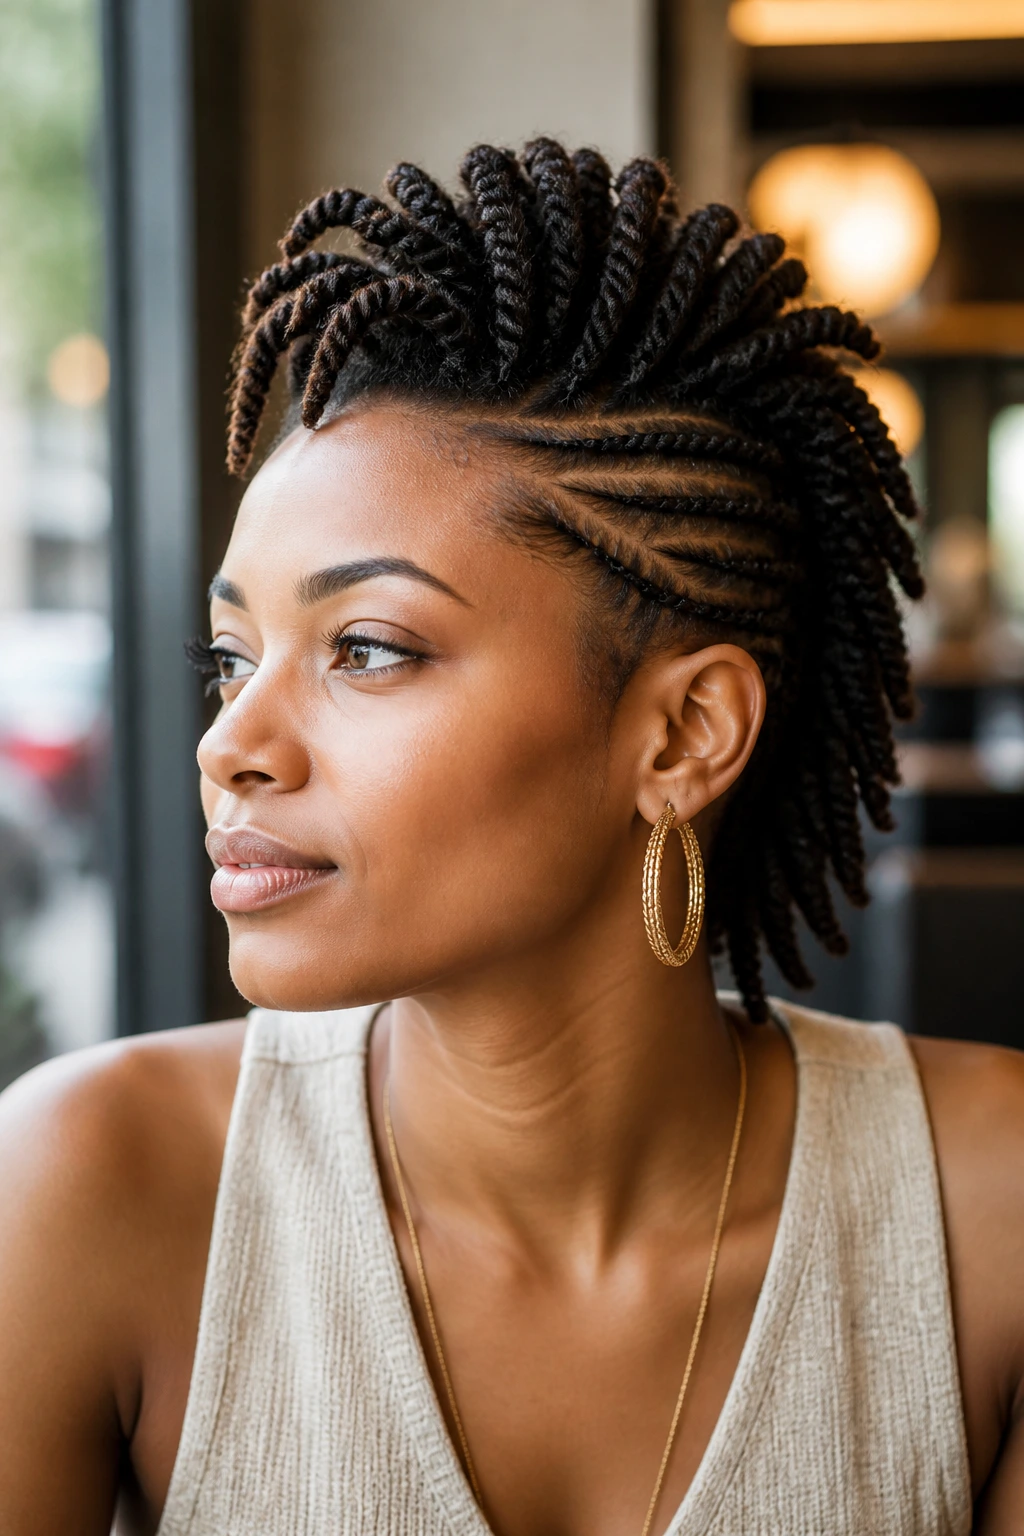
A rope-twist mohawk has a softer edge than braids, which is exactly why it works on medium length hair. Two-strand twists create a ribbed line down the center, and they tend to sit neatly on hair that’s a little frizzy, a little dry, or just not in the mood to be flattened into submission.
This one feels especially good on day-two or day-three hair. There’s enough texture left for the twists to grab, but the roots aren’t so clean that everything slips apart. Use a light leave-in, separate the center into 3 to 5 sections, then twist each piece until it ropes up on itself. Pin the ends under if they’re uneven, or let them hang if you want the shape to feel looser.
I’d choose this over a braid when I want the style to look textured rather than polished. It reads a little more relaxed, and that’s the point. A rope-twist mohawk doesn’t need perfect symmetry to work. Slight irregularity helps it.
5. Pin-Back Faux Hawk
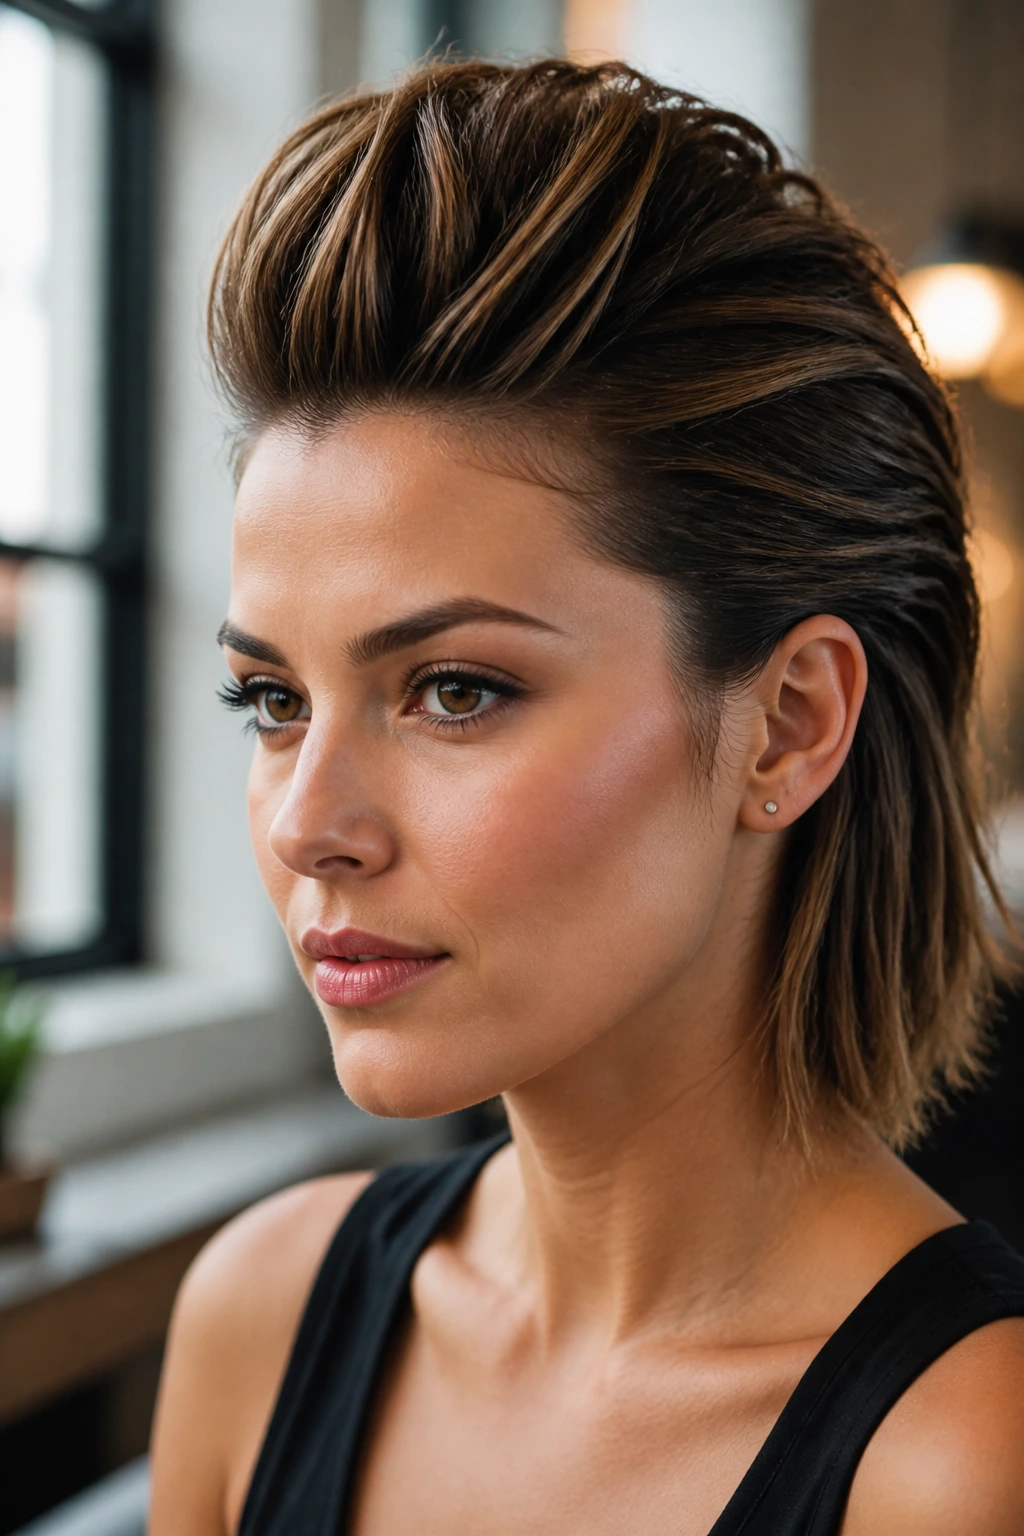
Not every mohawk has to announce itself from across the room. A pin-back faux hawk keeps the center lifted and the sides tucked, but it does it quietly. On medium length hair, that matters. You can build the shape with bobby pins, a few hidden crosses at the temples, and a little root lift at the crown without committing to a hard-edged style.
This is the version I’d reach for when the outfit is doing something loud already. Think big earrings, a high neckline, or a strong lip. The hair can stay a little softer and still read as intentional. Pull the temples back diagonally toward the crown instead of straight behind the ears; that angle gives the head a longer line and keeps the style from looking flat in the mirror.
The finish should look pinned, not pounded into place. If people can see every pin, you’ve probably used too many or placed them too high. Hide them under the hair, cross them for grip, and leave a bit of lift on top so the shape doesn’t collapse.
6. Half-Up Topknot Hawk
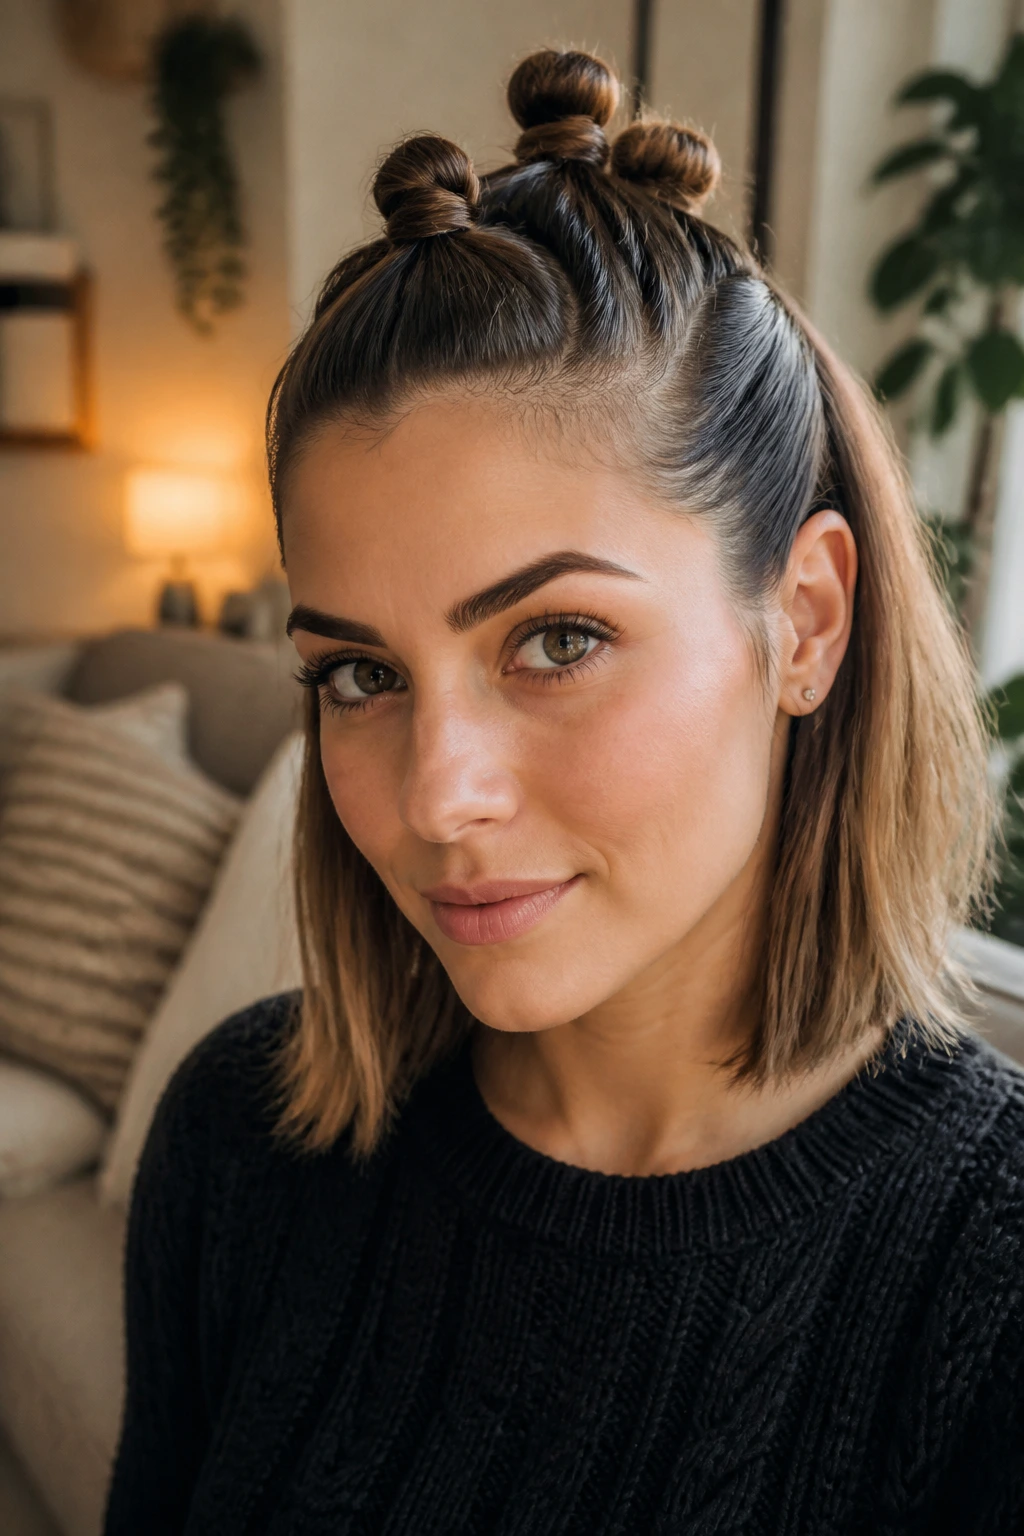
This one has some personality. A row of small topknots or one stacked knot at the center can turn medium hair into a playful mohawk shape without needing shaved sides or braid work. The top sits upright, the sides get smoothed back, and the whole thing has a slightly mischievous look that works better than it should on shoulder-length hair.
The best version is not too perfect. If every knot is identical and spaced with ruler precision, the style can look stiff. A little variation gives it life. You can do three small knots from forehead to crown, or one larger knot at the top with the rest of the center section gathered into a short tail. Either way, the shape stays compact and easy to wear.
This is a smart choice when your hair has layers that refuse to sit still. The knots catch the shorter pieces and keep them from falling into your face. Use small clear elastics, then wrap a few strands around each base if you want the finish to look cleaner.
7. Undercut-Inspired Hawk Without the Shave
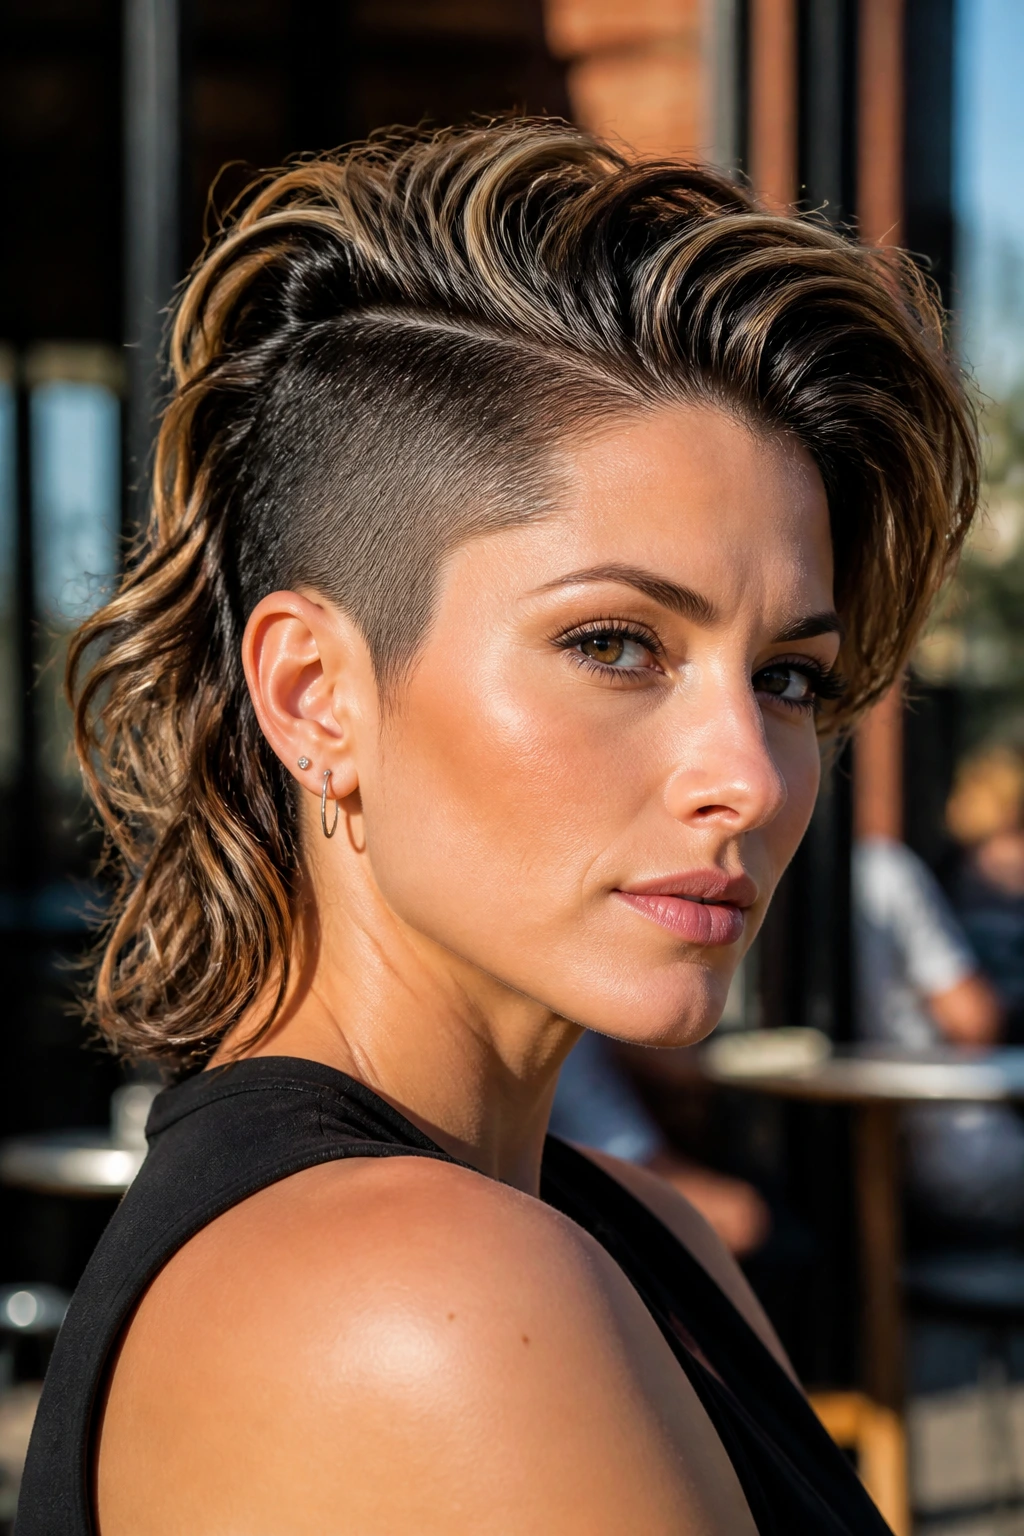
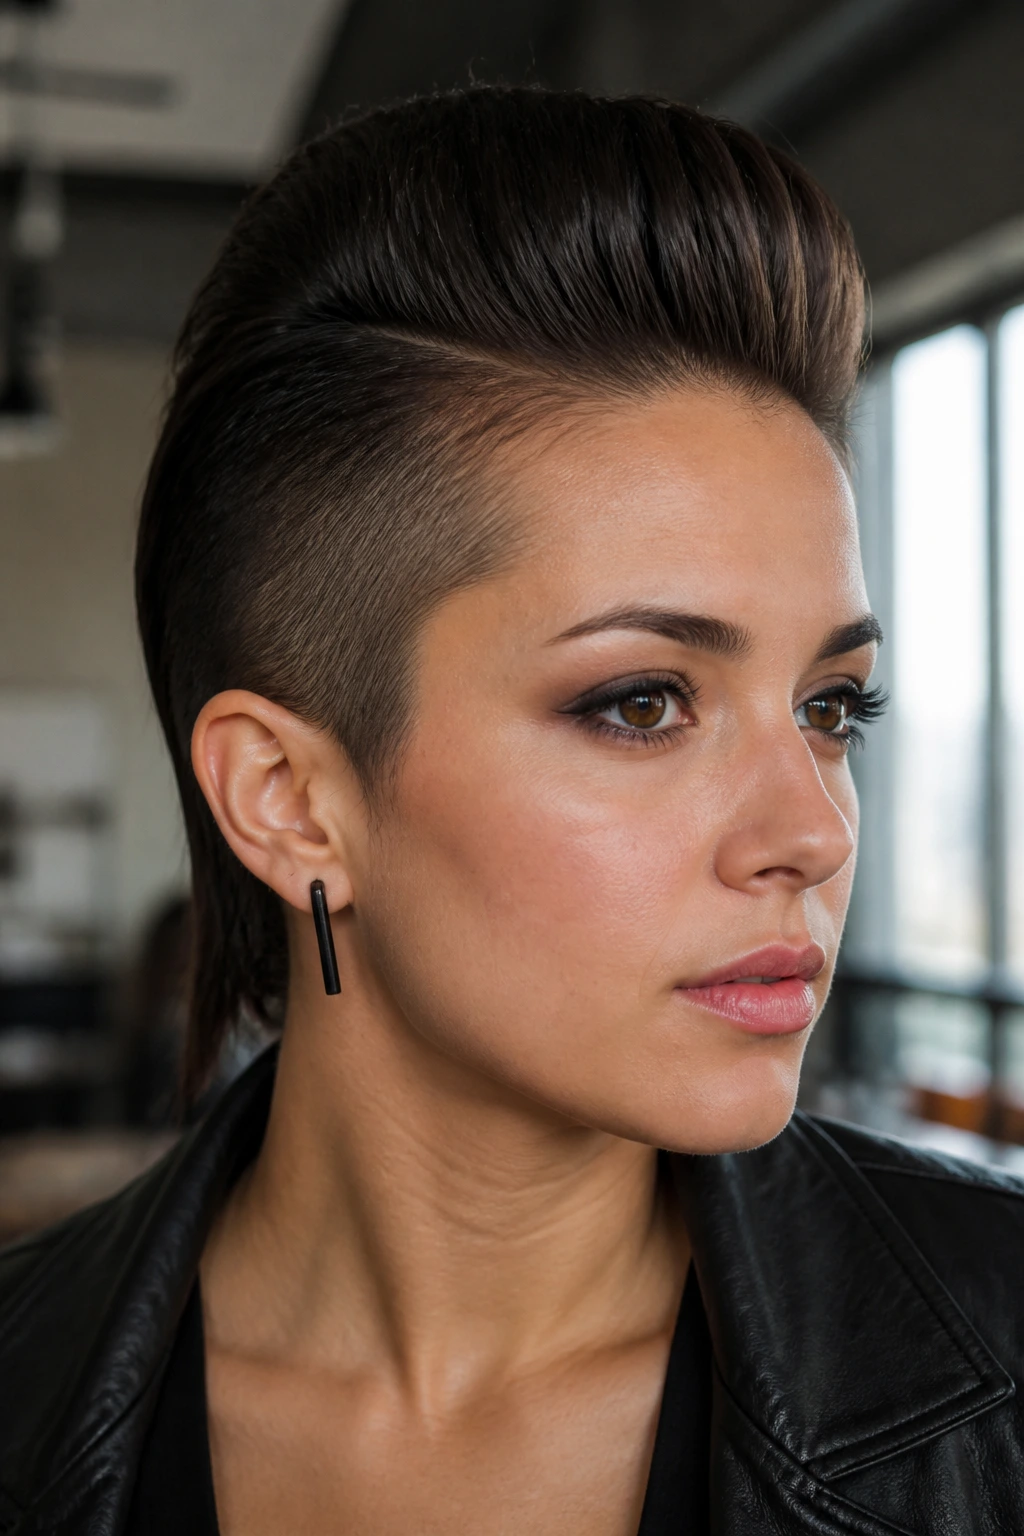
You can fake an undercut look on medium length hair, and I mean that in the best possible way. Slick the sides close to the head, keep the top section taller and fuller, and suddenly the haircut has the visual punch of a shaved-side mohawk without a single clipper guard in sight.
This style depends on contrast. The sides should feel almost glossy and close-cut, while the center ridge holds volume. A strong-hold gel or pomade works here, but don’t use so much that the hair turns wet and limp. Brush the sides backward from the hairline, then direct them down toward the nape so the head shape stays smooth. The top can be finger-combed for a bit of roughness or polished with a round brush if you want it neater.
What makes this one satisfying is the sharpness of the outline. Even if the hair is medium length, the silhouette can look precise. It’s a good choice when you want people to notice the cut first and the styling second.
8. Blowout Hawk with Feathered Ends
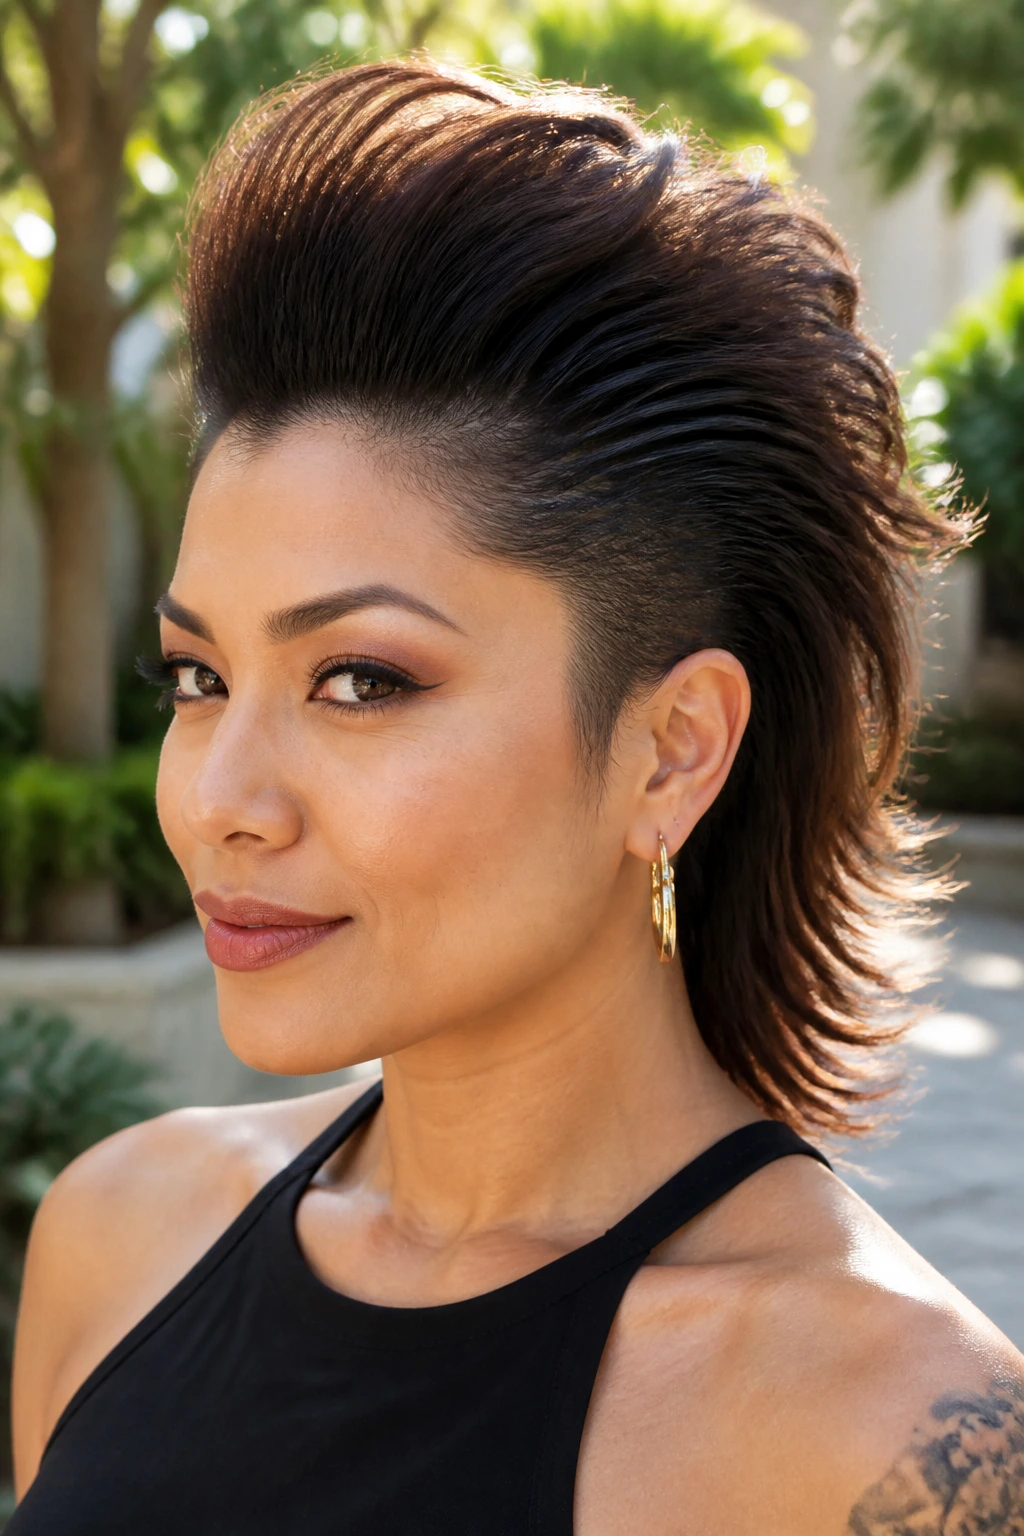
A feathered blowout hawk on medium-length hair gives you movement, not rigidity. The center is lifted with a round brush, the ends flip and feather outward, and the sides stay controlled enough to preserve the mohawk shape. If your haircut already has layers, this style can look expensive without being fussy.
The whole thing depends on direction. Blow-dry the roots up and back, then use a medium round brush to turn the ends away from the face. The layers should skim, not stick out like little shelves. A touch of heat protectant and a light volumizing spray at the roots are enough. Heavy cream products can make this version collapse fast.
I like this on hair that has a little natural wave. It gives the blowout something to hold onto, and the style lasts longer because the bend in the hair works with the shape. If your hair is pin-straight, set the top in large rollers for 10 to 15 minutes after drying. That extra step makes a real difference.
9. Bubble Pony Mohawk
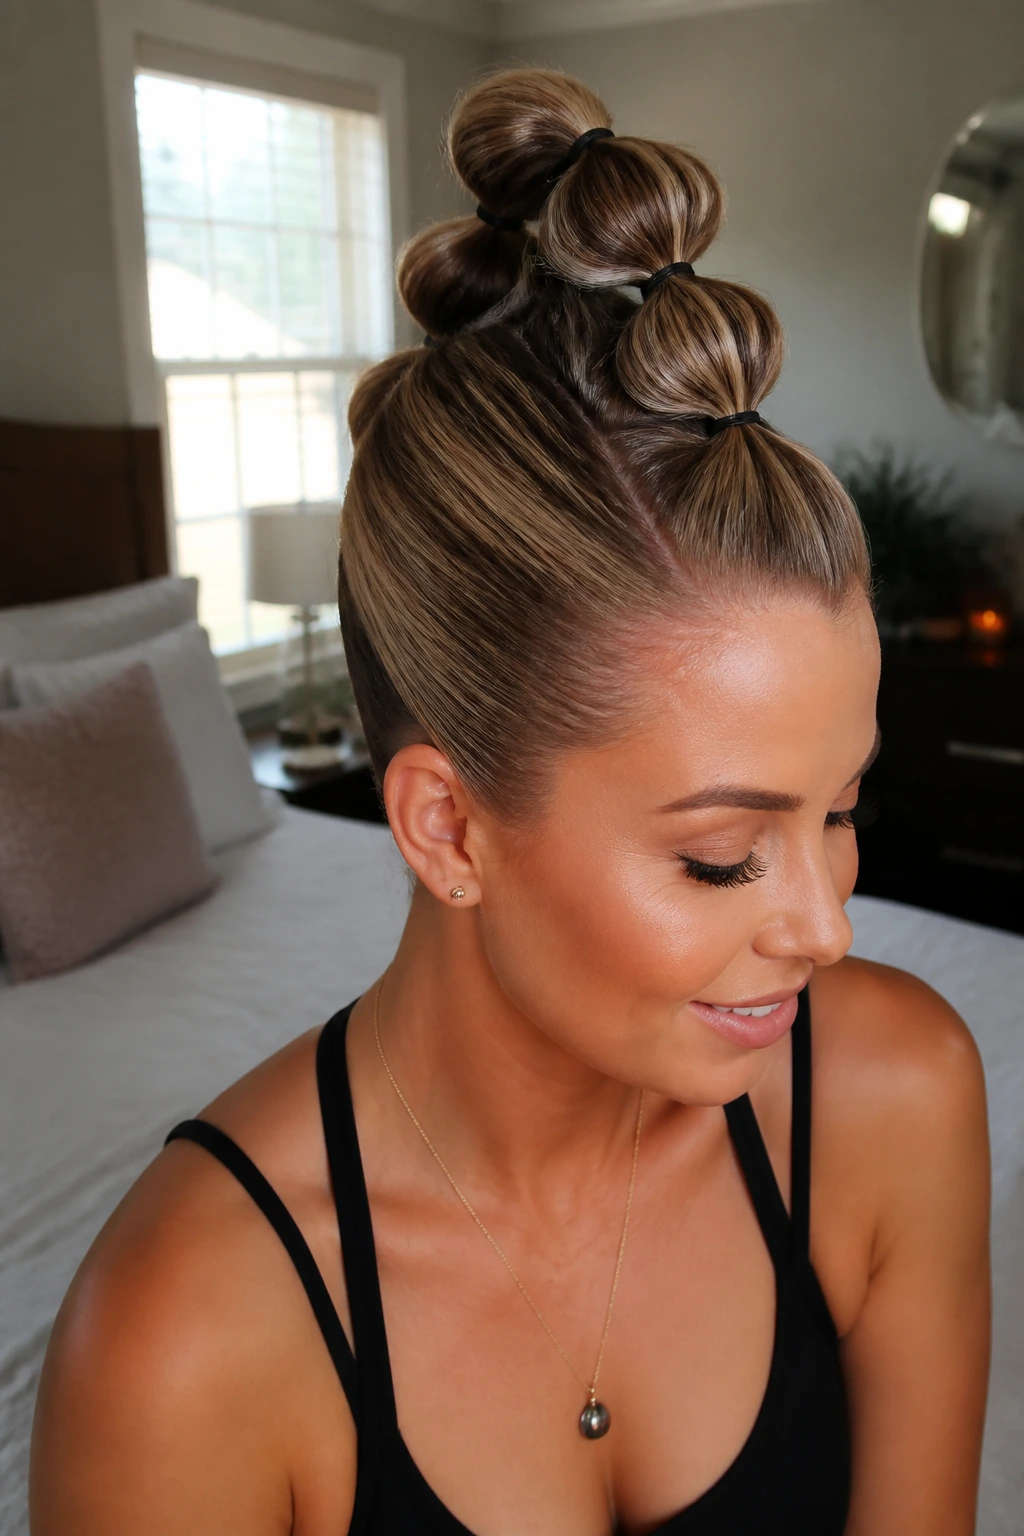
Bubble pony mohawks look playful, but they’re more structured than they seem. On medium hair, you can create a center ponytail and place small elastics every 1½ to 2 inches, then gently pull each section into a rounded bubble. The sides stay smooth, and the center line gets a sculpted, almost graphic finish.
The spacing matters. Too close together and the style turns puffy in a bad way. Too far apart and the bubbles lose their rhythm. Start by tying the ponytail where you want the first lift to sit, usually just behind the crown, then work downward. Tug each bubble outward a little at the sides so they read as rounded, not dented.
This style works when you want a mohawk silhouette with a little movement and some personality. It’s also one of the easier looks to refresh during the day. If a bubble sags, pinch the elastic below it and pull the section outward again. No full redo required.
10. Loc and Twist Hawk
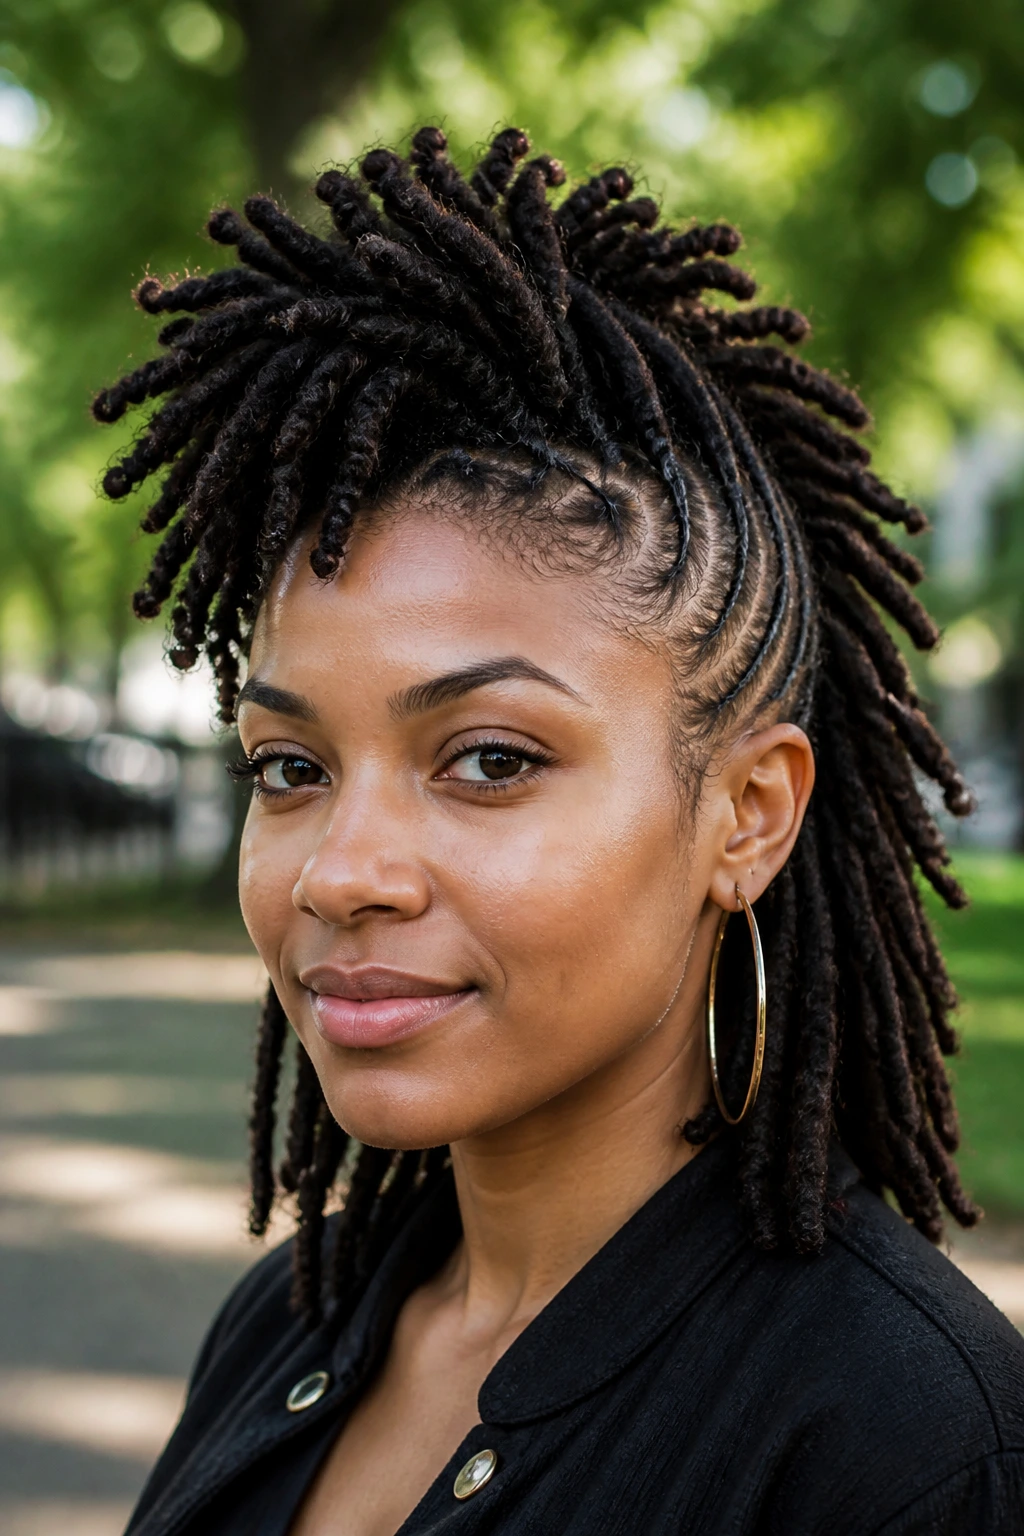
Locs give a mohawk shape a built-in sense of height, which is probably why loc hawks and frohawks feel so natural. With medium length locs, you can pull the sides back and let the center line rise on its own, or stack the locs into a fuller ridge that follows the curve of the head.
The beauty of this version is texture and weight. You’re not fighting the hair into shape. You’re directing it. A few decorative pins or cuffs can keep the sides in place, but the style should still feel like it belongs to the locs themselves, not to a ton of extra styling product.
If your locs are shoulder length, don’t pull them too tightly at the temples. That can make the style look smaller than it should. Leave a little width at the crown and keep the center section loose enough to show movement. The shape wants air around it.
11. Bantu-Knot Mohawk Trail
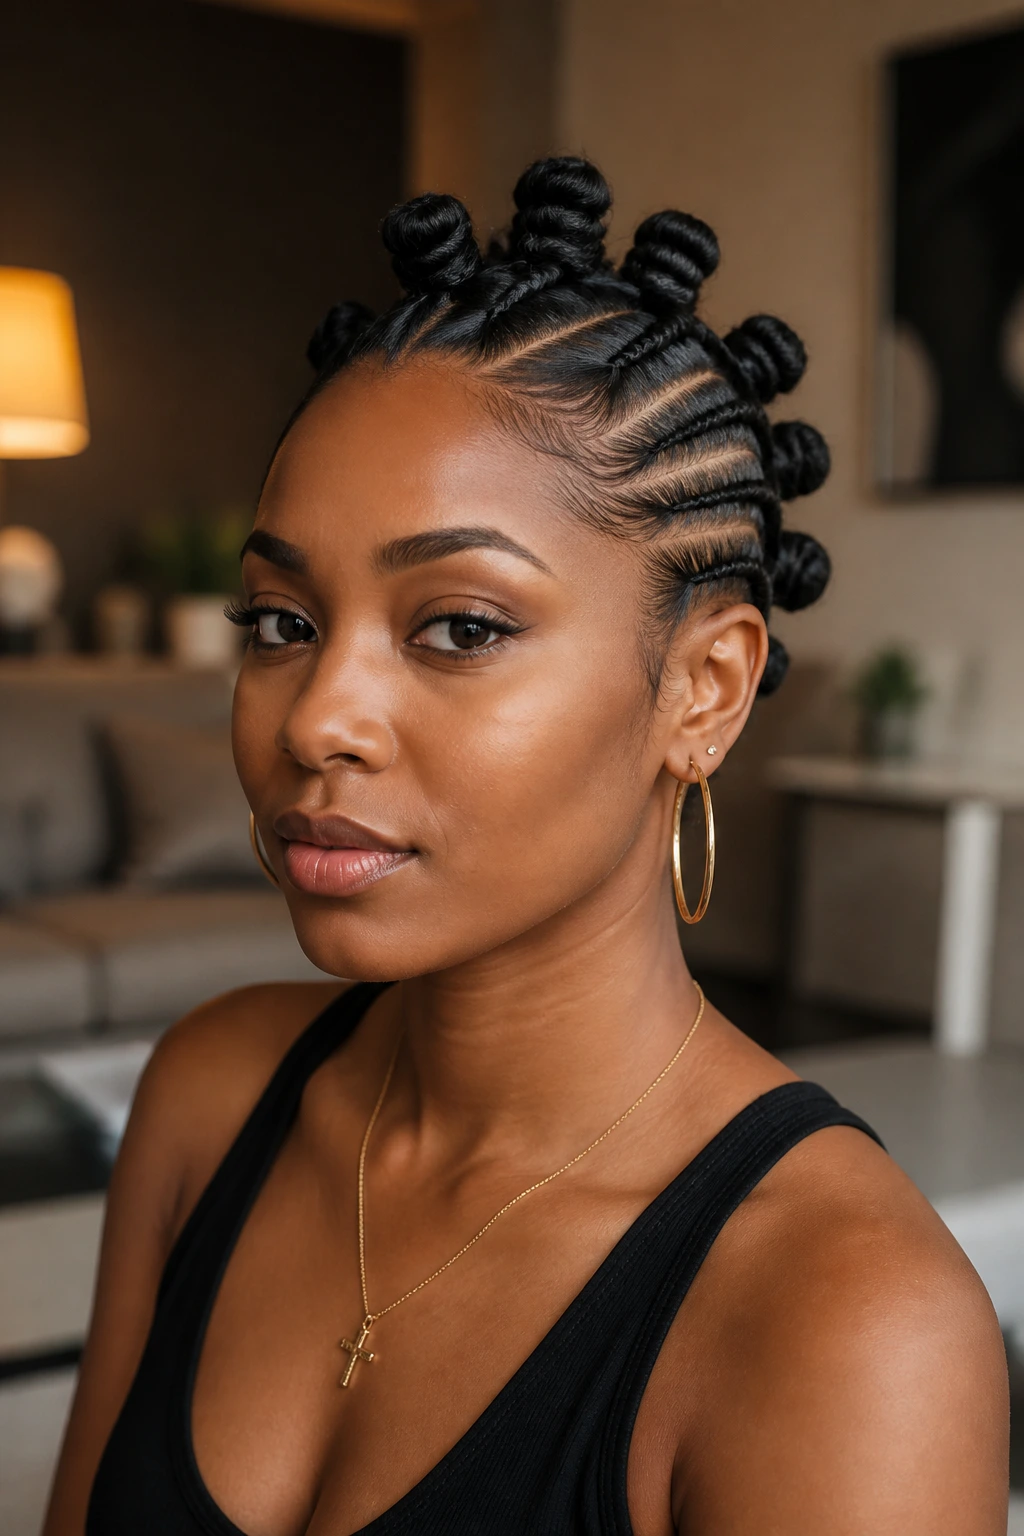
A row of Bantu knots down the center of medium-length hair creates a mohawk with real sculptural energy. Each knot sits like a little raised knot of texture, and the sides can stay slicked, braided, or softly flattened depending on how dramatic you want the final look to be.
This one is as practical as it is pretty. Bantu knots keep the ends tucked away, which makes them useful on textured hair when you want a protective style with shape. The knots don’t need to be huge; in fact, medium-sized knots usually sit better on shoulder-length hair because they keep the proportions balanced. Too big, and the style starts to crowd the head.
You’ll want even sectioning here. Uneven knots make the ridge wobble. A tail comb, a little cream, and firm but not painful twisting are enough. If you’re adding this to a wash-and-go, let the hair dry a bit before twisting so the sections hold their shape instead of springing apart.
12. Wet-Look Sculpted Hawk
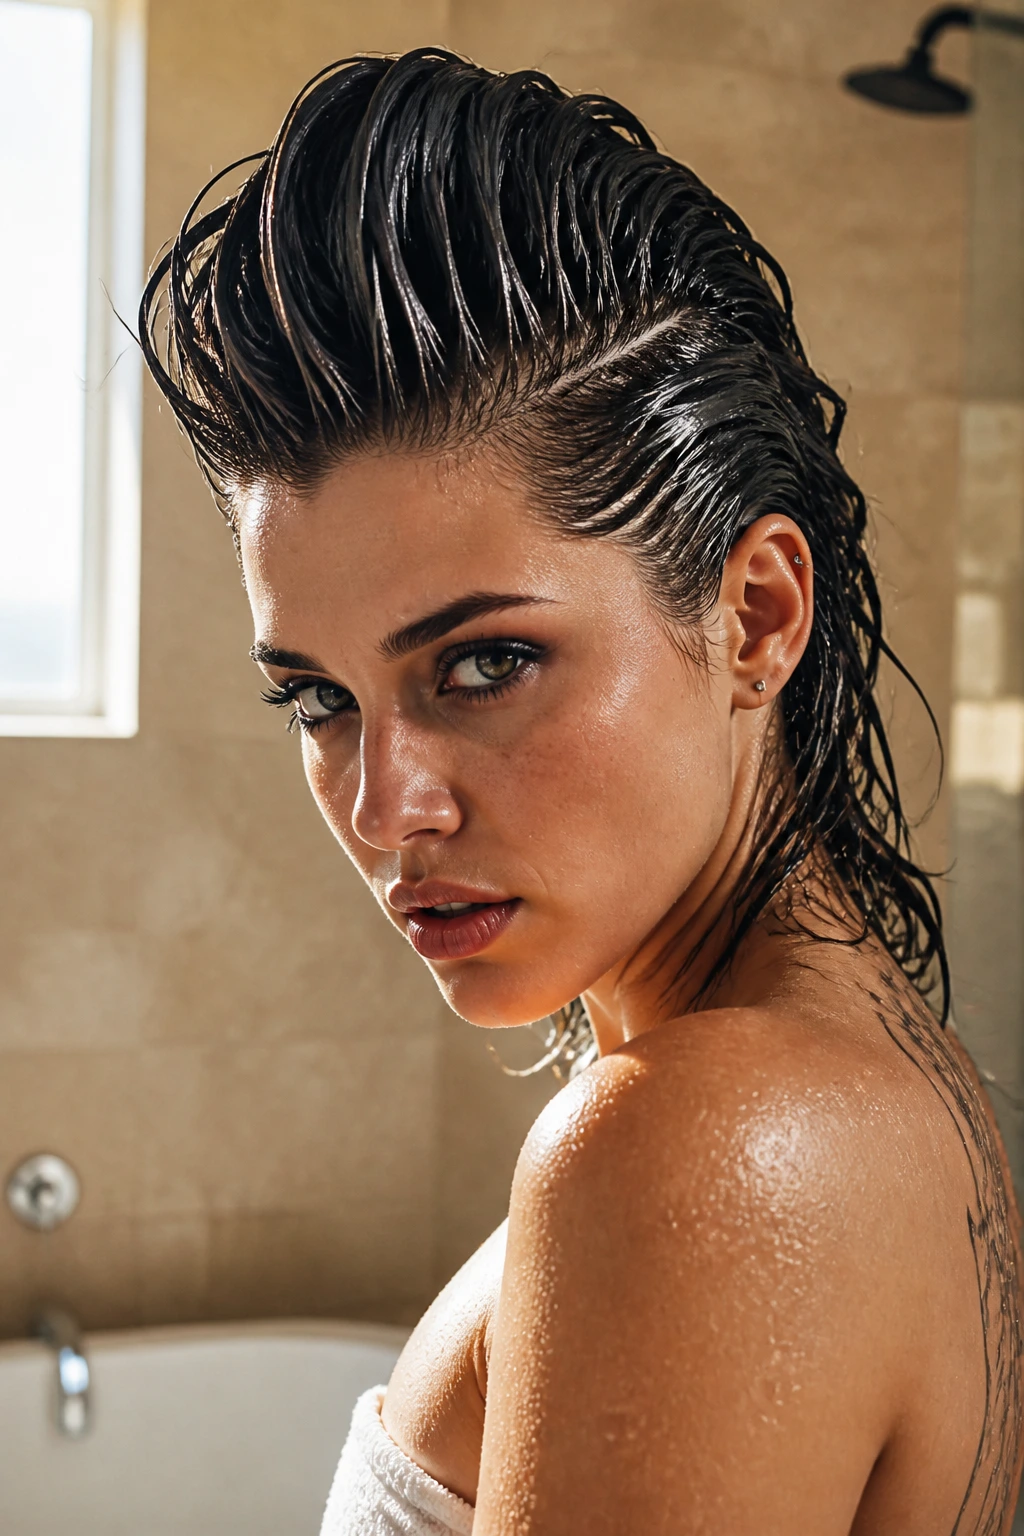
A wet-look mohawk is sharp, glossy, and a little bit unbothered. On medium length hair, that glossy finish can be a gift, because the hair doesn’t need to be long to create drama. The sides are slicked down hard, the center is molded upward, and the shine reads almost lacquered.
The trick is layering products carefully. Start with a lightweight gel, brush it through the sides, then add a stronger gel only where you need hold. If you dump the heavy stuff all over the head, the hair will flake or look greasy. That’s the line you’re trying to avoid. The center can be separated into a few pushed-up sections or swept back into one smooth ridge.
This style loves straight or stretched hair. On very curly hair, the wet look can shrink faster than you want, so you may need to set the shape with clips until it dries. A shine spray at the end gives the whole style that glassy finish without making the roots heavy.
13. Dutch Braid Hawk into Loose Ends
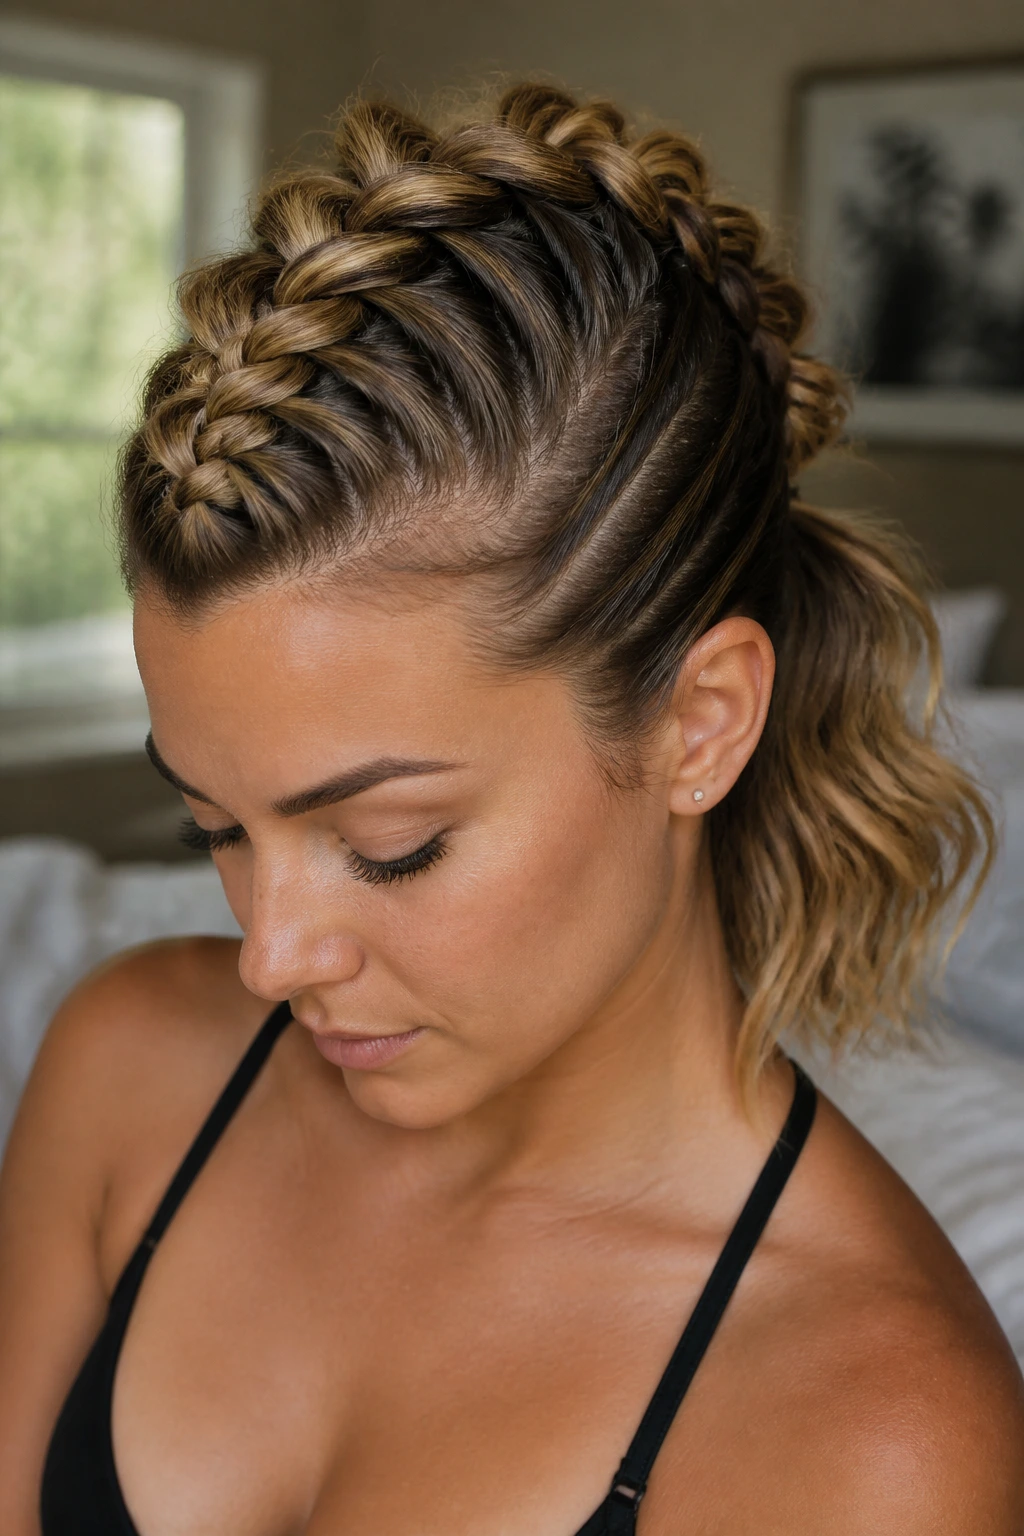
A Dutch braid hawk gives you the texture of a braid with a softer finish at the bottom. The braid runs along the center strip, then opens into loose ends or a textured tail at the nape. On medium hair, that transition matters. It keeps the style from feeling too short or too compressed.
I like this one for days when the hair needs to stay contained but not severe. The braid gives you control through the crown, and the loose ends keep the style from looking too tight. Pull the braid a little wider after it’s secured if you want more fullness; just don’t tug so hard that the braid turns flat and messy at the scalp.
This version looks especially good on layered hair. The shorter pieces in the center can be woven in cleanly, while the ends stay light. If you want a little more edge, pancake the braid slightly on one side only. That unevenness gives the hawk more energy.
14. Crimped Retro Hawk
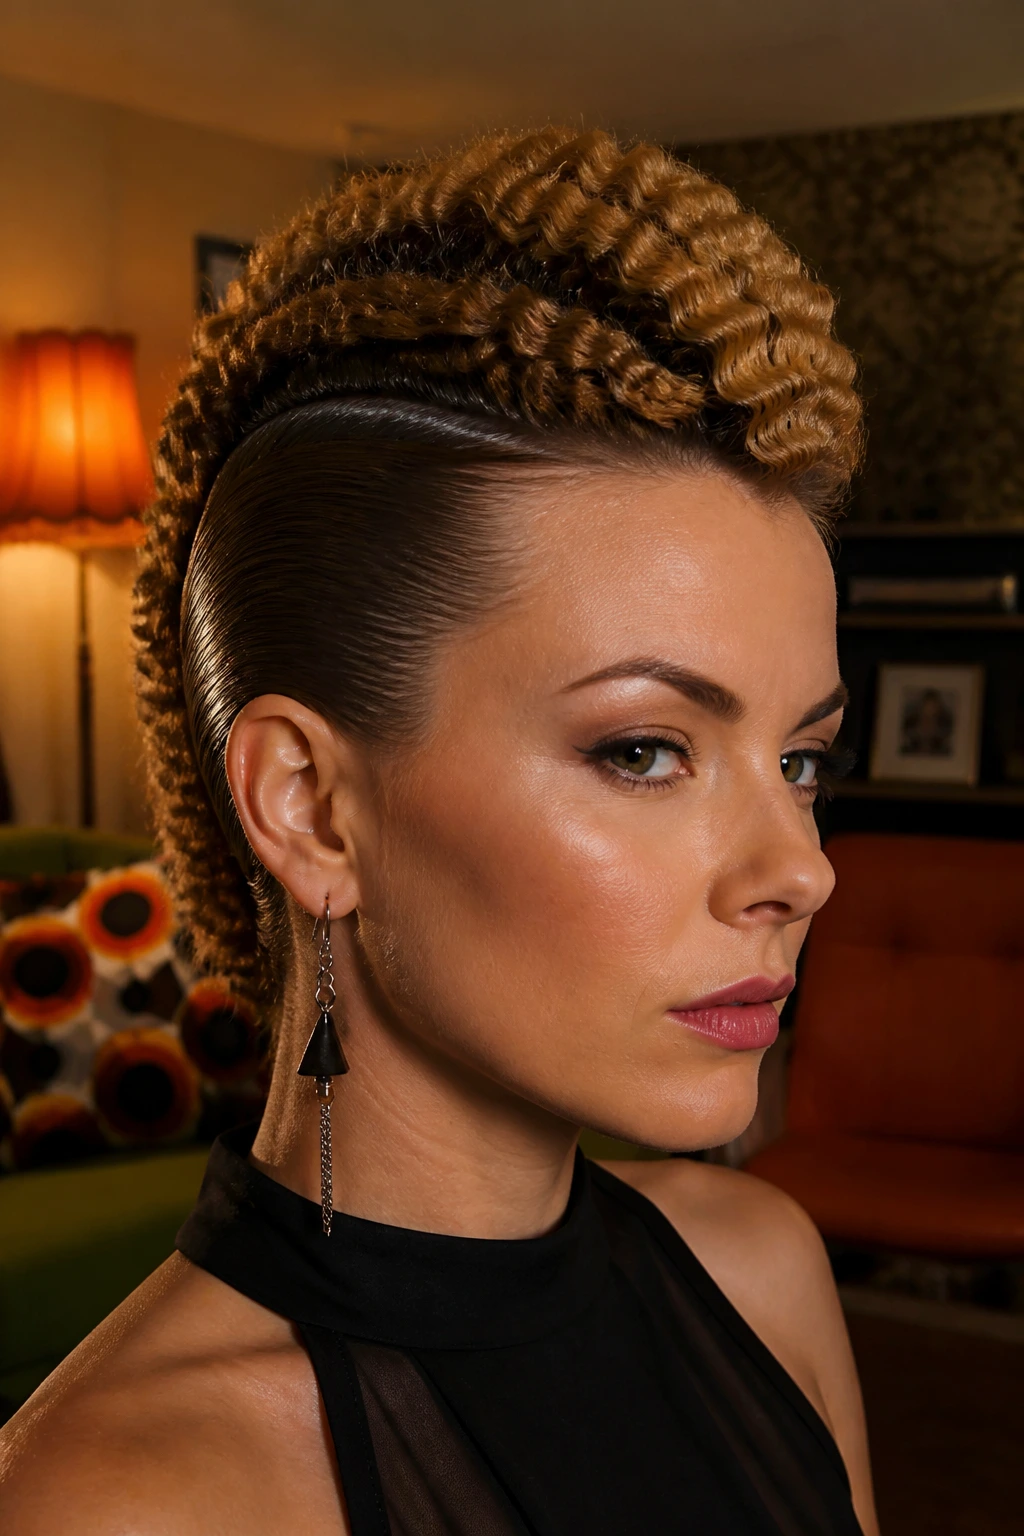
Crimping is one of those techniques that should have never disappeared. On medium-length hair, a crimped hawk has texture that feels almost electric, especially when the crimp is concentrated through the center strip and the sides are smoothed back. The contrast between the zigzag texture and the sleek edges is half the appeal.
Use a heat protectant and keep the crimper moving. You don’t want to burn the hair into a hard pattern. Work in horizontal sections through the top, then let the texture cool before you touch it. That cooling time matters. If you rake through it while it’s hot, the crimp falls flat faster.
This style works best when you want the mohawk shape to feel loud in texture rather than height. It’s a good option for nights out, photo-heavy events, or any moment when a simple blowout feels too ordinary. Add a little shine mist only to the ends. The root area should keep some grit.
15. Accessory-Heavy Party Hawk
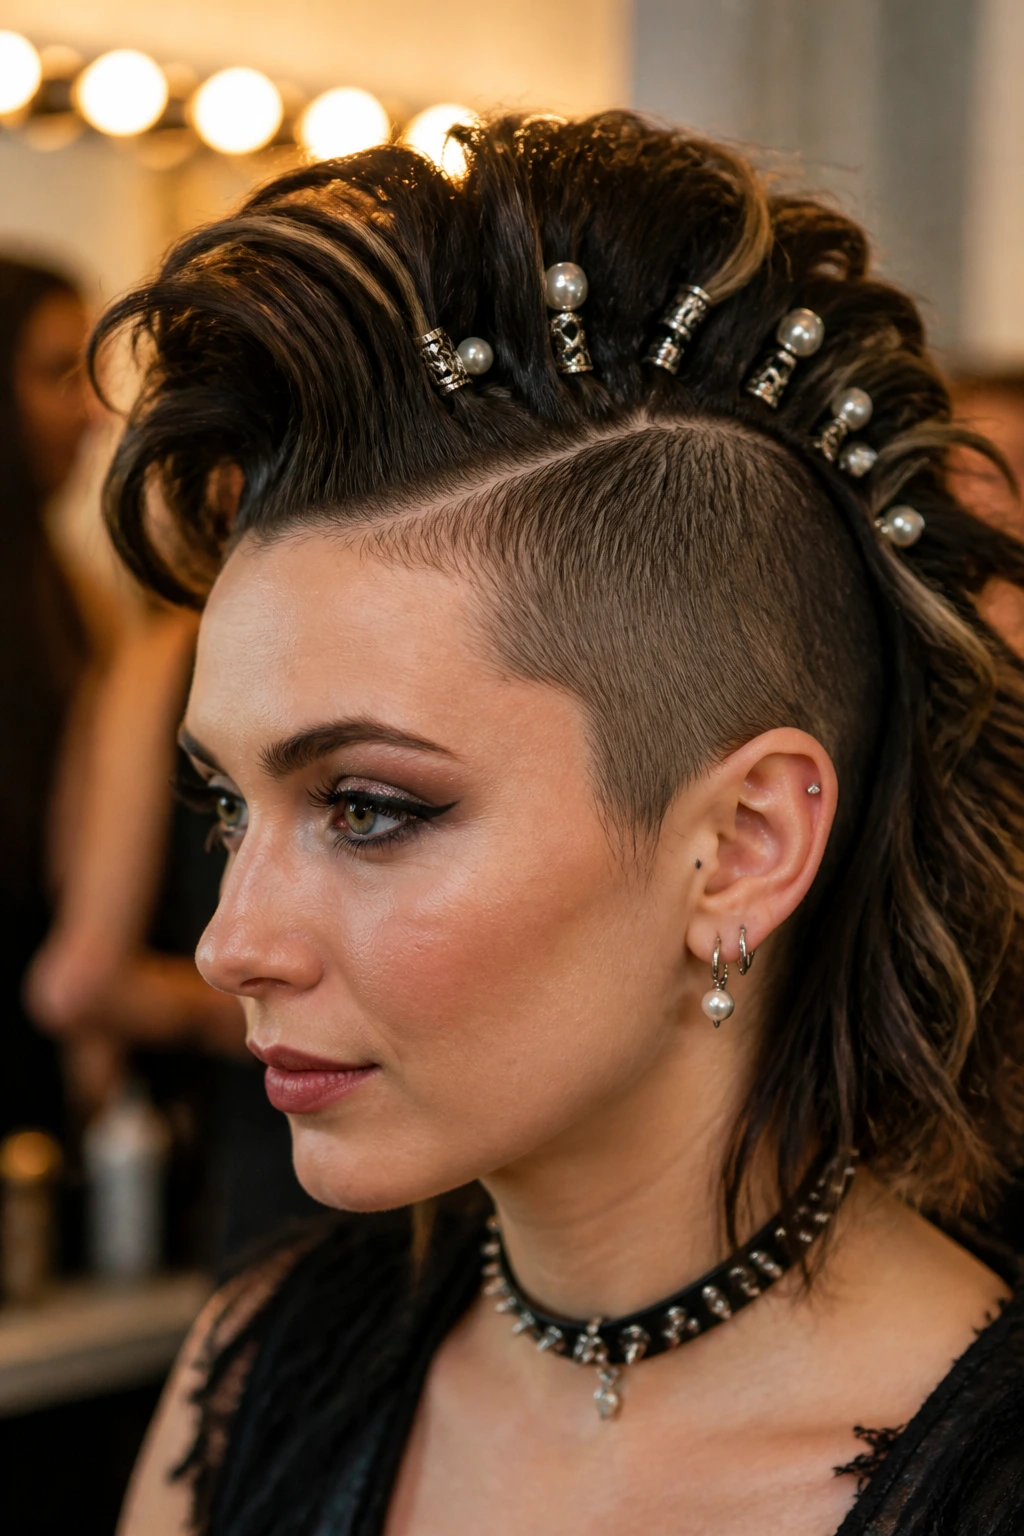
A mohawk can handle decoration, and medium length hair gives you enough surface area to play with clips, rings, pins, and cuffs without the style tipping over. The center line becomes a stage. The sides stay tucked. The accessories do the talking.
The smartest way to use this look is with restraint and placement. A row of tiny pearl pins or metal cuffs along the center strip has more impact than piling on every accessory you own. If the hair is already textured, the extras should follow the line of the style instead of fighting it. A few pieces near the crown and a few near the nape is usually enough.
This is the version I’d pick when the outfit is simple and the hair needs to carry more of the mood. The shape can be soft, braided, twisted, or slicked; the accessories are what push it into party territory. Keep the base secure so the embellishments don’t slide.
16. Side Part Mohawk with Curtain Pieces
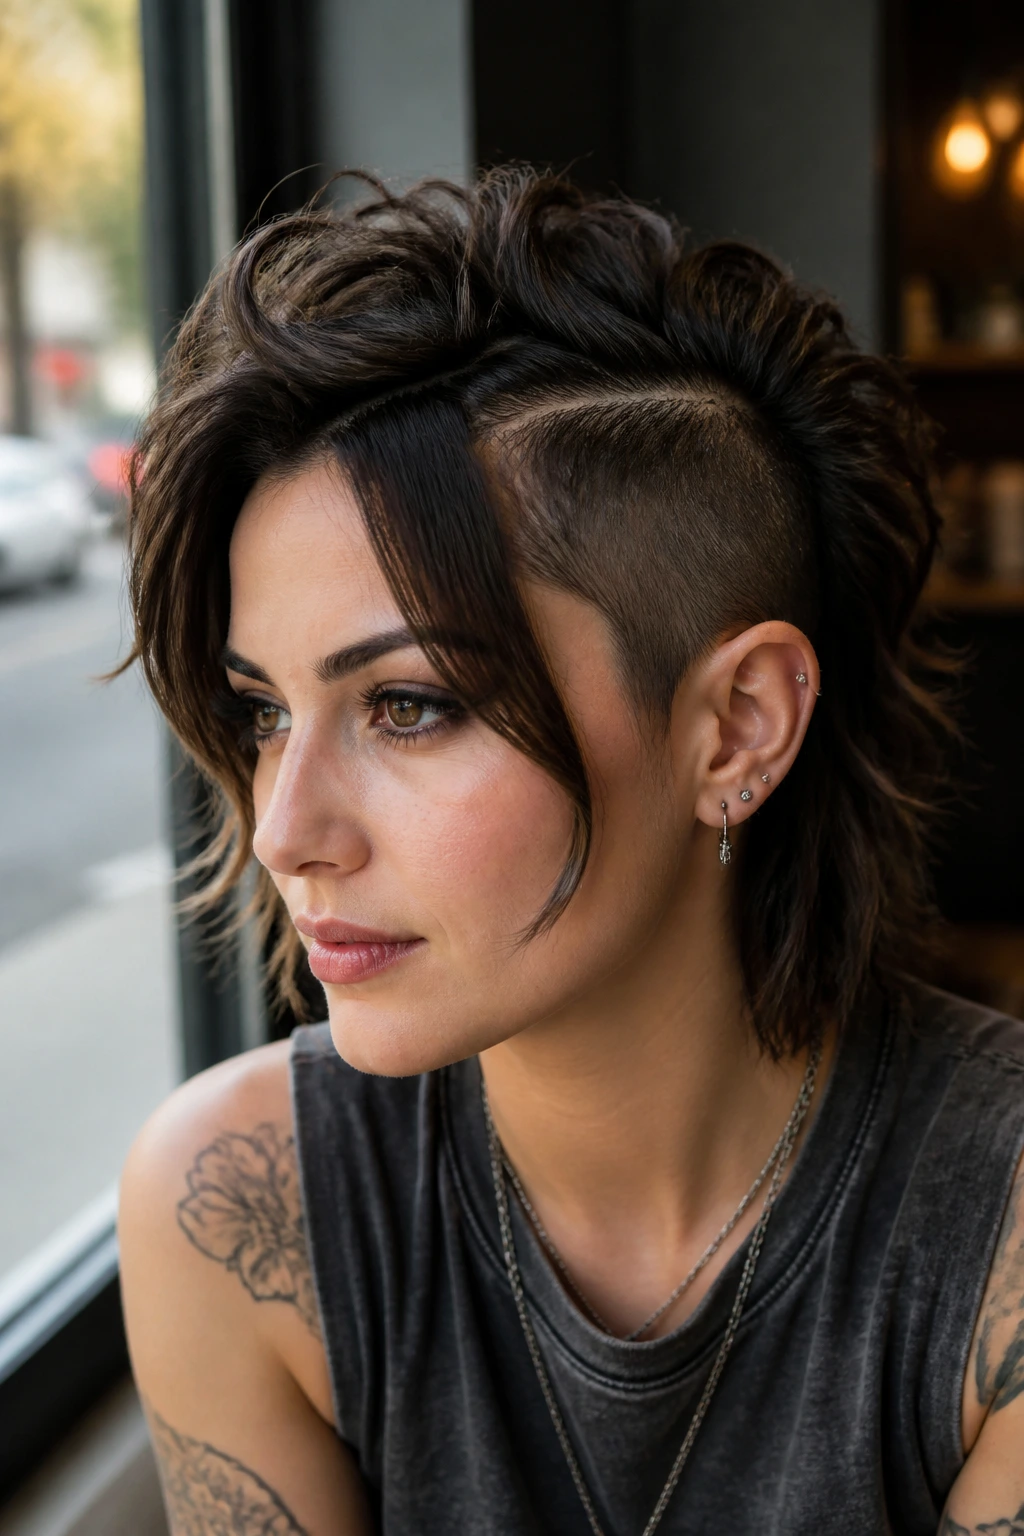
Not every mohawk needs a hard center line. A side-parted version with curtain pieces around the face softens the look while keeping the ridge in the middle strong enough to read as a mohawk. On medium length hair, this balance can be especially flattering because it leaves room for the cheekbones and jawline to breathe.
The face-framing pieces make a big difference. They stop the style from looking too severe, especially if your hair is naturally dense or if your face shape prefers a little softness at the sides. Keep the part shallow, not dramatic, and let the front pieces fall in a bend instead of forcing them flat. If the hair is straight, a quick wrap around a round brush can give those pieces a gentle curve.
This version is the one I’d call the compromise style, but in a good way. You get the mohawk silhouette without the sharpness some people find too strong for everyday wear. It works beautifully with hoops, a structured collar, or a little smoky eye. Not every mohawk has to shout.
17. Coily Picked-Root Hawk
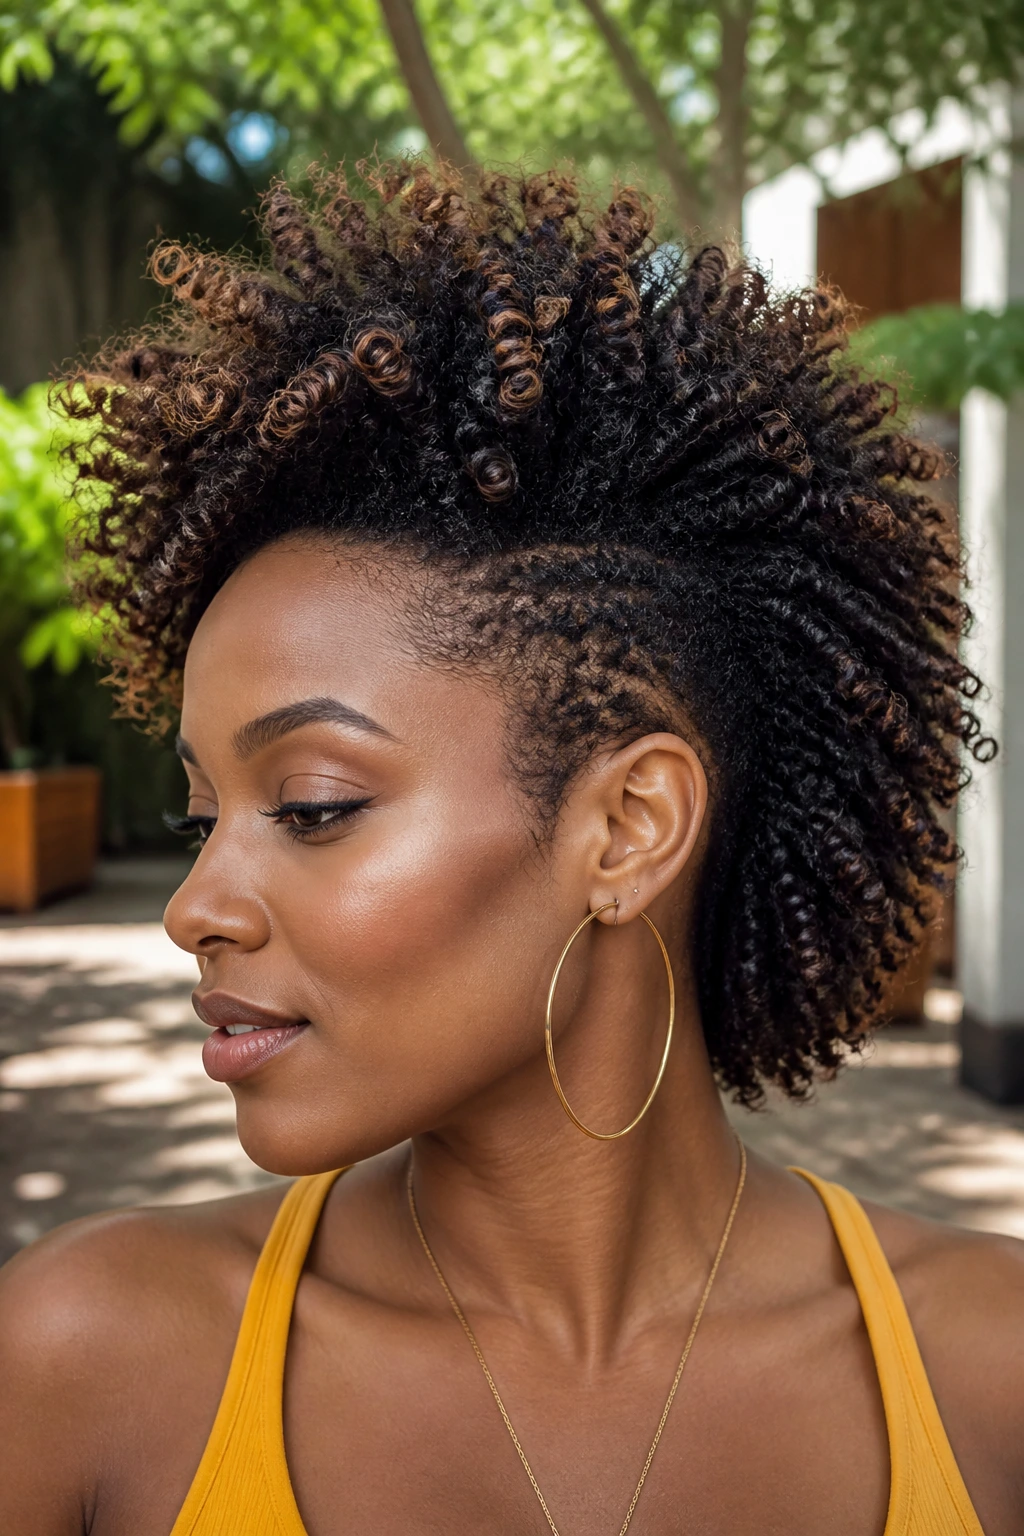
For coily hair, a picked-root hawk can be one of the best medium length mohawk hairstyles for women because the shape comes from the roots, not from stretching the whole head into something it isn’t. The crown gets lifted with a pick, the sides are smoothed back, and the coils on top keep their own spring.
This style looks best when the roots are dry enough to hold volume but not so dry that they frizz apart. A little styling cream or leave-in at the ends helps define the coil pattern. Then use the pick only at the roots. That’s the mistake people make: they over-comb the whole section and lose the texture that gives the style its body.
There’s a nice honesty to this look. It doesn’t pretend the hair is something else. It takes the coil pattern, lifts it, and lets it sit high enough to create the hawk shape. The result feels modern without being fussy.
18. Silk-Press Mohawk with Flipped Ends
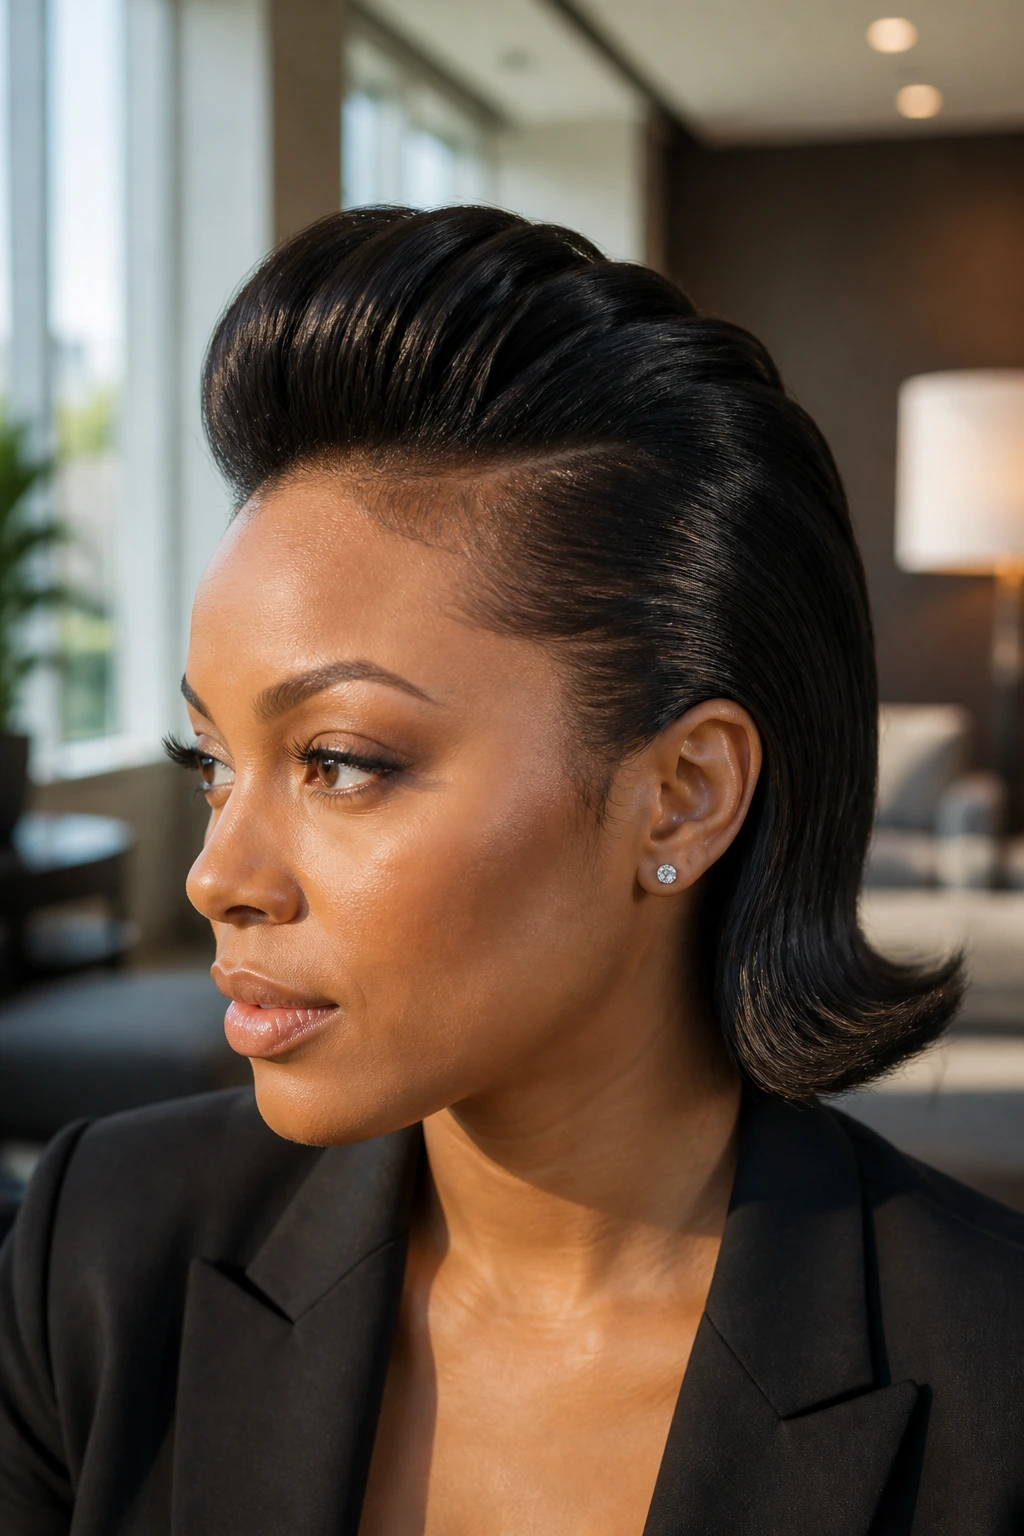
A silk-press mohawk on medium hair is all about clean lines and a smooth finish. The sides lie flat, the center section stays straight and sleek, and the ends can flip slightly for a little movement. It looks polished, but not stiff if the shape is handled well.
The key here is not over-ironing. Use enough tension to smooth the hair, then stop once the cuticle is sleek and the ends still have some life. A flat iron with a fine comb attachment can help the center strip sit neatly. The sides should be brushed back and pinned only if needed, because too many pins leave dents that are hard to hide on straight hair.
What makes this version useful is how adaptable it is. It can go with a blazer, a dress, or a very plain T-shirt and still read as intentional. If the hair is layered, the flipped ends stop the style from looking too severe. A tiny bend makes a big difference.
19. Messy Wavy Frohawk
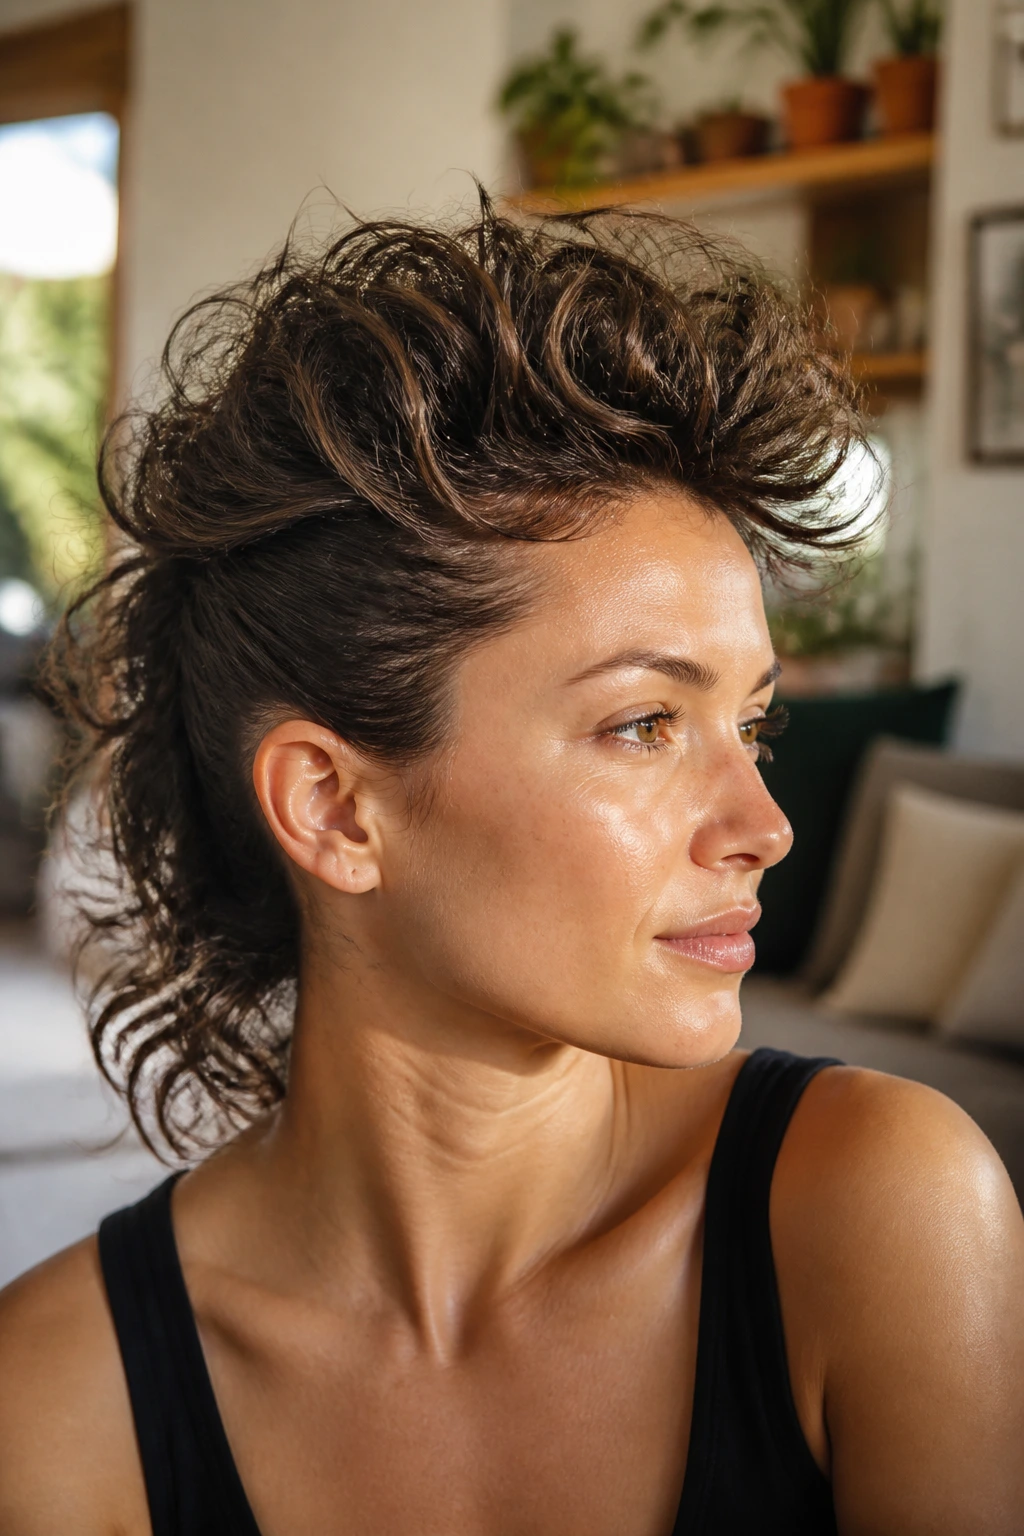
This is the easiest one to love because it works with hair that already has a little bend. A messy wavy frohawk lets the natural wave create volume through the center while the sides get tucked back just enough to keep the shape recognizable. It feels lived-in, not lazy.
The style sits especially well on medium-length hair because the waves have enough length to form a ridge without dragging the shape down. Use a texturizing spray or sea-salt mist sparingly, then pinch the waves upward with your hands. If the sides puff out, smooth them with a brush and pin them low behind the ears. Leave the top a little undone. That’s the point.
I like this version for hair that’s not freshly washed. Second-day wave usually has better grip, and grip is what keeps the frohawk from sliding apart. If you want a bit more lift at the crown, flip your head over for a minute while the roots are still damp, then set them in place with a few clips.
Why Medium Length Hair Gives Mohawk Shapes More Flexibility
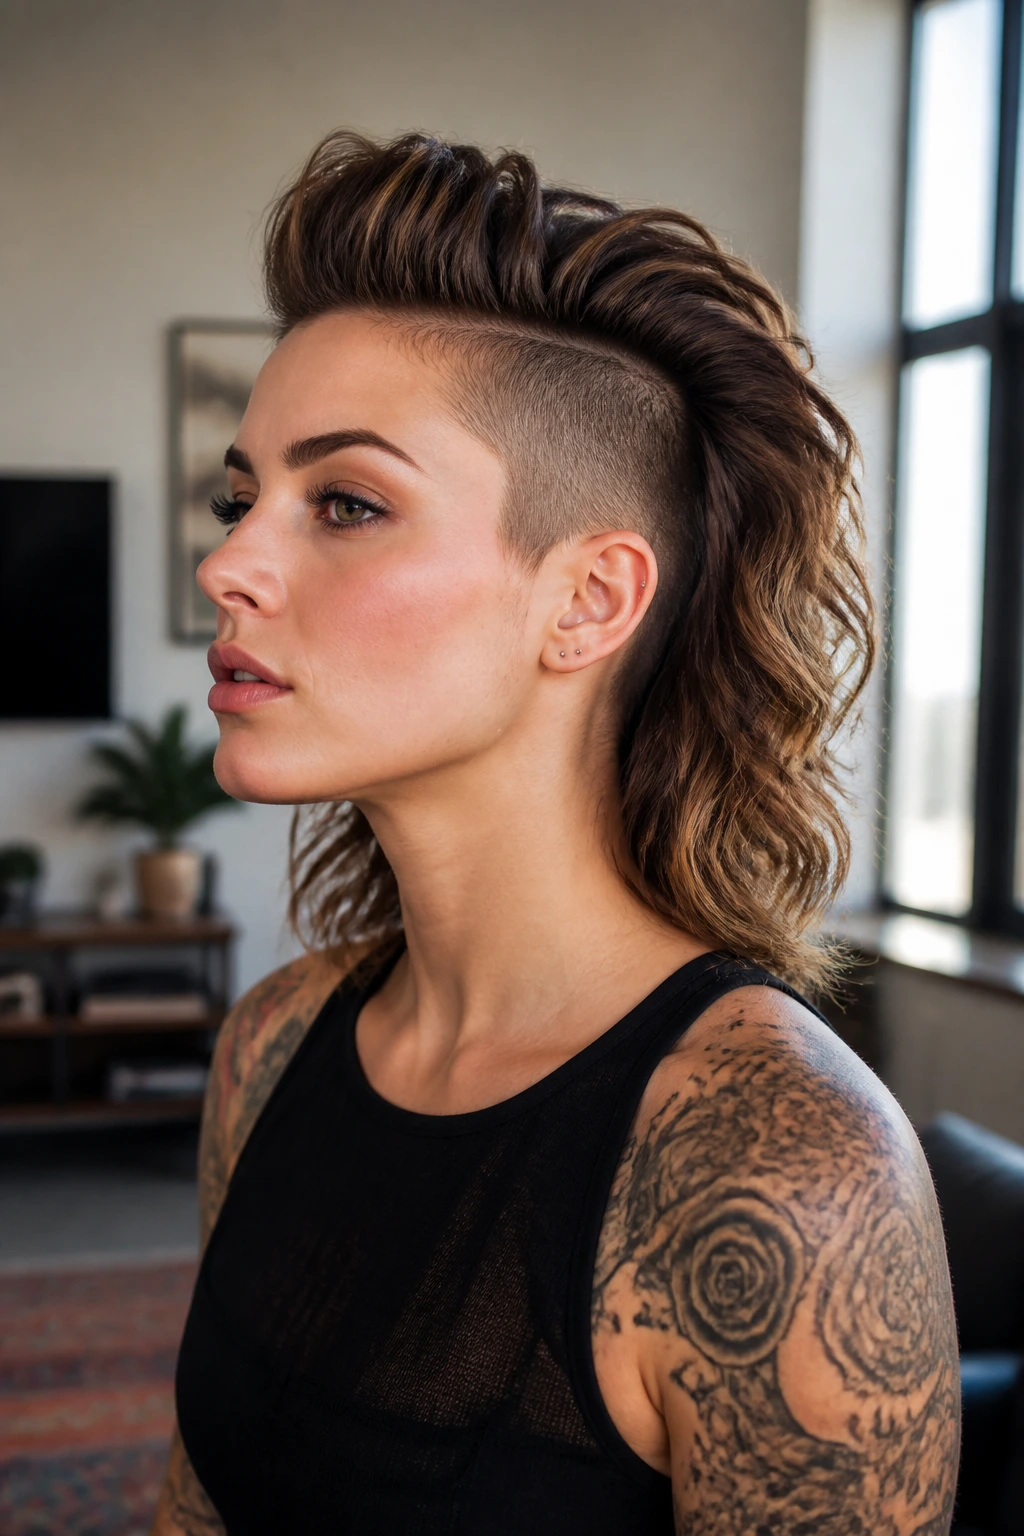
Medium hair sits in a sweet spot that long hair often misses. There’s enough length to build real height at the crown and enough structure to braid, twist, or pin the sides into place, but not so much weight that the shape drags itself flat. That’s why a medium length mohawk can look sharp without becoming high-maintenance in the way a waist-length style sometimes does.
There’s also a practical side. Shoulder-length and collarbone hair are easier to redirect. You can push the front back, tuck the temples, and create the illusion of a tighter cut without touching clippers. The style doesn’t need permanent changes to read bold. That matters if you like changing your hair often or if your workplace is less forgiving on Monday than it is on Saturday night.
Texture changes the equation, too. Curly and coily hair can build their own height at this length, while straight hair can be sculpted into a cleaner ridge with less product than you’d need on longer hair. That balance is what makes the medium-length mohawk such a useful shape. It’s flexible enough to go slick, soft, braided, or messy, and each version still feels like the same haircut.
The Tools That Make These Styles Behave
-
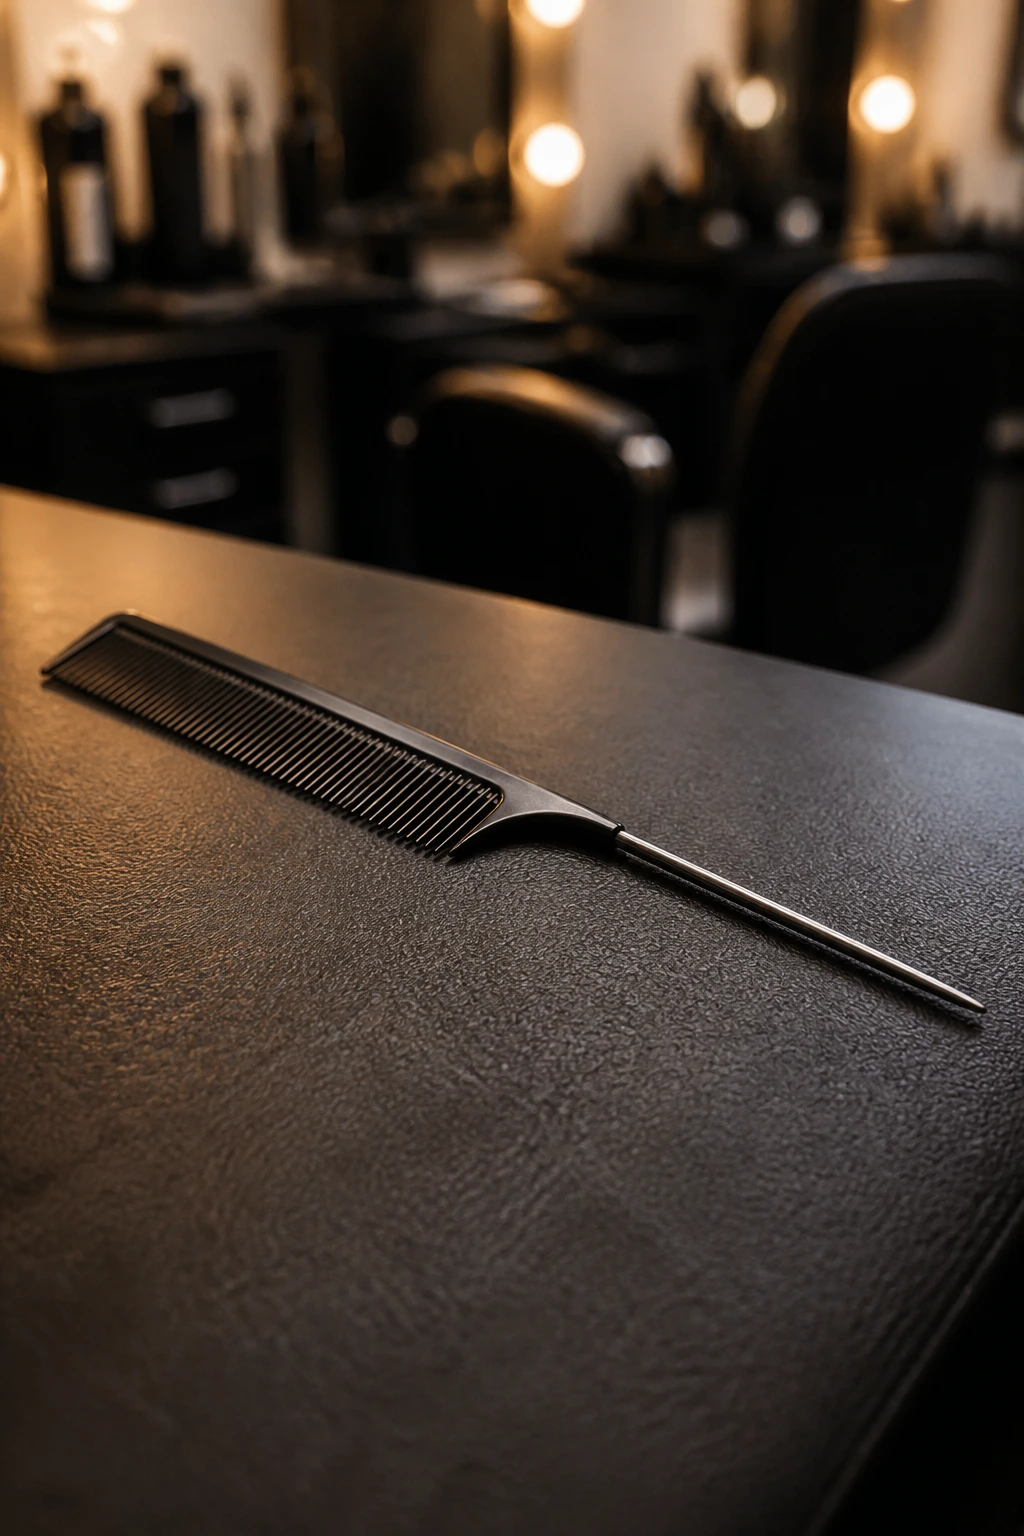
Rat-tail comb: The pointed end gives you clean center parts and tidy sectioning, especially for braids, twists, and bubble pony tails.
-
Boar-bristle or smoothing brush: Good for flattening the sides without roughing up the top section too much.
-
Bobby pins in two sizes: Small pins hide better in sleek styles; larger pins hold heavier sections on thicker hair.
-
Clear elastics: Useful for bubble hawks, half-up knots, and small center pony sections that need a low-profile hold.
-
Strong-hold gel or edge control: Best for slicked sides and wet-look finishes. Use less than you think you need.
-
Mousse or styling foam: Gives lift at the crown without the crunch that comes from layering too much gel too early.
-
Diffuser or blow-dryer with concentrator nozzle: The diffuser helps curls keep their shape; the concentrator keeps straight styles sleek and directed.
-
Flat iron or crimper: Optional, but useful if you want a silk-press finish or a retro crimped hawk.
-
Silk scarf or satin wrap: Keeps the shape from getting crushed overnight and helps the sides stay smooth.
-
Lightweight hairspray: Helps hold the silhouette without turning the hair into a shell.
Choosing the Right Version for Your Texture and Haircut
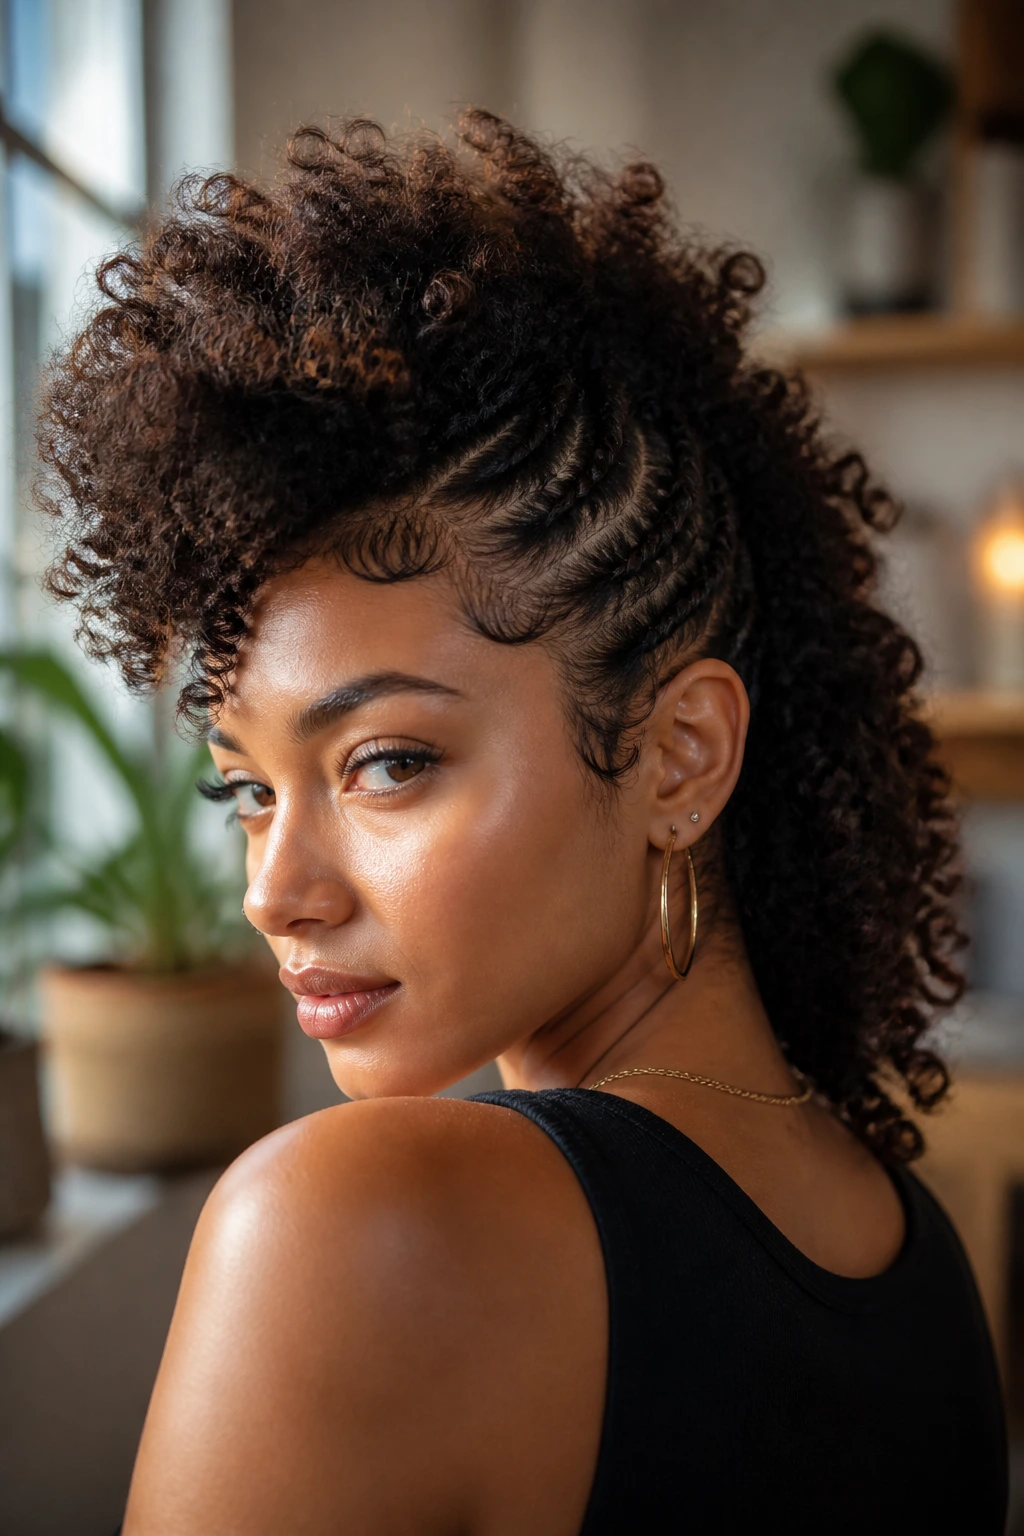
Curly and coily hair: Start with styles that respect the natural bend — frohawks, picked-root hawks, twists, braids, and knot rows. If you try to force every strand smooth, the style can fight back all day. A little texture usually looks better than a lot of product.
Wavy hair: You’ve got the most range. Wavy medium hair can go messy, sculpted, braided, or blowout-heavy depending on how polished you want the finish. If the hair is layered, even better. Those layers help the center ridge move instead of sitting like a block.
Straight hair: You’ll probably need more product and more direction. Slicked versions, silk-press hawks, bubble ponies, and pin-back faux hawks tend to hold better than soft frohawks unless you add curl or bend with tools. Don’t skip root lift. Straight hair shows flatness fast.
Thicker hair: Keep the side sections controlled and make the center ridge narrower than you think at first. Thick hair can swallow a mohawk shape if the sides stay too wide. A cleaner outline reads stronger than a huge, puffy silhouette.
Finer hair: Build height with mousse, dry shampoo, or a little backcombing at the crown, then keep the sides close. Heavy oils are the enemy here. They make the style fall faster than a tired bar stool.
How to Wear a Mohawk From Desk Hours to Night Plans

Presentation: For daytime, keep the ridge a little softer and the sides more controlled than slicked to the scalp. For a night look, push the crown higher, sharpen the part lines, and let the texture look a touch more dramatic. The same shape can read neat or edgy depending on how close the sides sit to the head.
Accessories: Small hoops, geometric earrings, or a strong collar help the haircut feel finished. If the hairstyle already includes pins, cuffs, or braids, keep the jewelry simpler so the head doesn’t feel overworked.
Scale: Medium length hair works best when the center ridge is the star, not the width. A mohawk that spreads too far across the head can start to look like a messy updo. Keep the shape narrow enough that you can see the side sweep from the front.
Best Setting: Sleek versions suit office days, dinners, and formal events. Braided, twisted, or frohawk versions work well when you want movement and texture. If you’re not sure how bold to go, soften the front pieces and let the back carry more of the shape.
Extra Lift, Shine, and Hold Without the Crunch
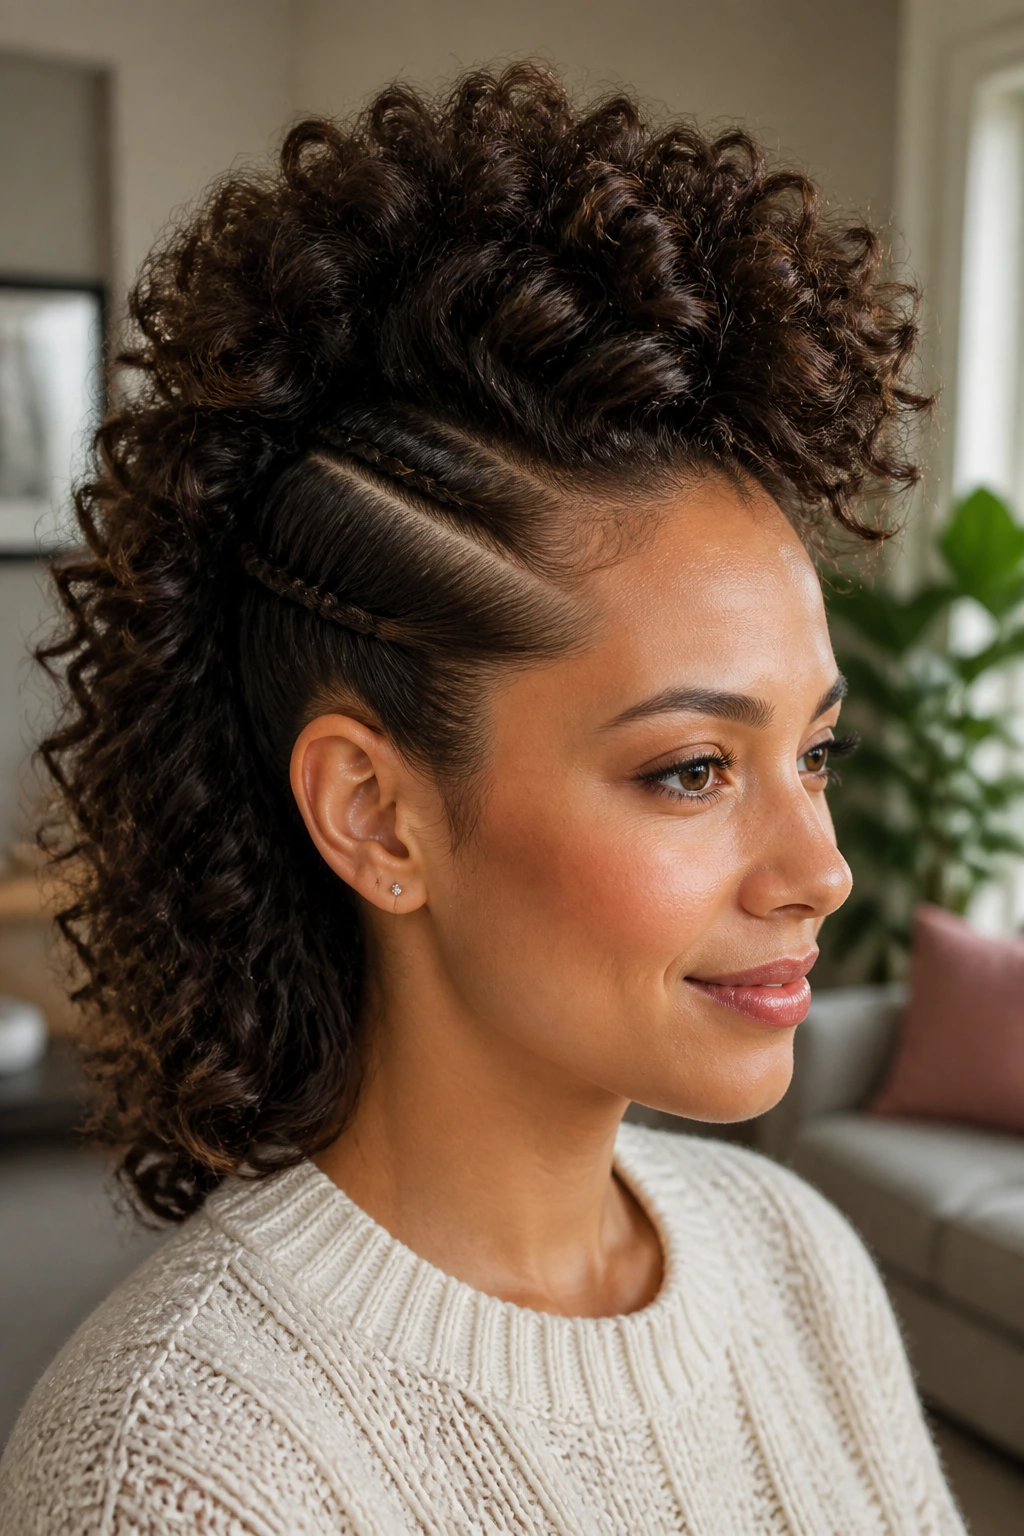
Root Lift: Work mousse or foam into damp roots, then blow-dry upward with a round brush or diffuser. The lift has to start at the scalp; teasing alone won’t save a heavy crown.
Edge Control: Use a small amount of gel at the temples and brush it in one direction. Stop once the sides lie flat. If you keep layering product, the hair starts to flake and the whole style looks older than it is.
Texture Rescue: A dry texture spray can revive the center section on day two, especially on waves and loose curls. Spray lightly, scrunch once, and leave it alone. Touching it too much breaks the shape apart.
Humidity Shield: A flexible-hold spray helps on damp or muggy days, but don’t drown the hair in it. A light mist from 8 to 10 inches away is enough to seal the style without stiffening the ends.
Accessory Swap: If the hair is sliding, swap in more pins or smaller elastics instead of adding more product. Mechanical hold is often cleaner than piling on creams and sprays until the head feels sticky.
Mistakes That Flatten the Center Ridge or Puff the Sides
Making the sides too wide: The most common miss is leaving too much hair on the sides, which turns the silhouette into a broad puff instead of a mohawk. Keep the side sections close to the head and sweep them back, not outward.
Using too much oil or cream at the roots: Heavy product near the scalp softens the shape and makes the style collapse early. Put richer products on the ends first, then use the lightest amount possible at the root line.
Ignoring shrinkage or bend: Curly and coily hair often looks longer wet than it does once it dries. If you build the style based on the wet shape, the center ridge can end up short and stubby. Leave extra room for shrinkage and let the dry shape guide you.
Uneven sectioning: If one side has more hair than the other, the mohawk looks lopsided from the back. Section carefully before you pin, braid, or twist. Ten extra seconds with a comb is cheaper than redoing the whole style.
Over-spraying hairspray: A shell of spray kills movement and can make the hair look dusty by the end of the day. Use just enough to keep the outline, not enough to freeze every strand.
Fresh Twists on the Classic Mohawk Silhouette
Braids Instead of Pins: If you want the shape to last longer, braid the sides back instead of slicking them flat. Braids hold cleaner through humidity and don’t need constant checking during the day.
Heat-Free Frohawk: For hair that hates heat, build the center with twists, finger coils, or set curls, then pin the sides low. You still get the height, but the hair stays in a safer routine.
Office-Quiet Hawk: Keep the crown low, smooth the temples, and leave the ends soft. This version reads like a polished updo until someone notices the center line.
Big-Night Volume: Tease the roots lightly, set the sides tighter, and let the top stretch higher. Add earrings or a strong lip, and the hair suddenly becomes part of the outfit instead of background.
Protective Knot Row: Bantu knots or flat twists along the center give you shape plus less daily handling. It’s one of the few mohawk-inspired styles that can look intentional for several days in a row.
Color-Pop Ends: If you’ve got balayage, face-framing highlights, or vivid ends, keep them exposed through the center ridge. Mohawk shapes show off color in a way that loose hair sometimes hides.
Keeping the Shape Fresh Overnight and Between Washes
Sleek mohawk styles are usually the first to ask for maintenance. A wet-look or silk-press version often holds best for one day, maybe two if you sleep carefully and your hair is cooperative. Braided or twisted versions are more forgiving and can last three to five days with light refreshing. Knot rows and loc-based hawks may stretch longer, but they still need the scalp cared for.
A silk scarf or satin wrap helps more than people expect. Smooth the sides down, wrap the hairline, and secure it before bed so the ridge doesn’t flatten against the pillow. If the center loses lift overnight, mist the roots lightly in the morning and re-pinch the section upward with your fingers. Don’t soak it. Damp, not drenched.
Dry shampoo can help on straight or fine hair when the roots start to lose grip. On curls and coils, a little scalp refresh with a spray bottle and leave-in mixture often works better than powder. If pins have shifted, replace them instead of piling more on top. A fresh pin in the right spot beats four pins fighting each other.
Questions People Ask Before Trying a Medium Length Mohawk
Can you do a mohawk on medium hair without shaving the sides?
Absolutely. Most of these looks fake the shaved effect with slicked sides, pinned panels, braids, or twists. That gives you the shape without the permanent cut.
Which hair textures hold a frohawk best?
Curly and coily textures tend to build the shape with less help because the hair already has natural lift. Wavy hair sits in the middle, and straight hair usually needs more product, pins, or a blow-dry set to stay up.
Will a mohawk look too extreme for work?
A softer pin-back faux hawk or side-parted version can read polished rather than loud. Keep the crown low, flatten the sides, and avoid heavy accessories if you want the style to feel more restrained.
How do I stop the sides from puffing out?
Use small sections, smooth them with a brush, and pin them close to the head before the hair dries fully. If the sides dry bulky, a little mist of water plus a dab of styling cream can help reset them.
Can medium length hair support braids in a mohawk shape?
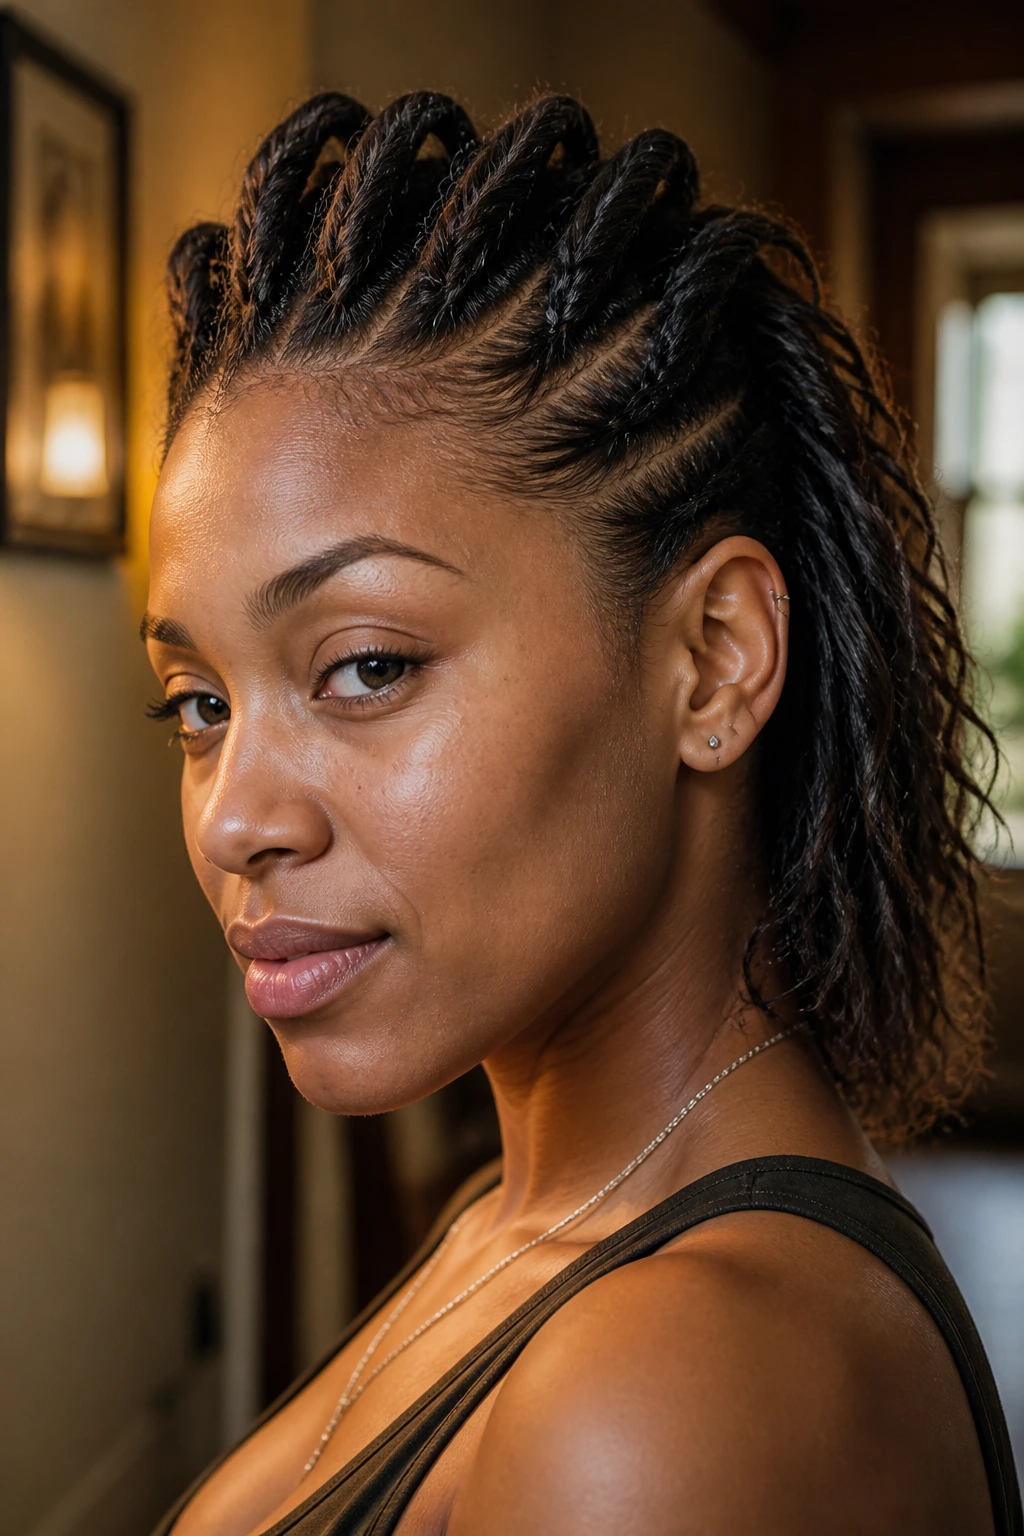
Yes, and medium length is actually a sweet spot for braided mohawks because the braid can stay raised without dragging under its own weight. Dutch braids, rope twists, and flat twists all work well here.
What if my hair is layered and the shorter pieces keep escaping?
That’s normal. Use smaller elastics or more pins at the front and temples, and choose styles like twists, bubble sections, or a messy frohawk that can absorb a few flyaways without looking unfinished.
Do mohawk styles damage hair?
They can if the sides are pulled too tight or if heat is used carelessly, but the style itself isn’t the problem. Loosen the tension at the hairline, rotate between slick and loose versions, and give the scalp a break between tight styles.
How long does a braided or twisted mohawk last?
With a satin wrap and a little morning touch-up, braided and twisted versions often last several days. If the roots start to frizz sooner, the style may still look fine — just refresh the edges and let the texture work for you.
The Shape That Keeps Its Edge
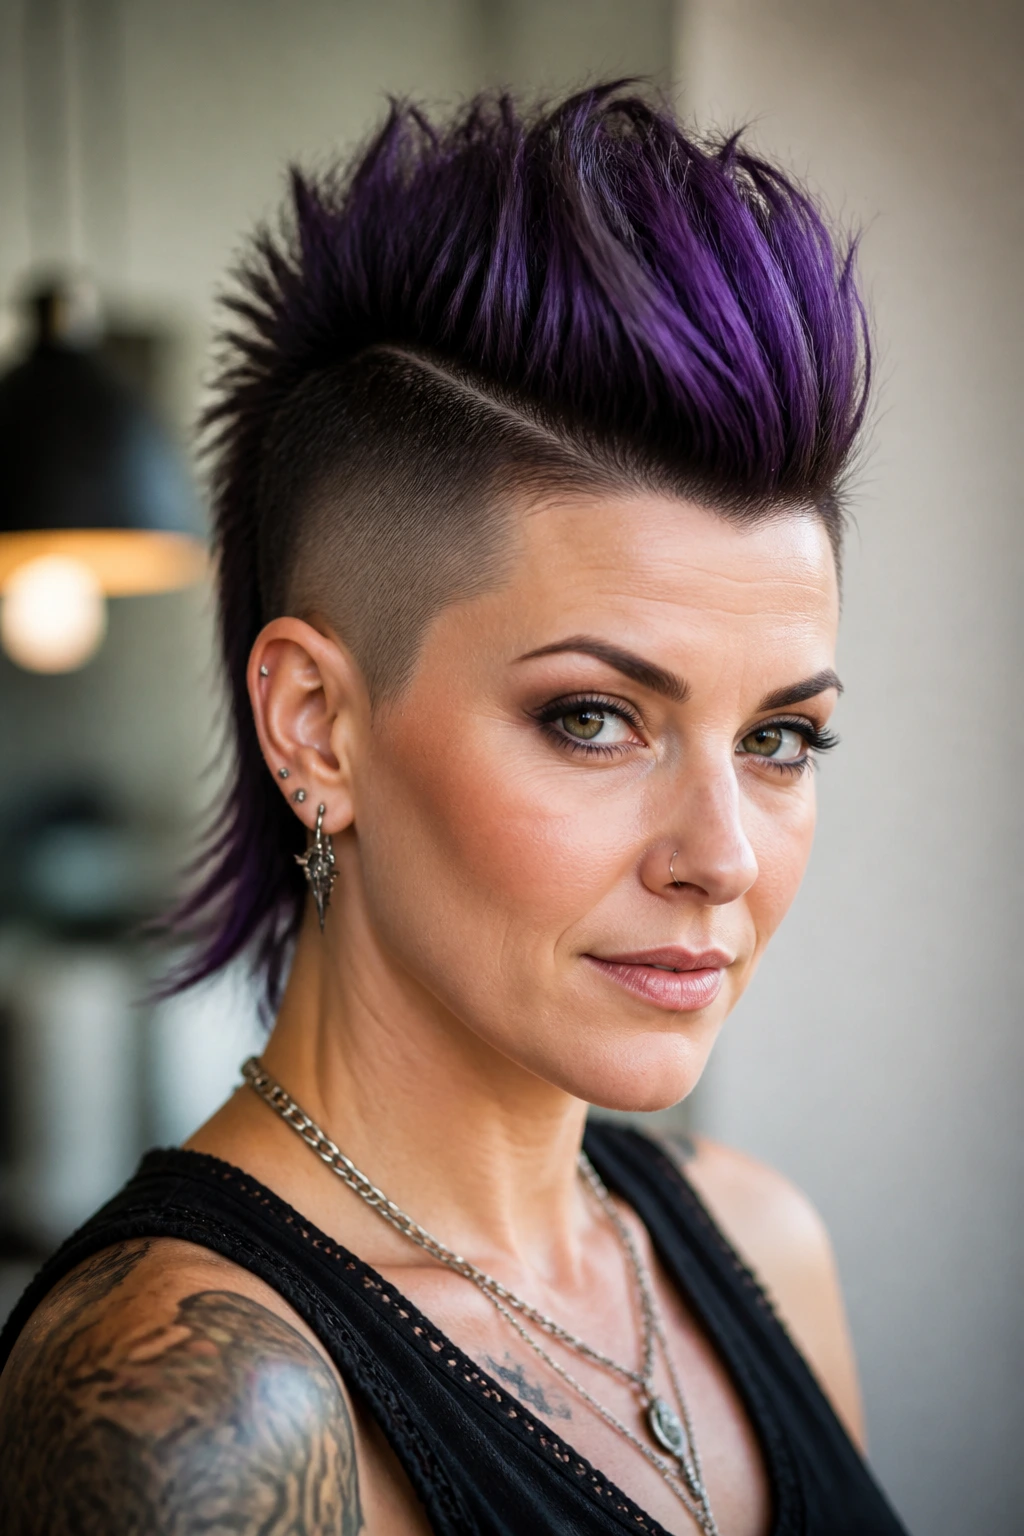
A medium length mohawk doesn’t have to be loud to feel sharp. That’s the part I keep coming back to. The haircut works because it balances structure and movement, and medium hair gives you enough of both to play with the shape instead of fighting it.
Some days, that means a glossy, pinned-back look with clean sides. Other days, it means a frohawk with loose curls and a few pieces falling where they want. The good versions all do the same thing: they build a strong center line and let the rest of the hair support it instead of stealing the show.
Pick the version that matches your texture, your patience, and how much time you’re willing to spend in the mirror. Then keep the lines clean, the center lifted, and the sides close enough to make the shape read from across the room.
