



Medium-length hair is the sweet spot where a messy bun can look intentional instead of improvised. Long hair can swallow a bun whole. Short hair can fight you with little pieces that spring free no matter how many pins you use. But hair that sits around the shoulders or collarbone has a nicer problem: enough length to twist, tuck, and loop, but not so much that the knot turns into a heavy lump at the back of your head.
That’s why messy buns for medium length hair work best when you stop trying to make them behave like the polished buns you see on longer hair. The trick is not hiding every end. It’s choosing the right kind of looseness — a bit of lift at the crown, a few strands at the temples, and a base that grips instead of sliding. A bun like that looks better with second-day texture, a little dry shampoo, and a couple of crossed bobby pins than with a gallon of hairspray and wishful thinking.
I’ve always preferred a bun that feels lived-in over one that looks lacquered into place. On medium-length hair, a too-perfect bun can shrink into something small and slightly severe. A slightly undone knot, on the other hand, gives the face room and makes the whole style feel less fussy. That’s the version worth copying. The styles below lean into that sweet spot, with twists, loops, braids, clips, scarves, and a few clever pinning tricks that keep medium hair from going flat halfway through the day.
Why These 19 Buns Work on Medium-Length Hair
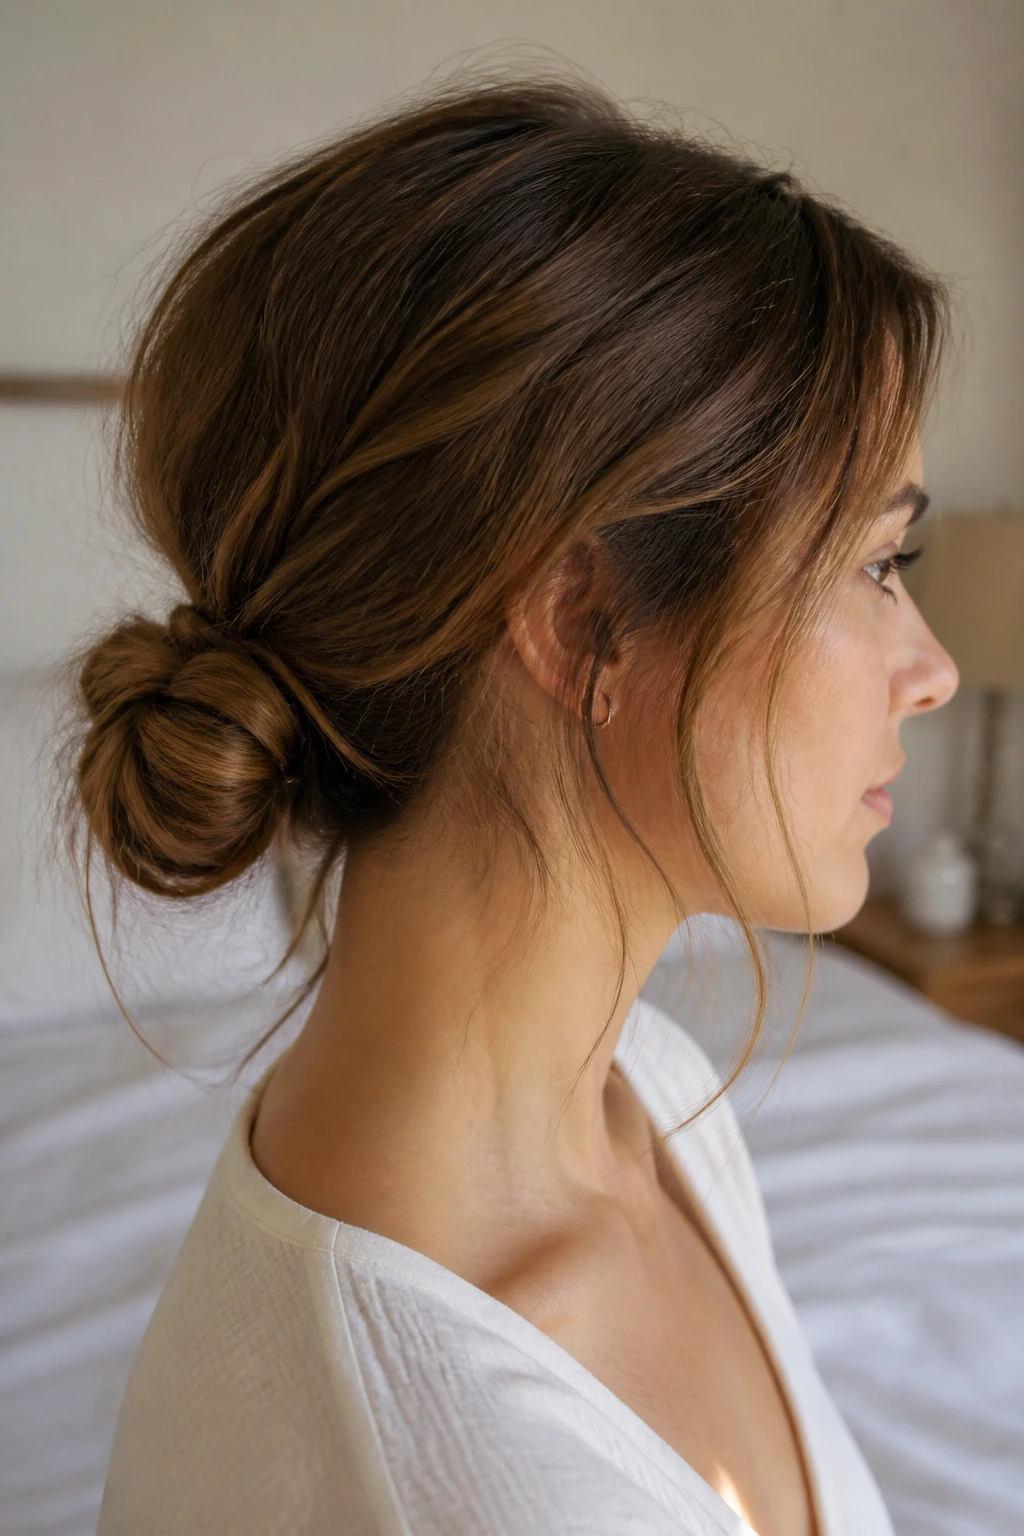
- The length is just right for structure: Medium hair usually wraps around an elastic once or twice without creating a giant coil, so the bun keeps shape instead of ballooning out.
- The weight stays manageable: A bun built from shoulder-length hair sits closer to the head and puts less pull on the pins, which matters if your hair slips easily.
- Texture shows up in a good way: A little wave, bend, or dry shampoo grit gives these buns more hold and more shape, especially around the crown and nape.
- Layers become part of the style: Medium cuts often have face-framing pieces and shorter interior layers, and those pieces soften the bun instead of making it look too tidy.
- Accessories actually fit: Scrunchies, claw clips, scarves, and decorative pins sit more cleanly on medium hair because the style isn’t buried under a mountain of length.
- Touch-ups stay simple: If one section falls loose, you can fix the whole thing with one pin and a small tug. No full reset. No drama.
1. The Loose Low Knot
If you want one style that never looks like you tried too hard, start here. The loose low knot sits at the nape, uses the natural bend of medium hair, and leaves just enough softness around the ears to keep the whole thing from feeling stiff. I like this one on hair that’s been worn for a day already, because the tiny bit of texture helps the knot hold without turning crunchy.
Why it works
Medium-length hair gives this bun enough length to wrap once, maybe twice, which is all it needs. If you force extra twists, the knot gets bulky and starts poking outward at the sides. That’s where people go wrong.
Quick shaping notes
- Gather hair into a low ponytail, but keep the elastic loose on the first pass.
- Twist the tail once around the base, then tuck the end under instead of chasing every strand.
- Use two bobby pins crossed into an X at the nape. That’s the part that keeps it from drifting down by lunch.
Leave one or two shorter pieces near the temples if your cut has layers. The style looks better with a little air around it than with every strand stretched tight.
2. The Face-Framing Topknot
This is the messy bun you wear when you want a little height without making your head look like it’s carrying a suitcase. The bun sits high, but the shape should stay compact. On medium hair, that matters. A huge topknot can look shaky and overstuffed, while a smaller one with loose face-framing pieces looks clean in the best way.
The key is placement. Set the ponytail at the highest flat point of your head, not all the way back on the crown where the bun can tip backward. Then fold the hair upward, let the ends fan out a little, and pin them where they want to sit. Don’t overwork it. The charm here is the little bit of imbalance.
I like a topknot with a soft bend at the front, especially if the ends around the face are curled away from the cheekbones. It changes the whole mood. Without that, the style can feel too sporty. With it, the bun reads softer and more deliberate.
3. The Braided Messy Bun
Braiding the tail before you pin it is one of those small moves that pays off fast. It gives medium-length hair more grip, makes the bun look fuller, and keeps layered ends from slipping out in strange places. If your hair usually turns into a fuzzy loop five minutes after you style it, this is the version to try first.
Keep the braid soft
Braid the ponytail loosely, then pinch the sides of the braid outward before you wrap it. That little “pancaking” move matters more than people think. It gives the braid width, and width is what makes the bun look lush instead of skinny.
Wrap the braid around the base and pin the tail under the bun. If a few ends peek out, leave them. The braid is already doing enough work. You do not need to hide every inch of it.
This style is especially good for medium hair with layers, because the braid corrals the shorter pieces without fighting them. It also holds better than a plain twist when the air is dry and hair feels slippery.
4. The Claw-Clip Bun
A claw-clip bun is what I reach for when I want the bun to look like an accident in the nicest possible way. Twist the hair up, fold it once, and let the clip do the holding instead of a nest of pins. On medium-length hair, that usually works better than people expect, because the length is long enough to tuck but short enough that the clip can actually catch the bulk.
Use a medium or large claw clip, about 3.5 to 4 inches across for shoulder-length hair. Tiny clips snap or slide. Oversized clips can overwhelm the shape and feel like they’re wearing the hairstyle.
The best version leaves the ends fanning out a little at the top or bottom of the clip. That looseness is the point. If you try to force the whole bun flat against the head, it loses the soft, sleepy shape that makes the clip version worth wearing in the first place.
5. The Twisted Crown Bun
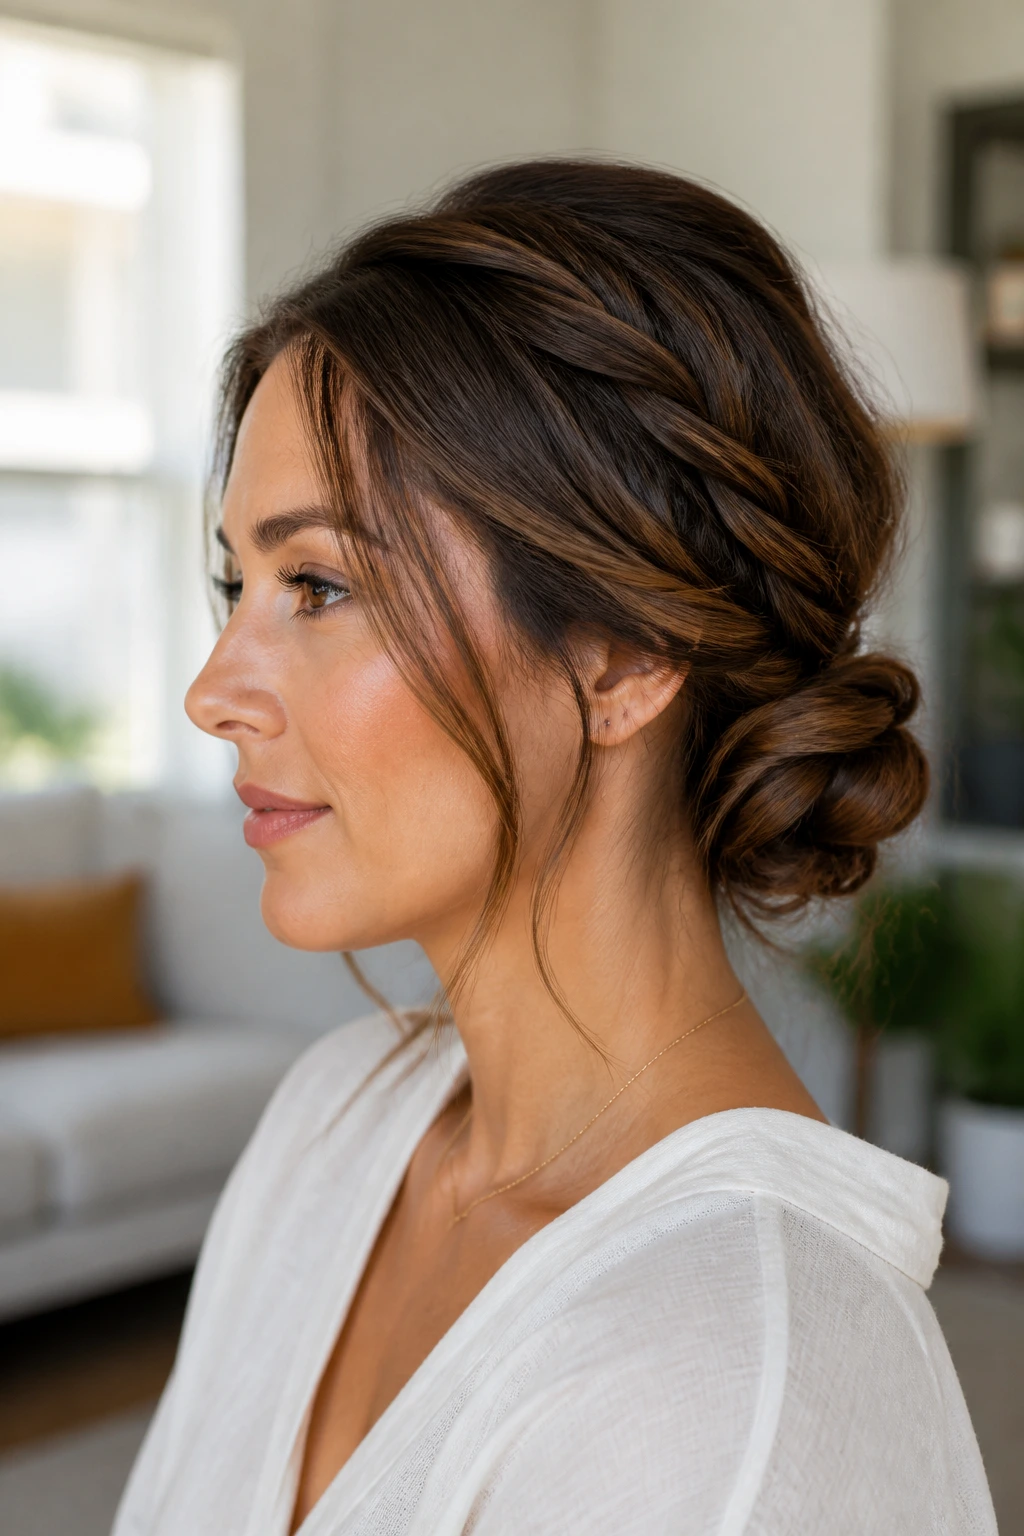
A twisted crown bun has a little more polish than the looser styles, but it still belongs in the messy-bun family because the front stays soft. Split the hair near the temples, twist each side back toward the nape, and gather everything into a low bun. That’s the basic move. The charm comes from how gently you twist.
You do not want rope-like twists that look sealed down. You want a twist that has some bend and some looseness, so it creates a frame around the face. If your hair is layered, the shorter pieces around the front will slip out a bit. Good. That softens the whole shape.
I like this one for days when you need the bun to look a little more finished without turning into a formal updo. It gives medium-length hair structure at the sides and keeps the nape from looking empty, which can happen when the bun sits too high.
6. The Side-Swept Chignon
A side-swept chignon is the answer when a centered bun feels too plain. Shift the part a little deeper, sweep the hair toward one side, and build the bun just behind the ear line. It changes the face shape right away. Softer. Less boxy. More movement.
This is the style I’d choose if your hair is medium length and straight, because side-sweeping gives the hair a direction before you pin it. Without that, straighter hair can slide into the same flat low bun shape every time. A side-swept version uses the cut’s own fall instead of fighting it.
It also works nicely with a tucked ear or a single statement earring. The bun itself stays loose, but the overall look feels intentionally arranged. That’s a hard balance to fake, and this style does it without much effort.
7. The Loop-Through Bun
The loop-through bun is the one that feels slightly magical the first time you do it. Pull the hair through the elastic once as if you’re making a ponytail, then on the last pull, stop halfway so the tail forms a loop. That partial loop gives the bun its shape fast.
Best trick for medium-length hair
Medium hair should not be pulled all the way through every time. If you do that, the bun turns into a little nub and the ends stick out in the wrong direction. Stopping halfway leaves enough hair to fan, tuck, and pin into a fuller shape.
If the loop feels too tight, tug at the sides with your fingers. That opens the bun and gives it a little air. Finish with one pin at the base and one hidden under the loop. This style looks fussy in theory and fast in practice, which is why I keep coming back to it.
8. The Rope-Twist Bun
A rope-twist bun has a tighter visual line than the other messy buns, but it still reads soft when you loosen the edges at the end. Split the ponytail into two sections, twist each section in the same direction, then wrap them around each other before coiling the result into a bun. The texture ends up looking richer than a plain twist.
This is a good choice for medium-length hair that tends to fall apart when left in one single twist. The two-strand rope gives the bun its own structure, so you don’t have to lean so hard on pins. It also works well if your hair has a little wave already; the twist catches that movement and makes it look intentional.
Keep the bun low or mid-low. Too high and the rope shape can start looking too tight, which defeats the whole point. A little looseness at the sides keeps it from turning severe.
9. The Half-Up Mini Bun
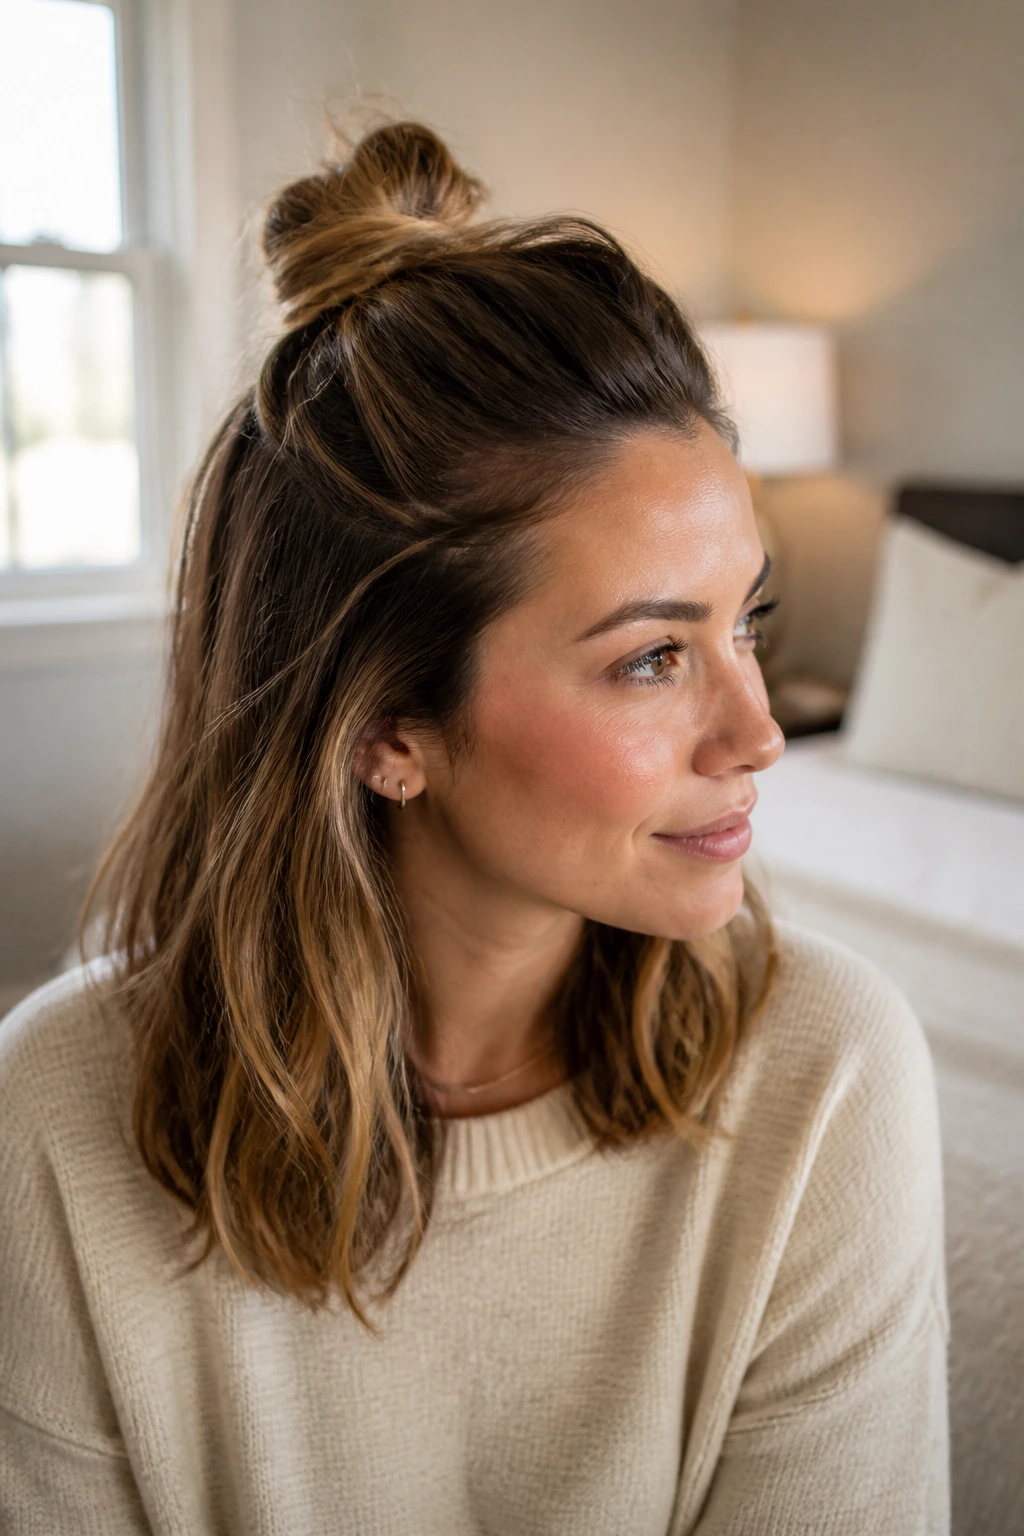
A half-up mini bun is the easiest way to get a bun shape without committing all your hair to it. Take the top section from temple to temple, twist it into a small knot, and leave the rest of the length down. For medium hair, this is a useful move because the bun doesn’t need to hold much weight.
It also gives you a nice trick when your hair is too short for a full bun but too long to leave fully loose. The half-up shape adds height at the crown and keeps the front pieces out of your face, which is useful when your cut hits that awkward between stage.
I like this with a bit of wave in the loose hair, not straightened to the ends. If the bottom section has movement, the top knot feels part of the hairstyle instead of a last-minute fix.
10. The Bubble-Pull Bun
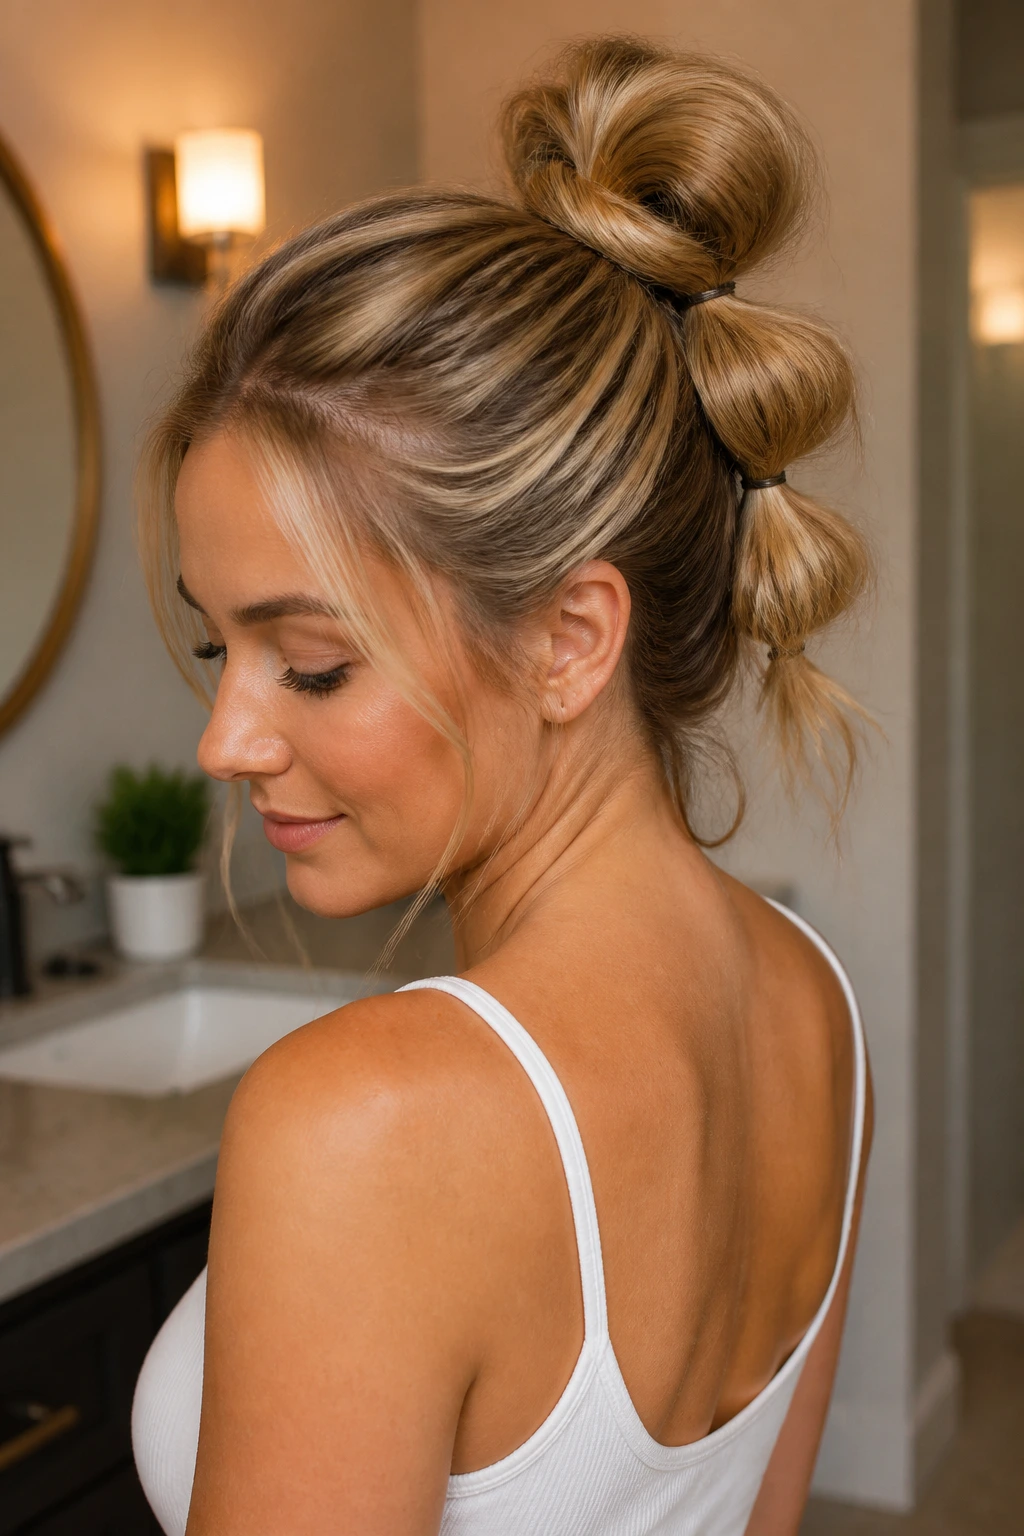
This one looks more complicated than it is, which is a nice bonus. Start with a small ponytail, add a second clear elastic a couple of inches down, puff the section between the elastics, then repeat once more. After that, fold the bubble chain upward and pin it into a bun shape.
The bubble sections give medium hair more volume without teasing it hard. That matters if your hair is fine and breaks apart when you try to backcomb too much. You get shape from the elastics instead of from roughing up the hair.
A few pieces will stick out. Let them. The bun looks better with that slightly puffed, rounded shape than if you squeeze every bubble down flat. If you want it softer, loosen the bubbles with your fingertips before you pin them in place.
11. The Scarf-Wrapped Bun
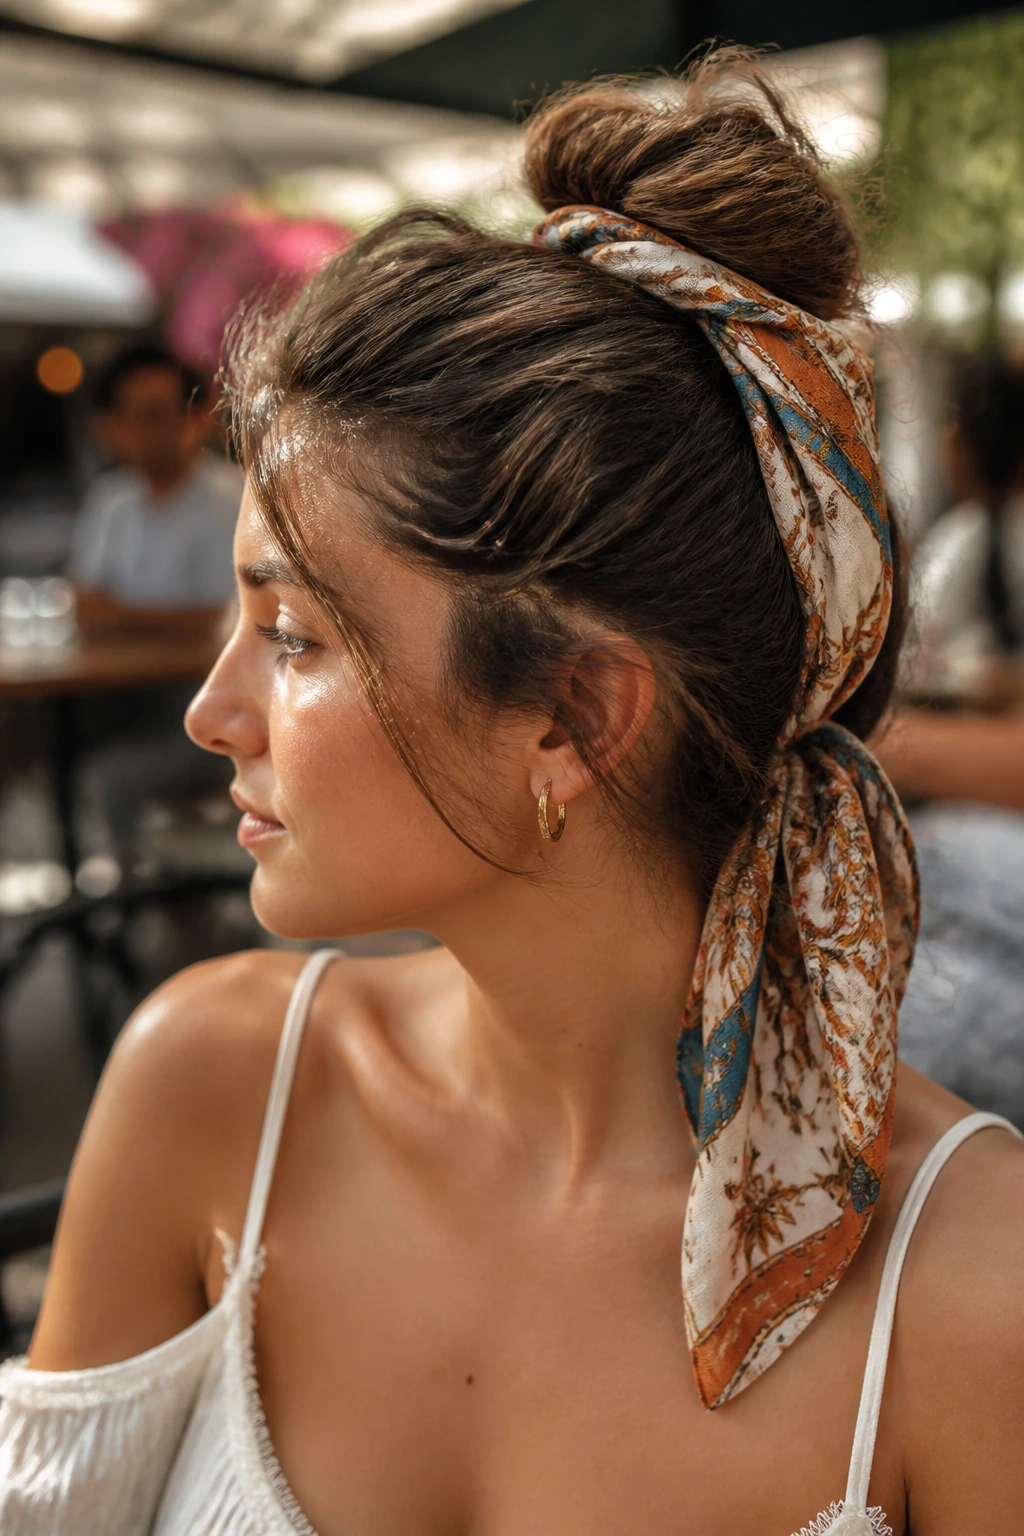
A scarf-wrapped bun changes the whole mood of medium-length hair with one piece of fabric. Tie the bun first, then wrap a silk or cotton scarf around the base and knot it just off-center. The scarf hides the elastic, gives the bun a finished edge, and adds a little movement at the neck.
This works especially well when your hair is in that medium range that doesn’t make a huge bun on its own. The scarf fills in the visual space. It also keeps the style from looking too plain, which can happen if your hair is smooth and the bun sits small at the nape.
Choose a scarf that isn’t too thick. If the fabric is bulky, it competes with the bun and makes the back of the head feel crowded. A narrower strip or a lightweight square is usually enough.
12. The Undone French Twist Bun
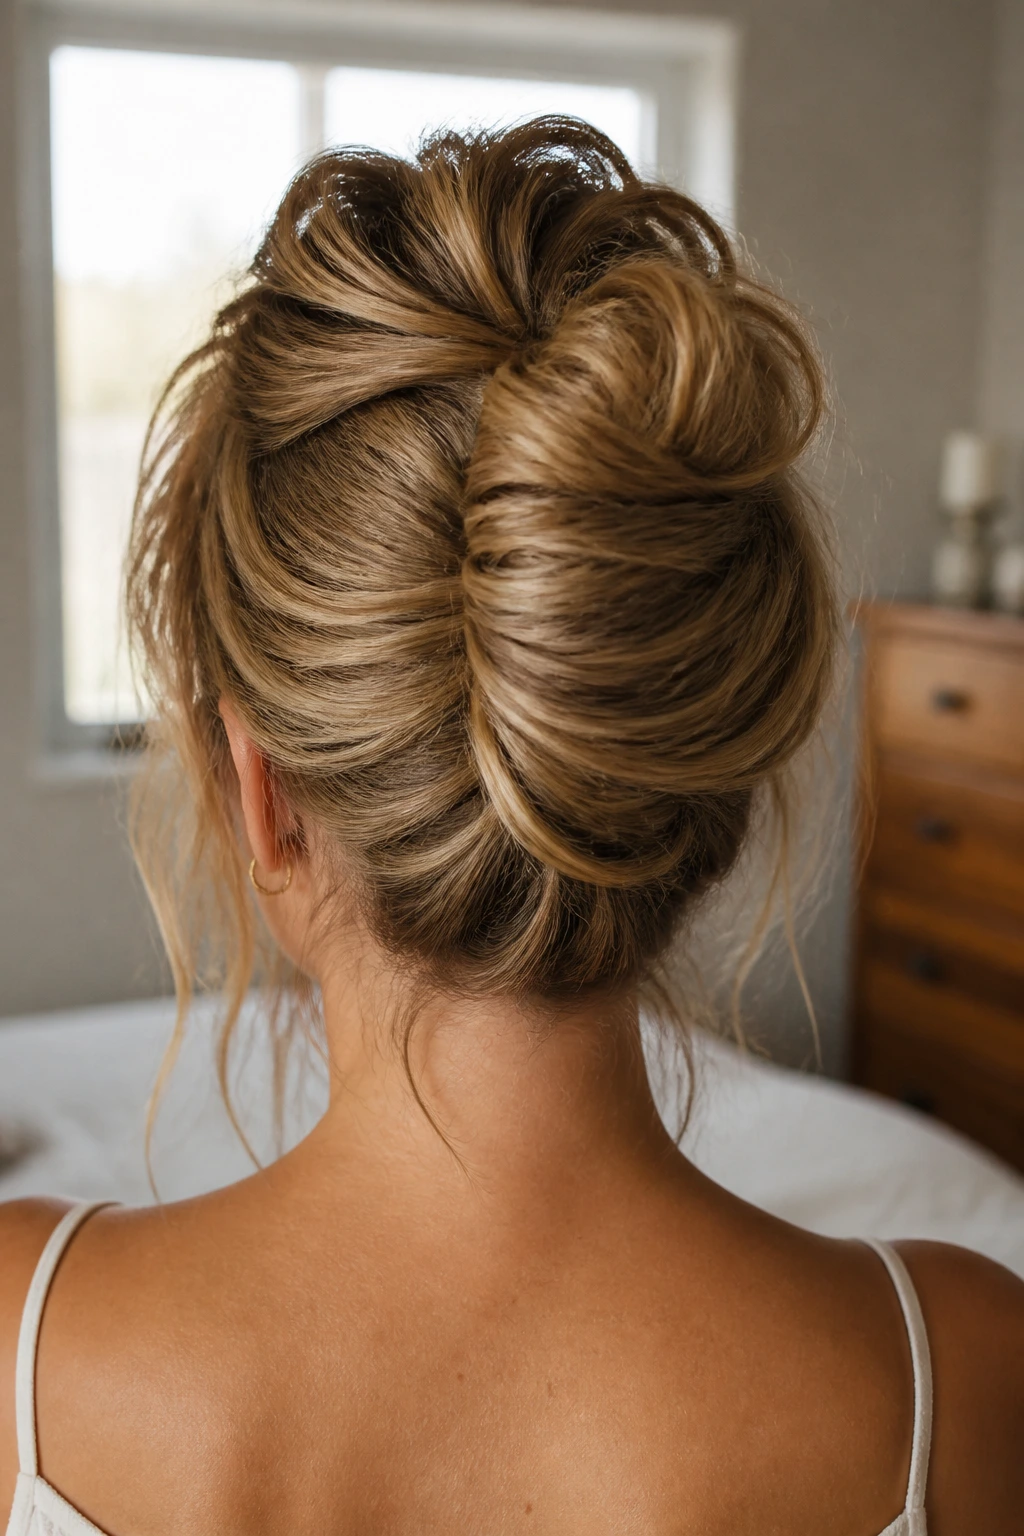
A classic French twist can look a little formal for everyday wear, but the undone version has a much better rhythm. Roll the hair upward like a French twist, stop before you tuck everything neatly away, and let the ends turn into a soft bun at the top of the roll. Pin the shell in place and loosen the outer edges with your fingers.
Unlike a clean French twist, this one works because it doesn’t ask medium-length hair to do too much. The roll builds a vertical line at the back of the head, and the leftover ends create the messier bun finish. It feels refined and relaxed at the same time, which is a rare combination.
I’d pick this for dinners, workdays, or any time a plain knot feels too casual. It’s one of the few styles here that can swing from desk to evening without a redo.
13. The Double-Knot Bun
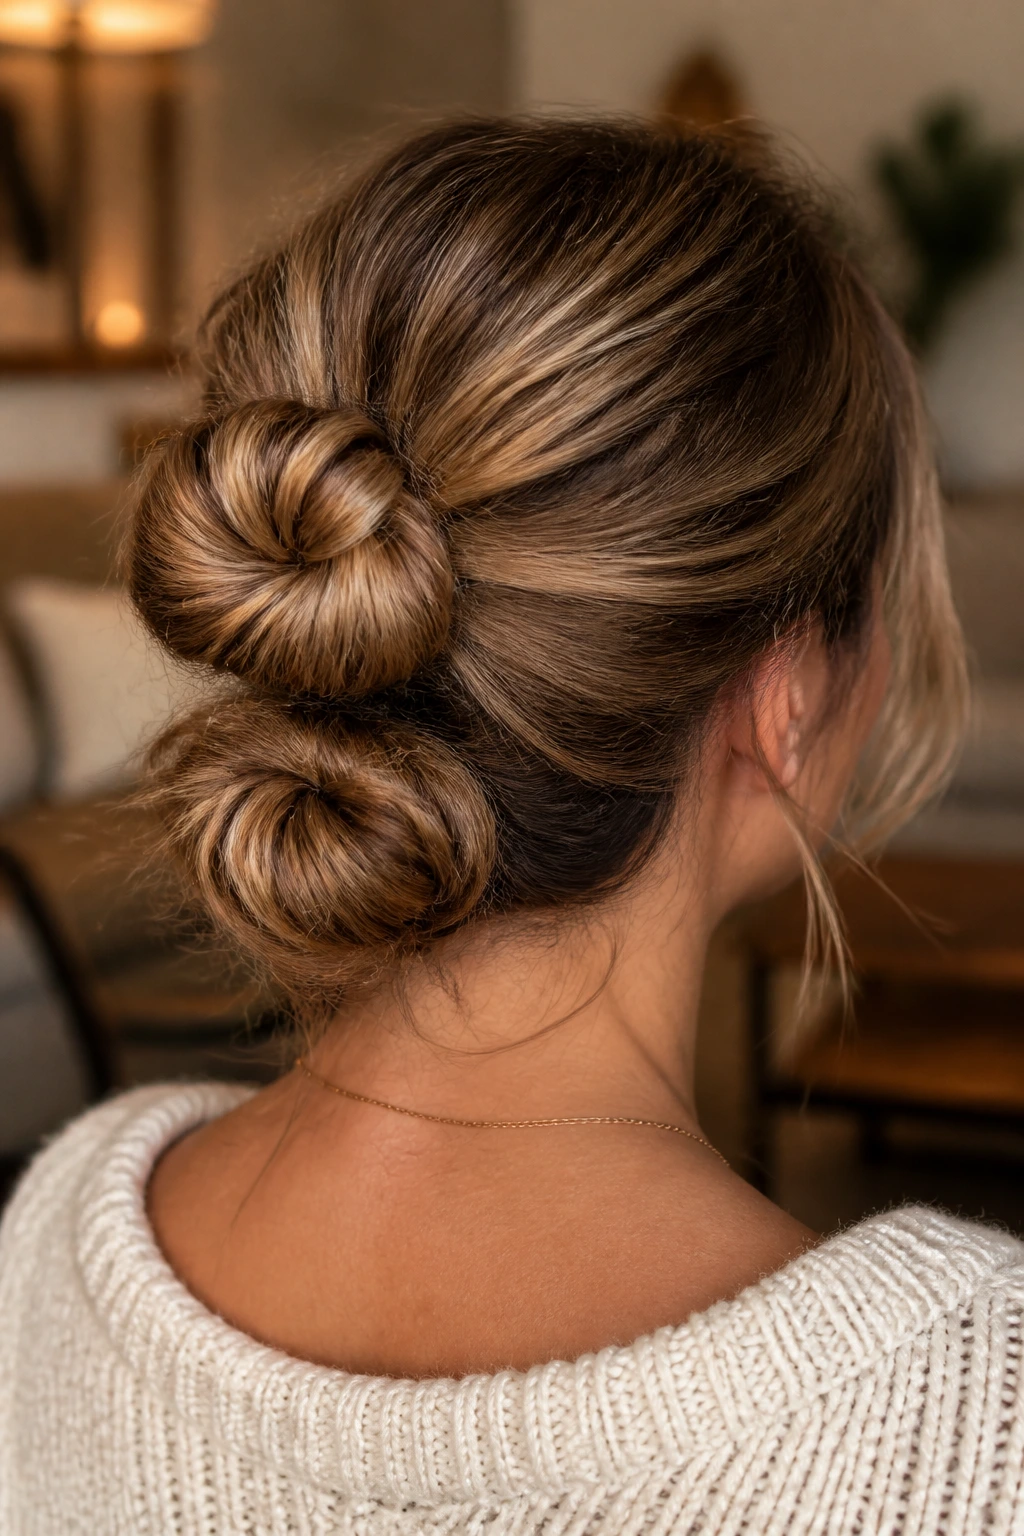
A double-knot bun is one of the simplest ways to make medium hair behave. Tie the hair into a loose knot once, then knot it again with the remaining length and secure the ends underneath. It sounds almost too easy, but the layered knots give the bun shape and hold.
When to choose it
Use this when your hair has enough length to knot but not enough to build a big wrapped bun. It’s especially handy for medium cuts that taper at the ends, because the knots keep the shorter pieces from sticking out like antennae.
The finish should stay slightly irregular. If both knots are pulled too tight, the shape turns small and stiff. Leave a few millimeters of slack at each turn, then pin the base. That slack is what makes the whole thing read messy instead of tight.
14. The Sleept-In, Sockless Bun
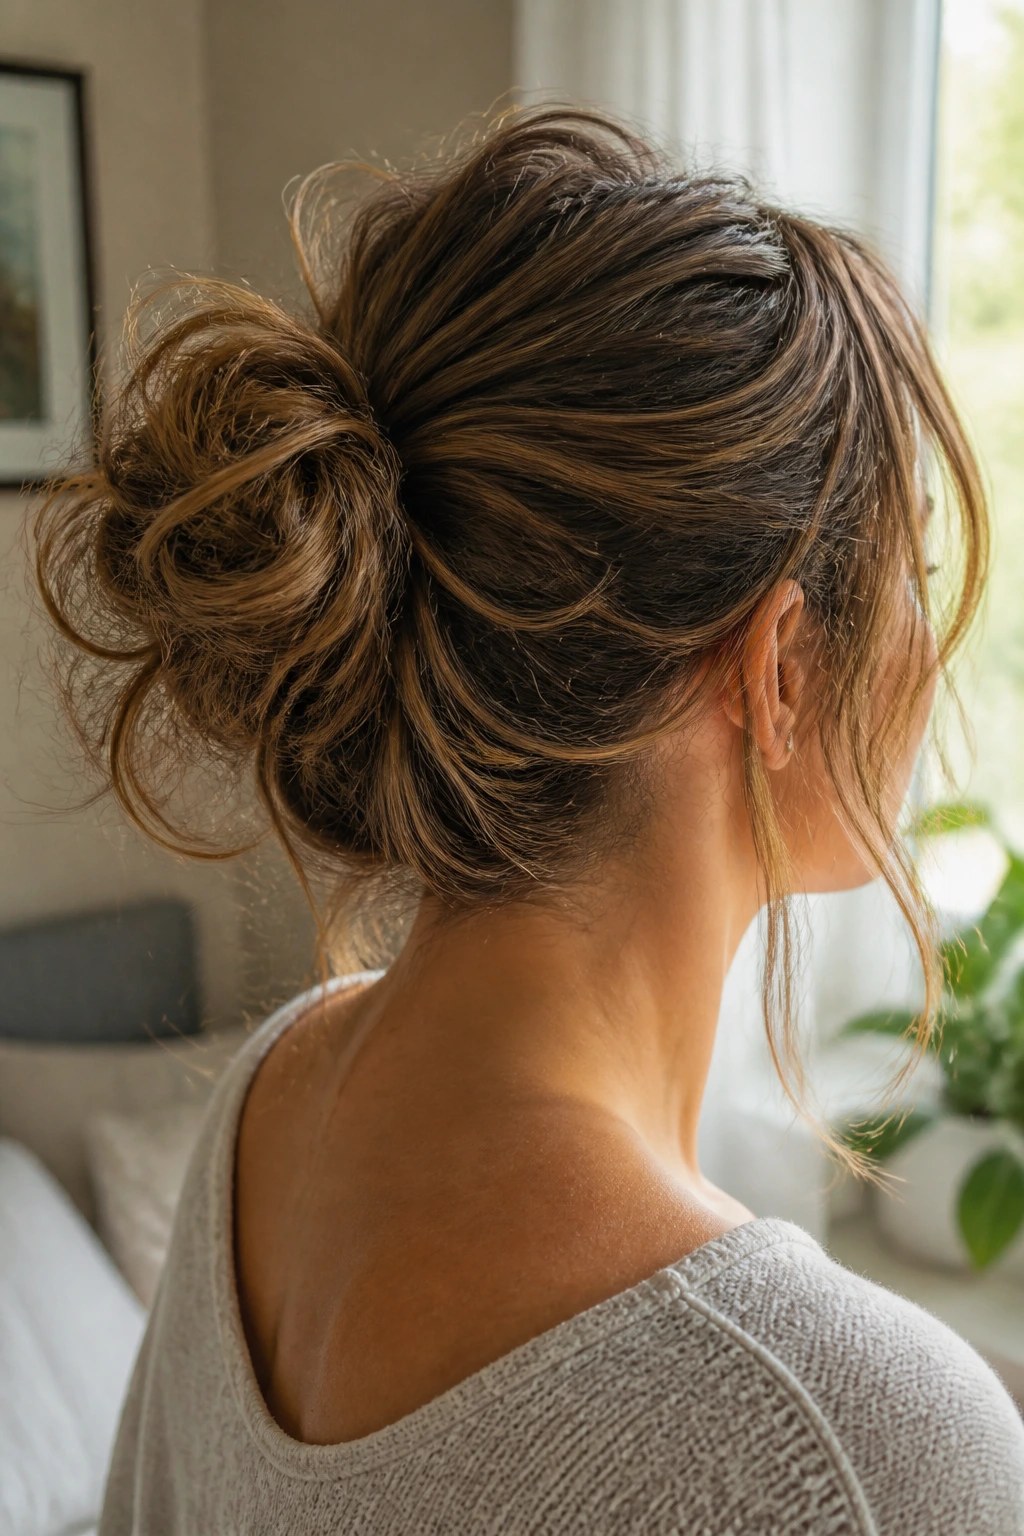
This is the style for day-two hair that has already decided its own texture. Skip the sock bun, skip the padding, and work with the bend that’s already there. A loose bun made from slept-in hair has a better finish than one built from hair that was freshly brushed into obedience.
I use this on medium hair that bends at the ends and gets a little flip near the shoulders. That natural movement helps the bun feel fuller. If your hair is very straight, add a mist of texturizing spray before you gather it; otherwise the bun can slide too neatly into place.
The sockless part matters. Padding can make a medium-length bun sit too far from the head, and then it starts looking fake. A simple elastic, two pins, and a few soft pieces around the face usually do more than any foam insert.
15. The Messy Bun with Curtain Bangs
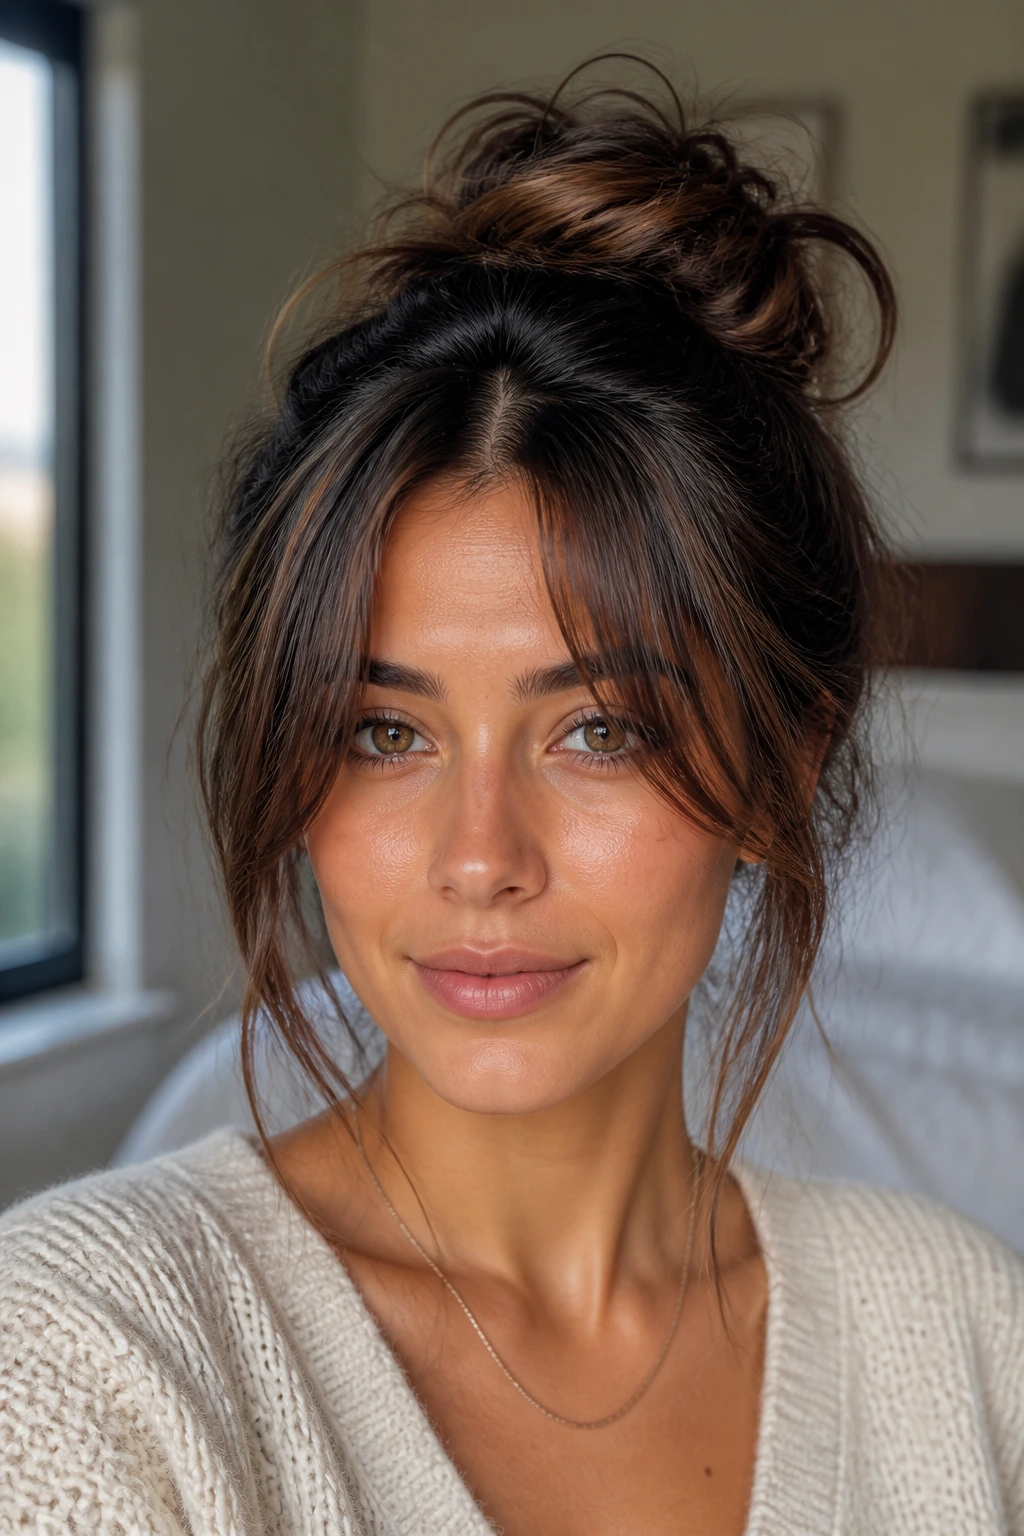
Curtain bangs change the entire frame of a bun. If you’ve got them, don’t pin them back and pretend they aren’t there. Let them do the soft work. A messy bun with curtain bangs looks best when the bun sits slightly lower than the crown and the bangs are blown or brushed into a gentle curve away from the face.
How to keep the fringe from fighting the bun
Dry the bangs first with a round brush or your fingers, directing them away from the center part so they fall naturally at the cheekbones. Then build the bun. If the bangs are too flat, the bun ends up doing all the work, and the style loses balance.
This version is good for medium-length hair because the bun doesn’t need to be oversized. The bangs add movement up front, so the bun can stay compact and still feel complete. A tiny bit of bend in the front sections goes a long way here.
16. The Low Bun with Tucked Ends
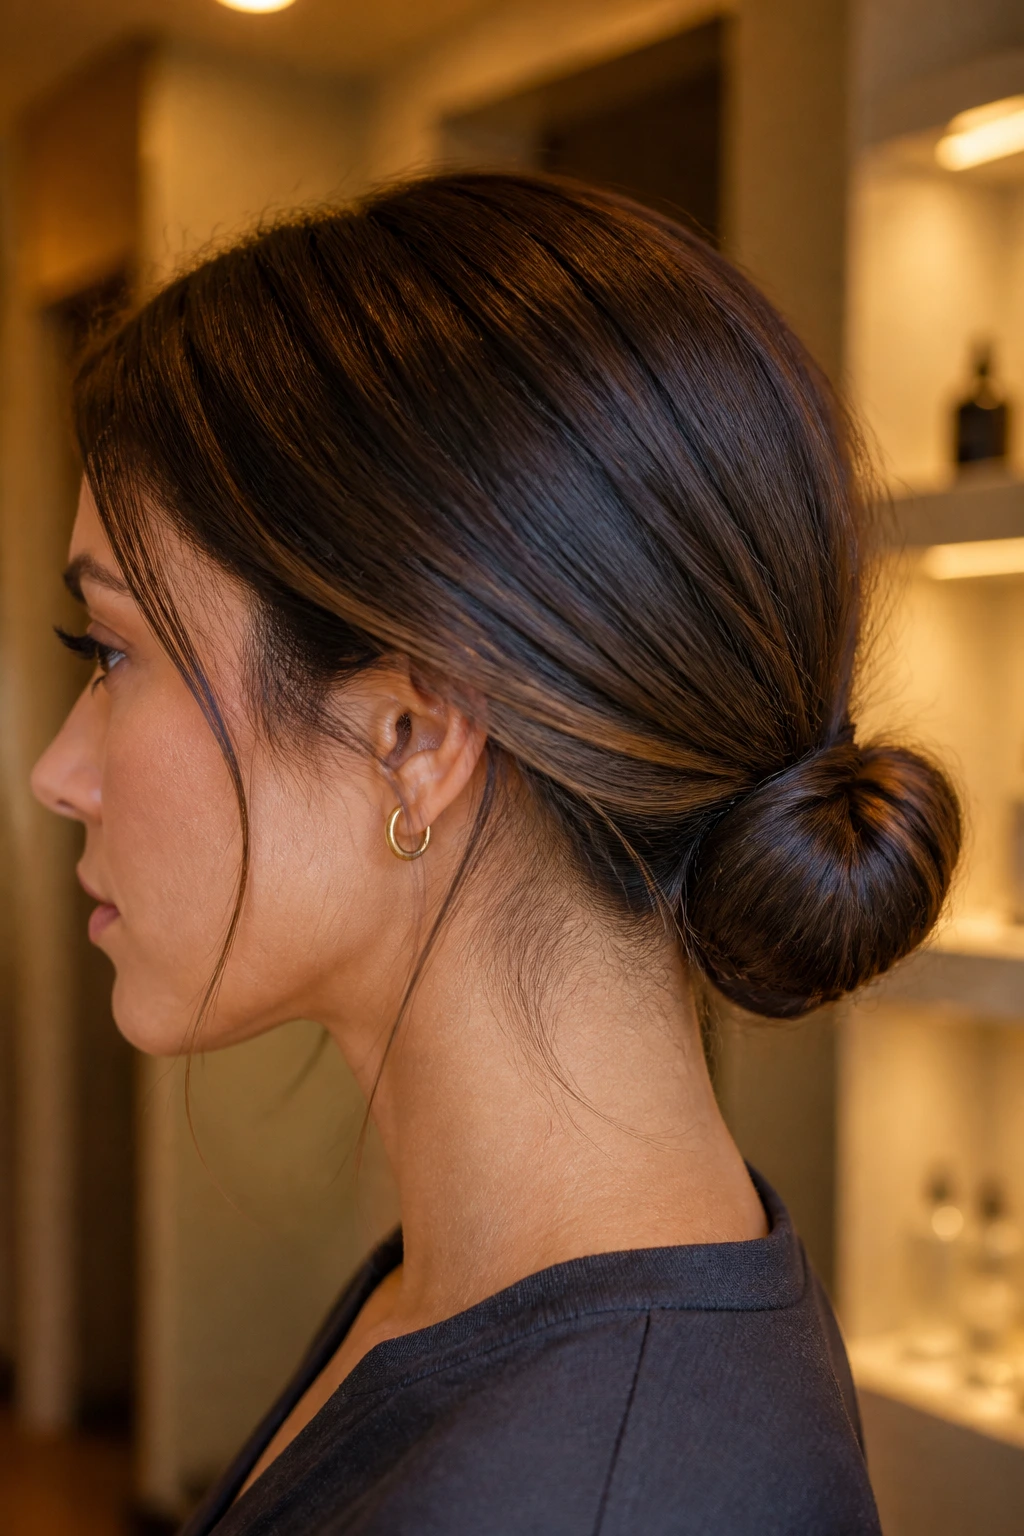
This is the neatest style in the bunch, but it still counts as messy because the edges stay soft. Gather the hair low, twist the length under, and tuck the ends into the base so they disappear. Then pull a few narrow pieces loose at the temples and near the nape. That contrast is what keeps the bun from turning severe.
Medium-length hair does well here because the ends are long enough to tuck but short enough not to create a thick knot. If your cut has blunt ends, the shape will look denser. If it has layers, the bun will look softer and a little more broken up.
I’d use this when you want something that feels polished but not rigid. It’s the cleanest choice for medium hair without crossing into stiff territory. A dab of smoothing cream at the top and a few well-placed U-pins are usually enough.
17. The Crown-Braid Bun
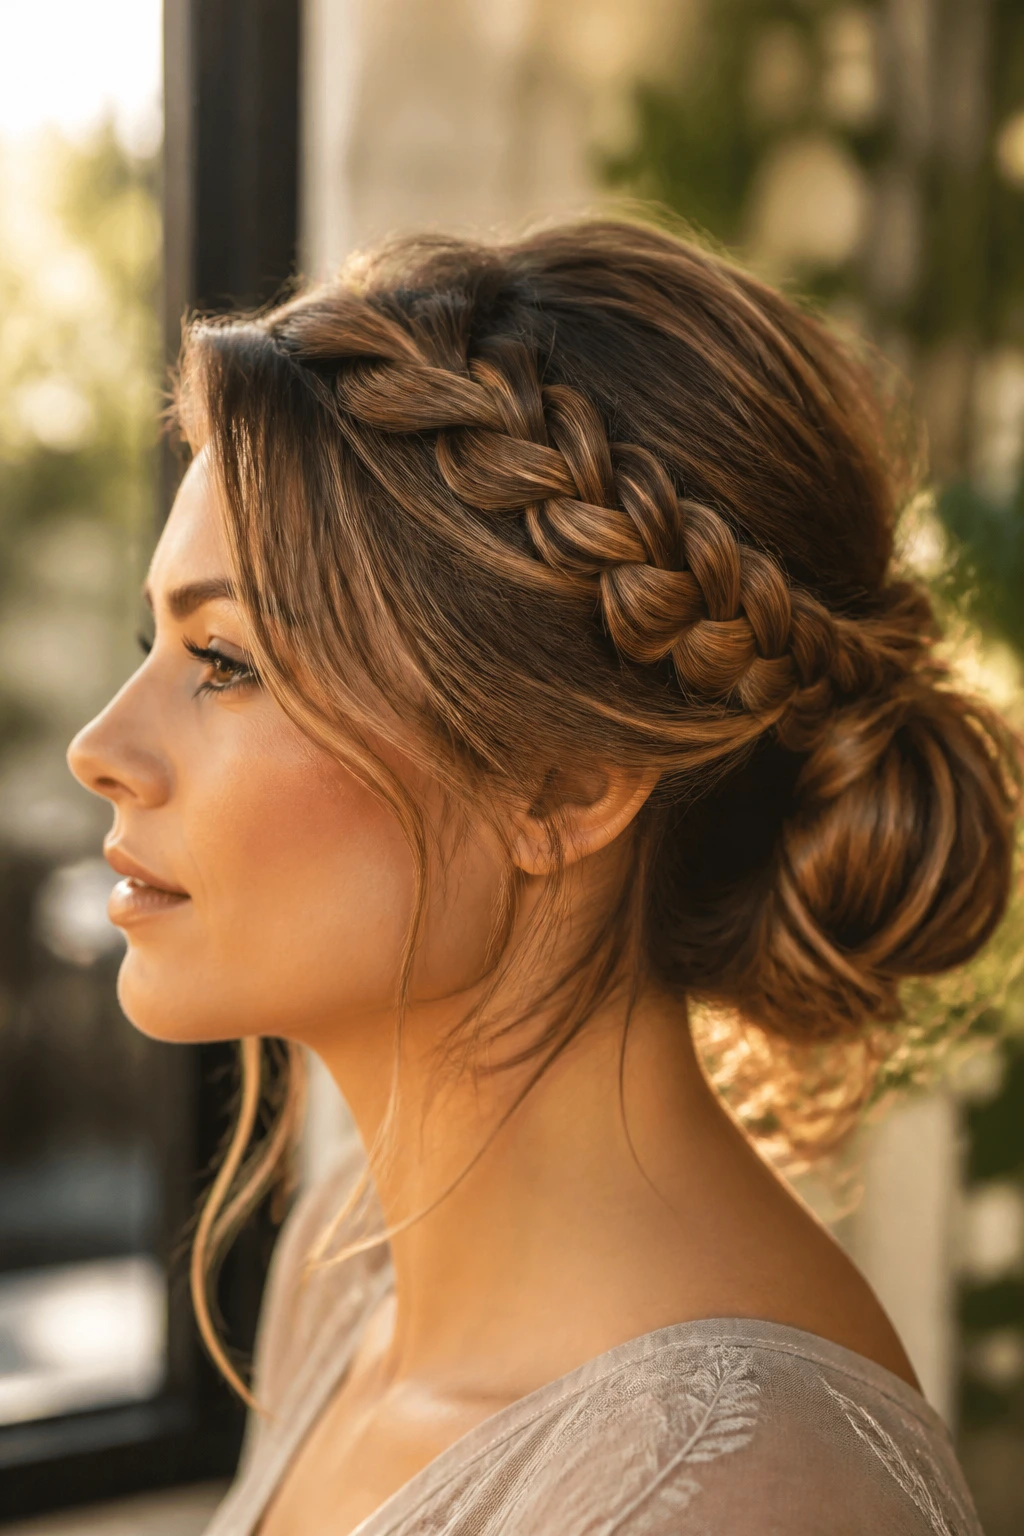
A crown-braid bun is a little more involved, but the payoff is worth it. Braid along the hairline from one temple, across the crown, and toward the opposite side, then gather the remainder into a low bun. The braid gives the front of the hairstyle a strong shape, and the bun keeps the back soft.
This style suits medium-length hair that has enough density to hold a braid without puffing out in every direction. If your hair is slippery, spray the braid lightly with texture spray before you start. That one move makes the whole thing easier to grip.
I like this style when the bun needs to feel special without looking formal. The braid does the framing. The bun does the grounding. They meet in the middle nicely.
18. The Flipped-Through Bun
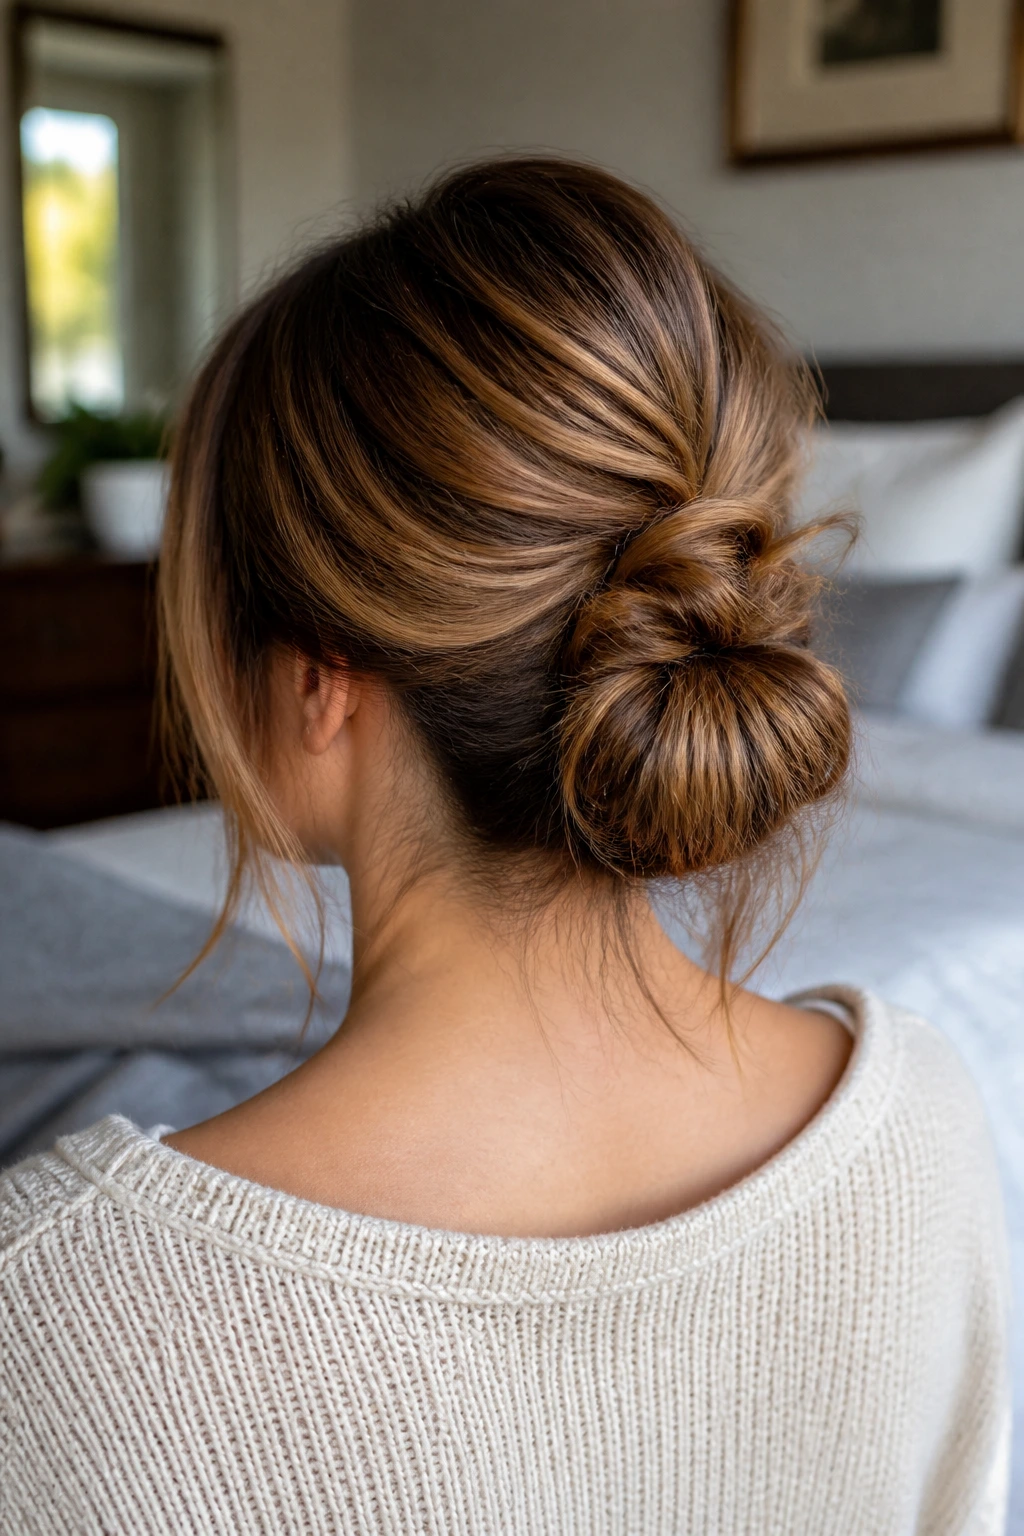
The flipped-through bun is the style I reach for when I want quick shape with almost no fuss. Make a ponytail, pull it through the elastic once, then on the next pass, flip the tail inward so it folds back on itself. That creates a soft shell with a little hidden volume.
Medium-length hair is the right length for this because there’s enough tail to flip but not so much that the bun starts drooping under its own weight. If the fold feels small, tug the top loop outward with your fingertips and pin the sides. You can make it look fuller in seconds.
It’s a good middle ground between a ponytail and a full updo. Clean enough to look done. Loose enough to count as messy.
19. The Pin-and-Peek Bun
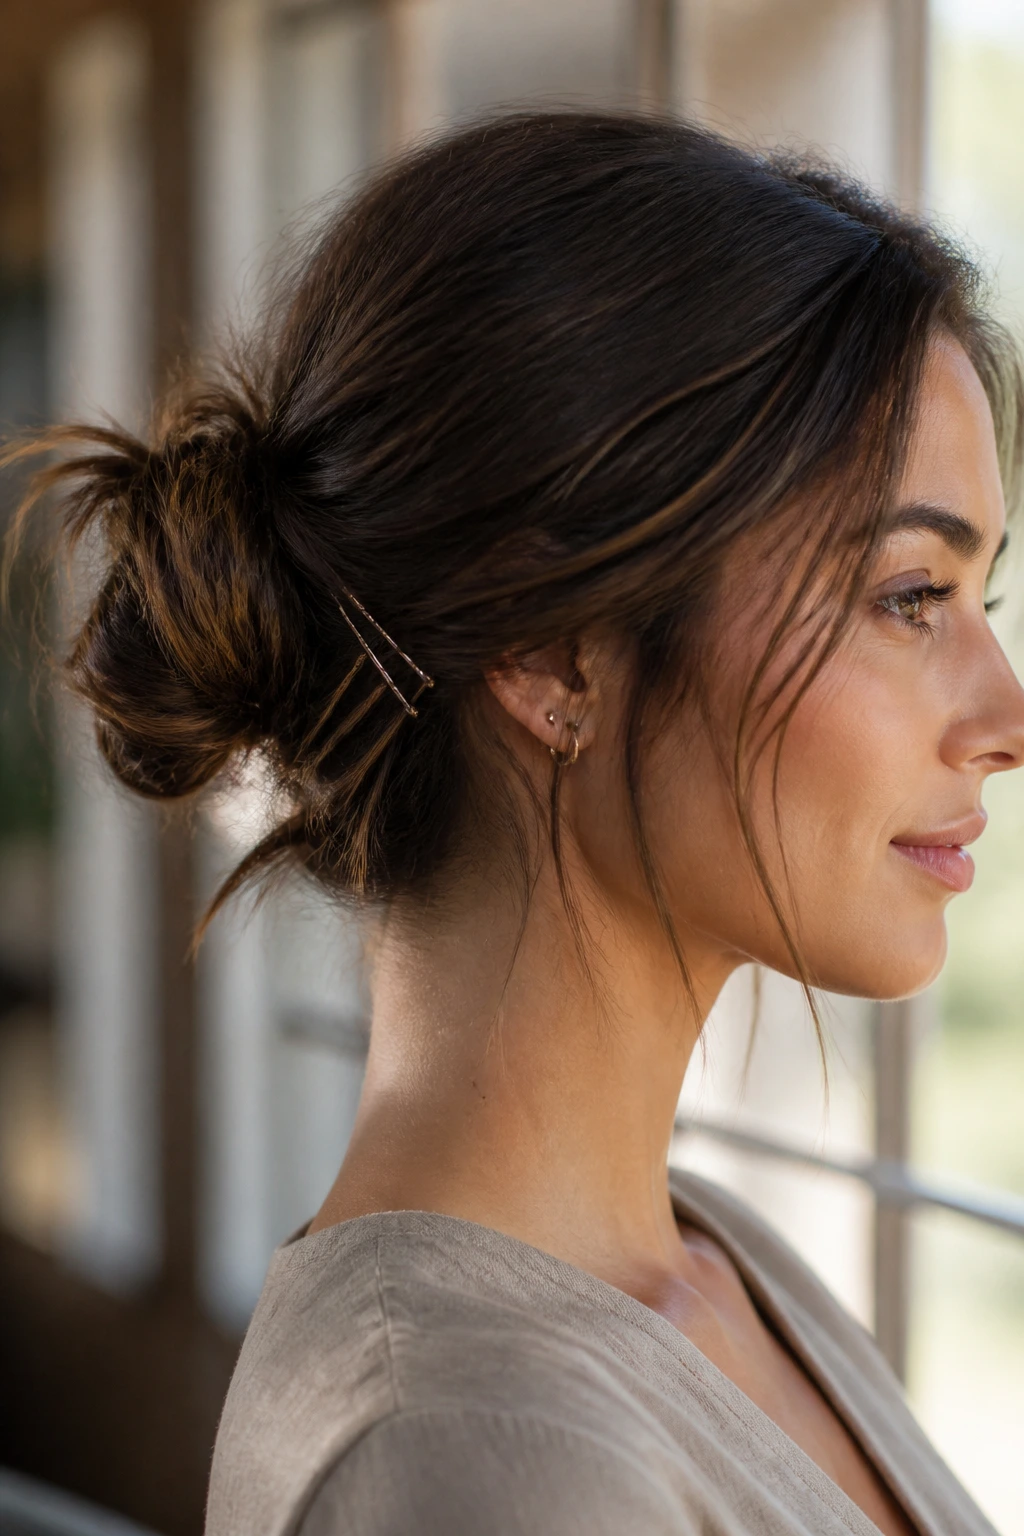
This is the modern, slightly editorial version of the messy bun. Instead of hiding every pin and strand, you let a few ends peek out on purpose and use visible pins as part of the look. The trick is making the placement look deliberate, not chaotic.
Is it messy? Yes. Is it sloppy? Not if you use the same color pins as your hair and place them in clean lines near the base. Medium-length hair is ideal for this because the pieces are short enough to sit close to the head, but long enough to create texture around the bun.
I like this style on layered cuts, especially when the shorter front pieces and ends are already doing some of the work. It has a little edge, a little looseness, and just enough structure to keep the bun from feeling random.
Why Messy Buns Work So Well on Medium Length Hair
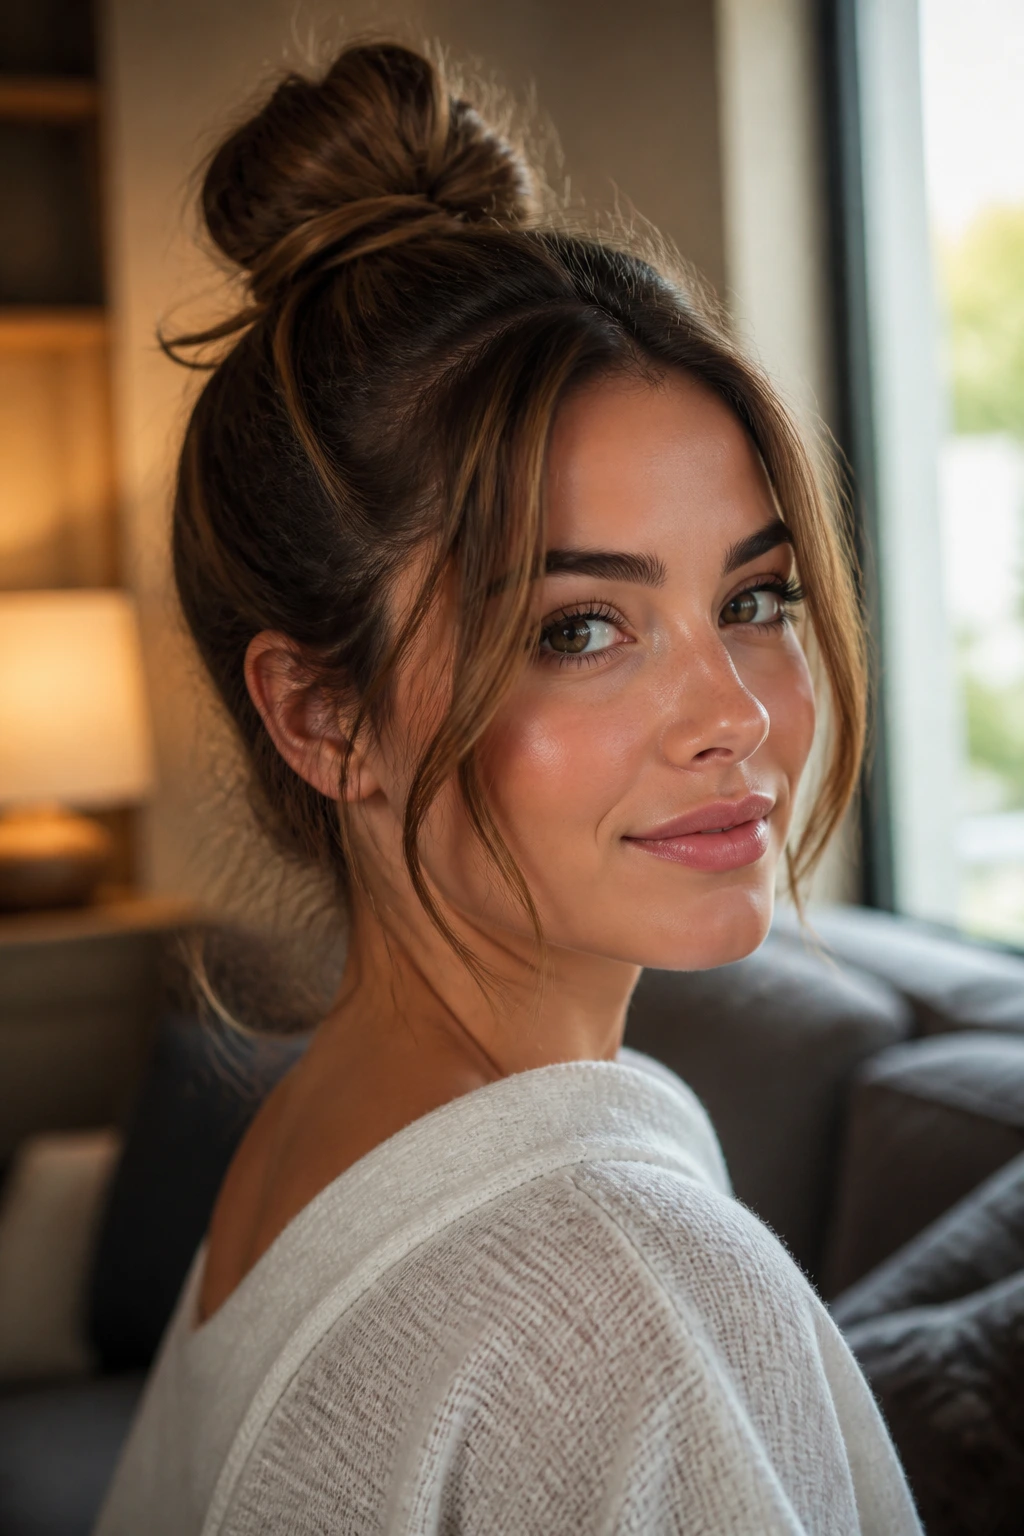
Medium-length hair is where messy buns start to make sense instead of fighting back. The length gives you enough hair to twist and tuck, but not so much that the style becomes heavy or collapses under its own weight. That balance is why these buns feel easier than they look.
There’s also less pressure to make the bun huge. With longer hair, people often chase volume because they think the bun needs to fill the back of the head. Medium hair doesn’t need that trick. A smaller, looser bun sits closer to the scalp and looks better with a few soft pieces around the face.
The other advantage is control. Medium hair is long enough for pins to catch, but short enough that the bun rarely turns into a slippery rope of extra length. If the base is secure and the crown has a little lift, the whole style stays put longer than most people expect.
The Tools That Make These Styles Easier
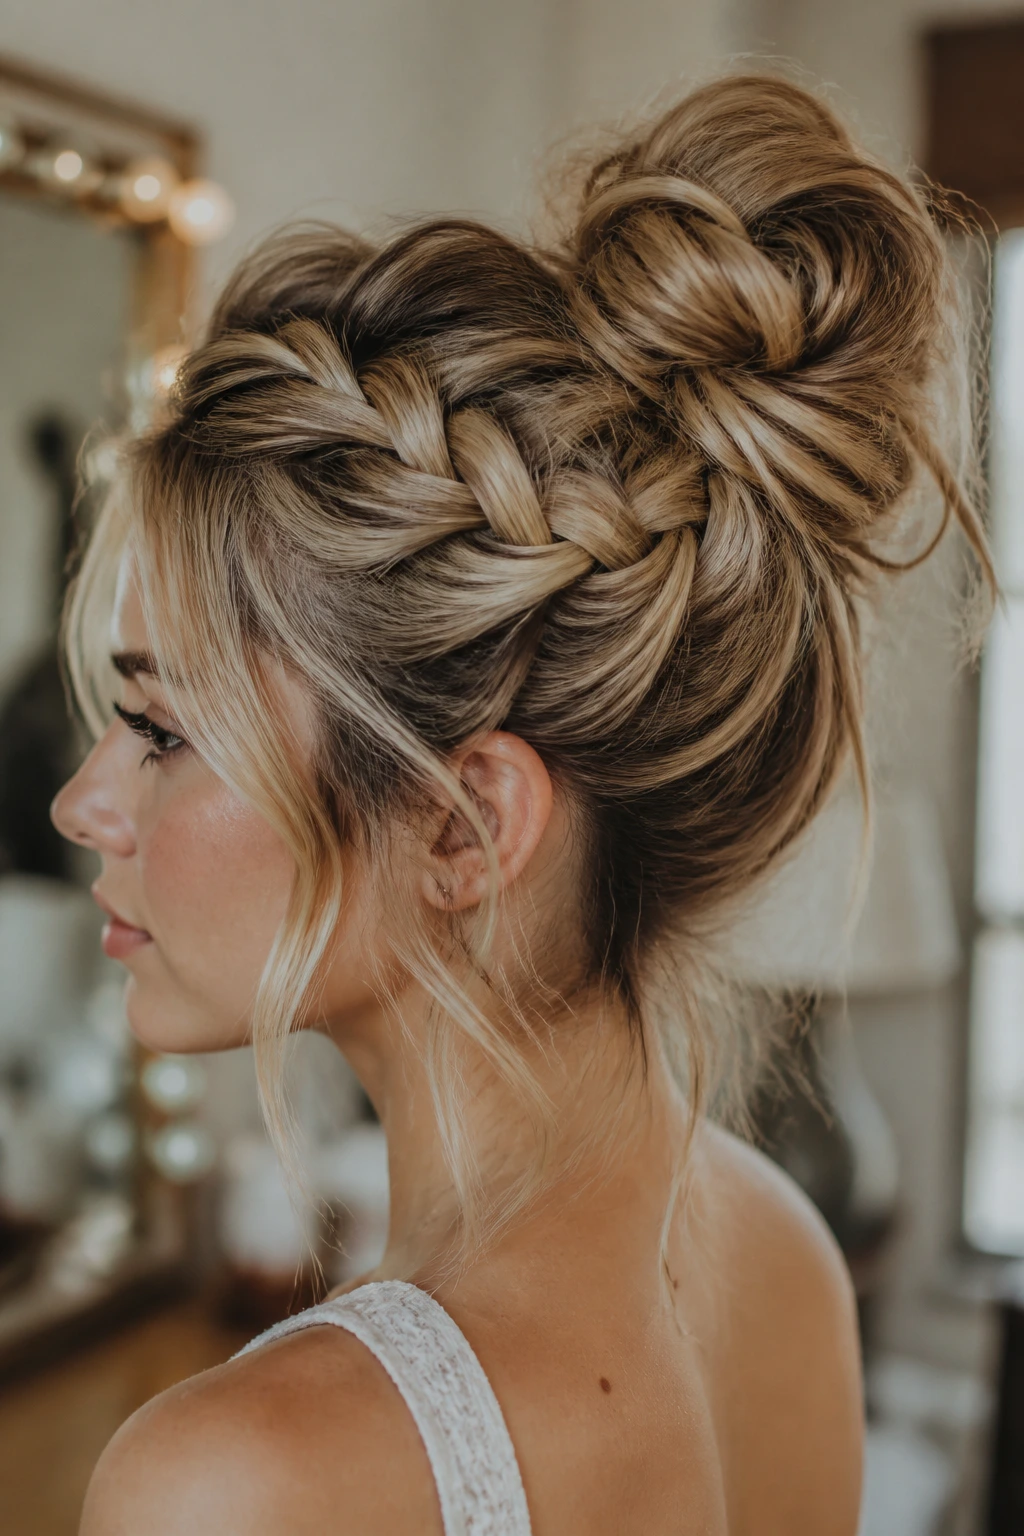
- Snag-free elastics: Small, coated hair ties grip medium hair without snapping the ends or leaving a huge bump at the base.
- Bobby pins in your hair color: You’ll use these to lock down the bun and hide the ends; matched pins disappear faster than silver ones.
- U-pins: These are especially good for looser buns, French twists, and low knots because they slide in without flattening the shape.
- Texturizing spray: A light mist gives fine or freshly washed hair the grit it needs to stay put.
- Dry shampoo: Use it at the roots and around the crown to cut shine and add grip, especially if hair is silky.
- Medium claw clip: Handy for quick buns and low folds when you want less pinning.
- Tail comb: Useful for clean parts and for lifting small sections at the crown without making the whole style fluffy.
- Light hairspray: Pick a flexible one, not a helmet spray. You want movement, not stiffness.
- Hand mirror: Worth having when you pin the back of the head. The nape is where sloppy work shows first.
- Sectioning clips: Optional, but useful if you’re building braids, twists, or crown sections and don’t want the front hair to fall forward.
Prep, Grip, and Texture Before You Start
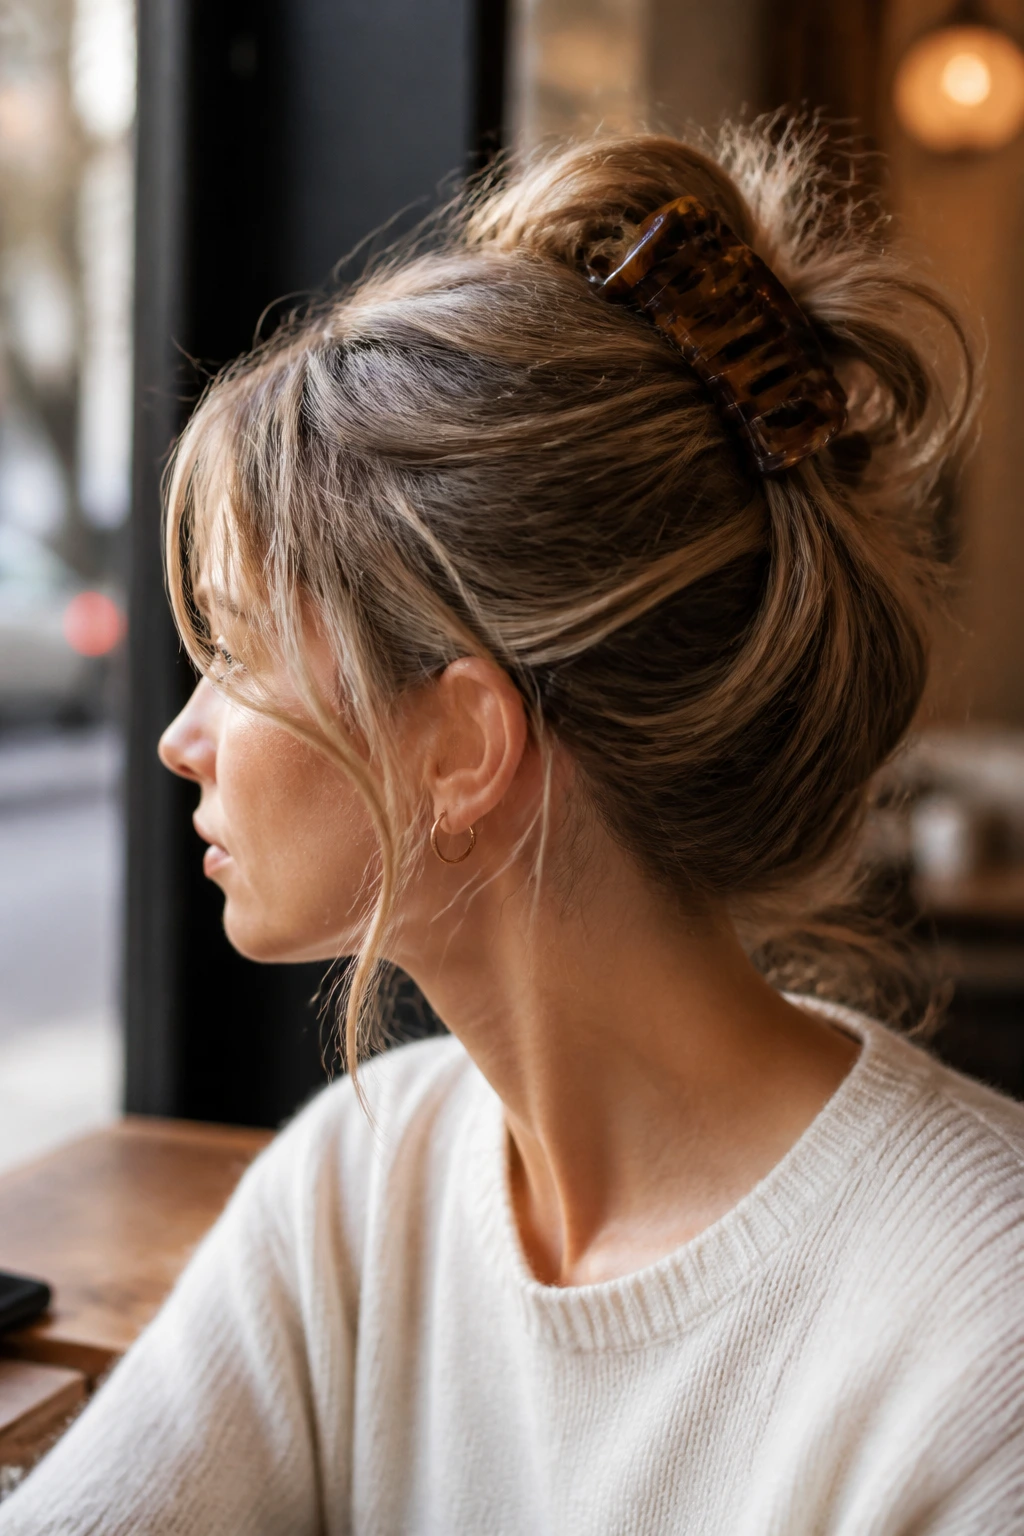
The difference between a bun that slips out in an hour and one that lasts all day usually starts before you even grab an elastic. Freshly washed hair is often too slick, especially if your conditioner is rich or you have naturally fine strands. Medium-length hair can be the worst offender here, because there’s enough length to slide but not enough weight to anchor itself.
If your hair is clean, rough-dry the roots, mist the mid-lengths with texturizing spray, and wait a minute before you gather it. If it’s day-two hair, use dry shampoo at the crown and around the hairline, then shake the hair out with your fingers instead of brushing it flat. That little mess is your friend.
For straight hair, a bend at the ends helps a lot. A quick wave with a curling iron, even only on the top layers, gives the bun something to catch. Curly and coily hair often need less product and more shape control. In that case, the goal is usually to preserve the curl pattern instead of brushing it out into a puff.
How to Keep a Messy Bun in Place All Day
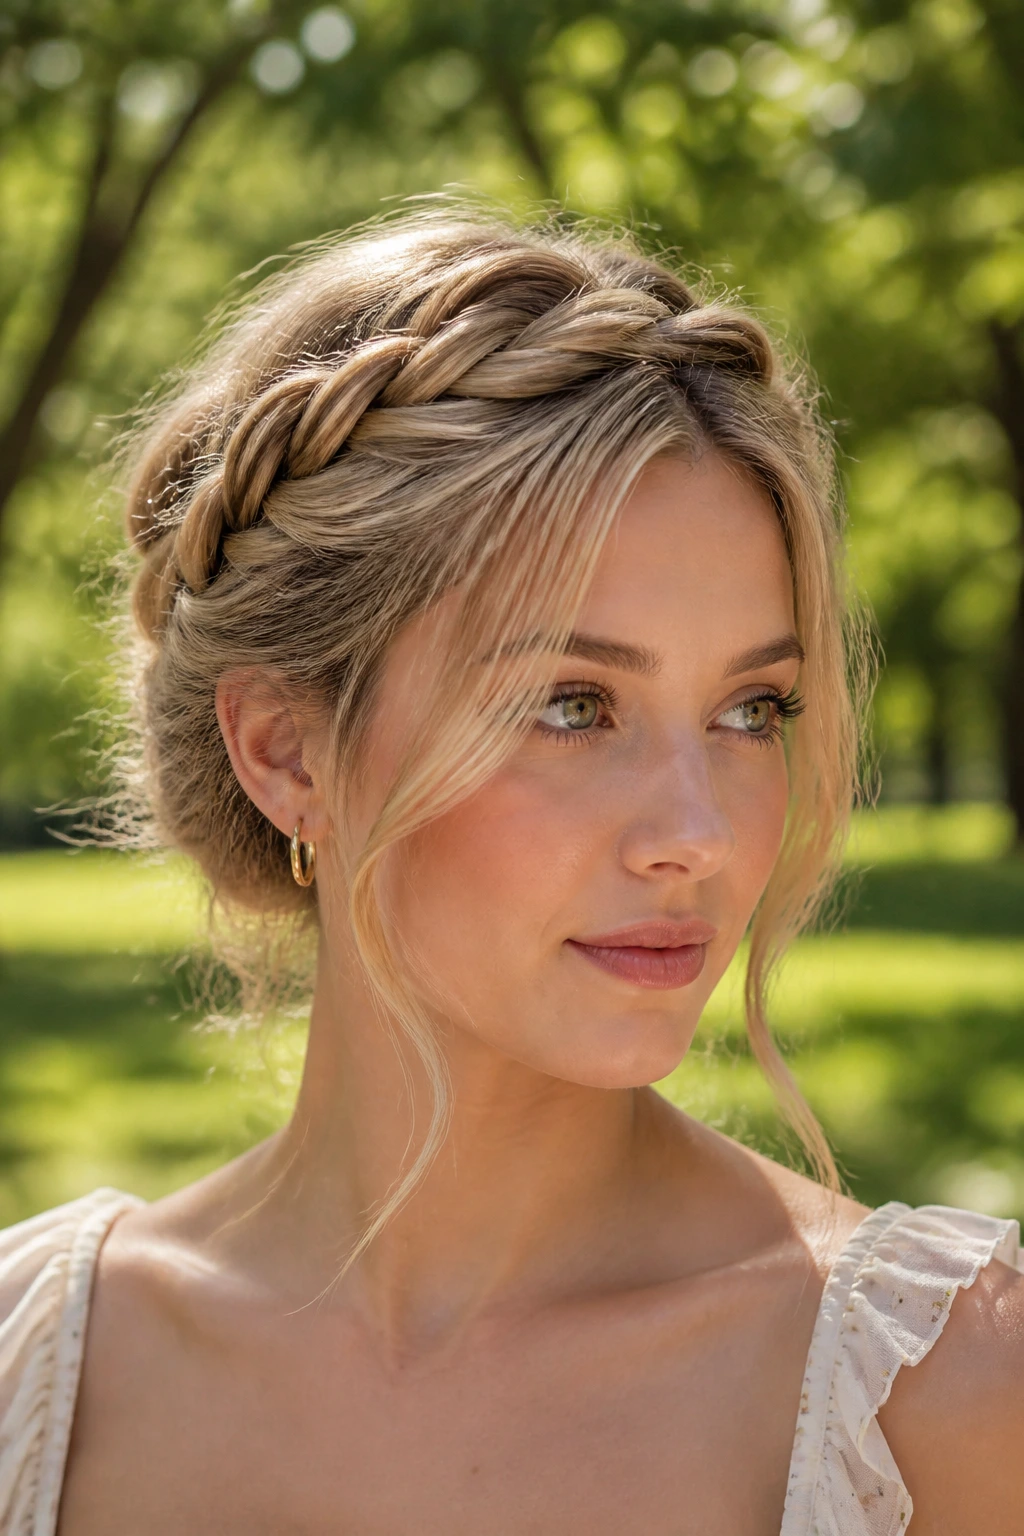
Anchor the base.
Put the elastic where the bun actually wants to sit, not where you wish it would sit. For low buns, that’s usually just above the nape. For topknots, it’s the highest flat point of the head. If the base is off by even an inch, the bun starts to lean and the pins work harder than they should.
Cross the pins.
A single bobby pin shoved straight in rarely holds as well as two pins inserted in opposite directions. One goes in from the left, the other from the right. That little X gives the bun a grip that surprises people every time.
Use friction, not armor.
A light mist of spray is enough. Heavy, sticky product makes hair clump, which can actually loosen the bun because the strands stop interlocking naturally. Dry shampoo, texture powder, or a matte spray usually does more than a hard shell of hairspray.
Check the perimeter.
Look at the sides near the ears and the nape after the bun is pinned. If those edges feel too tight, pull out a few thin pieces with the tip of a comb or your fingernail. The style lasts longer when it doesn’t feel stretched to the point of snapping.
Do a thirty-second reset.
If the bun starts to sag, don’t rebuild it from scratch. Pull one pin, twist the base once, re-pin, and loosen the top with two fingers. That usually fixes the shape faster than starting over.
The Little Styling Moves That Change the Finish
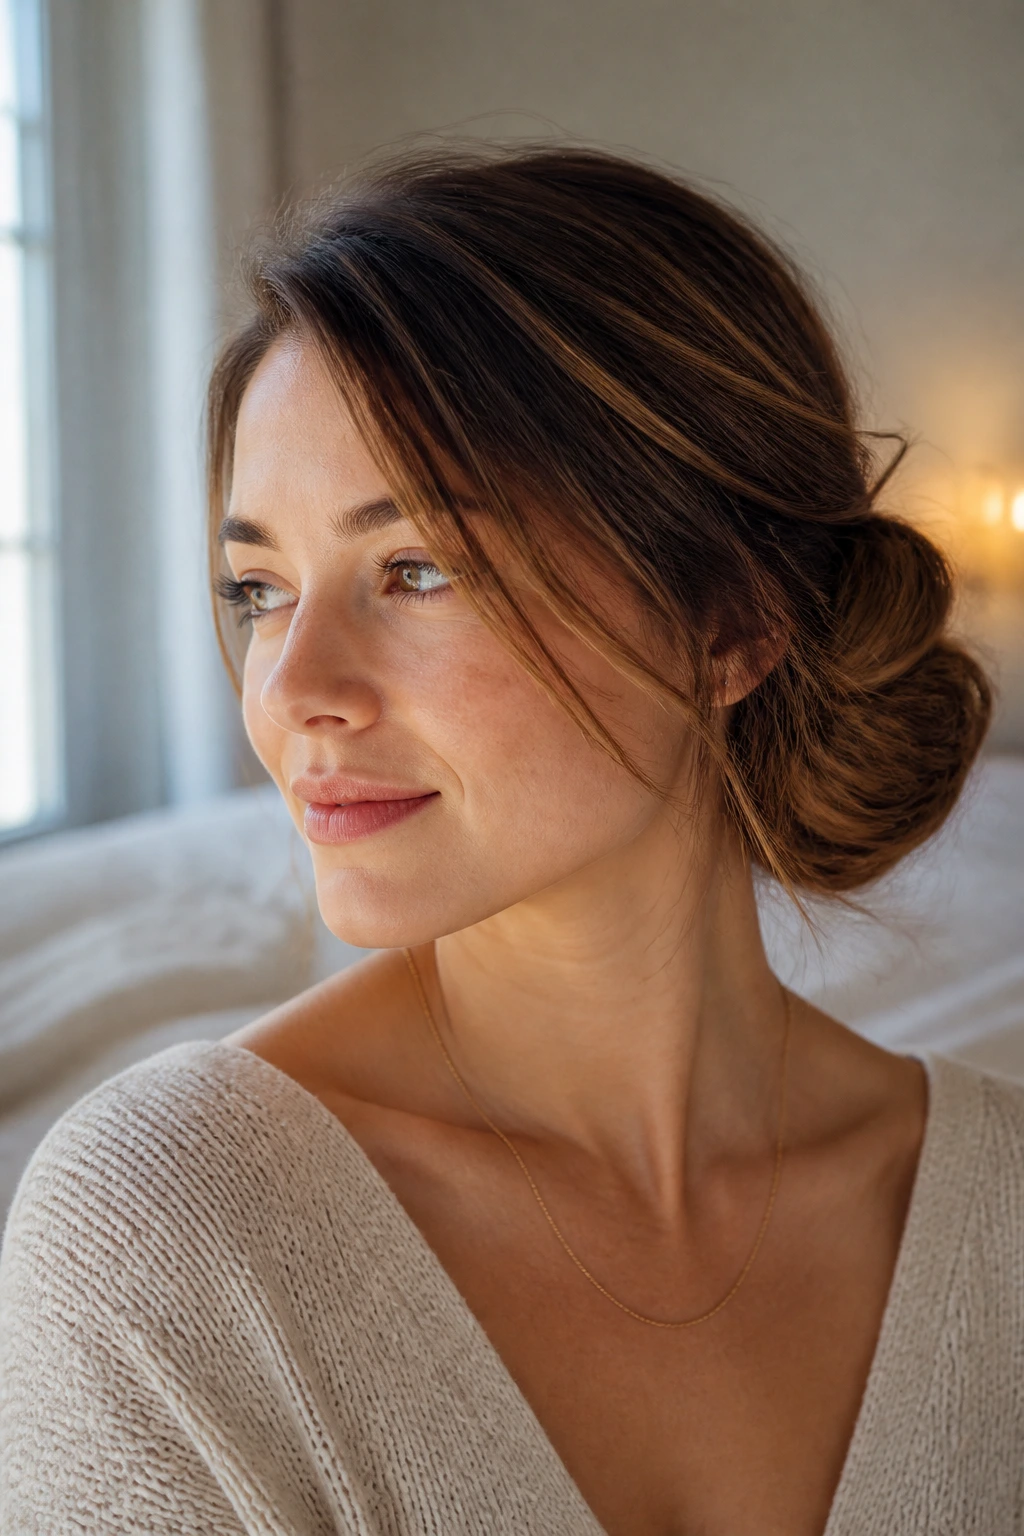
Texture Boost: If the hair is slippery, rough only the roots and the very outer layer. You do not need to tease the whole head. A little grit at the crown and nape is usually enough.
Face-Framing Pieces: Leave pieces that are roughly pencil-thick near the temples if you want softness, or thinner if you want the bun to feel cleaner. Curl them away from the face with a 1-inch iron for a more finished edge.
Accessory Move: One matte claw clip, a narrow scarf, or a pair of visible pins can change the mood fast. Shiny plastic and overdecorated clips can look loud on medium hair, so I usually prefer something with a dull finish.
Make-It-Yours: For fine hair, use a texture spray before pinning. For thick hair, split the bun into two smaller coils instead of one stuffed knot. For curly hair, keep the curl pattern intact and let the bun sit looser. For straight hair, a little bend at the ends prevents the style from looking too neat.
Common Mistakes to Avoid
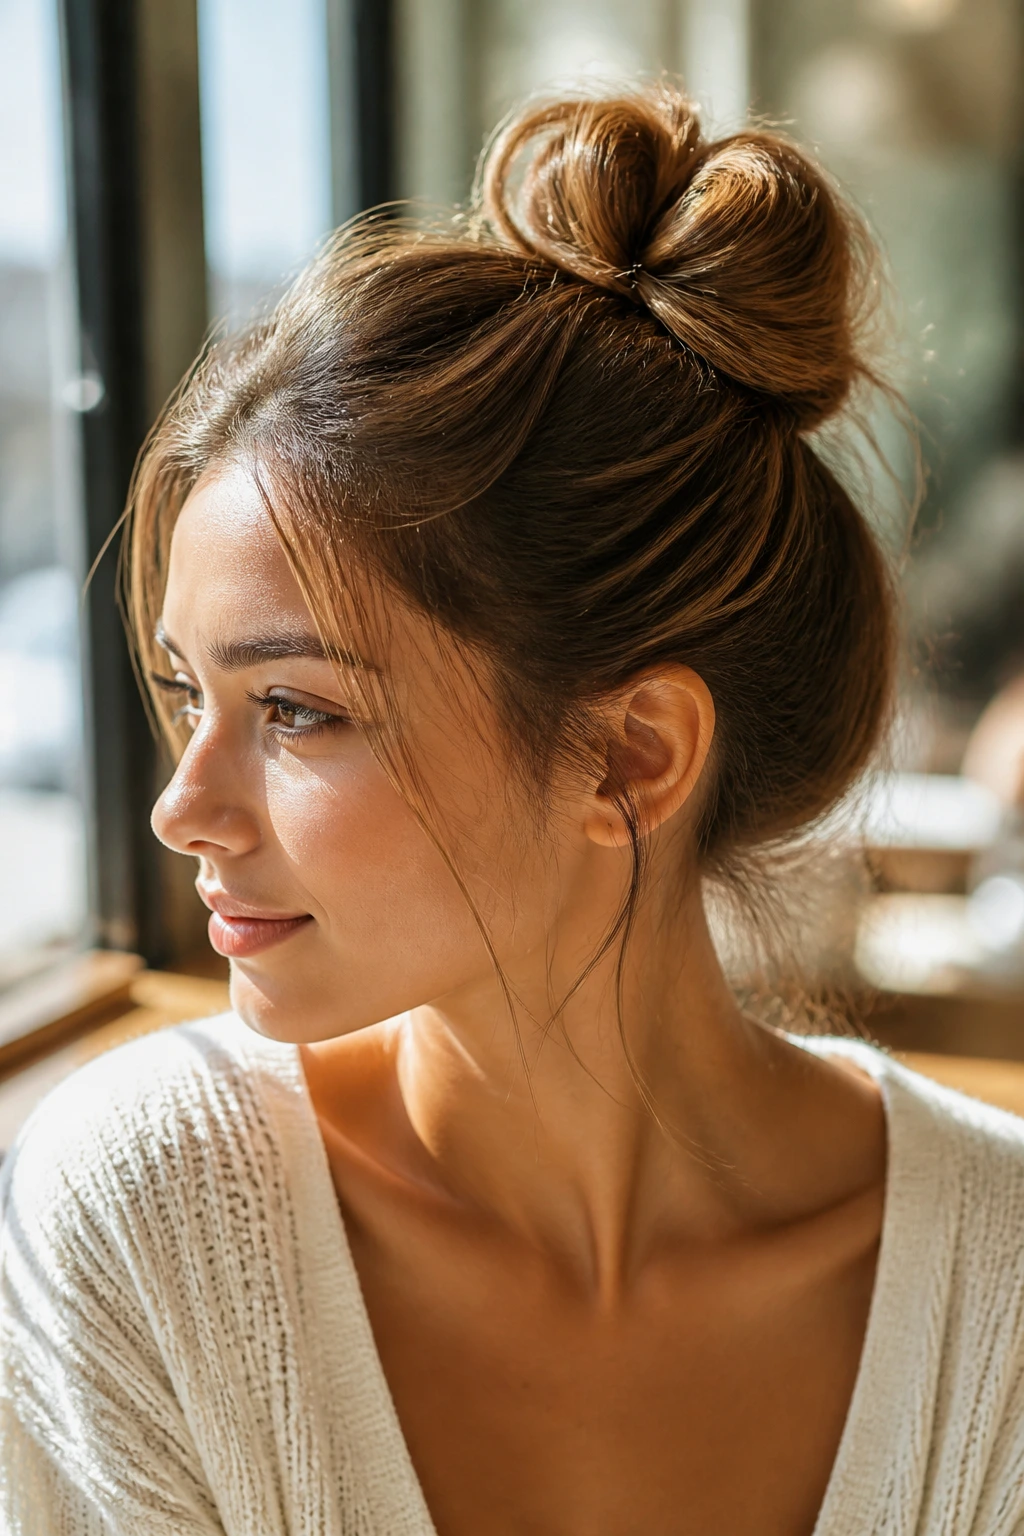
- Building the bun on hair that is too slick: Freshly conditioned hair can look polished for five minutes and then start sliding. Add dry shampoo or texture spray first, especially at the roots.
- Pulling the elastic too tight: A bun that starts as a hard knot usually ends up small, flat, and uncomfortable. Leave a little slack so you can shape it with your fingers after securing it.
- Hiding every end: Medium-length hair often looks better when a few ends are visible. If you force everything under the bun, the shape can get dense and oddly round.
- Using pins in the wrong direction: Pins inserted straight into the bun can pop out. Angle them in opposite directions so they lock the hair against the scalp or base.
- Putting the bun too high on the crown: Medium hair can make a high bun look tiny and unstable. Unless you want a topknot, keep most of the styles a little lower than you think.
- Skipping the front pieces: A bun with no softness at the temples can look severe fast. Pull out a few strands or leave your bangs and layers to do their job.
Variations and Adaptations to Try
Fine-Hair Cloud Bun
Start with dry shampoo at the roots and a light texture spray through the mid-lengths. Fine hair needs friction more than it needs volume packed into one knot, so keep the bun loose and use crossed pins rather than one elastic pulled tight. A little puff around the crown makes the style look fuller without overworking it.
Thick-Hair Split Knot
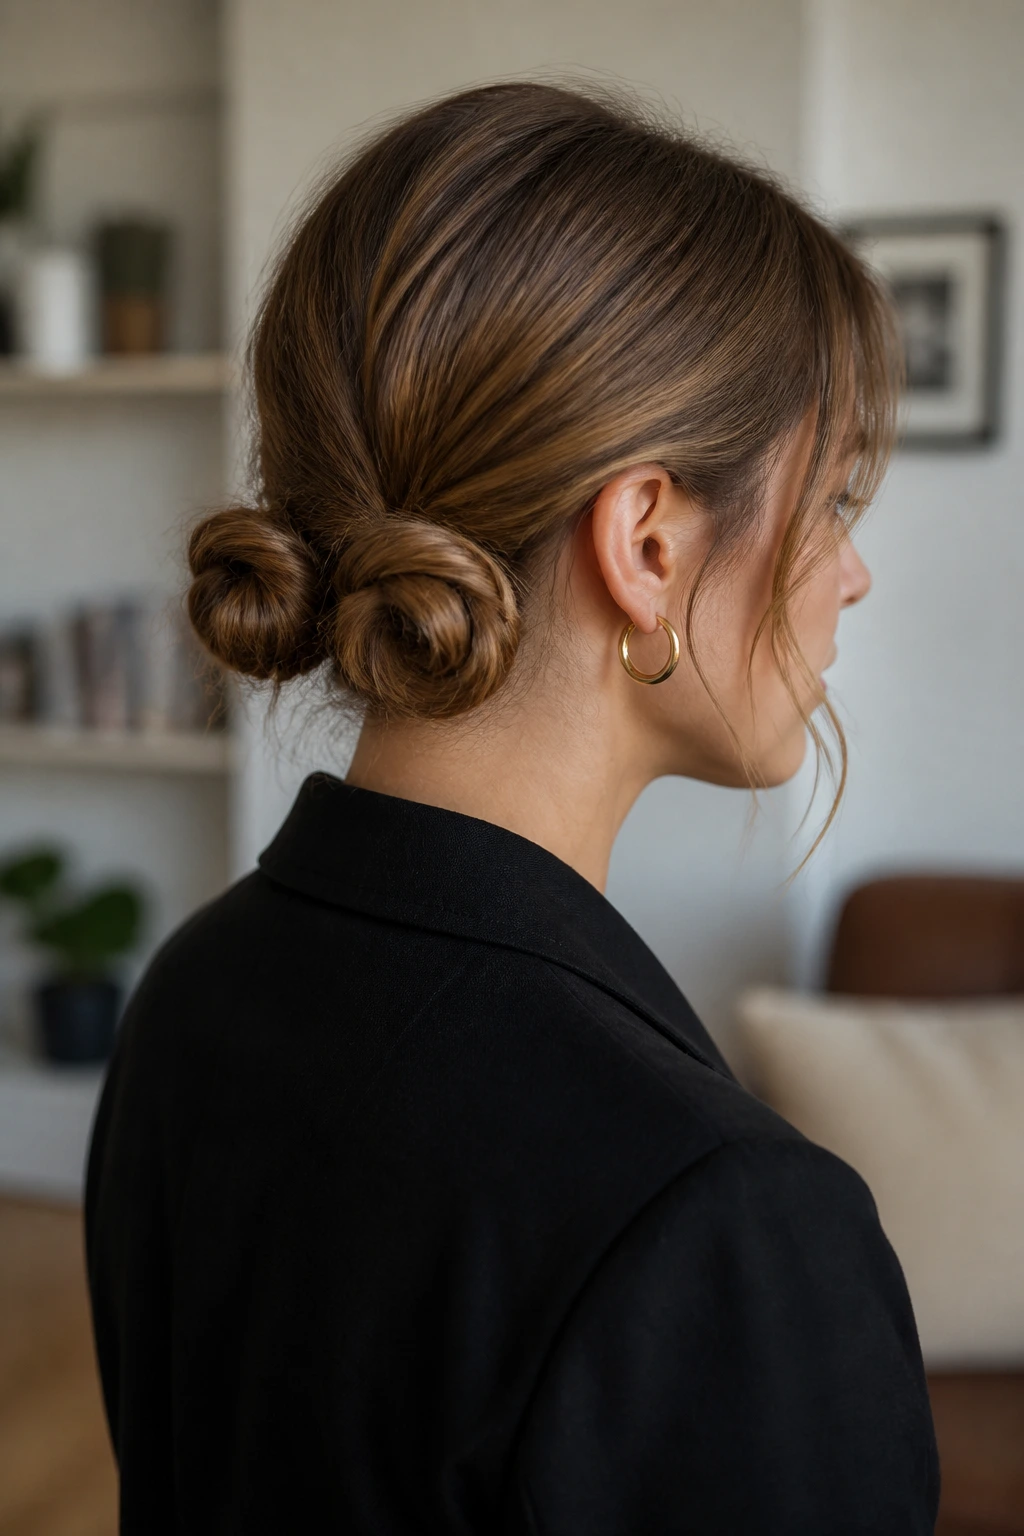
If your hair feels like too much for one bun, split it into two low knots and pin them close together. This keeps the bun from bulging outward and makes the shape easier to control. Thick hair looks better when the bundle is divided on purpose than when it’s forced into one overloaded coil.
Curly-Hair Halo Bun
Keep the curls intact instead of brushing them out. Gather the hair gently, tuck the curls into a loose bun, and let the outer ring of curls frame the face and neck. A satin scrunchie helps keep the curl pattern from getting crushed.
Workday Polished Mess
Use a smoothing cream at the top, keep the bun low, and hide the elastic with a twist of hair or a slim scarf. The front stays clean, the bun stays soft, and the finish looks calmer than the looser weekend versions.
Weekend Clip-and-Go
Twist the hair into a low bun, clamp it with a claw clip, and leave the ends peeking through the top or side. This version is fast, slightly undone, and easy to reset without a mirror. It’s the one I’d use when you want hair off your neck and don’t care if every piece is exact.
Accessory-Heavy Bun
Add a scarf, a decorative pin, or two small barrettes near one temple. Keep the bun itself simple so the accessory has room to show. On medium hair, that balance matters; too many extras can swallow the style.
Refreshing the Style Between Washes
Messy buns usually look best on hair that isn’t freshly scrubbed clean every single time. Medium-length hair has a way of settling into a nicer shape on day two, sometimes even day three, once the roots have a little grip. That doesn’t mean you should let it go wild. It means you should reset it smartly.
If you want to wear the bun again the next day, unpin it carefully and shake the hair out by the roots instead of brushing it all the way smooth. Reapply dry shampoo at the crown and behind the ears, then twist the lengths into a new shape. Don’t just pull the old bun tighter. It usually gets worse.
For overnight wear, keep the style low and loose. A tight topknot can leave dents and pull at the scalp, especially if you sleep on your side. If you want the bun to survive the night, wrap it with a soft scrunchie or swap the elastic for a silk tie, then sleep on a silk pillowcase if you have one. The next morning, a light mist of water and a quick finger-twist usually wakes the style up again.
If a bun starts to collapse by afternoon, that doesn’t mean it failed. It usually means it needs one pin, one tug, and a little rebalancing at the base. That’s the honest life of a messy bun. Small fixes are part of the deal.
Frequently Asked Questions
What’s the easiest messy bun for medium-length hair?
The loose low knot is the easiest place to start because it uses the length you already have without asking for perfect sectioning. If your hair is layered or a little slippery, the claw-clip bun is close behind because it skips some of the pinning.
How do I keep a messy bun from falling out?
Use texture at the roots, anchor the elastic where the hair naturally wants to sit, and cross at least two bobby pins at the base. If the bun is slipping, the problem is usually grip or placement, not the shape itself.
Should my hair be clean or dirty for a messy bun?
Day-one hair can work, but day-two hair usually holds better because it has less slip. If your hair is freshly washed, add dry shampoo or texturizing spray before styling so the strands catch each other.
Can medium-length hair make a full bun, or will it look too small?
It can make a full bun, but the shape works best when you accept a slightly smaller knot and let the surrounding pieces do some of the visual work. A bun that is compact, soft, and pinned well often looks better than a bulky one that keeps collapsing.
What if my layers keep sticking out?
That’s not always a problem. Shorter layers can make the bun look softer and more relaxed. If a few pieces are poking out in a distracting way, tuck them under with a U-pin or curl them into the face-framing sections instead of forcing them flat.
Can I do these styles on straight hair without heat?
Yes, but straight hair usually needs more grit. Dry shampoo, texture spray, or even a little mousse at the roots helps the bun stay put. If you want extra shape, a few loose bends in the front sections make a big difference.
Are claw clips better than bobby pins for medium-length messy buns?
They solve different problems. A claw clip is faster and softer, while bobby pins give you tighter control and more shape. If your bun is low and loose, a clip can be enough; if you want it to stay all day, use pins too.
How do I make the bun look fuller without using padding?
Pancake any braids, loosen the outer loops with your fingers, and avoid pulling the elastic too tight at the start. A little texture spray at the roots and a few pulled-out pieces around the crown can add size without foam inserts.
The Buns You’ll Reach For Again
Medium-length hair gives you something better than a giant, heavy bun: control. The styles here work because they use that control well. They lean into texture, smart pinning, and a shape that sits close enough to the head to last past the first hour.
The nice part is that none of these buns needs to look identical every time. A loose low knot can become a braided bun. A topknot can soften into a clip style. A scarf can make the whole thing feel new without changing the base at all. That flexibility is the real advantage of medium hair. It doesn’t lock you into one look.
Start with the style that matches your hair’s mood today, not the one you think you’re supposed to wear. Then steal one trick from the others next time, and another after that. The best messy buns usually come from small adjustments, not a single perfect move.
