



Protective hairstyles for natural hair growth are not magic, and they do not make your follicles work faster. What they do is more useful: they keep the hair you already grew from rubbing off, snapping off, and getting picked apart by your hands every other day.
That difference matters. Natural hair grows about half an inch a month on average, give or take, but the real fight is length retention. If your ends are dry, your style is too tight, or you keep changing your look every four days, a lot of that growth never makes it past your shoulders.
The best protective style is the one that gives your hair a break without making your scalp miserable. That part gets ignored too often. If your edges hurt, your nape is tender, or your braids feel like they are lifting your forehead, the style is not protecting anything. It is just organized tension.
Why These Styles Earn a Spot in a Growth Routine
Less daily handling: Every style in this collection cuts down on combing, brushing, and styling, which is where a lot of breakage starts.
Better end protection: Tucked ends, braid extensions, twists, and wrapped styles keep fragile tips off collars, zippers, and cotton pillowcases.
More room for length retention: Hair can grow from the root while you stop shaving off progress at the ends. That is the whole game.
A style for almost every schedule: Some of these can be installed in an afternoon. Others are a time investment. None of them should leave you stuck with your hair half-done and fraying.
Scalp-friendly options exist: Not every protective style has to feel tight or heavy. The good ones let you breathe, scratch gently, and cleanse the scalp without dismantling the whole look.
You can match the style to the week: Gym-heavy weeks, office weeks, vacation weeks, and low-energy weeks all call for different levels of fuss. A smart routine uses that.
1. Knotless Box Braids
Knotless box braids are the style I reach for when I want the braid look without the blunt, heavy start that can make your scalp protest on day one. The braid begins with your own hair and the extension hair gets fed in gradually, so the base lays flatter and feels less like a tiny anchor is sitting on each part.
Why They’re Easier on the Front Edge
The flatter root is the whole reason these braids get so much love in natural hair growth circles. Less sudden tension at the base means your hairline and temples are less likely to feel that sore, tight pull you get from heavier installs. That matters if your edges are delicate or you like to wear styles for six to eight weeks.
They also move well. That sounds cosmetic, but movement matters because a braid that swings and shifts a bit usually weighs less on the scalp than one that feels rigid from the start. Keep the parts medium-sized, and the whole style tends to age better as new growth comes in.
- Best when you want a polished look with less root tension.
- Usually wears well for 6 to 8 weeks with proper care.
- Needs lightweight braid hair, not oversized bundles.
- Works especially well if you want to pull the braids into a low bun or half-up style.
Best tip: Ask for the first inch or so at the root to stay light. That tiny decision can make the difference between “comfortable for weeks” and “I need this out by Friday.”
2. Traditional Box Braids
Traditional box braids are the sturdier, more structured cousin in the family. They start with a knot at the root, which gives the braid a bit more grip and a crisp look right away. I like them when I want a shape that holds up through humidity and a little chaos.
The catch is obvious. That knot can feel tighter at the base, especially on finer hair or a tender hairline. So size and tension matter more here than people like to admit. Medium parts and moderate extension weight are your friends. Giant braids may look dramatic, but they can drag on the scalp in a way that stops being cute fast.
This style is useful if you want a set-it-and-forget-it feel and you do not mind a firmer start. It is also a good match if you keep your hair tucked up in a work environment where the style needs to look neat for weeks.
What I like most is the way traditional box braids hold their shape. They stay boxy. They stay defined. If you want that clean grid across the scalp and a style that can survive a lot of head wraps and loose ponytails, this one earns its place.
3. Feed-In Cornrows
Need a style that sits flat under a wig, scarf, or helmet? Feed-in cornrows do that job with almost no drama. The braiding hair gets added gradually, so the braid starts slim and grows fuller as it travels back. That tapered root keeps the style neat and helps the scalp feel less pulled.
They are one of my favorite answers for anyone who wants a protective style and still needs scalp access. You can cleanse between the rows. You can oil lightly if your scalp tolerates it. You can also take the whole look in a more polished direction by shaping the rows into straight backs, curves, or side patterns.
Where Feed-Ins Make Sense
- Great under wigs, turbans, and hats.
- Good for people who work out and sweat often.
- Usually wears best for 2 to 4 weeks before frizz and new growth start crowding the base.
- A smart pick if you want your ends fully tucked with very little daily manipulation.
The thing to watch is tension at the hairline. Feed-ins should lay close, not bite. If the braids raise your skin or leave little white bumps at the root, they are too tight. That is not a “break-in” period. That is your scalp objecting.
4. Stitch Braids
Stitch braids have that crisp, graphic look that makes the scalp part of the style instead of a hidden base. The sections are separated with a comb and finished with gel so the rows look like neat little lines. They are bold, tidy, and a little dramatic in the best way.
A lot of people like stitch braids because they stay sleek longer than looser cornrows, especially if you are careful with wrap time at night. They also work well for natural hair growth routines because they keep the hair stretched and tucked with minimal day-to-day handling. The downside is tension can creep in fast if the braider gets heavy-handed with the gel or pulls the sections too narrow.
If your edges are fragile, ask for a softer start near the temples and a clean but not over-tight finish. A great stitch braid should look precise, not painful. And yes, there is a difference. You can see it in the forehead, especially around day two when the scalp settles.
Best use case? Anyone who wants a style that looks intentional at a glance, sits flat under a bonnet, and does not need daily reshaping.
5. Lemonade Braids
Lemonade braids sweep to one side, and that side angle does more than look good in photos. It changes how the style falls on the face, keeps weight off both temples evenly, and gives you a neat, protective look that does not read stiff or boxy. If you want braids with motion, this is the one.
They work well for people who hate the feeling of hair dropping straight back all the time. The side sweep makes them easier to tuck behind one ear, flip over the shoulder, or pin into a low side bun when you get tired of the length. They also pair nicely with medium-length braid hair, which keeps the overall weight from getting too aggressive.
The hairline still matters here. Side-swept braids can pull harder along one edge if the install is heavy, so the parting and the first few rows need to be gentle. If the style feels snug but not sharp, you are in the right zone.
I like lemonade braids when I want a protective style that still feels a little styled up, not just functional. There is room for edge control, but the style does not depend on it. That is a good sign.
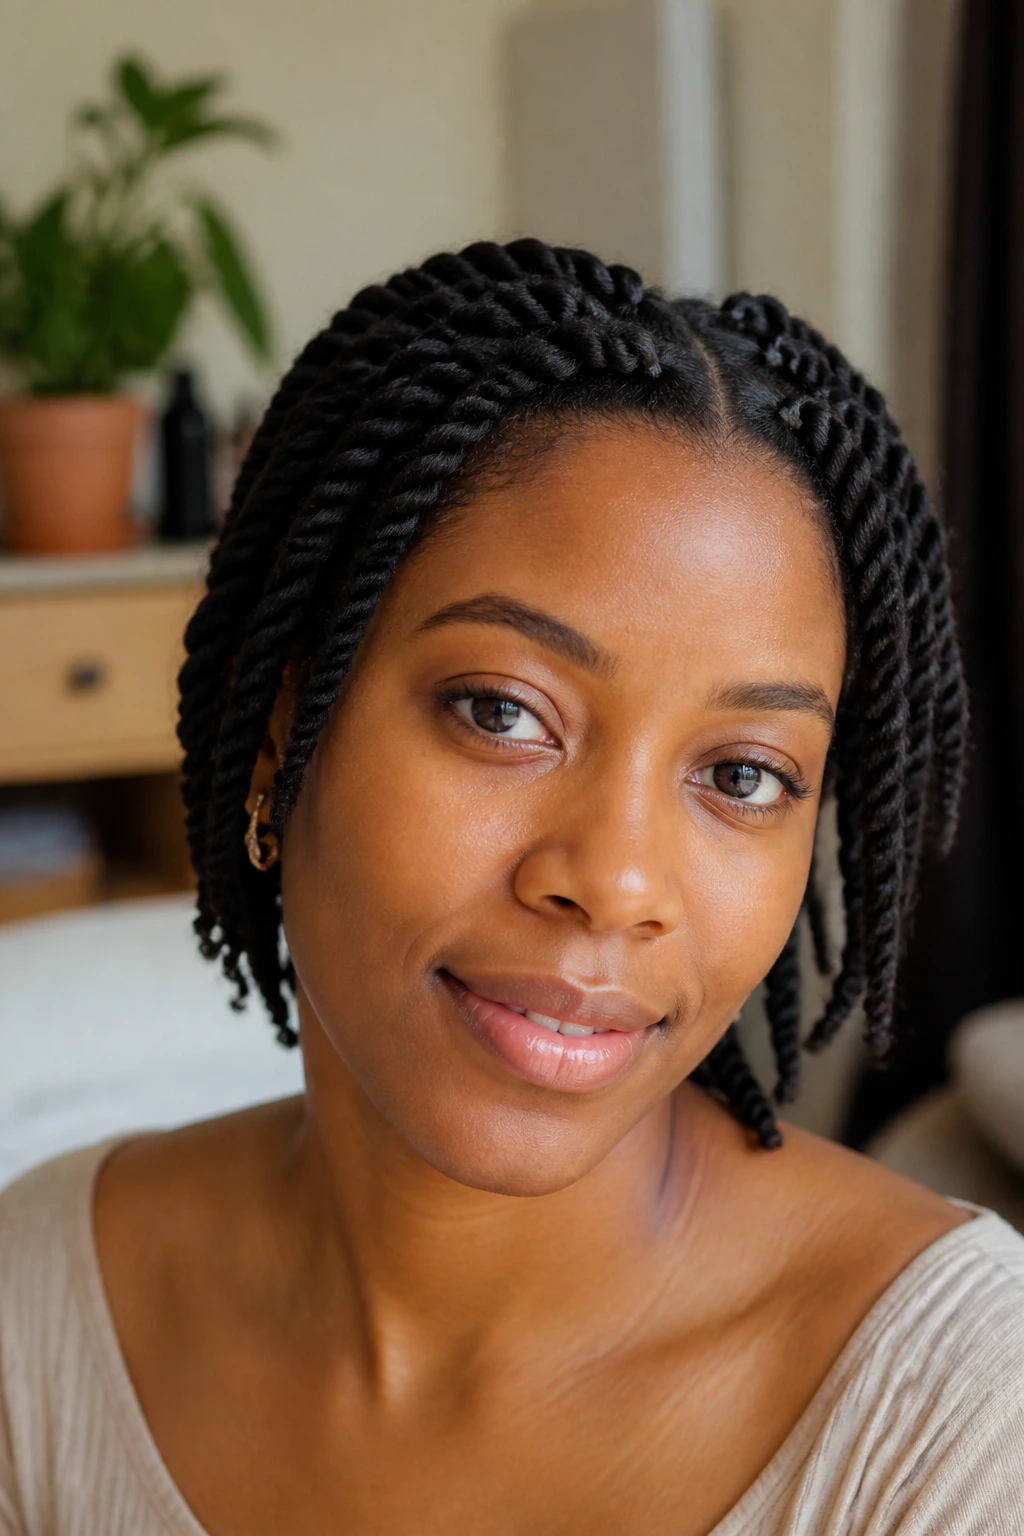
6. Two-Strand Twists
Two-strand twists are one of the simplest protective styles for natural hair growth, and I mean that in a good way. No knot. No extension hair required. No elaborate finish. Just two sections wrapped around each other in a way that keeps the hair stretched and off your shoulders.
They are a sweet spot for people who want a low-tension style that still looks finished. On coily hair, twists hold moisture a little better than many braid styles because they do not pack the strands as tightly against each other. And when you take them down, you get a ready-made twist-out if you are patient and separate carefully.
Why They’re Worth the Time
- Good for short to medium natural hair.
- Can be worn as-is or unraveled later for a twist-out.
- Usually lasts 1 to 3 weeks depending on frizz and nighttime care.
- Easier on the scalp than heavier extension styles.
The main trick is part size. Too big, and the twists puff up fast. Too tiny, and you spend half your life installing them. Medium sections give the best balance between staying power and sanity.
7. Mini Twists
Mini twists look small and quiet at first, but they are workhorses. The parts are tiny, the twists are light, and the style gives your hair a long stretch between detangling sessions. If you want a protective style that lets you wash, moisturize, and still keep your length tucked away, this one is hard to beat.
They do take time. A lot of time if your hair is dense. But the payoff is that the style can last several weeks and still look tidy enough to wear out without fussing. I also like mini twists for people who do not want added hair. The hair you already have does all the work.
Because the sections are small, the weight stays low. That matters more than people realize. Tiny twists can still stress the scalp if they are installed too tightly, but when they are done with a gentle hand, they move freely and settle nicely around the face.
They are especially good if your hair shrinks hard and you want a stretched look without heat. Keep them moisturized at the ends and wrap them at night. The difference shows up fast.
8. Flat Twists
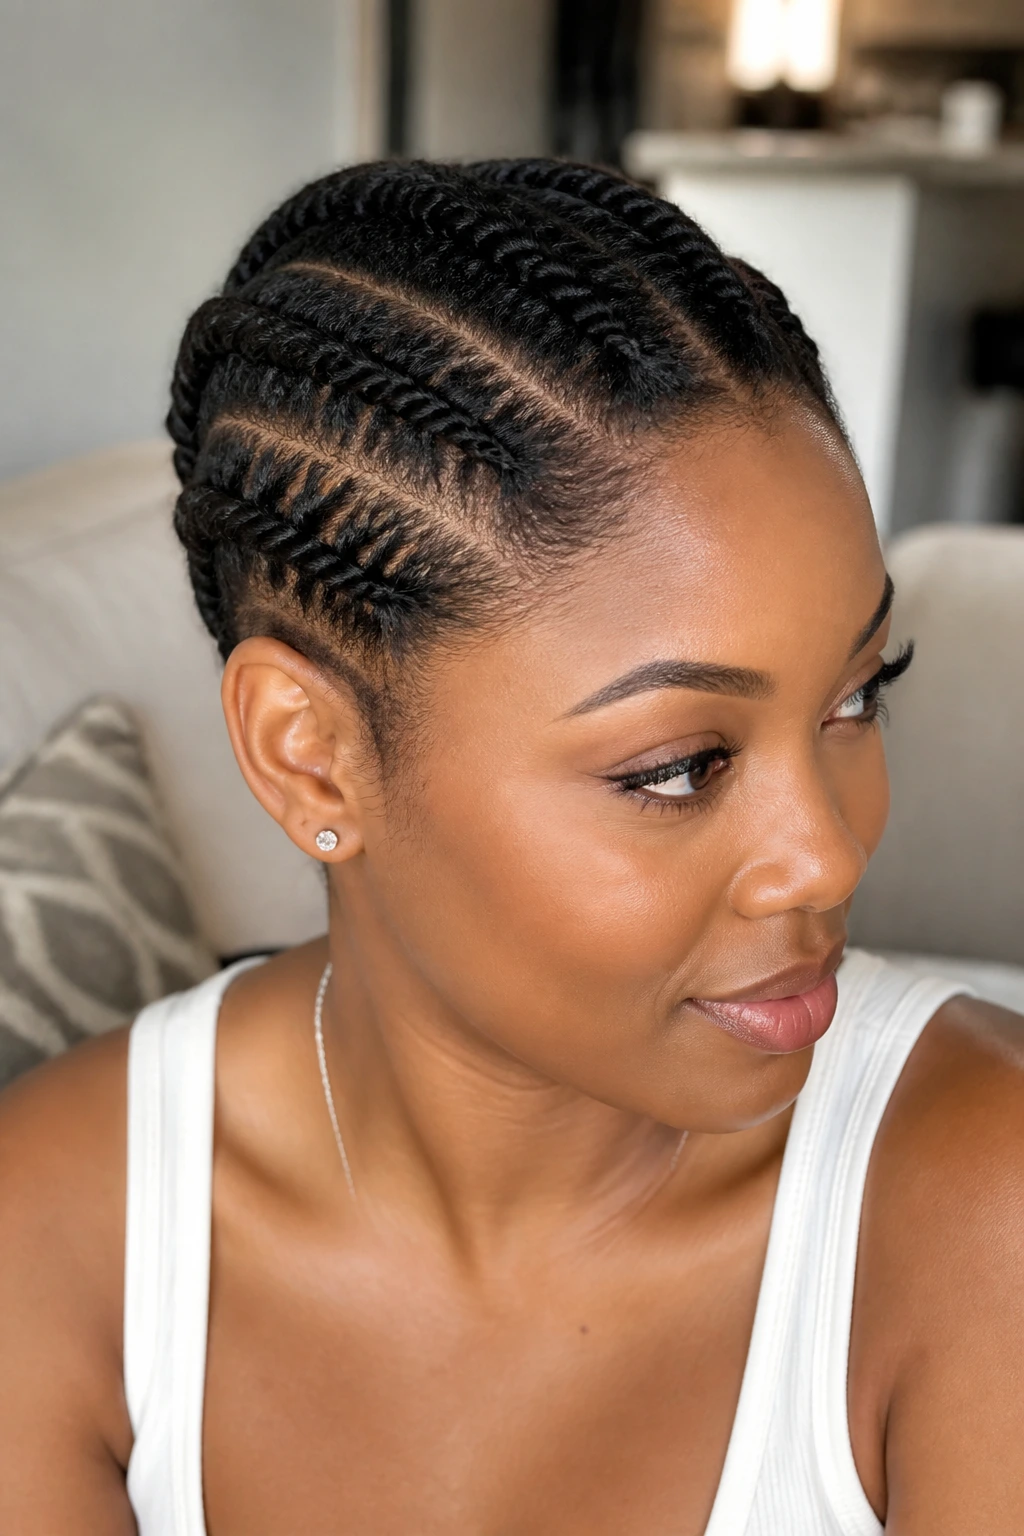
Flat twists are the braid-and-twist hybrid that gets overlooked way too often. They sit close to the scalp, which makes them excellent for tucking ends away, building under-wig bases, or wearing as a quick style when you want something neat but not heavy.
The texture is softer than cornrows and usually faster to install if you are doing your own hair. I like them on hair that has been stretched a bit first, because a little length makes the twist pattern cleaner and helps the style lie flatter against the head.
What Makes Flat Twists Practical
- They are easy to pin up into buns, crowns, or side rolls.
- They work with your own hair or with a bit of added hair at the ends.
- They give you a low-manipulation base for several days to a couple of weeks.
- They are friendly to people who want scalp access without a full braid install.
Flat twists are one of those styles that looks simple until you notice how many jobs it can do. Sleep in them. Pin them up. Tuck them under a wig. Refresh the front with a little mousse. Done.
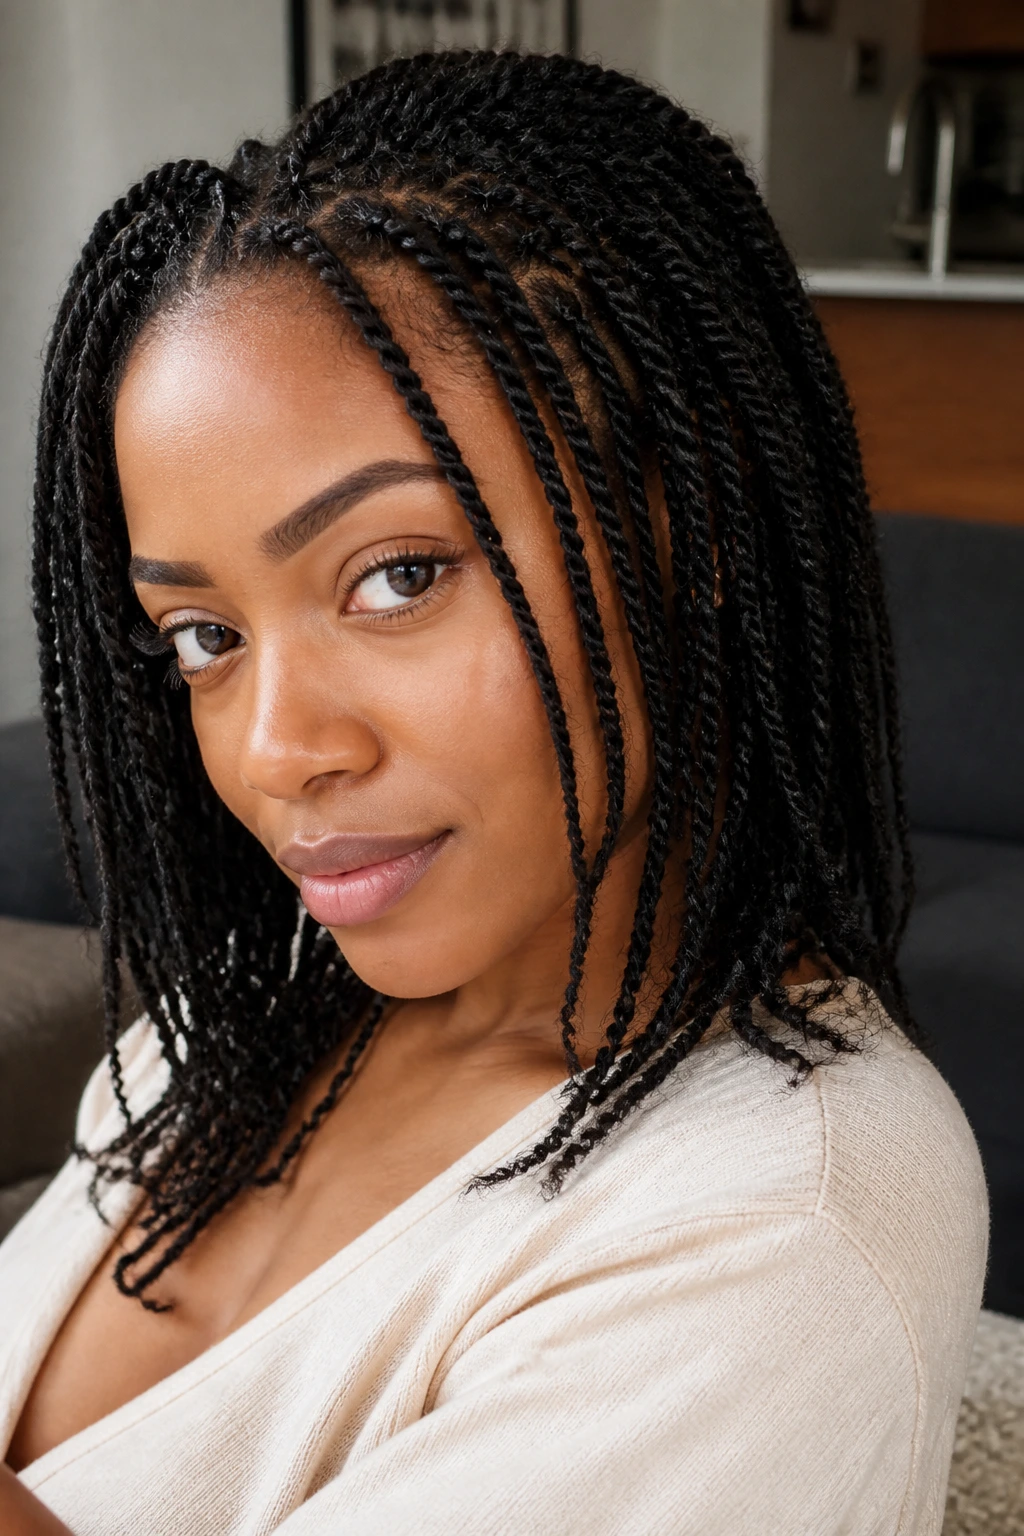
9. Senegalese Twists
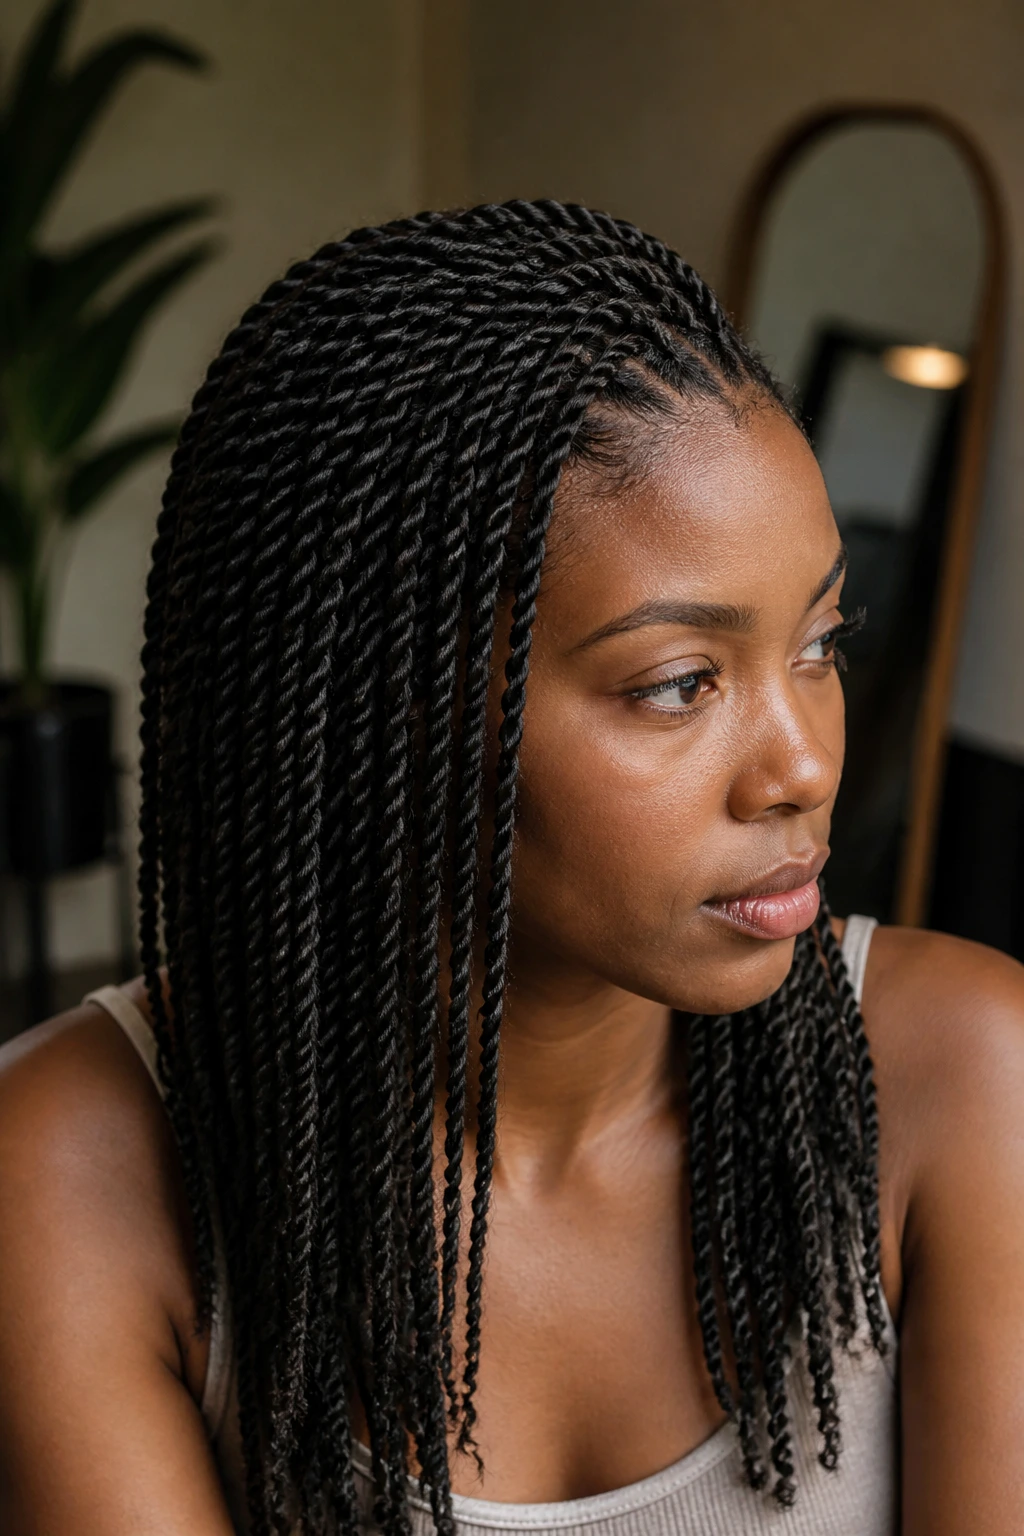
Senegalese twists are the sleek, rope-like cousins in the twist family. They are usually done with smooth synthetic hair, which gives them that shiny, uniform finish people either love immediately or warm up to after a few wear days. I am in the first camp when the install is clean.
They are a solid protective choice because they keep your ends tucked and reduce daily styling without feeling bulky. The smoother surface helps the twists slide past each other instead of fraying into a fuzzy halo too quickly. That said, they can feel heavier than two-strand twists on natural hair alone, so the extension weight needs to be balanced.
If you plan to keep them in for several weeks, ask for medium-sized twists and a lightweight fiber. Oversized Senegalese twists can tug on the roots in a way that sneaks up on you after the first wash day. And yes, you should wash the scalp if it needs it. The style can handle it if you are gentle.
Best case: a clean, glossy look that still lets your hair breathe underneath.
10. Marley Twists
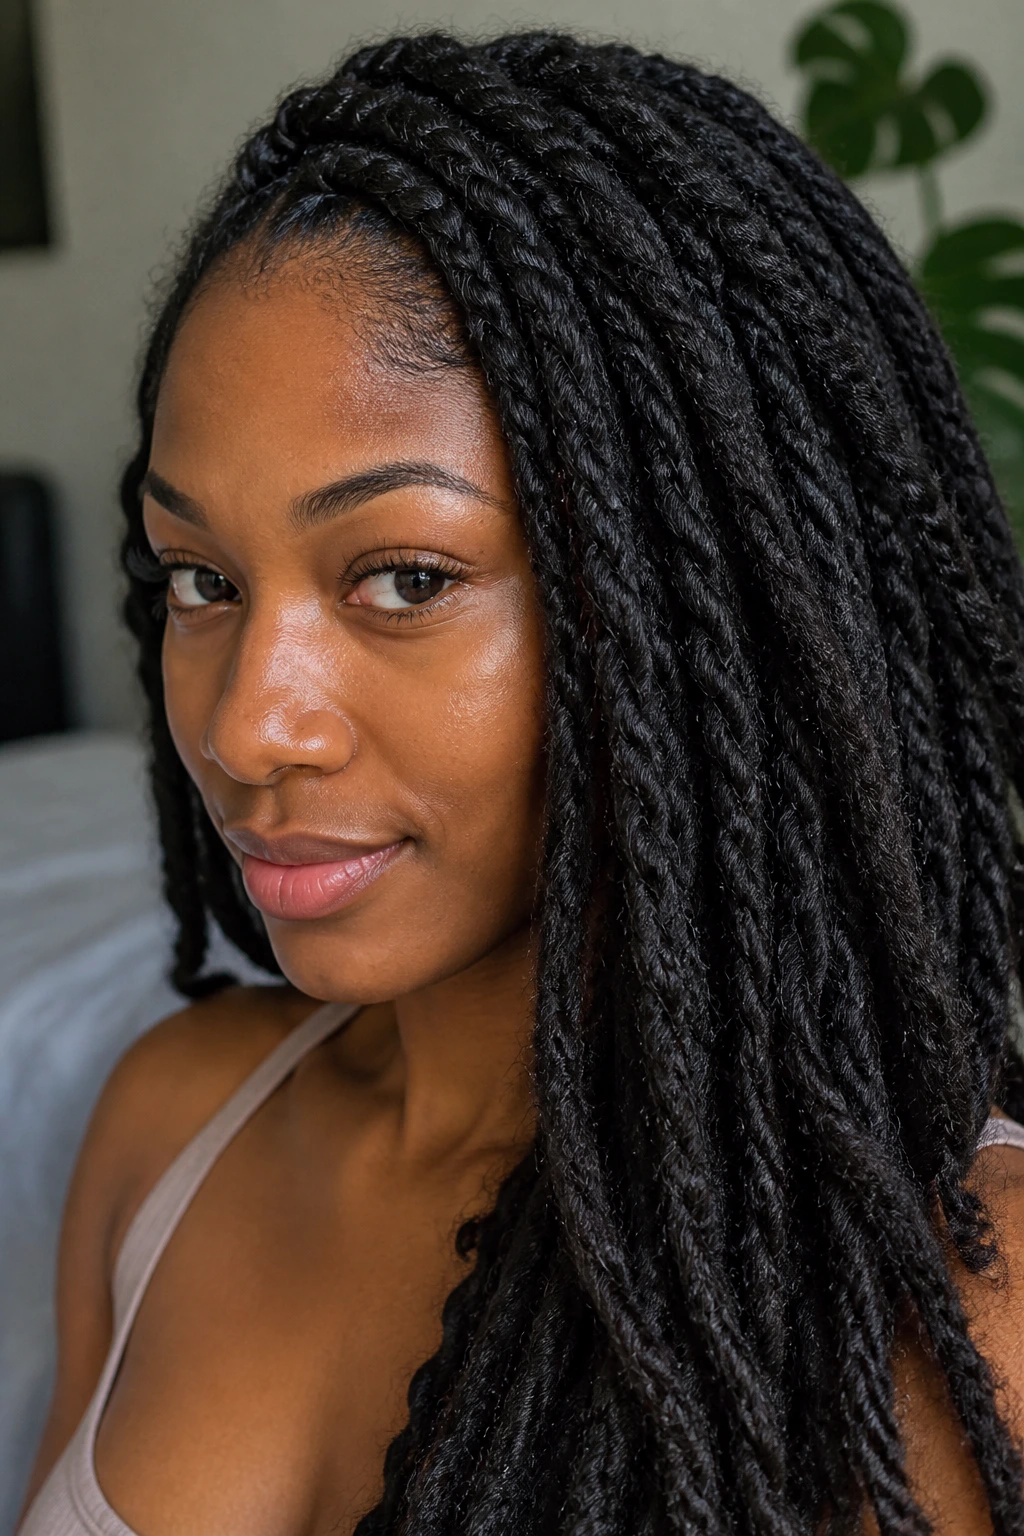
Marley twists have a coarser, more textured finish than Senegalese twists, and that texture is exactly why I like them. They blend better with coily hair, especially if you want a softer look that does not read too polished or too synthetic. The surface has a matte feel, not that slick plastic shine some other twist styles carry.
They are especially nice when you want fullness without a heavy braid pattern. The texture makes the twists look dense even when the individual pieces are not huge. That can be a good trade-off if you care about keeping tension low while still getting visual volume.
The hair used for Marley twists can catch and grip a little more, which helps the twists hold shape, but it also means frizz shows up earlier than it does on smoother twists. I do not mind that. A bit of frizz reads lived-in. Too much, though, and the install starts to look tired before it should.
If you want a protective style that blends into natural texture instead of fighting it, Marley twists sit in a very nice middle ground.
11. Passion Twists
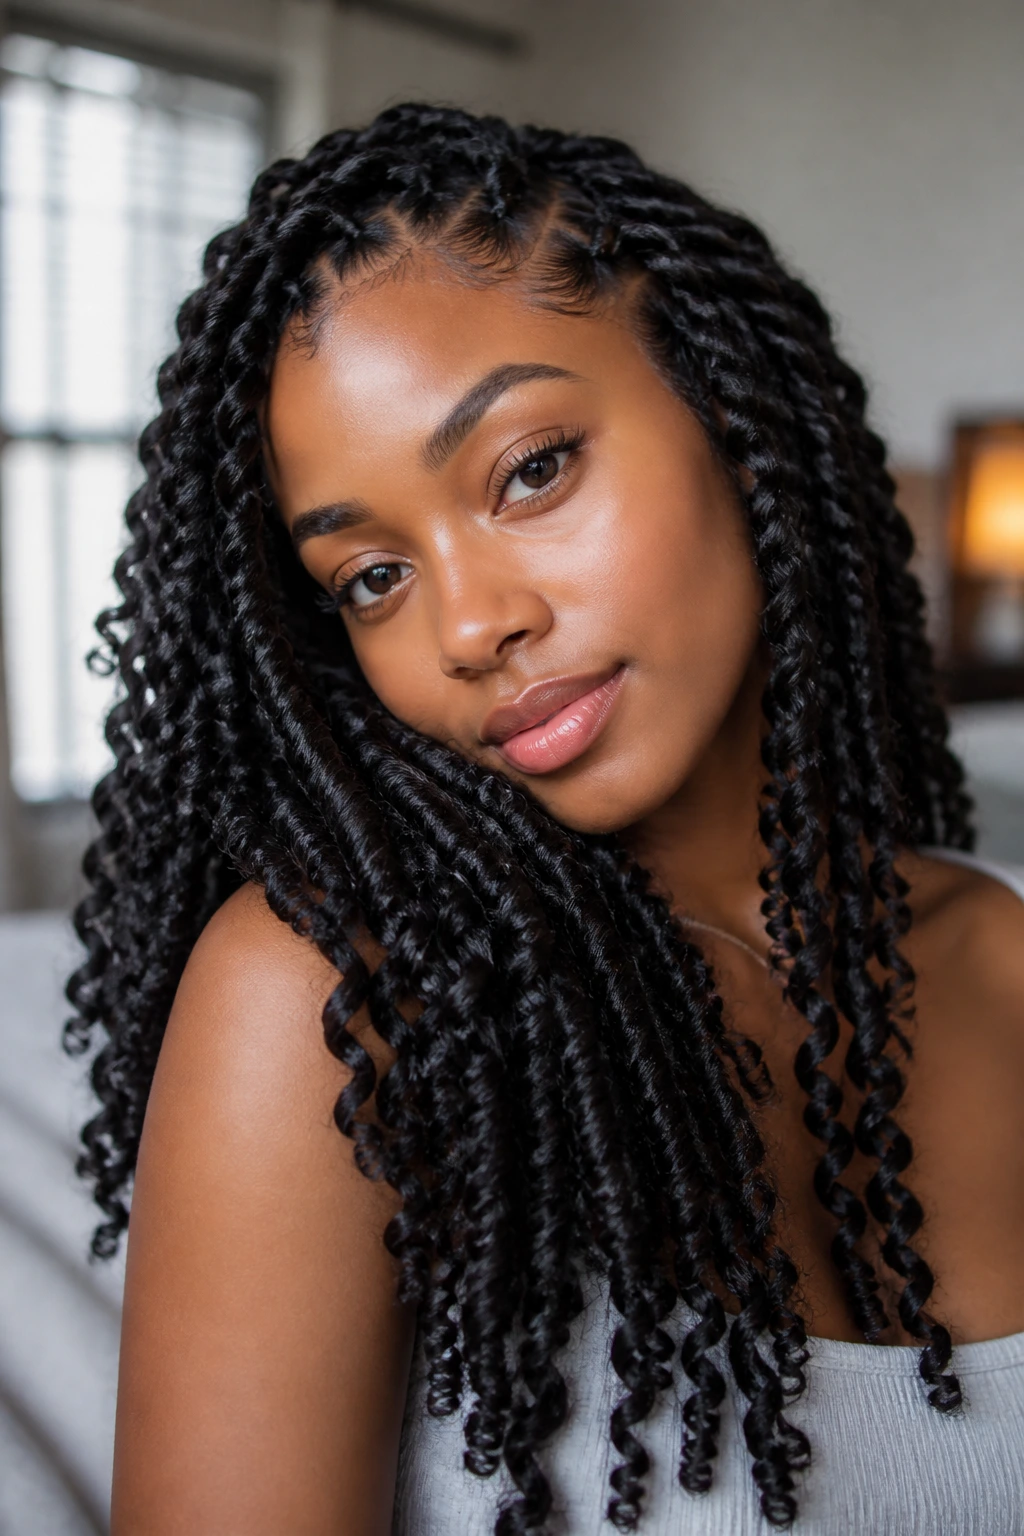
Passion twists are the softer, springier twist style that leans into movement. They have a loose, airy feel, and the curls or waves in the extension hair keep them from looking too rigid. If you want a style that looks relaxed but still keeps your ends tucked and your hands out of your hair, this is a strong pick.
What makes them useful for natural hair growth is not mystery. They reduce daily tugging, they protect the ends, and they give you several weeks where your styling choices are mostly about wraps, scarves, and maybe a little mousse. The open texture does mean they can tangle more than sleek twists, so they need more night care.
I like passion twists for people who want a romantic look without going full loc or braid. They work best with medium sections, a solid base, and a light touch at the root. Too much gel at the start makes them stiff. Too little, and the parts get fuzzy fast.
They are not the lowest-maintenance style on this list, but they are one of the prettiest when you want softness and protection in the same place.
12. Faux Locs
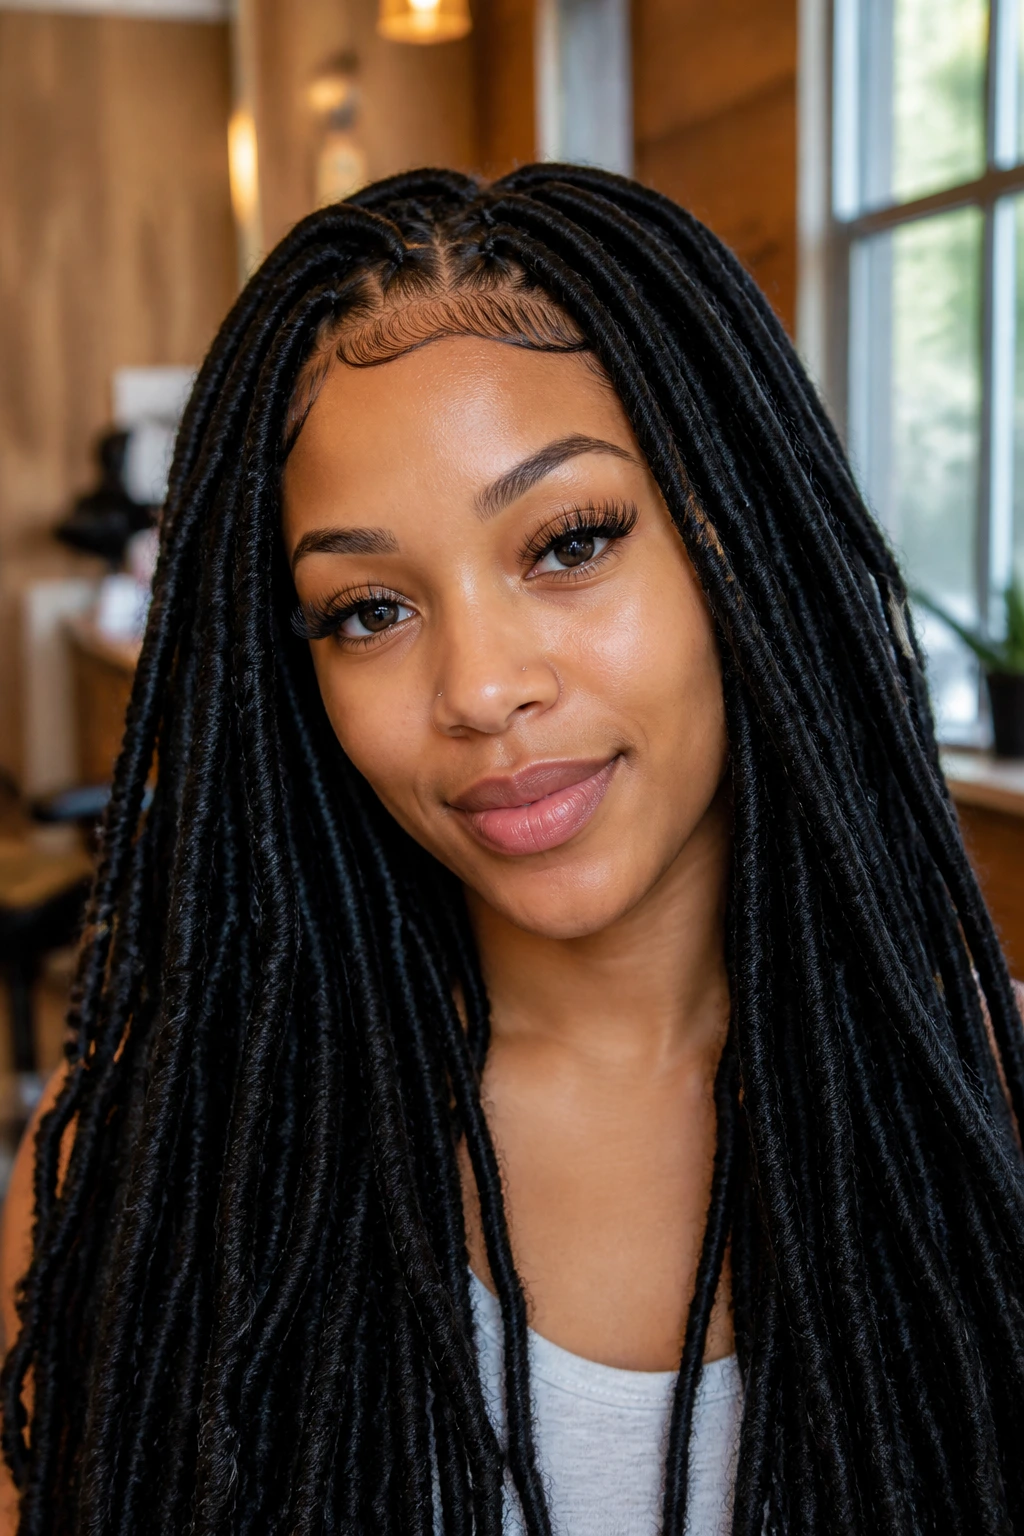
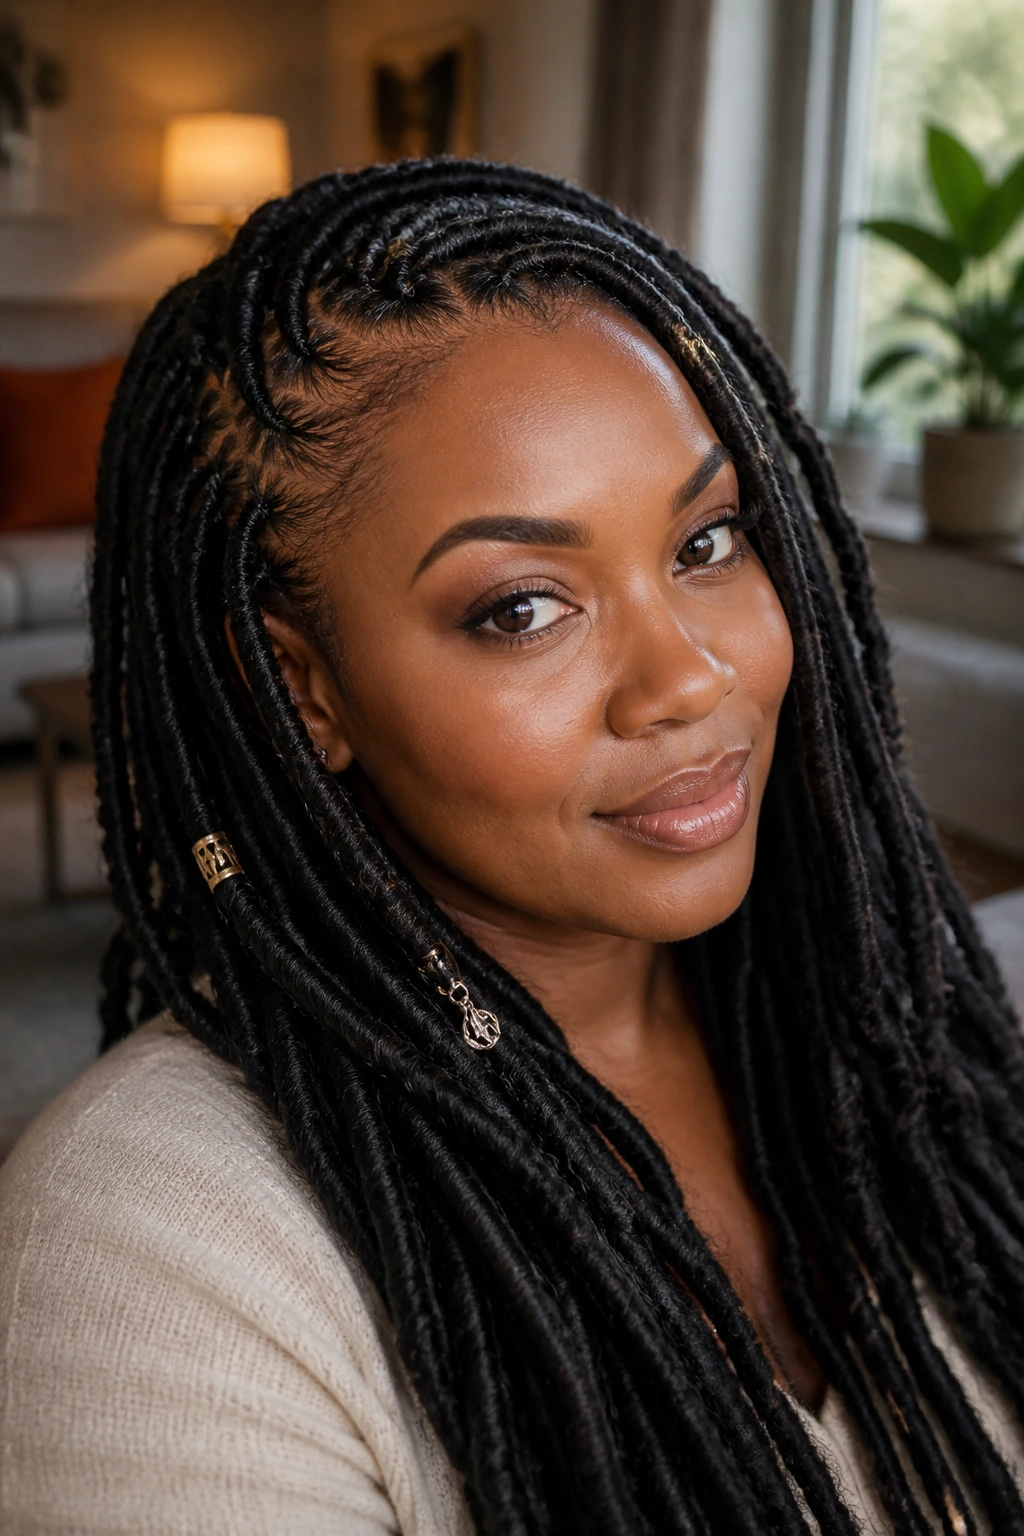
Faux locs are the style I point to when someone wants long wear, drama, and serious end protection in one package. The hair is wrapped or crocheted to mimic locs, which keeps your real hair tucked away and gives the style a dense, solid feel. Done well, faux locs can hold up for weeks without looking flimsy.
Weight is the issue. Always. A beautiful faux loc install that is too heavy at the roots will stop being fun before the style even reaches its peak. Keep the loc size matched to your hair density, and do not let the finished style sit so long that new growth makes the roots collapse.
Best For
- Long wear with very little daily manipulation.
- People who like a fuller, textured look.
- Natural hair that needs the ends fully hidden.
- Anyone who prefers a style that keeps its shape through weather and movement.
Faux locs also work well if you want to experiment with length without committing to a permanent loc journey. They give you the look, the weight, and the protective benefit without locking you in for years.
13. Goddess Locs
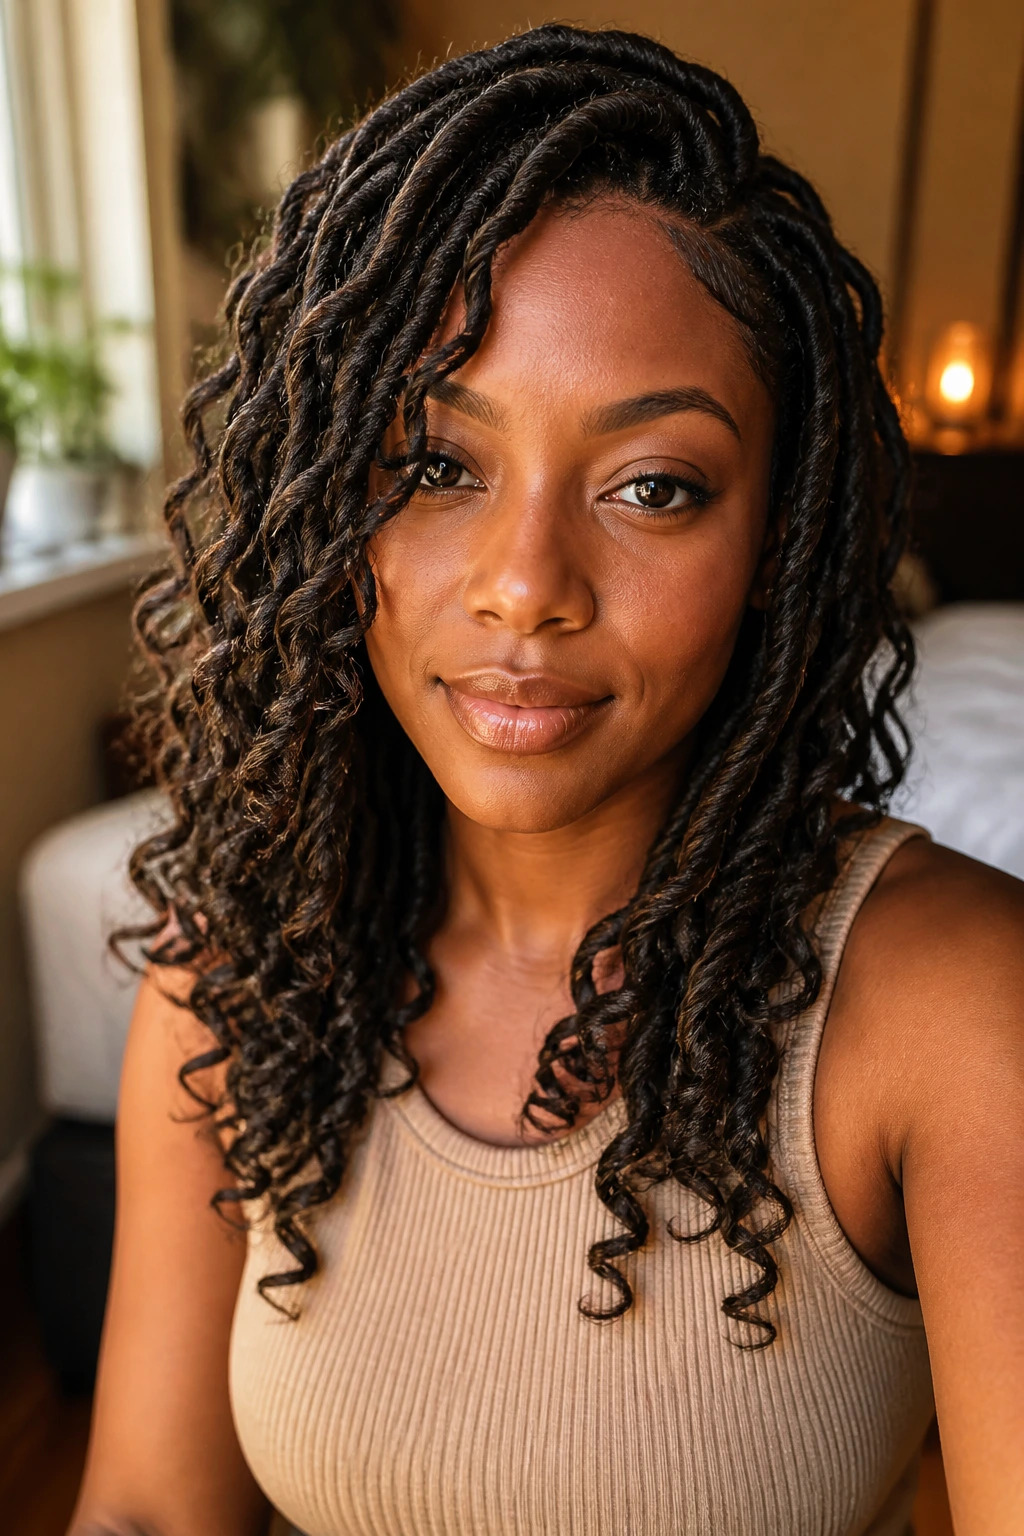
Goddess locs take the faux loc idea and leave little curly or wavy ends dangling, which softens the whole look. They feel a touch lighter visually, even when the install itself uses the same basic protective structure. That loose end gives you movement and a little more personality around the face.
I like goddess locs because they do not look as severe as some full faux loc sets. The curls break up the shape, and that can make the style feel easier to wear for people who do not want a heavy, uniform curtain of locs. They are still protective, though. The real hair stays tucked.
The downside is upkeep around the curly ends. They can frizz sooner, tangle a bit at the tips, and get fuzzy if you sleep on them without wrapping properly. A little mousse helps. So does not over-handling them. Let them do their thing.
If faux locs are the structured version, goddess locs are the more relaxed version. Same family. Different mood.
14. Crochet Braids
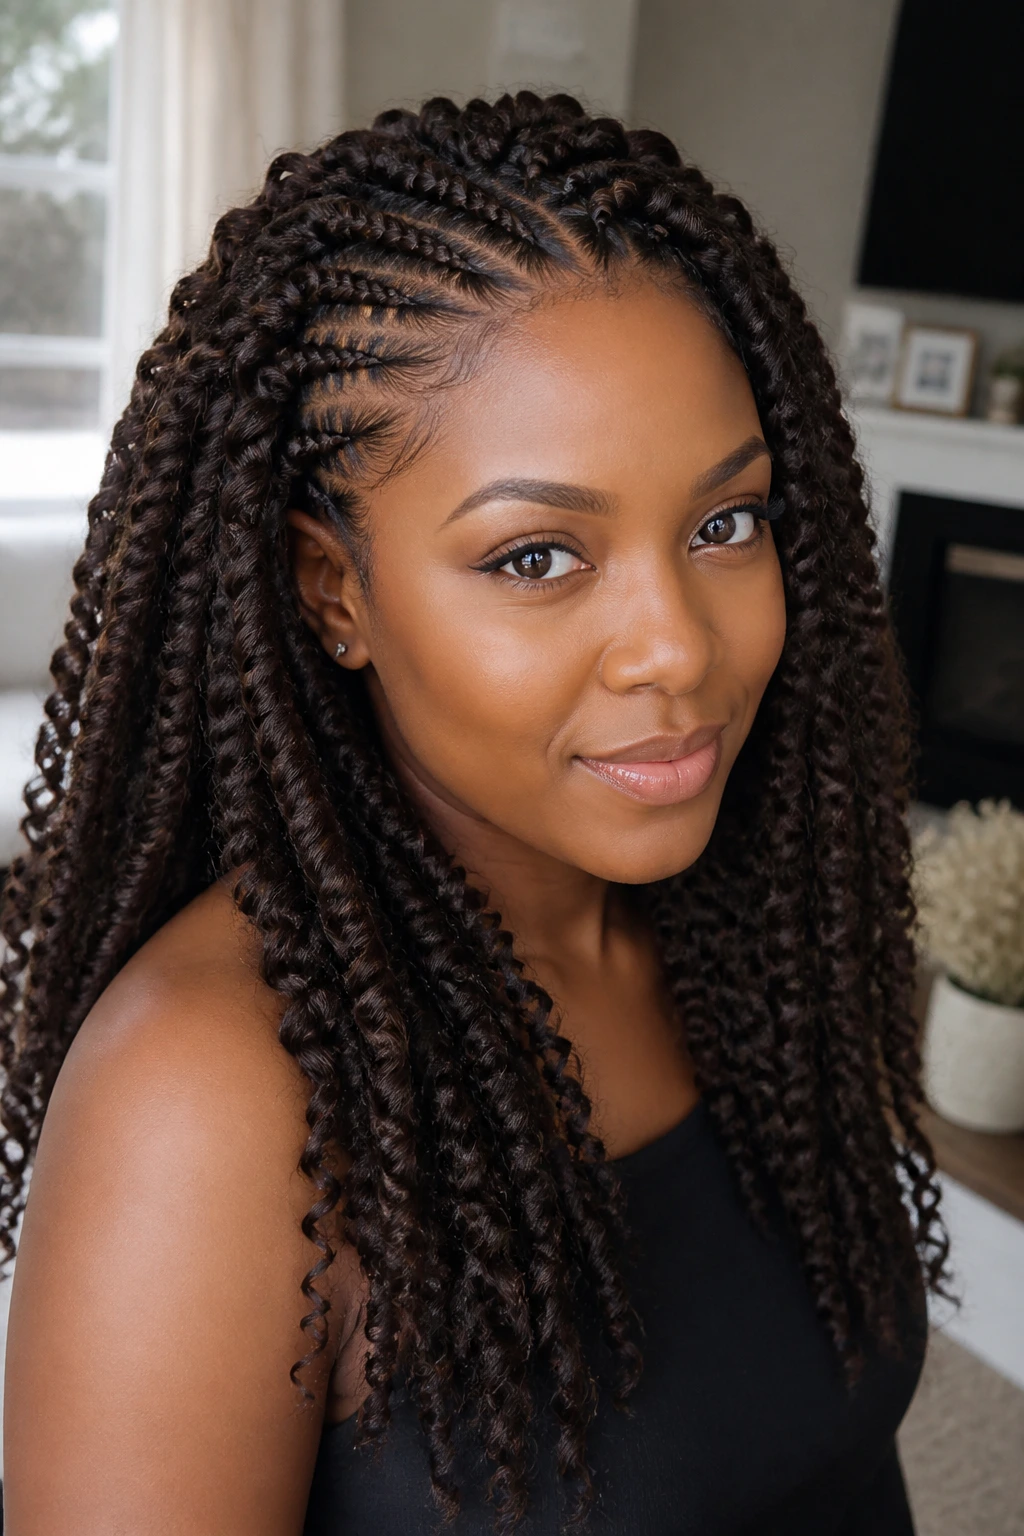
Crochet braids are one of the most practical protective styles in the whole lineup, and I think they deserve more respect than they get. Your natural hair gets cornrowed down first, then the extension hair is looped into the base with a crochet needle. That means less individual tension on each strand and a much faster install than full braids or twists.
The speed is a real advantage. So is the flexibility. You can get curls, braids, faux locs, straight pieces, or textured pieces depending on the hair you choose. And because the base is already set, the style often feels lighter at the scalp than people expect.
The key is making sure the braid base is done cleanly and flat. If the cornrows underneath are lumpy or too tight, the crochet hair will not fix that. It just sits on top of a problem. But when the foundation is sound, crochet braids can be a low-stress way to keep your own hair tucked away for weeks.
They are especially good if you want volume fast. The fullness shows up almost immediately.
15. Wig With a Braided Foundation
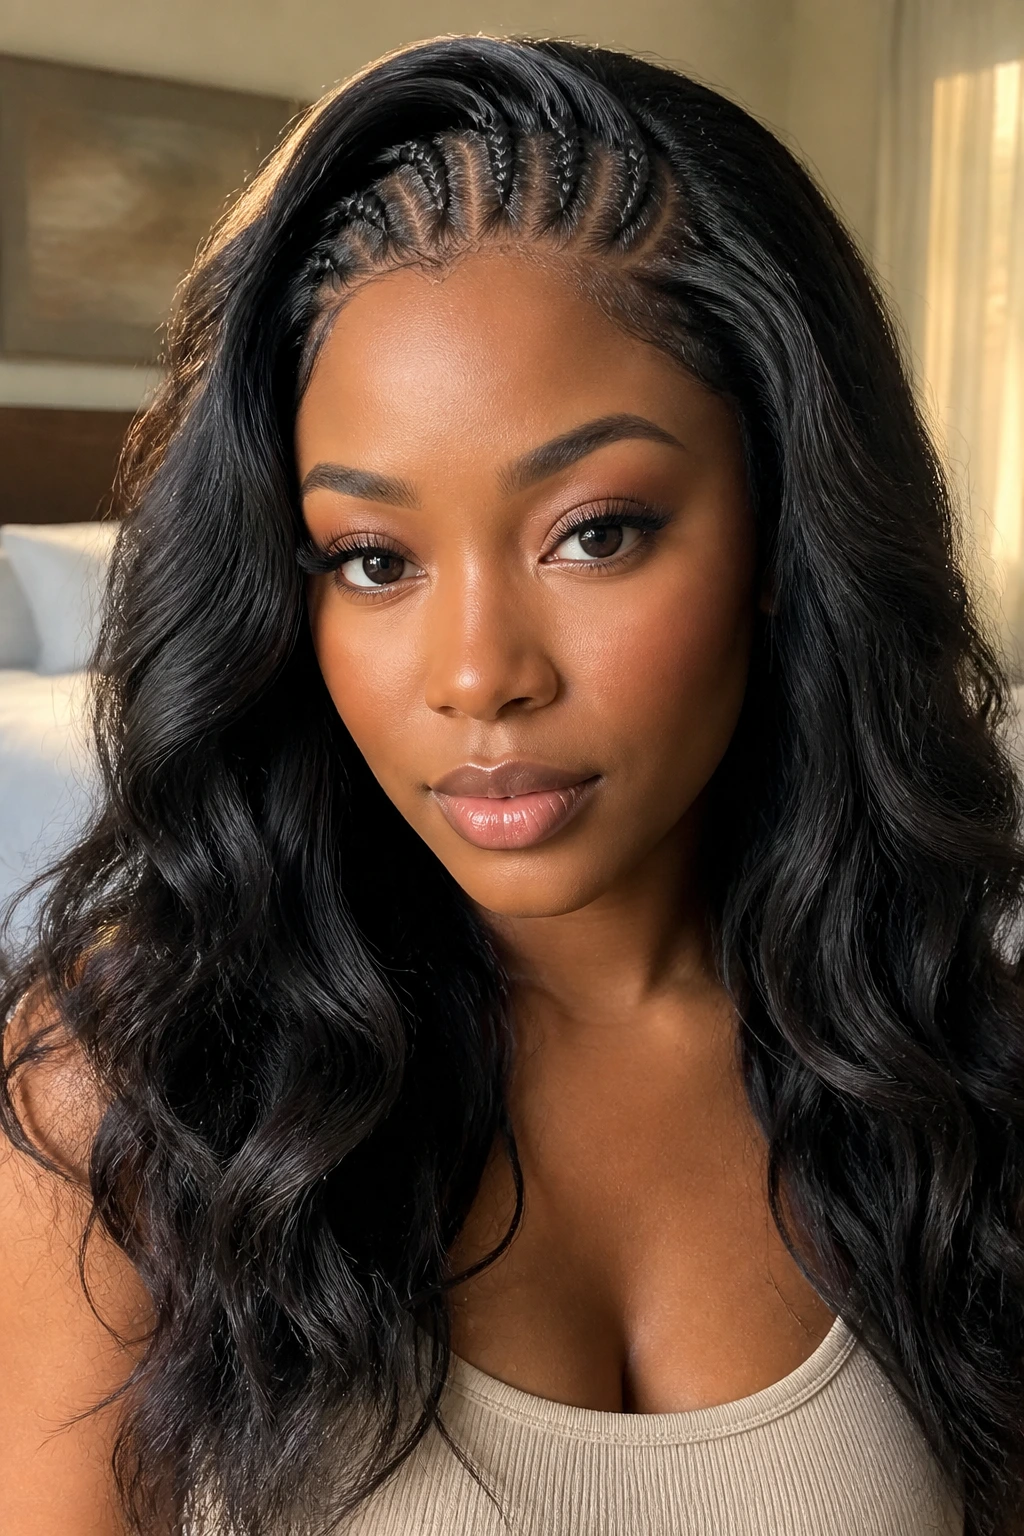
A wig on top of a braided foundation is one of the most flexible protective setups you can use. Your own hair gets braided down underneath, usually in flat cornrows or twists, and the wig gives you the freedom to change color, length, or texture without touching your real hair every day.
That freedom is the point. You can look neat for work, wear curls on the weekend, or switch to a blunt bob without subjecting your hair to heat or constant combing. A good wig base also makes wash days less chaotic because the hidden hair is already anchored and tucked.
What Makes It Protective
- The real hair is kept off the shoulders and away from daily friction.
- You can moisturize and cleanse the foundation on a schedule.
- The style works well for people who like variety without constant manipulation.
- A snug but not tight wig cap helps the whole setup stay in place.
Do not make the wig the tight part of the system. If your wig grip is dragging at the edges or the cornrows underneath are too small and too tight, you are creating a problem under a prettier layer. The foundation matters more than the finish.
16. Sew-In on a Braided Foundation
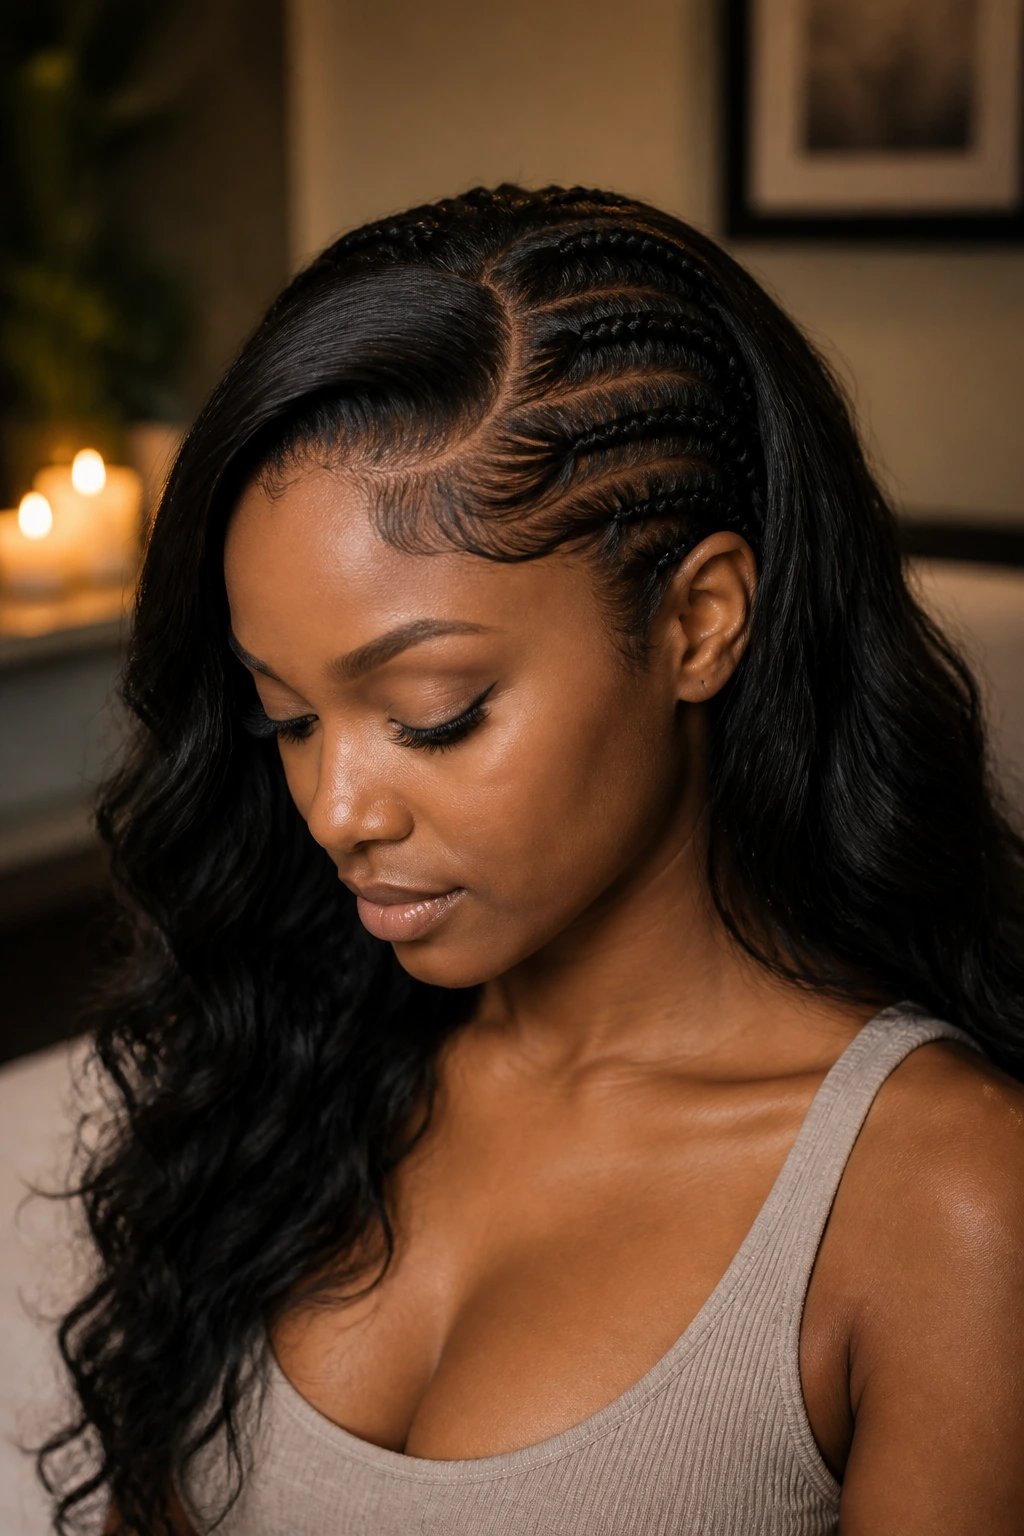
A sew-in can be protective when the real hair stays tucked under a clean braided base and the tracks are sewn in with enough room for the scalp to breathe. I say “can be” on purpose. A sew-in done too tightly, or left in too long, can go from protective to annoying in a hurry.
What I like about a good sew-in is how still it feels once it is in place. You are not combing through your own hair every day. You are not detangling a leave-out section constantly. The style sits there and behaves. That alone can cut down on breakage for people who need a break from daily styling.
The base should not itch at installation. That sounds obvious, but some people accept discomfort because the hair looks good. Bad trade. If your scalp feels sore or you get bumps around the braids, take that seriously. A protective style should make your hair life quieter, not tighter.
This style works best when you know you will keep up with cleansing the scalp and taking the install down on time.
17. Bantu Knots
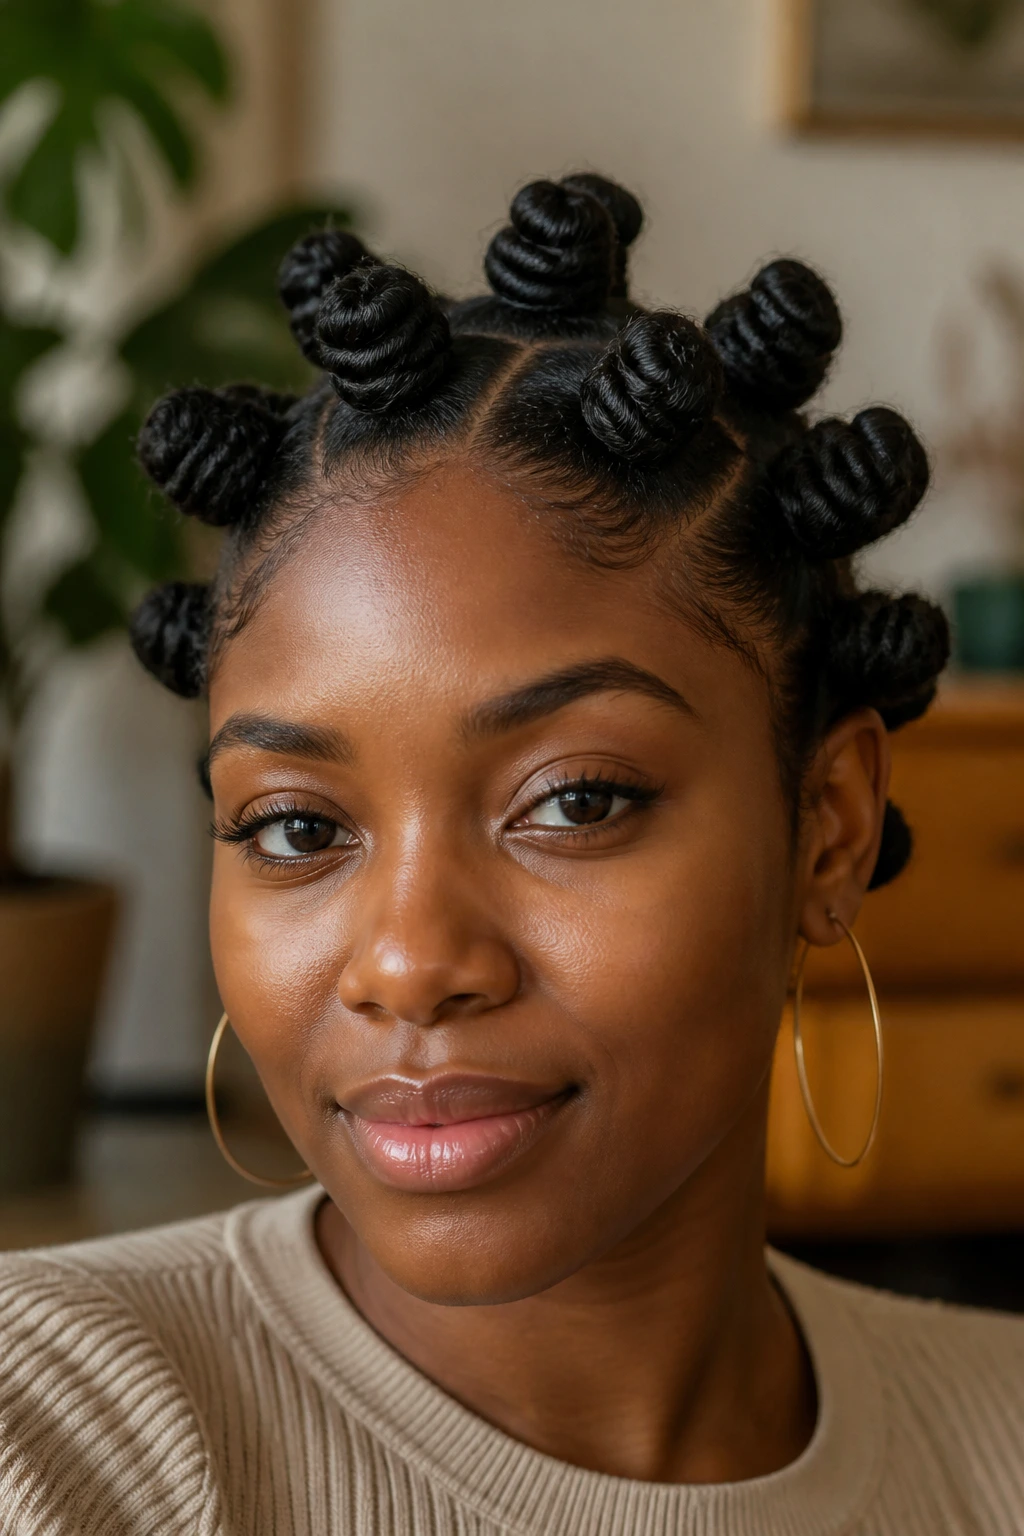
Bantu knots do two jobs at once: they protect the ends by coiling them up, and they can give you a nice curl pattern when you take them down later. That makes them one of the more creative protective styles on the list, especially if you like styles with a little shape and texture.
They work best on stretched or lightly blown-out hair because the sections wrap more evenly and the knots sit cleaner. On very shrunken hair, they can still work, but the parts may be too short to make a smooth knot. A little prep goes a long way here.
I like Bantu knots for short stretches of time, special occasions, or a few quiet days at home when I want the hair completely off my neck. They are not the longest-wearing style on the list, but they are one of the easiest to turn into a second style later.
That bounce when you take them down? Worth it. But only if you undo them patiently and separate the curls with your fingers, not a comb.
18. Crown Braid Updo
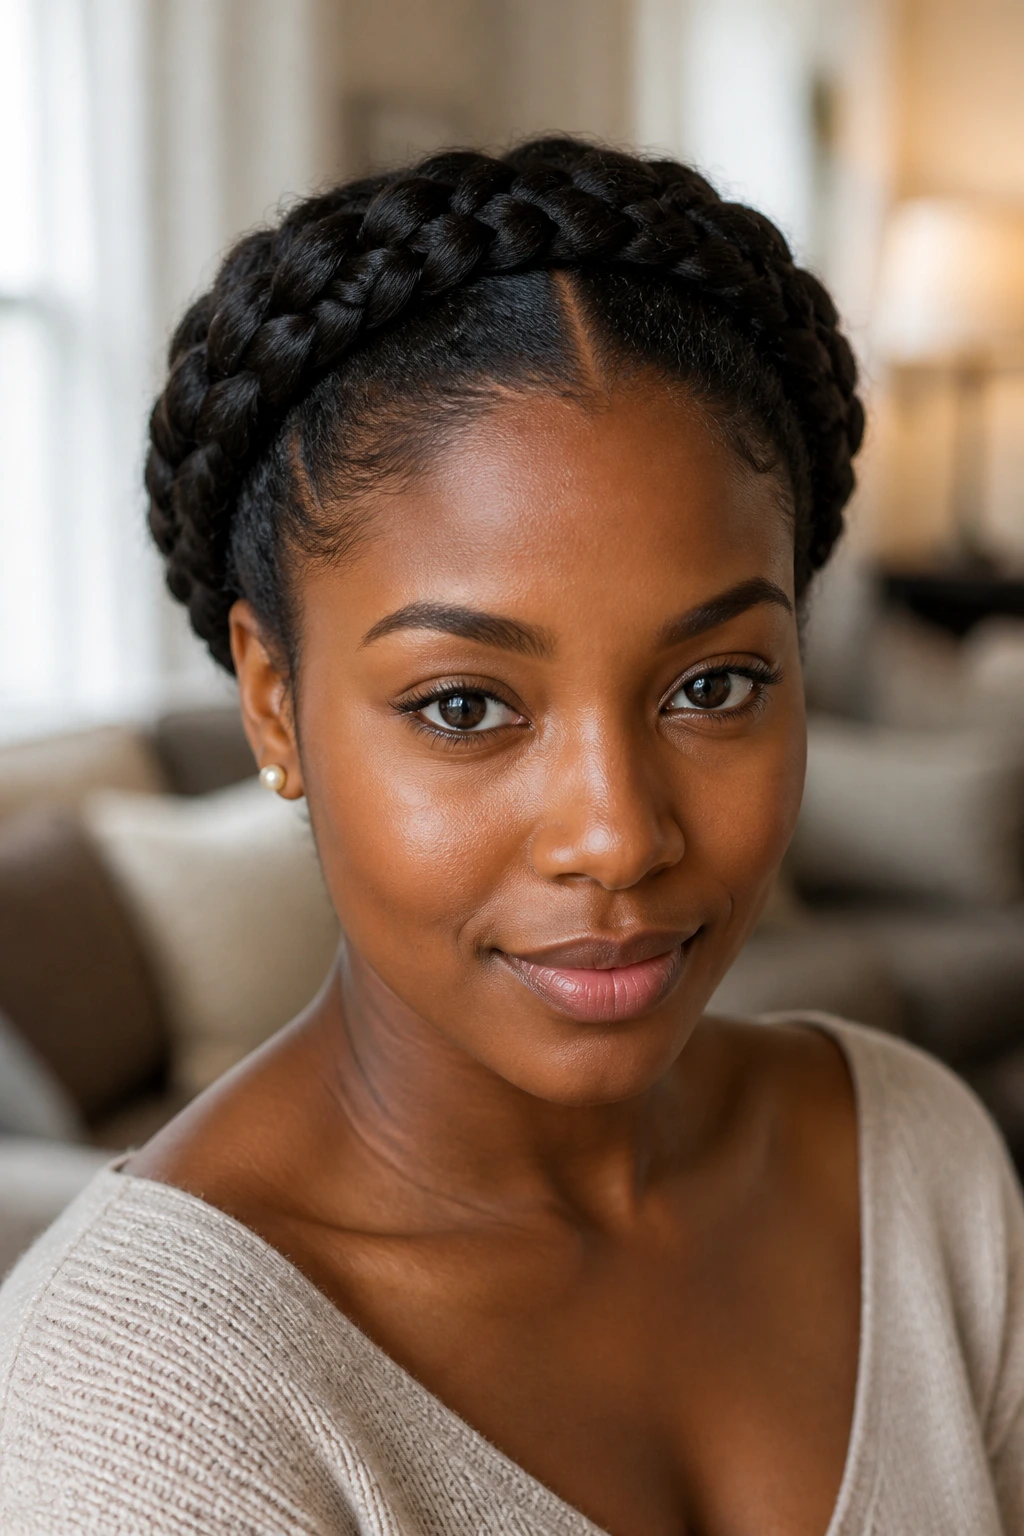
A crown braid updo wraps the hair around the head in a loop, which keeps the ends tucked and the whole shape off the shoulders. It feels a little regal, sure, but the useful part is the complete lack of loose ends hanging around to catch on things.
This style is a favorite for events, church, long workdays, and any time you want your hair to stay put without acting like you are wearing a stiff helmet. It can be done on natural hair alone or built from flat twists and braids, depending on the density and length you have to work with.
A clean crown braid should feel secure, not like it is pulling the scalp in a circle. If the braid keeps lifting at the front, it is too loose. If it gives you a headache by lunch, it is too tight. The sweet spot sits in the middle.
I like this one for days when I want to look intentionally styled but still keep the ends fully hidden and out of the way.
19. Low Tucked Roll-and-Pin Updo
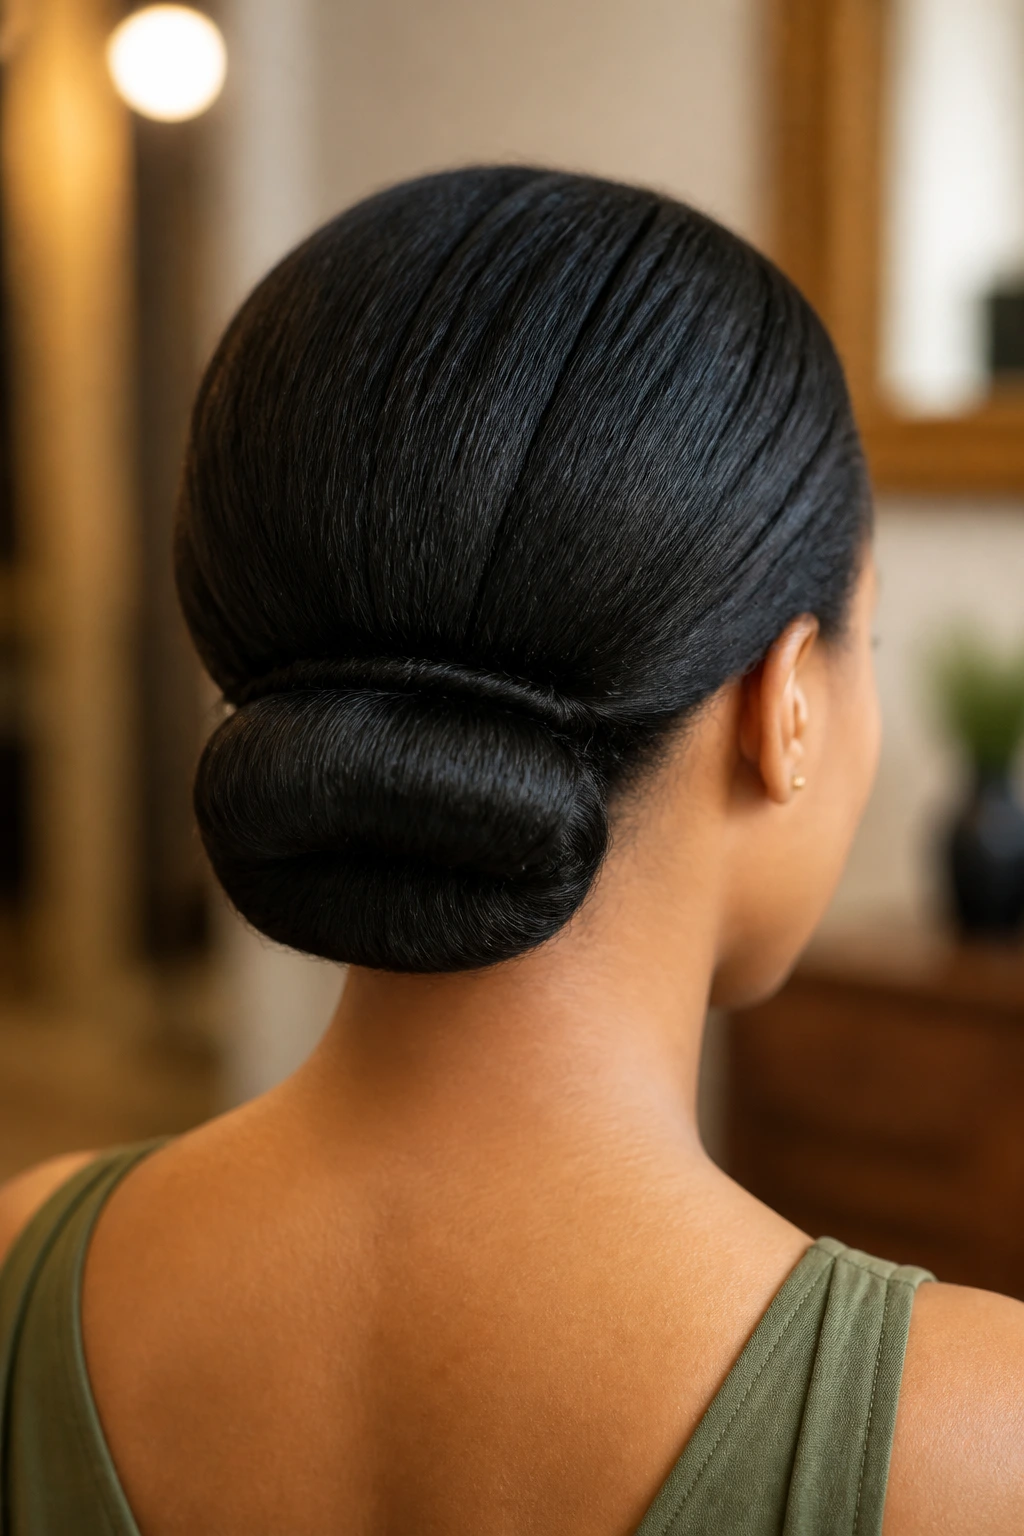
The low tucked roll-and-pin updo is one of those styles that proves you do not need extensions to protect your hair. You roll the hair under itself at the nape, pin it flat, and keep the ends hidden. Done right, it stays neat, looks polished, and puts almost no strain on the scalp.
It is a smart option for medium-length natural hair, especially if your hair is stretched first. The stretching gives the rolls a smoother shape and keeps the pins from working overtime. I also like it for people who need a quick office or event style without a full install day.
The nice thing here is the sheer lack of weight. No added hair. No heavy rows. Just your own hair tucked away with a few pins and a satin wrap at night. That makes it easier to keep the style fresh for several days in a row.
It is not the flashiest style on this list. It is, however, one of the easiest to live with.
20. Headwrap Style With a Cornrow Base
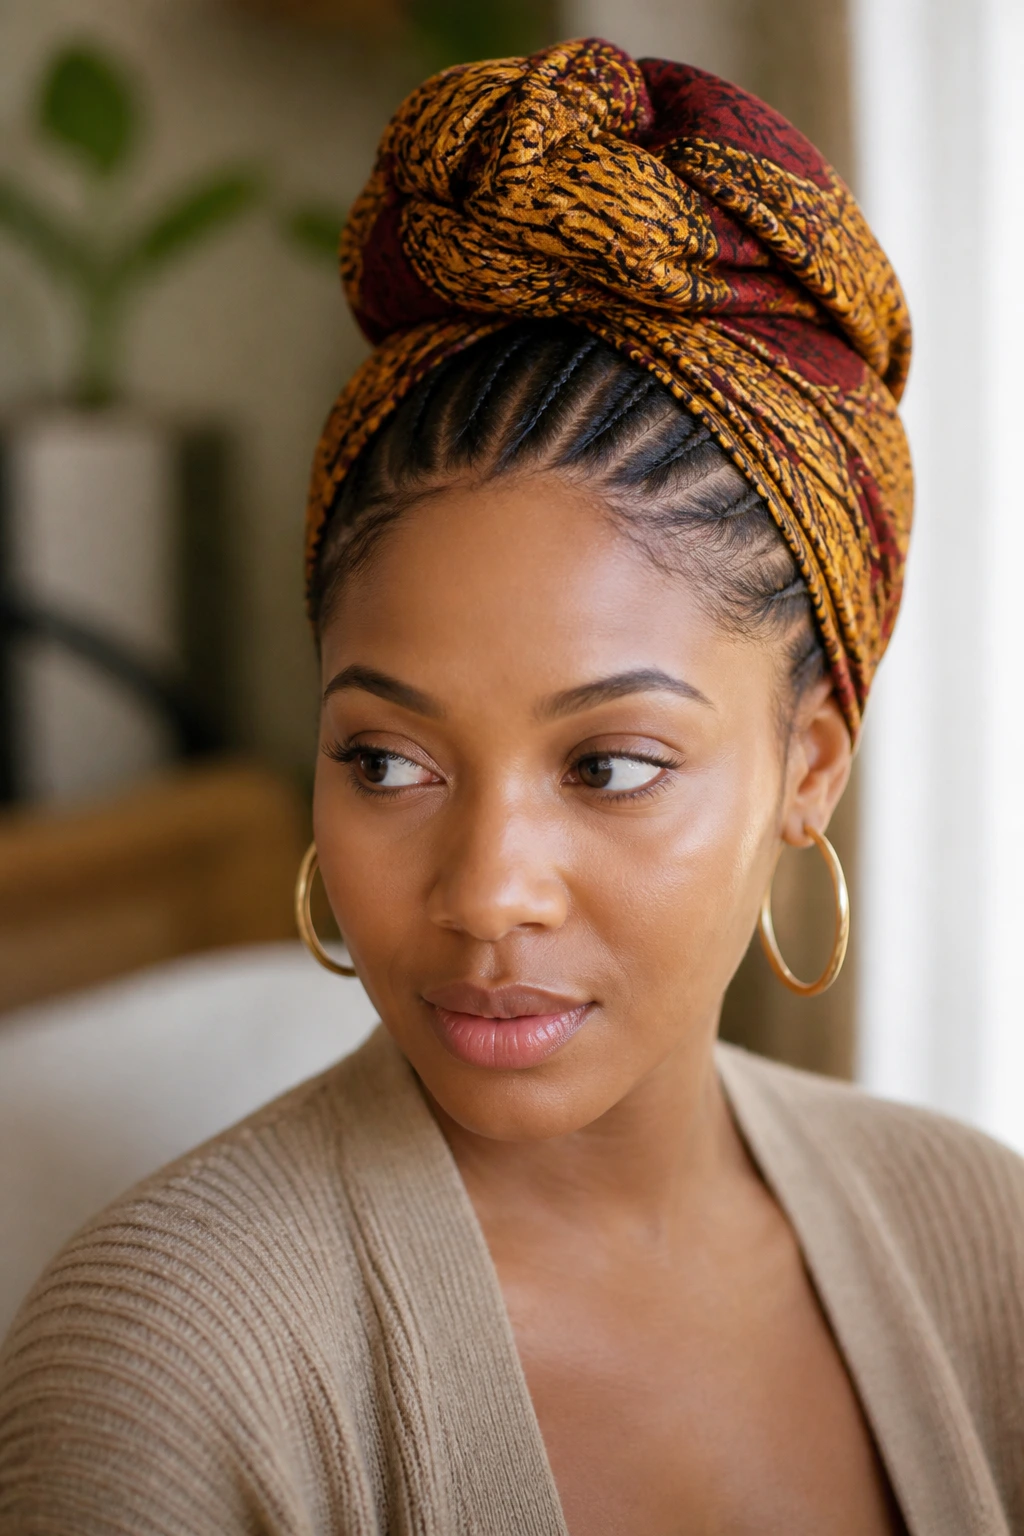
A headwrap style with a cornrow base is a quiet powerhouse. The braids underneath keep your hair tucked and stretched, while the wrap gives you full control over the outer look. On a tired hair day, this is one of the few styles that can look deliberate even when you barely touched it.
The real advantage is versatility. You can swap wraps, change knots, tie a bow, or keep it simple and flat. Meanwhile, the hair underneath stays protected from friction and daily combing. If you wear wraps often, make sure the fabric is smooth on the inside or line it with satin so the style does not grind at the edges.
I like this option for rest days, travel, and times when the scalp needs a break from heavier installs. It also works well when you need to stretch the gap between wash days without letting your hair live uncovered.
Simple. Useful. Underestimated.
Why Protective Styling Helps Natural Hair Hold On to Length
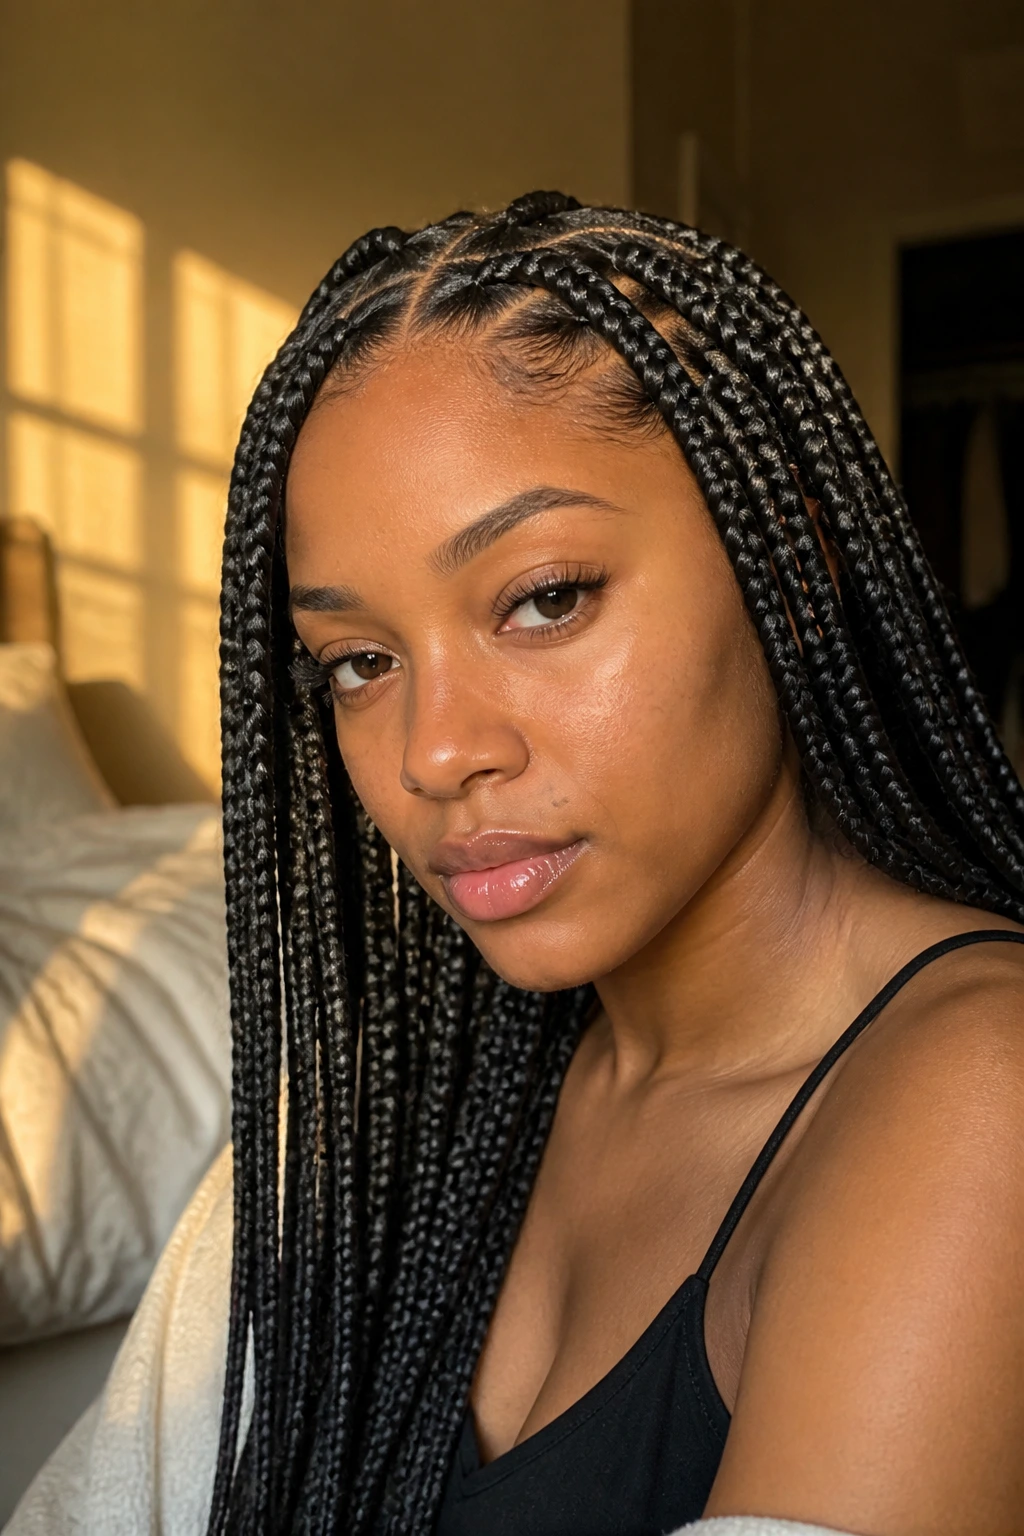
Hair growth and hair retention are not the same job, and that’s where a lot of routines fall apart. Your hair can grow from the follicle just fine while the ends quietly snap off from dry combing, rough pillowcases, or tight ponytails. Protective styles reduce that daily wear and tear, which gives your length a chance to stay on your head.
There is another piece people skip: consistency. A style that lets you stretch wash days, keep your hands out of your hair, and sleep without friction is doing actual work. It is not glamorous work. It is the boring, useful kind, the kind that shows up in the mirror three months later when your ends still look like ends.
The better styles do not just cover the hair. They help you manage moisture, tension, and access. You can cleanse the scalp, refresh the roots, and avoid the cycle of detangle-style-destroy-repeat. That cycle is expensive in time and breakage.
The Tools That Make Braids, Twists, and Wigs Behave
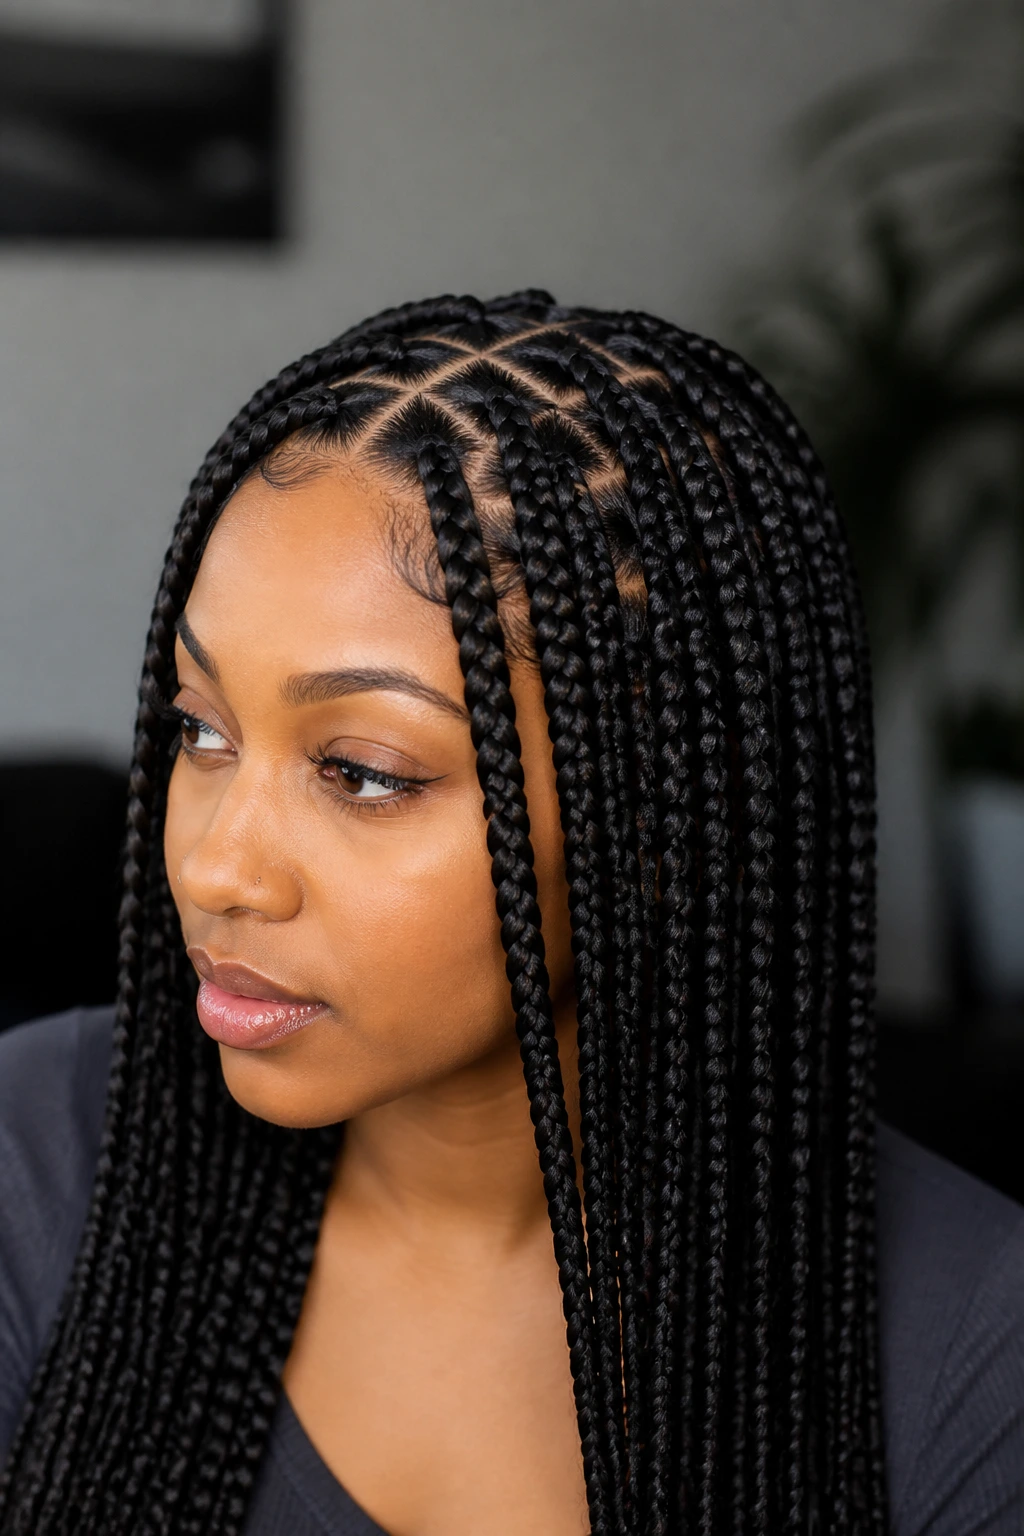
A good protective style starts with the right tools, and I mean the plain, boring ones that make the whole thing easier.
- Rat-tail comb: Helps make clean parts, especially for braids, twists, and cornrows.
- Wide-tooth comb: Better for detangling stretched natural hair without tearing through knots.
- Duckbill clips: Keep sections out of the way while you work.
- Spray bottle: Useful for lightly dampening hair during prep, but do not start an install on soaking wet hair.
- Leave-in conditioner: A light layer helps reduce dryness before braiding or twisting.
- Styling mousse: Smooths frizz on braids, twists, and wraps without making the hair greasy.
- Edge brush: Handy for smoothing the front if you like a clean hairline finish.
- Satin scarf or bonnet: Keeps the style from rubbing apart at night.
- Wig grip or wig cap: Helps secure wigs without over-tightening the perimeter.
- Crochet hook: Needed for crochet braids, obviously, and worth buying a decent one.
- Braid hair or extension hair: Choose a weight and texture that match the style, not the longest pack on the shelf.
- A handheld mirror: Sounds small, but it helps you check tension and parting at the back of your head.
How to Prep Natural Hair Before You Install Any Protective Style
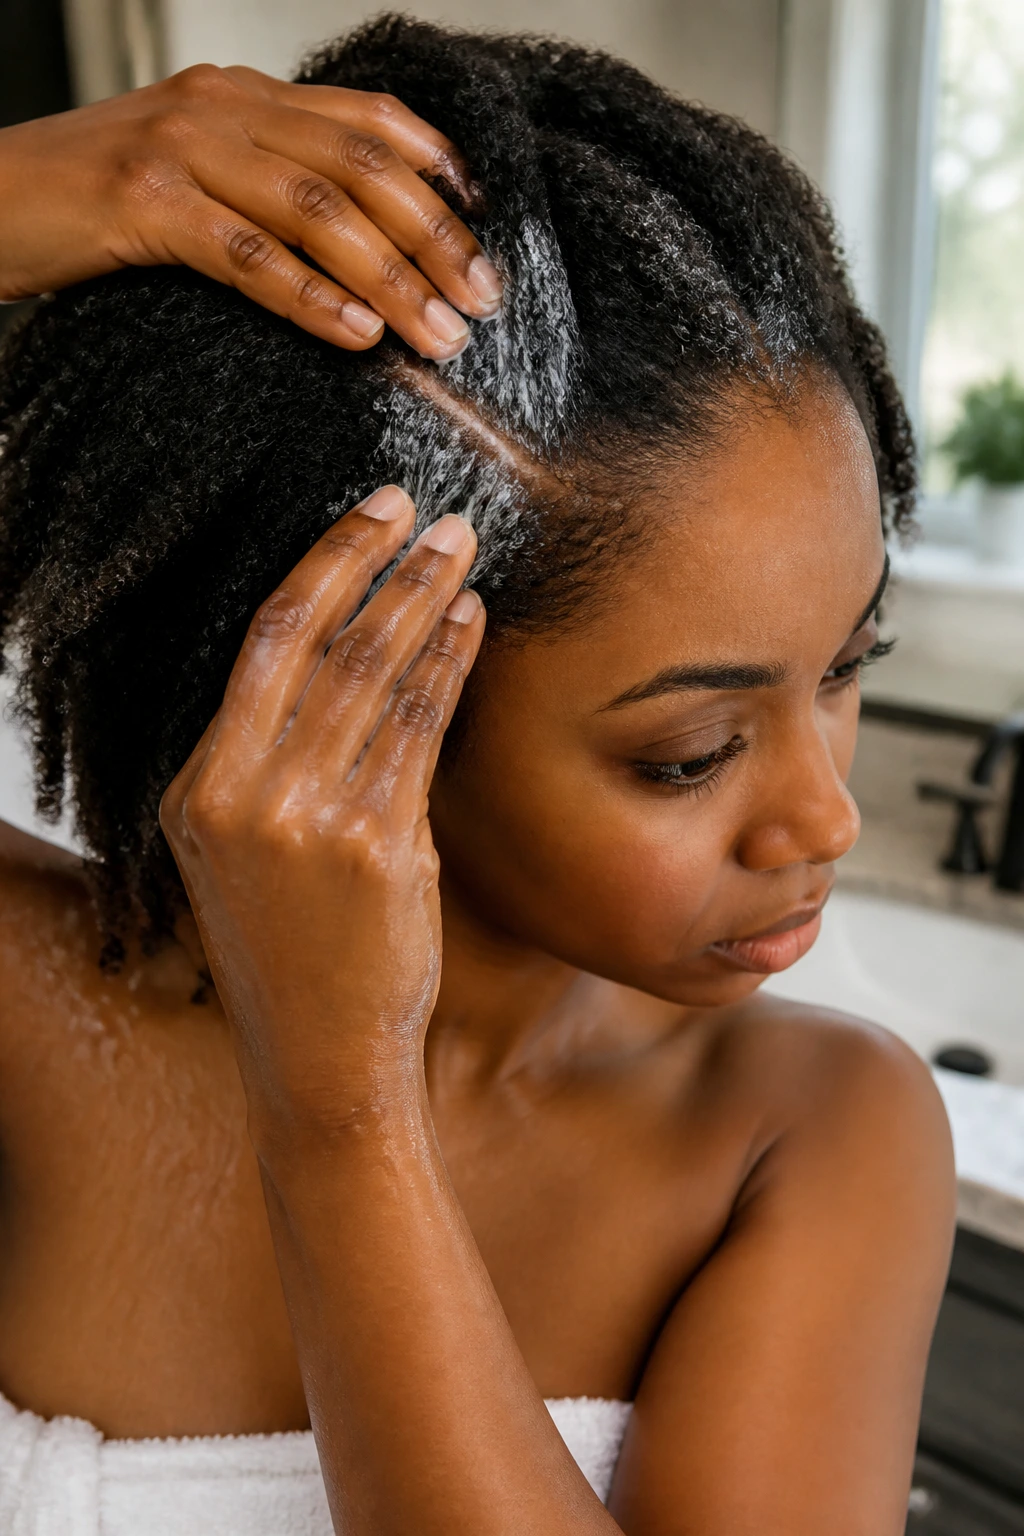
Prep is where a lot of protective styling either starts helping or quietly goes wrong. Start with a clean scalp. Not squeaky-dry, stripped-to-the-bone clean, but free of heavy buildup, old gels, and flaking product that will sit under the style for weeks. Wash with a gentle shampoo, then condition well enough that the hair feels soft but not coated.
Dry the hair fully. Fully. Damp hair tucked into braids or twists can stay wet far longer than people realize, and that is how you end up with a sour smell or an irritated scalp. If your hair is dense, use low heat and take the time. Air-drying halfway and then braiding is asking for trouble.
Stretch the hair if the style will be easier on stretched strands. That could mean banding, blow-drying on low heat, threading, or a twist-out left in its stretched form. The goal is not bone-straight hair. The goal is hair that parts cleanly and does not tangle into itself while you are installing.
Trim ragged ends if they are splitting. No braid or twist repairs split ends that are already splitting. It just hides them for a while.
How to Wear These Styles in Real Life
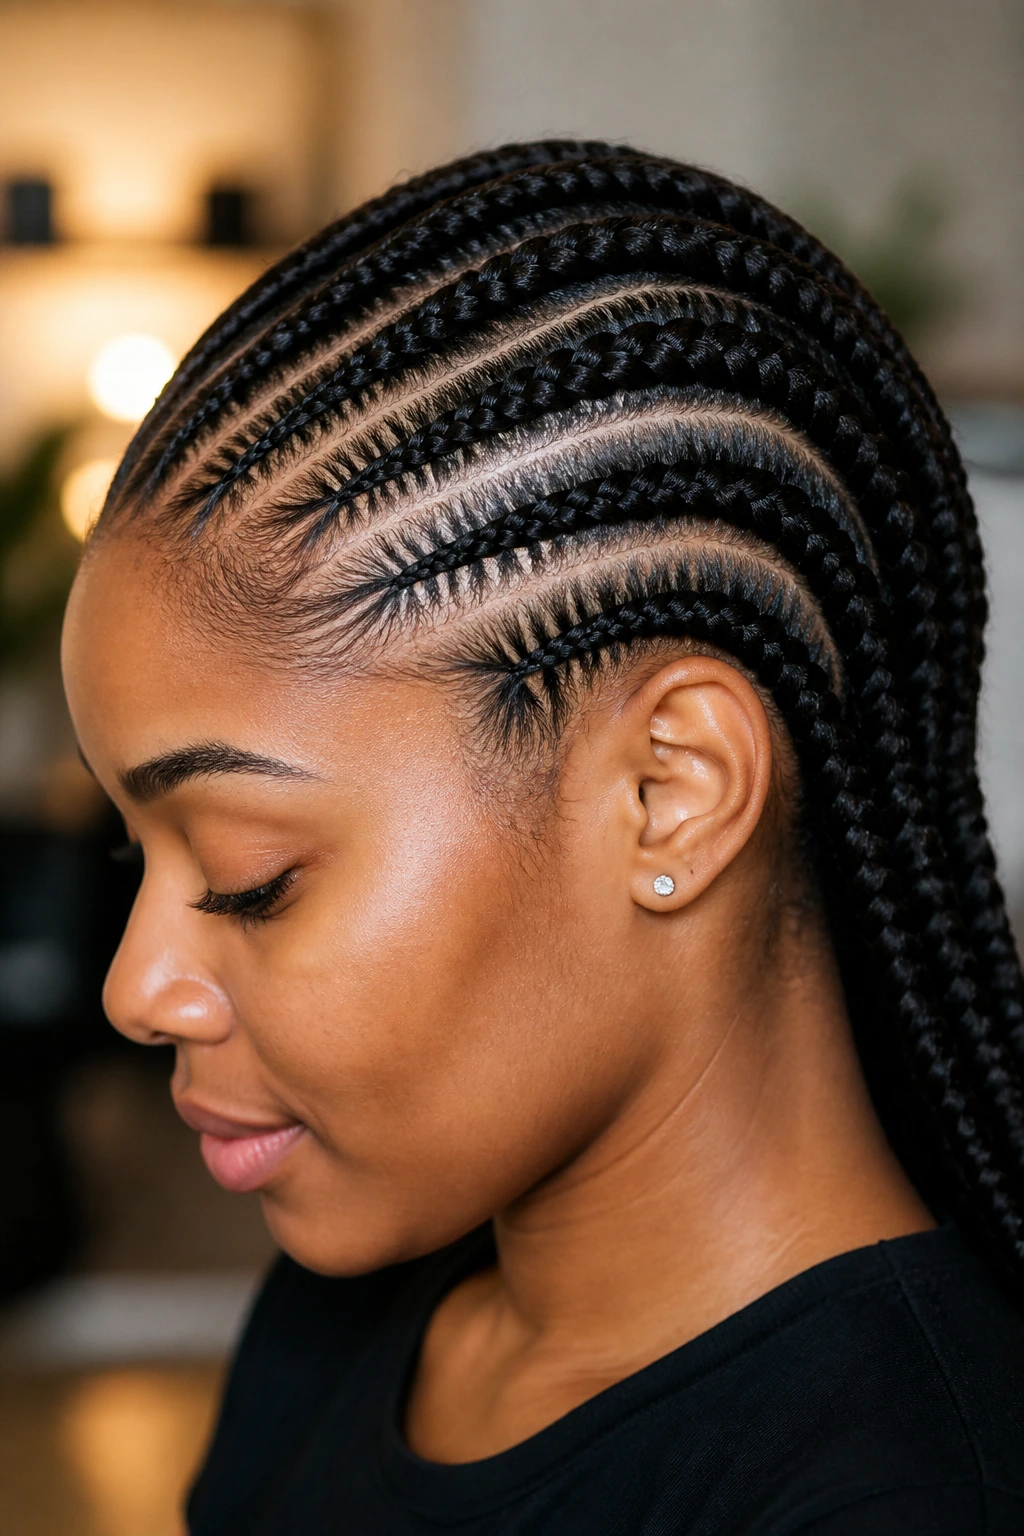
Work and school: Choose styles that stay neat around the face, like knotless braids, feed-in cornrows, flat twists, or a low tucked updo. A clean part line does a lot of heavy lifting when the rest of your week is busy.
Gym and humidity: Go for cornrows, stitch braids, crochet braids, or a braided wig foundation. These styles hold up when you sweat and do not puff out as fast as loose twists. Keep a soft scarf or sweatband nearby so the hairline does not get wrecked by friction.
Sleep: Satin bonnet first, then a scarf if the style is long or curly. If the ends rub your pillow, the style will frizz fast no matter how good the install was.
Dress-up days: Faux locs, goddess locs, crown braids, and passion twists give you shape without extra heat. Add a few cuffs, a wrapped ponytail, or a side swoop if you want the style to feel finished without piling on product.
Small Tweaks That Make Protective Styling Easier
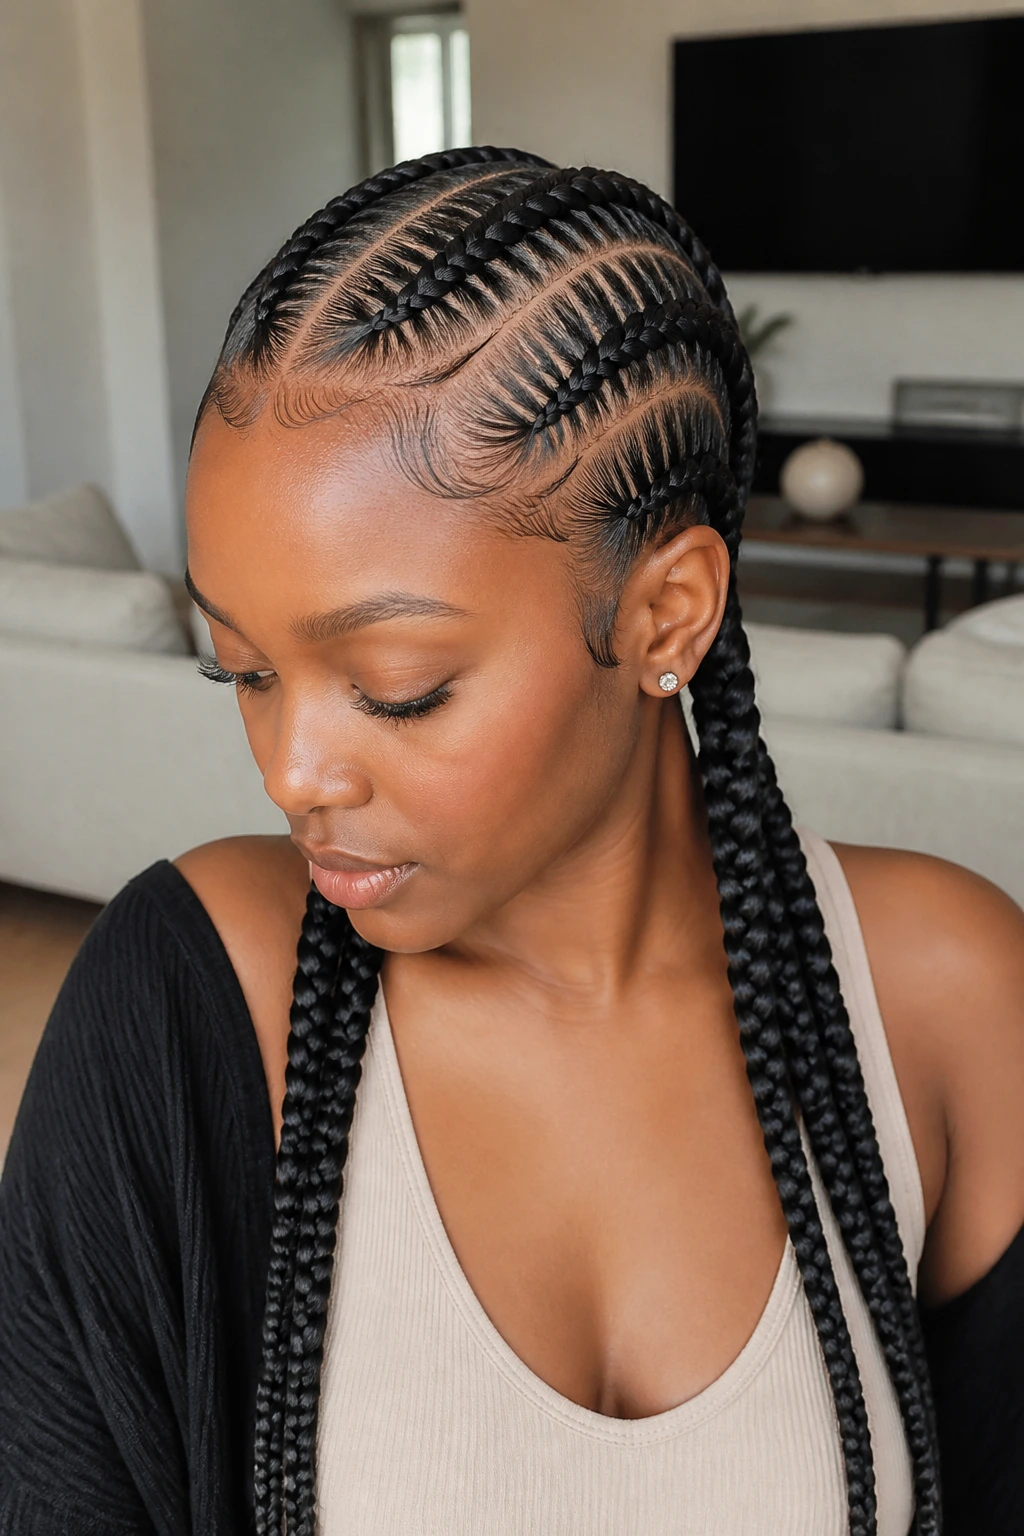
Scalp comfort: Keep the base light. A little tension is normal. Pain is not. If your scalp is sore on day one, that style was installed too tight.
Moisture control: Mist the hair lightly before bed or after a wash if the style can handle it, then seal the ends with a small amount of cream or oil. Small amount. Not a greasy layer that attracts lint and buildup.
Longevity: Wrap the hair at night, refresh frizz with mousse instead of heavy gels, and leave the style alone between touch-ups. The less you keep redoing the front, the longer the whole style usually lasts.
Budget sense: Choose lighter extension hair for long styles and save the heavy, expensive packs for installs where the weight really matters. Cheap hair is not always bad. Sometimes it just needs to be chosen for the right style.
For sensitive edges: Start with low-tension styles like two-strand twists, knotless braids, flat twists, or headwrap styles over a braided base. If you are already dealing with tenderness, do not “tough it out” with a tight install.
Scalp Care, Tension, and Wear Time
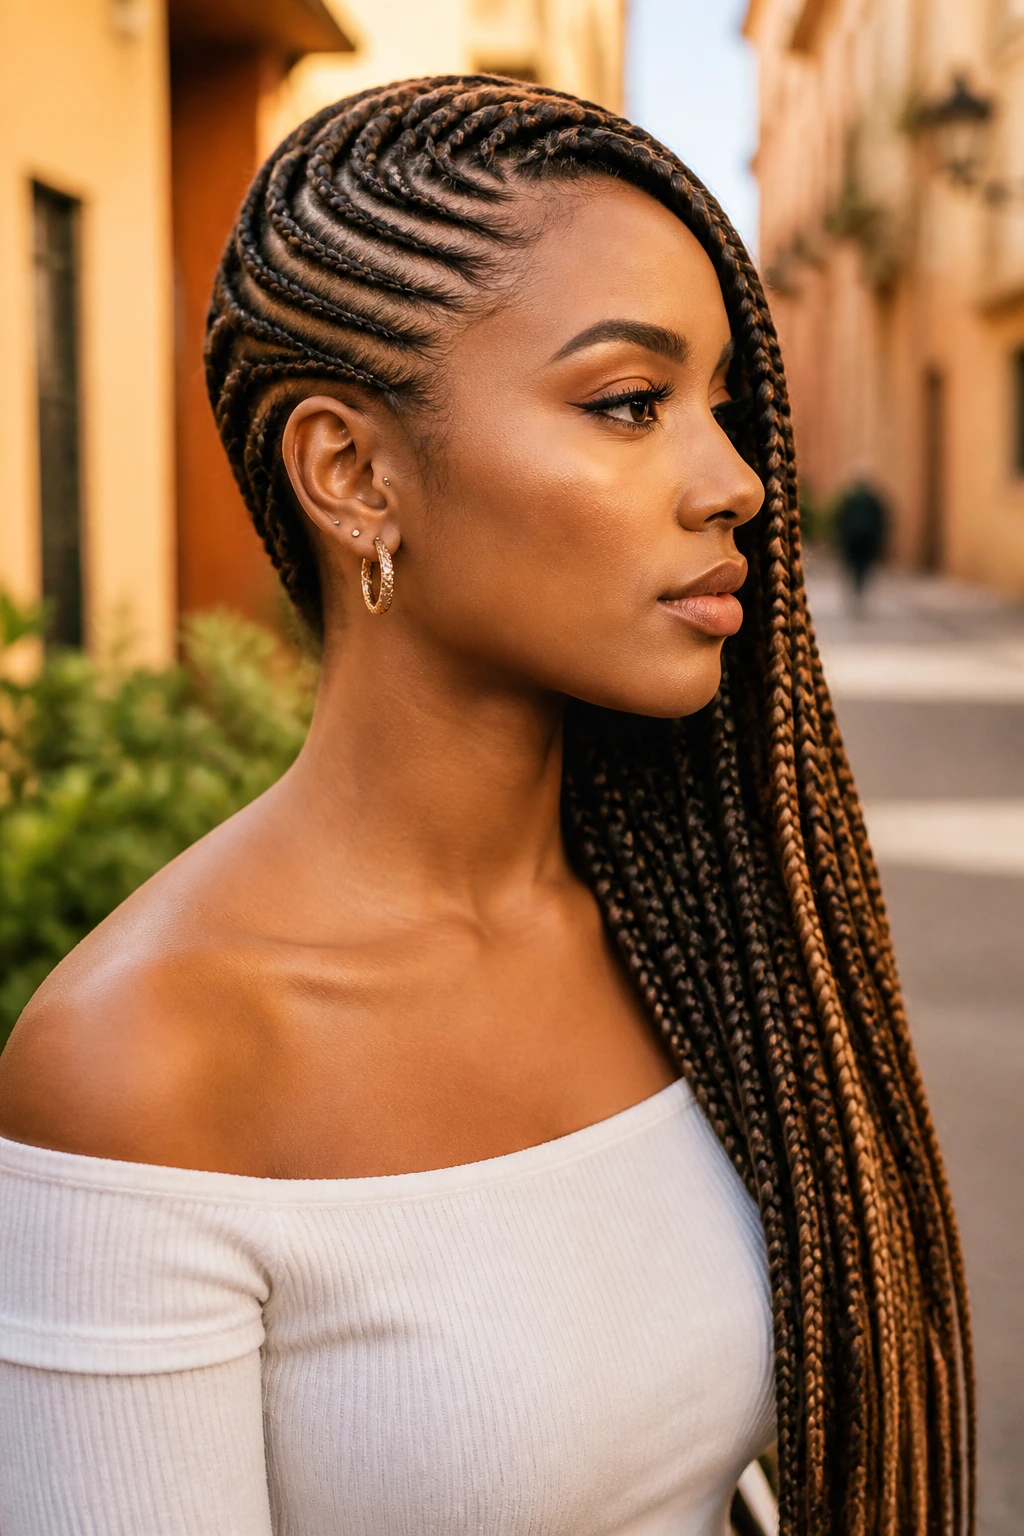
A protective style is only protective if you can actually live in it. That means checking the scalp, not just admiring the finished look. If a style starts throbbing, lifting the hairline, or giving you headaches, it is past the comfortable stage. The best fix is not more oil. It is less tension next time, or a takedown now if the pain is obvious.
Wash or cleanse the scalp on a rhythm that matches the style. Braids, twists, and loc-style installs often do fine with a gentle scalp cleanse every one to two weeks, while wigs and wraps can be refreshed more often because the foundation is easier to access. Use a nozzle bottle or diluted shampoo if the parts are tight, then rinse carefully so residue does not sit at the roots.
Wear time matters. Most braid and twist styles live well for four to eight weeks, depending on size, tension, and how fast your hair grows. Wigs and wraps can be rotated more often, but the foundation still needs care. If the new growth turns into a tangled nest at the base, the style is done.
Common Mistakes That Undo the Work
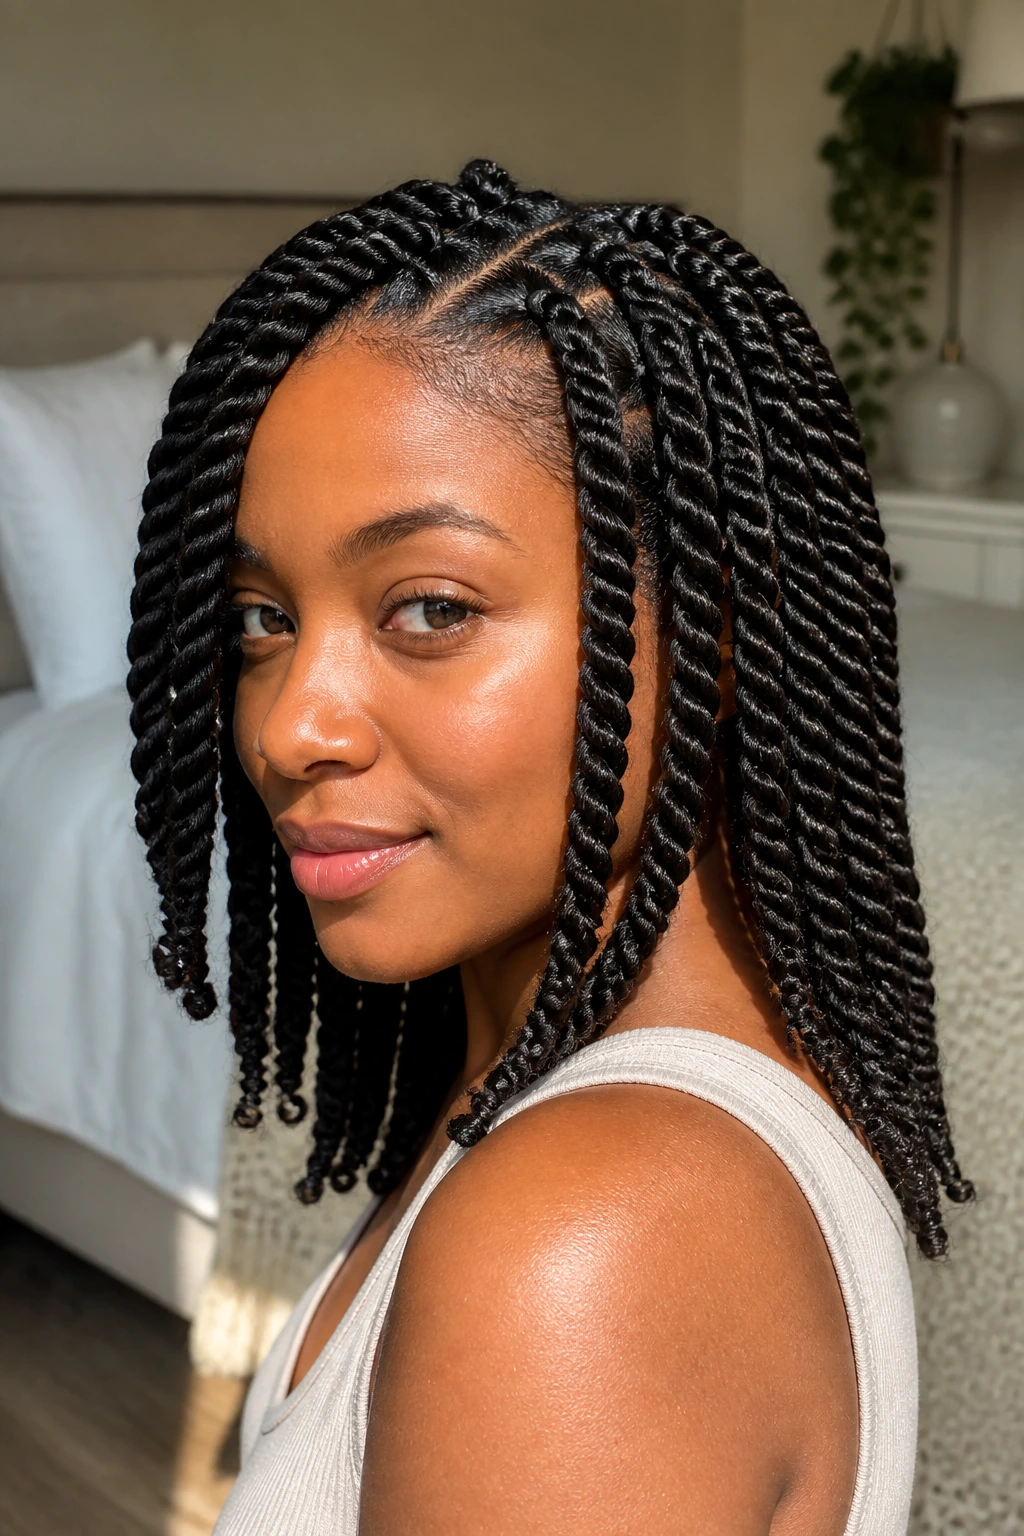
Too much tension at the edges: The front looks sleek for a day and then the scalp starts barking at you. Ask for looser perimeter braids or smaller sections next time. If your hairline is raised or tender, the style is already telling on itself.
Leaving the style in too long: Frizz, lint, and matting start at the roots, then travel down. Remove braids and twists before they get to that point. For most installs, the safe window is measured in weeks, not months.
Skipping cleanup under the style: Product buildup at the scalp can make itching and flaking worse. A clean scalp and a light hand with grease beat thick buildup every time.
Installing on damp hair: That can trap moisture and leave you with a sour, itchy base. Hair should be dry before braiding, twisting, or sewing in.
Ignoring shed hair during takedown: Hair sheds every day. If you rip a style out without loosening each section, you will mistake normal shed strands for breakage and probably cause real breakage on top of it.
Variations and Adaptations to Try
The Low-Tension Version: Choose knotless braids, two-strand twists, flat twists, or a tucked roll-and-pin updo if your scalp gets sore easily. These keep the hair protected without loading the roots with weight.
The Busy-Week Version: Wig on a braided base, crochet braids, and headwrap styles are the quickest to refresh when your schedule is a mess. They let you keep the foundation neat while changing the outside look fast.
The No-Extension Version: Mini twists, two-strand twists, Bantu knots, flat twists, and crown braids use your own hair and still cut down on daily handling. This is the route I like when I want less bulk and less prep.
The Full Glam Version: Faux locs, goddess locs, lemonade braids, and Senegalese twists give more visual impact and longer wear. Pick these when you want the style to carry the outfit.
The Gym-Friendly Version: Feed-in cornrows, stitch braids, and braided wigs hold closest to the scalp and tend to survive sweat better than loose styles. Keep a scarf nearby, because sweat plus friction is a nasty little combo.
How to Take a Style Down Without Snapping Ends
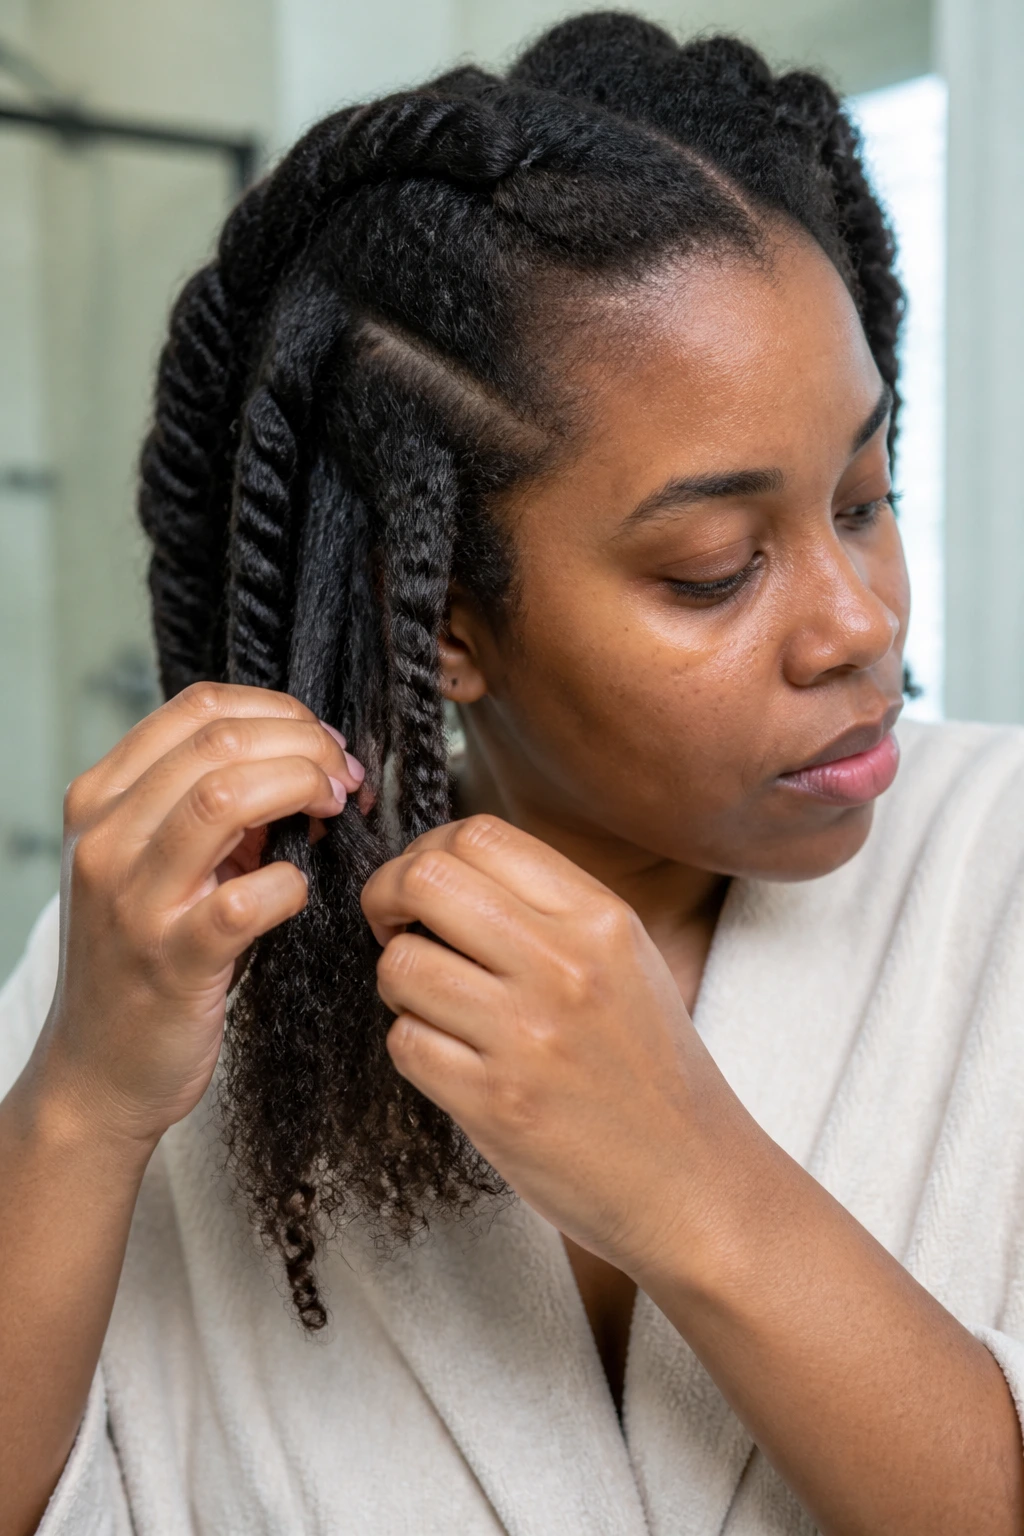
Take down day should be calm, not fast. Start with dry hair, a little oil or detangling spray on the sections, and a clear work area. Snip the added hair below your natural ends if the style used extensions, then loosen each braid or twist from the bottom up. Do not yank the whole section at once because you are tired.
Finger-detangle first. That part saves you from ripping through shed hair and making a knot worse with a comb. Once the section is loose enough to move, follow with a wide-tooth comb and a gentle wash. If the style was in for weeks, expect shed hair. That is normal. It should come out in strands, not in chunks that look like a pulled bird’s nest.
A slow takedown is not indulgent. It is the point. You wore the style to protect the hair; do not undo that in ten frantic minutes.
Frequently Asked Questions
Do protective hairstyles actually make natural hair grow faster?
Not faster, no. Hair grows from the follicle at its own pace. Protective styles help you keep more of the length by reducing breakage, which is usually where the visible progress gets lost.
How long should I keep braids or twists in?
Most braid and twist installs do best for about 4 to 8 weeks, depending on size, tension, and how quickly your new growth shows. If the roots are matting, the scalp is itchy, or the style feels heavy, it is time to take it down.
Which protective style is best for a tender hairline?
Knotless braids, two-strand twists, flat twists, and low tucked updos are usually kinder than heavy traditional braids or tiny, tight cornrows. Ask for a softer perimeter and lighter extension weight if your edges already feel thin or sore.
Can I work out in protective styles?
Yes, and some styles handle workouts better than others. Feed-in cornrows, stitch braids, crochet braids, and braided wig foundations usually hold up well if you keep the hairline dry and wrap the style after sweating.
Should I oil my scalp every day in a protective style?
Not necessarily. Daily oil can build up fast, especially on braids and twists. A light scalp mist or targeted oiling once or twice a week is usually enough unless your scalp is unusually dry.
What if my protective style hurts after installation?
That is a warning, not something to “break in.” If the pain is at the roots, along the hairline, or at the nape, the tension is too high. It is better to have the style adjusted or removed than to keep pulling on the same spot for weeks.
Can I do protective styles on short natural hair?
Yes. Mini twists, flat twists, Bantu knots, wig foundations, and crochet braids all work well on shorter hair as long as the sections are secure and the ends are tucked. The install may need smaller parts or a bit of added hair, but short hair is not a dead end here.
Do I need to wash my hair while it is in braids or twists?
Usually, yes, if the style stays in for more than a week or two. A gentle scalp cleanse helps remove sweat and buildup. Just keep the water focused on the scalp, rinse well, and dry the roots fully so moisture does not sit under the style.
The Styles That Let Your Hair Rest
The best protective hairstyles for natural hair growth are the ones that make your hair easier to live with, not harder. They keep the ends tucked, the hands off your strands, and the scalp comfortable enough that you are not counting the hours until take-down day.
Pick the style that matches your real life. If your scalp is tender, go lighter. If you need a style for a long work stretch, choose something with clean maintenance. If you want the least fuss, respect the humble two-strand twist and the low tucked updo. Those quiet styles often do more for length retention than the flashiest install in the room.
