



The best kids’ hairstyles are the ones a child can actually wear without tugging at the scalp, pawing at the back of the head, or begging for a redo before the shoes are on. That’s where bun hairstyles for kids earn their keep. A good bun can survive picture day, gymnastics, a long car ride, or a playground sprint, and still look neat by pickup.
But “a bun” is doing a lot of work there. A tight recital knot, a soft side bun, and two tiny space buns behave very differently on fine hair, thick waves, curls, and coils. Some styles need gel and precision. Others look better a little imperfect, with a few flyaways and a ribbon that’s not sitting perfectly flat. The trick is matching the bun to the hair, the mood, and how much patience everyone has before breakfast.
And yes, small details matter. A bun that sits too high can give a headache. A bun built on hair that wasn’t detangled first will fray apart before lunch. A style that looks cute on social media can feel miserable after 20 minutes if every pin is pulling in the wrong place. The good ones are the ones that hold, stay comfortable, and don’t demand a full salon setup to pull off.
Why These Bun Styles Are Worth Keeping in Rotation
-
Fast when the clock is rude: Several of these bun hairstyles for kids start with one ponytail, a few pins, and a twist, so you can get from bedhead to done without turning the bathroom into a battleground.
-
Built for different hair textures: Fine, slippery hair needs grip; thick hair needs stronger sectioning; curly and coily hair need moisture and less tension. Not every bun solves the same problem, and that’s exactly the point.
-
Comfort comes first: The styles here avoid unnecessary pulling at the hairline and ears, which matters more on a child than a perfectly centered swirl.
-
Useful beyond special occasions: Some buns are polished enough for photos or recitals, while others are sturdy enough for school, sports, or an afternoon that involves a climbing frame.
-
Easy to adjust: A satin scrunchie, a ribbon, a braid, or a donut bun maker can change the whole look without rebuilding the style from scratch.
-
They grow with the hair: Shorter bobs, shoulder-length layers, and long braids all need different handling. There’s room here for all of that, which keeps you from forcing one “perfect” bun onto every head.
1. The Sleek High Ballet Bun
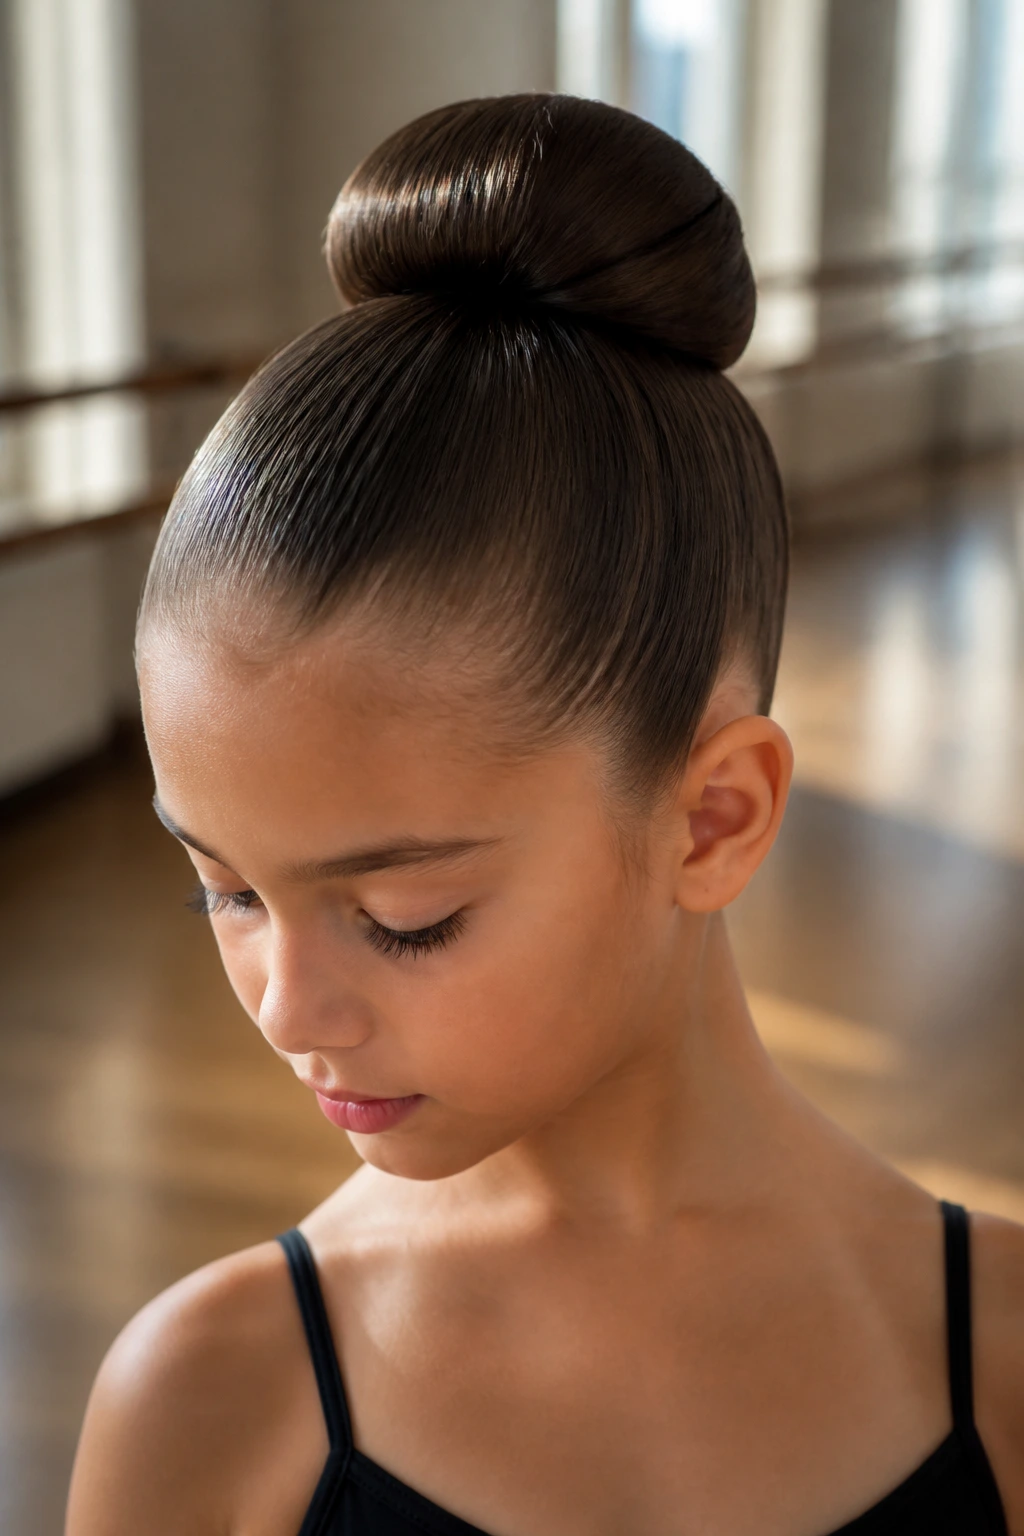
A sleek high ballet bun sits high on the crown, smooth at the sides, and tight enough to stay put without looking cranked down. It’s the classic for a reason. On neat hair, it looks clean and deliberate; on thicker hair, it can be the difference between “done” and “still working on it.”
Why It Works
This style works because the bun’s center of gravity sits high, which keeps it off collars and backpack straps. The shape also hides a lot of different hair lengths once the ends are coiled in. For kids who move a lot, that high placement keeps the bun from rubbing against the neck all day.
Quick Facts
- Best on: medium to long hair
- Good for: dance class, concerts, dressy school events
- Time needed: 5 to 10 minutes
- Hold factor: high, especially with a light gel or styling cream
Tip: Smooth the top with a little water or leave-in spray before you gather the hair. Dry brushing can make the crown puff up in odd places.
2. The Low Nape Chignon Bun
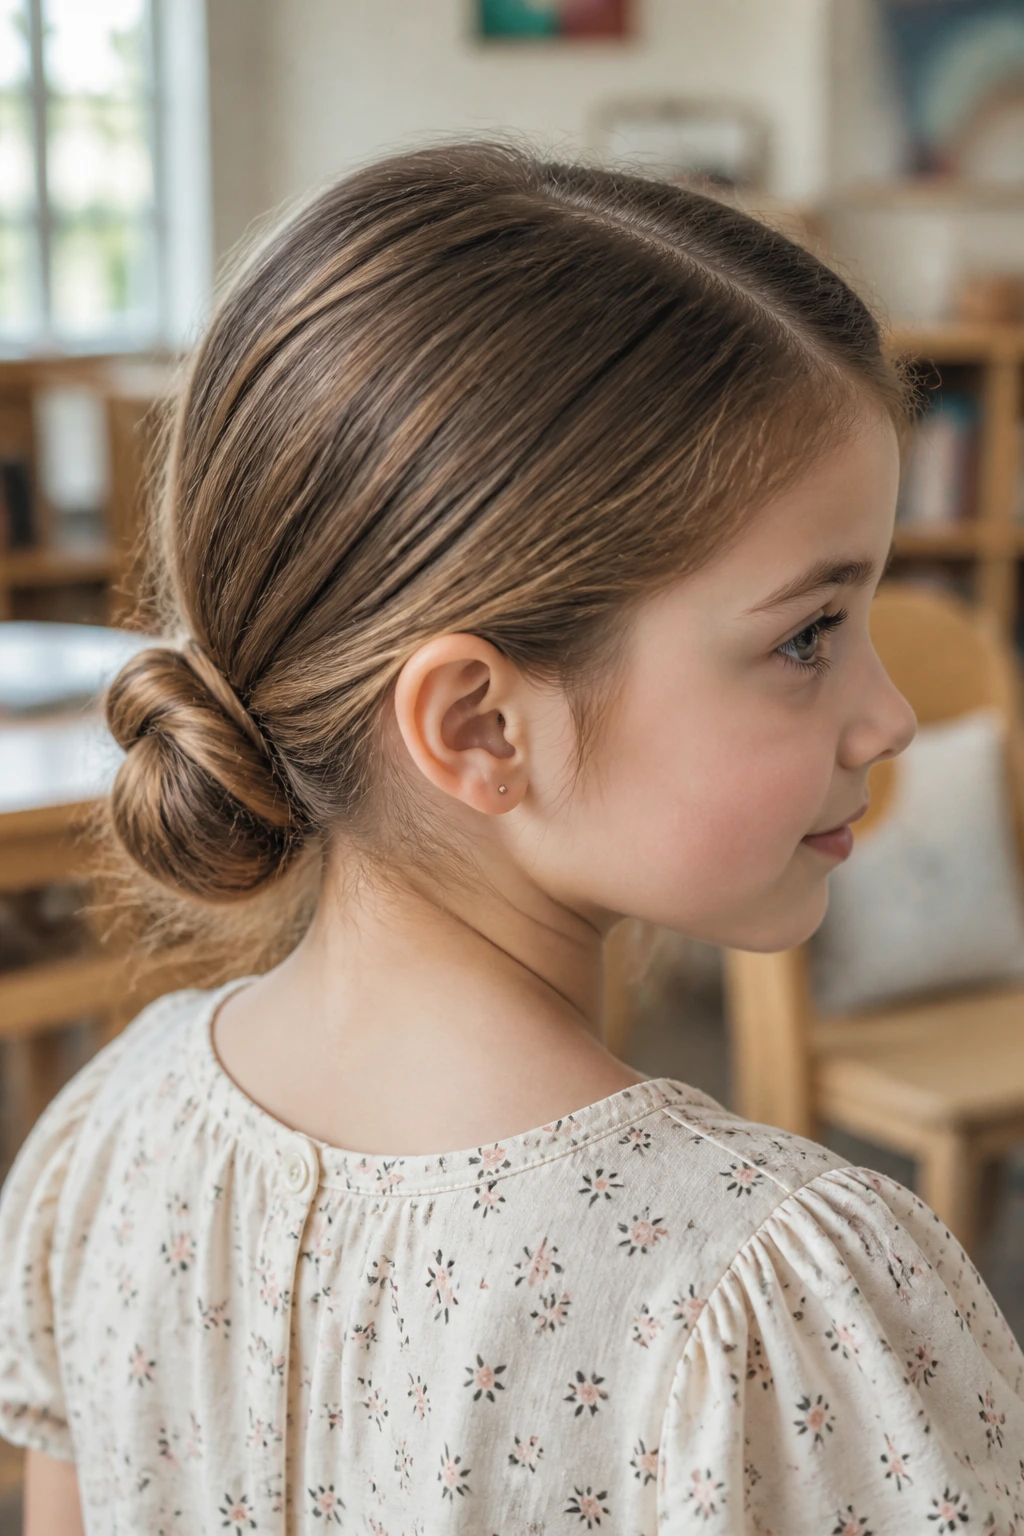
If the high bun feels too severe, the low nape chignon is the softer, calmer version. It sits just above the neck, tucked in close and a little more relaxed around the ears. I reach for this one when I want the hair out of the face but don’t want that tight “pulled back” look.
It’s especially kind to kids who complain about buns feeling heavy. The weight rests lower, so the scalp doesn’t get that tugging sensation at the crown. On fine hair, it looks neat without needing much bulk. On thick hair, it may need a few extra pins tucked in a crisscross.
A side part makes it feel a touch more polished. A middle part keeps it tidy and classic. Either way, the low placement makes this a good one for long school days, family events, or any time you want the hairstyle to stay out of the way and not become a conversation.
3. Double Space Buns
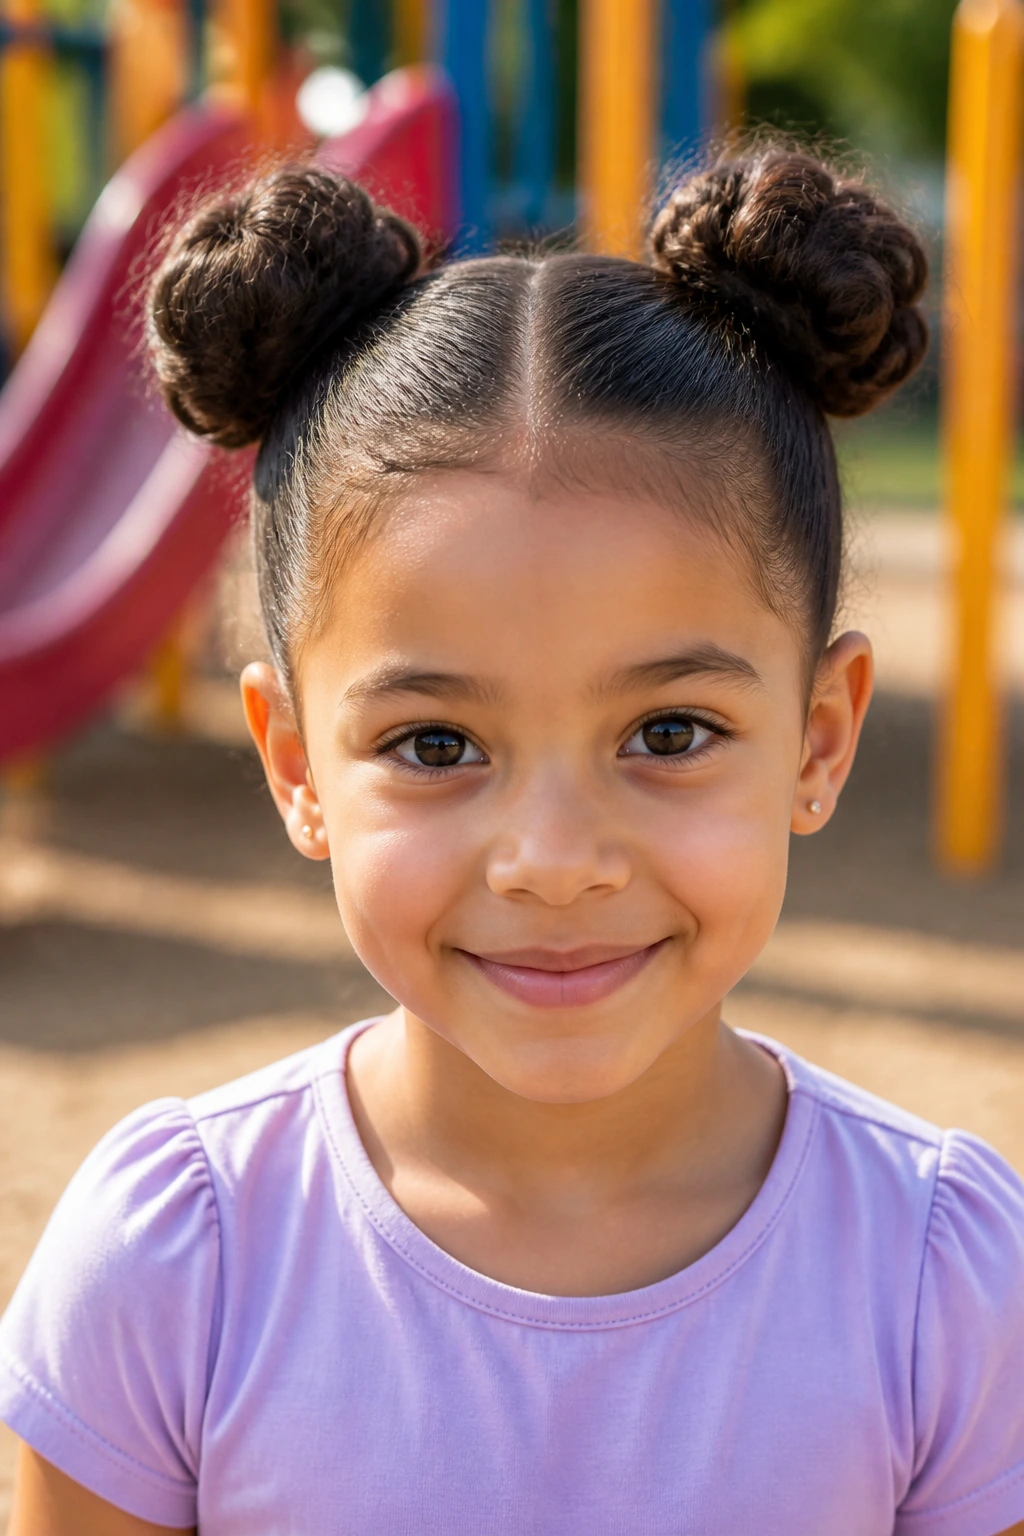
Space buns are playful without being messy, which is a nice balance for kids. Two buns, one on each side of the head, keep the style balanced and easy to read from a distance. They’re a little bit fun, a little bit cheeky, and they hold well when the sections are clean.
The trick is to make the two ponytails match before you twist anything. If one side starts higher than the other, the buns will look lopsided even if the wrapping is perfect. I like to check the symmetry from the front and back before tightening the elastics.
How to Wear Them
- Use a center part for a clean, even look.
- On fine hair, backcomb the ponytails once or twice for grip.
- On thick hair, make the buns slightly smaller so they don’t stick out too far.
A little ribbon at the base of each bun can soften the look fast. Without it, the style leans sporty. With it, the style turns more dressy.
4. The Braided Bun
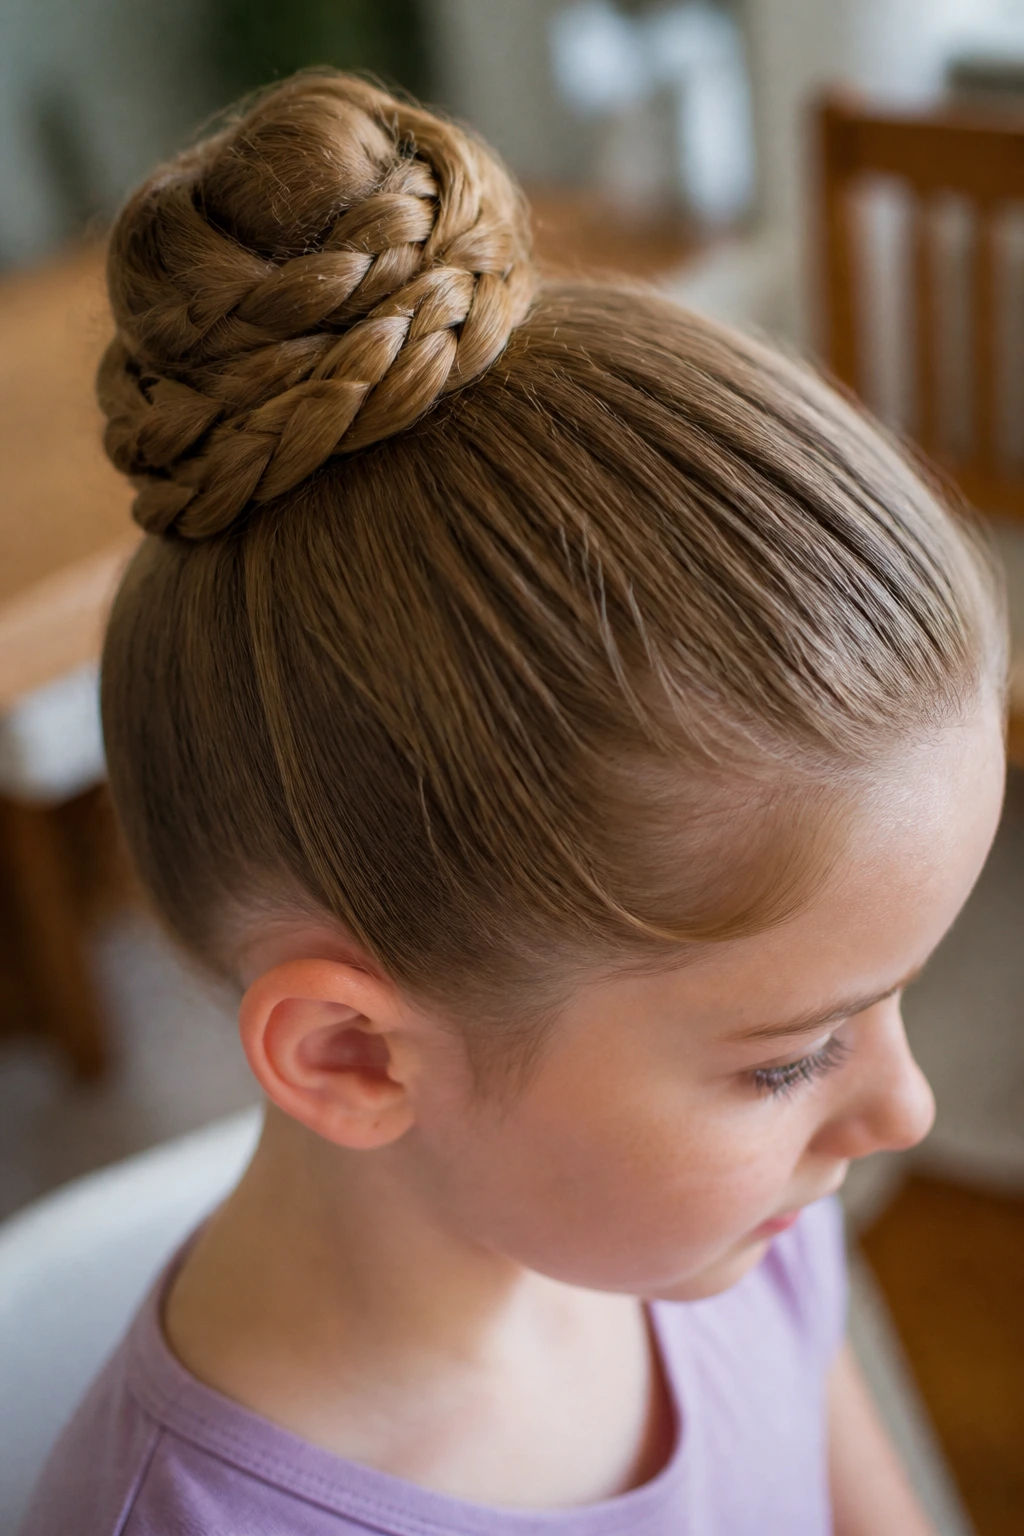
The braided bun is one of those styles that looks more complicated than it really is. You braid the ponytail first, then coil the braid into a bun. That extra braid gives the finished shape a tighter, more interesting texture, and it gives bobby pins something solid to hold onto.
This is one of my favorite bun hairstyles for kids with slippery hair. Plain twisted buns can slide. Braids grip. That simple difference matters when a child has fine strands or hair that has been freshly washed and refuses to cooperate.
Best For
- straight, silky hair
- thick hair that needs extra control
- kids who need a bun that stays put during activity
If the braid is a little loose, that’s fine. The bun itself will still read as polished. Tight braids are not the goal here; secure sections are. The finished result looks tidy and has enough texture to hide a few pin heads.
5. The Twisted Top Knot
This one is fast. Almost suspiciously fast. Gather the hair high, twist the ponytail until it starts to coil on itself, then wrap it around the base and pin it down. The whole style can be done in minutes once you know how much hair you’re working with.
It’s especially useful on second-day hair, when the roots have a little natural grip and the top knot can hold without a fight. Freshly washed hair tends to slip more, so add a light styling cream or mist of water if you need extra control.
The best part is how flexible it is. A twisted top knot can look neat and precise, or it can stay slightly soft around the edges. For younger kids, I prefer the softer version. It feels less stiff, and you can leave a tiny bit of lift at the front so it doesn’t read as too grown-up.
6. The Messy Ribbon Bun
A messy ribbon bun is the style you use when you want the bun to feel a little looser, a little softer, and a lot less formal. The bun itself doesn’t need to be perfect. In fact, it looks better when it isn’t. A ribbon tied around the base or woven through the bun pulls the whole thing together.
This style works best when you make a loose ponytail first, then twist and pin the bun just enough to hold. Leave a few flyaways alone. They give the style movement instead of making it look unfinished. A satin ribbon makes the look feel gentle. A grosgrain ribbon makes it feel more crisp and structured.
Kids with tender scalps usually handle this one well because the tension is lighter. If you want the style to last longer, pin under the ribbon so the pins are hidden and anchored by the fabric. That little trick helps more than people expect.
7. The Donut Sock Bun
A donut bun is the polished one. Full shape, round edges, and that neat, centered look that seems to belong in a recital hall. A foam bun maker is easiest, but a rolled sock cut down to size works too. The idea is to spread the hair evenly around the shape so the bun looks full instead of lumpy.
This style is a lifesaver for thin hair because the bun maker creates volume where there isn’t much naturally. It also hides short ends better than a plain twist. If the hair is layered, tuck the stray pieces under the donut before you start pinning. That keeps the edges cleaner.
What to Watch For
- Don’t pull the hair too tight over the donut or the bun can look flat on top.
- Use small pins around the perimeter, not one or two giant ones in the middle.
- If the hair is very fine, mist it lightly first so it grips the shape instead of sliding off.
A donut bun is the style I’d pick when the goal is neatness first and softness second.
8. The Side Bun With a Deep Part
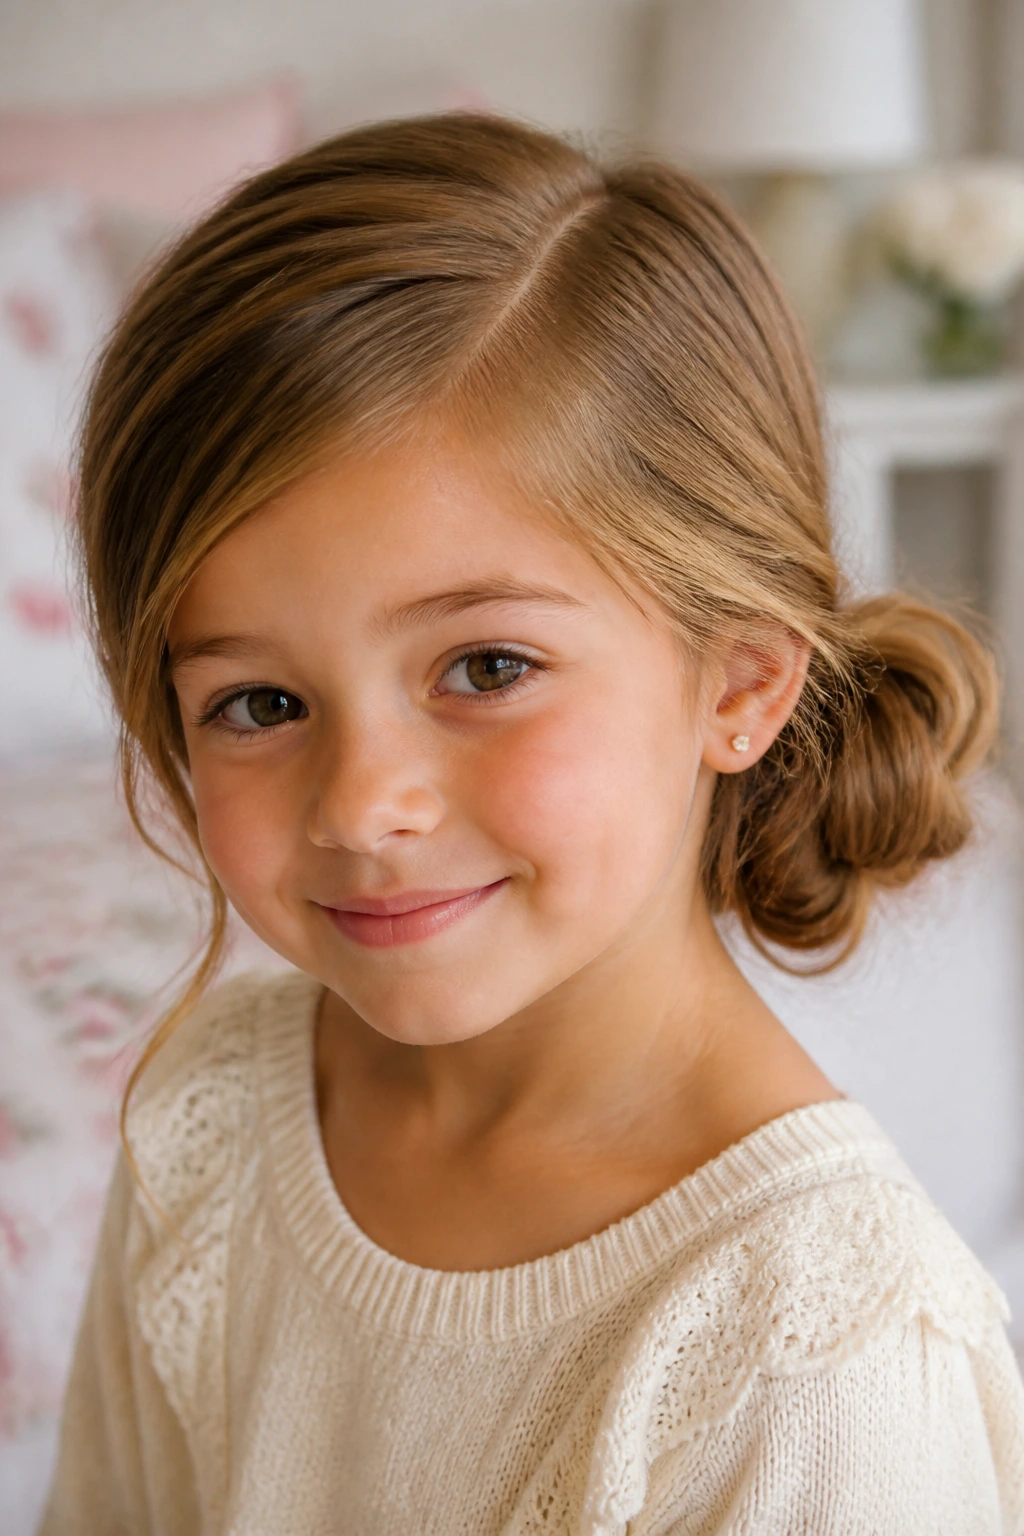
A side bun has a little more personality than a center-set style. The deep part gives the front shape, and the bun sits off to one side near the nape or just behind one ear. It feels softer than a ballerina bun and less fussy than a braid-heavy style.
This one is nice on kids with shorter layers around the face because the side part lets those pieces sweep naturally instead of fighting them. If the hair has a bit of wave, even better. The slight bend makes the side bun look intentional instead of rigid.
I like this style when a child wants something pretty but not stiff. It can work with a dress, but it also sits comfortably with a sweater and sneakers. That’s a useful range. A small flower clip tucked above the bun can make the whole look feel finished with almost no extra work.
9. The Half-Up Mini Bun
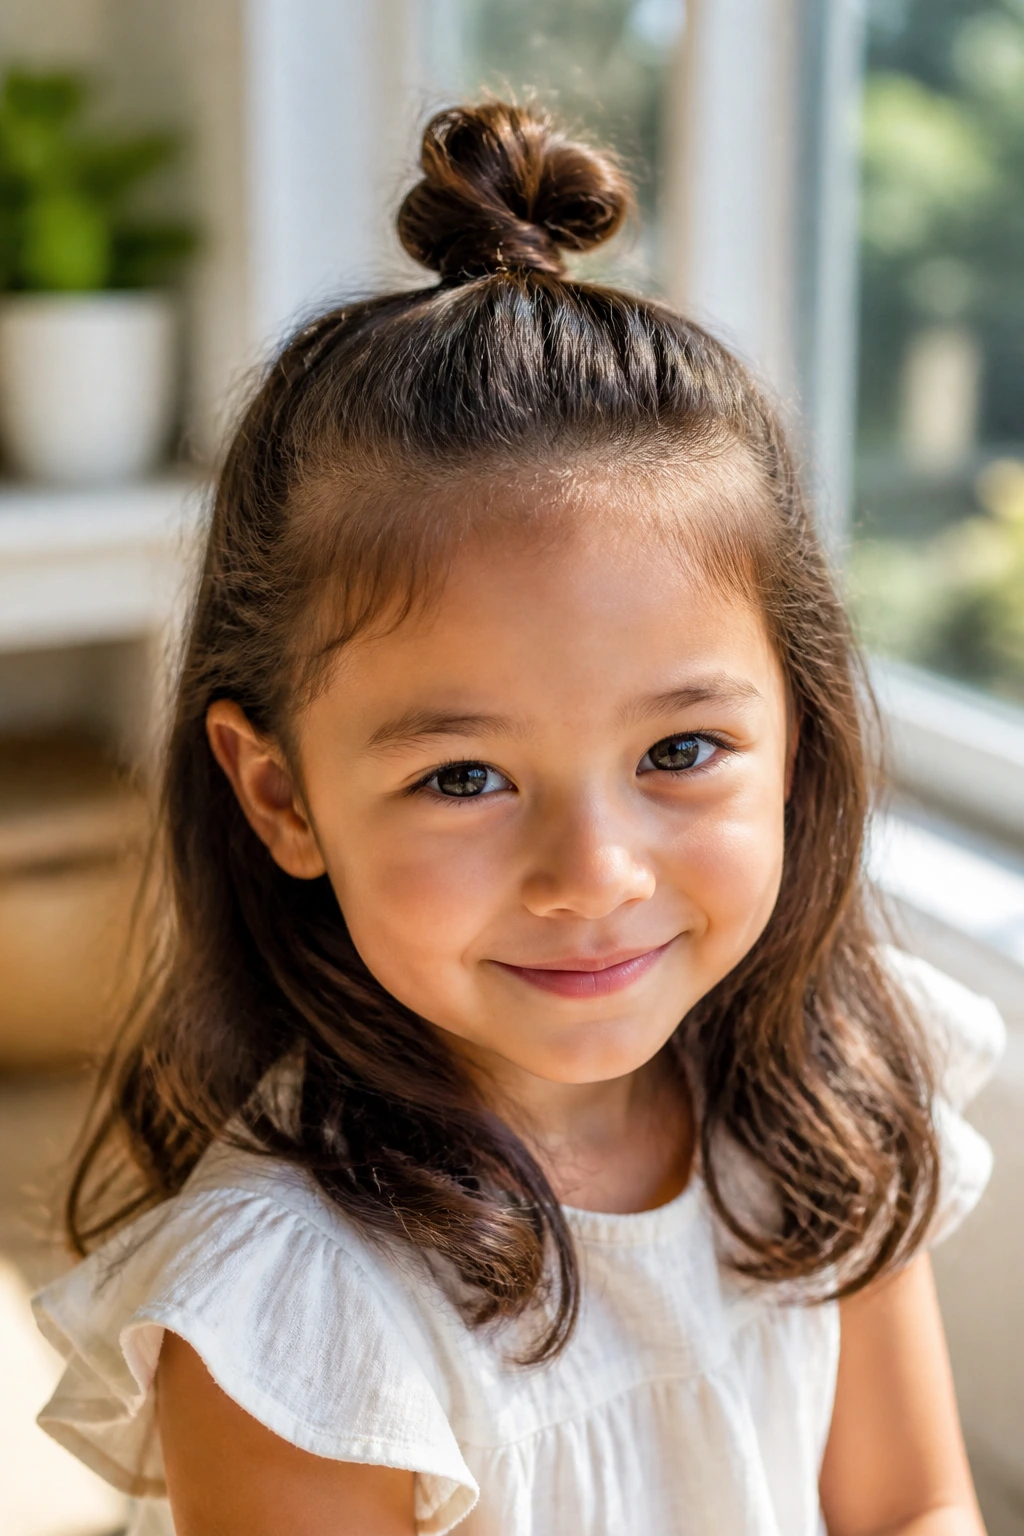
Half-up mini buns are a good answer when the hair isn’t quite long enough for a full bun or when you want to keep hair off the face without putting everything up. Gather the top section into a small bun and leave the rest down. Easy. Quick. Surprisingly cute.
Because only part of the hair is used, this style is gentler on the scalp. It also works on layered cuts where a full bun would fall apart too quickly. The trick is to keep the half-up section high enough to stay visible but not so high that it starts pulling back the hairline.
On curly hair, the mini bun pairs nicely with loose curls below. On straight hair, the contrast between the sleek top and the loose length gives the style some shape. Either way, it’s a smart fallback when a full updo feels like too much.
10. The Crown Braid Bun
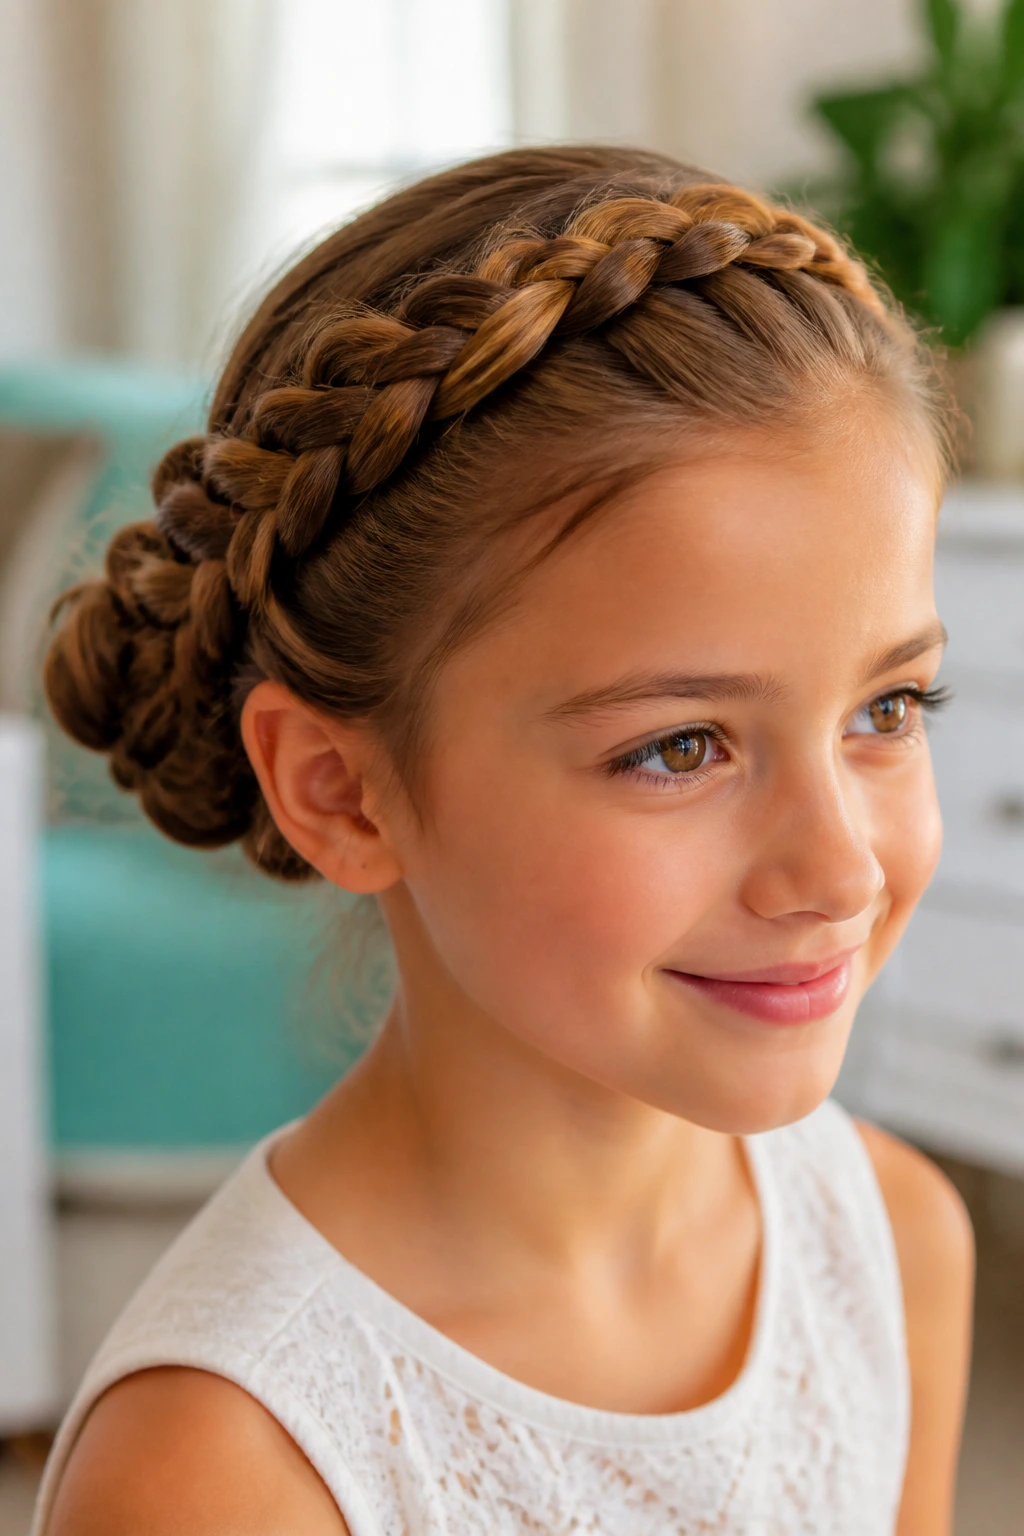
This is the one that makes people assume you spent a long time on it. You didn’t have to, but it certainly looks that way. A braid wraps around the hairline like a crown, then the ends are tucked into a bun at the back or side. It has a formal feel, but it still keeps the hair secure.
The braid is the important part here. It controls the front sections, which are usually the first pieces to fall loose during a long day. If the hair is fine, a little texturizing spray or dry shampoo helps the braid stay neat. If it’s thick, section carefully so the braid doesn’t become too bulky around the head.
A Good Fit For
- school performances
- weddings and parties
- kids who dislike loose hair touching the face
This style is not the fastest on the list, but it earns the extra minutes when the look needs to stay neat and special.
11. The Cornrow Bun
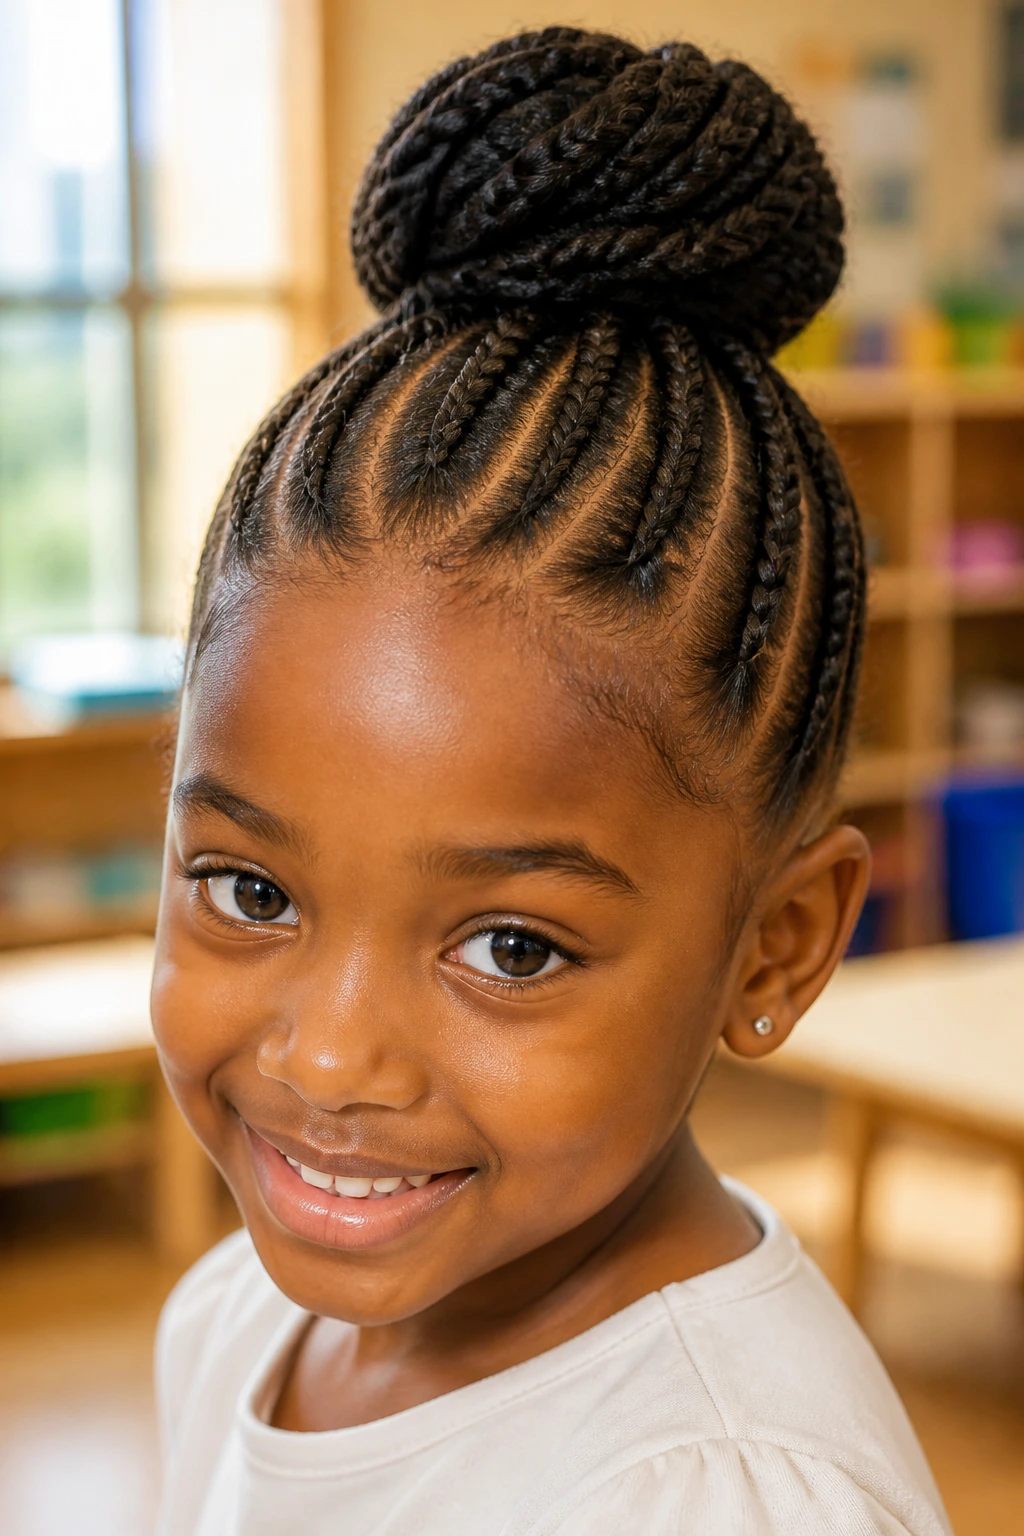
A cornrow bun is a strong, protective style for textured hair. Neat cornrows feed into a bun at the back or crown, which keeps the hair compact and helps reduce daily manipulation. That matters. Less handling usually means less frizz and less breakage.
The bun itself can be small and low, or fuller and higher, depending on how the cornrows are laid out. I prefer a bun that sits close enough to the head to stay comfortable during sleep or school. Too high, and the style can feel like a knob. Too loose, and it loses the clean shape that makes it useful.
Moisture matters here. A little leave-in conditioner or light hair oil on the scalp before styling can keep the finished look from feeling dry and brittle. The goal is neatness without stripping the hair of softness. That balance is worth getting right.
12. The Pigtail Buns
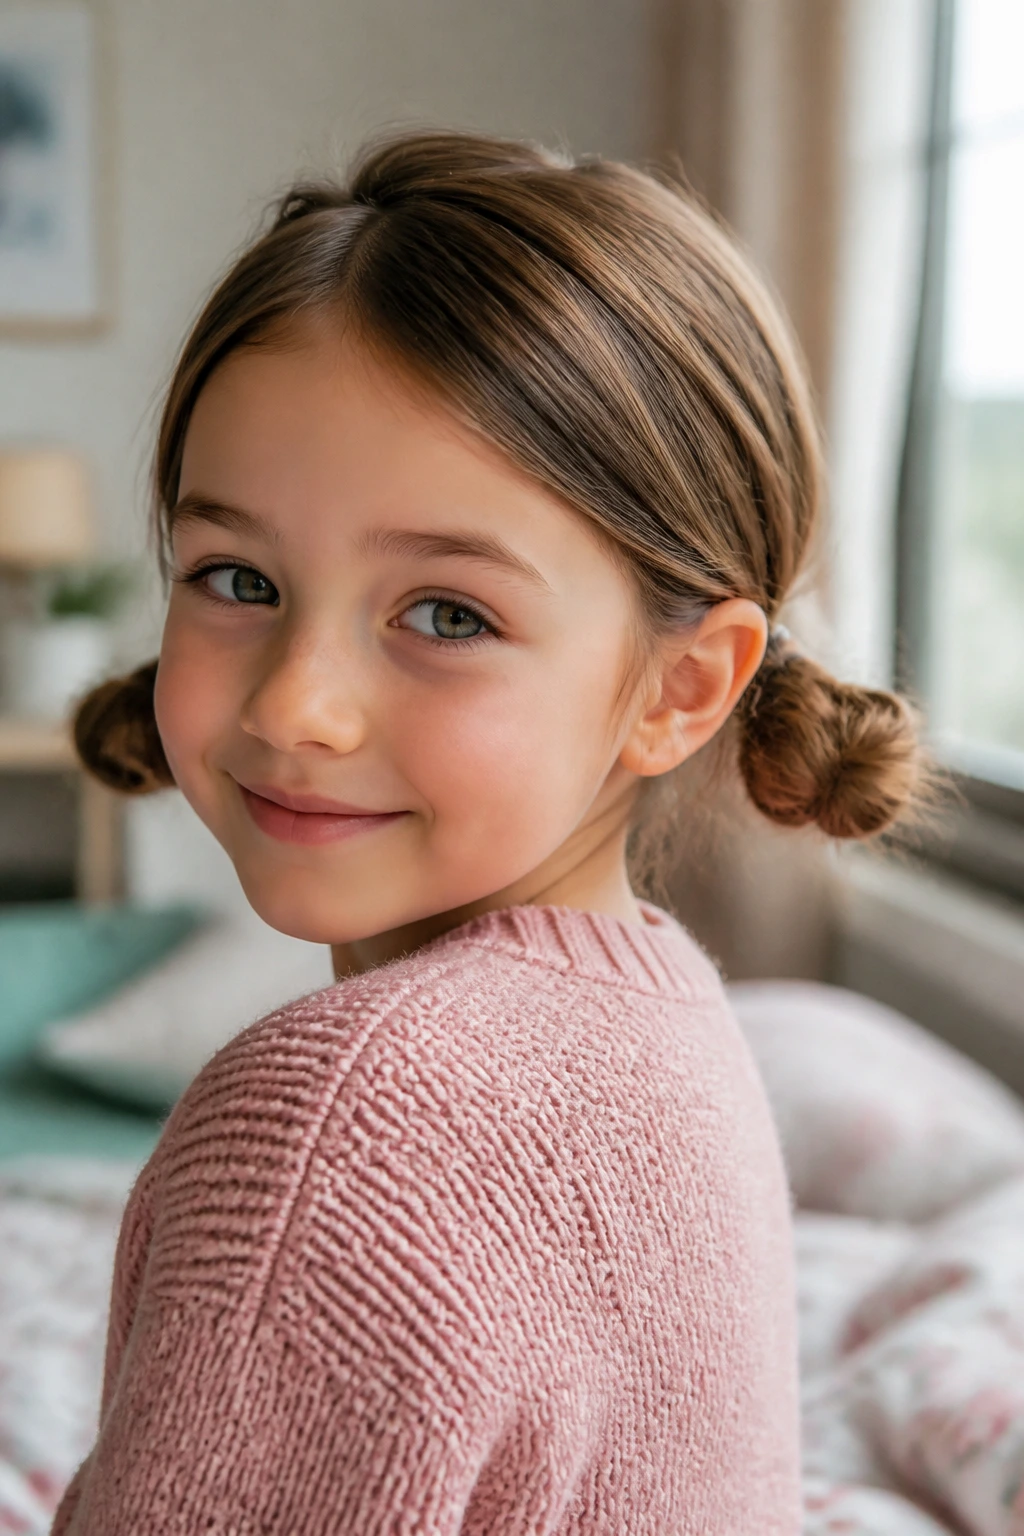
Two pigtail buns at the nape feel cheerful and balanced. They’re lower than space buns, which makes them easier on the scalp, and they work well on shorter hair that needs a little help staying contained. Think of them as the calmer cousin of the double bun.
These are especially useful for school mornings because the style doesn’t require absolute perfection. If one bun ends up a touch bigger than the other, the look still makes sense. That gives you a little breathing room. I’ll take breathing room on a rushed morning any day.
Use small elastics to create the two ponytails, then twist each one into a compact bun and pin it close to the head. If the ends are poking out, tuck them under the bun instead of chasing them with more pins. Too many pins can make the style poke and scratch.
13. The Waterfall Braid Bun
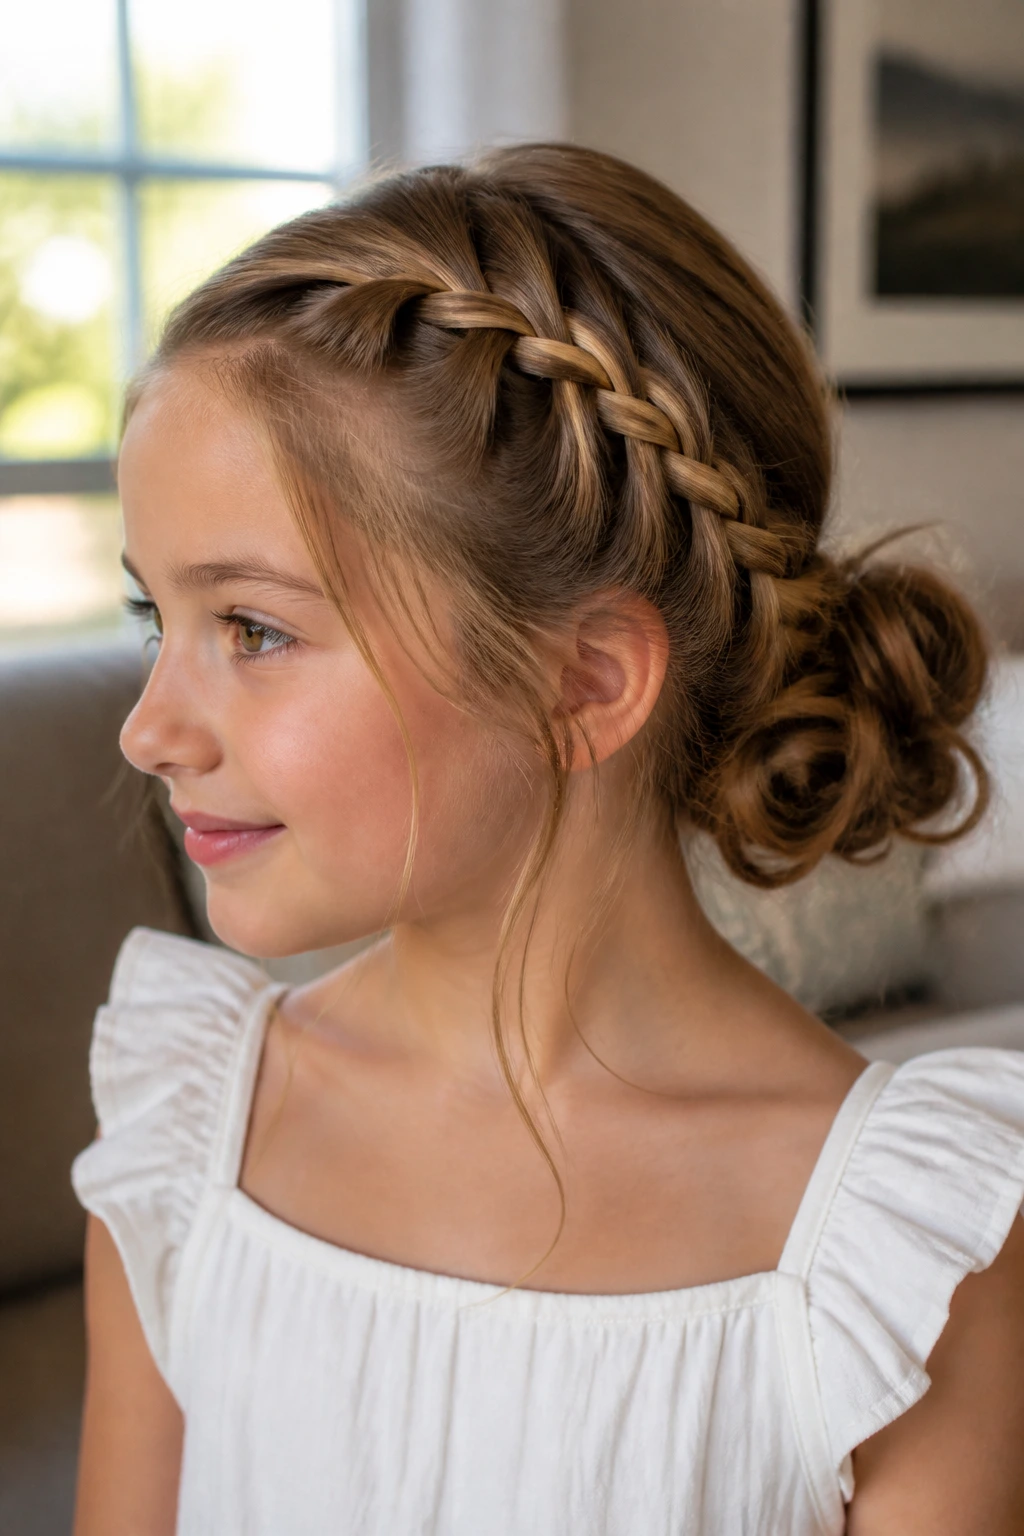
A waterfall braid bun is a dressy style with movement. The braid sends some strands cascading through the sectioning, then the remaining hair gets gathered into a bun. It has a softer edge than a plain braided bun because part of the hair is left to fall and frame the style.
This one shines on medium to long hair that can hold a braid without frizzing out immediately. If the hair is very silky, a small amount of styling cream helps the braid keep its shape. The bun itself can be low or mid-height, depending on where you want the braid to end.
What Makes It Different
- The braid adds visual interest near the front.
- The loose strands soften the style around the face.
- The bun keeps the hair practical once the fancy part is done.
It’s not the fastest style in the bunch, but it has enough detail to feel special without needing curls or heat.
14. The Curly Pineapple Bun
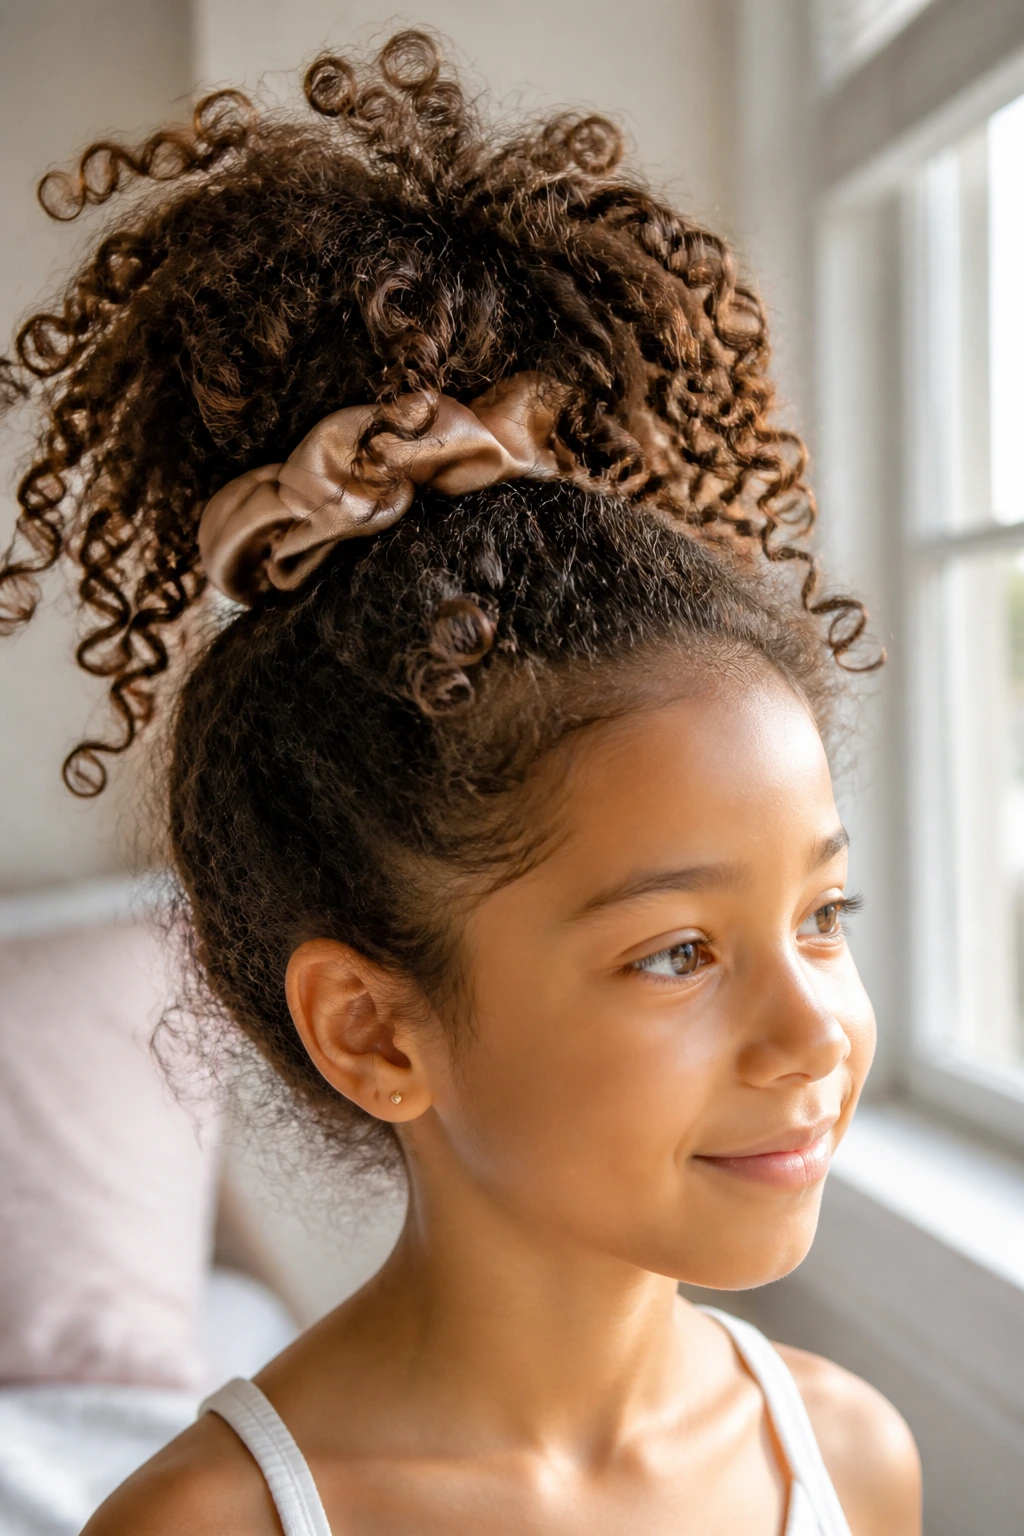
For curly and coily hair, the pineapple bun is one of the smartest ways to get the hair up without crushing the curl pattern. The hair is gathered high and loose, then tucked into a rounded bun that keeps the curls piled upward instead of flattened down.
The important part is “loose.” If you pull the curls too tight, they lose shape and the child feels it immediately. Use a satin scrunchie or stretchy band that won’t snag. Then let the curls do what they already want to do.
This style is especially useful when you want to preserve curls for later. The bun keeps the length controlled, and the loose top helps the hair keep some bounce when it comes down again. If there are a few curls escaping, leave them alone. That is not failure. That is texture.
15. The Rope-Twist Bun
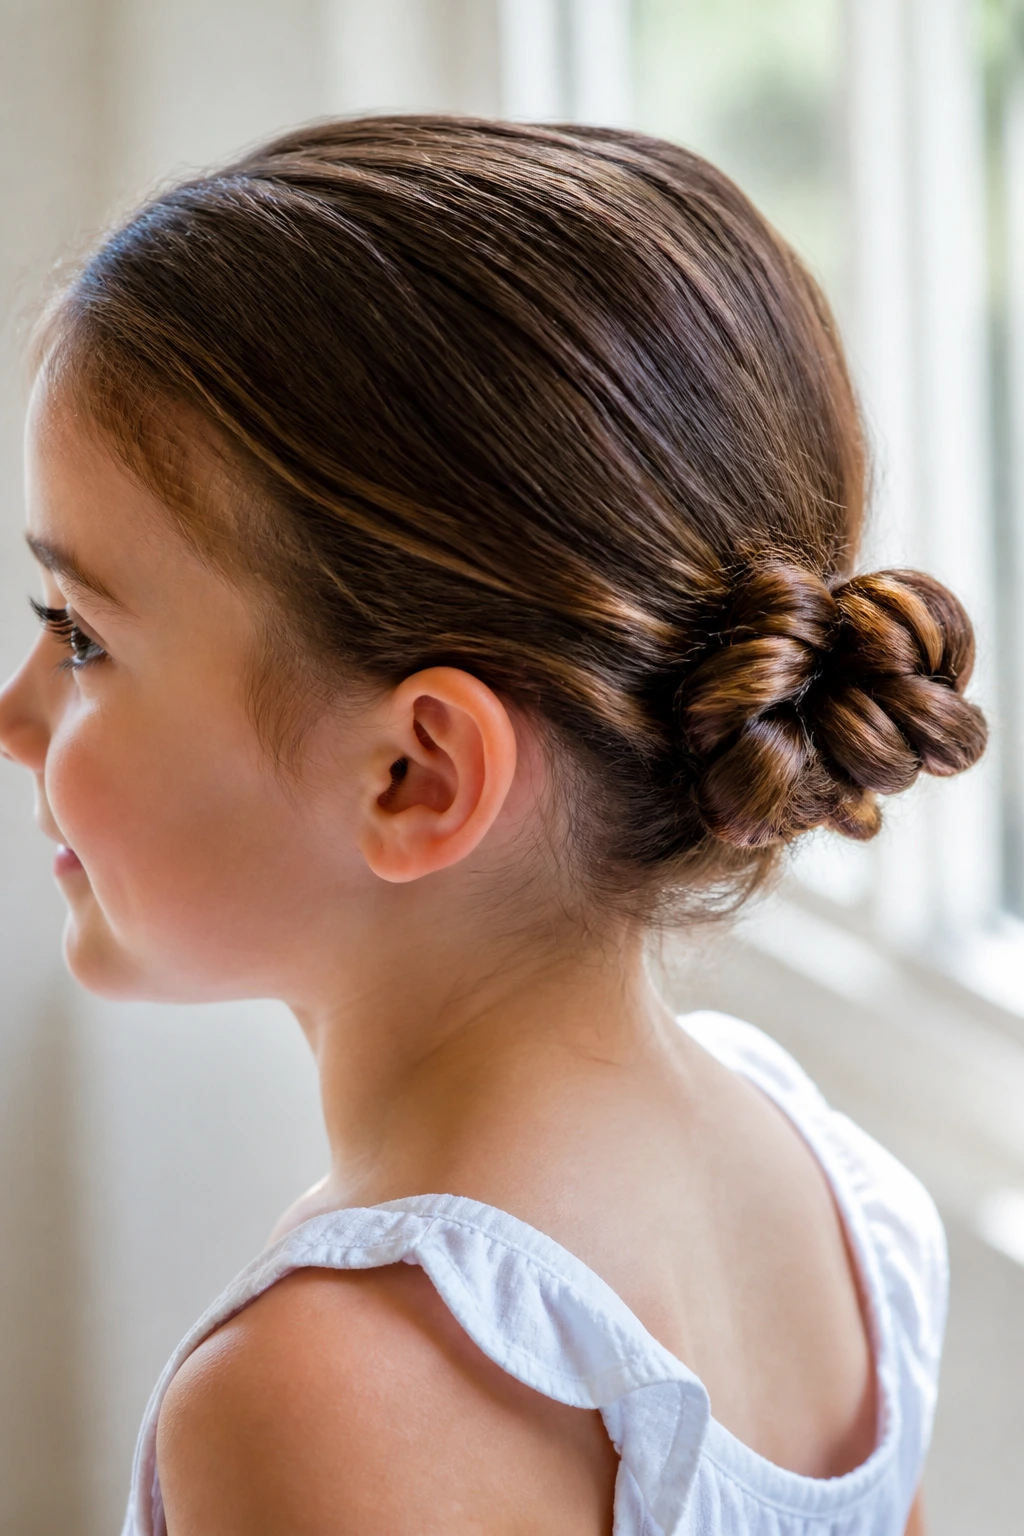
A rope-twist bun uses two sections twisted around each other before they’re wrapped into shape. It looks a little smoother than a standard twist and holds well because the twist itself creates tension. That makes it a good choice when you want a neat bun without a lot of pinning.
The rope twist works on straight, wavy, and curly hair, though the exact texture of the finished bun changes a little with each. On straight hair, it looks compact and tidy. On wavy or curly hair, it gets a softer, thicker shape that looks fuller than you might expect.
You can make this one low for a calm everyday style or high for a more active look. Either way, the twist helps keep the ends tucked in, which means fewer flyaways fighting their way out by lunchtime.
16. The Low Rolled Bun
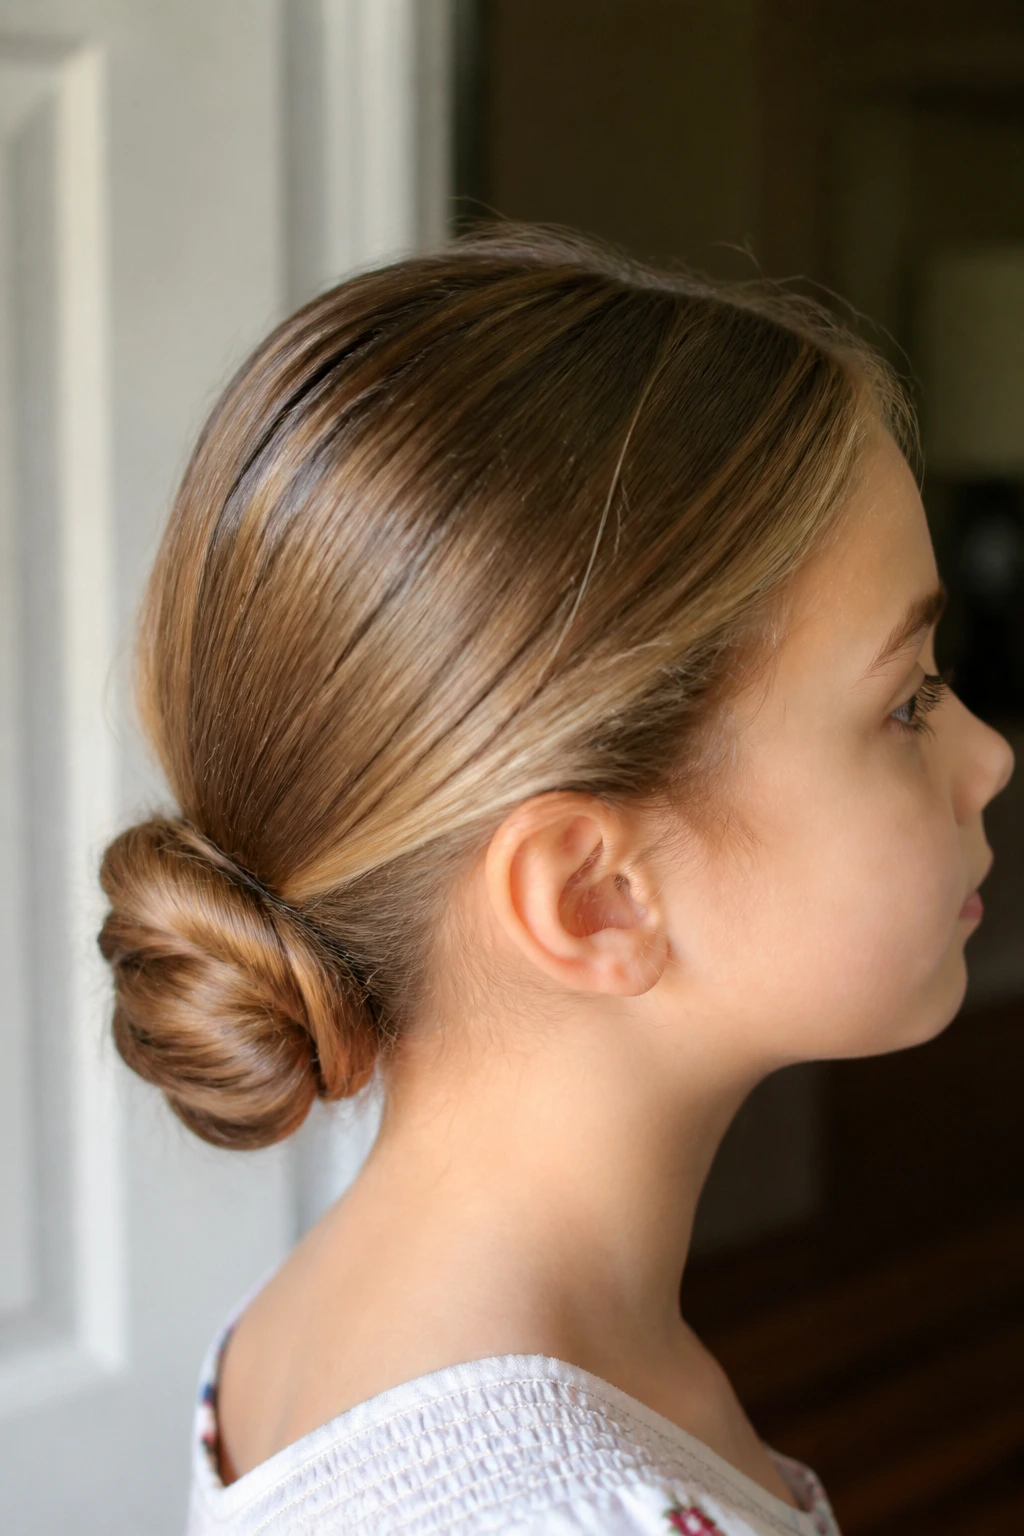
The low rolled bun is one of the neatest ways to handle layered hair. Instead of twisting the hair into a round knot right away, you roll the ends upward and tuck them in as you go. That motion hides the shorter pieces that usually escape from a regular bun.
It sits low at the neck, which makes it comfortable under coats, collars, and even hoodies. That’s not a small thing. Styles that get crushed by outerwear tend to fall apart before the day is over. This one has a better shot.
Use bobby pins every inch or so around the roll. Not all at once. Work around the bun and pin as you go, checking that the roll feels firm but not tight. The finished shape should look smooth from the side, with the ends tucked cleanly beneath the curve.
17. The Double Braided Buns
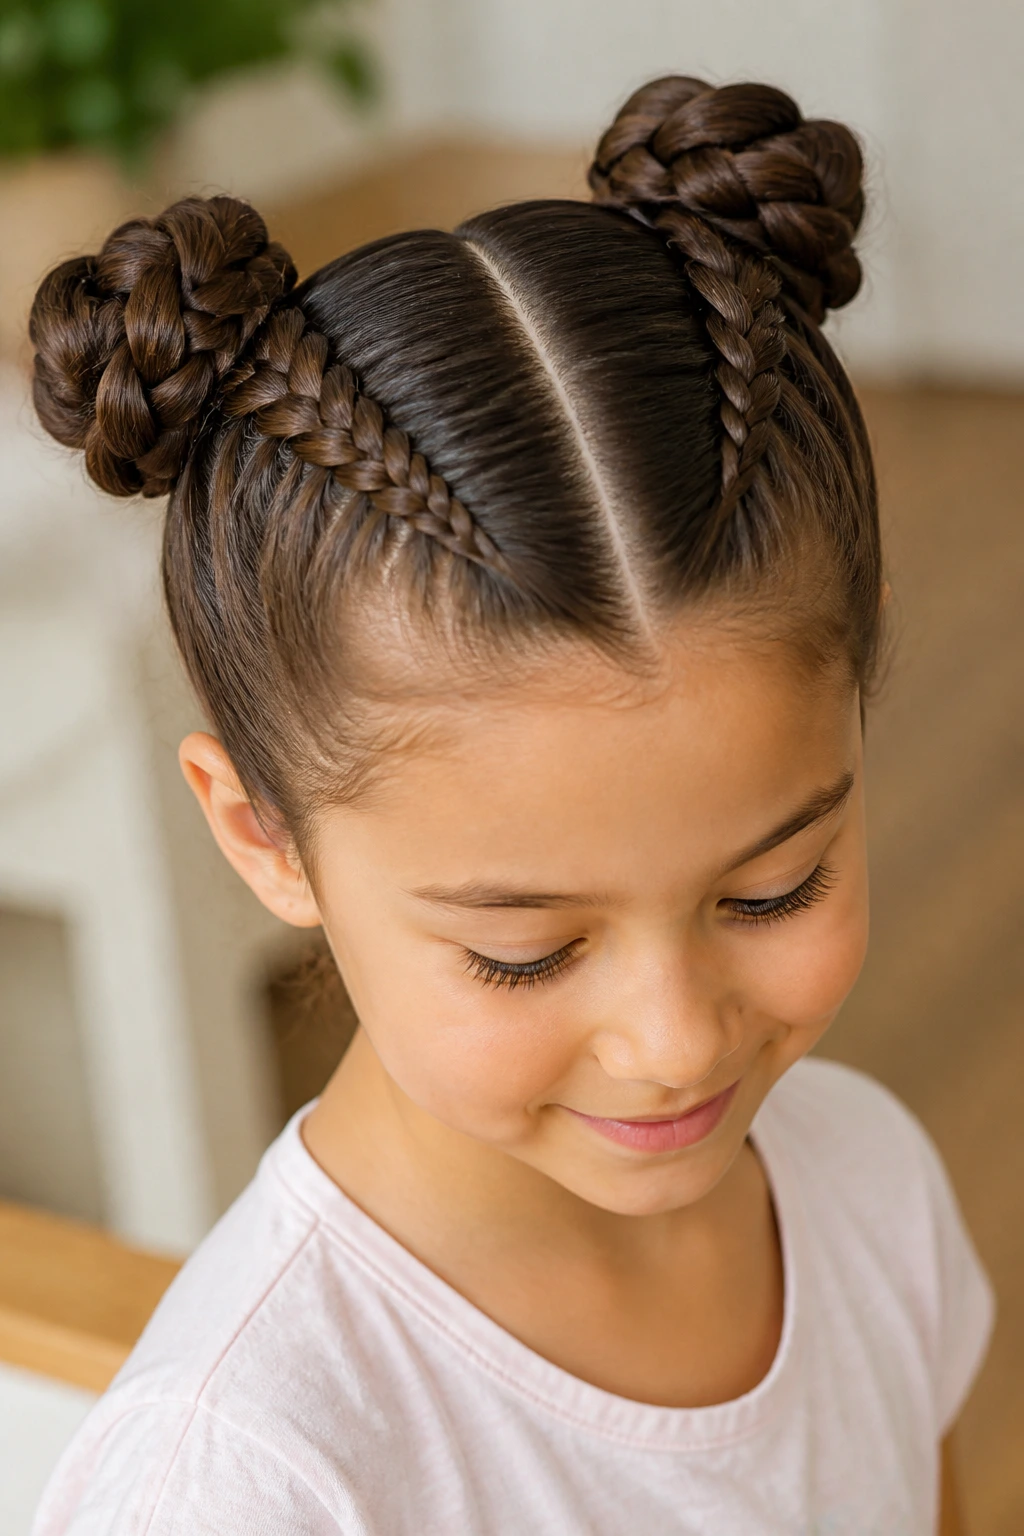
Two braids feeding into two buns make this style feel structured and secure. It’s a smart pick for active kids because the braids anchor the hair before the buns even go in. That extra anchoring helps the style last through movement better than a simple ponytail bun.
You can part the hair down the center and braid each side, or start with front sections and work backward. Either way, the braid is doing a lot of the heavy lifting. Once the braids are secure, wrap each into its own bun and pin near the base.
Best for kids who
- run around a lot
- have thick hair that slips loose easily
- want a style that still looks neat after lunch
I like this style because it doesn’t depend on one giant band holding all the weight. The load gets shared, which makes the style feel steadier.
18. The Faux-Hawk Mini Buns
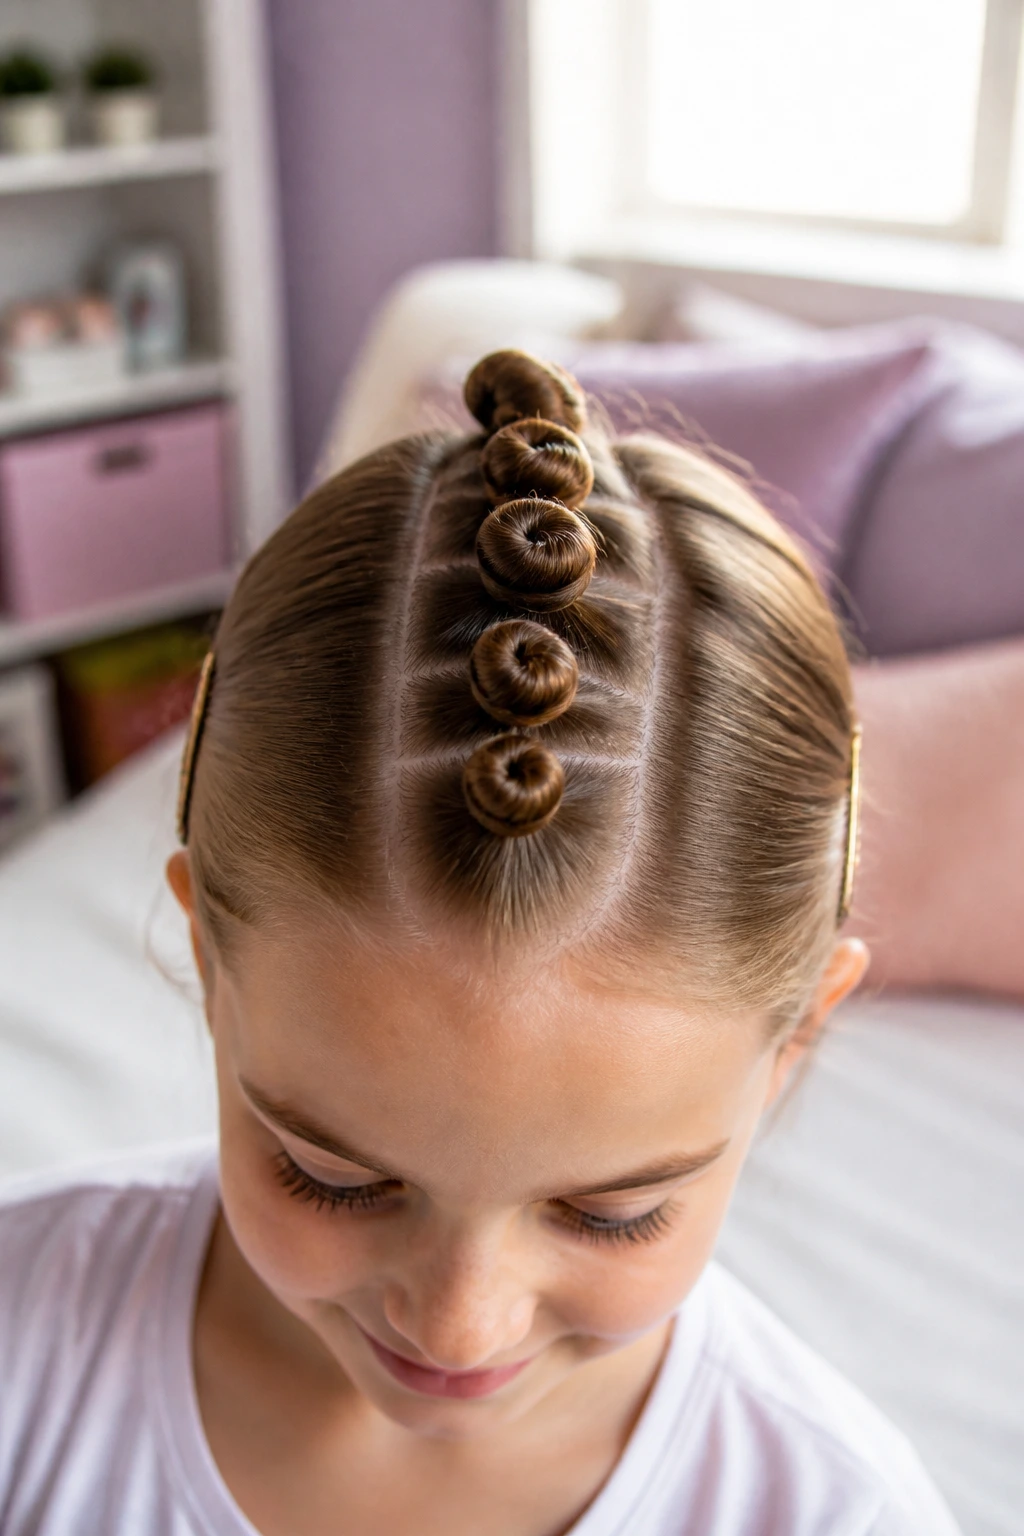
If the child likes a bit of edge, the faux-hawk mini bun row is a fun one. Instead of one bun, you make a line of small buns or twisted knots down the center of the head, leaving the sides smoother. It gives the look of a mohawk without the commitment.
This style is playful and practical at the same time. The center line keeps the hair off the face, and the sides can be smoothed back with clips or soft gel. It works especially well on medium-length hair where a single bun might feel too small and a ponytail would just swing everywhere.
It’s a good one for weekends or casual events. On a child, it reads as lively, not dramatic. If the sections are evenly spaced, the whole style has a clean rhythm that looks deliberate even when the parts are slightly imperfect.
19. The Bow Bun
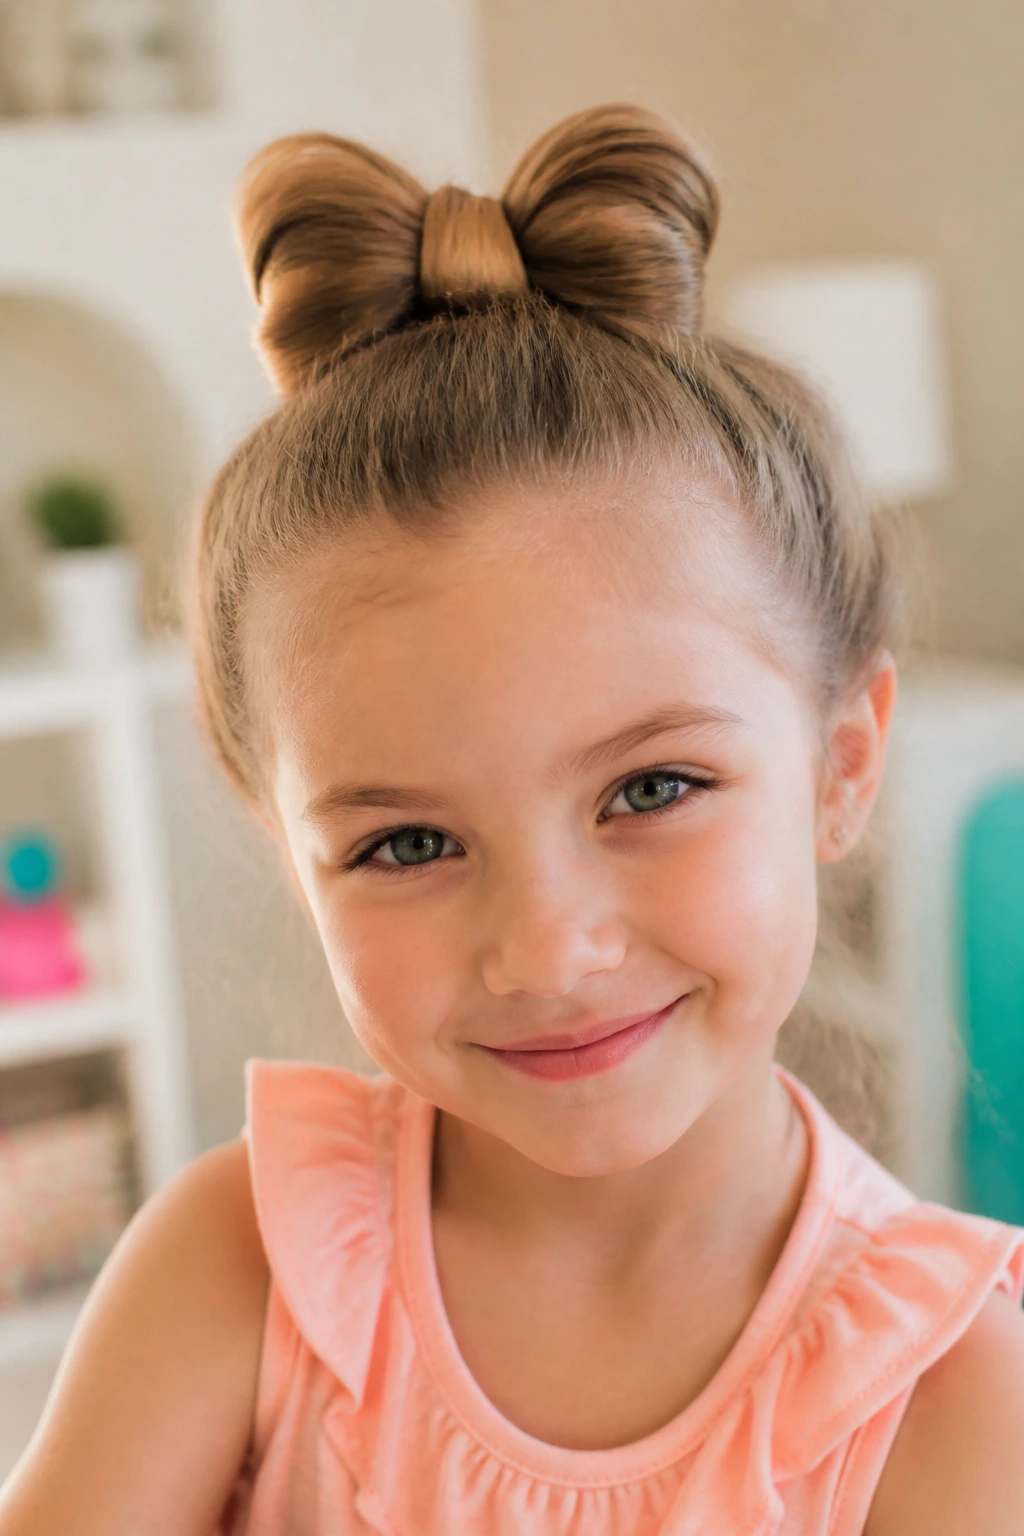
A bow bun is one of those styles people always ask about because it looks like someone built an accessory out of hair. The trick is to form two loops from a ponytail, then wrap the remaining piece through the middle to make the “knot” of the bow. The bun shape becomes the bow shape.
It works best on hair long enough to form a full loop, so medium to long lengths have an easier time. Fine hair may need a little texturizing spray, and thick hair may need more secure pinning to keep the loops from collapsing.
The bow bun is a good choice when a child wants something playful but tidy. It’s a bit more styled than space buns and a bit more fun than a classic bun. That middle ground is useful. Not every hairstyle has to be either plain or dramatic.
20. The Floral Bun
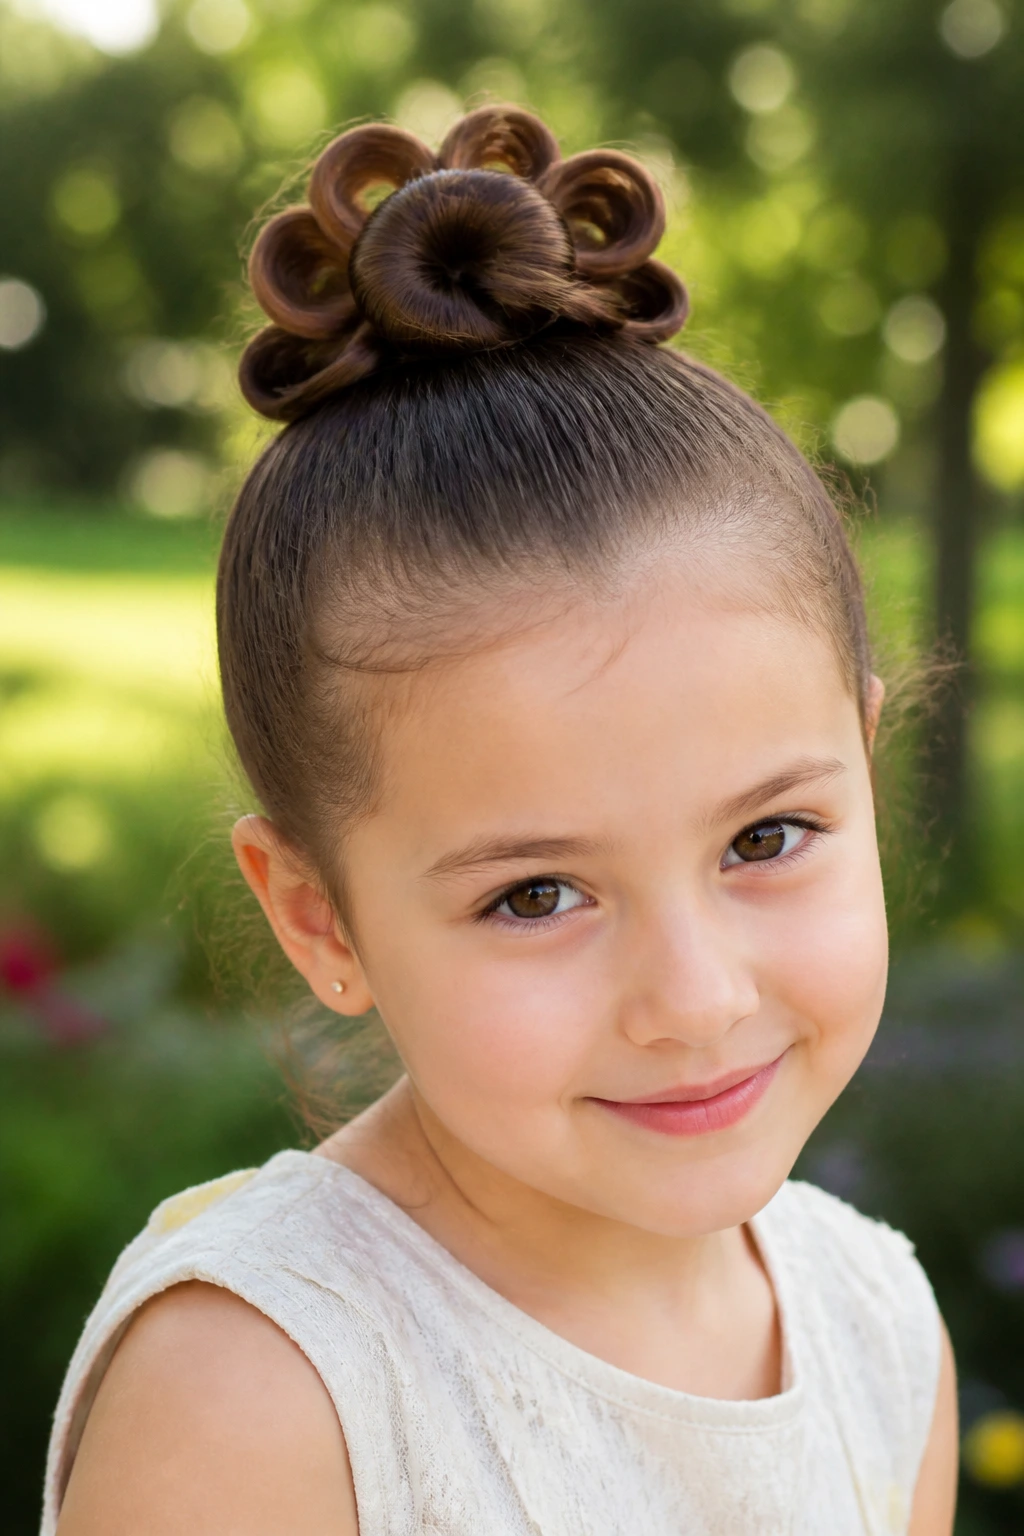
A floral bun looks like a classic bun that has been dressed up with little twists or loops around the edge, almost like petals. It’s a sweet option for special events, and it doesn’t need flowers pinned in to get the effect. The shape itself does the work.
The easiest way to make this style is to build a secure center bun first, then take small side sections and wrap or loop them around the base. Those little sections create the petal-like detail. Keep the pieces even in size if you want a balanced look.
This style can be as simple or as detailed as you want. With a ribbon or a tiny clip tucked into the base, it becomes dressy fast. Without accessories, it still feels soft and thoughtful. I’d pick it for a day that calls for a little extra polish but not a full formal updo.
21. The Knotted Bun
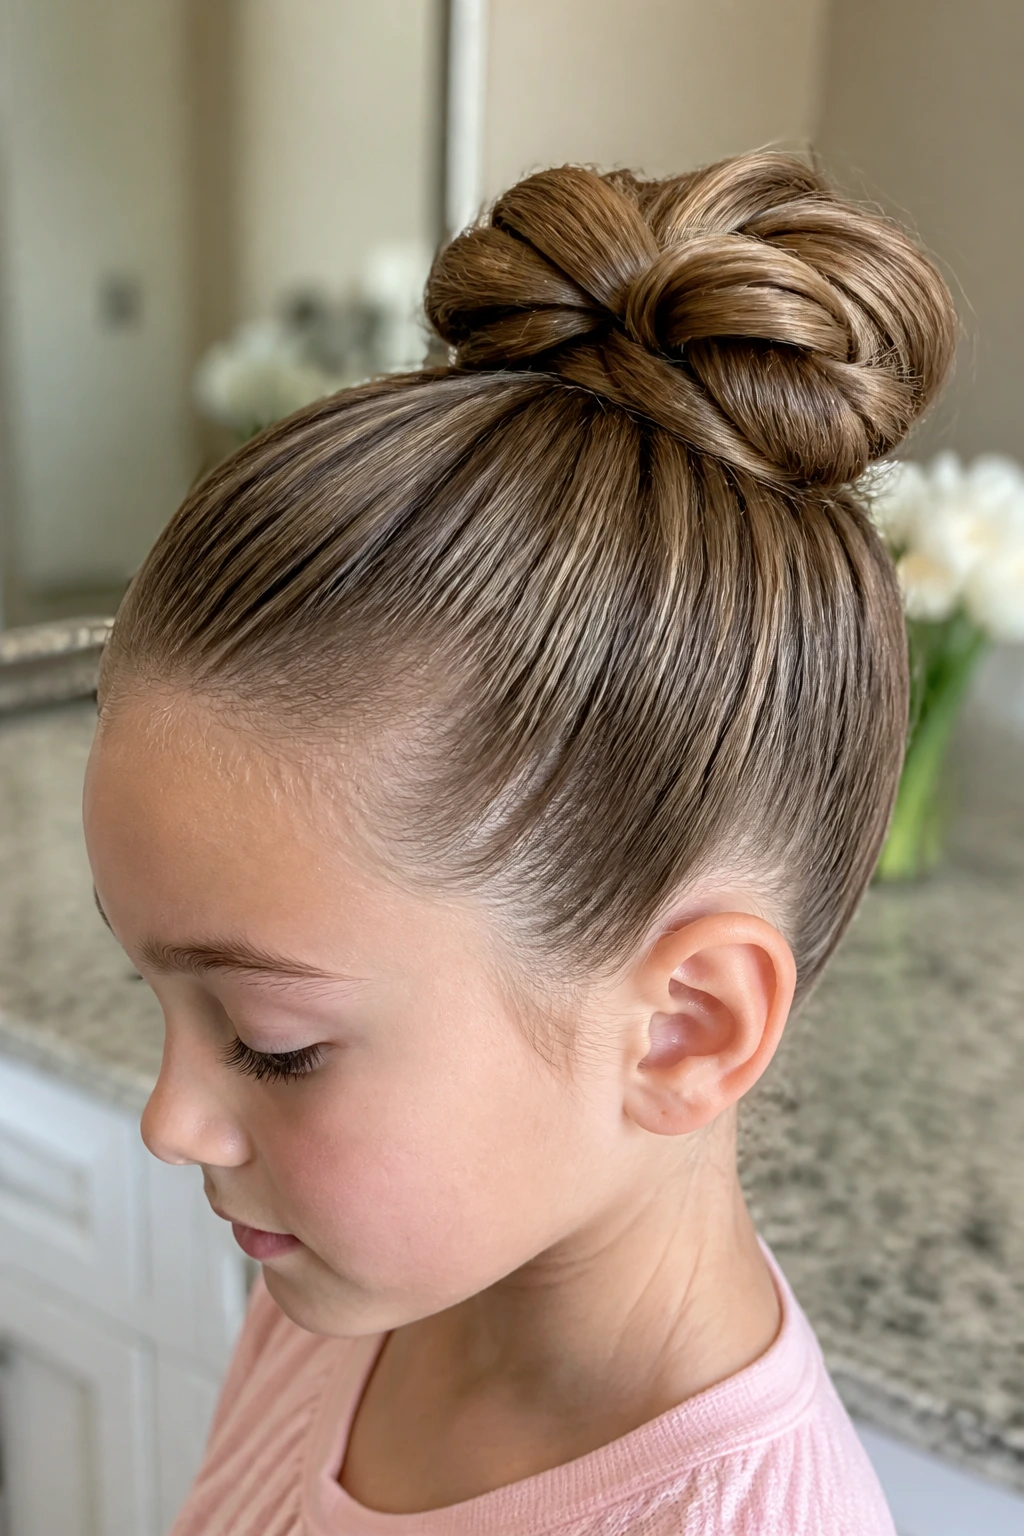
A knotted bun starts by tying the hair into a loose knot or two before tucking the ends under and securing everything into a bun shape. The knot gives the style grip, which can help on slippery hair that refuses to hold a plain twist.
It’s one of the better buns for kids whose hair loosens fast. The knot creates a center point, and the tucked ends help the style stay compact. On long hair, the bun can feel fuller. On shorter hair, it can look neat and minimal.
Why I Reach for It
- It uses the hair’s own tension instead of fighting it.
- It stays neat on second-day hair.
- It works when you want a softer bun without a lot of visible pins.
The finish should look smooth but not rigid. If the knot feels bulky, flatten the top gently with your hands before adding pins.
22. The Bubble Bun
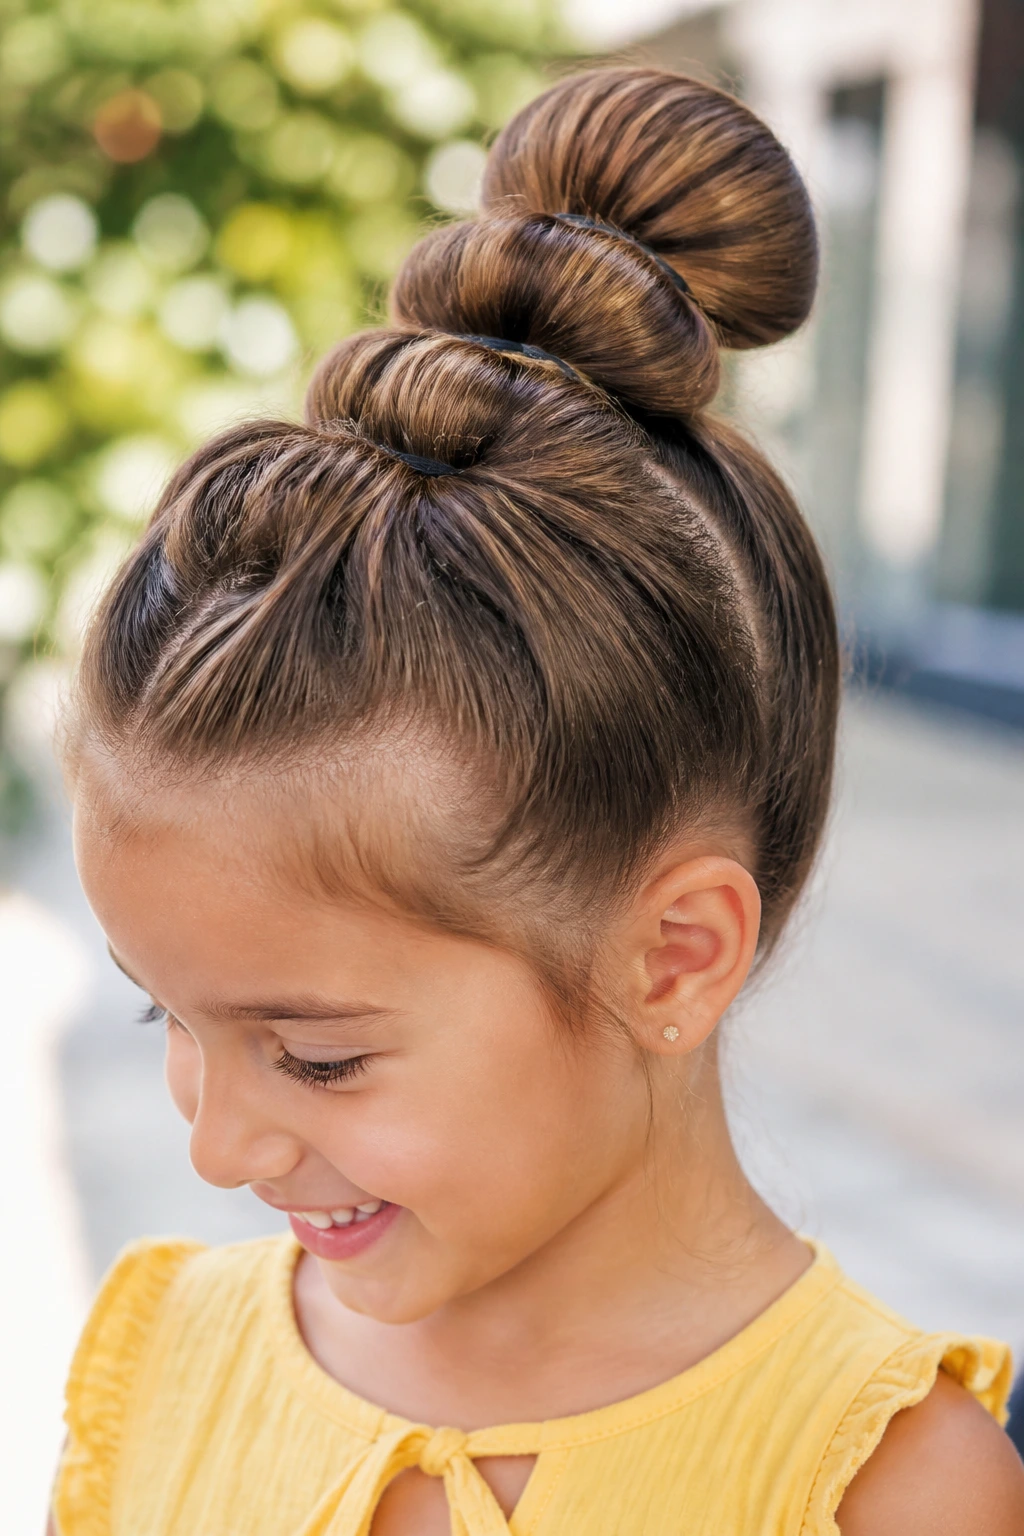
The bubble bun has a playful, rounded shape built from sections of hair tied off at intervals before being wrapped into a bun. Think of it as a more structured version of a ponytail bubble style, but parked in bun territory. It’s fun, and it has enough shape to stand out.
This style works well on long hair because the sectioning creates volume. On thinner hair, the “bubbles” give the illusion of fullness. The key is to keep the elastics evenly spaced so the bubbles look intentional instead of random.
It’s a good choice when a child wants something different without needing a complicated braid. The finished style has movement, but the bun keeps it contained. That combination is hard to beat on a day that needs both personality and practicality.
23. The French-Braid Bun
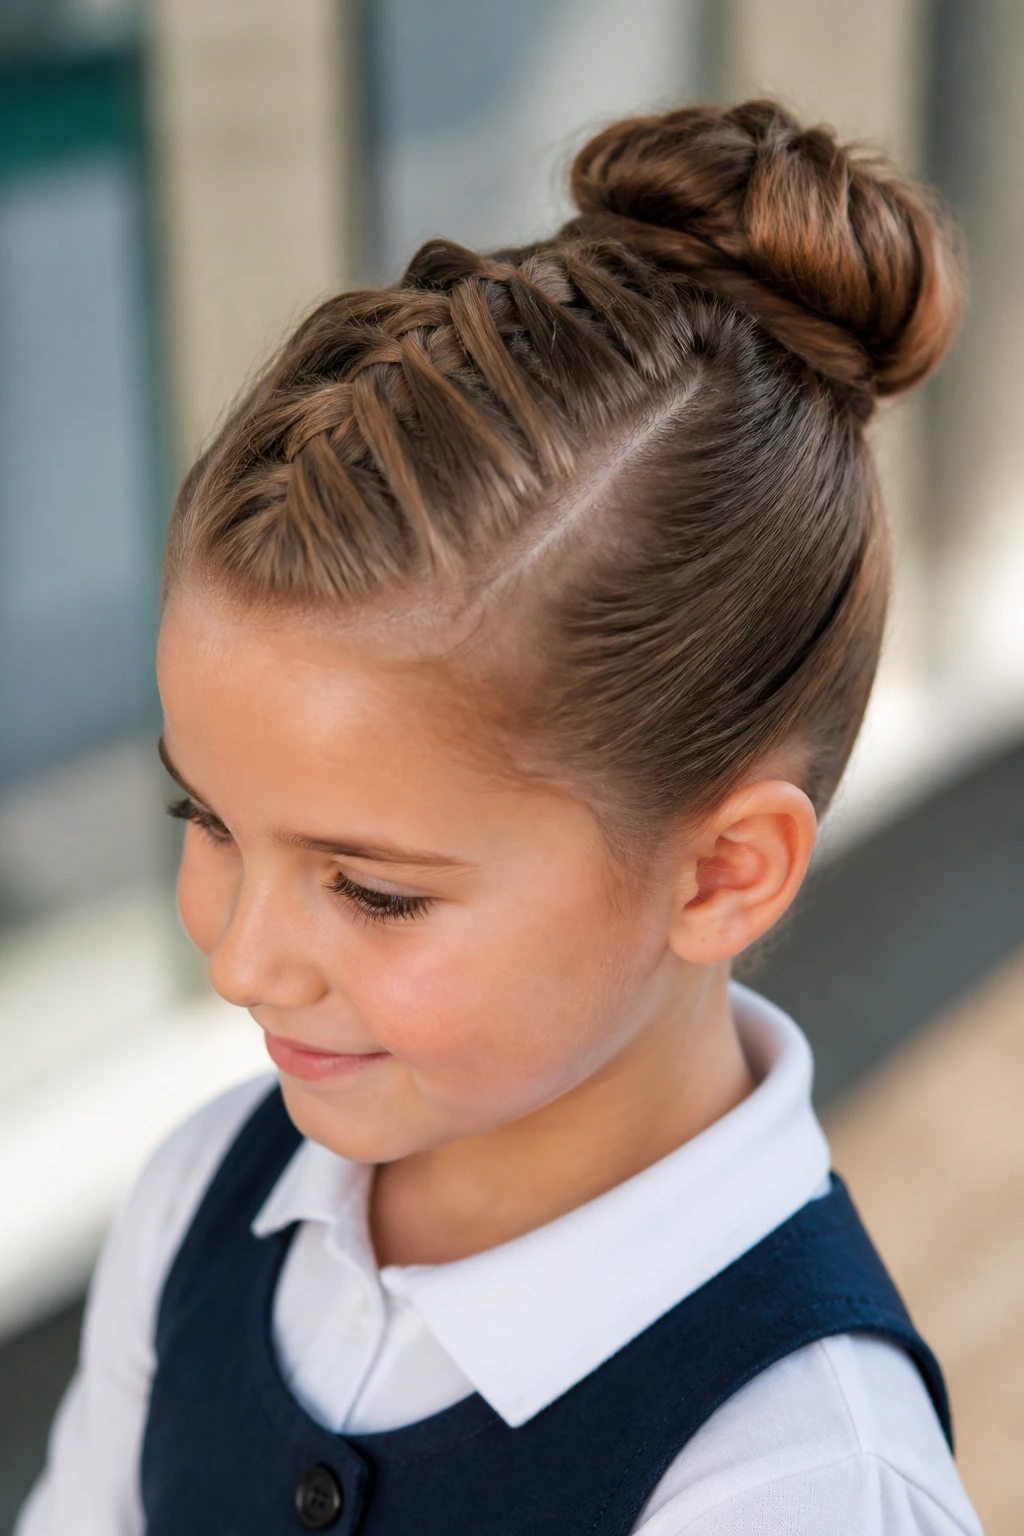
A French-braid bun is the sturdy, all-purpose option that rarely disappoints. Start the braid near the hairline, work it down the head, then gather the rest into a bun once you reach the point where you want the style to sit. It’s clean, secure, and much less likely to fray apart than a plain bun.
This is a strong pick for school days because the braid controls the front sections and the bun secures the rest. It also works on a wide range of hair types. Fine hair gets structure. Thick hair gets control. Curly hair gets a style that keeps the texture in place.
If I had to choose one bun style that balances neatness and staying power, this would be on the short list. It takes a little more time than a basic twist, but not enough to make it fussy. That’s the sweet spot.
Why Bun Styles Hold Up Better Than Loose Hair
A bun keeps the weight of the hair close to the head, which is why it usually lasts longer than a ponytail or loose style when a child is moving around a lot. Hair that swings free gets snagged on collars, backpack straps, and fingers. Hair that’s gathered into a bun has fewer chances to get pulled apart.
The other reason is section control. Once the hair is divided cleanly and secured at the base, there’s less room for strands to drift out in random directions. That’s why braids, twists, and braided buns often last longer than plain wrapped buns. They create their own grip.
I also like buns because they can be adapted for the child in front of you, not the child in a perfectly staged photo. Fine hair, thick hair, curls, coils, layers, short lengths — all of them can be handled differently without abandoning the basic shape. That flexibility is the real value here.
Essential Tools for Bun Hairstyles for Kids
-
Rat-tail comb: Makes center parts, side parts, and sectioning clean and even, which matters more than people think.
-
Detangling brush: Helps smooth the hair before styling, especially if the hair has slept on a pillow or been through a windy day.
-
Spray bottle with water: A few spritzes can tame static and help dry hair hold shape without soaking it.
-
Leave-in conditioner or styling cream: Good for curls, coils, and dry ends; use a small amount so the hair stays soft, not greasy.
-
Light-hold gel or edge control: Best for sleek looks and flyaway control near the hairline.
-
Seamless elastics: Smaller and gentler than thick bands, especially for fine hair.
-
Bobby pins and U-pins: Use bobby pins for everyday securing and U-pins for fuller buns that need a gentler hold.
-
Satin scrunchies: A good choice for curly or delicate hair because they grip without catching.
-
Foam donut or bun maker: Optional, but helpful when you want round volume without a lot of extra teasing.
-
Hair net: Useful for recital-style buns when you want the shape locked in place.
-
Clips or sectioning clamps: Keep the hair organized while you work, which saves time when the hair is thick.
How to Keep Bun Hairstyles Comfortable All Day
A bun can be neat and still feel good. That balance starts with tension. If the hairline is pulled so tight that the skin looks shiny or the child keeps touching the temples, the style is too tight. Loosen it, even if the shape gets a little less sharp. Comfort wins.
The safest place for a bun is usually the point where it stays stable without sitting directly on a pressure spot. For some kids, that means high and centered. For others, it means lower and closer to the nape. A bun that sits too far back often gets crushed when a child leans against a seat or lies down.
Grip without strain: Use product where the hair is slippery, not all over the scalp. A thin layer of gel on the top and sides is enough for most sleek looks.
Balance the weight: Thick hair may need two elastics before the bun goes in, especially if the ponytail feels heavy.
Check the ears: A lot of discomfort comes from side hair being pulled too tight behind the ears. Leave a touch of softness there if you can.
Release the ends: If the bun is finished but the child still seems fussy, the ends may be poking. Tuck them flatter and add one more pin rather than tightening the whole style.
Common Mistakes That Make Kids’ Buns Slip or Hurt
The first mistake is skipping detangling. A bun built on knots and rough patches will look messy in the wrong way and usually fall apart faster. Brush or comb the hair first, even if you only have three minutes.
The second mistake is using too much product. Heavy gel or cream can make fine hair collapse and make curly hair feel coated. A little goes a long way. Start with a small amount, then add only if the hair is still too slippery.
A third problem is over-tightening the ponytail before the bun is even made. That’s where headaches start. If the child is already wincing while you gather the hair, loosen it and rebuild. It is not worth forcing the style.
Another common issue is ignoring hair length. Short layers need tucked ends, not endless pinning. Long thick hair may need sectioning into smaller pieces before you attempt the bun. If the base is too big, the bun will sag on one side and poke out on the other.
Finally, some people try to make every bun look perfectly polished. That can backfire on kids. A little softness around the edges often looks better and feels better too.
Small Swaps That Change the Whole Look
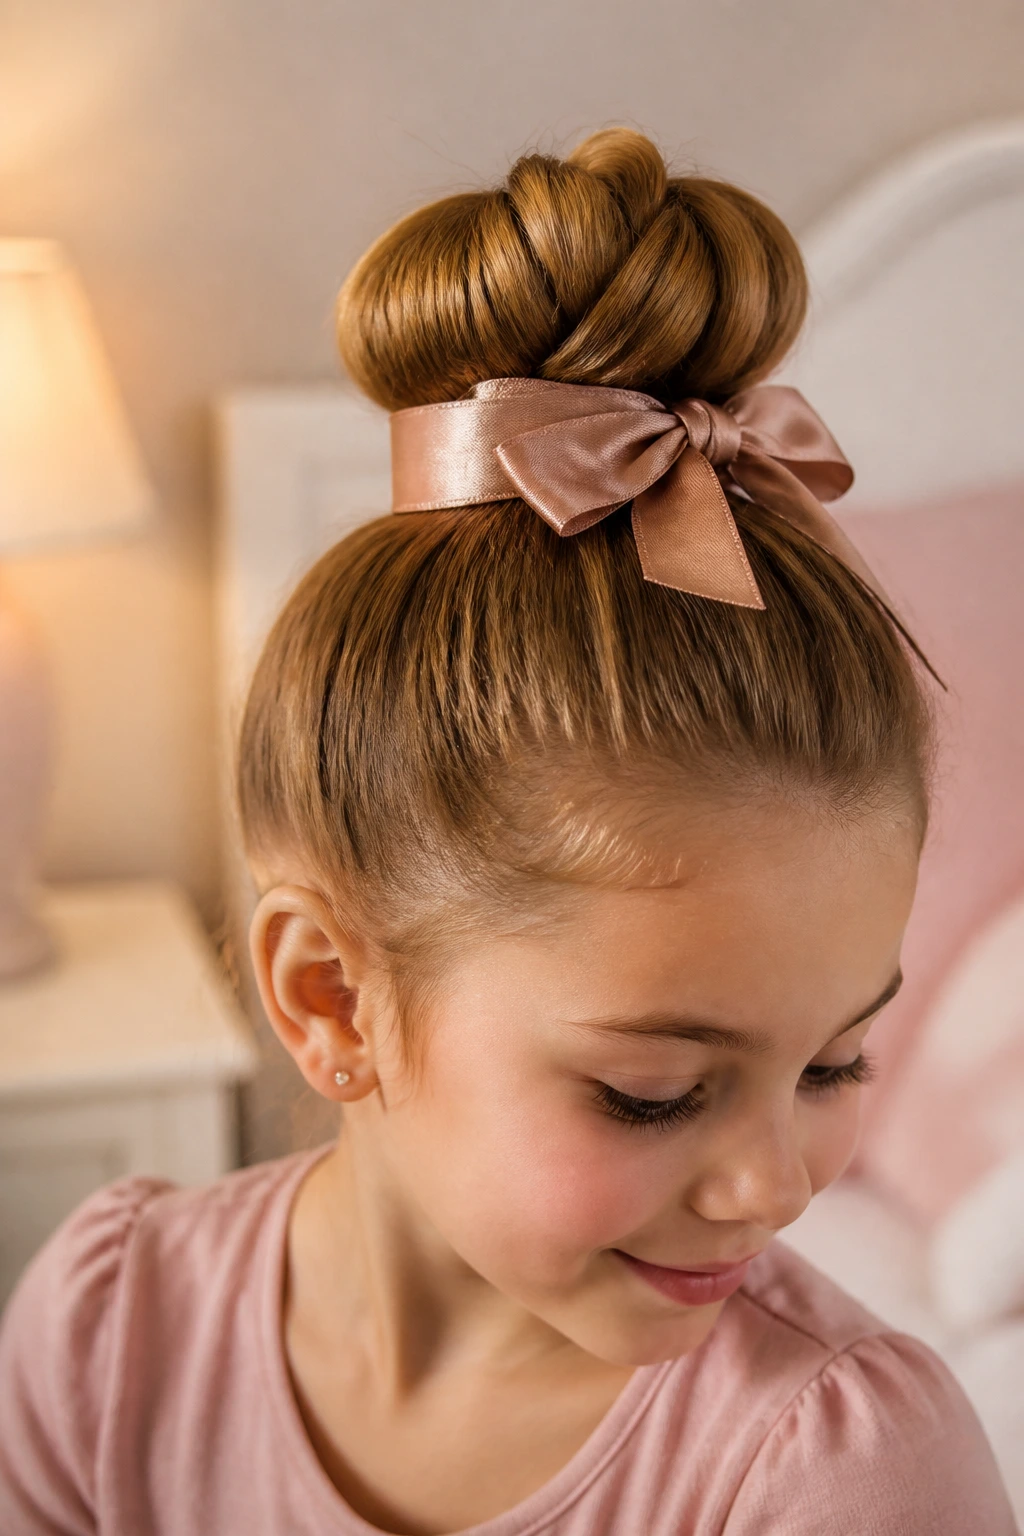
Ribbon Wrap: Thread a satin ribbon through the base of a bun or around a braid before coiling it. That one change shifts the style from everyday to special without changing the structure.
Curly Puff Finish: On naturally curly hair, leave the bun looser and let some curls fan out around it. The texture gives the style more shape and saves time on smoothing.
Sporty Clip-Back: Replace decorative clips with flat barrettes or no-nonsense pins. The silhouette stays tidy, but the bun can handle more movement.
Tiny Accent Braids: Add two thin braids from the front before you build the bun. They give plain buns more detail and work well on medium to long hair.
Sleek-to-Soft Swap: Use gel for the top and leave the bun itself looser. That mix keeps the front neat while the back still feels child-friendly.
Nighttime Care and Next-Day Refresh
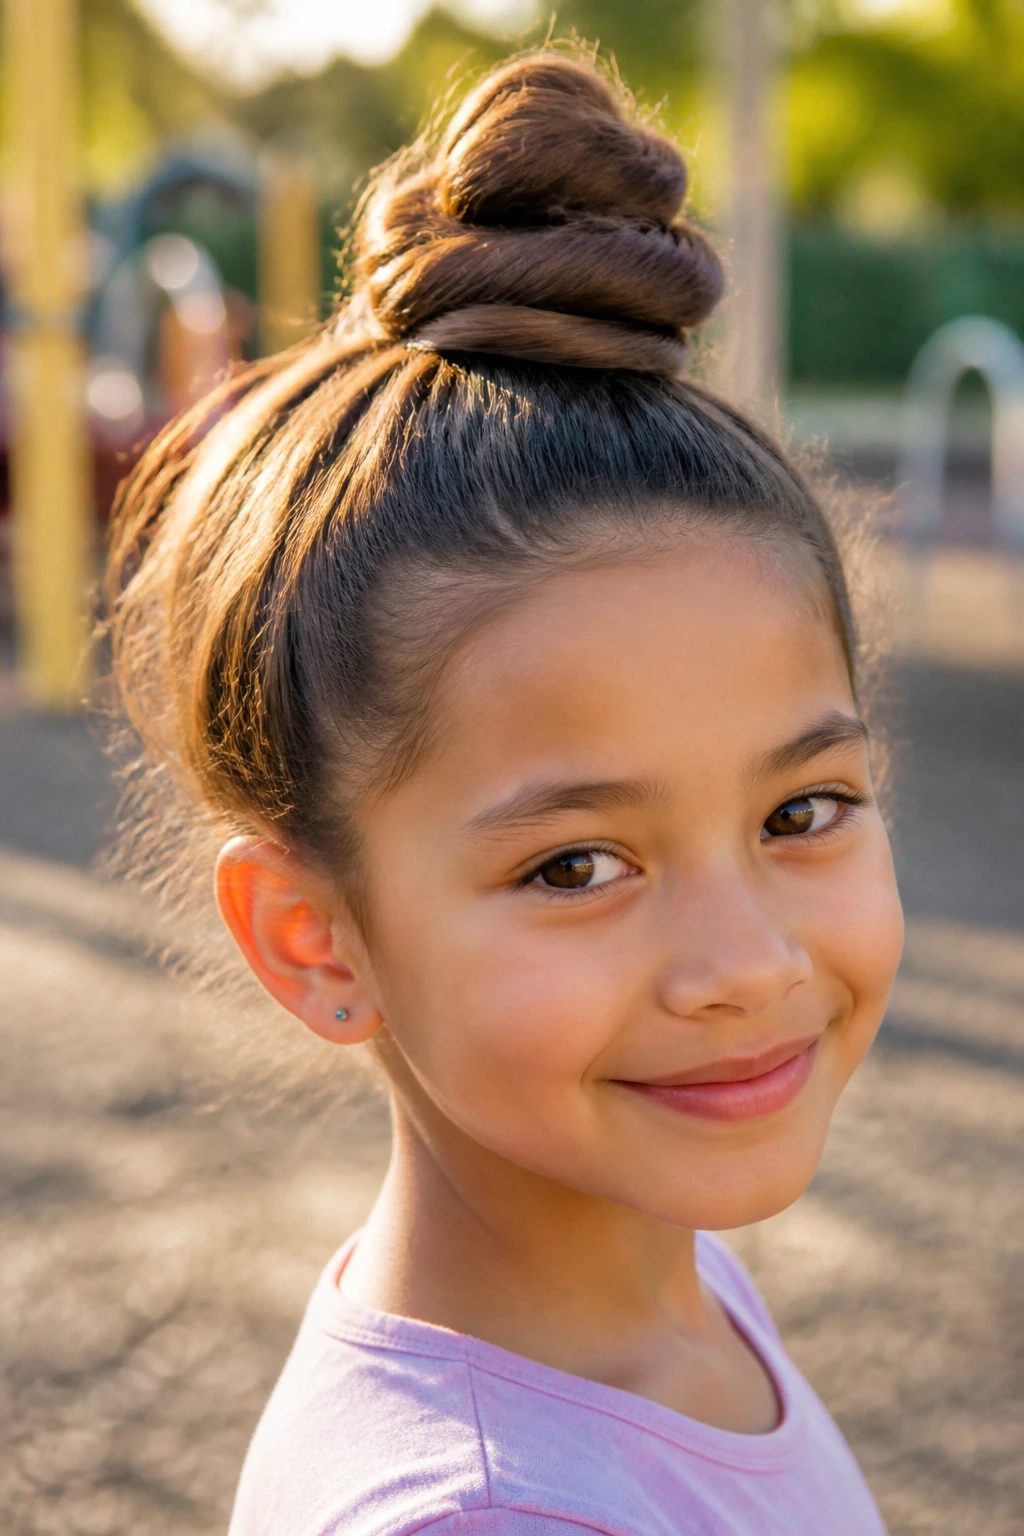
Most buns are not meant to survive a full night exactly as they are, but they can usually be refreshed. If the hair is still clean and the style was not over-pinned, wrap it in a satin bonnet or use a silk pillowcase to cut down on frizz. That alone can save the style.
If the bun is meant to last two days, loosen the elastics slightly before bed so the scalp gets a break. The next morning, mist the surface lightly, smooth the top with your hands, and replace any pins that have shifted. A bun that starts to sag at the base usually just needs one or two replacement pins, not a full rebuild.
For curls and coils, re-moisturize the hair lightly before restyling. Dry ends get fuzzy fast, and fuzzy ends can make even a careful bun look tired. If the style has fully broken down, take it apart, finger-detangle gently, and start fresh. There is no prize for forcing yesterday’s pins to do today’s work.
Frequently Asked Questions
Which bun hairstyle is easiest for beginners?
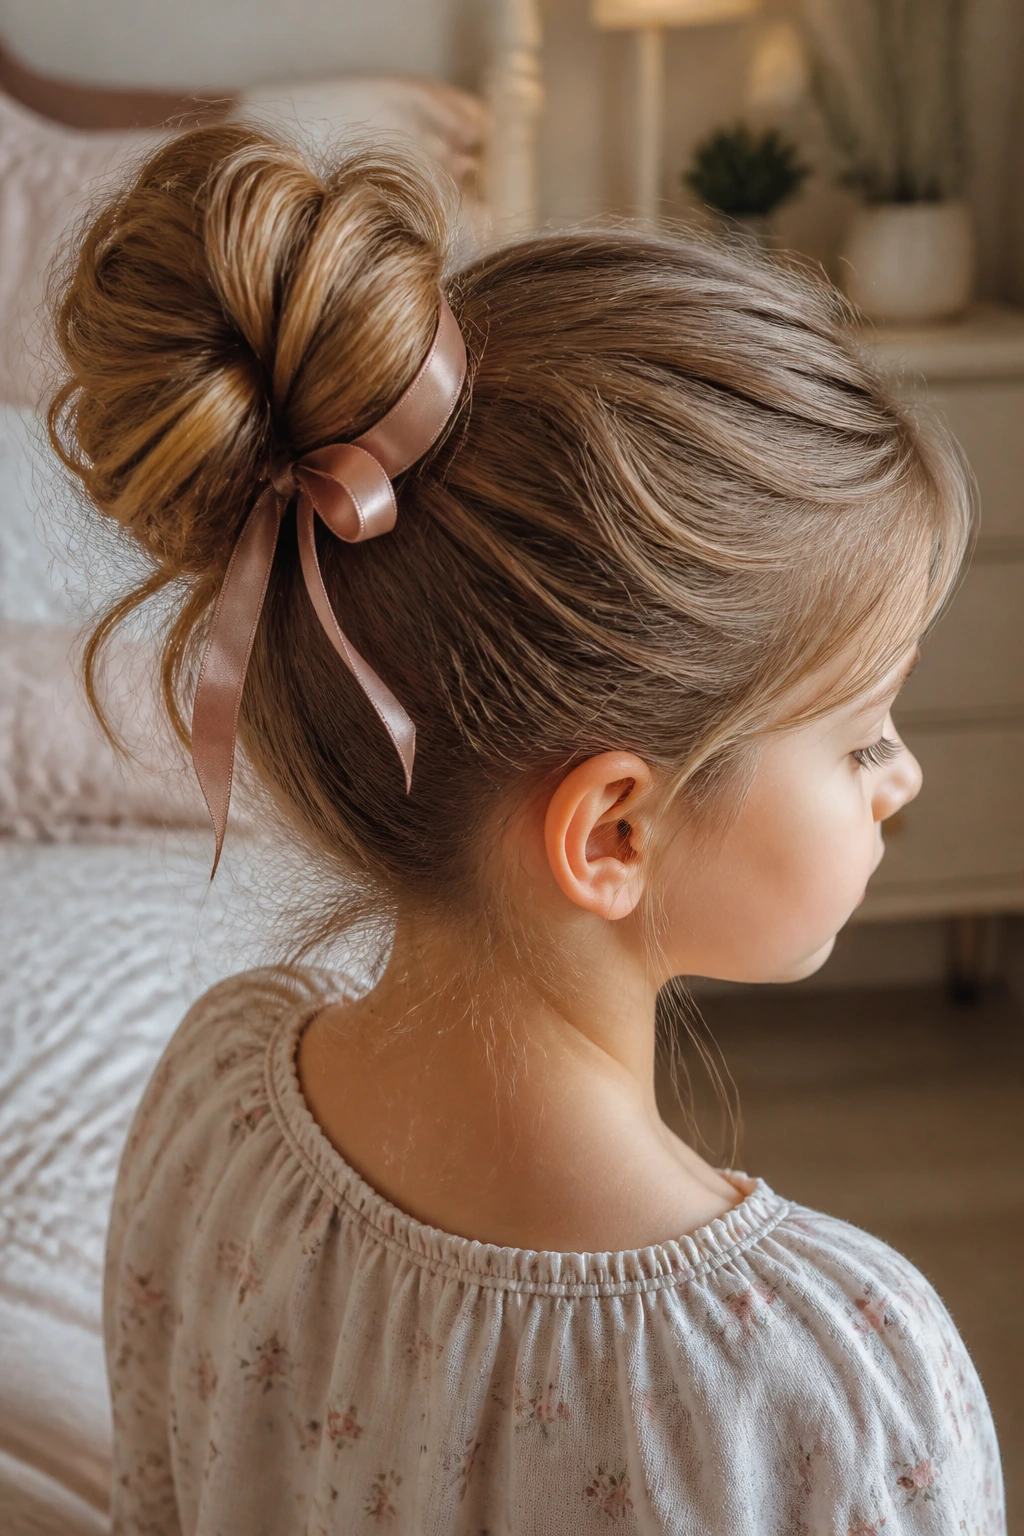
The twisted top knot is probably the quickest place to start. It uses one ponytail, one twist, and a few pins, so you can learn the shape without juggling braid sections or accessories.
What bun works best for fine hair?
The donut sock bun and the braided bun both help fine hair look fuller and stay in place. Fine hair needs structure, and those two styles give it without making the bun feel bulky.
Can kids with curly hair wear buns without ruining the curls?
Yes, if you keep the bun loose and use a satin scrunchie or soft elastic. The curly pineapple bun is especially useful because it keeps the curl pattern from getting flattened down hard.
How do I stop a bun from hurting my child’s scalp?
Watch the hairline and the ears first. If either looks pulled or the child keeps touching the same spot, loosen the style, move the base slightly, and use less tension when you retie it.
Can these bun hairstyles for kids work on short hair?
Some can, especially the half-up mini bun, pigtail buns, and low rolled bun. Short hair usually needs stronger sectioning and smaller elastics, plus more tucked ends than you’d use on long hair.
What if the bun keeps falling apart?
The problem is usually either slippery hair or a weak base. Add a little product for grip, make the ponytail tighter before you form the bun, and use pins around the outer edge instead of only in the center.
Is it okay to use gel on a child’s hair every day?
A light amount is usually fine, but heavy buildup can make the hair feel sticky and dull. If you use gel often, wash and condition regularly so the scalp and strands stay clean.
Which styles are best for sports or dance?
The sleek high ballet bun, braided bun, French-braid bun, and cornrow bun are all strong choices. They keep the hair close to the head and reduce the chance of loose ends whipping around during movement.
A Kinder Way to Do Bun Days
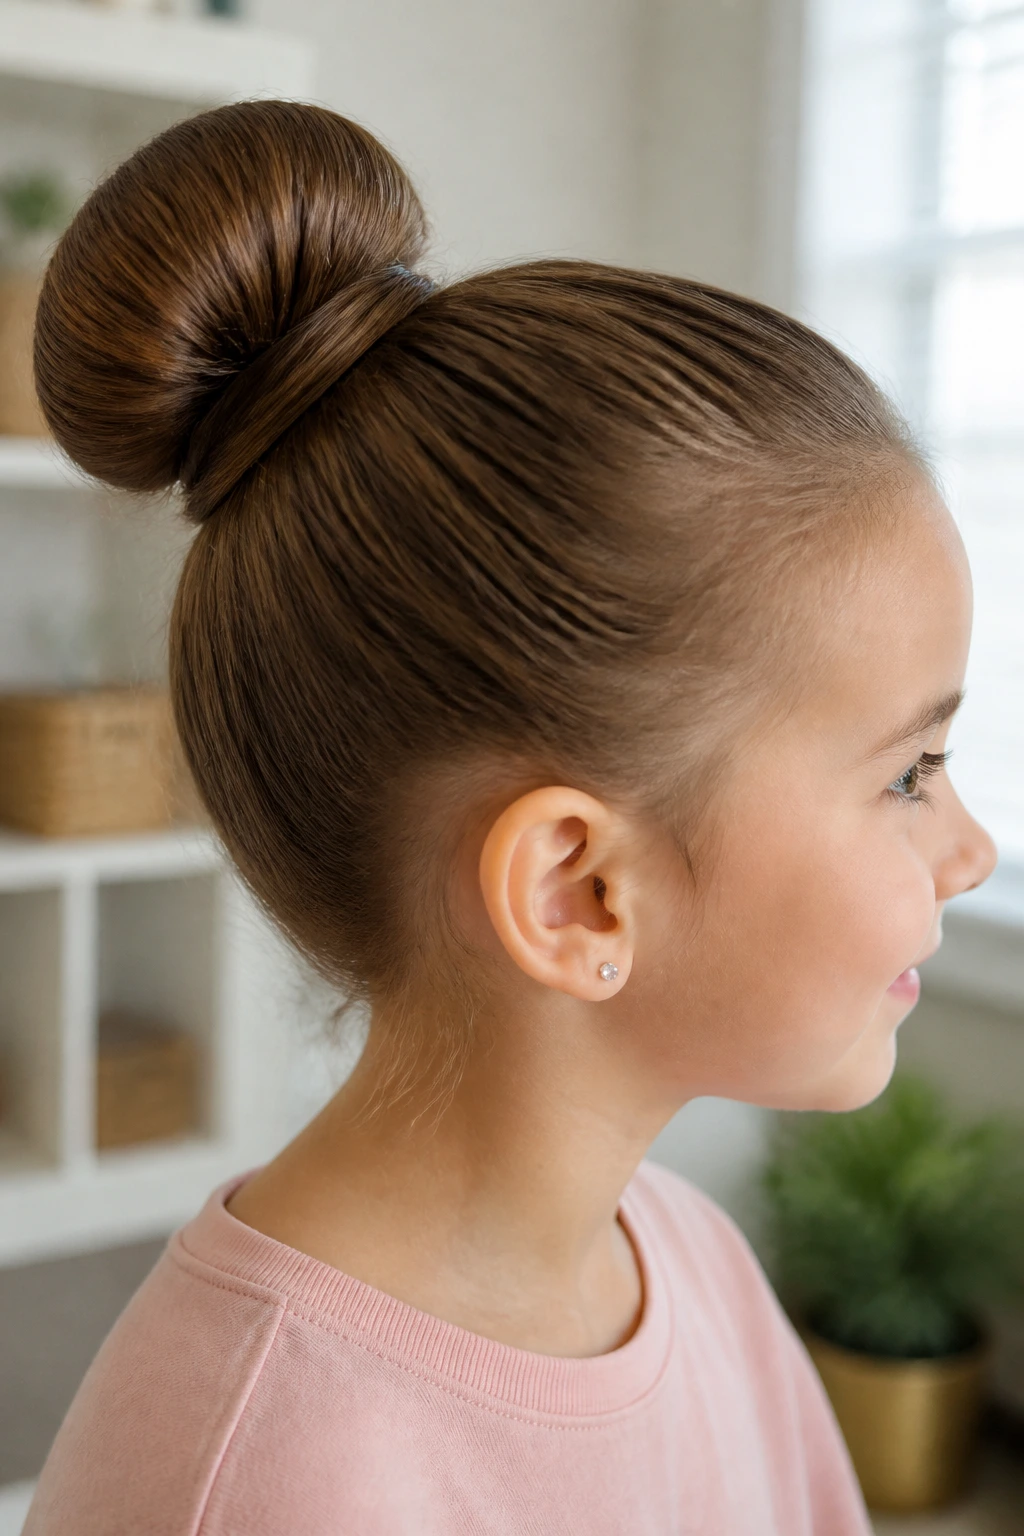
The smartest bun is not the most complicated one. It’s the one that fits the child’s hair, the day’s activity, and the amount of time you actually have before the shoes go on. Some mornings call for a neat ballet bun. Some call for two fast space buns. Some call for a soft low chignon and a ribbon because that’s all the energy anyone has.
That’s the real value of learning a bunch of bun hairstyles for kids: you stop forcing one style to solve every problem. Once you know which bun handles fine hair, which one handles curls, and which one stays comfortable during a long day, the whole routine gets easier. Not perfect. Easier. And that’s the win that matters.
