



A good box braid install has a look before it has a vibe. The parting is crisp, the roots sit flat without looking ironed down, and the length falls in a way that feels deliberate rather than dragged around by gravity. That’s the difference between box braid hairstyles that read polished and the ones that look like they were rushed in a chair that was already running behind.
The whole point of a protective style is to give your hair a break from daily handling, not to make you spend the next three days fighting your own scalp. The American Academy of Dermatology has long warned that braids should not pull painfully at the hairline, and that advice is worth tattooing on the inside of every braid appointment. If your edges ache, your temples throb, or your scalp feels hot the minute you stand up, that is not “fresh.” That is too tight.
I’ve always liked box braids best when they look tailored. Clean geometry. Intentional length. One strong detail — a side part, a wrapped ponytail, a few cuffs, a blunt bob — instead of a pile-on of everything at once. The styles below stay within that lane, from sleek classics to fuller, dressier looks that still behave like a protective style should.
Why This Collection Earns Its Keep
-
Low-drift styling: These looks hold their shape for days because the braid itself does most of the work, which means you’re not restyling from scratch every morning.
-
Shape control: A high ponytail lifts the face, a bob sharpens the jaw, and a side part softens strong features without changing the actual braid pattern.
-
Easy to dress up or down: The same set of braids can look office-clean with a low bun and weekend-casual with a scarf or a few beads.
-
Protective when done right: Medium tension, neat parting, and the right braid size help keep the style wearable instead of punishing.
-
Flexible on length: Short, shoulder-grazing, and waist-length versions all work here; you’re not locked into one silhouette just because the braid type is the same.
-
Accessory-friendly: Cuffs, beads, ribbons, and wrapped bases change the mood fast, which is useful when you want the install to do more than one job.
1. Waist-Length Classic Box Braids
This is the style that makes box braid hairstyles look most intentional. Waist-length braids have enough movement to feel graceful, but not so much drama that they start wearing you instead of the other way around. The ends hang in a clean sheet, which makes the whole look feel expensive even when the actual styling is simple.
Why It Works
The length gives the braids room to swing without puffing out at the shoulders, and that movement keeps the style from looking stiff. If the parts are neat and the braids are medium-sized, the finish reads orderly from every angle.
A center part is the safest choice here, but a slight side part works if you want the length to soften your face. Keep the ends blunt or lightly feathered. Ragged ends kill the effect fast.
A Few Things That Help
- Ask for even braid size from the hairline to the nape.
- Keep the first inch at the root tidy, not crunchy.
- Use a satin scarf at night so the length doesn’t fray at the shoulder.
Pro tip: If the braids are long enough to sit on your jacket collar, wear the collar down or choose a smooth fabric. Rough knits are frizz magnets.
2. Collarbone Bob Box Braids
Want the cleanest possible finish? Cut the length down. Collarbone bob box braids take the visual weight off the ends, which lets the parting and the face shape do more of the talking. They feel sharp. A little cheeky, too.
The shorter length also makes this one easier to wear in tight spaces — cars, high collars, crowded trains, all of it. And because the braids aren’t brushing your ribs all day, the style usually stays neater for longer.
If your hairline tends to frizz first, this is a smart choice. Less length means less tugging, and less tugging means fewer little battles with the front edge.
3. High Ponytail Box Braids
A high ponytail changes the whole mood. It pulls the braids up and away from the face, which makes cheekbones pop and gives the style a lift that a loose set can’t match. I reach for this one when the braids need to look neat fast.
The trick is the base. Wrap a braid around the elastic or use a small section of braiding hair so the tie disappears. If the ponytail is too heavy, it starts drooping by lunchtime, and that instantly makes the style look tired.
This works best with medium-weight braids. Very long braids can still do it, but they need a tighter anchor and a little more support at the base.
4. Low Ponytail Box Braids
A low ponytail is the quiet overachiever of box braid styles. It sits at the nape, stays out of the way, and looks finished without asking for much attention. There’s something clean about that low line, especially with a blazer, a crewneck, or a sharp collar.
If your hairline is sensitive, this is one of the gentler ways to wear the style up. The gather point stays low, so there’s less pull at the temples. You still want the base snug, not strained.
How to keep it from slumping
- Use a strong elastic or a wrapped section of braid.
- Smooth the crown with mousse rather than heavy gel.
- Anchor the ponytail low enough that it follows the head shape instead of fighting it.
5. Half-Up, Half-Down Box Braids
Half-up, half-down is the easiest way to make braids look styled without making them feel formal. The top half gets lifted away from your face, but the rest of the length still moves, so the whole style keeps some softness.
This is the one I’d pick for people who don’t want the full weight of an updo but also don’t want all the braids hanging loose around their shoulders. It gives you structure without closing off the style.
Why It Feels Balanced
The top section keeps the front clean, which matters more than people think. Once the hair is pulled off the forehead, the eyes and cheekbones do more work, and the braids become a frame instead of a curtain.
A small claw clip works for a relaxed version. A wrapped mini ponytail looks sharper if you want the top section to feel polished.
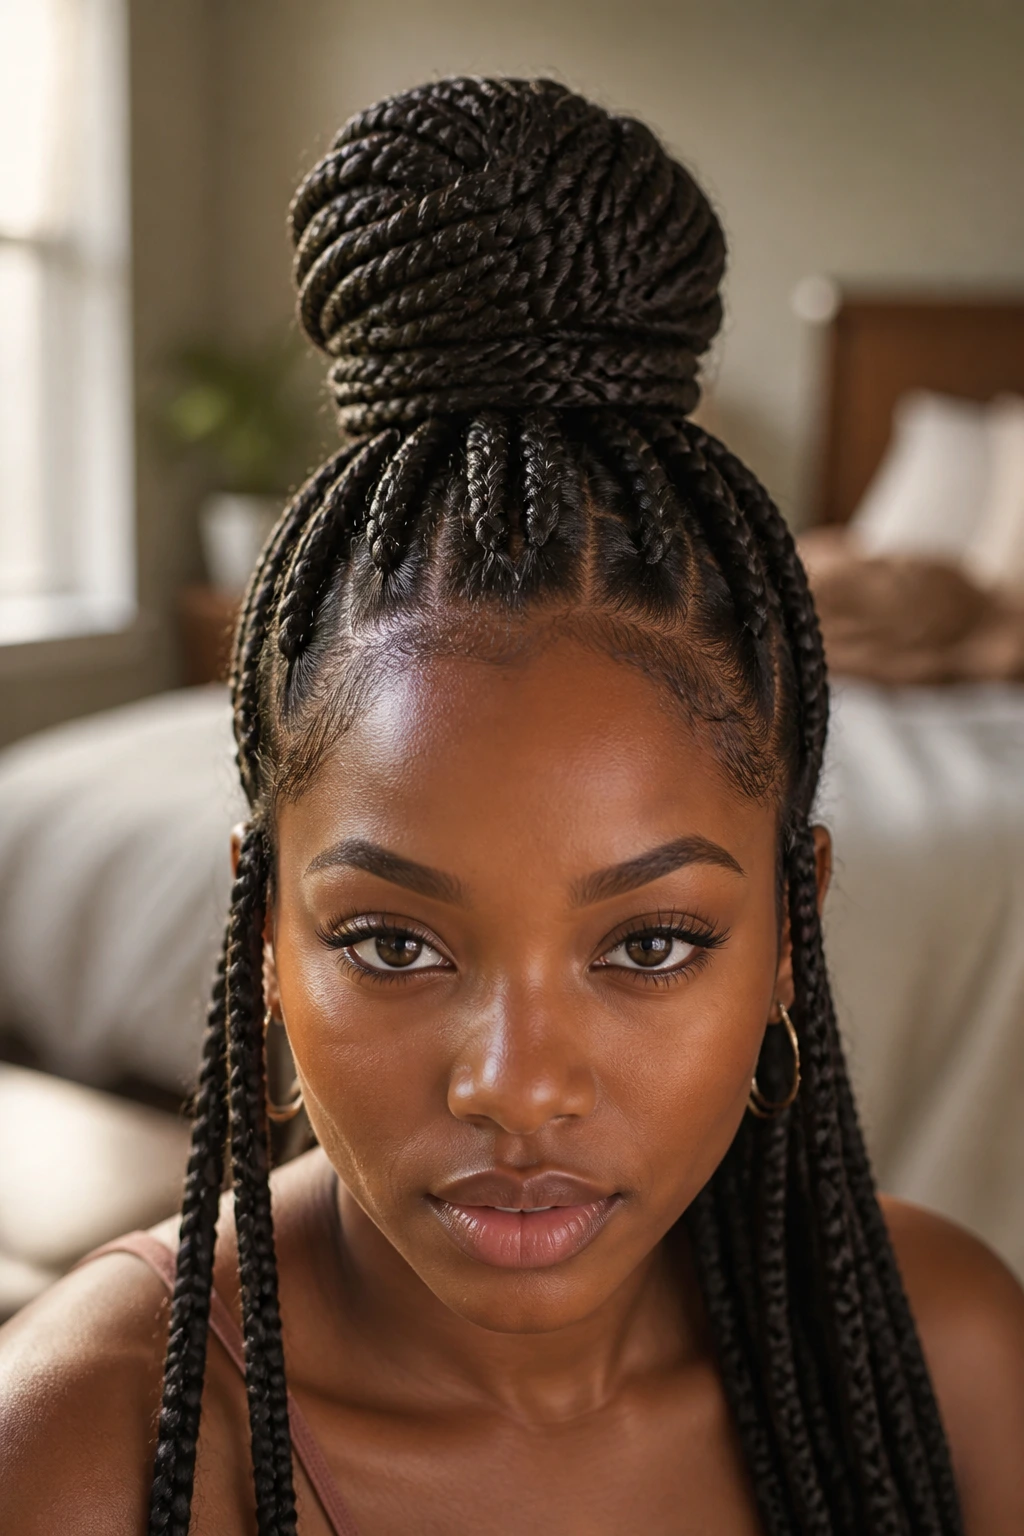
6. Braided Top Knot
A top knot is where long box braids stop reading casual and start reading deliberate. Gathered high, it clears the neck, shows off the face, and gives the braids one strong focal point instead of letting them hang everywhere at once.
This style works best when the knot is centered, not pushed too far forward. Too high and it looks like a stunt. Too loose and it starts to sag into a lopsided lump. You want a compact coil that sits on the crown with some shape.
If the braids are heavy, twist them into the knot instead of trying to loop them around the base in one giant bundle. Your scalp will thank you later.
7. Braided Space Buns
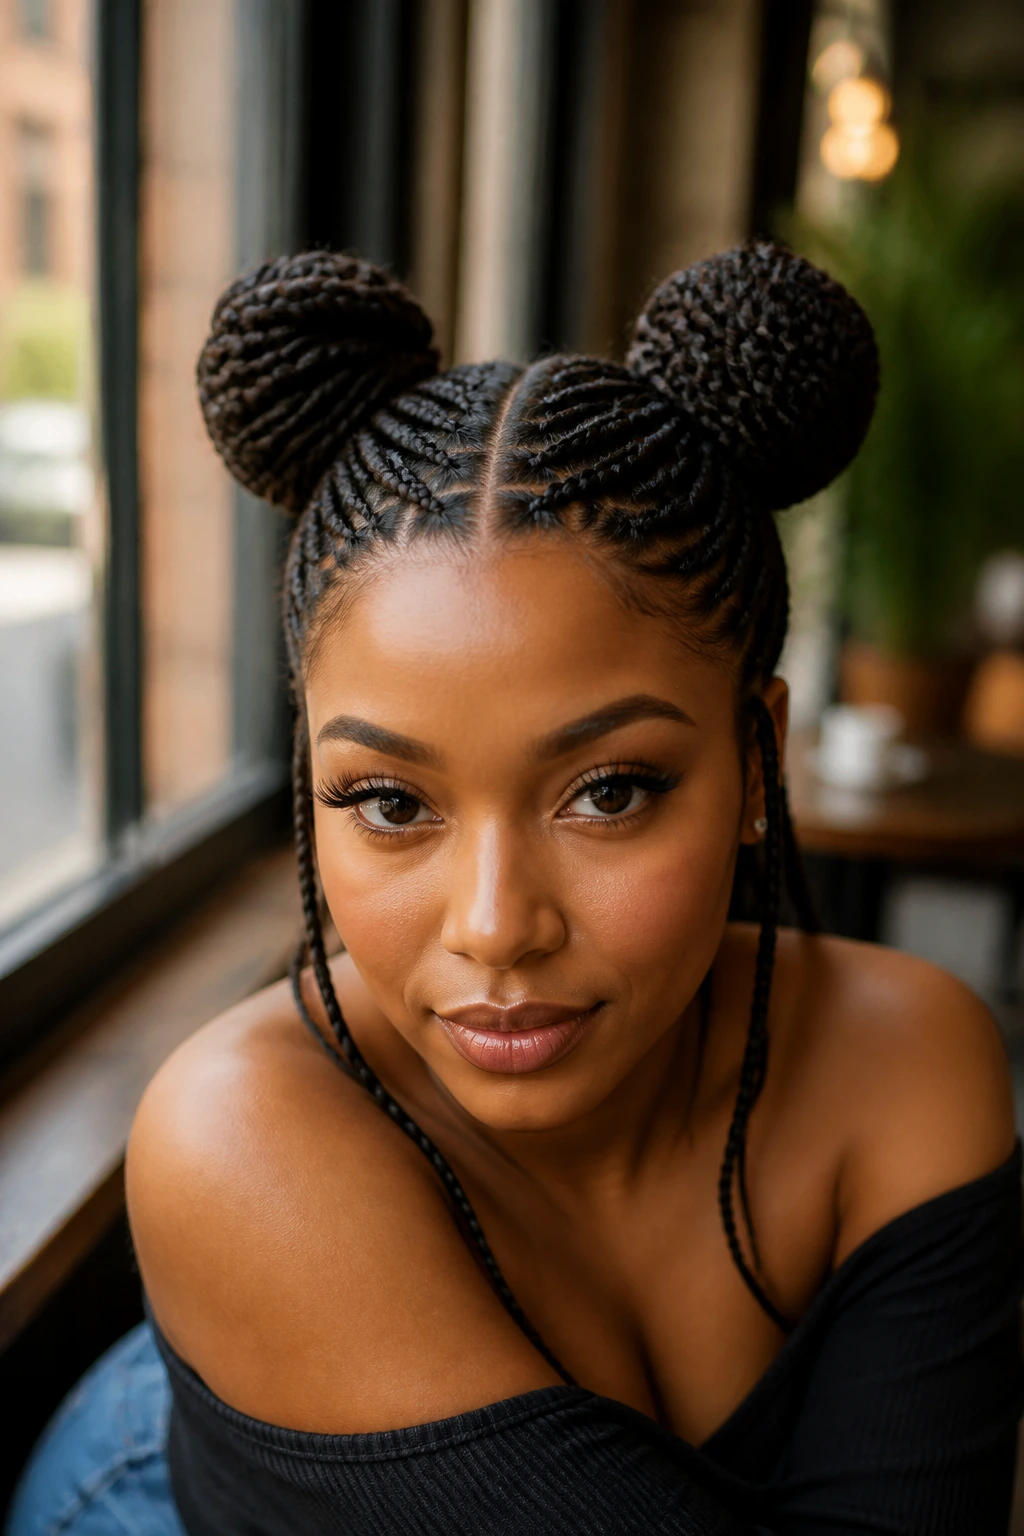
Space buns can look playful or polished, depending on how clean the parts are. The style works because it gives you symmetry up top and movement below, which keeps the shape from feeling too stiff or too sweet.
A center part makes the strongest version. Two evenly sized buns, a clean middle line, and smooth roots do most of the visual work. Leave the buns a little compact if the braids are long; oversized buns on long braids can get top-heavy fast.
This is the kind of style that looks better when the edges are neat but not lacquered to death. A soft brush and a little mousse are enough.
8. Side-Swept Box Braids
Side-swept braids soften the whole head shape. Instead of letting the braids fall straight down the middle or across both shoulders evenly, you move the bulk to one side and let the asymmetry do the styling.
It’s a useful trick if you want the look to feel a little more dressed up without adding beads, cuffs, or extra texture. One shoulder carries the weight; the other stays open. That contrast gives the style some motion.
Pair it with one strong earring and keep the opposite side tucked behind the ear. Easy. Sharp. No extra drama needed.
9. Deep Side Part Box Braids
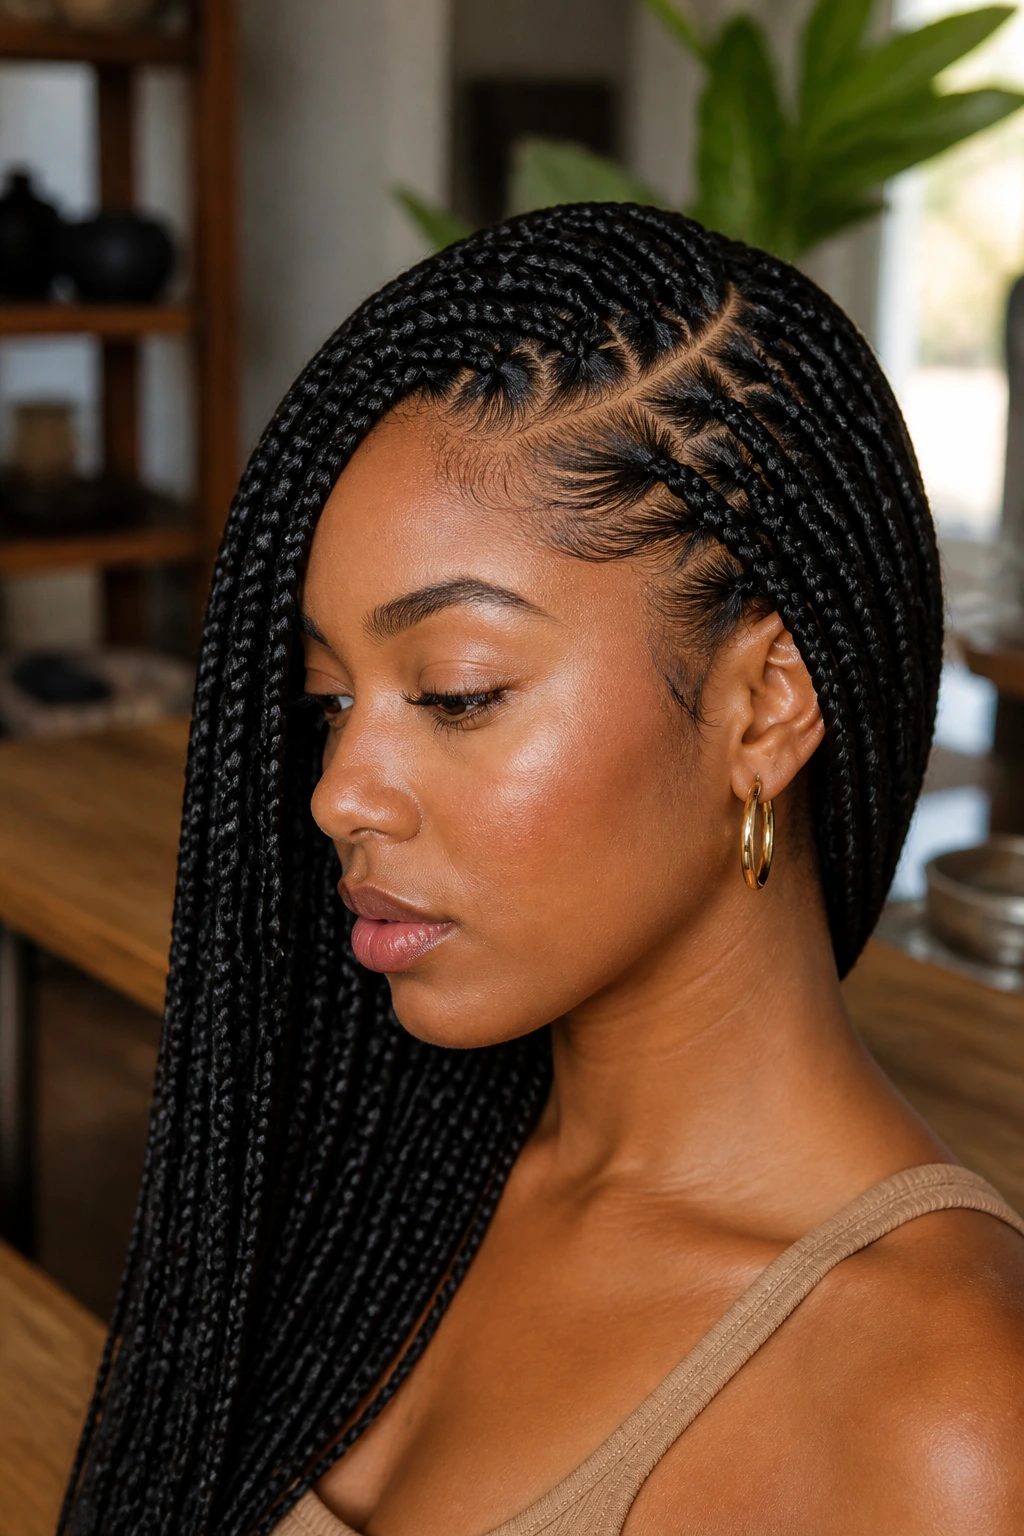
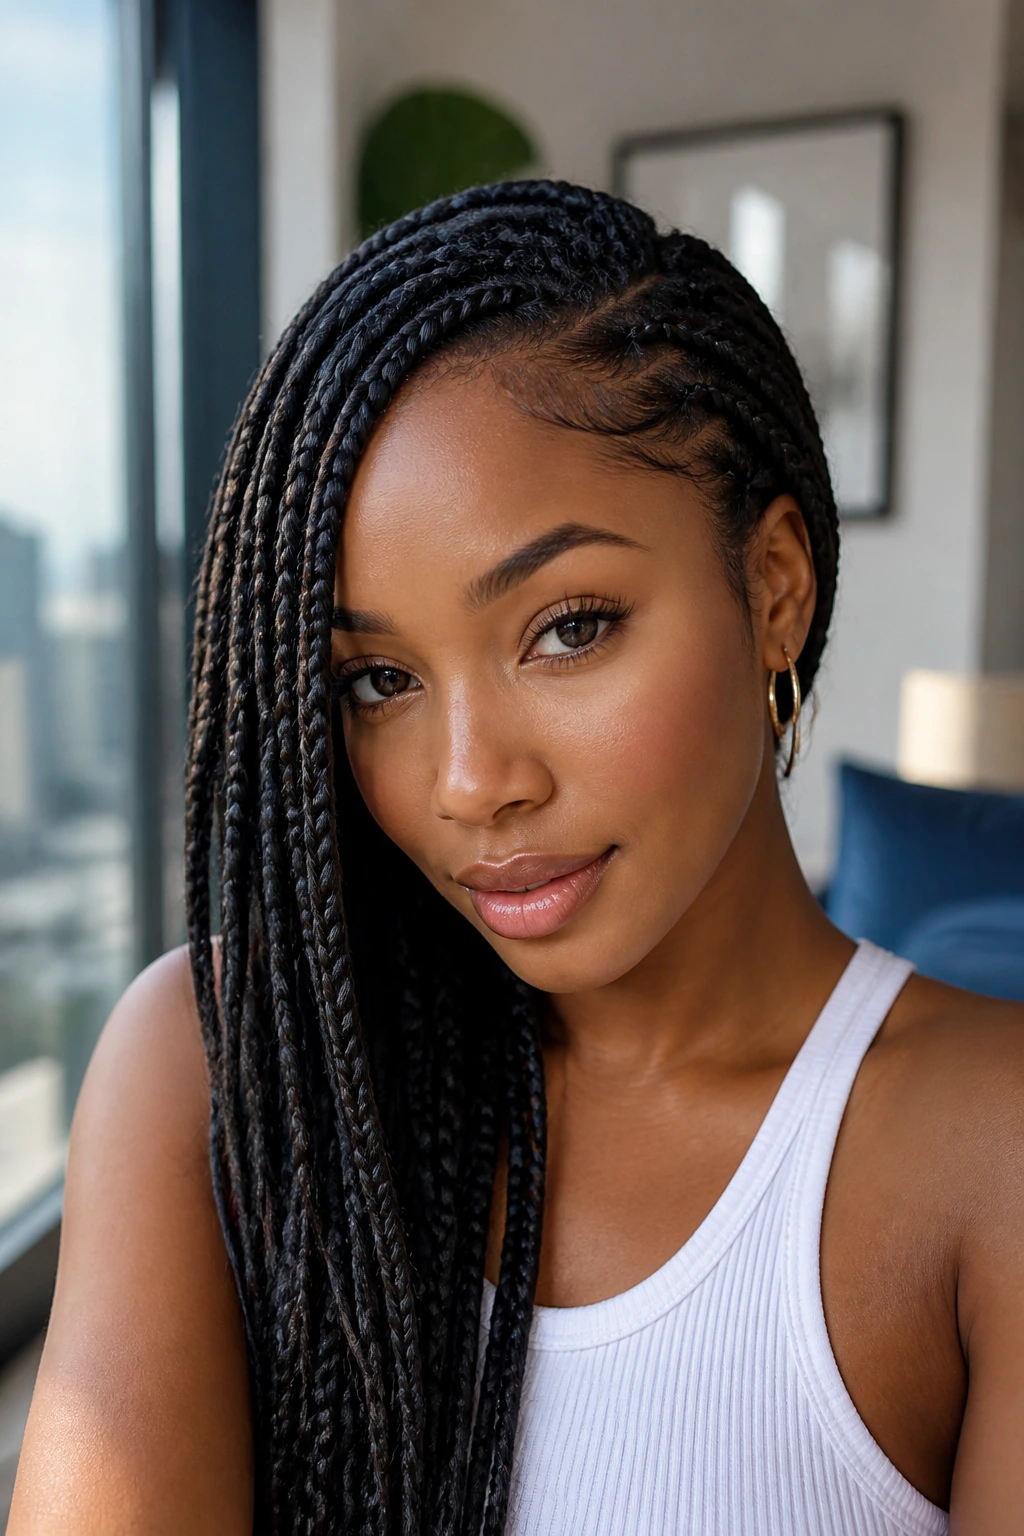
A deep side part changes the face more than most people expect. It opens one side, drops a soft curtain of braids across the other, and gives the whole style a slightly more sculpted look than a center part does.
This is a good option if your face shape already has strong symmetry and you want a little break in the middle. It also helps if you wear glasses, because the part line gives the frames some room.
What to watch for
- Don’t make the part so deep that the front section feels thin.
- Keep the first braid row neat at the temple.
- Sweep the front section with mousse instead of stacking on edge gel.
10. Triangle-Part Box Braids
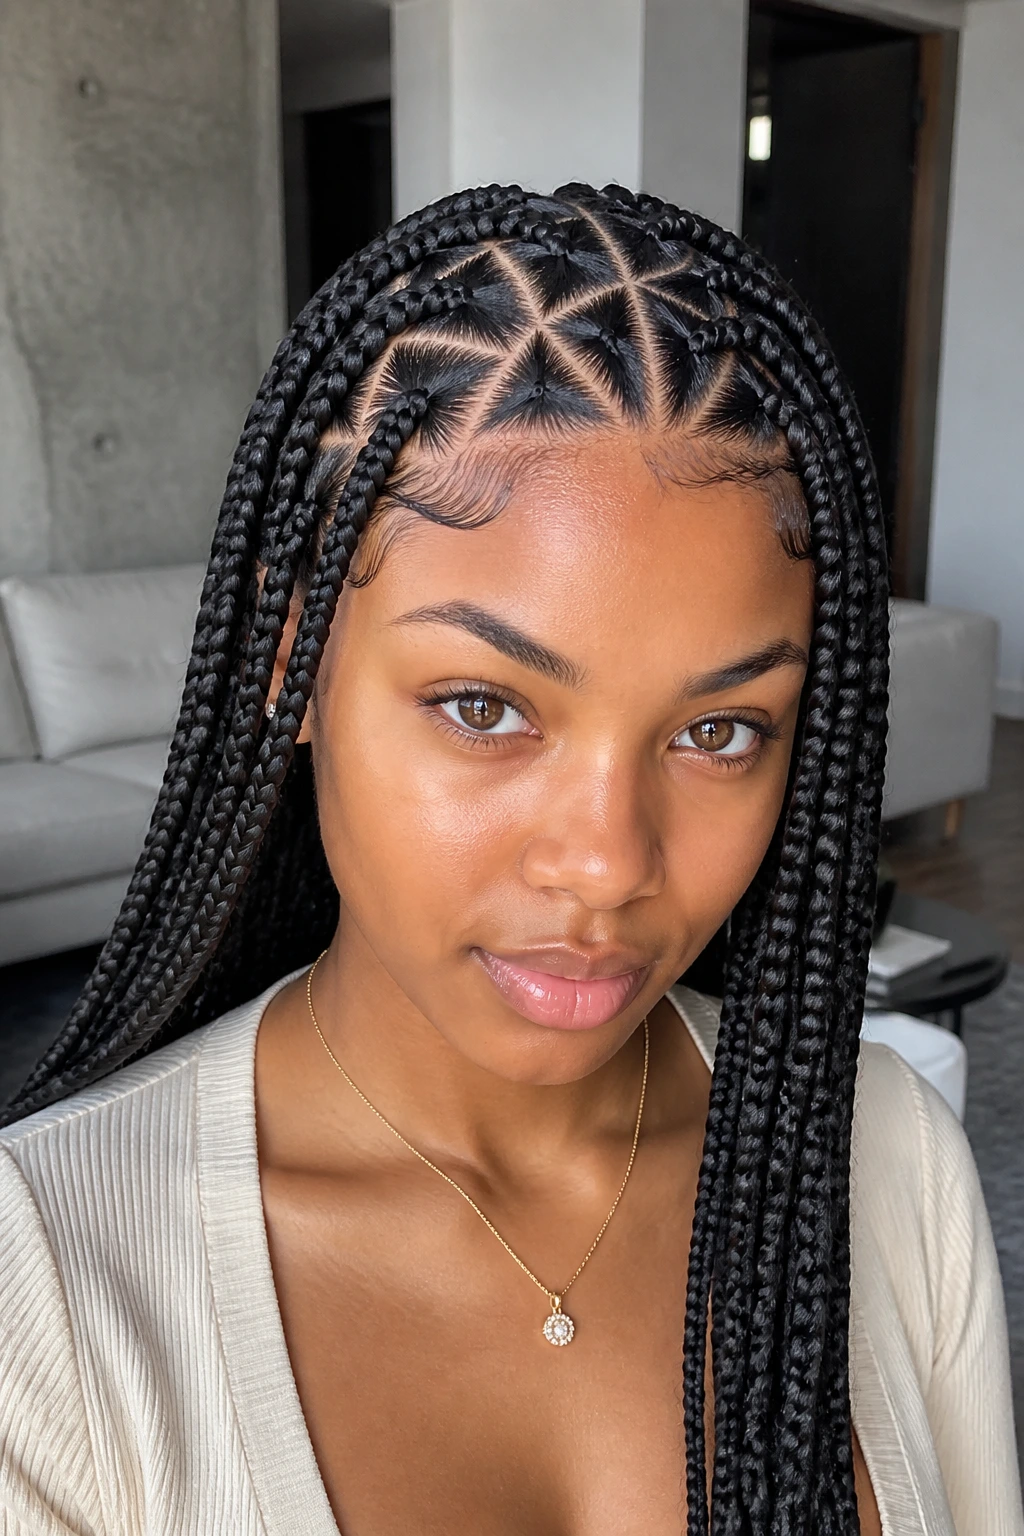
Triangle parts are the style for people who want the parting to be part of the design. The geometry reads right away, even from a distance, and it gives the install a cleaner, more intentional look than plain square parts sometimes do.
The shape works because triangles break up the grid. Your eye notices the pattern before it notices the length, which is handy when you want the braids themselves to stay the focus. It’s a small change that reads big.
If you like a polished finish with almost no extra styling, this is one of the smartest choices in the whole collection.
11. Medium Box Braids with Curly Ends
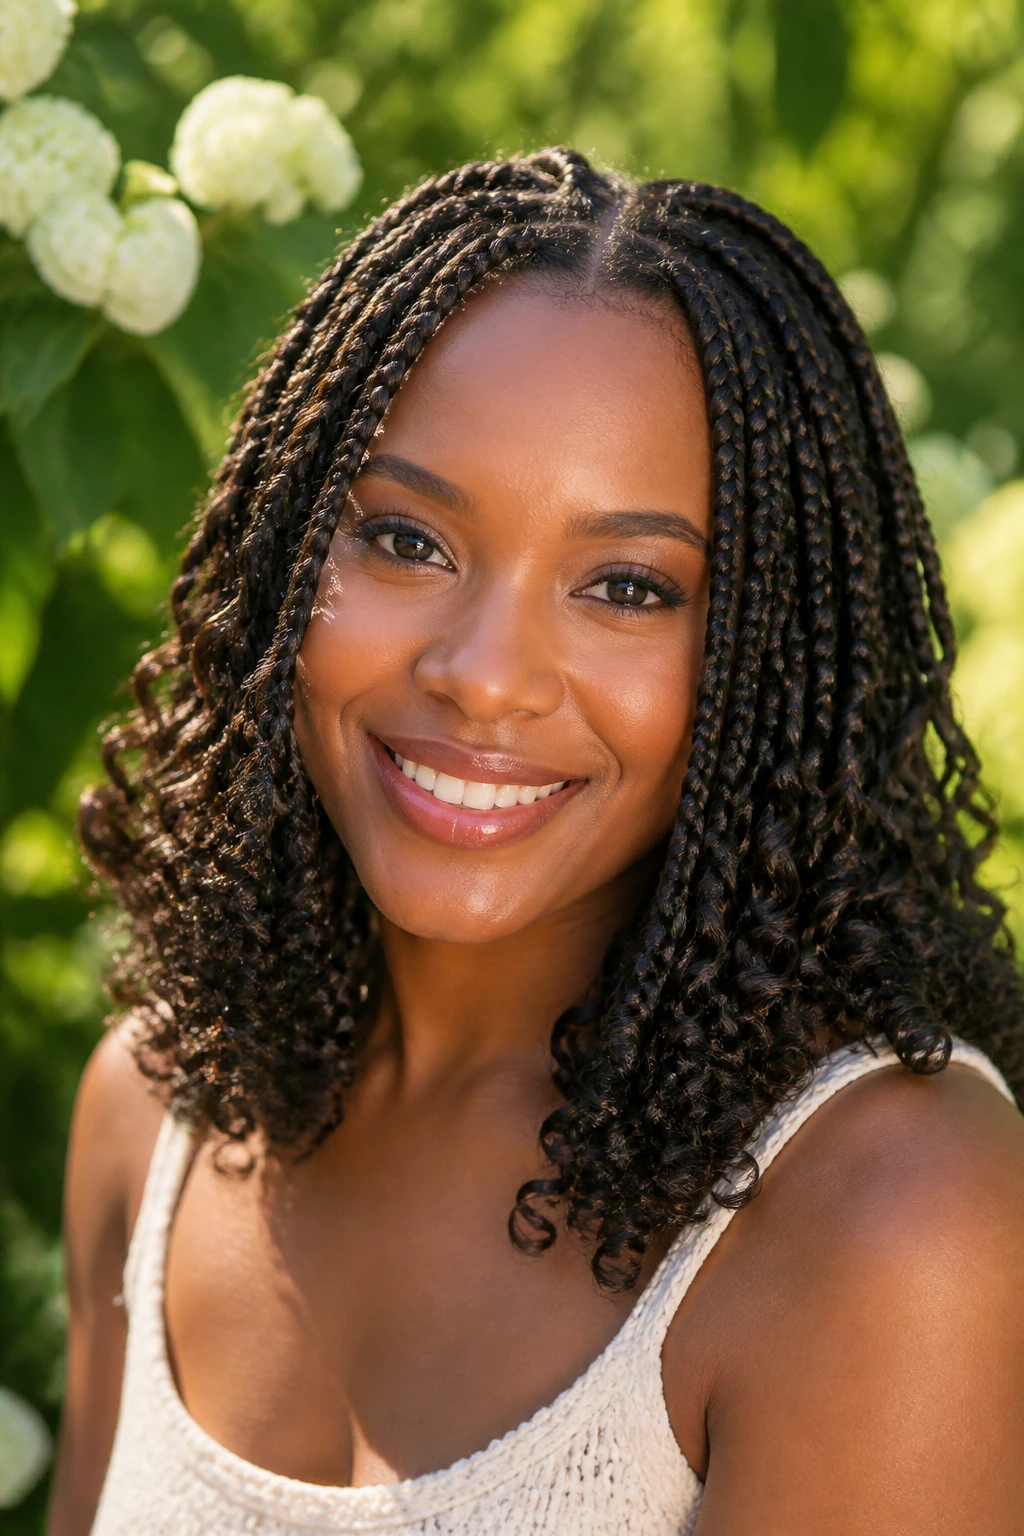
Curly ends soften the finish in a way blunt tips never will. The braids still look structured up top, but the bottom half gets a bit of movement and bounce, which keeps the style from feeling boxy or rigid.
This version works especially well if you like braids that look dressed without looking severe. The curls catch a little motion when you walk. They also take the edge off a heavy length.
Use this look when you want the install to feel a little more romantic. Not fussy. Just softer.
12. Box Braids with Beads
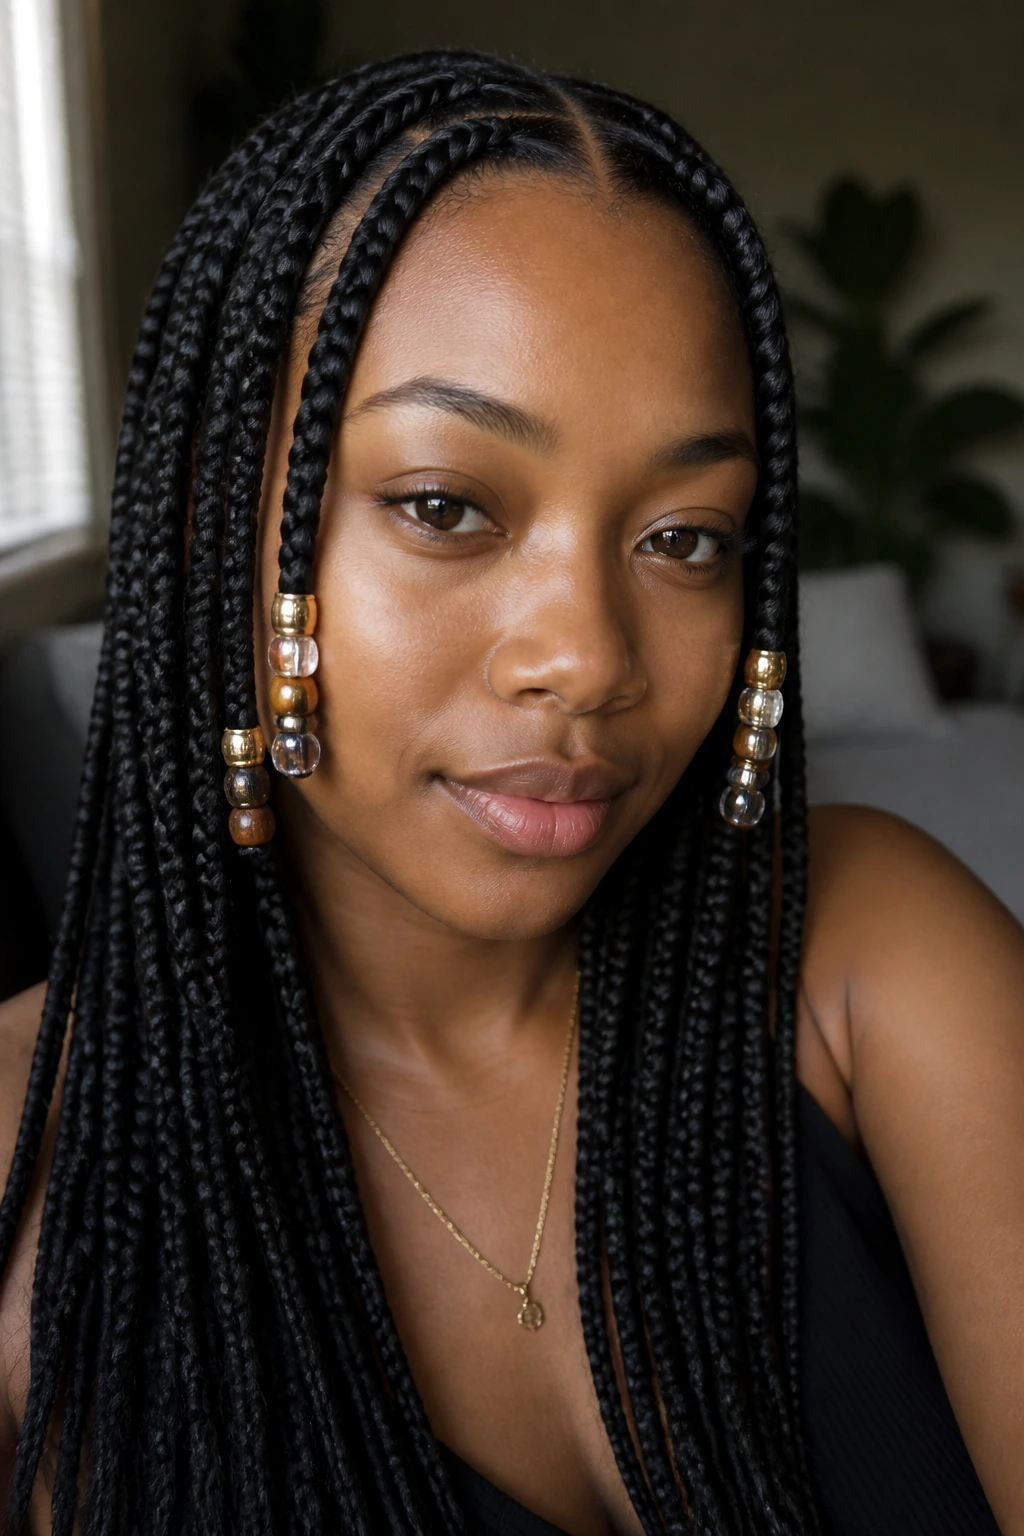
Beads can go one of two ways: elegant or chaotic. The difference is restraint. Two or three beads near the ends? Clean. A whole forest of mixed plastic pieces? Not so much.
I like beads best on the front pieces or on just a few braids near the face. That gives you a bit of movement and sound without making the whole head feel busy. Wood, matte gold, and clear beads tend to look more refined than bright novelty shapes.
Small decisions that matter
- Put the beads on the braids you want people to notice first.
- Keep the rest of the style plain.
- Match bead color to your hardware if you wear earrings.
13. Layered Box Braids
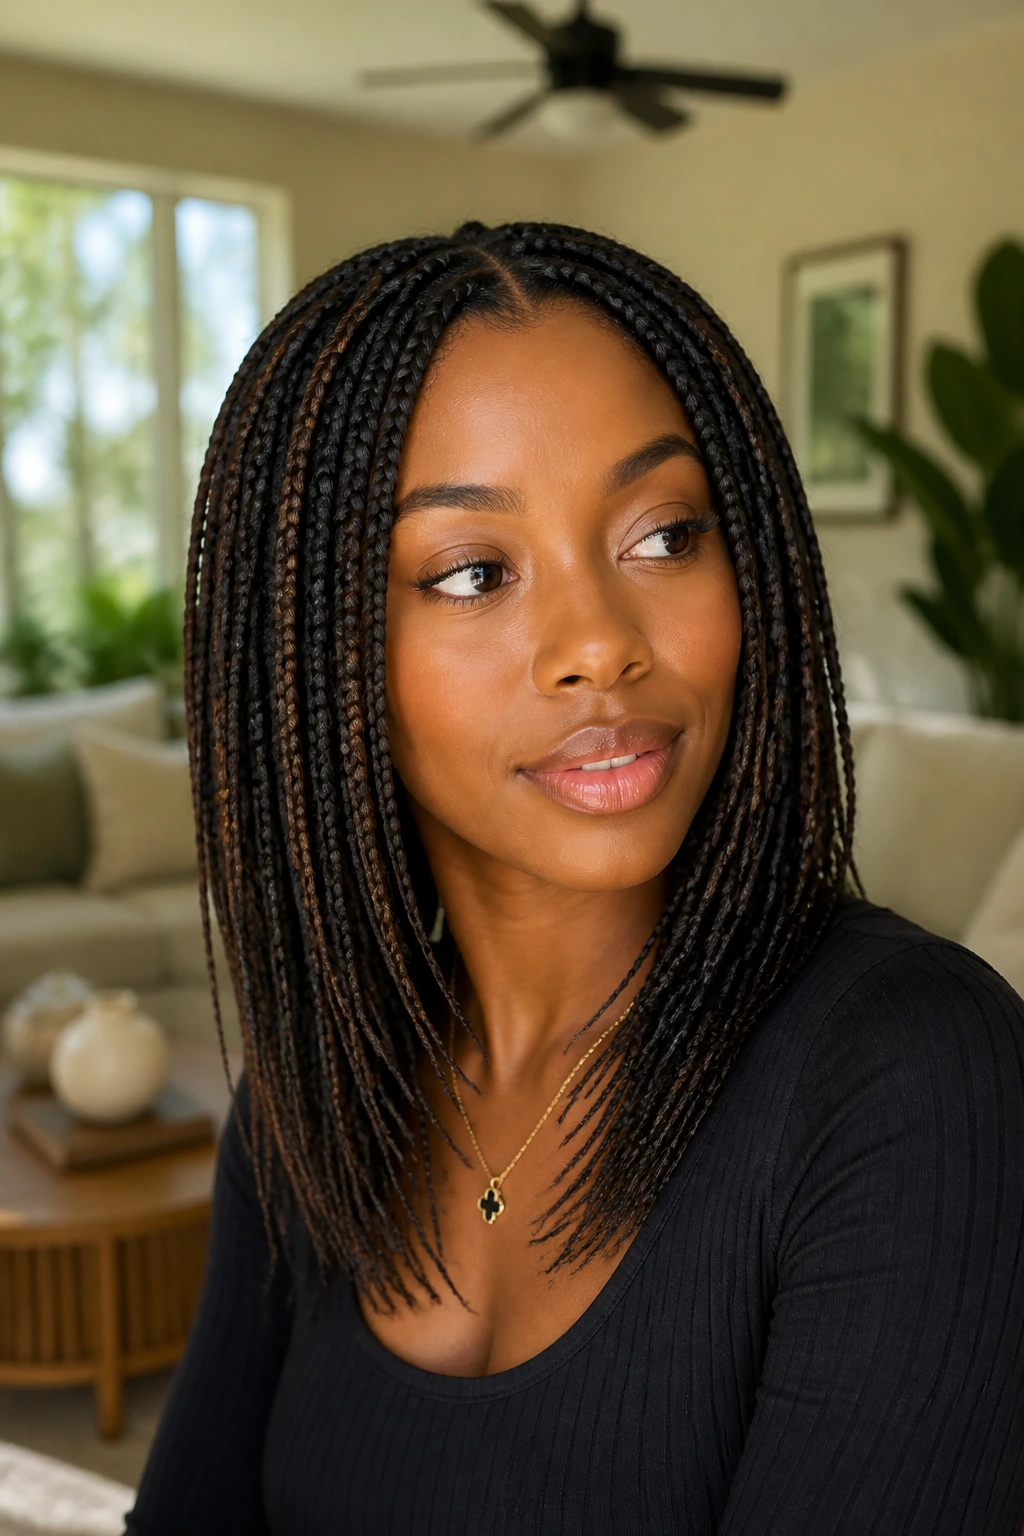
Layering gives the braids shape before you even touch them with your hands. Instead of one flat curtain of the same length, you get shorter pieces around the face and longer pieces through the back, which makes the whole style move better.
This is especially useful if you wear long braids and hate how they all land in the same place. A slight layer breaks up the weight and makes the silhouette feel lighter. It’s subtle, but it matters.
How to think about it
Ask for the front to sit a little shorter than the back, not chopped unevenly. The goal is shape, not randomness. Done well, layering makes the install look tailored.
14. Jumbo Box Braids
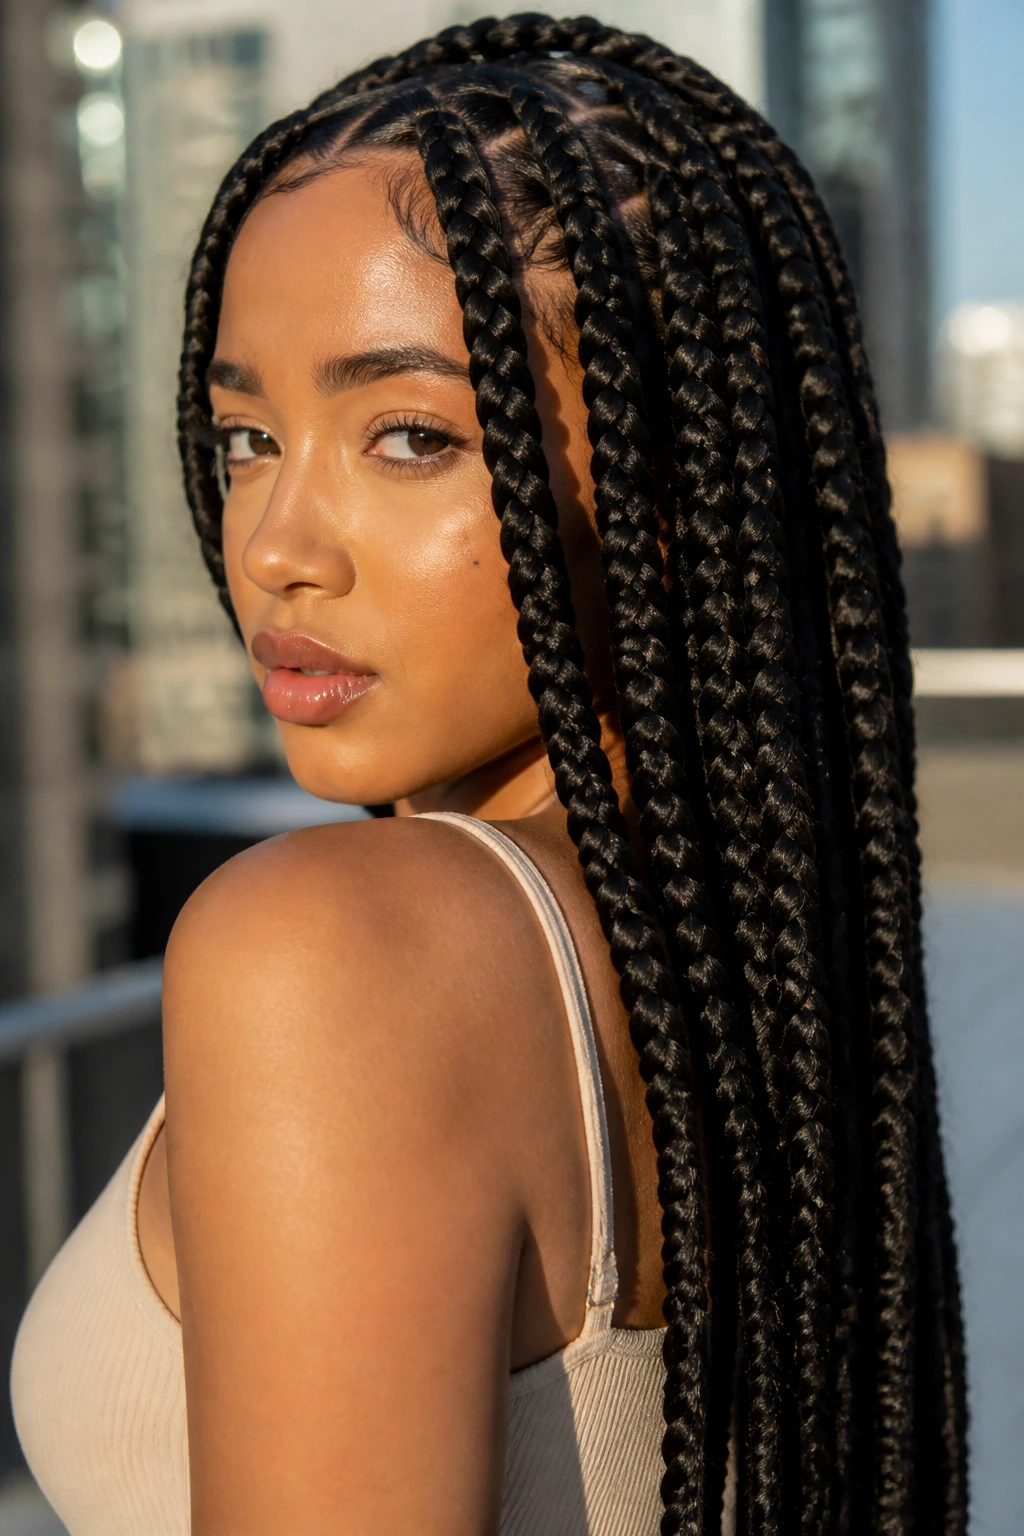
Jumbo braids are bold in the best way. Fewer parts, bigger sections, and a larger braid diameter make the whole style read strong and graphic almost immediately. If you want a look that shows up in the room before you do, this is it.
The big warning is weight. Jumbo braids can pull harder at the scalp if they’re too long or too dense, so the install has to be honest about how much hair your head wants to carry. Shorter jumbo braids usually look cleaner than waist-length ones.
This one is all about proportion. Keep the rest of the styling simple so the braids stay the main event.
15. Small, Neat Box Braids
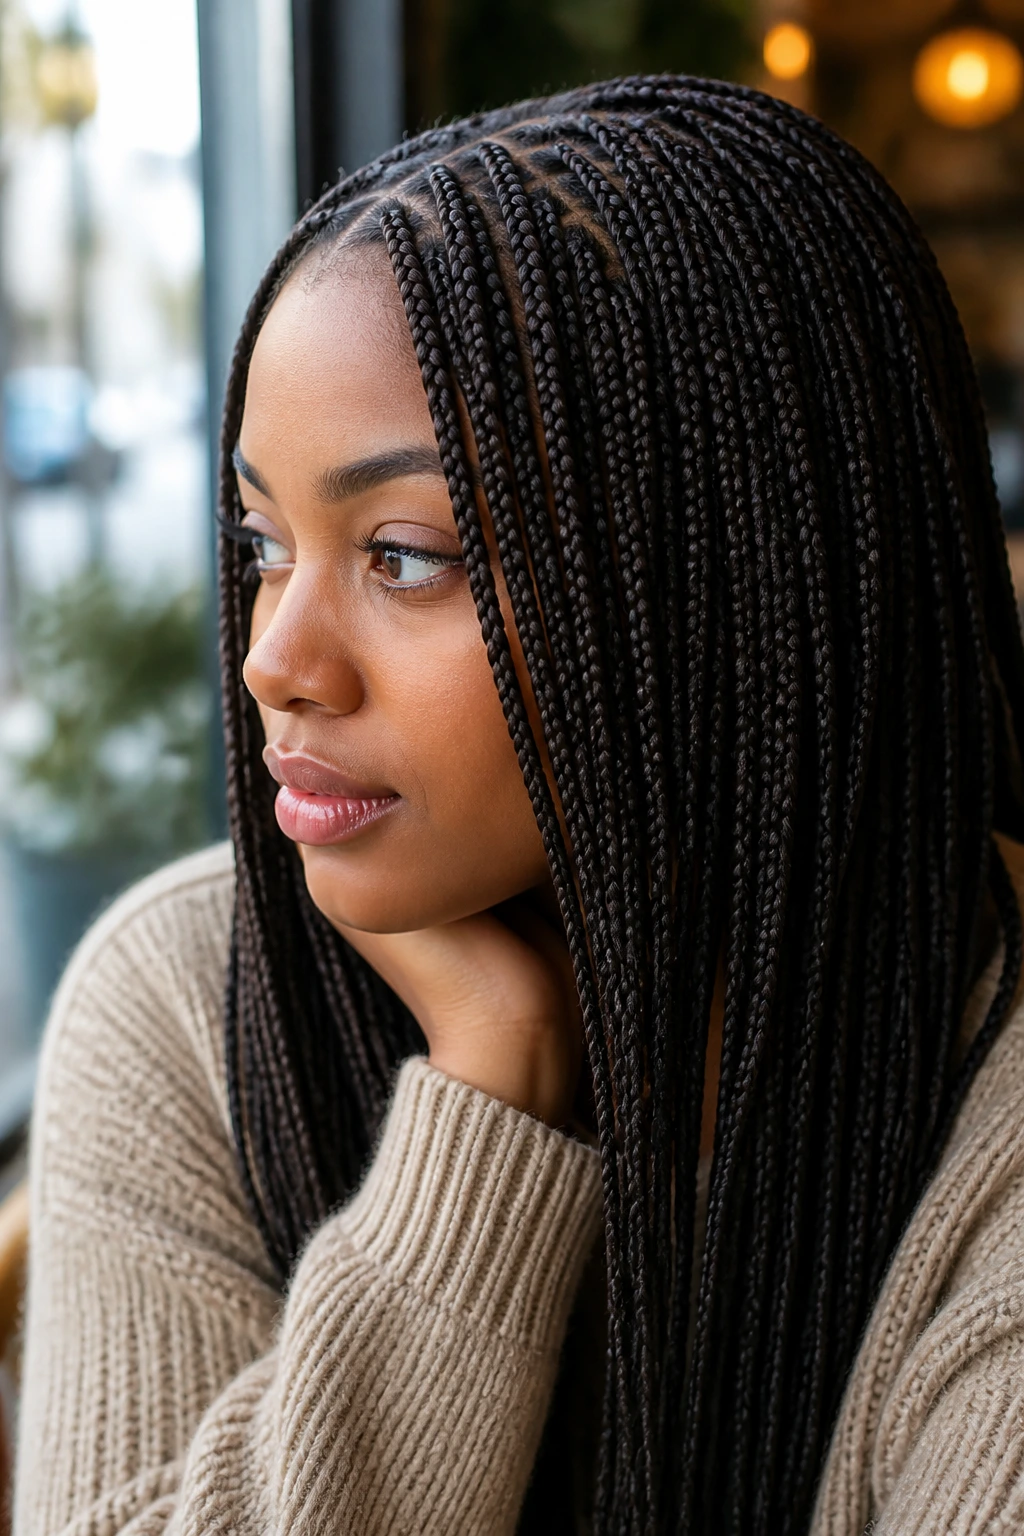
Small braids have a crispness that bigger ones can’t fake. The surface looks tighter, the parting can be more exact, and the whole style tends to settle into a smoother shape once it’s been worn for a few days.
The tradeoff is time. This is not a fast install, and it doesn’t pretend to be. But if you like braids that can go into ponytails, buns, and tucked styles without showing a lot of gaps, small braids are hard to beat.
The finish looks especially good on people who like order. If you want the style to read sleek from the first glance, this is your lane.
16. Braided Faux Hawk
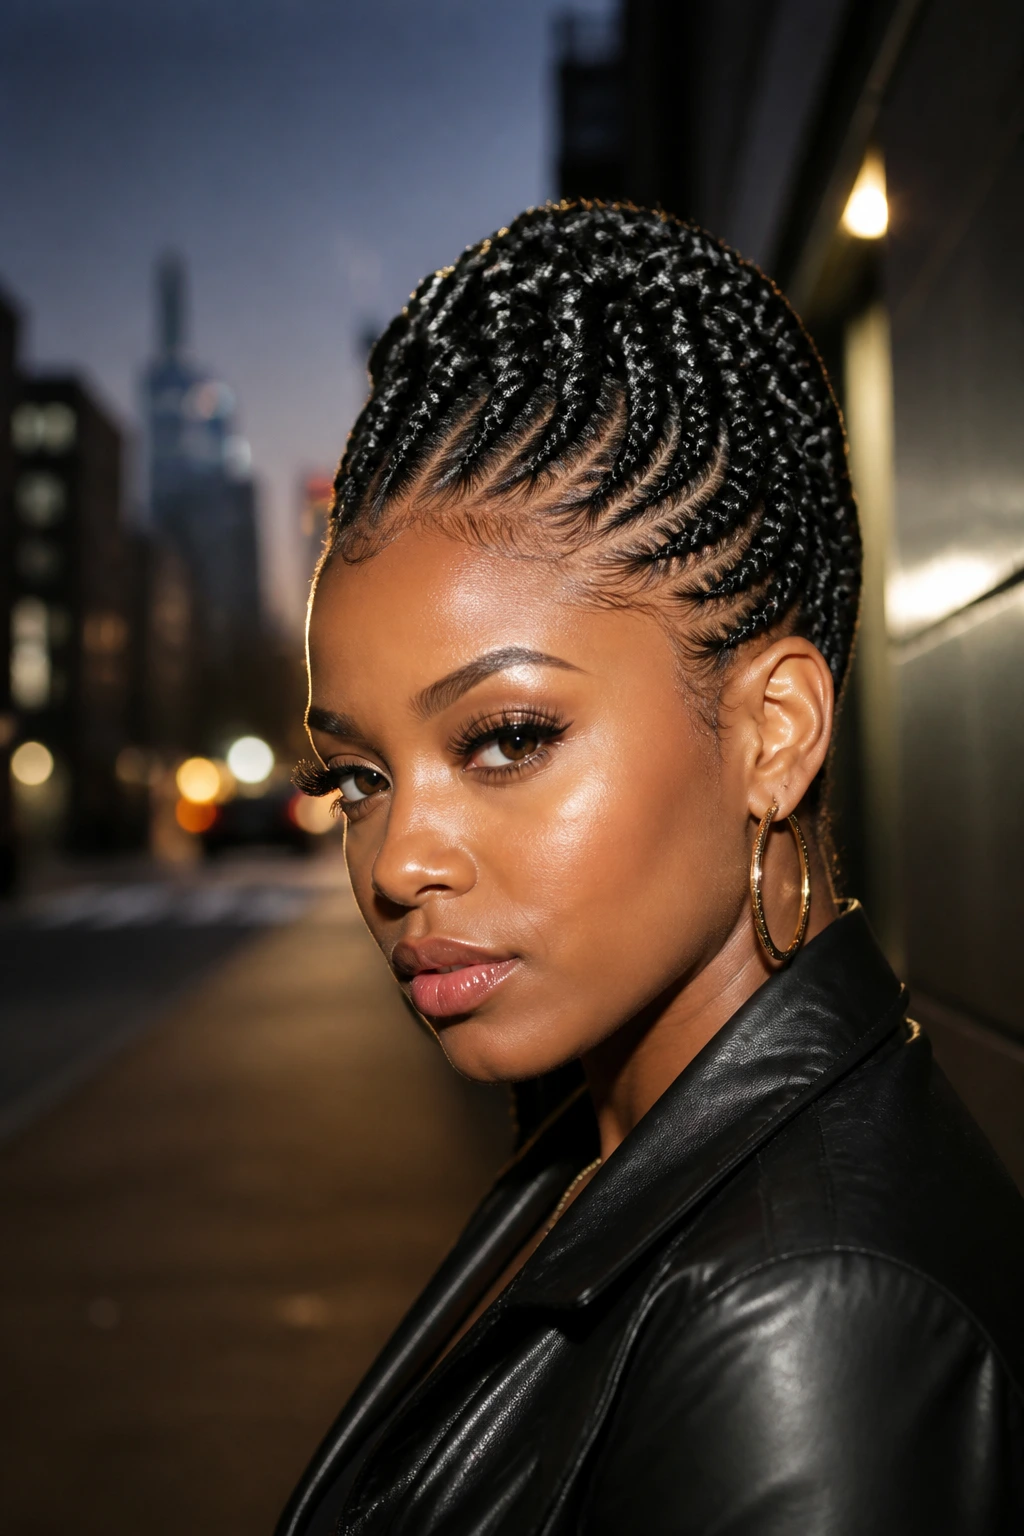
A faux hawk gives box braids a little attitude without giving up the protective structure. The sides get pinned upward or inward, and the middle ridge stays visible, which creates a strong line down the head.
It works because it changes the silhouette. Instead of a round, all-over shape, you get height in the center and a tighter frame on the sides. That makes the whole look feel more tailored.
I like this one for evenings out or any day you want the braids to stop behaving and start performing. Keep the sides smooth and the ridge centered, and it does the rest.
17. Crown Updo Box Braids
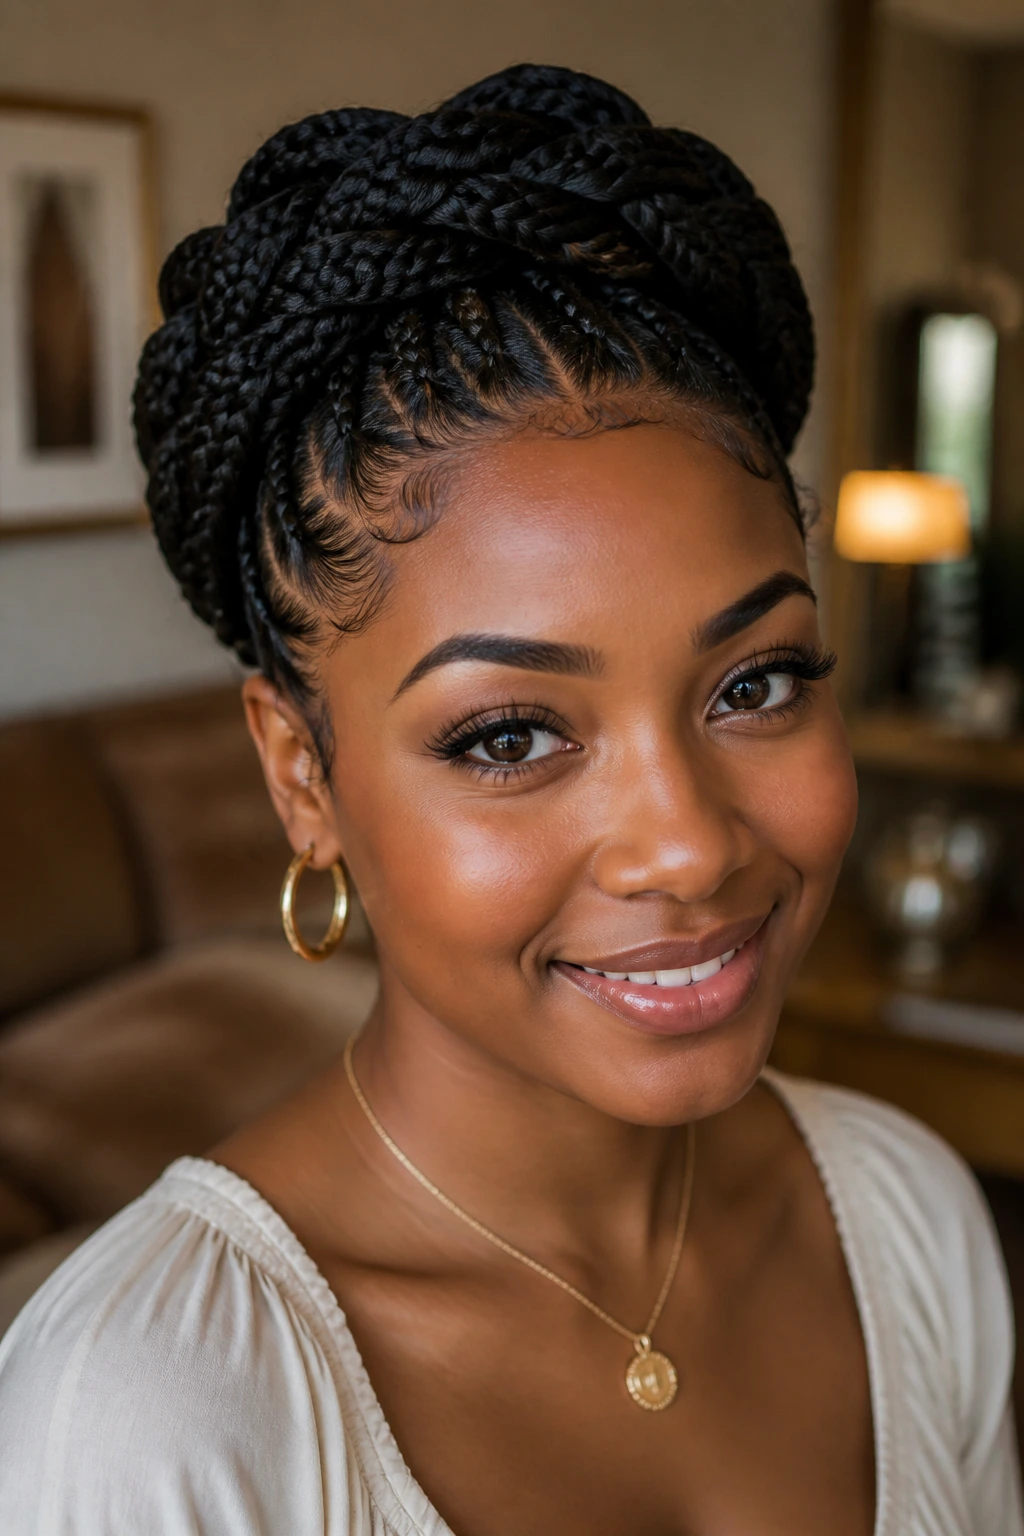
A crown updo clears the nape, shows off the jaw, and turns the braids into a shape rather than a length. It’s one of the few box braid styles that can feel formal without looking overworked.
The base matters here. If the braids are pulled too tight, the whole style starts to feel strained instead of elegant. If they’re too loose, the crown collapses. So the sweet spot is a secure wrap with a little give.
This is the style I’d choose for a formal dinner, a wedding guest look, or any moment when the braids need to read neat from a distance.
18. Asymmetrical Lob Box Braids
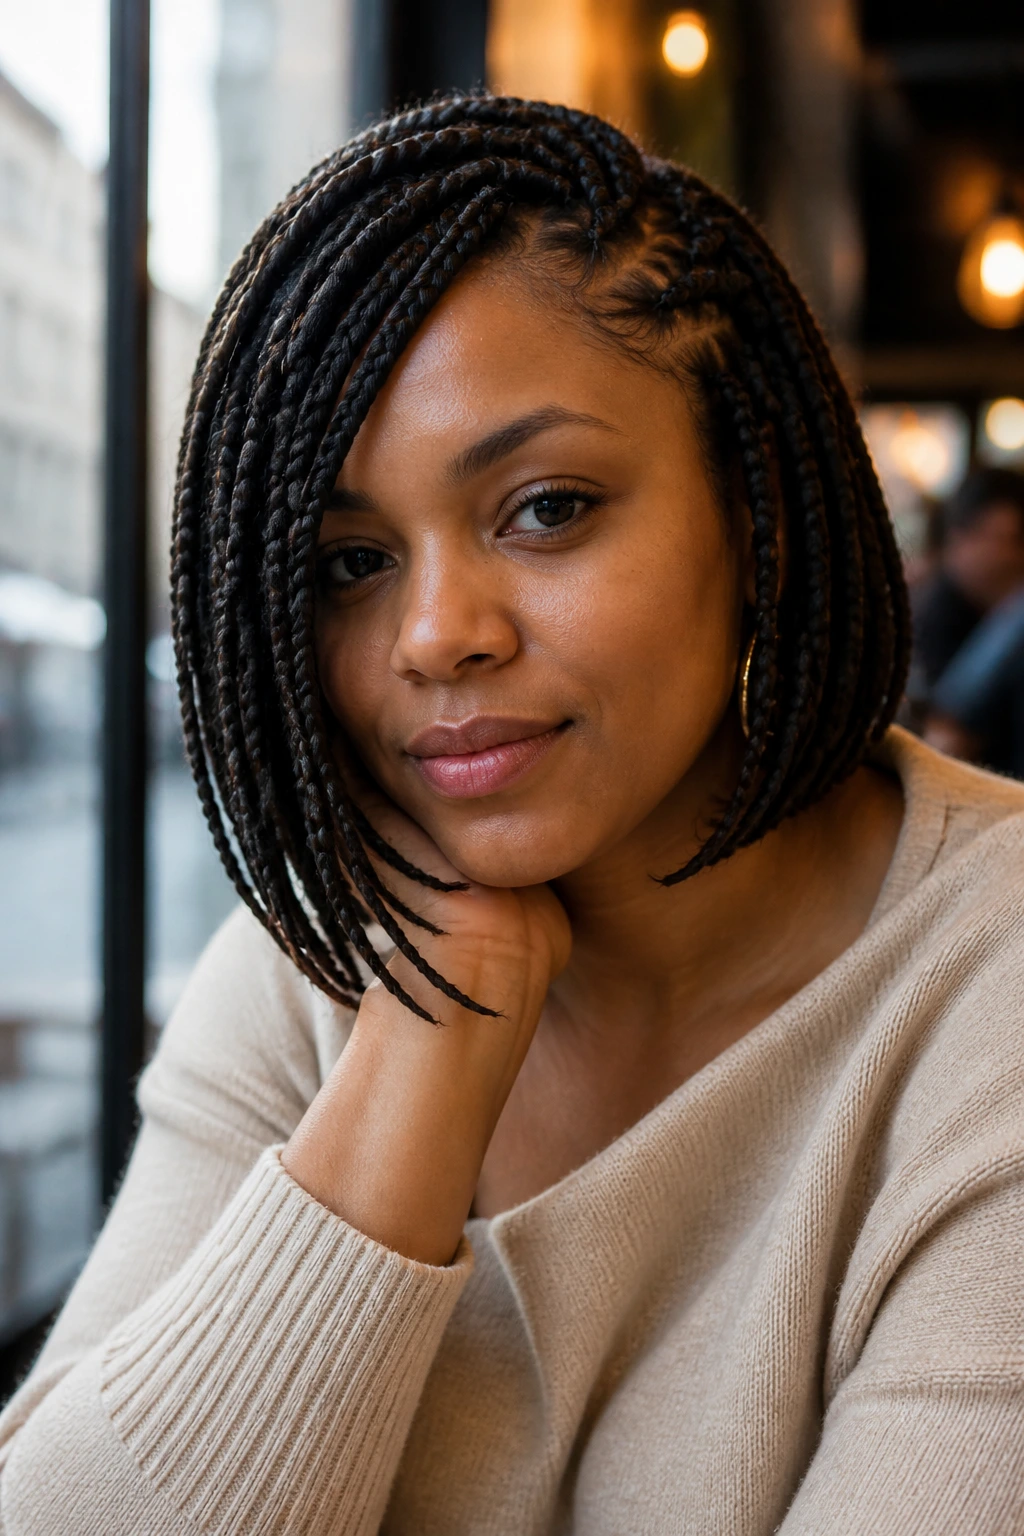
An asymmetrical lob gives you shape without the weight of long braids. One side sits a little longer than the other, and that slight imbalance creates movement every time you turn your head.
The cut line does the styling for you. There’s less need for pins, ties, or accessories because the silhouette already has a point of view. It feels modern without begging for attention.
If you want box braid hairstyles that stay polished but do not drag on your shoulders all day, this is a smart middle ground. You get swing. You lose bulk. That’s a fair trade.
19. Face-Framing Pieces
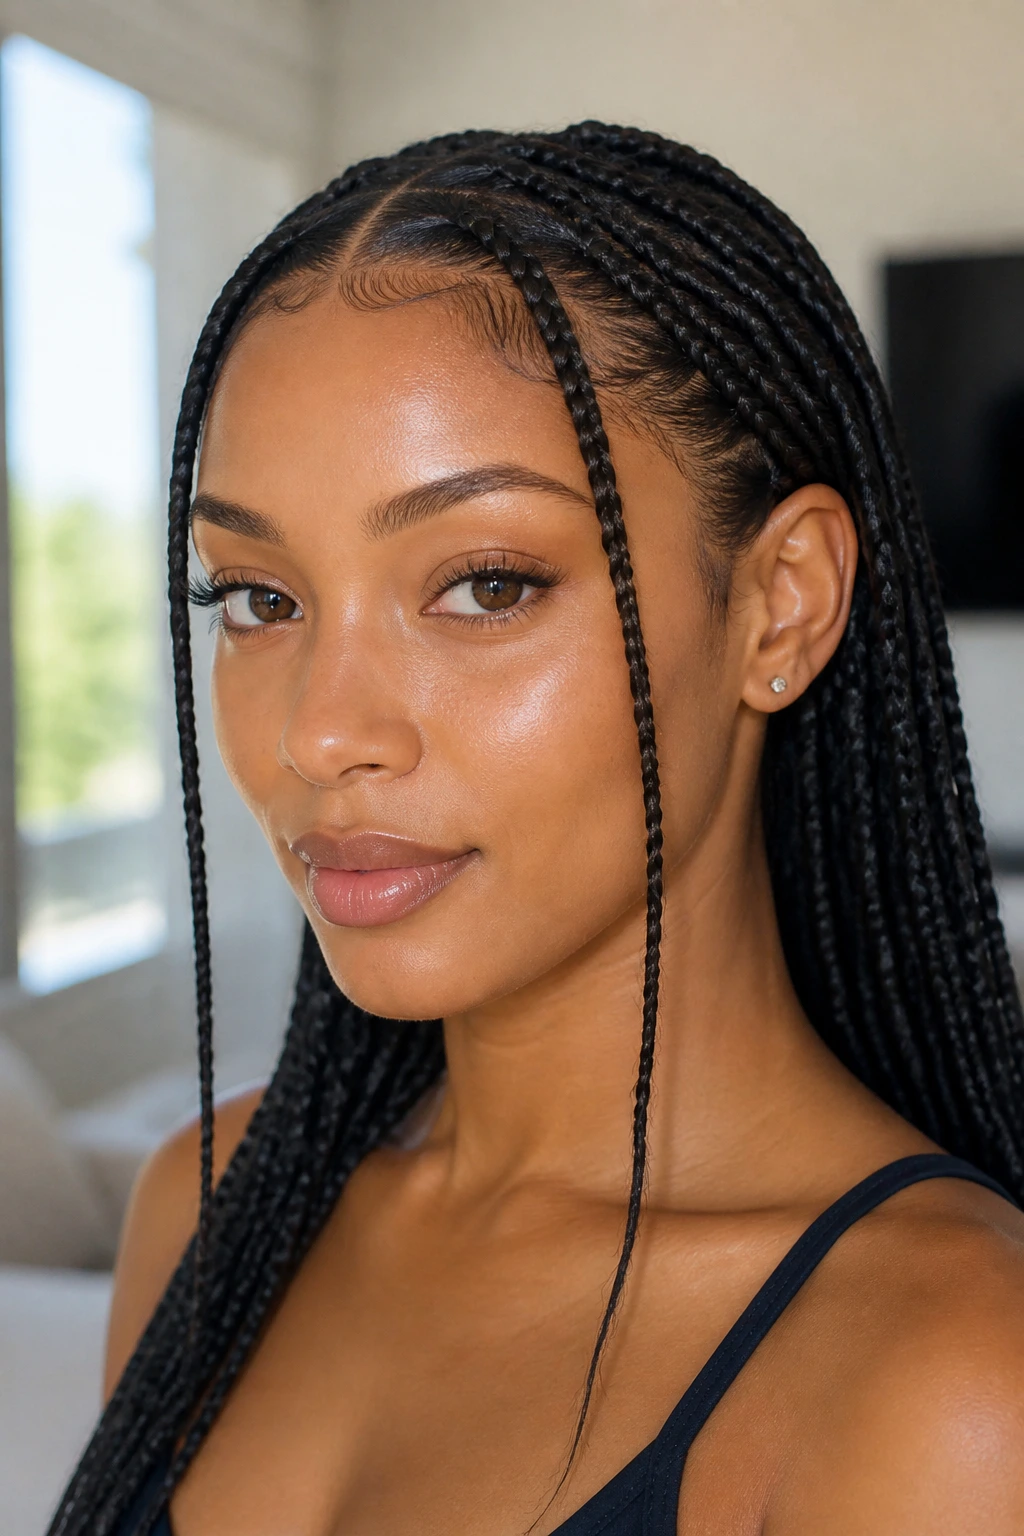
Leaving a few face-framing pieces out can change the whole mood of the install. The braids still do the heavy lifting, but the loose front pieces soften the forehead and bring the eye back toward the face.
This is useful if you like updos but hate the severe feeling that can come with a full pull-back. Two slim braids or a few shorter pieces near the cheekbones are enough. More than that and the style can start to look accidental.
How to style it
Keep the loose pieces clean and smooth, not frizzed out. Tuck one side behind the ear if you want the contrast to feel sharper.
20. Warm-Toned Box Braids
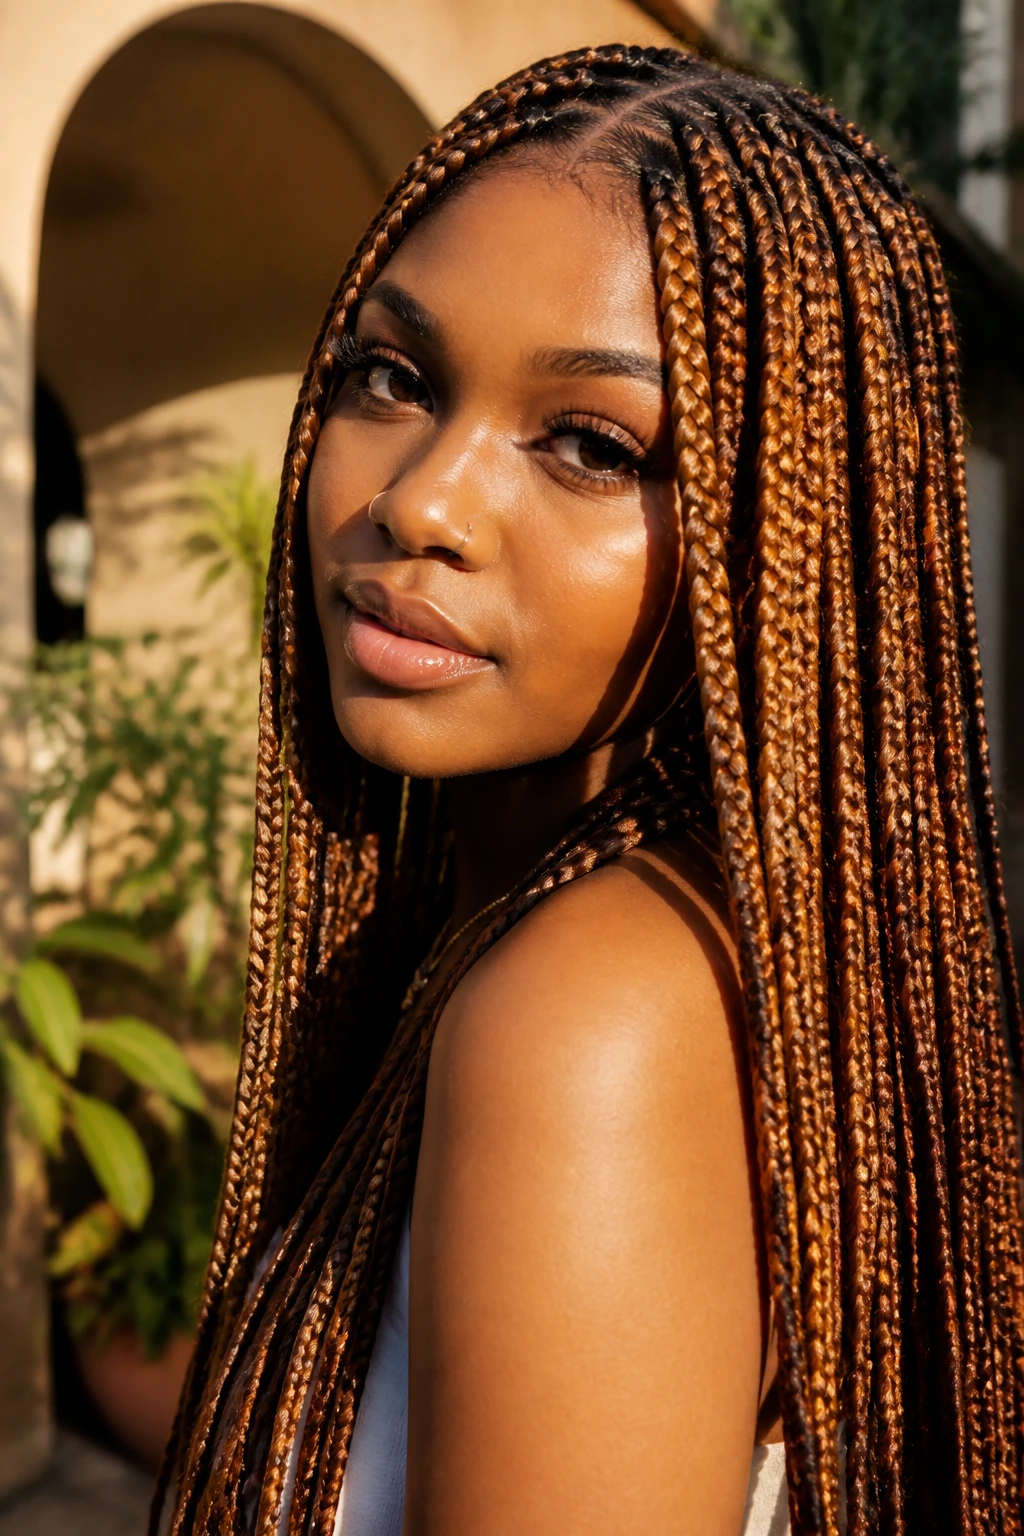
Color changes the whole story. Warm tones — honey, chestnut, copper, auburn, soft blonde blends — make the braids look sunlit even when the braid pattern itself is simple. The style gets depth from the color instead of needing extra tricks.
This works best when the length stays clean and the parting stays neat. Too many accessories with warm-toned braids can tip the look into clutter, and the color already gives you enough visual interest.
If you want the braids to look polished in photos and in person, a warm tone does a lot with very little fuss. It’s one of the easiest ways to make the install feel richer.
21. Scarf-Wrapped Box Braids
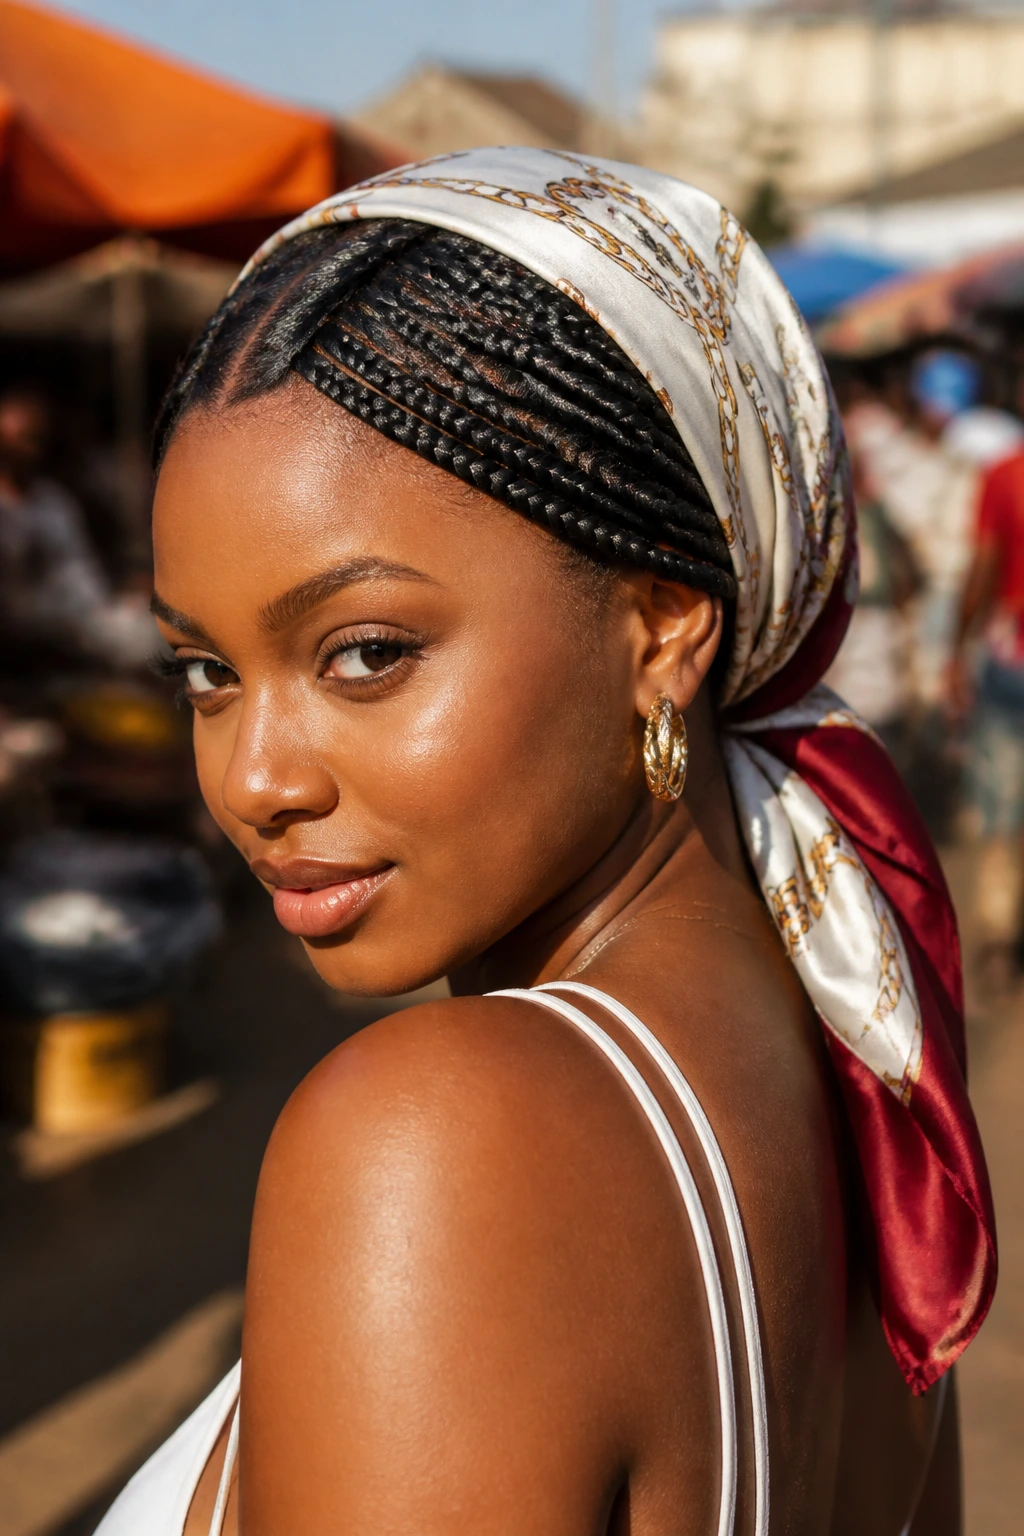
A scarf wrap is the fastest rescue move in the whole lineup. On fresh braids, it sharpens the hairline and adds polish. On older braids, it hides a little frizz and buys you another day without pretending the style is brand new.
Silk and satin are the cleanest options because they slide instead of catching. A patterned scarf can work if the rest of the outfit is quiet. If everything is loud at once, the whole look gets crowded.
This style is especially useful for travel, bad hair days, or those in-between moments when the braids need a nudge more than a full restyle.
22. Bubble Ponytail Box Braids
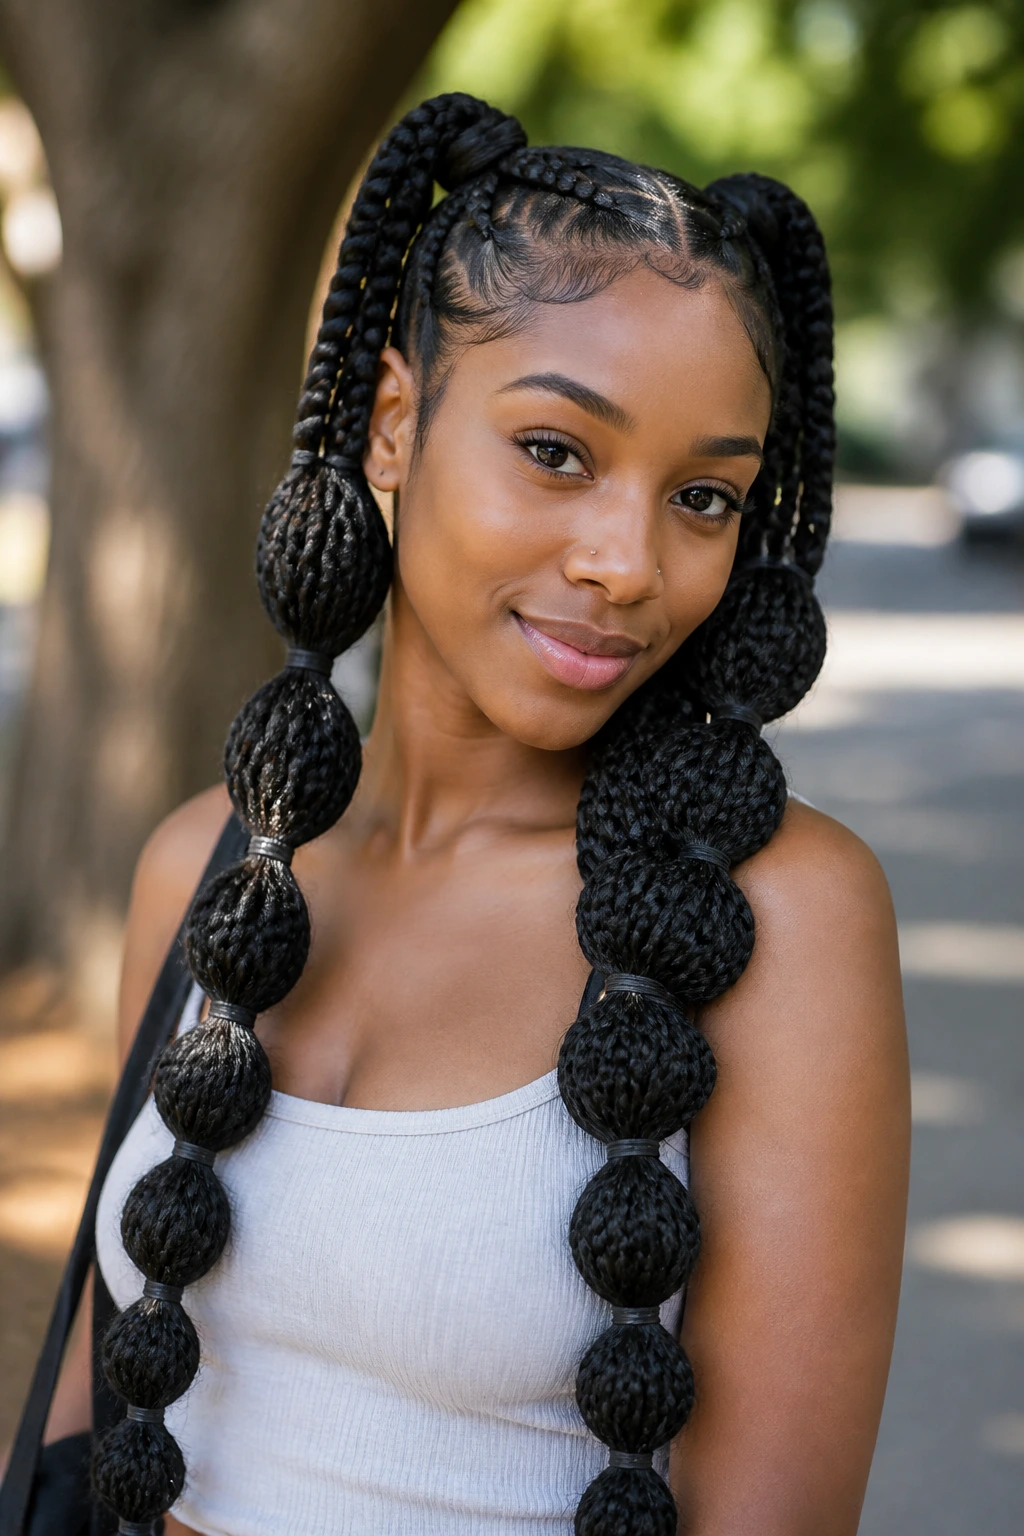
Bubble ponytails give long braids a shape story. Instead of one heavy tail hanging straight down, you cinch the length at intervals and create rounded sections that feel playful but still tidy.
The spacing matters. If the ties are too close, the bubbles look cramped. Too far apart, and the style loses the effect. Three to five evenly spaced sections usually land in a good place for medium-length braids.
I like this version when long braids start feeling like too much weight on the back of the head. The bubbles lighten the visual load without requiring a full updo.
23. Crisscross Part Box Braids
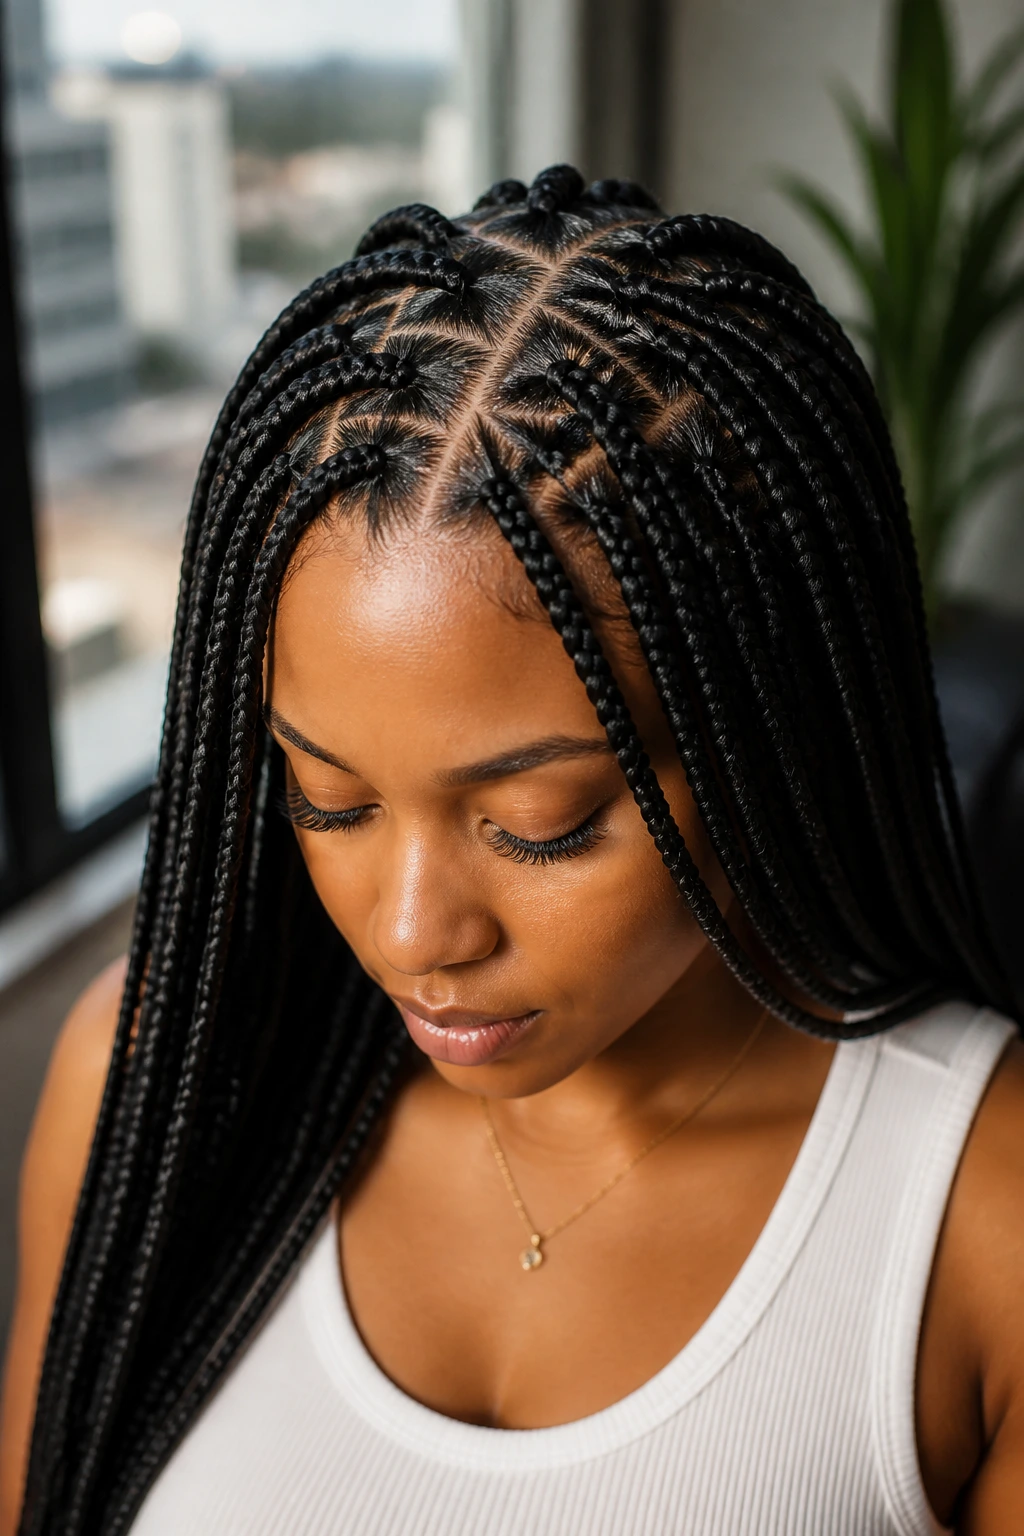
Crisscross parts are a small detail with a big visual payoff. The top section near the hairline gets crossed in a pattern before the rest of the braids fall away, and that one move makes the whole install look considered.
Compared with plain square parts, crisscrossing gives the crown more texture. It also makes the front of the style look more custom, which is useful if the rest of the braid pattern stays classic.
This is the kind of detail that people notice when they can’t quite say why the braids look better than usual. That’s the whole point.
24. Wrapped-Base Bun
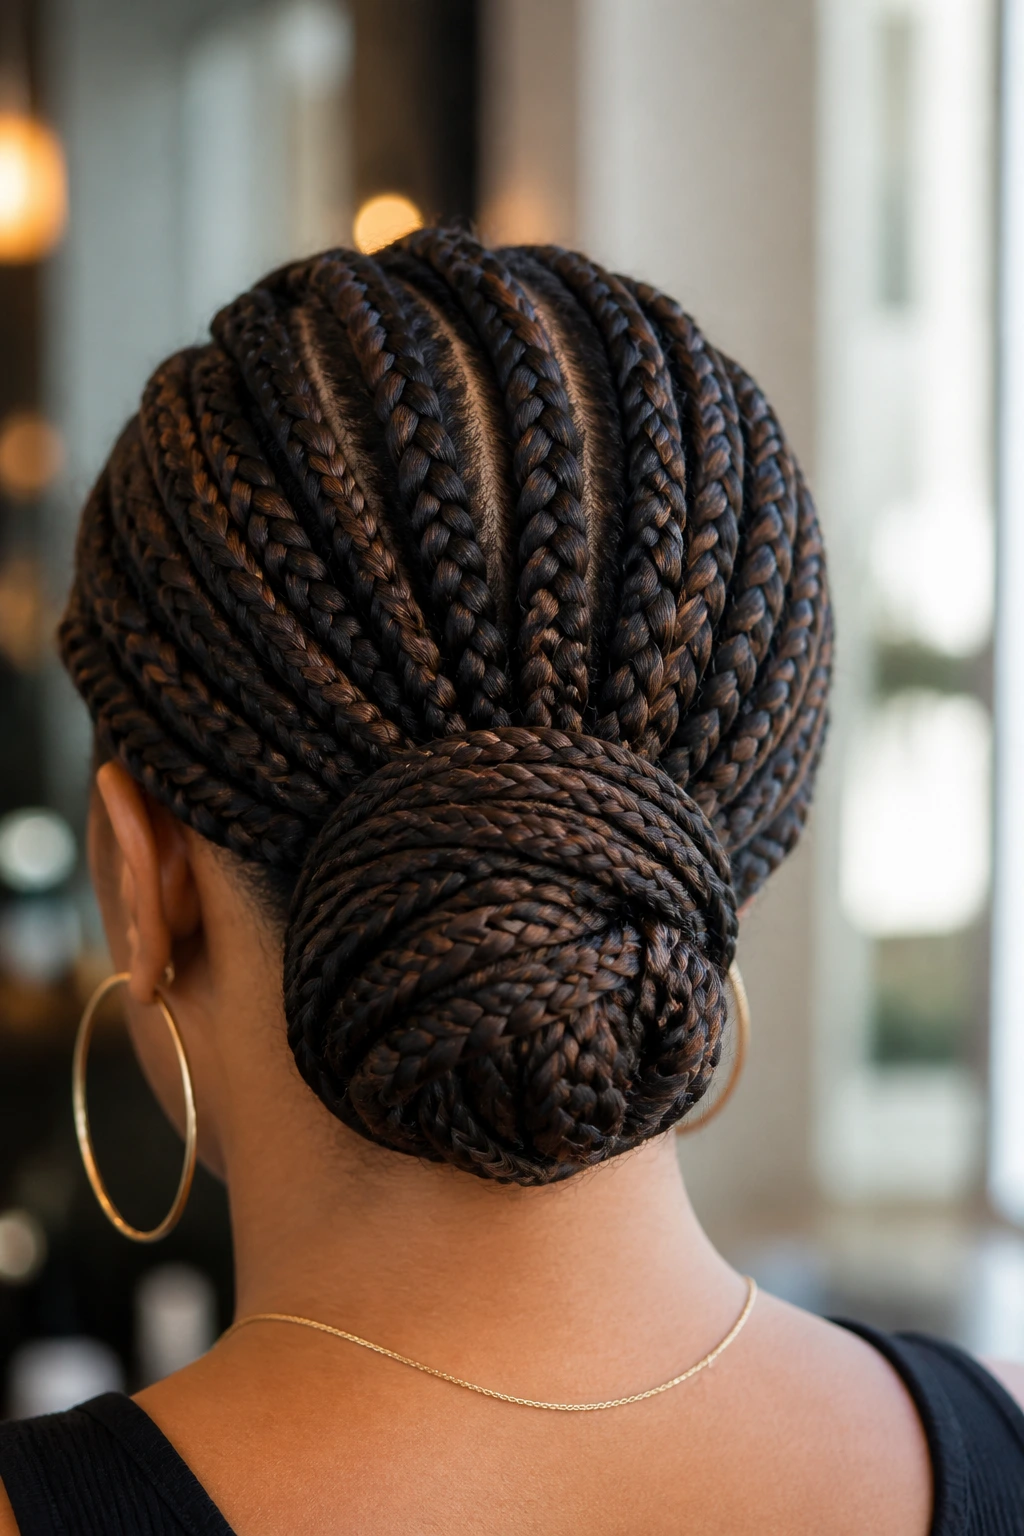
A wrapped-base bun is cleaner than a bare elastic and more finished than a casual twist. You gather the braids, coil them into a bun, then wrap a few lengths around the base so the tie disappears.
The result is neat from the front and back. The bun itself looks anchored, not improvised. That matters if you want the style to feel polished enough for a meeting or a night out.
A low bun usually reads calmer than a high one, but both work. Keep the wrap smooth, pin the loose ends down, and don’t overload the base with too much braid weight.
25. Knotless-Style Box Braids
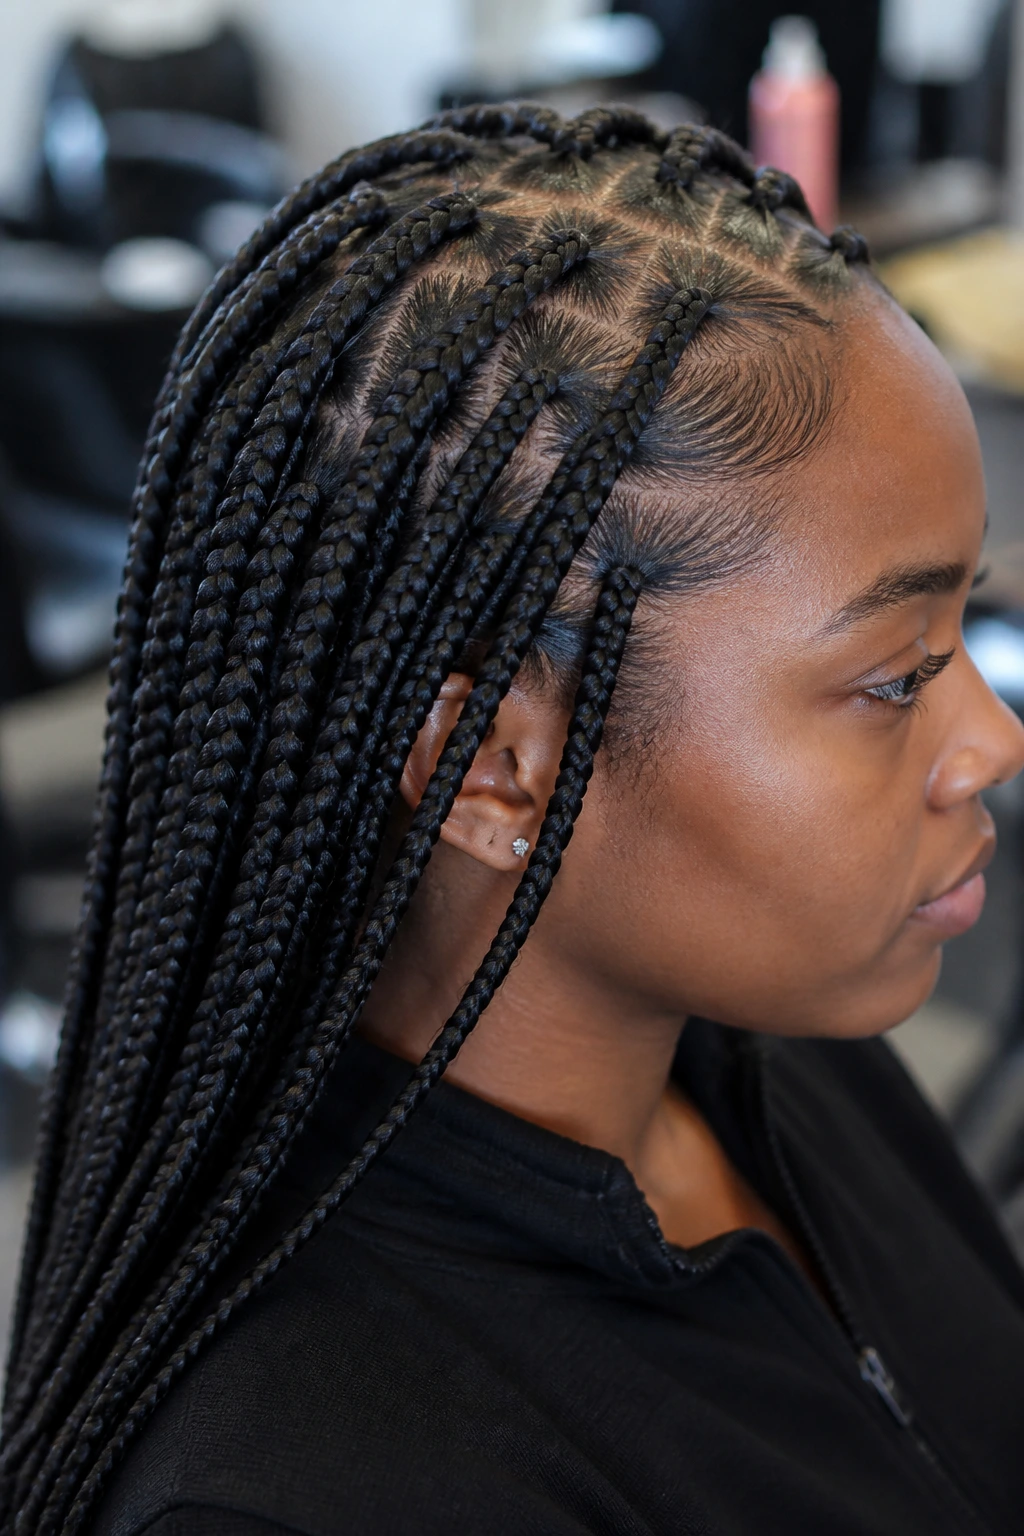
Knotless-style box braids are the version people reach for when they want the roots to feel smoother and less bulky. The braid starts more gradually at the scalp, which softens that first inch and makes the whole style sit flatter.
That gentler root is a big deal if your scalp is tender or if you hate the stiff look some installs can have on day one. The style still looks like box braids. It just looks less blocky at the crown.
Why it feels different
The parting is still clean, but the root transitions are softer, so the eye moves into the length more naturally. If you want a polished protective style that feels lighter around the perimeter, this is one of the smartest versions to ask for.
Why Clean Parting and Balanced Weight Make Box Braids Look Expensive
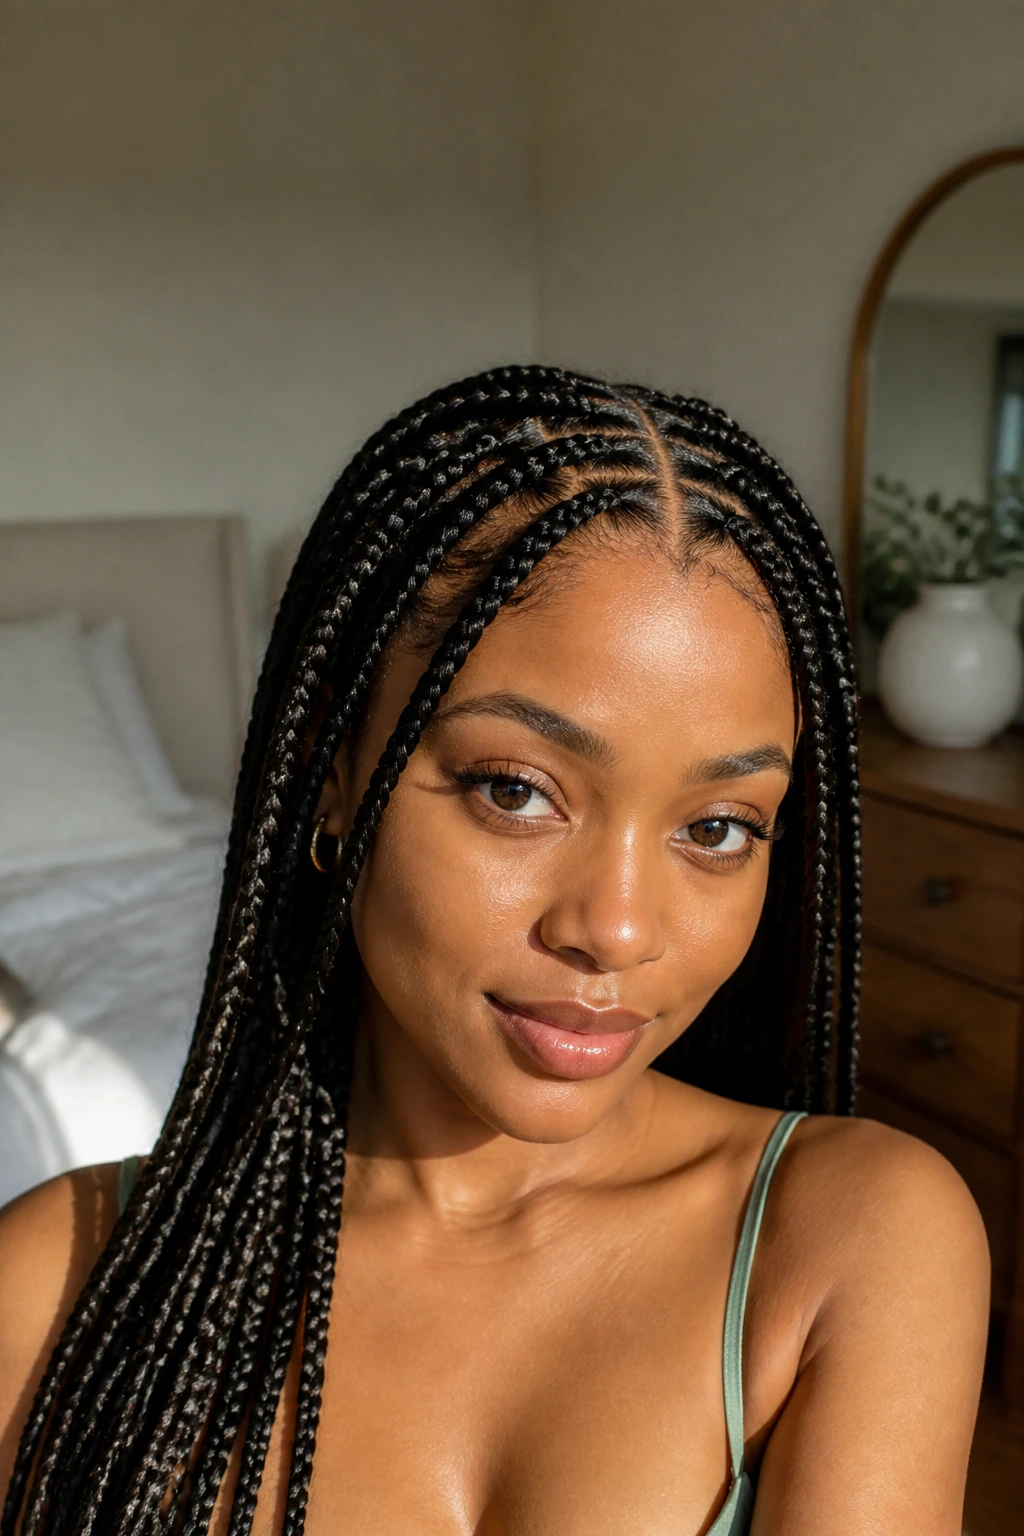
The polished look starts before a single braid is finished. It starts with the grid. If the parts are wobbly, the whole head looks busy. If the parts are clean and the braid size matches the length, the style settles into place and stops arguing with itself.
Weight is the other half of the equation. Long, dense braids can look gorgeous, but they need enough support at the root to keep from pulling on the edges. That’s where a lot of people go wrong: they ask for more hair than their scalp wants to carry, then spend the next week pretending the soreness is normal. It isn’t.
A style can be neat and still feel comfortable. That’s the goal. The American Academy of Dermatology’s guidance on traction is worth keeping in the front of your mind here: if a braid install hurts, the tension is wrong. No amount of shine spray fixes that.
The best-looking box braid hairstyles usually have one thing in common. They were planned around the head, not just dropped onto it.
Essential Tools, Hair, and Accessories
-
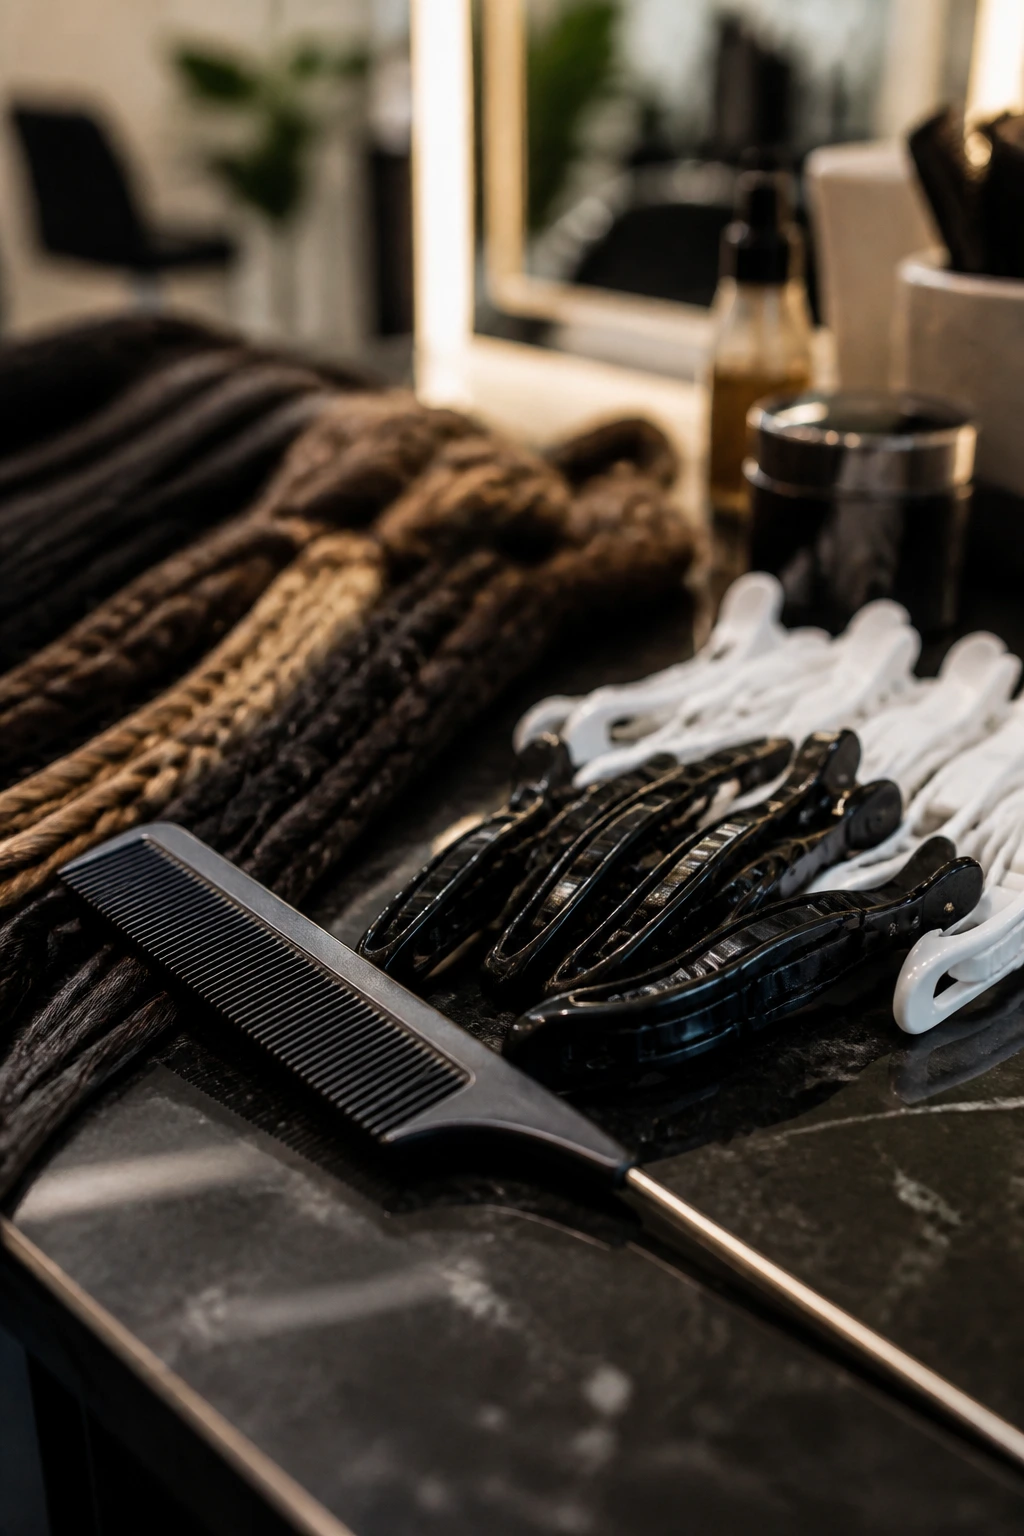
Rat-tail comb: The pointed end gives you the parting control you need for squares, triangles, and clean side parts.
-
Sectioning clips: These keep the rest of the hair out of the way while you work through each quadrant.
-
Pre-stretched braiding hair: It saves time, blends more neatly at the ends, and usually lays flatter than hair straight out of the pack.
-
Foaming mousse: A light foam helps tame flyaways after installation without leaving the roots stiff.
-
Satin scarf or bonnet: Use this every night if you care about smooth roots and less frizz at the crown.
-
Light scalp oil or serum: A little goes a long way. You want softness, not shine you can see from across the room.
-
Small elastics: Useful for ponytails, bubble styles, and a few updos. Keep them soft and avoid snagging.
-
U-pins and hairpins: These matter for buns and crowns, especially if the braids are long or dense.
-
Hand mirror: The nape always tells the truth. Check it.
-
Edge brush: Use it gently if you like to smooth the hairline, but skip the heavy-handed shellacked look.
Smart Hair Shopping and Part Size Choices
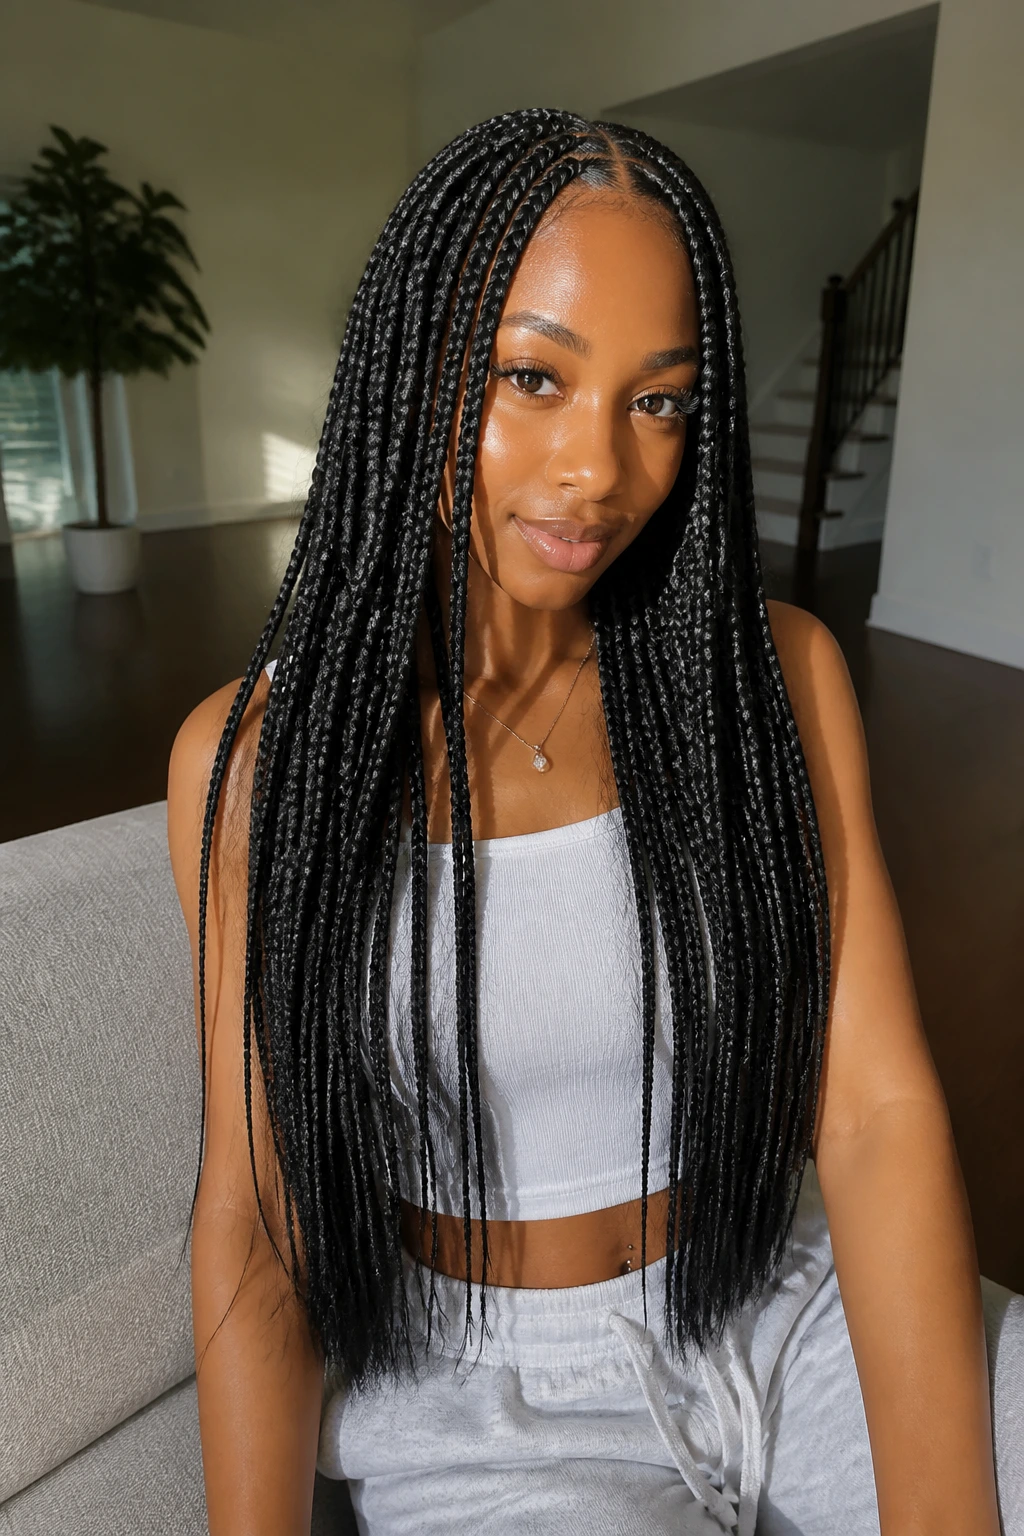
The hair you buy changes the entire feel of the style. Pre-stretched synthetic braiding hair is the safest bet for most installs because the ends already taper cleanly, which makes them easier to braid and less likely to look blunt and boxy at the bottom. If you want the braids to look polished, this matters more than most people think.
For medium braids, many installs land somewhere around 5 to 8 packs, depending on length, fullness, and how dense your own hair is. Bob lengths can need less. Waist-length sets usually need more. If you’re adding beads, color, or curls, bring extra hair so the style doesn’t end up thin where you wanted it to feel full.
Color choice is a bigger deal than people admit. A shade close to your natural roots looks tidy and quiet; a one-tone lighter or warmer blend creates dimension fast. If you want the style to feel polished rather than loud, choose color with intention, not because the pack looked pretty under store lighting.
Part size should match both the braid size and the weight you want on your head. Tiny parts with giant braids can look strained. Oversized parts with tiny braids can look sparse. The cleanest installs are the ones where the sections and the braid diameter make the same decision.
How to Wear These Styles With Outfits and Jewelry
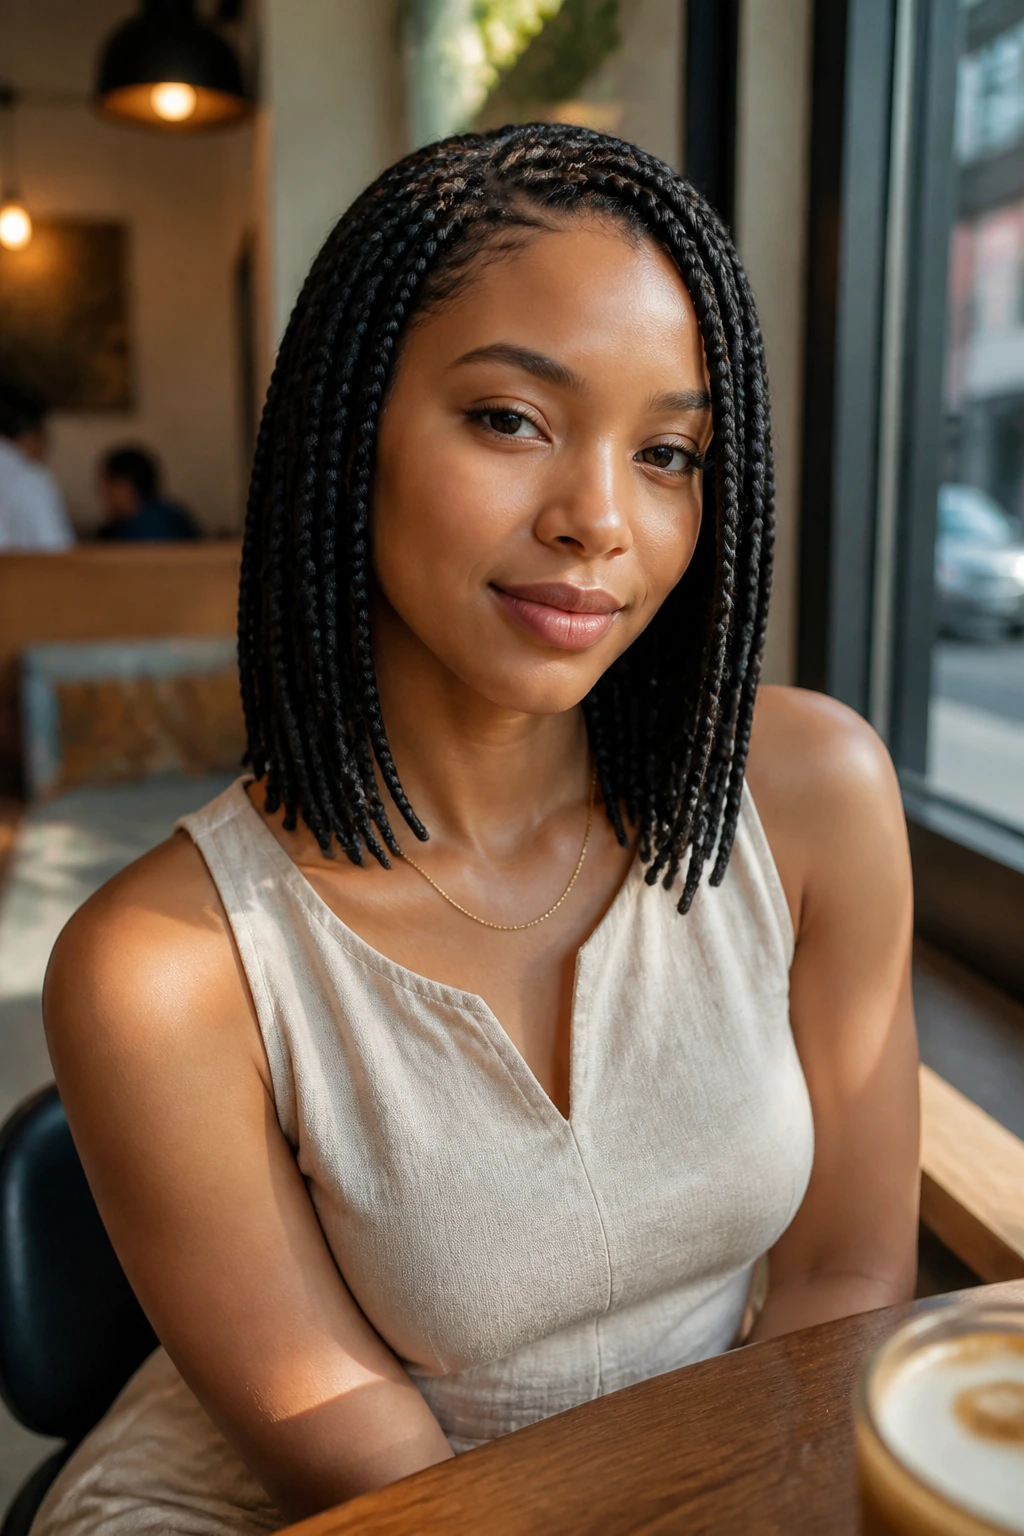
Presentation: Clean braids look sharp against simple necklines — crewnecks, square necks, and plain button-downs keep the style from competing with a busy outfit. If the braids are long, give them room to fall; if they’re short or layered, let the collar do some of the framing.
Accompaniments: Hoops, cuffs, and one good lip color usually do more than stacking on necklaces, bangles, and a loud print. If the braids already have beads or color, keep the rest of the outfit quieter so the style stays the focus.
Scale: Bob-length braids sit neatly with smaller earrings and close-fitting tops. Waist-length styles need more visual space, especially around the shoulders, or they can start to swallow the frame. That’s not a bad thing — it just needs balance.
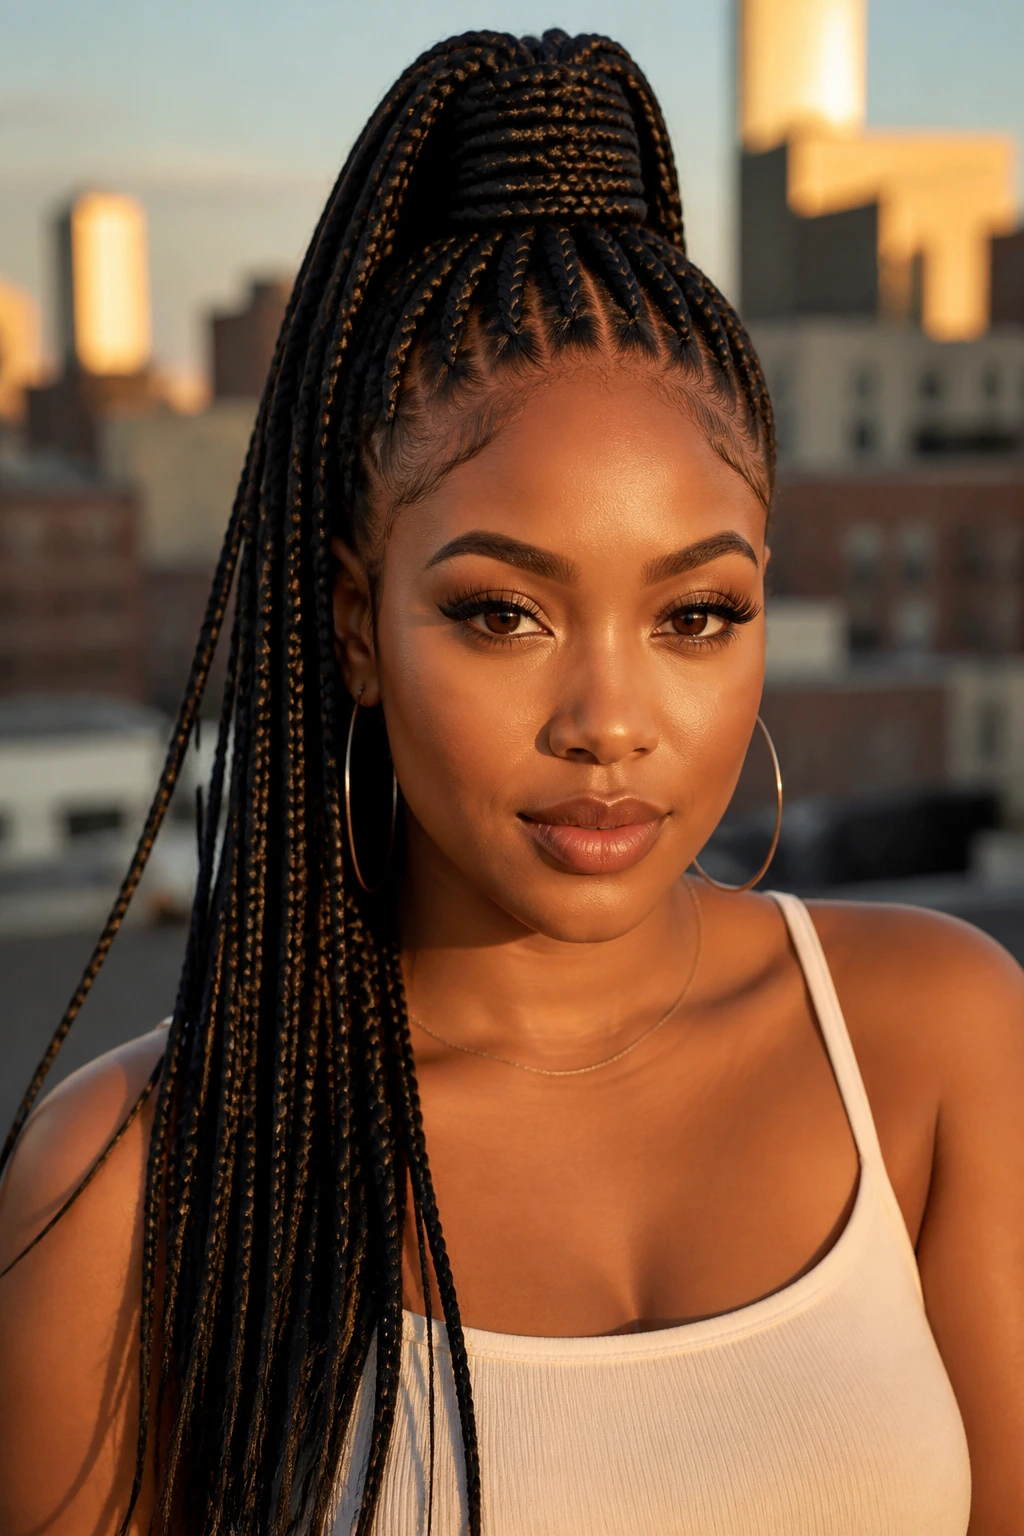
Best pairings: High ponytails and faux hawks look crisp with structured clothes. Crown updos and low buns feel sharper with tailored jackets, clean hoops, or a polished makeup look. A scarf-wrapped style can handle a plain tee and still look finished because the wrap itself becomes the accessory.
Additional Tips for a Sharper Finish
Parting Trick: Trace the whole head with the comb before you start braiding. If you keep stopping to rethink the lines, the parts drift and the whole top row ends up looking fuzzy.
Shine Without Grease: Use a light mousse or a few drops of oil on your hands, not a heavy butter at the scalp. Braids should look soft, not slick enough to catch fingerprints.
Accessory Rule: Stick to one metal finish or one bead color family in a single style. Gold, silver, and wood can all work, but mixing them randomly makes the look feel unfinished.
Face-Framing Balance: If the style feels too heavy, leave two slim braids loose around the face or tuck one side behind the ear. That tiny bit of open space matters more than another cuff ever will.
Night Care, Wash Days, and How Long to Keep Them In
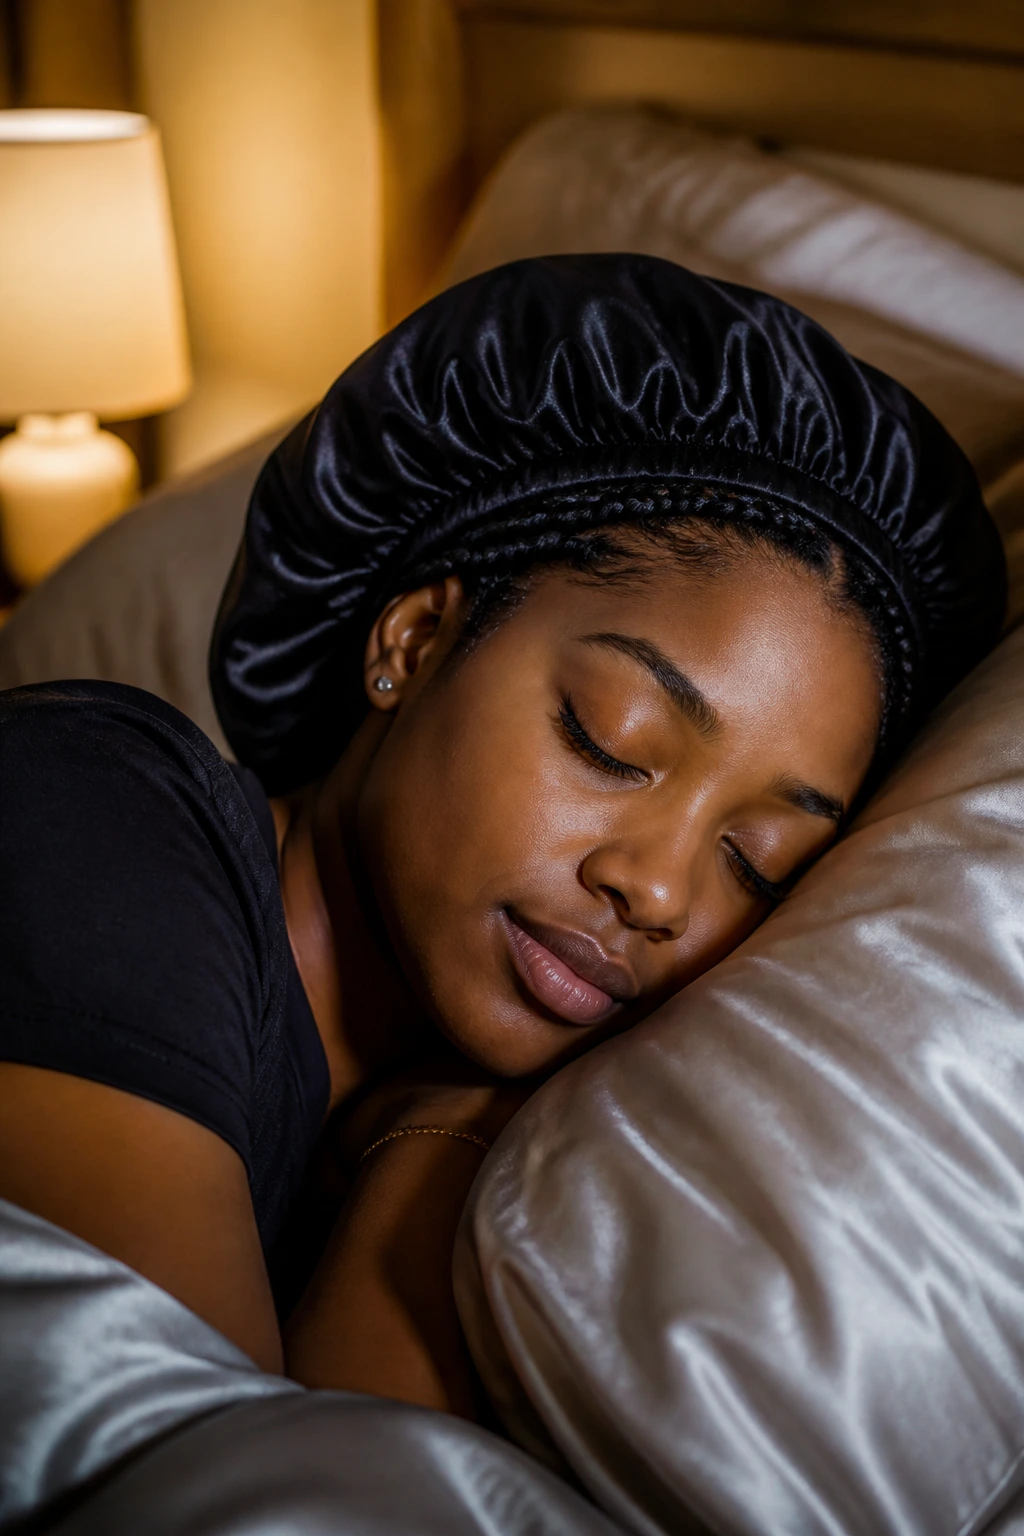
Wrap the braids every night. Every night. A satin scarf or bonnet keeps the roots from turning fuzzy and stops the ends from rubbing against cotton pillowcases. If the braids are long, braid or twist the length loosely before you cover it so the ends don’t tangle into one knot by morning.
Wash the scalp every 10 to 14 days if you can, using a diluted shampoo or an applicator bottle so the cleanser goes where it needs to go without soaking the whole install in suds. Rinse thoroughly. Then dry completely. A damp braid base is not a small thing; it’s where odor and buildup start.
Light oil can help if your scalp runs dry, but use it sparingly. Two or three drops on the fingertips is enough for most sections. If you see product sitting on the scalp, that’s too much.
As for wear time, don’t let the calendar bully you past what your scalp is telling you. If the roots are pulling, the parts have blurred into one another, or the install feels heavy at the temples, take them down sooner. Many people land around 6 to 8 weeks for a typical set, but pain and tension make their own rules.
Common Mistakes That Wear Braids Out Early
-
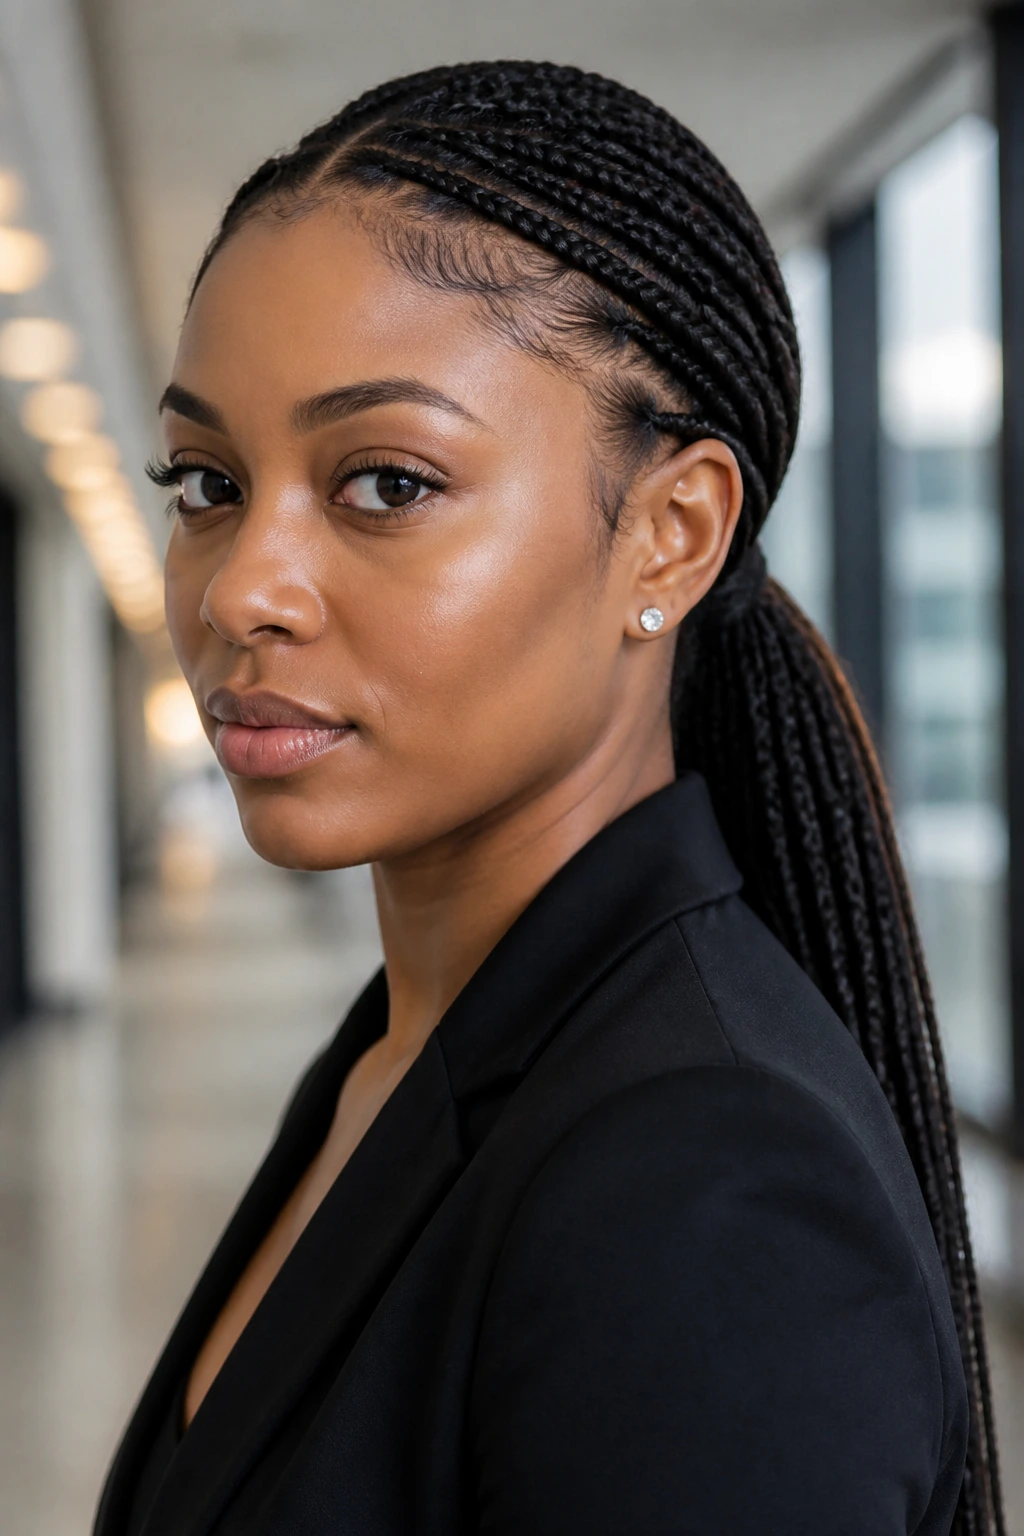
Pulling too tight at the hairline: The symptom is immediate soreness, tiny bumps, or a headache that shows up within hours. Ask for gentler tension and speak up before the whole front row is done.
-
Choosing a braid size that doesn’t match your hair density: Very thick braids on fine hair can feel heavy and start slipping; tiny braids on dense hair can look sparse and take forever to install. Match the braid to the head, not the photo.
-
Using too much product at the roots: Heavy gels and thick creams leave buildup, create flakes, and make the scalp look dull. Use a small amount of mousse or oil instead.
-
Skipping nighttime wrapping: The roots puff out, the ends rough up, and by day three the install looks older than it is. Satin or silk fixes a lot.
-
Leaving braids in too long: Frizz at the root, tangling at the ends, and tender spots at the scalp are the warning signs. If you’re brushing past those signs because you want a few more weeks, you’re borrowing trouble.
-
Over-accessorizing one style: Too many beads, cuffs, and wraps can make even a clean install look crowded. Pick a single accent and let it do the work.
Variations and Adaptations to Try
Boardroom Clean: Keep the braids medium-sized, the parts straight, and the accessories minimal. This version works when you want the style to look sharp under a blazer or a plain dress shirt.
Soft Weekend Ends: Add curls to the ends or leave a few face-framing pieces out. It gives the style more movement and takes some of the edge off a straight, severe outline.
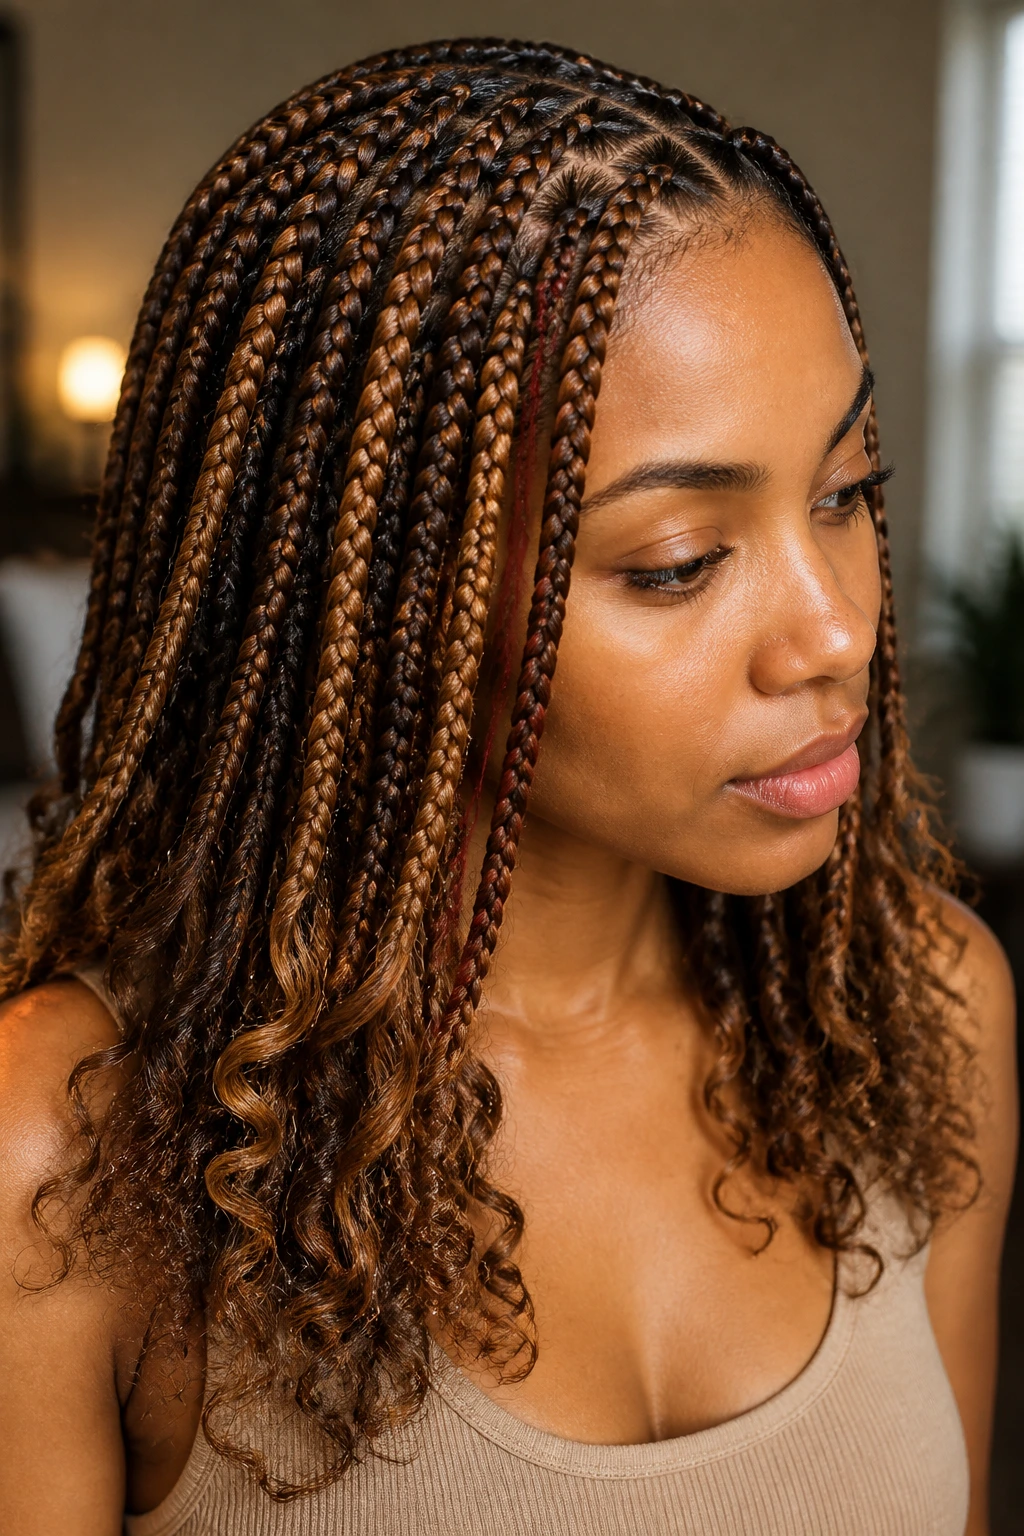
Color-Story Braids: Mix two tones that sit close together — chestnut and honey, black and auburn, brown and copper. The shift in color adds depth without needing extra styling.
Low-Tension Everyday Set: Choose knotless-style roots, medium length, and a size that doesn’t tug at the temples. This is the version I’d pick for anyone who wears braids for comfort first.
Event-Ready Accessory Edit: Add cuffs only to the front pieces, or use a single scarf wrap at the crown. That’s enough to make the style feel dressed up without turning it into a costume.
Gym-Friendly Tie-Back: Go with a high ponytail or a wrapped low bun and keep the base compact. Less loose hair means less sweat friction and fewer flyaways after a workout.
Frequently Asked Questions
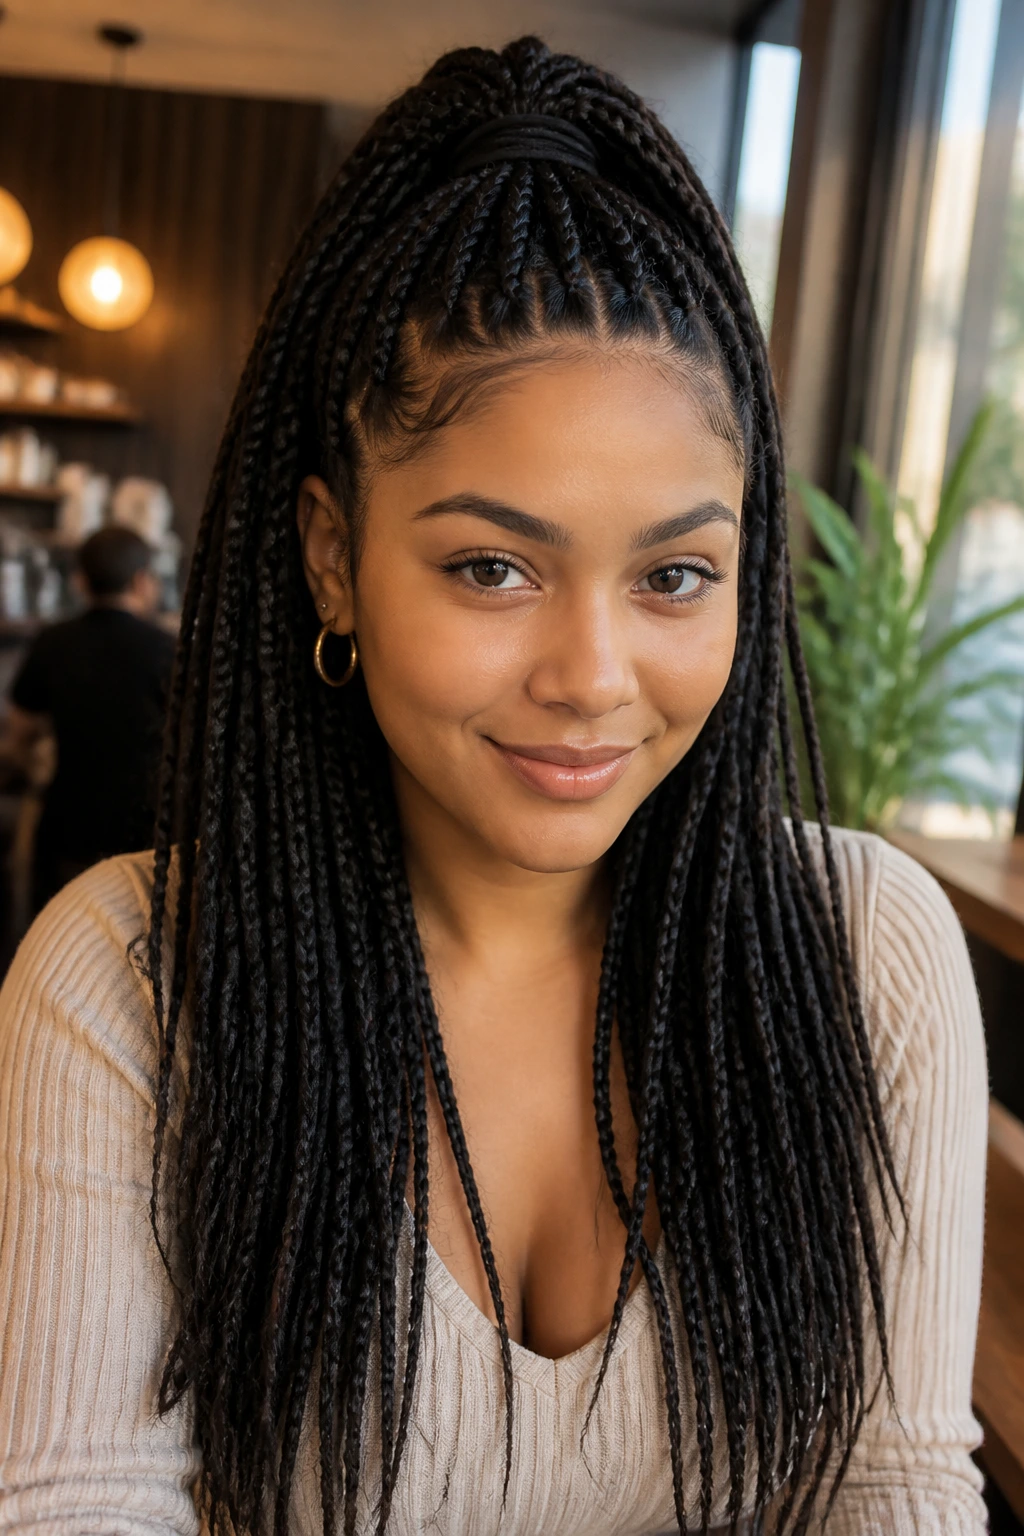
How long do box braids usually last?
A well-done set often stays neat for 6 to 8 weeks, sometimes a little longer if the roots are maintained and the tension is gentle. If the scalp starts hurting or the parts blur fast, that’s a sign to take them down sooner.
Can I wash box braids without ruining the style?
Yes. Use diluted shampoo on the scalp, not heavy scrubbing through the full length, and dry the braids completely afterward. The style may frizz a little near the roots, but that’s normal and manageable.
How much braiding hair do I need?
That depends on length and braid size, but medium installs often use around 5 to 8 packs, while bob lengths usually use less. If you’re adding curls, beads, or extra fullness, bring an extra pack so you don’t come up short halfway through.
Are knotless-style box braids better for sensitive scalps?
Usually, yes. The smoother root transition tends to feel gentler and look less bulky at the hairline, though the install can take longer. If your scalp is tender, that softer start is worth asking for.
What if my parts aren’t perfectly straight?
A few soft bends won’t ruin the style, especially once the braids are finished and moving. What matters most is consistent spacing and a clean front row; tiny imperfections disappear faster than you think.
Can I exercise with box braids?
Absolutely, but secure them in a low ponytail, high bun, or wrapped style so sweat and friction don’t rough up the roots. A satin wrap afterward helps more than people expect.
Do beads or cuffs make the braids too heavy?
They can if you go overboard. A few accents near the ends are fine; loading every braid with hardware drags the style down and can stress the roots.
What’s the fastest way to refresh frizz?
Mousse on the roots, a soft brush on the hairline, and a satin wrap for 20 to 30 minutes usually does the trick. If the frizz is coming from old growth and not just surface roughness, no product will replace a proper touch-up or take-down.
The Parting Line Matters Most
Box braids look polished when the details stay disciplined. Clean parts. Honest tension. A length that matches the head instead of fighting it. Those three choices do more for the final result than any accessory ever will.
The fun part is how much room you still have after that. You can go sleek, playful, formal, soft, sharp, or quietly expensive-looking without changing the braid type at all. Pick the silhouette that fits your day, then let the braids do what they do best: stay put, hold shape, and make getting dressed feel a little easier.
