



Curtain bang styles for thin hair work best when the cut behaves like a frame, not a wall. The first gives your face shape and keeps the front moving; the second can leave the hairline looking stripped bare by lunch. If your hair is fine, you already know the difference between “soft and airy” and “see-through in bad lighting.” One overzealous pass with texturizing shears can make those two look a lot more alike than they should.
The real move is not to chase more fringe. It’s to keep enough weight at the sides, leave the center a touch longer than your instinct wants, and style the front so it bends instead of collapsing. I’ve seen more bad bang jobs come from over-thinning than from leaving a little extra length. That little extra length is your insurance policy.
So the styles below focus on shape first and fullness second. Some lean polished, some are deliberately wispy, and a few are for the days when you want the bangs to blend into the rest of the haircut and stop demanding attention. Same category. Very different effect.
Why These Cuts Work Better Than a Heavy Fringe

- They split the visual weight: A center part breaks one flat strip into two tapered pieces, so the eye reads movement instead of a narrow line of hair.
- They keep length where fine hair needs it: Side pieces that hit the cheekbone or jaw look fuller than a bang that stops at the brow and runs out of body.
- They tolerate a little grow-out: A curtain fringe still looks deliberate when it softens, which matters when you do not want a trim every three weeks.
- They play well with root lift: A small bend at the front makes the whole haircut look more alive, even when the rest of your hair is flat.
- They can be tuned to your part: If your cowlick pulls one way, the split can be nudged instead of fought, which saves a lot of daily wrestling.
1. Soft Eye-Skimming Curtain Bangs
A soft eye-skimming curtain fringe sits right at the brows, then opens out toward the temples. It’s the least dramatic option in the bunch, which is why it works so well on thinner hair. You get a line at the front without the heavy blocky look that can make fine strands seem scarce.
I like this version when the hairline already feels a little sparse. Keep the center long enough to brush the tops of the brows, then let the side pieces fall to the upper cheek. That extra length reads as density even when the strands themselves are delicate.
2. Cheekbone Sweep Curtain Bangs
Cheekbone-sweep curtains are the ones that make your face look sculpted before you’ve even touched blush. The shorter center section opens the forehead, while the longer edges land exactly where the face starts to narrow. That long diagonal line gives thin hair more presence than a straight-across fringe ever will.
This style loves a round brush or a quick bend from a flat iron. If your hair tends to go limp by noon, aim the blow-dryer upward at the root for the first few seconds, then curve the ends away from the face. That little bit of lift is the whole game.
3. Bottleneck Fringe for Fine Hair
Bottleneck bangs are narrower in the middle and longer on the sides, which is a clever shape for low-density hair. The center stays airy, but the outer pieces create a thicker-looking frame around the cheeks. It’s a nice compromise if you want curtain bangs without a lot of forehead coverage.
The cut needs restraint. Too much thinning in the center and the style turns stringy fast. Ask for a soft point cut, not a shredded finish, so the ends still have enough weight to hold shape after washing.
4. Wispy French Curtain Bangs

Wispy French curtain bangs are softer and more relaxed, with little separated pieces instead of one unified sweep. On fine hair, that separation can be useful because it keeps the fringe from looking like it was chopped from one narrow section and pasted onto the forehead. It feels airy, but not empty.
This one is best when you like a bit of movement and do not mind touching up the front with your fingers. A pea-size dab of mousse at the roots gives the fringe some grip; too much cream makes it sag. The whole style lives or dies on restraint.
5. Side-Swept Curtain Bangs
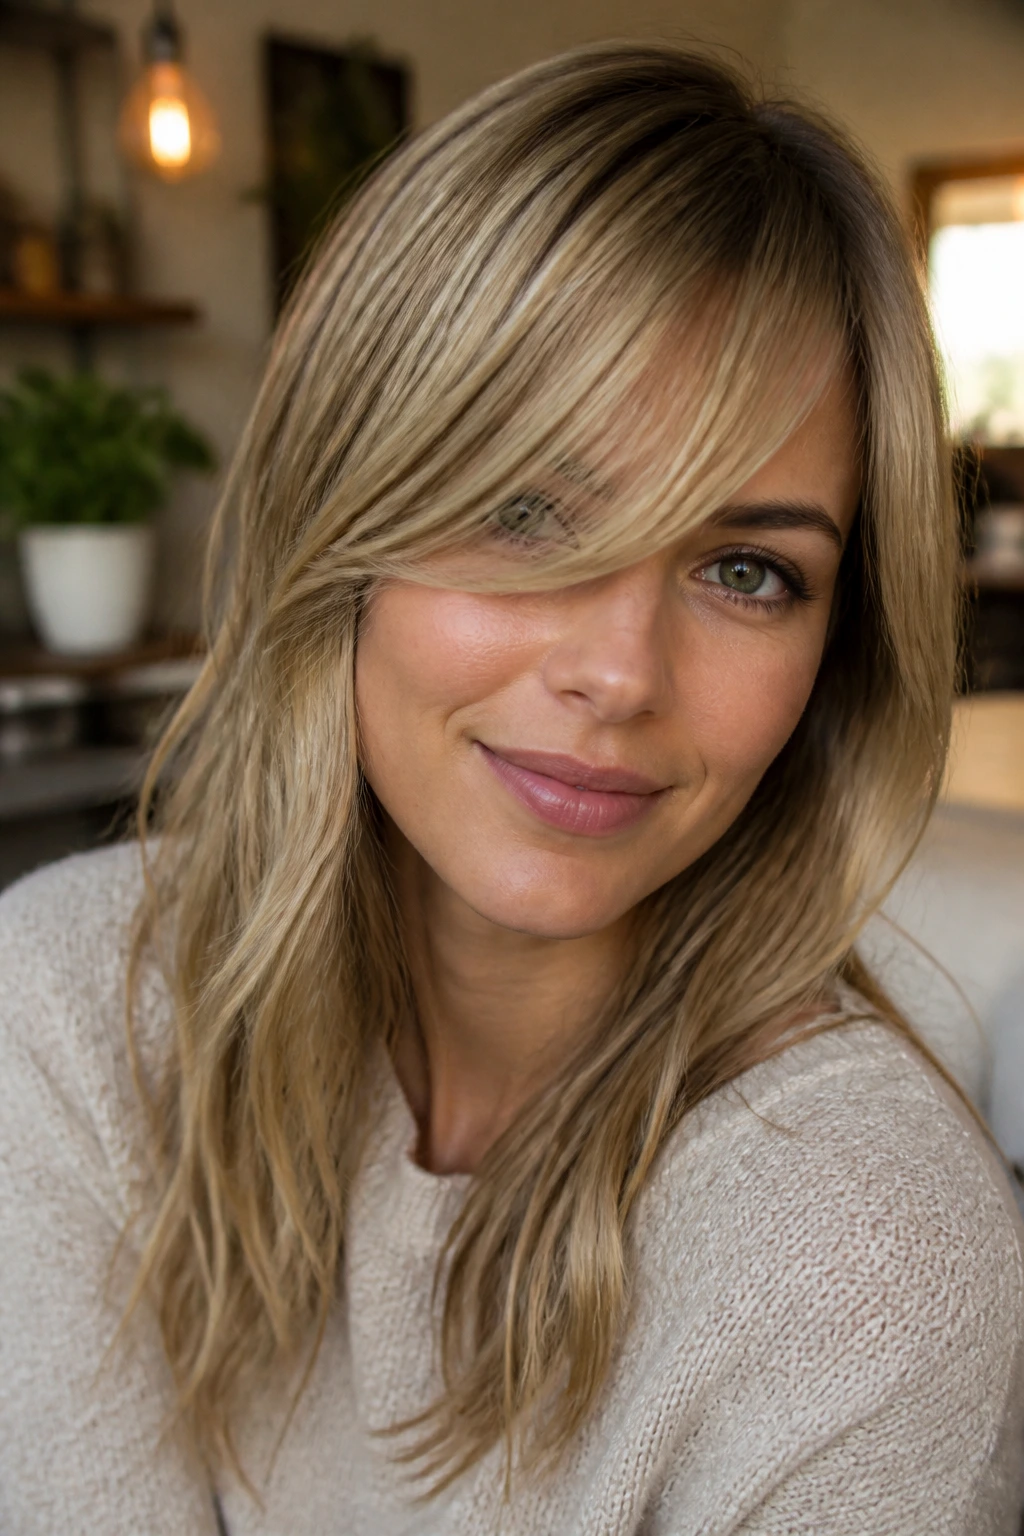
A side-swept curtain fringe is a smart move if one side of your hair naturally falls flatter than the other. Instead of forcing a strict center split, the part drifts slightly off-center and the bangs angle across the forehead before curving out. That diagonal line is flattering on thin hair because it disguises empty space.
It also helps if you have a stubborn cowlick. Rather than battling the growth pattern every morning, let the fringe follow the direction it already wants to take, then shape the far side with a brush. Less fight, better finish.
6. Piecey Choppy Curtains
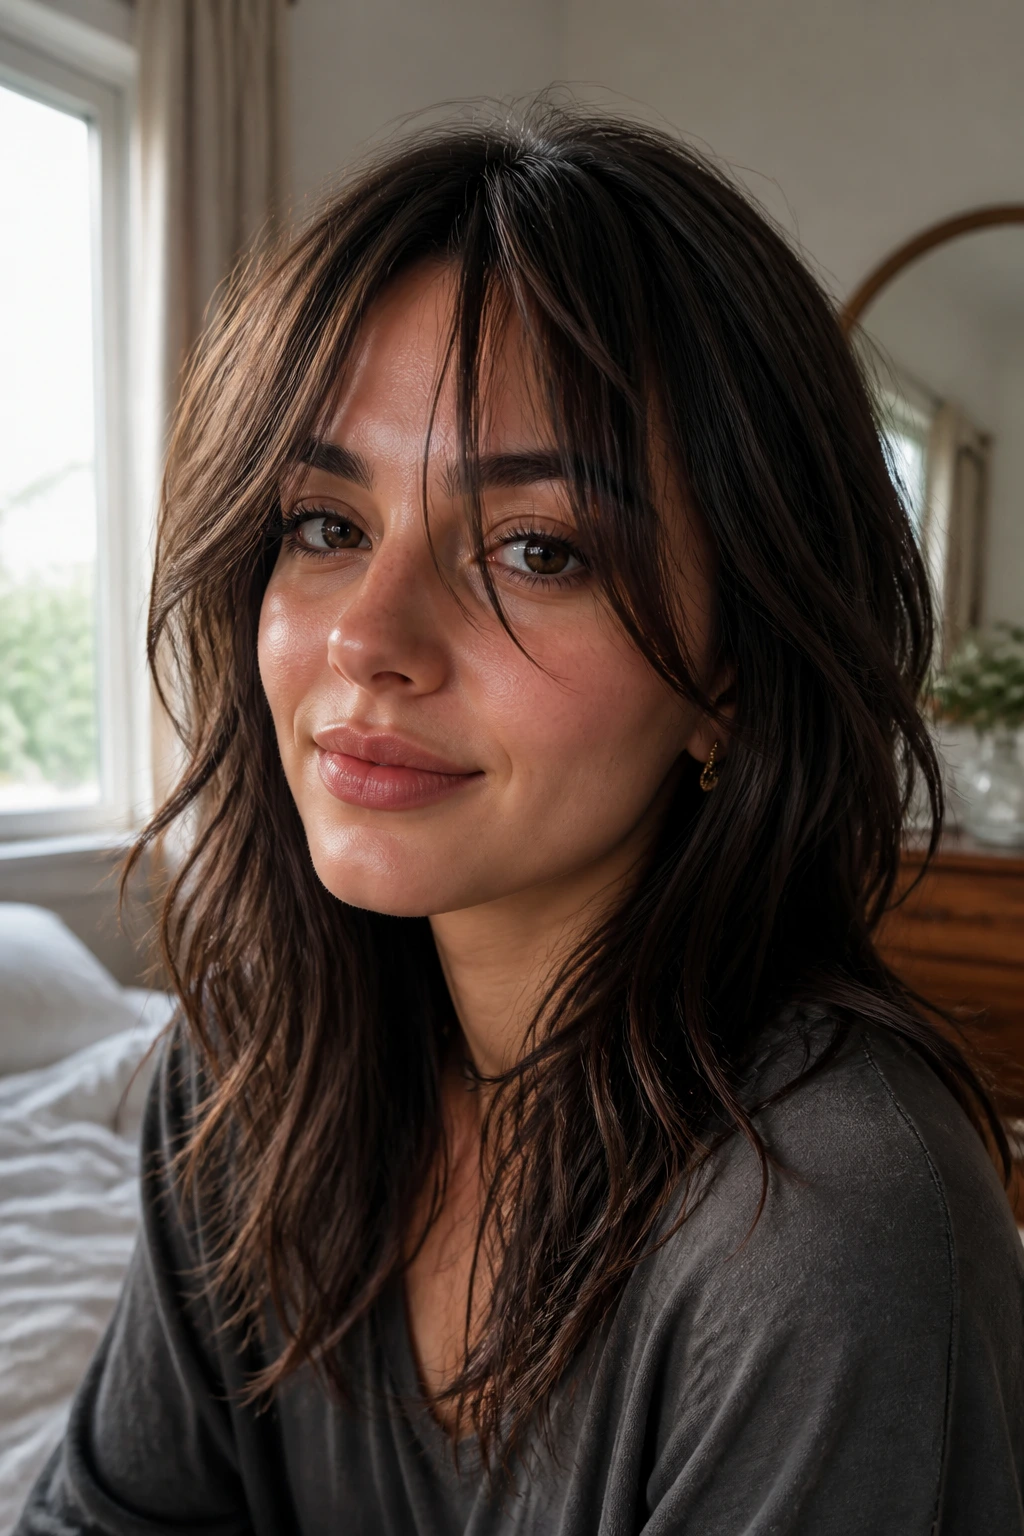
Piecey choppy curtains rely on separation, not bulk. The ends are left in small, distinct sections, which can be a gift when the hair is fine and tends to cling together. The look has a little grit to it, and that grit makes the front appear fuller than it is.
The trick is not to overdo the texture. If the pieces get too thin, the fringe starts to look threadbare instead of lived-in. I’d rather see a few solid chunks than a hundred wispy strings that disappear when you blink.
7. Long Blend-In Face-Framing Curtains
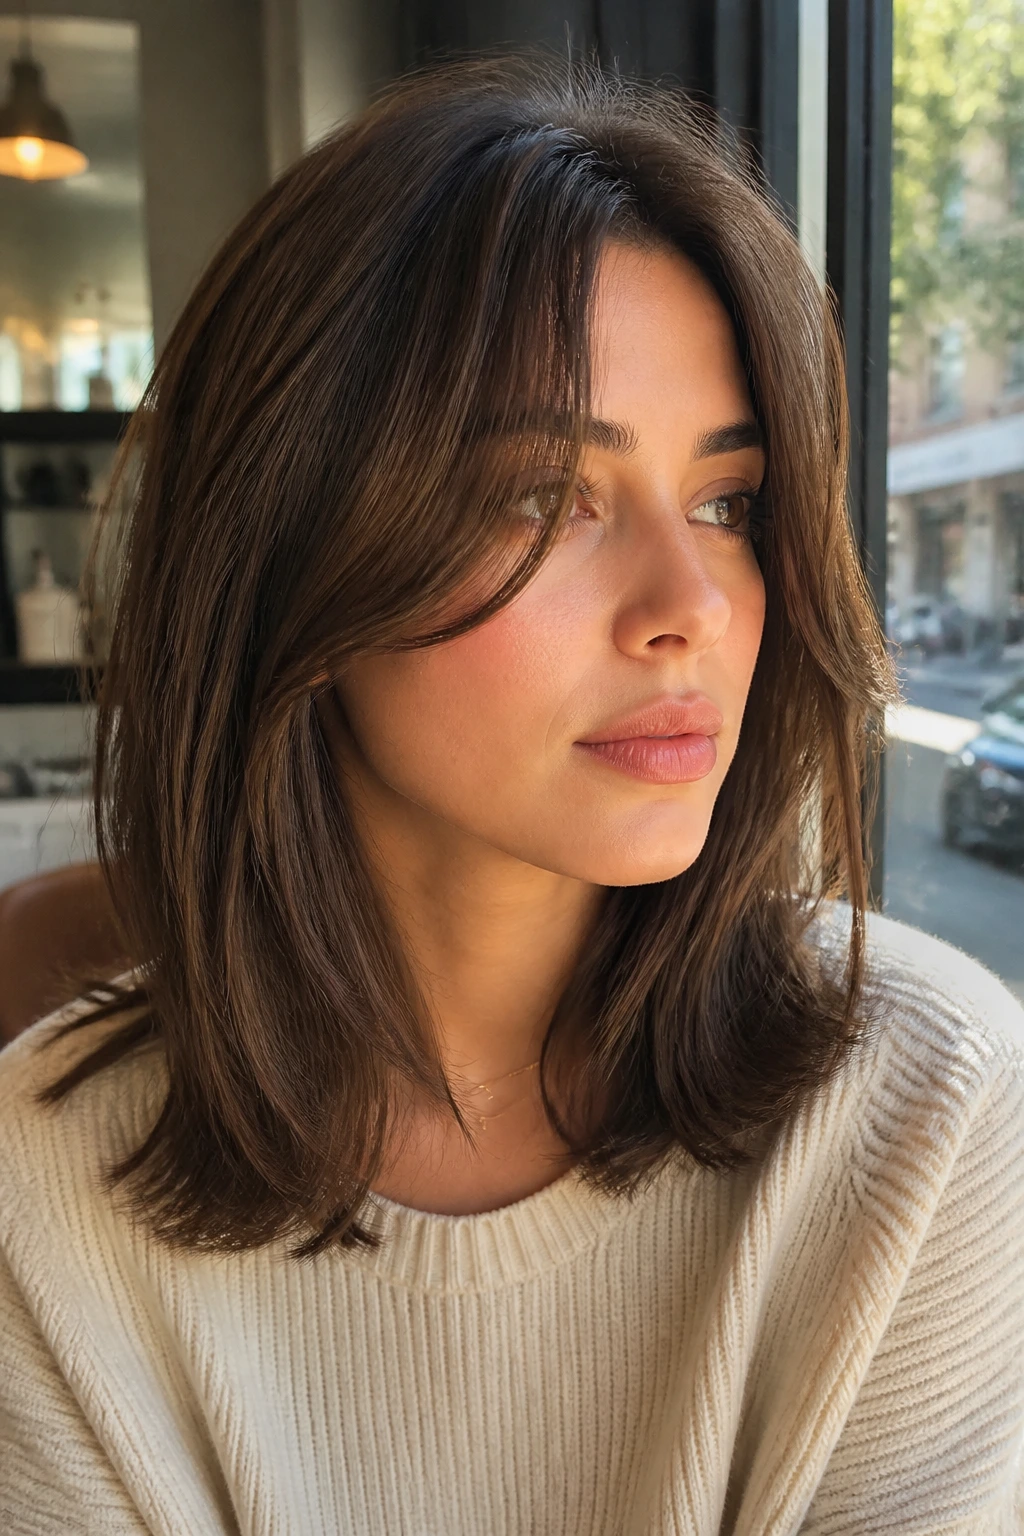
This is the version for people who want bangs without looking like they have bangs. The front pieces blend into face-framing layers, so the shape reads as part fringe, part haircut. On thin hair, that blending helps because the eye follows one continuous outline instead of a small isolated section.
It’s especially good if your hair is shoulder length or longer. You keep enough weight at the front to matter, but the haircut doesn’t lose density by carving out a separate bang section. The whole thing feels calmer. Less fuss, more shape.
8. Feathered Blowout Curtain Bangs
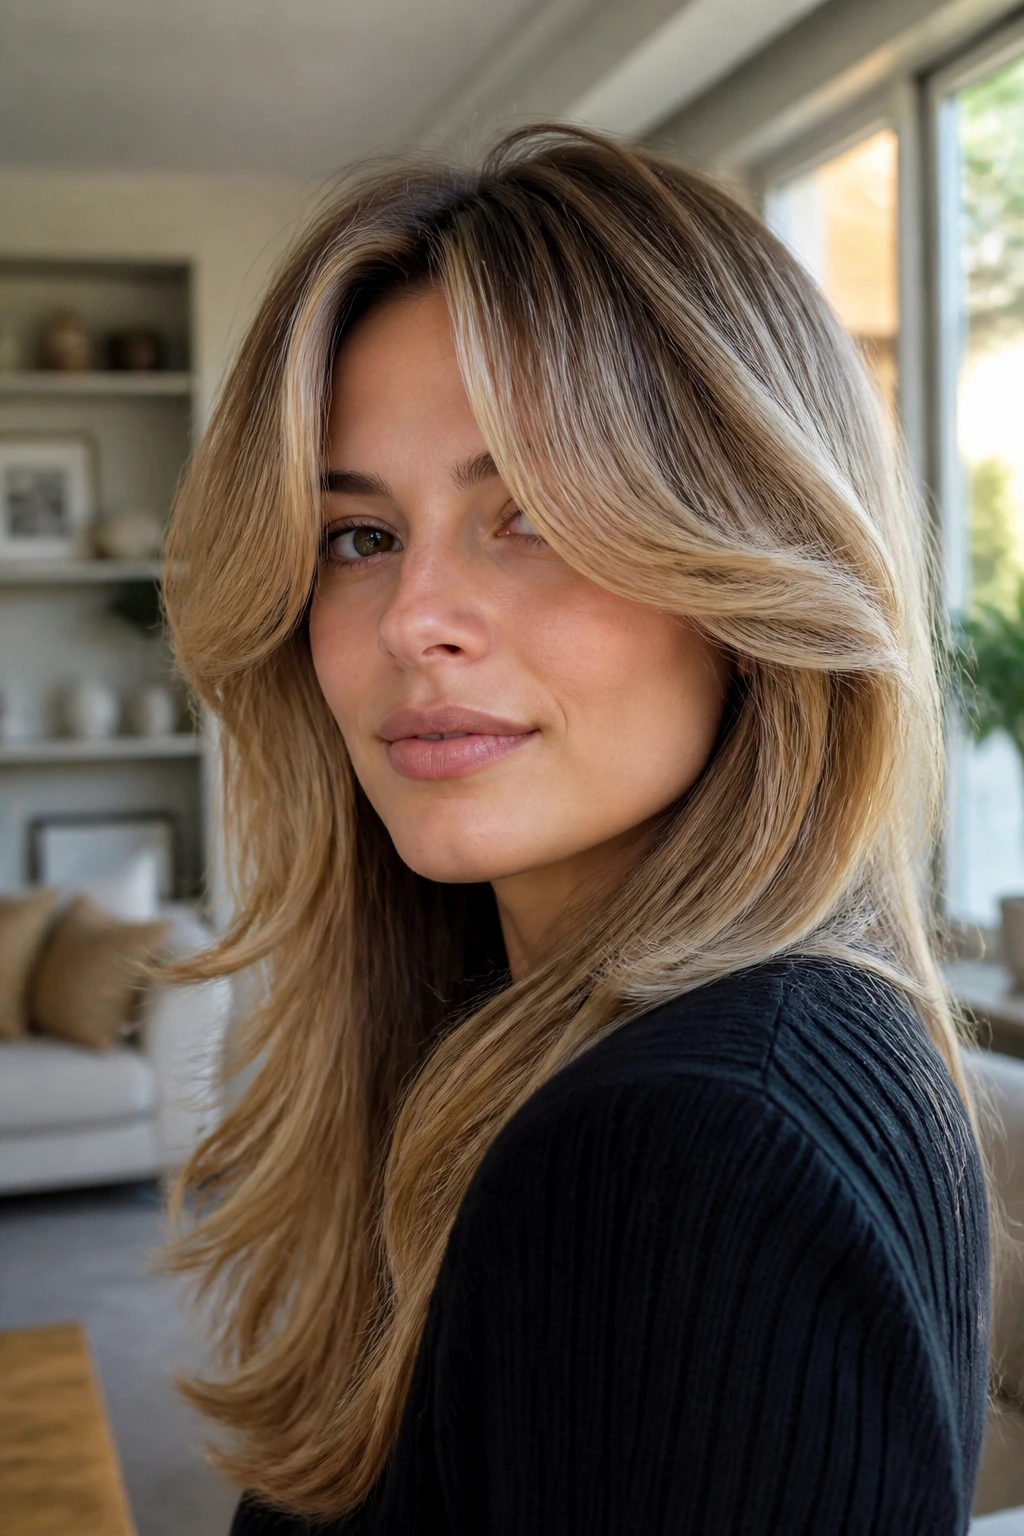
Feathered blowout curtains are built for volume. The center still parts softly, but the ends are shaped with a round brush so they flip away from the face and hold a soft bend. If you like that brushed-out, slightly polished look, this is the version that makes fine hair look as if it has more life at the front.
You do need a little styling time. Roll the bangs away from the face, hit the roots with heat for a few seconds, and let them cool before you touch them. Skip the cooling step and the bend falls out fast.
9. Micro Curtain Bangs with Room to Move

Micro curtain bangs sit higher on the forehead, usually somewhere between the top of the brow and the brow bone. On thin hair, they’re risky but not impossible. The style works if your front section still has enough density to look intentional when cut short.
I’d use this one only if you like a sharper edge and don’t mind daily styling. It gives a little retro attitude, but it can expose too much forehead if the hair is very sparse at the hairline. If you’re unsure, go longer first. You can always shorten later. Growing them out is less fun.
10. Shag-Linked Curtain Bangs
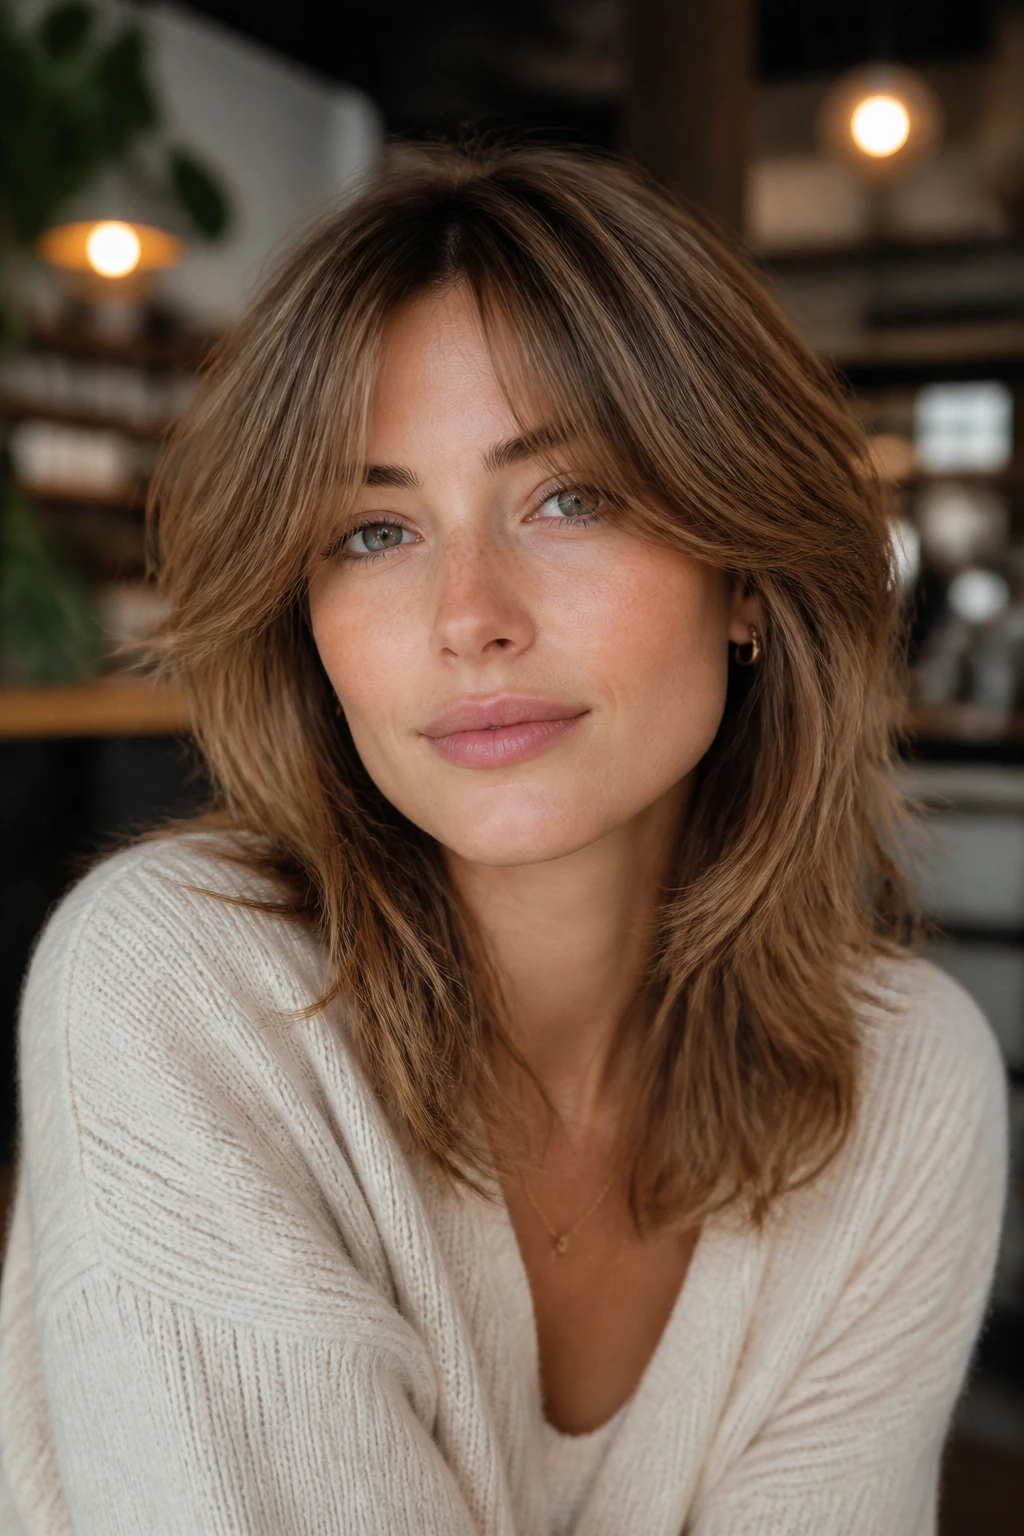
When curtain bangs are cut as part of a shag, the whole front gains movement from the layers around it. That’s useful on thin hair because the bangs don’t sit there by themselves, looking lonely and narrow. They’re backed up by texture from the rest of the haircut.
The catch is that the shag has to stay shallow. Too many short layers can make fine strands look wispy in the wrong way, especially around the temples. Ask for movement, not thinning. There’s a difference, and your front hairline will show it.
11. Airy Overgrown Curtains
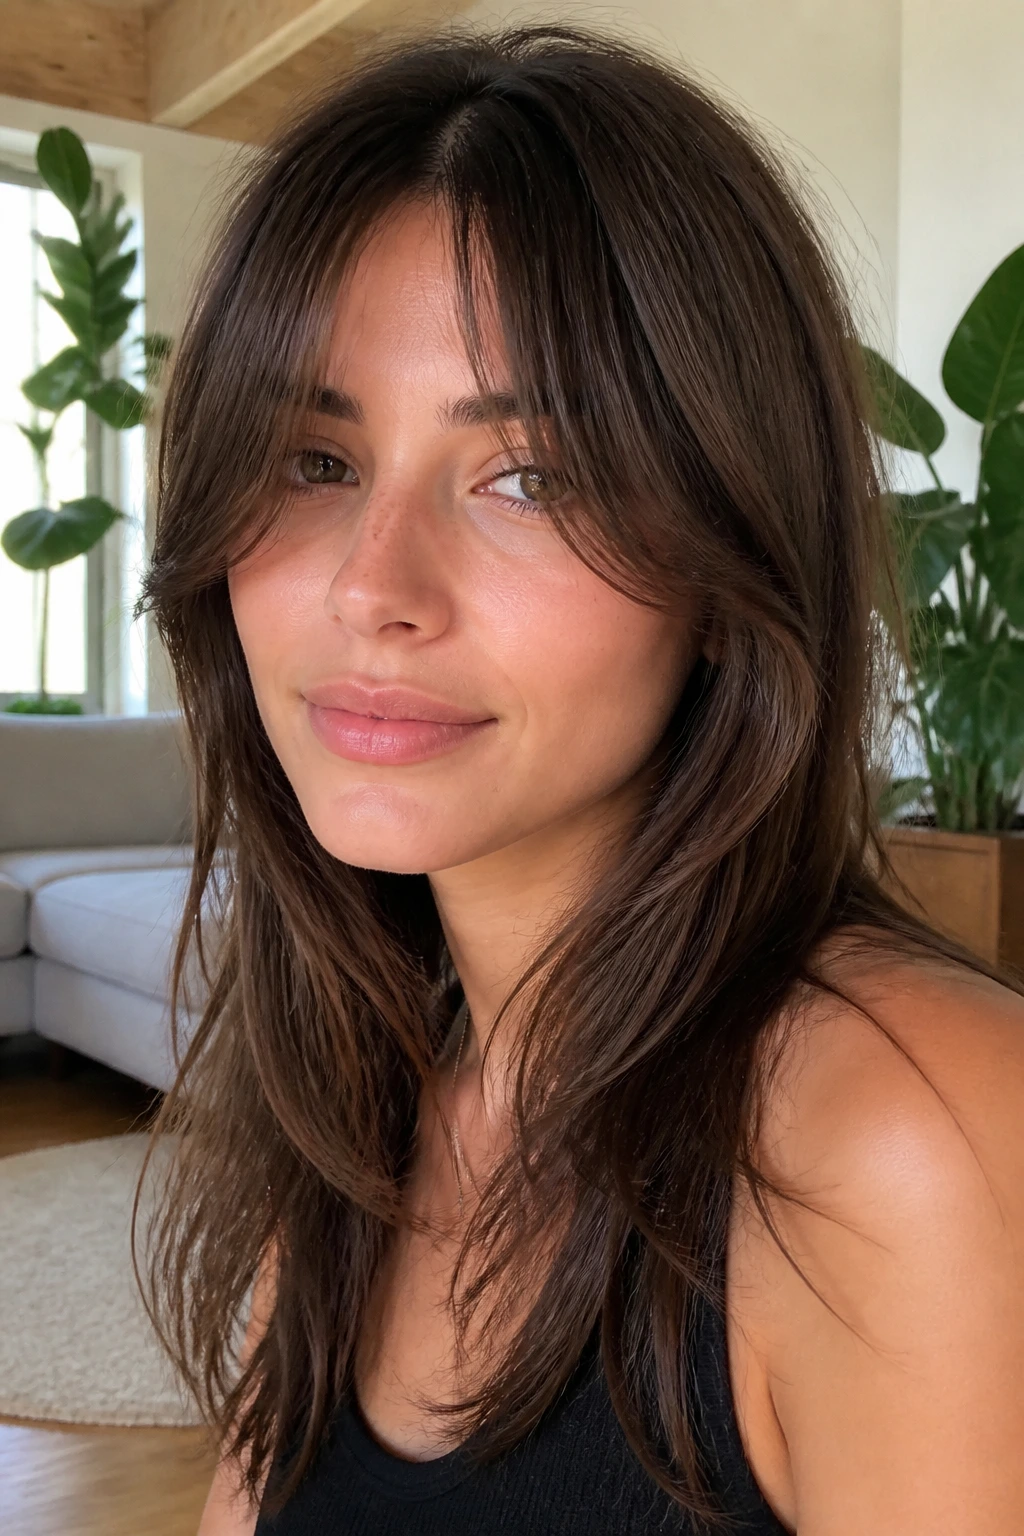
Airy overgrown curtains are what happen when the fringe gets a little longer and gets better for it. The center stays open, but the side pieces drift toward the cheek or even the jaw, which is a nice trick for thin hair because the length reads as substance. It’s one of the easiest styles to live with.
This is also the least fussy option when you hate frequent trims. A small twist with a brush or a clip while the hair cools keeps the shape from collapsing. It’s the sort of fringe that looks intentional even on a day when the rest of your hair is barely cooperating.
12. Curved-In Curtain Bangs
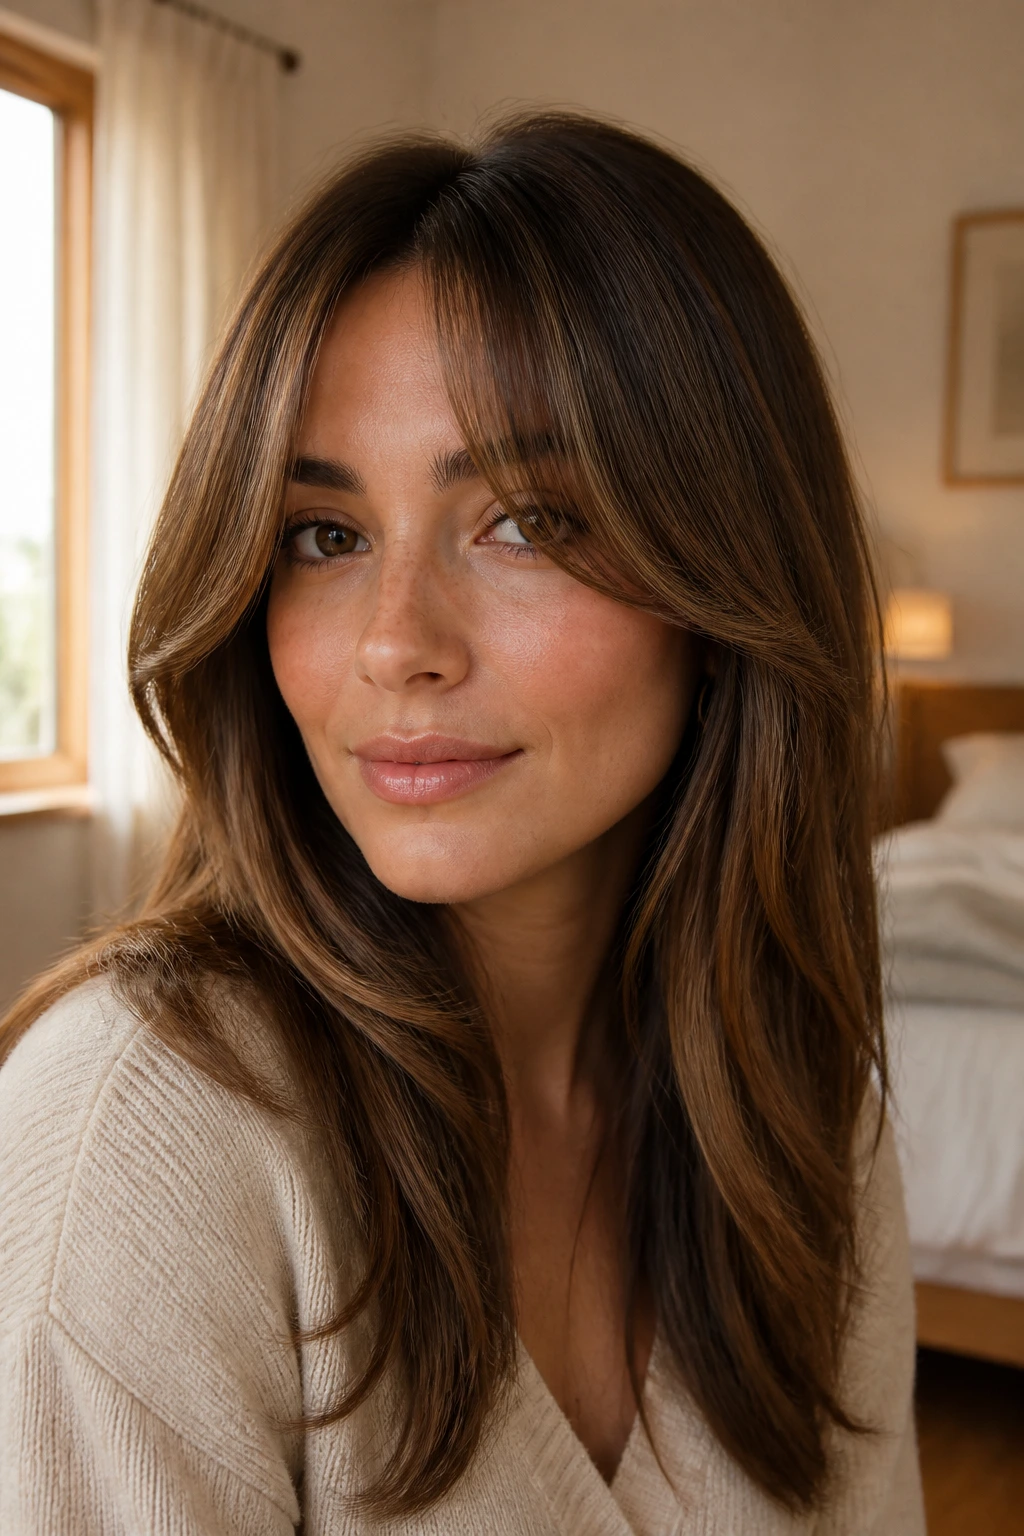
Curved-in curtain bangs bend inward toward the face instead of flying straight out. That inward shape gives the front more body because the ends cluster near the cheeks rather than dissolving into the sides. On fine hair, that matters. You want the eye to land somewhere.
A medium round brush is usually enough to get the bend. Dry the bangs from side to side, then finish by rolling the ends under for a second or two. If the hair is very straight, a quick clip at the ends while they cool helps the curve hold.
13. Root-Lift Curtain Bangs
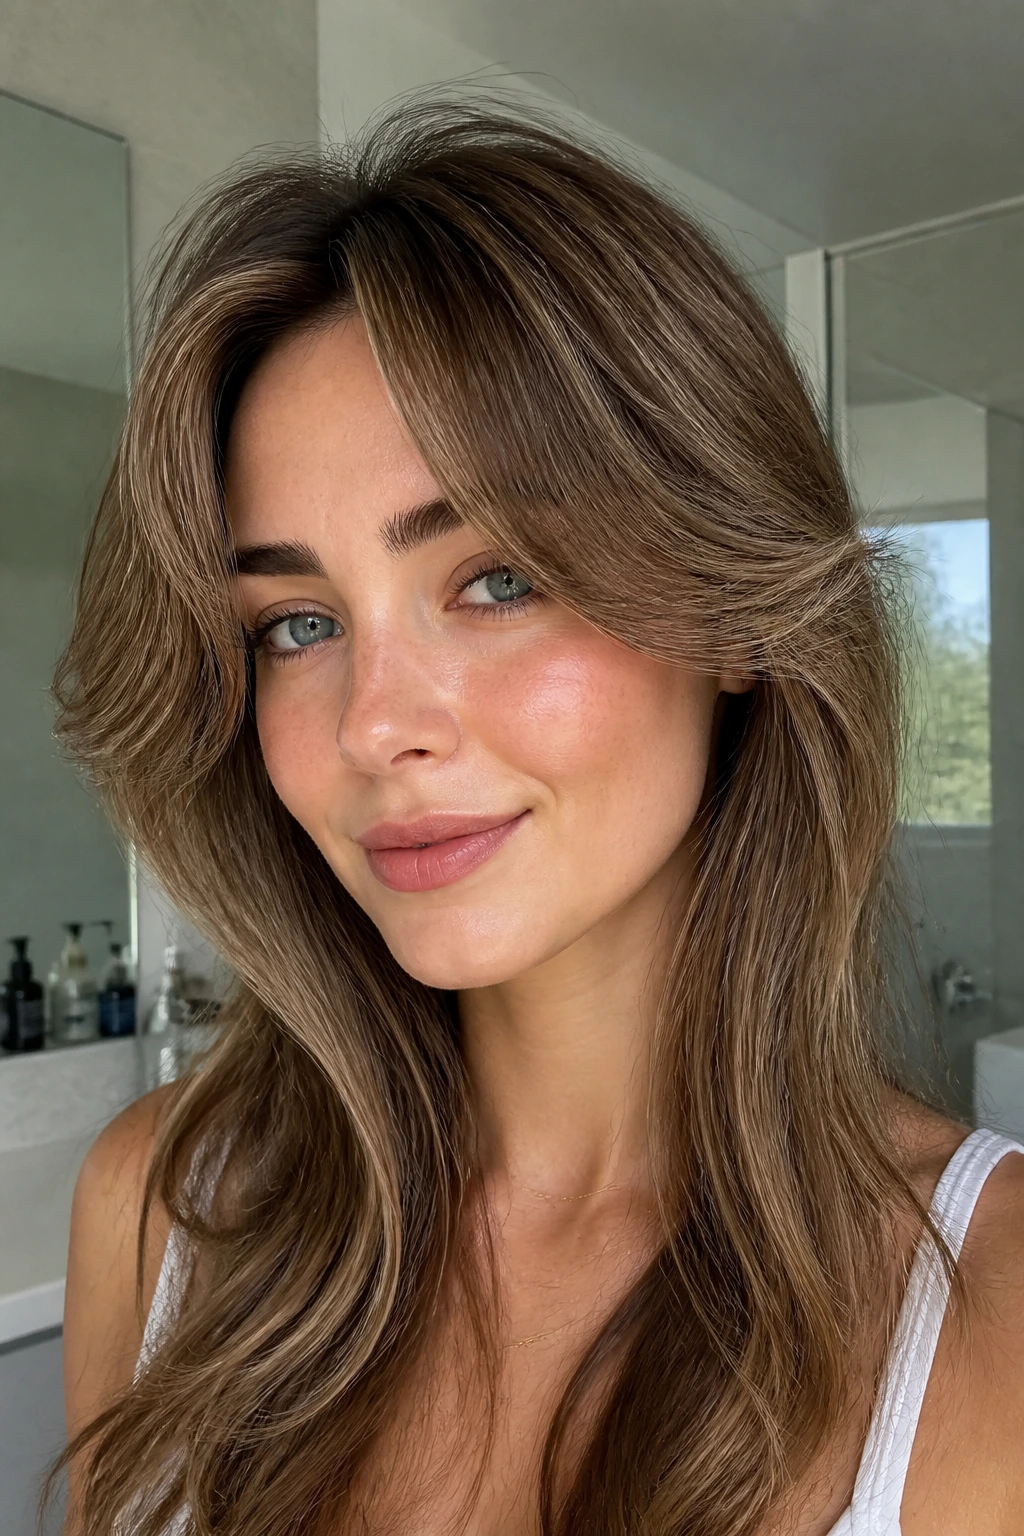
Root-lift curtain bangs are less about the cut and more about the front’s architecture. The shape depends on a little volume right at the roots, which makes the rest of the fringe look denser by association. Thin hair often loses the front first, so lifting that area changes the whole balance.
A tiny mousse or root foam at the base is enough. Work it in only through the first inch or so, then lift the section while blow-drying. Heavy product on the ends will flatten the look and make the bangs separate in sad little strands. Nobody wants that.
14. Razor-Soft Curtain Bangs
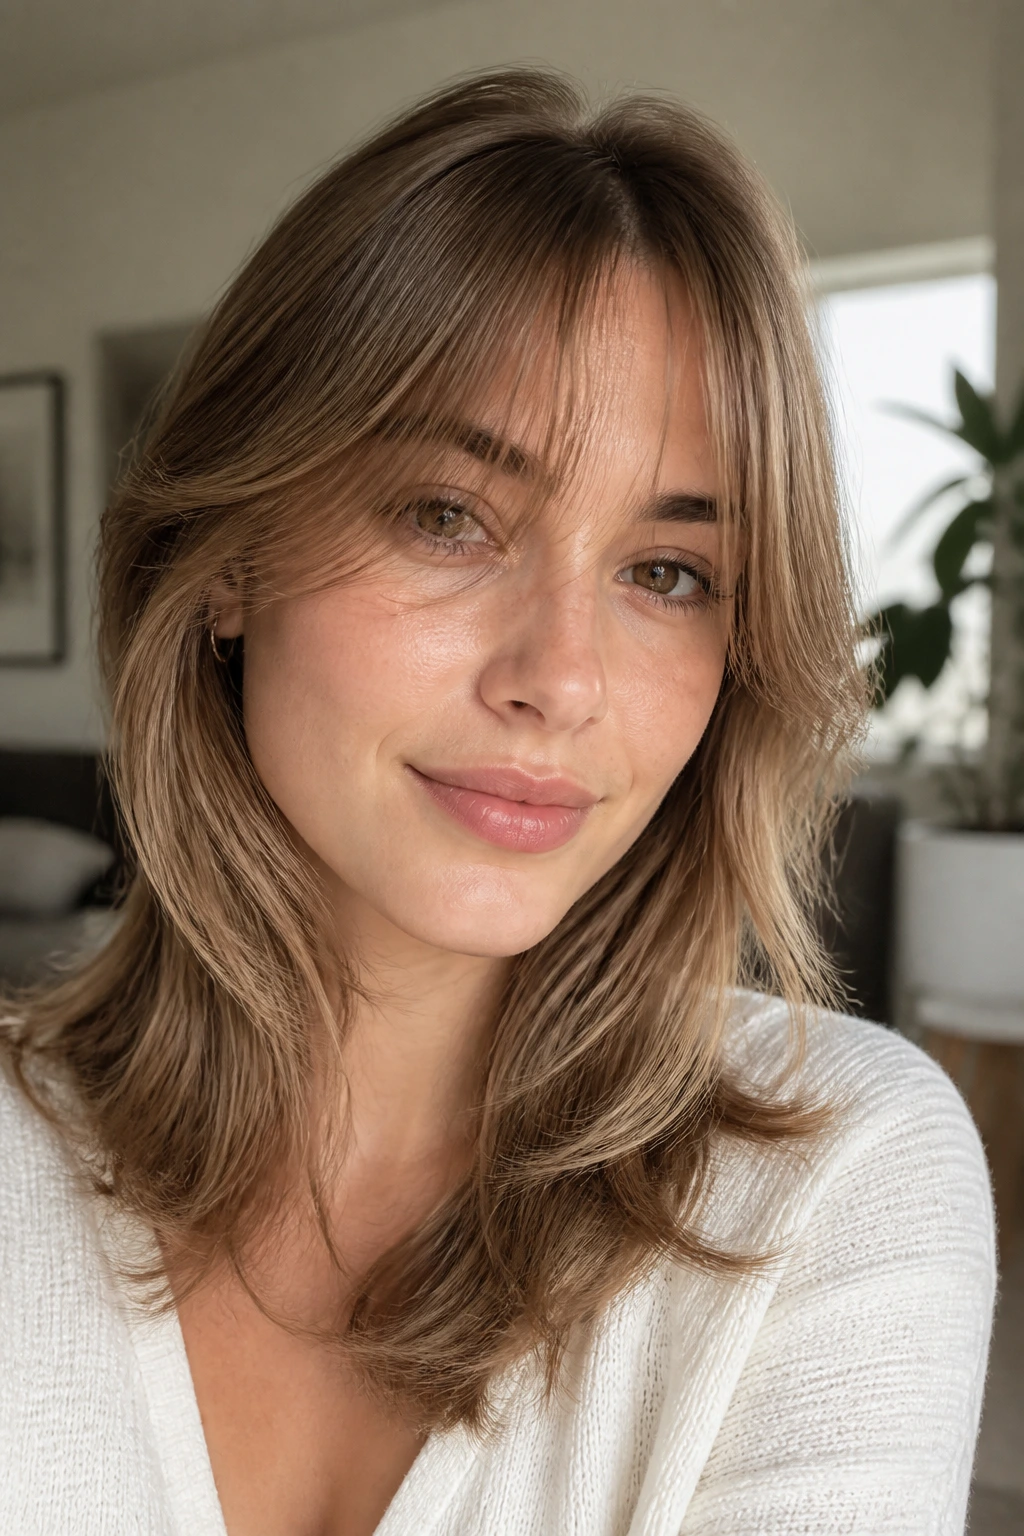
Razor-soft curtain bangs can look beautiful on fine hair if the stylist is controlled. The edges feel soft, almost cloudlike, and the fringe moves easily around the face. Done well, it keeps the front from feeling too blunt or heavy.
Done badly, it turns to fluff. That’s the problem. If your hair is already fragile or breaks easily, ask for point cutting instead of a razor-heavy finish. You want softness, not a fringe that disappears by the end of the day.
15. Collarbone-Grazing Curtains
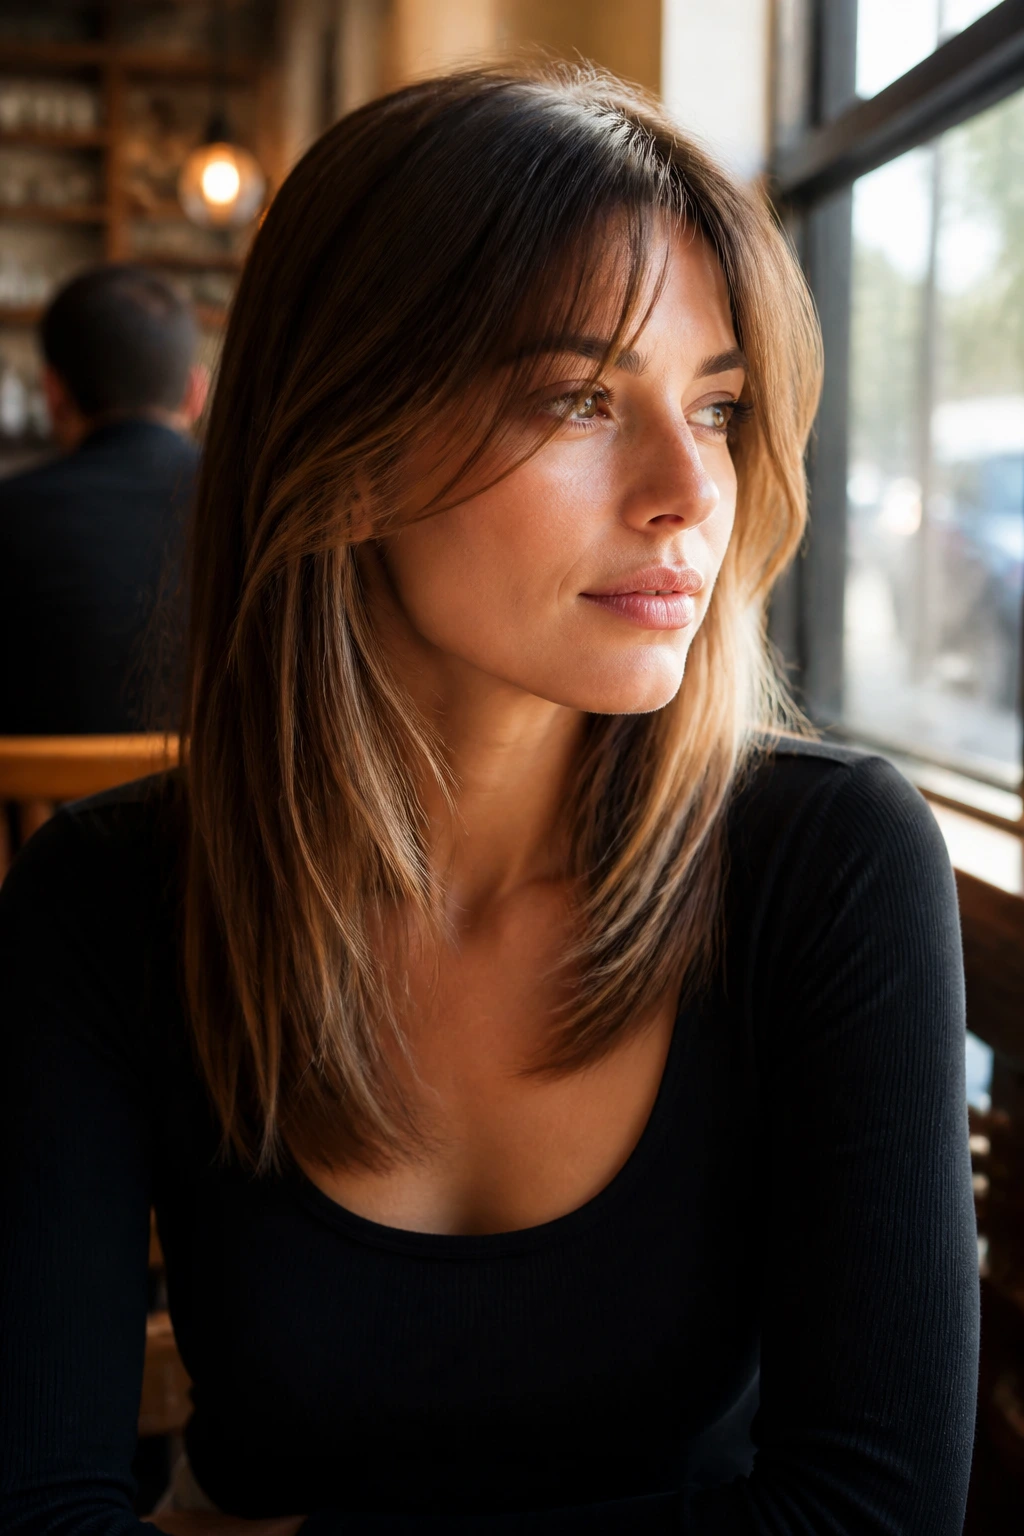
Collarbone-grazing curtains are barely bangs and mostly face frame, which is why they work for people who are nervous about cutting too much out of the front. The length creates a strong vertical line down the cheeks, and that longer line usually reads as fullness. Fine hair loves a longer silhouette.
This is a solid pick if you wear your hair up a lot. The front pieces still do a job when the rest of the hair is tied back, and they don’t require a full styling session to make sense. Simple. Easy to pin back. Easy to grow out.
16. C-Wave Curtain Bangs

C-wave curtains are shaped into a soft C bend, with the ends curving inward and slightly forward. The wave gives the fringe a controlled, polished shape without asking for a ton of volume. On thin hair, a defined wave can look fuller than fluffy texture because the outline is cleaner.
Use a round brush or a flat iron to create that bend, then let the front cool before you touch it again. If you keep fussing with it while it’s warm, the shape loosens and the fringe falls flat. Hair has a memory. Annoying, but true.
17. Curly Curtain Bangs for Wavy Hair
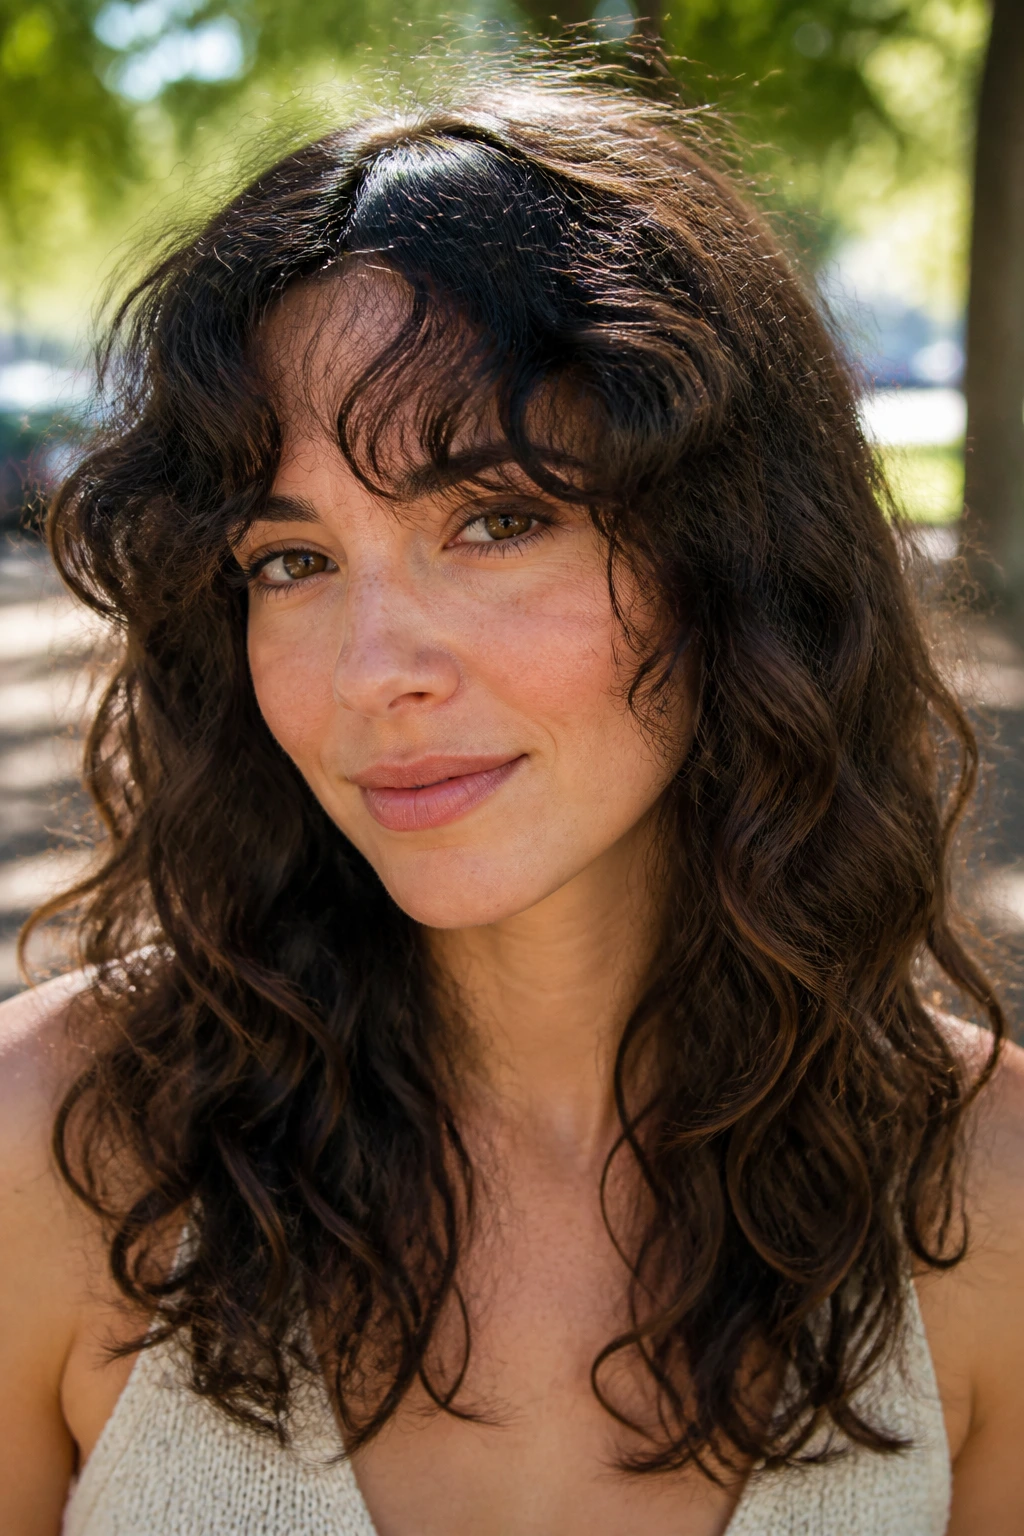
Wavy or curly thin hair needs a longer curtain bang than straight hair does, because shrinkage changes everything. The cut should look a little longer when it’s wet than you think is necessary. Once it dries, the pieces can spring up and sit right where you want them.
This is one of those styles that benefits from a dry cut or at least a cautious wet cut. The curl pattern decides the final shape, not the scissors alone. Keep the sides long enough to frame the cheekbones, or the fringe can get too short and puff out at the wrong point.
18. Soft Curtains for Straight Hair
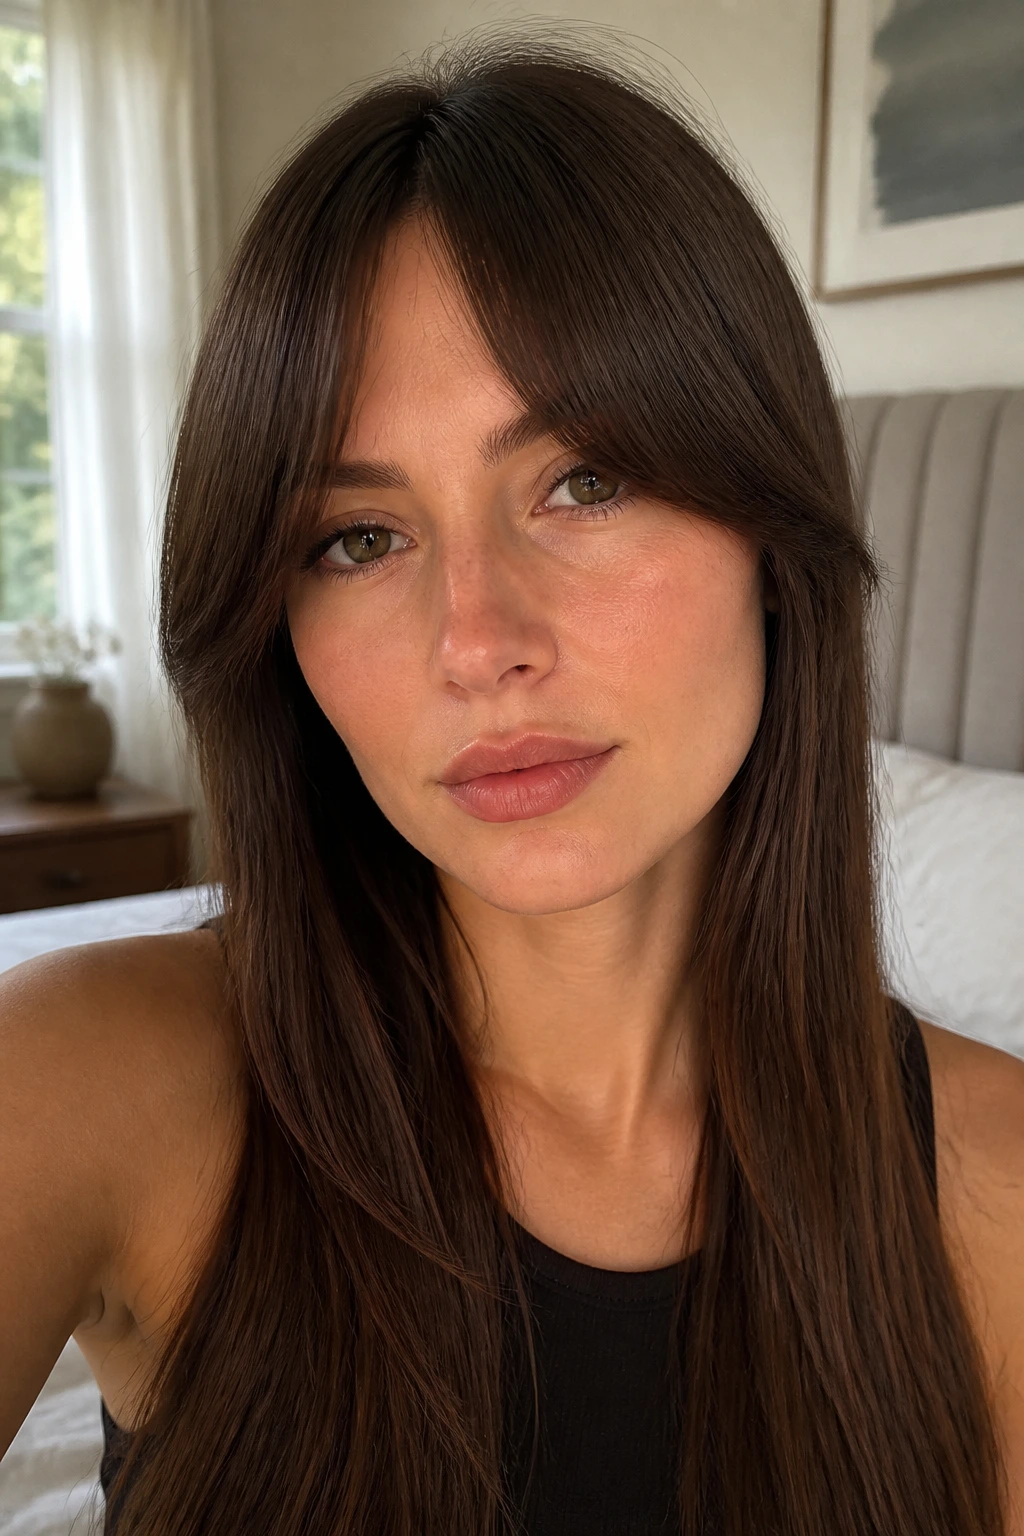
Straight hair can wear curtain bangs just fine, but the cut needs more shape because the texture won’t do the work for you. A soft curtain fringe on straight hair usually looks best when the center is slightly shorter and the outer pieces are kept blunt enough to hold a line. That little bit of structure stops the front from scattering.
I’m not a fan of over-texturizing this version. Straight hair already shows every snip, and too much slicing makes the fringe look thin fast. Keep the perimeter clean, then add movement with styling rather than overworking the cut itself.
19. Rounded Bardot Curtain Bangs
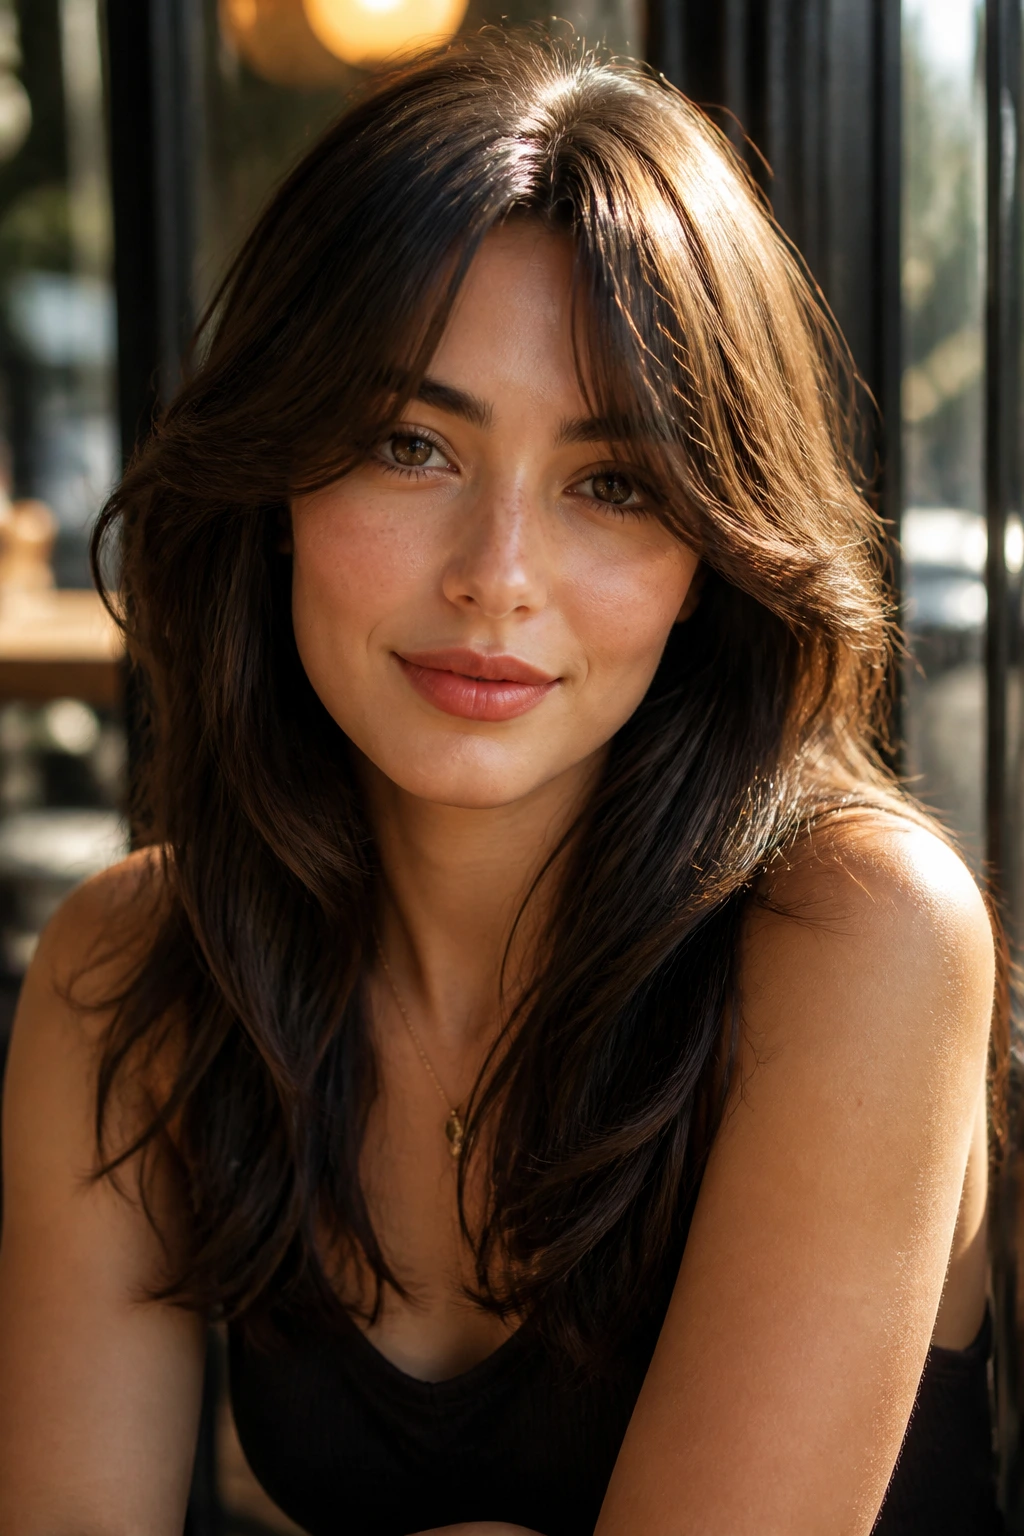
Rounded Bardot bangs bring a fuller arc to the front, with a bit more curve than the average curtain fringe. They borrow that classic Bardot shape without going full retro costume. On thin hair, the rounded outline helps because the eye sees a stronger border.
The style works best when the center still stays soft. If it gets too short, the whole thing can look like a mini helmet, and that’s not the point. Leave enough length for the sides to sweep open toward the temples; that’s where the flattering part happens.
20. Deep Center-Split Curtains
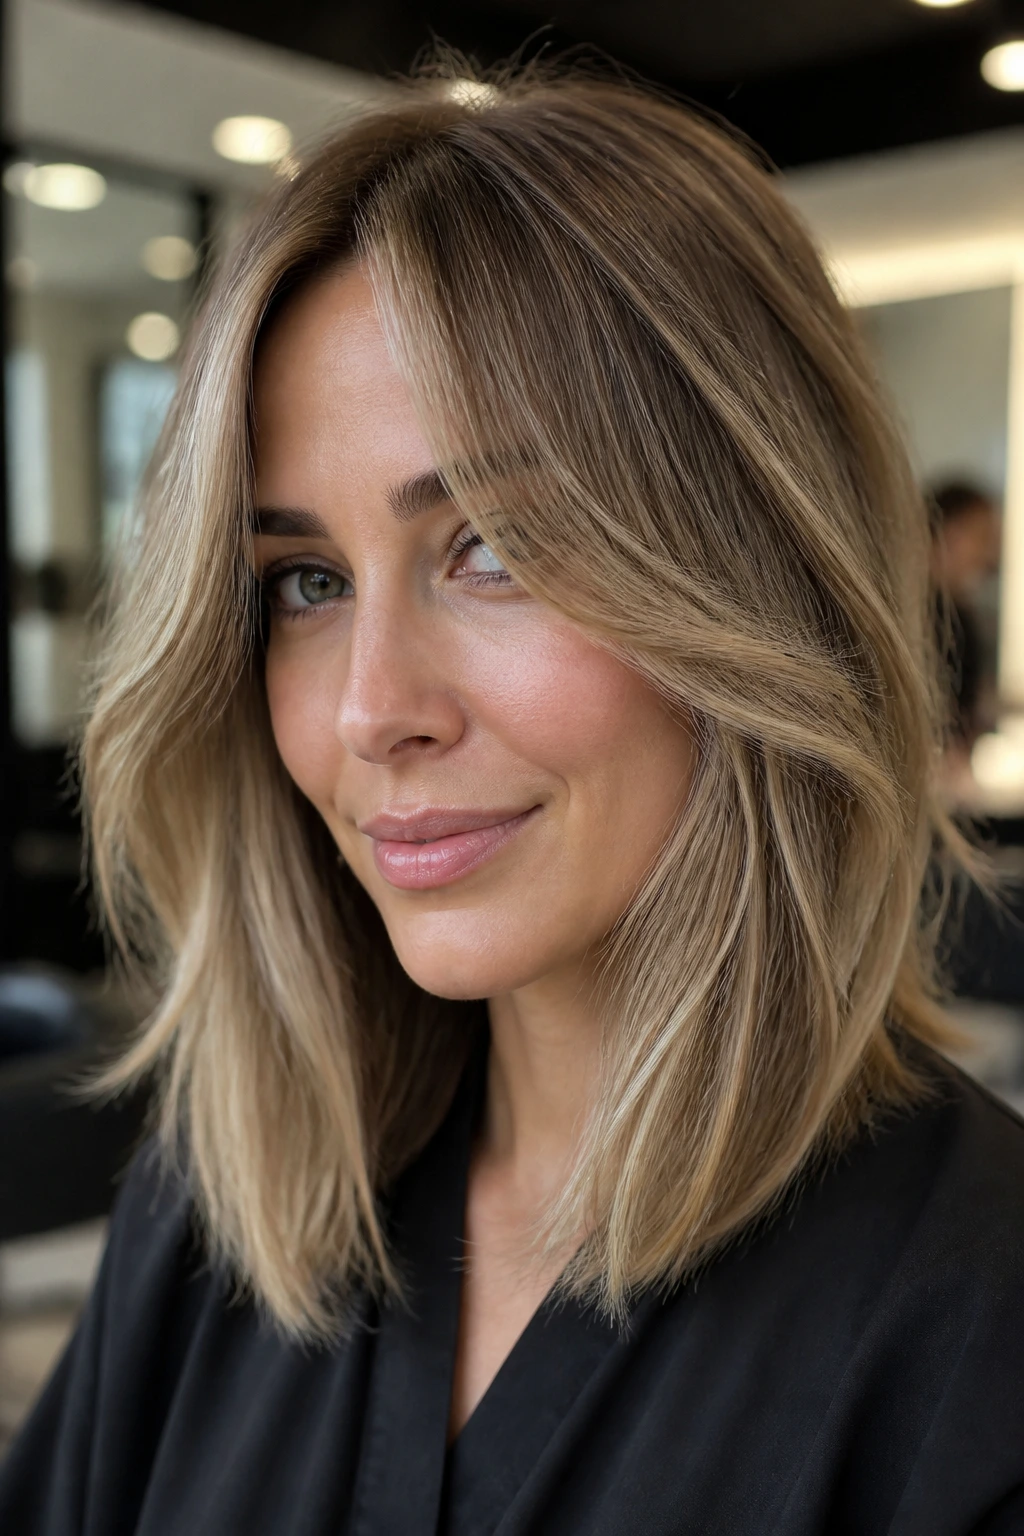
A deep center split gives the fringe more drama and can make the front appear denser by pulling the hair away from a flat middle section. The split starts farther back than a casual part, which means the curtain pieces have more room to fall forward and frame the face. That extra space matters.
This is good for people who like a bold part and don’t mind a visible scalp line. If your density is very low right at the crown, keep the part softer so the center doesn’t look too exposed. A zigzag part can help when a hard line feels too stark.
21. Long Side-Panel Curtains
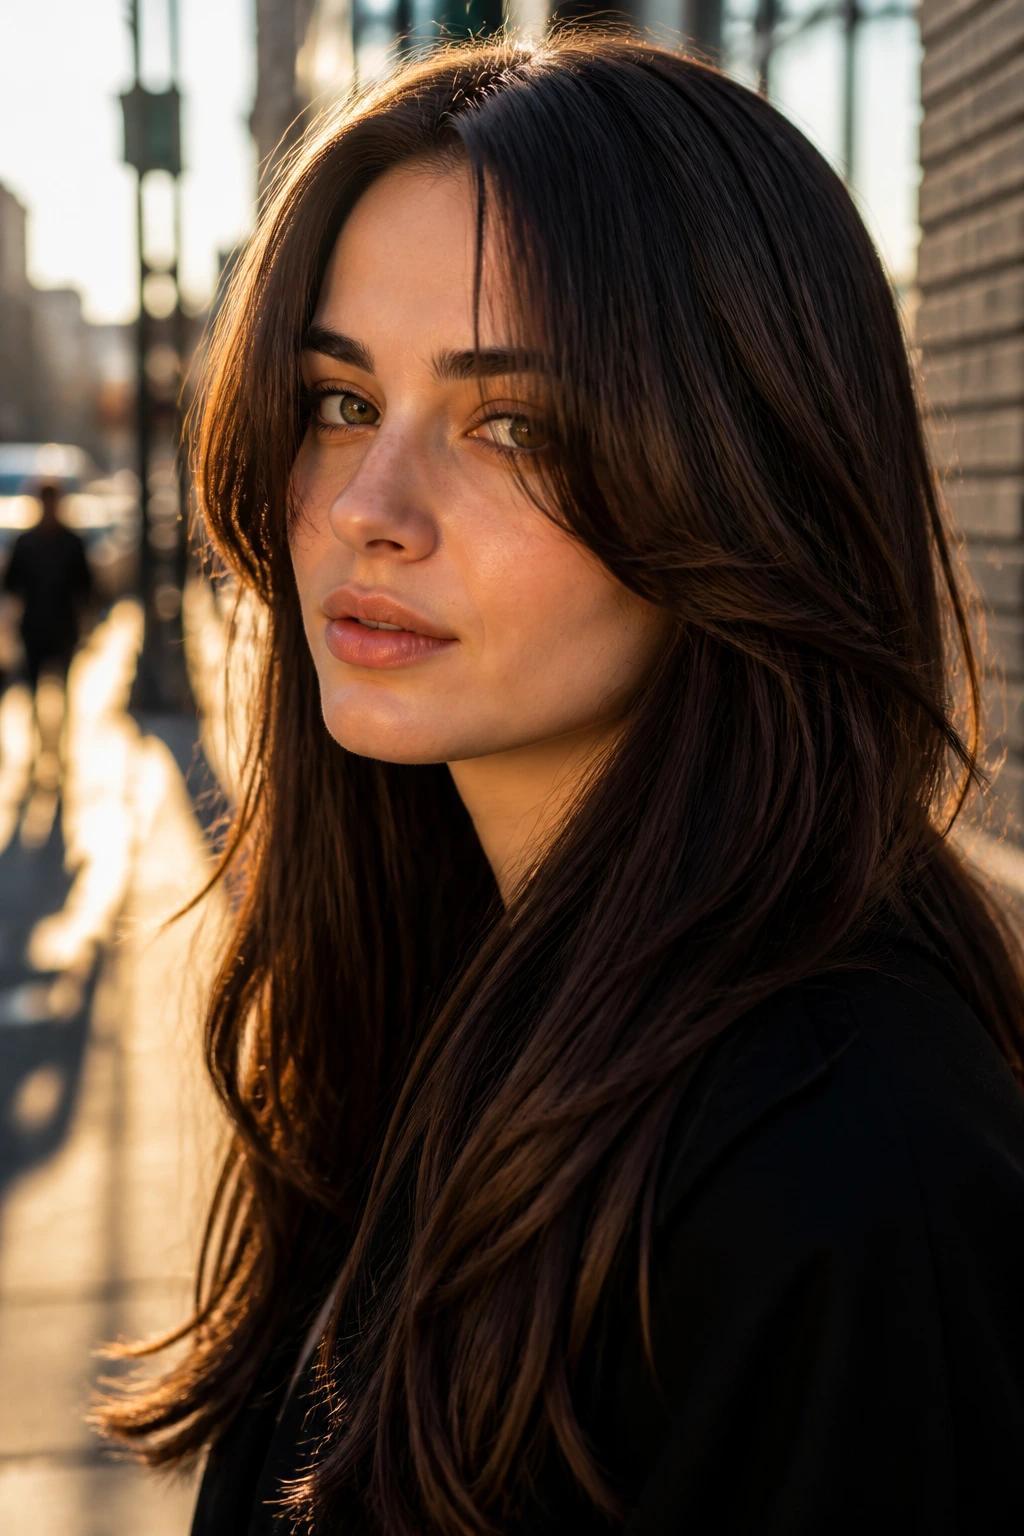
Long side-panel curtains are what I reach for when someone wants fringe that reads more like architecture than bangs. The pieces sit along the sides of the face and create width where fine hair often needs it most. The effect is clean and slightly elegant, but not stiff.
It’s also one of the more forgiving shapes if you’re growing out another cut. Because the front isn’t a tight little cluster of hair, it blends into the rest of the length without looking awkward. That’s a rare and useful thing.
22. Textured Wispy Curtain Bangs

Textured wispy curtains keep the ends light and the middle soft, with just enough separation to move. This style can be beautiful on thin hair when you want a front section that doesn’t demand heat styling every morning. It looks relaxed, but not sloppy.
The danger is overdoing the wisps. If every strand is micro-thin, the bangs lose presence and start to look tired. Keep one or two slightly stronger pieces near the center so the fringe still reads as a shape, not mist.
23. Grow-Out Curtain Bangs
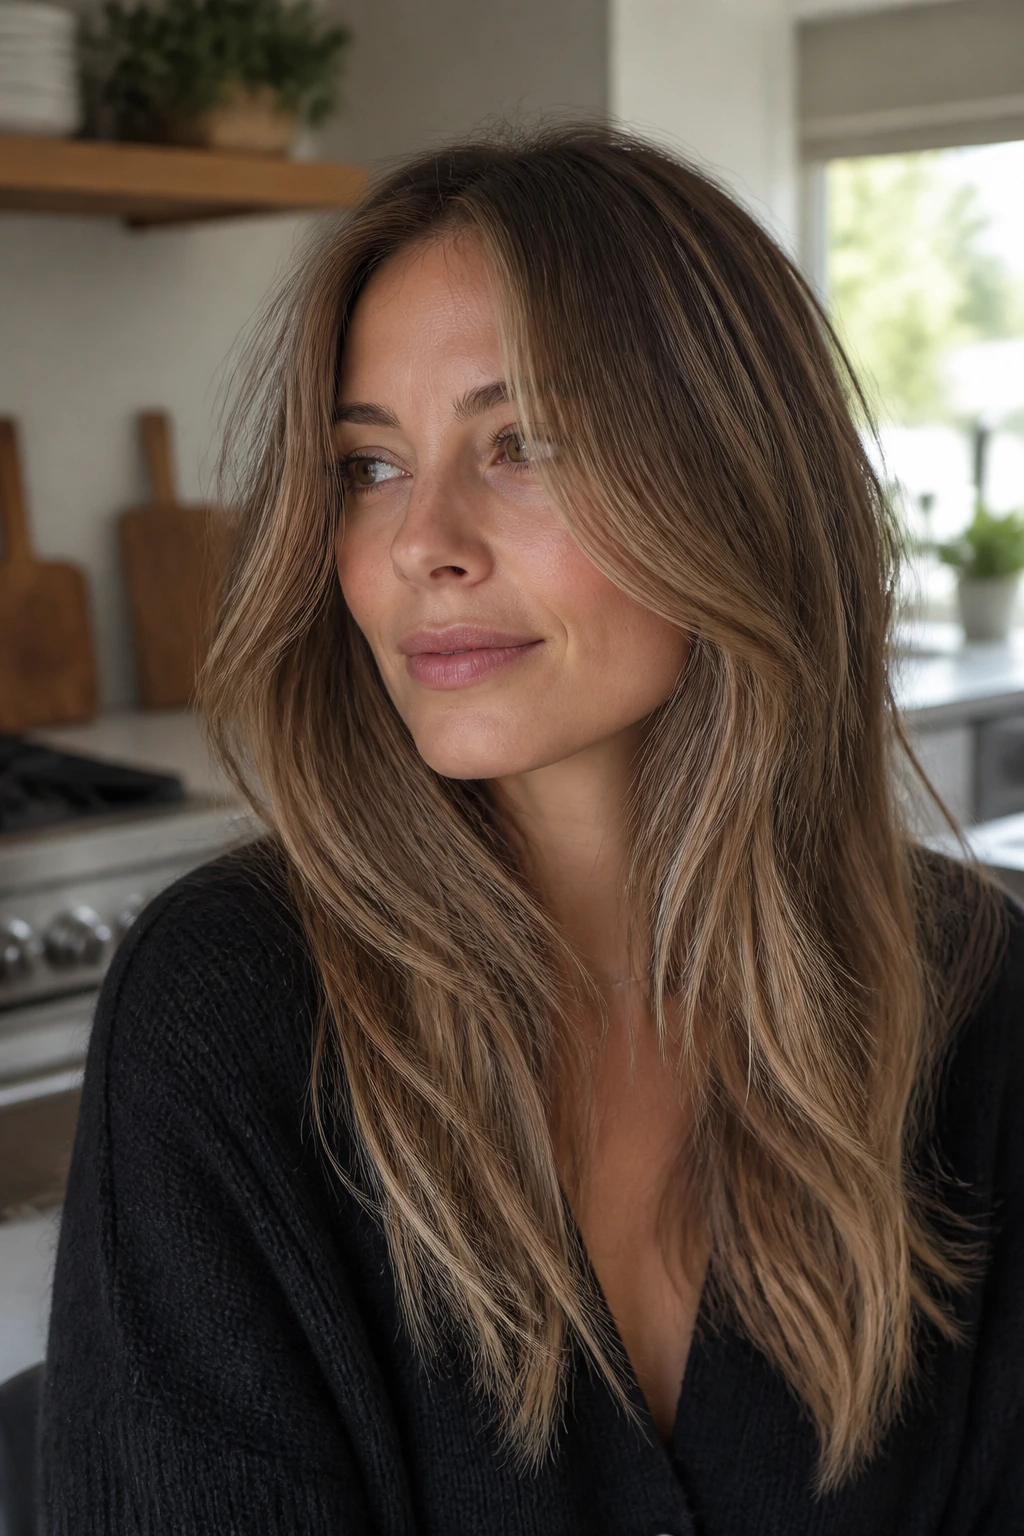
Grow-out curtain bangs are the version you wear when you’ve decided not to fight the awkward stage. The fringe gets longer, parts softly, and settles into something halfway between bangs and layers. On thin hair, that extra length is a gift because it adds visible weight.
I’m a fan of this look because it asks for less maintenance and usually looks better on day two than day one. The only real job is trimming the inner corners so they don’t hang in your eyes. Let the rest stretch out a bit. The style improves when it stops trying so hard.
24. Retro 70s Curtain Fringe
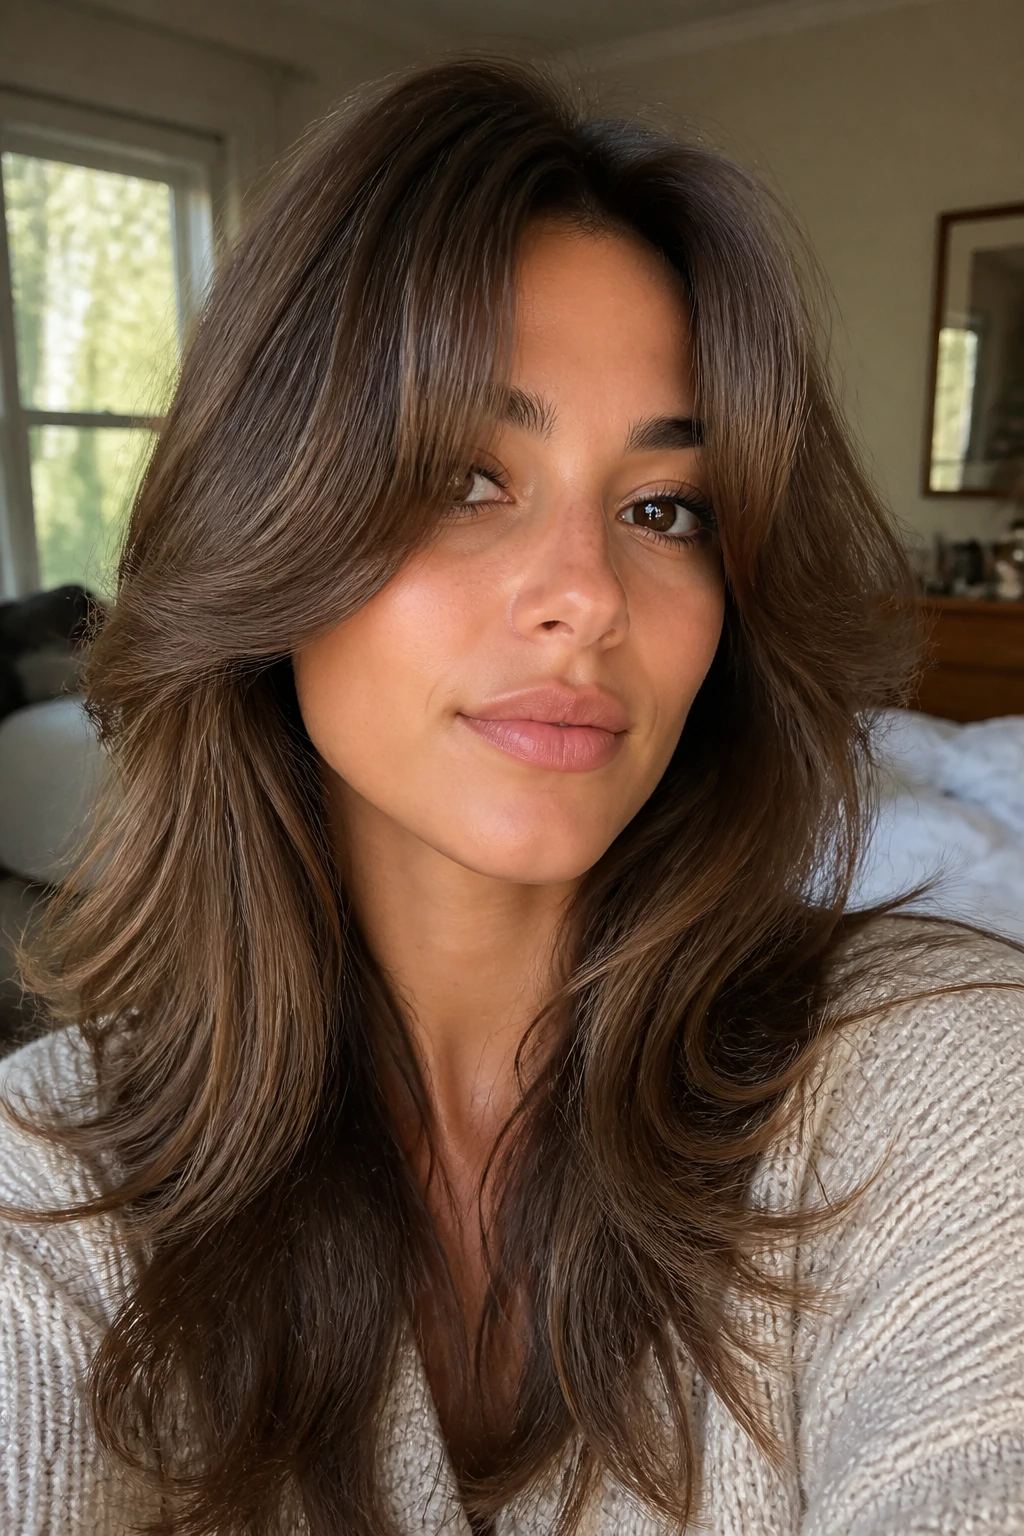
Retro 70s curtain fringe is the big, lifted version with a bit of flip at the ends. It’s not subtle, and that’s why it works on thin hair. The volume at the roots and the bend through the ends make the fringe feel alive, even if the strands are fine.
This one does need a proper blow-dry or rollers. If you want the shape to last, let the curls cool in place before you shake them loose. Skipping that step makes the style fall flat at the exact moment you want it to look full.
25. Half-Moon Curtain Bangs
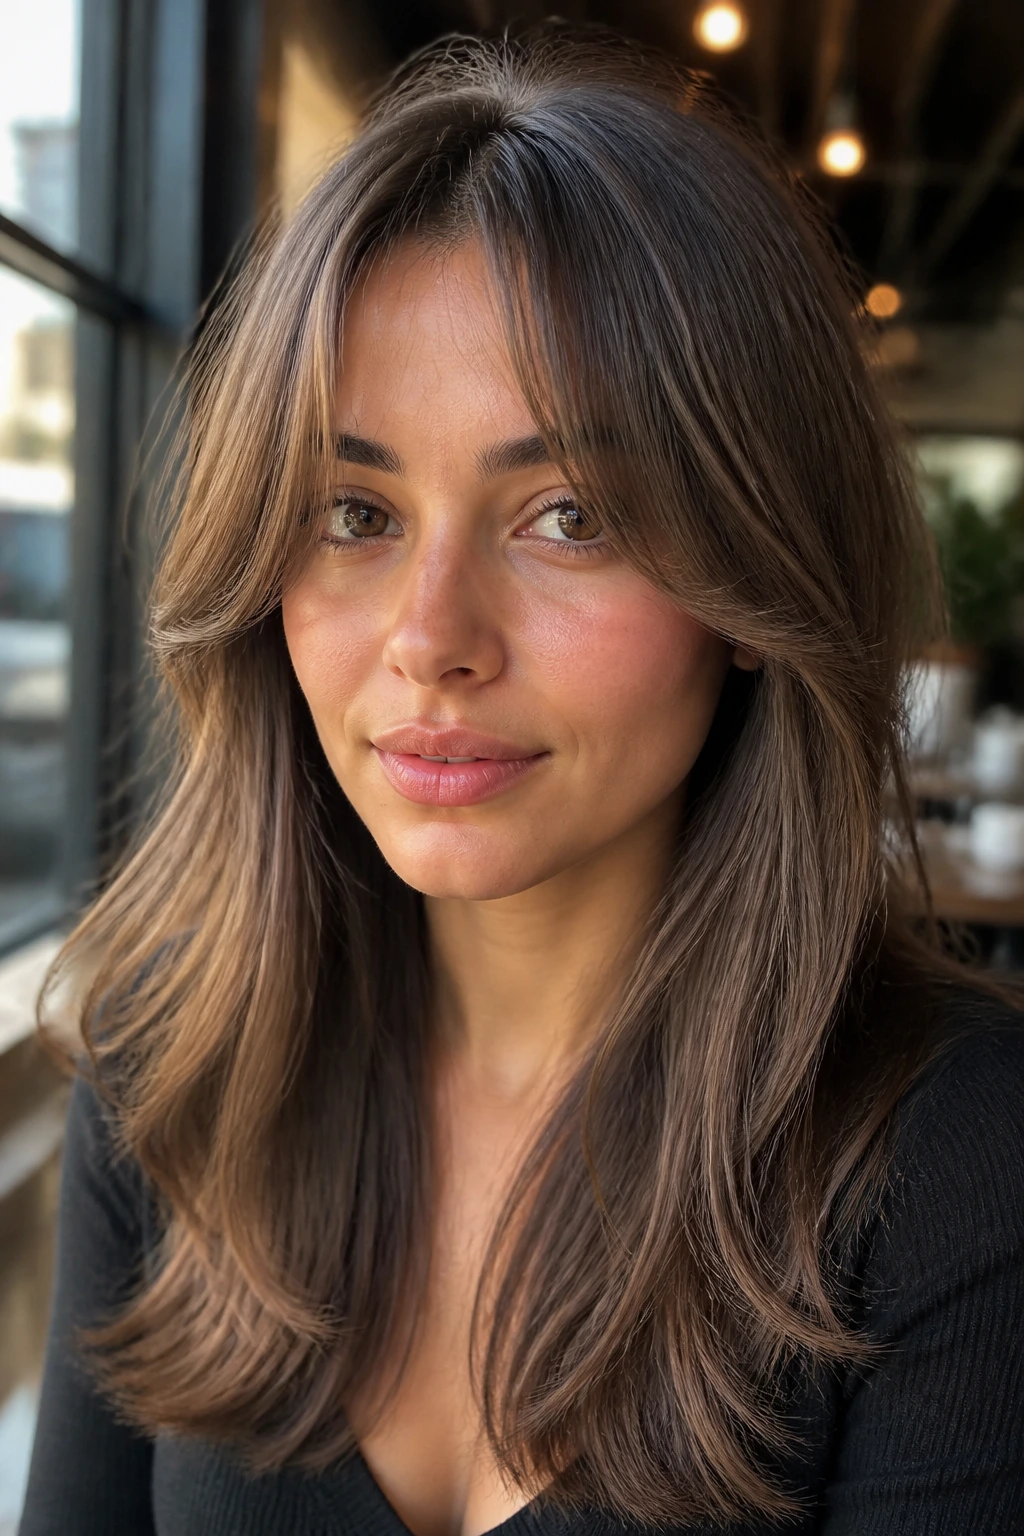
Half-moon curtain bangs form a rounded arc across the front before opening toward the sides. The curve makes the center feel fuller than a skinny split fringe, which is useful when thin hair needs more visual weight right where everyone looks first. It’s a neat shape. Very controlled.
The cut should keep enough substance at the ends so the arc doesn’t dissolve into wisps. If the stylist takes too much out, the half-moon turns into a weak crescent and loses the whole point. Ask for softness, yes, but keep some line.
The Cutting Logic That Keeps Curtain Bangs from Going See-Through
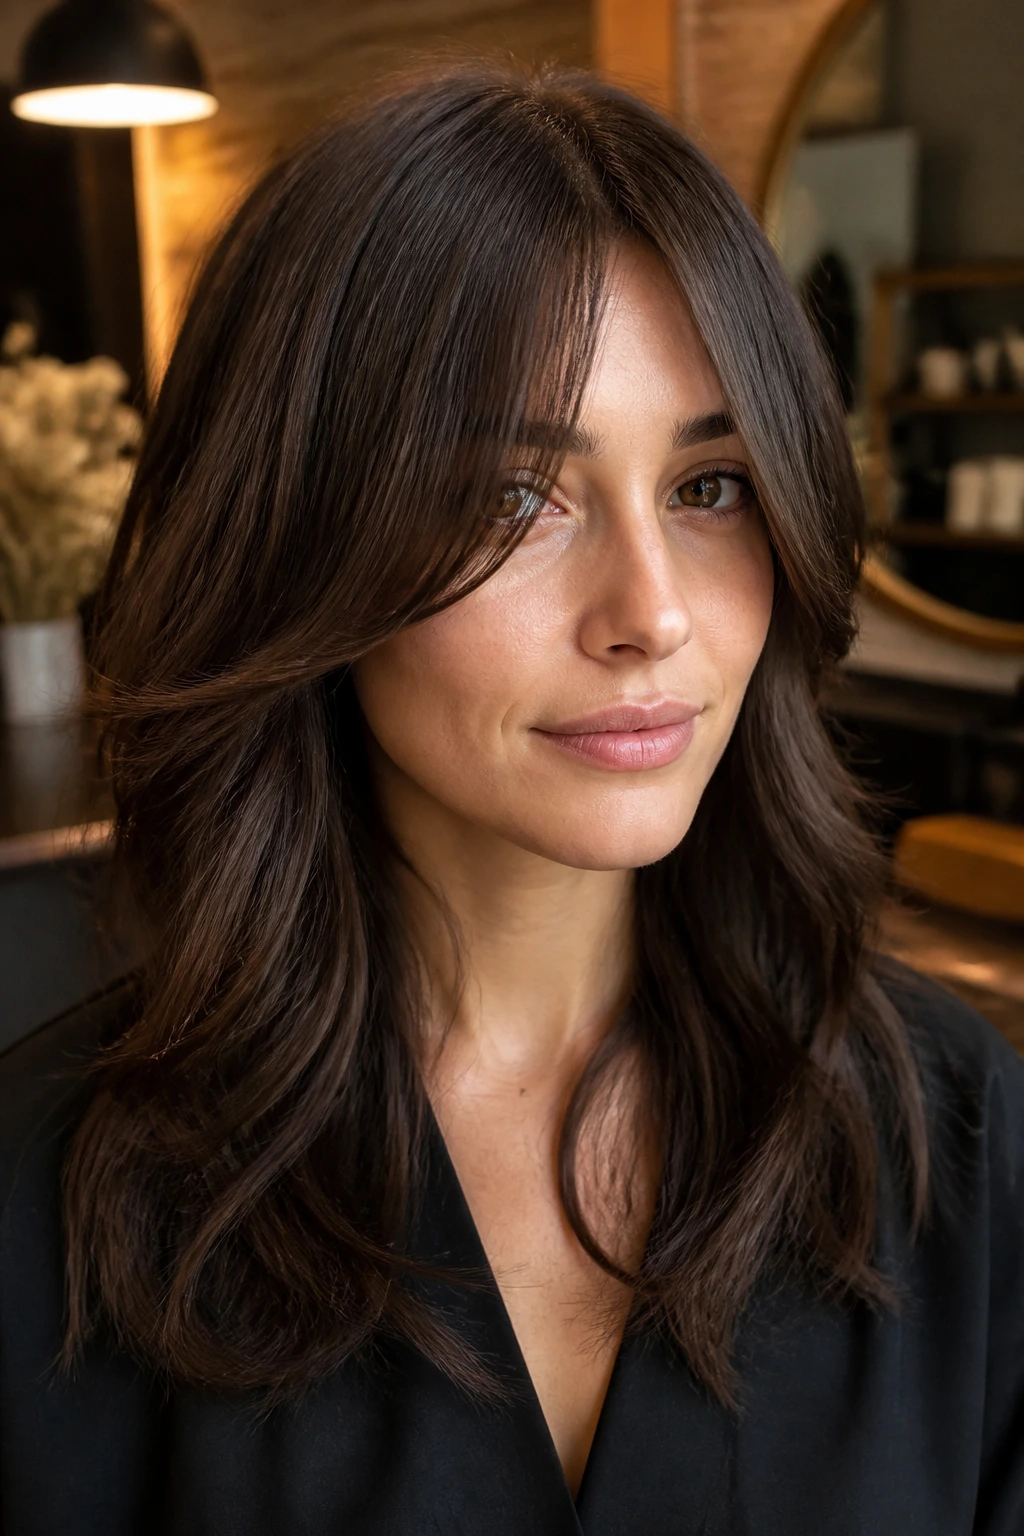
Thin hair and fine hair are not the same problem, and the cut needs to respect that. Fine hair means each strand is narrow; thin hair means there are fewer strands across the section. A fringe can look full with fine strands if the stylist leaves enough perimeter weight, but it can look bare if they carve too much out of the center.
That’s why I prefer point cutting over aggressive razoring on most curtain fringes for delicate hair. Point cutting softens the edge without eating the body of the section. Heavy texturizing shears can feel clever in the salon chair and look tragic when you see daylight through the bangs at home.
Keep the center a touch longer
The center should usually sit a little longer than your first instinct says. That extra length keeps the bangs from floating up too high and exposing the forehead in a way that feels unfinished.
Let the sides carry the shape
The sides are where the style earns its keep. A little more weight at the cheekbone or jaw gives the eye something to follow, which makes the front look richer.
Cut for the part you actually wear
If you always part your hair slightly off-center, tell the stylist. A curtain fringe cut for a dead-center part can feel wrong the minute you blow-dry it your own way.
Tools That Matter More Than Fancy Products
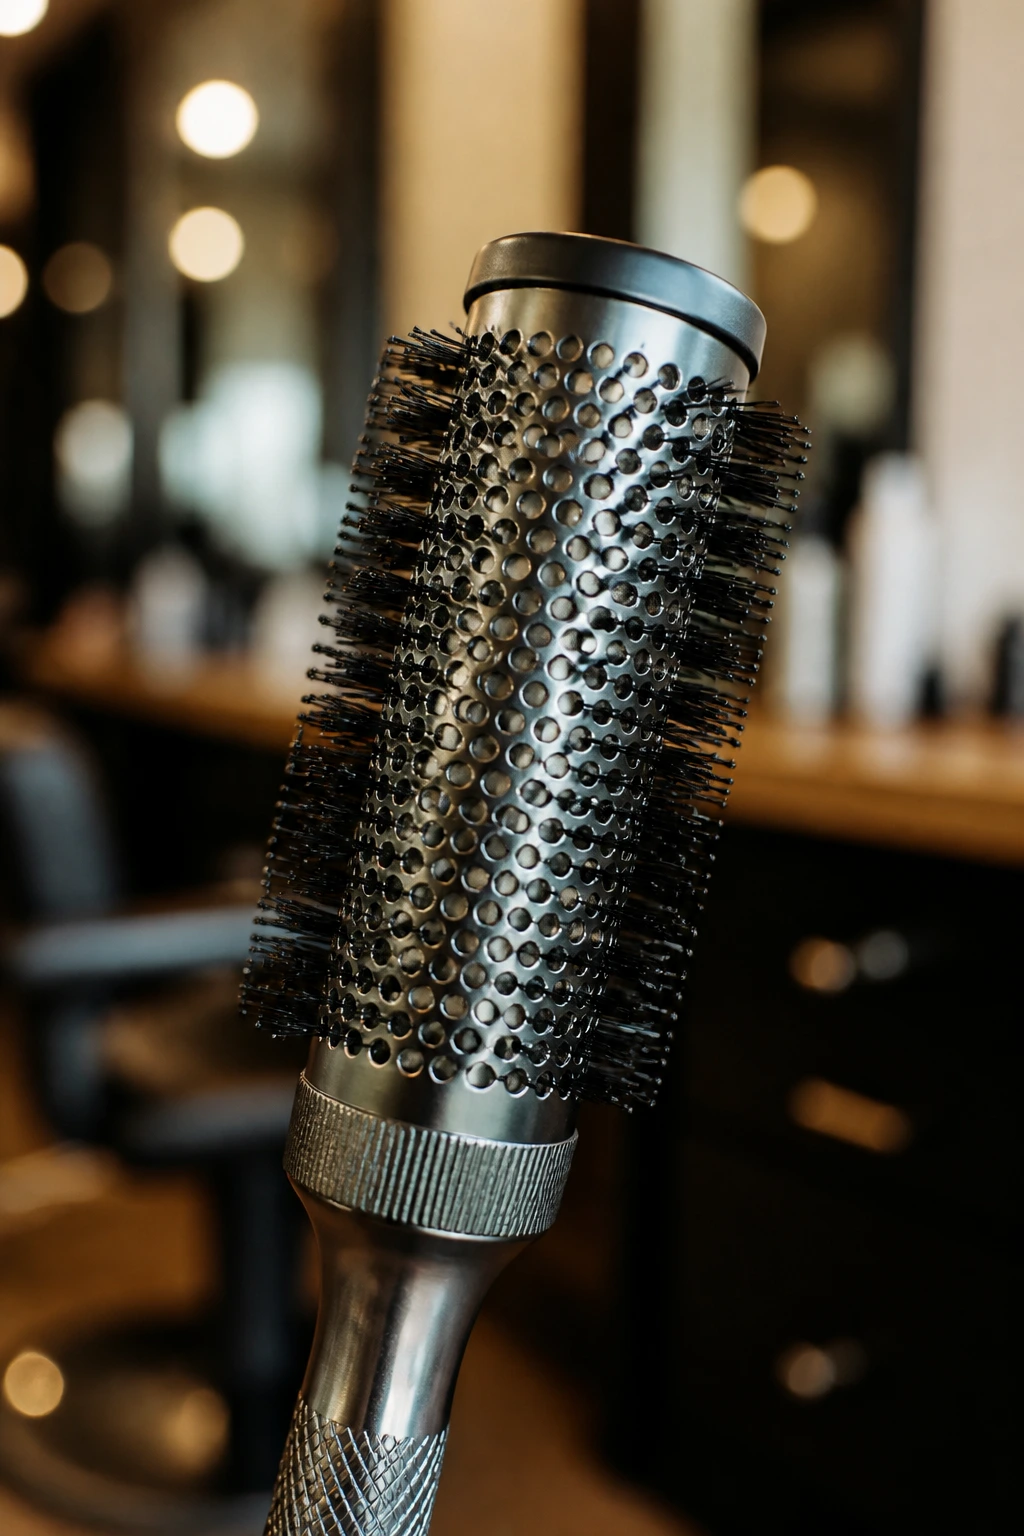
- 1-inch to 1¼-inch round brush: Small enough to shape the fringe without swallowing it in a giant curve.
- Blow dryer with a concentrator nozzle: Directs air where you want it and keeps the front from blowing apart.
- Sectioning clips: Useful for separating the fringe while the rest of the hair dries.
- Lightweight mousse or root foam: Gives the front a bit of grip without turning it sticky.
- Heat protectant spray: Non-negotiable if you use a round brush, a flat iron, or rollers.
- Dry shampoo: Helps day-two bangs hold a split without looking greasy.
- Velcro rollers or duckbill clips: Good for setting a bend while the hair cools.
- Fine-tooth comb: Handy for resetting the part and smoothing the front before styling.
- Small flat iron, optional: Best for one stubborn kink, not for flattening the whole fringe.
How to Ask for the Right Curtain Bang Cut
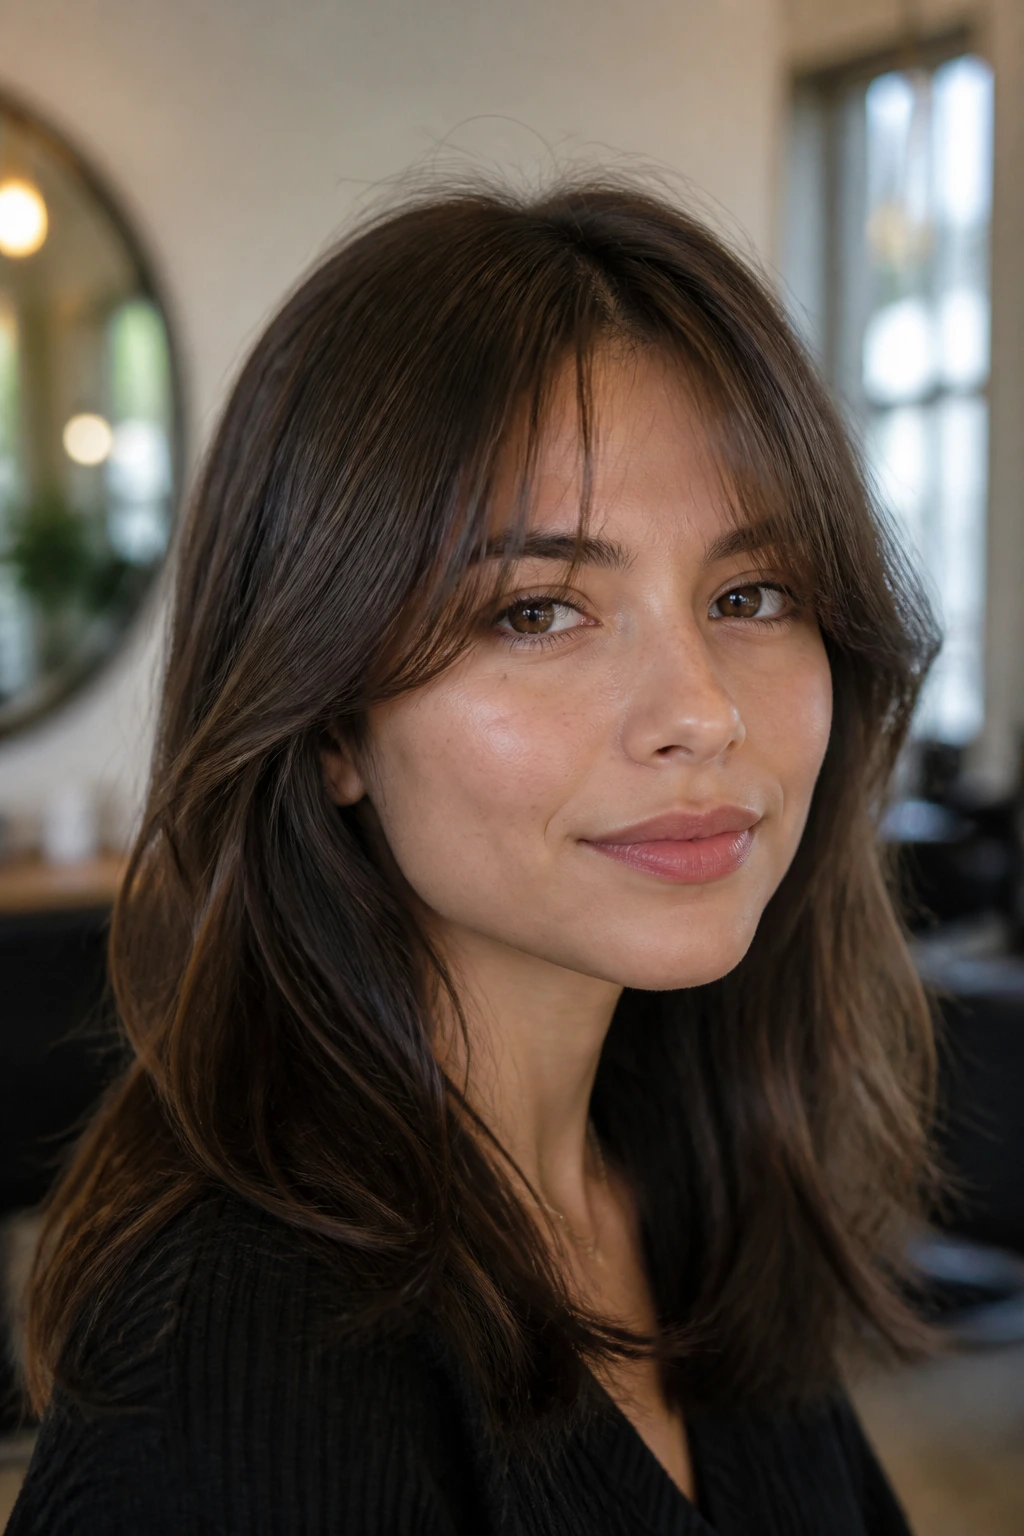
Bring a photo, yes, but bring the right photo. The best reference is someone with a similar hairline, similar density, and similar parting habit. A picture of very thick hair can trick you into asking for more fringe than your own front section can comfortably support.
Say the length in landmarks
Instead of saying “I want curtain bangs,” say where you want them to land: top of the brow, brow bone, cheekbone, or just below the cheekbone. Landmarks are useful. Vague words are not.
Mention your cowlicks and your styling time
If one side flips out and the other side falls flat, say that before the scissors open. If you only want to spend two minutes on the front in the morning, say that too. A fringe that needs a full round-brush set every day is a different haircut from one that can be finger-styled and tucked into shape.
Ask them not to over-thin the front
That line matters more than most people think. The request can be as plain as: “Please keep enough weight in the center and side pieces so the fringe doesn’t go wispy through the ends.” A good stylist will know what you mean. If they don’t, that’s useful information.
Daily Styling That Actually Holds on Fine Hair
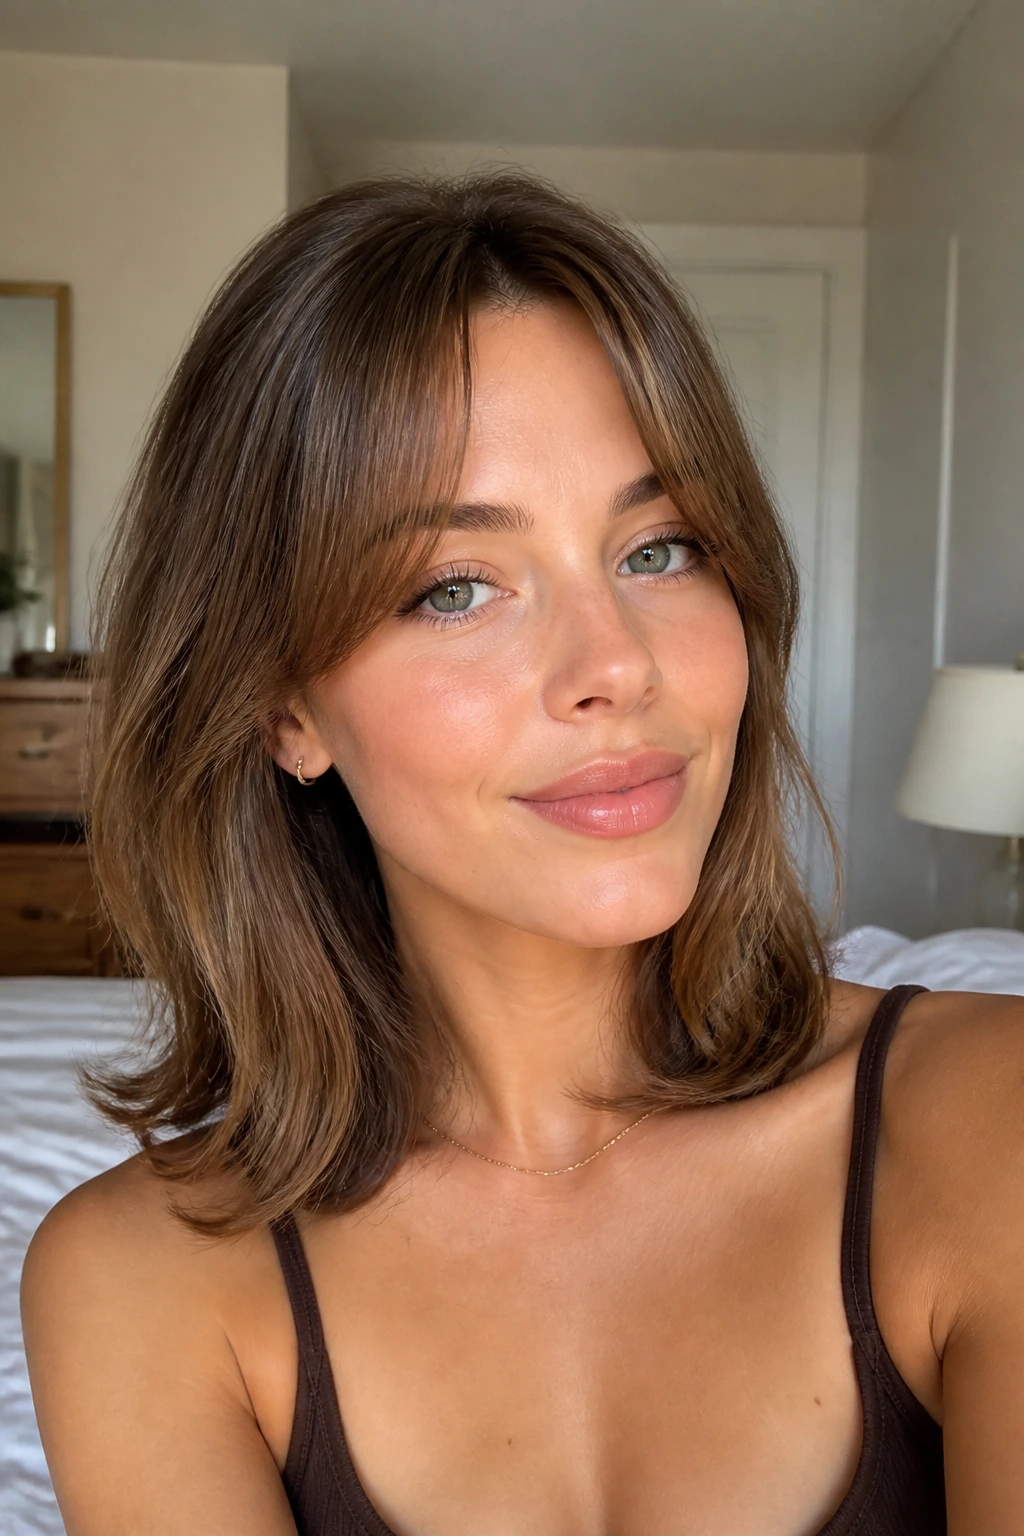
Some curtain bangs behave well after a simple blow-dry. Others need a little more coaxing. The good news is that thin hair usually responds fast, which means you don’t need a marathon routine to get the front to sit right.
Blow-dry route
Start with a light mist of heat protectant and a pea-size amount of mousse at the roots. Blow-dry the fringe from side to side first, then roll it away from the face with a round brush. Let it cool in that curve for a few seconds before you shake it loose. That cooling step is the part people skip, and it’s usually why the bang drops flat.
Air-dry route
If you air-dry, twist each side of the fringe once while it’s damp and clip the ends away from the face until they set. A little texture spray can help, but keep it light. Heavy cream makes the front separate into oily ribbons, and that is the opposite of what you want.
Second-day reset
Dry shampoo at the roots, then bend the front with a small brush or a flat iron for ten seconds per side. No need to start over. If the split gets messy, dampen just the fringe with a spray bottle and re-set the part with your fingers.
Common Mistakes That Make the Front Look Sparse
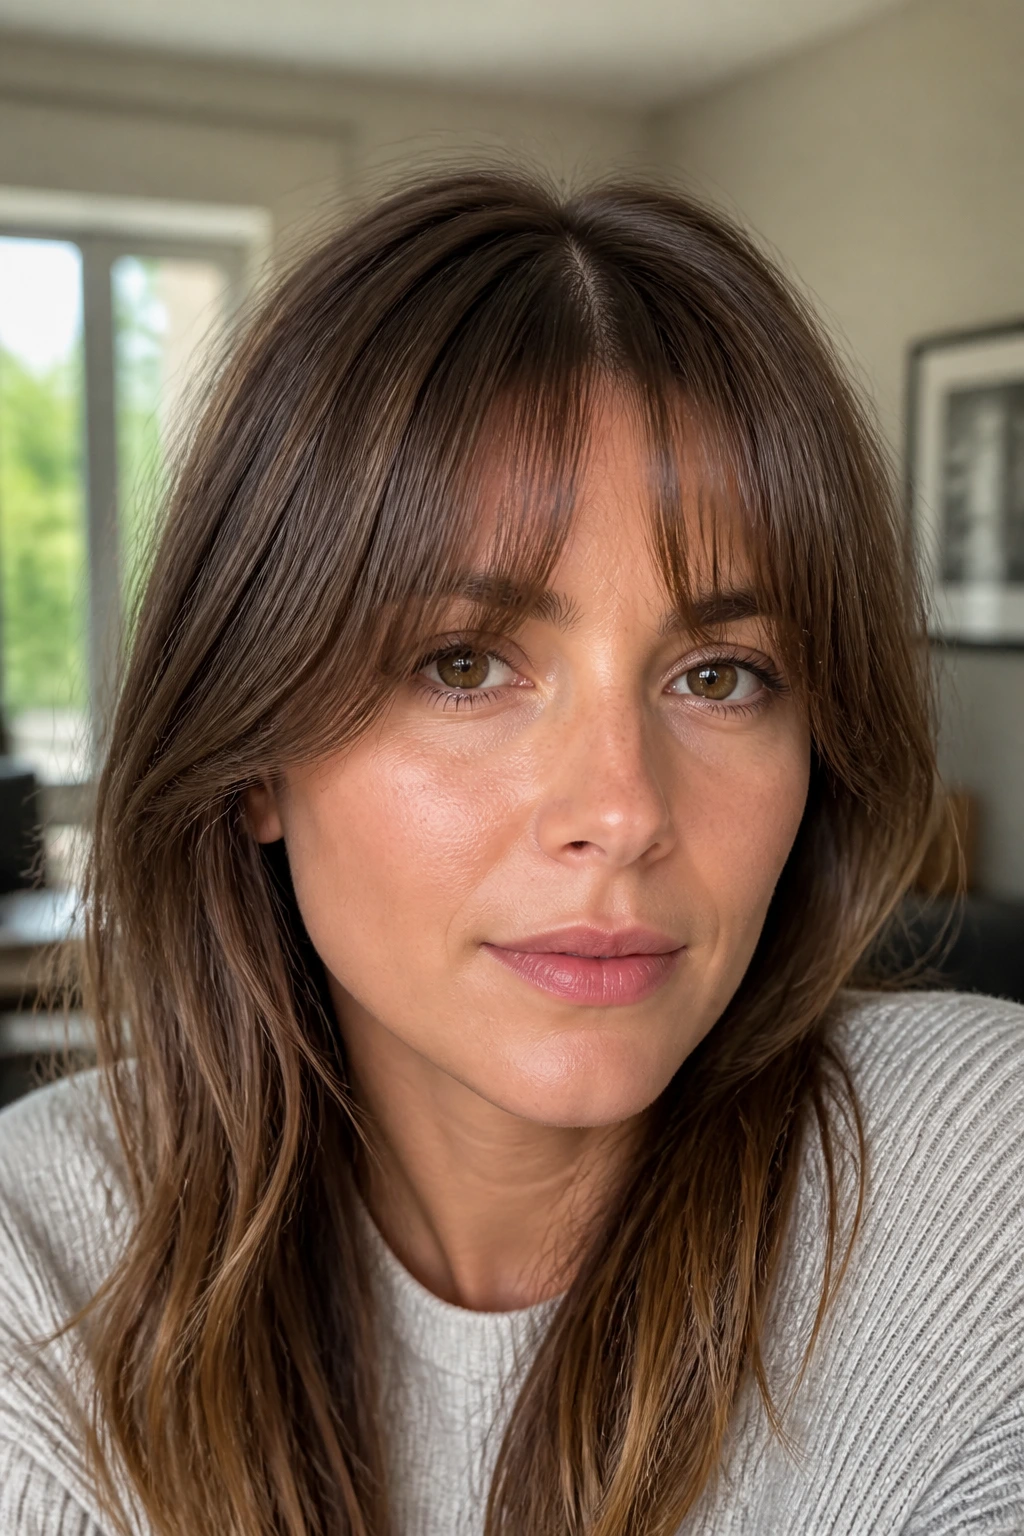
- Cutting the center too short: The bangs jump up, expose too much forehead, and lose their shape by the end of the day. Fix it by keeping the shortest point at brow level or just below it.
- Over-thinning with texturizing shears: The fringe starts looking see-through, especially in daylight and overhead lighting. Ask for softer edges, not more slicing.
- Using heavy cream near the roots: The bangs clump, separate, and collapse onto the forehead. Keep richer products away from the front section.
- Blow-drying straight down: The hair lays flat and the center split gets wider in the wrong way. Direct air up and away from the face first.
- Ignoring the natural part: If your hair wants to part slightly off-center, fighting it will make the fringe puff or split oddly. Work with the growth pattern.
- Letting the sides get too short: When the frame pieces are trimmed away too much, the whole style loses its curtain effect. Keep the outer corners long enough to matter.
Variations and Alternative Ways to Wear the Look

The Soft Office Sweep keeps the center modest and the sides tidy, with just enough curve to frame the face. It’s the version I’d pick if you want something polite on Monday and still flattering on Friday.
The Blowout Bardot leans into volume with rollers, a round brush, and a little root lift. It’s a stronger statement, and it works best when you do not mind a few extra minutes with the dryer.
The Air-Dry Wisp is for people who hate heat styling but still want a fringe. Keep the cut longer, add almost no product, and let the front dry with a natural bend instead of chasing polish.
The Curly Frame uses longer front pieces and a dry-cut approach so the curl pattern can do its job. This version needs patience, because the shape shows up only after the hair settles.
The Low-Density Save keeps more weight at the temples and refuses to slice the center too aggressively. It’s the calm, smart choice when the hairline itself is a little sparse.
Maintenance, Trims, and Grow-Out Timing
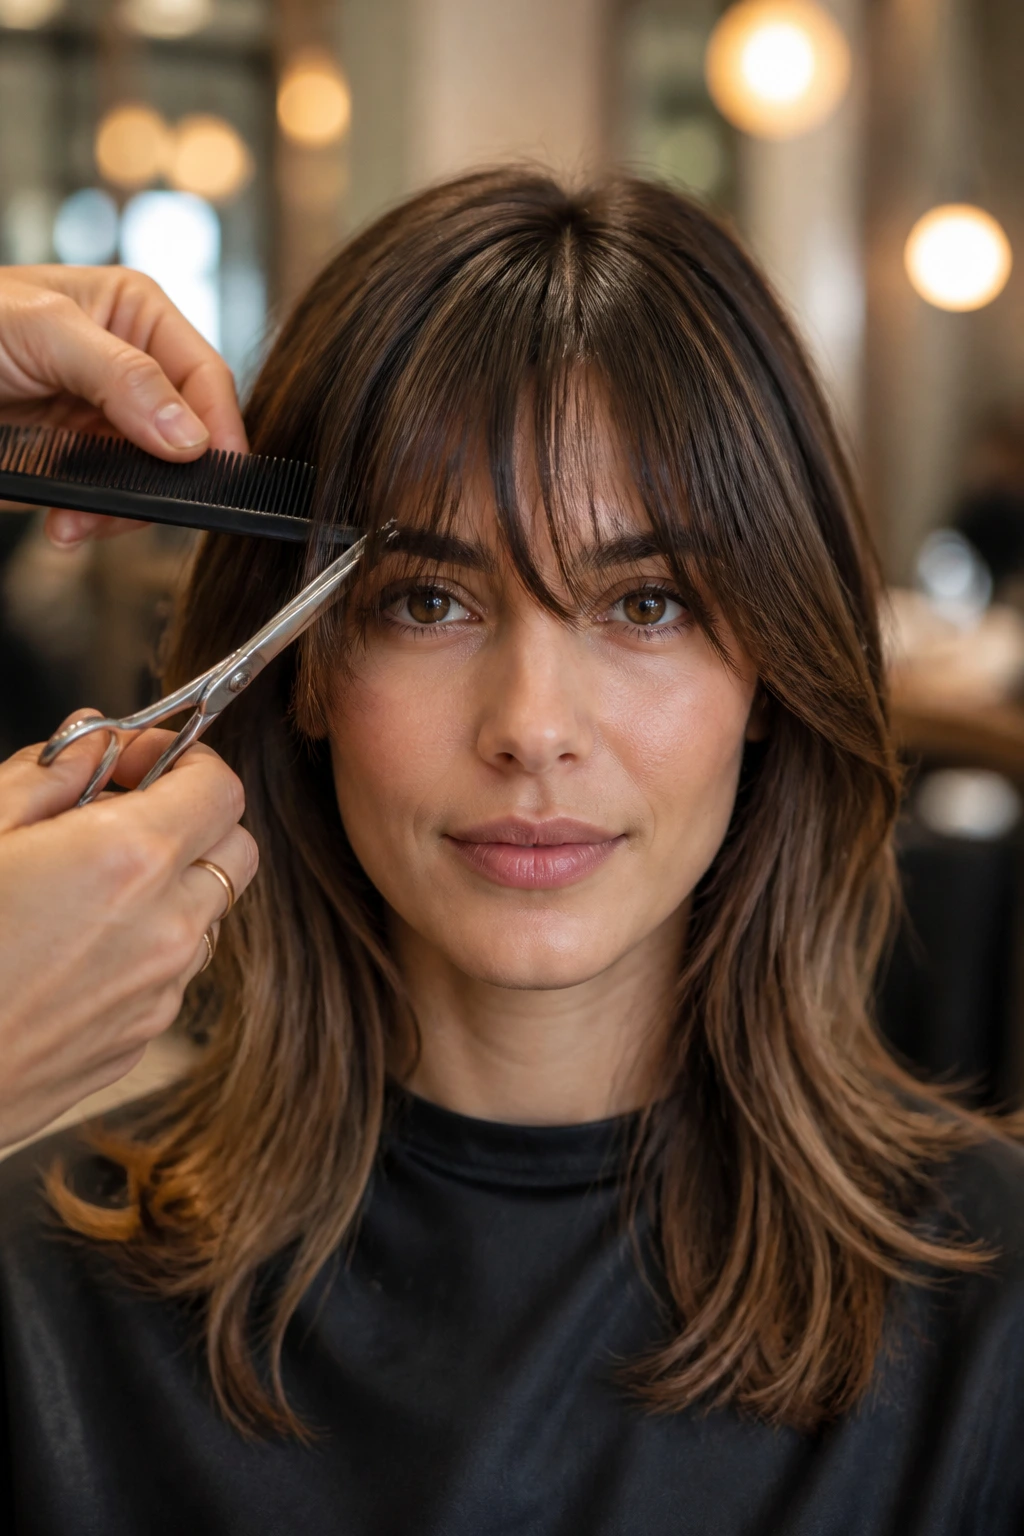
Curtain bangs usually need a trim every 6 to 8 weeks if you want the shape to stay crisp. If you’re happy with a softer, grown-out look, you can stretch that longer, but the inner corners should still be cleaned up before they start dropping into your eyes every time you tilt your head.
Front hair gets oily faster than the rest of the head because it sits against skin and gets touched constantly. Washing the fringe on its own between full washes is a sane habit. A quick sink rinse, a little shampoo at the roots, and a fast blow-dry can buy you another day or two of decent shape.
The other maintenance issue is the grow-out phase. Curtain bangs are forgiving here, which is one of the reasons I like them, but the shape still benefits from occasional shaping at the sides. If you’re growing them out, ask for a soft trim that preserves the cheekbone pieces while cleaning up the center. That way the fringe changes into layers instead of turning into a weird middle shelf.
If you wear a style with more lift—Bardot, feathered, or retro—expect the front to need a quick reset most mornings. If you prefer the soft, longer versions, a pin, a brush, and a little dry shampoo are usually enough. The style should match the maintenance you’re willing to live with, not the other way around.
Frequently Asked Questions
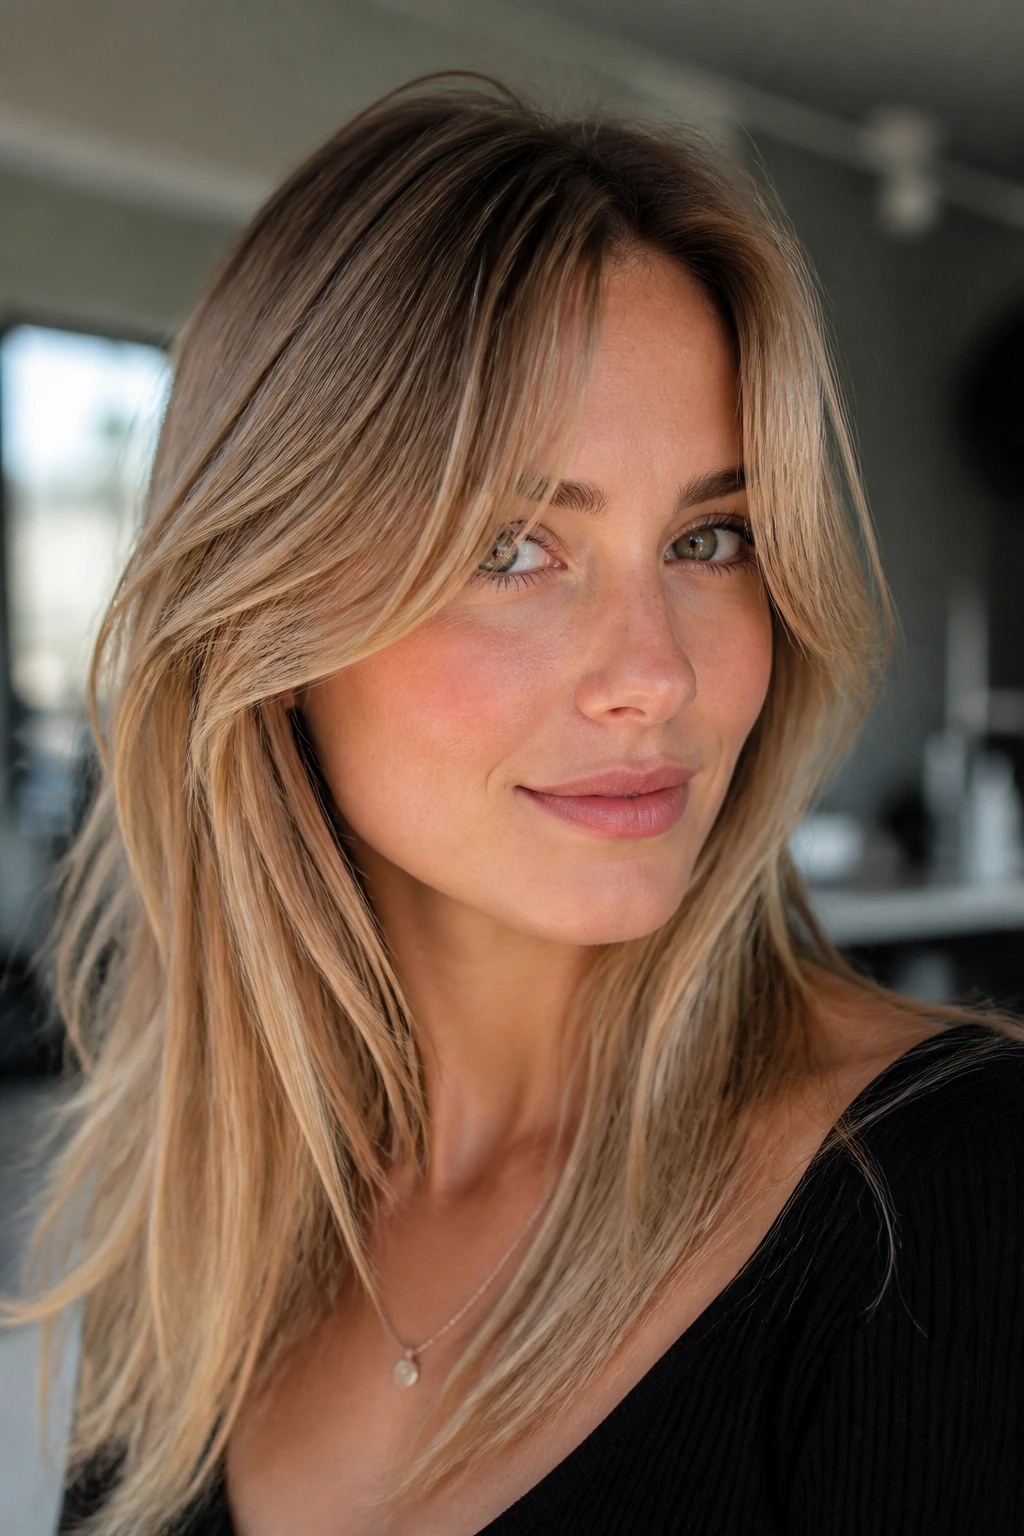
Do curtain bangs make thin hair look thinner?
They can, but only when they’re cut too short or thinned too hard. A good curtain fringe keeps weight at the sides and leaves the center long enough to frame the face, which usually makes the front look fuller rather than smaller.
Are curtain bangs better than blunt bangs for fine hair?
Most of the time, yes. A blunt bang puts all the pressure on one short strip of hair, while curtain bangs spread that visual weight across two longer pieces. That longer shape tends to read as softer and denser.
How short should curtain bangs be on thin hair?
A safe starting point is around the brow or just below it in the center, with the side pieces reaching the cheekbone. Shorter can work, but the margin for error gets small fast if the front density is low.
Can I get curtain bangs if I have a cowlick?
Yes, but the cut should respect the cowlick instead of fighting it. Tell your stylist which way the front wants to split, and expect to style it in that direction most days. Forcing a dead-center part on a stubborn cowlick is a recipe for annoyance.
What product helps curtain bangs hold shape without looking stiff?
A lightweight mousse or root foam is usually enough. Use it at the roots, not through the ends, so the front has lift without turning sticky or greasy. Dry shampoo is useful on day two if the fringe starts to separate.
Can curtain bangs be air-dried on thin hair?
They can, but you’ll get a softer, looser shape than a polished bend. If you air-dry, clip the fringe away from the face while it sets and keep product light. A little control at the root matters more than product overload.
How often do curtain bangs need trimming?
Most people do well with a trim every 6 to 8 weeks, though a softer, longer curtain can stretch longer than that. If the inner corners start hitting your eyes or the sides lose their frame, it’s time to tidy them up.
Can wavy or curly thin hair wear curtain bangs?
Absolutely, but the cut should be longer and shaped with shrinkage in mind. Dry cutting or a cautious wet cut tends to work better because the curl pattern changes the final length. Keep the sides long enough to stay visible once the hair dries.
The Fringe That Pays Its Way
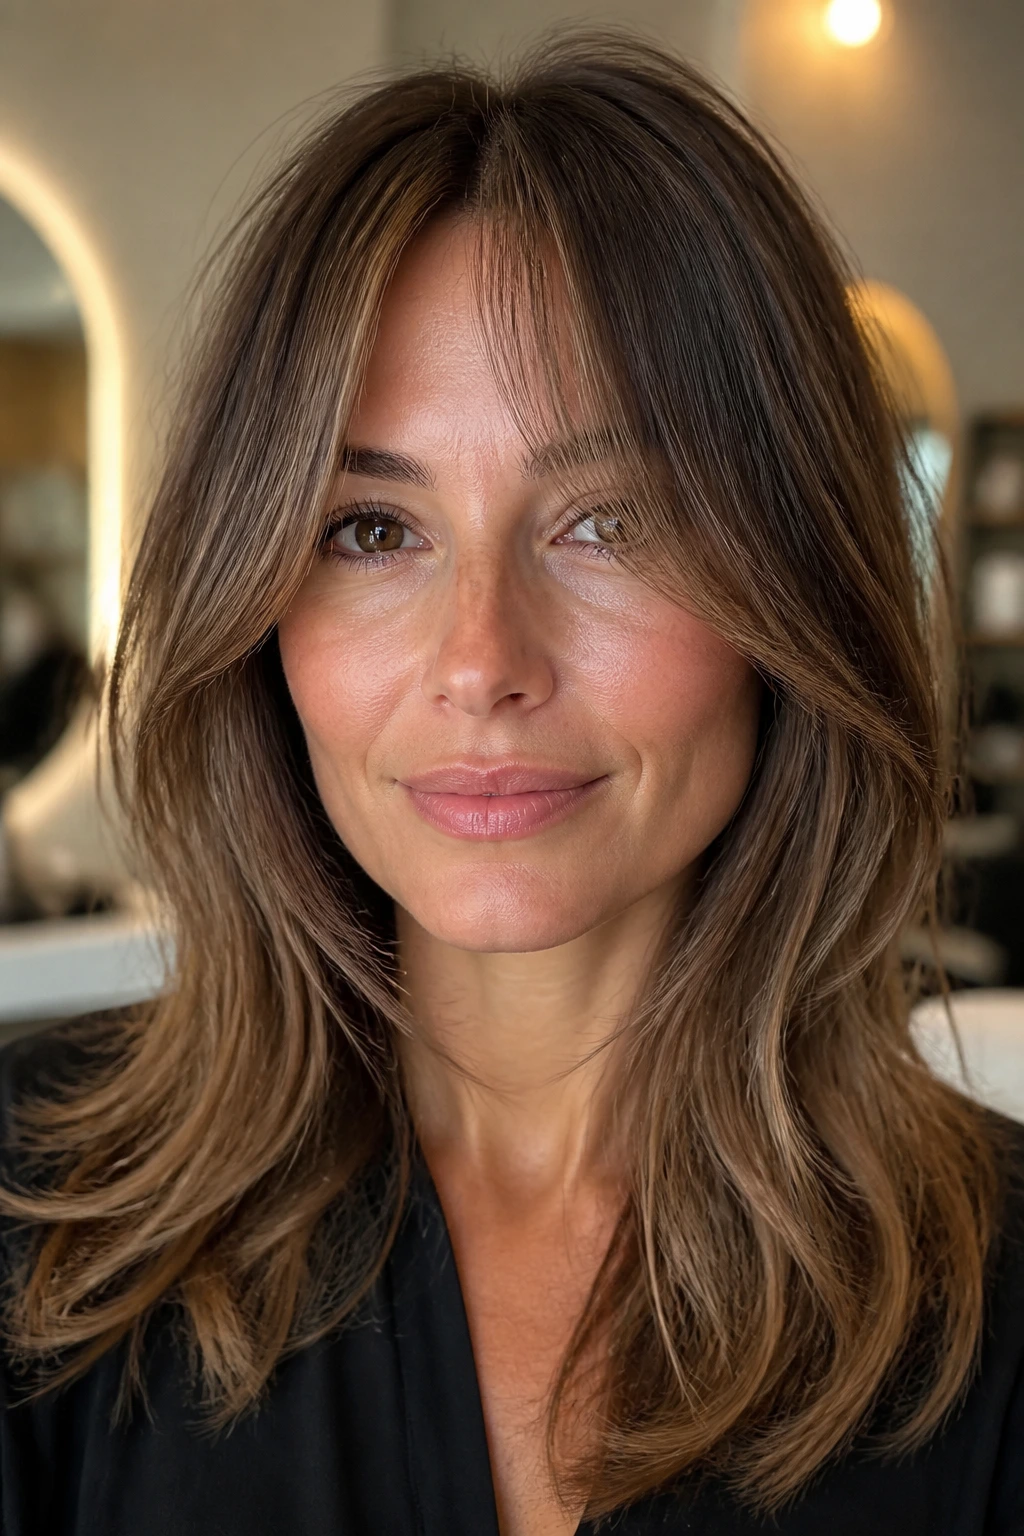
Curtain bangs can be a very good fit for thin hair because they do not ask one short, narrow section to carry the entire look. They let the front stay soft, leave room for movement, and give you a little more control over how much forehead you show.
That flexibility is the real selling point. You can wear them polished, piecey, feathered, overgrown, or almost invisible, and the haircut still makes sense. If your front hair has been arguing with you for years, a well-cut curtain fringe may be the first version that actually settles down and behaves.
