



Straight hairstyles can look razor-clean or strangely tired, and the difference is usually hiding in plain sight. A center part that lands exactly where it should, a crown that sits flat instead of puffing up, and ends that fall in one clean line — those three details do more work than a whole drawer full of styling gadgets.
The good versions of straight styles feel sharp without feeling stiff. They also have range. A blunt bob can look severe in the best way, a low ponytail can read polished instead of plain, and a long, glassy length can feel far more deliberate than loose waves ever do. The trick is choosing a shape that matches the haircut you already have and finishing it with enough control to keep every strand from wandering off on its own.
And yes, the small stuff matters. A few sections clipped while they cool, a pea-sized amount of serum kept away from the roots, a flat iron used once instead of three times over the same piece — that’s the difference between straight hair that lies smooth and straight hair that looks overworked. The styles below cover short cuts, long lengths, office days, nights out, and the in-between looks that sit quietly but still get noticed.
Why These Straight Hairstyles Earn Their Keep
-
Low-fuss shape: Most of these straight hairstyles need one clean base — a good blow-dry, a flat iron pass where needed, and a part that stays put.
-
Sharp details do the heavy lifting: A tucked ear, a wrapped elastic, or a blunt edge can change the whole read of the style without adding more work.
-
They suit more than one hair type: Fine hair, thick hair, and bendy hair can all wear straight styles well when the cut and finish are matched properly.
-
Accessories behave better on smooth hair: Barrettes, scarves, and headbands sit flatter and look less bulky when the surface is controlled.
-
Day-two hair often improves the style: A lot of sleek shapes settle in overnight and lose that overly fresh, slippery look that can feel a little too perfect.
-
They scale up or down fast: The same base can go from school-run simple to evening-clean with a side part, a clip, or a low twist at the nape.
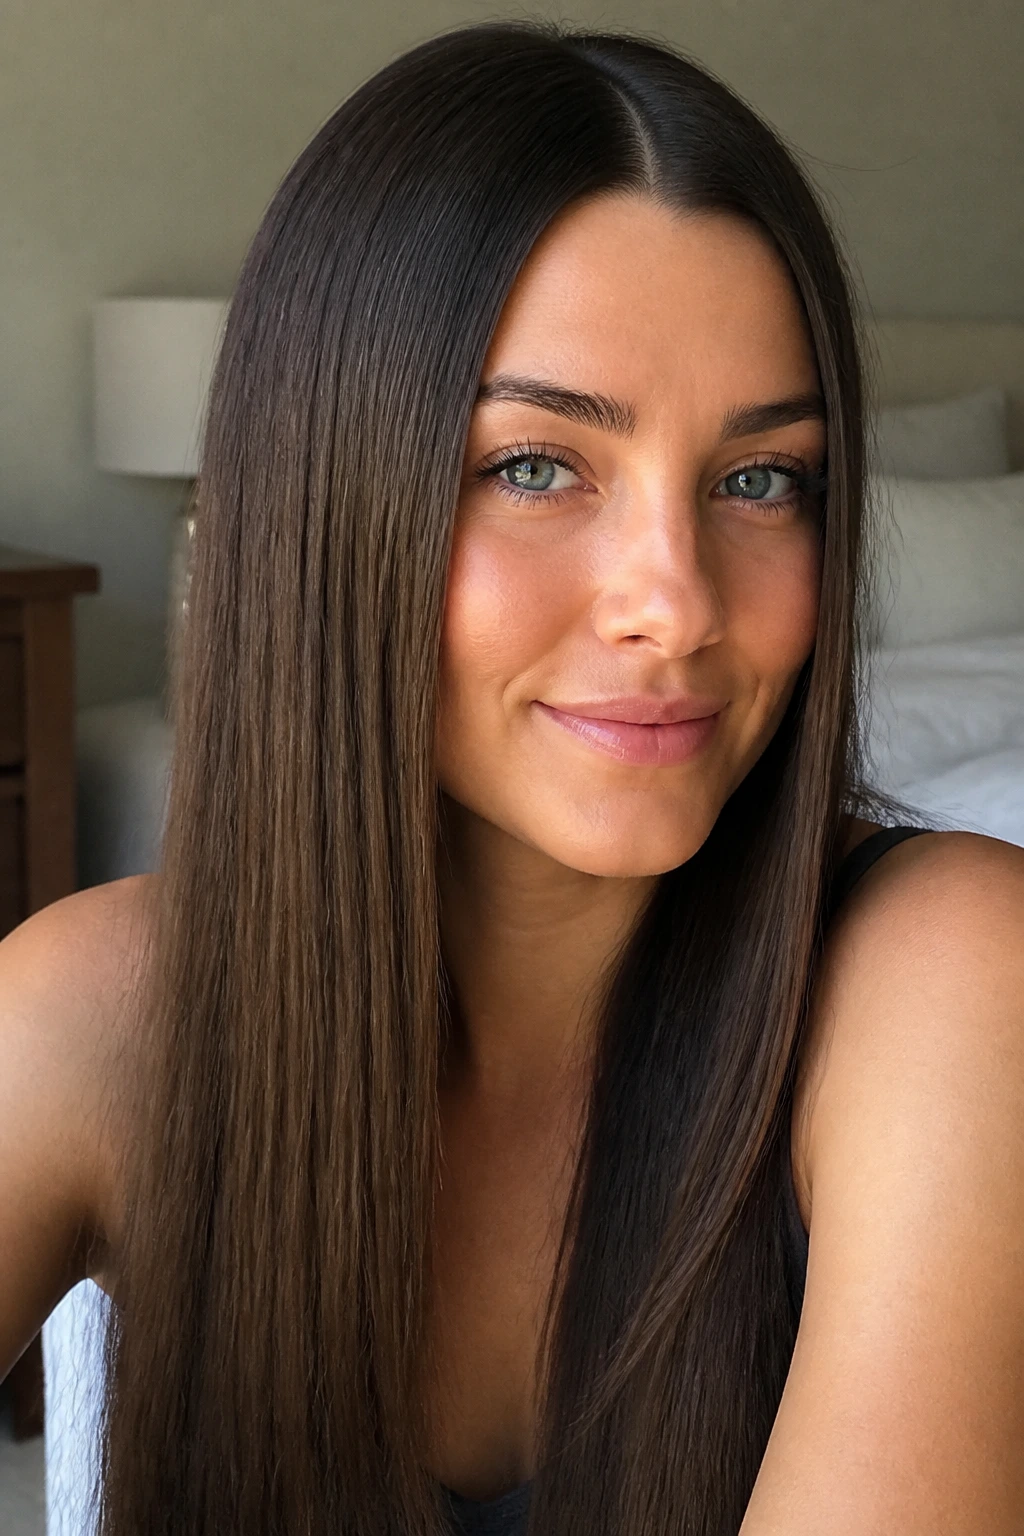
1. Glass-Clean Center Part
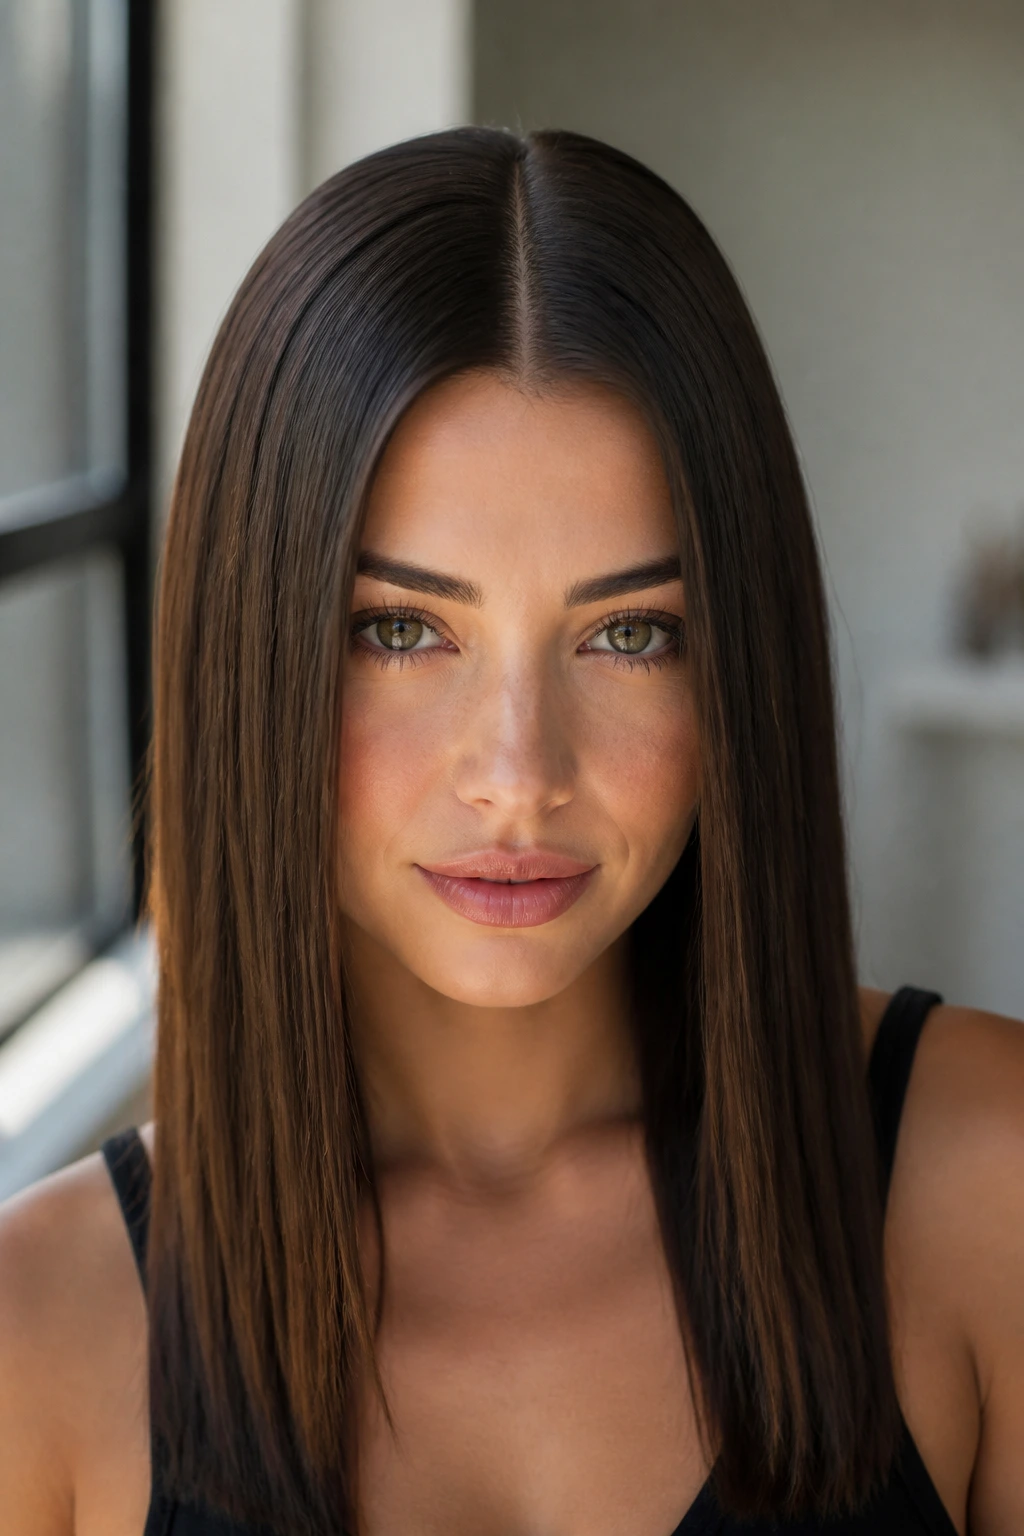
A center part is the fastest way to make straight hair look intentional. When it lands evenly and the crown stays flat, the whole style has a quiet sharpness to it. I like this on medium-to-long lengths because the line of hair on both sides of the face draws the eye straight down, which makes the ends matter more than the roots.
How to keep it crisp
- Blow-dry with a nozzle pointing down the shaft, not out into the air.
- Use a tail comb to draw the part while the hair is still warm.
- Run a flat iron through 1-inch sections at 330°F to 350°F, depending on thickness.
- Finish with one drop of serum on the last 2 inches only.
If the hair likes to puff at the temples, clip those front pieces back for 5 to 10 minutes while they cool. That tiny pause is what keeps the part from widening by lunchtime.
Best on: long layers, blunt cuts, and hair that already lies fairly flat at the root.
2. Tucked-Behind-the-Ears Lob
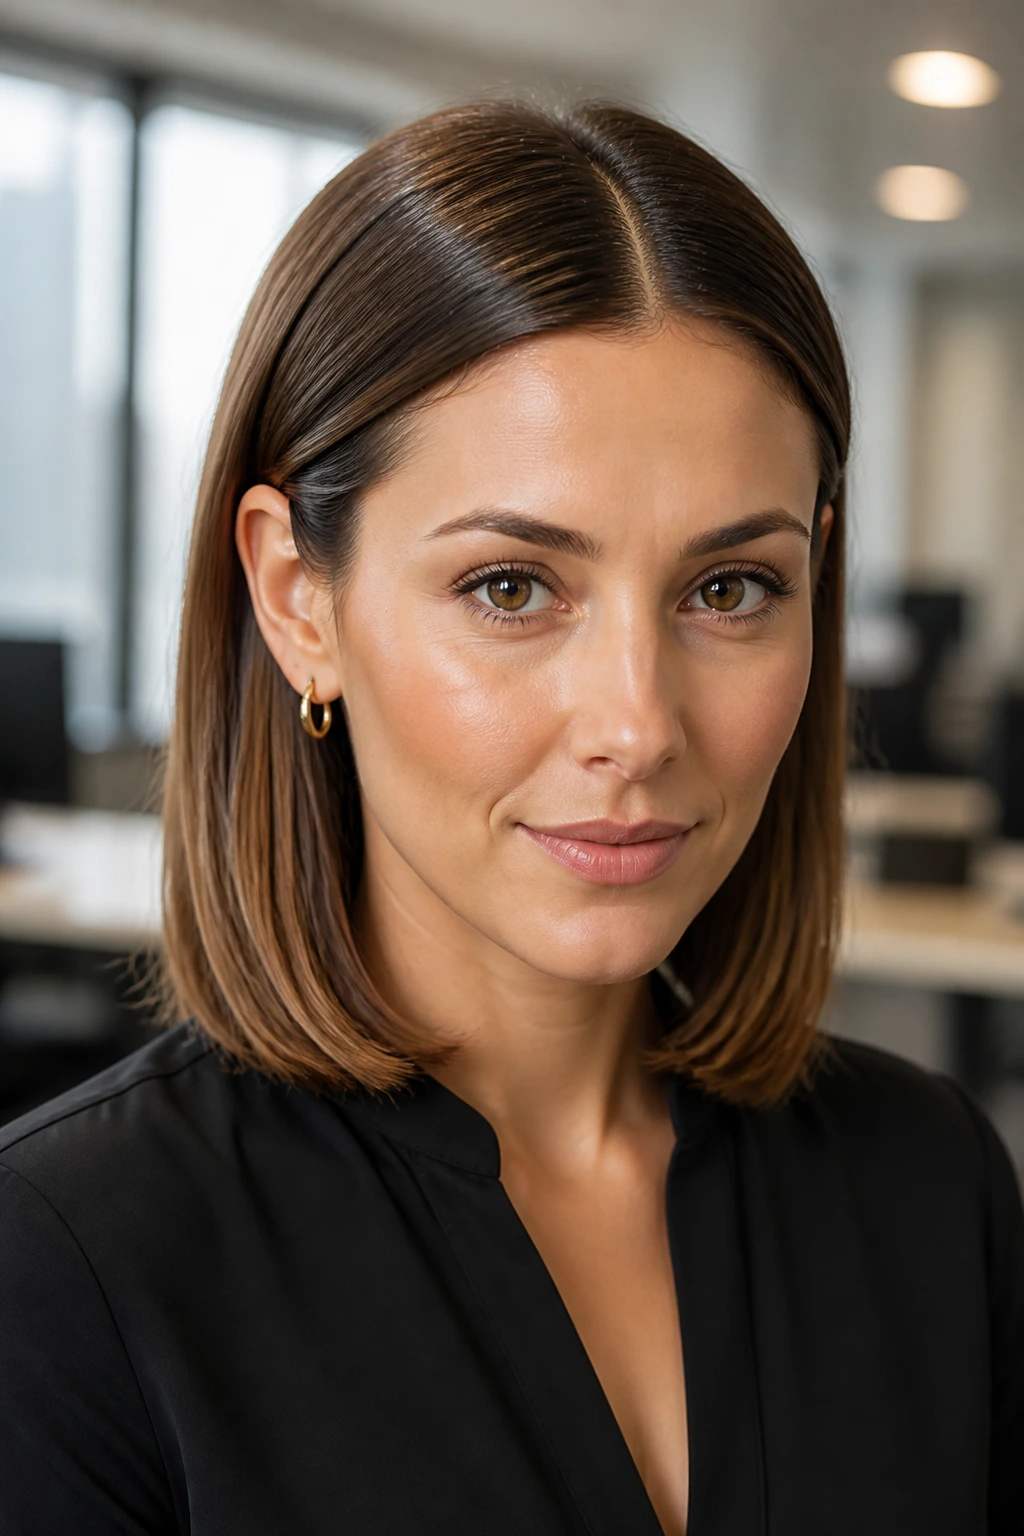
Can a shoulder-skimming cut look polished without much styling? Yes — if the front pieces stay smooth and the ears do the framing instead of the hair. A tucked lob has that neat, slightly studied feel that works in an office, at brunch, or anywhere you want to look tidy without looking fussy.
The important part is the tuck itself. If the hair keeps slipping forward, use one hidden bobby pin behind each ear and anchor it under the top layer. The goal is not to pin the hair stiff. It’s to persuade it to stay put.
Best on cuts that hit the jaw or collarbone
This style shines when the ends are blunt or only lightly beveled. If the lob has too many short layers, the tucked side can spring loose and create a lopsided puff near the ear.
A light mist of hairspray on a toothbrush works better than spraying directly at the temple. It gives control without turning the hair crunchy. Clean, simple, done.
3. Wrapped Low Ponytail
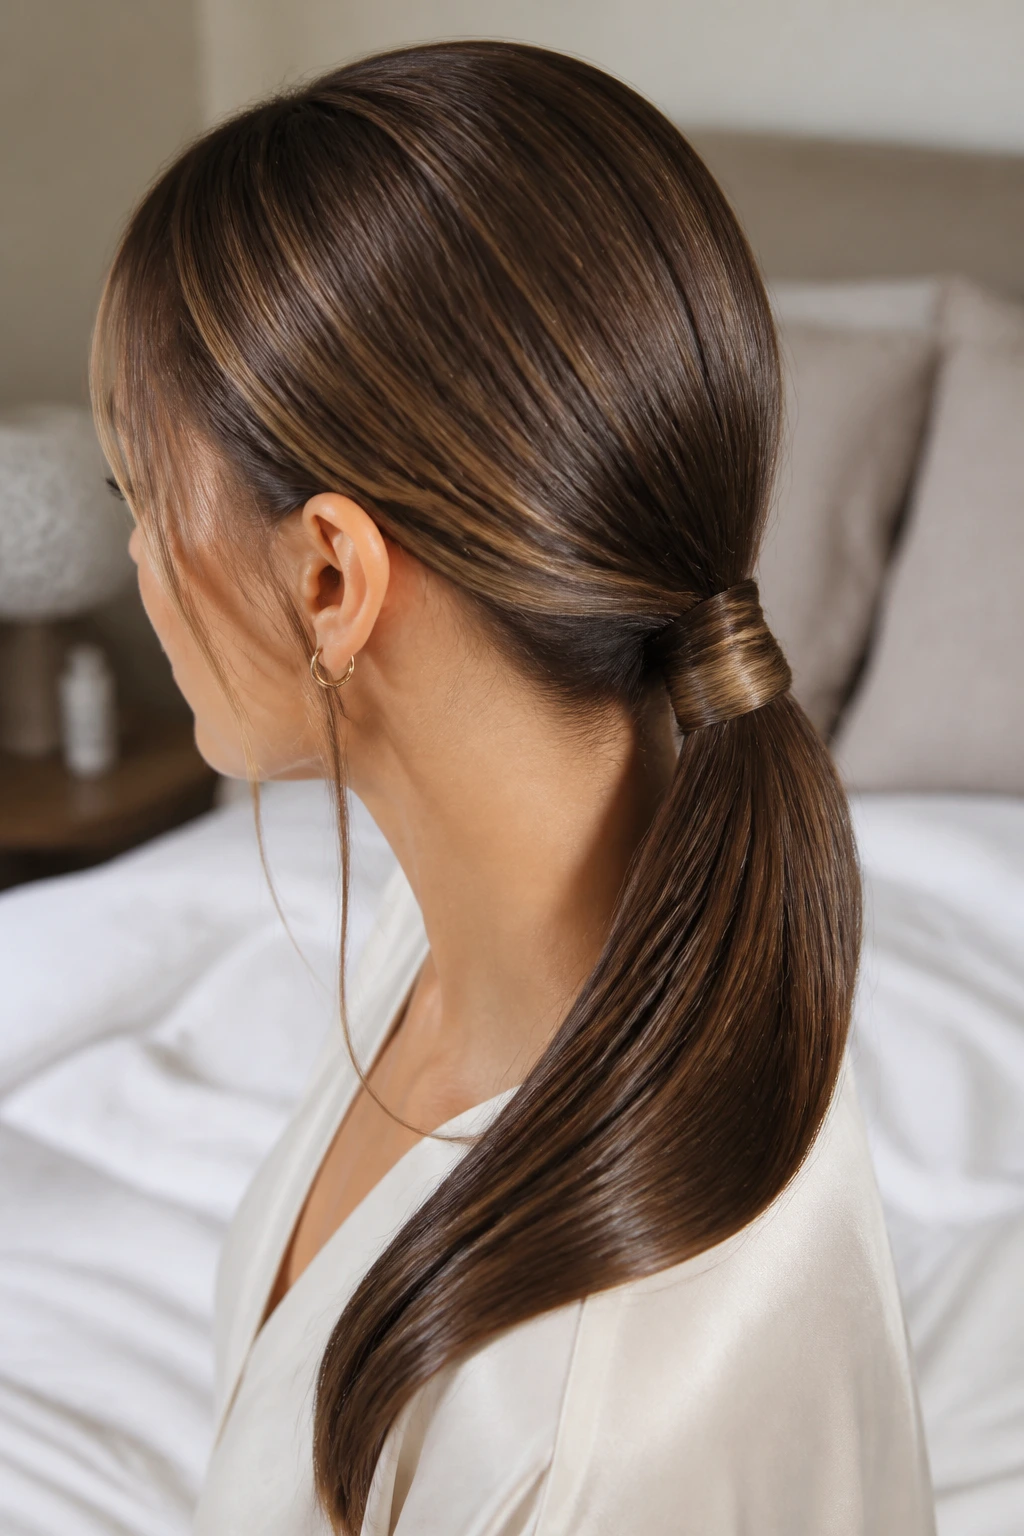
A low ponytail becomes a clean-line style the second you hide the elastic. That single wrapped strand changes the whole mood. It stops looking like a default and starts reading like a choice, especially when the base sits low and the crown is brushed tight.
I prefer this on straight hair that’s been smoothed with a paddle brush and a little leave-in before drying. The ponytail should fall straight, not puffy, and the length should look like it was set there on purpose. A thin elastic is better than a thick one here because the wrap looks neater.
- Gather the hair at the nape with a boar-bristle brush.
- Secure it with a snag-free elastic.
- Take a 1/2-inch strand from underneath and wrap it around the base.
- Pin the end under the ponytail with a U-pin or small bobby pin.
That wrapped base is worth the extra minute. It makes even a quick ponytail look finished.
4. Blunt Bob with Razor Ends
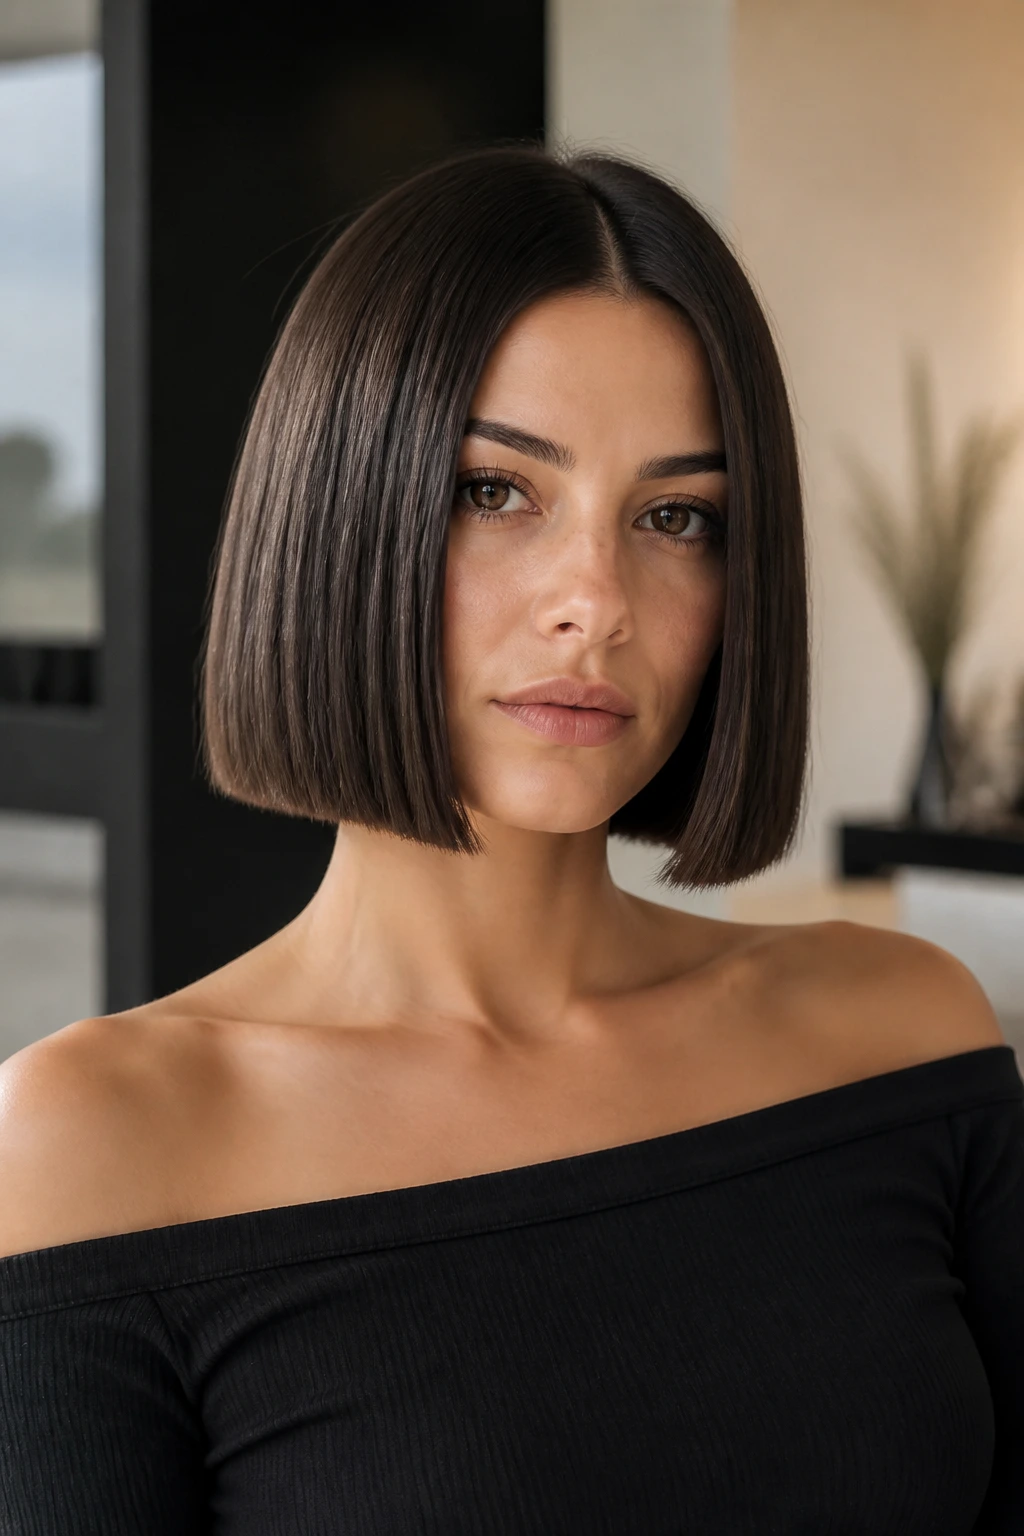
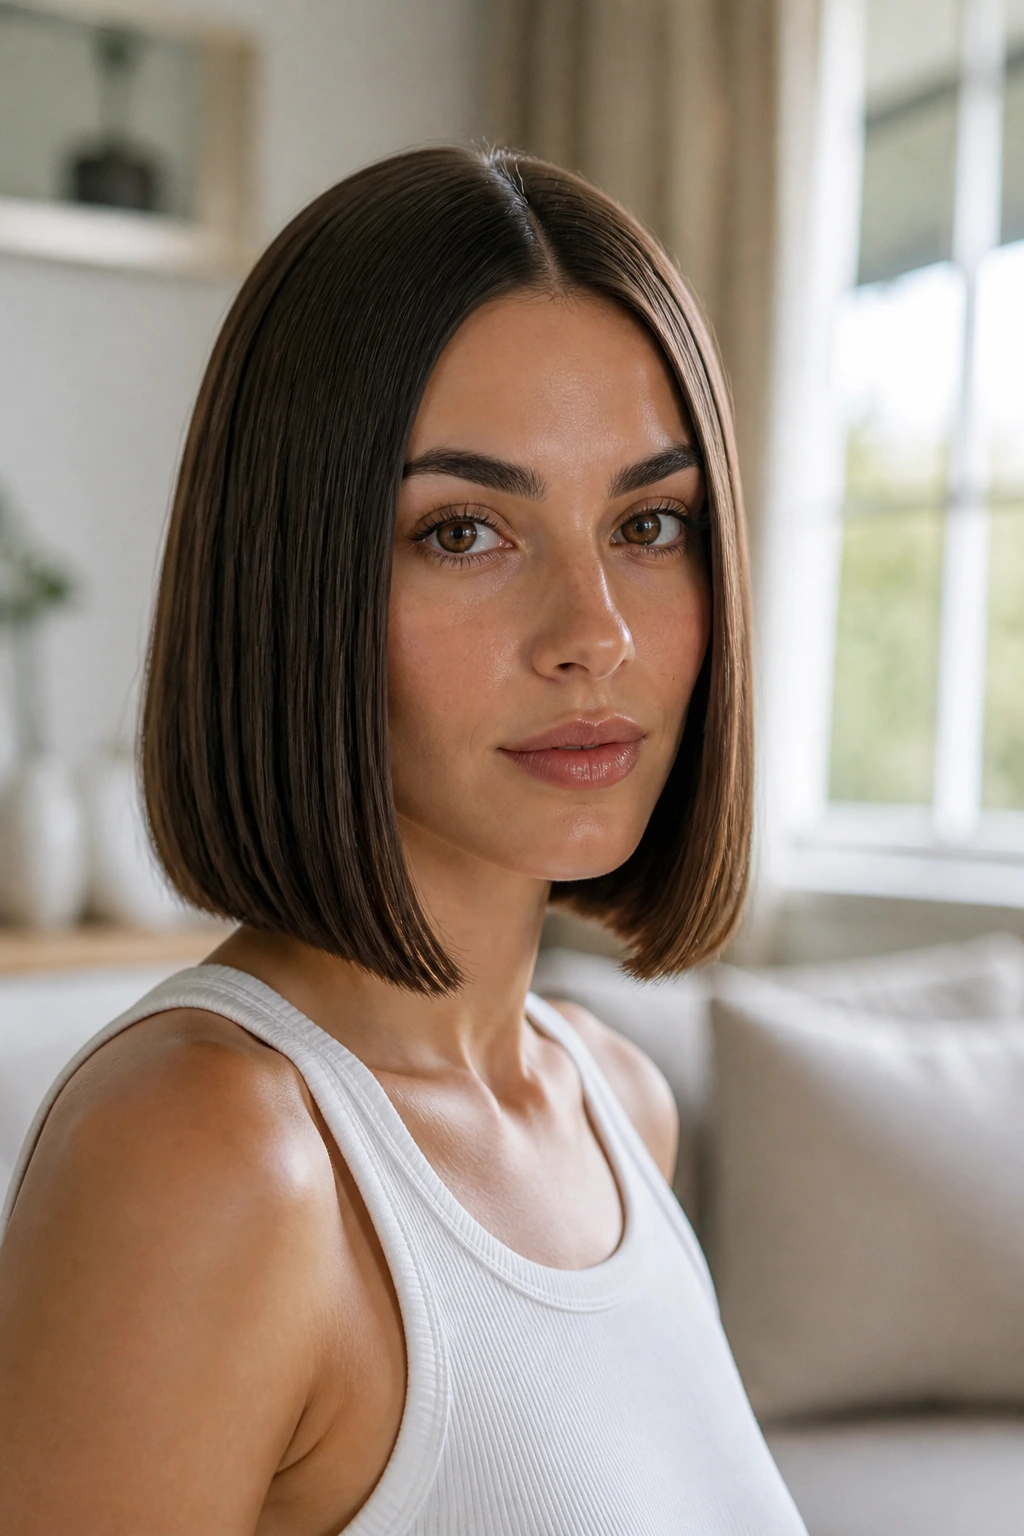
A blunt bob has teeth. Not literally. It just has that solid, defined edge that makes straight hair look thicker than it really is. If your strands are fine or medium, this cut can be a gift because the clean line at the bottom creates the illusion of density.
The finish matters more than the cut, though. A bob with ends that flip every direction loses the whole point. I like to flat iron the last inch with a slight inward angle so the edge sits cleanly against the jaw or cheekbone. No curl, no airy bend, just a controlled line.
What makes this one different
- It looks strongest when the length hits right below the cheekbone or just under the jaw.
- It needs regular trims, usually every 6 to 8 weeks, if you want the edge to stay sharp.
- It pairs well with a side or center part, but the part should stay clean and not zigzag.
If you want a bob that says polish first and personality second, this is the one I’d point to.
5. Deep Side Part Sweep
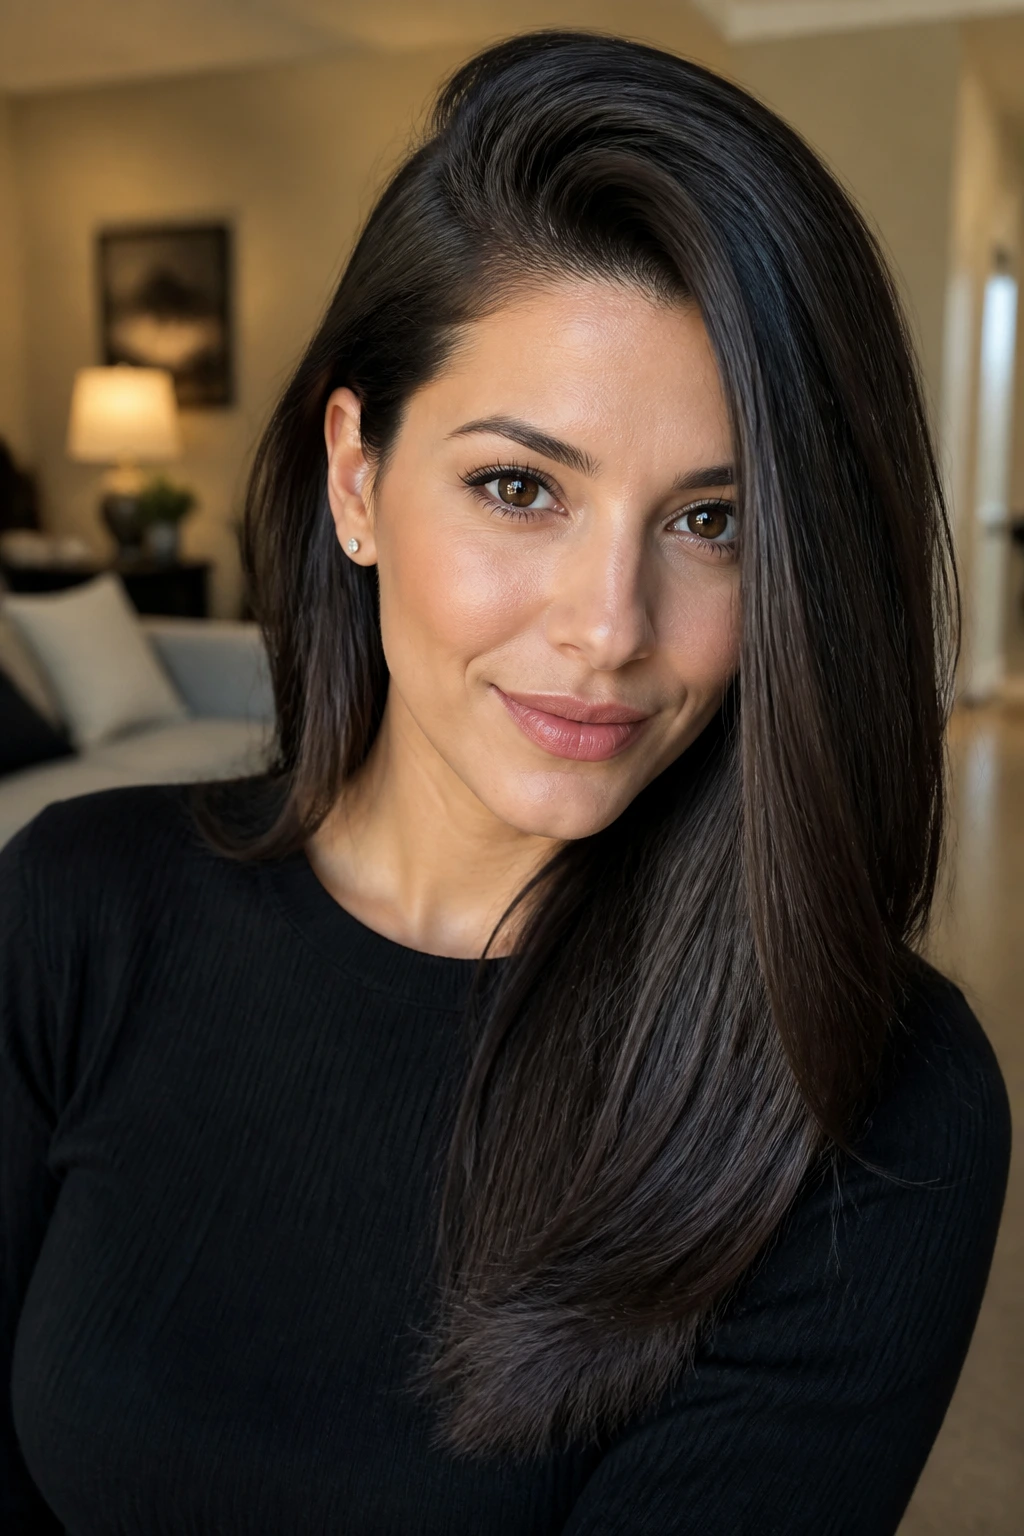
A deep side part does something sneaky. It gives straight hair a little lift at the roots without turning it into a blowout. The hair on one side sits lower and sleeker, while the other side gets a bit of height near the crown, which is enough to make the shape feel intentional.
The style works especially well when hair has a natural bend that’s hard to erase. Instead of fighting it, you use it. Blow-dry the heavier side back and slightly over with a round brush, then let it fall into place as it cools. That saves you from the helmet effect that can happen when every strand is pressed flat.
The cleanest version keeps the lengths smooth and the ends blunt. If you want a little drama, tuck the smaller side behind one ear and leave the heavier side to skim the cheek.
6. Curtain Bang Straight Hair
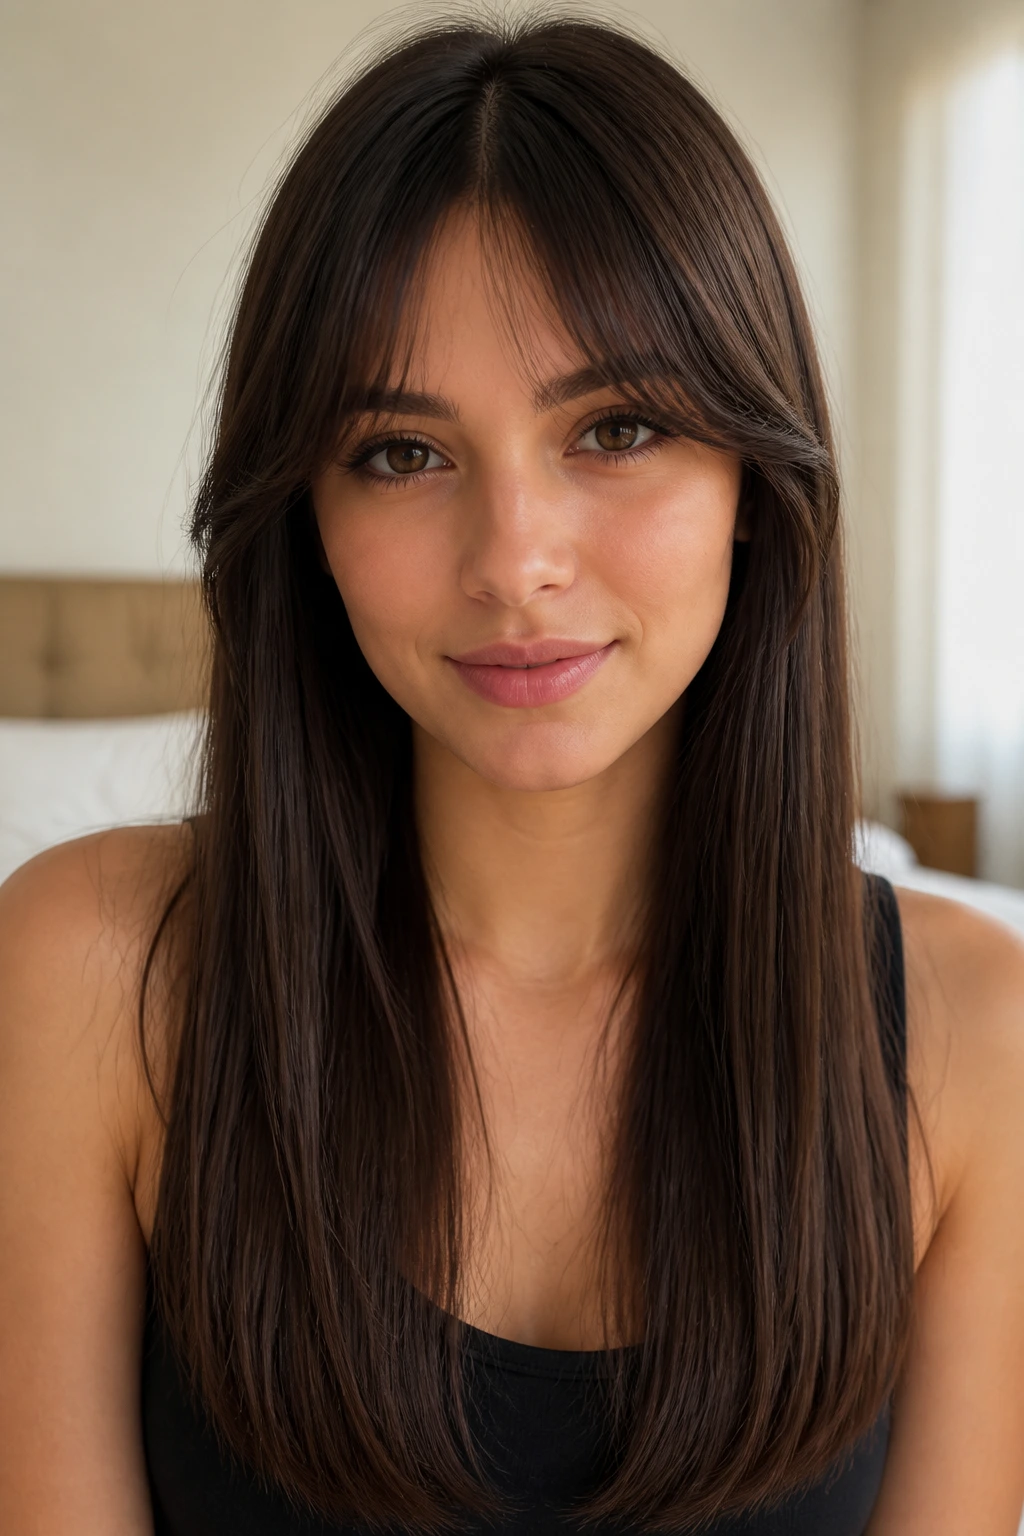
Curtain bangs and straight lengths are a good match when the bangs are soft, not rigid. The bangs should split around the brow with a slight bend, while the rest of the hair stays sleek underneath. That contrast is what keeps the style from looking too severe.
The easiest way to do it is to dry the bangs forward first, then brush them outward with a small round brush, about 1 to 1.5 inches across. You want the front pieces to fold away from the face, not curl under into little sausages. That’s the line I always watch for. Too much bend, and the bangs start acting theatrical.
This style is one of the best options for anyone who wants straight hair but doesn’t want every inch of the face exposed. The bangs soften a center part, and the lengths keep the whole thing grounded.
7. Half-Up Twist Crown
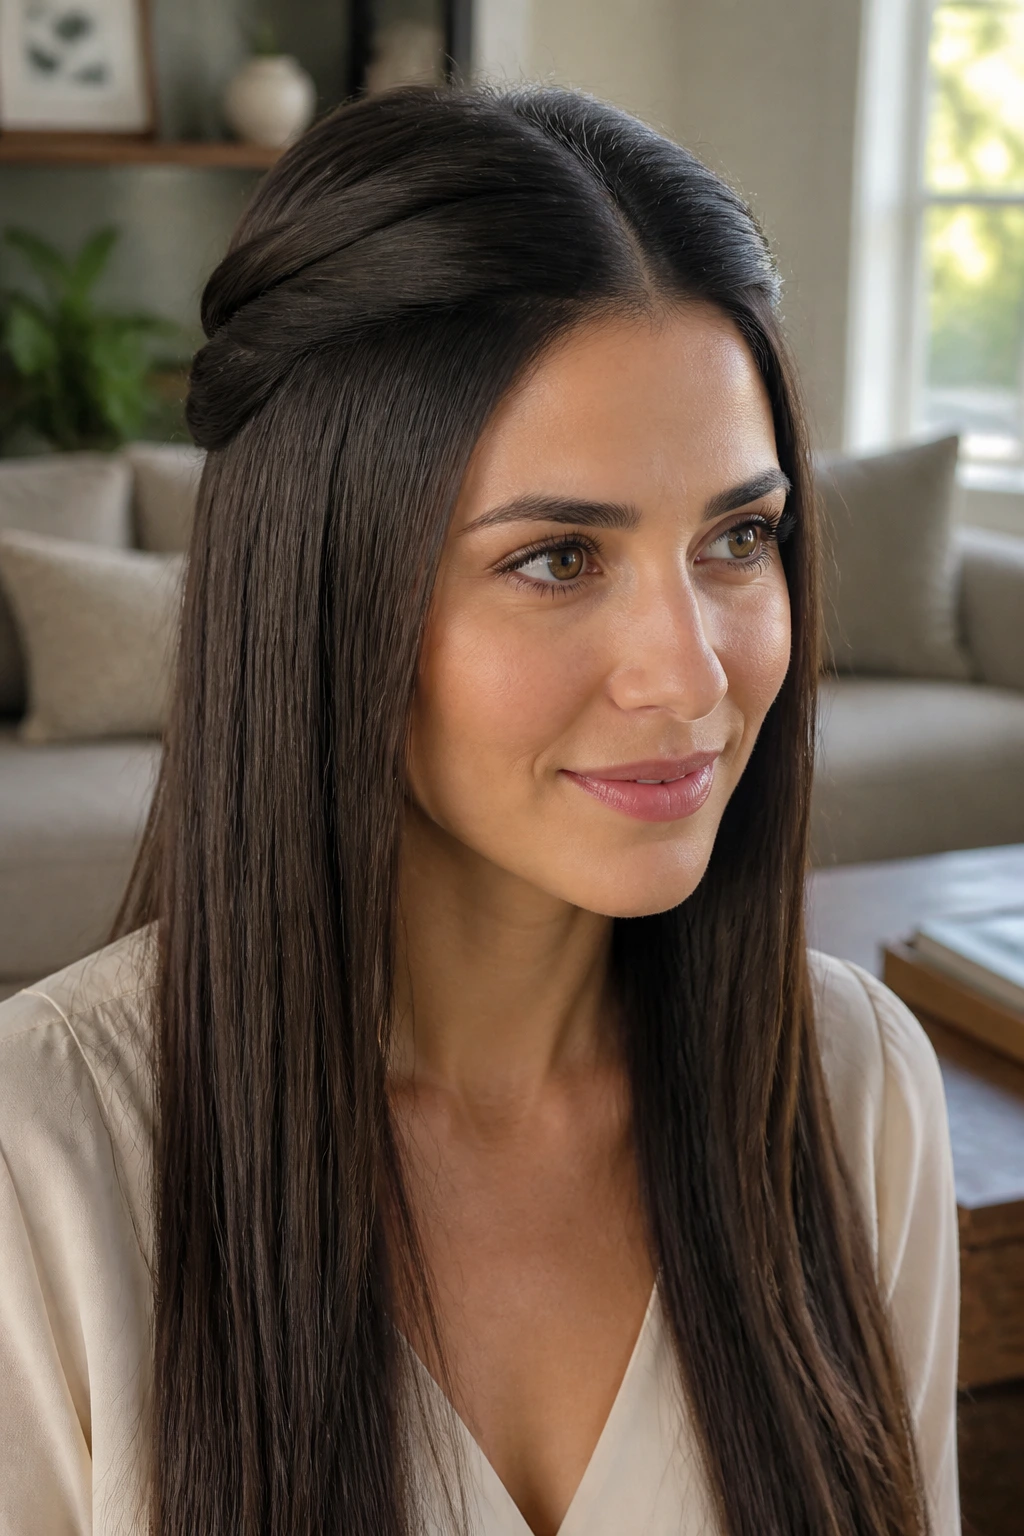
The half-up twist crown is a nice answer when the top layer needs to stay controlled but the lengths deserve to hang loose. It looks clean from the front and a little more detailed from the back, which is a rare thing. Most half-up styles only care about the front.
To make it work, take two sections from the temples, twist them back toward the crown, and pin them under a small overlap of hair. Cross the pins if the hair is slippery. Straight hair tends to slide, and crossed pins hold better than a single straight shot.
This one loves long, pin-straight lengths. It also helps if the roots were blown flat with a paddle brush first, because the twist line sits better against a smooth base. If you want the style to read softer, loosen one tiny edge of the twist near the temples. Not much. Just enough to keep it from feeling too exact.
8. Satin High Ponytail
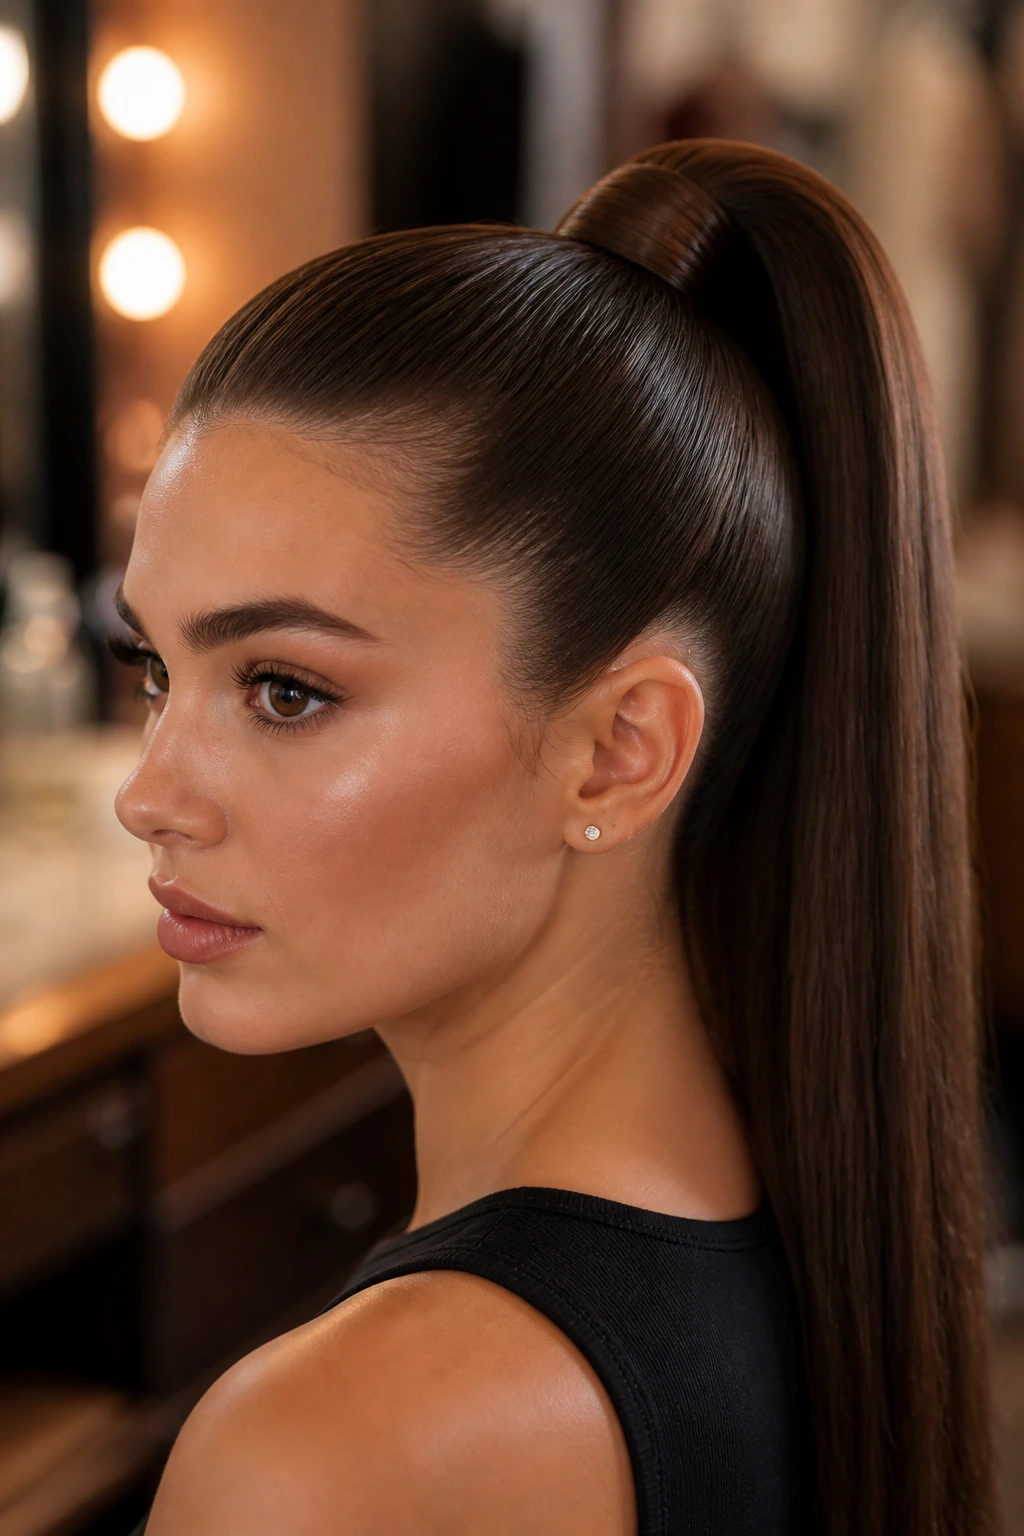
A high ponytail can look sleek or gymnast-simple. The satin version is the one that looks deliberate. The crown is brushed up tightly, the base sits high enough to lift the face, and the tail falls smoothly instead of flaring out.
This is the style I reach for when the hair itself is clean but maybe not freshly washed. Day-two texture actually helps here because a little grip keeps the base from slipping. Use a thin elastic, smooth the surface with a brush that has a bit of serum on it, and wrap a narrow strand around the base so the tie disappears.
If the ends are frizzy, run a flat iron through just the lower half of the ponytail, one section at a time. You do not need to flatten the whole length again. The crown already did the heavy lifting.
9. Invisible-Layer Long Hair
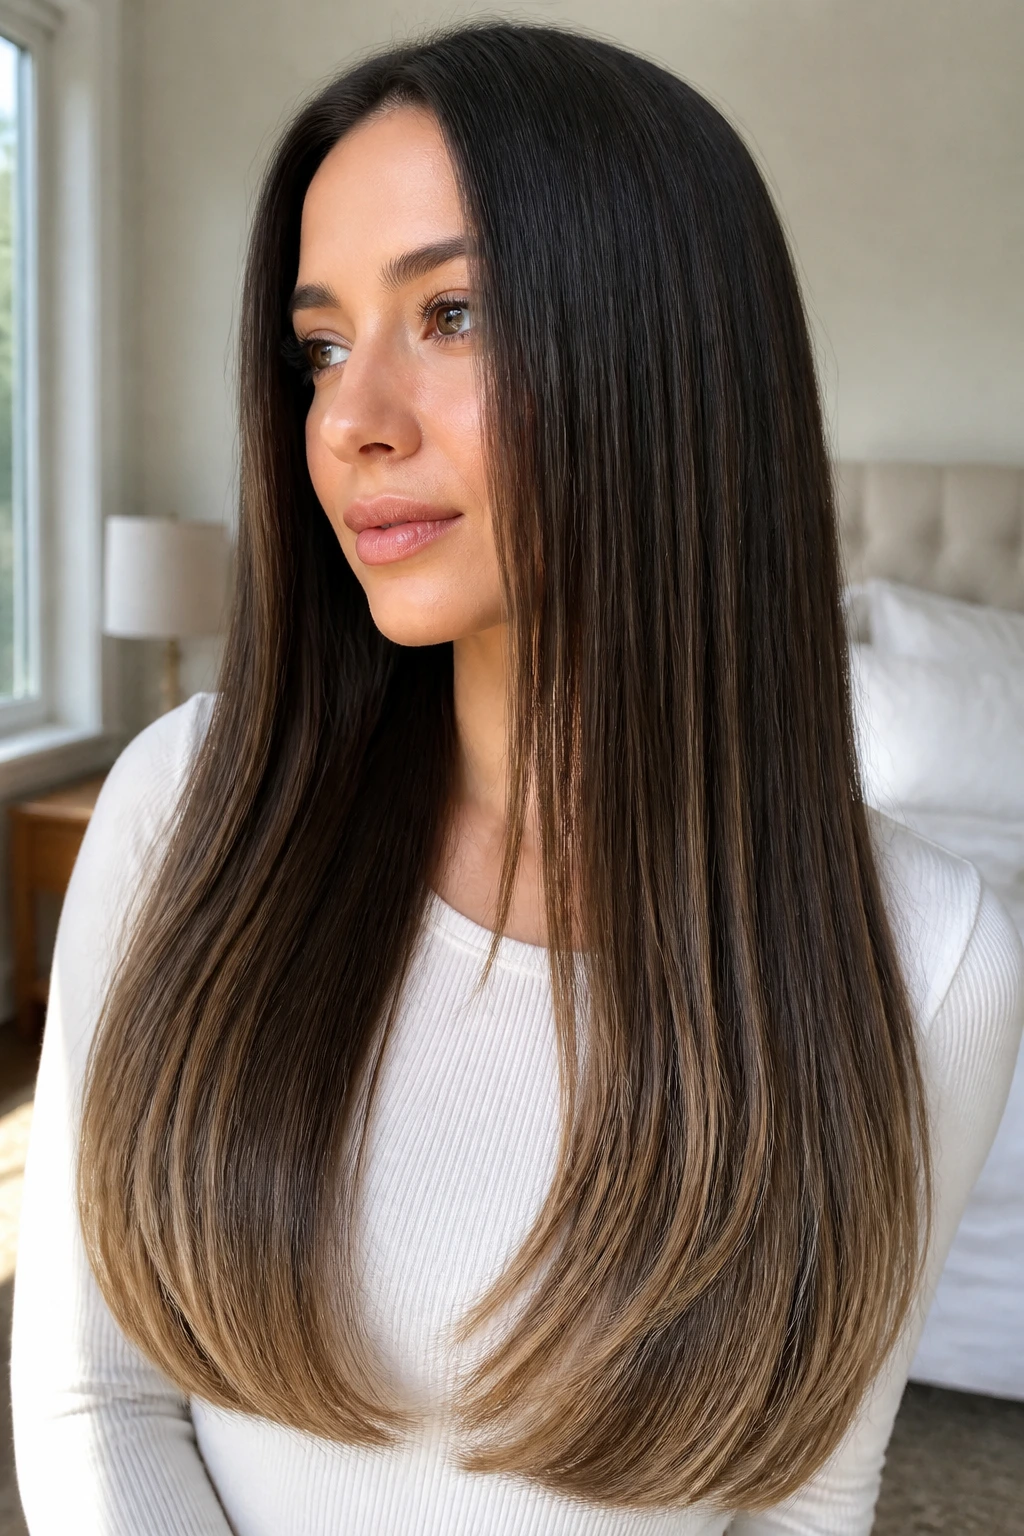
Long straight hair with invisible layers is a subtle thing, and that’s exactly why I like it. You get movement at the ends without obvious choppiness around the face. The surface still looks smooth, but the bottom 3 or 4 inches don’t sit like a board.
The trick is in the cut and the finish. Ask for soft internal layering, then style with a paddle brush and a light cream instead of a heavy oil. Too much product on long hair can turn the roots dull before the ends are fully smoothed.
Compared with a blunt long cut, this version feels less severe. Compared with obvious layers, it feels cleaner. If your hair tends to clump or hang in one heavy sheet, these hidden layers keep the length from looking flat in a bad way.
10. Low Chignon at the Nape
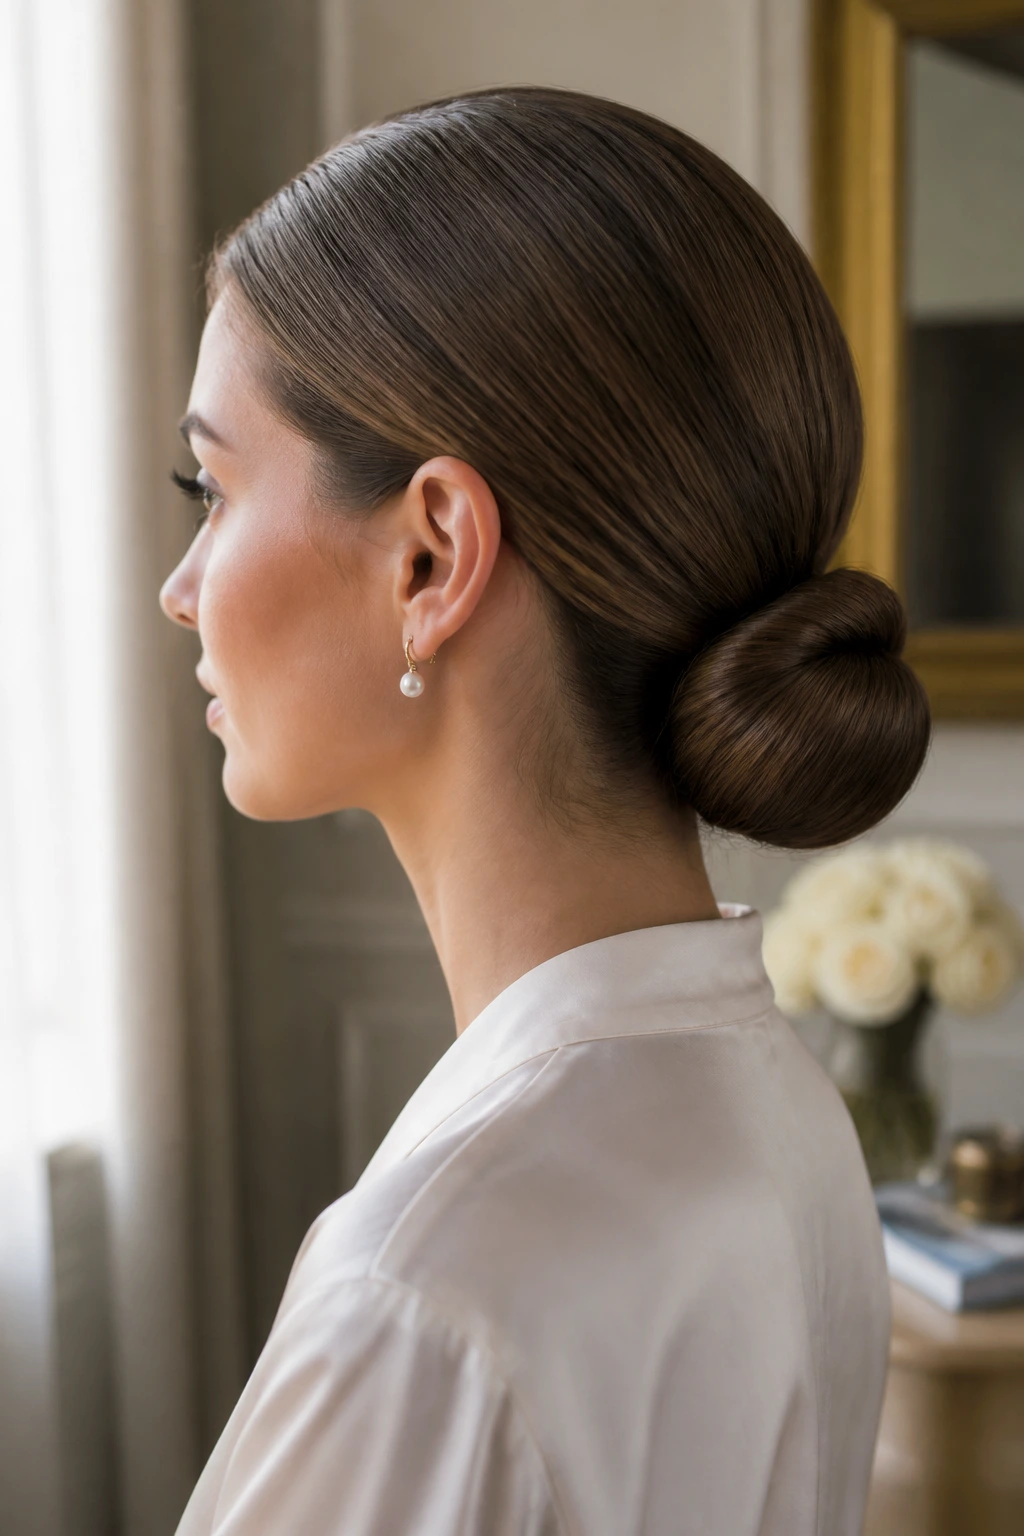
A low chignon is the closest thing straight hair has to a tailored jacket. It sits close to the head, it shows off the neck, and it only works if the surface is smooth enough to hold the shape. A messy version has its place. This is not that.
I like to gather the hair into a low ponytail first, twist the tail around itself, and pin the coil at the nape. If the hair is long and slippery, prep it with a dab of lightweight cream before you start. That gives the style enough grip to stay neat.
The best part is the profile. From the side, the chignon looks clean and compact. From the back, it should look like one smooth knot, not a knot with a thousand pins poking out.
11. Tapered Pixie with Smooth Fringe
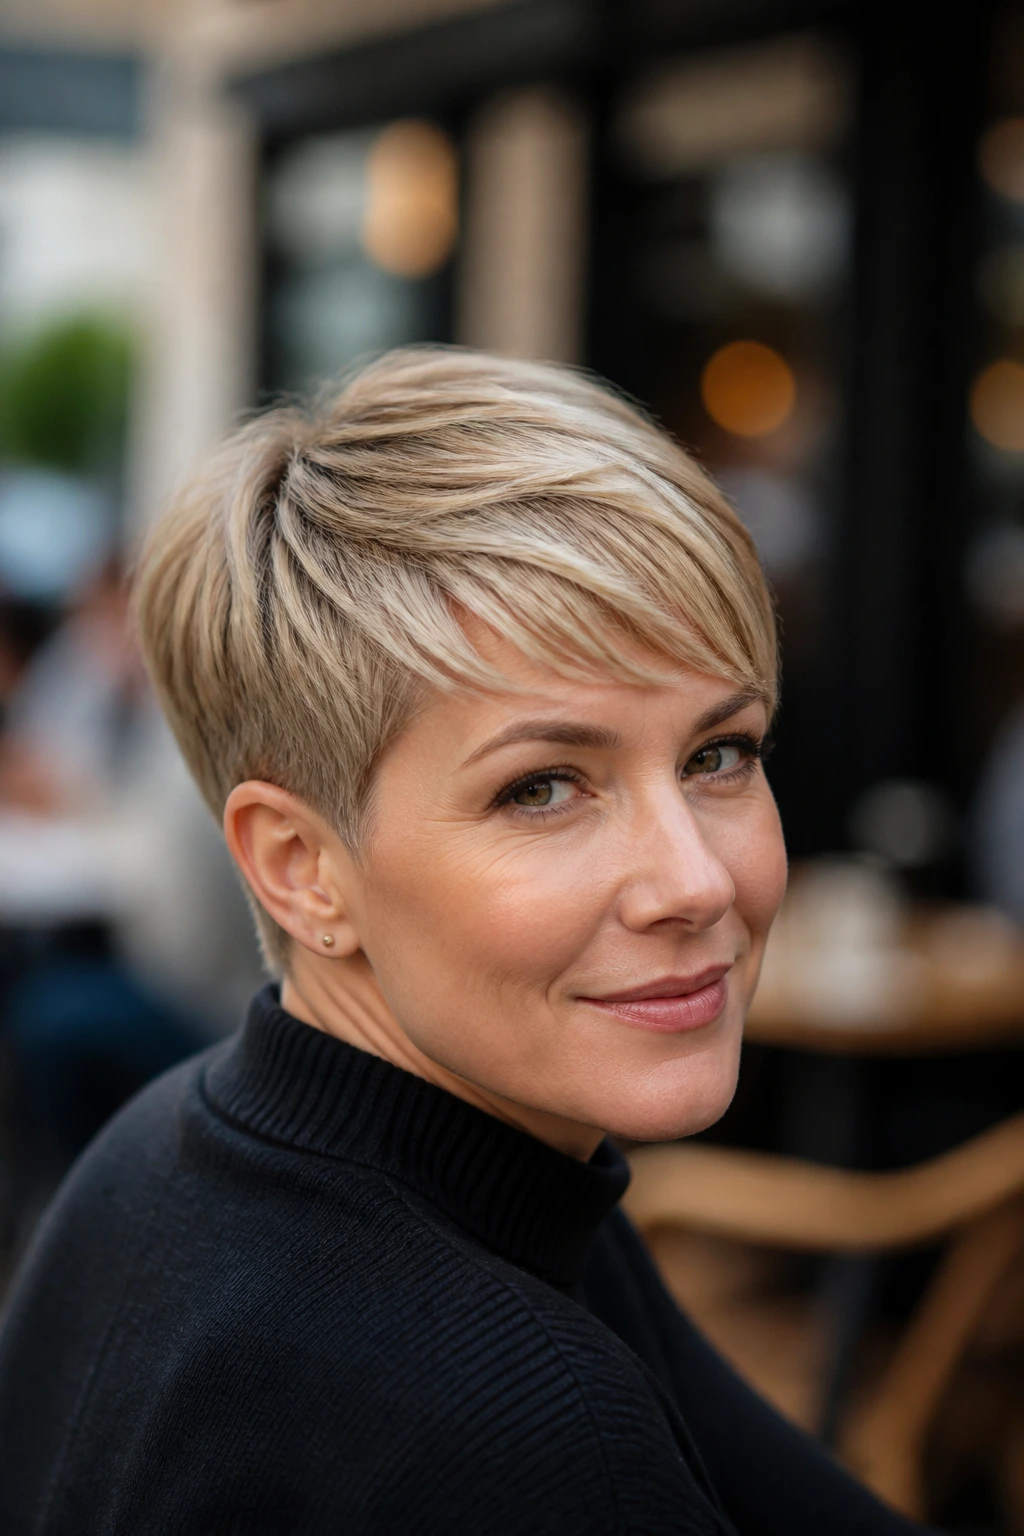
Can a pixie count as a straight hairstyle? Absolutely, especially when the top is flat and the fringe sits in a clean direction. A tapered pixie reads polished when the sides are close and the top is brushed into a gentle sweep, not a spiky mess.
This cut depends on a light hand with product. Use a small amount of styling cream or a soft wax — about a pea-sized amount, warmed between your fingers — and work it through the top only. The sides should stay neat, not shiny to the point of looking wet.
A flat iron can help on stubborn fringe pieces, but only on dry hair and only for a single pass. Short hair doesn’t need much. Too much heat makes it look fried fast, and there’s no curtain of length to hide that.
12. Angled Lob with Crisp Front
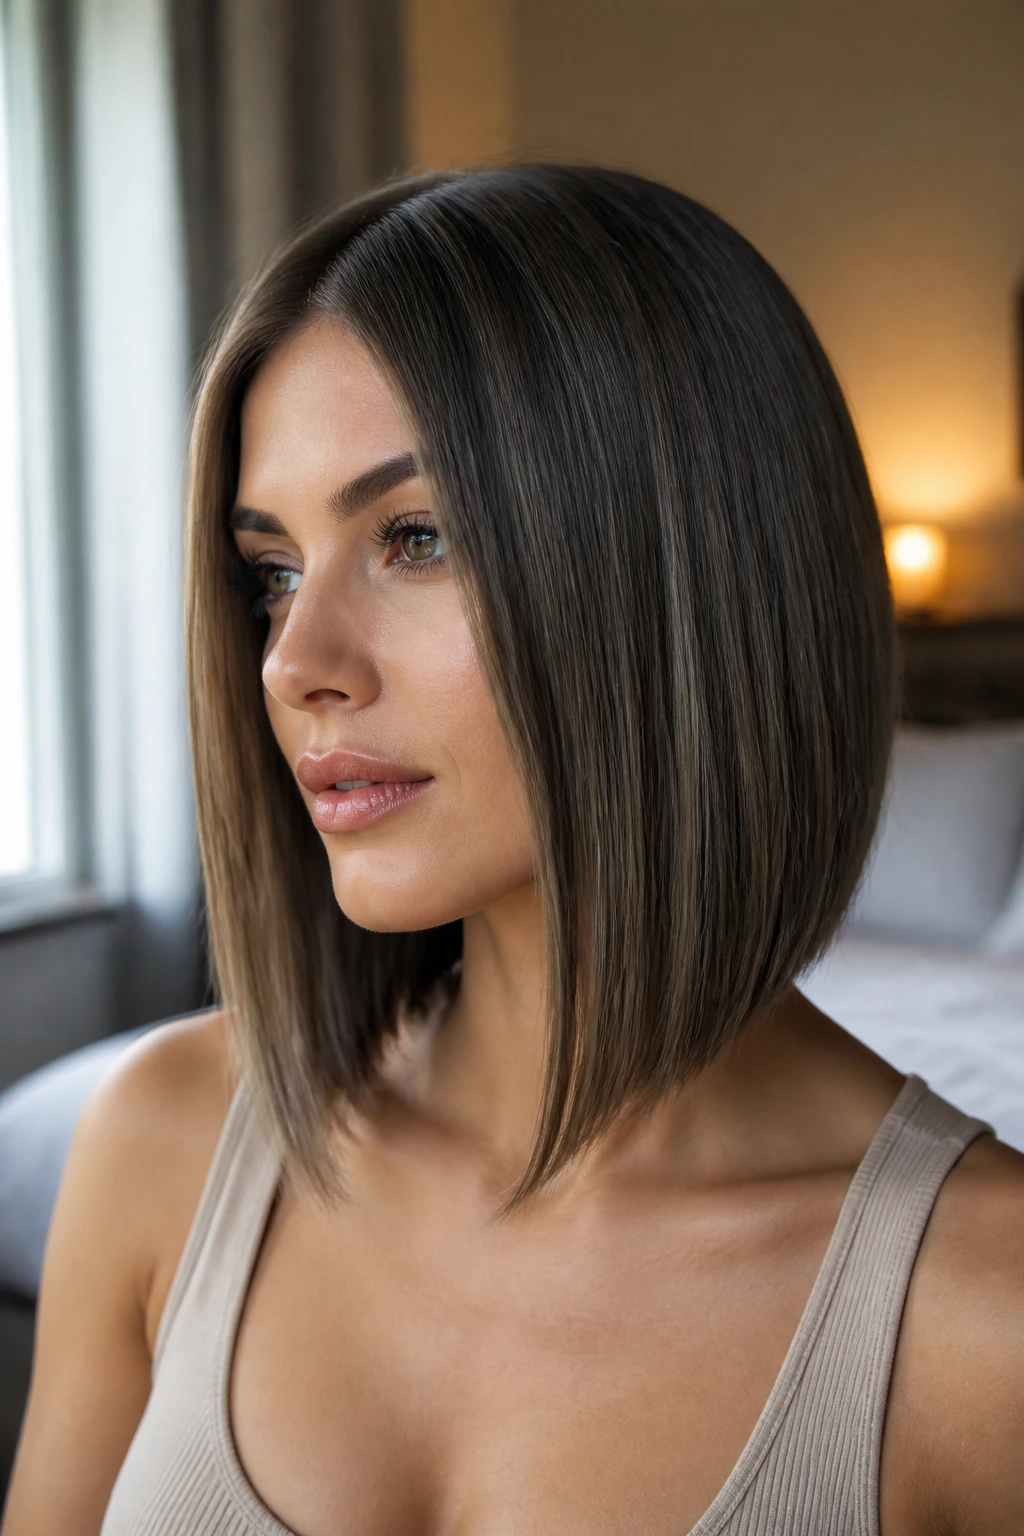
The angled lob is one of those cuts that looks more expensive than it really is. Shorter in the back, longer in the front, it gives straight hair a built-in line of motion without needing curls or waves. The shape does the work.
What makes it feel crisp is the front edge. The longest pieces should land just above or below the collarbone, depending on your height and neck length. If the angle is too subtle, the haircut can blur. If it’s too steep, it starts shouting.
I like this cut with a clean side part or a slightly off-center one. It pairs well with a flat iron bend that aims the front pieces inward by a few degrees. Not a curl. Just enough to show the line.
13. Wet-Look Midi Length
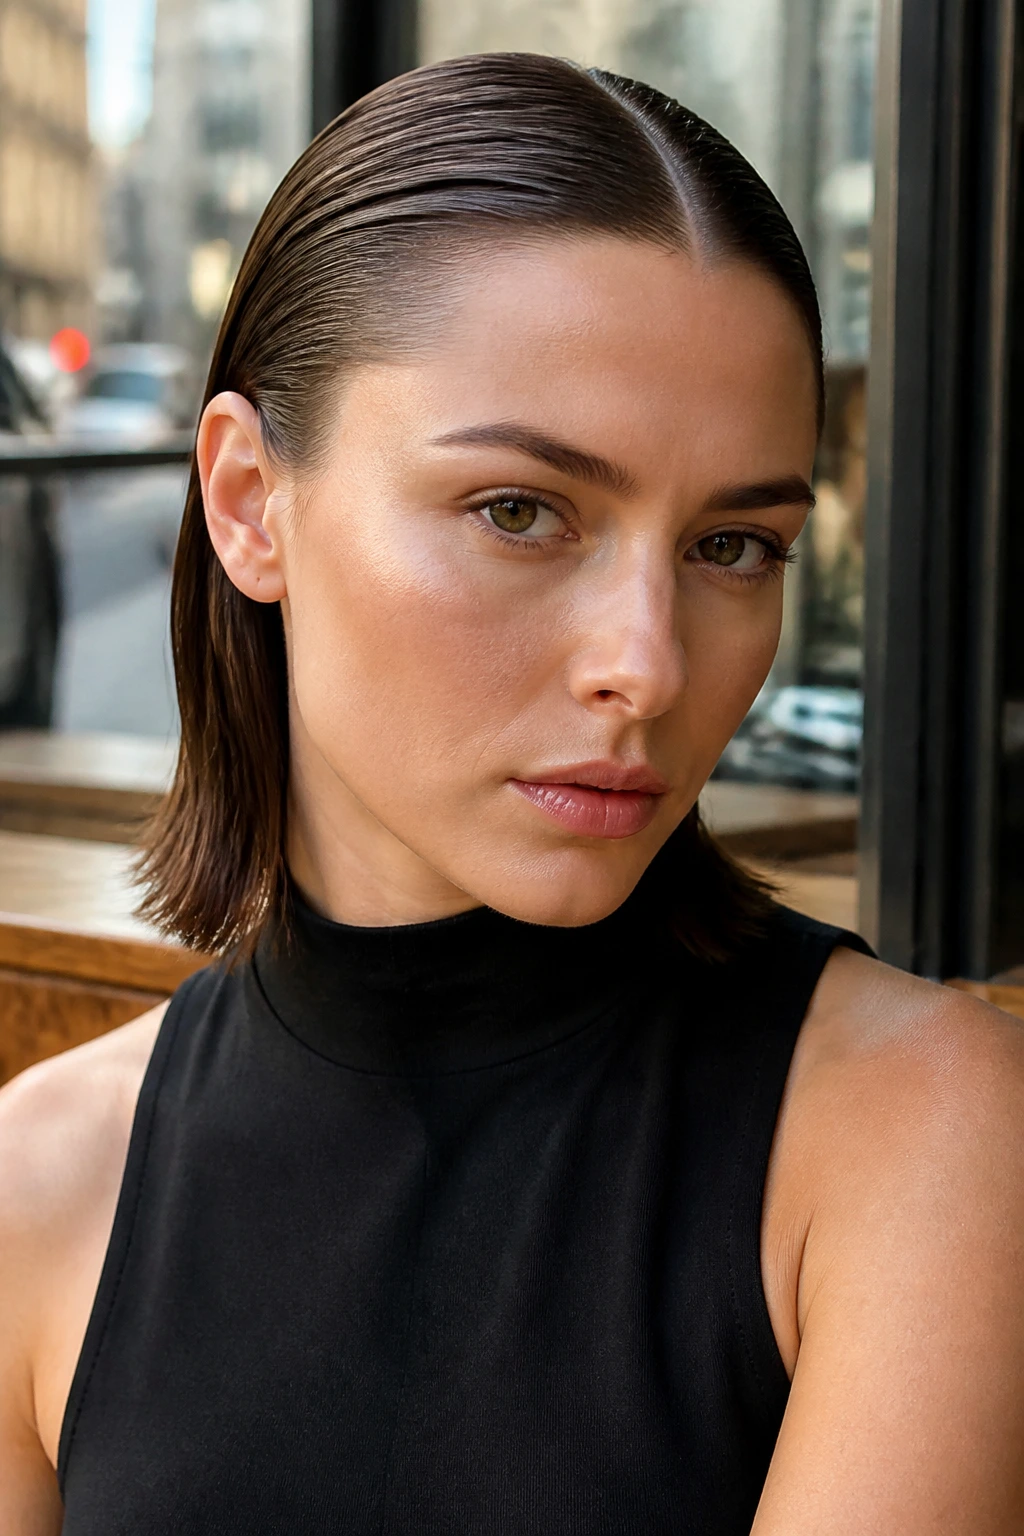
Wet-look straight hair only works when you commit to the shine. Half-dry, half-gelled hair looks awkward. Fully slicked back and glossy, it looks sharp and modern in the plainest possible sense of the word.
Start with damp hair, then work a gel-cream mix through the top half and a touch of oil on the ends. Use a fine-tooth comb to pull everything back or into a center part. The hair should look smooth enough that the comb tracks are barely visible, but not so coated that it drips.
The finish is the whole point here. Leave the hair alone while it dries. Touching it creates little broken ridges, and those break the look faster than anything else. This is one of the few straight styles where stillness matters.
14. Half-Up Knot
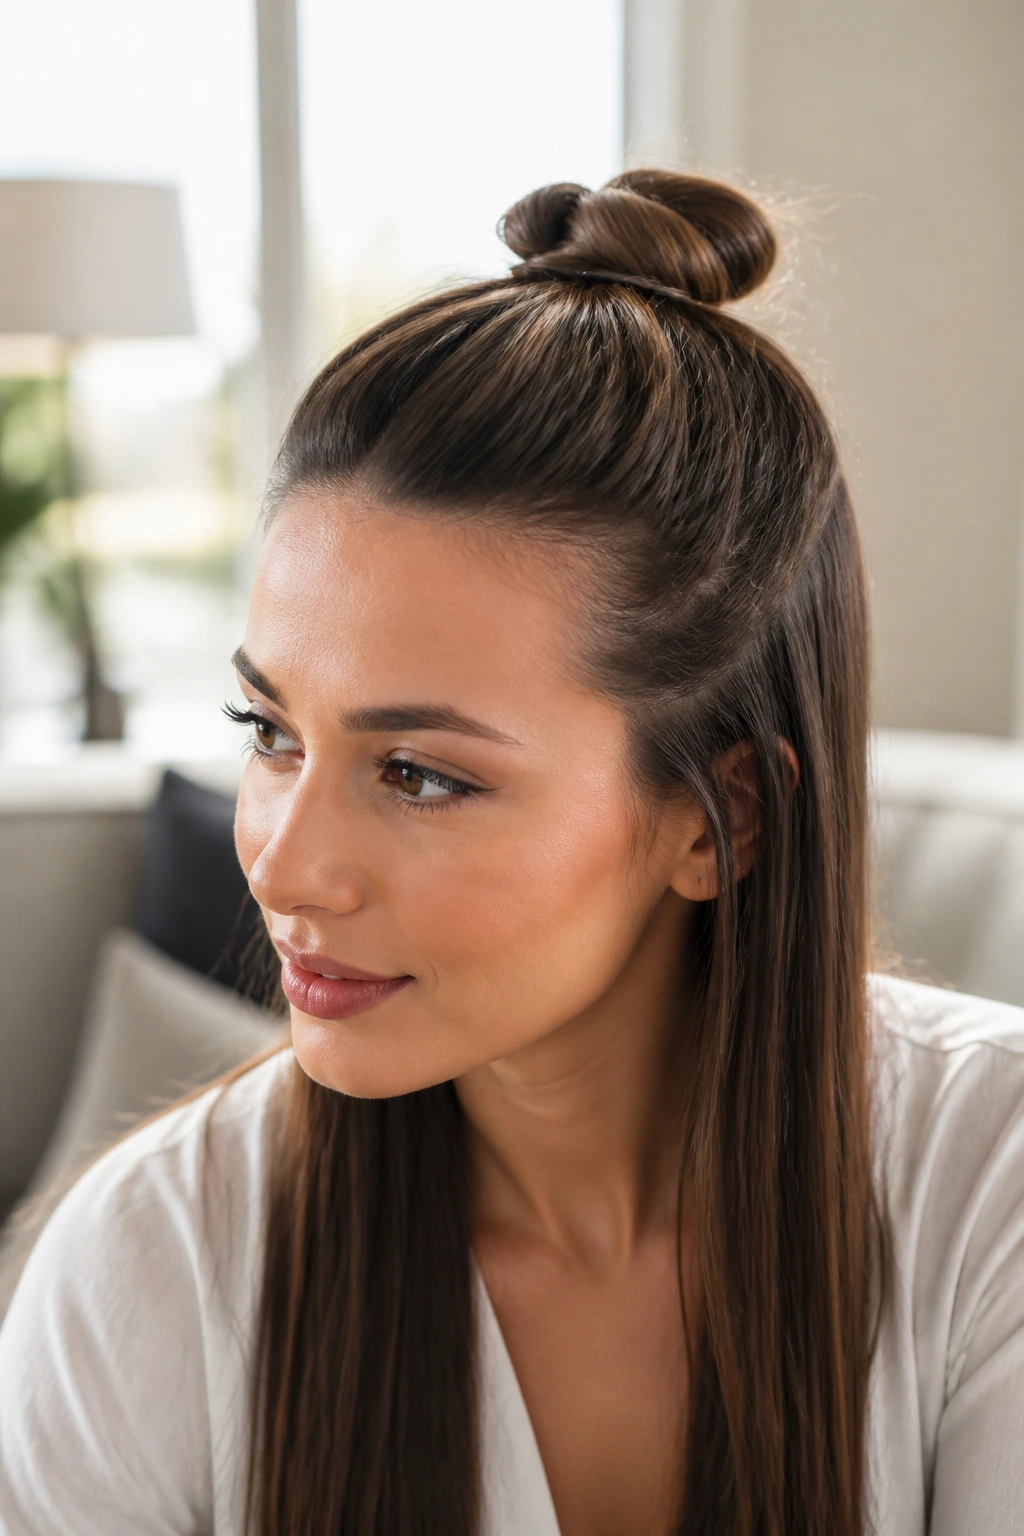
A half-up knot gives you the neatness of an updo and the easy fall of loose straight hair. It’s a good middle ground when the front needs control but the length still deserves to show off. I like it on hair that’s just past the shoulders, because the knot has enough tail to hold without looking bulky.
The top third of the hair should be smoothed back, twisted once or twice, and pinned into a compact knot at the crown or just below it. The lower section stays straight and can be given a quick pass with the flat iron if the ends have turned stubborn.
This is one of those styles that forgives second-day texture. In fact, day-two hair often holds the knot better because it slips less. If you want the knot to look cleaner, keep the part line sharp and the front hairline brushed flat before you tie anything up.
15. Temple Barrettes
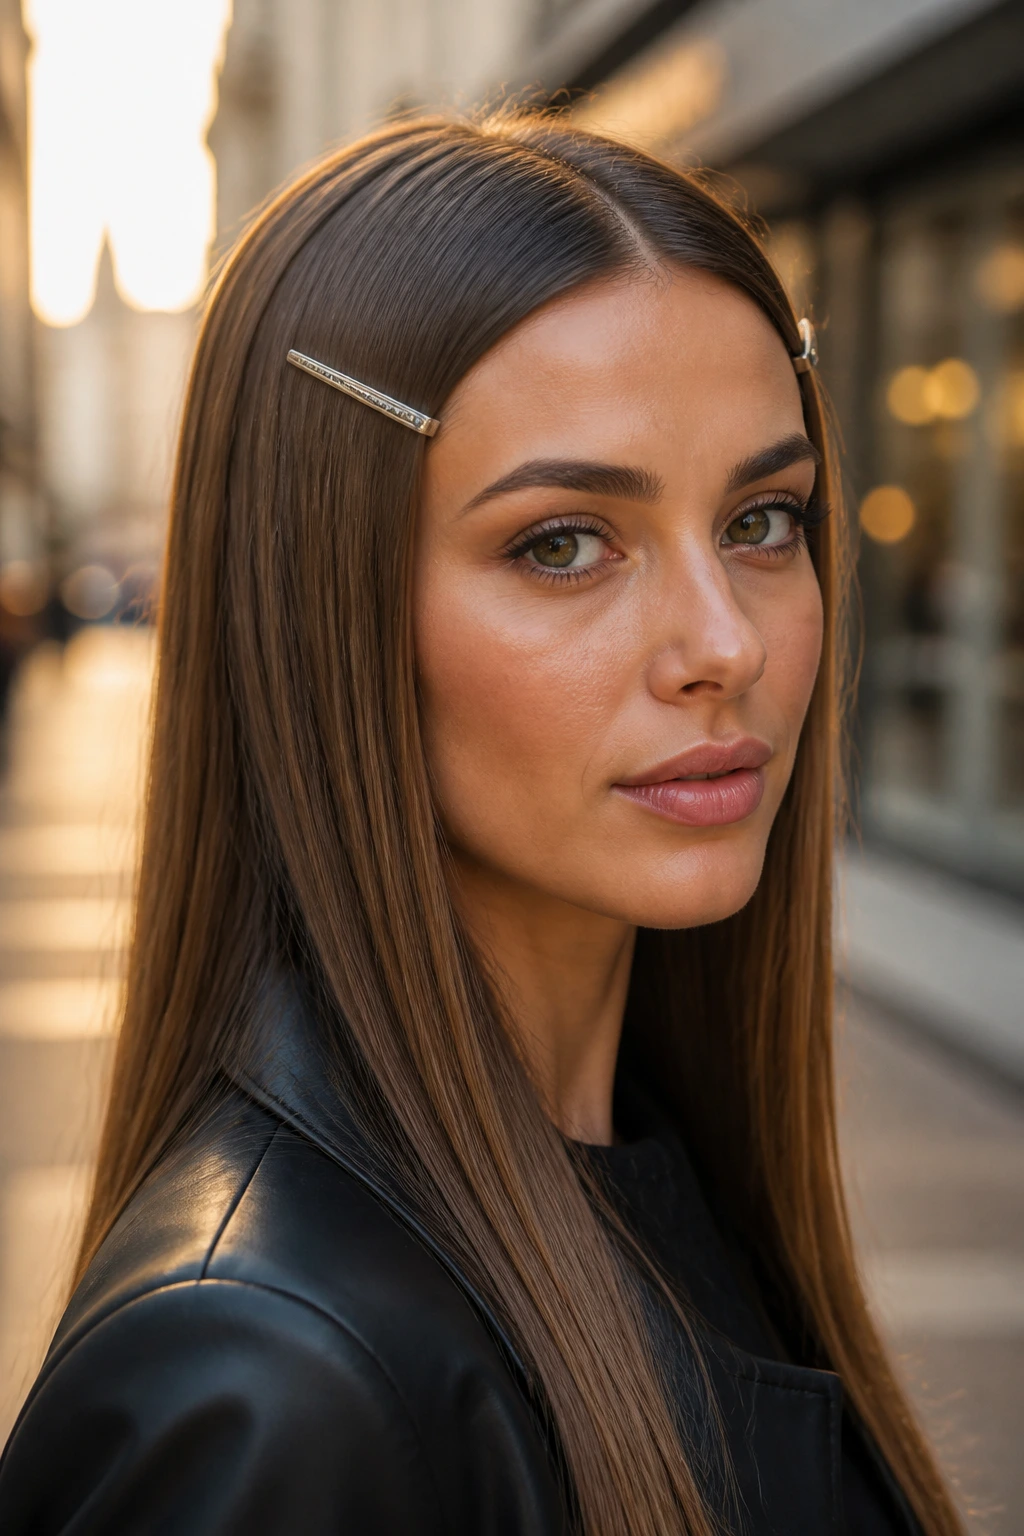
Barrettes can look childish or sleek. The difference is placement. Straight hair with two slim barrettes at the temples reads polished when the clips sit low enough to hold the side sections back without crowding the face.
I like small metal or enamel clips better than oversized ones here. Two matching barrettes, one on each side, can frame the face without making the style feel busy. If the hair is fine, secure the clipped section with a hidden pin underneath first, then place the barrette over it. That keeps the clip from sliding.
This style is a good answer for hair that is too short for a ponytail but too long to leave alone. It keeps the sides under control and lets the rest fall straight.
16. Flipped-Out Ends

A flipped-out finish is one of the few straight styles that has personality in the ends instead of the crown. The roots stay sleek, the mid-lengths stay smooth, and the last inch flicks out just enough to catch the eye. Done well, it feels crisp. Done badly, it looks like the hair got away from you.
Use a flat iron or a round brush to turn only the last bit of the hair outward. The movement should happen at the very edge, not halfway up the strand. That little detail keeps the flip neat instead of retro-costume.
- Works especially well on collarbone-length cuts.
- Needs a light touch on the ends, or they start to look frayed.
- Looks sharper when the part is clean and the crown sits flat.
This one is a good pick when you want straight hair with a bit of bounce without moving into waves.
17. Low Braided Ponytail
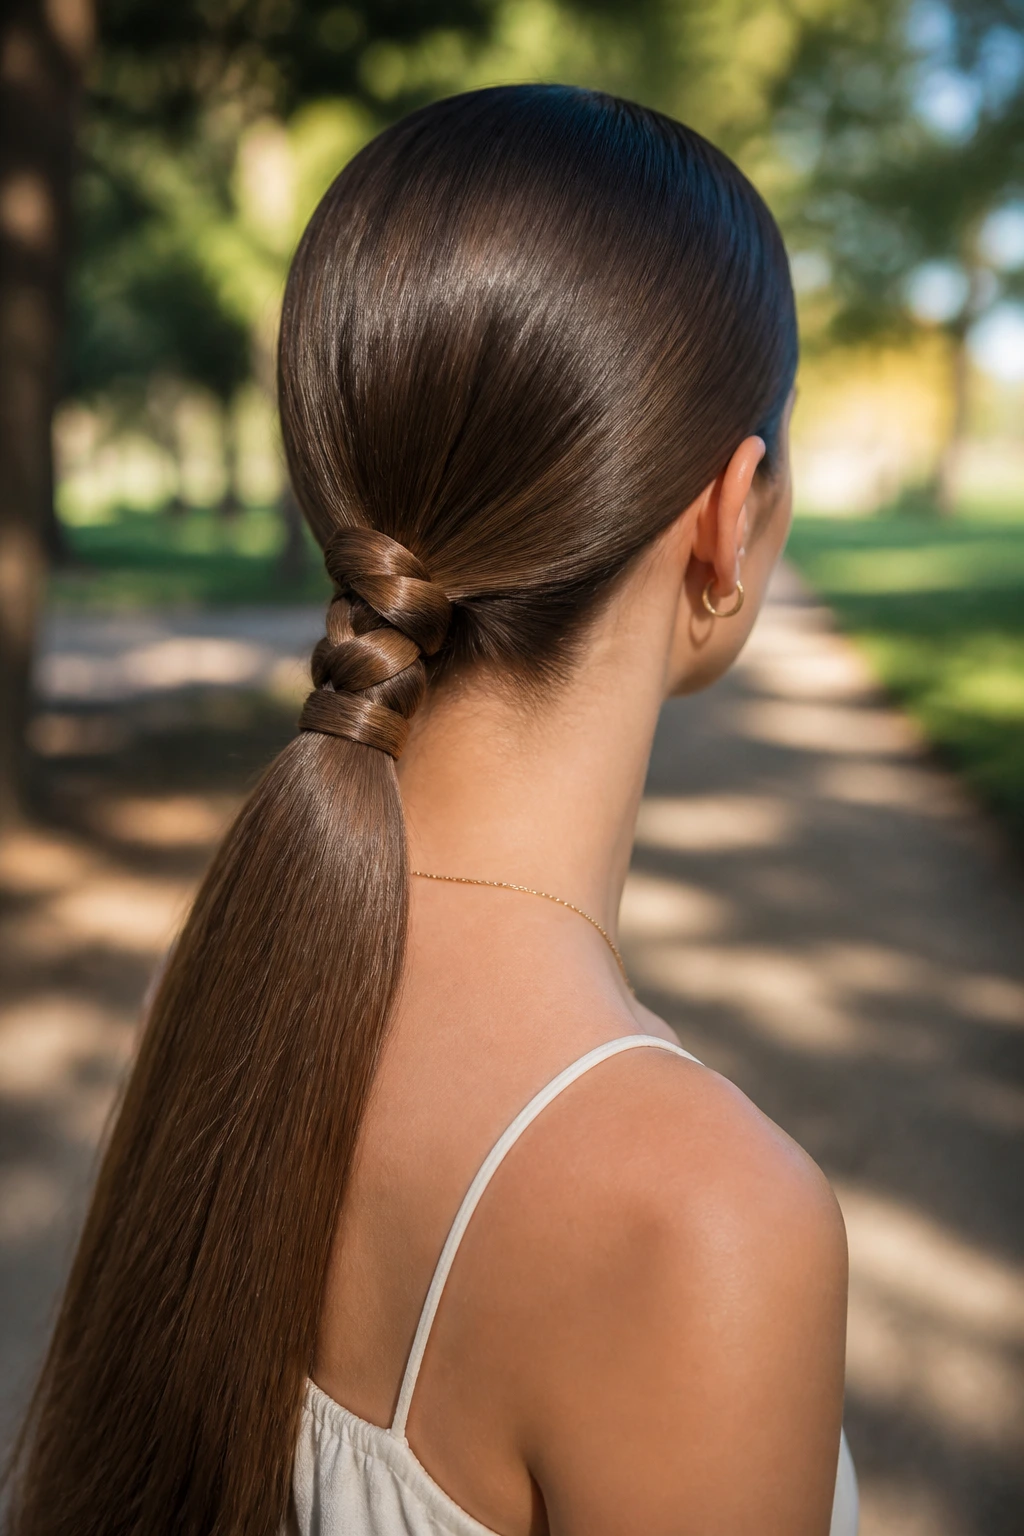
A low braided ponytail is practical, but it can look very clean if the braid is tight and the base is smooth. The straight part is still there — it just gathers into structure at the end. That structure keeps the style from falling apart by lunchtime.
Brush the hair into a low ponytail first and secure it firmly. Then braid the tail all the way down, stopping about an inch from the ends so the braid doesn’t look cramped. If your hair is layered, a clear elastic at the very end helps the braid hold together better than a loose finish.
This style works well for long days, travel, or any situation where loose hair would get in the way. It also keeps the ponytail length from tangling as much, which is a small mercy when hair is very straight and slippery.
18. Micro-Braided Front Pieces
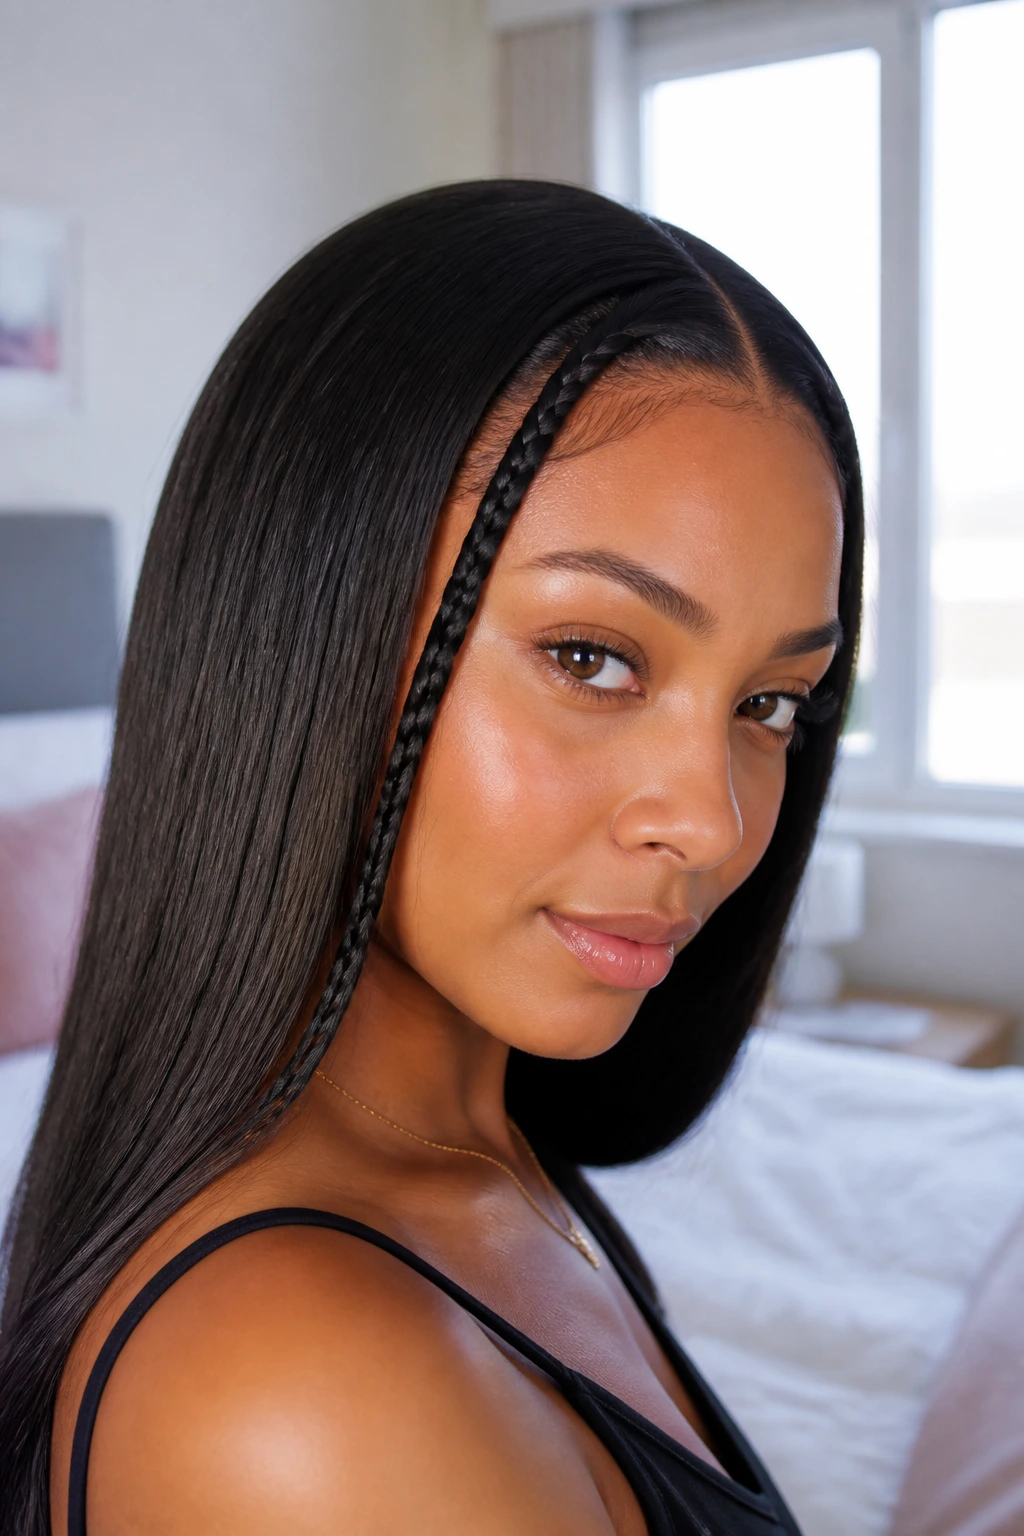
Tiny braids near the hairline change the feel of straight hair without taking over the whole style. They give the front a bit of texture while the rest stays smooth and direct. I like this on long hair, but it works on shorter cuts too if the braids are kept close to the scalp.
The braids should be small enough to sit as detail, not costume. Two braids on one side, or one braid on each side near the temples, is enough. Keep the rest of the hair pin-straight so the contrast actually registers.
This is a smart move when you want polish with a little edge. The braids give the style a lived-in look, but the straight length keeps it from getting messy. It’s a nice balance, and one that holds up especially well on hair that’s too slippery for heavy accessories.
19. Silk Scarf Ponytail
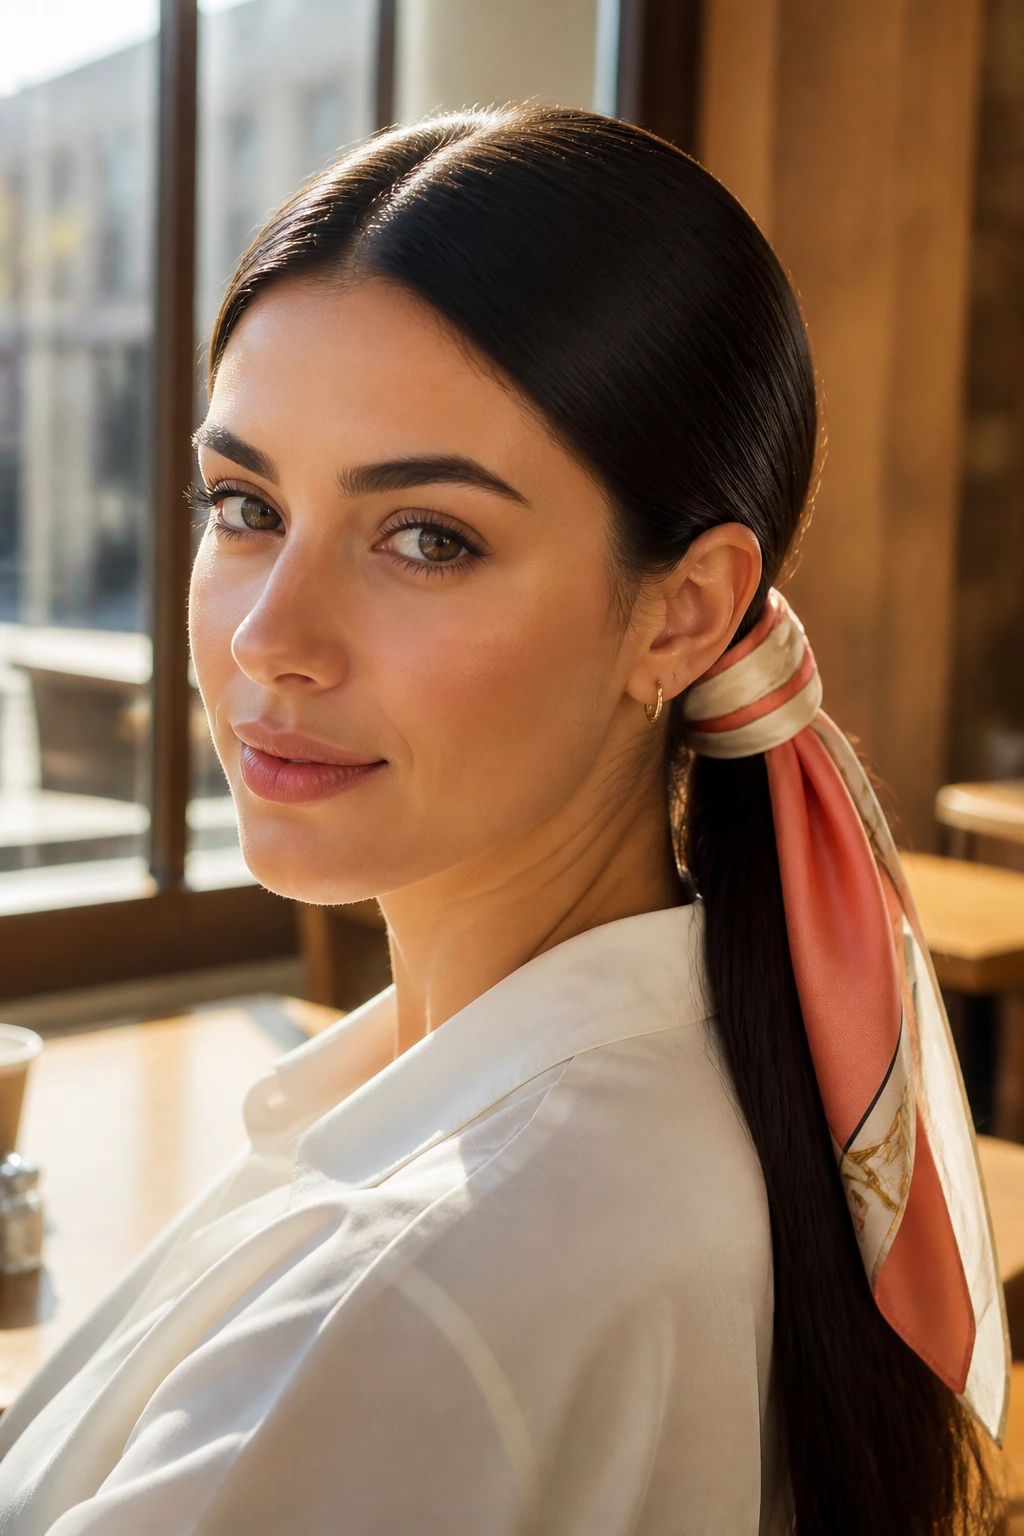
A silk scarf makes a straight ponytail look finished in one move. Tie it around the base of a low ponytail, let the tails hang, and suddenly the whole style has shape. The scarf is doing two jobs: hiding the elastic and adding a clean line of color or pattern.
This works best when the ponytail itself is smooth first. If the crown is frizzy, the scarf only draws attention to it. Wrap the base tightly, then tie the scarf just off-center so it doesn’t sit like a knot from the 1990s school photo archive.
A narrow scarf gives a leaner look. A wider one reads more dramatic. I prefer silk or satin because cotton can catch on the hair and break up the surface.
20. Collarbone Cut with Beveled Ends
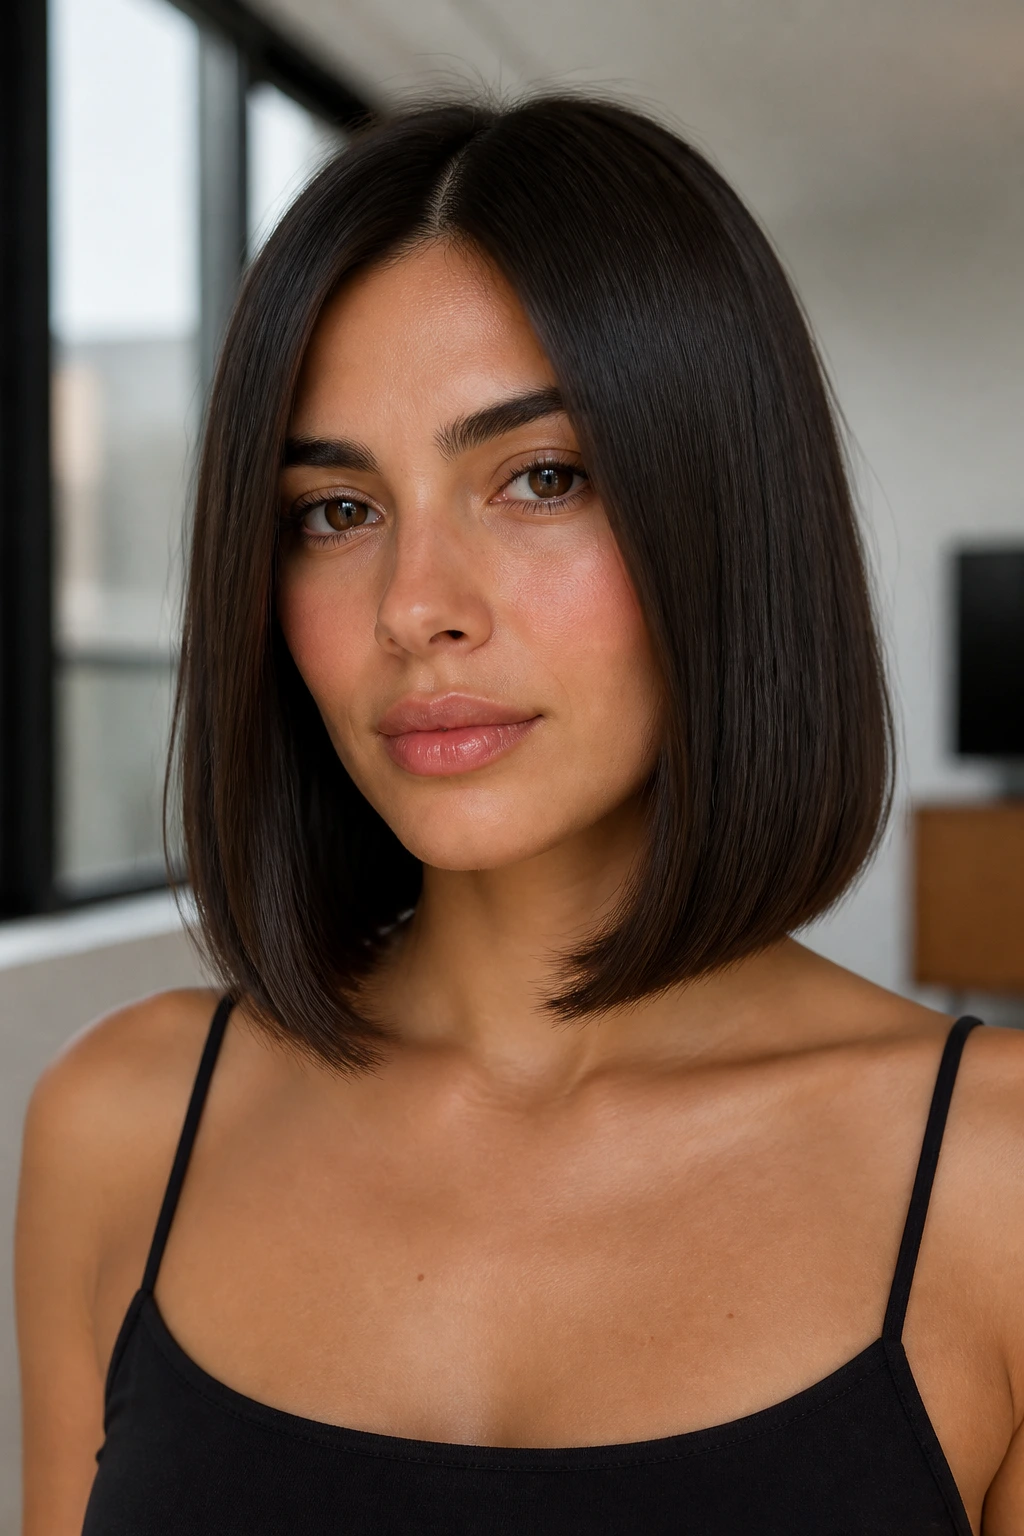
A collarbone cut with beveled ends has a softer edge than a blunt lob, but it still looks neat. The slight inward taper at the ends keeps straight hair from hanging like one long sheet. That tiny bevel is the difference between flat and tailored.
This is a good cut if your hair is medium-thick and you want movement without layers that show too much. A flat iron pass that curves the ends inward by a few degrees is enough. No heavy bend. Just a tidy finish.
Compared with a blunt bob, this version feels less severe. Compared with long layers, it feels easier to keep smooth on a normal day. It’s one of my favorite cuts for straight hair that needs polish but not stiffness.
21. Side Tuck with Statement Earrings
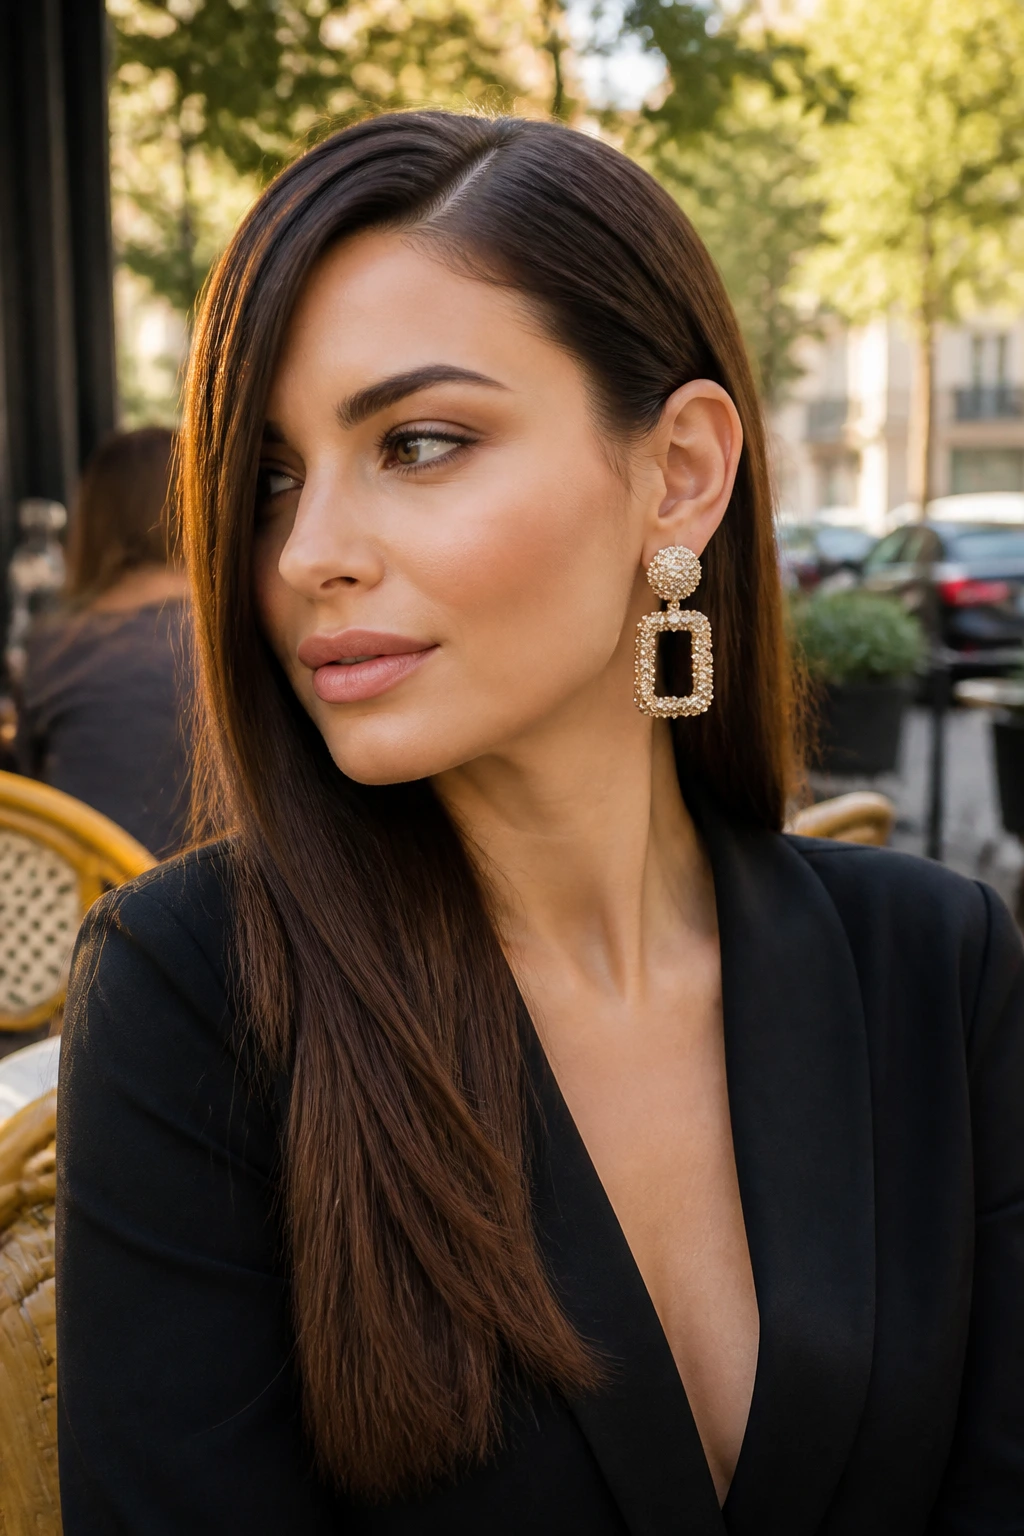
Sometimes the hairstyle is just there to get out of the way of the earrings. A side tuck does that with almost no fuss. One side stays behind the ear, the other falls cleanly across the cheek, and the jewelry gets a proper frame.
This is a good style when the hair is freshly blown out and the ends are behaving. The tuck should be anchored with a hidden pin or a clip at the back of the ear so it doesn’t slide out once you move. If the hair is too slippery, a tiny bit of dry texture spray near the temple can help.
The style reads best with straight lengths that are smooth but not overcoated. Too much shine near the face can make the earrings fight the hair. Keep the surface controlled and let the shape do the talking.
22. Sleek Top Knot
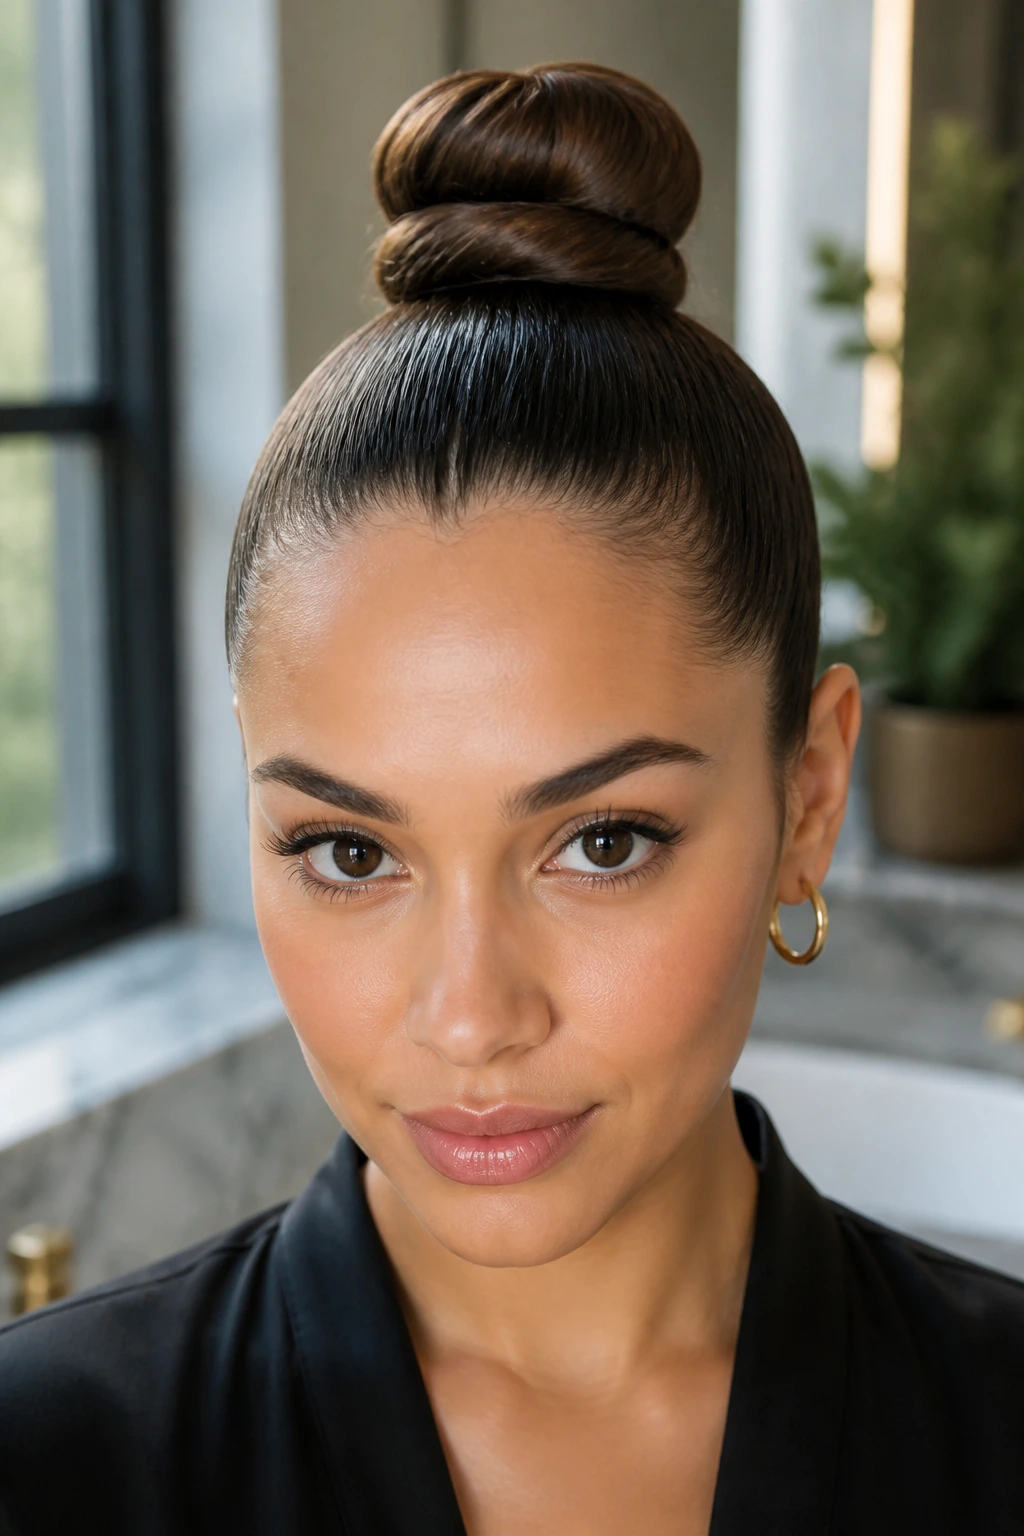
A sleek top knot is one of the cleanest ways to get straight hair off the neck without losing the polished line. The base should be tight, the crown should be flat, and the bun itself should look compact rather than fluffy.
I like to use a brush, a little gel at the hairline, and a second elastic if the hair is heavy. Twist the length once, coil it into a knot, and pin the end under the bun so nothing sticks out. If a few short layers refuse to behave, smooth them with a trace of pomade on fingertips.
The style works well on day-two hair because the texture helps the knot stay in place. Freshly washed hair can be too silky. A little grip is your friend here.
23. Sleek Pigtails
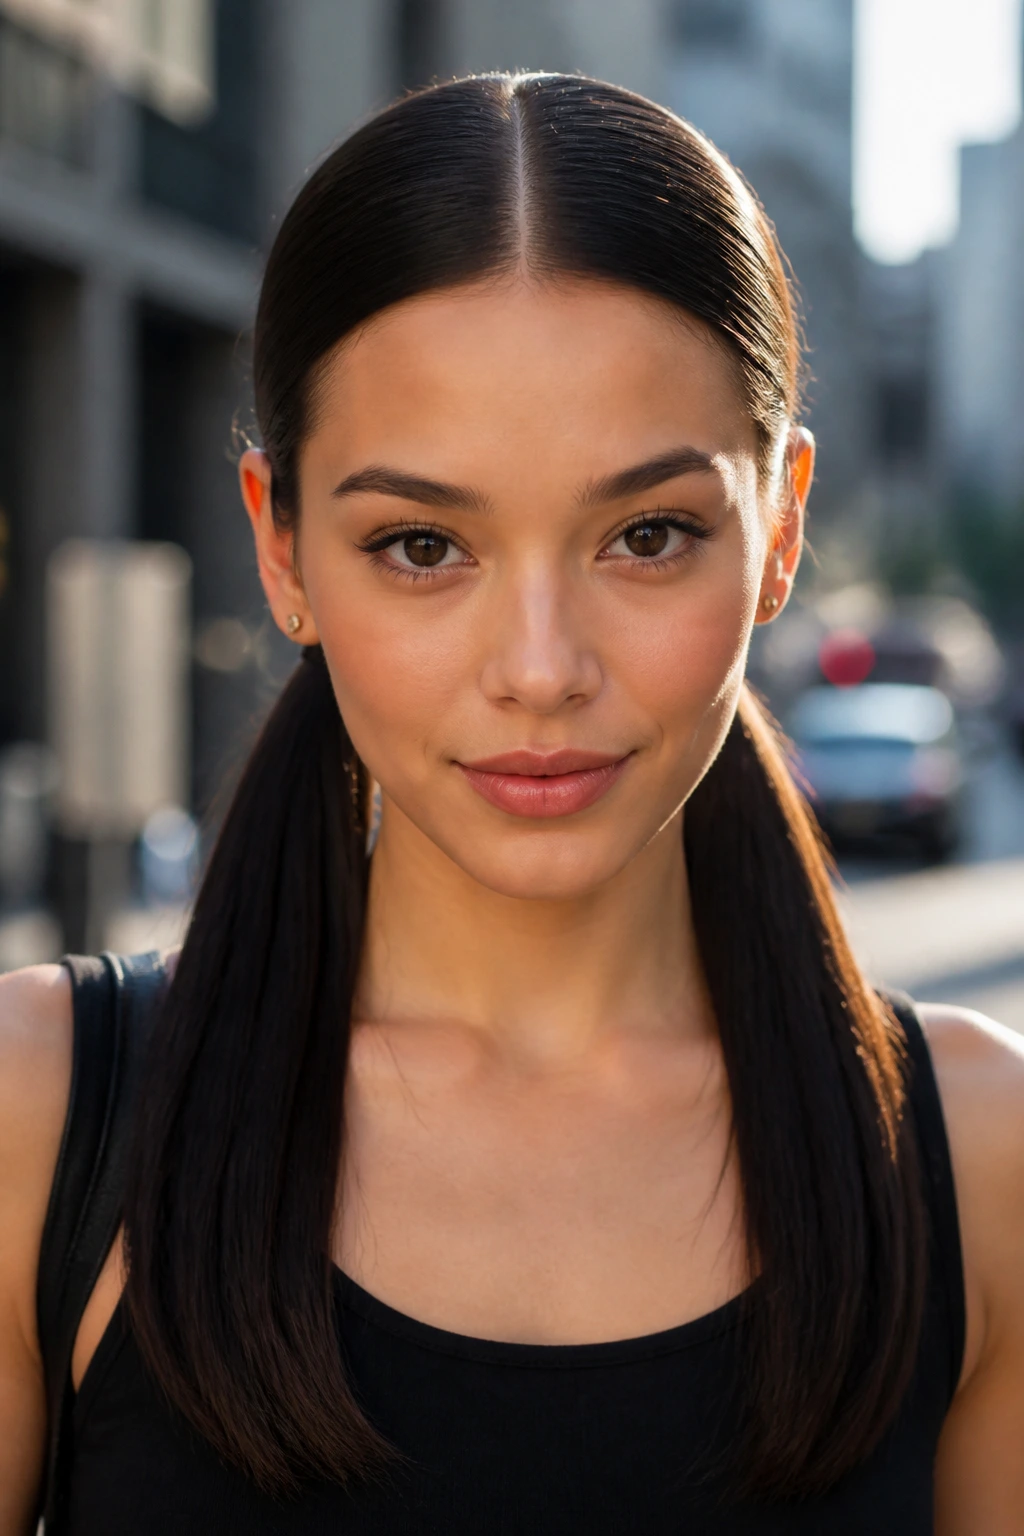
Sleek pigtails are not just for kids when the part is sharp and the lengths are glossy. Low pigtails in straight hair can look clean, a little playful, and surprisingly precise. The key is symmetry. If one side sits lower, the whole style loses its snap.
Use a middle part, brush both sides flat, and secure each tail at the same height. I like them near the nape rather than high on the head because the lower placement keeps the look grown-up. You can leave the tails straight, braid them, or add tiny elastics down the length for a segmented feel.
This style is especially good for thick hair that wants to spread out. Splitting it into two tails makes it easier to control and keeps the shape neater.
24. Narrow Headband Look
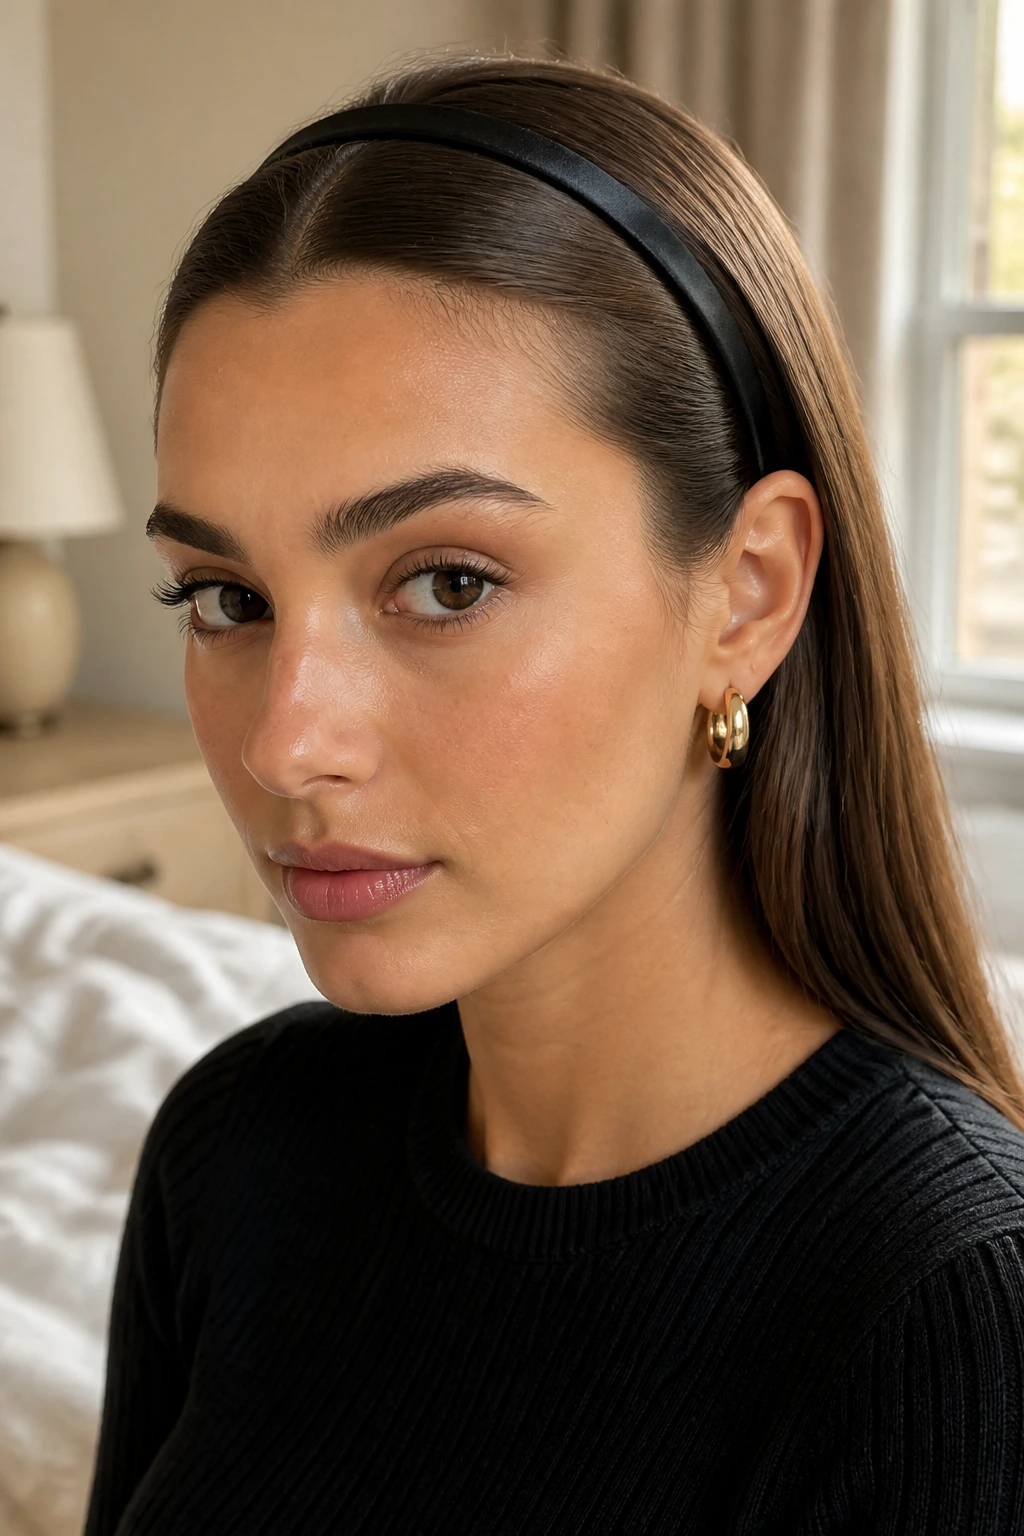
A slim headband can rescue straight hair on days when the roots need help. The band does the visual work, and the rest of the hair can stay smooth, tucked back, and quietly neat. I prefer narrow satin, slim metal, or a thin padded band over anything bulky.
The trick is to flatten the hair under the band before you place it. If the crown has lift, the band pushes it into a weird ridge. A quick brush-back and a touch of serum at the ends are usually enough.
This style is a nice fix for grown-out blowouts, awkward bangs, or a middle part that refuses to sit straight. It also keeps the face open without needing a full updo. Clean and easy. That’s the appeal.
25. Glossed Low Tail with Length
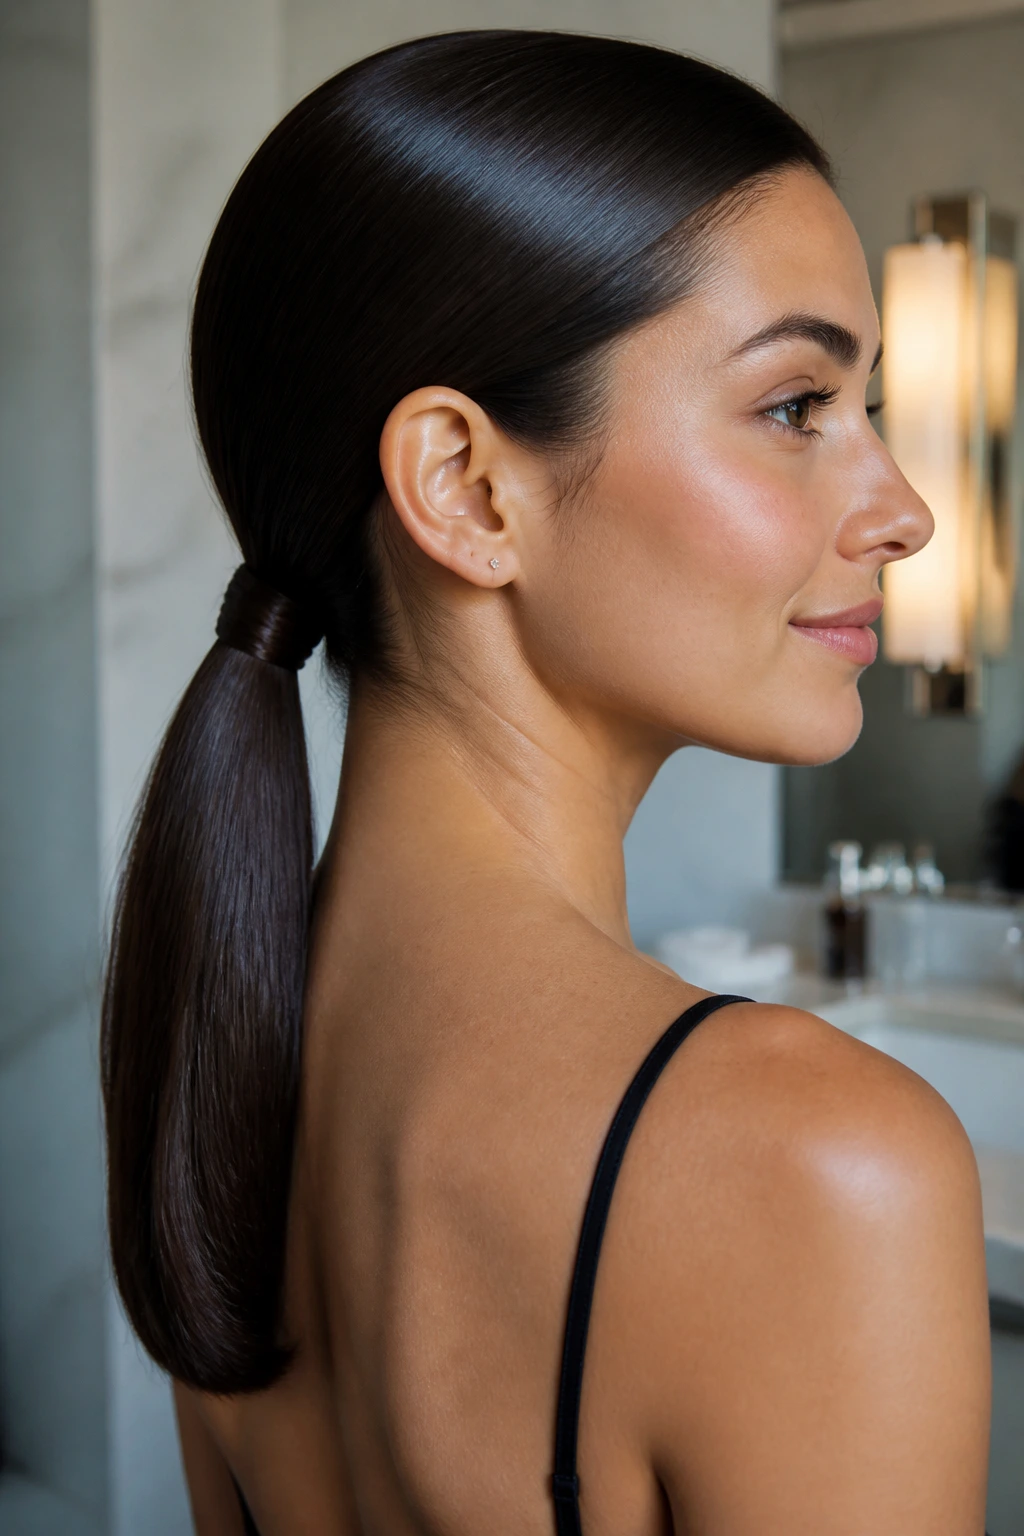
A glossy low tail is the long-hair answer to straight hair that needs to look finished fast. It sits at the nape, follows the line of the neck, and lets the length hang in one smooth sheet. If the ponytail is long enough to swing, it picks up even more shape.
I like to prep this with a smoothing cream on damp hair, then a thin veil of serum after drying. The ponytail should be brushed until the surface feels almost cool under the hand. If the ends are dry, give only the final 3 inches a pass with the flat iron.
This style works best when the base is understated and the length is the point. No huge volume at the crown. No puffing at the sides. Just a low line and a glossy tail that moves cleanly.
Why Straight Hair Looks Best When the Prep Is Clean
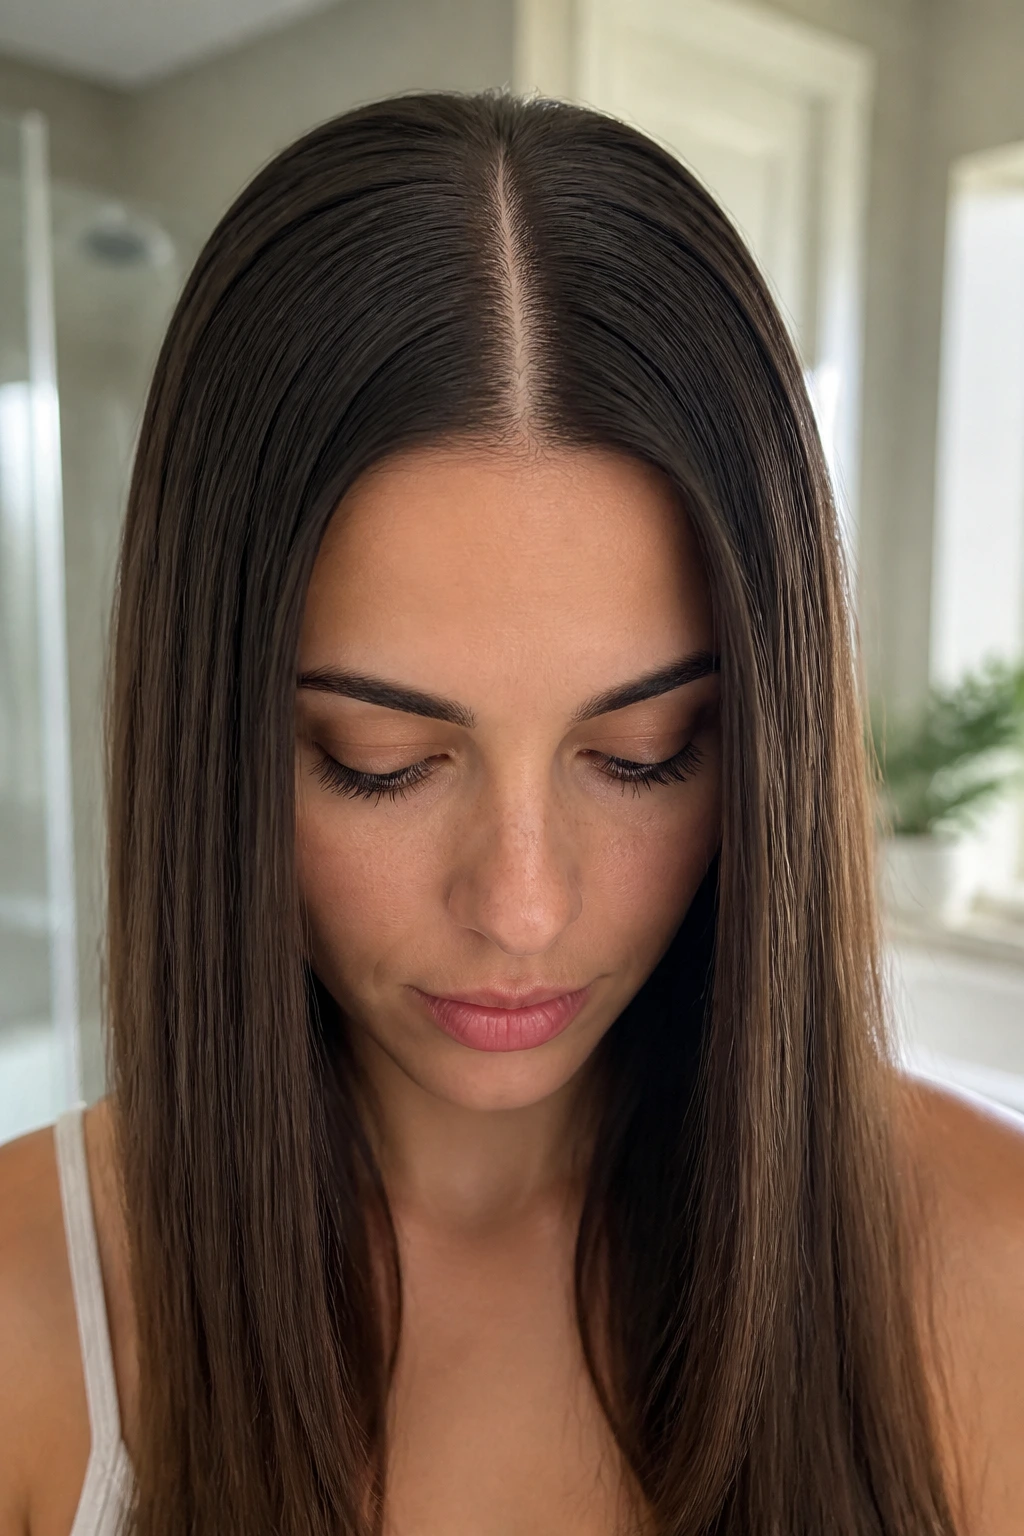
Straight hairstyles expose everything. A crooked part shows up fast. So does a dry end, a puffed-up crown, or a flat iron crease from a lazy pass. That is exactly why the prep phase matters more here than it does in looser styles. There’s nowhere for the hair to hide.
The cleanest straight styles usually start with the same backbone: a smooth blow-dry, a sectioned flat iron pass only where needed, and a finish that stays off the roots. Hair at the scalp wants different treatment than hair at the ends. The scalp can take a little product if the hair is coarse. Fine hair cannot. Fine hair needs restraint, not layers of cream stacked like frosting.
A haircut helps more than most people want to admit. Blunt edges make straight styles look fuller. Beveled ends soften the line without breaking it. Invisible layers keep long hair from hanging in one heavy slab. If the cut fights the style, the style spends all day trying to recover.
The other thing that matters is cooling time. Straight hair sets while it cools. If you toss it up, tuck it, or touch it too soon, the bend stays. A clip at the crown for a few minutes can make the difference between smooth and slightly warped.
Tools That Keep the Surface Smooth
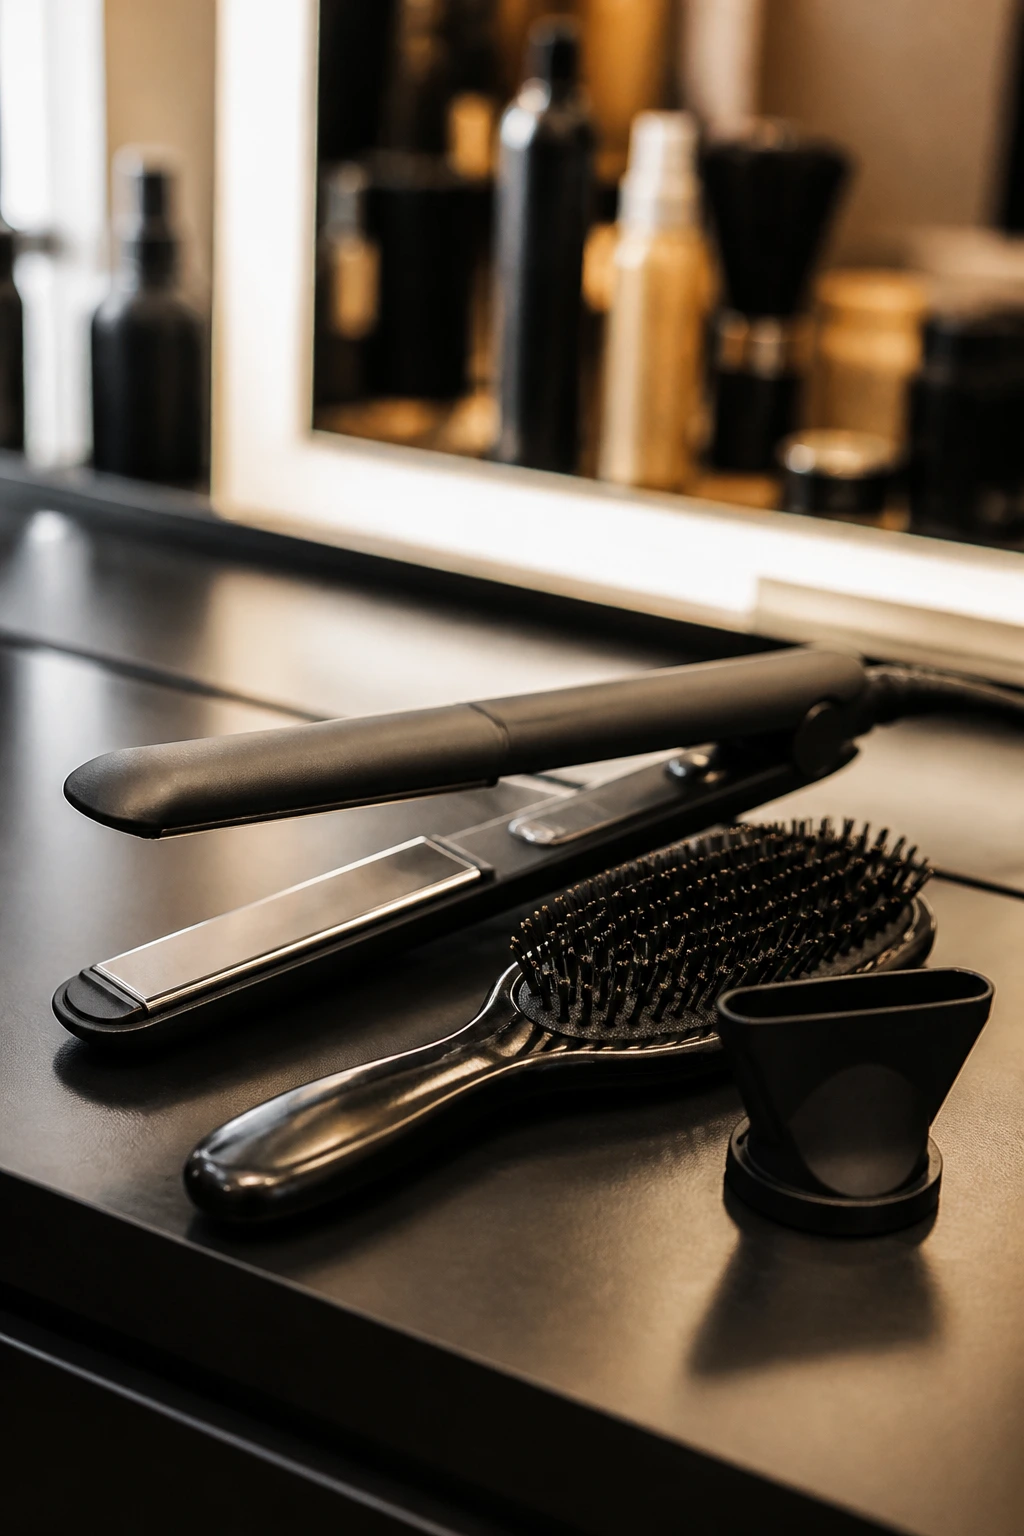
You do not need a suitcase full of tools. You need the few right ones, and they need to be in decent shape.
- Blow dryer with a nozzle: Directs airflow downward, which helps the cuticle lie flatter.
- Flat iron with 1-inch plates: Best for bobs, pixies, bangs, and detail work around the face.
- Flat iron with 1.25-inch plates: Easier on longer hair because it covers more ground without grabbing too much at once.
- Boar-bristle or mixed-bristle brush: Smooths the top layer without roughing up the strand.
- Tail comb: Draws a clean part and helps section hair evenly.
- Duckbill clips or sectioning clips: Keep pieces apart while they cool and stop you from missing spots.
- Heat protectant spray or cream: Non-negotiable if you use hot tools.
- Light serum or oil: Use on mids and ends only; a little goes farther than people think.
- Flexible-hold hairspray: Tames flyaways without turning the hair stiff.
- Silk or satin scarf: Useful for overnight wrap, root control, and low ponytails.
One more thing. A clean brush matters more than a fancy one. Old product buildup turns even good tools into dust collectors.
Product Picks That Actually Change the Finish
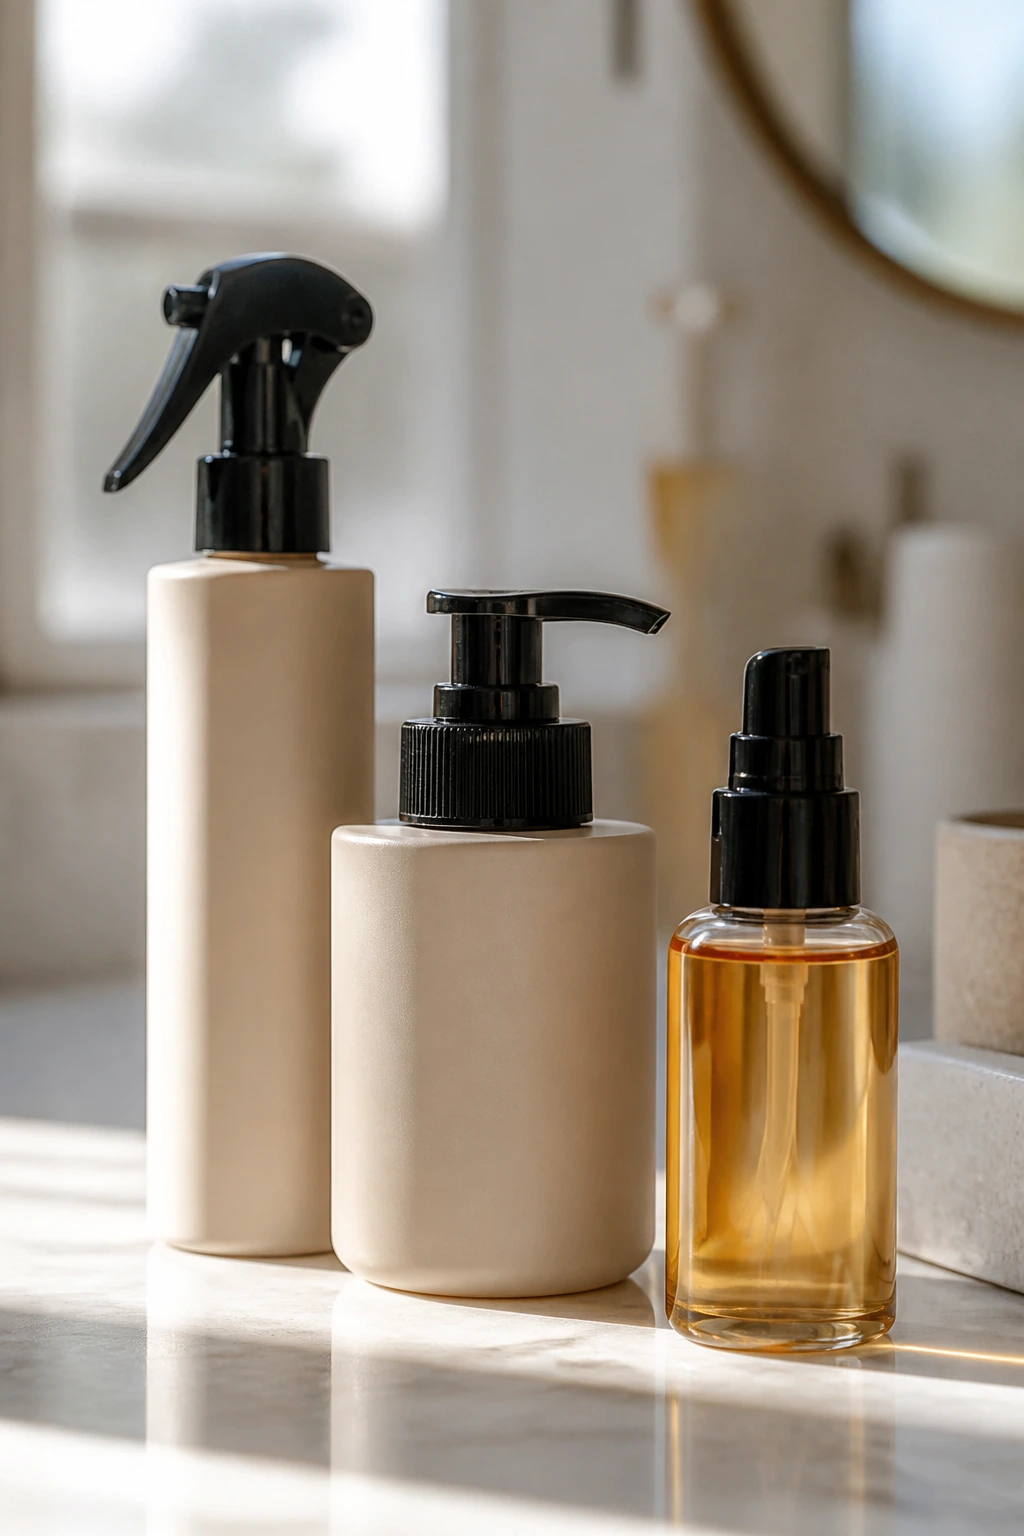
Straight styles reward restraint. If you load the hair up with too many products, the crown starts looking greasy before the ends even settle. So the goal is not a pile of products. The goal is a few that do one job well.
Heat protectant should match the hair’s density. Fine hair usually does better with a spray. Thick or coarse hair can take a cream or lotion version that gives more slip. The point is to coat the strand before heat touches it, not after.
Smoothing cream helps most when the hair has a little natural frizz or bend. A nickel-sized amount for shoulder-length hair is plenty. Work it through damp hair from mid-length down, and leave the roots alone unless the hair is extremely coarse.
Serum or oil belongs on the last few inches. That’s where straight styles get dry-looking first. Use one drop, warm it between your hands, and press it in. If the hair starts to separate in greasy-looking sections, you used too much.
Gel is the useful one for wet looks, slick ponytails, and buns. A medium-hold formula gives structure without flaking as badly as the very stiff stuff can. Apply it on damp hair and comb it through evenly. Uneven gel is what leaves shiny patches.
Texturizing spray only makes sense in small amounts for styles like half-up knots or flipped ends. Too much and the hair loses that clean straight surface.
How to Choose the Right Straight Style for Your Hair, Face, and Day
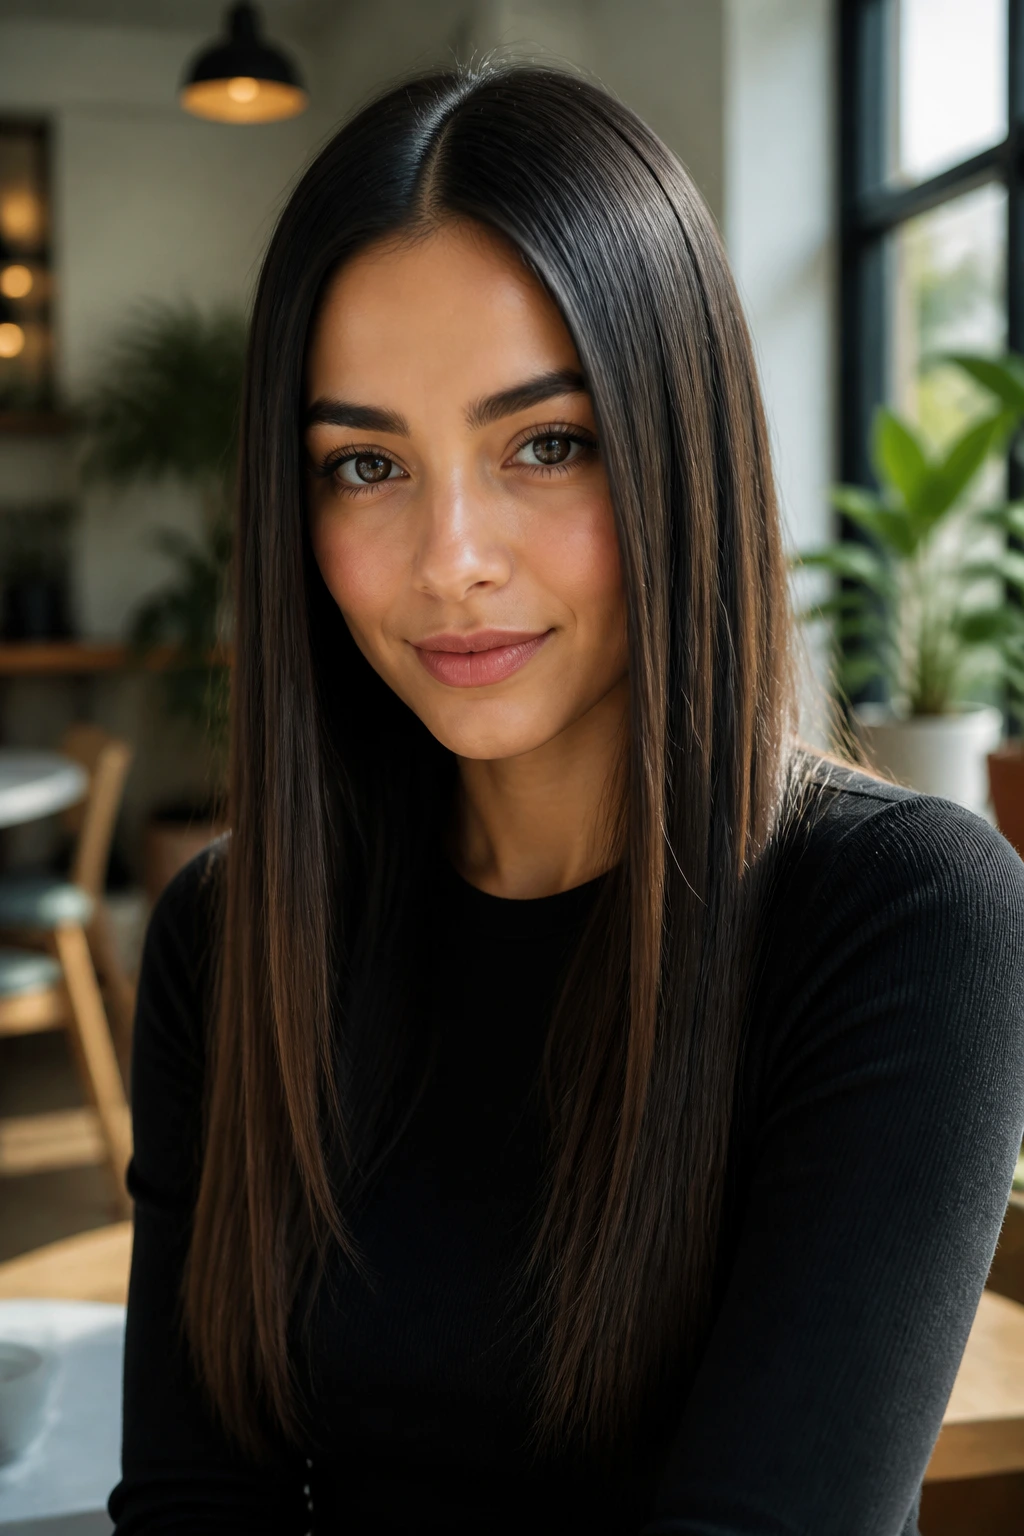
Fine hair: Go for blunt bobs, tucked lobs, sleek ponytails, and center parts. These styles make fine strands look fuller because they rely on line more than volume.
Thick hair: Angled lobs, low chignons, braided ponytails, and half-up twists usually cooperate better. Thick hair has the weight to hold shape, but it also needs tension and sectioning so it doesn’t swell at the sides.
Short hair: Pixies, temple barrettes, narrow headbands, and side tucks are the easiest wins. The styling needs to be neat, not overloaded.
Long hair: Glassy center parts, invisible-layer lengths, wrapped ponytails, and glossy low tails show the best version of straight hair’s length. Long hair needs extra attention at the ends, because that’s where dryness shows first.
Rounder faces: Deep side parts, side tucks, angled lobs, and curtain bangs can add a little vertical pull. They break up the symmetry in a good way.
Longer faces: Center parts, blunt fringes, pigtails, and low ponytails can keep the face from looking stretched.
For work: Keep it low, smooth, and tidy. Low tails, chignons, tucked lobs, and slim barrettes do the job.
For nights out: Wet looks, glossy high ponies, scarf ties, and a sharp bob with earrings give you more edge without adding movement you don’t want.
Small Tweaks That Make Straight Hair Read More Expensive
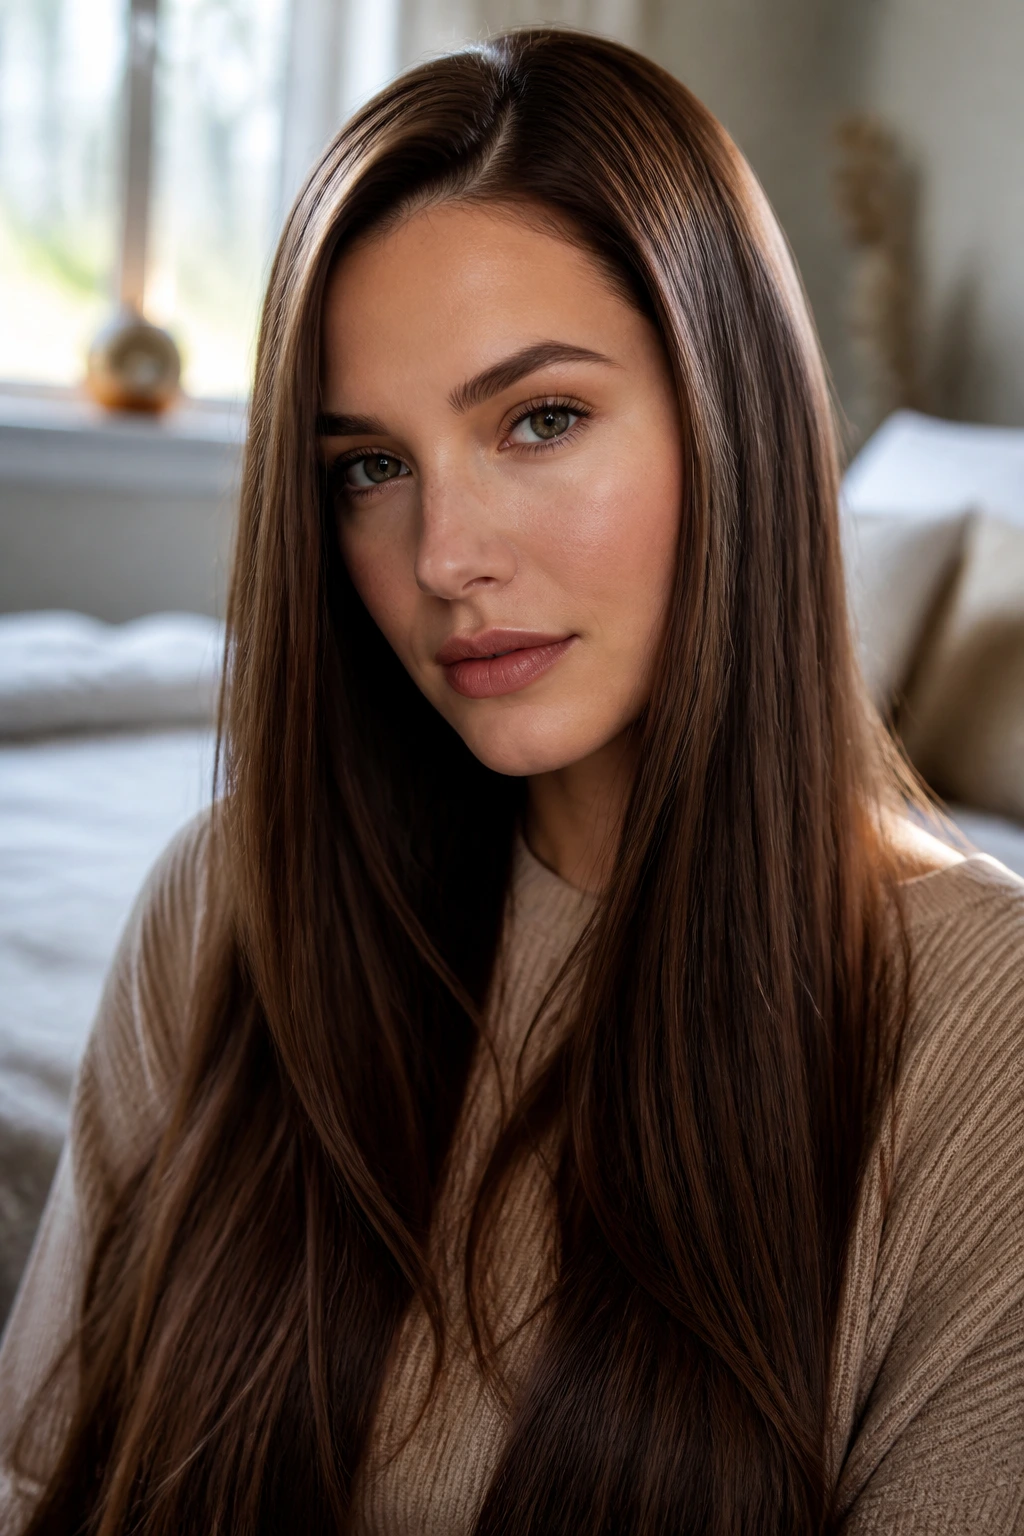
Shine Enhancement: Put one drop of serum on your palms, rub them together, then skim only the mids and ends. The hair should reflect light in a soft band, not look coated.
Customization: Shift the part half an inch off center if the face needs a little softening. That tiny move changes the whole line and often looks better than a dramatic side part.
Control Move: Spray a little flexible hairspray onto a clean toothbrush and tap the hairline or part. It handles flyaways without making the hair hard.
Make-It-Yours: If the cut is blunt, keep the finish blunt. If the cut has layers, give the ends a tiny inward bevel so the shape doesn’t feel ragged.
Quick Upgrade: Add one accessory only — a barrette, a silk ribbon, or a slim headband. More than that and straight hair starts to look crowded.
Common Mistakes That Flatten Straight Styles
-
Using too much serum near the roots: The crown goes dull and greasy fast. Keep oils and serums below the ear line unless the hair is extremely coarse.
-
Flat ironing the same section again and again: You end up with hot, dry ends that look crisp for a minute and rough by dinner. One clean pass is better than three lazy ones.
-
Skipping the cool-down: Hair keeps setting after heat leaves it. If you tie it too soon, the bend stays. Clip the crown or let the style rest for 10 to 15 minutes before touching it.
-
Forgetting the haircut: A blunt bob needs regular trims. Long hair with ragged ends never looks truly sleek, no matter how much product you use.
-
Overloading hairspray: White dust, sticky strands, and a stiff fringe are the usual signs. Spray the brush or mist lightly from a distance instead.
-
Ignoring the natural growth pattern: Cowlicks at the part or temple need extra attention. If you fight them with brute force, they win later.
Variations and Adaptations to Try

The Heatless Press: Wrap damp hair in a silk scarf or use a tension blow-dry with a paddle brush, then let it cool flat. The finish is softer than a hard flat-iron press, which works well when the goal is smoothness, not glass.
The Humidity Shield: Use a smoothing cream on damp hair, a light serum on the ends, and a flexible spray at the finish. This version holds better on warm, sticky days when straight hair tends to puff at the first sign of moisture.
The Soft-Edge Office Look: Try a tucked lob, low tail, or narrow headband. These versions stay neat for long stretches and don’t need constant mirror checks.
The Night-Out Gloss: Pick a wet-look midi, a glossy high ponytail, or a scarf-tied low tail. These styles lean into shine and look stronger with bolder makeup or sharper jewelry.
The Short-Hair Swap: Use temple barrettes, a sleek fringe, or a tapered pixie finish if the length is too short for ponytails. Short straight hair looks best when the edges are neat and the product use stays light.
Keeping Straight Hair Smooth Overnight and Into Day Two
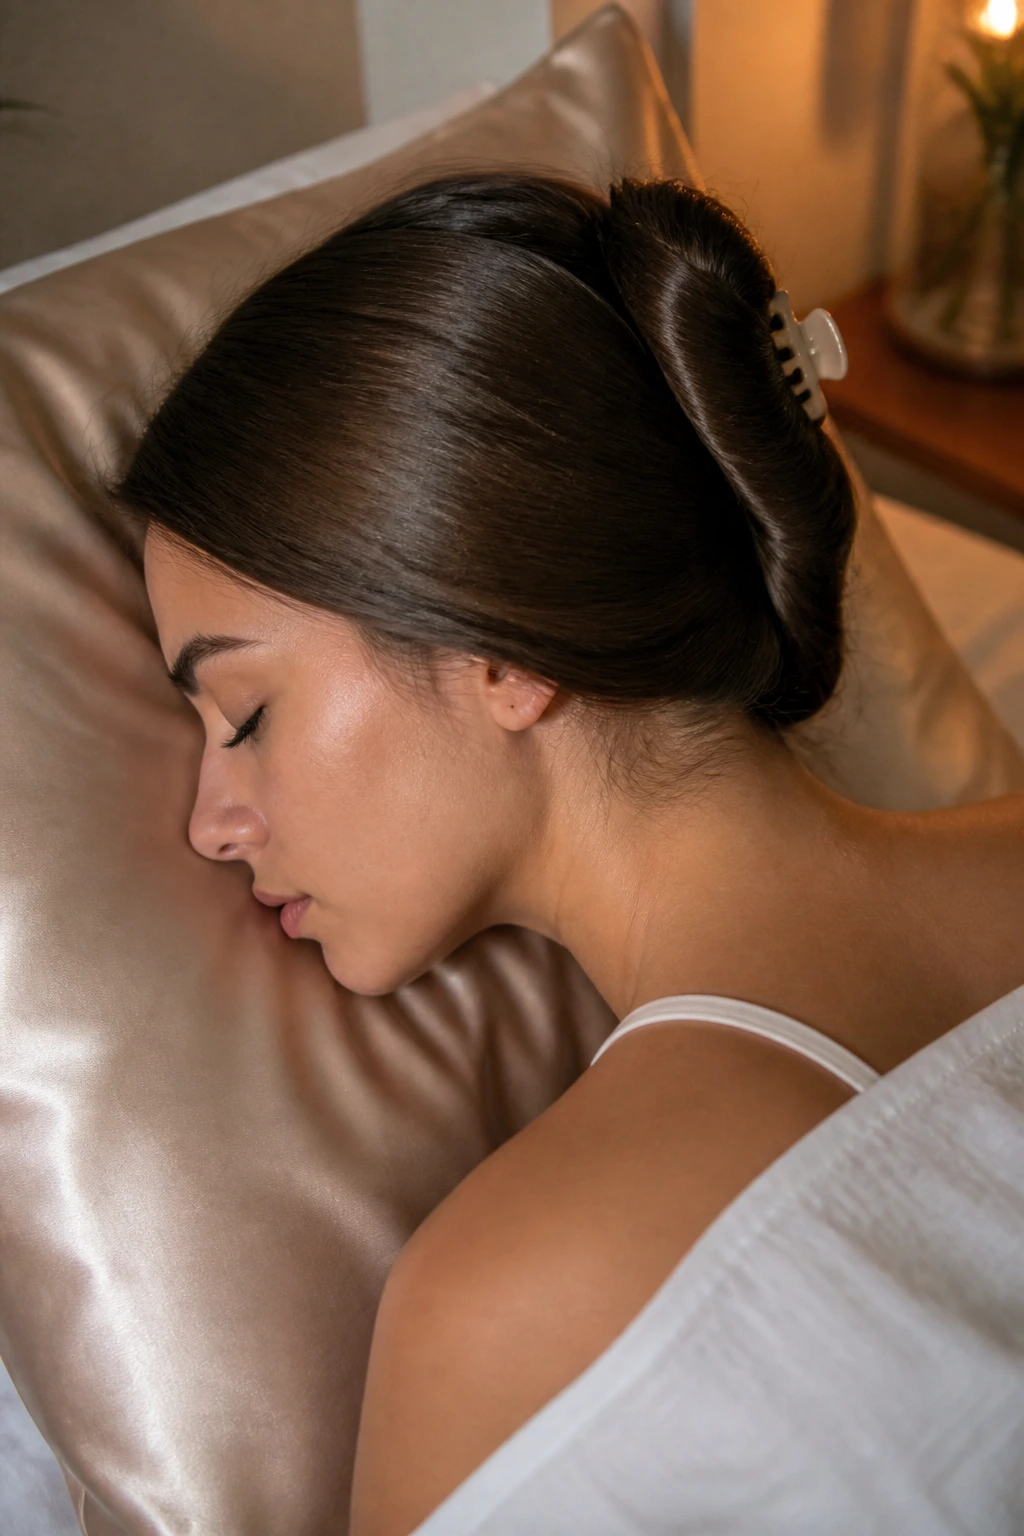
Straight hair usually holds its shape better than people expect, but only if you protect the surface while you sleep. A silk or satin pillowcase helps. So does wrapping the hair loosely around the head and pinning it with one or two flat clips. Cotton pillowcases rough up the cuticle and leave the crown fuzzy by morning.
Let the style cool completely before bed. If the hair is still warm, it will keep bending under the pillow. That’s how a clean part turns into a crooked one and why the front pieces wake up with a kink.
Day two is where straight styles often get easier. The hair has a little more grip, so ponytails and buns hold better. If you need to refresh, mist a brush with a little leave-in spray or water, sweep the roots lightly, and use a pea-sized amount of cream on the mids and ends. Re-flat iron only the sections that actually need it, and keep the iron on dry hair. Two passes over one piece is the ceiling I’d stick to.
If a style feels limp, dry shampoo at the roots can help, but let it sit for two minutes before massaging it in. That pause matters. Rushing it leaves the powder visible and patchy.
Questions About Straight Hairstyles
Which straight hairstyle looks best on fine hair?
Blunt bobs, tucked lobs, and low ponytails usually give fine hair the most shape. They rely on a strong line rather than volume, so the hair looks fuller at the ends and cleaner at the root.
How do I stop flyaways from ruining the finish?
Use a toothbrush with a touch of hairspray or a tiny bit of serum instead of coating the whole head. Flyaways usually need targeted control, not more product everywhere.
Can I get a sleek look without a flat iron?
Yes. A tension blow-dry with a paddle brush can get hair smooth enough for many of these styles. The result is softer than a flat-iron finish, but it works well for low ponies, tucked lobs, and half-up looks.
What if my ends keep flipping out?
That usually means the cut, the brush, or the last inch of heat is working against you. Ask for a slight bevel at the ends, then steer the iron inward or outward on purpose instead of letting it guess.
Do straight styles hold better on day one or day two?
Day two often wins. The hair has more grip, the roots are less slippery, and pinned or tied styles tend to stay neater.
Is it okay to straighten hair often?
It can be, as long as the heat is controlled and the hair is protected. Lower temperatures, fewer passes, and regular trims keep the damage down better than high heat and constant repetition.
What’s the best part for sleek straight hair?
A center part is the cleanest place to start, but a deep side part can soften the face and add lift. The right choice depends on your cut, your growth pattern, and what the crown does when it dries.
Which accessory works best with straight hair?
Slim barrettes, narrow headbands, and silk scarves all behave well on smooth hair. Bigger clips can work too, but they need enough grip at the base or they start sliding.
A Clean Finish That Holds Its Shape
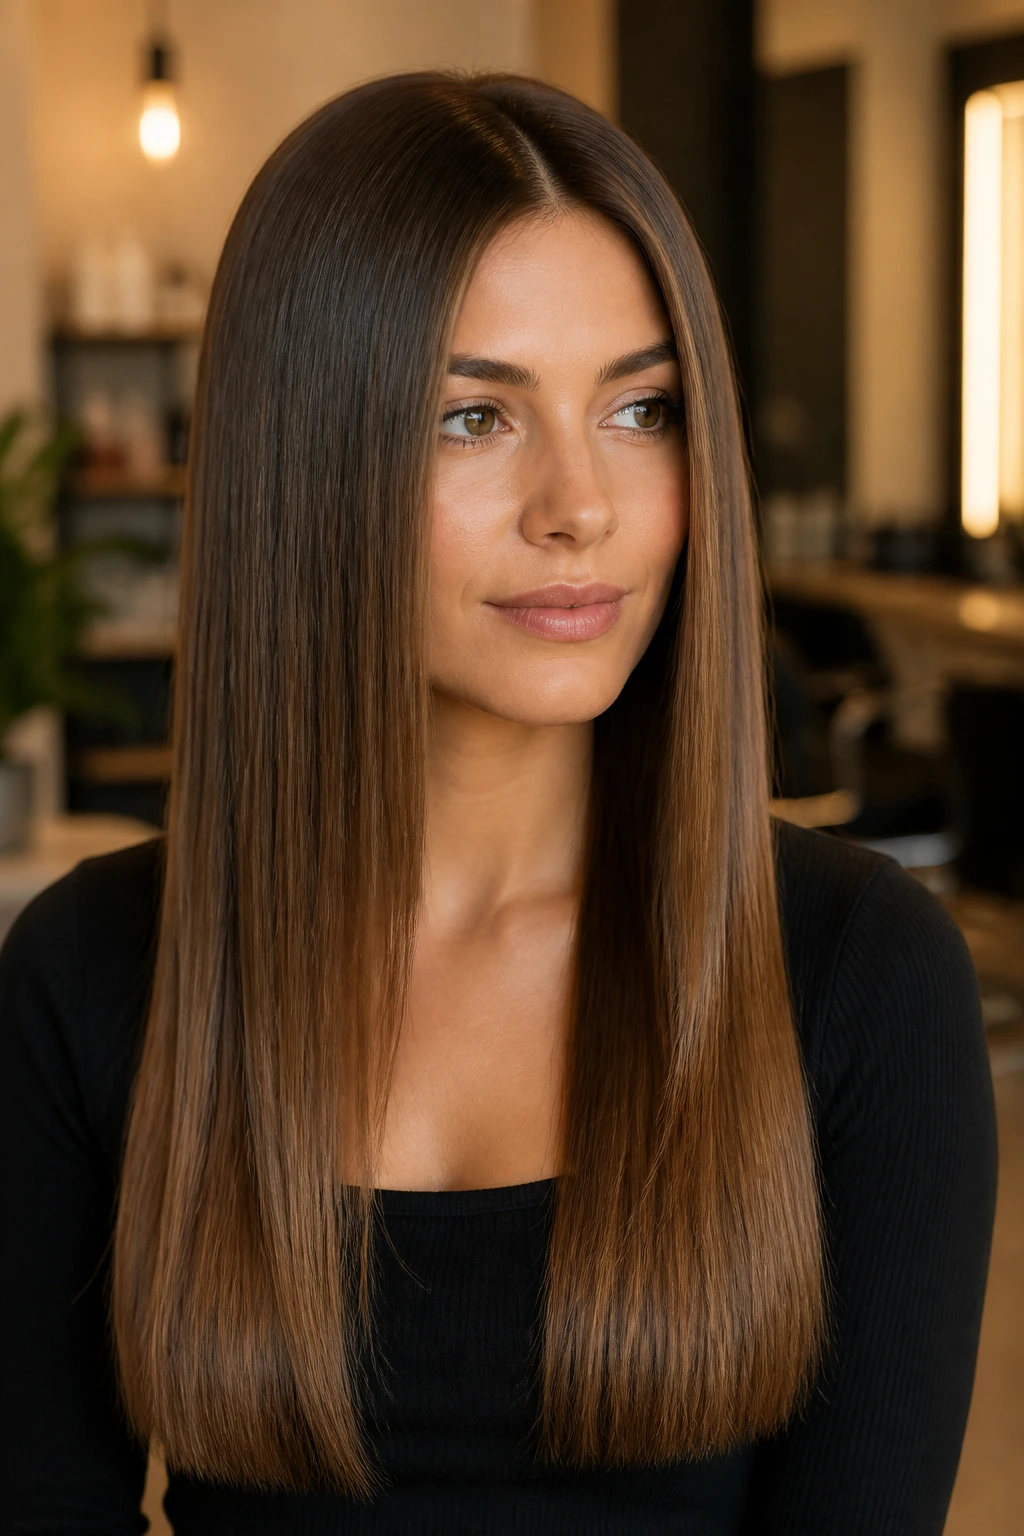
Straight hair looks its best when it has a plan. A good part, a smooth root, and ends that land where you meant them to land — that’s the whole game. The styles here give you plenty of ways to play with that formula, whether you want a bob that cuts like a line, a ponytail that sits low and neat, or long lengths that move like a sheet of polished fabric.
Pick the shape that fits the cut you already have, then keep the surface under control. That’s the part people notice first, even if they can’t name it.
