



Long hair can go flat fast when the front stays the same length all the way down. A side bang breaks that wall with a diagonal line, and that small shift changes how the whole cut sits on the face. It keeps the length, but it stops the hair from reading like one heavy sheet.
The best side bangs for long hair are not just shorter pieces at the front. They need a clean part, a little overdirection at the cut, and enough length to swing, tuck, or vanish into the rest of the hair when you want them gone. Shorter than that, and the style can feel abrupt. Too wide, and the bang starts acting like a curtain that never learned its job.
What makes this fringe worth paying attention to is the range. A side bang can look soft and airy, polished and glossy, grown out and lived-in, or carved enough to sharpen a jawline. The same basic idea keeps showing up in salons because it solves a real problem: long hair often needs motion near the face, not another inch of length.
Why This Collection Feels Different
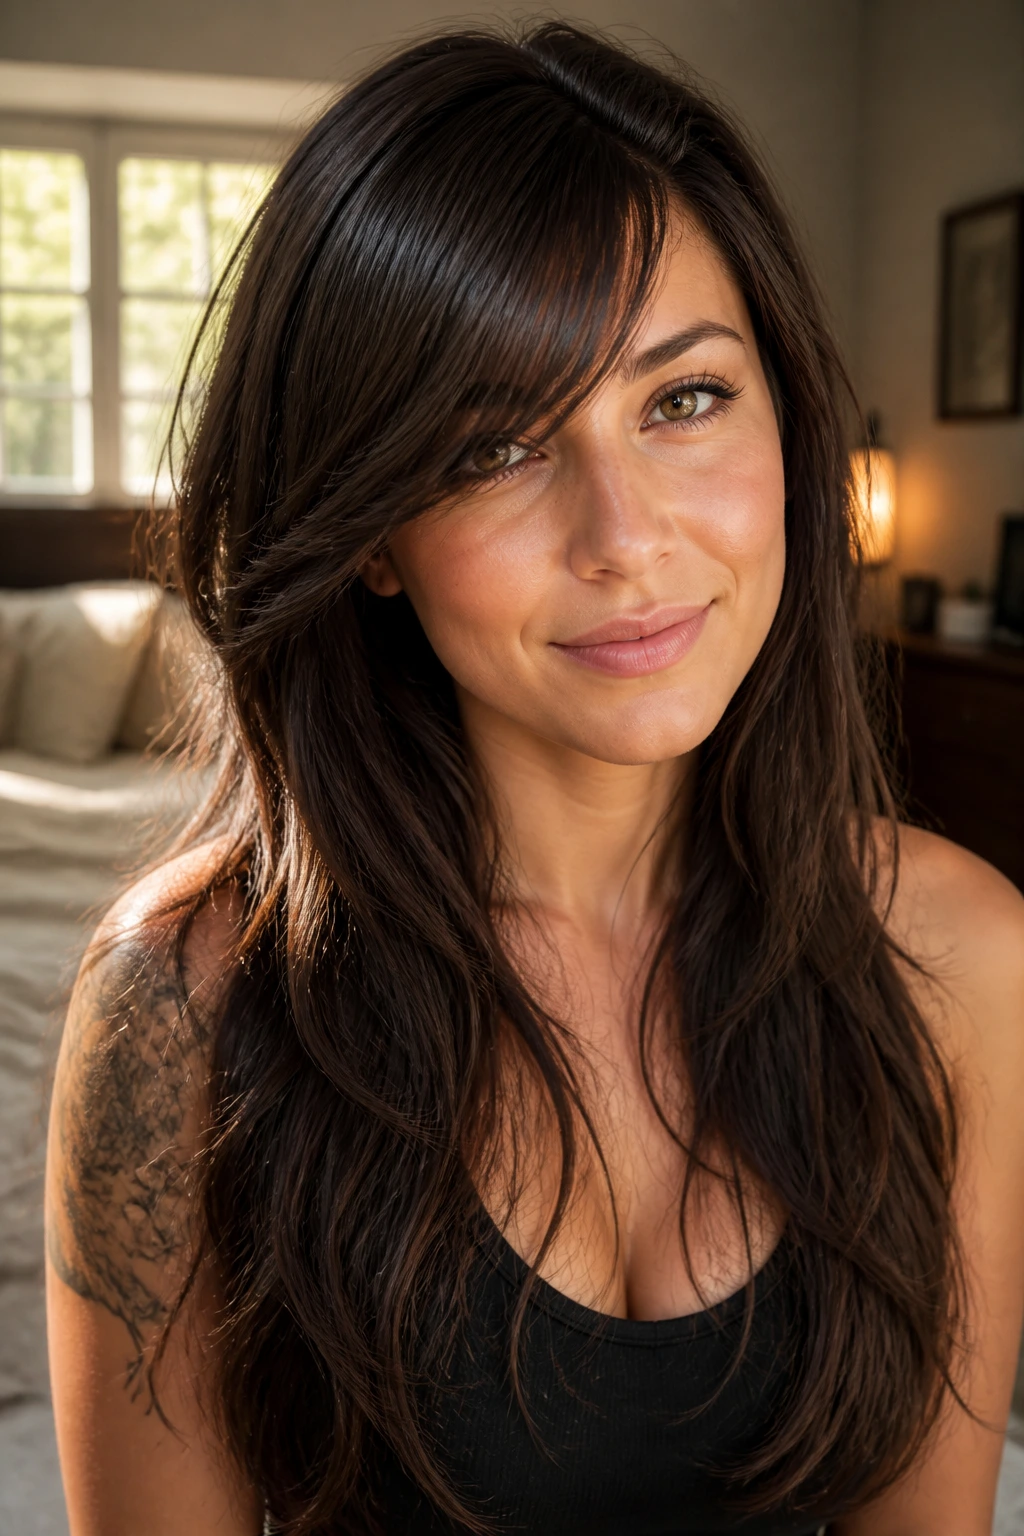
-
Face-shaping without the full commitment: A side sweep can change the outline of long hair without taking the front all the way to brow length, which makes the grow-out much less annoying.
-
Built for real hair, not just blowouts: These looks work with thick, fine, straight, wavy, and curly textures as long as the cut respects how the front hair actually falls.
-
Easy to dress up or calm down: The same fringe can look polished with a round brush or relaxed with air-drying and a dab of cream.
-
Better than a blunt front when hair feels heavy: A diagonal line gives long lengths somewhere to move, which matters more than people expect on one-length cuts.
-
Useful with updos and loose styles alike: Side bangs keep a ponytail, bun, or braid from looking too bare around the hairline.
-
Forgiving on grow-out: If you change your mind, this is easier to tuck, pin, or blend than a straight-across fringe.
1. The Deep Swoop That Starts at the Temple
This is the version most people picture when they say they want side bangs for long hair. The front section starts a little farther back than expected, then sweeps diagonally across the forehead so the shortest point lands near the brow and the longest point brushes the cheekbone.
I like this one on dense hair because it gives the face an actual line to follow. Ask for the front to be cut with a soft point, not a blunt shelf, and have the stylist overdirect the section away from the face so the bang still has room to fall. If you brush it straight down while styling, the whole shape disappears.
- Best on medium to thick hair.
- Works well with straight or softly wavy texture.
- Style with a 1-inch round brush and a cool shot at the end.
Pro tip: Let it cool in the direction you want it to sit. Warm hair lies; cooled hair tells the truth.
2. Feathered Side Bangs With a ’70s Bend
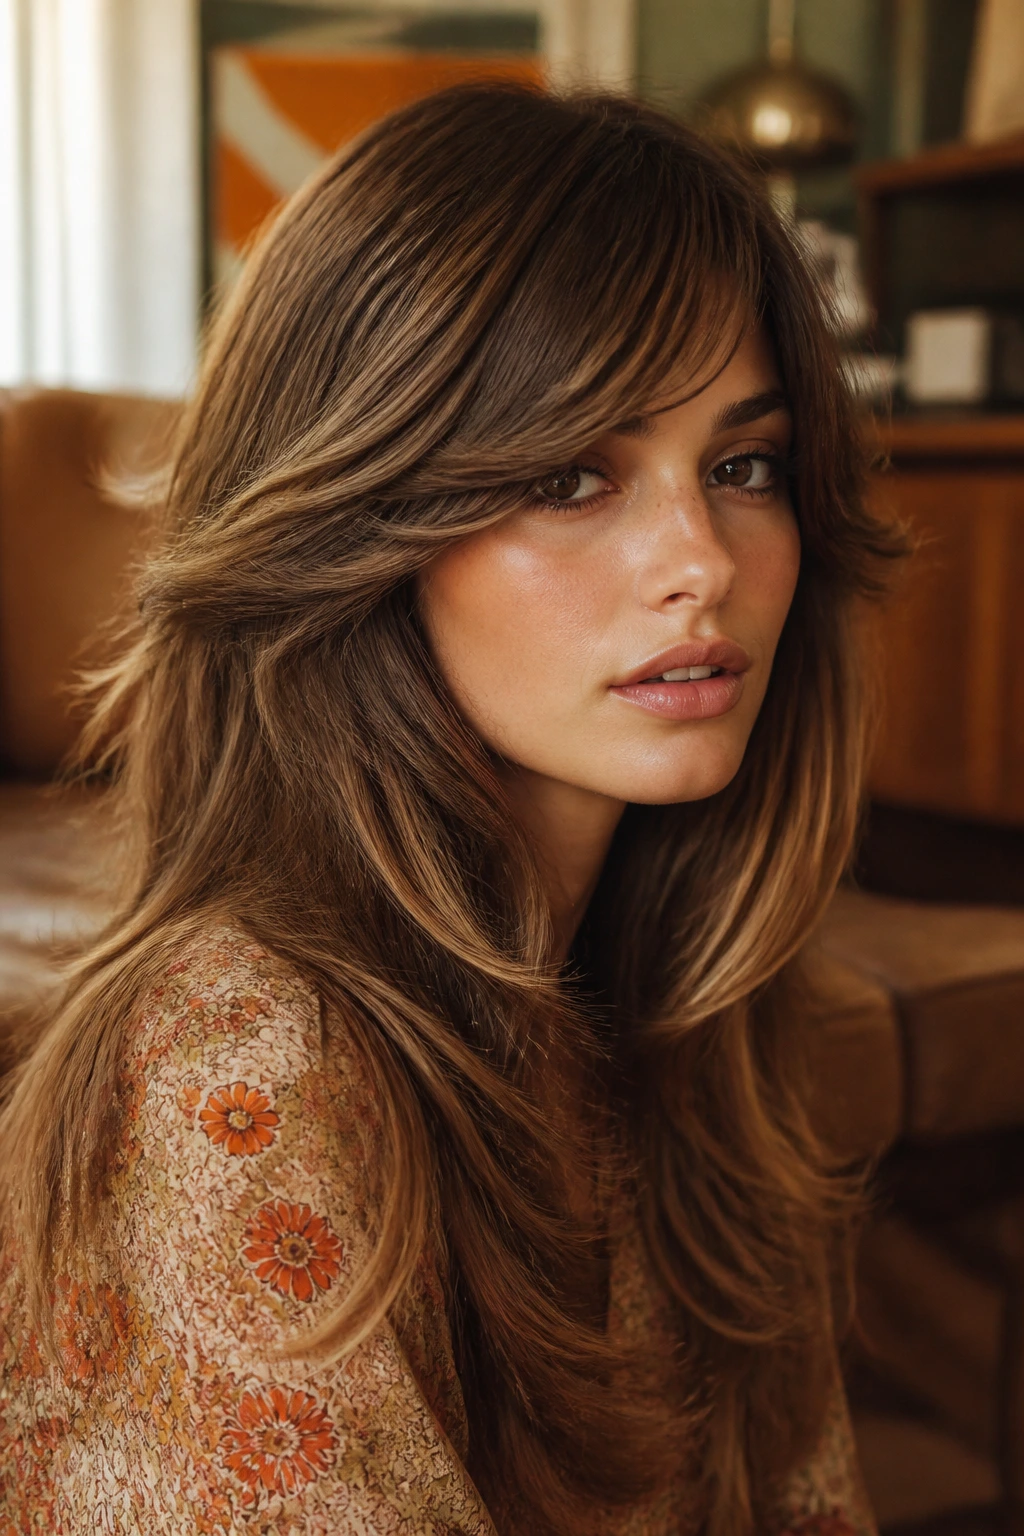
Why does this version keep coming back? Because it does a lot with very little hair. Feathered side bangs are cut to move, not sit stiffly, so the ends break apart into airy little pieces that skim the forehead instead of covering it.
The trick is in the edge. A good feathered bang should not look thinned out in a choppy way. It should feel soft, with the bottom line lightly textured so the sweep has lift. This is the style I reach for when long hair needs a little softness around the temples but not a full face frame.
What to ask for
Tell the stylist you want a feathered front that blends into your longest layers, with the shortest point living around brow level. If your hair is thick, a little point cutting helps keep the front from feeling like a helmet.
Why it works
The feathered shape takes the weight out of the front without making the fringe vanish. It’s one of the easiest side bang styles to tuck behind the ear on day two.
3. Wispy Side Bangs for Fine Hair
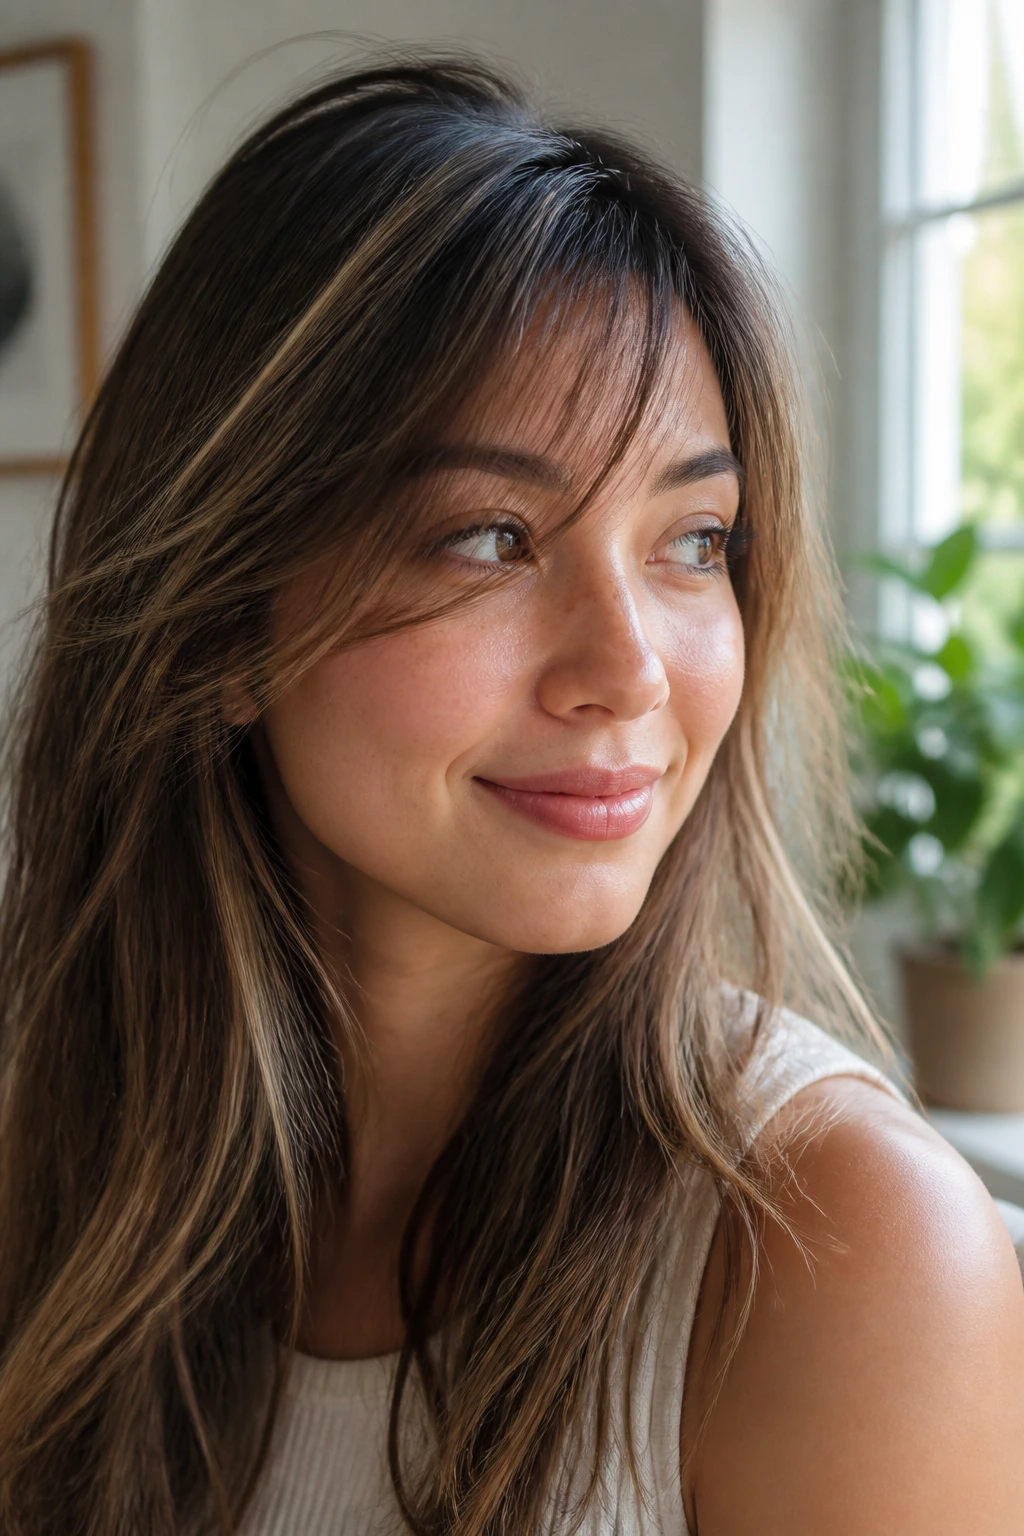
Fine hair can wear a side bang beautifully, but the cut has to be narrow and careful. Too much texturizing and the fringe turns see-through in a bad way, which is different from airy. Airy is a choice. See-through is a mistake.
A wispy side bang should still have enough length to bend, usually somewhere between the middle of the brow and the top of the cheekbone. The goal is a soft veil of hair, not a few lonely strands that split the second humidity shows up. Keep product light — a pea-sized amount of mousse at the roots is usually plenty.
Best move: Blow-dry the bang first, before the rest of the hair, and clip it to the side while it cools. Fine hair forgets its shape quickly, so that cooling step matters.
4. Full Side Bangs for Thick Hair
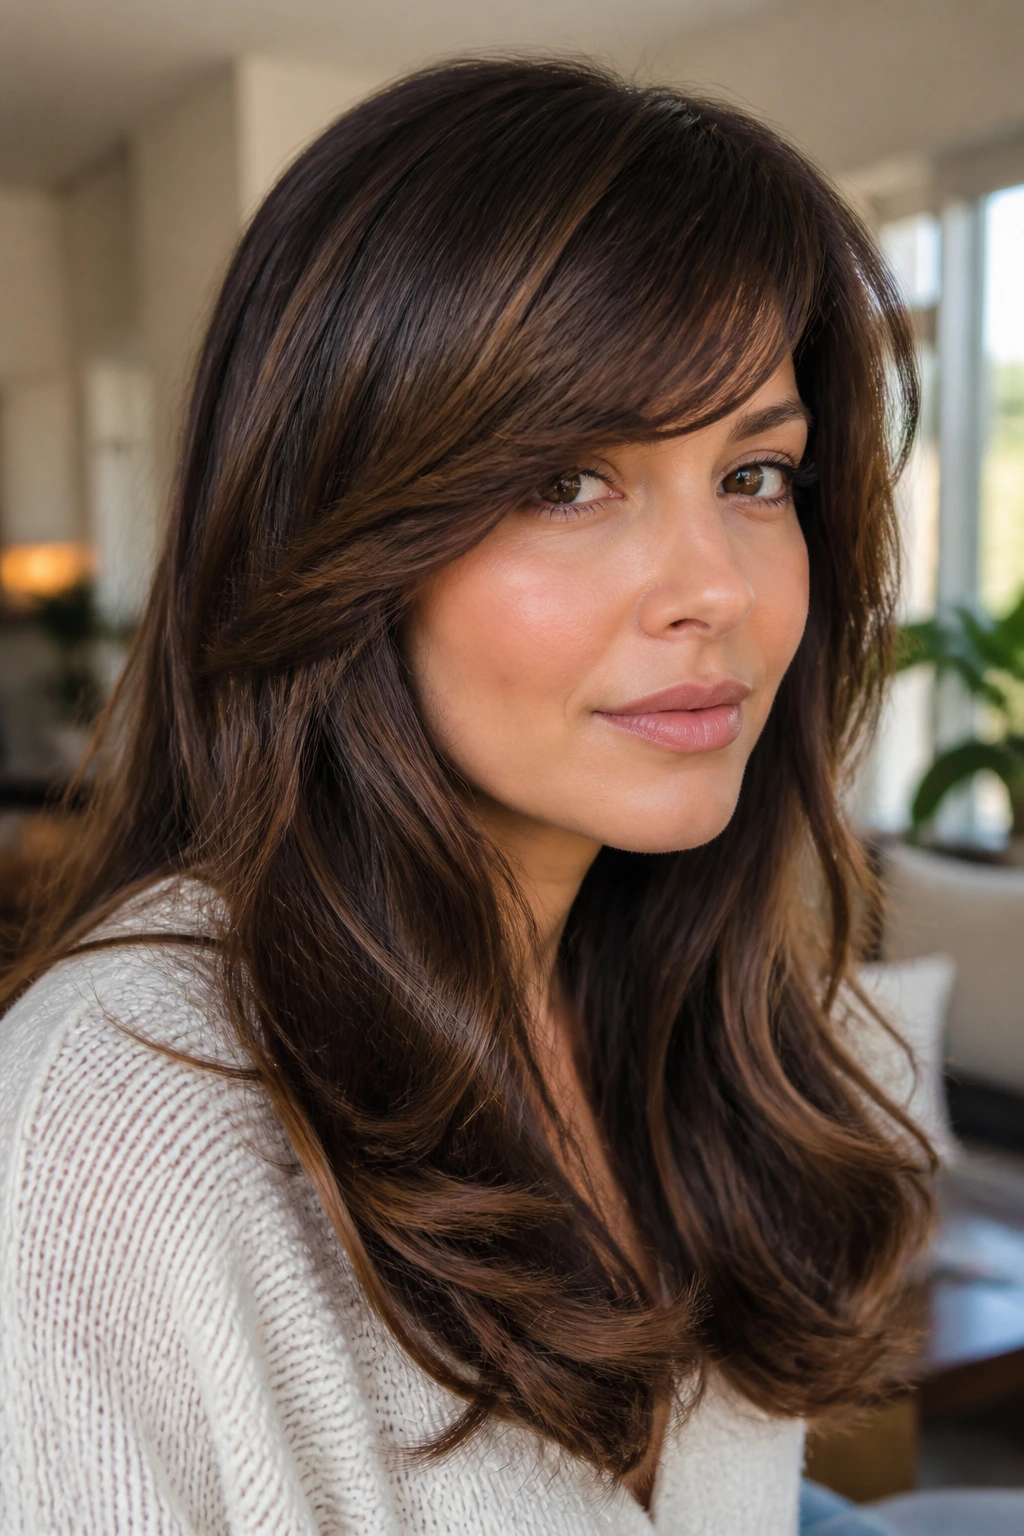
Thick hair needs a different plan. If the front is too narrow, the bang gets swallowed by the rest of the cut and disappears into the length like it never existed. A fuller side bang gives dense hair a real front shape and keeps the face from getting buried under all that hair.
The edge should still be soft, but the section itself can be deeper. I’d rather see a thick side bang with smart internal removal than a skimpy one that has to fight for attention all day. Ask for some of the bulk to be removed from the underside, not the top surface, so the fringe keeps its body while sitting flatter against the forehead.
A round brush helps here, but so does restraint. Heavy hair can take product better than fine hair, though the front still gets greasy fast. Keep serum off the roots. That part gets punished.
5. Razor-Cut Side Fringe
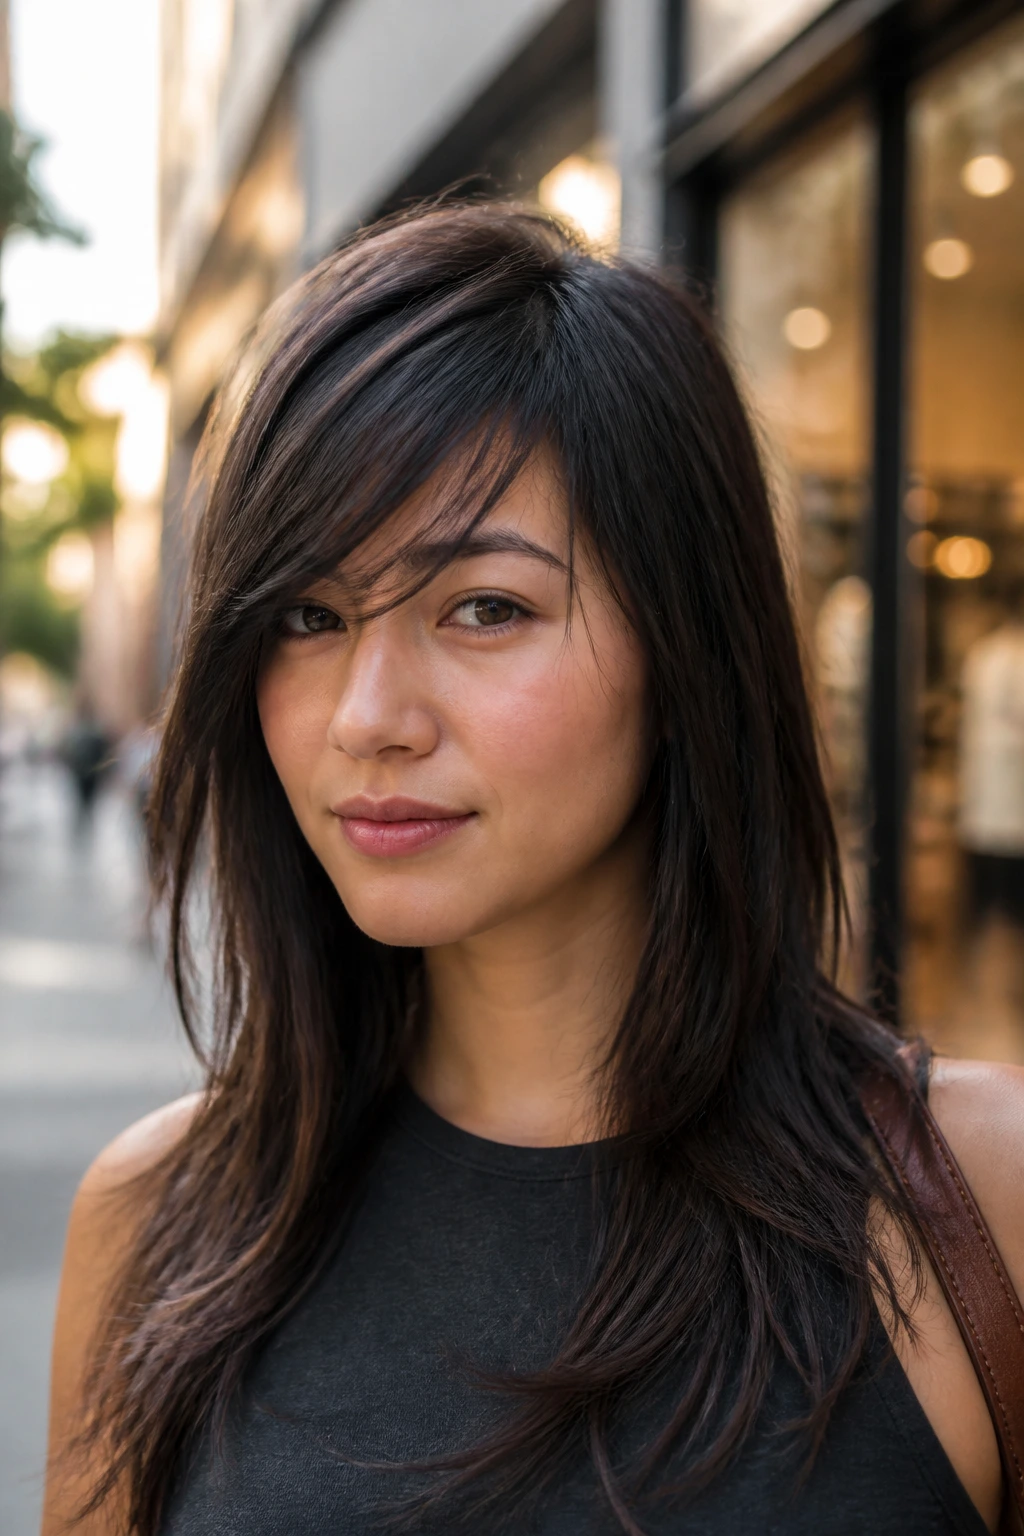
Razor cutting gives the front a softer, airier edge than blunt scissors can manage, and on the right hair it looks fantastic. Coarse, straight, or very full hair can take on a light, swingy front line that moves instead of falling in one solid block.
There’s a catch. Razor-cut bangs are not the friend of dry, fragile ends. If the front already frays easily, a razor can make it look even more scattered. The cut has to be done by someone who knows when to stop. That matters more than the tool itself.
A razor-cut side fringe usually looks best when the rest of the length has some texture too — soft layers, a loose wave, or even a straight blowout with bend at the ends. It does not need to look messy. It just needs enough texture to keep the line alive.
6. Long Side Bangs That Blend Into Face-Framing Layers
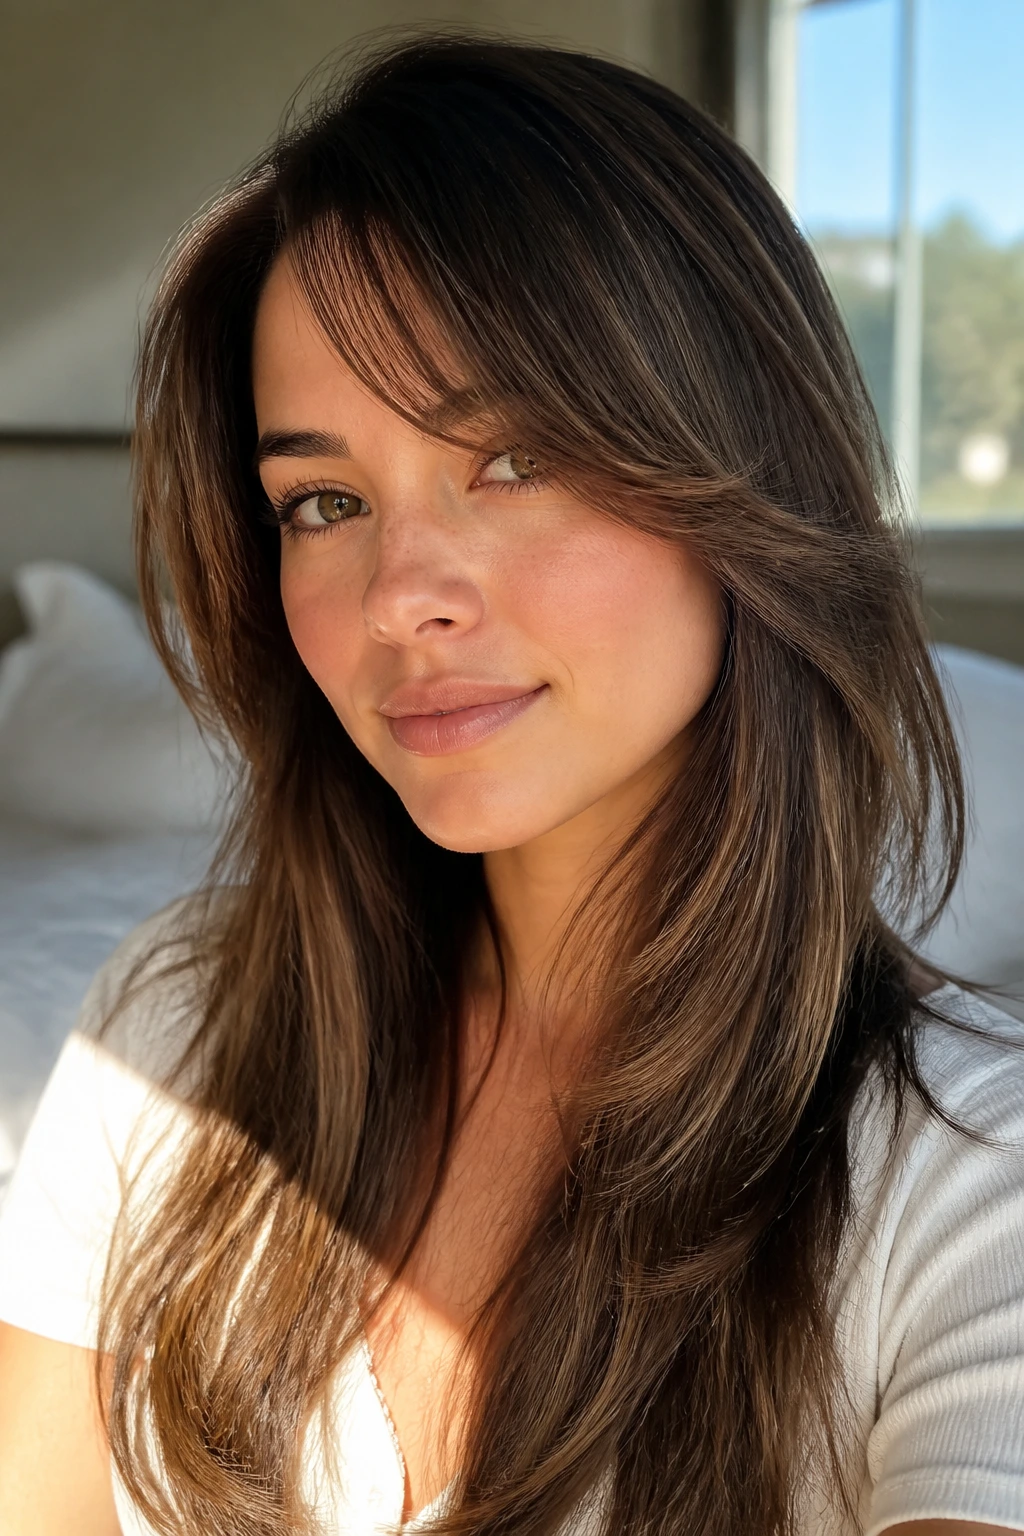
This is the easygoing version. The bang doesn’t announce itself; it slides into the haircut and disappears into the layers that start near the cheekbone and jaw. If you want a front shape that survives grow-out gracefully, this is the one.
The line matters less than the transition. The side bang should begin around the temple and taper into longer face-framing pieces so there isn’t a hard stop at the front. That makes it easier to wear tucked back, waved, or half-up without any obvious gap where the bang used to be.
I like this version on long hair that already has movement in the ends. It keeps the silhouette soft and avoids that strange chunk of hair that looks like it was cut from a different head.
7. Side Bangs for Curly Hair
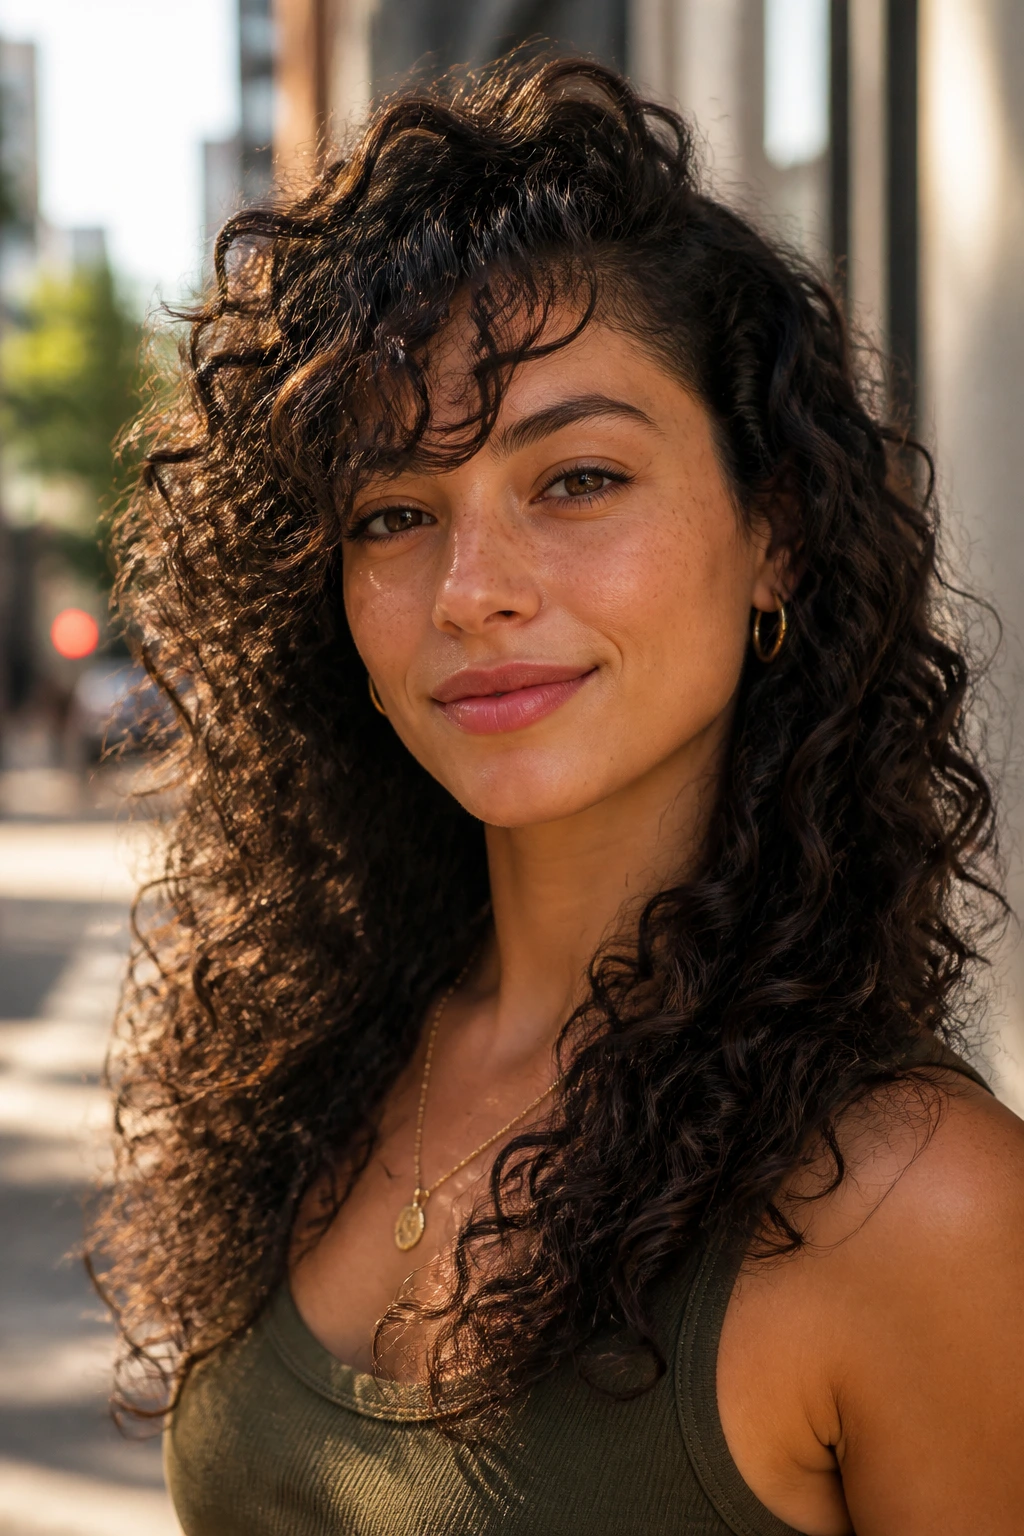
Curly hair changes the rules immediately. A side bang on curls has to be cut dry, or nearly dry, because shrinkage will steal more length than most people expect. What looks like a gentle cheekbone sweep when wet can bounce up to the brow once it dries.
The best curly side bangs follow the curl pattern instead of fighting it. That means the front should be shaped to fall into its natural clumps, not brushed flat into one piece. Use a curl cream or gel that defines without turning the front crunchy, then diffuse with the bang directed toward the side you want.
Watch the length
Leave a little extra room at the bottom of the cut. Curls often need an inch or more of forgiveness, sometimes more if the pattern is springy.
Watch the separation
If the bang splits into two small pieces, it often means the section was cut too wide. Narrower front sections usually behave better on curly hair.
8. Side Bangs for Straight Hair
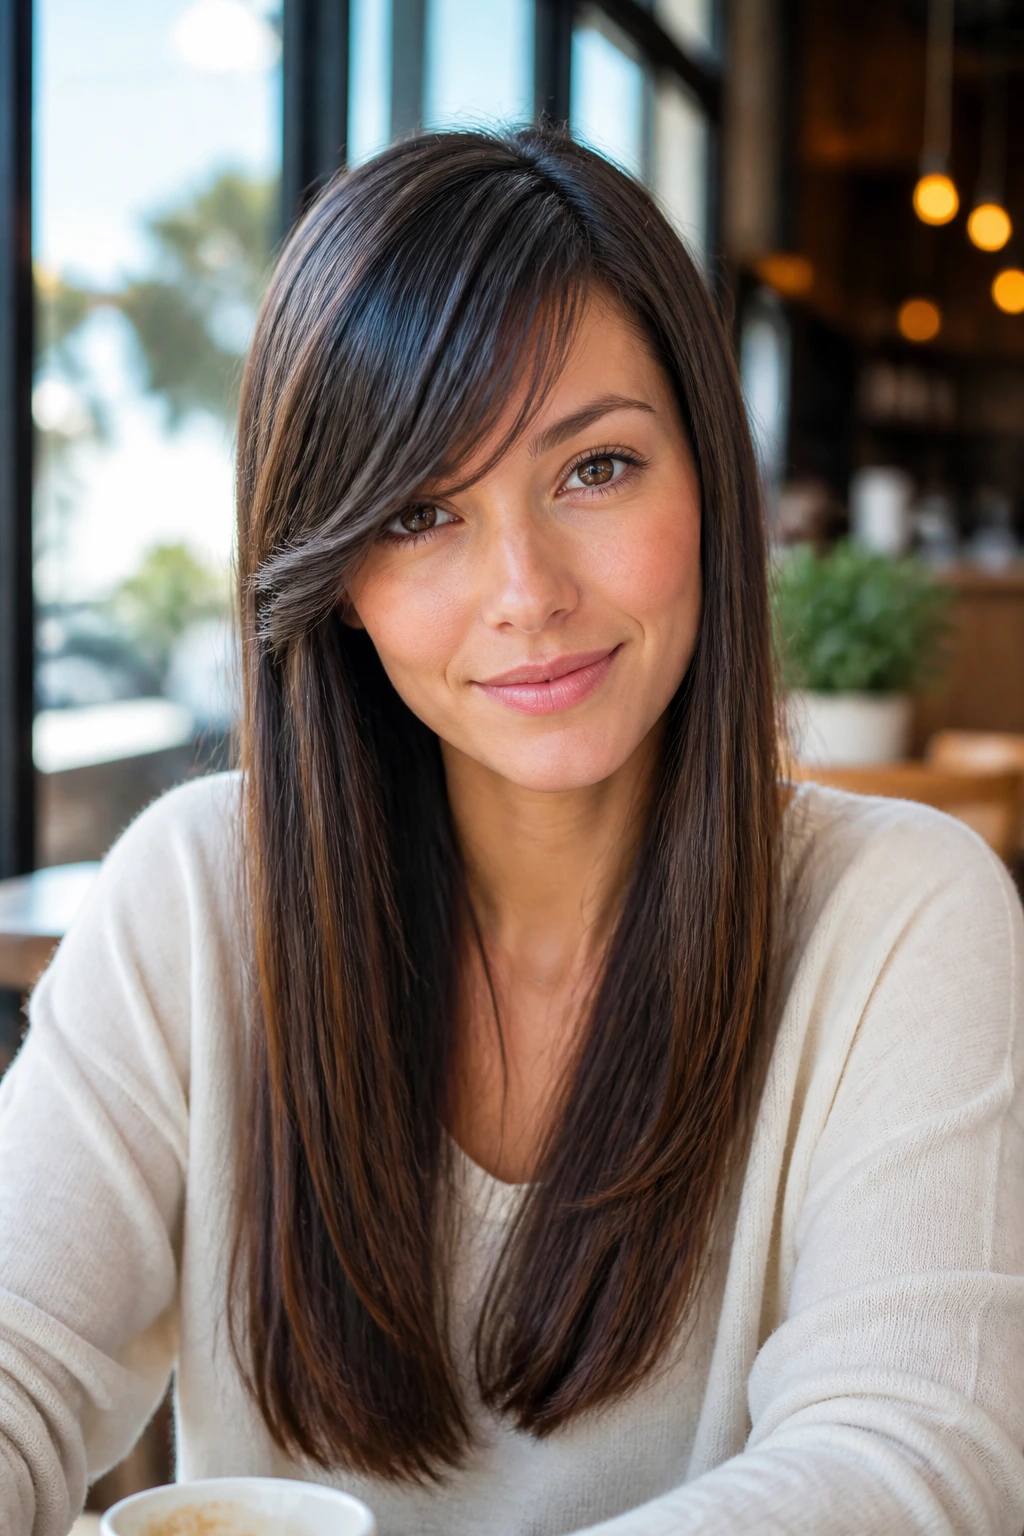
Straight hair is brutally honest. It shows every uneven snip, every bad part, and every time you forgot to dry the front in the right direction. That sounds unforgiving because it is, but it also means a clean side bang can look sharp and deliberate in a way wavy hair sometimes hides.
The trick is adding bend. A straight side bang rarely looks best when it hangs absolutely flat. A tiny curve with a round brush or a quick pass of a flat iron turned slightly at the wrist helps the fringe sweep instead of drop. If your hair has a cowlick at the temple, clip it in place while it cools. That one move can save the whole cut.
Keep the edge soft, but not wispy to the point of vanishing. Straight hair often needs a little more internal shape so the bang doesn’t separate into two face-framing pieces after an hour.
9. Round-Brush Blowout Side Bangs
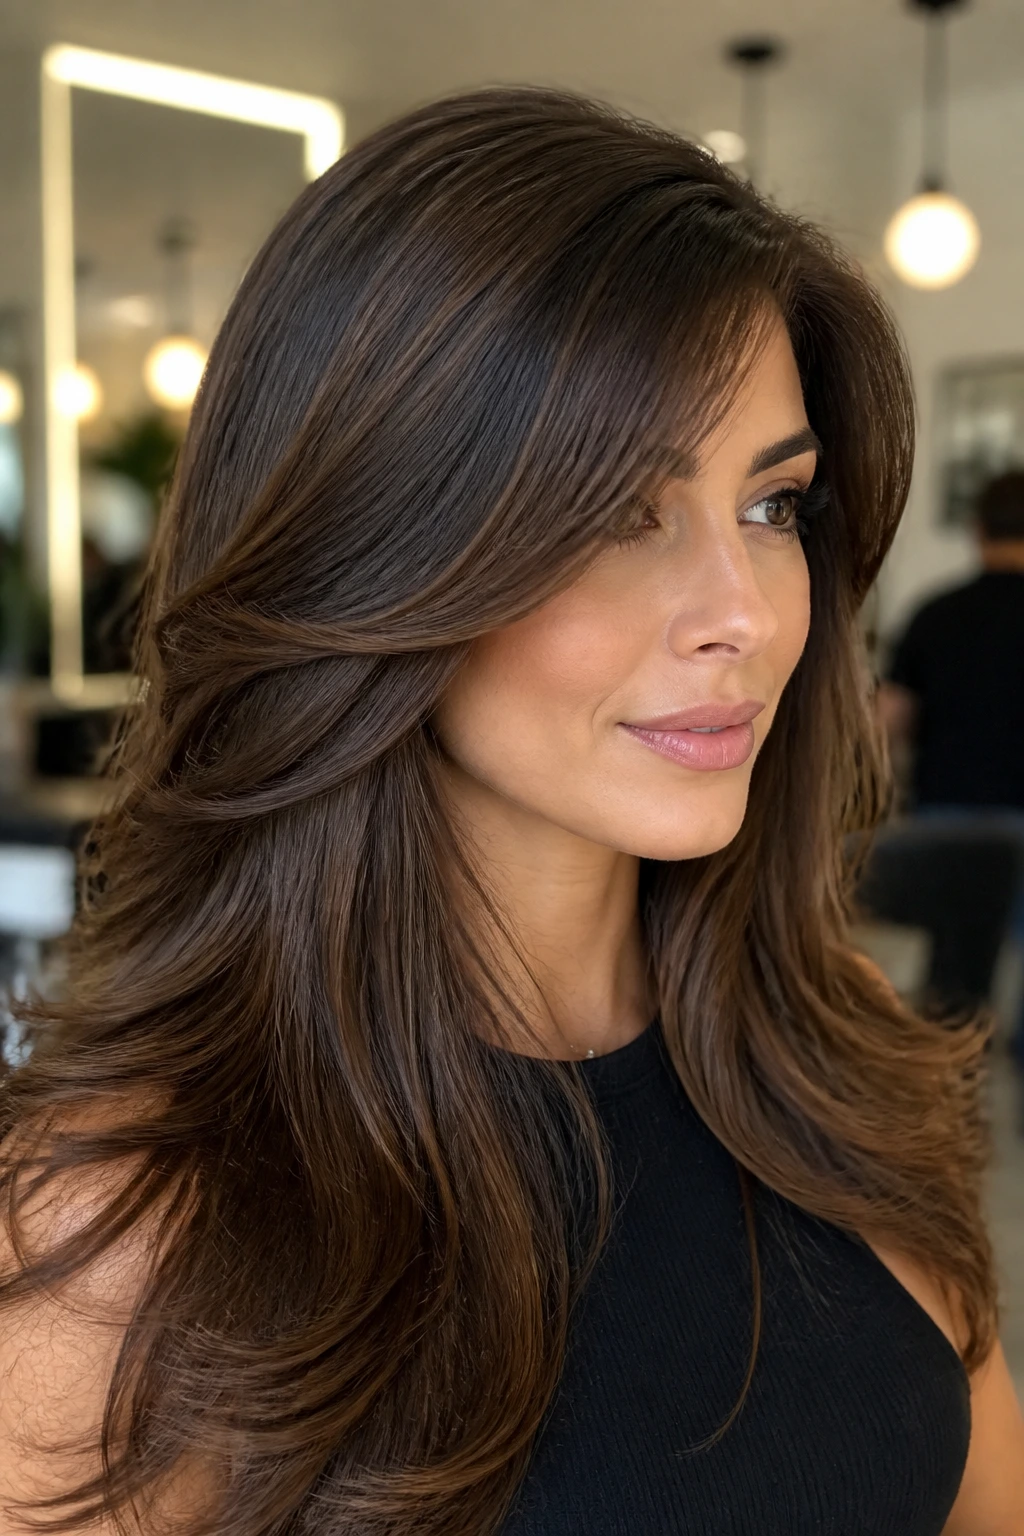
A round brush gives side bangs that smooth, polished arc people love when the rest of the hair is long and loose. The front gets lifted at the root, wrapped over the brush, then cooled in a side-swept direction so the curve holds.
This is a salon-style finish, but it isn’t fussy if you keep the brush size right. A 1-inch or 1.25-inch brush usually gives enough bend without turning the bang into a curl. Direct the nozzle from root to ends, keep tension steady, and don’t chase every little flyaway with heat. That’s how the front gets frizzy.
This version works especially well on long hair with layers because the bang and the body of the hair feel like they belong to the same blowout. It’s a tidy look without being stiff.
10. Air-Dried Side Bangs With Natural Bend
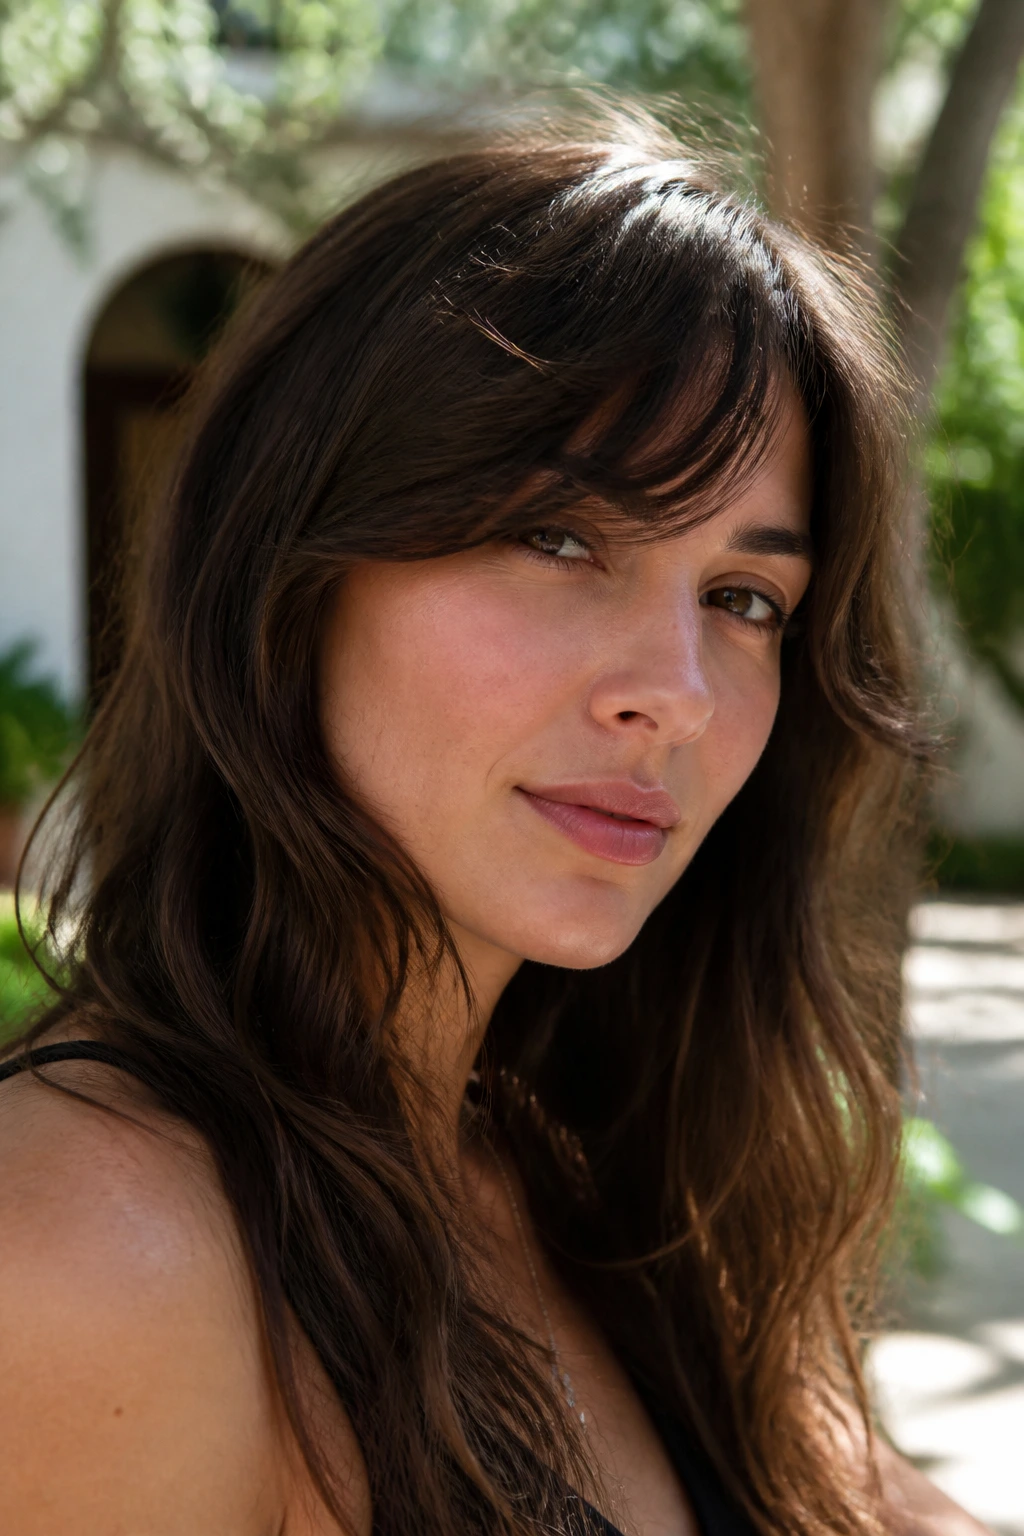
Air-drying does not mean giving up shape. It means you let the hair show what it already wants to do, then help it along a little. On wavy or lightly textured hair, a side bang can air-dry into a soft bend that feels easier than a full blowout.
The trick is control at the root. After washing, finger-comb the bang into the direction you want, then clip it diagonally for 10 to 15 minutes while the roots set. A small amount of leave-in conditioner or light cream is enough; heavy oil at the front tends to make the hair separate and sit flat against the forehead.
I like this version for long hair on days when you want movement, not perfect polish. It looks lived-in in the best way.
11. Side Bangs Pinned Into a Half-Up Style
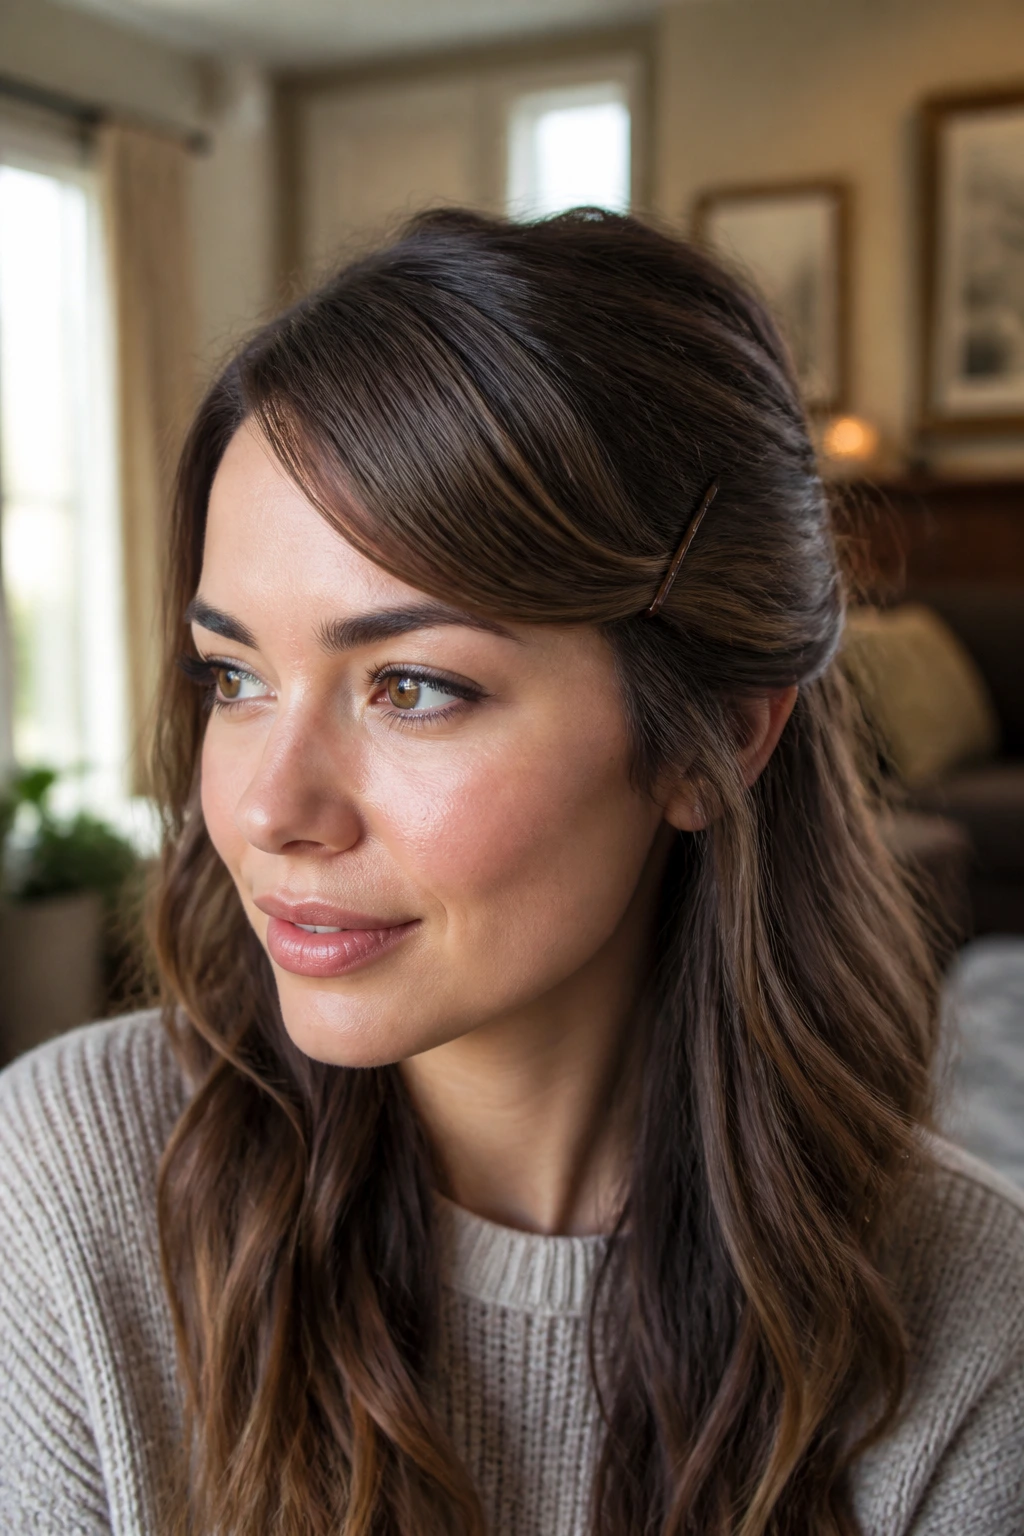
A half-up style changes the whole conversation. Instead of fighting the bang to stay perfect all day, you let it fall to the side and then pin part of it back near the temple so it looks intentional and clean.
This is one of the easiest looks for growing-out side bangs. You keep the softness at the front, but you pull enough hair back to keep the shape from collapsing into your eyes. A hidden bobby pin placed diagonally under the top layer usually works better than one big decorative clip. One pin can hold a surprising amount if you anchor it properly.
The style sits well on long hair because the loose length below gives the pinned front some balance. You get face framing without the annoyance.
12. Side Bangs Tucked Behind One Ear
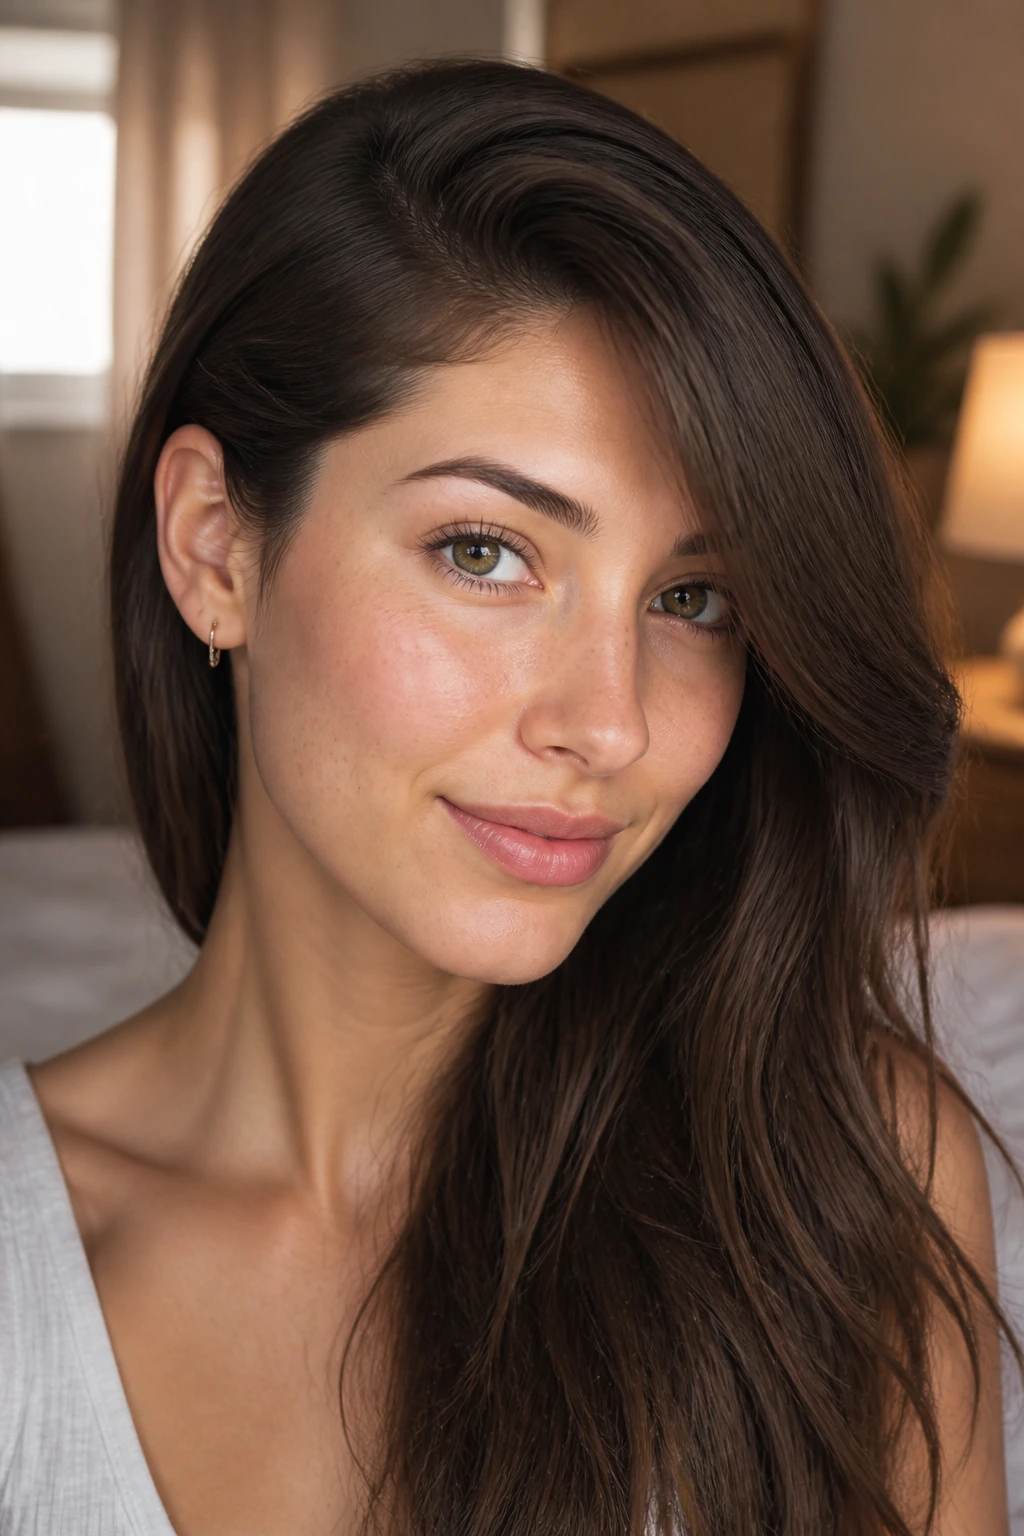
This one is quiet, but I use it all the time. A side bang that’s long enough to tuck behind one ear gives you the sweep when you want it and a clean face when you don’t. It also shows off earrings and keeps the hairline from looking too crowded.
The key is shape, not just length. If the bang is cut too blunt, it will pop out of the tuck in a stiff little hook. If it has a soft taper, it slides behind the ear and stays there better. A tiny bend toward the ear helps. So does a light mist of texture spray at the mid-lengths, not the roots.
This works best on side bangs that land around cheekbone level or lower. Shorter than that, and the tuck starts to look accidental.
13. Side Bangs Woven Into a Braid
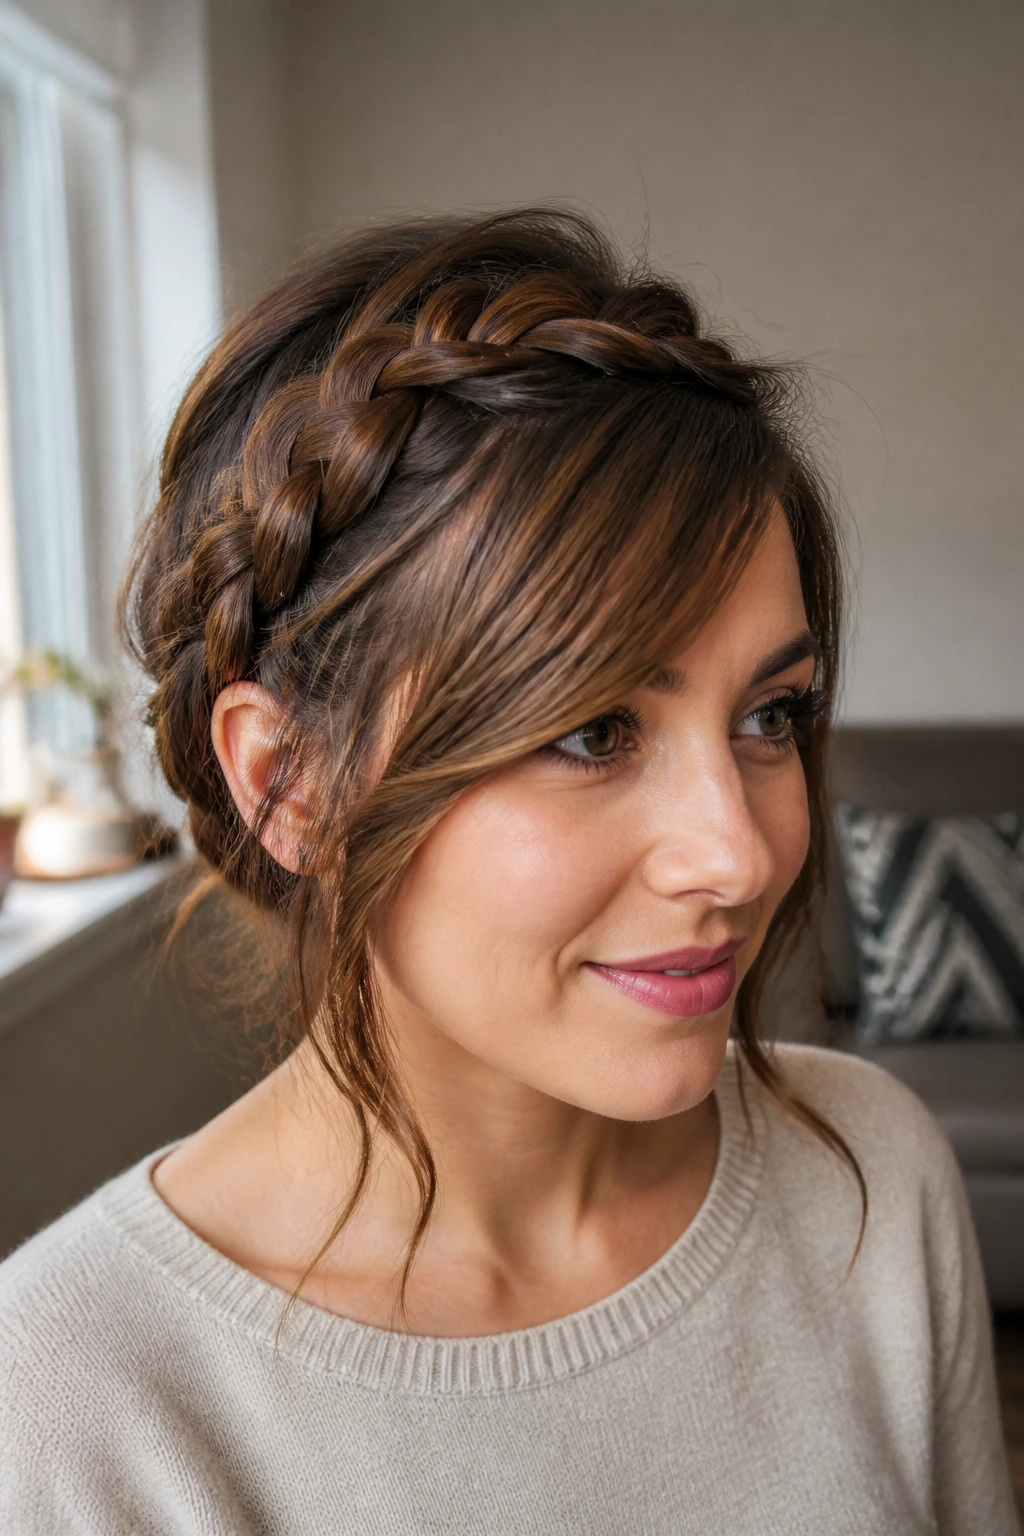
Braids and side bangs get along better than people think. The fringe can become the first piece of a side braid, a loose crown braid, or even just the front edge of a messy plait. That makes the bang part of the style instead of something you have to pin out of the way.
A little grip helps here. Dry shampoo or texture spray at the front gives the short pieces enough hold to stay in the braid without slipping out immediately. If the hair is very silky, a tiny bit of mousse at the roots before drying can help too.
This is a good look for long hair because the length can handle the braid while the bang softens the face. It’s especially good on second- or third-day hair, when the front needs help but you still want the style to look deliberate.
14. Side Bangs in a Low Ponytail
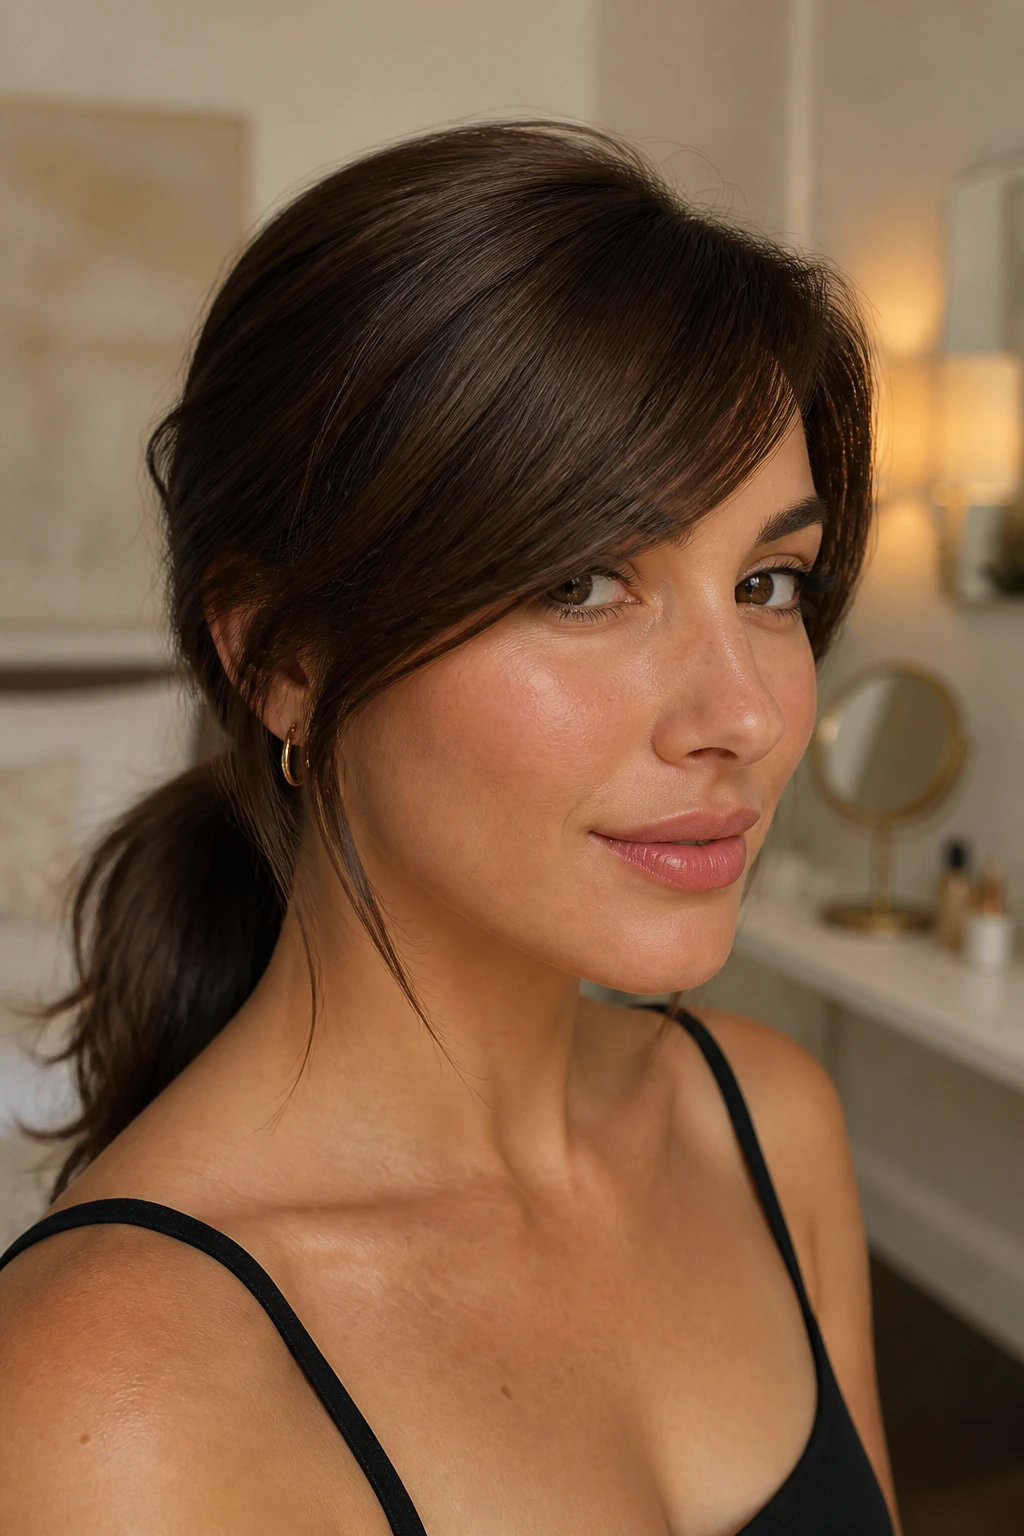
A low ponytail can look plain unless the front has some movement. Side bangs solve that fast. They keep the hairline from looking overpulled and give the ponytail a little softness near the cheek.
The best version is not a tiny spit curl. Let the bang fall long enough to sweep across the forehead, then smooth the rest of the hair back low at the nape. A round brush bend or flat-iron curve at the ends keeps the front from sticking straight out in a way that feels harsh. If the ponytail is tight, leave a touch of volume at the crown so the bang has somewhere to live.
This is one of my favorite ways to wear side bangs on long hair because it turns a practical style into something that still looks finished.
15. Side Bangs With Balayage or Highlighted Ends
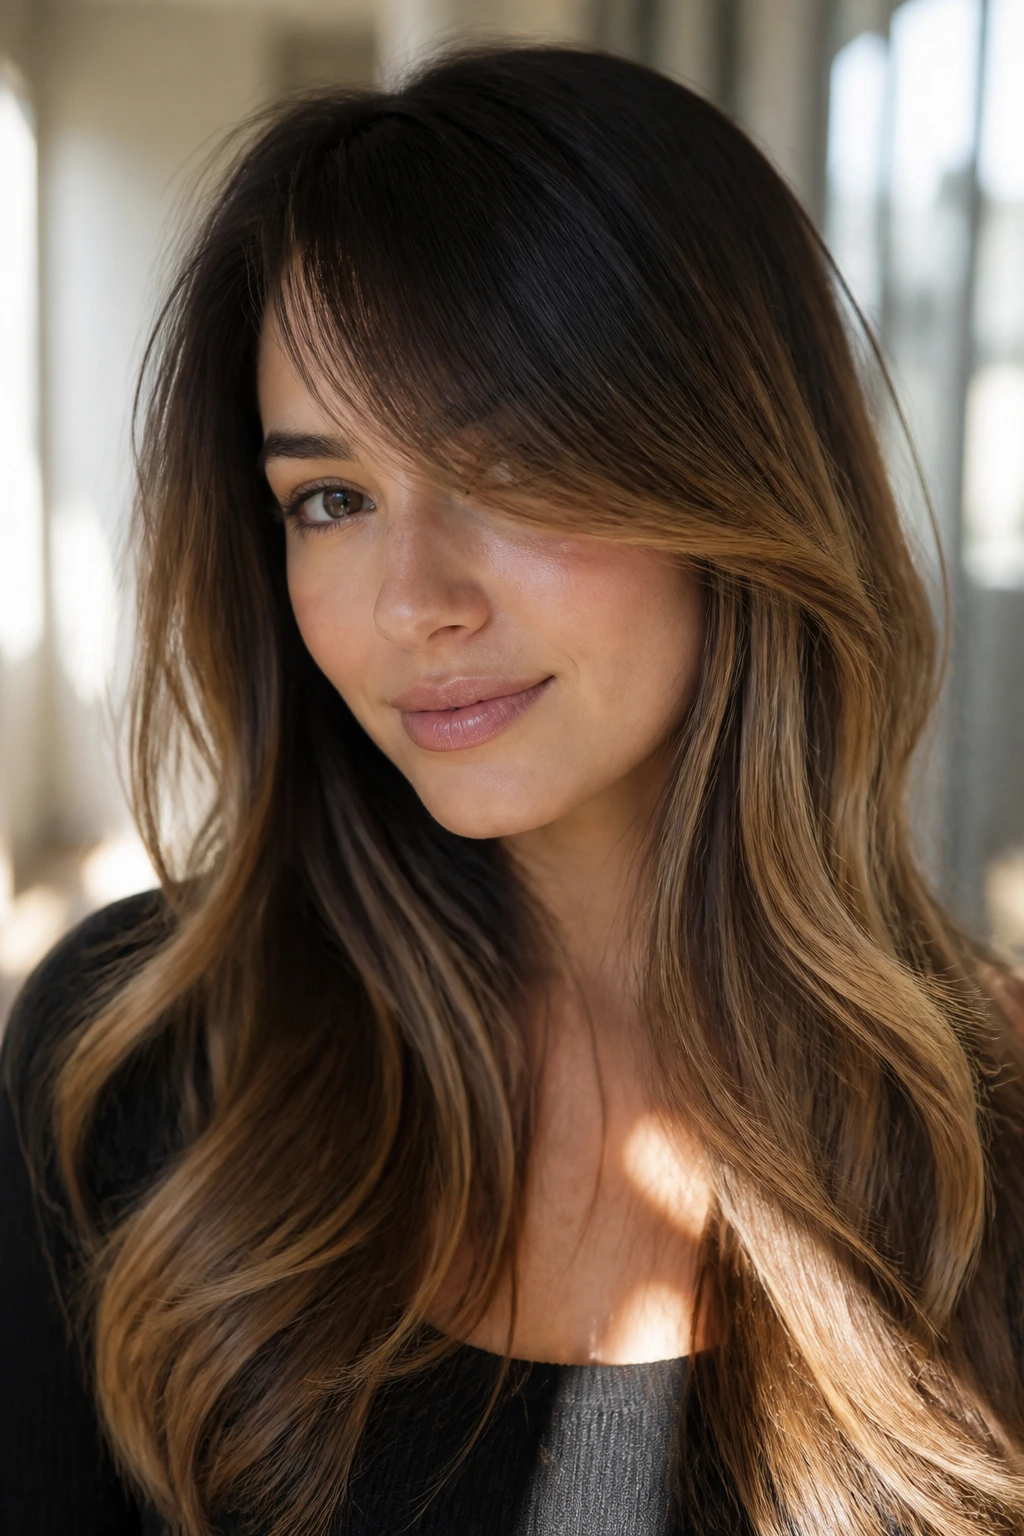
Color changes how side bangs read. A few lighter pieces in the fringe can make the sweep show up more clearly, especially when the rest of the hair is long and dark. The eye follows the brighter sections, which makes the front movement look sharper.
That said, highlights should be placed with a little restraint. Too much lightness at the very front can make the bang look stripey, which is not the same thing as dimensional. I prefer brightness that starts near the temple and softens toward the ends, so the movement shows without turning the fringe into a neon sign.
If your hair already has balayage through the lengths, a side bang can pull that color forward and make the whole cut feel more connected. It’s a small placement change with a big visual payoff.
16. Side Bangs for Round Faces
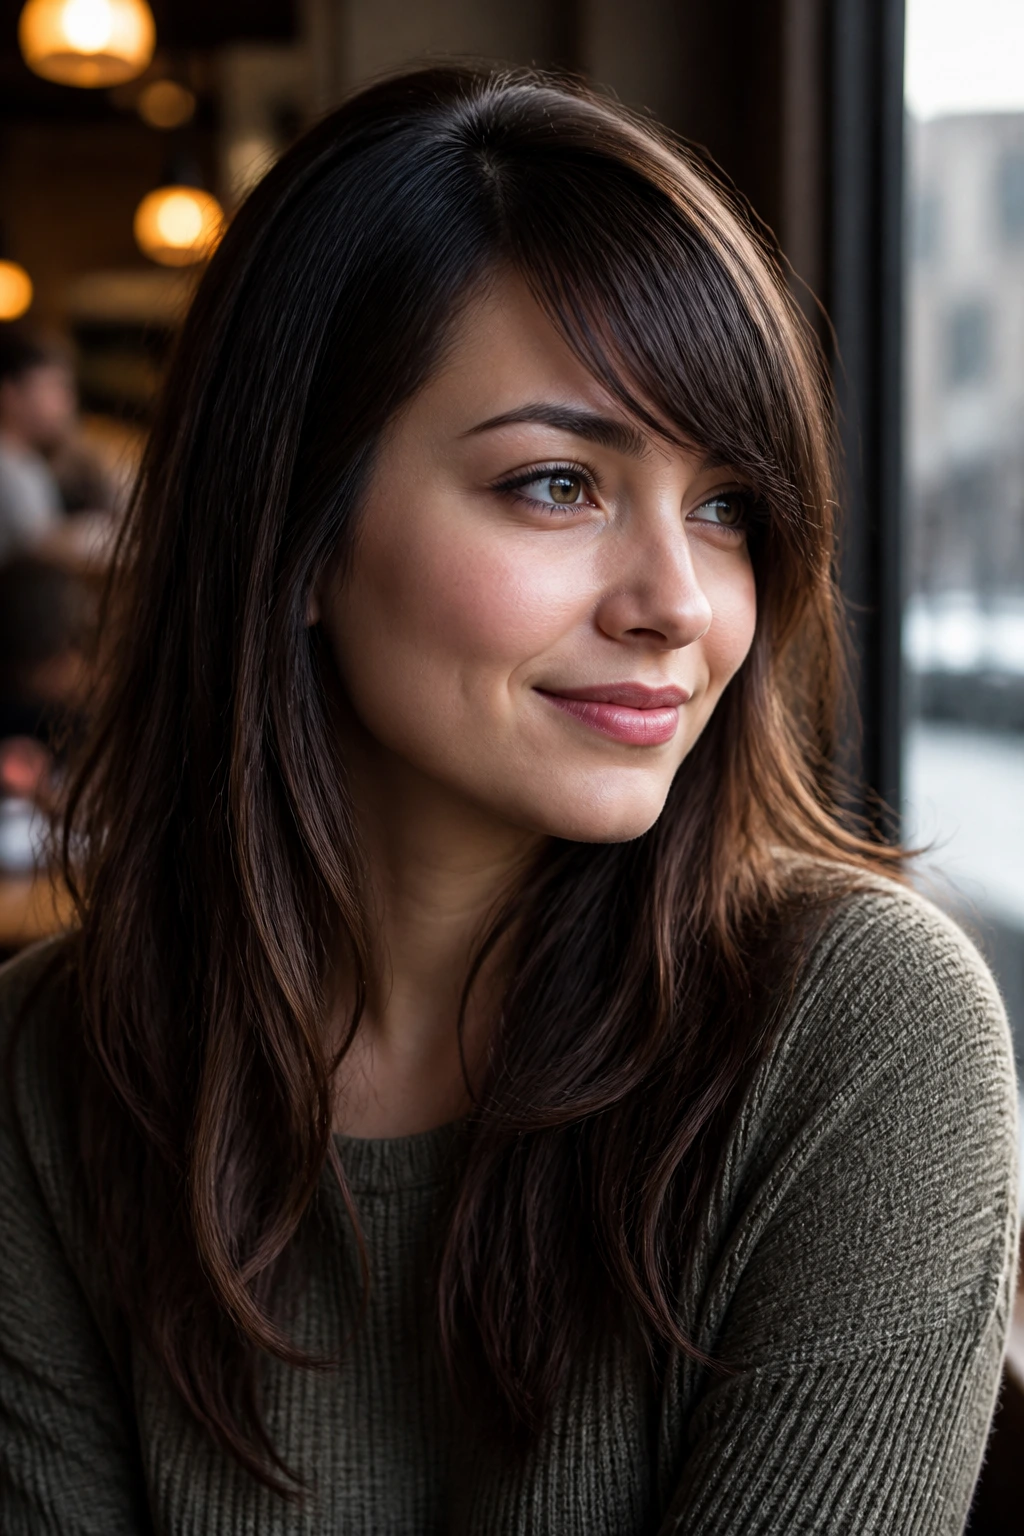
Round faces usually need a diagonal line, not a short curve that ends right at the widest part of the cheeks. A side bang works because it pulls the eye upward and across, which can make the face feel longer without changing the length of the hair itself.
The safest shape usually starts high at the temple and ends below the cheekbone. That length gives the face room and avoids stopping exactly where the cheeks are fullest. A deep side part helps too, because it creates more asymmetry and less of that round, even line across the front.
Softness matters here. A heavy blunt side bang can make the face look shorter. One with movement, bend, and a tapered end usually gives a better result.
17. Side Bangs for Square Faces
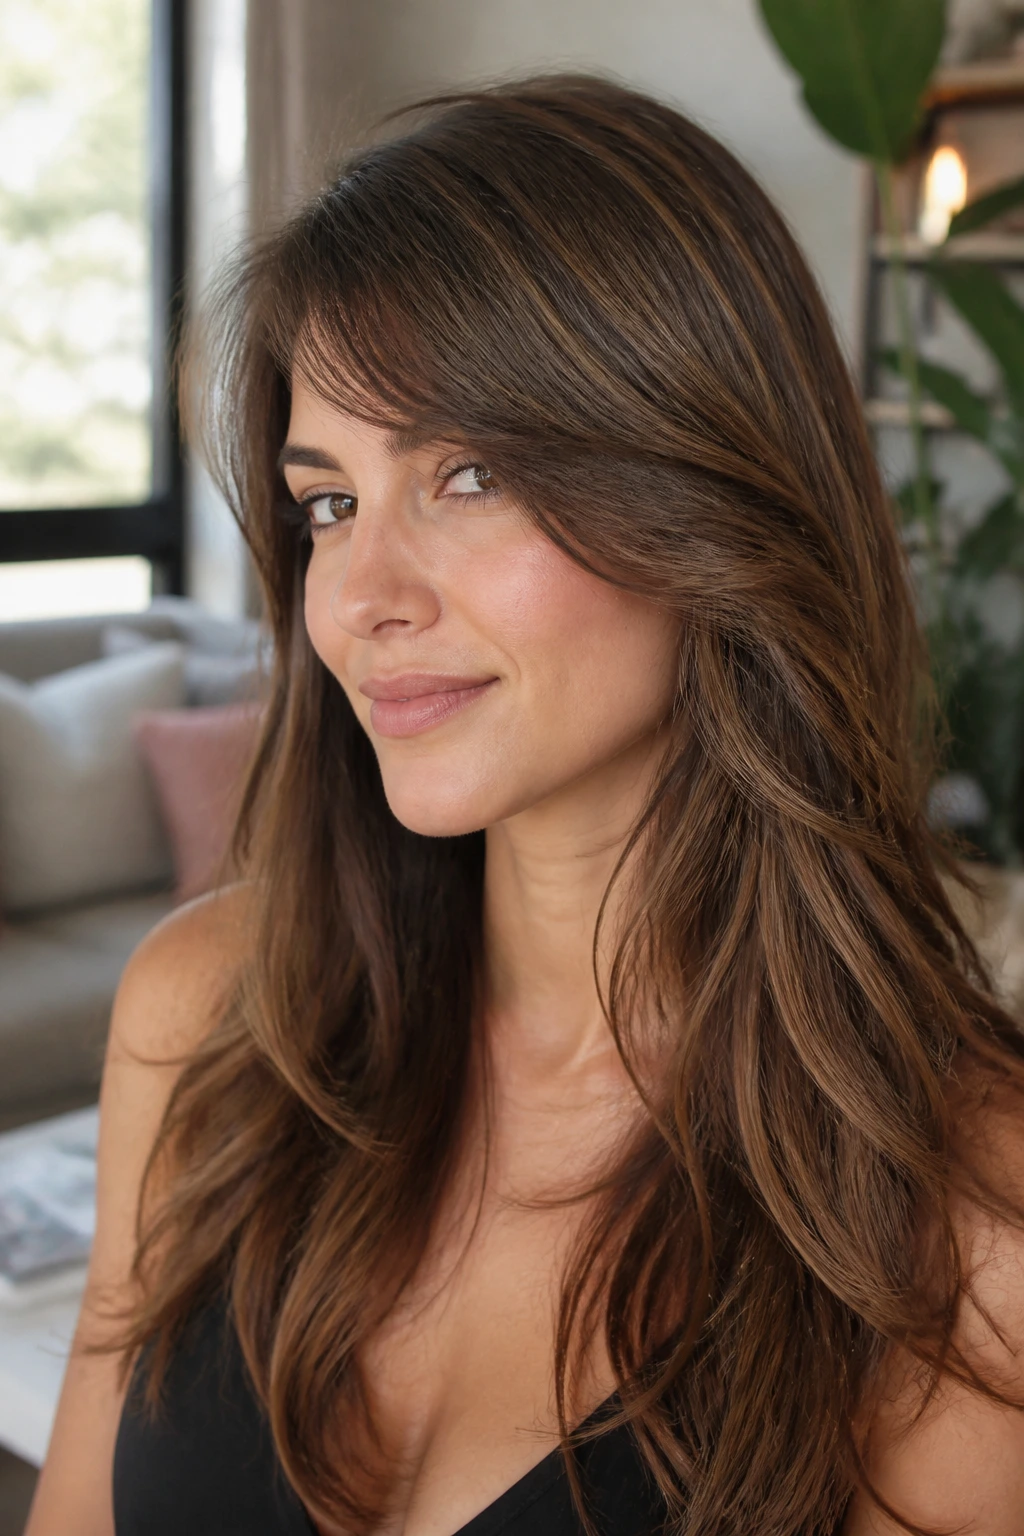
Square faces often look best with side bangs that soften the edges around the jaw and temples. A bang with a feathered finish or curved end breaks up the strong line of the face without hiding it.
I would avoid a hard, straight-edged front that stops sharply at the cheekbone. That kind of bang can echo the jaw too closely and make everything feel boxy. Instead, ask for a side sweep that melts into longer layers around the cheek and chin. Even a small amount of texture at the ends helps.
Waves can be useful here because they blur the outline. But if your hair is straight, the fringe still works as long as the cut has enough curve built in. The shape should feel soft, not soggy.
18. Side Bangs for Heart-Shaped Faces
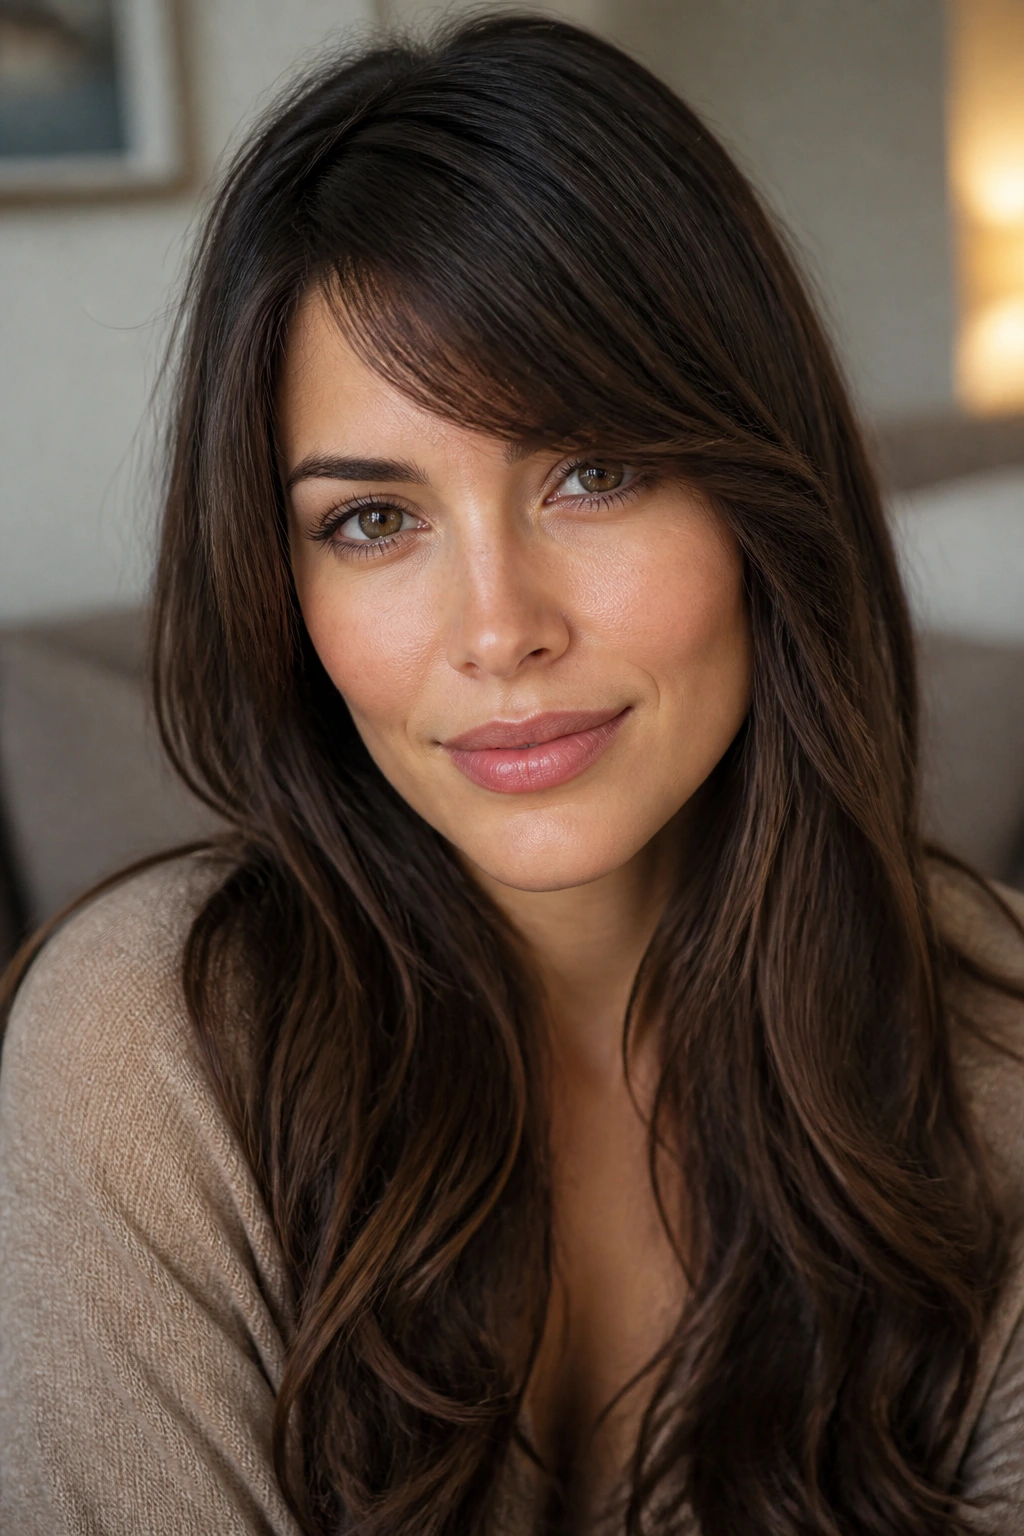
Heart-shaped faces usually carry more width through the forehead and less through the chin, so side bangs are useful for balancing that top-heavy look. A longer sweep narrows the forehead visually and pulls the eye lower toward the center of the face.
The best version usually keeps some softness at the temple rather than thinning the bang down too much. A fragile little sliver of hair can make the forehead look even broader by comparison. A fuller front that tapers gradually is better. The longest point can brush the cheekbone or even the jaw, depending on the rest of the haircut.
This shape is especially nice if you like long hair with movement near the front but do not want to cover the face. It gives structure without feeling heavy.
19. Side Bangs for Oval Faces
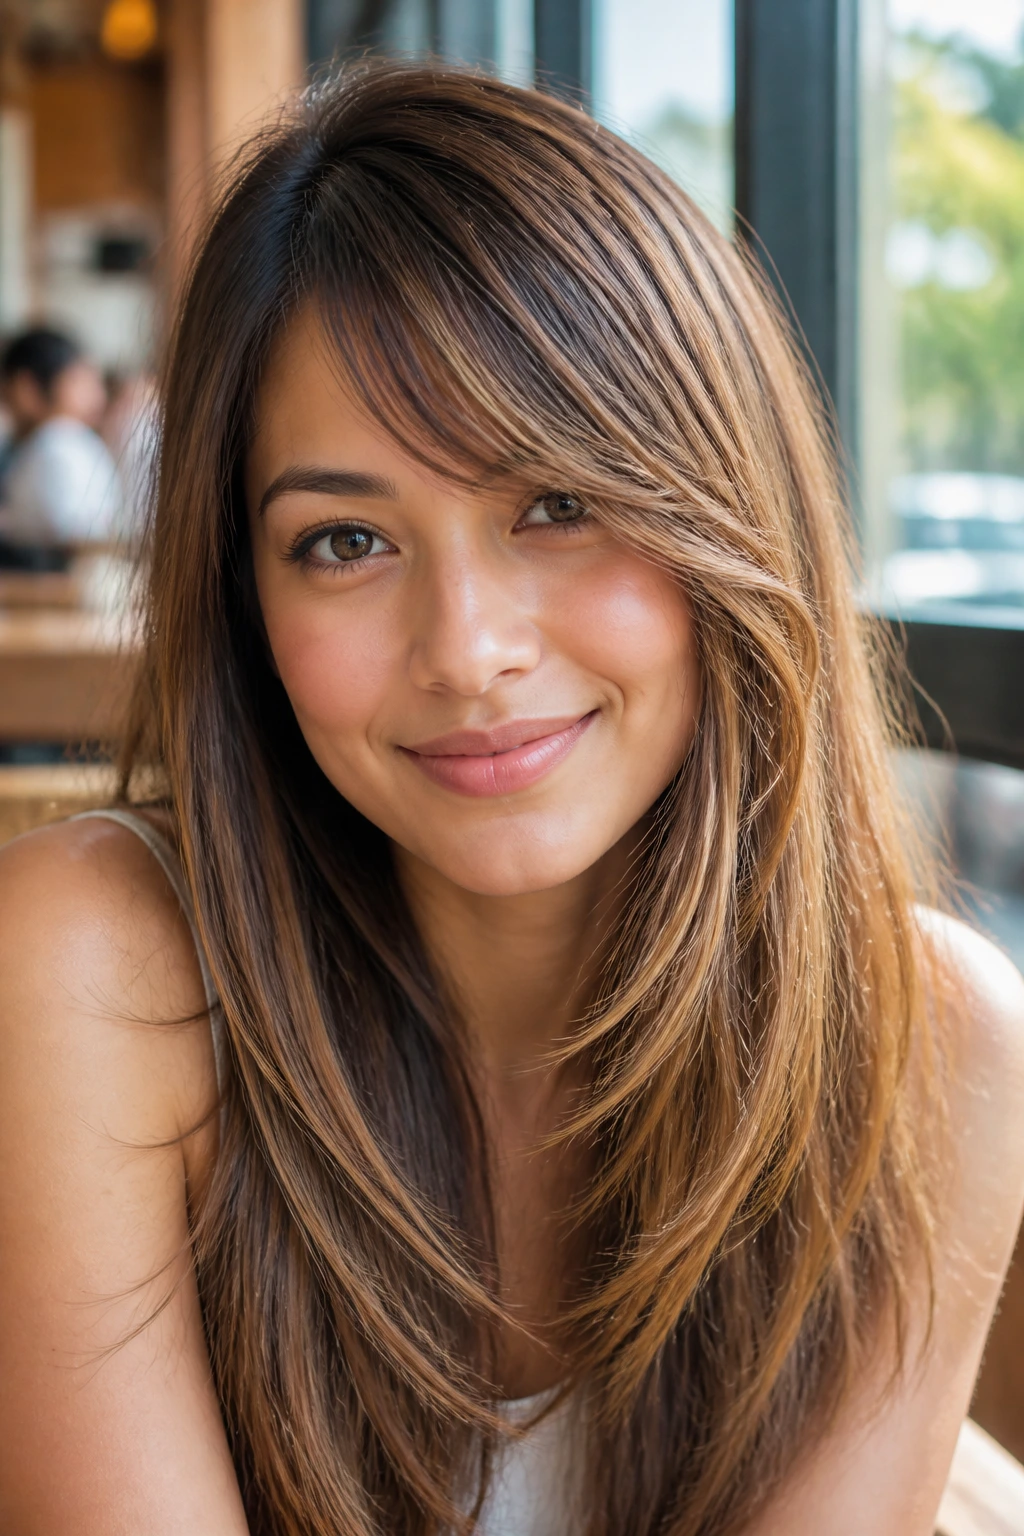
Oval faces get the most freedom here, which is both a blessing and a trap. Almost any side bang can work, so the real question is what you want the fringe to do. Add softness? Create edge? Break up a long curtain of hair? That choice matters more than face-shape rules.
A short side sweep can show off cheekbones. A longer one can make long hair feel more romantic and less linear. Wispy works if you want the front to stay light; fuller works if you want a stronger shape. Because oval faces can handle a lot, the cut should be guided by texture and style preference instead of trying to fix a problem that isn’t there.
That freedom is nice. It also means you can pick a side bang because you like the look, which is the best reason anyway.
20. Side Bangs Paired With a Long Shag
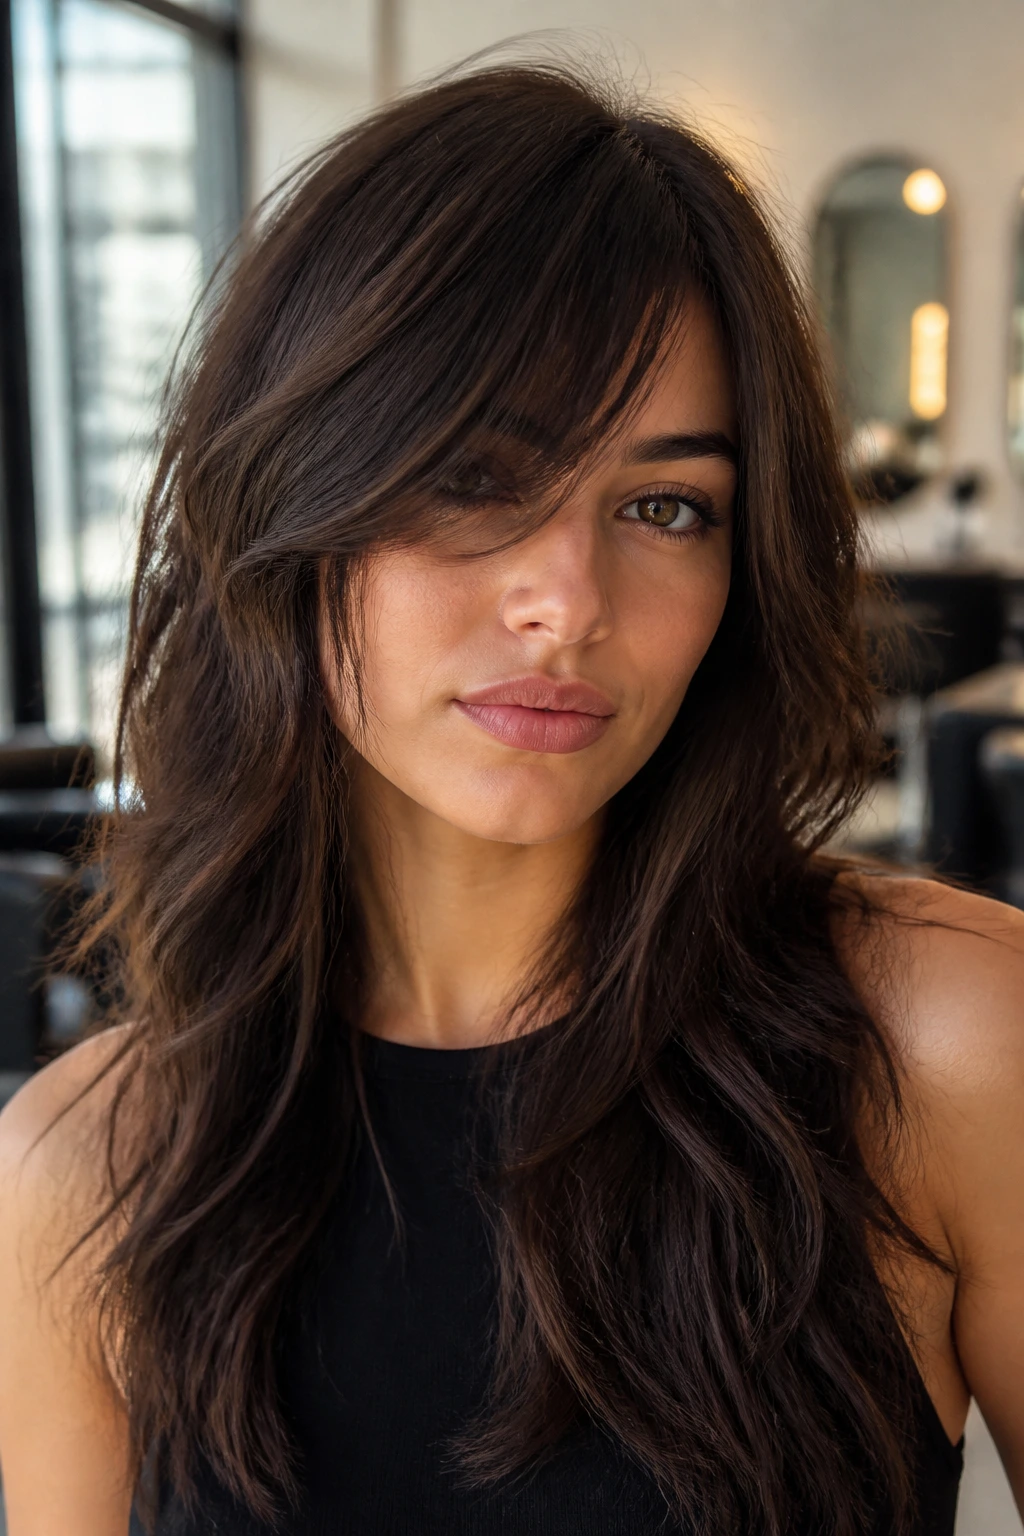
A shag and a side bang speak the same language: pieces, texture, movement, and a little bit of attitude. The bang doesn’t sit apart from the haircut; it becomes the front edge of the layers and keeps the whole cut from feeling too controlled.
This pairing works because the shag already removes weight through the crown and lengths, so the side bang can stay piecey without looking thin. It’s a good choice if you like hair that can be styled fast and still look like it has shape. A little mousse at the roots and a dry texture spray through the ends go a long way.
I especially like this on long hair that tends to hang heavy. The shag gives the movement, and the side bang gives the face a frame.
21. Side Bangs Against a Blunt Long Length
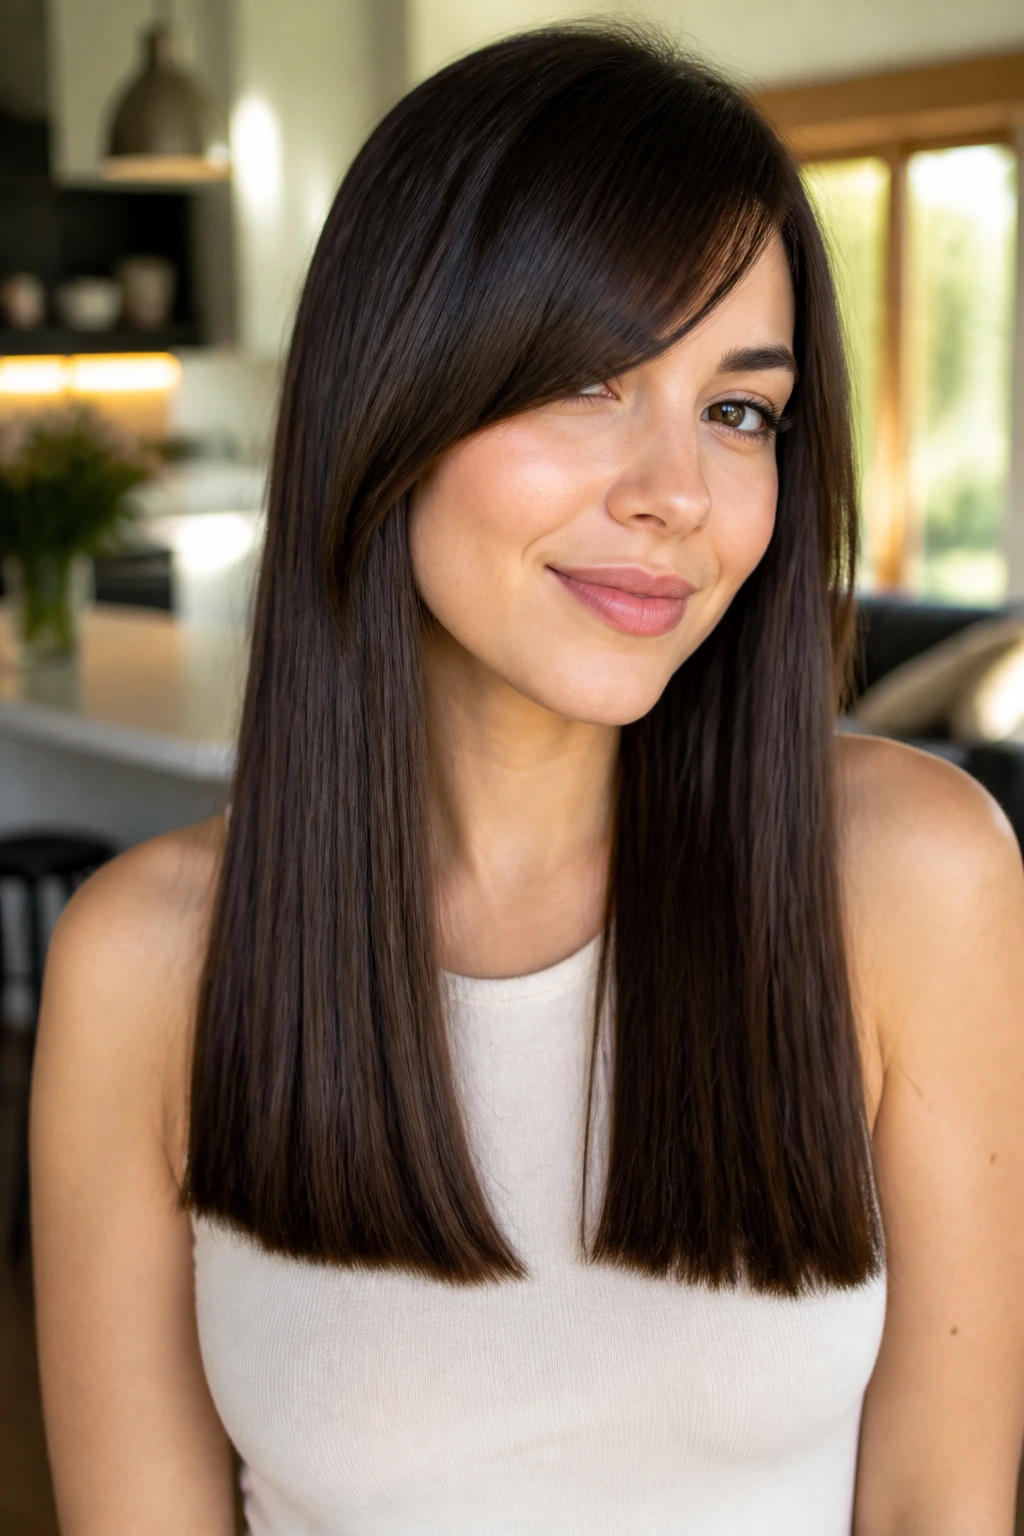
There’s a nice tension here. The hair around the perimeter stays blunt and clean, while the front gets a softer, side-swept break. That contrast keeps long hair from feeling too blocky, and it stops a sharp hemline from taking over the whole look.
The trick is not to let the bang look like an afterthought. It should be deliberate enough to stand beside the blunt length, which means the ends need shape and a little polish. A flat iron bend or round brush curve usually helps. If the fringe is too airy, it gets lost against the stronger line of the cut.
This is a good choice if you like neat hair but still want a front piece with movement. It feels tailored without being severe.
22. Curved-End Side Bangs That Flip Under
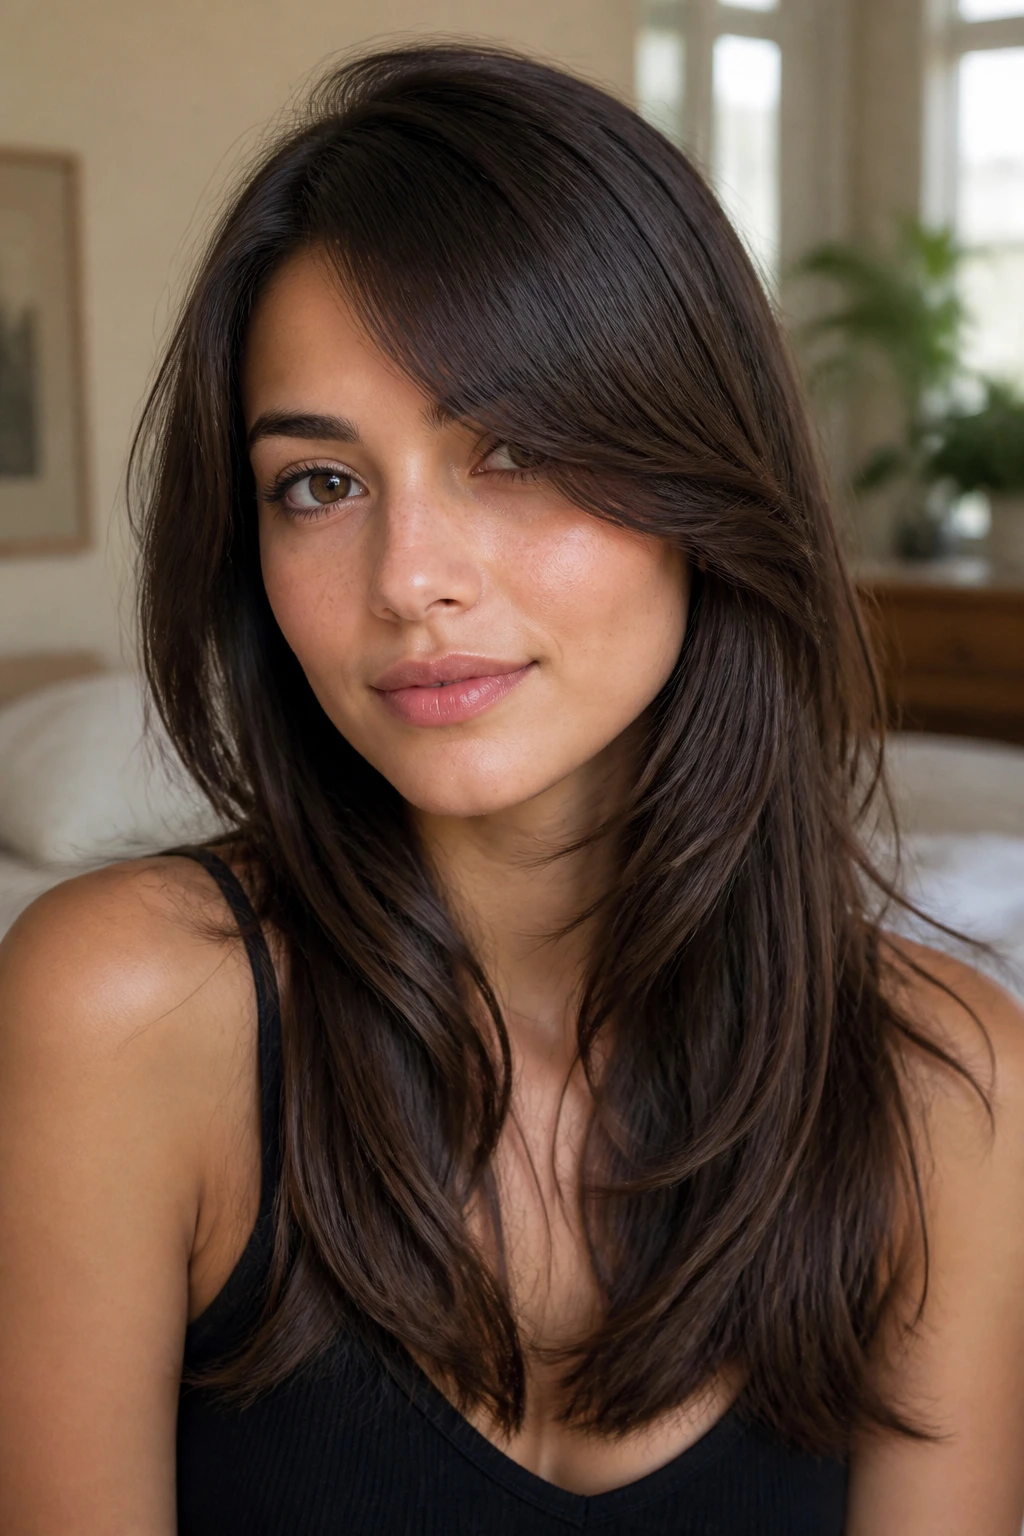
Some side bangs want to arc softly under the cheekbone instead of flying straight across the face. Curved-end bangs do that job well. They have enough length to move, but the ends are guided with a round brush or flat iron so the line turns inward instead of kicking out.
That inward curve matters more than people think. It keeps the bang tidy and helps it sit close to the face instead of puffing away from it. If your hair tends to flip out at the ends, a curved finish usually solves the problem better than more product ever will.
This version looks especially good on long layers, because the curve at the front echoes the movement in the rest of the cut. It feels finished without looking stiff.
23. Side Bangs With a Silk-Press Finish
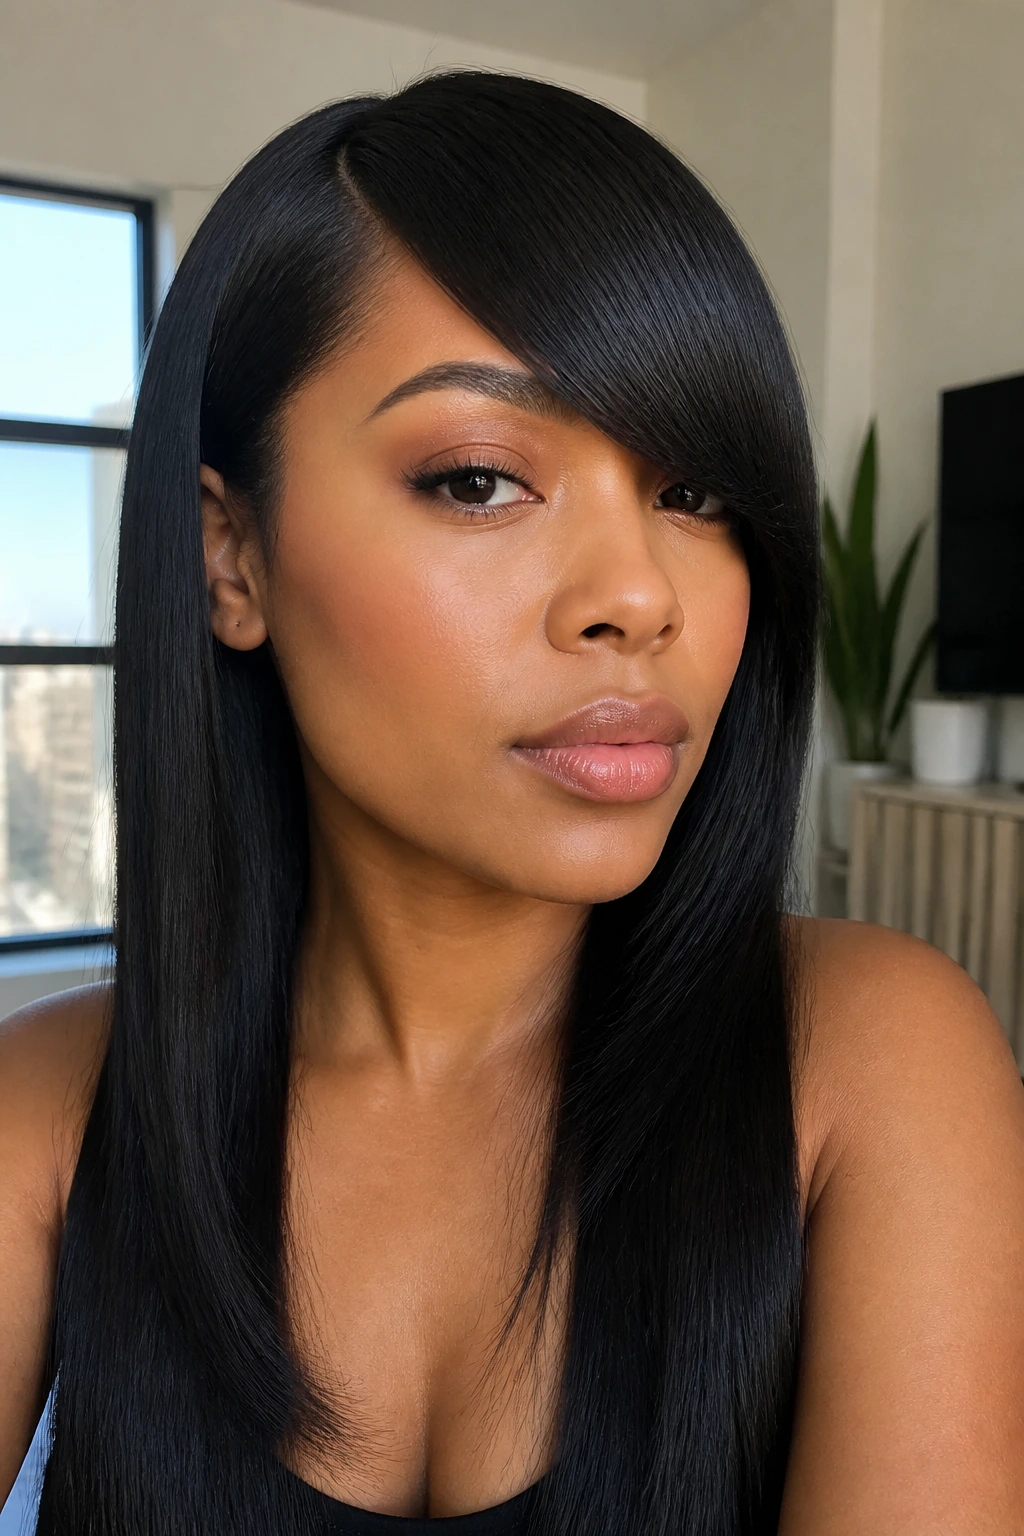
Silk-pressed hair wants a clean, controlled side bang with only a little bend. Too much volume at the roots can break the sleek line, and too much product can make the front look heavy or sticky.
The best silk-press side bang is smooth at the root, then softly turned across the forehead so it doesn’t hang like a flat strip. A heat protectant is non-negotiable here, and a round brush can help create the shape before the flat iron smooths it in place. Keep the plates moving. If you linger, the front can get limp fast.
This finish pairs beautifully with long hair because the whole style stays glossy and long, but the front still has a clear shape. It’s crisp. That’s the whole point.
24. Side Bangs With Soft Beach Waves
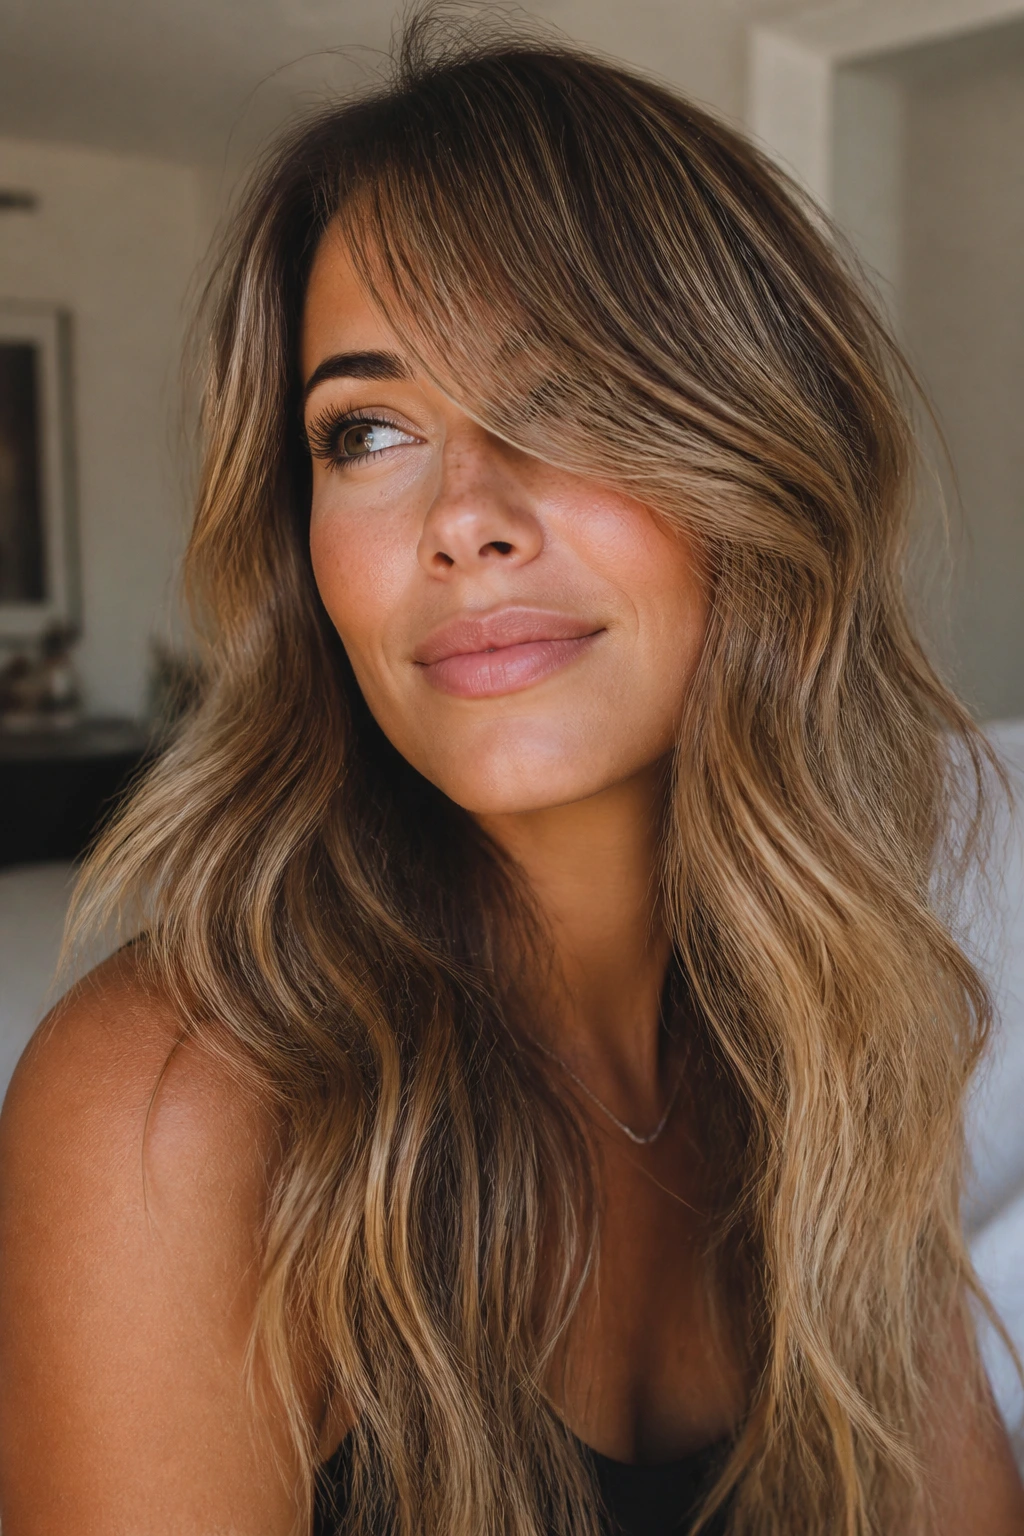
Beach waves make side bangs feel relaxed and easy. The fringe no longer has to carry the whole shape on its own because the wave through the lengths gives the front somewhere to blend. That makes this one especially good for long hair that already has texture.
The bang should stay long enough to ride the wave pattern. If it’s too short, it gets lost in the movement and starts to look disconnected. A loose bend at the roots and a touch of texturizing spray through the mid-lengths usually works better than heavy cream here.
This is one of the least fussy ways to wear a side fringe. It’s the version that still looks right when the rest of your hair is a little imperfect, which is usually most days.
25. Curtain-to-Side Hybrid Bangs
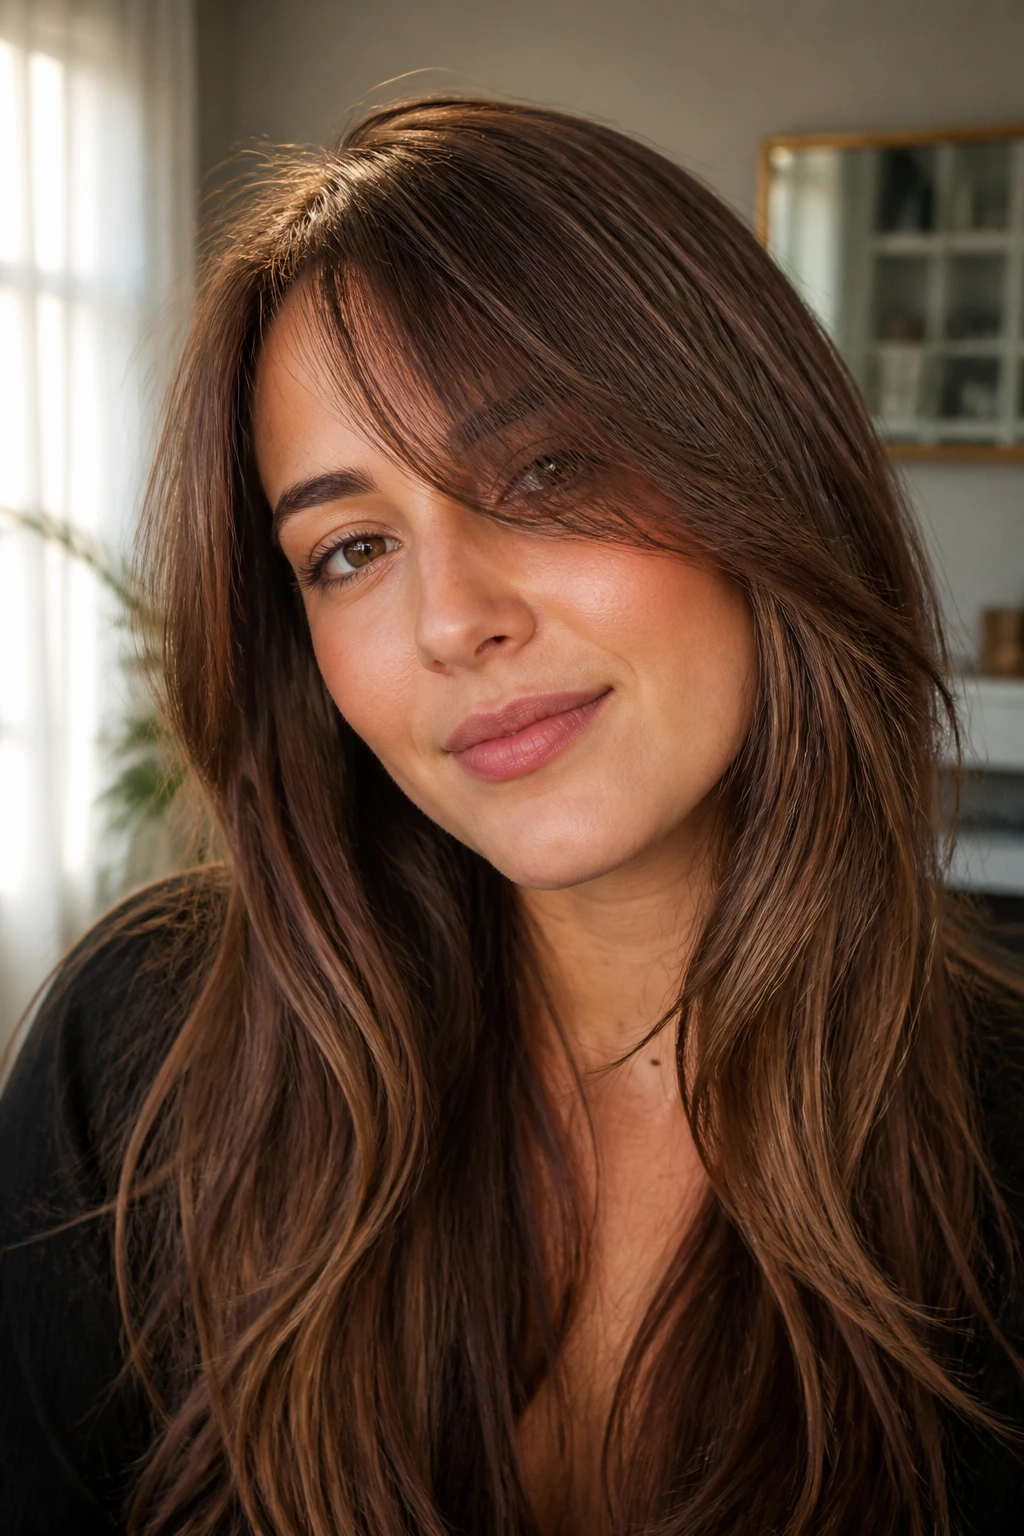
A curtain-to-side hybrid is the answer for anyone who keeps changing their mind. It starts with enough length near the center to split like a curtain bang, then gets swept to one side during styling so it reads as a side fringe without the hard commitment.
I like this on long hair because it grows out gracefully. If you decide to part it differently later, you already have the length to do it. The cut usually works best when the shortest point is still long enough to reach the brow, with longer pieces sliding into the front layers.
This is also one of the easiest styles to live with on bad hair days. If the sweep falls apart, you can redirect it. If it gets too flat, you can tuck it. That flexibility is the whole charm.
26. Grown-Out Side Bangs for the In-Between Stage
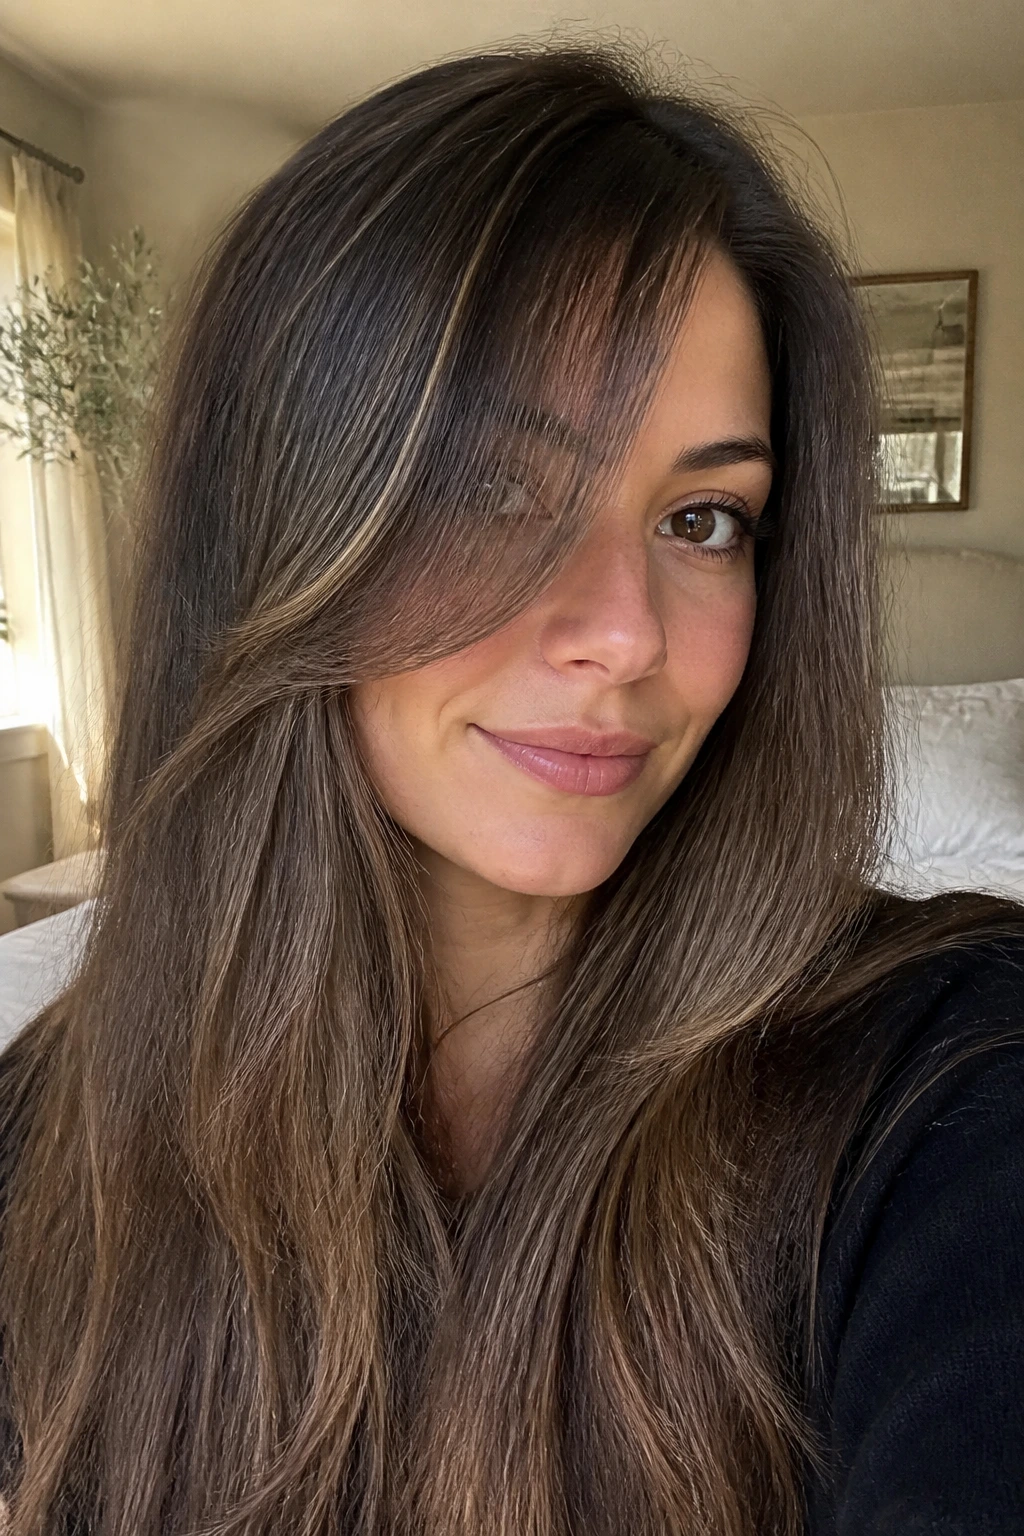
Grown-out side bangs are not a mistake. They’re a stage, and if the cut was good to begin with, this stage can look better than a fresh chop. The front becomes longer, softer, and easier to tuck or braid, while still keeping enough shape to frame the face.
What matters most here is the edge. If the bang starts getting stringy at the ends, a tiny dusting trim at the temple can keep it from looking forgotten. You do not need to cut it back to the original shape. You just need to keep the curve clean so the style still reads on purpose.
This is the version for people who like flexibility. It lets long hair keep its length while the front slowly changes.
27. Glossy Side Bangs With a Deep Part and Flip
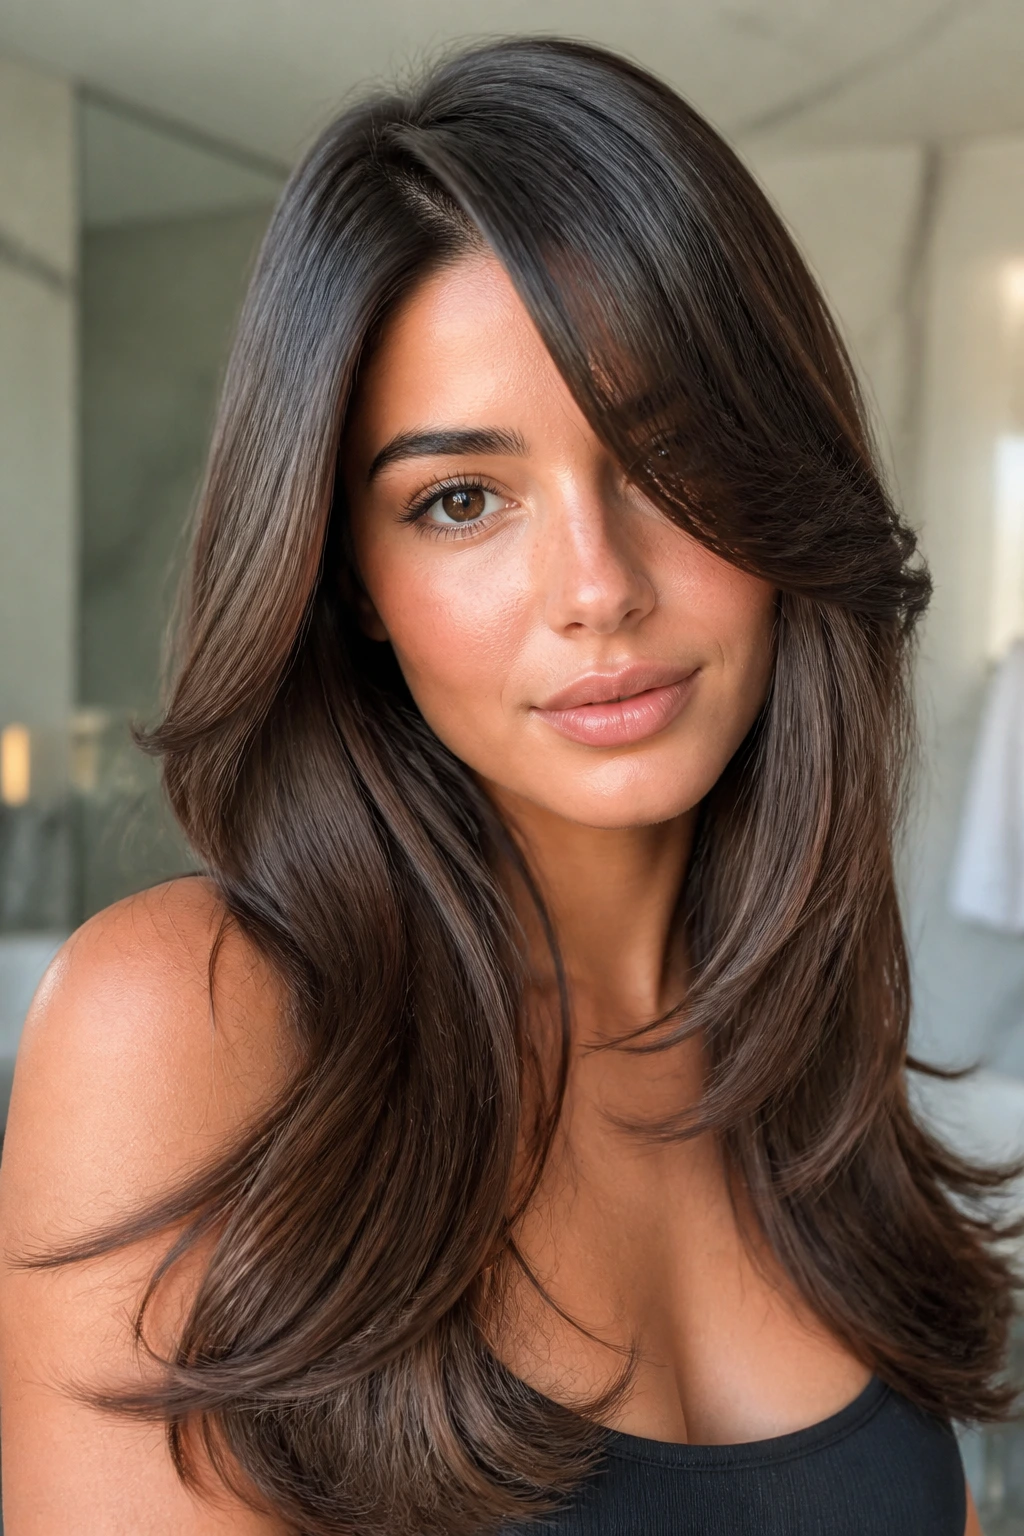
This is the polished version of the whole idea. The part sits deep, the roots are smooth, and the ends flip lightly away from the face so the bang looks finished without feeling hard. It’s the side fringe I’d wear when long hair needs a little ceremony.
A shine spray or lightweight glossing serum works best here, but keep it off the roots. The flip should live through the mid-lengths and ends, not in a greasy front section. A round brush or a quick flat iron bend can create the shape, then a cool blast locks it in.
The result is neat, glossy, and structured. Not stiff. Just clean enough to make long hair look like it was thought through.
How Side Bang Styles for Long Hair Change the Outline
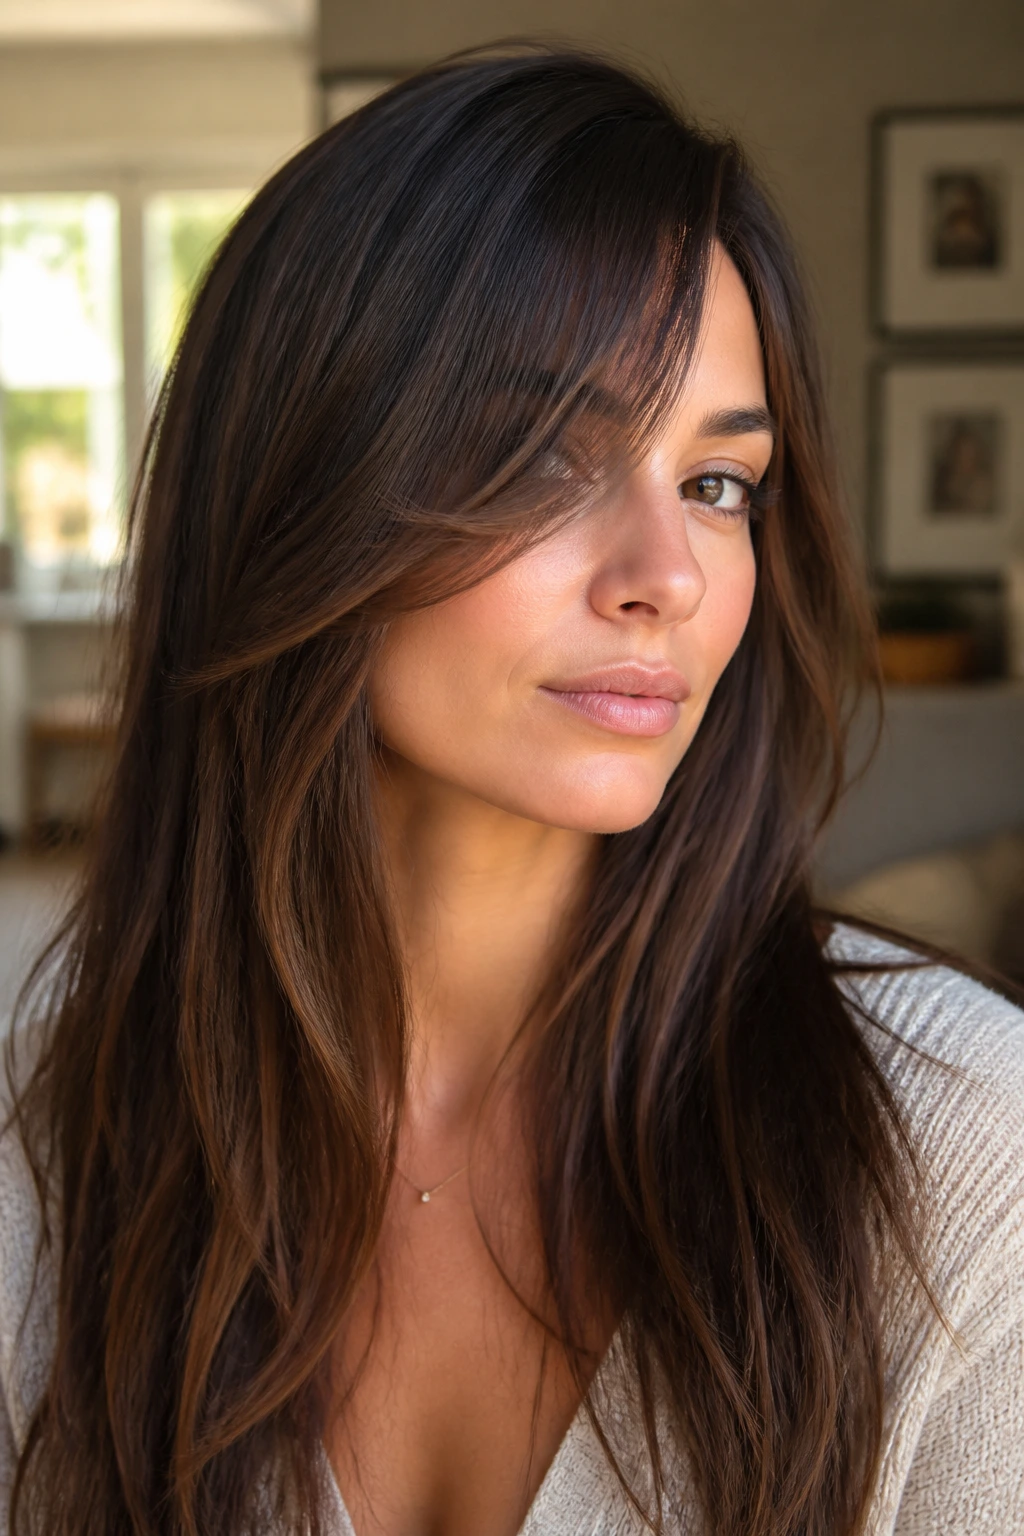
Long hair can get heavy in the front because all that length keeps pulling the eye straight down. A side bang interrupts that line with a diagonal, and that single move can make a cut feel lighter without losing any length at the back. It’s one of the simplest ways to give a long style a face of its own.
The part placement matters more than most people realize. If the part sits too far over, the bang can collapse into the rest of the hair and stop looking intentional. If it sits too close to center, the sweep loses that side-bang look and starts behaving like a curtain that forgot where it belongs. The sweet spot is usually just off center, with the shortest point landing somewhere around brow level and the longest point brushing the cheekbone.
Where the weight lives
On thick hair, a side bang can remove visual bulk from the front. On fine hair, it can add shape without needing a lot of density. The cut itself does more work than the styling product.
Why the angle matters
A diagonal line opens the face in a way a straight line can’t. That’s the whole trick. It changes the silhouette before you even touch a brush.
The Tools That Keep a Side Fringe Moving
-
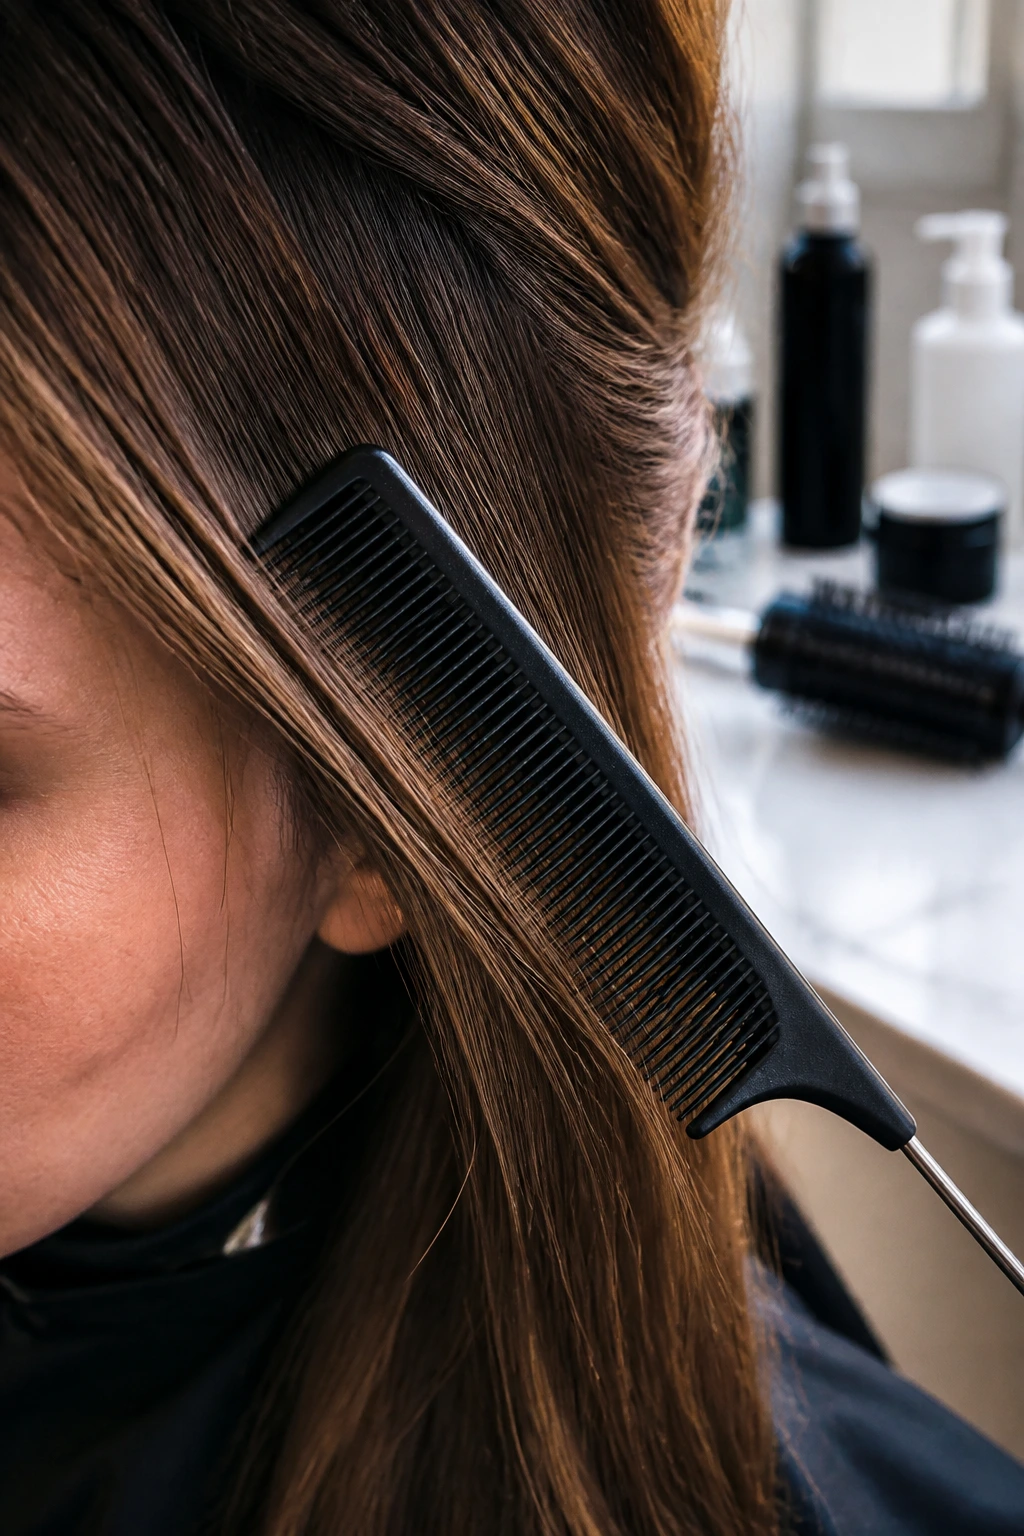
Fine-tooth tail comb: Useful for parting the front section cleanly and checking that the bang isn’t too wide.
-
1-inch or 1.25-inch round brush: Small enough to create bend at the root without turning the fringe into a curl.
-
Blow dryer with a concentrator nozzle: Directs airflow where you want it, which matters when the front wants to split.
-
Flat iron with rounded edges: Handy for a quick curve on straight or silk-pressed hair.
-
Duckbill clips or small section clips: Great for holding the bang to one side while it cools and sets.
-
Heat protectant spray: Use it before any round-brush pass or flat-iron touch-up.
-
Light mousse or root foam: Best for fine hair that needs a little memory at the front.
-
Dry shampoo or texture spray: Helps second-day side bangs keep grip instead of falling flat.
How to Choose Side Bang Styles for Long Hair by Texture and Face Shape
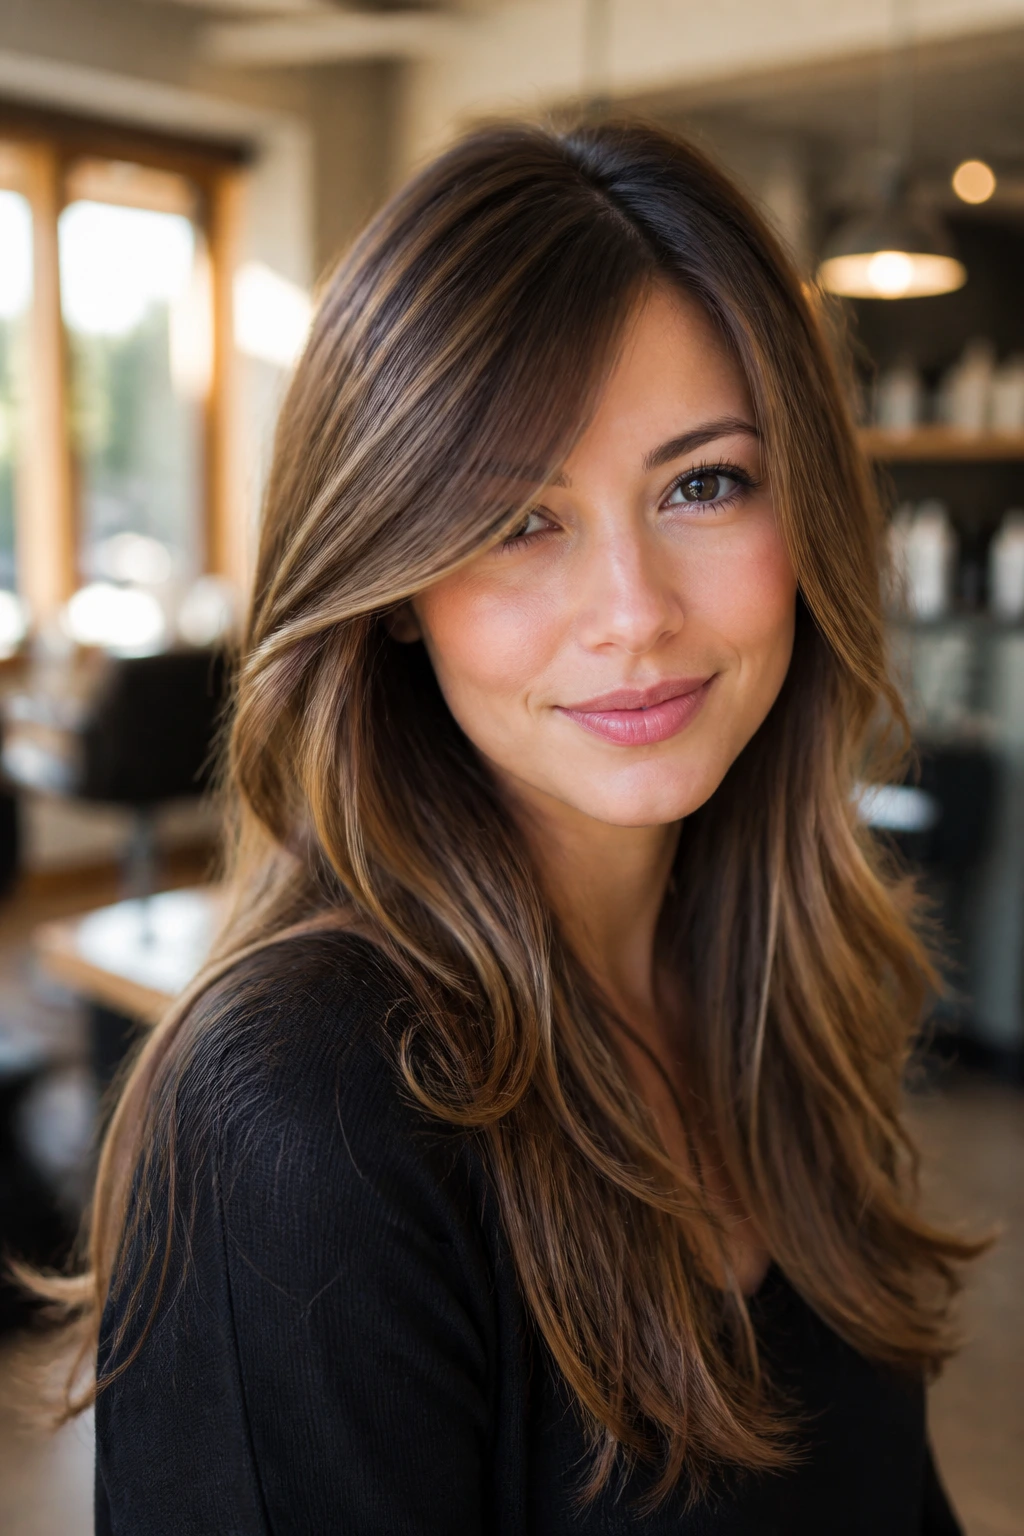
Fine hair
Fine hair usually does best with a narrower, softer side bang that keeps enough length to move. Too much thinning makes the fringe look sparse, and sparse is not the same as airy.
Thick hair
Dense hair can handle a fuller front section. In fact, it often needs one. A deeper bang gives the face shape and keeps the length from swallowing the front pieces whole.
Curly and coily hair
Cut the bang dry or nearly dry, and leave extra length for shrinkage. Curly side bangs need room to spring up, and they usually look better when shaped around the curl pattern instead of being brushed straight.
Straight hair
Straight hair needs a bend. Without it, the fringe can separate or sit flat against the forehead. A round brush or a tiny turn of the flat iron usually fixes that.
Round faces
A longer diagonal sweep that starts high and ends below the cheekbone helps stretch the face visually. A short, blunt side bang usually works against that goal.
Square faces
Soft edges and a curved finish help blur the jawline. Pieces that stop sharply at the side of the face tend to echo the square shape too closely.
Heart-shaped faces
A fuller side bang with a taper through the ends helps balance a wider forehead. Skinny little fringe pieces usually do less for this shape.
Oval faces
Almost anything can work here, so the better question is what kind of mood you want. Soft, bold, wispy, full — the choice is more about style than correction.
Styling Moves That Stop the Bang From Splitting
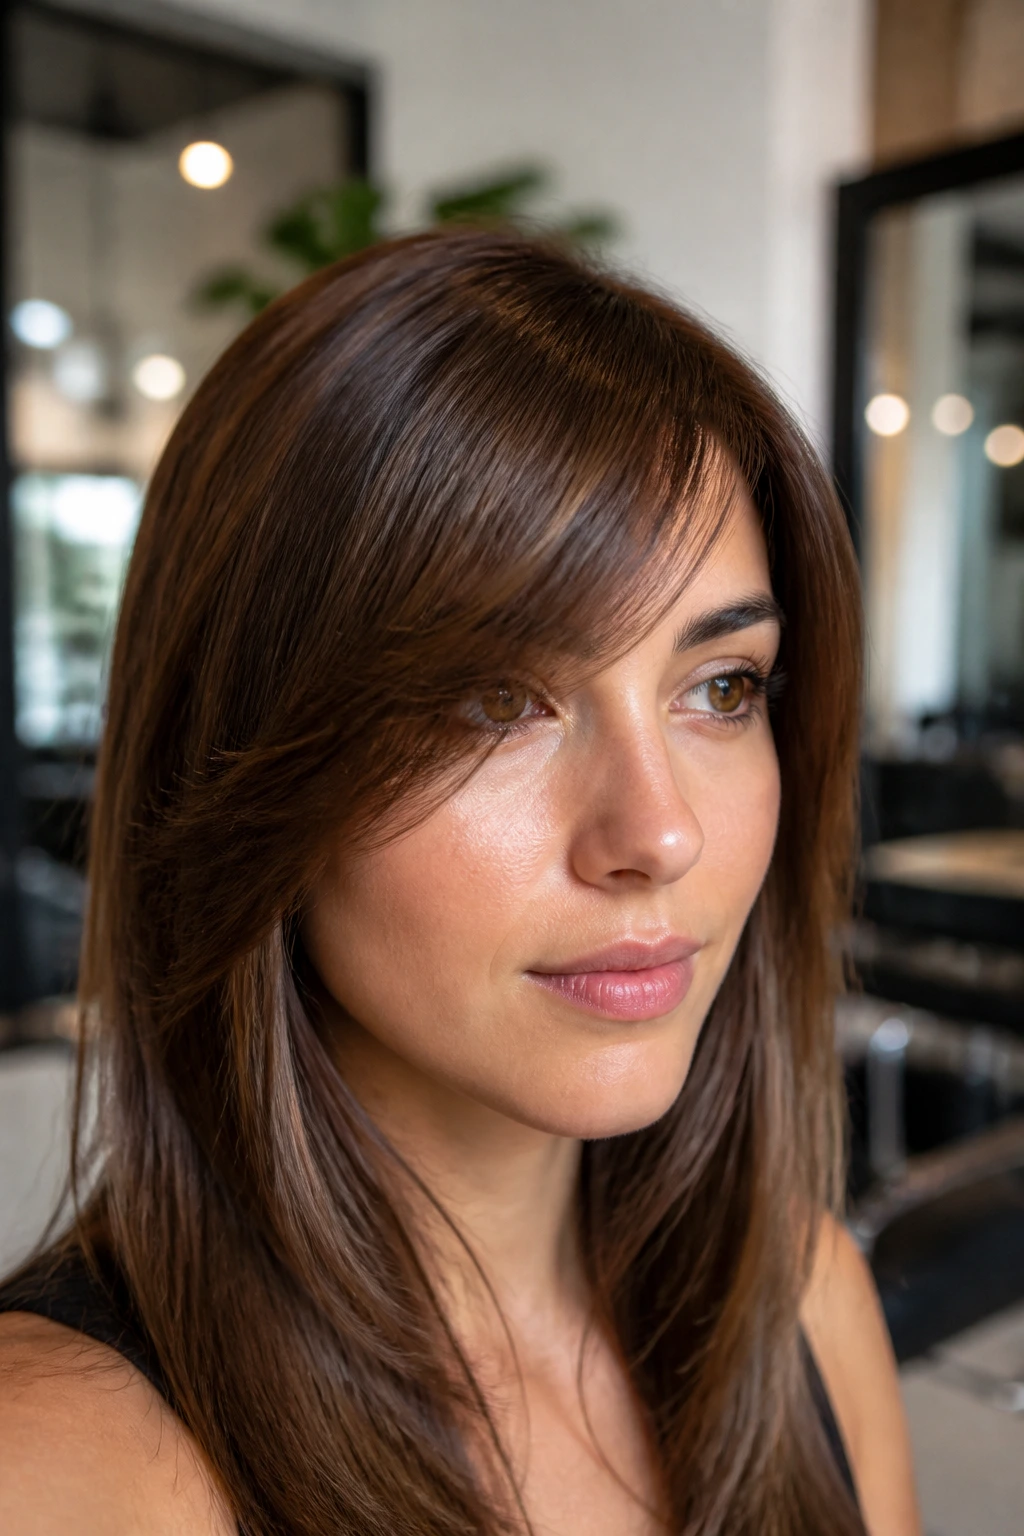
Dry the roots in the direction you want.
Start with the bang first, not last. If the root dries the wrong way, the front will split no matter how much product you pile on afterward.
Cool it before you touch it again.
Warm hair changes shape easily. Clip the bang or hold it with a brush until it cools, then release it. That one pause makes the shape last longer.
Keep heavy product off the first inch.
Oil, cream, and gloss spray belong through the ends and mid-lengths, not at the root. The front gets greasy fast because it touches skin all day.
Use a diagonal clip if the cowlick fights back.
A small clip placed at an angle for 5 to 10 minutes can train the front better than repeated brushing. Brushing often just wakes the cowlick up.
Reset with a tiny mist, not a soak.
If the bang goes flat later in the day, a light mist of water or leave-in, then a quick round-brush pass, is enough. Drenching the front only makes it collapse harder.
Common Mistakes That Make Side Bangs Look Choppy
-
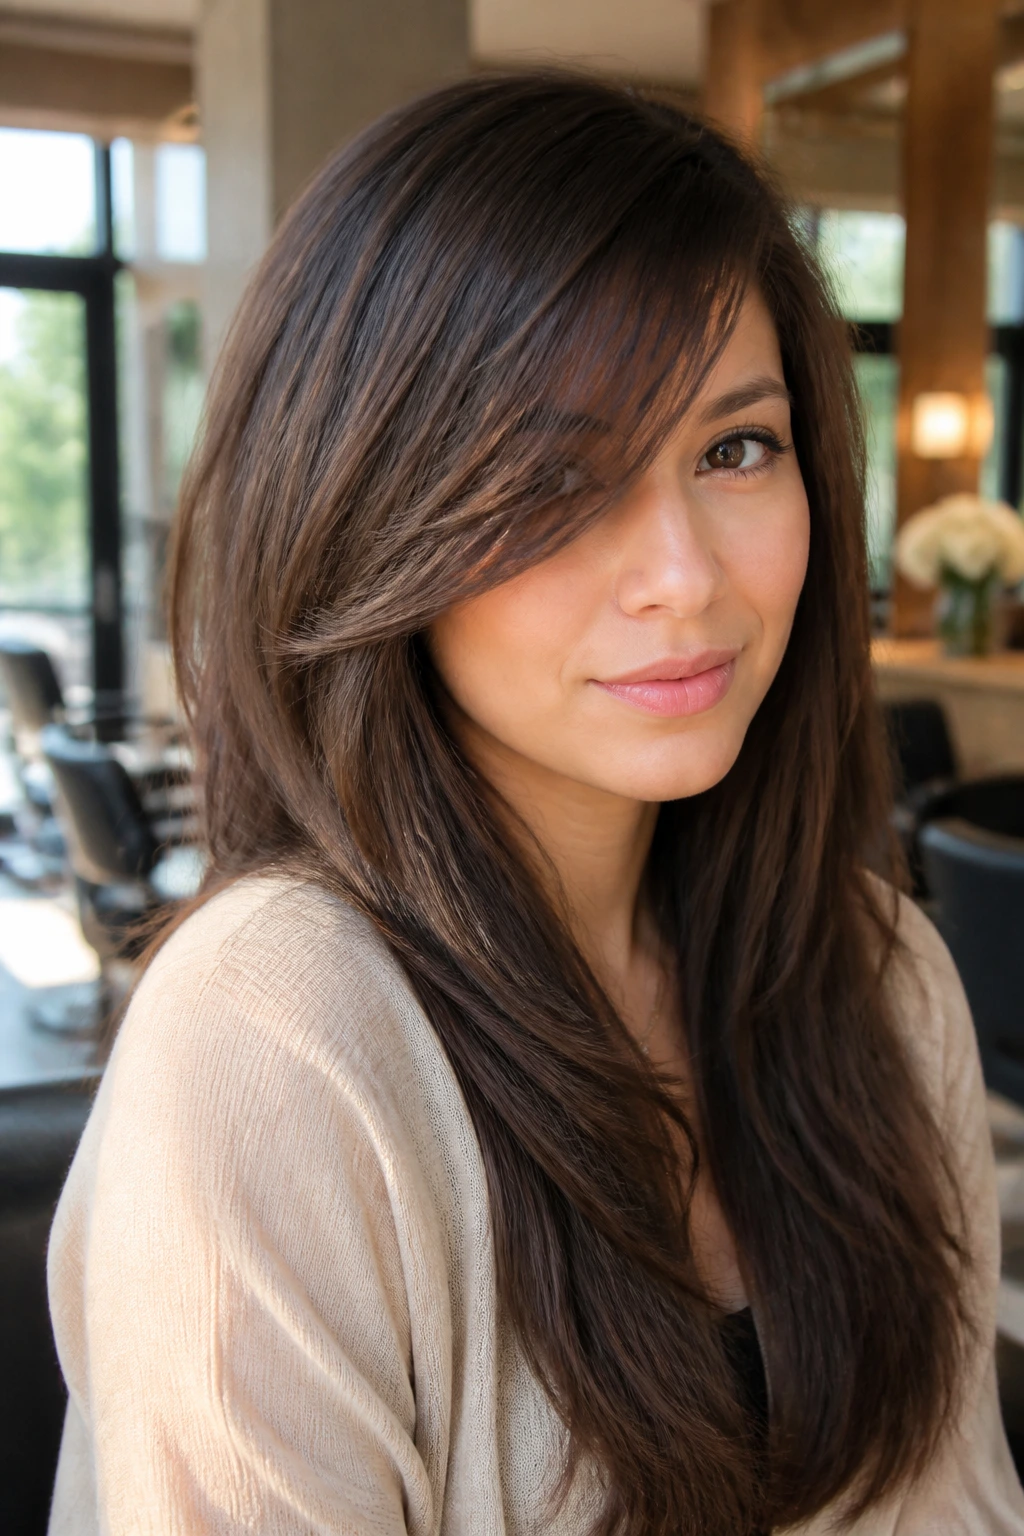
Cutting the shortest point too high: If the bang lands above the brow and the rest is long, the sweep can look abrupt. The fix is to keep the shortest point low enough that the hair still has room to move.
-
Making the section too wide: A bang that takes in too much front hair starts acting like a curtain. Narrower sections usually sit better on the face and are easier to style.
-
Thinning the ends too aggressively: Over-texturizing can leave the fringe stringy, especially on fine hair. Ask for soft shape, not a shredded edge.
-
Using heavy product at the roots: The bang clumps together, separates, and looks oily by lunchtime. Put product through the ends first, then add only a trace near the front if needed.
-
Ignoring the natural part or cowlick: If the front wants to fall one way and you force another, the bang fights back all day. A good stylist works with the growth pattern, not against it.
Four Ways to Change the Mood Without Cutting More Hair
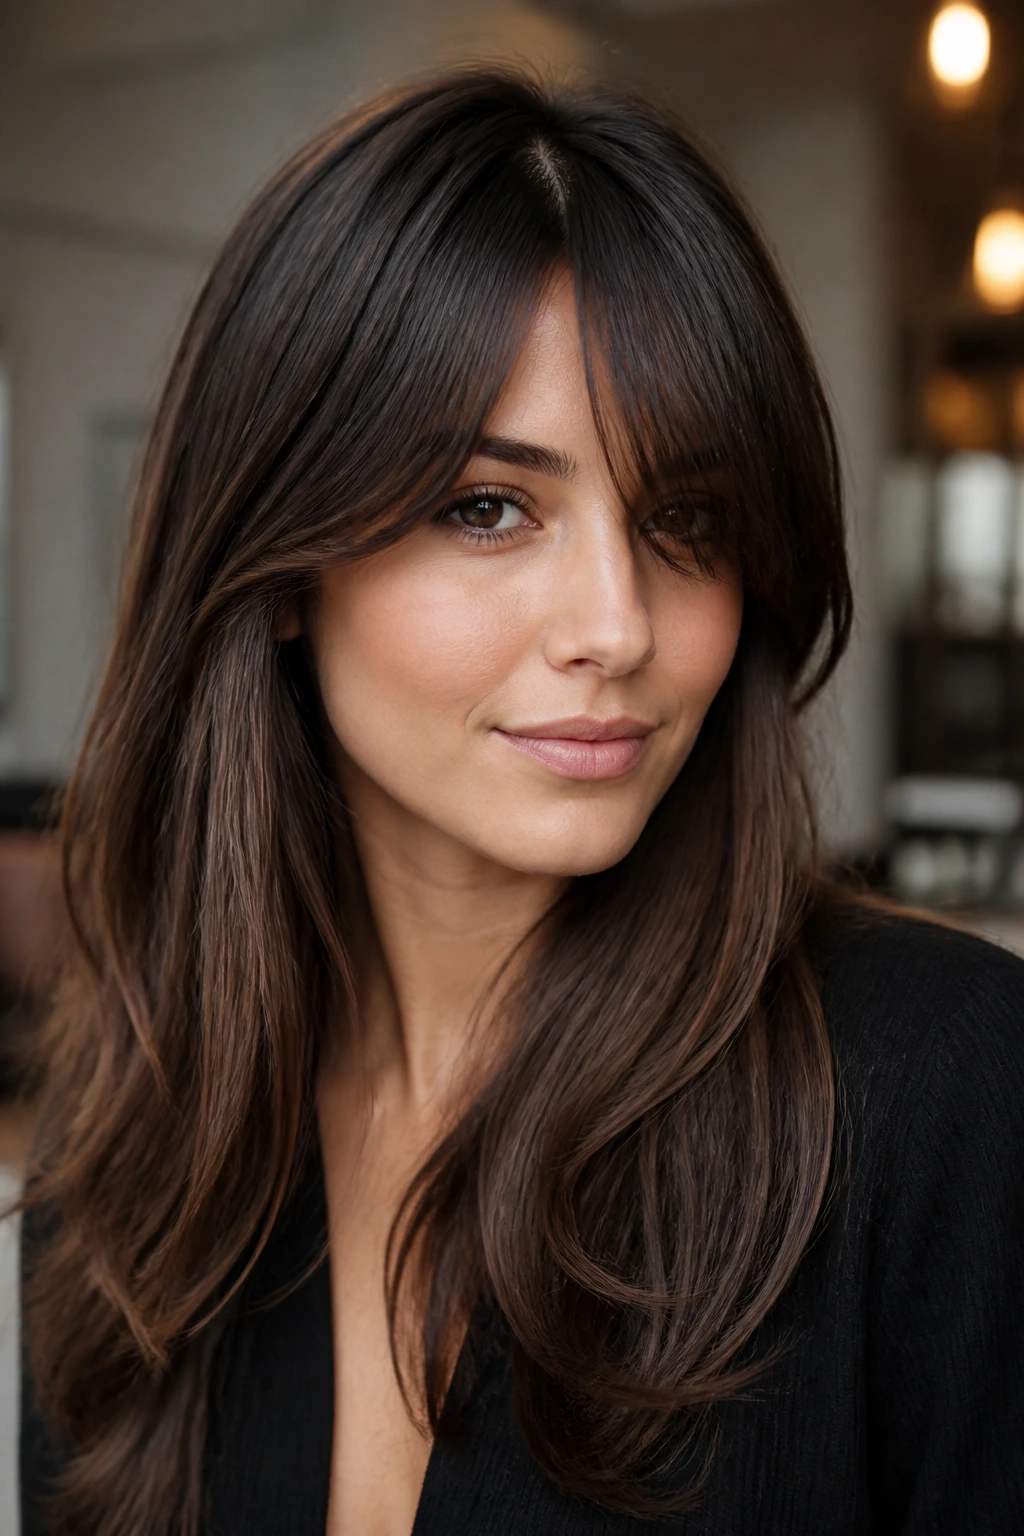
The Curtain-Side Hybrid
This version keeps enough length near the center to split like a curtain bang, then gets swept to one side during styling. It’s a good choice if you want flexibility and a softer grow-out line.
The Feathered Salon Sweep
Use a round brush and a little point cutting in the front so the bang looks airy and polished at the same time. This works well when long hair needs motion but not a lot of texture.
The Curly Arc
For curly or wavy hair, let the bang follow the natural curve of the pattern. Leave extra length, define the clumps, and let the front arc across the forehead instead of trying to pin it into one flat direction.
The Grown-Out Tuck
This one leans on length rather than a fresh cut. The bang stays long enough to tuck behind the ear or pin back at the temple, which makes it useful when you want the front to be soft but low-maintenance.
Keeping Side Bang Styles for Long Hair in Shape Between Washes
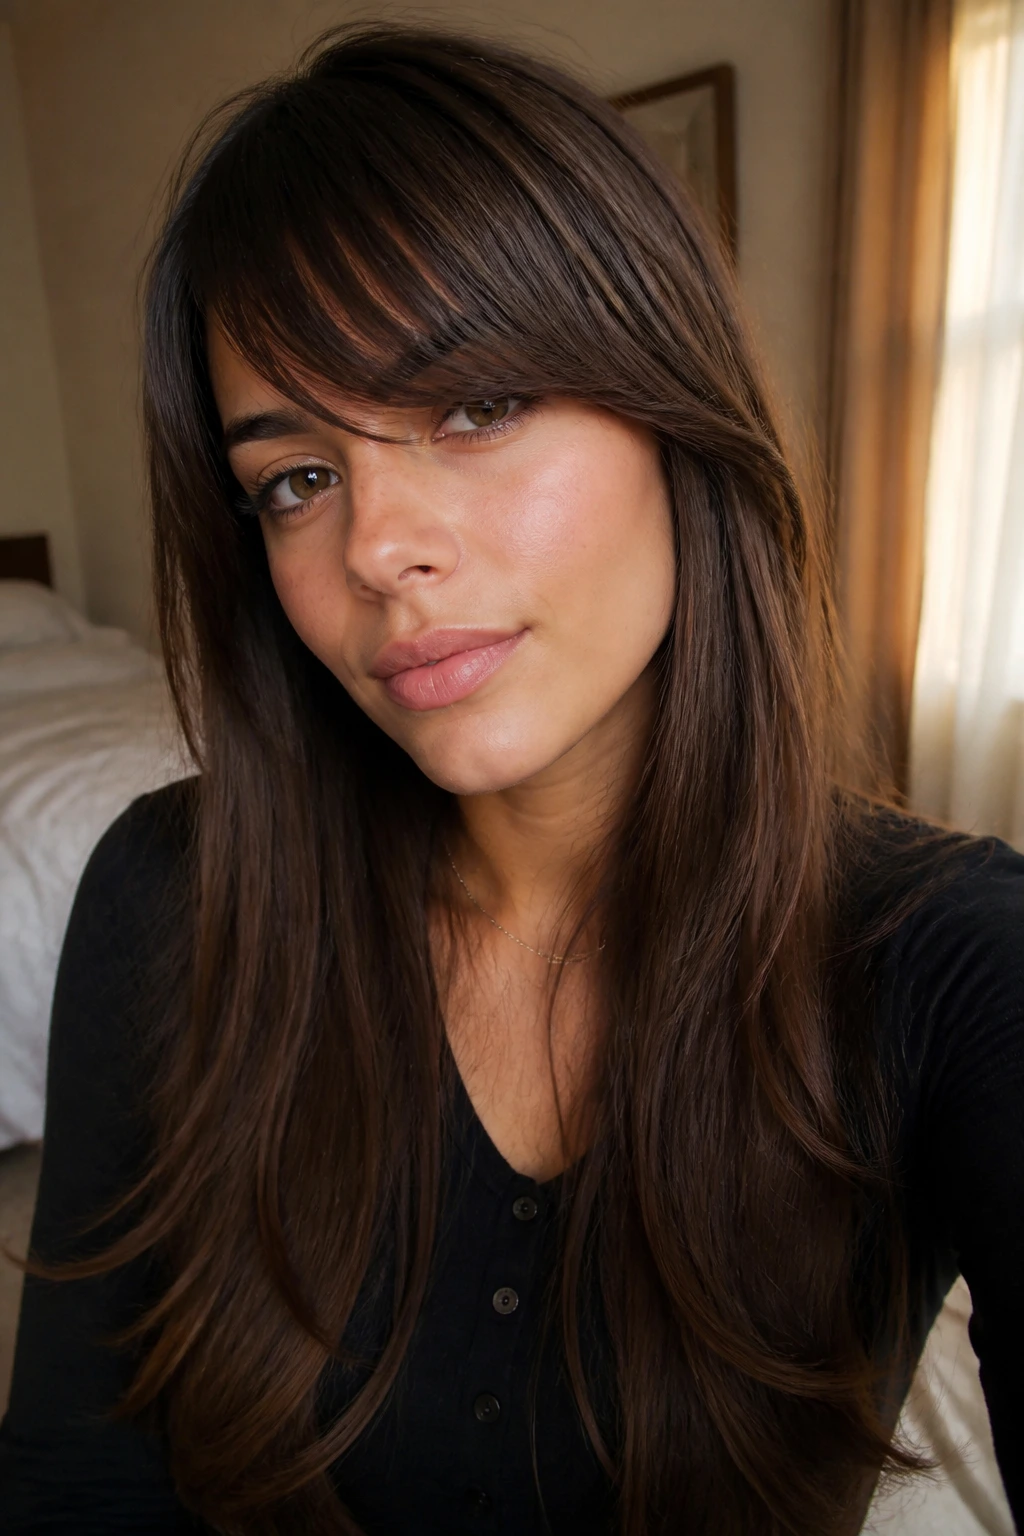
Side bangs get oily faster than the rest of long hair because they sit against the forehead all day. That’s normal. What matters is having a small reset plan instead of waiting until the front feels limp and giving up on the shape.
If you want a clean line, plan on trimming the fringe every 4 to 6 weeks. If you’re growing it out, a light dusting every 6 to 8 weeks keeps the ends from turning stringy. The rest of the length can go much longer between trims, but the front pieces need more attention because they carry the shape.
At night, clip the bang loosely to the side or use a silk pillowcase so it doesn’t get crushed flat. In the morning, a quick mist of water or leave-in, followed by a brush and a few seconds of heat, is usually enough to bring back the sweep. A little dry shampoo at the roots can buy you another day if the front looks shiny before the rest of the hair does.
Questions People Ask Before Cutting Side Bangs
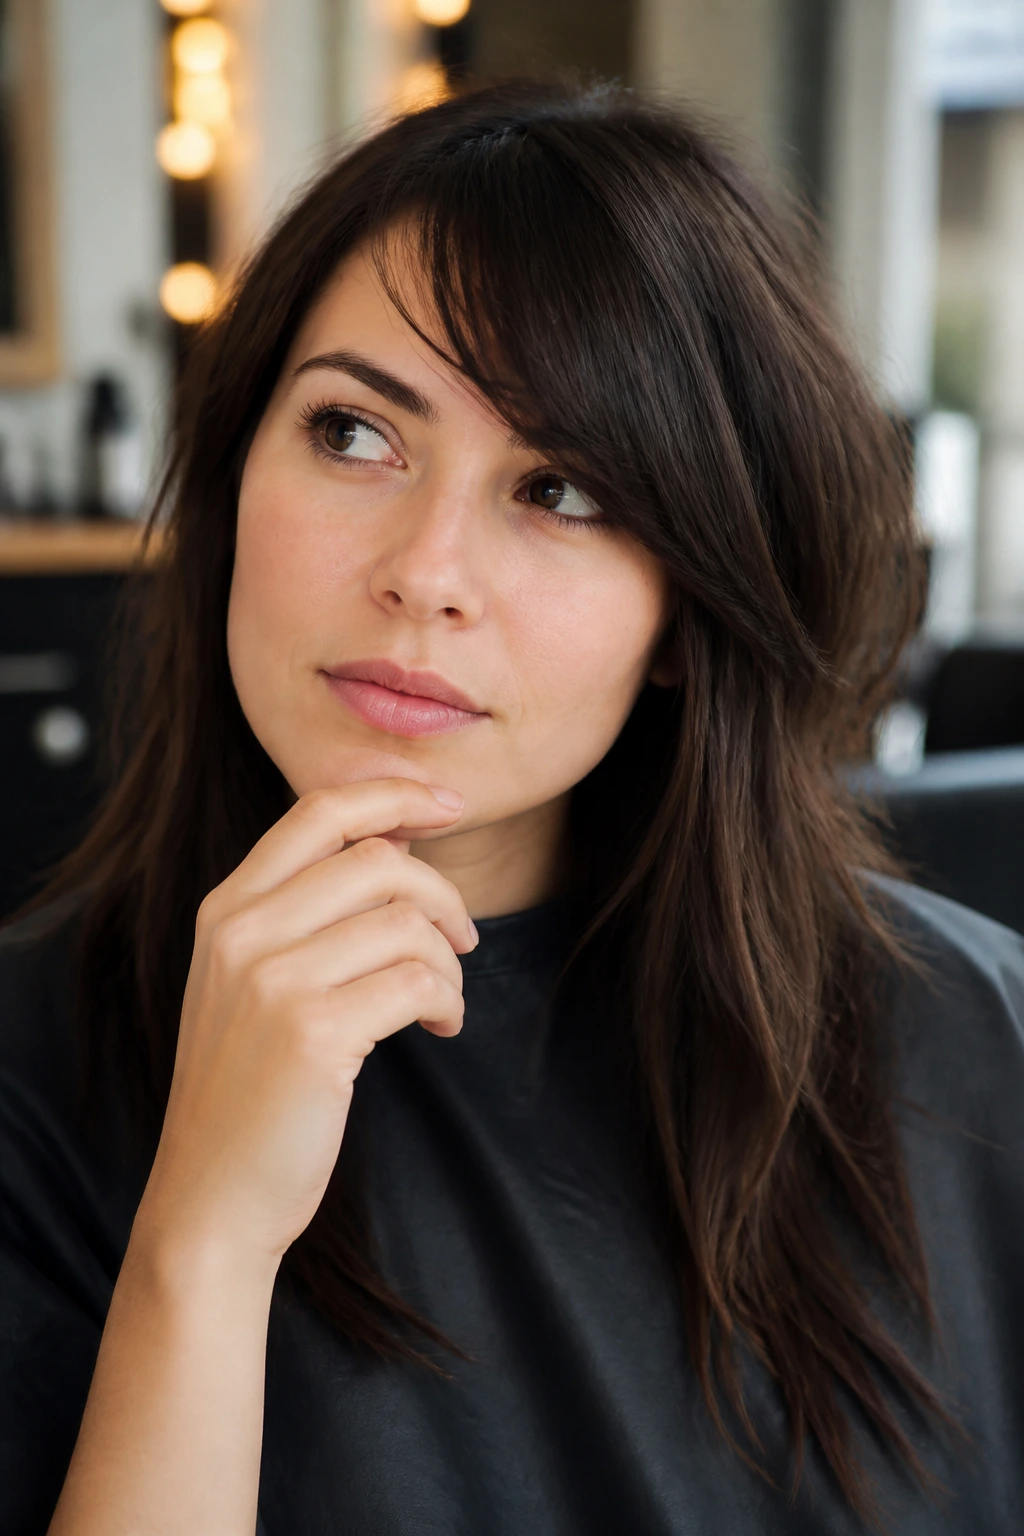
How short should side bangs be on long hair?
For most people, the shortest point looks best somewhere around brow level or just below it, with the longest edge falling toward the cheekbone. Going much shorter can make the bang harder to wear with the rest of the length.
Do side bangs work on curly hair?
Yes, but they need to be cut with shrinkage in mind. Dry cutting or near-dry cutting usually gives a better result because the curl pattern changes the length so much once it settles.
How do I stop side bangs from splitting in the middle?
Dry the roots in the correct direction, clip the front while it cools, and avoid heavy product near the scalp. A tiny cowlick often needs a clip more than it needs more heat.
Can I cut side bangs myself?
You can trim them, but the first cut is better left to someone who understands overdirection and face framing. Side bangs are more forgiving than blunt fringe, yet they still go wrong fast if the section is too wide or the angle is off.
Will side bangs make my face look wider?
A short, blunt sweep can do that on some faces. A longer diagonal fringe usually does the opposite because it pulls the eye across the face and down the length of the hair.
How often do side bangs need trimming?
Most side bangs need a touch-up every 4 to 6 weeks if you want them crisp. If you like them a little grown out, you can stretch that longer and keep the shape with styling instead.
Can side bangs still work with ponytails and buns?
Absolutely. In fact, they often make those styles look less severe by softening the hairline around the face.
What if I hate the bang after a week?
Long side bangs are easier to redirect than straight-across fringe. You can tuck them, braid them, pin them back, or ask for a small cleanup rather than a full re-cut.
The Fringe That Moves With You
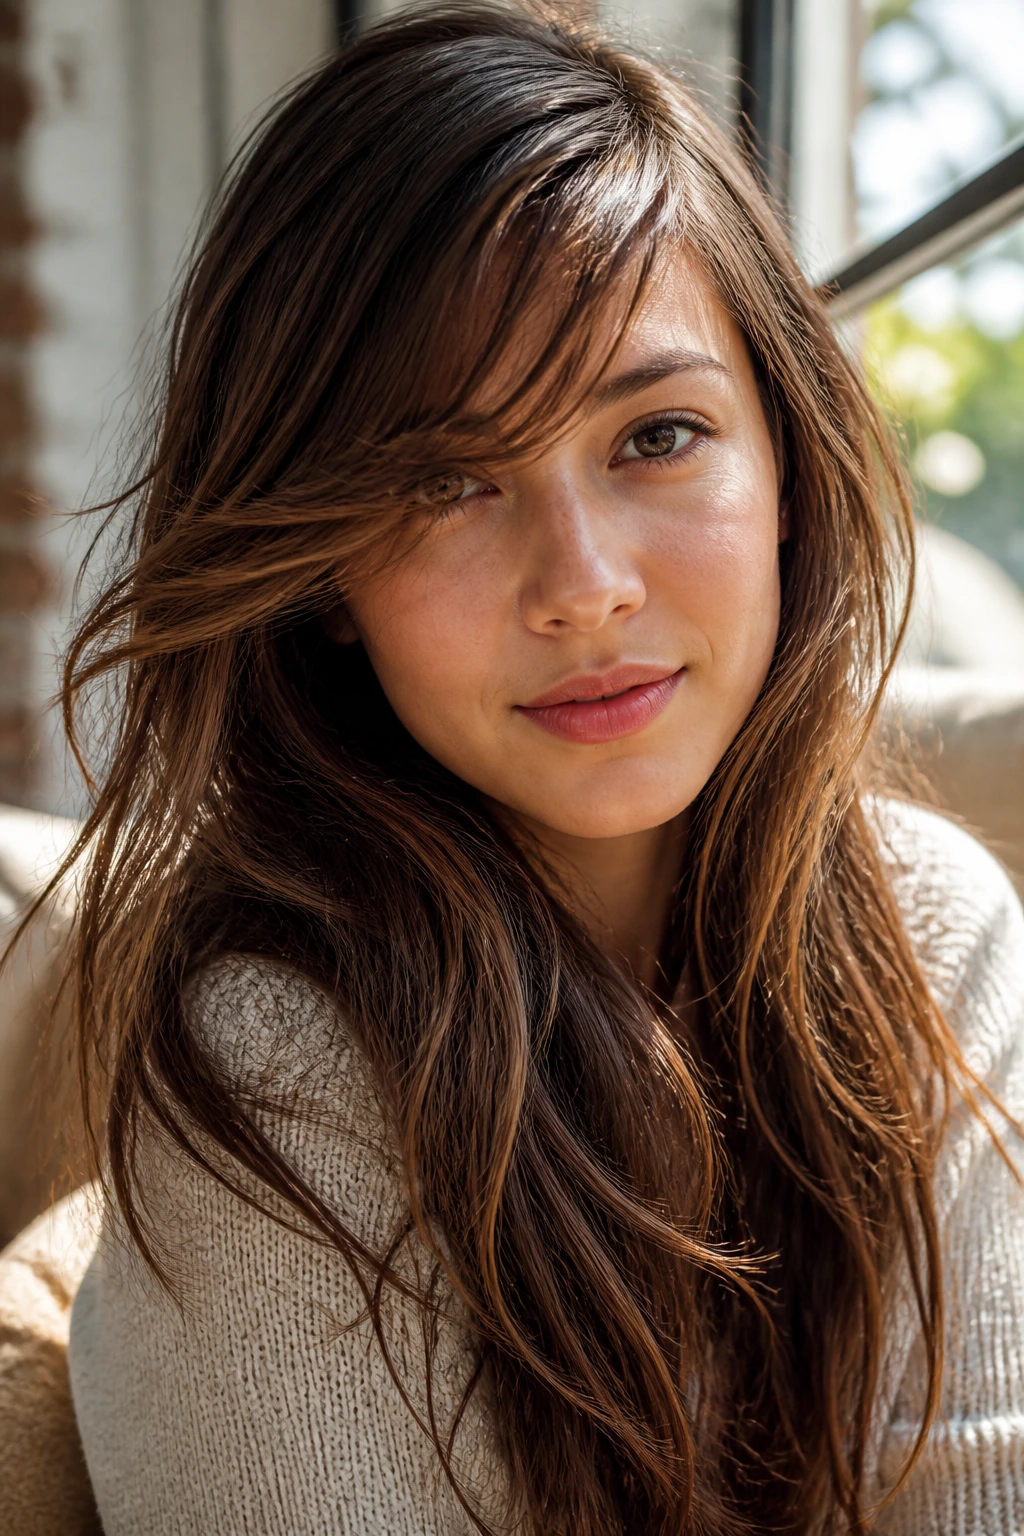
Side bangs work on long hair because they solve a simple problem in a clean way: they give the front of the cut some motion without asking you to lose the length you’ve been growing out for ages. That diagonal line can soften, sharpen, lift, or calm a look depending on how you wear it.
The useful part is the flexibility. A good side bang can be polished one day, tucked behind the ear the next, and pinned back the day after that. If your long hair has been sitting there feeling a little too straight-lined around the face, this is one of the easiest changes that actually changes something.
