



Boho waves are what happens when hair is allowed to move. Not sag, not frizz, not collapse—move. Wavy hairstyles with a boho vibe work because they keep that loose swing at the ends and a little air at the crown, which is a better look than a stiff curl that feels locked in place before you even leave the mirror.
What makes these styles so appealing is the range. A few are soft and almost lazy-looking in the best way. Others lean into braids, twists, clips, scarves, or a low knot with tendrils that fall in just the right places. The common thread is texture that looks touched by fingers rather than engineered by a hot tool and a prayer.
The real secret is smaller than people expect. A 1-inch iron behaves very differently from a 1.5-inch iron. A loose braid overnight gives a different bend than a rope twist. A few face-framing pieces pulled free can do more for the mood of the style than another round of hairspray ever will. That’s the lane these looks live in: soft, a little undone, and much more deliberate than they first appear.
Why These Boho Waves Feel Relaxed Instead of Overworked
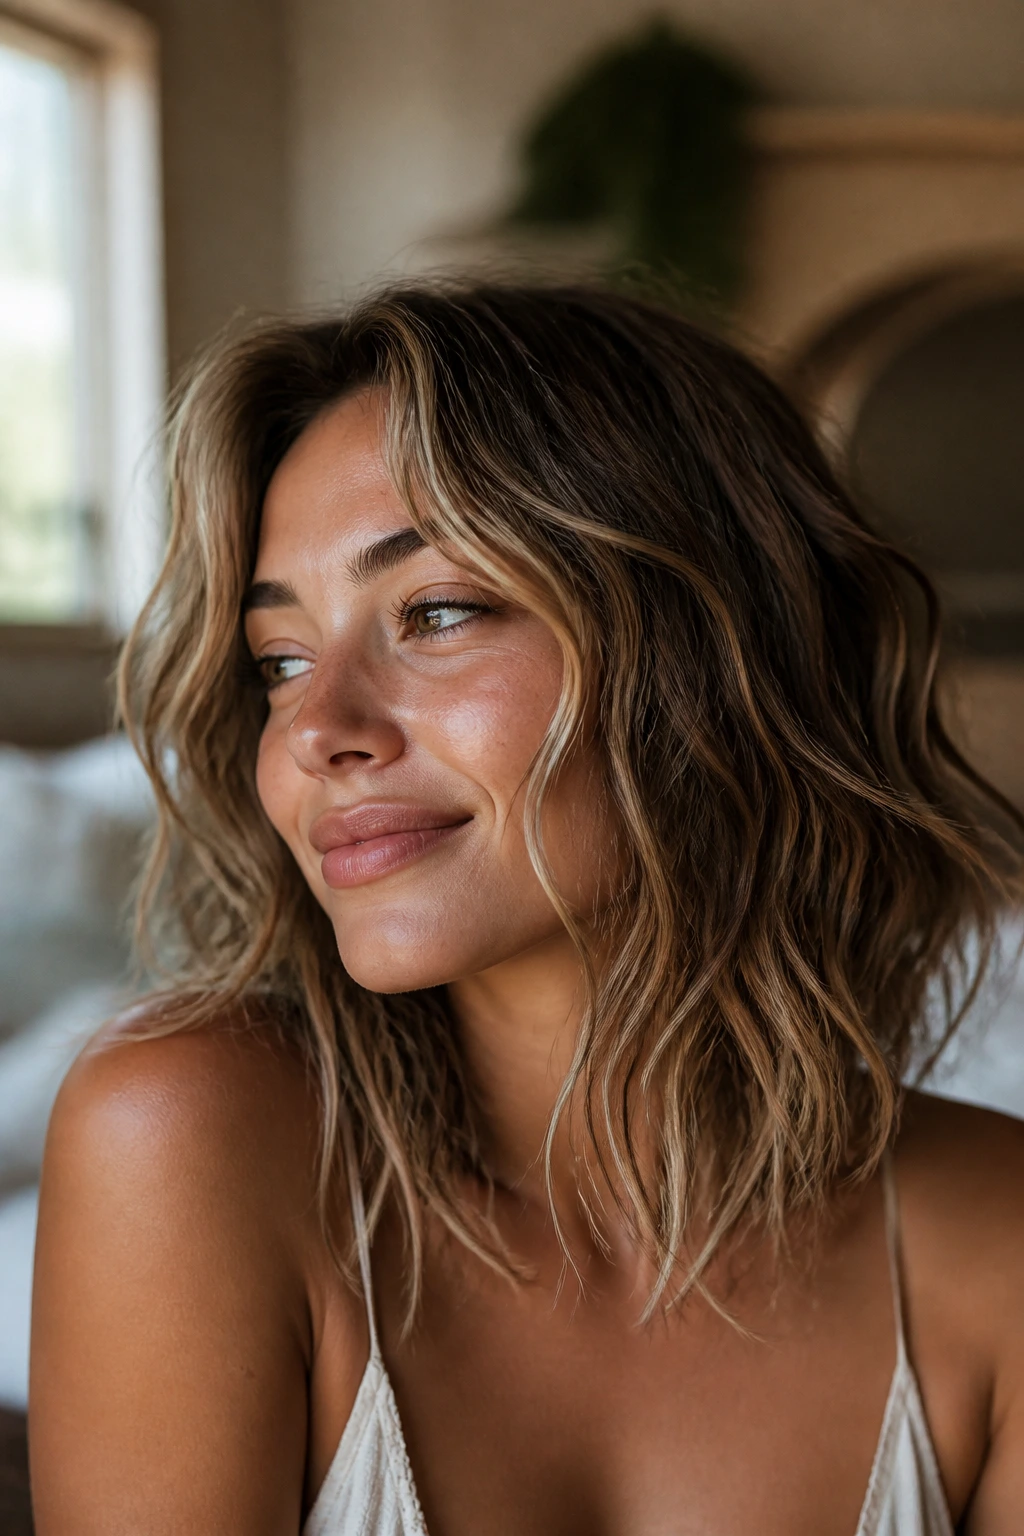
- Soft movement at the hairline: These styles keep the front pieces light, which stops the whole look from reading too formal or too set.
- Texture does the heavy lifting: A little grit from mousse, dry shampoo, or texture spray gives the hair enough grip to hold shape without turning it stiff.
- Accessories work like punctuation: A scarf, clip, or braid can change the whole mood of the style without forcing the wave pattern to do all the work.
- Day-two hair helps here: Slightly lived-in hair usually takes a wave better than squeaky-clean strands, especially when you want that looseness instead of shine-heavy polish.
- The finish is meant to loosen: These styles usually look better after the curls cool, soften, and separate a little. That’s not damage. That’s the point.
- They suit more than one length: Collarbone hair, long layers, and even a cropped lob can all carry a boho wave when the shape is chosen well.
1. Loose Center-Part Wavy Hairstyles With a Boho Vibe
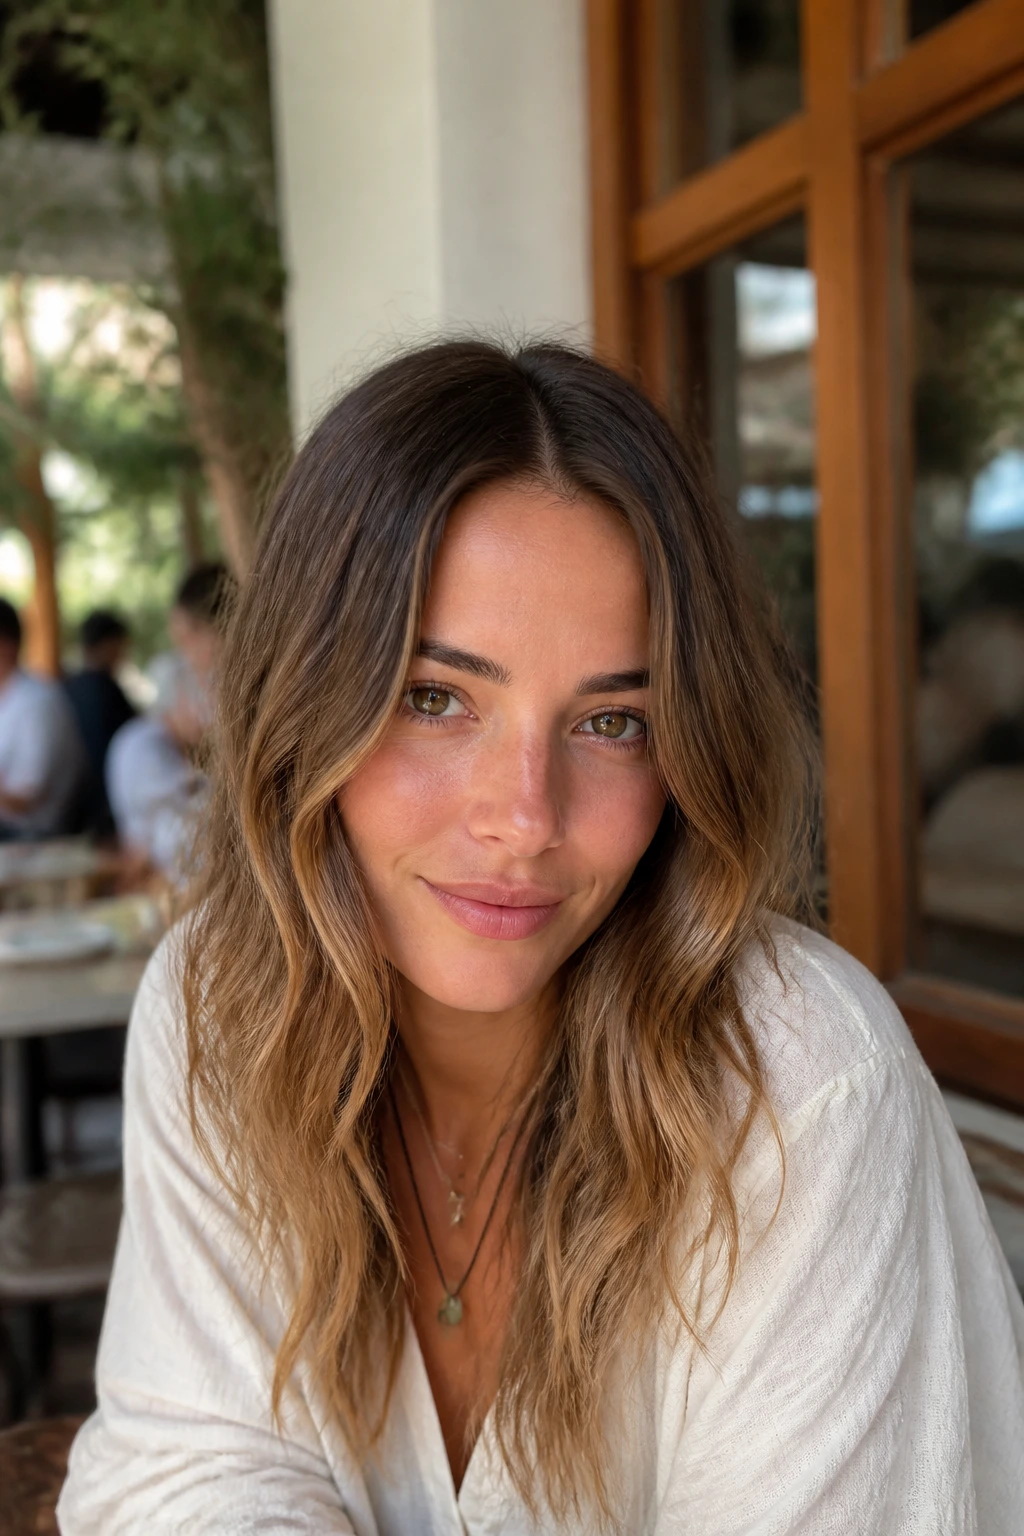
A clean center part changes the whole mood of a wave. It keeps the style from drifting too sweet or too dressed up, and it gives the hair that calm, floating look people keep saving to their phones.
Use a 1.25-inch curling wand and wrap 1-inch sections away from the face, leaving the last inch straighter if your hair is long enough to show the bend. When the curls cool, rake them apart with your fingers and mist the mid-lengths with a matte texture spray. The key is to keep the root soft and the ends a little irregular. That little imbalance makes the style feel like it belongs in daylight, not under salon lights.
Why It Feels Boho
- The middle part makes the waves fall evenly on both sides.
- Leaving the ends a touch straighter keeps the finish from looking too curled.
- A light spray at the mid-lengths gives the shape grip without a crunchy shell.
2. Half-Up Knot with Cascading Waves
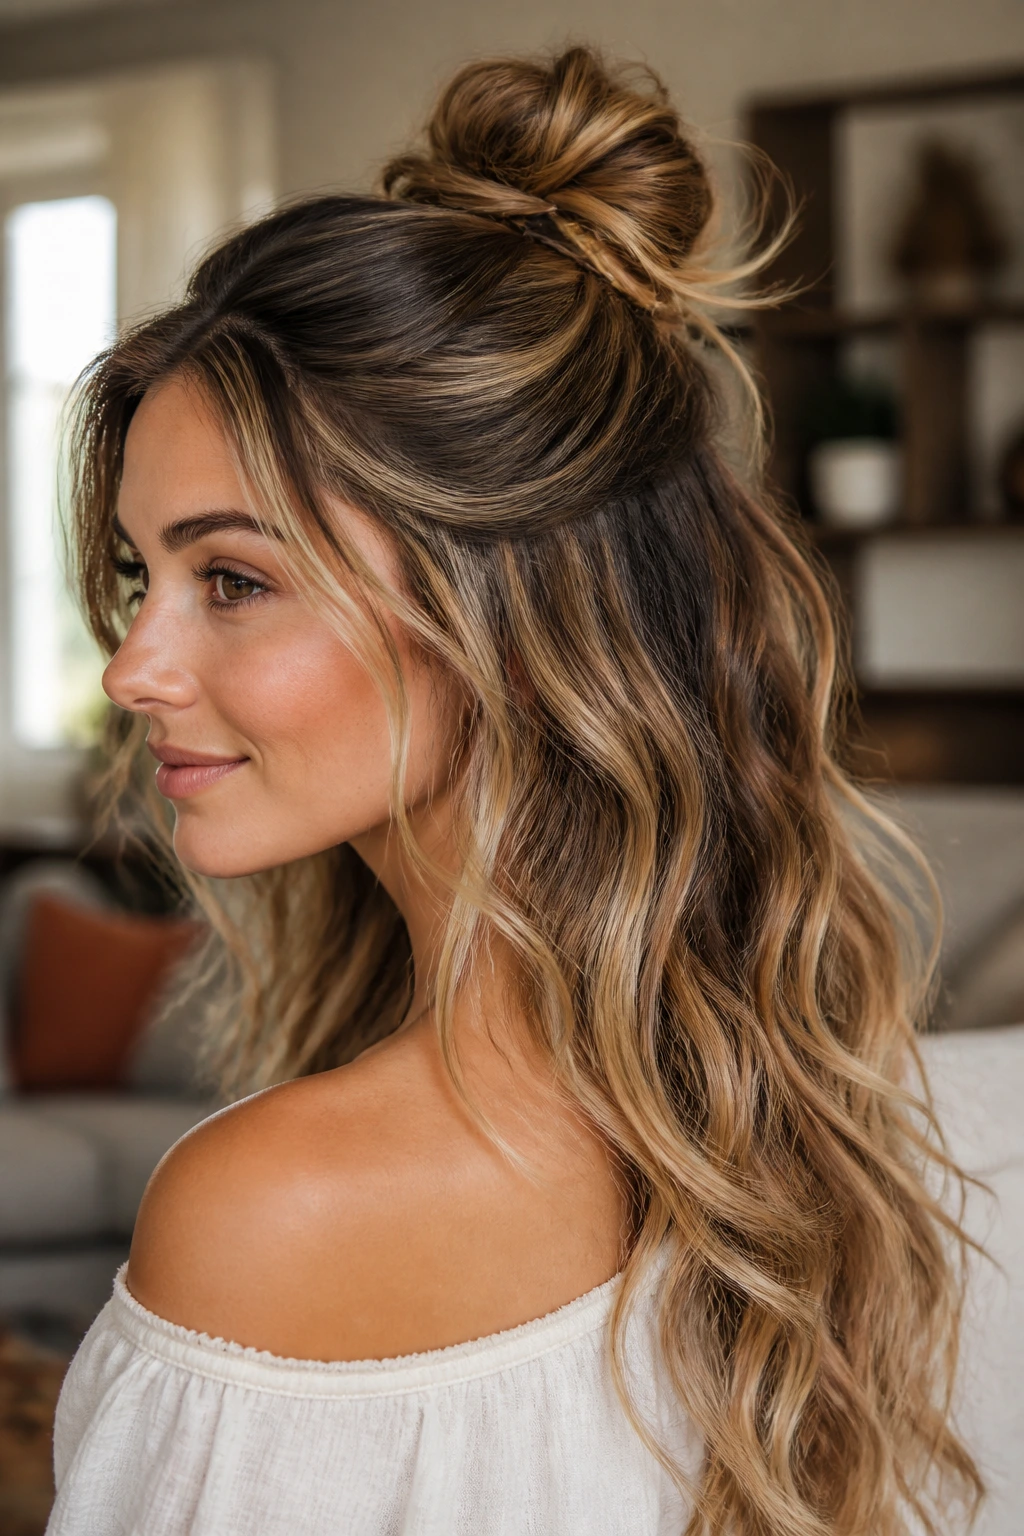
This one has good manners without looking stiff. The top knot lifts the face, the bottom half keeps the movement, and the whole thing sits in that sweet spot between casual and put-together.
Tie only the crown section into a loose knot with a small elastic, then pin the knot open with two bobby pins so it doesn’t sit like a tight loop. Leave the lower waves brushed out and airy. If your hair is fine, tease the root just under the knot with a tail comb before securing it; the extra puff at the crown stops the style from looking flat from the back.
The best part is the shape around the neckline. You get the sense of hair being gathered, but not pulled away from the face so hard that all the softness disappears.
3. Braided Crown and Soft Length
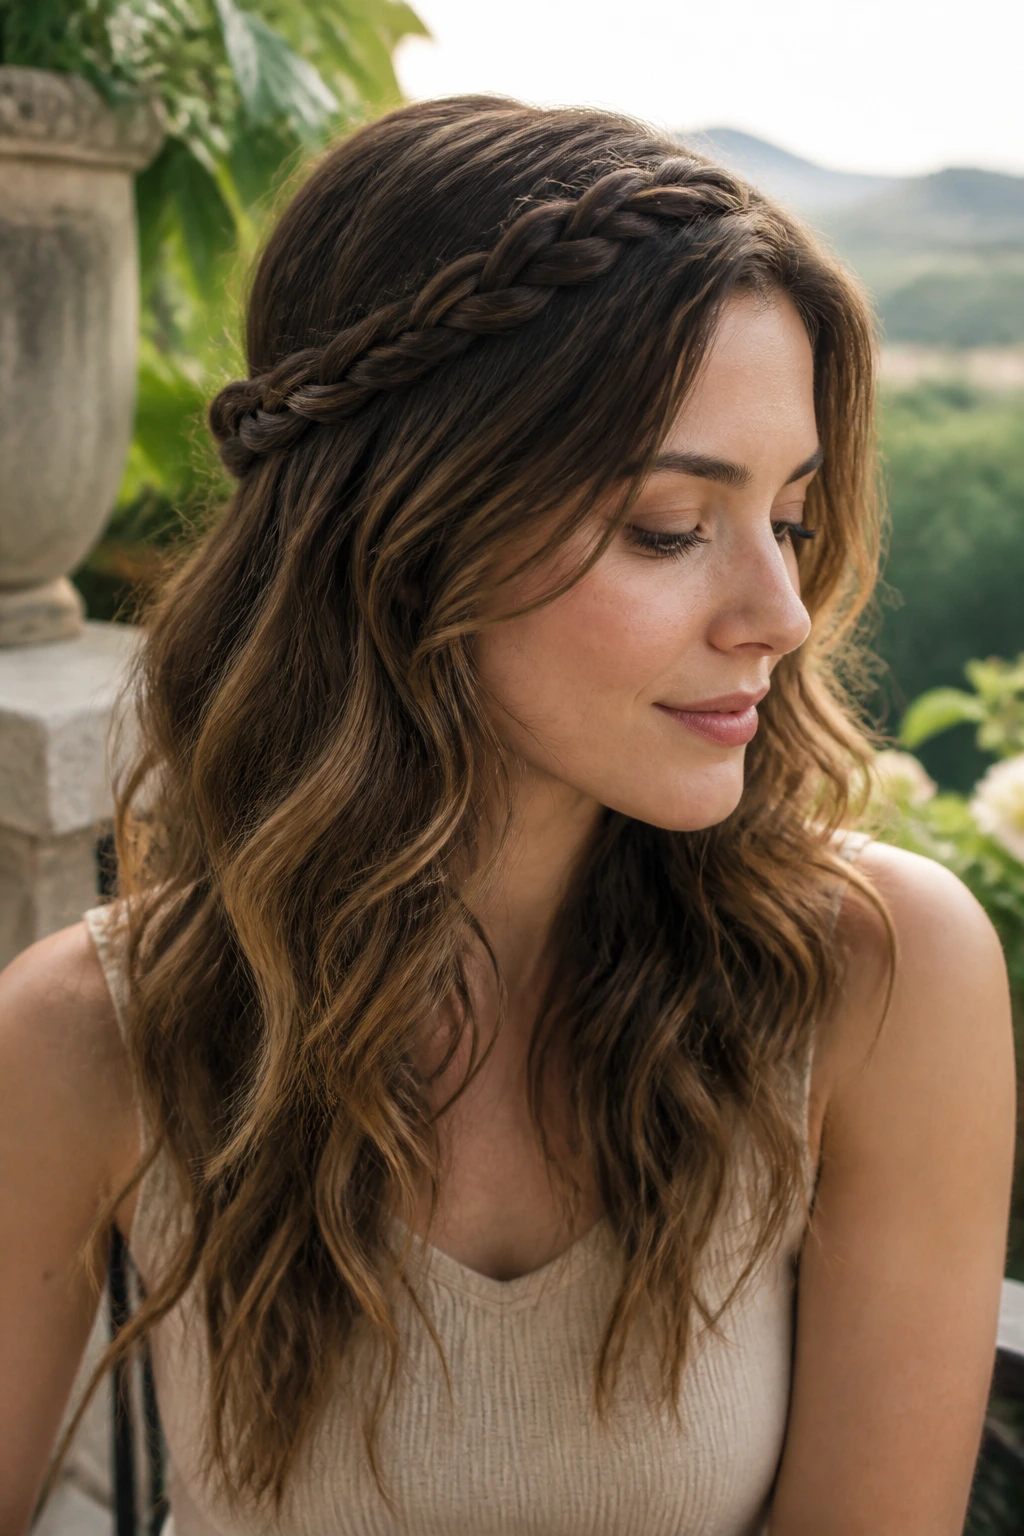
Why does a braid across the crown feel so boho when a full braid can look severe? Because the trick is restraint. Keep the braid narrow, loosen the outer loops with your fingers, and let the remaining hair fall in broken waves instead of trying to tame every strand.
This style loves hair that has a little texture already. If your hair is freshly washed and slippery, dust the roots with dry shampoo first so the braid has something to grab. A single three-strand braid on each side, pinned to meet at the back, is enough. You do not need a tight halo sitting like a headband. The softer the braid, the more the long pieces feel intentional.
Best on
- Medium to long hair with some natural bend
- Day-two hair that needs a reset
- Layered lengths that can escape the braid in a nice way
4. Curtain Bang Waves with Piecey Face Framing
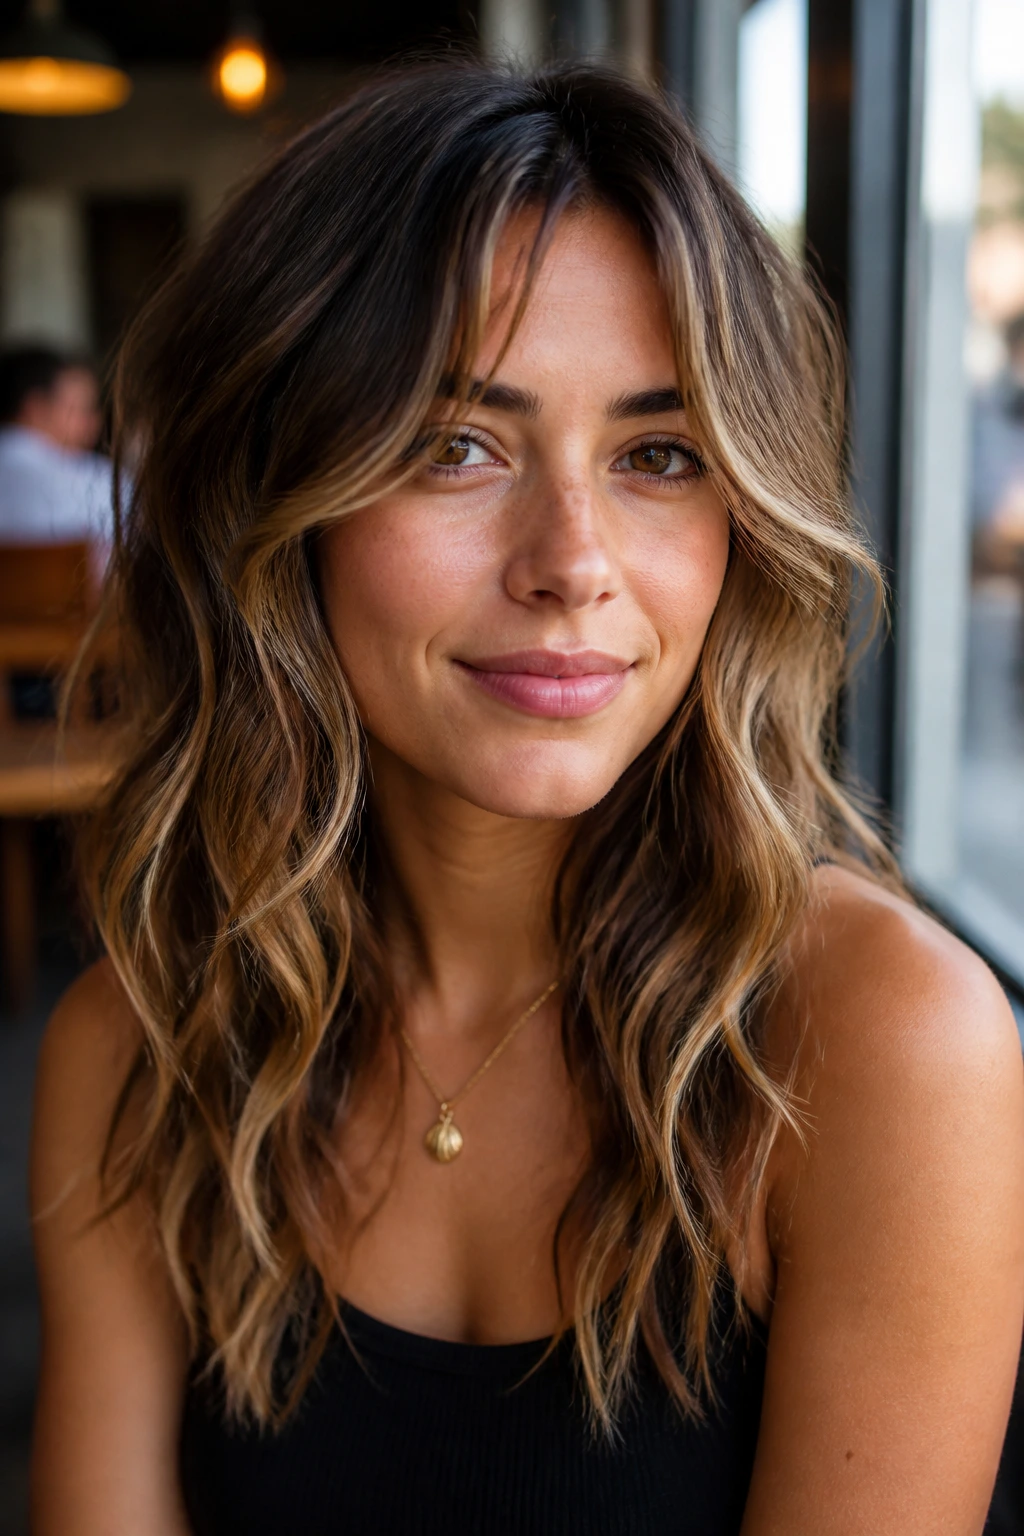
Curtain bangs can make boho waves look expensive fast, but only if they stay airy. The bang area should bend away from the face with a round brush or a quick twist of the iron, then fall apart slightly as it cools.
If the fringe is too polished, the rest of the hair starts competing with it. That’s where things go wrong. Keep the bangs piecey, then let the front waves start around cheekbone level instead of right at the roots. That little bit of space keeps the face open and gives the style a softer edge.
I like this version on longer layers because the bangs act like a frame, not a curtain wall. The hair moves first at the eyes, then at the cheeks, then down through the length. It reads as relaxed without losing structure.
5. Mermaid Waves with a Soft S-Bend
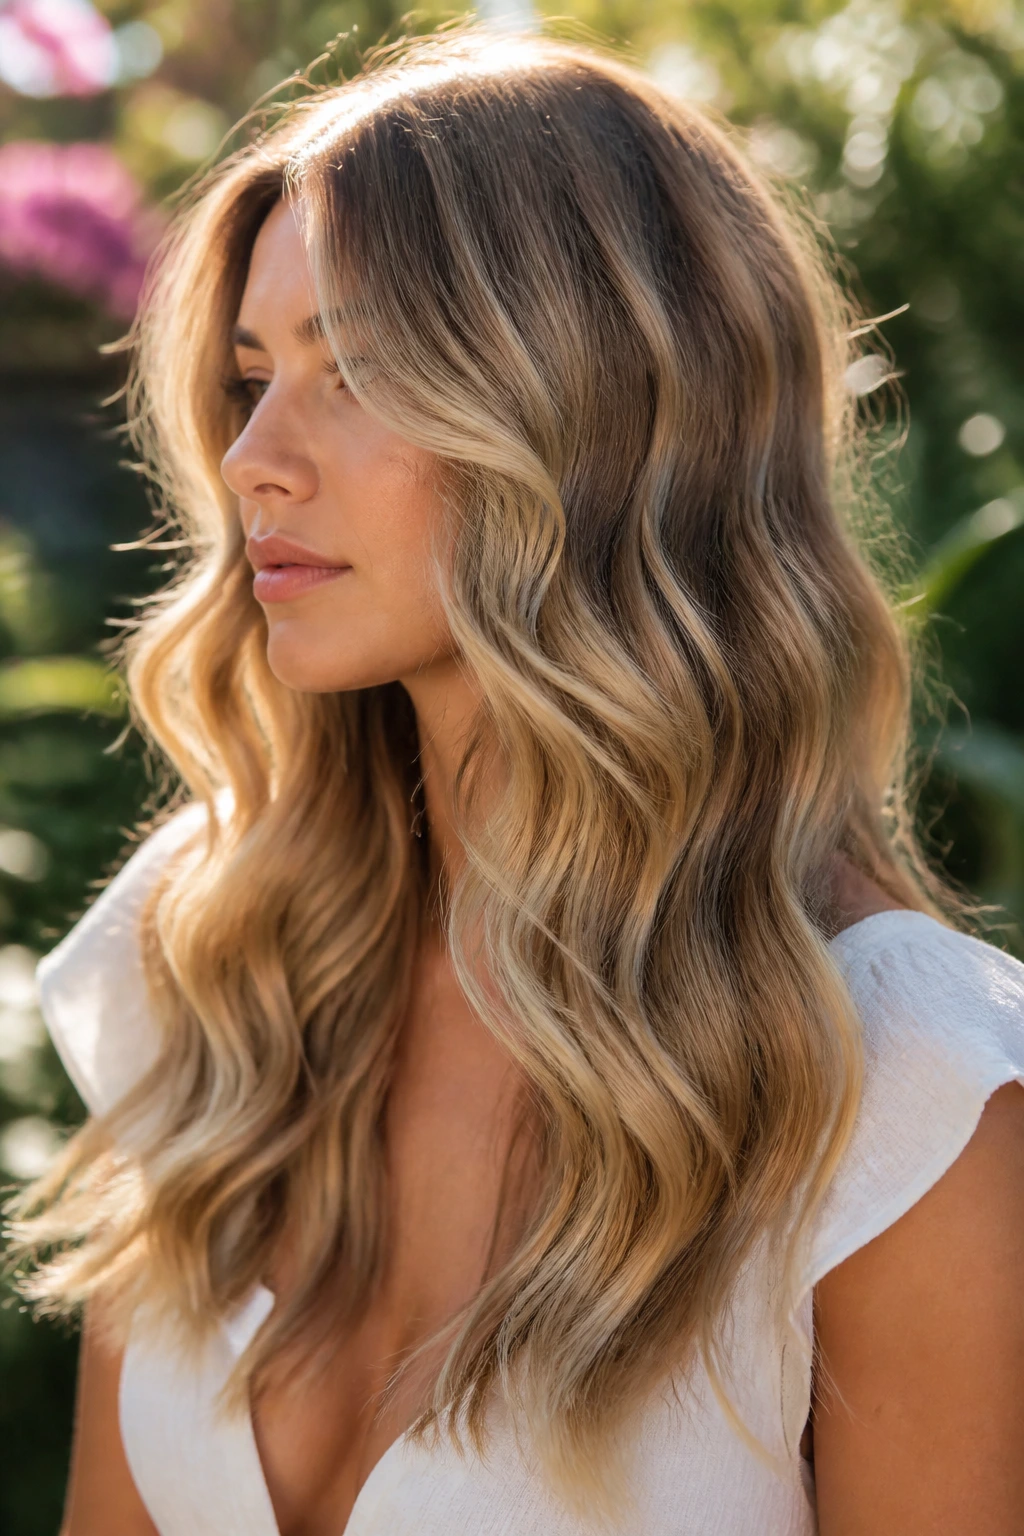
Mermaid waves are for people who want more shape than a simple curl but less structure than a polished blowout. The bend is broad, smooth, and almost ribbon-like when it’s done right.
Use a flat iron or a medium wand and create an exaggerated S-pattern by tapping and rotating the tool only slightly as you move down each section. The point is not to make ringlets. It’s to make a long, fluid wave that sits flat at the root and swells gently through the mid-lengths. Once the hair cools, brush it once with a soft paddle brush so the bends merge a little. That brushed-out finish is what keeps the style from looking theatrical.
This works especially well on long hair. Shorter lengths can still do it, but the wave needs enough room to travel or it just looks bent, not mermaid-like.
6. Low Messy Bun with Wavy Tendrils
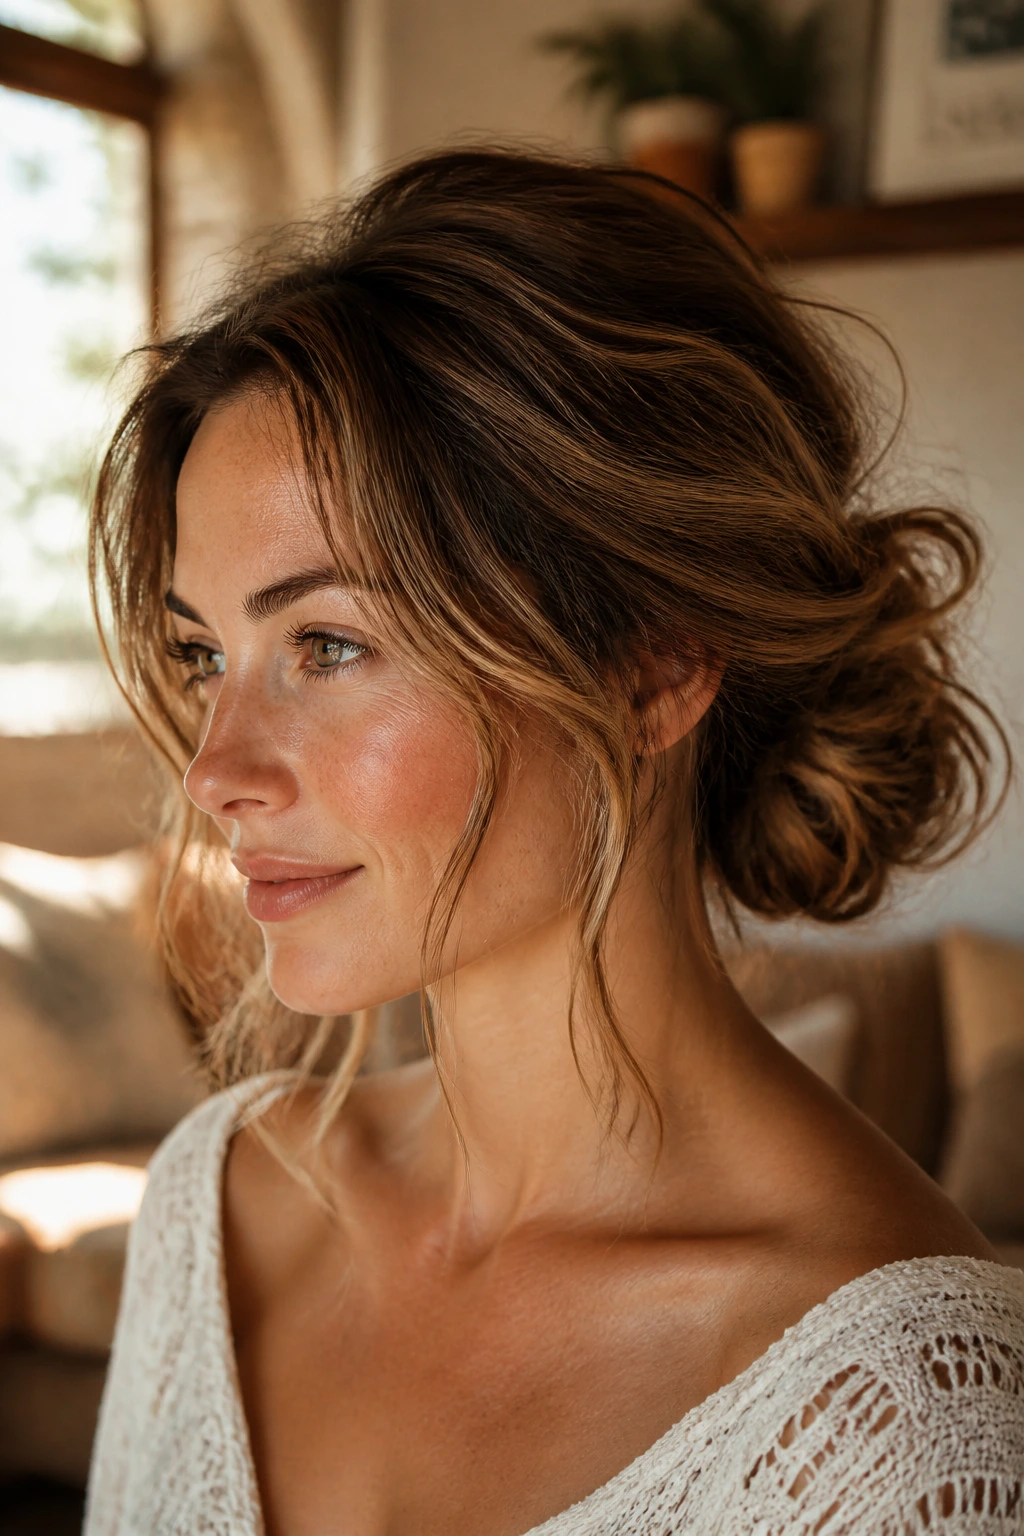
A low bun can feel boho if the front is left alone. That means two or three tendrils around the face, a loose twist at the nape, and enough texture in the bun that you can see the hair’s movement instead of a smooth knot.
Prep the hair with a texturizing spray or a little mousse at the root, then gather it low and twist it once or twice before pinning it in place. Don’t make the bun too round. A flattened, slightly uneven bun looks better here because it mirrors the softness of the waves around it. Pull a few pieces free at the temples and near the ears. If the tendrils are too neat, touch them with a 1-inch iron for a quick bend.
This is one of the easiest styles to wear when the weather gets humid or your hair has already gone through a full day of activity.
7. Deep Side-Part Waves That Sweep Across the Cheek
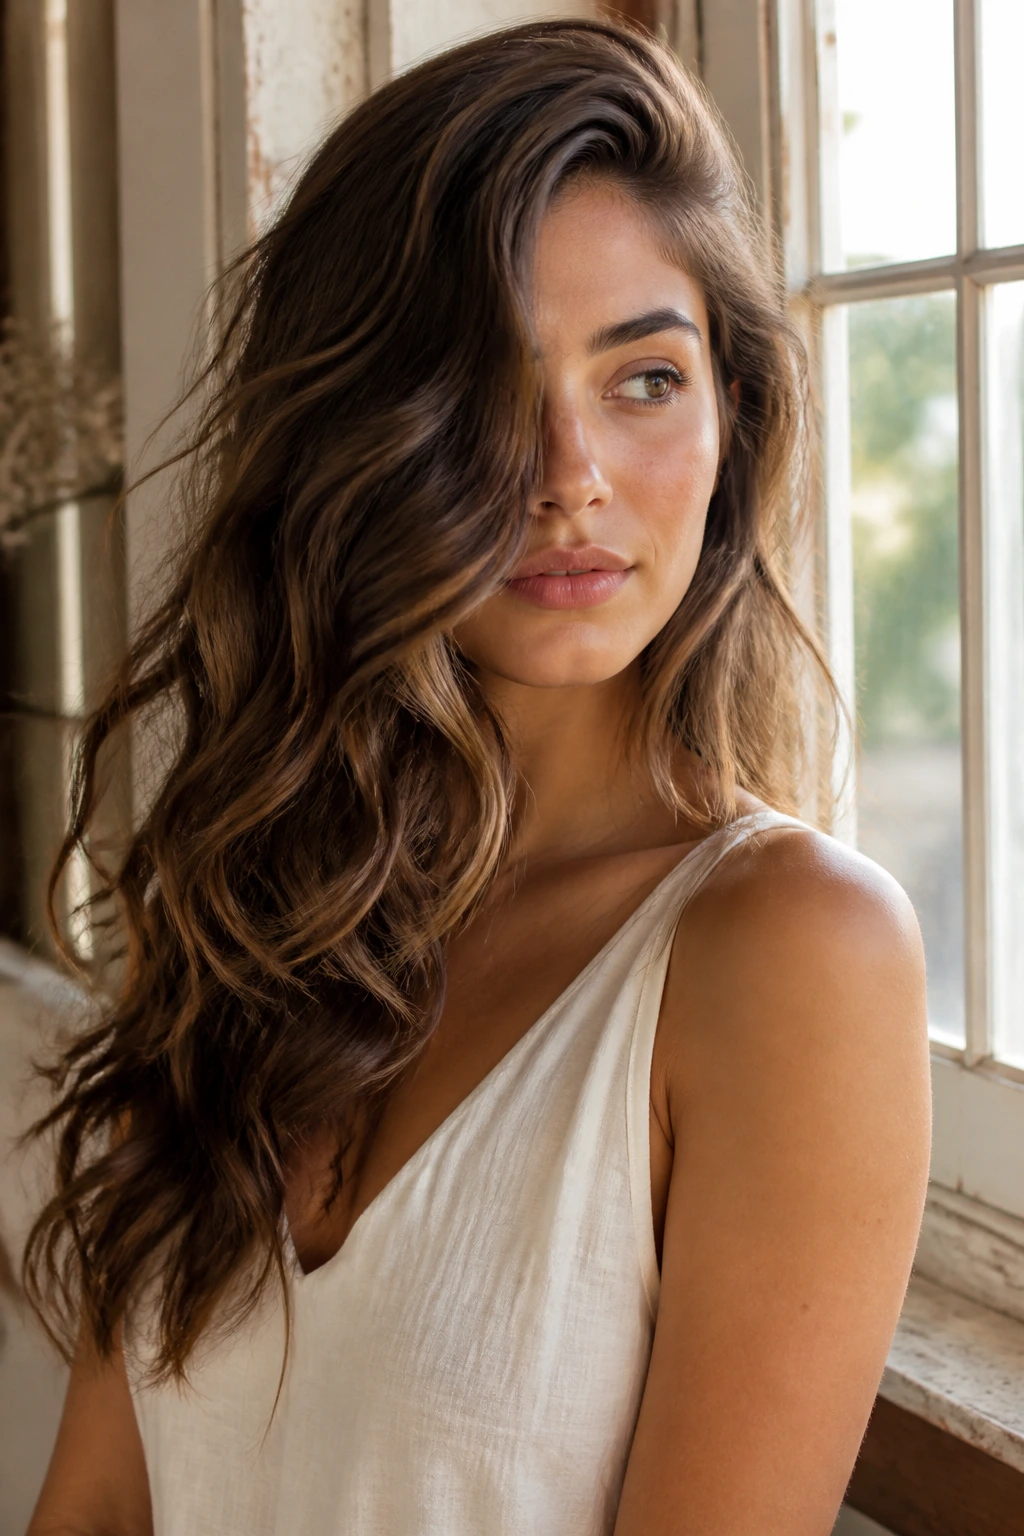
A deep side part gives waves a little drama without pushing them into red-carpet territory. The part itself becomes part of the style, which means you can do less with the lengths and still get a strong result.
Move the part several inches off center, then direct the front section across the forehead and down over one cheek. Curl away from the face on the heavier side so the wave opens outward instead of closing in. That sweep creates a soft diagonal line, and diagonals are forgiving. They make the style look a little windblown even when it’s carefully arranged.
What makes this version work
- The side part adds instant volume at the root.
- The sweep across one eye softens stronger jawlines.
- A tucked side behind the ear keeps the finish from feeling too heavy.
8. Rope-Braid Texture for Extra Movement
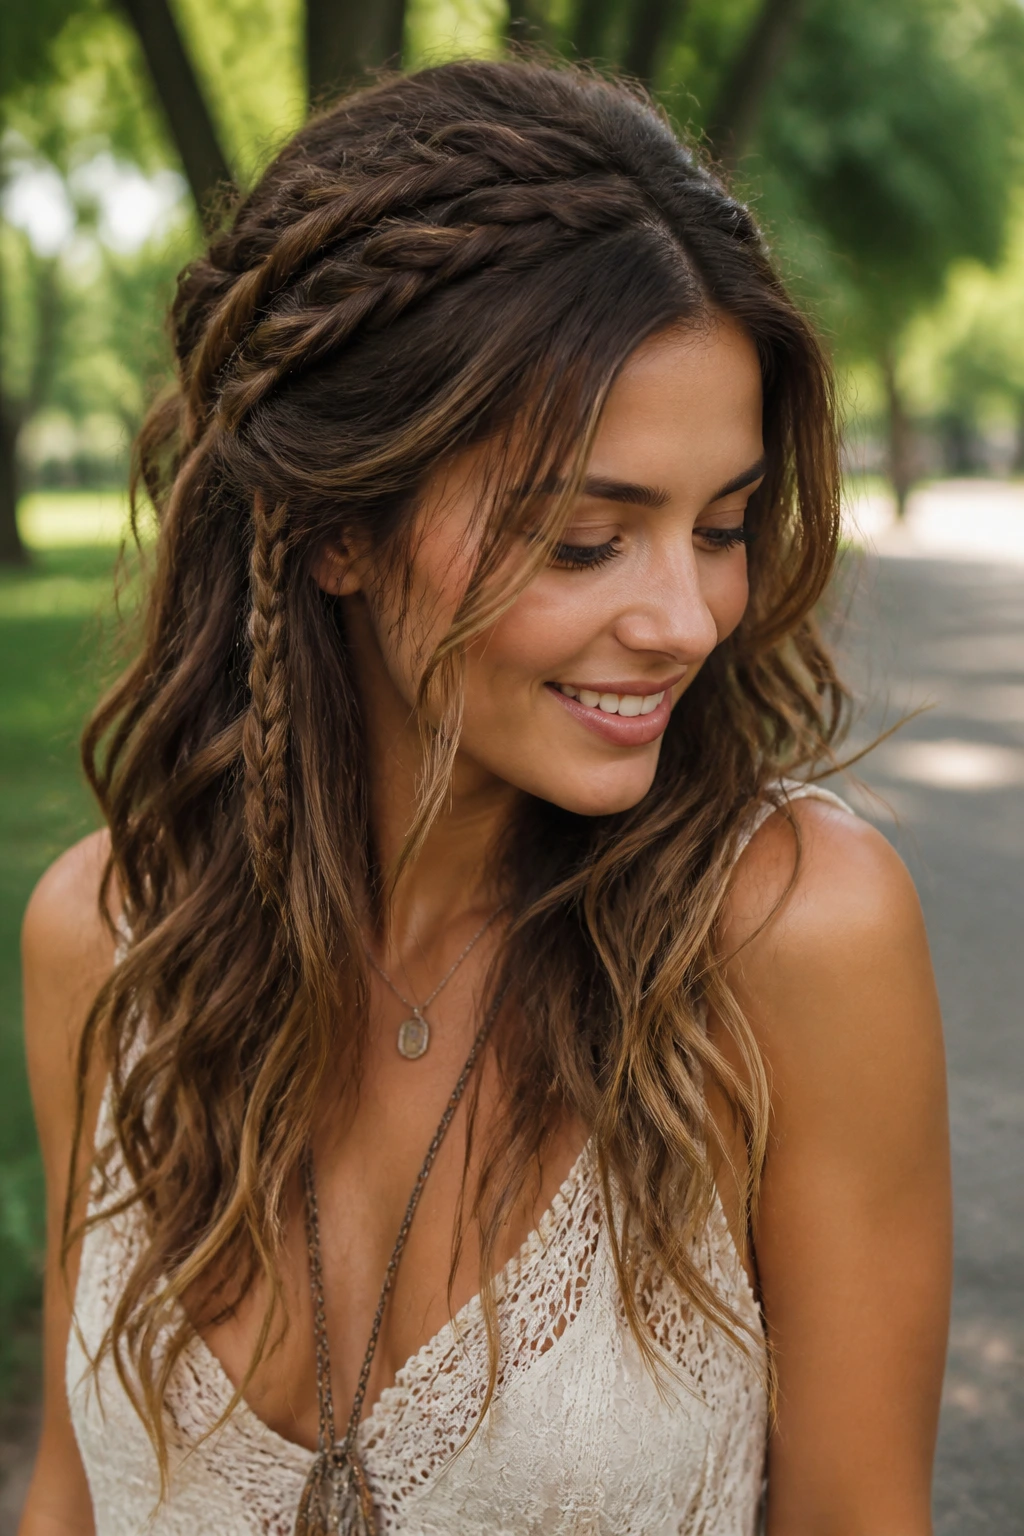
Rope-braid waves have a different personality from iron curls. They’re less uniform, a little more rustic, and they give the hair that slightly crumpled bend that boho styles need.
Split damp hair into sections, twist each section in one direction, then twist two twisted pieces around each other in the opposite direction. Let them dry fully before taking them out. If you brush rope-braid waves too hard, they puff up and lose the pattern, so use your fingers or a wide-tooth comb only once the hair is completely dry. This method is especially good for hair that resists hot tools or gets dry quickly from heat.
It’s one of those styles that looks better with a little disorder. Perfect symmetry kills it.
9. Fishtail Half-Up Waves
A fishtail braid across the back half of the head adds detail without swallowing the waves underneath it. That’s the whole appeal. You get that handmade look up top, and the loose length still moves.
Keep the braid loose and stop at the point where the braid reaches the back of the head. Secure it with a clear elastic, then tug the outer edges so it widens a bit. The rest of the waves should stay brushed out and soft. If your hair is very slippery, spray the top section lightly before braiding so the fishtail doesn’t slide apart in five minutes.
This is a strong choice when you want the hair to look styled from the back too. A lot of half-up looks are pretty from the front and boring behind. This one has more going on.
10. Claw-Clip Twist with Loose Wavy Ends
A claw clip is a boho shortcut with a good track record. Twist the hair up loosely, let the ends spill, and the style looks like it was done in under two minutes because it probably was.
The twist should sit a little off-center and a little low, not jammed high at the crown. Leave a few pieces at the ears and temples out on purpose. A clip with wide teeth is kinder to textured hair than one with tiny teeth that grabs and dents everything. If the clip is too tight, the twist loses its loose shape and starts looking like a shell.
This is one of my favorites for medium-length hair, because it gives you lift at the back without forcing the front pieces into a severe shape. Easy. But not lazy-looking.
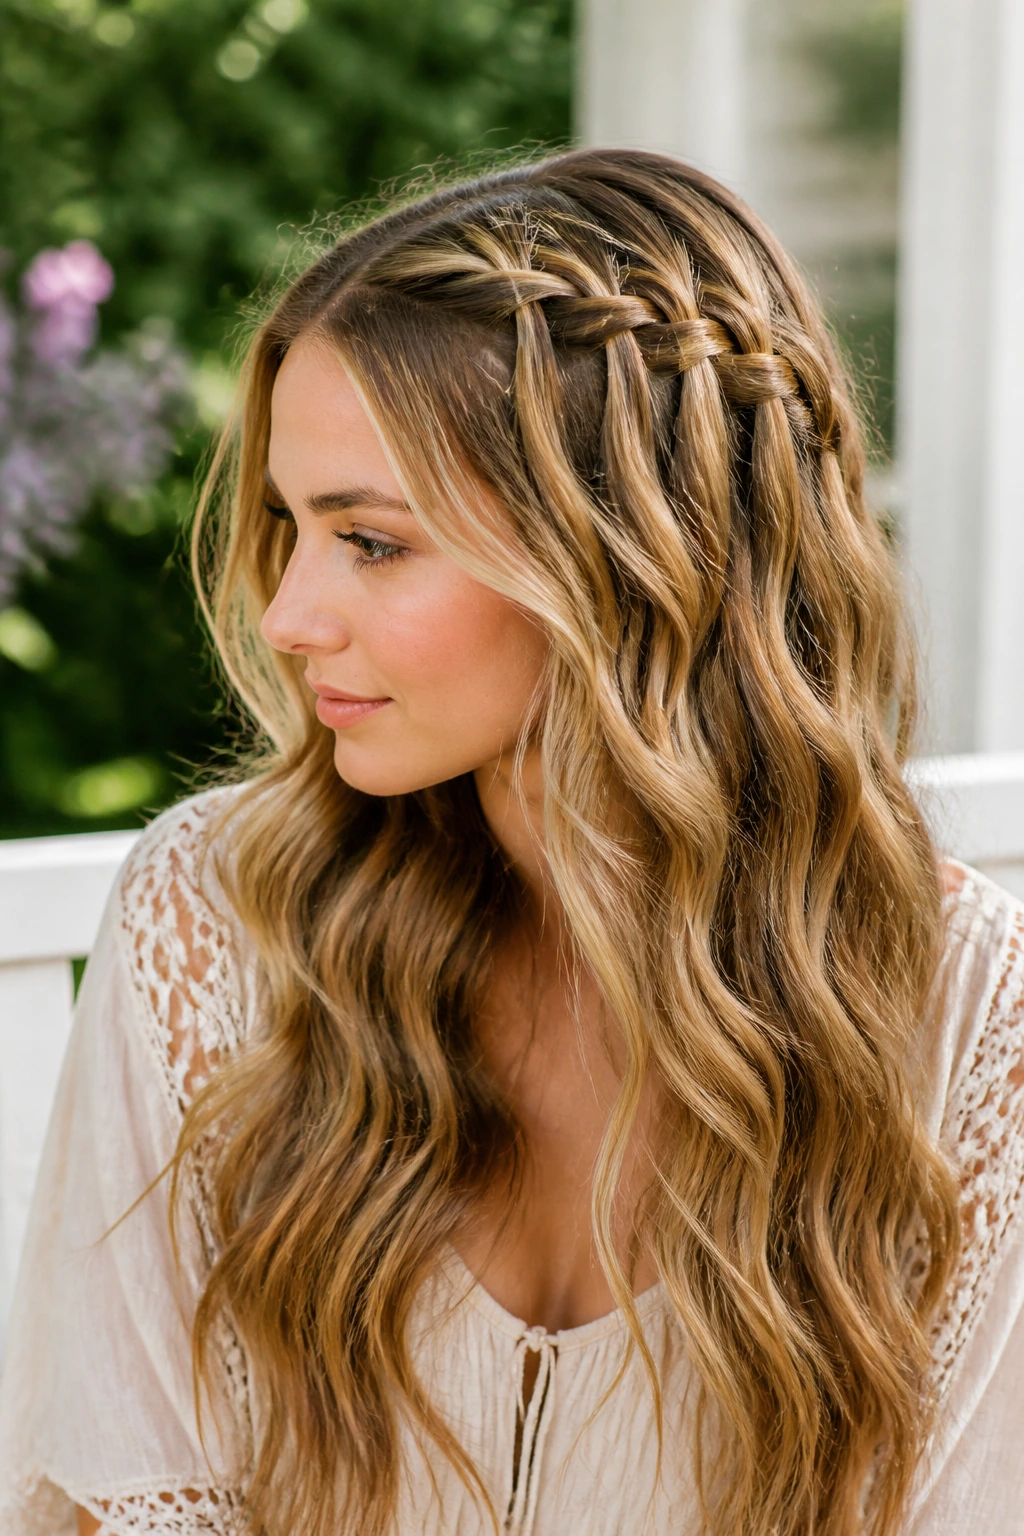
11. Waterfall Braid into Long Waves
Waterfall braids have a soft, drifting quality that suits boho styling better than most braids. The dropped sections keep the hair moving, so the style never feels pinned down.
Work the braid along one side or across the crown and let each falling section blend into the lengths below. The braid should be loose enough that you can slide a fingertip under it. If it clings too tightly to the scalp, the whole thing shifts toward prom territory. That’s not the lane here. The loose lengths below should be waved, not curled into perfect tubes, so the braid blends into the rest of the hair instead of sitting on top of it like a separate accessory.
Best on
- Hair with some layer movement
- Medium to long lengths
- Styles that need a romantic detail without a full updo
12. Long Layered Balayage Waves
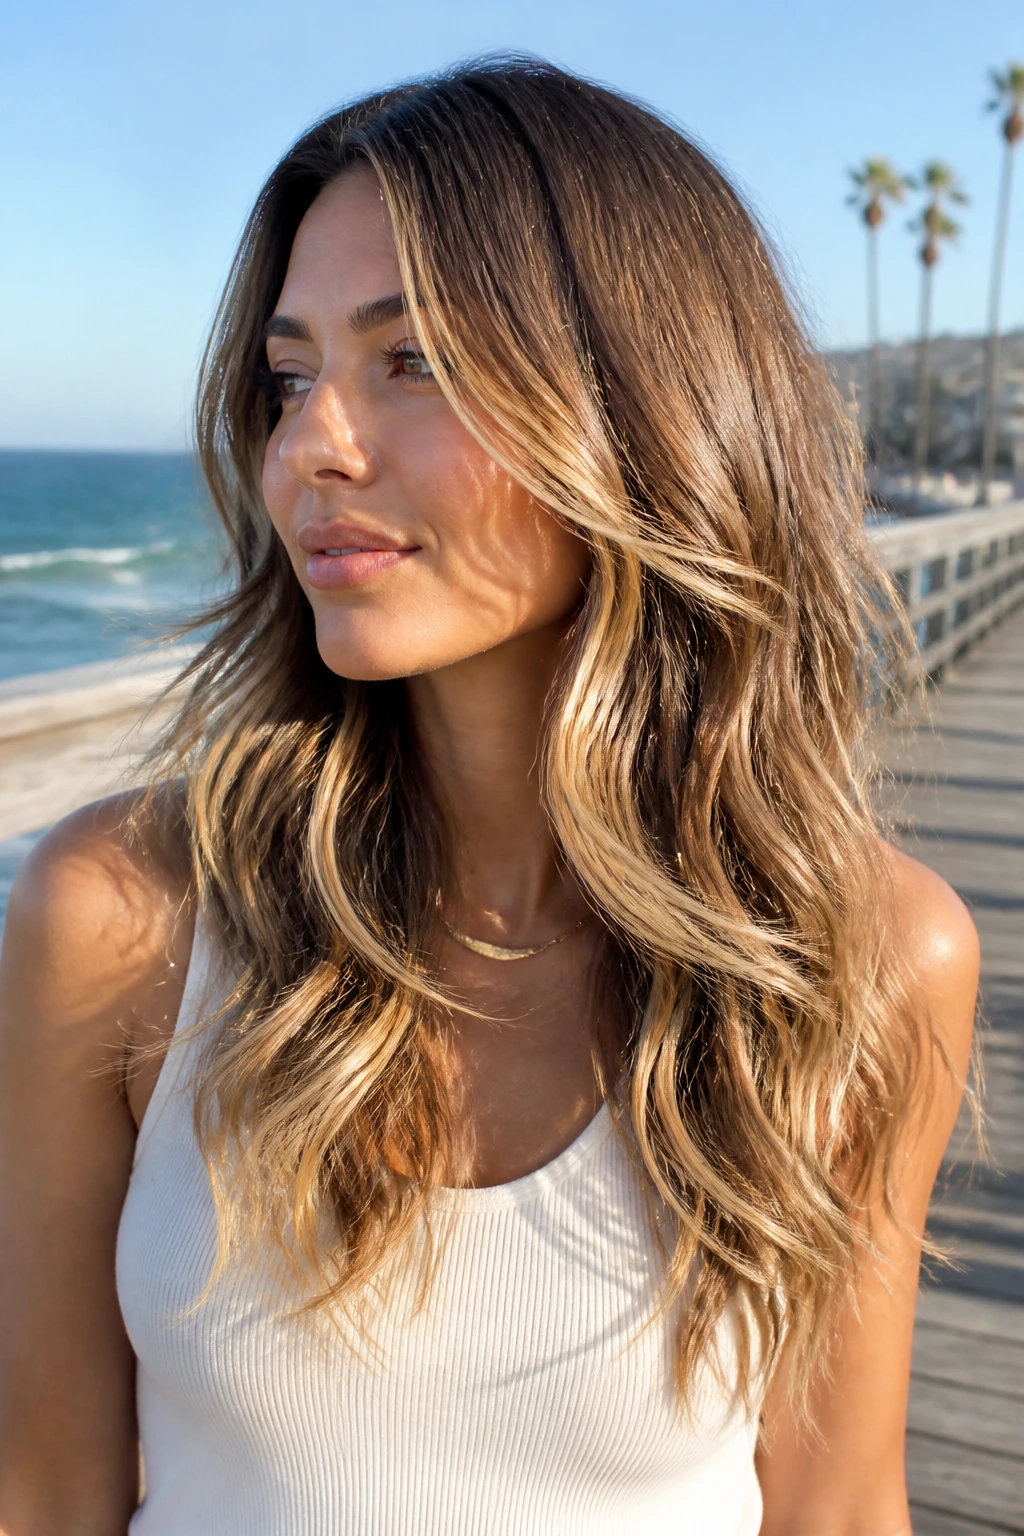
Long layers and balayage do a lot of the visual work for you. The layers stop the hair from hanging like a curtain, and the color placement makes the bends stand out without needing a ton of product.
Curl the hair in large, alternating sections with a 1.25- to 1.5-inch iron, then brush it out once it’s cool. If you curl every strand the same way, the layers stack too neatly and the style loses that loosened feel. The point here is not glossy uniformity. It’s movement through the length, with lighter ends catching the eye and darker roots giving the head shape.
This is one of the easiest boho wave looks to wear when the hair is long and you want it to move at the shoulders instead of hanging heavy. The color helps the wave do more with less.
13. Shaggy Wolf-Cut Waves
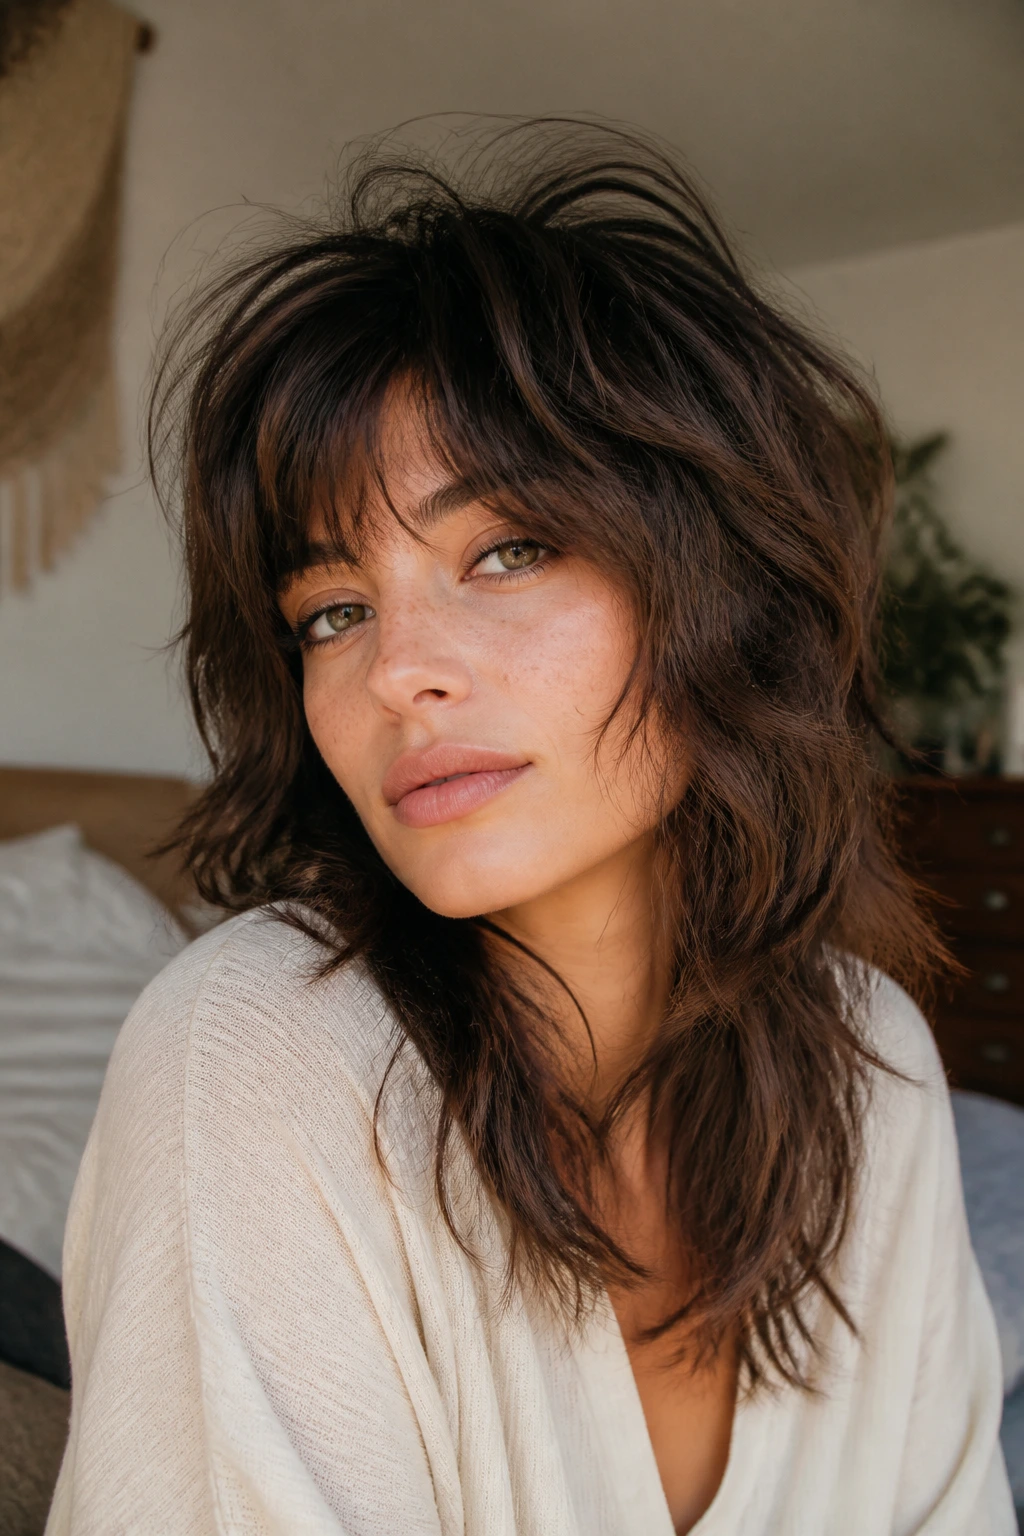
A wolf cut already lives near the boho lane, so the styling doesn’t have to work hard. The crown gets volume, the layers kick out a little, and the hair keeps a deliberately imperfect outline.
Use mousse at the roots and a diffuser if your natural wave has any bend at all. If your hair is straighter, rough-dry it almost fully, then bend just the top pieces with a wand so the cut’s shape shows up. The best thing about this style is that it doesn’t need to be smoothed down. A bit of roughness around the ends and crown helps it look right.
I’d call this the least fussy option in the bunch. It has attitude built in, which means you spend less time forcing the shape and more time letting the haircut do the job.
14. Side Braid with Free-Hanging Waves
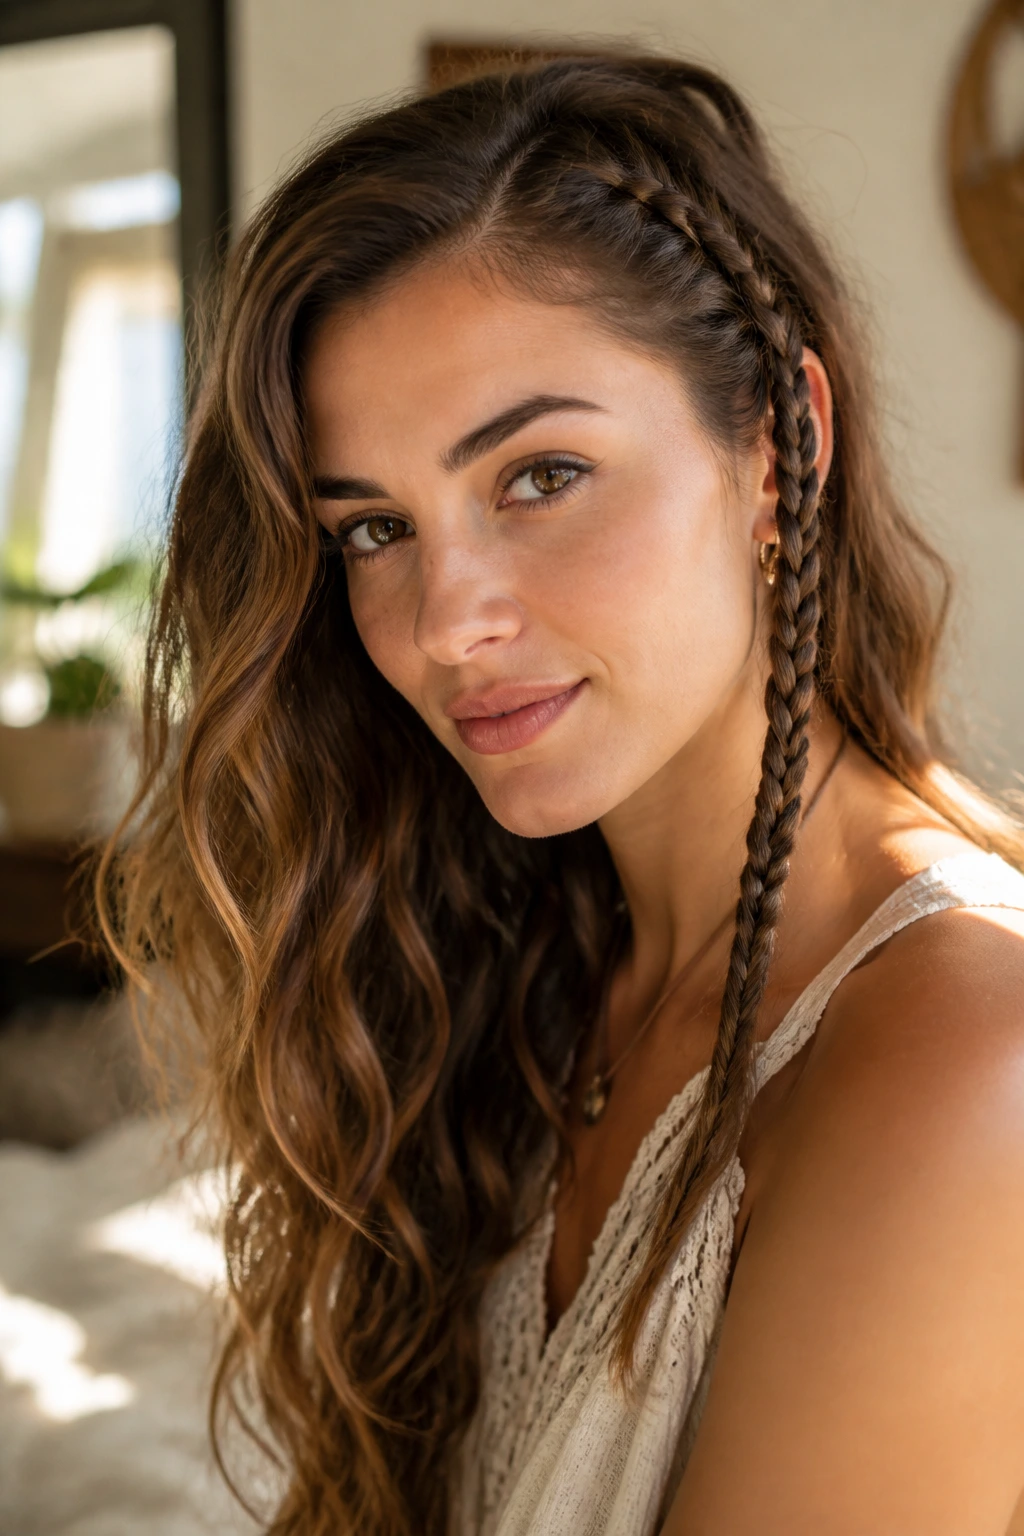
A single side braid can change the mood of loose waves fast. It pulls one side in, leaves the other side open, and gives the whole look a little asymmetry that feels less polished in a good way.
Keep the braid narrow and start it just above the temple or at the hairline. Stop once you reach the cheekbone or ear and pin the tail out of sight. The free-hanging waves do the rest. If you have fine hair, braid only a thin slice so the rest of the head still has enough volume. Thick hair can take a wider braid without looking crowded.
The reason this works so well is simple: it creates a focal point without making the whole head compete. One braid, one sweep of waves, no extra noise.
15. Scarf-Tied Wavy Ponytail
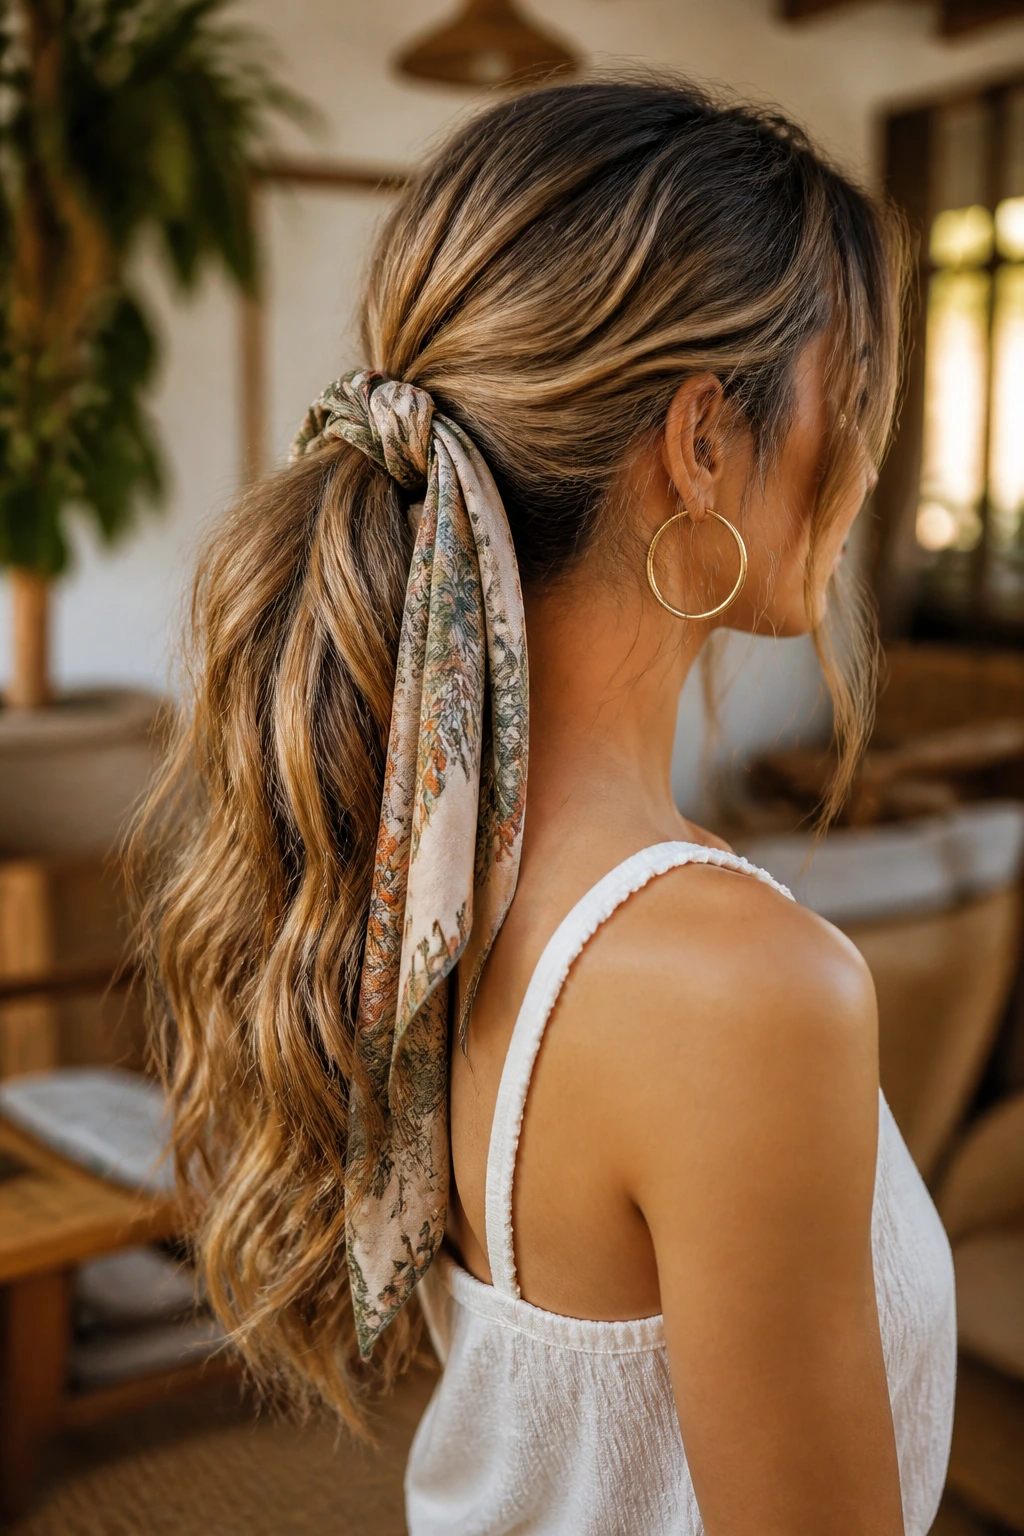
A scarf can make a ponytail feel deliberate instead of like a backup plan. Tie it around a low or mid-height ponytail, and the fabric softens the look immediately.
Pick a scarf that has some drape. Stiff fabric can poke out and make the tie sit awkwardly. Fold the scarf into a strip, wrap it around the base once, and let the tails hang down the back or off to one side. If the ponytail has already been waved with a wand, the scarf becomes the finishing touch rather than the main event. That’s the balance you want.
This version is especially good when you need the hair off the face but still want texture showing through the length. It’s tidy enough to behave, loose enough to feel boho.
16. Wet-Root Waves with Soft Length
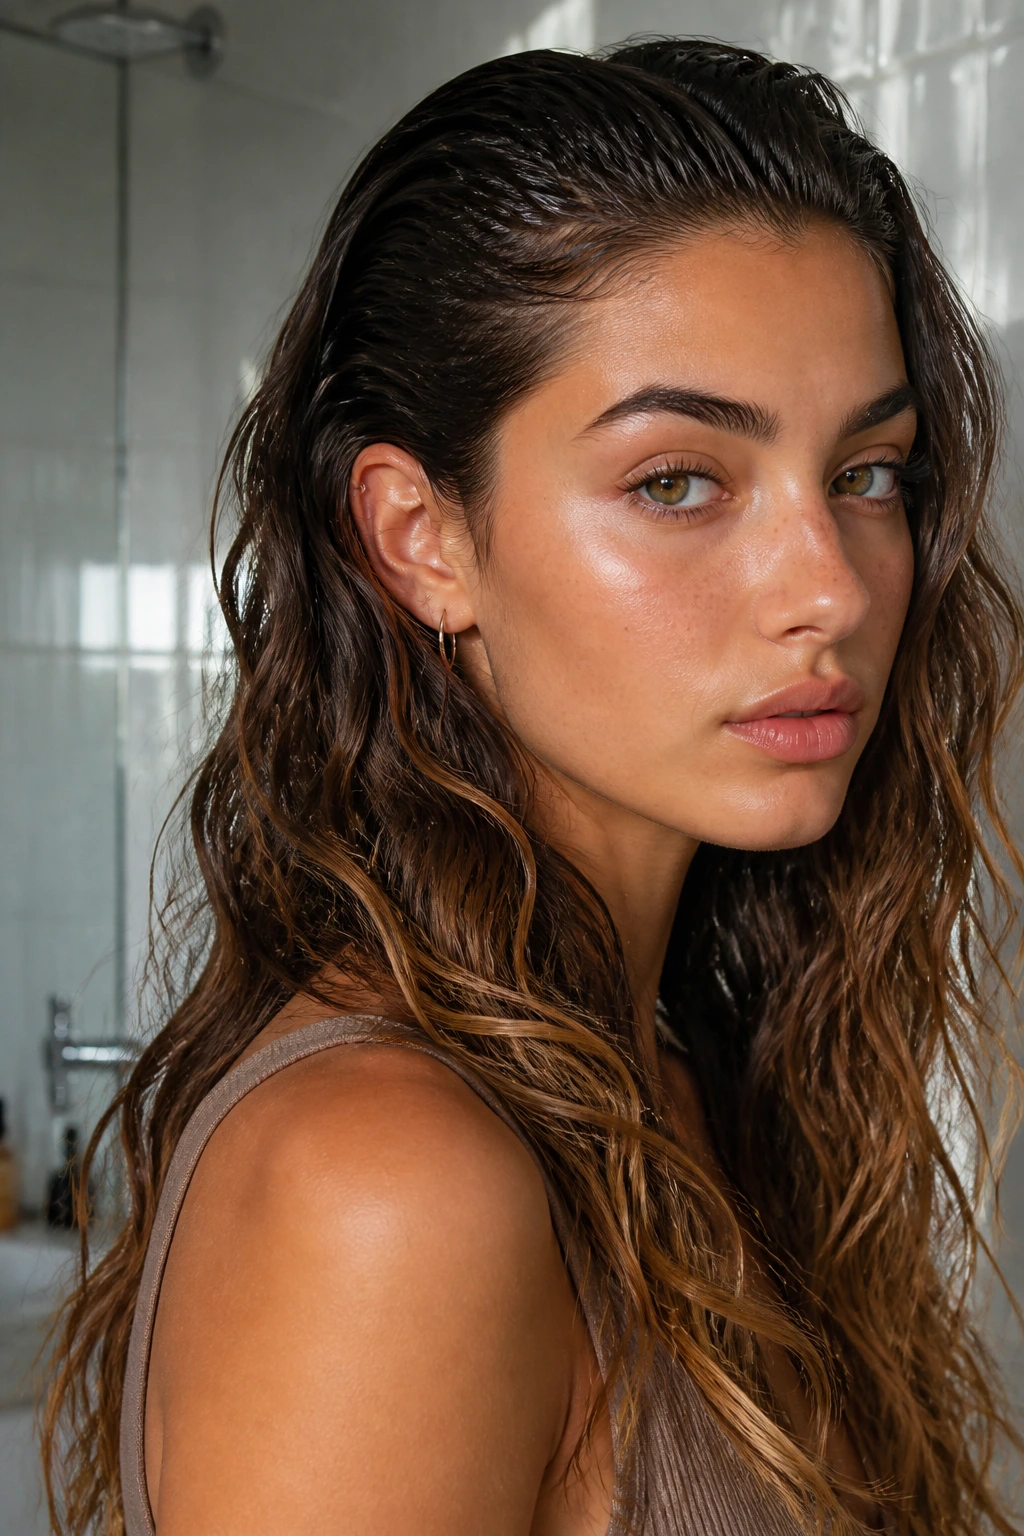
Wet-root waves create a nice contradiction: the scalp looks sleek, but the lengths stay airy and loose. That contrast gives the style some edge without losing the softness that makes boho hair work.
Smooth a small amount of gel or cream through the first inch or two at the roots, then leave the rest of the hair with a softer wave pattern. The root area should lie flat and controlled; the lower half should still bend and move. Too much gel turns the whole thing sticky, so keep the product concentrated near the scalp. This is a smart choice for humid days, because the sleeker root can look intentional even when the air is fighting you.
It’s also one of the few boho-leaning styles that can feel a little sharper. Not stiff. Sharper.
17. Bubble Ponytail with Beachy Bends
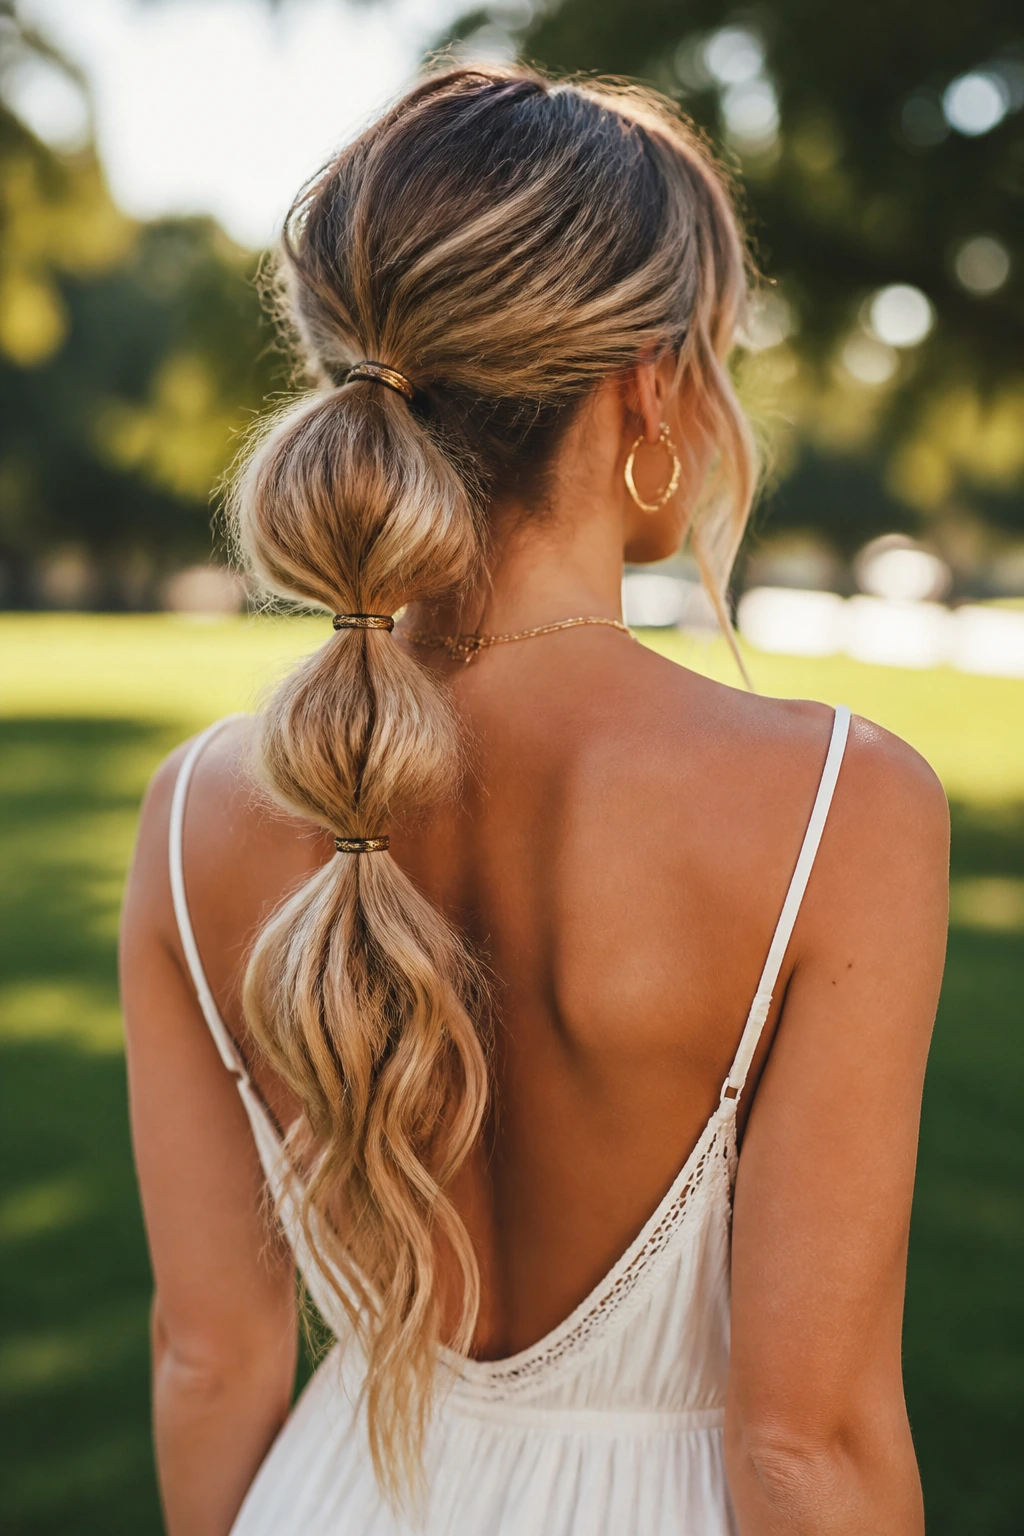
A bubble ponytail sounds playful because it is, but the texture underneath is what makes it work with a boho wardrobe. Start with wavy hair, secure a ponytail, then add small elastics every 2 to 3 inches down the length. Gently pull at each section to form soft bubbles.
If the hair is too straight, the bubbles read as sporty or costume-like. Give the ponytail a loose bend first, then separate the sections with your fingers after each elastic goes in. The bubbles should look puffed, not packed. A tiny bit of texture spray on the ponytail before you start helps the sections hold their shape without slipping.
This style works nicely when you want something that feels more sculpted than a simple ponytail but less precious than a braid.
18. Blowout Waves with Rounded Volume
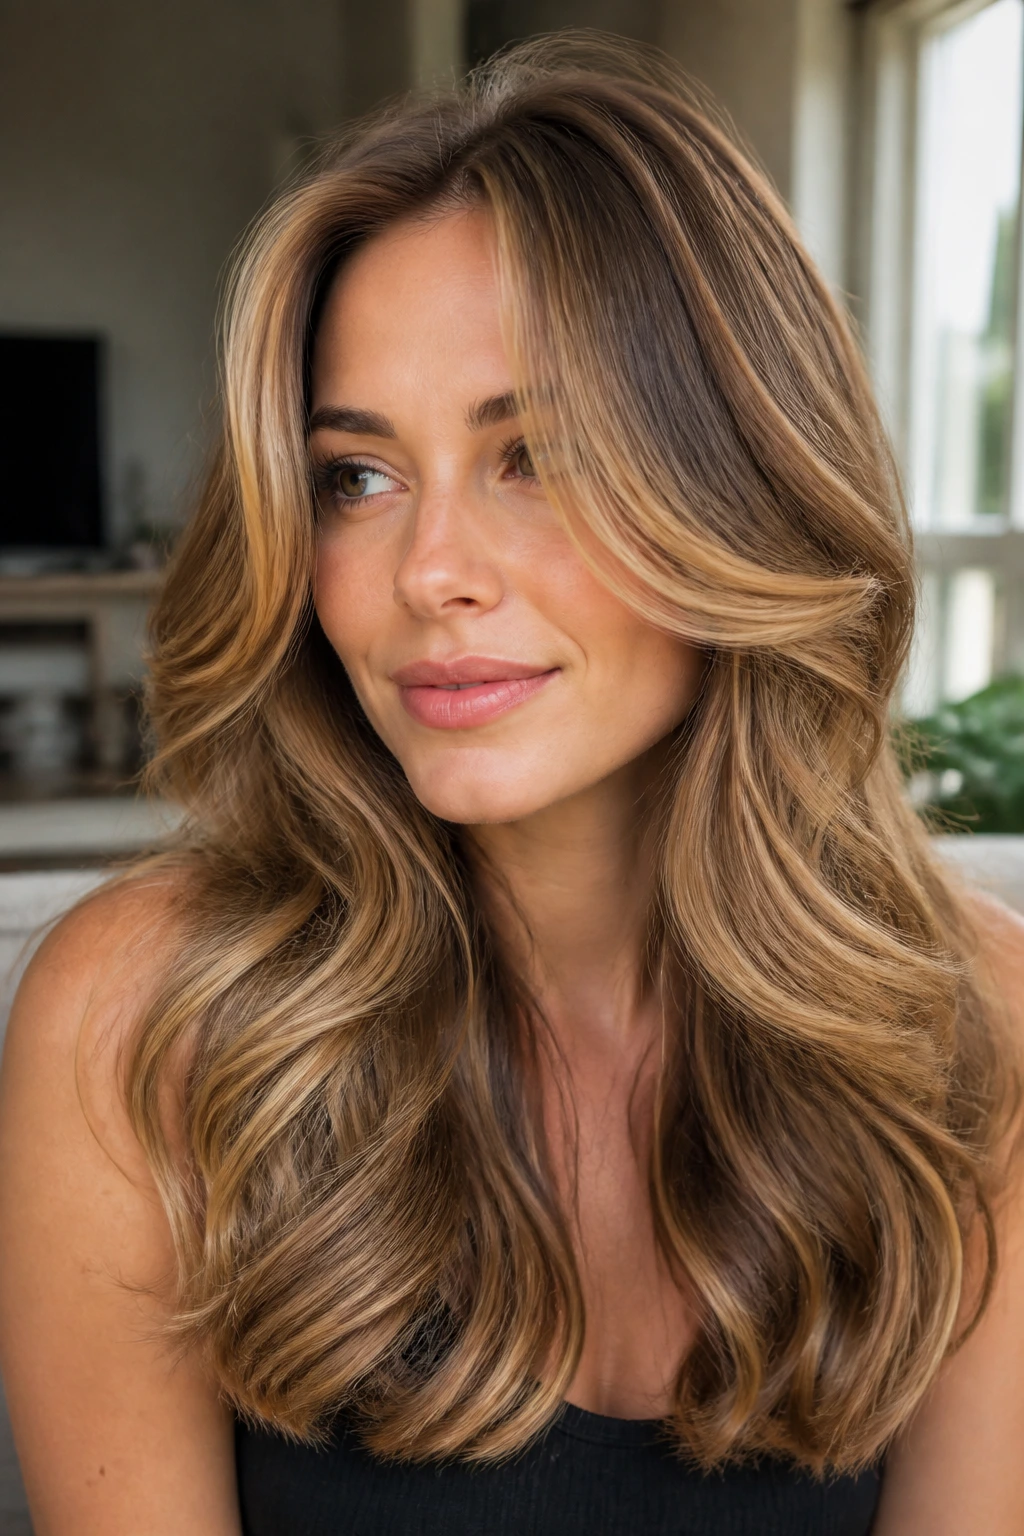
Blowout waves bring a smoother, rounder shape to the boho family. The roots have lift, the mid-lengths bend gently, and the ends keep a little swing.
Use a round brush while drying, then go back with a large-barrel iron only where the wave needs more definition. The trick is not to curl every section again. That makes the hair too polished. Instead, focus on the pieces around the face and the ends that need a bit of shape. A cool shot from the dryer helps the lift hold without making the crown puffy in a bad way.
This is a good pick when you want boho softness but still want the hair to look smooth enough for a nicer dinner or an event.
19. Shoulder-Length Wavy Lob
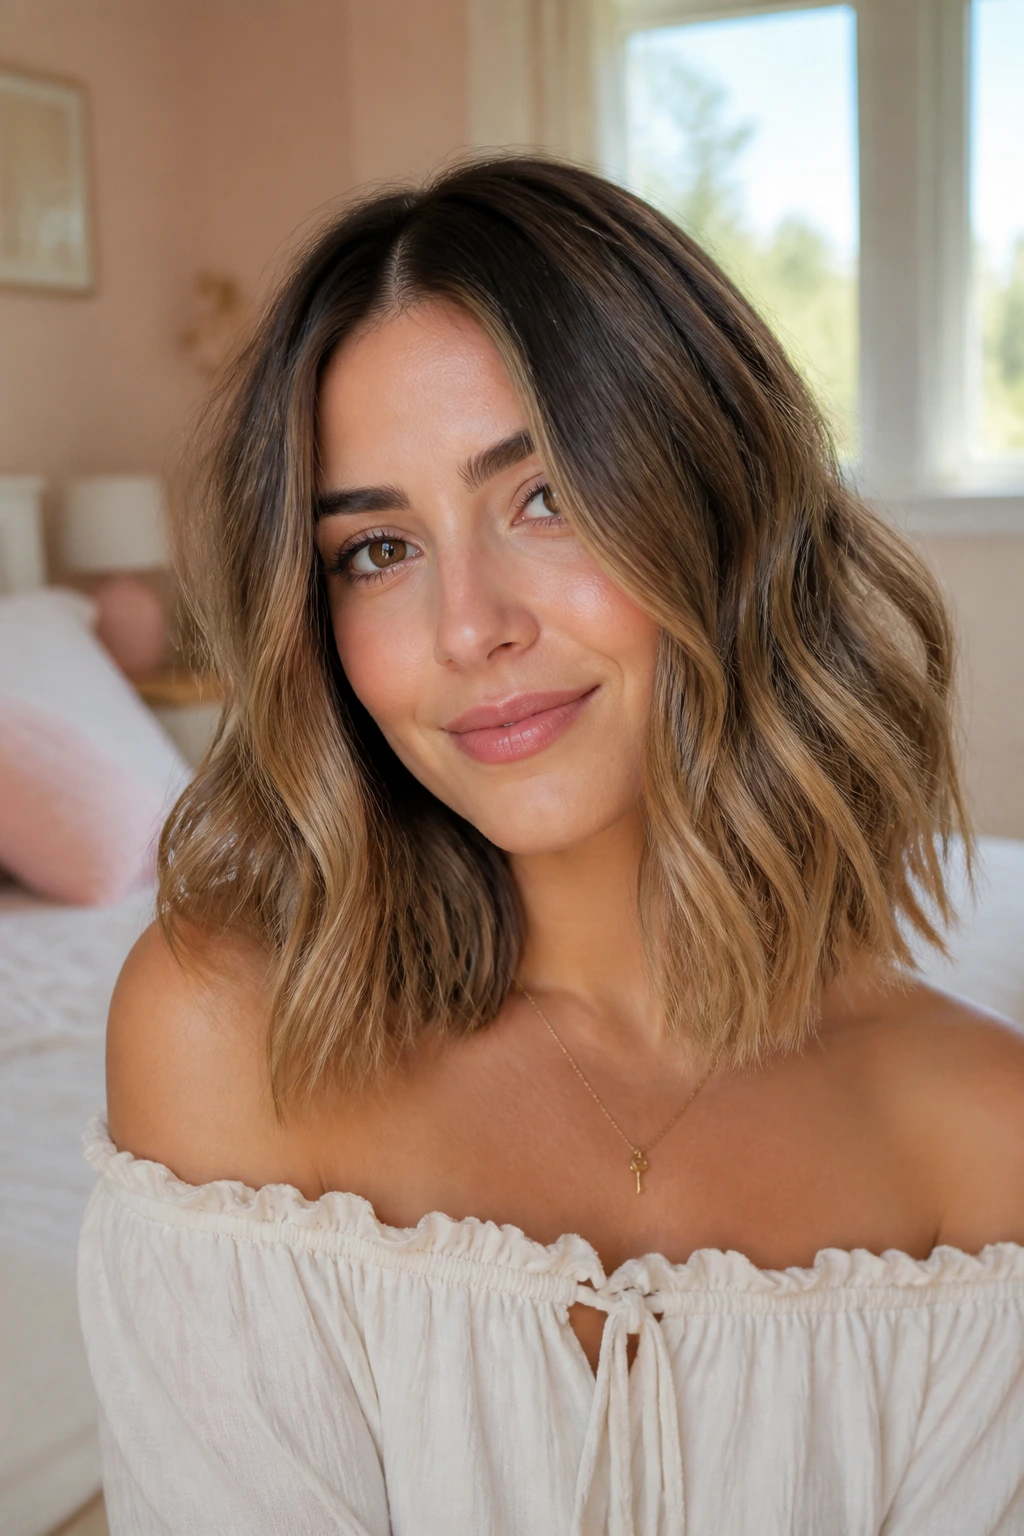
A lob is one of the easiest canvases for wavy hairstyles with a boho vibe because the hair has enough length to bend but not so much length that it gets heavy and flat. The shoulder brush line gives the wave somewhere to sit.
Use a 1-inch wand and focus on the middle section of each strand, leaving the last half-inch straighter. That little straight end keeps the cut modern and stops the whole thing from looking overcurled. A middle part works well here, but a soft side part can make the hair feel fuller if the ends are fine. The texture should be piecey, not fluffy.
If you have a lob and have been fighting it, this is often the fix. The shape becomes easier the moment you stop trying to make every strand obey the same bend.
20. Halo Braid with Loose Texture
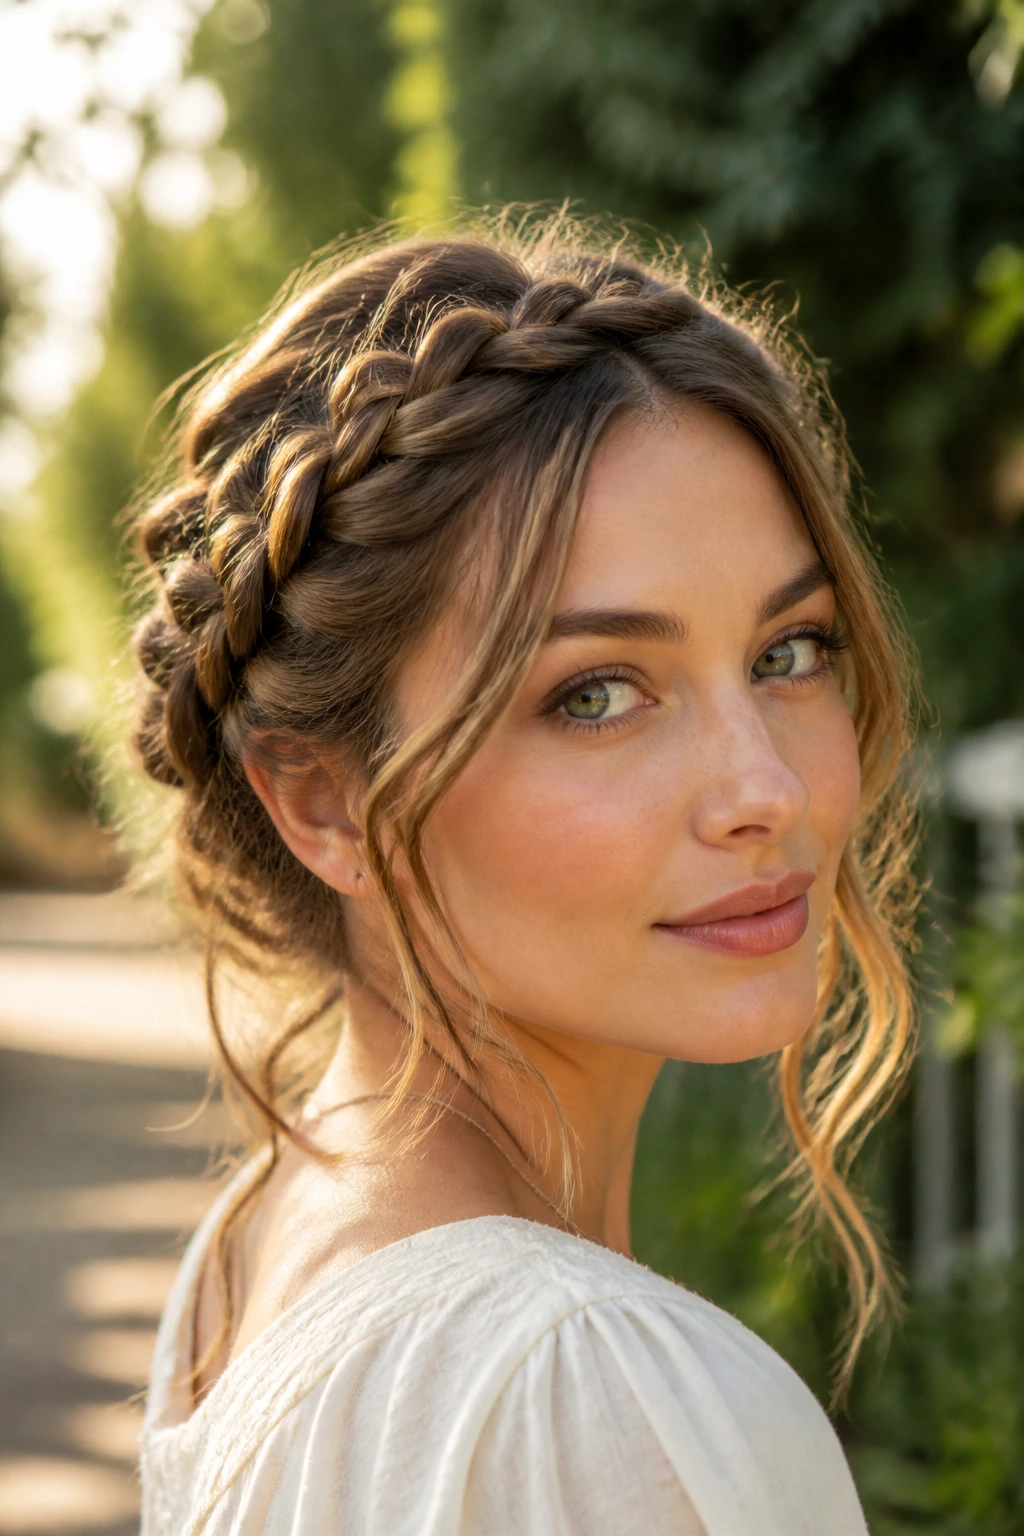
A halo braid can look formal if it’s too tight. Loosen it, rough it up a bit, and let a few pieces slip around the temples, and it slides right back into boho territory.
Braid around the hairline or pin two side braids together at the back. Once the braid is secure, tug the outer loops gently so the braid widens and softens. The remaining length can be waved or left more natural, depending on how much texture the hair already has. I like a halo braid best on hair that isn’t freshly washed, because the slight grit helps the braid stay open instead of sinking flat.
This one has a touch of ceremony, but not too much. It’s the braid you wear when you want your hair to look cared for, not overhandled.
21. Crimped-Then-Brushed Waves
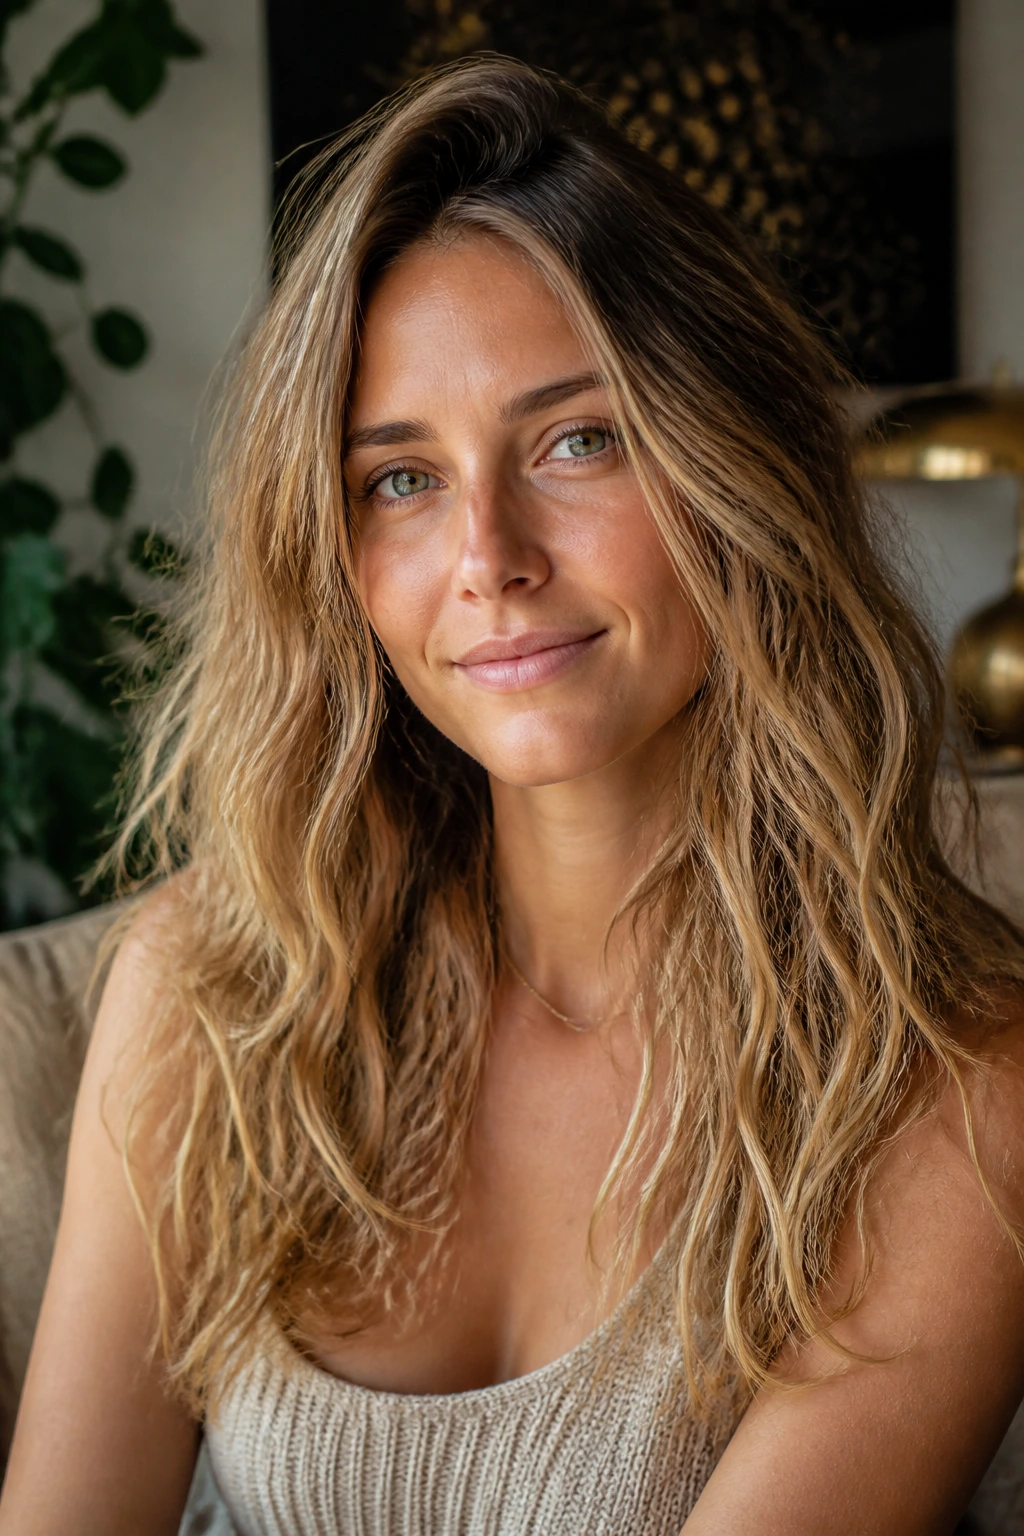
Crimping can feel loud, but brushed out lightly, it gives a hazy, airy texture that plays well with boho styling. The goal is not the sharp zigzag look from a distance. The goal is the soft, old-school texture it leaves behind once it’s loosened.
Use a mini crimper on the underside of the hair or on random sections only, then brush the top layer very lightly so the texture blends. If every inch is crimped, the hair starts to look bulky. A little hidden texture is enough. It helps the waves stand up from the scalp and gives pins or clips something to hold onto if you’re adding accessories later.
This style is not subtle, and that’s fine. It’s a good fit when you want a more textured, editorial feel without going all the way into rigid styling.
22. Wavy Pixie with a Long Fringe
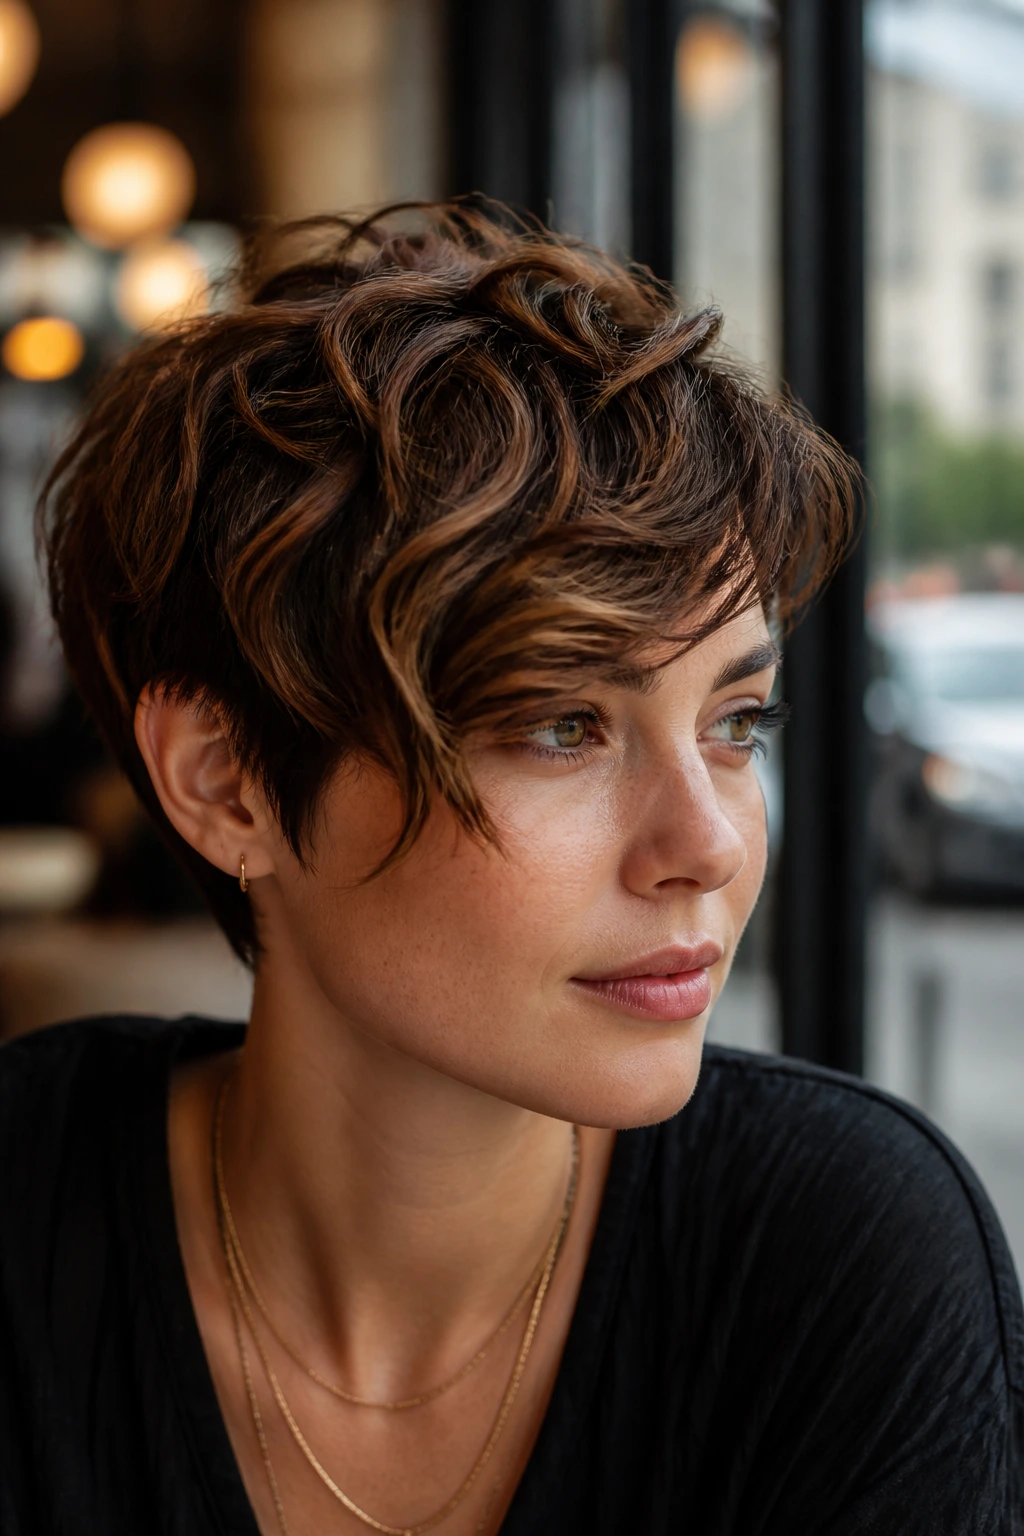
Short hair can absolutely carry boho energy, but it needs the right details. A wavy pixie works when the crown has movement and the fringe falls a little irregularly across the forehead.
Work a pea-sized amount of lightweight cream through damp hair, then pinch sections between your fingers while drying. Don’t smooth everything flat. The texture should stay touchable and a little uneven. If the fringe is long enough, bend it away from the face with a small iron or a quick finger twist. Short hair looks best here when it has a few imperfect pieces that catch the light differently.
It’s a sharp look in a softer register. Less flower child, more lived-in and modern.
23. Deep Vintage Waves with a Side Sweep
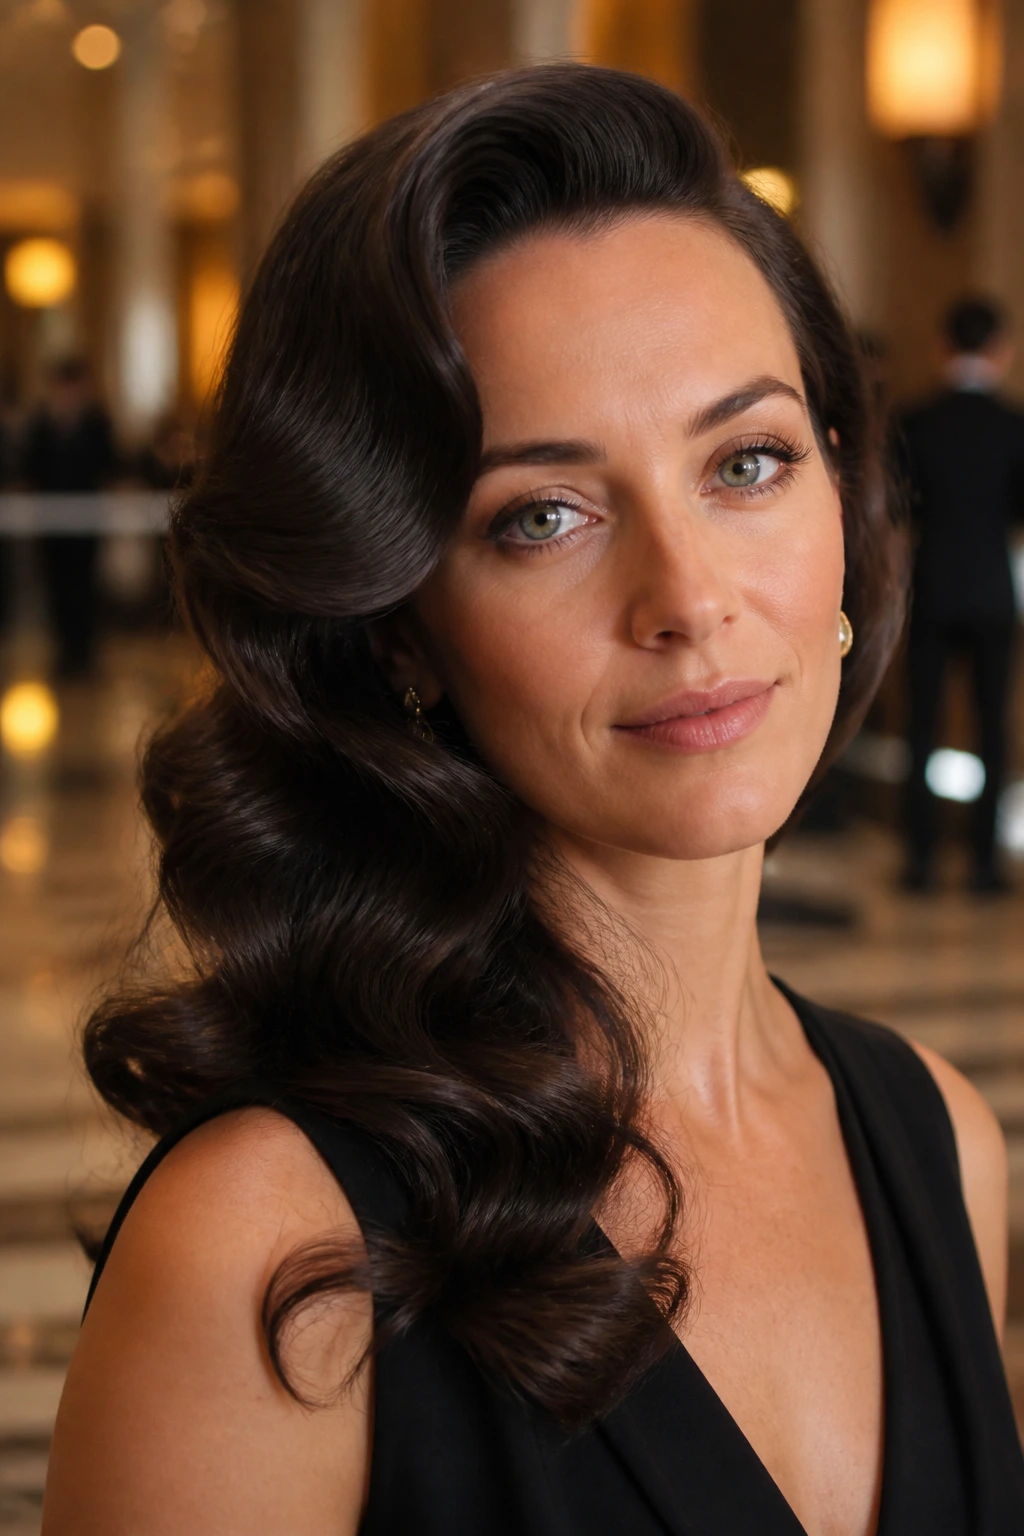
Vintage waves usually lean polished, but when you loosen the edges and keep the side sweep soft, they fit the boho brief nicely. The shape is more sculpted than the others here, which is exactly why it works as a contrast piece.
Set the hair in a deep side part, create broad waves with a large-barrel iron, and brush them into one sweeping direction. Then stop before the style turns glassy. A little separation at the ends and around the face keeps it from looking like a costume version of old Hollywood. Use flexible-hold spray rather than a heavy lacquer if you want the finish to stay touchable.
This is the style I’d pick for an event where you want the waves to look a little more dressed up without losing all looseness.
24. Knotted Half-Up Waves
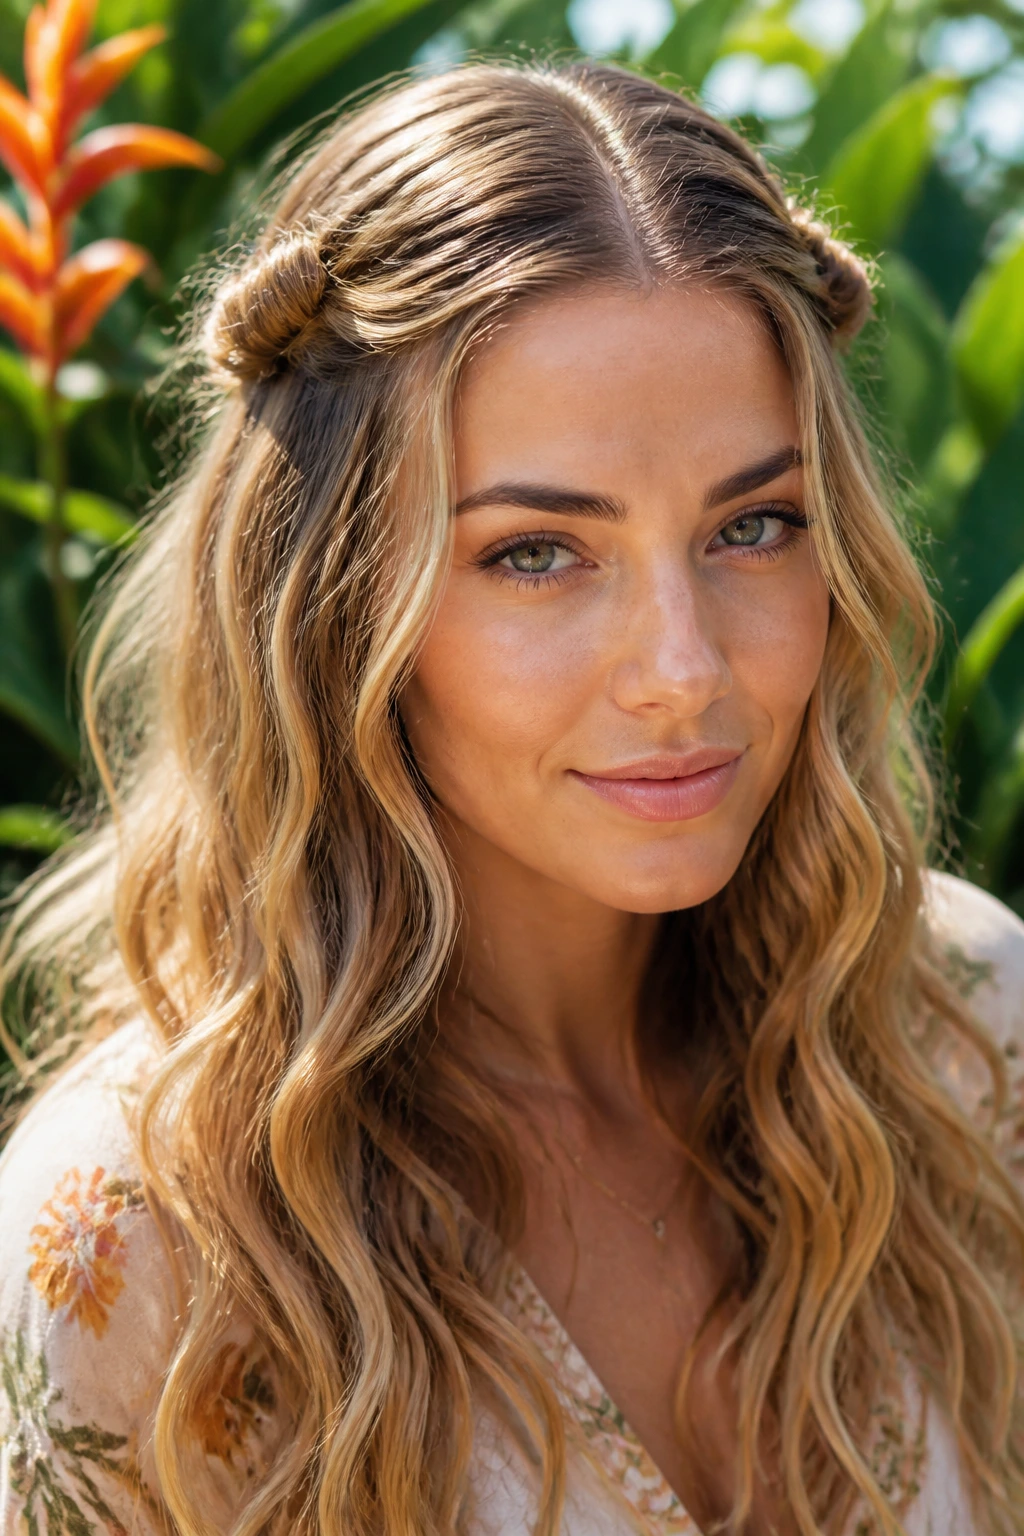
A knotted half-up style has a handmade, slightly crafty feel that fits boho hair perfectly. You take two front sections, tie them into a loose knot, and pin the knot under itself so it stays soft instead of tight.
The knot should sit low enough to feel casual and high enough to leave the length visible. If your hair is layered, a few shorter pieces will slip out around the knot, and that’s a good thing here. They stop the style from looking too arranged. Keep the waves below the knot brushed out and light, with a bit of texture spray at the ends if the hair is too silky.
The charm of this look is that it feels like a small detail, not a whole hairstyle rewrite.
25. Dutch Braids into Loose Waves
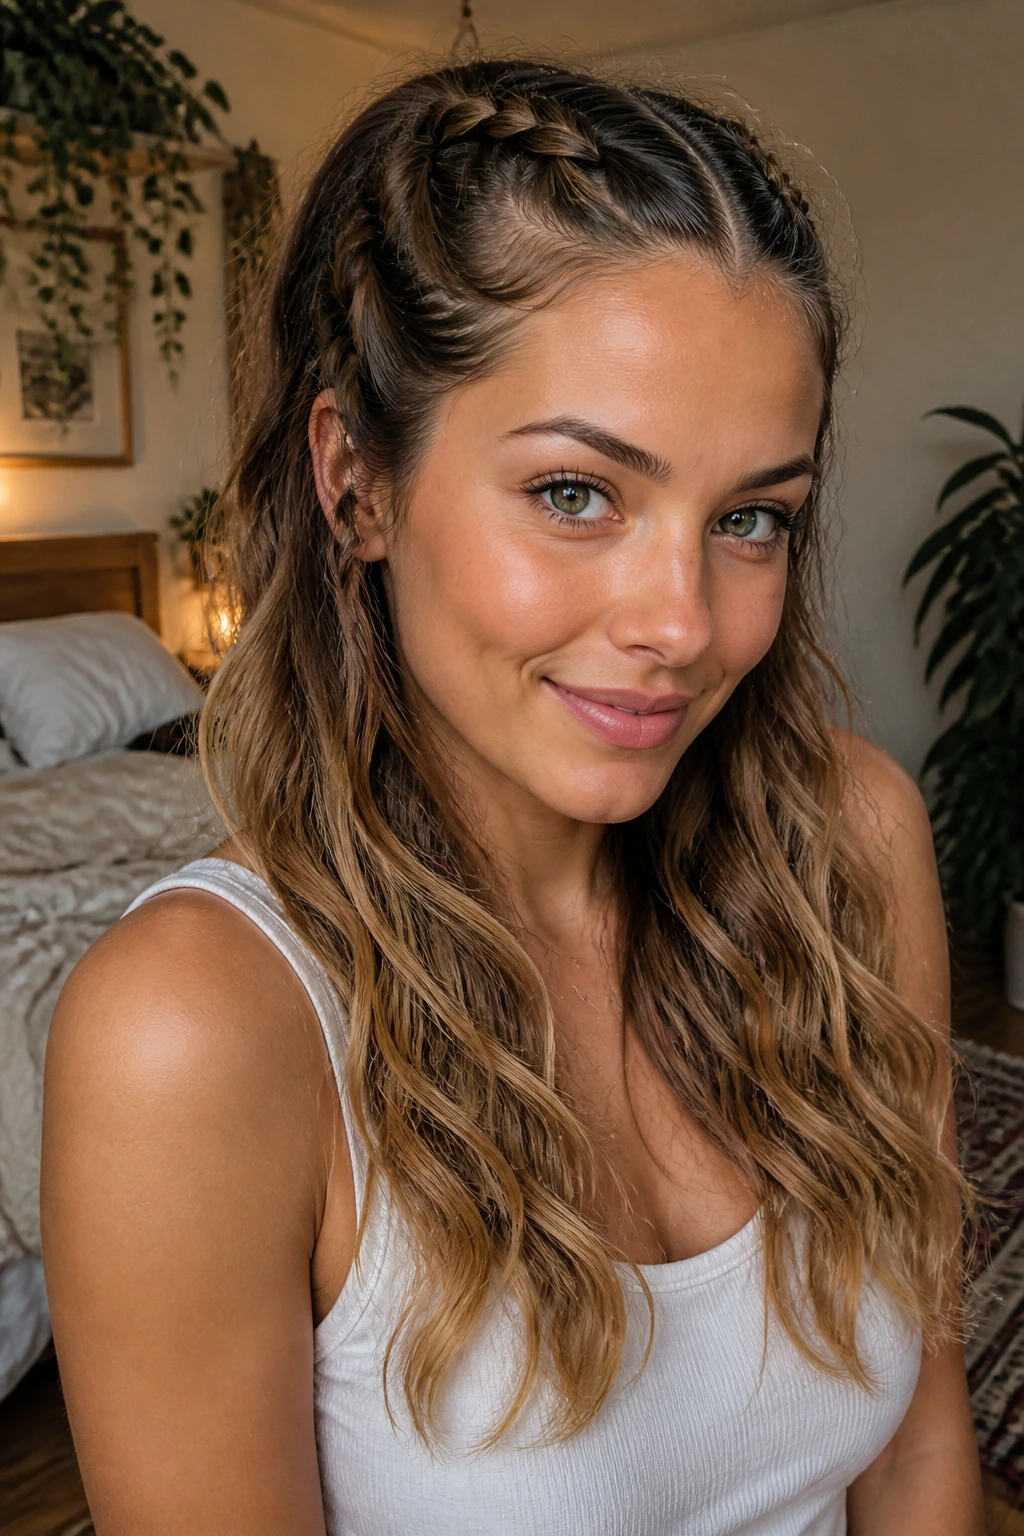
Dutch braids give you more lift than regular braids because they sit on top of the hair instead of sinking into it. That extra height makes them a nice match for boho styling, especially if you stop the braid halfway down and let the rest wave loose.
You can wear two braids at the front for a sporty-boho blend, or one braid down each side if you want more symmetry. Keep the braid loosened with your fingers once it’s secured. If you plan to undo the braids later for waves, braid them while the hair is slightly damp and let them dry completely. The wave left behind is softer and more irregular than a hot-tool curl.
What to watch for
- Tight Dutch braids can flatten the root too much.
- Very clean hair slips, so add a little texture first.
- The transition from braid to loose wave should feel soft, not abrupt.
26. Slicked-Back Crown and Soft Ends
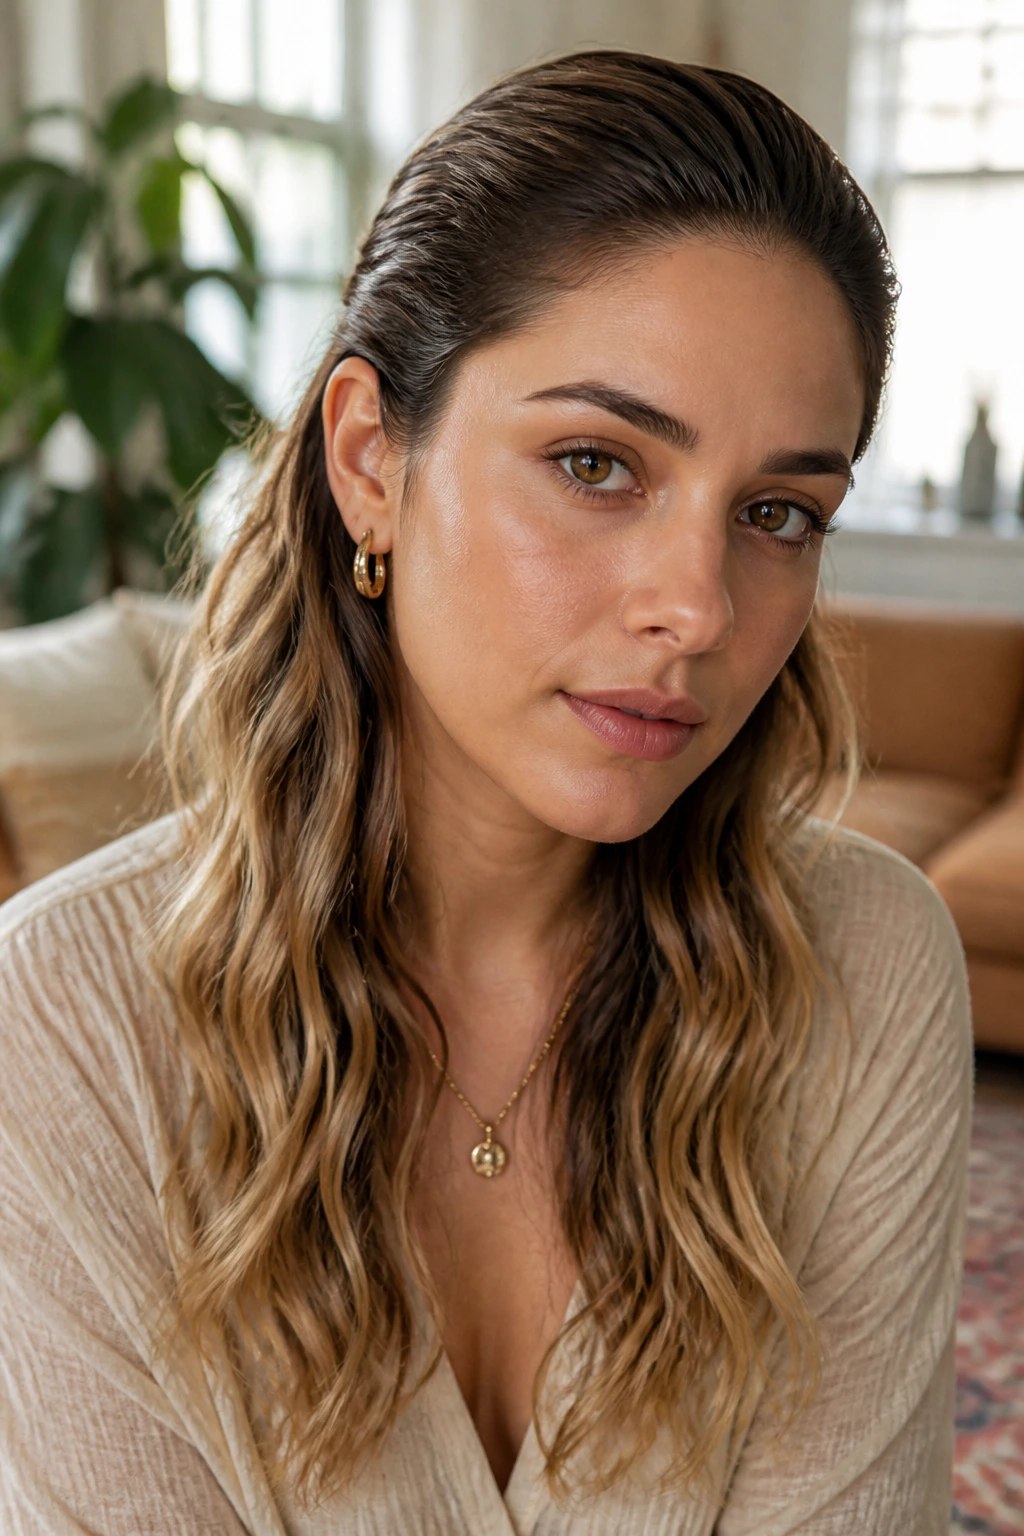
A slicked-back crown sounds more severe than it is. Keep the product only at the top and sides, and let the lengths stay wavy, and the style turns into a strong contrast that still belongs in the boho family.
Brush a small amount of gel or cream from the hairline back through the crown, then stop. The lengths should remain loose, bendy, and a little wild. This is a good answer for humid weather or second-day roots that have gone flat. The slicked area gives the style polish; the waves below keep it from feeling hard.
I like this one because it solves a real problem. Not every boho look has to be soft everywhere. Sometimes the root needs discipline so the rest of the hair can look freer.
27. Air-Dried Salt-Spray Waves
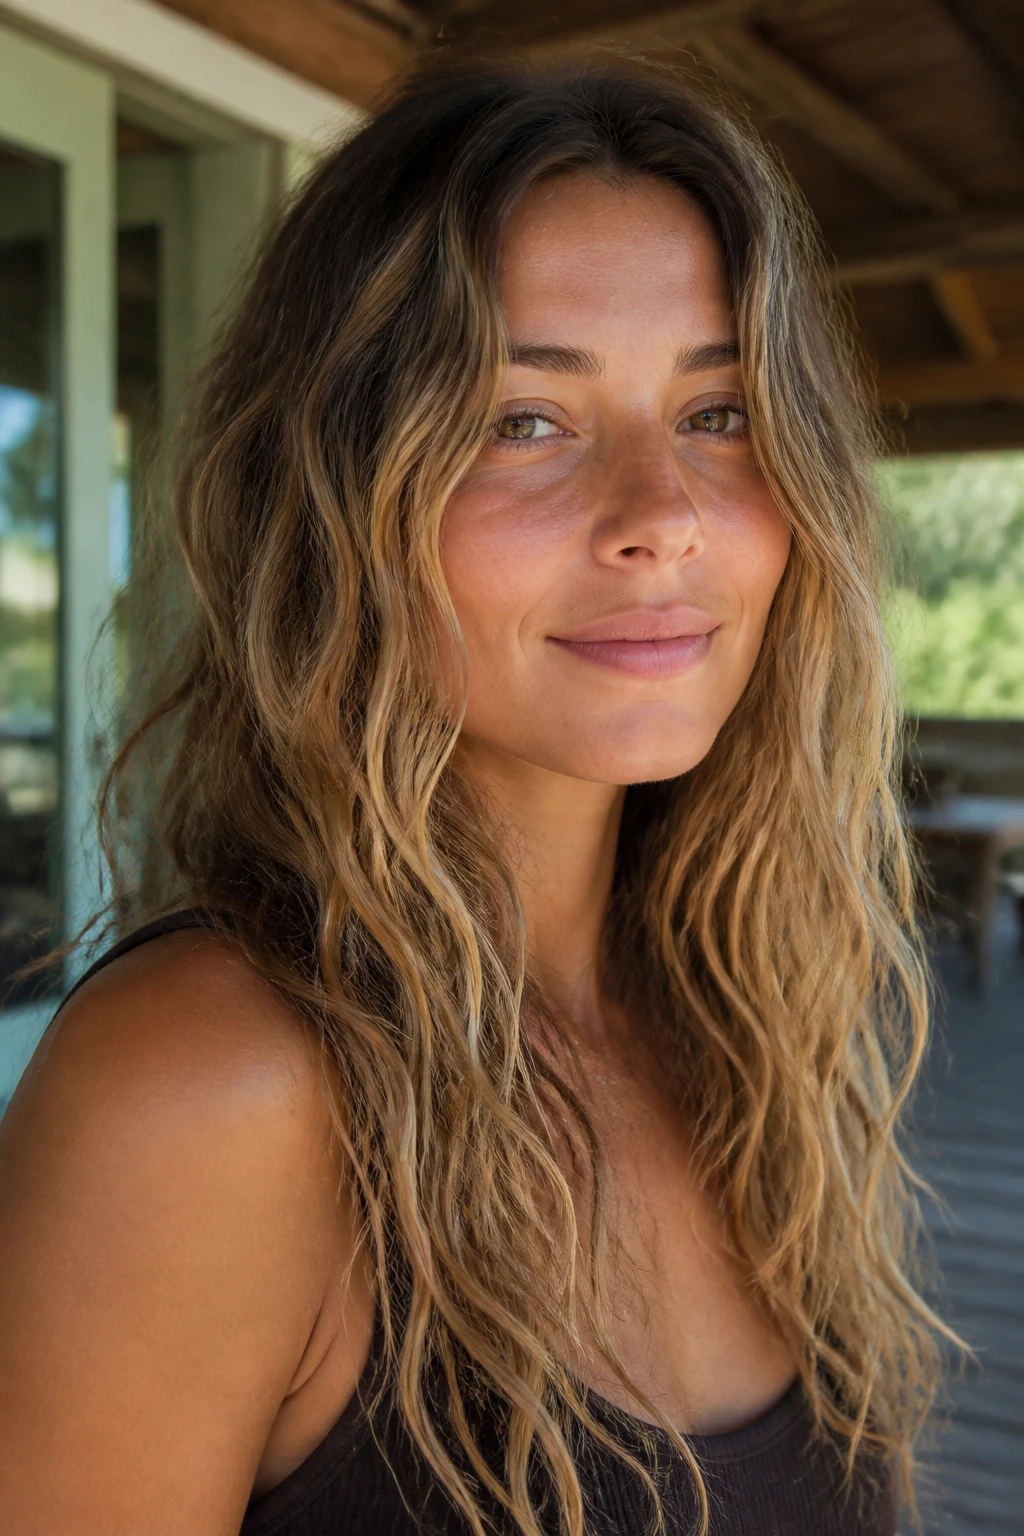
Air-dried waves are the most honest version of the boho mood. There’s no heat pattern to hide behind, so the texture has to come from the hair itself and the products you choose.
Mist damp hair with a light salt spray, twist a few sections around your fingers, and scrunch upward with a microfiber towel or an old T-shirt. Let the hair dry without touching it too much. If the hair is fine, use less spray than you think you need. Salt spray can go from beachy to chalky fast. If your natural wave is strong, this technique often needs only a little push at the roots and one or two twists around the face.
This works best when you’re willing to let the hair do its own thing. That’s not a flaw here. It’s the point.
28. Festival Waves with Clips, Beads, or Ribbons
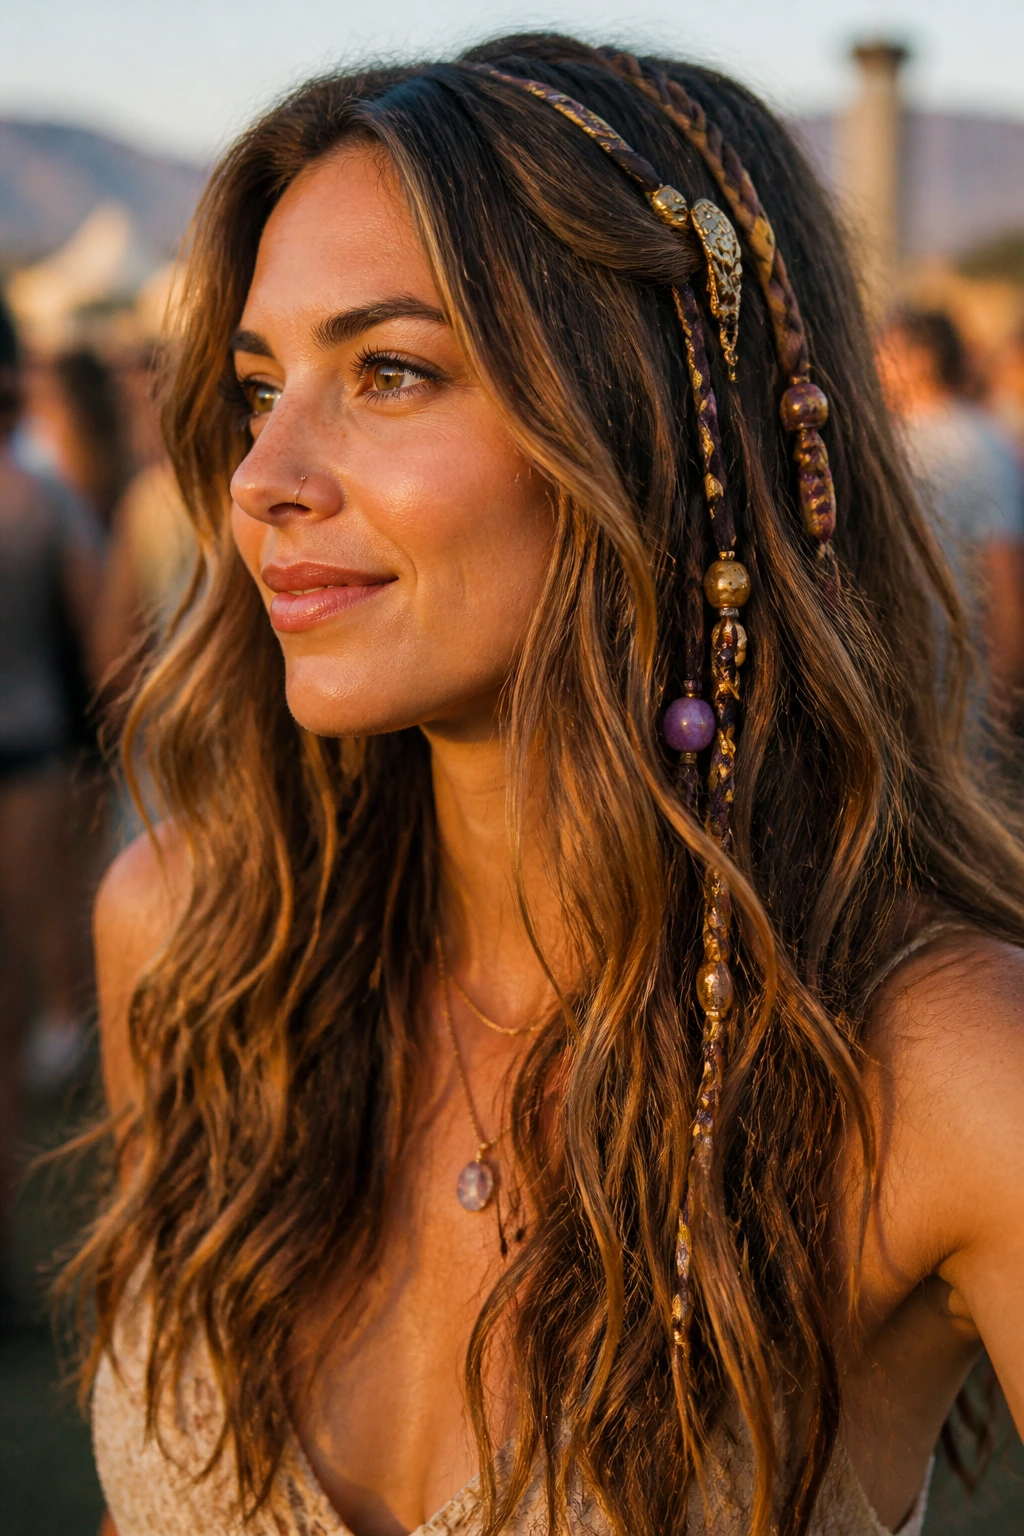
When the accessories become part of the hairstyle, the boho vibe comes through fast. Tiny clips, a few beads, or a thin ribbon can turn ordinary waves into something more personal and less predictable.
Keep the base hair simple: a middle part, a soft side part, or loose waves with a bit of texture spray. Then place the extras with restraint. Two or three clips on one side usually looks better than scattering ten around the head. Ribbons work best when they’re tied into a half-up section or threaded through a small braid, not wrapped so tightly that they fight the wave pattern. The style should still move when you turn your head.
Make it look intentional
- Stick to one accessory family at a time.
- Use matte clips if the hair is already shiny.
- Keep the wave pattern soft so the accessories stay the focus.
How to Make the Texture Look Soft, Not Crunchy
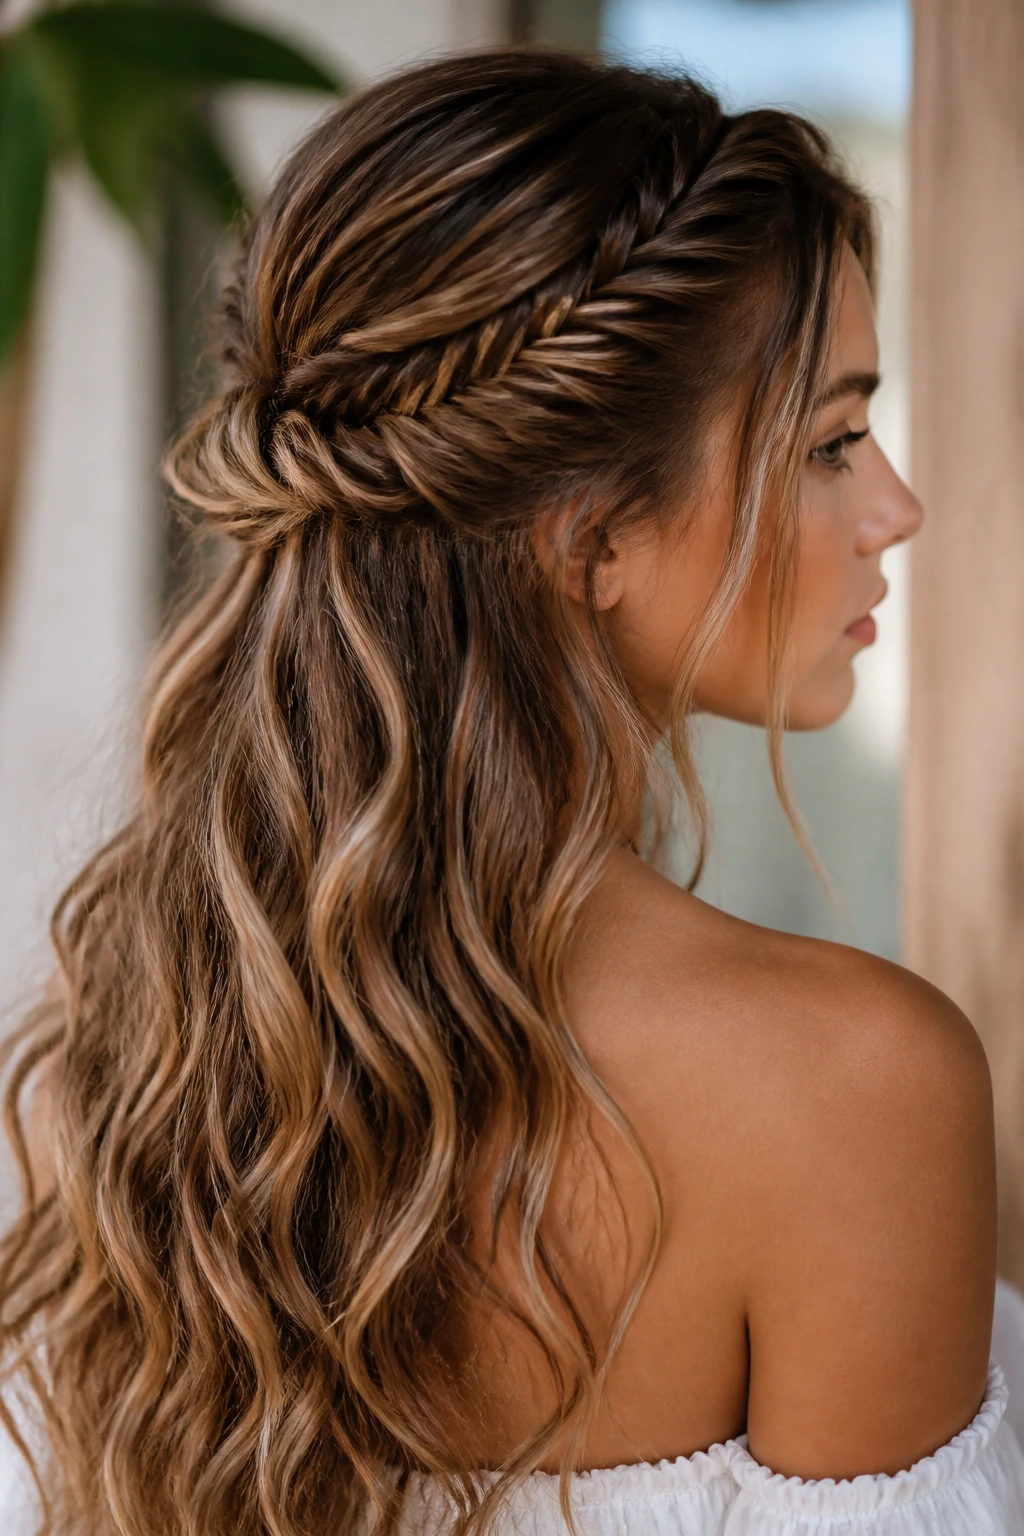
Boho waves fall apart the second you overdo the product. A little grit is useful. A stiff shell is not. Start with heat protectant if you’re using a wand or iron, then layer in texture spray after the hair cools, not before. That timing matters. If you spray too early, the hair sets in a rough, puffy shape.
Touch the curls as little as possible while they cool. Pinning larger sections up for 5 to 10 minutes gives the bend a chance to set without being flattened by your hands. When you do break the waves apart, use fingertips first. A brush can come later if you want a softer finish, but only after the hair has cooled completely.
Fine hair usually needs lighter products: mousse at the roots, a mist of texture spray through the middle, and almost no oil on the ends. Thick or coarse hair can handle a little cream or serum at the very tips, but keep it small—think a pea-sized amount, not a full pump. Boho hair should feel touchable when you run your fingers through it. If it squeaks, crackles, or feels coated, you’ve gone too far.
Picking Products That Give Boho Waves Grip Without Crunch
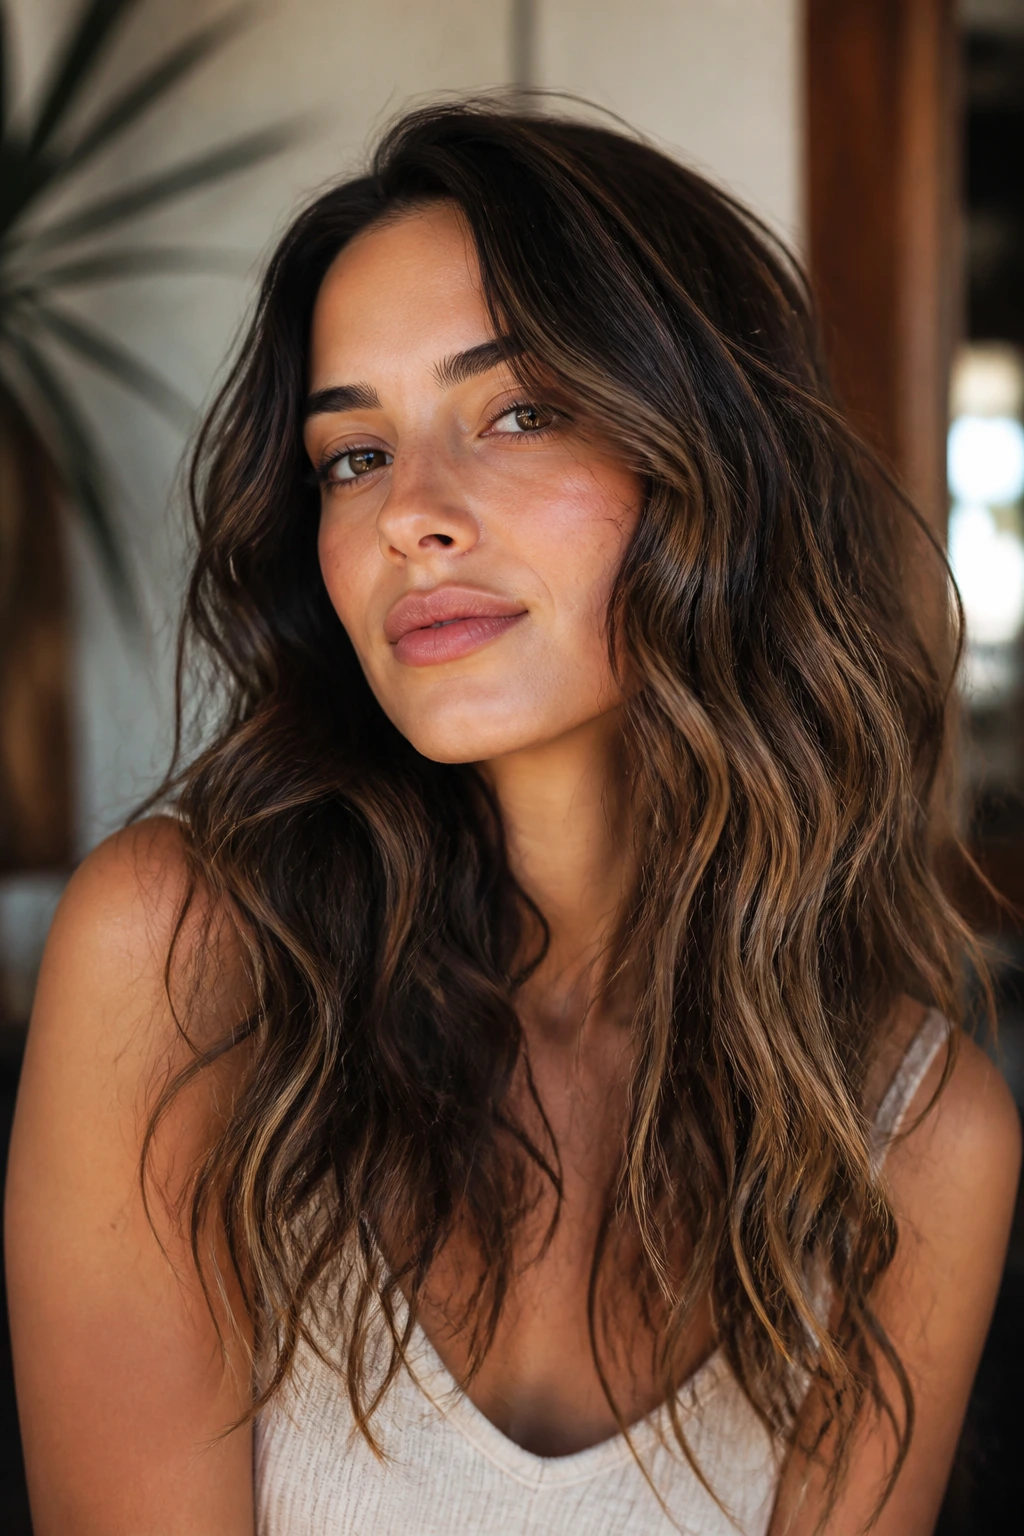
The best product choice depends on what your hair does when nobody is watching. Fine hair usually collapses unless it gets root lift and some dry texture. Coarse hair can hold a wave shape better, but it often needs moisture at the ends so it doesn’t puff out like straw. Straight, slippery hair needs more grip than most people think, while naturally wavy hair often needs less product and more shaping.
A lightweight mousse is a good starting point for almost everyone because it gives the roots some lift without the sticky feel of heavy gel. Apply it to damp hair, then rough-dry or diffuse before you style. Texture sprays are useful after the wave is set, especially if the hair is silky and tends to slide apart. I’d skip heavy oils near the root unless the hair is extremely dry. They flatten the crown fast.
Heat protectant is non-negotiable if you’re using hot tools. Choose one that disappears when dry. If the hair feels slippery in a coated way before you even curl it, the formula is too rich for boho styling. Dry shampoo also earns its place here, especially for day-two hair and roots that need body before braiding or twisting.
Essential Tools for These Looks
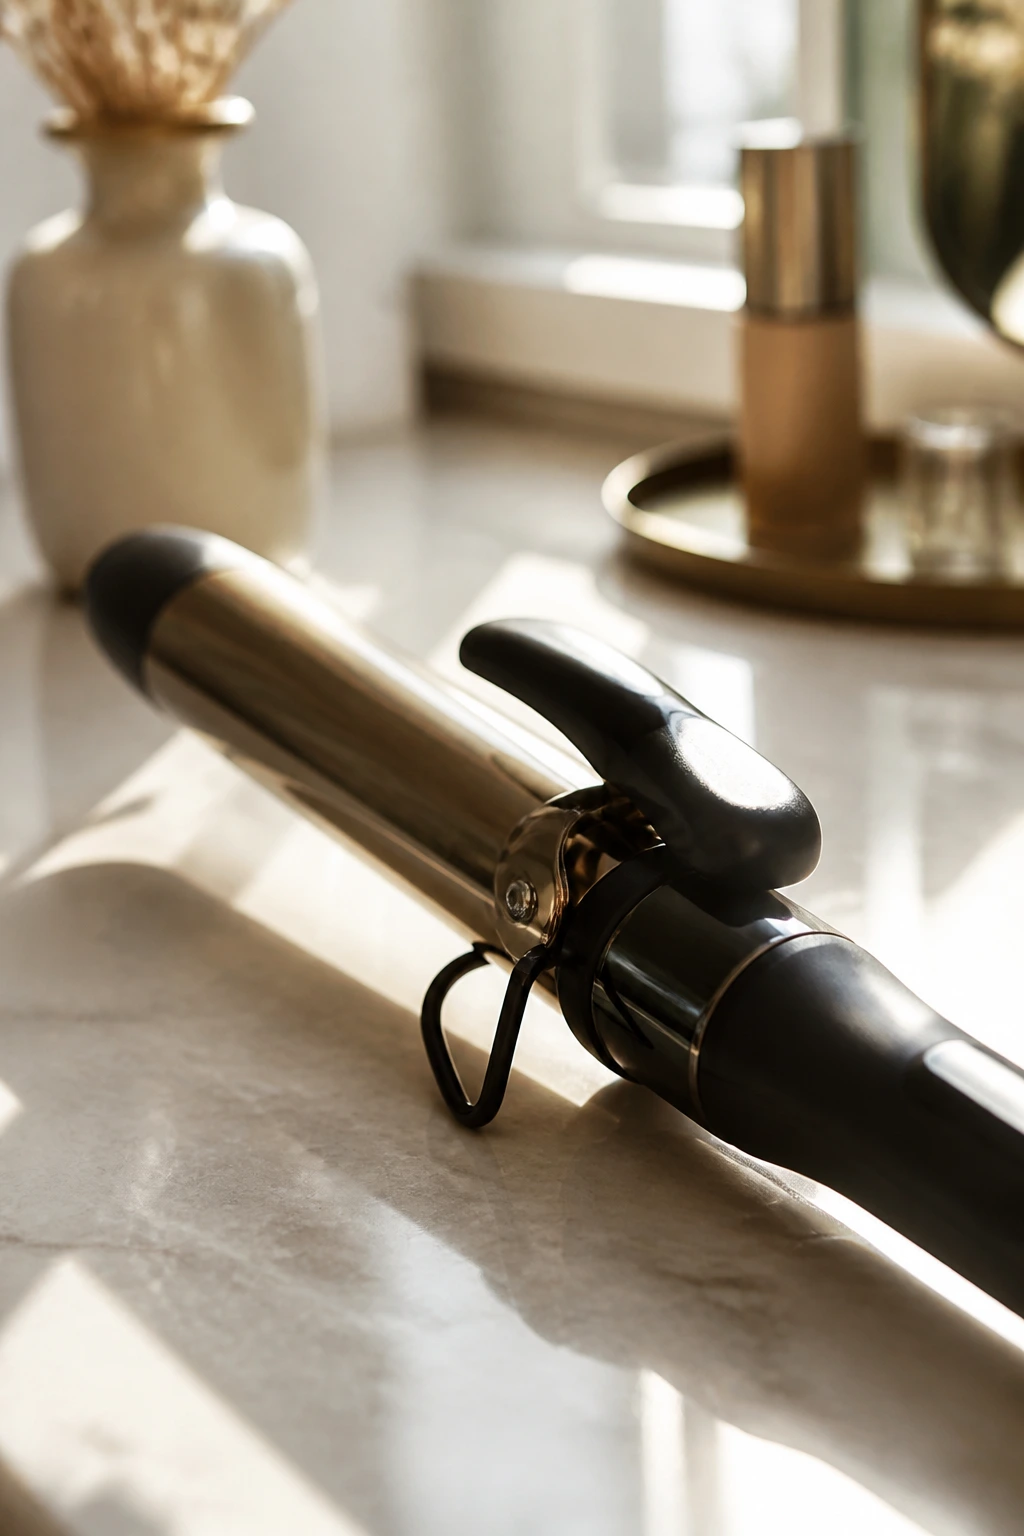
- 1-inch curling iron or wand: Best for tighter bends, short hair, and face-framing pieces that need shape.
- 1.25- to 1.5-inch curling iron: Better for longer lengths and softer waves that don’t look overcurled.
- Flat iron: Useful for mermaid bends, S-waves, and quick touch-ups on the ends.
- Tail comb: Helps carve clean parts and lift roots without making the style too neat.
- Bobby pins and U-pins: Good for half-up knots, braid ends, and loose twists that need quiet support.
- Small clear elastics: Handy for braids, knotted sections, and bubble ponytails.
- Claw clip: Easy for low twists and relaxed updos with visible texture.
- Diffuser: Great if you’re working with natural wave or want more shape from air-dried hair.
- Boar bristle brush or soft paddle brush: Best for breaking up curls after they cool, without stripping the wave pattern.
- Silk scarf or scrunchie: Useful for tying off ponytails or protecting the shape overnight.
Where Boho Waves Fit Best
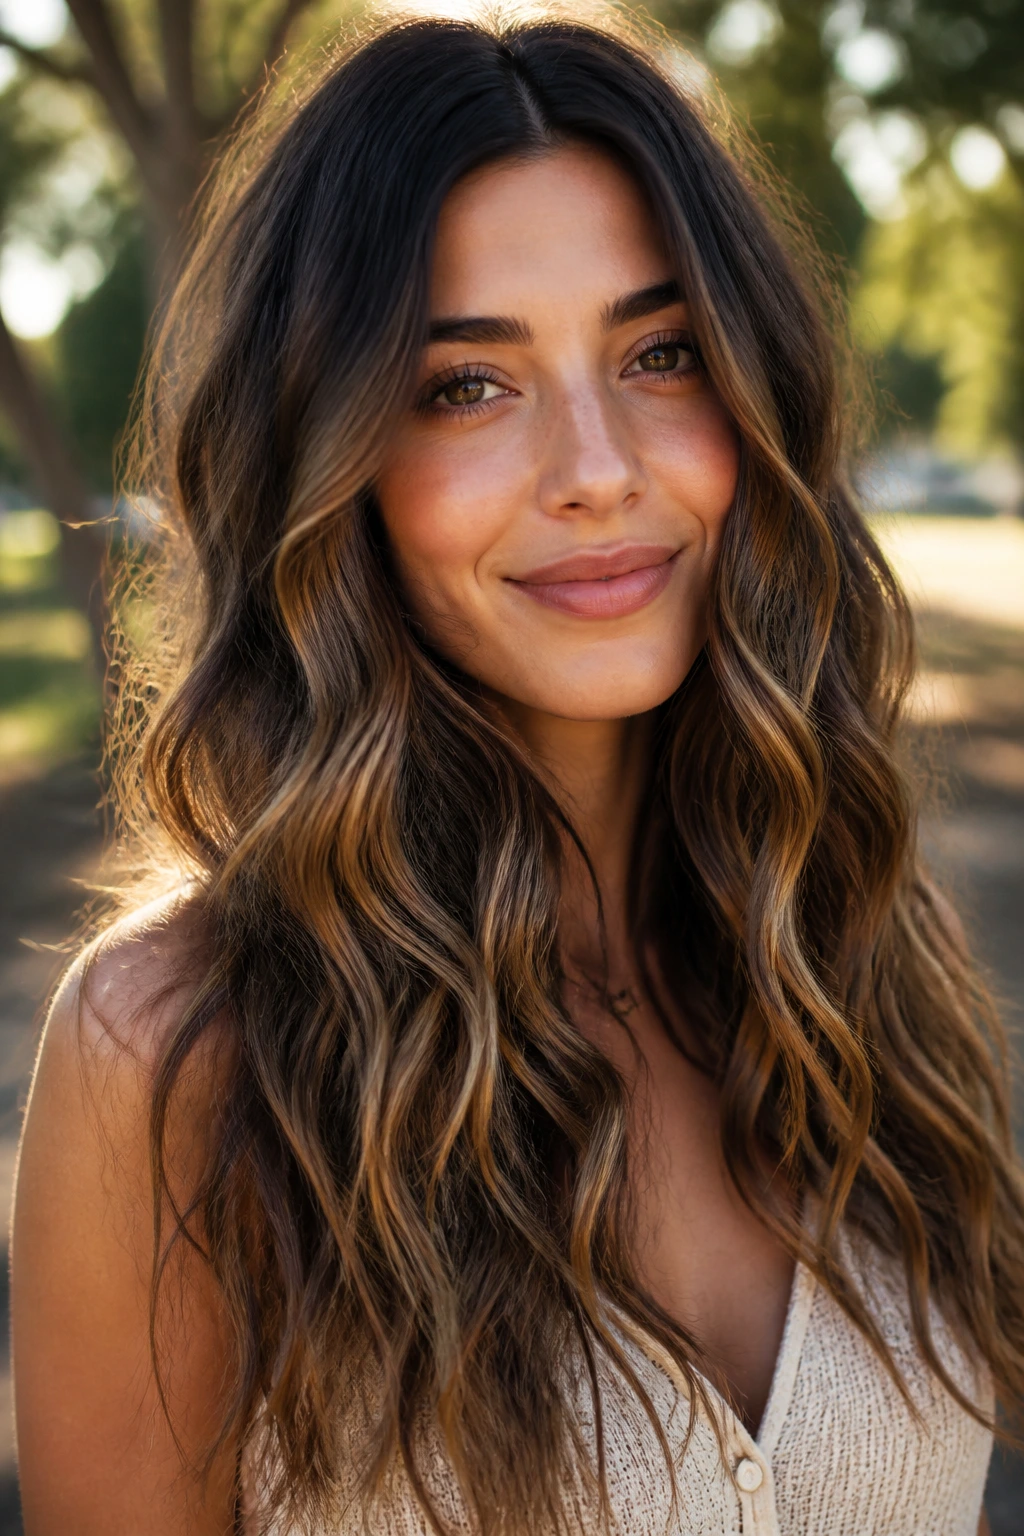
A lot of these styles work in more places than people expect. Loose center-part waves and layered lob waves fit everyday wear without feeling overdressed. Braids, knots, and scarf details are strong for outdoor events, concerts, and casual dinners where you want the hair to look deliberate but not fixed in place. The more polished styles—deep side-swept waves, vintage bends, halo braids—tilt toward events, date nights, and dressier settings.
The accessory-heavy versions deserve a little restraint with the outfit. If the hair already has clips, ribbons, or a braid crown, I’d keep the neckline simple and let the hair carry the detail. When the hair is quieter, a textured sweater, a linen shirt, or a soft dress can bring the same mood without piling on more pieces. The vibe is strongest when the hair and clothes agree on the same word: easy.
Common Mistakes That Flatten the Boho Effect
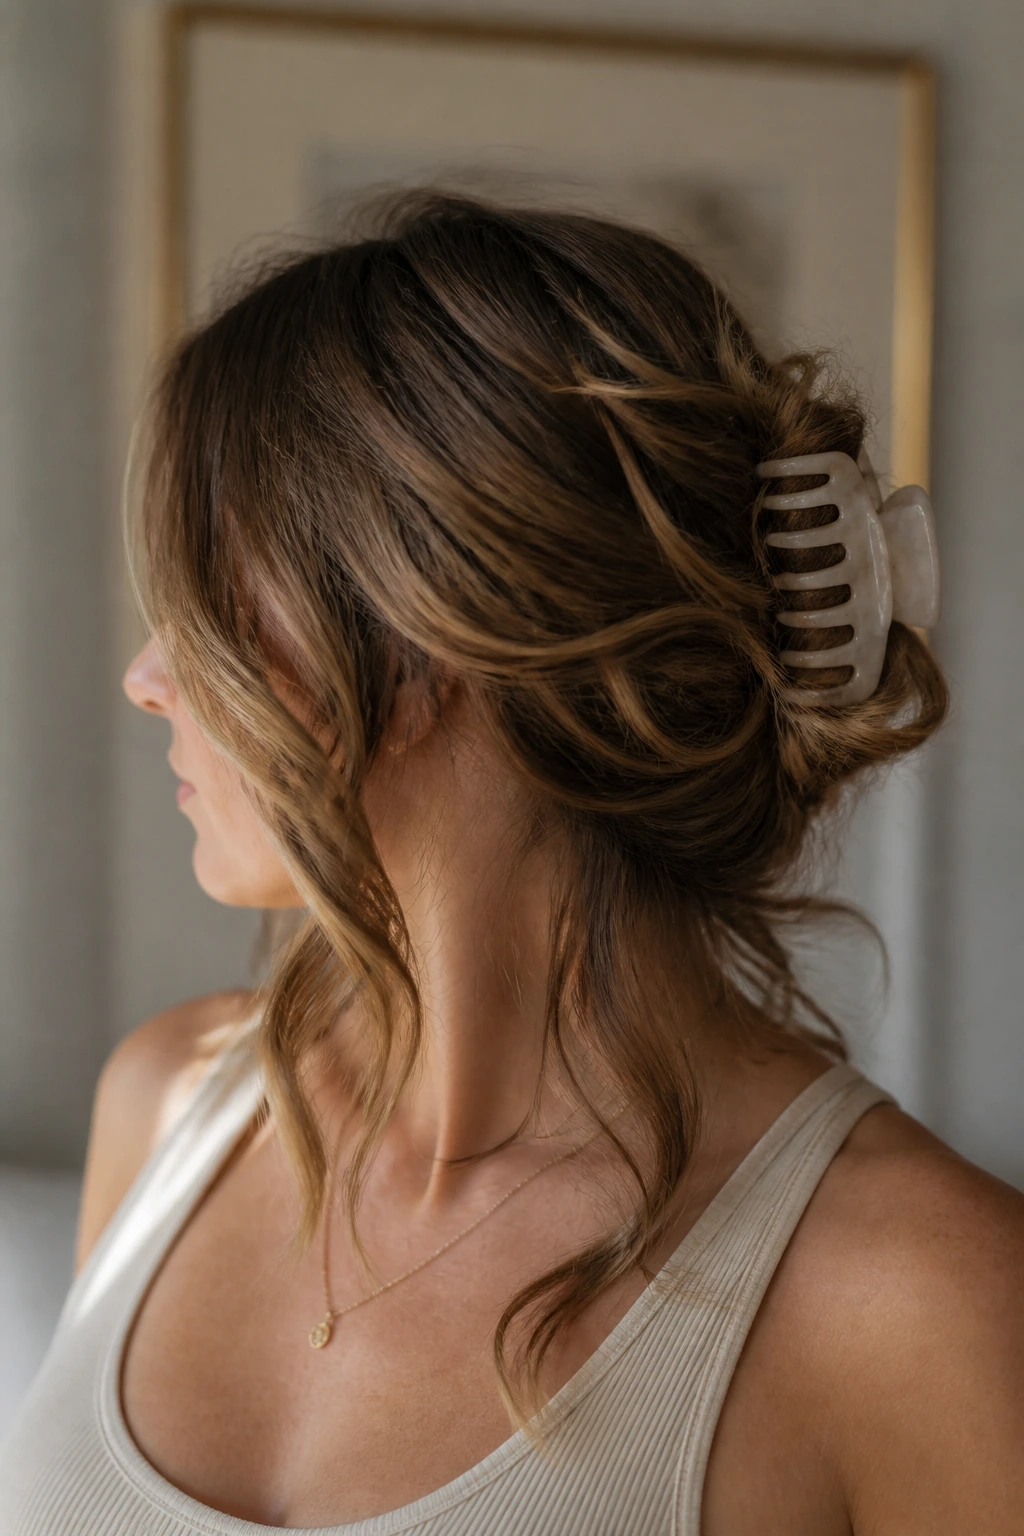
The first mistake is making every wave identical. Uniform bends look engineered, and engineered is the opposite of what this style needs. Alternate direction, vary the section size, and leave a few ends straighter than the rest so the hair moves in a less predictable way.
The second mistake is product overload. Too much cream, oil, or spray can make the wave look greasy at the root and gummy at the ends. If the hair feels heavy before it even dries, wipe the plan and start lighter. You can always add more later.
Tight braids and tight half-up sections cause trouble too. They leave dents at the scalp, and those dents are hard to disguise once the hair loosens. Boho braids should sit softly on the head, not bite into it. And do not rush to brush or finger-comb curls while they’re still warm. Warm hair gives up its shape fast, and you’ll end up with frizz instead of movement.
One last mistake: ignoring root lift. The ends can be fine, but if the crown lies flat, the whole style loses life. A little mousse, a quick lift with the tail comb, or a soft tease under a braid can change everything.
Easy Variations for Different Lengths and Hair Types
Fine-Hair Featherlight Waves: Use mousse at the roots, a smaller iron, and very little oil. Fine hair usually looks better with airy volume than with heavy curl, so keep the product light and the sections smaller.
Thick-Hair Ropey Waves: Start with a strong hold mousse or cream, then work in larger sections so the wave doesn’t become too dense. Thick hair can carry braids, buns, and scarves well because the shape has something to grab onto.
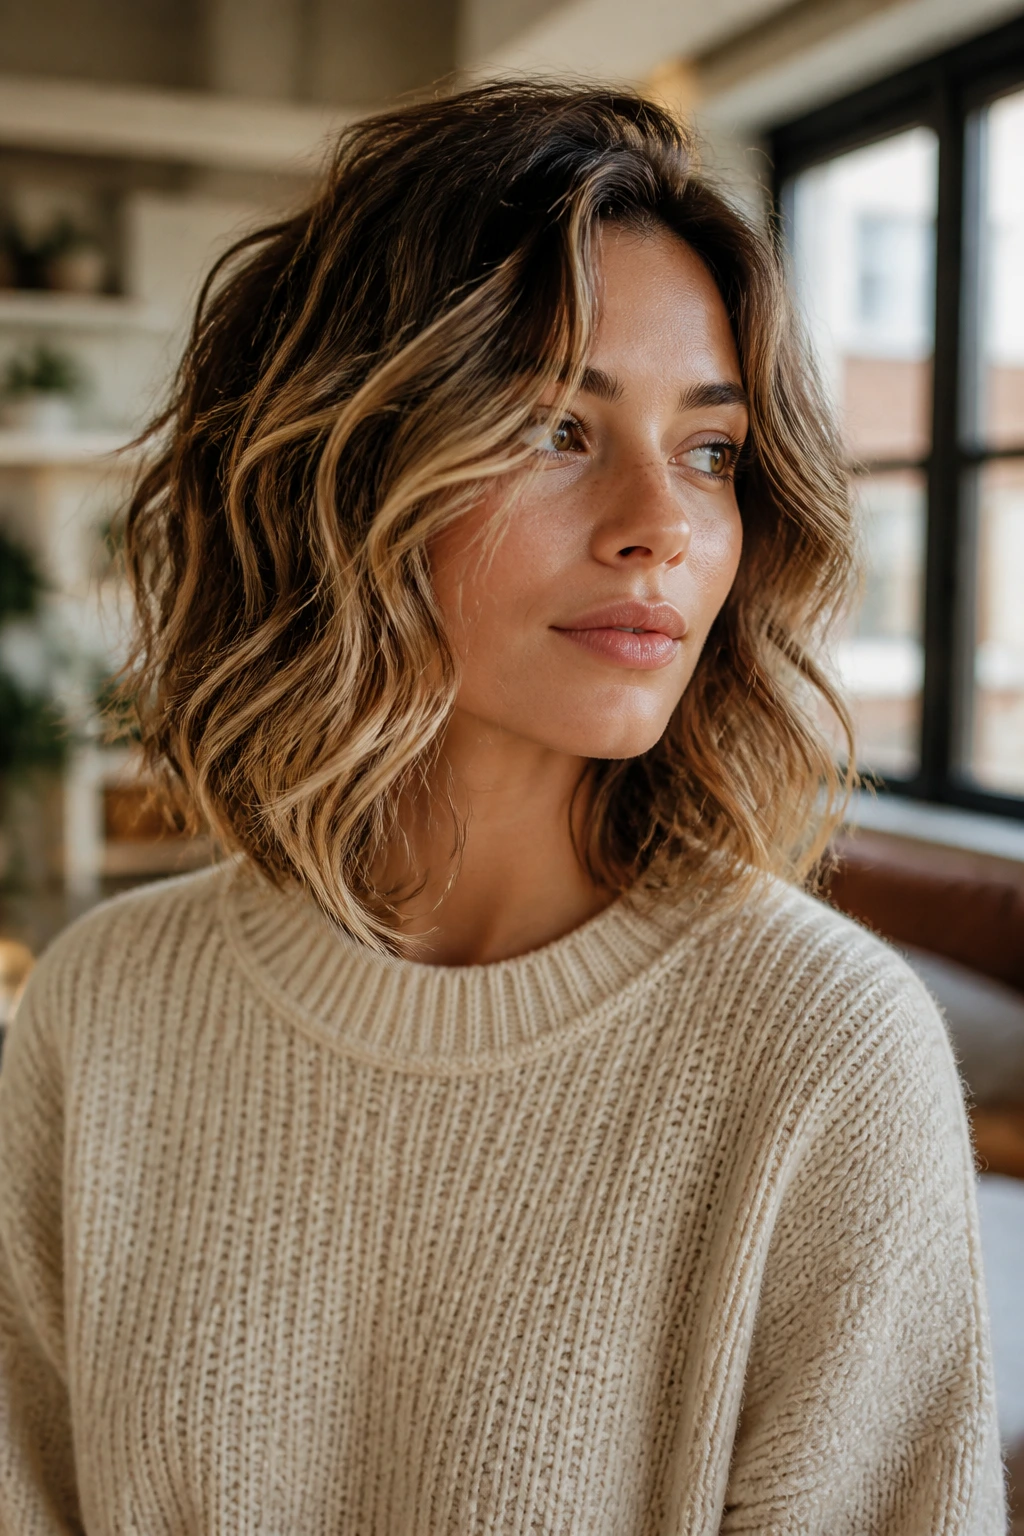
Short-Hair Boho Lob: Keep the ends a little straighter and focus the wave around the face and crown. Shorter hair gets crushed fast if you overstyle every inch of it.
Heat-Free Overnight Waves: Rope braids, loose twists, or a soft bun set on slightly damp hair can give you the same mood without hot tools. The result is less uniform, which usually helps the boho feel.
Accessory-Forward Finish: If the outfit is plain, use clips, ribbons, or a single braid to add detail. If the outfit already has texture or print, keep the hair simpler so the whole look doesn’t start arguing with itself.
The Best Way to Keep the Shape Between Washes
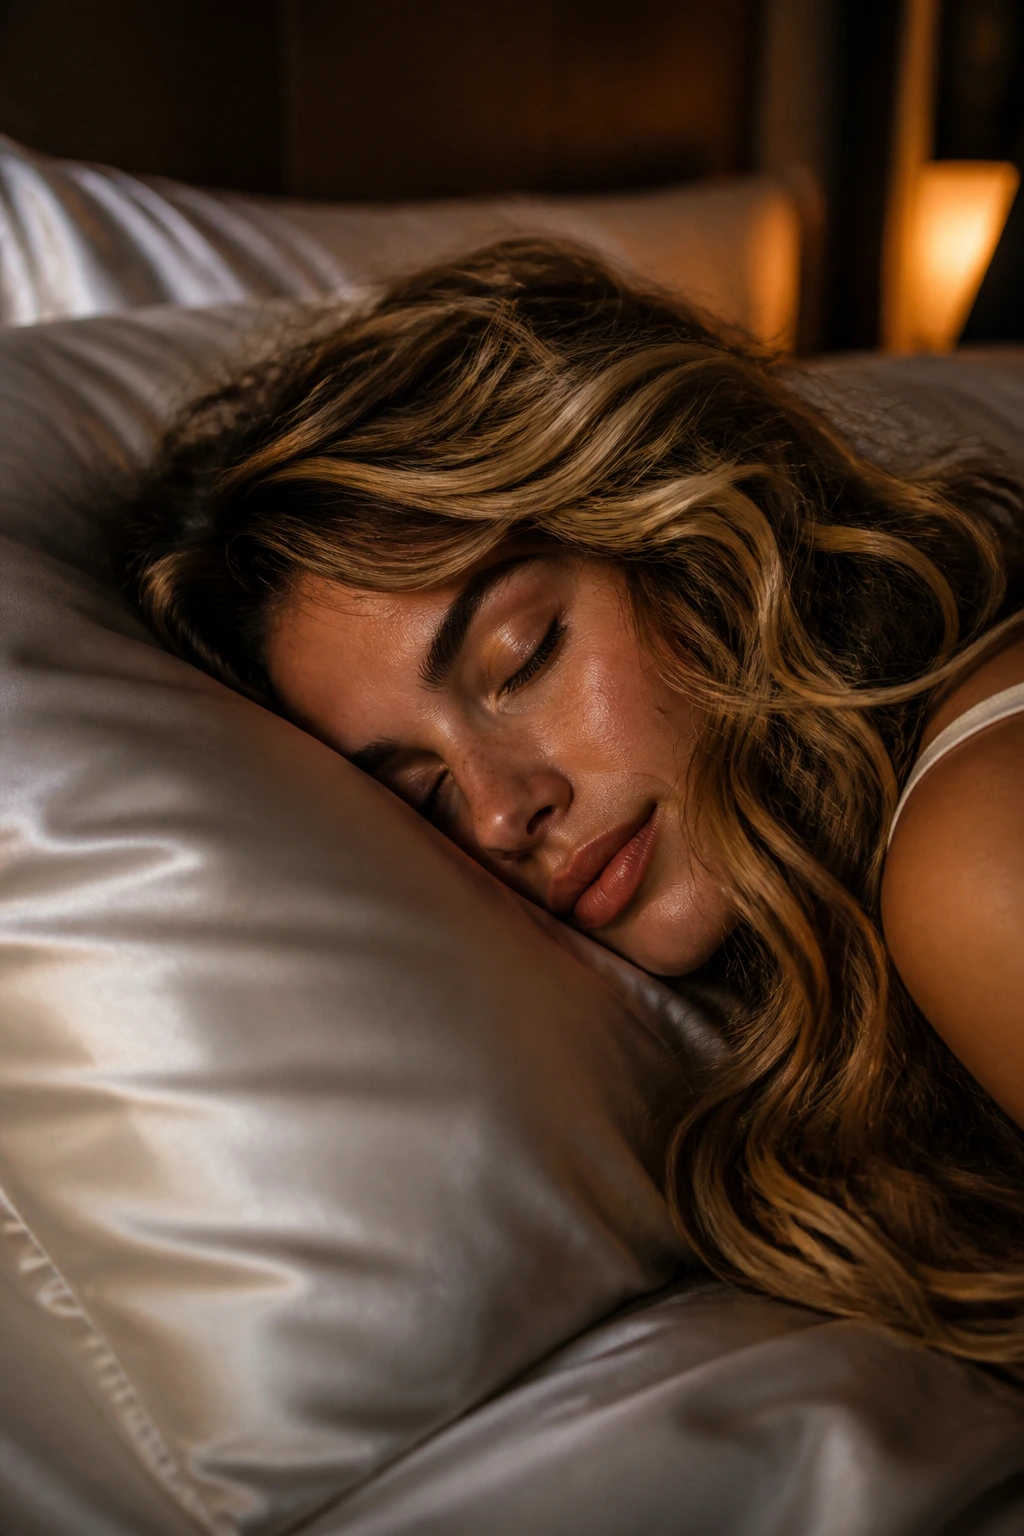
Boho waves usually hold up better on day two than they do on day one, especially if the roots had a little texture spray or mousse in them to begin with. At night, loosely gather the hair into a high pineapple if it’s long enough, or use two loose braids if it’s medium length. A silk pillowcase helps the wave stay smoother and cuts down on that rough, frayed look you get from cotton.
When the hair needs a refresh, mist the mid-lengths lightly with water, then twist a few pieces around your fingers and let them dry for 2 to 3 minutes before touching them again. Use dry shampoo only at the roots and only after the hair is fully dry. If you put it on damp hair, it can leave a dusty cast that’s hard to fix.
Heat-styled waves usually last 1 to 3 days depending on your hair type and weather. Heat-free braids often loosen into softer texture on the second day, which can be even better than the first set. If the ends start to frizz, don’t soak the whole head. Wet just the stubborn pieces and re-bend them with your hands or a small iron.
Boho Waves, Answered
How do I make boho waves look less “done”?
Leave some sections a little straighter, especially at the ends, and alternate the curl direction. A brushed-out finish also helps, as long as you wait until the hair is fully cool.
Will these styles work on short hair?
Yes, but the shape needs to be tighter and more selective. A lob, shag, or pixie usually looks better with texture concentrated at the crown and around the face instead of across every strand.
Can I do these styles without heat?
Absolutely. Braids, rope twists, and loose buns on damp hair can give you a very soft bend. The texture will be less polished, which is often exactly what you want here.
What if my hair falls flat by noon?
Start with more root support and less oil. Mousse at the base, a cool dry set, and a little texture spray once the waves cool will usually help the shape last longer.
Is a wand better than a curling iron?
For loose boho waves, a wand is often easier because there’s no clamp line and the wrap looks softer. A curling iron can still work, especially if you want more control near the face.
How do I stop the style from getting frizzy?
Use less handling, not more product. Over-brushing, touching warm curls, and heavy salt sprays are the usual troublemakers.
Can I wear these styles to a formal event?
Yes, but pick the more controlled versions: deep side waves, halo braids, vintage sweeps, or a low twist with intentional tendrils. The shape can be soft and still look finished.
What’s the fastest boho option if I’m short on time?
A low twist with face-framing pieces or a claw-clip half-up style. Both depend on shape and texture more than precision, which saves a lot of time.
Soft, Loose, and Done Just Enough
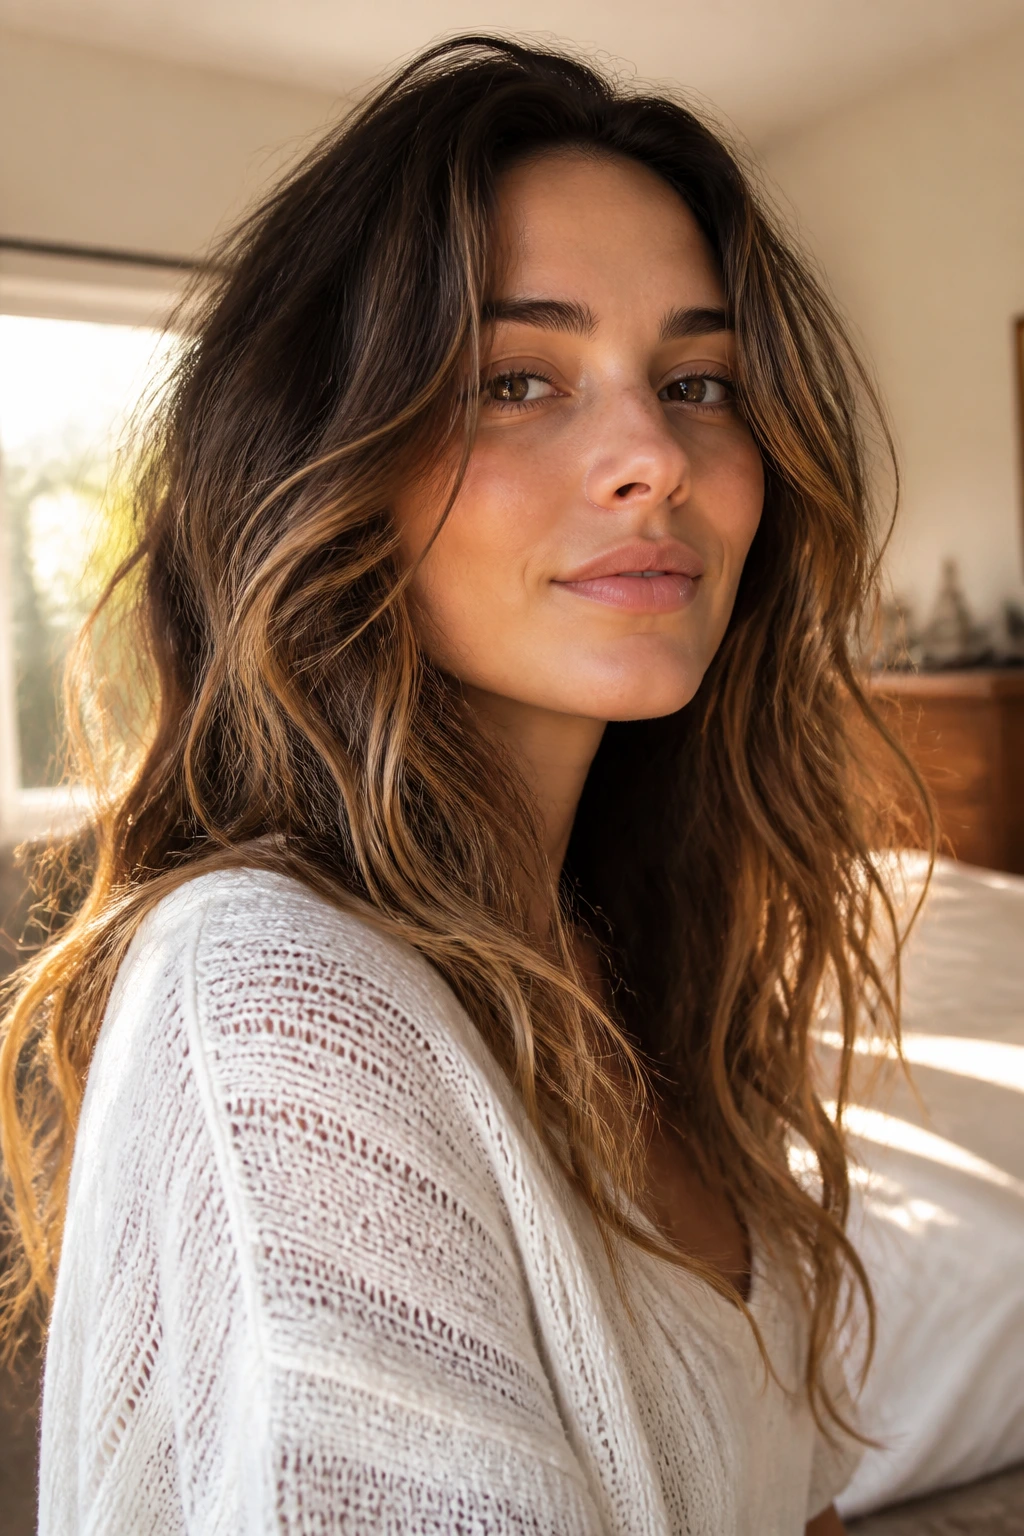
Boho waves work because they leave room for hair to move. That single detail changes everything. A wave with a little freedom at the root and a little irregularity through the ends looks alive in a way that stiff styling never will.
The styles above cover that idea from almost every angle: braids, clips, scarves, twists, lob lengths, long layers, short fringe, and a few sharper versions for when you want the softness with a little edge. Pick the one that matches your length and texture, then stop before you over-edit it. The best finish is usually the one that still looks capable of loosening as the day goes on.
