



A good top knot can rescue a morning that went sideways before coffee. A few twists at the crown, a clean elastic, and suddenly the hair that was sticking to your neck looks intentional. That’s the real appeal of top knot styles for women: the same basic shape can read sleek, lazy, sporty, romantic, or office-ready depending on how you tighten it, where you place it, and whether you leave the ends tucked or kicked out.
I like top knots because they don’t demand perfect hair. Day-two roots? Fine. Curly hair that has lost a little spring? Even better. Fine hair can borrow volume from a tiny backcomb at the ponytail base, and thick hair can be split into two sections so the knot doesn’t sag by lunch. The details matter more than the bun itself.
The styles below stay useful because they’re built around real hair problems: slippery texture, flat roots, short layers, heavy density, and the odd cowlick that refuses to behave. Some are polished enough for dinner, some are the kind you throw up with one hand while the kettle’s boiling, and a few look better when they’re a little imperfect. The first move is knowing which shape fits your hair instead of fighting it.
Why These Top Knot Styles Keep Working When Hair Gets Fussy
- Fast reset: Most of these knots take 3 to 8 minutes, and the looser versions hide second-day roots better than a flat ponytail ever will.
- Hair-type flexible: Fine, thick, curly, and coily hair all get a version here that respects how the strands actually behave.
- Accessory friendly: Scrunchies, pins, scarves, and claw clips change the mood without changing the base shape.
- Tension control: You can place the knot high, mid, or low to spare your scalp when a tight ponytail would start to ache.
- Texture rescue: Dry shampoo, a little texturizing spray, and a quick twist at the base give slippery hair something to hold onto.
- Dress-it-up range: The same knot can look clean enough for a blazer or loose enough for a weekend tee with no extra steps.
1. The Classic Messy Crown Knot
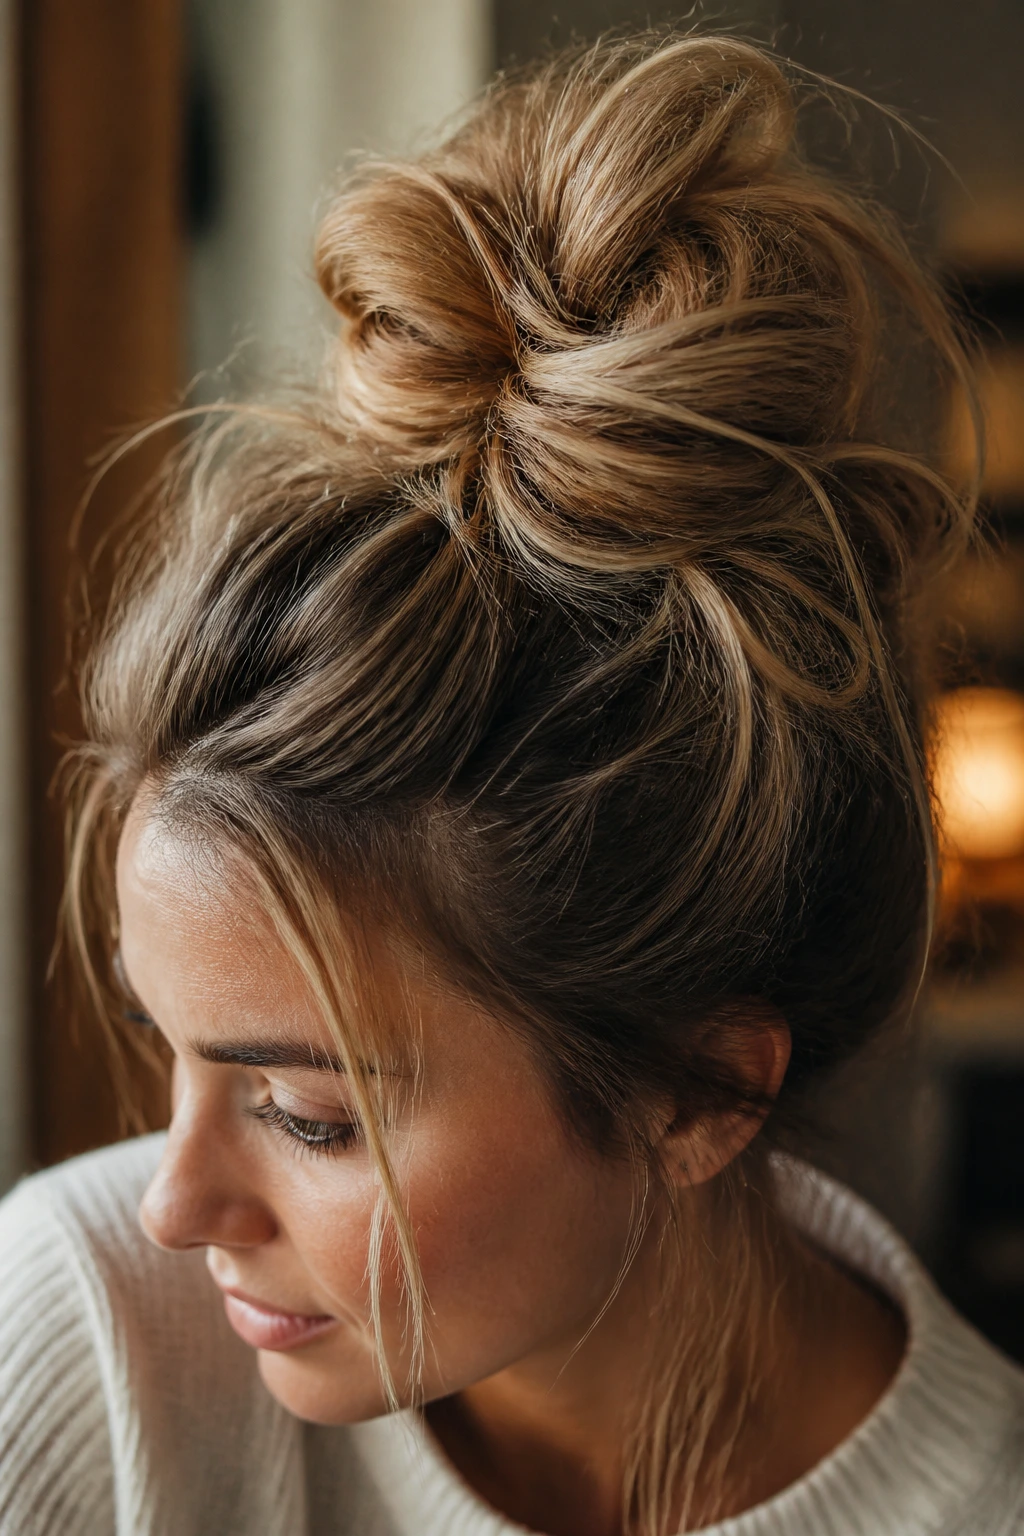
A little grit helps here. If your hair has lived through a pillow, a hoodie, or a humid commute, the classic messy crown knot often looks better than freshly washed hair because it has enough friction to stay where you put it.
What Makes It Work
Set the ponytail at the point of the crown, not too far forward, then twist the length once or twice and let the ends spill out on purpose. I like this version best when the front has a few loose pieces and the bun itself is not a perfect circle. Imperfect is the point. Perfect messy buns are usually fake anyway.
Best for: medium to long hair, day-two texture, and mornings when you want your hair off your neck in under 5 minutes.
Needs: one strong elastic, 3 to 4 bobby pins, and a light mist of texturizing spray.
Tip: Pin the knot from opposite sides in an X shape. That tiny move stops the bun from sliding sideways by noon.
2. Sleek High Top Knot
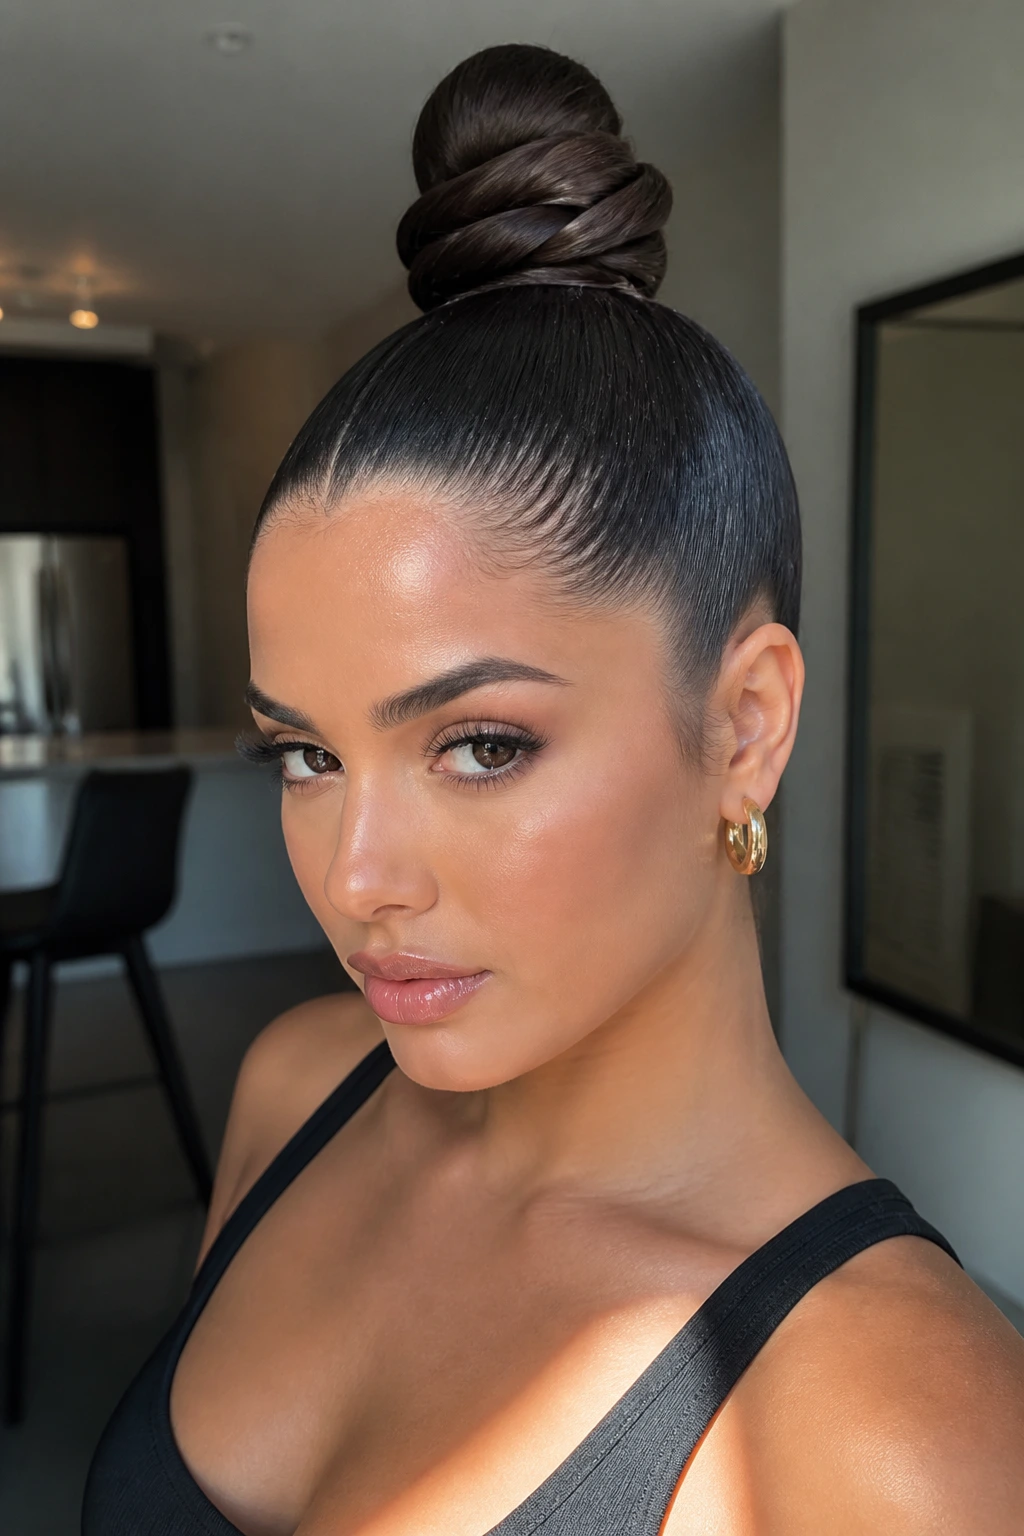
A brushed, tight high knot has a sharp little edge to it. It makes clean lines, shows off earrings, and gets the hair off the face so completely that even a sweaty workout or a long desk day feels more manageable.
Start with a smoothing cream or a pea-sized touch of gel at the roots, then brush everything up toward the crown with a paddle brush. The trick is to keep the surface smooth before you make the knot; if you try to flatten flyaways after the bun is built, you end up with a lumpy crown and a lot of frustration.
Use a snag-free elastic for the first tie, then wrap the length around itself and secure with a second elastic or two hidden pins. A little shine spray at the end gives the style that crisp finish. Not greasy. Just neat.
3. The Low Top Knot with Soft Pieces
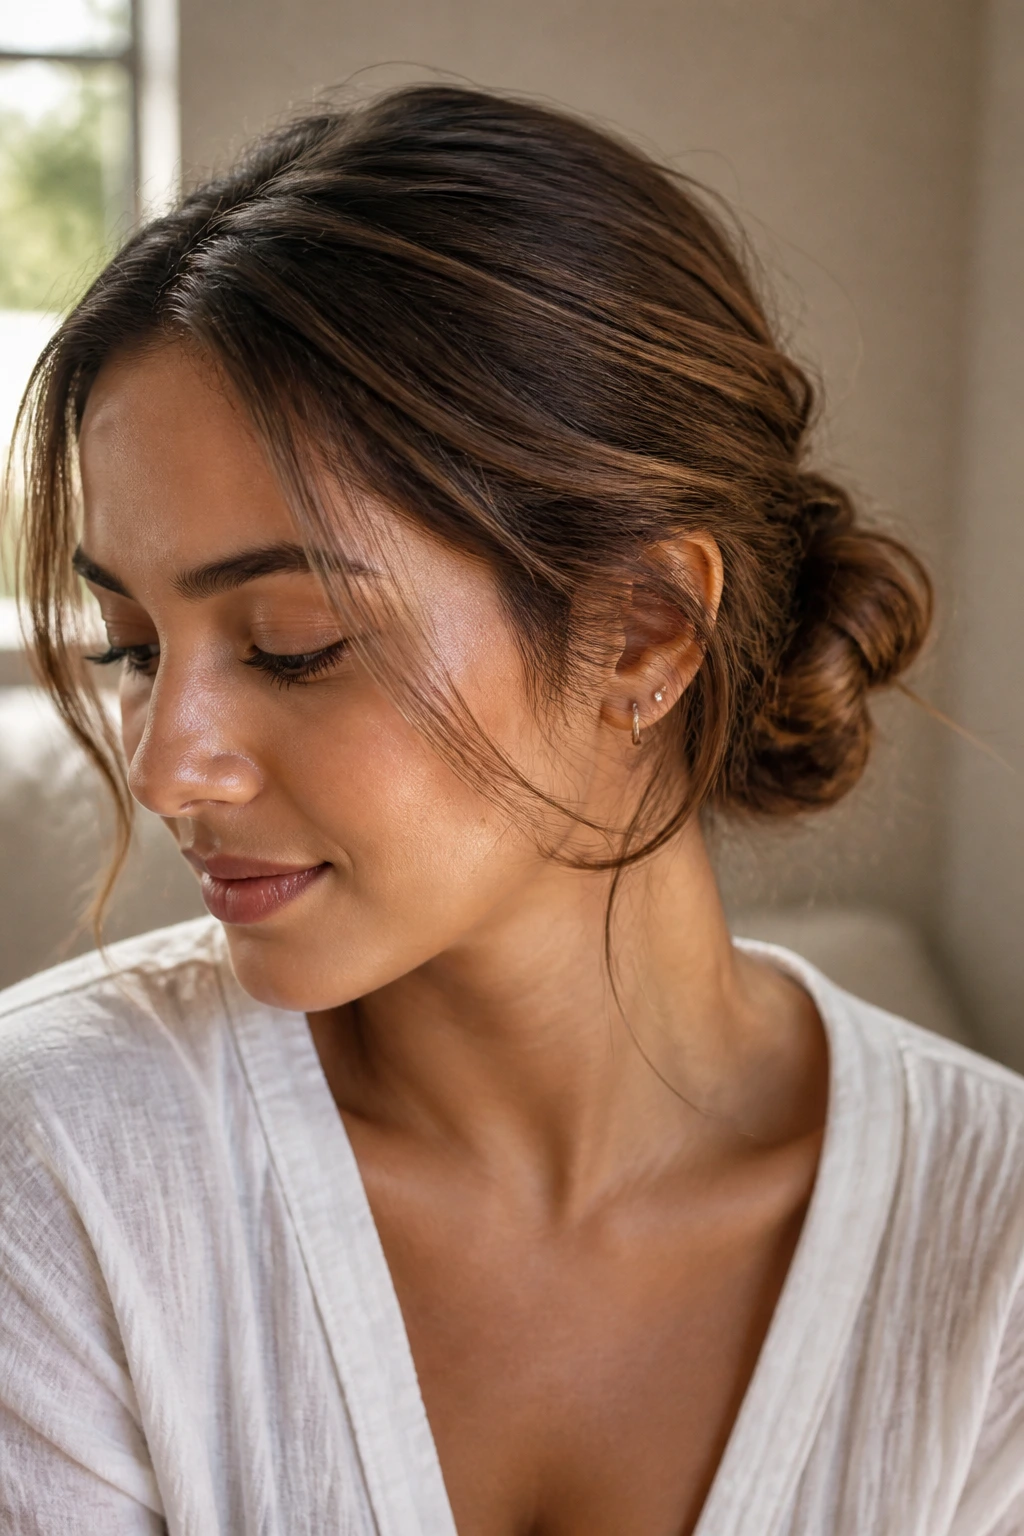
Why does a low knot feel calmer than a high one? Because it sits closer to the nape, where the shape reads softer and the scalp gets a break. If your crown gets sore fast, this is the version I’d point you to first.
Pull the hair into a low ponytail just above the nape, twist it into a small coil, and let a few ends peek out instead of forcing every strand under. The face-framing pieces matter more here than in a high knot. They keep the style from looking too severe.
How to Wear It
Tuck the lowest layers in with bobby pins aimed upward so they disappear under the bun. If your hair is layered, leave the shortest pieces at the temples loose and curve them with a flat iron or a round brush. The shape ends up looking deliberate, not accidental.
4. Braided Base Top Knot
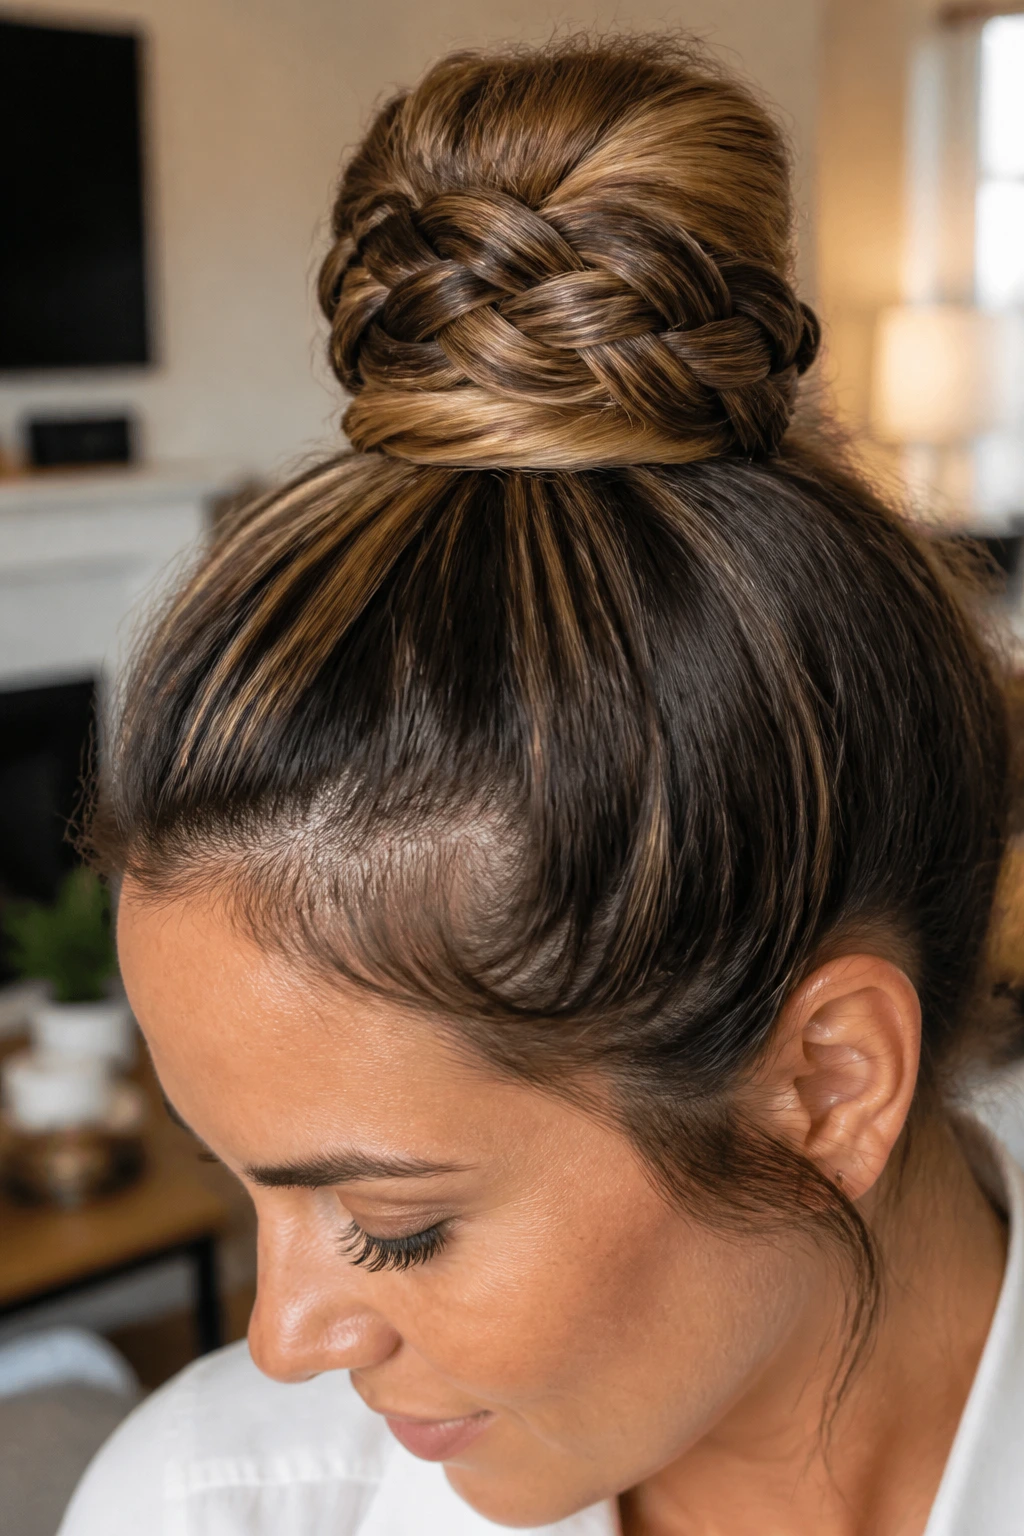
If your layers fall out the second you twist them, braid the ponytail first. That one extra step gives the bun a rougher surface to grip, which is why this style holds better on silky or freshly blown-out hair.
Make a ponytail at the crown, braid the tail all the way down, then wrap the braid around its own base. The braid creates texture inside the knot, so the bun looks fuller without teasing the entire head. That matters if you hate the frizzy halo some messy buns pick up after a few hours.
A braided base also hides thin ends well. Instead of a wispy tail poking out, you get a compact coil that stays neat longer. It’s a little more work than the classic knot, but not by much, and the payoff is real.
5. Twisted Rope Top Knot
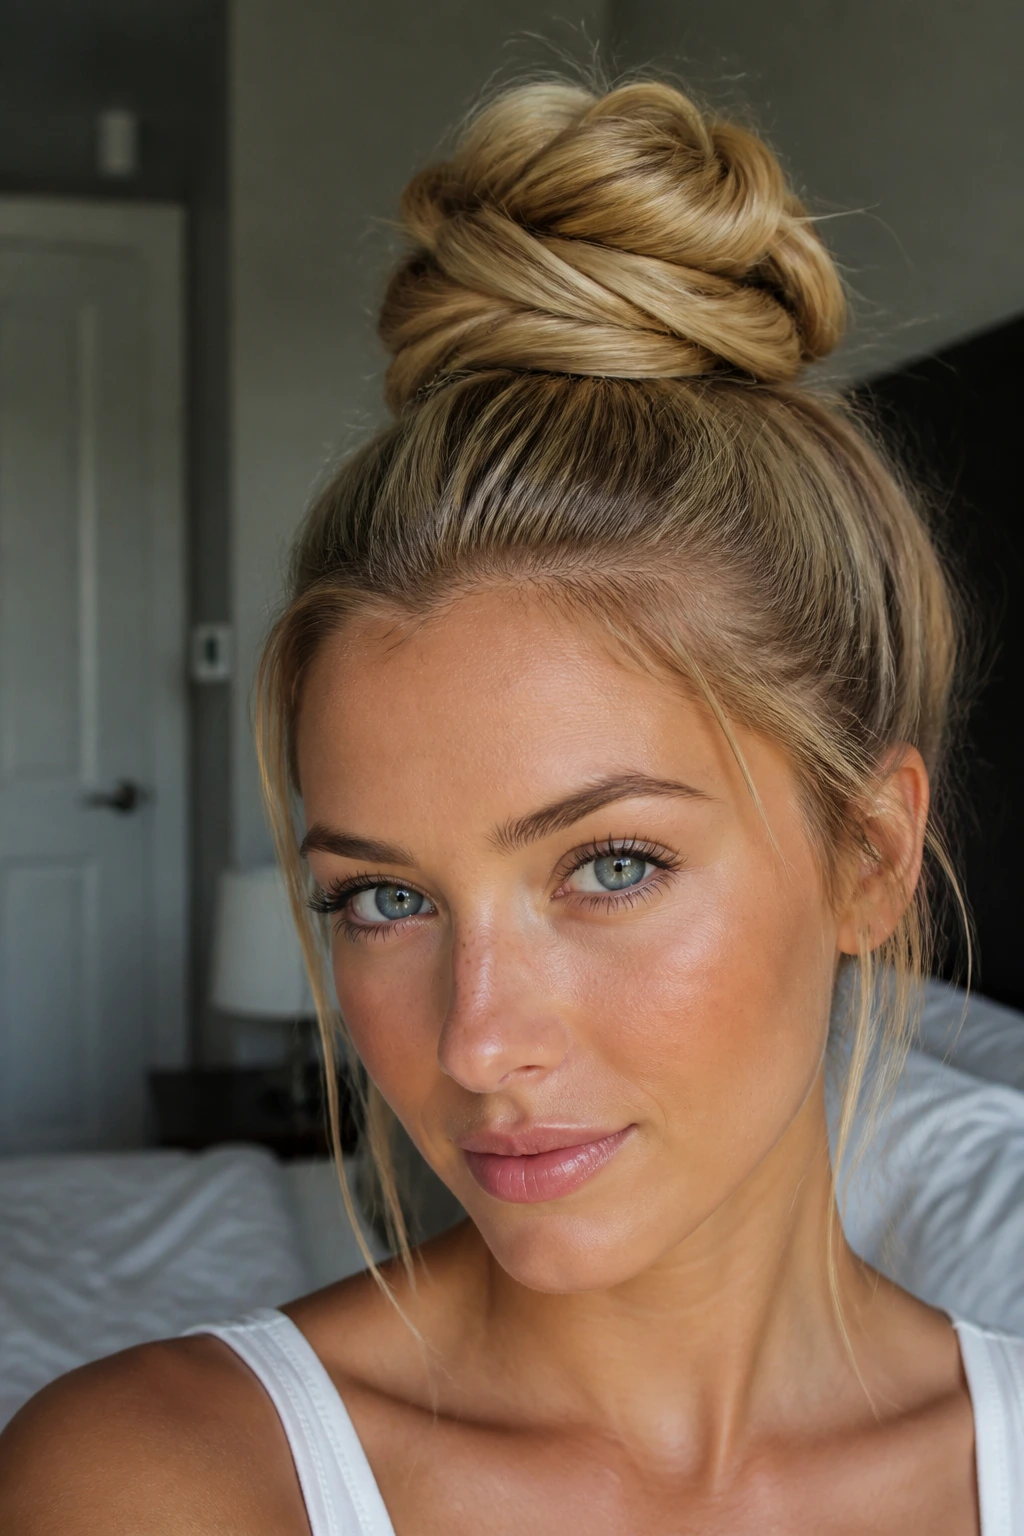
Two twisted sections hold cleaner than one thick twist. That’s the whole appeal here. Split the ponytail into two ropes, twist each one in the same direction, then wrap them around each other before coiling them into a bun.
The rope texture gives this knot a neat, sculpted look without turning it stiff. On straight hair, the twist pattern is visible right away. On wavy hair, it reads more relaxed and less polished, which is useful if you don’t want that severe ballerina finish.
Use this when you want a top knot that feels tidy but not flat. One or two U-pins at the base usually do the job, and the crossed twist helps the bun resist unraveling better than a single loose coil.
6. The Half-Up Mini Knot
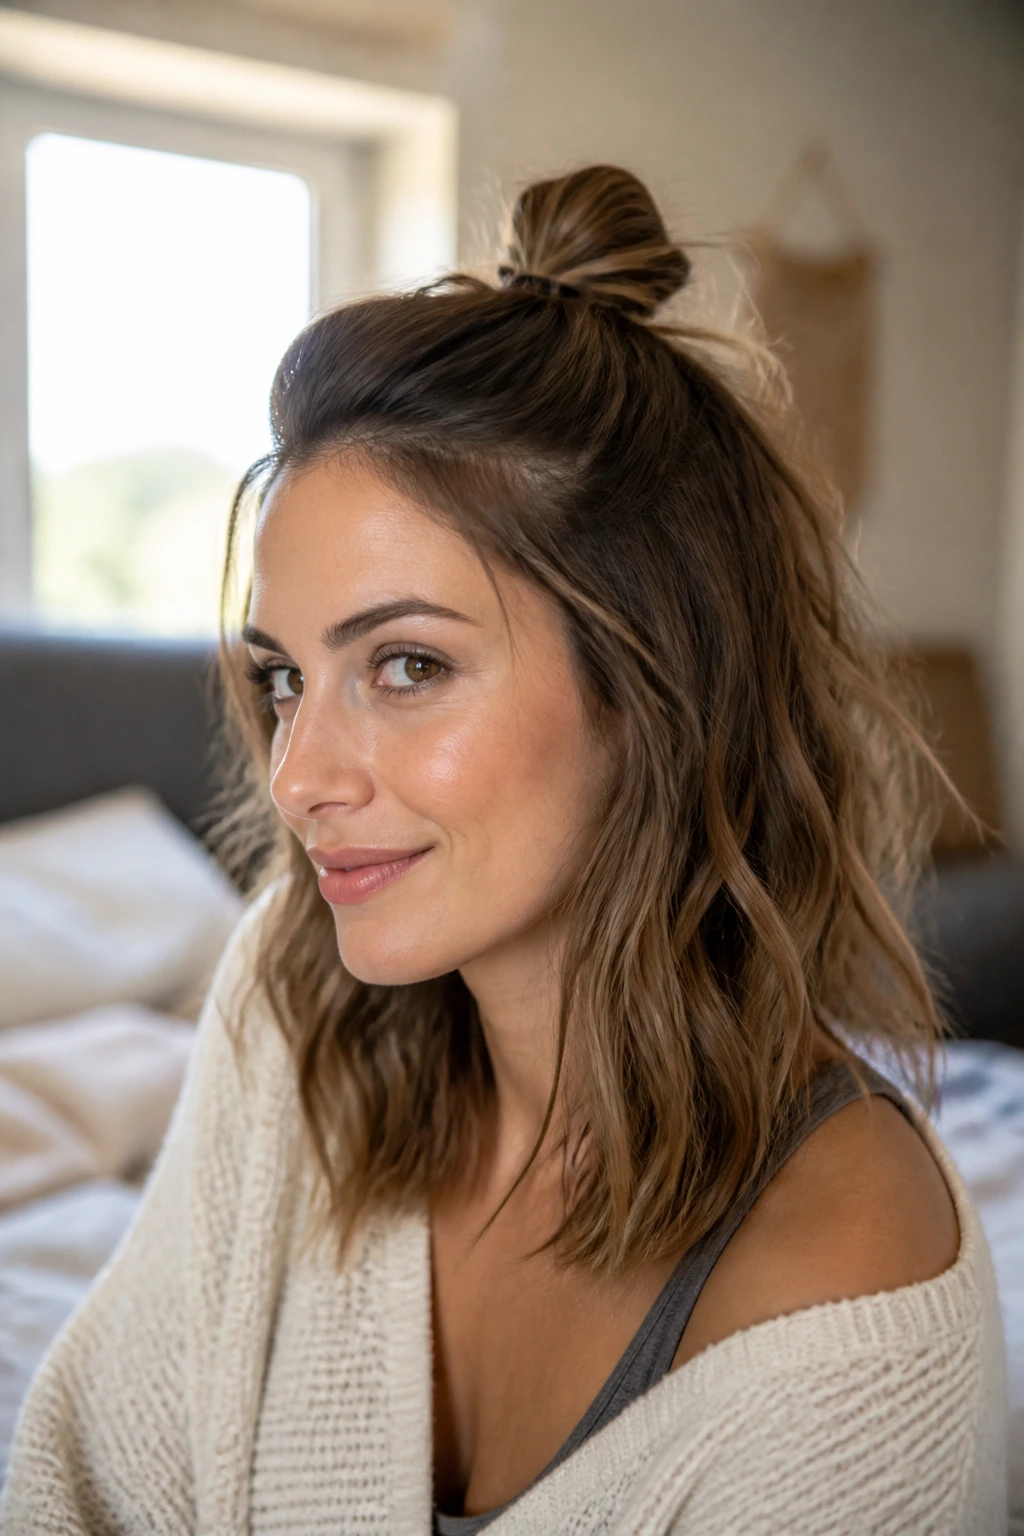
A half-up knot is the easy answer when your hair is too short for a full crown bun or when you want length hanging down without it swallowing your face. The knot sits like a small knot at the top of the head, and the rest of the hair stays loose.
Pull back the top third of the hair from temple to temple, secure it high, then twist just enough length to form a small loop. If the knot feels too tiny, tug gently at the sides to widen it by half an inch. That small stretch makes the style look fuller without changing the shape.
Best on Shoulder-Length Hair
This is one of the better top knot styles for women with lob-length cuts because it doesn’t ask too much from the layers underneath. It also works well with curls, since the lower half keeps its shape while the top gets lifted away from the face.
7. Curly Pineapple Top Knot
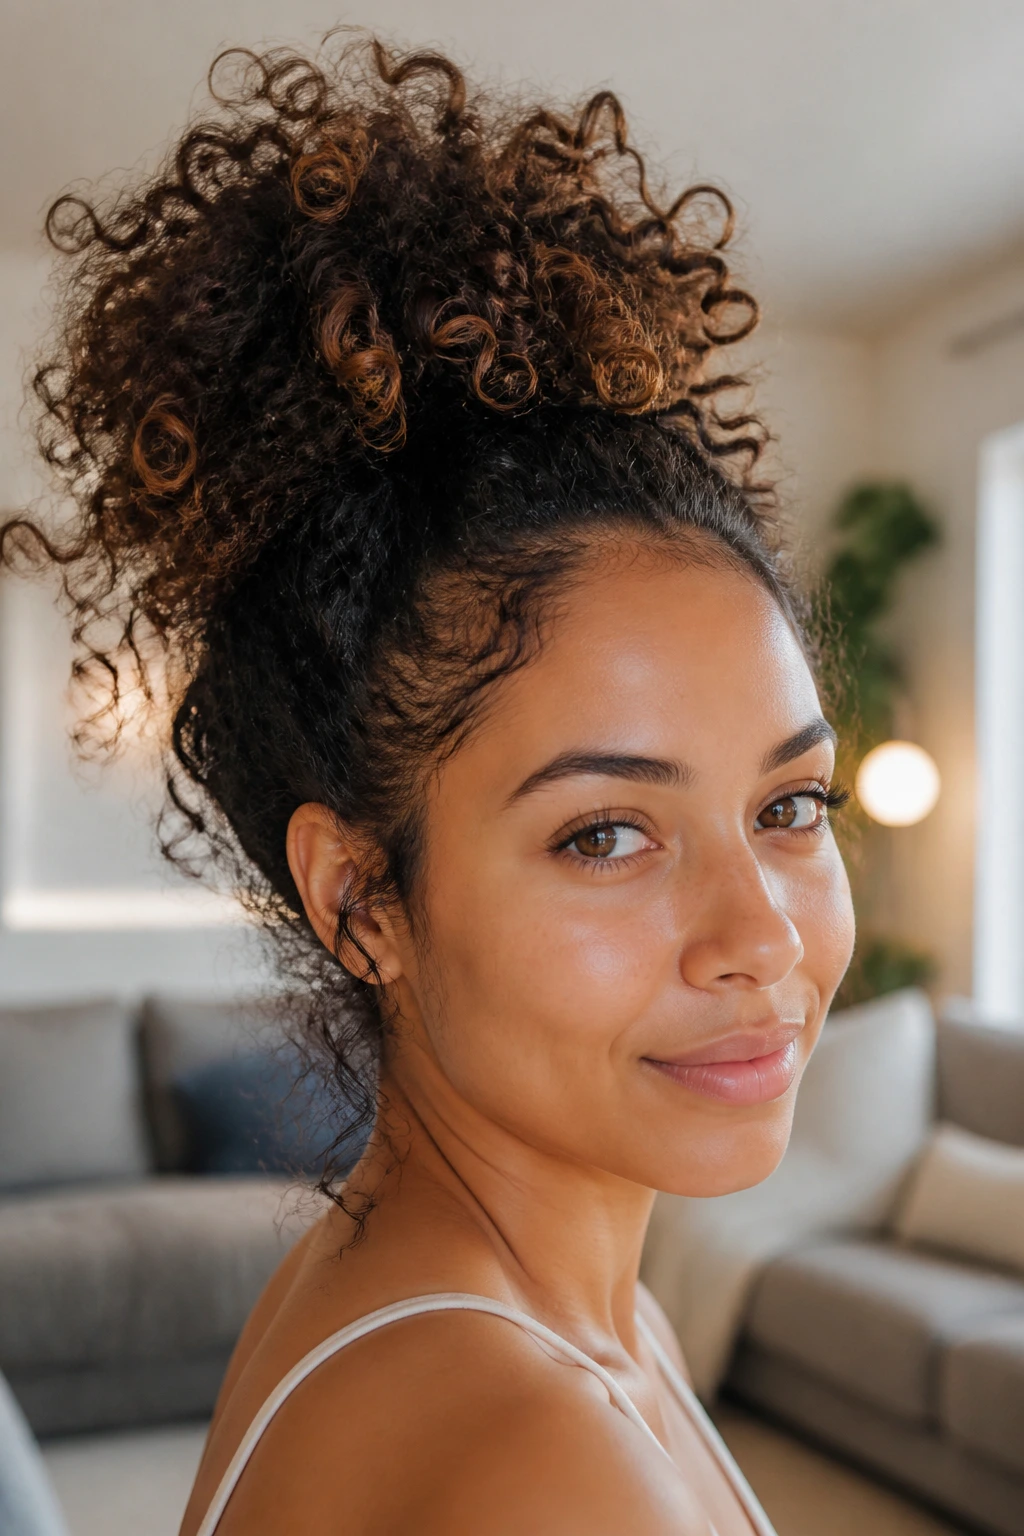
Curly hair does not need to be flattened into submission for a top knot. The pineapple knot keeps the curl pattern intact by gathering the hair loosely at the crown and letting the ends point upward instead of forcing them into a tight circle.
Use a soft scrunchie or a stretched-out coil tie so the curls aren’t crushed. Gather the hair high, but keep the tension loose enough that the roots stay lifted and the curl clumps keep their shape. A little frizz around the hairline is fine. In curly hair, that often looks natural rather than messy.
How to Keep Curls Intact
If the curls are dry, mist them lightly with water before gathering so they bend instead of snapping. Then pin only the heavier sections that threaten to fall. The style should feel secure, not squeezed.
8. Scarf-Wrapped Top Knot
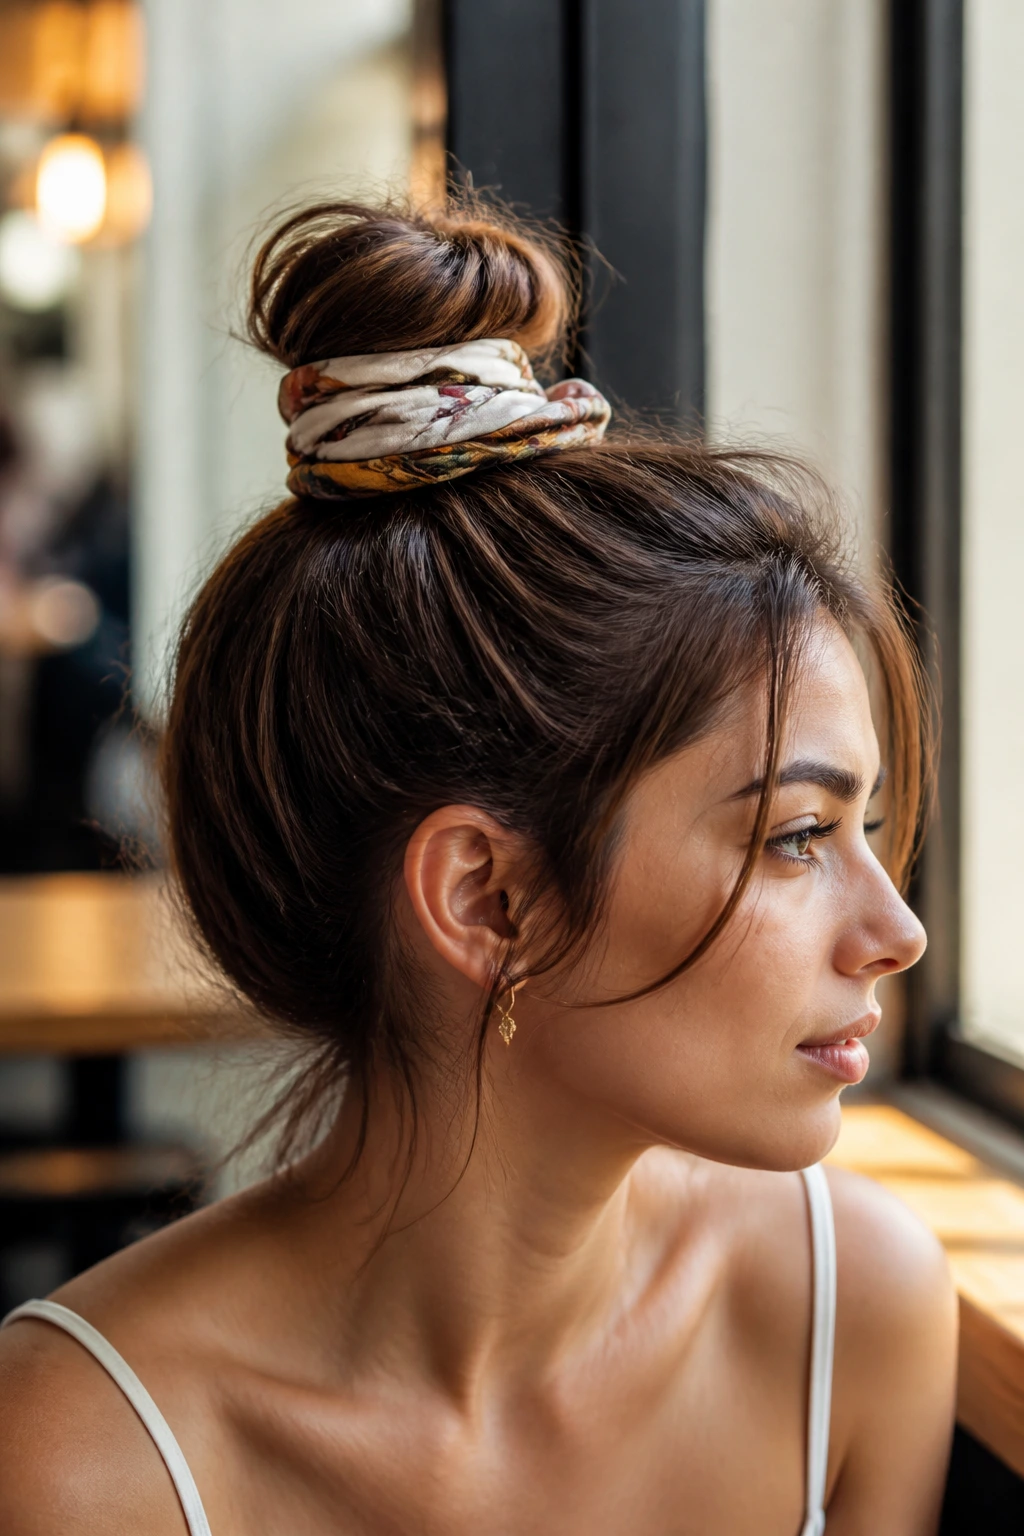
A scarf changes the whole mood. It hides the elastic, adds color, and makes even a five-minute knot look considered. The trick is to treat the scarf like part of the structure, not just decoration flopping on top.
Tie the knot first, then wrap a thin silk or cotton scarf around the base once or twice. Keep the knot itself visible. If the scarf takes over the whole bun, the style starts looking bulky in the wrong way.
Use this when you want a bit of interest without committing to a full accessory moment. A narrow scarf works better than a wide one because it sits close to the head and doesn’t puff up at the sides.
9. The Claw-Clip Top Knot
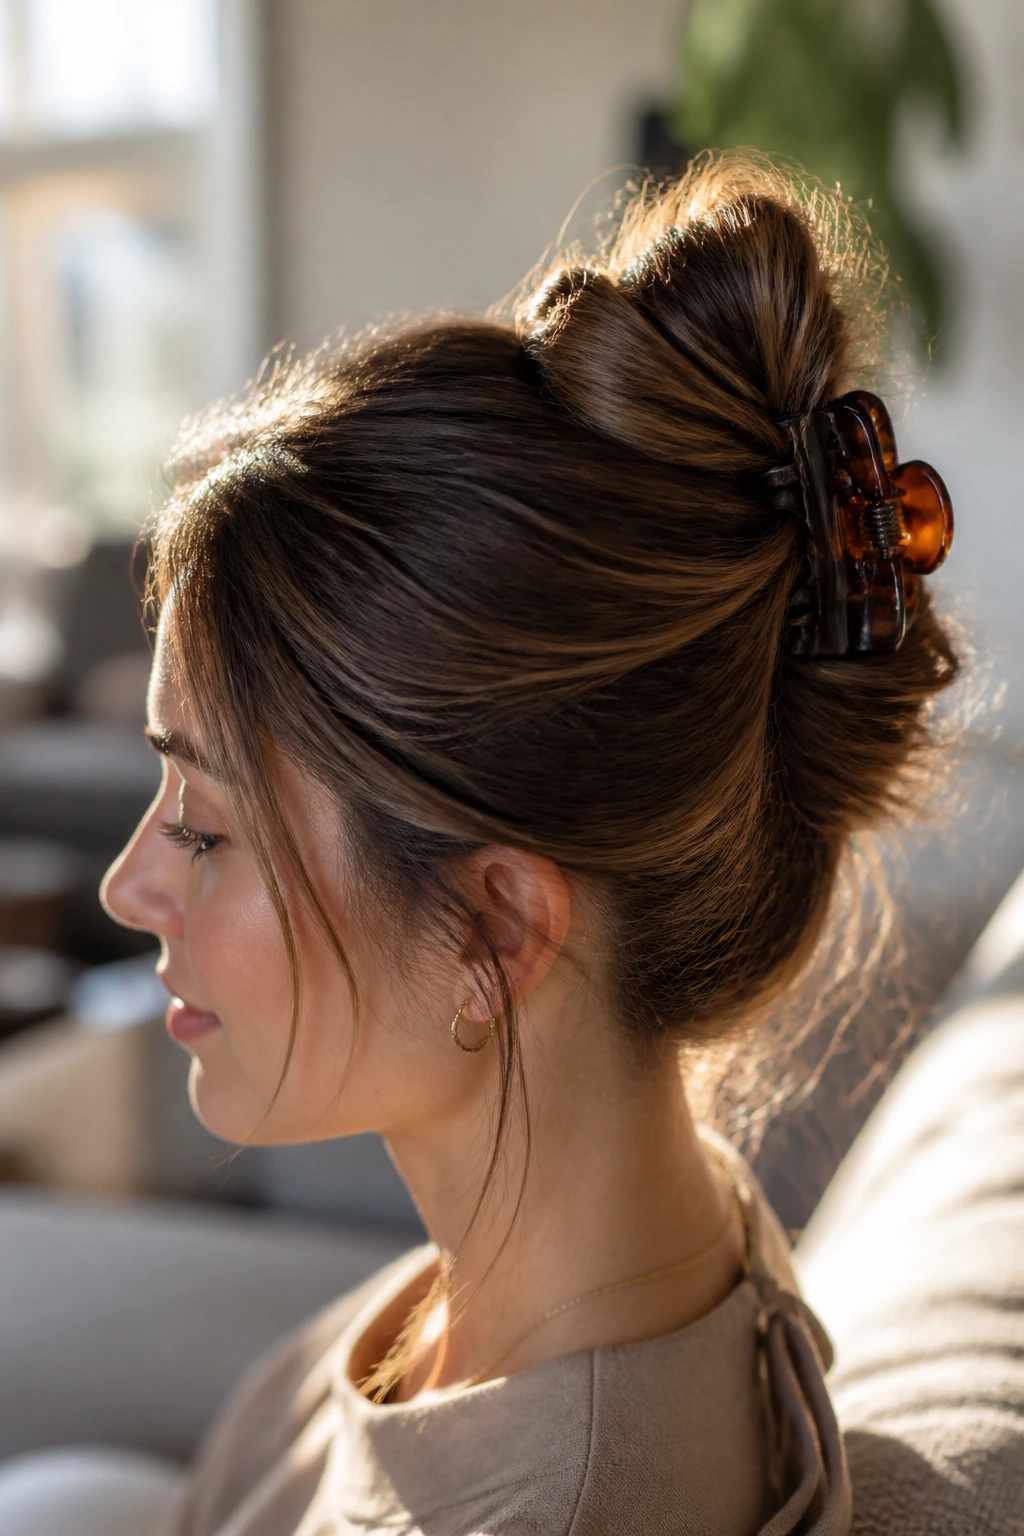
A claw clip can do what an elastic can’t: it holds a knot in place without flattening the crown. That’s handy if your hair dents easily or you hate the hard line a tie can leave behind.
Fold the ponytail into a loose loop, twist the length once, and clamp the clip over the base so the teeth catch both the top and bottom of the twist. The result is looser than a pinned bun, but it stays put better than you’d think, especially on medium-density hair.
This version is excellent for late-afternoon hair when the roots have gone a little soft and you want a reset, not a whole new style. A medium-sized clip usually works better than a huge one because it grips more precisely.
10. The Sock Bun Top Knot
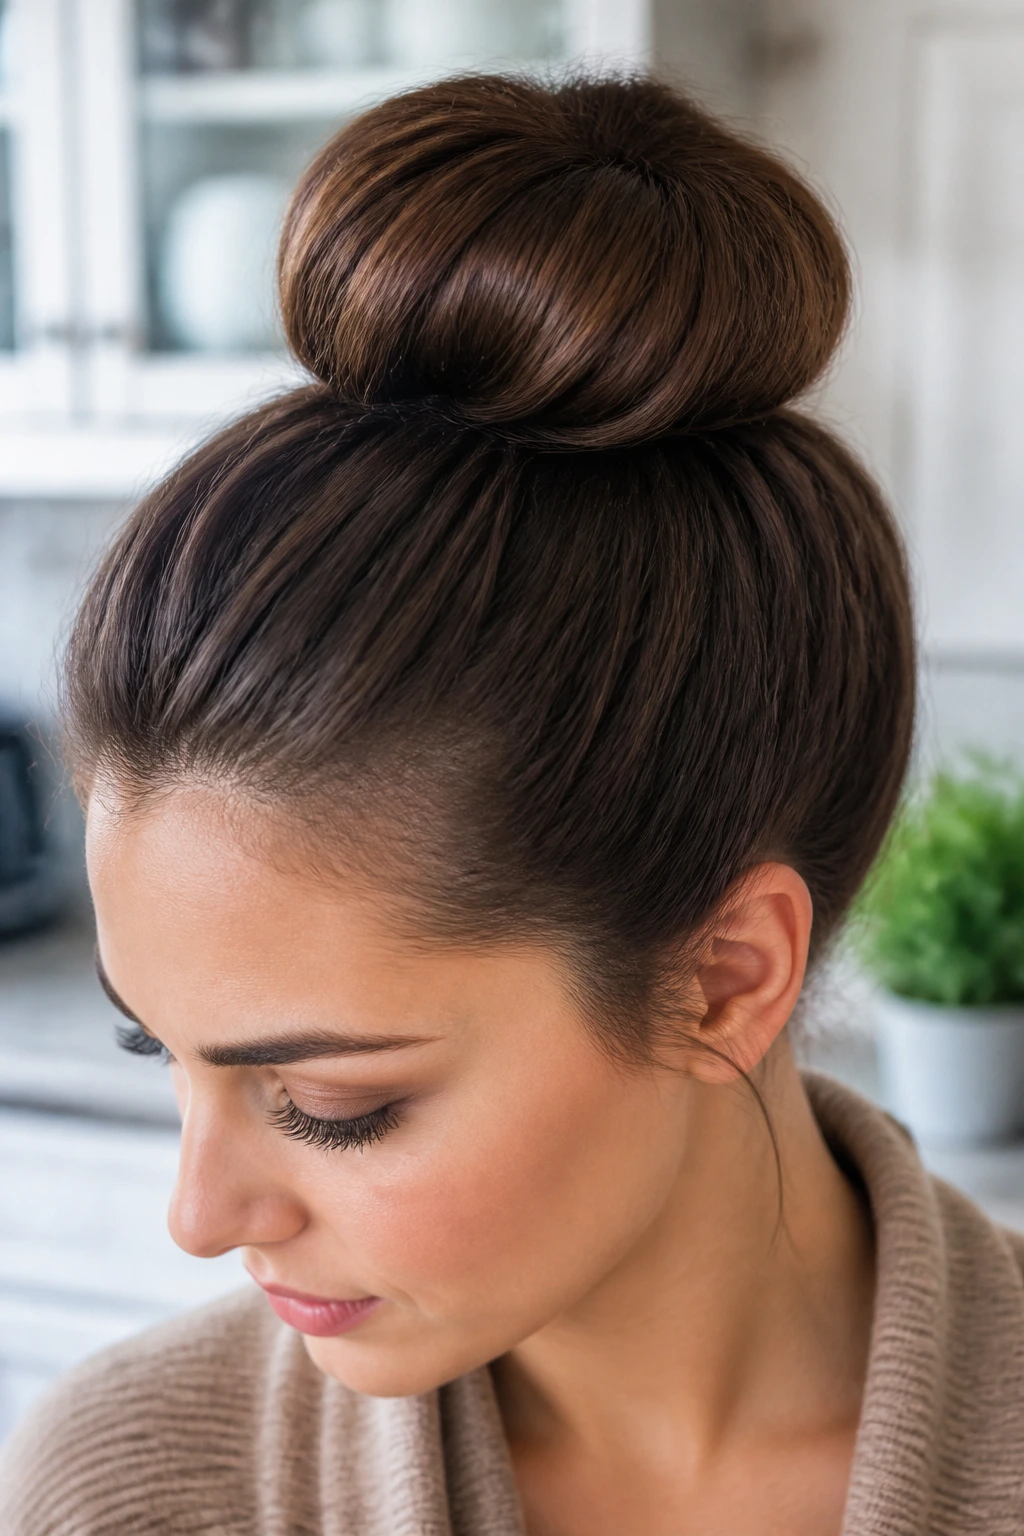
A sock bun is the neat one in the family. It uses a bun cushion or rolled shape to build a smooth circle, which gives you a fuller knot without having to pile every strand into a tight ball.
Pull the hair through the donut or cushion, fan it around the ring, then tuck the ends underneath until the surface looks even. The shape is cleaner than a messy bun and more even than a hand-twisted coil. It’s especially useful if your hair is fine and you want more visible size.
If you like symmetry, this one behaves. If you don’t, it still works, but the bun cushion helps hide the small gaps that fine hair likes to create.
11. Side-Swept Top Knot
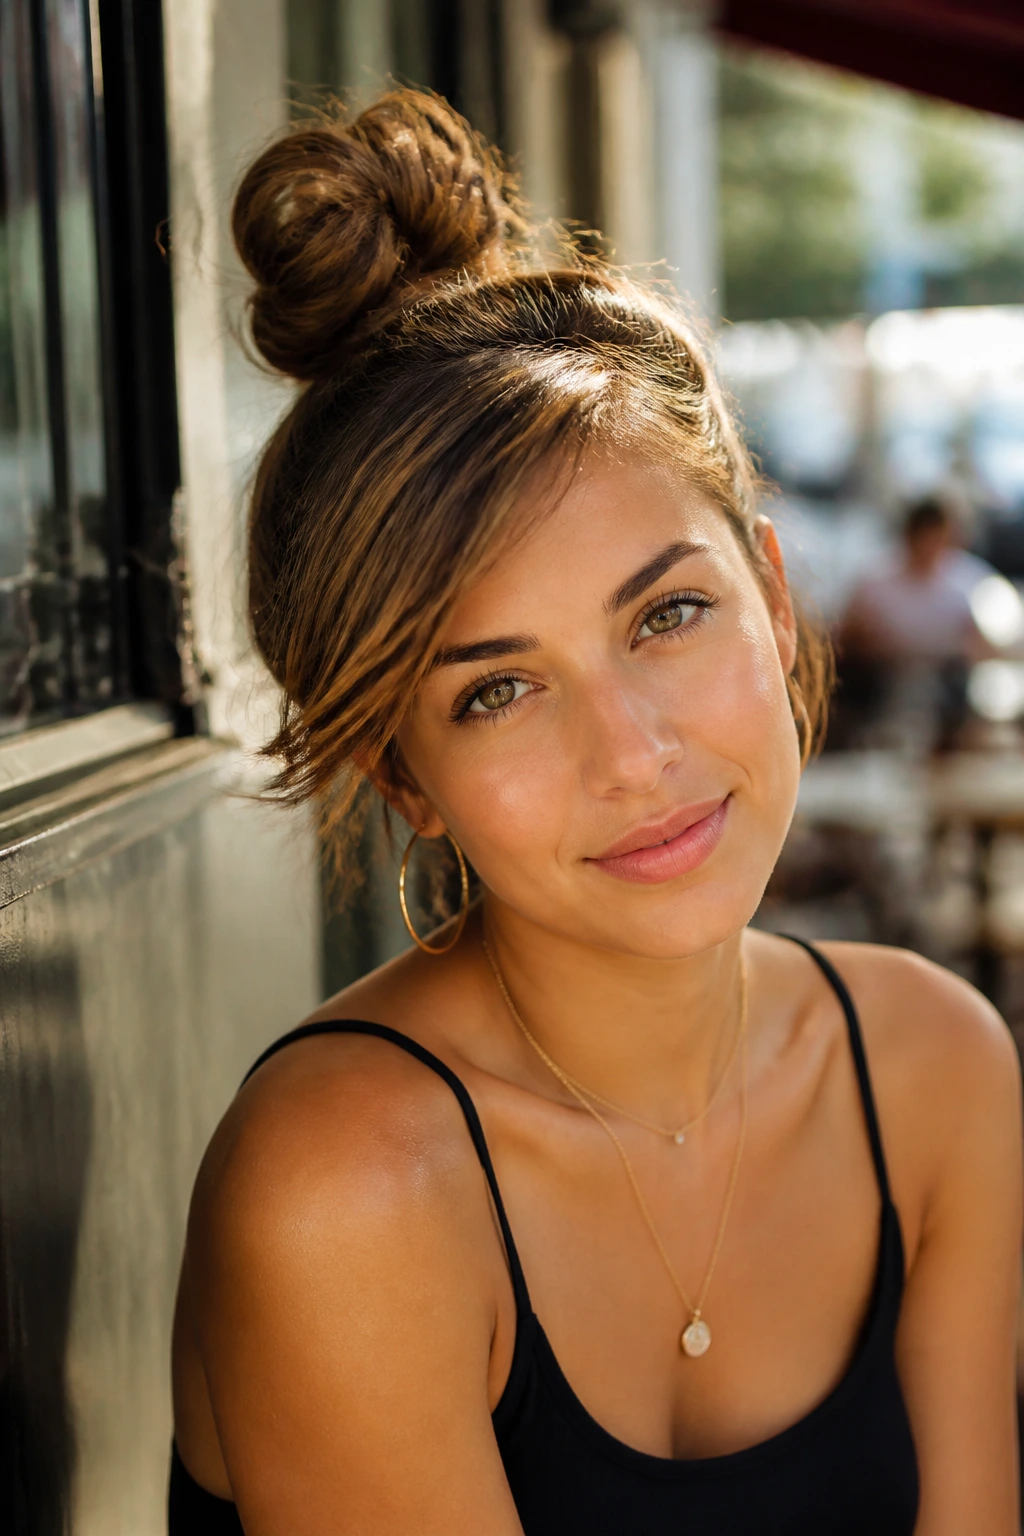
Not every knot has to sit in the dead center. Shifting it a little to the left or right softens the whole look and makes the style feel less rigid, especially with a side part or long earrings.
Gather the hair just off-center at the crown, then twist and pin as usual. The change is small, maybe an inch or two, but it changes how the bun balances your face. A side-swept knot also works well when one side of your hair is flatter than the other, because the asymmetry looks intentional.
Where to Place It
Try it slightly above the highest point of the eyebrow arch on the fuller side of your face. That placement tends to feel balanced instead of lopsided, and it gives the style a little movement without making it look tilted.
12. Double-Twist Top Knot
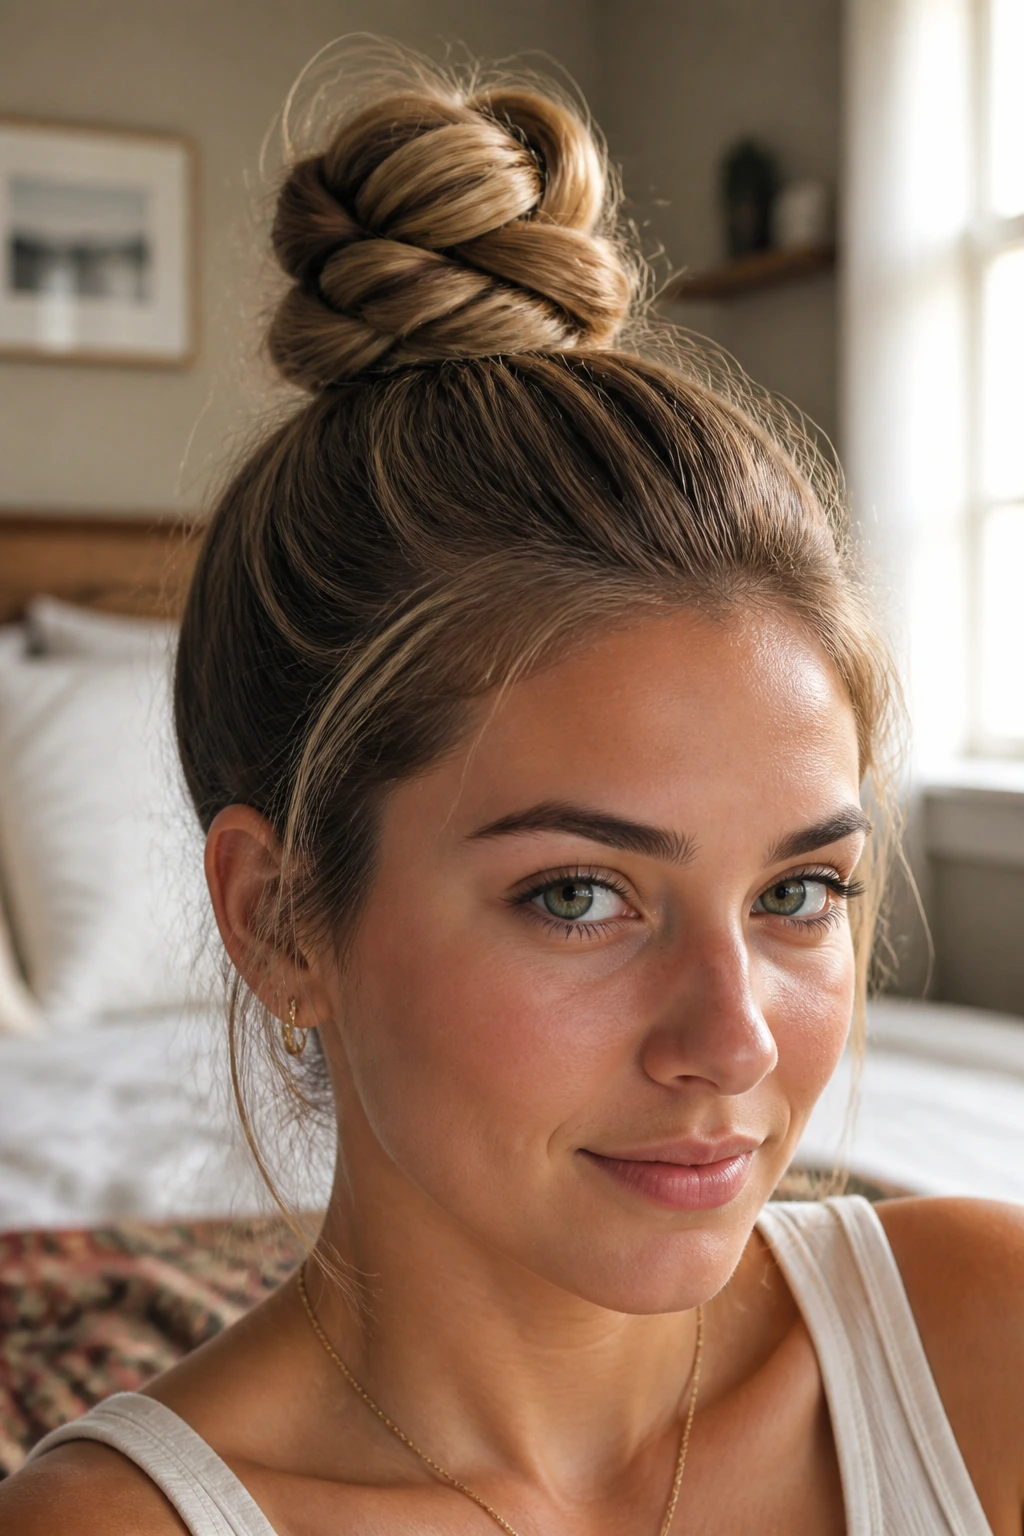
Split the ponytail into two ropes and you get more control over the shape. That matters when you’re dealing with thick or layered hair that wants to balloon out into a bulky lump the second it gets wrapped.
Twist each half separately, then wrap them in opposite directions before pinning. The doubled texture keeps the knot from looking too dense. You also get a cleaner finish at the base, because the hair distributes more evenly around the anchor point.
I reach for this one when one single twist feels too thick to manage. It’s a small change, but it makes the bun easier to pin flat against the crown.
13. The Bubble-Chain Top Knot
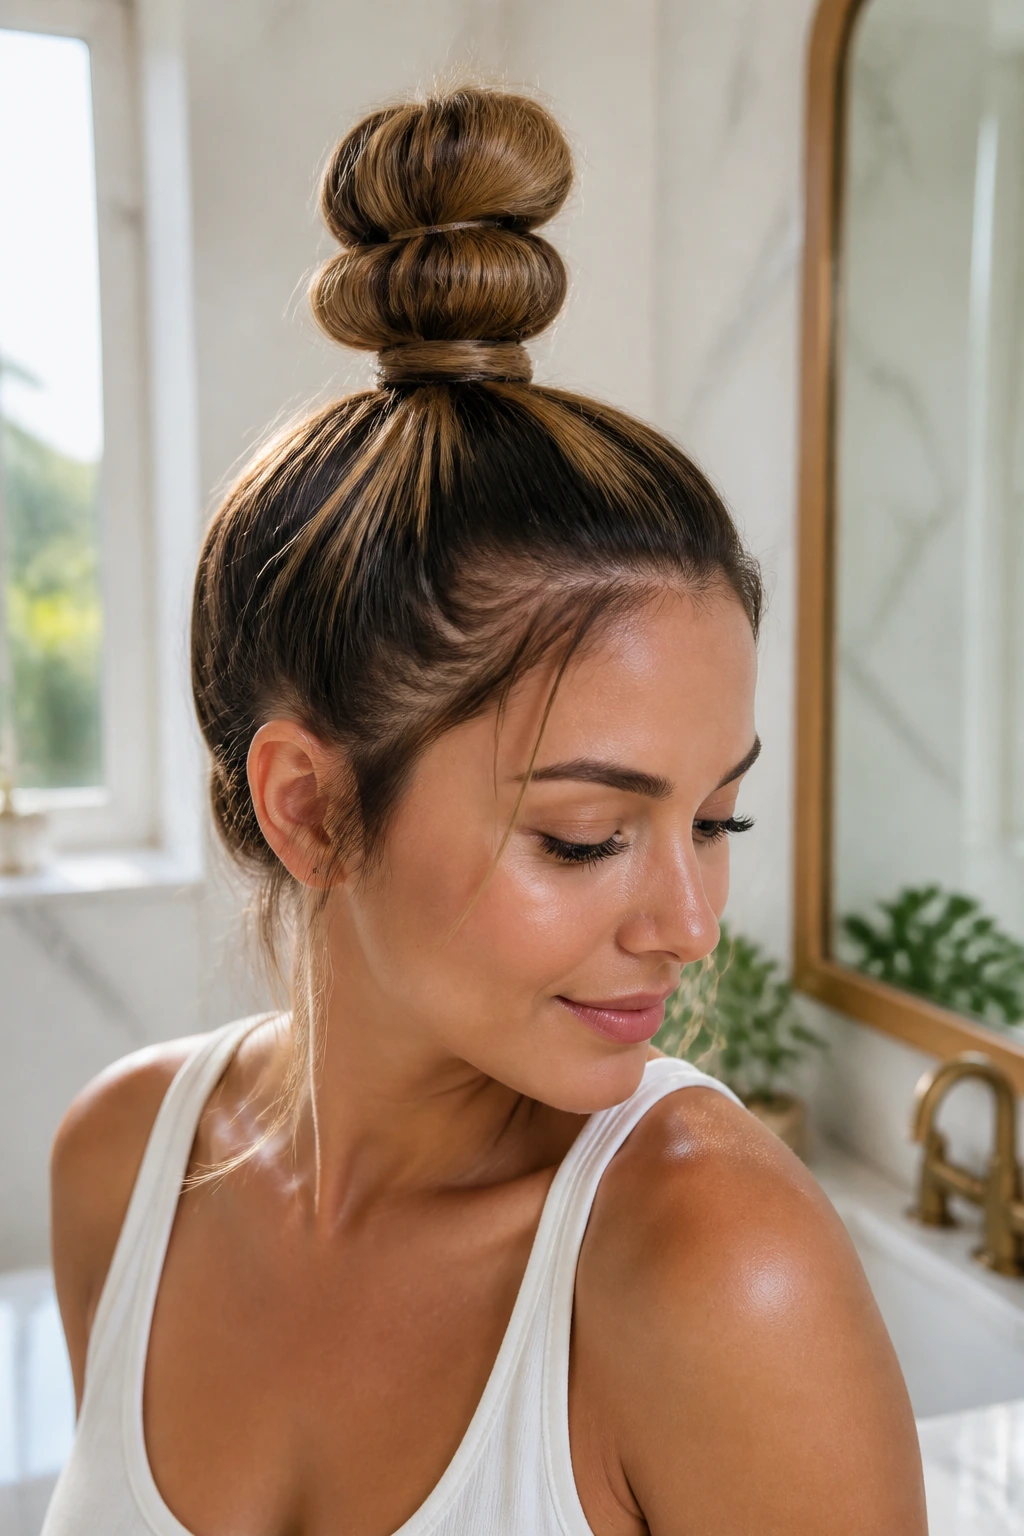
If you want volume without teasing the whole head, this is the move. Create a ponytail, add small elastics every 2 to 3 inches down the length, then gently tug each section to make little bubbles before wrapping the chain into a knot.
The bubble sections give the bun a stacked, rounded look that reads playful rather than fussy. It also helps on long hair because the sections spread out the bulk instead of forcing it into one heavy coil.
What to Watch For
Don’t pull the bubbles too hard or the sections will go lopsided. A soft, even tug is enough. Once the knot is pinned, mist the surface lightly so the bubbles keep their shape without turning crunchy.
14. Face-Framing Knot
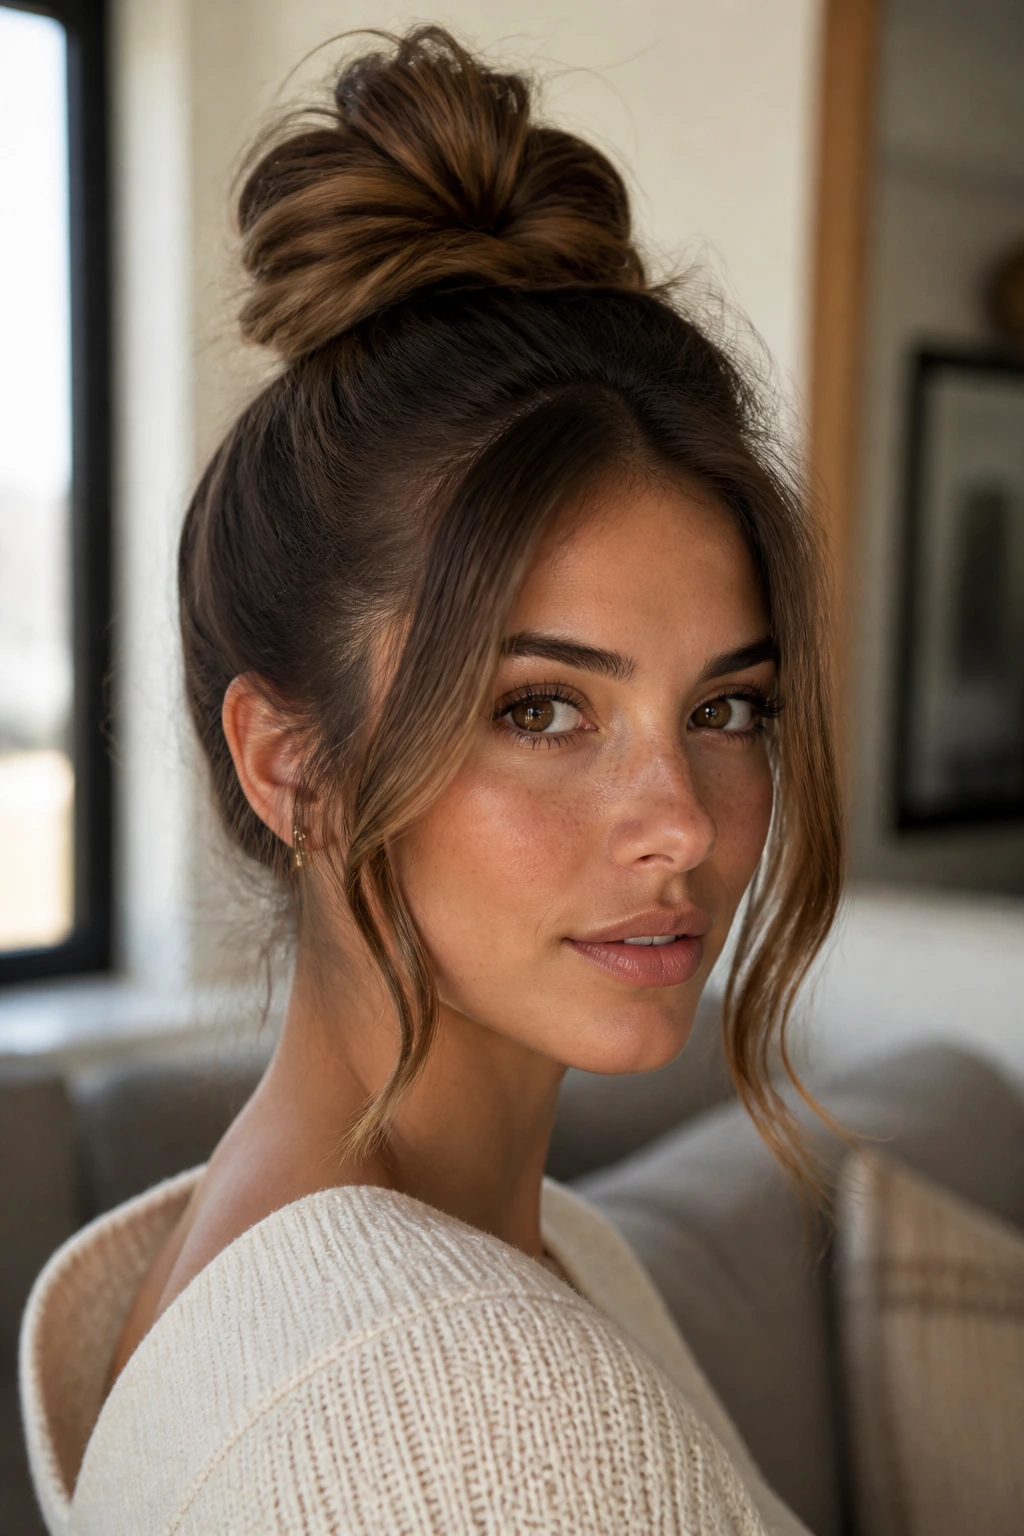
Two loose pieces at the front can soften an entire top knot. That’s the difference between a style that feels pulled back and a style that feels finished.
Leave a thin section on each side of the face before you gather the ponytail. Then curl or bend the ends just a touch so they sit at cheekbone or jaw length. You do not need perfect symmetry. In fact, a tiny mismatch can make the whole thing look less staged.
This version is one of my favorites for straight hair that tends to look severe when it’s all tucked away. The front pieces break up the shape and keep the top knot from dominating the face.
15. Wavy Texture Knot
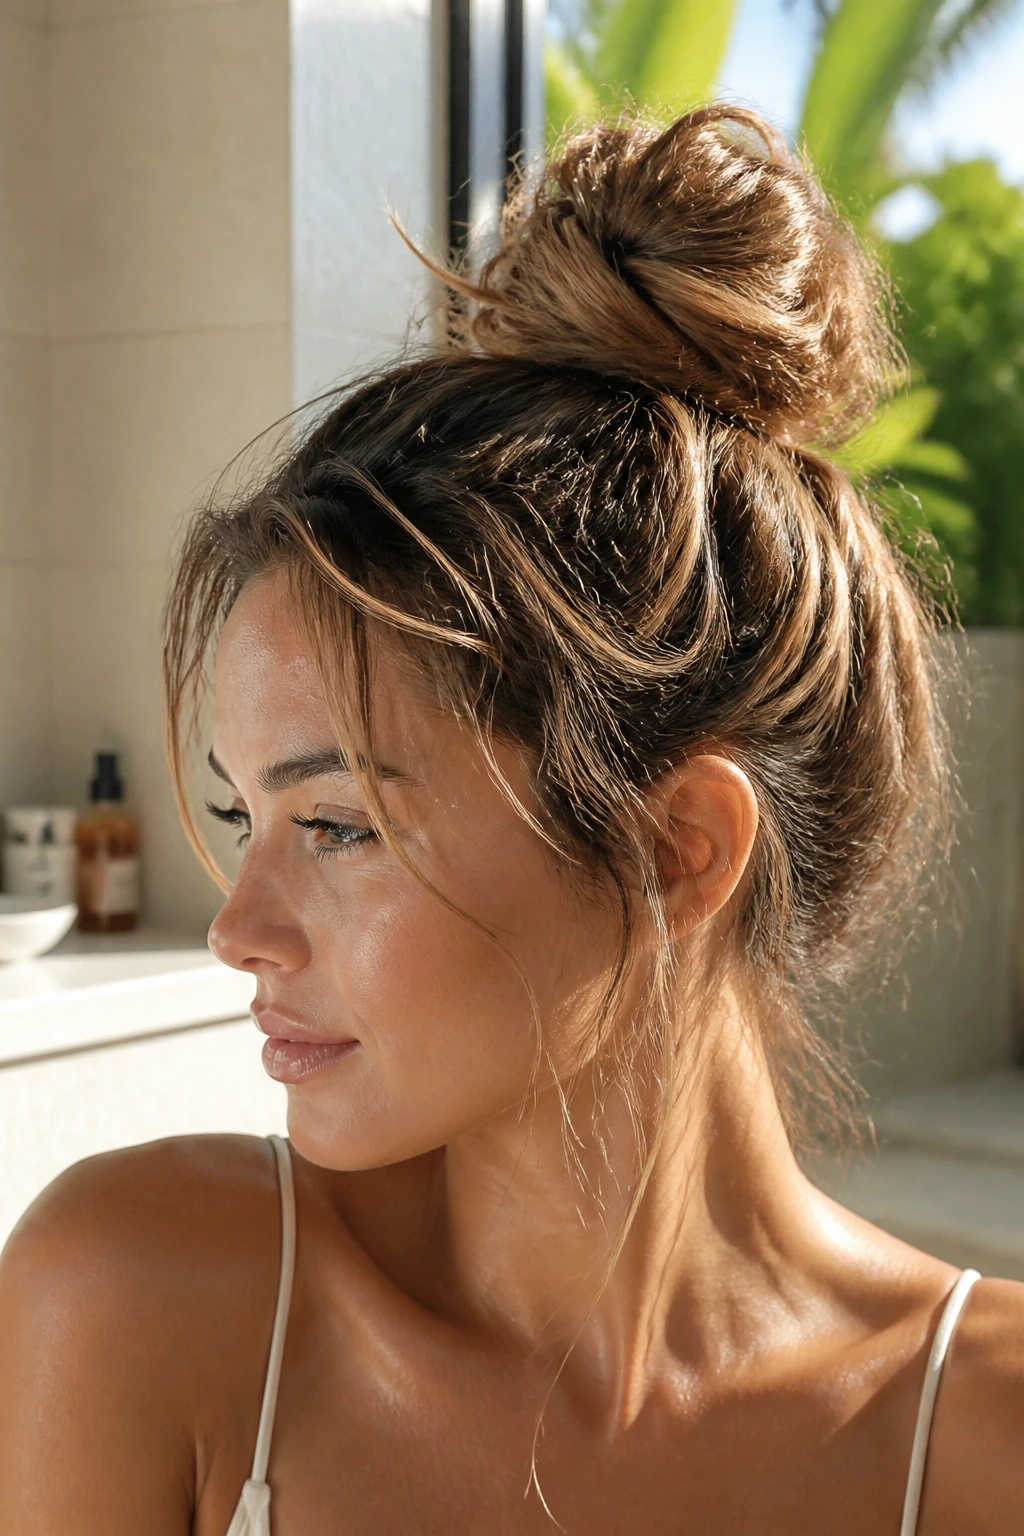
Why does this one look better when it isn’t too neat? Because the wave pattern gives the bun movement. If the hair has a bend in it already, forcing a rigid coil strips away the part that made it interesting in the first place.
Use a salt spray or texturizing mist on damp hair, then rough-dry it until it’s about 80 percent dry. Twist loosely and leave a few edges soft around the bun. The knot should look like it landed there on purpose, but not like you spent half an hour arranging it.
This is a good style for hair that already has some wave on its own. It works less well on very pin-straight hair unless you add texture first.
16. The Voluminous Loose Knot
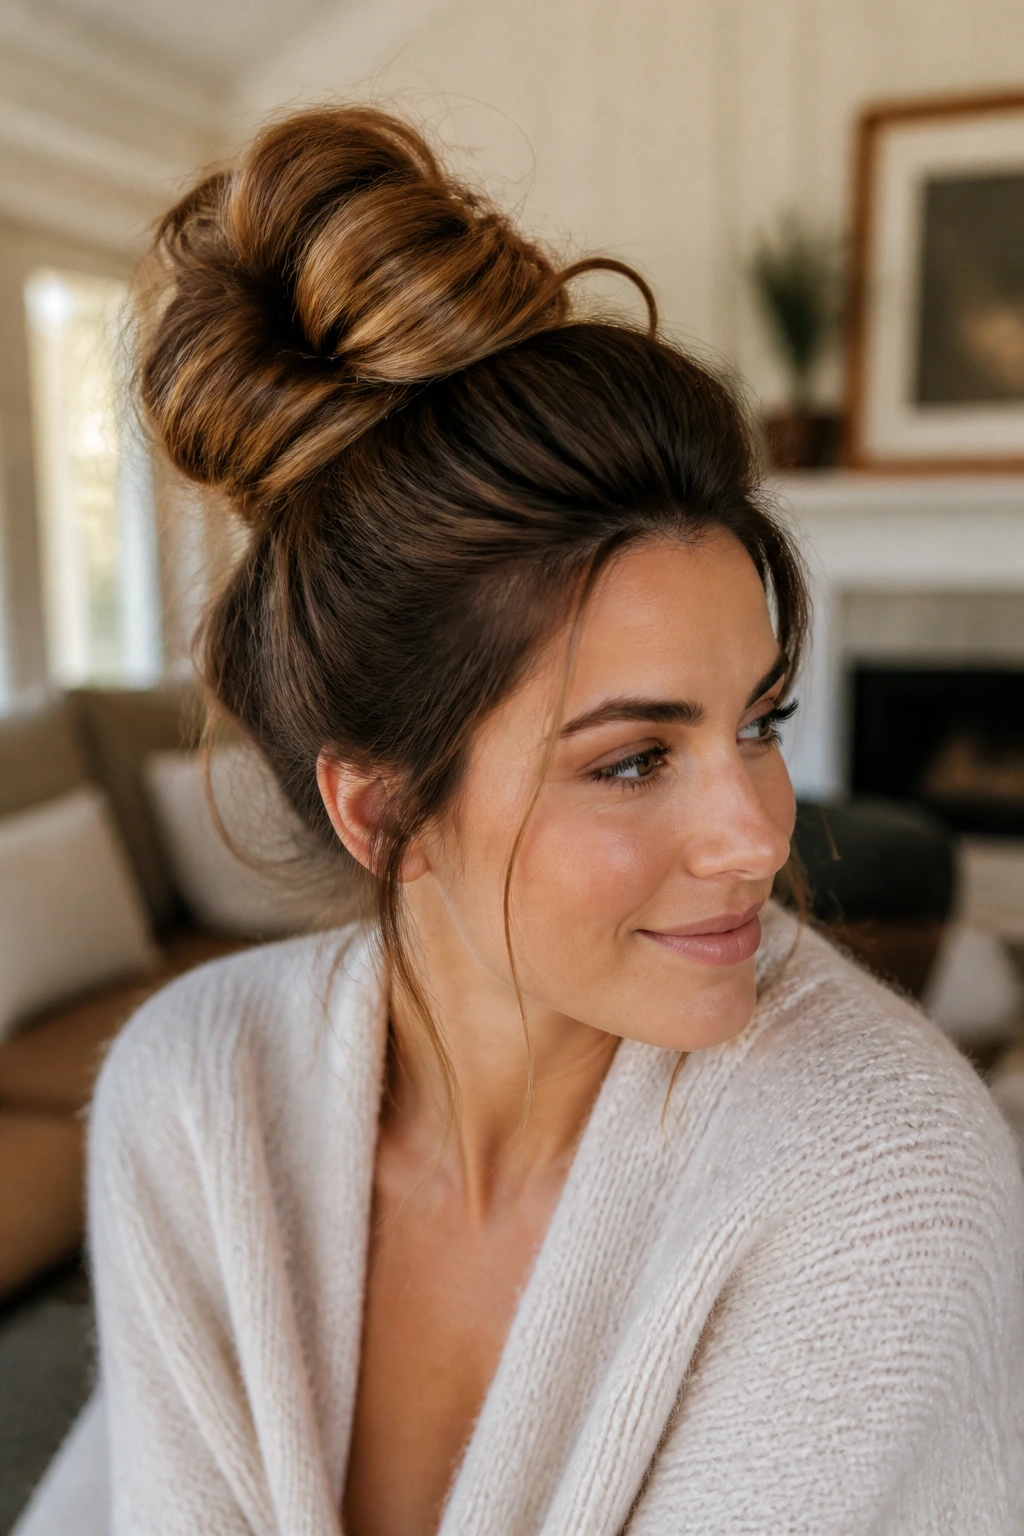
Thick hair can look heavy fast, so a loose knot gives the shape room to breathe. Pull the hair up, but stop before the crown gets smoothed flat, then coil the length in a wide, soft circle.
The important part is not overpinning. One pin at the base, one at the side, and one tucked low is often enough. If you add too many, the bun starts to look packed instead of full.
Quick Check
If the knot sits like a small cloud rather than a hard ball, you’re in the right zone. That airy shape is what keeps the style from feeling weighed down, especially when the hair has a lot of density.
17. The Minimal Everyday Knot
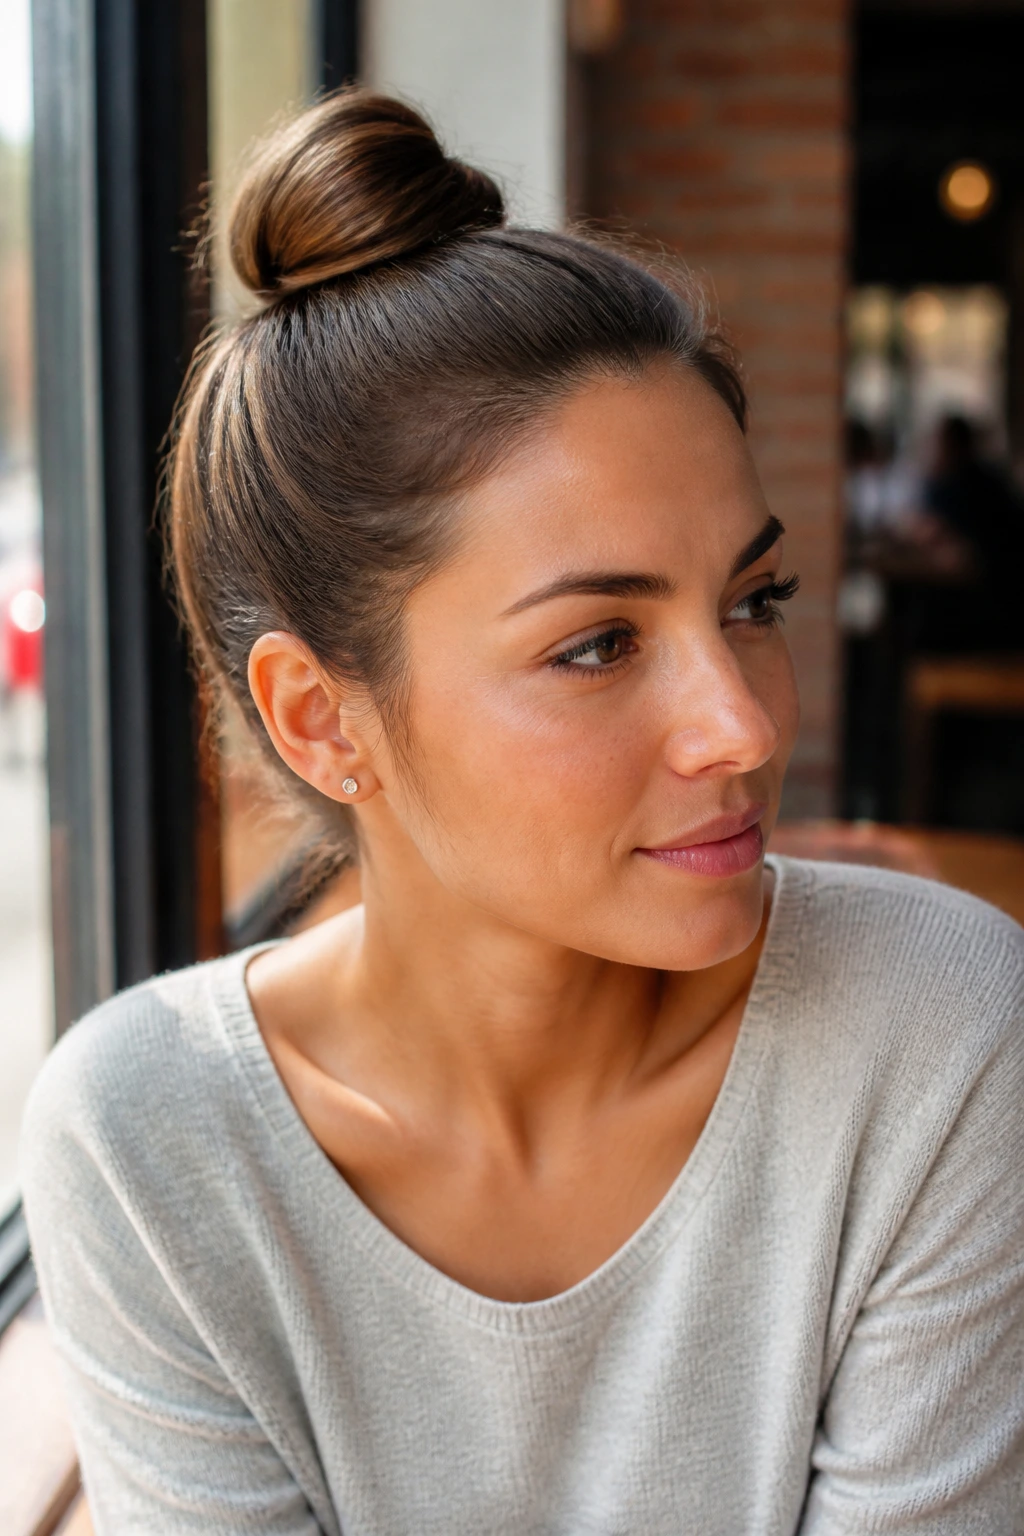
A clean knot with no obvious pins is the one I reach for when I don’t want to think. It’s plain in the best way. You can wear it with a hoodie, a button-down, or a dress, and it never fights the rest of the outfit.
Brush the hair straight back, gather it at the crown, twist once, wrap, and tuck the ends under the base. Use bobby pins only where the shape tries to split. That restraint keeps the style from looking fussy.
This knot is ideal when the hair is cooperating but not doing anything special. It doesn’t ask for extra volume or a lot of product. It just needs a clean section and a firm anchor.
18. The Headband Top Knot
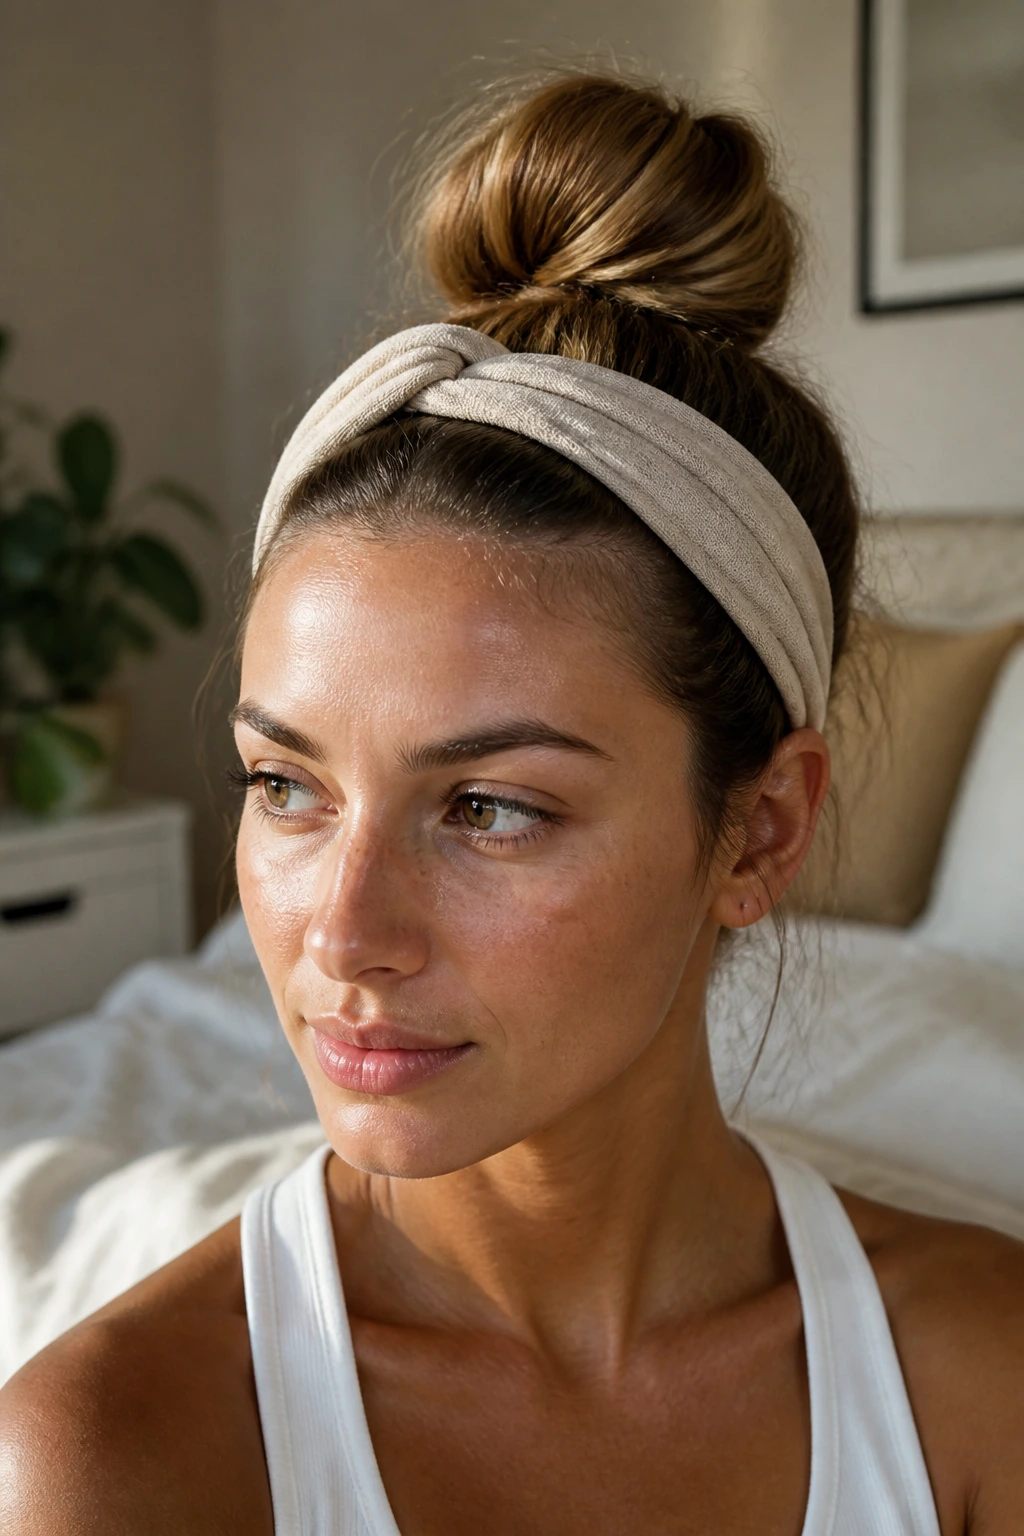
A headband can do more than hold hair back. It gives the knot a frame, especially when you want the front smooth and the bun soft. The shape feels a little retro, a little sporty, and it works faster than most styles here.
Put the headband on first, then gather the hair into a high knot so the band sits just in front of the bun base. A fabric headband tends to be kinder than a rigid one if your hairline is sensitive. It also keeps flyaways from creeping into the face during the day.
This is one of the easiest ways to make a simple knot look styled without adding extra pins or texture sprays. Small effort. Clear payoff.
19. Wrapped-Scrunchie Top Knot
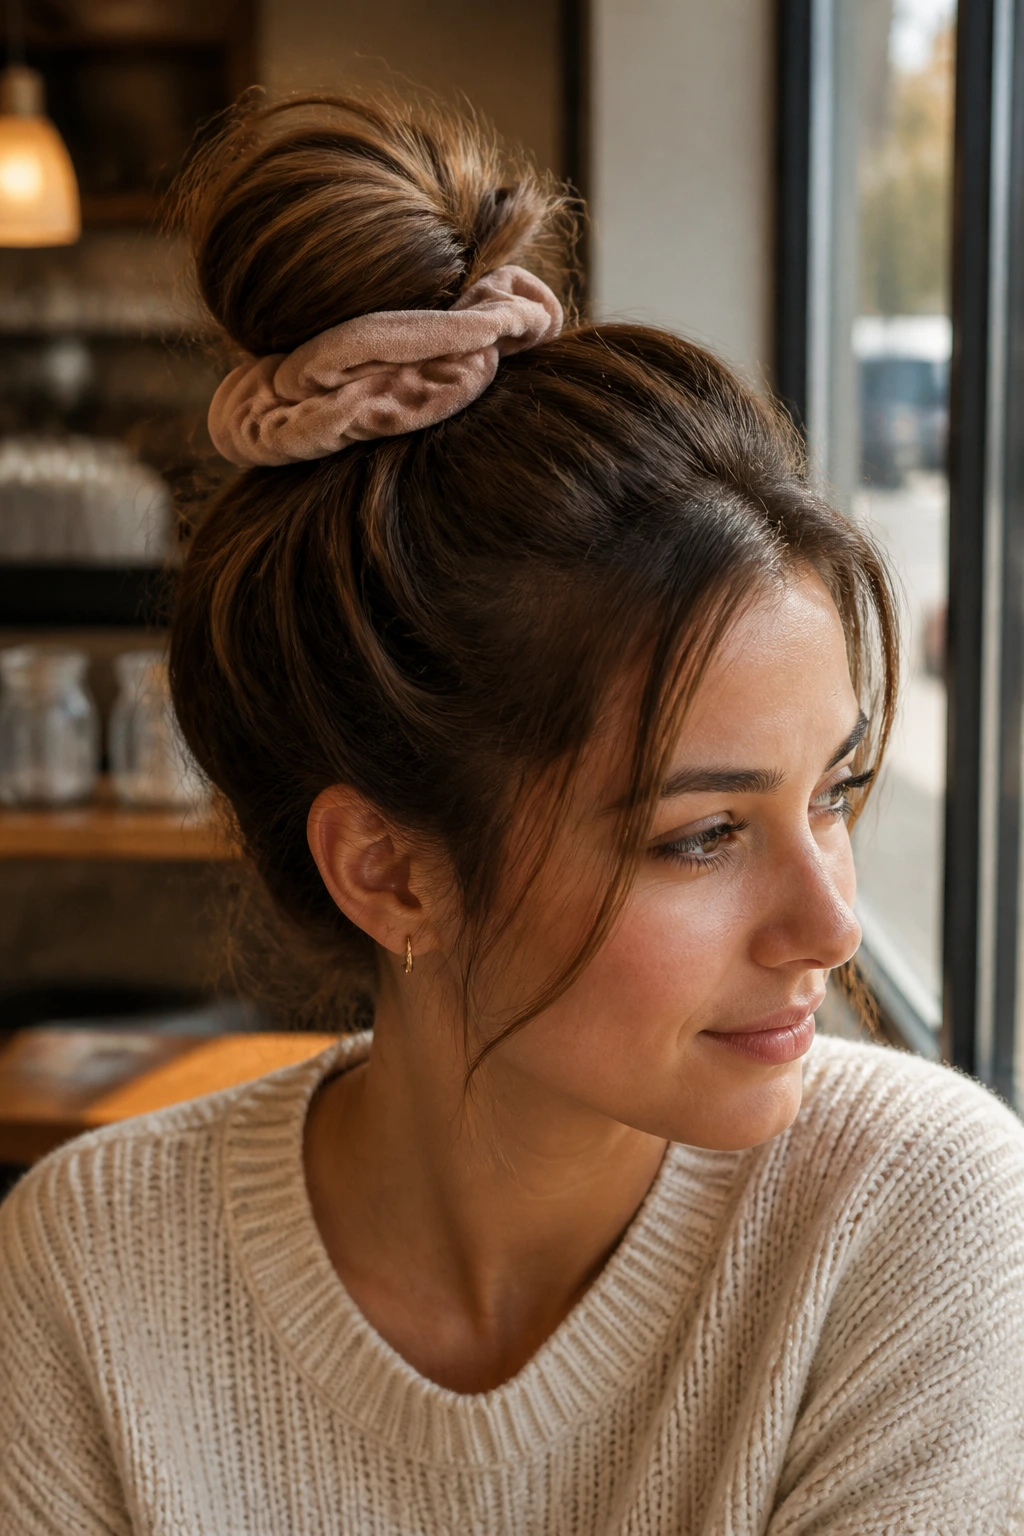
The scrunchie does half the work. Its fabric cover softens the look of the elastic and gives the knot a little cushion at the base, which helps if your hair is fragile or breaks easily at tight ties.
Gather the hair high, loop the scrunchie once, and twist the length around it in a loose coil. Let the scrunchie show a bit. Hiding it completely defeats the point. A visible scrunchie creates a softer, more casual finish.
Best Use Case
Choose this for days when you want less tension and more comfort. It’s also a nice option for second-day hair, because the fabric tie doesn’t compress the roots as hard as a narrow elastic can.
20. French-Braid Feed-In Knot
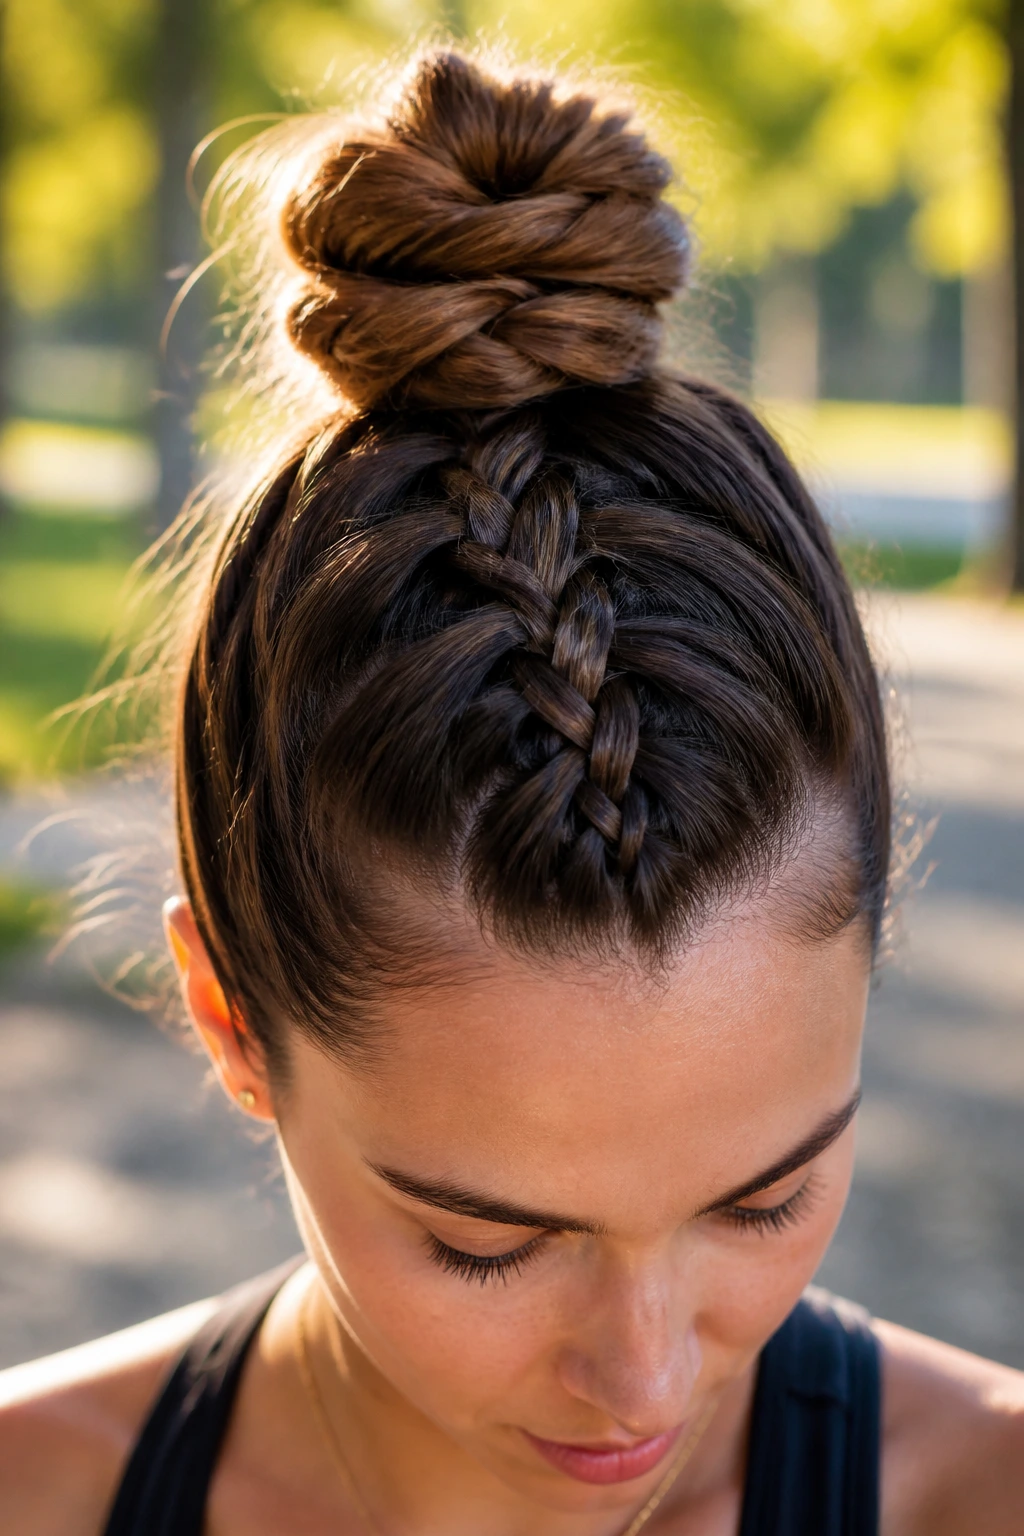
If your hair gets fuzzy at the hairline, a French braid leading into the knot keeps everything locked down. The braid acts like a built-in runway, guiding the hair toward the bun and stopping the shorter pieces from escaping too early.
Braid from the front hairline back to the crown, then finish the braid into a ponytail before wrapping it into a knot. The result is neat but not sterile. You still get the bun shape, just with more structure at the front.
This style is worth the extra few minutes when humidity is doing rude things to your hair. It holds better than a plain knot and looks more detailed without needing a lot of accessories.
21. The Fanned-Out Knot
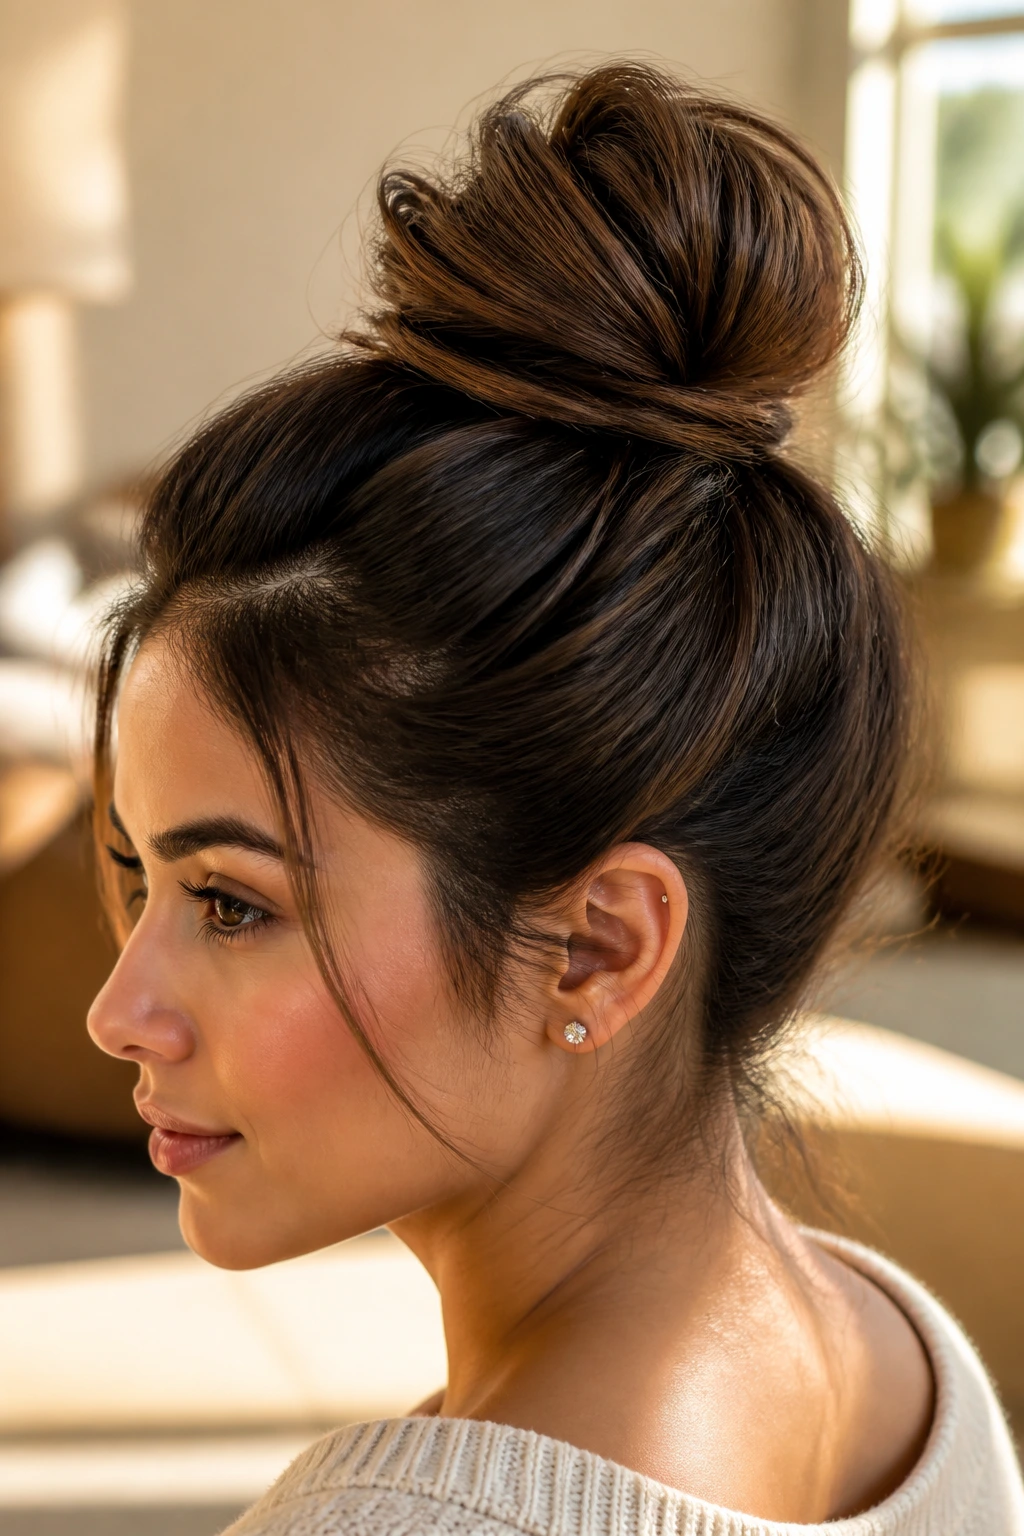
This one starts with a little lift. After securing the ponytail, fan the hair outward before tucking it into the knot so the bun opens wider than a tight spiral would.
That widened shape works beautifully on dense hair, because it spreads the bulk across the crown instead of stacking it in one dense lump. It also gives the style a softer profile from the side. The outline matters here more than the finish.
A pair of crossed pins at the base usually keeps the fanned shape stable. If the bun looks too flat, tug the outer edges lightly until it has a rounder silhouette.
22. Off-Center Top Knot
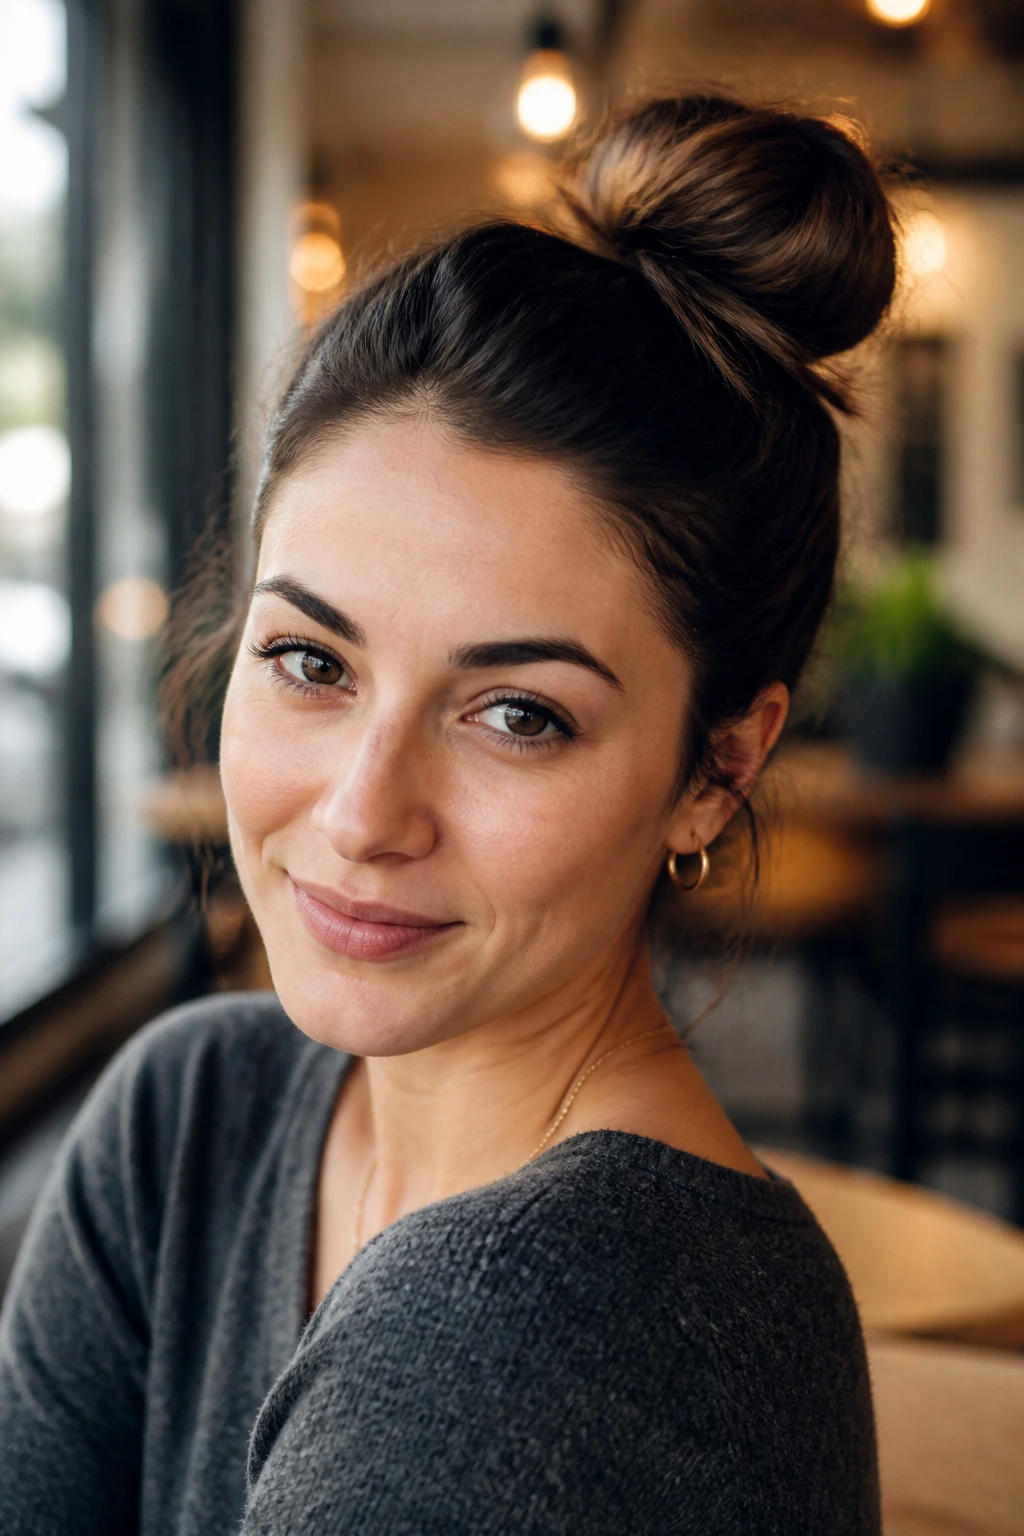
A knot placed a little off the centerline has a sharper, more personal feel than one that sits dead center. It’s not dramatic. It’s just enough to break the symmetry.
Shift the ponytail a bit toward one temple or just behind one ear, then wrap as usual. The off-center placement plays especially well with a deep side part or a face shape that looks better with a little movement across the forehead.
I like this version when the rest of the outfit is simple. It adds interest without needing an accessory. Quiet style. No fuss.
23. Sleek Knot with Face-Framing Pieces
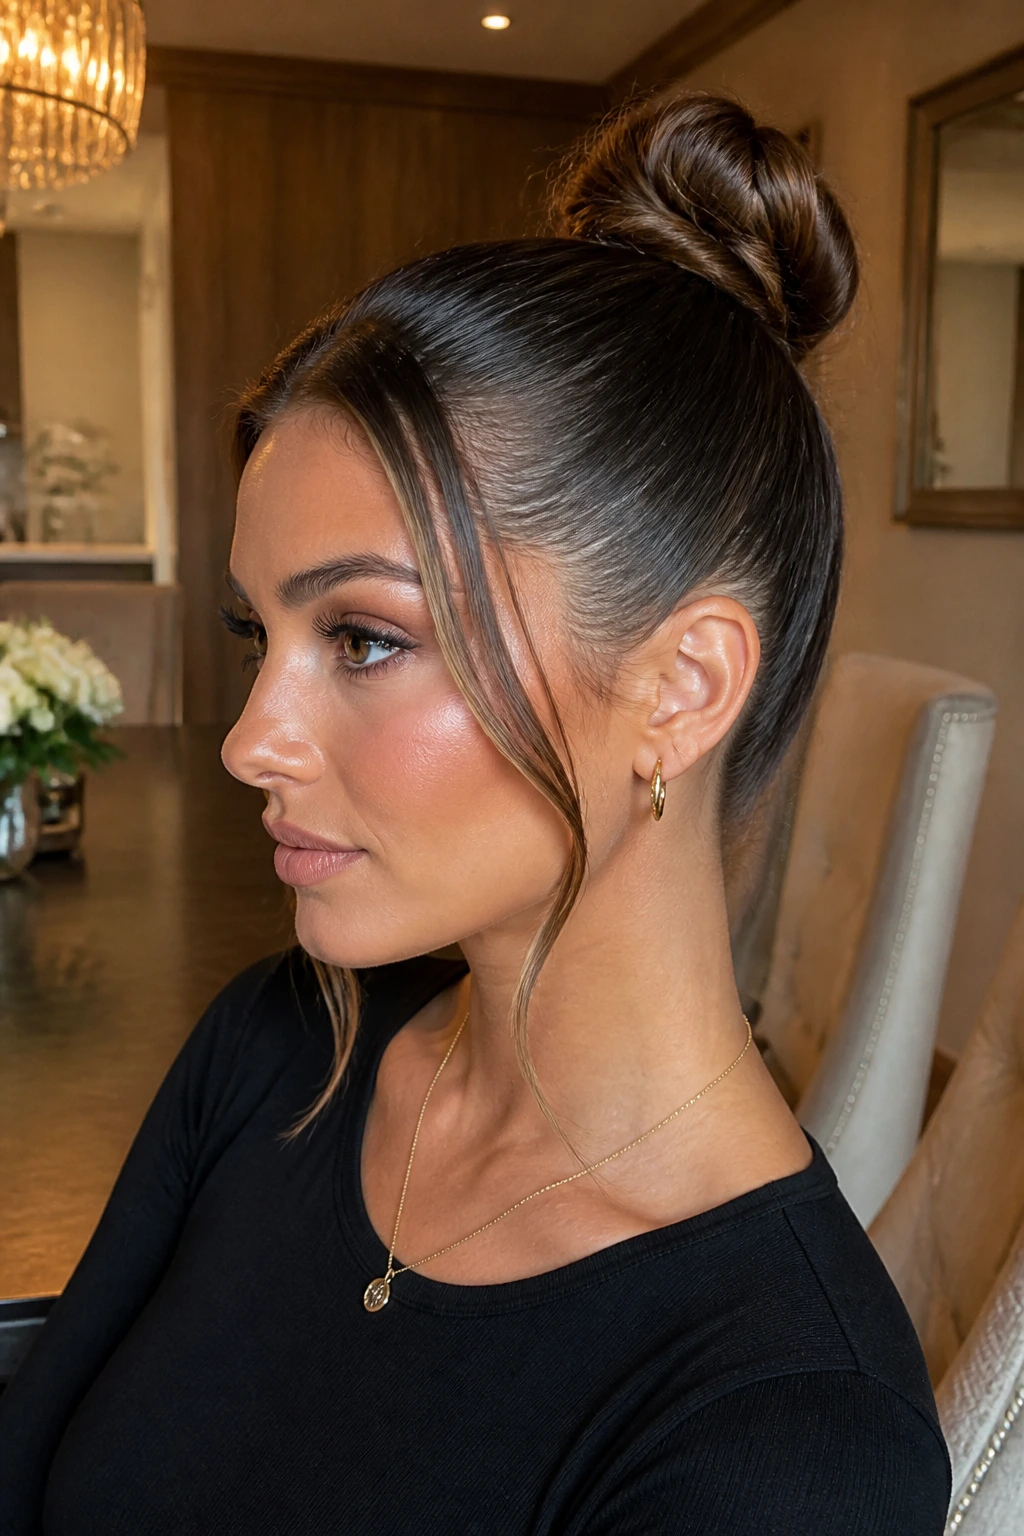
The contrast is what makes this one work. The crown stays glossy and smooth, while two thin face-framing pieces stay loose at the front. That balance keeps the style from feeling too stiff.
Flat-brush the hair back with a tiny amount of serum, then leave out the front strands before you gather the rest into a knot. Curl the loose pieces away from the face just slightly so they bend instead of hanging straight. Straight pieces can look accidental here.
This is the version I’d choose for dinner or any setting where you want polish without the severe pull of a fully slicked-back bun. It reads neat, but not stiff.
24. The Low-High Hybrid Knot
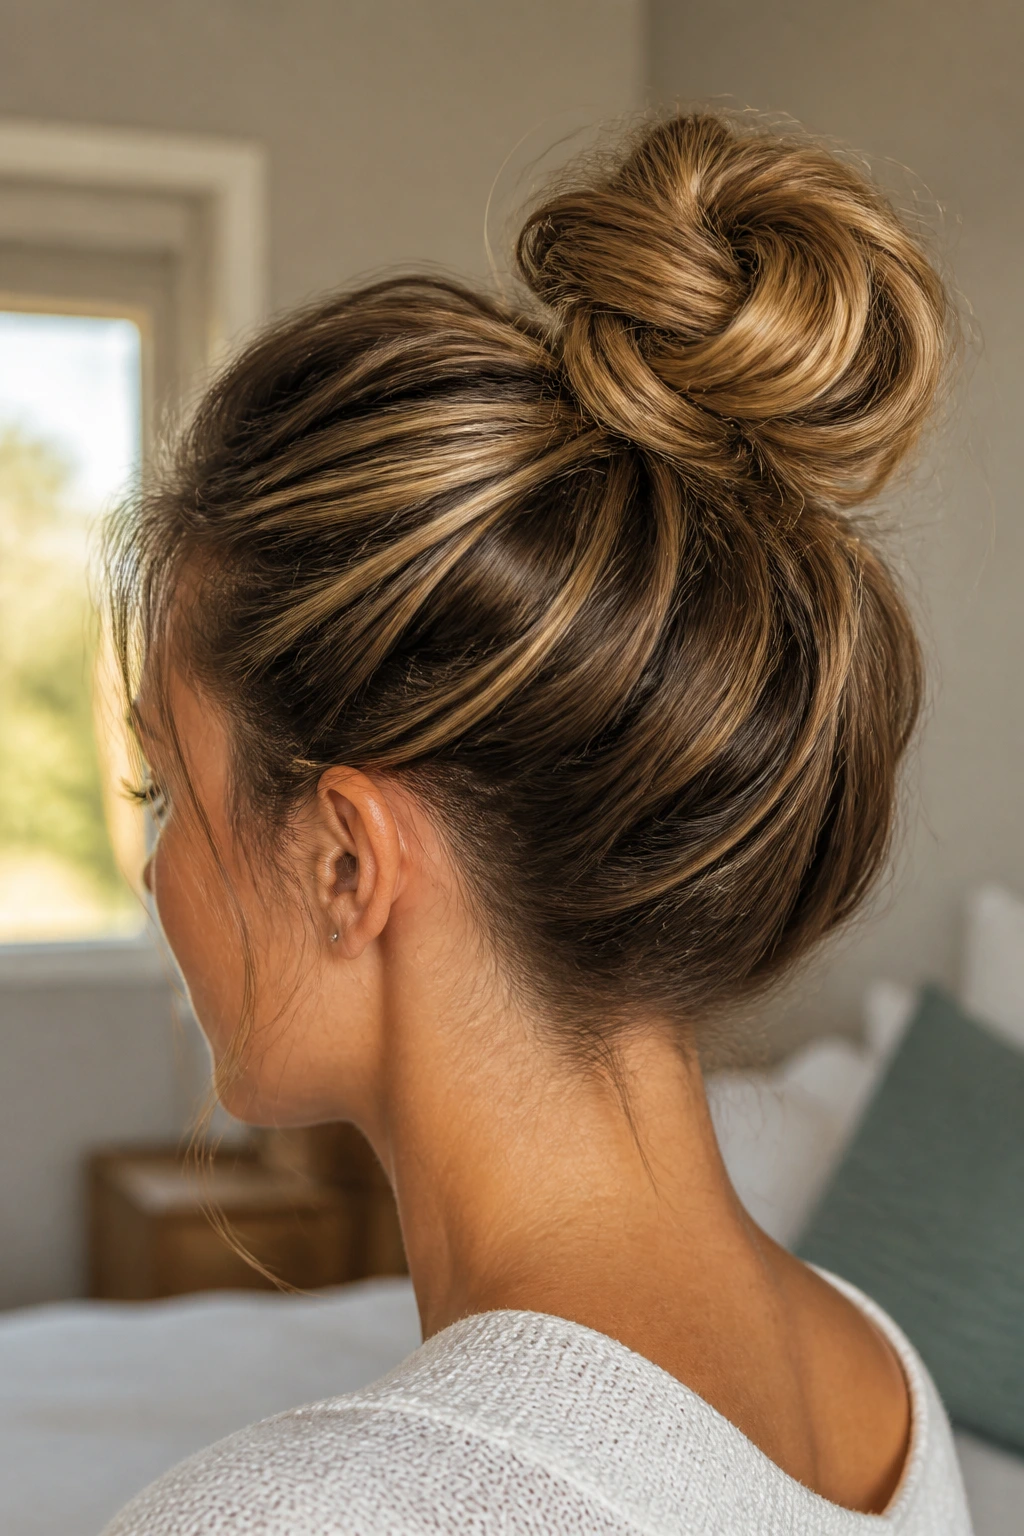
Some knots sit in that useful middle space between a low bun and a crown knot. That’s the hybrid. It’s high enough to lift the face, low enough to stay comfortable under a coat collar or a car seat headrest.
Place the ponytail just above the back of the head, not at the true crown, then twist into a compact bun. This shape is less likely to tip backward, which matters when your hair is long or heavy. It also works well if you want to keep the ears free but don’t want the bun to feel towering.
This is one of those styles that looks understated in a good way. Nothing flashy. Just balanced.
25. The Short Hair Mini Knot
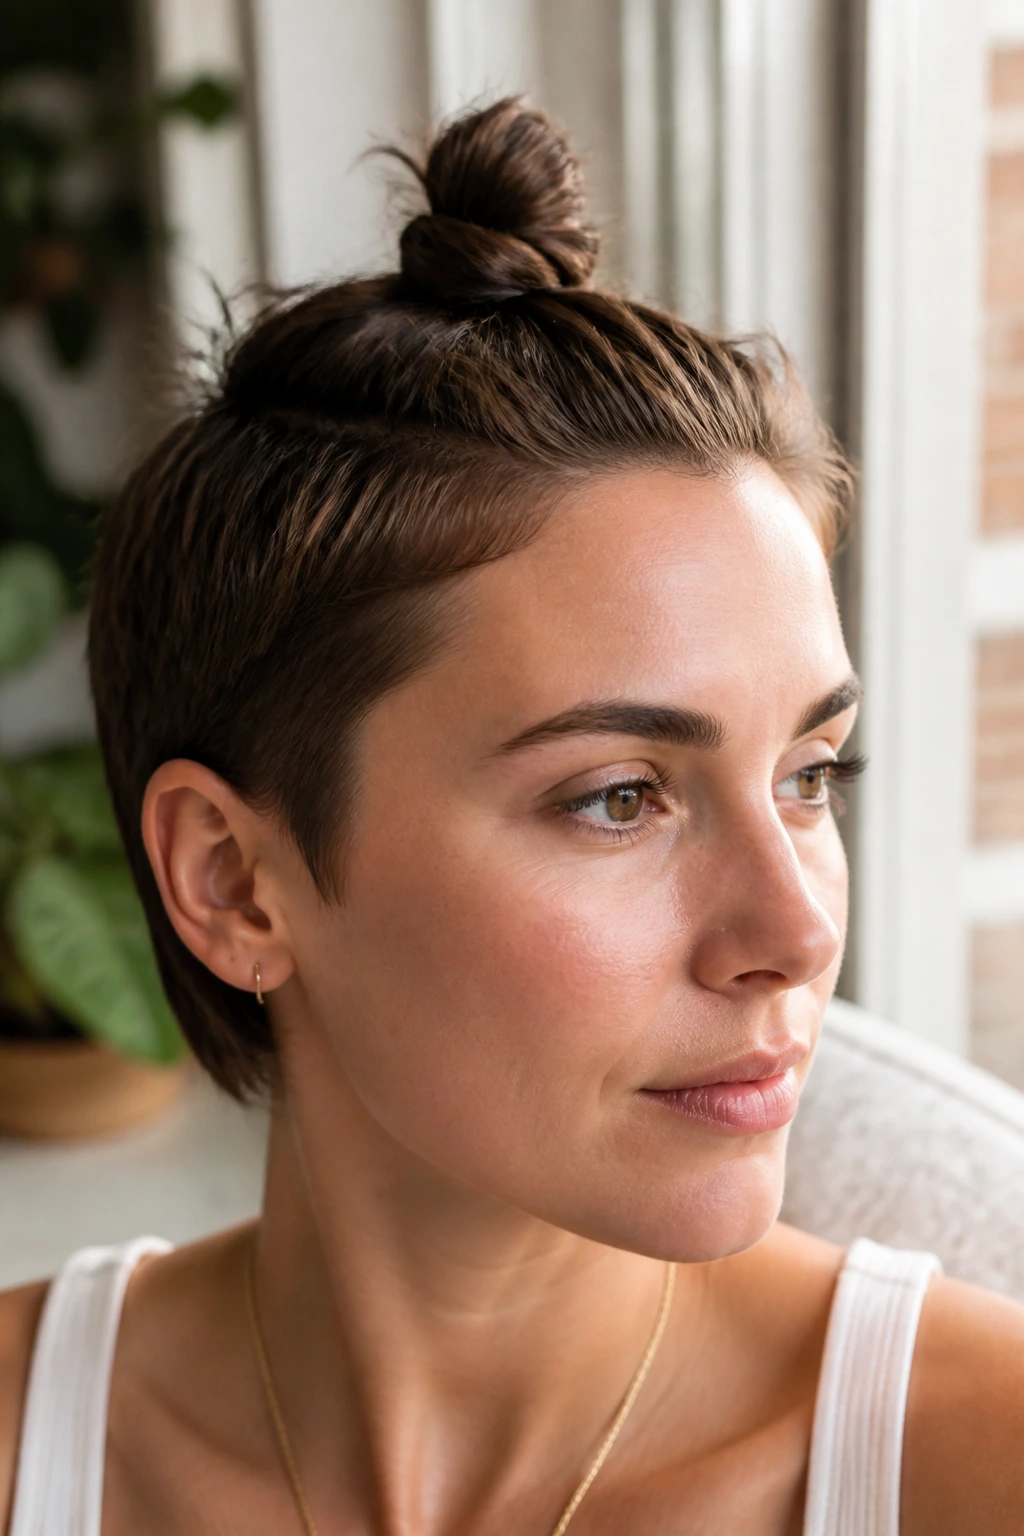
Can short hair really make it into a knot? Yes, if you stop expecting it to look like a full bun. A mini knot on a bob or long pixie is smaller, tighter, and often more interesting because it’s a little unexpected.
Gather only the top section, twist it once, and pin the ends close to the scalp. Tiny clear elastics help hold shorter layers before the pinning starts. If the hair is too short to coil, fold it under itself and treat it like a tucked twist instead.
A Useful Rule
For shorter hair, the knot should look intentional from the front and stable from the side. Don’t chase size. Chase shape.
26. The Thick Hair High Knot
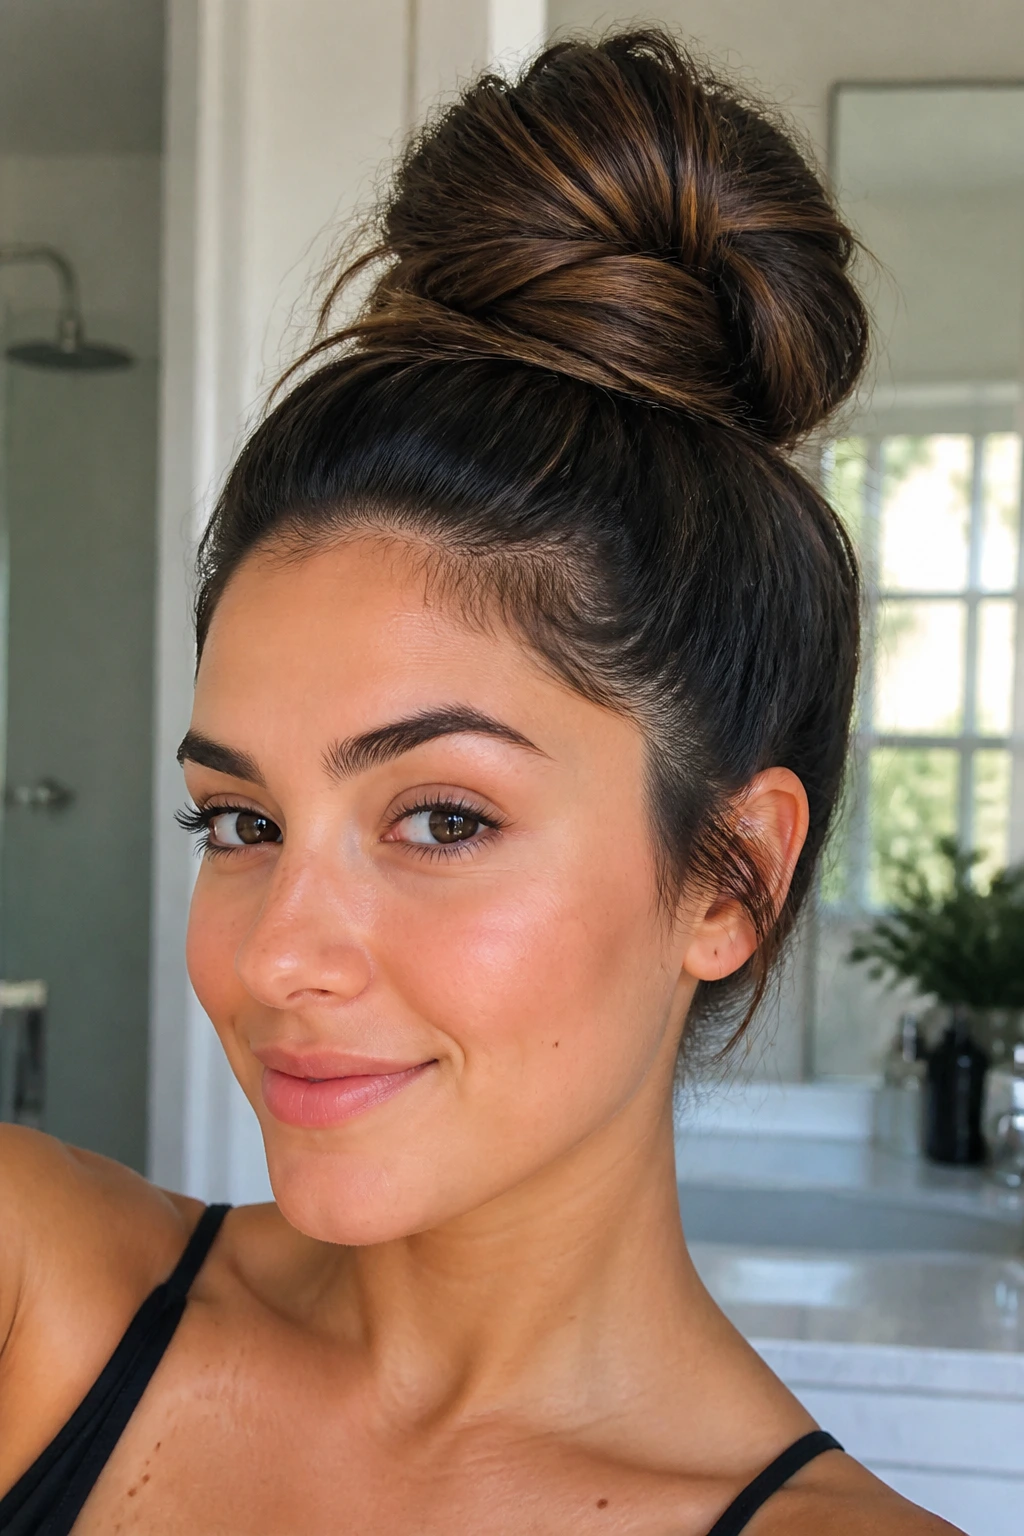
Thick hair needs a better anchor. One elastic usually isn’t enough if the strands are heavy, so split the hair into two ties or use a strong coil tie before wrapping the knot.
Pull the hair high, secure it, then divide the tail in half so the knot doesn’t become a single giant mass. The key is to spread the weight. If you pile it all into one wrap, the bun droops. If you section it, the shape holds more evenly.
Smart Fix
A second elastic hidden inside the base can make a huge difference. It keeps the ponytail from loosening before the pins even get a chance to do their job.
27. The Fine Hair Padded Knot
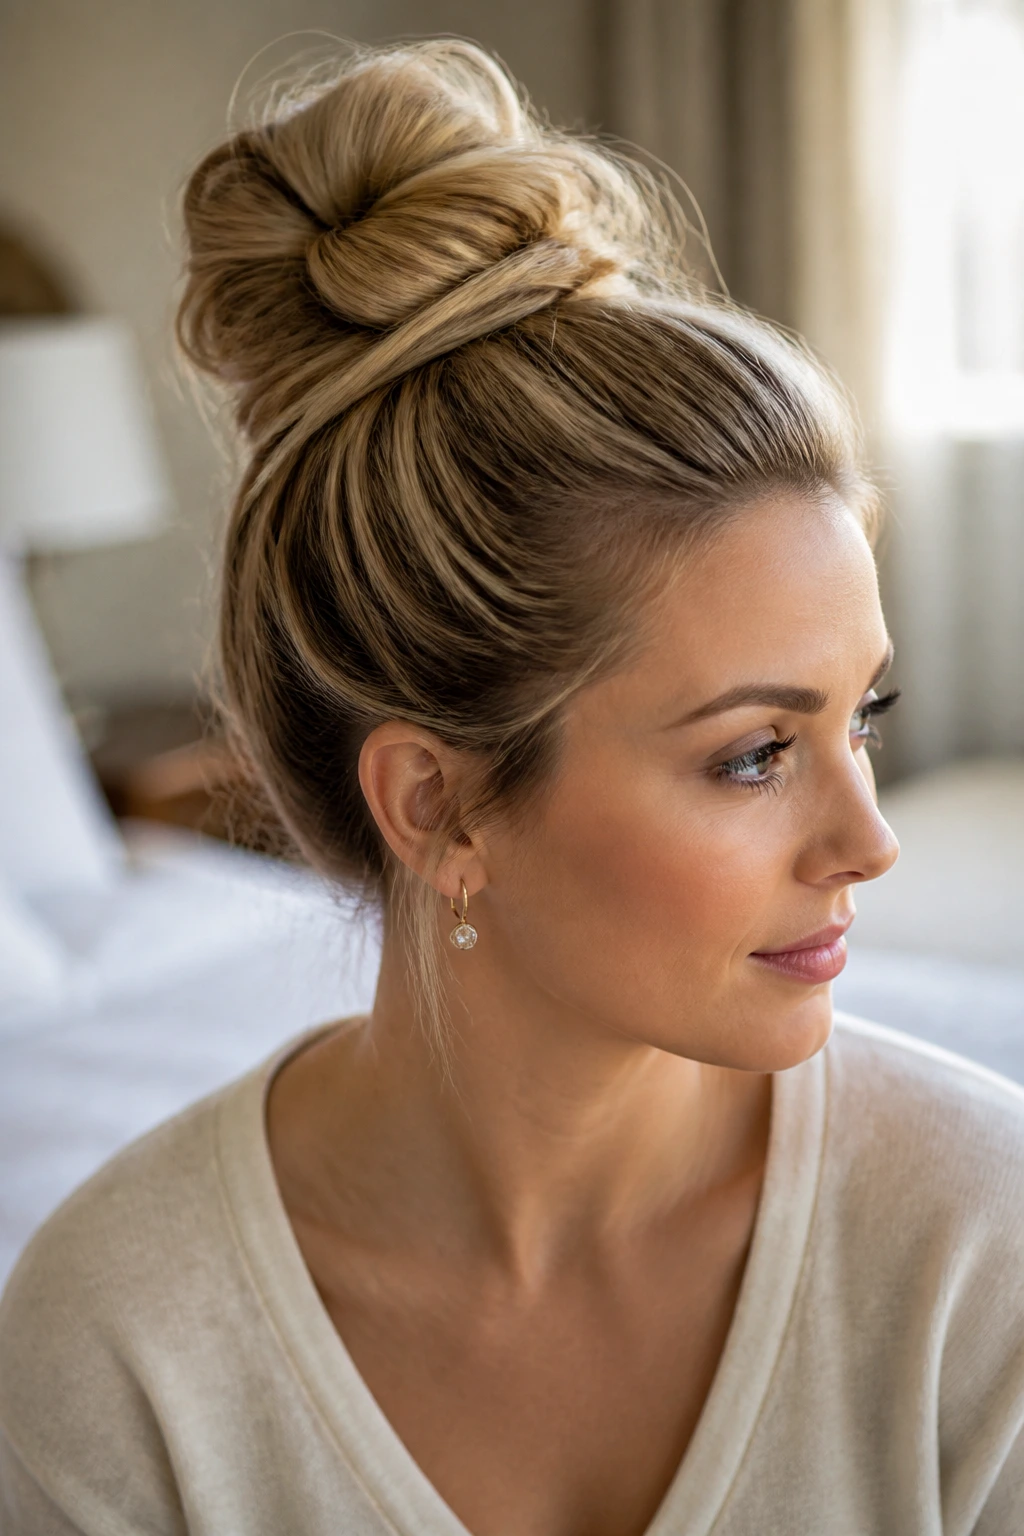
Fine hair usually needs a little architecture. That doesn’t mean it needs heavy product. It means it needs grip, shape, and a bit of lift at the base so the knot doesn’t collapse into a small blur.
Backcomb a small section at the ponytail base, then use a bun cushion or pad if you want the knot to look fuller. A light texturizing spray helps the hair hold the shape without turning it sticky. The goal is body, not crunch.
This version looks especially good when the hair is freshly washed and a little too smooth. A little padding solves a lot of the problem before the bun has a chance to fall flat.
28. Gym-Ready Secure Knot
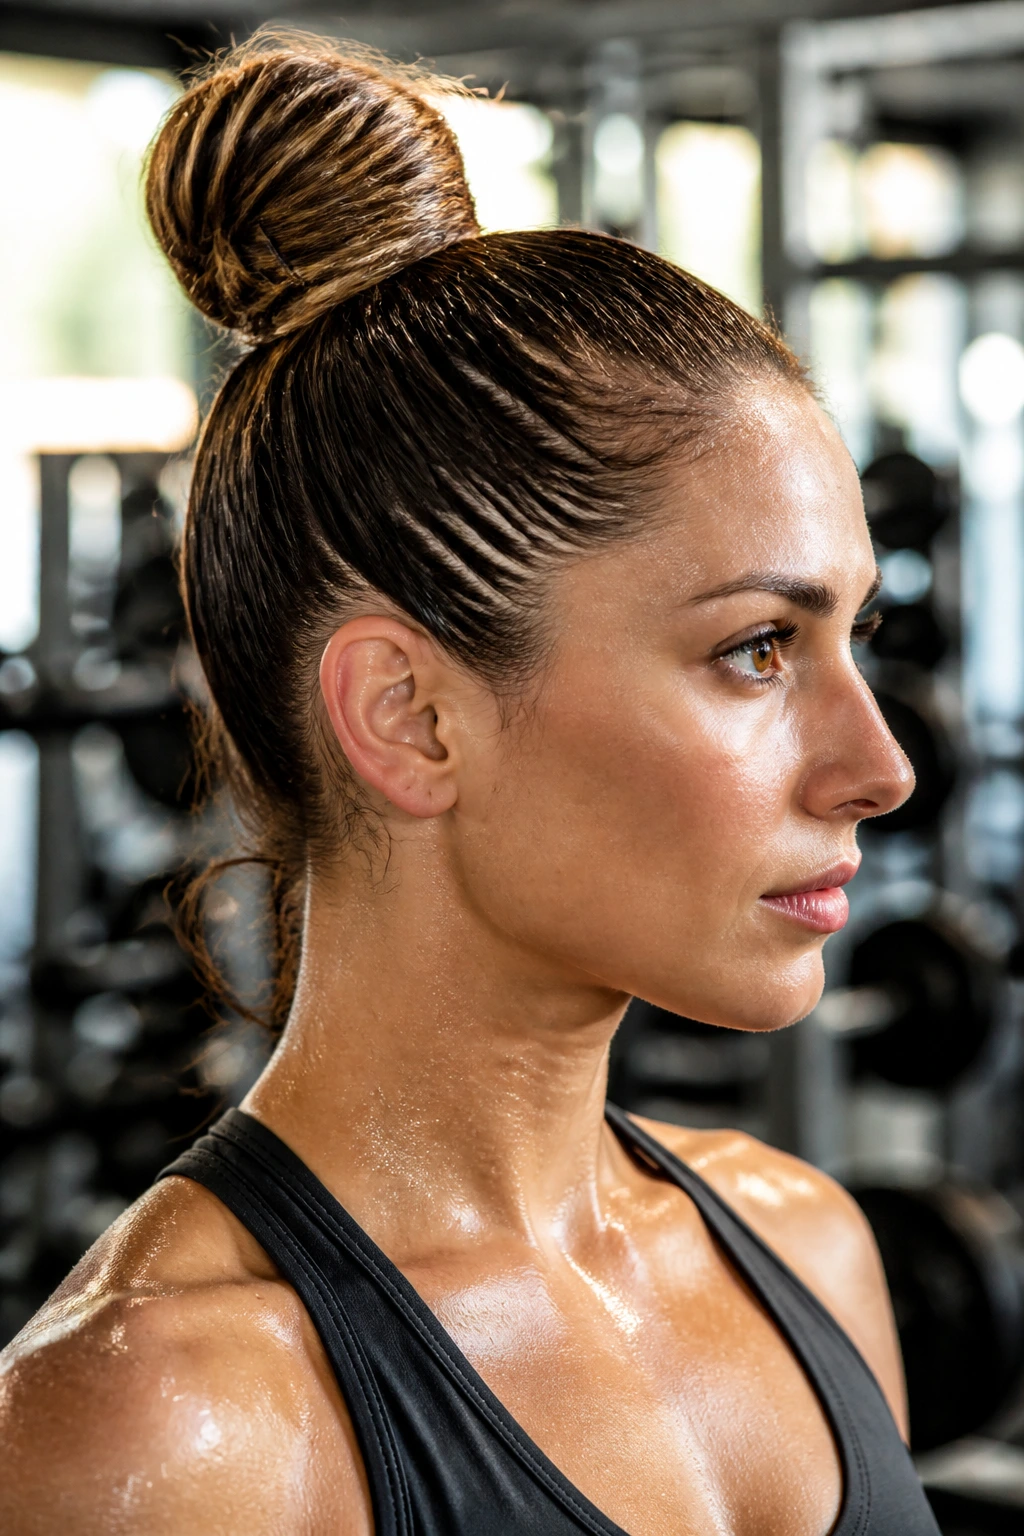
Sweat changes everything. A gym-ready knot needs more grip than shine, and it needs to stay put through jumps, bends, and a towel wipe or two.
Use a tight but not painful high ponytail, then wrap the length into a compact coil and pin it in at least three directions. Cross two bobby pins near the base and one at the side. That triangle of support helps the knot resist movement better than a single pin ever will.
Skip silky sprays here. They make the hair prettier, sure, but they also make the knot slip. Texture is the friend in this one.
29. The Date-Night Polished Knot
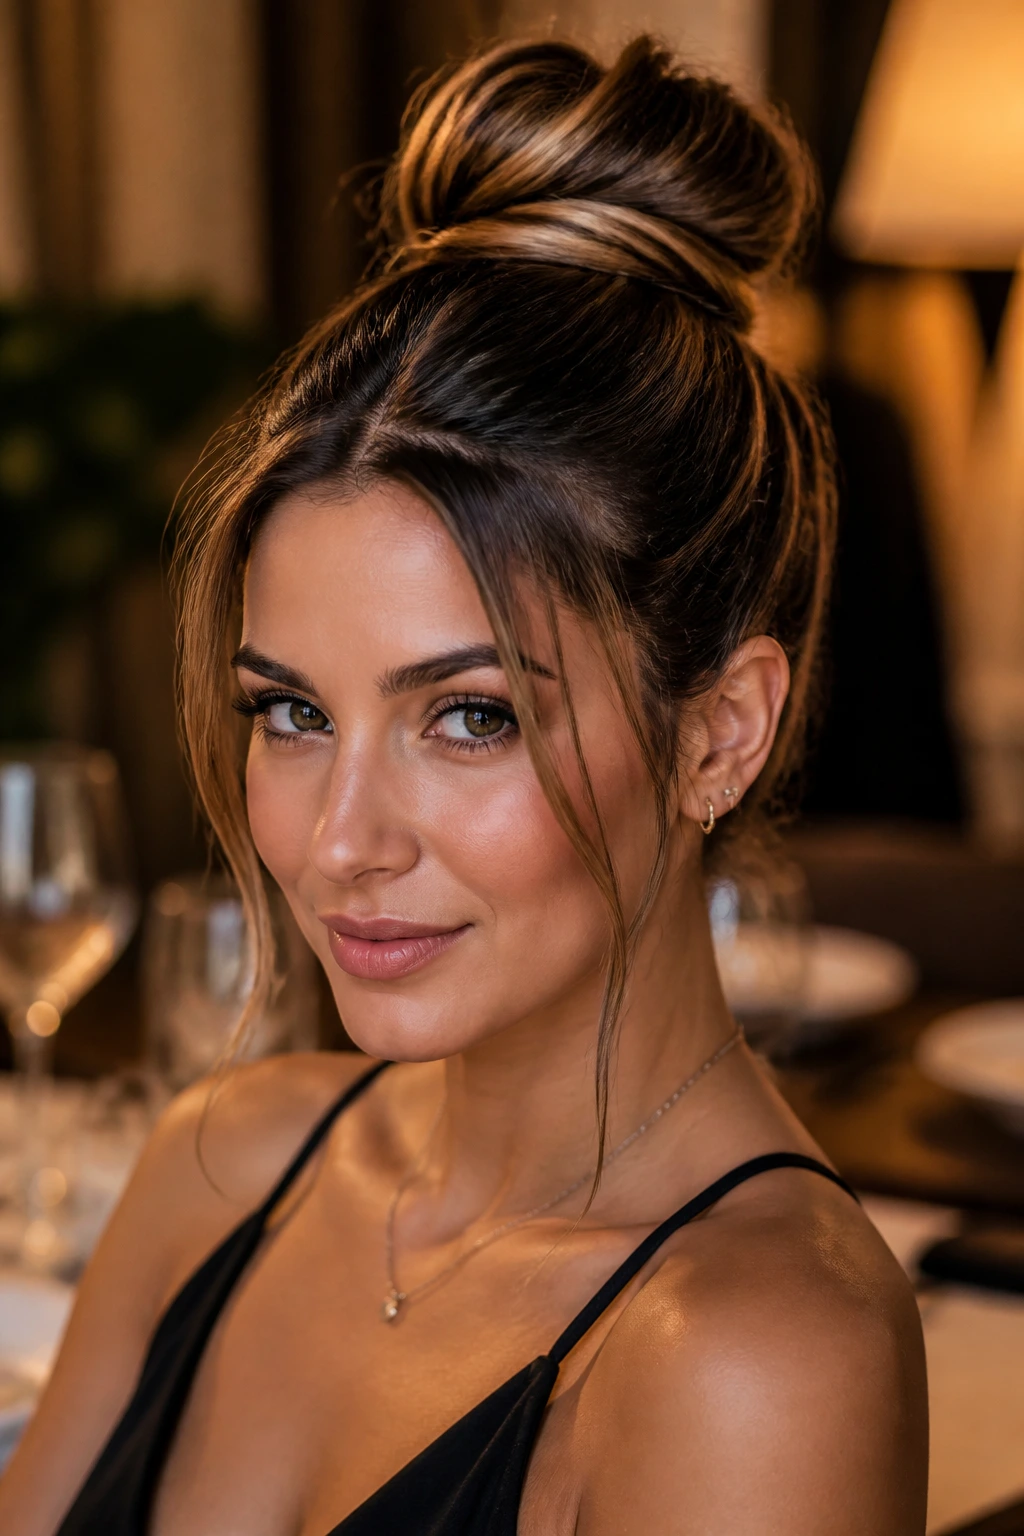
A polished knot changes the whole face. It opens the neckline, shows the jawline, and gives room for a good pair of earrings without competing with them.
Brush the hair smooth, build a high or mid-height knot, then wrap a thin strand around the base to hide the elastic. Finish with a light gloss spray so the surface catches a little shine. Not a lot. Just enough to keep the hair from looking dry under indoor light.
This version works because it looks controlled without being harsh. The face-framing pieces, if you use them, should be thin and deliberate. One or two. Not a curtain.
30. The Lazy-Day Twisted Knot
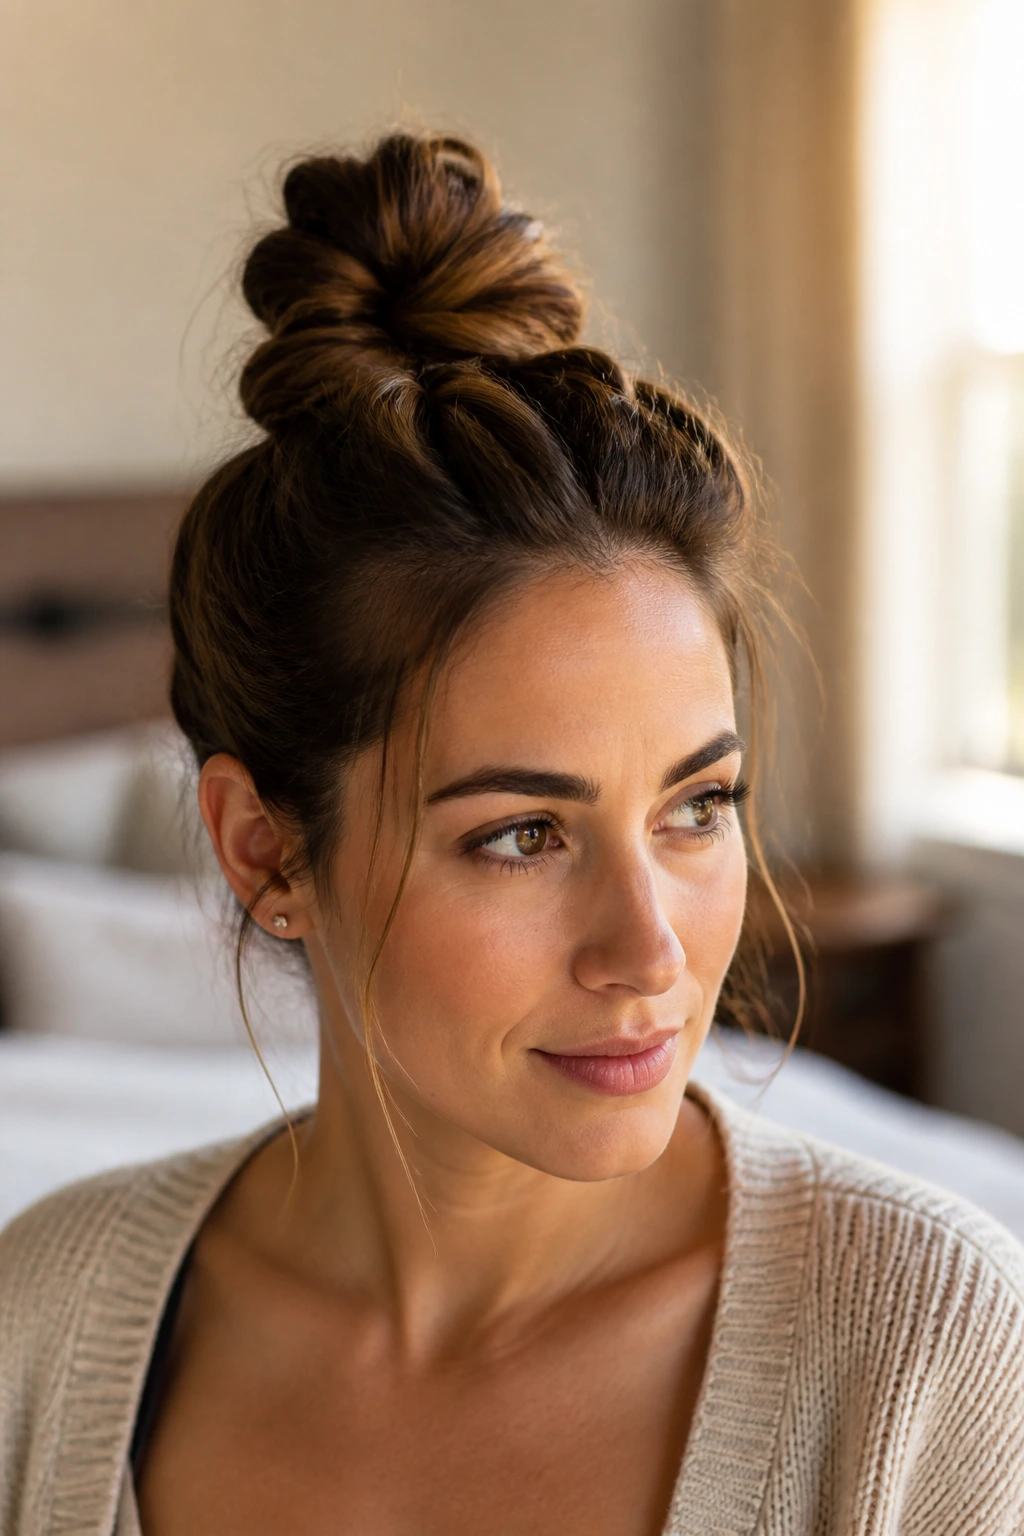
Some mornings ask for nothing more than two twists and a mirror check. That’s this knot. It starts with finger-combed hair, not a full brushing, and it holds onto the natural bend in the hair instead of trying to flatten it out.
Split the hair into two sections, twist each one toward the center, then coil them together and pin the base. The style looks relaxed because it is relaxed. No teasing. No perfect part. No long detour through products you don’t need.
This is the one I’d call the weekday emergency knot. It behaves when you’re short on time and still gives the head a cleaner shape than a plain ponytail.
Why the Top Knot Works So Well on Real Hair
A top knot is small architecture. The ponytail base is the foundation, the twist is the support beam, and the tucked ends hide the messy part. Once you think of it that way, the style stops feeling random and starts feeling like a set of choices: height, tension, texture, and finish.
The best part is how easily the shape adapts. A high knot lifts the face. A lower one softens the profile. A braided base adds grip. A scarf or scrunchie changes the mood without rebuilding the whole thing. That flexibility is why these styles survive real life better than a lot of fancier updos.
Hair also behaves differently depending on the day, and top knots are one of the few styles that can absorb that shift. A little oil at the roots? Fine. A dry, fluffy blowout? Also fine. Layers, coils, frizz, and stubborn short pieces all have a version here that doesn’t fight back too hard.
Essential Tools for These Styles
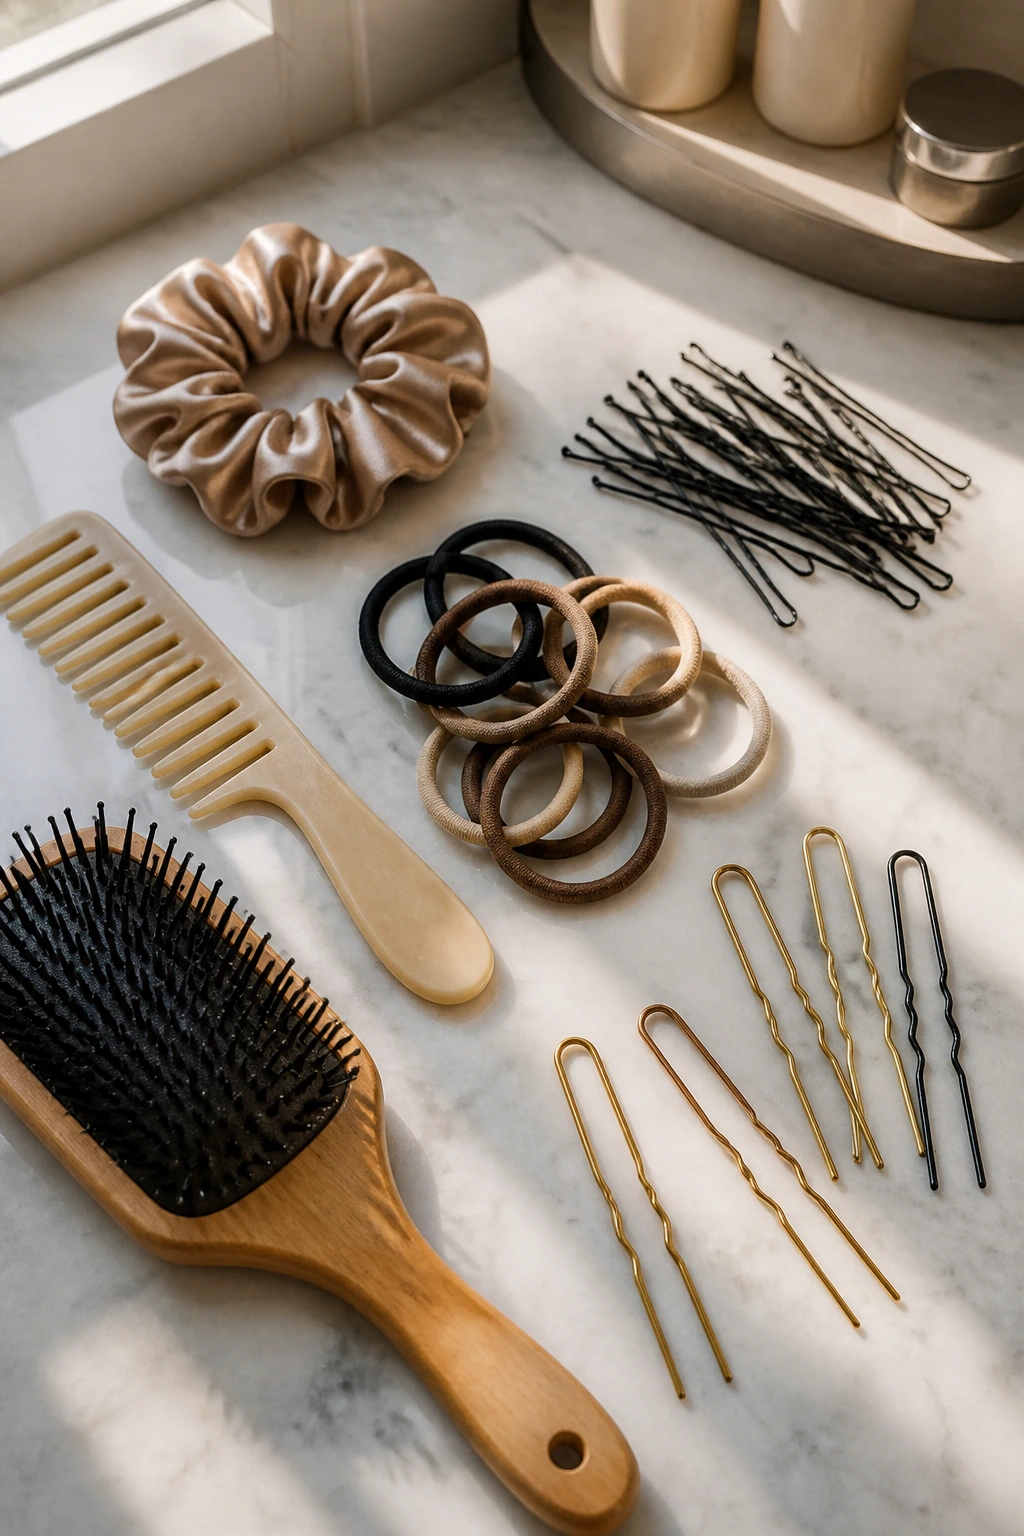
- Snag-free hair ties: These hold better than thin rubber bands and break less hair when you remove them.
- Bobby pins: Use them to anchor the bun from different directions, not all in one spot.
- U-pins: Handy for fuller knots because they catch large sections without leaving a lot of visible hardware.
- Paddle brush or smoothing brush: Best for sleek crowns and cleaner part lines.
- Wide-tooth comb: Useful for curly and wavy hair when you want shape without brushing out texture.
- Dry shampoo: Gives grip at the roots and helps fresh hair behave more like second-day hair.
- Texturizing spray: Good for slippery strands and soft messy knots that need a little roughness.
- Satin or silk scrunchie: Easier on hair that snaps or dents with tight elastics.
- Claw clip: Great for quick resets and looser knots with less tension.
- Hand mirror: Not glamorous, but it saves you from discovering a lopsided bun three hours later.
Picking the Right Products and Prep
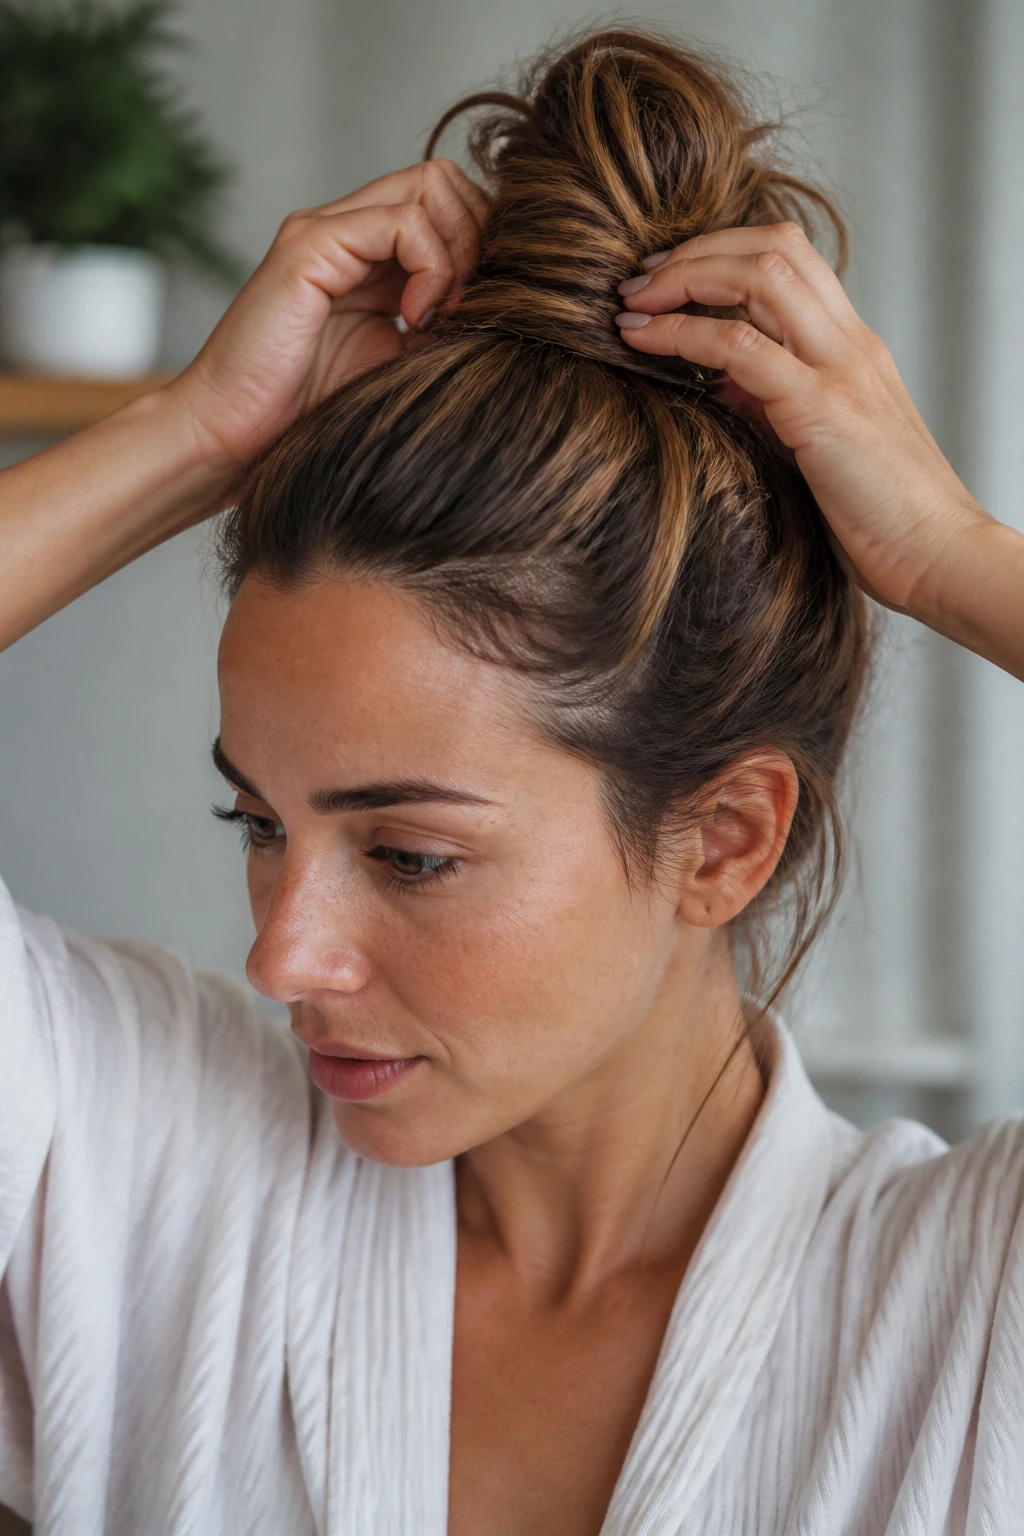
The product choice changes the knot more than people think. Fine, silky hair usually needs grip first, polish second. Thick hair can skip the heavy spray and go straight to a strong elastic and a few pins, because the hair itself already has enough structure. Curly and coily hair often does best with a soft hold product and a tie that doesn’t flatten the curl pattern.
Texture: If your hair slips, start with dry shampoo or texturizing spray at the roots, then wait 30 seconds before gathering. That little pause lets the powder settle instead of sliding off a sweaty scalp.
Hold: Choose elastics that stretch back without snapping. Cheap bands that lose tension after two uses are a waste of time, and they tug harder than they should.
Finish: A matte look usually comes from less product, not more. A glossy knot needs only a light serum on the outer surface, never a full coating.
Comfort: If your scalp gets sore, switch to a softer tie or a lower placement. That tiny change often fixes the problem more cleanly than trying to power through it.
Matching the Knot to Your Hair Texture
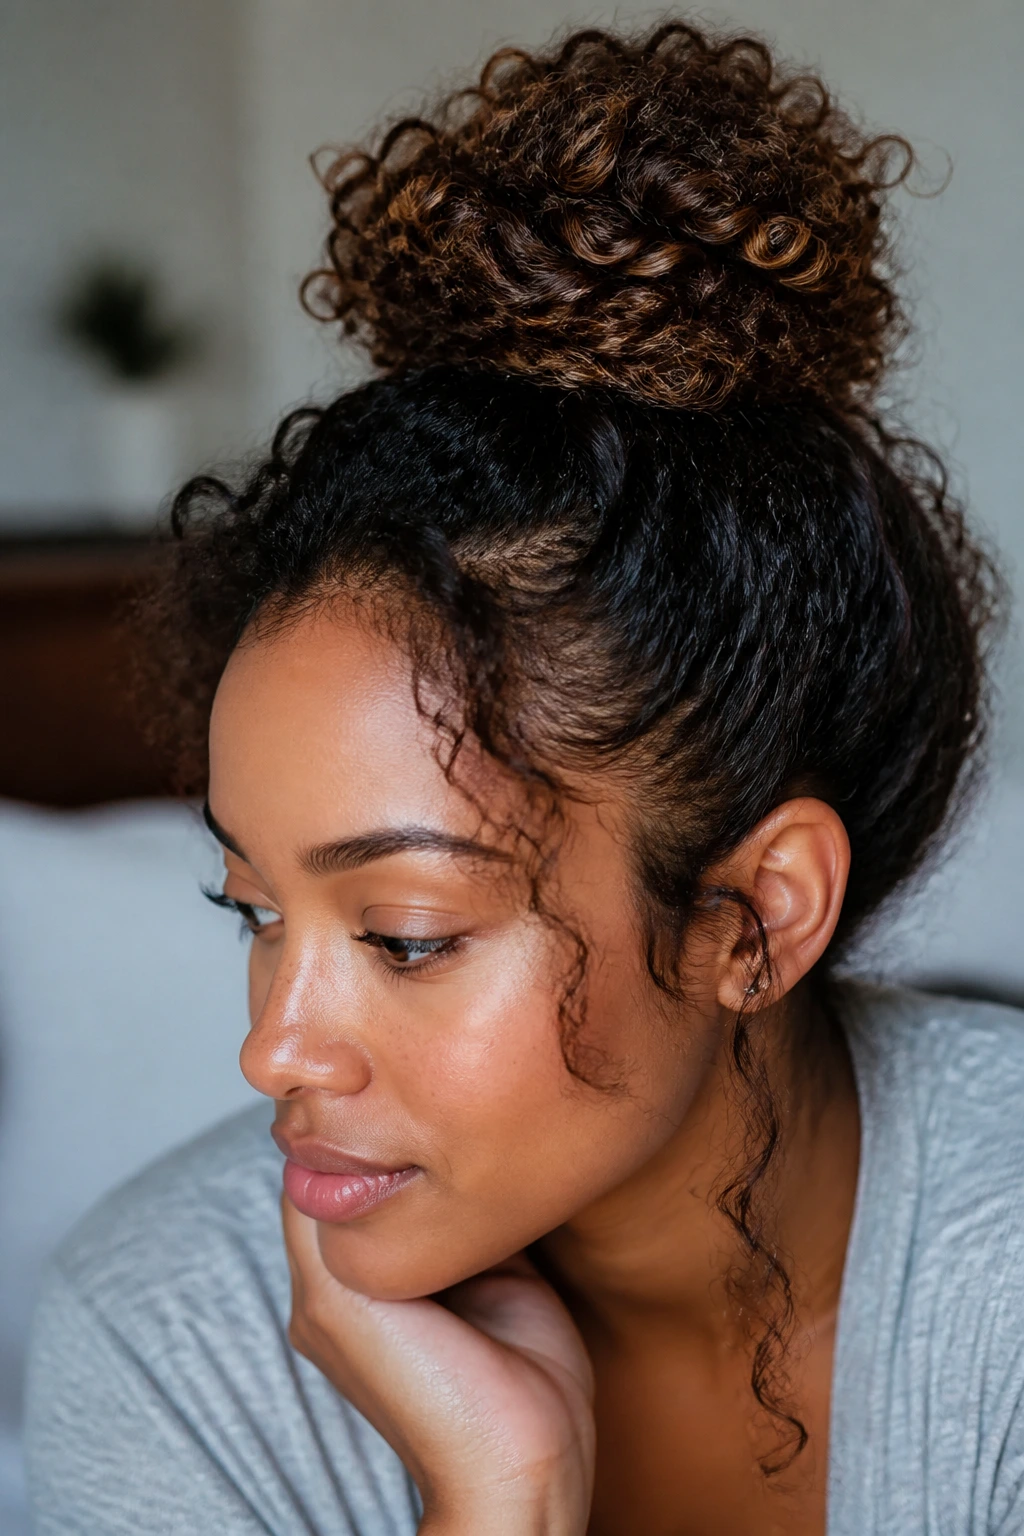
Fine hair, thick hair, curls, and short layers all need different treatment. That’s not being fussy. It’s just hair behaving like hair.
Fine hair: Start with texture at the roots, then build a smaller knot or use a bun cushion. Too much weight on too little hair makes the style collapse fast.
Thick hair: Split the ponytail into two sections before wrapping. It reduces bulk and makes pinning easier, which your scalp will thank you for.
Curly or coily hair: Keep the curl pattern intact where you can. Soft scrunchies, loose gathering, and a little oil on the ends help prevent the knot from looking dry and puffy.
Straight, slippery hair: Rough it up first. Dry shampoo, a matte paste, or a quick backcomb at the base gives the knot something to grab.
Short layers: Leave a few pieces out on purpose or pin the shorter sections flat against the bun. Fighting them only makes the style look unfinished.
Small Tweaks That Make a Big Difference
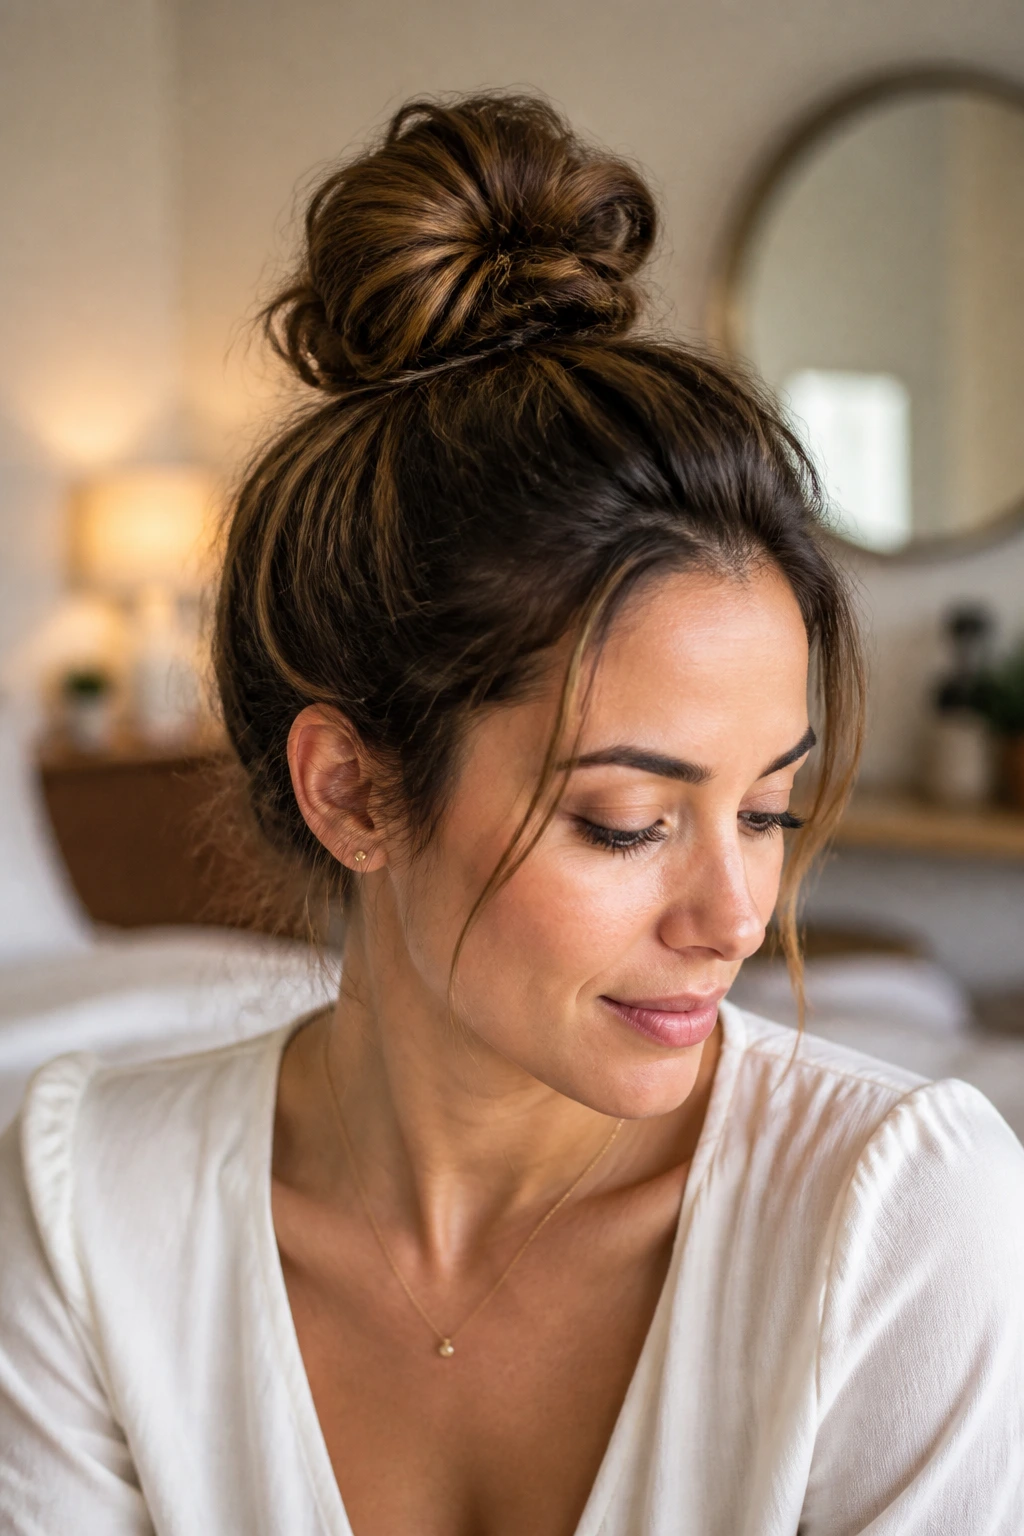
Texture Boost: If the knot keeps sliding, mist the ponytail with texturizing spray before you twist. The bun will hold better with less pinning, and the shape usually looks fuller too.
Sleek Finish: A tiny amount of serum on the palms smooths the crown without flattening the whole style. Work it into the surface only. If you touch the base too much, the knot starts slipping.
Volume Trick: Gently tug the outer edges of the bun after it’s pinned. That single move can add nearly an inch of width, which helps fine hair and makes the style feel less severe.
Accessory Swap: A scarf, scrunchie, or metal clip changes the mood without changing the structure. I’d use a scarf for softer outfits, a clip for rushed mornings, and a scrunchie when I want less tension.
Comfort Fix: If the knot pulls too hard, move it down by an inch or split the anchor into two smaller ties. Headaches usually start with a placement problem, not a styling problem.
Common Mistakes That Make a Knot Slip or Hurt
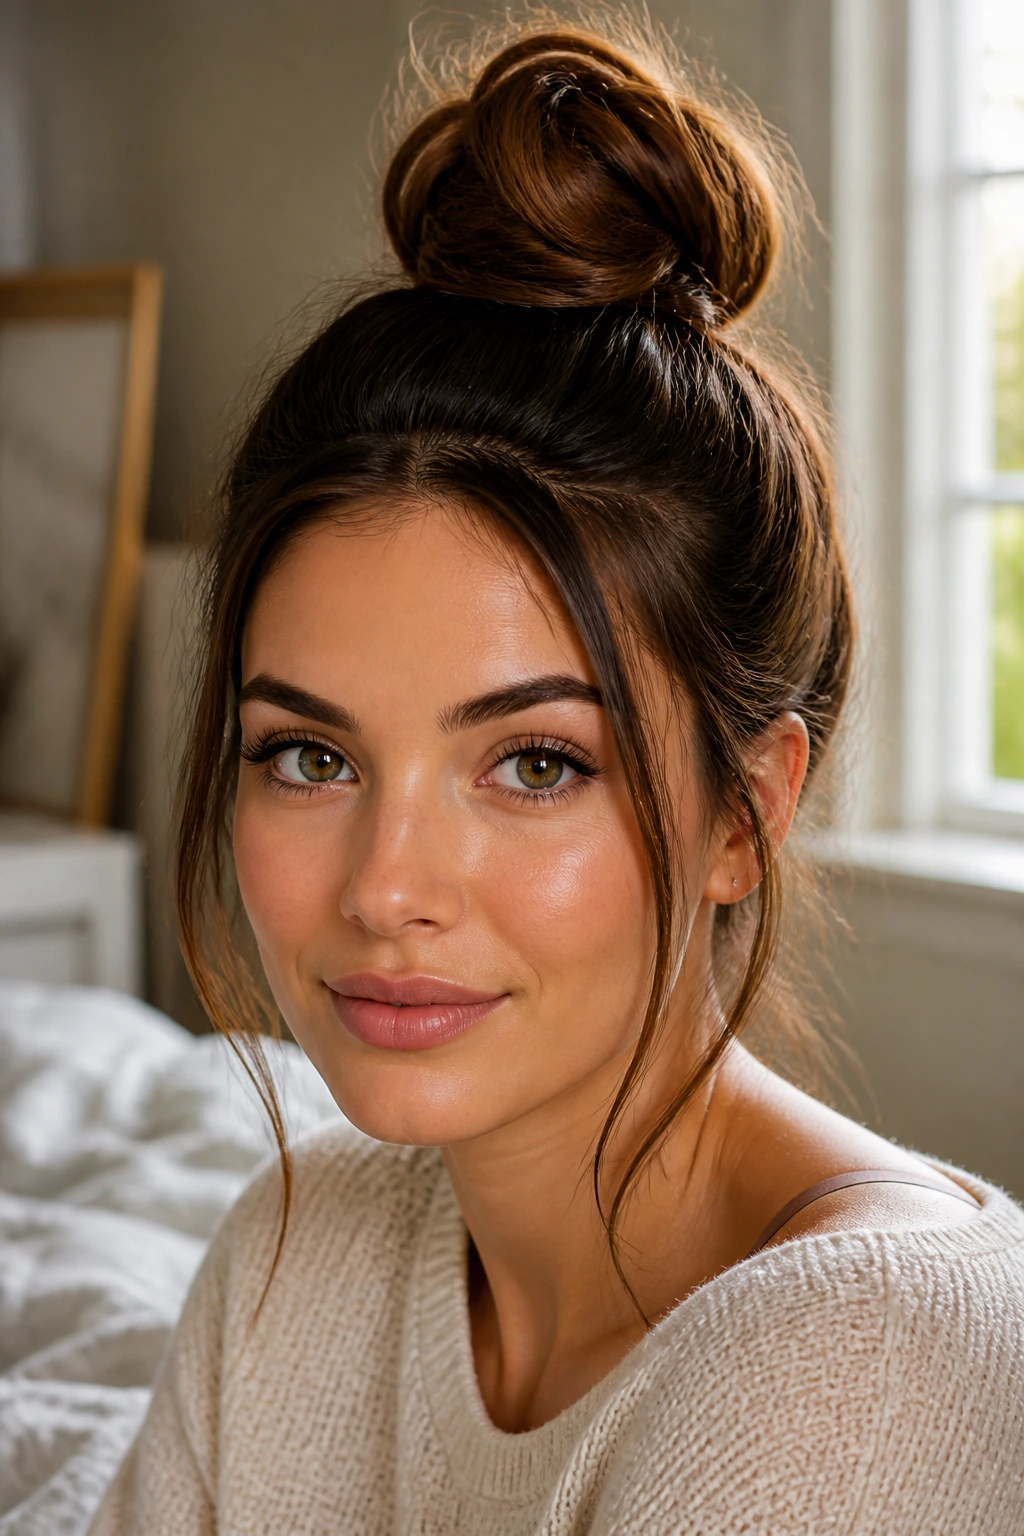
The first mistake is making the base too tight. The bun looks sleek for ten minutes, then the scalp starts throbbing and the front goes flat. Loosen the crown a little and anchor the knot with pins instead of pure force.
Another common one: building a top knot on hair that is too clean and too slippery. Freshly washed hair often needs dry shampoo or a little texture spray first. Without that, the elastic slides and the knot starts leaning by lunch.
People also pack all the pins into one spot. Bad idea. The bun holds better when the pins cross at different angles, because the shape gets support from more than one direction. One pin can keep a loose section quiet; three pins can keep a knot alive all day.
Then there’s the too-perfect syndrome. A knot that is smoothed from every angle can look stiff, especially on thicker hair. Leaving a few soft edges around the crown or face usually makes the style look less forced.
Variations and Accessory Swaps to Try
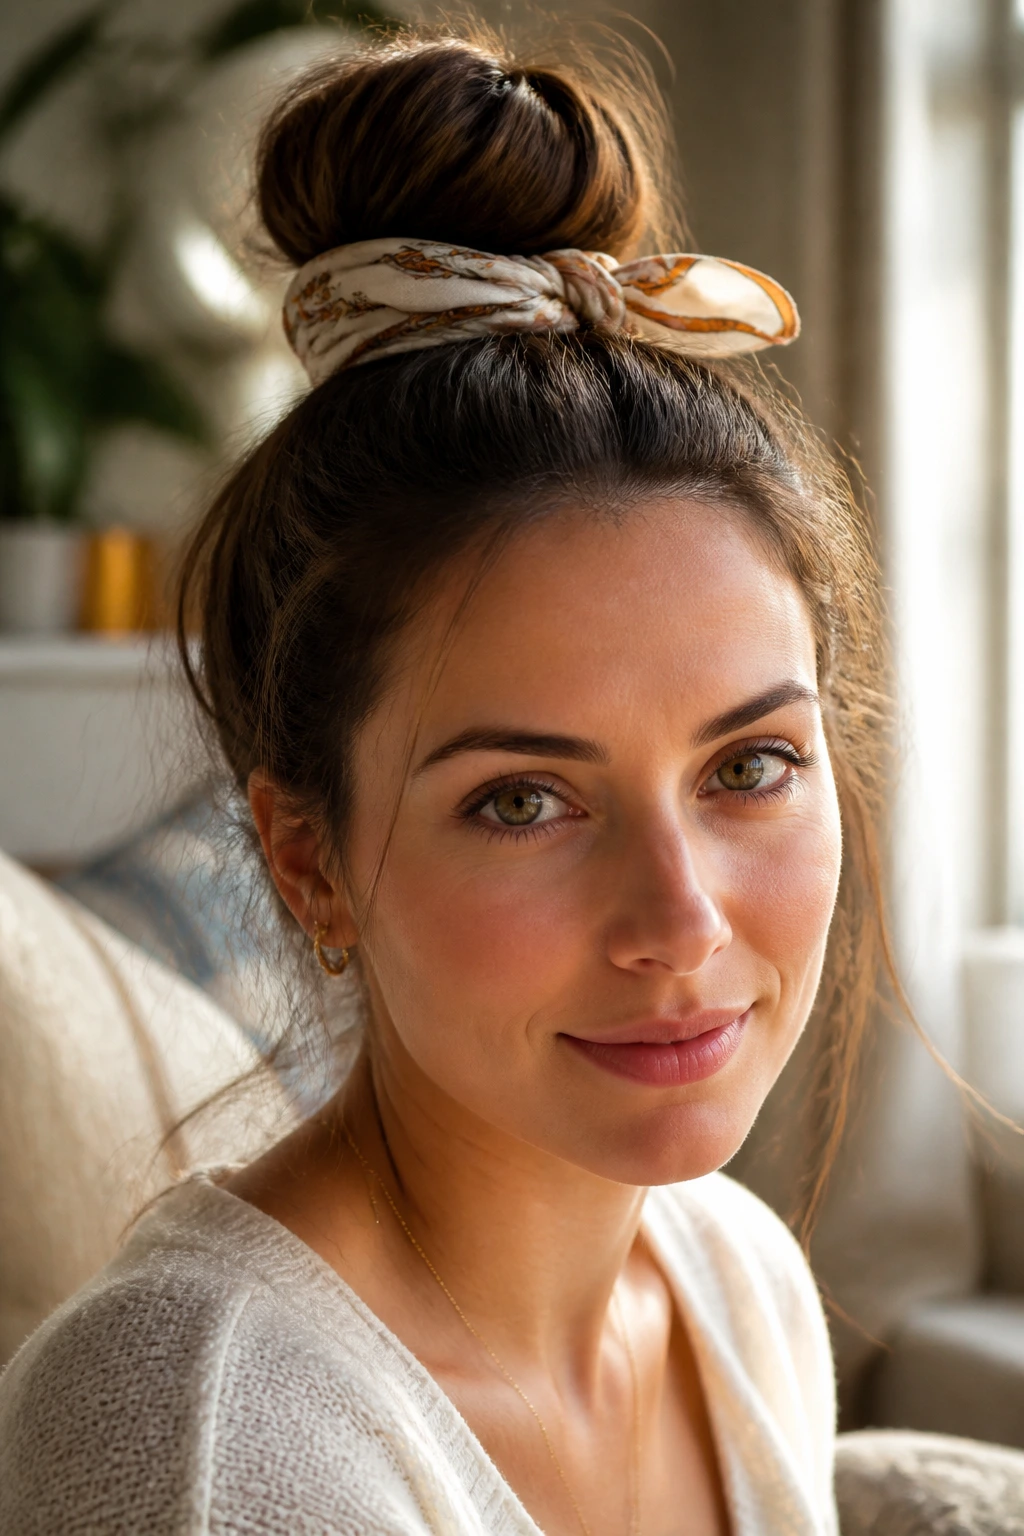
The Office-Polished Edit: Use a smoothing brush, a wrapped base, and one clean center part. This version feels sharper and works well when you want the knot to look intentional under a blazer or tailored coat.
The Weekend Texture Edit: Start with dry shampoo, add a loose twist, and let a few ends escape. It’s quicker, softer, and a lot less precious. Good for errands, travel, or any day that does not need perfect symmetry.
The Curl-Friendly Edit: Keep the knot loose, use a satin scrunchie, and avoid brushing out the curl pattern. That keeps volume up and frizz down without flattening the hair into a shell.
The Short-Hair Shortcut: Build only the top section into a mini knot and pin the rest flat. This gives you the shape of a top knot without pretending the hair is longer than it is.
The Accessory-First Edit: Swap the elastic for a scarf, clip, or wrapped scrunchie. Same base, different attitude. It’s the easiest way to make a simple knot feel styled.
How to Keep a Top Knot Looking Fresh
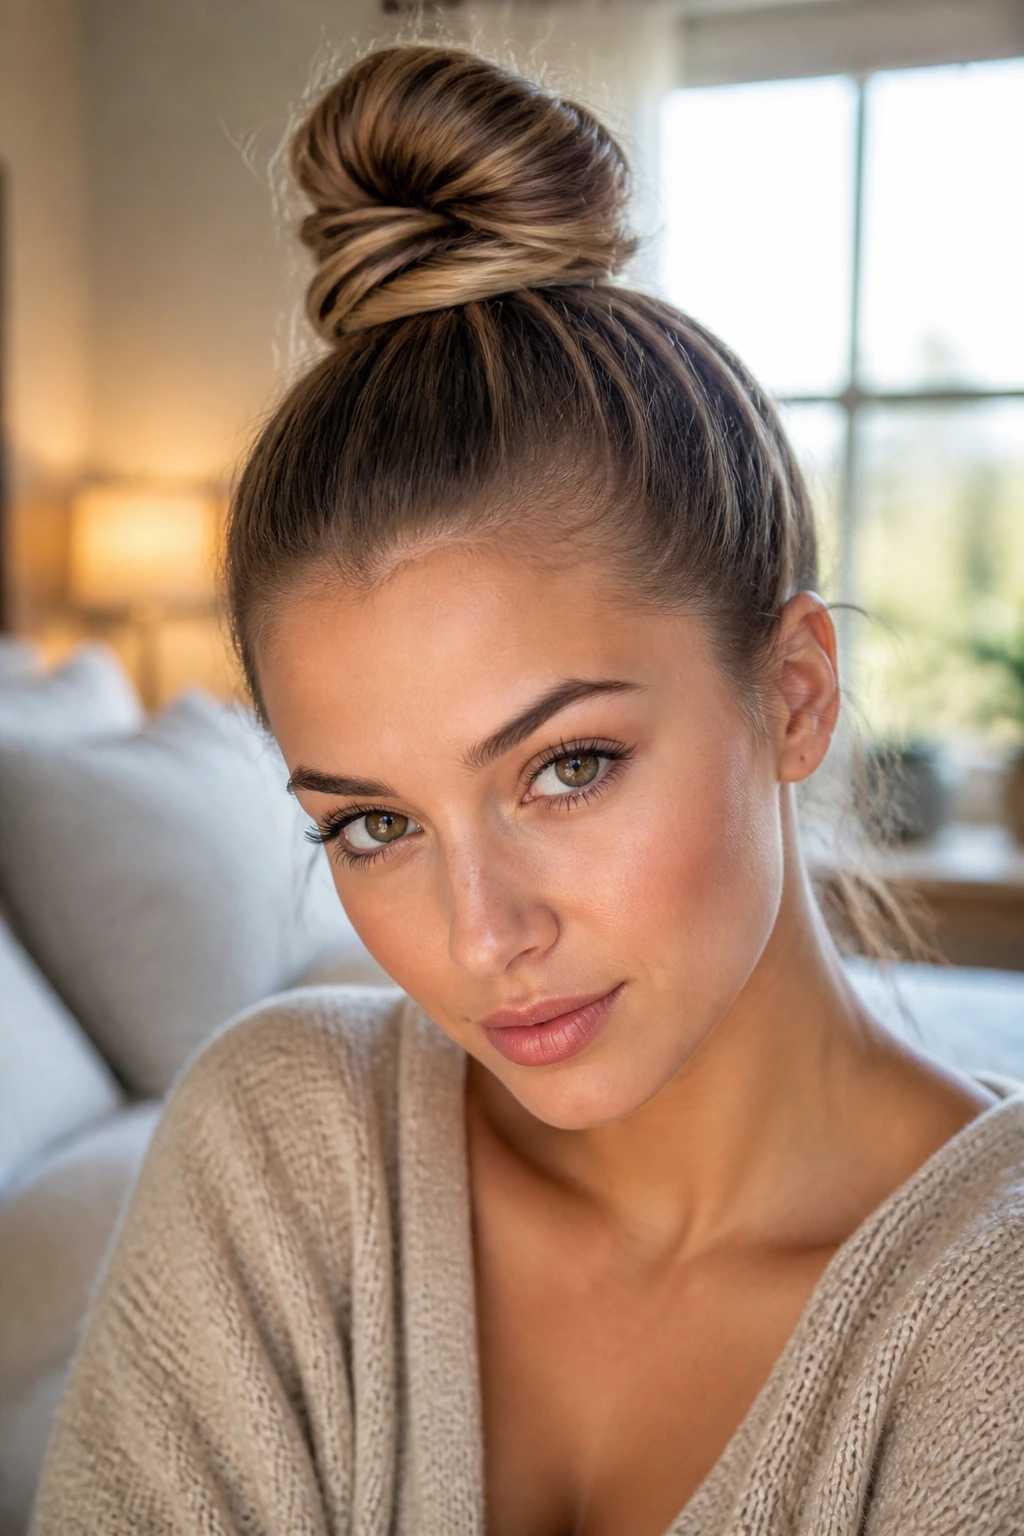
A sleek knot usually holds a full day if the base is secure and the roots aren’t too slippery. A looser messy knot can stay flattering for 6 to 10 hours, especially if it started with second-day hair. After that, the shape tends to soften, which is not a failure — it’s just the style changing mood.
If you want to wear the knot again the next morning, take it down gently, shake the roots, and refresh the crown with a quick pass of dry shampoo. Don’t keep tugging at the same small sections of hair every day. That’s how the hairline starts to feel tender. Move the placement a little higher one day, a little lower the next, and give the same spots a rest.
Overnight wear is possible if the knot is loose and low. Use a soft scrunchie, never a hard elastic pulled tight against the crown. In the morning, a quick mist of water or a tiny bit of leave-in on the face-framing pieces is usually enough to wake the shape back up. Hair tools matter too: clean brushes and pins that don’t snag are easier on the scalp and the ends.
Top Knot Questions People Ask Most
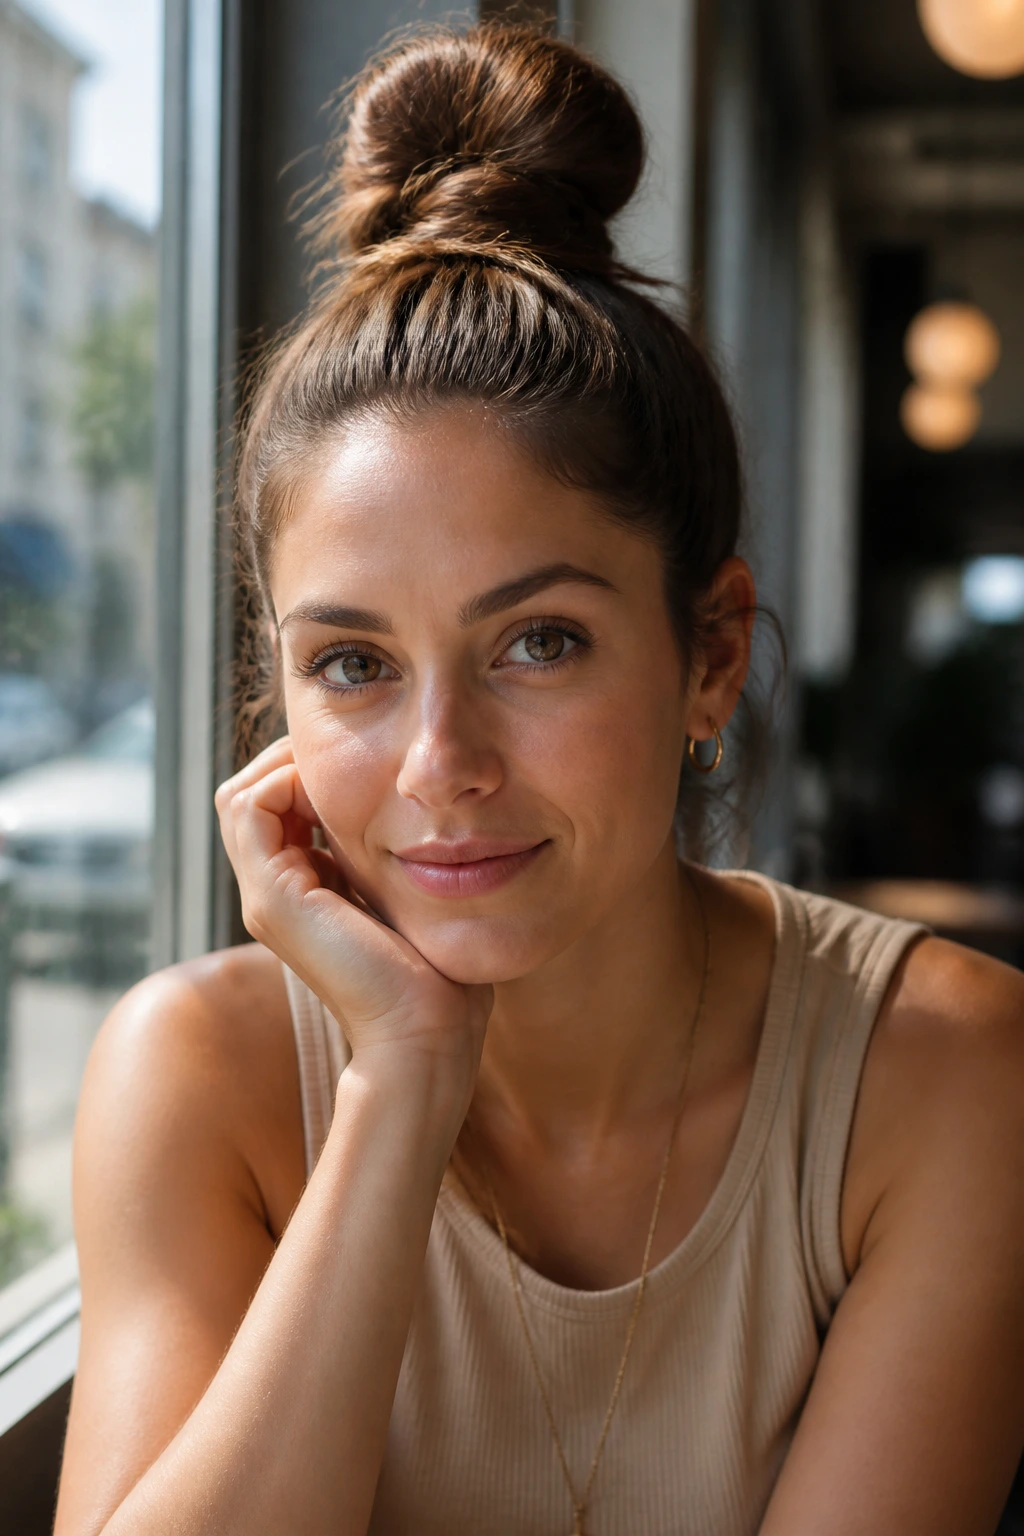
How long does my hair need to be for a top knot?
Shoulder-length hair can usually make a mini or half-up version, while fuller crown knots tend to work better once the hair reaches around collarbone length. Shorter hair still has options if you pin the ends tucked close to the scalp.
What’s the best top knot for fine hair?
A padded knot, a sock bun, or a lightly teased messy knot usually gives fine hair the most shape. Texture spray at the roots helps more than piling on extra pins.
How do I keep a top knot from sliding?
Start with grip. Dry shampoo, a second-day texture, or a small amount of texture spray at the base makes a big difference. Then cross your bobby pins in different directions instead of using one straight line of support.
Is it bad to wear a top knot every day?
The knot itself is not the problem. Tight tension in the same spot is. Shift the placement, loosen the base when you can, and avoid yanking the hairline hard enough to leave soreness behind.
Can curly hair wear these styles without losing definition?
Yes, if you keep the tension soft and use a satin tie or scrunchie. Preserve the curl pattern where possible and let the knot stay a little loose rather than forcing every curl into a tight coil.
What if my layers keep falling out?
Leave a few pieces out on purpose or pin the shorter layers flat against the base before you finish the knot. A little controlled softness usually looks better than trying to trap every short strand.
How do I make a top knot look fuller?
Pull the bun edges outward once it’s pinned, or use a bun cushion if your hair is fine. A touch of texture spray also helps the knot look wider without adding a lot of weight.
Can I sleep in a top knot?
You can, but keep it low and loose. A soft scrunchie works better than a tight elastic, and the knot should sit comfortably enough that you do not wake up with a sore scalp.
The Knot You’ll Reach For Again
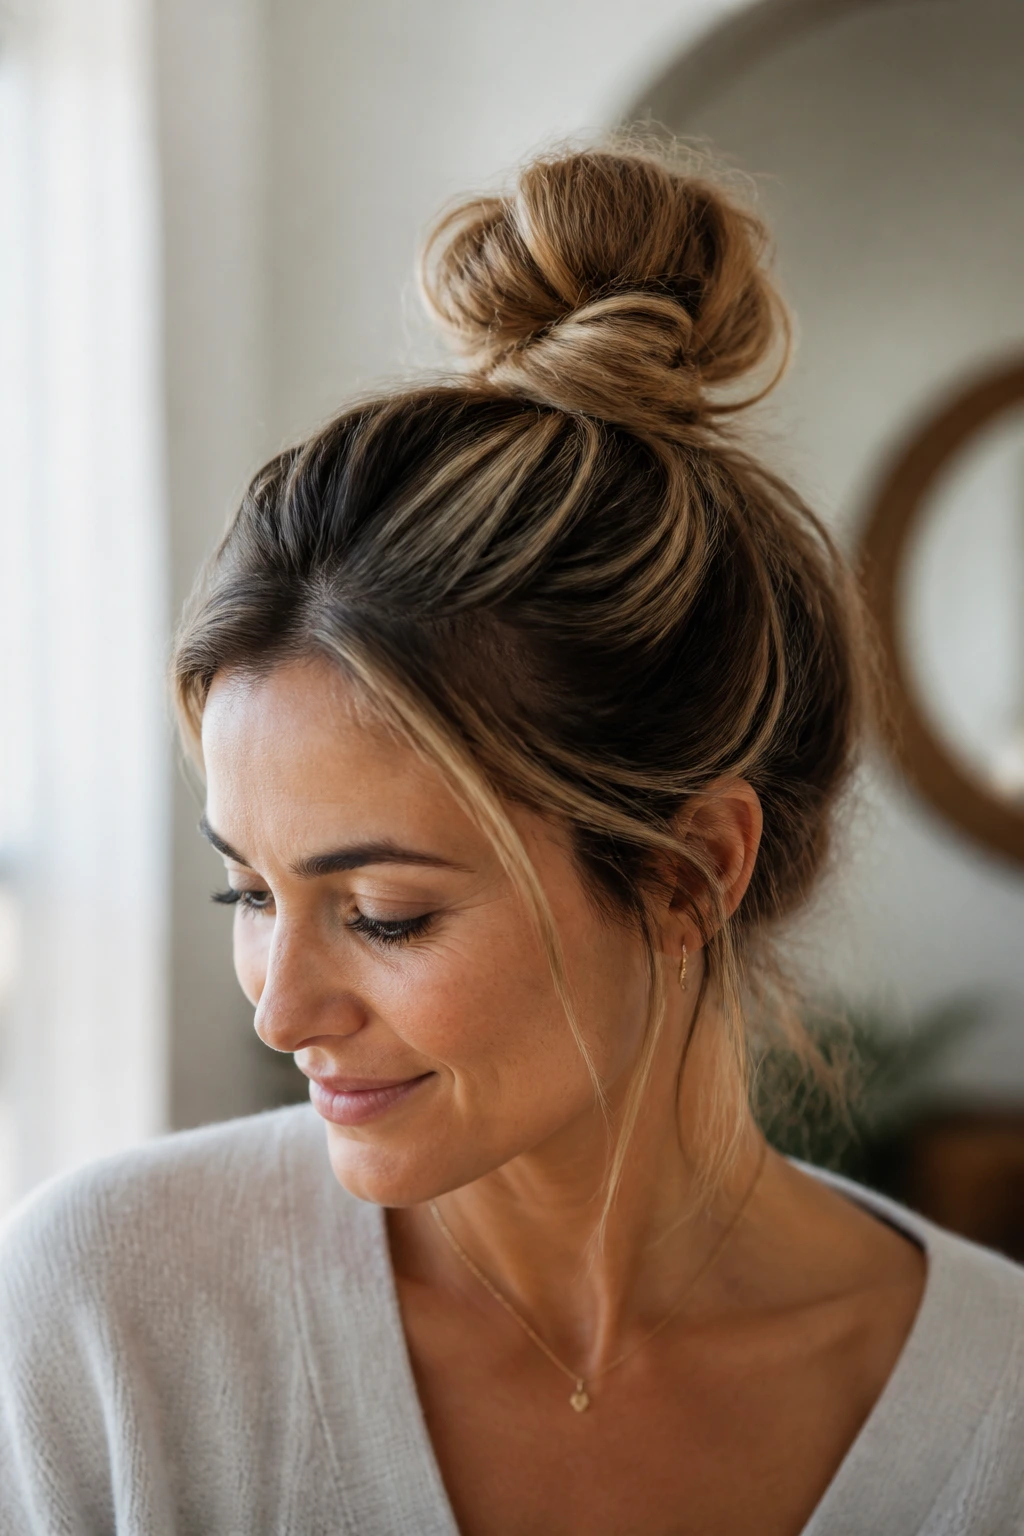
A good top knot is part hairstyle, part problem-solver. It clears the neck, gives the face some shape, and does not ask for a perfect hair day before it earns its place. That’s why these versions keep coming back into rotation. They handle real hair, not magazine hair.
Pick one sleek knot and one looser version, and you’ll cover most mornings without much fuss. After that, the extras are where the fun lives — a scarf, a braid, a different height, a softer finish. Small changes. Big shift.
Final Thoughts
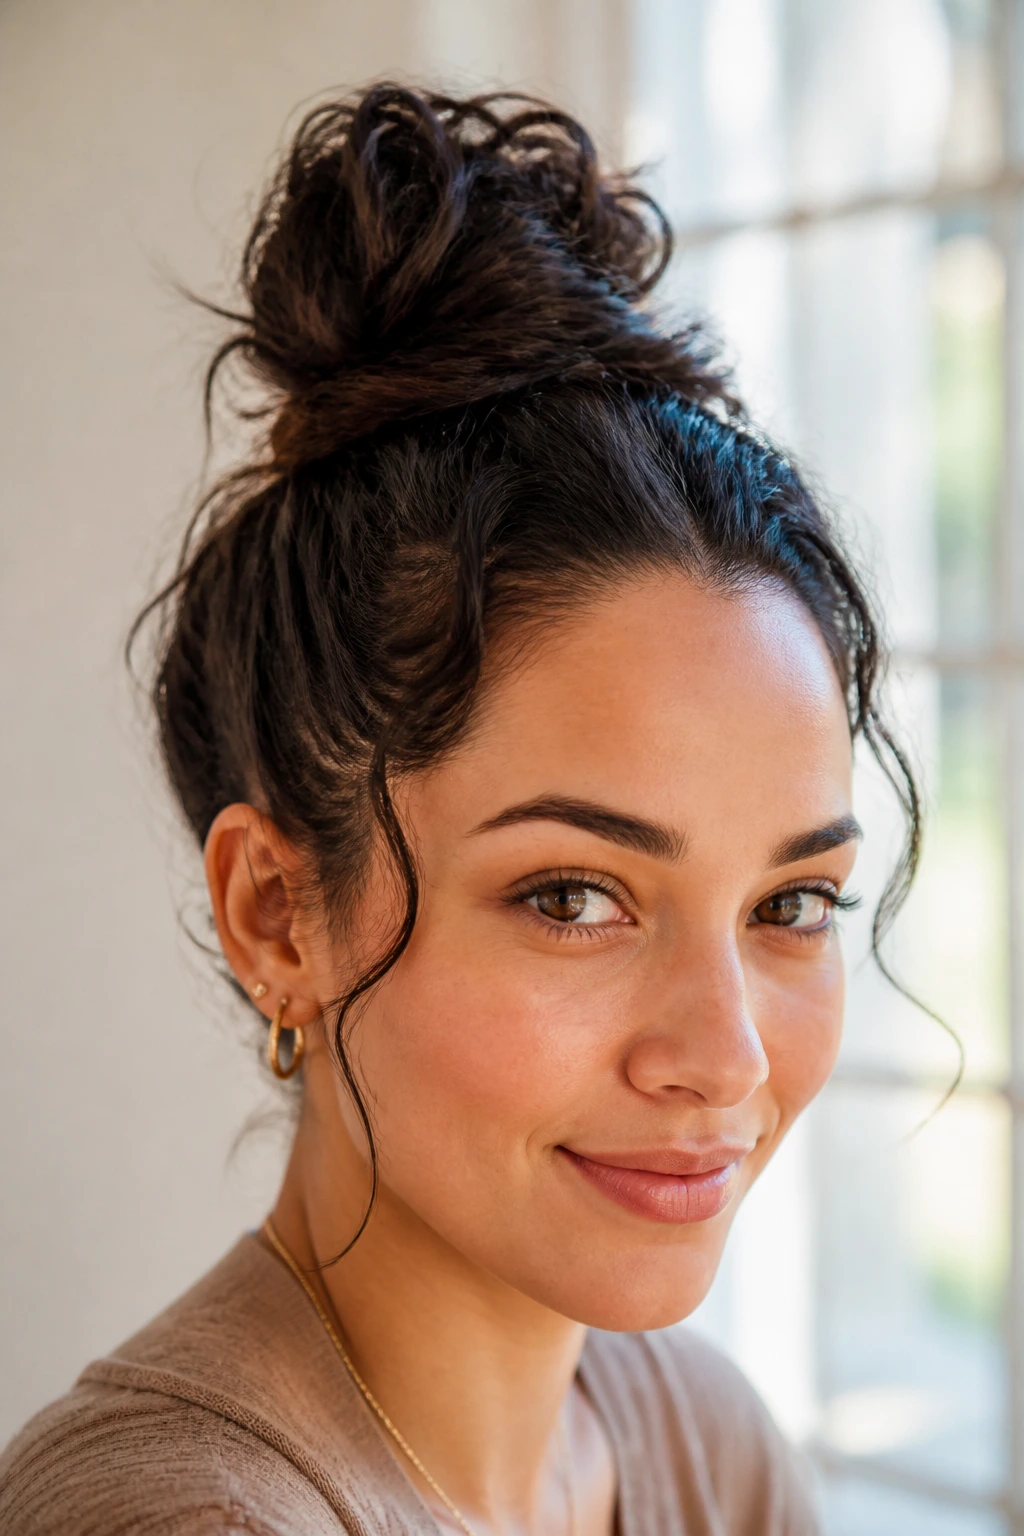
The smartest thing about top knots is that they don’t demand one right way. A knot that looks too plain on one person can look sharp on another, and a messy one that falls apart on fine hair may hold beautifully on curls. The trick is placing the knot where your hair already wants to bend.
Try one polished style and one loose one first. Once those feel natural, the rest of the lineup becomes a set of easy variations instead of a pile of options you’ll never touch.
