



Curly hair and messy buns have a strange little relationship. Pull too hard, and the whole thing goes flat and snappier than it should. Leave it too loose, and the bun starts sagging like it’s giving up by lunch. The sweet spot lives in the middle: enough tension to stay up, enough softness to let the curls keep their shape, and enough loose texture that the style looks deliberate instead of accidental.
That balance matters more on curly hair than on straight hair. Coils and waves bring their own architecture, which is a fancy way of saying they already give you volume, grip, and a built-in disguise for pins, elastics, and the odd section that refuses to cooperate. A messy bun on curls doesn’t need to be perfect. It needs to look like you knew exactly where to stop.
The good ones are a little uneven. A few ringlets at the cheek. A puff of volume at the crown. An end or two left out on purpose, not because they escaped. Once you start seeing buns that way, the whole category opens up fast.
Why Curly Hair and Messy Buns Play So Nicely Together
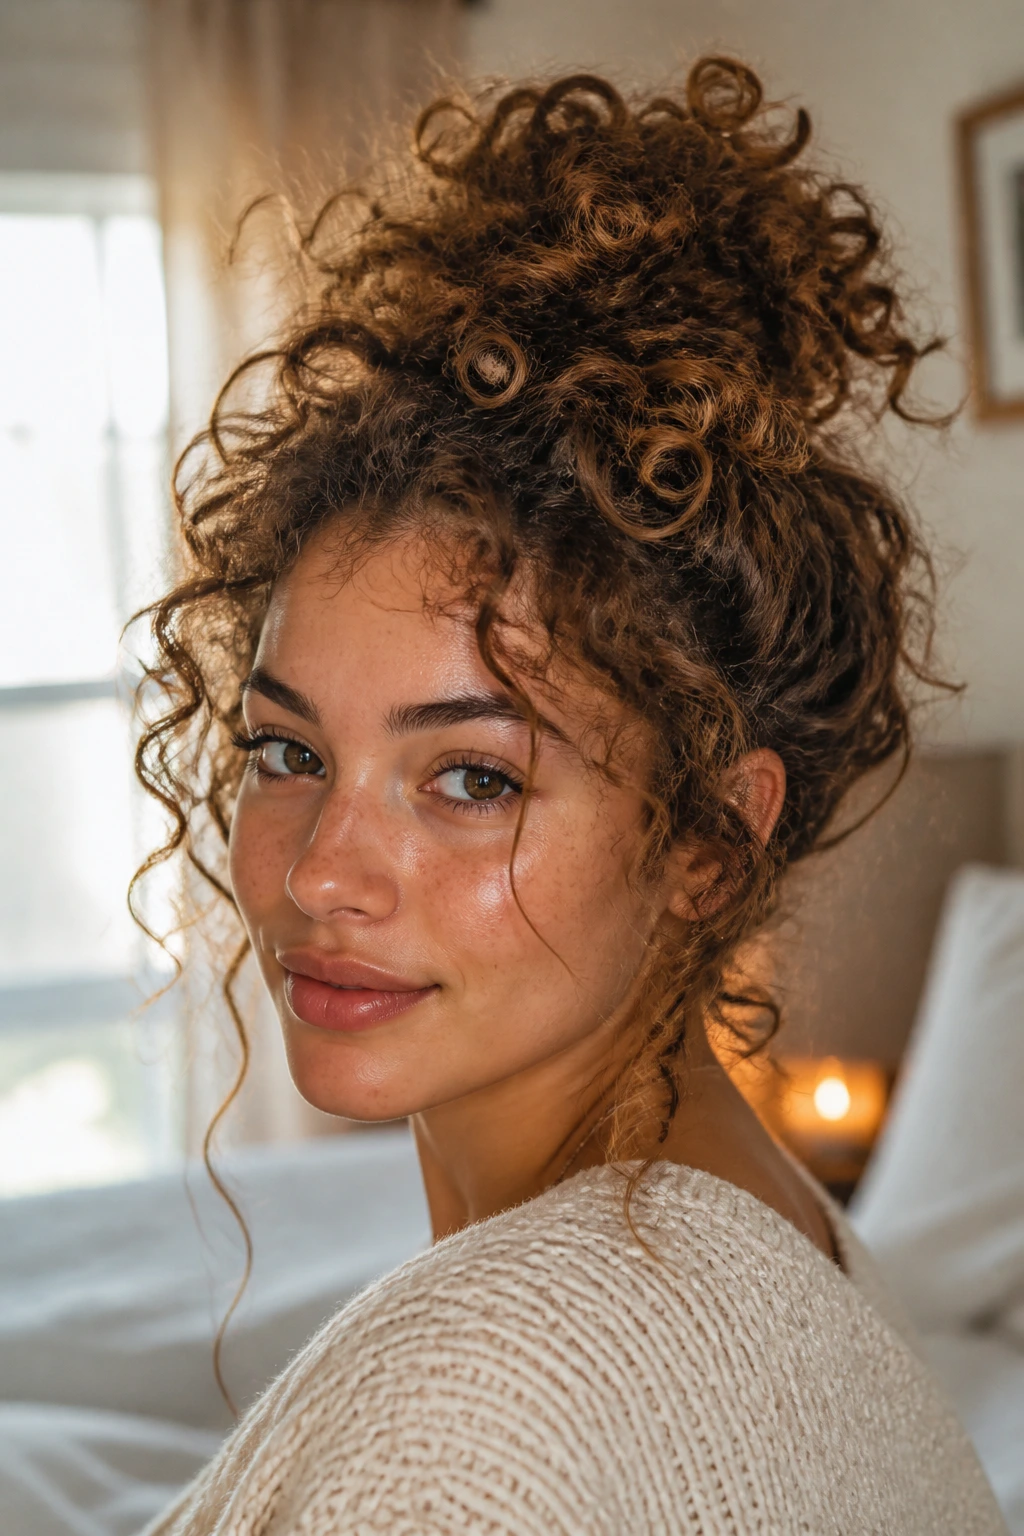
- Curl texture gives the bun grip: Freshly styled curls can be too slippery for some updos, but day-two texture holds pins and ties with less drama.
- Shrinkage becomes part of the shape: Curly hair naturally collapses into a softer, fuller bun, which means you get volume without stuffing in fake padding.
- Frizz can look intentional here: A little halo frizz around the crown reads like texture, not failure, especially when the bun sits high or off-center.
- You can leave pieces out without it looking unfinished: Ringlets, coils, and bent ends add movement around the face instead of making the style feel sloppy.
- Messy buns are kind to tired roots: You do not need to flatten every curl into submission; a good curly bun works with the hair that’s already there.
1. Pineapple Messy Bun
The pineapple bun is the one I reach for when curls are stretched, fresh, and too nice to hide completely. You gather the hair high on the crown, but you stop before the last wrap, so the ponytail spills into a soft loop and the ends bloom out like a fountain. It’s a bun, technically. It’s also a curly hair shortcut that knows how to show off.
Why It Works
A pineapple bun keeps the top of the head lifted, which is a big deal if your curls flatten at the roots by noon. The high placement gives the style shape right away, and the loose ends prevent that tight, helmet-like look that makes curly buns feel harsh. It’s especially good on wash day or day two, when your curls still have bounce but need some control.
Best for: long curls, layered curls, and anyone who wants a high bun without squeezing out every bit of texture.
Quick detail: one satin scrunchie, one small elastic if needed, and 2-4 pins can hold this without wrecking the curl pattern.
2. Low Nape Knot
A low nape knot feels calmer than a high bun. That’s the whole appeal. The curls sit close to the neck, the silhouette is smooth enough for work or dinner, and the ends can twist out just enough to keep it from looking too formal.
Unlike a topknot, this one puts the weight low, which helps if your scalp gets sore from high tension. It also works well when the hair is thick and heavy; gravity stops fighting you. I like it with one side slightly fuller than the other. Dead center can look stiff. A tiny shift to the left or right gives it life.
How to wear it
Gather your curls at the nape, twist once, then fold the length into a loose coil. Pin under the bun, not through the center of it. If your hair is layered, leave the shortest pieces out and tuck only the longer sections. That unevenness is not a flaw. It’s the look.
3. High Topknot Halo
This is the bun that says you had coffee and access to a mirror. High topknots on curly hair work because the curls form a halo around the knot instead of collapsing into a sad little nub. The shape is bold, but the texture keeps it from feeling severe.
The trick is tension. Tight enough at the base that it stays put, loose enough through the bun that the curls keep their spring. If you pull the hair flat across the scalp, the whole thing loses the point. Keep the crown a little lifted. Let the bun itself stay airy.
Use this when you want height, especially with thicker curl patterns that need room. A single strong scrunchie plus a few crossed pins usually beats trying to twist the hair into submission.
4. Side-Swept Curly Bun
Why does a side bun feel softer than a centered one? Because the eye doesn’t land in the middle and stop. It follows the line of the hair, and that little asymmetry gives the style movement before you even finish pinning.
This one sits just behind one ear or just above the opposite jawline, depending on how loose you want it. A deep side part makes it even better. The curls at the front sweep across the forehead, then the bun gathers off to one side like it was meant to be there all along.
Best way to wear it
Leave the front section slightly loose, then twist the rest into a soft coil at the side. Pin from underneath so the bun doesn’t lean outward. If you have a face-framing curl that falls forward on its own, let it. That single piece can do more for the shape than ten extra pins.
5. Rope-Twist Messy Bun
A rope-twist bun is the style you choose when braids feel like too much work but a simple twist looks too bare. Split the hair into two sections, twist each one away from the face, then wrap them together into a bun. On curly hair, that rope texture blends into the natural curl pattern and hides the seams.
The result is structured, but not stiff. That matters. Curly buns can look overworked fast, and a rope twist gives you enough pattern to look intentional without flattening the hairline. It also holds well on medium-length curls because the twist gives the bun a bit of backbone.
I like this one for day-old curls that have lost some definition but still have body. A mist of water and a pea-sized amount of leave-in on the ends is enough. More than that, and the bun starts sliding.
6. Braided Curly Bun
A braided curly bun makes sense when the ends are behaving badly. Braids gather the curl pattern into something neat enough to pin, and the messy part happens in the bun itself, not all over your head. That’s a useful trade.
The braid can be loose, Dutch, French, or even just a quick three-strand plait from the back. The point is not perfection. The point is control. Once the braid is wrapped into a coil, the texture from the braid gives the bun a woven look that curly hair handles especially well.
If your curls are layered, braid only the longest sections and let the shorter top layer stay puffier. That contrast keeps the style from looking too tight. A braided bun on curly hair should feel like a texture mix, not a school photo.
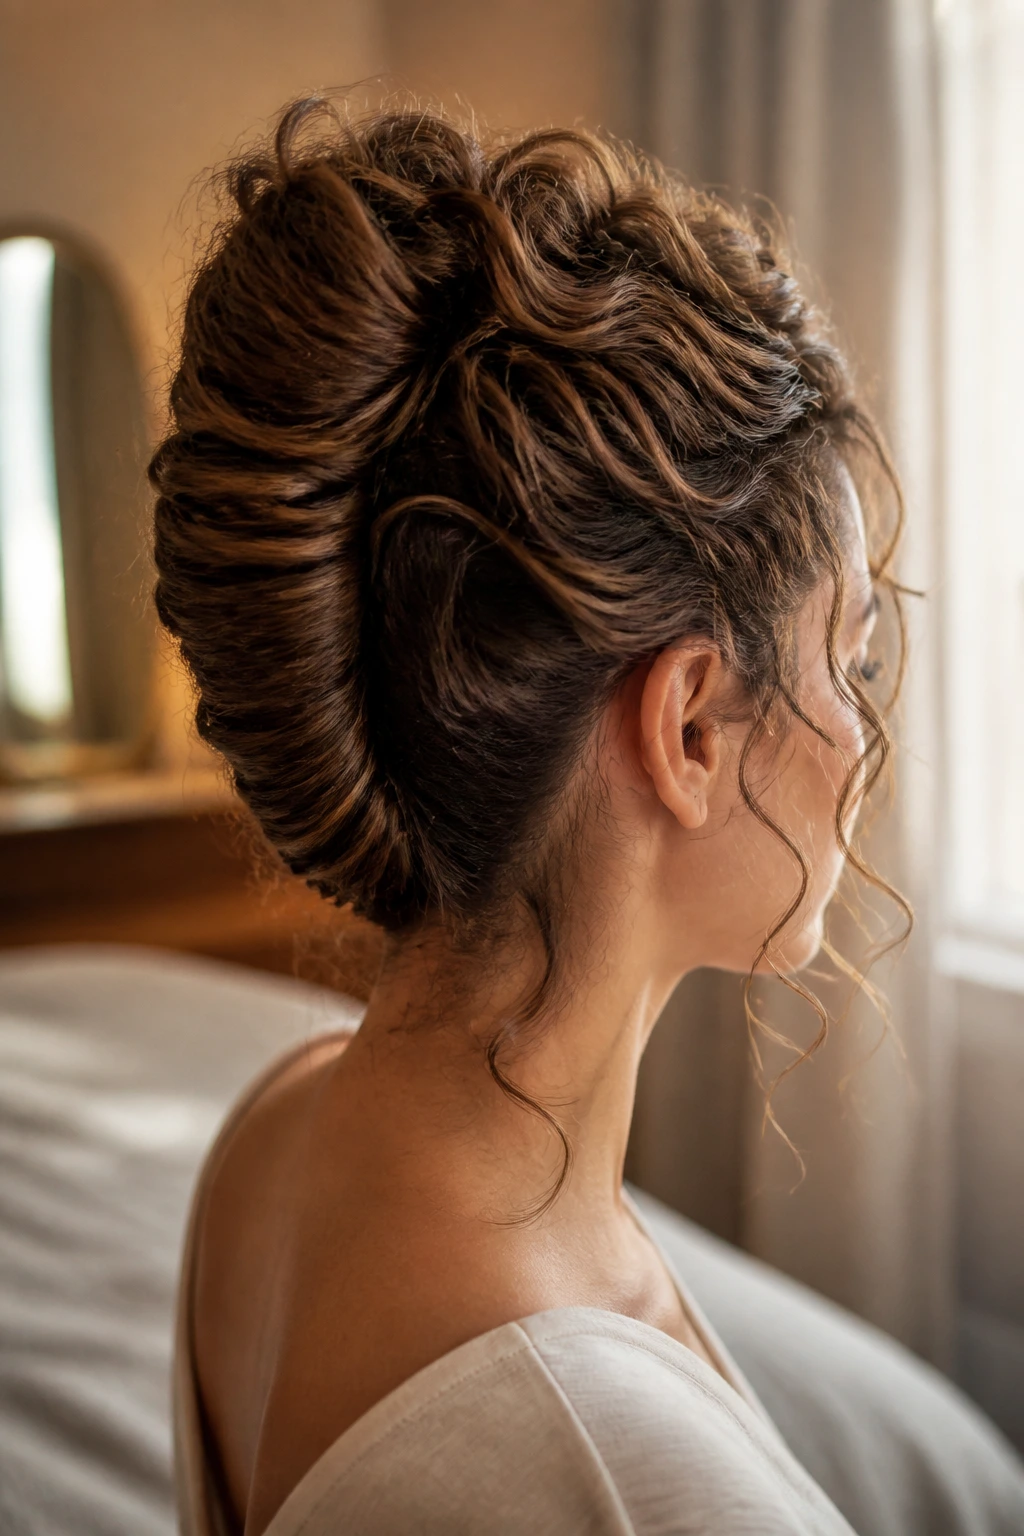
7. French Twist Bun
The French twist bun is the polished cousin in the family, but curly hair keeps it from getting too severe. You roll the hair upward, tuck the length inward, and let a few spirals escape at the edges. Those little curls matter. They soften the whole shape.
What I like here is the vertical line. It pulls the eye up the back of the head, which gives a clean profile without flattening the sides. On thick curls, the twist becomes almost sculptural. On looser waves, it reads more like a soft shell with movement around the edges.
Pin the center first, then chase the loose pieces as they fall. Don’t start by trying to lock every strand in place. That usually leads to overhandling, and overhandling is how you end up with fuzz instead of shape.
8. Loose Chignon
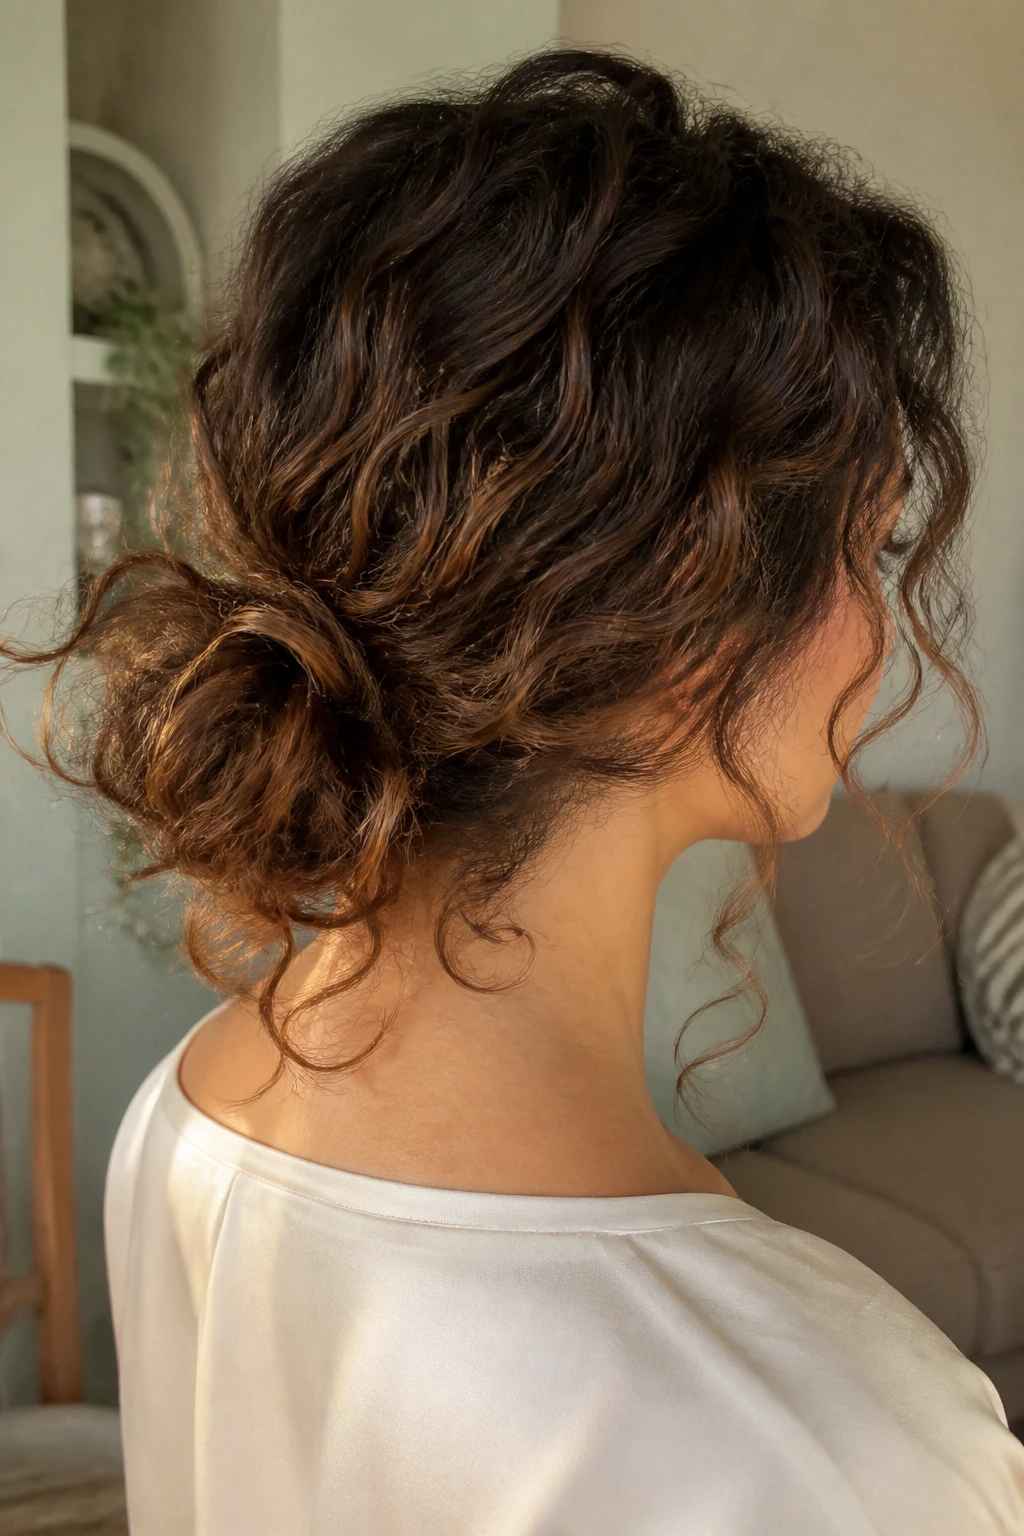
A chignon is a bun with manners, but curly hair keeps it from feeling stuffy. The nape placement, the tucked ends, and the little cloud of texture around the crown make it elegant without going stiff. It’s one of those styles that looks better when it’s not too neat.
The best version leaves the bun a touch lower and wider than a classic sleek chignon. That extra width lets the curls spread instead of compressing into a knot. If your hair is dense, do not try to force all of it into a tiny circle. Split the length, tuck in layers, and let the bun breathe.
I’d reach for this one when you want shape at the back and softness at the front. It pairs well with a deep side part, a few cheekbone curls, and almost no other fuss.
9. Half-Up Curly Bun
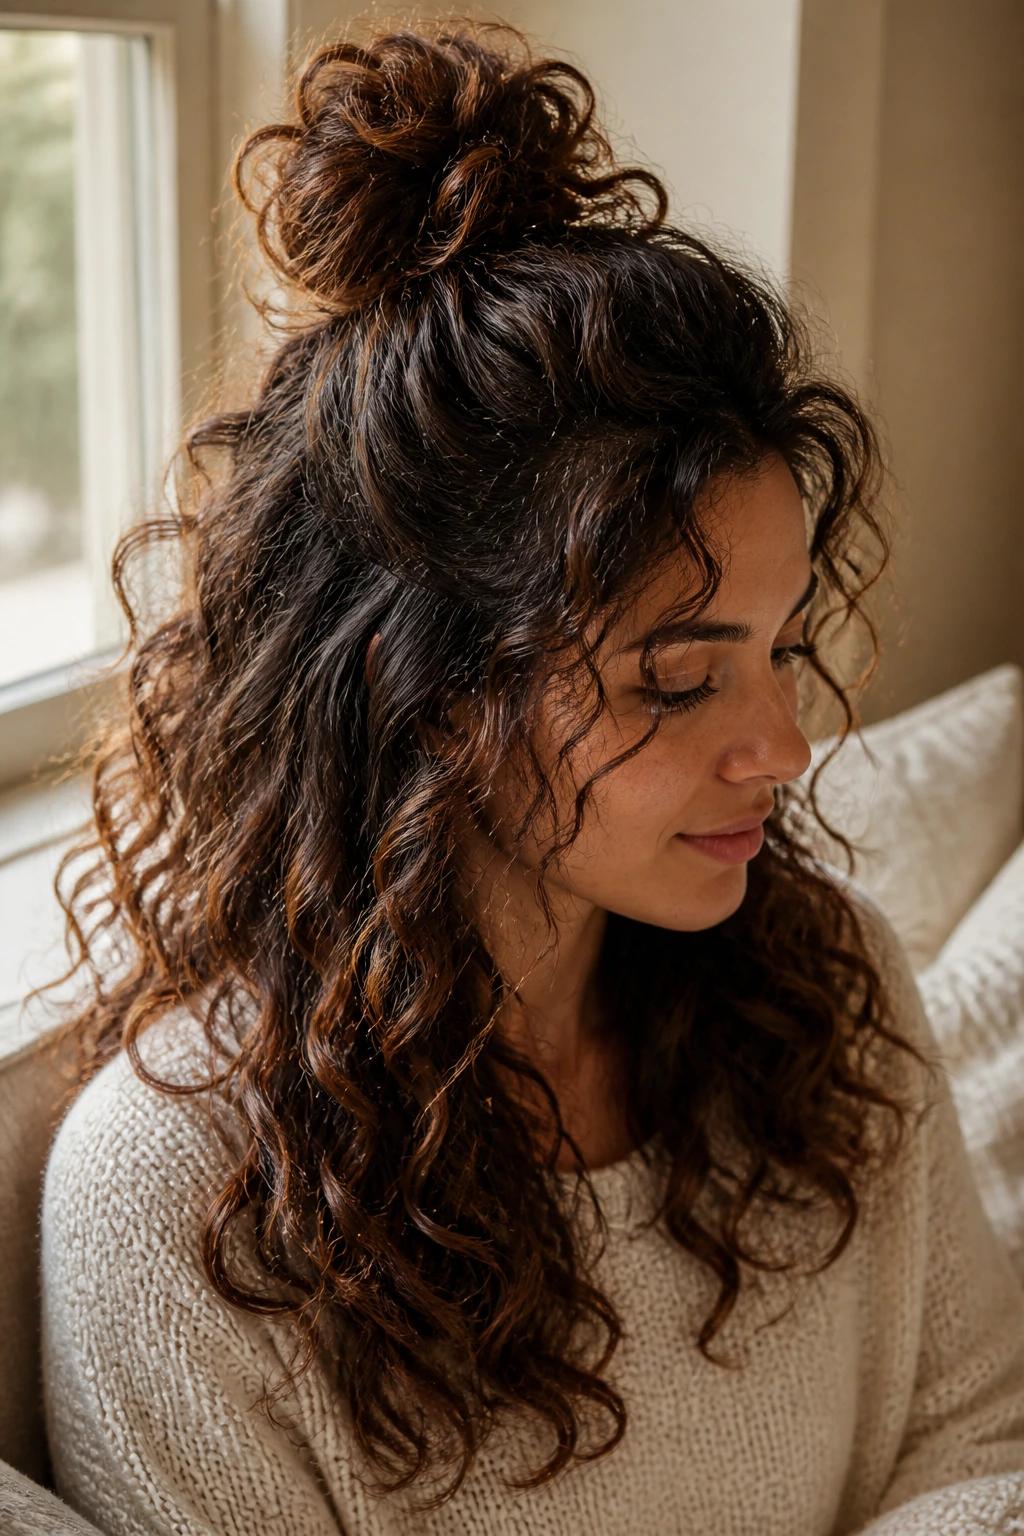
Half-up buns solve a problem curly-haired people know too well: sometimes you want your hair off your face, but you do not want to lose the whole cascade. So you only take the top half, twist it into a messy bun, and leave the rest alone.
That’s the magic. The bottom curls keep their length and movement, while the top section gets the lift and control. It’s one of the easiest ways to fake effort on a day when your patience is thin. The bun can be tiny or oversized, depending on how much hair you gather.
How to wear it
Take the hair from temple to temple, gather it at the crown, and stop before pulling the section taut. Twist once, loop loosely, and pin the bun in two places. The lower curls should still swing freely. If they hang limp, the bun is too tight or too low.
10. Scarf-Wrapped Bun
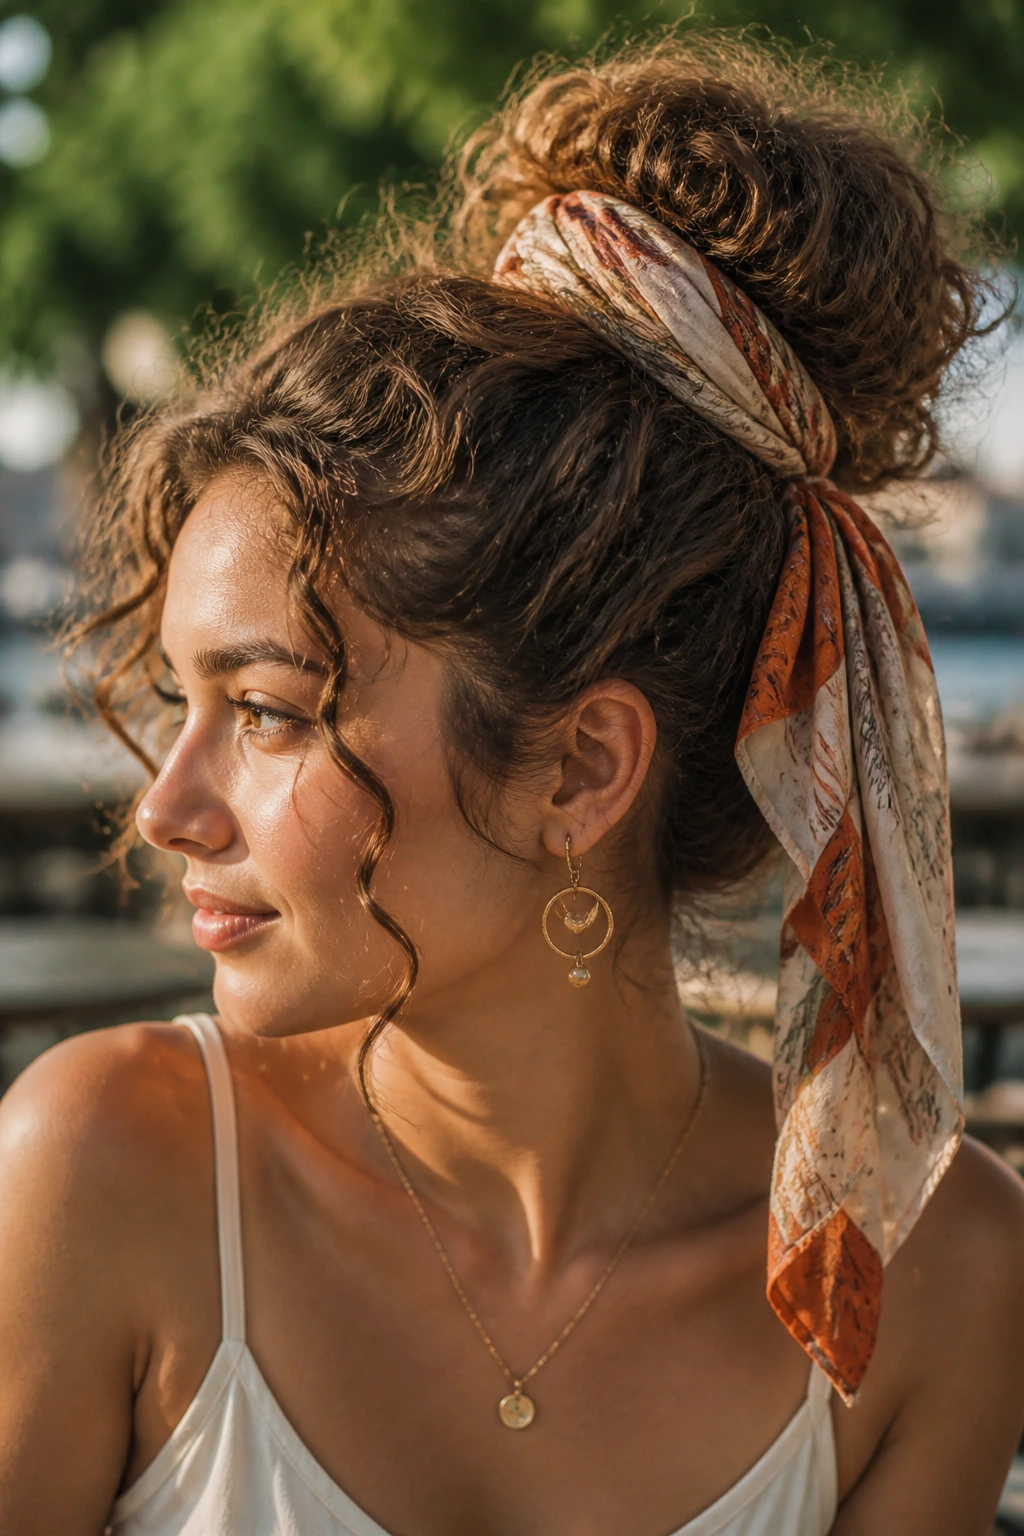
A scarf-wrapped bun does three jobs at once: it hides an elastic, adds grip, and gives the whole style a little color. On curly hair, that matters because the bun itself often has enough texture. The scarf becomes the clean line that keeps the style from reading as pure volume.
Choose a thin scarf if your hair is thick and a wider one if the bun needs support. Silk looks pretty, sure, but cotton or a textured weave can hold better. Tie it around the base after the bun is secured, then knot it off to one side rather than directly in the middle of the neck. That small shift looks less formal and more lived-in.
If the bun feels too small, the scarf fills the visual gap. If the hairline is frizzy, the scarf distracts from it. Useful little trick. No drama.
11. Crown Twist Bun
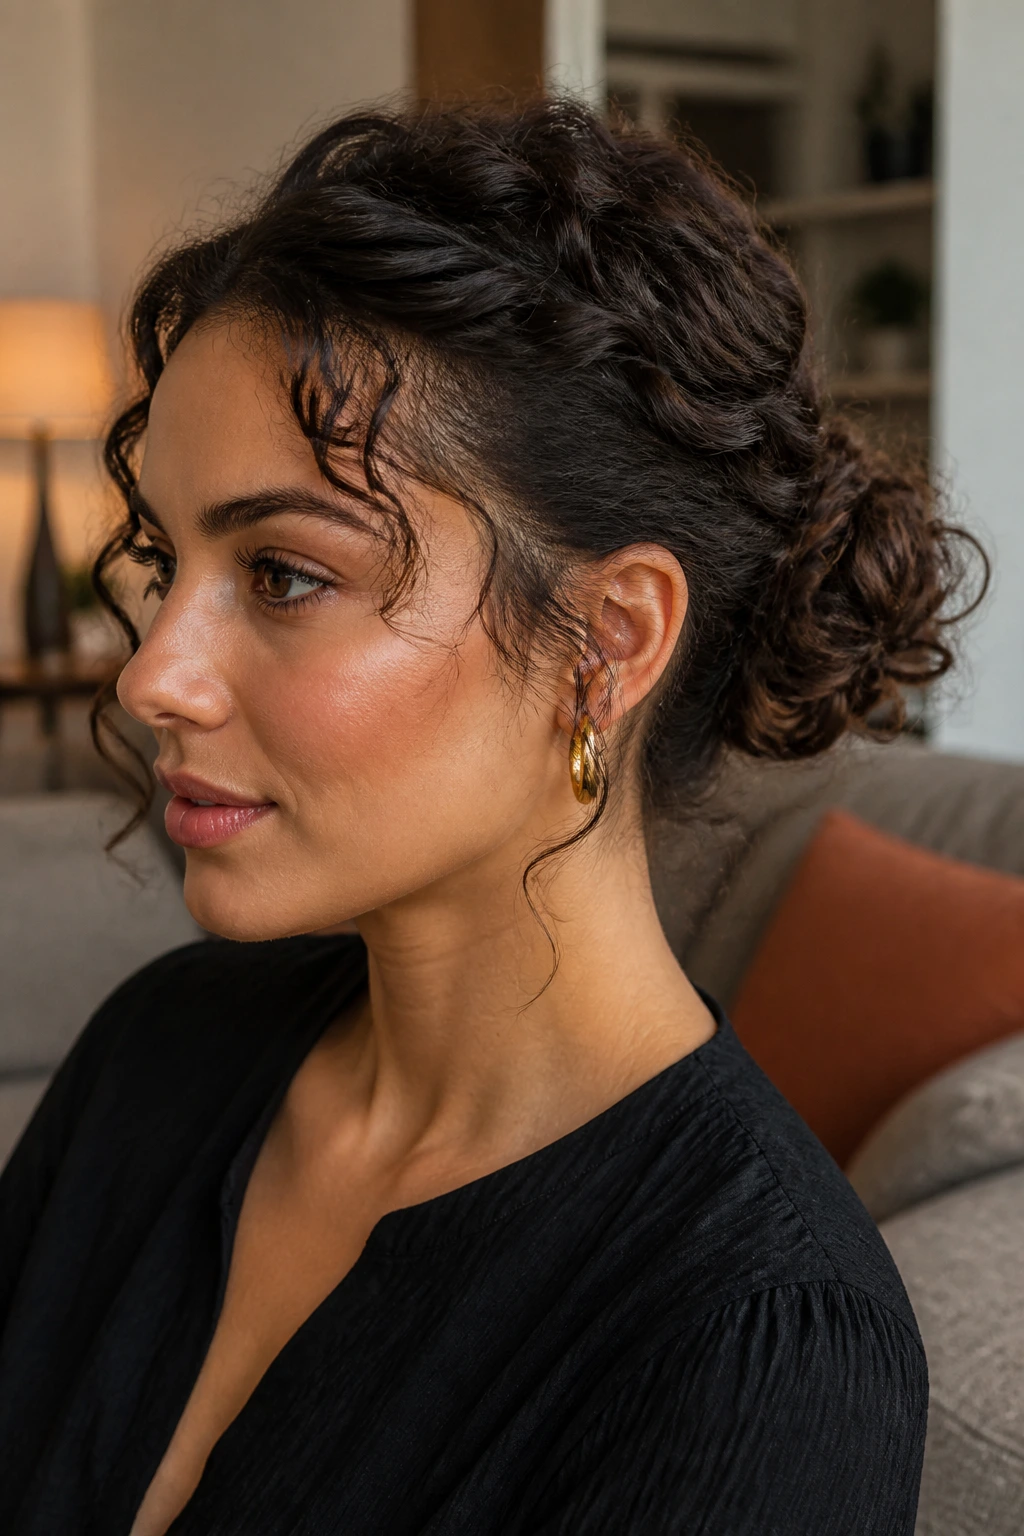
This is one of those styles that looks more complicated than it is. Two sections from the temples twist back toward the crown, then the rest of the hair gathers into a bun at the back. On curly hair, the twists blend into the natural pattern so well that the whole thing looks built, not forced.
The crown twist is especially nice if you hate hair falling into your eyes. It keeps the front controlled without slicking it down to nothing. The bun at the back can stay loose, which gives you a nice contrast between the neat top and the soft shape behind it.
A tiny detail matters here: twist away from the face on both sides, not toward it. That keeps the front opening clean. If one side keeps slipping, pin the twist before you gather the bun. Waiting until the end usually makes the whole style wobble.
12. Bubble-Pinned Bun
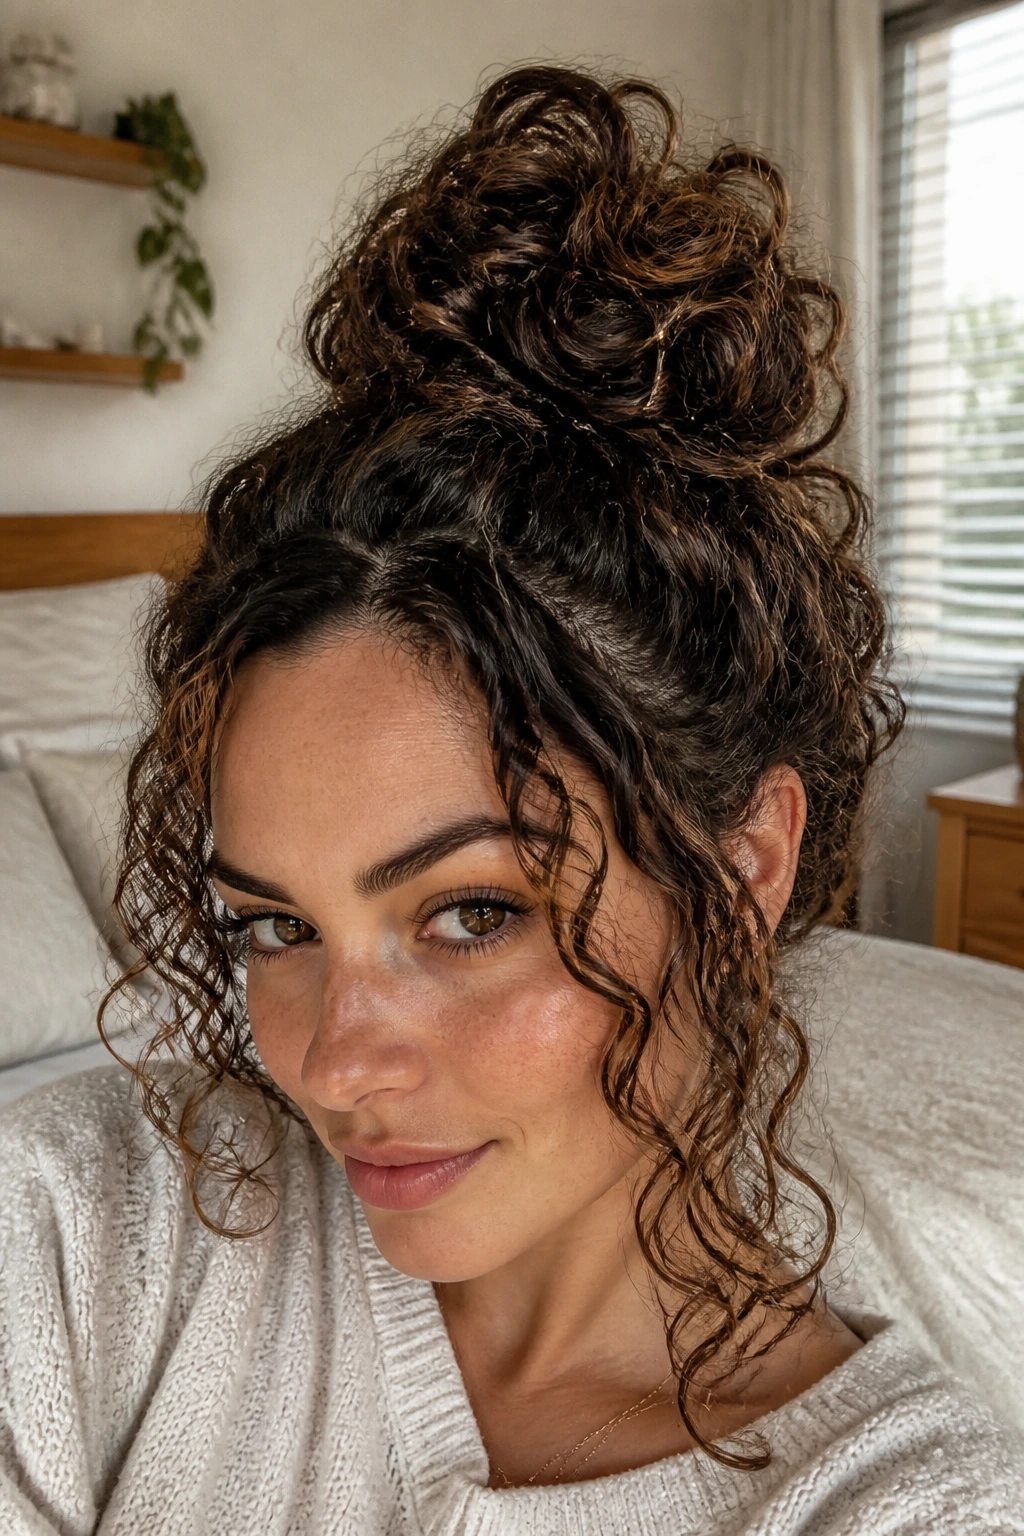
A bubble-pinned bun gives curly hair a playful shape that feels half bun, half sculpture. You tie the length in sections, puff each one into a bubble, then tuck or pin the pieces into a loose mound. It sounds fussy. It isn’t, once you get the rhythm.
The bubbles create visual breaks, which helps on longer curls that might otherwise collapse into one heavy loop. The bun ends up looking full without needing a ton of twisting. I like this one when the curls are stretched out from sleep and need a style that makes use of the extra length.
Use clear elastics or slim ties, not big bulky ones. Then pin the bubbles down just enough to stop them from flopping. Leave a few ends visible. The style works because it looks a little unfinished.
13. Fluffy Donut Bun
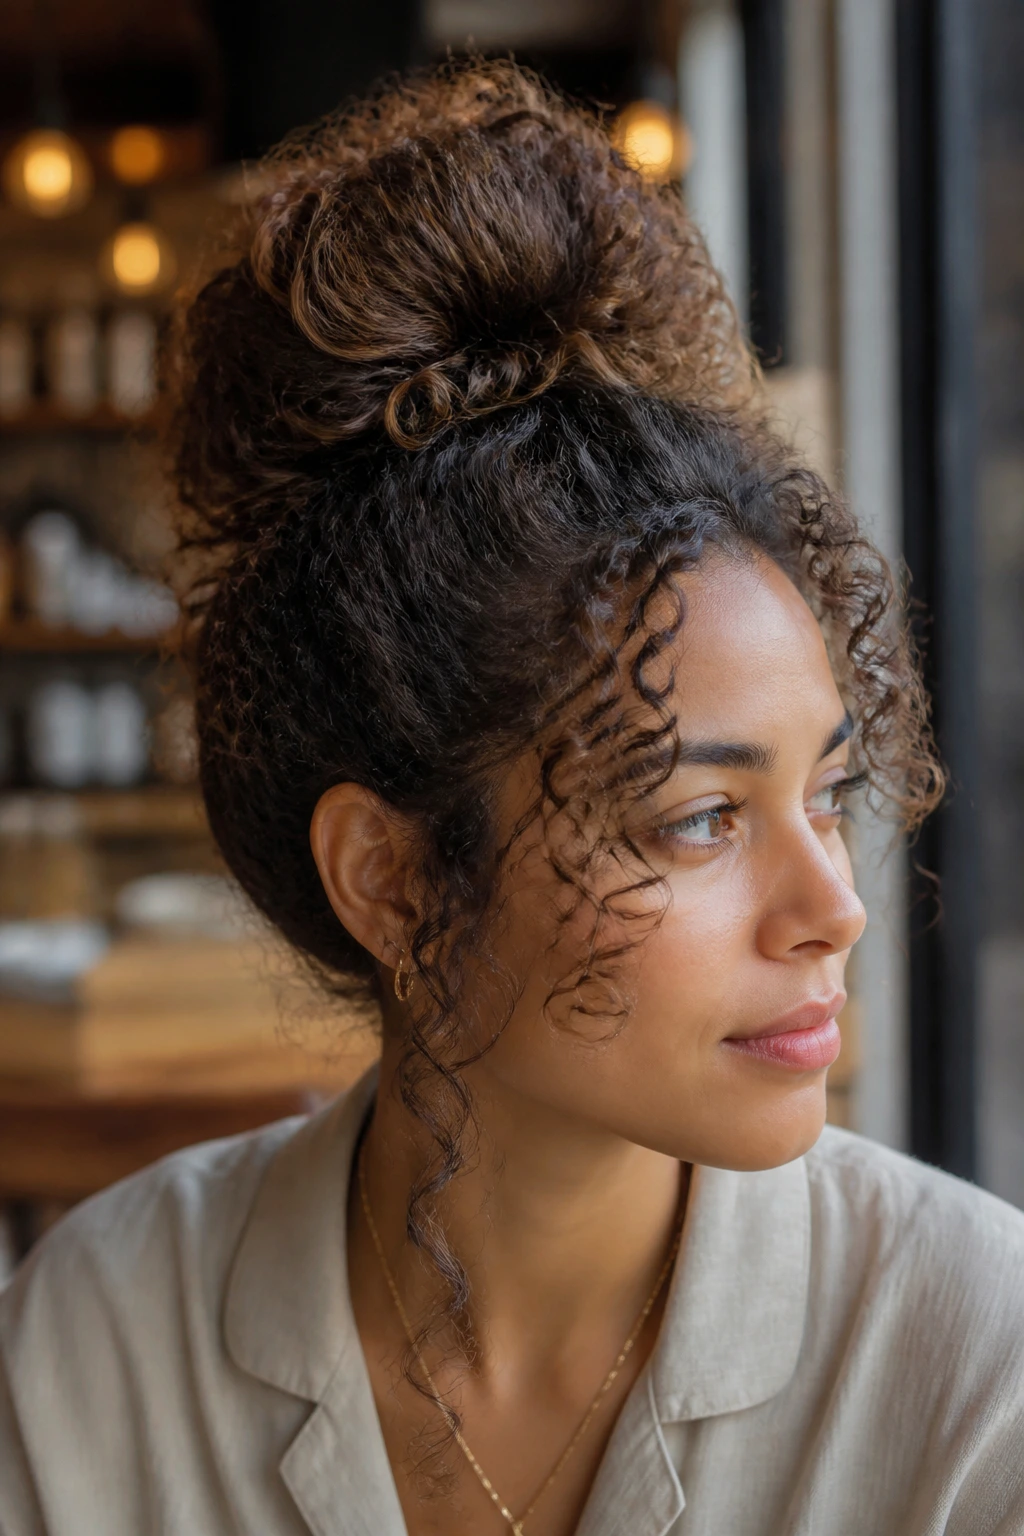
A donut bun on curly hair should never look like a perfect ballet bun. That version fights the hair. A fluffy donut bun uses the shape of a foam ring or a padded base, but the curls stay visible around it, which is where the good stuff is.
This is the style for people who want a full bun without stuffing all the hair into one twist. The donut gives you structure; the curls give you the real texture. If your hair is long and thick, this can save your arms. If your hair is medium length, it can give you a bigger silhouette than your actual bun would create on its own.
Keep it loose around the outside. Pull too much hair over the donut and it starts looking like a helmet. A few exposed curls around the perimeter make all the difference.
14. Sleek Curly Bun
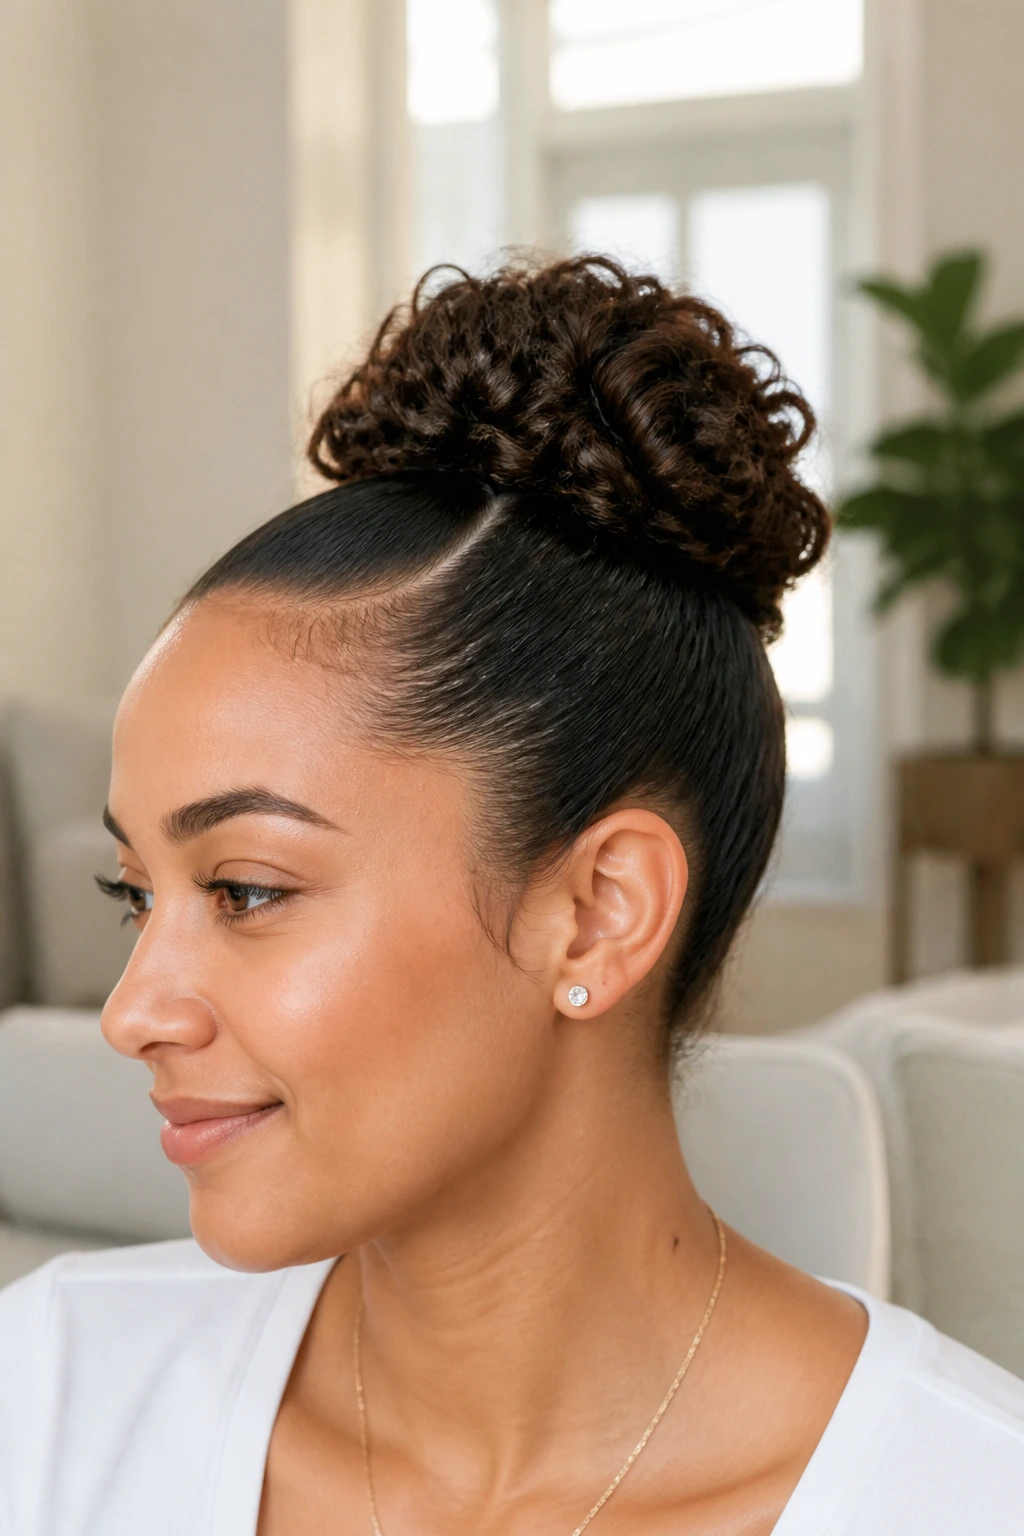
Can curly hair do sleek without looking crushed? Yes. The trick is to smooth the outer layer only, not every inch of curl. Brush or comb the top section with a little gel or cream, leave the rest textured, and gather the hair into a bun that stays soft underneath.
This style works when you want a cleaner finish but still want curly identity showing through the bun. A neat part helps. So does a polished hairline. But the bun itself should remain loose enough that the curls can still puff and bend inside it.
I’m blunt about one thing: if you overbrush the whole head, the style loses the point. Smooth the surface. Leave the body alone. That’s how you get sleek with texture instead of sleek with sadness.
15. Gym-Ready Scrunchie Bun
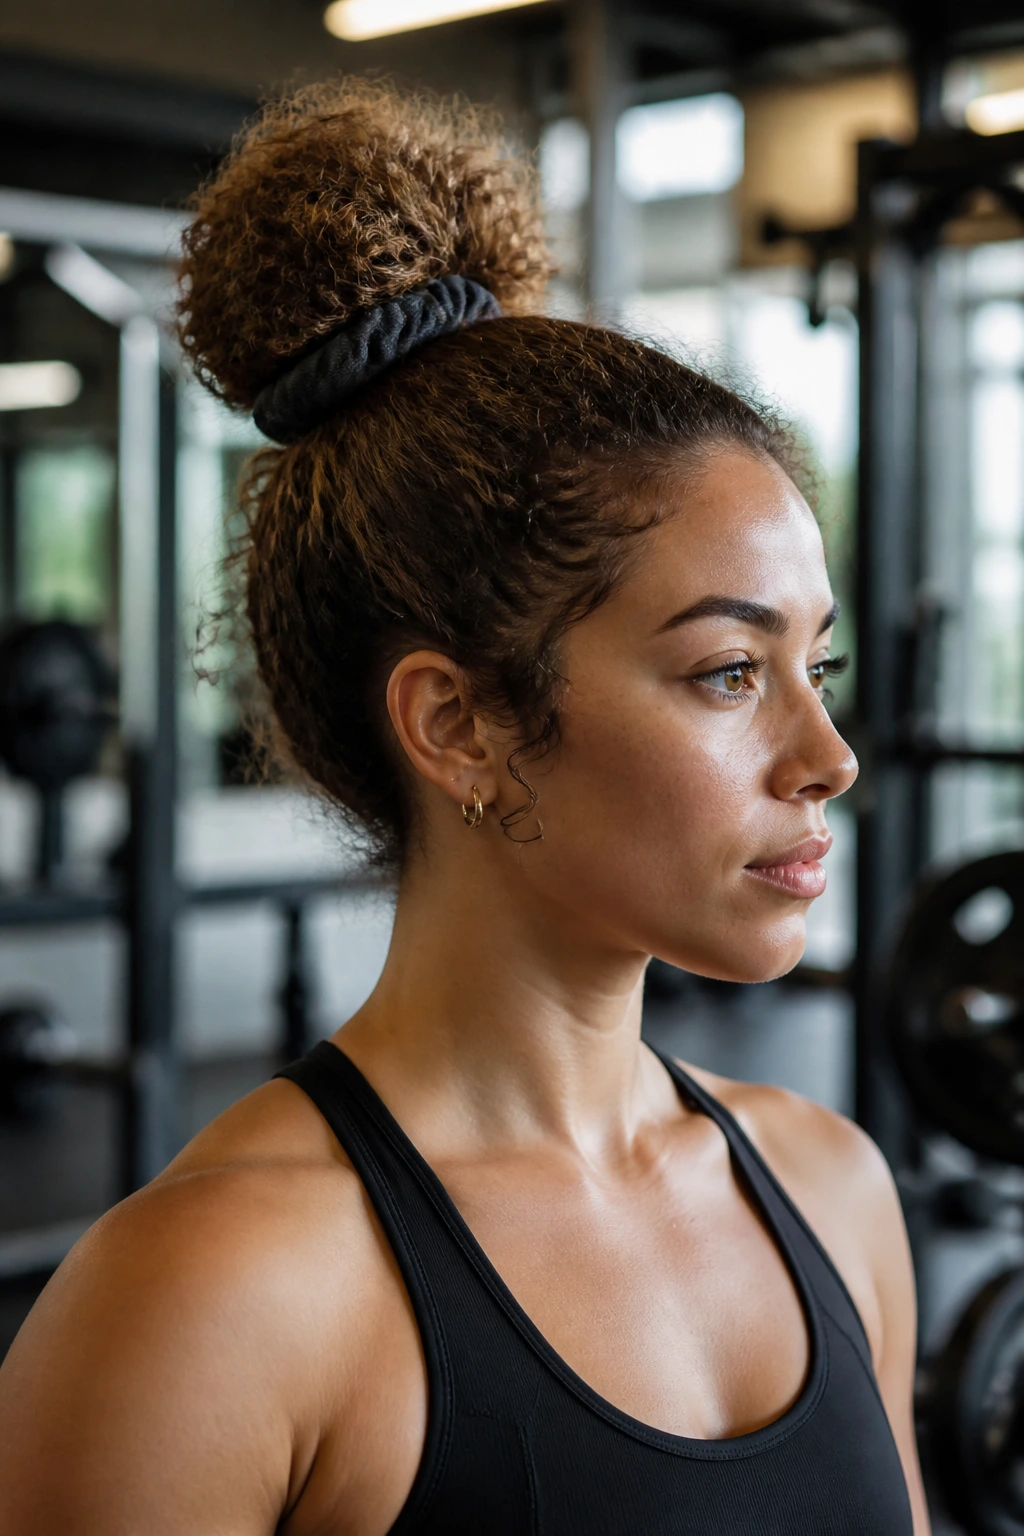
This is the bun for sweat, errands, and the kind of day where hair gets handled twice before noon. One sturdy scrunchie, one twist, and a second wrap if the hair is thick enough. No tiny decorations. No delicate pins you’ll lose in the gym bag.
The reason it works so well on curly hair is that the texture already gives you hold. A scrunchie just gathers it without snagging the curl pattern too hard. If your scalp is sensitive, wear this one a little lower and a little looser. It still stays put.
A practical tip: don’t chase perfect symmetry. A gym bun should sit where your head moves comfortably. A high knot can bounce. A mid knot usually survives better. The style can still look good; it just has to earn its keep first.
16. Low Bun with Face-Framing Curls
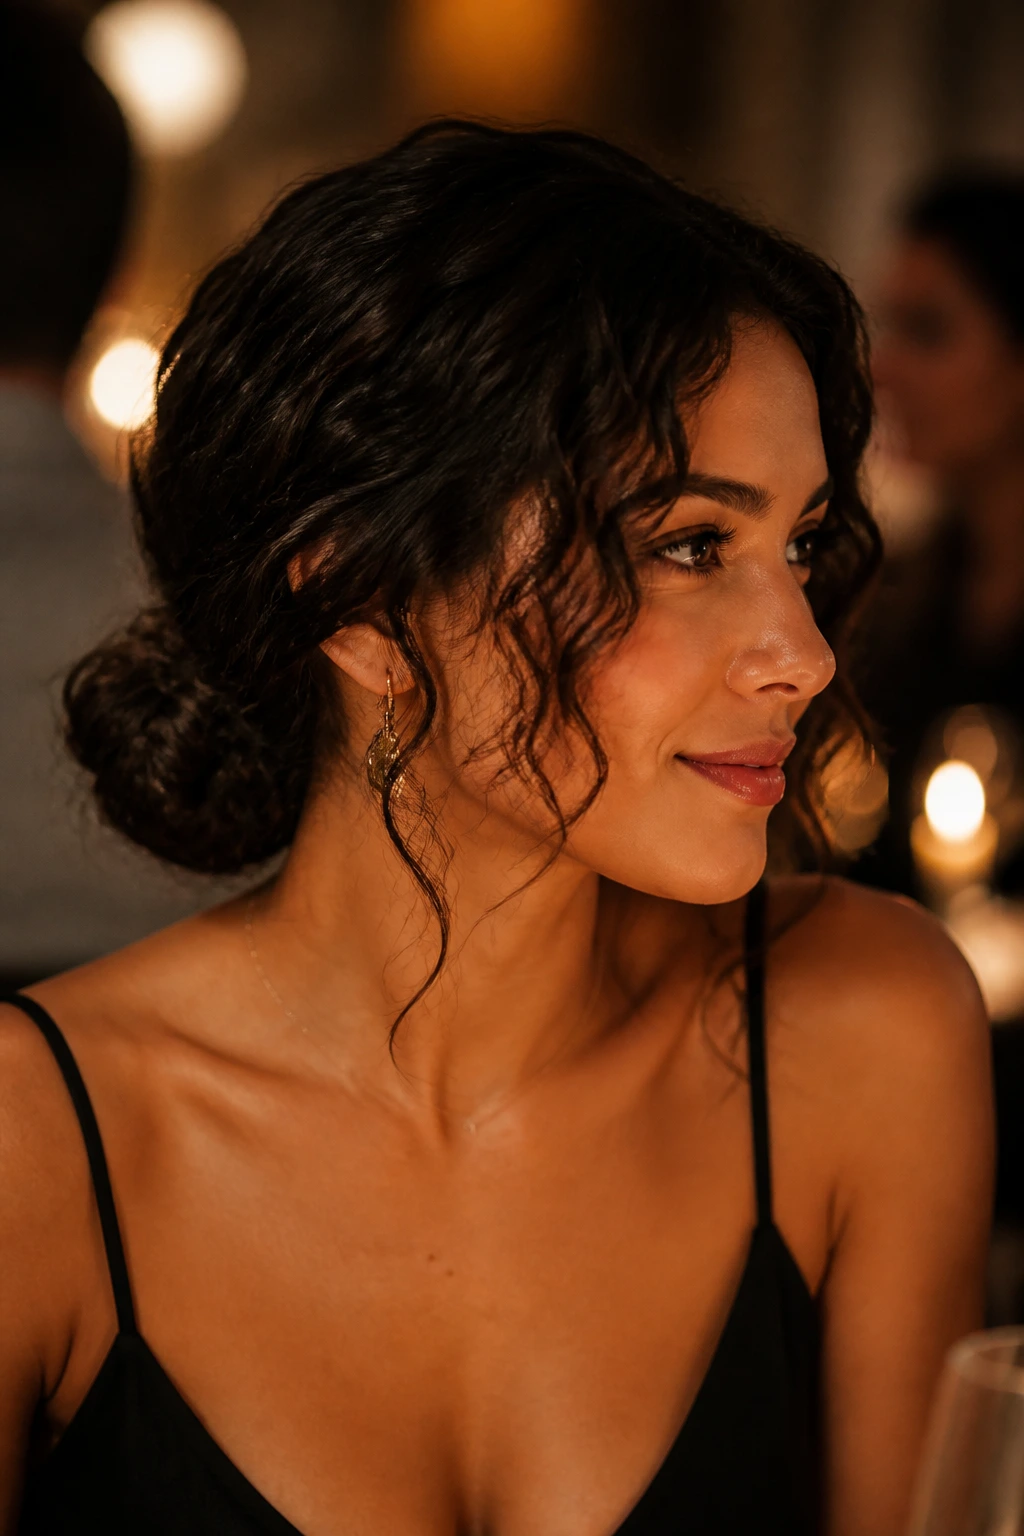
If you want soft without looking underdone, this is the one. Keep a few curls out around the face, gather the rest low, and let the bun sit just above the nape. The loose tendrils pull the whole look forward, which is useful when the bun itself is small or the hair is layered.
The face-framing pieces should not be identical. One can be tighter, one looser, one tucked behind the ear halfway through the day. That asymmetry makes the style feel natural. You can also curl or re-define just those front pieces if the rest of the hair is on day three and the crown needs a little help.
Best use
This is the bun I’d choose for a dinner, interview, or any moment where you want the hair out of the way but not gone. It’s calm, and it knows it.
17. Twisted Mohawk Bun
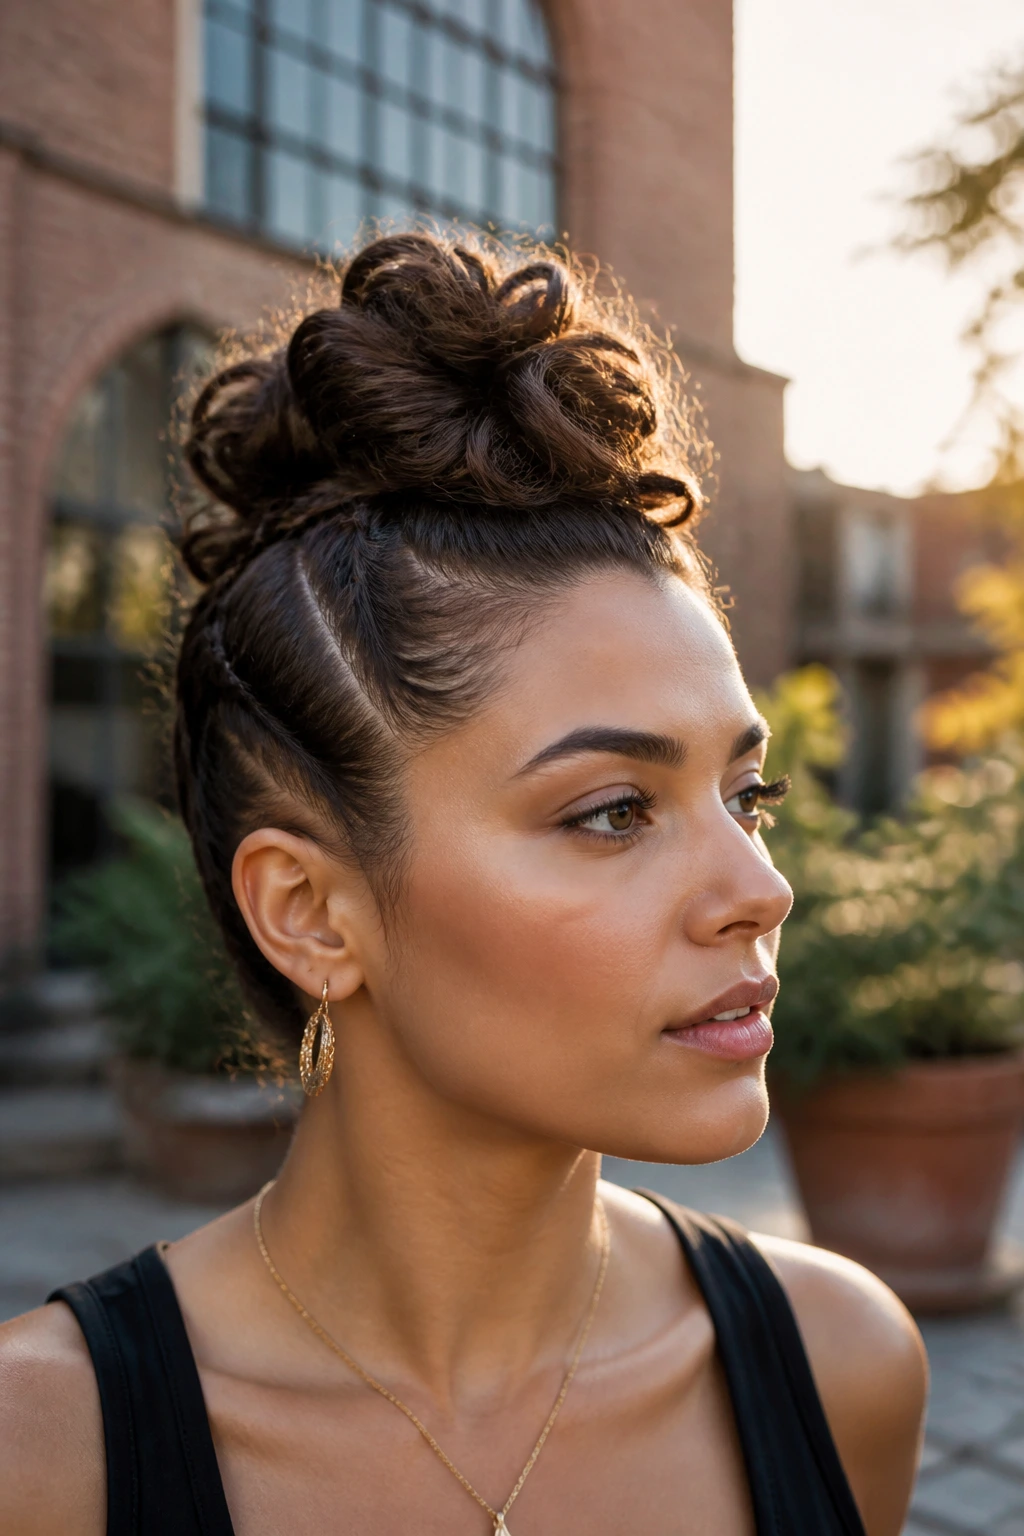
A twisted mohawk bun puts the drama on top. The sides stay flatter, the center line carries the volume, and the bun sits like a ridge instead of a simple knot. Curly hair makes this style easier because the texture hides the pinning and fills the shape fast.
The sides can be twisted back, smoothed with cream, or tucked tight depending on how sharp you want the contrast. I like a slightly loose center because it keeps the style from looking too engineered. If the crown is flat, lift the hair before pinning. The bun needs some air under it.
This one is a good choice if you want height without a full topknot. It has attitude. Not noisy attitude. More like a quiet dare.
18. Tuck-and-Pin Bun
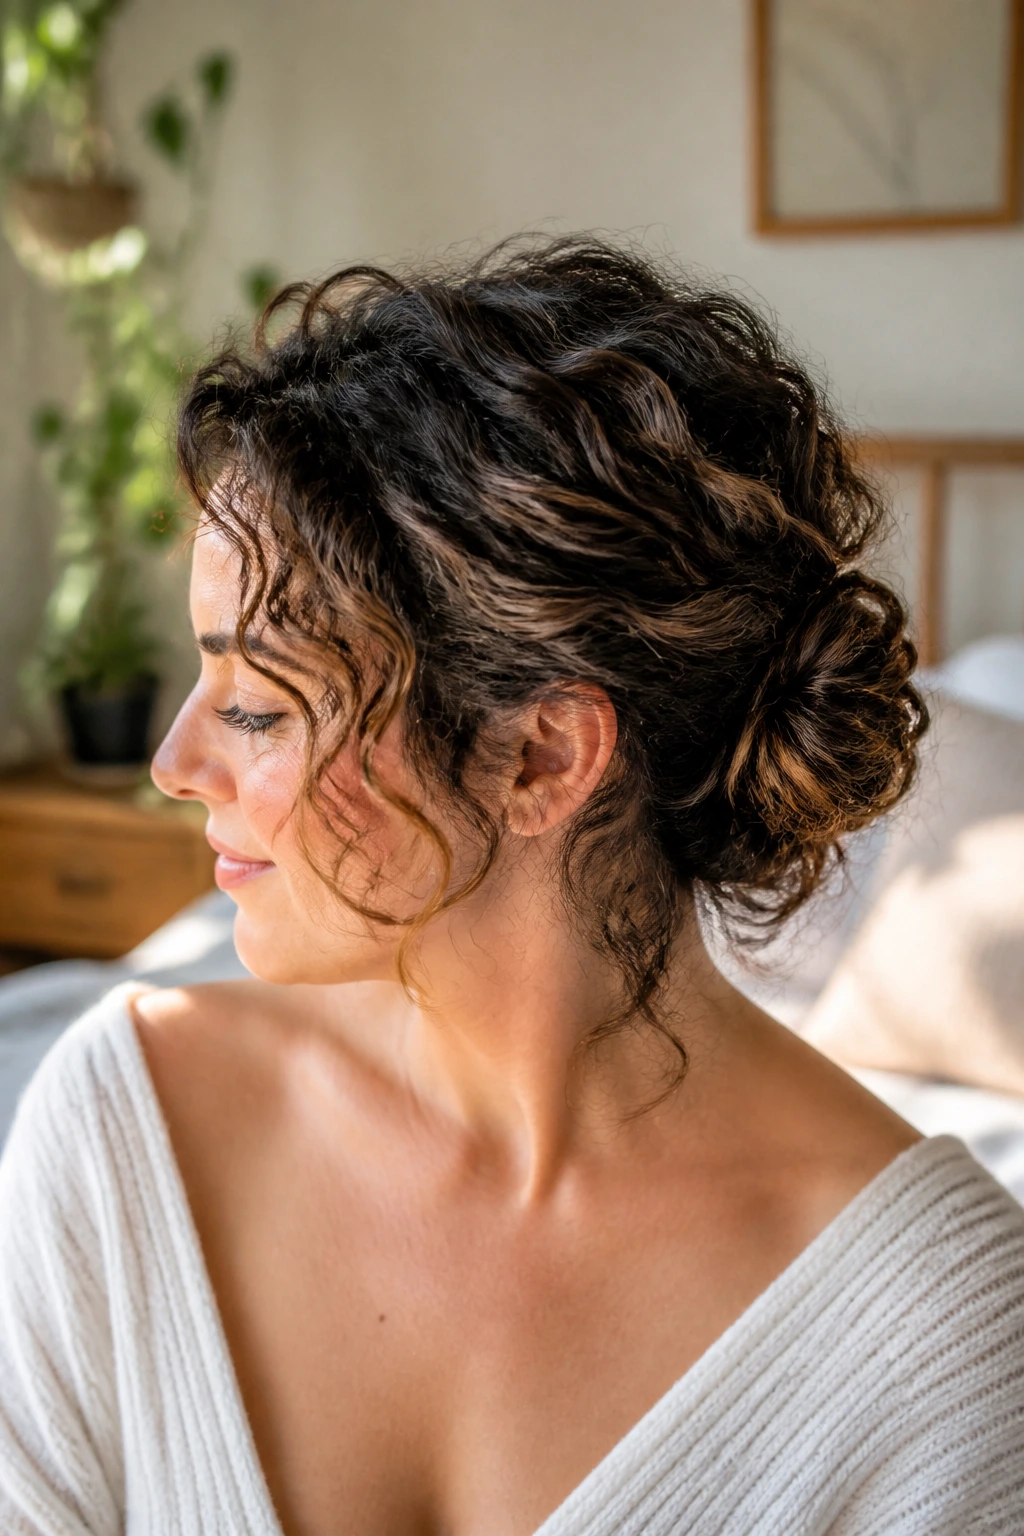
The tuck-and-pin bun is what I call a rescue style. No one is pretending it took half an hour. You twist the hair, tuck the ends inward, and secure the shape with pins from different angles until it stops moving. That’s it.
Curly hair makes this easier because the ends catch on each other. You do not need a perfectly smooth coil. You need a shape that holds while the texture does the disguising. This style is especially useful on shoulder-length curls, where there isn’t quite enough length for a full knot but there is plenty for a tucked roll.
If the bun looks too wide, press it gently from the sides rather than adding more pins straight through the middle. That keeps the shape soft. A middle pin often flattens the curl pattern more than it helps.
19. Crown Braid Bun
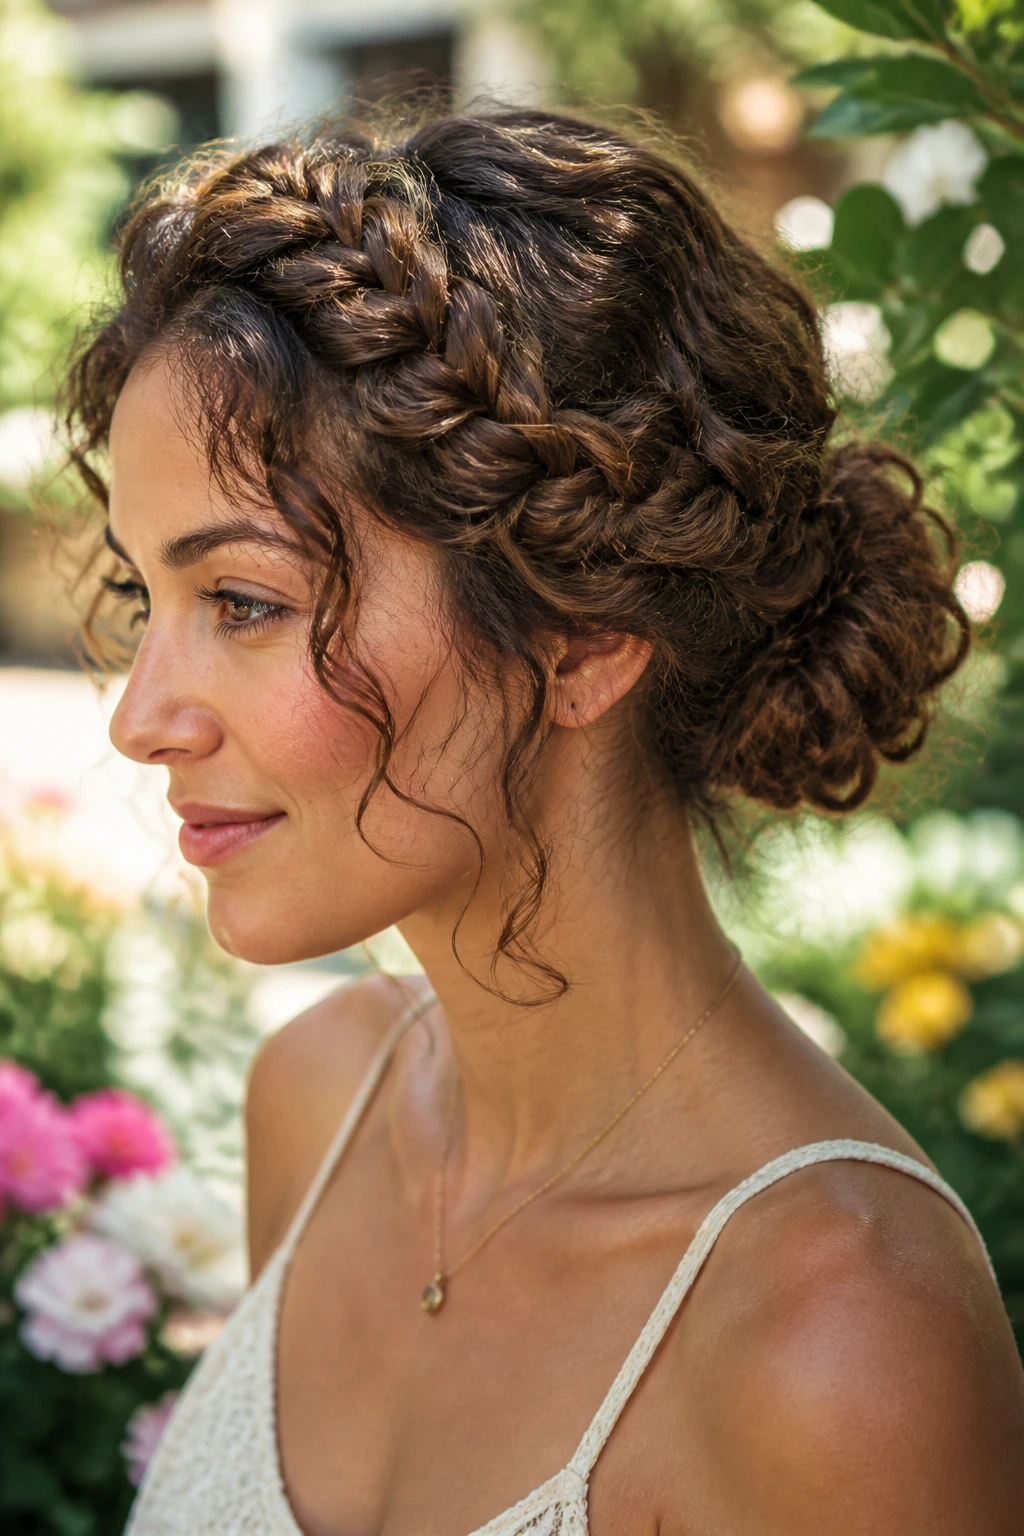
A crown braid bun gives you a built-in frame. The braid keeps the front controlled, the bun holds the back, and the style stays put longer than a plain twist because the braid has real grip. On curly hair, the braid texture blends into the curls instead of fighting them.
The crown section can start at one temple and travel across the head before joining the bun, or it can wrap all the way around if your hair is long enough. Either way, the braid keeps the top from puffing in odd places. That makes this a good choice for windy days, long events, or whenever you want your hair to behave.
The bun itself should stay soft. If both the braid and the bun are too tight, the style turns hard in a hurry. Leave a few curls out near the ears and the neckline. Those pieces are doing a lot of work.
20. Side-Part Curly Bun
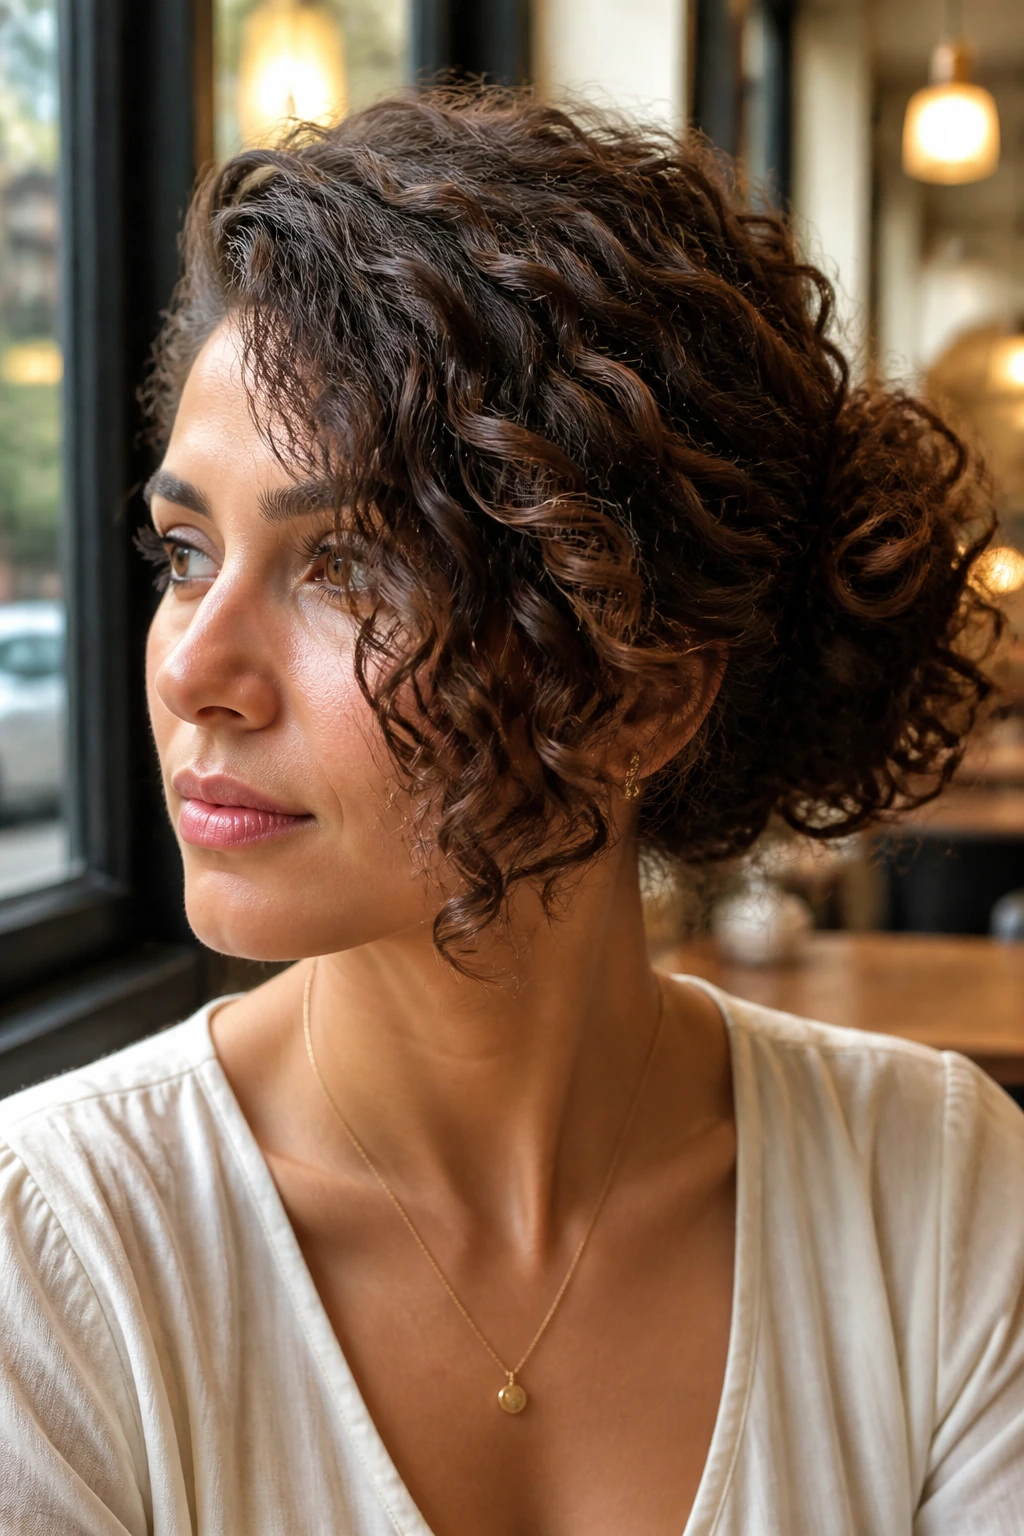
A deep side part changes the whole mood of a bun. The part gives one side more weight, the bun sits a touch off center, and the face framing gets more interesting without needing extra layers cut in. On curly hair, side parts also help hide a flat spot or a stubborn cowlick.
This is one of those styles that looks tailored without being severe. The bun can sit low, mid, or high. The part is the thing that carries the shape. I like it best when the front section on the heavier side sweeps across the cheek before joining the bun. That line makes the style feel deliberate.
If you’re bored with your usual center-part bun, this is the easiest way to make the same curl pattern look different. Small move. Big effect.
21. Banana-Clip Bun
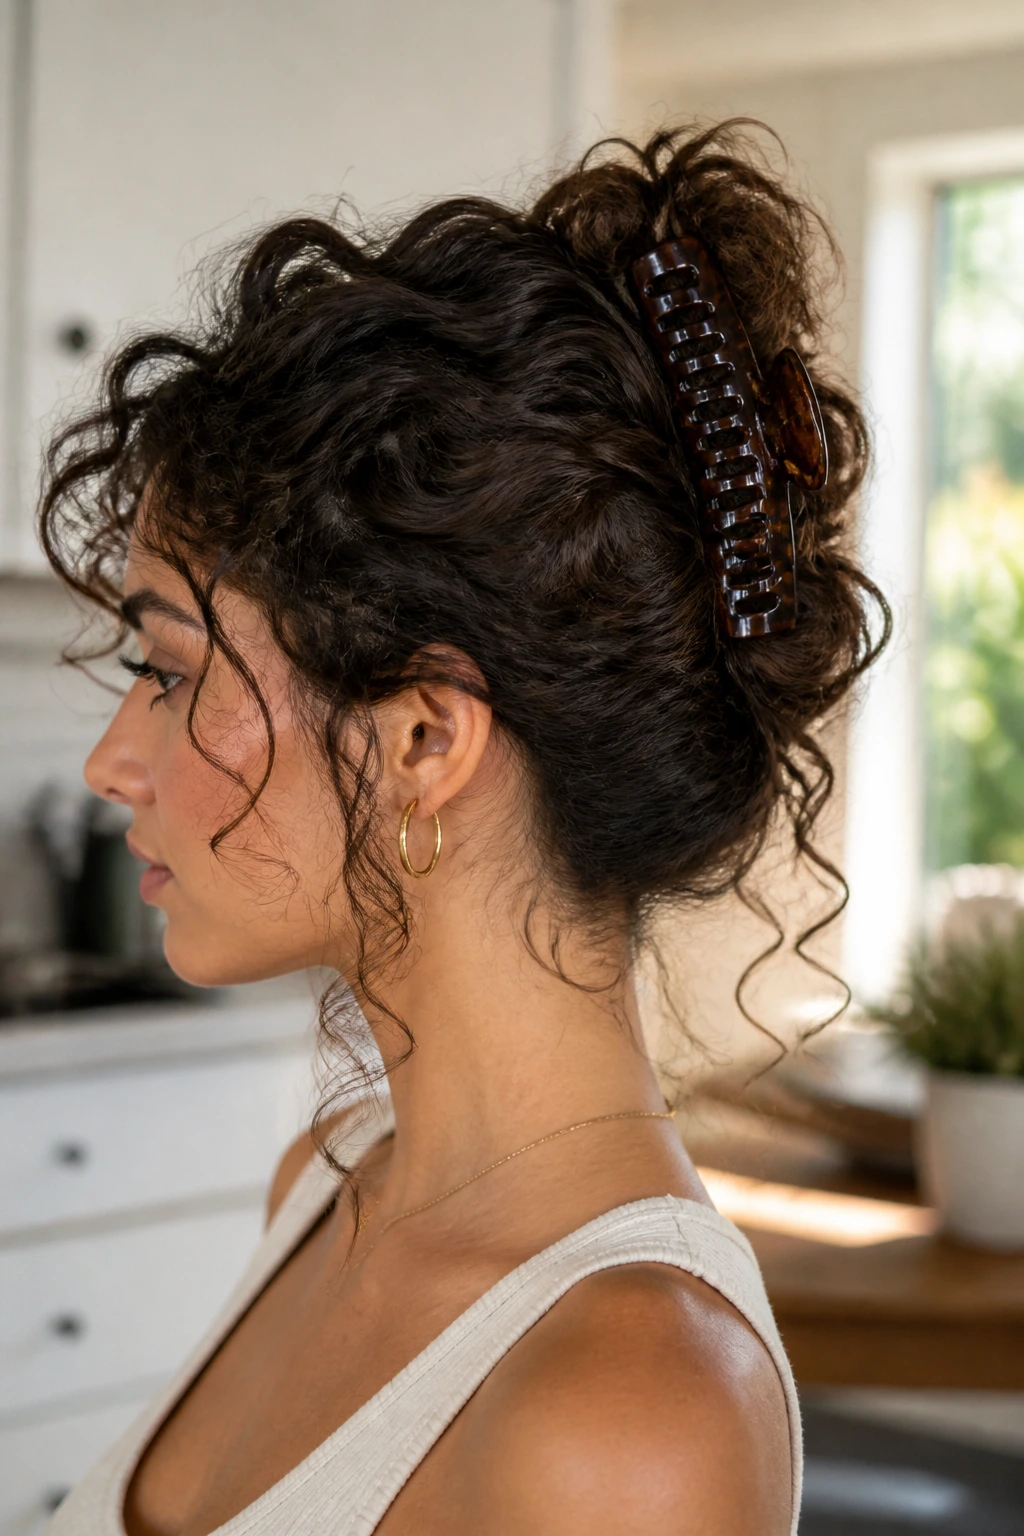
The banana-clip bun is the lazy person’s clever answer, and I mean that as praise. You gather the curls, clip them in a long vertical clip, then tuck the loose length back over the clip so it reads like a bun instead of a clamp. Curly hair gives the style the puff it needs.
This one is great when your hair is long, dense, or tender and you do not want a pile of pins. The clip does most of the work. The curls create the shape. It can look casual in the best way, especially when a few ends stick out around the base.
Pick a clip with enough teeth to catch your texture. Tiny clips slip. Overly tight ones can pinch. The sweet spot is a clip that closes with a little resistance and doesn’t feel like it’s biting the hair.
22. Bangs-Out Bun
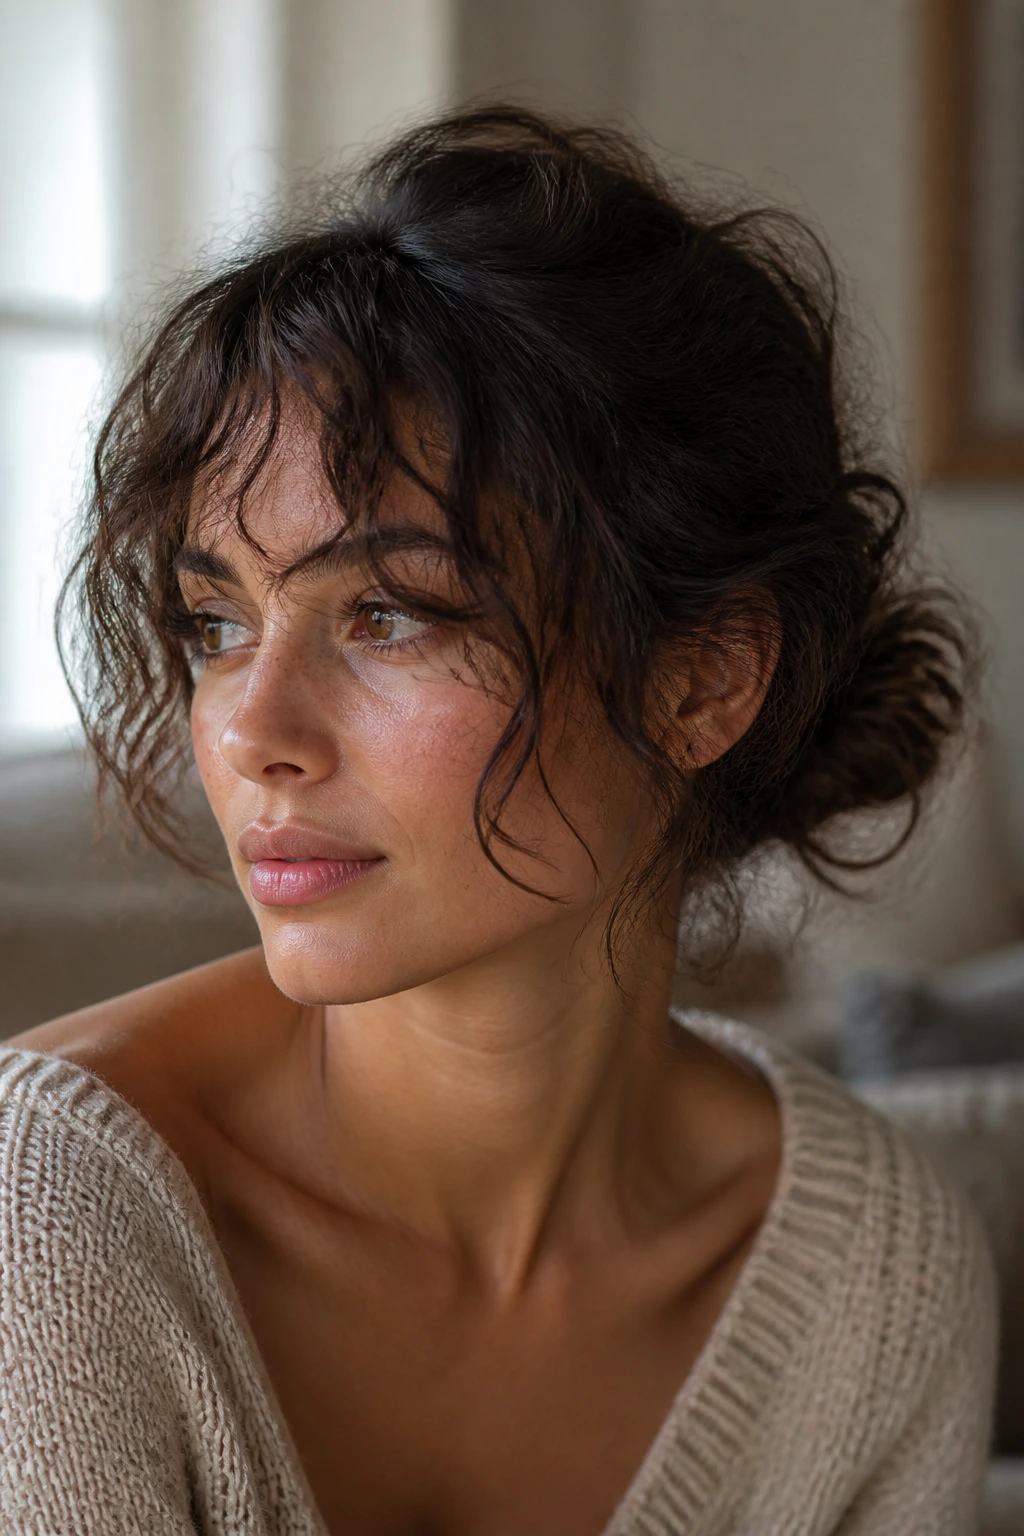
If you have bangs, curtain pieces, or a short front fringe, this bun is almost cheating. Leave the front out on purpose and gather the rest into a messy knot. Suddenly the style has structure and softness at once.
The nice thing here is balance. The bun can be simple because the front sections do some of the visual work. On curly hair, bangs or short curls near the face add motion that straightens out the whole look. You do not need to smooth them. If anything, leaving them a little piecey helps.
Keep the bun slightly lower than you would for a full topknot. That gives the fringe room to sit without fighting the shape. It’s a small adjustment, but it stops the front from looking disconnected from the rest.
23. Claw-Clip Bun
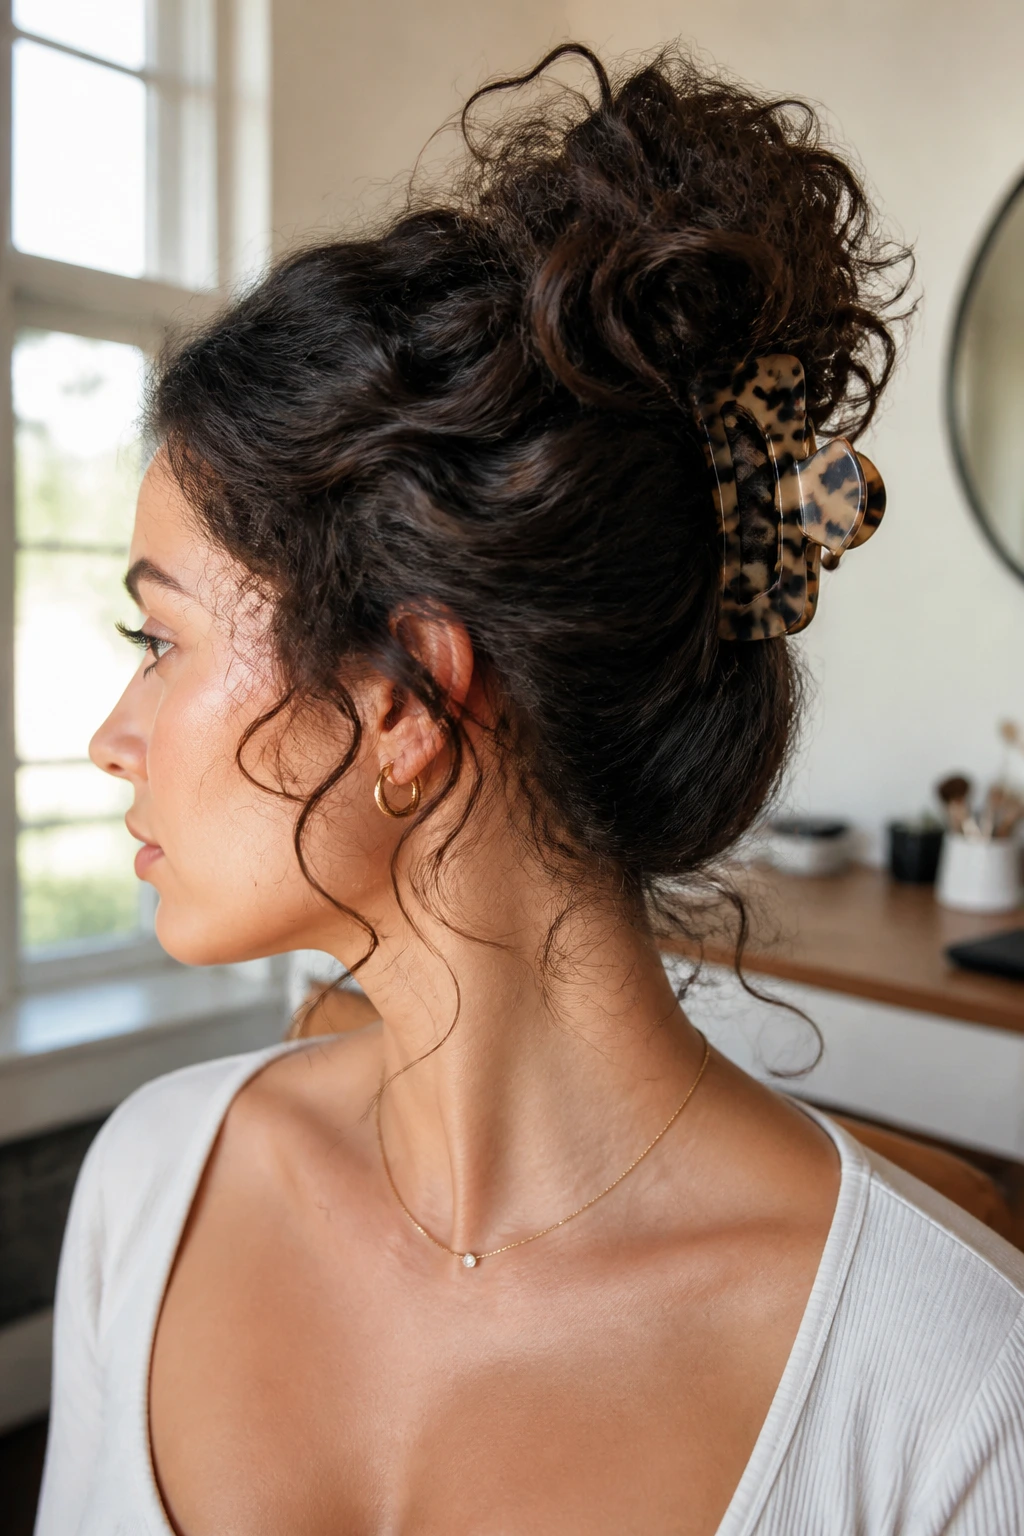
A claw-clip bun is the fastest way to lift curly hair without making it feel trapped. Twist the hair upward, fold it once, and clip. That’s the basic shape. The messy part happens naturally because curls refuse to lie flat, which is half the charm.
This style is especially useful for thick curls that get too heavy in elastics. The clip spreads the tension across a wider area, so the scalp feels less tugged. If your hair is very long, tuck the ends in before clipping so the bun doesn’t droop like a ponytail pretending to be a bun.
I’d use this for work-from-home days, quick errands, or any moment when you want to look put together without leaving elastic dents. It’s not the sleekest option. It’s one of the least annoying.
24. Ribbon-Tied Bun
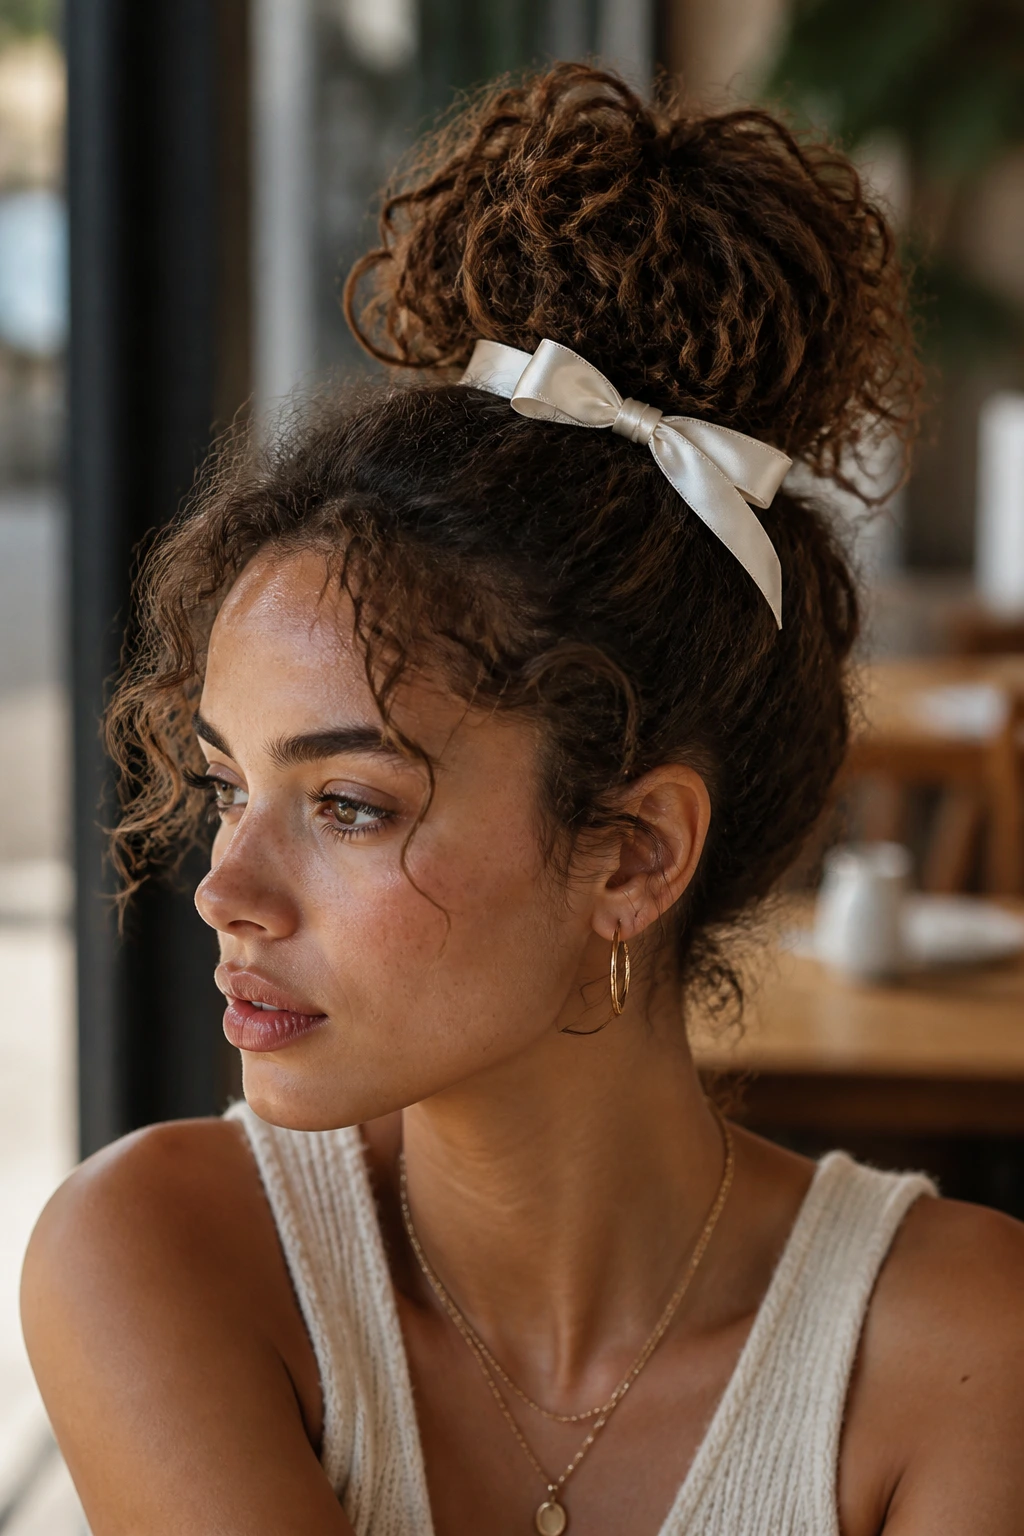
A ribbon-tied bun turns a plain curly knot into something softer and a little more styled. The ribbon wraps around the base, hides the elastic, and gives you a clean finish without needing a lot of product. On curly hair, that matters because the texture already does enough.
Choose a ribbon that has a bit of body. Too slippery, and it slides. Too stiff, and it sticks out awkwardly. Satin looks dressy. Grosgrain grips better. Either one can work if you secure the bun first and treat the ribbon as the finish, not the foundation.
This is one of my favorites for brunch or a casual event because it reads as effort without being precious. A curl or two can hang loose beside the ribbon. That tiny mismatch keeps it from feeling overdone.
25. Knot-Out Bun
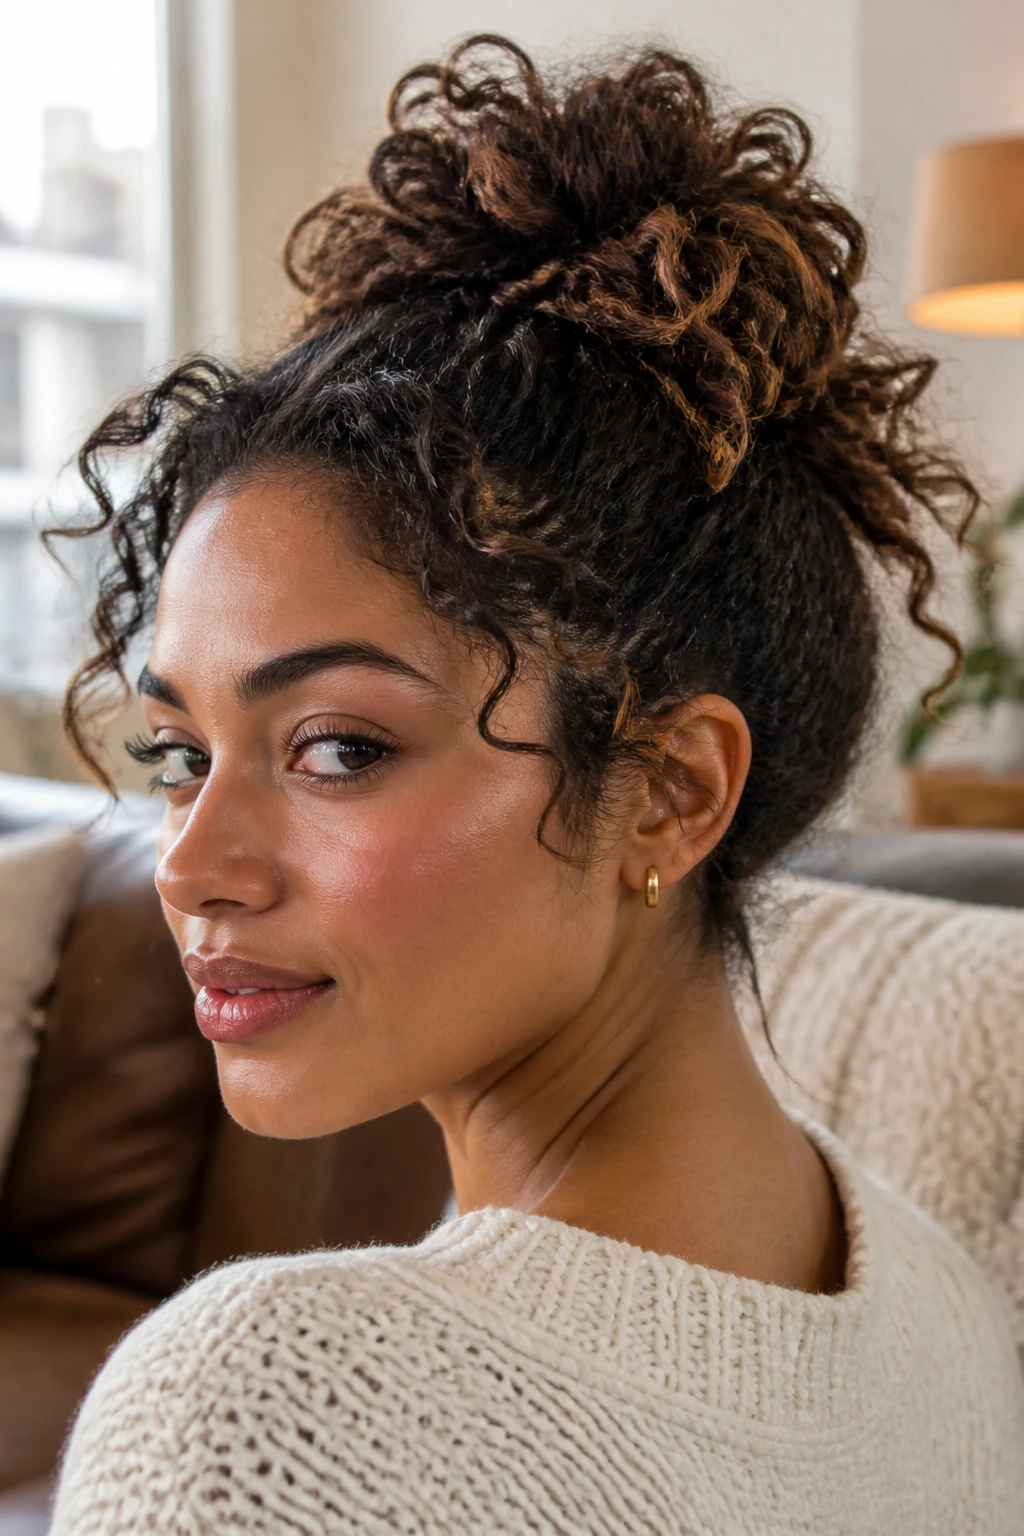
A knot-out bun is for layered curls that need a place to misbehave on purpose. You tie the hair into a loose knot, then let the ends poke out from the bun instead of forcing them under. That gives the style a rougher, more relaxed look.
The key is not making the knot too tight. If you cinch it down, it stops looking like a knot and starts looking like a clump. The goal is a shape with visible ends and a little unevenness. That visible texture is what makes it interesting.
This style works especially well if your curl pattern changes from root to tip. The ends can show off the difference instead of getting hidden. Weirdly, that makes the whole bun look more alive.
26. Halo-Pinned Bun
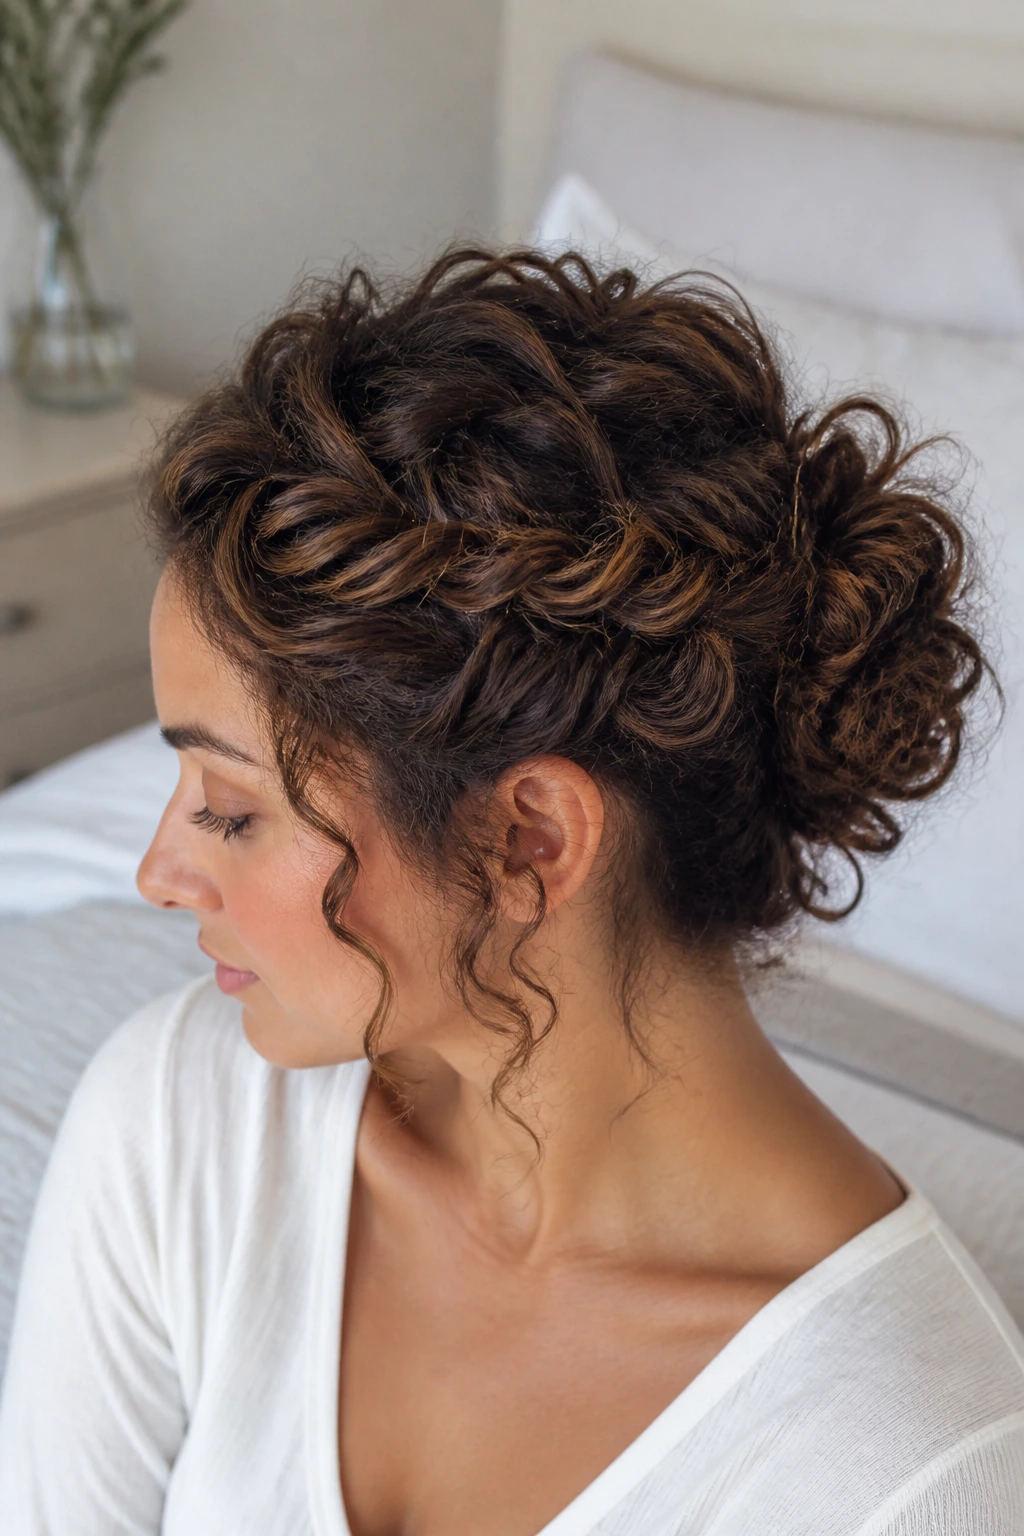
The halo-pinned bun is a strong choice for people whose crown goes flat fast. You pin curls around the crown in a loose circle first, then gather the remaining hair into a small bun underneath or just behind that halo. It sounds fussy. It’s mostly strategic.
The pinned halo creates lift where curly hair often loses it. The bun itself can stay small because the shape is doing half the work. That’s useful if your hair is shorter, fine, or prone to collapsing when all the weight is thrown into one knot.
Use pins that match your hair color if you can. They vanish better. If not, cross two pins in an X where the halo needs extra support. The style should look airy, not anchored.
27. Loose Loop Bun
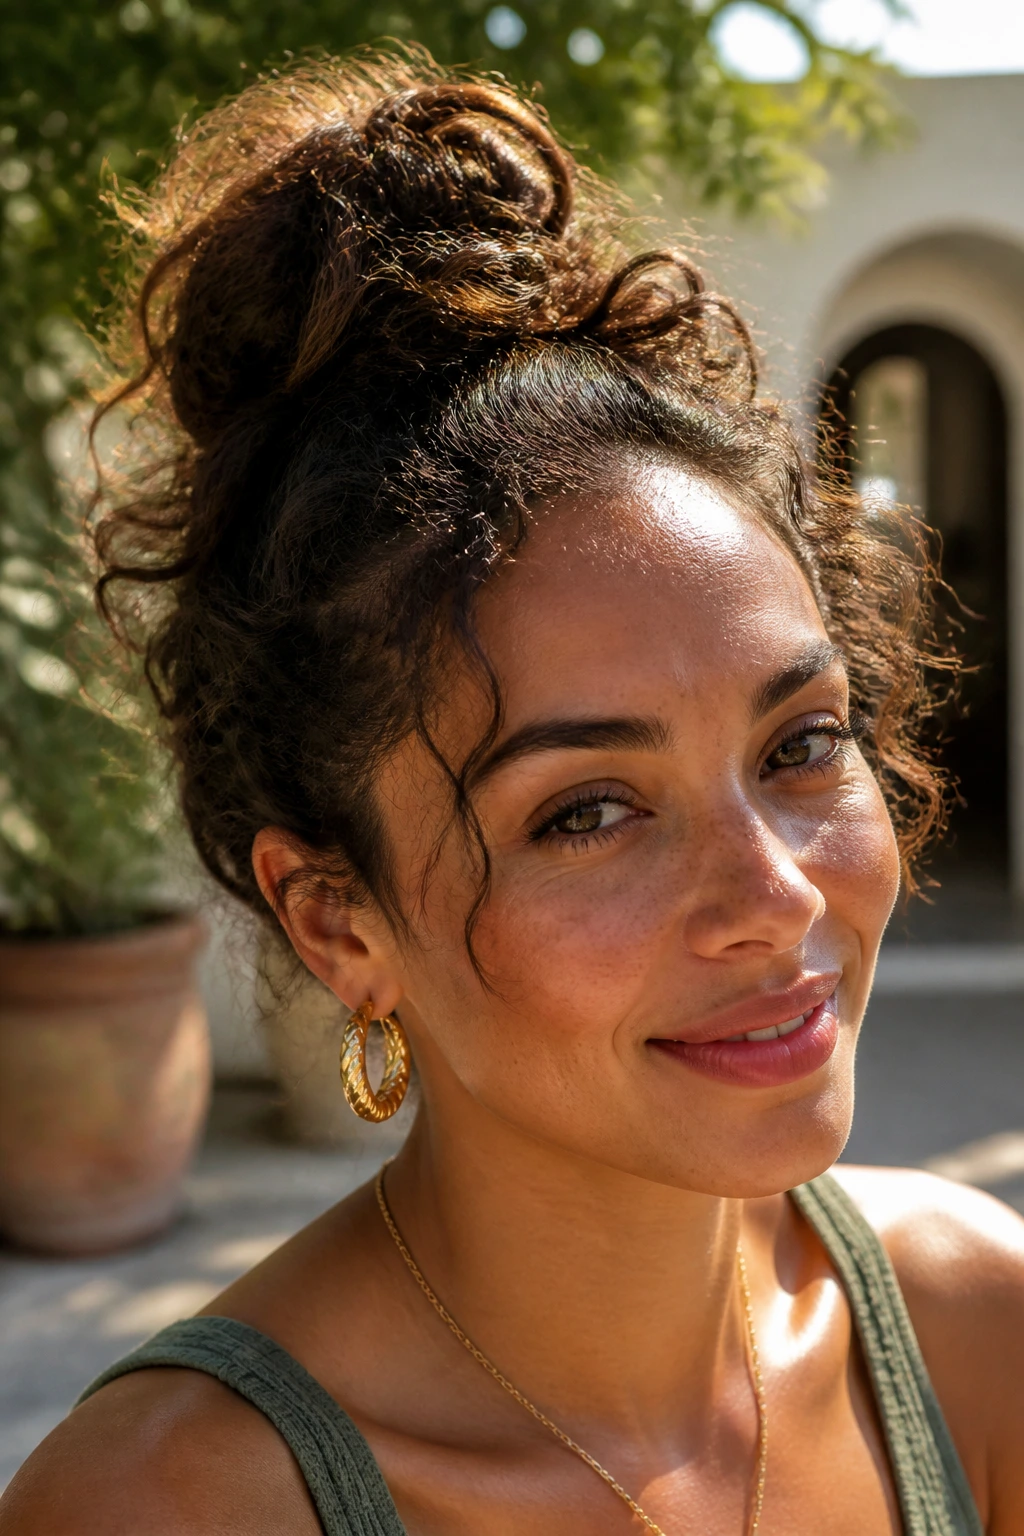
A loose loop bun is exactly what it sounds like: one easy loop of hair, not a tight wrap. You gather the curls, pull them halfway through the tie, and stop there. The end loop spills out softly, and the rest of the hair sits with a natural puff.
This one is great for medium-length curls that need a shape but not a full knot. It keeps the texture visible, which is the whole point on curly hair. If you have a lot of shrinkage, the loop can look smaller than you expect. That’s fine. The shape still reads as intentional.
I like this style when the bun needs to survive a few hours, not an entire marathon. It looks especially good a little undone, which is convenient because curly hair will help with that whether you ask it to or not.
28. Faux-Hawk Bun
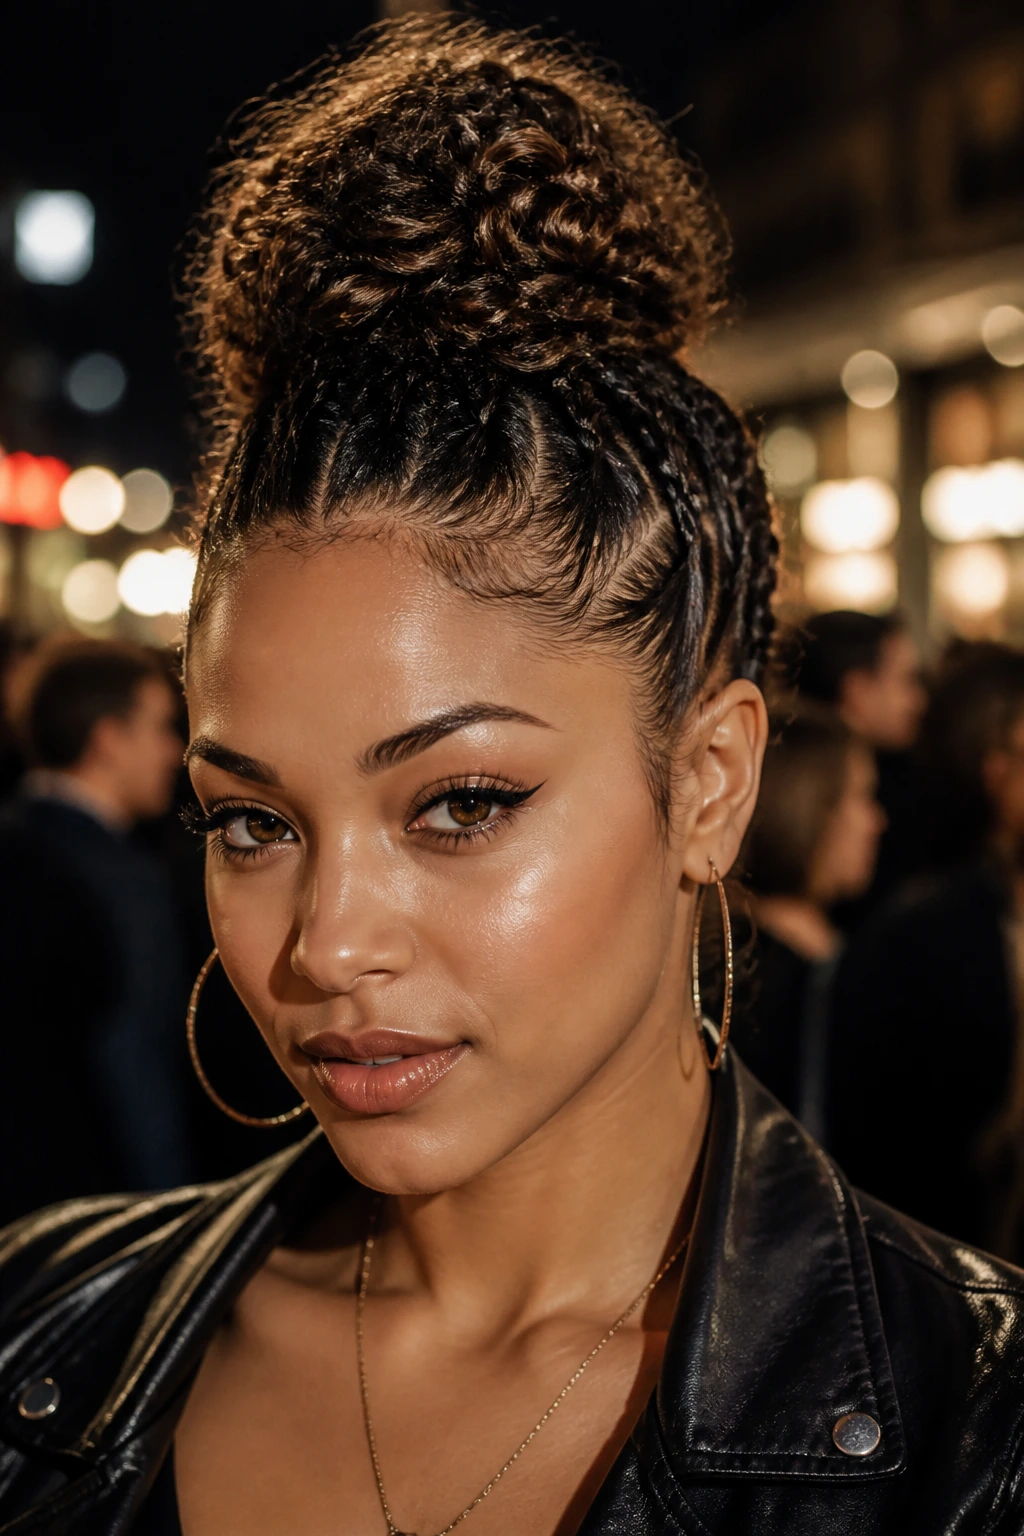
A faux-hawk bun leans into drama. The sides stay tight or twisted back, the center gets all the height, and the bun sits along the ridge like a crown with an attitude problem. Curly hair makes this easy because volume happens naturally once the sides are controlled.
The shape works best when the bun is not perfectly round. Let it stretch lengthwise a little. That keeps the faux-hawk line visible. If your hair is dense, sectioning the sides into two slim twists helps the center stay lifted instead of being swallowed by bulk.
This is a strong pick for nights out, concerts, or any day when a regular bun feels too polite. It has edge, but the curls keep it from looking harsh.
29. Asymmetric Bun
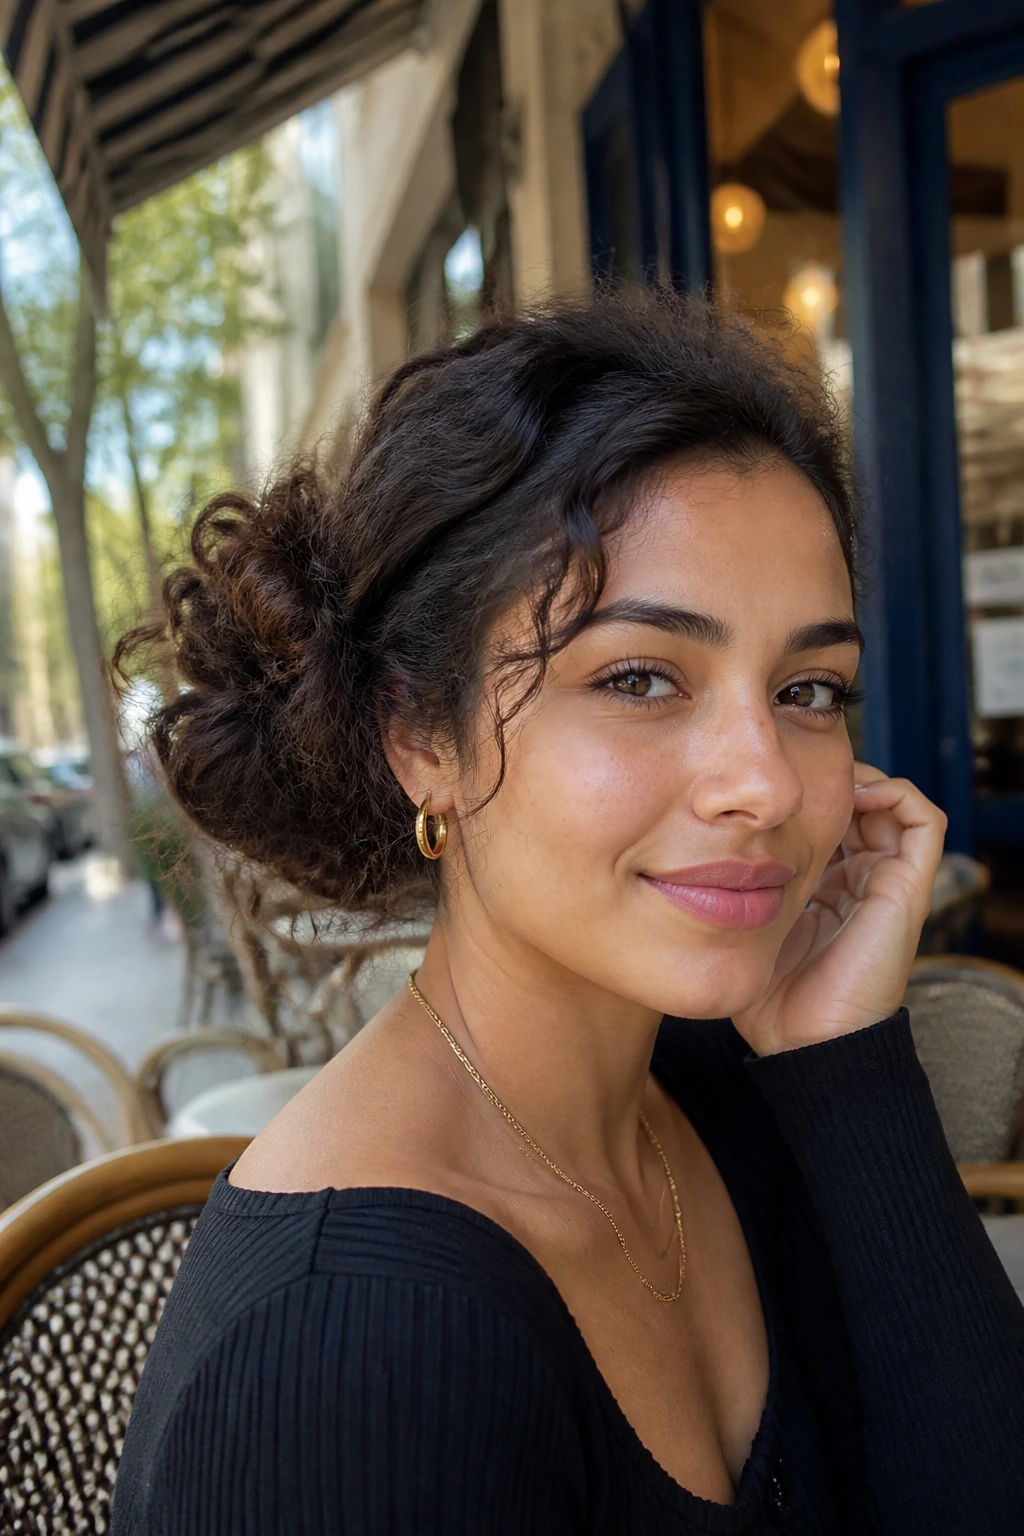
An asymmetric bun sits off-center and acts like it meant to. That small imbalance keeps curly hair from looking too engineered, which is a problem with a lot of symmetrical updos. The bun can lean left, right, or even slightly low on one side.
This style shines when one side of the hair is flatter than the other. Instead of fighting that, you use it. Sweep the fuller side into the bun and leave the slimmer side with a cleaner line. The difference creates shape without extra work.
If you want the style to look especially intentional, tuck one side behind the ear and let the other side stay loose near the cheek. That contrast is doing the heavy lifting. Not the pins.
30. Bedhead Bun
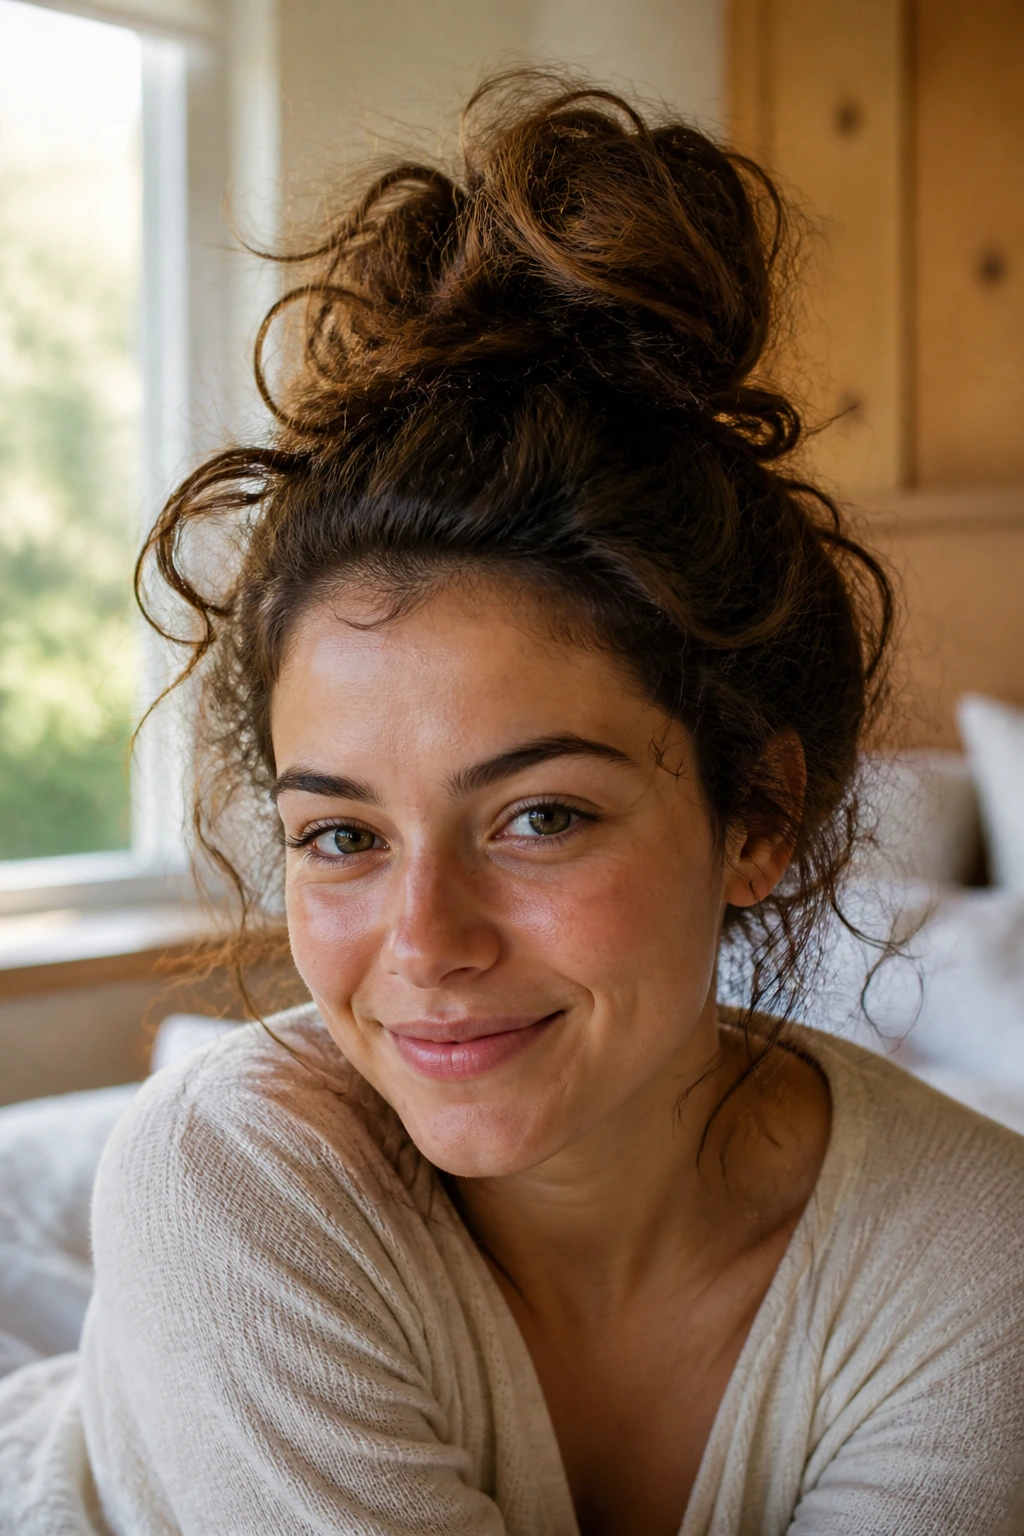
A bedhead bun is the most honest option on the list. It uses the hair exactly as it woke up, which means frizz, bent curls, sleep marks, and all the other little gifts curly hair gives you after a night on a pillow. Instead of hiding that texture, the bun keeps it front and center.
The best version takes five minutes. Maybe less. Gather the hair with minimal brushing, twist once, secure loosely, and let the ends stick out wherever they want. The result looks casual because it is casual, but the shape still reads as a choice.
This is the bun I’d wear when I want to look relaxed without losing all structure. It has a little mess, a little body, and none of the weird stiffness that comes from overworking the hair early in the morning.
31. Formal Pin Bun
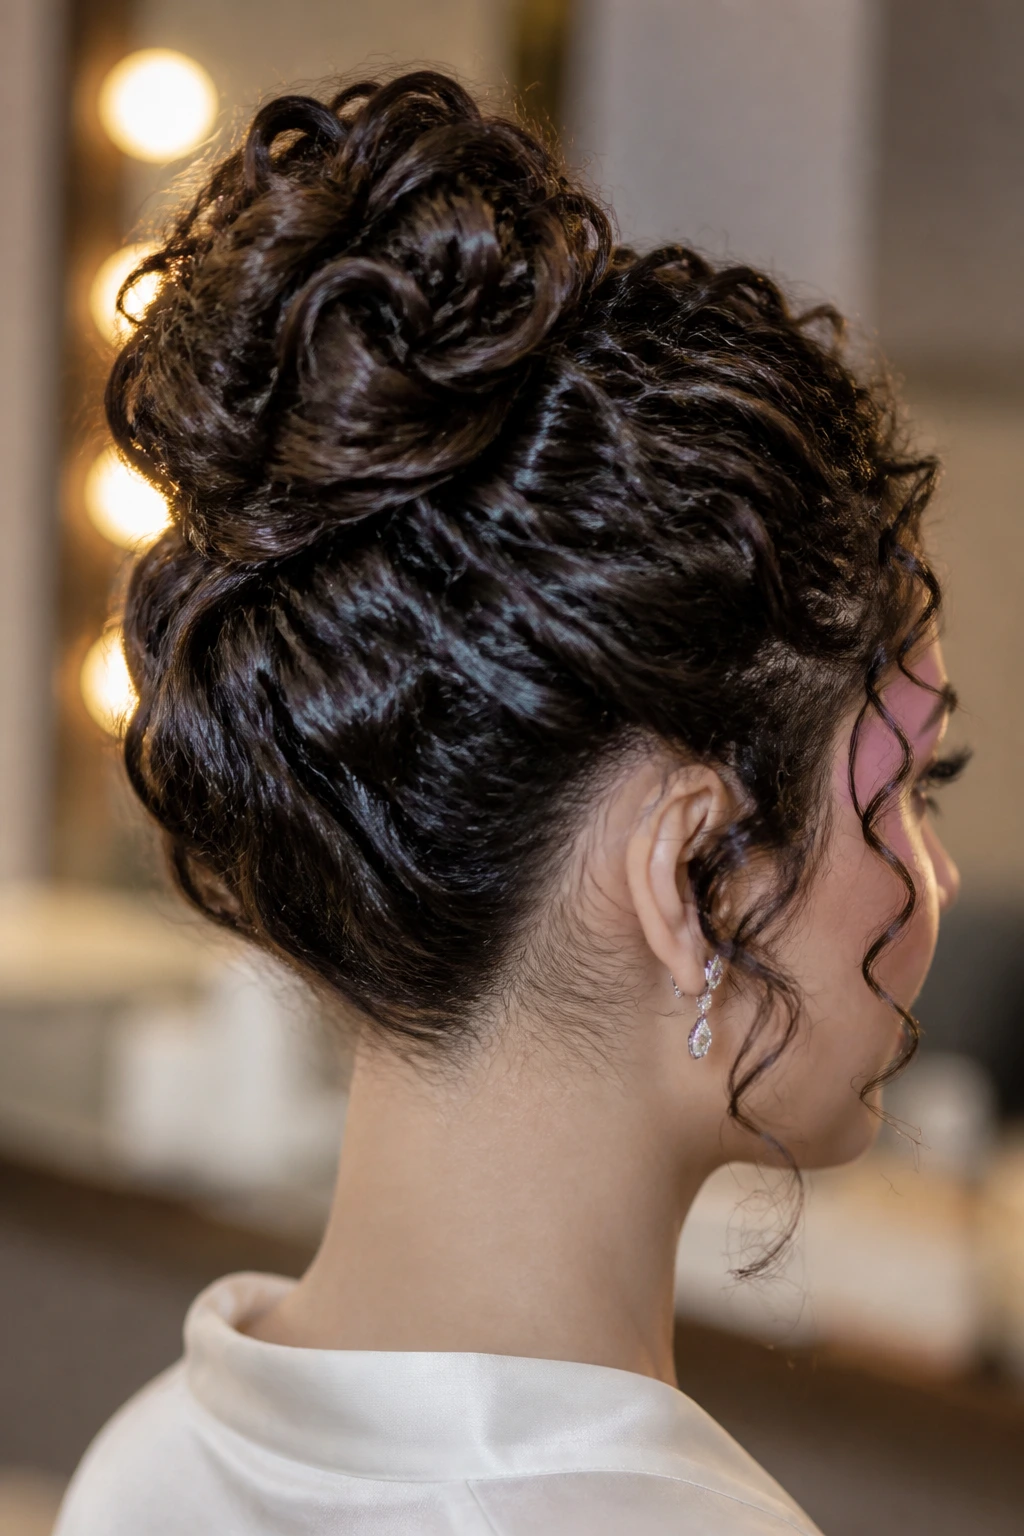
A formal pin bun is the polished version that still respects curls. The outside is cleaner, the pins are hidden, and the bun sits in a controlled shape that works for dressier outfits. But the curl texture stays present, which keeps it from turning into a rigid chignon clone.
The important part is pin placement. Use pins to hold the shape from underneath and inside the bun, not across the top where they’ll show. Smooth the outer layer with cream or gel if needed, but leave enough texture that the bun still looks like curly hair, not a different head of hair wearing a costume.
This is a good option when you want elegance without losing your natural texture. It can go to a wedding, a dinner, or a work event and still feel like you.
32. Mixed-Texture Bun
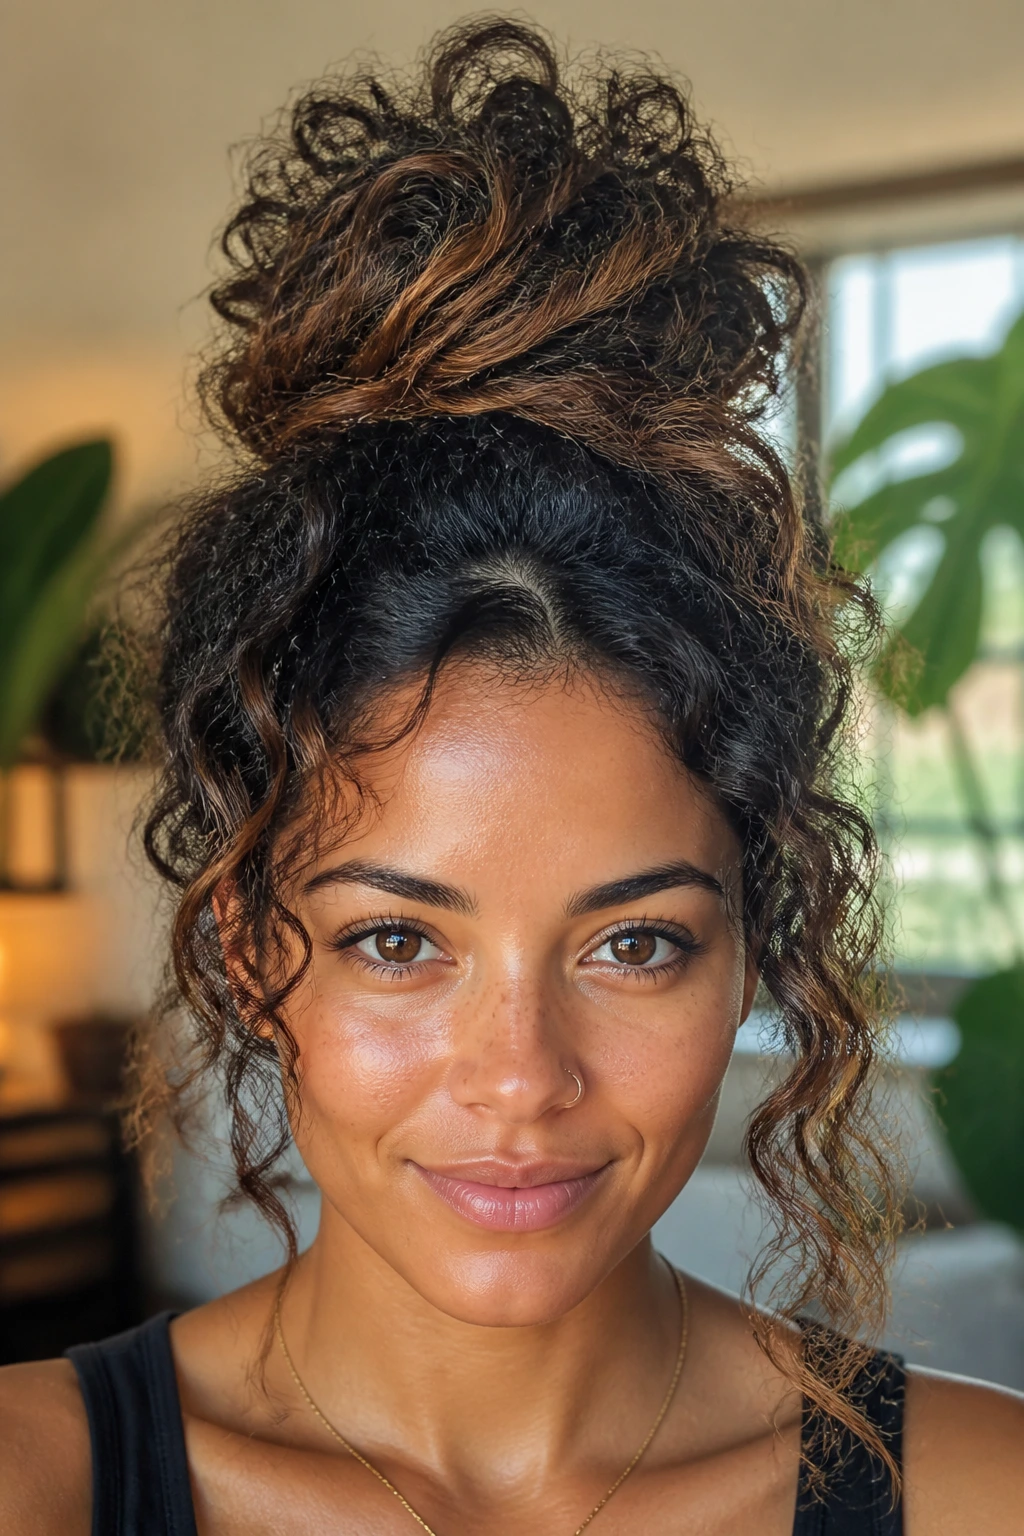
Mixed-texture buns are not a compromise. They’re a solution. If your curls vary from section to section — tighter at the back, looser at the sides, maybe a few stretched pieces at the top — use that difference on purpose. Twist the tighter sections, leave the looser ones puffier, and pin everything into one shape.
The beauty here is that nothing has to match. Curly hair rarely does anyway. A mixed-texture bun looks richer when the curl patterns are allowed to show their differences. One section can loop. Another can coil. A third can stay flat enough to hold the base.
I’d use this when the hair is overdue for wash day and the pattern has changed a bit from section to section. The bun becomes a reset button. Not a disguise.
33. Soft Spiral Bun
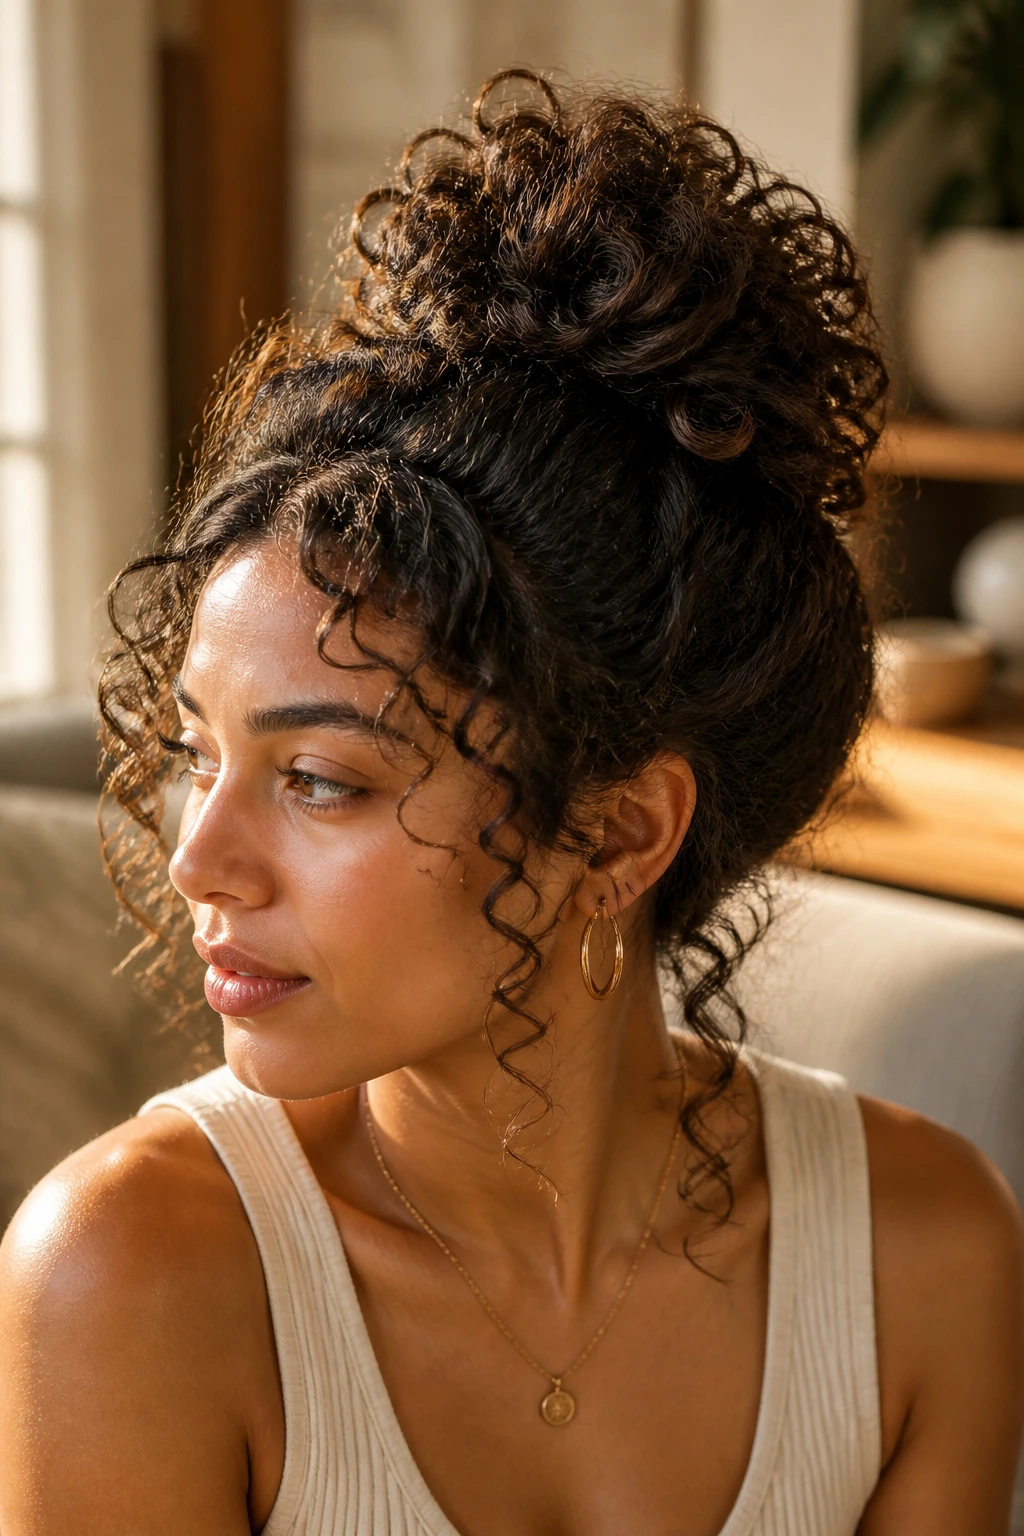
A soft spiral bun is made for tighter curls and coils that need room to keep their shape. Rather than compressing the hair into a compact knot, you let the spirals wrap around the bun and show at the edges. That keeps the texture alive.
The whole style is friendlier when the pins are minimal and the coils are allowed to stack naturally. If you have 3C to 4C texture, this can look beautiful with a little stretch at the base and a lot of shape in the bun itself. The bun should look layered, not packed.
The best part is that it doesn’t fight shrinkage. It uses it. That’s the right attitude for curly hair more often than people admit.
What Makes Curly Hair and Messy Buns Look Intentional
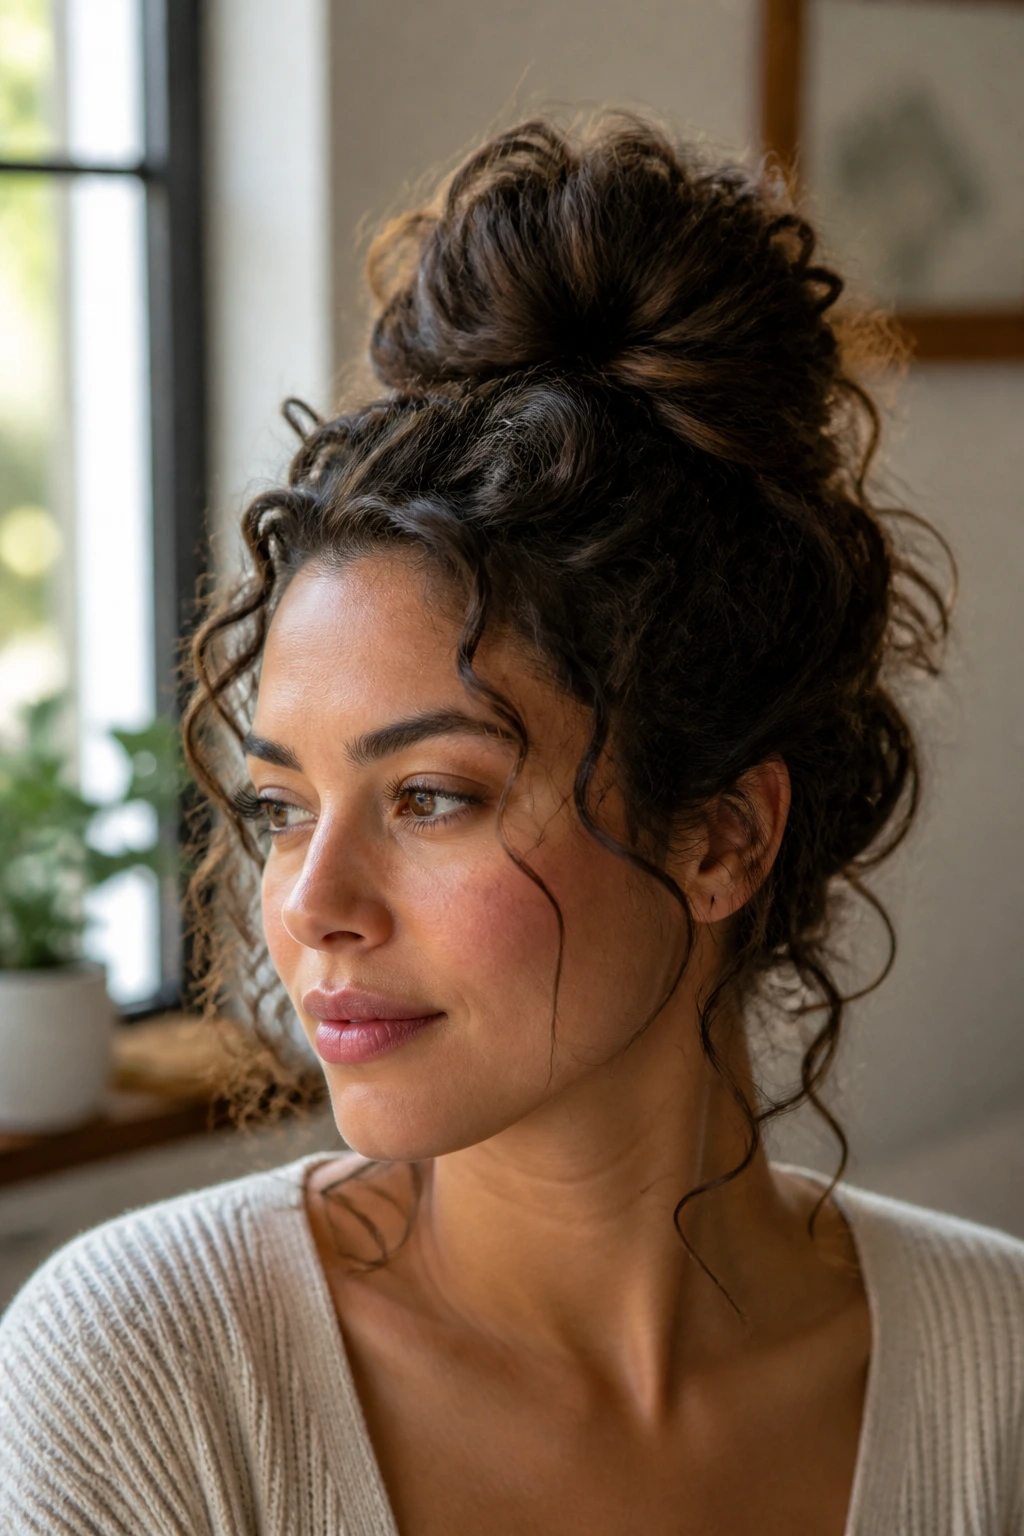
Messy buns only look careless when the shape has no plan. Curly hair gives you a head start because the texture itself creates movement, but the placement still matters. A bun at the exact center of the head can feel stiff. Shift it a little. Let the part stay visible if it helps. Keep one or two curls free if the face needs softness.
I’m a fan of styles that show the mechanics a little. A visible twist. A pinned halo. A loop that refuses to disappear completely. Those details tell the eye where to look. Without them, the bun can turn into a puffball with no focus.
Texture also helps hide the things most people worry about — pins, elastic marks, tiny frizz patches near the base. That’s not an accident. It’s why curly buns can look richer than sleek buns when they’re done with a light hand.
The Tools That Make These Styles Behave
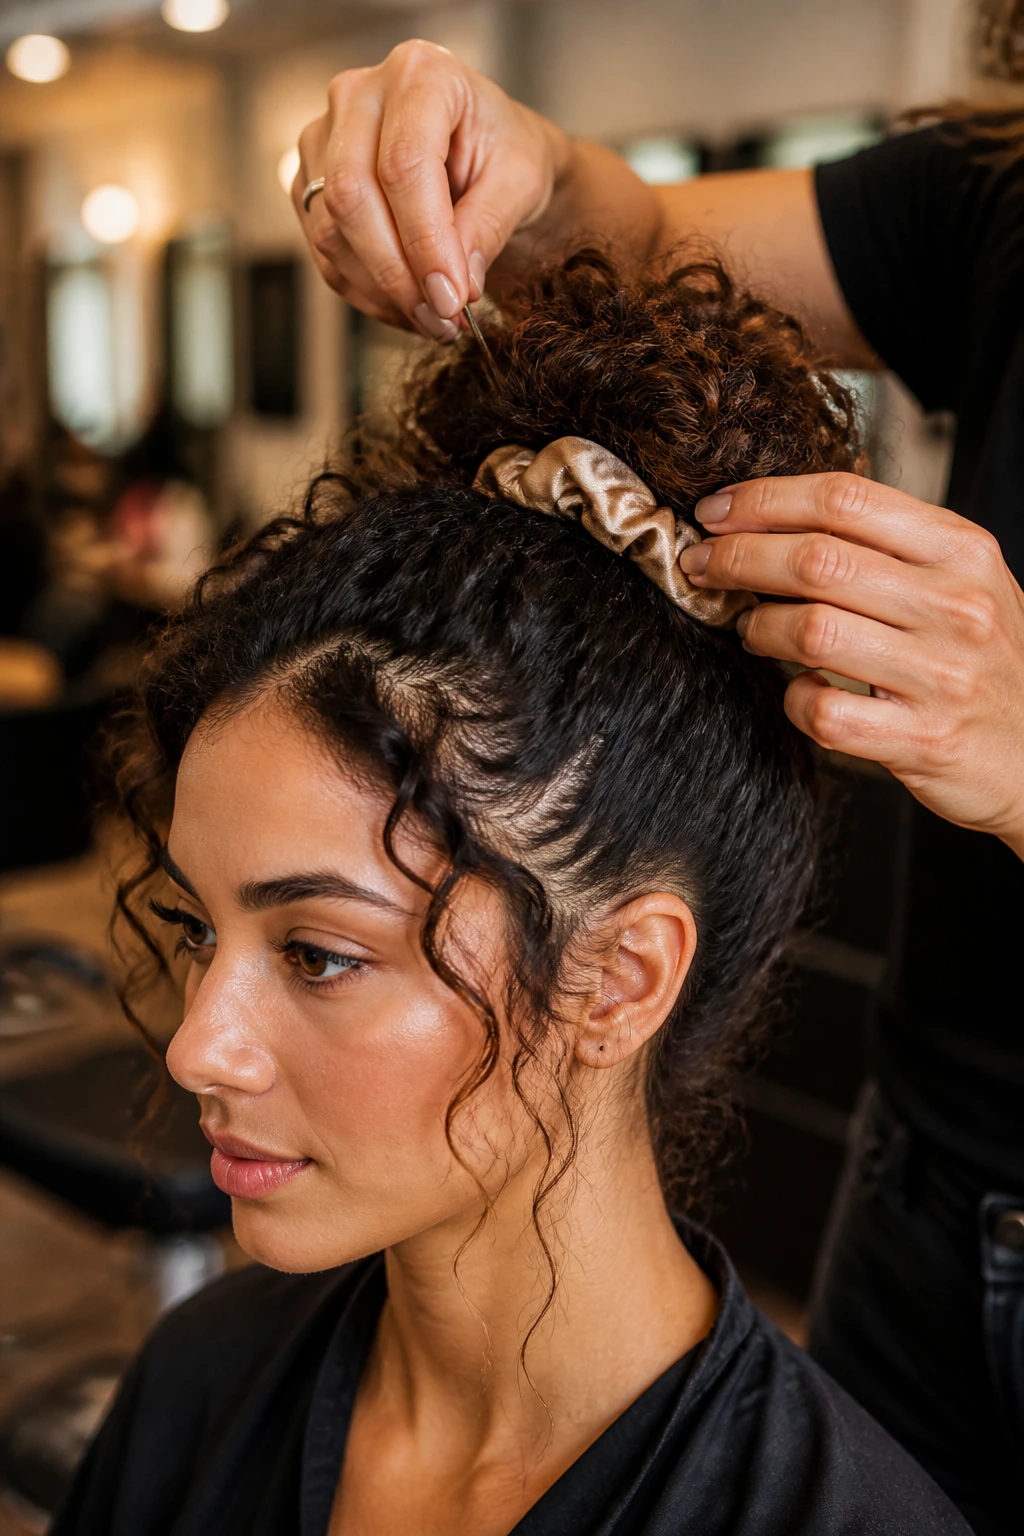
- Satin scrunchies: They hold curls without shredding the cuticle, and they leave fewer dents than a hard elastic.
- Spiral hair ties: Good when you want grip without a tight compression line around the hair.
- Bobby pins in two sizes: Short pins catch small curls; longer ones lock down heavier buns and the hidden center.
- U-pins: These are the unsung heroes for loose chignons, French twists, and any bun that needs support without visible hardware.
- Claw clips: Best for fast buns, medium-long curls, and low-tension styling.
- Tail comb or rat-tail comb: Useful for clean parts and sectioning the crown before you twist.
- Spray bottle with water: A light mist wakes up curls without soaking the whole head.
- Leave-in conditioner or curl cream: A tiny amount on the outer layer keeps the style soft and less fuzzy.
- Light gel or edge control: Handy for sleek versions, especially around the hairline.
- Small silk scarf or ribbon: Good for hiding elastics and adding a finish that looks deliberate.
Smart Prep and Product Picks
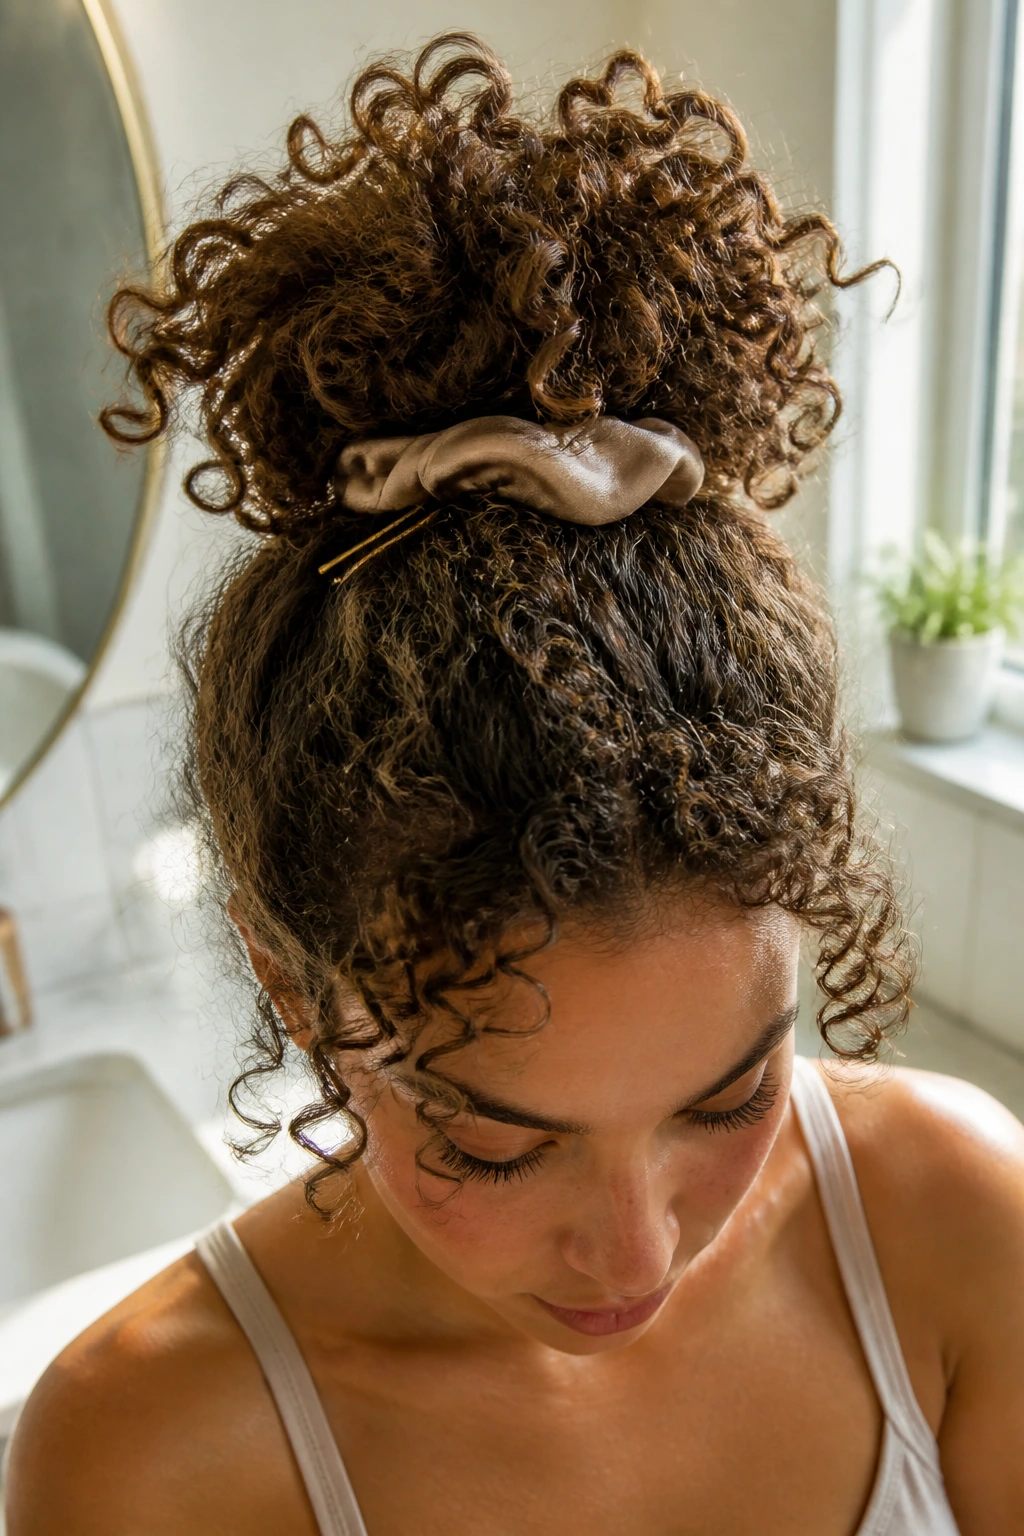
Curly buns behave better when the hair has some grit. Freshly washed curls are often too soft and too springy, which sounds ideal until you try to pin them and they slide apart. Day-two or day-three hair usually has better hold. If the roots are oily but the curls are still decent, that’s bun-friendly hair.
Use less product than you think. A nickel-sized amount of cream or gel can smooth the outer layer without turning the bun into a sticky helmet. If the hair is dry, a few drops of light oil on the ends help them bend instead of frizzing. Don’t coat the whole head. You only need enough slip to shape the surface.
Sectioning matters too. If your curls are dense, split the hair before you gather it. If they’re loose, work from the back first so the bun has a base. Curly hair rewards small, controlled moves. Big rough grabs usually make the final shape harder to manage.
How to Wear These Buns for Different Days
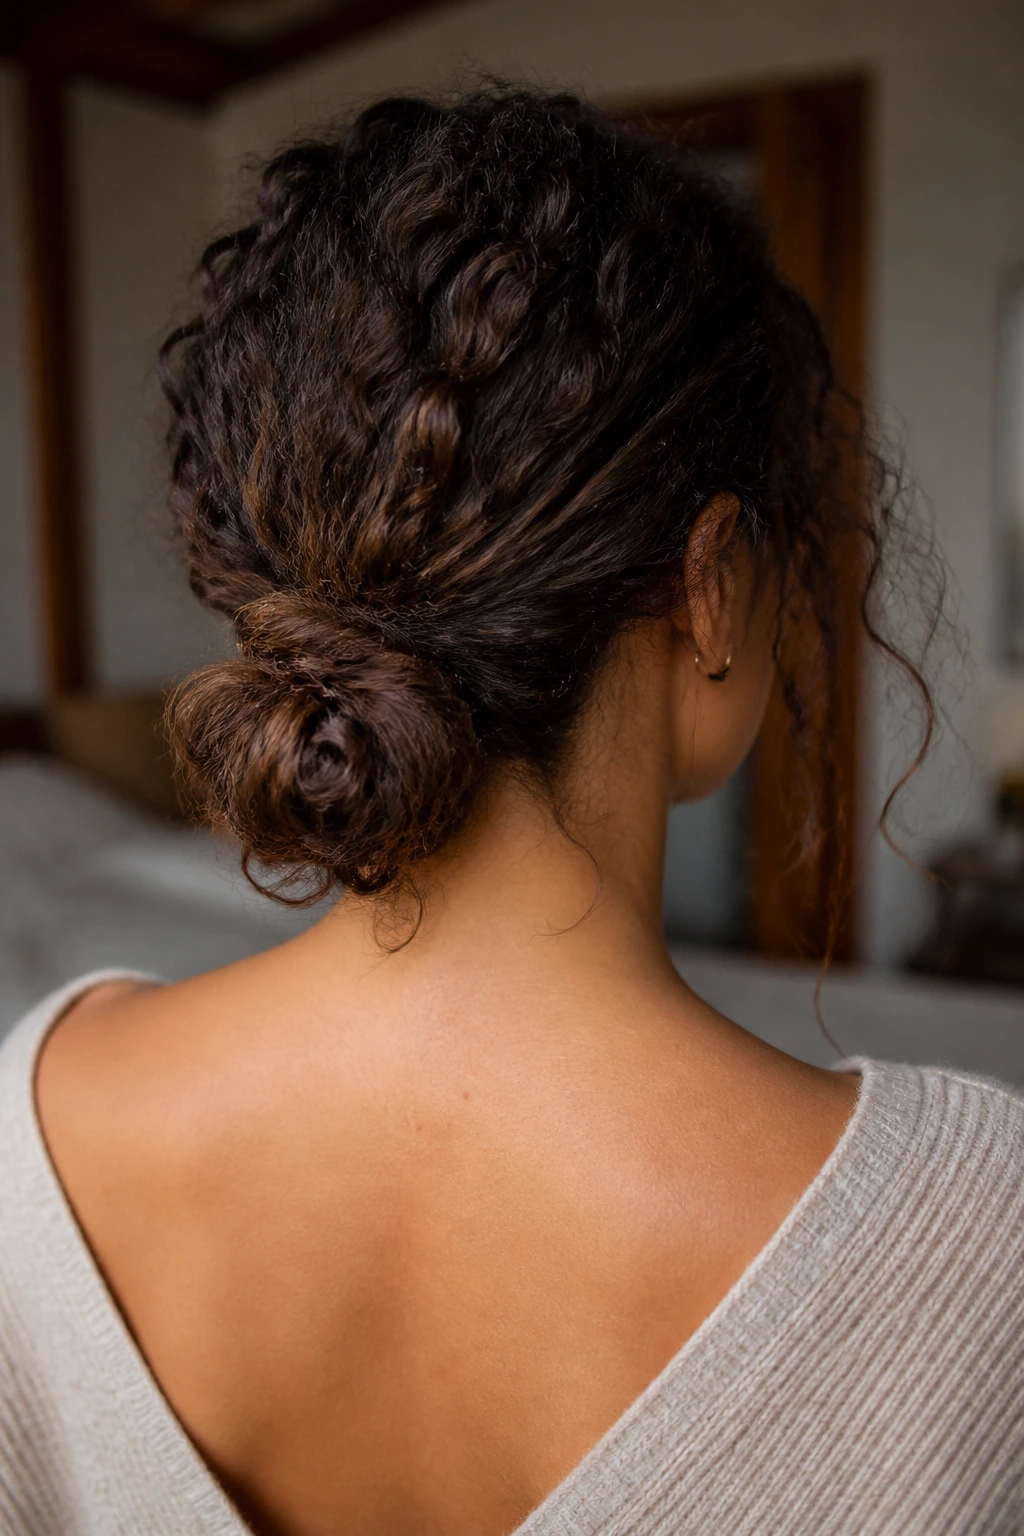
Presentation: High buns read playful and energetic, low buns read calmer, and off-center buns feel a bit more styled without trying too hard. If you want the look to feel intentional, keep the bun shape loose but the base neat.
Pair It With: Hoops, collarbones, turtlenecks, open necklines, and scarves all change the mood. A high bun and hoop earrings feel lively. A low bun and a square neckline feel cleaner. Hair tucked behind one ear changes the whole line of the face.
Best Moments: The claw-clip bun and bedhead bun are built for errands and work-from-home days. The crown braid bun, formal pin bun, and French twist bun hold up better for events. The gym bun and pineapple bun are the ones I’d trust when movement matters.
Sizing: If your curls are thick, make the bun wider, not tighter. If the hair is short, use the top half, a clip, or a tucked loop so you don’t fight length that isn’t there.
Extra Tips for Bigger Shape and Softer Hold
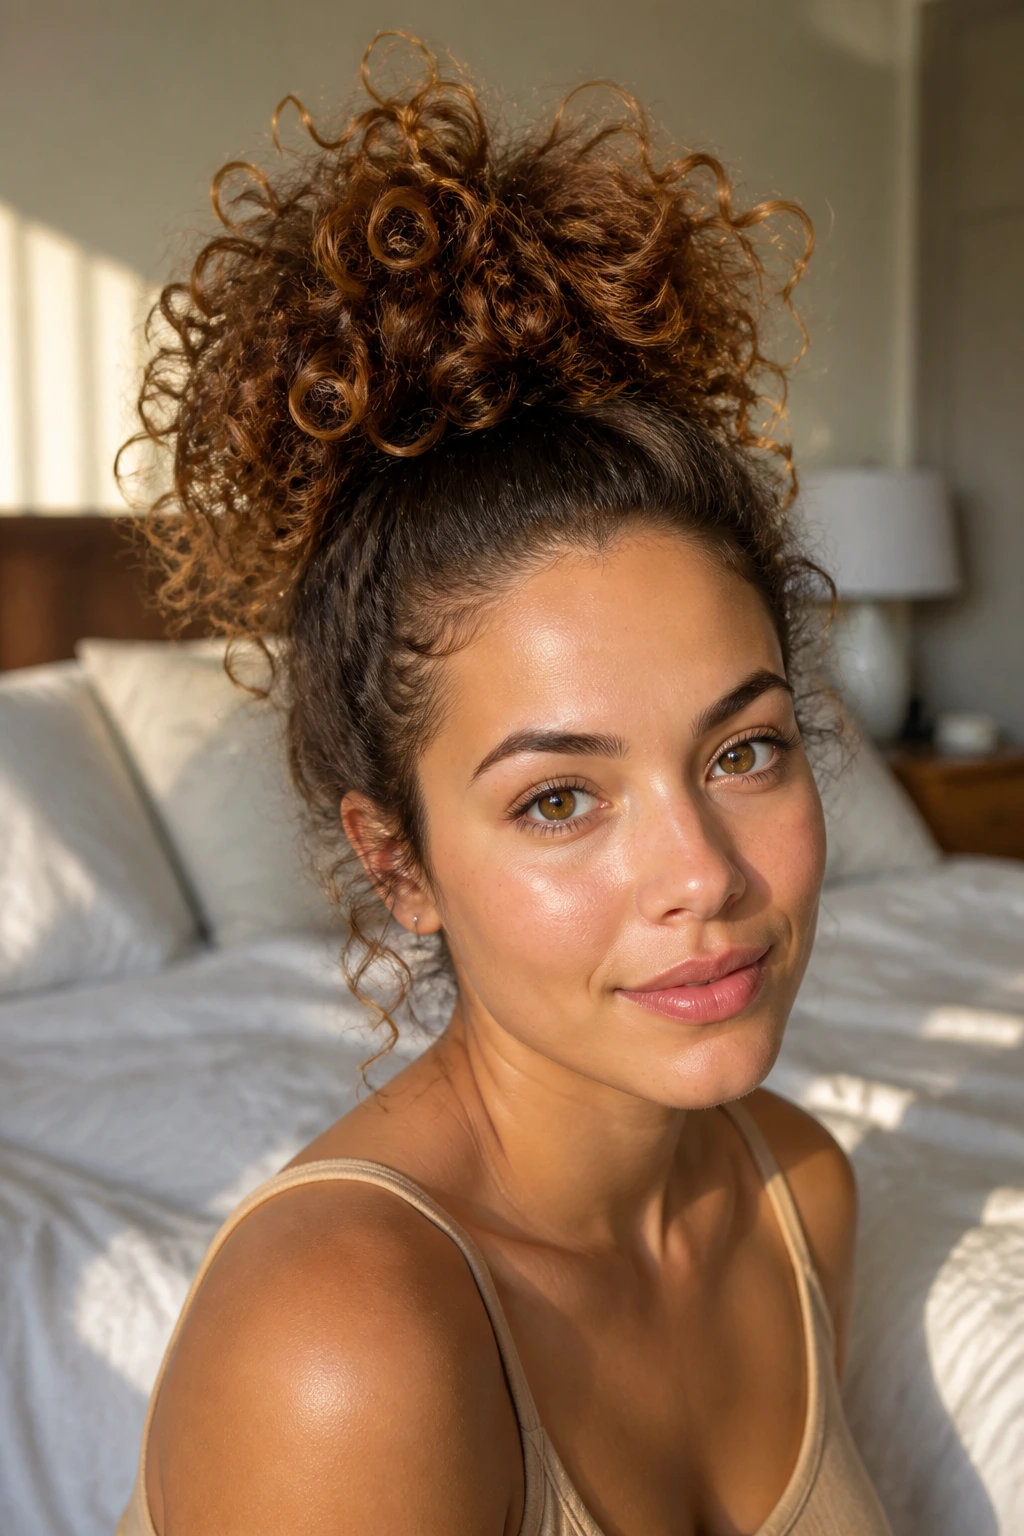
Volume Boost: Flip your head forward before gathering the hair, then lift the roots with your fingers instead of smoothing them down. That keeps the crown from collapsing. A soft teasing at the roots can help, but one pass is enough. Anything more starts to look dusty and overworked.
Hold Without Crunch: Pin from underneath at different angles. Two pins crossing in an X often hold better than four straight ones. If the hair is soft and slippery, wrap the elastic twice, not three times, so the bun still has a little movement.
Frizz Control: Smooth only the outermost layer with cream or gel. Leave the interior of the bun alone. That gives you a cleaner outline while keeping the curl body intact.
Make-It-Yours: If you wear glasses, keep the side sections a touch flatter so the arms don’t fight the hair. If you like drama, pull the bun higher and let a few curls stand up around it. If your hair is fine, use a clip or ribbon to help the shape read bigger.
Common Mistakes That Flatten Curly Buns
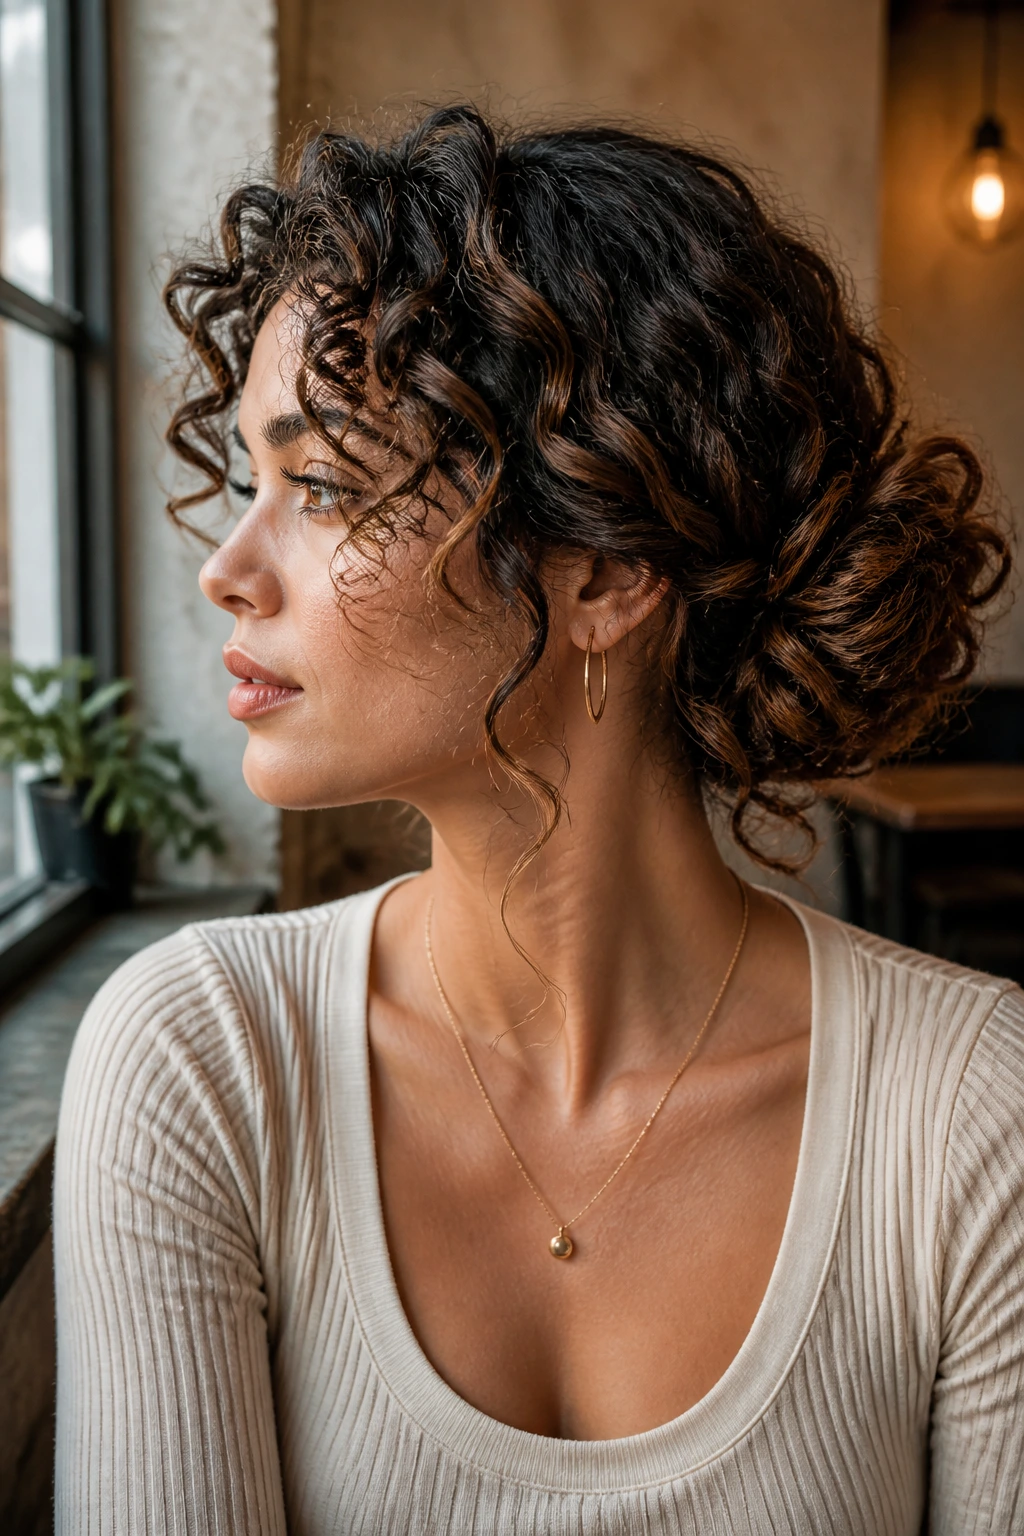
The first mistake is over-smoothing. You brush every curl into submission, and the bun ends up tiny, stiff, and a little sad. The fix is simple: smooth the top layer only, then stop. Curly buns need texture to look full.
Another one is over-tightening the base. A bun that feels secure at first can give you a sore scalp, a flattened crown, and a headache by afternoon. Use enough tension to hold the style, not enough to stretch the hairline.
A third problem is using the wrong size elastic. Tiny rubber bands can snag and break curls, while huge bulky ties can make the bun sag. Satin scrunchies, spiral ties, and slim fabric elastics usually behave better.
Then there’s the “every curl must be hidden” trap. That’s a recipe for a bland bun. Leave some ends out. Leave a tendril or two. Curly hair looks alive when you let it stay curly.
Variations and Adaptations to Try
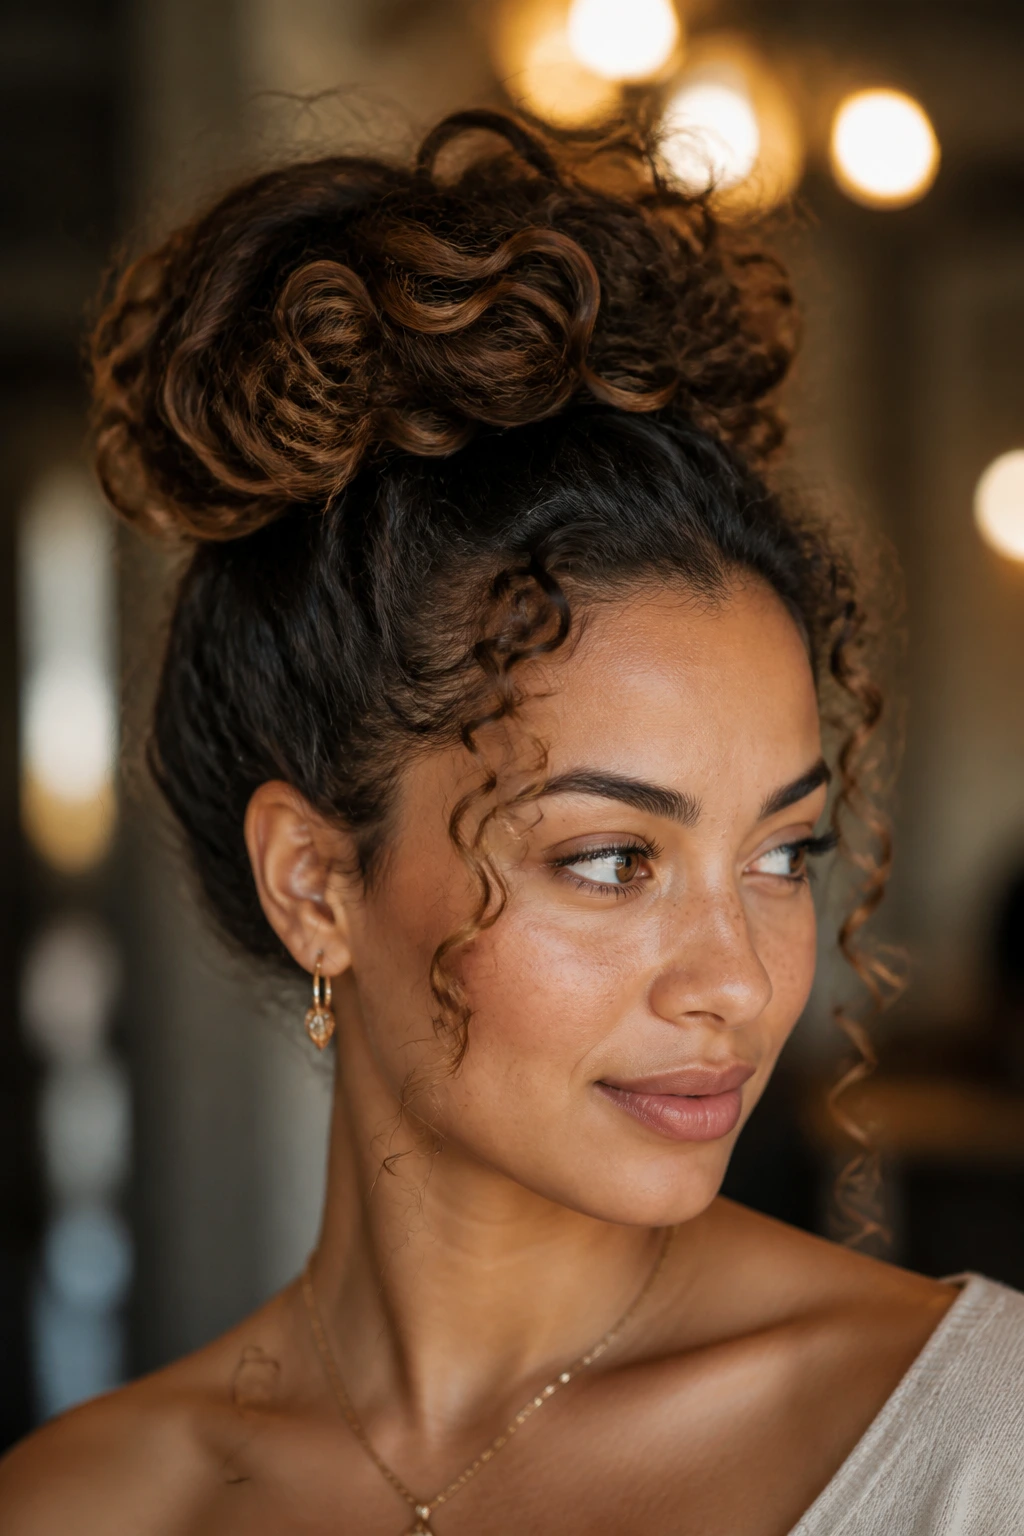
The Five-Minute Rescue: Use a mist bottle, gather the hair into a low knot, and secure it with one clip or scrunchie. This is the version for mornings when the mirror is not getting your best energy. It works because the shape is forgiving, not because it’s fancy.
Humidity Armor: Smooth the hairline with gel, twist the sides back tightly, and keep the bun a little lower and firmer. This helps when the air is sticky and curls expand the second you walk outside. The goal is not perfect frizz control. The goal is controlled expansion.
Short-Curl Mini Bun: If your curls stop at the shoulders, build the bun from the top half and pin the rest underneath. That keeps the style from looking like a tiny knot stranded in space. The trick is to use the length you have, not the length you wish you had.
Event-Ready Soft Pin Bun: Neaten the outer layer, tuck the ends carefully, and hide the pins under the bun. A few face-frame pieces make it feel softer. This is the bun that works with a dress without making the hair look overdressed.
Coil-Friendly Crown: For tighter coils, keep more texture at the crown and let the bun sit in layered folds rather than one compressed circle. This protects the curl pattern and keeps the silhouette full. It also looks richer in person than overly slicked styles.
Sporty Scrunchie Stack: Use two slim scrunchies instead of one heavy tie. The first forms the base, the second keeps the shape from slipping. It’s a small fix, but it makes a giant difference on thick curls.
Keeping the Style Fresh Overnight
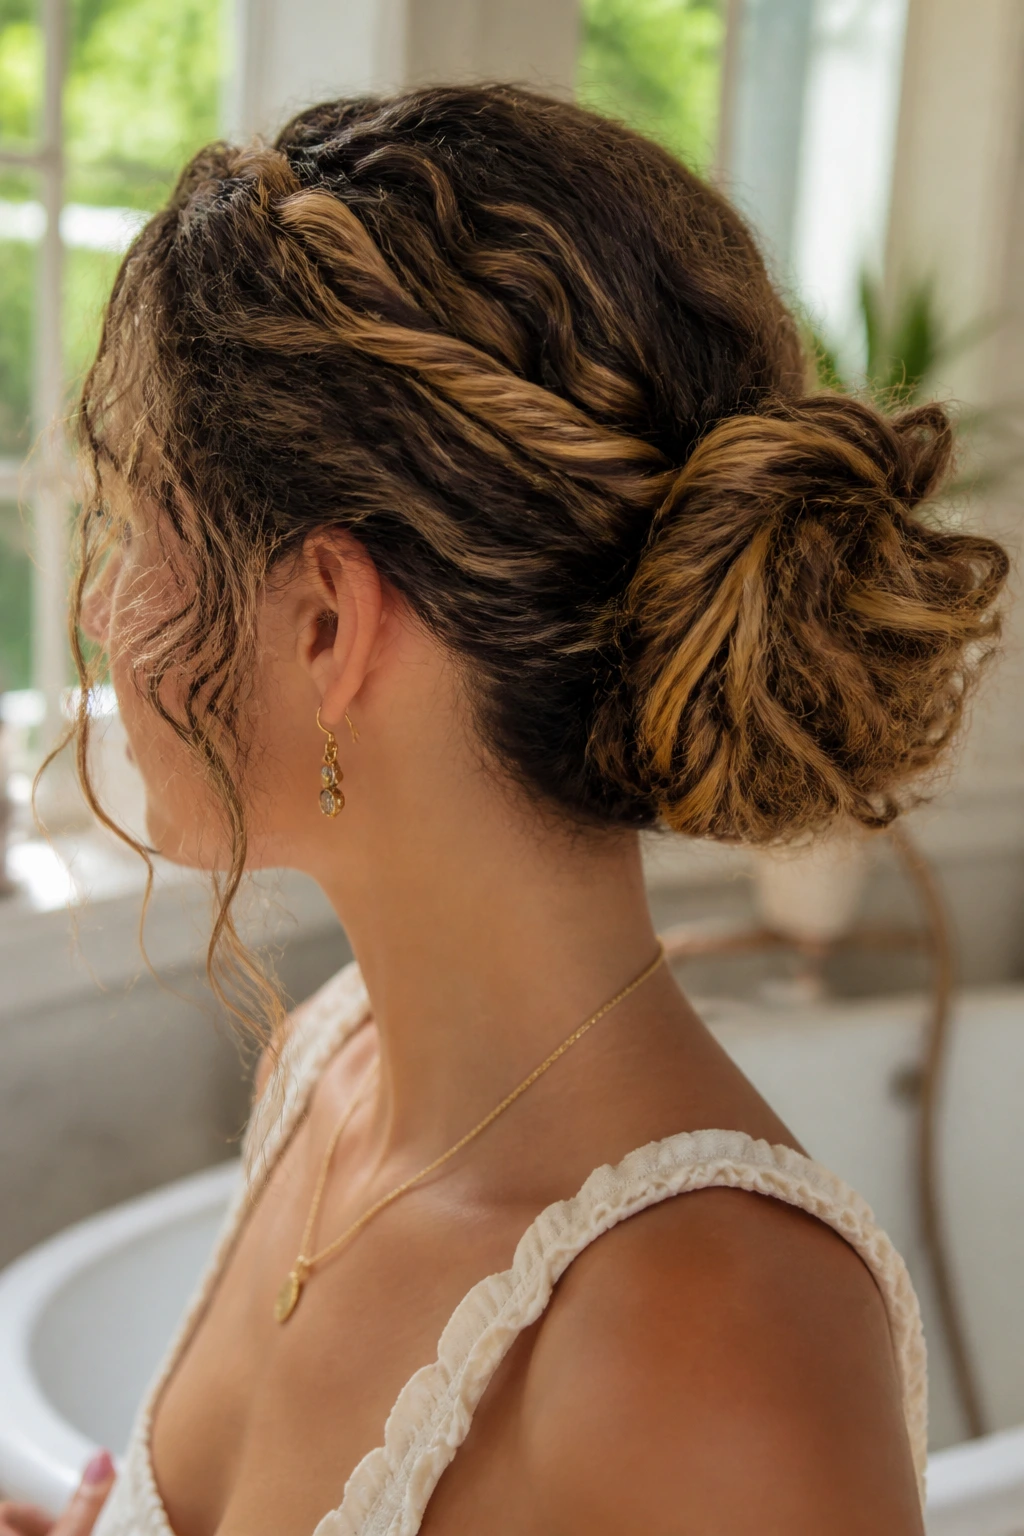
Curly buns can last into the next day if you treat them gently. Sleep on a satin pillowcase or tuck the style into a bonnet if the bun is low enough. High buns often do better with a loose pineapple wrap or a very soft scarf tied around the front so the crown doesn’t get crushed.
Don’t spray the whole bun with water unless you want to start over. Refresh the perimeter instead. A light mist on the outer curls, a dab of leave-in on dry ends, and one or two pin adjustments usually bring the shape back. The bun itself can stay in place while the face-framing pieces get revived.
If the style looks too flat in the morning, lift the roots with your fingers and loosen the bun by a half inch. That tiny bit of release can make it look intentional again. If it still feels tired, take it down, shake the curls out, and rework a different style from the list rather than forcing the same one twice.
Frequently Asked Questions
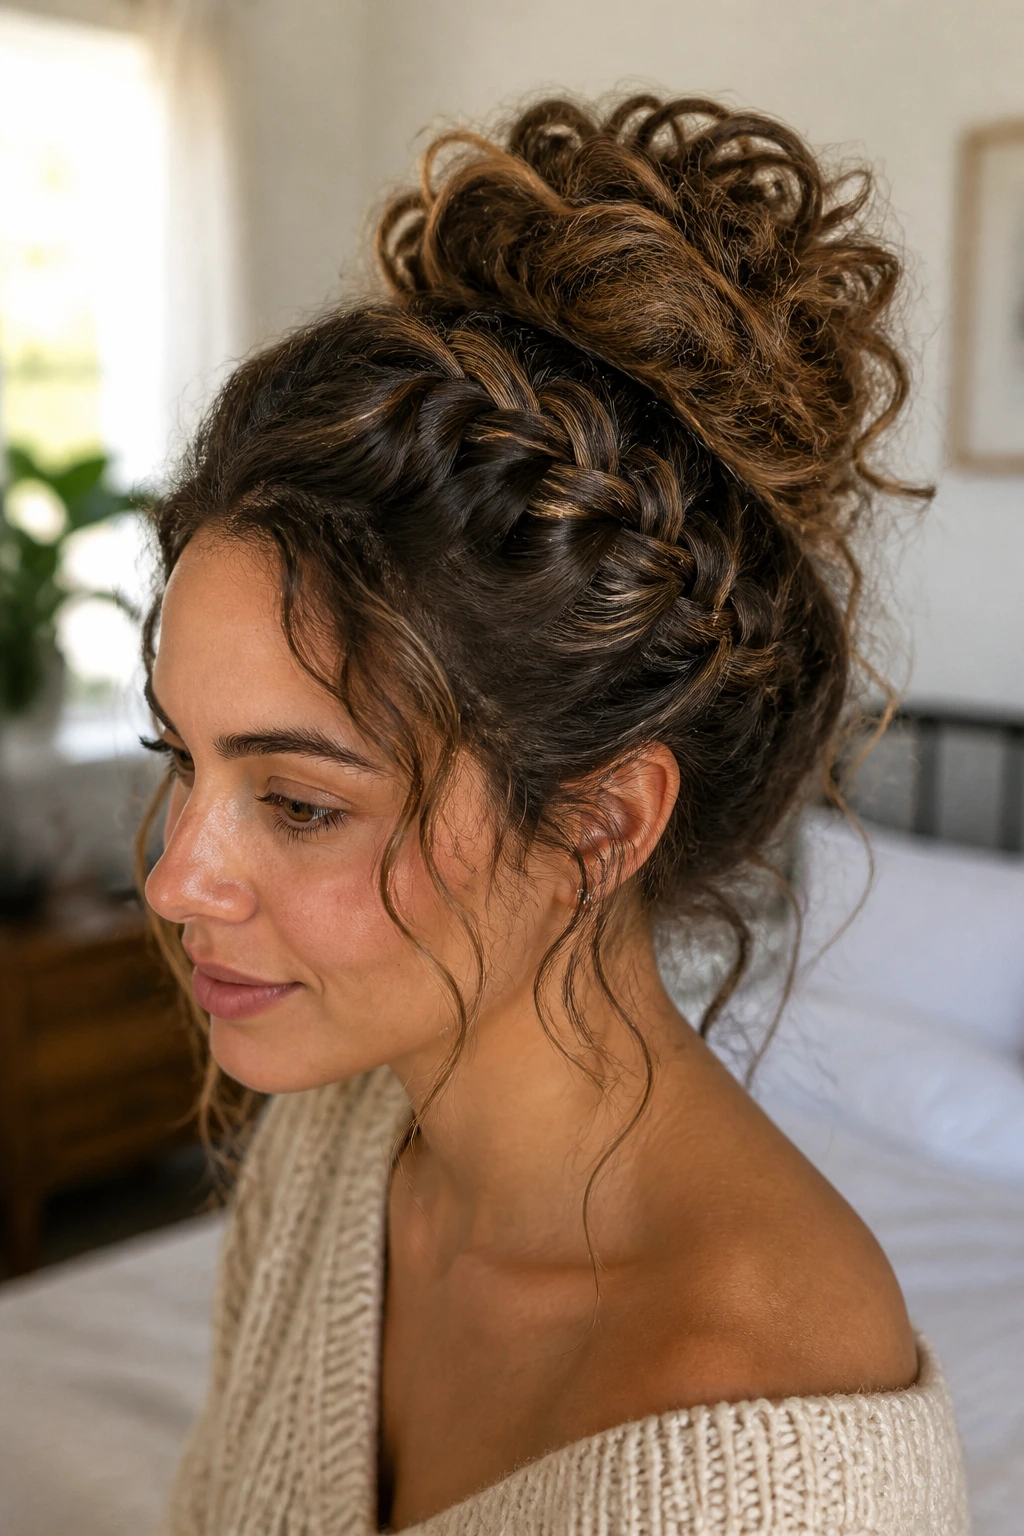
How do I keep a messy bun from flattening my curls?
Keep the bun loose at the center and secure the base instead of squeezing the whole head. A satin scrunchie or a few U-pins usually helps more than a tight elastic, and leaving a few curls out keeps the shape from going flat and hard.
Should I brush curly hair before making a bun?
Usually no. A full brush-out can turn curl clumps into fuzz and make the bun harder to shape. Finger-detangle or use a wide-tooth comb only where the hair needs it, then build the bun while the curl pattern still has some life.
Which messy bun is best for thick curly hair?
High topknots, halo-pinned buns, and low chignons all handle thickness well because they spread the weight out. A tiny bun tends to get swallowed by density. Bigger shapes work better, and they don’t fight the volume you already have.
Can these styles work on short curly hair?
Yes, but the shape changes. Half-up buns, claw-clip buns, tuck-and-pin buns, and mini topknots usually make more sense than a full low knot. Short curls need pins, clips, and a bit of creative folding, not brute force.
What if my bun keeps sliding out?
Your hair probably needs more grip or a better base. Try second-day curls, a little dry texture at the roots, or two pins crossed under the bun. If the elastic is too smooth or too large, swap it for a satin scrunchie or a spiral tie.
Are messy buns safe for curly hair every day?
They can be, if you avoid the same tight tension point all the time. Move the bun placement around, use soft ties, and give the roots a break on days when the scalp feels tender. Repeated tight pulling in one spot is where the trouble starts.
How do I make a messy bun look polished instead of sloppy?
Keep the hairline and part tidy, then let the bun itself stay soft. A clean edge plus a textured bun reads intentional. One ribbon, one scarf, or one well-placed face-framing curl can do a lot of work without turning the style stiff.
Can I do these styles on fresh wash day hair?
You can, but the bun may slip more because the curls are softer and smoother. If you need a wash-day updo, use a little more product at the base and choose a style with pins or a clip rather than relying on one loose wrap.
The Messy Bun Sweet Spot
The best messy buns for curly hair don’t try to tame texture into something it isn’t. They use the curl pattern as the architecture, then add just enough control to keep the shape in place. That’s the whole trick, and it’s a better one than chasing a perfect knot that fights your hair all day.
Pick the bun that matches your curl density, your length, and your patience. Some days call for a high pineapple shape with a few loose spirals. Other days need a low nape knot or a claw-clip rescue. Once you stop treating curly buns like a single look and start treating them like a set of tools, the whole category gets easier.
And a lot more fun.
