



Wavy hairstyles for straight hair live or die by one thing: grip. If your strands slide back to flat before you’ve even left the bathroom mirror, the issue usually isn’t the wave itself. It’s the prep, the section size, the cooling time, or all three working against you.
Straight hair can hold a bend. It just doesn’t forgive sloppy technique. The waves that last tend to start with a little texture at the root, a barrel that matches the length, and enough time for the hair to cool before you touch it. Rush that part, and you get half a curl at the front, straight ends at the back, and a style that looks tired by lunch.
The upside is that straight hair gives you a clean canvas. A soft middle part looks sleeker here. A side-swept wave reads louder. A braid-out on day-old hair can look fuller than the same style on hair with more natural texture. Some of the best versions are polished. Some are loose and bent. A few are so low-effort they barely count as styling, which is exactly why they work.
Why These Waves Work on Straight Hair
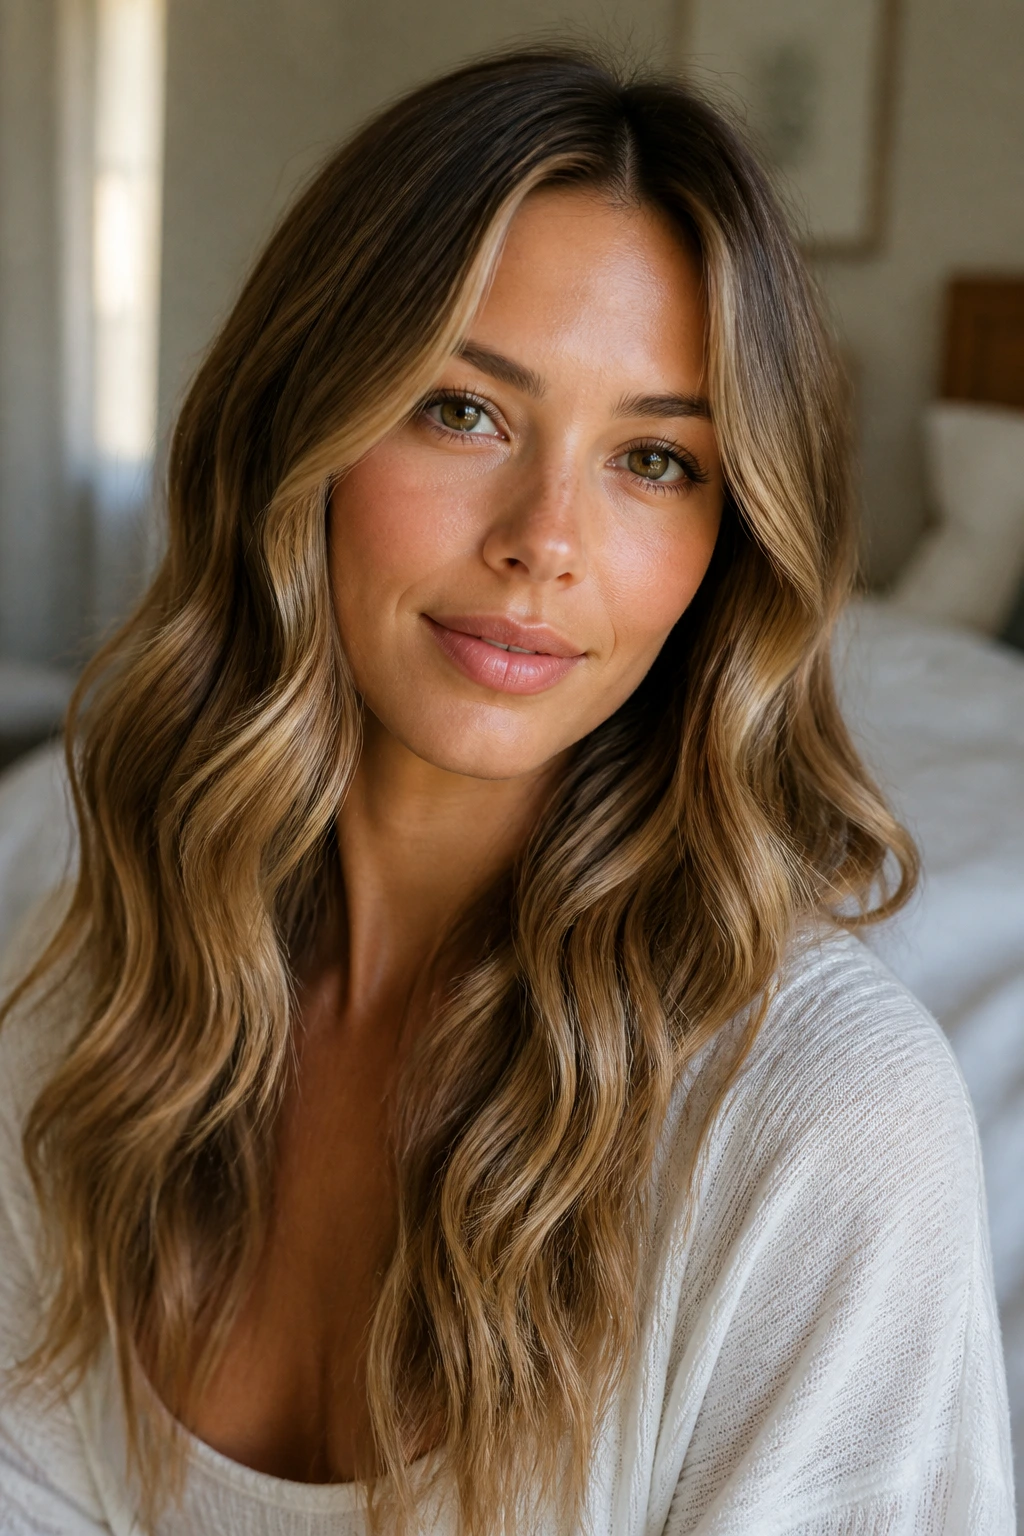
- Cleaner shape: Straight strands show every bend clearly, so you can choose between neat, brushed-out waves and looser texture without fighting your own curl pattern.
- Better control: A 1-inch or 1¼-inch iron gives a more predictable wave than guessing with random sections and hoping they settle.
- Less heat, more hold: Braids, twists, and set-and-cool methods give straight hair shape without needing a full curling marathon.
- Easy to refresh: A quick mist of dry shampoo at the roots and a finger-twist at the front can bring the style back without restarting from scratch.
- Works at every length: Bob-length hair, collarbone cuts, and long layers all take waves differently, but none of them need the same pattern.
- Useful for more than one occasion: The same base wave can look office-clean, brunch-soft, or dressed up with a clip and a side part.
1. Soft Center-Part Waves
A center part on straight hair can look almost severe if the wave is too tight, so the trick is to keep the bend soft and begin below the cheekbones. I like this look best when the roots stay smooth and the ends are only lightly curved.
Use a 1¼-inch curling iron and wrap away from the face in medium sections. Leave the last inch out, let each piece cool in your hand for a few seconds, then brush it through once the whole head is set. That slight restraint at the ends keeps the style from turning into a full curl set.
2. Deep Side-Part Waves
A deep side part changes everything. On straight hair, it adds lift without needing a lot of product, and the wave falls in a way that feels a little more deliberate than a middle part.
The cleanest version starts with a mousse at the roots and a side part set while the hair is still damp. Once dry, wrap the front sections away from the face and let the back stay looser. If your hair goes flat at the crown, clip the part side up for five minutes after styling and let it cool in that lifted shape.
3. Face-Framing Waves
If you only have ten minutes, do the front pieces. That’s the whole look. Straight hair takes this style well because the contrast between smooth lengths and curved front sections feels fresh instead of overworked.
Use a smaller iron, around ¾-inch to 1-inch, on the two front sections and the first layer near the jaw. Keep the rest sleek or barely bent. The result is a soft frame around the face, and it works especially well with ponytails, clips, or a tucked-behind-the-ear finish.
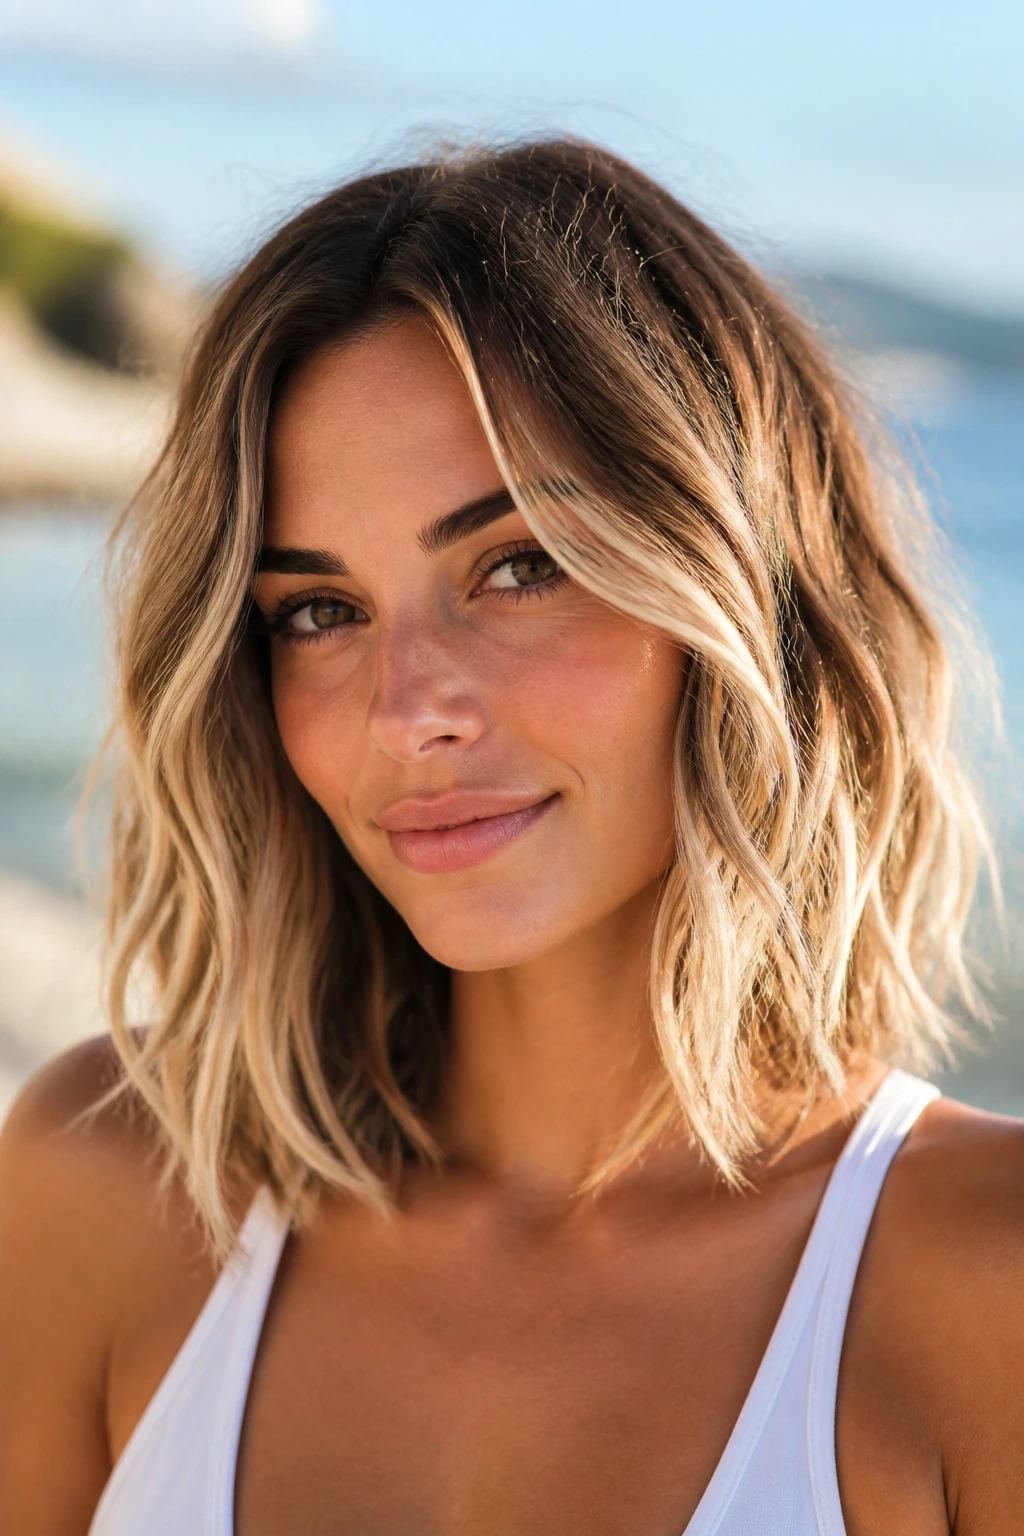
4. Beachy Lob Waves
A lob sits right at the sweet spot for beachy movement. Straight hair at this length tends to swing instead of droop, so the wave holds shape without needing a mountain of product.
Wrap alternating sections around a 1-inch wand, then shake the curls out with your fingers once they cool. A little salt spray at the mids gives that matte, piecey finish that suits a collarbone cut. Skip heavy cream here; it turns a lob into a soft but shapeless blur.
5. Loose S-Waves
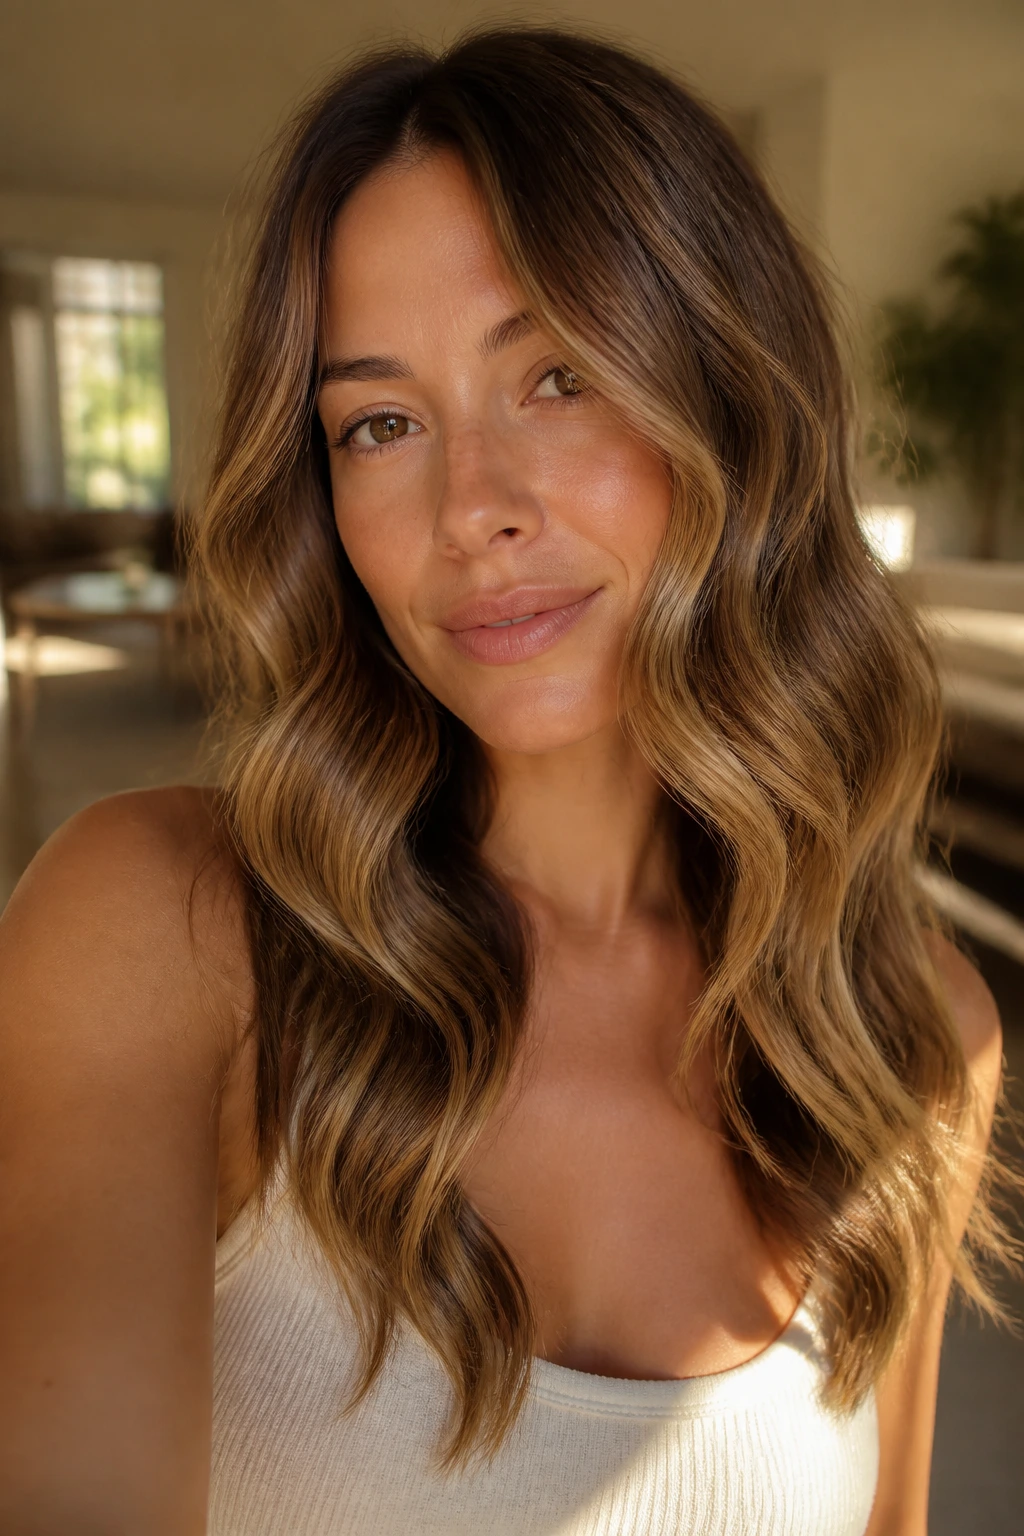
S-waves are the grown-up cousin of a curl. They bend back and forth in a flatter pattern, which is exactly why they look so good on straight hair that resists round, bouncy curls.
A flat iron makes this style easiest. Clamp a section, turn the wrist halfway, glide a few inches, then turn back the other way so the strand makes a soft S. Brush it out once the hair is fully cool. You end up with movement, not ringlets, and that difference matters.
6. Old Hollywood Brush-Out Waves
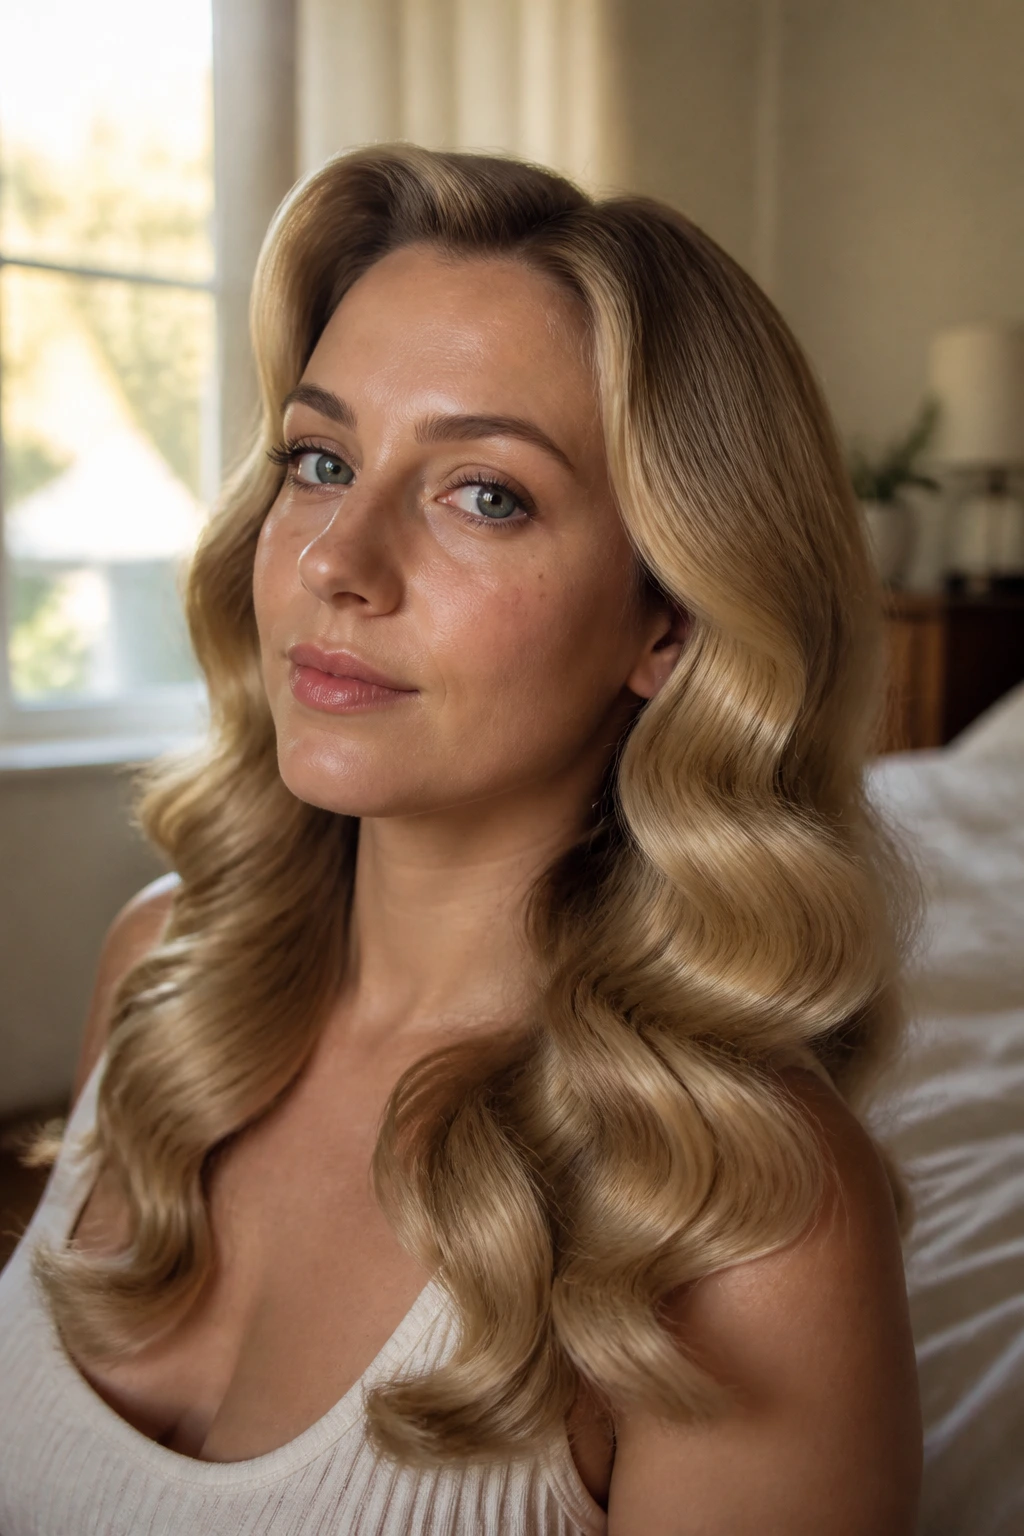
This is the style that makes straight hair look expensive without trying too hard. The secret is setting the curls first, then brushing them into one smooth direction after they’ve cooled completely.
Use a 1¼-inch iron, clip each curl in place while it cools, and don’t skip the wait. Once everything has set, brush with a soft boar-bristle brush and finish with a light serum on the ends. The wave becomes wider, shinier, and more controlled. If you want it to stay flat and glossy, avoid texture spray on this one.
7. Curtain Bang Waves
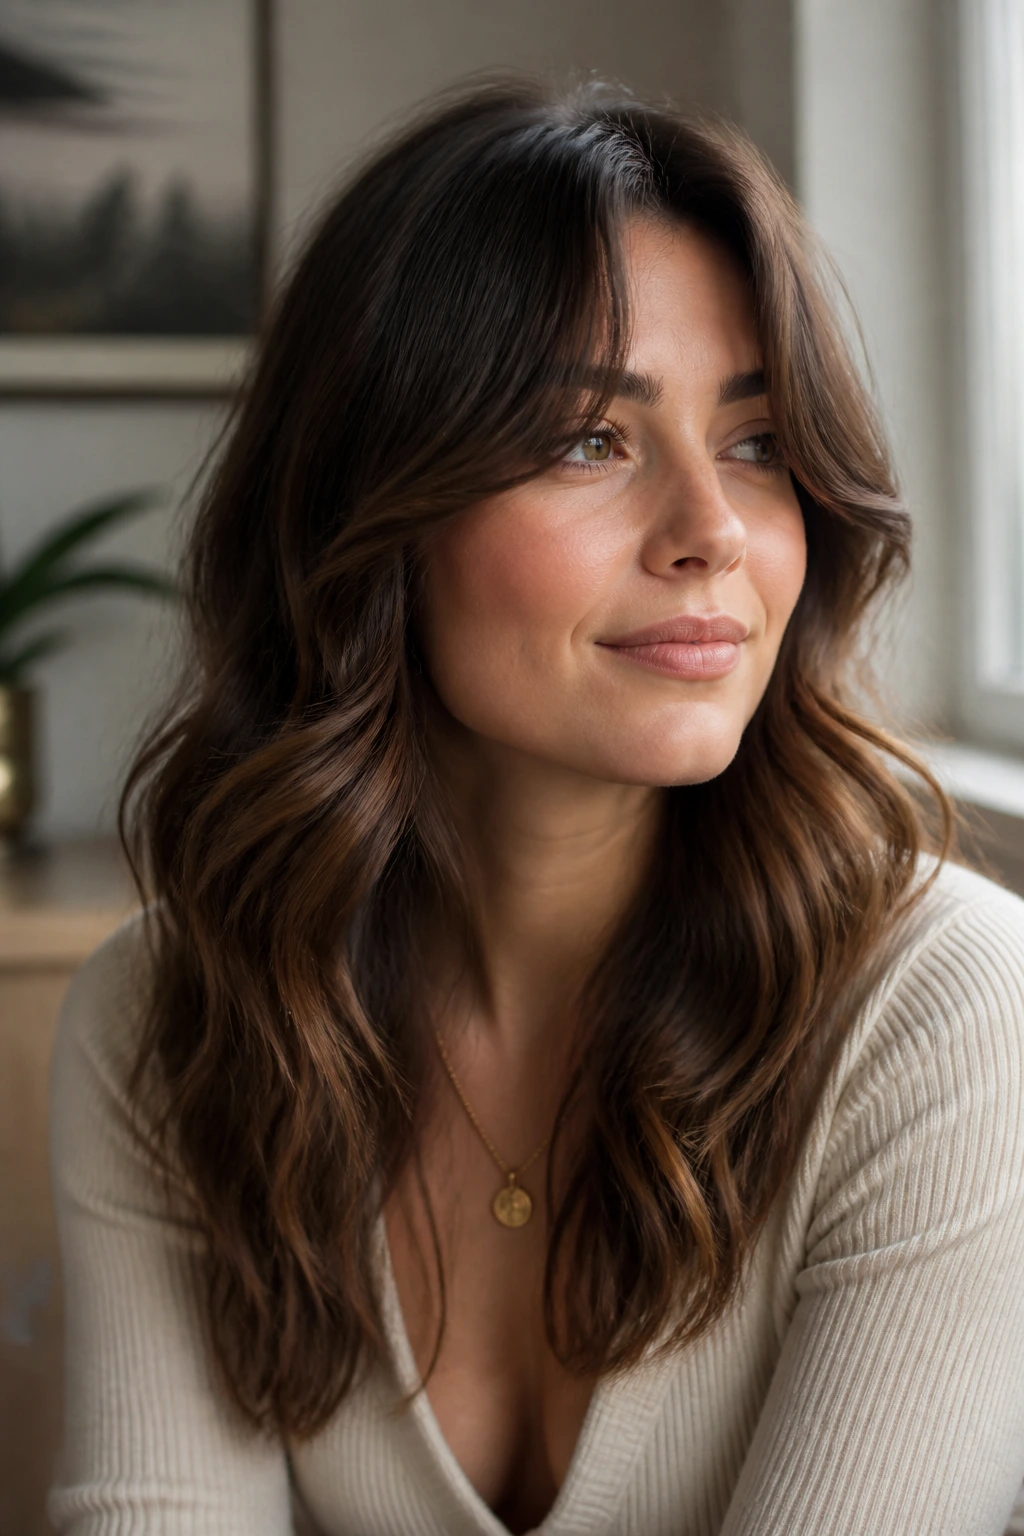
Curtain bangs need a wave pattern that bends away from the face and then falls back in. Straight hair can wear this look beautifully because the fringe does half the work before the rest of the hair even moves.
Wrap the bang sections away from your face with a small iron, then let the surrounding layers stay looser. If the bangs are too straight, the whole cut loses that soft frame. A quick round-brush blow-dry before the iron helps the bangs sit with a little lift instead of collapsing onto the forehead.
8. Half-Up Twisted Waves
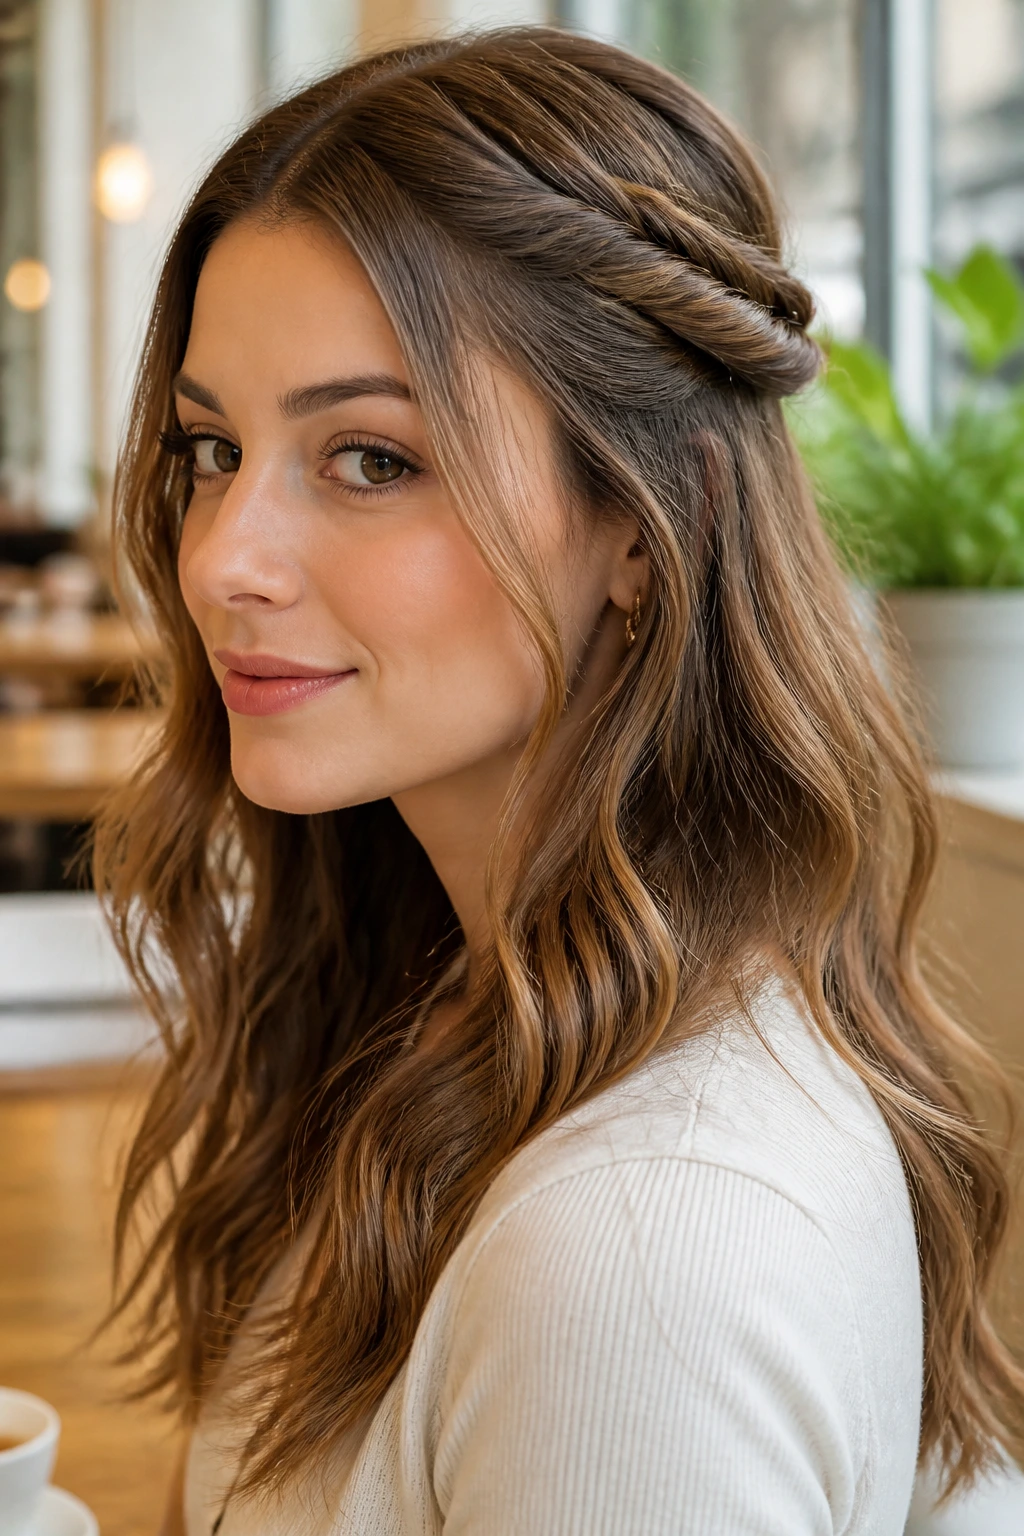
Half-up styles are useful when your waves have enough shape for the lower half but need a little help on top. Two small twists from the temples back can make straight hair look styled with barely any extra effort.
Keep the lower layers waved and let the top section stay smoother so the twist stands out. Pin the twists just under the crown and hide the bobby pins under a small piece of hair. It’s neat without looking stiff, and it works for errands, dinner, or anything in between.
9. Low Wavy Ponytail
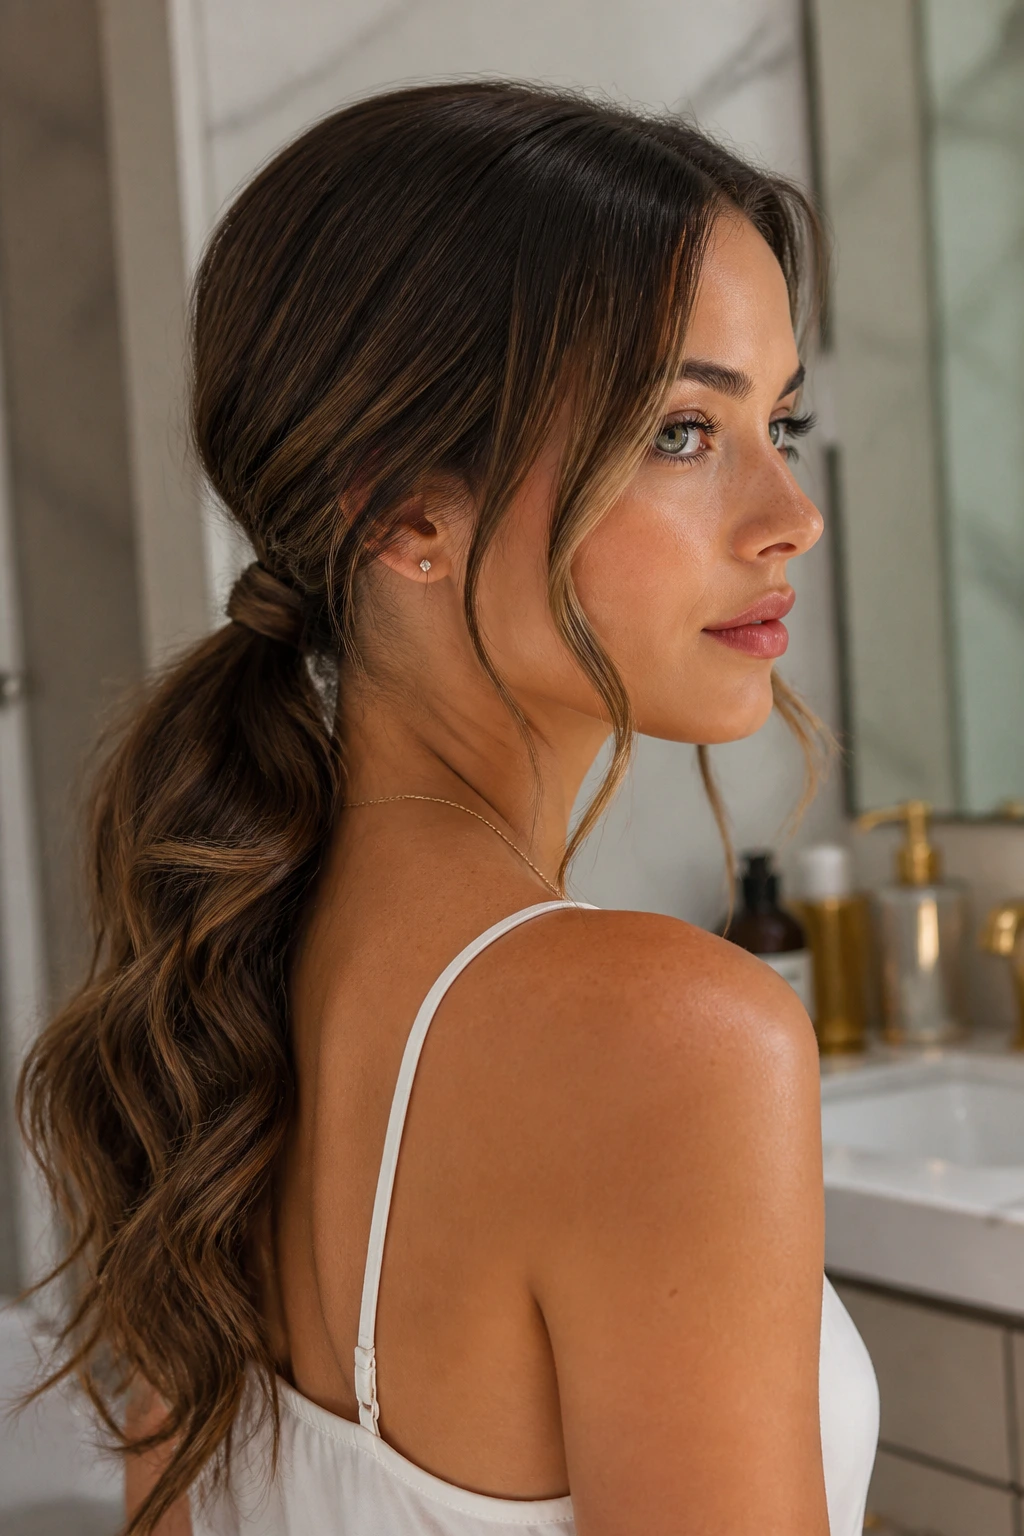
A low ponytail with waved lengths is one of those styles that looks more considered than it is. Straight hair holds the base well, which means the wave in the tail can do the talking.
Add texture spray through the mid-lengths before tying it off, then wrap a small strand around the elastic so the base looks clean. Leave two thin face pieces out if you want a softer finish. The pony looks best when the crown stays smooth and the tail keeps movement.
10. High Wavy Ponytail
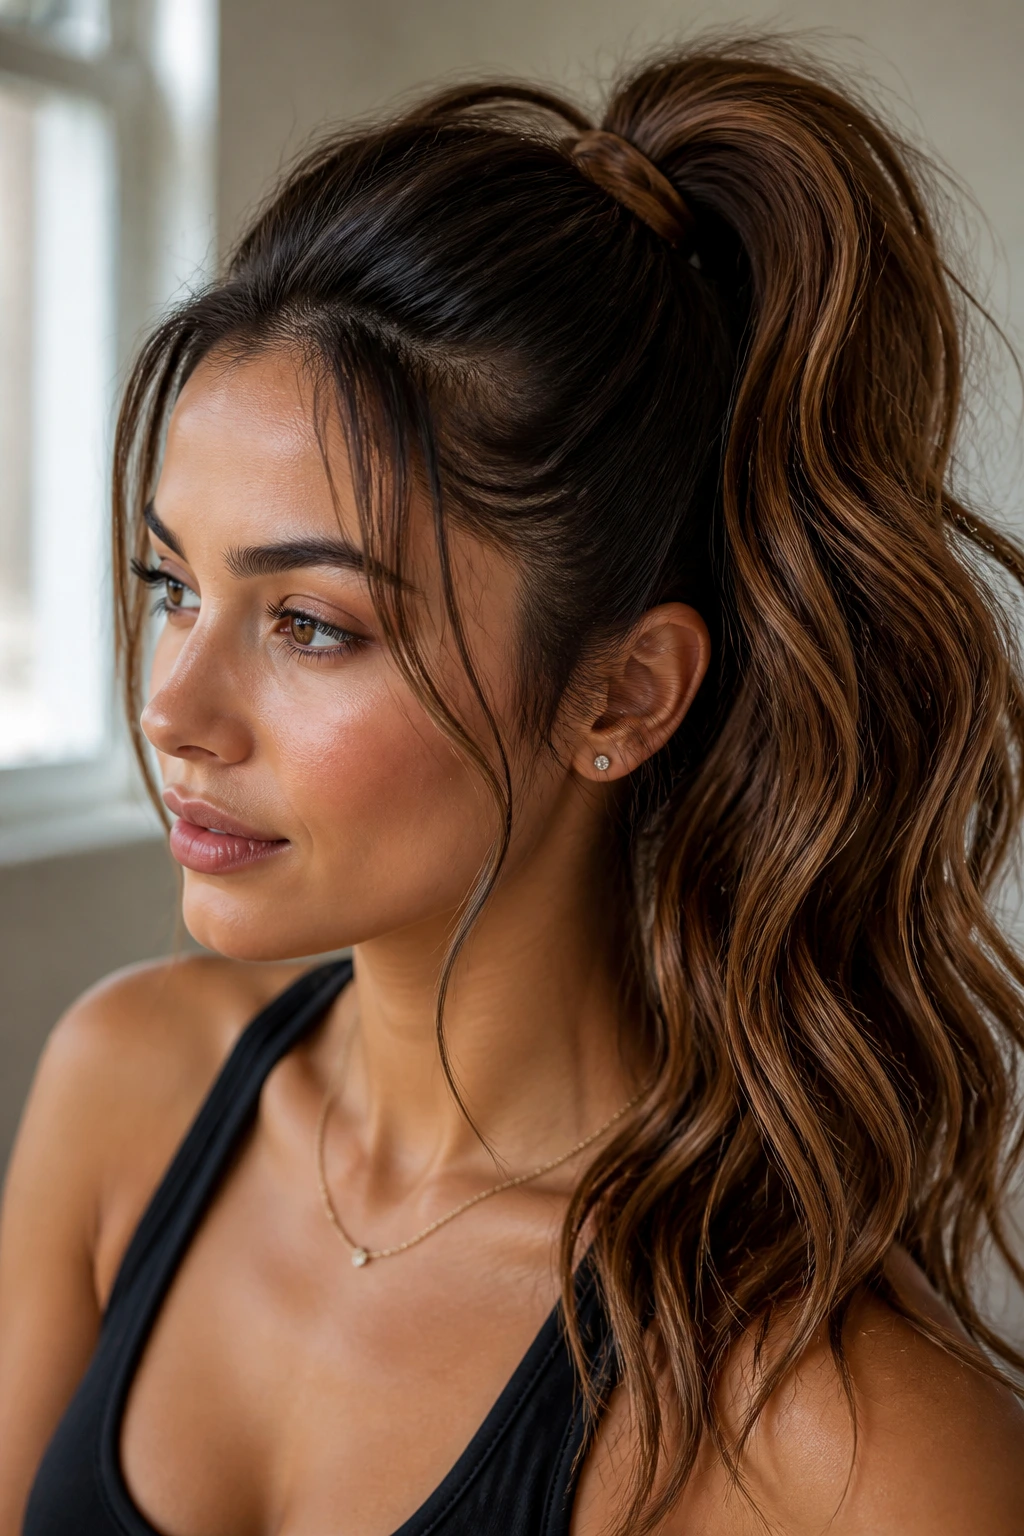
High ponies on straight hair need lift at the roots or they can look severe. Once you get the crown up, though, the waved tail gives the style a little swing.
Tease the crown lightly, gather the hair high, and curl the tail in sections so it doesn’t read as one big tube. A wrapped strand around the elastic keeps the look polished. This one is strong when the hair is second-day, because the extra grit helps the pony sit higher.
11. Braided Crown Waves
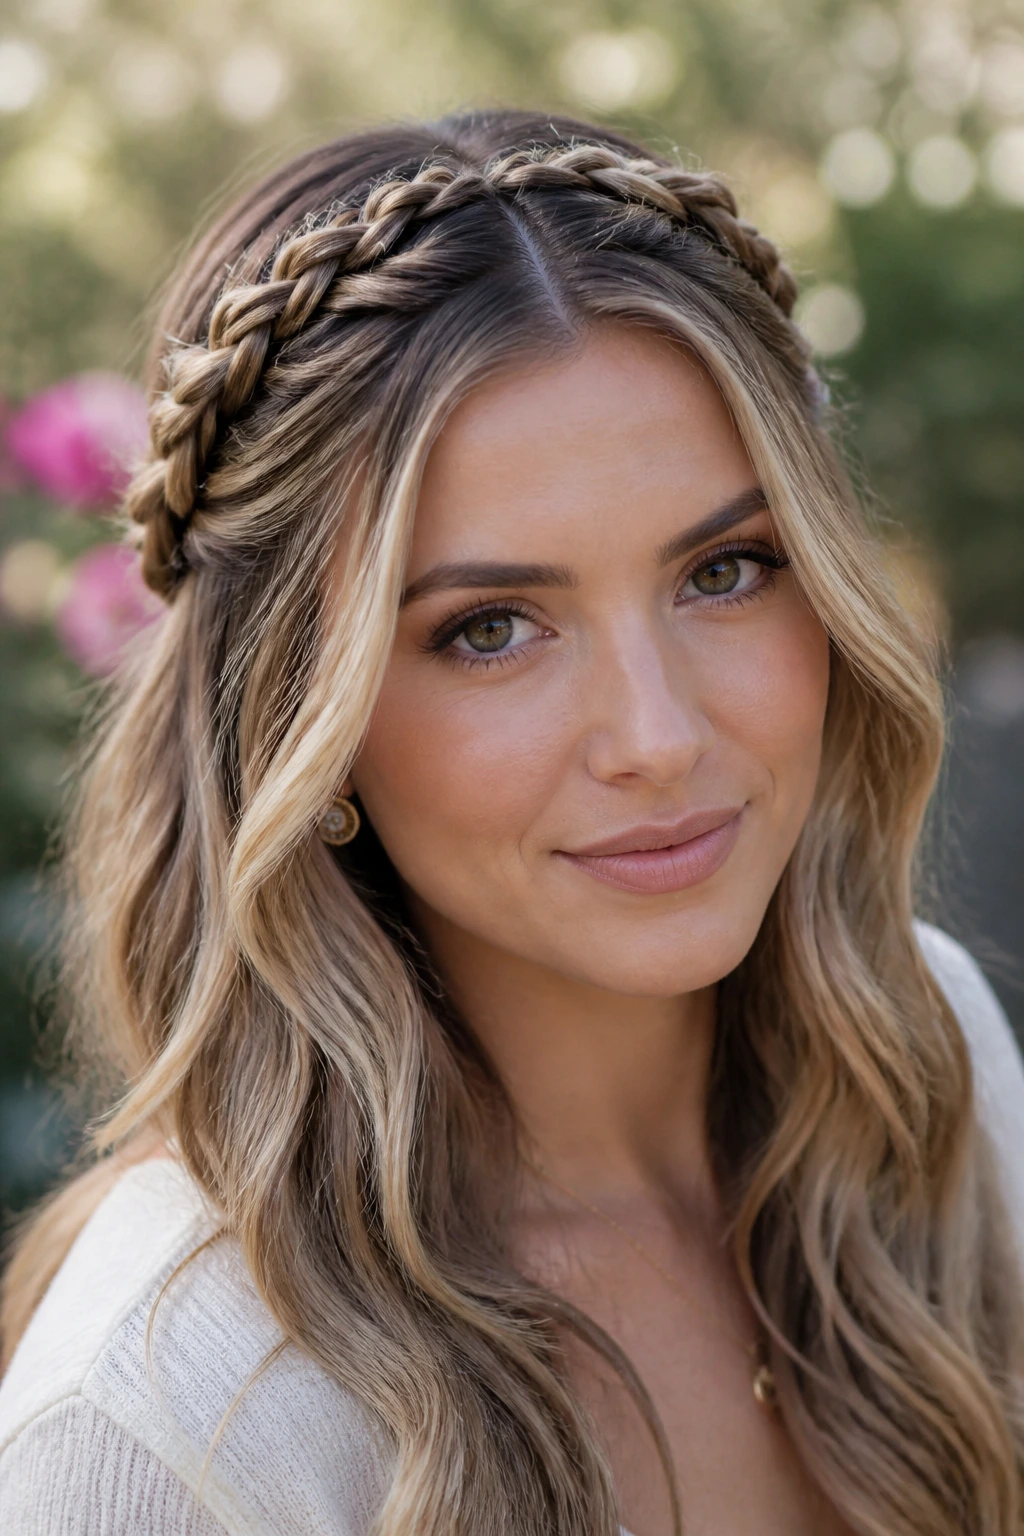
Braided crown waves are a good answer when you want hair off the face but still want the length to look soft. The braid detail gives structure, and the loose waves underneath stop it from feeling school-uniform neat.
Braid two small sections along the hairline and pin them back where they meet. Leave the rest in loose waves or a braid-out bend. If your hair is very straight, mist the front pieces with texturizing spray first so the braid doesn’t slide apart before you pin it.
12. Rope-Twist Overnight Waves
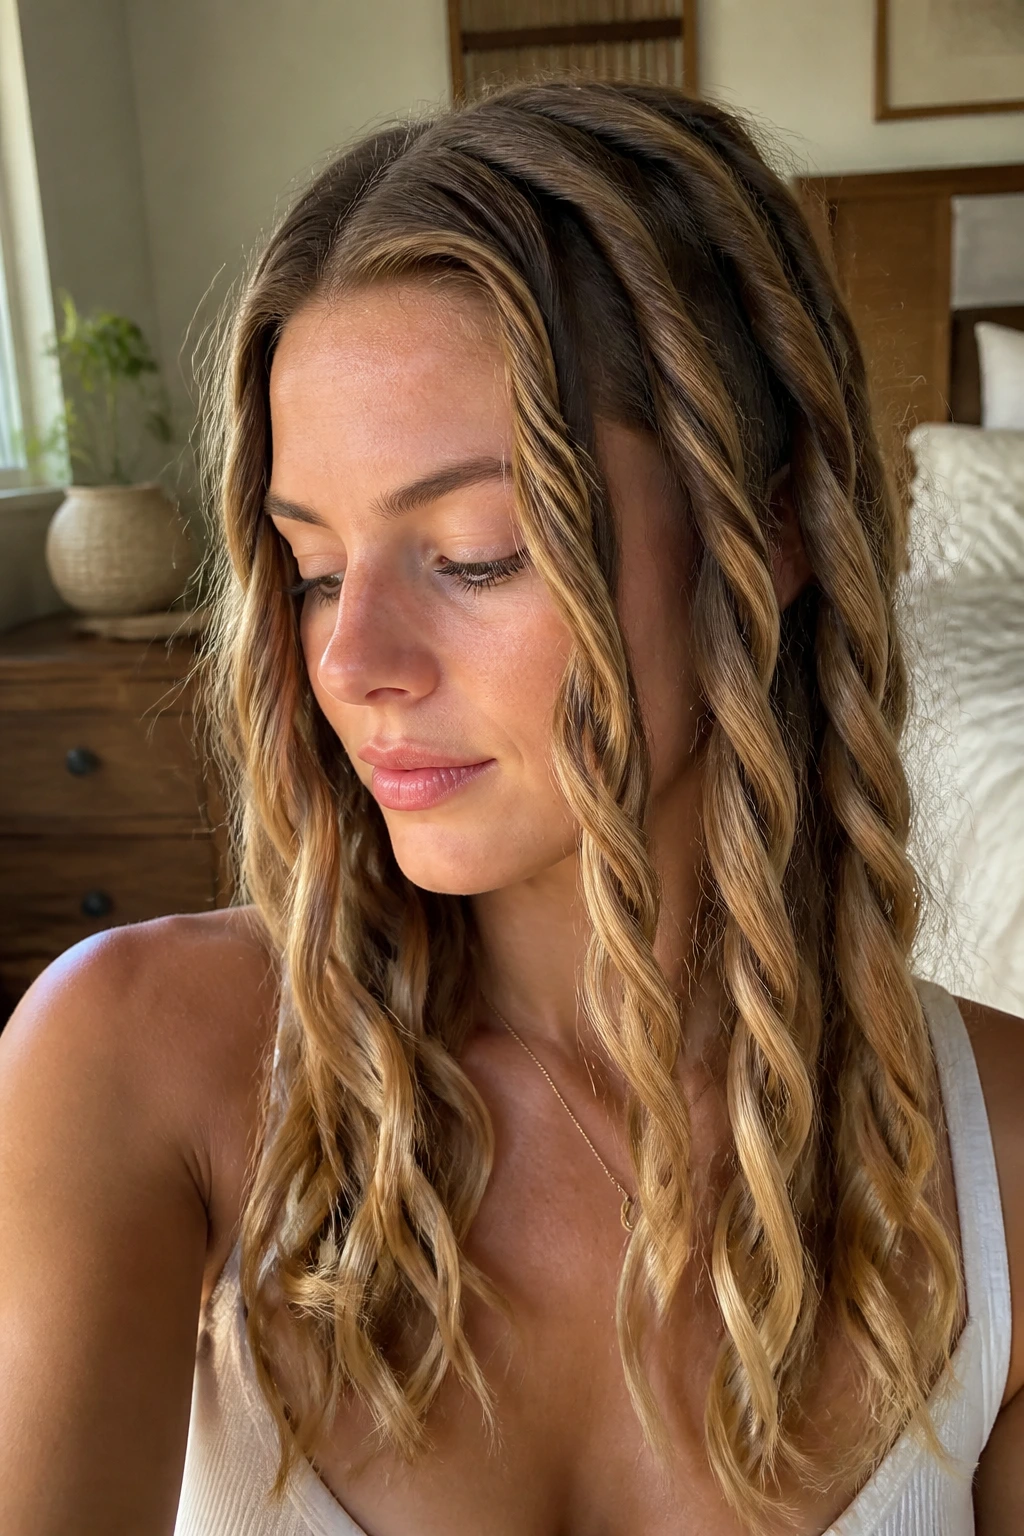
Rope twists are a strong heatless option because they create a tighter, more defined bend than a loose braid. On straight hair, that extra twist matters.
Divide damp hair into a few sections, split each one in two, twist both strands in the same direction, then wrap them around each other in the opposite direction. Secure the ends and sleep on it. In the morning, release the twists only after they’re fully dry. If they’re even a little damp, the wave falls out fast.
13. Heatless Robe-Belt Waves
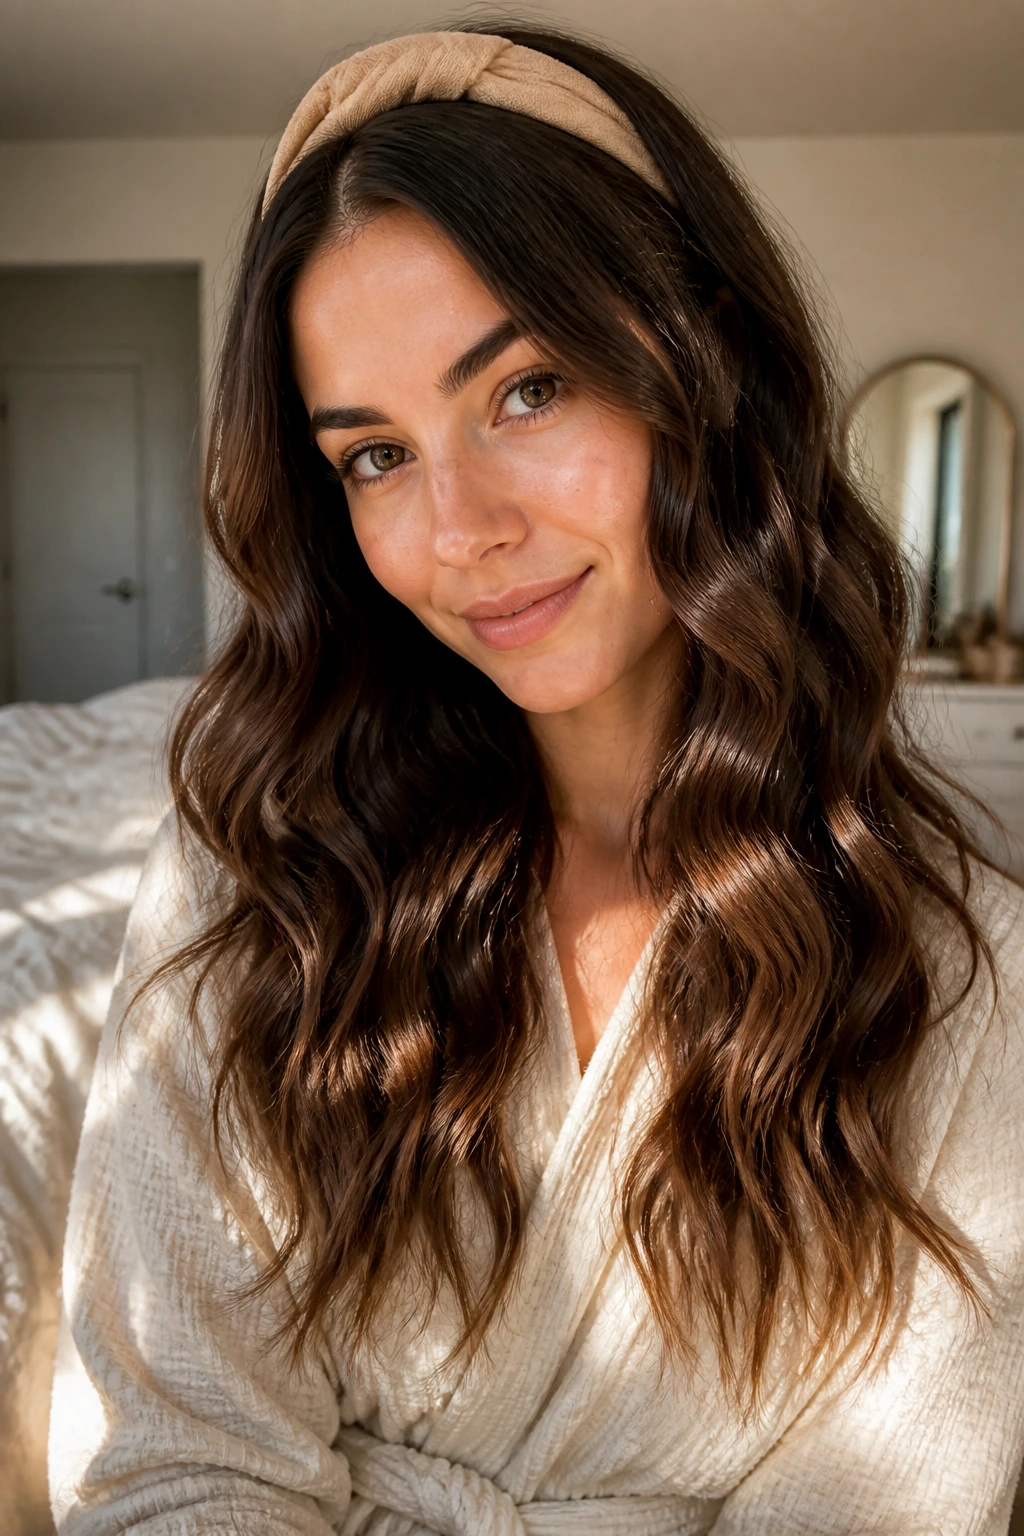
This is the kind of style people try once and then keep coming back to. A robe belt or long soft ribbon gives straight hair a smoother, ribbon-like wave without the crease that some braids leave behind.
Place the belt across the top of the head, wrap damp sections around it, and sleep with the ends secured. The finished wave looks loose and airy, not crimped. The hair has to be damp, not wet; soak it and you’ll still be waiting for it to dry at breakfast.
14. Flat-Iron Ribbon Waves
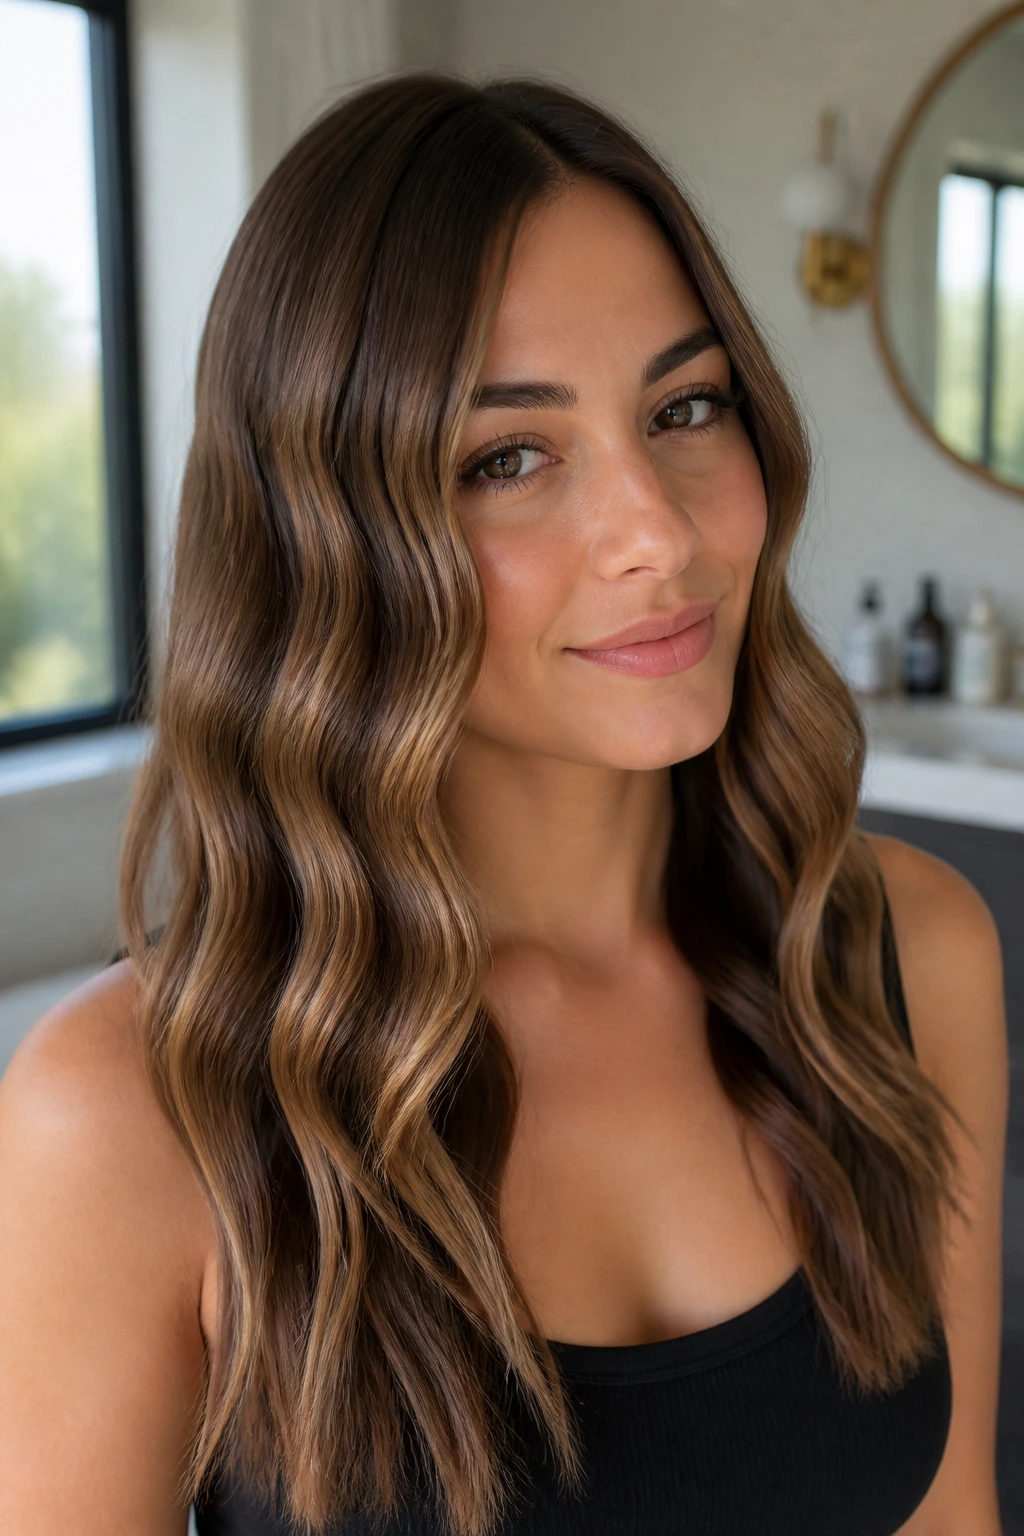
Ribbon waves are a cleaner, sharper version of soft bends. Straight hair takes to them well because the flat iron can make a clear S-shape without needing much volume.
Clamp, turn, and glide in small sections, keeping the motion smooth and steady. Don’t rush the wrist twist. The goal is a long, loose ribbon shape that stays visible even after brushing. This style reads sleek on long hair and especially good when the ends are left a touch straighter.
15. Mermaid Waves
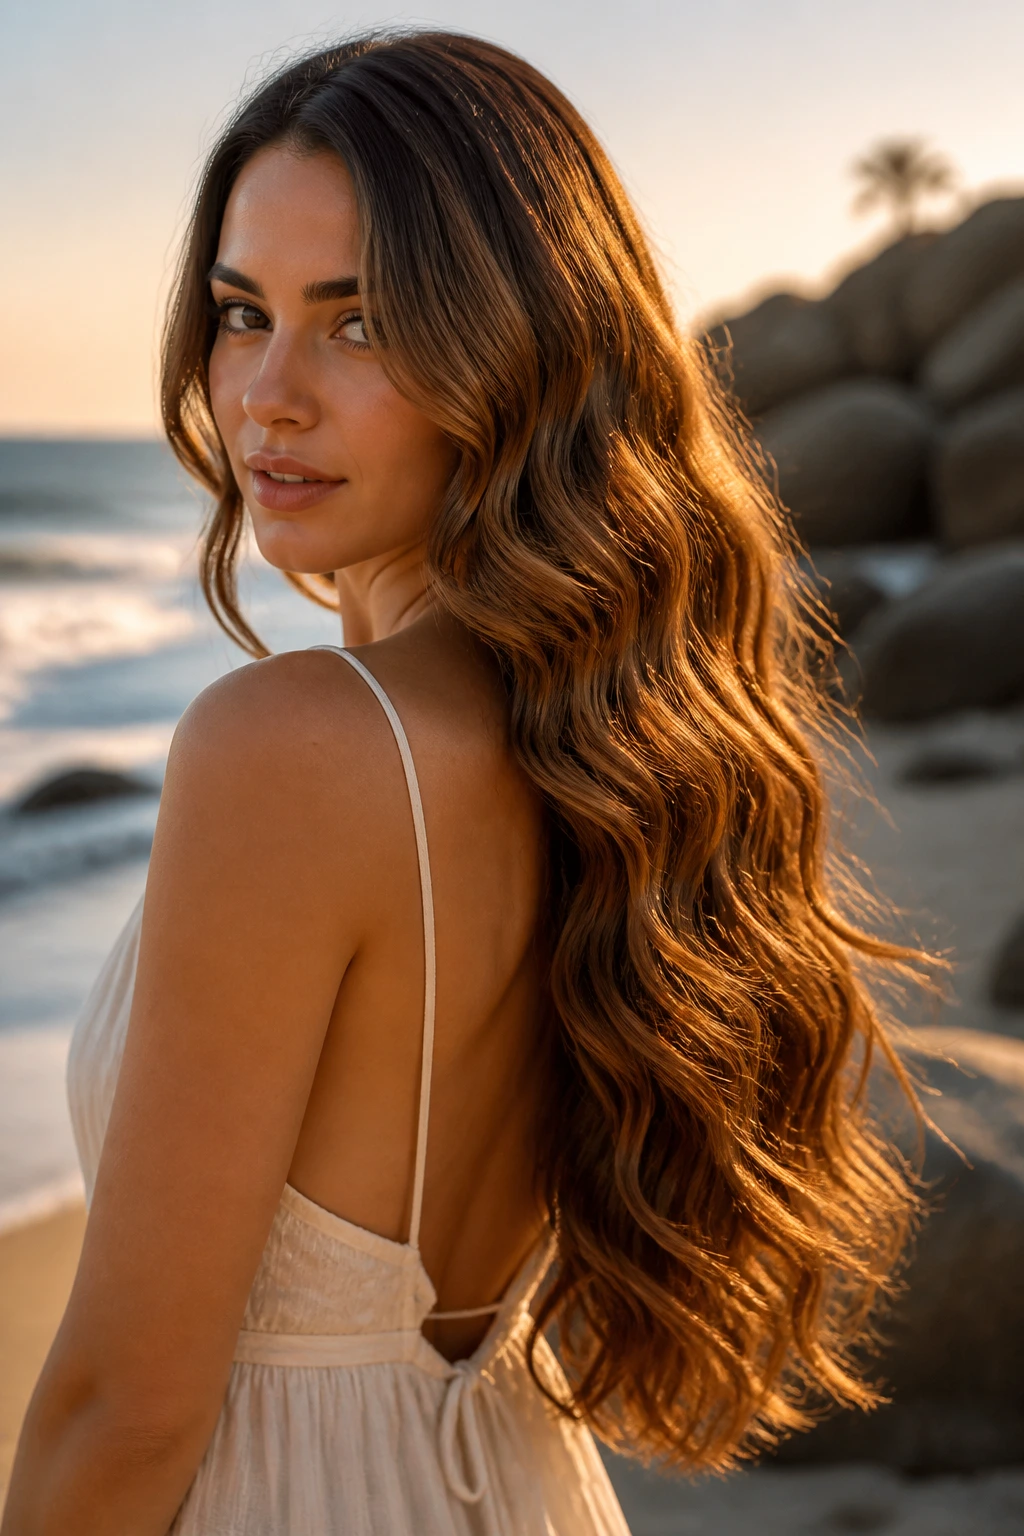
Mermaid waves need length. That’s the plain truth. On straight hair, the repeated wave pattern looks best when there’s enough hair for the bends to stack without getting crowded.
Use a triple-barrel iron if you like a defined pattern, or make the waves with a flat iron in uniform sections for a softer look. A little cream at the ends keeps the finish from drying out and getting fuzzy. The key is repetition without stiffness; if every bend looks identical, the style turns boxy.
16. Side-Swept Glam Waves
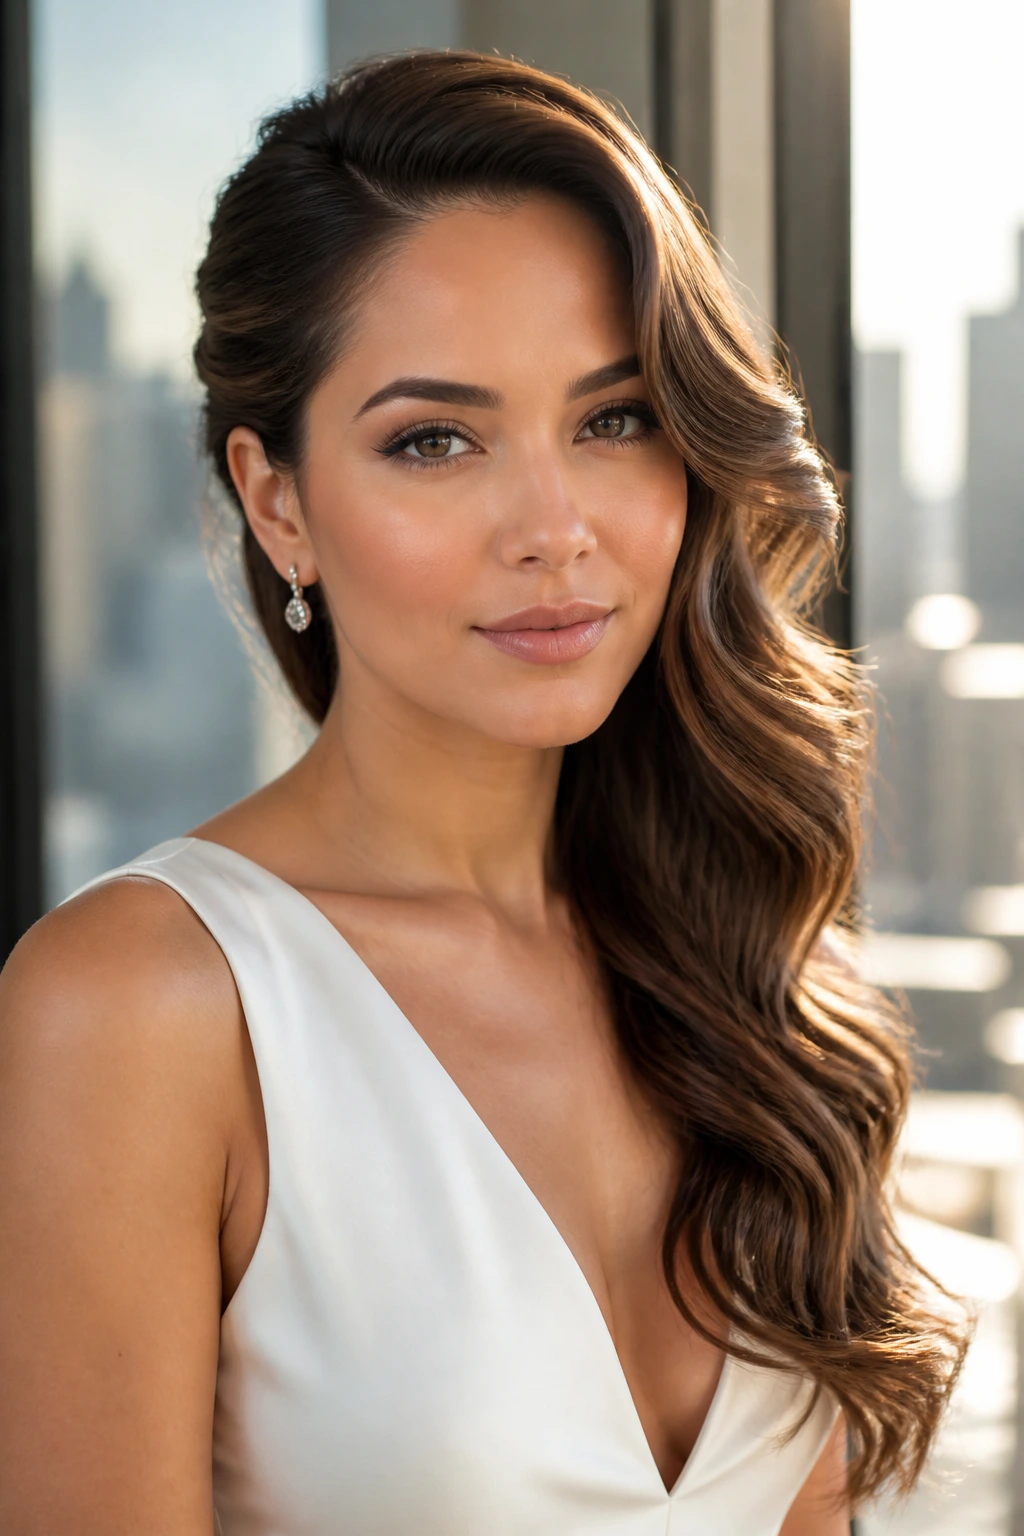
A side-swept wave makes straight hair look fuller because all the movement collects on one side. It has more drama than a standard middle part, and the asymmetry gives the face some shape.
Curl the whole head away from the face, then sweep it over one shoulder and pin the back side under the hair. A shine spray at the top layers keeps it smooth where the light hits first. This is the look I reach for when I want the hair to do the talking and the outfit to stay simple.
17. Claw-Clip Waves
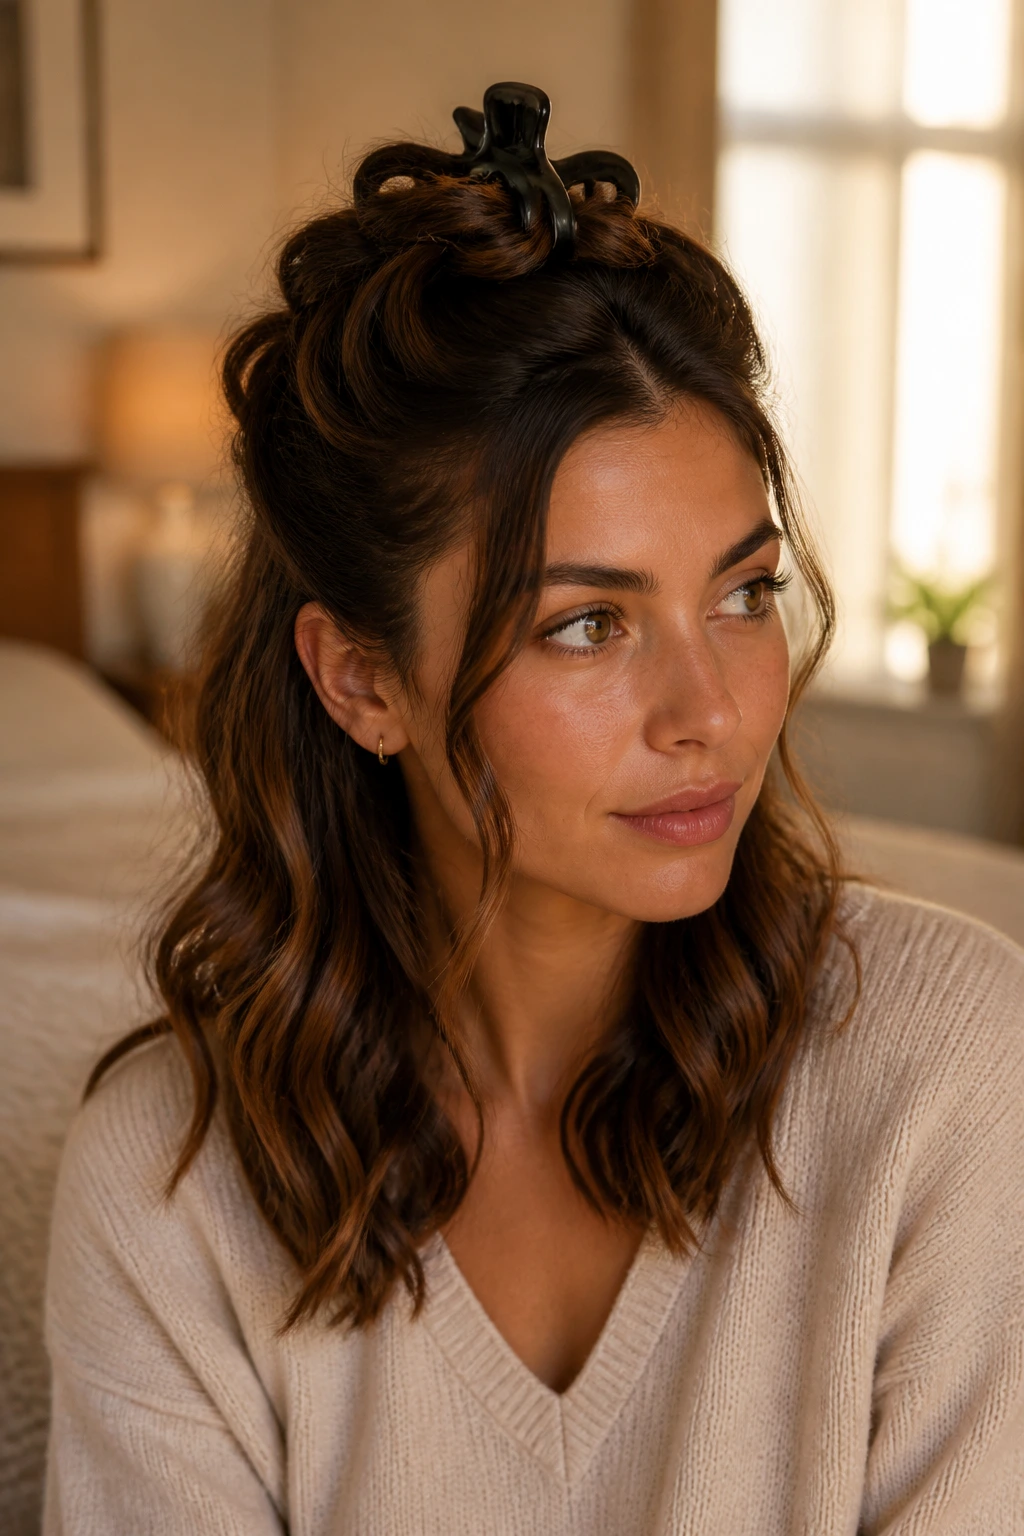
Claw-clip waves work because they let the wave show without forcing the whole style to stay down. Straight hair usually needs a little lift to keep from looking flat in a clip, so the wave gives it body.
Pull the top half back, twist once, and clip it at the crown, letting the lower lengths fall in loose bends. Leave a few short pieces near the ears out so the style doesn’t feel too tight. A matte clip grips better than a slick plastic one on especially smooth hair.
18. Headband Waves
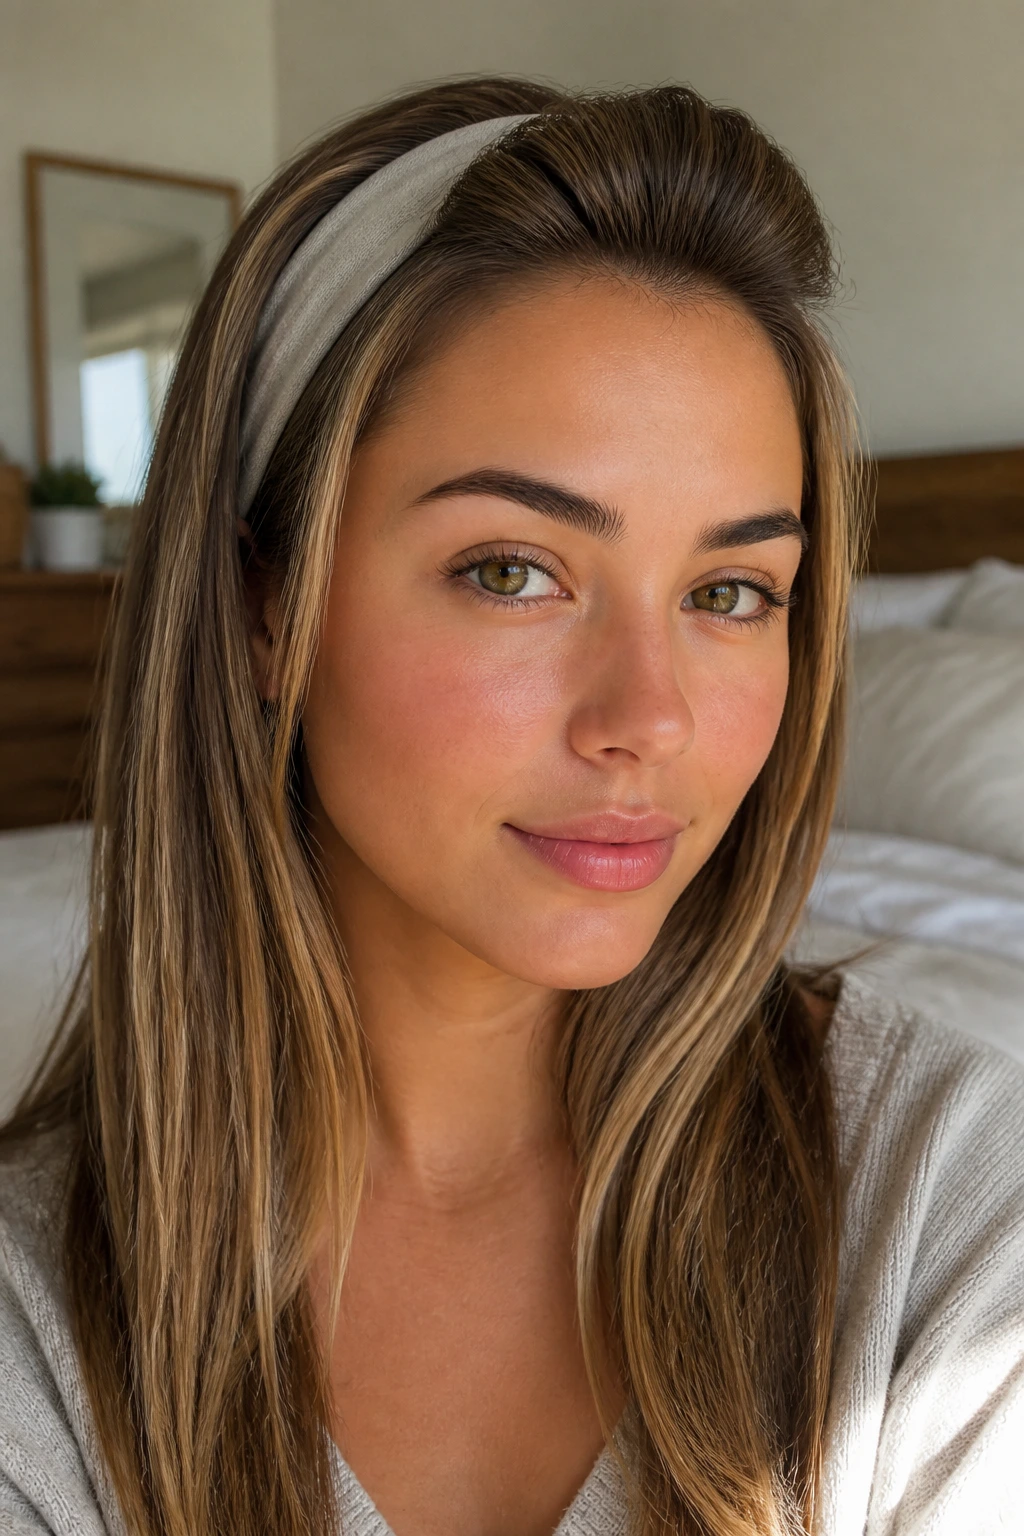
A headband can do more than hold hair back. On straight hair, it can give the front a soft bend and turn day-two hair into a style instead of a problem.
Set the waves first, then slide on a wide band and push it back a little so the top lifts. The hair around the band gets a slight curve, while the rest stays loose. It’s a nice fix when the roots are a little sleepy and you don’t want to start over.
19. Scarf-Tied Waves
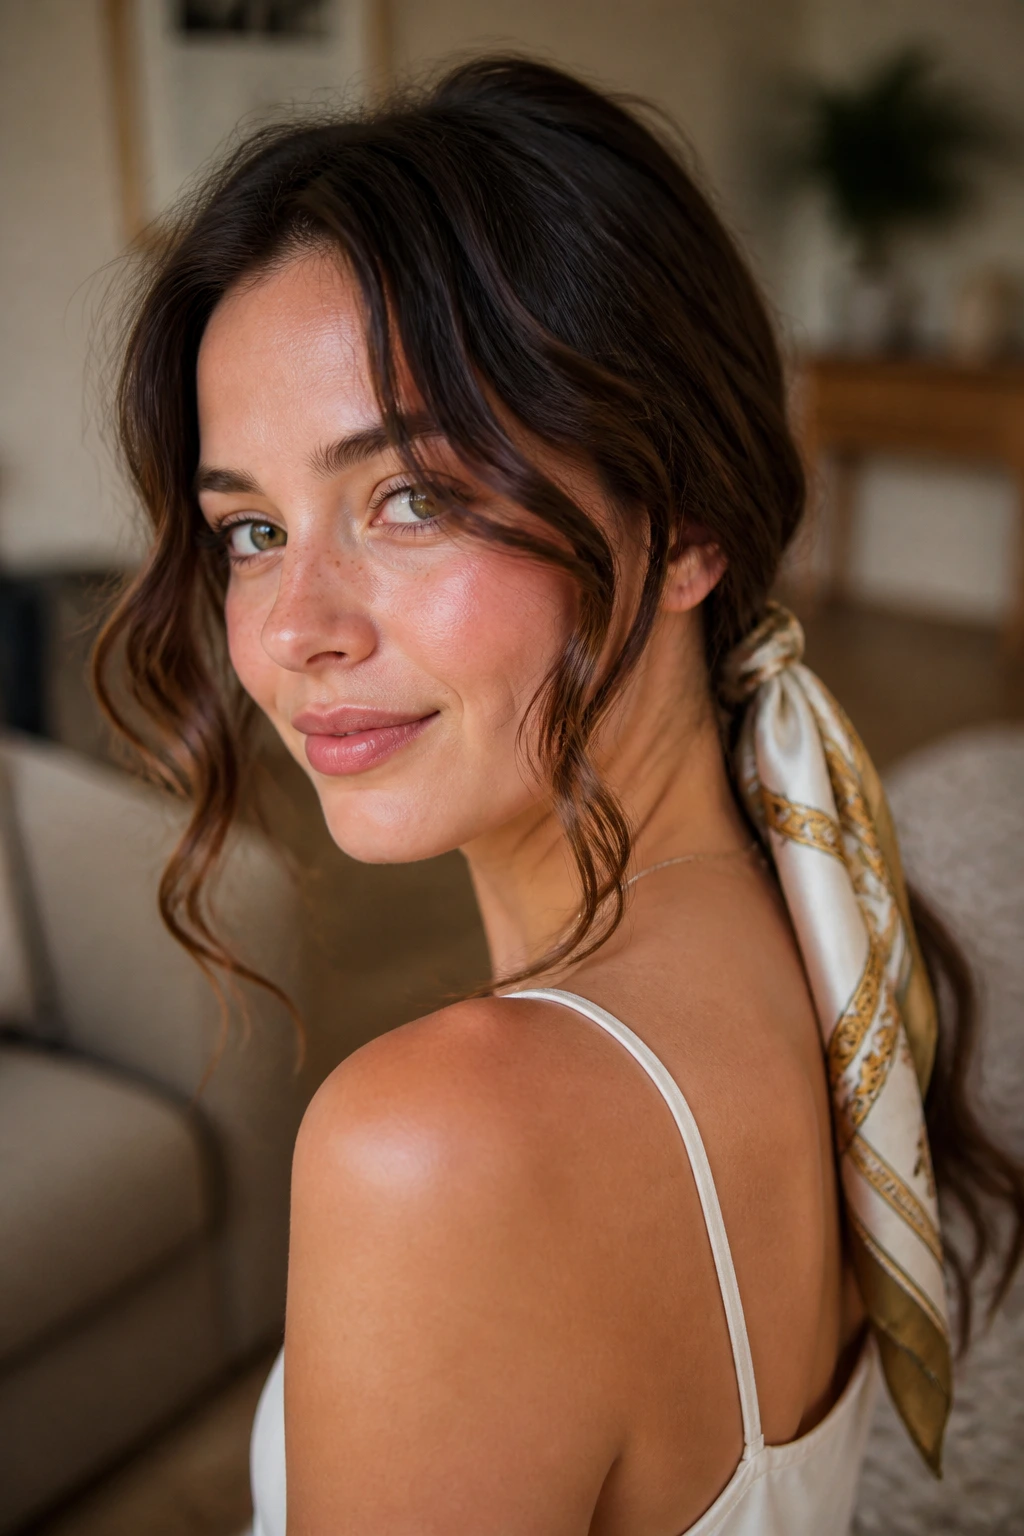
A scarf changes the whole mood. On straight hair, it softens the line of the style and makes the waves feel less formal, especially when the scarf is tied low at the nape.
Use a silk scarf if your hair slips easily; it glides less and helps reduce roughness around the tie area. Let a few waves fall forward and keep the scarf loose enough that it doesn’t flatten the crown. The scarf should look like an accent, not a helmet strap.
20. Messy Bun with Wavy Tendrils
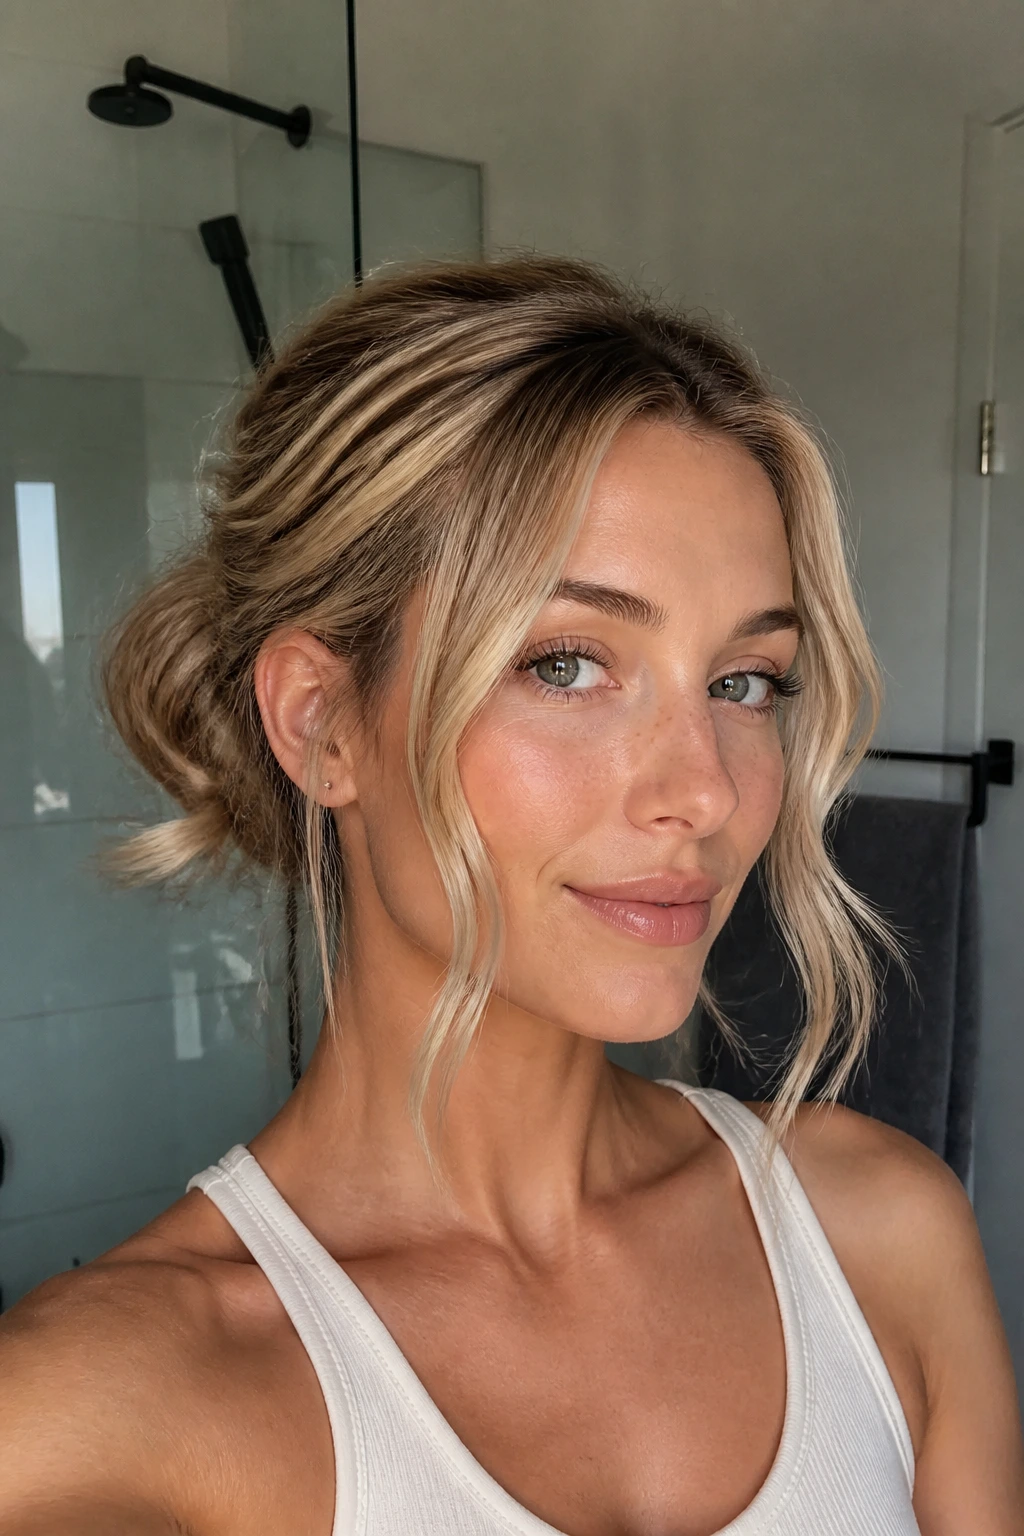
A messy bun with waved tendrils is useful on the days you want the texture to look intentional even when the rest of the hair is pinned up. Straight hair needs those loose face pieces; otherwise the bun can read too bare.
Gather the hair into a low or mid bun, then pull out two front pieces and wave them with a small iron. Leave the ends of the tendrils slightly straighter so they feel airy. That tiny detail keeps the look from becoming overdone.
21. Pinned-Back Waves
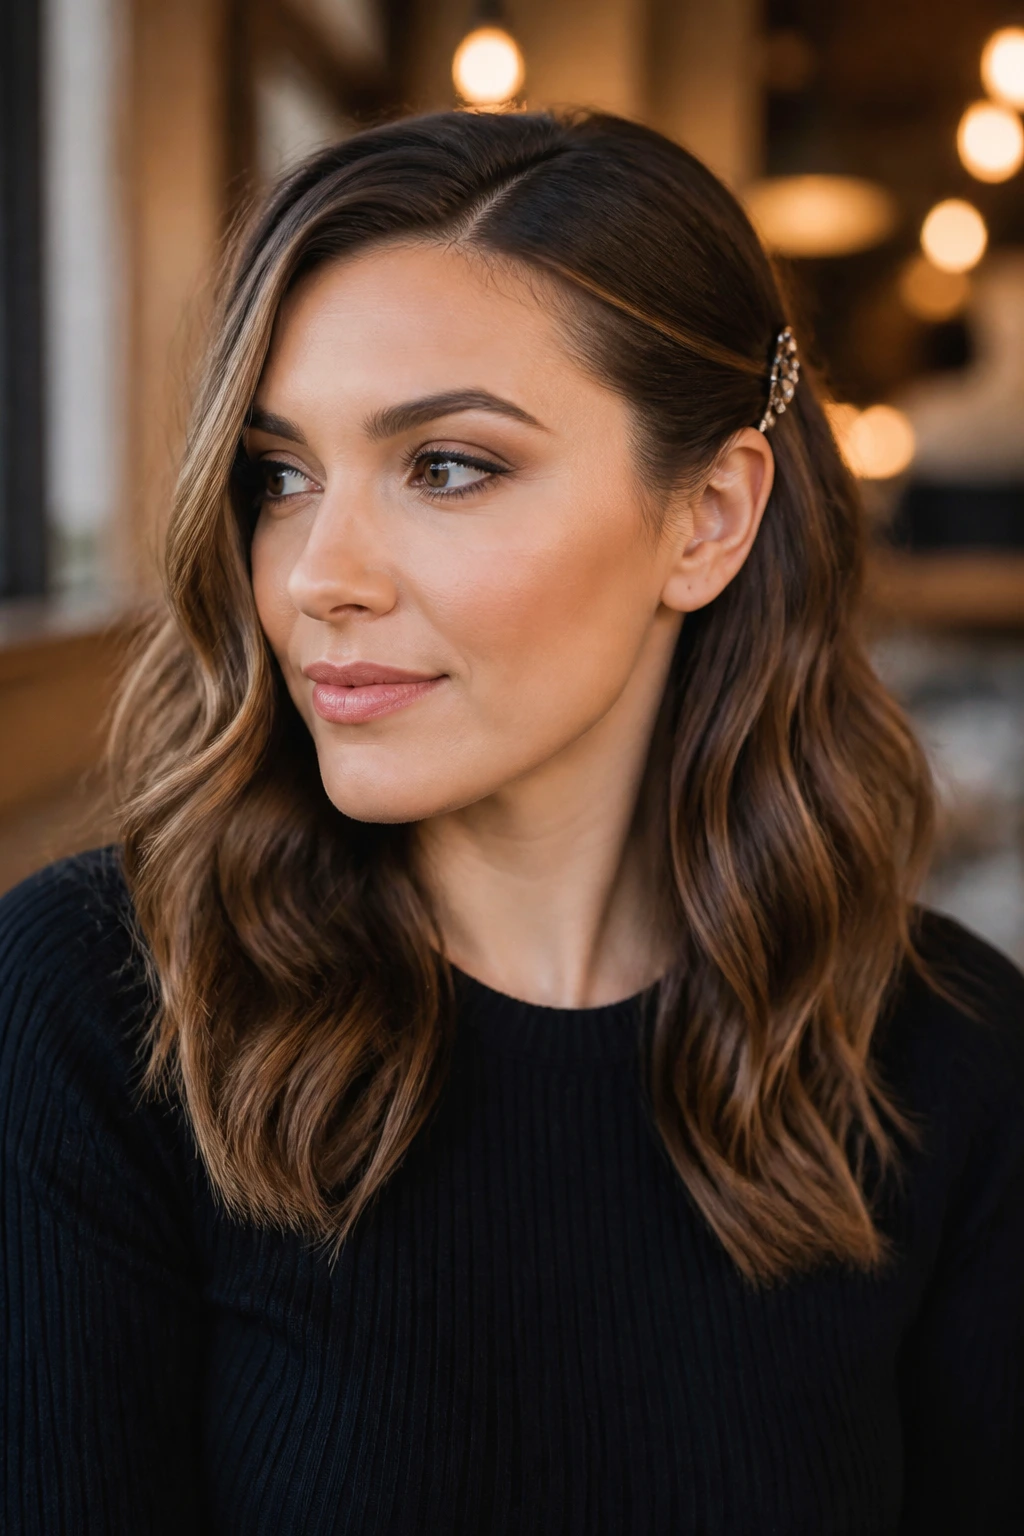
Pinned-back waves are clean, simple, and better than people give them credit for. Straight hair often looks sharper with one side tucked away because the wave can sit front and center.
Create soft waves, then pin one side behind the ear with two crossed bobby pins or a decorative clip. This works especially well when the part is a little off-center. If the hair slips, rough up the pinned section with a dry texture spray first and let it sit for a minute.
22. Short Bob Waves
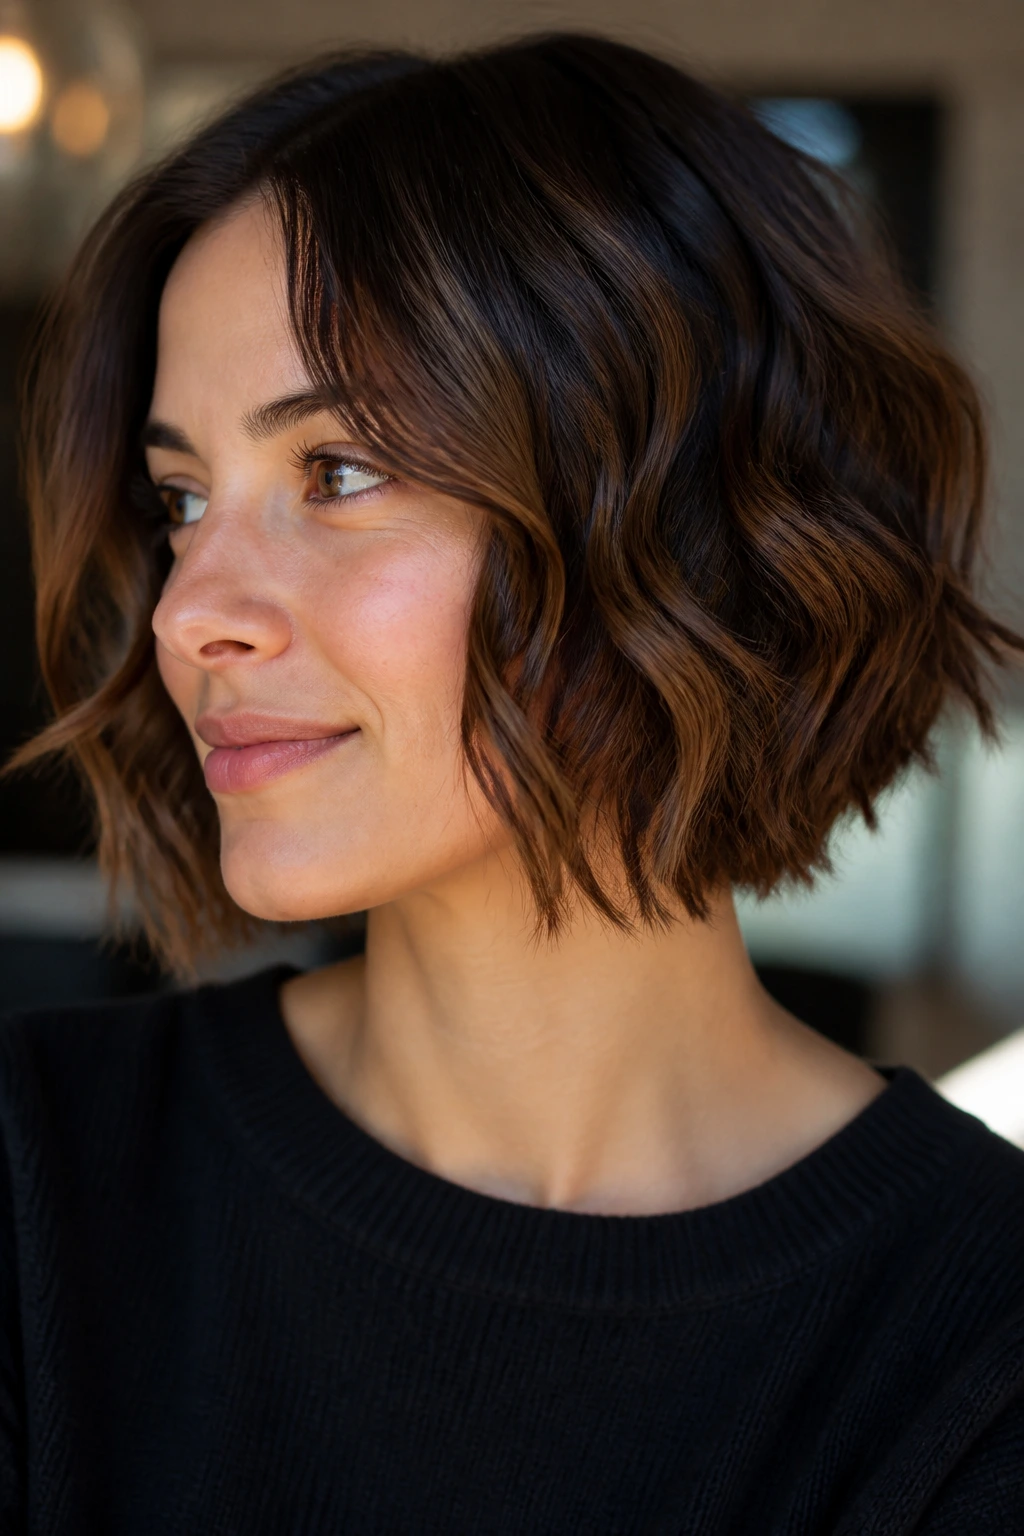
A bob needs tighter control than long hair because even a small bend changes the whole shape. On straight hair, a short wave should read as movement, not curl.
Use a 1-inch iron and work with skinny sections, especially around the jaw and neckline. Keep the crown smooth so the bob doesn’t puff out like a triangle. The nicest part of this style is the way the ends flick in different directions while the top stays neat.
23. Long Layered Waves
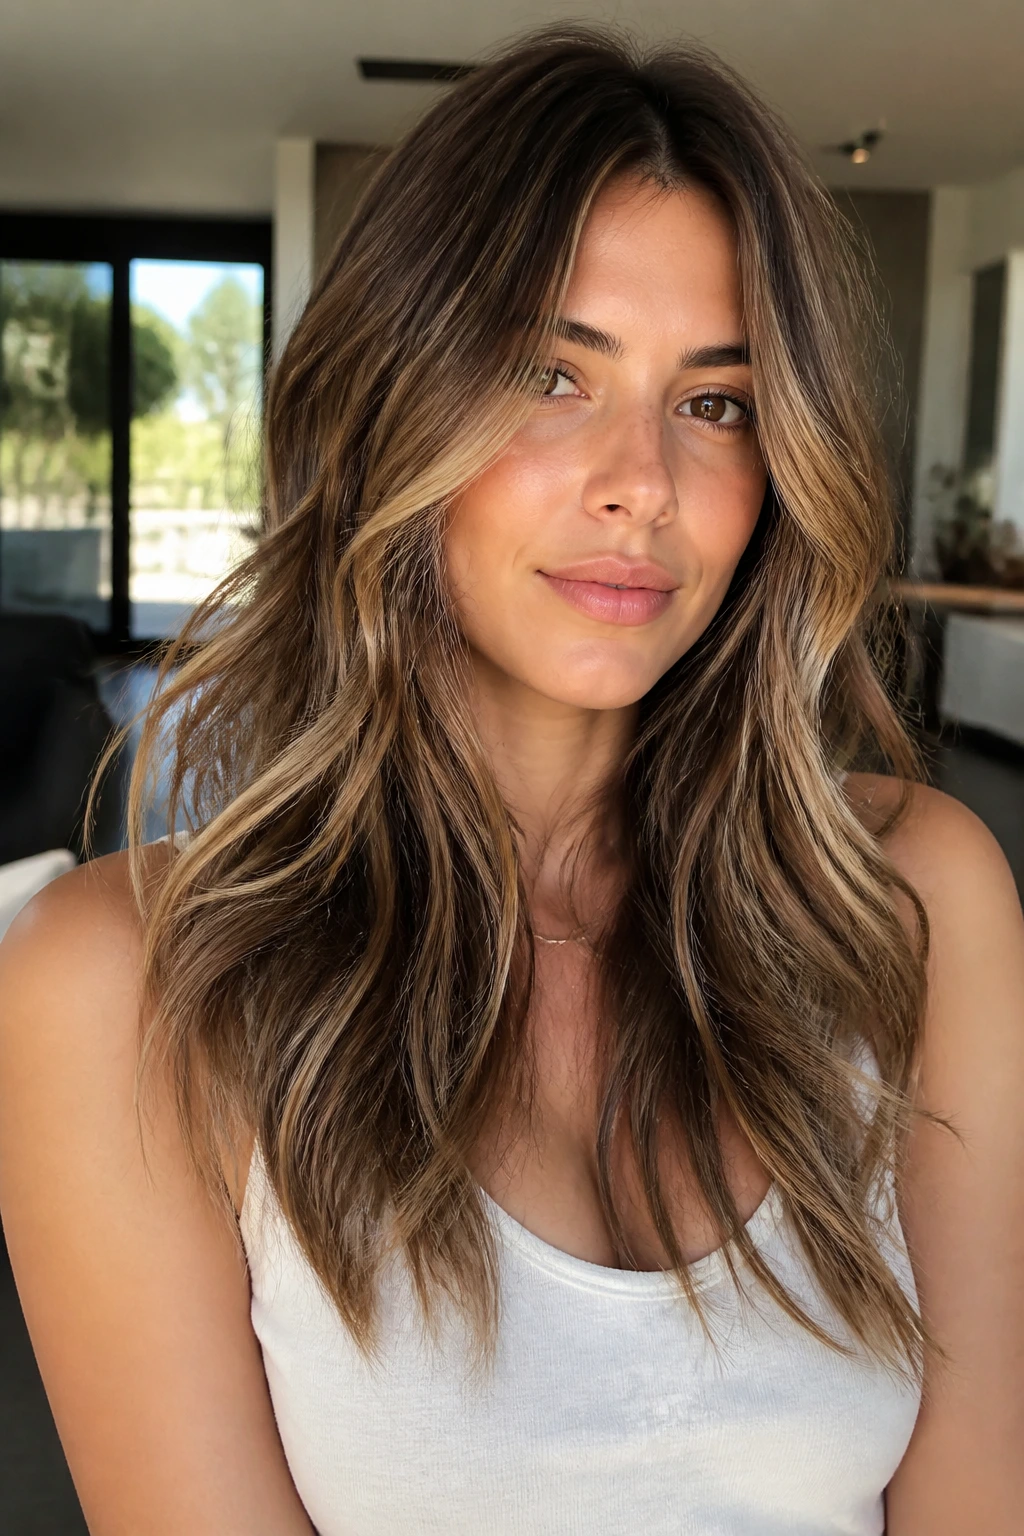
Layers and waves are old friends. On straight hair, layers stop the style from hanging like one heavy curtain, and the wave gives the cut shape from top to bottom.
Wrap the shorter pieces around a smaller barrel and the longer lengths around a 1¼-inch iron so the finish doesn’t look one-note. Let the layers fall naturally instead of brushing them all into the same line. The uneven lengths create the movement; don’t flatten that out with too much brushing.
24. Pixie Tousle Waves
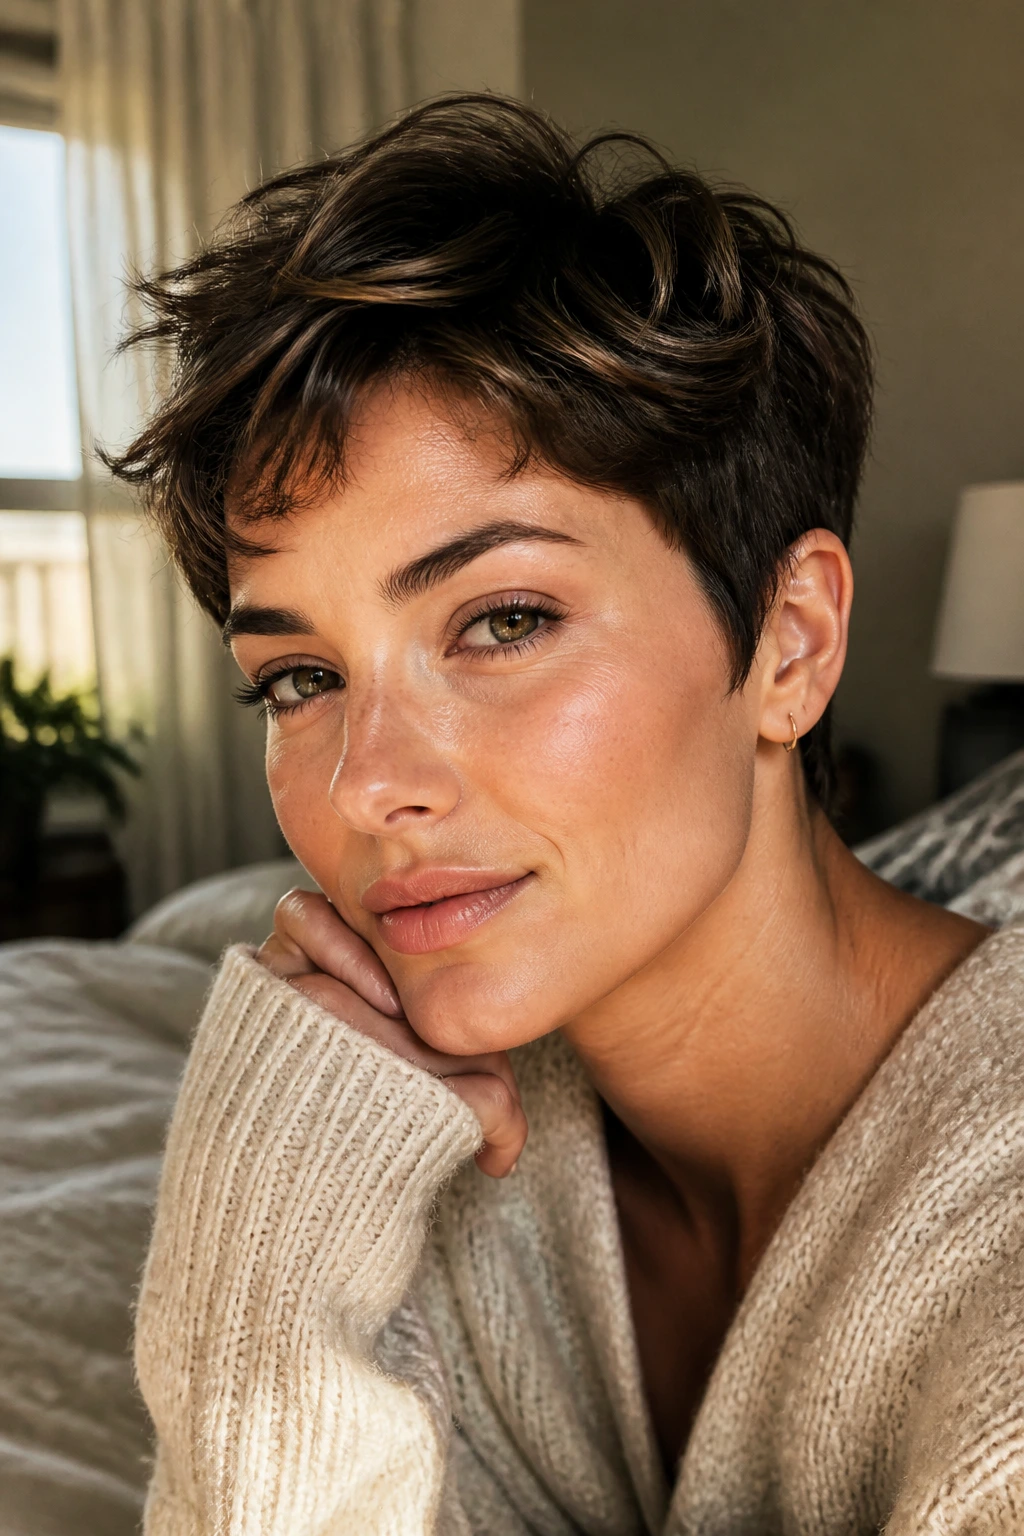
A pixie with a little wave on top looks sharper than a slicked-down pixie that never moves. Straight hair needs only a hint of bend here, not a full curl routine.
Work a tiny amount of paste or cream through the top and bend the fringe with your fingers or a mini iron. Lift at the roots, pinch the ends, and stop before the style gets stiff. A pixie doesn’t need a lot of wave to feel styled.
25. Waterfall Braid Waves
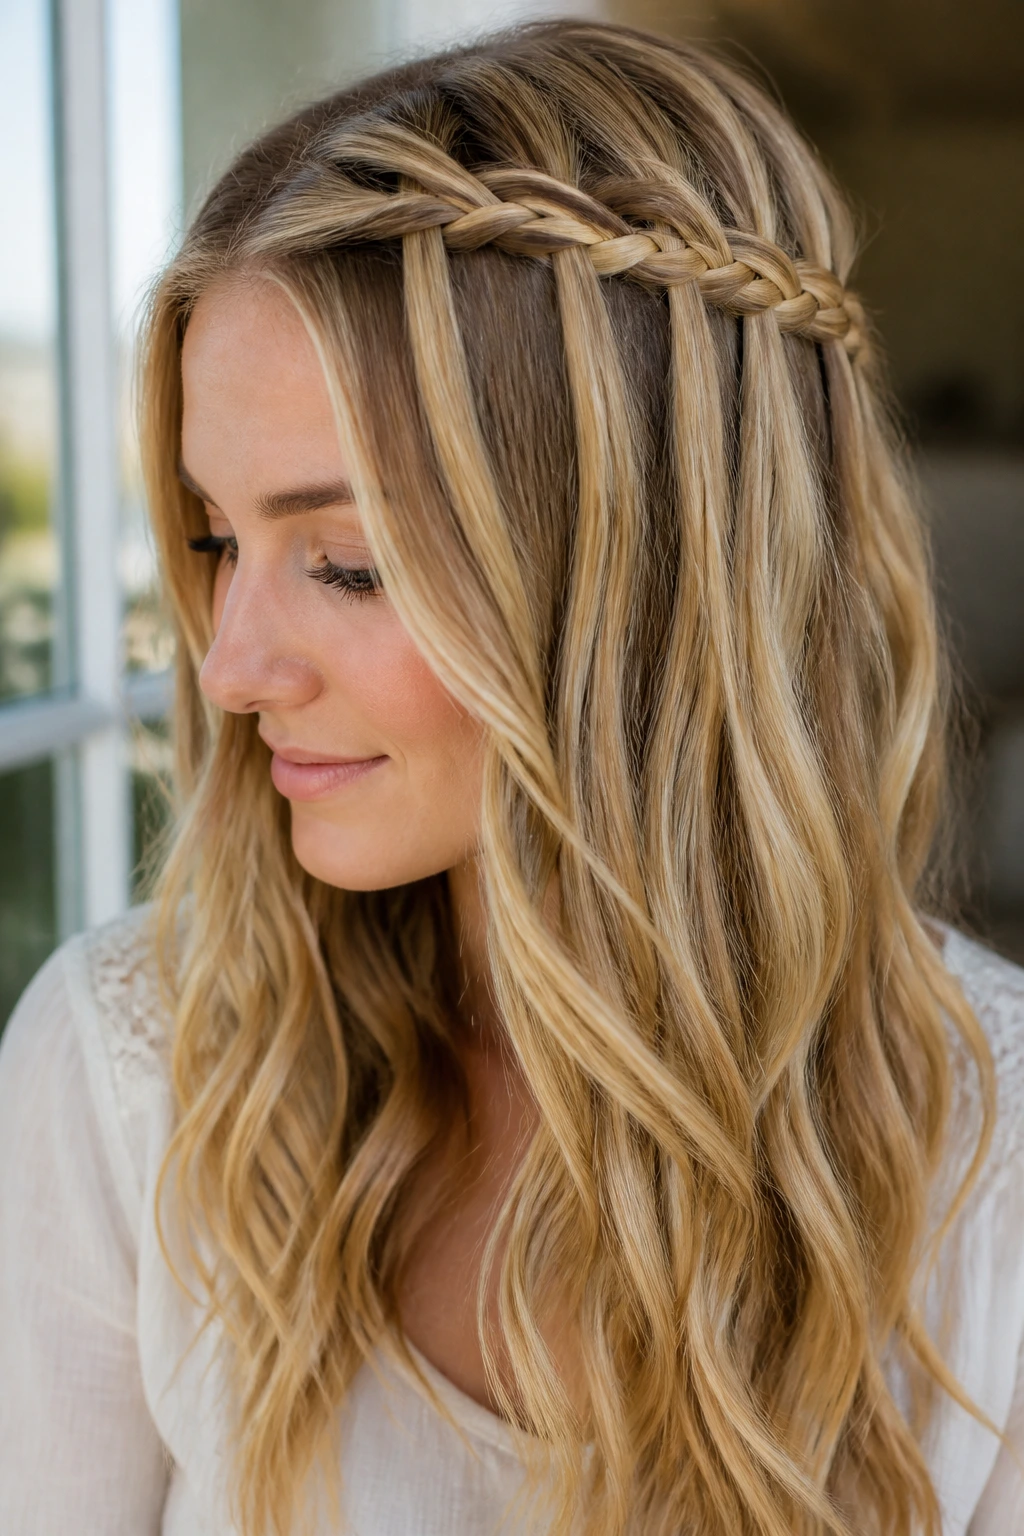
Waterfall braids give straight hair a romantic bend without taking over the whole head. The braid detail on top keeps the style from feeling too loose, while the dropped sections keep the movement soft.
Braid across the crown, letting sections fall through as you go, then curl or wave the loose lengths underneath. It’s a nice choice for medium to long hair when you want something that looks a little more done. The braid should stay slightly loose so it doesn’t pinch the hairline.
26. Vacation Braid-Out Waves
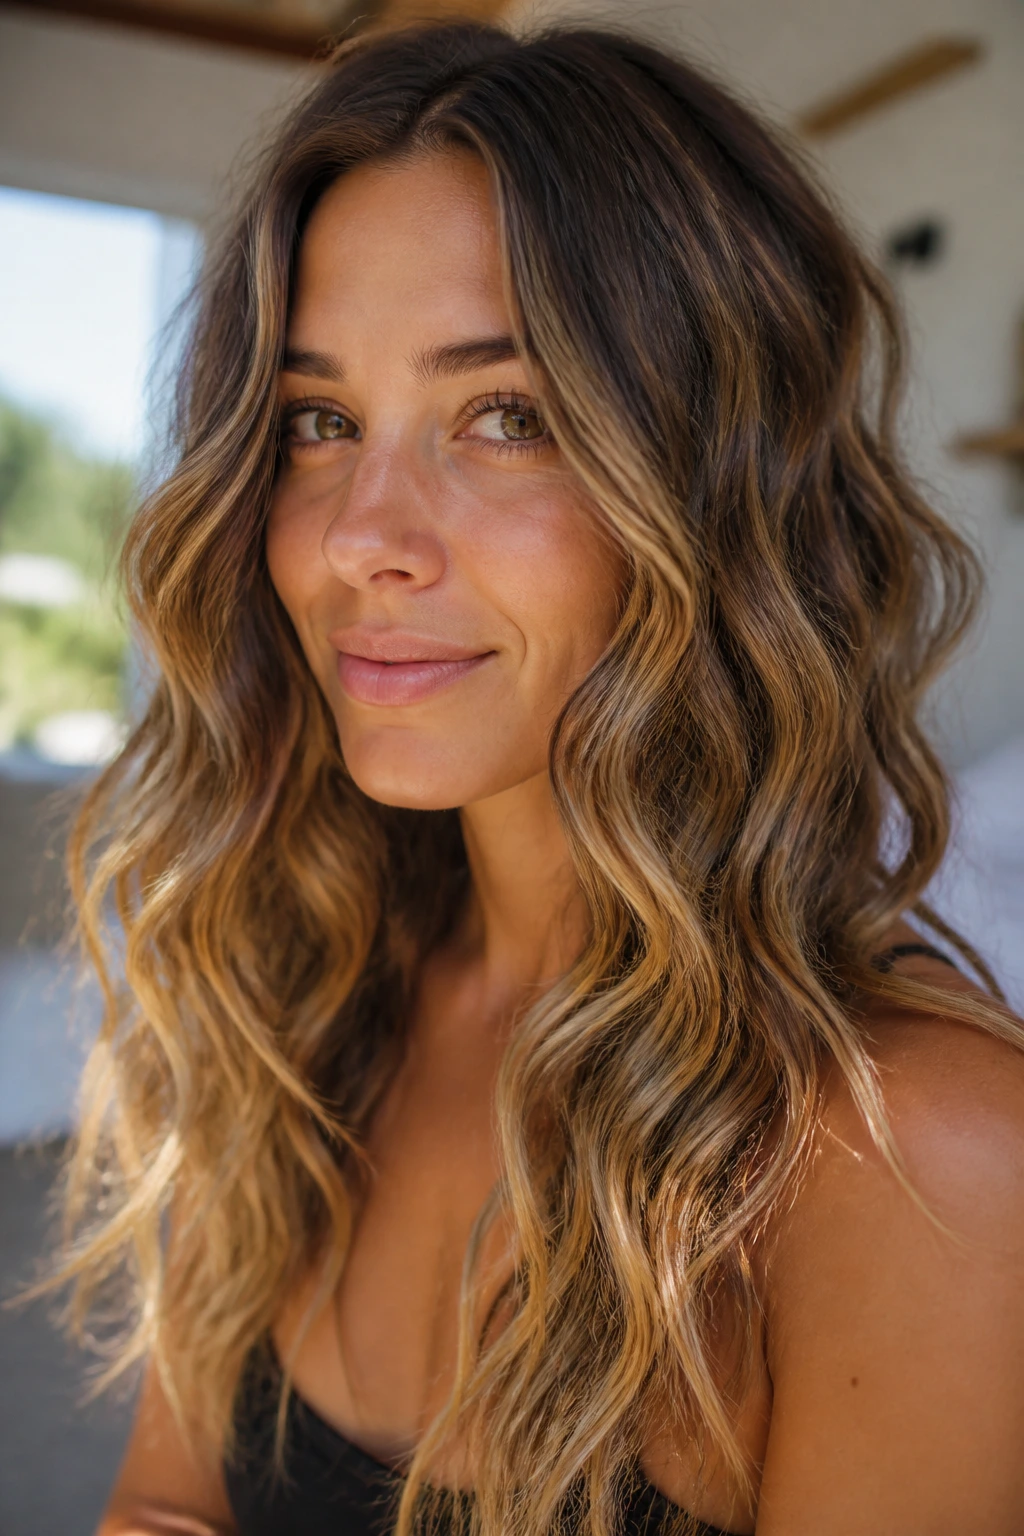
Three loose braids can do more for straight hair than a lot of hot tools if you give them time. The finished wave looks relaxed and a bit fluffy, which is why it’s useful for low-key days.
Braid damp hair into two or three sections, sleep on it, and undo the braids only when the hair is dry all the way through. Finger-comb first, brush only if you want a softer finish. The looser the braid, the bigger and less uniform the wave.
27. Polished Office Waves
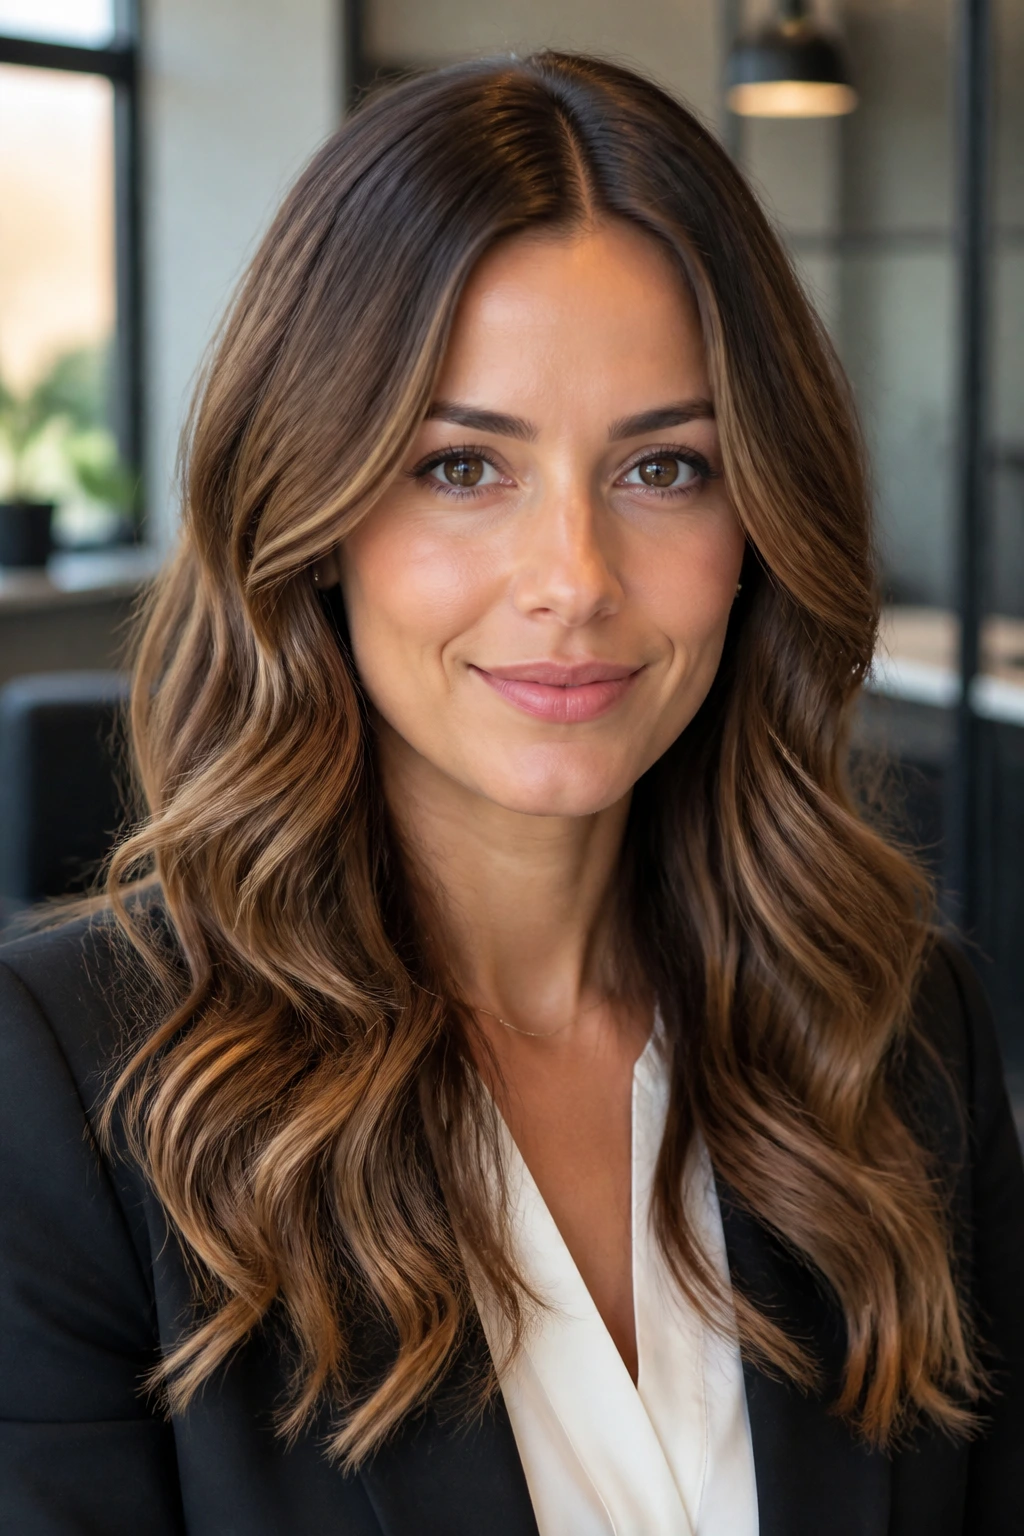
Office waves should stay calm. Not flat, not flashy. Straight hair does this look well when the wave pattern is even and the flyaways are kept down.
Use a medium barrel and keep the section size similar from side to side. Finish with a light mist of flexible-hold hairspray and a tiny bit of serum on the ends. That gives the style enough order to last through a normal day without turning crunchy.
28. Party Volume Waves
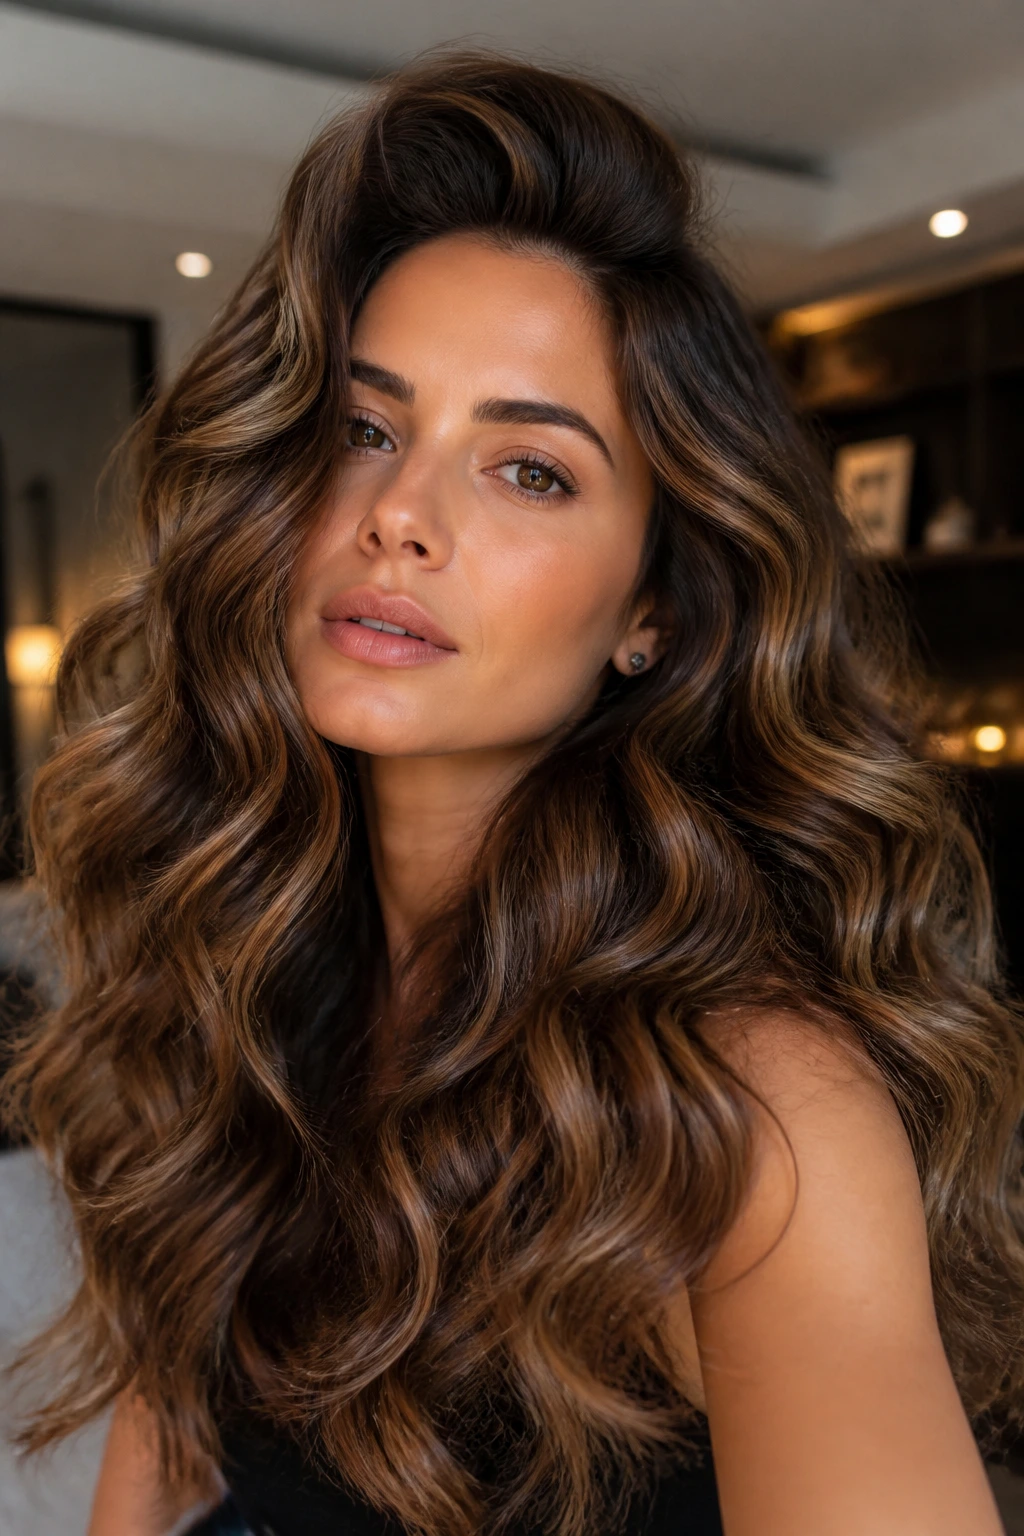
If you want the hair to look bigger, start with the roots. Straight hair needs lift before the wave even begins, or the lengths can fall into the scalp and lose shape.
Set the crown with clips while the curls cool, then brush the waves only after they’ve fully set. A root-lifting spray or mousse at the base helps a lot here. This is one of those styles that benefits from a little imperfection; too much smoothing kills the bounce.
29. Soft Vintage Waves with Tucked Ends
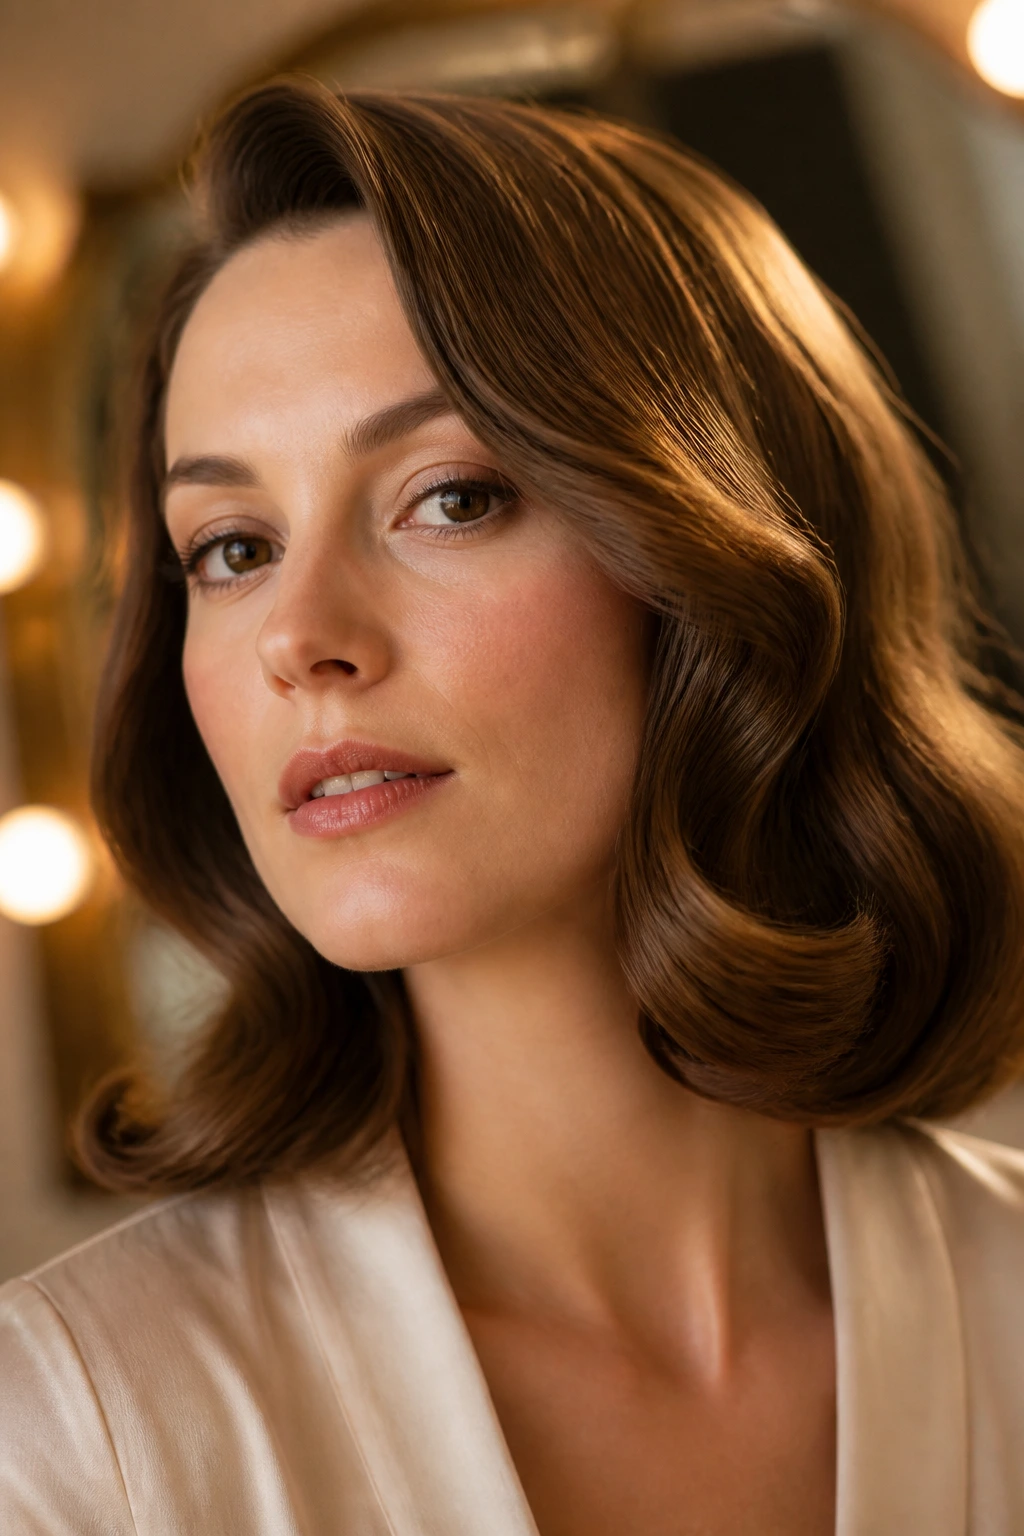
Tucking the ends under gives the wave a vintage feeling without making the whole style formal. It also works well on straight hair that has a habit of sticking out at the bottom.
Use a curling iron, then gently roll or tuck the last inch underneath before pinning the shape in place for a few minutes. When you release it, the hair falls into a smoother line. This style loves shine spray, but only on the top layer.
30. Minimal Tucked-Behind-Ears Waves
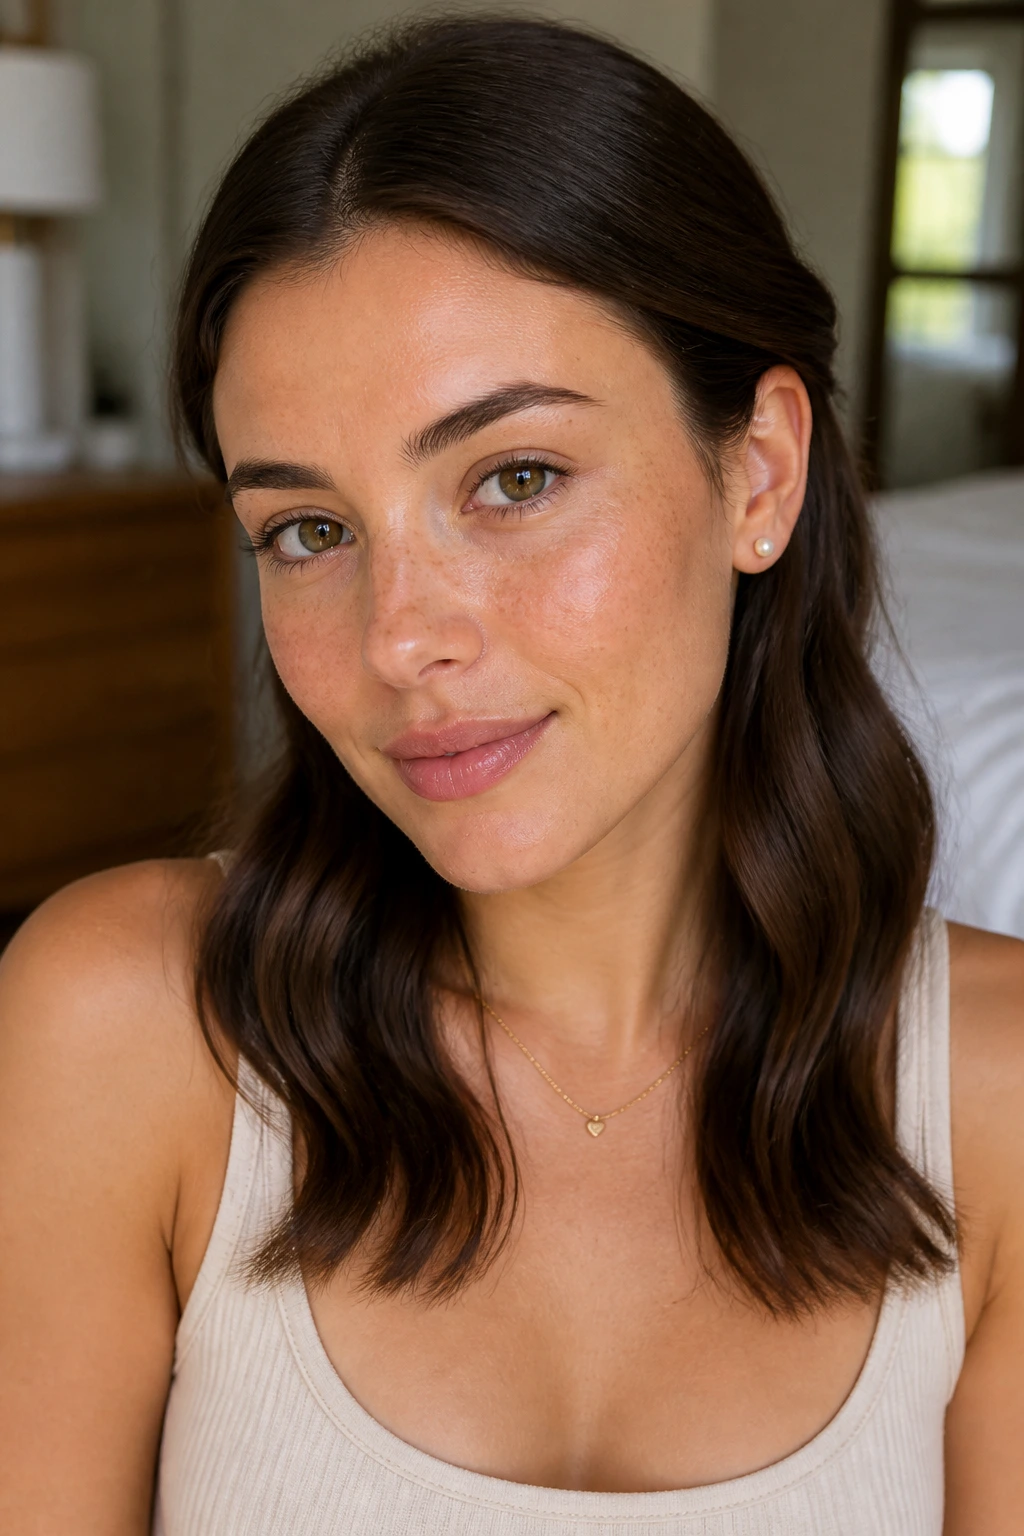
Some days the best style is the one that barely announces itself. Tucked-behind-ear waves sit well on straight hair because the simple curve near the face adds shape without crowding the rest of the hair.
Set a soft bend through the lower half, then tuck both sides behind the ears and let the front pieces skim the cheekbones. It’s clean, quick, and useful when the outfit is busy. The wave should look like it happened naturally over time, even if it didn’t.
31. Wet-Look S-Bends
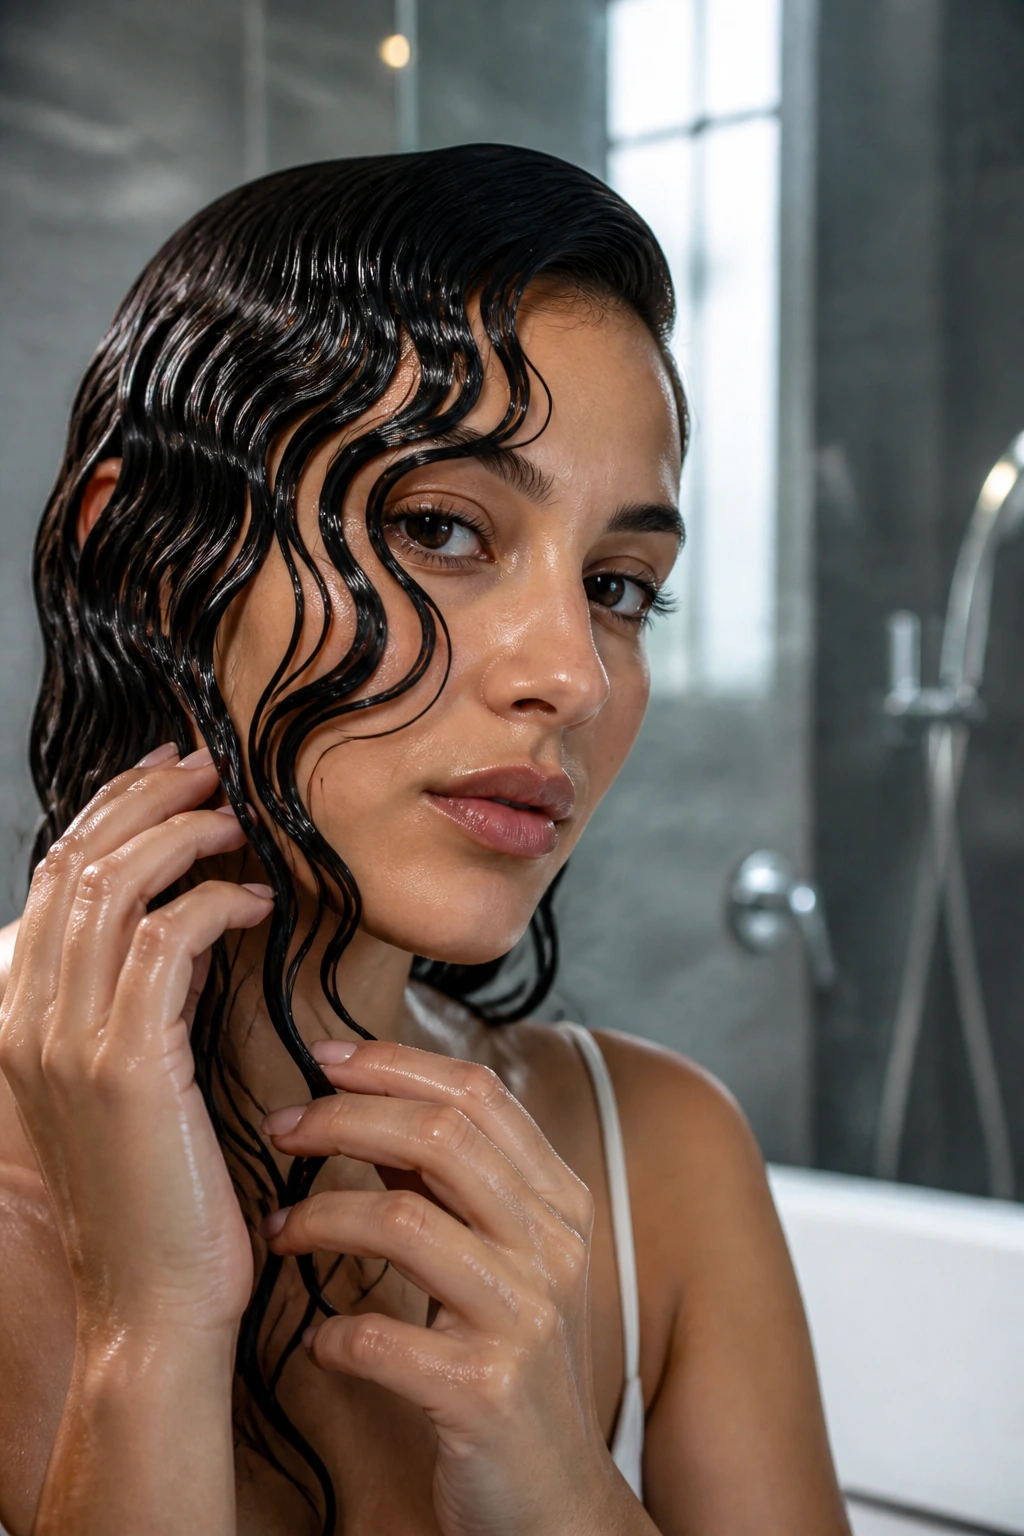
Wet-look waves are sharper and more editorial than the softer styles on this list. Straight hair actually helps here, because the smooth base makes the S-shape stand out.
Work gel or a strong styling cream through damp hair, then press the strands into curved sections with your fingers or a comb. Do not brush it out. The point is shine, separation, and a sculpted pattern that stays put while it dries.
32. Boho Air-Dry Waves
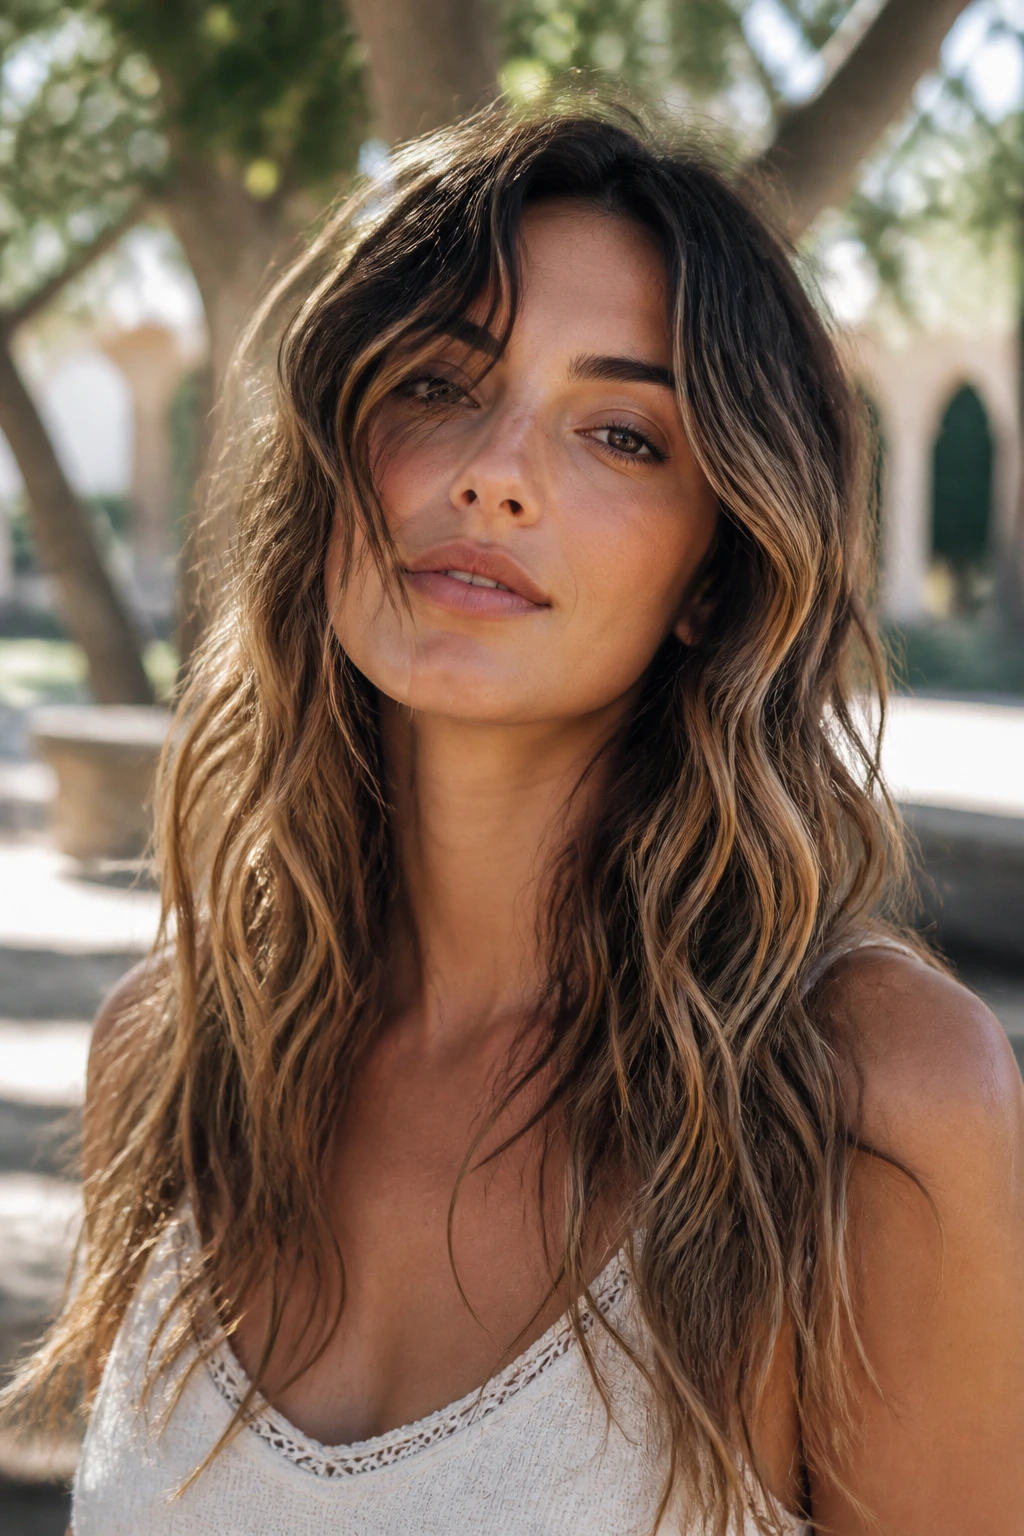
Boho air-dry waves are the easy ending point for straight hair that doesn’t want a lot of handling. They look relaxed, a little irregular, and better when they’re not too neat.
Scrunch in a light cream, twist a few sections, and let the hair dry without touching it too much. If the roots are too flat, lift them with a diffuser for a minute or two and stop there. The charm is in the unevenness; if every wave is identical, the style loses its soft edge.
What Straight Hair Needs Before a Wave Will Stick
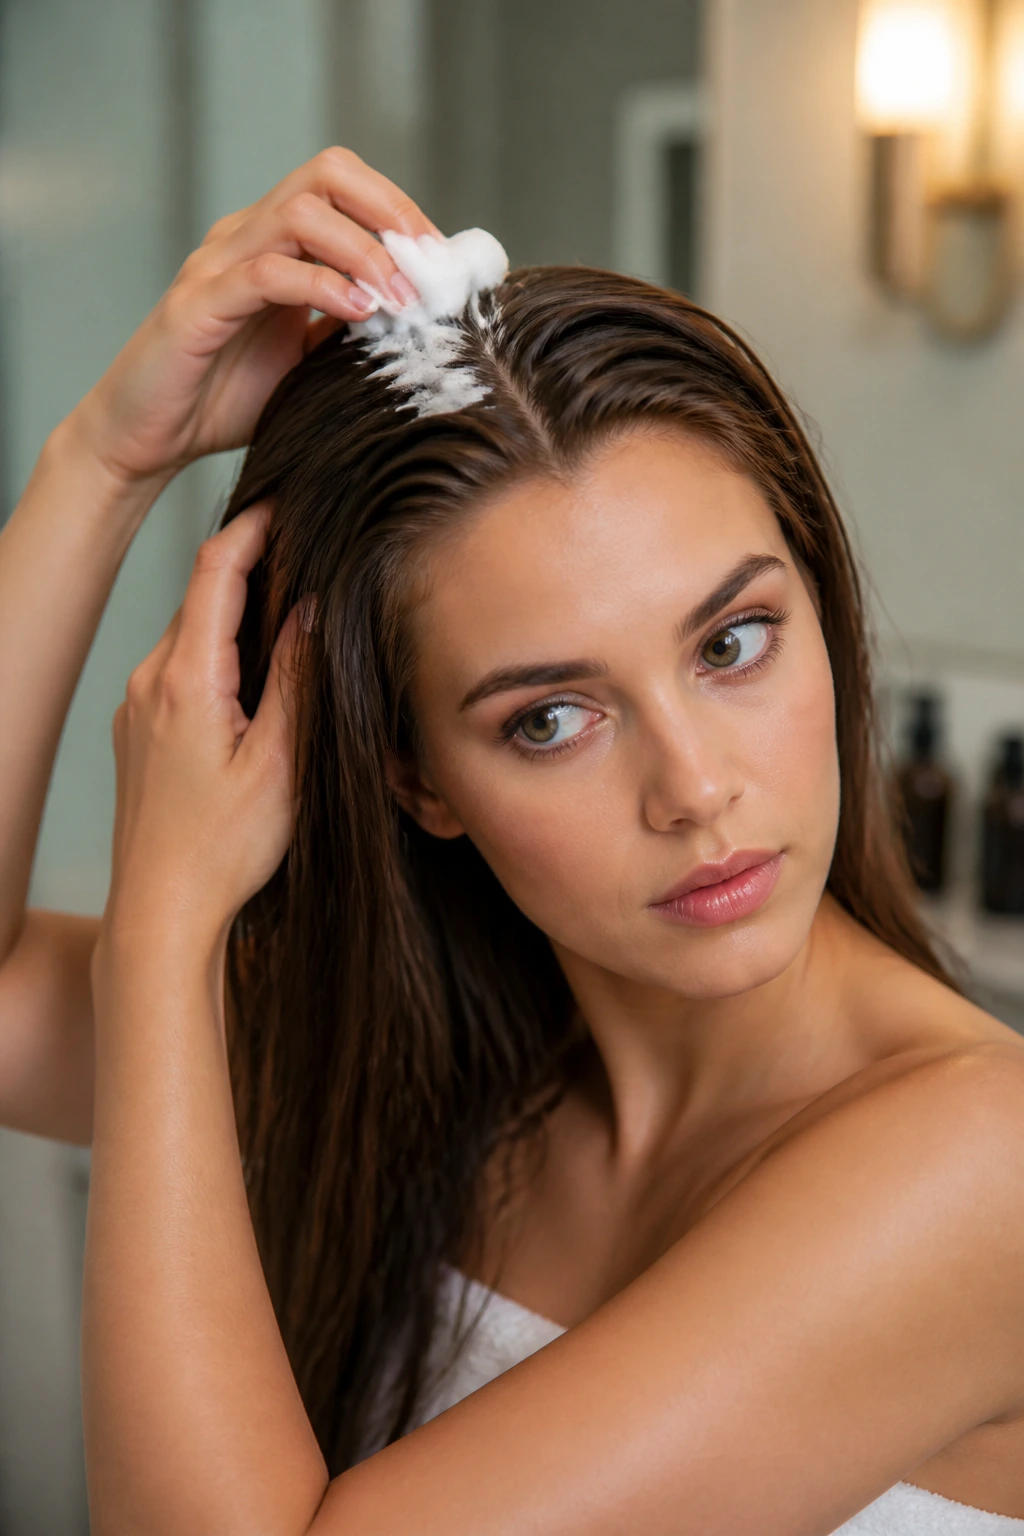
Straight hair is usually smooth because the cuticle lays flatter, which means product can slide and curl pattern can drop faster than people expect. That doesn’t mean the hair is hard to style. It means the prep has to earn its keep.
The best setup is usually clean enough to move through, but not so freshly washed that the strands are slippery. A little root volume, a light mousse, or a dry shampoo base gives the waves something to hold on to. Heat protectant matters too, but so does the way you dry the hair. A full blast from the blow dryer aimed straight down keeps the surface too slick; a rough-dry with a bit of lift at the roots works better.
Cooling time is the part most people skip. They curl, touch, brush, and wonder why the shape falls away. If you pin hot curls up for five minutes or let the hair sit in clips until it’s cool, the wave sets with a firmer memory. That tiny pause changes the whole day.
Essential Equipment for These Looks
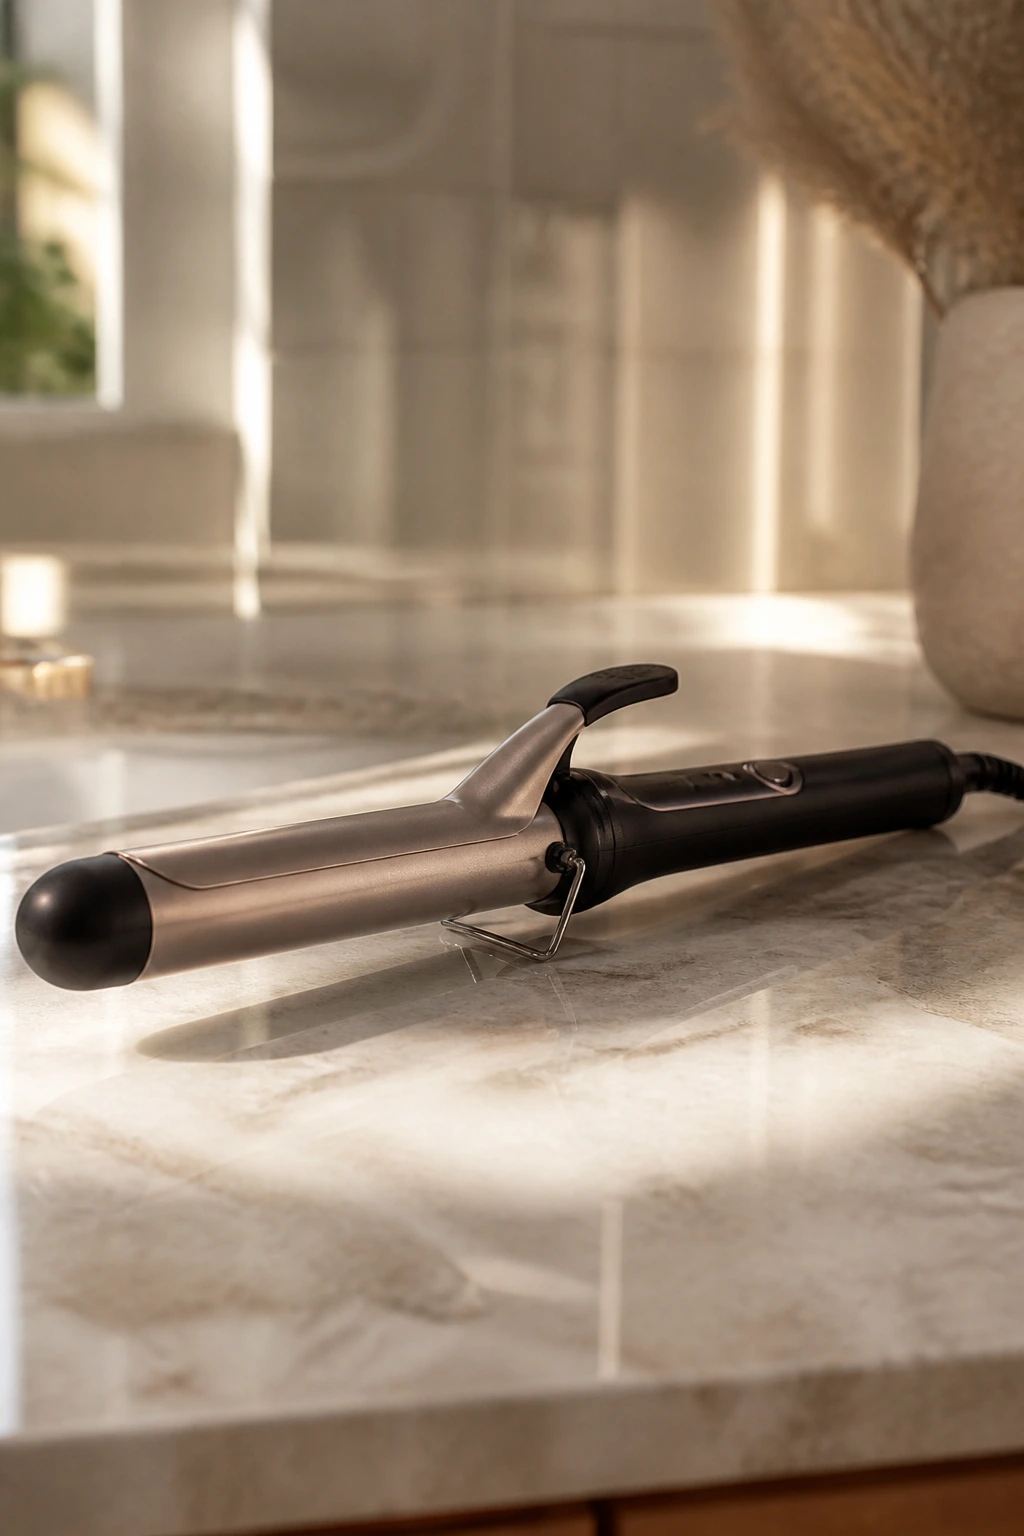
- 1-inch curling iron: Good for shoulder-length cuts, short bobs, and tighter face-framing bends.
- 1¼-inch curling iron: Better for medium and long hair when you want soft, brushed-out movement.
- Flat iron with rounded edges: Useful for S-waves, ribbon waves, and polished bends.
- Heat protectant spray: Keeps the ends from getting dry and brittle, especially on repeated styling days.
- Texture spray or dry shampoo: Adds grit at the roots and helps straight hair keep a wave.
- Flexible-hold hairspray: Holds the shape without turning the hair stiff or crunchy.
- Sectioning clips: Make it easier to control the top layers while you work on the back.
- Duckbill clips or roller clips: Handy for setting curls while they cool.
- Tail comb: Helps make a clean part and separate narrow sections.
- Bobby pins and a claw clip: Needed for half-up, pinned-back, and clipped styles.
- Soft brush or boar-bristle brush: Best for brushing out glam waves without roughing them up too much.
- Silk scarf or robe belt: Useful for heatless sets and overnight waves.
How to Pick the Right Wave for Your Hair and Your Day
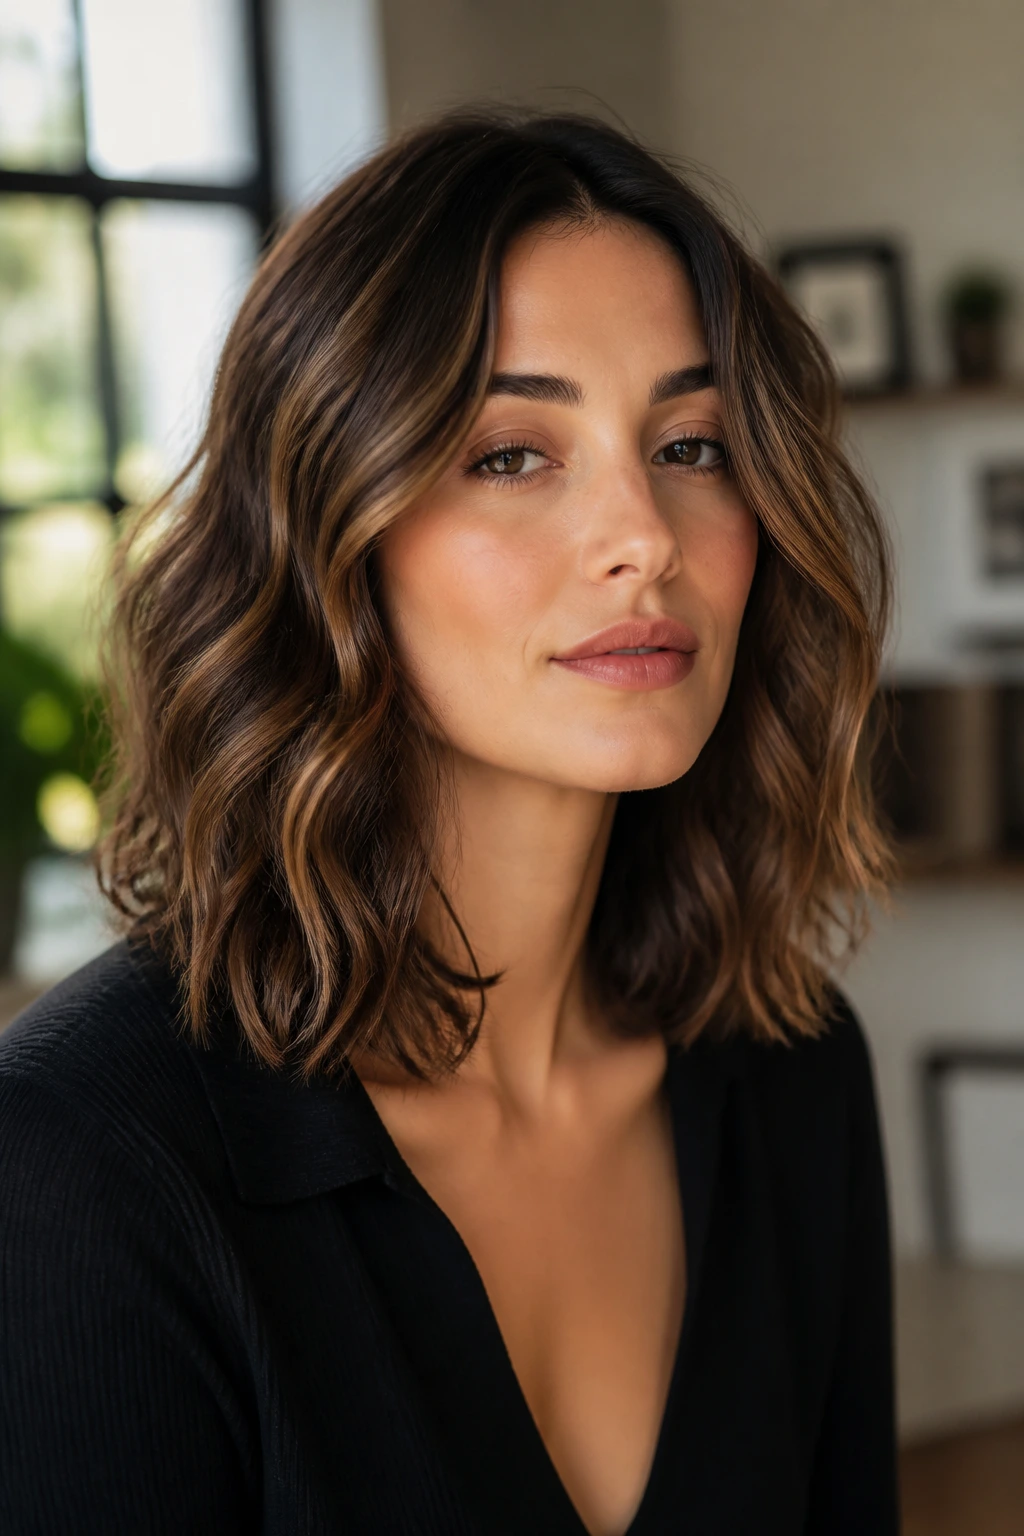
Short hair: Go for face-framing waves, short bob waves, pinned-back styles, or soft S-bends. Short hair needs narrower sections and a smaller barrel, or the bend turns into a puff.
Medium hair: This is the easiest length for half-up twists, lob waves, curtain bangs, low ponytails, and claw-clip styles. You have enough weight for shape, but not so much that the wave disappears under its own length.
Long hair: Choose mermaid waves, side-swept glam waves, braid-outs, vintage waves, and polished brush-out styles. Longer lengths can carry a bigger pattern, and they show off repetition better than short cuts.
Fine hair: Keep the sections smaller and the product lighter. Texture spray near the roots, then a flexible hold finish, usually gives more life than heavy cream or oily serum.
Thick hair: Use stronger sectioning, clips while cooling, and a little more heat if the hair is coarse. If you try to wave thick straight hair in giant pieces, the outer layer bends and the middle stays stubbornly straight.
Busy mornings: Pick styles that work on second-day hair: side parts, pinned-back waves, low ponytails, or headband styles. They need less rebuilding and less precision.
Additional Tips and Texture Boosters
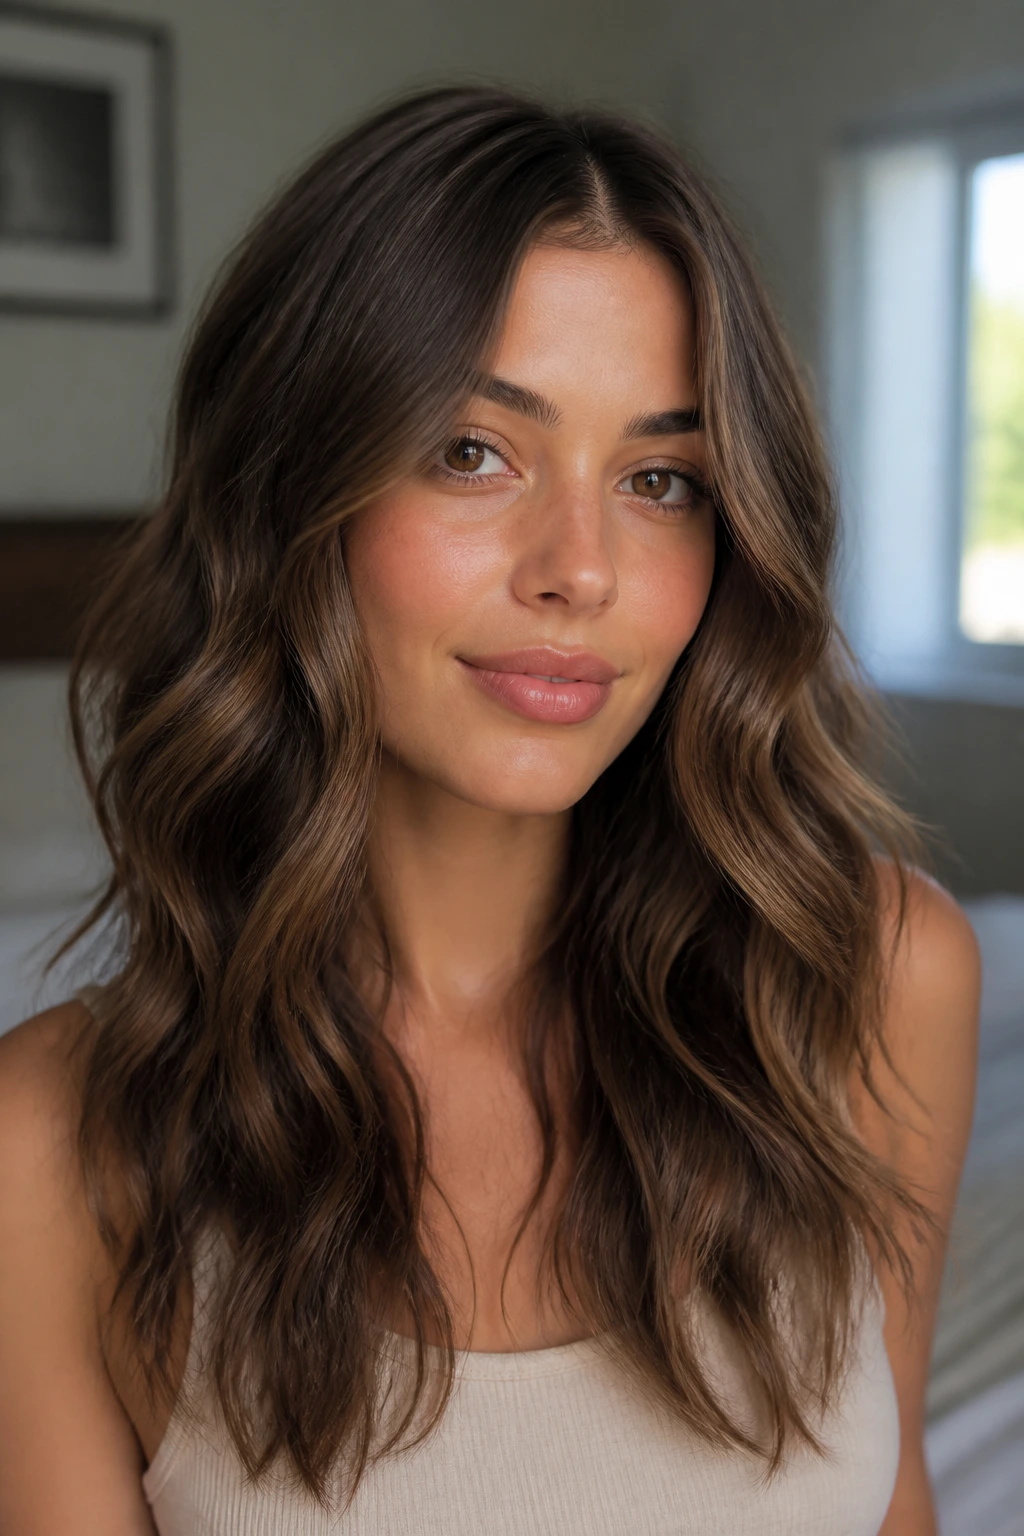
Grip Boost: Start with dry shampoo or root-lifting mousse before you heat-style. Straight hair usually needs a rough base, and a clean, slippery strand will drop faster than you want.
Shape Control: Curl away from the face on one side, then toward the face on the next. Alternating directions keeps the wave from turning into a single rigid pattern.
Volume Hack: Clip the crown while the hair cools. Even five minutes of lifted cooling can stop the roots from collapsing flat.
Finish Line: Use a soft brush for glam waves and your fingers for beachy styles. The brush makes the wave wider and smoother; fingers keep it piecey.
Shortcut: If the whole head feels like too much, style only the front sections, the part line, and the ends. That’s enough for a polished look on a day when the calendar is already crowded.
Overnight Care, Refreshing, and Long-Term Maintenance
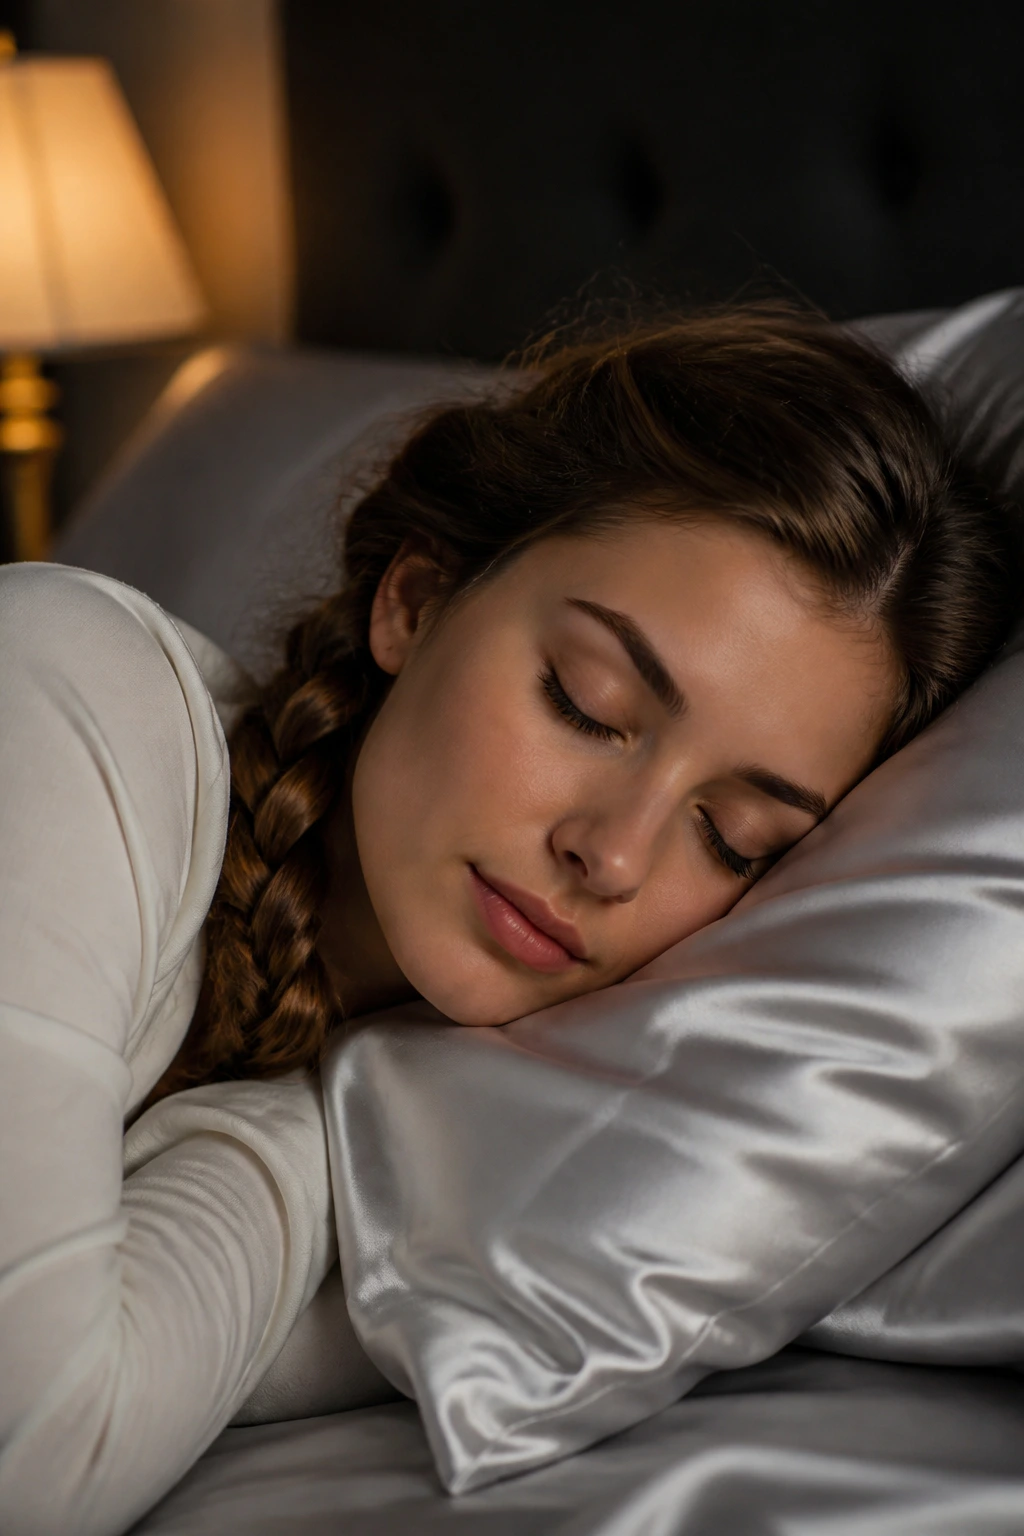
Waves on straight hair usually look best the day they’re made or the day after, once they’ve softened a little. The problem is not timing; it’s how they’re handled overnight. A silk pillowcase, a loose braid, or a low, soft clip keeps the pattern from getting crushed into the pillow.
If you want the style to last into the next morning, don’t sleep with loose curls rubbing against cotton. Tie the hair into a loose braid or wrap it in a scarf, then release it gently when you wake up. A few face-framing pieces can be re-bent with a small iron in under two minutes. That’s often enough.
For multi-day wear, dry shampoo at the roots on day two and a light mist of water or leave-in on the ends can bring the wave back without making it soggy. If a piece falls flat, re-wrap only that piece. Don’t restart the whole head unless you need to. Straight hair usually responds better to small corrections than to a full redo.
Variations and Adaptations to Try
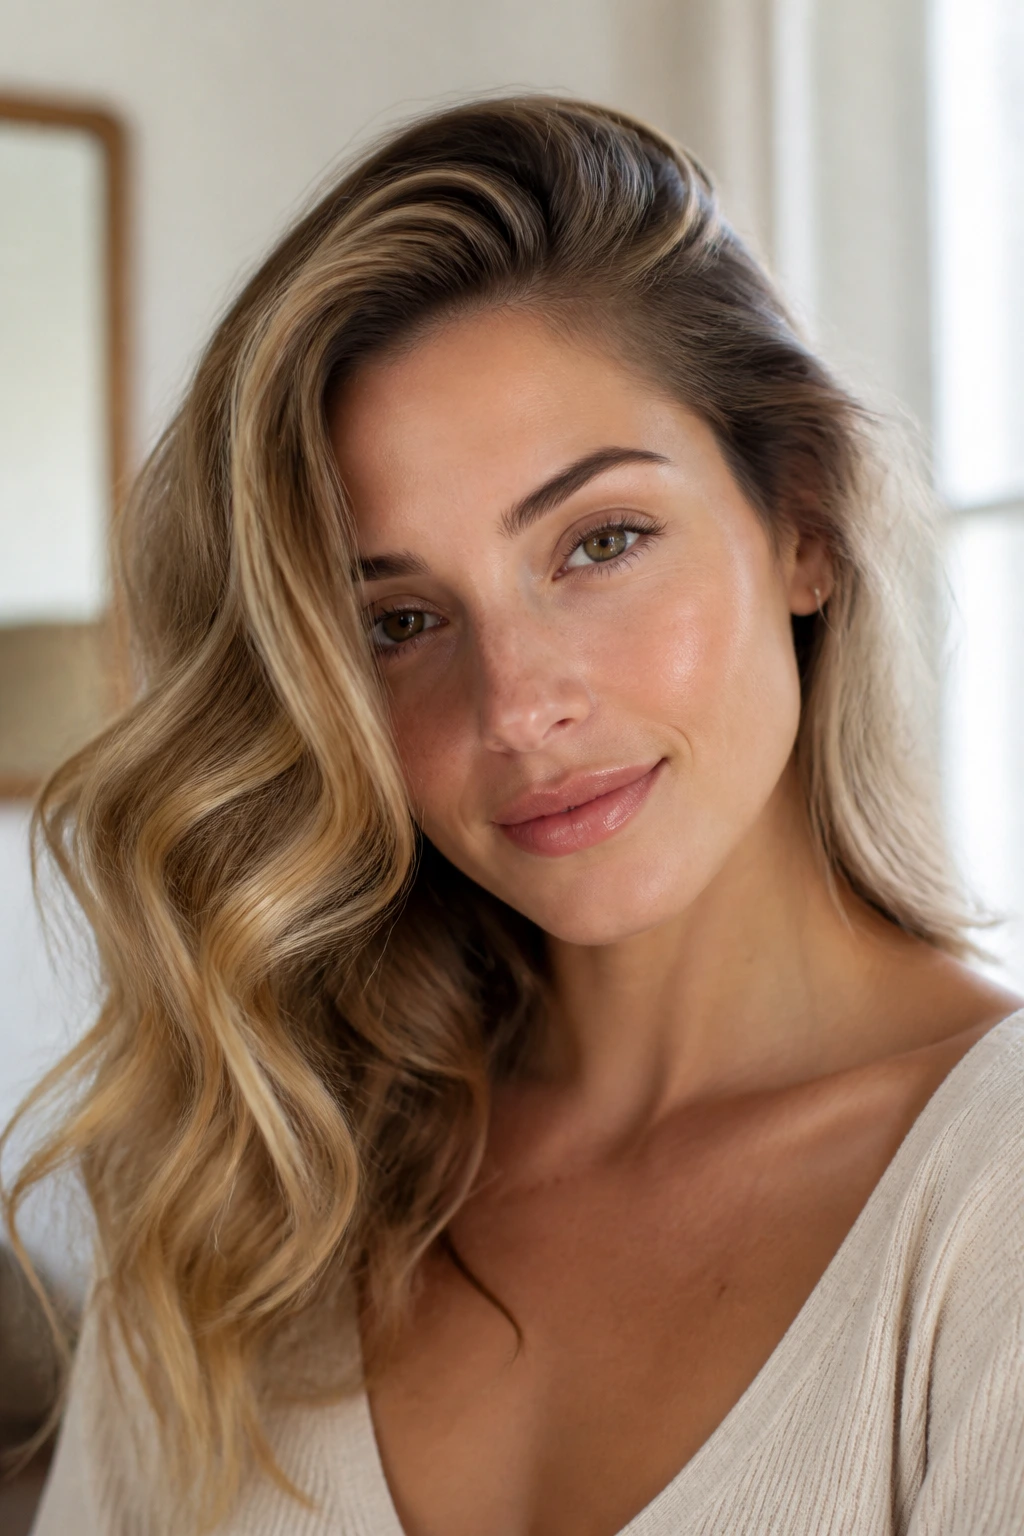
No-Heat Waves: Swap irons for braids, rope twists, or a robe-belt set. This works well if your ends get dry fast or if you want a softer result with less polish.
Fine-Hair Lift: Use mousse at the roots, keep the sections smaller, and stop brushing once the wave is set. Fine hair loses shape when overloaded, so lighter products work better than cream-heavy routines.
Thick-Hair Control: Heat the strands in narrower sections and clip each wave to cool. Thick straight hair often needs more patience than more product.
Short-Length Bend: Use a ¾-inch iron and focus on face-framing waves, tucked-behind-ear styles, or soft bob bends. Short hair looks better when the wave is visible but not puffy.
Humidity-Ready Finish: Choose smoother waves, use less oil, and finish with flexible hairspray rather than soft cream. Too much moisture in the product can make straight hair swell and go fuzzy.
Glossy Event Waves: Brush the waves into one direction, add a shine spray, and pin the side that needs to stay flat. This adaptation gives a cleaner, dressed-up finish that works when the hair needs to look deliberate.
Common Mistakes to Avoid
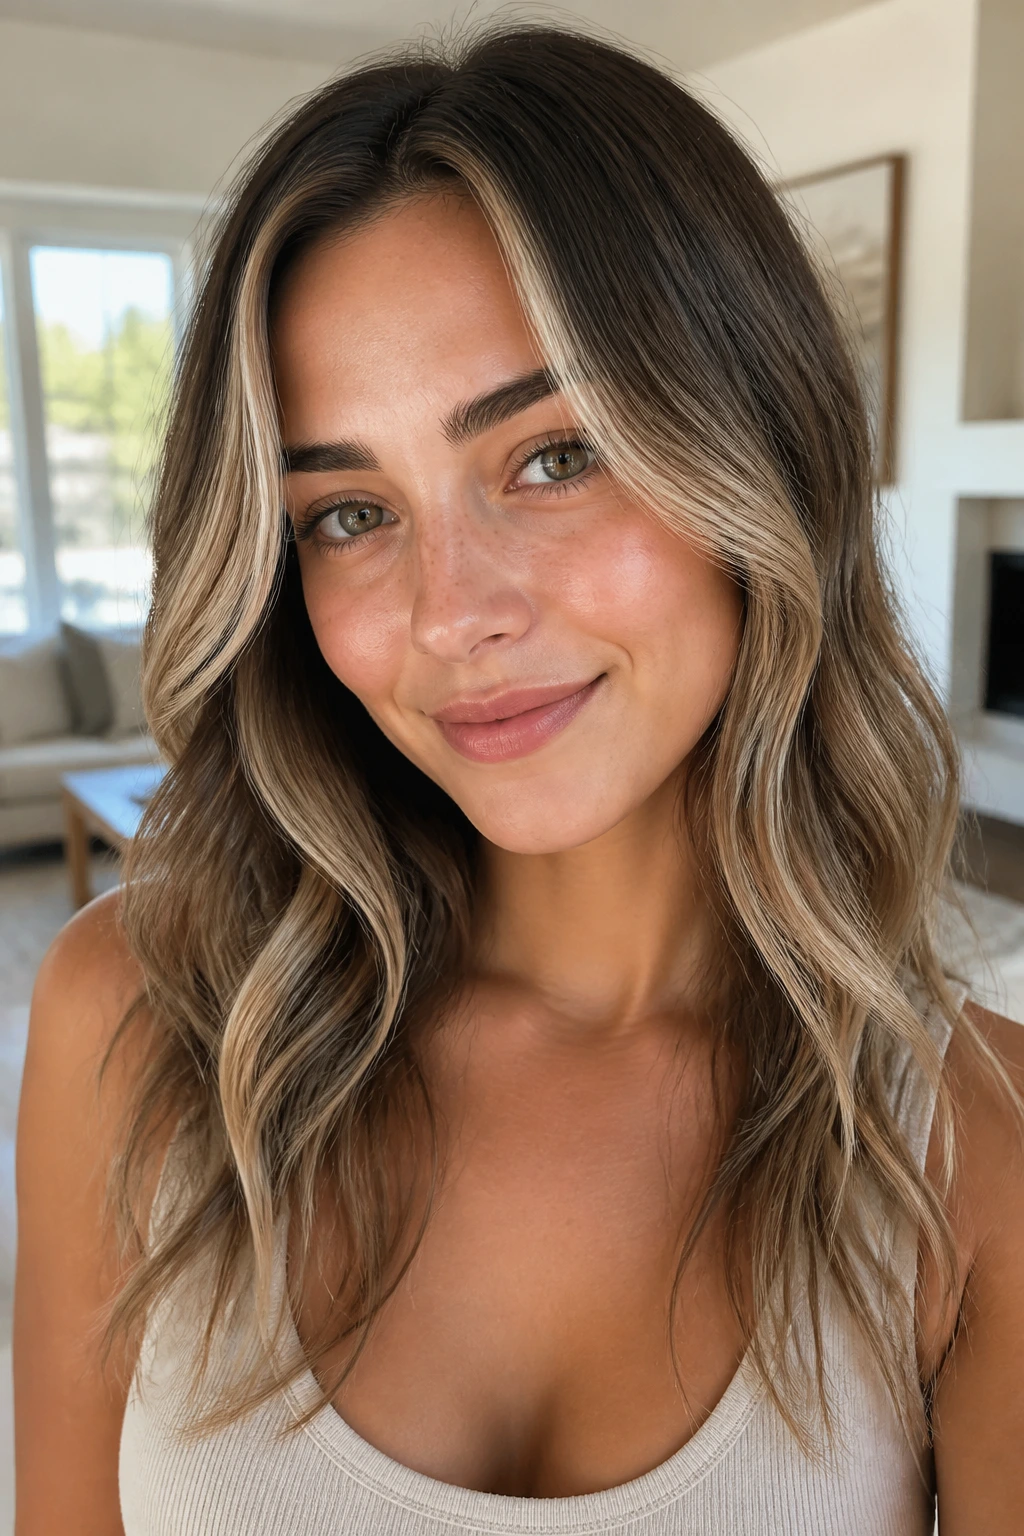
- Styling freshly washed, slippery hair: Clean hair can be too soft and smooth to hold a bend. A little dryness or root texture gives the wave something to catch on.
- Using huge sections: Big sections save time, but straight hair often leaves the center of the strand untouched. Keep the sections smaller than you think, especially near the face.
- Touching the waves too soon: If you brush or finger-comb before the hair cools, the pattern loosens before it has memory. Let it set first.
- Overloading the hair with product: Too much cream or oil turns straight waves limp and separates the strands in a greasy way. Start light and add only if the hair asks for more.
- Ignoring the roots: Flat roots make even good waves look sleepy. A small lift at the crown matters more than people think.
- Curling every strand in the same direction: Uniform direction can make the hair look like one tube. Alternating a few sections keeps the style softer and less rigid.
Frequently Asked Questions
Can straight hair really hold waves without a ton of hairspray?
Yes, but the setup matters. Texture at the roots, smaller sections, and proper cooling do more than a heavy spray cloud ever will.
What’s the easiest wave style for beginners?
Face-framing waves or loose braid-outs are the easiest starting points. They don’t require every strand to be exact, and small imperfections actually make them look better.
How do I keep straight hair from falling flat by noon?
Use dry shampoo or mousse before styling, clip the waves until they cool, and avoid brushing them to death afterward. Most flatness comes from too much touch and not enough set time.
Is a curling iron better than a flat iron for straight hair?
For beginners, a curling iron is easier to control. A flat iron gives softer S-waves and ribbon waves, but the wrist motion takes a little practice.
Can I do these styles on second-day hair?
Absolutely. In fact, many of them hold better on day-two hair because the strands have less slip. A little dry shampoo at the roots can help the style sit higher.
What if one side of my hair drops faster than the other?
Re-curl only the flat side and let the rest stay as it is. Straight hair rarely behaves with perfect symmetry, and trying to force both sides back into the same shape usually creates more frizz.
Which styles work best with short straight hair?
Short bob waves, face-framing waves, pinned-back styles, and tiny bends around the part all work well. The shorter the cut, the smaller the sections should be.
Do heatless waves actually hold on straight hair?
They can, especially if the hair is dried fully before you take them down. Rope twists and robe-belt sets usually hold better than loose braids because they create more defined bends.
How much product is too much?
If the hair feels sticky, heavy, or looks separated into wet-looking pieces, you’ve gone too far. Straight hair usually needs a light hand and a second look in good daylight before you add more.
Soft Waves That Stay Put
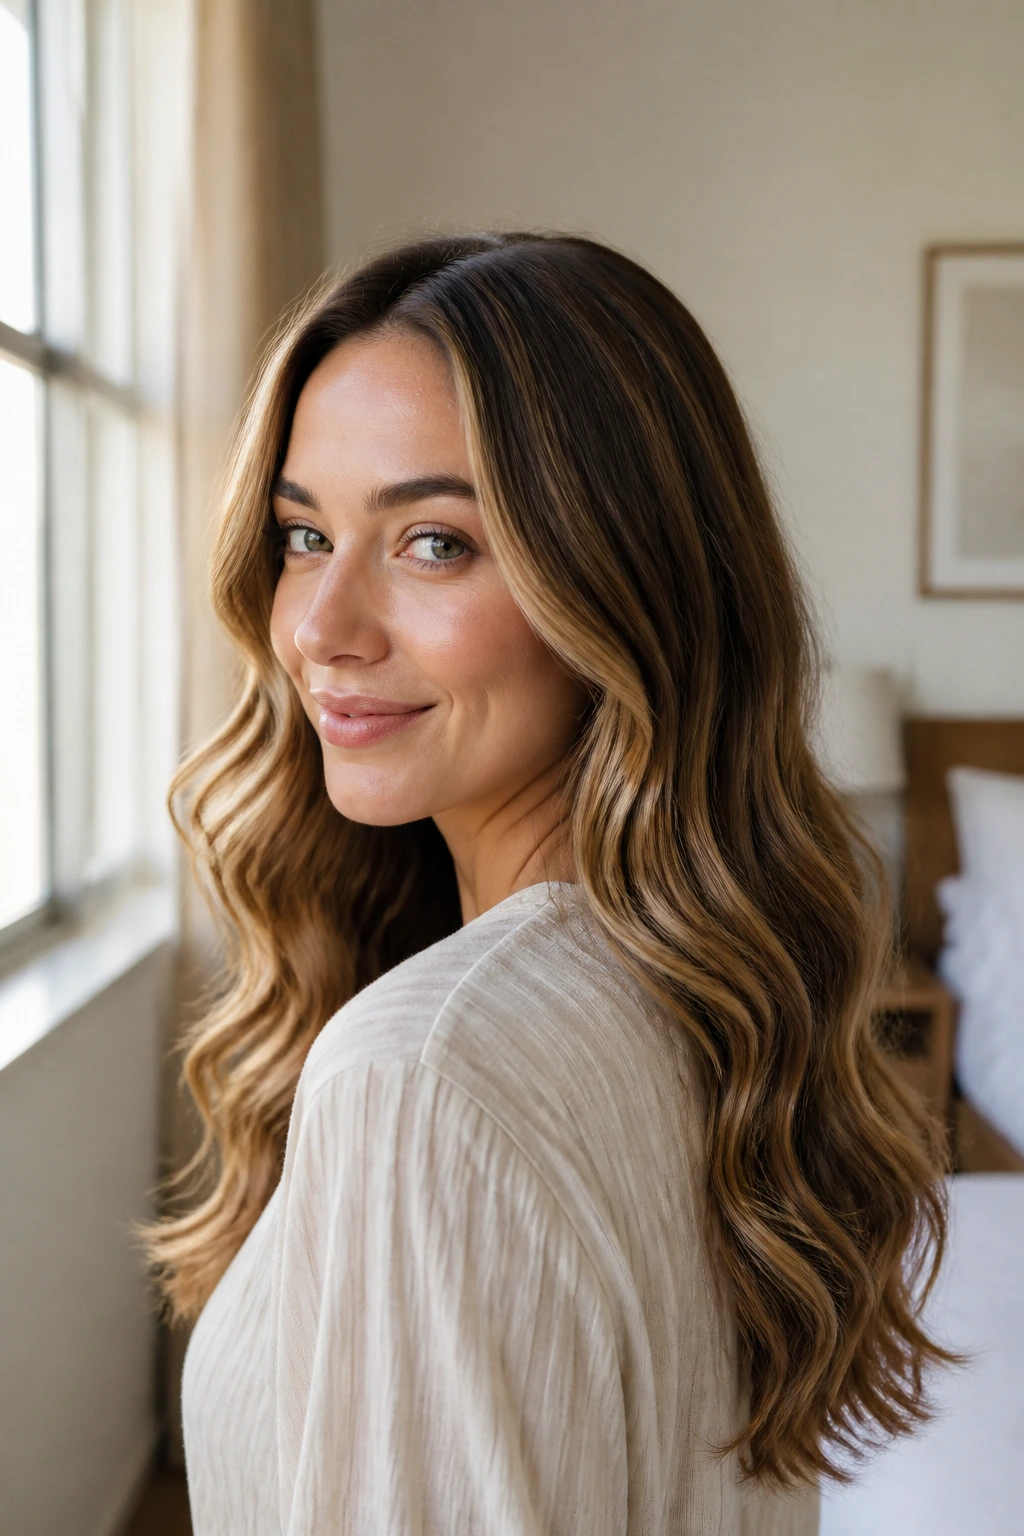
Straight hair doesn’t need to fight for texture. It needs the right kind of bend, the right amount of hold, and a finish that matches the shape you want that day.
A clean side part, a brushed-out glam wave, a soft braid-out, or a clipped-back half-up style all work because they respect the way straight hair moves. They don’t force the strand into something it will not hold. They build shape, let it cool, and leave enough softness for the style to feel easy.
Pick the wave that fits your cut, your schedule, and your tolerance for heat. Once you find the one that sits right on your hair, the rest gets simpler.
