



Long hair can make a wave pattern do two very different things: it can fall in soft, expensive-looking movement, or it can go limp halfway down the back and leave the roots doing all the work. The gap between those two outcomes is usually not some mysterious salon trick. It’s section size, heat choice, where you start the bend, and whether you let the hair cool before touching it again.
Textured wave hairstyles for long hair work because length gives the shape somewhere to travel. That same length also drags the shape down. If you’ve ever curled the back, loved the result in the mirror, and then watched the ends straighten out while the top went flat, you already know the problem. Long hair does not need more curl. It needs smarter curl.
The best versions never look overbuilt. They look lived in, but not accidental. A hidden braid under the crown, a loose twist pinned at the ear, a brush-out that softens the barrel marks, a center part that gives the front pieces room to fall — those details do most of the heavy lifting. And once you know which shape does what, long hair becomes much easier to style with intent.
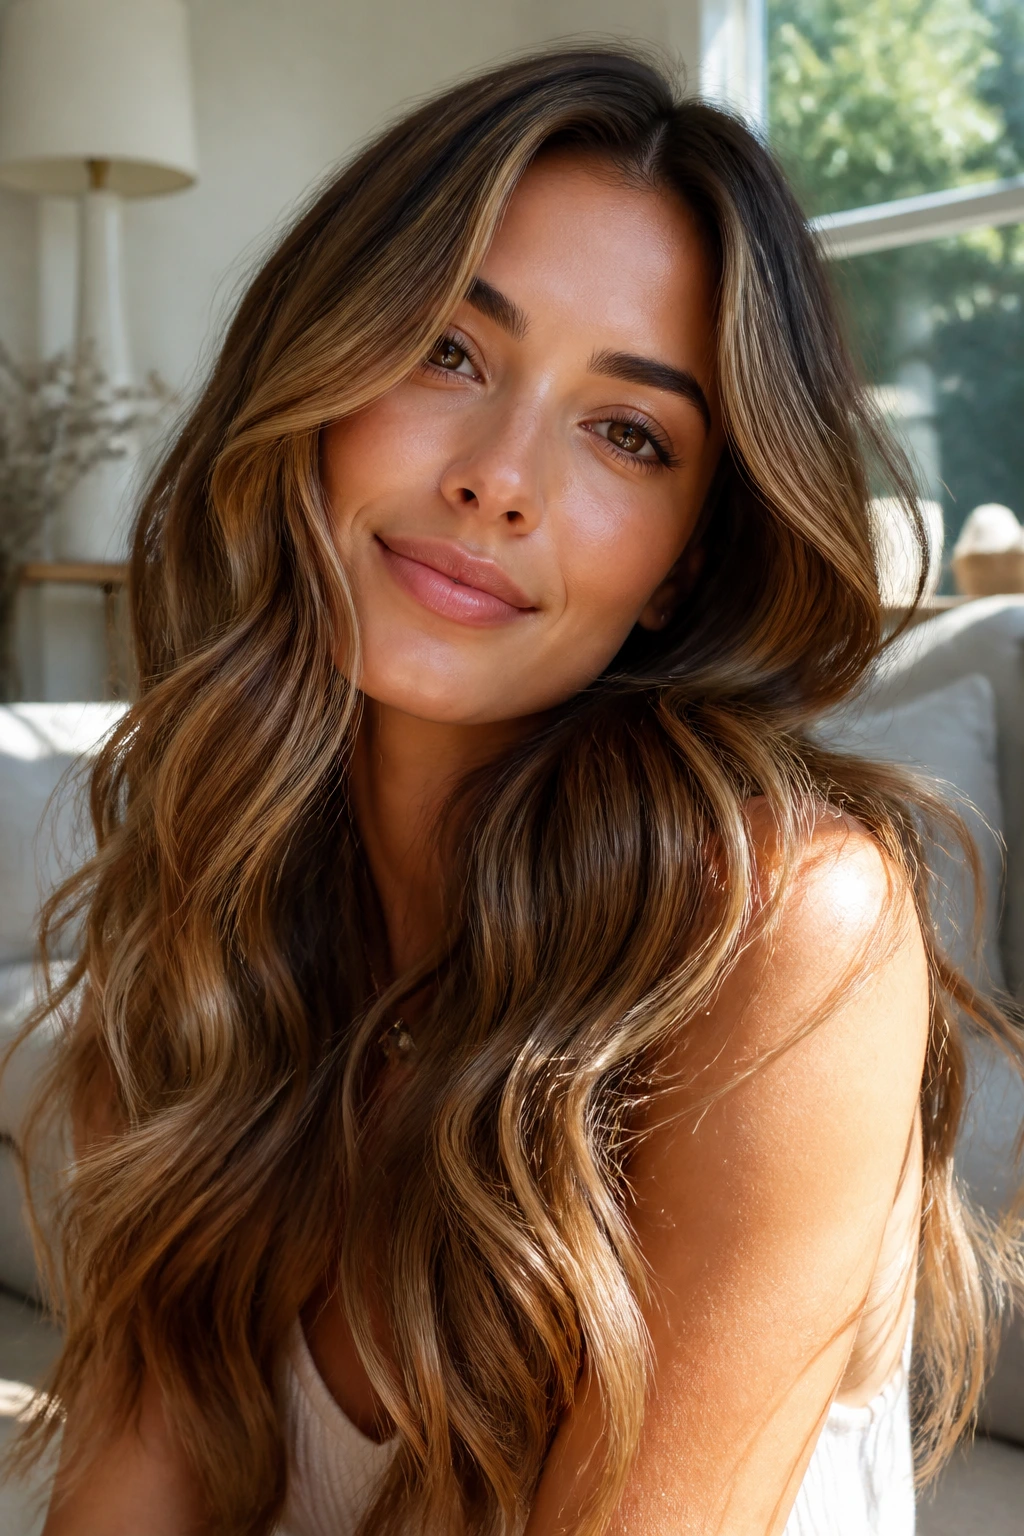
Why These Long-Hair Waves Earn Their Place
-
They work with gravity instead of fighting it: Long lengths pull anything too tight straight, so these styles rely on bends, anchors, and brush-outs that keep the movement visible for more than an hour.
-
They solve the flat-crown problem: A lot of long-hair wave styles fail because the top sits too close to the head. These looks build lift at the roots or distract the eye with parting and face-framing pieces.
-
They give you options for different tools: Some are heatless, some need a curling wand, and some only need a blow-dryer and a clip. That matters when your hair gets tired of the same routine.
-
They suit different density levels: Fine hair benefits from tighter sections and root lift. Thick hair needs larger sections, more cooling time, and less product at the ends so the shape doesn’t collapse.
-
They look better as they soften: A lot of these styles improve after an hour or two, once the wave edges lose that fresh-from-the-iron sharpness. That’s useful, not a flaw.
1. Soft Mermaid Waves
Long hair and mermaid waves are a good match when you keep the bend loose and the ends slightly imperfect. The style wants that long, sinking S-curve — not a tight curl that fights the weight of the hair and drops out by lunch. On very long lengths, a 1.25- to 1.5-inch wand gives a smoother wave line than a smaller iron.
How to shape it
Wrap 1-inch sections away from the face, leave the last inch or two out, then let each piece cool fully before brushing. That straightened end keeps the style from looking too done. Once the whole head is cool, run your fingers through it with a pea-sized amount of serum on the palms, not the roots.
Quick truth: The more uniform the wave, the less mermaid it looks. A little mismatch makes it feel natural.
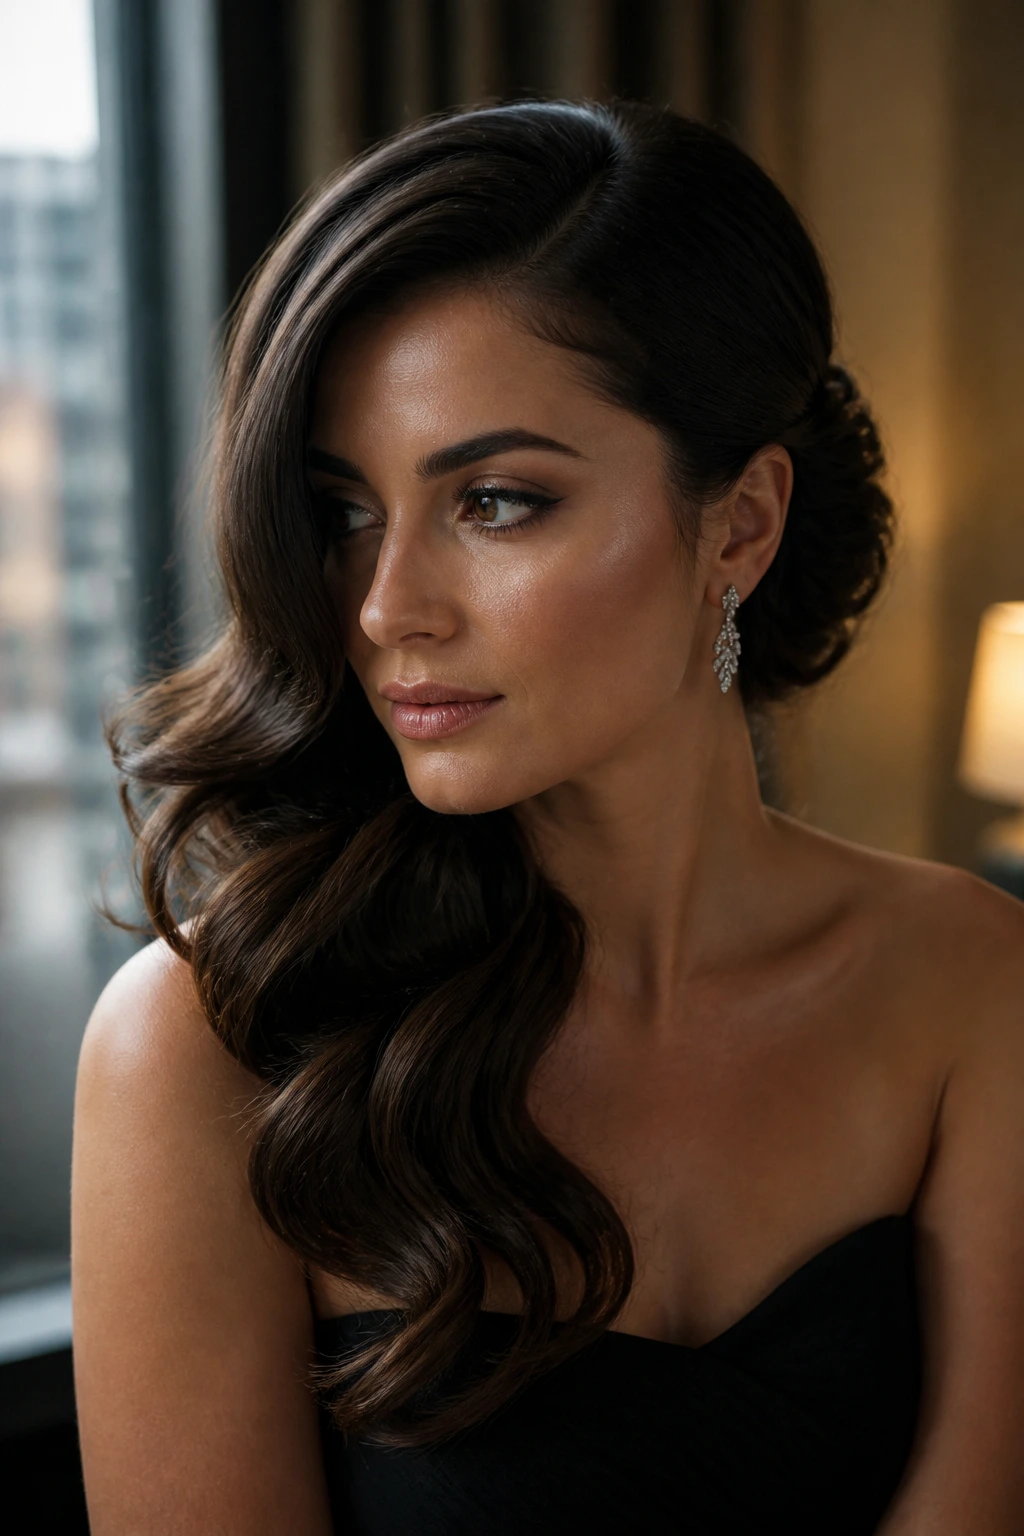
2. Deep Side-Part Glam Waves
A deep side part changes the whole mood of long waves. It shifts the weight, gives one side more lift, and makes the wave pattern feel sharper without needing more curl. Compared with a center part, this version looks fuller at the crown and more controlled through the lengths.
This works especially well if the front layer is long enough to skim the cheekbone. That piece gets a little extra bend away from the face, then the rest of the hair follows with large sections and a soft brush-out. Use setting clips at the part line while the hair cools; that’s the part most people skip, and it’s the reason their style caves in.
Best for: dinners, events, and any day you want the hair to carry the outfit a little.
3. Beachy Face-Framing Waves
Why does this style flatter so many long faces? Because it puts the texture where the eye lands first. Beachy face-framing waves keep the front pieces softer, then let the length fall into loose movement behind them. The result is less “curled hair” and more “hair that happened to land well.”
Use a 1-inch wand on the front pieces, but leave the mid-lengths less finished. Alternate directions for the sections around the face so the front doesn’t clump into one big swoop. If the ends feel too curly, stretch them gently with your fingers while they’re still warm.
How to wear it
This one likes a center part, a light matte spray, and one tucked piece behind the ear. If you want the style to read cleaner, keep the top glossy and the ends rougher.
4. Boho Crown Braid Waves
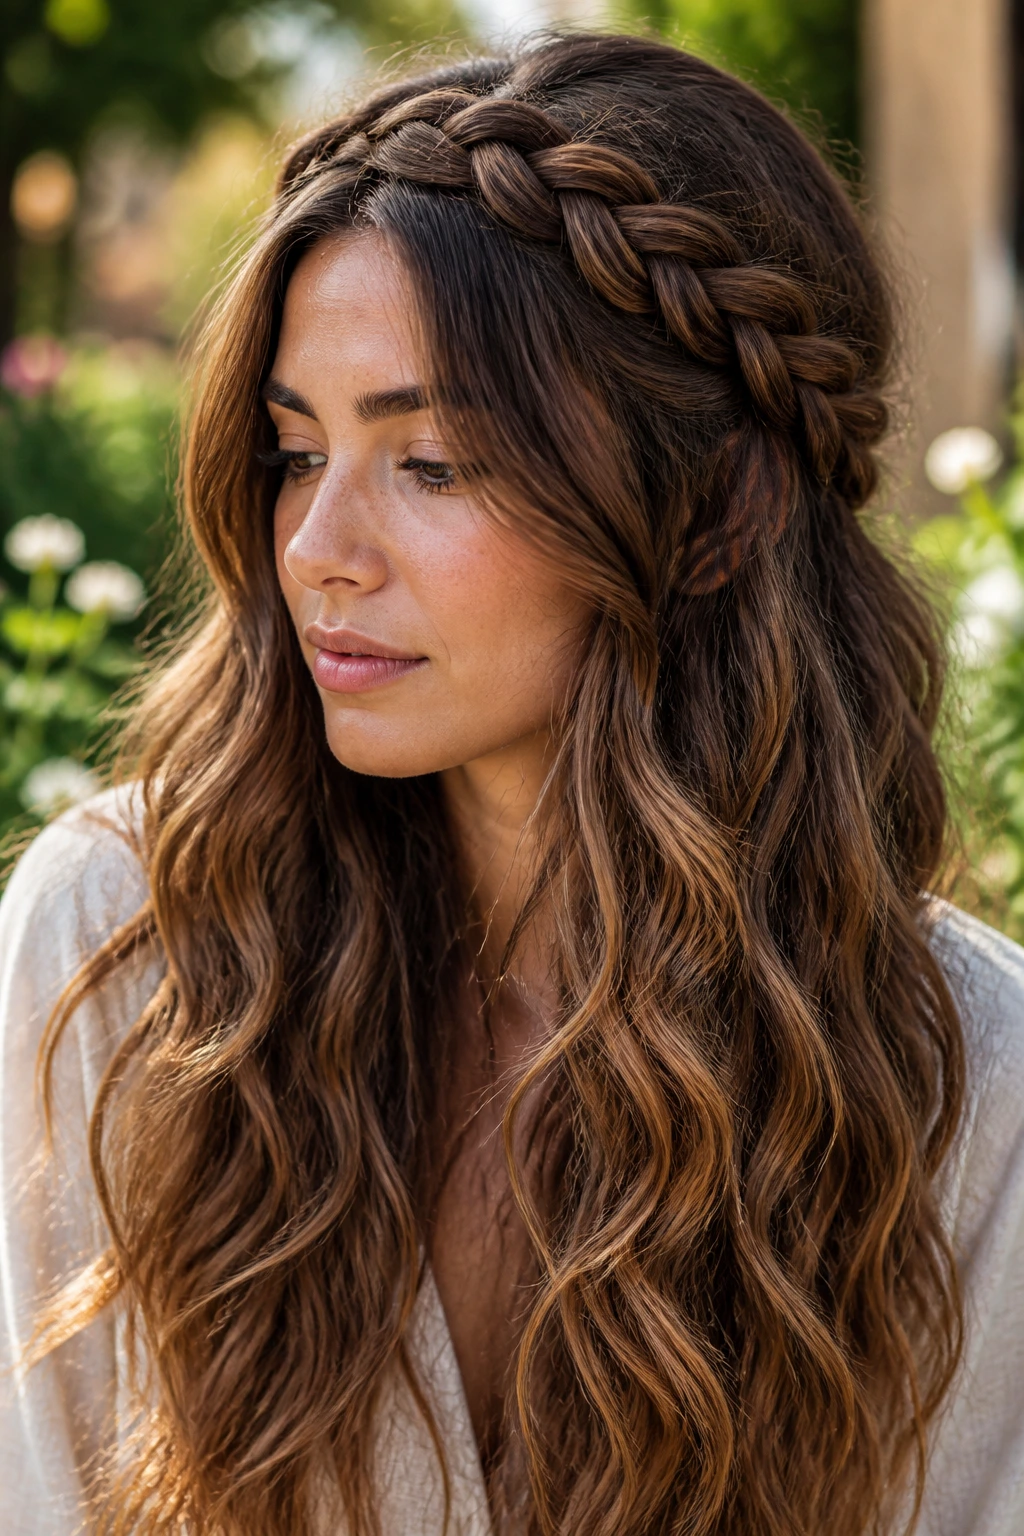
Picture hair that’s part braid, part wave, and part second-day rescue. That’s the appeal here. A loose crown braid steals attention from any frizz at the roots, and the long waves below it can be as soft or as rough as you want.
Braid a 1- to 2-inch section across the top, then pancake it slightly by pulling the loops apart with your fingers. The length below should stay wavy, not curled tight. I like this one when the hair has already lost some hold, because the braid gives the style structure without making it feel formal.
- Best section: top layer and front crown
- Tool load: minimal — elastics, a few pins, maybe a wand
- Finish: dry texture spray, not heavy hairspray
- Mood: relaxed, but not sloppy
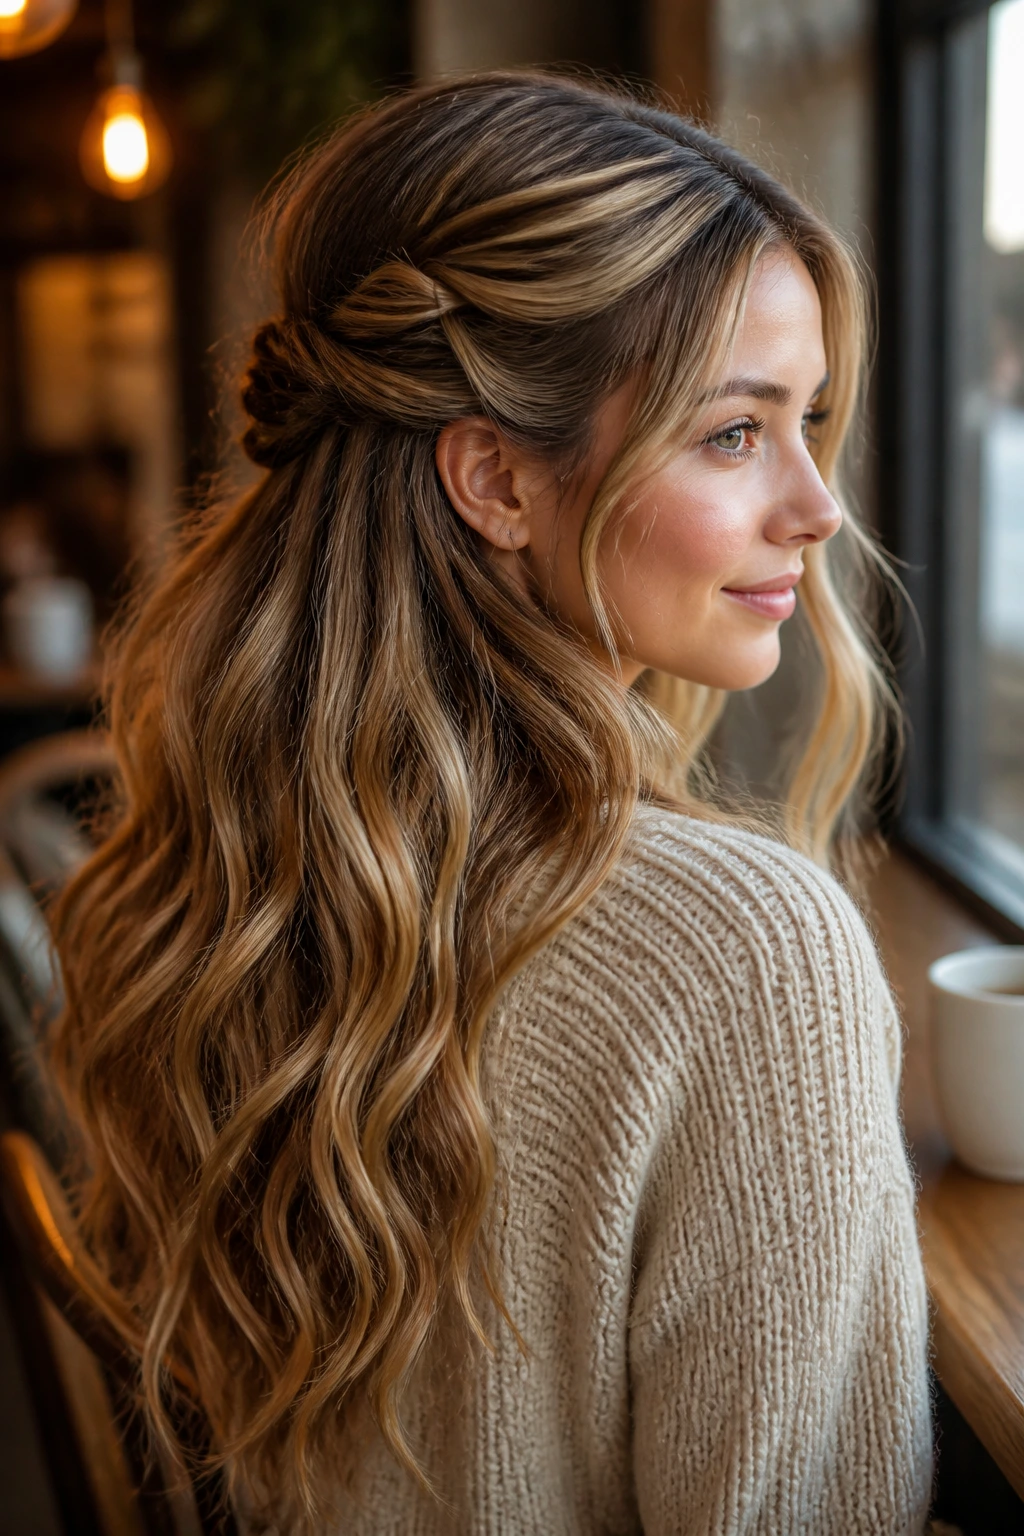
5. Half-Up Twist Waves
A half-up twist is the fastest way to make long waves look intentional. The twist pulls the top half away from the face, which gives the lower half room to show off the texture without competing with it. It also hides the fact that the crown tends to flatten first on long hair. Annoying, yes. Predictable, also yes.
Take two sections from each temple, twist them back, and pin them where the head starts to round. Leave a little lift in the twist instead of flattening it down. Then let the rest of the wave pattern fall loose below the pins. If you want more polish, wrap a tiny strand around the bobby pins so they disappear.
Tip: If the twist is too tight, it looks like a school dance hairstyle. Loose is the point.
6. Glossy Barrel Waves
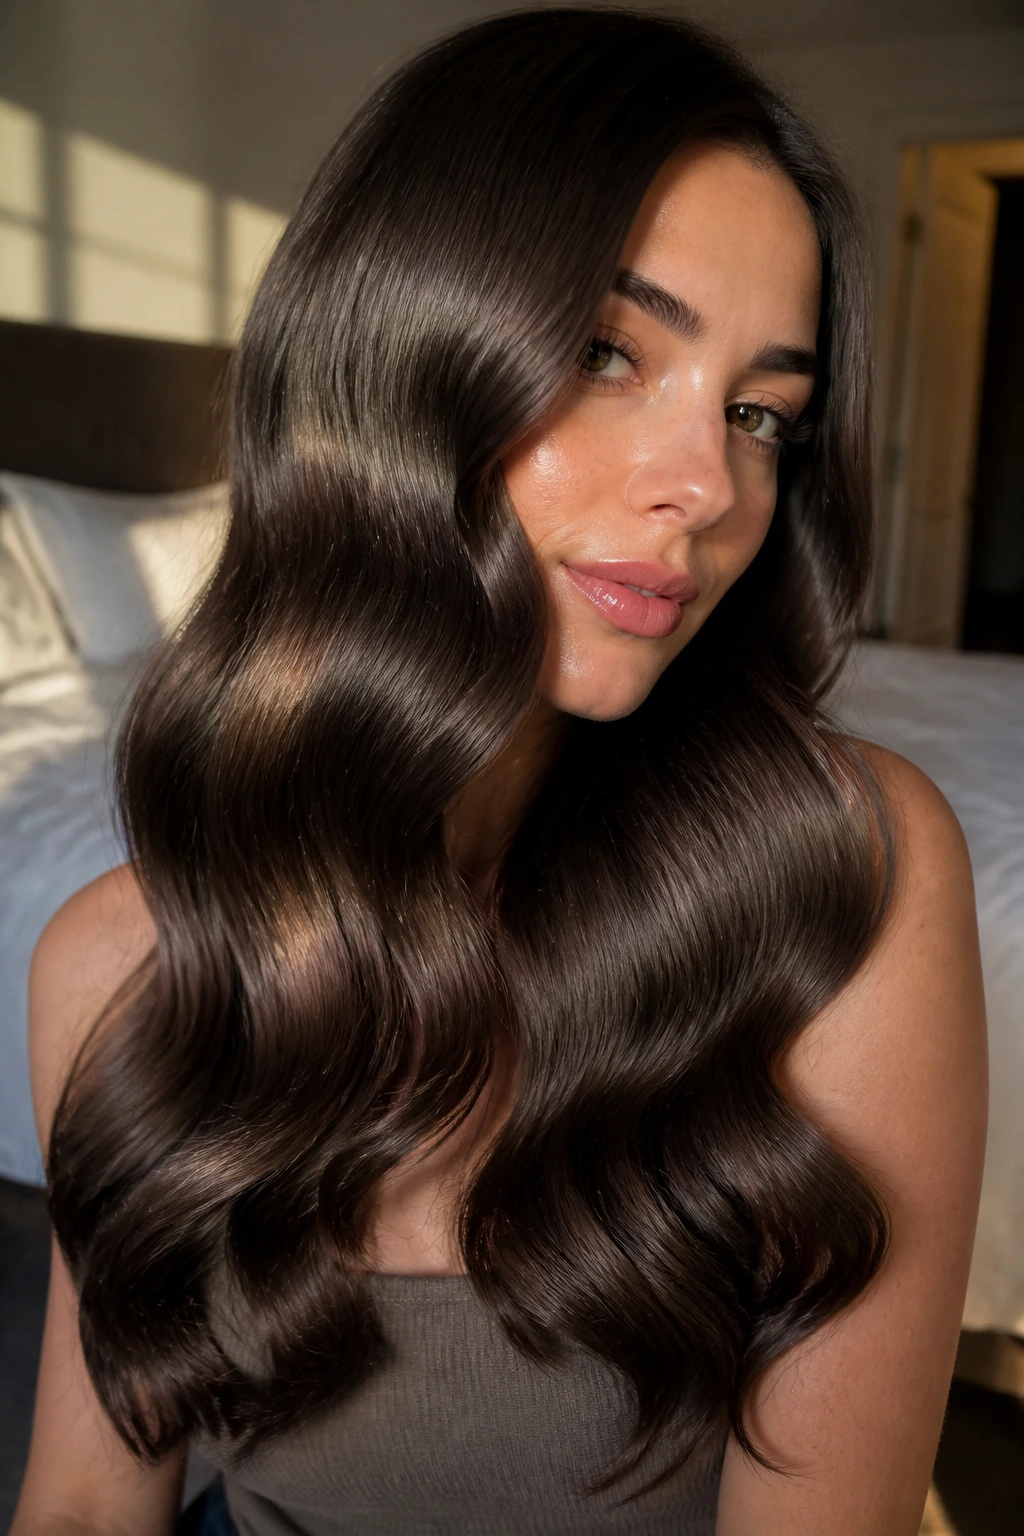
Glossy barrel waves are the most polished version in the bunch, and they’re the one I’d reach for when the outfit is doing most of the talking. The key is a smooth barrel shape that gets brushed out into broad, shiny curves instead of staying as separate curls. Long hair handles this shape well because the length gives the wave somewhere to relax.
What makes it different
Use a 1.25-inch curling iron, wrap 1-inch sections, and keep the iron moving so the heat doesn’t leave harsh clamp marks. Once the hair cools, brush with a boar-bristle or soft paddle brush until the barrel lines melt into each other. Then stop. Overbrushing is how glossy becomes puffy.
Best move: finish the mid-lengths with a light shine spray, not an oil bath at the roots.
7. Lived-In S-Bend Waves
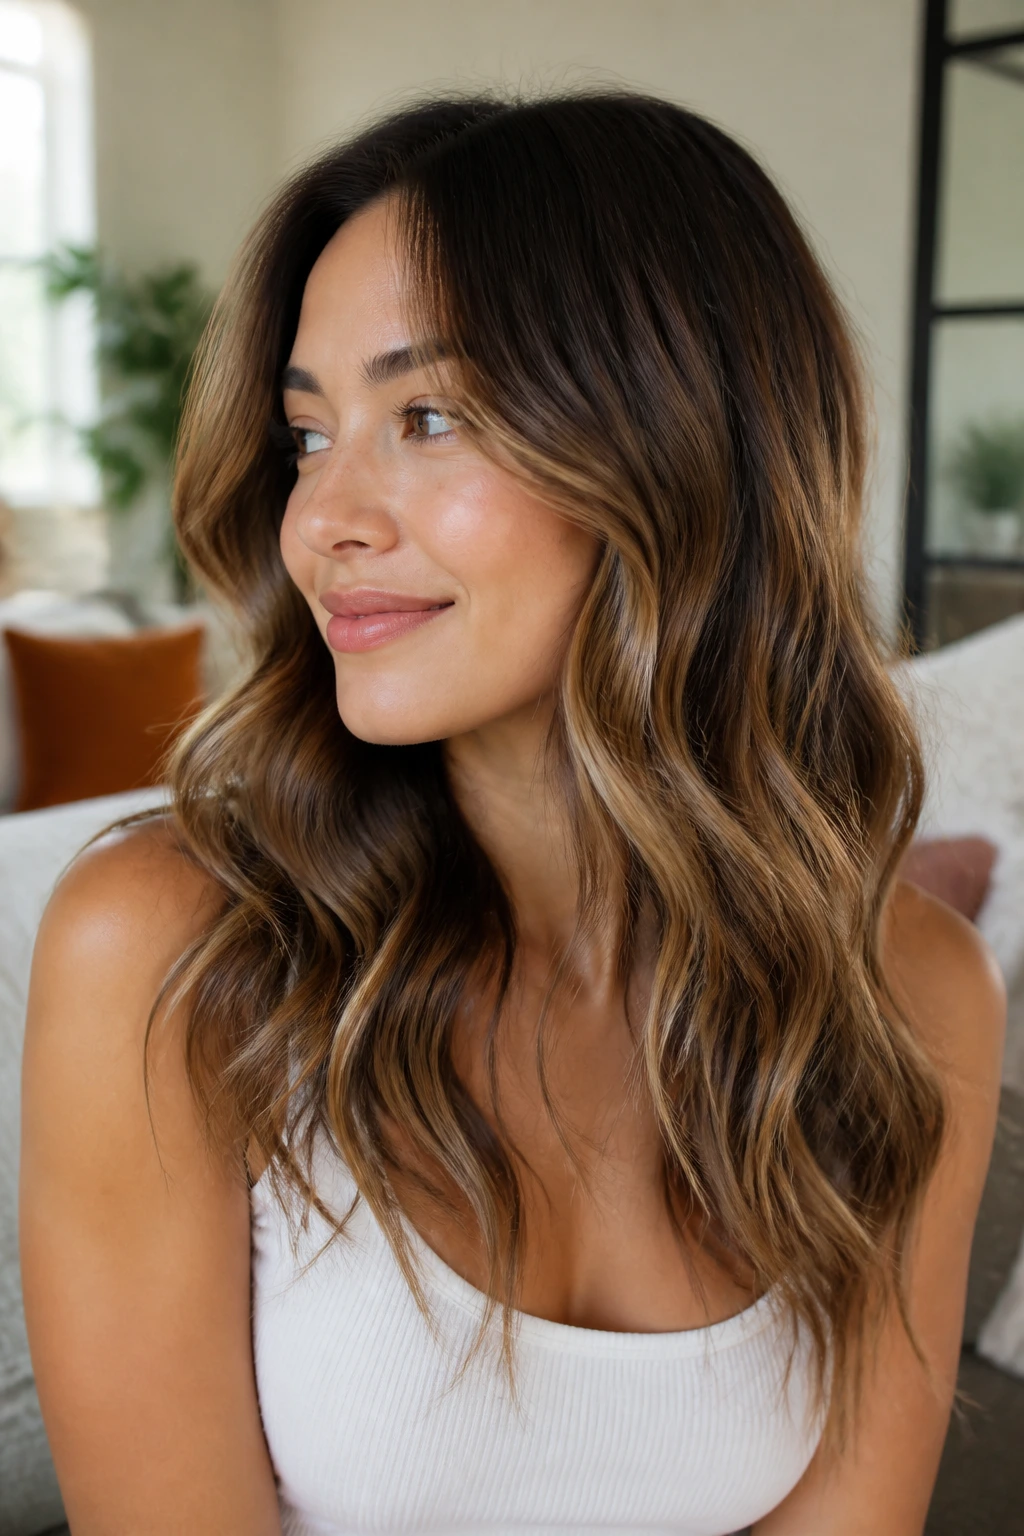
S-bend waves are for people who don’t want every section to look perfectly curled. The shape is flatter, looser, and a little more modern than a classic curl pattern. On long hair, that matters because heavy lengths can turn a standard wave into a sad half-bend if the styling is too rigid.
Use a flat iron to make a soft S shape through the mid-lengths, then leave the last couple of inches alone. The finished style should move when you turn your head, not sit in one exact wave lane. I like this best on hair that already has a bit of natural bend or on layers that want to show off without drama.
How to get the most from it
Work in thin sections. Thick ones fight back. And don’t chase uniformity; uneven S-bends look better on long hair than identical repeats.
8. Waterfall Braid Waves
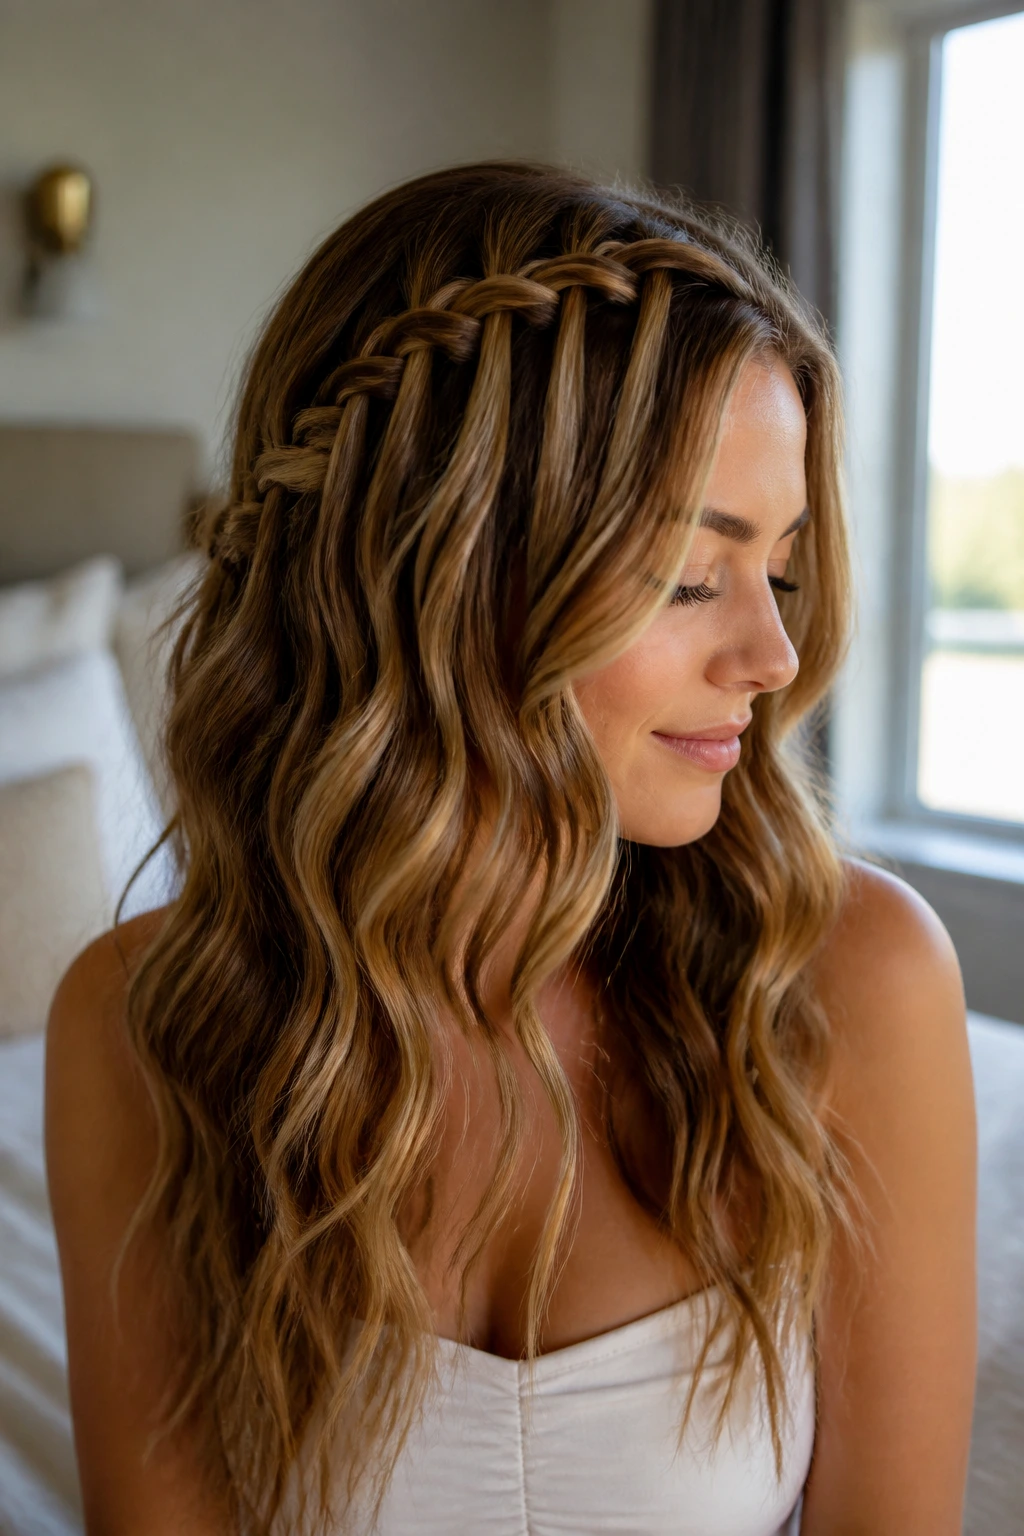
Waterfall braid waves bring a little structure to very long hair without swallowing the length in braids. The braid sits across the top or one side, then releases pieces as it moves, so the wave pattern below stays visible. It’s the kind of style that looks complicated from far away and surprisingly straightforward up close.
This is a strong choice for weddings, photo days, or any time you want the hair to feel styled before anyone notices the details. Let the braid sit slightly loose so the hair around it doesn’t get tugged flat. The waves below can be brushed out or left with more definition, depending on how much contrast you want.
Small but useful: a waterfall braid looks better when the crown has a little root lift first.
9. Textured Low Ponytail Waves
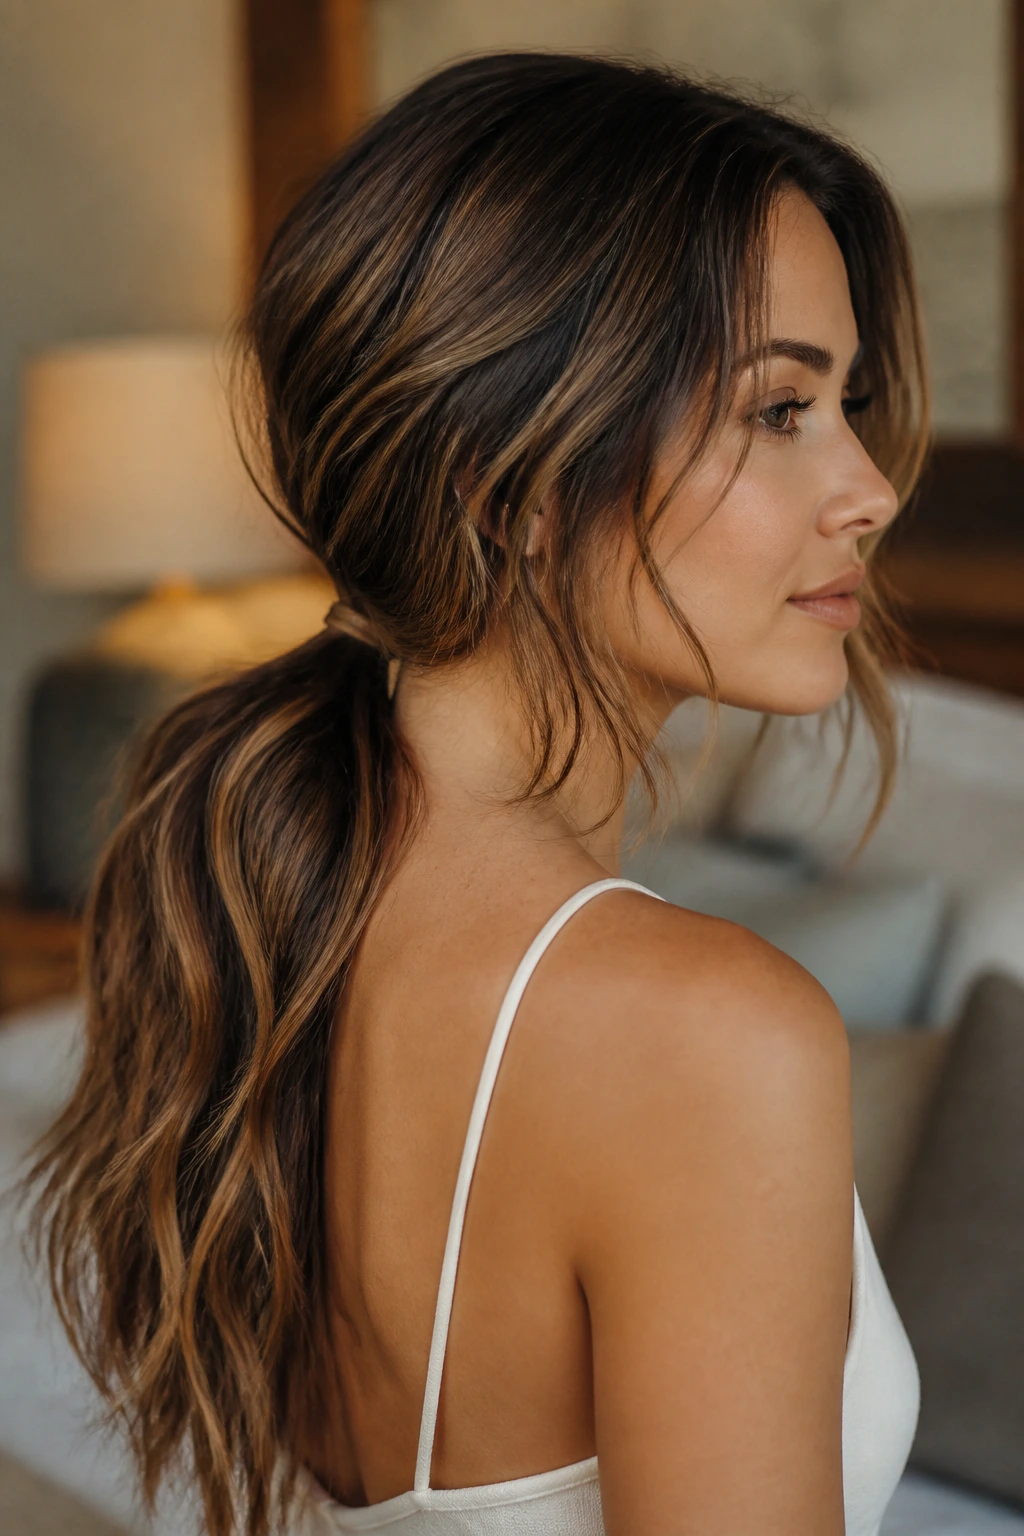
A low ponytail on long hair can either look expensive or look like you gave up. The difference is the texture. If the lengths are softly waved before the ponytail goes in, the whole shape reads intentional instead of flat.
Pull the hair low at the nape, leave a few front pieces out, and wrap one small strand around the elastic to hide it. Then tug gently at the crown for lift. The ponytail itself should keep the wave shape instead of being brushed dead straight. That soft movement is what keeps the style from looking like a gym ponytail with better shoes.
- Use this when: you want neat, fast, and still pretty
- Avoid: slicking every strand back unless the rest of the outfit is equally sharp
- Best finish: soft hold spray at the crown only
10. Curtain Bang Waves
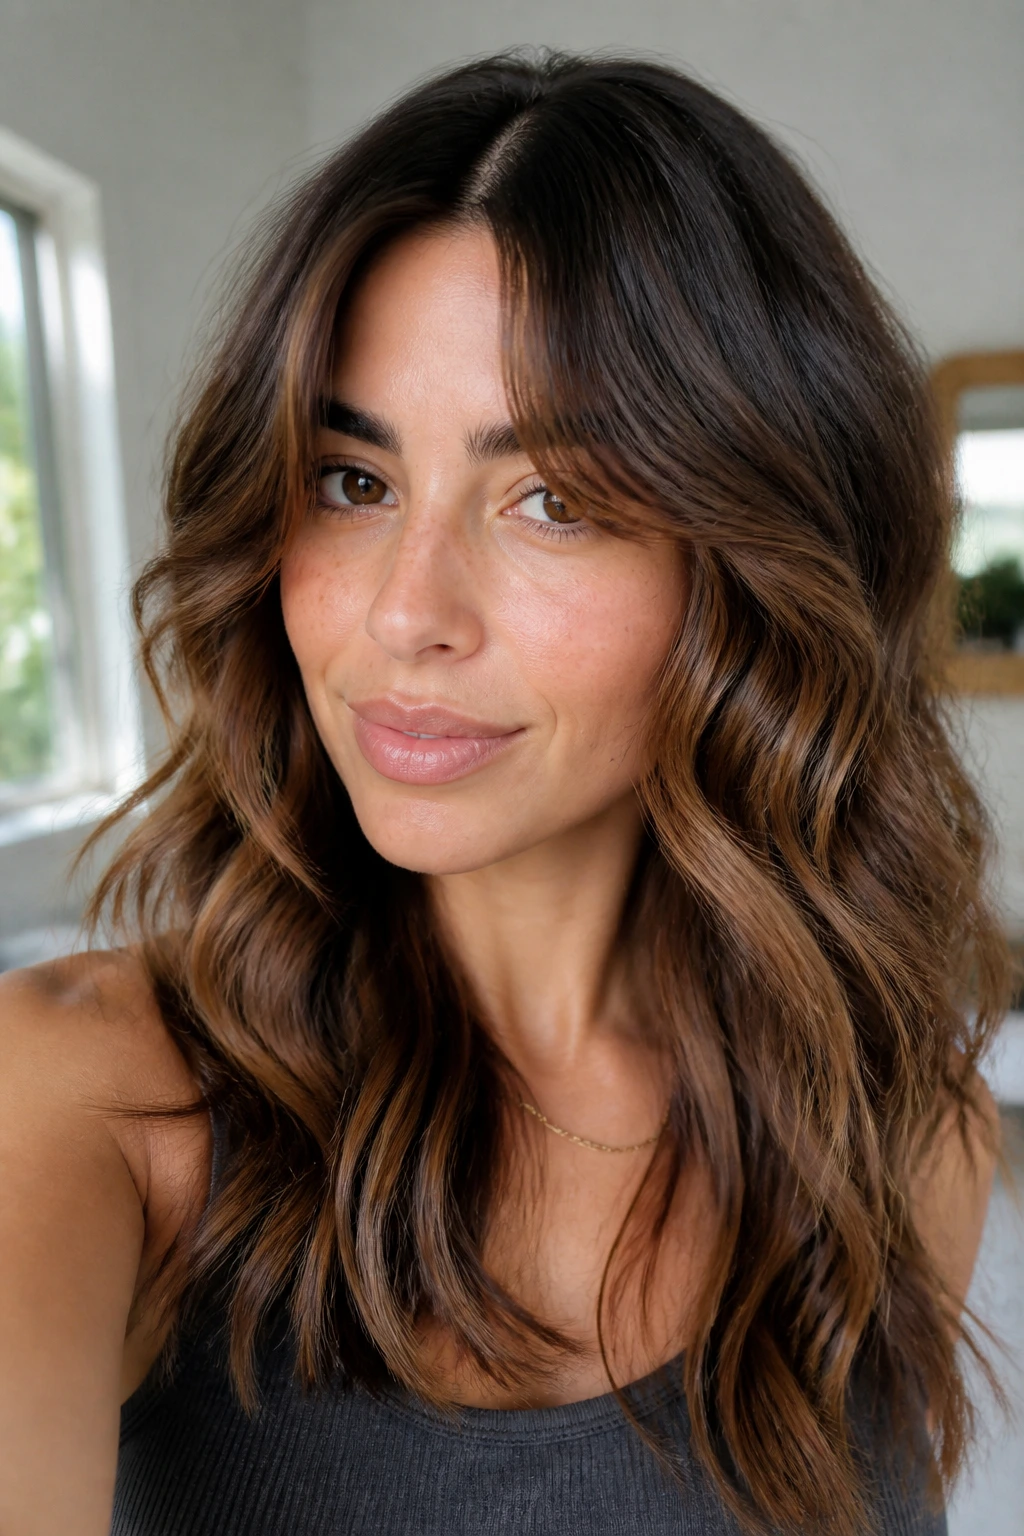
Curtain bangs change the whole logic of long waves. They need their own bend, and they need it sooner than the rest of the hair. If the fringe is ignored, the style ends up split between “finished front” and “everything else.”
Dry the bangs first with a round brush or a small brush and dryer nozzle, pushing them away from the center part. Then shape the lengths into loose waves that echo the bang curve, not compete with it. The face-framing pieces should sit a little more polished than the back sections. That contrast is what makes curtain bangs and long waves work together.
Best for: anyone who wants the face opened up without losing softness around it.
11. Braided Overnight Waves
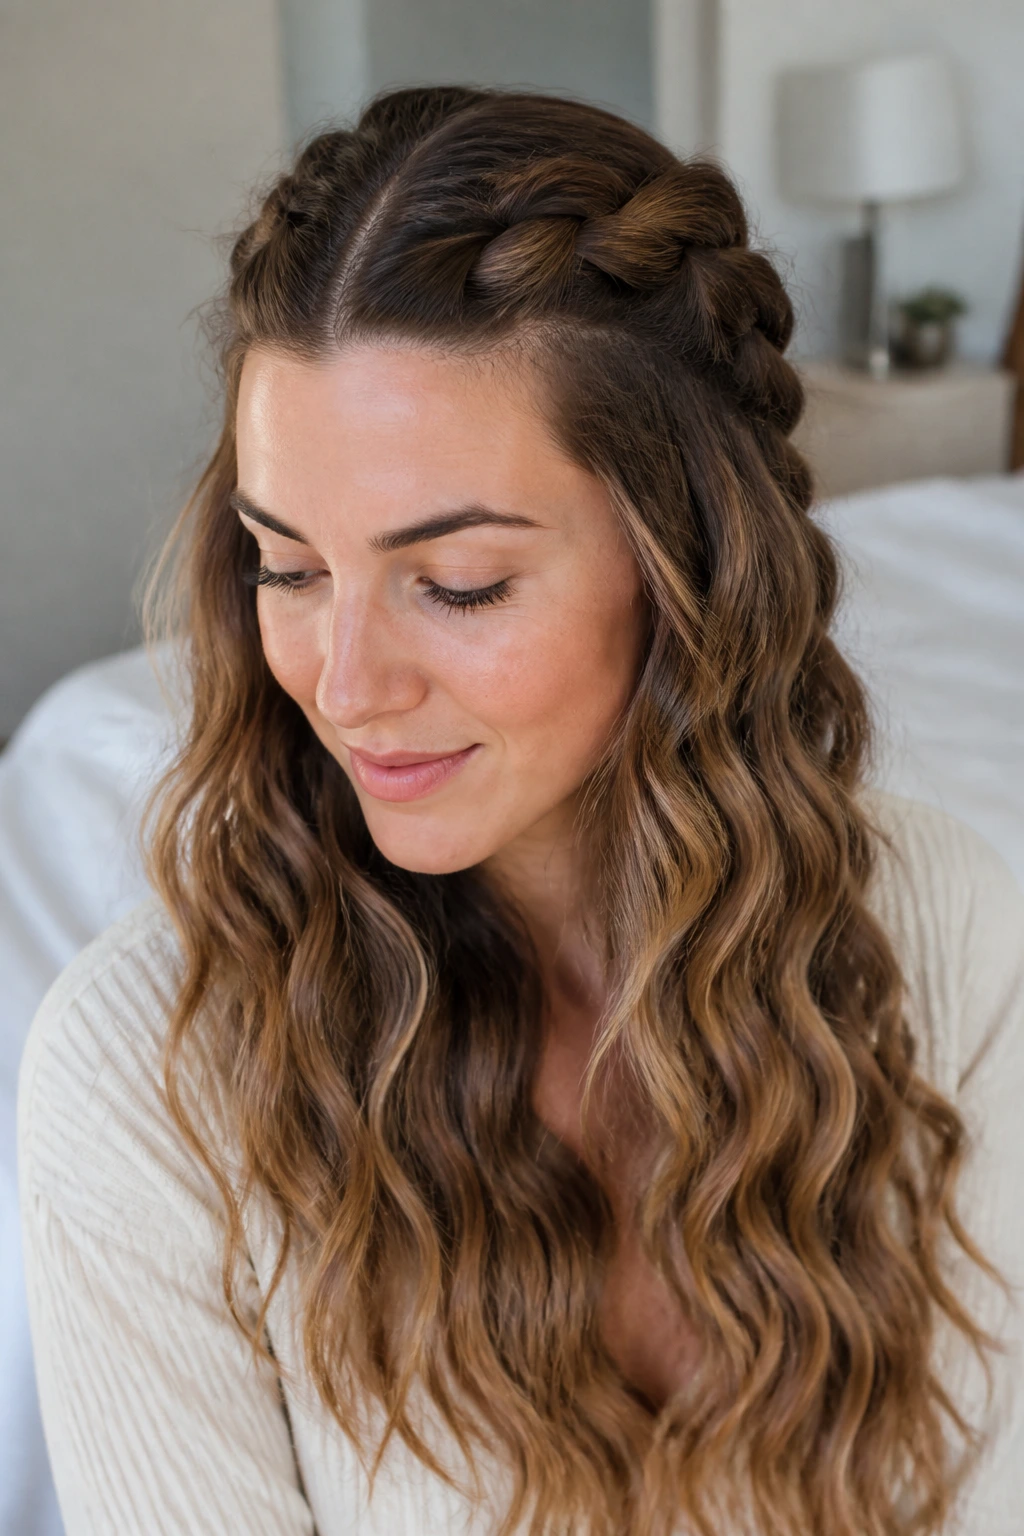
No-heat waves on long hair are not a compromise if you do them right. Braids give the hair a predictable bend, and long lengths hold that bend well once they’re fully dry. The trick is to braid when the hair is damp, not soaking, or the inside of the braid stays wet far longer than you think.
Two loose braids give broad waves. Four smaller braids give a tighter, more defined texture. Unravel only when the hair is dry from root to tip, then shake it out with your fingers first. A brush will turn this into a frizz cloud if you’re impatient.
What makes it worth trying
It’s gentle on ends, easy to sleep in, and forgiving if you don’t want hot tools near your hair every day. Use a light leave-in first, though. Dry, rough hair takes the braid pattern badly.
12. Vintage Side Sweep Waves
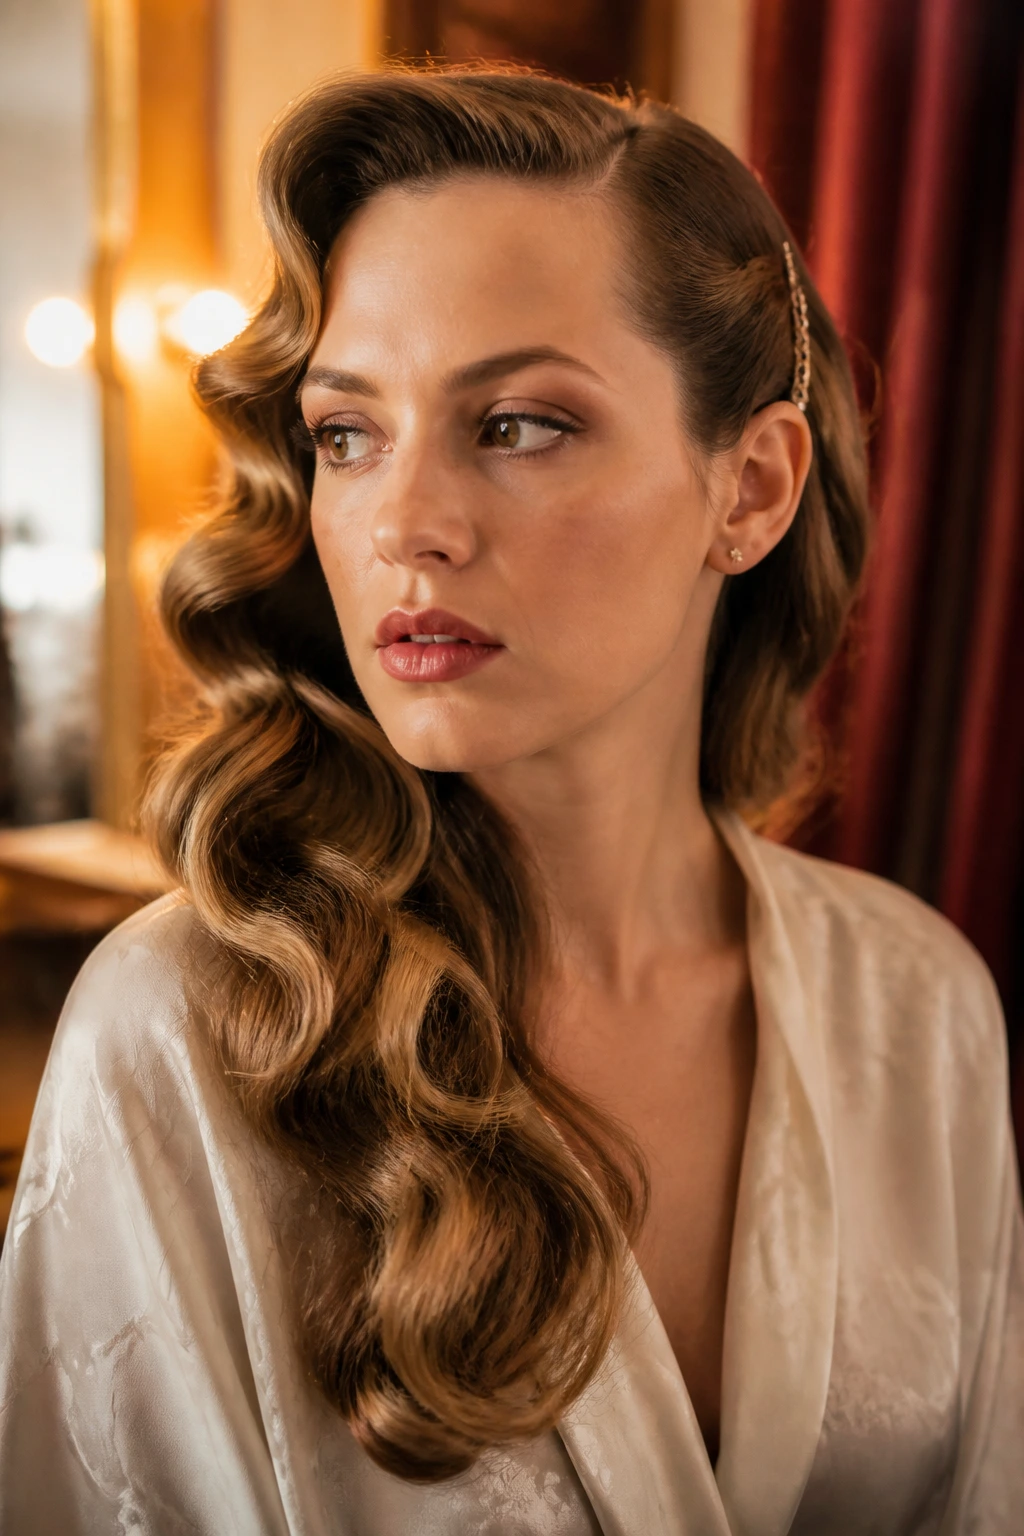
Vintage side sweep waves are old-school in the best way. One side gets tucked and pinned, the other side carries the movement, and the whole style leans into shape instead of casual looseness. Long hair is useful here because the extra length gives the sweep weight, which keeps the form from puffing out.
Set the waves away from the face, then pin one side low and tight enough to stay put but not so tight that the hairline looks pinned to the scalp. A little shine cream at the ends makes the shape read cleaner. This is one of those styles that looks better with earrings than without them. The side sweep gives them room to show.
13. Rope-Braid Accent Waves
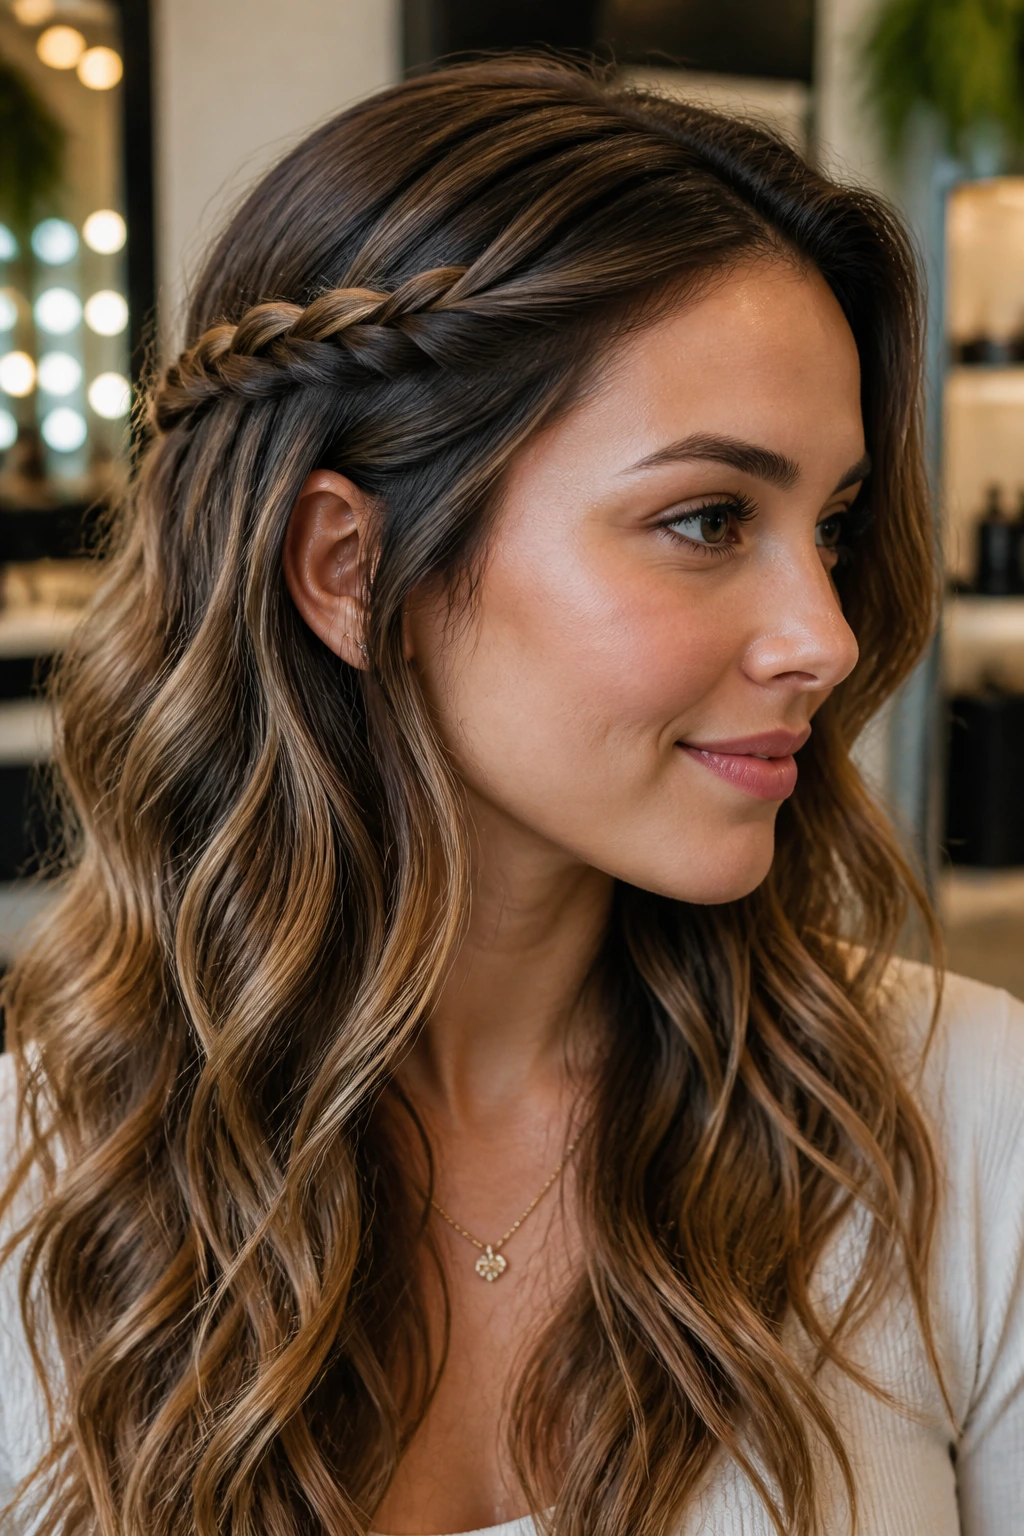
A rope braid is a small detail, but long hair gives it enough room to matter. Twist two strands together near the temple, pin them back, and let the rest of the length stay wavy. It’s less visually heavy than a regular braid and cleaner than a full half-up style.
This is the right move when you want texture without changing the silhouette. On very long hair, too many braids can start to look busy. A rope braid keeps the surface interesting and leaves the rest of the hair open. If you have thick hair, this also helps get some of the bulk off the face without flattening the crown.
Simple rule: the braid should look like an accent, not the main event.
14. Air-Dried Bend Waves
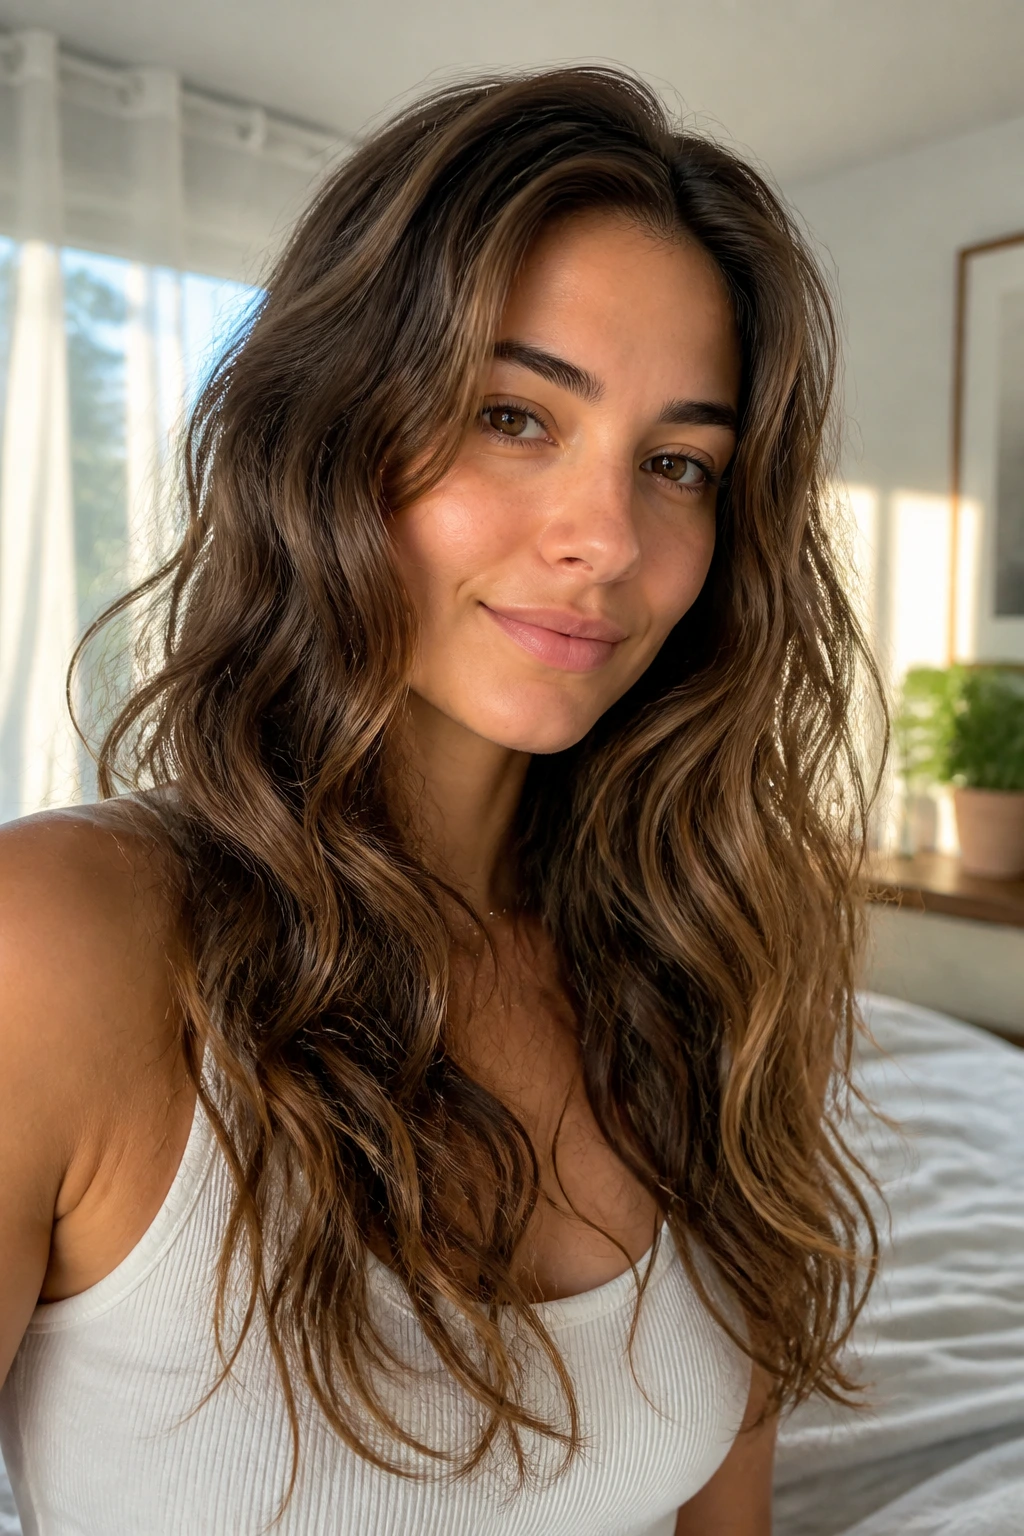
Can long hair look styled without a hot tool? Yes, if you stop treating air-drying like an accident and start treating it like a shape choice. Air-dried bend waves work best when the hair has a bit of layering and enough product support to keep the length from drying into a limp curtain.
Apply leave-in conditioner to the ends, then a light mousse or curl cream through the mid-lengths. Scrunch once, maybe twice, and leave the hair alone. Touching it while it dries breaks the bend before it forms. When it’s fully dry, you can break up any crunchy spots with dry hands or a tiny drop of serum.
This style suits days when you want movement but not heat damage or a polished finish.
15. Defined Wand Waves
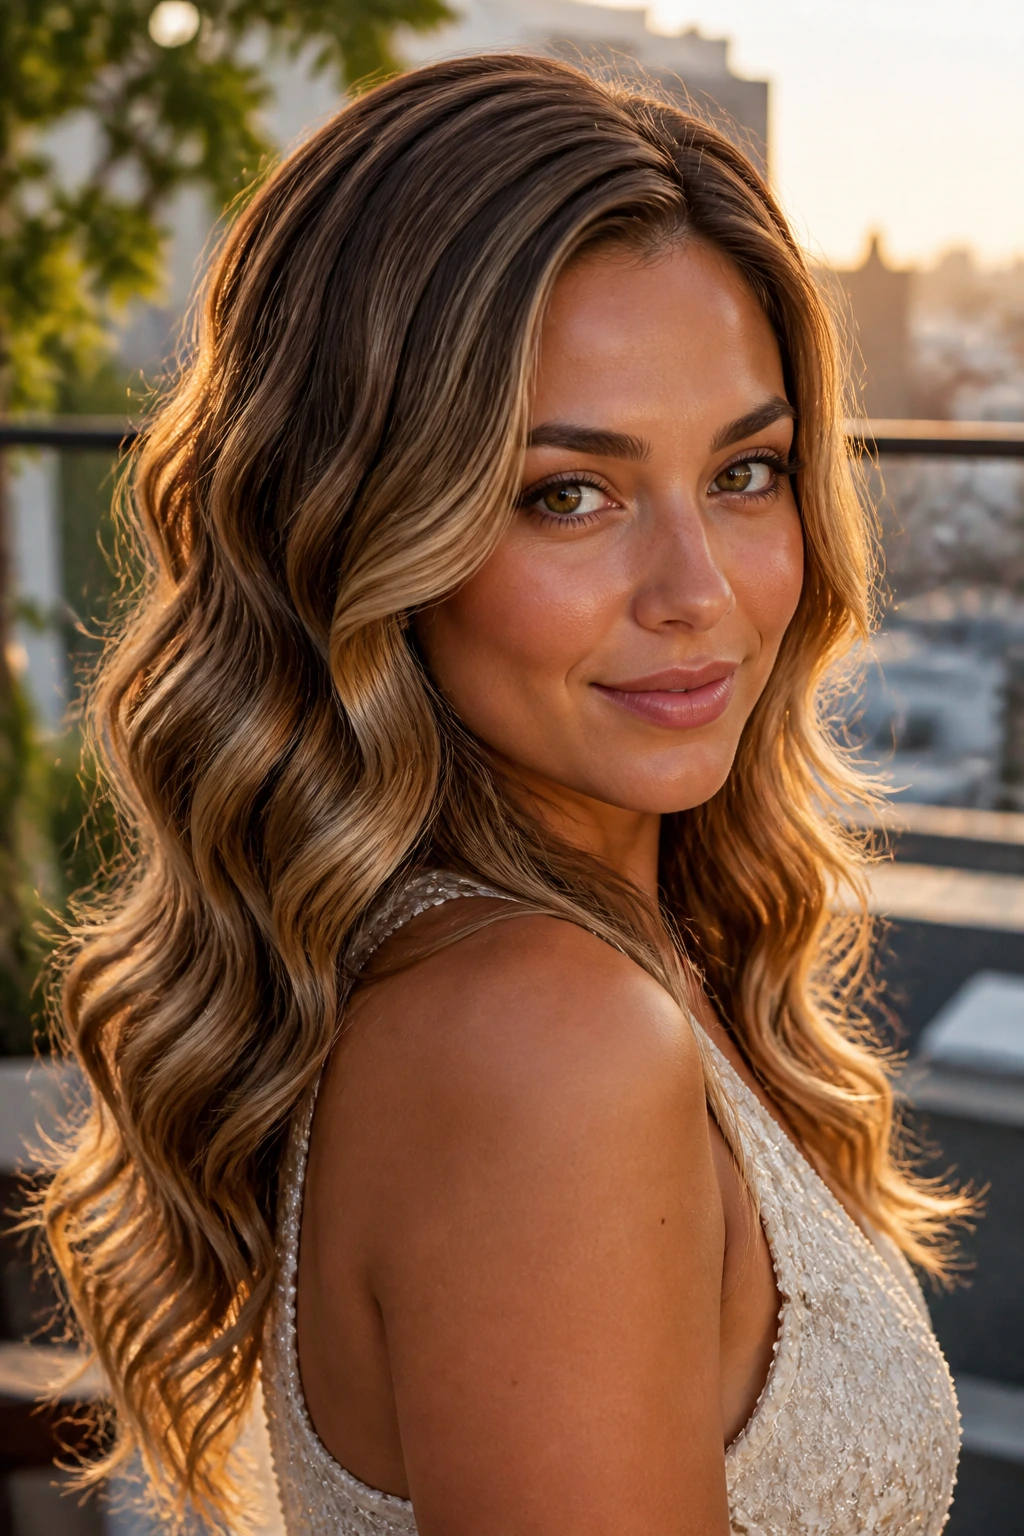
Defined wand waves are cleaner than iron curls because there’s no clamp line to hide. That makes them especially useful on long hair, where any awkward crease gets stretched across a lot of length and becomes impossible to ignore. A 0.75- to 1-inch wand gives enough definition without turning the whole style into ringlets.
Wrap the section around the wand, hold for a few seconds, and release into your palm before letting it drop. That little pause helps the wave keep its shape. If you want a softer finish, run a wide-tooth comb through the lengths once they’re cool. If you want the style to last, don’t touch it for fifteen minutes after styling. That sounds boring. It works.
16. Messy Top Knot Waves
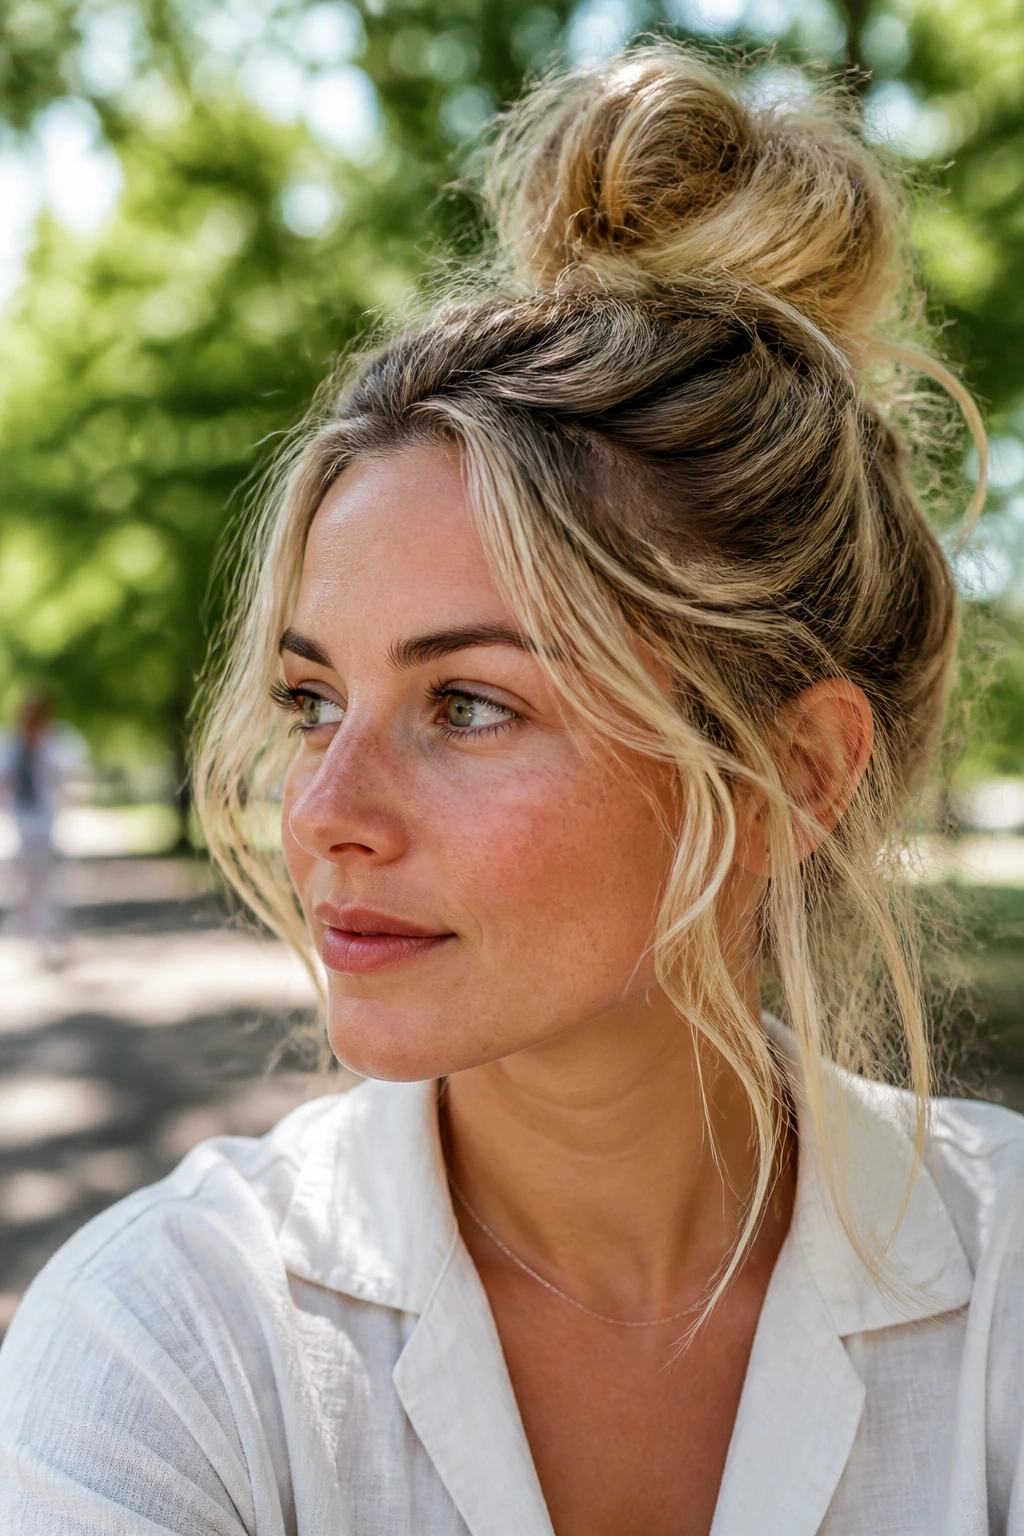
This is the hair version of “I needed the top half out of my face, but I still cared.” The top knot keeps long hair controlled while the remaining length shows off the wave pattern. It’s especially useful when the ends are the best part of the hair and the crown has gone flat.
Gather the top third loosely, twist it into a knot, and pin or tie it so it sits above the occipital bone, not at the very top of the head. Let a few waves fall around the temples and ears. The knot should feel soft, not knotted down tight like a ballerina bun. This one looks good with second-day texture because the roughness at the roots helps the knot stay put.
17. Old-Hollywood Side Waves
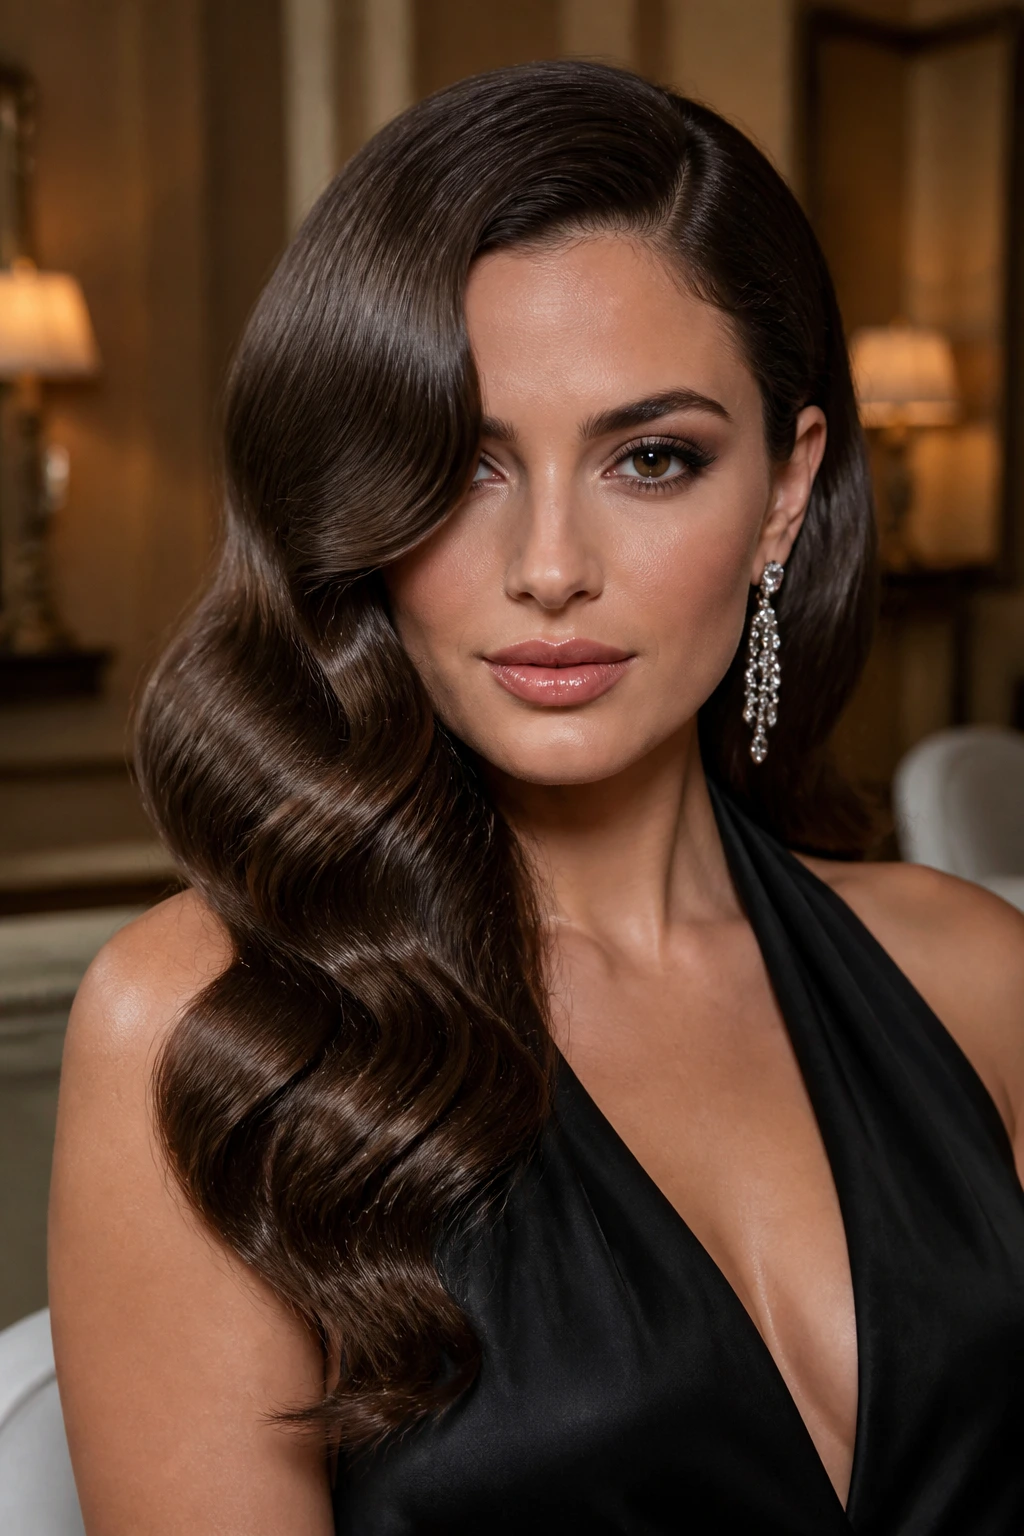
Old-Hollywood side waves are the glamorous cousin of barrel waves. They’re sleeker, heavier, and more deliberate, with a side part that lets the wave line travel across the face instead of straight down the back. Long hair makes this look better because it gives the wave a long runway.
Use large sections, pin each curl flat while it cools, then brush everything into one directional shape. The wave should move like a ribbon, not like a pile of separate curls. A little root lift at the crown matters here, or the style can feel too low and draggy. And yes, that’s the exact word. Draggy.
Best use: formal dinners, photographs, and any night where you want shine more than volume.
18. Fishtail Accent Waves
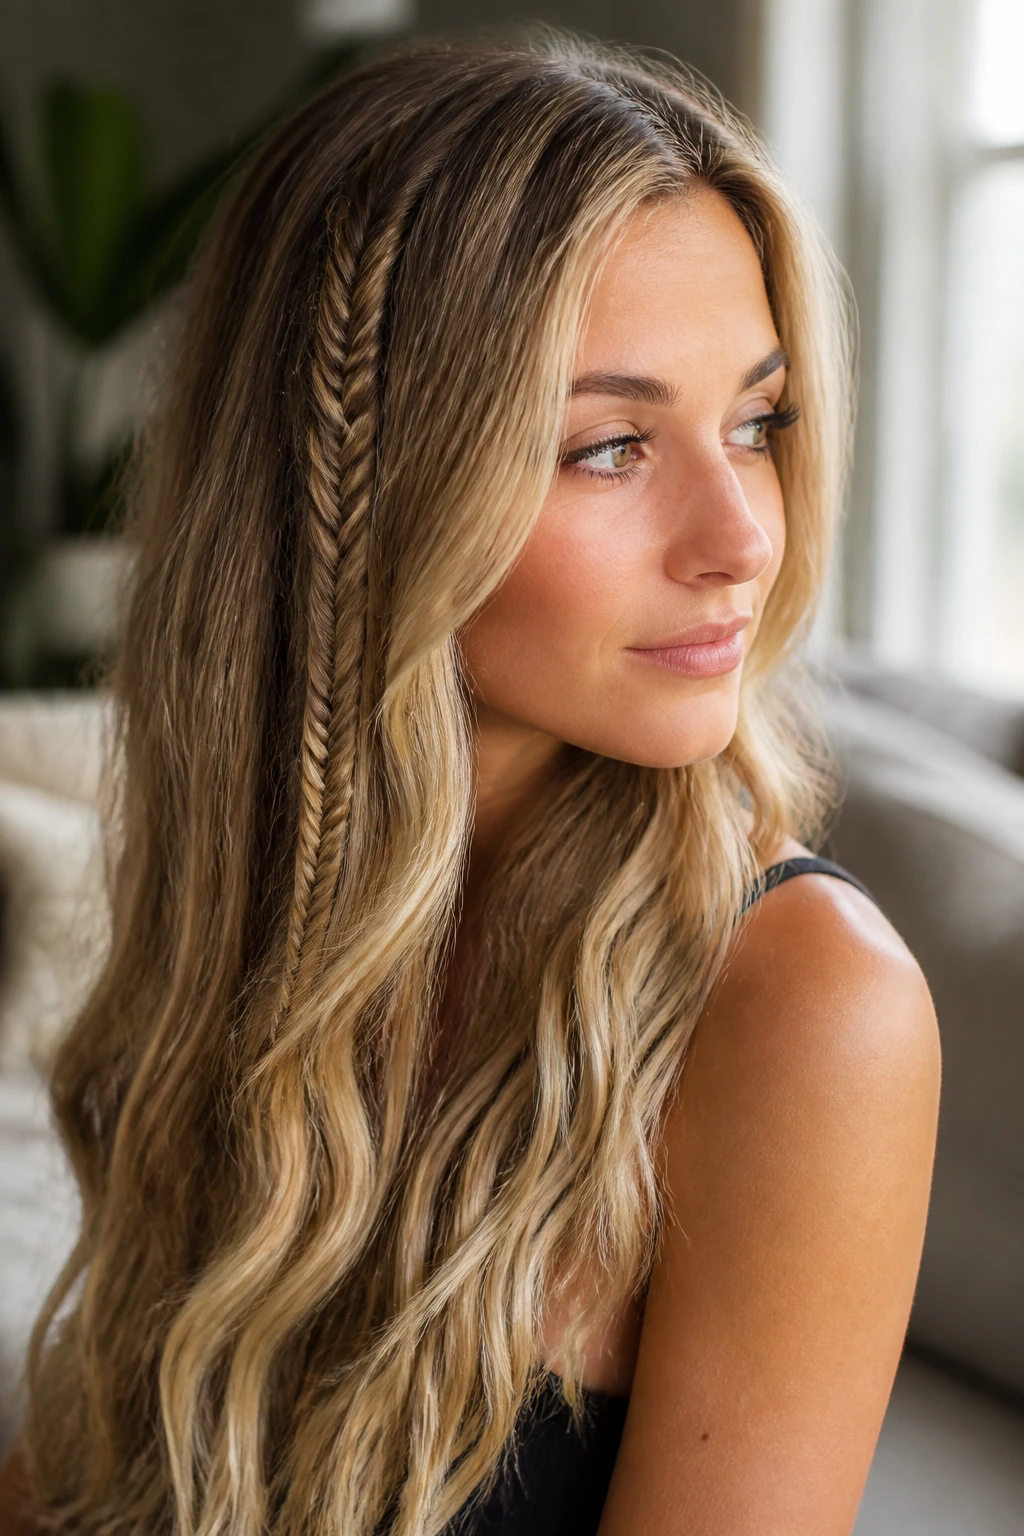
A fishtail braid used as an accent gives long waves a little edge without changing the whole style. Because fishtails break up the texture so finely, they sit well against looser waves and feel more detailed than a simple braid. They also look especially good when the hair is dense enough to show the pattern.
Braid a narrow section from one side, secure it low, and let the rest of the hair stay open. If the braid feels too crisp, pull it apart slightly so it doesn’t compete with the wave pattern. This is one of my favorite options when the outfit has a lot of texture already and the hair needs a quiet detail instead of a big one.
19. Sleek Crown, Loose Length Waves
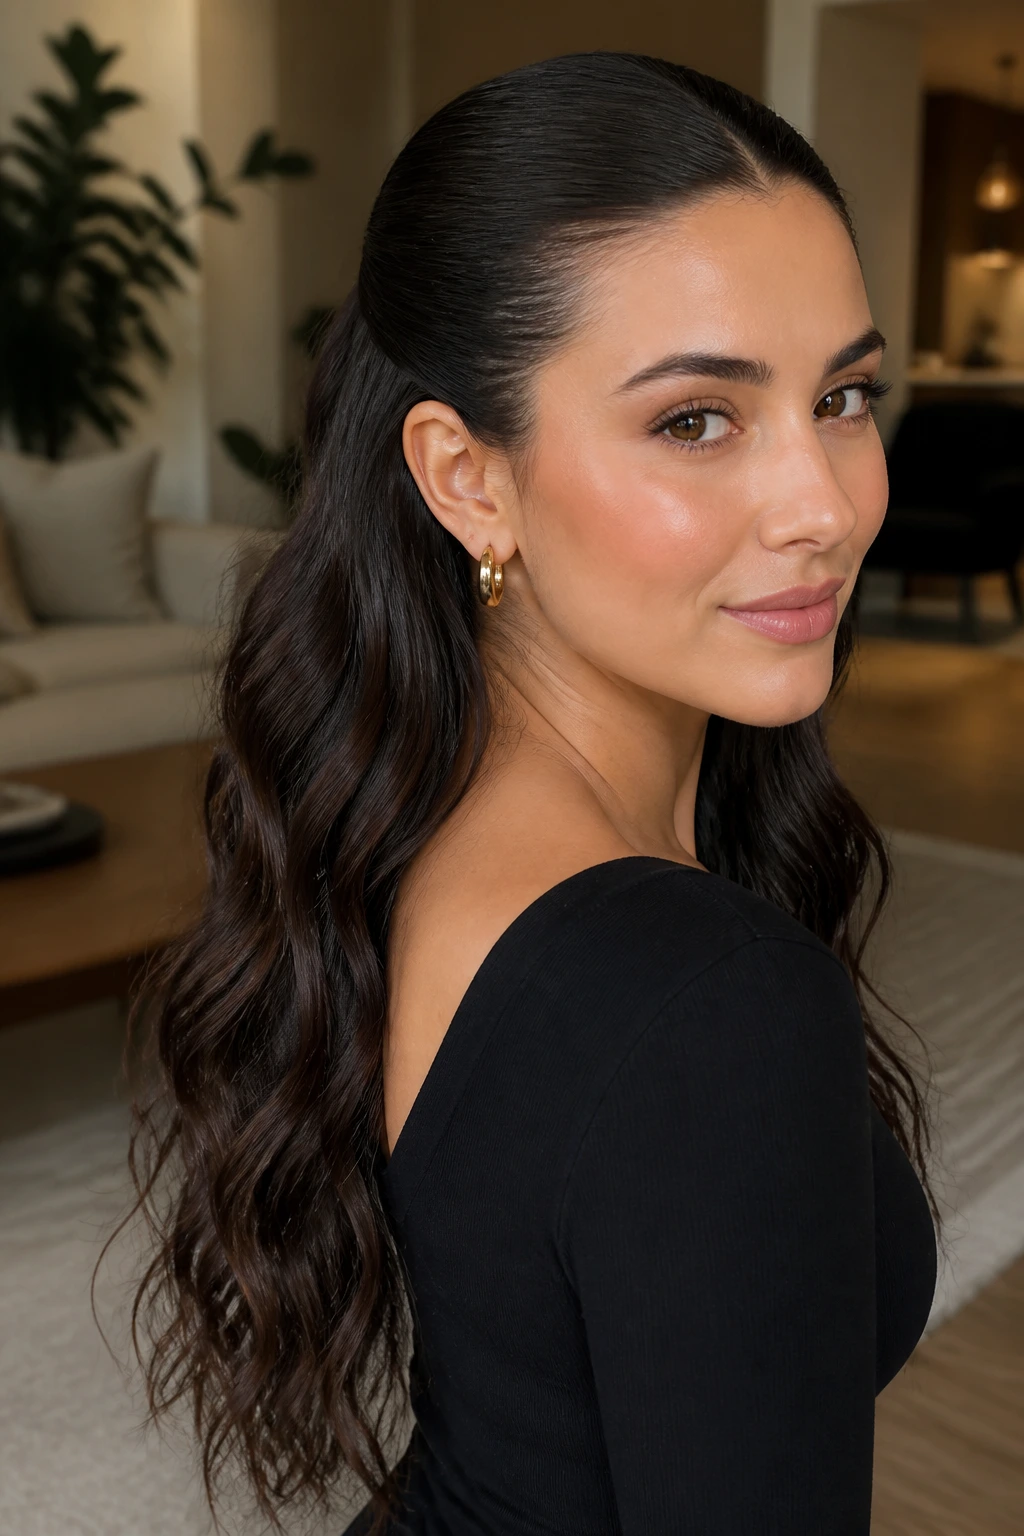
This style is a smart answer to long hair that gets frizzy at the top but still has good movement in the lengths. The crown is smoothed down with a little gel or pomade, while the wave pattern starts lower, around the ear or cheekbone. That split finish looks clean without sacrificing softness.
Long hair can swallow a style whole if every inch is equally textured. Here, the controlled crown keeps the top from puffing up, and the loose lower half shows off the length. This is also a good humid-weather choice because the smooth top handles flyaways better than an all-over airy wave.
Best for: people who like contrast — polished up top, loose underneath.
20. Soft Crimp-Blend Waves
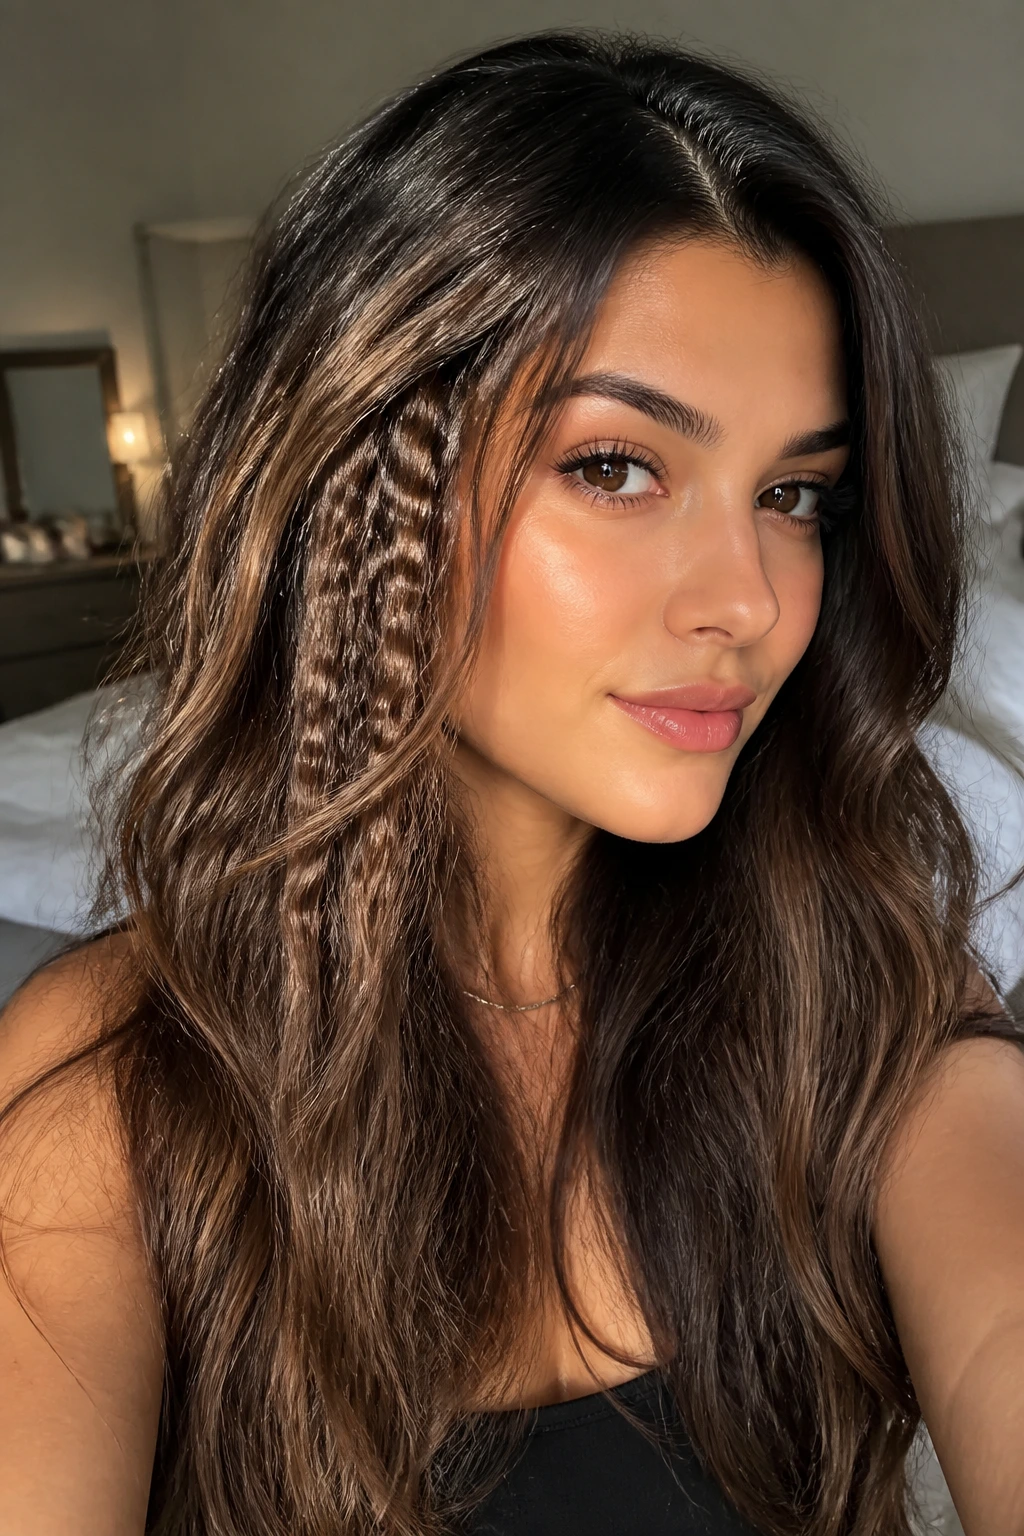
Crimping can go wrong fast if you go too far, but a subtle crimp-blend adds grip and lift to long hair that won’t hold a curl. The trick is to crimp only the underlayer or only the root zone, then smooth the outer layer over it. Nobody needs to see the crimp line itself.
That hidden texture gives the surface more body and helps the waves sit up instead of sliding down the scalp. On fine hair, this can be a lifesaver. On thick hair, use it sparingly or you’ll end up with too much volume at the sides and not enough shape through the length.
How to use it
Use it as a foundation, not the finished look. A little goes a long way, and that’s not a cliché here. It’s just true.
21. Choppy Layer Waves
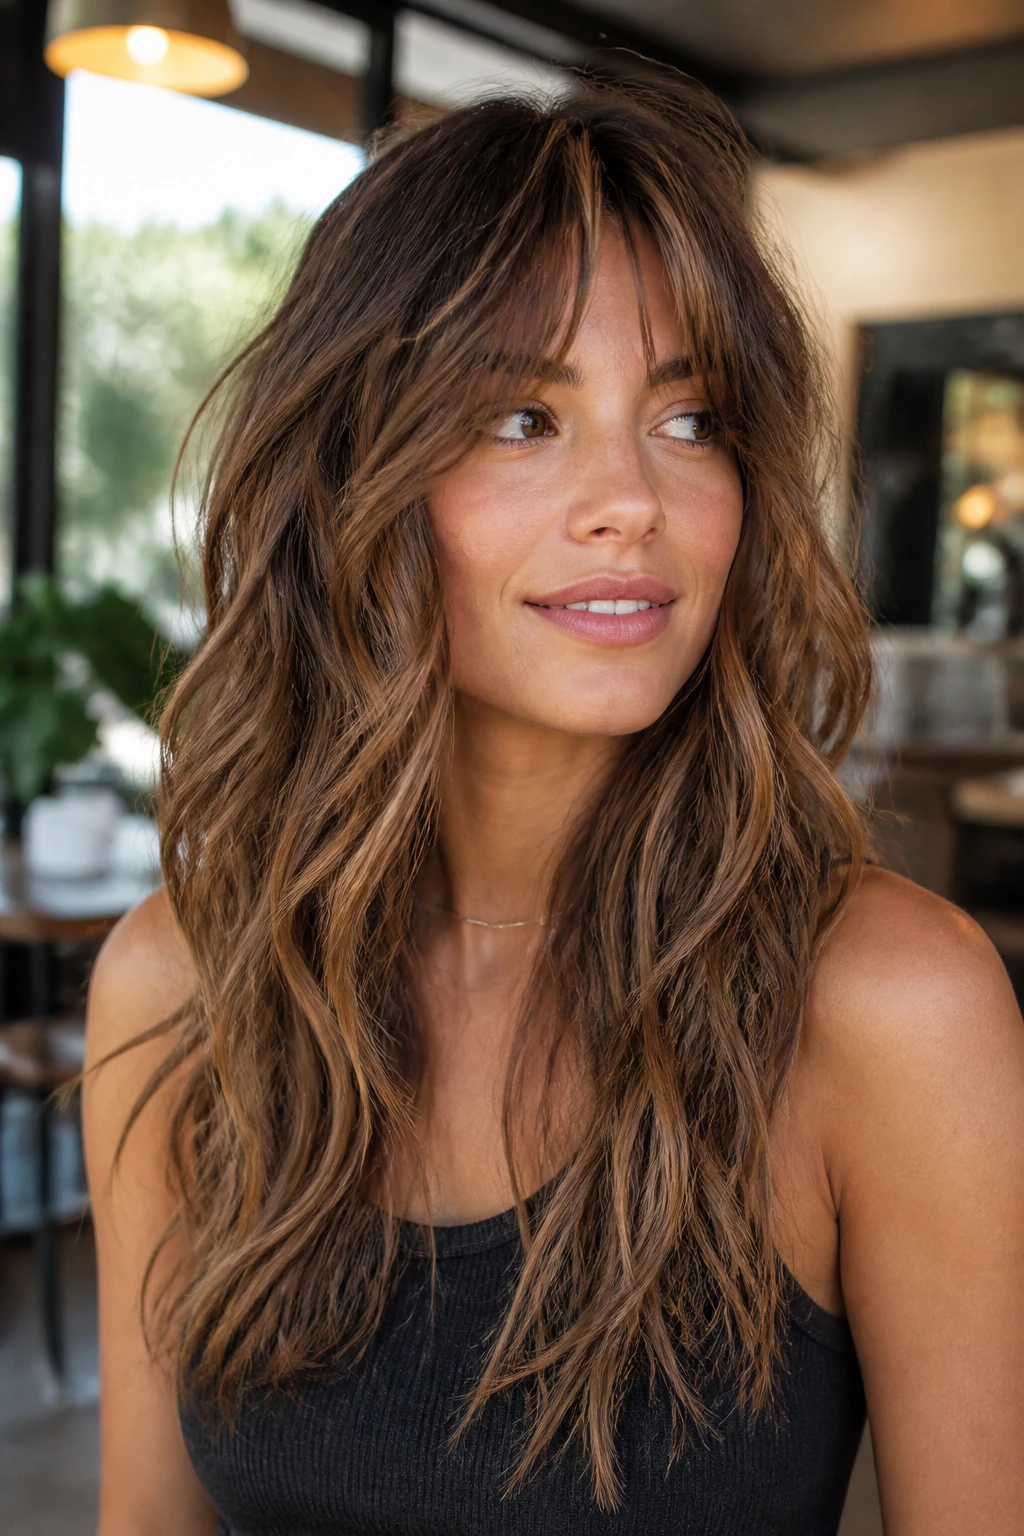
Choppy layer waves look best when the cut already has movement built in. Layers create natural breaks in the wave line, which keeps long hair from forming one heavy curtain. If the hair is one length and very dense, this style can feel too uniform. Layers give it air.
Use alternating directions on the mid-lengths and leave the ends a little uneven so the shape doesn’t look too neat. A texturizing spray at the very end helps separate the layers and keeps the style from merging into one shape. I like this look when the haircut itself is doing some of the work — that’s the honest version.
- Best on: long layered cuts
- Not ideal for: blunt, heavy lengths that need more structure
- Finish: matte or semi-matte, never stiff
22. Scarf-Tied Waves
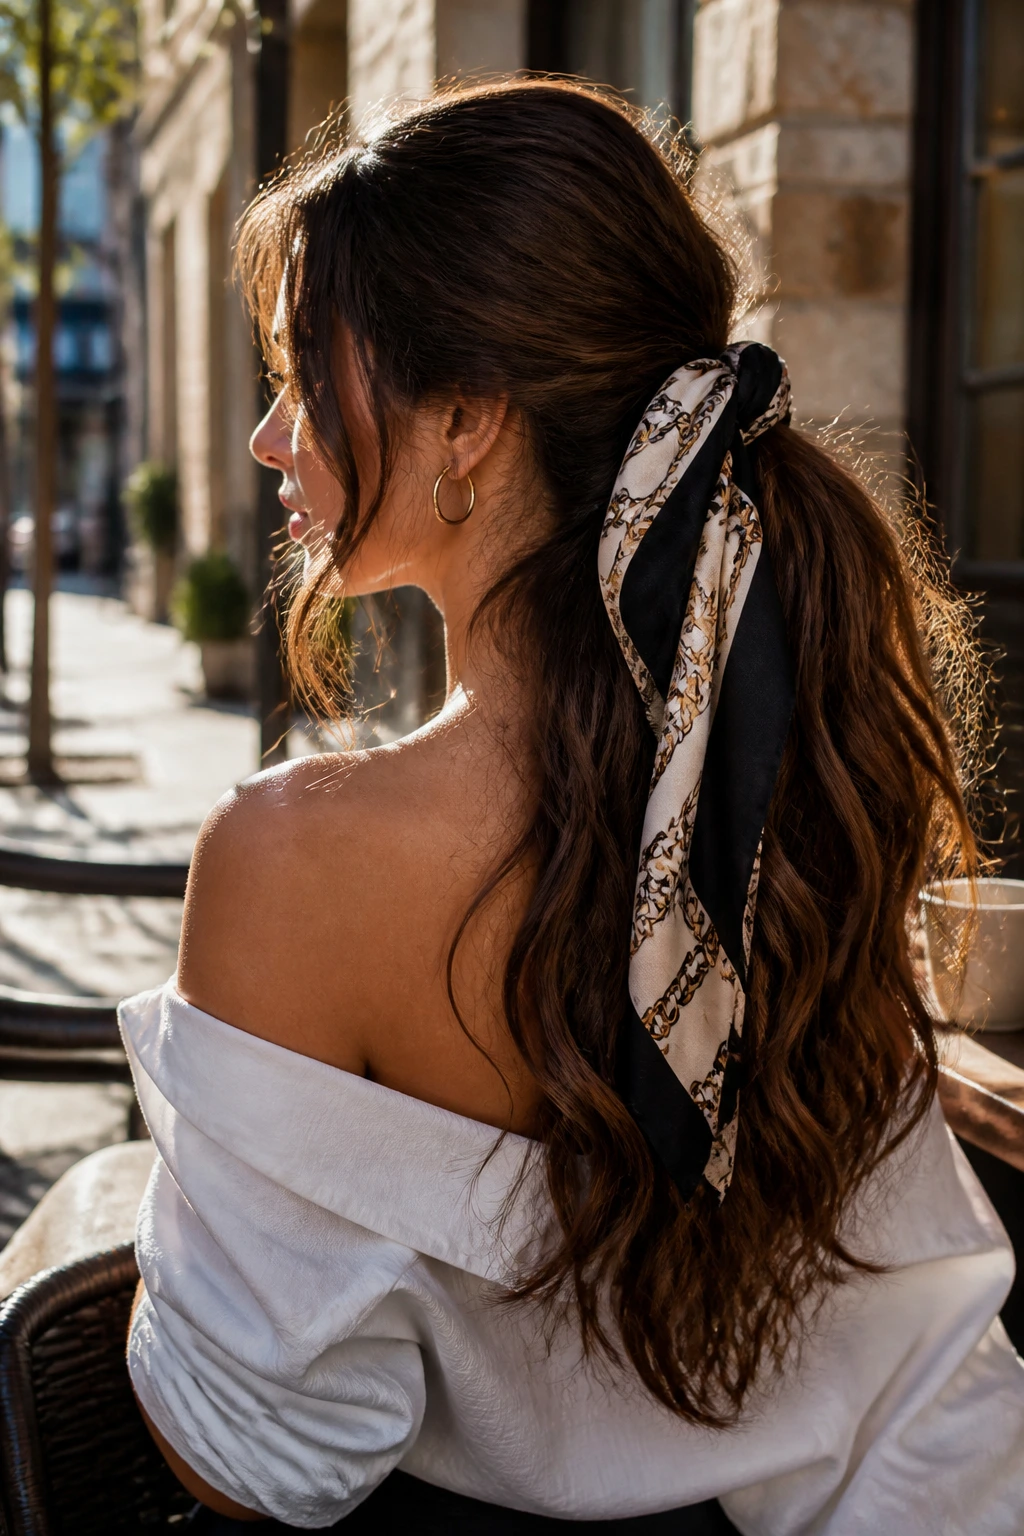
A scarf can do more than decorate the style. It can break up a plain wave pattern, hide a tie point, and make long hair feel finished without adding heat or product. Tie it around a half-up section, a low ponytail, or even a loose braid, then let the waves spill around it.
The scarf works because long hair gives it something to anchor to. On shorter hair, it can overpower the look. On long hair, it reads as a chosen detail. Pick a scarf with enough body to hold shape, not a slippery one that slides out after ten minutes. Silk is pretty. Cotton is usually easier.
23. Office-Friendly Low-Drama Waves
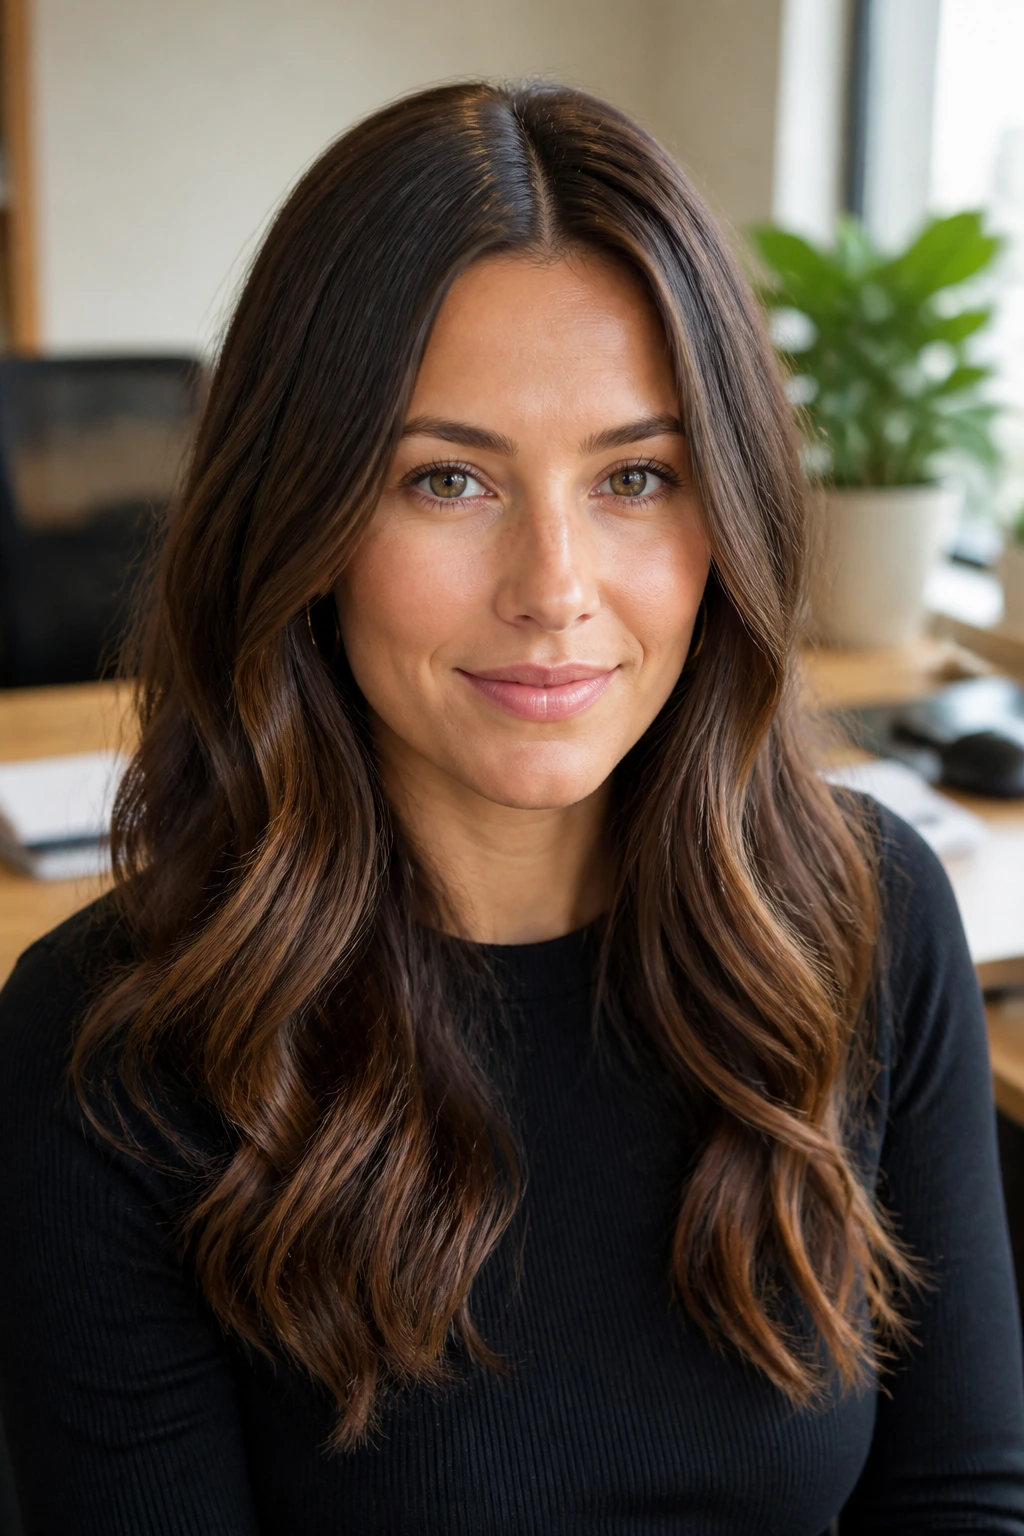
Some wave styles shout. This one doesn’t. Office-friendly waves keep the movement restrained, with smoother roots, a center or soft side part, and just enough texture to stop the hair from lying flat against the shoulders. It’s the version I’d choose when I wanted my hair to look styled in daylight without pulling focus from the rest of the outfit.
Use a 1.25-inch iron, brush out the bottom third, and skip the heavy texture spray. A little softness at the face keeps the style from reading strict. The whole point is to look like you know what you’re doing, not like you’re trying to convince the room.
Quiet rule: if the hair rattles when you move, you used too much hold spray.
24. Big Blowout Waves
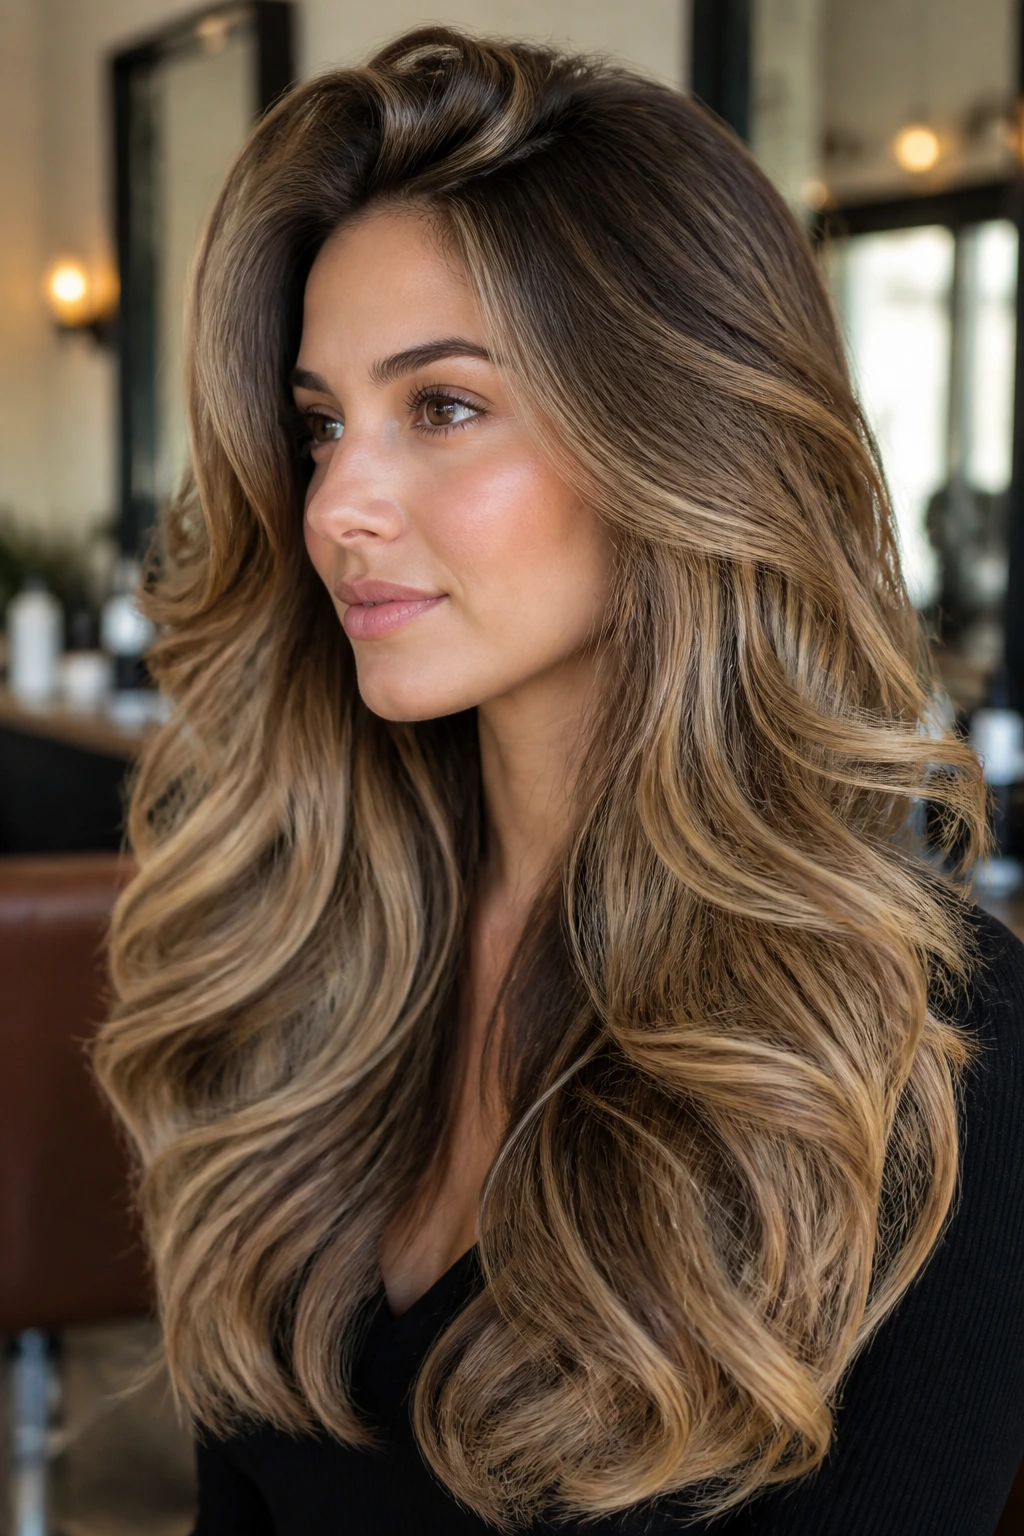
Big blowout waves are all about root lift and a broad bend through the lengths. They suit long hair because the length carries volume well when the roots are lifted correctly. If the crown sits too flat, the whole style looks draggy no matter how pretty the ends are.
Use a large round brush or a hot brush, direct the roots upward while drying, and curve the mid-lengths under or away from the face depending on the finish you want. Then set the shape with a cool shot. This one takes more patience than a quick wand wave, but the payoff is hair that looks full without looking curly.
I’d pick this over tighter waves when the haircut has long layers and the goal is body, not definition.
25. Claw-Clip Half-Up Waves
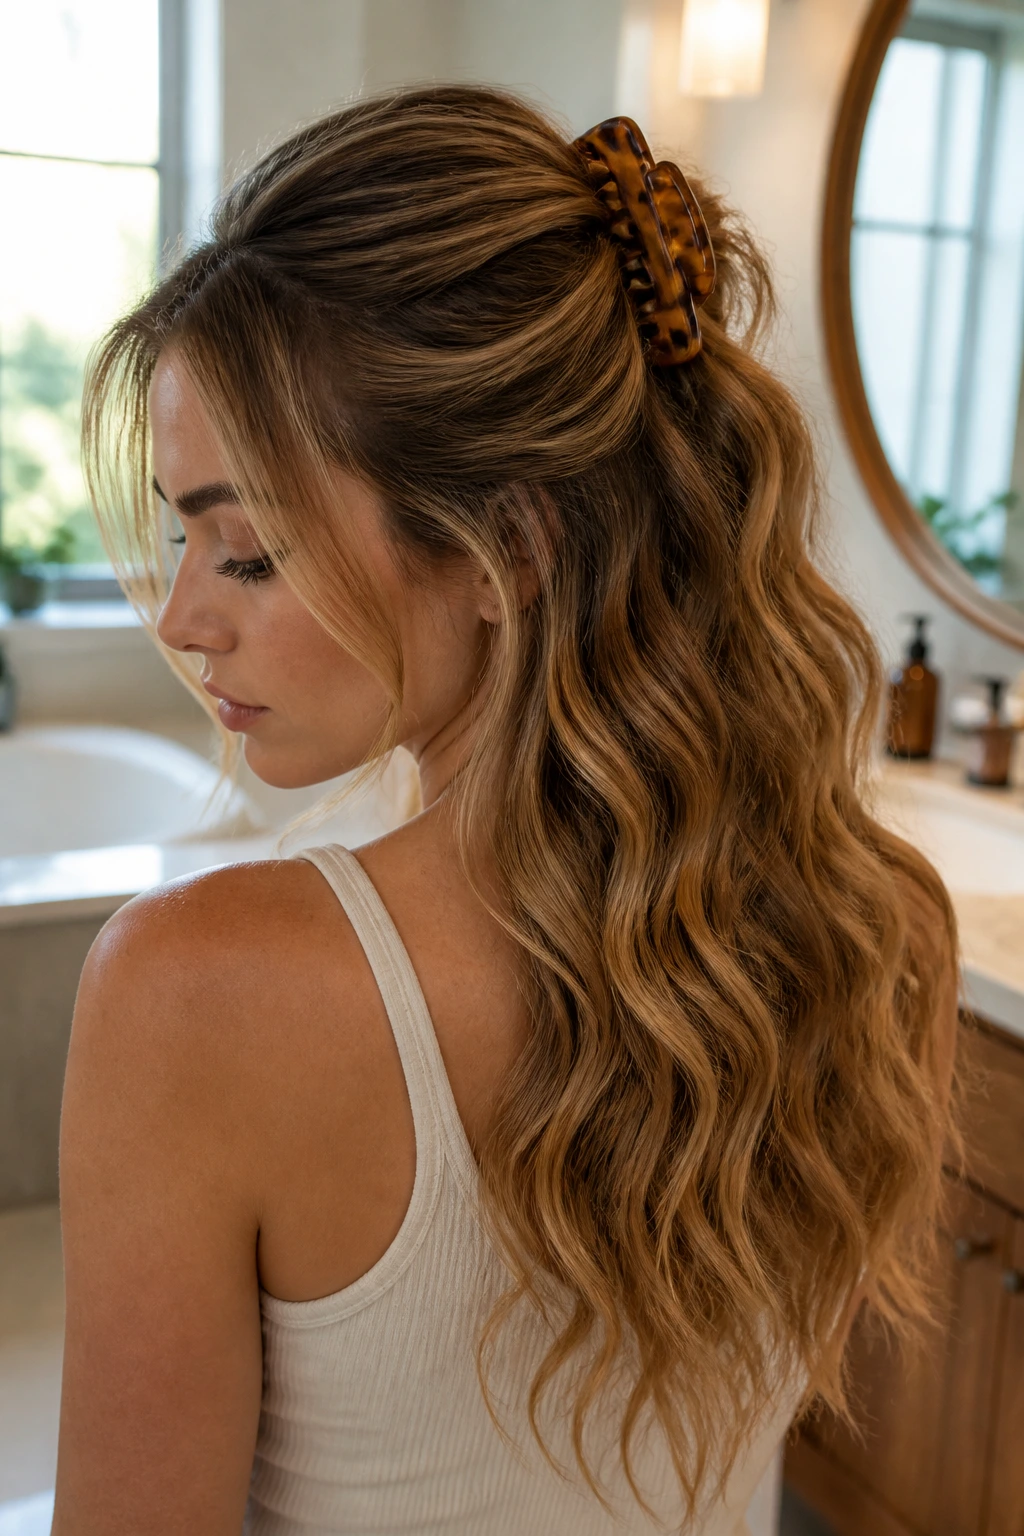
A claw clip makes long waves look casually arranged, but only if the clip sits in the right spot. Too high, and it swallows the style. Too low, and the wave pattern loses shape around the crown. The sweet spot is just above the occipital bone, where the hair naturally starts to round back.
Gather the top half loosely, twist once, and clip it so the ends spill out softly. Leave a few face-framing pieces down. The texture below should stay visible. This is one of the easiest ways to rescue waves on day two or day three without redoing the whole head.
26. Mermaid Braid Undercurrent Waves
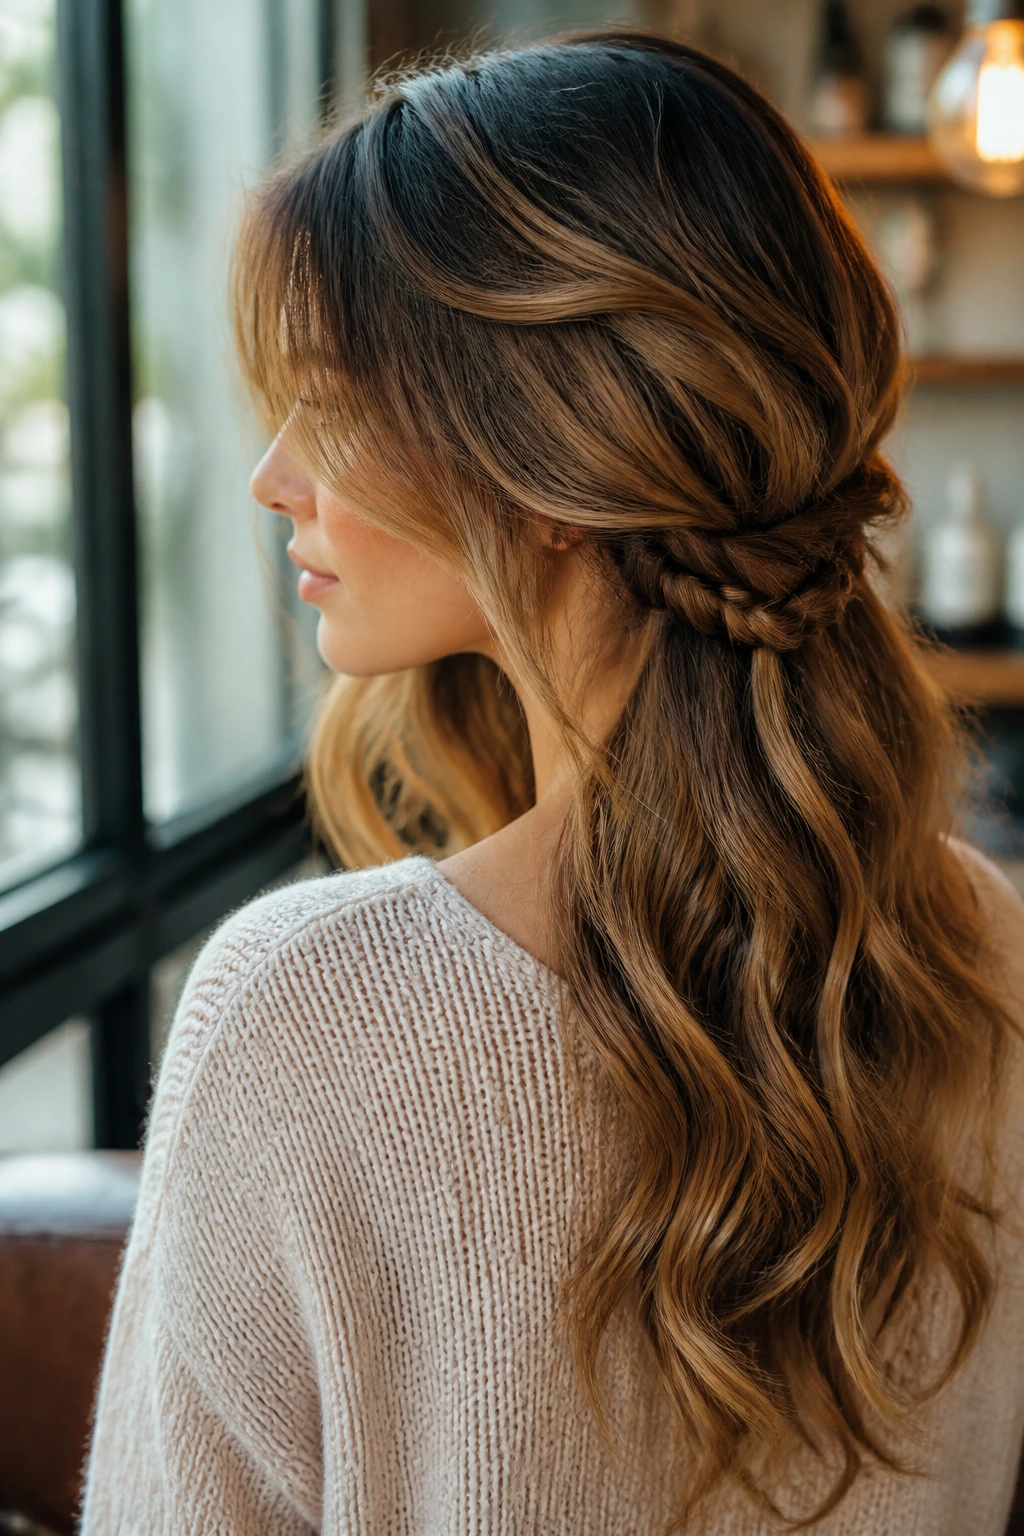
A hidden braid under the top layer is a neat trick for long hair because it adds structure without changing what people see first. You braid underneath, let the top layer cover it, and the wave pattern over the top keeps moving freely. It’s subtle. In a good way.
This style works especially well if the lengths are already wavy or if you’re trying to create texture without extra heat. The braid underneath also gives the hair a little friction, which helps the wave hold longer. Keep the braid loose enough that it doesn’t print through the surface unless you want it to show.
Small note: this is better than a full braid when you want movement to stay the focus.
27. Straight Roots, Curled Ends
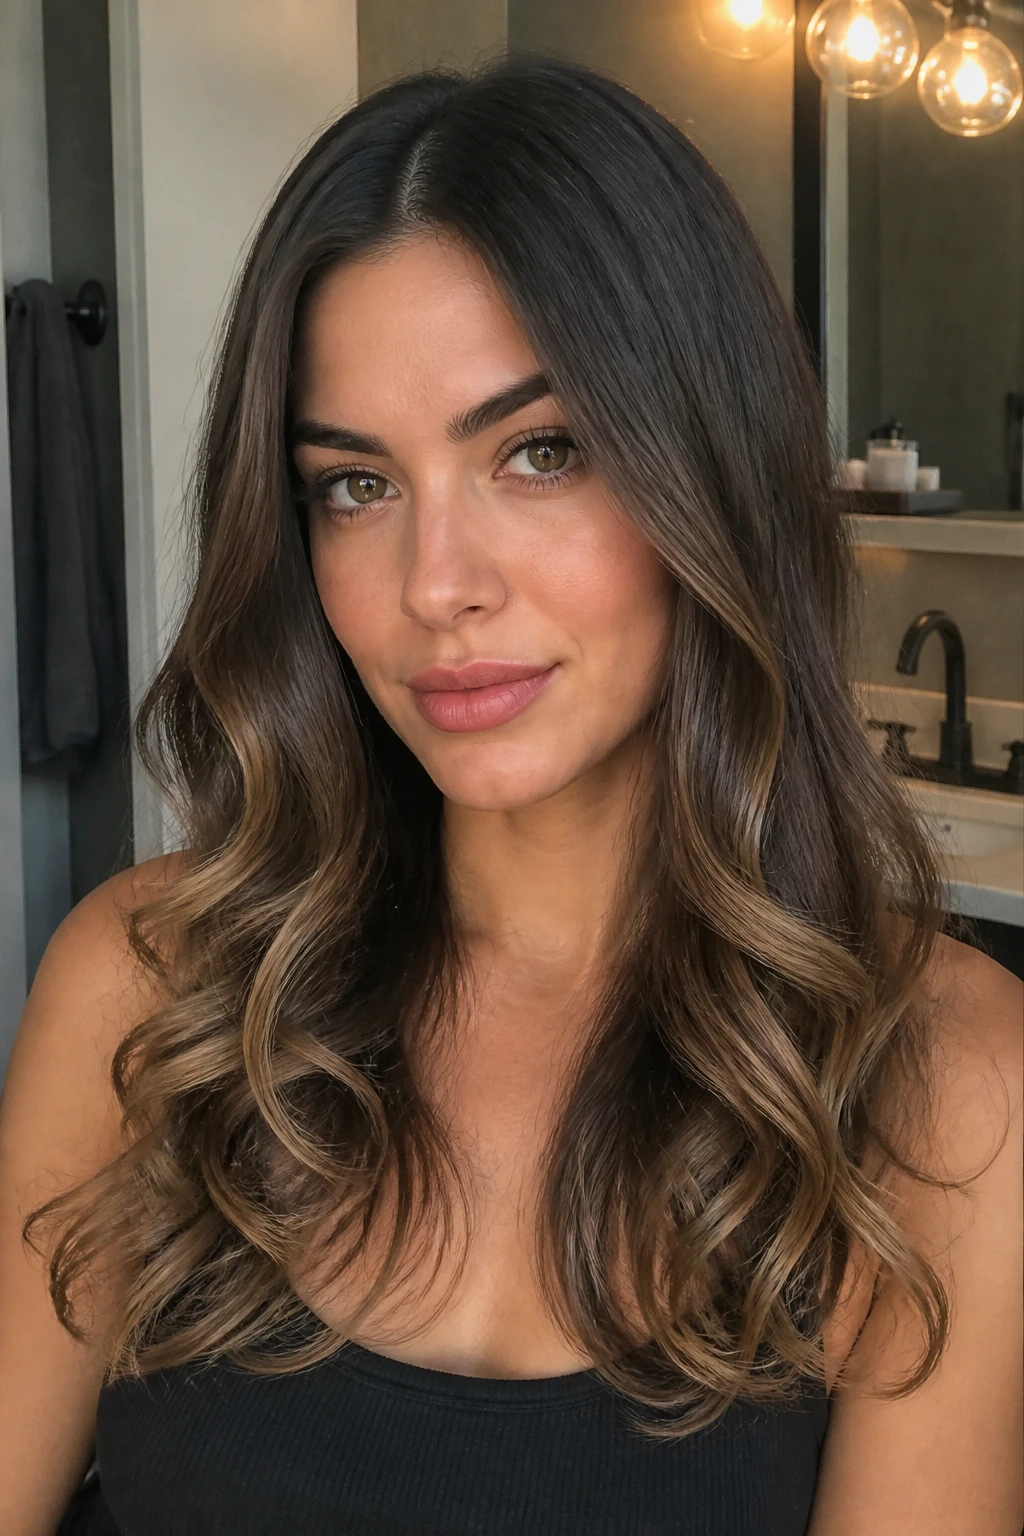
Straight-root, curled-ends waves feel current without trying too hard. The top stays smooth and calm, while the lower half bends or curls just enough to keep the length from hanging straight. On very long hair, this is a useful way to avoid the “too much hair, too much shape” problem.
Use the iron only below the cheekbone, and leave the upper section alone except for a gentle blow-dry at the roots. That keeps the base from getting bulky. The ends can be wrapped once or twice around the iron for a soft finish. If the hair is especially thick, this style prevents the top from puffing while still giving the ends some life.
28. Tucked-Behind-Ears Soft Waves
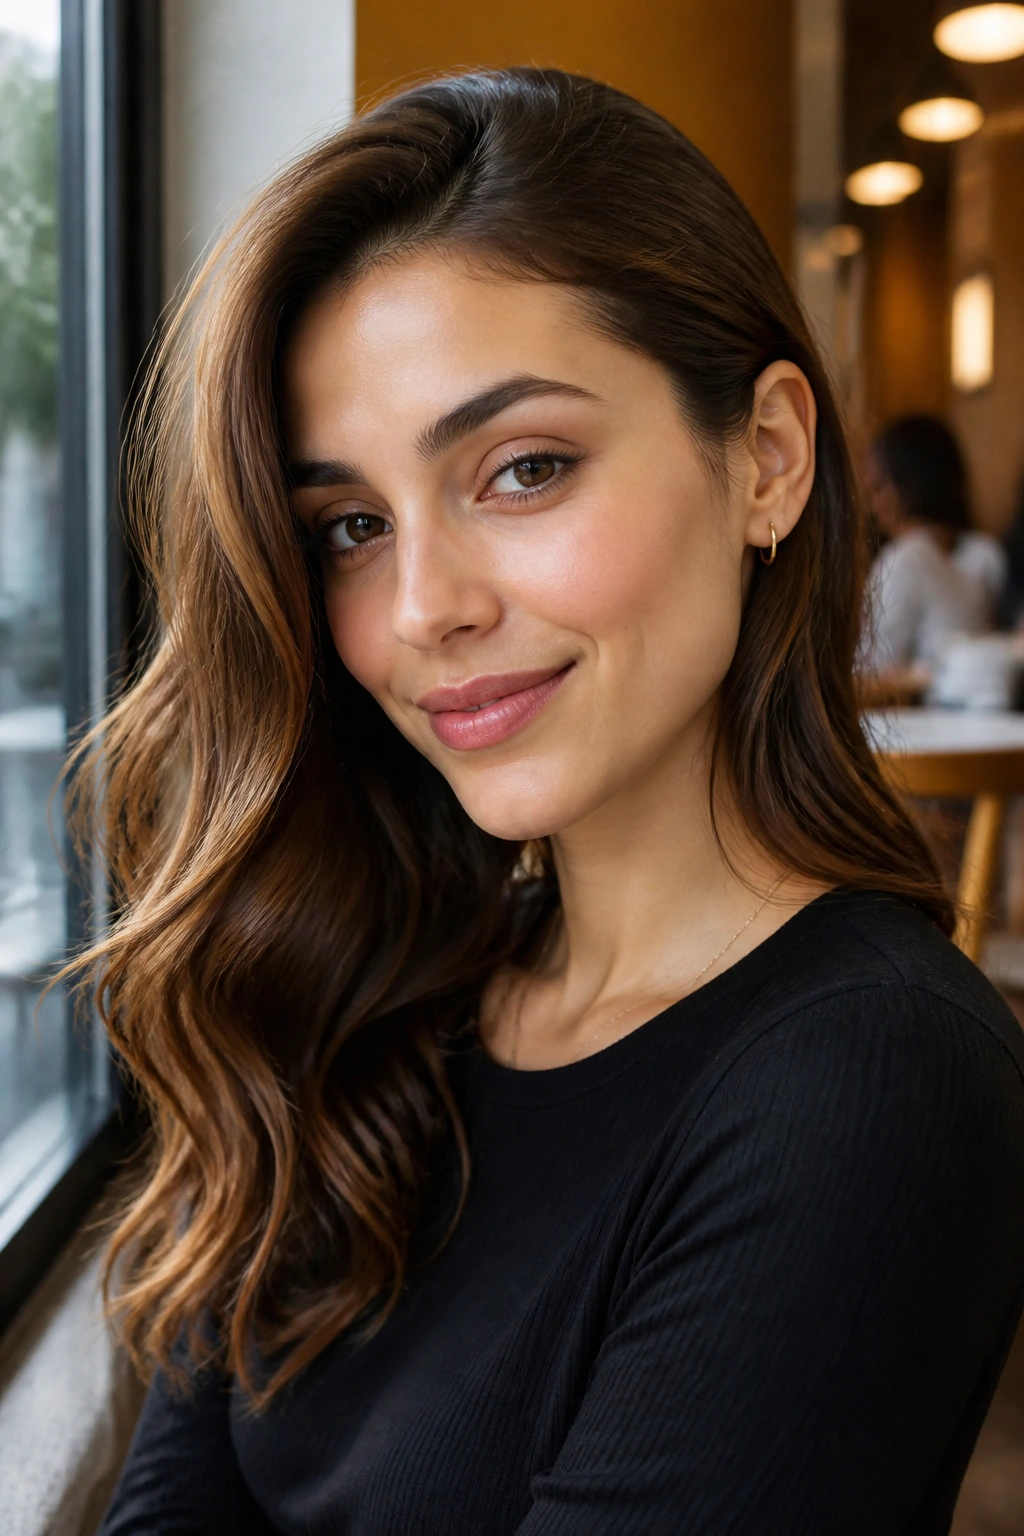
Why does tucking one side behind the ear change everything? Because it opens the face and shows the structure of the wave instead of hiding it behind a curtain of hair. Long hair can swallow the jawline if it hangs straight on both sides. A single tuck fixes that.
Shape the waves first, then tuck one side after the hair has cooled. Leave a soft bend near the temple so the tuck doesn’t look severe. This is a useful look when you want earrings to show or when the neckline of the outfit has some detail worth seeing. The wave pattern should still do most of the work; the tuck is just the punctuation mark.
29. Center-Part Curtain Waves
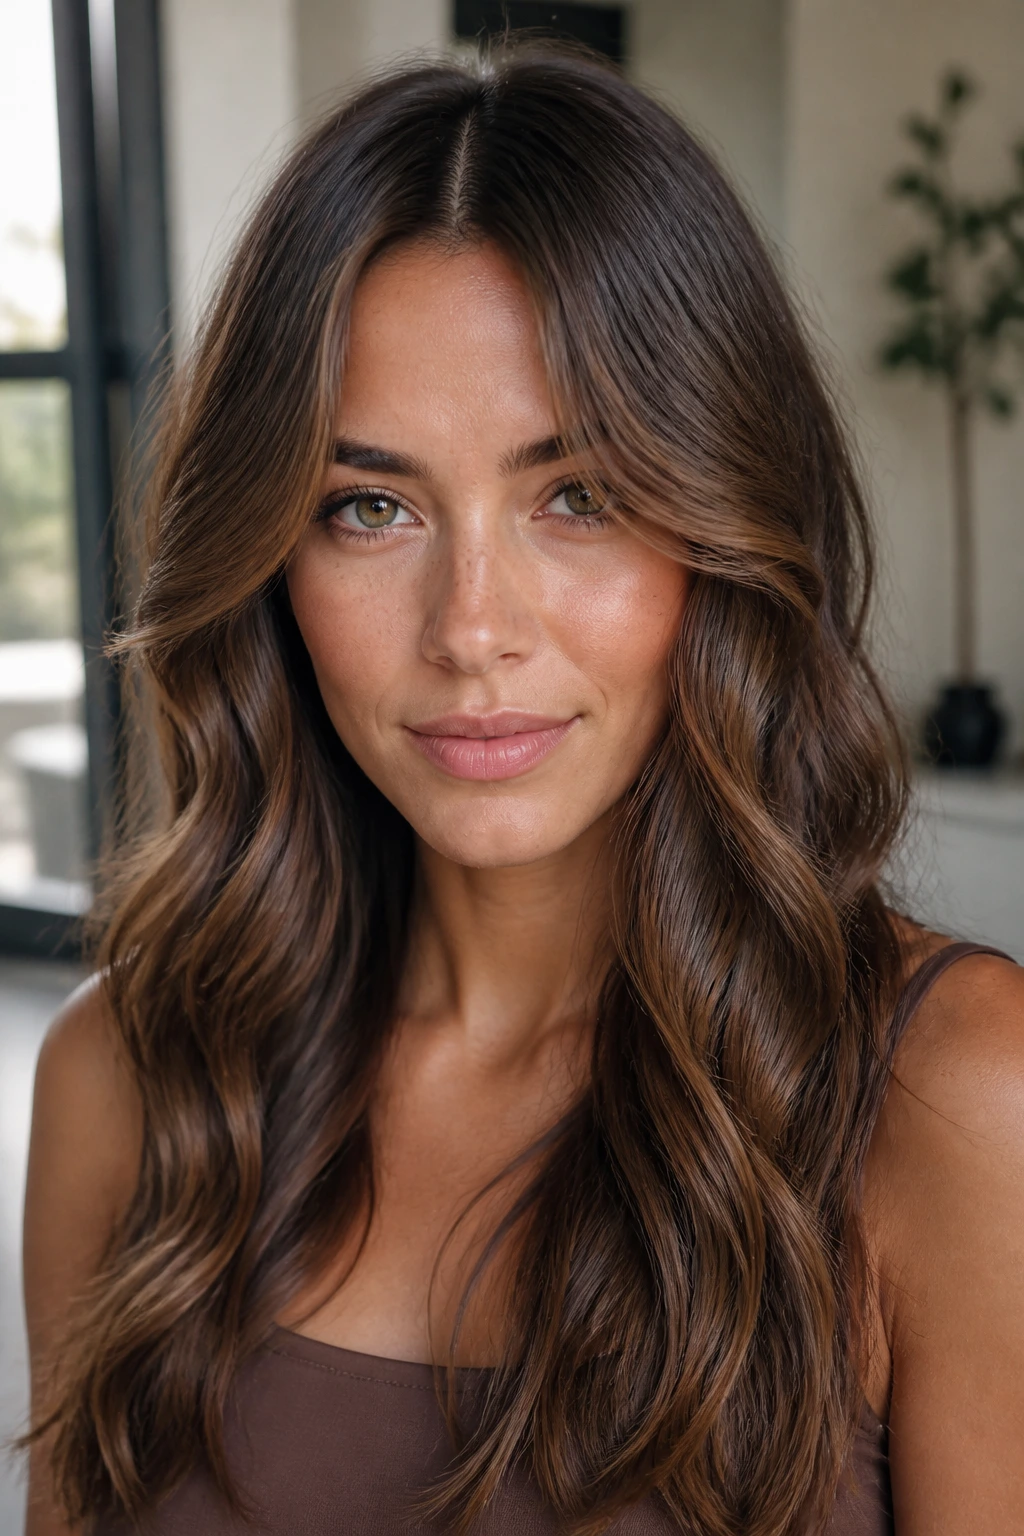
A center part can make long waves feel calmer and more balanced. With curtain waves, the front pieces fall away from the face in matching curves, which gives the whole style symmetry. That sounds neat on paper. In practice, it just looks clean and easy to read.
Use the same bend direction on both front pieces, then alternate through the rest of the hair so the length doesn’t form one giant uniform pattern. Keep the part line crisp with the tail of a comb. If your layers are long enough, this shape makes them show up without needing a lot of product.
Best for: oval, long, and heart-shaped faces, though plenty of people can wear it if the front pieces are cut well.
30. Side-Braid Cascade Waves
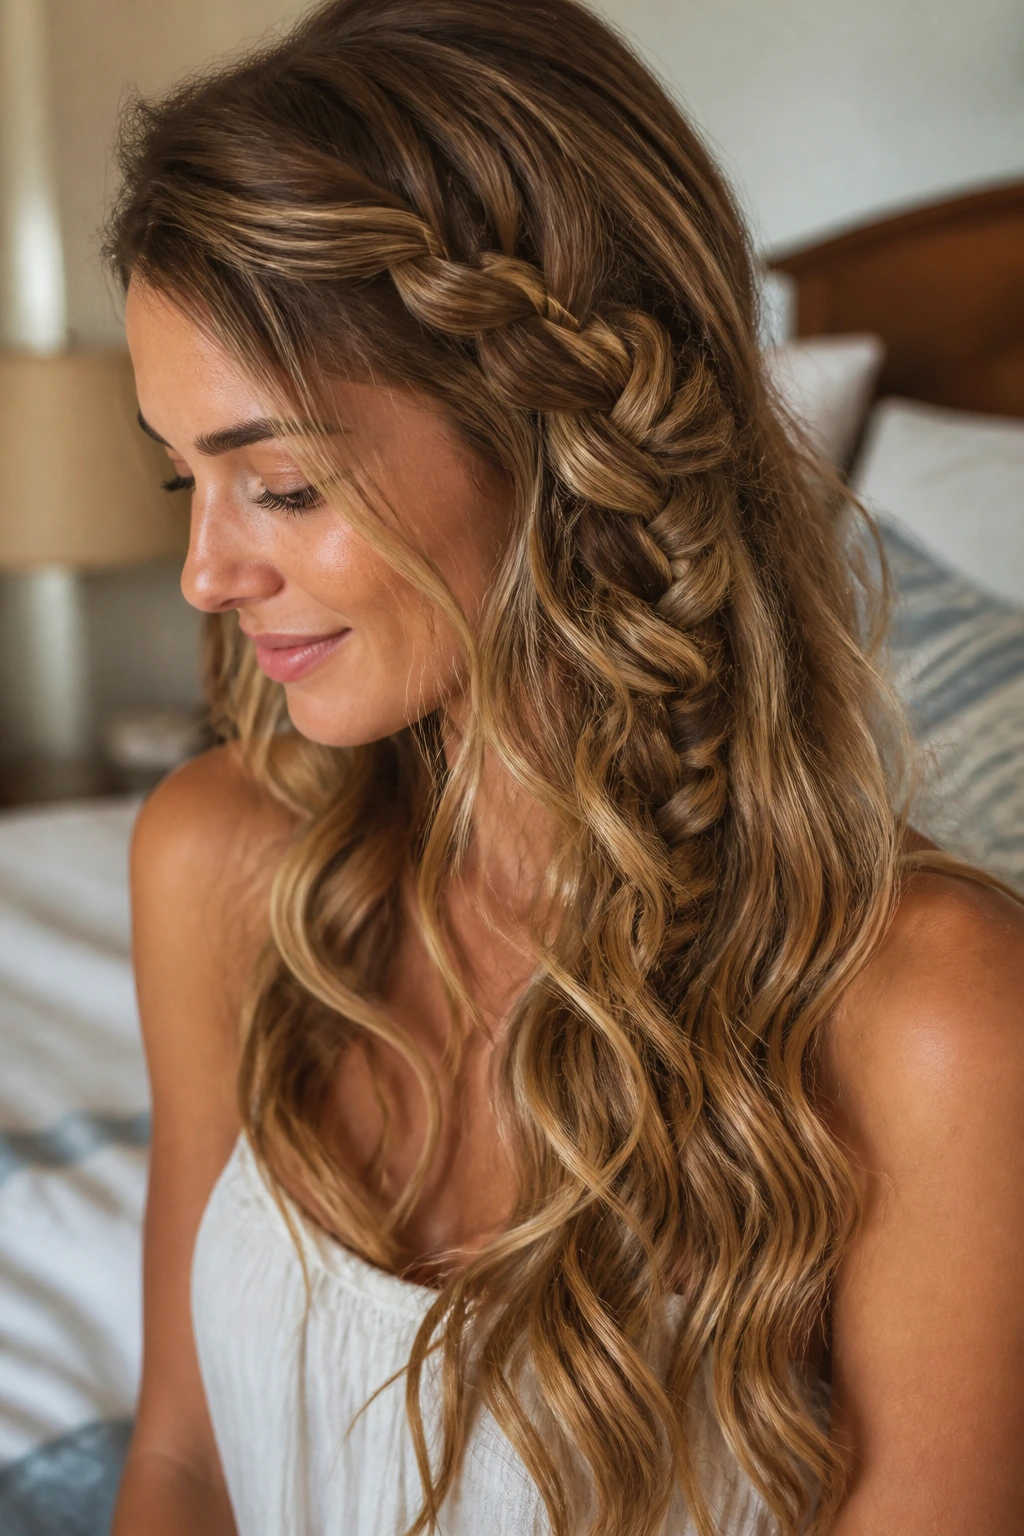
A side-braid cascade is a better choice than a full braid when you want the texture to move. Start one braid near the temple or just above the ear, then let it disappear into the length halfway down. The rest of the hair stays loose and wavy, so the braid becomes part of the flow instead of taking over.
Long hair makes this style useful because the braid has enough room to travel before it runs out of length. Pull the braid slightly loose after it’s secured. That little softening keeps it from looking rigid against the waves. I’d use this one for a casual event or any day you want a bit more detail without losing the open length.
31. Heatless Rope-Belt Waves
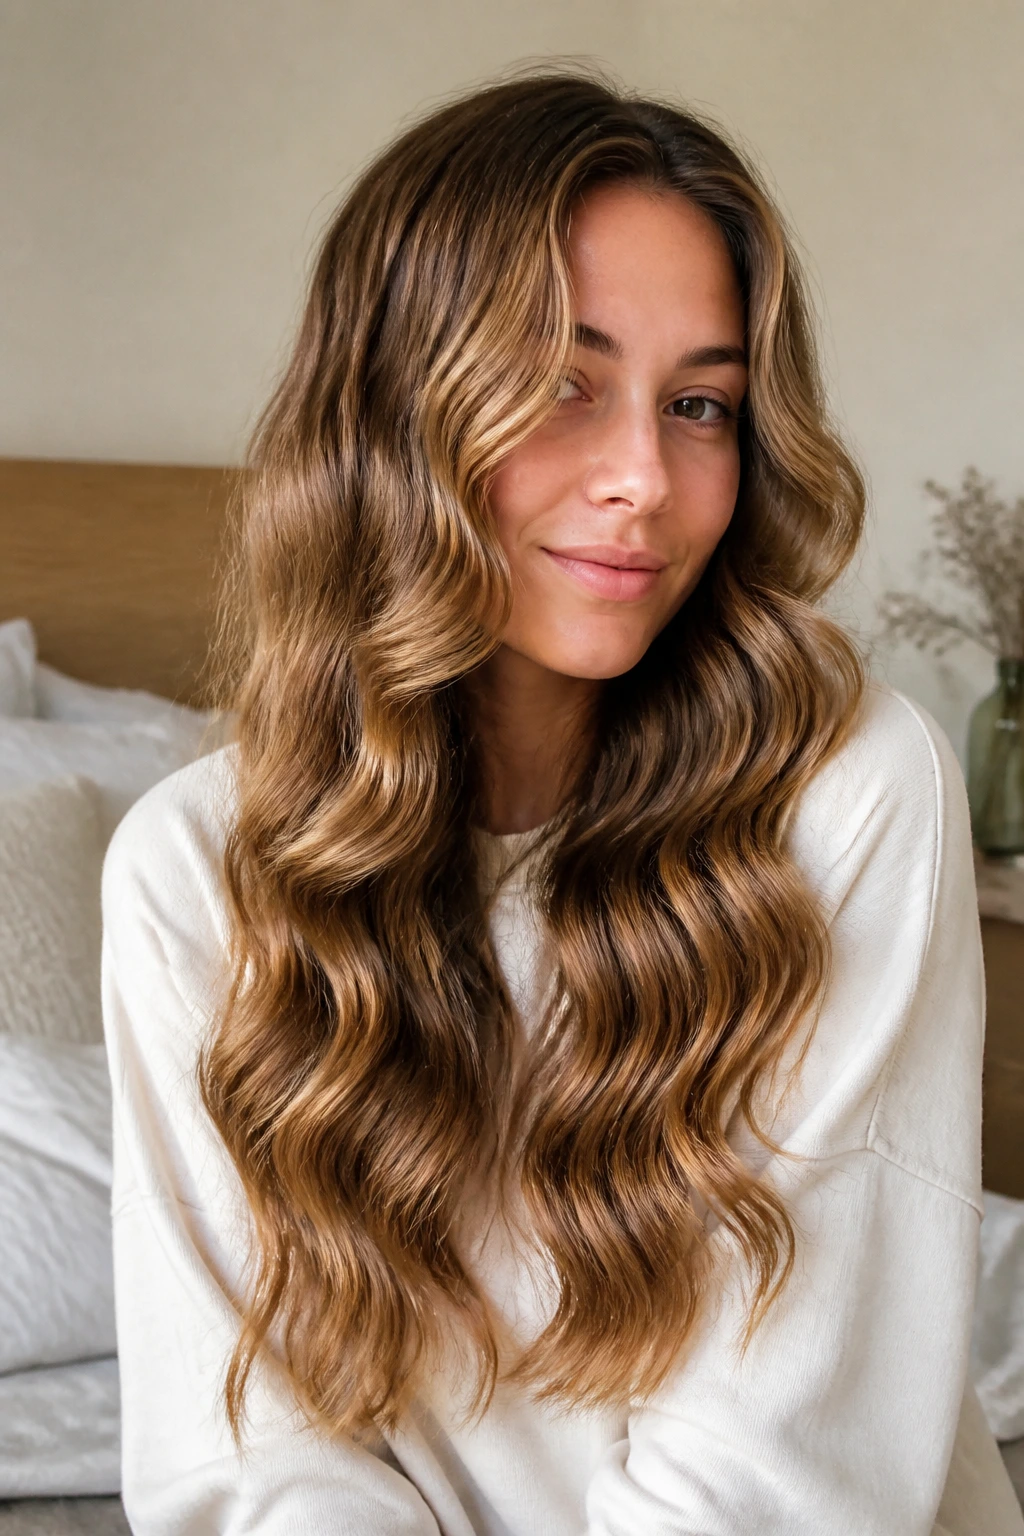
If you want a no-heat option that still gives a recognizable wave pattern, the rope-belt method is worth the fuss. Wrap damp hair around a soft robe belt, secure the ends, and sleep on it. The next morning, the hair comes out with broad, smooth bends that sit well on long lengths.
The setup matters. If the hair is too wet, it won’t dry through. If it’s too dry, the bend won’t set. Damp is the sweet spot. This style is a good choice for hair that gets fried easily, or for anyone who wants a softer wave without sleeping in a tight braid.
What to expect
It takes longer than a hot-tool style. It also tends to give a gentler, more even wave from root to end, which can look excellent on very long hair.
32. Soft Pin-Curl Waves
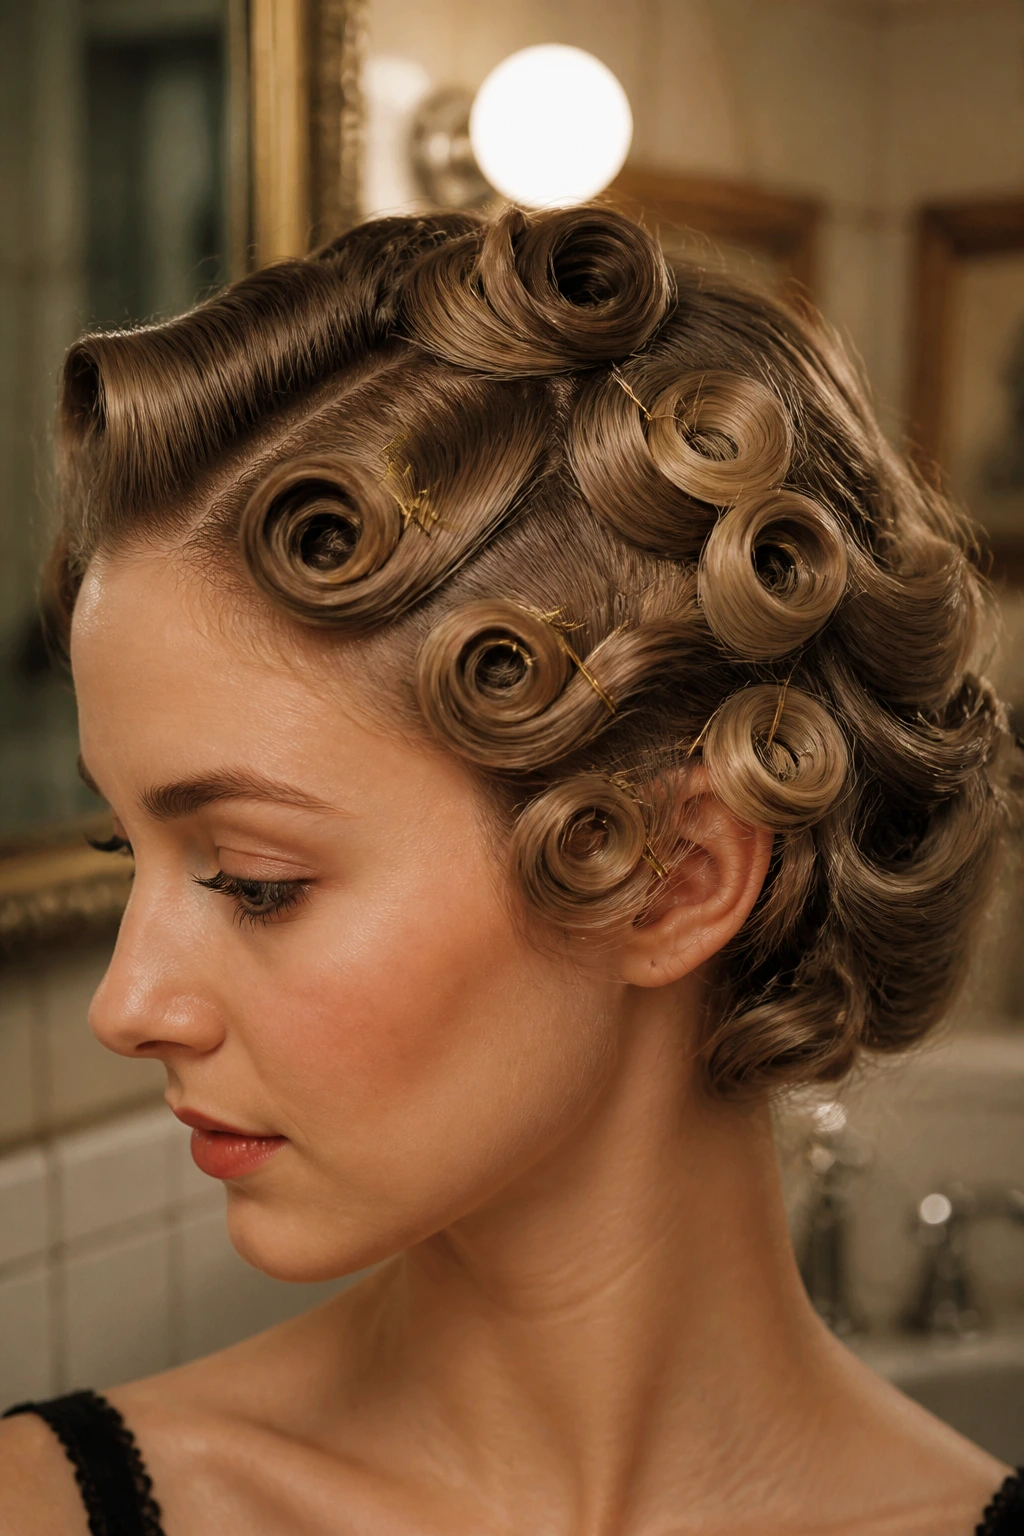
Pin curls are old-fashioned for a reason: they hold shape. On long hair, they create controlled waves that stay smooth and polished after you release them. The tradeoff is time. You have to pin, cool, and wait. That part is not glamorous. It works.
Take small sections, curl them flat against the head, pin each one, and let everything cool completely before brushing. The finished wave is softer than a clamp curl but more structured than a braid wave. If you want the hair to look intentionally set rather than loosely styled, this is the one.
Best for: formal looks, vintage shapes, and hair that drops other wave styles too fast.
33. Teased Crown Waves
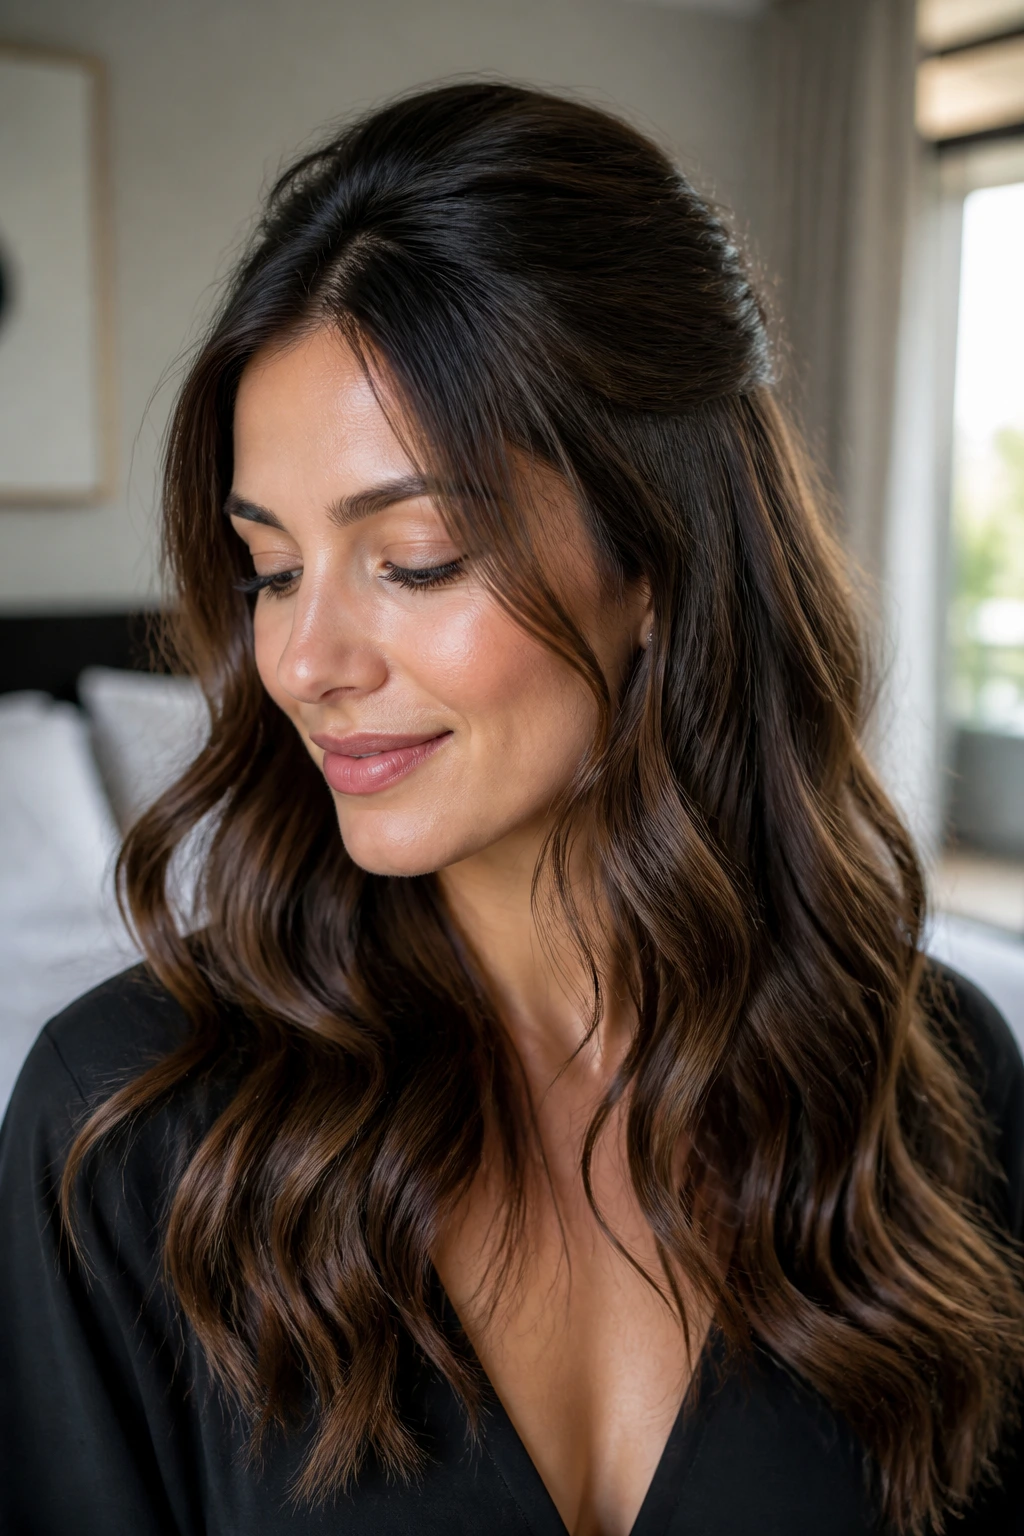
Teased crown waves solve a very specific long-hair problem: the top goes flat while the rest of the style still has movement. A small, hidden tease at the crown gives the hair some lift where long lengths usually pull it down. You don’t need a helmet. You need a little backbone.
Backcomb a narrow section at the crown, smooth the top layer over it, then shape the rest of the waves normally. Keep the teasing invisible. If you can see the backcombing, you’ve gone too far. This style is especially useful for heavy hair, long layers, and any look that needs to survive being outside, under lights, or on a humid day.
Why Long Hair Loves Texture More Than Tight Curl
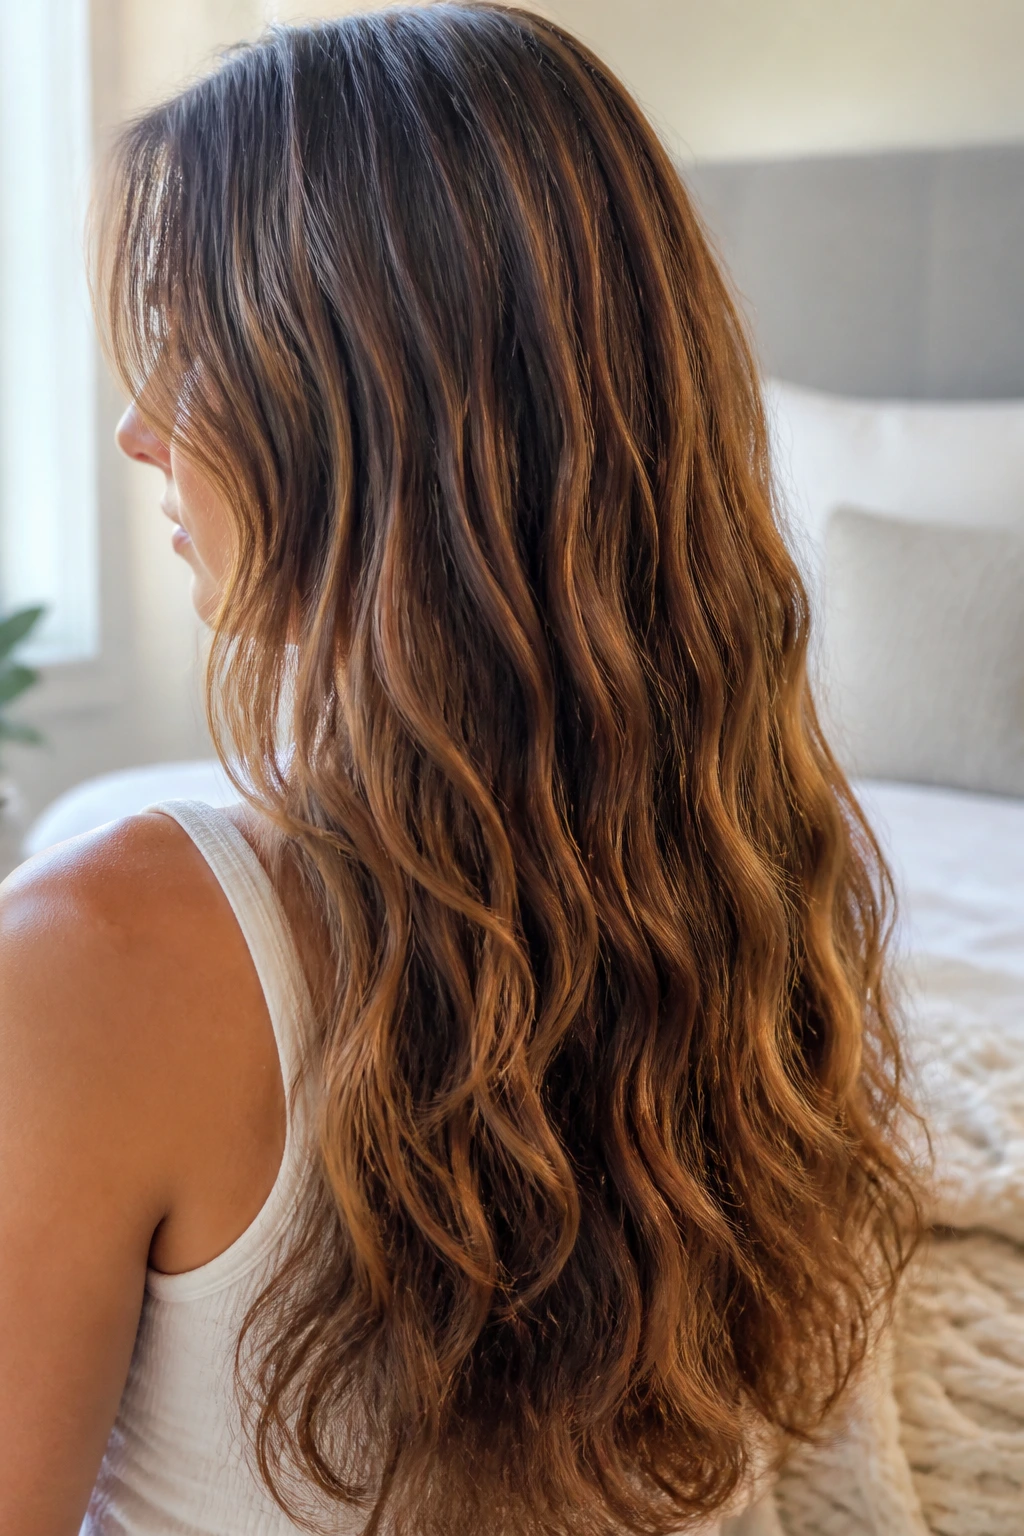
Long hair rarely benefits from a tiny, uniform curl pattern all the way down the shaft. The weight of the length stretches those curls anyway, and what’s left is often a flat root with tired ends. Texture works better because it gives the eye movement without forcing every inch of hair to hold the same shape.
That’s why bends, waves, braids, twists, and brush-outs keep showing up in good long-hair styling. They create a softer contrast between root, mid-length, and end. The top can stay a bit smoother while the lower half carries the pattern. The whole style looks more controlled, and honestly, it’s easier to live with.
The other win is recovery. A wave that softens can still look intentional. A tight curl that collapses can look bad fast. Long hair rewards styles that age well over the course of the day, and that’s one reason textured wave hairstyles for long hair keep winning out over anything too exact.
Essential Tools for These Styles
-
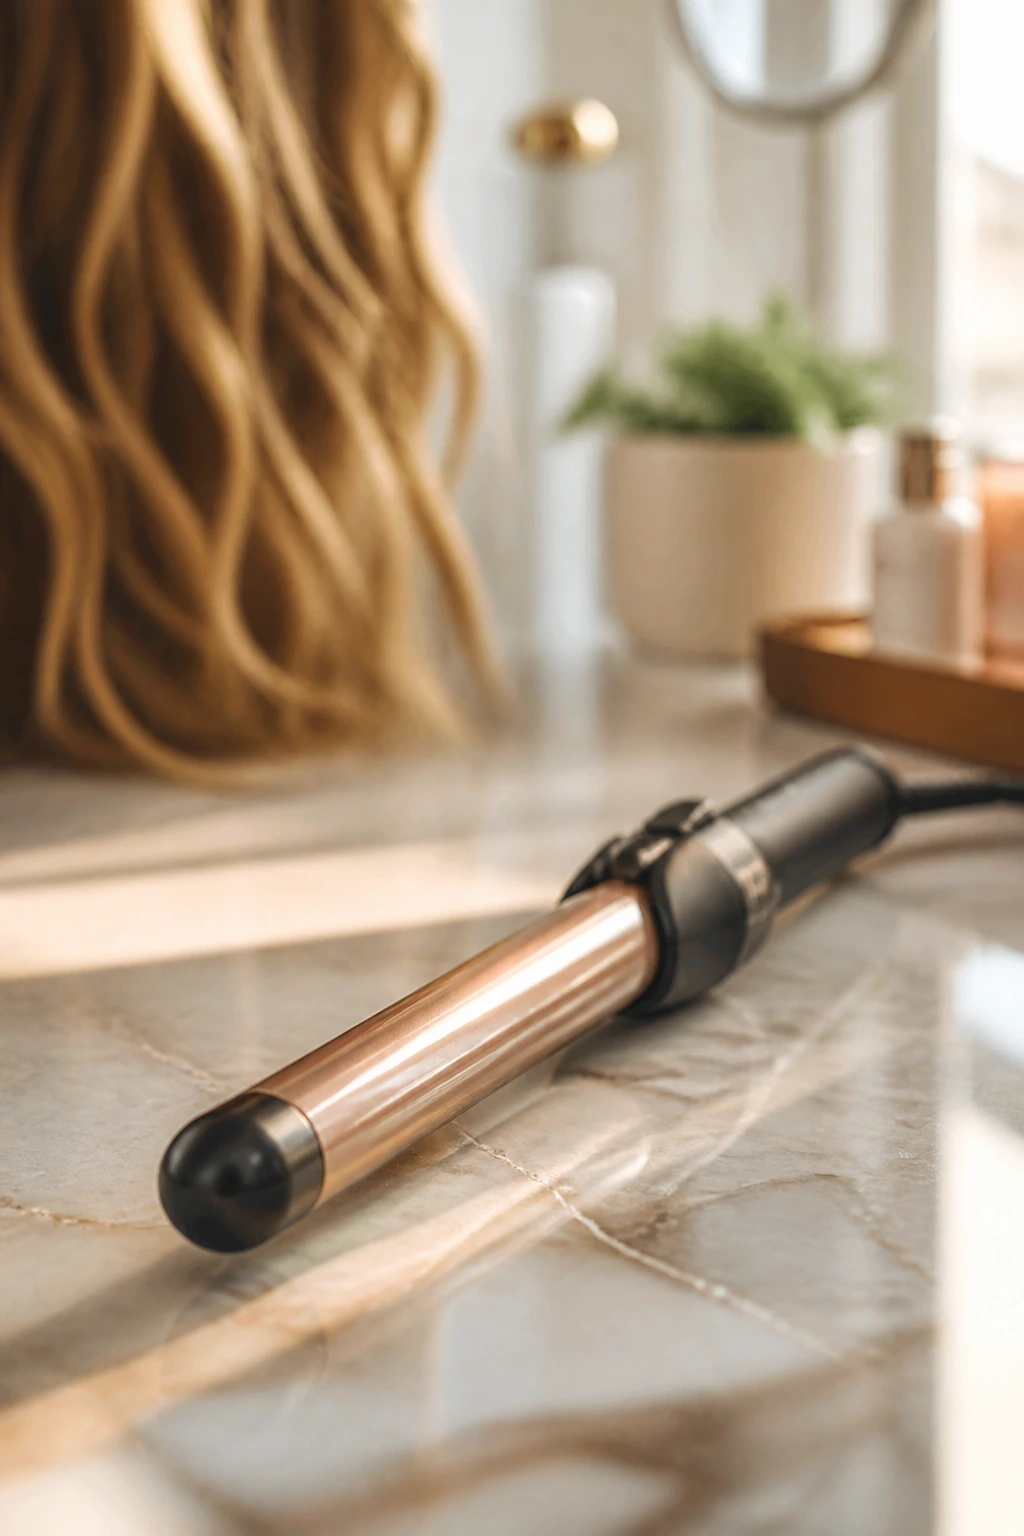
1-inch curling wand: Best for tighter bends, face-framing pieces, and styles that need definition without a clamp line.
-
1.25-inch curling iron: The most useful barrel size for long hair if you want loose, brushable waves.
-
Wide-tooth comb: Good for breaking waves apart gently without pulling them flat.
-
Boar-bristle or soft paddle brush: Helps turn separate curls into one smooth wave pattern when you want a glossier finish.
-
Heat protectant spray: Non-negotiable for anything that touches a hot tool. Use it from mid-lengths to ends.
-
Sectioning clips: Keep the crown clean while you work through the lengths.
-
Tail comb: Handy for clean part lines and neat sectioning.
-
Texturizing spray: Gives grip and separation, especially for layered or fine long hair.
-
Lightweight hairspray: Holds the finish without turning the hair stiff.
-
Bobby pins and small elastics: Needed for half-up styles, braids, twists, and hidden anchors.
-
Silk scrunchie or satin scarf: Useful for overnight preservation and heatless sets.
Smart Product Picks for Long-Hair Waves
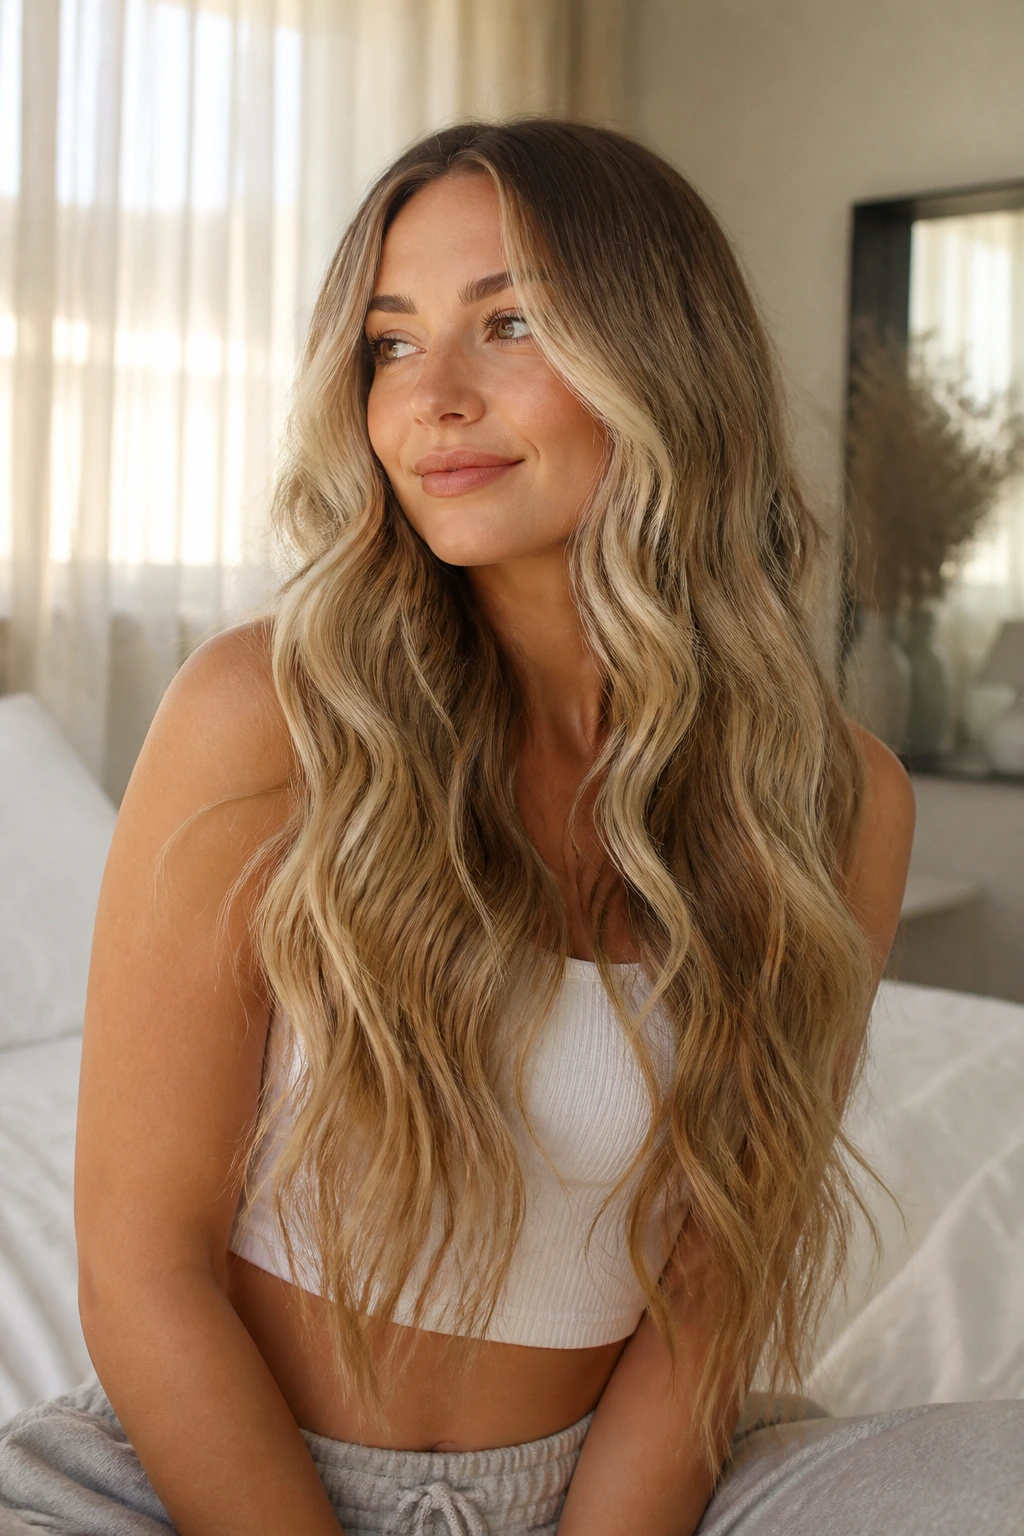
Long hair is unforgiving when the product choice is wrong. Heavy creams can drag the crown down. Sticky sprays can make the ends feel like wire. The sweet spot is usually lightweight support at the roots, a little slip through the mid-lengths, and a finish product that doesn’t smother the texture you just built.
If your hair is fine, start with a foam mousse or root-lifting spray on damp hair. Fine strands need help staying up from the scalp, and mousse gives hold without the greasy feel that some creams leave behind. For coarse or very dense hair, a smoothing cream or leave-in on the ends can stop the wave from looking dry and spread out. Use less than you think. Long hair magnifies product mistakes.
For hot-tool styling, a thermal protectant with enough slip to coat each section matters more than fancy marketing language. Spray from about 8 to 10 inches away, then comb it through. The surface should feel lightly damp, not wet. If it feels heavy before you even pick up the iron, you used too much.
Texture spray is useful, but it belongs in the mid-lengths and lower crown, not drenched onto the ends. The ends of long hair already take the brunt of friction. Flooding them with dry grit makes the style fall apart faster. Finish with a light-hold hairspray or a tiny amount of serum on the palms, depending on whether you want matte separation or soft shine.
How to Wear These Waves So They Read as Intentional
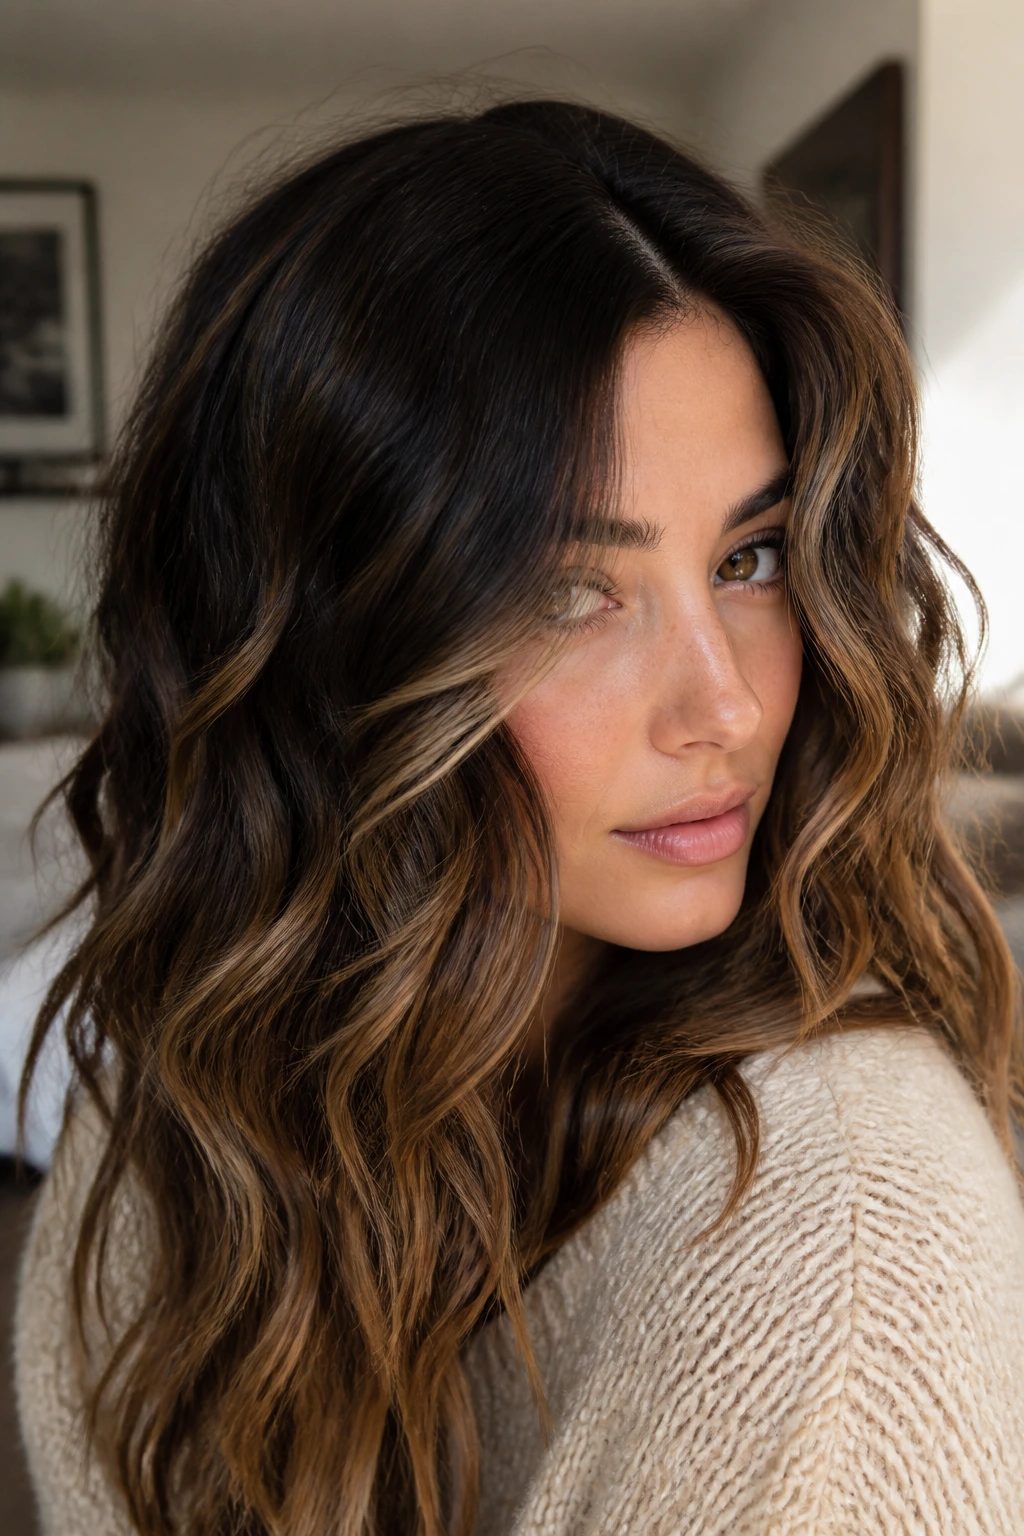
Presentation: Start with the part and the crown. A deep side part reads dramatic, a center part reads cleaner, and a soft off-center part sits in the middle. Let the front pieces shape the face first, because long hair can hide good styling if the top stays limp.
Accompaniments: Earrings, collars, and necklines matter more than most people think. Side waves look sharp with a simple hoop or drop earring. Half-up twists and braids work well with open necklines and jackets that sit away from the shoulders. If the outfit is busy, keep the hair quieter. If the outfit is plain, let the waves do more.
Portions: On fine hair, use less product and smaller sections so the movement shows. On thick hair, use larger sections, more cooling time, and a bit more root lift. Very long hair often looks best with two texture zones — smoother near the top, softer through the ends — instead of one identical wave from scalp to hem.
Setting: Think about where you’re going. Glossy barrel waves suit formal settings and photographs. Braids, rope twists, and air-dried bends sit better in casual settings because they hold up to movement and don’t look overworked. The style should match the day, not fight it.
Extra Polish and Personal Tweaks
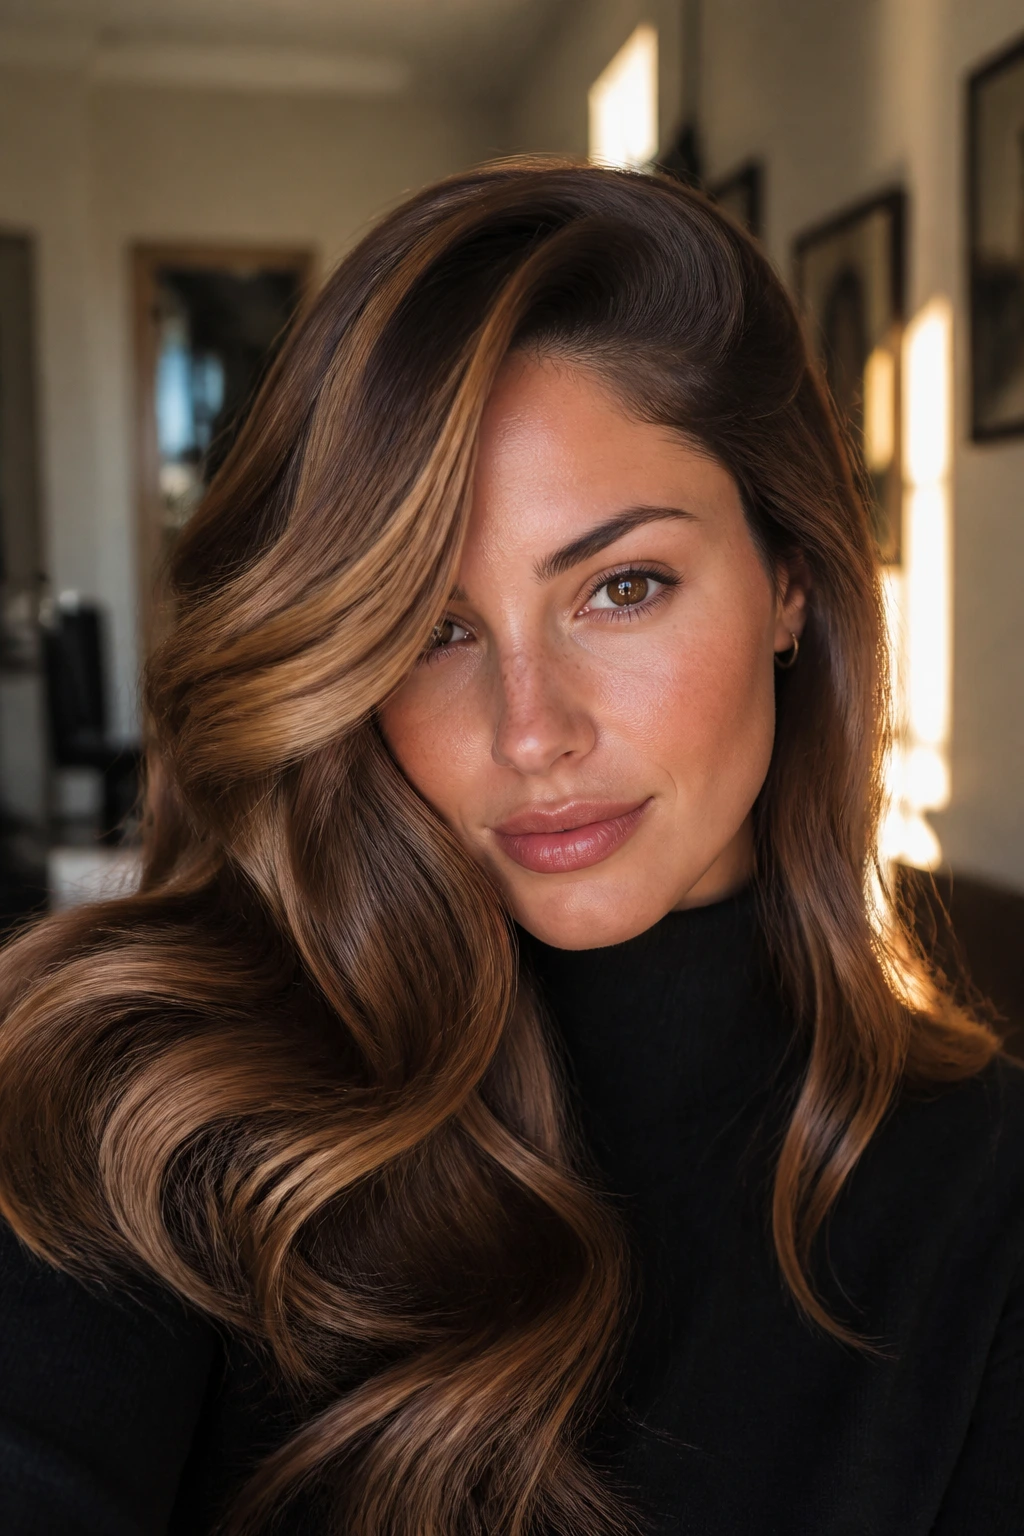
Texture Boost: If the waves keep sliding out, mist a little texturizing spray at the mid-lengths after the hair cools, then scrunch once. Don’t spray the whole head. That’s how the finish gets chalky.
Customization: Change the direction of the front sections only. That tiny shift changes the whole face shape without making the style look like a different hairstyle. A few backward bends around the face can make long hair feel lighter.
Serving Suggestions: Pin one side behind the ear, tuck in a braid, or leave one face-framing ribbon intentionally straighter than the rest. Those little breaks in pattern keep the style from looking too matched.
Make-It-Yours: Fine hair usually needs root lift and lighter hold. Thick hair needs bigger sections and more cooling time. Curly or coily hair can use these looks too, but the starting point should be stretch and definition, not fighting the natural pattern into submission.
Keeping the Shape Overnight and Between Washes
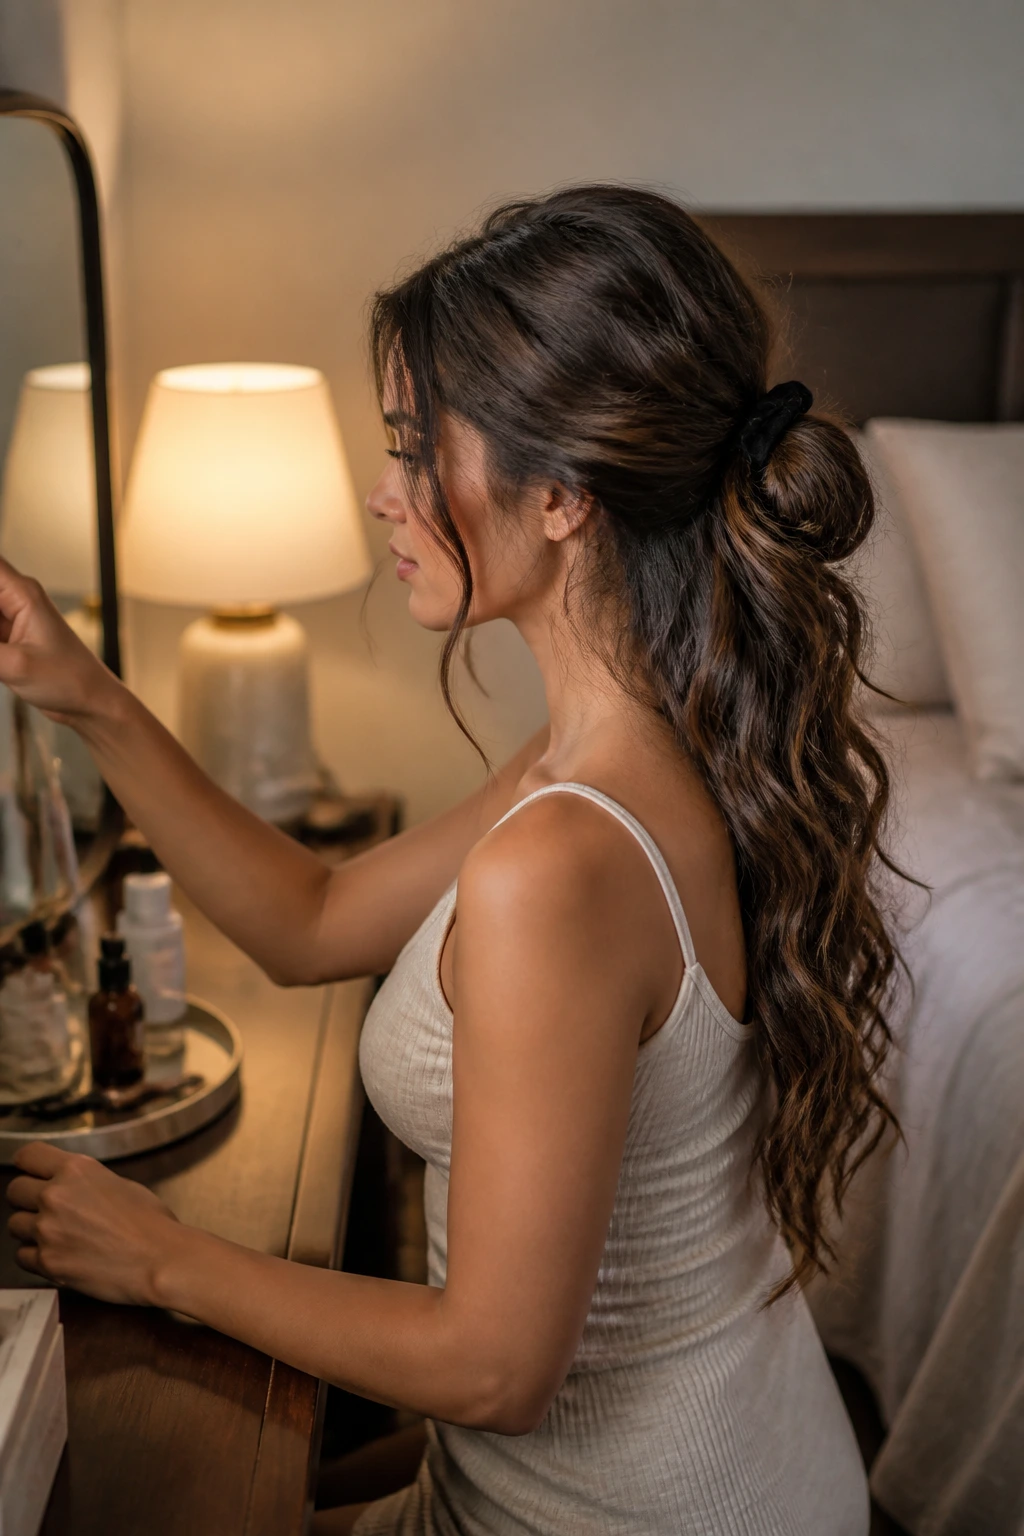
Long hair waves hold better than people expect if you treat them gently after styling. The first rule is to let the hair cool completely before you touch it. Warm hair still remembers the tool shape, and brushing it too soon is a quick way to flatten the whole thing.
For overnight wear, a loose silk scrunchie, a low pineapple, or a soft braid works better than a tight elastic. If the style is already half-up, sleep on a silk pillowcase and leave the top section loose rather than trying to rebuild it in the morning. Braided or rope-set waves can last overnight, and sometimes a full day after that, if the hair is dry and the ends aren’t overloaded with oil.
Refreshing is simple. Mist the lengths lightly with water or a leave-in spray, then bend only the pieces that need help — usually the front sections and the crown. You do not need to re-style every strand. That’s how long hair gets overhandled and frizzy. A little dry shampoo at the roots on day two helps the crown stay lifted. Day three is usually still wearable if the style started with a strong foundation and you haven’t buried it under too much product.
Heatless styles need a different kind of patience. If the braid or belt set isn’t fully dry, the wave will fall apart faster once it’s released. Give those styles extra time, especially if the hair is thick or layered. The inside of a thick braid can stay damp far longer than the outside feels, and that’s the part people usually miss.
Common Mistakes to Avoid With Long-Hair Waves
-
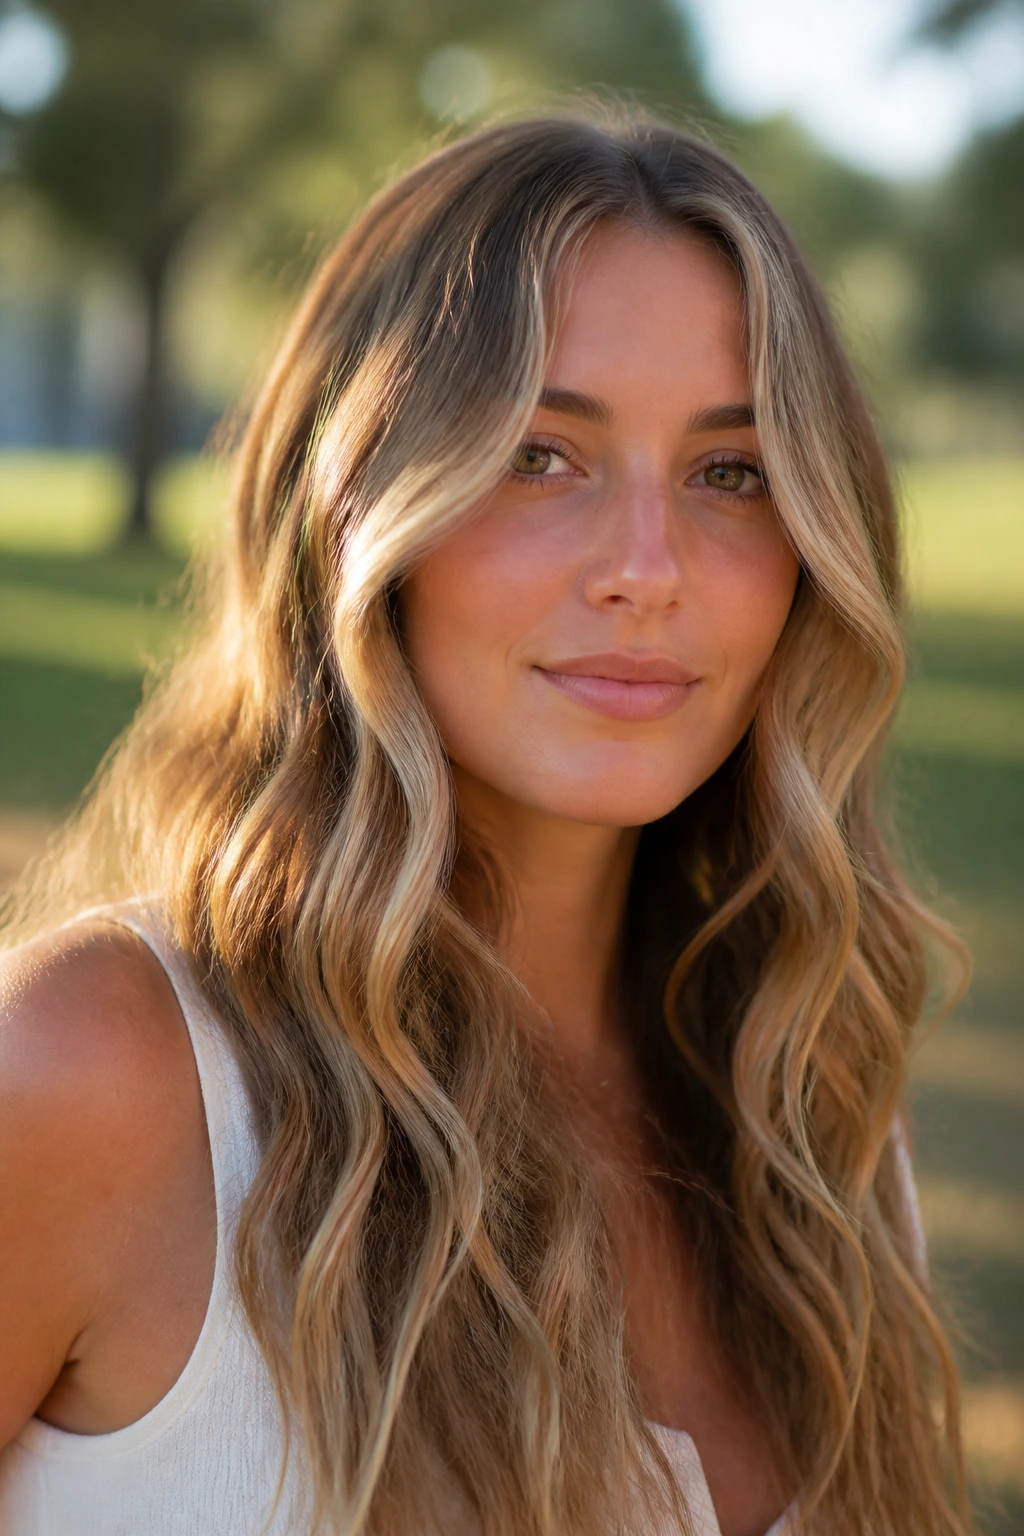
Using sections that are too thick: Big chunks of hair won’t heat evenly, so the outer layer waves and the middle stays straight. Stick to about 1-inch sections for definition and 1.25-inch sections for looser movement.
-
Brushing too soon: Hot waves look stronger than they are. If you brush before the hair cools, the shape collapses and the style goes fuzzy at the ends. Wait until the hair feels fully cool to the touch.
-
Loading the roots with product: Heavy cream or too much oil near the scalp makes the crown flat and greasy fast. Keep richer products on the mid-lengths and ends only.
-
Curling every section in the same direction: It creates one solid pattern that can look stiff, especially on long hair. Alternate directions for a softer finish unless you want a very smooth vintage shape.
-
Skipping root lift: Long lengths pull down the crown, so waves without lift can look tired from the start. Use clips, blow-dry lift, or a little teasing at the crown if the hair is heavy.
-
Overdoing hairspray: A crunchy finish kills movement. Use enough to hold the style, not enough to freeze it in place.
Variations and Adaptations to Try
Heatless Silk-Belt Waves: Wrap damp hair around a silk or robe belt and sleep on it. This gives broad, soft waves with less friction than a standard braid, which is useful if your ends get rough fast.
Humidity-Guard Waves: Start with a smoothing leave-in, add a light mousse, and finish with an anti-humidity spray on the outer layer only. This version keeps the crown calmer when the air gets sticky.
Fine-Hair Lift Waves: Use smaller sections, a root-lifting mousse, and a 1-inch wand. The goal is more body at the top and less weight at the ends, so the waves don’t disappear by noon.
Thick-Hair Controlled Waves: Work with larger but still manageable sections and clip the crown while you style. Thick hair needs more cooling time and less product buildup, or the shape turns puffy instead of soft.
Formal Side-Sweep Upgrade: Take any loose wave pattern and shift it into a deep side part, then pin one side low and smooth. This is the fastest route from everyday texture to event-ready hair.
Minimal-Product Air-Dry Waves: For a cleaner, lighter finish, use only leave-in conditioner and a touch of mousse on damp hair. Scrunch once, then leave it alone until fully dry for a bend that reads soft rather than styled.
Questions People Ask About Long-Hair Waves
What barrel size works best for long hair?
A 1.25-inch barrel is the safest all-around choice because it creates a wave that won’t disappear the second it cools. If you want more definition around the face, a 1-inch wand is useful for the front pieces while keeping the back looser.
How do I stop my waves from falling flat at the crown?
Lift the roots while styling and let the hair cool with clips or pins in place. Long hair drags hard on the crown, so root support matters as much as the wave itself.
Can I do textured waves without heat?
Yes. Braids, rope sets, and belt waves all work on damp hair if you give them enough drying time. The hair has to be dry all the way through before you take the set out.
Why do my ends look frizzy instead of wavy?
Usually the ends were overhandled, over-dried, or burned by too much heat. Use less product on the tips, lower the heat a little, and leave the final inch straighter if the hair is very long.
Should I curl every section away from the face?
No. That can make the wave pattern look too neat and repetitive. Alternating directions through the lengths gives long hair a softer, less staged finish.
What if my hair is fine and slippery?
Use mousse at the roots, work with smaller sections, and let each piece cool before touching it. Fine hair often needs more structure at the base and less oil at the ends.
Do these styles work on layered hair?
They usually work better on layered hair because the layers break up the wave pattern and keep it moving. Blunt, heavy ends need a little more shaping to avoid looking like one thick sheet.
How do I refresh day-two waves without starting over?
Mist the front and crown lightly, re-bend only the pieces that went flat, and use a touch of dry shampoo at the roots. Reworking every section usually creates more frizz than revival.
Long Hair, Better Texture
Long hair does not need to be wrung into a perfect curl pattern to look finished. It needs shape that survives gravity, a crown that stays awake, and ends that still move when you turn your head. That’s why the best long-hair waves lean on bends, twists, braids, and brush-outs instead of one uniform idea of “curl.”
Pick one style and learn it properly. Then learn another that solves a different problem — flat crown, sticky humidity, second-day collapse, too much bulk at the sides. Once you know which wave shape fixes which issue, long hair gets a lot easier to style, and a lot harder to ruin.
