



A curly cut can look sensible for exactly one appointment length, and then the hair dries and starts telling its own story. One side sits higher. The back grows into a little shelf. The front either disappears into the cheek or swings out like it has somewhere to be. That’s why long layered haircuts for curly hair matter so much: they don’t fight the curl pattern, they give it a shape that still makes sense after shrinkage has done its thing.
The best long layers are rarely loud. They’re the cuts that let a curl stack on a curl, keep the perimeter from turning into a heavy curtain, and leave enough length in the right places so the whole head still feels like long hair. A curl that lands at the collarbone when wet can spring up several inches once it dries, and if the layers are mapped as though the hair were straight, the final result can end up wider, shorter, and puffier than anyone intended.
Some of the ideas below are subtle enough that only another curly-head would notice the work. Others are bolder, with face-framing pieces or a softer shag shape that changes the whole mood of the cut. All of them lean on the same basic truth: curls behave best when the layers are placed with shrinkage, density, and movement in mind, not copied from a straight-hair photo and hoped for the best.
Why These 38 Cuts Work on Real Curls
-
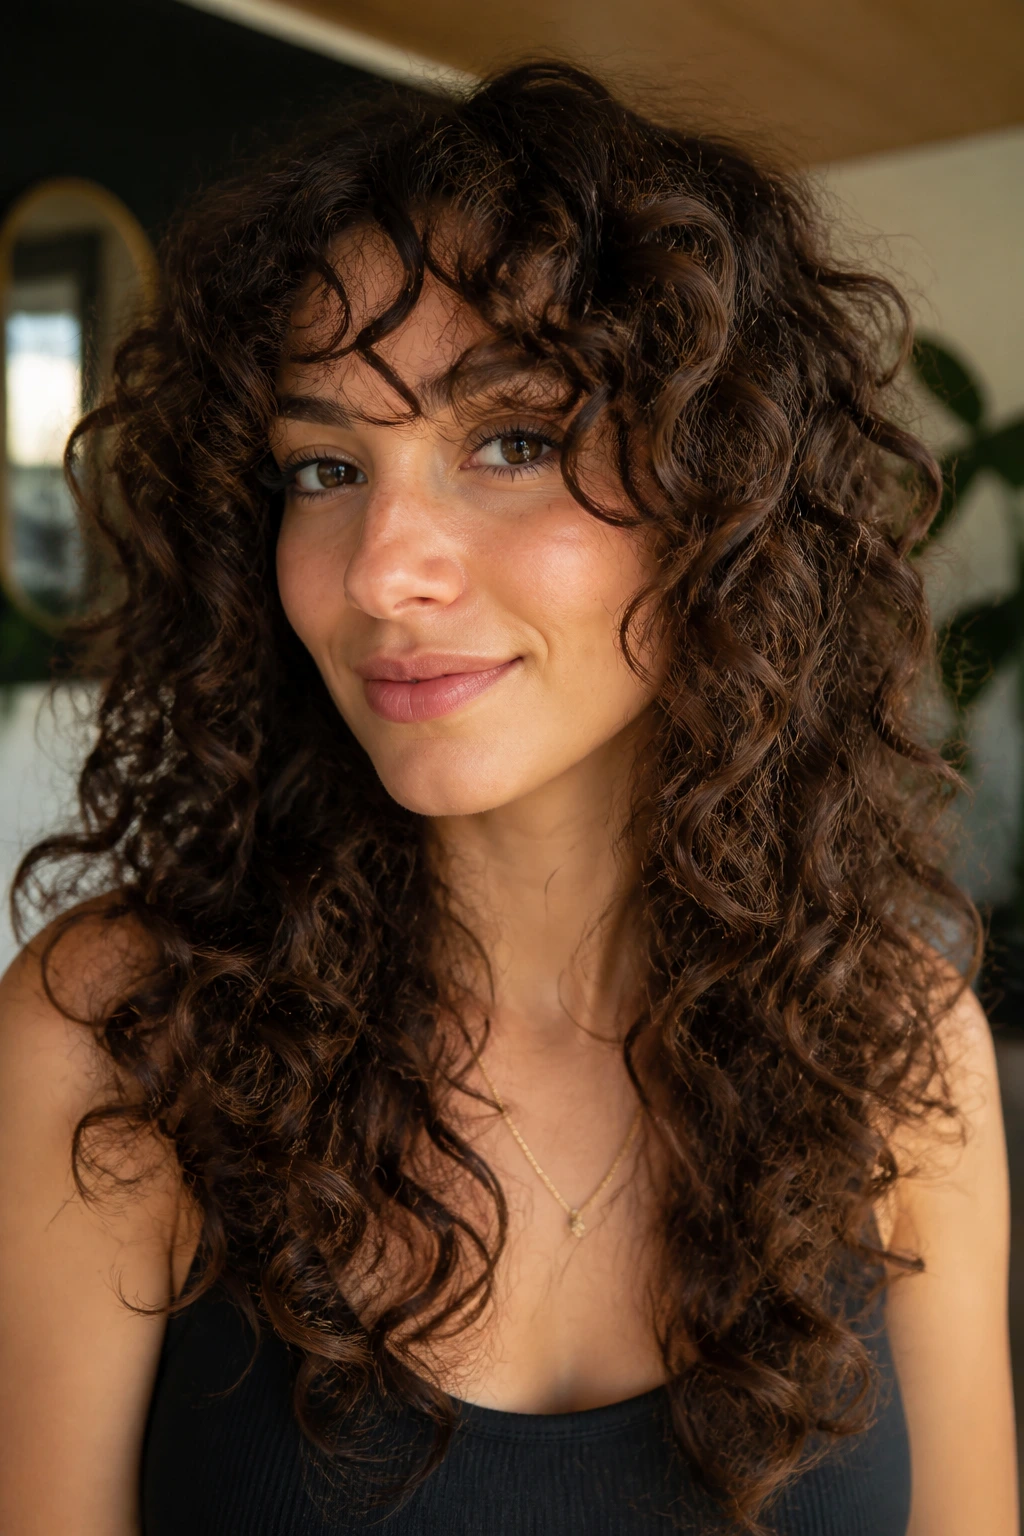
They keep length where it counts: A long perimeter gives curly hair a clean outline, so the cut still feels like long hair even after the layers spring up.
-
They remove bulk in the right places: Weight taken out from the interior or lower sides helps curls stack instead of ballooning into a triangle.
-
They give the front a job to do: Face-framing pieces, curtain fringe, and soft side pieces stop the whole shape from looking like one heavy block.
-
They work with shrinkage, not against it: A good curly layer plan respects how much the hair will lift once it dries, which saves you from a surprise crop.
-
They grow out in a useful way: The better the layer map, the less awkward the haircut looks at week eight, when most cuts start to wobble.
-
They can be dialed up or down: The same basic shape can feel soft, romantic, edgy, or low-maintenance depending on how high the shortest pieces are placed.
1. Soft Cheekbone Layers
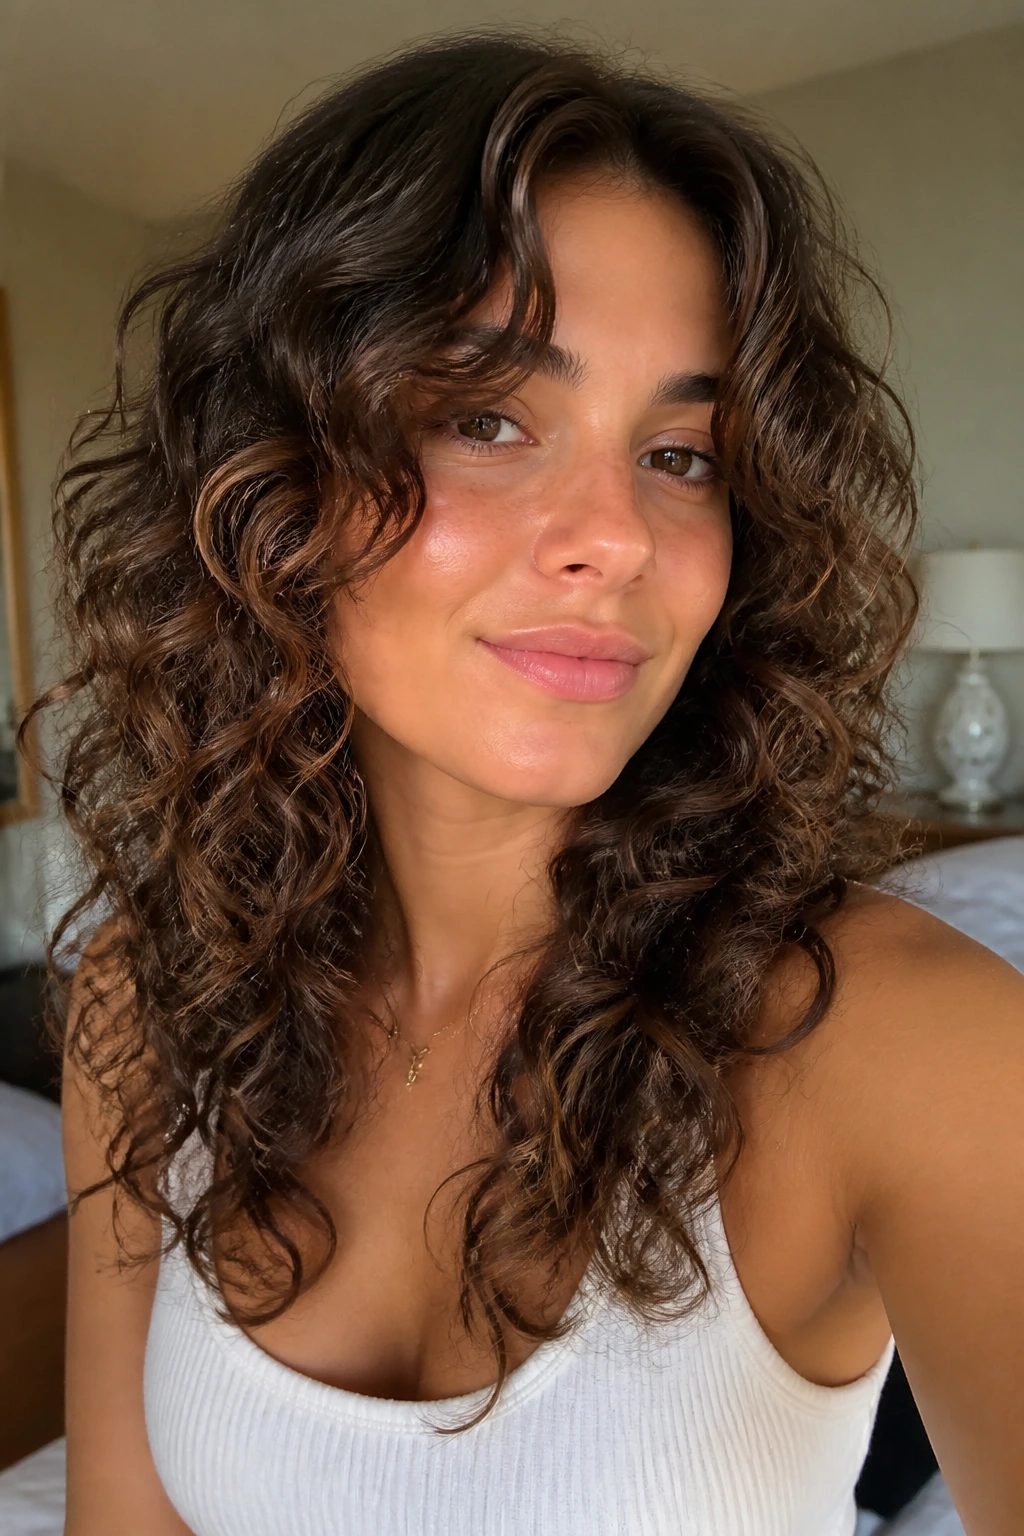
A first layer that lands around the cheekbone changes the whole face line without stealing too much length. It gives curls a place to turn forward, which is useful if the jaw area tends to puff out or if the front of your hair falls flat while the back does all the work.
This cut is especially good for medium-density curls that need shape more than drama. Ask for the front pieces to be cut dry so the stylist can see where the curl lands naturally, then keep the shortest front piece no higher than the cheekbone when stretched. If the shortest piece lands at the jaw, the curl can spring right into the widest part of the face.
2. Curtain Fringe with Long Side Pieces
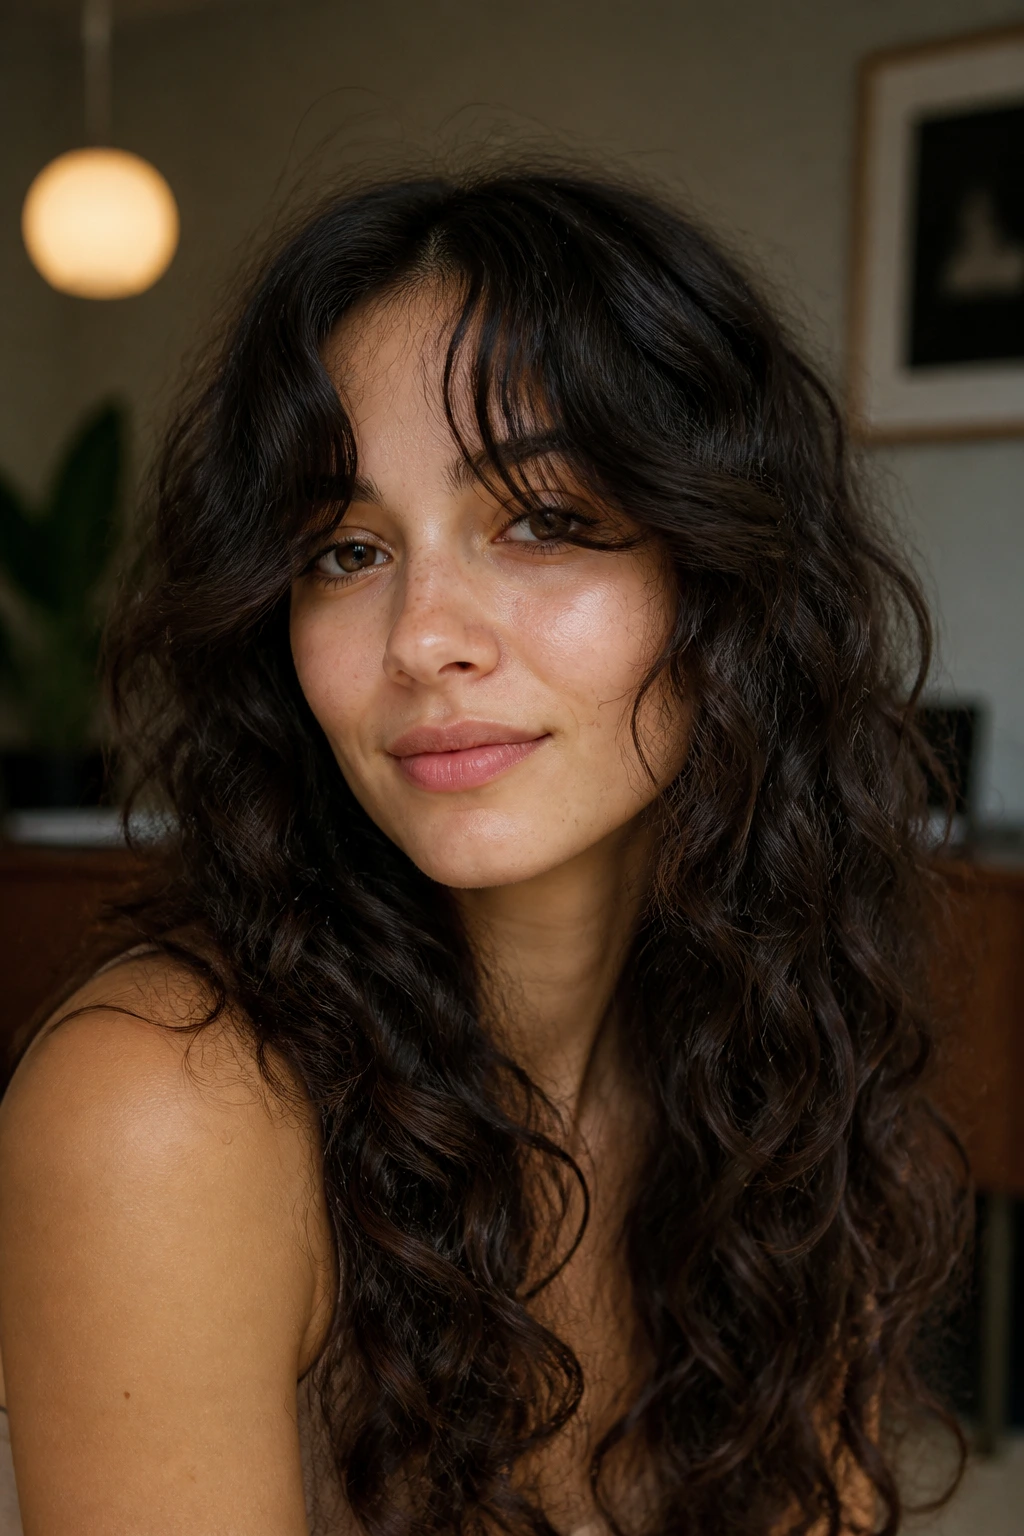
Curtain fringe on curly hair is all about softness, not a blunt bang line. The center opens a little higher, the sides drop into the first long layer, and the whole front section feels airy instead of heavy.
- Best for: People who want forehead coverage without a full fringe commitment.
- Ask for: A center-parted front that opens near the brow and blends into long side pieces.
- Skip it if: You hate restyling the front on wash day, because fringe always asks for a little extra attention.
The nice part is the grow-out. The fringe slips into the layers instead of turning into a hard line, which means you don’t spend months trying to hide it.
3. Butterfly Layers That Keep the Length
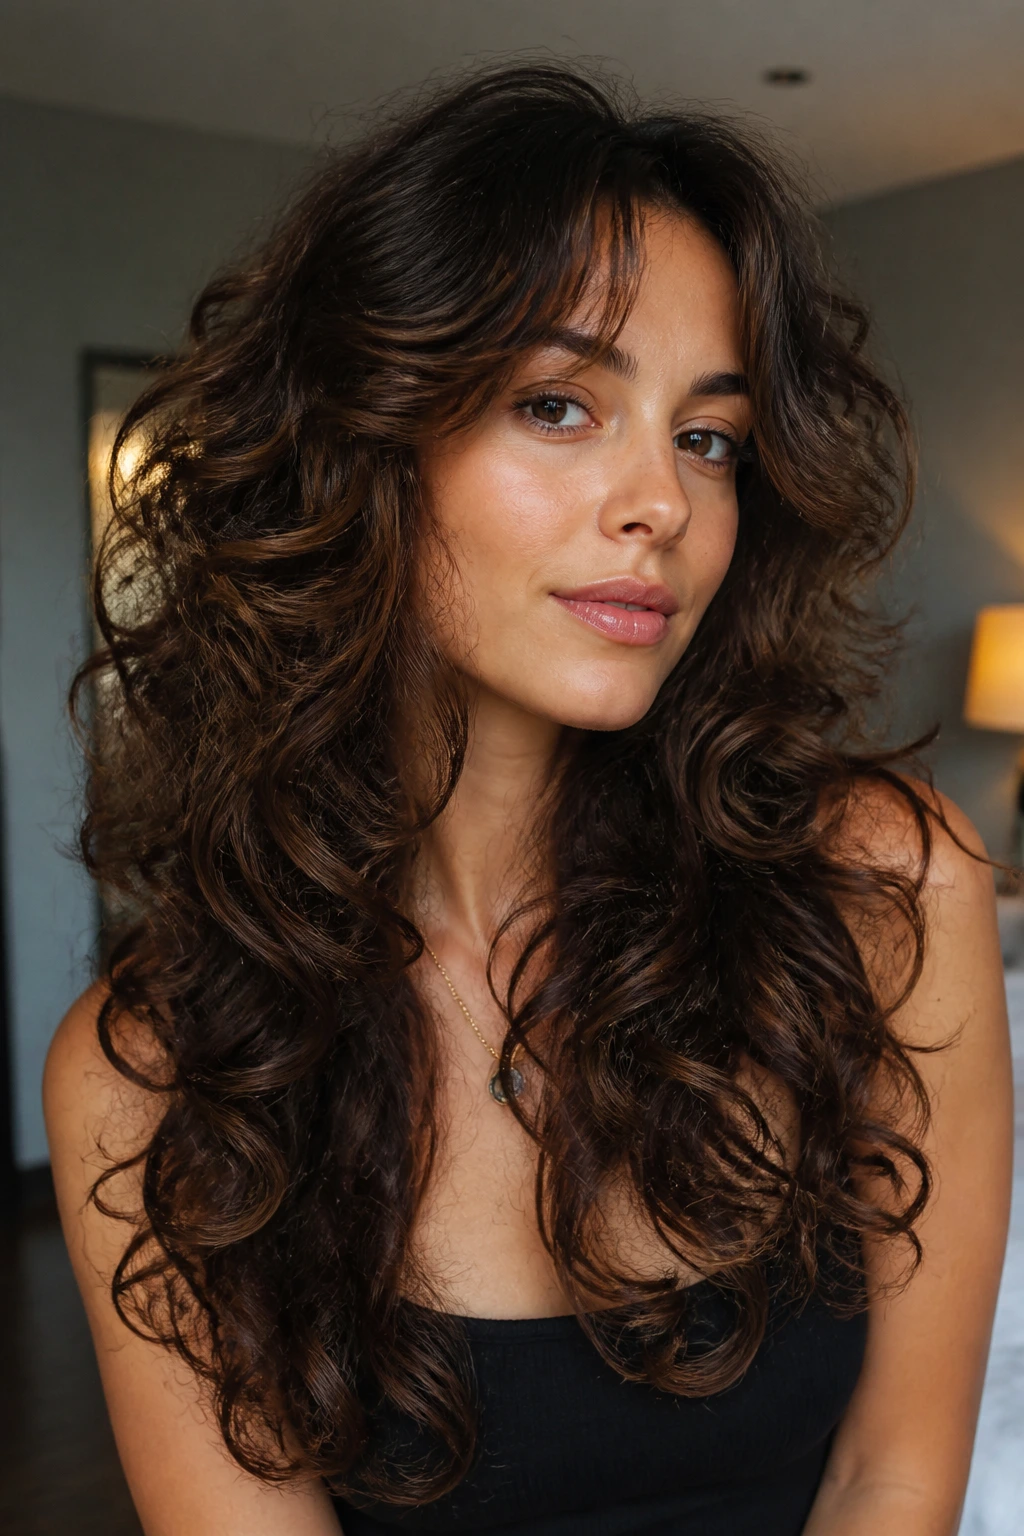
Want crown lift without losing the feeling of long hair? Butterfly layers do that by keeping the upper sections shorter and the outer perimeter long. The top gets movement, the ends keep their swing, and the whole cut looks lighter when the curls dry.
The trick is restraint. Too many short pieces near the top and the cut starts acting like a shag. Keep the shortest layer high enough to create lift, but not so high that the crown separates into little spiky bits. A good butterfly cut looks fuller, not chopped.
4. Long U-Shape with Hidden Internal Layers
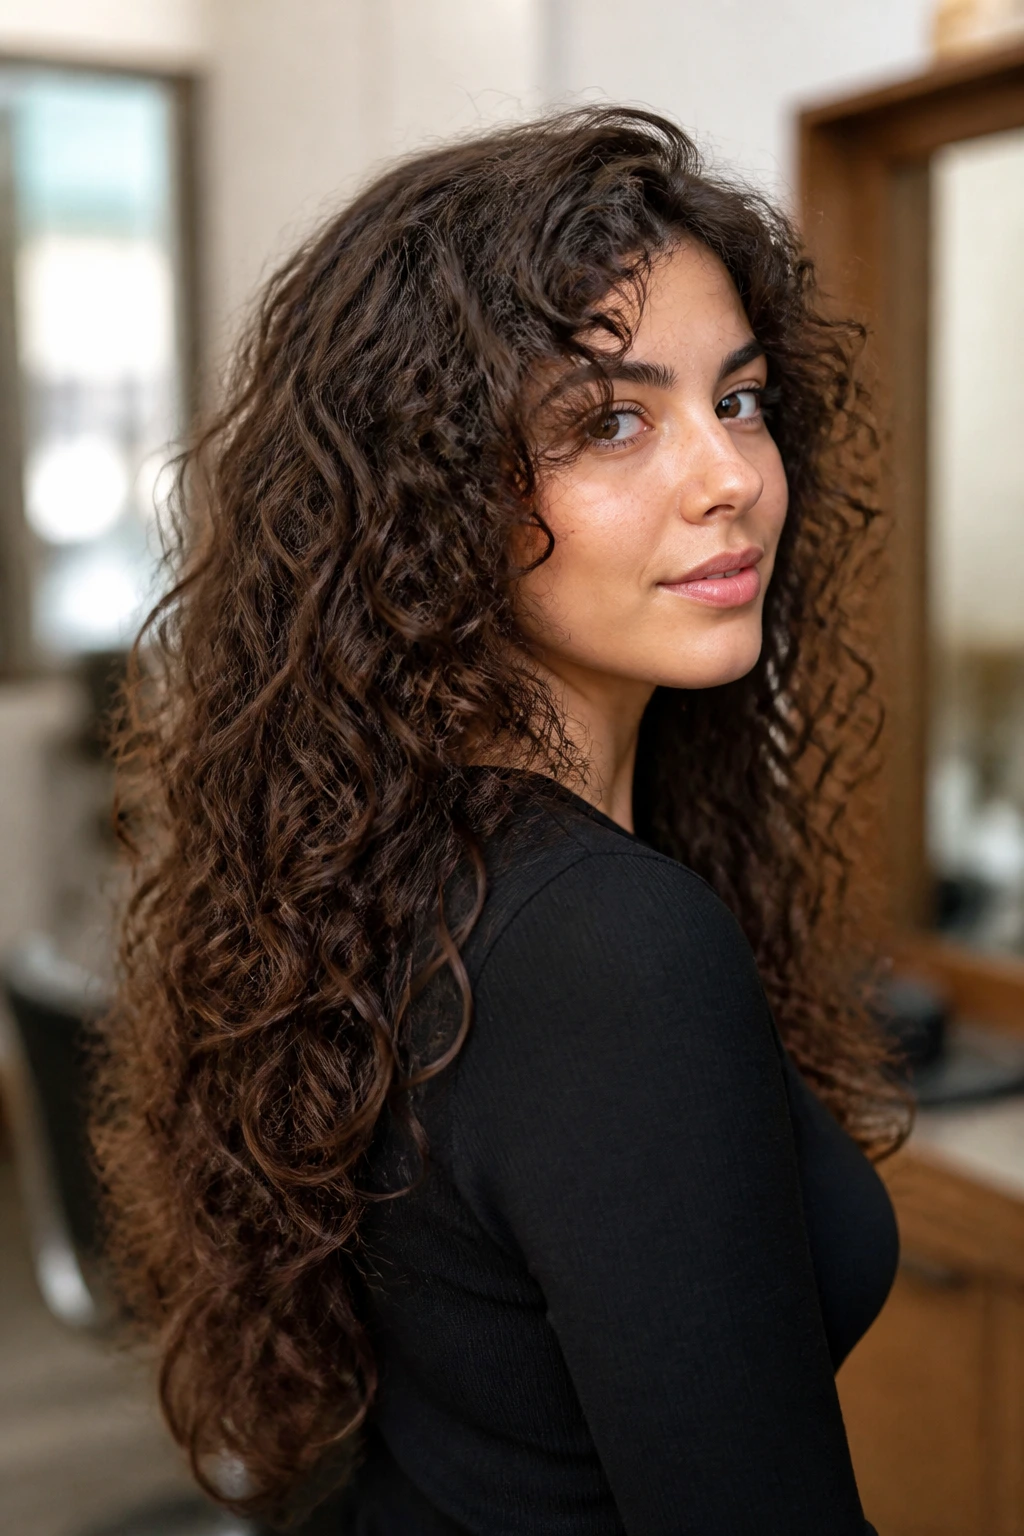
A U-shaped outline is kinder to curls than a dead-straight line because it allows the sides to sit a little shorter while the back keeps length. Add hidden internal layers and you get movement without losing that clean outer curtain of hair.
Unlike a blunt hem, the U-shape lets the curl stack along the shoulders instead of pressing into one flat shelf. This is a solid choice if you like hair that looks polished even when you’ve done almost nothing to it. The inside gets relief. The outside still looks full.
5. Long V-Shape for Ribbon Curls
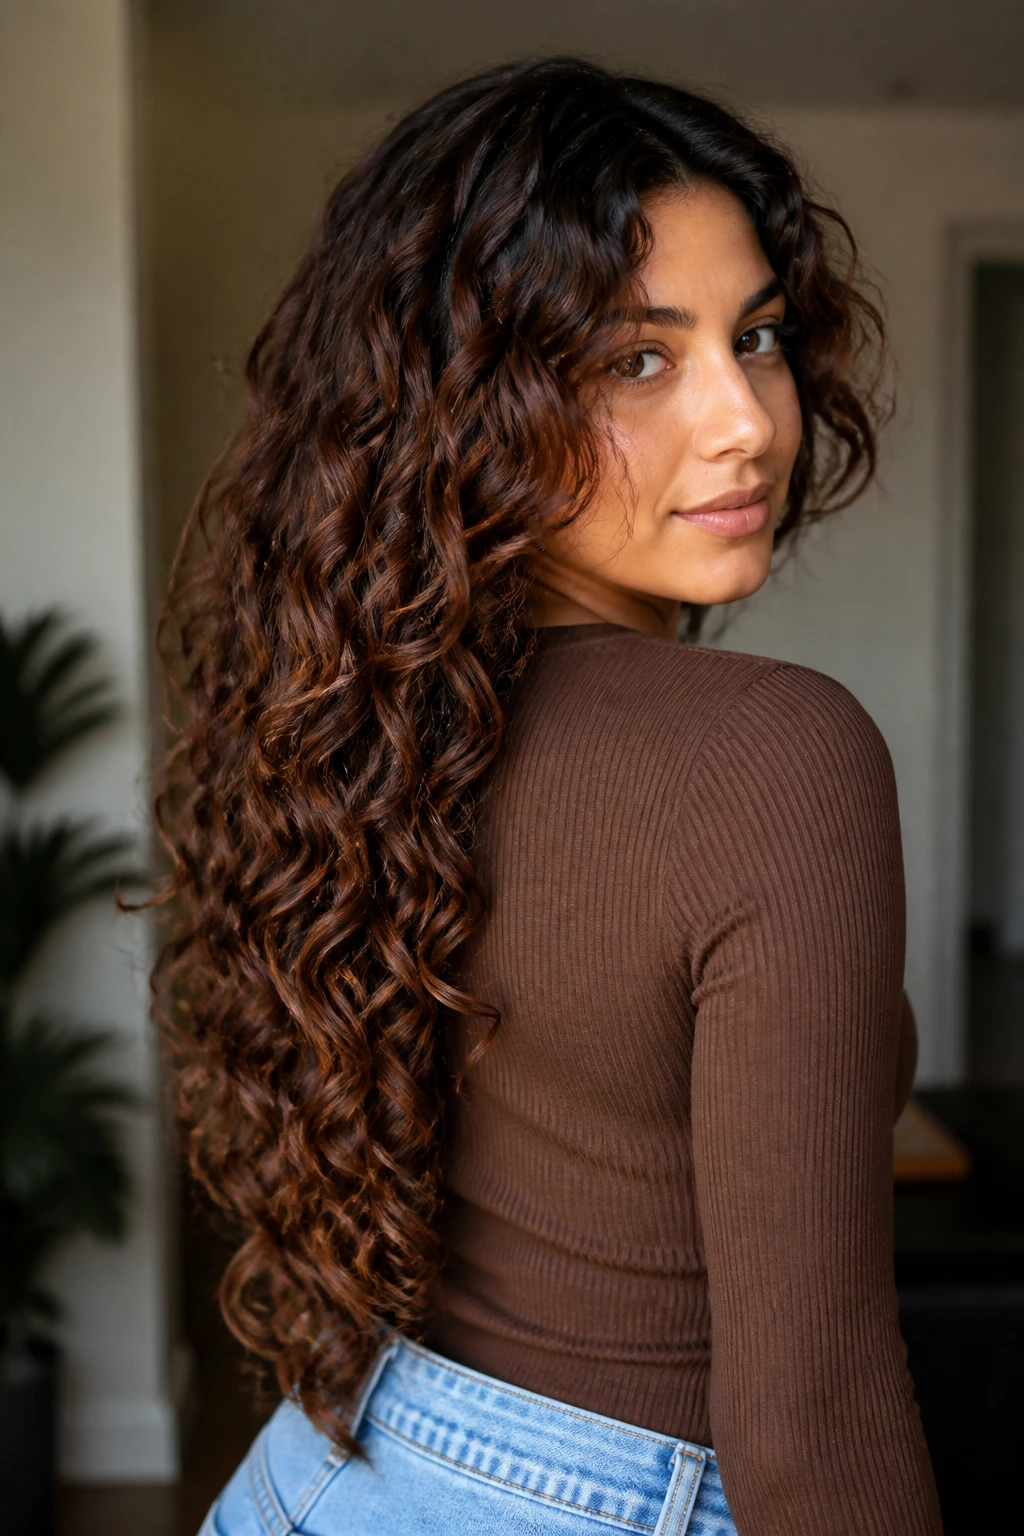
A V-shape works beautifully when the curls clump into ribbon-like sections and the center back tends to feel heavy. The point of the V breaks up that mass, so the hair falls in a longer, narrower silhouette rather than a box.
It’s not a shy cut. It gives motion down the back and a little swing when you turn your head. Ask for the point of the V to land well below the shoulders if you want to keep the haircut from looking too sharp once the curls dry. A soft V is easier to live with than a hard one.
6. Rounded Layers for Dense Curls
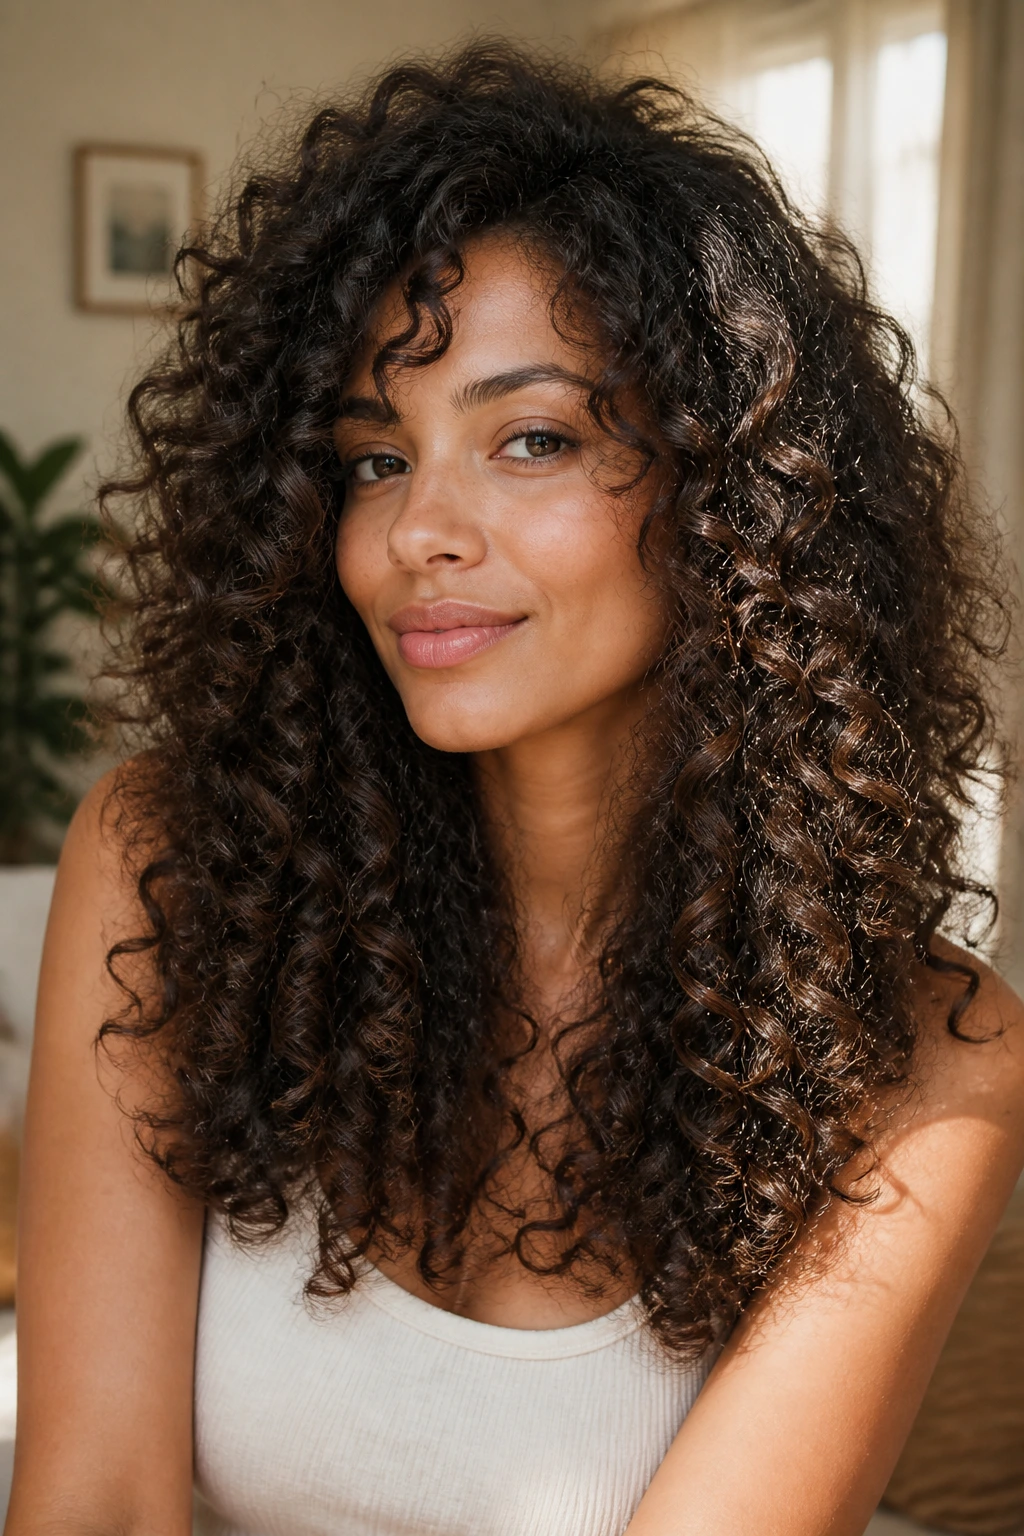
Rounded layers are the answer when the hair swells sideways before it falls down. The outline stays curved, the sides lose bulk, and the top doesn’t collapse under the weight of all that density.
This shape is one of my favorites for thick curly hair because it solves the silhouette problem without making the cut look obviously layered. The work is happening inside the shape, not screaming from the top. If your curls widen at the jaw and narrow at the crown, this is the fix I’d start with.
7. Curly Shag with a Soft Perimeter

A curly shag does not have to look wild or chopped up. Kept soft, it gives the crown some lift, feathers the sides, and leaves enough length in the perimeter so the whole cut still feels grounded.
The hard version of a shag can go too far on curly hair, especially if the layers are cut too high. The softer version lets the curls move but keeps a clean edge at the bottom. That balance matters. You want texture, not a halo of frizz pretending to be style.
8. Wolf Cut with a Longer Back
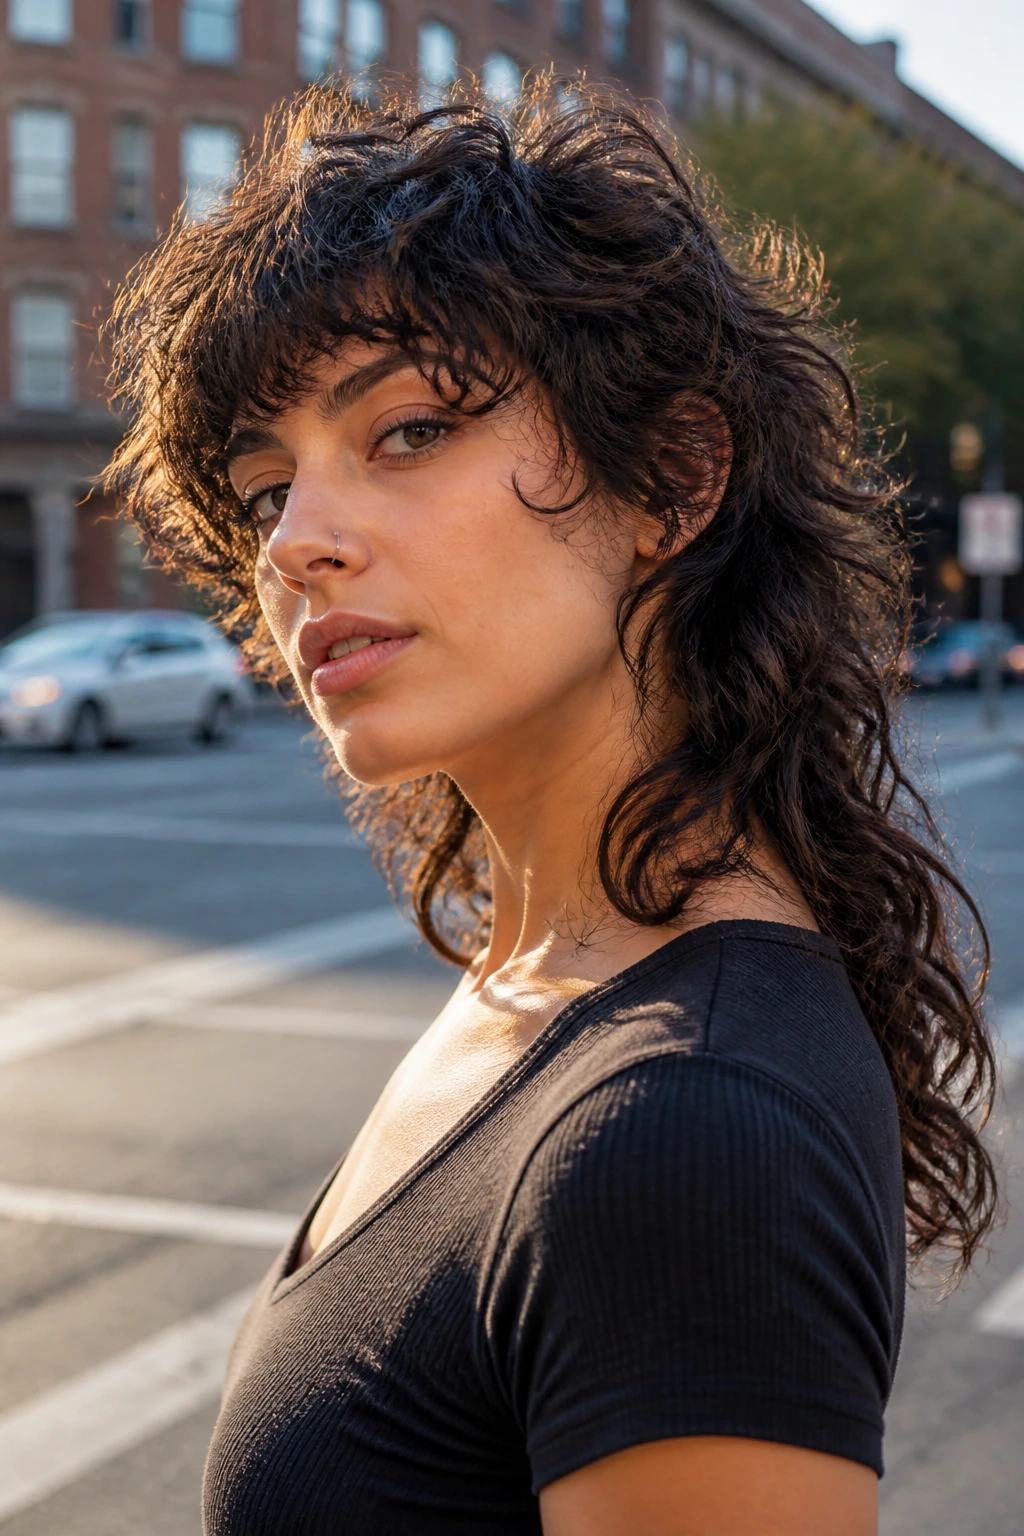
The curly wolf cut sits somewhere between a shag and a mullet, but the version that works best on long curls keeps the back longer and the crown less severe. It’s a good pick if you want edge without giving up too much length.
What makes it different is the contrast. The top and sides get lift, the back keeps the drama, and the whole shape feels more undone than rounded. If your curls already have strong personality, this cut can match that without needing a lot of styling polish.
9. Invisible Internal Layers
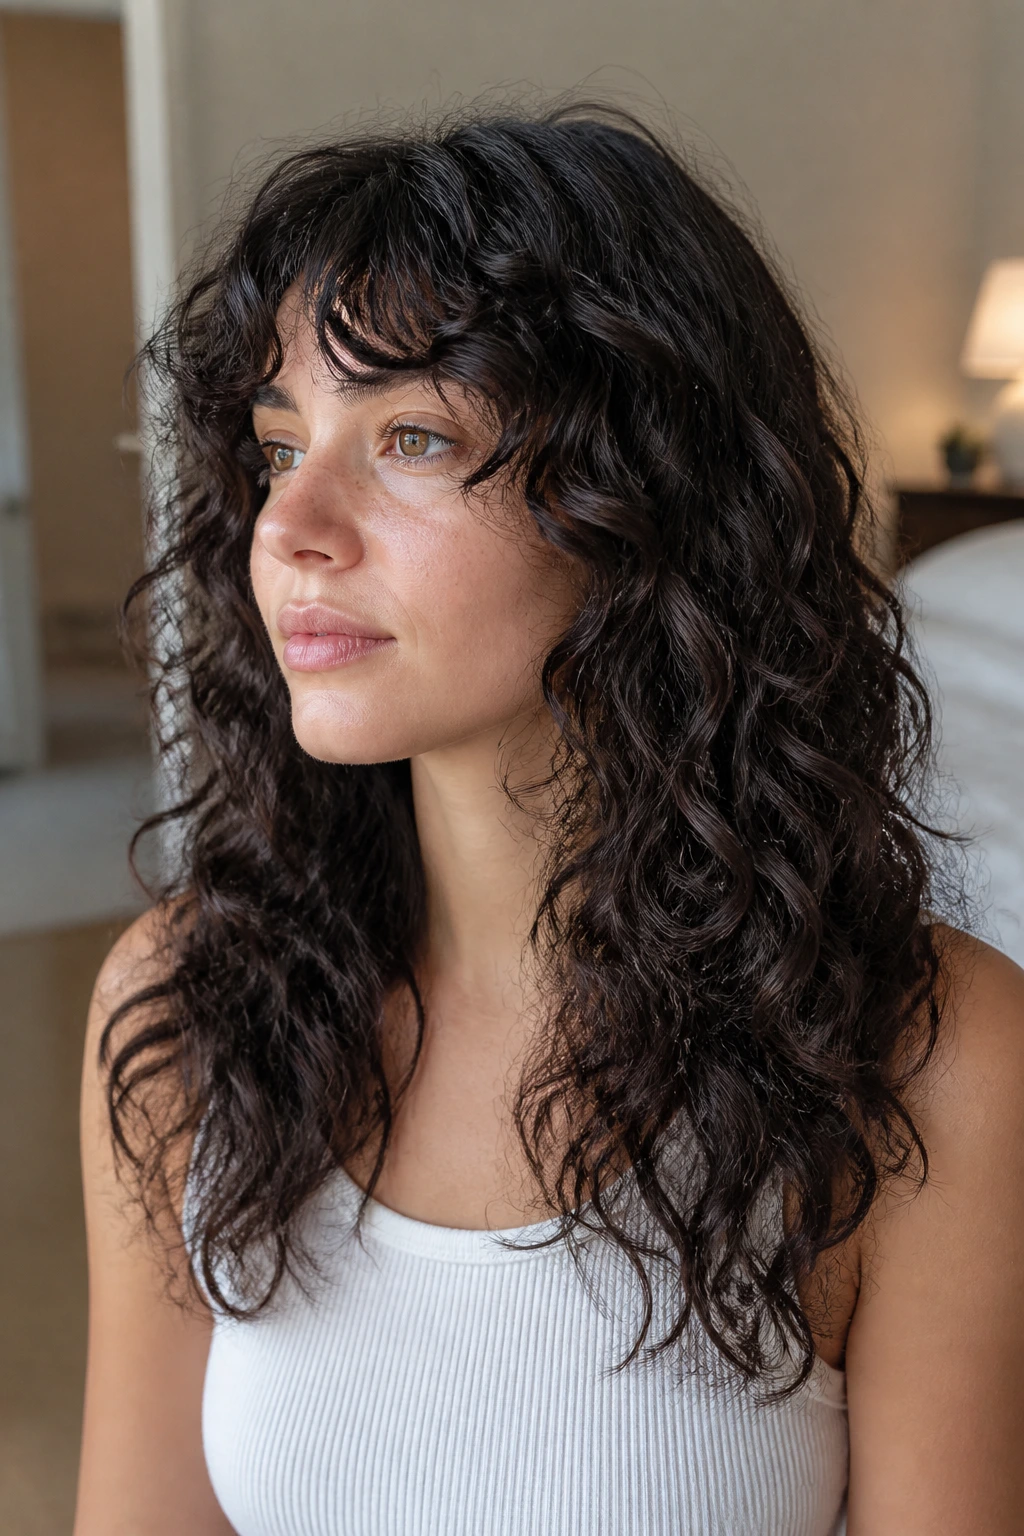
Invisible layers are the haircut equivalent of a good seam. You don’t notice them right away, but the whole shape hangs better because the bulk has been removed from inside the cut instead of from the surface.
This is the one to ask for if you want the hair to look mostly one length from the outside. Great for people who wear braids, low buns, or ponytails a lot. Tell the stylist you want movement without losing the visual line of the hair. That wording helps more than saying “some layers.”
10. Halo Layers Around the Crown
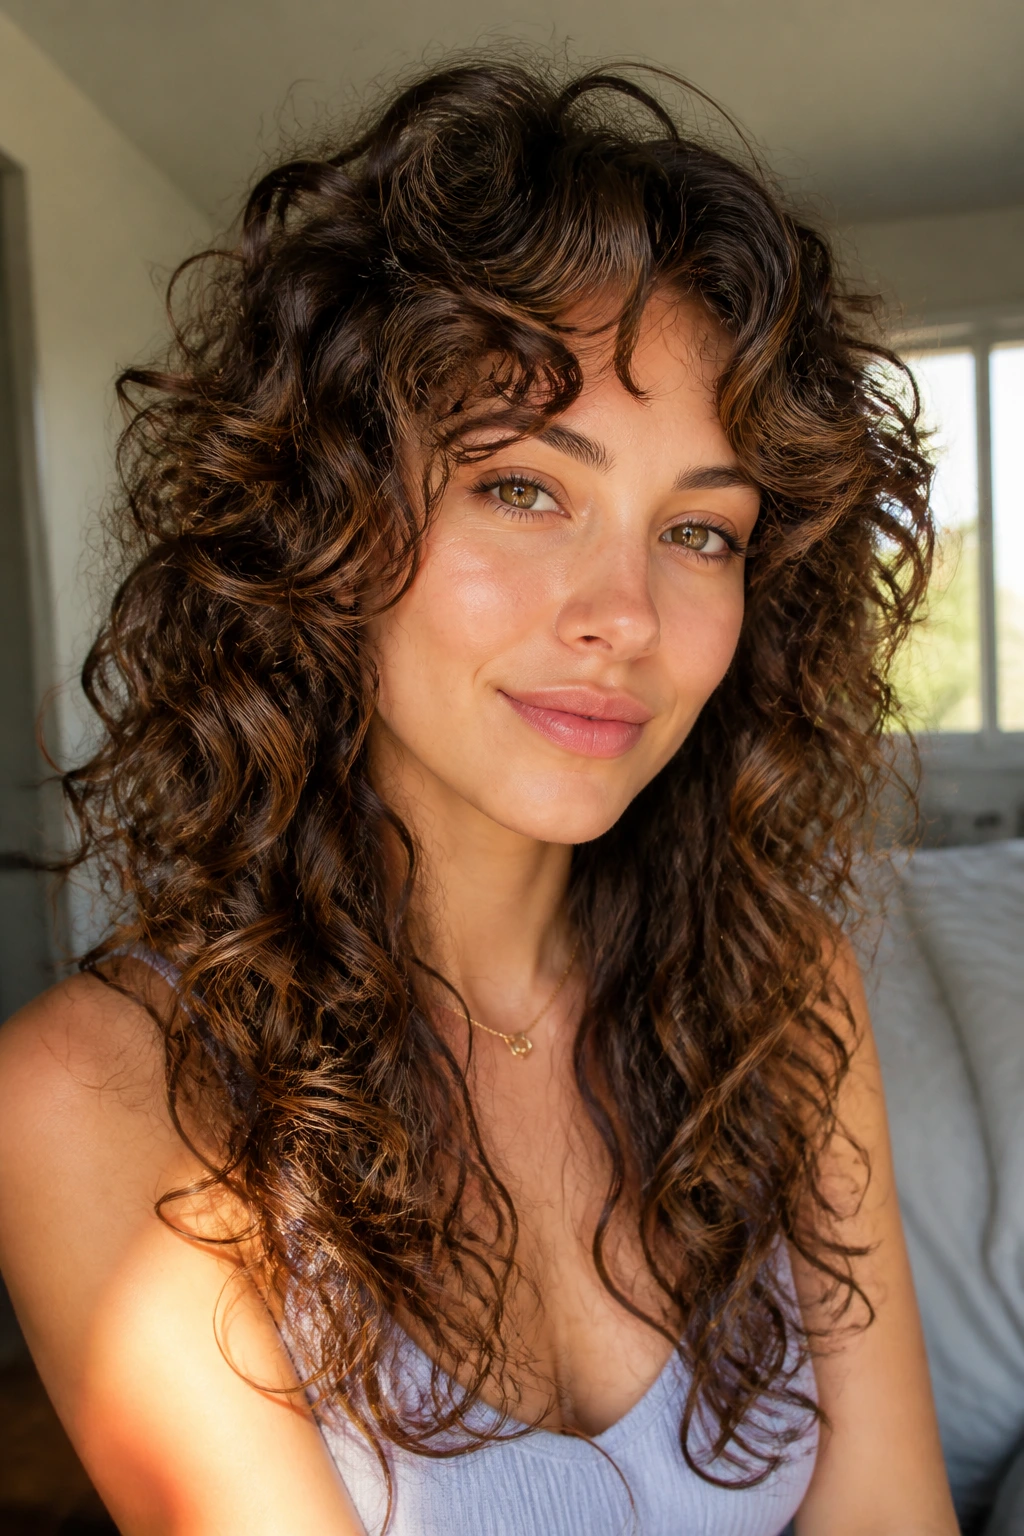
Halo layers focus on the top ring of curls that usually goes flat by lunchtime. By lifting a small zone around the crown, the cut creates air up top and keeps the shape from sinking toward the sides.
This is especially useful if your roots are flat and your ends are doing all the work. The lift should be subtle, not short enough to stick up in odd little spikes. The crown needs room, not a buzz cut with ambitions.
11. Long Layers for Fine Curly Hair
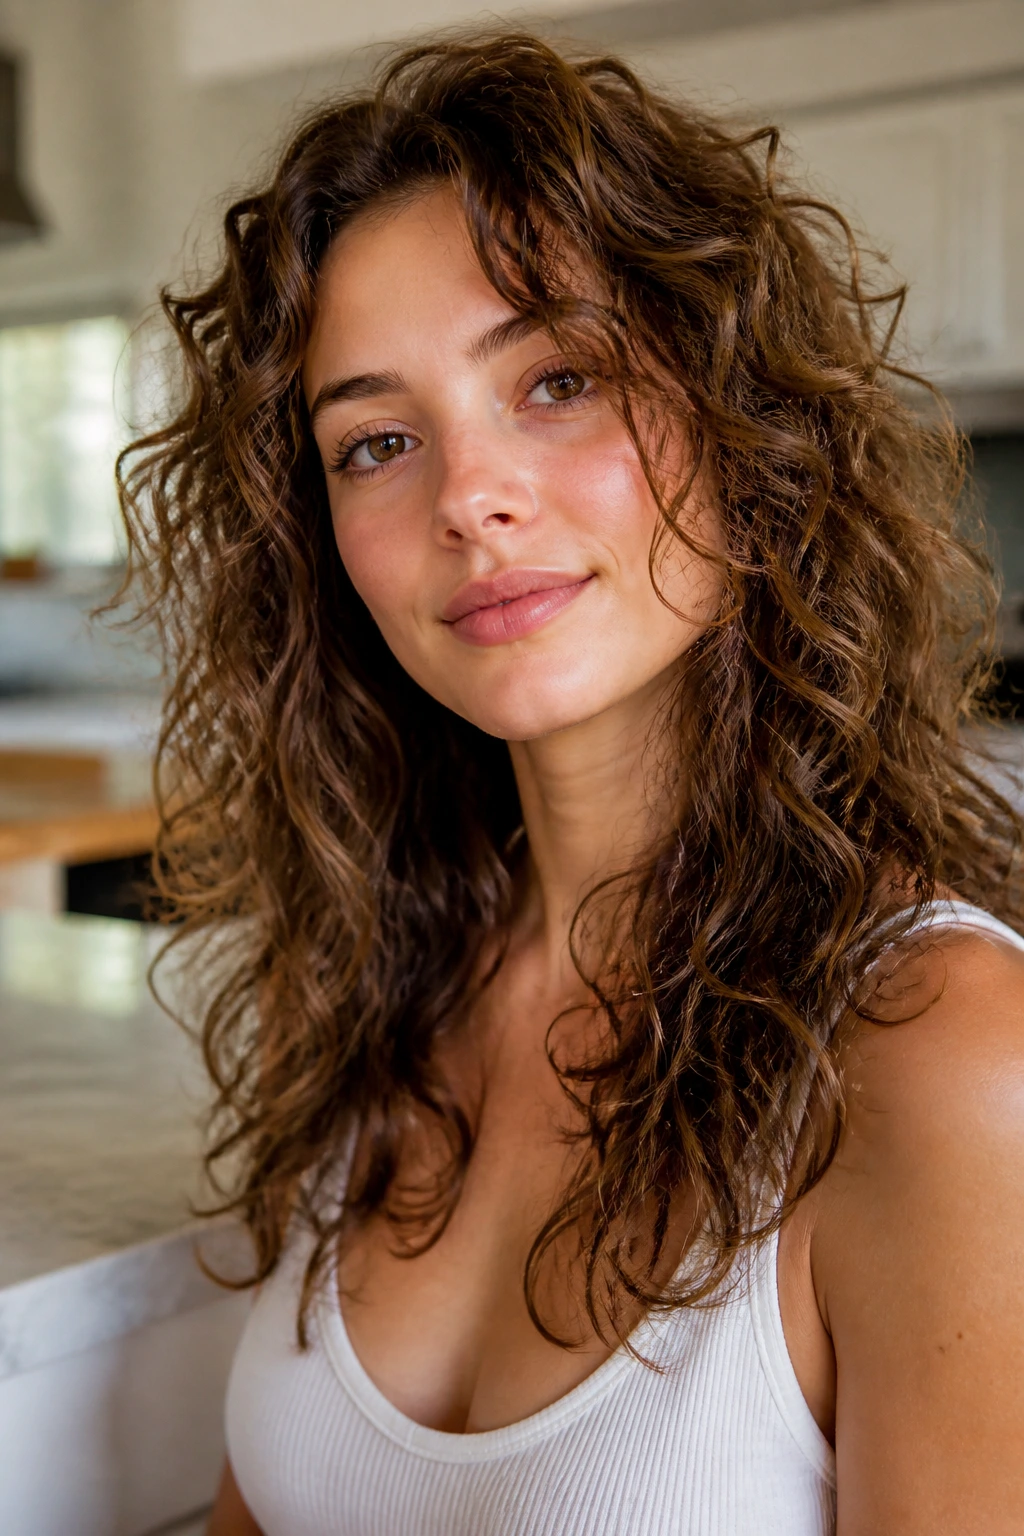
Fine curly hair can vanish into wisps if the layers get too eager. Long layers keep the ends strong and leave enough mass for the curls to hold together, which matters more than people think.
For this texture, I like a light hand. A few strategic long layers, a soft face frame, and a perimeter that still has some weight usually beat a heavily tiered cut. The goal is movement with substance. Too many short layers on fine curls can make the hair look thinner than it is.
12. Long Layers for Thick Coils
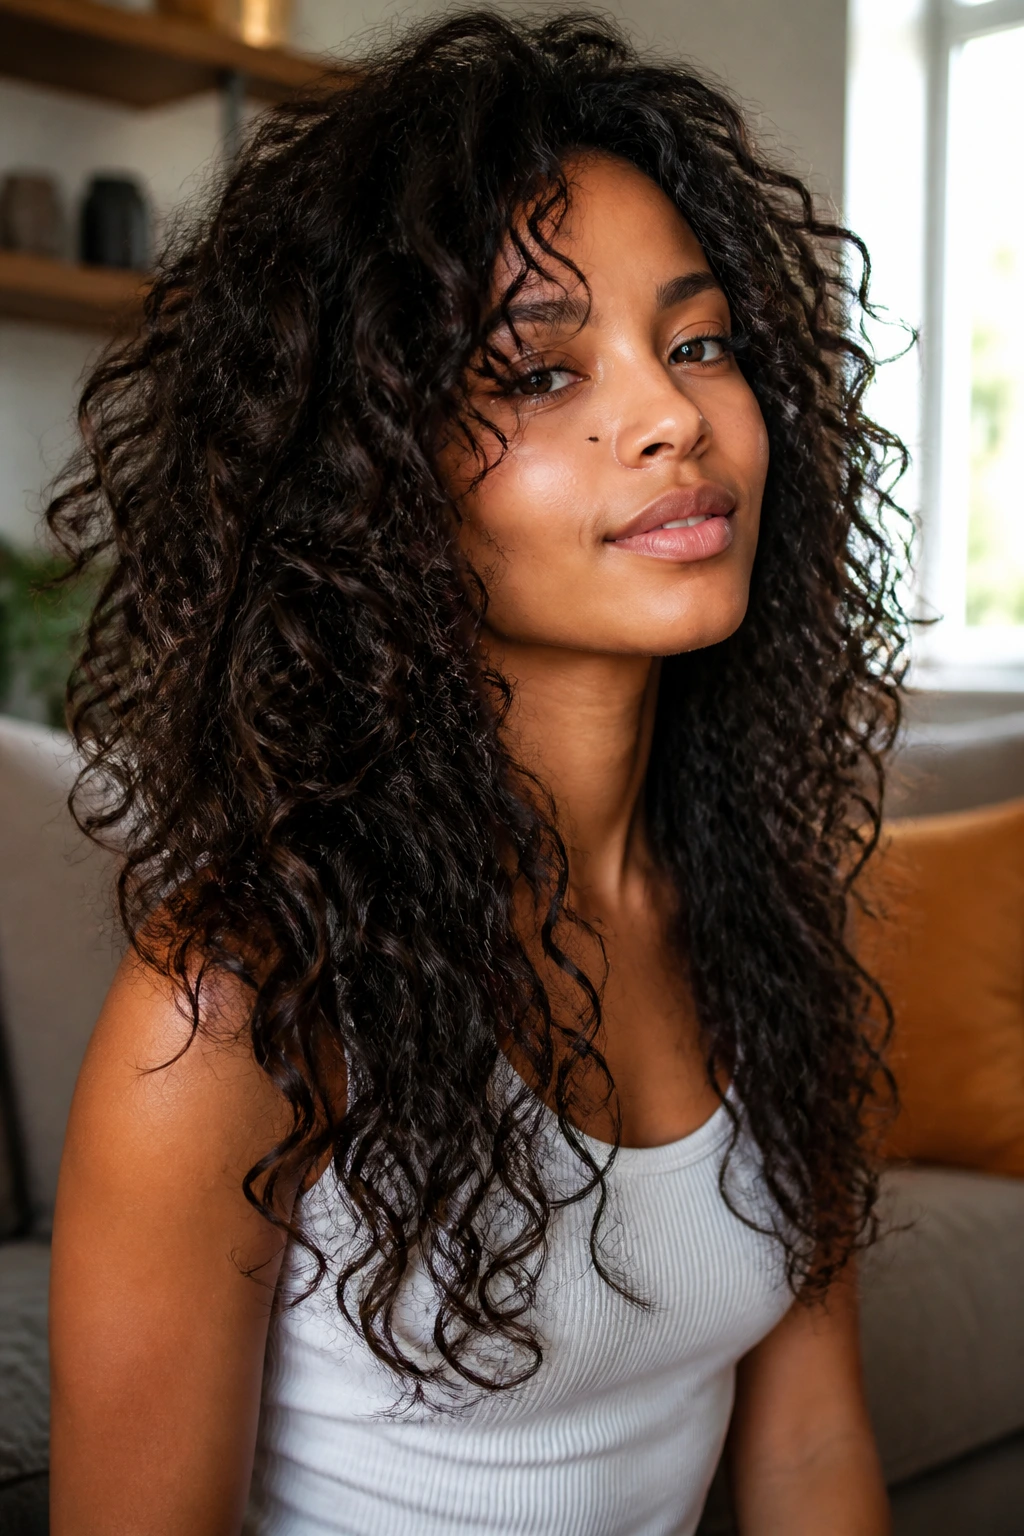
Thick coils want breathing room. The hair often looks denser in the middle than it does at the roots, so long layers plus interior weight removal can stop the whole shape from sitting like a helmet.
Ask for section-by-section shaping, ideally dry, because thick coils lie about their length when wet. They always do. A stylist needs to see how the coils stack before deciding how high to lift them. The result should feel lighter without losing the strong outline that thick hair can carry so well.
13. Collarbone Face Frame
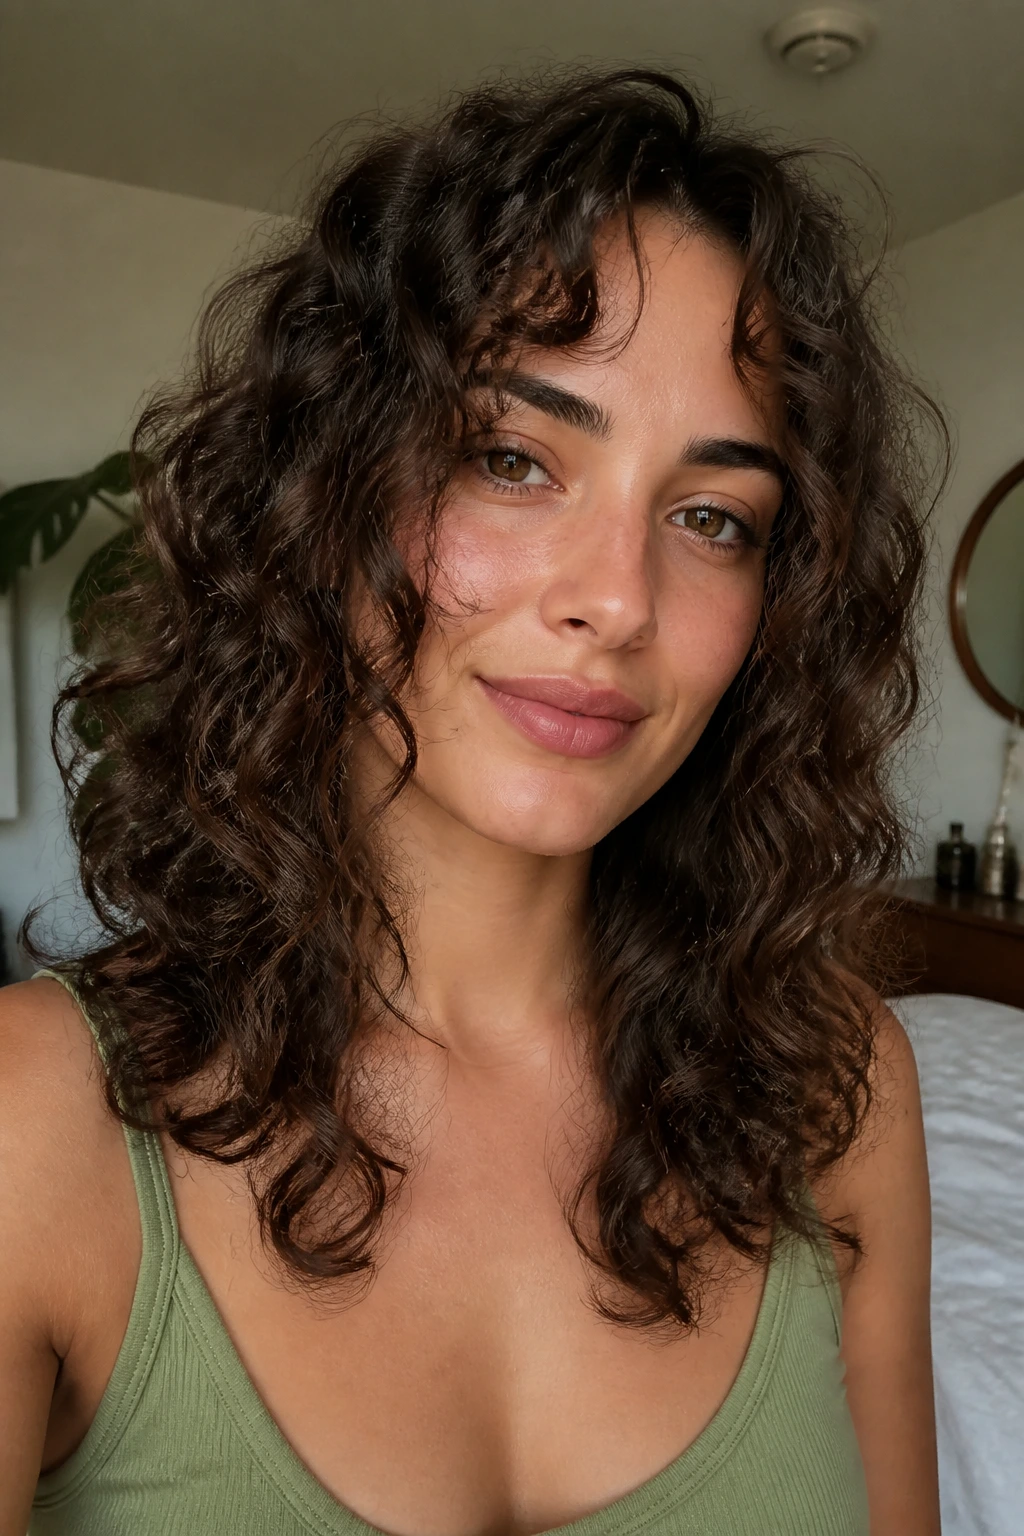
A collarbone face frame gives curly hair a clean, elegant front without committing to bangs. The longest front pieces sweep down toward the collarbone, which keeps the face open and the rest of the length intact.
This works on a lot of curl types because it changes the front first. You get a shape that reads immediately, even if the back is still simple. If your curls fall differently around the face than they do in the back, this is a smart place to start. It’s a small move with a big visual payoff.
14. Deep Side-Part Cascade Layers
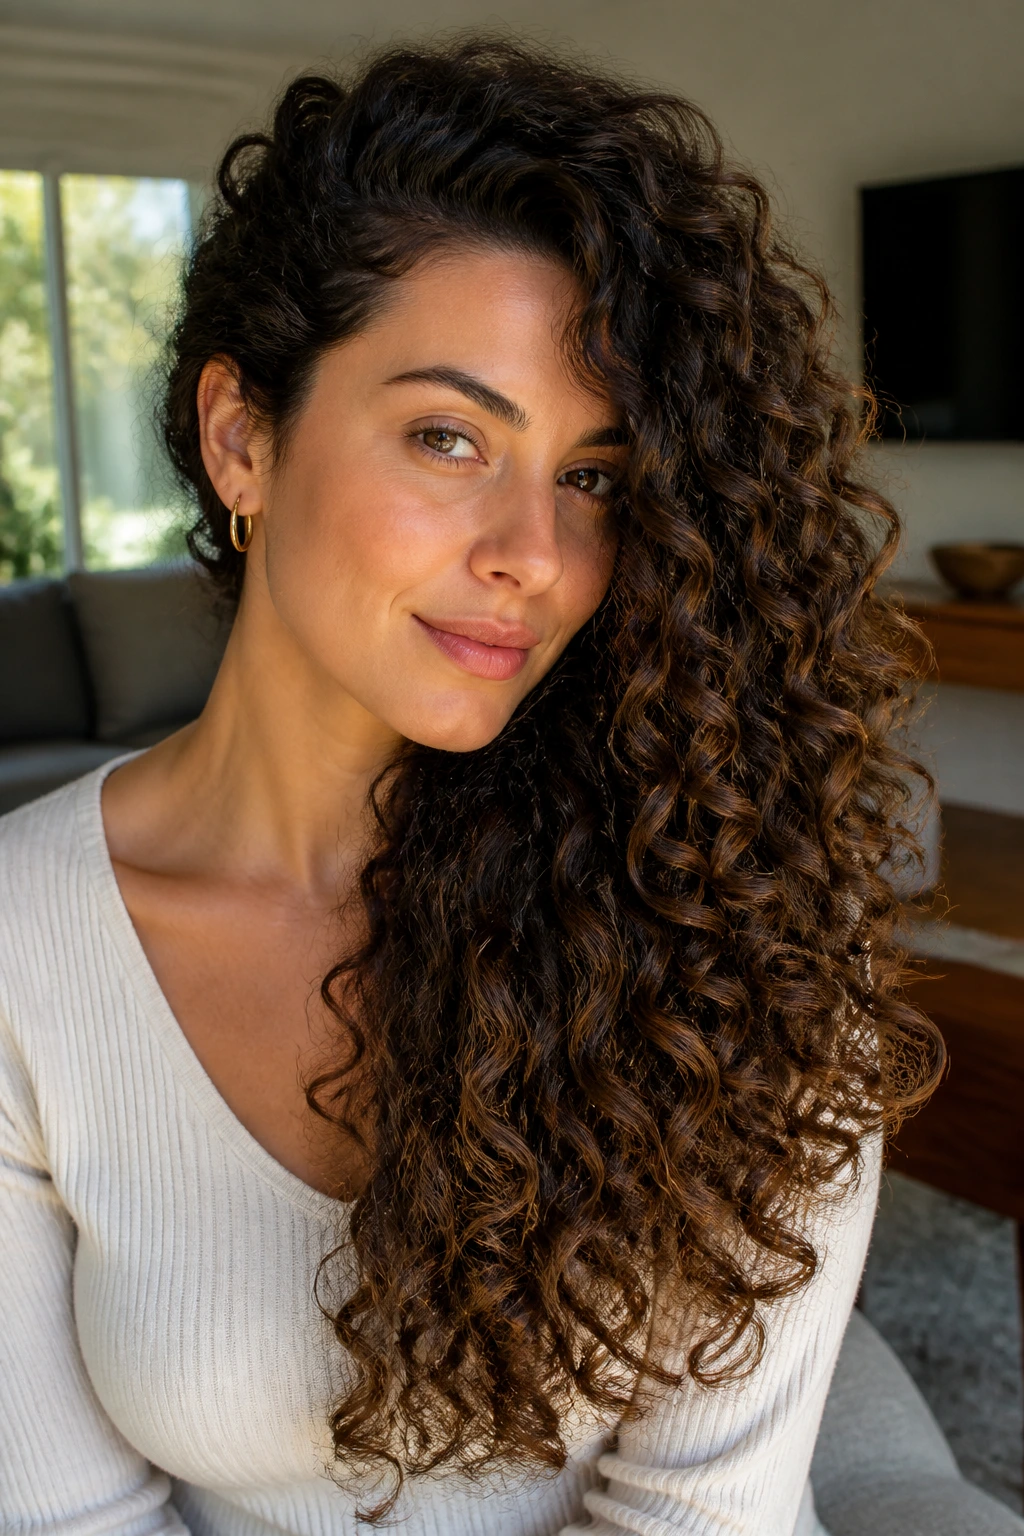
A deep side part changes the whole haircut before the scissors even touch it. One side gets more lift, the other side gets a longer fall, and the layers cascade along that line instead of splitting the head into two equal halves.
This cut has a little drama, which I like. It makes dense curls feel lighter on one side and gives looser curls a stronger contour. If you’re tired of the middle part doing all the work, a side-part cascade can wake the whole shape up.
15. Center-Part Waterfall Layers
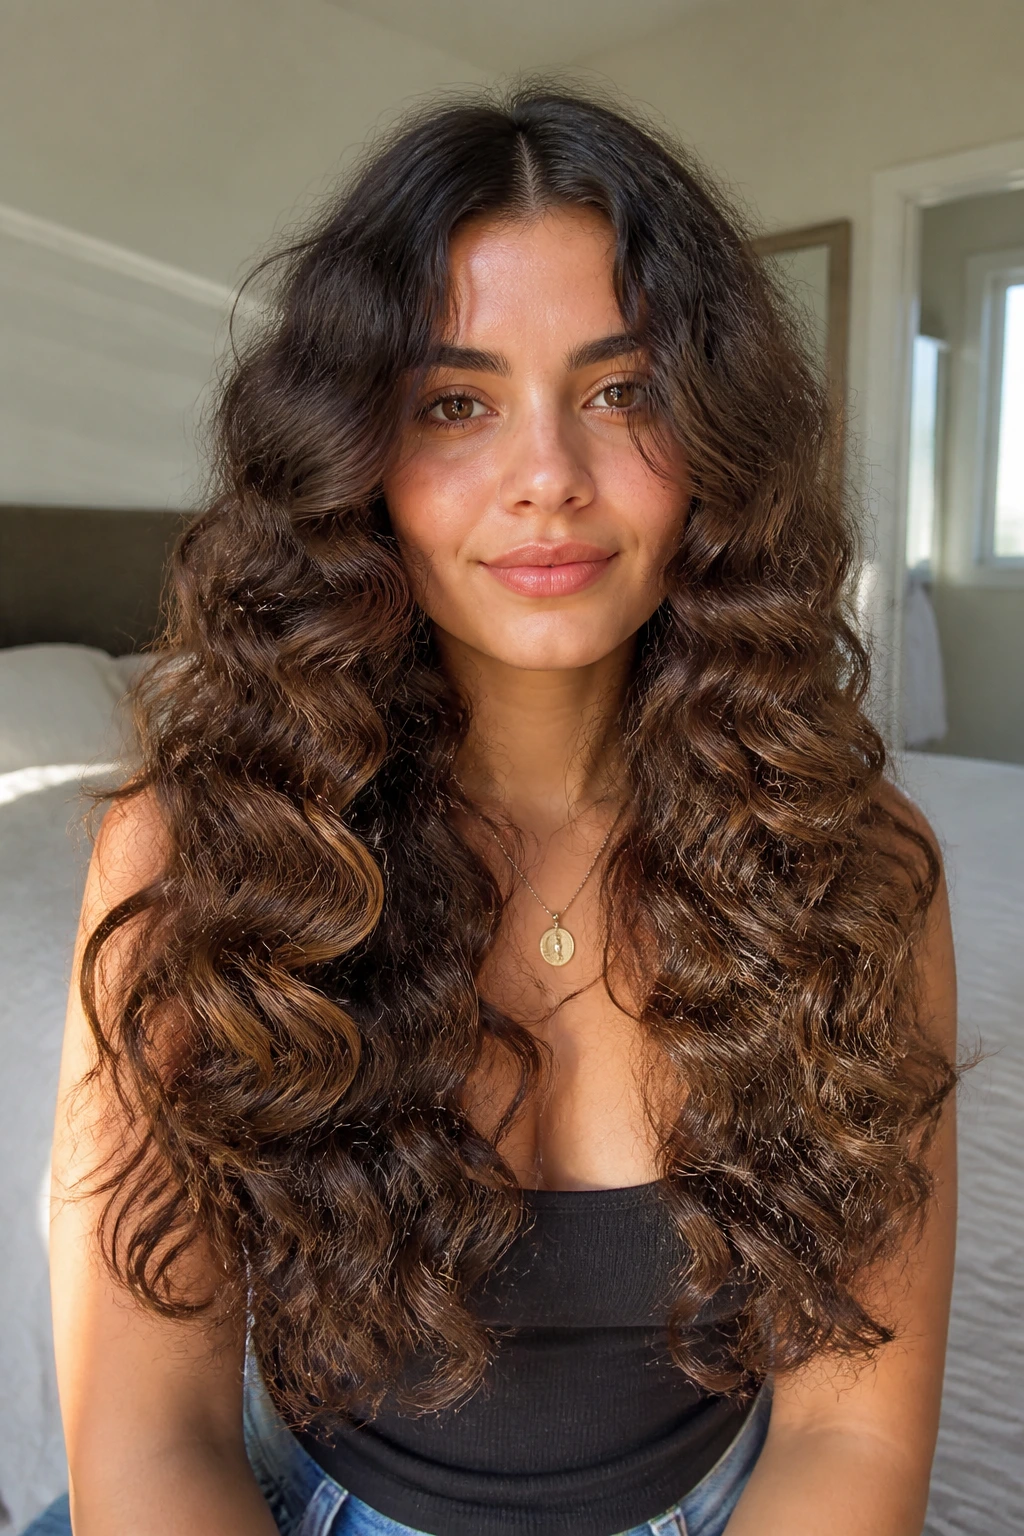
Centered curls need a shape that falls evenly on both sides, and waterfall layers do that without looking stiff. The pieces descend in soft stages from the face back toward the length, which keeps the cut from feeling blocky.
This is one of the cleanest choices for people who part their hair in the middle every day and want the cut to cooperate. It’s symmetrical, but not boring. More importantly, it lets the curls fall in matching bands instead of fighting for space around the shoulders.
16. Long Layers with a Blunt Hem
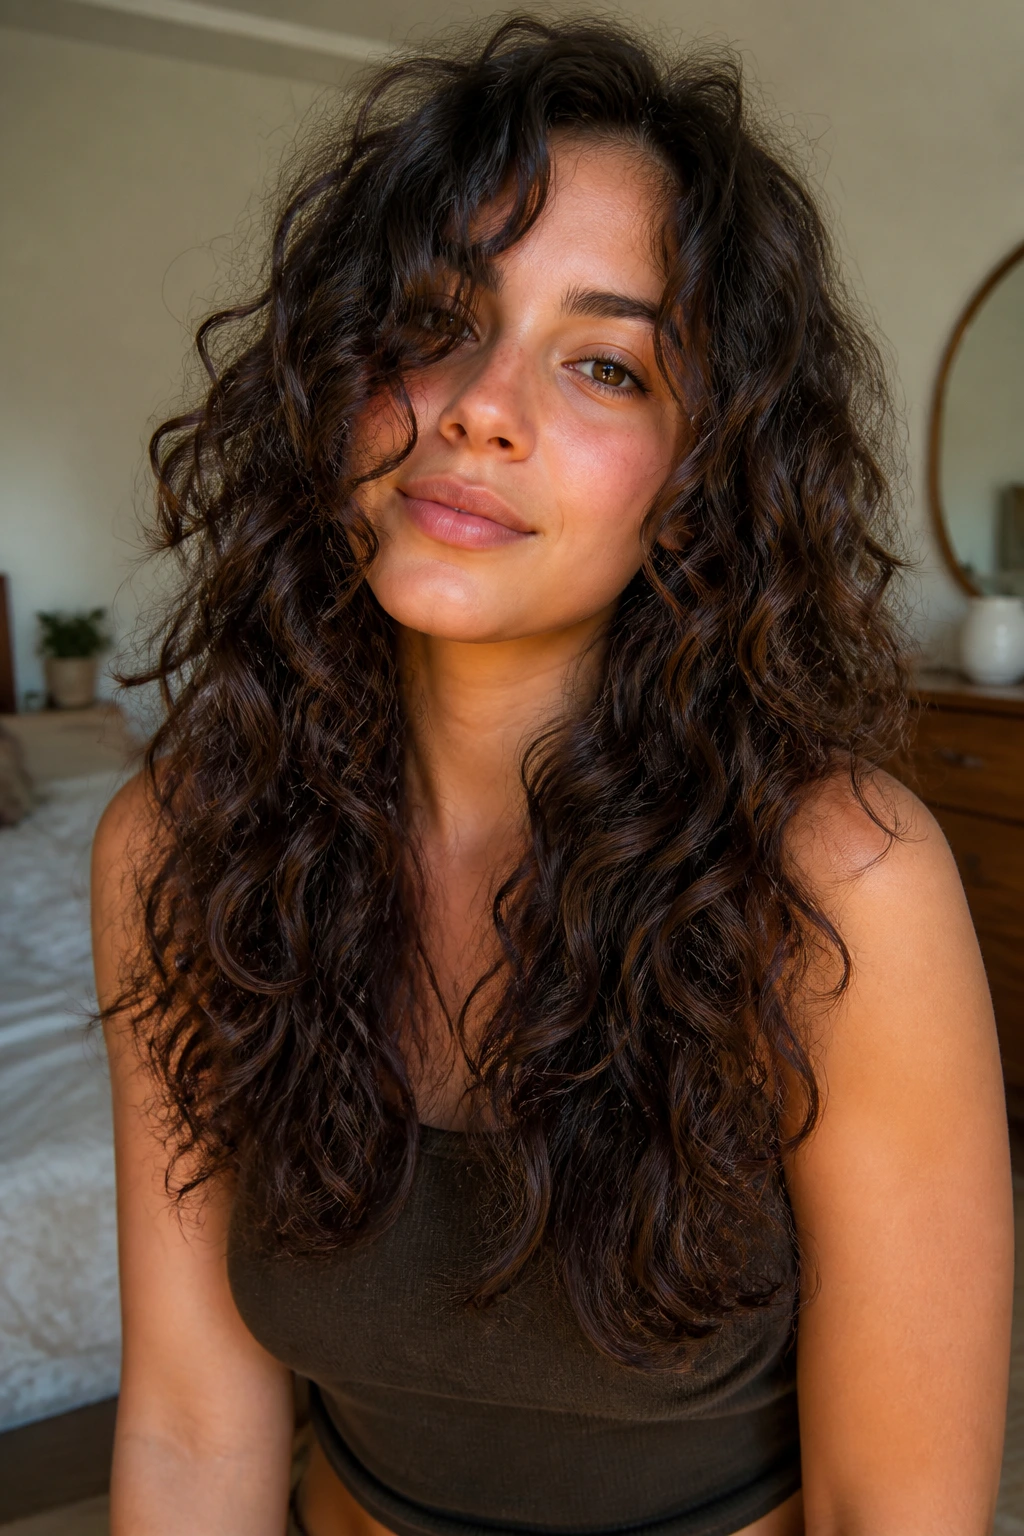
This is my favorite compromise for anyone nervous about layers looking too obvious. The perimeter stays blunt and full, while the interior gets enough shaping to keep the curls from bunching up in one heavy shelf.
It’s a strong choice if your ends are fragile or if you like the look of long hair gathered into a ponytail. The blunt hem gives the eye something solid to land on. Just don’t let the stylist chew into the bottom line too hard. That’s how you end up with stringy tails.
17. Grow-Out Friendly Transitional Layers
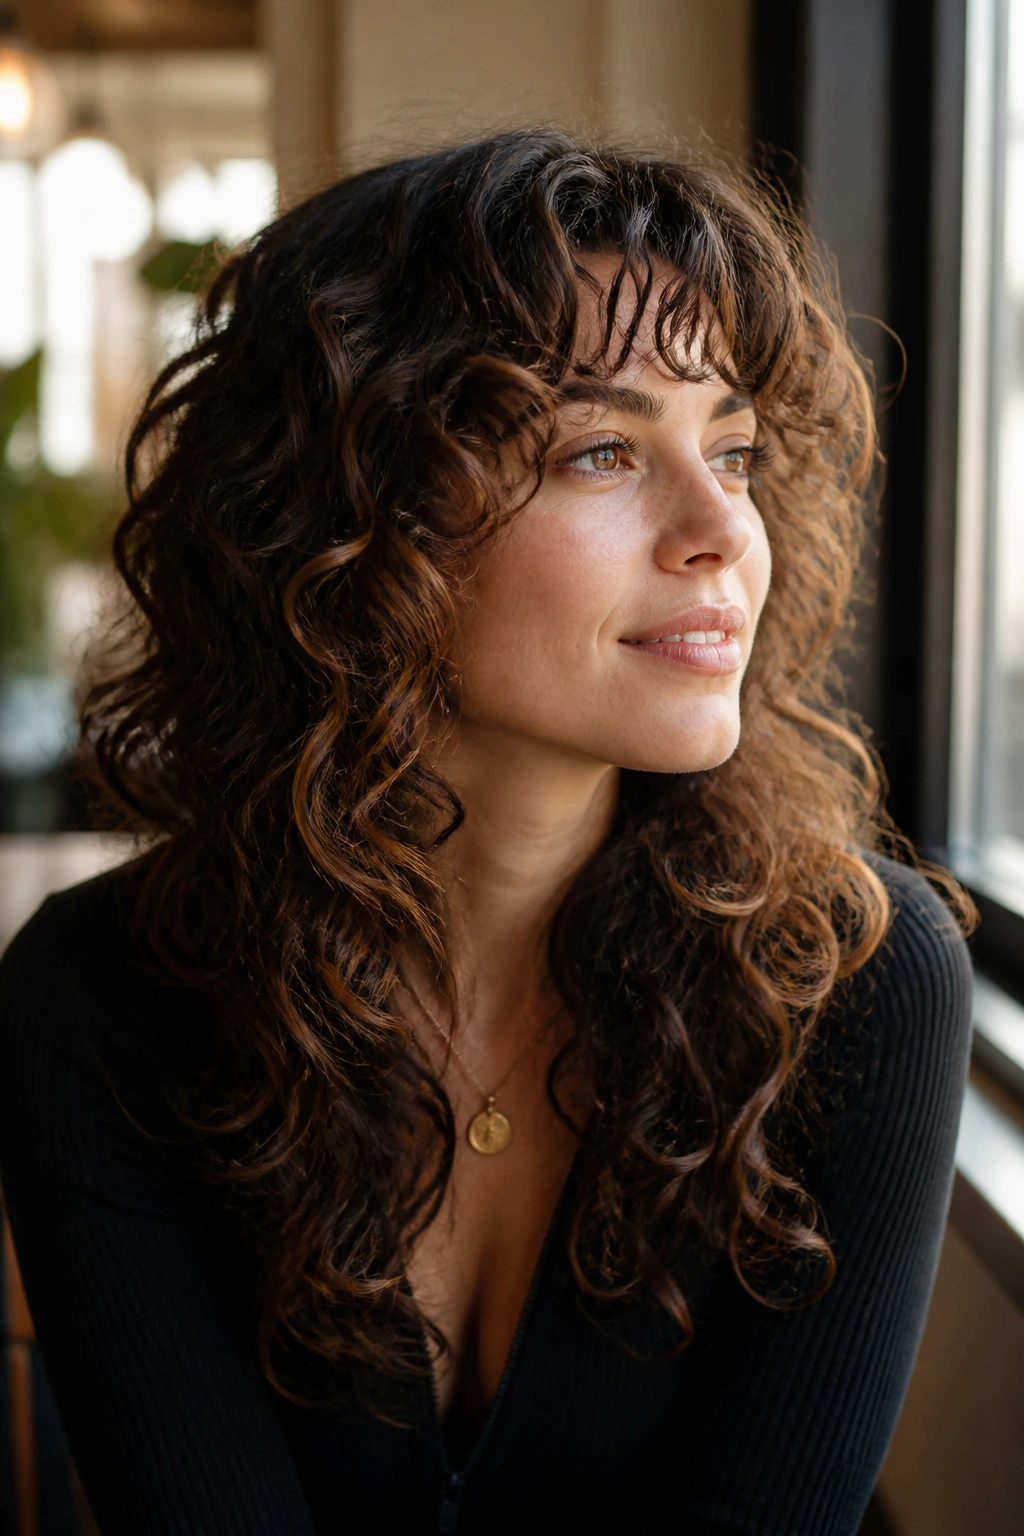
Transitional layers are the quiet fix when you’re growing out bangs, a shorter cut, or old face-framing pieces that no longer match the rest of the hair. They bridge the difference between lengths instead of exposing it.
The beauty of this shape is that it gets better as it settles. At week one, it looks tidy. At week ten, it still looks deliberate. That’s a rare thing with curls, and worth chasing if you hate awkward grow-out phases.
18. Long Layers for 2C Waves
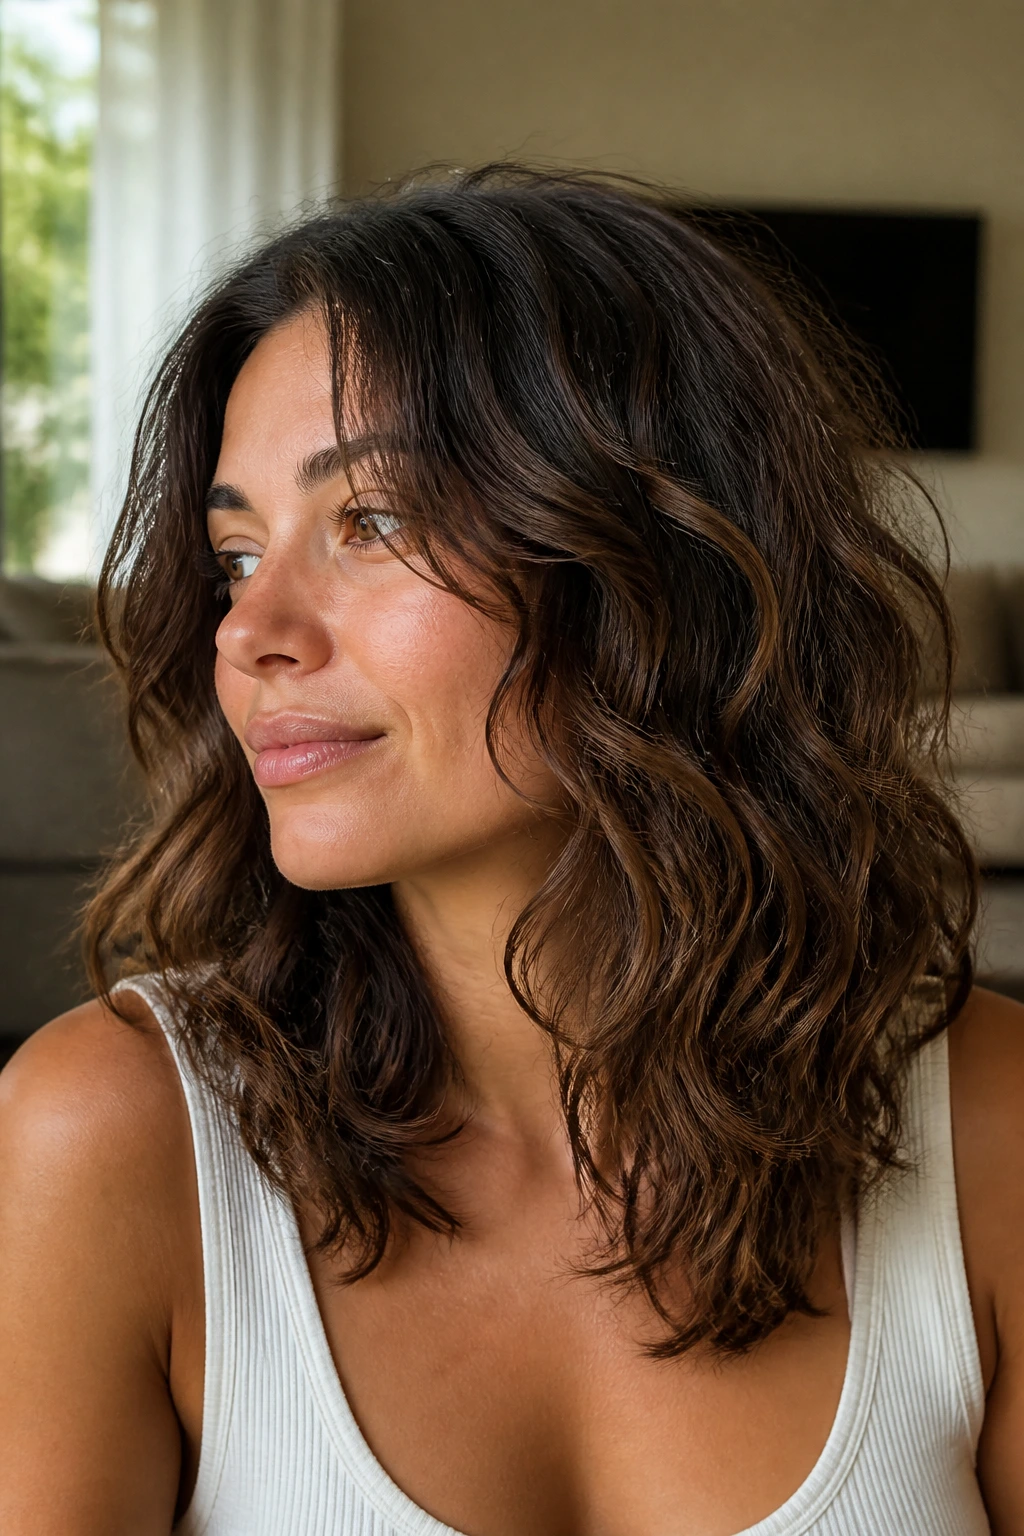
Loose 2C waves usually need less aggressive layering than people expect. The wave itself already creates movement, so the haircut just needs to stop the bottom from turning into a flat curtain.
Long layers help the S-bend stay broad and readable. Too many short pieces can break the wave into stringy sections, which makes the whole head look thinner. Keep the shortest layer low, near the cheekbone or below, and let the waves do the rest.
19. Long Layers for 3A Ringlets
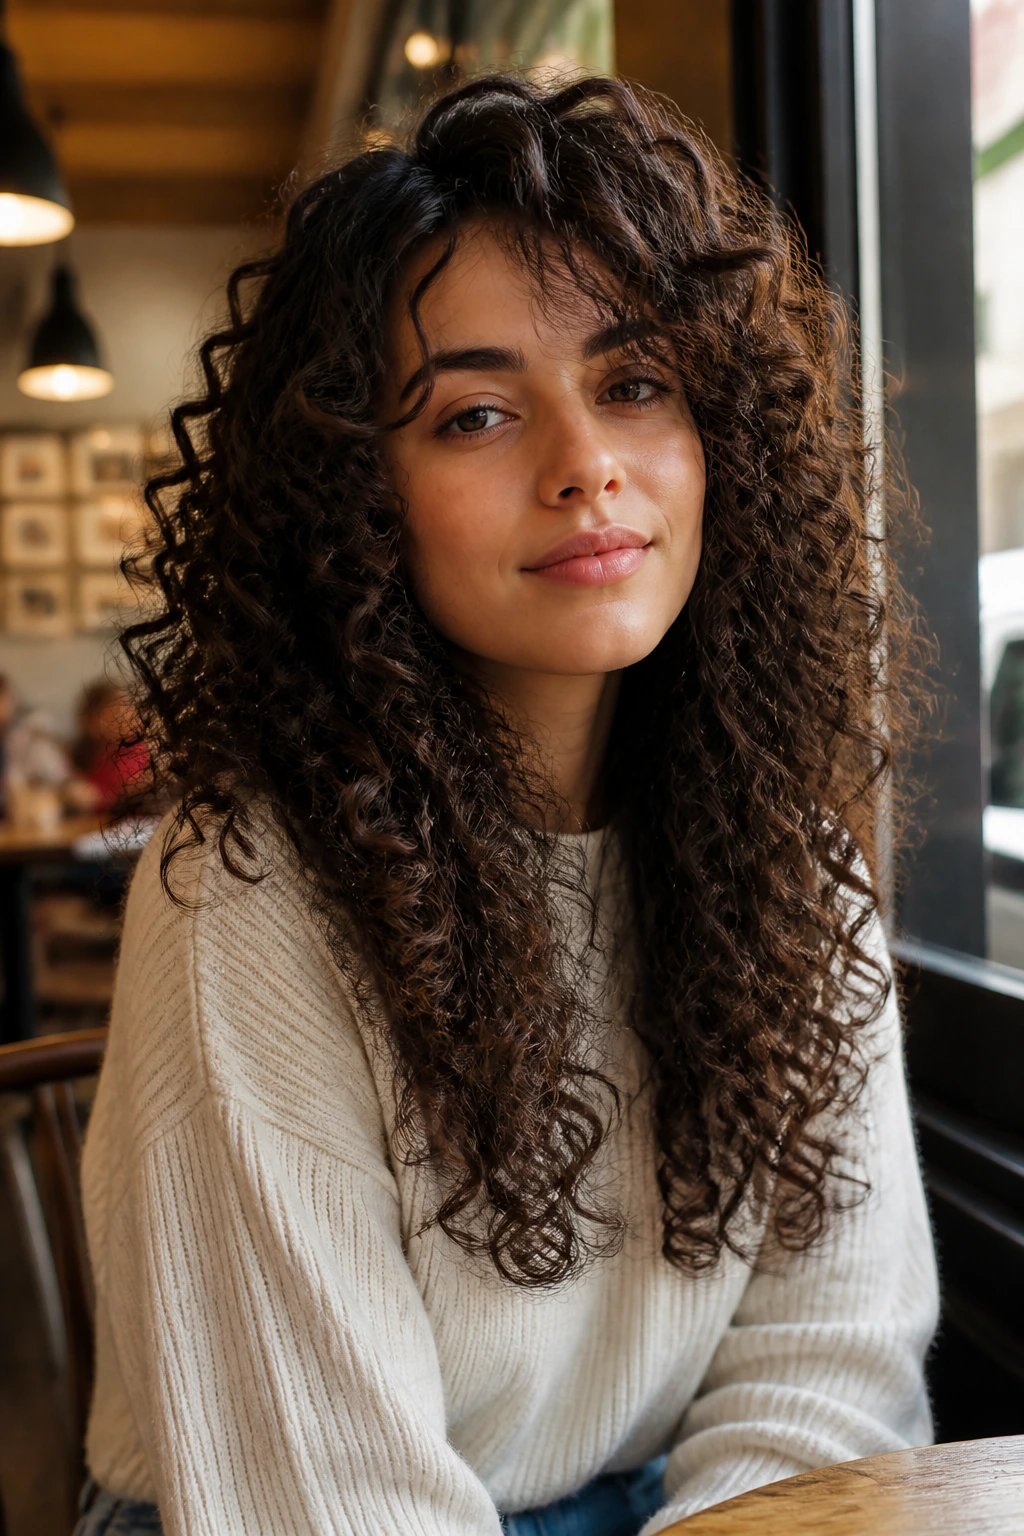
3A ringlets like a little structure and not much interference. If the layers start too high, the ringlets can bunch and spring away from the face in odd little clumps.
A better approach is a soft face frame and long mid-length layers that let the ringlets curl around each other. The hair should still feel lush when it dries, not interrupted. A dry cut helps here because ringlets often bounce higher than the eye expects.
20. Long Layers for 3B Springs
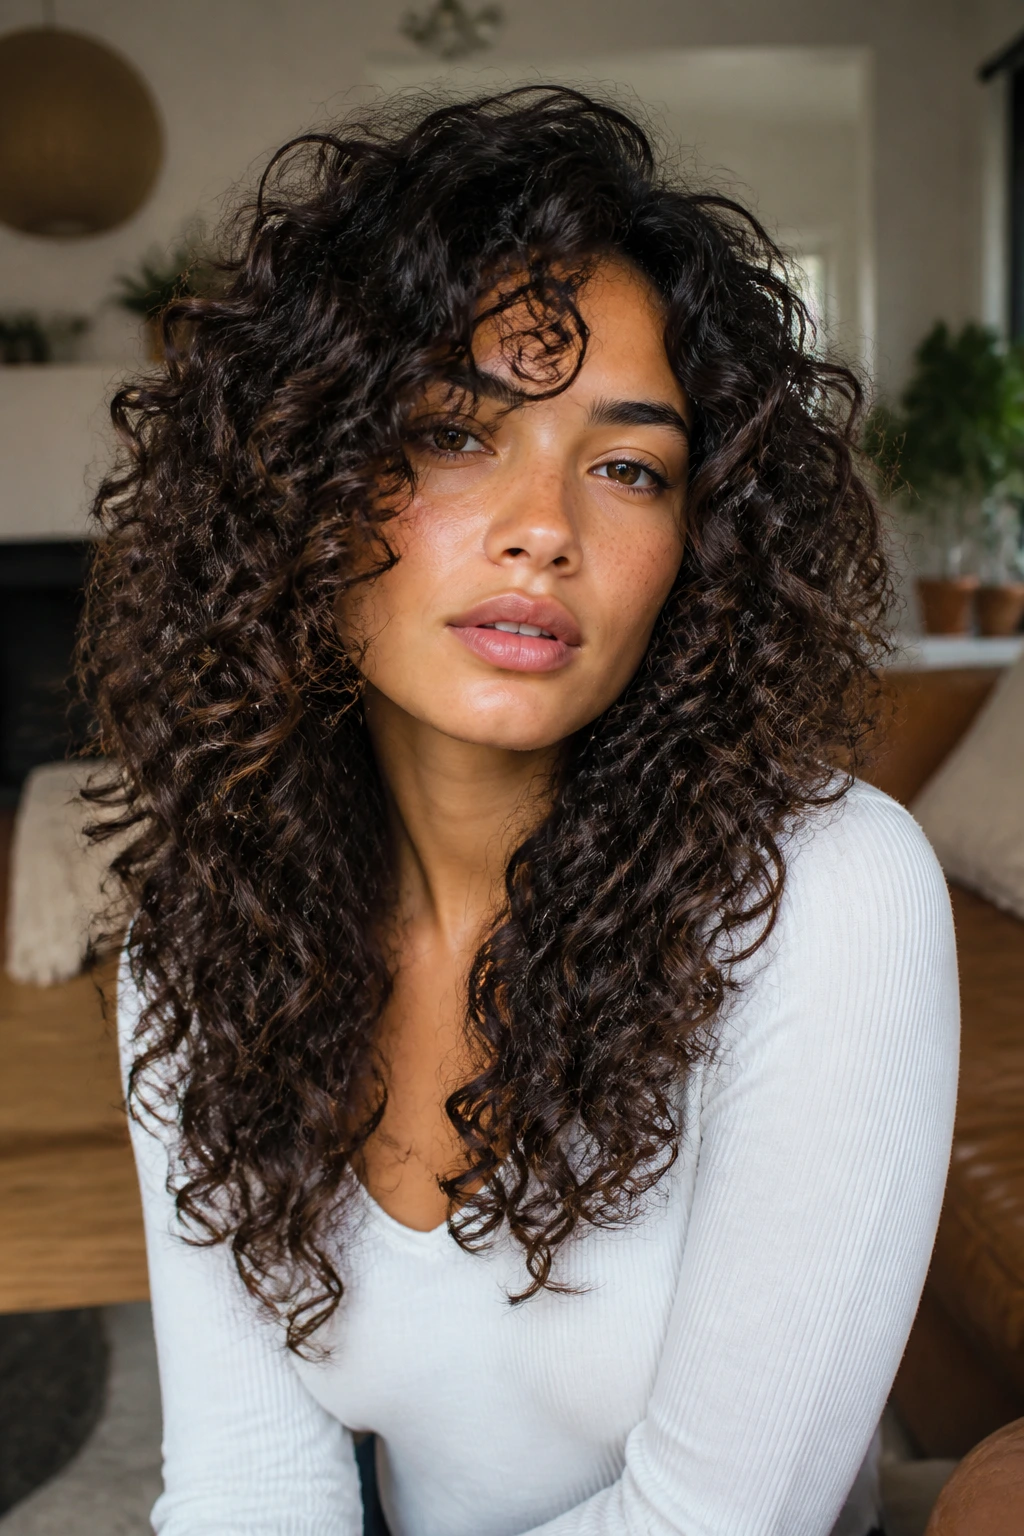
3B curls have bounce, volume, and enough attitude to fight a bad shape all day long. Long layers keep that springy energy but remove the heavy shelf that builds right at the shoulders.
I like this shape when the curls are thick enough to support movement but not so dense that they need deep internal debulking. The outline should stay rounded. If the layers are too choppy, the hair can separate into little ledges instead of one flowing shape.
21. Long Layers for 3C Curls
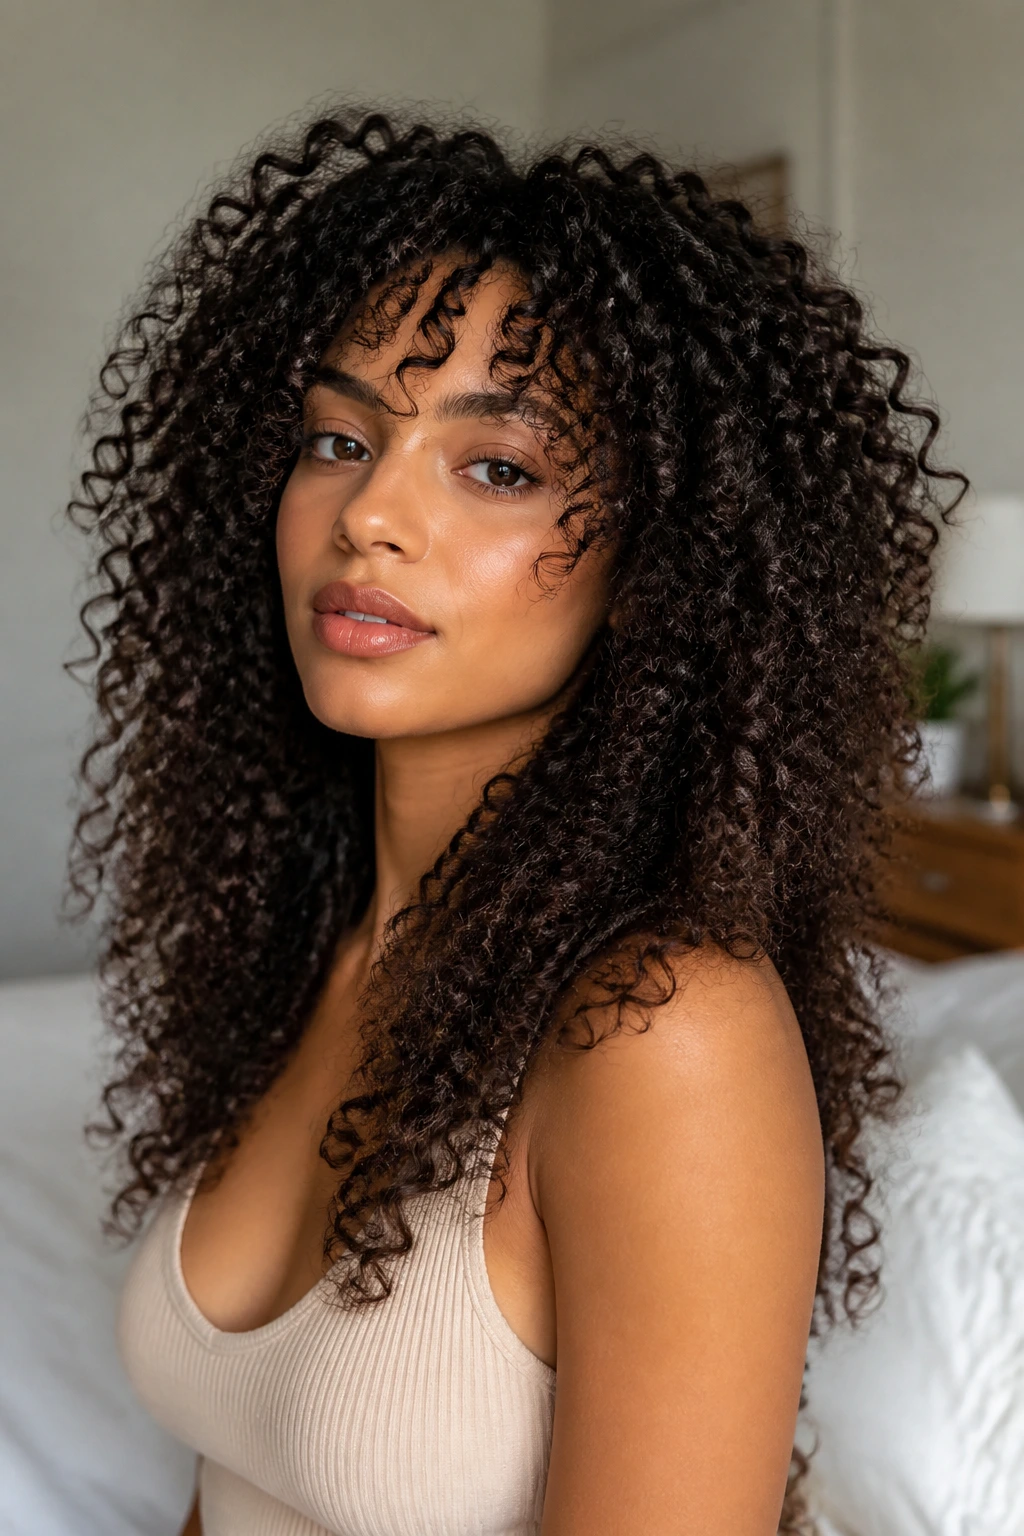
3C curls shrink more than people who do not wear them expect. That means the haircut has to respect dry length, not wet length, or the whole thing ends up shorter than planned.
Keep the perimeter long enough to anchor the shape and let the internal layers create lift where the curls stack. A dry cut matters a lot here. Wet 3C hair can hide a full inch or two of bounce, and that’s a bad surprise when you only wanted a trim.
22. Long Layers for 4A Coils
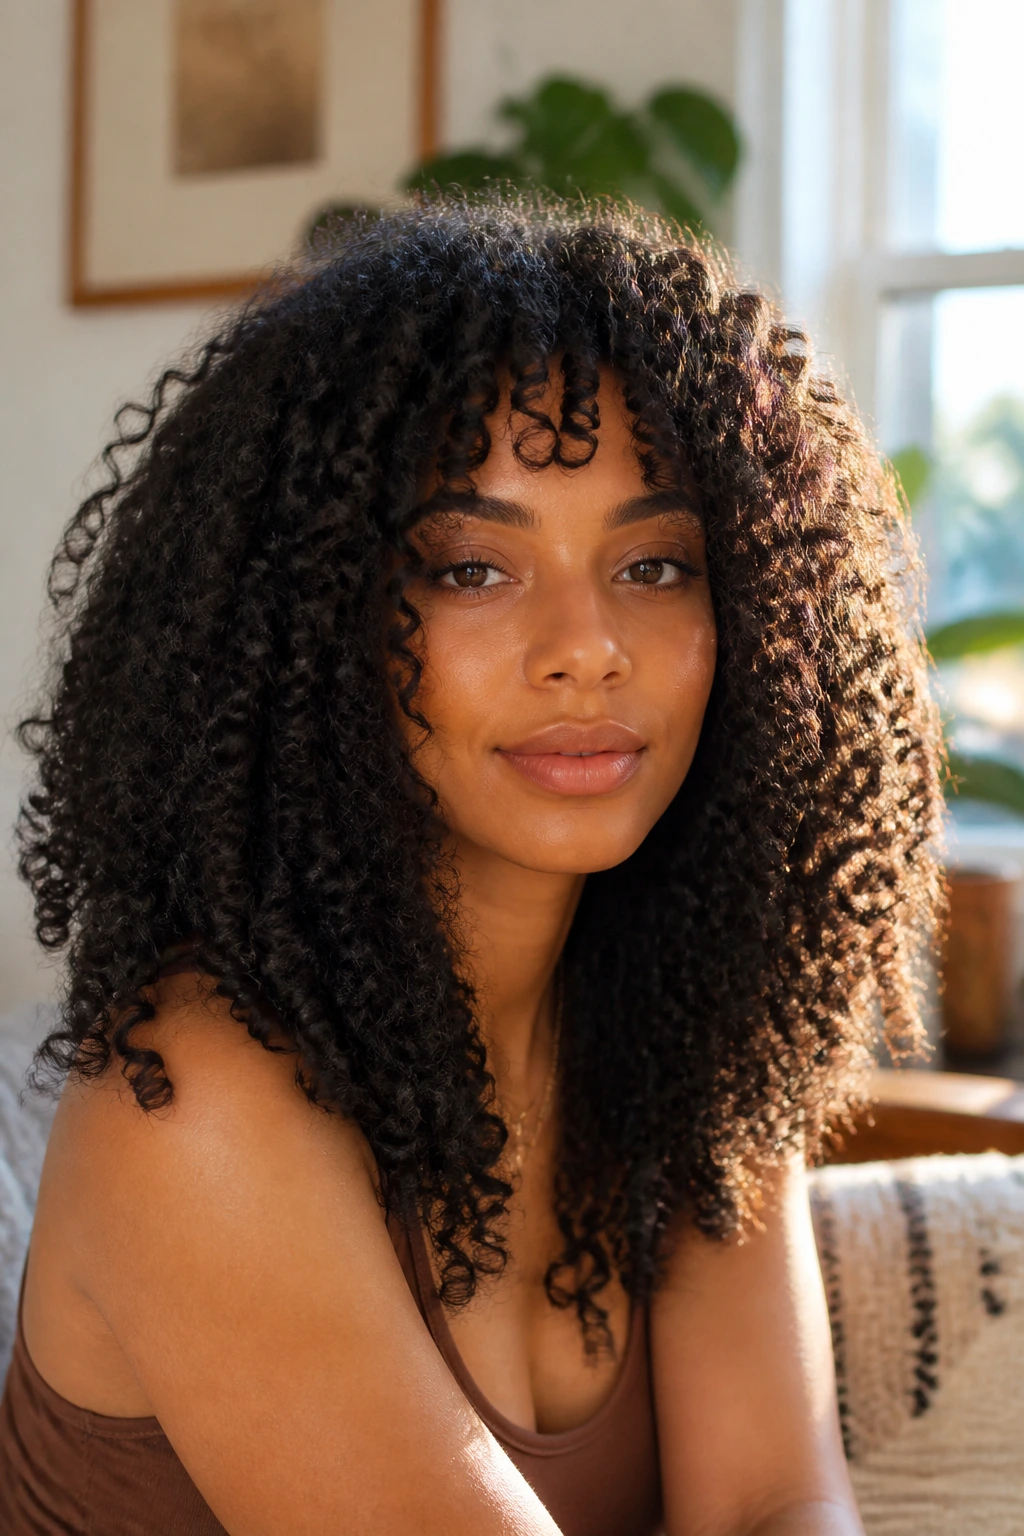
4A coils tend to shine when the shape is rounded and the top has a little room. The layers should create a soft dome rather than a sharp tier, which helps the coils sit as a unit instead of breaking into pockets.
This cut works best when the stylist watches how the coils settle dry and trims with the spring in mind. If the face frame gets too short, the whole shape can feel narrower than intended. Better to keep the front pieces long enough to curl and let the shape speak through volume.
23. Long Layers for 4B and 4C Shrinkage
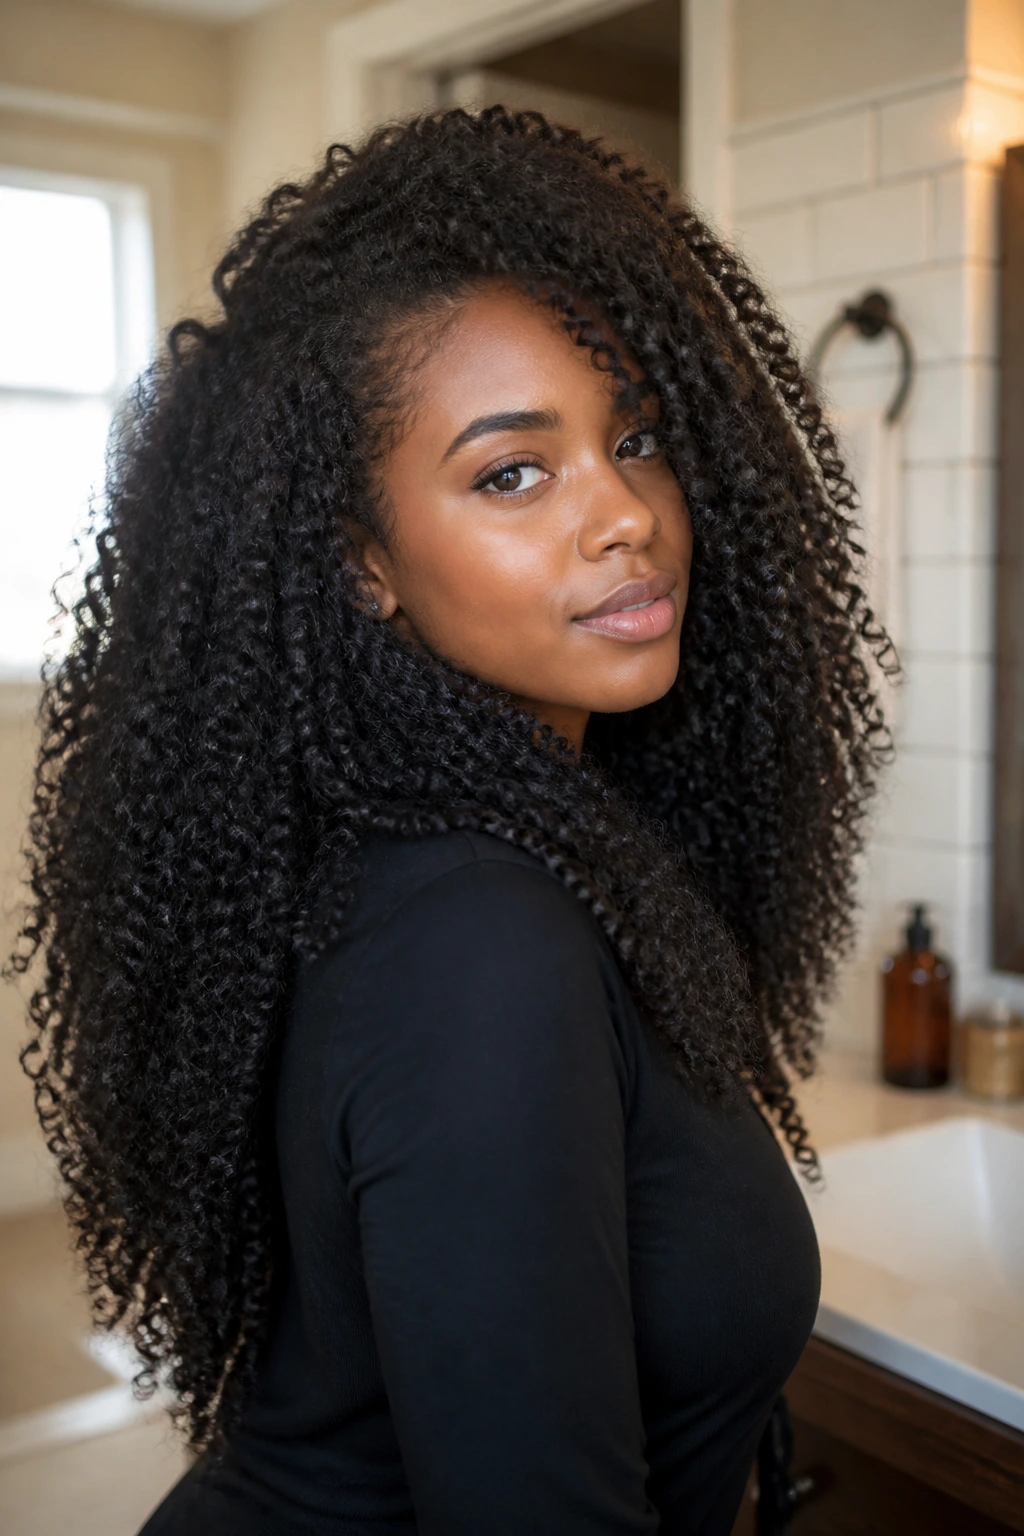
This is the zone where shrinkage can make a haircut behave like a trick mirror. Hair that looks generous in the chair may dry several inches shorter, so the layer plan has to be conservative and deliberate.
The safest cut removes bulk where the hair stacks on itself, not in a scatter of tiny shelves. Ask for a shape that keeps the perimeter intact and avoids over-thinning the ends. If your curl pattern shrinks hard, don’t let anyone get enthusiastic with the scissors too early.
24. Deep Side-Swept Front Pieces

Deep side-swept front pieces give curly hair a soft diagonal line across the face. They can make the whole cut feel warmer and more relaxed, especially if the rest of the hair stays long and fairly simple.
This is a good middle ground for someone who wants movement but not a full fringe. The front does the visual work; the back remains the anchor. If you like tucking one side behind the ear, this cut already has that habit built in.
25. Soft Mullet-Inspired Layers
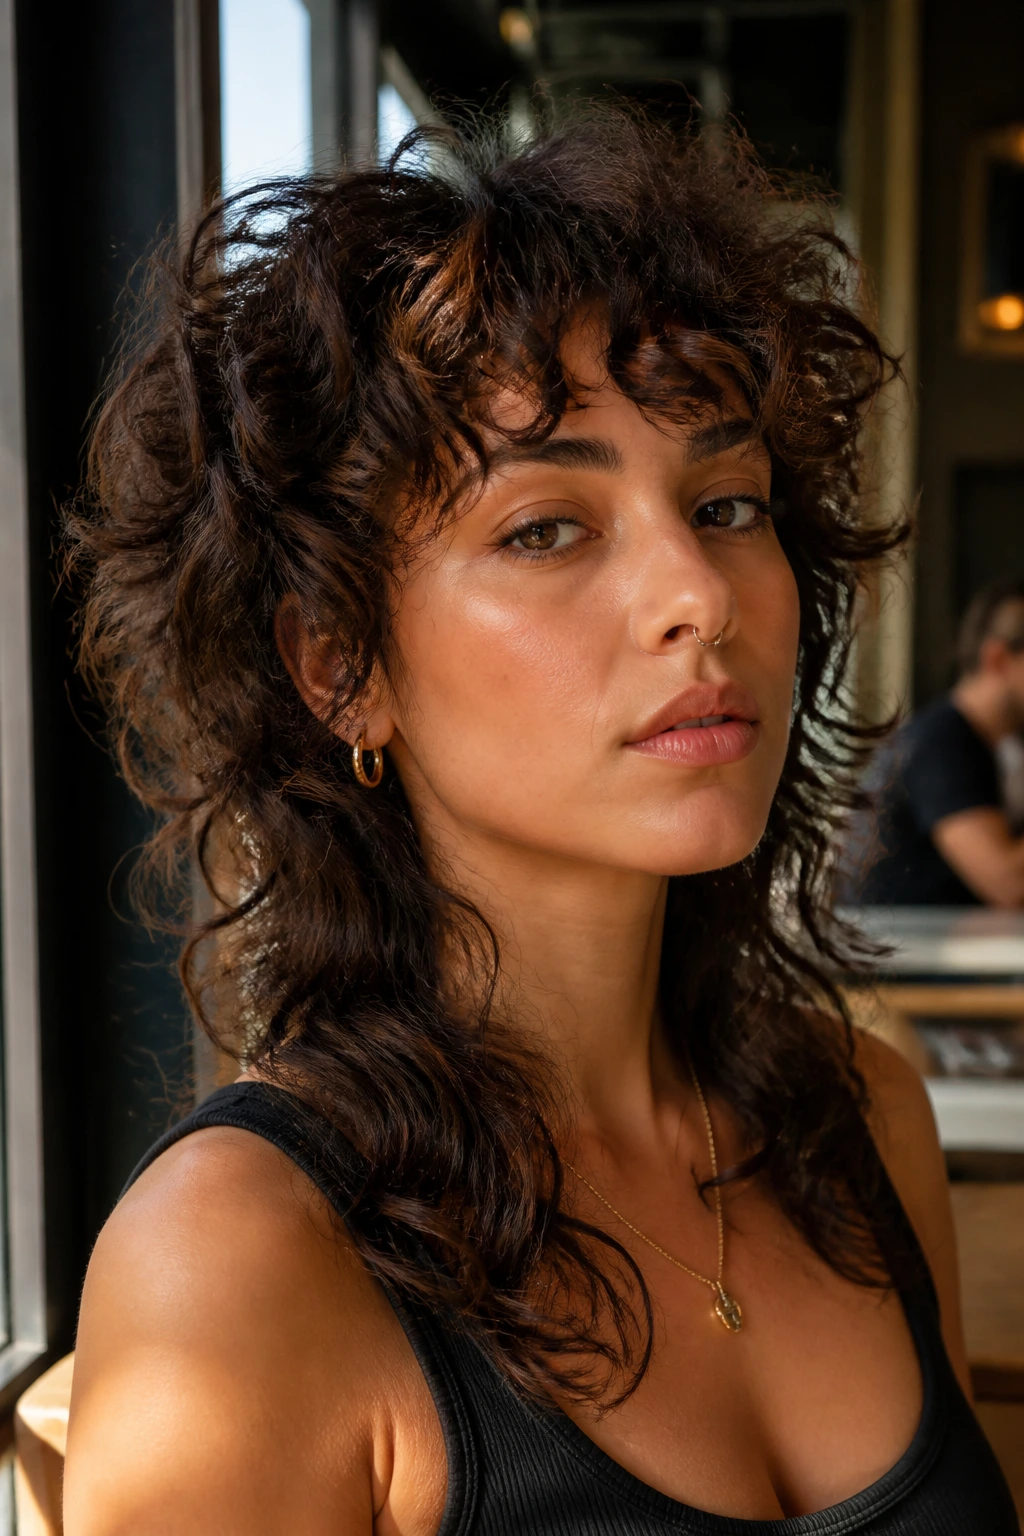
A soft mullet-inspired cut on curly hair sounds sharper than it needs to be. The trick is keeping the top and sides lively while leaving enough length in the back so the shape feels rounded, not harsh.
I like this version for curls that want texture and a little edge without losing the softness that long hair naturally gives. Keep the nape gentle, though. If the back is cut too short or too blunt, the whole thing can tip from stylish to awkward in one appointment.
26. Triangle-Reducing Rounded Layers
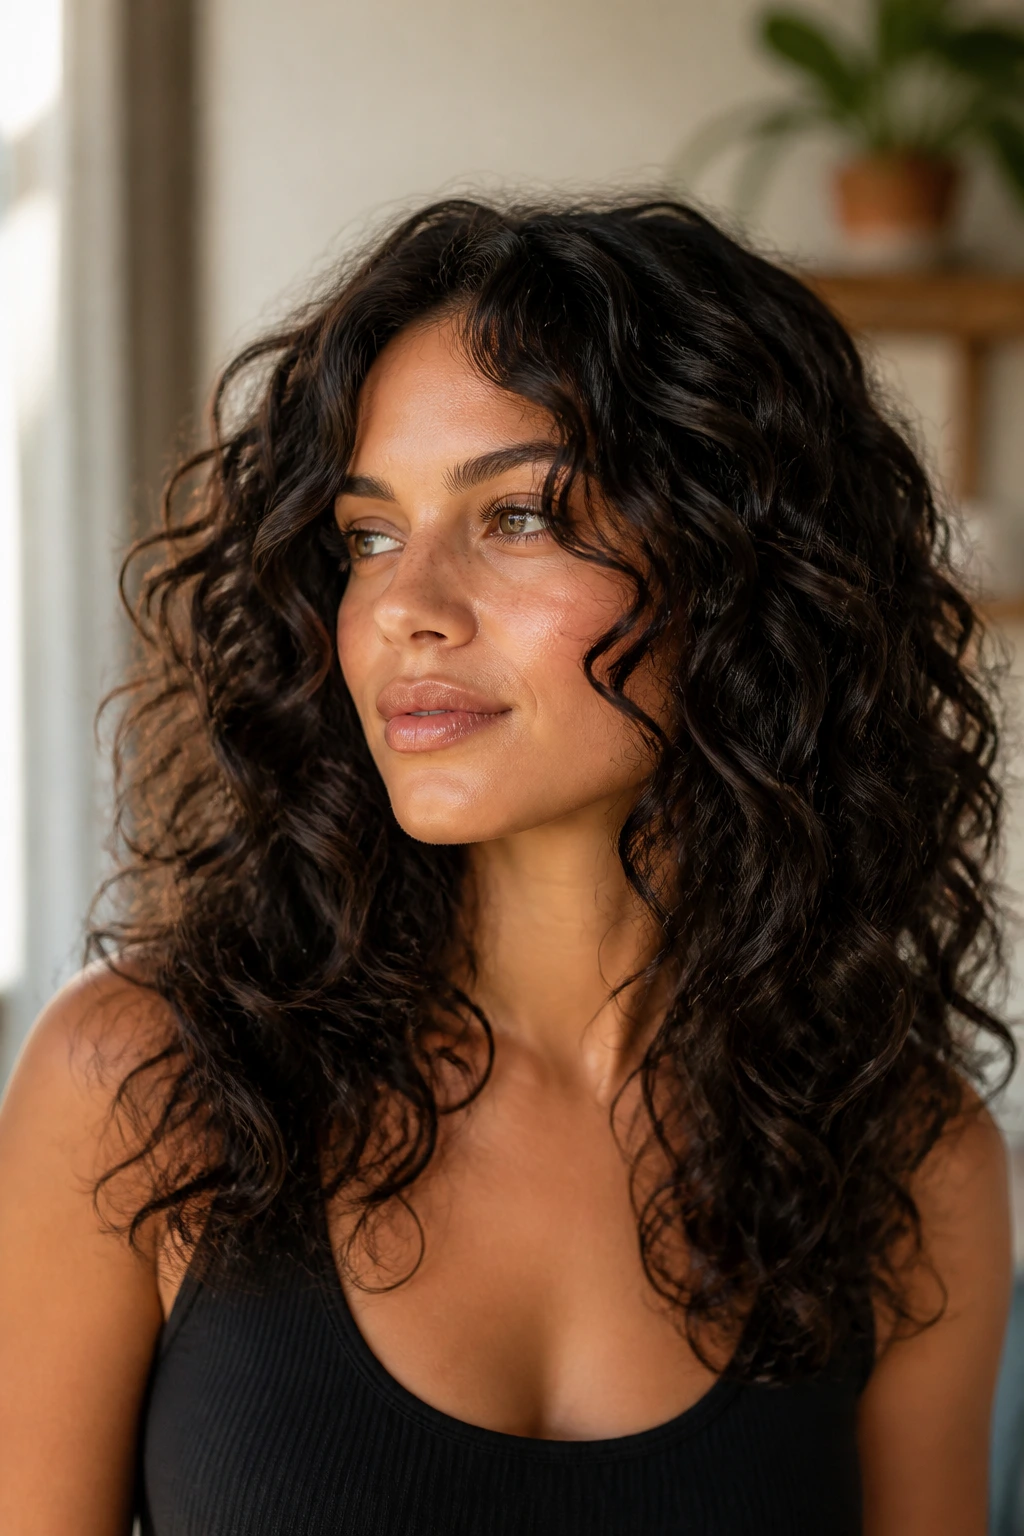
If your hair gets wide near the jaw and narrow at the crown, rounded layers are the move. They reduce side bulk and build a softer curve through the outline, which is exactly what a triangle-prone cut needs.
This shape is less about trendy language and more about solving a geometry problem. The hair should look curved from scalp to ends. When the sides feel heavy, the answer is usually not “cut more off the bottom.” It’s often “move the weight somewhere smarter.”
27. Length-Retaining Shelf Layers
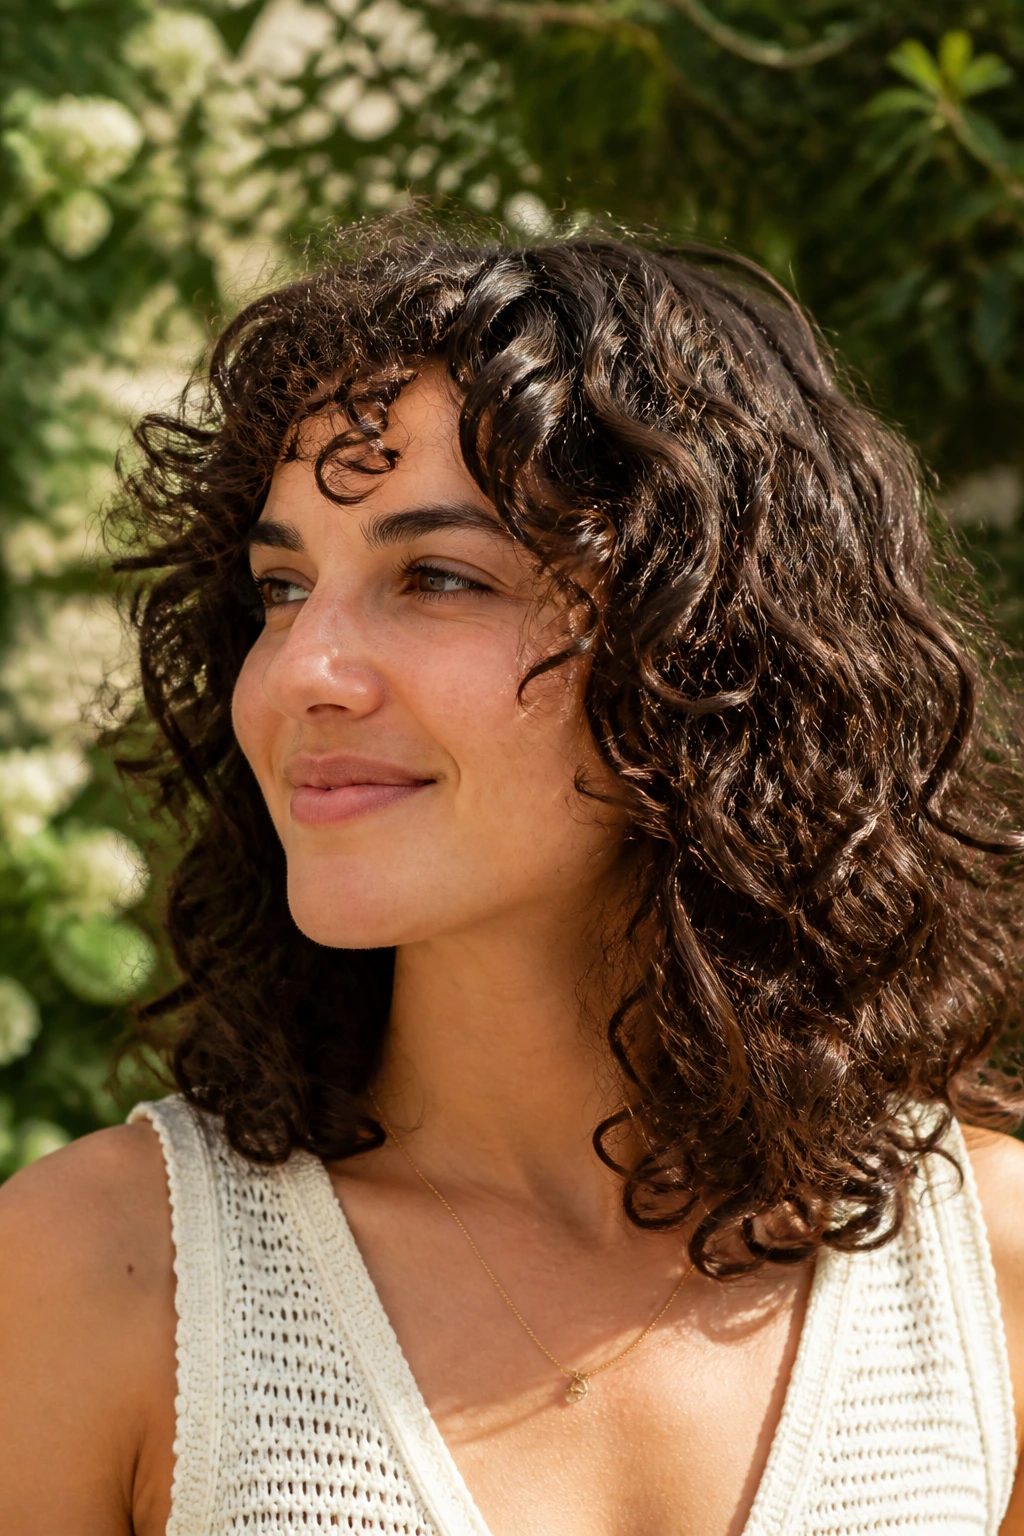
Some curly cuts need only a small shelf of shape to keep the hair from lying flat. This version keeps most of the length intact but creates a subtle ledge through the mid-lengths so the curls can sit on one another instead of dragging downward.
It’s useful if you want braids, twists, or low buns to stay easy, because there are fewer face pieces wandering around. The result is calm, not flashy. That’s the point.
28. Airy Layers for Wide Expansion
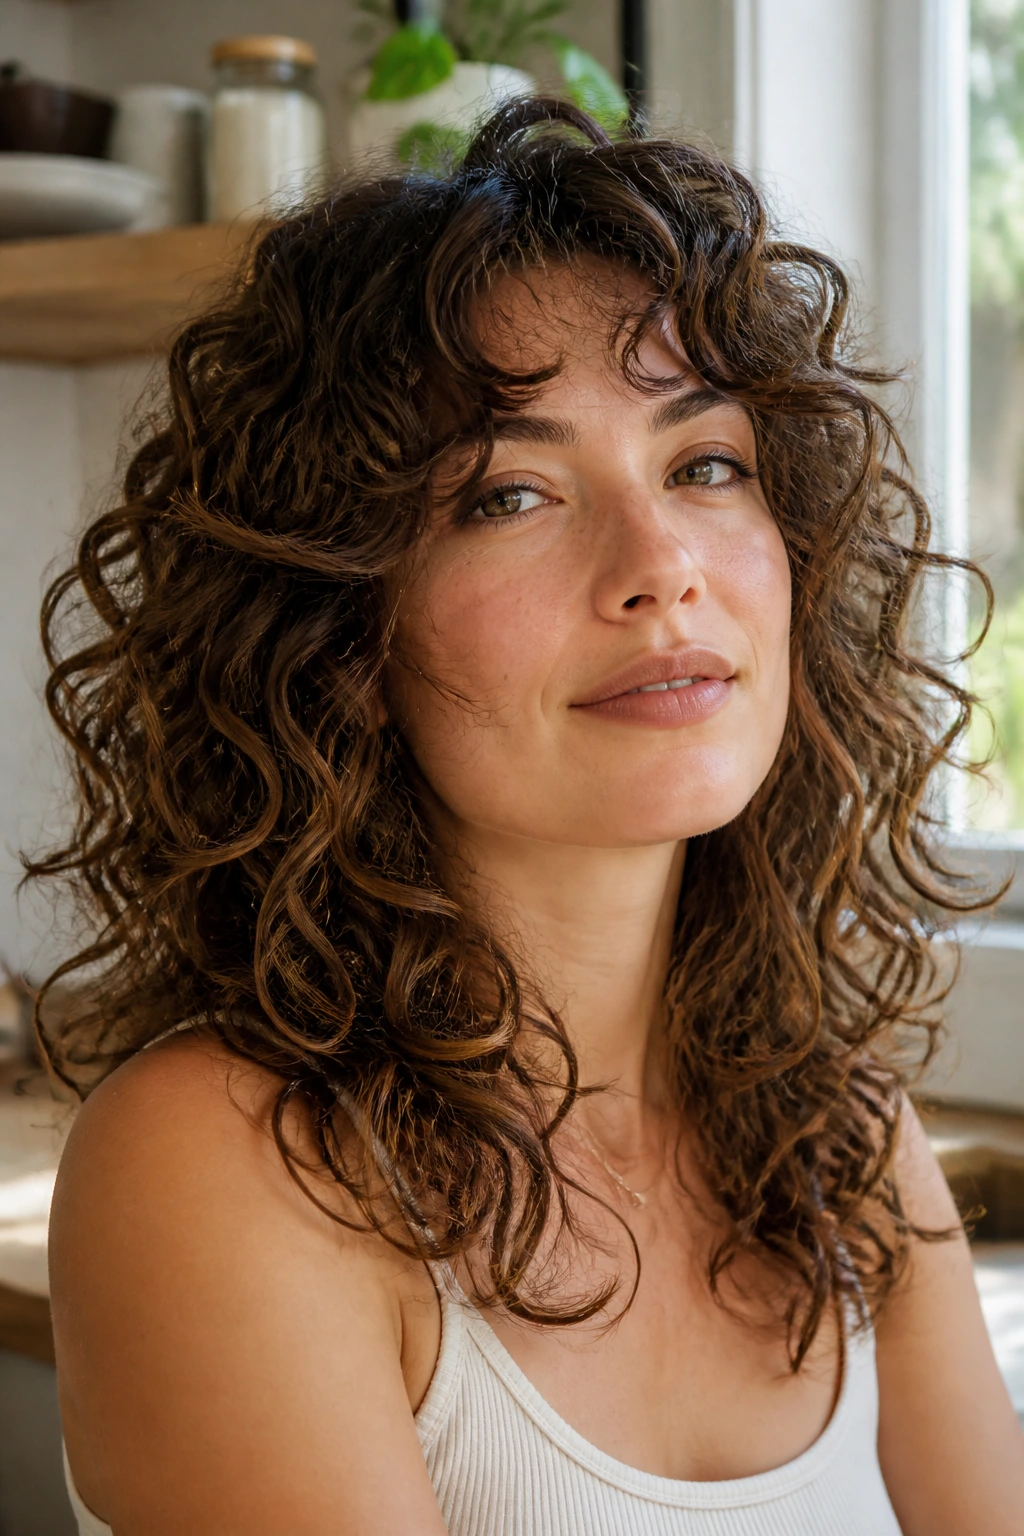
Some curls do not fall down. They spread out. Airy layers help by taking the bulk out of the widest areas so the silhouette sits closer to the head and doesn’t push sideways at shoulder level.
This is a smart choice for hair that gets bigger as the day goes on. The cut should still keep enough length to hold curl clumps together; otherwise, airy becomes frizzy, and nobody asked for that. The aim is lift in the right places, not a halo of broken ends.
29. Face-Opening Window Layers
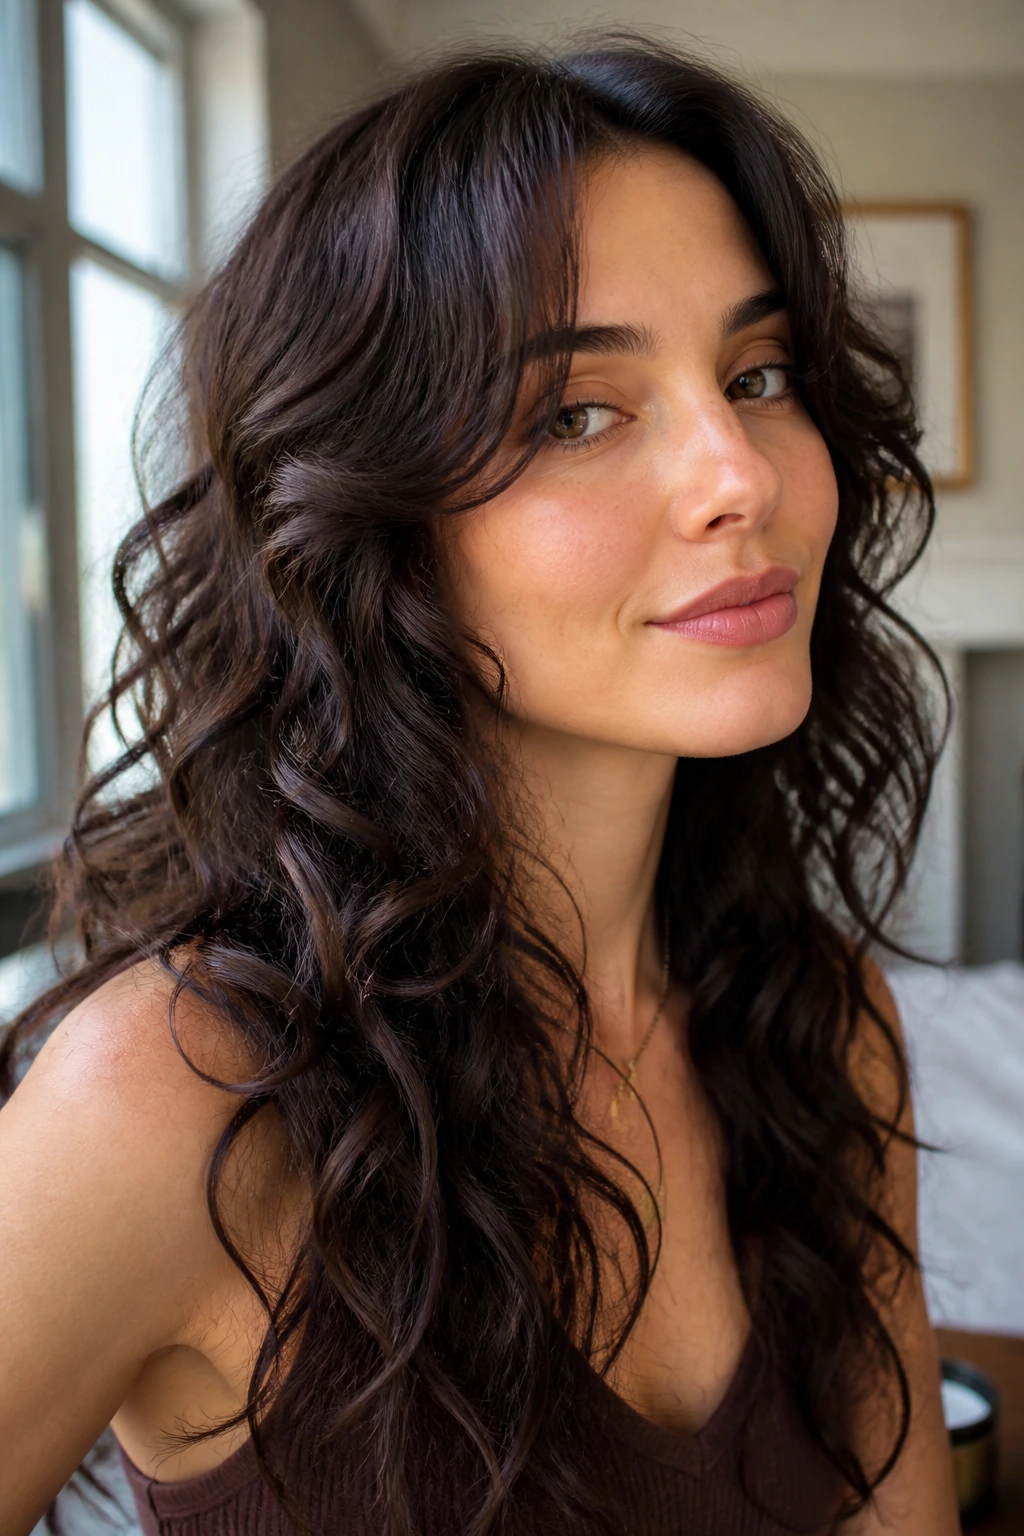
Window layers open space around the temples and upper cheek, which can make a curly cut feel brighter and more intentional. They’re a bit more noticeable than a soft cheekbone frame, but still long enough to stay elegant.
This is the cut I’d pick if the face needs a little light without a full fringe. The pieces should blend rather than stop, because a hard line near the temple can look abrupt on curly hair. Good window layers feel like a gentle reveal, not a frame glued on top.
30. Bottleneck Bangs with Long Curls
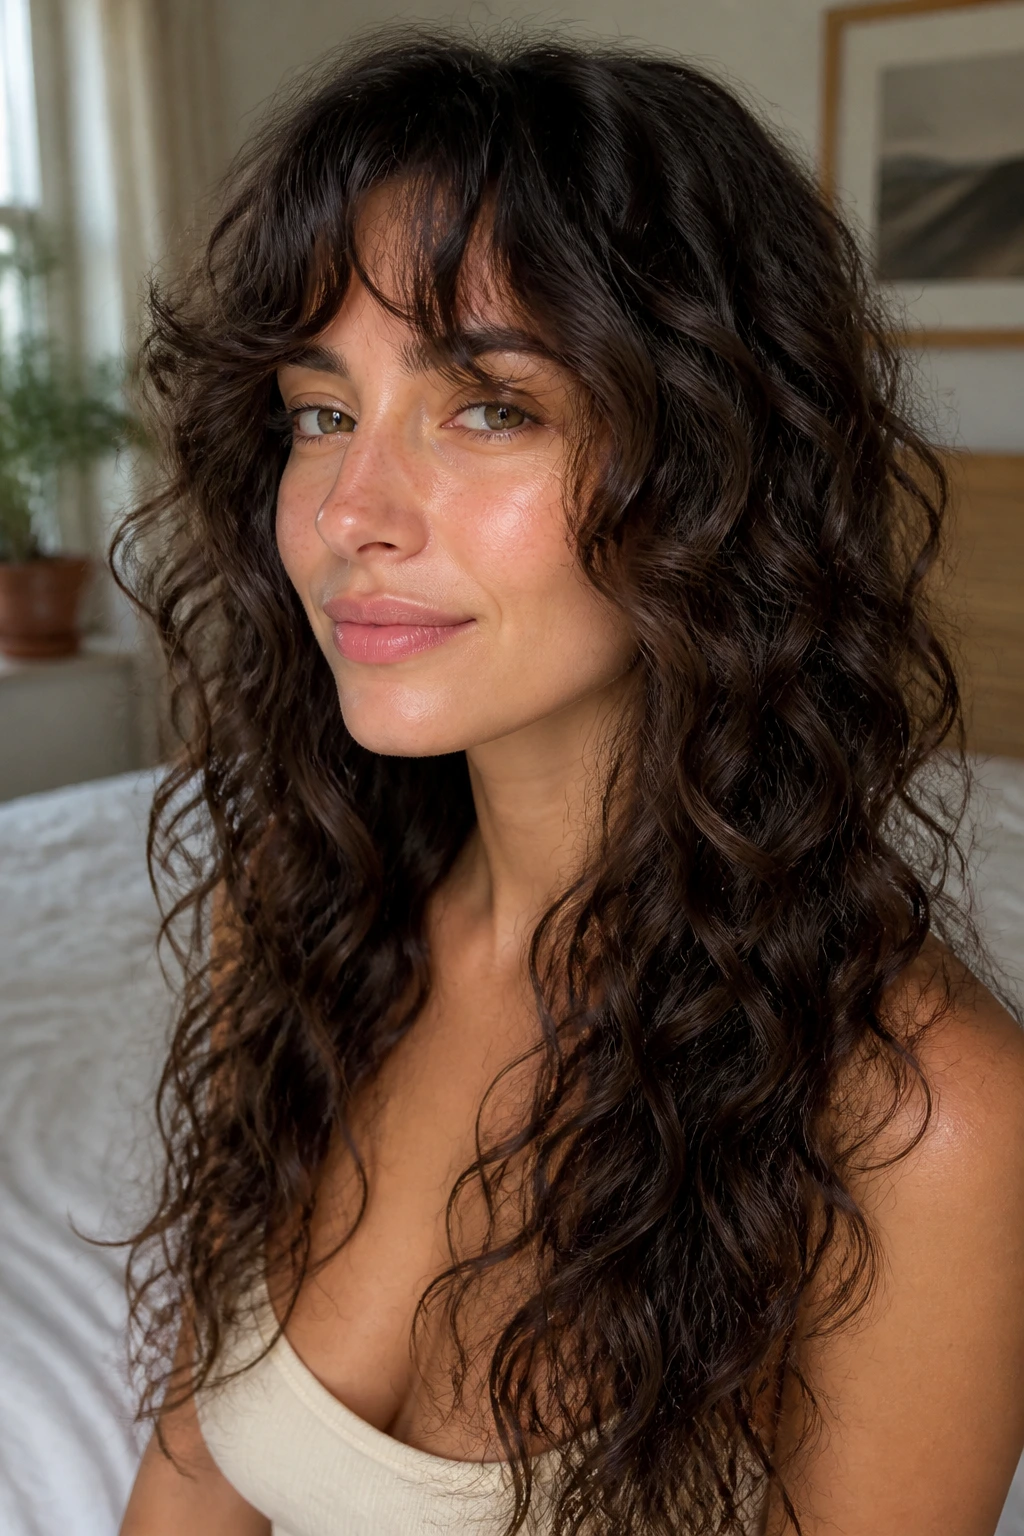
Bottleneck bangs start narrow through the center and open out near the temples, which gives curly hair a softer, more forgiving fringe than a blunt bang line. They also blend neatly into long layers, so the front doesn’t feel cut off from the rest of the head.
The important thing is length. If the center piece is cut too short, it can pop up and sit in a weird little curl above the forehead. Keep enough length for the curl pattern to form properly, then let the side pieces fan out.
31. Mermaid Layers for Waist-Length Curls
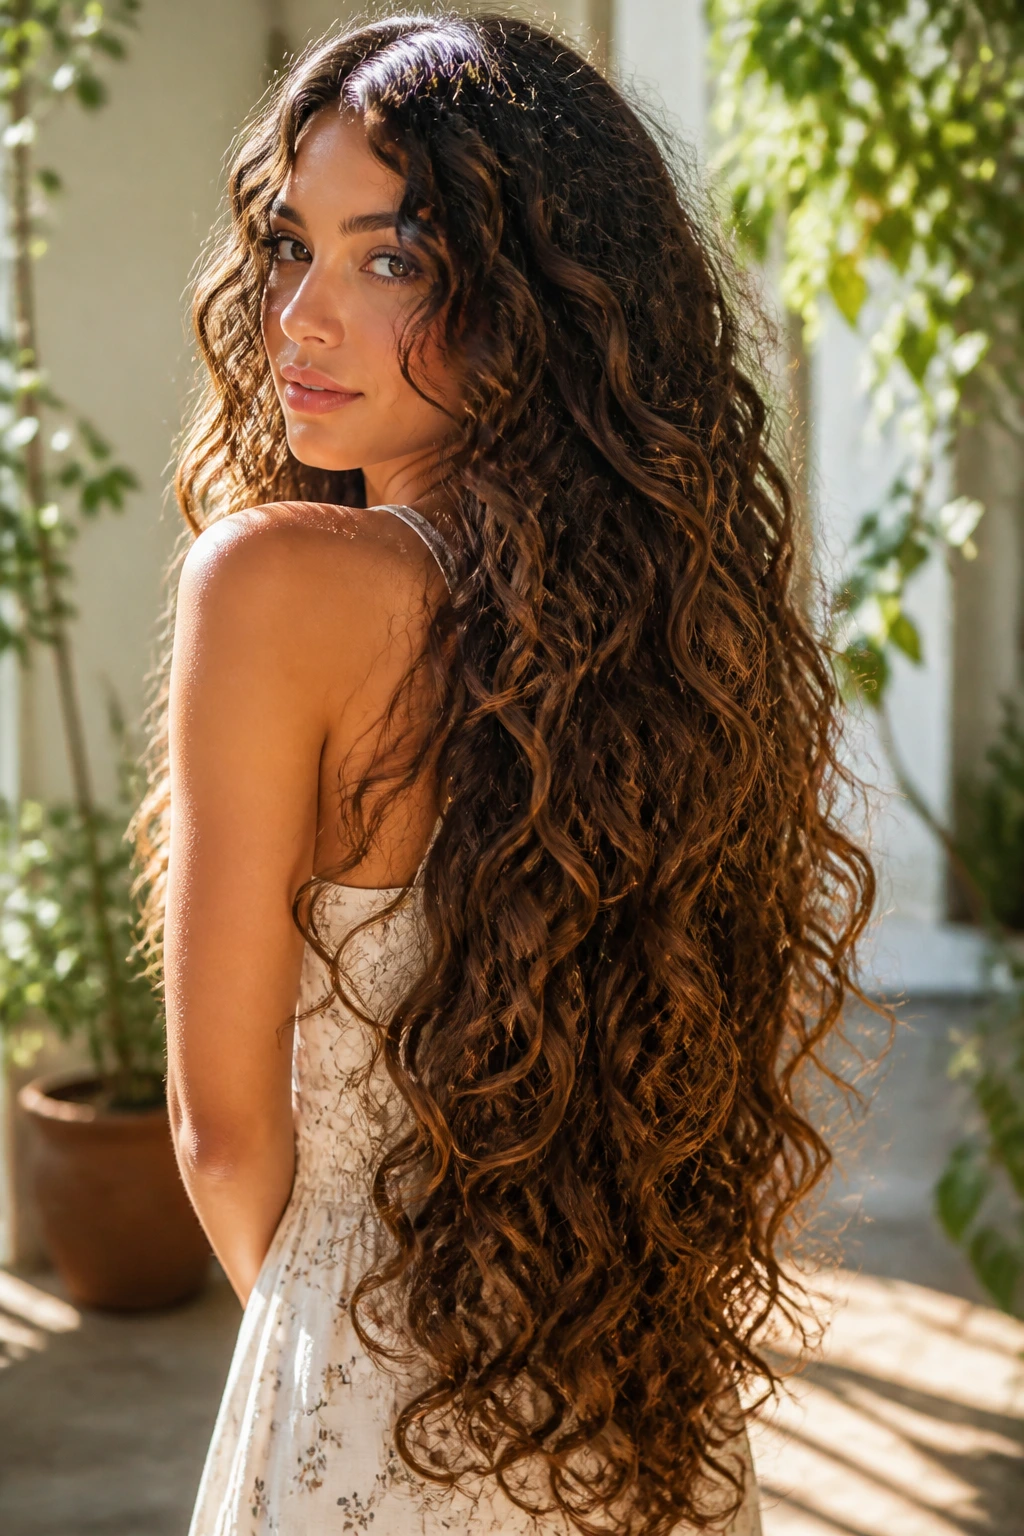
Waist-length curls need shape more than they need sympathy. Mermaid layers preserve the long drama while trimming the heavy middle sections so the bottom doesn’t hang like a wet curtain.
This cut is best if you’re committed to length and don’t want a dramatic loss in inches. It can also help with tangling, because the longest pieces are allowed to swing rather than drag. Ask for the layer map to stay soft and elongated. Sharp, stacked layers can get weird fast at this length.
32. Heavy-Hair Weightless Ends
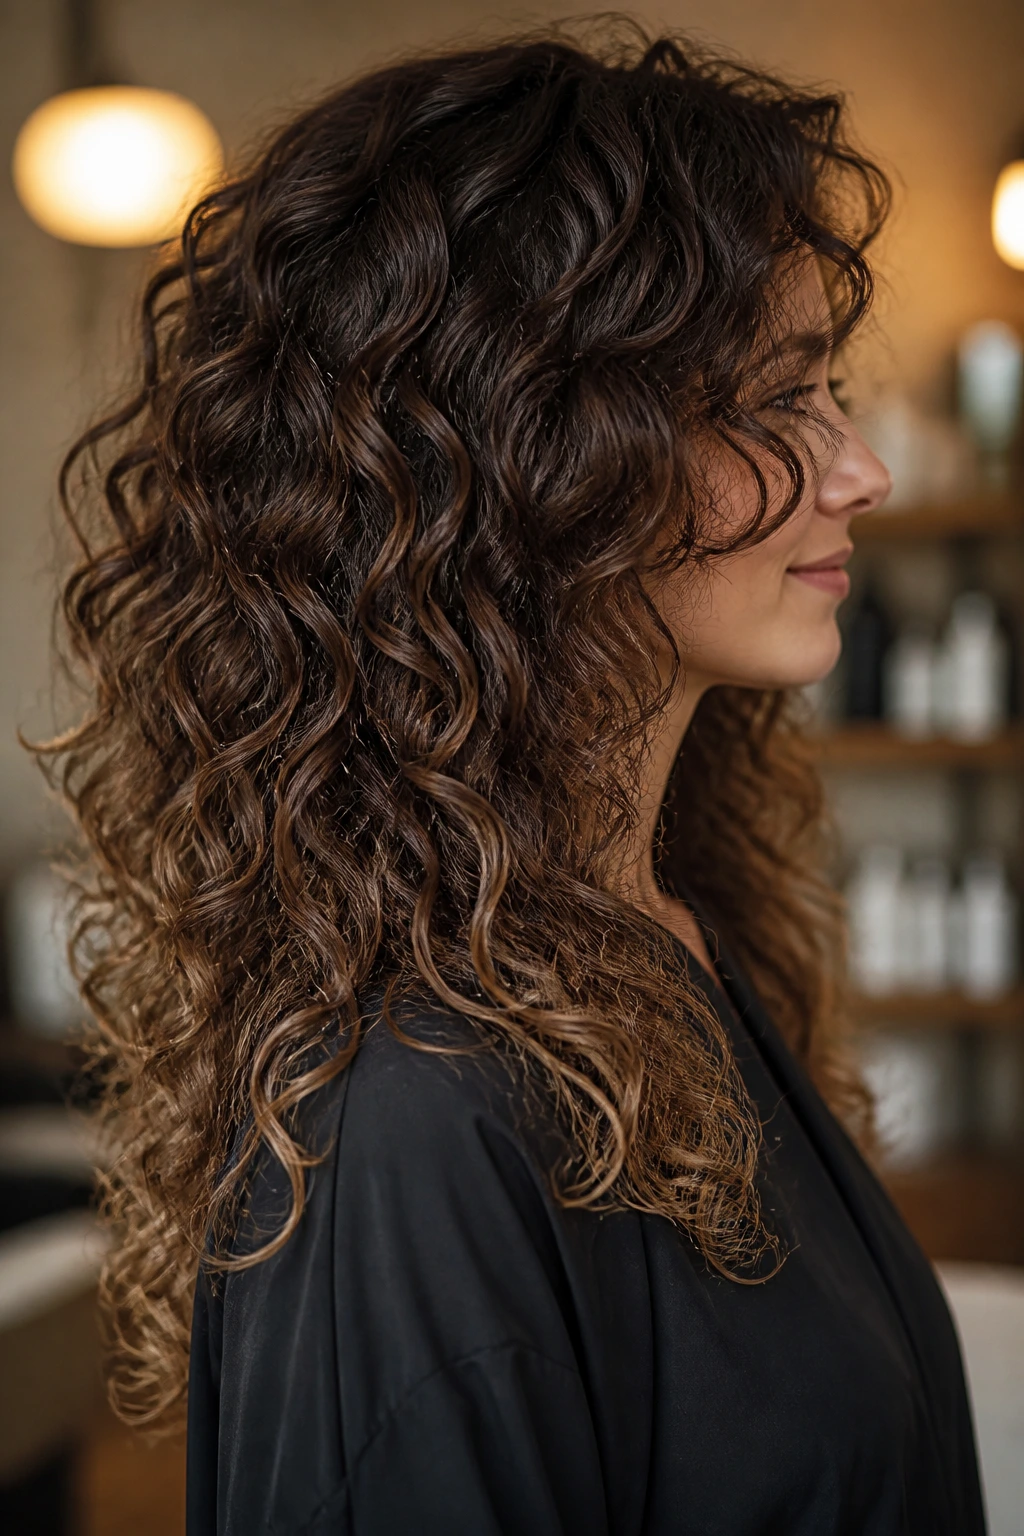
When the ends feel like they’ve been pulling the whole head down all day, a weightless-end cut is the fix. The bottom still looks full, but the last few inches stop feeling thick and tired.
This is especially useful on dense hair that expands with humidity or product buildup. The layers should release pressure from the ends without carving them so thin that they fray. You want the finish to feel lighter, not feathery to the point of weakness.
33. Long Layers for High-Porosity Hair
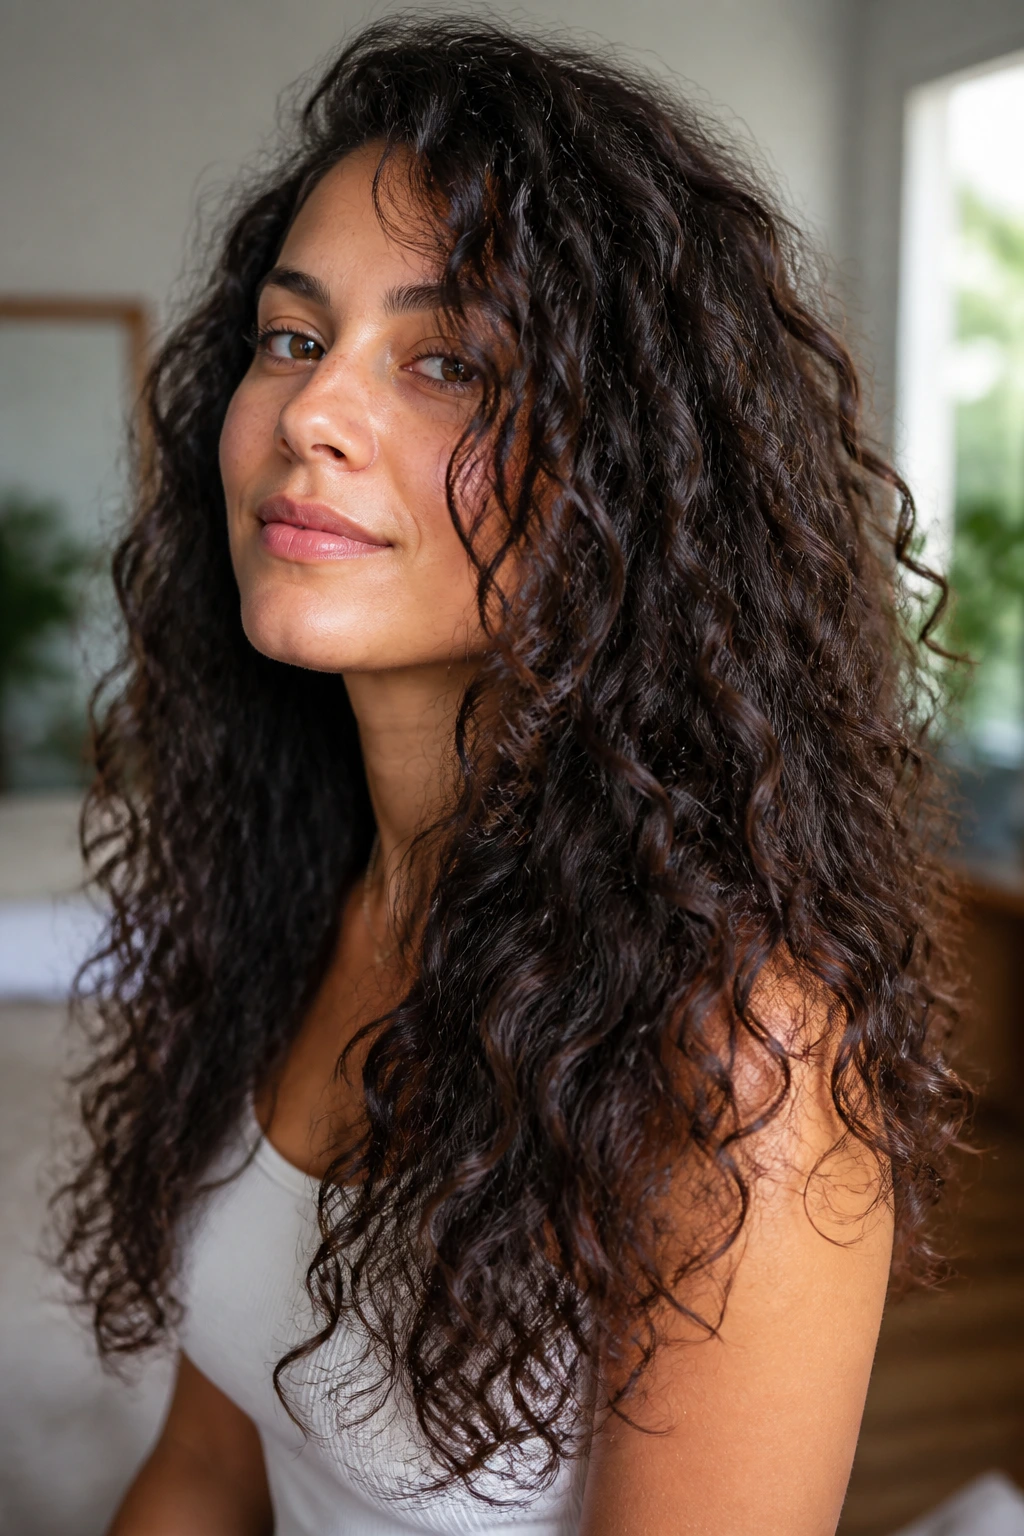
High-porosity curls tend to soak up moisture fast and lose it fast, which means they can frizz before the day is half over. Long layers help the curls keep larger clumps intact, so the hair holds shape longer between refreshes.
Ask the stylist to avoid over-texturizing or razor-heavy finishing, because porous ends already look soft and can unravel easily. The cut should support moisture retention, not scatter the curl pattern. This is one place where less slicing is usually better.
34. Long Layers for Low-Porosity Hair
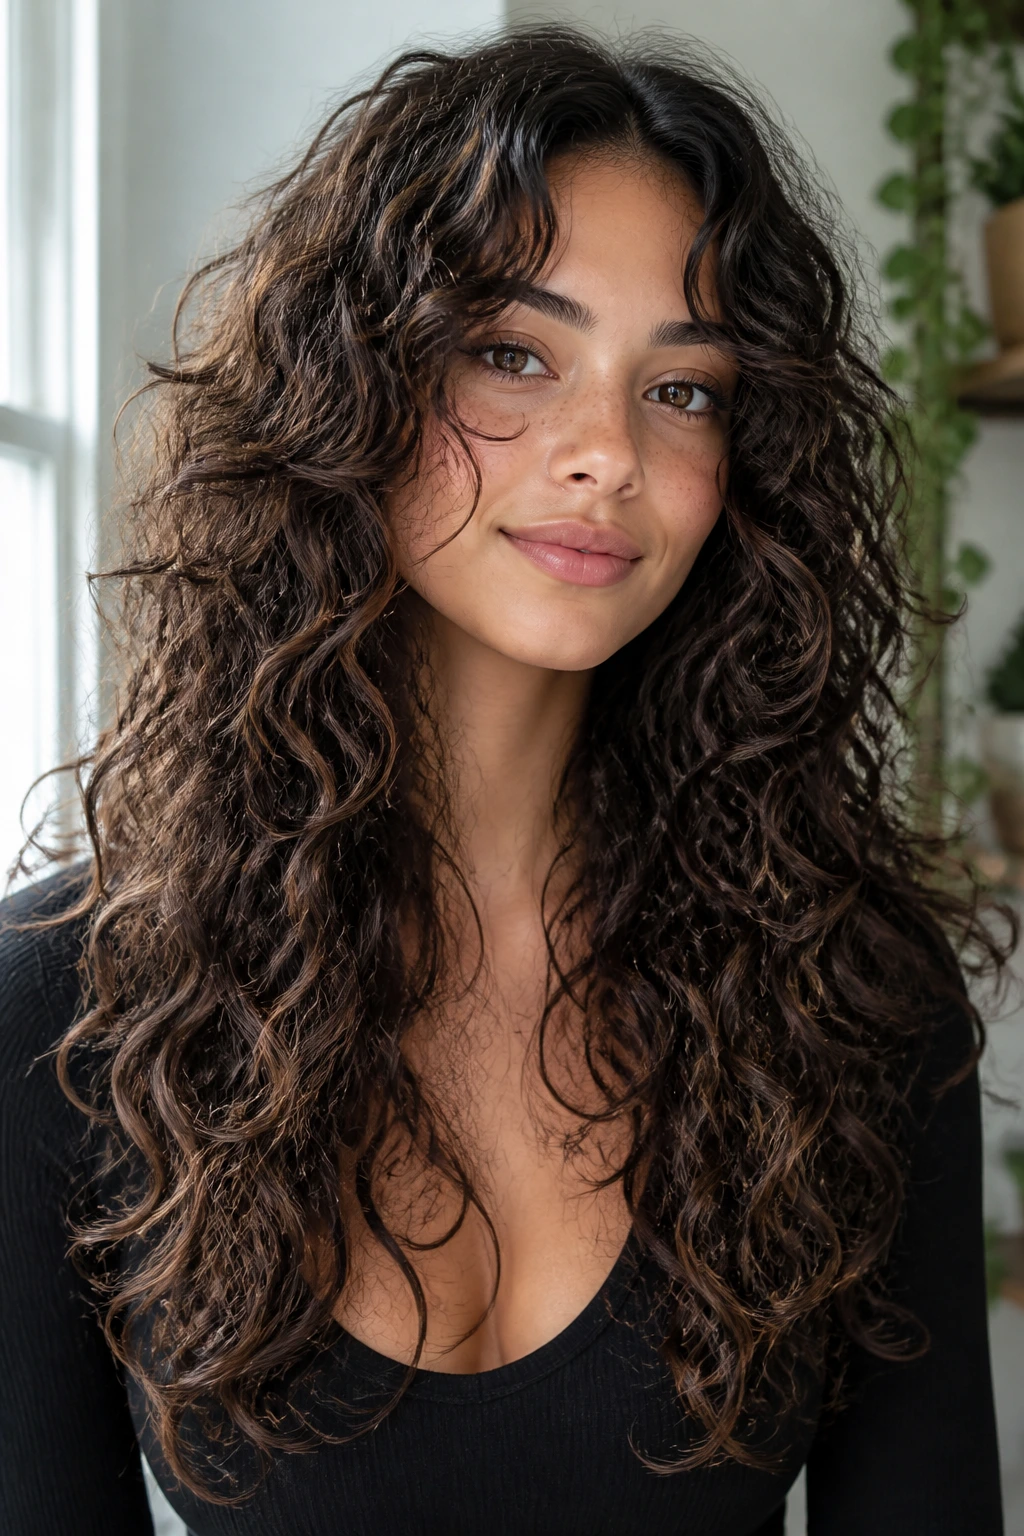
Low-porosity curls often look smooth and full, but they can take forever to dry. Layers help by letting air move through the shape instead of trapping moisture under a thick outer shell.
Keep the interior shaping thoughtful and the perimeter clean. Too much density at the bottom slows drying and makes the cut feel heavy. If you’ve ever sat under a diffuser longer than you wanted because the underside refused to dry, this kind of shape can save your sanity.
35. Blowout-Friendly Long Layers
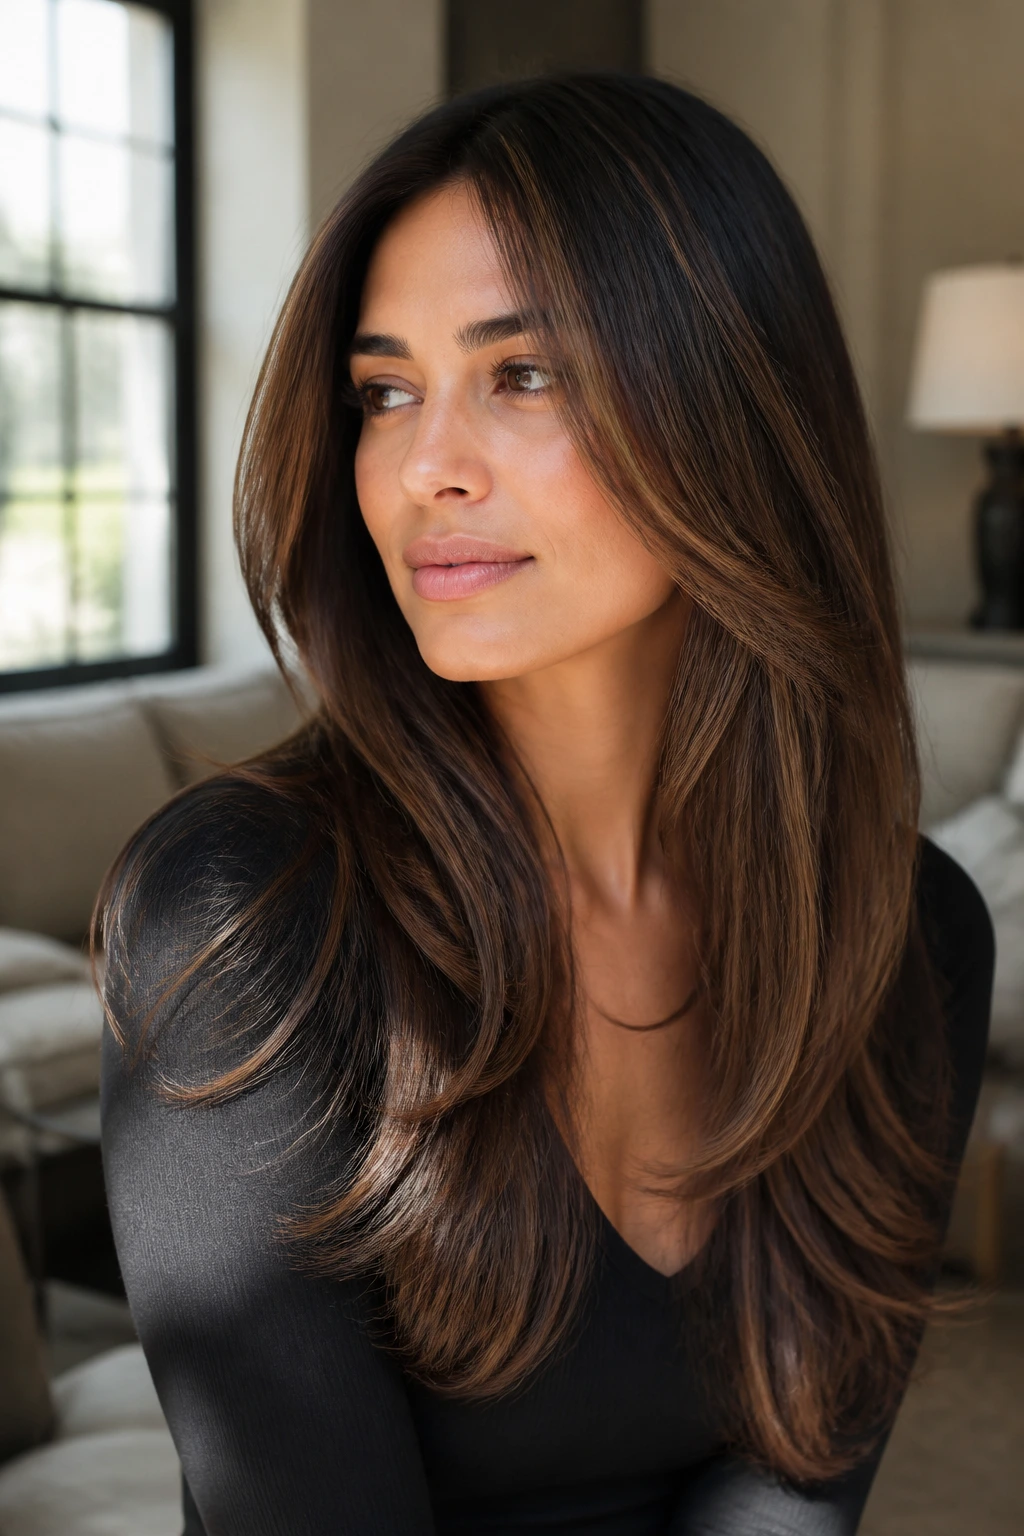
Some people wear their curls natural one day and stretched the next. Blowout-friendly layers make that switch easier because the shape still reads well when the hair is elongated.
The layers should be long enough to hold a clean line when blown out, but not so minimal that the hair turns into one blunt block when curly. This is the pragmatic choice. I like it because it respects real life, not just a single styling mood.
36. Wash-and-Go Long Layers
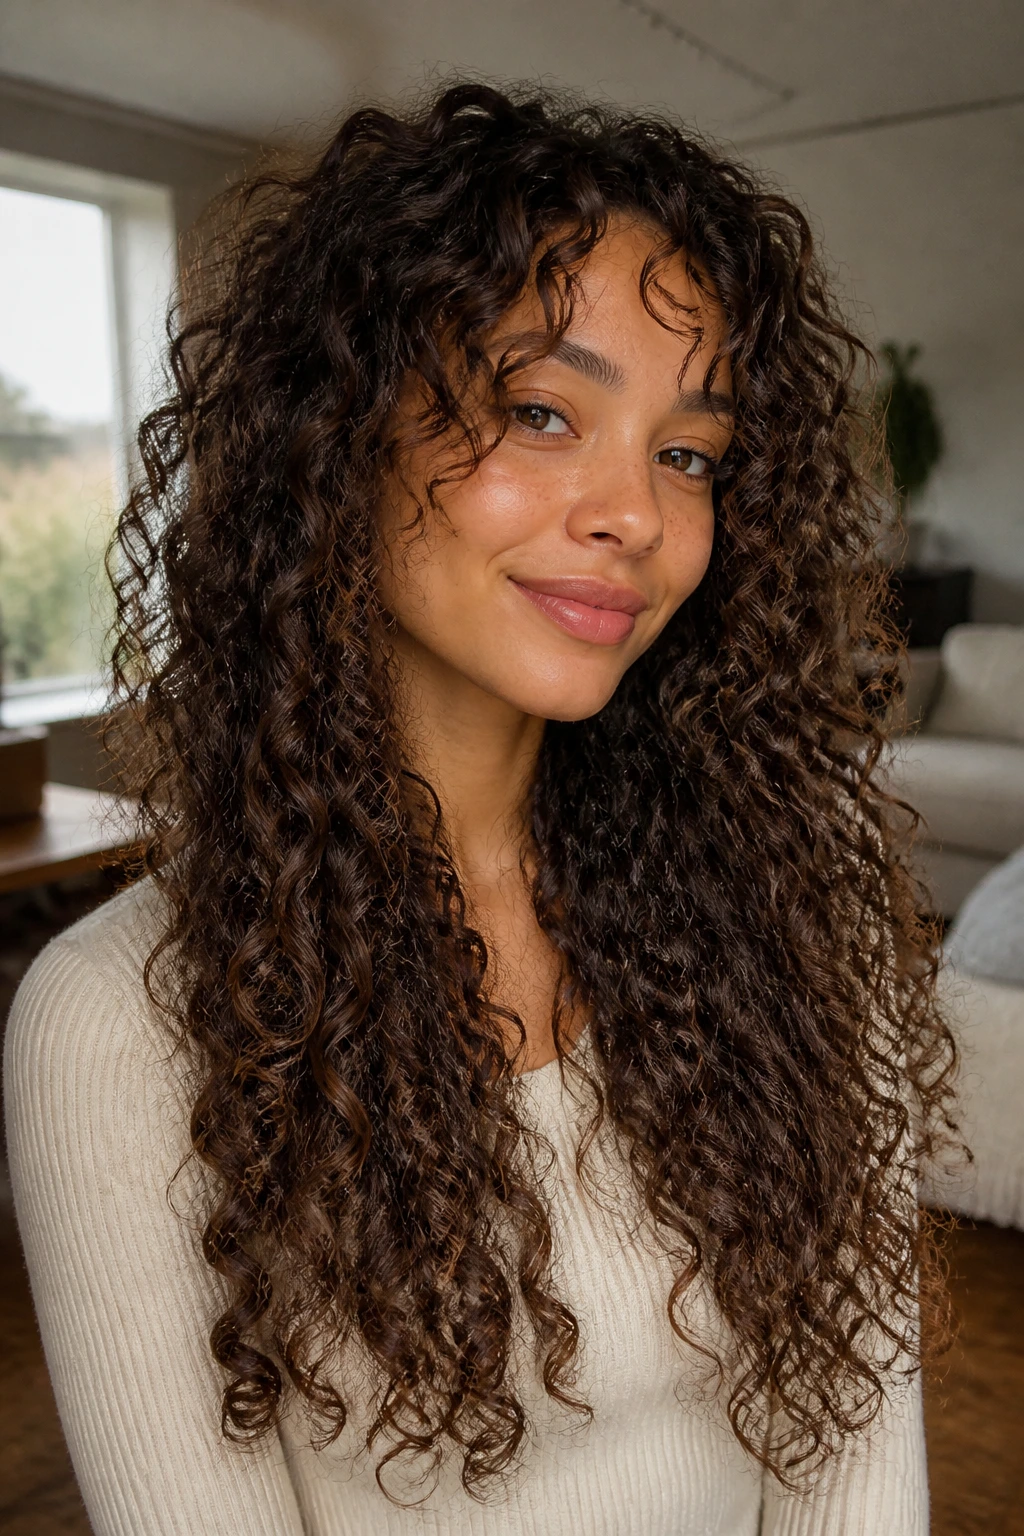
If your routine is wash, product, diffuse, done, the cut has to carry more of the load. Wash-and-go layers should encourage clumping, keep the crown from collapsing, and give the front enough shape that you do not have to babysit it all day.
This is not the place for aggressive thinning or tiny, disconnected layers. The style should hold on its own. A good wash-and-go cut makes the curl pattern look organized even when you have not fussed with it much.
37. Tapered Nape with Long Curtain Front
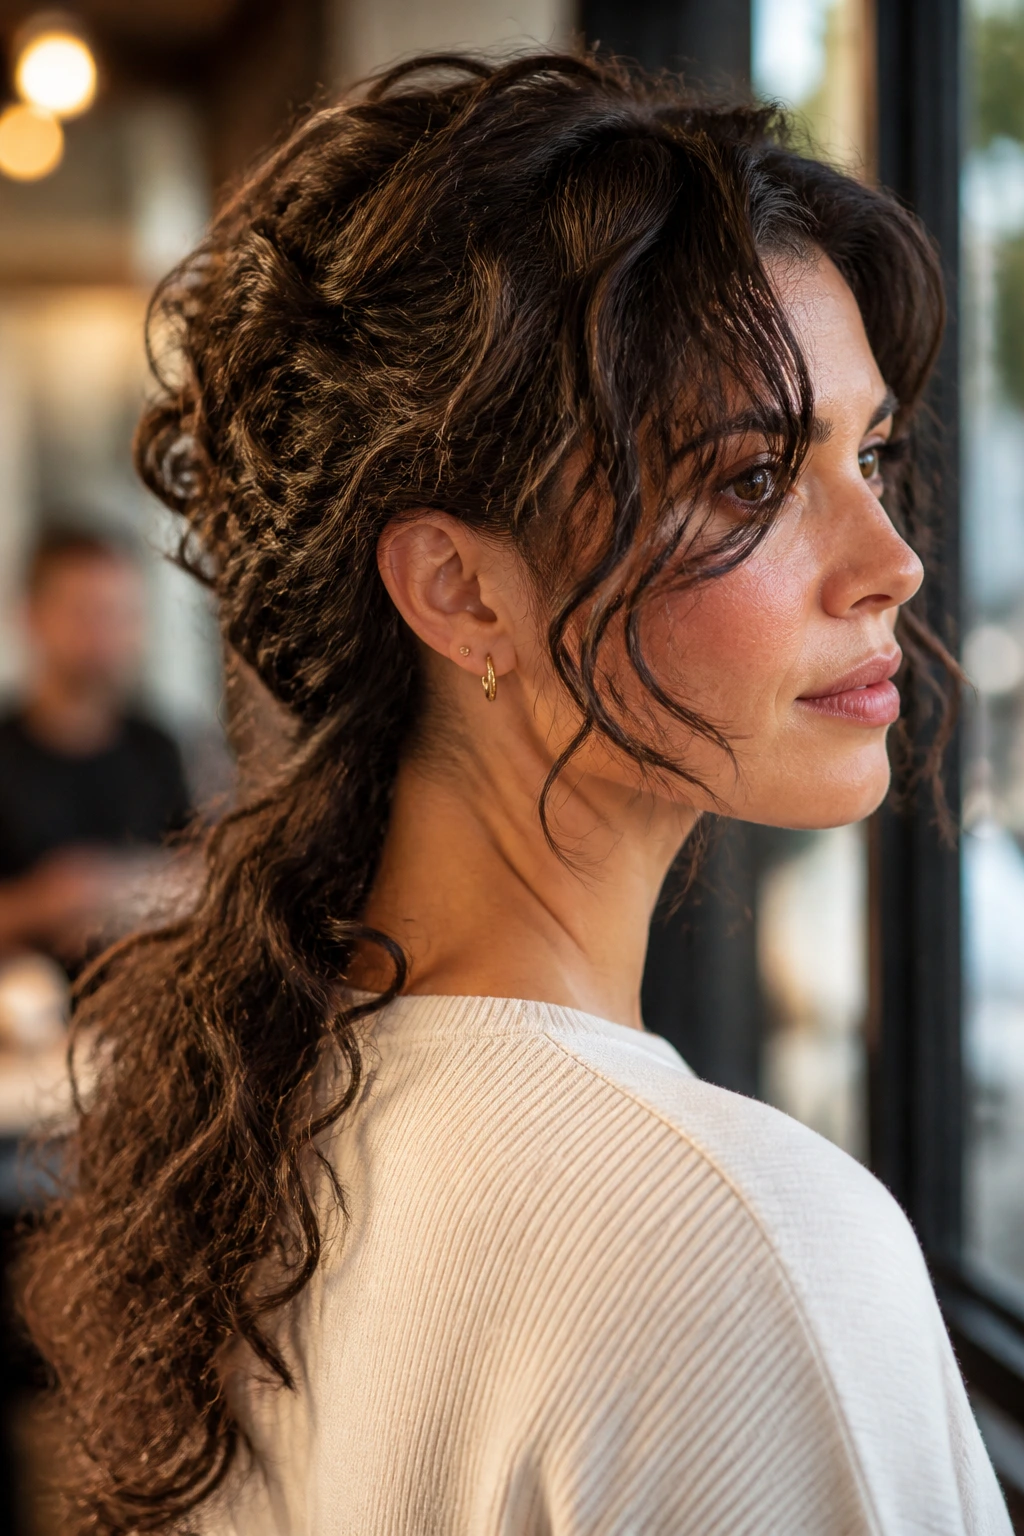
A tapered nape keeps the back from feeling bulky against the neck, which is a blessing when curly hair gets hot or heavy. Pair that with long curtain pieces in front and you get contrast without sacrificing the overall length.
This shape works well for thick hair that tends to swell at the back of the head. The taper should stay soft, not shaved-looking, so the cut still feels feminine, relaxed, and easy to grow out. It’s one of those shapes that looks more thoughtful than dramatic.
38. Dramatic Face-Frame Contrast
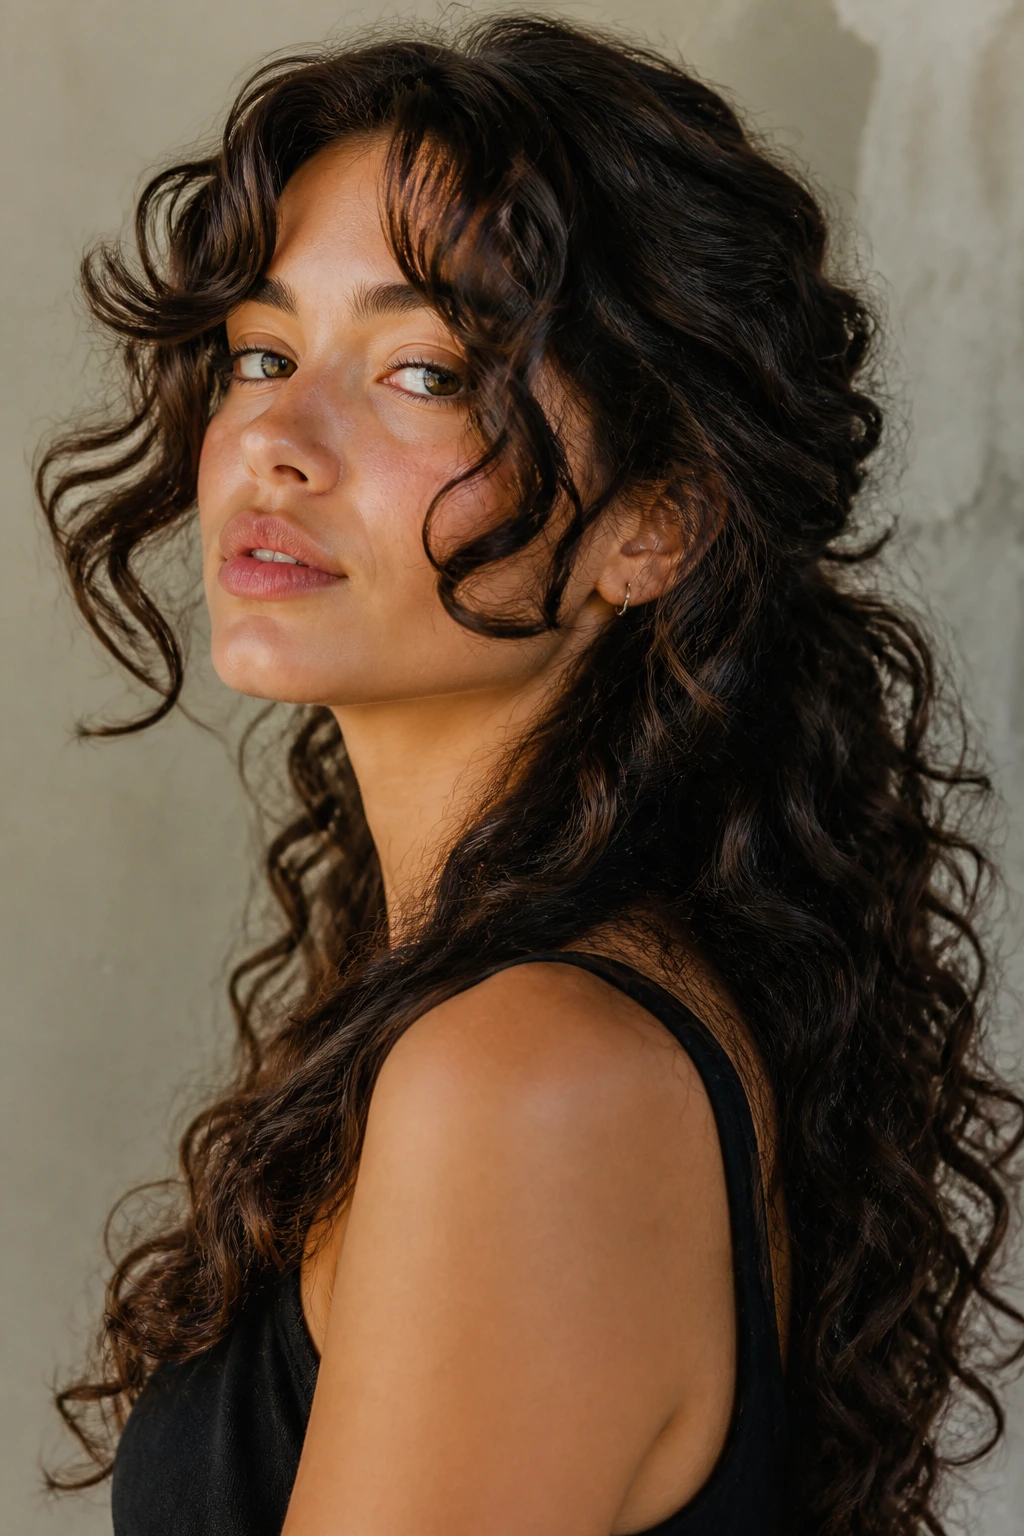
This is the bolder end of the spectrum: long back length with noticeable face-framing contrast. It creates a strong swoop around the front while leaving the rest of the curls long enough to feel lush.
The key is not overdoing the front pieces. Curly hair springs up, and a collarbone piece can land much higher once dry. Leave room for bounce, especially if your curl pattern is tight or your hair dries with a lot of lift around the cheekbones.
Why Long Layers Change the Way Curly Hair Sits on the Shoulders

Curly hair does not behave like straight hair with a mood. It lifts, compresses, swells, and clumps in ways that make the cut look different dry than it did in the chair, and that’s exactly why layer placement matters so much.
The shoulders are where bad curly cuts usually give themselves away. A heavy perimeter can sit like a shelf, while layers cut too high can make the hair widen at the sides and leave the middle looking hollow. Long layers solve that by shifting weight around the head instead of removing it everywhere at once. The curl clumps still have room to form, but they no longer have to fight a blunt bottom line.
A dry cut helps here because it shows the real landing point. Wet curls can lie by several inches, and if the person cutting your hair does not account for that, the shape can shrink into something shorter and rounder than the reference photo promised.
The best long curly layers also respect the way curls stack on the shoulders. Some land forward. Some swing back. Some spring outward and then settle. The haircut should give each of those movements a place to go, not force them into one rigid outline.
How to Match the Layer Map to Your Curl Pattern and Density
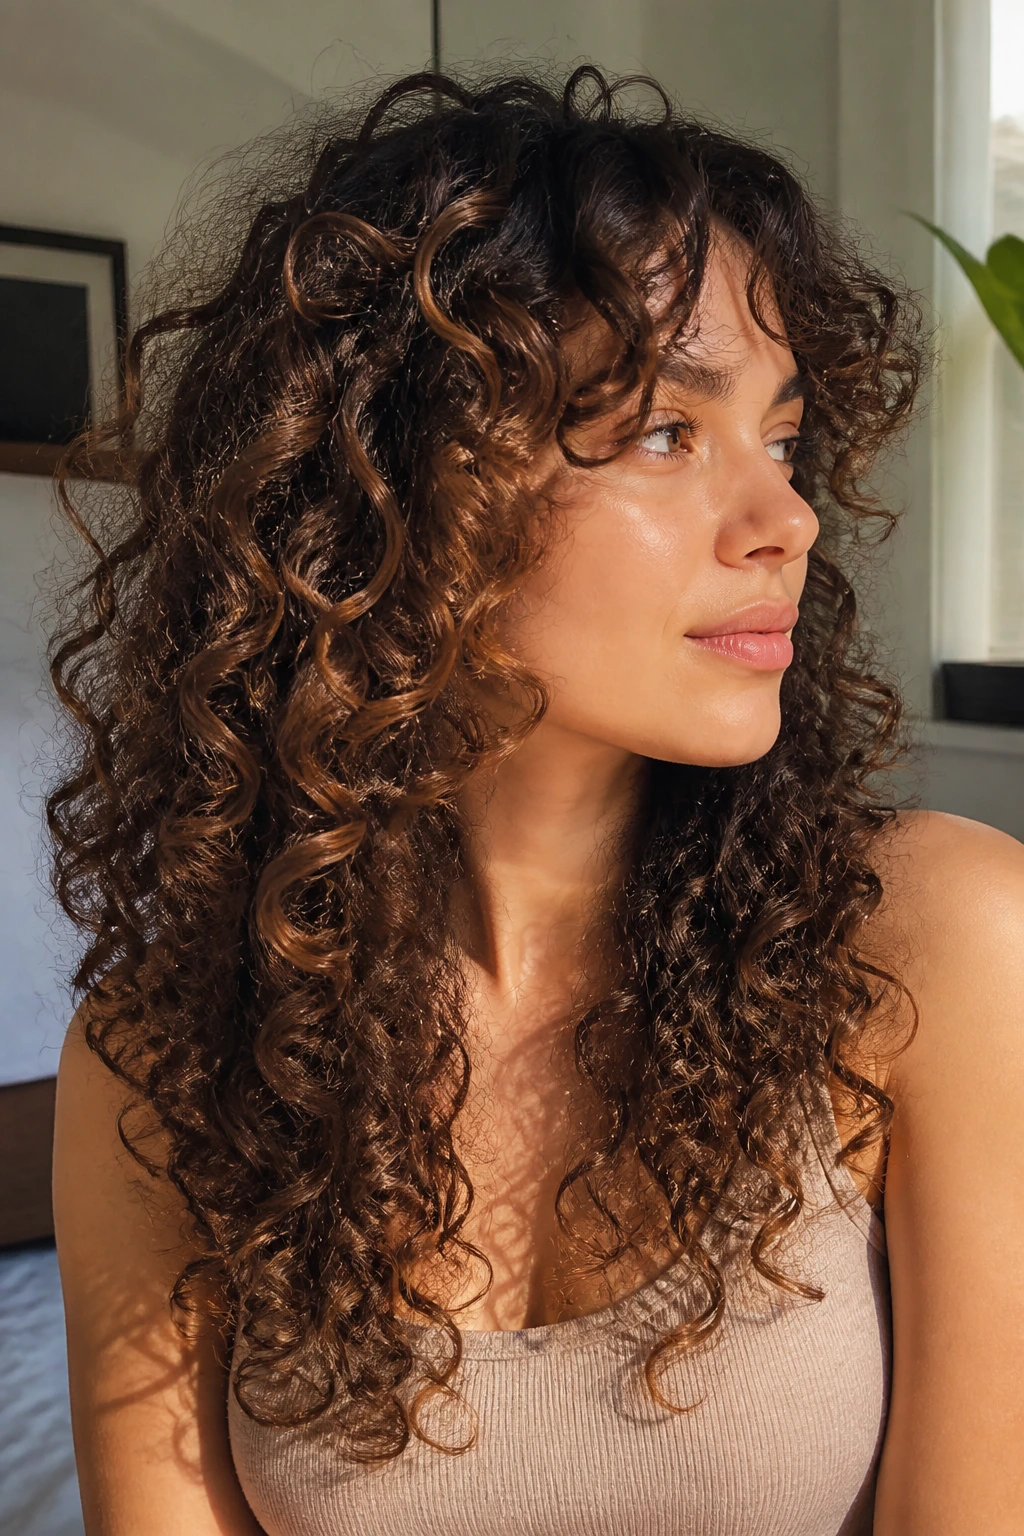
One layer map does not fit every head of curls. The curl pattern matters, but density and shrinkage matter just as much, sometimes more.
Loose waves and soft bends
For 2C and very loose 3A texture, layers usually work better when they start lower. The wave pattern already creates movement, so the cut should keep the ends solid and avoid too many short pieces that break the line.
Ringlets and springs
3A and 3B curls often do best with a soft front frame and long mid-length layers. The shape needs enough lift to keep the curls from stacking into one thick block, but not so much that the ringlets separate into frizzier clumps.
Coils and shrinkage-heavy hair
For 3C through 4C texture, shrinkage can change everything. A curl that looks like shoulder length in the chair may dry at the chin, so the safest move is a layer map that keeps the perimeter long and removes bulk in the interior where the hair overlaps itself.
If your hair is dense, you can usually take more weight out without losing the outline. If it is fine, you often want fewer layers and more restraint. That difference matters. A lot.
What to Tell the Stylist Before the Shears Come Out
A good cut starts with a decent conversation. Bring that part seriously.
Bring the right photos
Bring curly reference photos, not straight-hair ones that only mimic the idea of layers. A picture of your actual texture, or something very close to it, tells the stylist how the pieces will fall when dry.
Name the landmarks
Say where you want the shortest face-framing piece to land: cheekbone, chin, collarbone, or below. That is more useful than saying “soft layers,” which can mean almost anything.
Talk shrinkage in inches
Show how much your curls bounce when stretched. If you can pull a curl down and it snaps back several inches, the stylist needs that information before cutting the front too short.
Be specific about your routine
If you wear your hair curly 90 percent of the time, say so. If you diffuse, say so. If you stretch it with a blowout once in a while, say that too. A cut can be beautiful and still be wrong for the way you actually live with it.
Tools That Make Curly Layers Easier to Live With
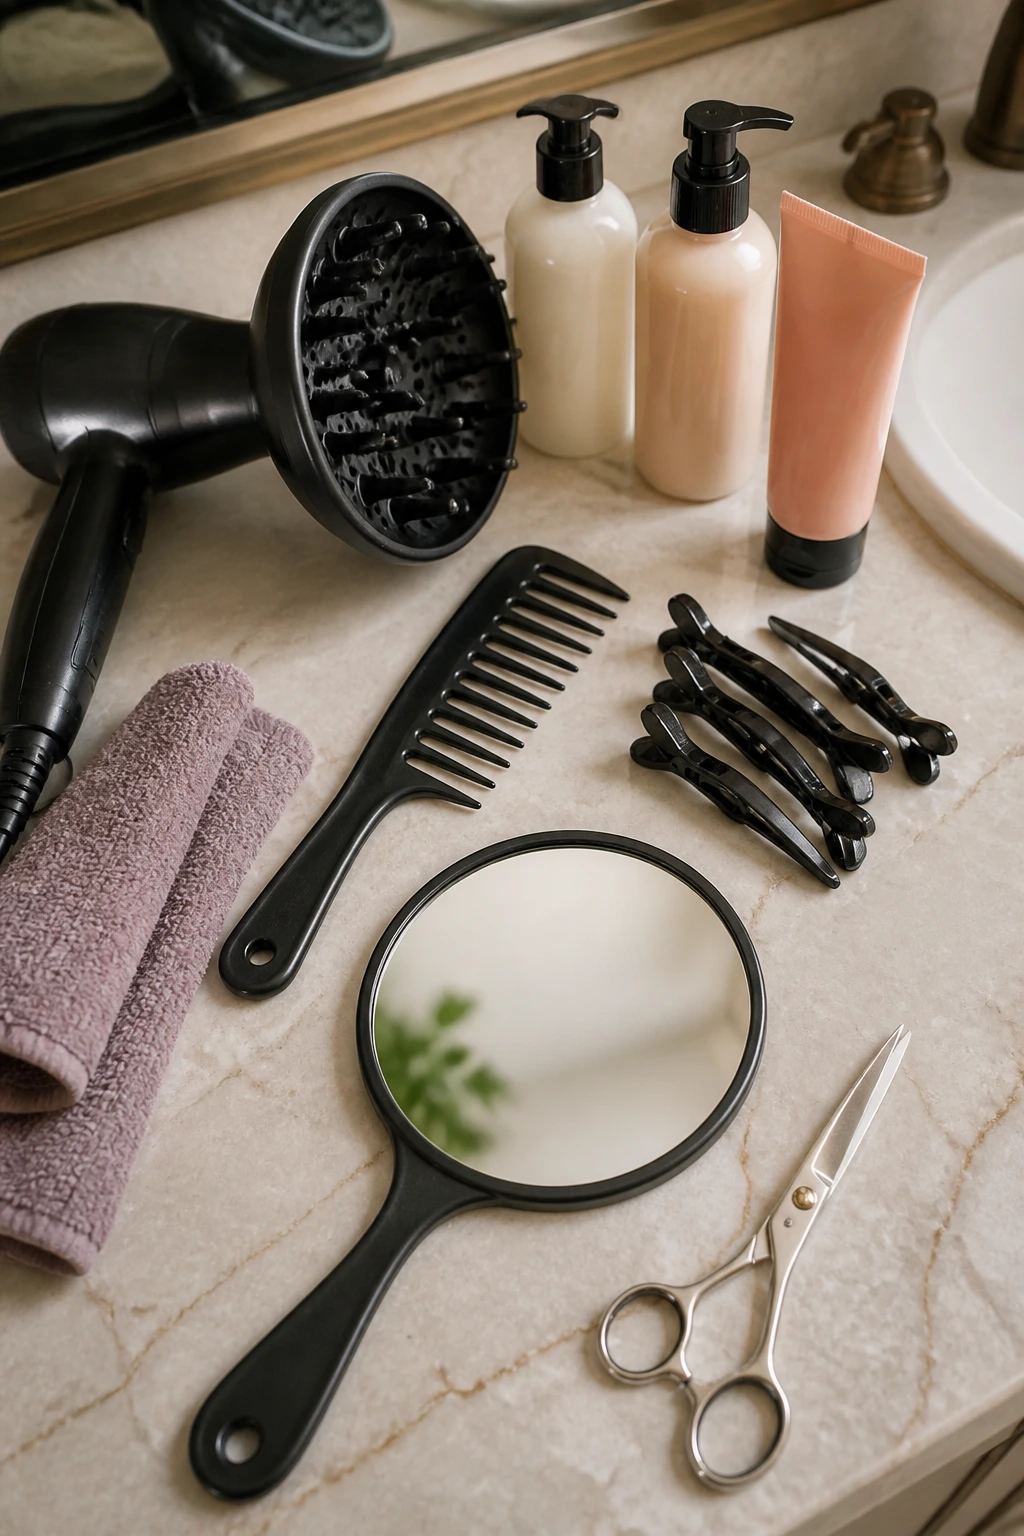
- A diffuser attachment: Speeds drying and helps the layers keep their curl clumps instead of collapsing flat.
- Wide-tooth comb: Gentle enough for detangling wet curls without ripping apart the pattern.
- Sectioning clips: Useful for styling and for seeing whether the layers are sitting evenly on each side.
- Microfiber towel or cotton T-shirt: Cuts down on rough frizz after washing.
- Leave-in conditioner: Helps the layers stay soft, especially if the ends are dry.
- Curl cream or gel: Gives the curl shape a little memory so the layers dry where you want them.
- Hand mirror: Handy for checking the back, because long layers can fool you from the front.
- Hair shears: Only for tiny dusting trims at home; kitchen scissors chew the ends and leave them ragged.
Styling Long Layered Curls Without Crushing the Crown
Long layers look best when the crown gets some lift and the front pieces are allowed to fall where they want to fall. The styling routine matters as much as the haircut, maybe more.
Start with water placement. Apply conditioner and styling product mostly from the mids down, then use whatever is left on your hands near the roots. Piling product at the crown is a fast way to flatten the very area the layers are trying to lift.
Set the part early. If you know you wear a middle part, make it in the shower or right after. A part that gets shifted around a lot while drying can leave one side higher than the other, and curls remember that shape.
Diffuse in sections. Cup the ends first, then move toward the roots. Keep the dryer on low or medium heat and low speed, and stop before the hair is bone dry if your curls frizz when overhandled. The cast can be scrunched out later.
Use a little root clipping if the crown is lazy. Small clips at the roots around the crown can help the top dry with a bit of lift. Don’t overdo it. Two or three clips usually tell the roots enough.
If you air-dry, resist the urge to keep touching the layers while they set. That’s where a lot of good curls go off the rails. Hands off is boring, but it works.
Little Adjustments That Make the Shape Look Intentional
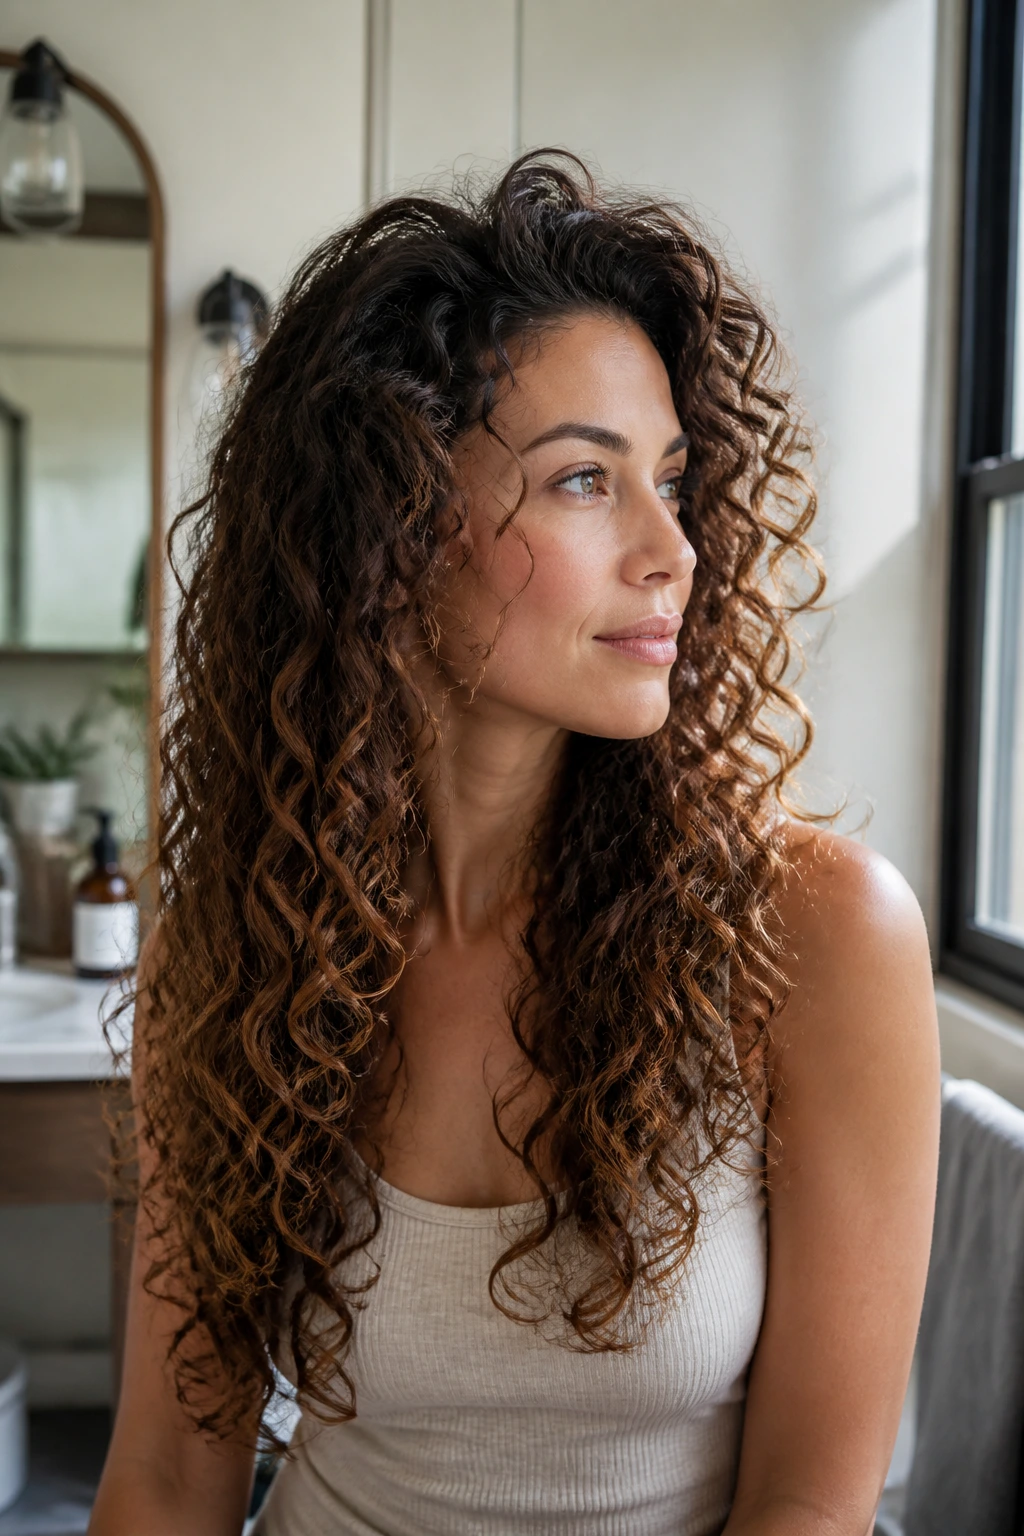
Shift the part by half an inch. That tiny move can change the balance of the whole haircut. If one side is puffy and the other is limp, the part may be part of the problem.
Trim the front pieces more often than the length. Face-framing curls hit the eyes and mouth first, so they need more frequent cleanup. The back can wait; the front usually cannot.
Dust the perimeter instead of reshaping everything. If the outline still works, take off only the ends that look frayed. That keeps the layer map intact and avoids the dreaded “I asked for a trim and lost two inches” result.
Use product where the curl is thirsty. The dry areas are usually the ends and the pieces that rub on clothes. Smothering the roots with extra cream does not help those spots.
Clip the front forward at night if it splits badly. A loose sectioning clip or a satin bonnet can keep face-framing pieces from going odd while you sleep.
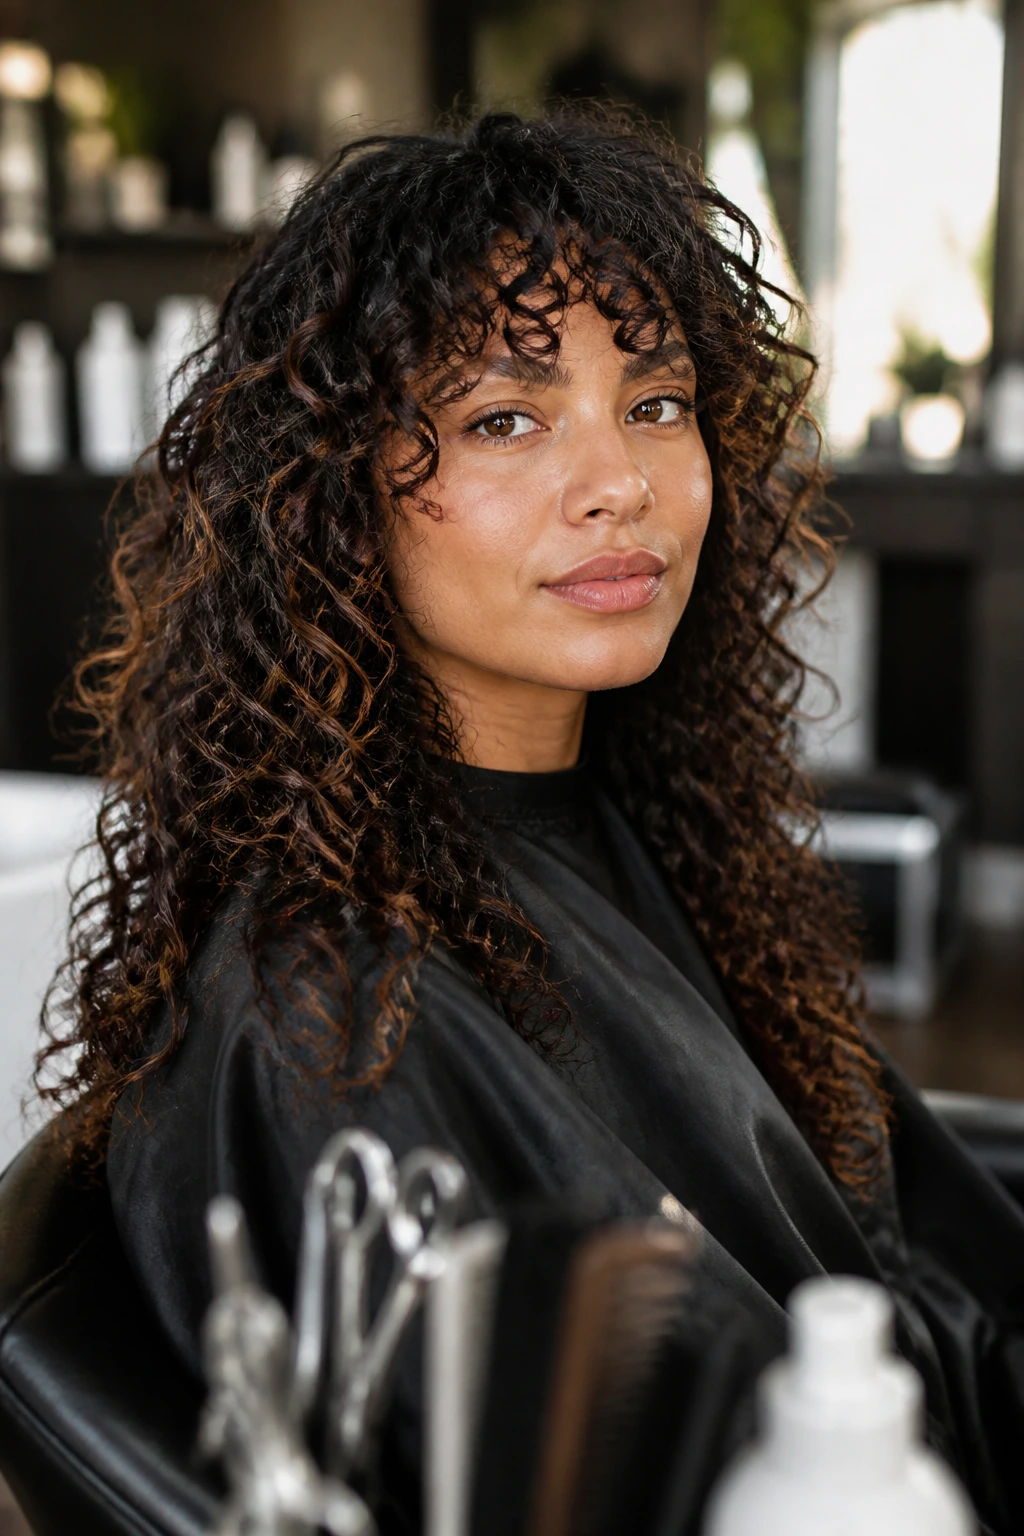
Common Mistakes That Turn Good Layers into Frizz
-
Starting the shortest layer too high: The symptom is a crown that sticks out while the ends look thin. The fix is to keep the first meaningful layer lower, especially on dense or shrinkage-heavy hair.
-
Cutting curls only when wet: Wet hair lies. Curly hair changes shape once it dries, and the result can end up far shorter than planned. Dry cutting, or at least checking the dry shape before removing much length, avoids that surprise.
-
Thinning the ends to death: If the perimeter looks see-through or wispy, the cut has gone too far. Preserve the outline and remove weight from the interior instead.
-
Using a razor on fragile curls: Some hair can handle it, but frizz-prone or porous curls often look shredded after razor work. Shears are the safer bet unless the stylist knows exactly how your texture reacts.
-
Ignoring density: Two curl heads can share the same pattern and need very different layer maps. A fine head needs restraint; a dense one can carry more shaping.
-
Waiting too long for a refresh: Once the front pieces start hitting the chin and the bottom shelf gets heavy, the shape gets harder to rescue. Trim before the cut turns into a different cut.
Variations and Alternatives Worth Trying
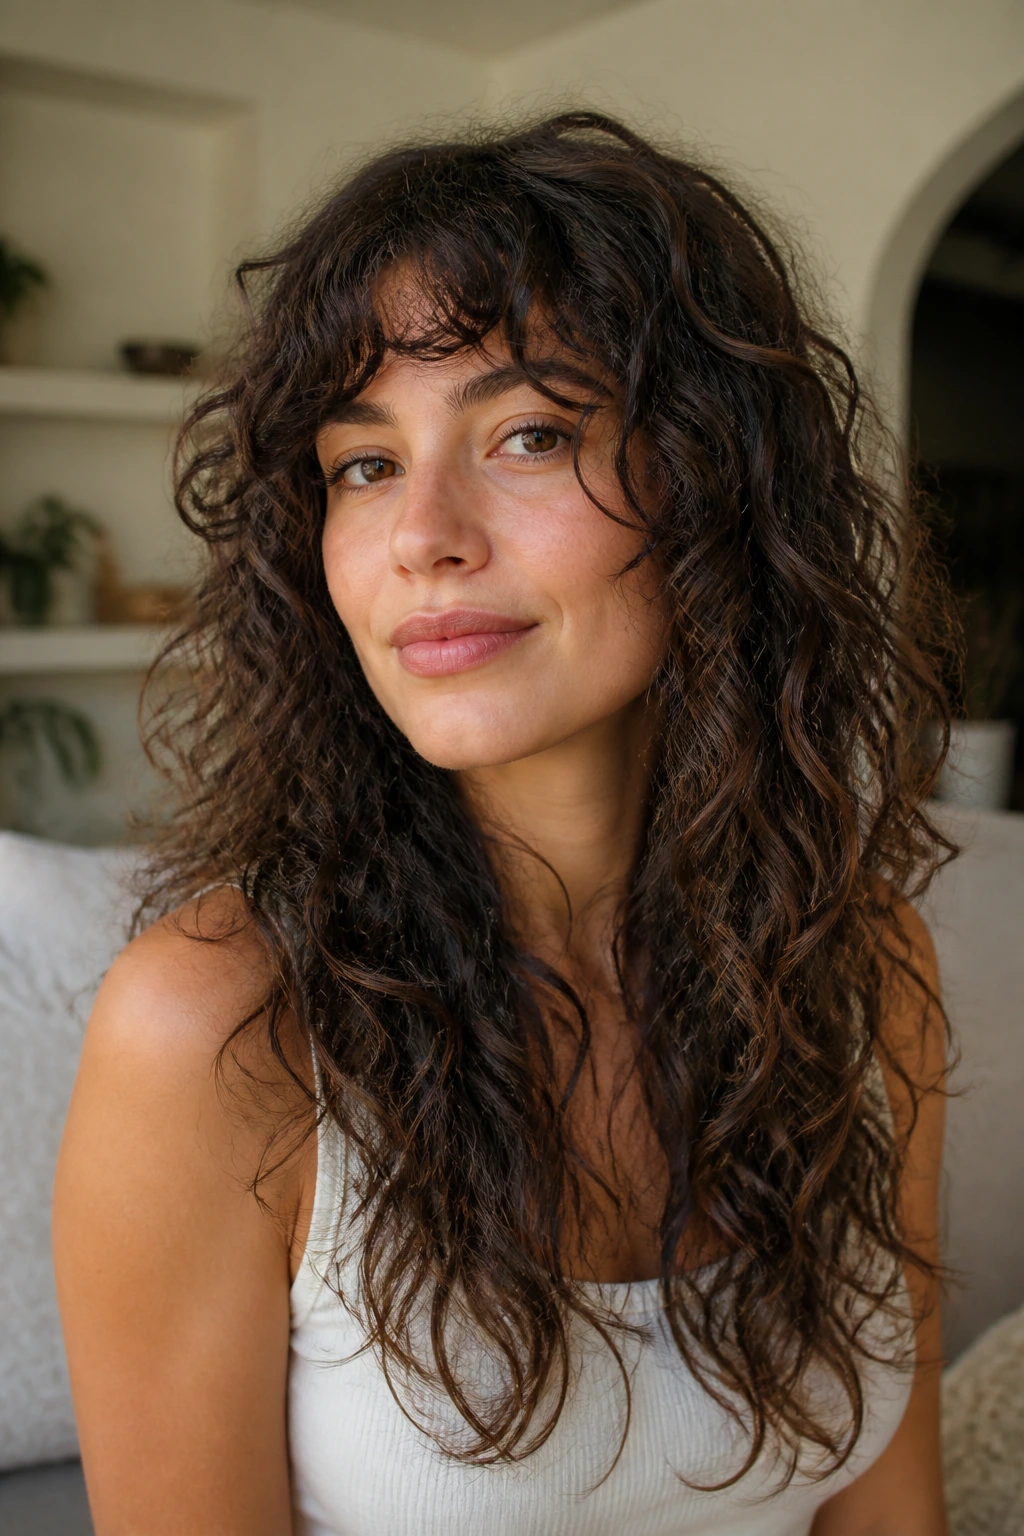
The Softer Curly Butterfly
If you like volume but hate hard lines, this version keeps the top lifted and the ends long, with no sharp shelves. It’s a good middle road for people who want shape without showing every layer.
The Rounded Volume Cut
This version leans into a smooth, dome-like outline and reduces bulk where the hair widens. It works well on dense curls that need help sitting closer to the head.
The Length-First U-Cut
If your main goal is to keep every inch you can, this is the calmest route. The layers are subtle, the perimeter stays full, and the haircut grows out cleanly.
The Curly Shag With a Long Hem
This one brings the texture and movement of a shag but keeps the bottom long enough to feel grounded. It’s a good pick if you want personality without sacrificing too much length.
Keeping the Shape Between Trims
Long layered curly hair can go a long time between appointments if you respect the shape while it grows. The cut usually holds best when the front gets small cleanups more often than the back.
For most people, a shape refresh every 8 to 12 weeks keeps the layers from blending into one heavy mass. If you wear curtain bangs or a stronger face frame, the front may need attention closer to 6 to 8 weeks. A full restyle is not always necessary; sometimes a dry dusting is enough to bring the silhouette back.
At home, keep the curls from flattening into the same old pattern every night. A loose pineapple, a satin bonnet, or a silk pillowcase all help the top keep its lift. If the hair is prone to frizz, clarify the roots every few washes so product buildup does not drag the layers down.
And once in a while, check the back with a hand mirror. Long layers can drift out of balance slowly. You usually notice it first when one side starts behaving like a different haircut.
Frequently Asked Questions
Are long layered haircuts good for curly hair?
Yes, if the layers are placed with shrinkage and density in mind. The right long layers keep the perimeter full while letting the curls move, which stops the haircut from turning boxy or triangular.
Should curly hair be cut wet or dry?
Dry cutting is often better because it shows the real curl pattern and where the hair actually lands. Wet cuts can work if the stylist knows curly hair well, but the final shape still needs to be checked dry before too much length comes off.
Will layers make my curly hair look thinner?
They can, if the layers are too short or too many. Fine curly hair usually needs longer, softer layers, while dense hair can carry more interior shaping without losing fullness.
What’s the safest layer style if I want to keep the most length?
A long U-shape with hidden internal layers is usually a smart place to start. It keeps the outline strong while removing enough interior weight to let the curls move.
How often should I trim long layered curly hair?
Most curl shapes do well with a refresh every 8 to 12 weeks. If you have a strong face frame or bangs, the front may need cleanup sooner than the rest of the hair.
What if my curls shrink more than I expected after the cut?
That usually means the shortest layers were cut too high or the dry length was not accounted for. Next time, ask the stylist to stretch a few curls in the chair and mark the dry landing points before cutting.
Can I get long layers if my curl pattern is mixed?
Absolutely. Mixed-pattern hair often looks best with a custom layer map, because the top, sides, and back may need different amounts of weight removed. The stylist just needs to see how each zone behaves when dry.
Do layers work with bangs on curly hair?
They can, and often beautifully, but bangs need a little extra maintenance. Curtain fringe and bottleneck bangs blend more easily than blunt fringe, especially if you wear your curls naturally most of the time.
The Shape That Grows Out Gracefully
The nicest thing about long layered haircuts for curly hair is that the good ones don’t fight time. They soften, settle, and keep making sense as they grow, which is more than I can say for most cuts that rely on a perfect first-day blowout.
If your curls need more movement, less width, or a front that does something besides hang there, one of these shapes will probably fit the bill. Start with the version that matches your density and your patience, then let the next trim refine the outline instead of trying to solve everything in one appointment.
