



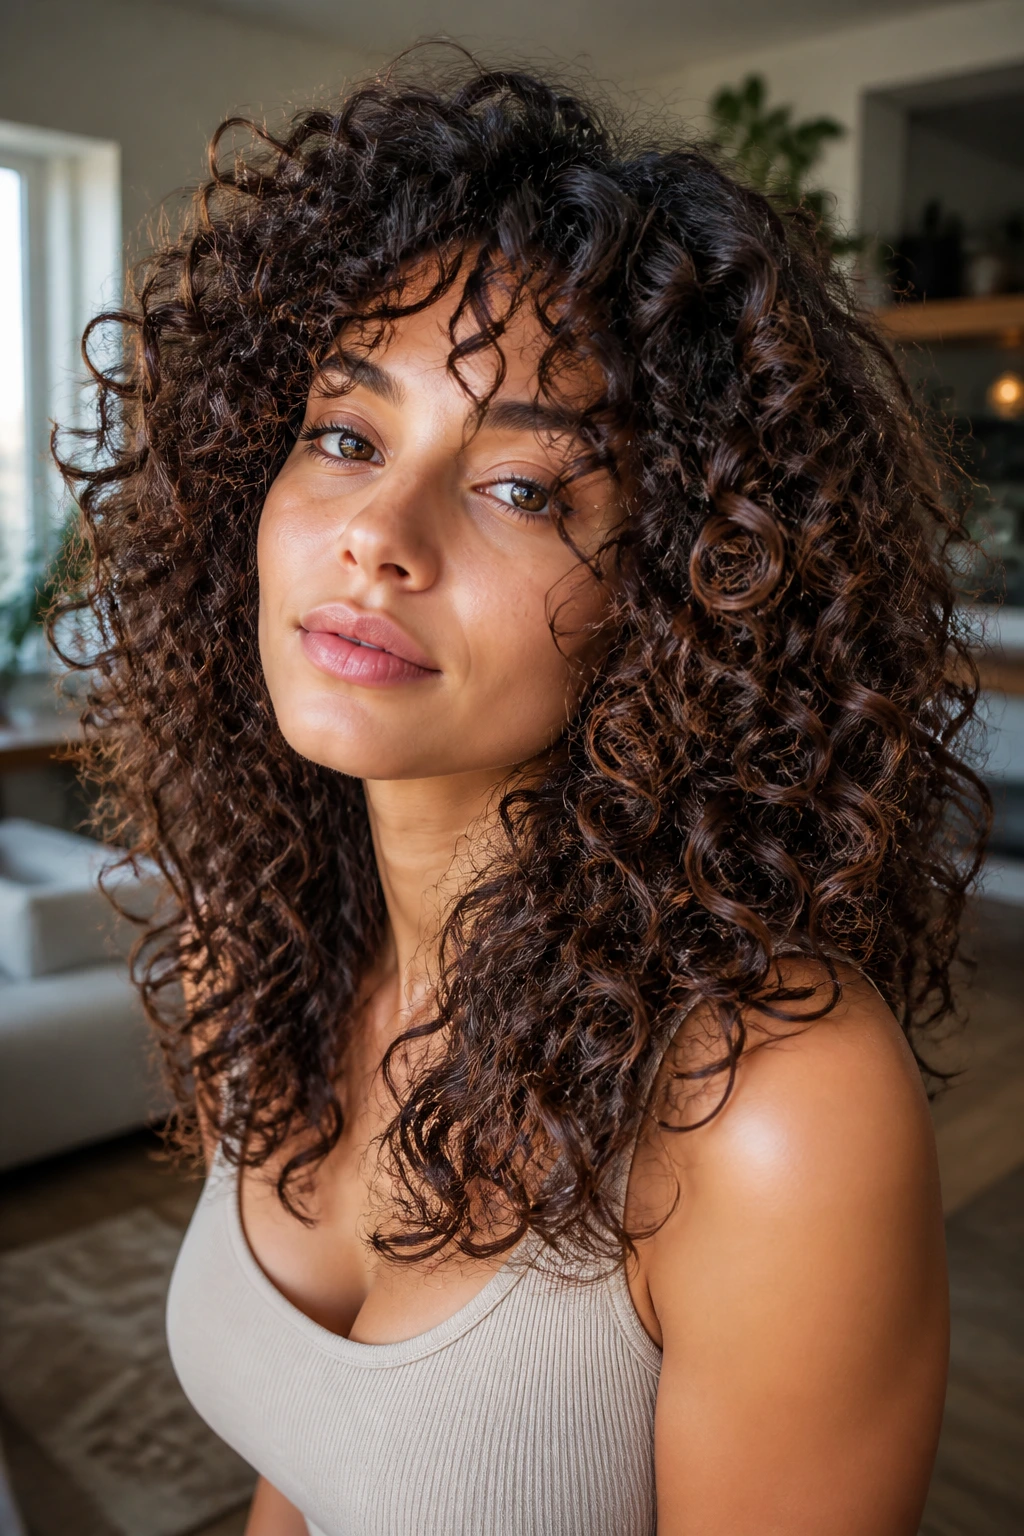
Long layered curly haircuts for volume work because curls don’t behave like straight hair. Cut too blunt, they turn into a heavy curtain that sits flat at the crown and swallows the neck. Cut too aggressively, they puff into a halo with skinny ends that never quite look finished. The sweet spot lives in the middle, where the layers are placed to let the curls spring while the overall length still feels deliberate.
The difference is often in the details nobody sees from a distance. A layer that starts at the cheekbone does one thing. A layer that starts at the jaw does another. A cut done dry, curl by curl, can look wildly different from the same haircut pulled wet across the shoulders. That’s why the best curly layered cuts don’t chase a single shape; they shape the way your hair actually expands.
Some of the cuts below are polished and round. Some are shaggy, some are soft, some are built to tame a huge amount of density without stealing the length you spent years growing. All of them are aimed at one stubborn problem: hair that’s long, curly, and missing lift where it matters. If your top falls limp while your bottom two inches do all the talking, you’re in the right place.
Why These Layered Curly Cuts Stay Full
-
They move weight off the crown: Curly hair often collapses when the top is too heavy, so the right layers free the roots to rise instead of dragging everything down.
-
They keep the bottom line from looking stringy: A good curly cut removes bulk inside the shape, not just at the ends, so you still get a clean outline.
-
They work with shrinkage instead of fighting it: Curls bounce up when they dry, and a smart layer map leaves enough room for that bounce without creating a surprise above-the-shoulders shape.
-
They give you options on wash day: These cuts can be air-dried, diffused, clipped at the roots, or refreshed with water and gel without losing the shape.
-
They flatter more than one curl pattern: Loose waves, springy ringlets, and tight coils all benefit from layers when the placement is thoughtful rather than random.
-
They make long hair feel lighter without going thin at the ends: That’s the trick, really. Not less hair. Better distribution.
1. Crown-Lift Layers That Let the Roots Breathe
When curls sit flat at the top and poof out at the sides, the crown usually needs the first conversation. This cut keeps the length intact through the back while taking weight away just under the top layer, so the roots stop behaving like they’re pinned down.
Why It Lifts
The shortest pieces land high enough to create movement, but not so high that the shape turns into a mushroom. Ask for a dry cut if you can. The exact placement matters more than the amount removed.
- Shortest layer: around the top of the cheekbone
- Best for: 3A to 3B curls that need lift at the scalp
- Watch for: over-thinning near the part line
Pro tip: tell the stylist you want the crown to move first, not the ends.
2. Butterfly Layers That Keep the Ends Full
Butterfly layers are the easiest way to keep long curls looking long while still getting lift through the middle. The cut takes some weight from the upper section and leaves the perimeter fuller, which helps the hair swing instead of hanging in one heavy sheet.
That makes them good for people who like a dramatic shape on day one and a softer, fuller outline on day three. They do not love razor-thin ends. If the bottom of your hair is already fragile, ask for a conservative version with longer interior layers and a clean hemline.
3. Rounded U-Cut with a Soft Face Frame
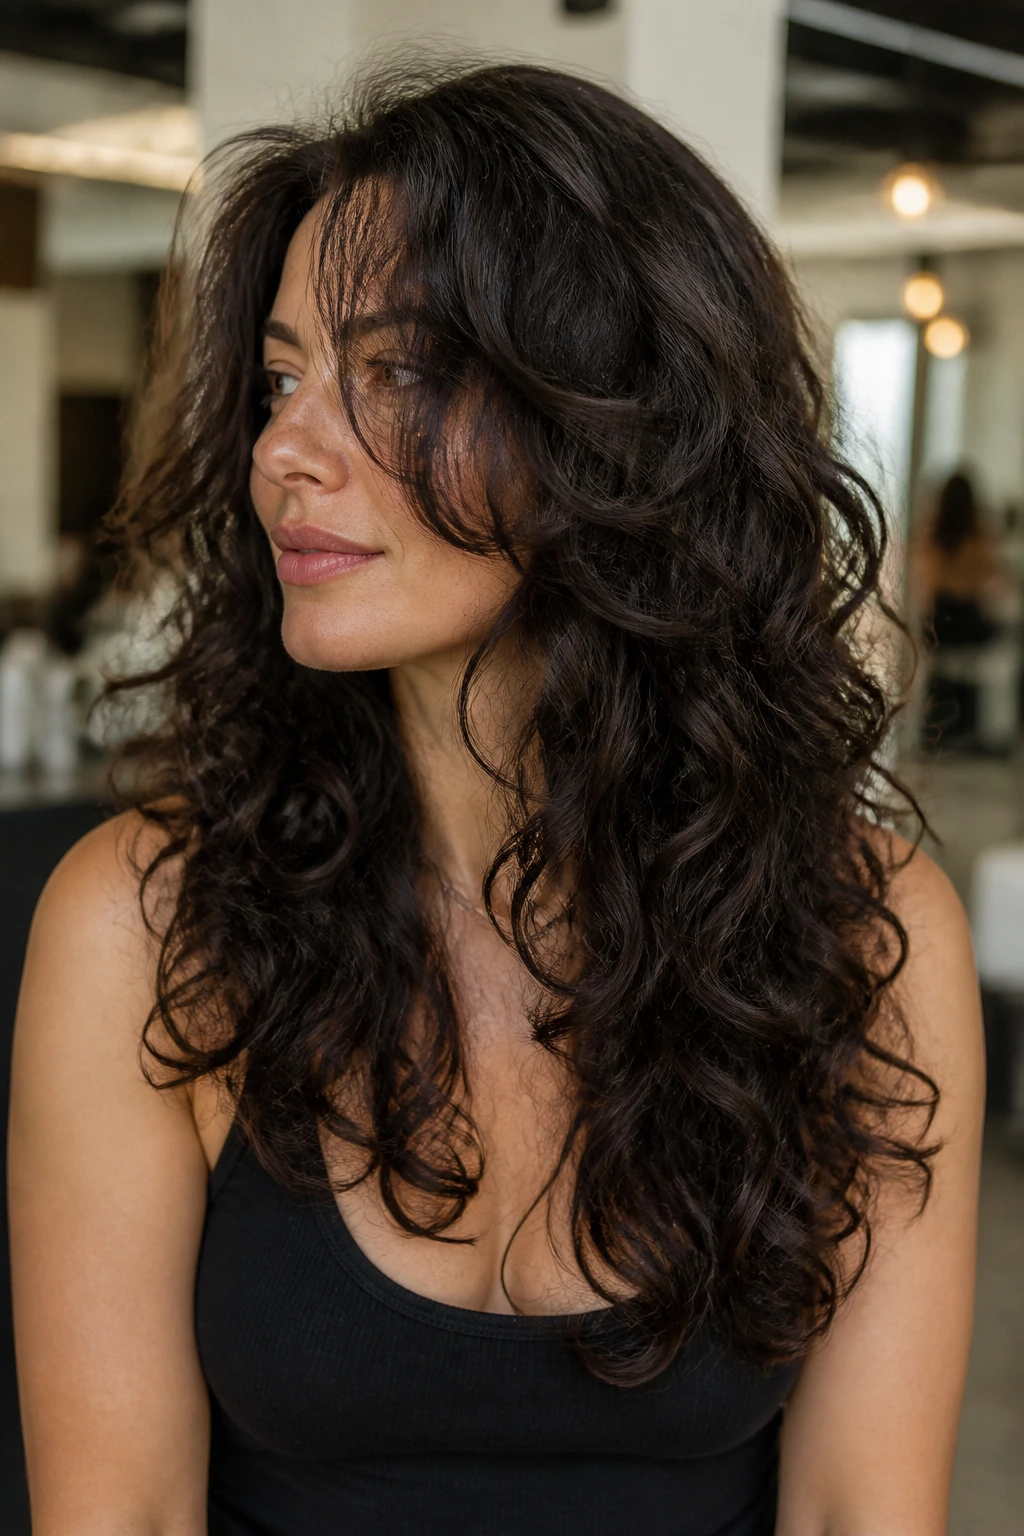
How do you keep length without looking boxed in? A rounded U-cut answers that better than a blunt edge ever will. The back keeps a gentle curve, and the front pieces angle down just enough to open the face without stealing density from the middle.
How to Ask for It
Tell the stylist you want a U-shape, not a straight line, with face-framing pieces that start at the jaw or slightly below. This version works well when your curls widen on the sides and need a little architecture. It’s neat, but not stiff.
4. Curly Wolf Cut with a Long Tail
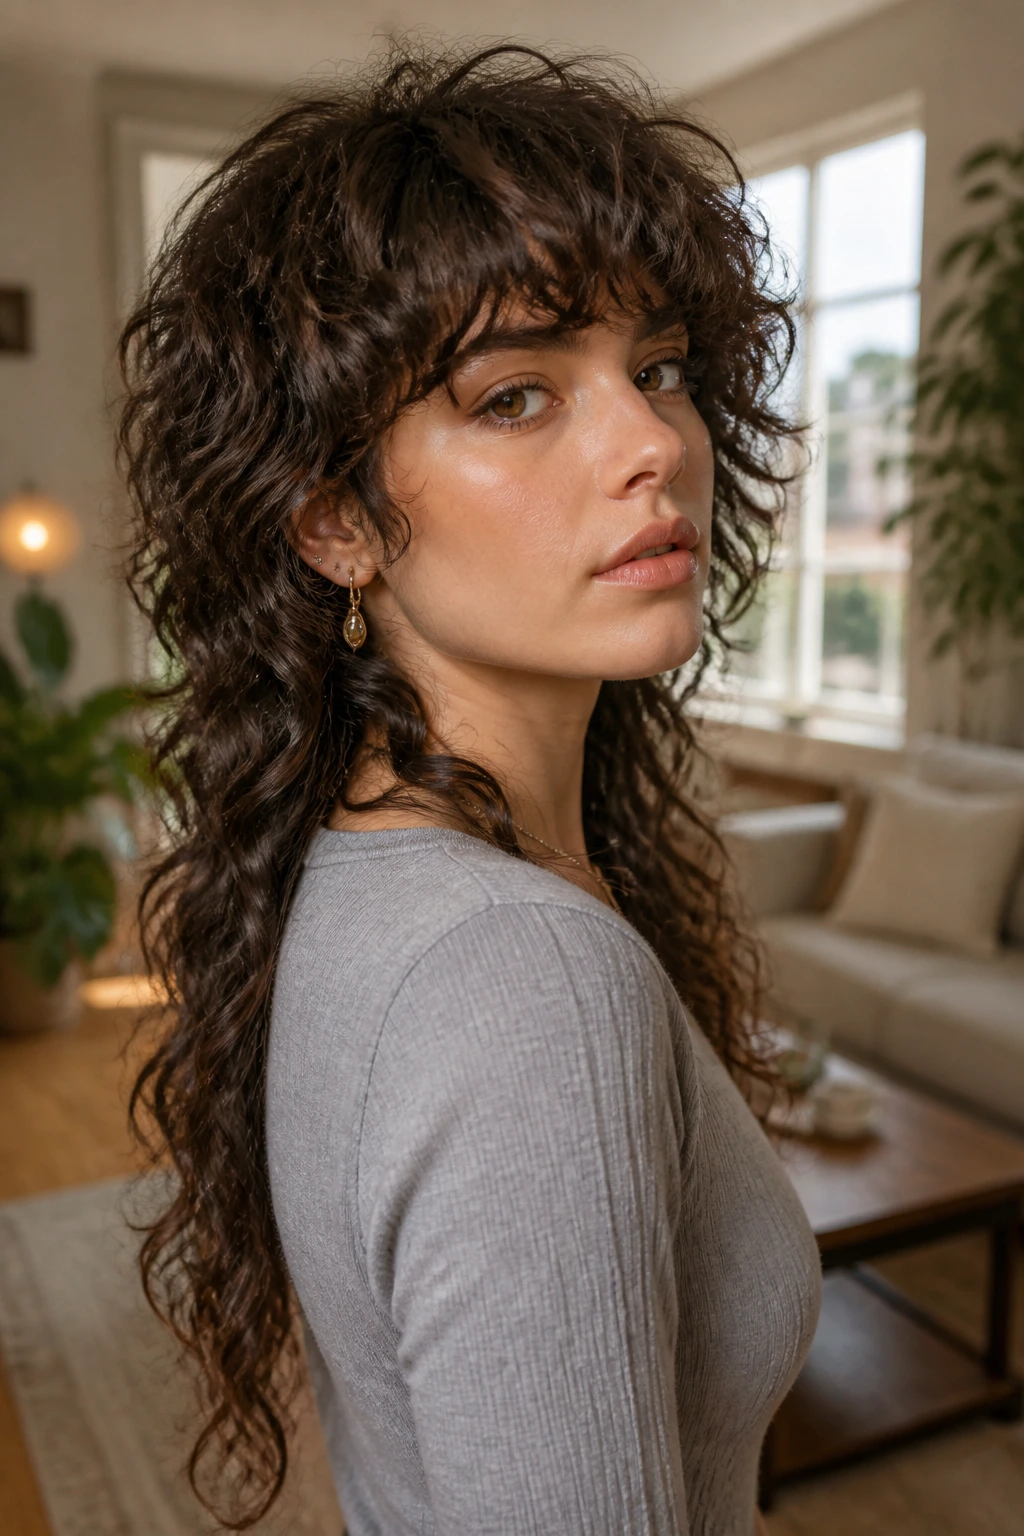
A curly wolf cut sounds wild because it is a little wild. The top is shorter, the middle is choppier, and the length stays in the back so you get movement up top without sacrificing the drama of long curls.
This shape works when you want volume that looks intentionally undone, not polished and rounded. The catch is maintenance. If you never diffuse and your curls are very loose, the shape can slip into chaos fast. On tighter curl patterns, though, it gives that lived-in lift people try to fake with product.
- Good if you like texture
- Better if your hair is dense
- Less ideal if you want a sleek outline
5. Invisible Internal Layers for Dense Hair
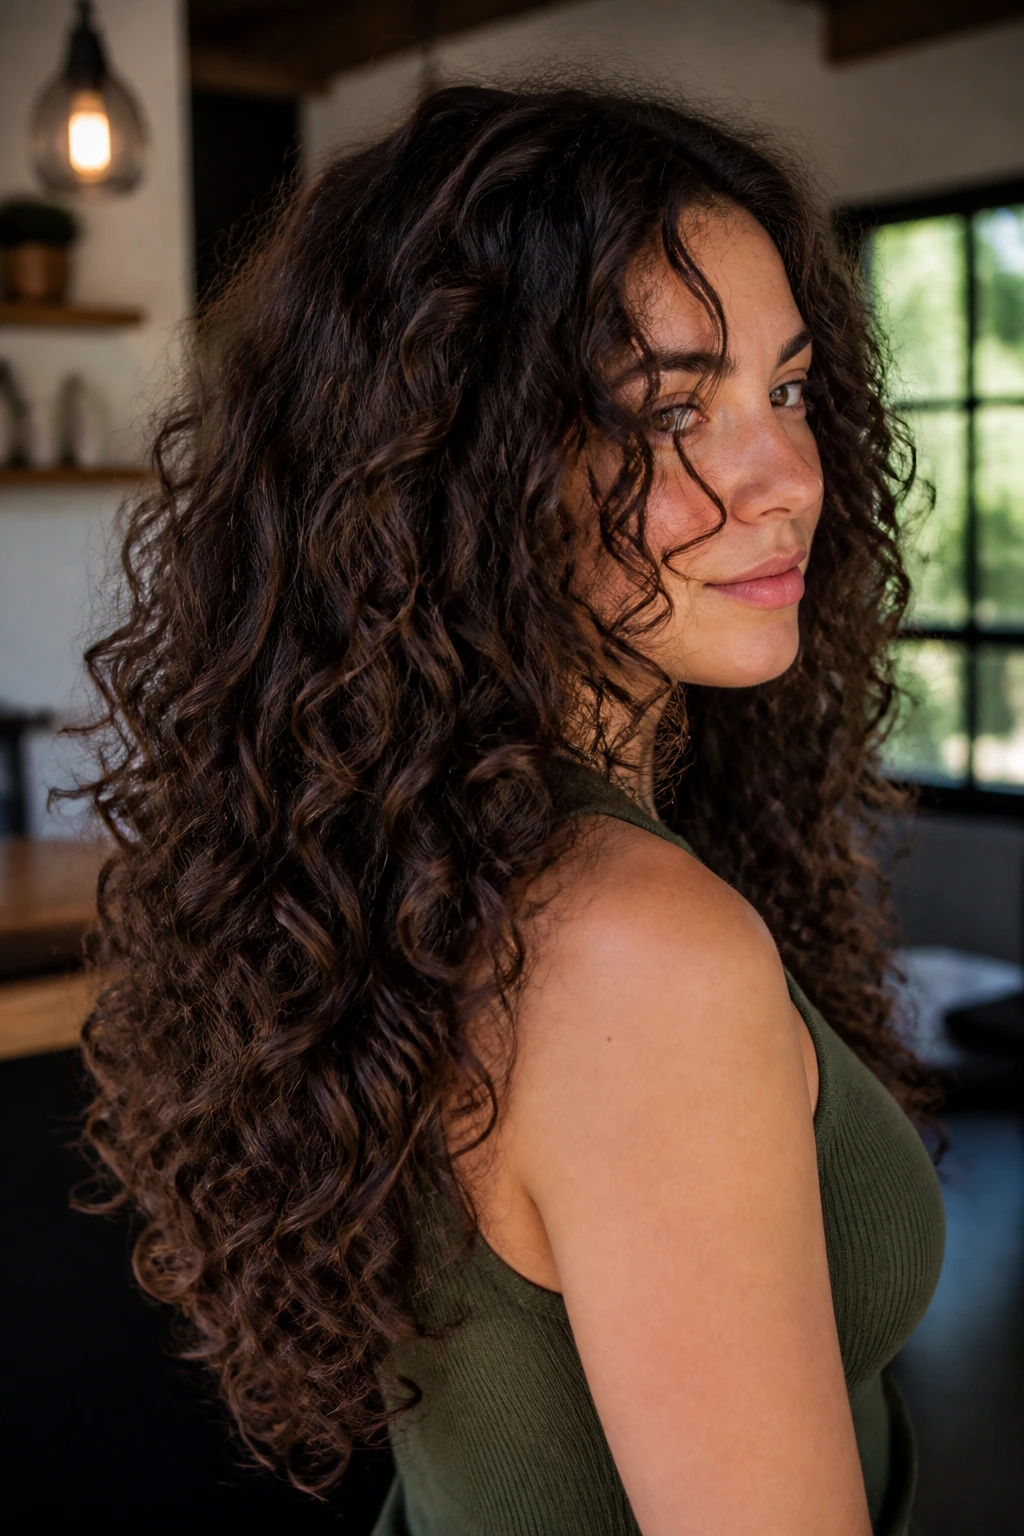
Some cuts shout. This one whispers. Internal layers sit inside the hair mass, so the outside still looks long and smooth while the inside loses enough weight to let the curls spring.
That’s a smart move for thick hair that feels heavy even after a good wash. The result is usually a rounder crown, more space between curls, and less of that shelf effect at the bottom. You can keep the perimeter clean and still get lift where your head needs it most.
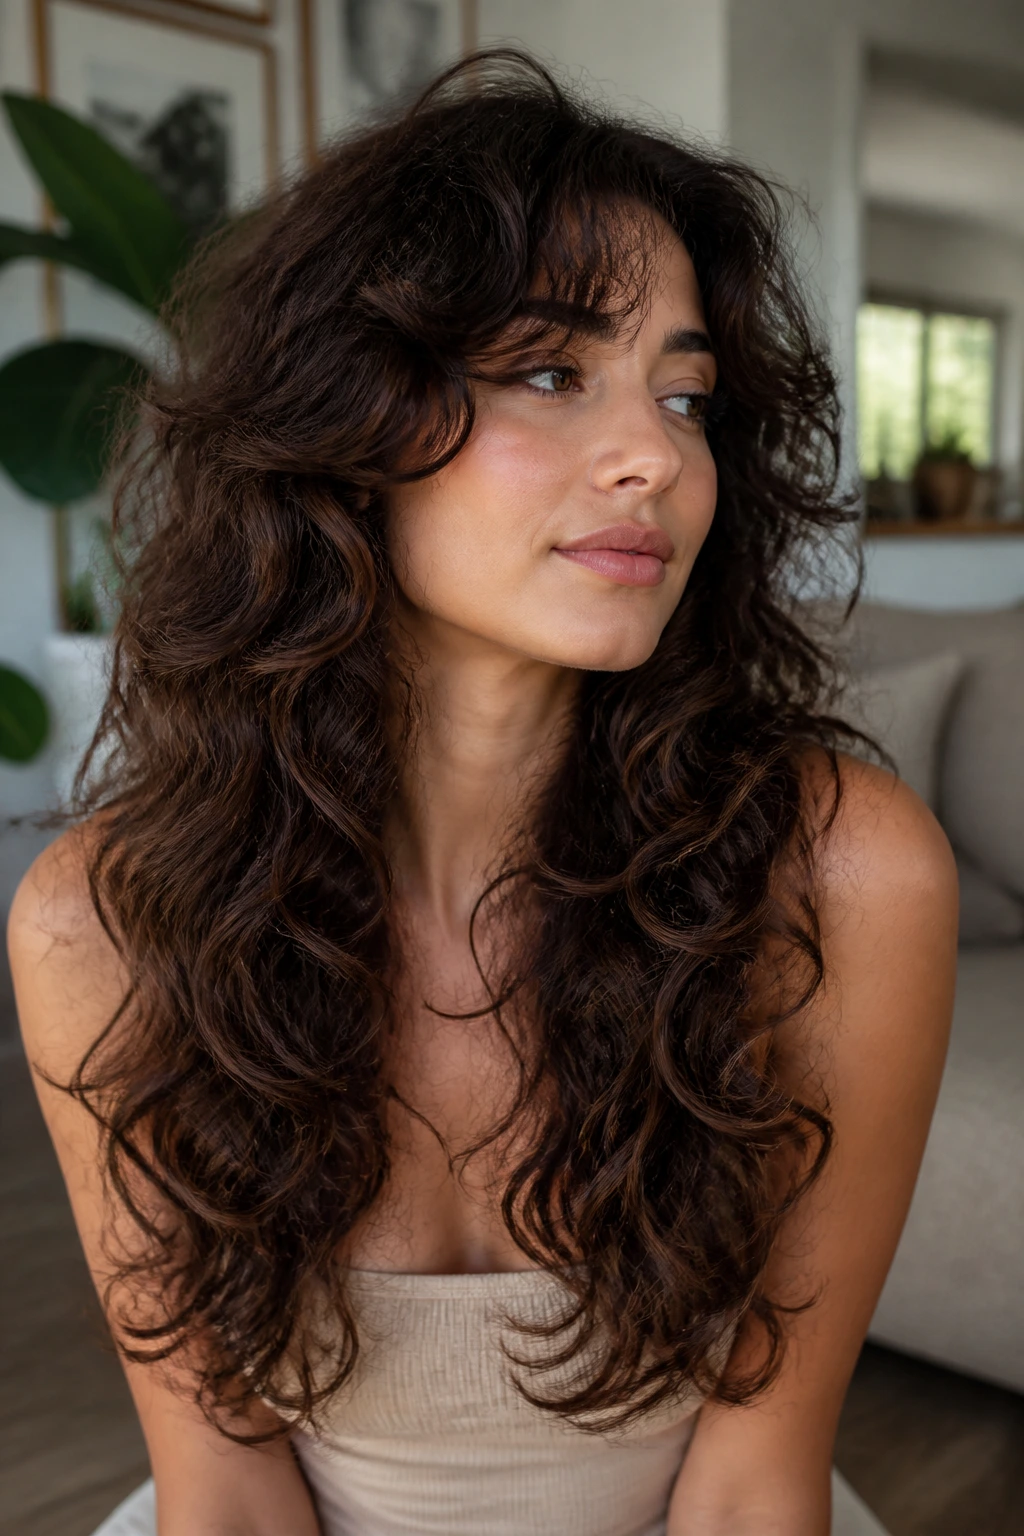
6. Long Curly Shag with a Light Fringe

Compared with a classic one-length cut, a shag takes the edge off fast. It’s looser around the crown, a little piecey through the sides, and usually paired with a fringe that blends instead of sitting like a separate haircut.
This version is best for curls that like to clump. If your hair has a nice natural spiral but loses shape by day two, the shag gives it somewhere to go. Ask for a fringe that lands at the brow when dry, because curly bangs always shrink more than the mirror suggests.
7. Waterfall Layers from Cheekbone Down
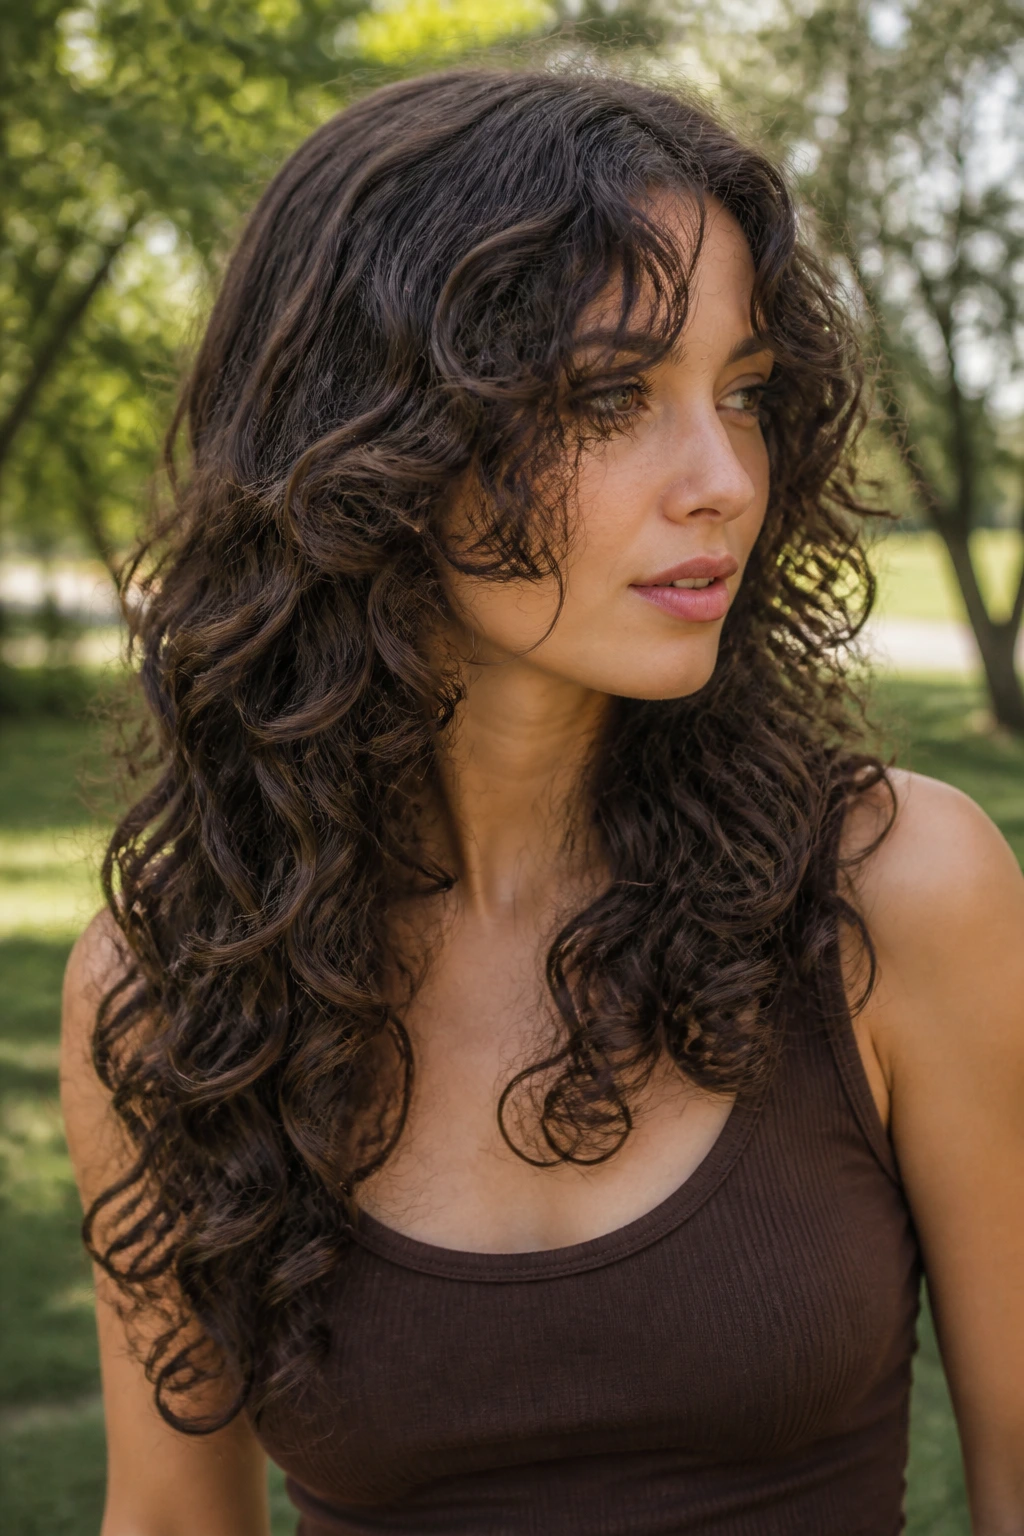
A waterfall layer map starts higher in the front and drifts longer as it moves back, so the eye sees movement first and weight later. It’s one of my favorite ways to add volume without making the cut feel chopped up.
Why It Works
The front pieces light up the face, while the back keeps enough length to stop the silhouette from ballooning. It’s especially useful on hair that gets flat near the temples but still has plenty of life through the mids and ends. The shape should look soft, not stair-stepped.
8. Deep Side-Part Layers for Instant Height

A side part can do as much for volume as a layer. Put the part where your curls naturally want to lift, then cut the layers to support that direction and you get height without the need for aggressive teasing or heavy product.
This is a smart cut if the center of your head sits flatter than the sides. It also helps when one side of your hair is heavier than the other, which happens more often than people admit. A deep side part turns that imbalance into shape.
9. V-Cut Layers That Lighten the Back
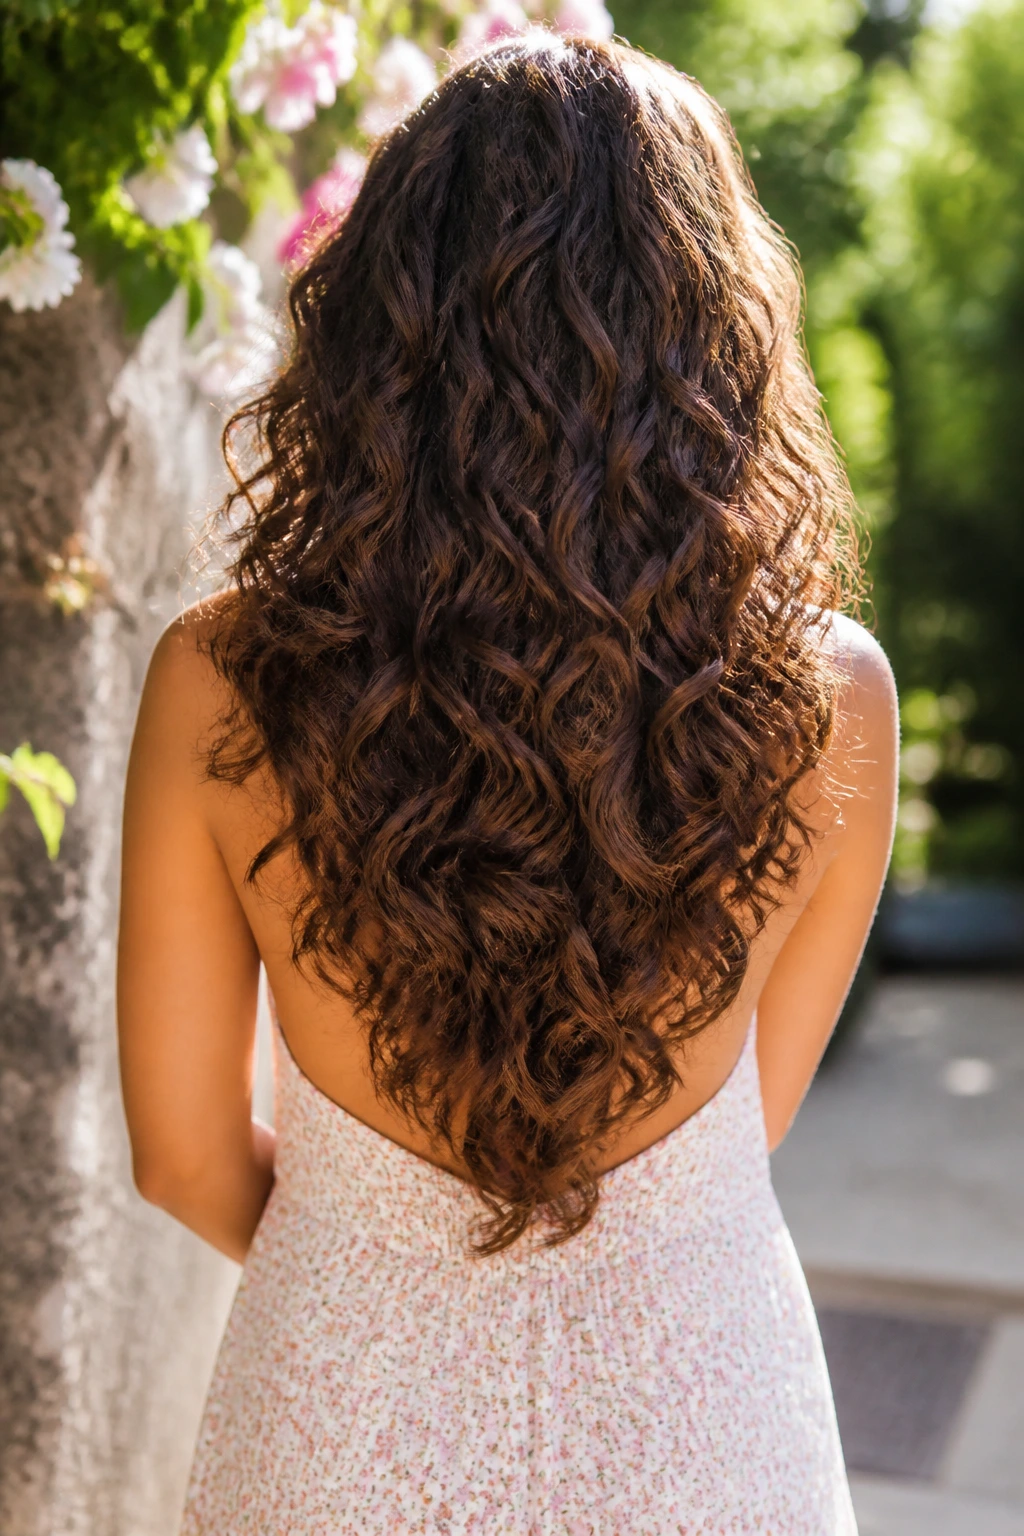
Why does the back of long curly hair feel like a backpack? Because all the weight piles into one line. A V-cut solves that by tapering the center back shorter while keeping the sides long, so the curls drape instead of forming one solid wall.
How to Ask for It
Ask for a soft V, not a sharp point. The point should live low enough that the ends still look thick when the hair dries. This cut is good for anyone who wants length with a little motion in the back, especially if the hair tends to puff outward at the hem.
10. Halo Layers Around the Crown
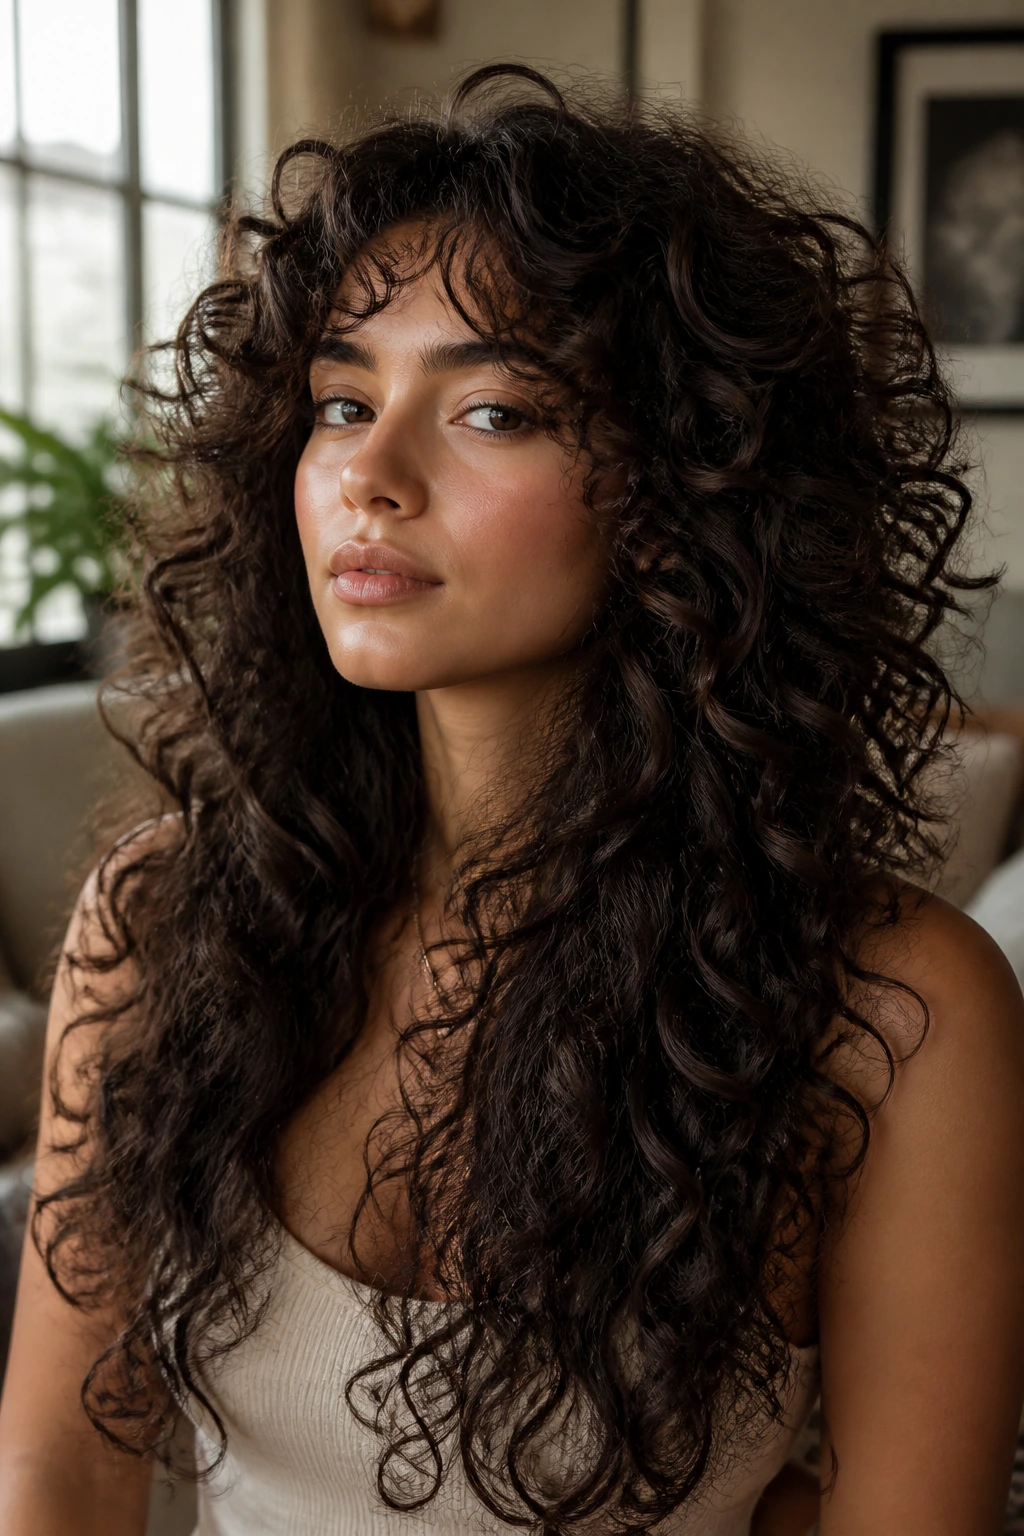
A halo layer cut moves around the head like a ring, carving just enough shape near the top to lift the curls where they sit heaviest. It’s a neat option when the front is fine but the sides and back feel bulky.
The beauty of this cut is that it can make the whole head look lighter without screaming “layered haircut” from across the room. It works best when the shortest bits are still long enough to curl back into the shape. Too short, and the halo becomes frizz.
- Best for rounder silhouettes
- Good with diffusing
- Not ideal if you want a sharp edge
11. Curtain Layers for Loose Spirals
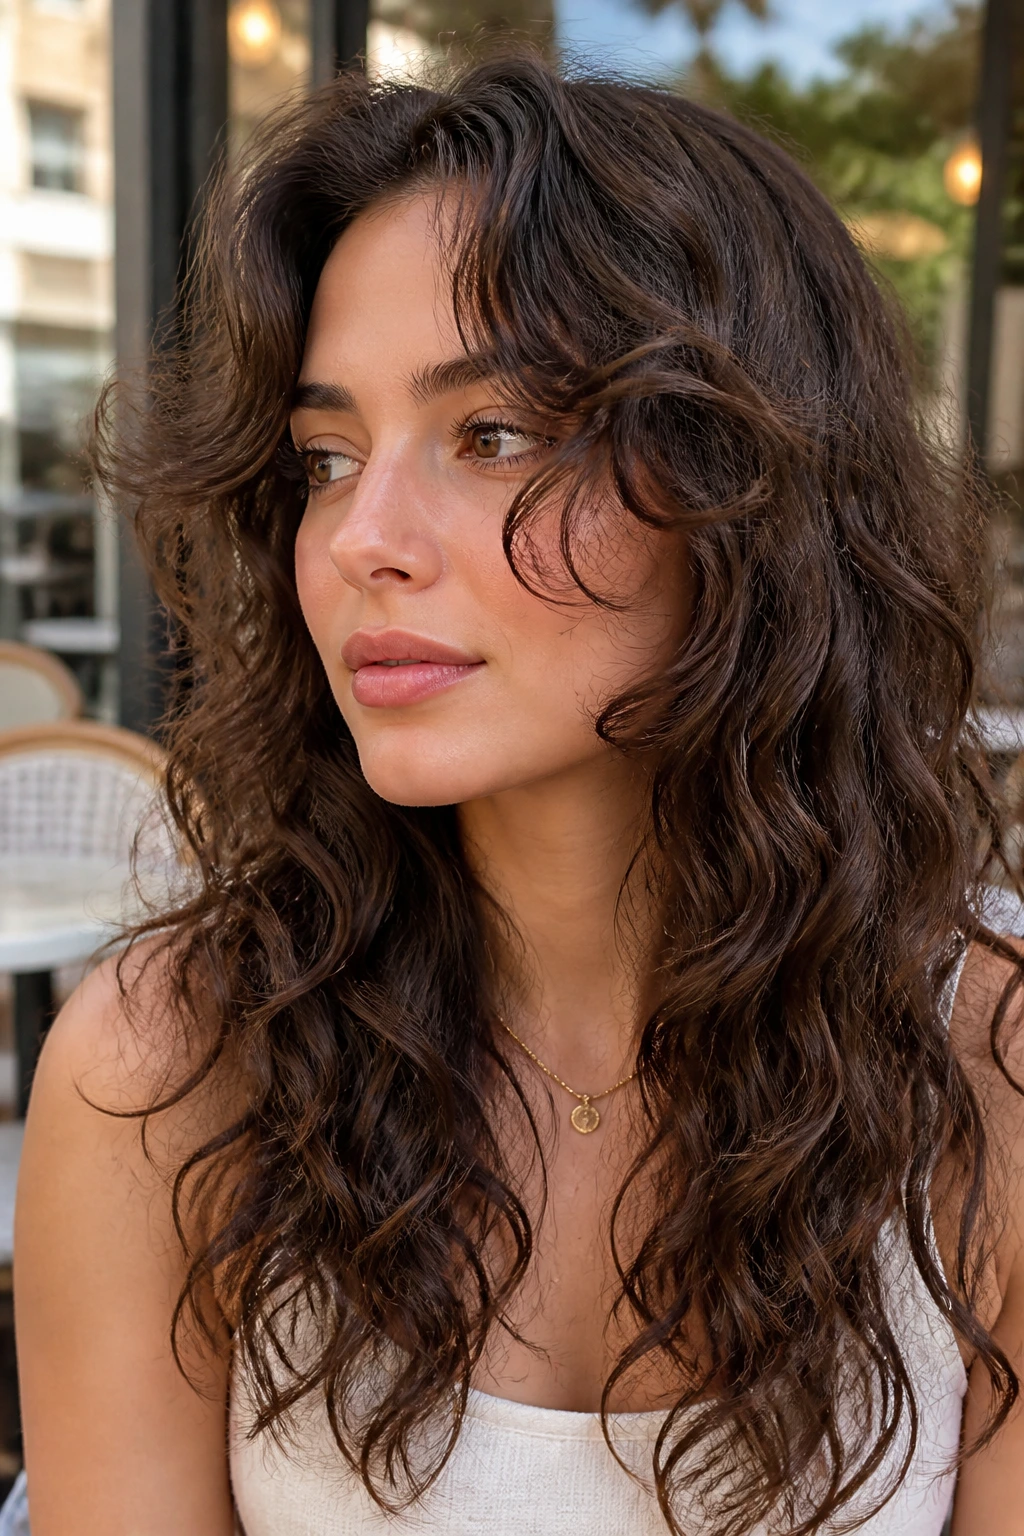
Curtain layers split the difference between face frame and long interior length. They open at the center and drift outward, which makes loose spirals look fuller through the front without taking a knife to the ends.
That makes them a solid choice for curls that sit between waves and ringlets. The shape gives movement around the cheeks and keeps the rest of the length calm. If your curls stretch out when wet, ask the stylist to cut these layers dry or nearly dry.
12. Heavy Perimeter with Airy Interior
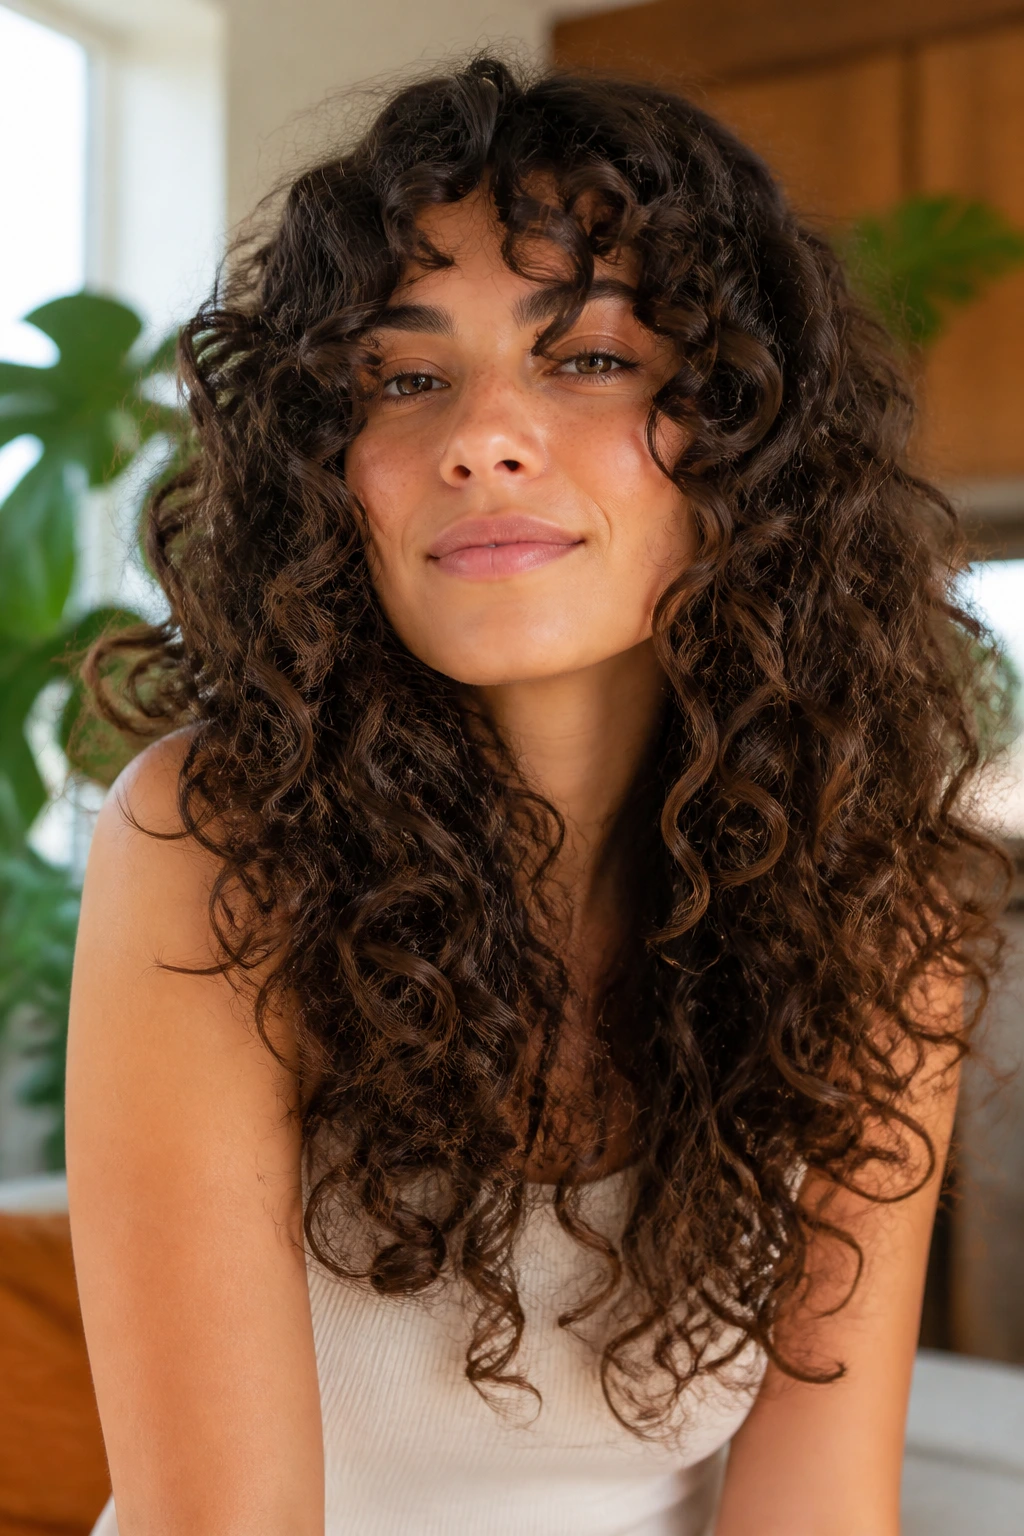
If you hate wispy ends, this is the move. The perimeter stays weighty and clean, while the inside gets enough removal to stop the head from looking boxy.
The contrast matters. Heavy edges keep the length believable, and airy interior layers keep the whole cut from feeling bulky. It’s one of the best options for people who want volume but still want their hair to look thick all the way down.
13. Feathered Layers for Fine Curls
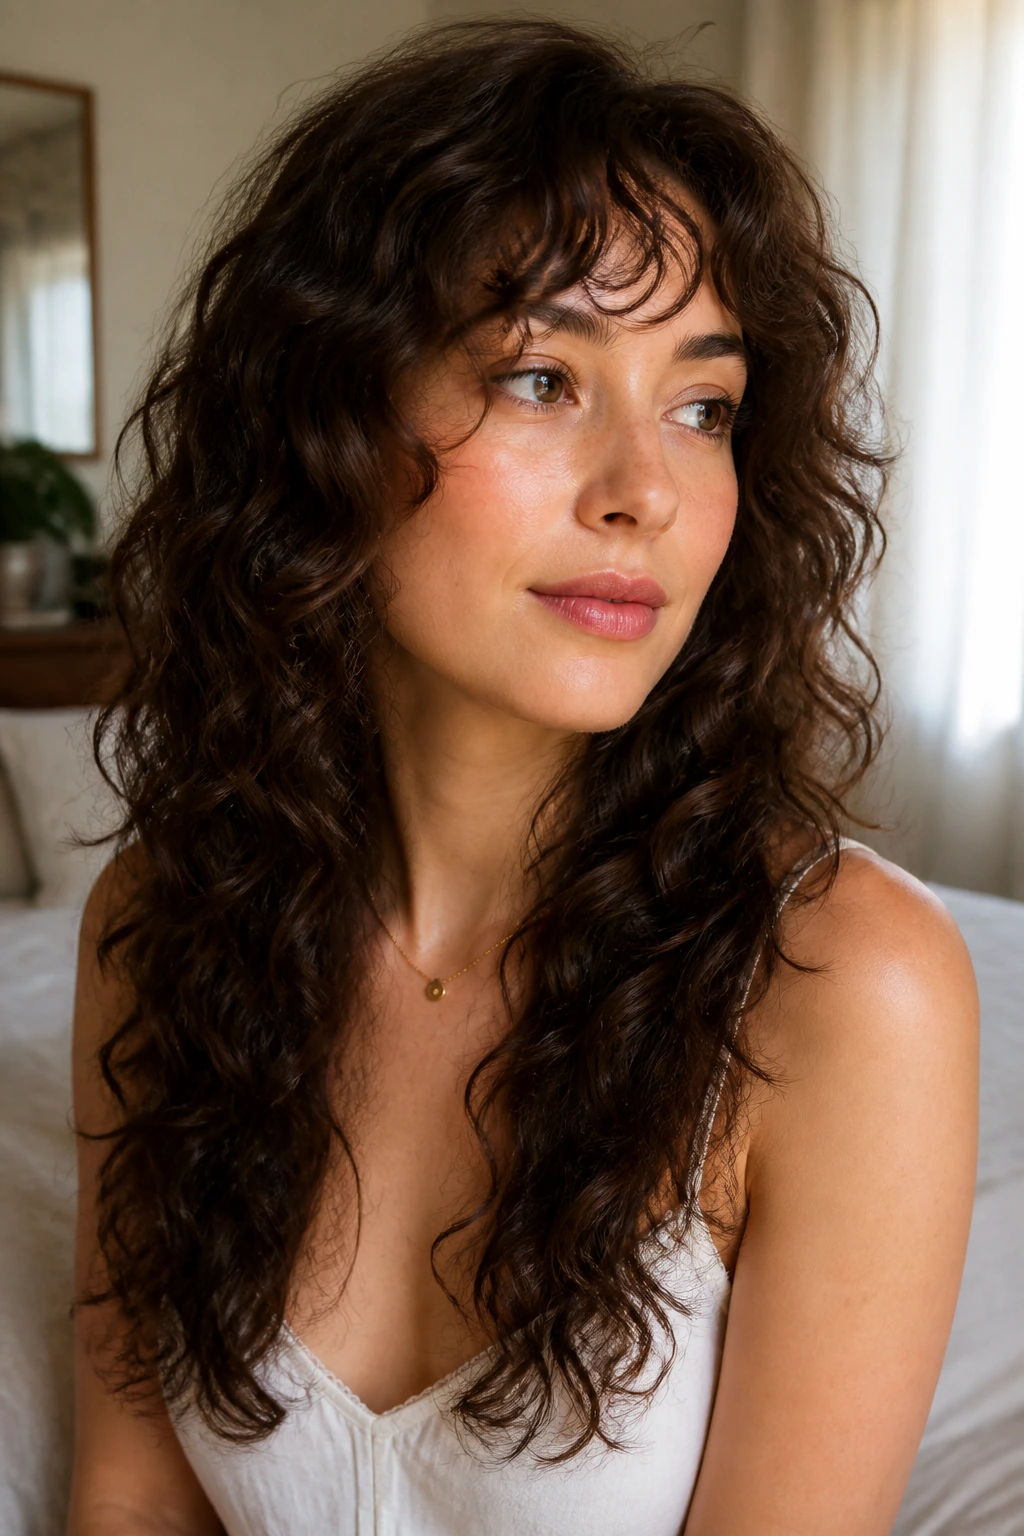
Fine curly hair can look stringy fast if the layers are too short or too many. Feathered layers fix that by moving softly through the hair rather than chopping strong lines into it.
Why It Lifts
The ends stay light enough to move, but not so feathered that they disappear. The trick is restraint. Ask for long layers that begin below the chin, then keep the interior shaping very soft. A little lift goes a long way when the strands themselves are delicate.
14. Sloped Cascade Layers for Oval Faces

A sloped cascade is all about direction. The layers begin higher on one side and angle longer as they move down, creating a diagonal line that makes curls look active instead of stacked.
It flatters oval faces because the line follows the natural length of the face without hardening it. The cut also helps if one side of your curls wants to puff more than the other. Give the stylist a parting habit, not just a photo. That detail changes everything.
15. Jaw-Starting Face Frame for Volume Near the Cheeks
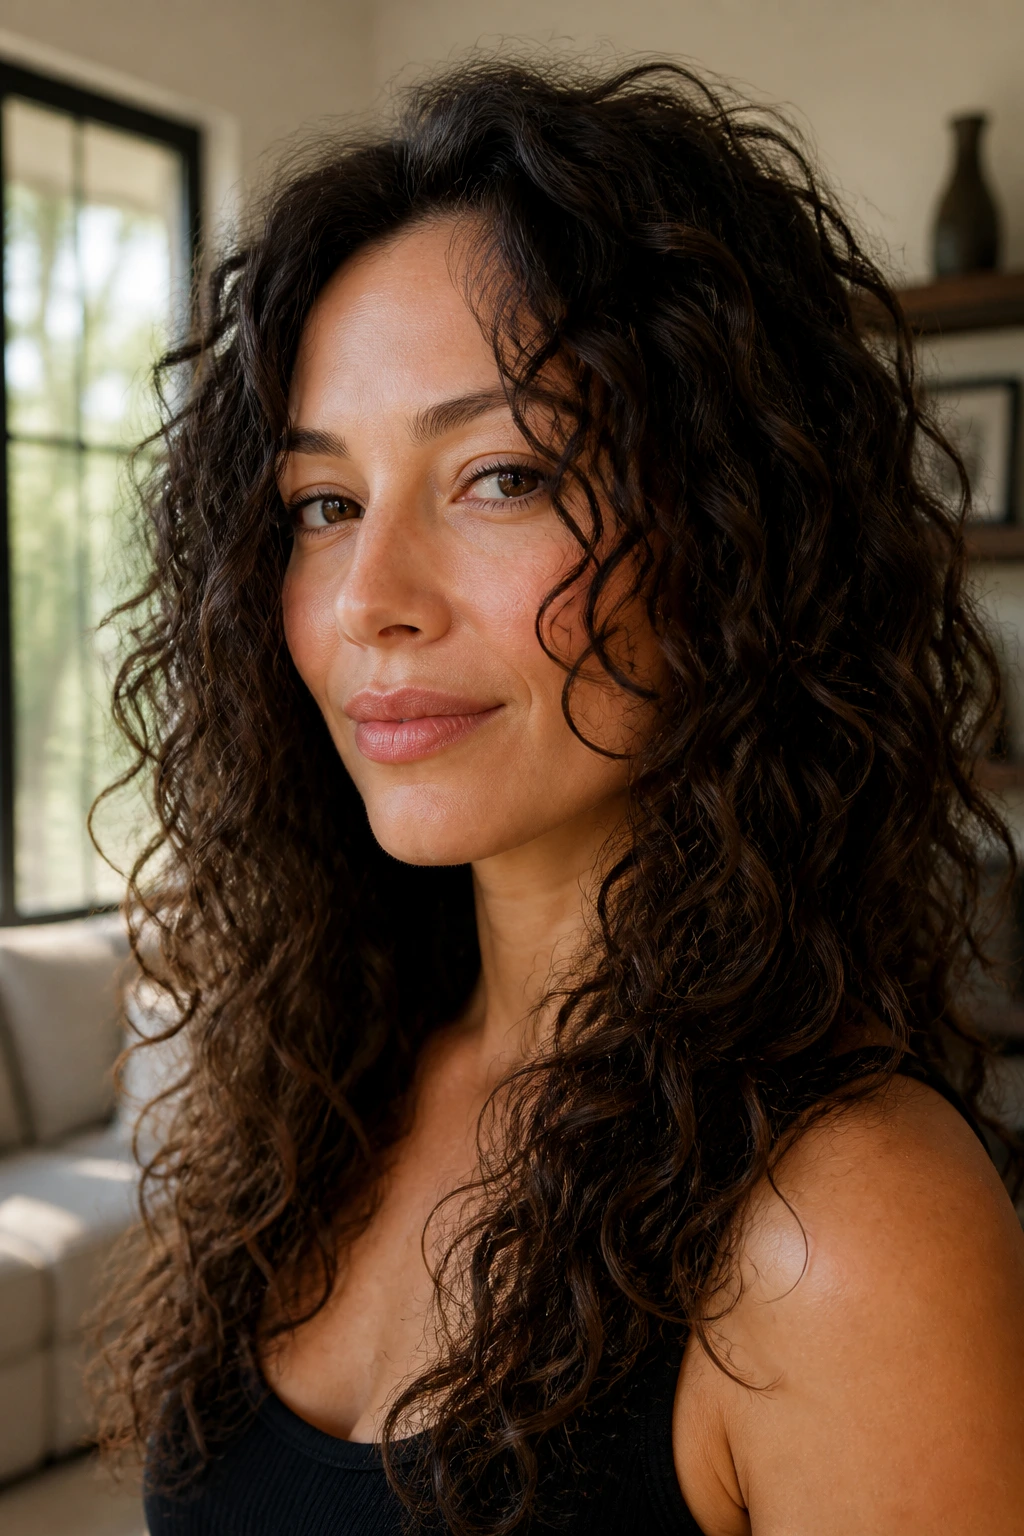
Want fullness without taking a lot off the back? Start the shortest face-framing pieces at the jaw. That pulls the eye outward and makes the sides feel bigger without stealing length from the overall silhouette.
How to Ask for It
Say you want movement around the cheeks, not a severe front layer. This works well on curly hair that falls flat around the face but still has strong density elsewhere. If the shortest pieces are cut too high, the style can turn puffy in the wrong place. Jaw level keeps it grown-up.
16. Tapered Nape Layers That Keep Length
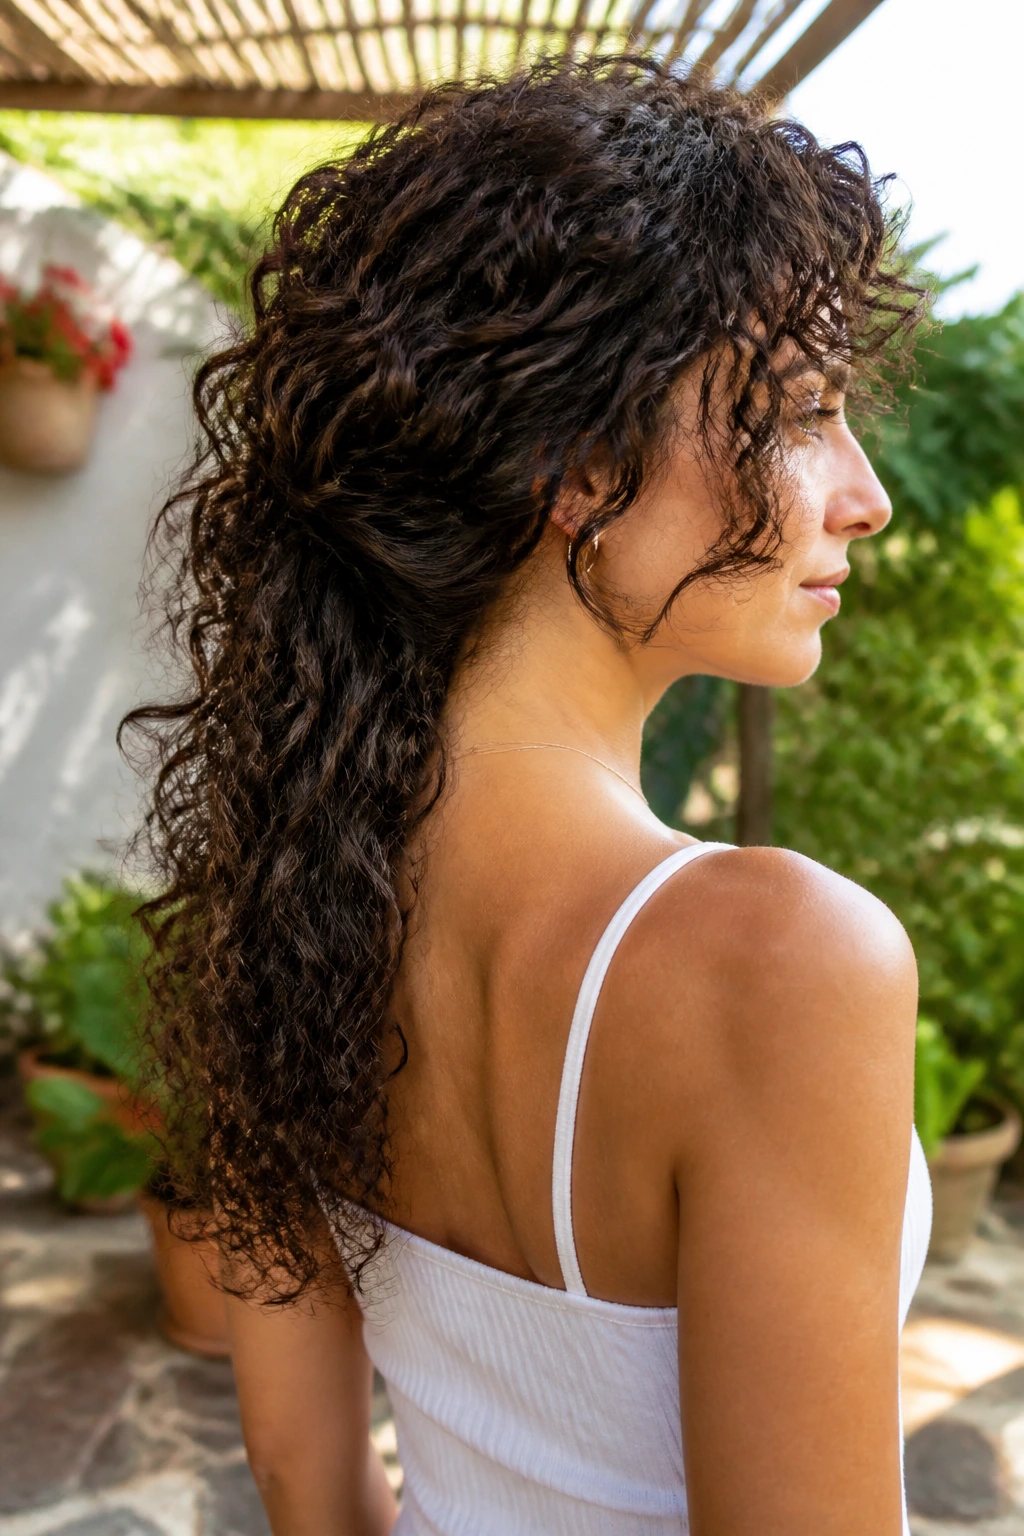
Sometimes the issue isn’t the top. It’s the nape. When curls build up at the back of the neck, the whole cut can look heavy even if the front feels fine.
A tapered nape lightens that zone while preserving the long curtain through the rest of the hair. The result is cleaner neck movement, less bulk under collars, and a shape that dries faster. It’s subtle. That’s why it works.
17. Bottleneck Layers for Thick Ringlets
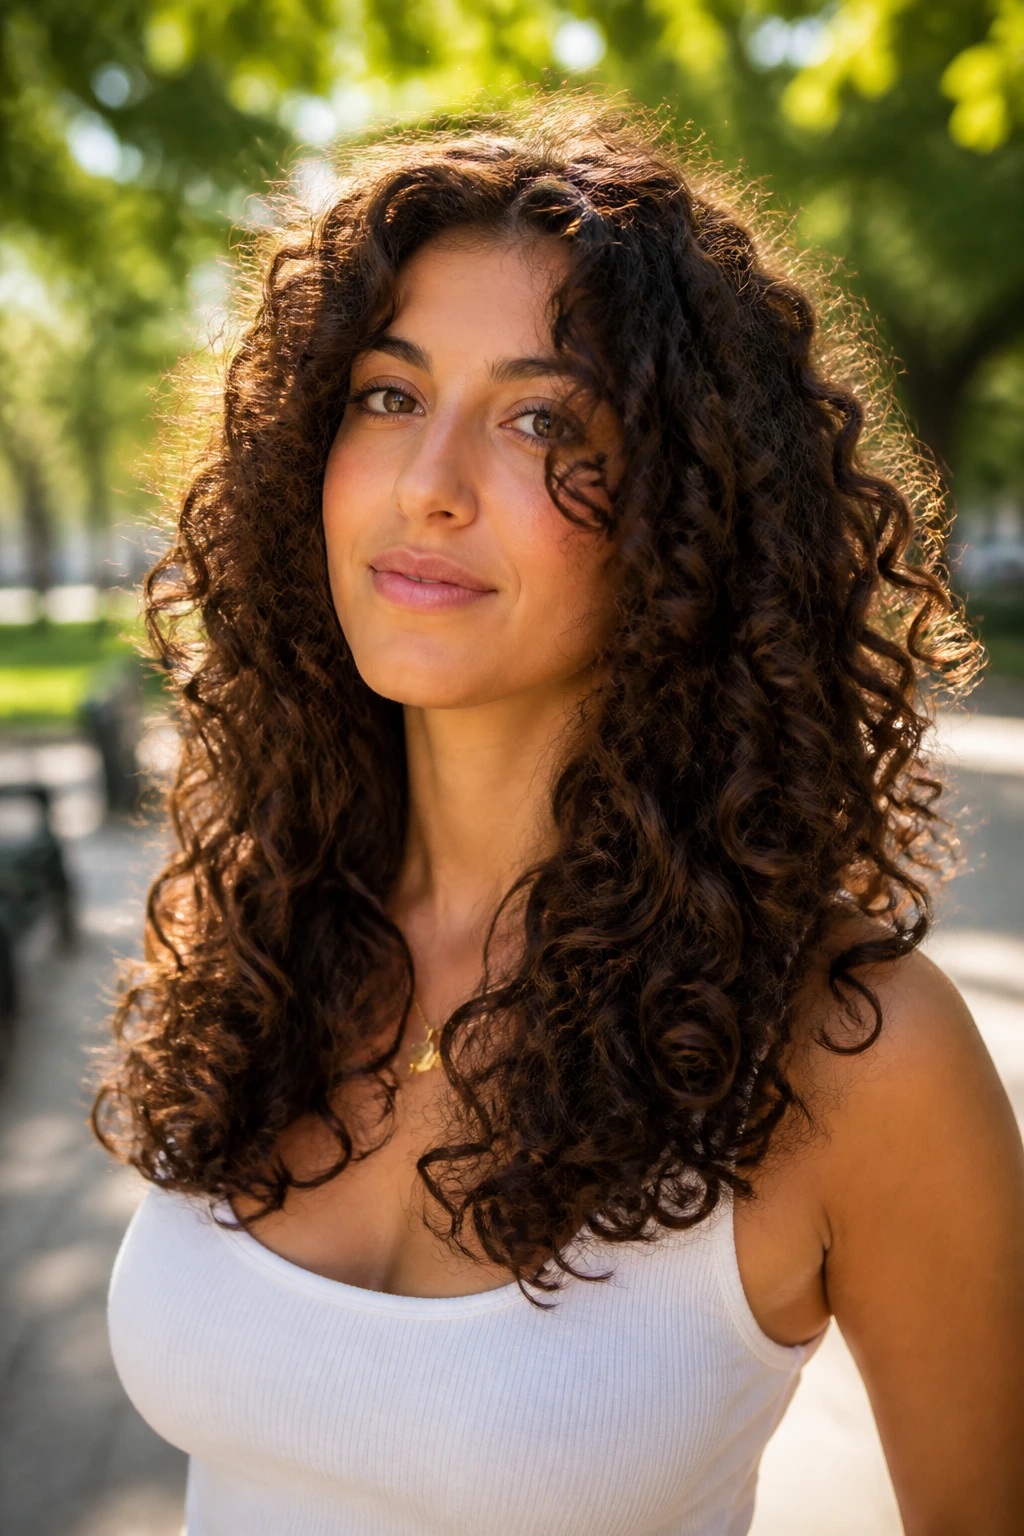
This is a cut that narrows at the middle and opens again at the ends, like a bottle neck turned into hair shape. Thick ringlets love it because the curls stack without forming one giant triangle.
The middle layers do the hard work here. They remove enough bulk to let the ringlets spring apart, but they leave the end line dense enough that the cut doesn’t look sparse. If your hair expands in humid weather, this shape gives it somewhere to go.
18. Rounded Coily Layers with a Soft Outline
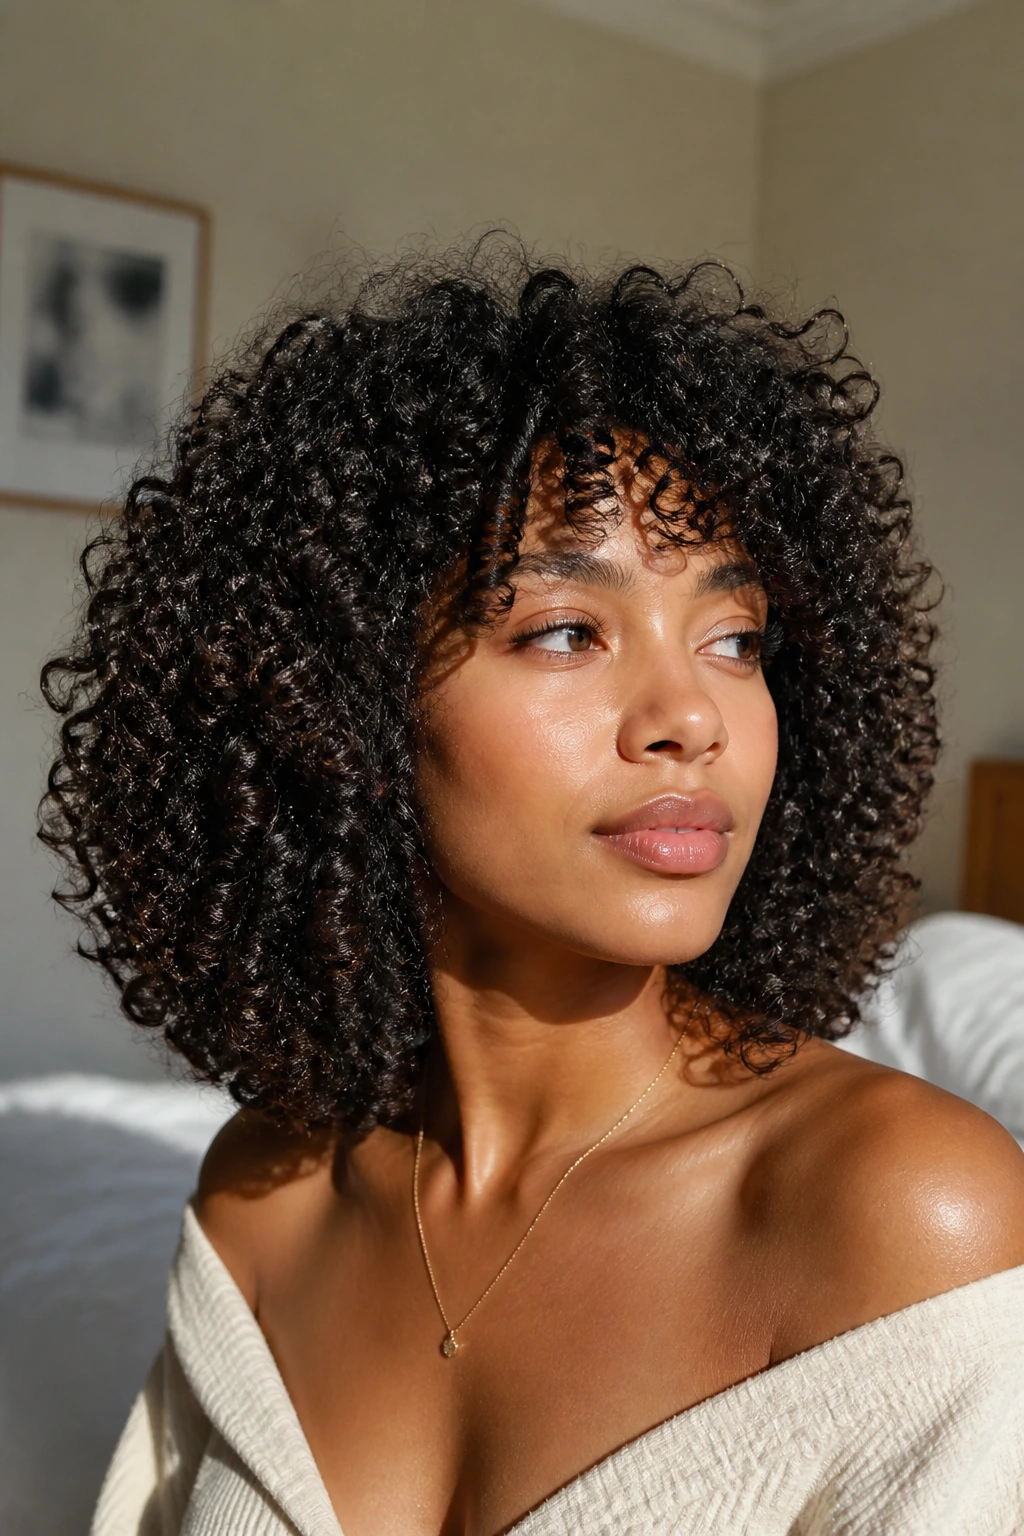
Compared with sharp, disconnected layers, rounded coily shaping feels much calmer. The outline stays soft and circular, while the interior gets a careful amount of removal so the coils can pop instead of packing together.
This is the cut I’d reach for when a coil pattern wants volume but not chaos. It respects shrinkage. It also makes the hair look fuller at eye level, which is often more flattering than piling all the lift at the very top.
19. Mixed-Pattern Layers for Uneven Curl Clusters
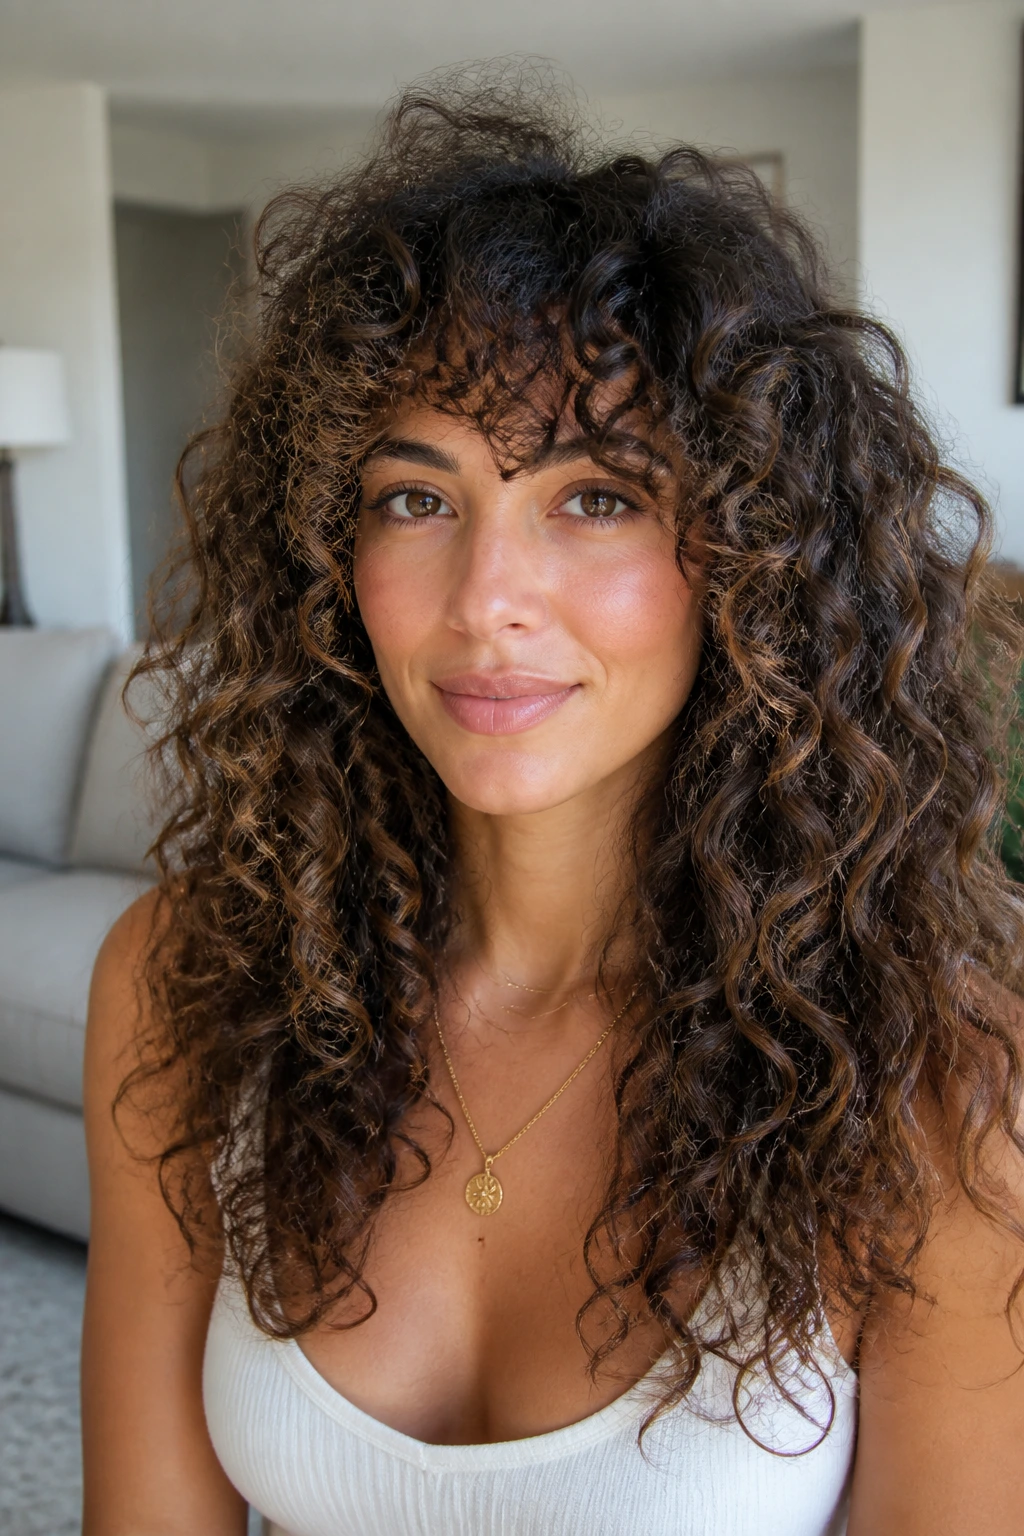
If the left side curls tighter than the right, or the crown is looser than the sides, a mixed-pattern cut can save you a lot of daily fuss. The stylist should read each zone separately and layer accordingly, instead of assuming the whole head behaves the same.
What Makes It Different
The hair is cut in zones, not in one fantasy pattern. That means the flatter sections get more lift and the springier sections get more restraint. Balance beats symmetry here. Ask for a dry consultation mirror check from front, side, and back.
20. Razor-Soft Layers for 3B Curls
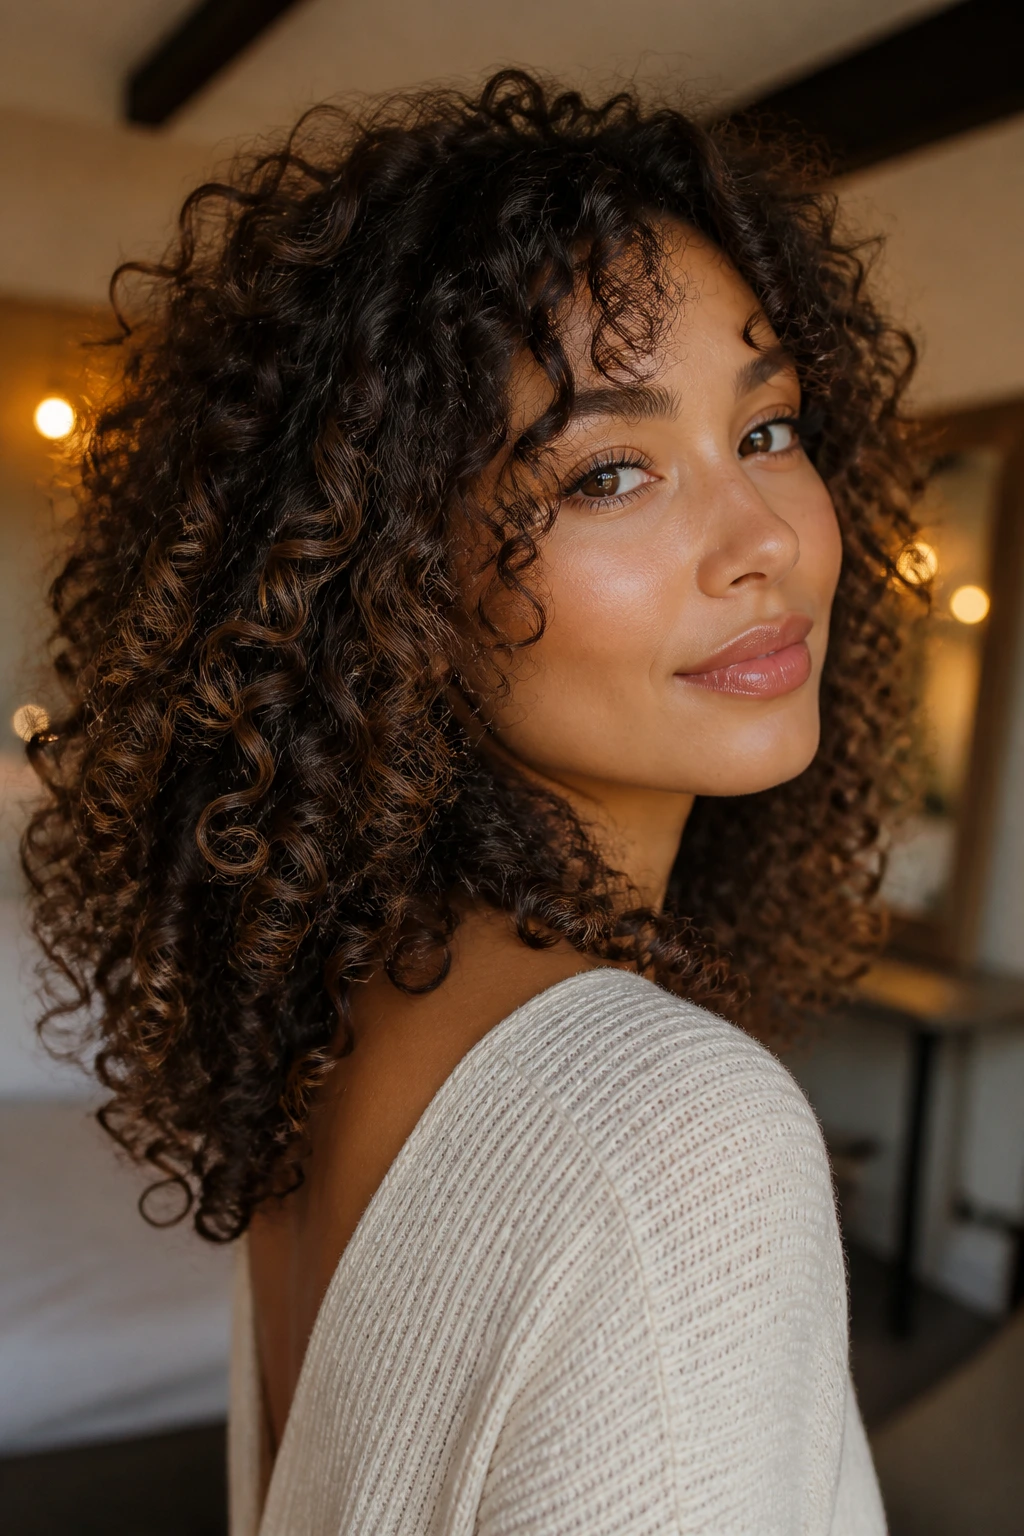
A razor can be risky on curls, but in the right hands it softens a 3B shape fast. The edges look less blunt, the layers melt together better, and the volume rises without visible steps.
But there’s a catch. If the razor is used too high or too aggressively, the curl ends can fray and get fuzzy. This cut is best when the stylist knows exactly how your hair reacts once it shrinks. Don’t let anyone improvise on a whim.
21. Dusting Layers That Trim Split Ends Without Losing Shape
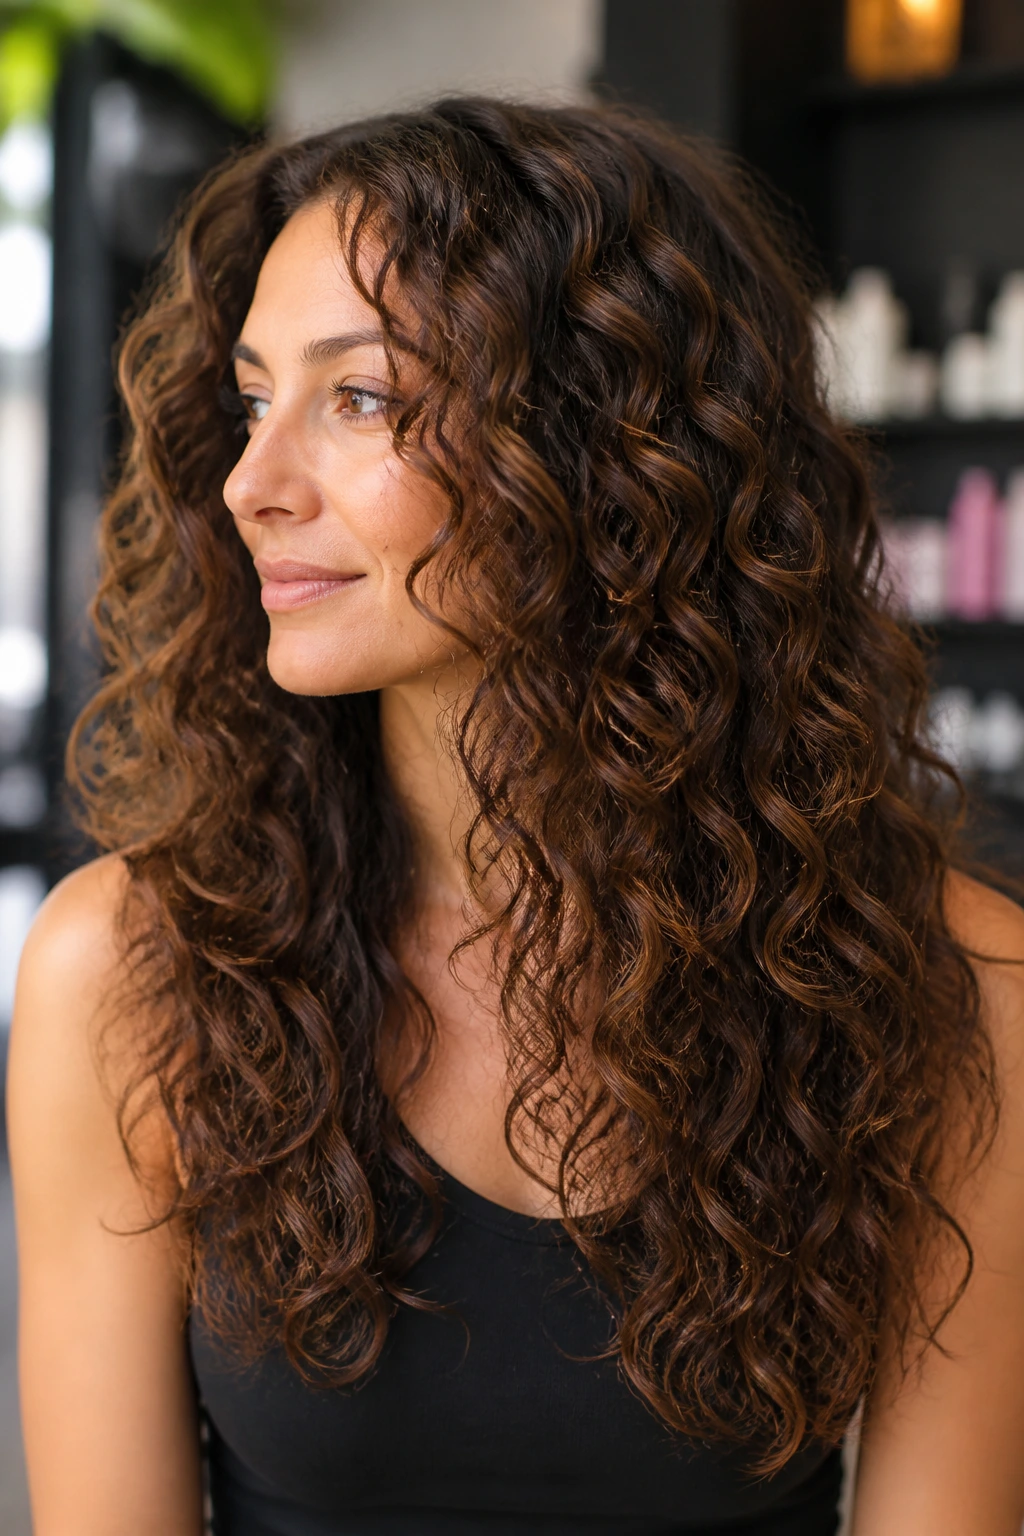
Why do some long curly cuts keep their volume and others turn saggy? Often it comes down to dusting. The ends are cleaned up in tiny amounts, and the layer structure stays in place instead of being overhauled every visit.
How to Ask for It
Tell the stylist you want the shape preserved and the dead ends removed in a small trim. That keeps the bottom line thick while the interior layers continue doing the lift work. This is a good maintenance cut, not a dramatic reset.
22. Split-Level Layers for Very Dense Hair
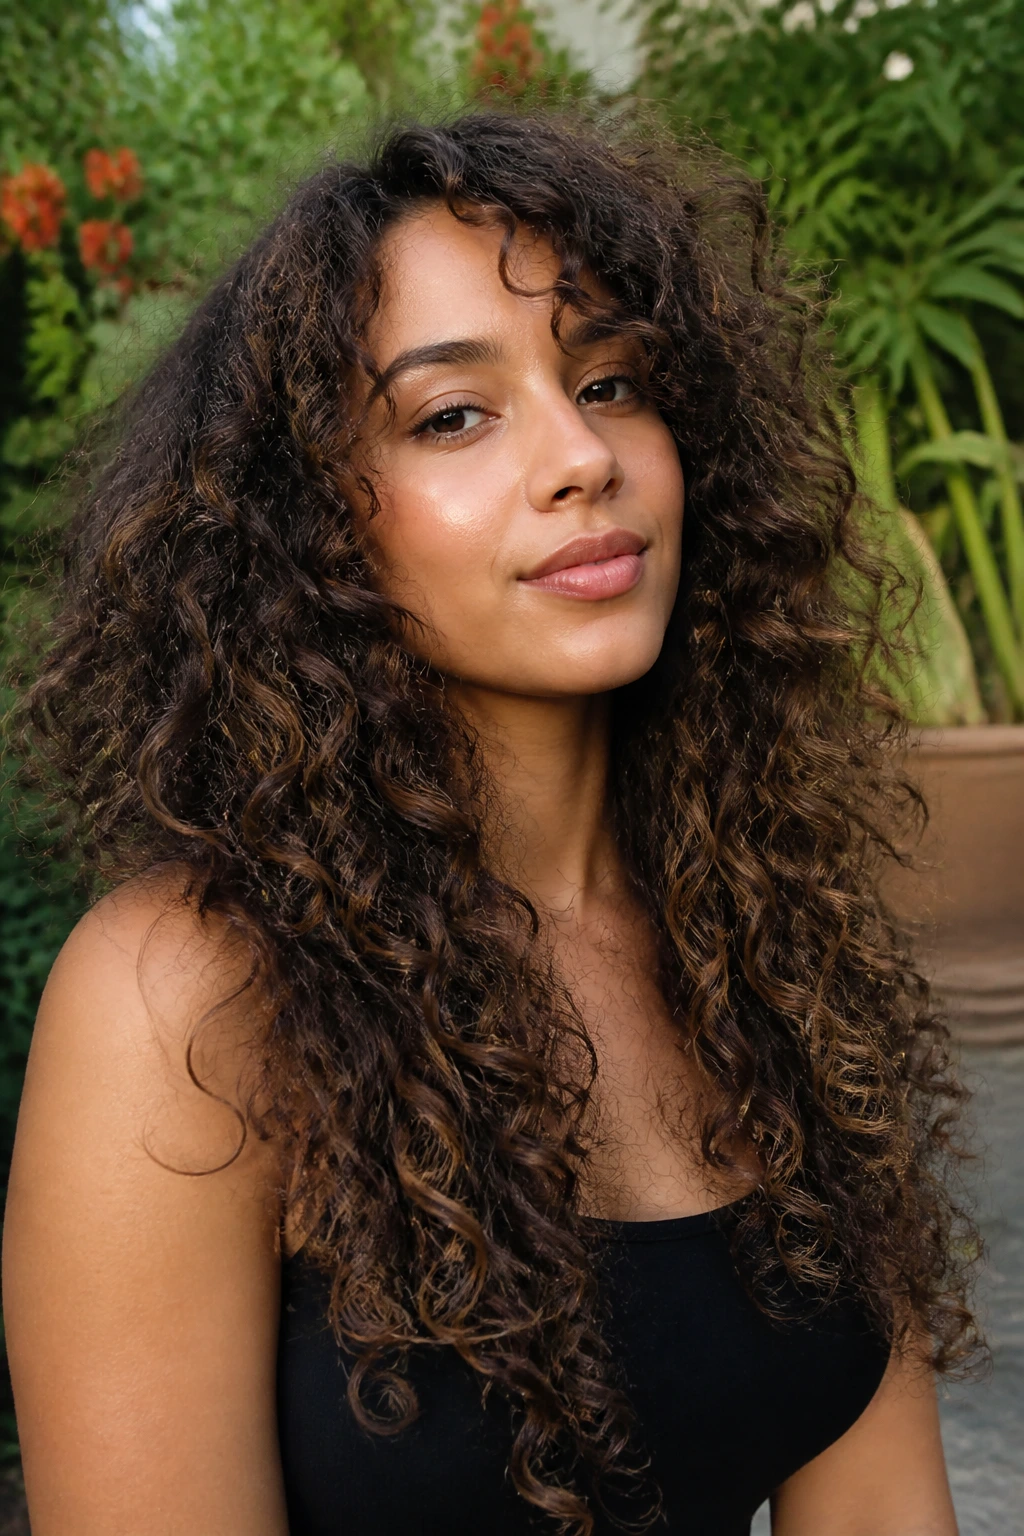
Very dense curls can get so compact that they stop moving. Split-level layers divide the mass into two or three zones, letting the top rise while the bottom holds the outline.
The shape is noticeable, but not choppy if it’s done well. This is the kind of cut that makes a wash-and-go feel lighter right away. If your hair drinks product like a sponge, you’ll probably feel the difference on day one.
- Best for thick density
- Good for long dry time
- Avoid if you want one simple sheet of curls
23. Bang-Blending Layers That Grow Out Cleanly
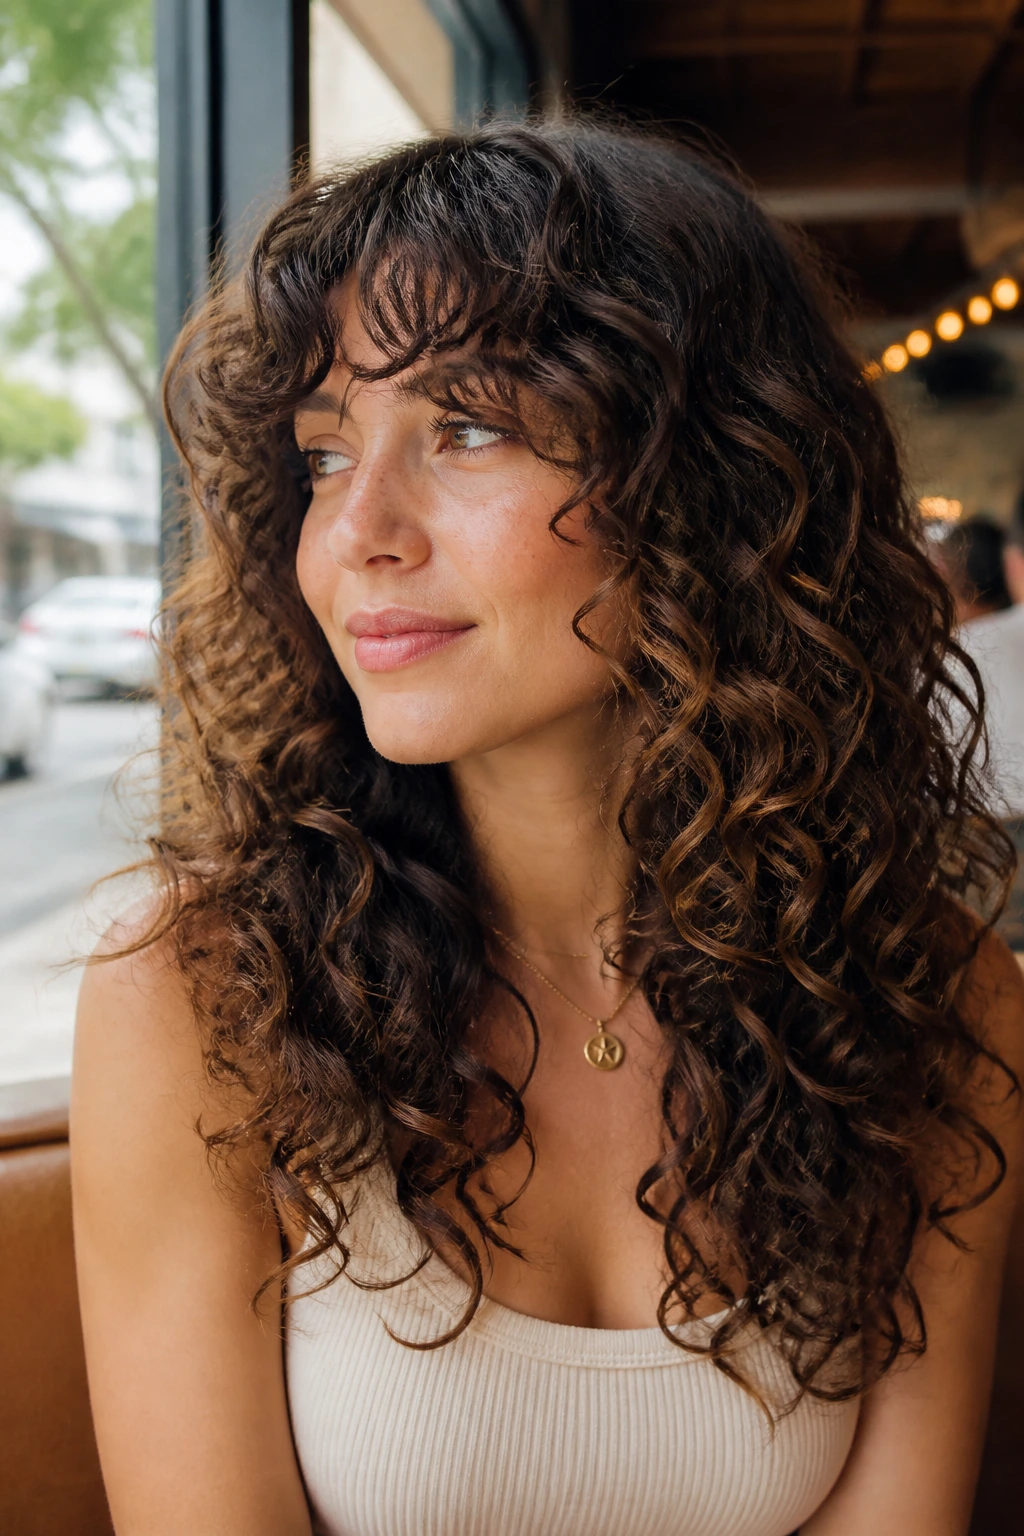
A curly fringe can be great. A fringe that lives its own life and refuses to blend? Not so much. Bang-blending layers solve that by carrying the front pieces into the rest of the haircut instead of leaving them isolated.
This makes grow-out easier, too. The fringe softens into the sides instead of turning into an awkward shelf. If you’ve ever regretted cutting bangs because they separated too hard from the rest of your hair, this is the gentler route.
24. Side-Swept Volume Layers
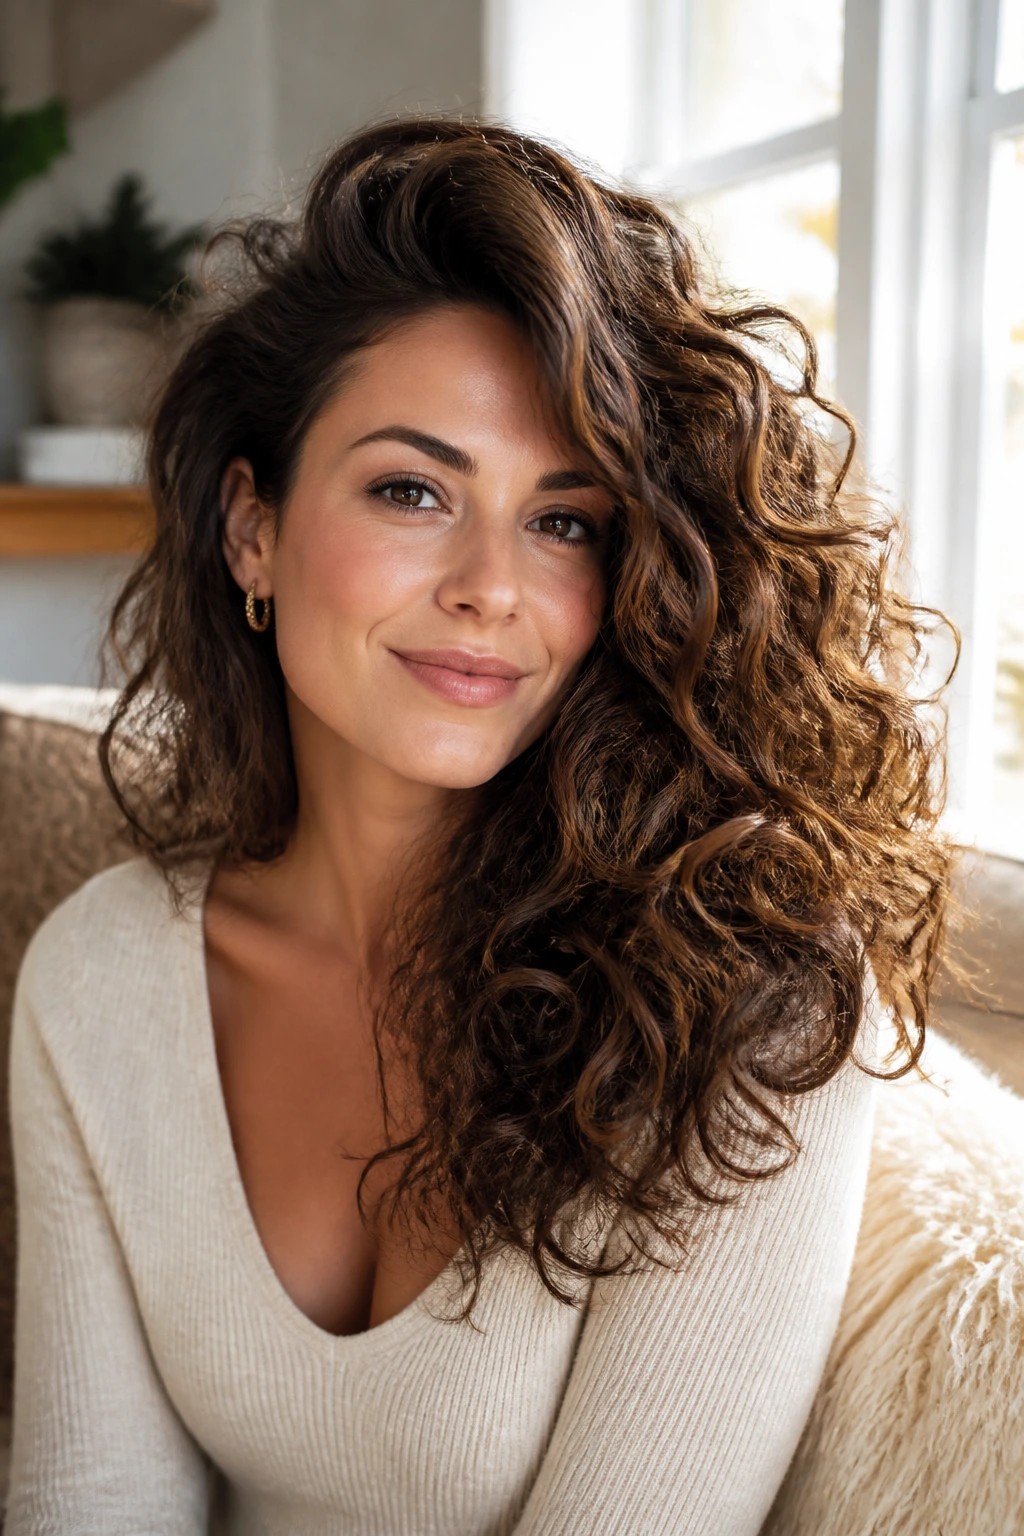
A side sweep changes the whole mood of curly hair. The heavy side gets lifted, the lighter side gets room, and the top reads fuller because the hair isn’t splitting itself down the middle.
Compared with a center part, this cut often gives the illusion of more root volume with less effort. It’s especially nice when you want a little drama but not a full shag. Use clips at the roots during diffusing and the sweep gets even better.
25. Mid-Back Grow-Out Layers for In-Between Length

Growing out a cut is where people often lose volume, because the hair gets long enough to weigh down but not long enough to feel intentional. Mid-back grow-out layers solve that by keeping the upper section mobile while the lower section stays substantial.
Why It Works
The line sits long enough to read as grown-up hair, but the interior shaping keeps it from hanging like wet rope. This is a very practical cut if you hate frequent salon visits and still want the hair to behave. The key is a soft transition, not a dramatic chop.
26. Air-Dry Layers for Low-Maintenance Mornings
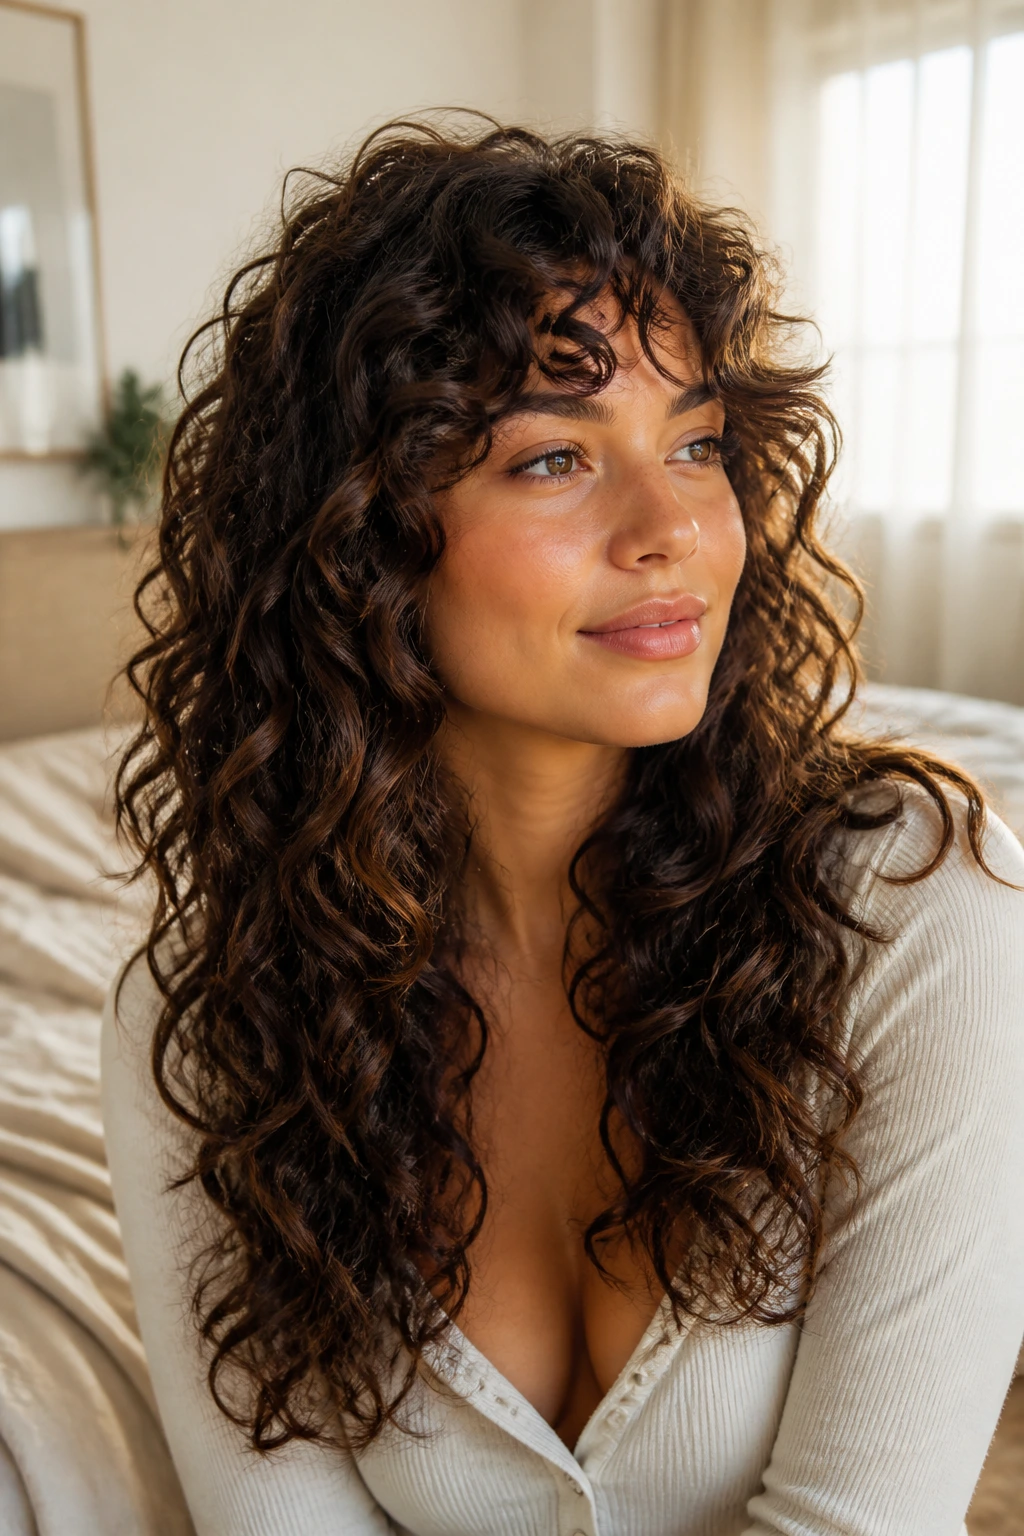
If you mostly air-dry, the shape has to do the lifting for you. That means the layers need to be placed where the curl pattern naturally bends, not where a hot tool would force it.
This cut usually looks best when the top is a little shorter than you expect and the sides are left with enough weight to settle. It’s not the flashiest option. It is one of the smartest if you want the hair to look decent without standing in front of a diffuser for 20 minutes.
27. Curly Mullet with Soft Edges
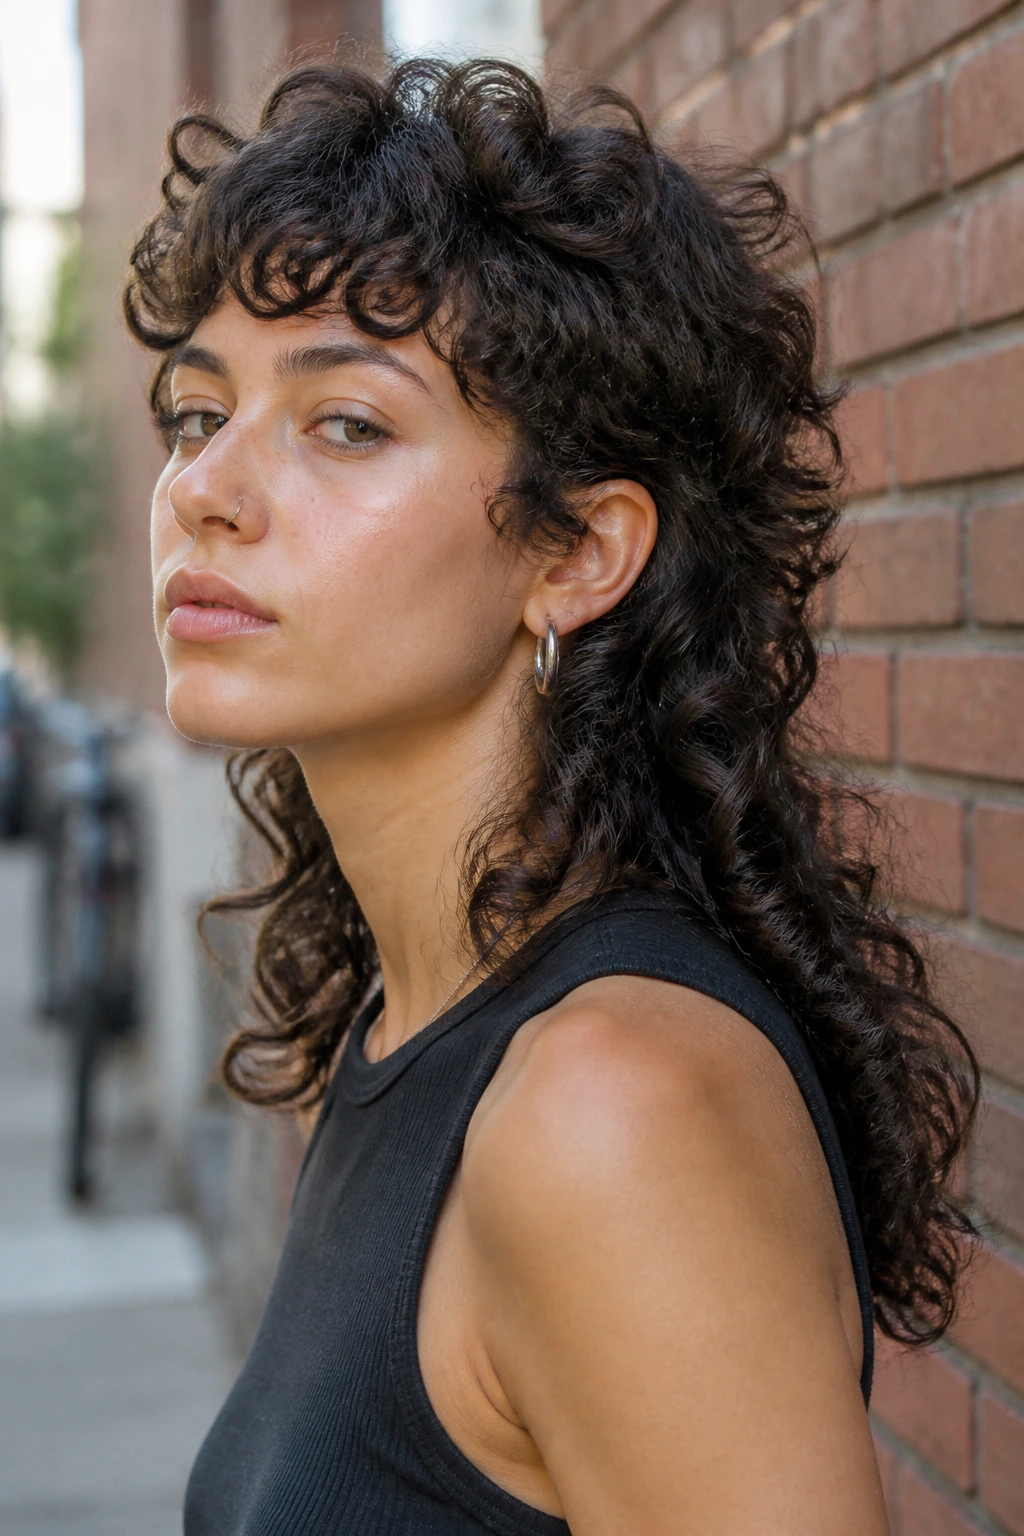
A curly mullet sounds bold because it is bold, but the soft-edged version is more wearable than people think. The front and crown get shorter, the back keeps length, and the sides blend instead of creating a hard break.
That shape gives volume where curls tend to collapse while leaving the back long and lively. It’s a good fit if you like texture and don’t mind a cut that has some personality. Ask for soft edges, though. Hard edges can look costume-y fast.
28. Fine-Curl Layers That Won’t Swallow the Head

Fine curls often need lift, but they also need thickness left alone at the bottom. A cut that swallows the head is usually the result of layers being too short and too many.
This version keeps the structure long and light, with just enough internal movement to stop the roots from lying flat. It’s almost the opposite of a shag. Think softness, not slicing. Fine curls look better when the shape is kind to them.
29. Thick-Curl Layers That Remove Weight
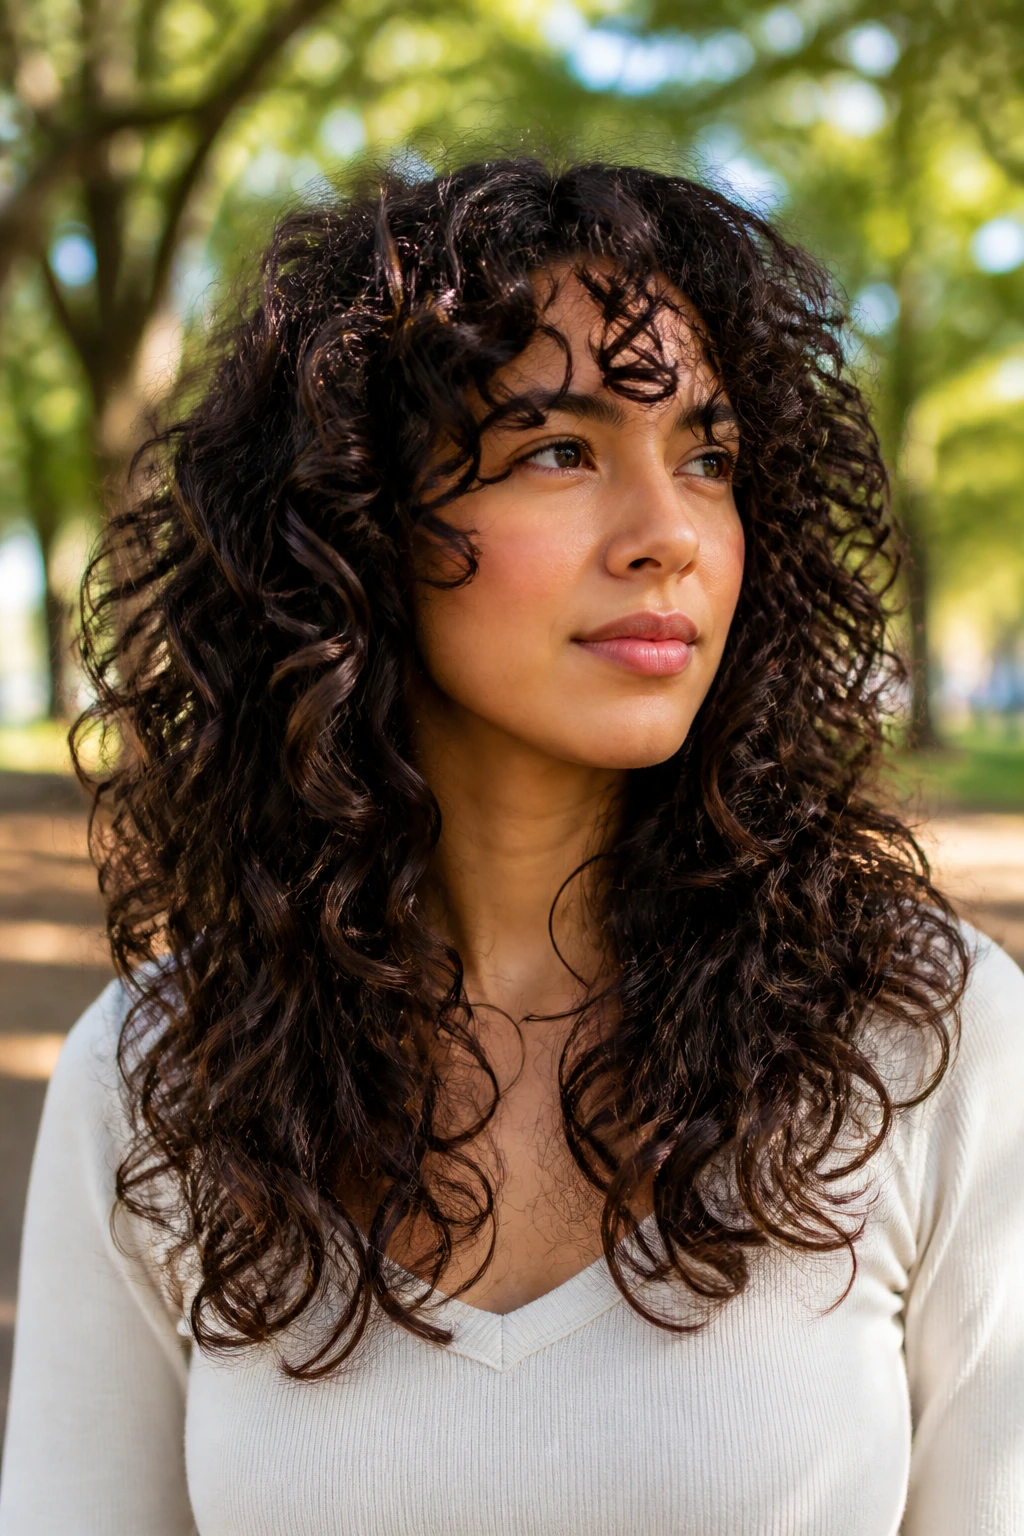
Thick curls can take a lot more shaping than fine ones, and they usually need it. Without weight removal, the whole head can sit like one giant dome, even when the curls themselves are beautiful.
These layers work because they break the density into moving pieces. The hair gets more air between strands, faster drying time, and a silhouette that feels round instead of massive. If your curls feel heavy when wet, this is probably the haircut you’ve been missing.
30. Clean-Line Layers for a Polished Finish
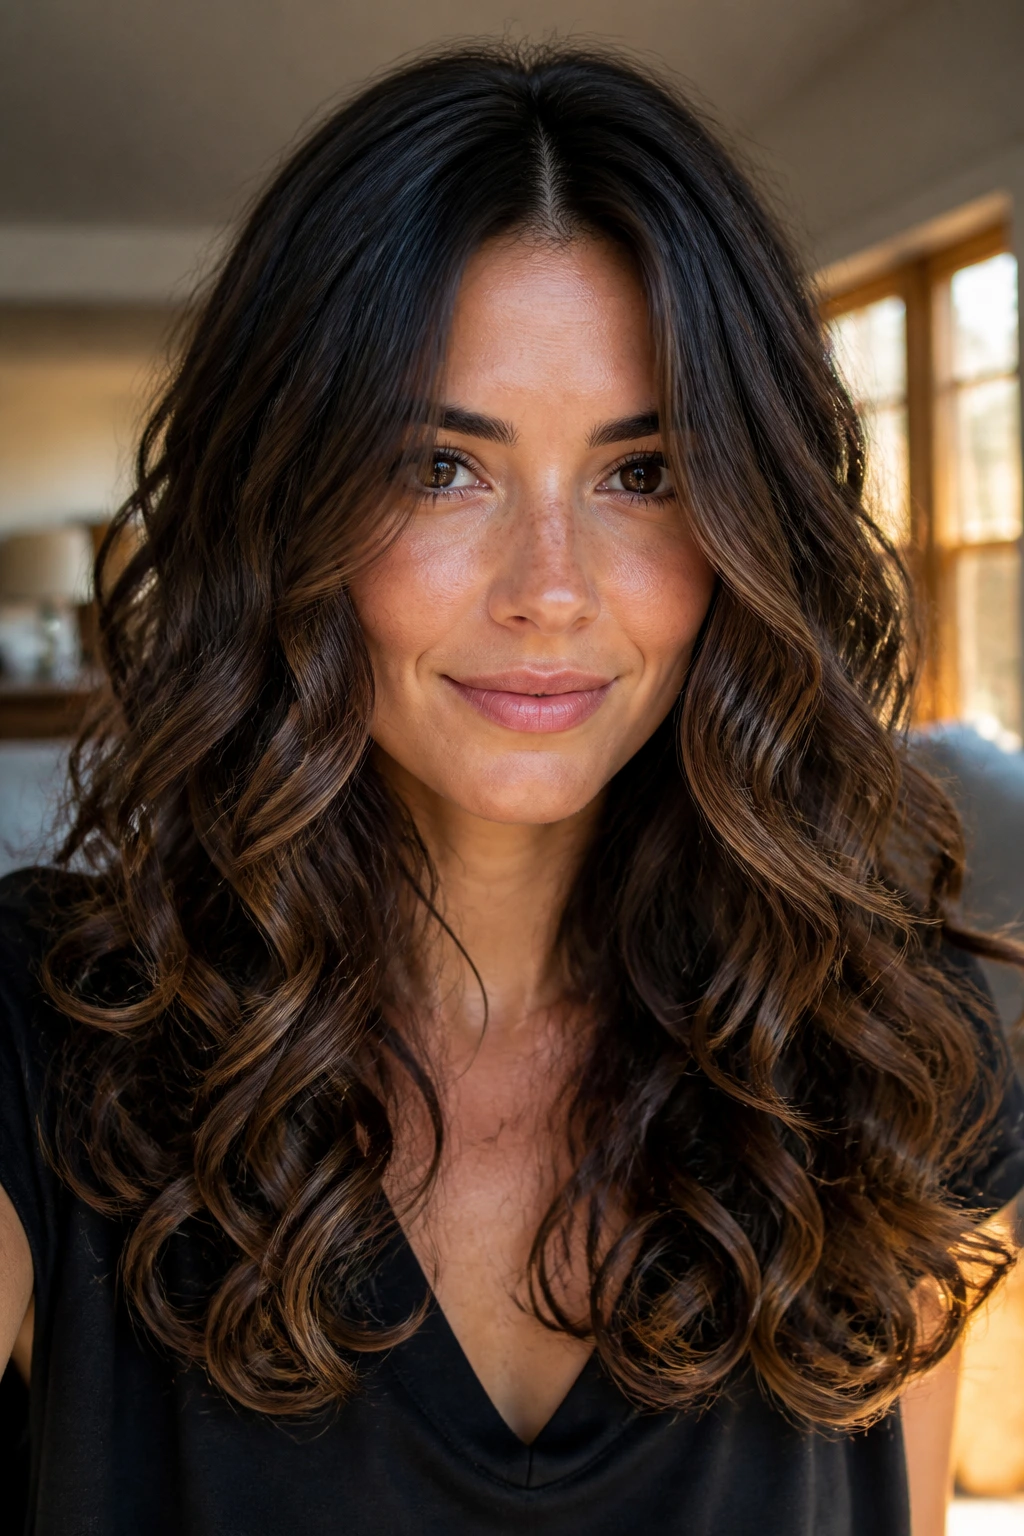
Compared with shaggy layers, clean-line layering keeps the structure smooth and tidy. You still get lift, but the edge is clearer and the outline looks more controlled.
That makes it a good pick for people who want volume without a lot of texture drama. It also pairs well with a center part or a neat side part. If your wardrobe leans structured, this cut usually feels easier to wear.
31. Boho Volume Layers with Loose Front Pieces
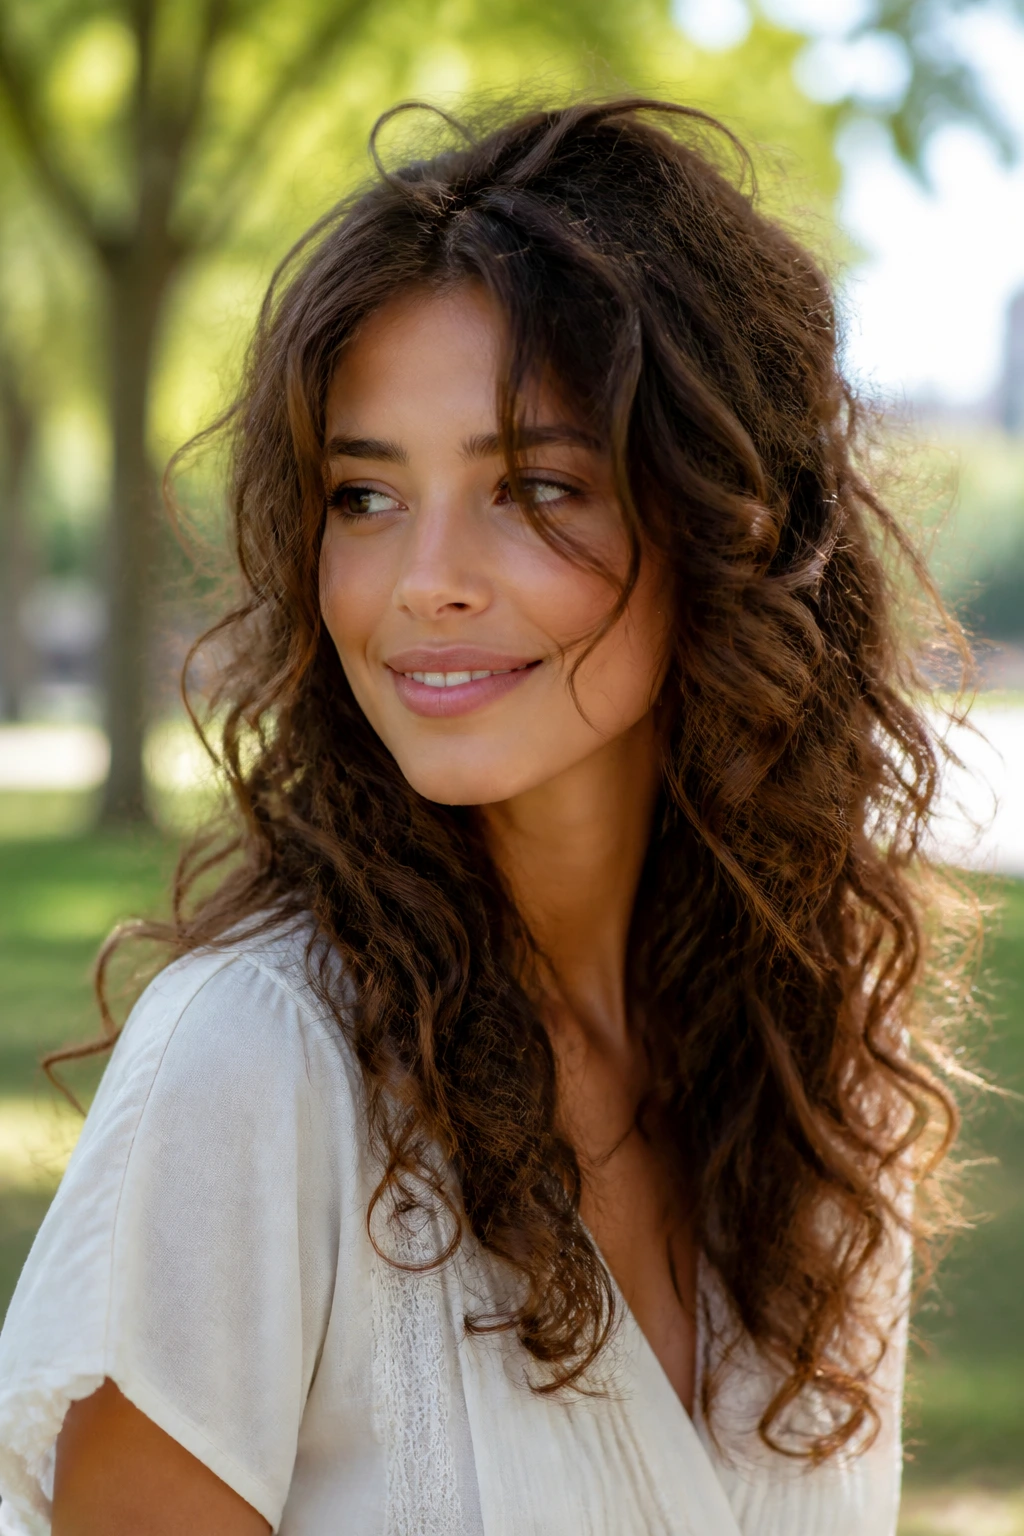
This is the soft, breezy version of layered curls. The front pieces are loose and flattering, the crown gets a touch of lift, and the rest of the hair falls in an easy, slightly undone shape.
It works best when you want movement more than precision. The curls can be air-dried with a light gel cast and still look casual. Ask for front pieces that start around the cheekbone, then blend into the rest instead of hanging as a separate frame.
32. 2C Wave-to-Curl Layers That Prevent the Triangle
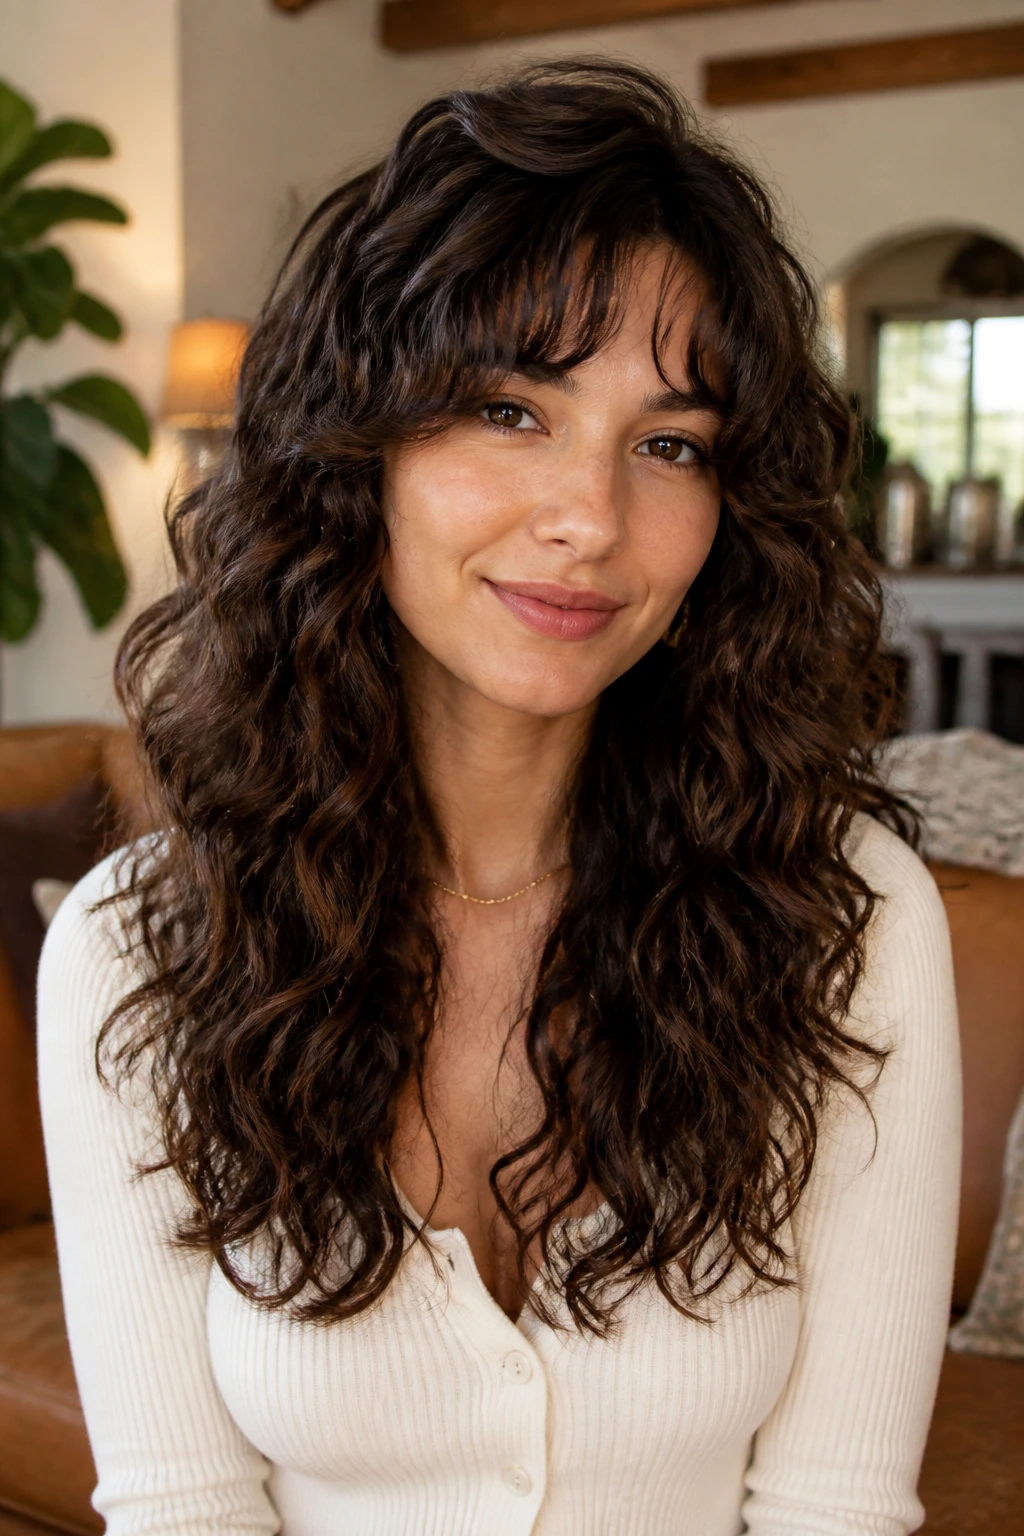
Wavy-curly hair has a nasty habit of puffing out at the bottom while staying flat at the top. These layers fix that by removing a little bulk through the mids and leaving enough weight near the ends so the shape doesn’t flare out like a bell.
This cut is a good bridge for people whose hair is too wavy for a heavy curly cut but too curly for a straight layered one. It usually needs lighter styling products. Heavy creams can weigh it down before it has a chance to lift.
33. 3C Spiral Layers That Keep the Coil Stack
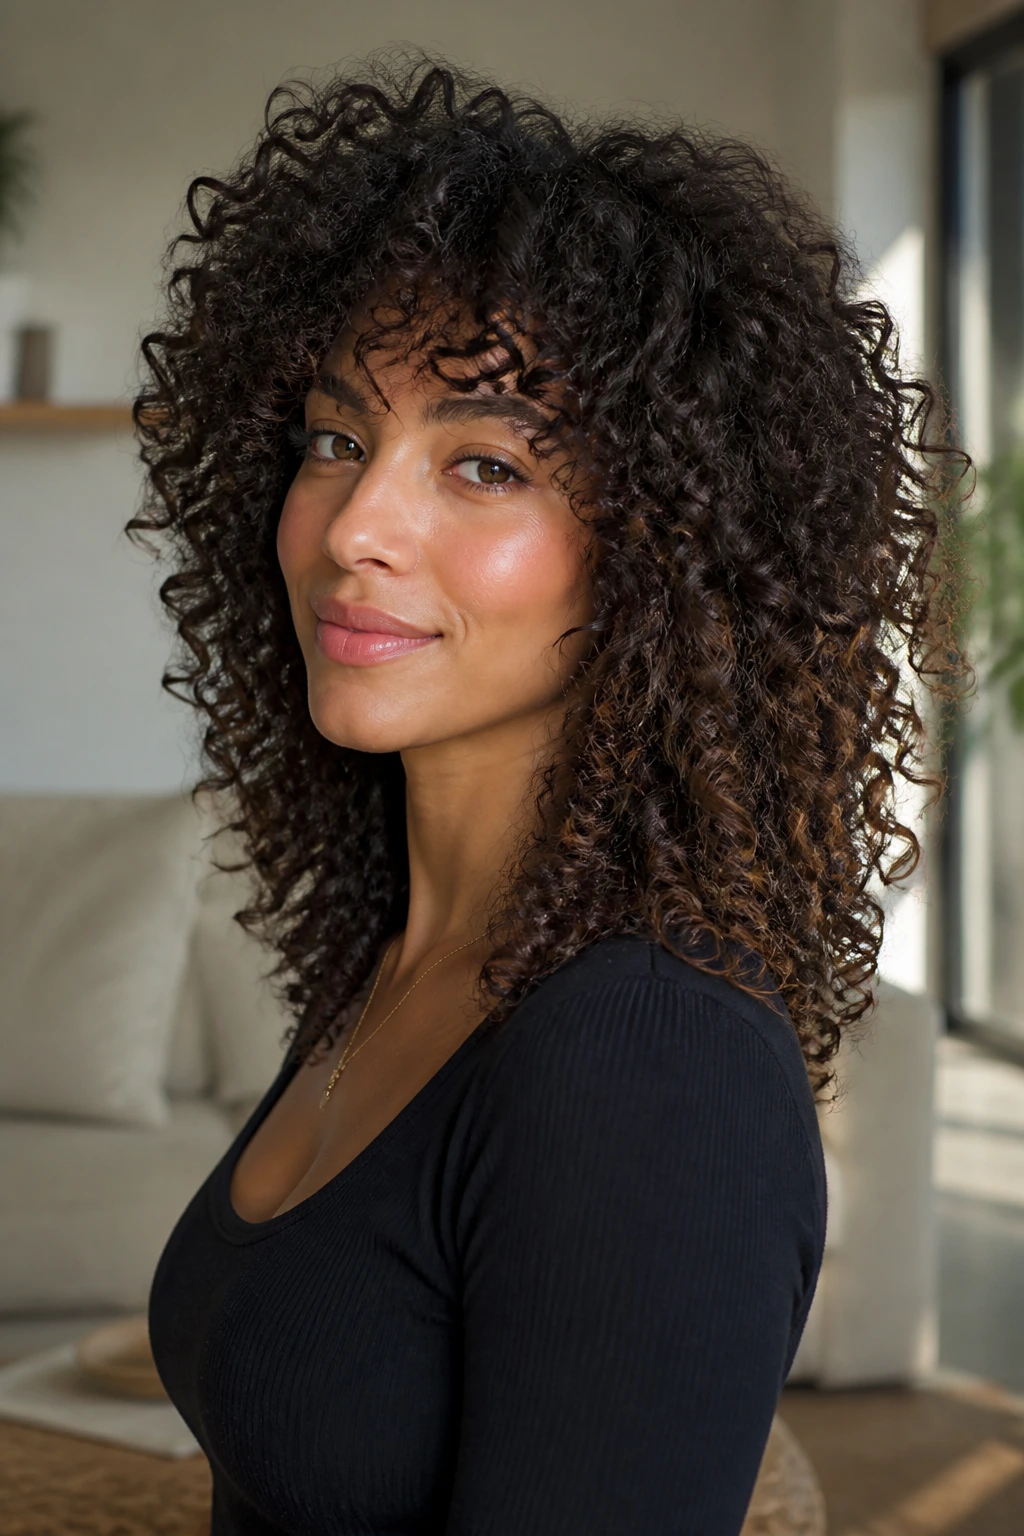
What do 3C spirals need most? Room. They already have shape; they just need the cut to stop boxing them in.
These layers are usually cut with the coil’s shrinkage in mind, so the curls stack upward instead of collapsing outward. A good 3C cut keeps the perimeter full and the interior mobile. If the hair is cut too wet and guessed at, the whole shape can land shorter than planned. Dry checks matter here.
34. High-Density Layers for Shrinkage Control
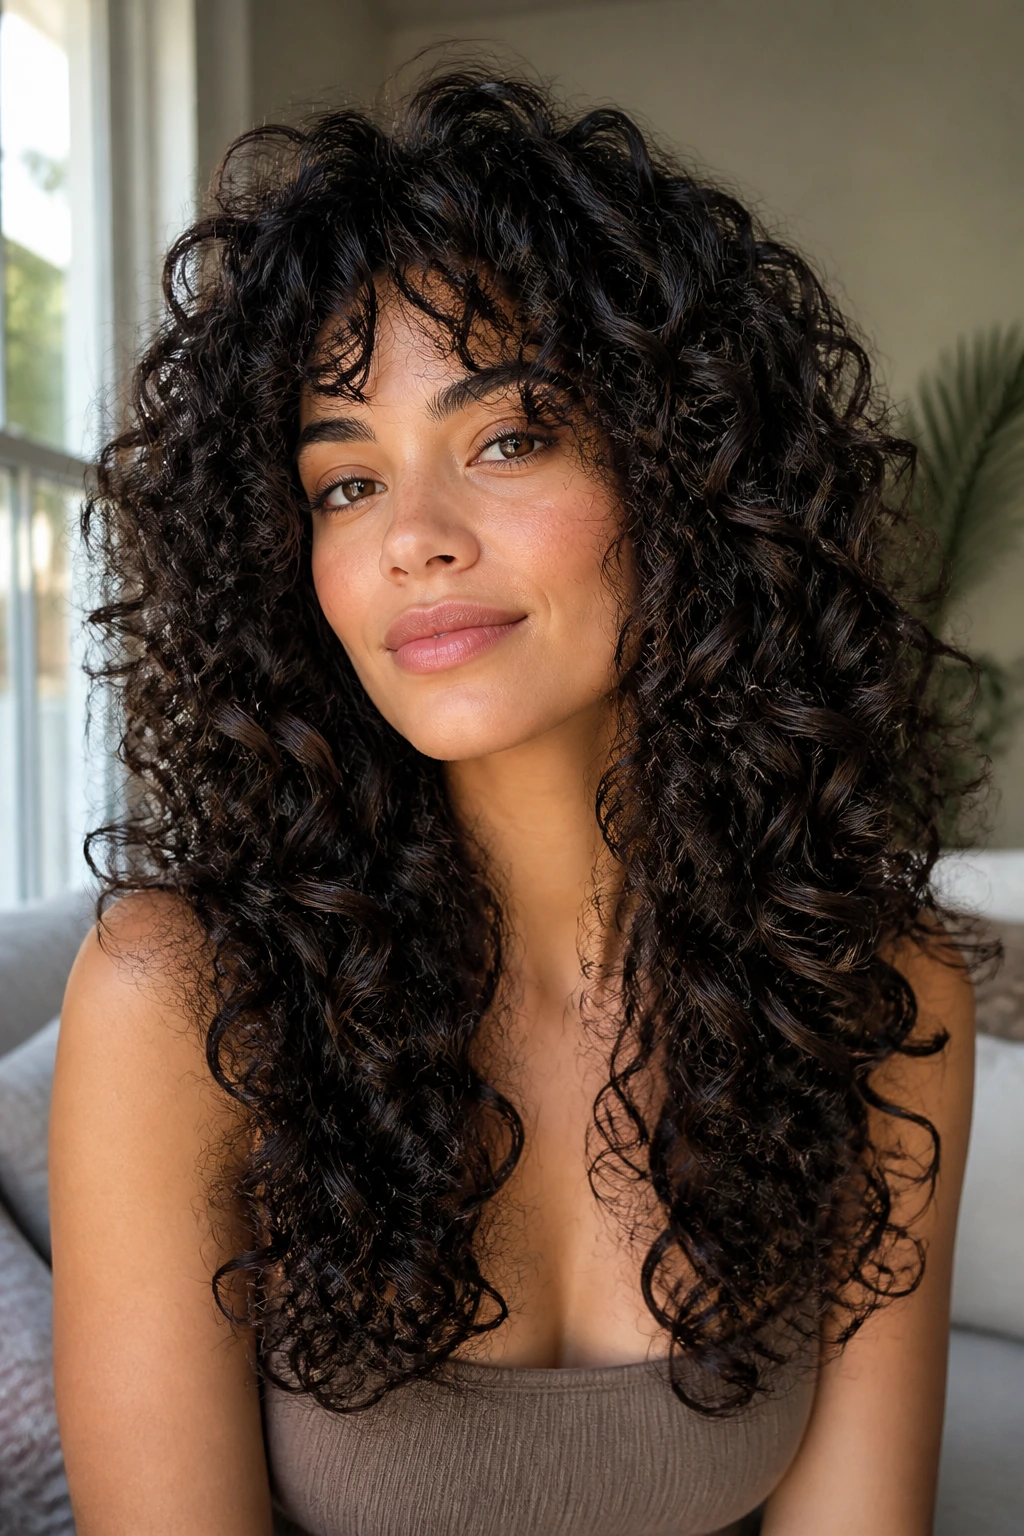
High-density curls can lose several inches of apparent length when they dry, and the shape can get too compact if the layers are placed without that in mind. This cut keeps the bulk under control while respecting the hair’s natural spring.
The best version is neither shaggy nor blunt. It’s controlled. That means the stylist should remove enough weight for lift, but leave enough length in the lower section to keep the haircut from puffing into a triangle. Shrinkage is the boss here, not the scissors.
35. Center-Part Long Layers for Balanced Symmetry
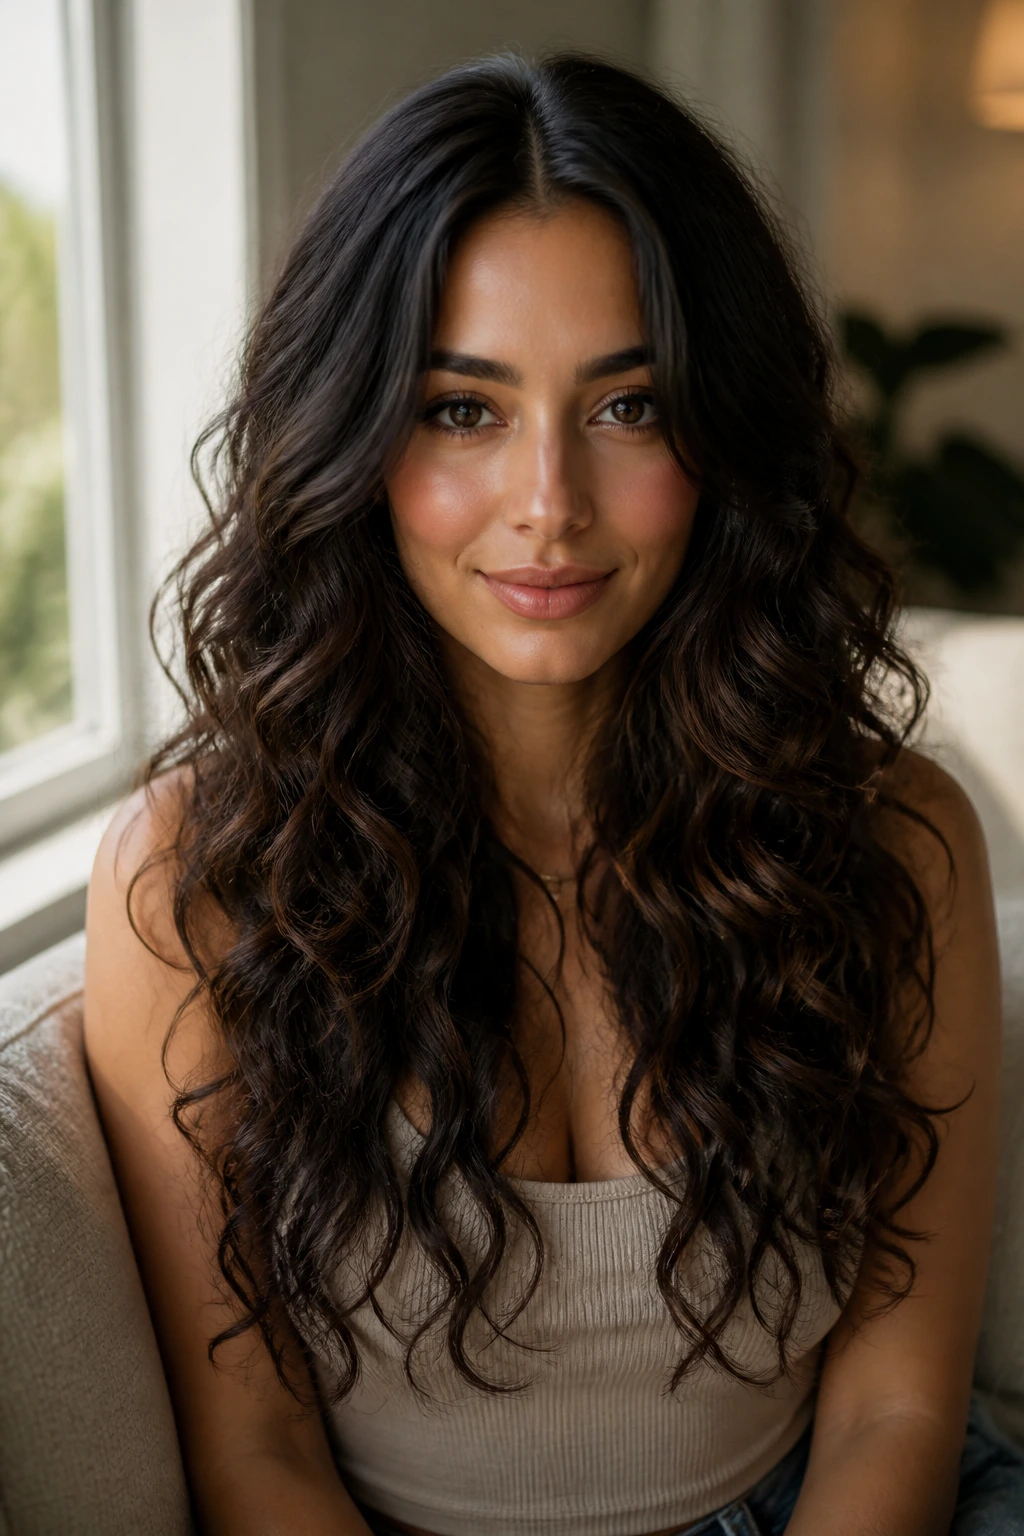
A center part can look elegant on curly hair when the layers are balanced correctly. The cut splits the shape evenly, then adds subtle movement around the face and through the mids so the two sides don’t hang like curtains.
I like this for curls that already have a lot of natural symmetry. It’s calm, clean, and easy to keep consistent on both sides. If one side of your hair is flatter, though, this cut will expose it fast. That’s not a flaw. It’s a warning.
36. Side-Part Long Layers for Sweeping Volume
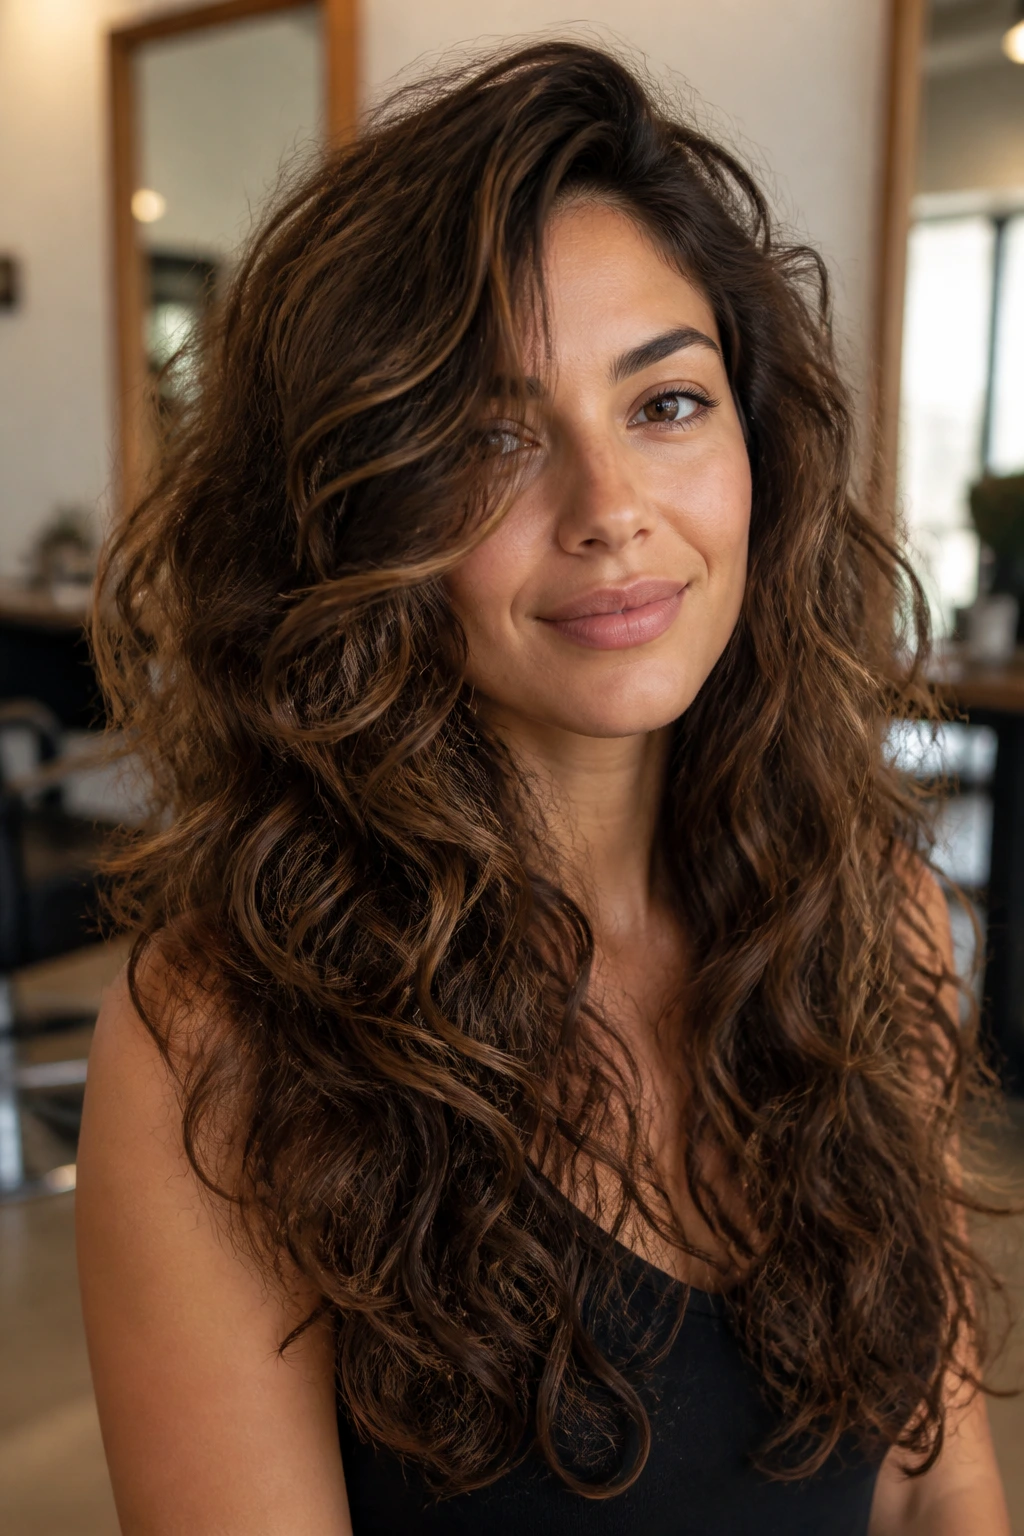
Compared with the center-part version, a side-part cut creates instant lift by pushing more hair to one side. That shift makes the root area look fuller without demanding a lot of styling effort.
This is one of the most flattering options for long curly hair that needs a little drama. The long layers keep the sweep soft, and the side-heavy front pieces make the cheekbone area look lively. If your face feels too long with a center part, this is the easier answer.
37. Blunt Ends with Hidden Interior Layers
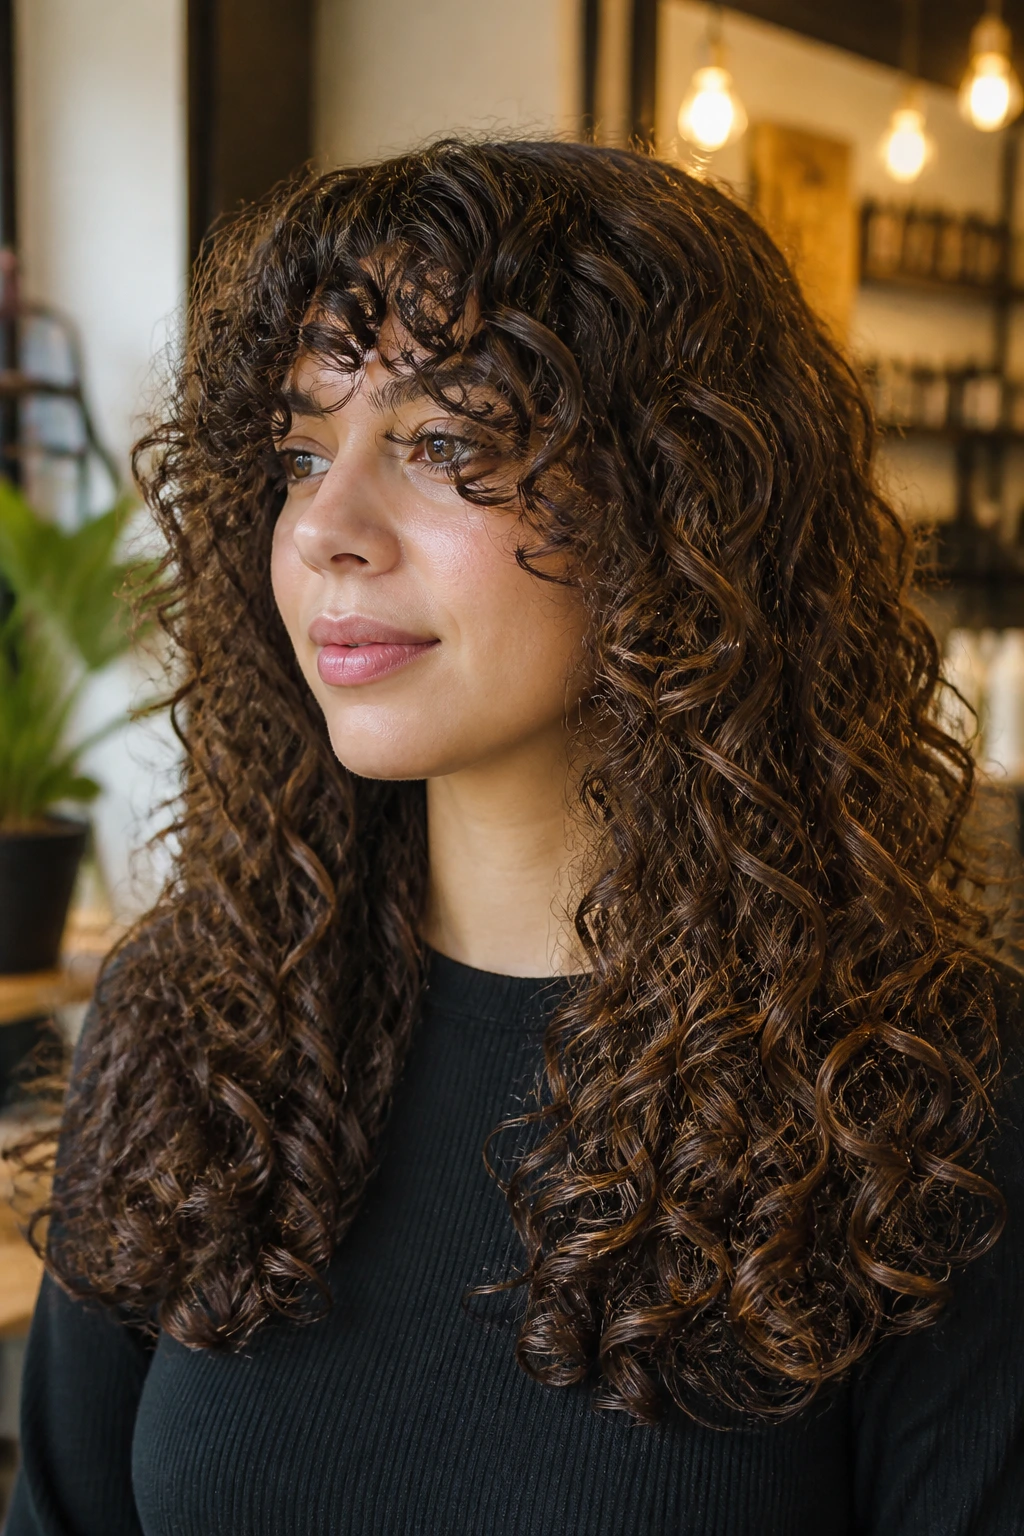
A Good Compromise
Some people want volume but panic at the thought of wispy ends. This cut gives them a compromise: the bottom line stays blunt and strong, while hidden interior layers remove bulk where the curls stack.
It’s a tidy shape that still moves. The outline looks thick, but the inside breathes. That makes it a good option for long hair that needs body without losing the feel of length. You get the fullness of a strong hem and the lift of layers. Nice trade.
38. Soft S-Curve Layers That Keep the Ends Weighty
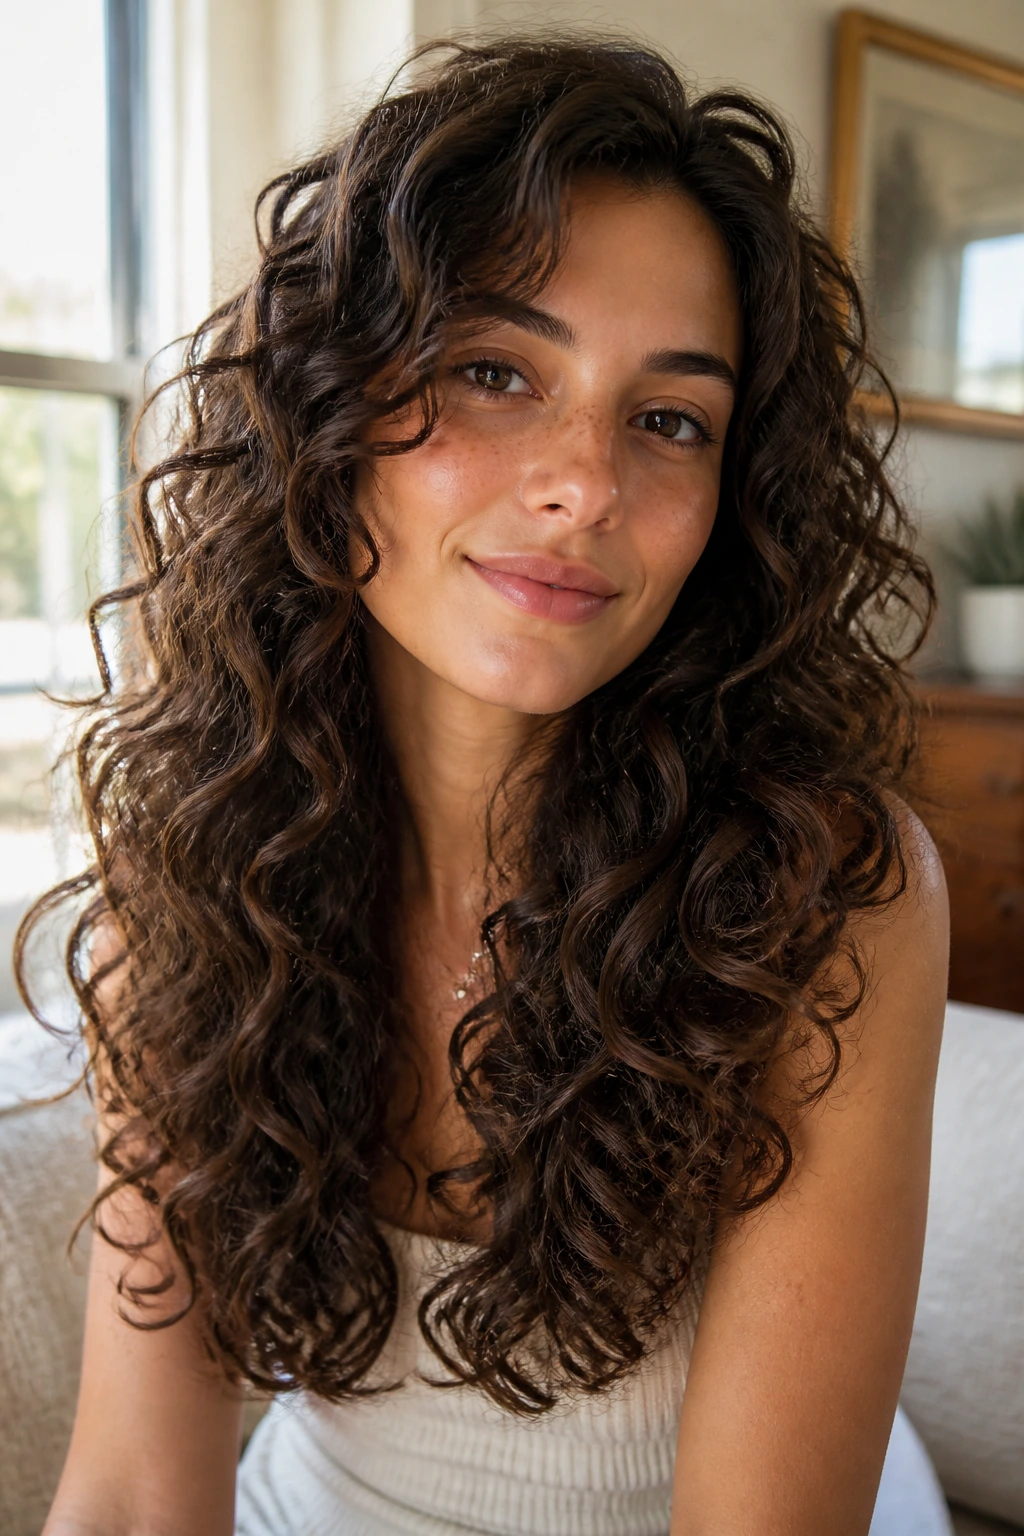
A soft S-curve doesn’t chop the hair into obvious steps. It bends the shape gently from root to tip, which keeps the curls from sitting in blocks.
This works especially well if you hate seeing your ends go thin. The weight stays where it belongs, but the mid-lengths get enough action to stop the haircut from lying flat. It’s a subtle choice, and subtle is useful when your hair already has a lot going on.
39. Curly Shag for Round Faces
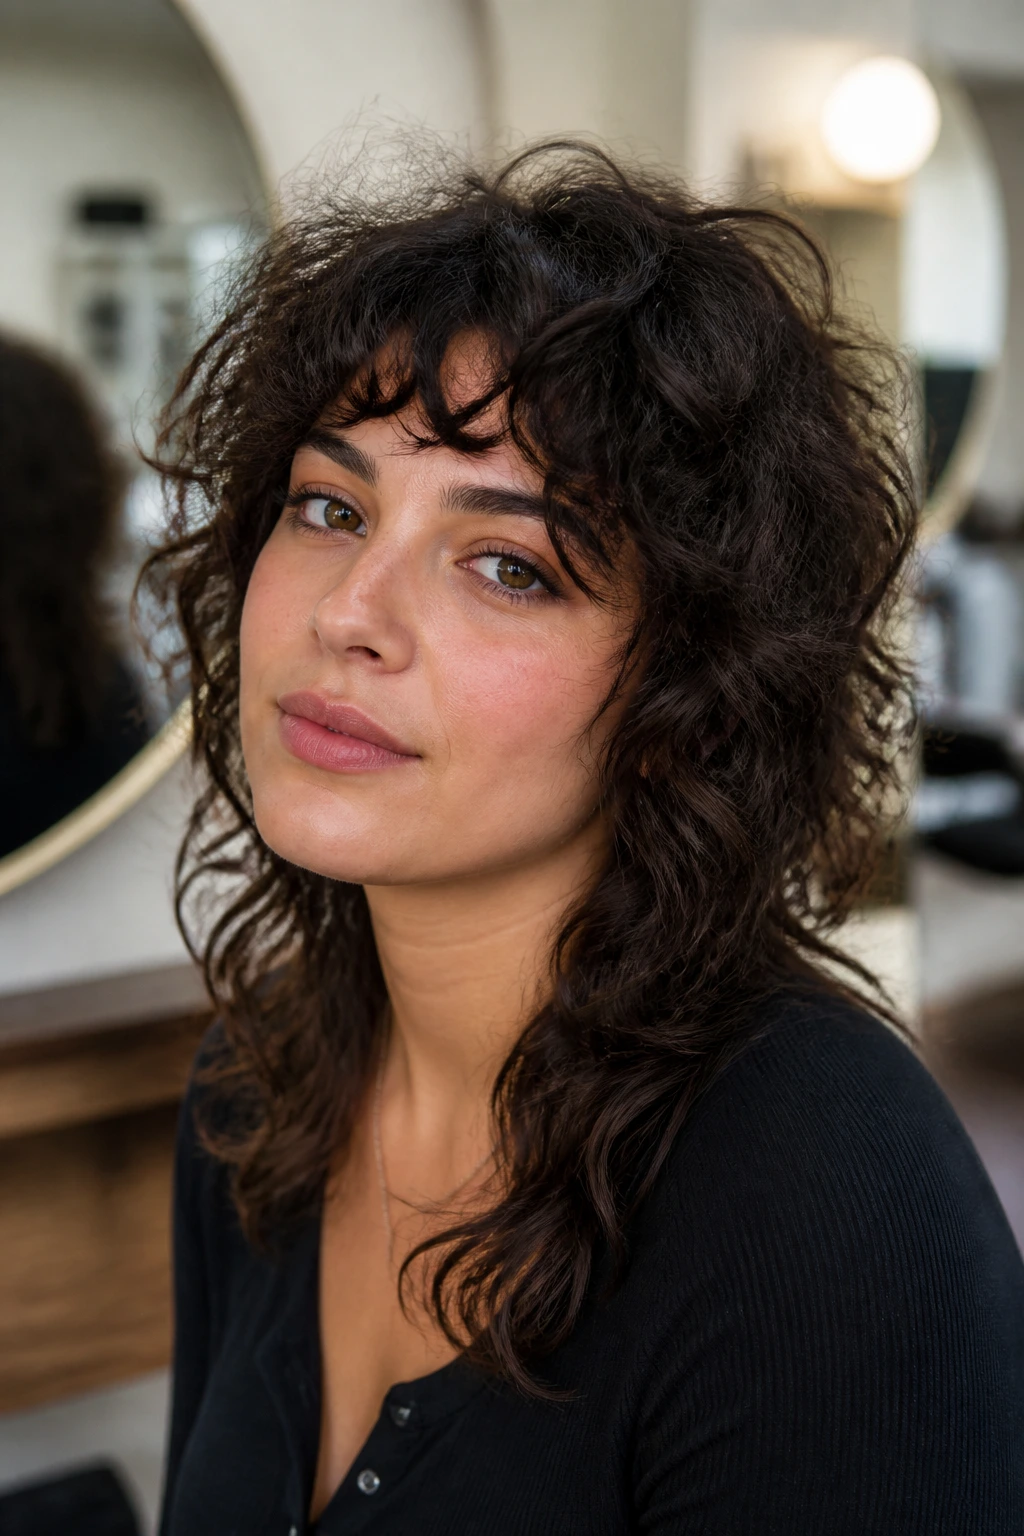
A curly shag can be magic on round faces because it adds vertical movement and a bit of cheekbone interruption. The cut should be light around the crown and longer through the sides so the face doesn’t widen out.
How to Ask for It
Tell the stylist you want height, not width. That one sentence matters. Shorter crown layers, longer side pieces, and a fringe that melts into the shape can make the face look more lifted without turning the cut stiff or angular.
40. Curly Shag for Square Faces
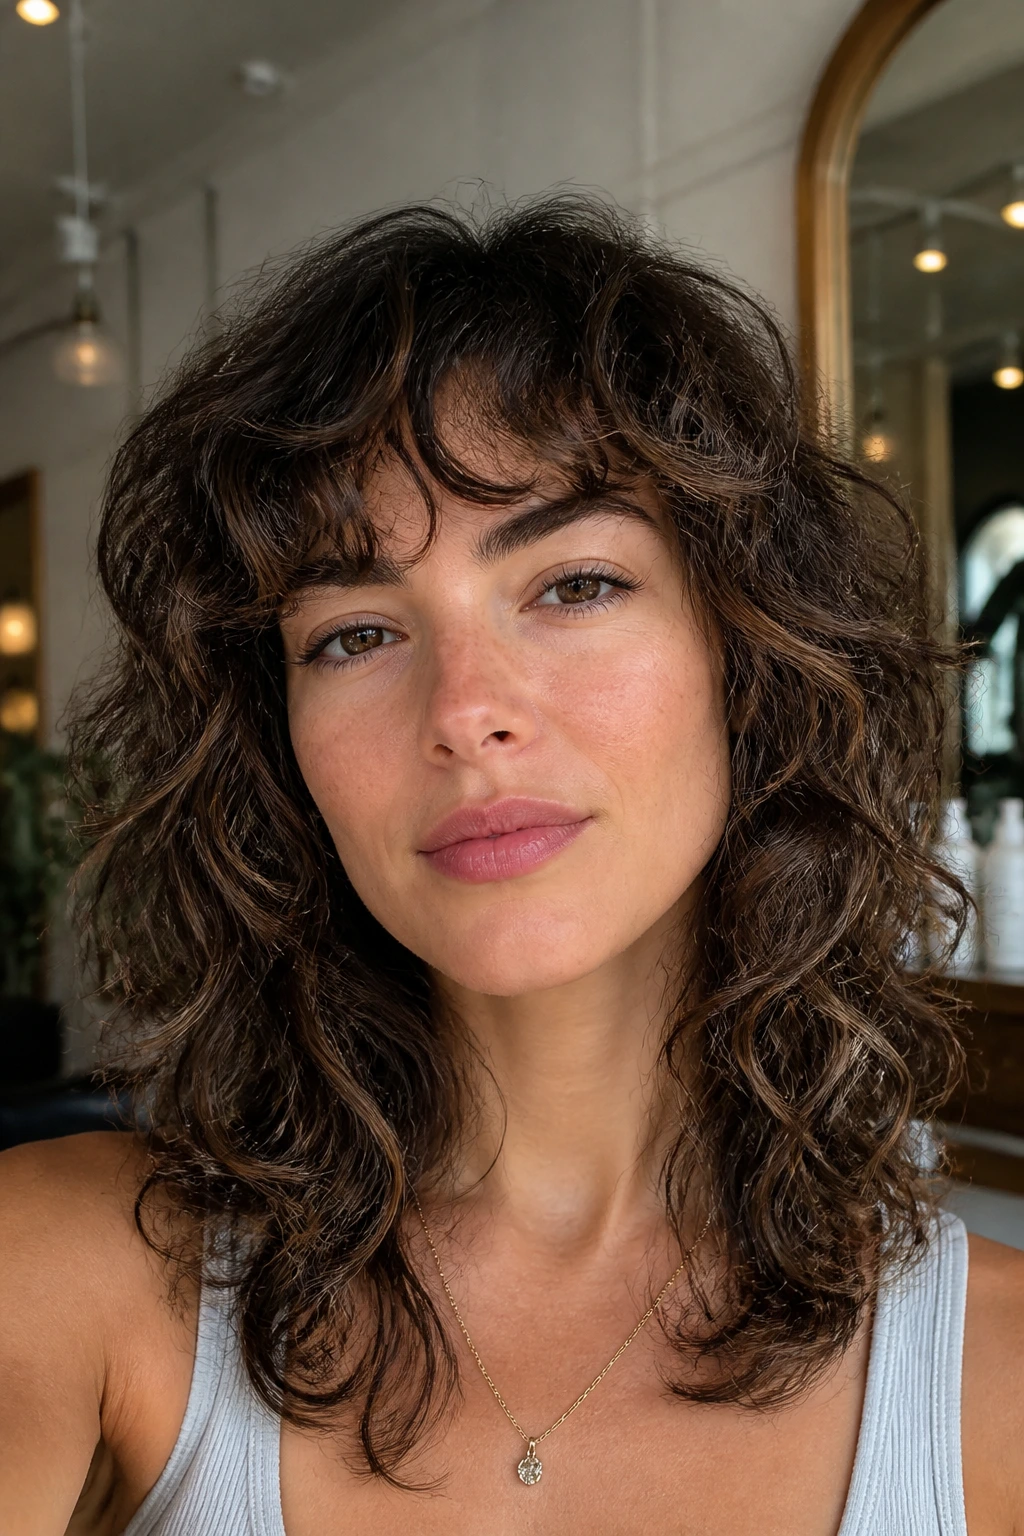
Square faces usually benefit from softness around the jaw and a little movement near the temples. A curly shag does that by breaking up the strong lines and letting the curls sit in irregular, flattering pieces.
The key is not to over-shorten the sides. You want texture, not a boxy puff around the jaw. Keep the front layers soft and let the ends stay long enough to curve inward or outward naturally. That curve is what loosens the whole look.
41. Curly Layers for Heart-Shaped Faces
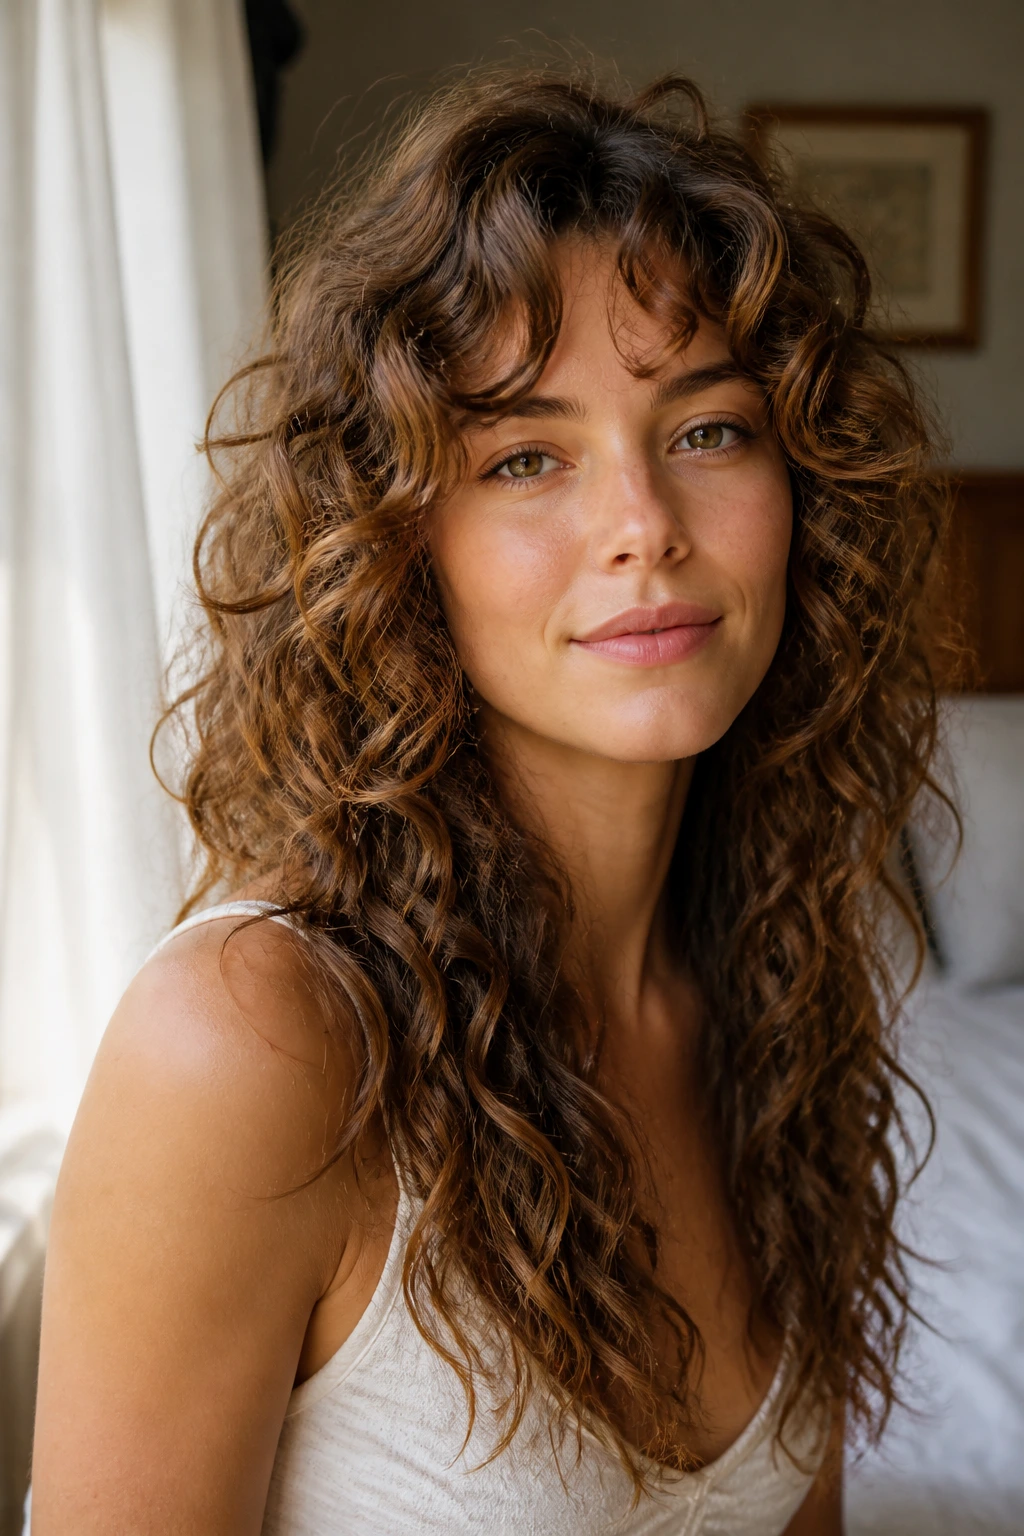
Heart-shaped faces often need a little more balance around the jaw and a little less fuss at the very top. Long layers can do both when the shortest pieces stop around the cheekbone and the rest falls softly below.
The cut should not yank all the attention upward. A gentle face frame keeps the eyes on the face instead of the forehead, and the length below the chin helps anchor the shape. It’s calm, flattering, and easy to live with.
42. Extra-Long Layers with a Barely-There Face Frame
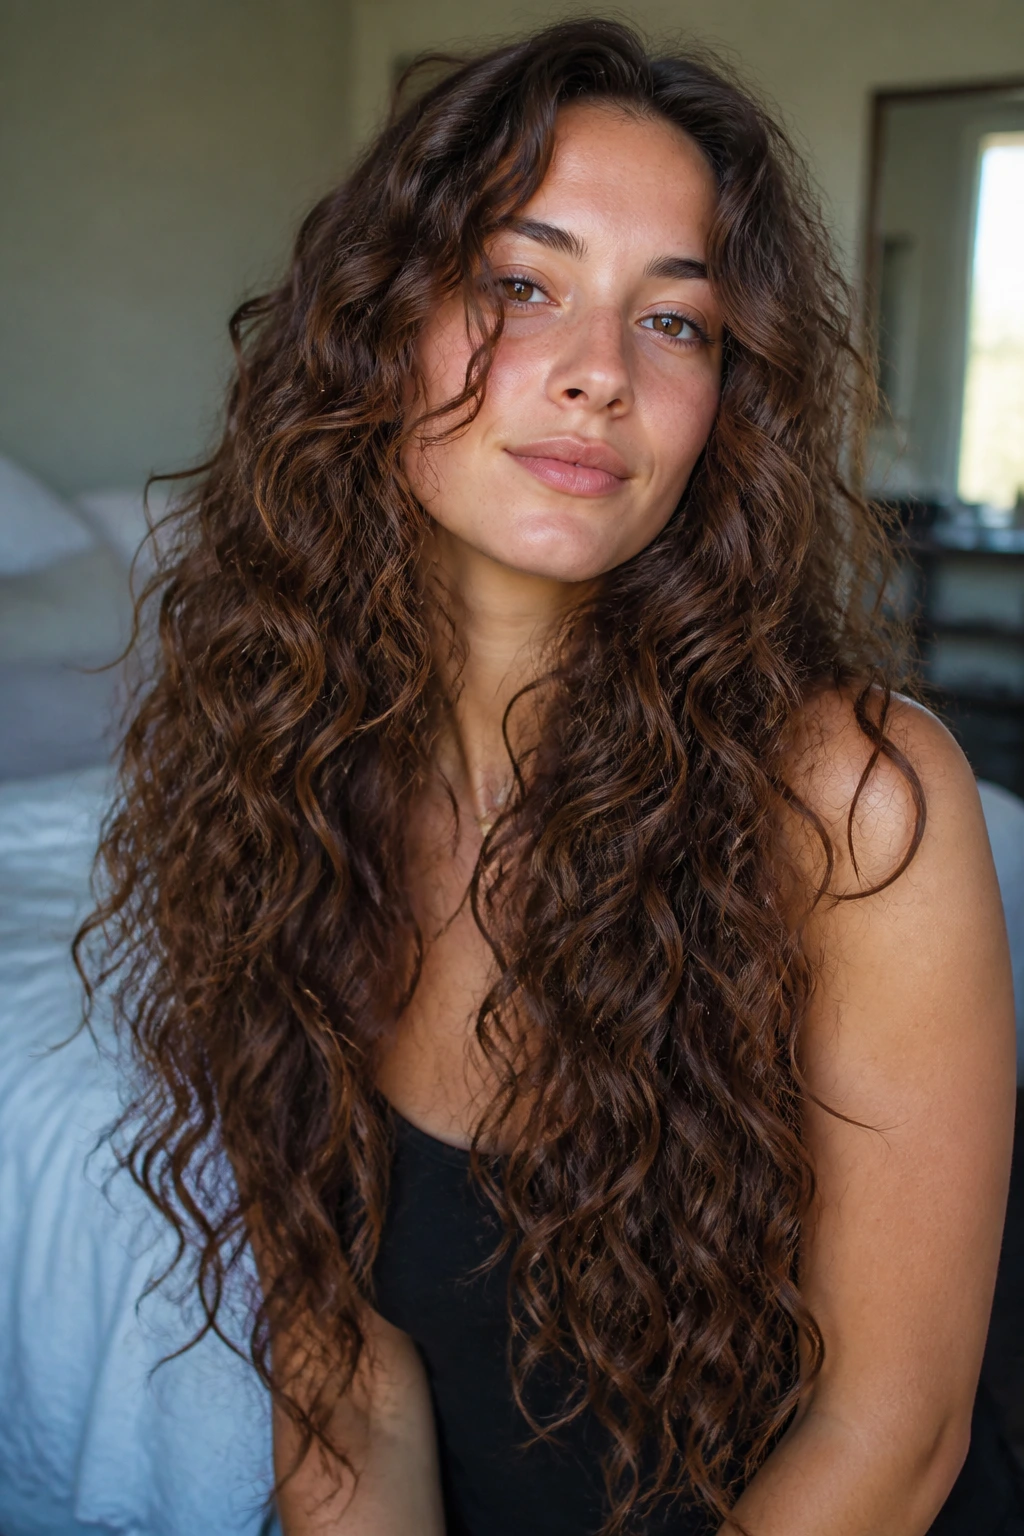
If you love long hair and don’t want to lose the drama of it, this is the least disruptive route. The face frame is soft enough to show movement, while the long layers still remove bulk through the interior.
Compared with a full shag or a wolf cut, this version stays more polished. It’s the one I’d suggest to someone who wants volume but would be annoyed by a big change. Keep the first layer below the chin, ask for the perimeter to stay thick, and let the curls do the rest.
How Long Layers Change the Weight of Curly Hair
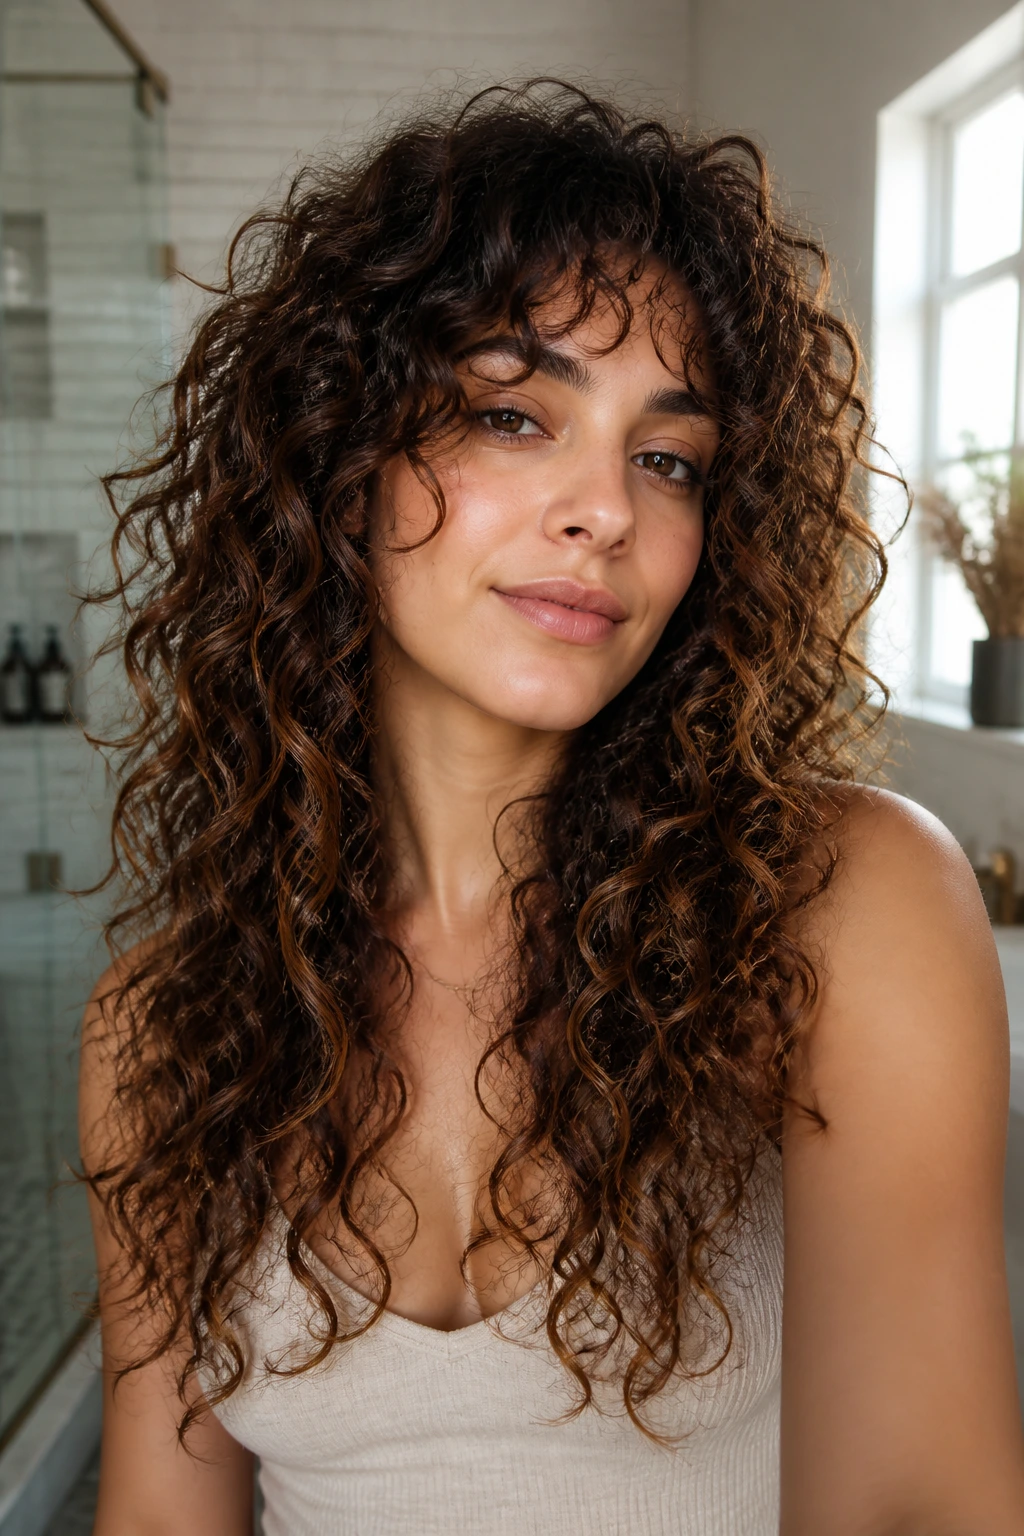
The reason layered curly haircuts for volume work is not mysterious. Curly hair holds weight differently from straight hair, because each bend acts like a tiny hinge. If all that weight sits in one block, the crown collapses and the ends stretch out. If the weight is moved into the right places, the curls pile in a better way.
A dry cut usually gives the clearest read. You can see the actual curl pattern, the shrinkage, and the spots where the hair caves in or balloons out. Wet cuts can work too, but only when the stylist knows how much each section will spring back. That guess is where many bad cuts happen.
The thing to remember is that volume is not the same as puff. Volume has shape. Puff is just unplanned expansion. A good layer map gives you the first one and avoids the second.
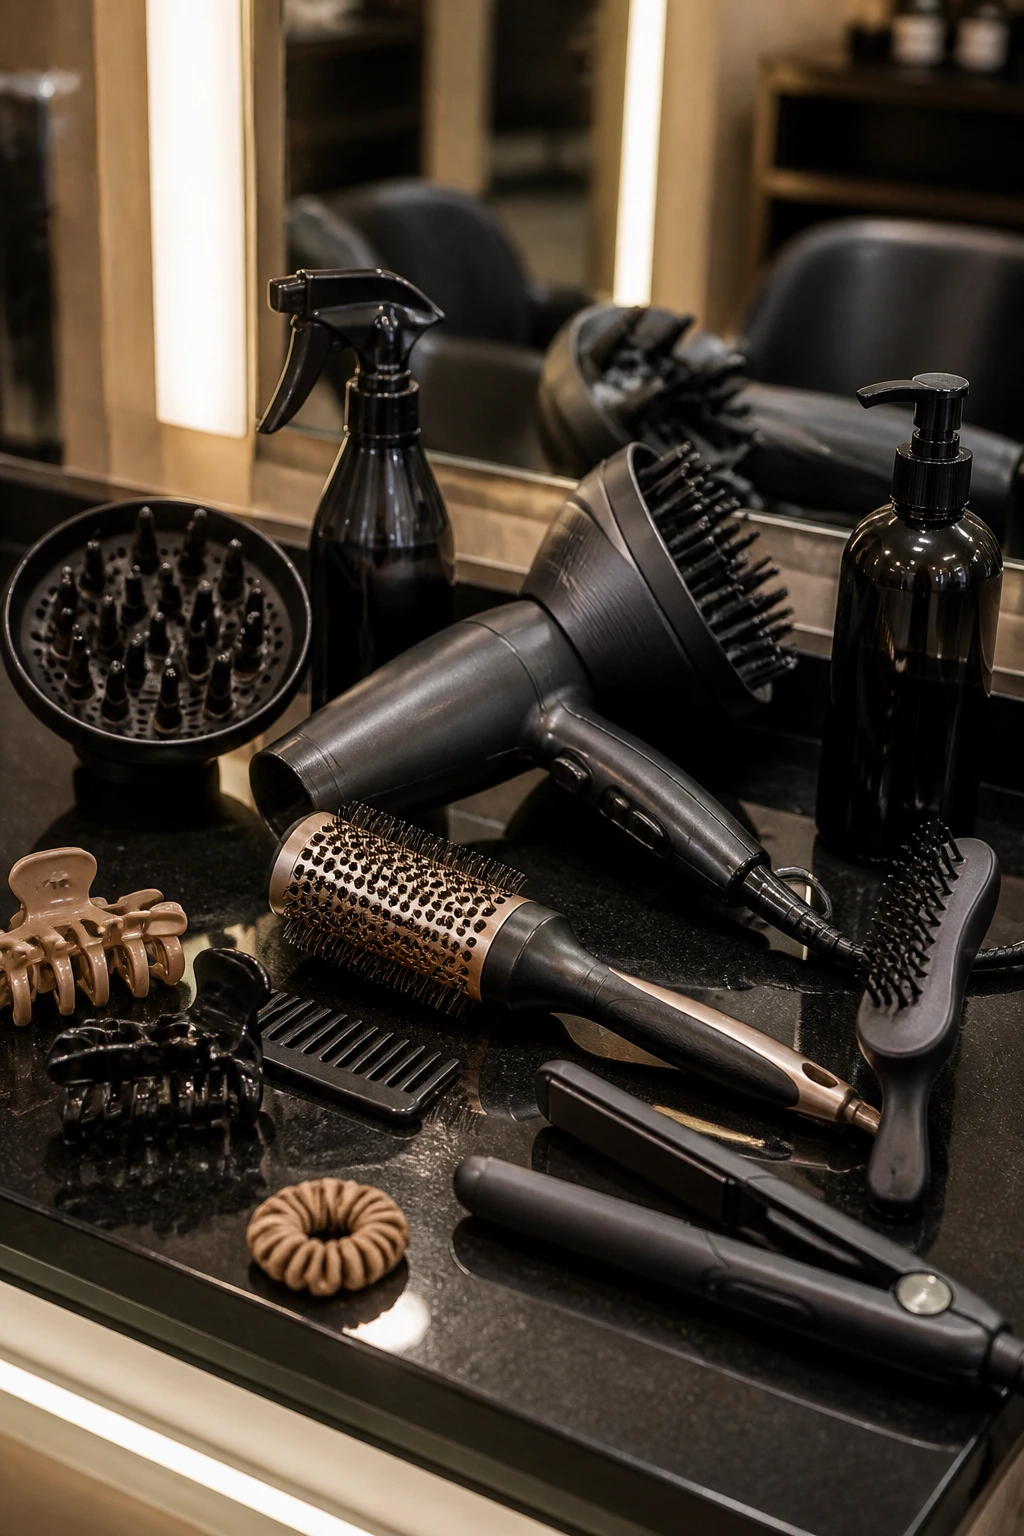
Tools That Make a Curly Cut Easier to Ask For and Style
-
A few reference photos with different angles: Bring front, side, and back views if you can. One photo from the internet tells less than a row of mirror shots.
-
A wide-tooth comb: Use it only when needed, usually on soaking-wet hair with conditioner in it. Rough combing steals curl clumps.
-
Curl cream or leave-in conditioner: Pick a lightweight one if your hair goes limp easily, and a richer one if the ends need help staying soft.
-
Strong-hold gel: A firmer gel helps the layer shape hold up while the hair dries, especially if the top tends to collapse.
-
Microfiber towel or cotton T-shirt: These keep the cut from getting frayed during drying. Terry cloth can rough up the pattern.
-
A diffuser: Low heat and low airflow are the point. High heat usually explodes the curl and the volume gets fuzzy instead of controlled.
-
Duckbill clips or root clips: These are useful at the crown when you want lift without teasing.
-
Satin pillowcase or bonnet: Not glamorous, but it protects the shape overnight and saves the ends from rubbing flat.
How to Choose the Right Layer Pattern for Your Curl Type
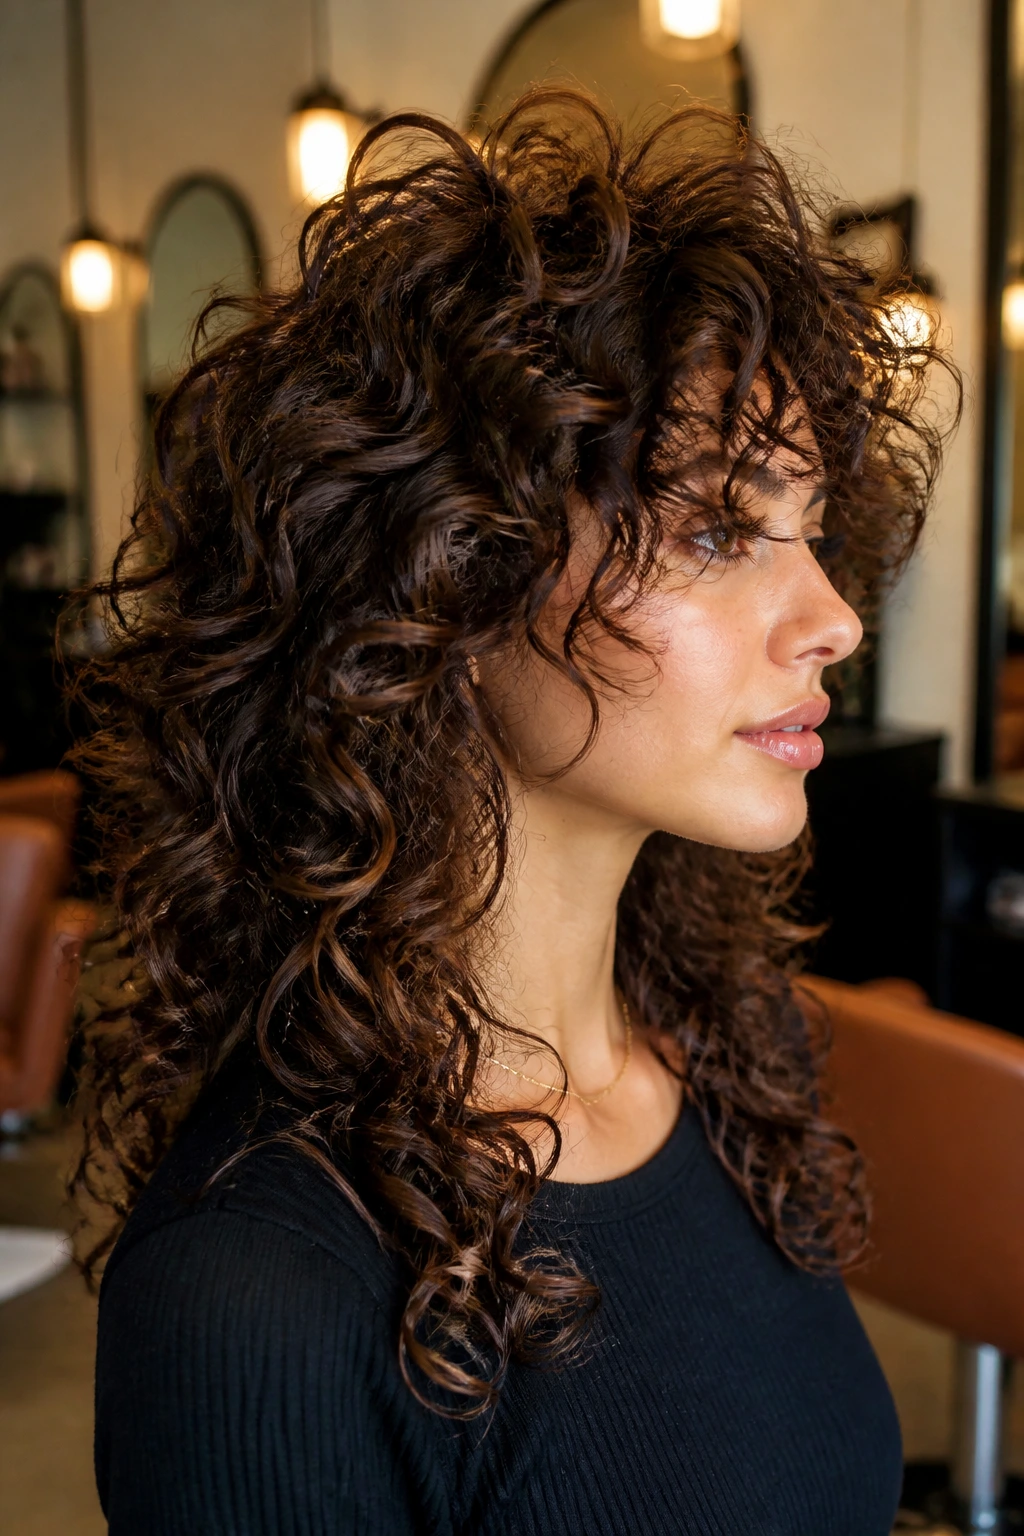
The best layered curly haircut depends less on the photo and more on the shape your hair already wants to make. Fine curls usually need longer layers and a lighter hand, because too many short cuts make the head look thin. Dense curls can carry more interior removal, and they often need it or the hair turns into a block.
Shrinkage matters too. If your hair springs up two inches when it dries, your shortest layer needs to be planned with that in mind. I’d rather see a slightly conservative first cut and a second trim later than watch someone lose half their length because a wet curl looked longer on the cape. That’s a bad afternoon.
Face shape and parting habits count as well. If you wear a deep side part every day, say so. If your curls fall forward naturally, bring that up. If the top goes flat by noon, that belongs in the consultation, too. The right layer pattern is one that matches how you live, not just how you pose for a photo.
Read the Hairline, Not Just the Ends
The hairline and the crown are often where the haircut either wins or loses. Fine hair near the hairline needs gentler shaping. Thick hair at the crown can take more removal. If those zones are treated the same, the shape usually feels off within a week.
Match the Cut to Your Drying Habit
Air-dryers need a different layer map than diffuser fans. Air-dried curls keep more of their natural gravity, so the layers need to be a touch stronger through the top. Diffused curls can handle softer shaping because heat and movement will help the lift along.
How to Wear the Cut on Wash Day and Day Two
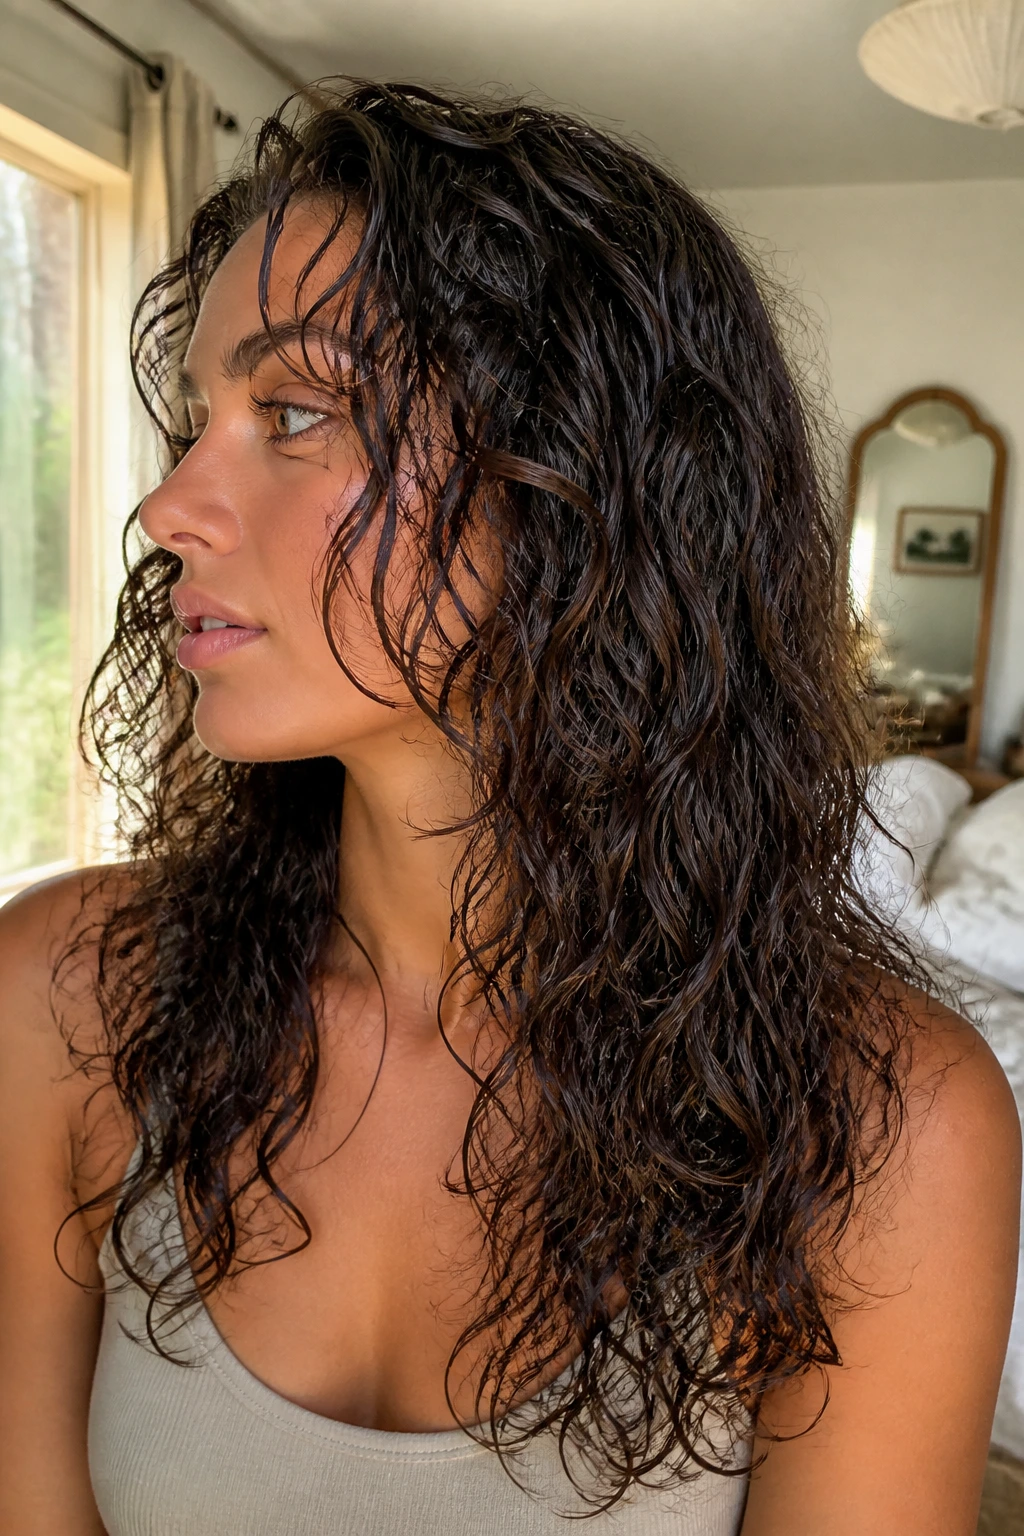
Parting: A center part gives balance and a clean line, but a deep side part can make the crown look taller in about ten seconds. Try both on damp hair before the product sets.
Styling: Use a curl cream or leave-in through the mids and ends, then seal with a gel that gives the curls a cast. Scrunch gently. Don’t rake through the top unless you enjoy losing the lift you just paid for.
Drying: Diffuse on low heat and low airflow, or air-dry until the hair is about 80 percent set before touching it. Root clips can help on flatter crowns. They’re worth the fuss on the right cut.
Finish: Break the cast with clean hands or a tiny drop of lightweight oil. Keep the oil off the roots. The crown wants air, not grease.
Shape Boosters That Add Lift Without Losing Length
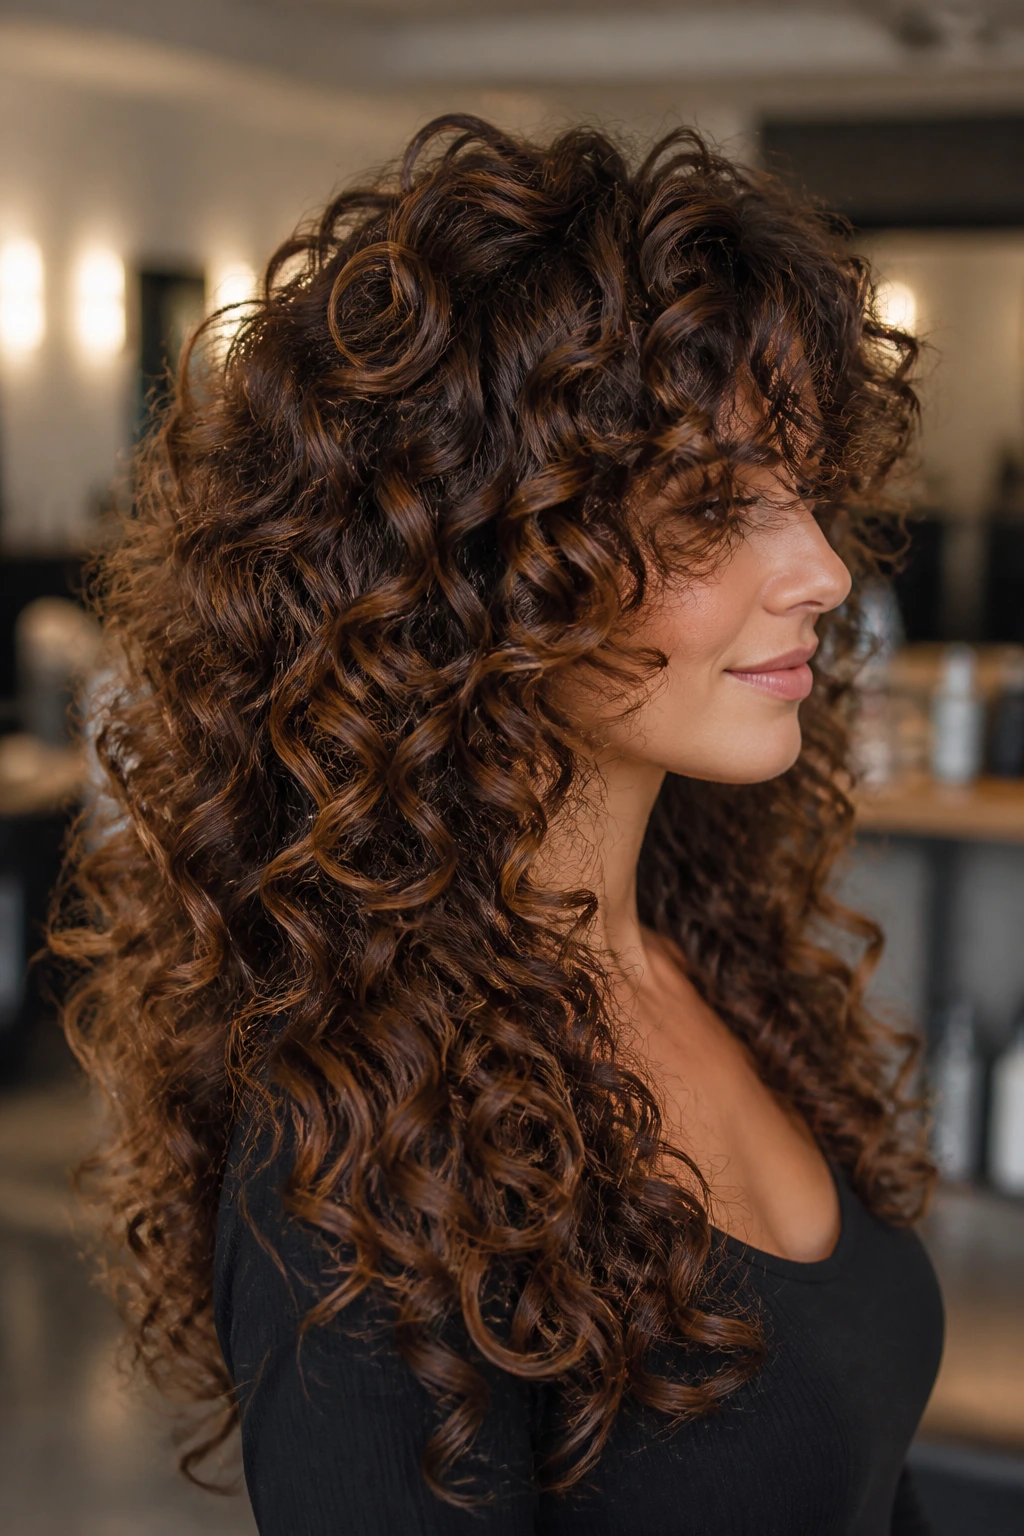
Root Lift: Clip only the first inch of hair at the crown while it dries. That tiny bit of space can change the whole top line.
Curl Definition: Use less product near the roots and a little more through the bottom third. The roots need movement; the ends need support.
Stretch Control: If shrinkage is wild, stretch the front pieces just enough while drying so the face frame doesn’t disappear. Do not pull hard. You’re guiding, not straightening.
Low-Effort Upgrade: Refresh day-two curls with a spray bottle and a pea-sized bit of gel mixed in your palm. Scrunch the flat pieces back to life, then diffuse for five minutes.
Common Mistakes That Flatten Curly Layers
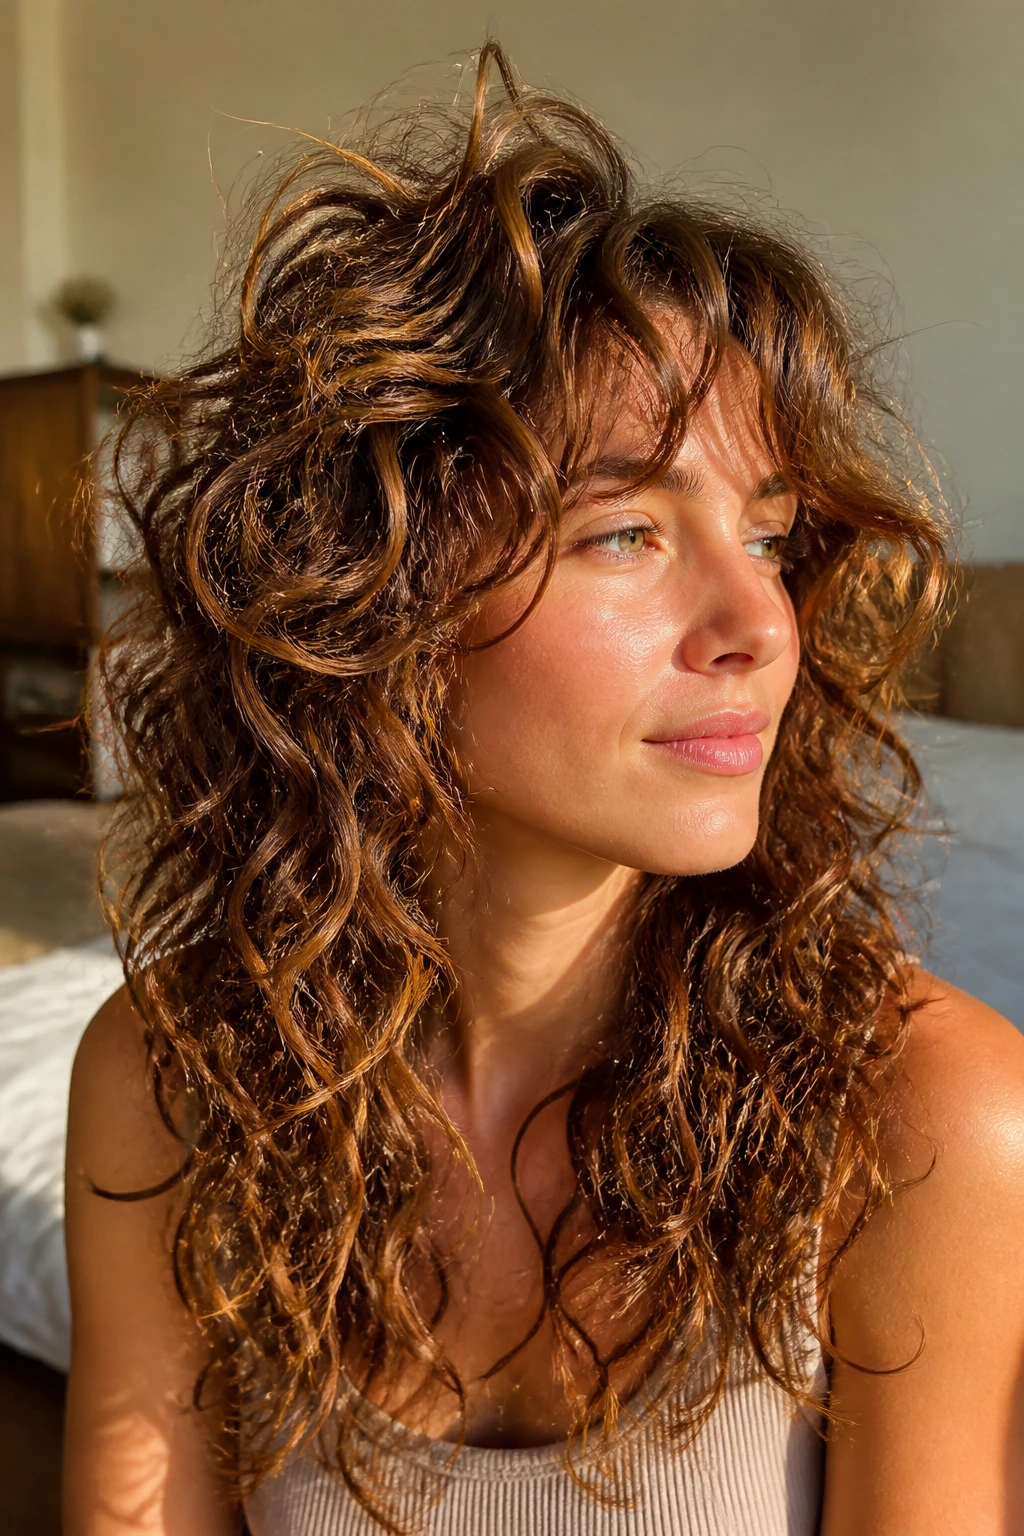
The first mistake is cutting curls as if they were straight hair. They’re not. Wet curls can lie, especially at the ends, and the shape can spring up much shorter than expected once it dries. That’s how people lose their face frame and spend the next month pinning sections back.
The second mistake is over-thinning. If the stylist attacks the whole head with thinning shears, the hair may feel lighter for a day, then frizz and separate in ugly ways. Better fix: remove weight in carefully chosen zones, then leave the ends thick enough to show the curl pattern.
Another common problem is forgetting the part line. If you wear a side part but the cut is built around the center, the volume will look lopsided in real life. Bring your habitual part to the appointment. It sounds small. It isn’t.
-
Mistake: Starting layers too high near the hairline. Symptom: the front pieces pop out and won’t blend. Fix: keep the first short layer around cheekbone or jaw level.
-
Mistake: Cutting too much off the perimeter. Symptom: the ends look stringy instead of full. Fix: preserve a blunt-ish hemline and let interior layers do the work.
-
Mistake: Using heavy creams at the roots. Symptom: the top collapses by lunch. Fix: keep rich products below the crown and use lighter stylers up top.
Variations and Adaptations to Try
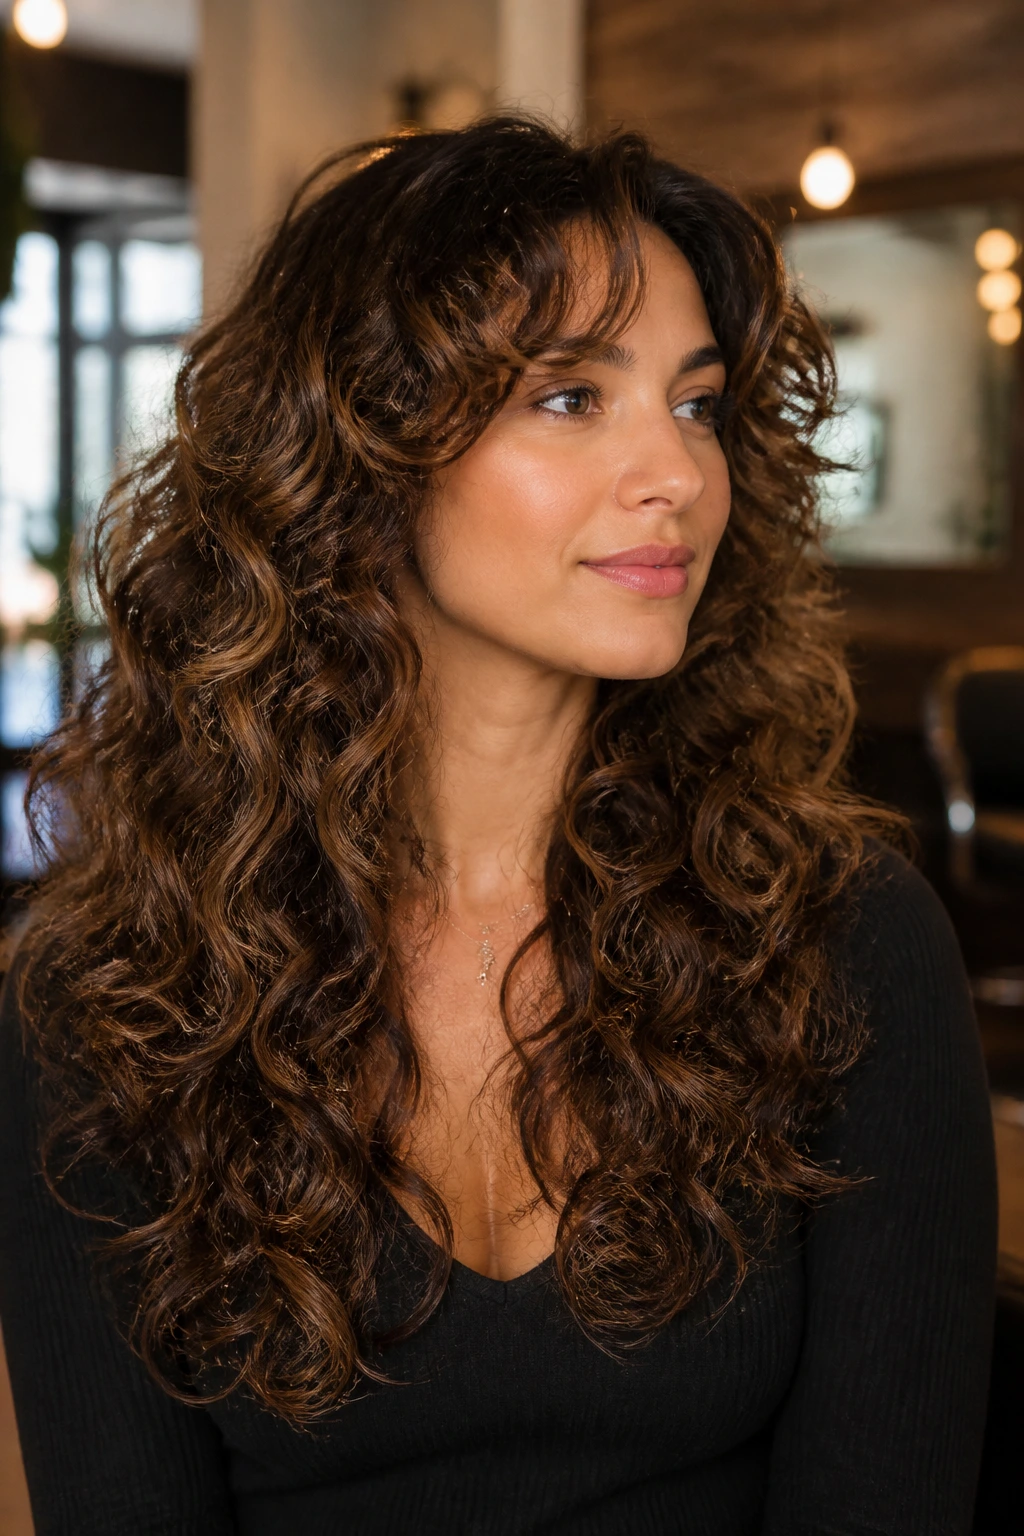
Soft Lift Reset: Ask for the same shape, but with longer layers and less crown removal. This is the safer version when you want movement without a dramatic change.
Big Volume Statement: Push the crown layers a little higher, let the side pieces start sooner, and diffuse with root clips. This gives a taller silhouette and a more obvious lift.
Fine-Hair Rescue Cut: Keep the ends blunt, limit the number of layers, and avoid aggressive texturizing. Fine curls need shape more than they need removal.
Thick-Hair Weight Remover: Use deeper internal layers and a clearer outline. This works when the hair feels heavy no matter how much product you use.
Curly Bang Add-On: Add fringe only if you’re ready to style it. Curly bangs need a little daily attention, but they can make the whole cut feel fresher fast.
Grow-Out Friendly Version: Start the shortest layer below the chin and keep the side pieces soft. This gives you more room before the shape gets awkward.
Keeping the Shape Between Salon Visits
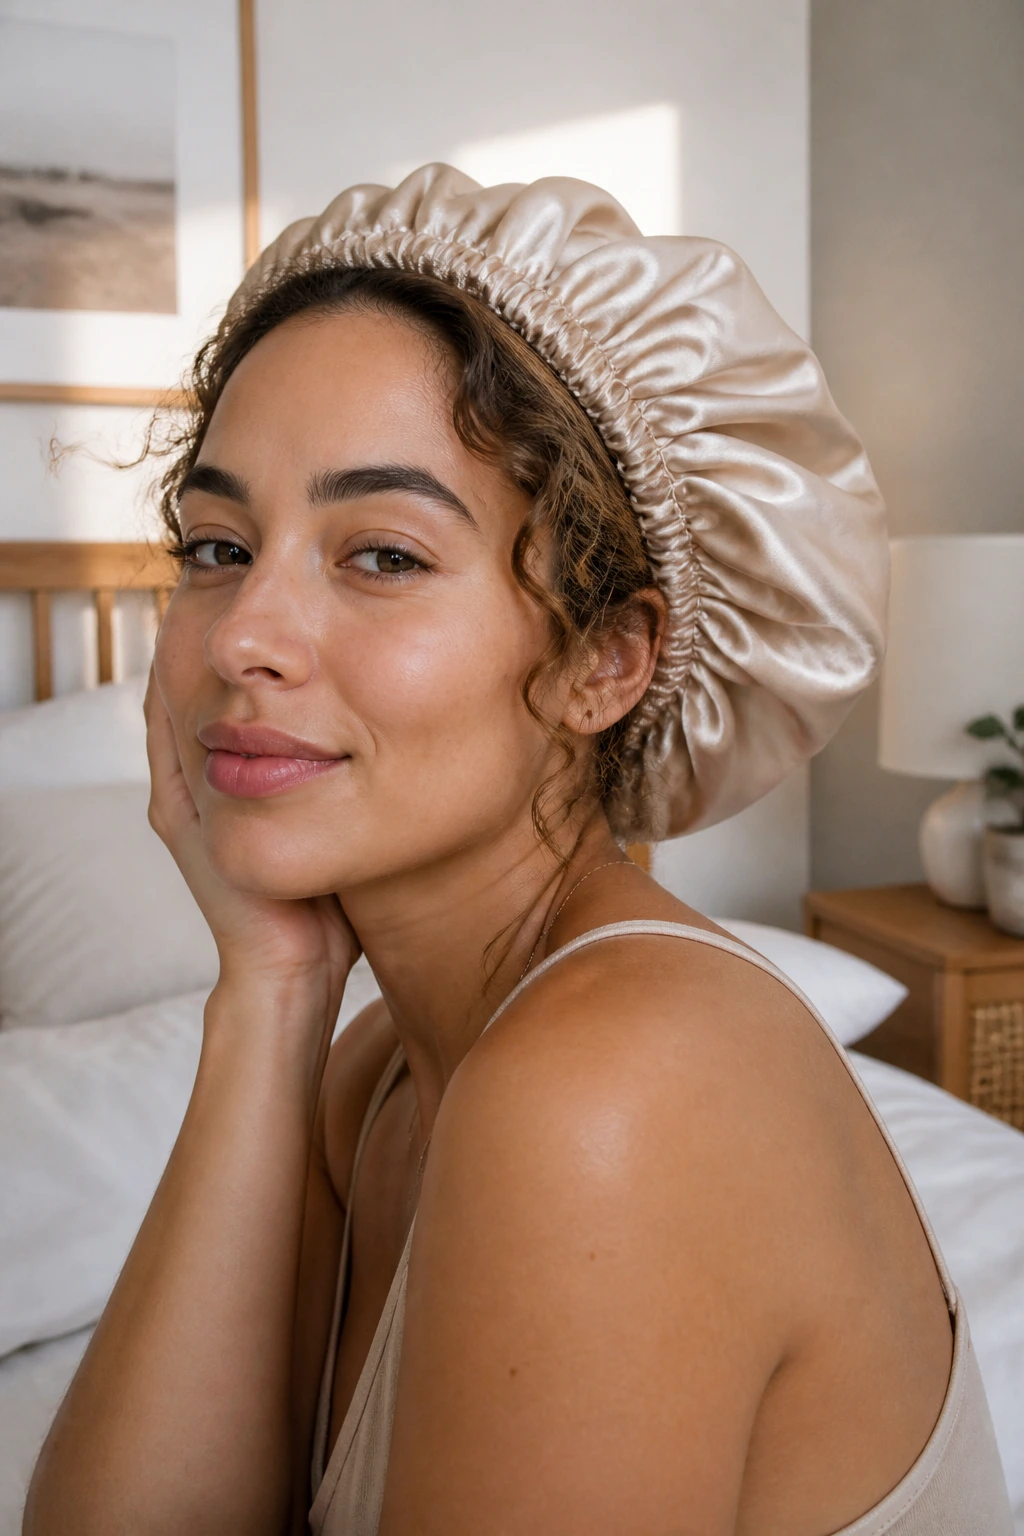
Curly layers stay nicest when you protect the shape at night and refresh them before they go flat. A satin pillowcase helps, but a loose pineapple or bonnet usually does the heavy lifting. If the crown flattens, clip the roots again after a light misting of water and let them dry before you touch the hair.
Most curly layered cuts need a tidy-up every 8 to 12 weeks if you want the outline to stay crisp. You can stretch that a little if the ends are healthy and the cut was conservative, but once the bottom starts turning fuzzy and the shape stops stacking, the volume is working against you. Day two often looks better than day one. Day five usually tells the truth.
If you use heat, keep it low and keep it rare. A diffuser on low heat won’t ruin the cut, but blasting the roots every wash can make the ends dry out and the layers lose their clean swing. A tiny trim now is easier than trying to rescue a shape that’s gone ragged.
Questions People Ask Before They Sit in the Chair
Do long layers make curly hair frizzier?
They can, if the layers are cut too short or over-thinned. When the shape is placed well and the ends stay full, layers usually reduce puff by giving the curls a cleaner way to fall.
Is a dry cut better than a wet cut for curls?
Dry or mostly dry cutting usually gives a clearer picture of how the curls sit. Wet cutting can still work, but only if the stylist knows how much your hair shrinks and has cut it before.
How short should the shortest layer be?
For many long curly cuts, cheekbone or jaw level is a safer starting point than anything above the ear. If your curls are tight or springy, ask for a conservative first pass so the shrinkage doesn’t surprise you.
Can I get volume without losing length?
Yes. Interior layers, crown shaping, and a stronger perimeter line can add lift while keeping the visual length. The trick is not hacking the bottom into wisps.
What if my curls have different patterns on different sides?
Say that out loud in the consultation. A good stylist will cut by zones, not by fantasy symmetry, because one side often needs more lift and the other needs more restraint.
How often should I trim layered curly hair?
Many people do well with trims every 8 to 12 weeks. If the ends start tangling faster or the shape stops bouncing back after wash day, the layers probably need a cleanup.
Can bangs work with long layered curls?
They can, but they need a plan. Curly bangs shrink more than straight ones, so they should be cut with the rest of the shape in mind rather than treated like a separate haircut.
What should I bring to the salon besides photos?
Bring a note about how you style your hair, how it parts, how fast it dries, and what you dislike most about your current shape. That little bit of context is often more useful than another internet screenshot.
The Shape That Lasts

The best long layered curly haircut is the one that gives your curls a place to land. Not too short. Not too heavy. Just enough removal to let the crown breathe and enough length left behind to keep the ends honest.
That’s why these cuts work across so many curl patterns and face shapes. They’re built around movement, not around a single hard shape that only looks right in the salon mirror. Bring a few reference photos, be clear about where your hair goes flat, and let the stylist work with the way your curls actually behave. The right layer map doesn’t fight the hair. It gives it room to show off.
