



A low bun can do something most hairstyles cannot: it can look calm even when the rest of the day is not. The best low bun styles for women sit at the nape, skim the neckline, and turn a plain blazer, a satin dress, or a knit sweater into something that feels deliberate.
That works because the bun is doing less, not more. The crown stays smooth, the weight sits low, and the face opens up instead of competing with the hairline. A few loose tendrils can soften the whole thing; a sharp side part can make it look sharper and more tailored. Small details. Big swing.
What matters most is the small stuff — where the part falls, how much shine you add, how tightly you secure the base, and whether the bun is twisted, braided, tucked, or pinned flat. Get those details right and a low bun stops looking like a fallback. It starts looking like a choice.
Why These Buns Earn Their Keep
-
They hold the line at the nape: A bun placed low stays out of the way of collars, scarves, and earrings, which means the shape keeps its edge longer through the day.
-
They work with imperfect hair: Second-day roots, a few flyaways, or a stubborn cowlick at the crown can actually help rather than hurt, because a low bun likes a little natural grip.
-
They change the mood fast: The same hair can feel strict, romantic, or soft depending on whether you center-part it, side-part it, braid it, or leave a few pieces loose.
-
They play well with accessories: Pearl pins, a ribbon, a barrette, or even one clean metal clip can change the whole finish without rebuilding the style.
-
They’re not tied to one texture: Straight hair, curls, coils, and layered cuts can all be pulled into some version of a low bun without forcing the same result.
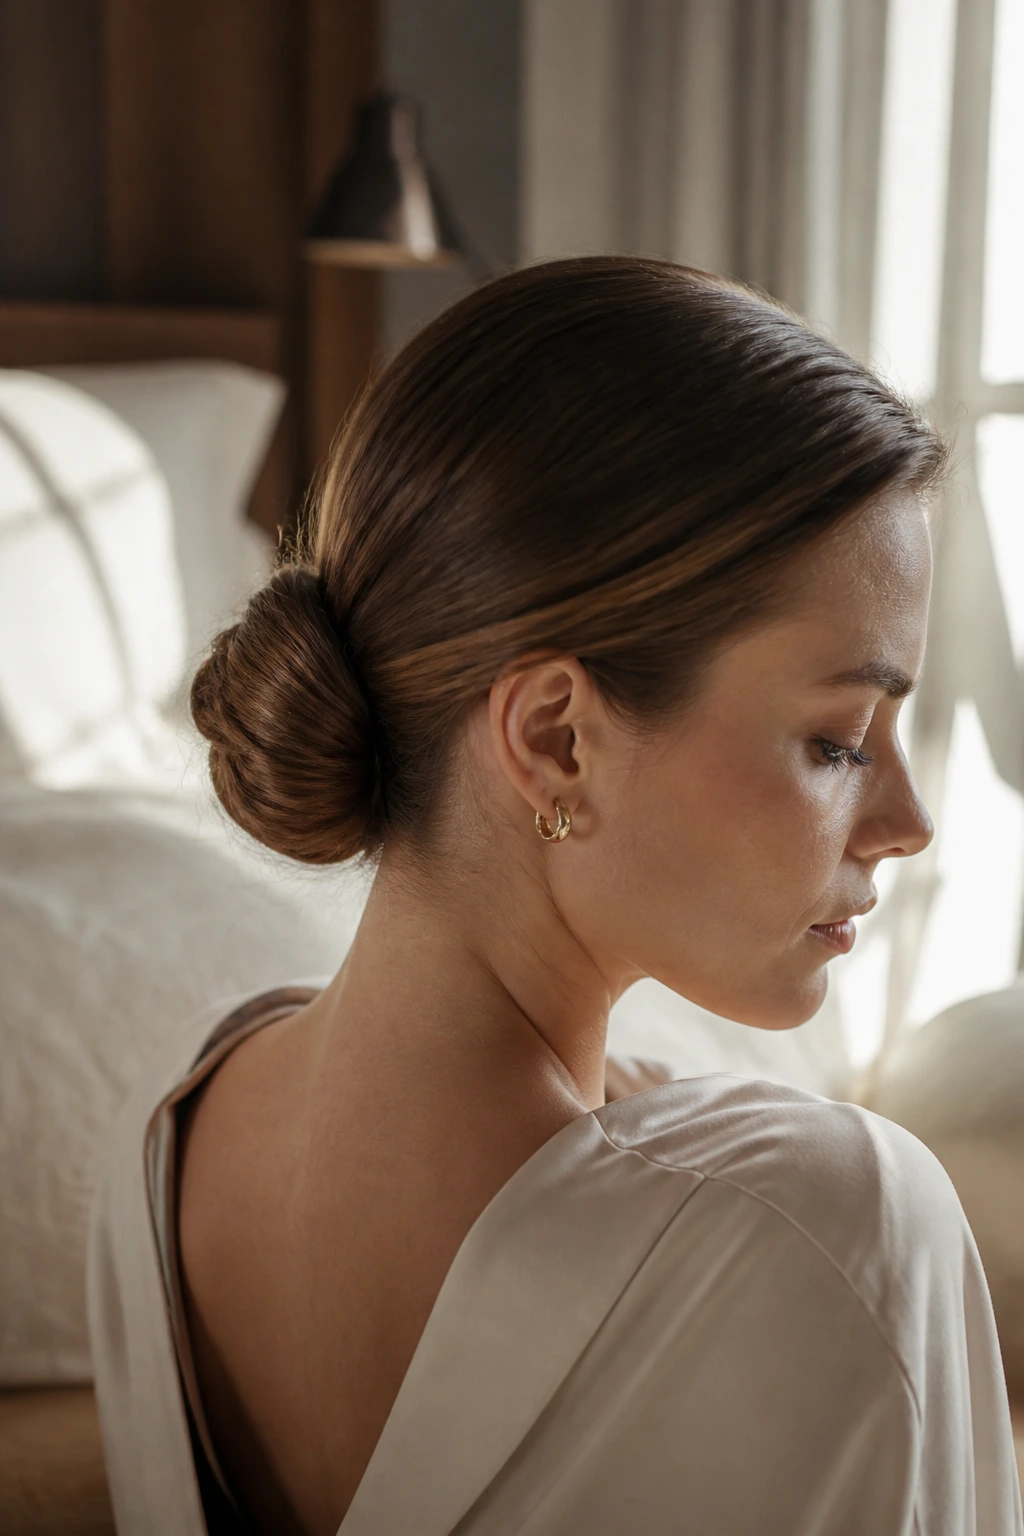
1. Polished Center-Part Low Bun
A center part gives a low bun a clean spine. The line from forehead to nape keeps the style calm and symmetrical, which is why it looks so good with sharp tailoring, square necklines, and anything made from satin or matte crepe.
I like this version when the hair has a little natural bend but not too much puff at the crown. Smooth the top with a pea-size amount of cream, gather the length low, and twist the bun tight enough that the base feels firm but not painful. A thin wrap of hair around the elastic is worth the extra minute. It erases the “I threw this up fast” feeling.
2. Soft Side-Swept Chignon
A side part changes the whole temperature of the style. Instead of looking straight and formal, the bun takes on a softer angle, which works especially well if you have a strong jawline or want to avoid a look that feels too severe.
The trick is to sweep the hair across the forehead with control, not drama. Leave just enough bend in the bun that it reads as soft rather than loose. One hidden pin at the curve of the chignon helps keep the shape from flattening by the end of the night.
3. Braided Low Bun
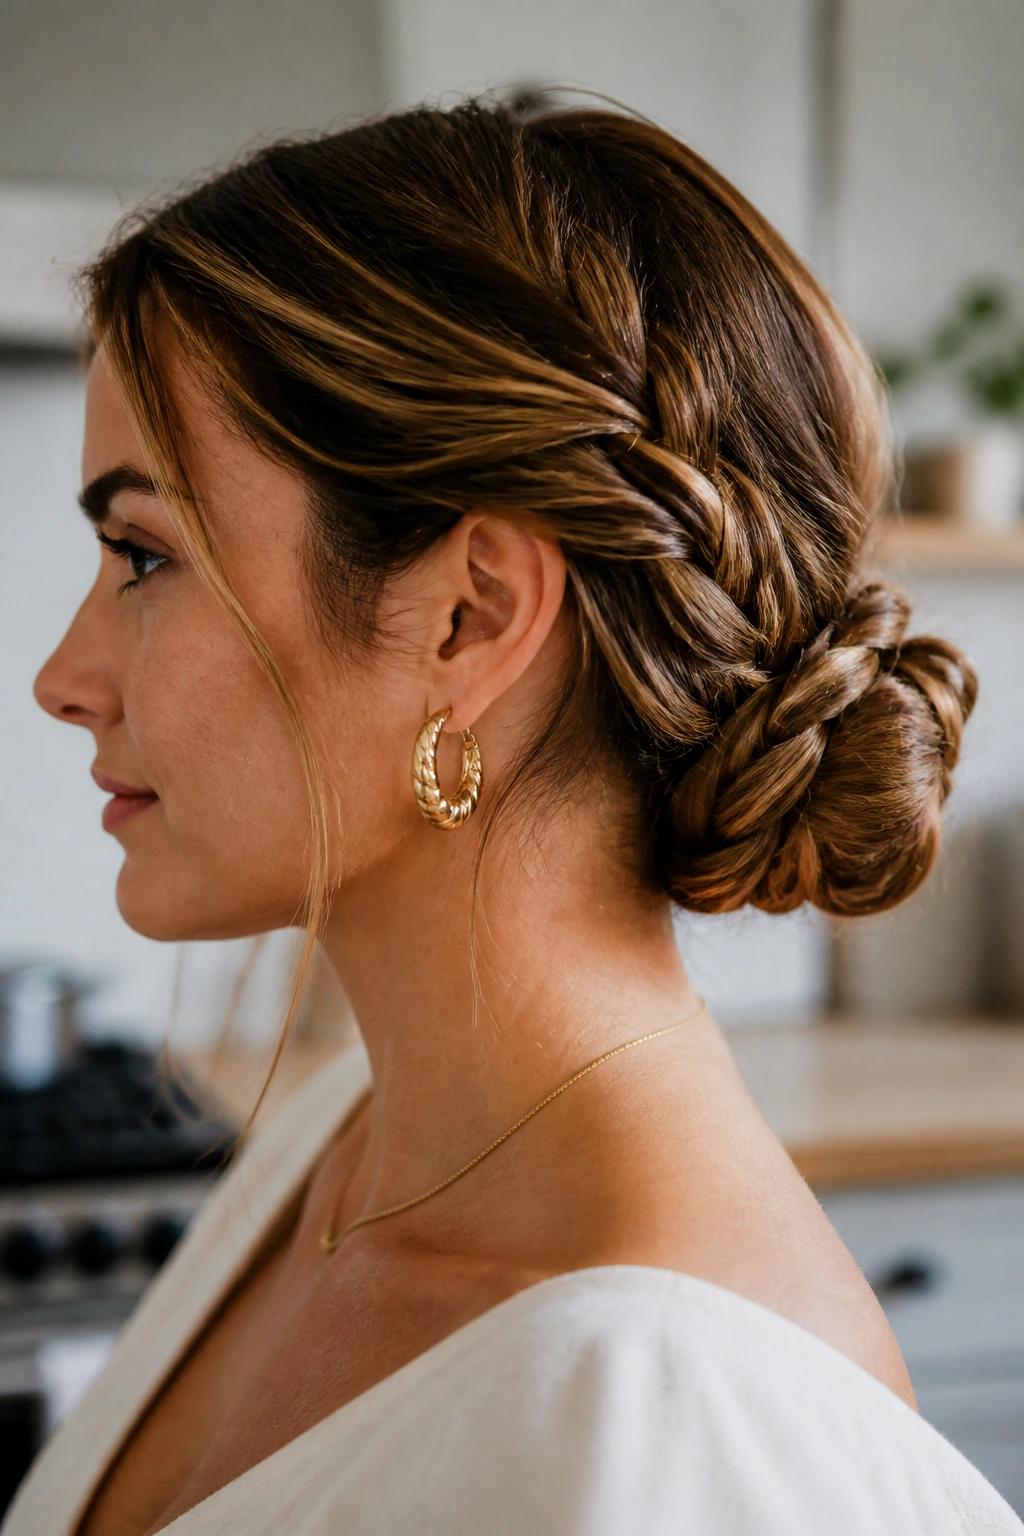
Braids give a low bun teeth. That is the reason they hold so well. The braid creates texture the pins can grab, and the finished bun keeps its shape better than a plain twist, especially if your hair is layered or slippery.
You can braid the length first and coil it in, or split the hair into two smaller braids and wrap them into a compact knot. Either way, the braid needs to be snug but not tugged so tight that it eats up all the softness. This is one of those styles that looks far more complicated than it is.
4. Sleek Ballet Low Bun
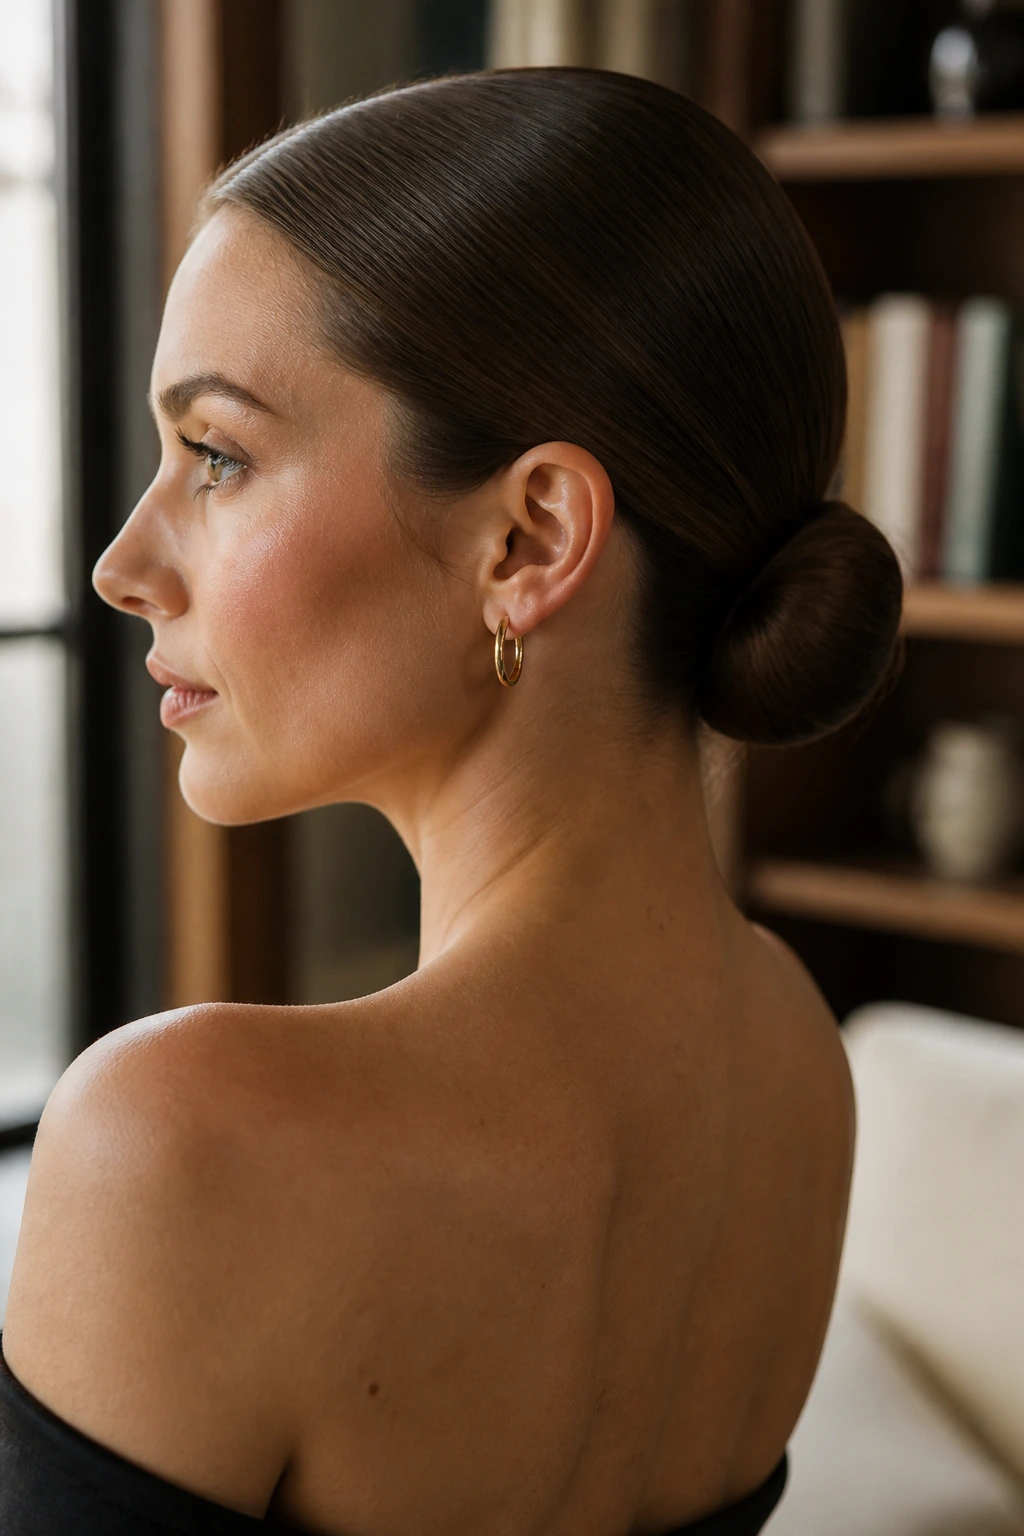
A ballet bun does not need to sit high to feel severe. Low on the neck, with the sides brushed flat and the shine kept deliberate, it gives a very finished look that still feels easy to wear with minimal makeup.
This version wants a fine-tooth comb, a little gel at the hairline, and a firm elastic. Keep the bun compact and smooth the flyaways before you pin. If the top starts to puff, press it back down with the flat side of the comb and a touch of hairspray on your fingertips.
5. Loose Face-Framing Low Bun
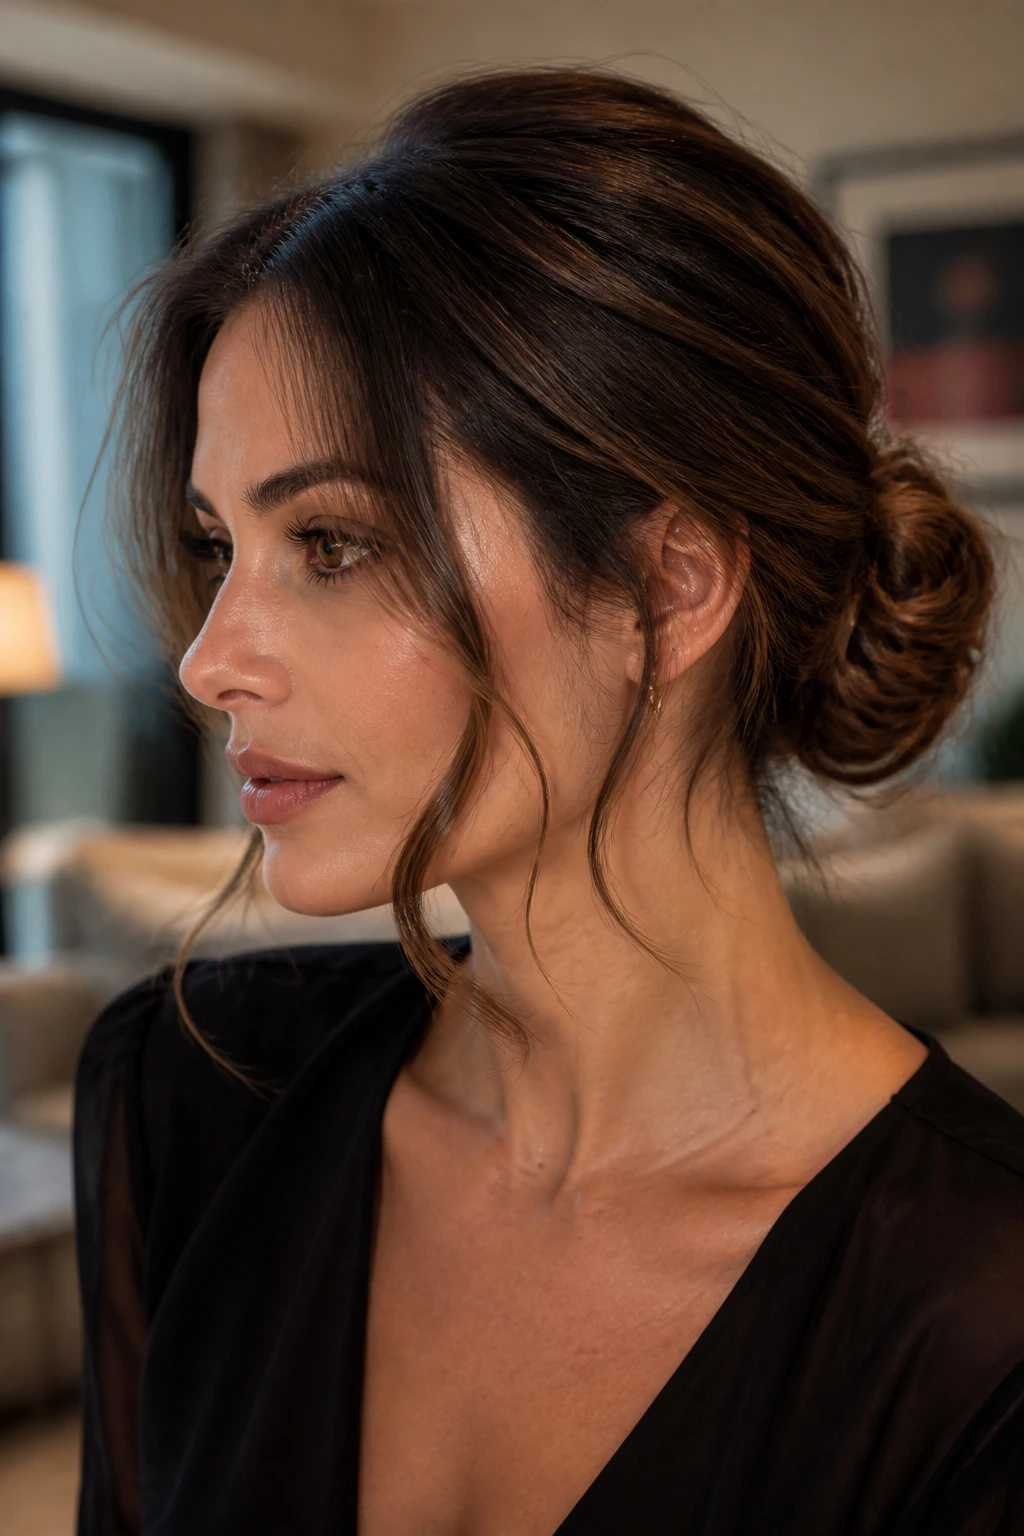
A couple of face-framing pieces can soften a low bun fast. The style still sits low and elegant, but those front pieces make it feel less strict and a little more forgiving around the cheekbones and jaw.
Curl the face-framing sections lightly before you gather the rest of the hair. If you leave them straight, they often hang in a way that looks accidental. I prefer this version with a neat bun base and just enough looseness at the temples to keep the shape from feeling overworked.
6. Wrapped-Base Knot
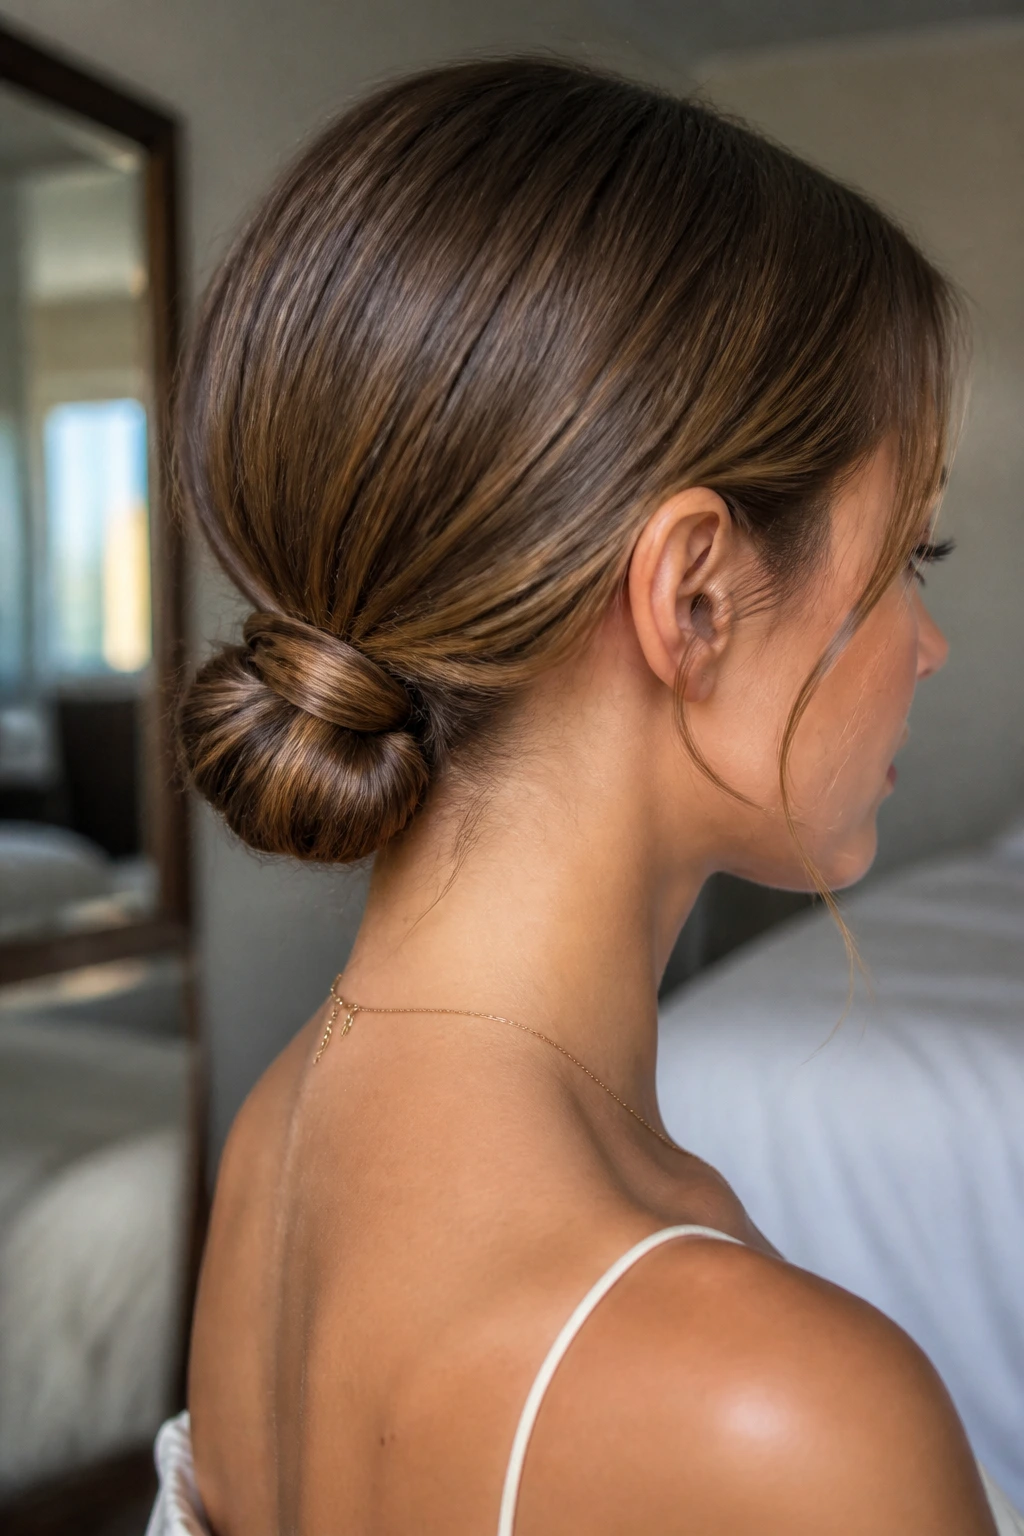
This is the bun I reach for when I want the elastic to disappear. The hair is gathered low, twisted into a knot, and then a thin section is wrapped around the base so the whole thing looks cleaner and more finished.
It works best when the hair has some grip, which means second-day hair or a bit of texture spray helps. Use two pins to lock the wrap in place from underneath, not from the top where they’ll show. The effect is subtle, and that’s the point. The base should look almost sealed.
7. Textured Nape Bun
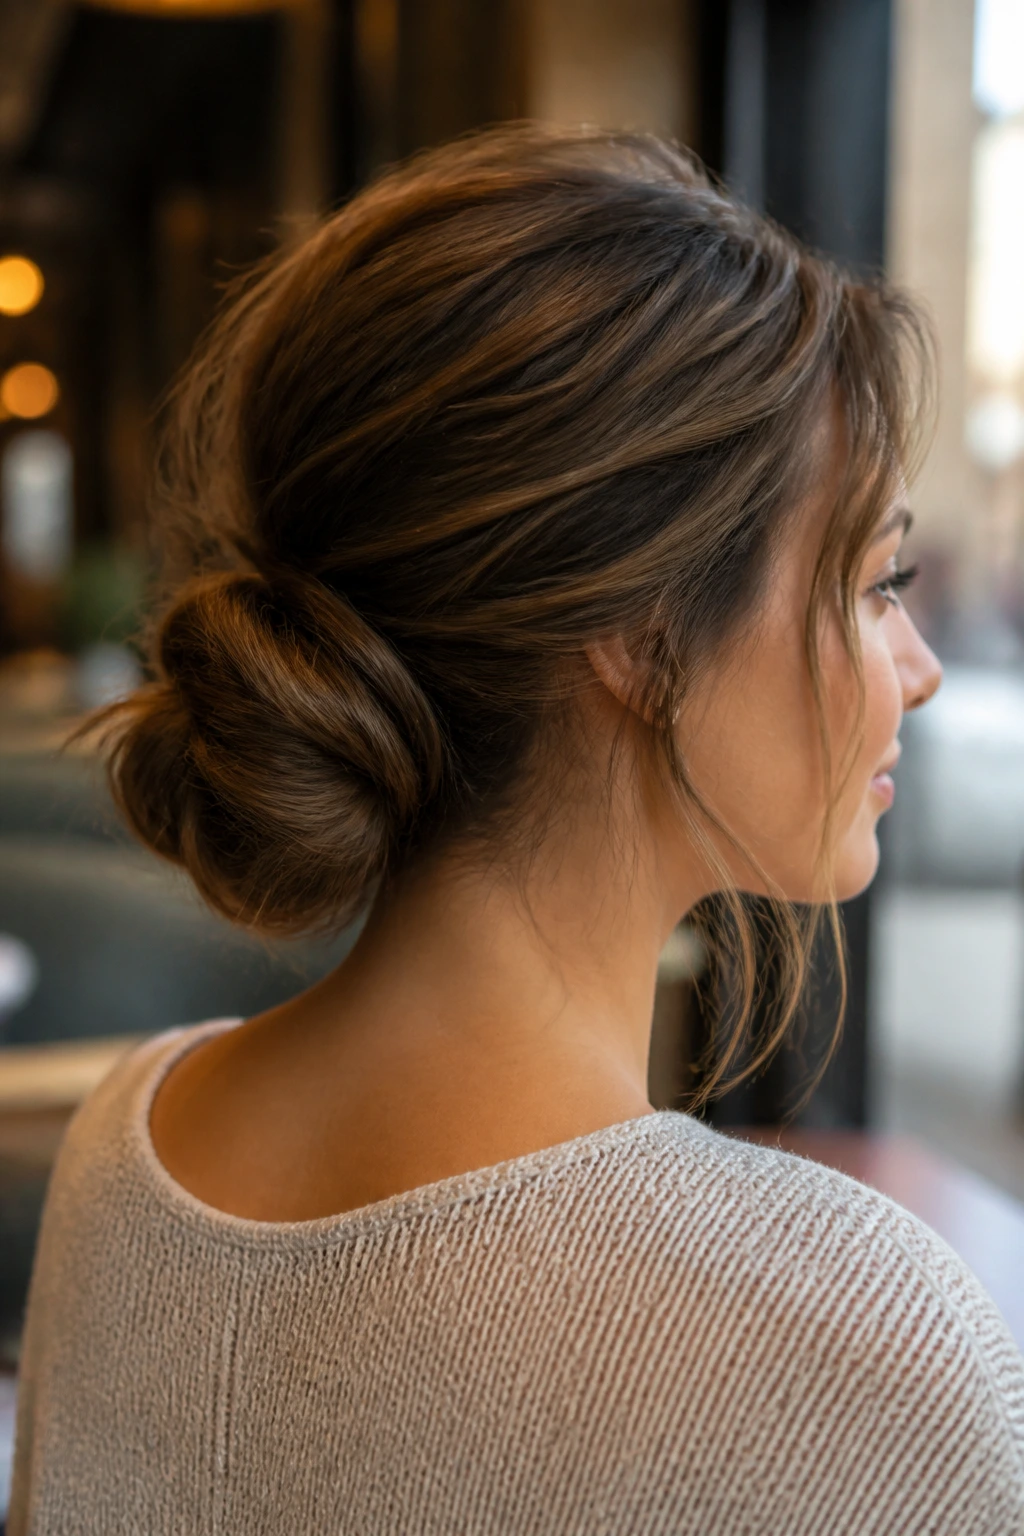
A textured low bun has more movement in it than a sleek version, but it still needs shape. Think of it as controlled looseness, not a messy pile of hair. The right amount of texture makes the bun look touchable instead of stiff.
If your hair is fine, dry shampoo at the roots and a little salt spray through the lengths can keep the bun from sliding apart. Pull at the edges of the finished bun just a bit so it doesn’t sit too tight against the head. Too much teasing makes it bulky fast. A little goes a long way.
8. Twisted Rope Low Bun
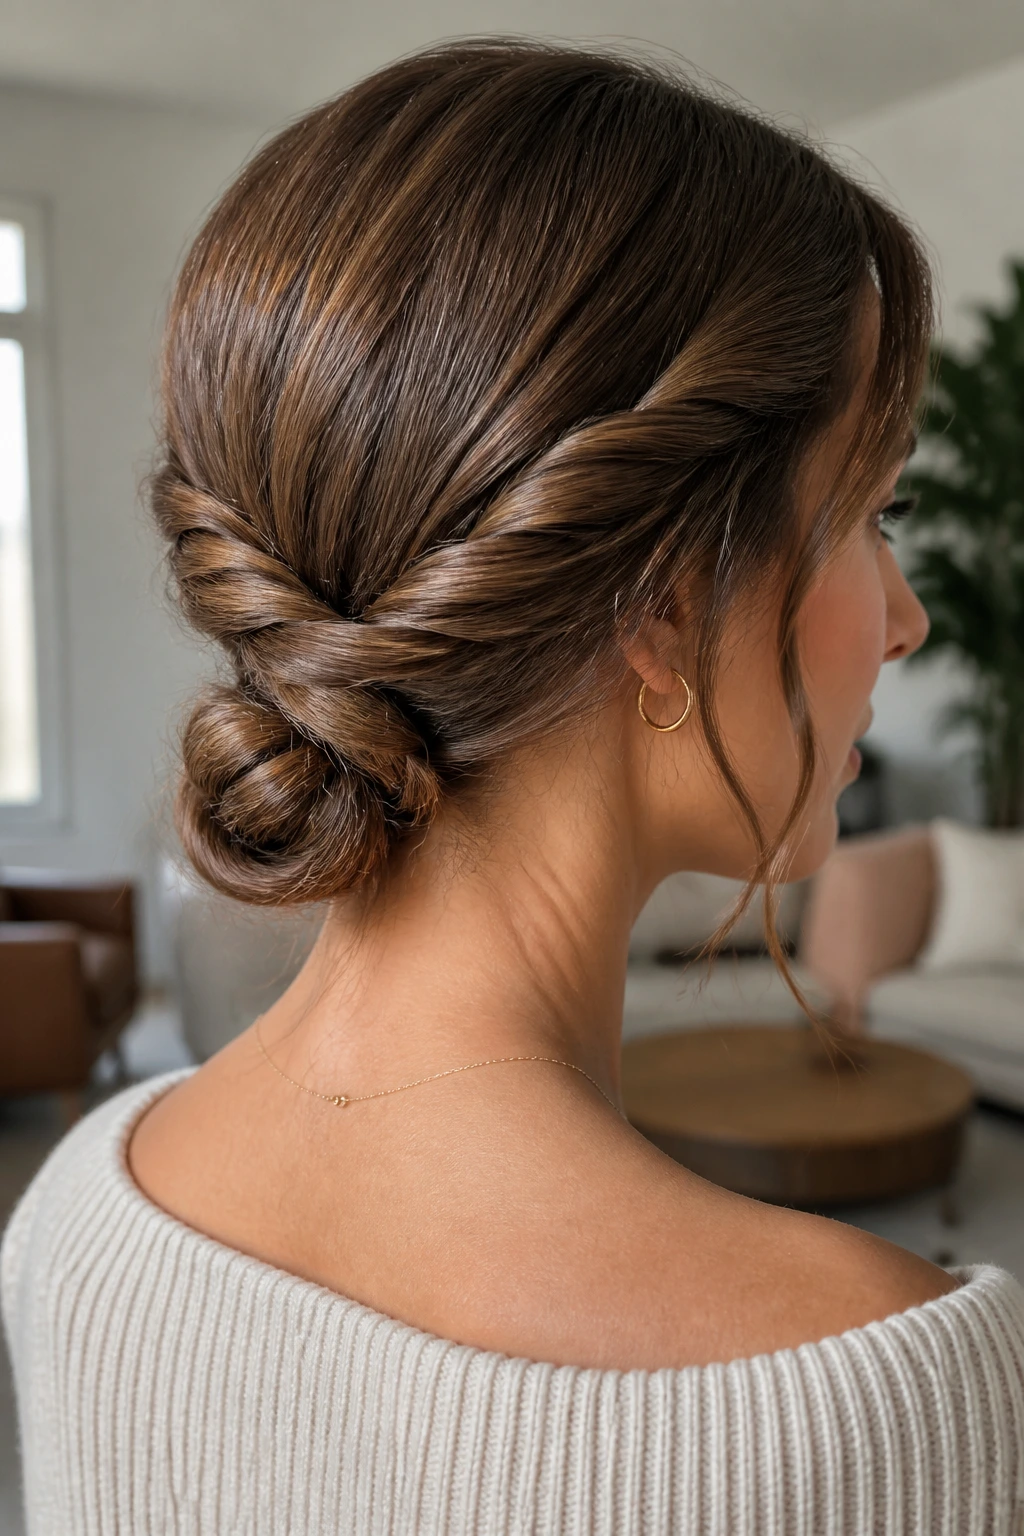
Two rope twists can make a low bun feel architectural without getting fussy. Twist each side toward the nape, cross them over one another, then tuck the ends into a compact knot. The visible twist lines give the style a quiet sense of structure.
This version is one of my favorites for medium-length hair because it fills out the bun without needing a ton of volume. The ropes should be tight enough to hold their shape, but not so tight that they split. Use pins at the point where the twists meet. That meeting point is what keeps the style anchored.
9. Minimal Nape Knot

A minimal knot at the nape is spare in the best way. No braid, no extra wrap, no obvious decoration. Just hair pulled low, tied or twisted once, and tucked cleanly so the finish stays lean.
The style works when you want your hair to disappear a little and let the clothes do the talking. It looks especially good with a boat neck, a crisp shirt collar, or a structured jacket. If one side feels too puffed, flatten it with the side of your hand before the final pin goes in.
10. Fishtail-Woven Bun
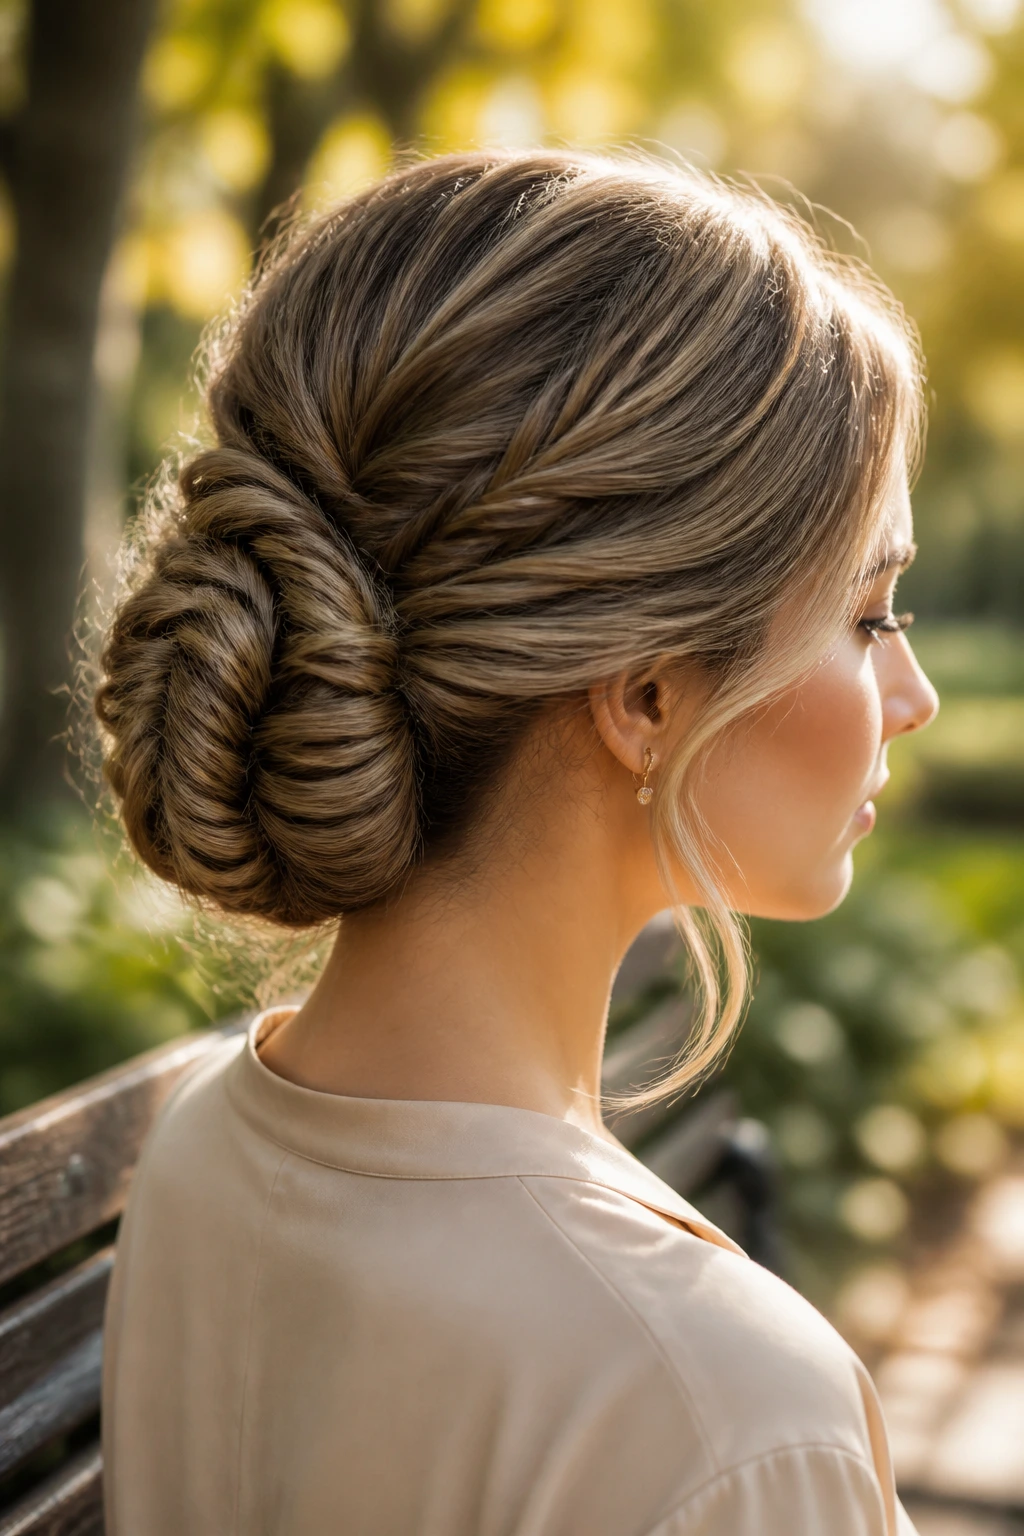
A fishtail braid gives the bun an intricate surface, and that surface is what keeps it from reading plain. The braid catches the light in small, narrow lines that look sharper than a standard three-strand braid.
This is a good pick for long hair because the braid helps control the length before it gets wrapped. Pancake the braid lightly after it’s secured — tug the outer edges just enough to widen it. That extra width makes the bun look fuller without adding bulk. It’s the kind of detail that shows from across the room.
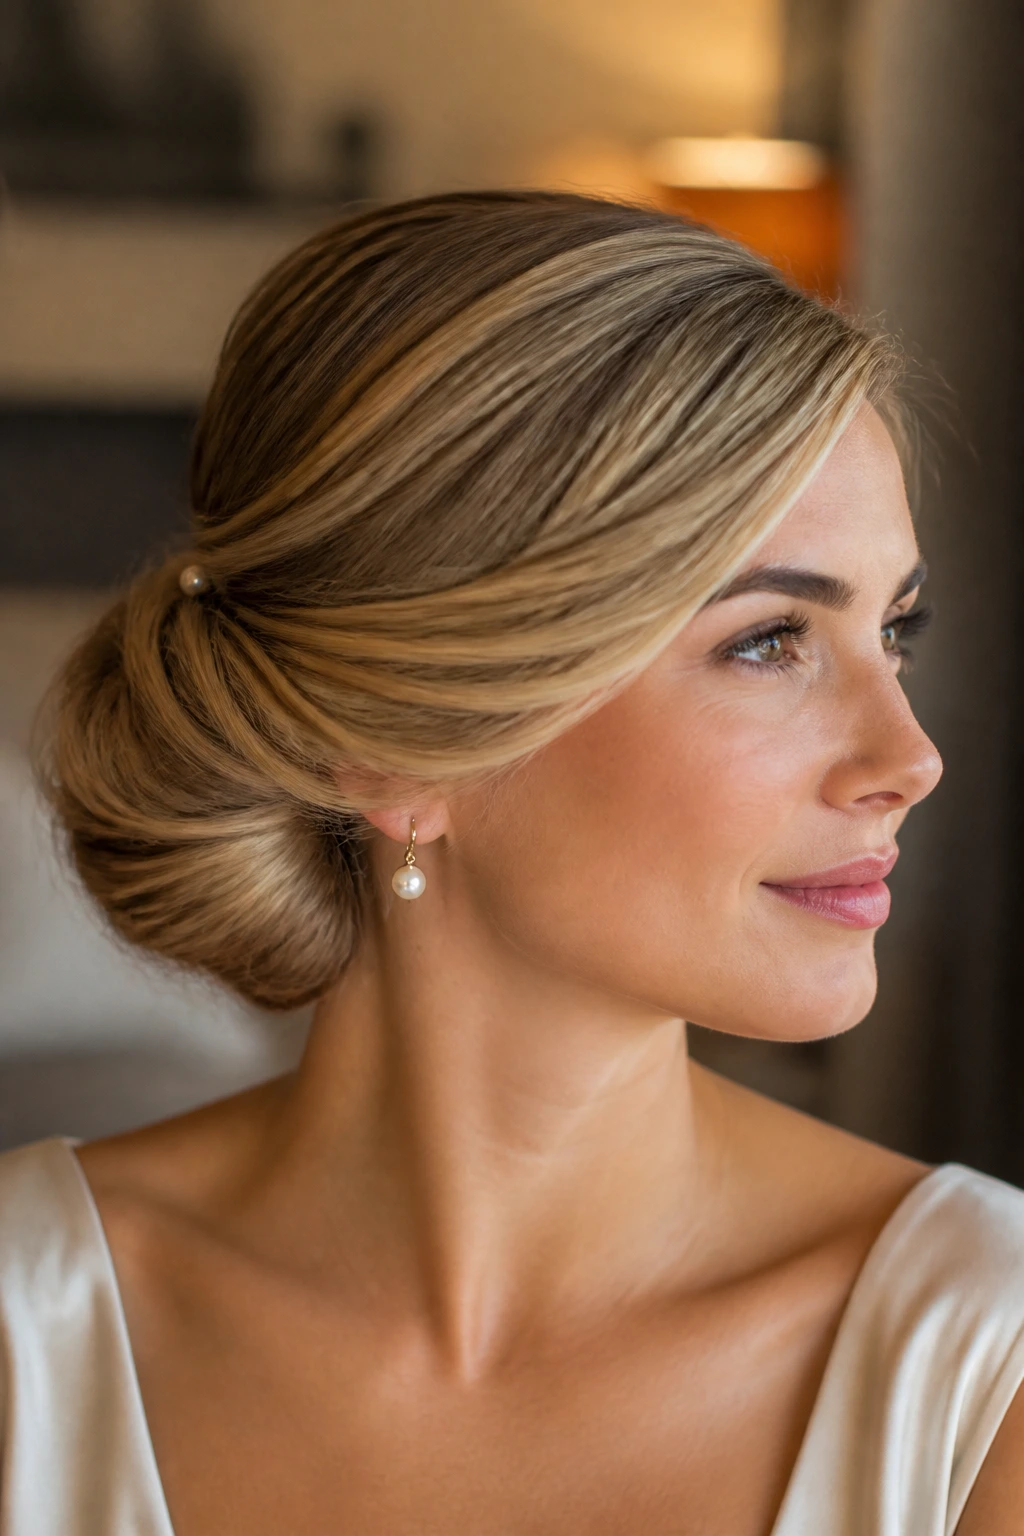
11. Pearl-Pinned Chignon
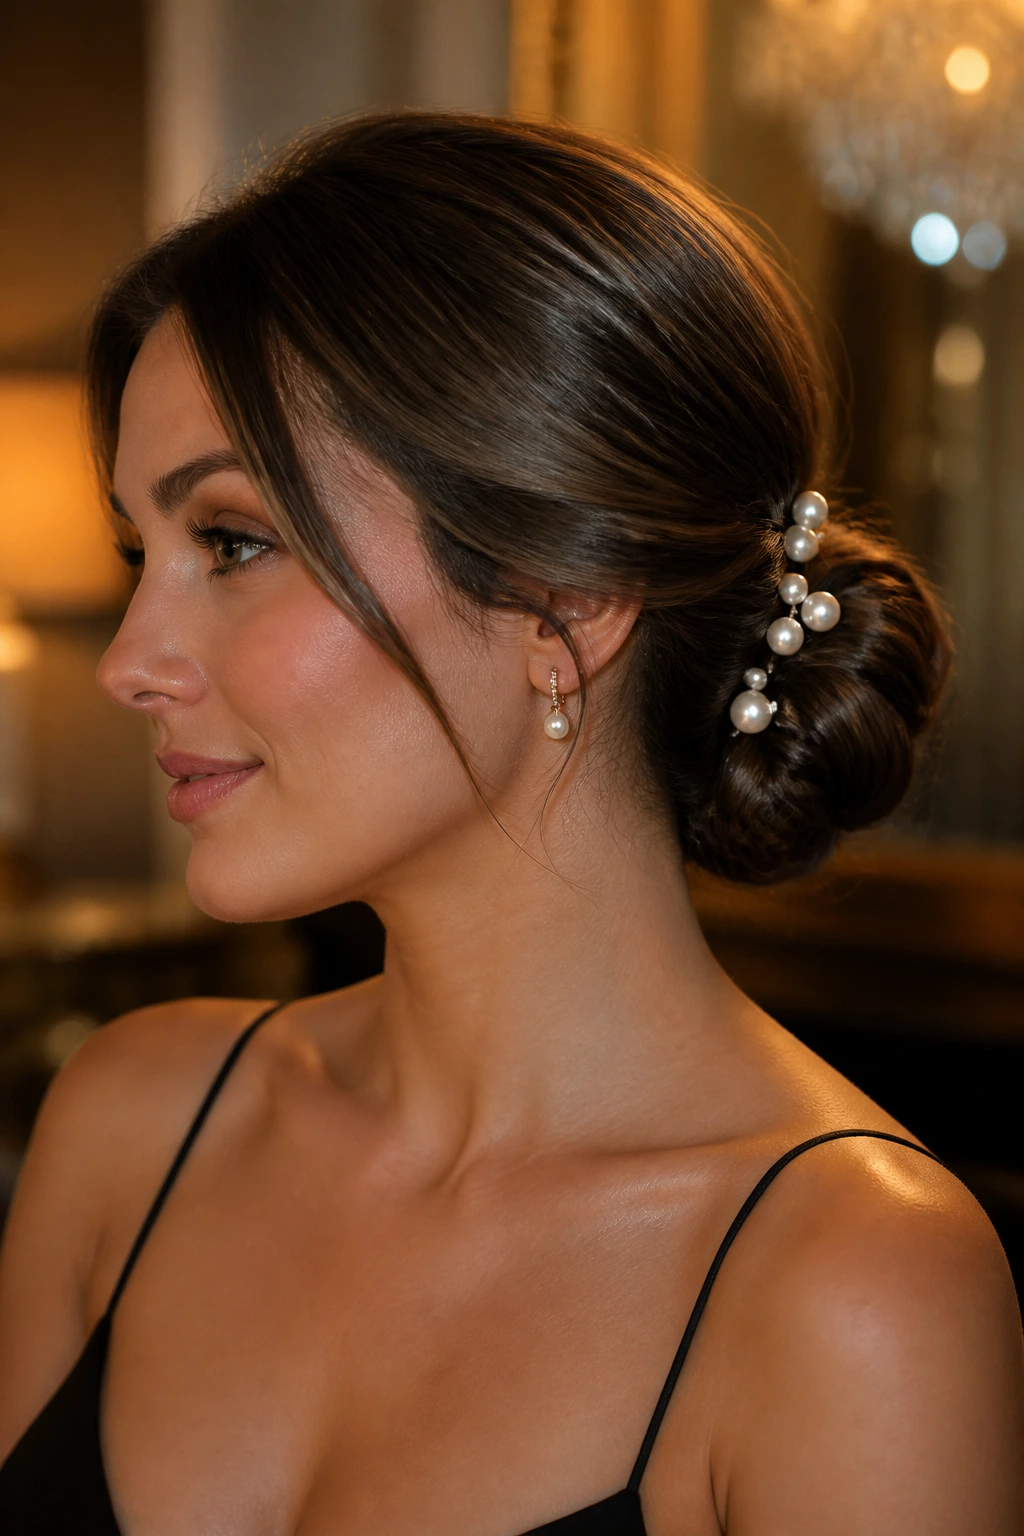
Pearl pins can shift a low bun from simple to dressy in about two seconds. The trick is not to scatter them evenly like confetti. Place two or three pins where the bun curves, and let the placement look deliberate.
I prefer this when the bun itself is quiet and the accessories do the talking. A smooth chignon with pearls feels refined enough for an evening event but not so ornate that it fights with the outfit. If the pearls are large, keep the bun compact. If the bun is loose, use smaller pins so the style doesn’t tip into costume territory.
12. Ribbon-Tied Low Bun
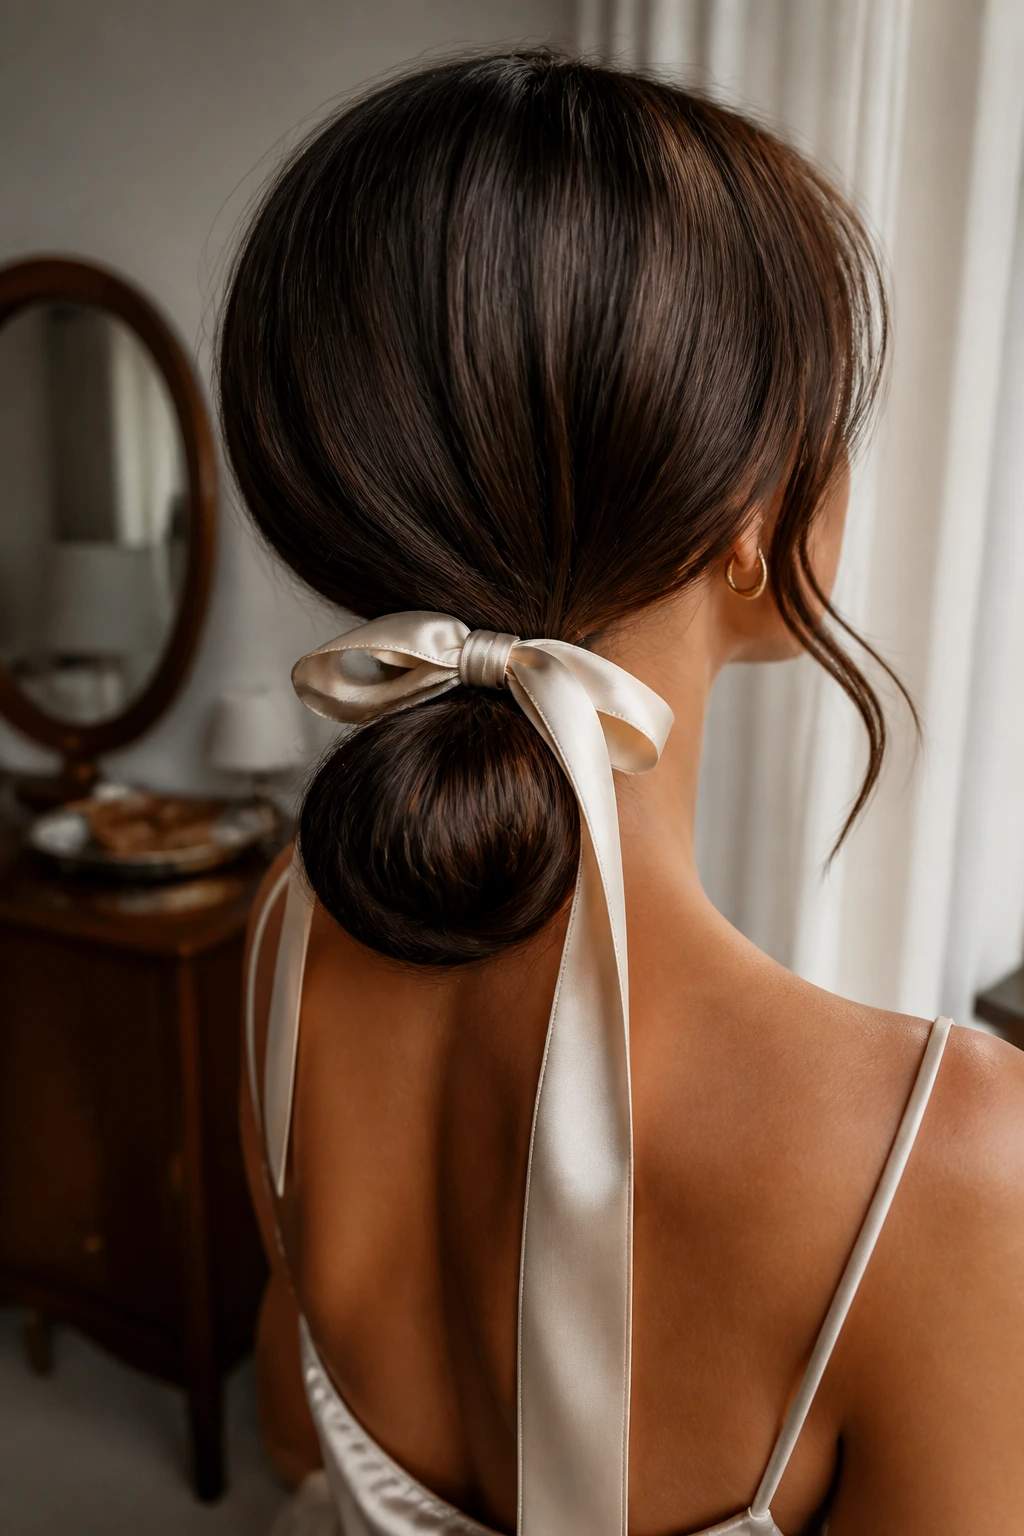
A ribbon changes the mood faster than almost any other accessory. Satin makes the bun look sweeter and more polished; matte grosgrain makes it feel sharper and more tailored. Tie it low, just beneath the knot, and let the tails fall a few inches.
The ribbon should support the style, not hide it. I like this on hair that’s already smooth, because the contrast between the clean bun and the soft ribbon does the work. If the bow feels bulky, flatten it slightly with your fingers and keep the tails narrow.
13. Scarf-Wrapped Low Bun
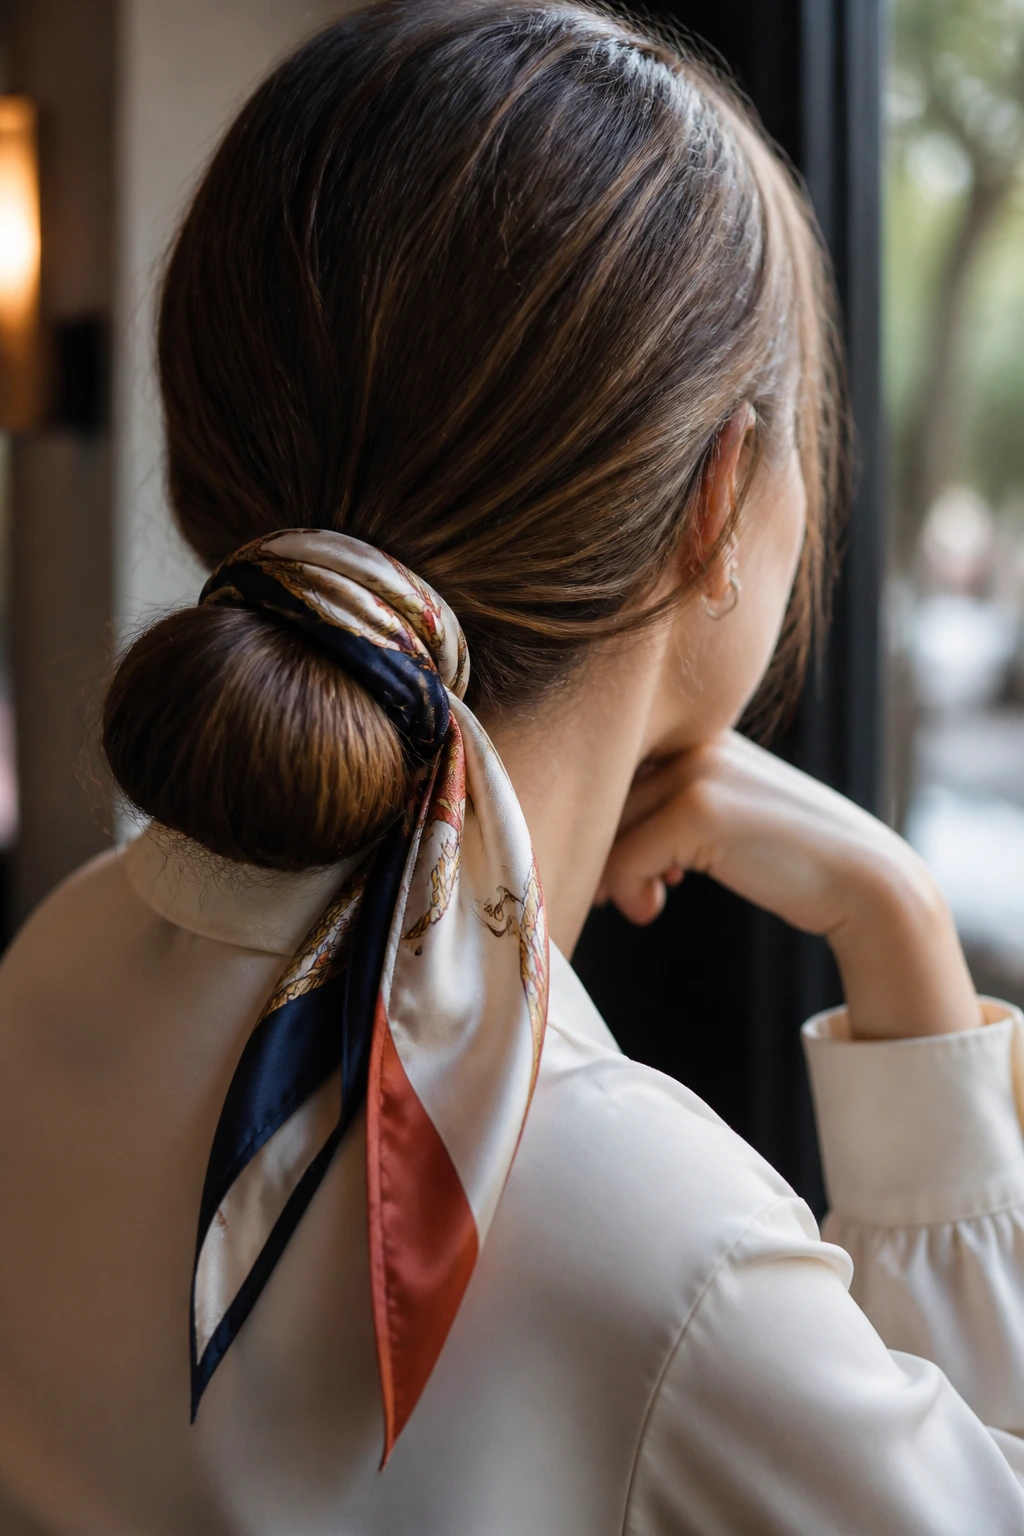
A scarf wrapped around a low bun brings color without requiring a complicated shape. Fold it into a long strip first; wide fabric tends to swallow the bun and make the head look top-heavy.
The best version is usually a narrow wrap tied at the base or slightly off center. Silk or satin scarves glide easier than cotton, which can snag at the pins. This style is especially useful when the hair needs a little personality but you don’t want a lot of extra volume.
14. Deep Side-Part Low Bun
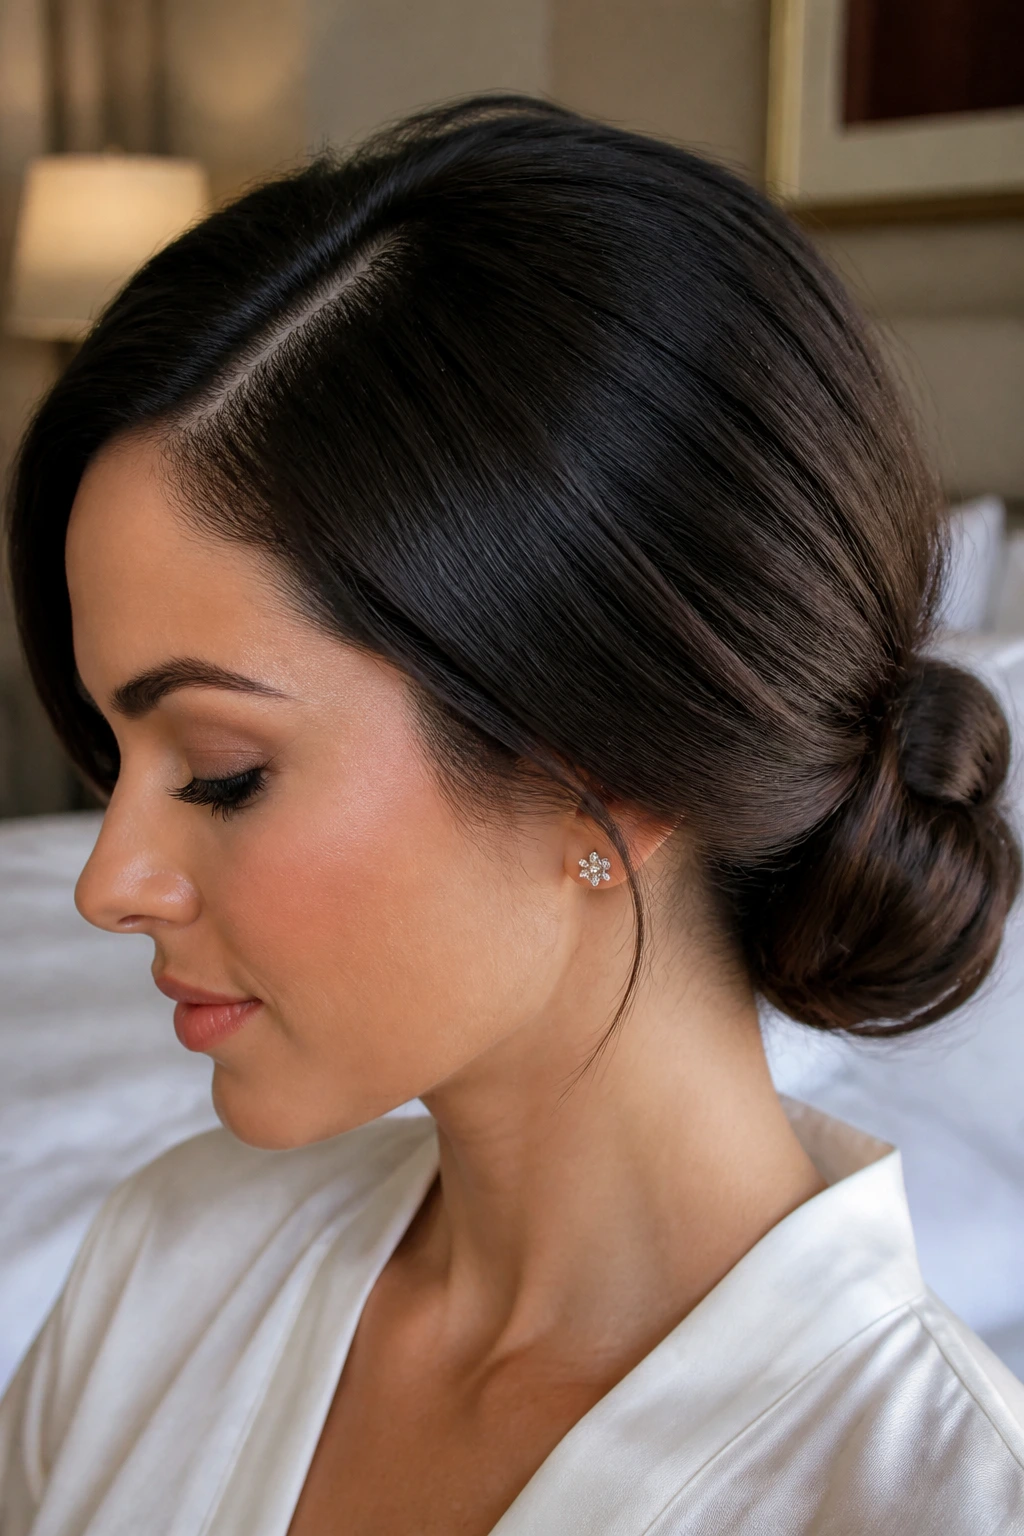
A deep side part gives the low bun a touch of drama before the bun even starts. The heavy sweep across the forehead changes the balance, and the bun can stay compact and simple because the part is already doing so much visual work.
Keep the crown smooth and let the part stay clean all the way back to the nape. That line matters. If the front pieces puff, the whole look loses that old-Hollywood feeling. A little shine spray at the sides helps the sweep stay neat without looking wet.
15. French Twist Low Bun
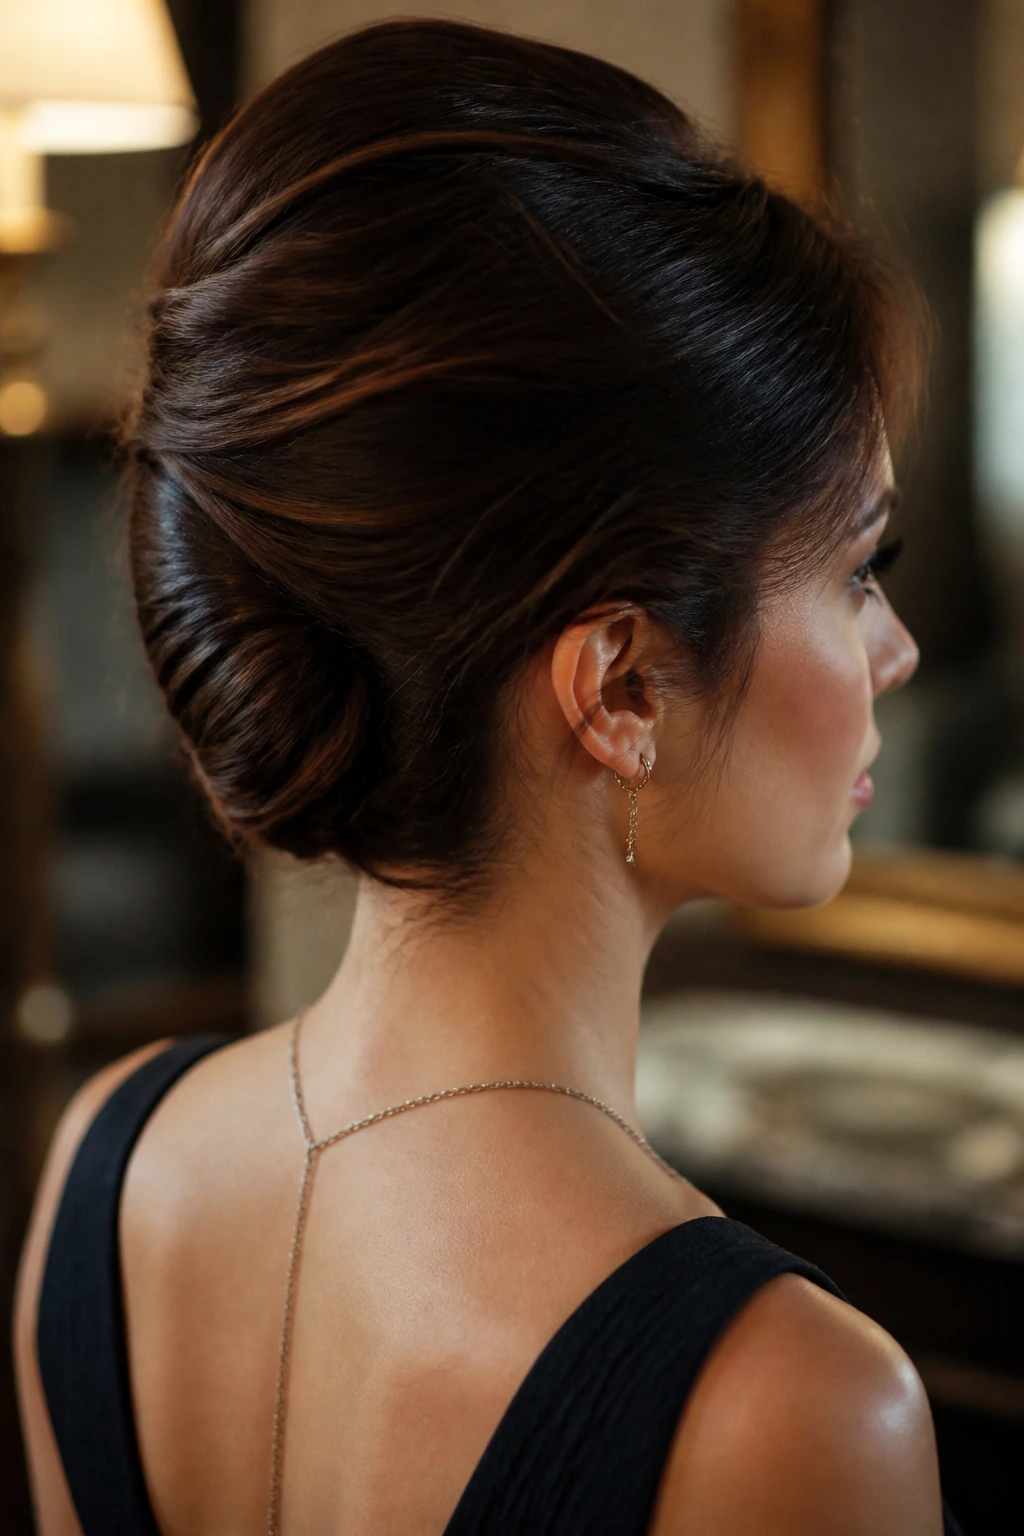
A French twist low bun has a vertical feel even though it sits low. Hair is rolled inward and tucked so the silhouette is long and narrow rather than round. That shape works well when you want something more formal than a messy knot.
It’s best on medium to long hair with enough length to tuck securely. Use a rat-tail comb to smooth the surface and pins to lock the roll from the inside edge. If the twist looks too rigid, loosen just the top few millimeters. That keeps it elegant instead of severe.
16. Gibson-Tuck Low Bun
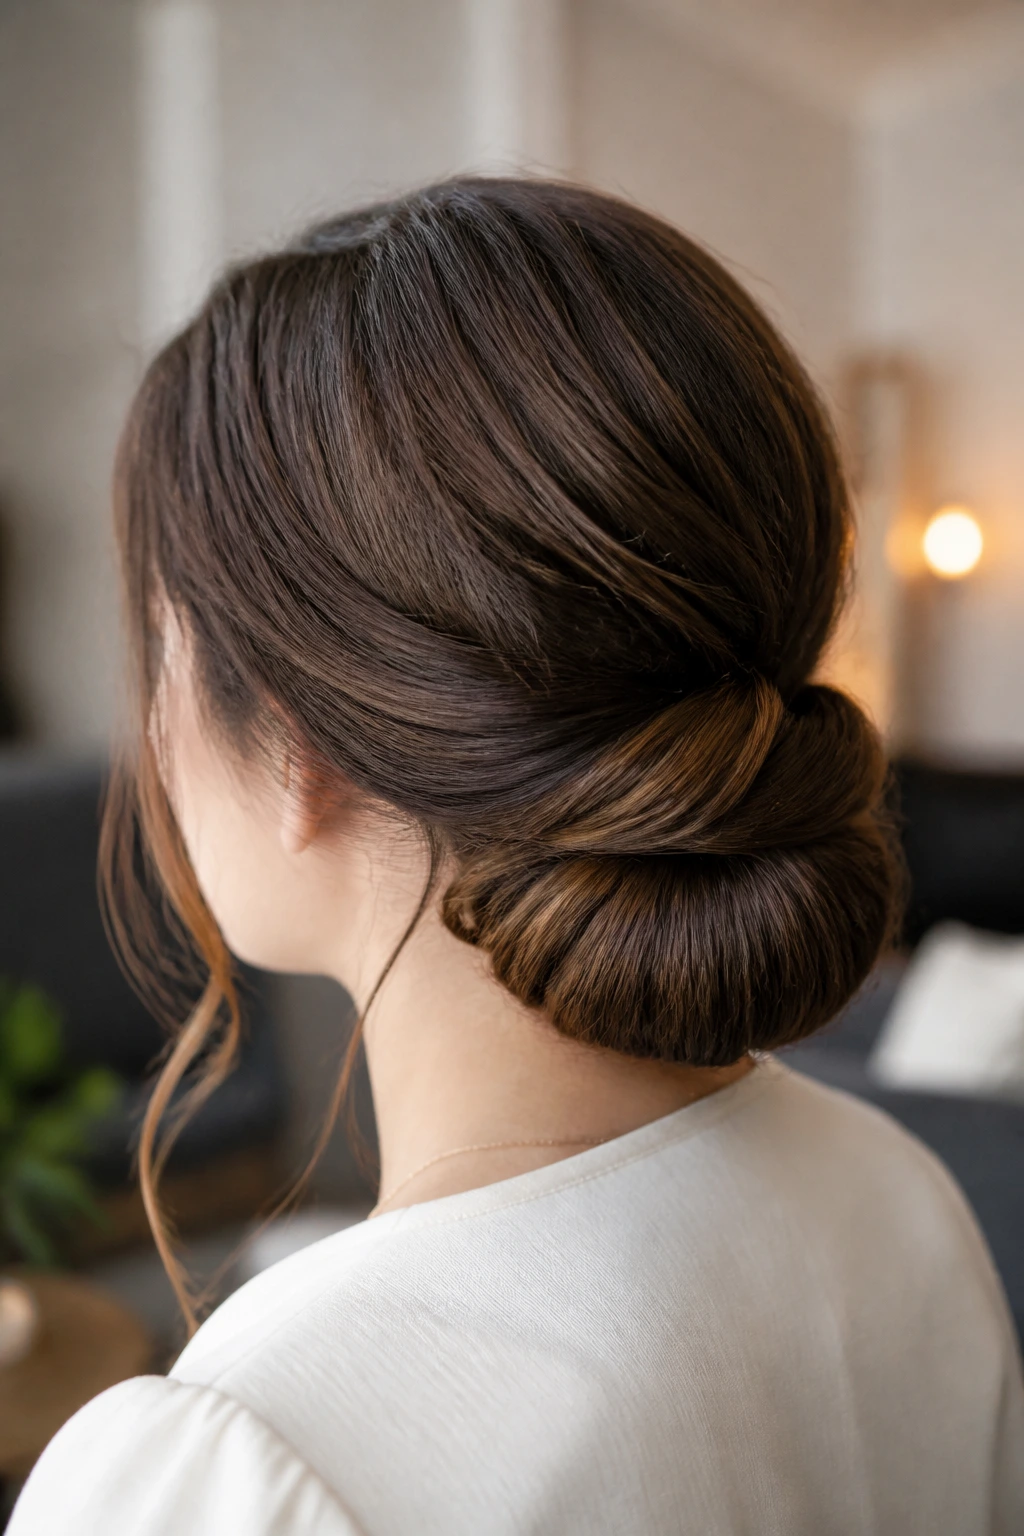
The Gibson tuck gives soft structure without a lot of fuss. The ends are folded upward and tucked under, which creates a rounded shape that sits softly at the nape. It has a vintage feel, but not in a costume-y way.
This version is kind to medium hair and layered cuts because it doesn’t ask for a perfectly smooth tail. It looks especially good when the front stays soft and the tucked section is the main event. If you want a gentler finish, leave the tuck a touch looser around the sides. The style stays calm, just less rigid.
17. Double-Twist Low Bun
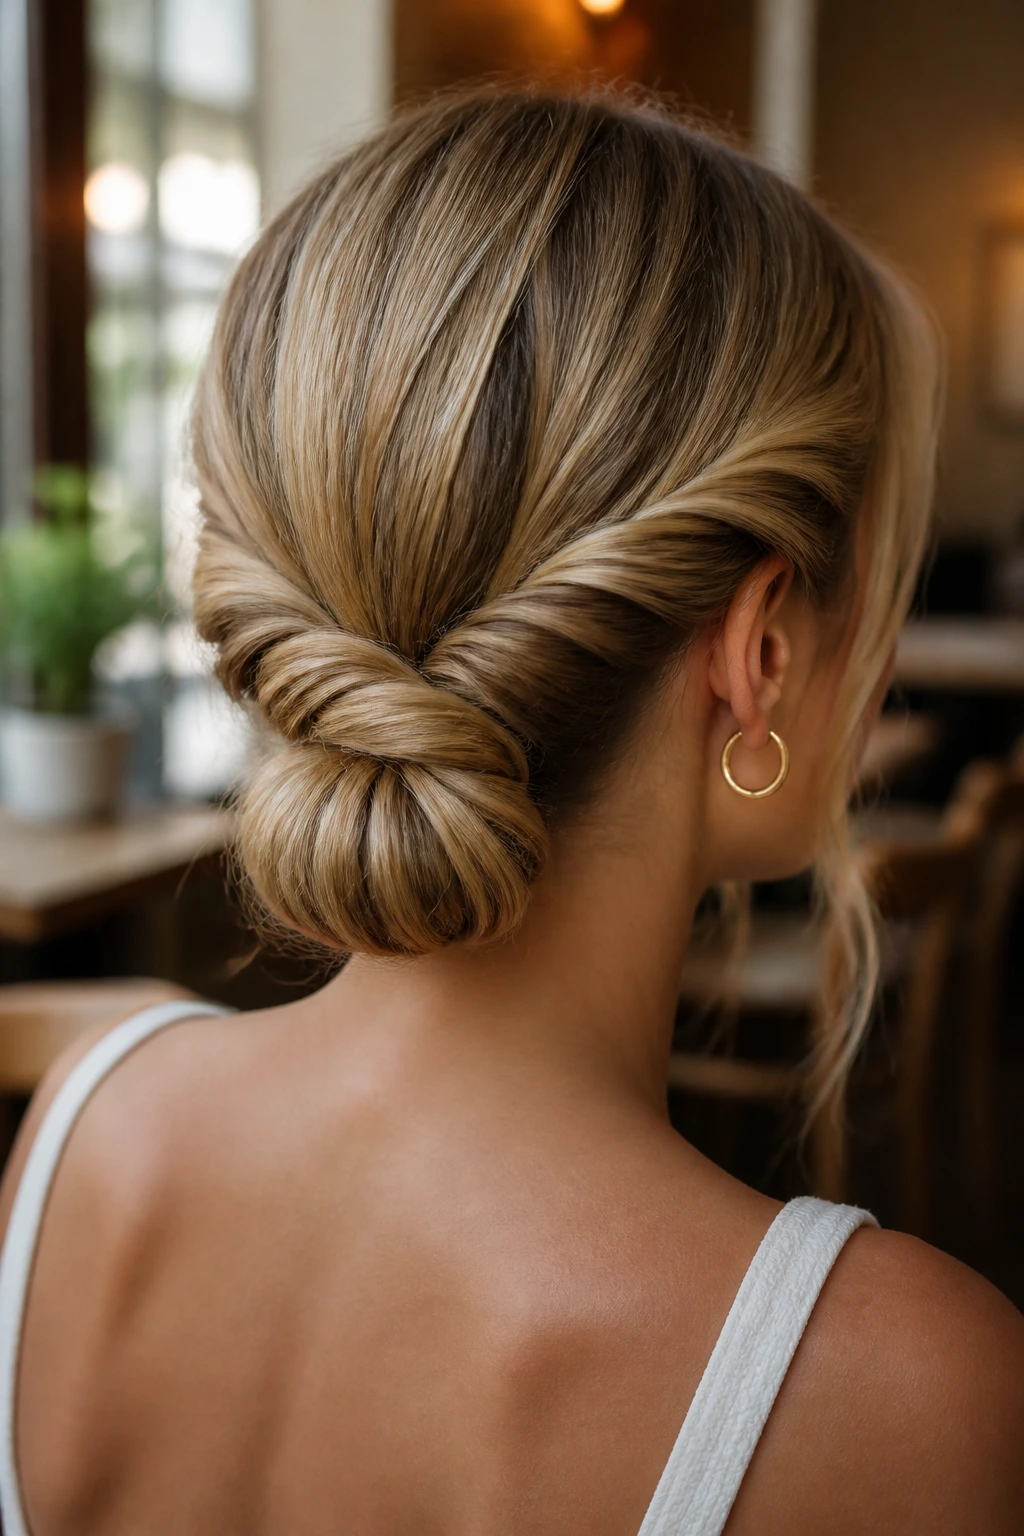
Two twists meeting in the back create a low bun with clear lines. One twist from each side gives the style symmetry without making it feel flat, and the joined center keeps the bun from looking like a single blob of hair.
I like this version for hair that has some thickness but not too much weight. Split the hair evenly, twist each side toward the nape, and pin where they cross before you coil the remaining ends. The twist lines show best when the hair has a little grit, so don’t start with freshly washed silk-slick hair unless you plan to add texture first.
18. Tendril Softening Bun
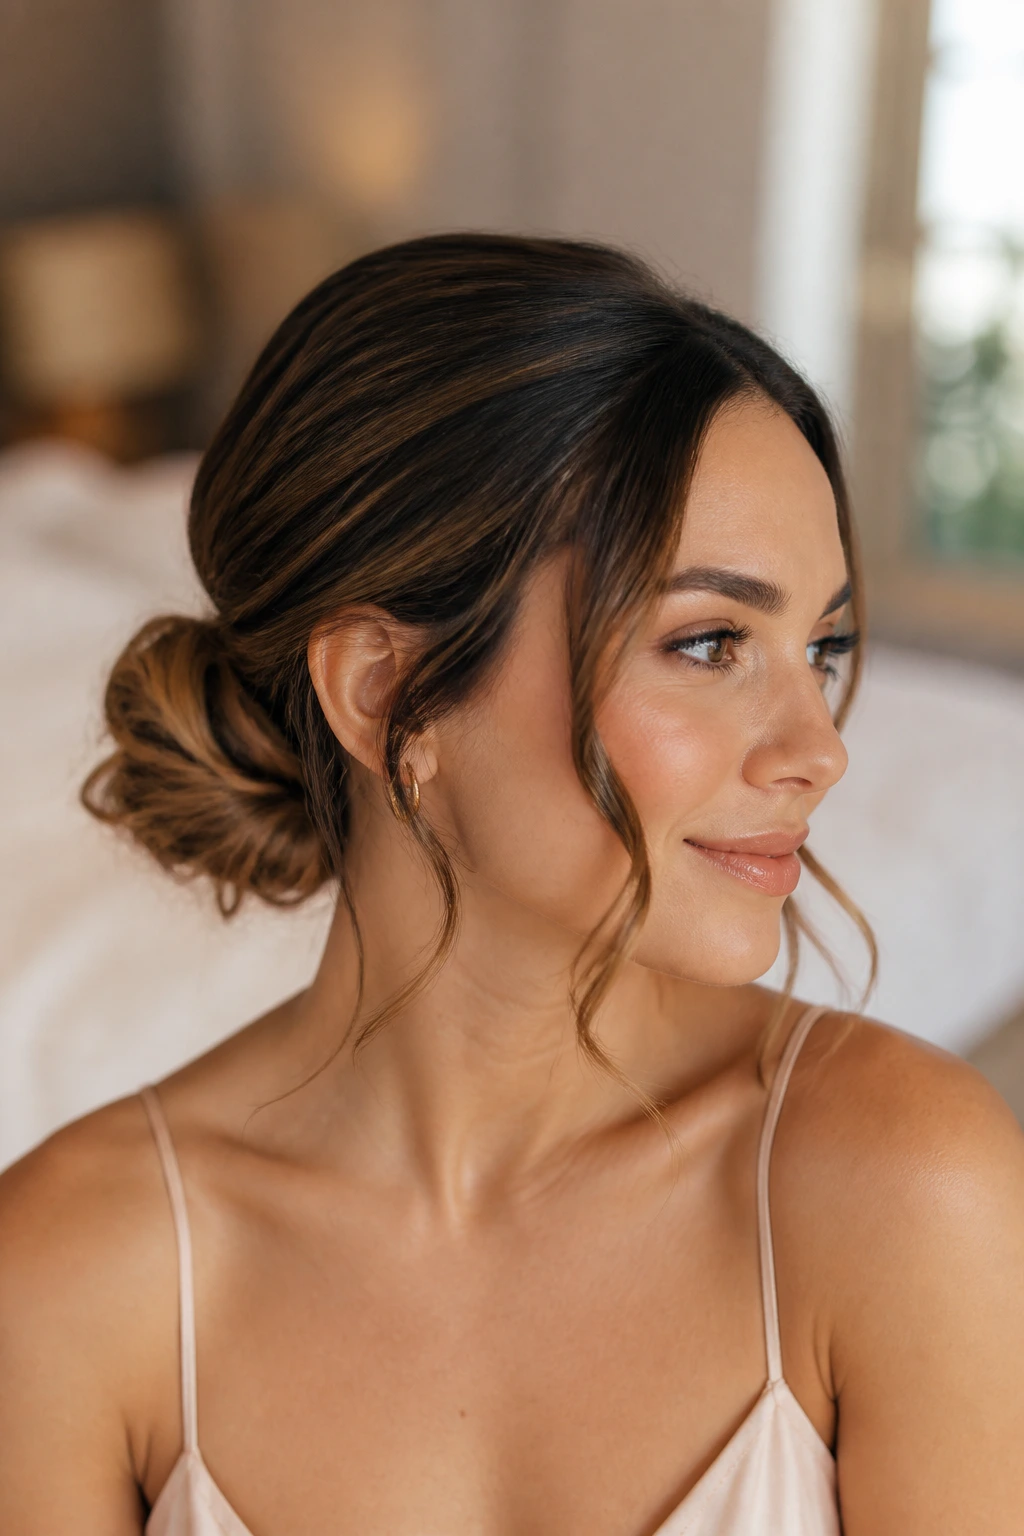
A bun with tendrils can be soft and polished at the same time, which is not always easy to pull off. The bun stays low and neat, but the loose pieces around the ears and temples stop the style from feeling too hard.
The important part is restraint. Leave just a few narrow sections out, and curl them lightly so they bend instead of hang. If the tendrils get too thick, the bun starts to lose its clean shape. I think of this one as the better choice when you want softness without making the whole style look undone.
19. Claw-Clip Nape Bun
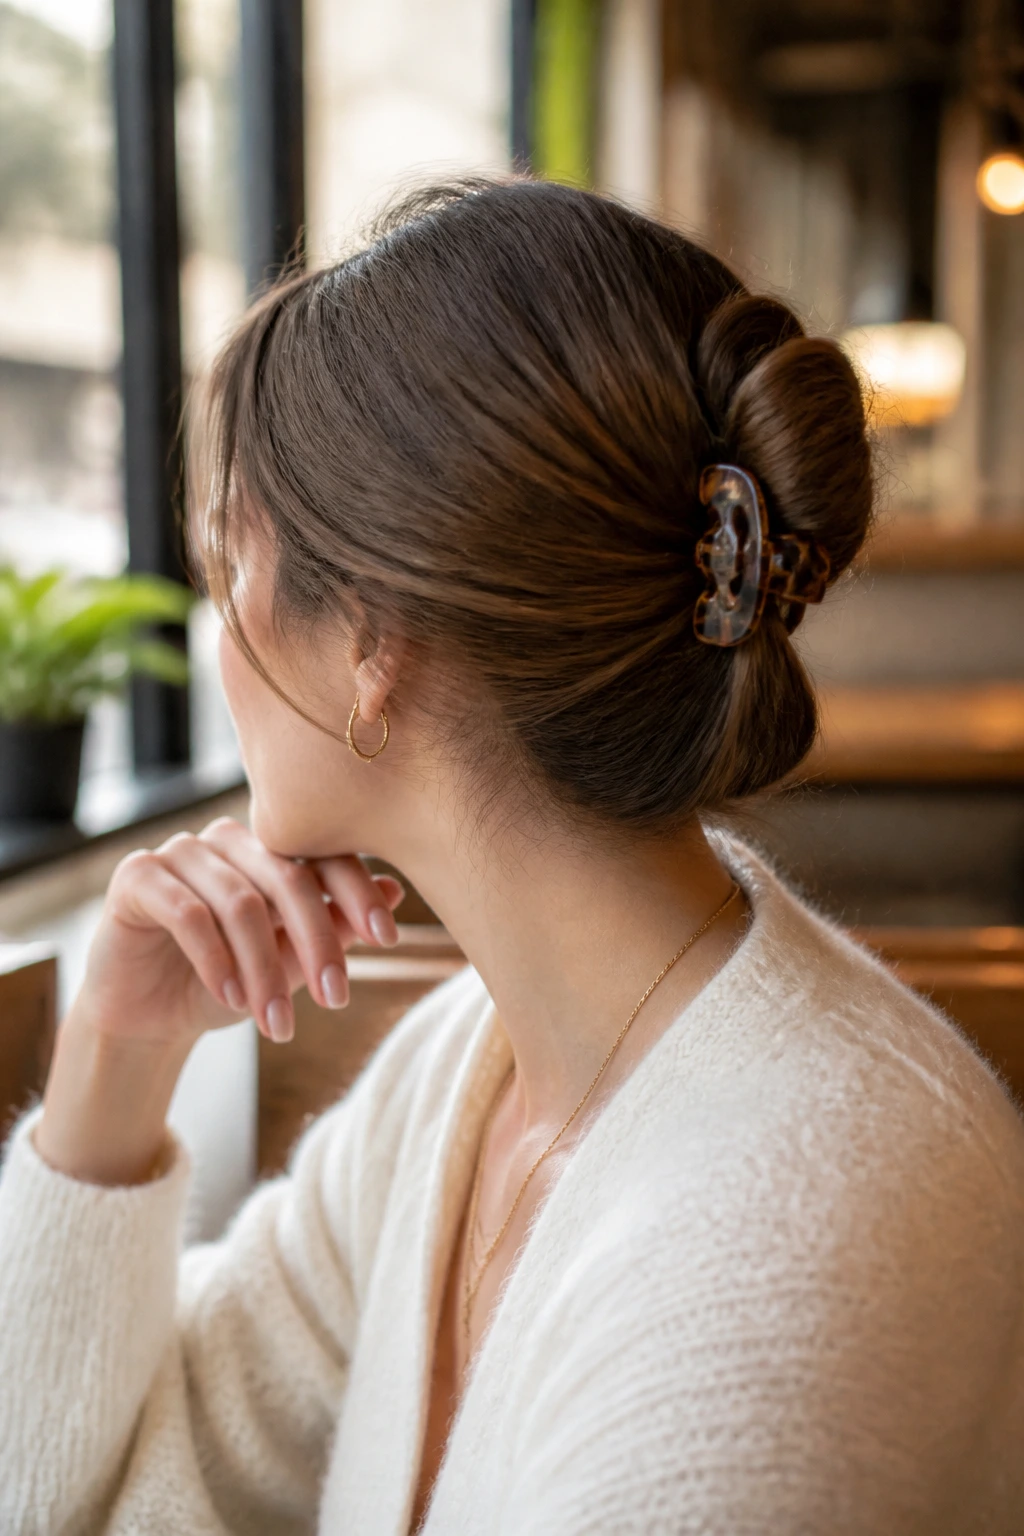
A claw-clip low bun feels modern without needing a lot of work. It’s the kind of style that can go from coffee run to dinner if the clip is solid and the twist underneath is neat.
Use a medium clip, not an oversized one that sits like a joke on top of the hair. Gather the length low, twist it upward, and fold the ends under the clip. If the clip is decorative, let that be the only ornament. Too many pieces fighting for attention make the whole look messy.
20. Asymmetrical Chignon
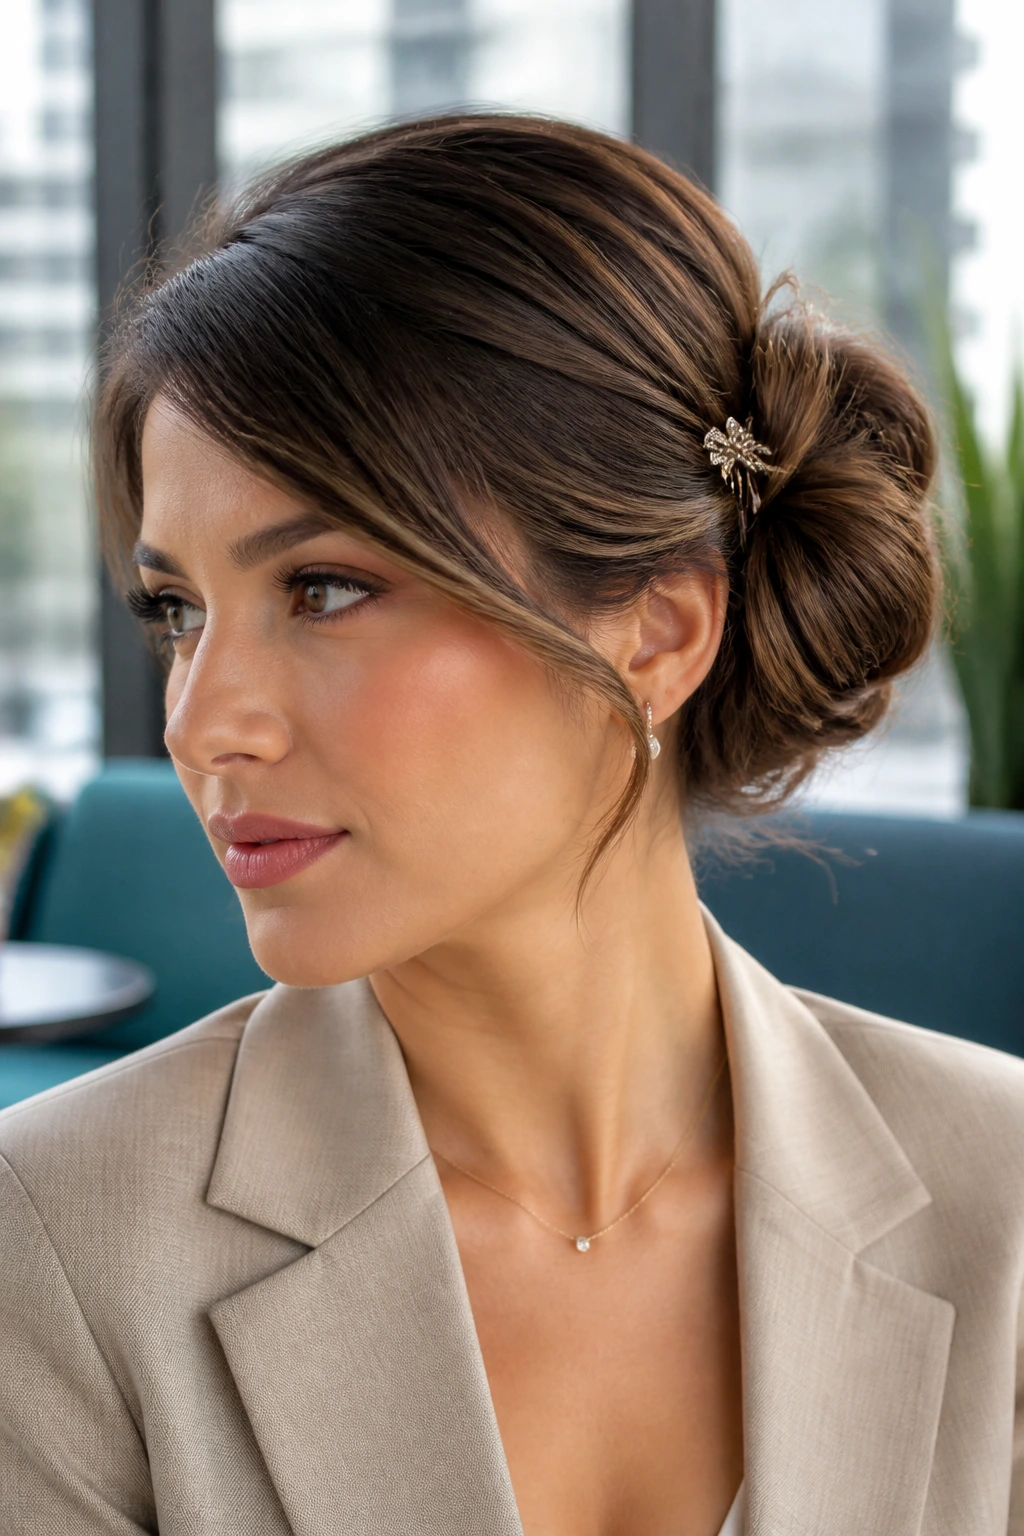
An asymmetrical chignon sits slightly off center, and that small shift gives the style movement. It feels less formal than a centered knot but still polished enough for work, an event, or any outfit that needs a little edge.
The bun should look intentional from the front and even more interesting from the side. Keep one side a touch fuller, then use a pin or small comb to secure the curve. This is a good style when perfectly balanced hair feels too predictable. A slight tilt goes a long way.
21. Sleek Wet-Look Bun
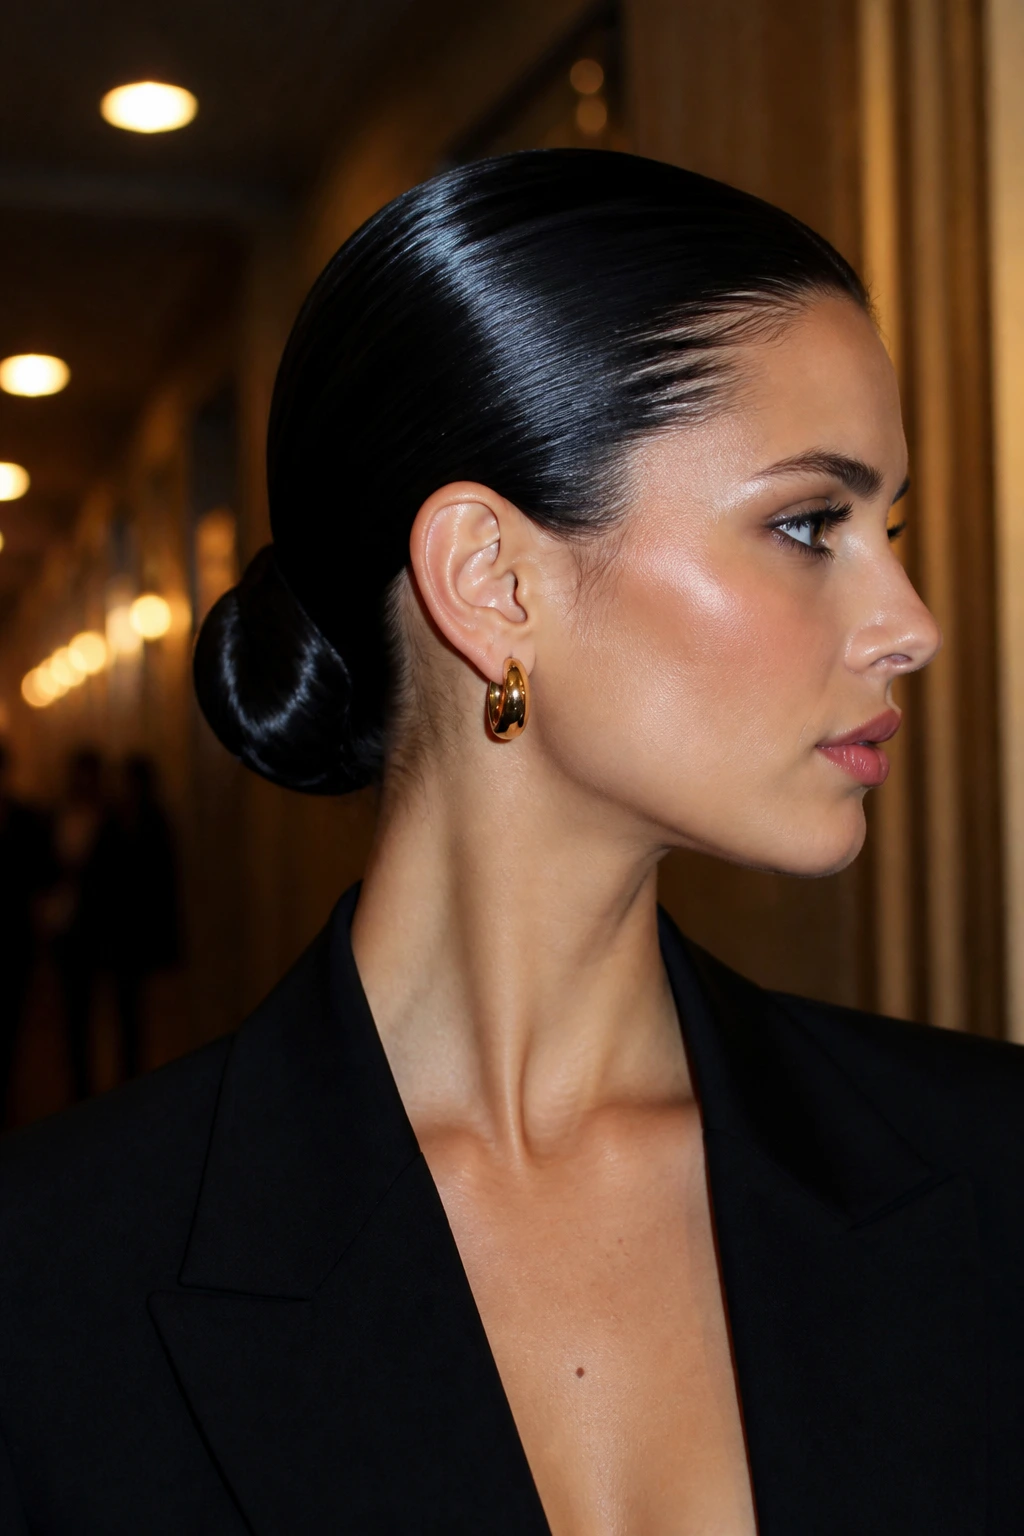
A wet-look low bun is not about being truly wet; it’s about shine, density, and a combed-through finish that looks deliberate. Gel at the roots, shine serum through the surface, and a tight nape placement give the style its sharp edge.
This one needs commitment. Once the hair is combed back, avoid touching it with dry fingers or the surface will start to break up. It looks strongest with simpler clothes — a slip dress, a clean blazer, a black top with a strong neckline. The bun becomes part of the outfit, not just the hair.
22. Crown-Volume Low Bun
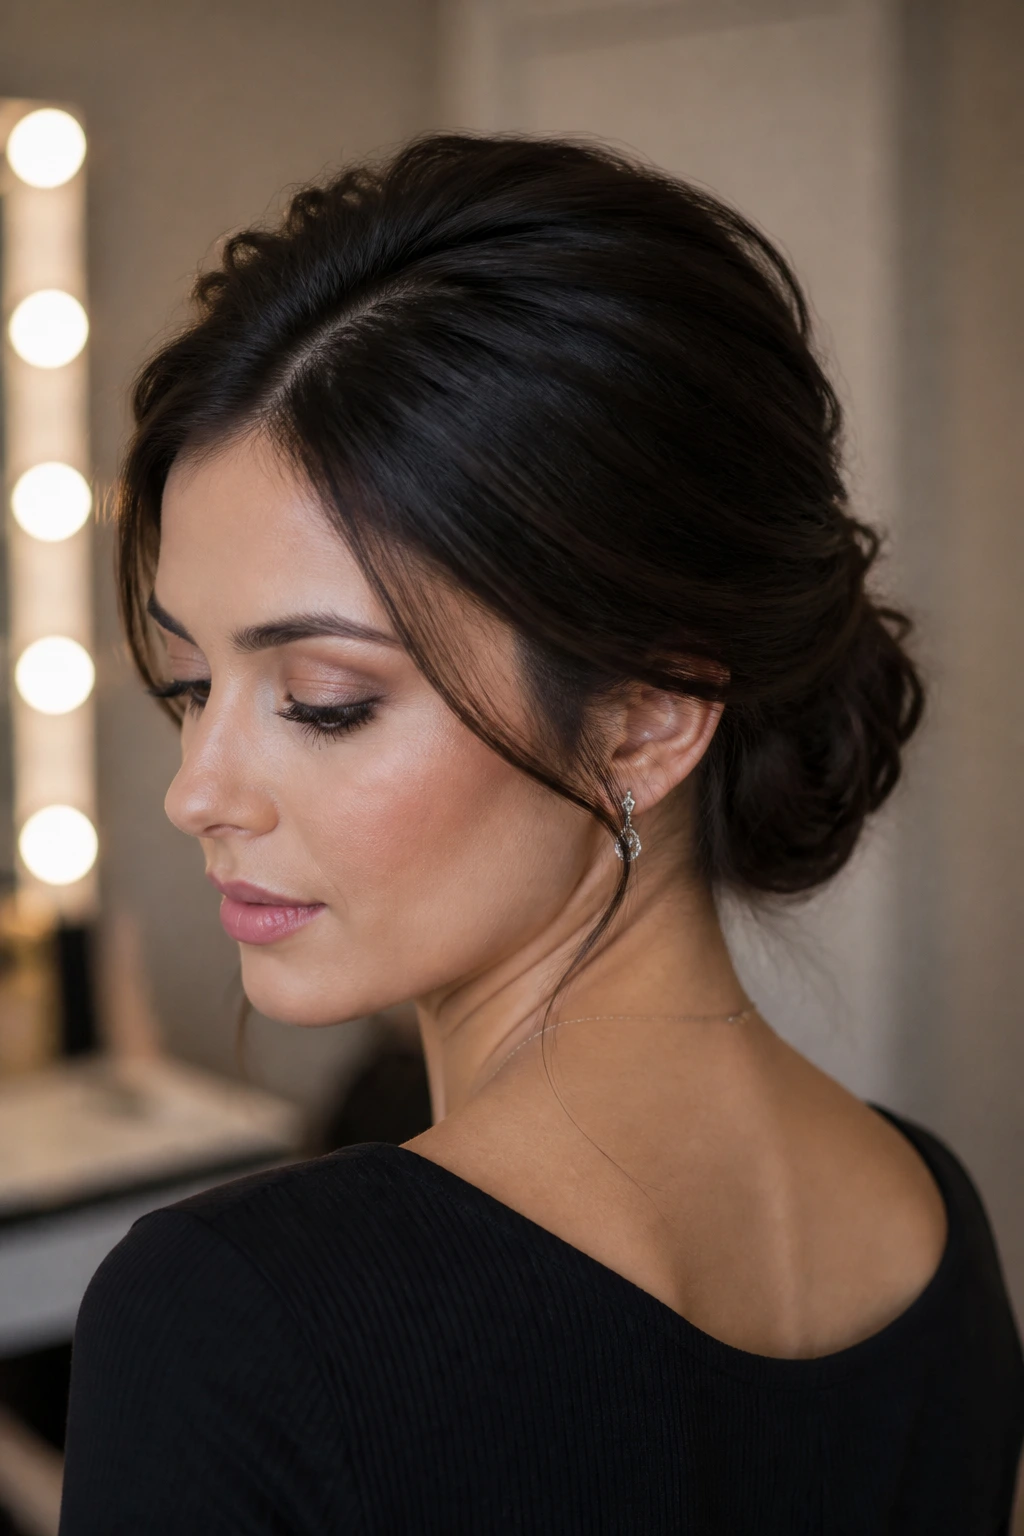
A little lift at the crown can keep a low bun from collapsing into the head. The shape becomes more flattering when the top has a soft rise, especially if your face is long or your hair is naturally flat at the roots.
Tease the crown lightly from underneath, then smooth the top layer so the lift stays invisible. The bun itself can remain compact. That contrast is what makes the style read as elegant instead of puffy. Too much volume at the top, and it starts to feel dated. Keep the lift restrained.
23. Donut-Wrapped Low Bun
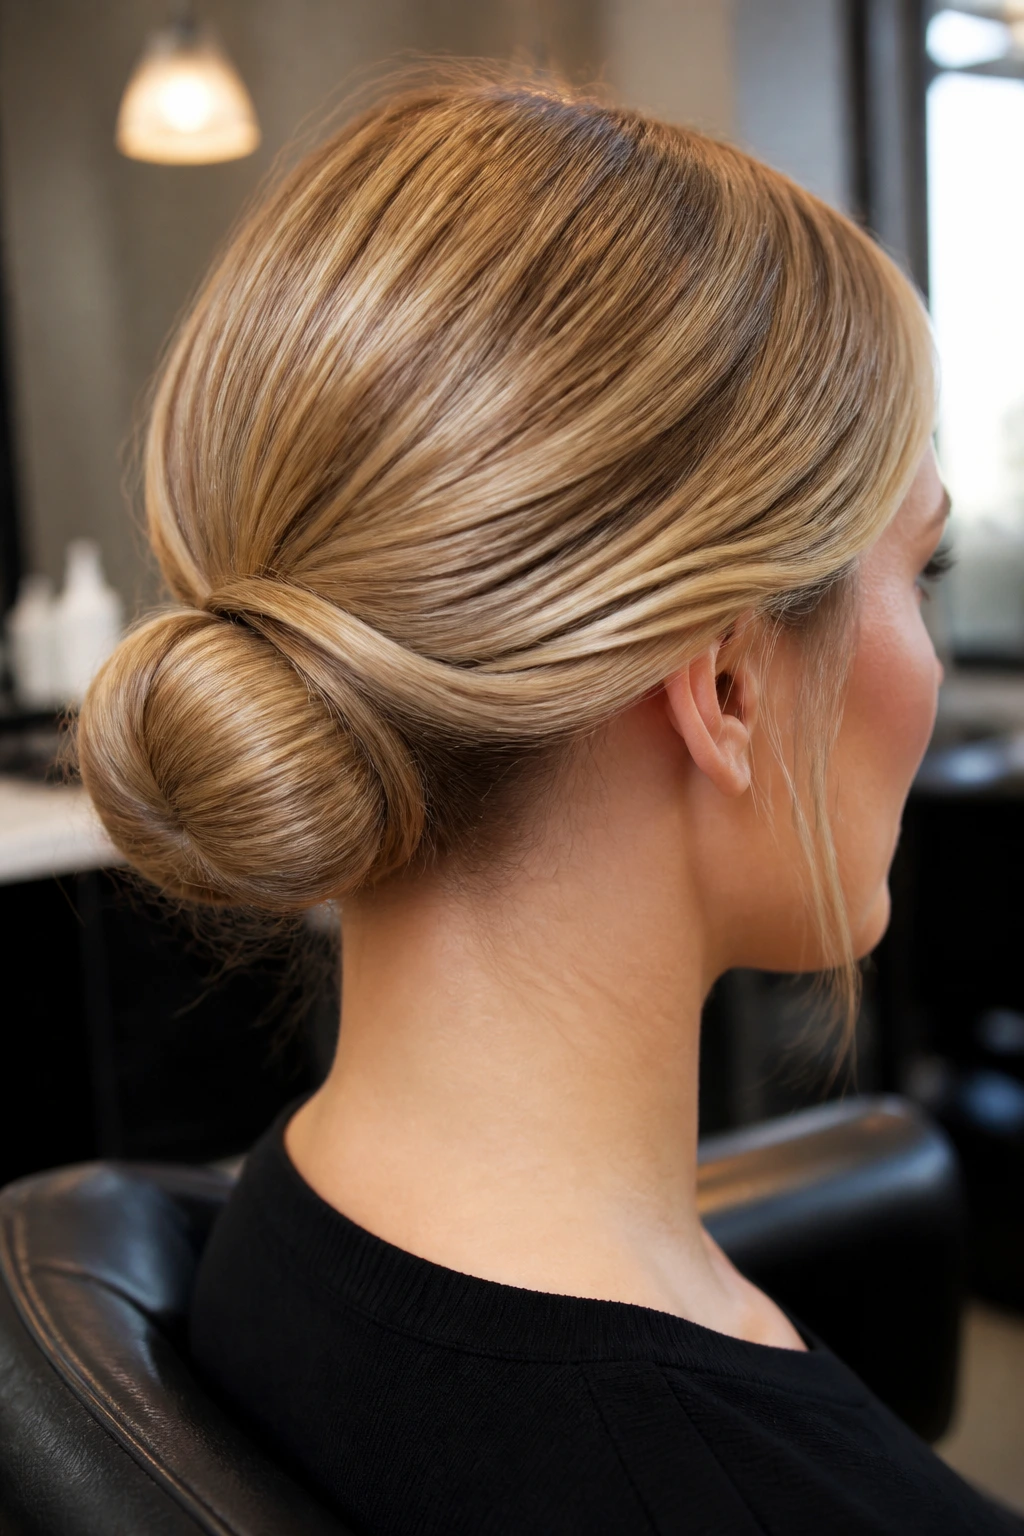
A small bun donut is the easiest way to make thin hair look fuller without building a giant knot. The hair wraps around the form, and the bun gets a clean, rounded shape that holds well and looks tidy.
I like to hide the donut completely so the shape looks natural rather than padded. Match the donut size to the amount of hair you actually have. A form that’s too big makes the bun look fake; one that’s too small won’t give enough lift. When it fits right, the result is tidy and dependable.
24. Looped Knot Low Bun
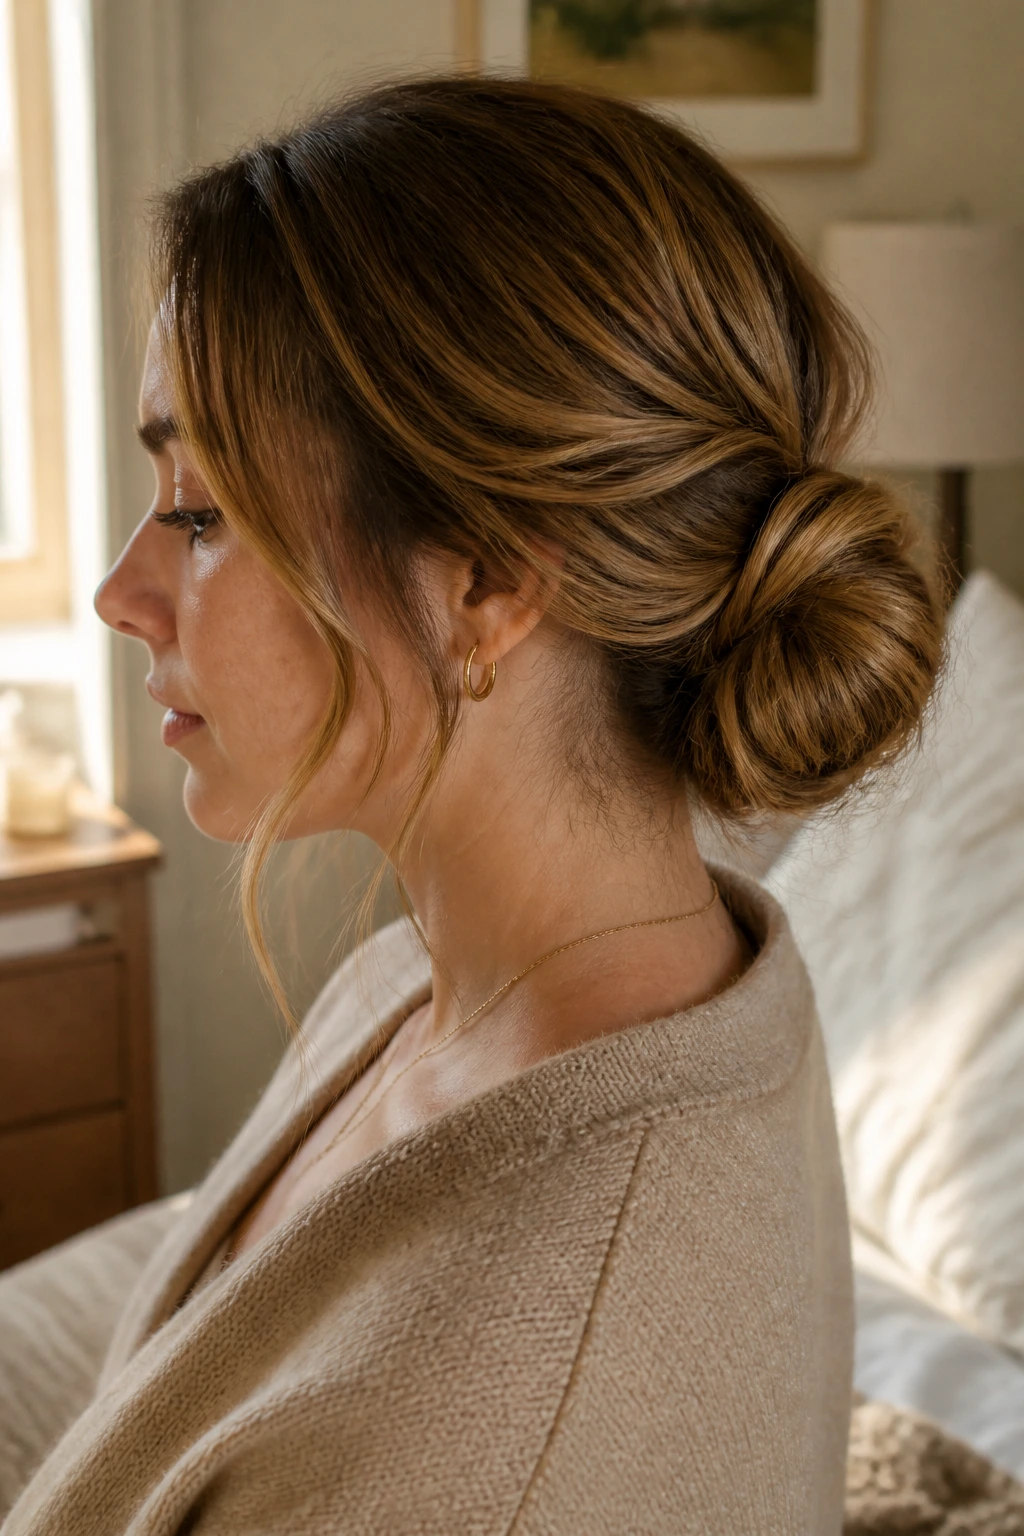
A looped knot bun feels slightly sculptural. Instead of twisting the ends all the way through, you fold them into a loop and pin the ends under, which creates a shape with a little air in it.
That little bit of air matters. It keeps the bun from becoming a hard ball and gives the style a more relaxed line. This version works well when you want something elegant but not overly polished. Keep the loops even, or the bun can start to lean in a way that looks accidental.
25. Braided Halo Low Bun
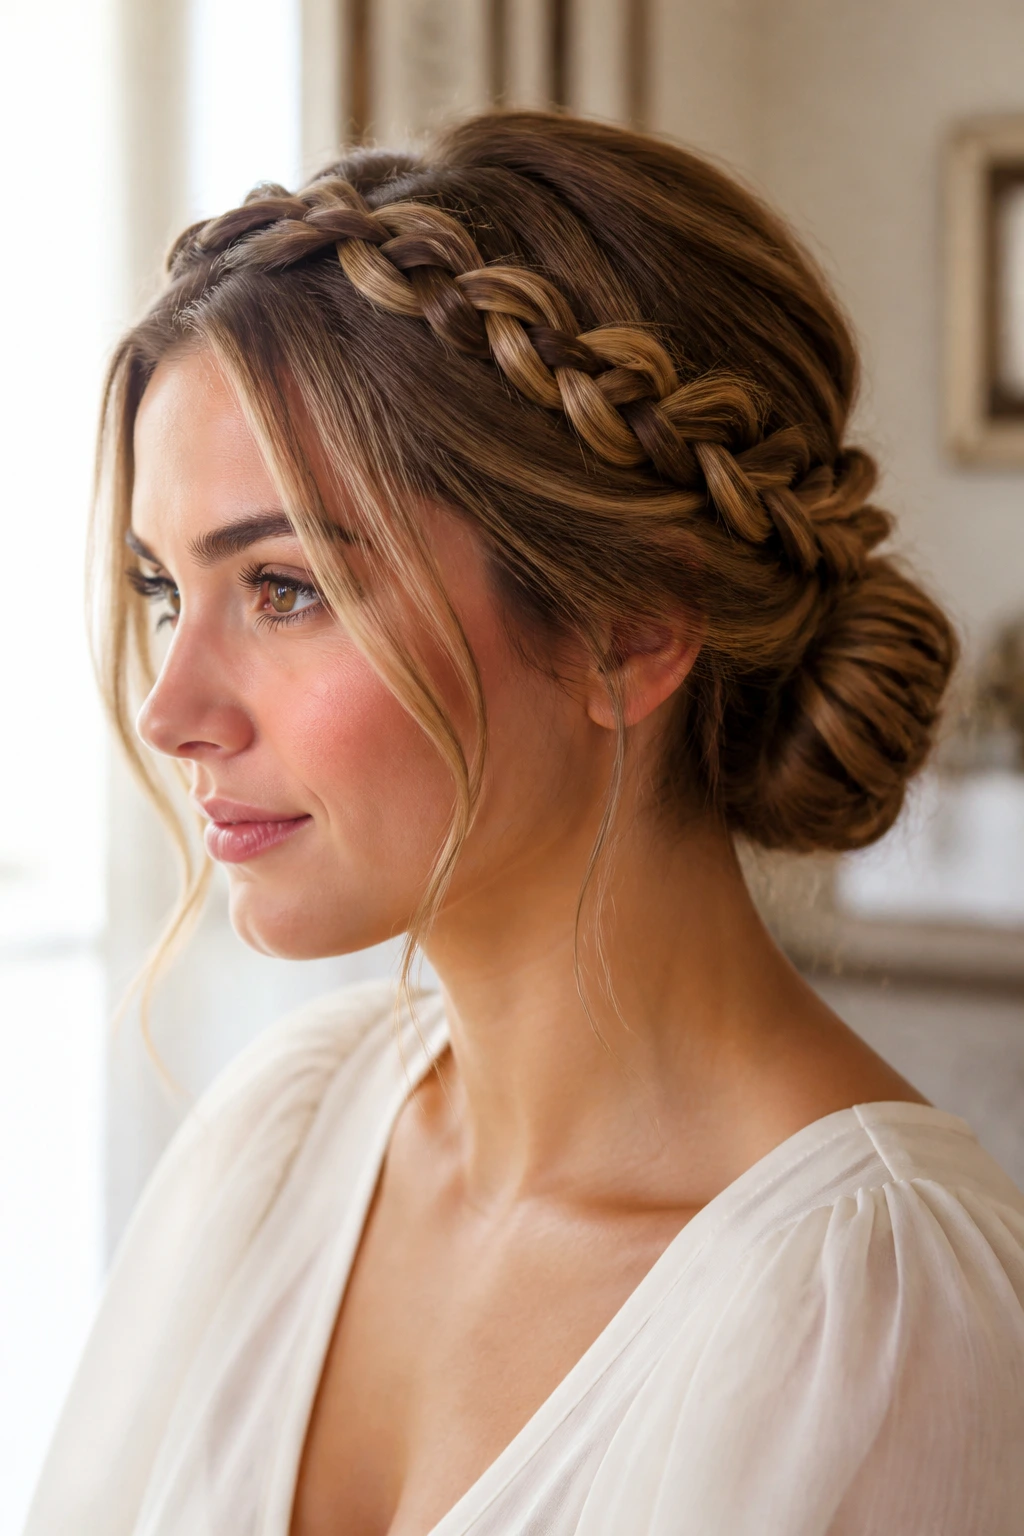
A braided halo feeding into a low bun has a soft regal quality. The braid curves along the hairline or crown, then disappears into the nape knot, which lets the front stay controlled without looking severe.
This is a smart pick if you want the face framed but not crowded. The braid also helps hide shorter layers near the front. If your hair has texture, let it show. A braid that looks a little lived-in tends to sit better than one pulled tight enough to scrape the scalp.
26. Bubble-Ponytail Bun
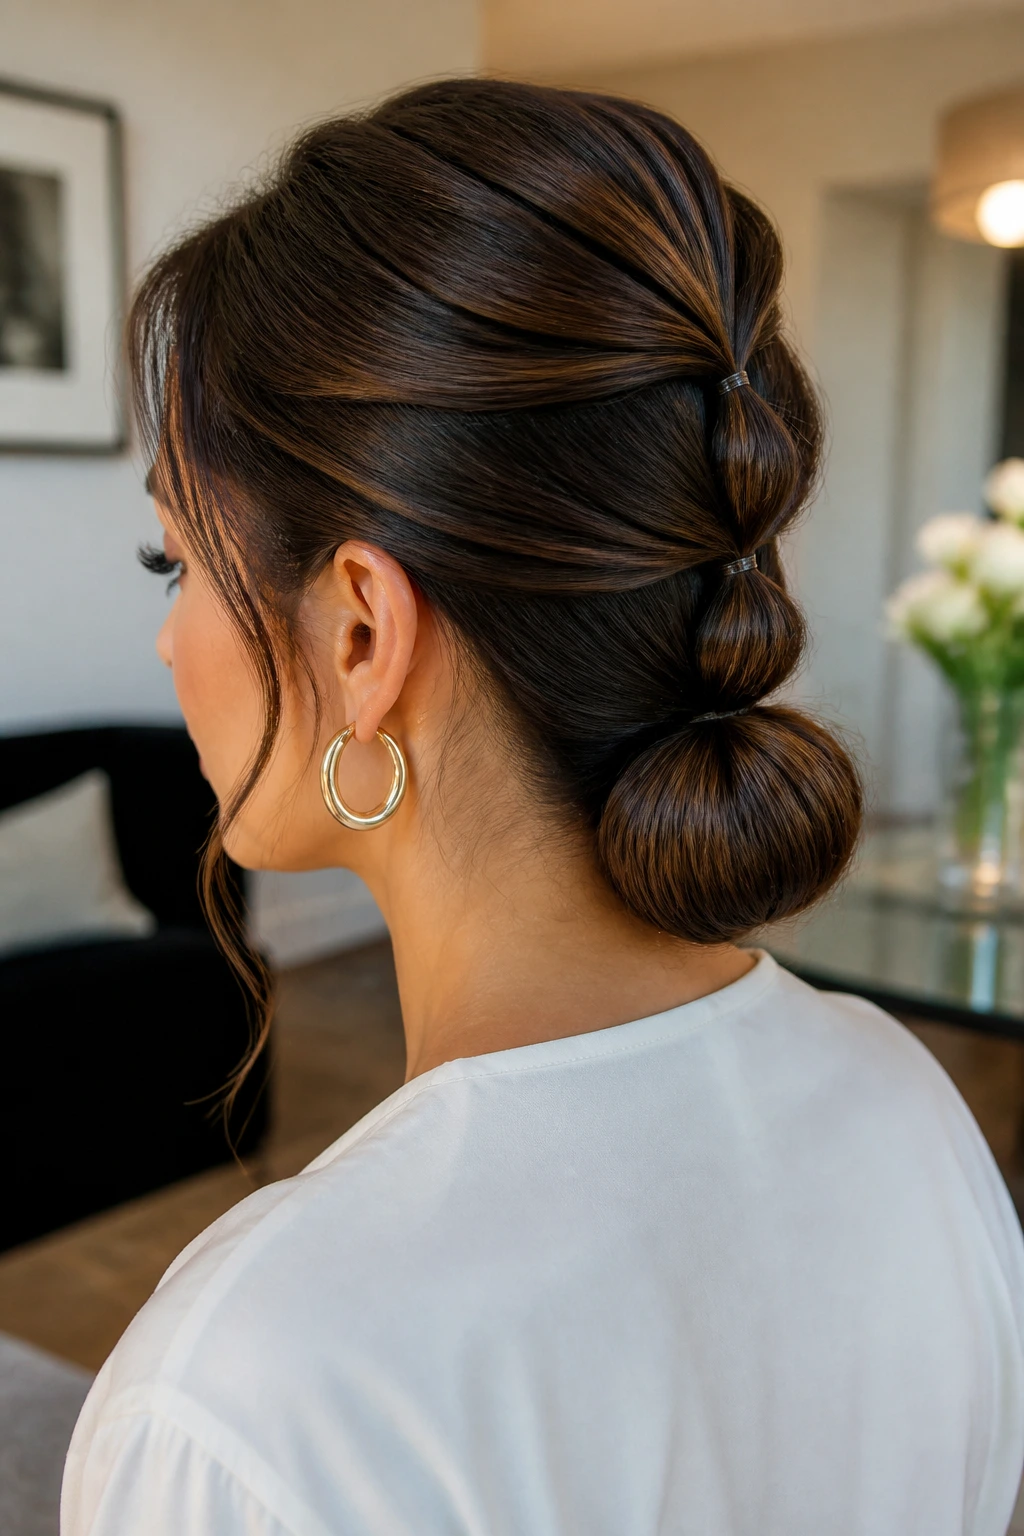
A bubble ponytail that ends in a bun gives the style a little sculptural edge. Section the tail with small elastics first, puff each segment slightly, then wrap the length into a low bun.
It’s a good choice for long, thick hair because the bubbles break up the weight. The style feels playful, but the bun at the base keeps it grounded. If you want the look to stay elegant, keep the bubbles small and even. Huge bubbles move the style away from low bun territory fast.
27. Faux Low Bun for Short Hair
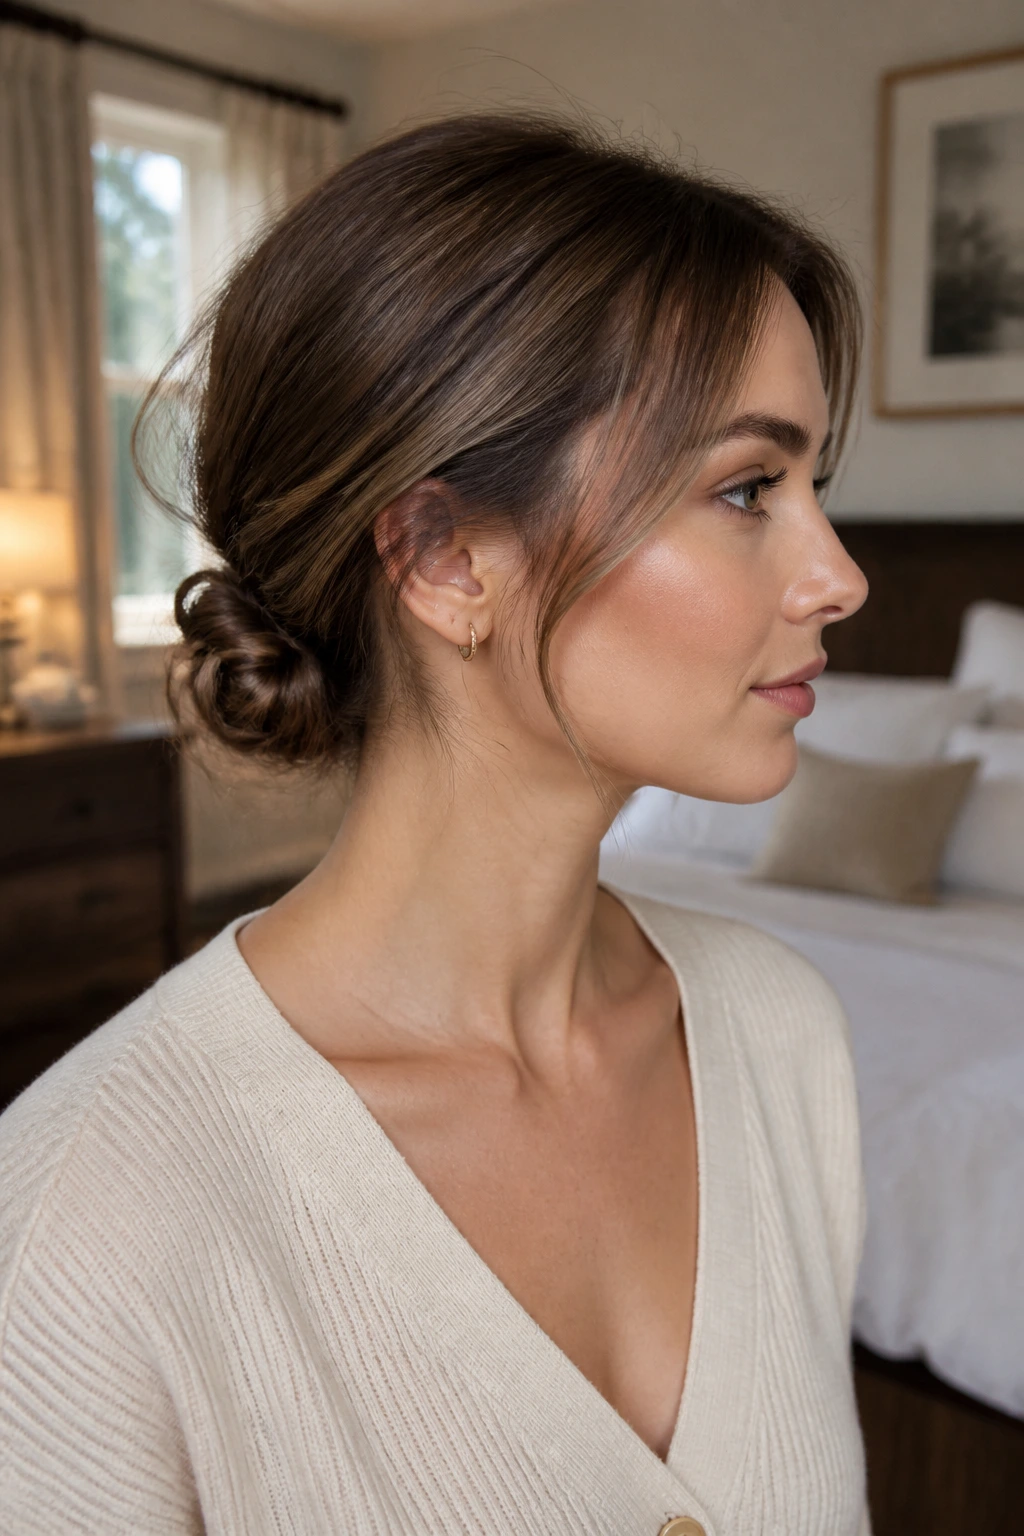
Short hair can still fake a low bun if the ends are tucked, twisted, and pinned where the length disappears. The trick is to stop trying to force the hair into a full knot and instead build a compact shape that looks intentional from the outside.
Use texturizing spray first so the pins have something to grab. Then twist sections inward and pin them flat against the nape. If you have a lob or shoulder-length cut, this style is especially useful. It gives the look of an updo without needing the length of a classic bun.
28. Thick-Hair Anchor Bun
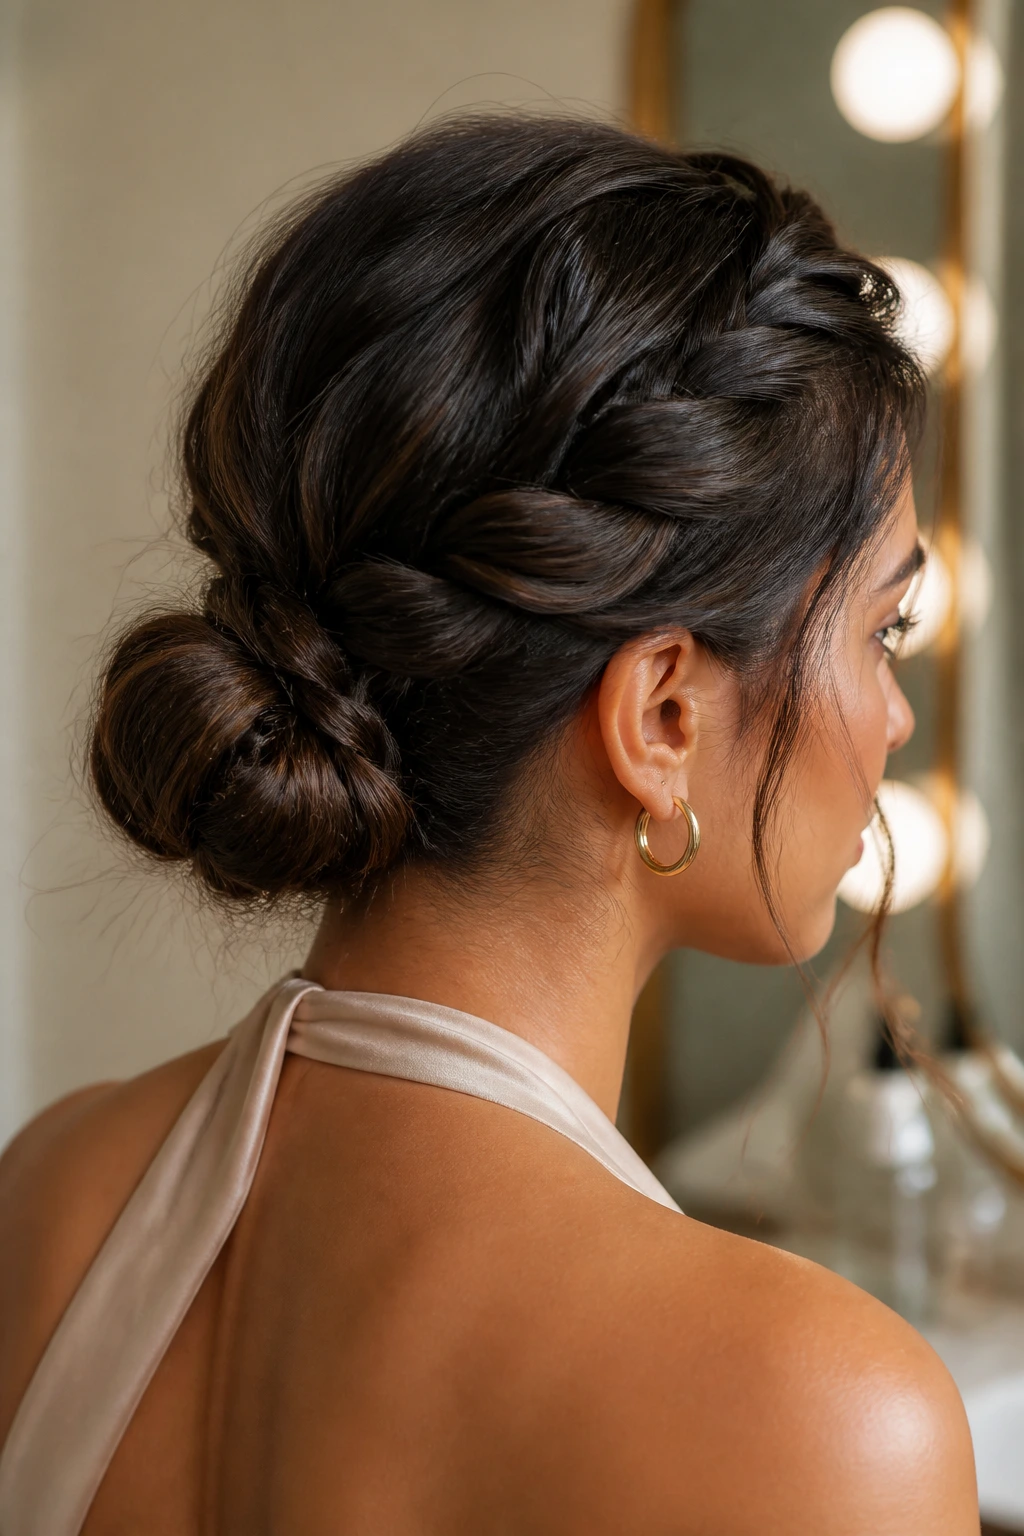
Thick hair needs a different kind of patience. If you try to cram all the length into one twist, the bun can sit too heavy and slide down by afternoon.
Split the hair into two or three sections and anchor each one separately before folding them into the bun. Use strong elastics and more pins than you think you need. The goal is not a tiny bun; it’s a stable one. Thick hair looks best when the shape can breathe a little instead of being forced flat.
29. Fine-Hair Lifted Bun
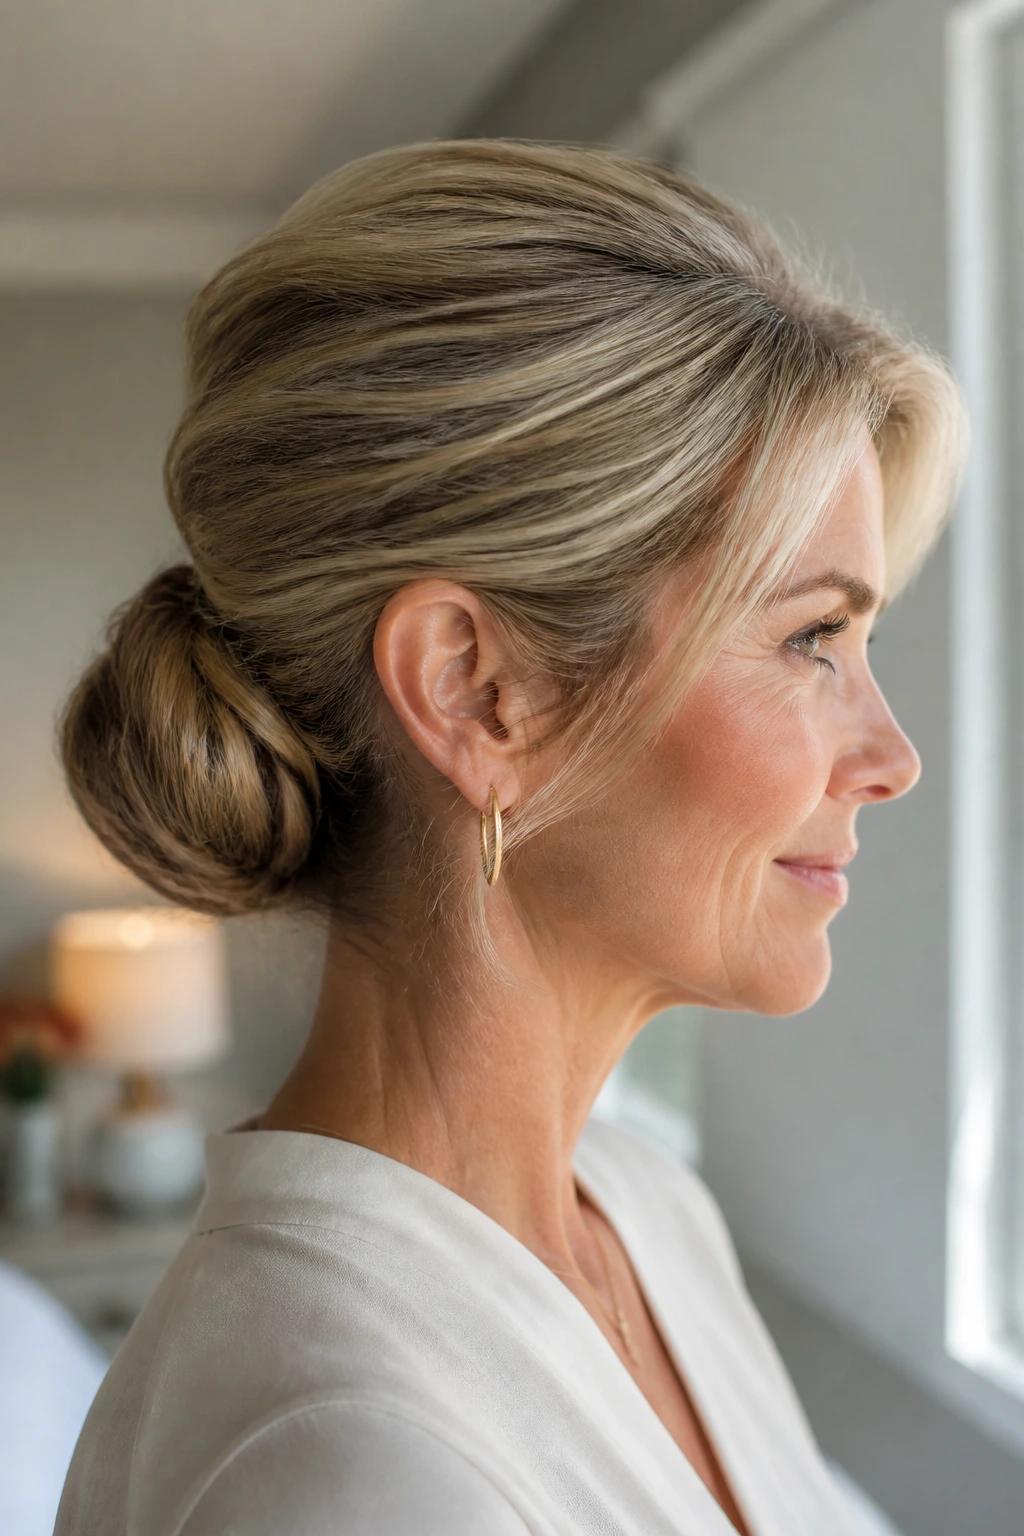
Fine hair needs lift, not over-compression. A slick bun with no texture can look smaller than you want, so a little volume at the crown and a slightly fuller wrap around the base help the style read cleaner and more substantial.
Mousse at the roots and a light dusting of dry shampoo give fine hair the grip it needs. Don’t chase perfect smoothness. A bit of movement at the surface is kinder to the hair and better for the shape. A small donut can help here, but only if it stays hidden.
30. Curly-Hair Low Bun
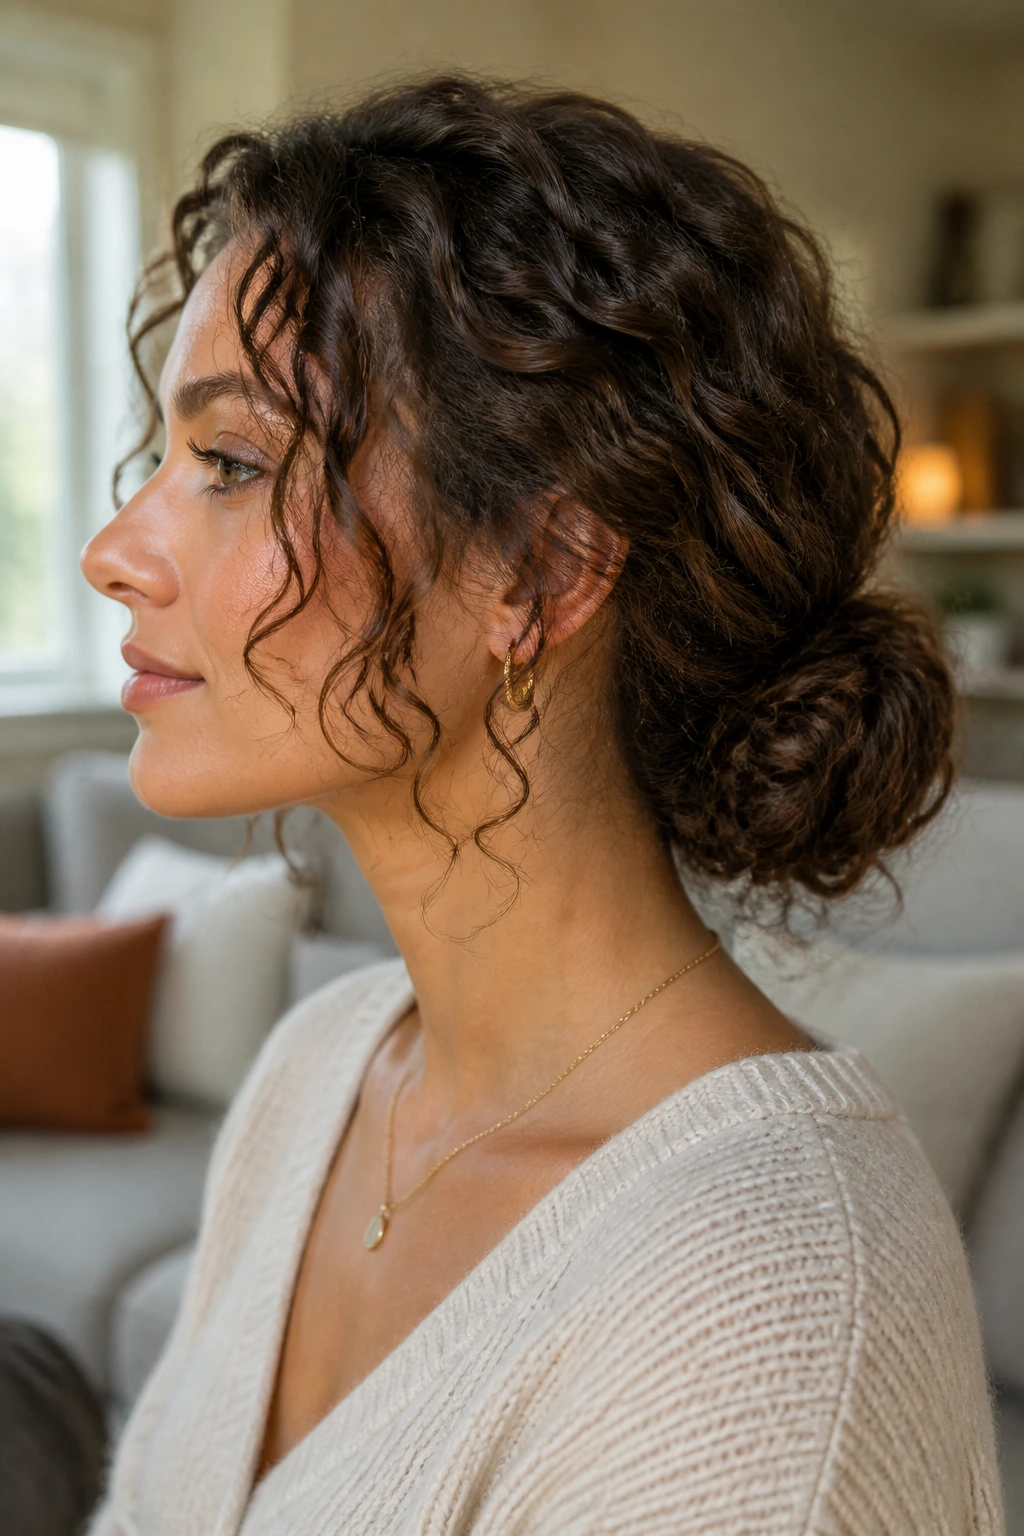
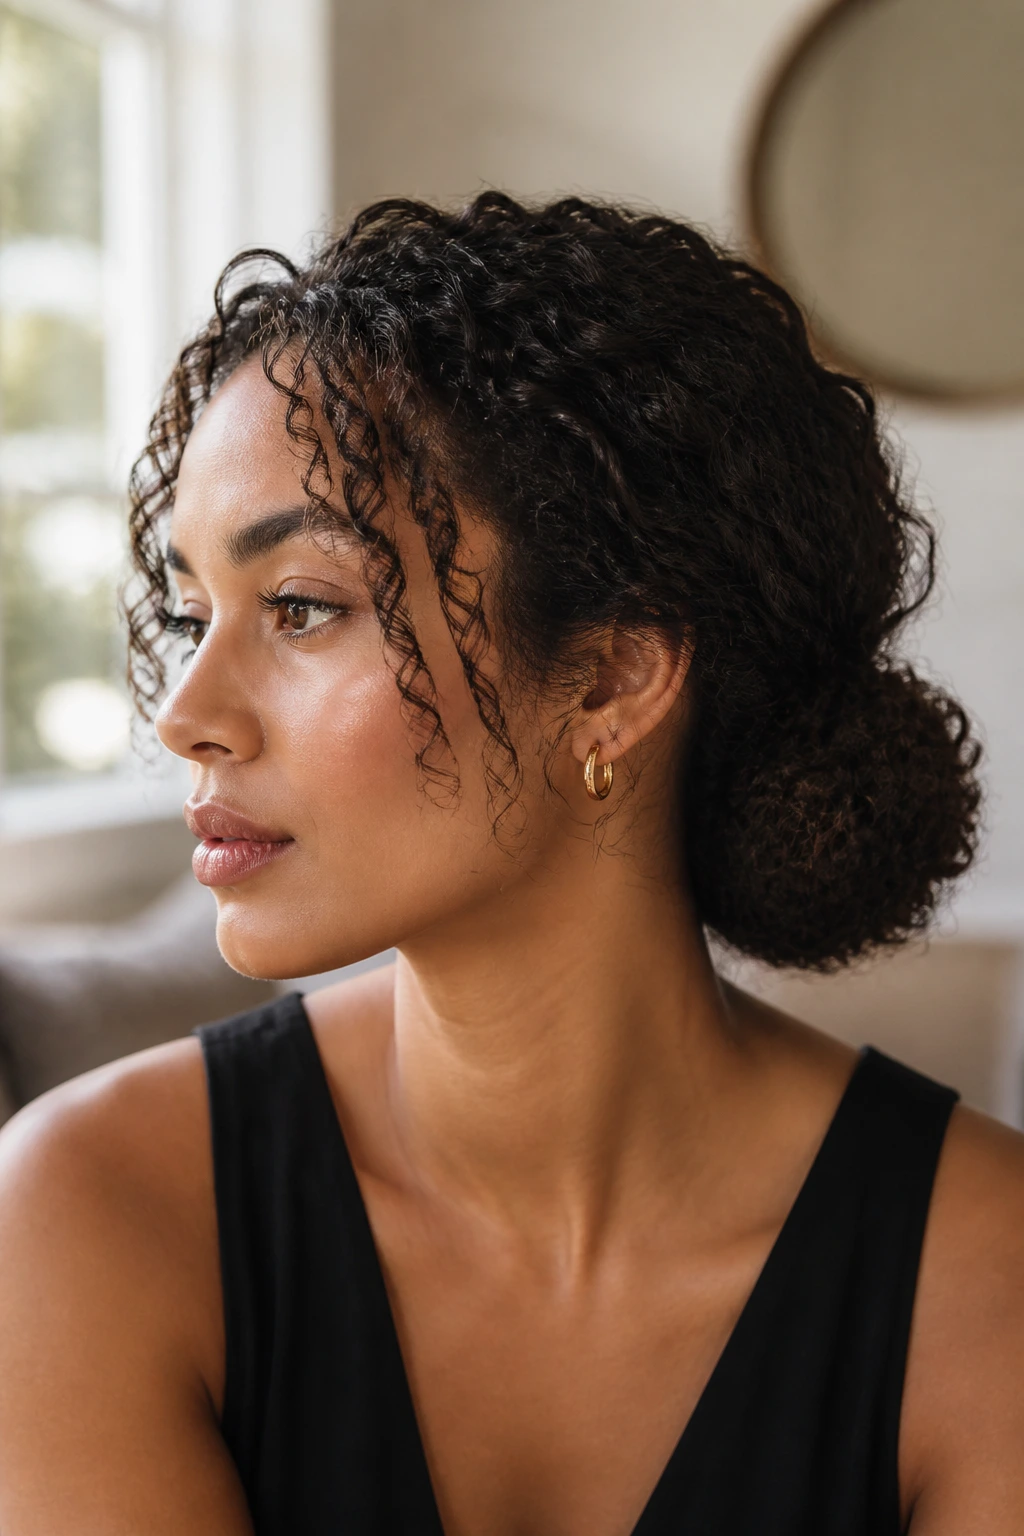
Curly hair makes a low bun feel rich and dimensional when you let the curl pattern stay visible. Don’t brush everything into submission. That usually leads to puffing at the crown and frizz at the edges.
Instead, define the curls first with cream or gel, then gather them low with your fingers. Pin the bun where the coils naturally want to sit. A few curls around the ears or nape can soften the shape beautifully. The best low bun on curly hair still looks like curly hair, just arranged with more intention.
31. Coily Natural-Hair Low Bun
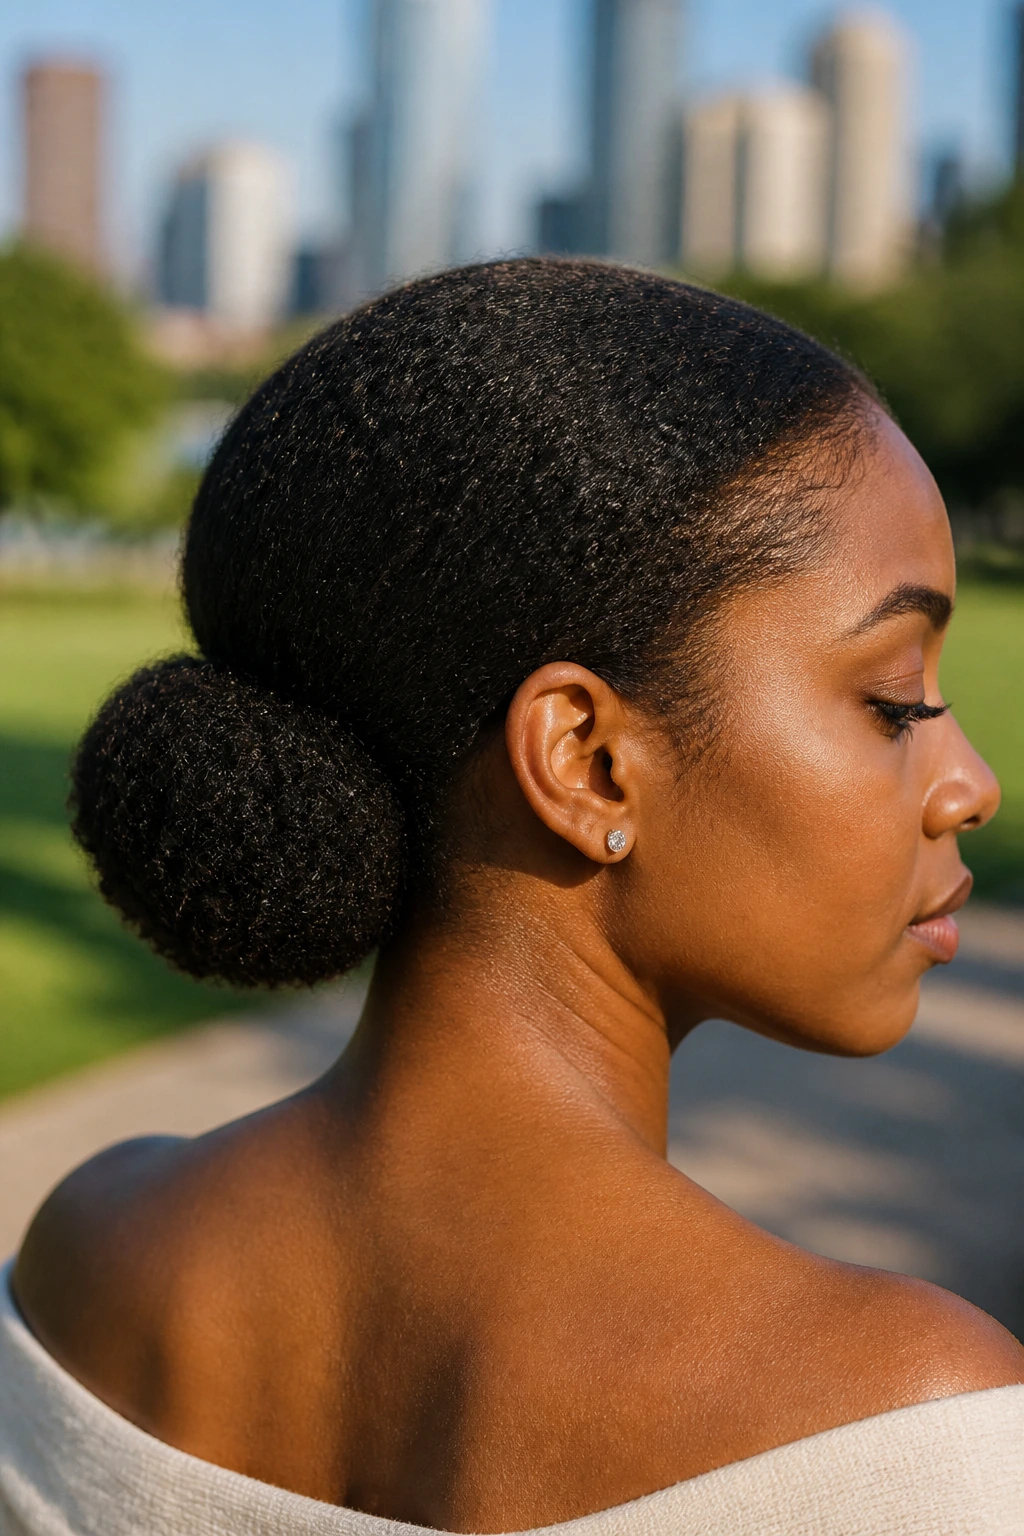
Coily hair can make a low bun look full, sculpted, and strong without much extra padding. The style works best when the hair is moisturized, stretched just enough to handle, and secured with care so the coils don’t get flattened in the wrong spots.
A low puff-bun hybrid often looks nicest here. Smooth the sides lightly, gather the hair at the nape, and shape the coils into a compact form. A little edge control around the hairline can clean up the finish, but do not overdo it. The style should stay soft enough that the texture still reads.
32. Wedding-Ready Low Bun
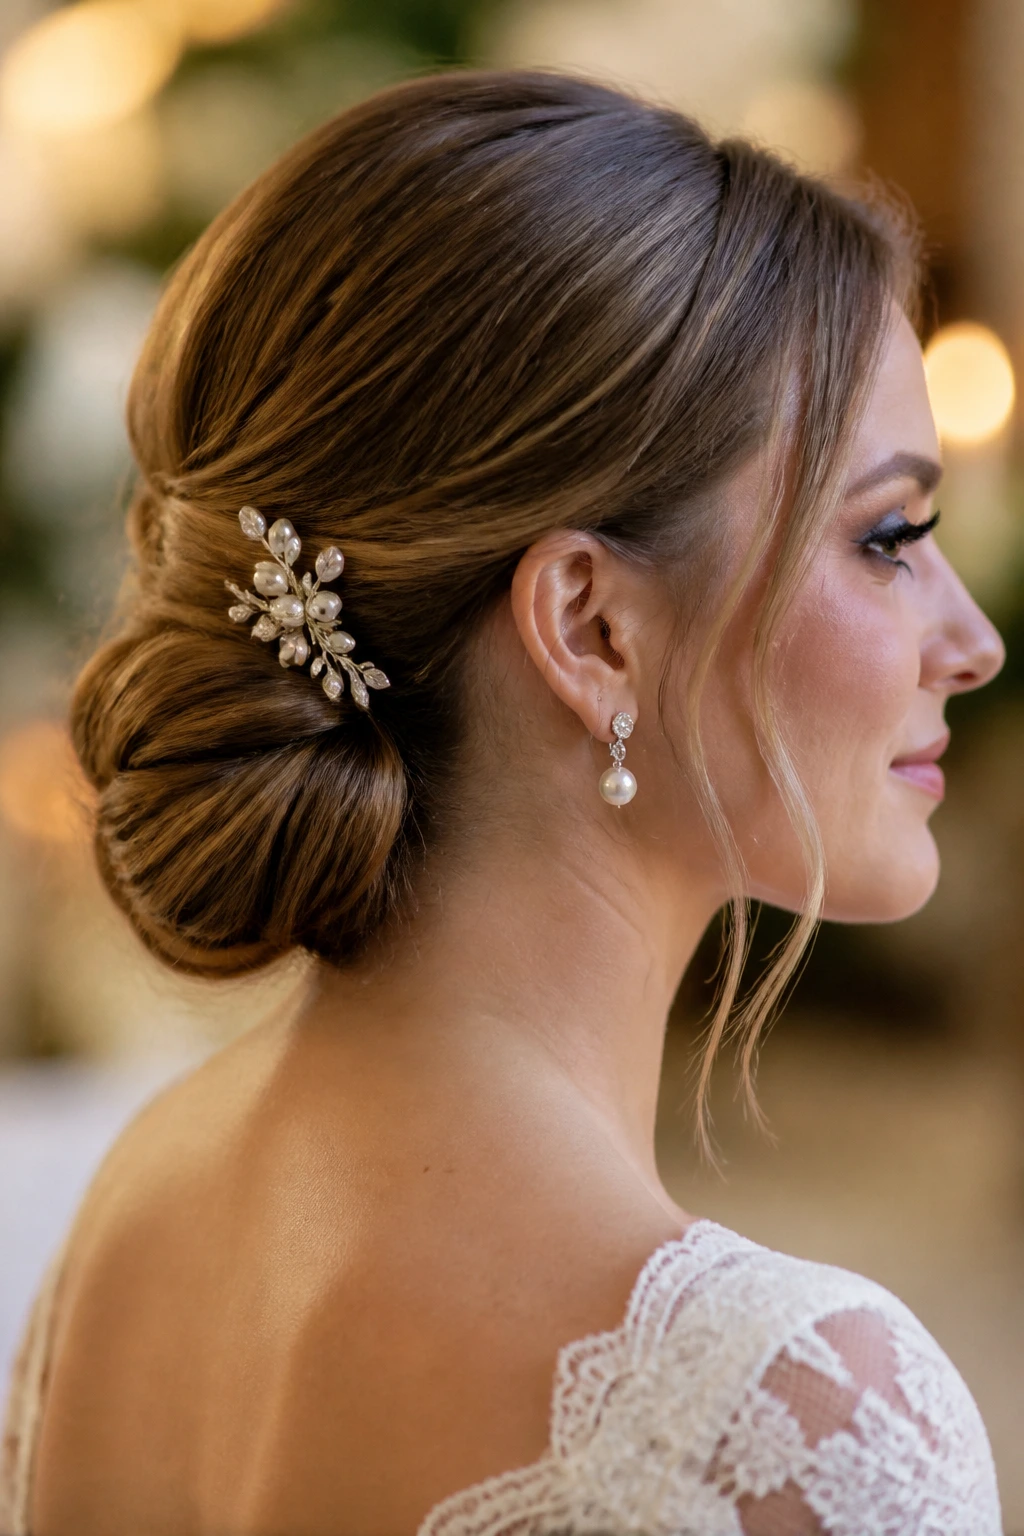
A wedding-ready low bun usually lives in the details. The base is secure, the surface is polished, and the accessory — a pin, comb, or veil placement — feels integrated instead of added at the last minute.
This version needs a trial run if the event matters. Note how the bun sits after an hour, not just when you first pin it. I like a low bun for weddings because it leaves room for earrings and keeps the neckline visible, especially with lace, satin, or strapless shapes. Nothing about it should look rushed.
33. Office-Ready Low Bun
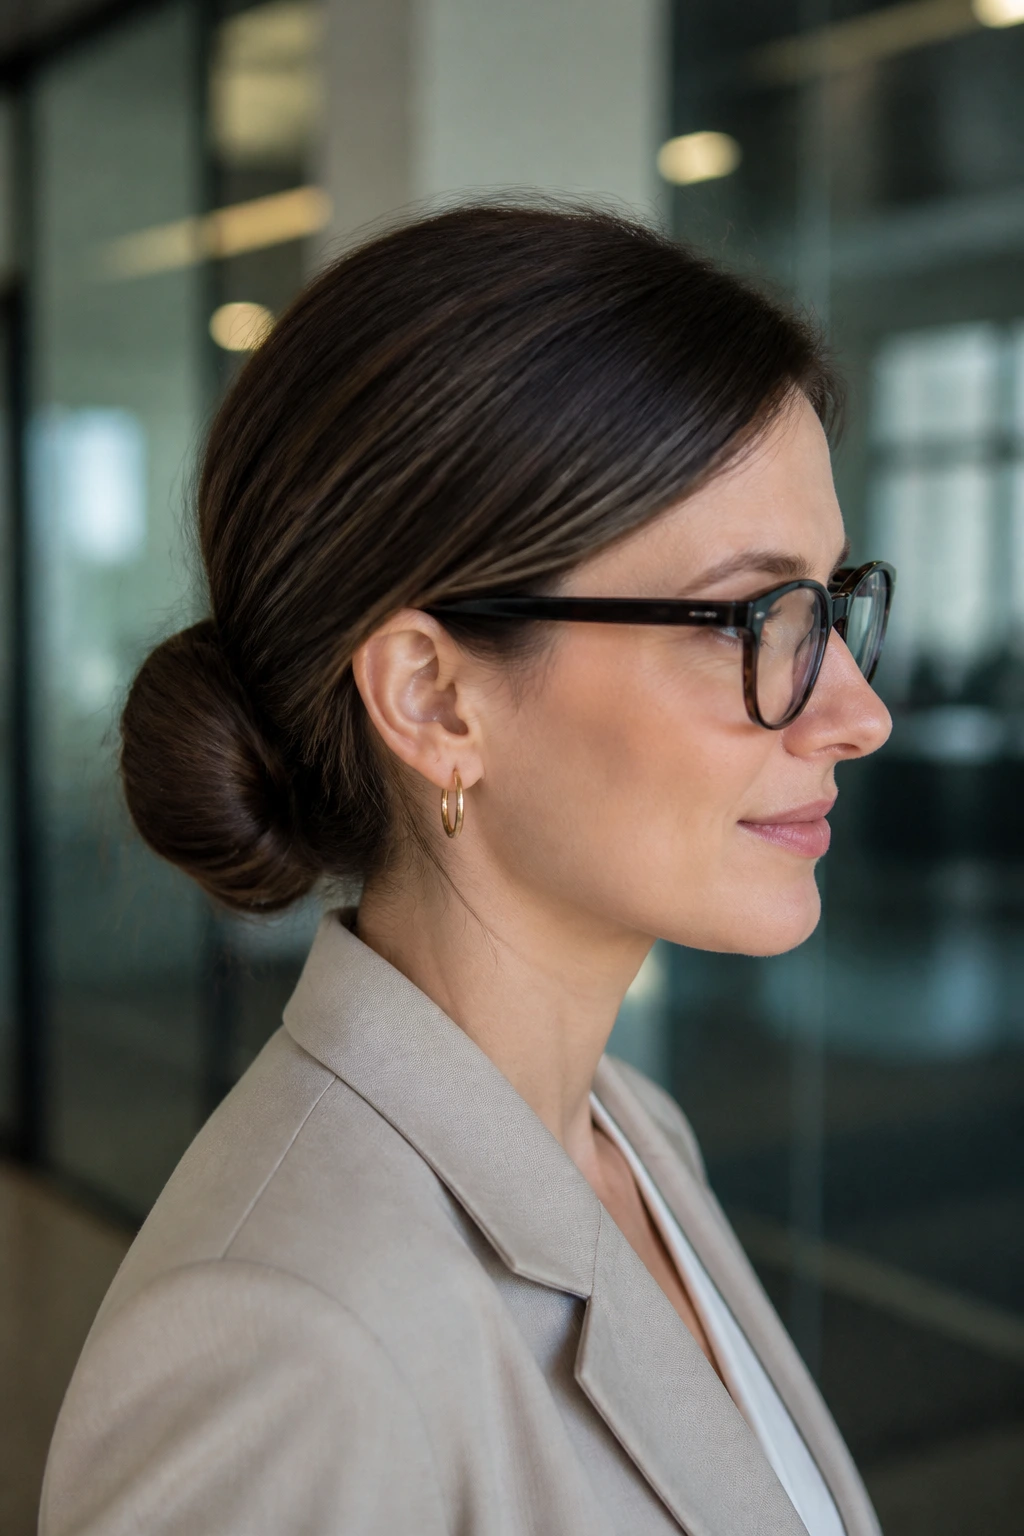
An office low bun should look composed without looking severe. Too much shine can read stiff; too much looseness can look like you gave up halfway through. The sweet spot is a tidy shape with a little softness at the edges.
A side part or soft center part both work here. Keep the bun secure but not over-pulled, and use a small amount of hairspray rather than a hard shell of product. If you wear glasses, this style is especially useful because it keeps the sides clean and out of the way without flattening the whole head.
34. Evening Low Bun
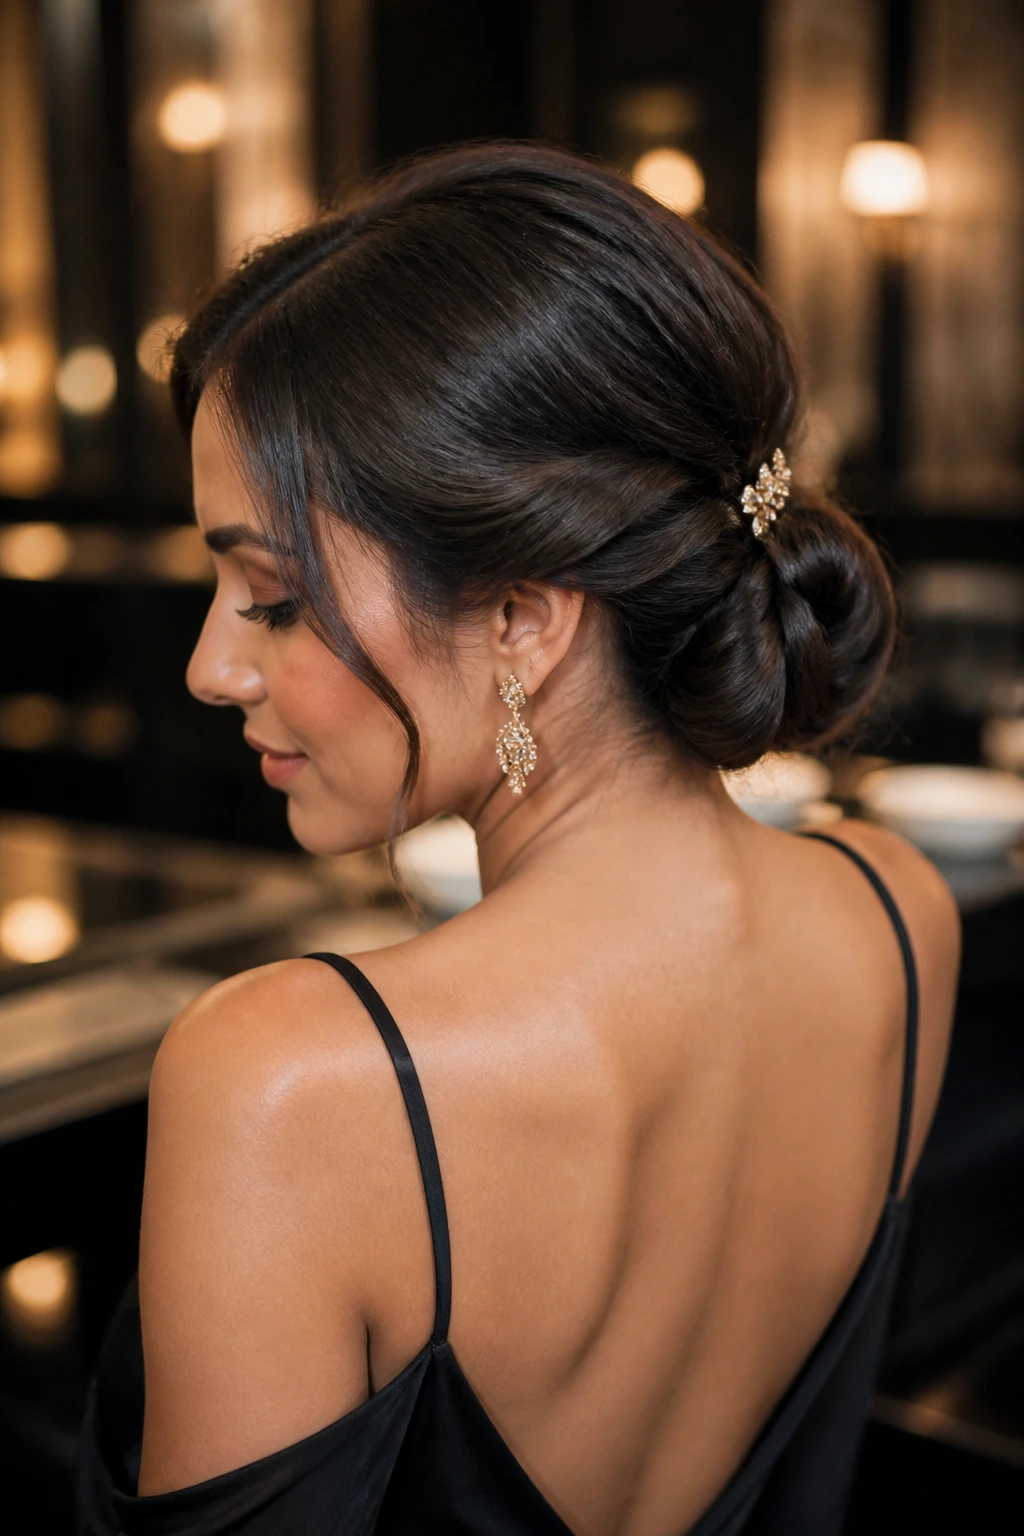
An evening low bun can carry more texture than a daytime version. A slight sweep, a polished twist, maybe one decorative pin — that’s usually enough. You want the hair to frame the outfit, not compete with it.
If the clothes already have shine or embellishment, keep the bun quieter. If the dress is simple, the bun can take on a little more shape or softness. I tend to think of this as the version where you allow one thing to be loose — either the front pieces, the twist, or the accessory. Never all three at once.
35. Humidity-Proof Low Bun
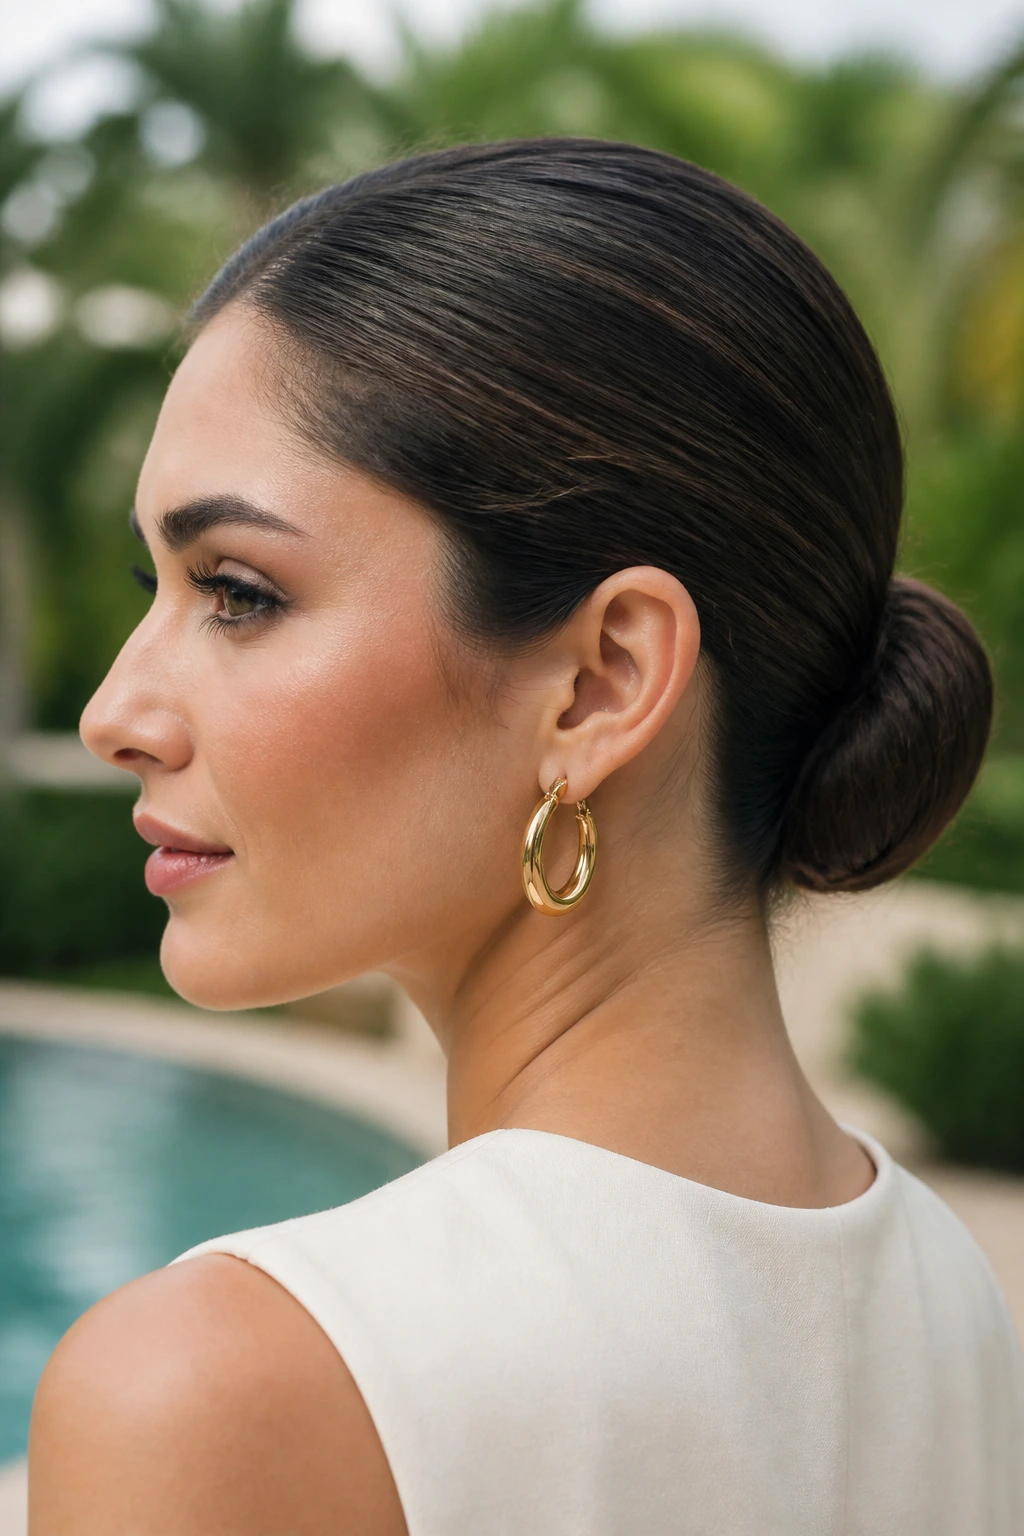
Humidity and low buns are not natural enemies, but they do need strategy. The style needs grip, a compact shape, and product that fights frizz without making the hair look sticky.
Start with anti-frizz cream on the mid-lengths, then use a braid or twist base so the style has texture to hold onto. A compact bun stays cleaner than a loose, airy knot in damp air. If the weather is rough, carry a few extra pins and a small travel spray. That tiny backup plan saves the look.
36. One-Minute Low Bun
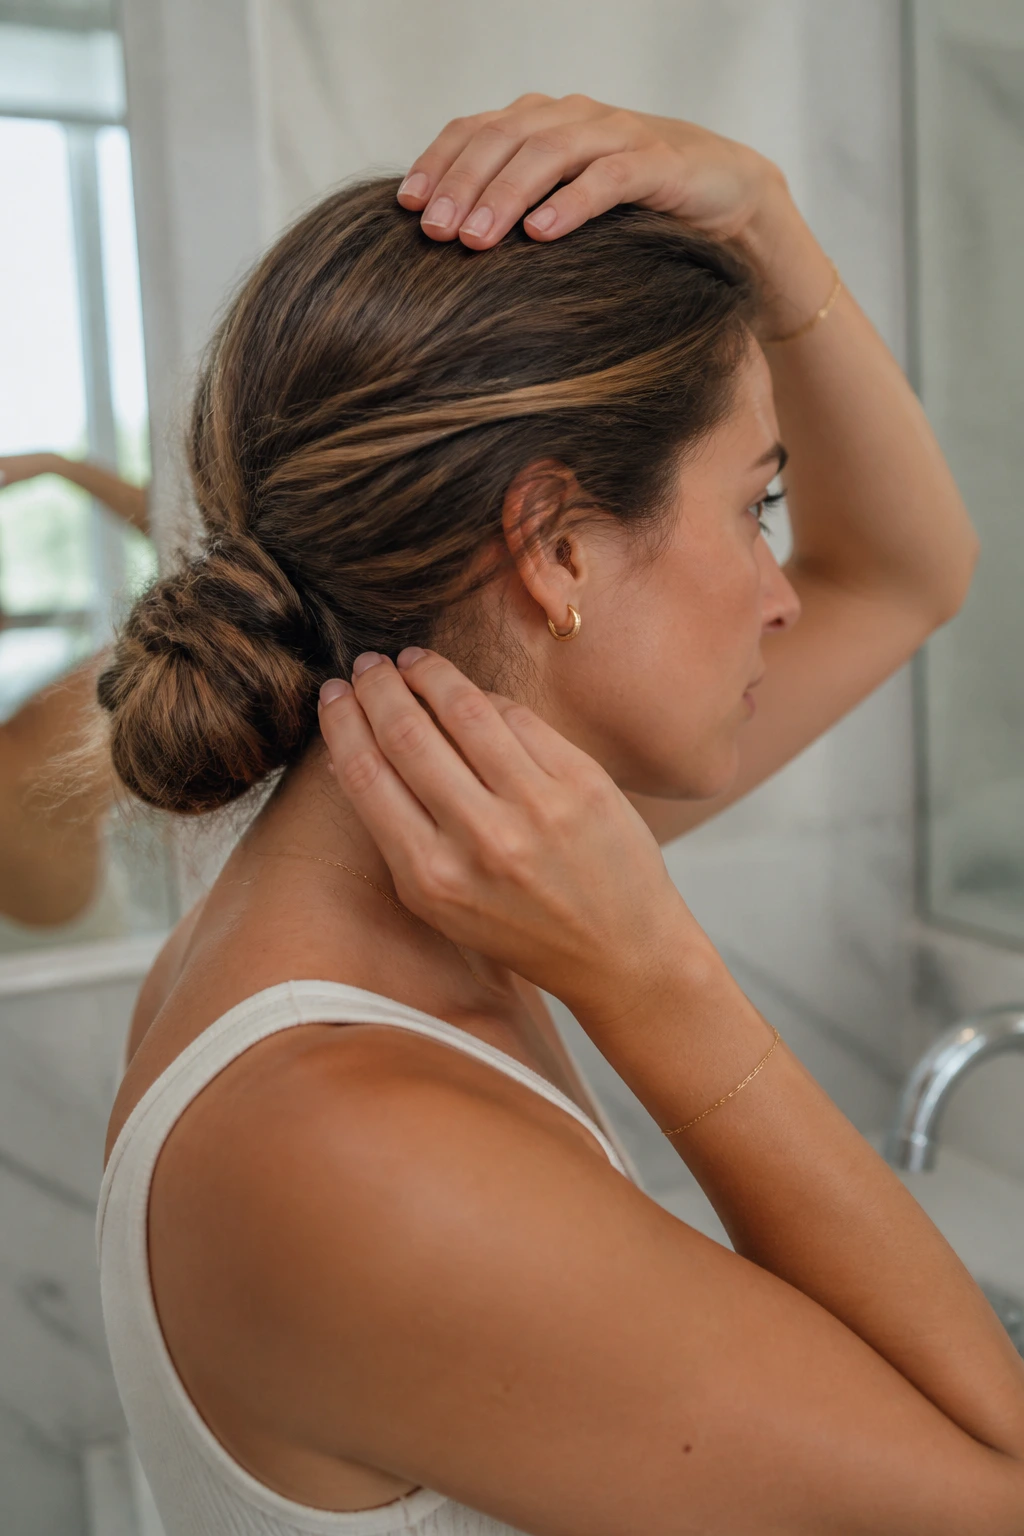
A one-minute low bun is not the prettiest version here, but it earns its place because it works under pressure. Twist the hair low, loop it once, pin it twice, and smooth the top with your hands. Done.
The key is accepting that this bun will look better when it’s slightly imperfect. If you try to make it too neat in sixty seconds, it starts falling apart. I like this as a backup style for mornings that run away from you or for that awkward hour before you can wash your hair. Fast does not have to look careless.
37. Curtain-Bang Low Bun
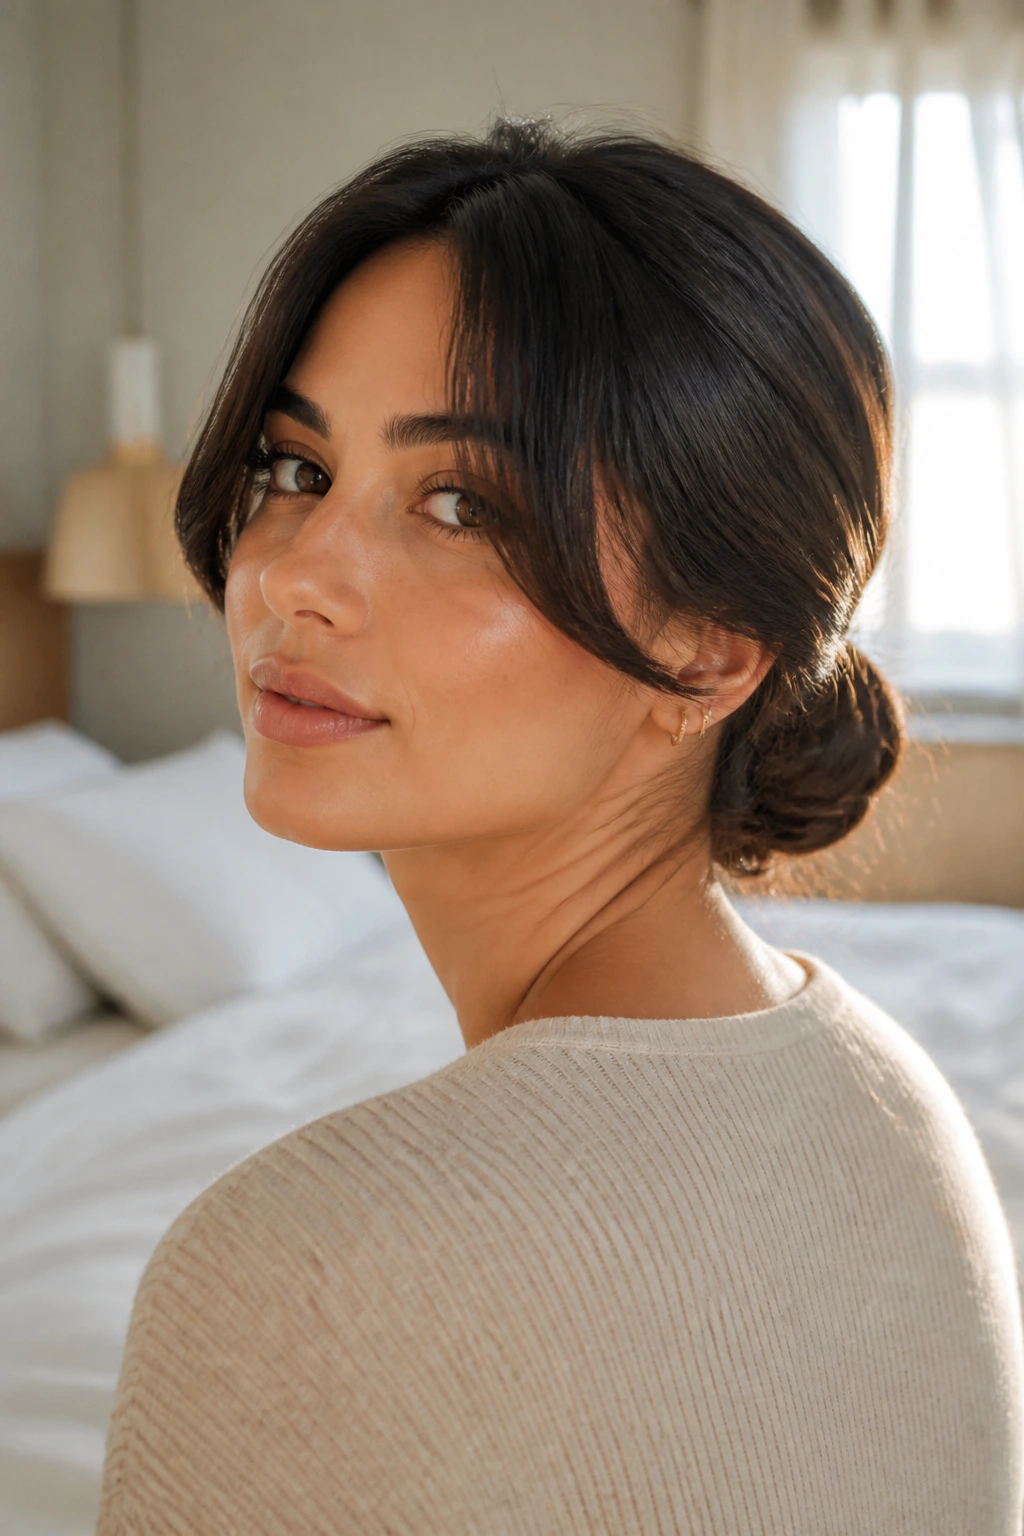
Curtain bangs take some of the work off the bun. The fringe already frames the face, so the bun can stay simple and quiet at the nape. That balance is what makes the style feel current without trying too hard.
The bangs need their own styling pass. Blow-dry them with a round brush or give them a soft bend so they sit away from the eyes instead of collapsing into the cheeks. Once that front shape is right, the bun can stay clean and low. The whole style looks finished because the fringe has a purpose.
38. Barrette-Swept Low Bun
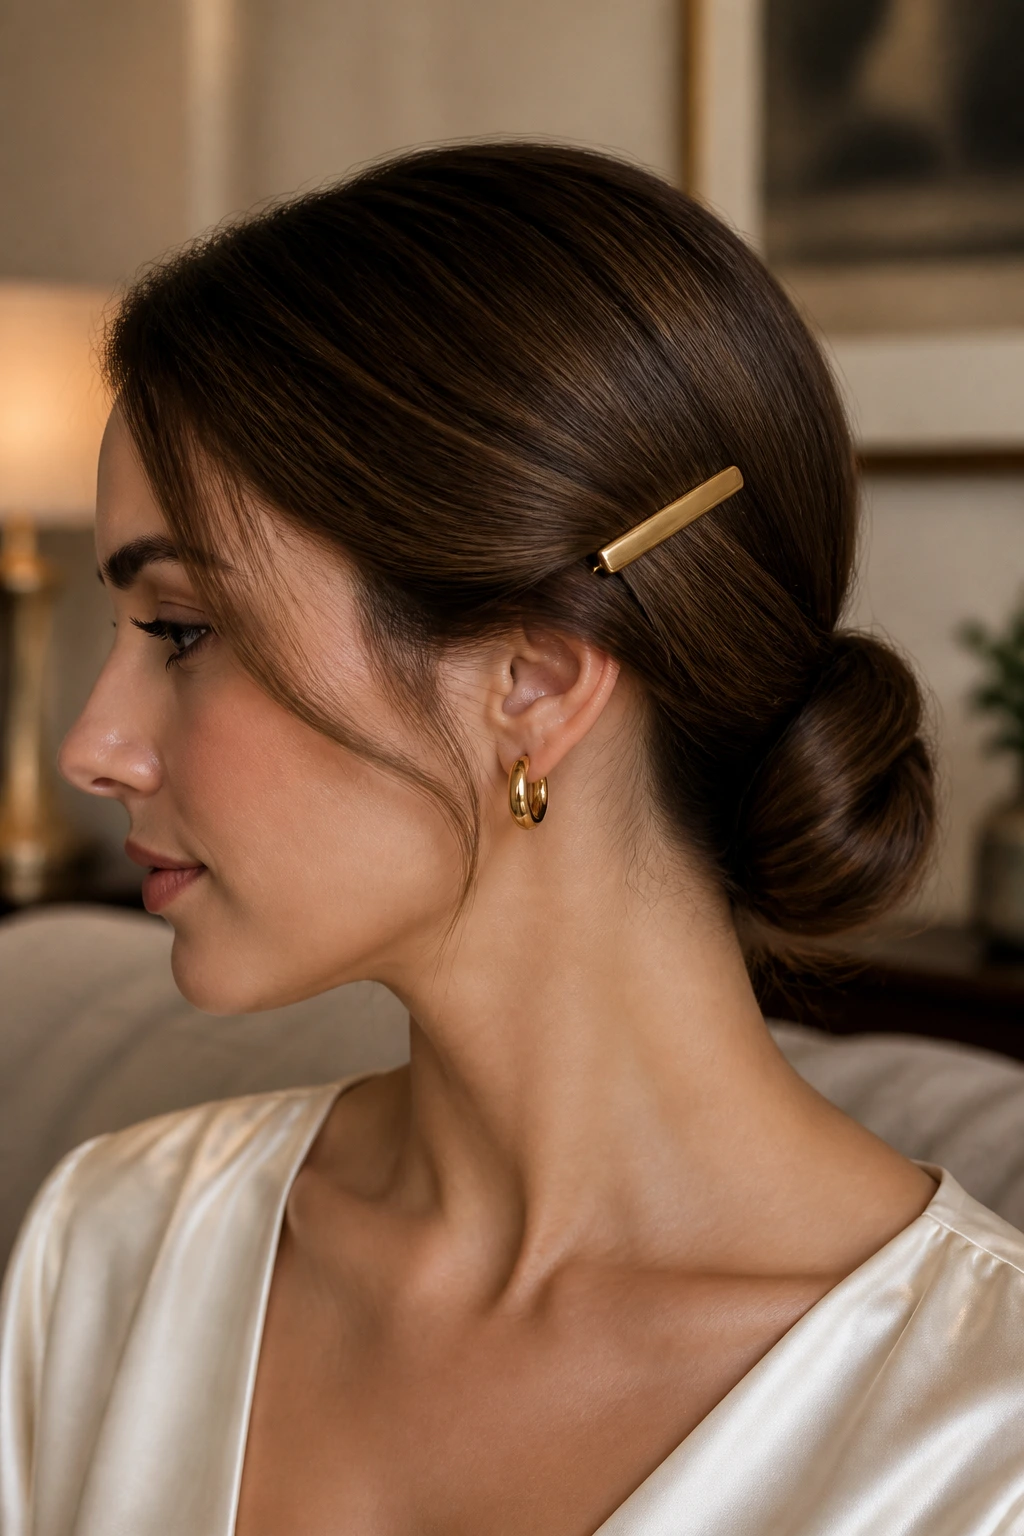
A barrette can hold a side sweep in place and make the bun feel finished at the same time. This is useful when you want a low bun that looks styled but not overworked. One clean barrette is enough.
Choose a metal or enamel barrette with some weight. Tiny plastic clips tend to disappear, and bulky ones can fight the bun. Sweep the hair to one side, secure the front, and keep the bun itself compact. The barrette becomes the accent, which is easier than trying to decorate the bun from every angle.
39. Hidden-Pin Low Bun
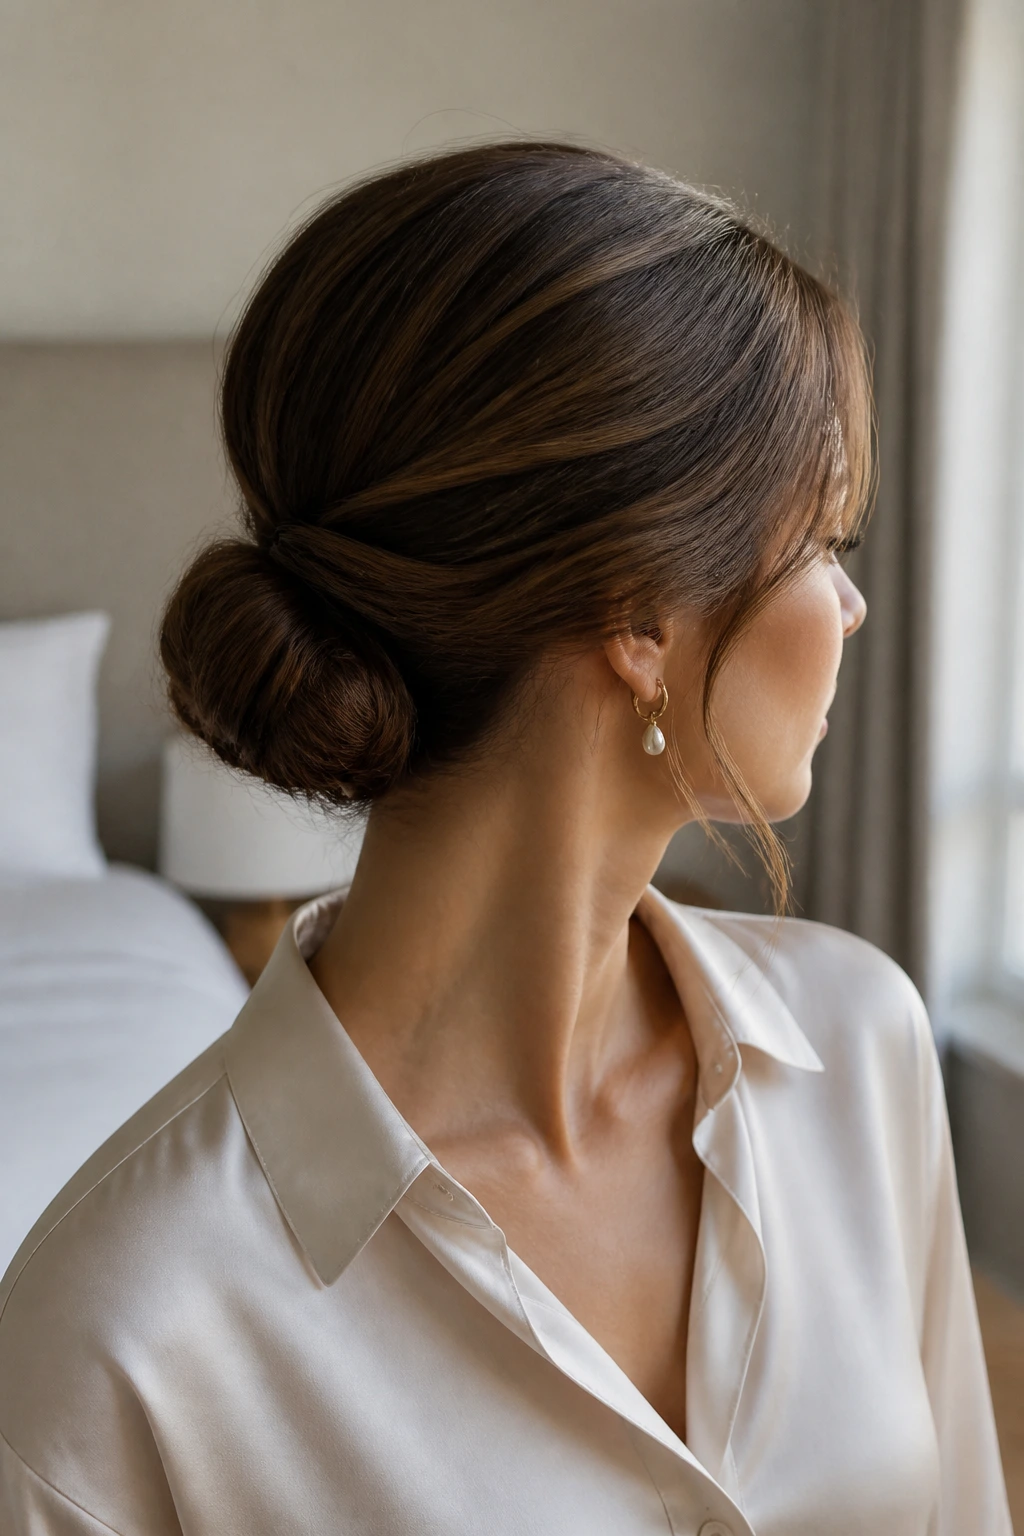
A hidden-pin low bun is all about invisible engineering. The style looks simple from the outside because the pins are tucked under the layers, not perched on top where they can catch the eye.
Use U-pins for the bun shape and bobby pins in an X where the base needs extra strength. That cross-pin move matters more than most people think. If you can’t see the hardware, the style reads expensive in a very quiet way. Nothing flashy. Just clean hold.
40. Crown-Braid Low Bun
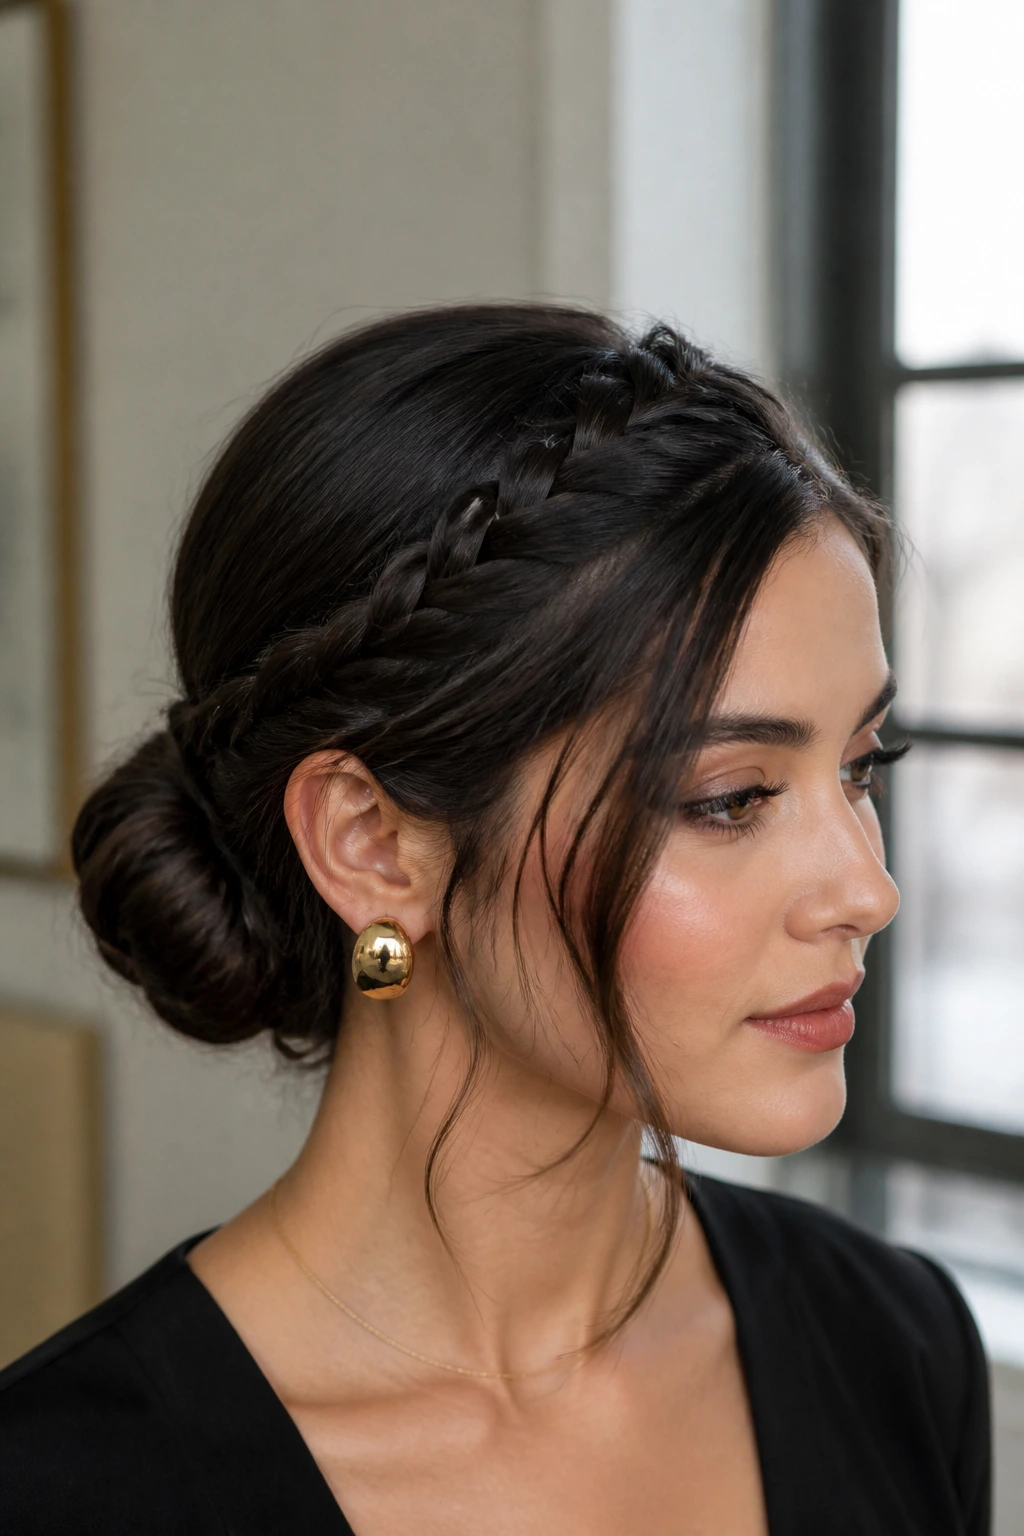
A small braid across the crown or temple area gives the low bun a little edge and helps control shorter layers near the front. It can be a single braid or a pair of narrow braids feeding into the bun.
The braid should lead the eye toward the nape, not steal the whole show. Keep it neat, then let the bun stay understated. This is one of the better styles for hair that likes to slip around the temples, because the braid acts like a built-in frame. Nice detail. Useful too.
41. Rolled-Side Low Bun
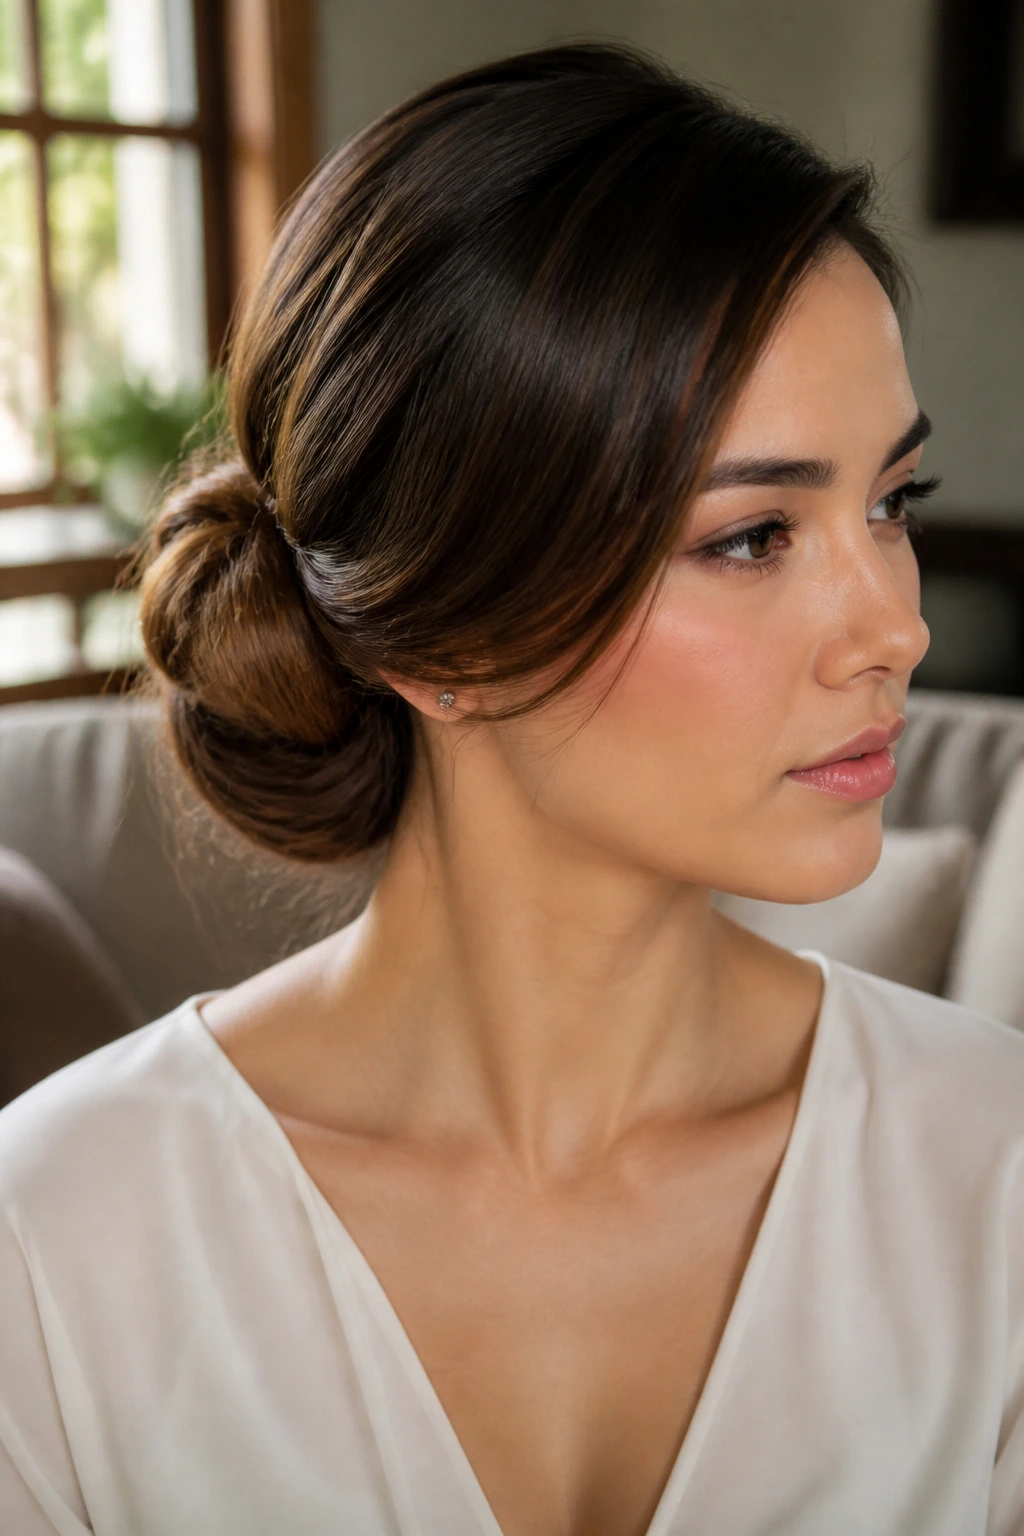
A rolled-side bun has a vintage bend to it, but it doesn’t need to feel formal in an old-fashioned way. One side rolls inward more clearly than the other, which creates a line that looks intentional and a little softer than a centered knot.
This version works well on medium-length hair and with side parts. The roll should be smooth, but not so tight that it loses all shape. If one side starts looking too heavy, loosen the top layer slightly. The goal is a clean curve, not a rigid roll.
42. Soft Messy Low Bun
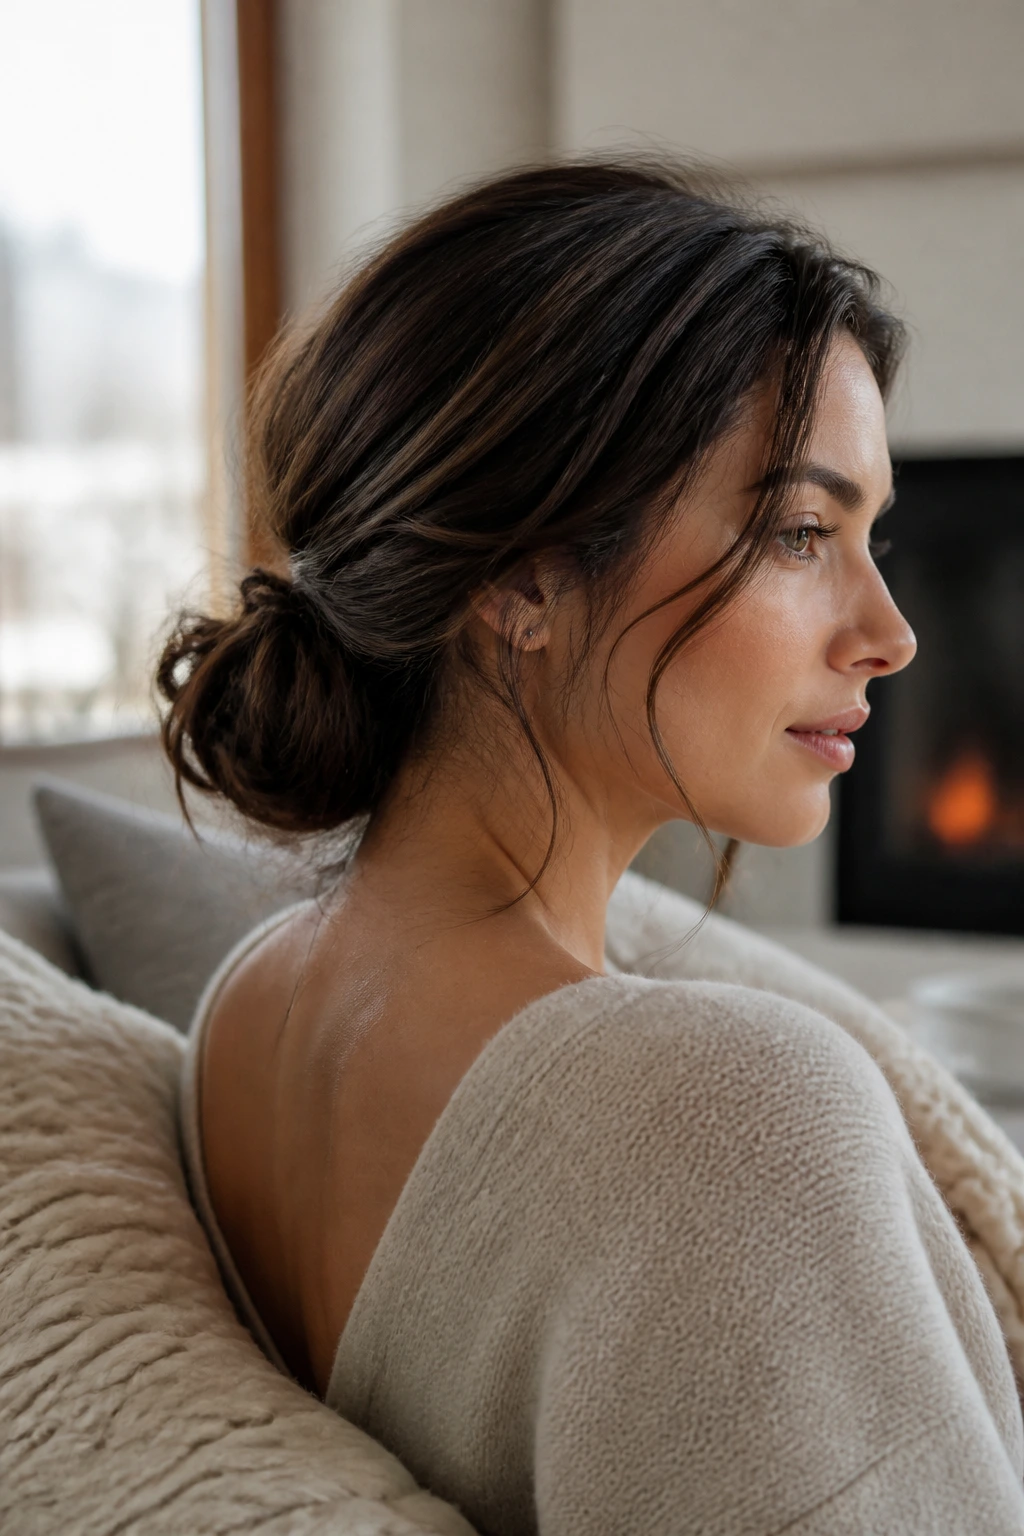
A soft messy low bun is what happens when you stop one step before perfection. The crown has a little looseness, the bun has a few airy pieces, and the whole thing looks relaxed without falling apart.
The line between soft and sloppy is thin. Keep the base secure, then pull the surface only where you want movement. I like this version with knitwear, oversized earrings, or dresses that already have a lot of drape. The bun should feel easy, not accidental. That’s a real difference.
43. Waved Face-Frame Bun
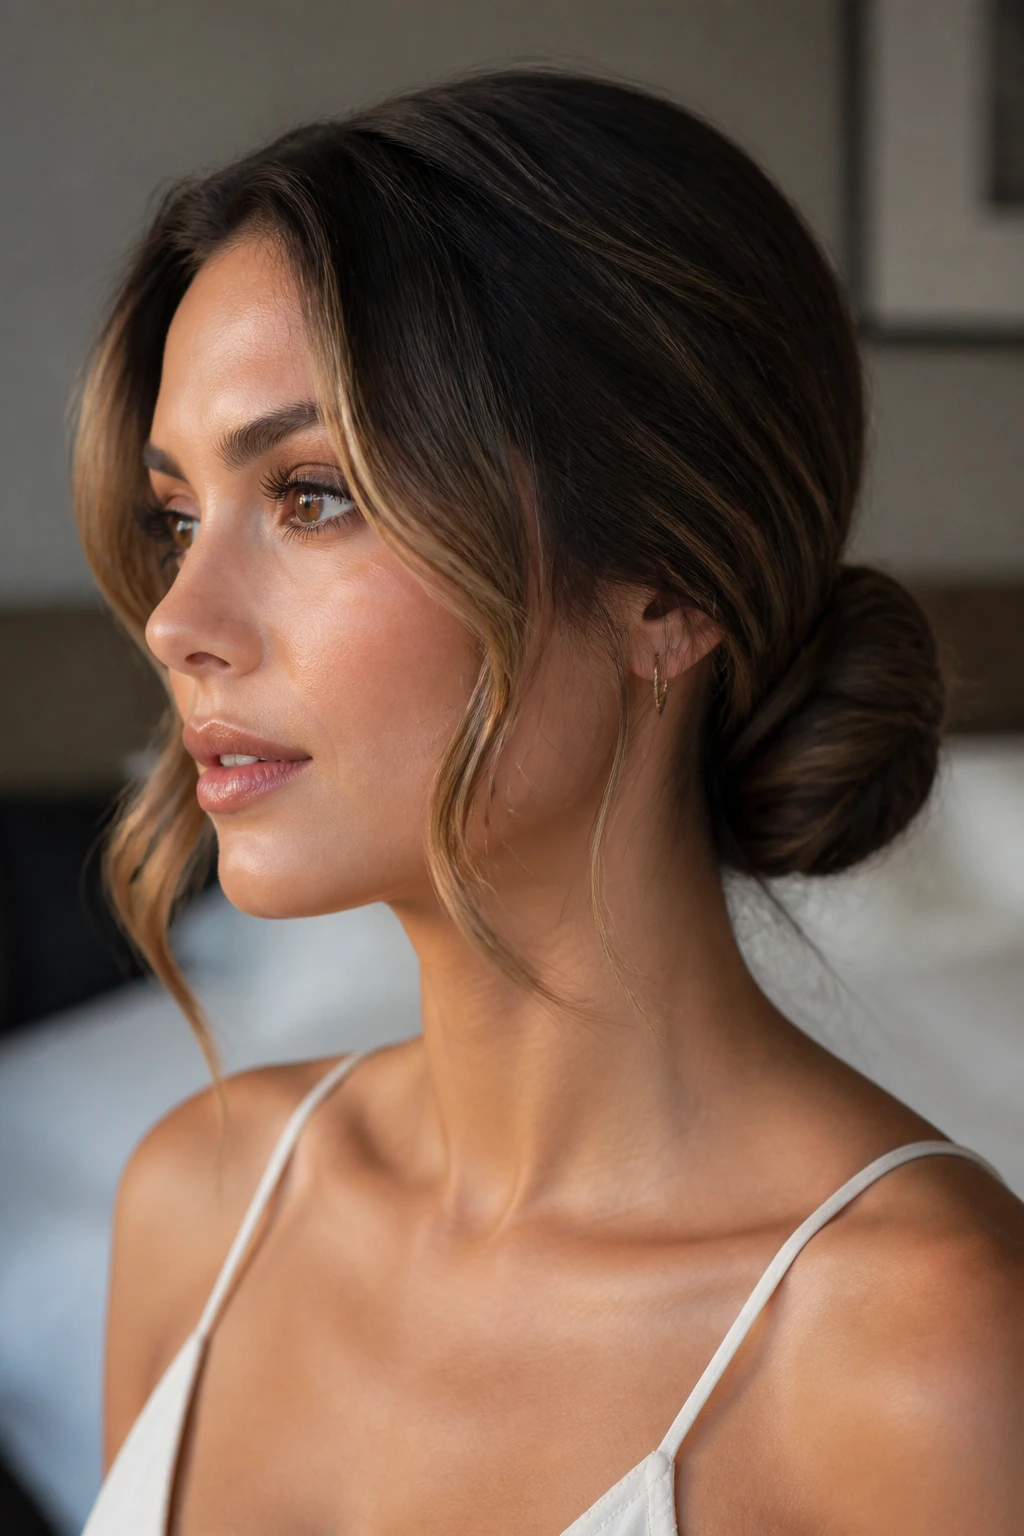
Waved front pieces can make a low bun feel much more dressed up. The bun itself stays clean, while the face-framing sections get a soft bend that adds shape around the cheeks and jaw.
Use a 1-inch iron or a round brush to create a gentle curve away from the face. You do not need a full curl here. Just enough movement to soften the front line. This version works especially well when the outfit is simple and you want the hair to carry a little more of the finish.
44. Long-Hair Wrapped Low Bun
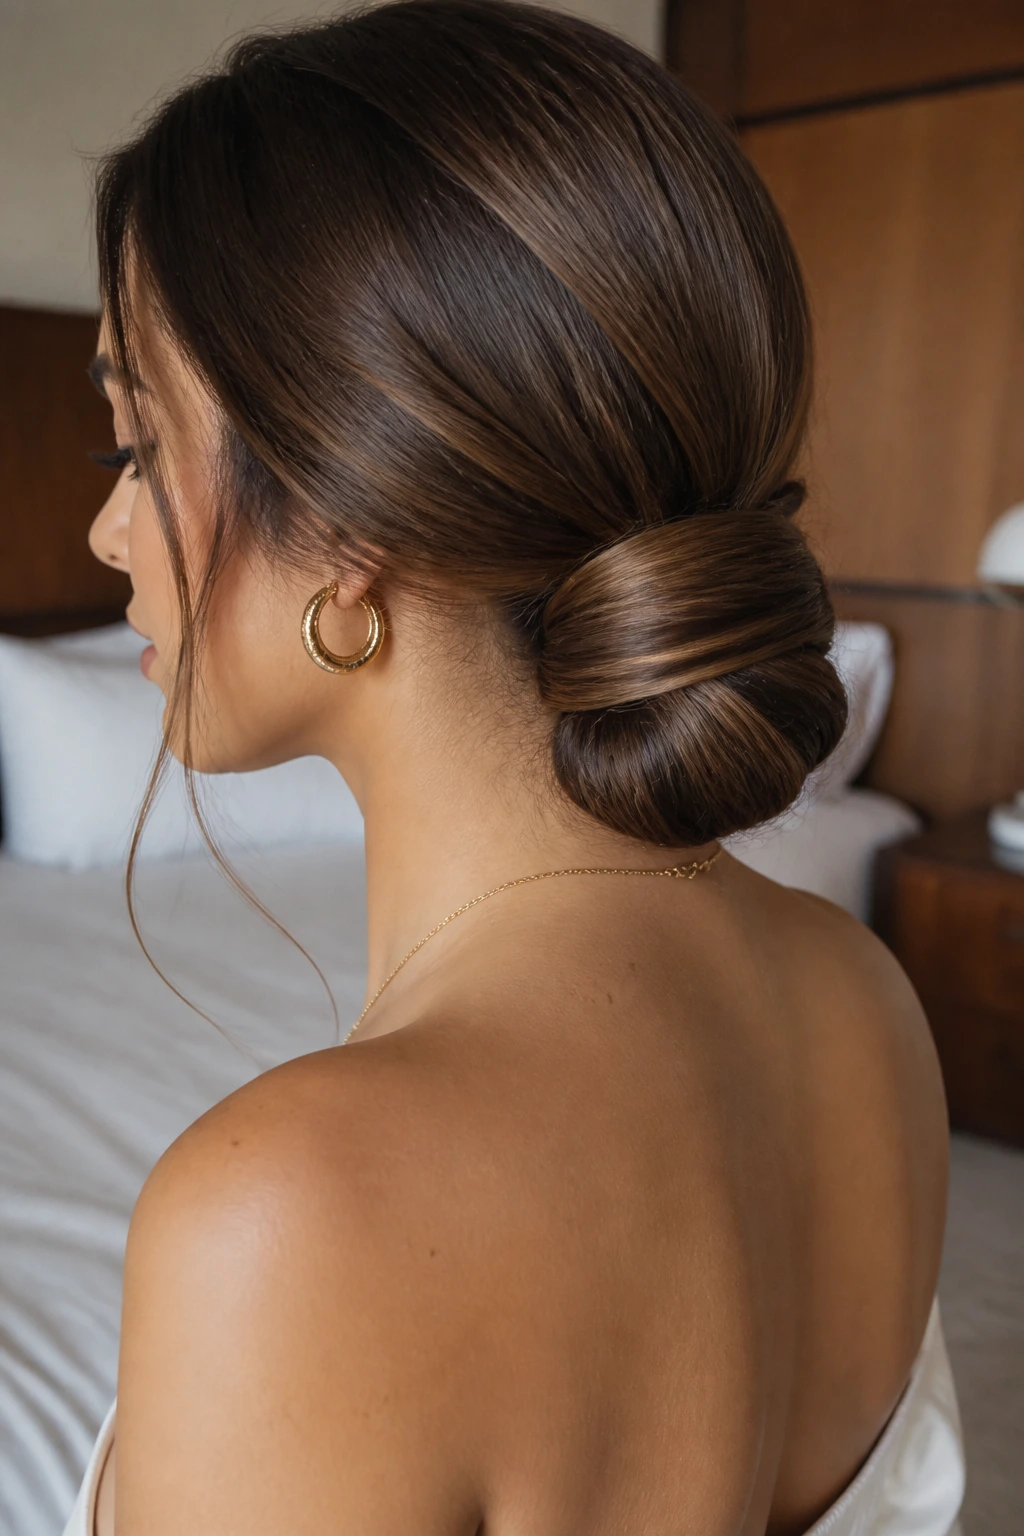
Long hair brings weight, and weight needs control. A wrapped low bun keeps the length from ballooning by folding it in layers instead of trying to make one giant knot out of everything.
Divide the hair into sections if it’s dense, pin the first fold close to the nape, and then wrap the next layer over it. That layered structure helps the bun stay centered. If the bun starts drooping, the issue is usually not the hair itself. It’s the lack of anchoring underneath.
45. Short-Layer Hidden-End Bun
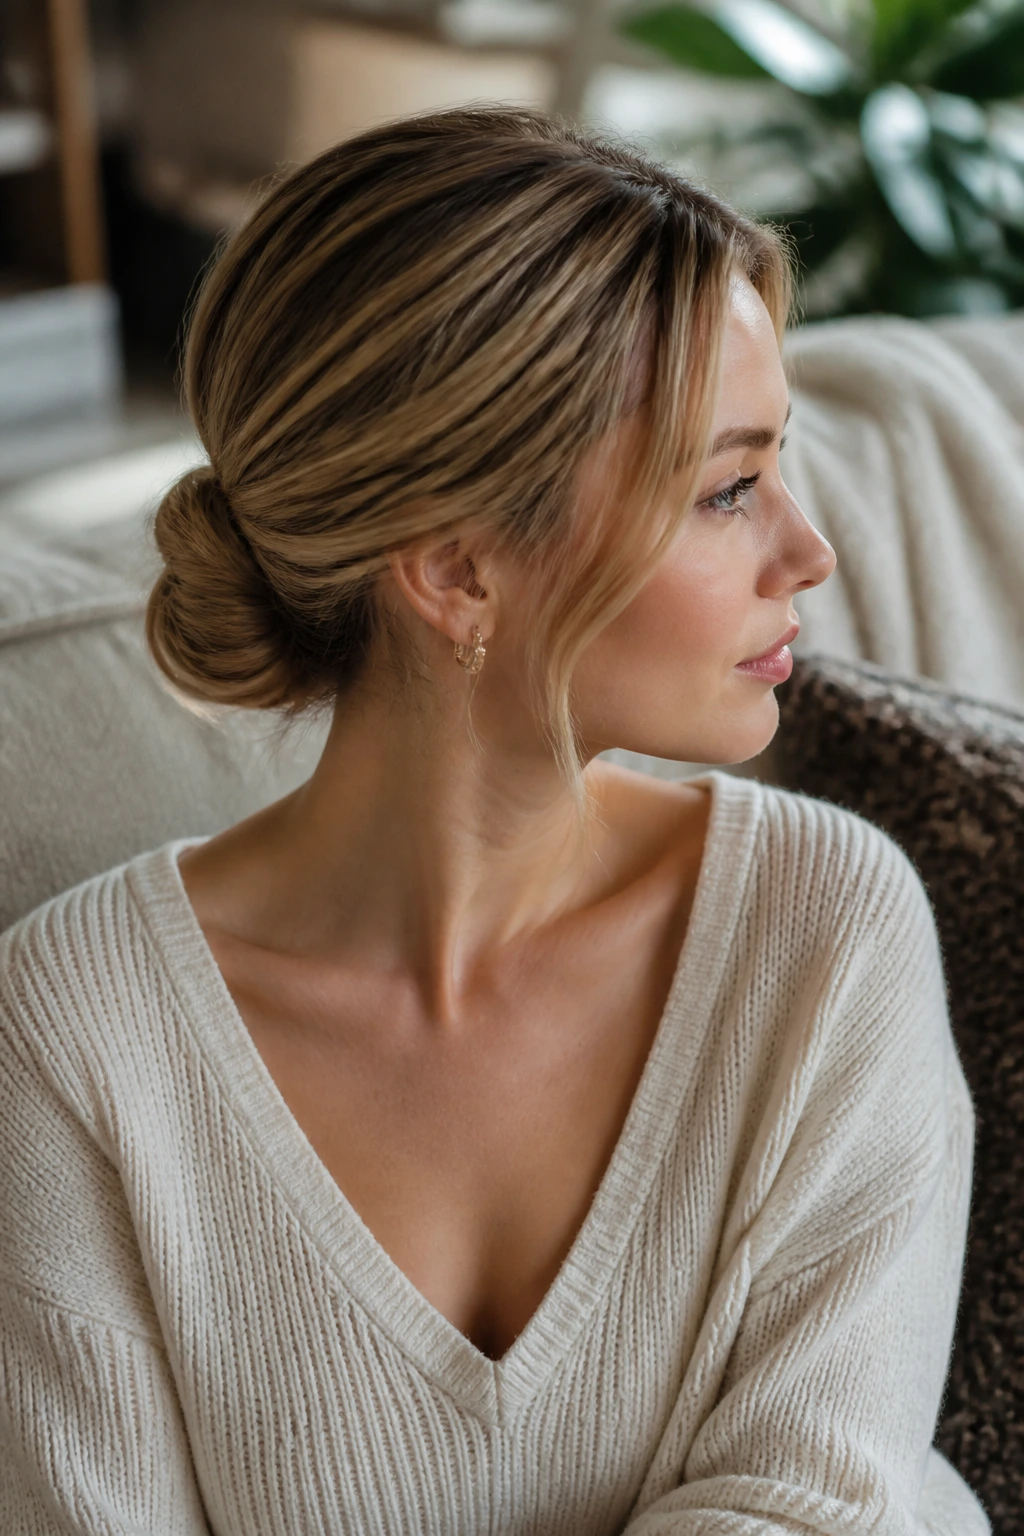
Short layers are the part most buns complain about. The trick is to hide the ends where the eye won’t catch them and let the front stay soft enough that the shorter pieces blend instead of sticking out.
Use small pins, not huge clips, and tuck the shortest layers under the base one by one. A little texture spray helps the hair grip without slipping. This is the version to reach for when your cut is in that awkward in-between zone and you still want a low bun that looks deliberate. It can be done. Just not rushed.
Why the Nape Gives These Buns Their Shape
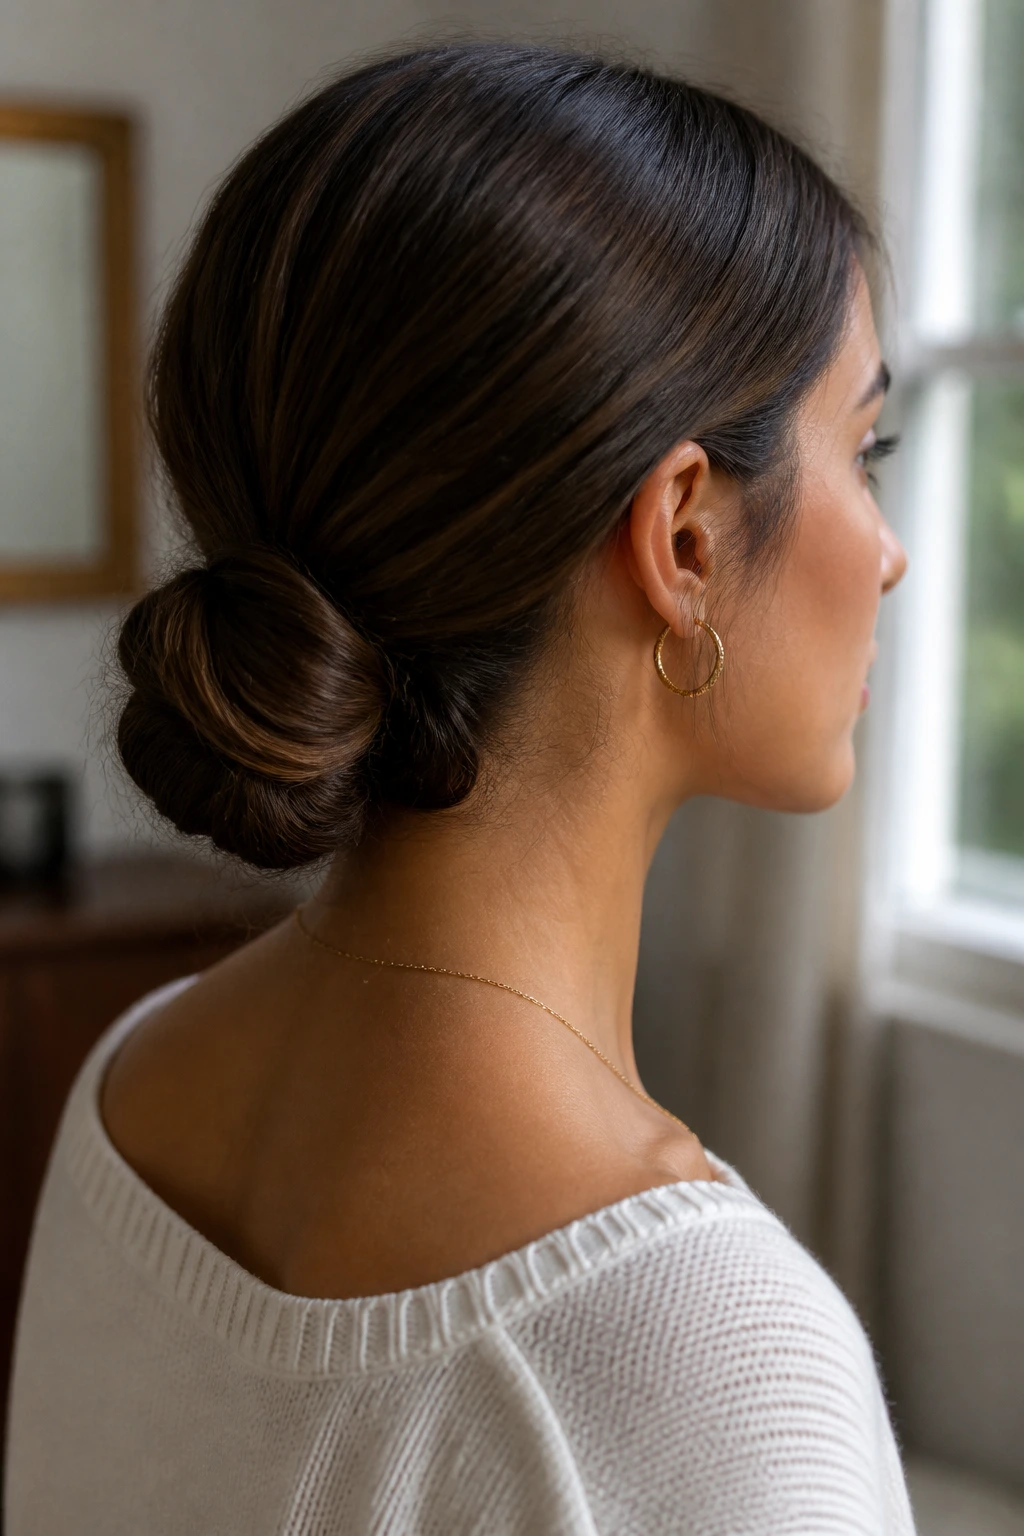
The nape does more work than people give it credit for. Hair that sits low has less distance to travel, less chance to puff under humidity, and less risk of collapsing the crown. That alone makes low bun styles feel calmer than a high knot or top bun, especially on hair that likes to slip.
There’s also a visual reason they work. The neck is a natural taper, so a bun placed there gives the eye a place to rest. It can lengthen the line of the head, open the face, and make the shoulders look cleaner in profile. That’s why a plain low bun with a good part can look more polished than a complicated style pinned in the wrong place.
A lot of people fight the nape by pulling the bun too low on the neck or too loose into the collar. Neither is ideal. The sweet spot is usually just above the hairline where the head starts to narrow, with enough pinning that the bun feels attached rather than perched. That small shift changes everything.
Essential Tools for Clean Low Buns
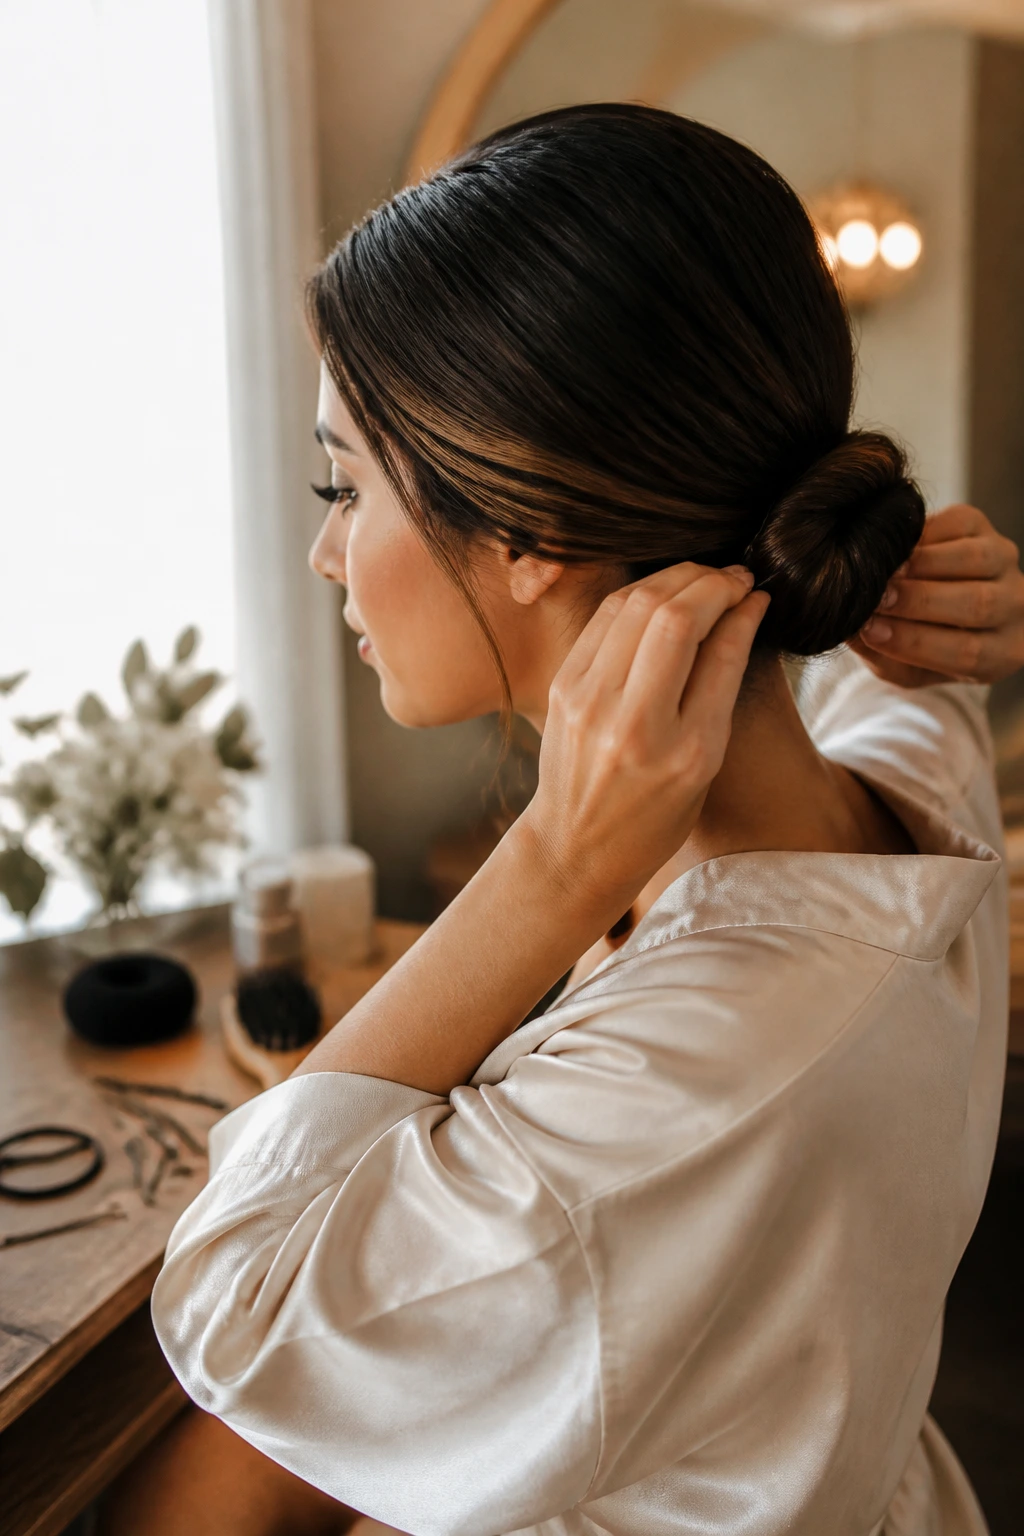
You do not need a drawer full of gadgets, but the right few tools make a low bun easier to shape and keep in place.
- Tail comb: For parting, smoothing the crown, and guiding small sections without wrecking the shape.
- Boar-bristle brush: Good for flattening the top and gathering hair without creating too much static.
- Wide-tooth comb: Useful after adding texture spray or working through curls without pulling them out.
- Sectioning clips: They keep front pieces out of the way while you build the bun at the nape.
- Bobby pins in two lengths: Short pins hold surface pieces; longer ones grip heavier sections and thick hair.
- U-pins: These slide into the bun itself and help lock a wrapped or twisted shape in place.
- Small clear elastics: Great for braids, bubble sections, and hidden anchors.
- Medium-hold hairspray: Keeps flyaways down without turning the hair stiff.
- Texturizing spray or dry shampoo: Adds grit, especially on clean or slippery hair.
- Smoothing cream or light pomade: Use sparingly on the surface and hairline; too much makes the bun look greasy.
- Shine serum or hair oil: A tiny amount on the ends can polish the finish, especially on dry hair.
- Optional bun donut or padding: Helpful for fine hair or for a fuller event look, as long as it stays hidden.
Smart Product and Hair Prep Choices
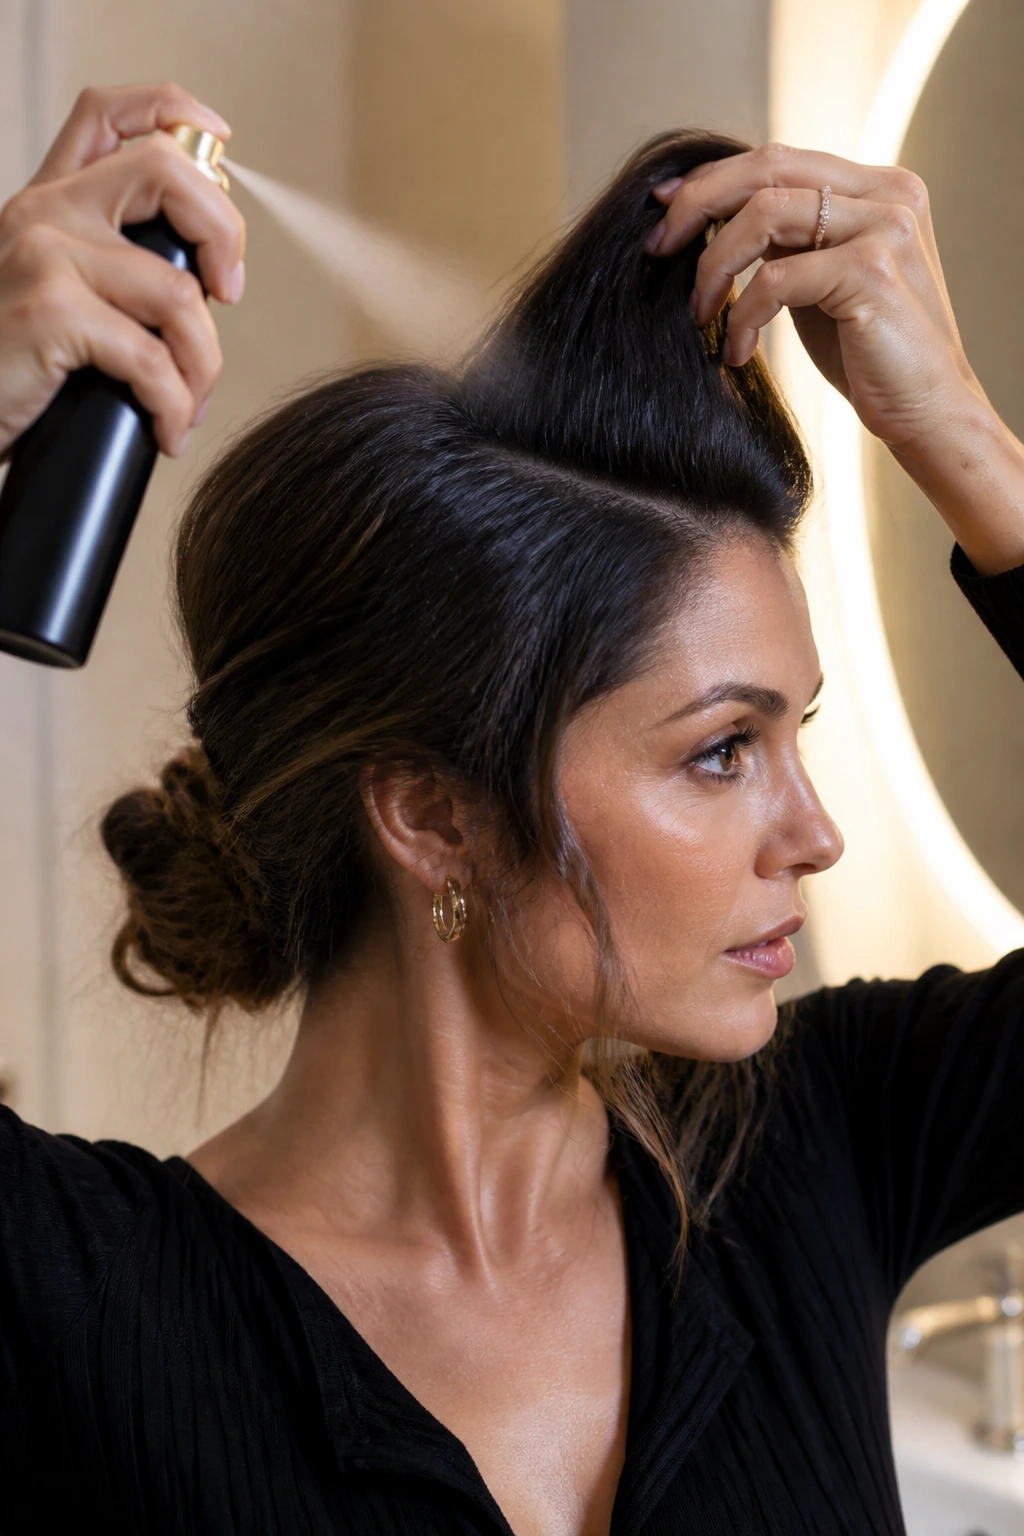
The best product choice depends on the hair you start with, not the hairstyle you want in your head. Slippery, freshly washed hair needs grip first. Fine hair needs lift without weight. Thick hair needs control that doesn’t turn the surface into helmet hair.
For grip, start with dry shampoo or texturizing spray at the roots and through the mids. That gives pins something to bite into. If the hair is clean-clean, I’d rather rough it up a little than chase a smooth bun that slides in twenty minutes. Clean hair can be too smooth for its own good.
For shine, use less than you think. A pea-size amount of smoothing cream on the top layer is usually enough. A heavy hand makes the bun stringy and flat. If you want a wet-look finish, go on purpose with gel and shine serum; halfway there just looks confused.
Hair type matters too. Fine hair often benefits from mousse at the roots and a small donut or a bit of hidden padding. Thick hair usually needs more pins, a stronger elastic, and a sectioned approach so the bun doesn’t drag down. Curly and coily textures do best when you respect the pattern and control the shape without scrubbing the texture away. The best low buns are the ones that work with the hair, not against it.
How to Wear Low Bun Styles With Necklines and Earrings
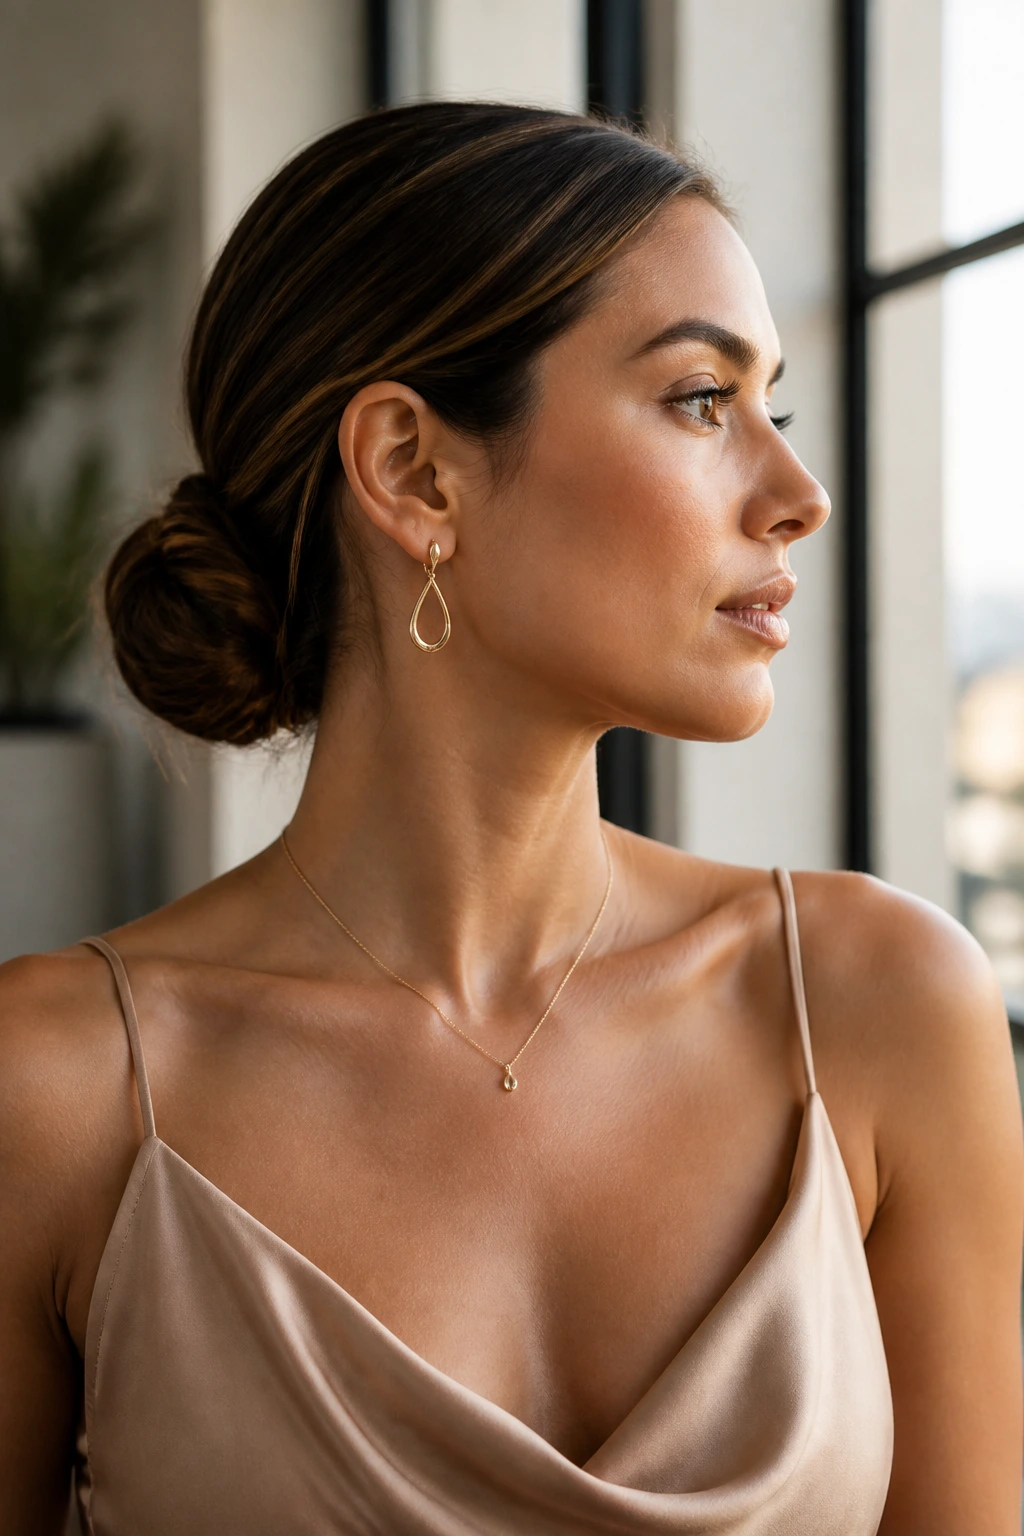
Presentation: A low bun shines when the neckline has room to breathe. Boat necks, square necks, turtlenecks, and off-the-shoulder tops all change the silhouette in useful ways. A sleek bun looks sharper with structured clothes; a softer bun plays better with drape, lace, or knit texture.
Accessories: Earrings matter more than most people think. When the bun sits low and the ears are visible, a clean hoop, a drop earring, or a single pearl stud can finish the whole look. If you wear a bold barrette or scarf, keep the earrings quieter so the face doesn’t feel crowded.
Face Frame: Center parts tend to lengthen. Side parts soften. Curtain bangs and loose tendrils do the work of blurring a strong jaw or a high forehead. You do not need every piece to do something. One front detail is often enough.
Setting: Office, wedding, dinner, or a dressed-up lunch each ask for a different amount of polish. For daytime, keep the bun a little softer and the shine controlled. For evening, you can press the crown flatter, tighten the base, and add one deliberate accessory. The same structure can travel farther than people expect.
Styling Upgrades and Personal Touches
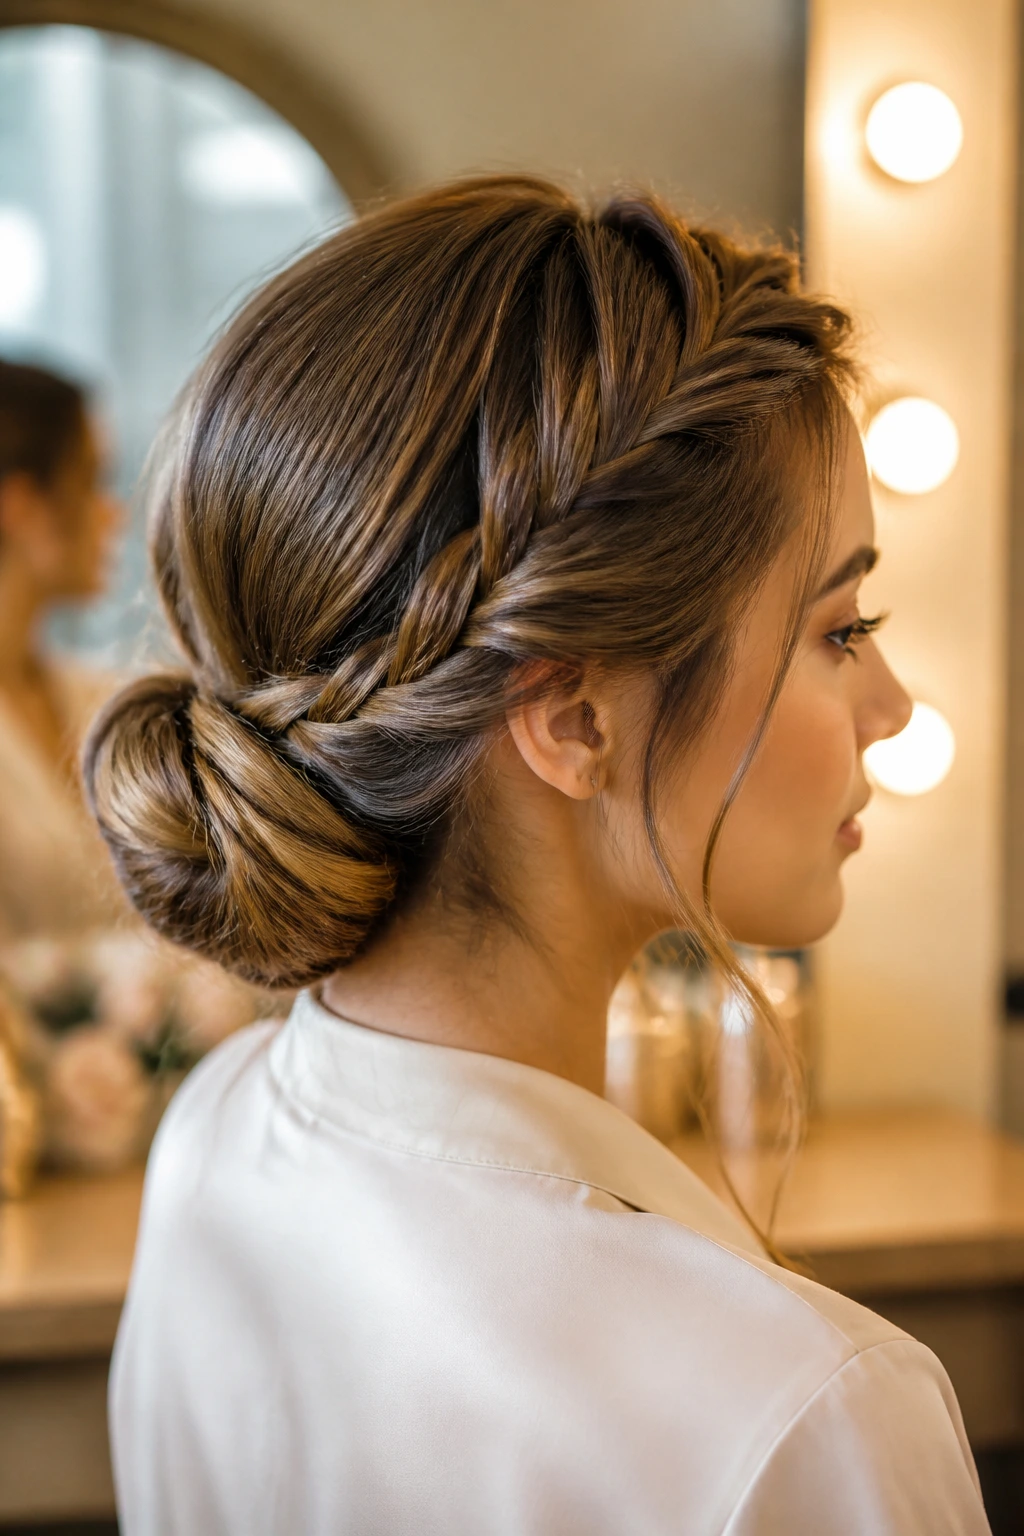
Texture Boost: If a bun feels too plain, add a braid, a twist, or a few waves to the front sections before you pin anything. Texture creates shadows, and shadows make the style read richer without making it bigger.
Accessory Swap: Pearl pins lean formal. A ribbon leans romantic. A metal clip feels modern. A scarf adds color. You do not need a different bun for each one; the accessory changes the story fast enough.
Shape Change: Pull the bun tighter if you want a harder line, or let it sit slightly fuller if you want a softer profile. Moving the part by half an inch can matter more than changing the bun itself. That little shift changes where the eye lands.
Make-It-Yours: For fine hair, add hidden padding. For thick hair, split the sections and pin in layers. For curly hair, keep the coil visible. For a softer face-framing result, leave a few narrow strands at the temples. Personalizing a low bun is less about decoration and more about choosing which part of the hair gets to speak first.
Night-Before Prep, Day-Of Wear, and Refreshing
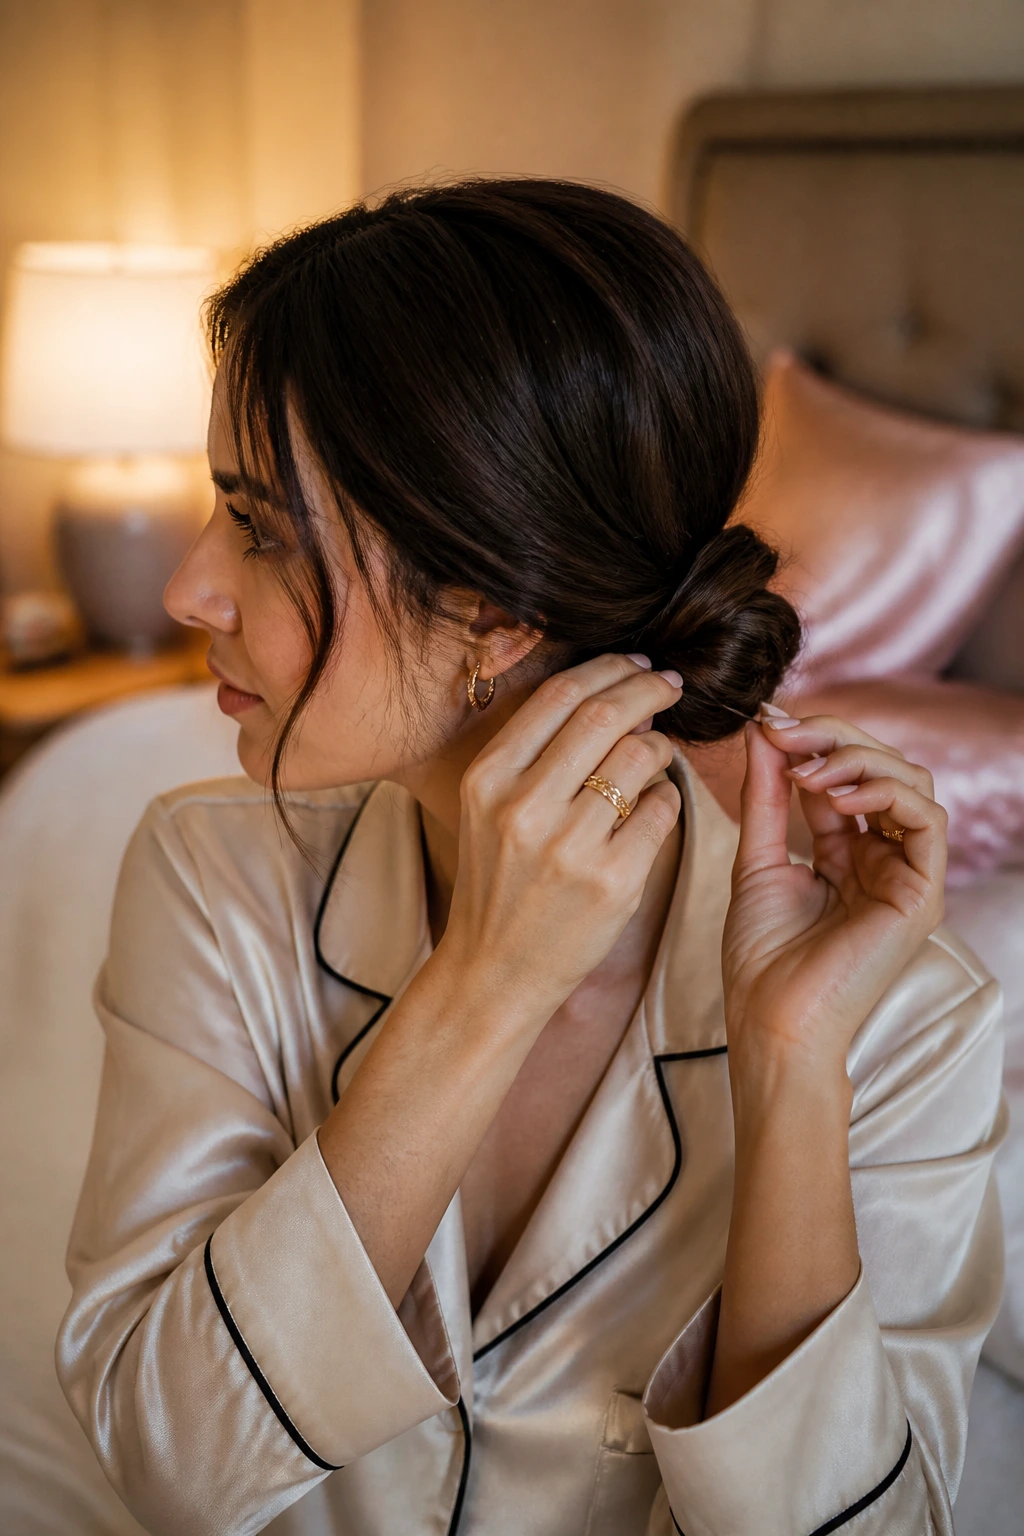
A low bun often looks better after the hair has had a little time to live in it. Freshly washed hair can be slippery and stubborn, while second-day hair usually gives pins more traction. If you know you’ll need the style the next morning, prep the hair the night before with a light texture spray and loose sectioning, not a tight knot that leaves a dent.
Sleeping on a silk pillowcase helps keep the surface from roughing up too much. If the style itself needs to survive overnight — say you’re wearing it for a wedding or a long event weekend — pin the bun a touch looser than you think, then re-tighten the visible surface in the morning. A few extra bobby pins in a small pouch are worth carrying. So is a travel-size spray.
Refreshing is about fixing the surface, not rebuilding the whole thing. Mist flyaways lightly with water or spray, smooth them with your fingertips, and re-pin anything that has started to sag at the sides. If the ends are dry, a dot of oil on the tips gives the bun a softer finish. Don’t flood the roots. That just turns polished hair into damp hair, and damp hair never behaves.
Common Mistakes That Make Low Buns Fall Flat
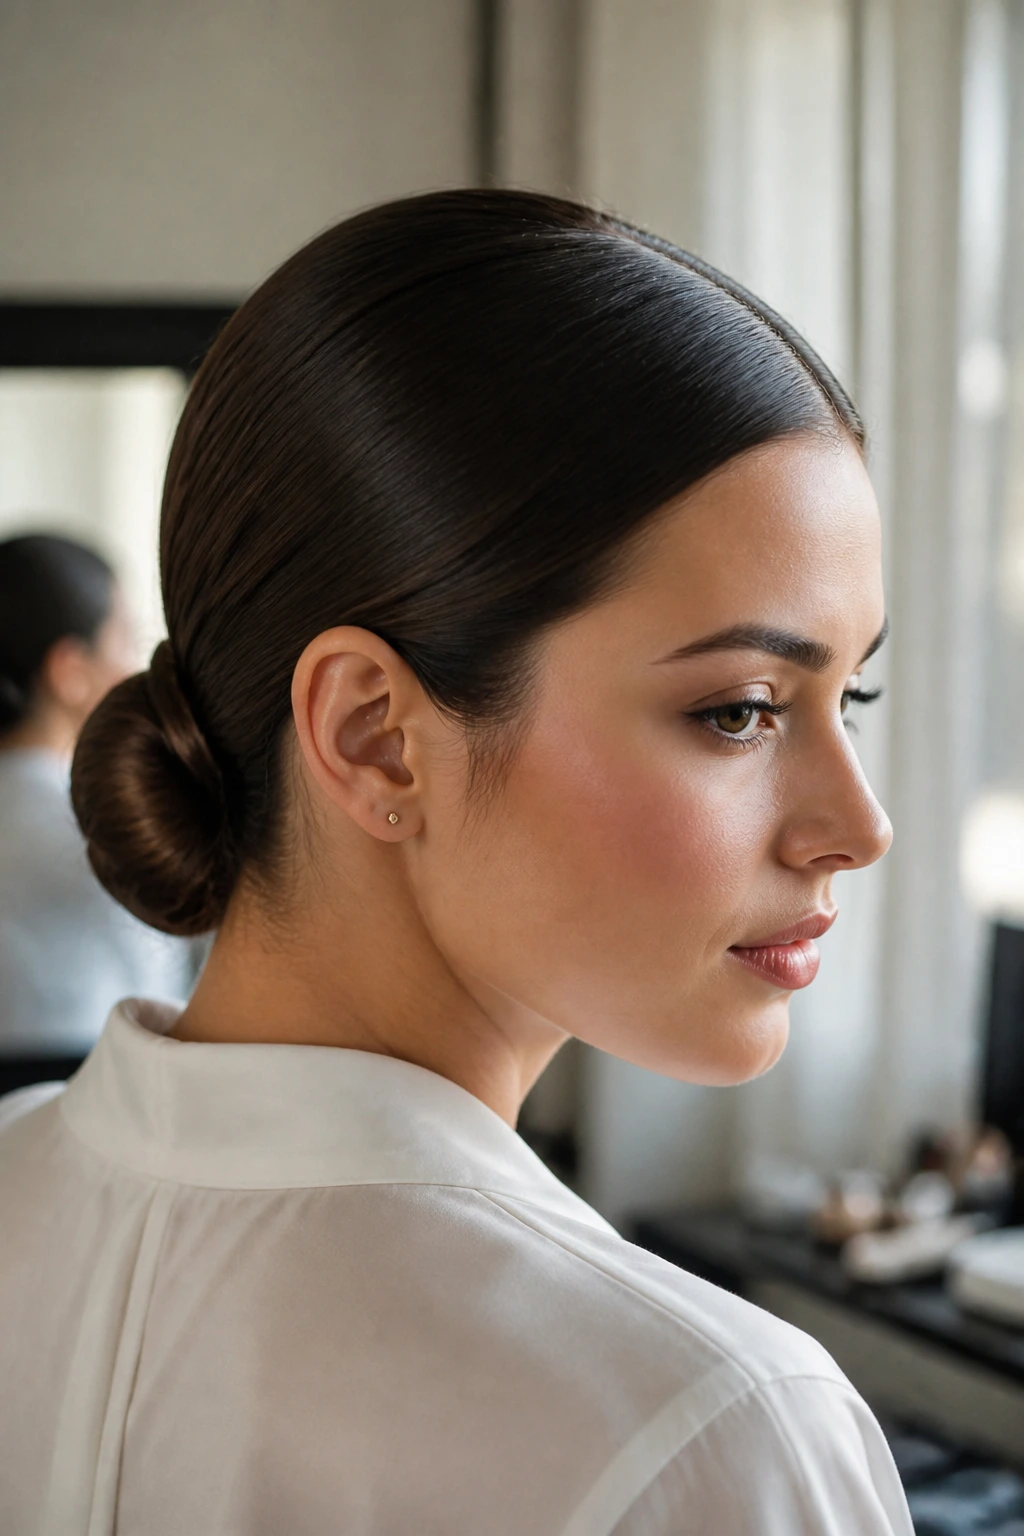
The first mistake is pulling the hair too tight at the hairline. The style can look severe, and the crown gets flat in a way that does no favors for the face. Leave a little give at the temples and crown so the bun still has shape from the front.
The second mistake is building the bun on hair that’s too clean and too smooth. It slides. It slips. It loses its grip before lunch. Dry shampoo or texture spray is the fix, and it usually needs to go in before the bun, not after.
The third mistake is overloading with product. Too much cream or oil makes the bun stringy and the scalp shiny in the wrong places. Use a small amount, spread it thin, and keep the richest product on the ends, not the roots.
Another common problem is pinning only the surface and ignoring the base. If the foundation is loose, the bun droops. Cross-pin the anchor points, then hide the decorative pins after. And one more: choosing an accessory that fights the bun instead of finishing it. A giant clip on a tiny knot throws off the scale fast.
Variations and Adaptations to Try
Fine-Hair Lift: Start with mousse at the roots, add dry shampoo, and use a small bun donut or hidden padding. The goal is not a huge bun. It’s enough fullness that the style doesn’t collapse against the scalp.
Thick-Hair Control: Divide the hair into sections before you twist or wrap it. Thick hair usually looks better when the bun has a little breathing room and the pins are hidden in layers instead of forced into one tight center.
Curly-Texture Version: Keep the curl pattern visible and use cream or gel to define it before you gather the hair. A curly low bun works best when it looks like curly hair arranged on purpose, not brushed into something it isn’t.
Heat-Free Version: Skip curling irons and lean on braids, twists, and texture spray. This is the best route if you want a low bun that feels soft without heat styling the front pieces.
Event-Ready Finish: Add pearl pins, a satin ribbon, or a metal barrette and keep the bun polished at the crown. One accessory is enough. Two can work. Three usually starts to look crowded.
Frequently Asked Questions
Can a low bun work on layered hair?
Yes, but the layers need help. Use texture spray, tuck the shortest pieces under the base, and pin them where they won’t poke out near the ears. A braided or twisted version usually handles layers better than a smooth knot.
How do I keep a low bun from slipping down?
Anchor the base first, then build the shape. A cross of bobby pins at the nape holds better than one pin shoved in from the top, and hair with a little grit will stay put longer than silky clean hair.
Is it better to do a low bun on clean hair or second-day hair?
Second-day hair usually wins because it has more grip. If you have to start fresh, add dry shampoo or texture spray before you begin. Clean hair can work, but it needs help.
Can short hair fake a low bun?
It can, especially if the hair is a lob or shoulder length. Twist the ends inward, pin them flat, and stop trying to make the bun bigger than the length allows. The best faux bun looks compact and intentional.
Which low bun style is best for curly or coily hair?
The ones that respect the texture: soft nape buns, twisted buns, and styles with controlled volume. Brushless styling usually beats trying to force the curls smooth, because that’s when frizz takes over.
How do I make a low bun look elegant instead of messy?
Keep one part of the style clean on purpose — either the crown, the parting, or the bun shape itself. If everything is loose, it turns careless. If one area is controlled, the looseness looks deliberate.
Will wearing a low bun often damage my hair?
Not if you vary the placement, keep the tension reasonable, and avoid yanking the same sections every day. Give your edges a break, use gentle pins, and brush the hair out before bed so the tension doesn’t stay trapped overnight.
What’s the fastest way to make a low bun look more finished?
Wrap a thin piece of hair around the elastic, smooth the crown with a tail comb, and add one accessory — a pin, a clip, or a ribbon. Those three small moves change the whole read of the style.
A Quiet Finish That Still Feels Intentional
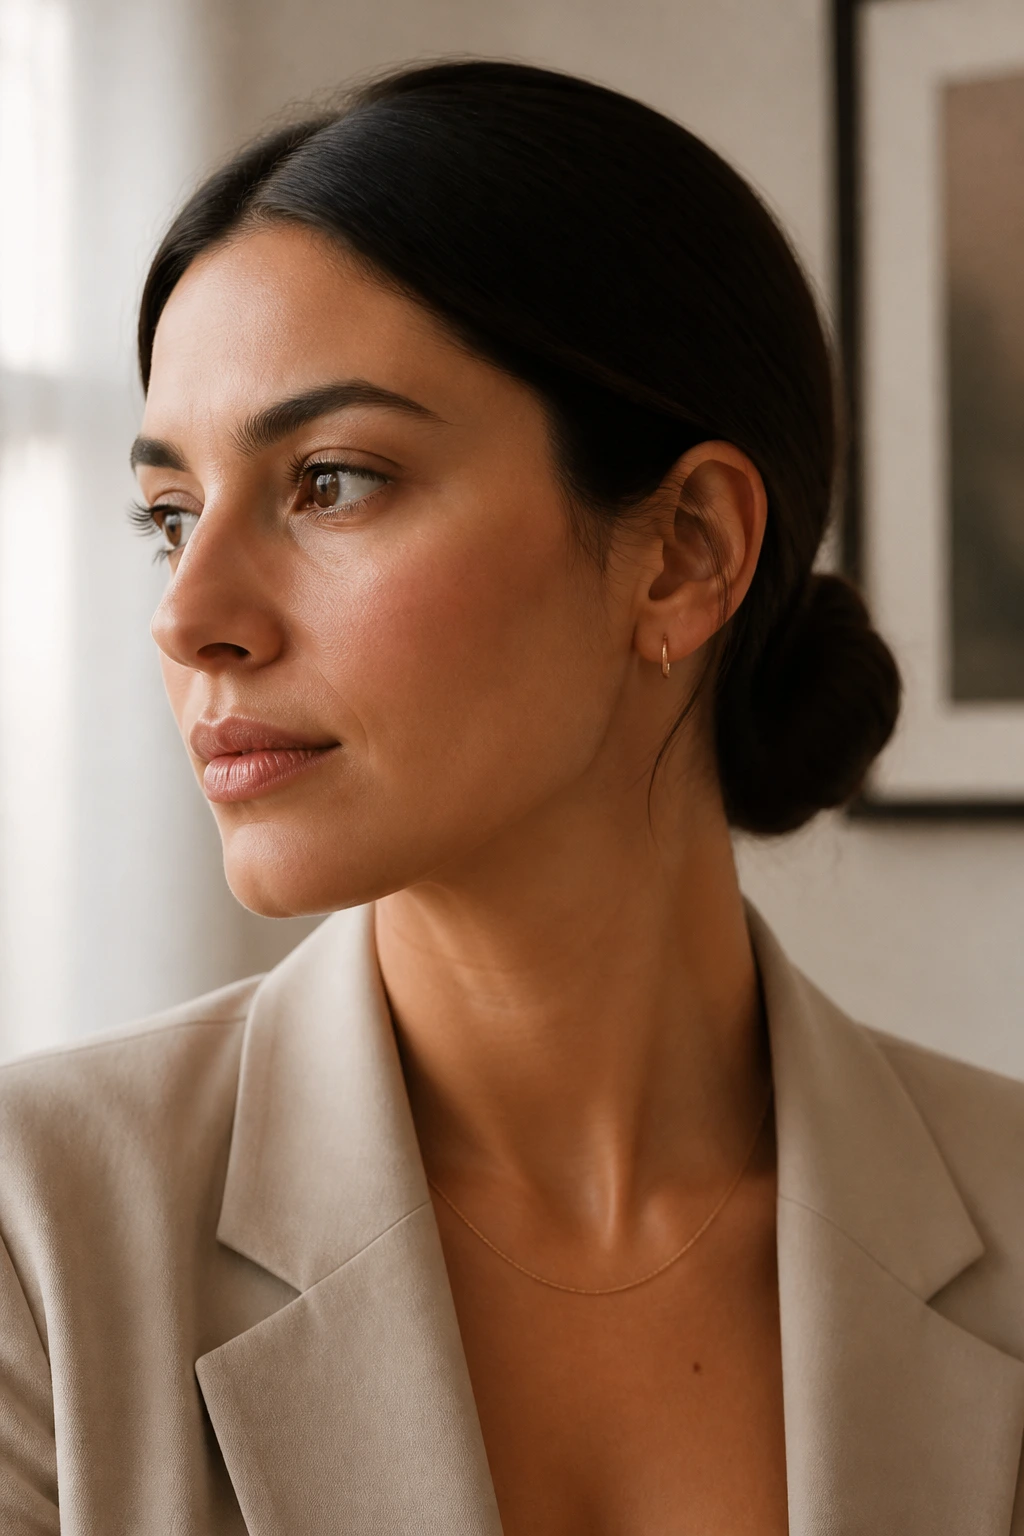
The strongest low bun styles are not the loudest ones. They’re the ones that sit in the right place, stay put, and leave the rest of the look some room to breathe. That can mean a center part, a braid, a ribbon, or nothing more than a clean twist pinned at the nape.
Once you start paying attention to the base, the part, and the texture, low buns stop being last-minute hair. They become the hairstyle you can reach for when the clothes need a calmer line and the face needs to stay open. Keep a few pins and a comb close by, and the rest gets easier.
